
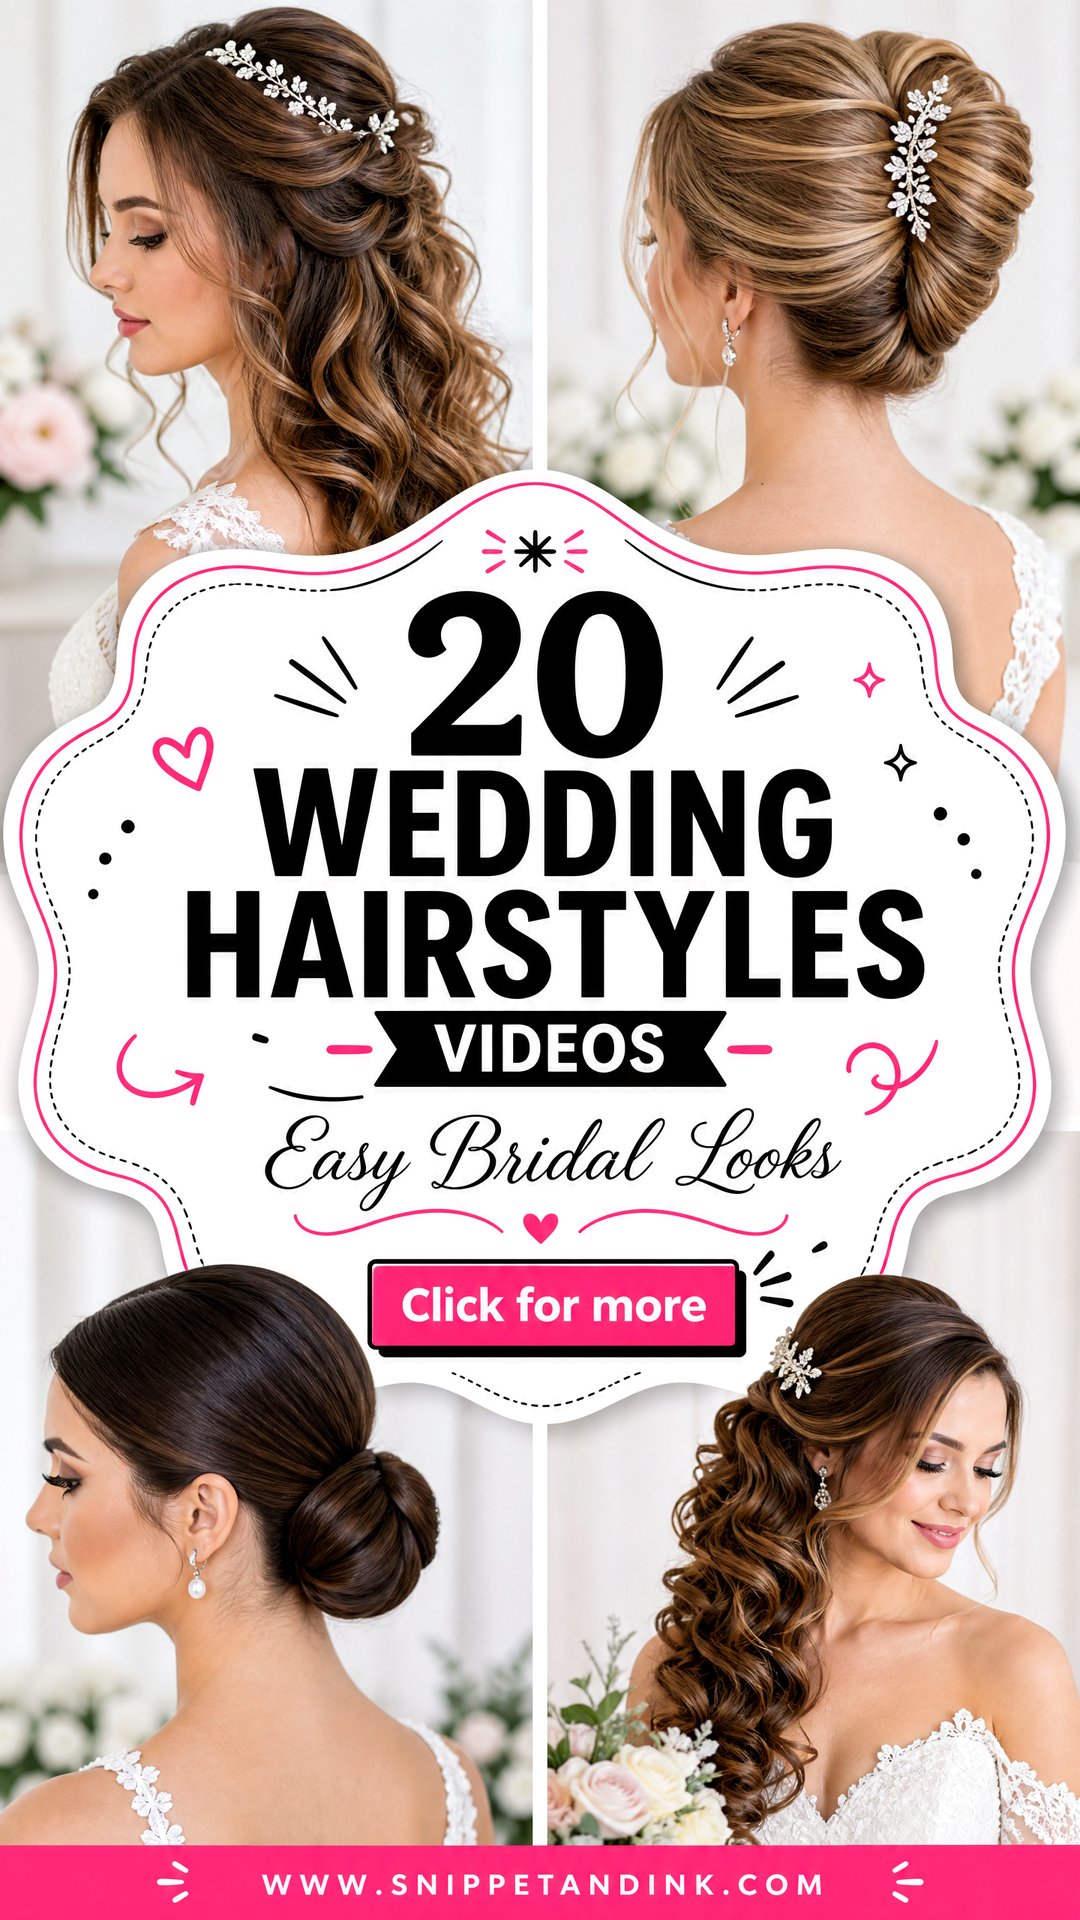
A good hair tutorial can teach you a lot, and it can also make a twenty-minute updo look like a two-minute job. These 20 styles run from sleek buns and French twists to braided crowns, soft cascading waves and natural curls, and each one comes with notes from the chair: how it’s built, what tends to slip, and who it suits. Use the videos to learn the shape and the order of steps. Then practice on a quiet weekend, not the week of the wedding, and take what you’ve learned to your trial so your stylist knows exactly what you mean.
Getting Real Results From a Hair Tutorial
Hair videos are edited. A finished bun appears in seconds because the cutting happened off camera, and the hair on screen is often thicker, longer or set the night before. That’s fine, as long as you practice with honest expectations. This is the routine I suggest to brides who want to learn a style at home.
- Watch the whole video once without touching your hair, then rewatch while noting where each section starts and how it’s secured.
- Slow the playback down on the pinning steps. That’s where most tutorials hide the real work.
- Practice on second-day hair. Clean, slippery hair fights pins and makes a first attempt look worse than it is.
- Prop a hand mirror so you can see the back, or film yourself with your phone and check the result.
- Wear the finished style for a few hours and do something active. If it slips while you’re cooking, it will slip while you’re dancing.
If you still can’t get the shape after three honest tries, that’s useful information. It probably means the style needs a second pair of hands, which is exactly what a stylist provides.
1. Classic Low Bun Wedding Hairstyle
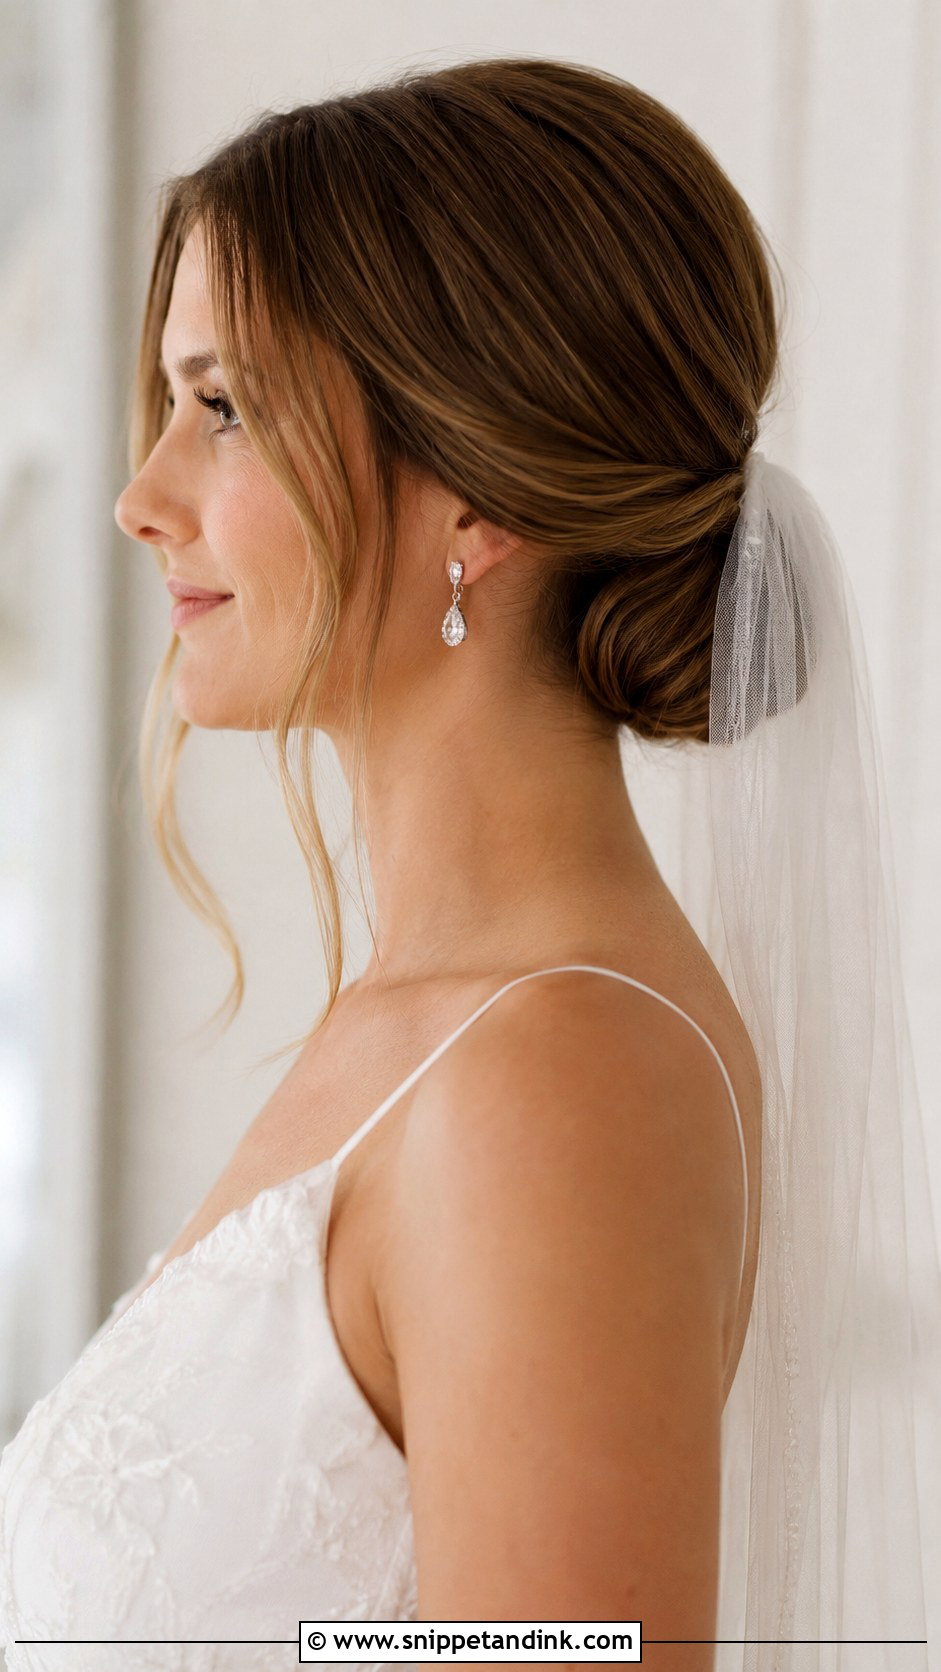
The low bun is the style I’m asked for most at trials, and it earns that by working with nearly every neckline and veil. Its strength is the base: I secure a tight ponytail first, then wrap and pin the bun around it, which is something many quick videos skip. Without that anchor the bun loosens as you move your head. Keep it sleek for a modern dress or pull the outer edge for texture. Face-framing pieces should be cut free before the ponytail goes in, never pulled out after.
2. Half-Up Half-Down Wedding Hairstyle
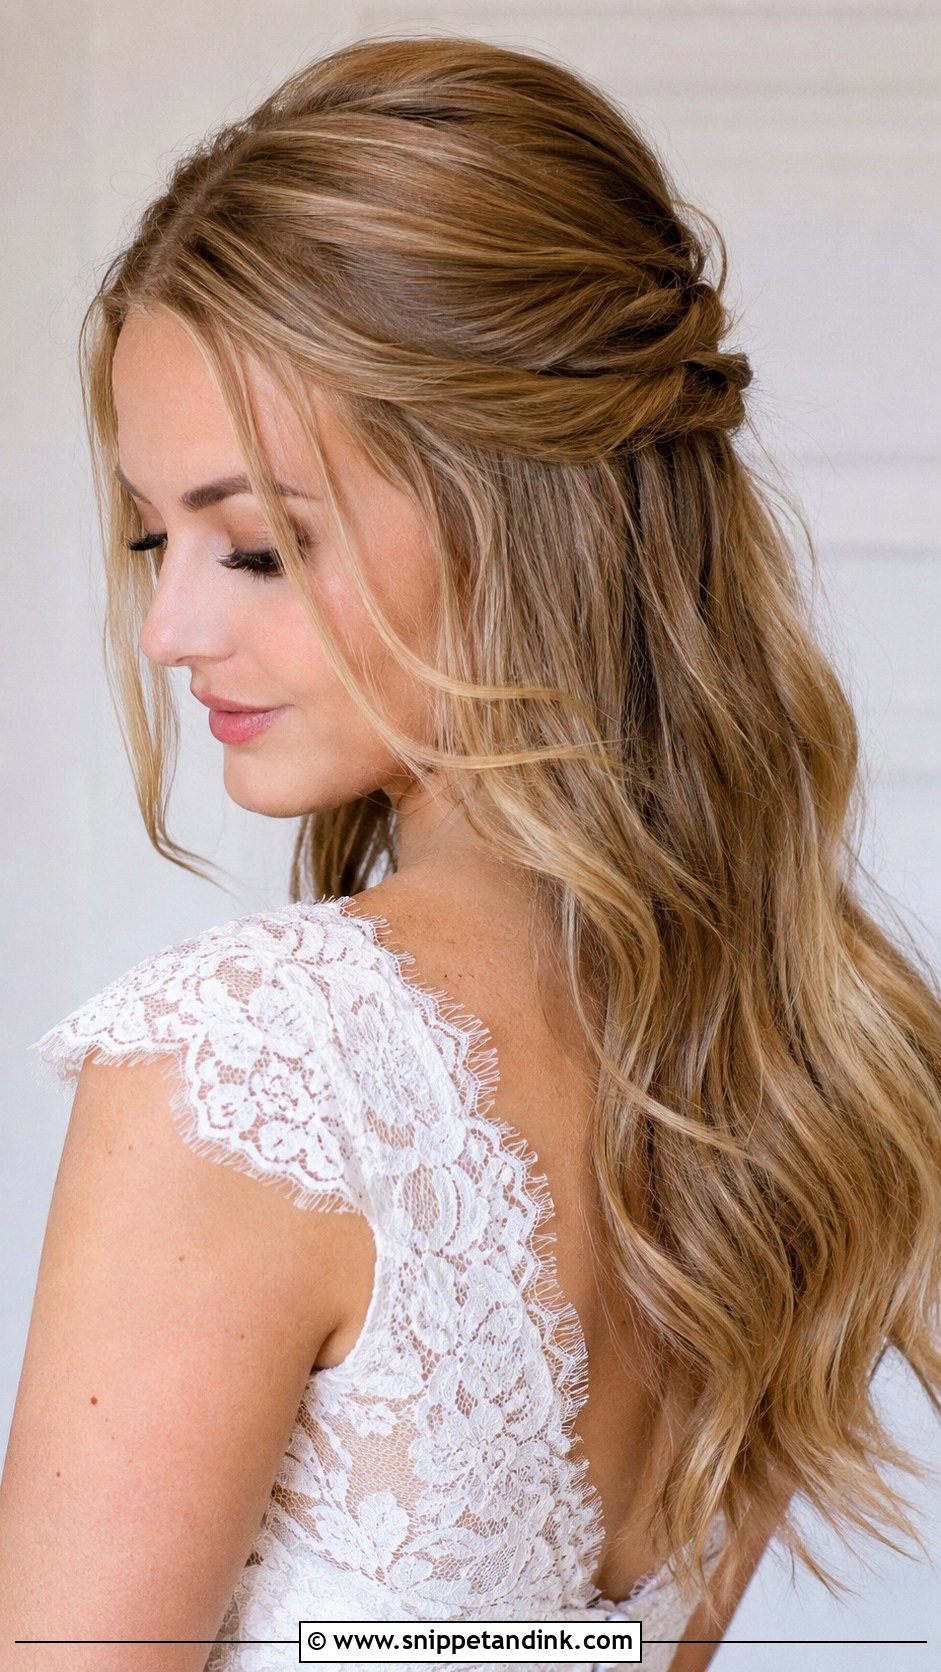
Half-up, half-down is the answer when you can’t choose. The top section comes back, the rest falls in waves, and a veil comb slides in just under the gathered piece. What usually goes wrong is gravity: the gathered section drops by evening because it’s held by one clip. I cross two bobby pins under it before adding anything decorative. Add a twist or a small braid at the sides if your layers are short, since that catches the pieces a plain gather misses.
3. Romantic Loose Curls Wedding Hairstyle
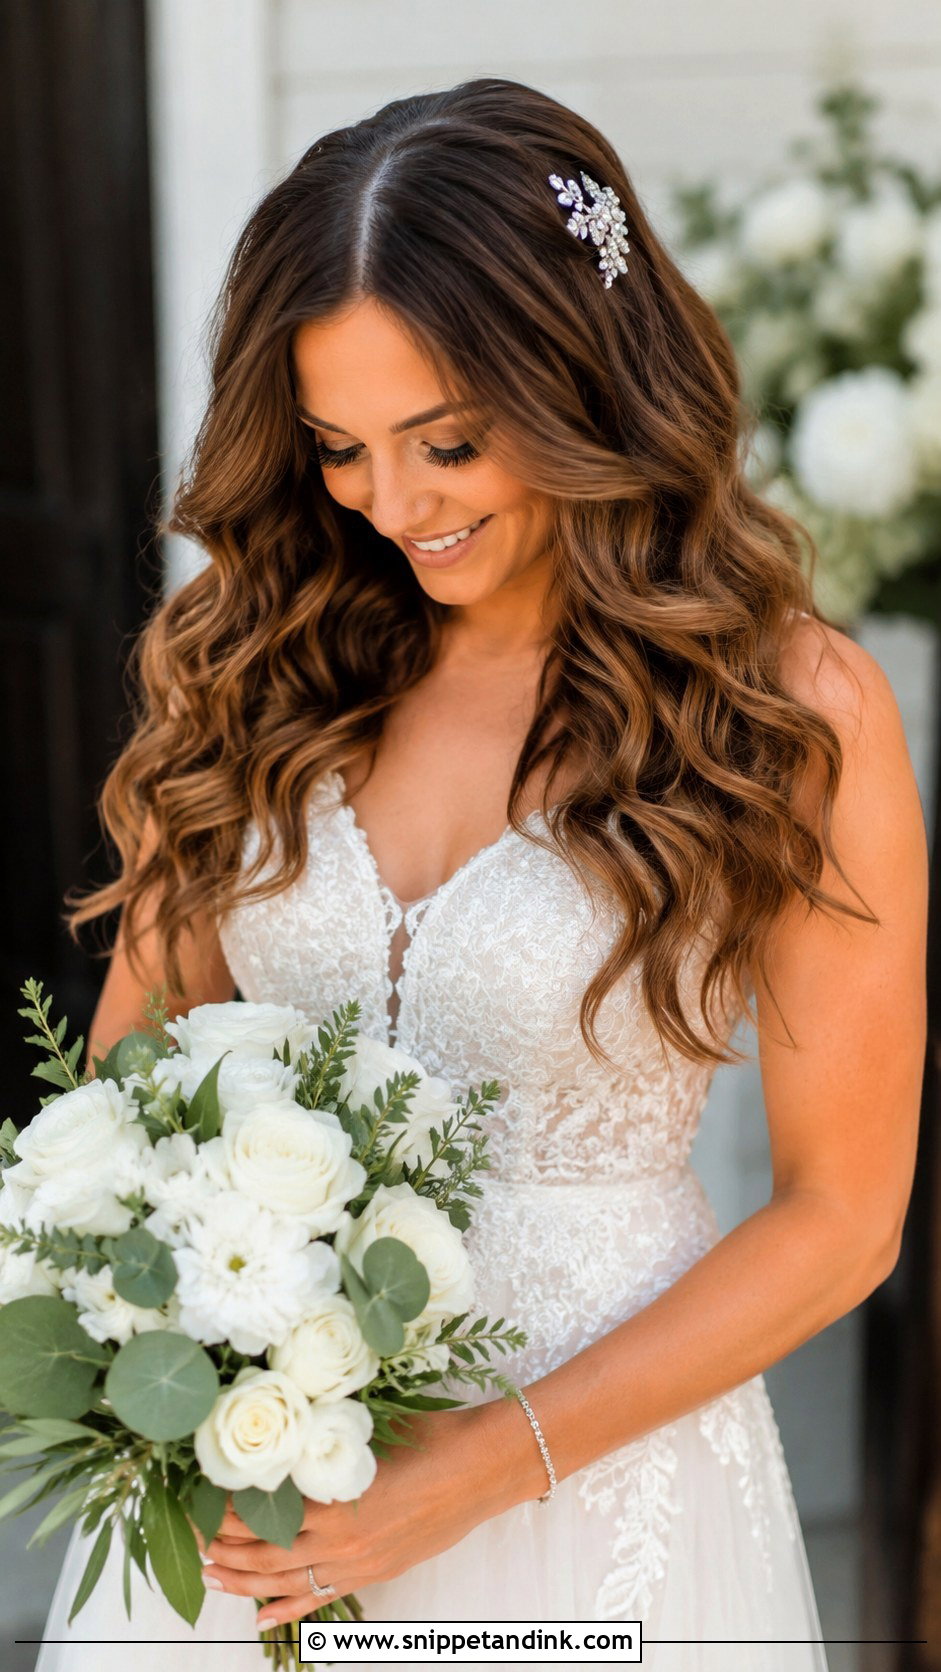
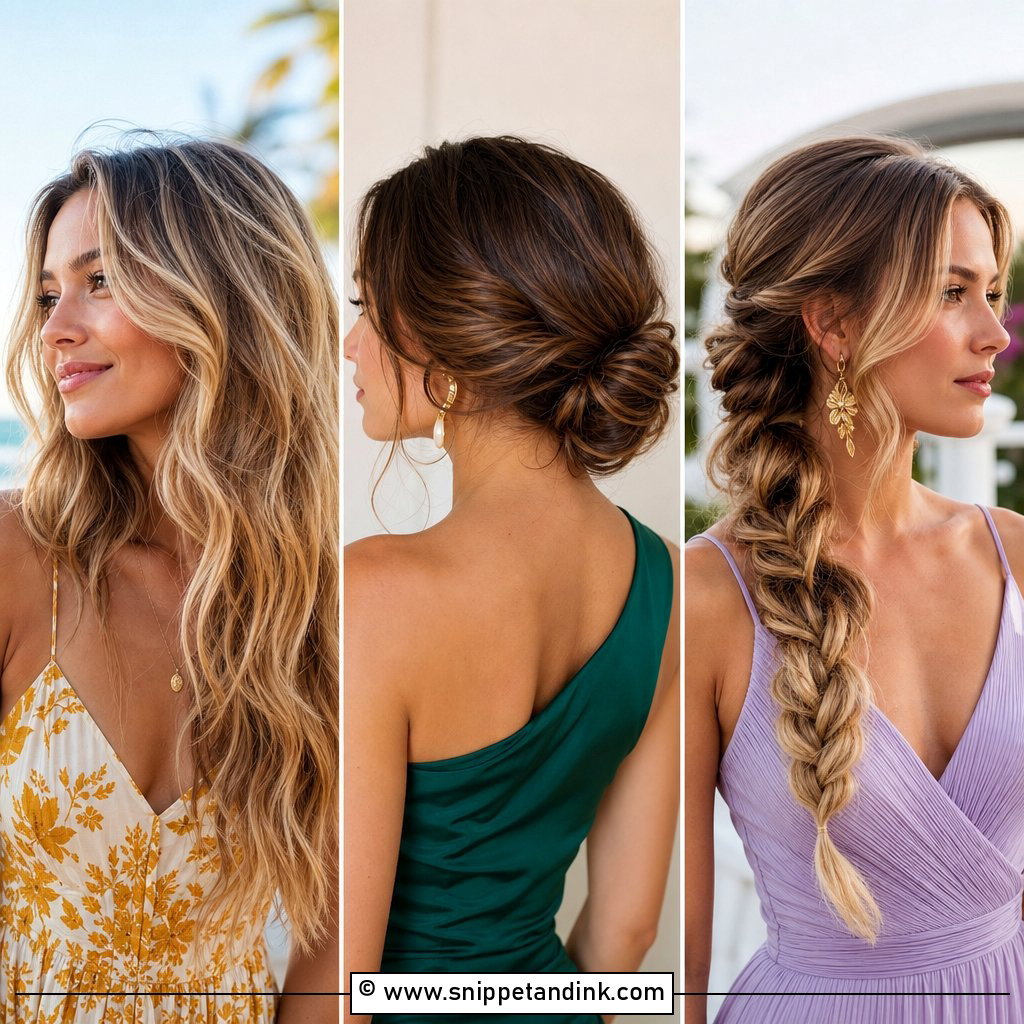
Loose curls worn completely down are the hardest style to keep looking fresh, which surprises people. Curls drop under their own weight, faster on long or freshly washed hair and in humid air. I curl in small sections, pin each curl while it cools, and brush out only at the end. A middle part feels modern, a side part more vintage. A sparkly clip or a few small flowers above one ear finishes it, and a little texture spray at the roots keeps the top from going flat by the speeches.
4. Sleek Bridal Ponytail
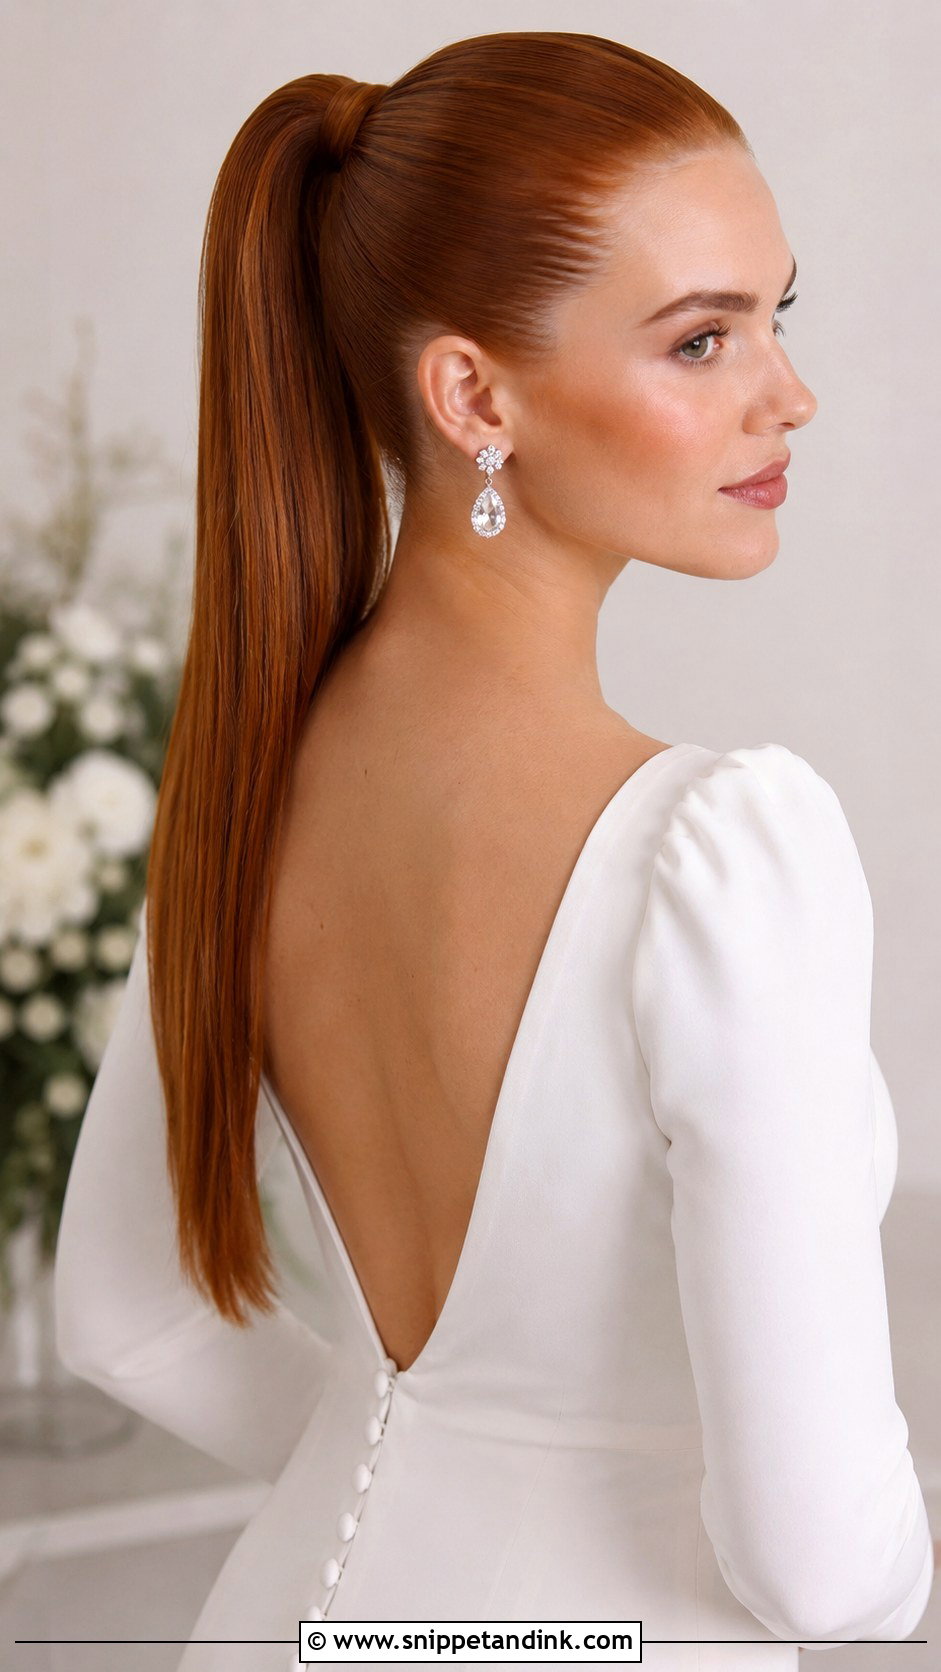
A sleek ponytail comes down to one decision: high or low. A high pony gives lift and drama but pulls on the scalp over many hours, and some brides get a headache by the reception. A low pony is gentler and sits well with a veil. Either way, smooth the hair with a fine brush and a little gel, then wrap a strand around the base to hide the elastic and pin it underneath. This is a strong pick for a bride who plans to dance hard, since nothing can fall out.
5. Boho Braided Wedding Hairstyle
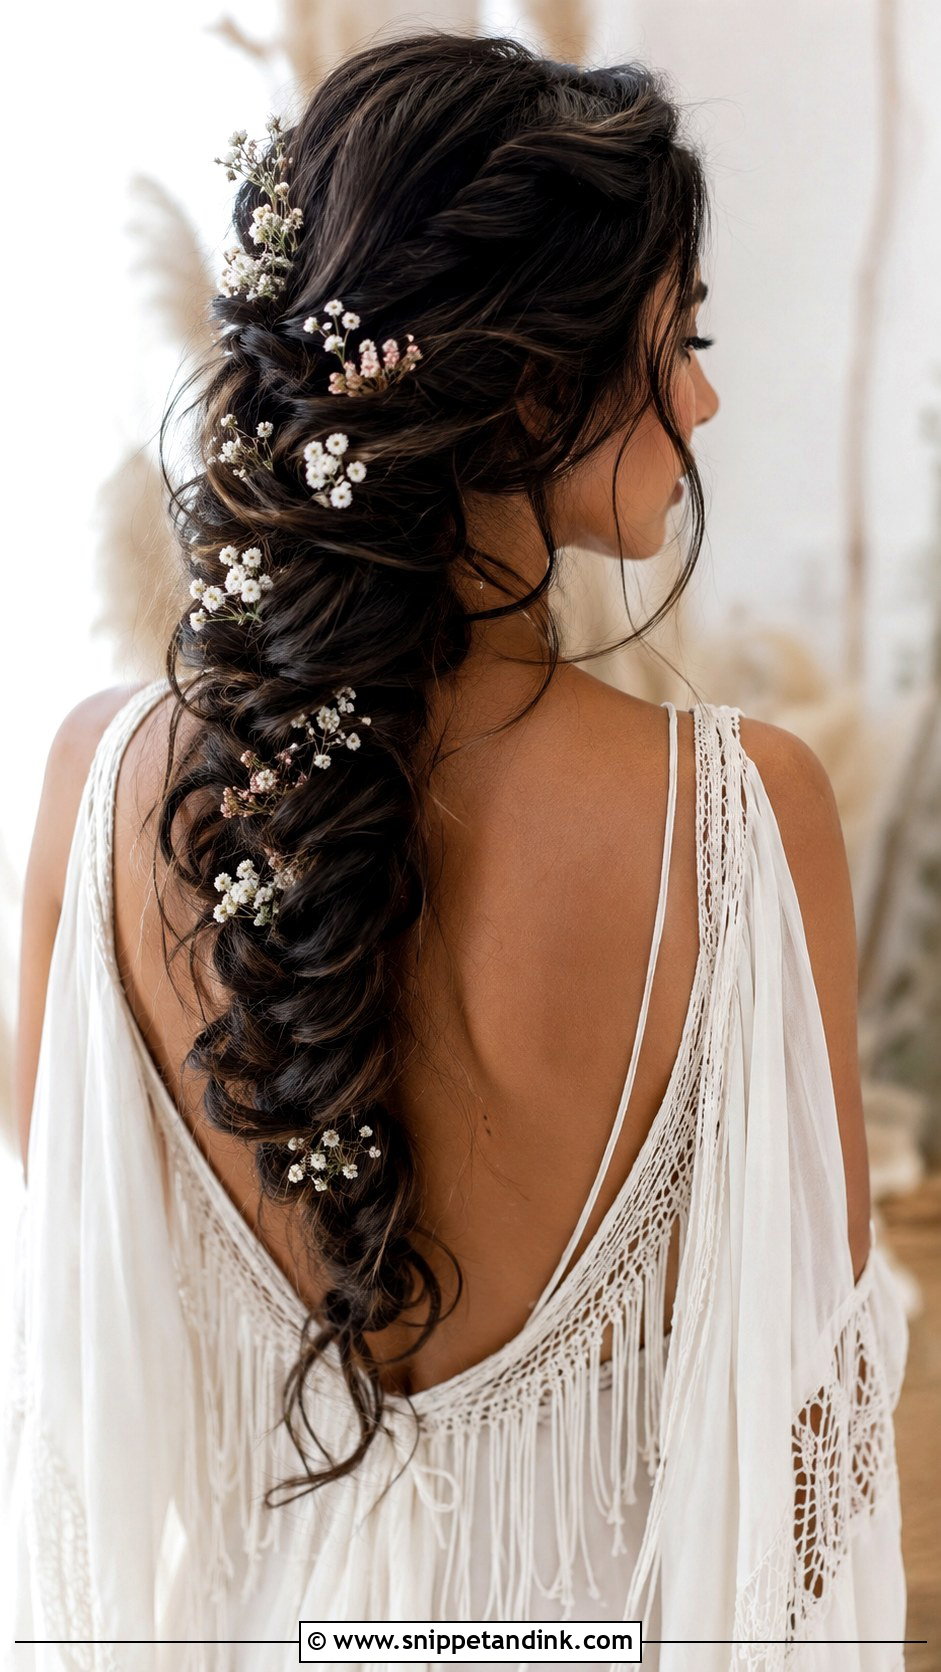
Boho braids look loose, yet they need more structure underneath than they show. Chunky fishtails or loose French braids are woven through relaxed waves, then gently pulled apart so they read from a distance. Long, thick hair gives the most to work with; fine hair can look sparse once braids are loosened, and I’ll often add a clip-in piece. Tiny wildflowers or greenery tucked into the plaits suit a garden or barn setting. Don’t over-spray it, or the texture goes stiff.
6. French Twist Wedding Hairstyle
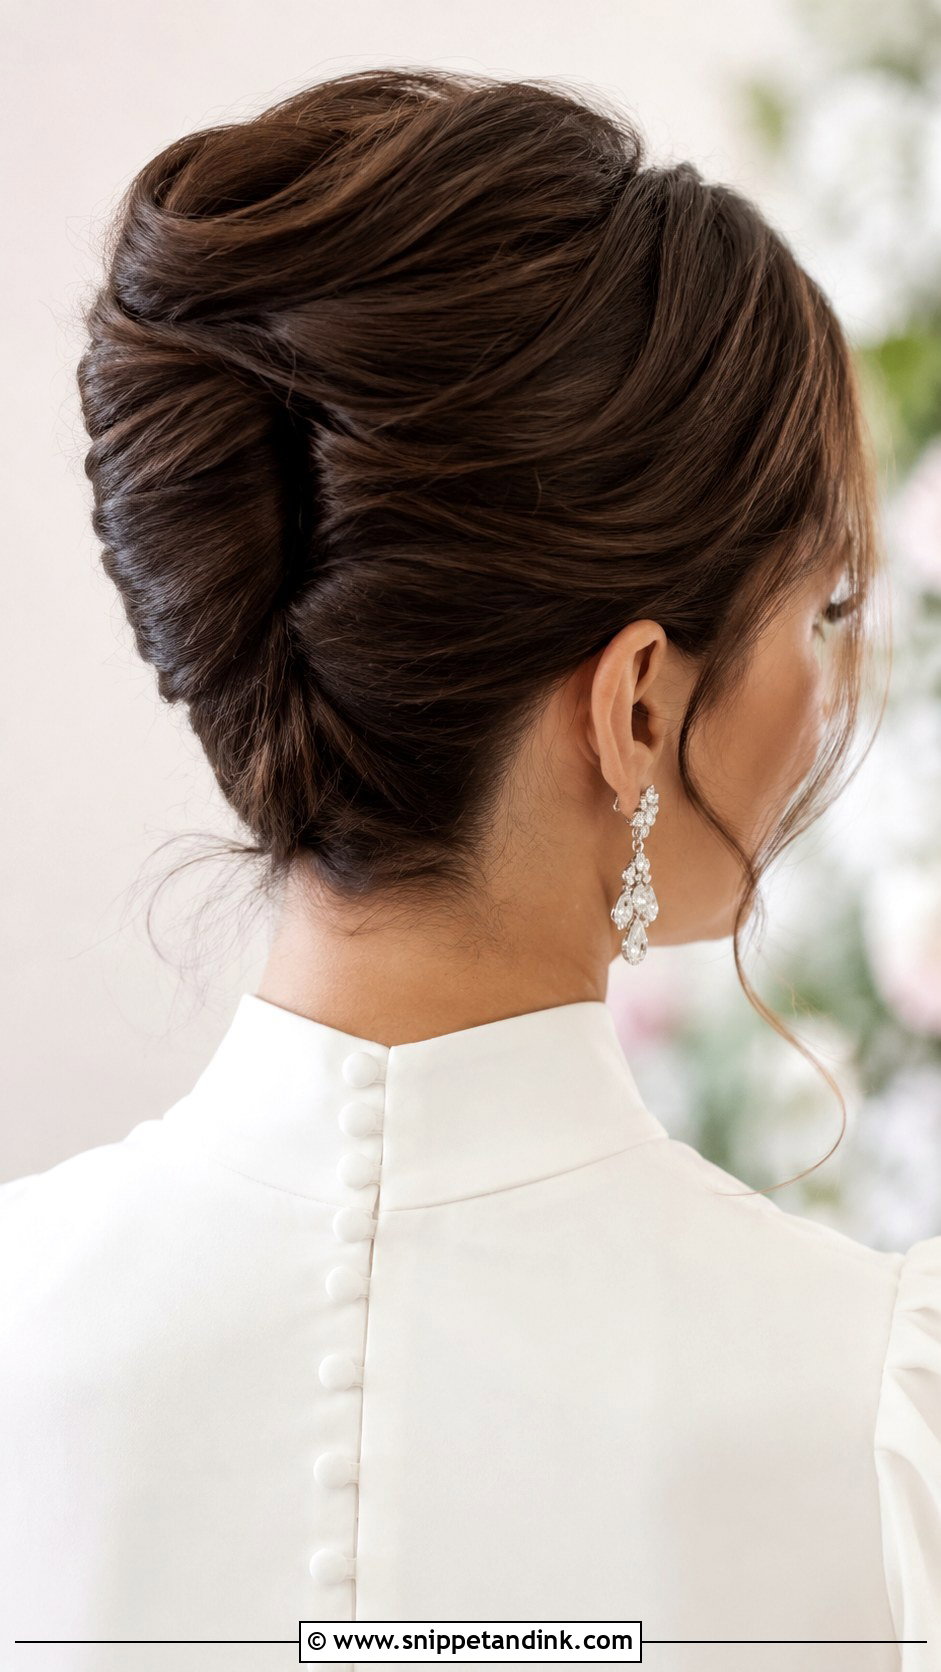
The French twist is a fold, not a bun. Hair is brushed to one side, pinned in a vertical line of crossed bobby pins up the back of the head, then folded over that line and tucked. That hidden row of pins is the whole secret, and it’s why a twist holds a veil so securely. It suits high necklines and formal venues. It does need medium to long hair with some grip; very slippery hair benefits from a little texture spray before you start.
7. Messy High Bun Wedding Hairstyle
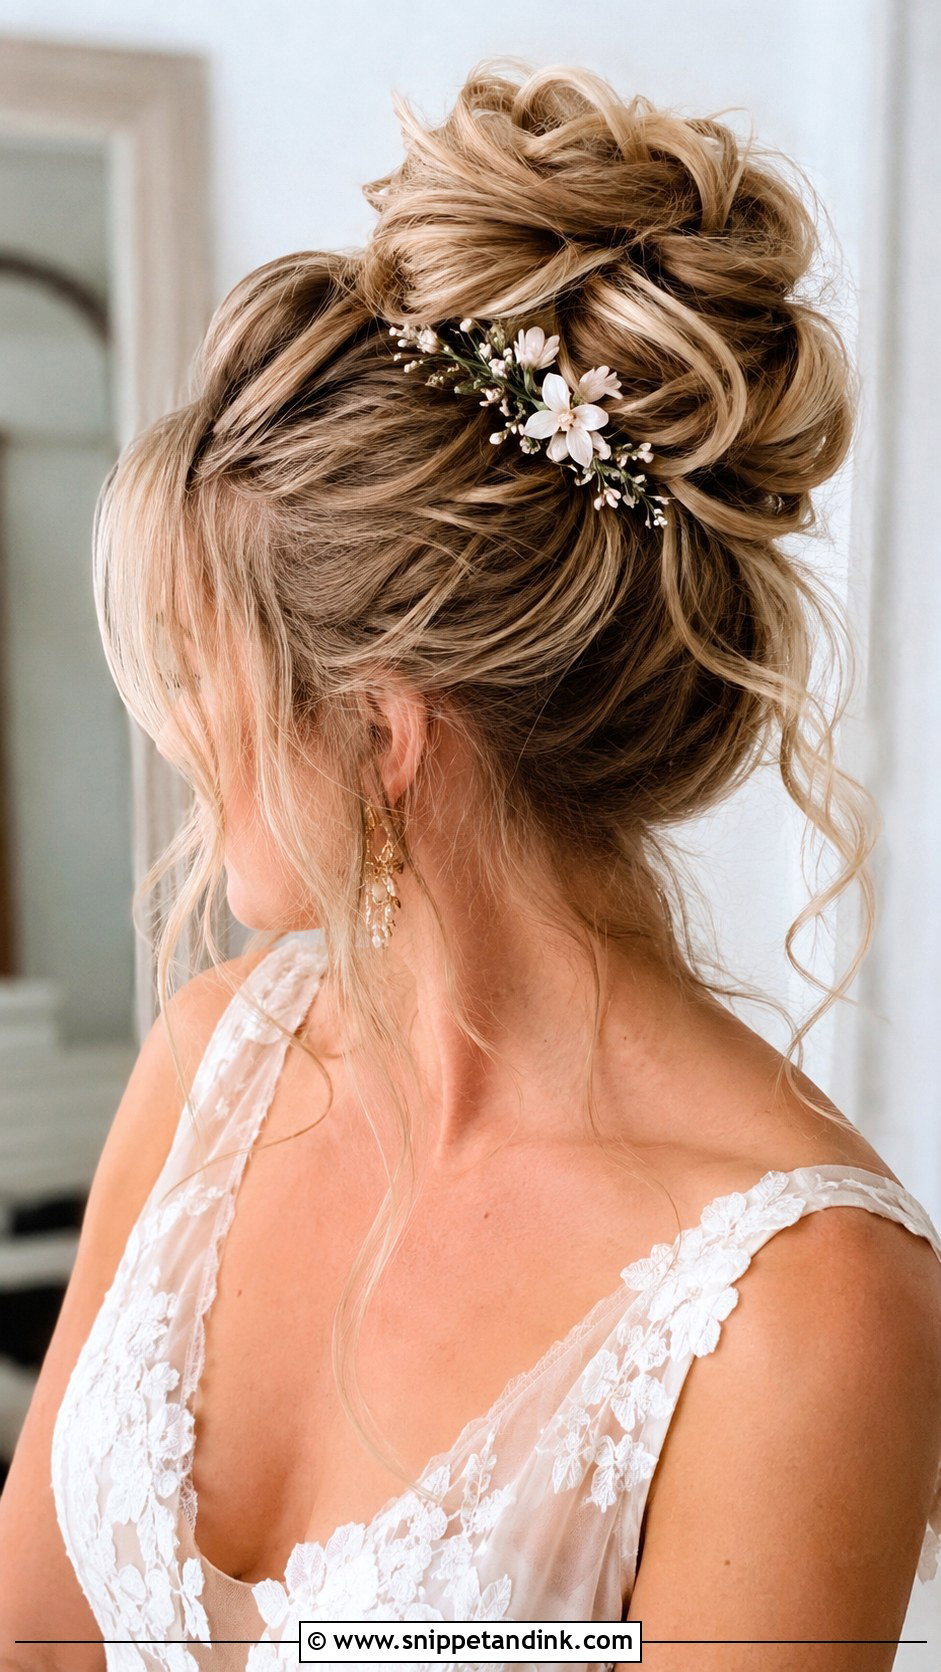
A high messy bun keeps hair off the neck, which is why I like it for summer weddings and anyone who runs warm. The messiness should be planned. I backcomb the ponytail lightly, wrap it loosely, pin it, then pull small pieces from the edges. Leave a few tendrils at the face and nape. It sits too high for most cathedral veils, so if a long veil is in the plan, attach it under the bun instead of in front.
8. Braided Crown Wedding Hairstyle
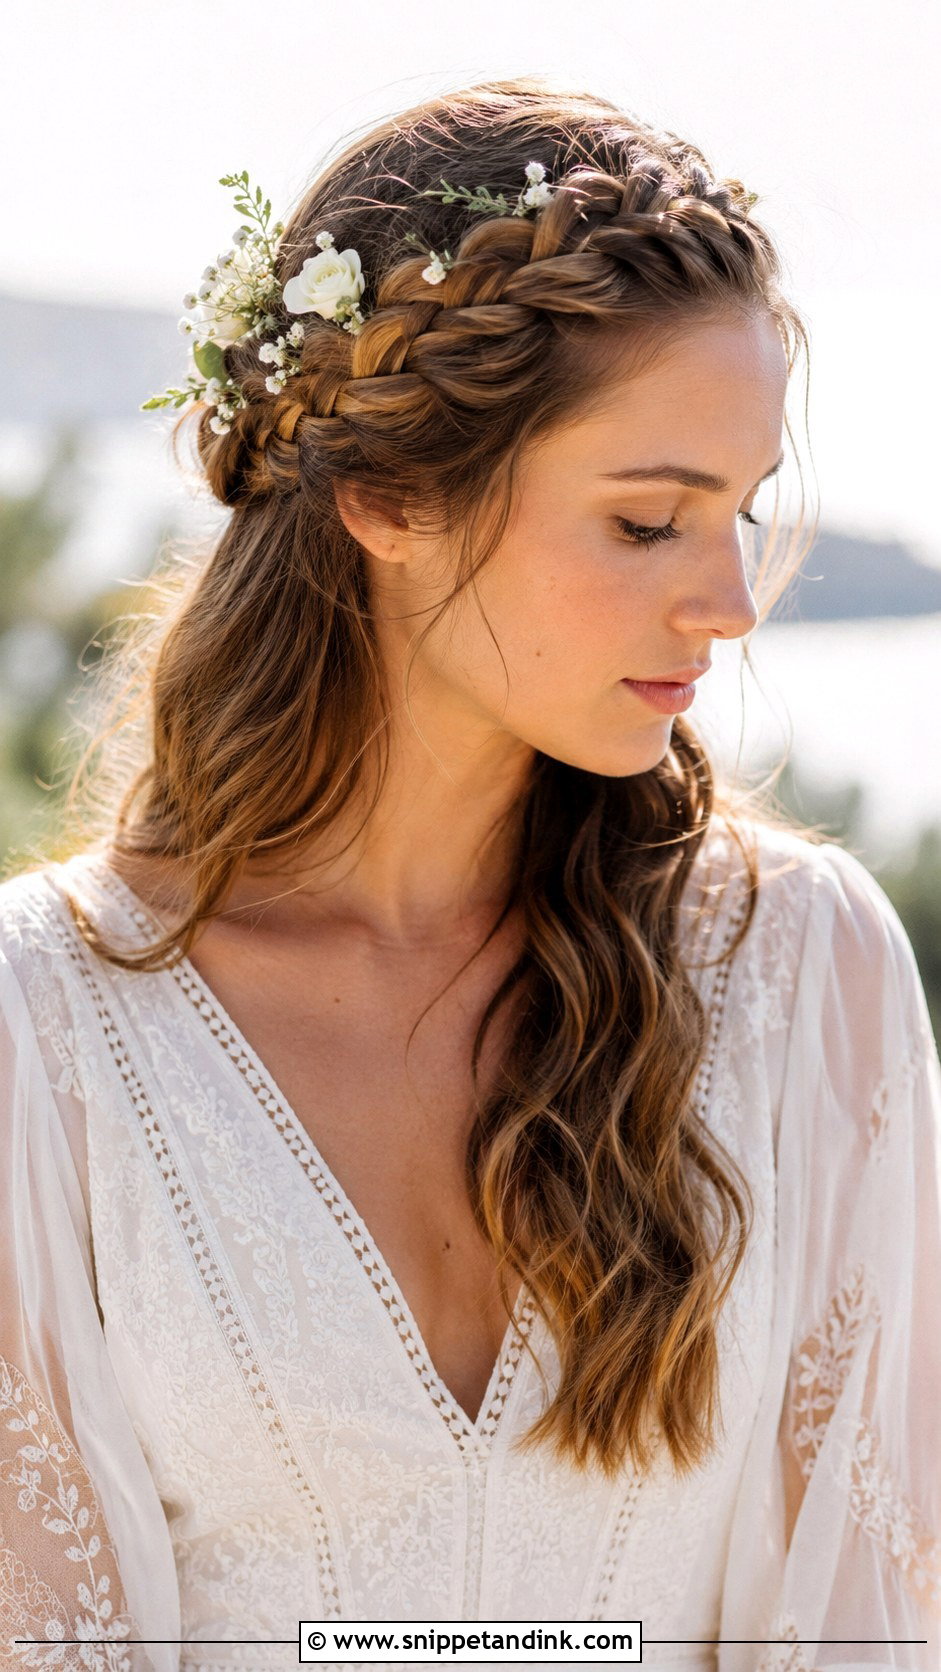
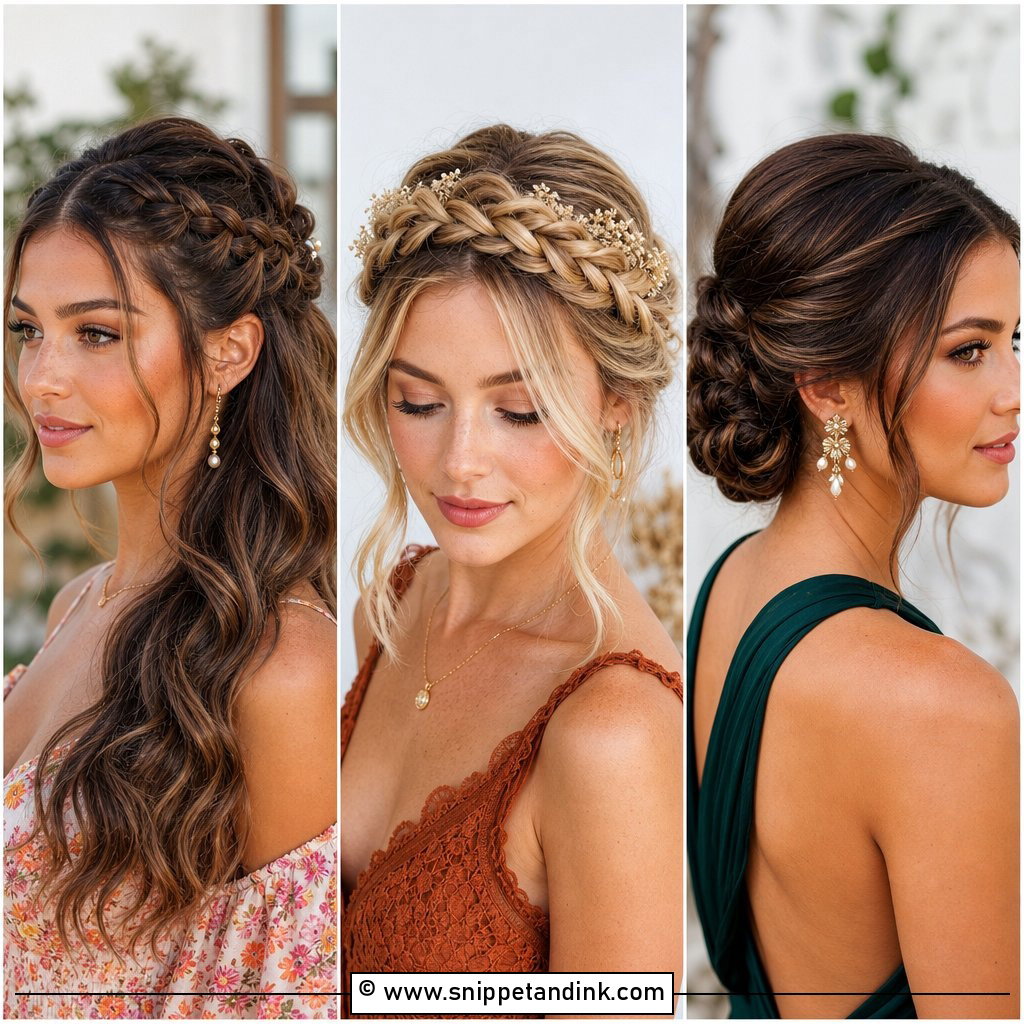
A braided crown wraps around the head like a halo and keeps hair entirely out of the face. Most tutorials build it as two Dutch braids that meet at the back, which is easier than one continuous braid around the head. It needs long, fairly thick hair to go all the way round. Fresh flowers can be woven in afterward, pinned to the braid rather than threaded through it. I’d pick it for an outdoor or boho wedding over a black-tie ballroom.
9. Vintage Finger Waves Wedding Hairstyle
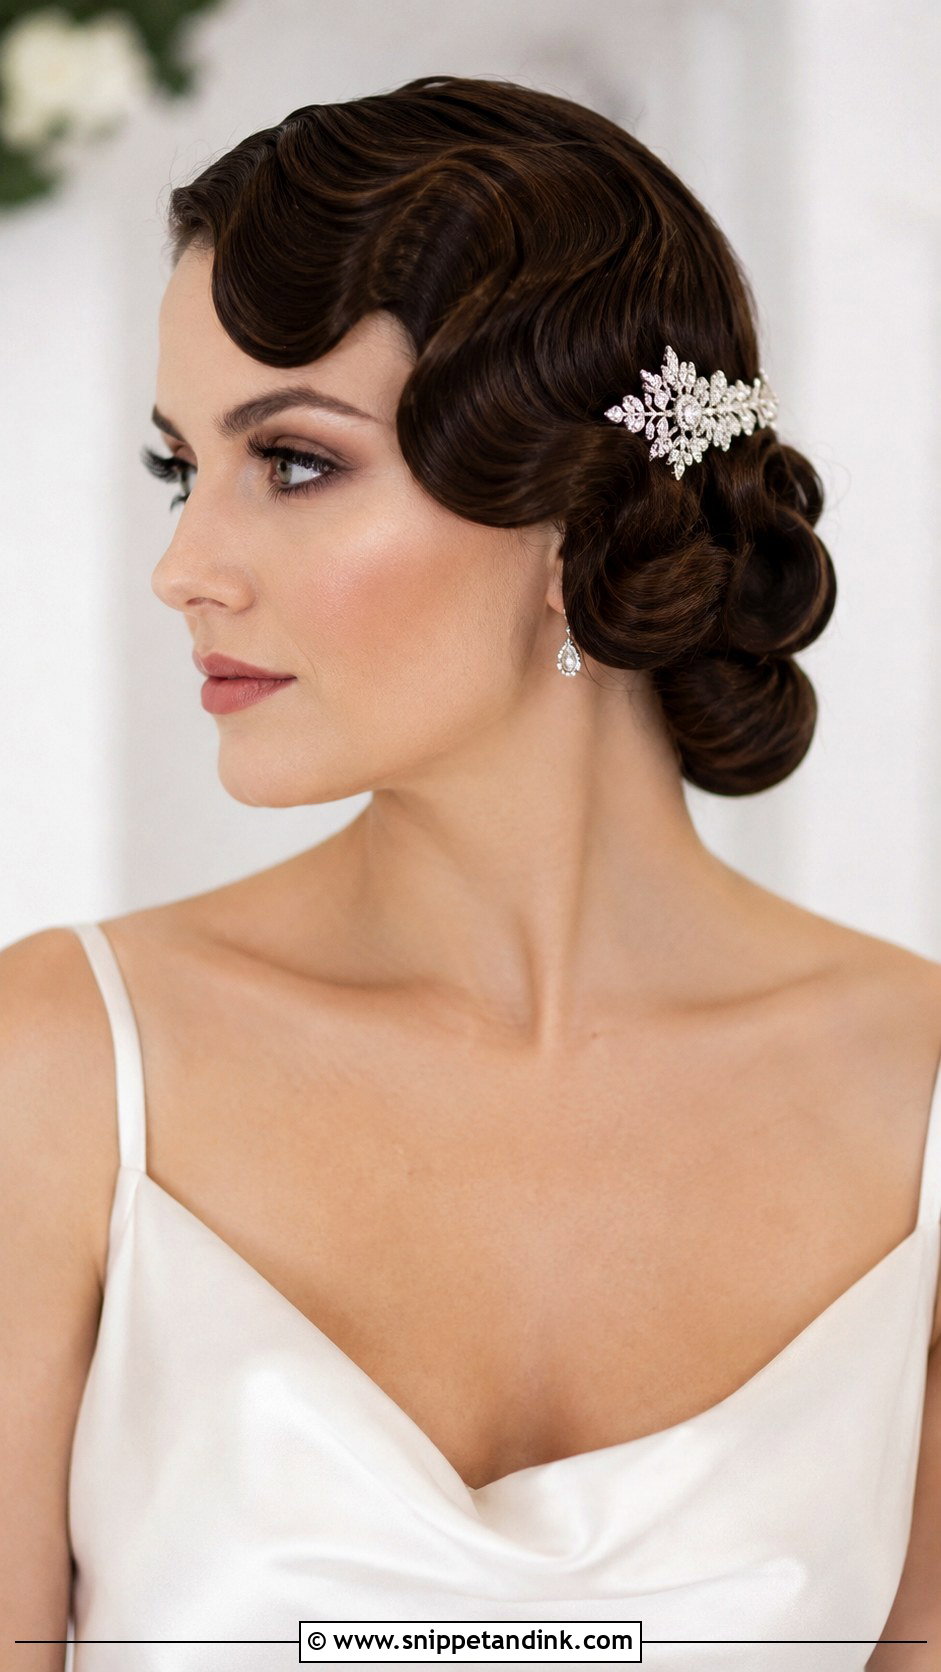
Finger waves take a skilled hand, and they’re the style I’d least recommend learning from a video the month before. The S-shaped ridges are pressed into wet hair with gel, a comb and fingers, then left to set completely, ideally under a hood dryer. Short to medium hair holds them best. The polished shine reads especially well in black-and-white photos. Pair them with sparkly accessories near the ear and a vintage gown, and expect a long trial.
10. Waterfall Braid Wedding Hairstyle
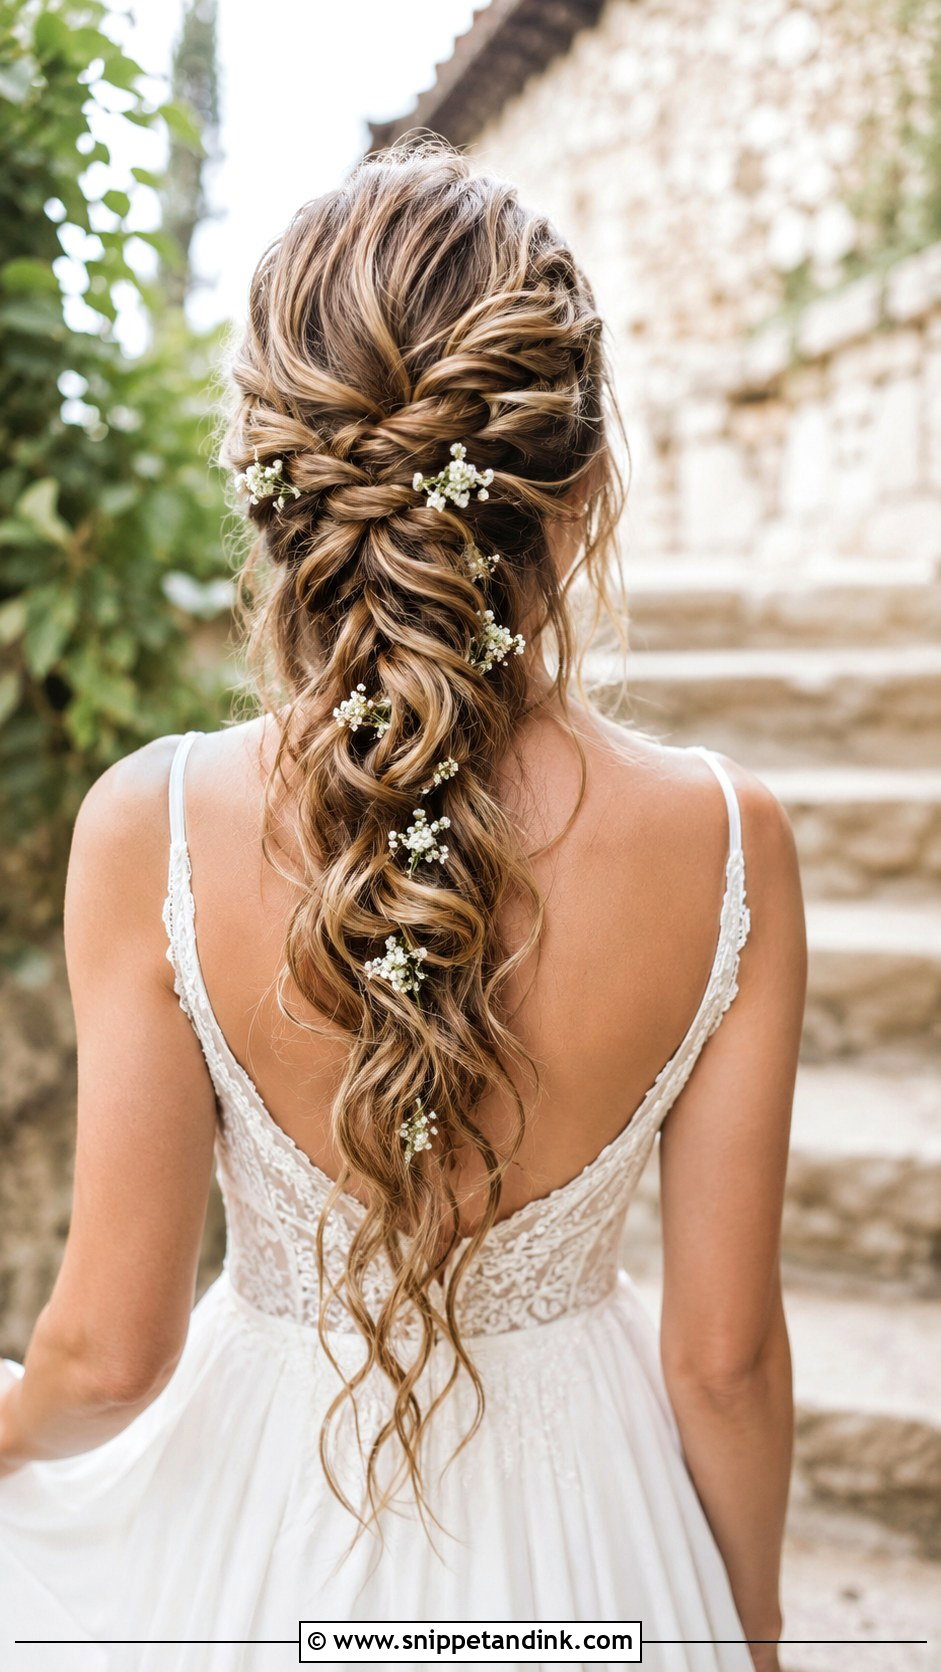
In a waterfall braid each top strand is dropped and replaced with a new one as you go, so loose pieces fall through the braid like water. It’s easier to see than to explain, which makes it a good one to learn from video. Curl the hair first so the dropped strands fall in waves. Long and medium hair both work. Tiny flowers tucked along the braid suit a garden or beach wedding, where a bit of wind only helps.
11. Sleek Low Chignon Wedding Hairstyle
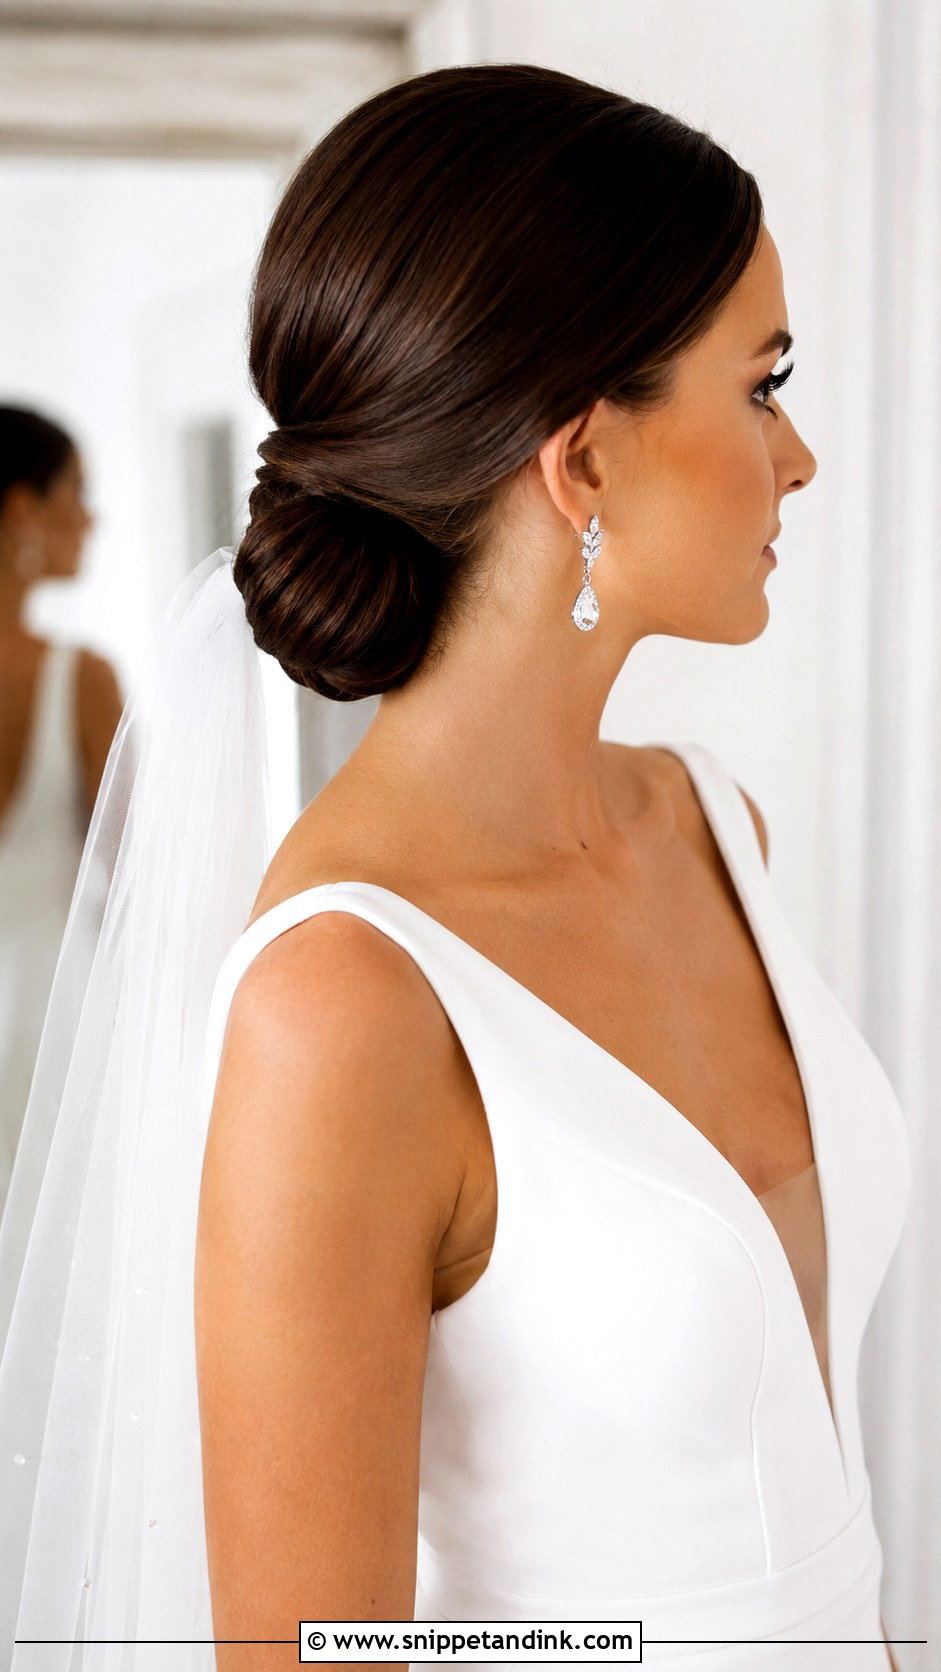
The low chignon is my quiet favorite for formal weddings. Hair is gathered at the nape and rolled or twisted into a smooth knot, held with U-pins rather than a pile of bobby pins. That keeps the outline soft. The shape leaves space for statement earrings and lets a veil slide in just above the knot. Very short layers at the nape are the usual trouble spot; a touch of gel and a few hidden pins tucked upward handle them.
12. Flower Crown Wedding Hairstyle
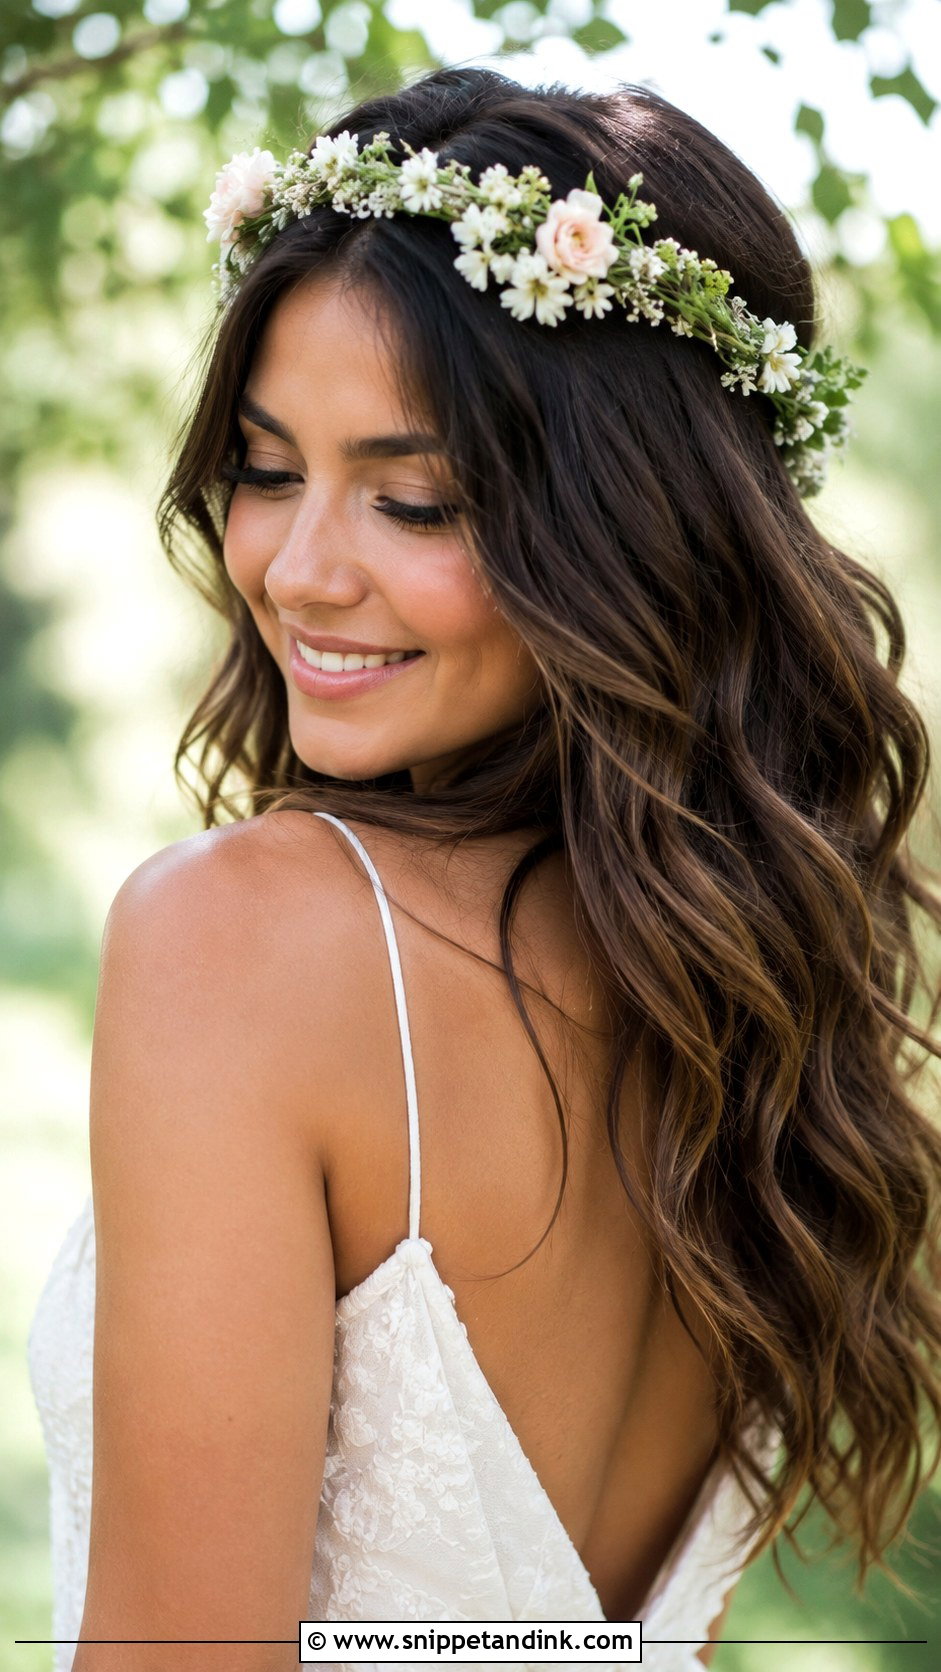
A flower crown sits best on waves with some texture at the roots, pinned through to the hair underneath at several points. Perched on top, it tilts by the first dance. Fresh or dried blooms both work; dried ones won’t wilt in summer heat, which is worth considering for a long outdoor day. Matching the flowers to the bouquet ties things together. It works over hair worn down, half-up or in a relaxed braid.
13. Twisted Updo Wedding Hairstyle
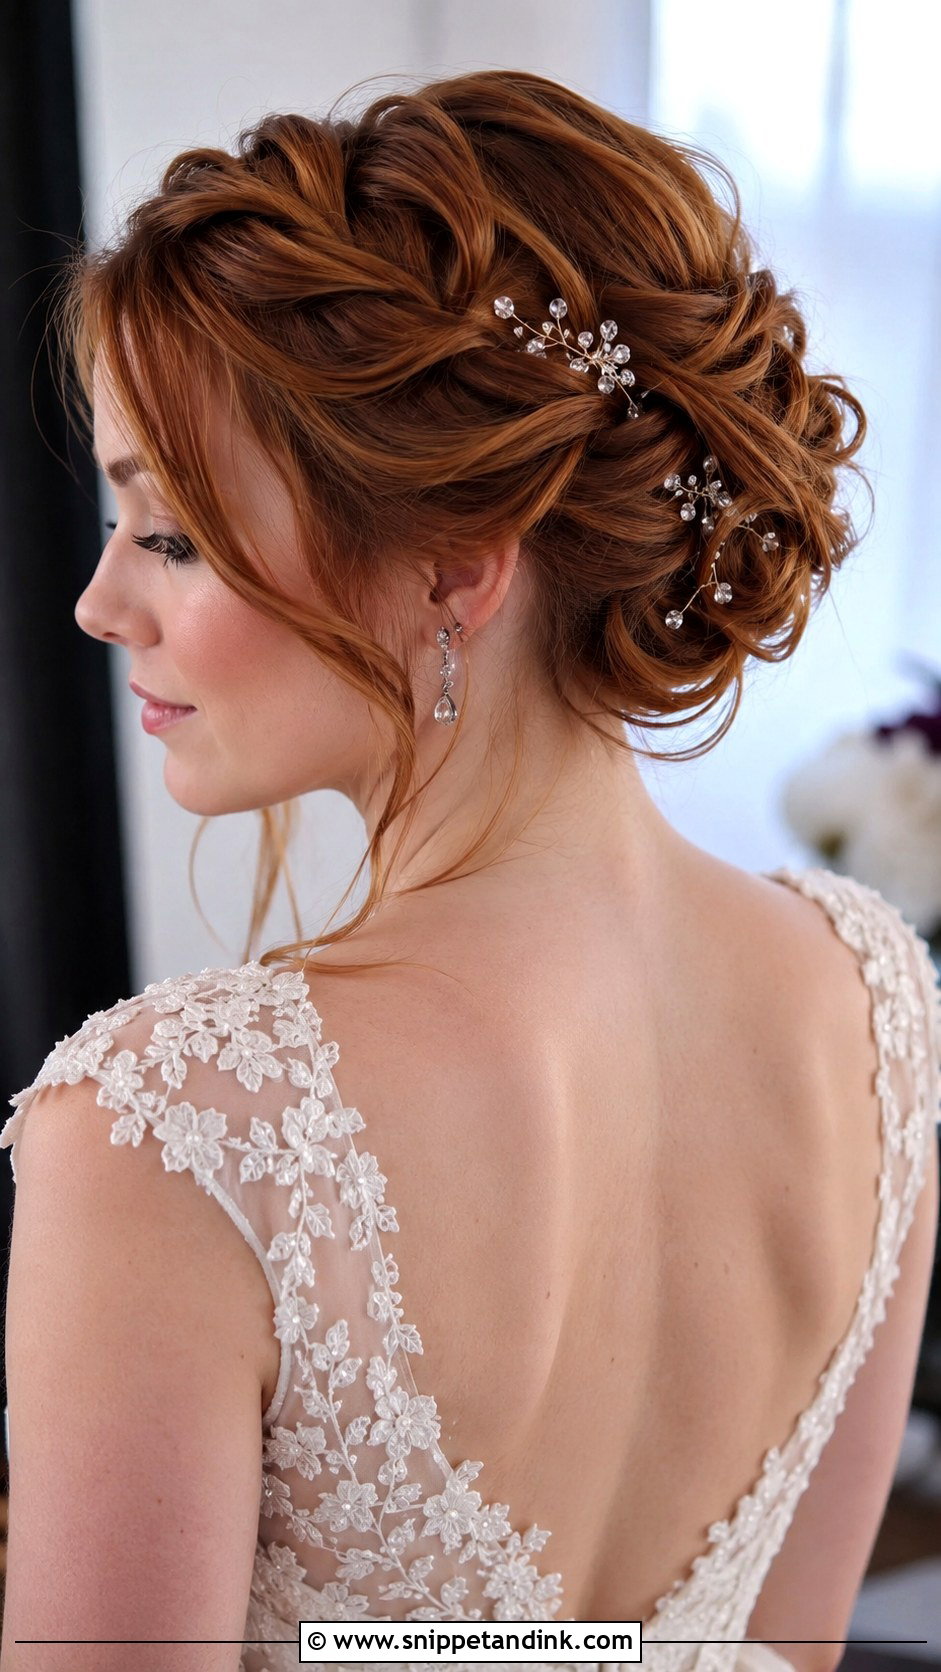
Twisting sections before pinning gives an updo dimension, and it holds layers better than smooth tucks do. I twist small sections toward the center of the head and pin each one where it ends, building the shape outward. Leave a few soft pieces around the face so it doesn’t look tight. This style holds up across a long day and suits many face shapes. Sparkly pins or small florals between the twists hide the working pins.
14. Side-Swept Curls Wedding Hairstyle
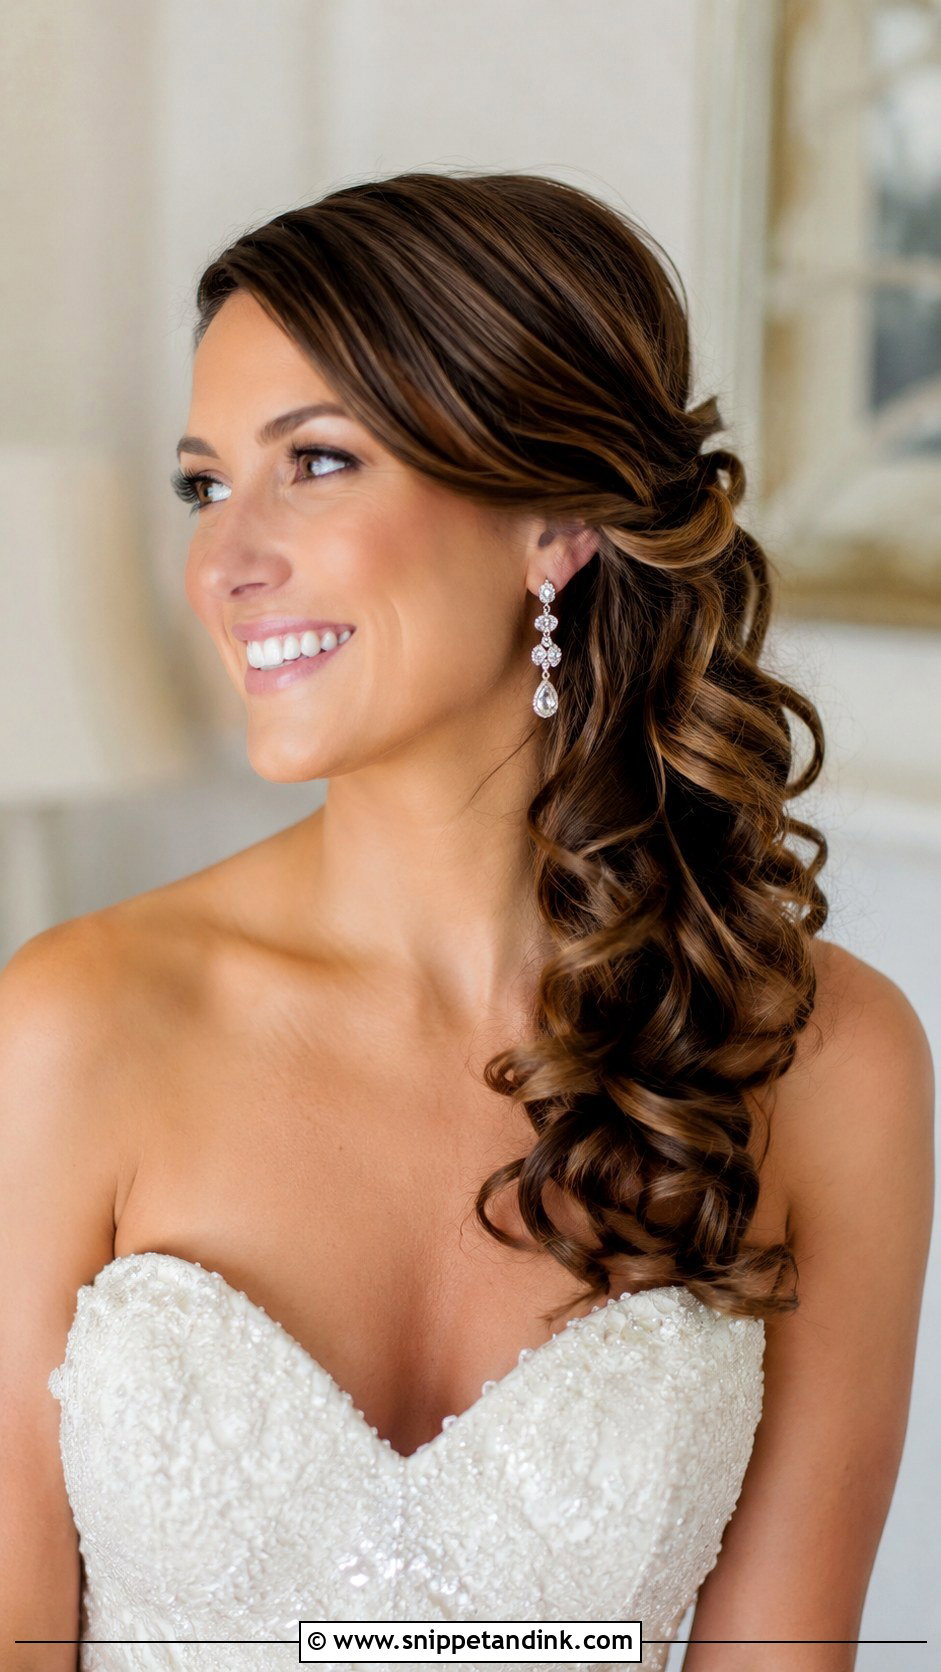
Side-swept curls stay to one side only because of an anchor you never see: a row of crossed bobby pins down the back of the head, behind the far ear. Curl the hair, set that row, then sweep the curls over it. Without it they drift back to center within an hour. The open side shows off earrings and suits off-shoulder or one-shoulder gowns. Pin the front back for polish or leave it loose for something softer.
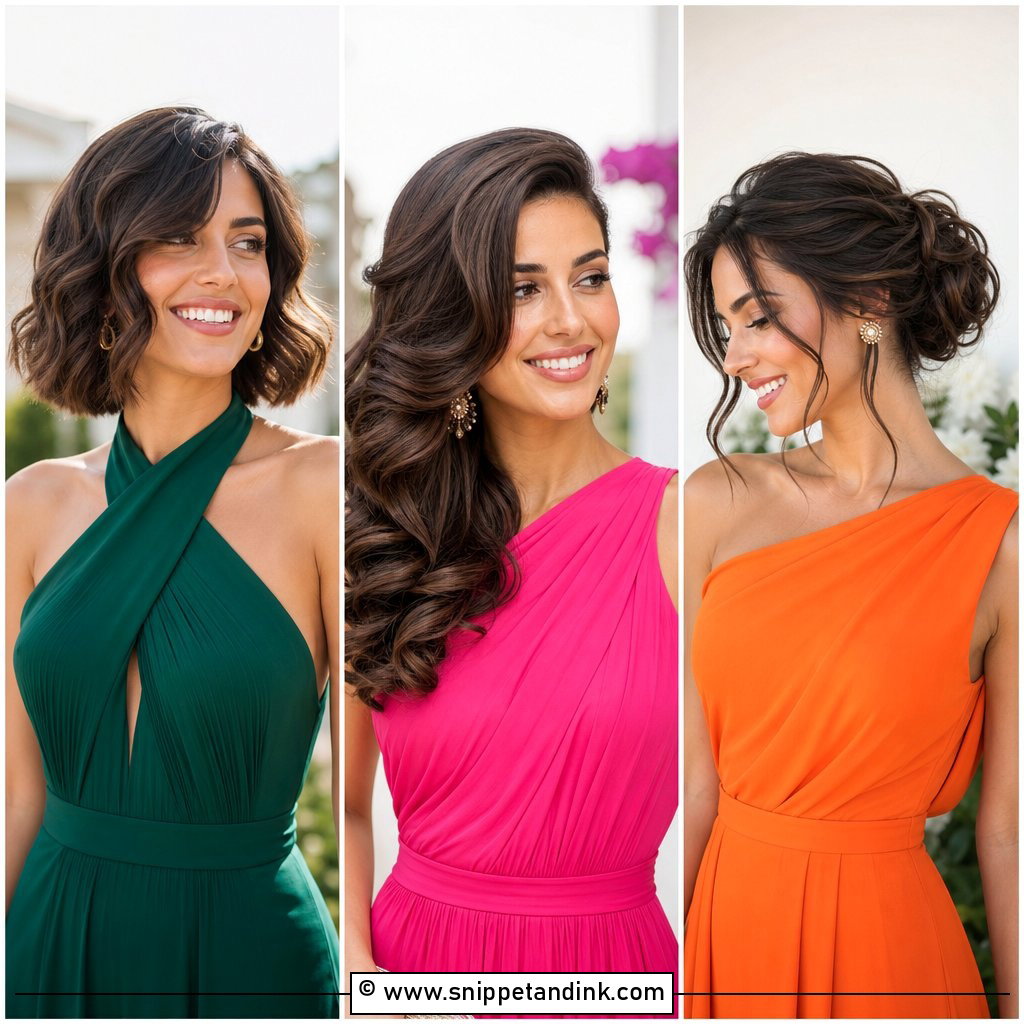
15. Fishtail Braid Wedding Hairstyle
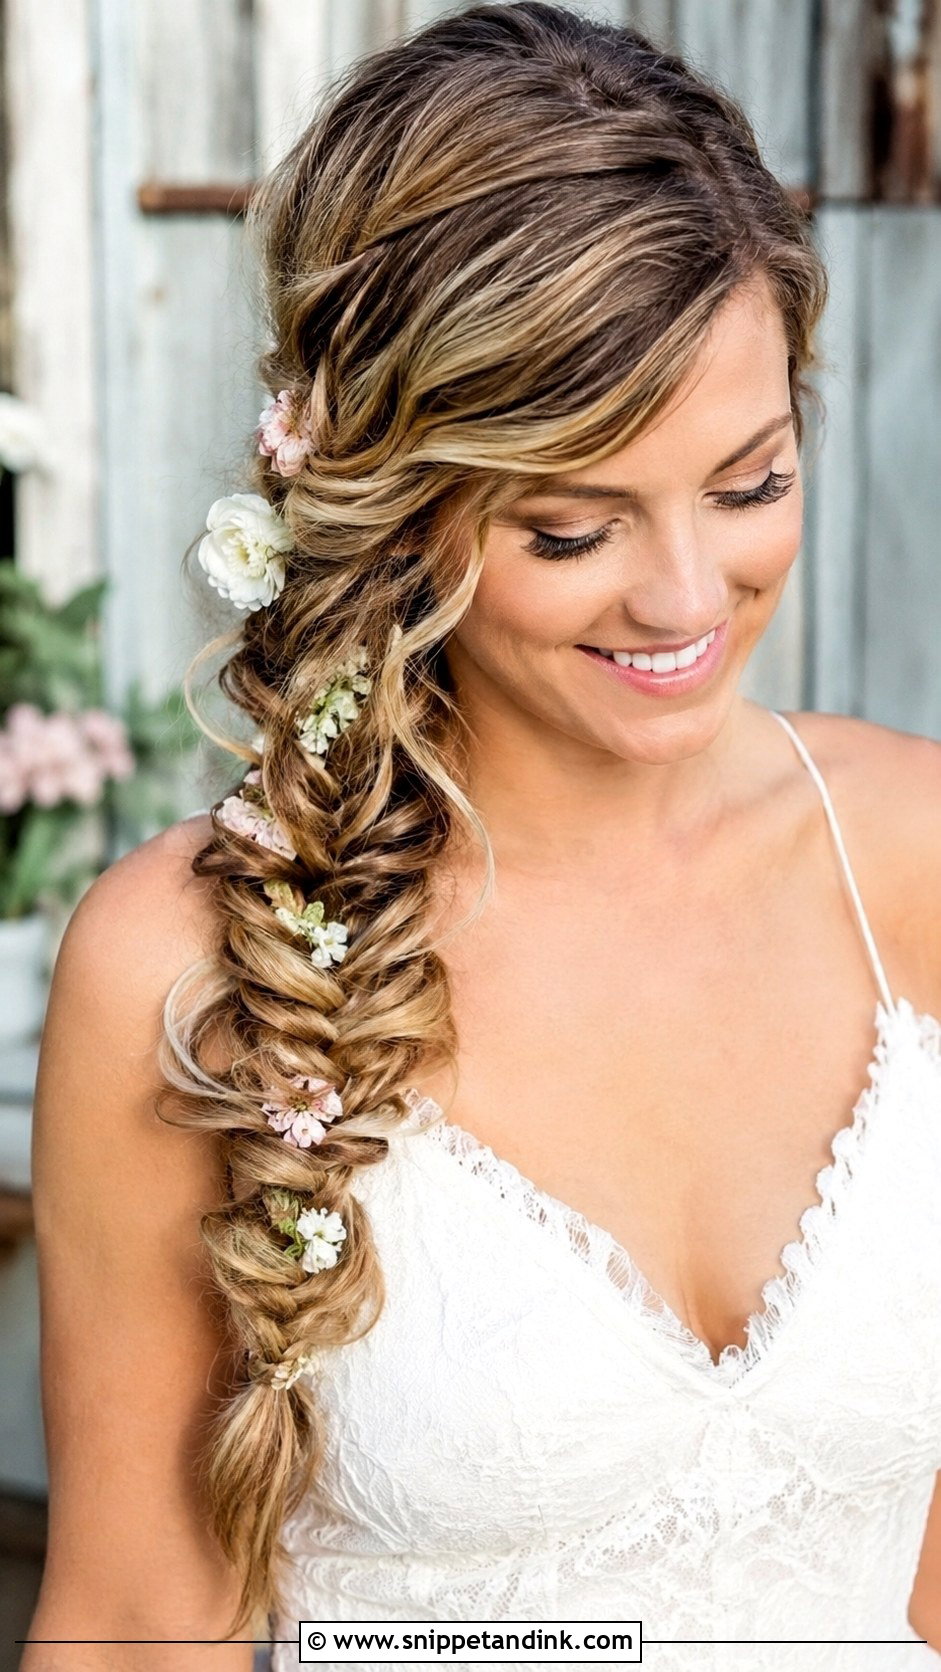
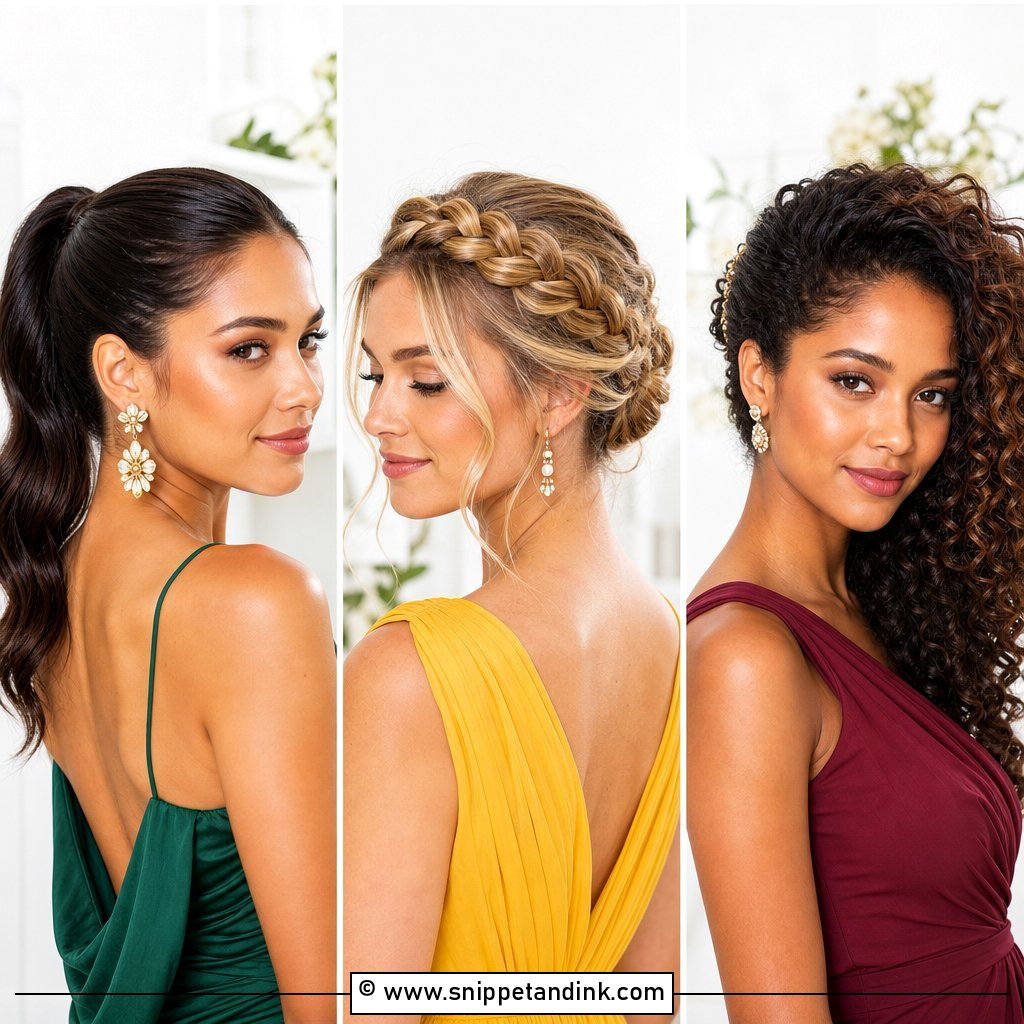
A fishtail braid looks complicated and is just two sections with tiny pieces crossed from one to the other. It’s one of the easiest styles here to master from a tutorial, though it takes patience. Wear it as a side braid, a half-up accent or wrapped into a loose updo. Loosen it by pulling the edges after securing the end with a clear elastic. Long, thick hair shows the pattern best; on fine hair I make the crossed pieces slightly larger.
16. Pinned-Back Veil Wedding Hairstyle
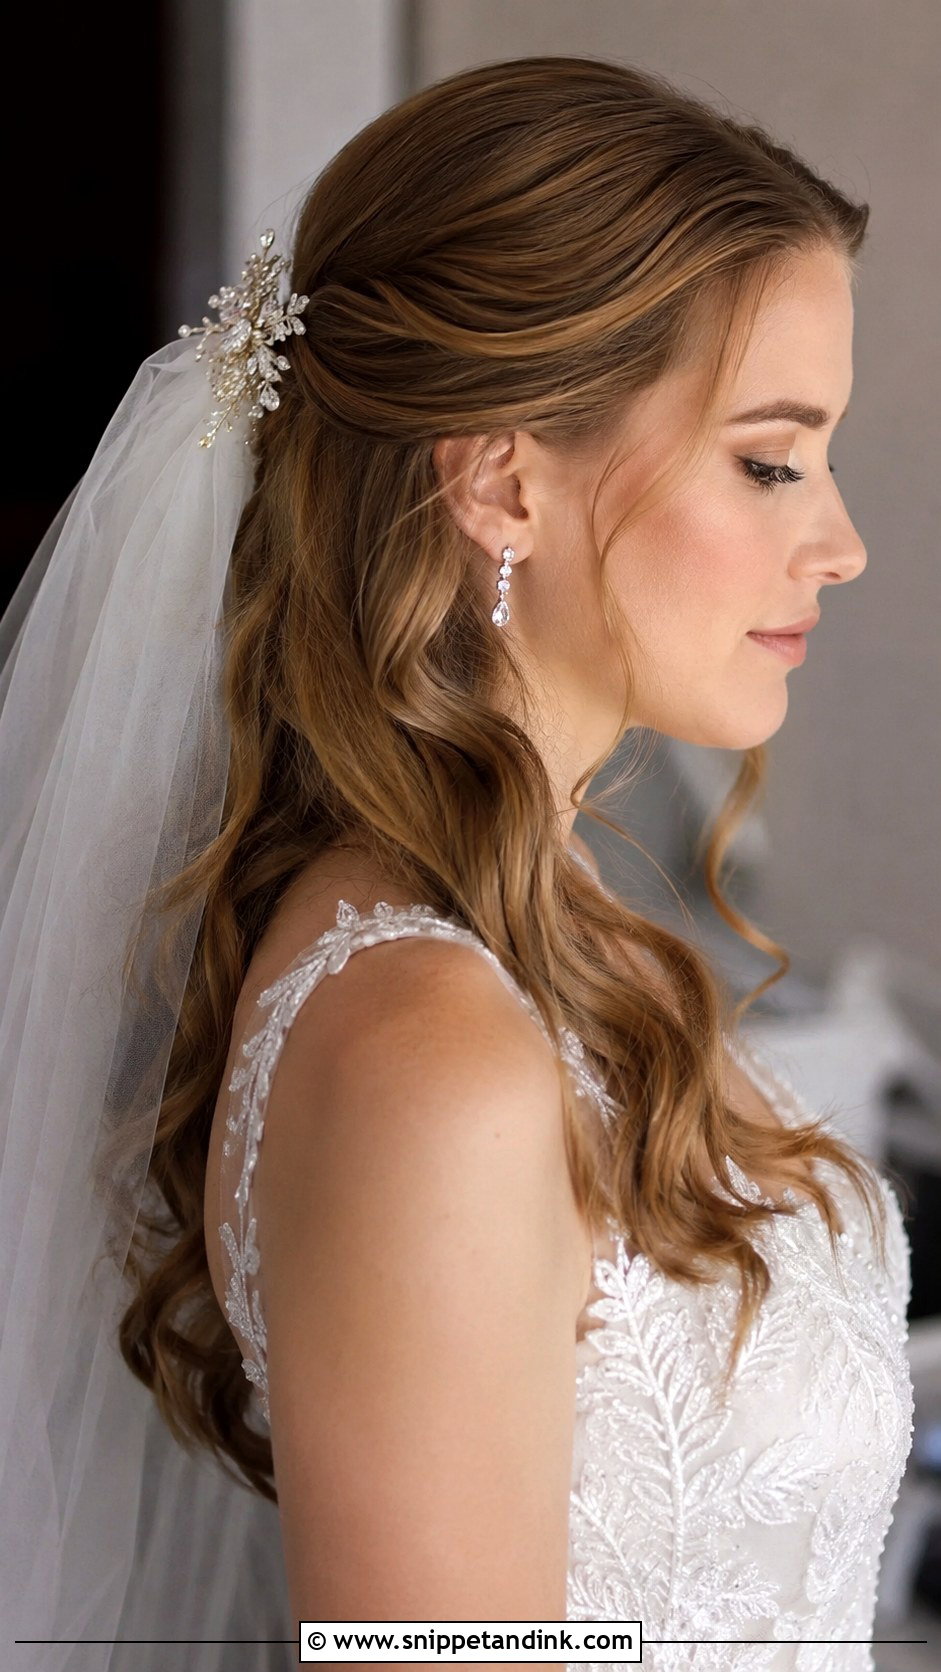
If the veil is the main event, keep the hair quiet. The front sections are gathered gently away from the face and pinned at the back, leaving a clear spot for the veil comb. Smooth or softly waved both work. I always place the comb at the trial with the actual veil, because a heavy, long veil pulls differently from a short one and may need pins crossed underneath it. Decorative pins or a small comb add a little sparkle without competing.
17. Curly Natural Hair Wedding Hairstyle
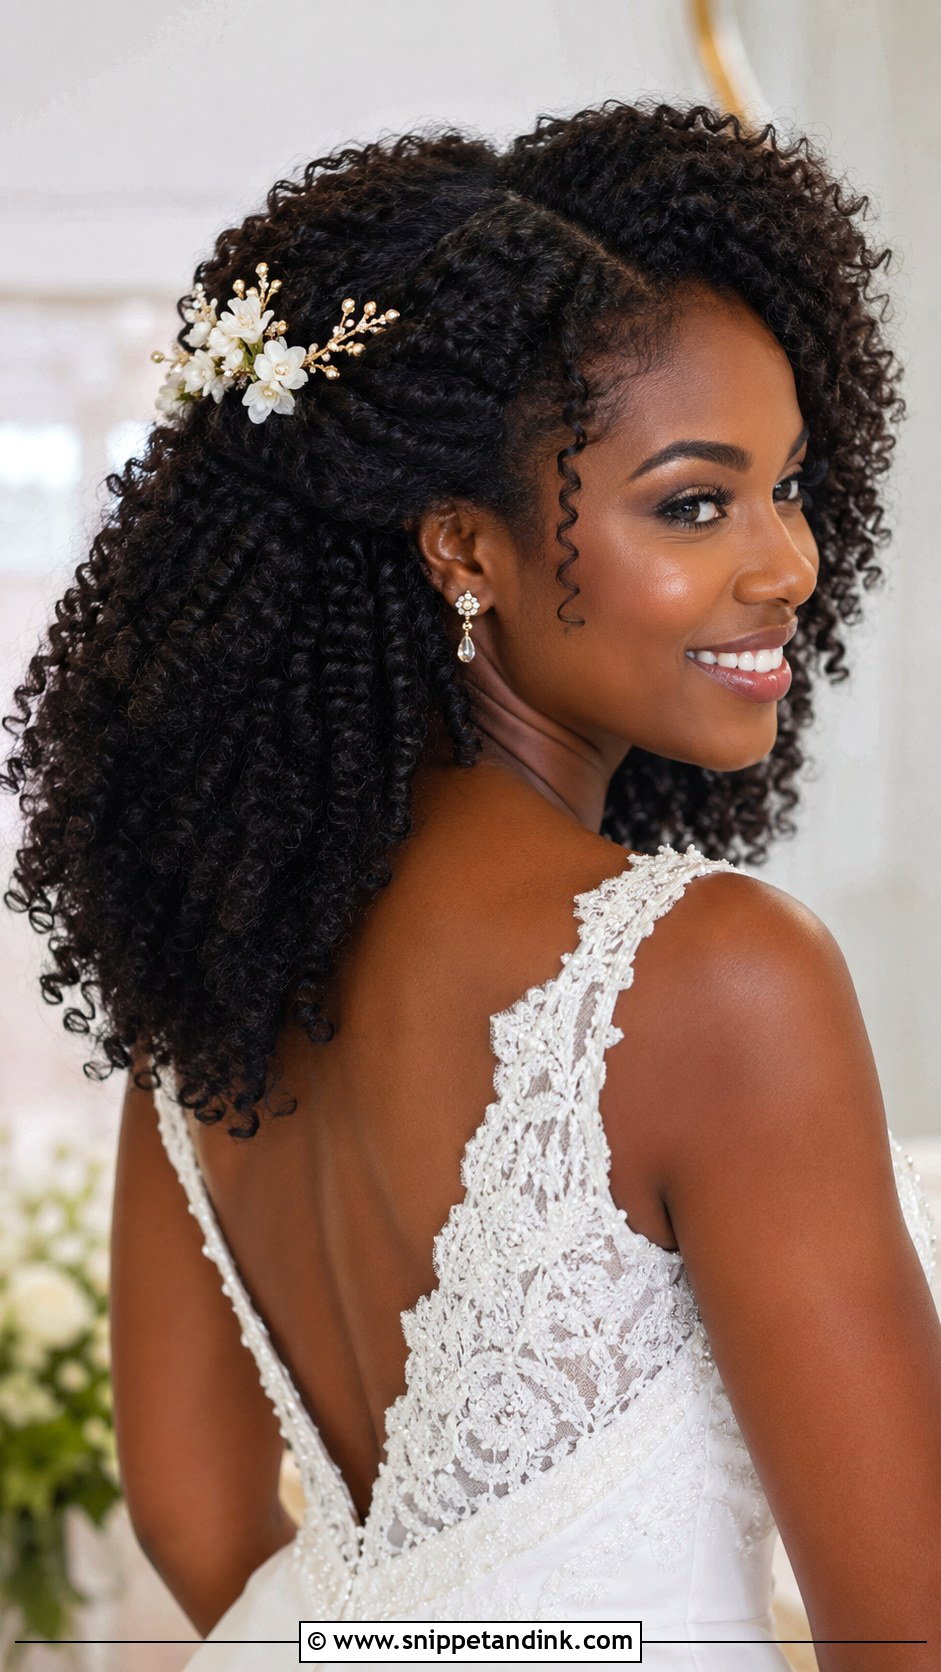
Natural curls deserve to be worn as they are. They can go down in a full halo, up into a curly updo, or into a soft half-up look. Define the curls on damp hair with a cream or gel, then let them dry without touching them; a diffuser on low speeds it up. Don’t brush them dry or you’ll get frizz. Pins disappear into curly hair, which makes updos easier than many brides expect. A decorative pin, headband or fresh flowers finishes it, and all curl patterns work.
18. Accessorized Pearl Pin Wedding Hairstyle
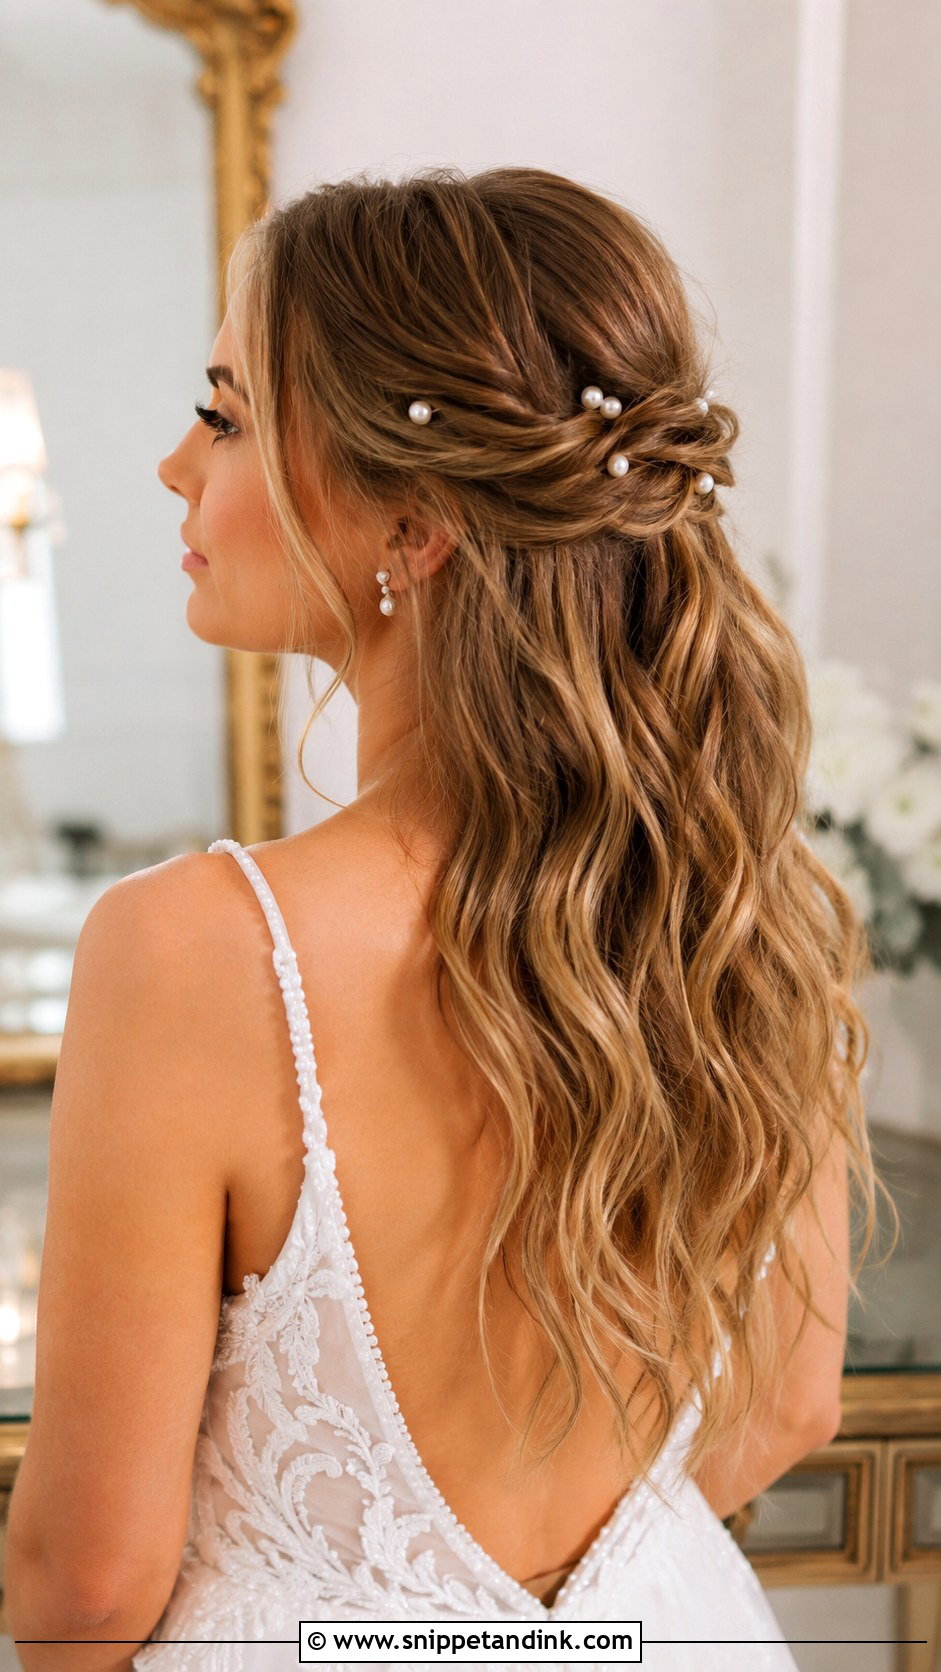
Pearl pins are an easy way to dress up a simple style. Scatter a handful through waves, along a braid or around a low bun. I push each pin in at an angle under a small section of hair so it grips; straight in, they slide out. Space them unevenly so they look placed by hand rather than in a grid. They suit classic and modern gowns, work on most hair lengths and textures, and give a soft shimmer in photos without overwhelming anything.
19. Low Side Bun Wedding Hairstyle
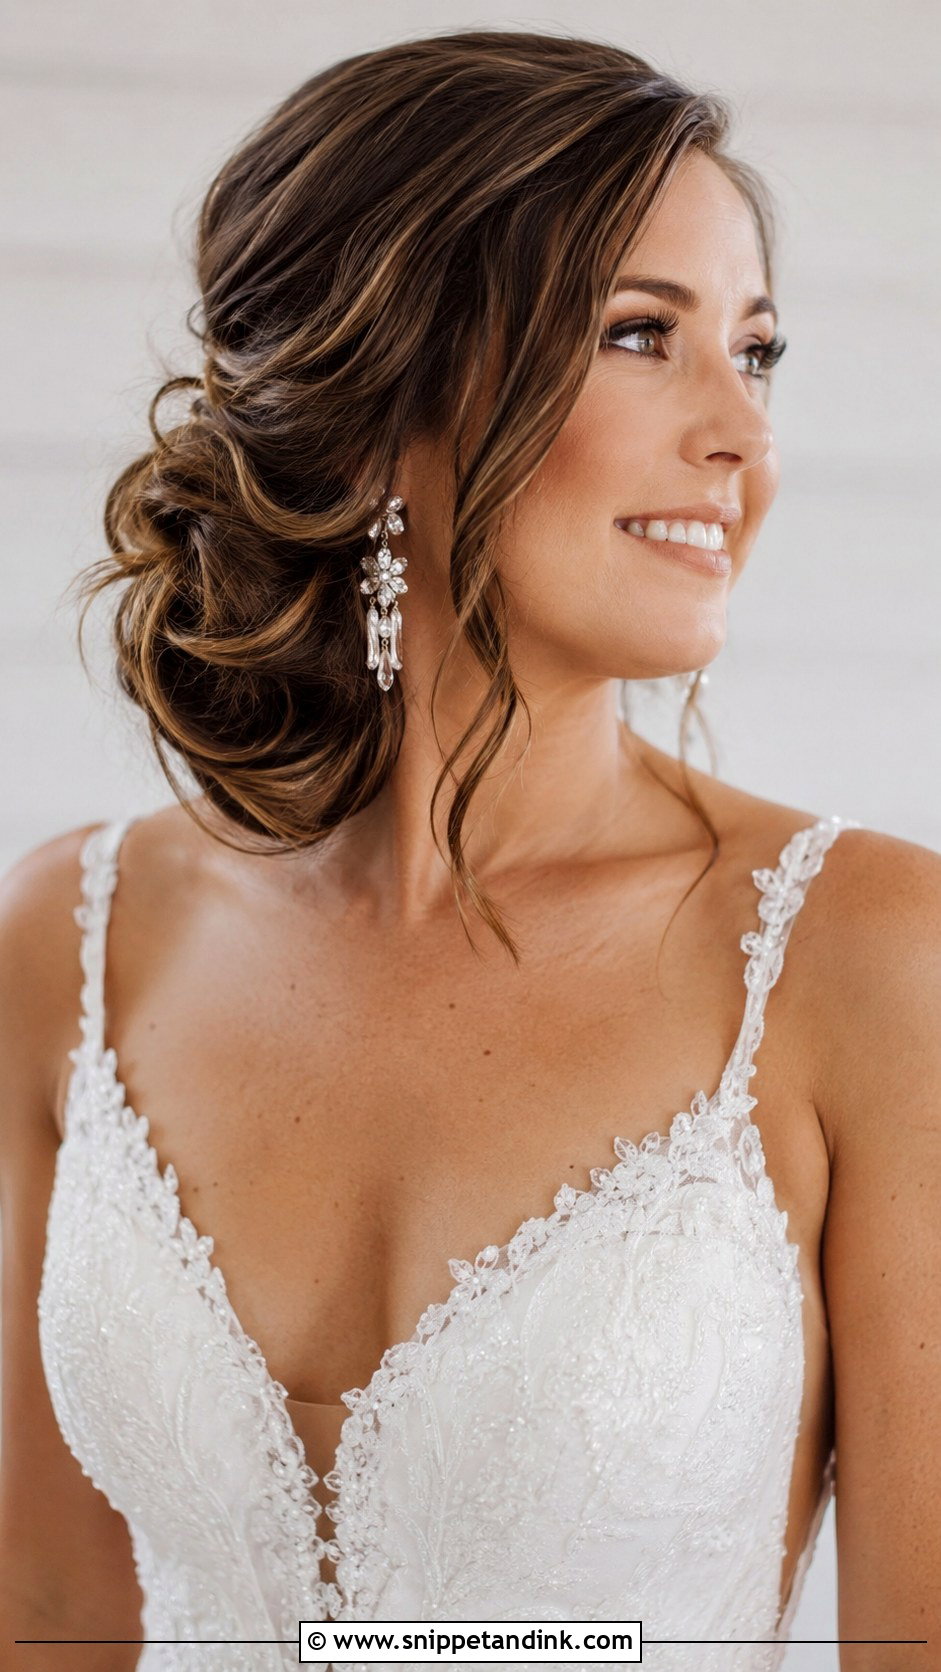
The low side bun is a classic updo moved just off center, resting near one shoulder. Gather the hair low on one side, secure a ponytail, then wrap and pin the bun around it. A few loose pieces at the face soften it. Put your earrings on the open side. It’s comfortable for hours, though it can catch on a high collar or a strap, so check it against your dress at the trial.
20. Sleek Modern Updo Wedding Hairstyle
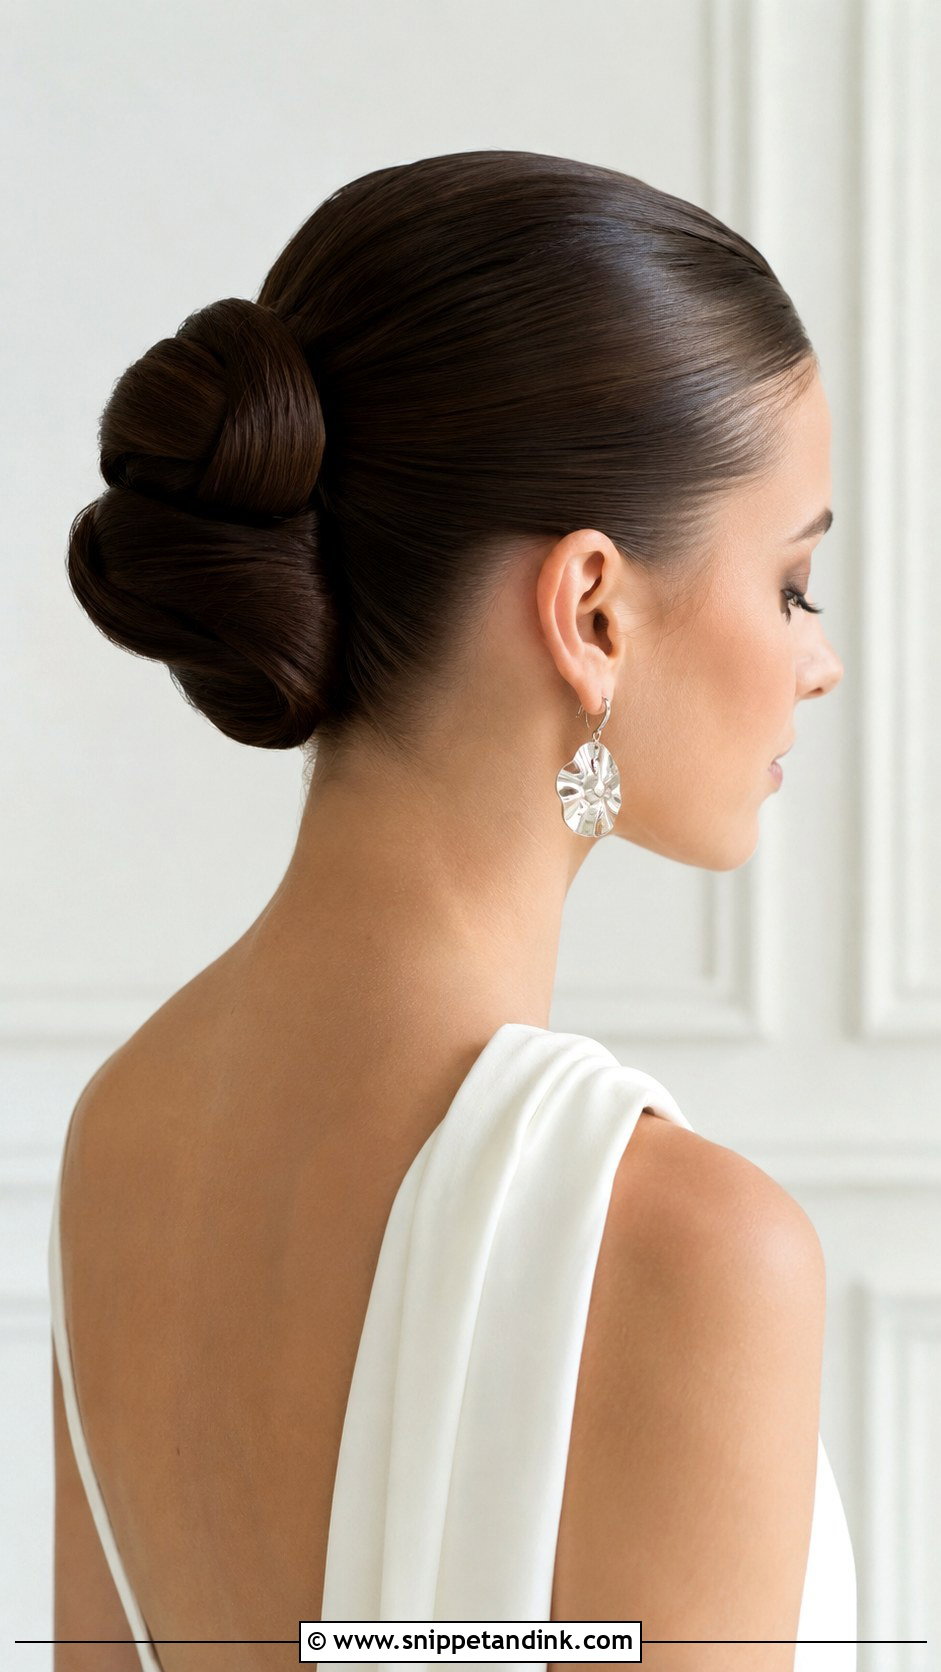
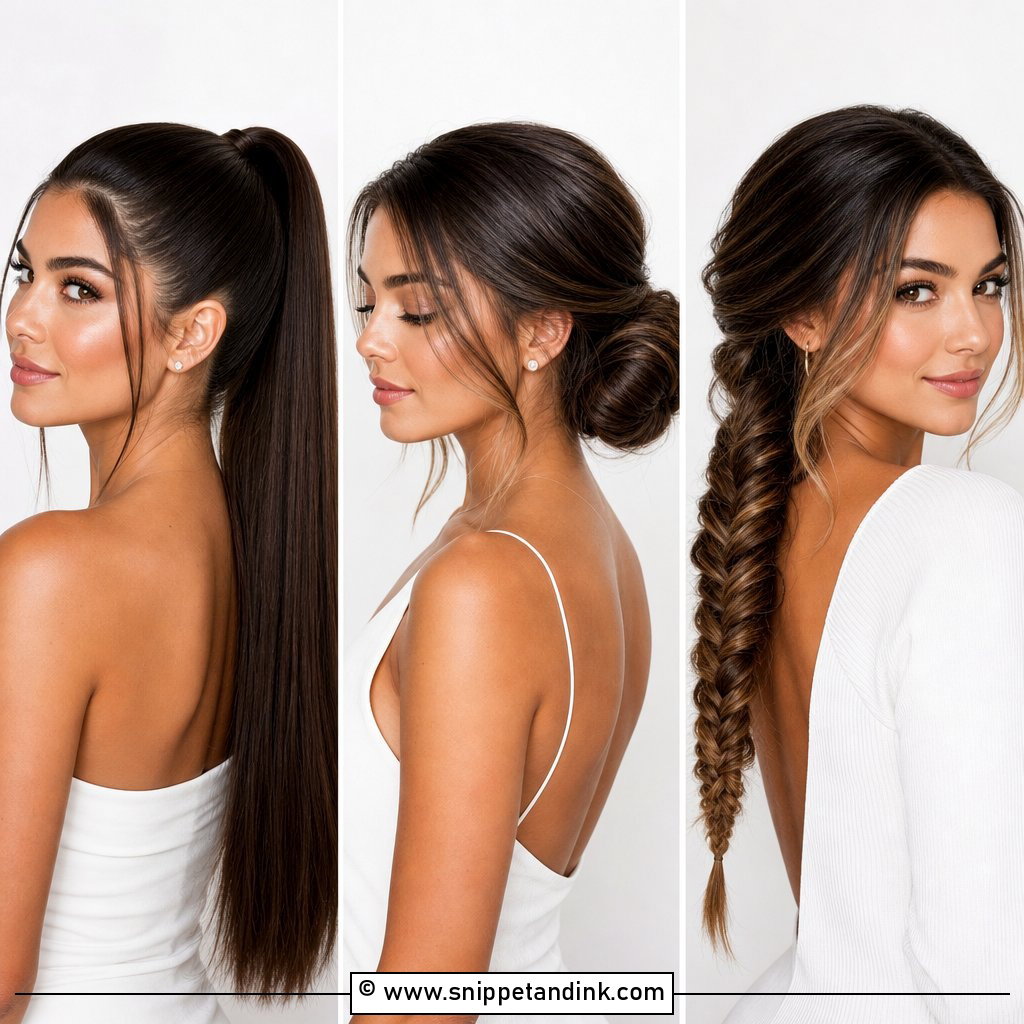
A sleek modern updo depends on smooth preparation. I blow-dry the hair straight, apply a small amount of gel or smoothing cream, and comb it back before building the shape. It can be a sculpted knot, a twisted form or an architectural bun. A minimalist gown and bold accessories suit it. The trade-off: with no texture to hide them, flyaways and bumps show, so this is a style I’d leave to a professional rather than a first-time video attempt.
DIY or Professional? Sorting These 20 by Difficulty
Here’s how I’d group these styles for a bride, bridesmaid or mother of the bride doing her own hair. Your own experience matters more than any list, so treat this as a starting point.
Comfortable for Most People at Home
The half-up style, the sleek low ponytail, the pinned-back veil style, pearl pins added to waves, and the fishtail braid once you’ve practiced it. These rely on simple sections and one or two anchor points.
Possible With Practice and a Helper
The low bun, messy high bun, low side bun, waterfall braid, flower crown, side-swept curls and loose curls. The steps are simple, but the back of your head is hard to see and curls need time to set. A friend who can hold sections helps a lot.
Best Left to a Stylist
Finger waves, the French twist, the braided crown, the twisted updo, the sleek modern updo and the chignon on very short layers. These are built on hidden structure, and small errors show in close-up photos.
Showing a Video to Your Stylist
A video is more useful at a consultation than a single photo, because it shows the back, the side and how the hair moves. Screenshot the moments you like most, including the side view, and note what you don’t like as well. Tell your stylist honestly how your hair differs from the hair on screen; a tutorial model with thick, waist-length hair will get a different result from the same steps than a bride with fine hair at the collarbone. A good stylist will adapt the idea to your hair rather than copy the video exactly.
Press Pause Often, and Still Book a Trial
A video can teach you the shape of a style, but your hair, your veil and your dress decide whether it works. Use these 20 wedding hairstyle videos to narrow your list, then practice the simpler ones yourself and book a trial for anything structural. Wear the style for a few hours afterward and see how it feels at the end. Bring your accessories and a photo of your dress to the trial, and you’ll walk out knowing the plan for the morning.
You'll Like These Ideas:


Leave a Reply