
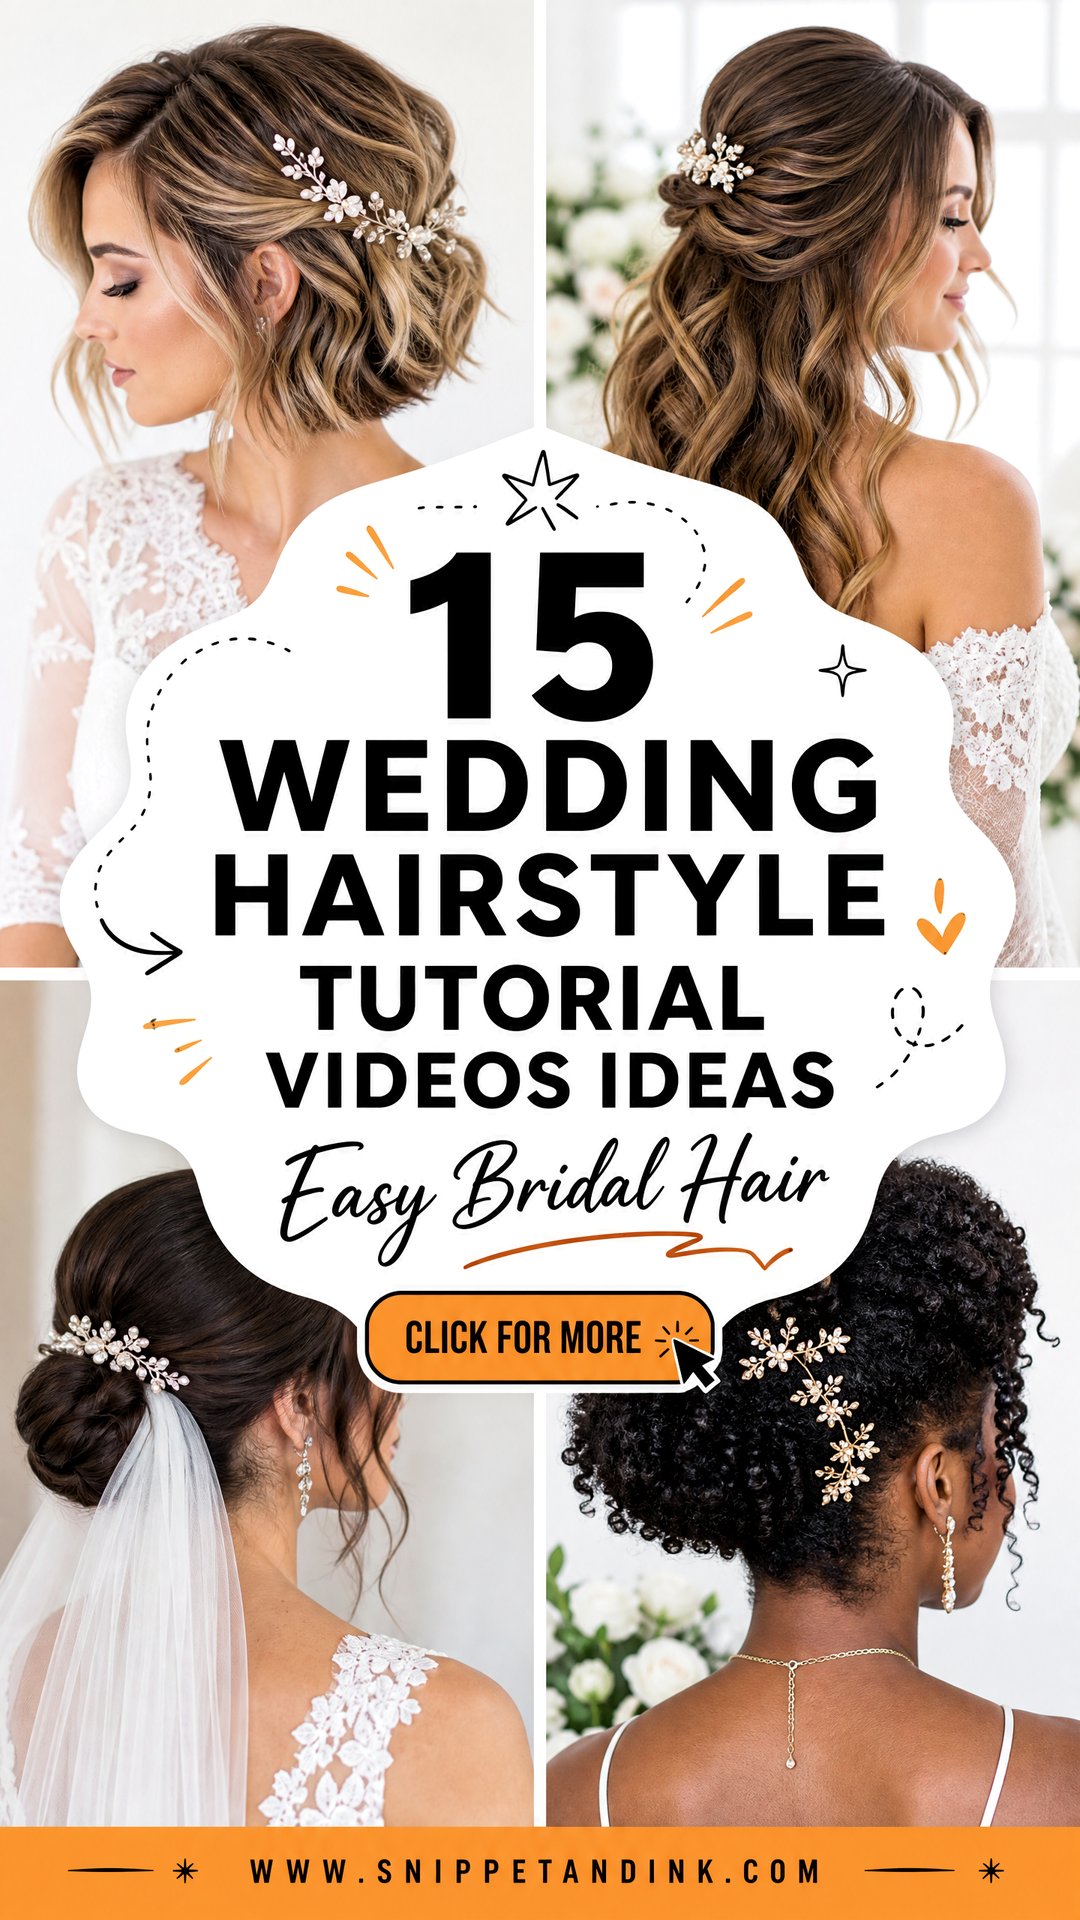
Wedding hairstyle tutorial videos only earn a save if they answer the question every bride asks me at a trial: will this still be in place after the hugs, the photos and the first dance? A pretty finished shot can’t tell you that. The prep, the grip, the angle of each pin and how the hair was set can. Below are fifteen looks I’d happily teach on camera, from sleek buns and waves to ponytails, braids, curls and short cuts, with notes on what the video has to show so a bride, a bridesmaid or a guest can actually copy it at home.
Watching a Hair Video the Way a Stylist Does
When I watch someone else’s tutorial, I ignore the finished reveal at first and look at the hair they started with. A model with thick, day-old, already curled hair will make any updo look easy. If your hair is fine, freshly washed or very straight, the same steps will need more grip and more pins than the video admits.
- Check the starting texture. Was the hair curled, teased or sprayed before filming began? That prep is half the hold.
- Count the pins. If the video cuts away during pinning, the style probably used more than you can see.
- Look for a back view in a second mirror. A front-only finish often hides a gap at the nape.
- Notice the camera angle. Styles filmed from slightly above make crowns look fuller than they will in person.
Then watch it once with the sound off and pause at each step. You’ll notice where your hands need to be, and you’ll catch the moment the creator quietly fixes something off camera.
1. Low Bun Wedding Hairstyle Tutorial
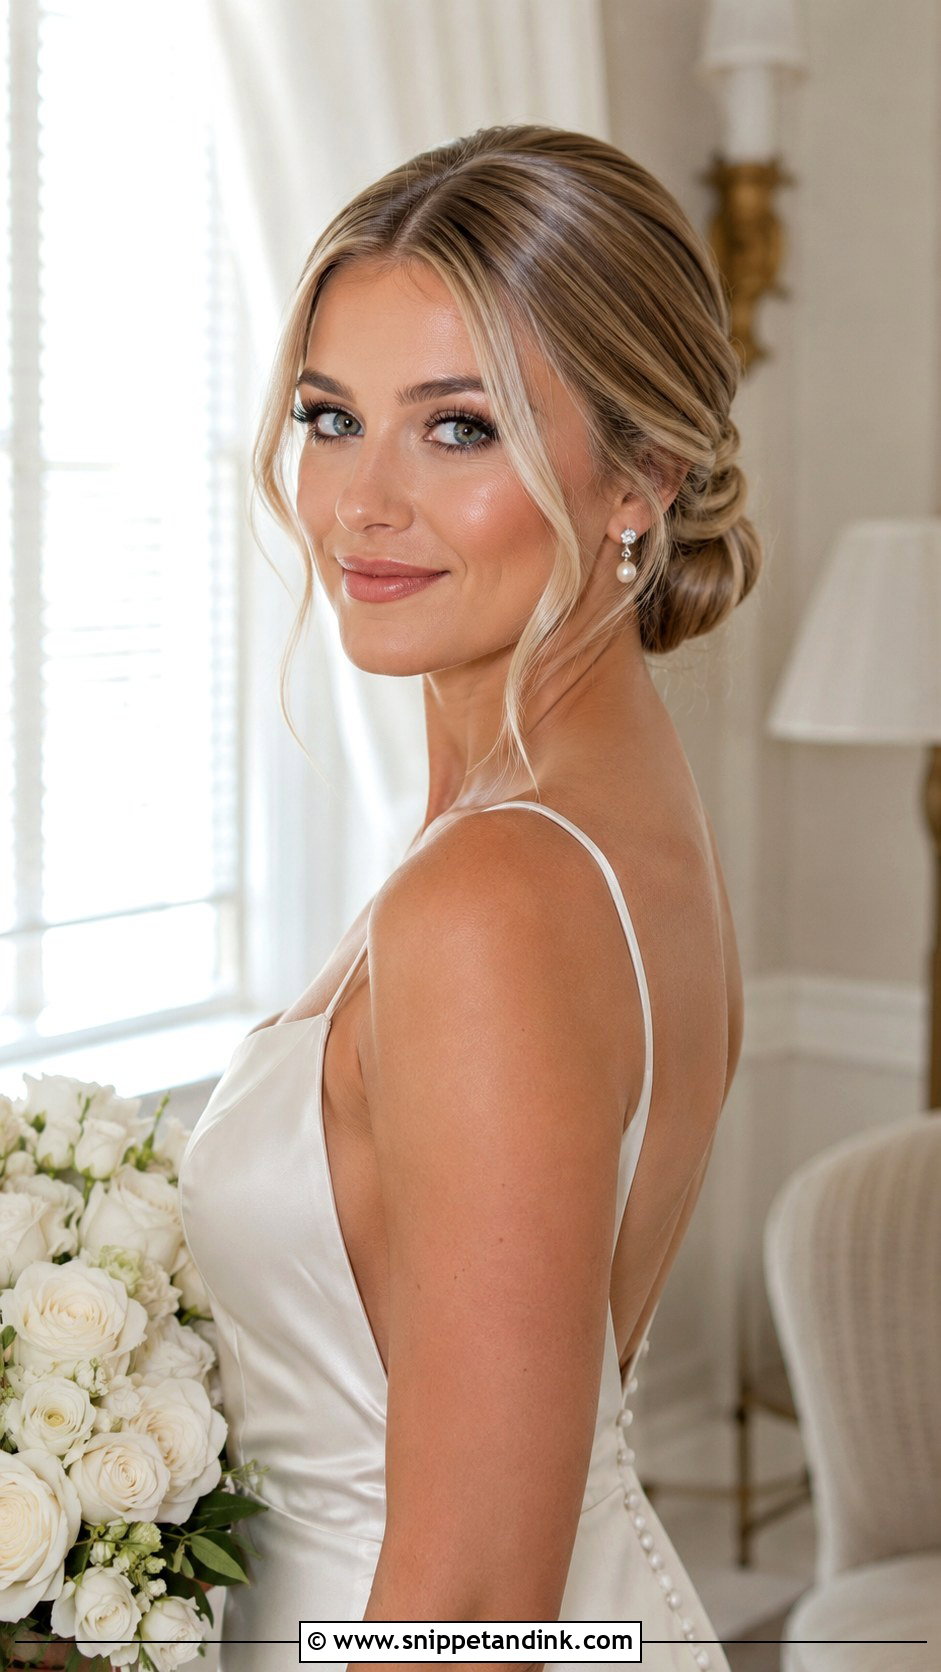
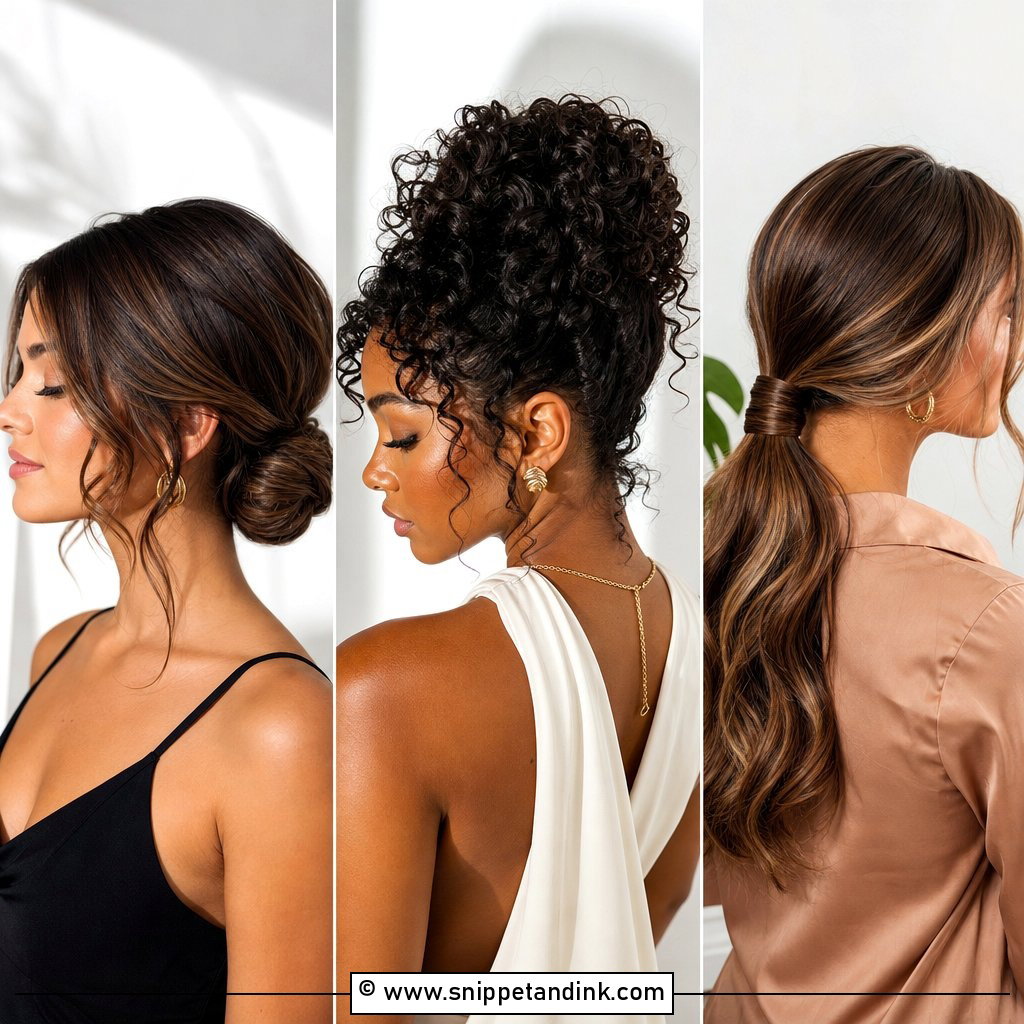
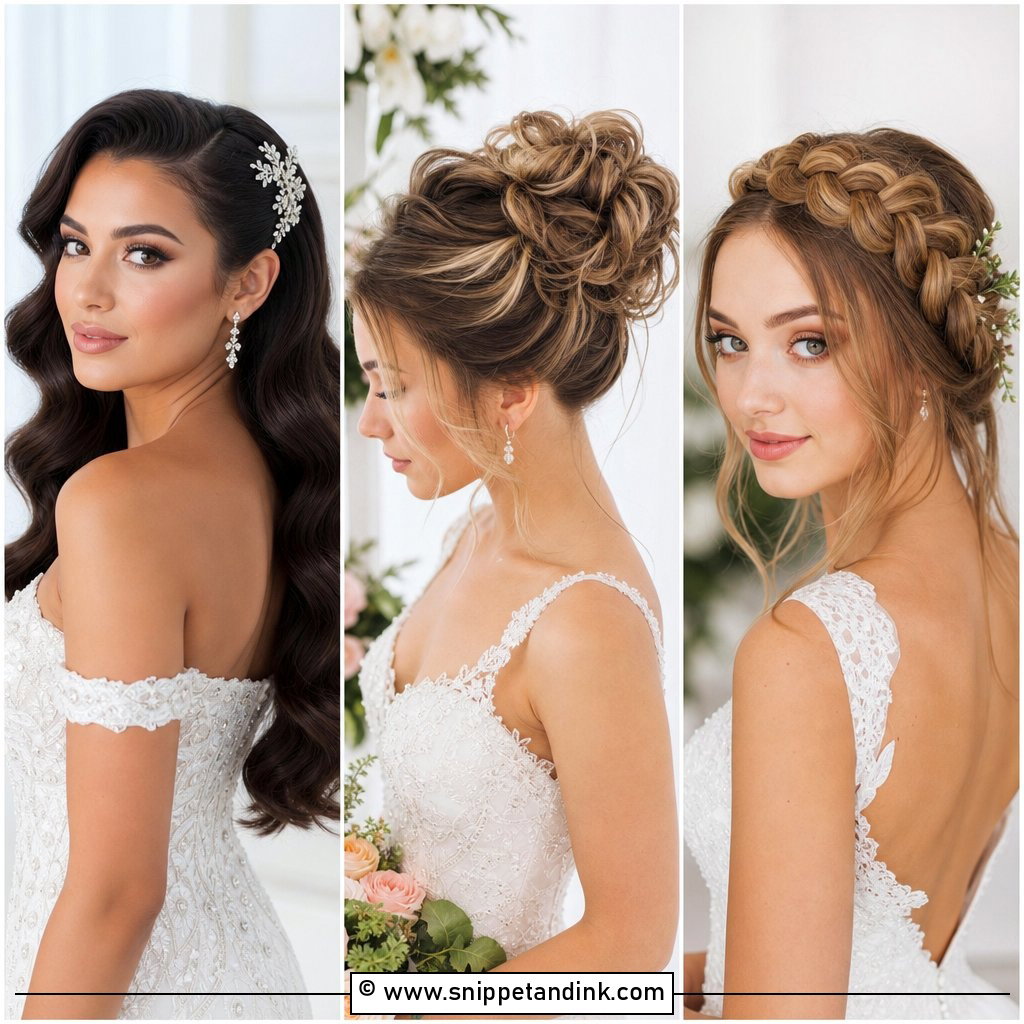
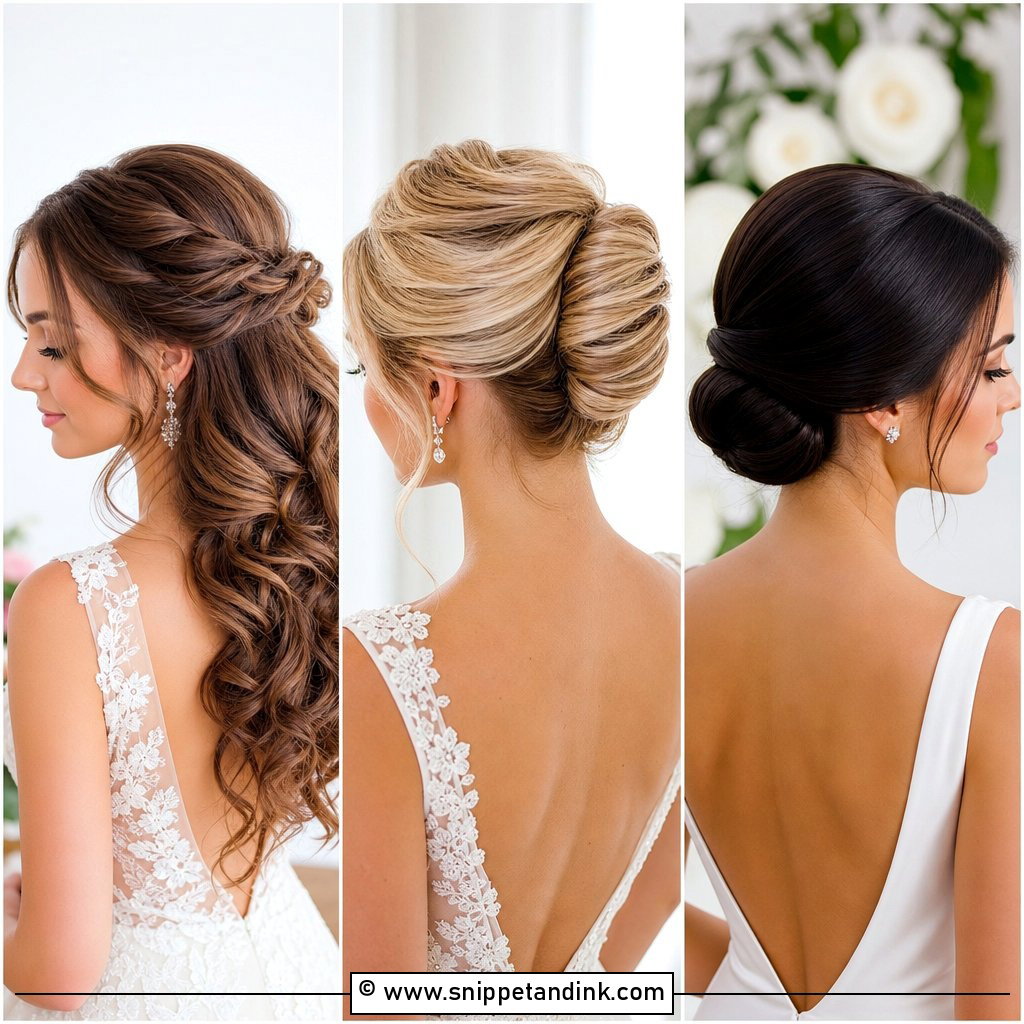
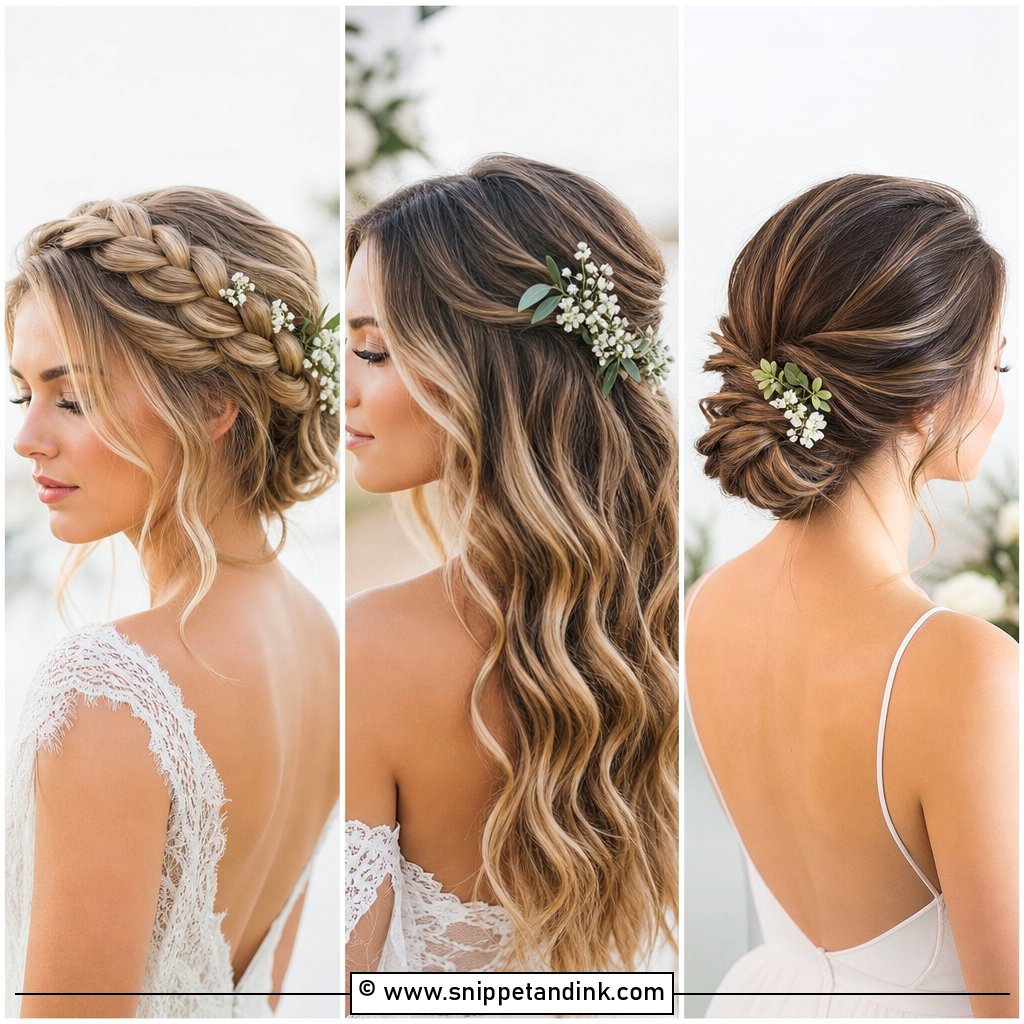
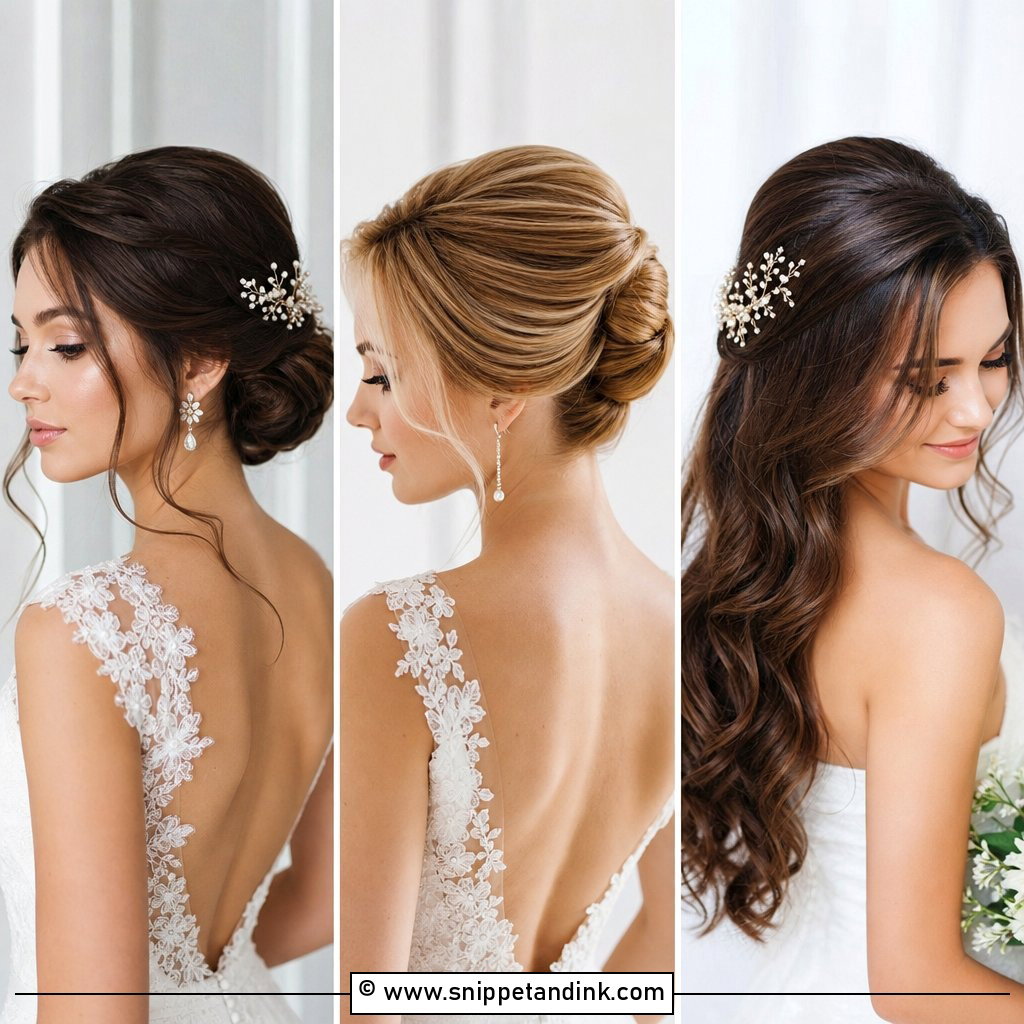
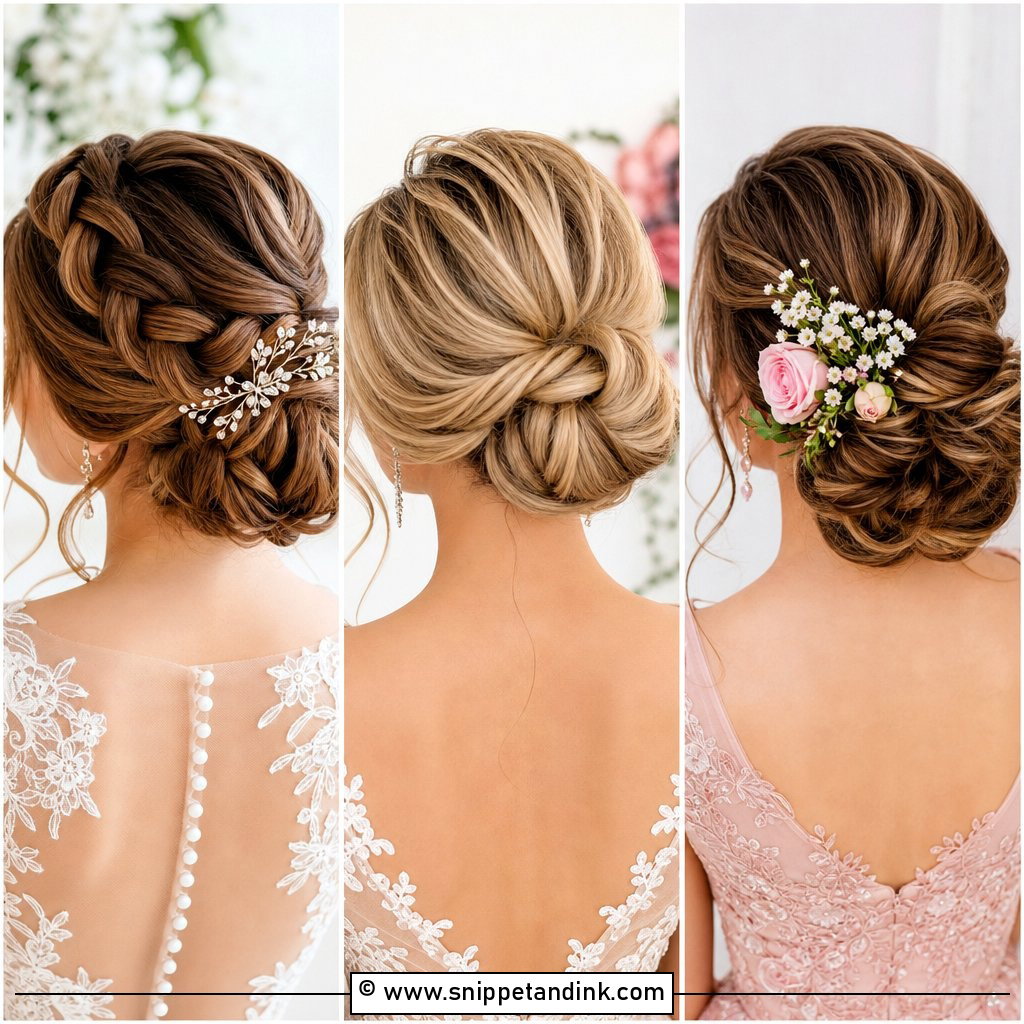
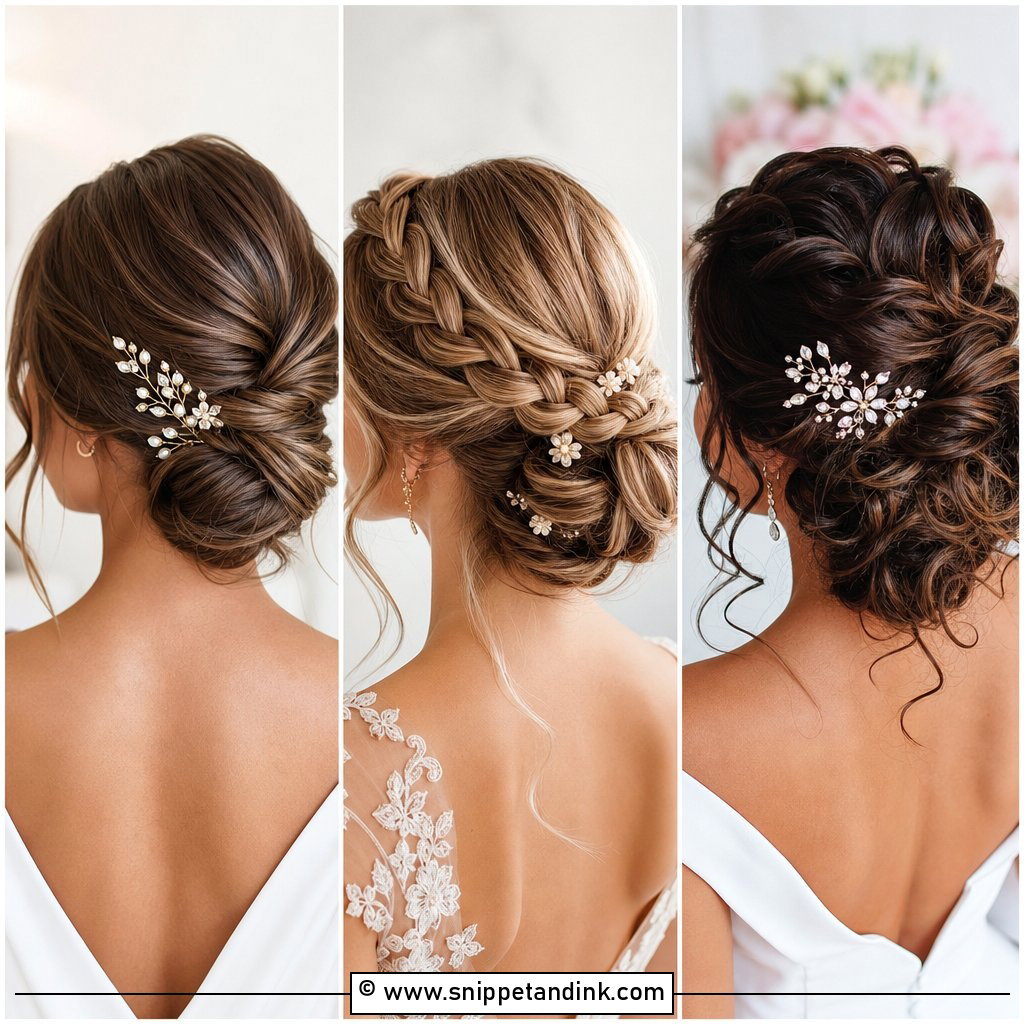
Almost every neckline sits happily with a low bun, which is why I’d film this one first. A good low bun wedding hairstyle tutorial smooths the crown, adds a little lift, gathers at the nape and then pins the bun in place without crushing it. The step people skip is the anchor: a small elastic or a criss-crossed pair of grips under the bun, so every later pin has something to grab. Film the pin placement close up and show the face-framing pieces being set, because that’s where home attempts drift. A low bun also leaves room for a veil comb above it, which matters later.
2. Half Up Half Down Wedding Hairstyle Tutorial
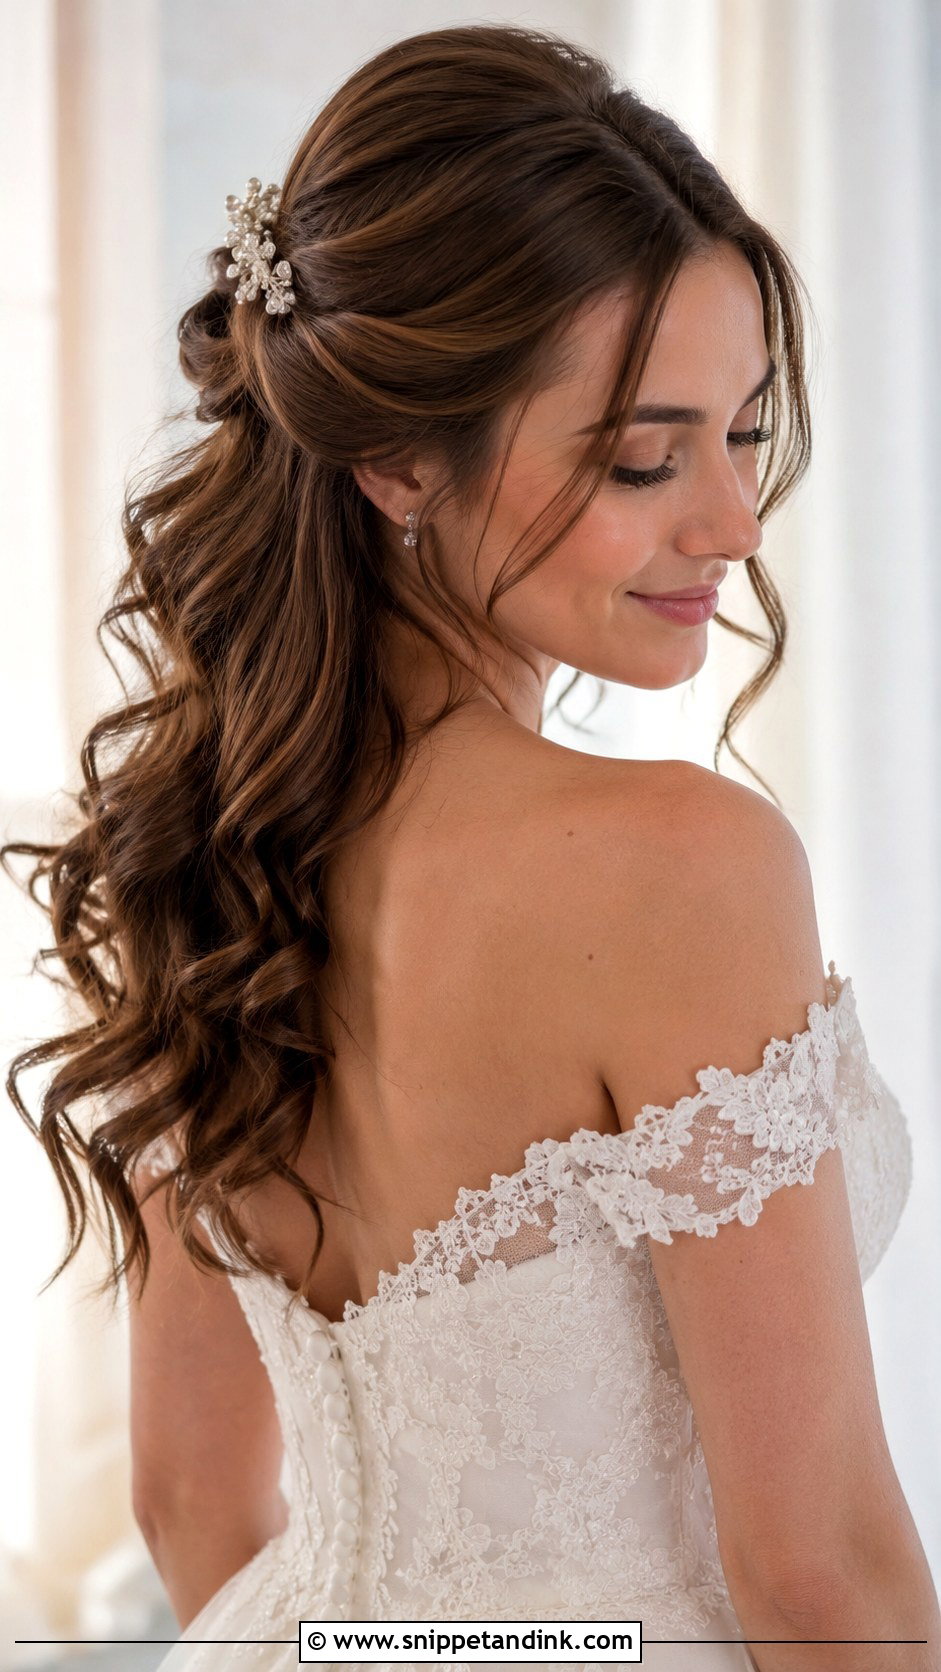
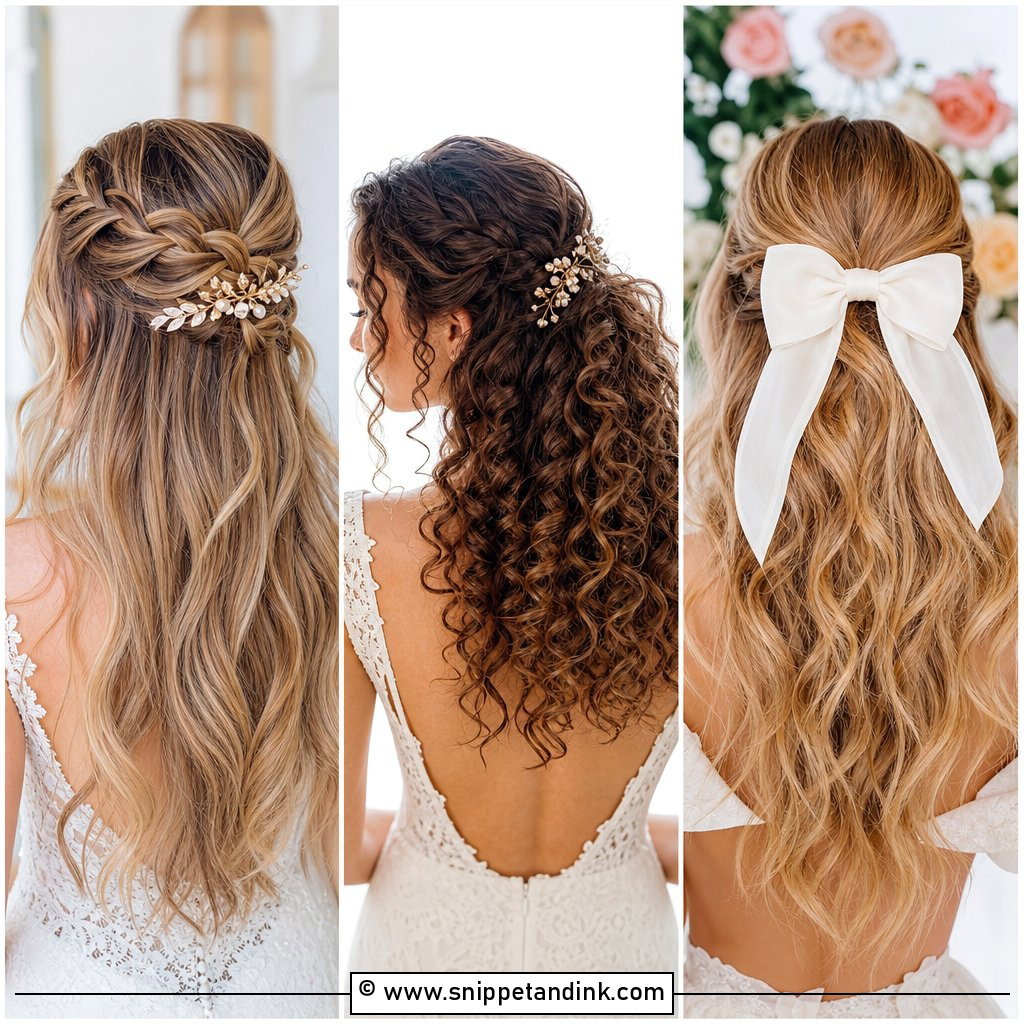
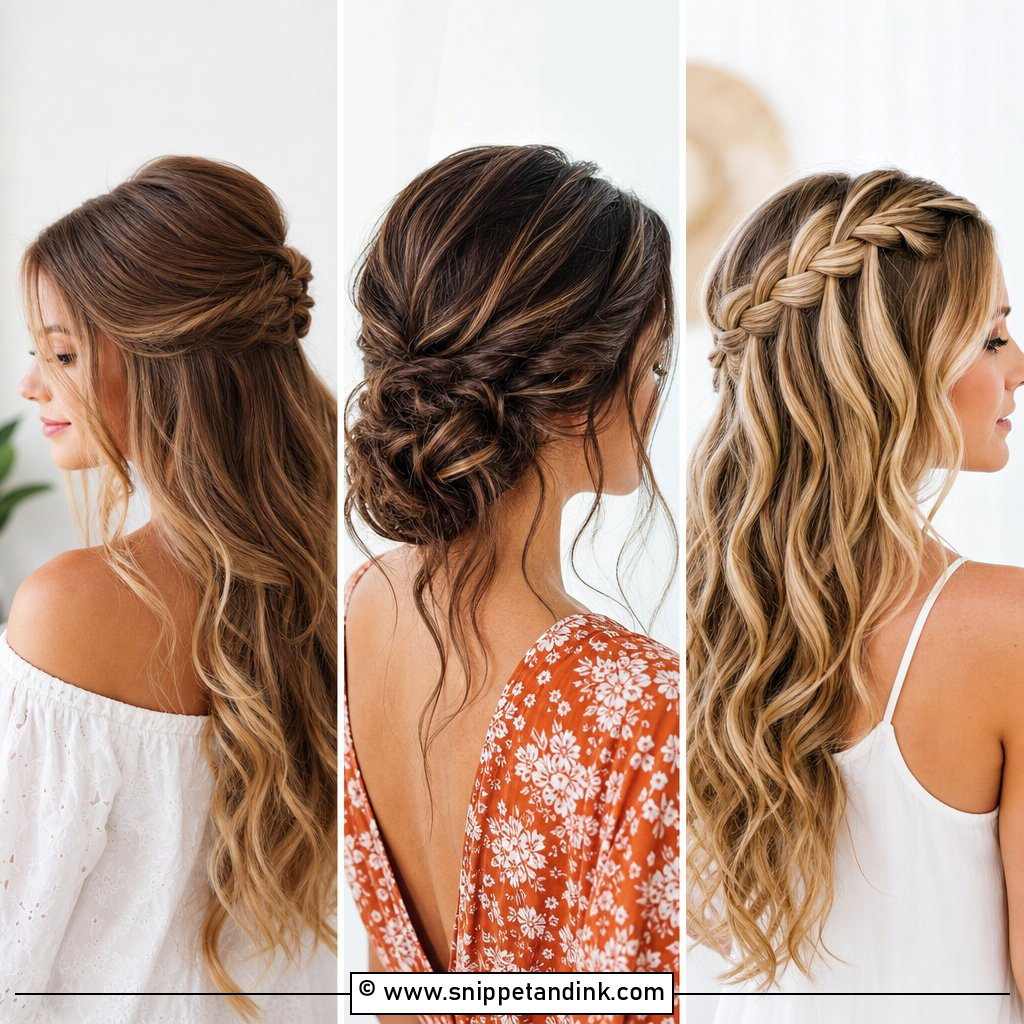
The half up half down wedding hairstyle tutorial is where I see the most bulk mistakes. Section too deep at the crown and the top balloons while the lengths look thin. The video should start on hair that’s already curled, take a narrow section from the temples back, and secure it with a small twist or wrapped pony. On fine hair I’d tease just under that section so the pins don’t show through. This shape needs mid-length hair or longer, and it carries a veil or pearl pins easily. Show how the ends stay full rather than being brushed into frizz.
3. Hollywood Waves Wedding Hairstyle Tutorial
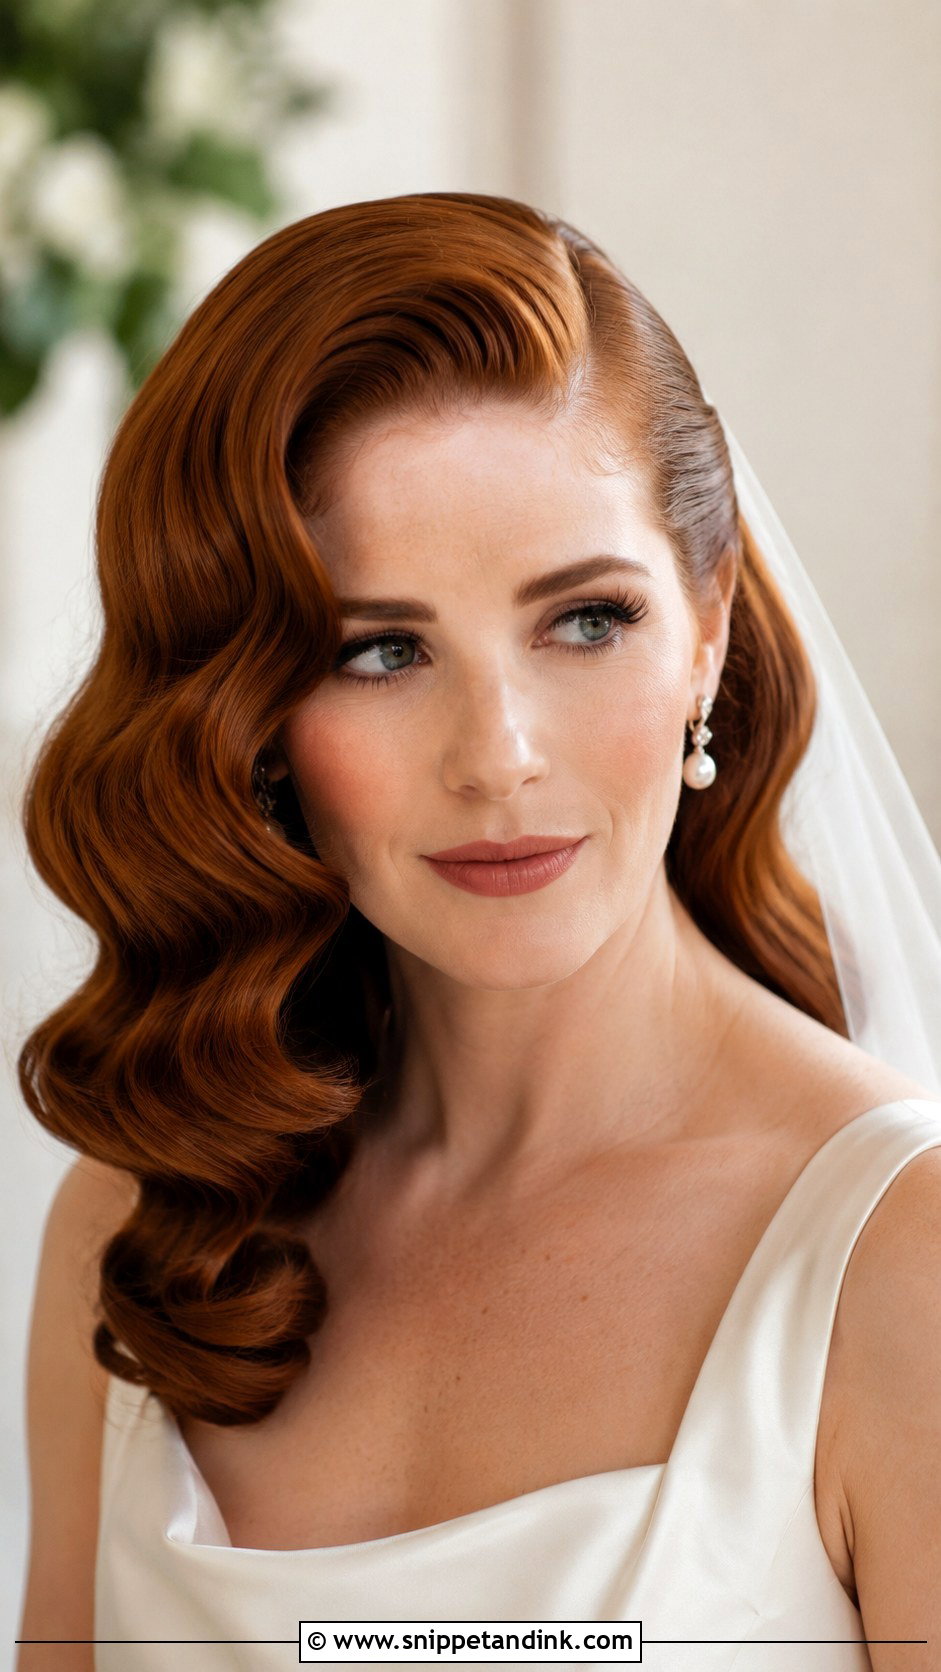
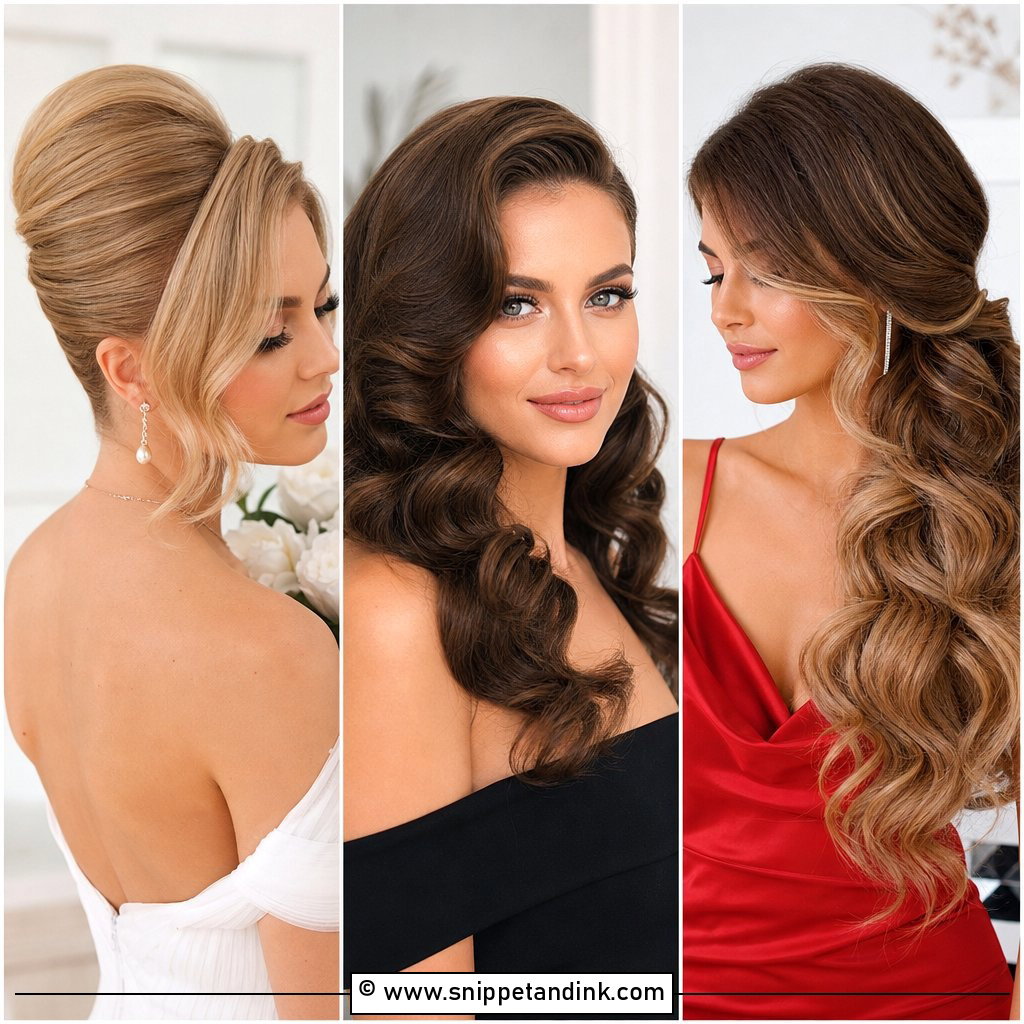
Hollywood waves are all about one consistent curl direction, and that’s what the camera has to prove. Every section goes the same way, gets pinned in a flat curl while it cools, and only then is brushed into a single wave pattern. Brush too early and the shape collapses within the hour. Long hair suits it best, though a lob with a smaller barrel can pull it off. I’d include a shot of the clips in place, a brush-out in real time, and the finished side profile, since a glossy wave is what reads in close portraits.
4. Textured Updo Wedding Hairstyle Tutorial
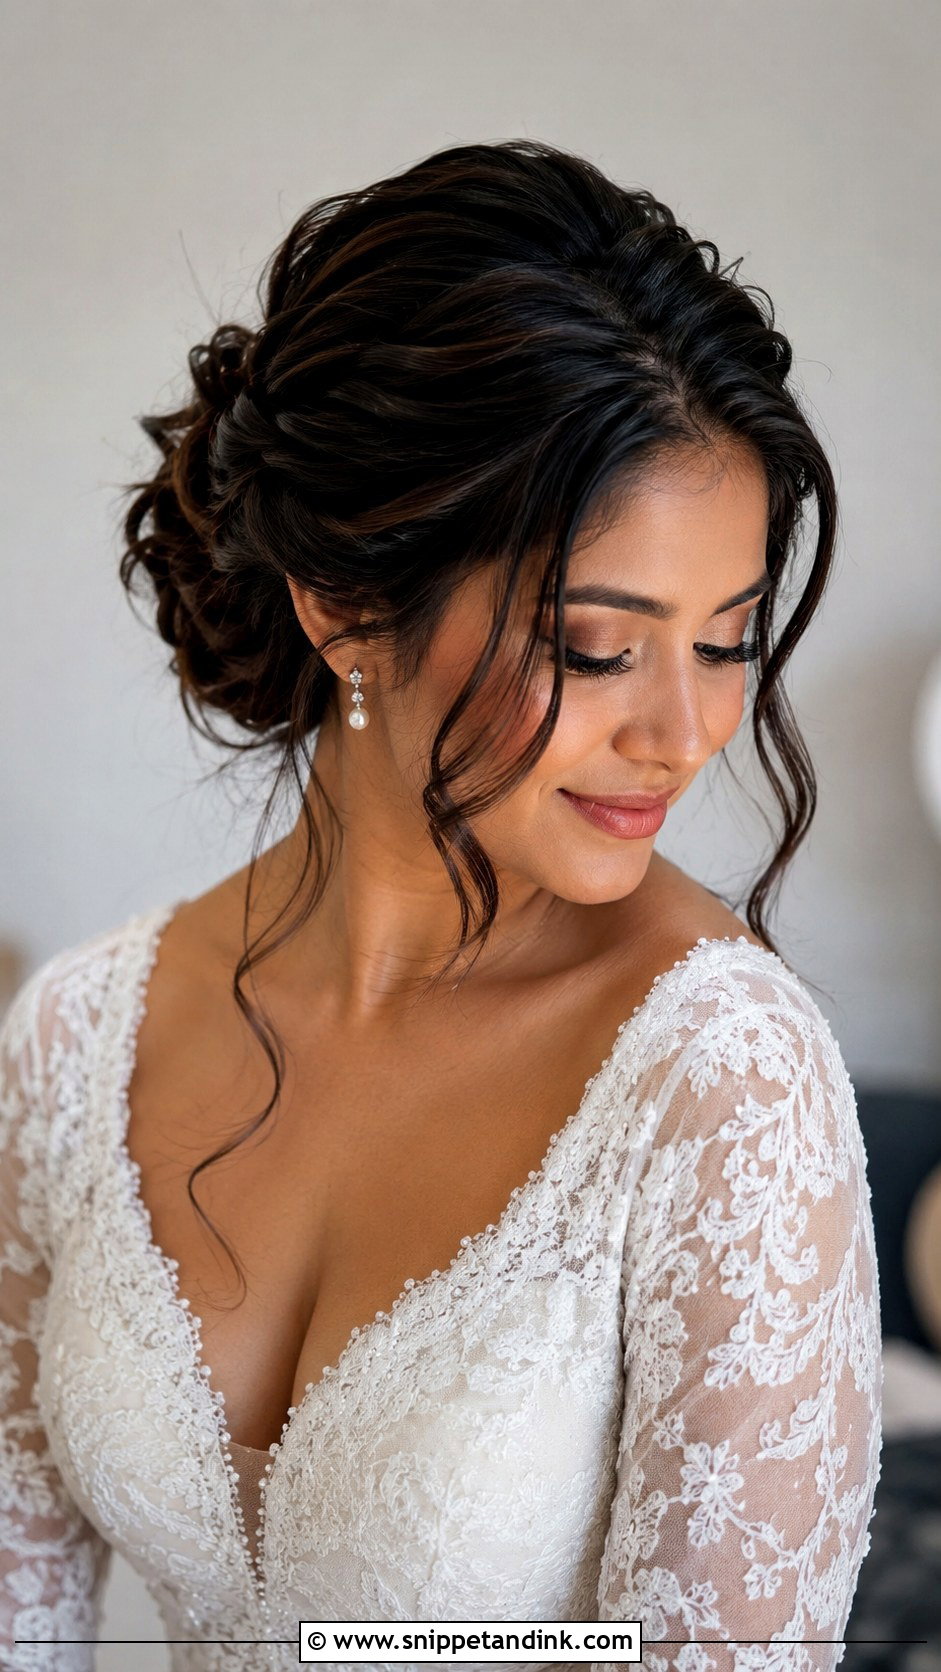
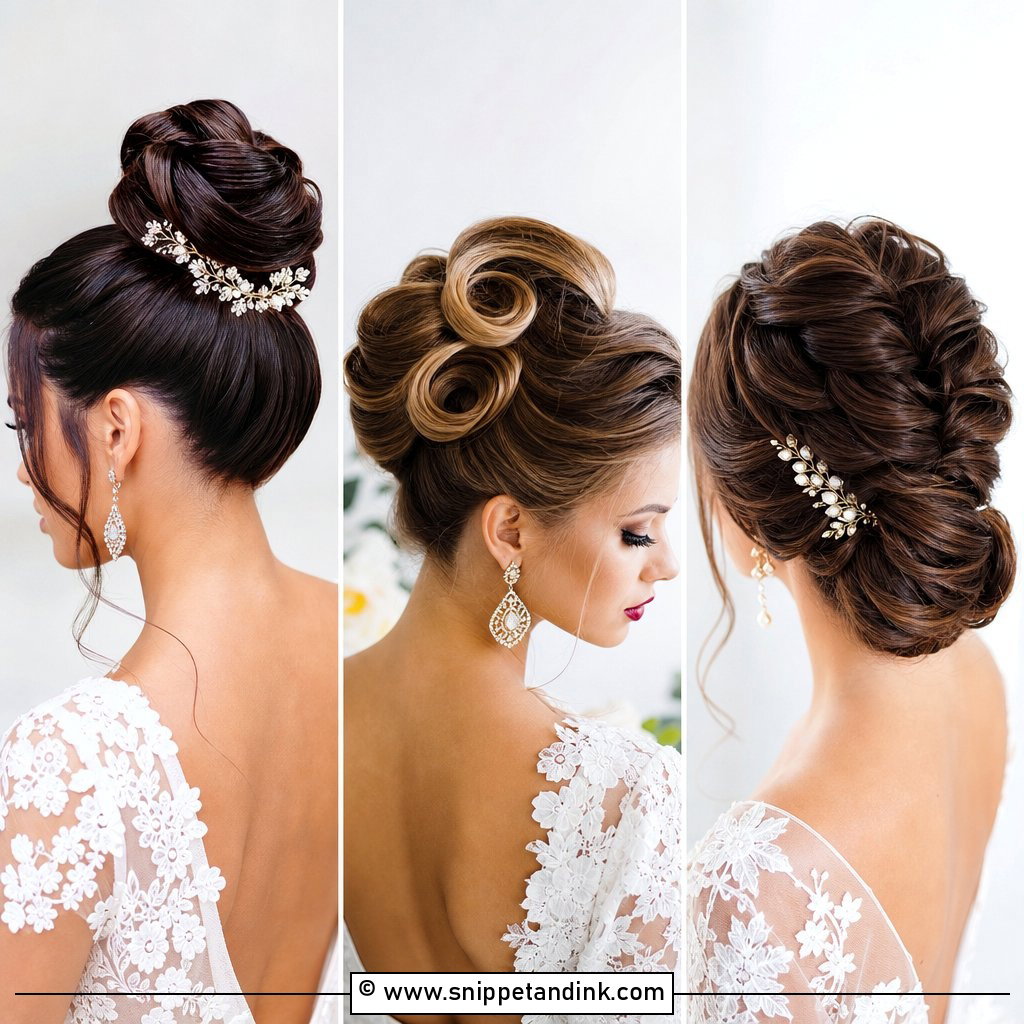
A textured updo is far more forgiving than a sleek bun, and that’s why I suggest it for outdoor weddings. When a piece slips during the cocktail hour, it just looks like part of the texture. The tutorial has to show wave prep first, then small sections pinned one at a time, because big chunks flatten out and lose that dimensional look. Film each section from the back and side. Finish with a flexible spray rather than a stiff lacquer so the shape can move, and give viewers a slow turn of the finished head.
5. Sleek Ponytail Wedding Hairstyle Tutorial
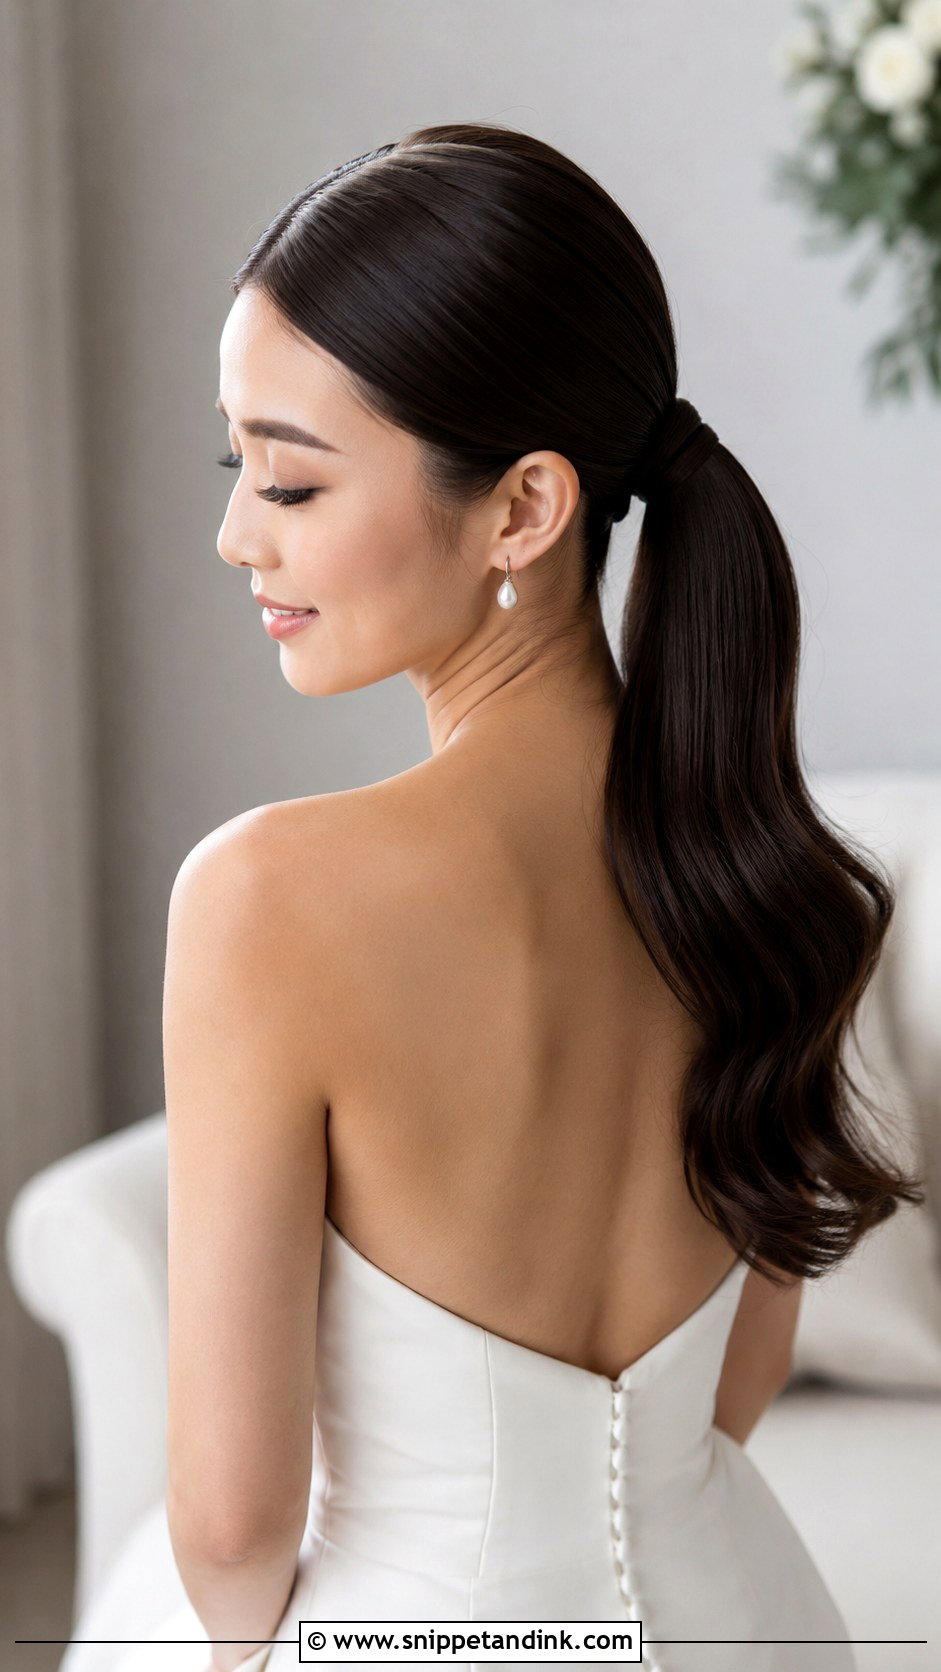
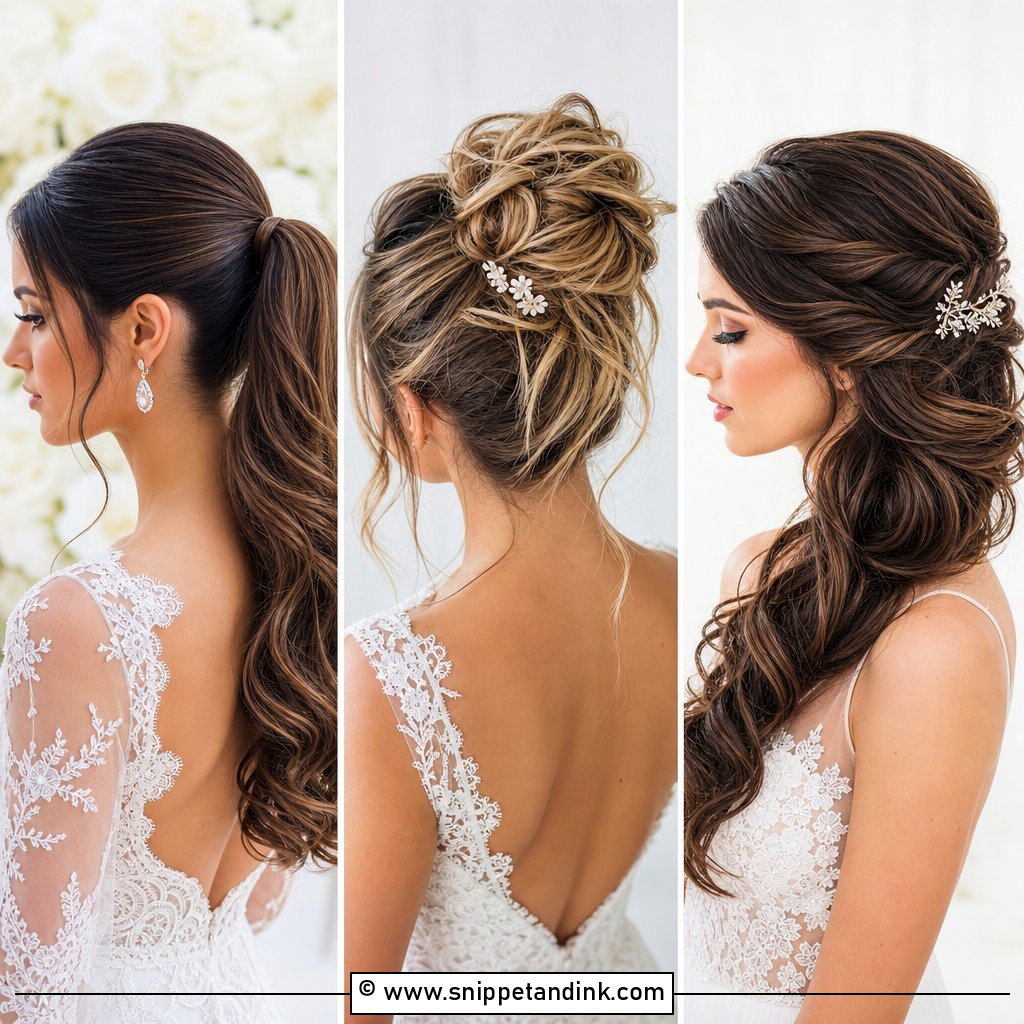
Sleek ponytails look simple and are actually the least forgiving style on this list. A wobbly part or one flyaway at the hairline shows in every photo. The video needs a clean part, a smoothing brush, a tight elastic and a wrapped strand hiding it, plus the trick of crossing two grips under the base so the pony doesn’t droop by evening. Waving the length softens the look; leaving it straight feels sharper. It puts the face, earrings and neckline first. Give viewers a side and a back angle so they can see the lift.
6. French Twist Wedding Hairstyle Tutorial
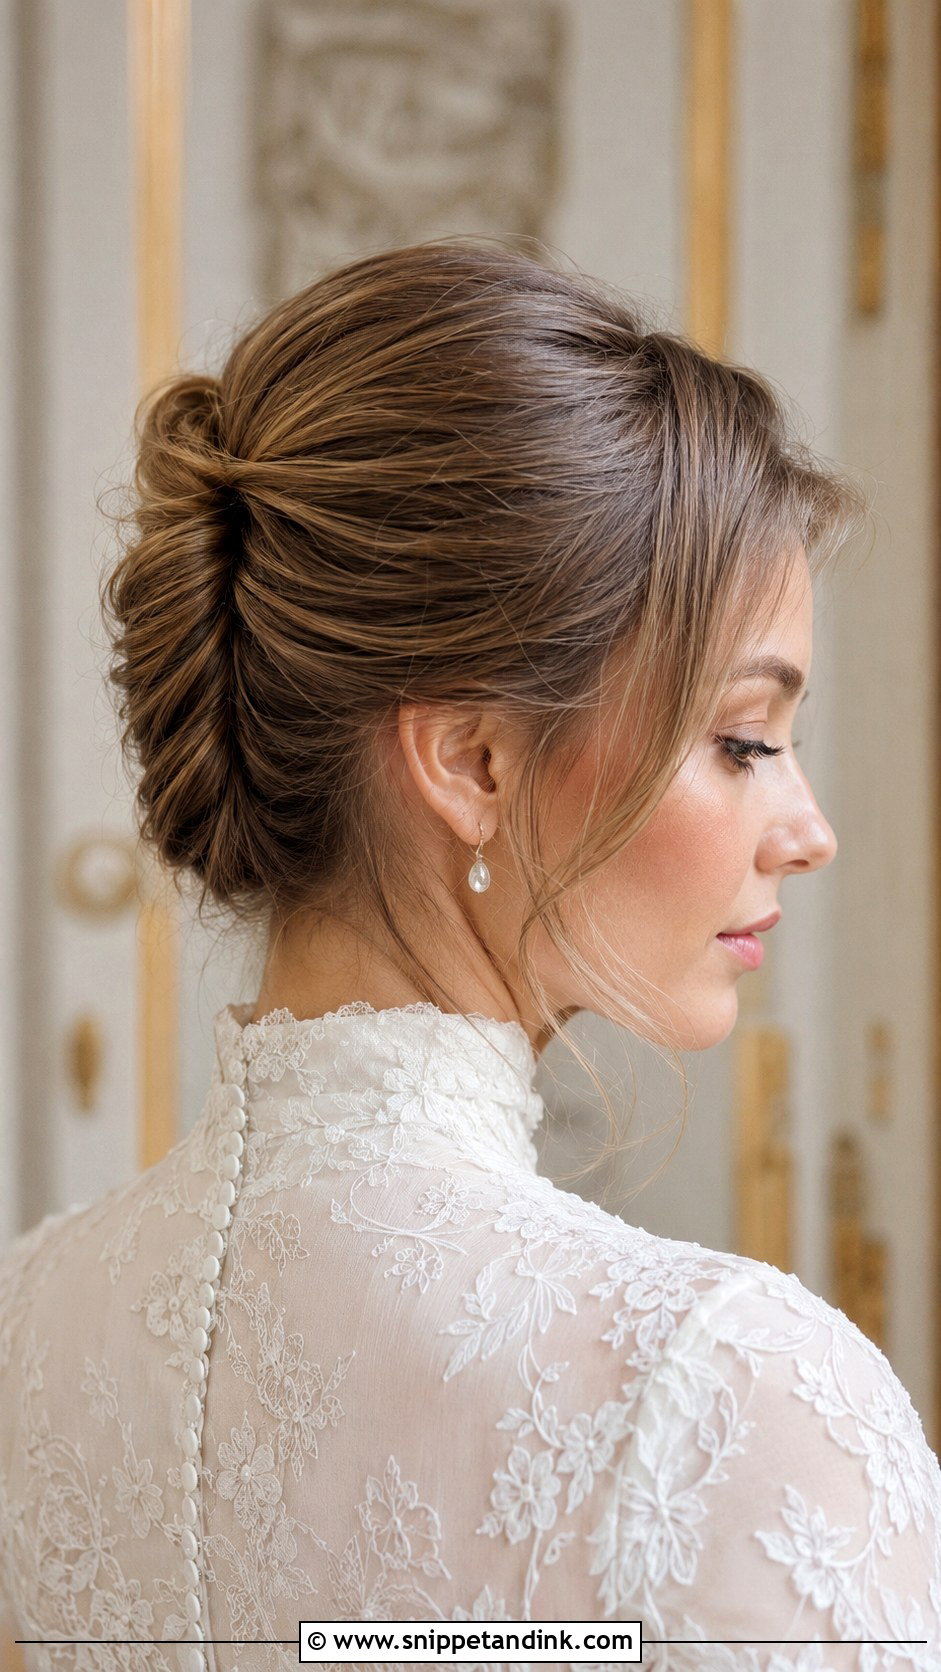
Freshly washed hair is the enemy of a French twist. It’s too slippery to hold the roll, so the tutorial should open with grip: a dry texture spray, a day-old wash, or a little mousse blown in. Then gather, roll upward, tuck the ends and set the pins inside the fold where they bite against the twist itself. I keep the hairline slightly soft so it doesn’t look severe. Minimal dresses and high necks pair best with it. Slow the camera down at the back, because the line of that twist is the whole point.
7. Braided Crown Wedding Hairstyle Tutorial
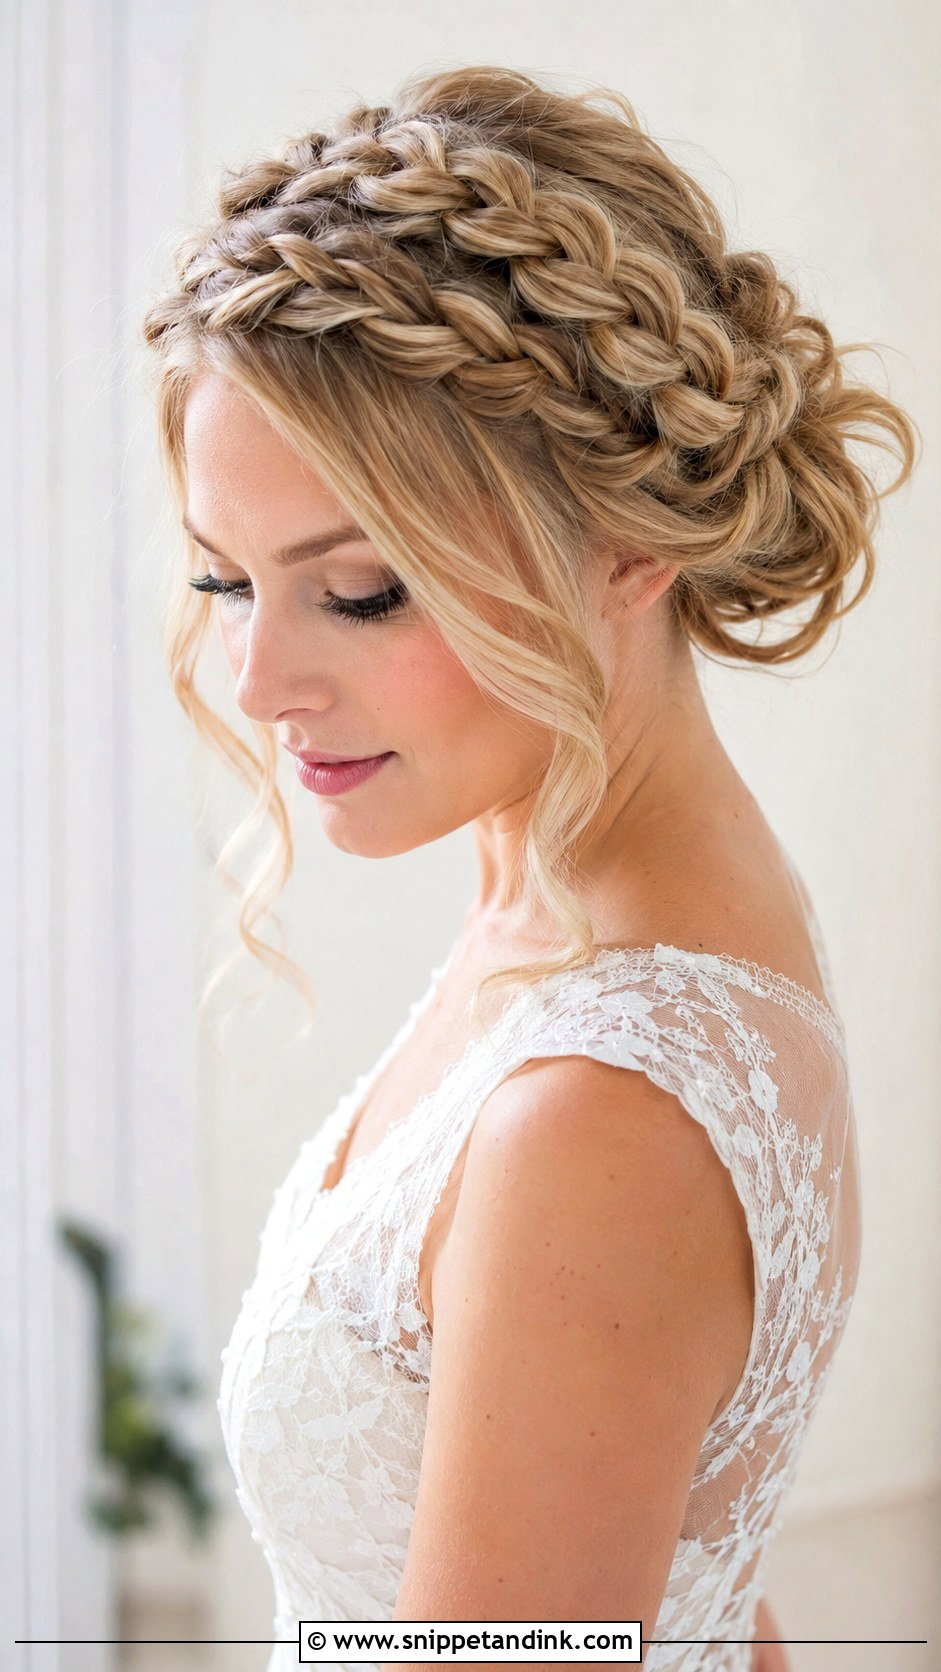
Two braids pinned across the head stay put through a twelve-hour day better than almost anything else. The braided crown wedding hairstyle tutorial should show both braids made evenly, gently pancaked for width, then crossed and pinned so there’s no gap at the back of the head. That pancaking is the step that makes it look professional, so film it slowly. I often do this for bridesmaids who’ll be carrying flowers and bending to fix trains, since it keeps everything off the face. Any leftover length can go into a low bun or hang in waves.
8. Messy Bun Wedding Hairstyle Tutorial
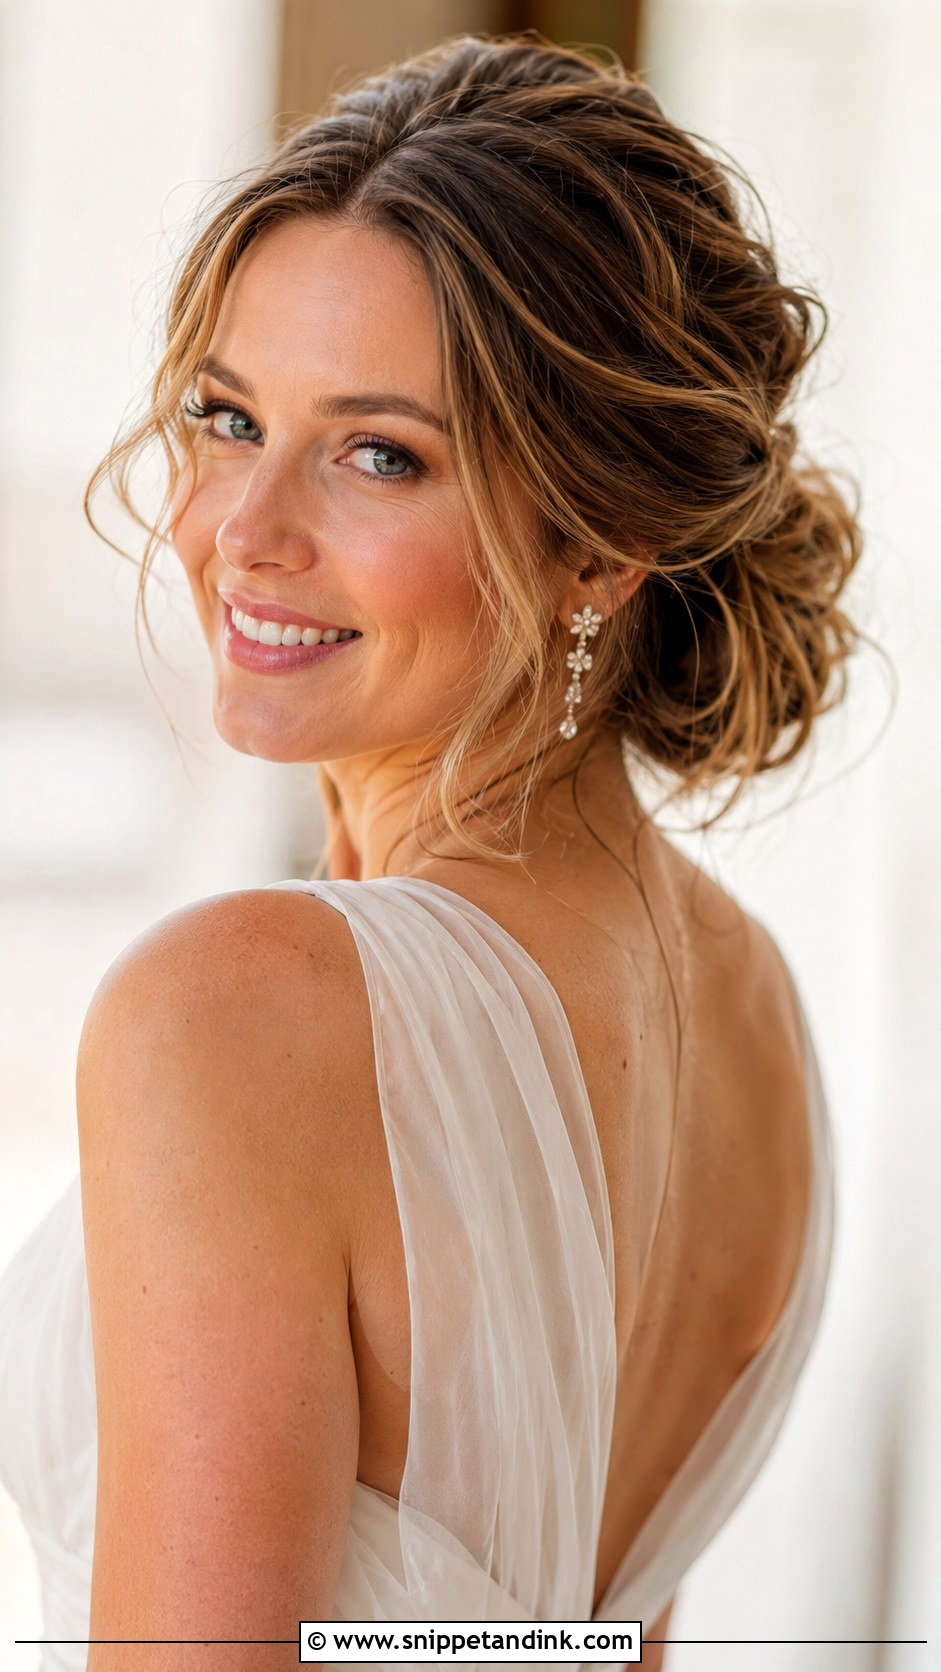
Here’s my verdict on messy buns: they take more control than a neat one. Start with loose waves, tease lightly at the crown, then gather at the height that suits the dress and pin it in pieces so it holds. The pulled-out strands near the face should be chosen deliberately, two or three at most, or it starts looking unfinished by the speeches. Garden weddings and relaxed ceremonies suit it. Show every angle at the end so viewers can judge whether the shape is balanced.
9. Curly Hair Wedding Updo Tutorial
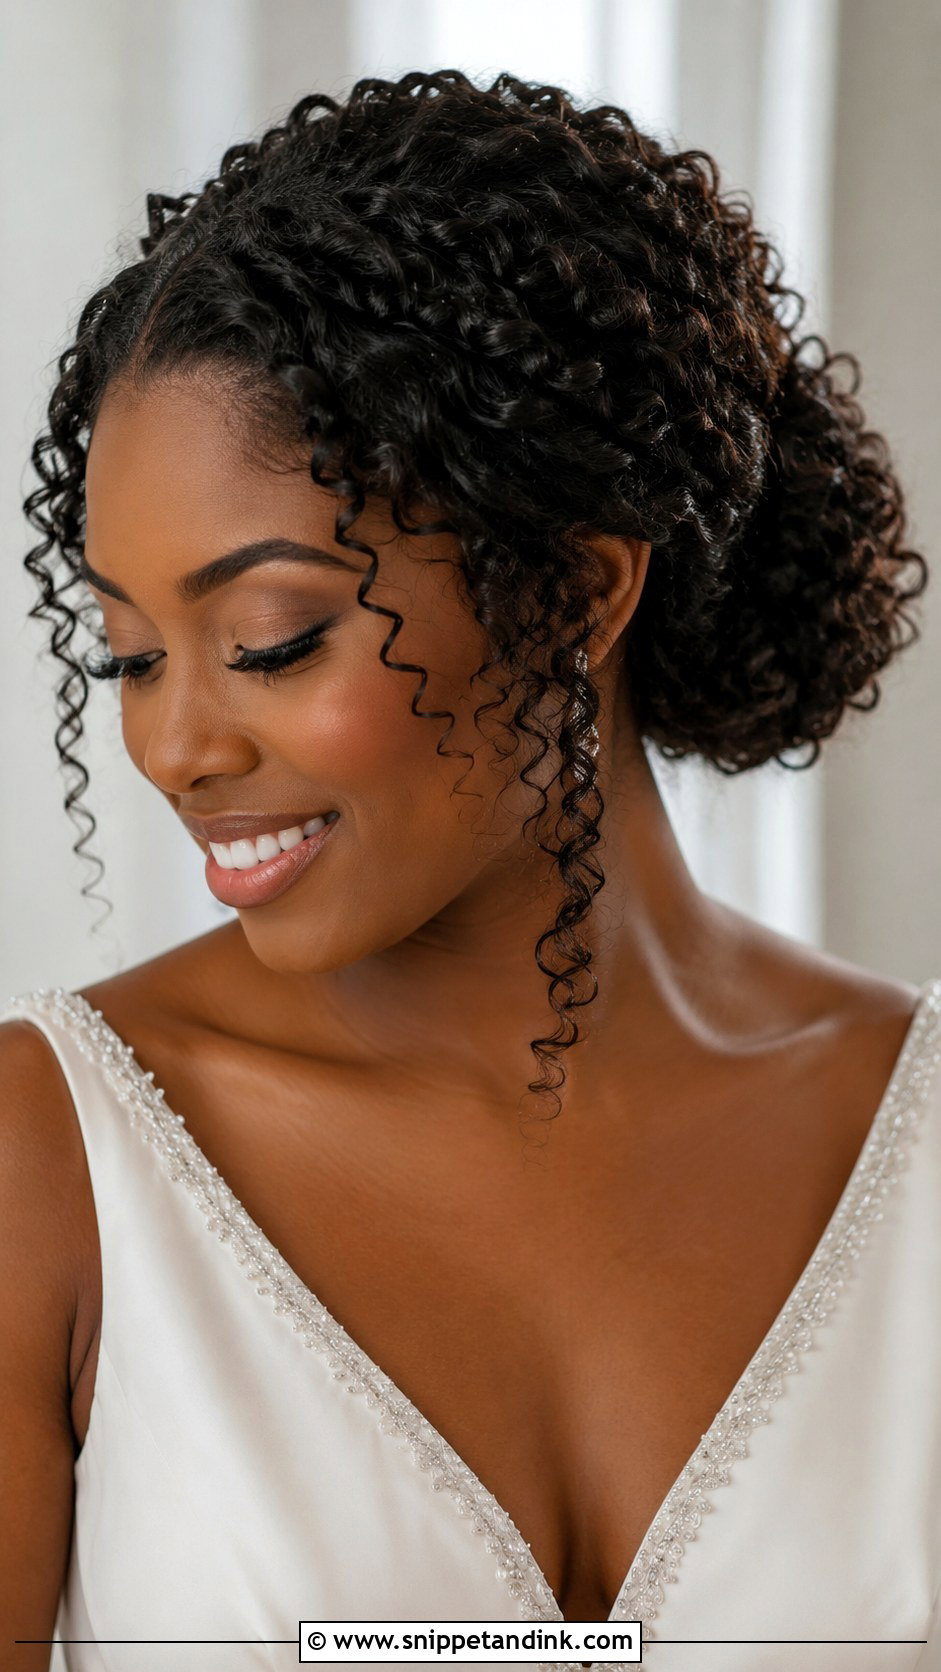
Brushing curls to gather them is the mistake I correct most often with curly brides. It turns defined ringlets into a cloud. A curly hair wedding updo tutorial should begin with hydration and definition, then gather by hand and pin curl by curl into a soft low shape. The pins go under each curl, angled into the base, so they disappear. Frizz control and hold are the two worries curly brides bring to trials, so talk through both on camera. Leave a few defined curls at the face rather than stretched pieces.
10. Short Hair Wedding Hairstyle Tutorial
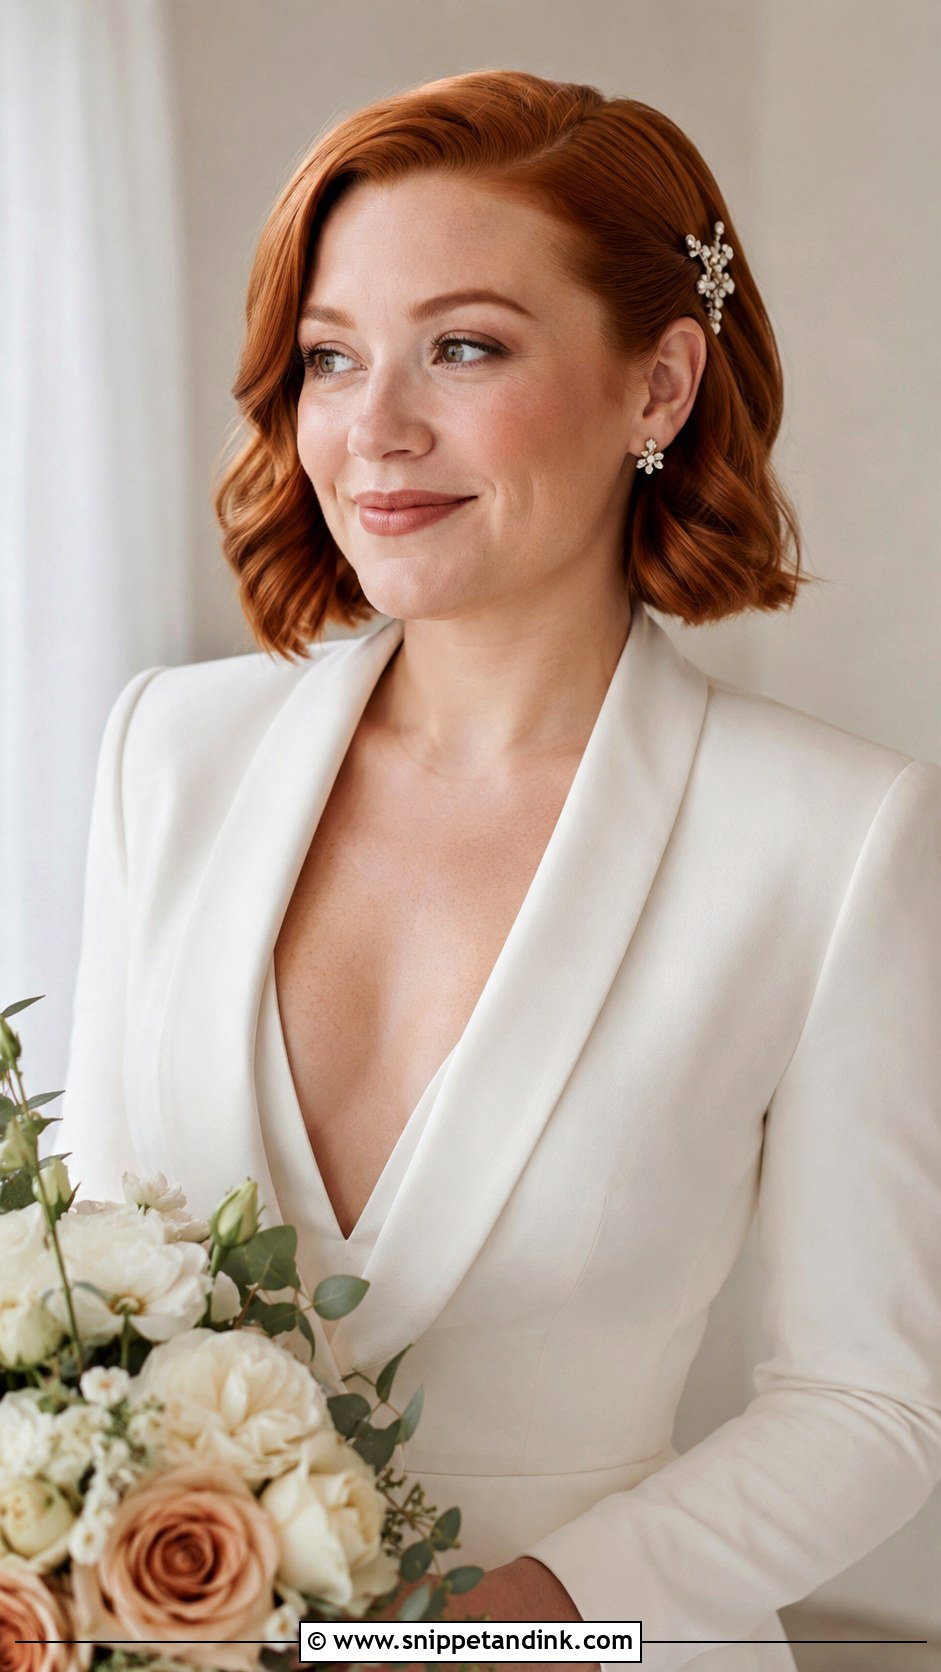
Short hair gets left out of most wedding content, and I think it deserves its own video. With a bob or lob there’s nowhere to hide pins, so the polish has to come from shape and shine: smaller curl sections, a soft brush-out, one side pinned back if the neckline is open, maybe a mini twist at the crown. A grown-out pixie can take a jeweled clip and a smooth side sweep. Film close, because smooth ends and the clip carry the look.
11. Long Hair Wedding Waves Tutorial
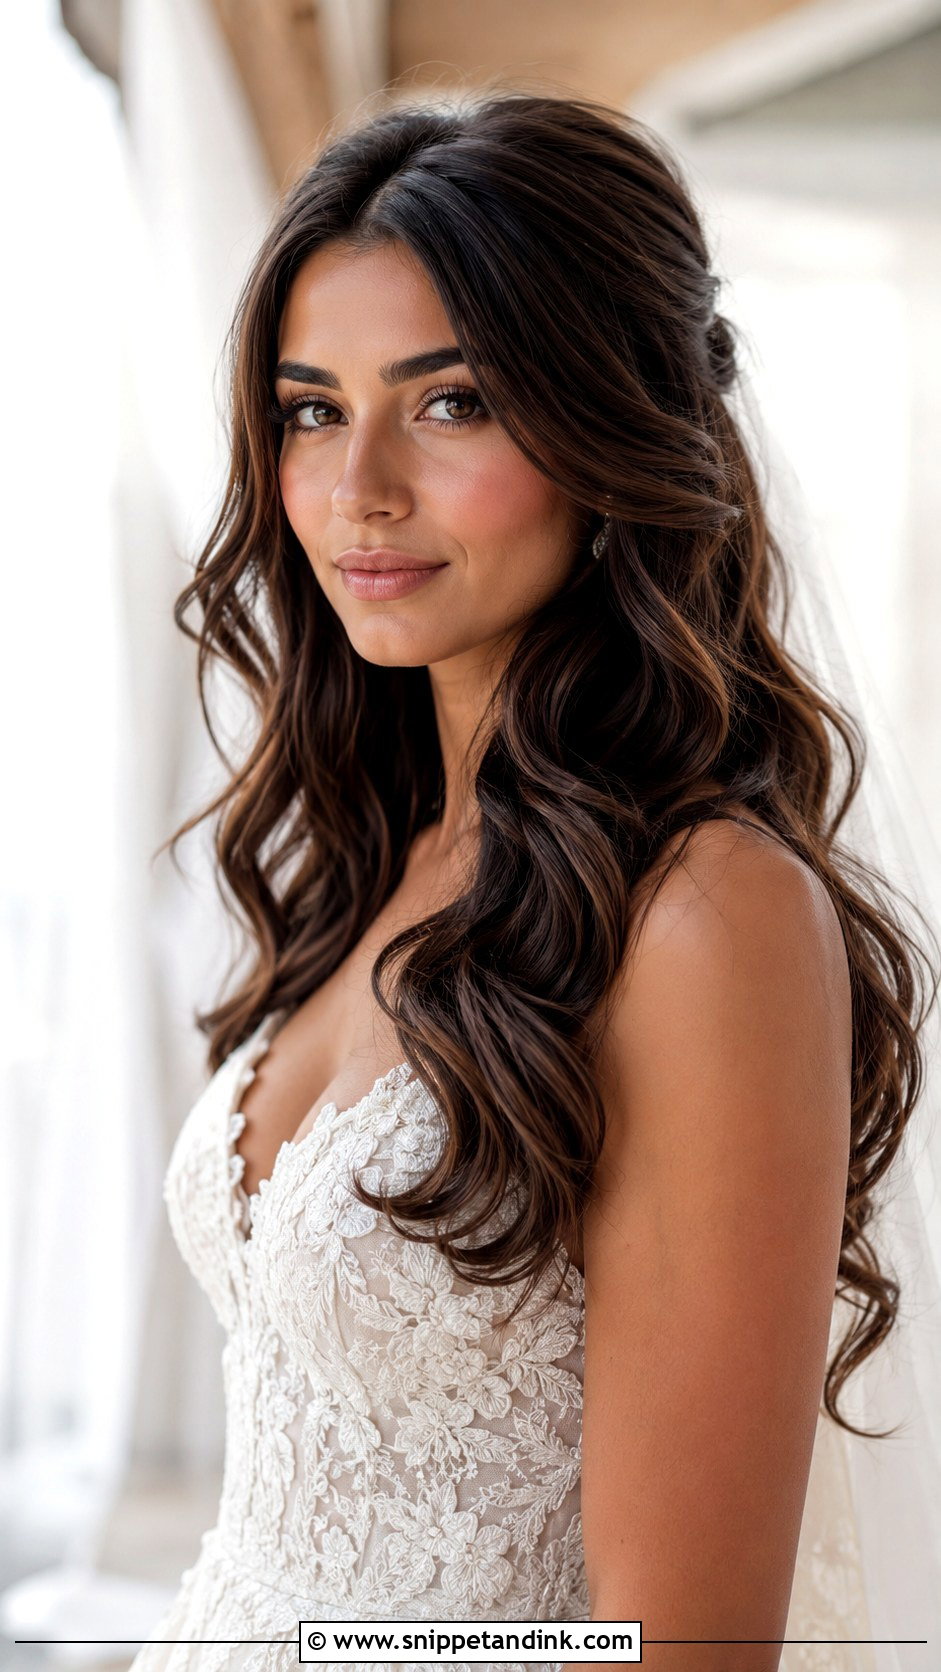
Long waves fall flat faster than anyone expects, simply from the weight of the hair. The tutorial should show heat protectant, clean sections, curling away from the face, and letting every curl cool in a pin curl before brushing. I place volume at the crown and behind the ears, not on top, so the shape doesn’t look boxy. Show it moving from front, back and side. If the day is humid, say so: a light hold spray between curls helps, but long hair will still loosen by the reception.
12. Side Braid Wedding Hairstyle Tutorial
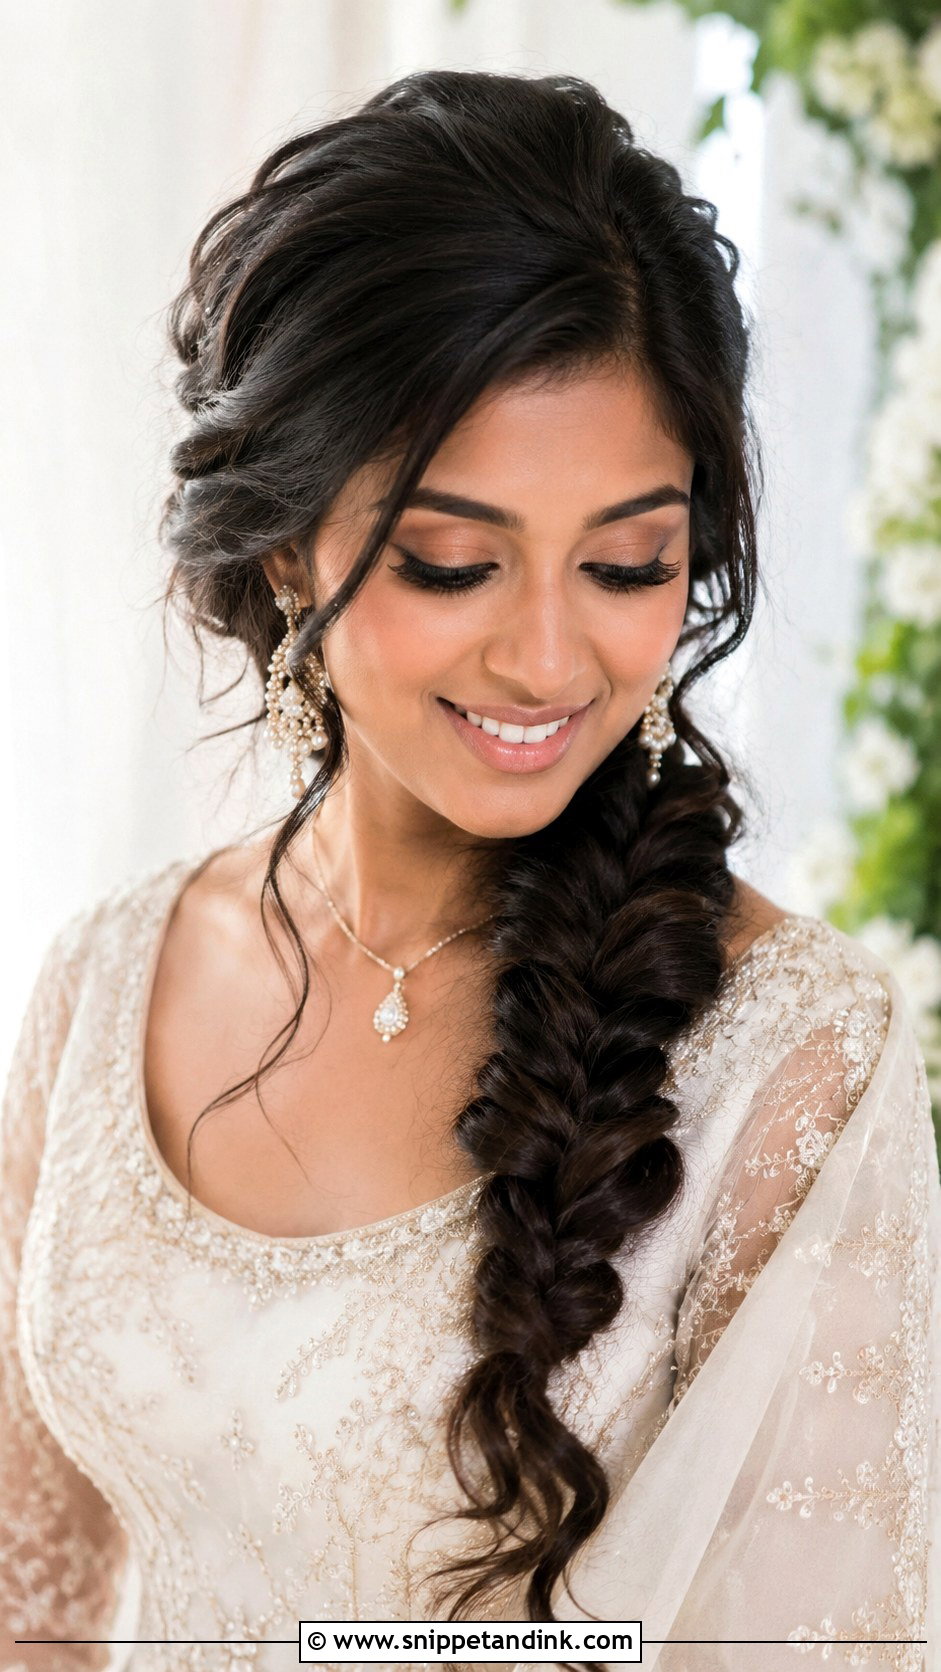
Off-shoulder dresses and side braids belong together because the braid fills the bare shoulder line. The side braid wedding hairstyle tutorial works best on waved hair swept to one side, braided loosely while the crown keeps its height. Fishtail, Dutch and three-strand all suit it. Pin the sweep behind the ear on the opposite side, or the weight pulls the braid backward through the day. When loosening, show viewers how to pull the outer loops only, holding the base, so the braid doesn’t come apart.
13. Bridal Bun With Veil Tutorial
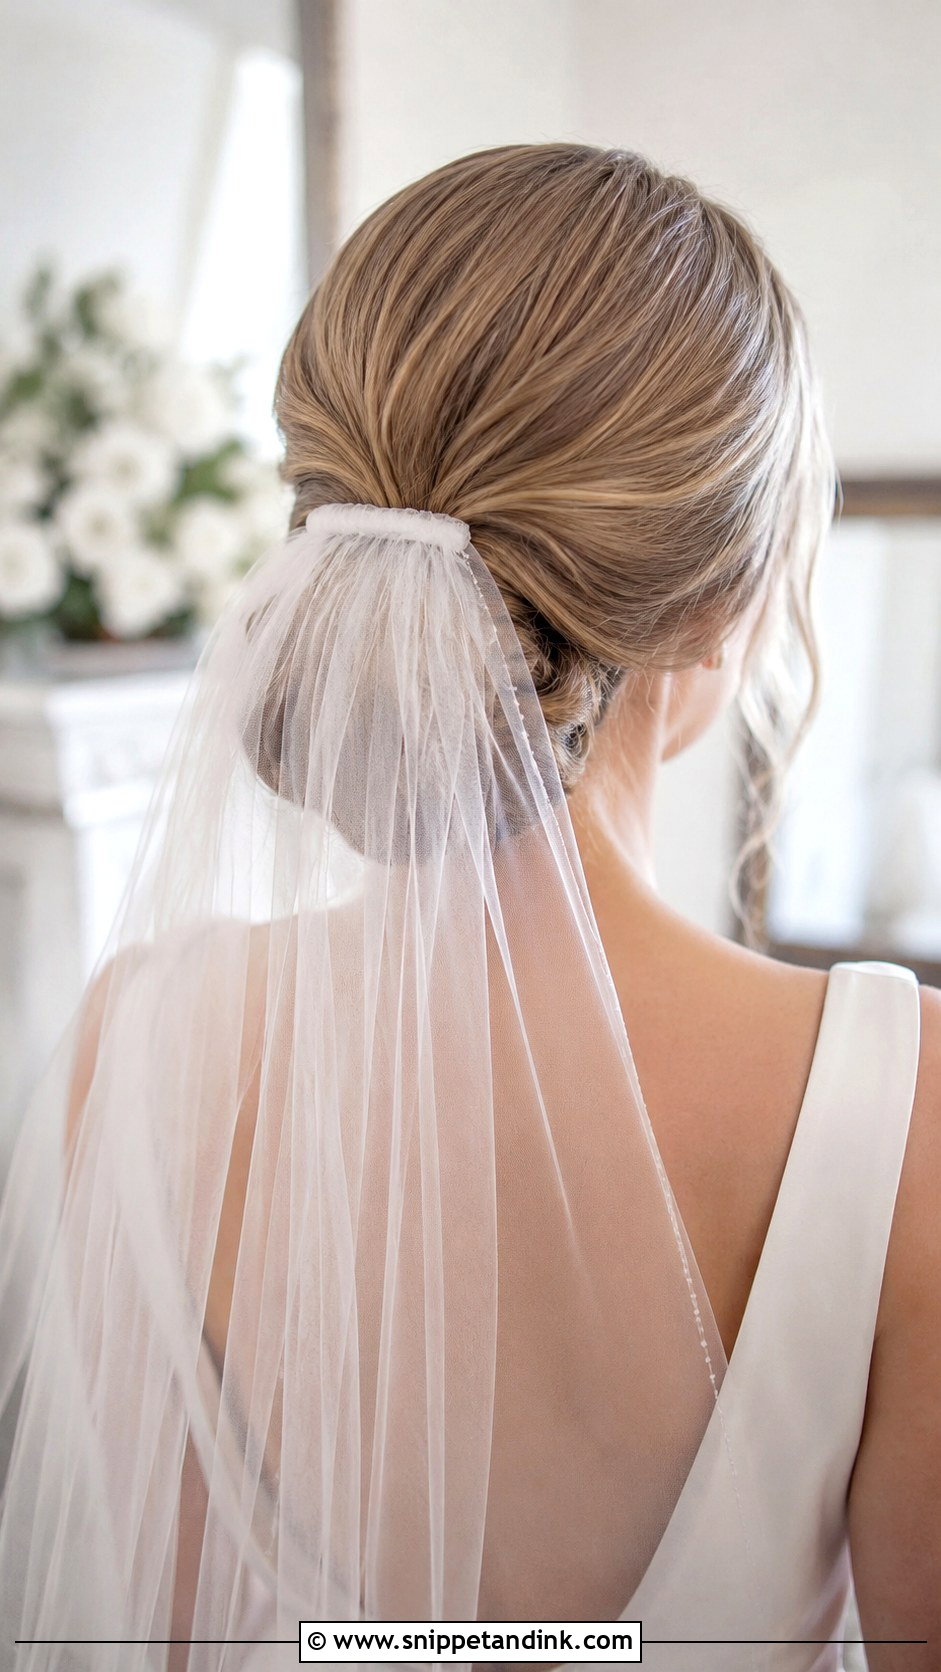
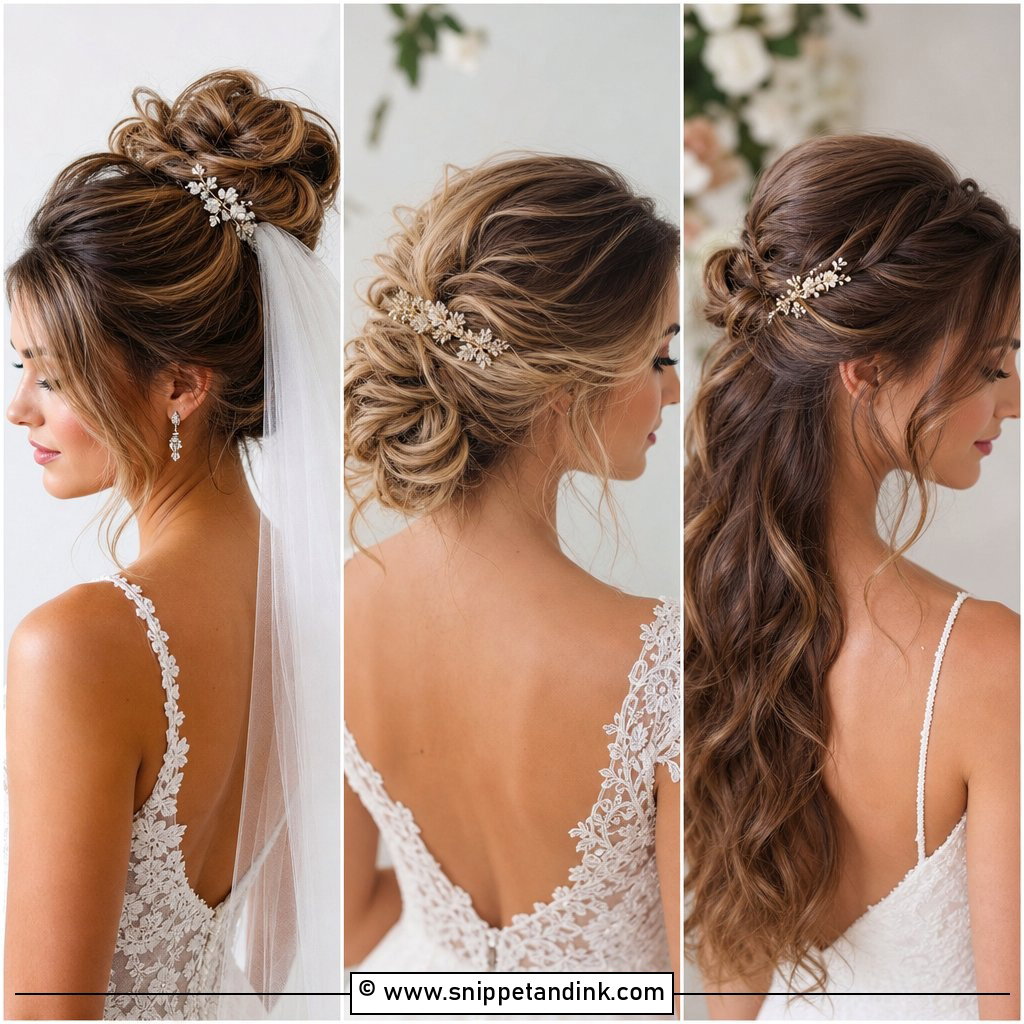
Where does the veil go? I hear that question at nearly every trial. A bridal bun with veil tutorial should build the bun first, then show the comb going in just above it or tucked underneath, and explain why it doesn’t crush the shape. Low buns give the comb a stable base. I always slide two crossed grips into place first and push the veil comb through them, which stops the weight dragging it. Show the hair after the veil comes off too, since most brides remove it before dinner.
14. Pearl Pin Wedding Hairstyle Tutorial
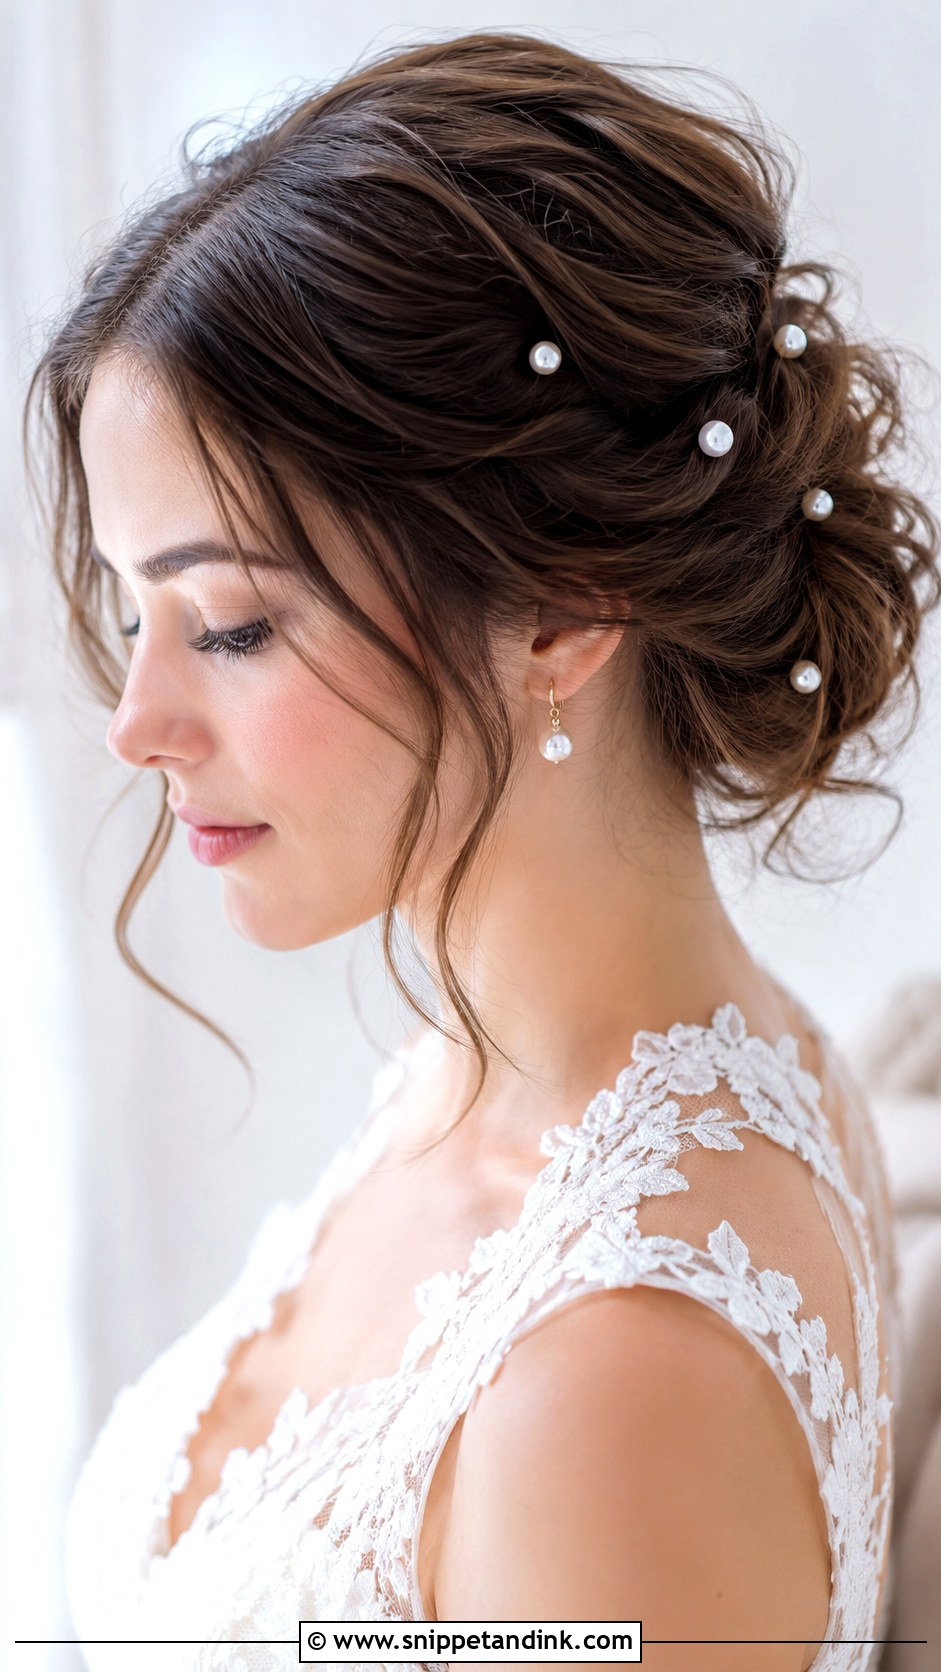
Pearl pins are easy to overdo. Too many crowd the hair; too few vanish once the camera steps back. A low bun, soft updo, half up style or loose waves all work as the base, so the video should focus on placement: along the curve of a bun, beside a twist, or in a small cluster at the side of the crown. I set them in odd numbers and check from three feet away, where guests actually see them. Bridesmaids can wear this easily, and it’s quick to repeat across a whole party.
15. Natural Hair Wedding Hairstyle Tutorial
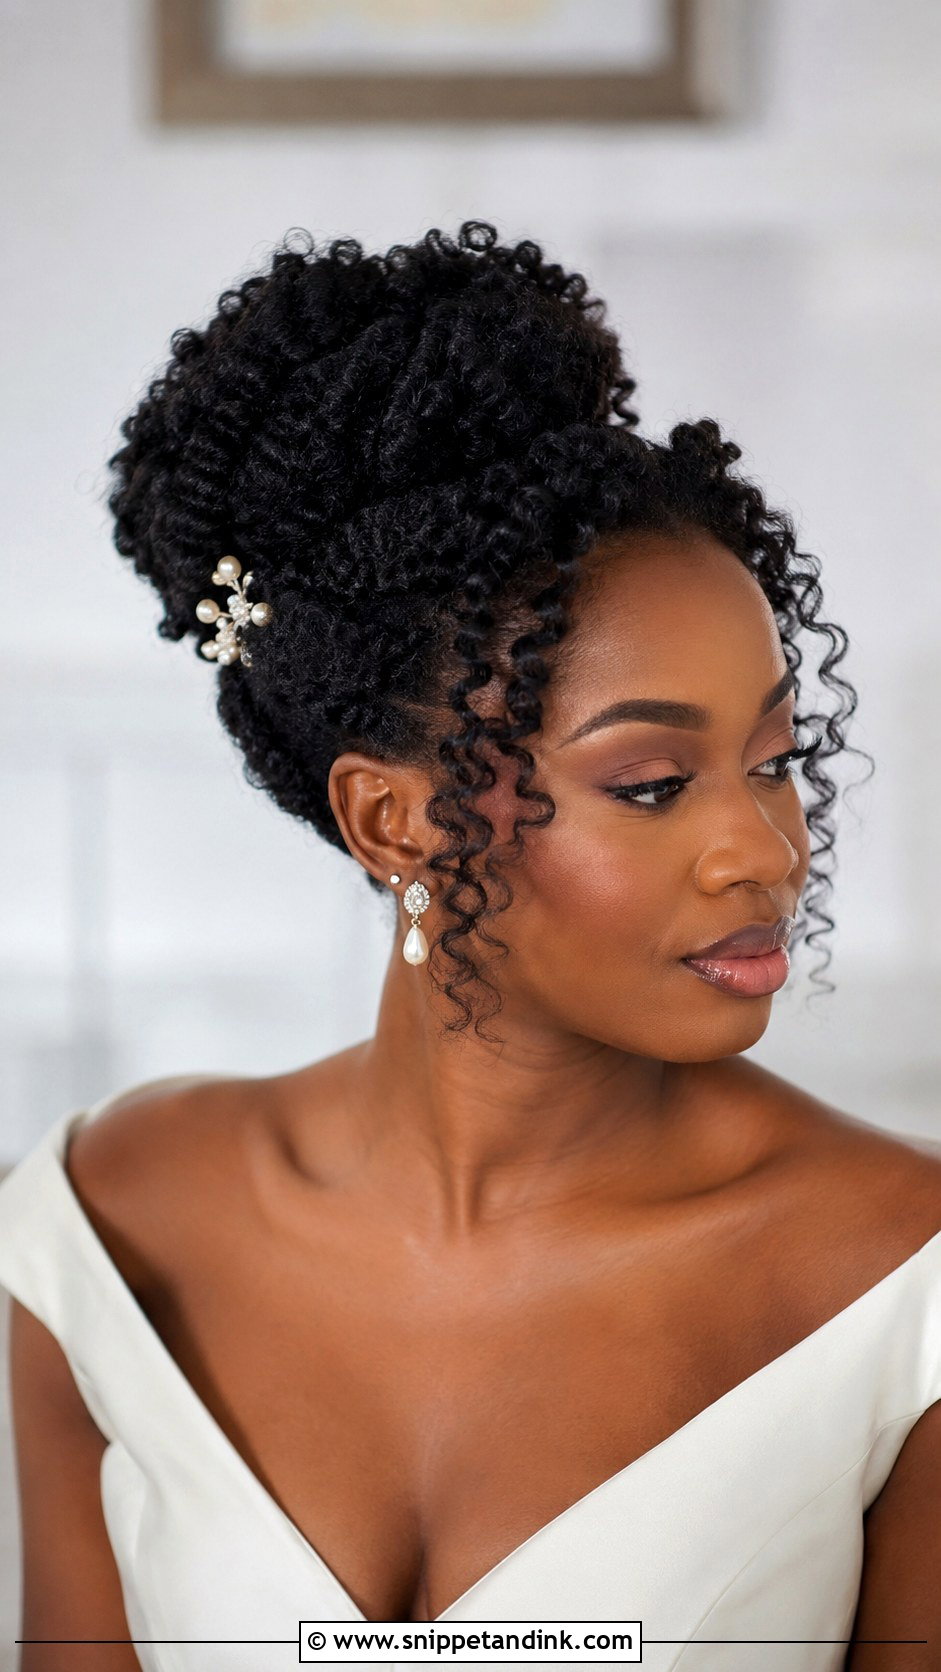
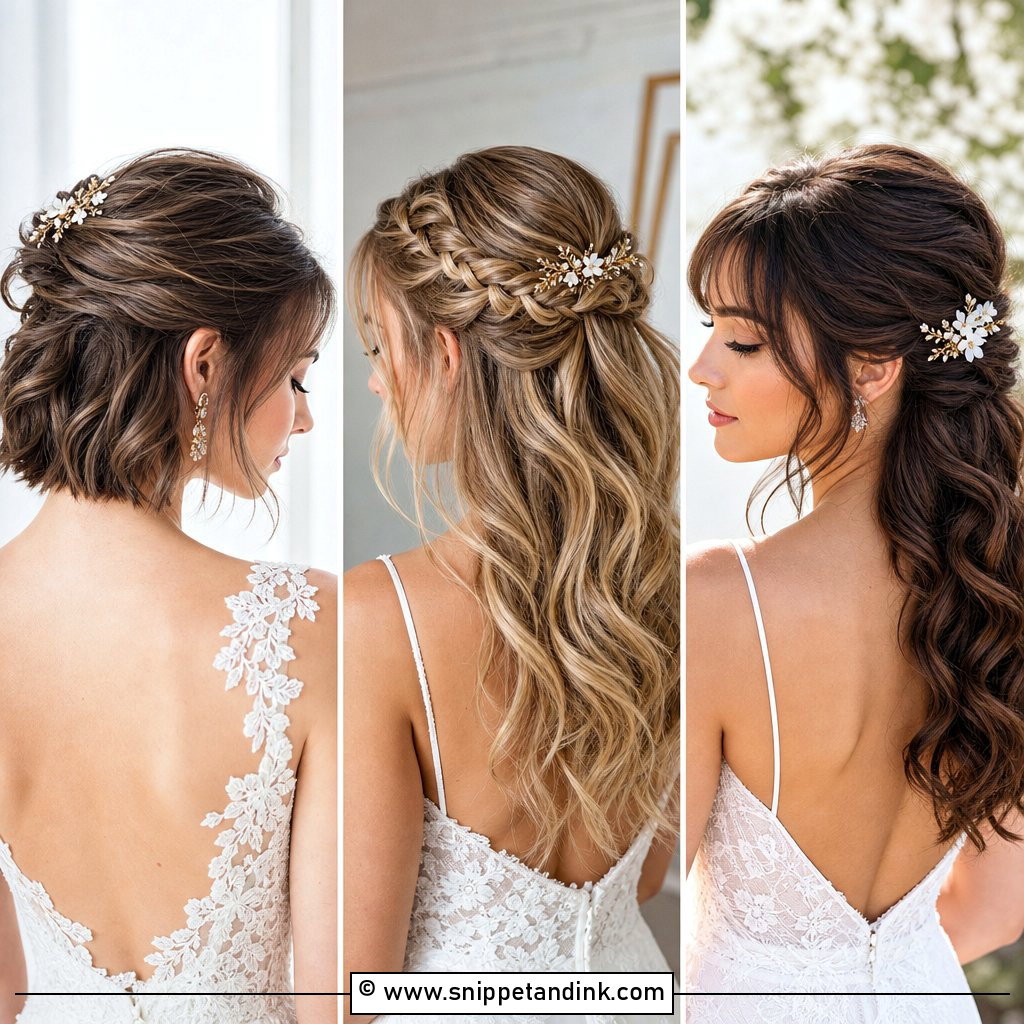
Natural hair needs a tutorial that respects its volume rather than fighting it. A defined curly updo, a twisted crown, a puff with pinned detail or a low textured bun all photograph well. Show the prep honestly: moisture, sectioning, edges smoothed if the wearer wants them, and pins slid in gently so they don’t snag or pull at the scalp over a long day. Film the crown and back fully, because that’s where the shape needs to be balanced. Texture should be the focus here, not something to tame.
Rehearse the Style Three Times Before It Counts
A style learned from a screen needs practice runs, and I’d plan three. The first one is slow and messy, and that’s fine. The second should be done with the products you’ll actually use on the morning. The third is a wear test: do it, then go about a normal day for six hours and see what has slipped.
What the wear test tells you
- If the front pieces fall in an hour, they need to be set in pin curls while you do makeup.
- If the bun sags, the anchor underneath is too loose. Add a small elastic before you shape it.
- If pins dig in, they’re pushed straight down instead of sliding flat along the scalp.
Have whoever will help you on the day watch the second run, since nobody can pin the back of their own head neatly. Bring a hand mirror and a phone to film the back, so you see what guests will see.
When a Tutorial Isn’t Enough
Some looks are honestly hard to do on yourself: crowns, French twists and anything that relies on a perfectly placed veil. If you’ve tried twice and the back still has gaps, it isn’t a skill problem, it’s a reach problem. That’s the point where I’d book a single stylist appointment for the morning, or hand the video to a friend with steady hands and let them practice on you. Keep a small kit of grips, an elastic, a mini spray and a clear comb in your bag either way, since even well-pinned hair needs a quick reset after photos.
Pause, Rewind and Pin It Yourself
The videos worth saving solve a real problem: a veil that slides, curls that drop, a bun that sags. Prep, sectioning, pinning, the finished shape and any accessories should all be on screen. Brides want to know whether a style fits their length, texture, dress and venue, and whether they can stay comfortable in it until midnight. These 15 wedding hairstyle tutorial videos range from polished classics and modern ponytails to short hair, curls, braids and natural texture. Pick one, watch it twice, then try it on yourself well before the week of the wedding.
You'll Like These Ideas:


Leave a Reply