
Brides save hair tutorials by the hundred, and I understand why: a finished photo tells you nothing about how a style is built. A good video shows the parts that decide whether hair lasts, from prep and sectioning to curl direction, pin placement and where the veil comb goes. The best bridal hair tutorial videos also let you see the shape from the back and side before your trial. Below are fifteen styles I think are worth learning from video, with what I’d look for in each one so you can tell a useful tutorial from a pretty one.
Is That Video Even Made for Your Hair?
Plenty of tutorials look easy because the model has ideal hair for that style. Before you spend an evening copying one, I’d check a few things in the first minute.
- Texture and density. A loose waves video filmed on thick, wavy hair won’t translate to fine, straight hair, which drops curl much faster. Find someone whose hair looks like yours.
- Hidden extensions or padding. Many full buns and braids get their volume from clip-ins or a donut. If the bun looks twice the size of the hair, assume something is in there.
- Jump cuts at the tricky part. If the video skips from loose hair to a finished twist, it isn’t teaching you the twist. Look for hands working in real time.
- The back view. You’ll never see the back of your own hair on the day, but every guest will. Skip videos filmed only from the front.
- Product amounts. Vague directions like some spray are fine for a casual look, less so for one that has to last ten hours.
If you’re booking a stylist rather than doing it yourself, note the timestamps of the moments you love and bring them. That’s a far clearer brief for me than a saved photo, because I can see the technique you’re picturing.
1. Low Bun Bridal Hair Tutorial
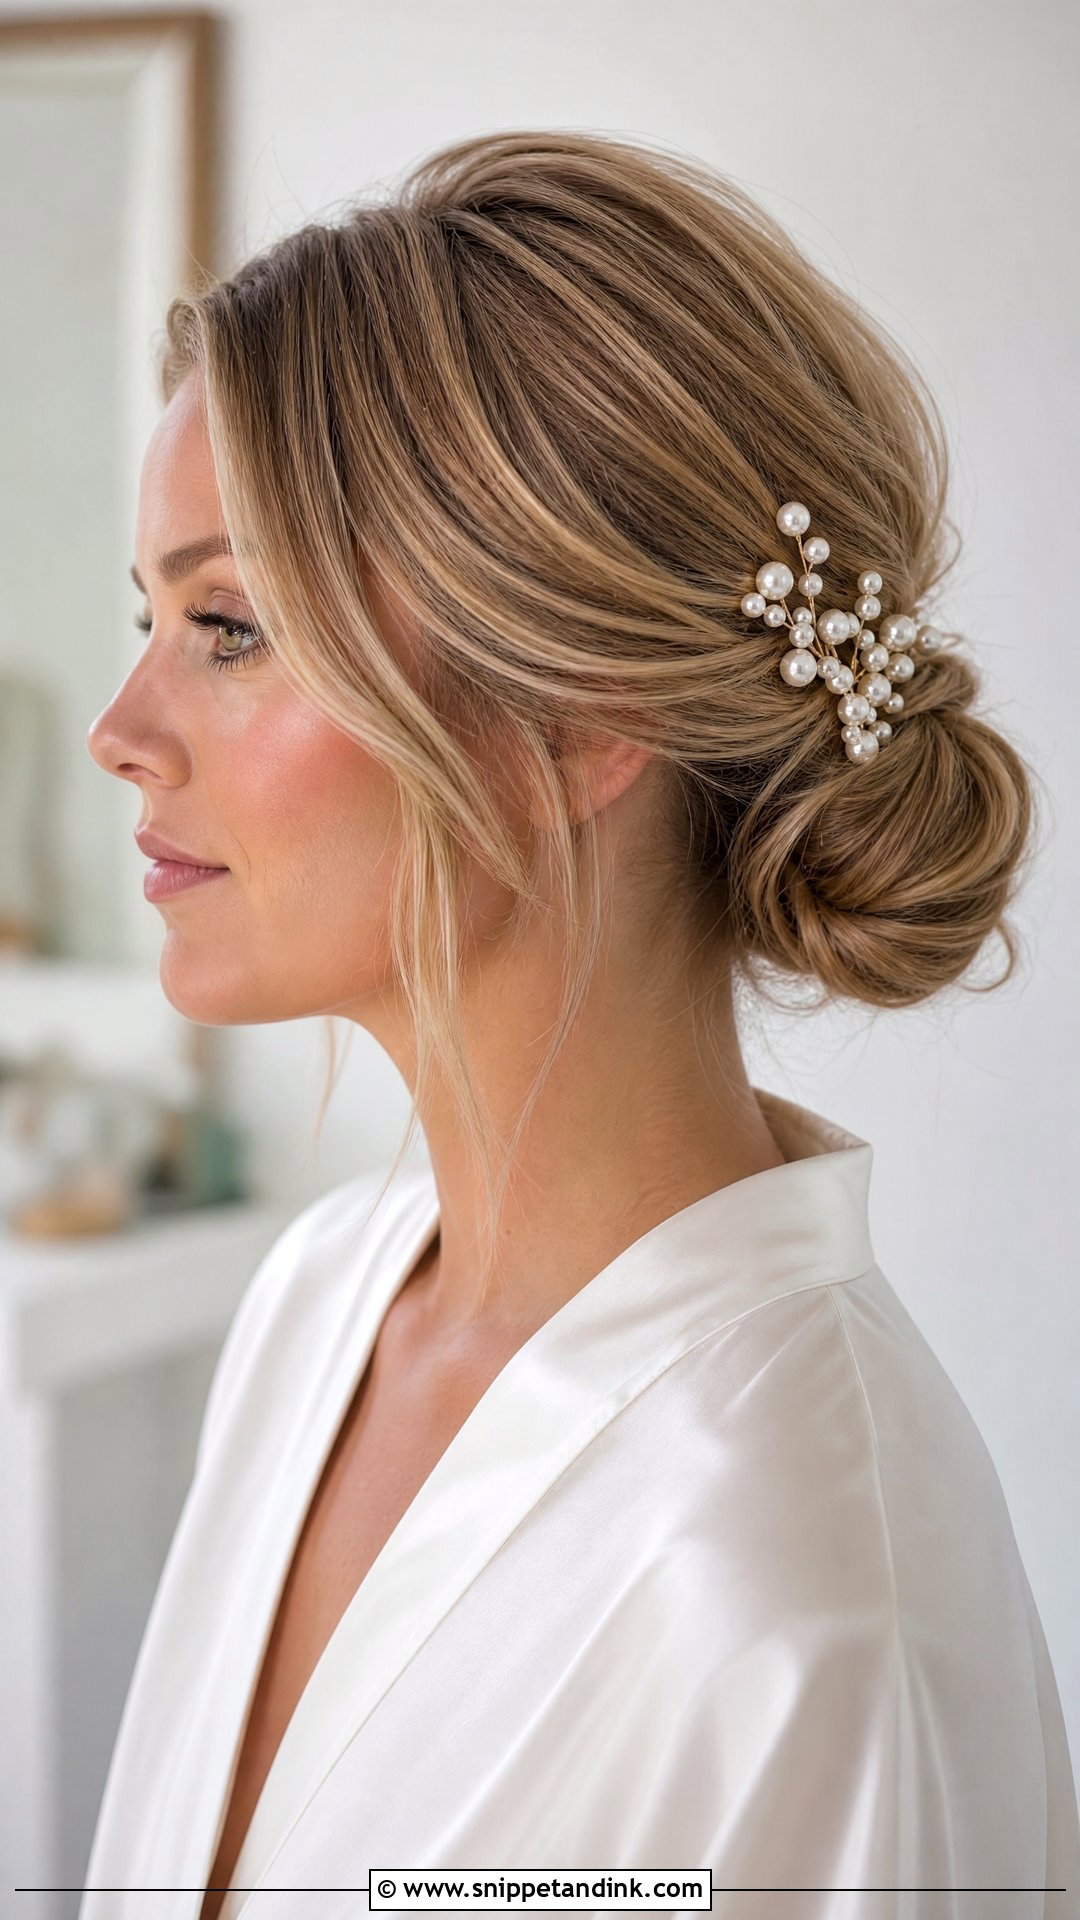
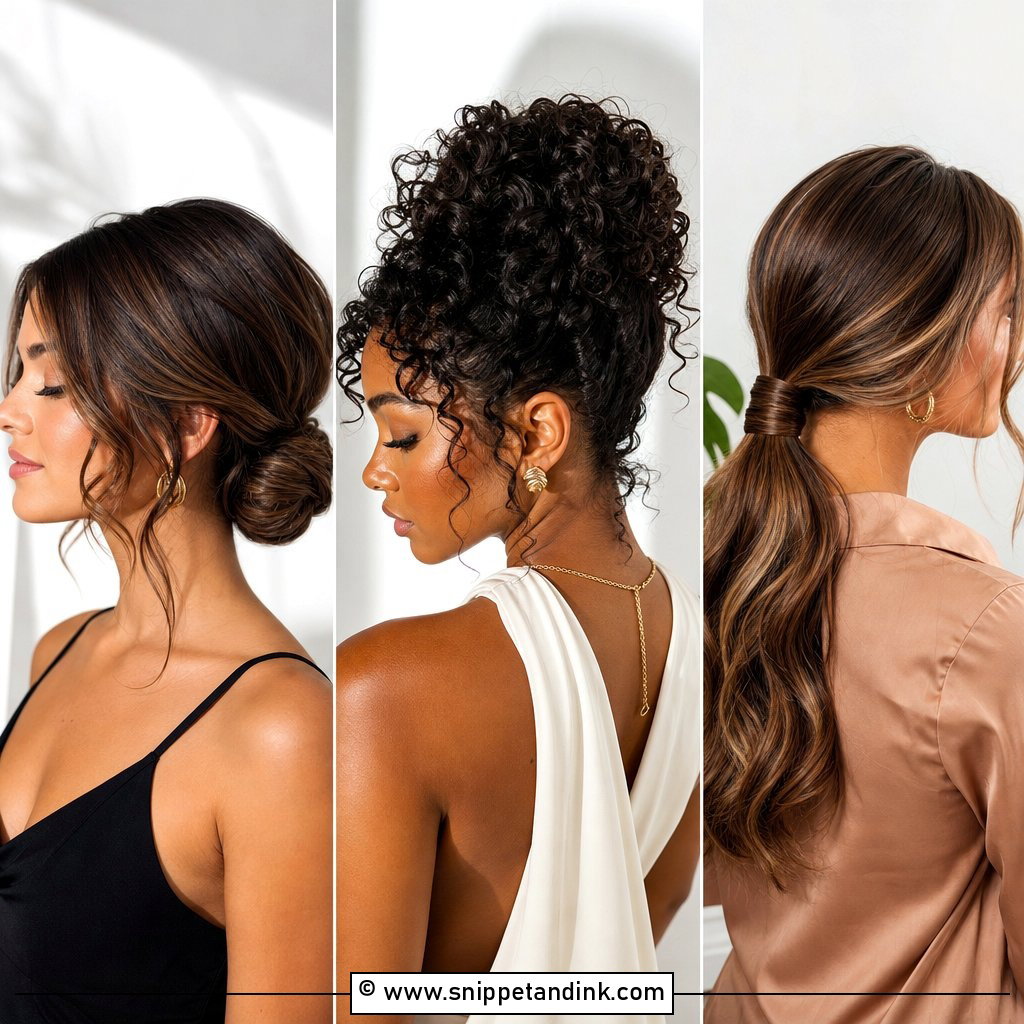
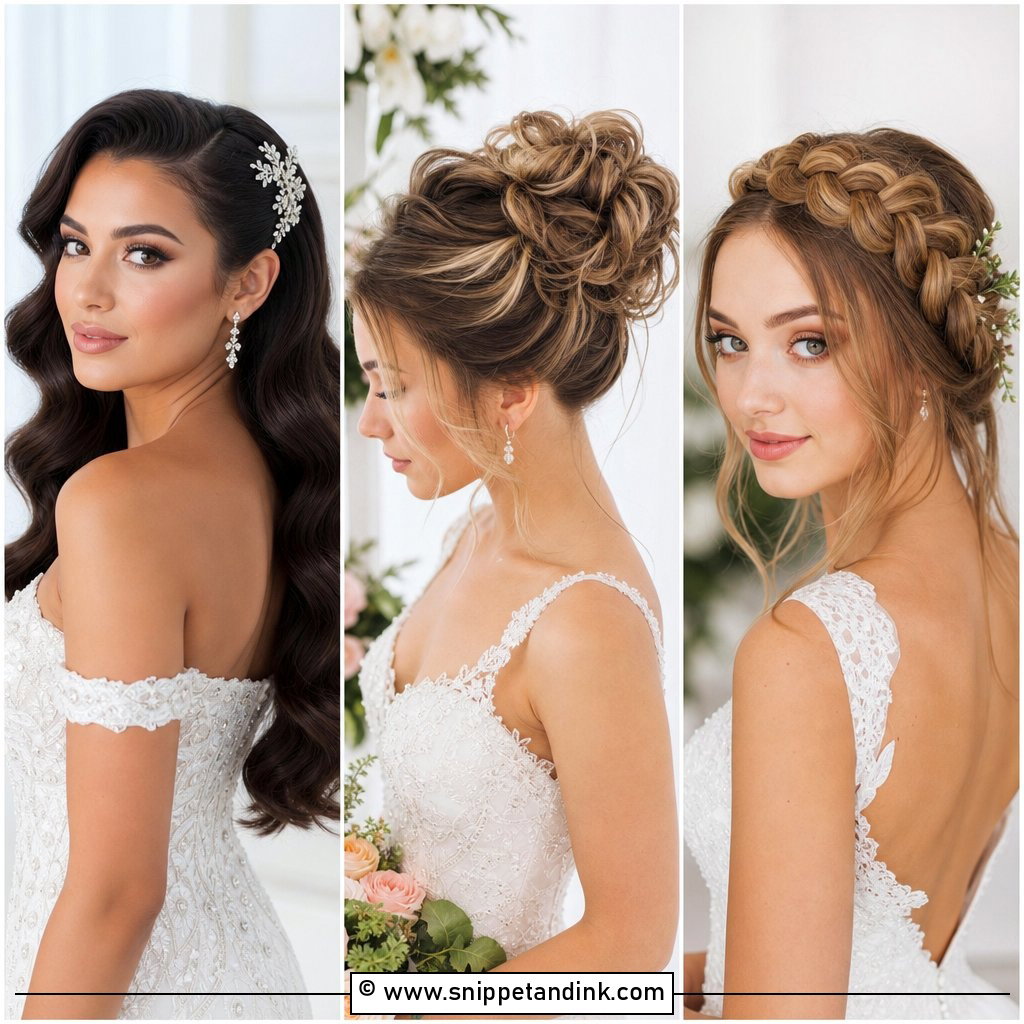
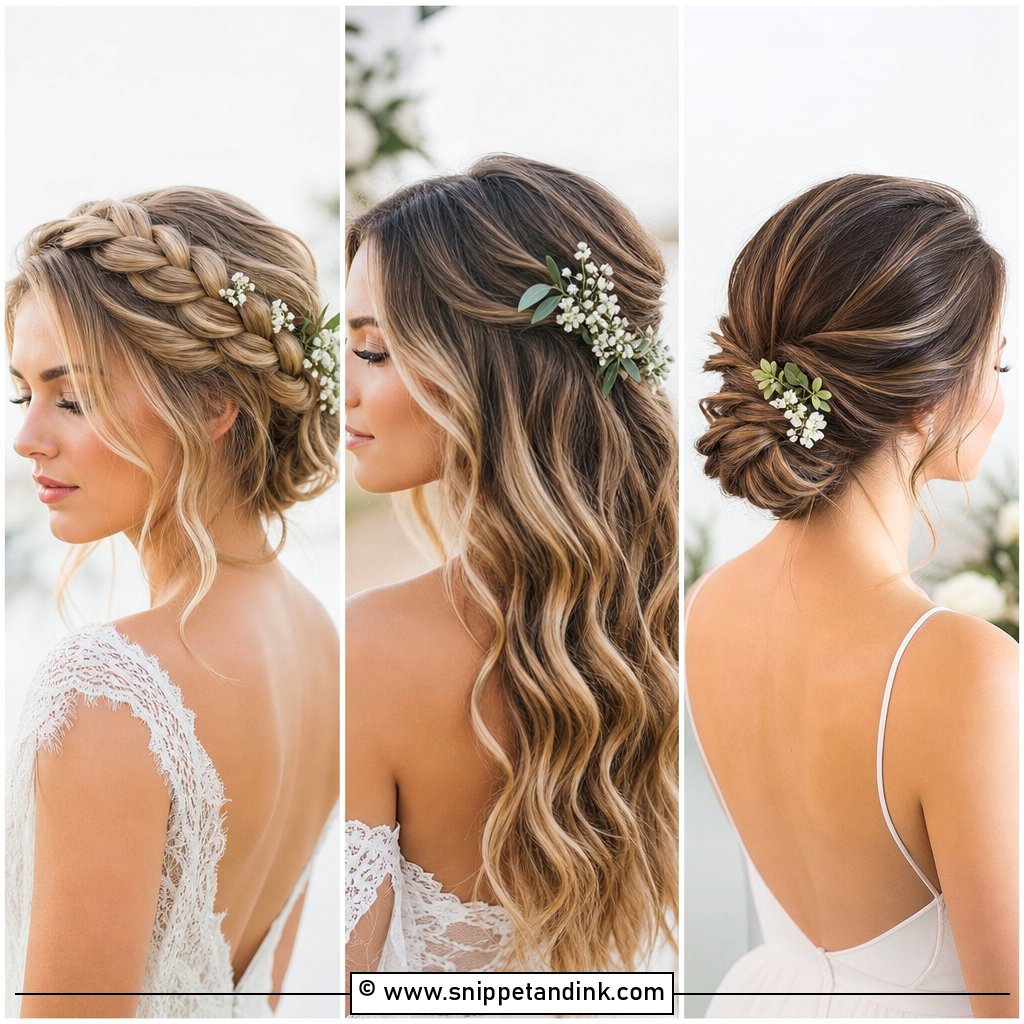
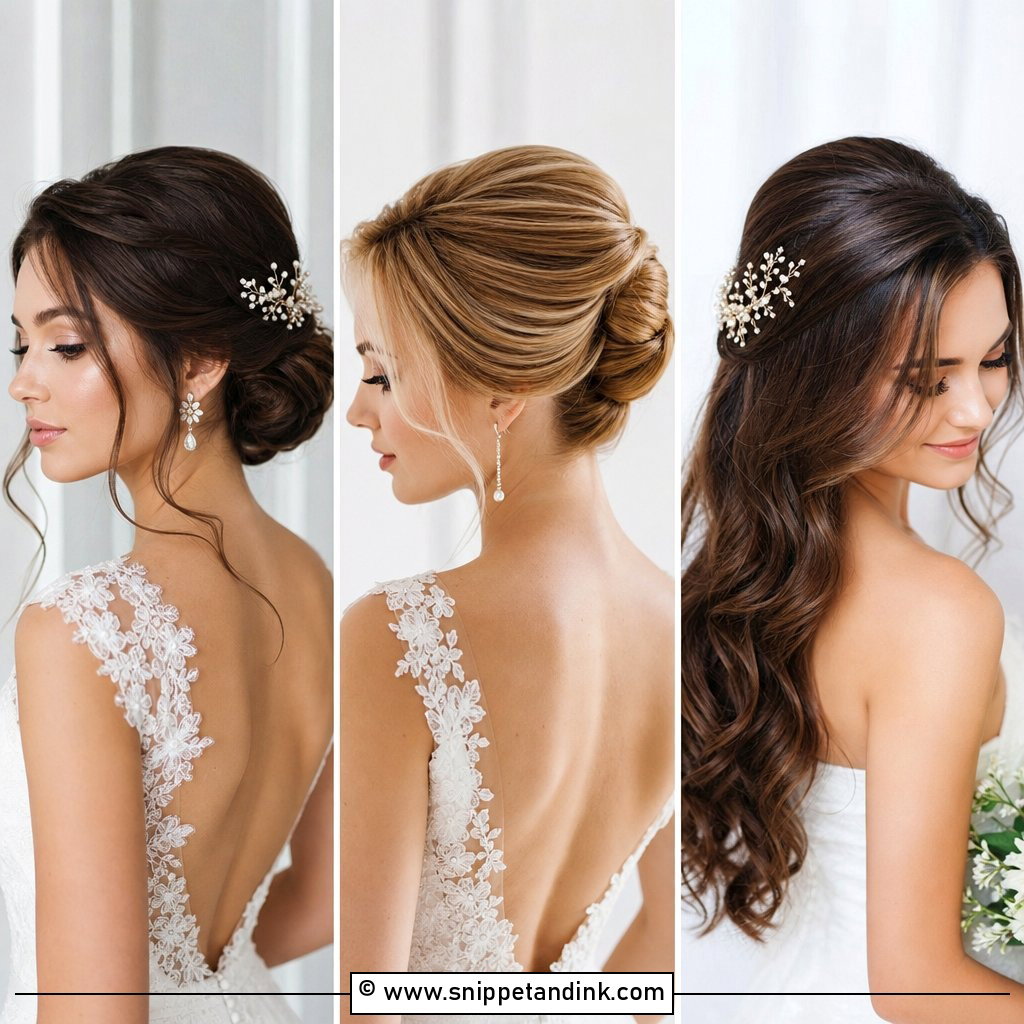
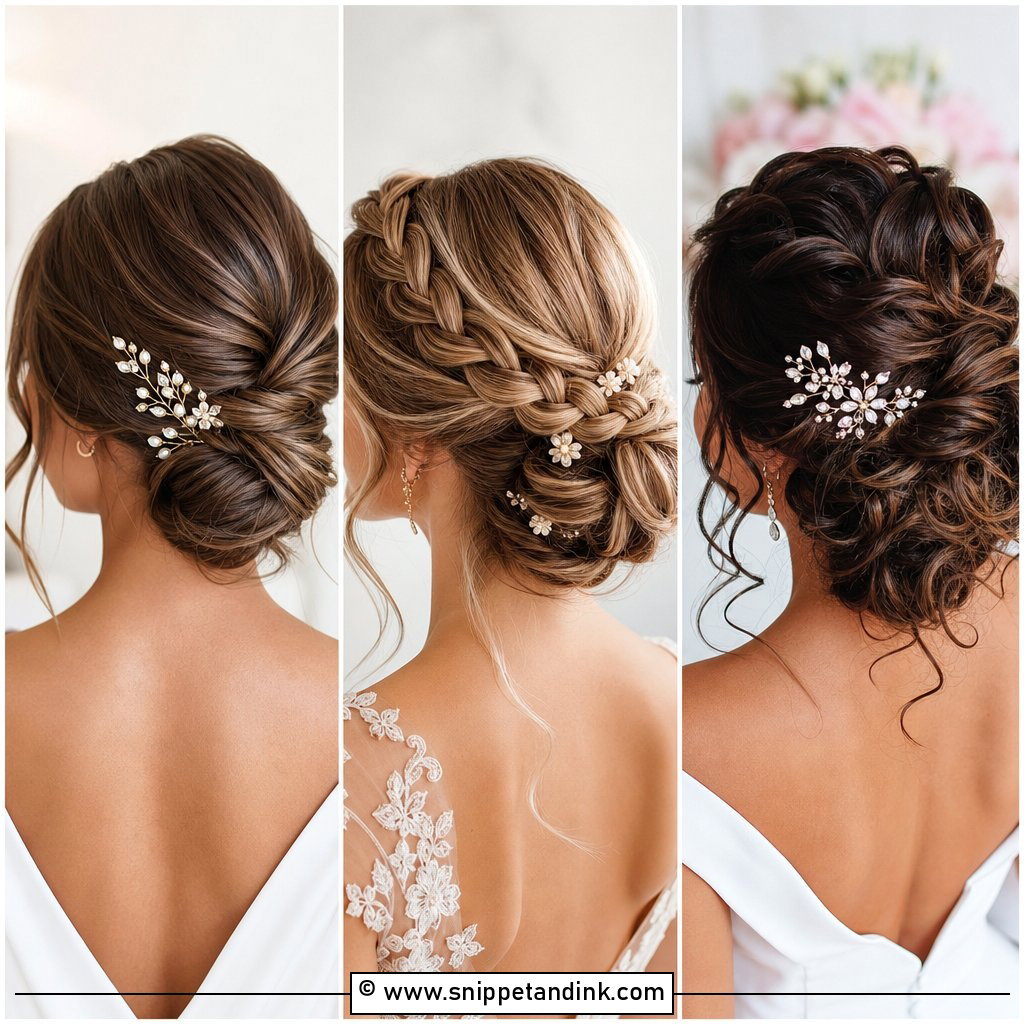
A low bun bridal hair tutorial is the one I’d watch first, because the same base sits under half the updos on this list. Look for a video that preps with texture spray and shows the hair gathered at the nape without flattening the crown. The step most videos rush is the wrap: the pins should go in angled toward the scalp and turned back on themselves, not pushed straight in. Get that right and the bun will take a veil comb, pearl pins or a vine without moving.
2. Textured Updo Bridal Hair Tutorial
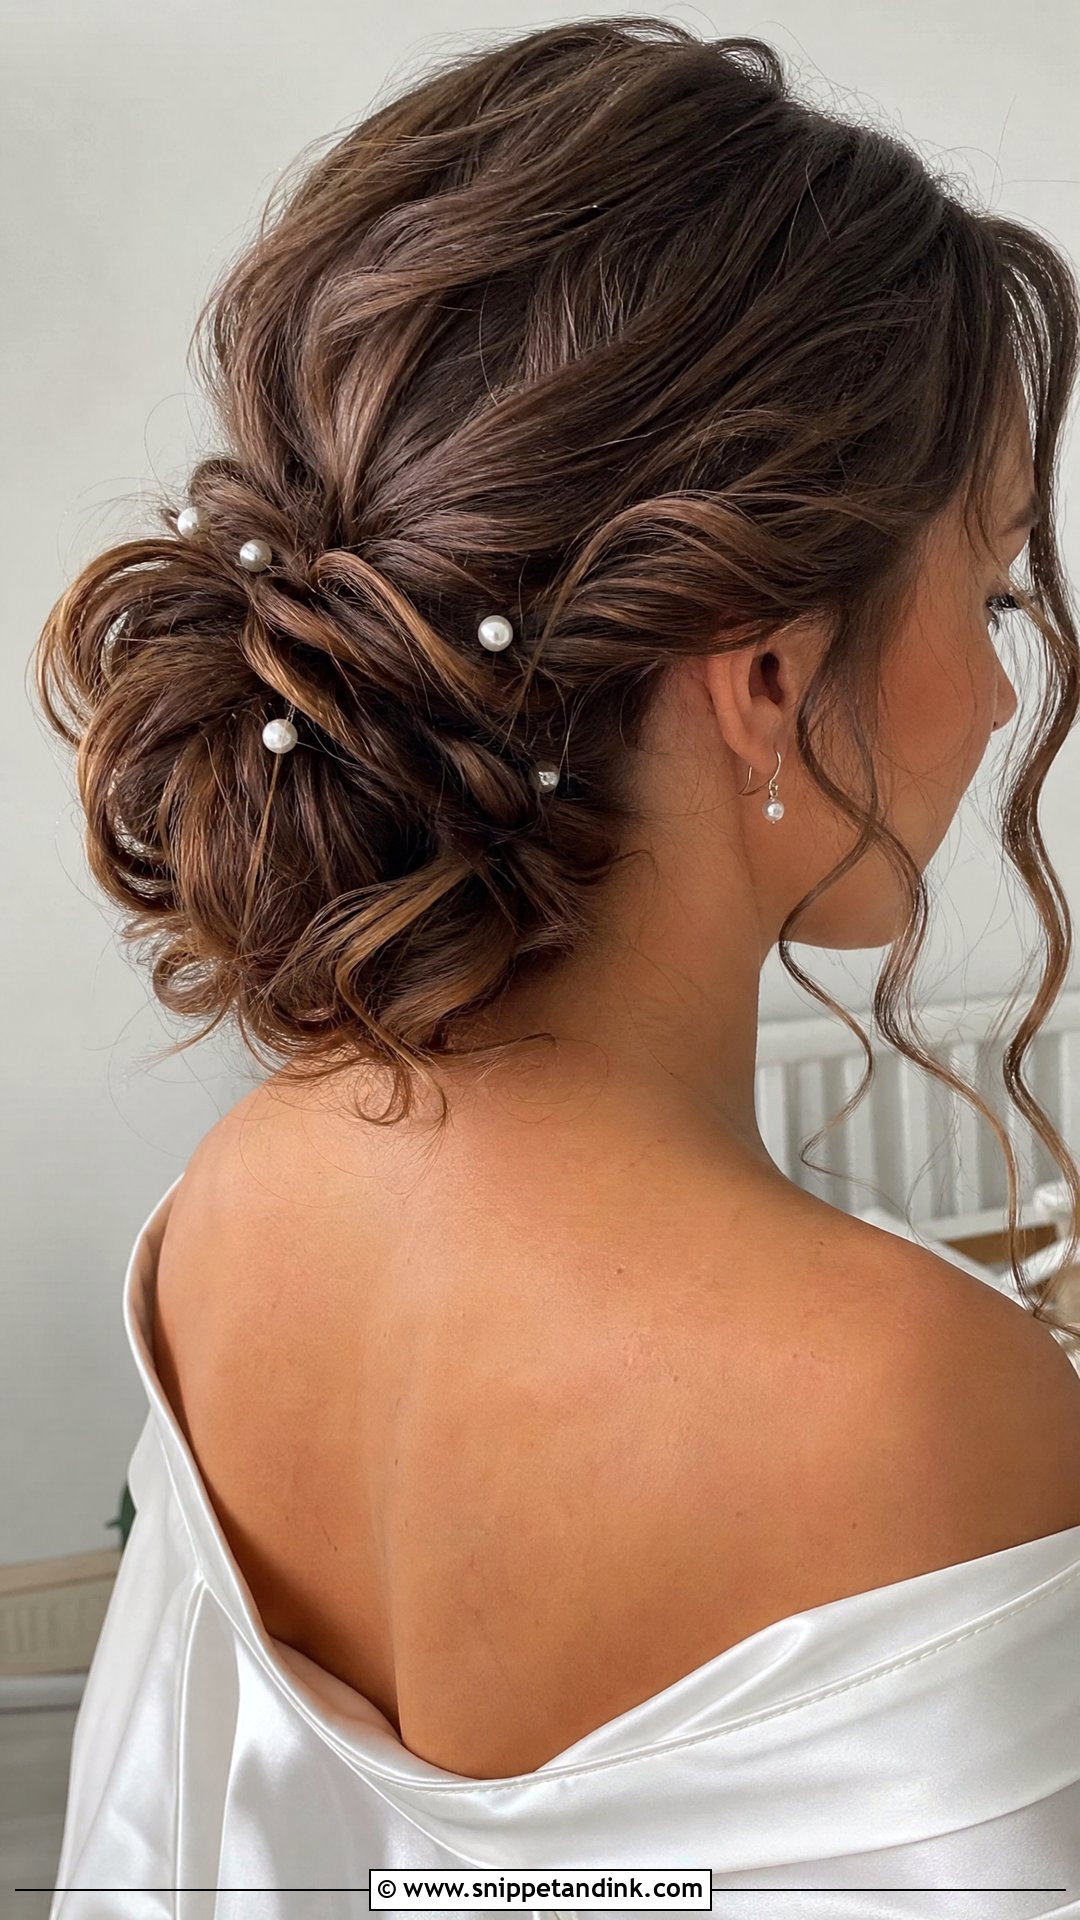
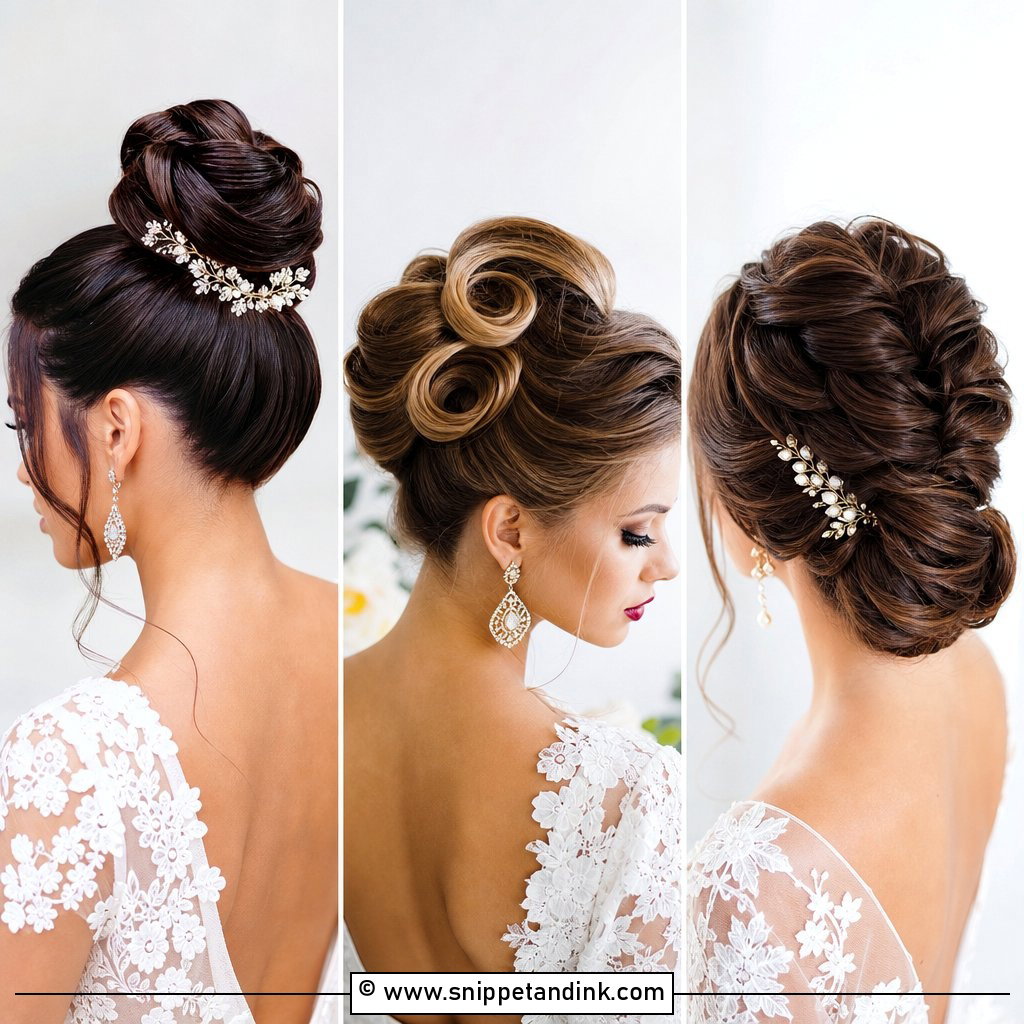
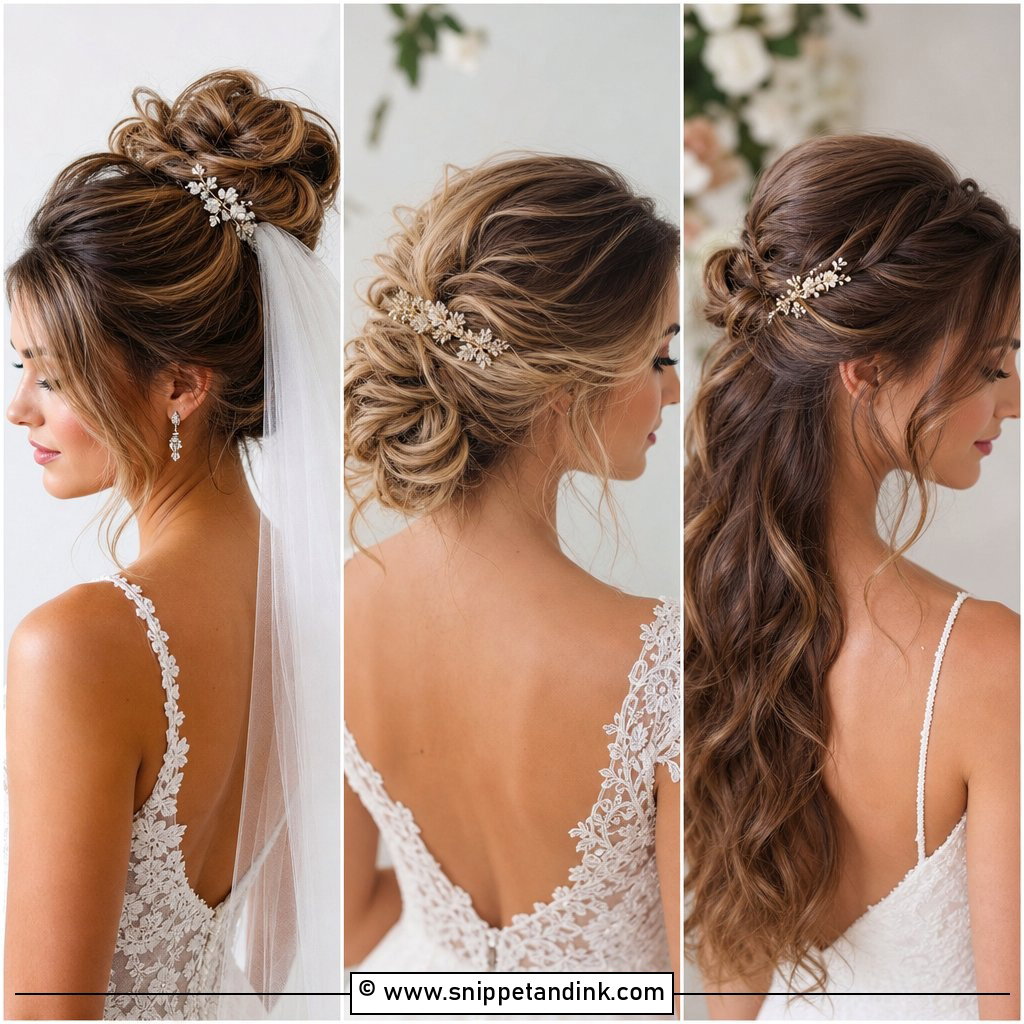
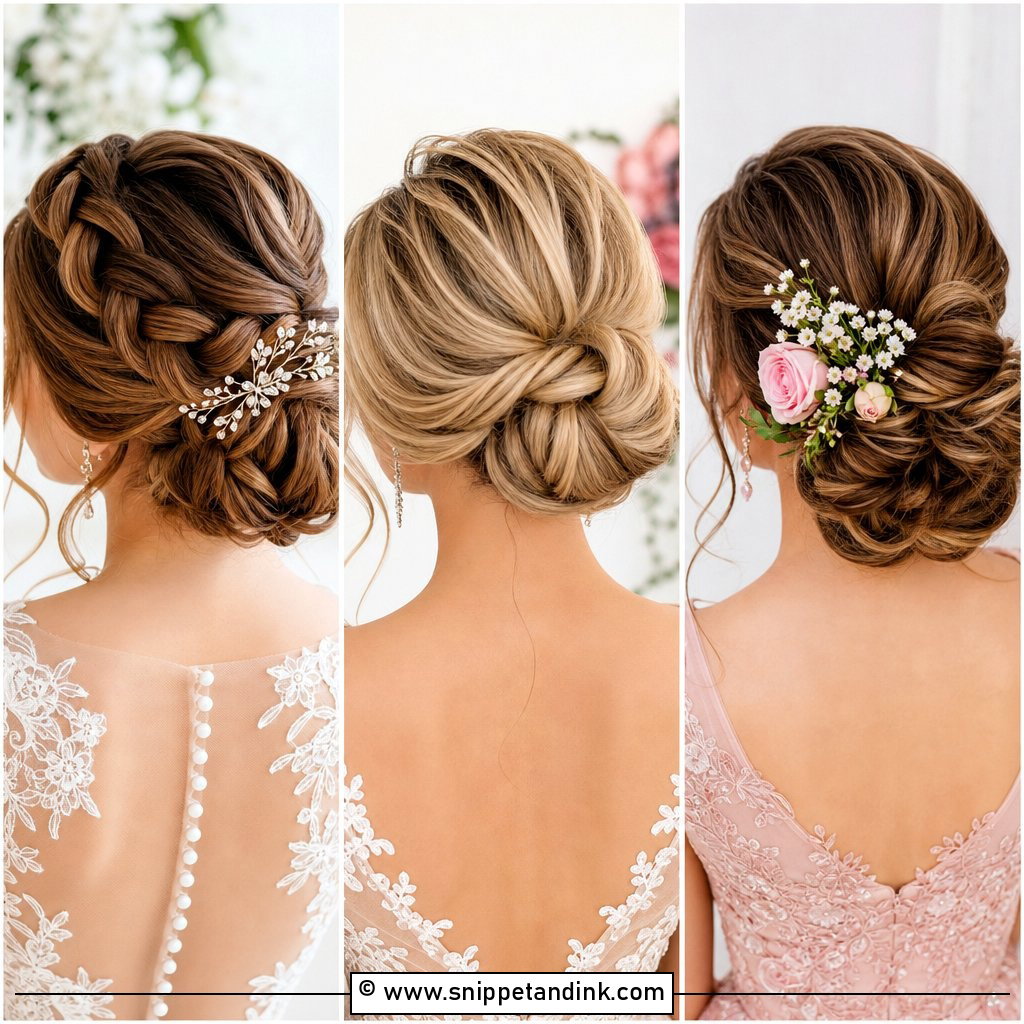
With a textured updo bridal hair tutorial, watch the hands rather than the result. The fullness comes from curling first, breaking the curls with your fingers and pinning many small sections, not one big twist. That’s how medium-density hair ends up looking thicker. I’d skip any video that leaves face-framing pieces loose and uncurled; in real life those go limp within two hours. This one suits lace and garden settings well.
3. Hollywood Waves Bridal Hair Tutorial
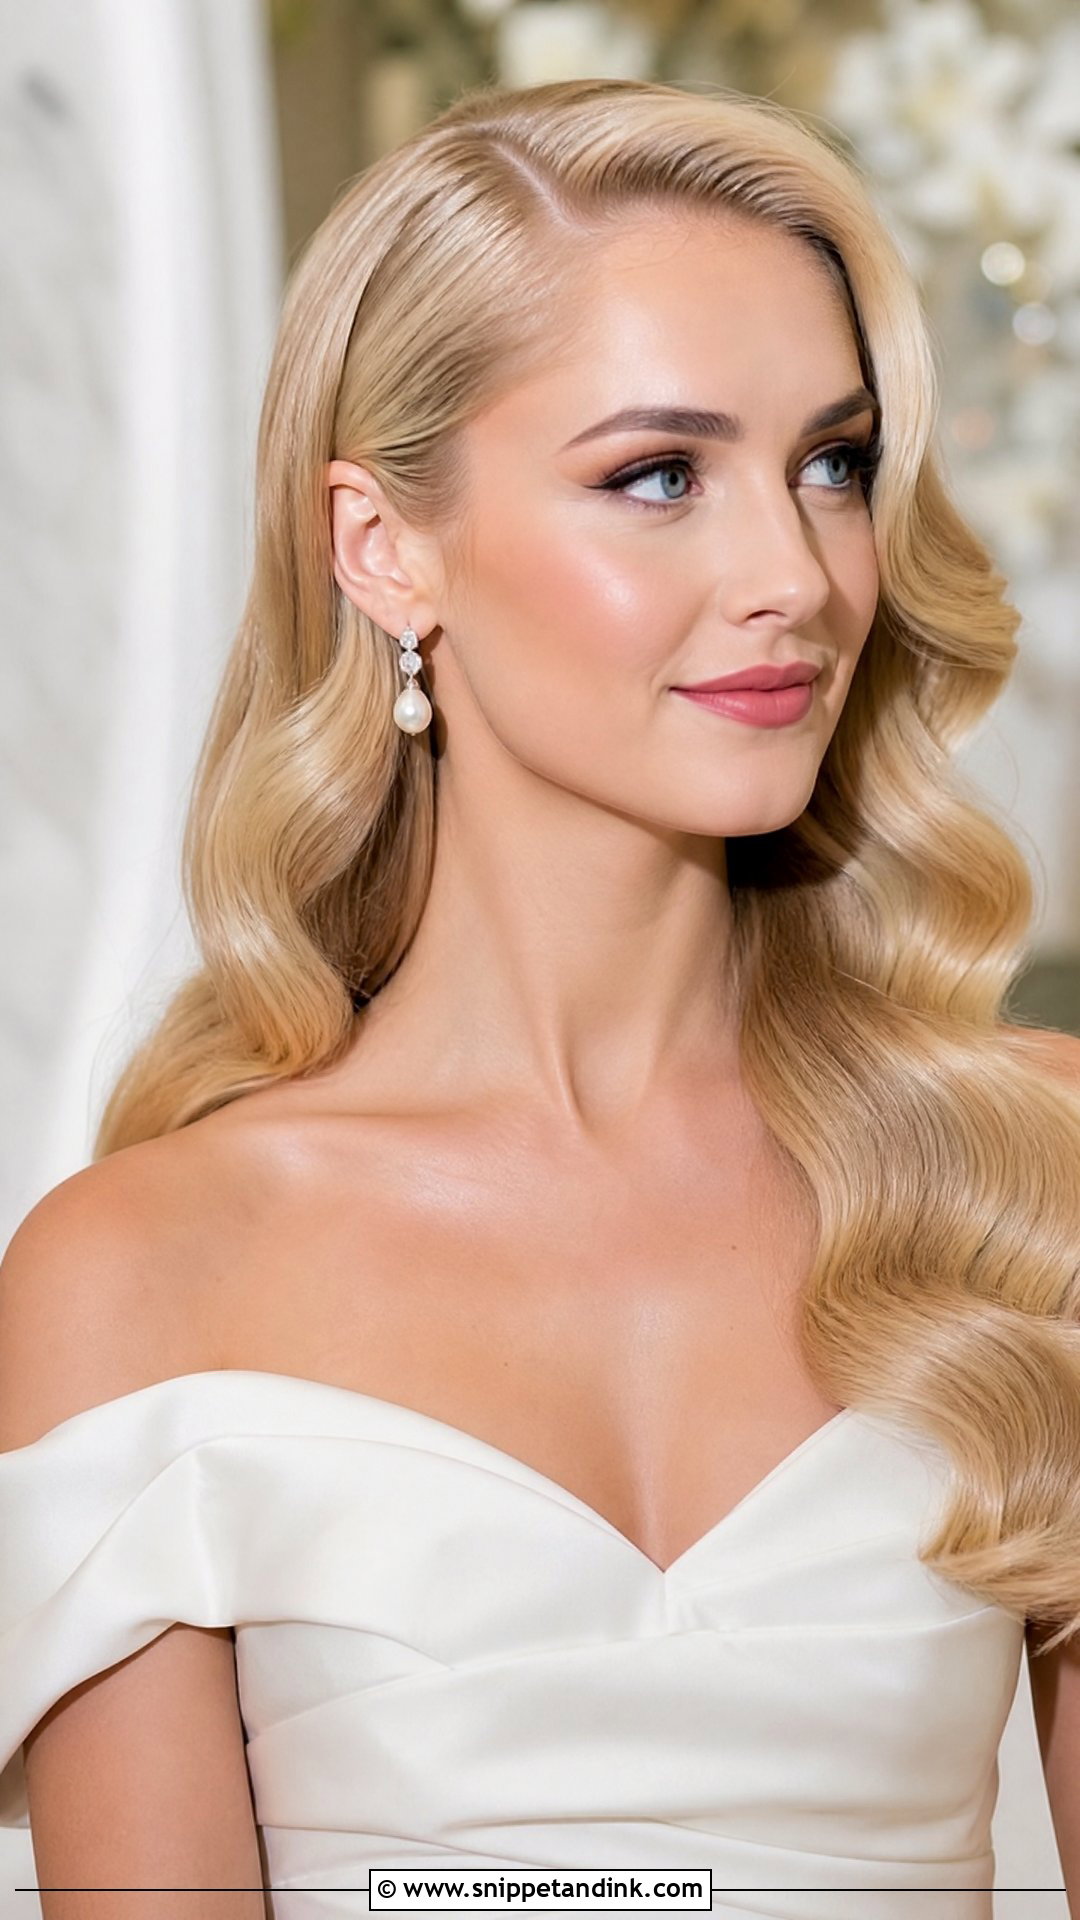
Hollywood waves are hard to learn from photos and much easier on video. Every curl has to travel in the same direction, so pause the clip and check which way the iron is turning. A proper tutorial pins each curl to cool, then brushes the whole head out at once into one ribbon. Shine spray goes on last and lightly. You need at least shoulder length for the pattern to read; shorter hair just looks curled.
4. Half Up Half Down Bridal Hair Tutorial
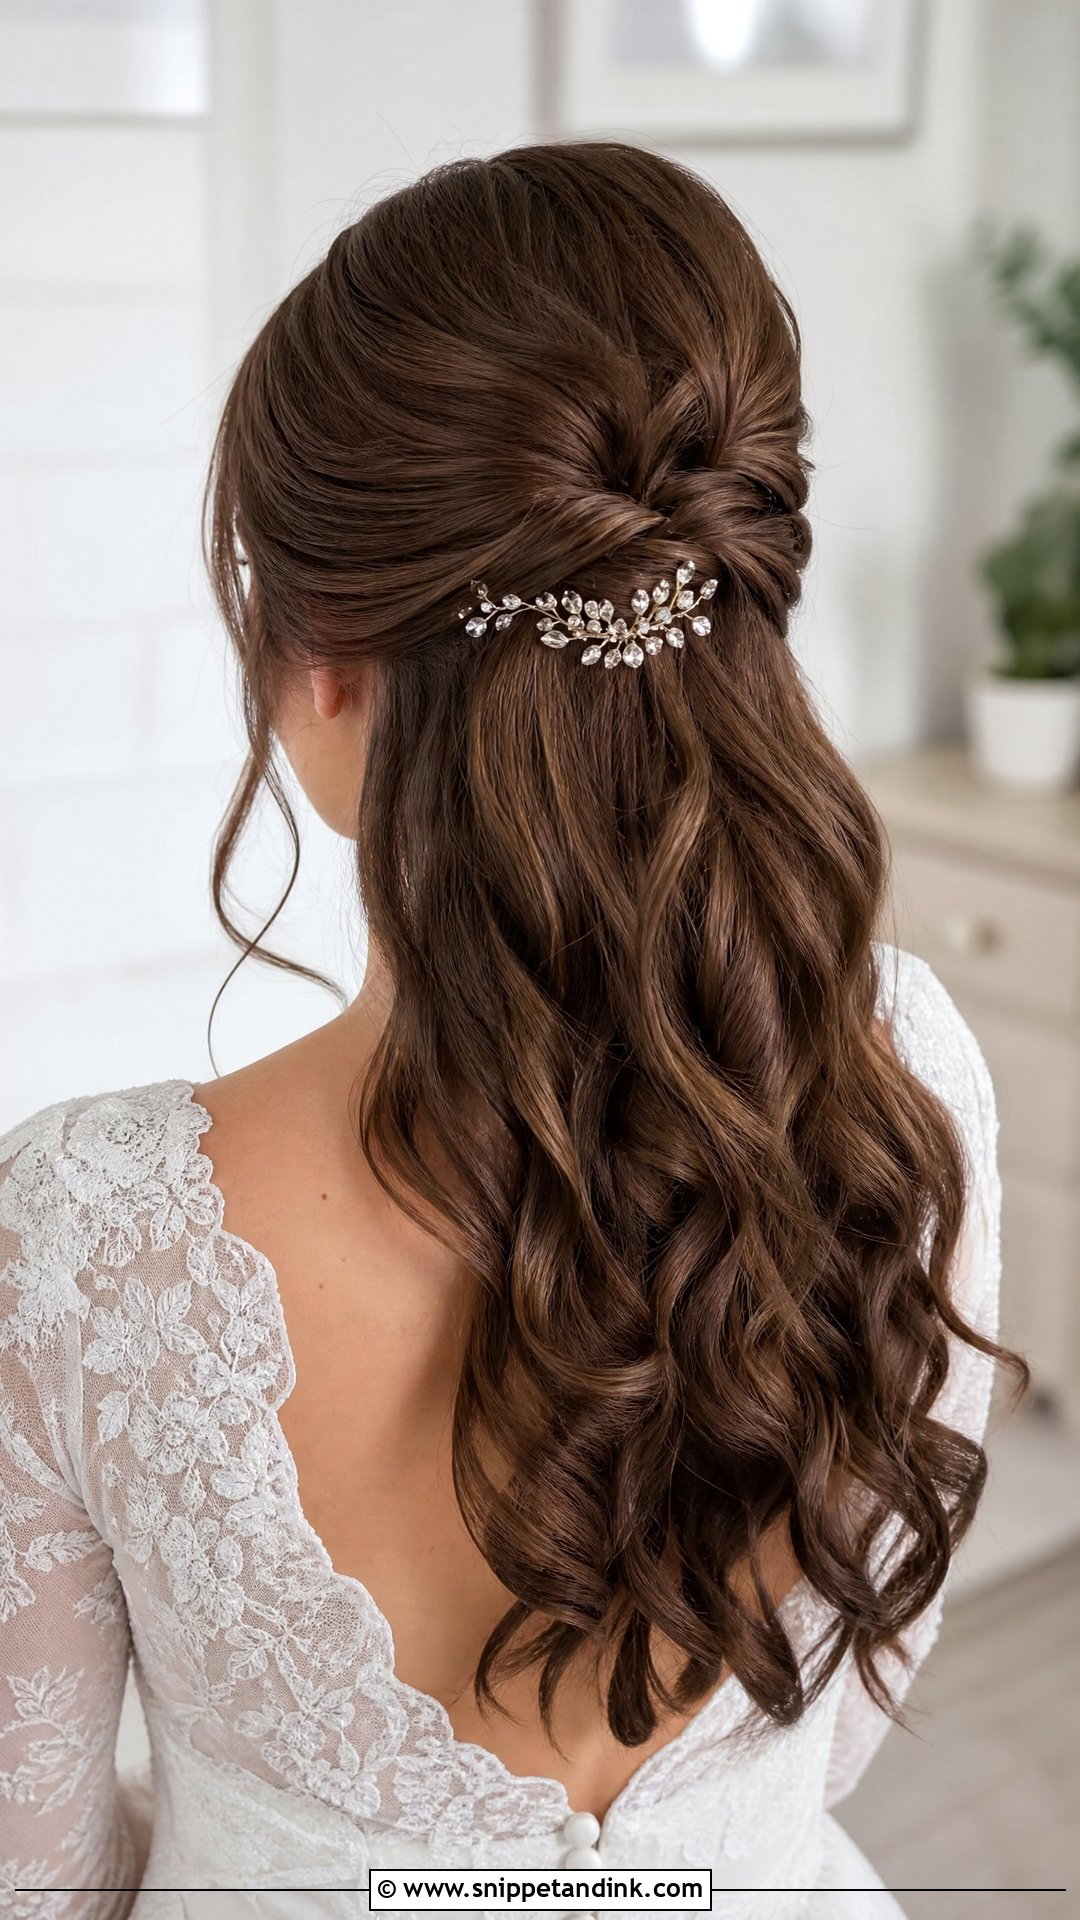
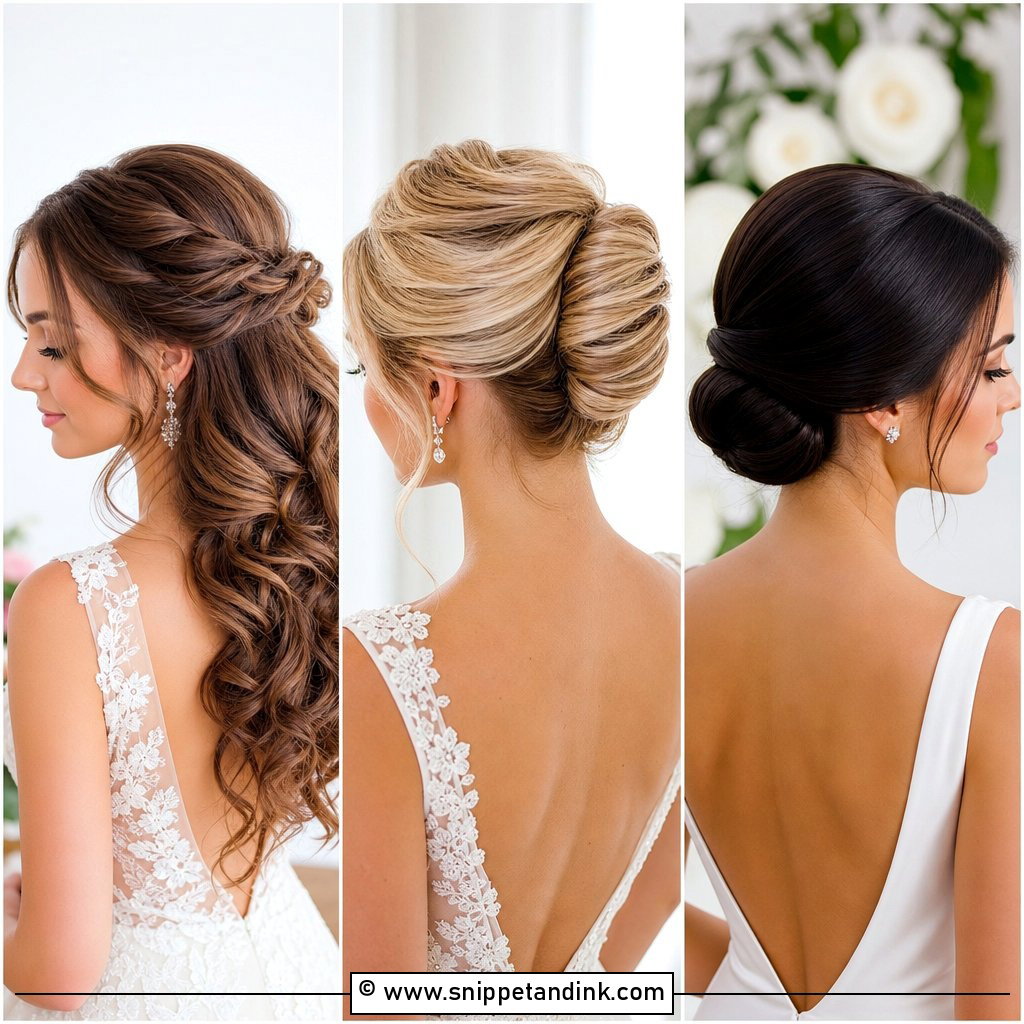
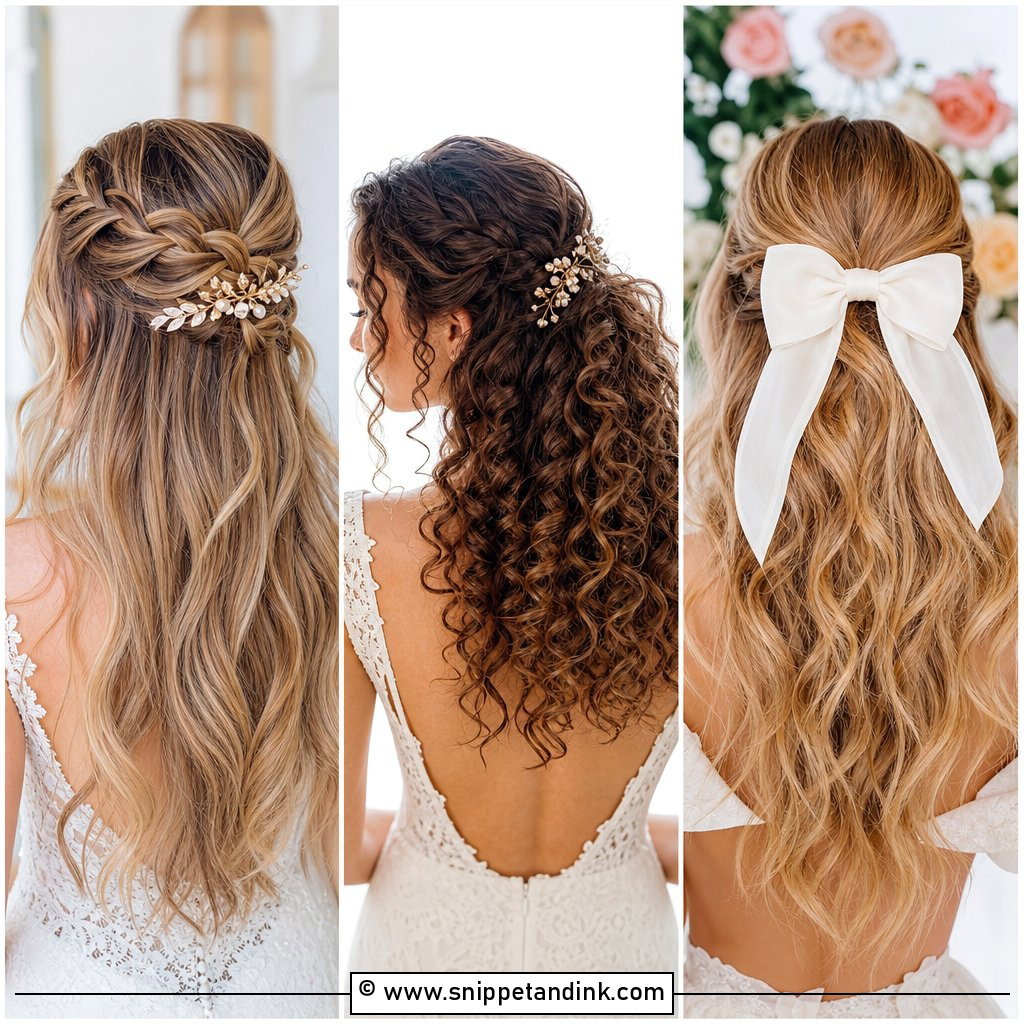
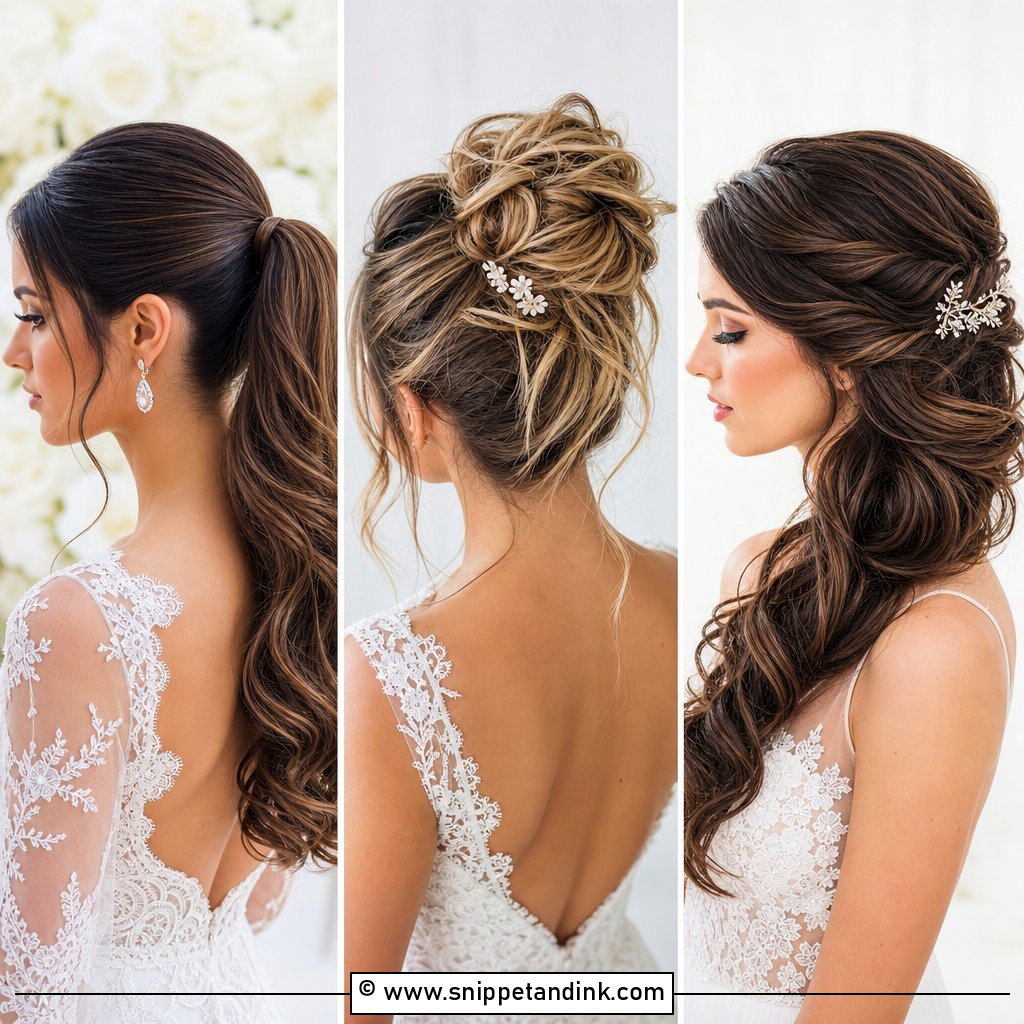
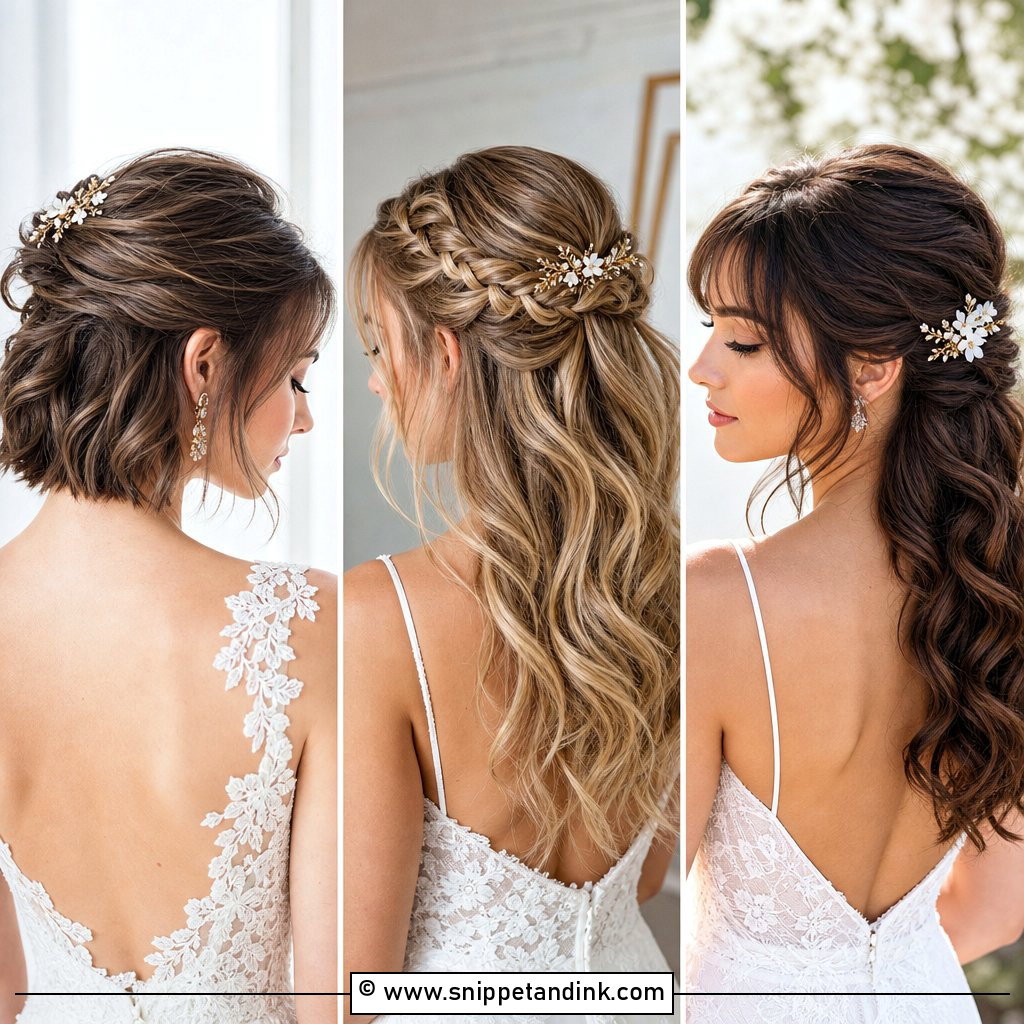
This is the video I send to bridesmaids most often. A good half up half down tutorial curls the loose lengths first, then takes a clean crown section and teases it at the root before smoothing the top layer over. Watch for the bump: if the creator pins the crown straight back, it looks like a pouf in profile. Pinning slightly downward into the base keeps it flat at the sides. Twists or small braids across the back hide those pins well.
5. Braided Crown Bridal Hair Tutorial
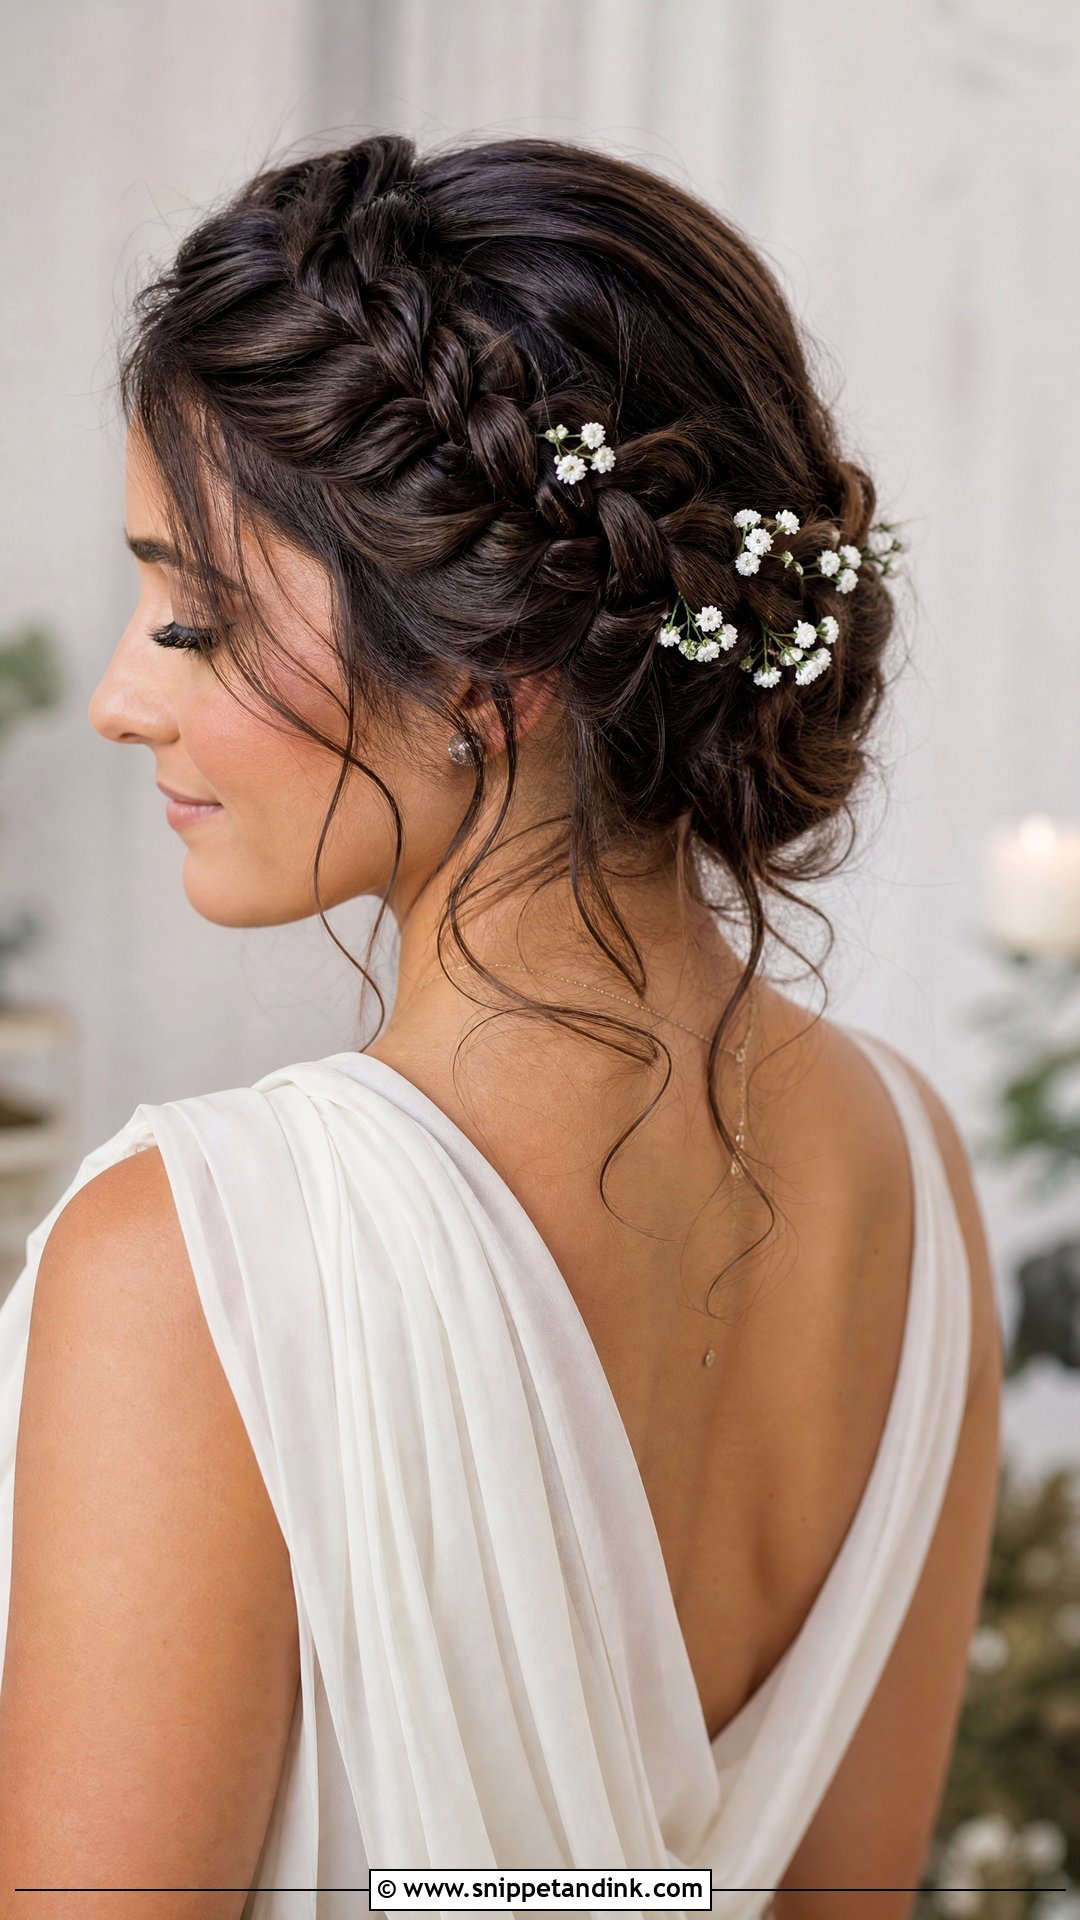
Braided crowns hold better than nearly anything else outdoors, which is why I’d learn one before a windy venue. The tutorial should show either two braids pinned to meet or one continuous braid wrapping the head. Then comes the pancaking, gently pulling the edges of each loop wider. Do it before pinning, not after, or the braid sags in spots. Thin hair struggles to reach all the way round, and a clip-in braid fills the gap without anyone noticing.
6. French Twist Bridal Hair Tutorial
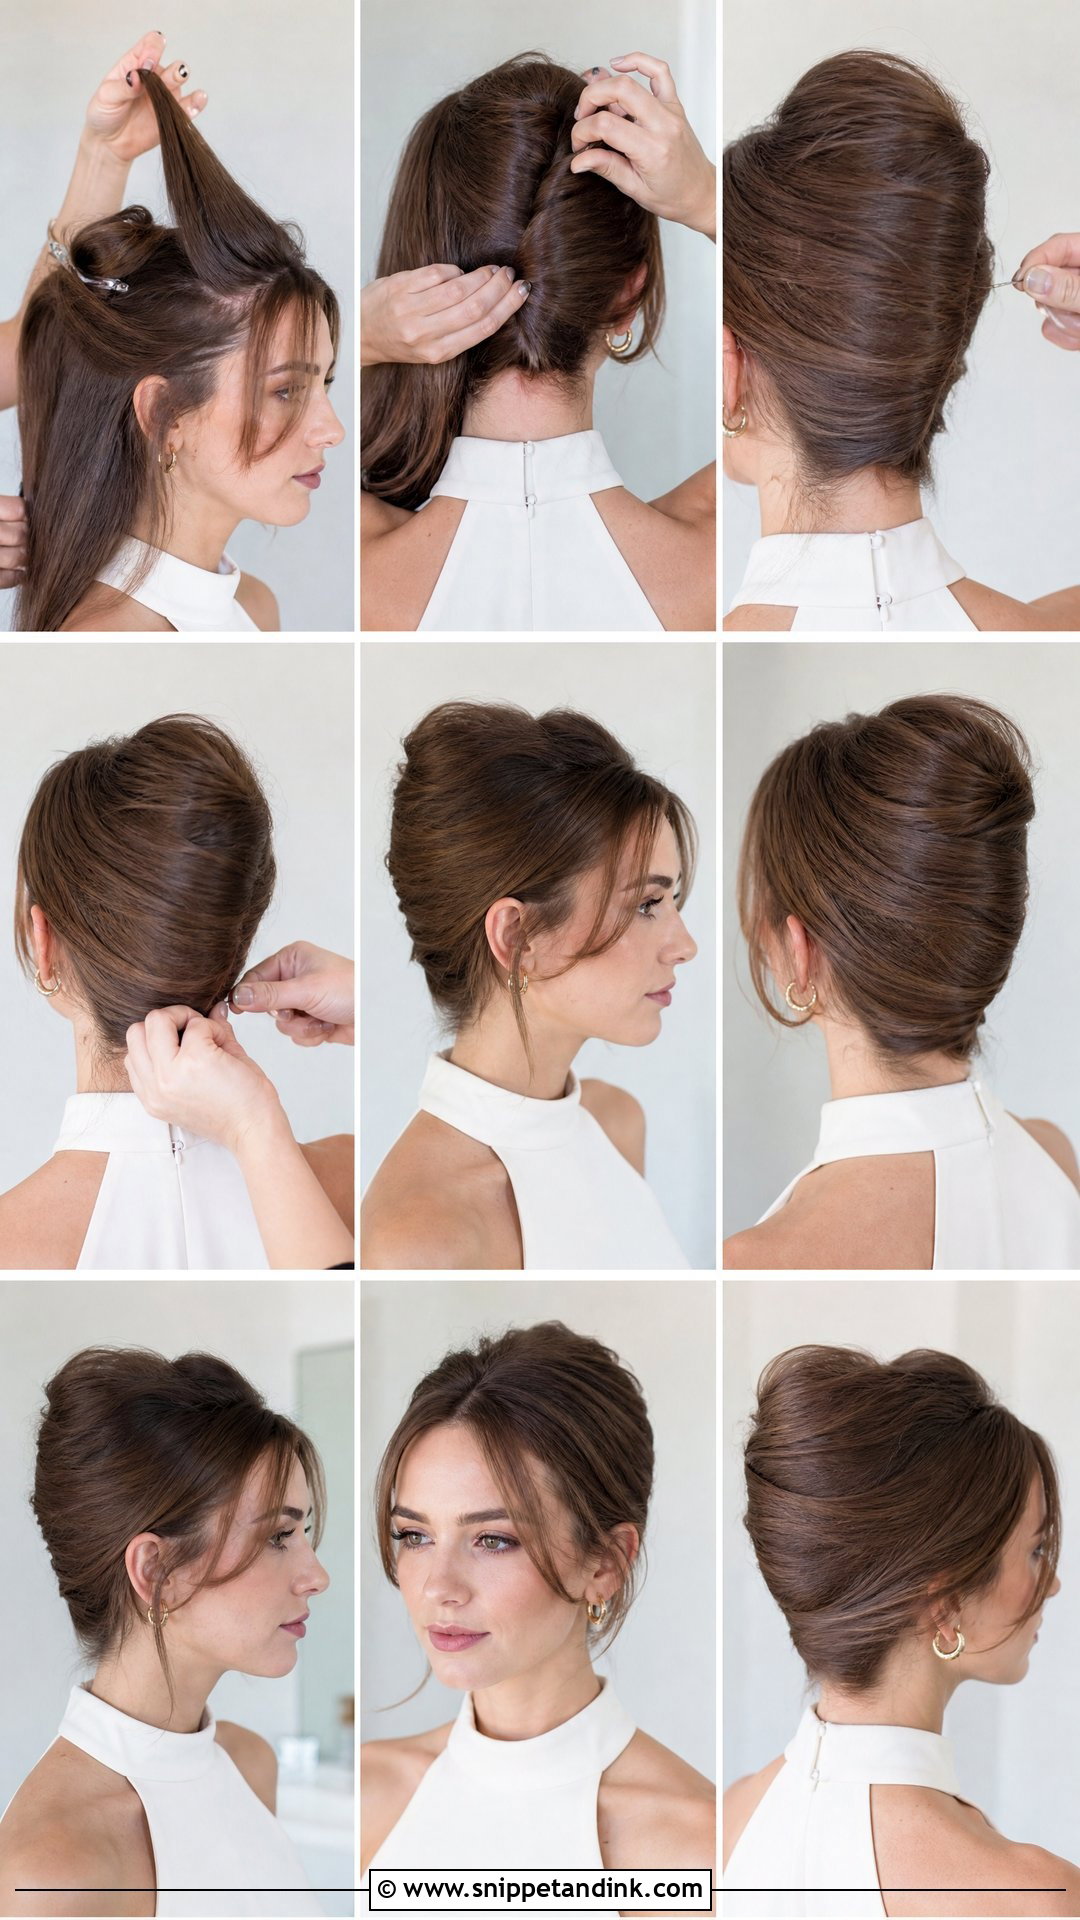
French twists look simple and are not. I’d look for a tutorial that slows right down at the fold, because that’s where most people lose the shape. Prep with something gritty, gather the hair vertically, fold the lengths inward and lock it with pins inserted along the seam. A sleek version suits a high neck and a cathedral veil. A softer one with a few strands at the face is kinder on round faces.
7. Messy Bun Bridal Hair Tutorial
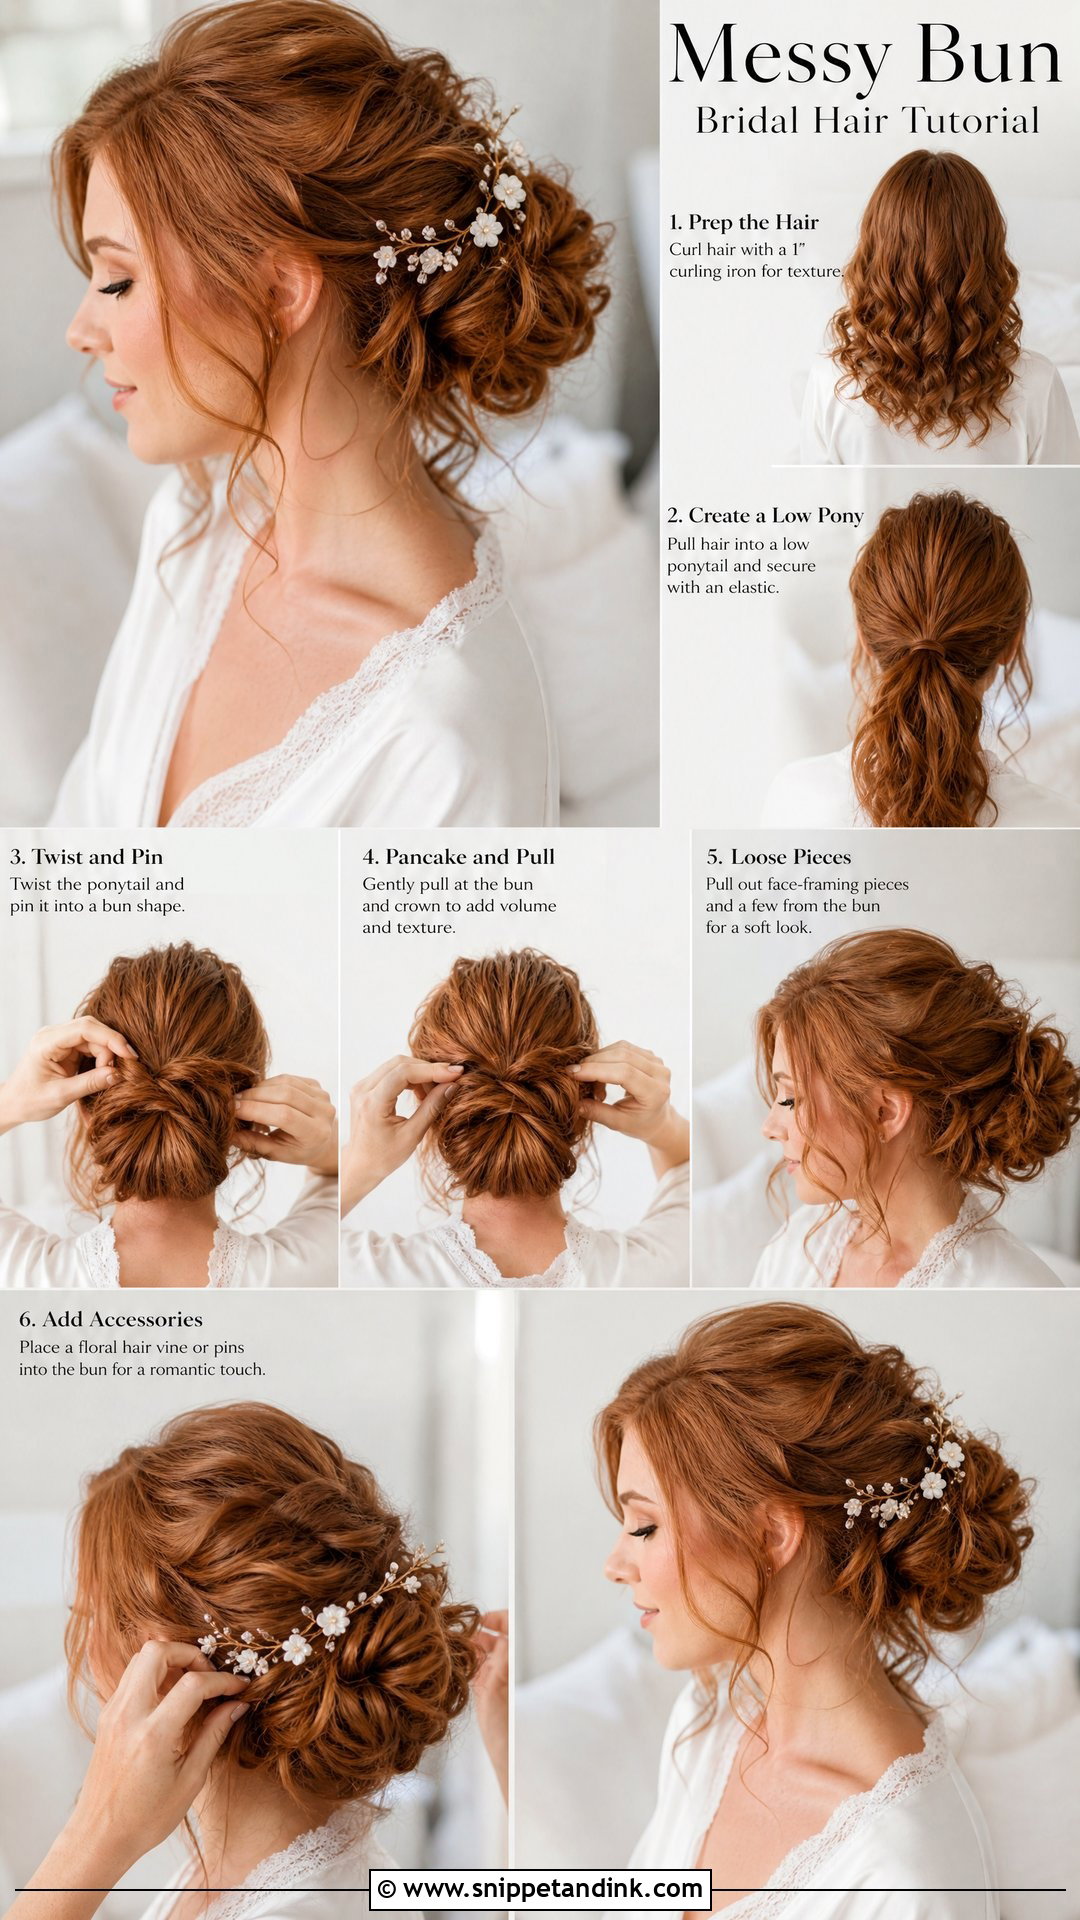
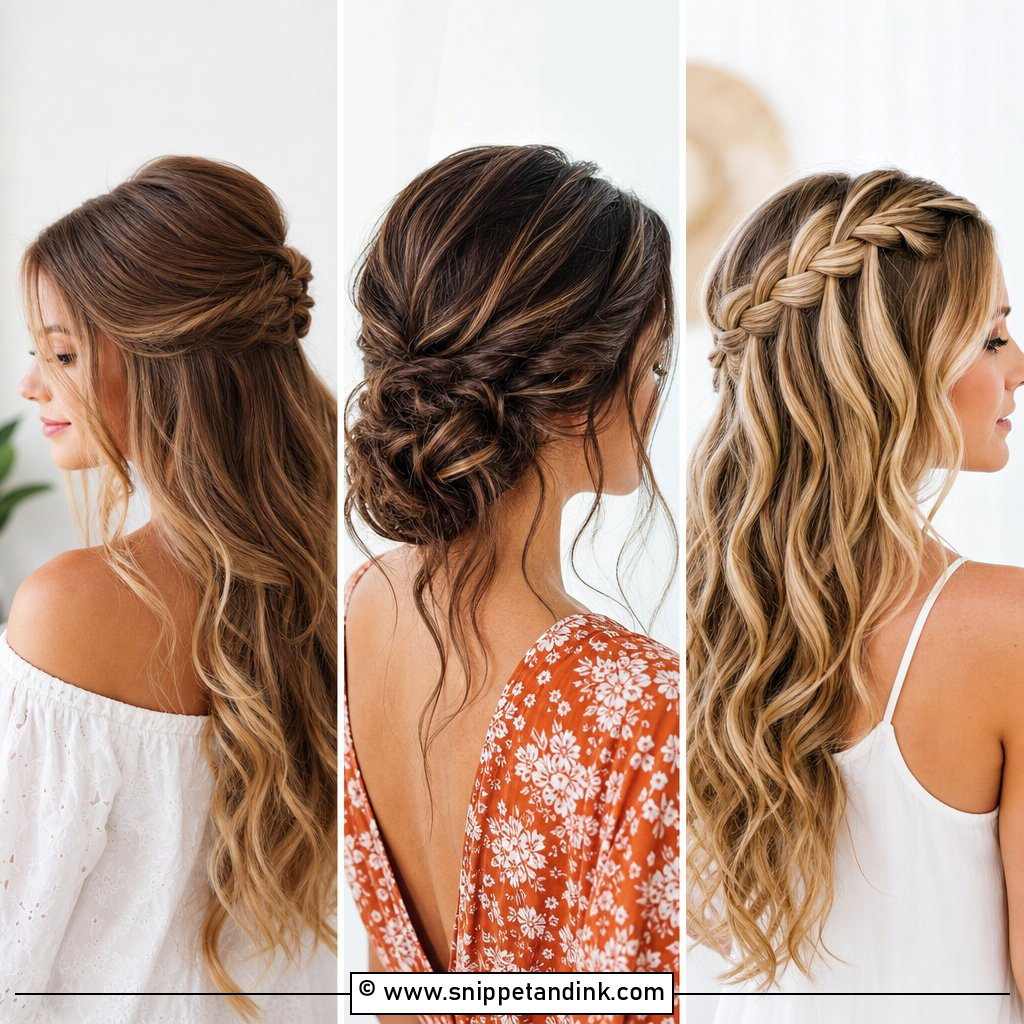
The word messy misleads people. A good bridal version is built in small pinned sections from curled hair and only then loosened by pulling pieces out. If a video starts by throwing hair into an elastic and tugging, it’s teaching an everyday bun that will collapse by the speeches. Check that the sides are secured close to the head. It suits beach and backyard weddings where a salon finish would look out of place.
8. Sleek Bridal Ponytail Tutorial
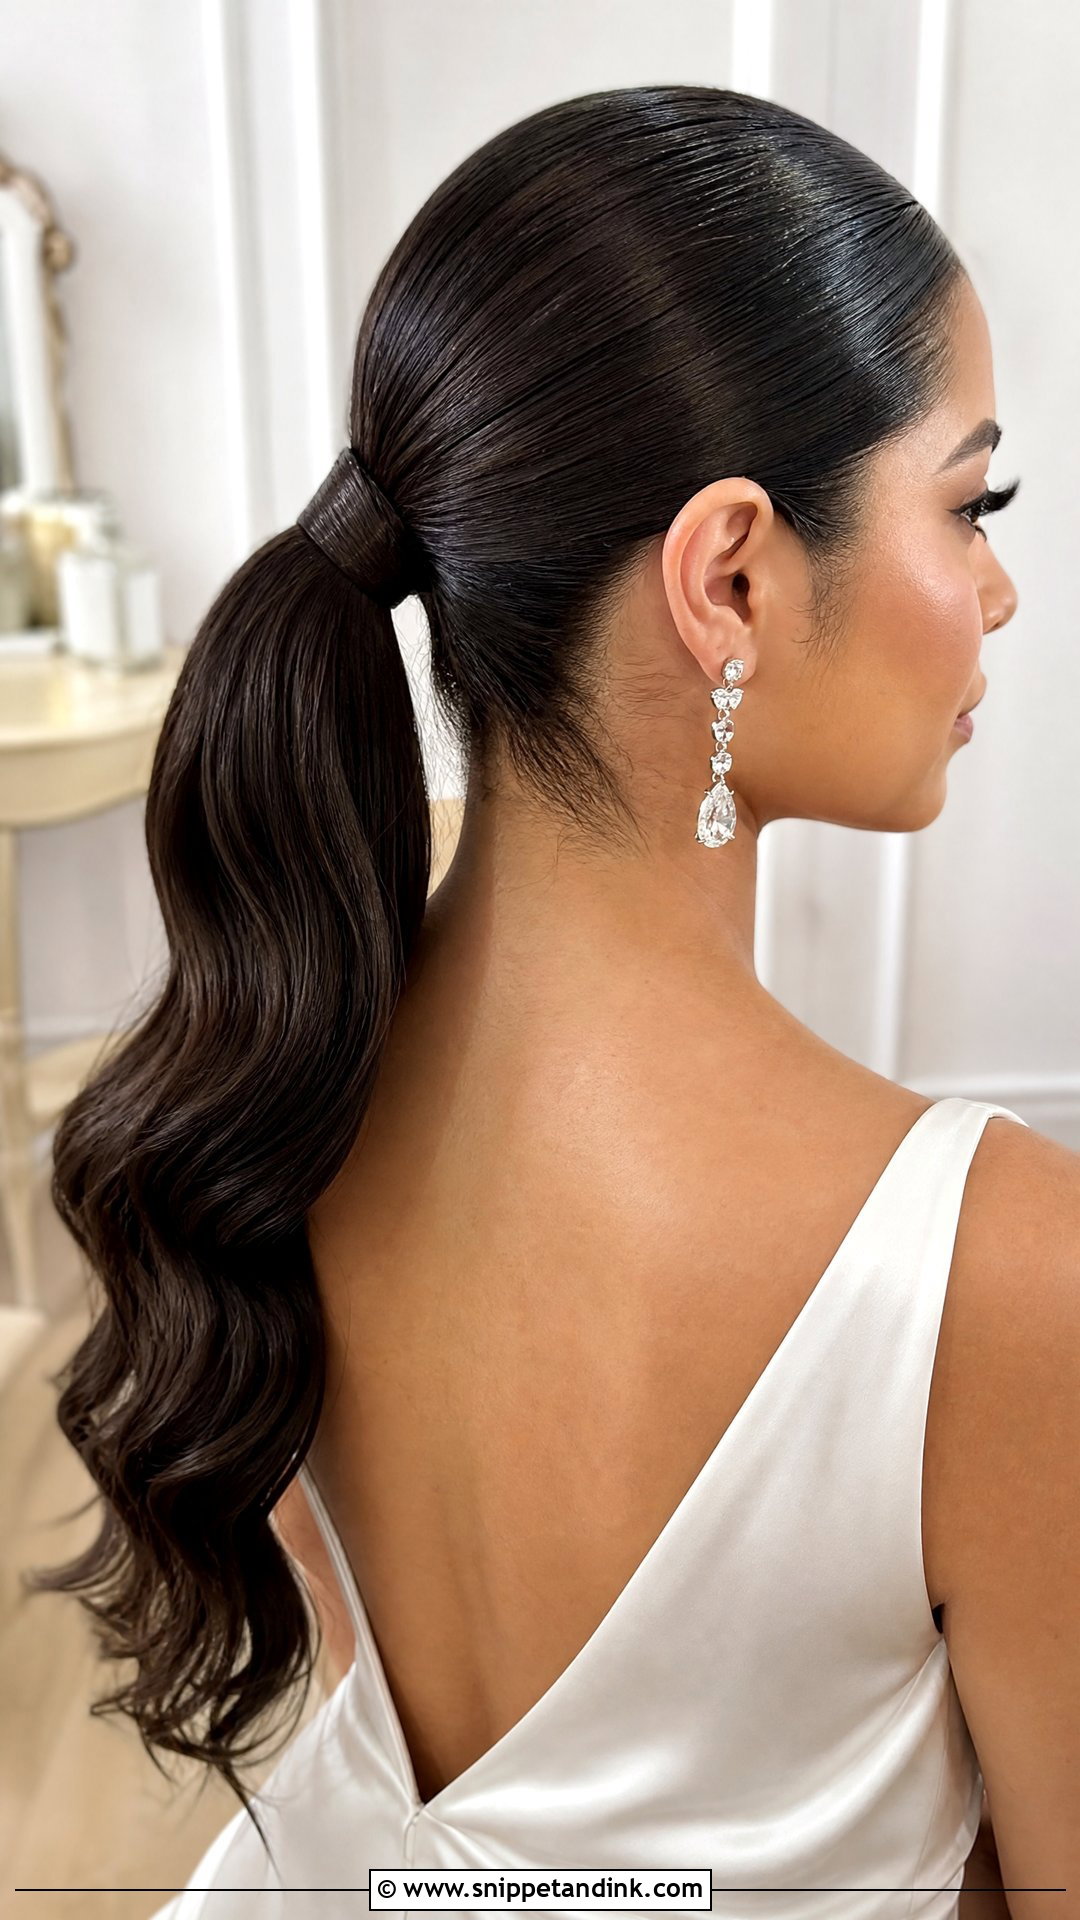
A sleek bridal ponytail tutorial lives or dies on smoothness, so watch how the creator brushes. A boar bristle brush and a little cream, worked in small passes, gets rid of bumps far better than more product. The ponytail should be secured with two elastics, one at the base and one slightly below, so it can’t droop. Wrapping a strand around the band hides the hardware. Curl the length or leave it glossy and straight; both work with statement earrings.
9. Loose Waves Bridal Hair Tutorial
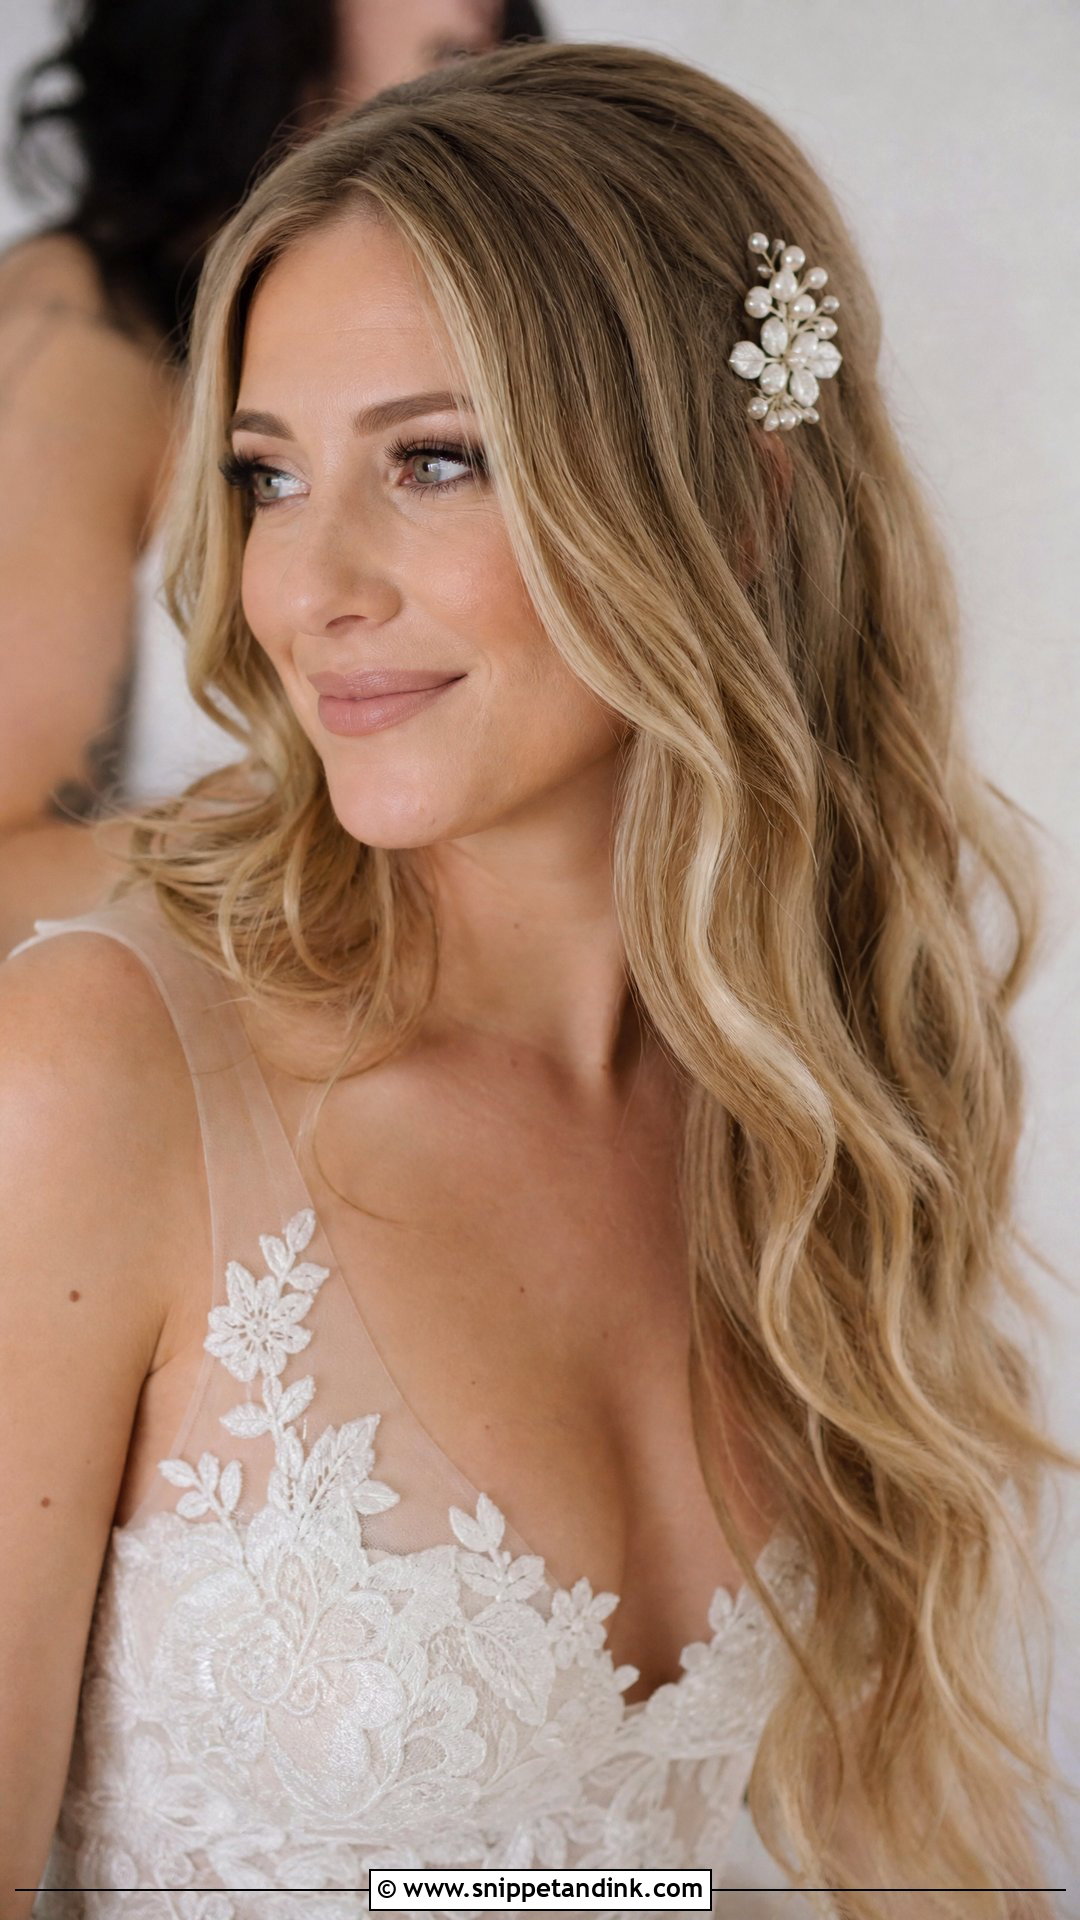
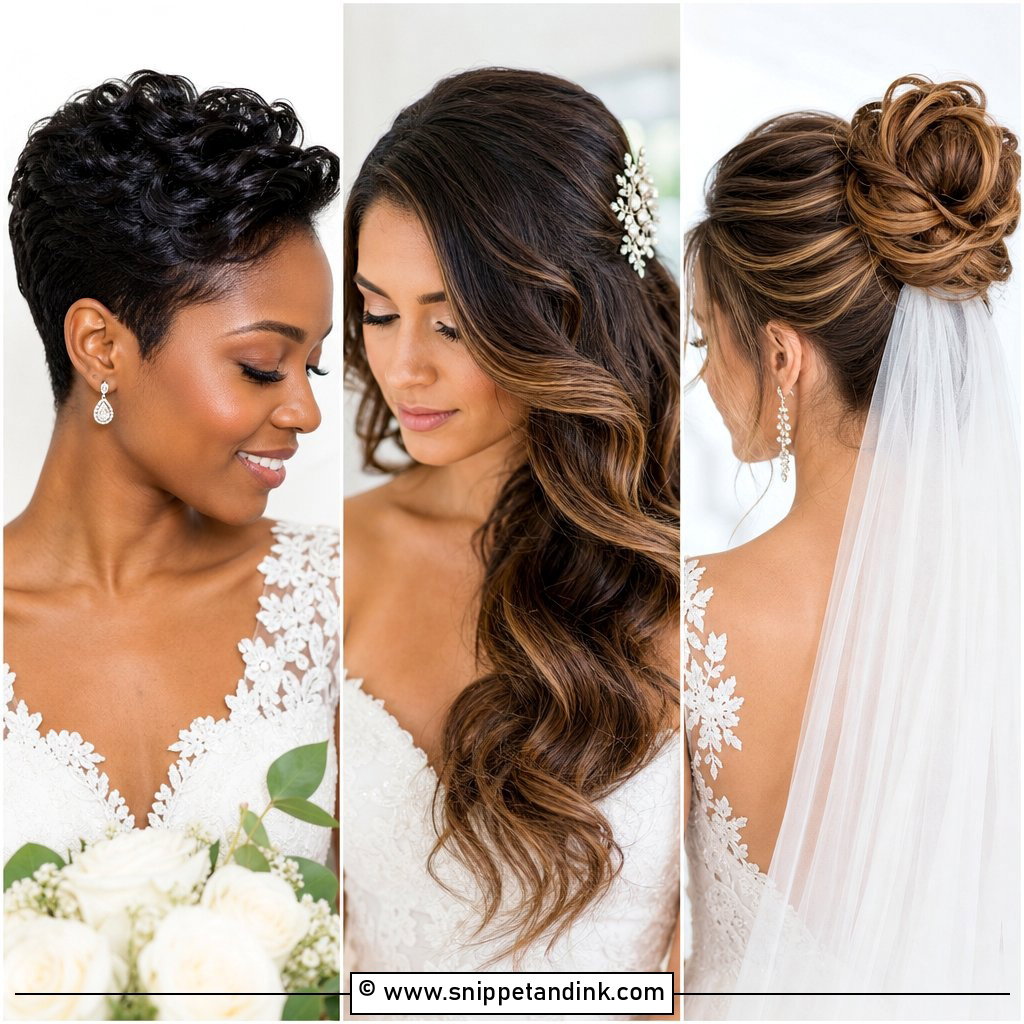
Loose waves teach you more about curling irons than any other look. The tutorial should name the barrel size, usually somewhere around an inch to an inch and a quarter for long hair, and show curls alternating direction away from and toward the face. Brushing out is where people ruin it, so look for a wide-tooth comb or fingers rather than a paddle brush. Layered cuts and extensions both suit this style well.
10. Side Swept Bridal Hair Tutorial
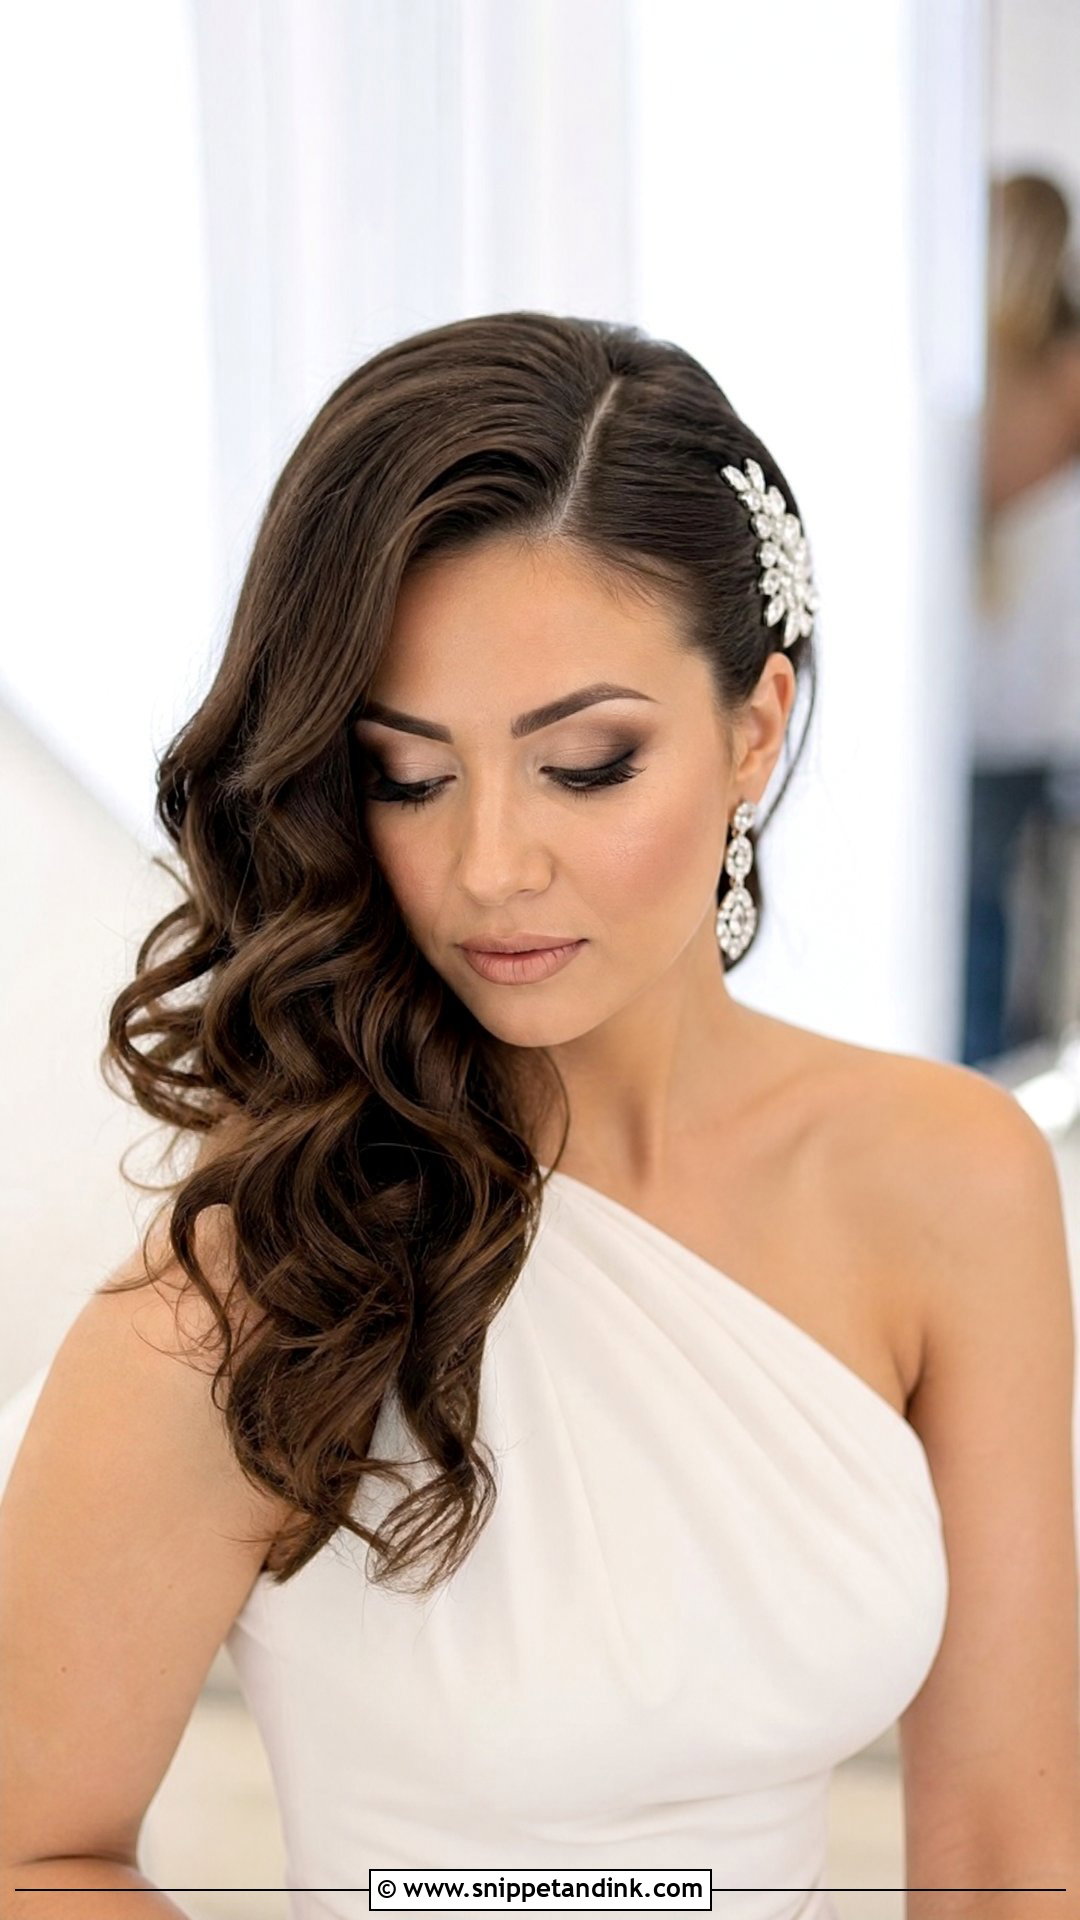
Side swept hair looks dramatic and needs more anchoring than people expect. A useful tutorial curls the whole head first, then crosses pins along the back of the head in a line, like a zip, before the hair is moved over. Without that line, everything slides back to center by evening. Balance matters too: sleek on the open side, volume on the other. It’s striking with a one-shoulder dress and long earrings.
11. Short Hair Bridal Hair Tutorial
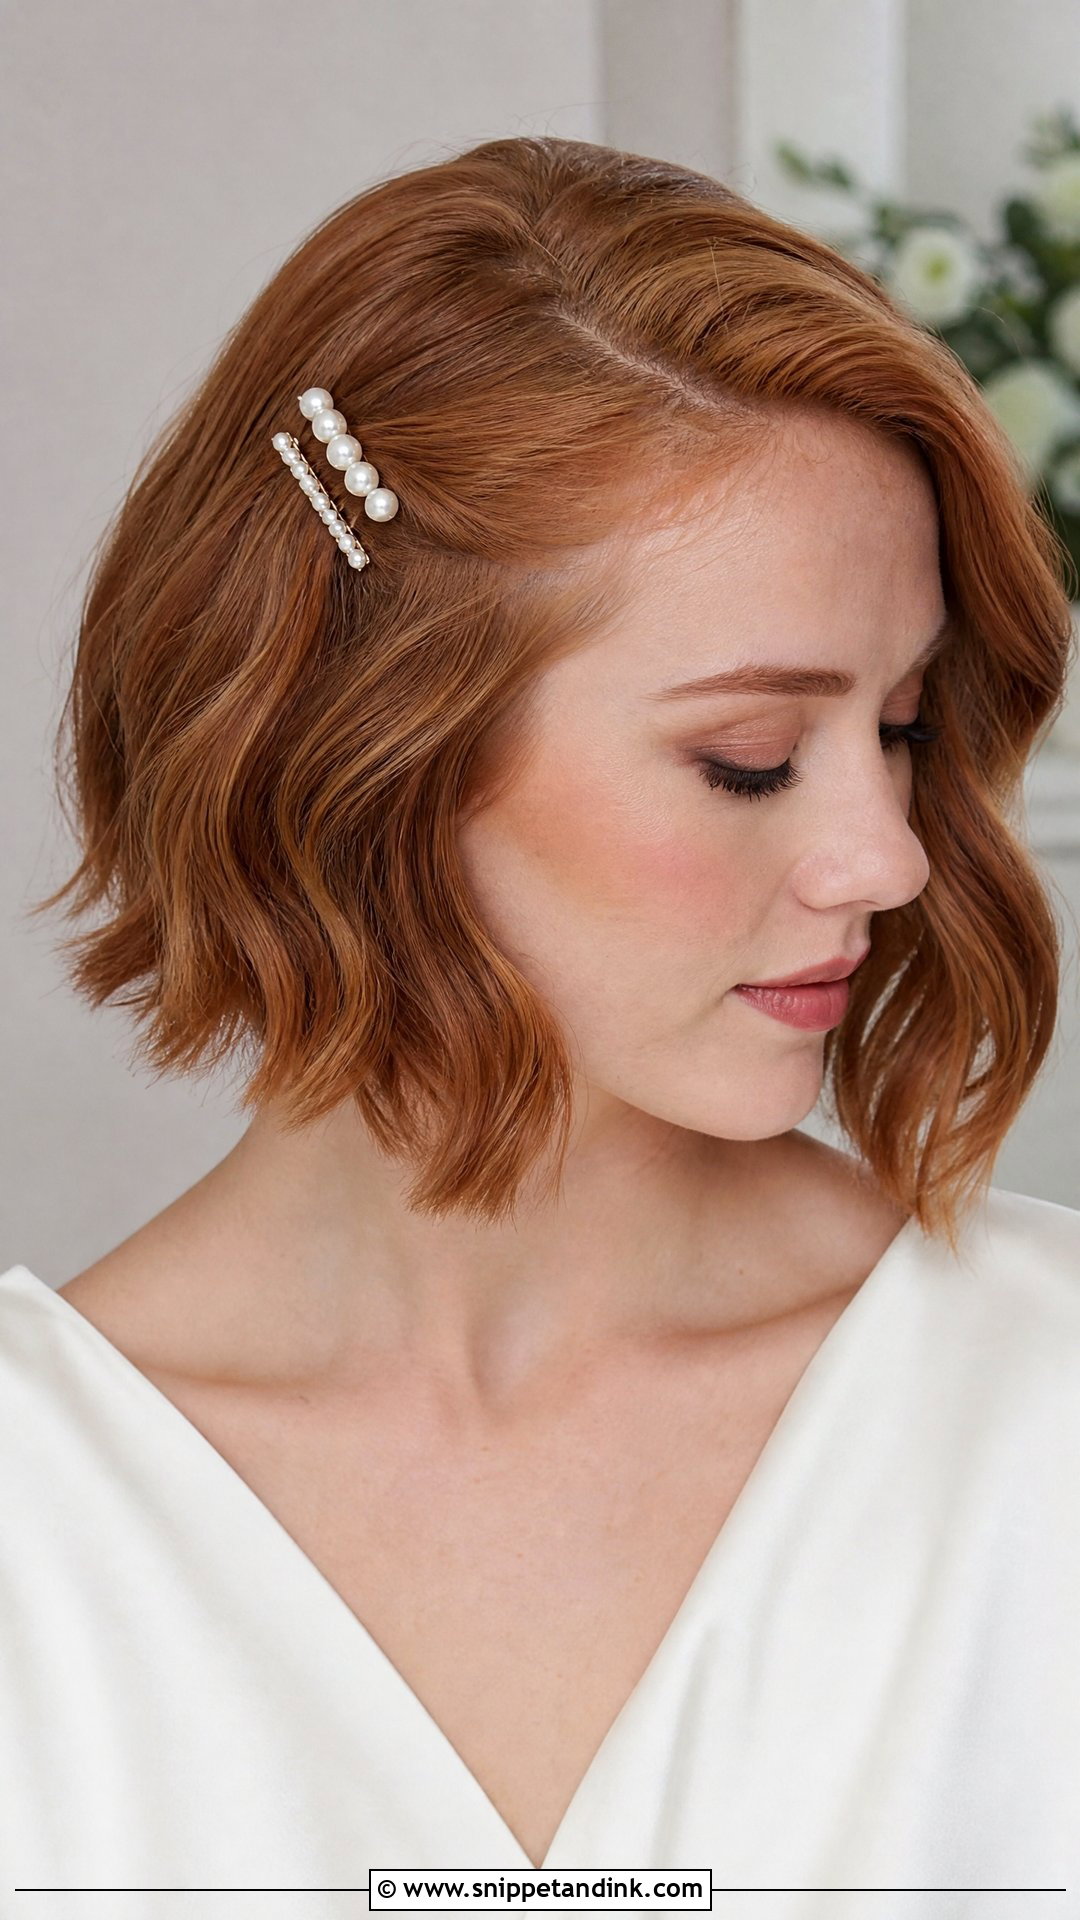
Plenty of brides think wedding hair requires length. It doesn’t, and short hair tutorials prove it. For bob-length hair, look for videos showing a deep side part, a pinned-back section or a small twist at the temple. Pixie cuts are more about texture, lift and where an accessory sits. I’d watch for how the creator anchors a headband or comb; short hair gives pins little to hold, so a small pin cushion underneath matters.
12. Curly Bridal Updo Tutorial
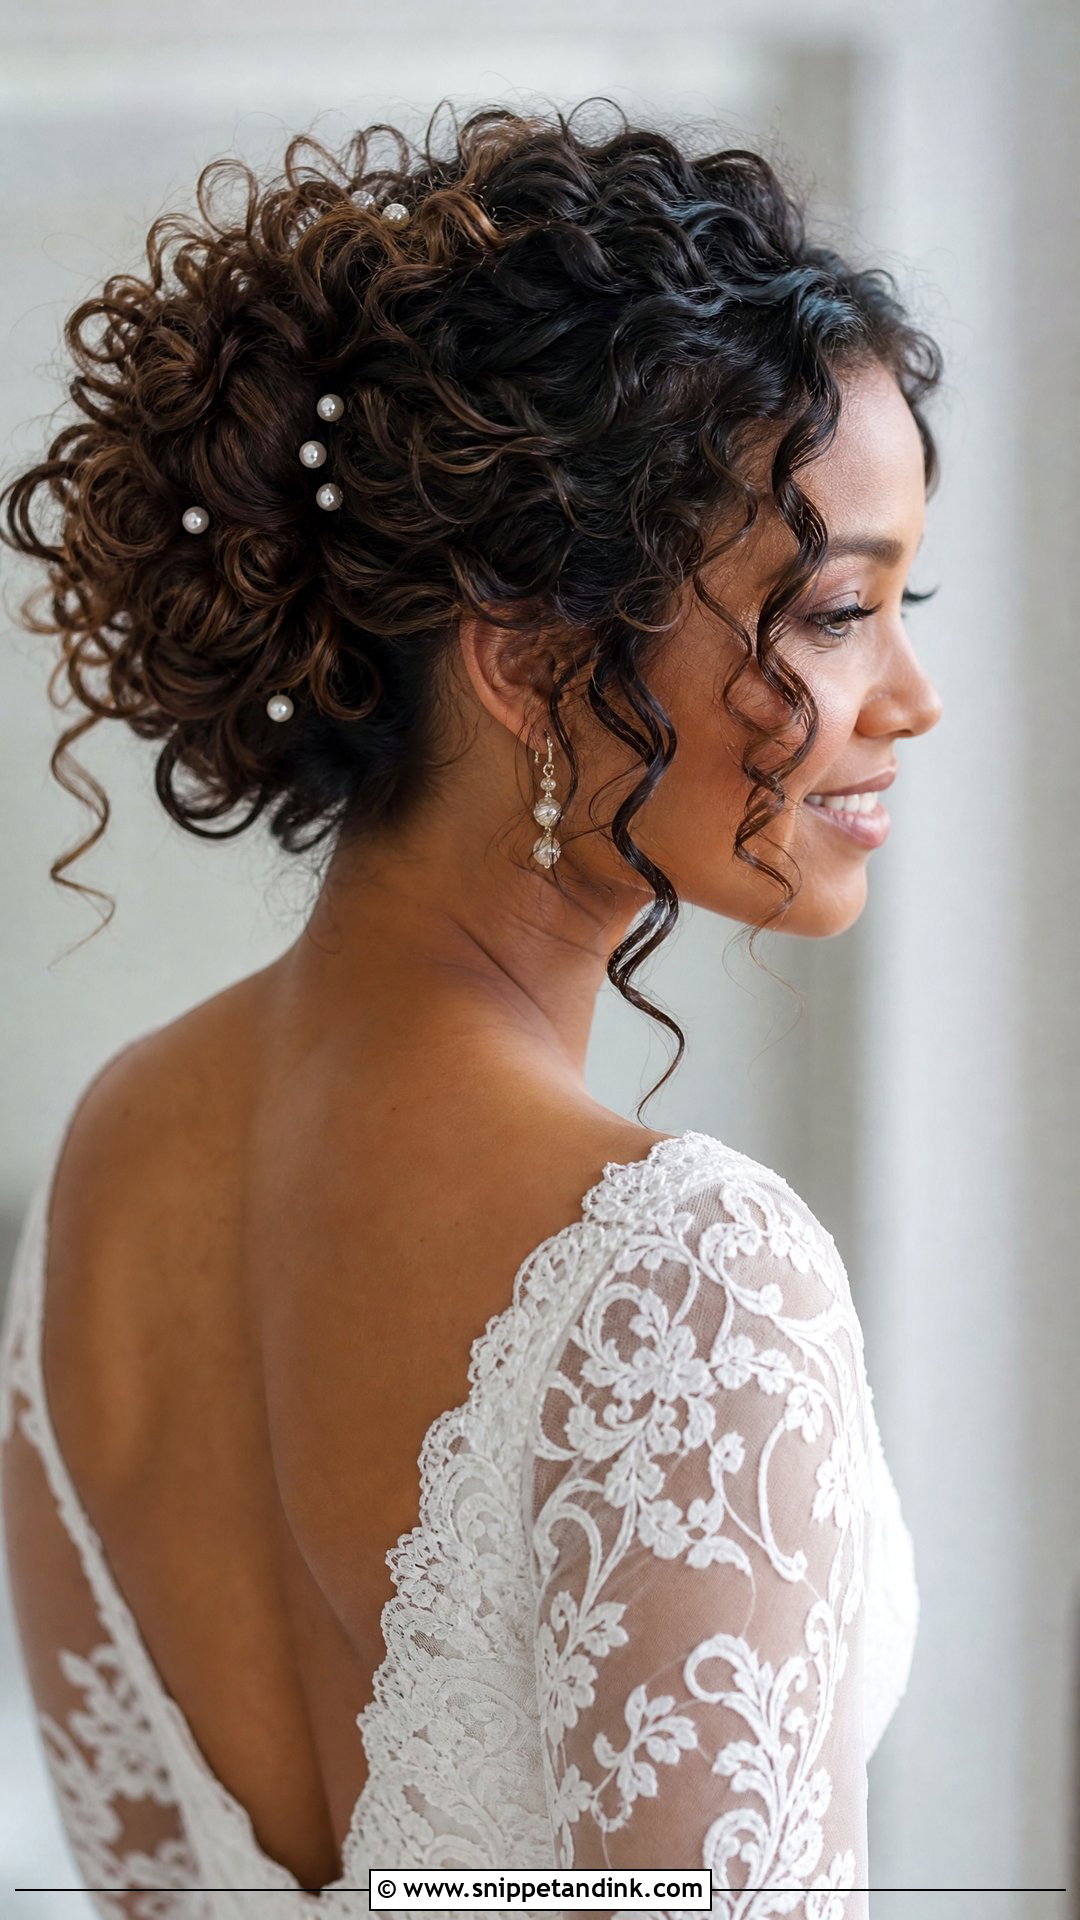
A curly bridal updo tutorial should work with the curl pattern instead of hiding it. The best ones spend real time on prep: hydration, definition and drying gently so the curls clump rather than frizz. Then the curls are lifted and pinned in visible clusters, keeping volume at the crown. A creator who brushes curls out before pinning is styling a different look entirely. Pearl pins tucked between clusters add a bridal finish.
13. Natural Hair Bridal Tutorial
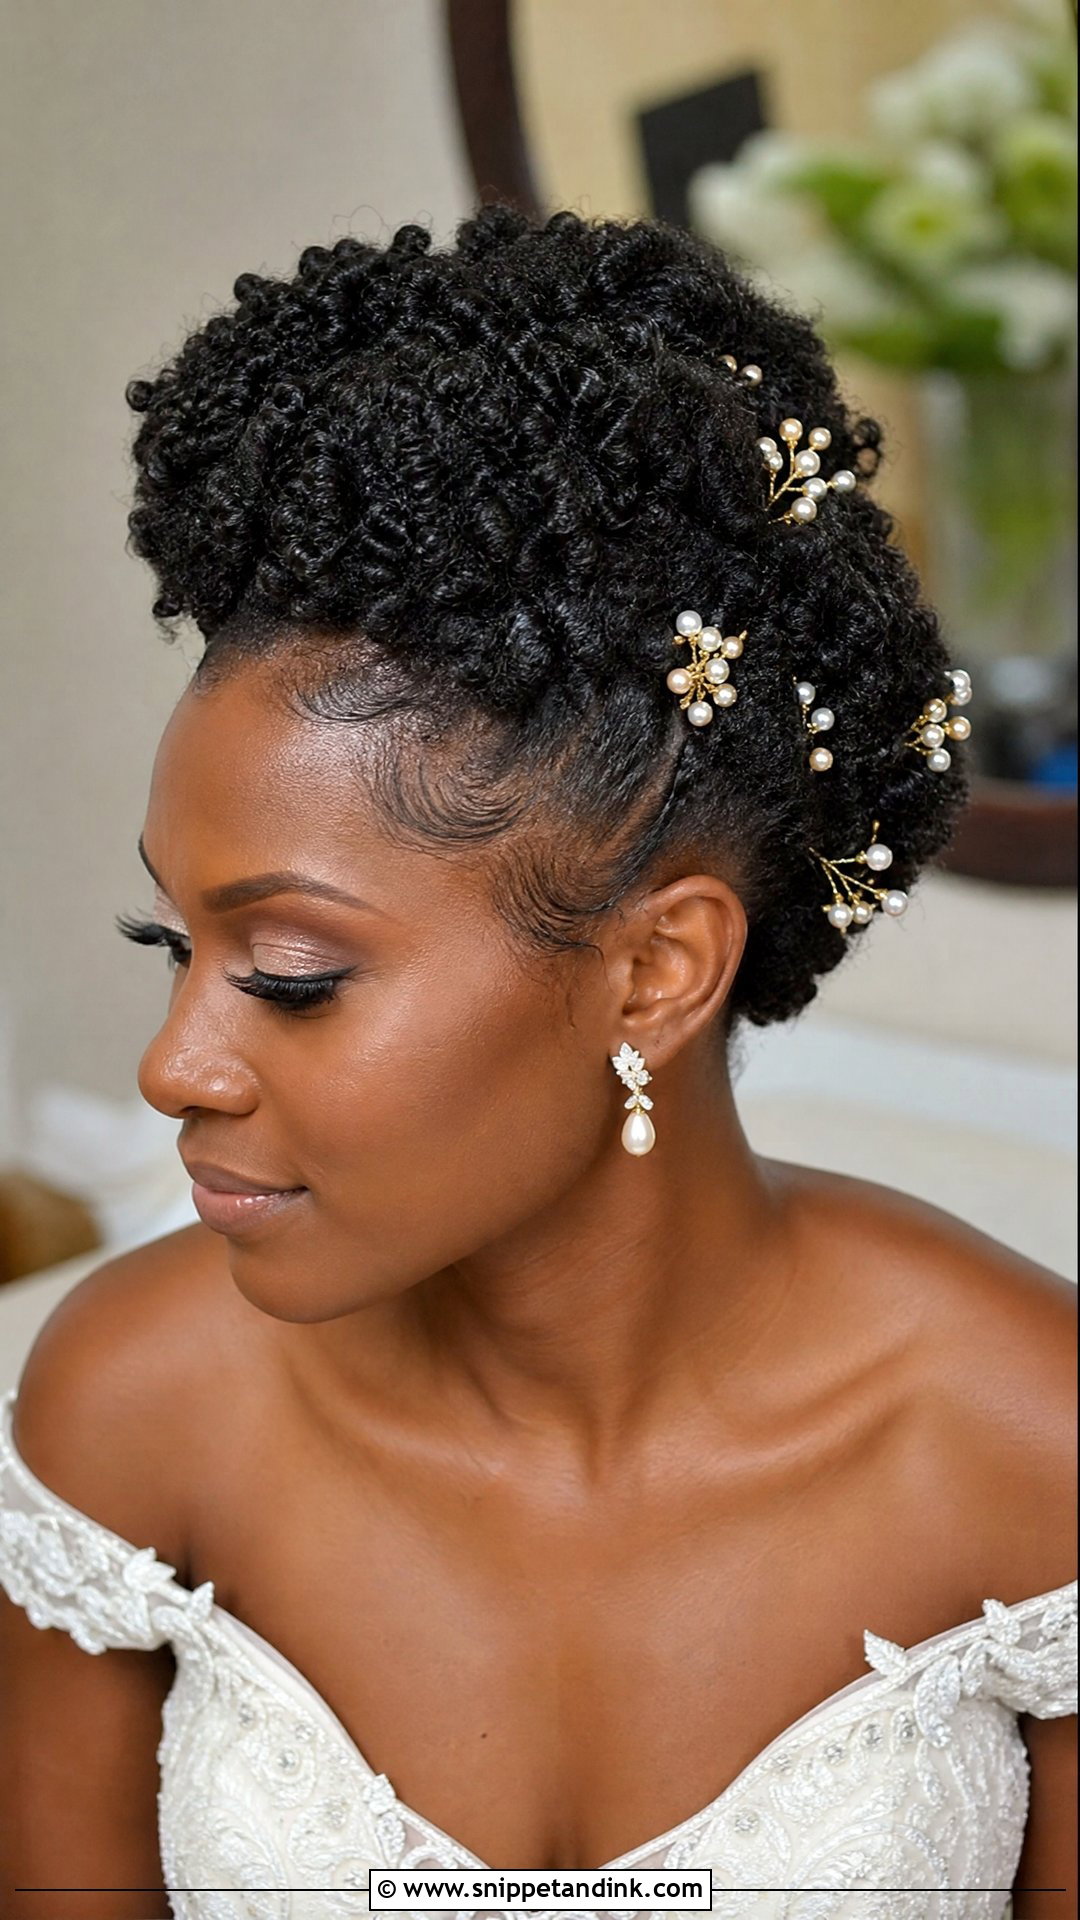
For natural hair I look first at how a tutorial treats the edges. Pins and accessories should sit secure without tension at the hairline, because pulling there causes real damage over a long day. Good videos explain whether to stretch the hair first and how, then build a twist-out updo, low puff, braided bun or sculpted crown. Moisture comes before structure. The finished shape can be regal or soft; what matters is that it’s comfortable for twelve hours.
14. Bridal Bun With Veil Tutorial
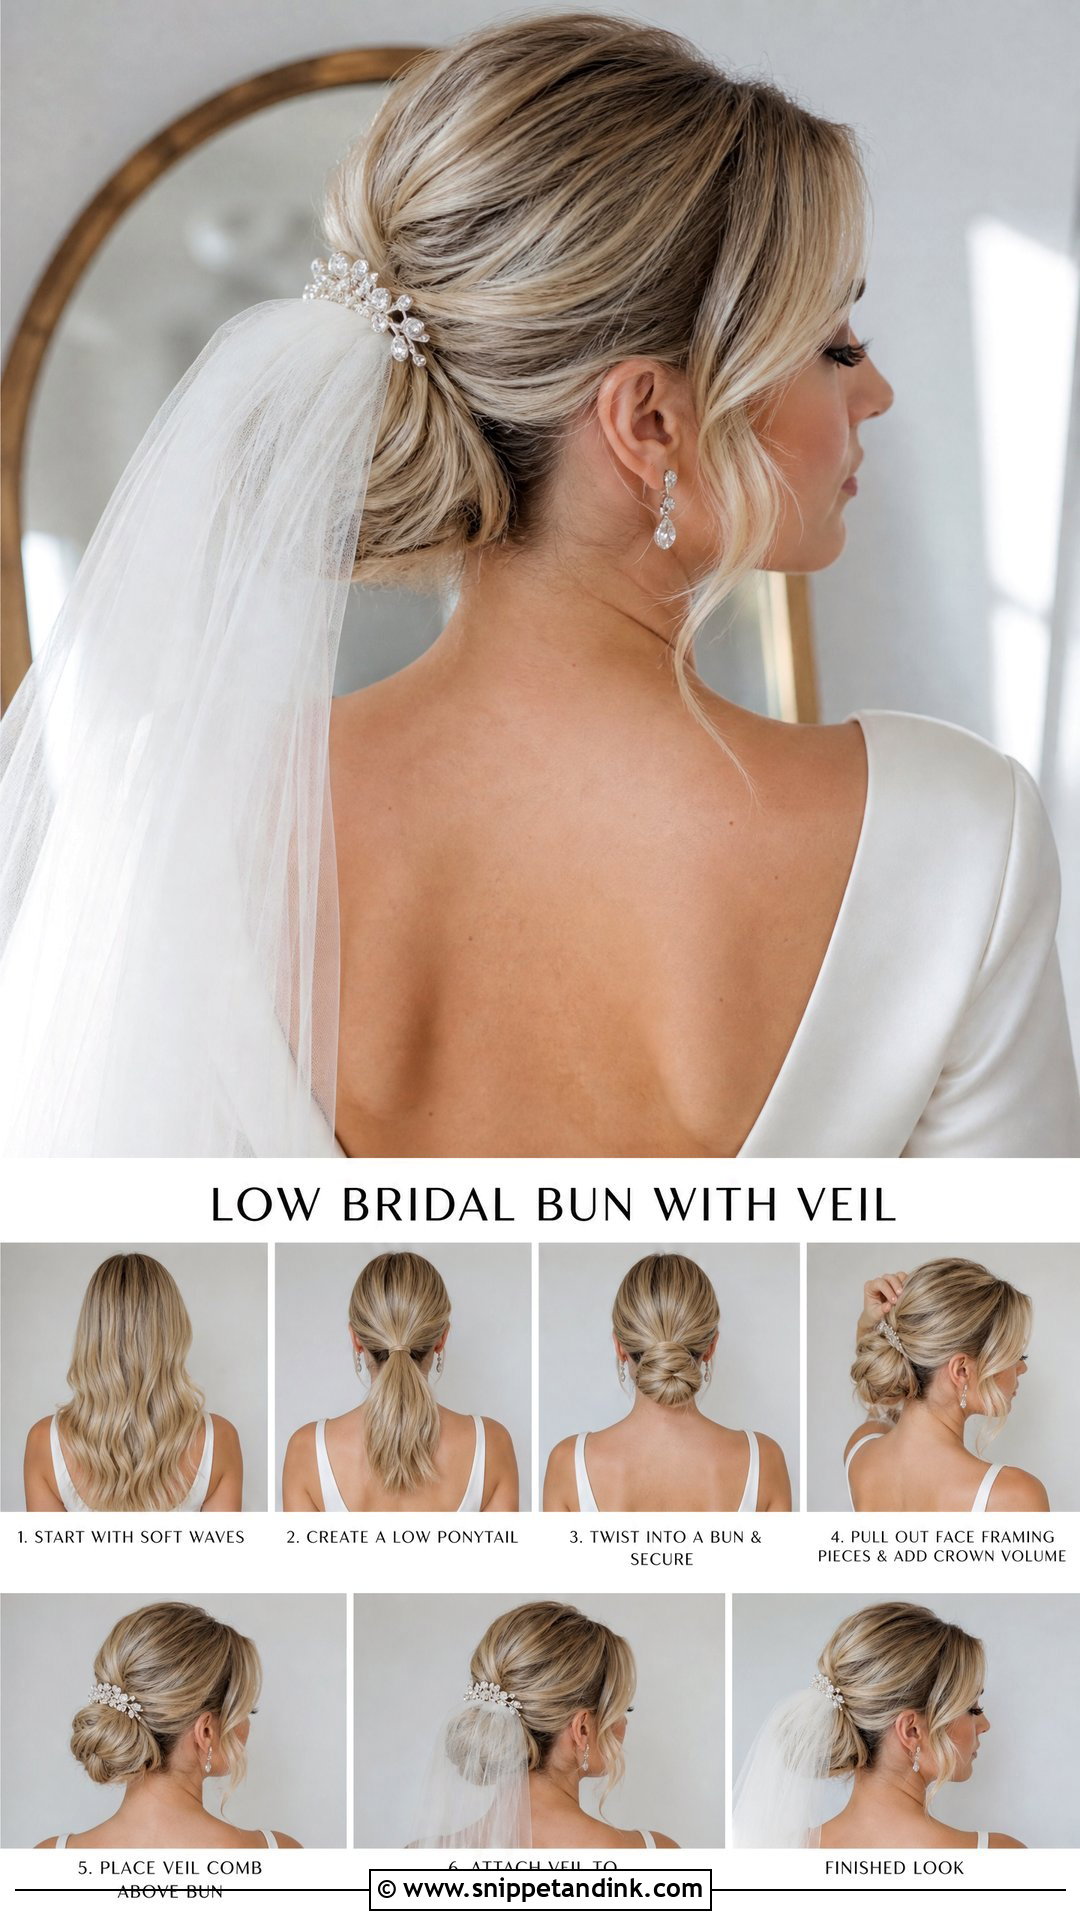
A bridal bun with veil tutorial answers the question I get at nearly every trial: where does the comb go? The useful videos show the finished bun from the back, then try the veil above, below and tucked into its center. Heavy embellished veils need the comb slid into a crossed-pin base, not just bare hair. A low bun reads classic; a mid bun lifts the silhouette in photos.
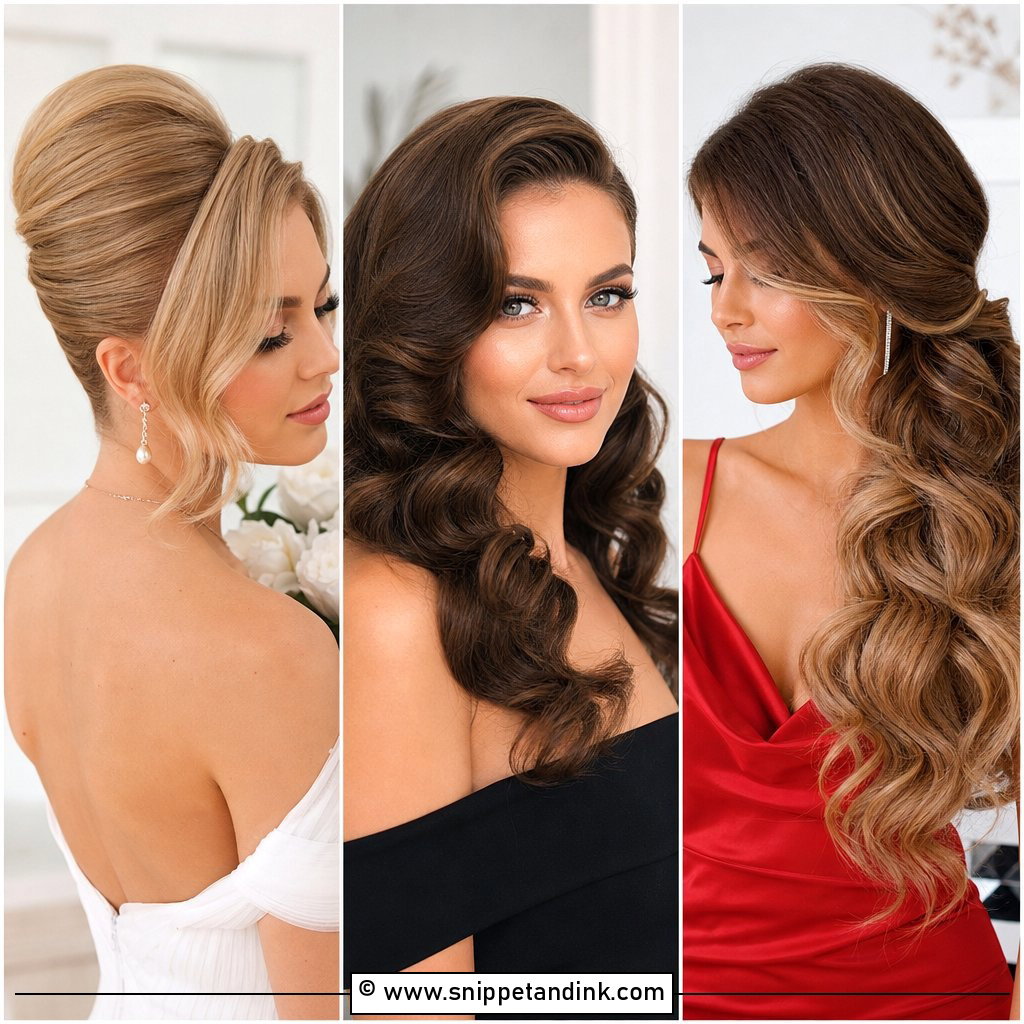
15. Bridal Hair With Pearl Pins Tutorial
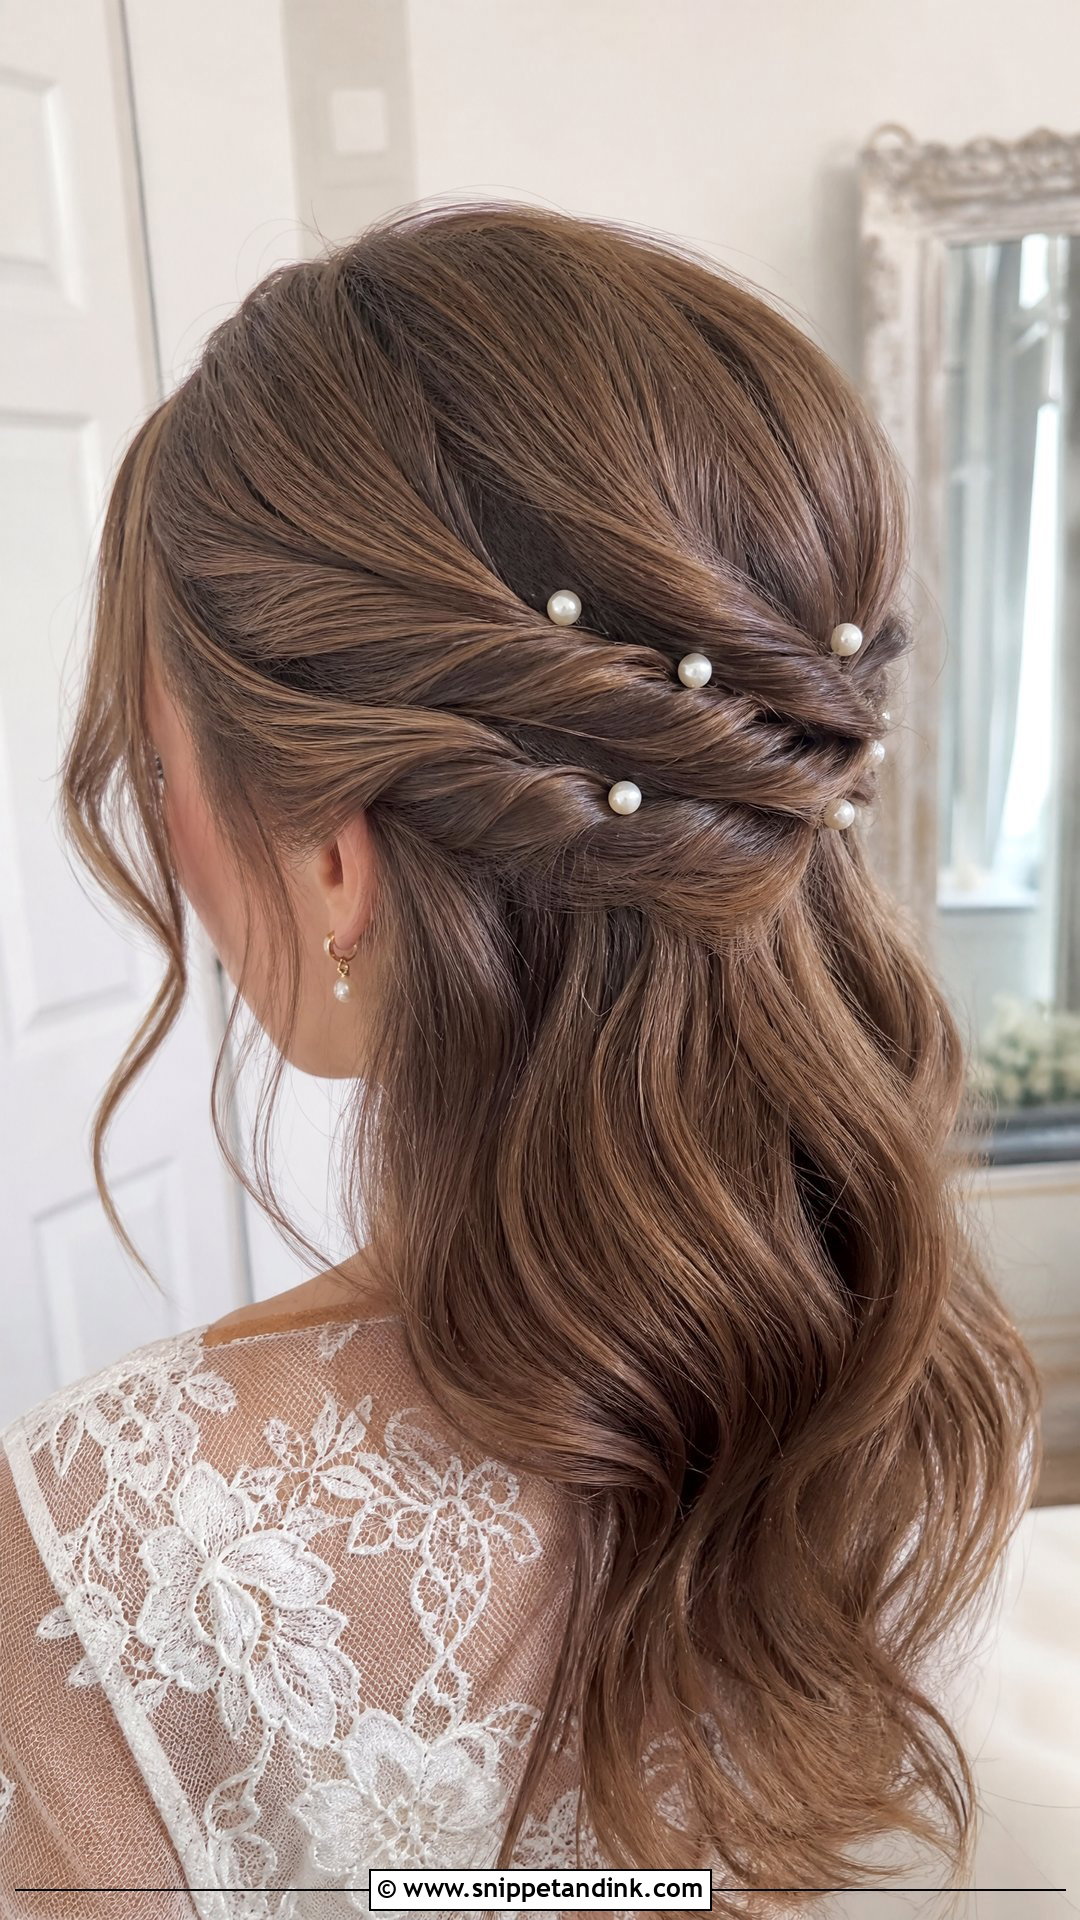
Pearl pins are the last step, so a good tutorial builds a whole style first: a low bun, textured updo, half up or soft waves. Then it shows placement around a twist, a braid edge, the outer curve of a bun or one side only. Crowding is the common mistake. I usually stop at five to seven pins and step back to check before adding more. Odd numbers sit more naturally than pairs.
Four Practice Runs Before You Style It Yourself
Following along once in your bathroom isn’t the same as doing it with shaky hands at eight in the morning while a photographer waits. Spread a few runs over the weeks before the wedding so the movements become muscle memory.
- About six weeks out: follow the video slowly and ignore the result. You’re learning the order of steps.
- Second run: do it without pausing and time yourself. Most people need about twice as long as the video suggests.
- About two weeks out: style hair washed the way it will be on the day, then wear it for an afternoon and see what drops.
- Final run: add the veil or accessory, take flash photos from the back and move any pins that show.
A small kit that saves the day
Keep everything from your practice runs in one bag: the same curling iron, a few sectioning clips, bobby pins matched to your hair color, U-pins for buns, small clear elastics, texture spray and a flexible hairspray. Add a hand mirror for checking the back. On the day, use exactly what you practiced with. A new product the morning of the wedding is a gamble I never take with a client.
Watch Twice, Then Pause on the Pins
Videos earn their place because they show how a style is constructed, not just how it ends. Use them to build confidence before a trial, to explain details clearly to a stylist, or to guide a handy friend through it. Low buns, textured updos, Hollywood waves, braids, ponytails, short hair looks, curly updos and natural hair styles all suit different weddings. The right one fits your dress, your hair texture, your veil, the weather and how much you want to think about your hair once the ceremony starts.
You'll Like These Ideas:


Leave a Reply