
Most of the brides I style end up in something simpler than the picture they first showed me, and they rarely regret it. A low bun or a set of soft waves done properly will outlast an elaborate structure that took three hours and forty pins. Below are 25 simple wedding hairstyle ideas I’d happily put on a bride, a bridesmaid or a guest. For each one I’ve noted what it needs from your hair, where it usually fails, and how I’d make it hold if you’re doing it yourself at home.
Second-Day Hair Gives Pins Something to Grip
Simple styles fail for one reason more than any other: the hair is too clean and too soft to hold a pin. Freshly washed, fully conditioned hair is slippery. I ask brides to wash the day before, use conditioner only from mid-length down, and skip oils. If your roots get greasy by the second day, wash that morning instead and add a little dry shampoo at the roots once it’s dry, purely for grip.
What’s in My Kit for a Simple Style
- Bobby pins matched to your hair color, inserted with the wavy side against the scalp
- U-pins for buns and thick hair, which hold more hair with less pressure
- Small clear elastics for half-up sections and braid ends
- A texture spray or dry shampoo for grip before styling
- A flexible-hold hairspray for finishing, rather than a stiff one that can flake on dark hair in photos
Practise the cross-pin before anything else. Two pins pushed in as an X hold more firmly than five laid side by side, and that X is the base of almost every style below.
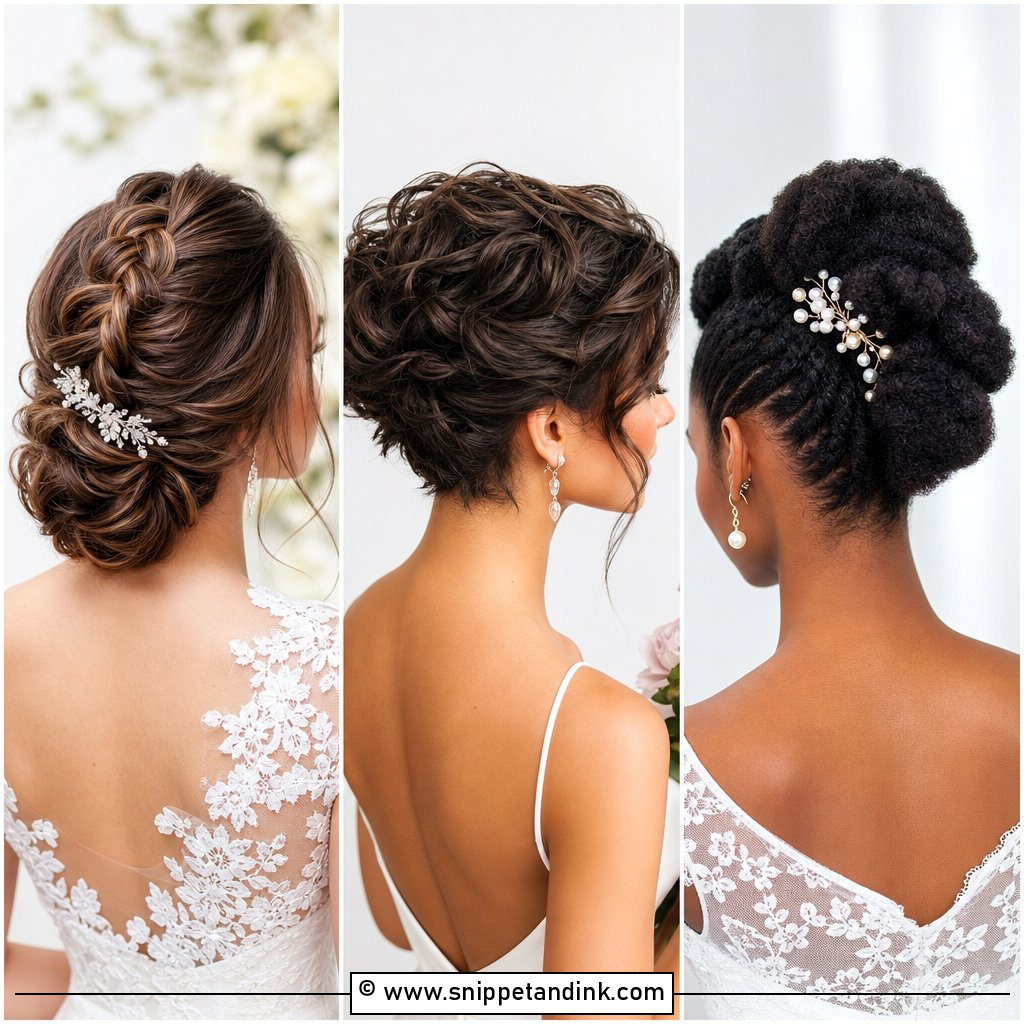
1. Low Bun Wedding Hairstyle
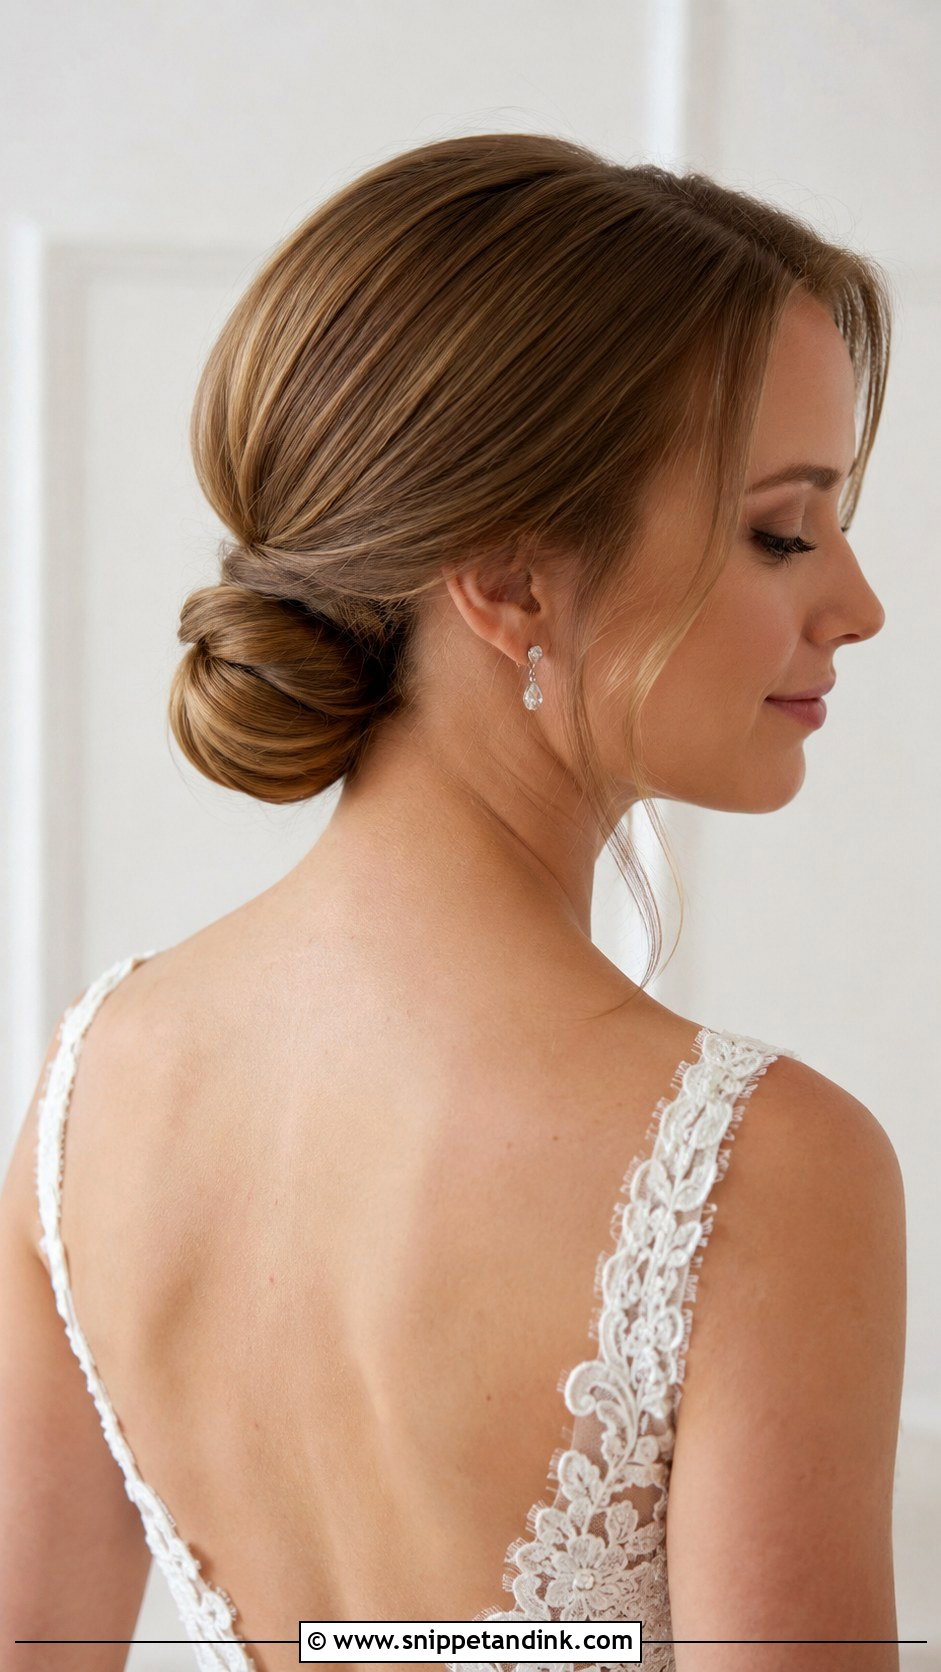
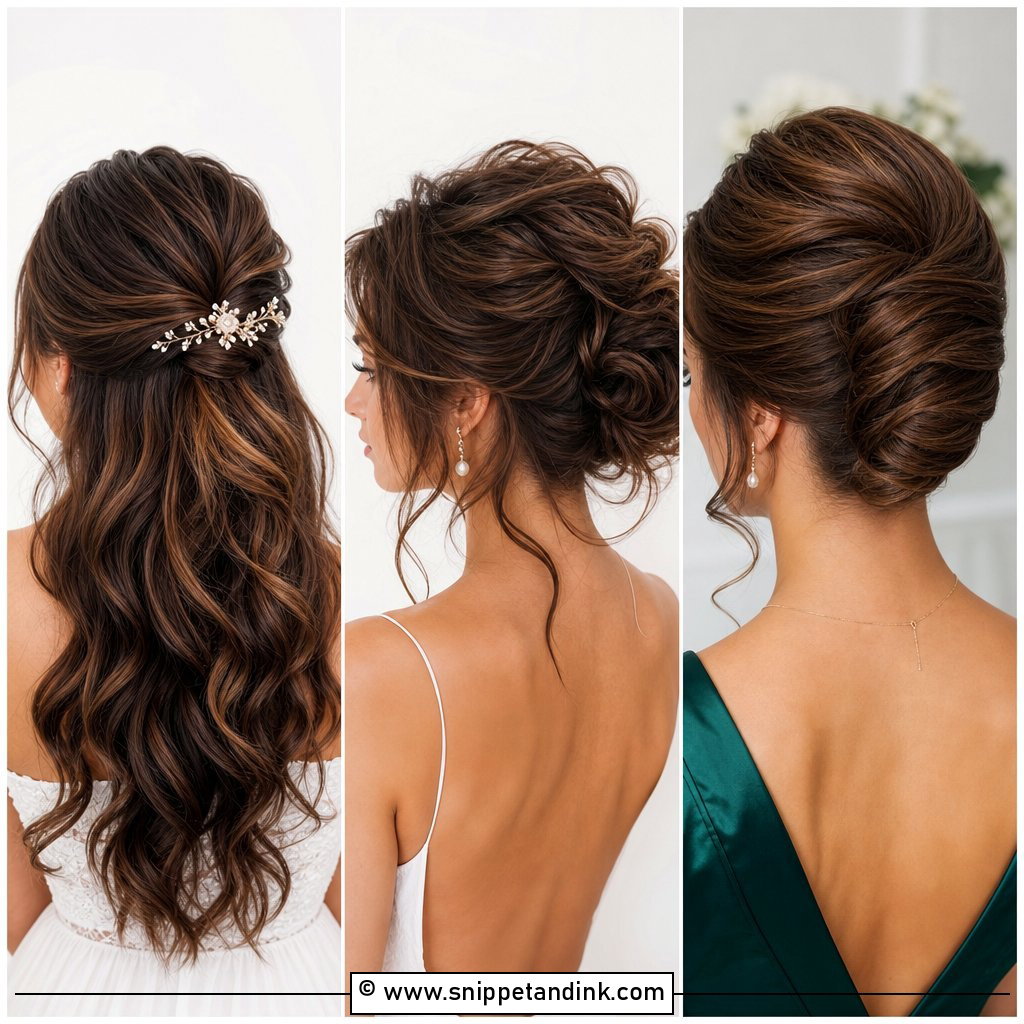
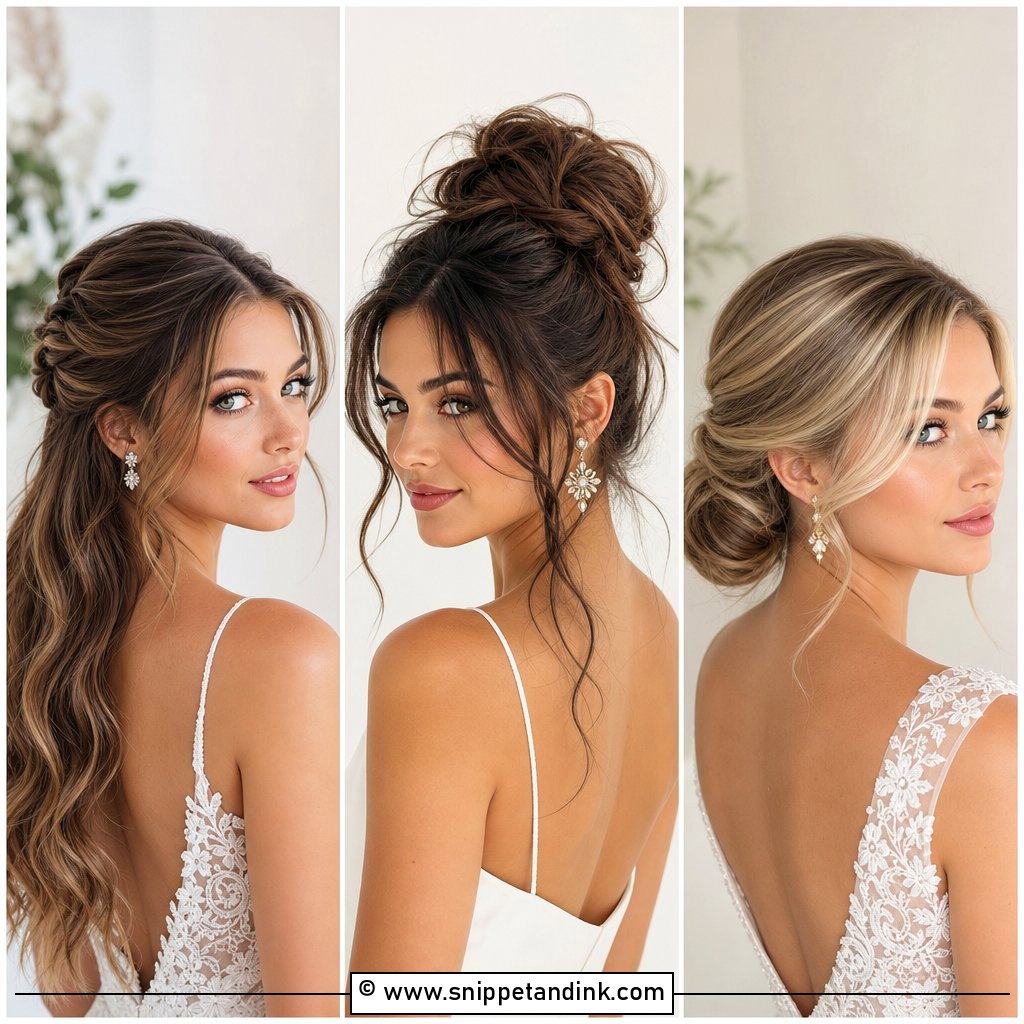
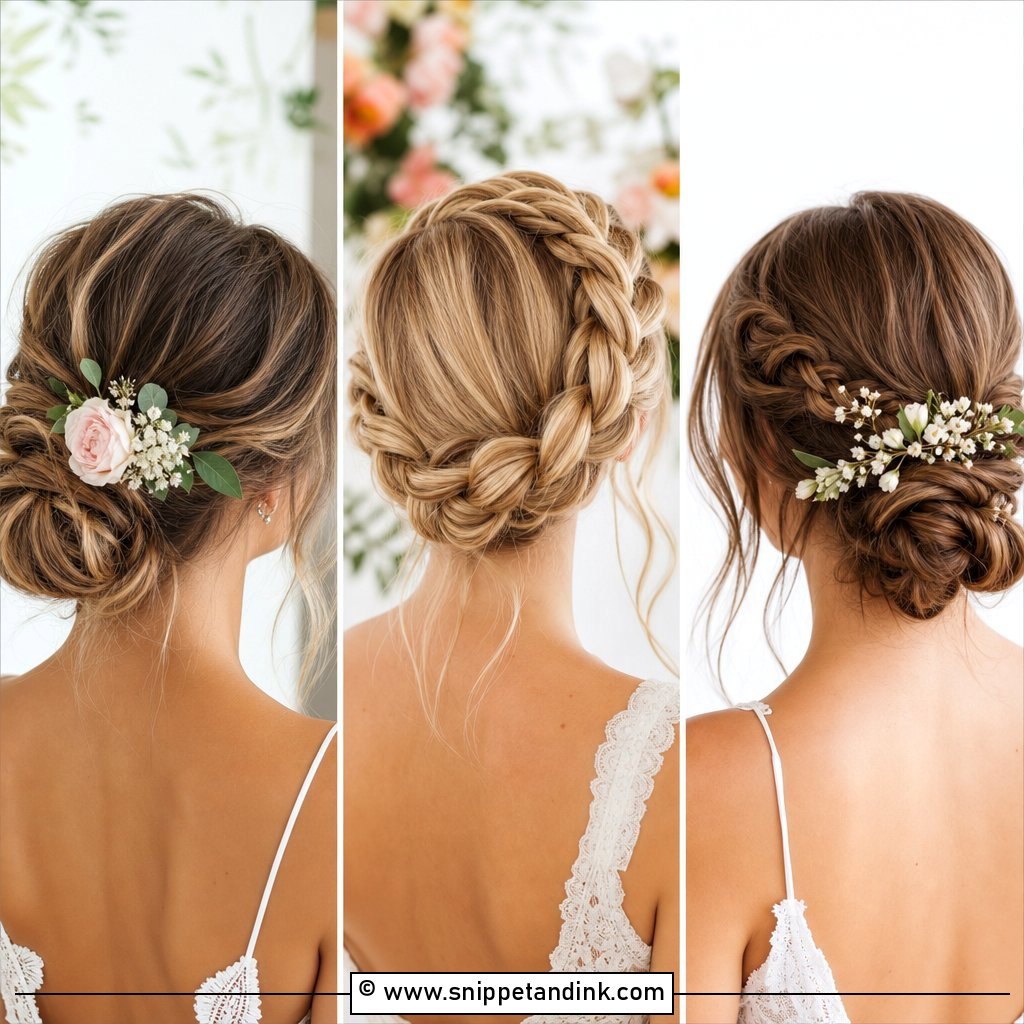
The low bun is the style I reach for most when a bride is wearing a long veil, because the comb has a solid base to grip just above it. Placement is the whole trick. Sit it too low and it pushes against a high collar every time she turns her head. I tie a small ponytail first, twist the length around it, and pin through the twist into that base rather than into loose hair. Pull your face-framing pieces out before you set anything, not after, or you’ll drag the smooth sides loose freeing them.
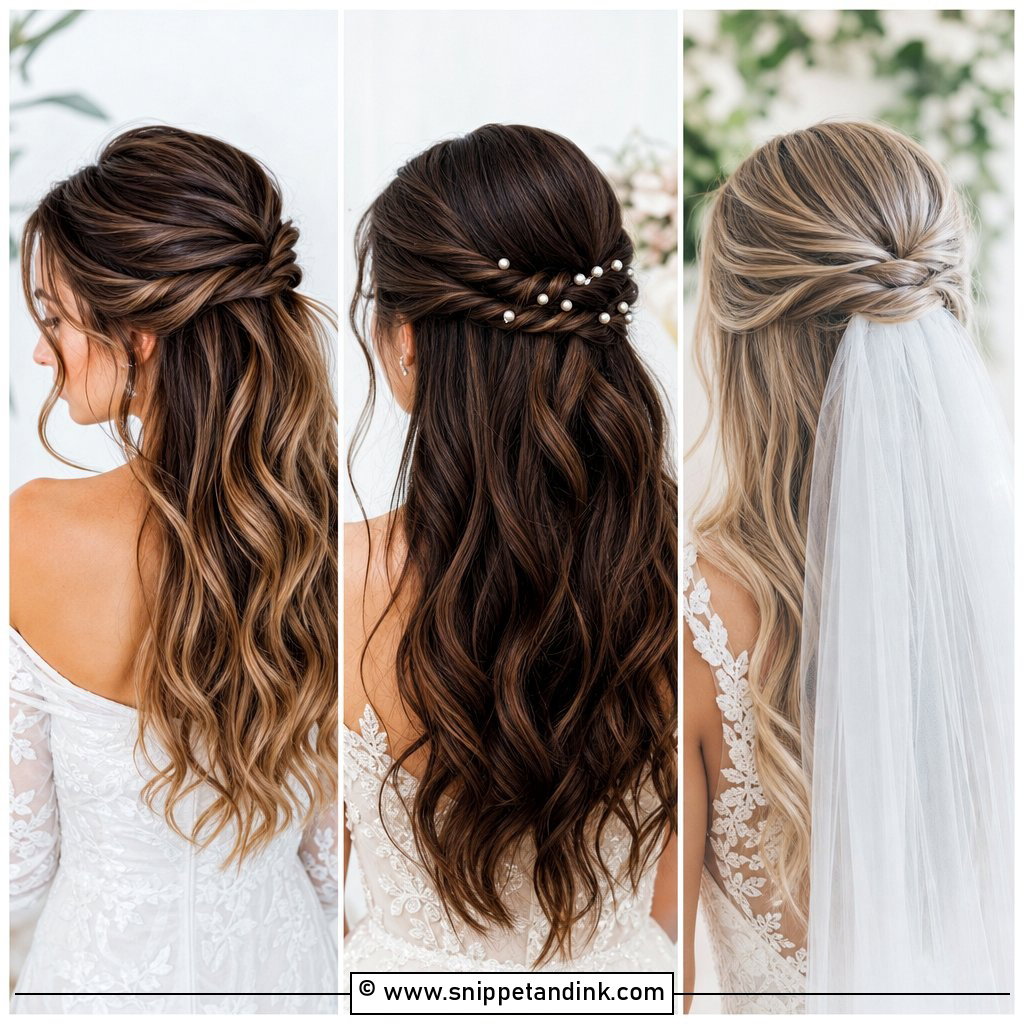
2. Half-Up Half-Down Wedding Hairstyle
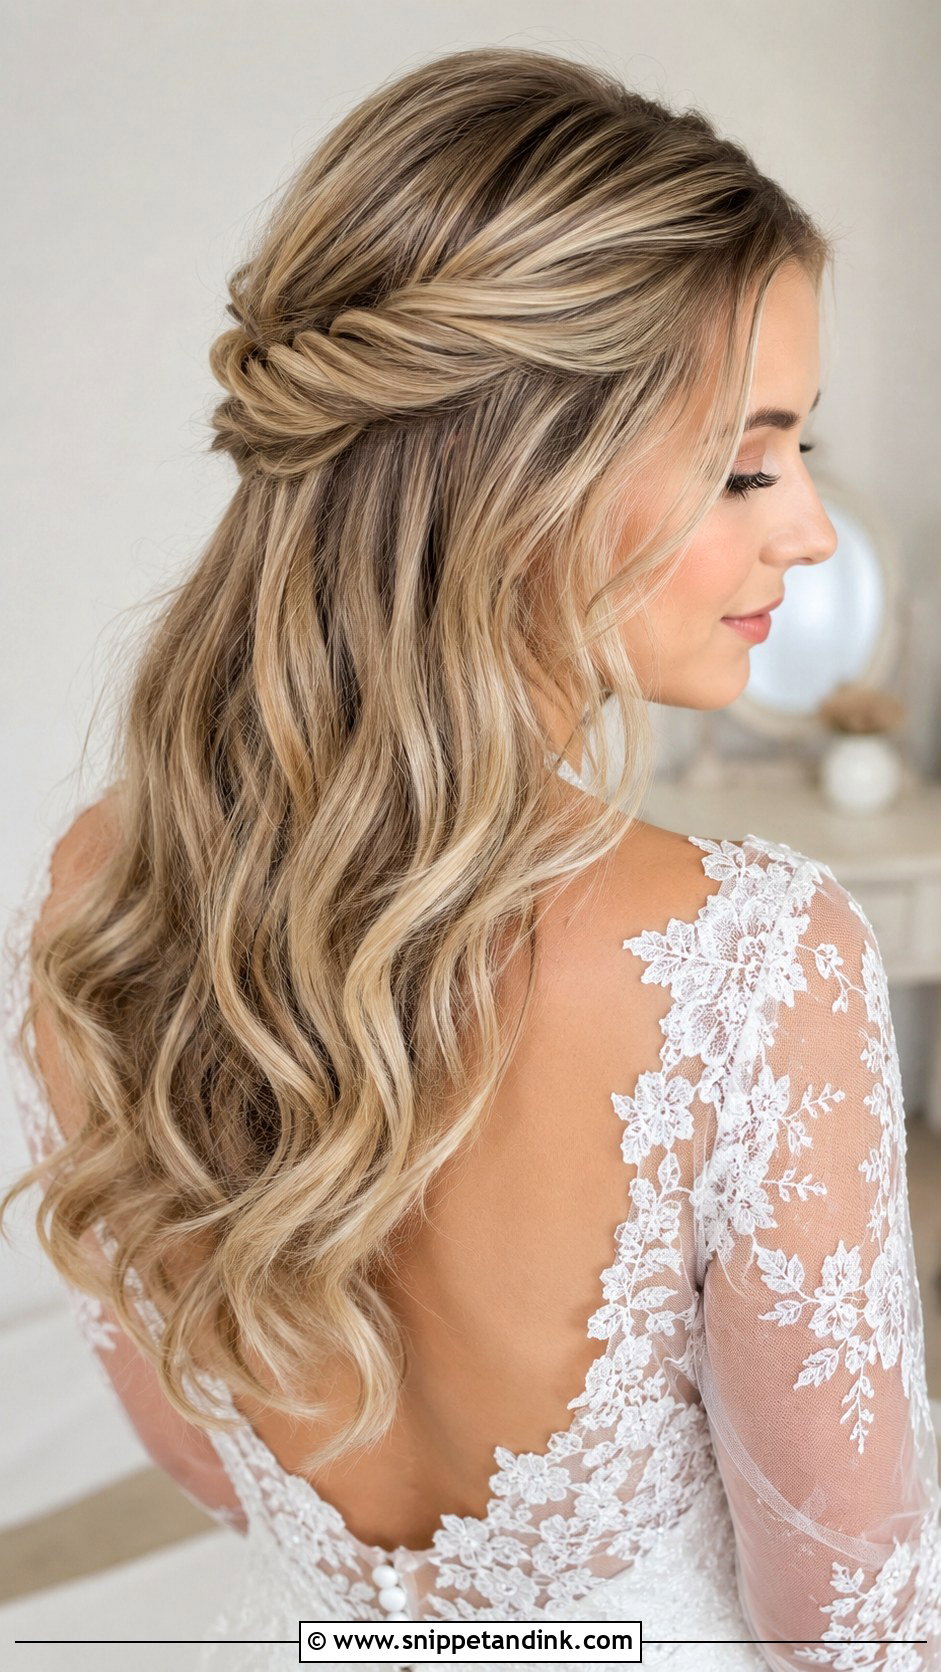
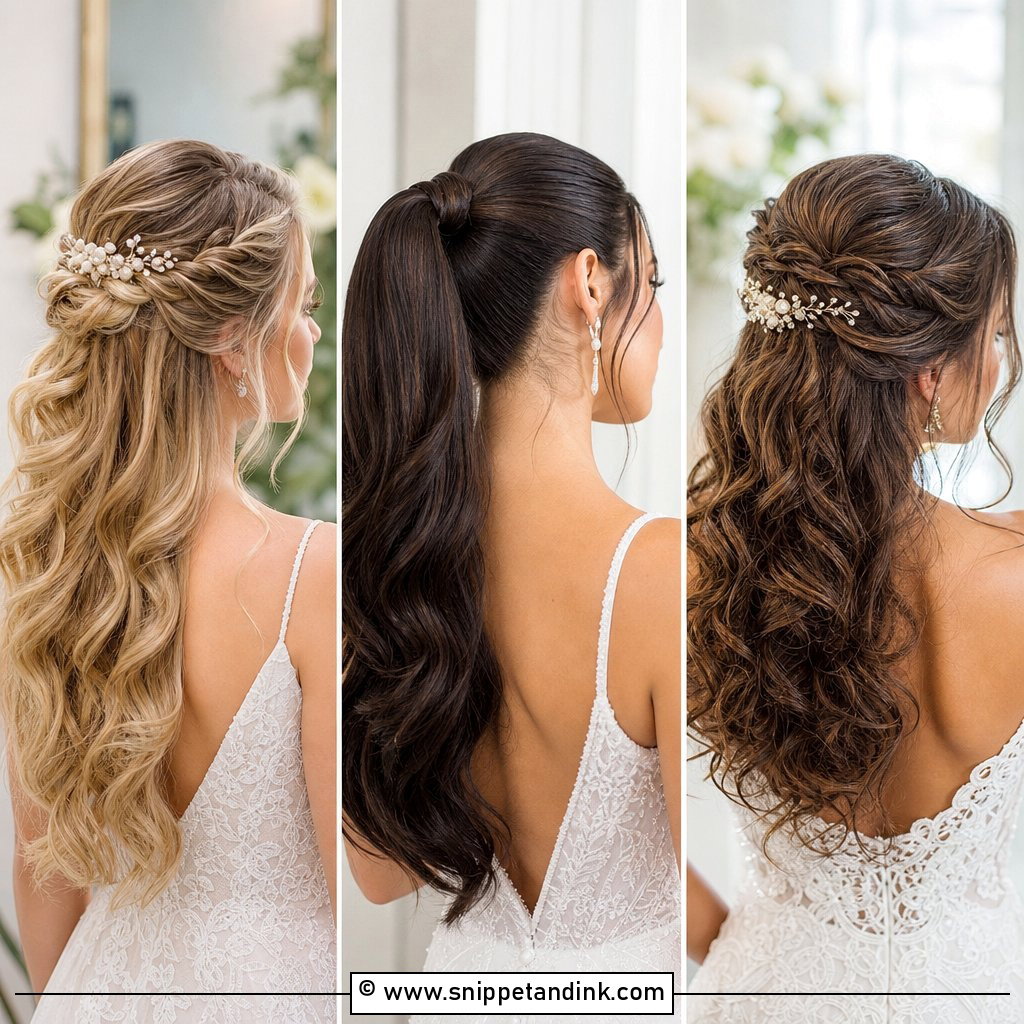
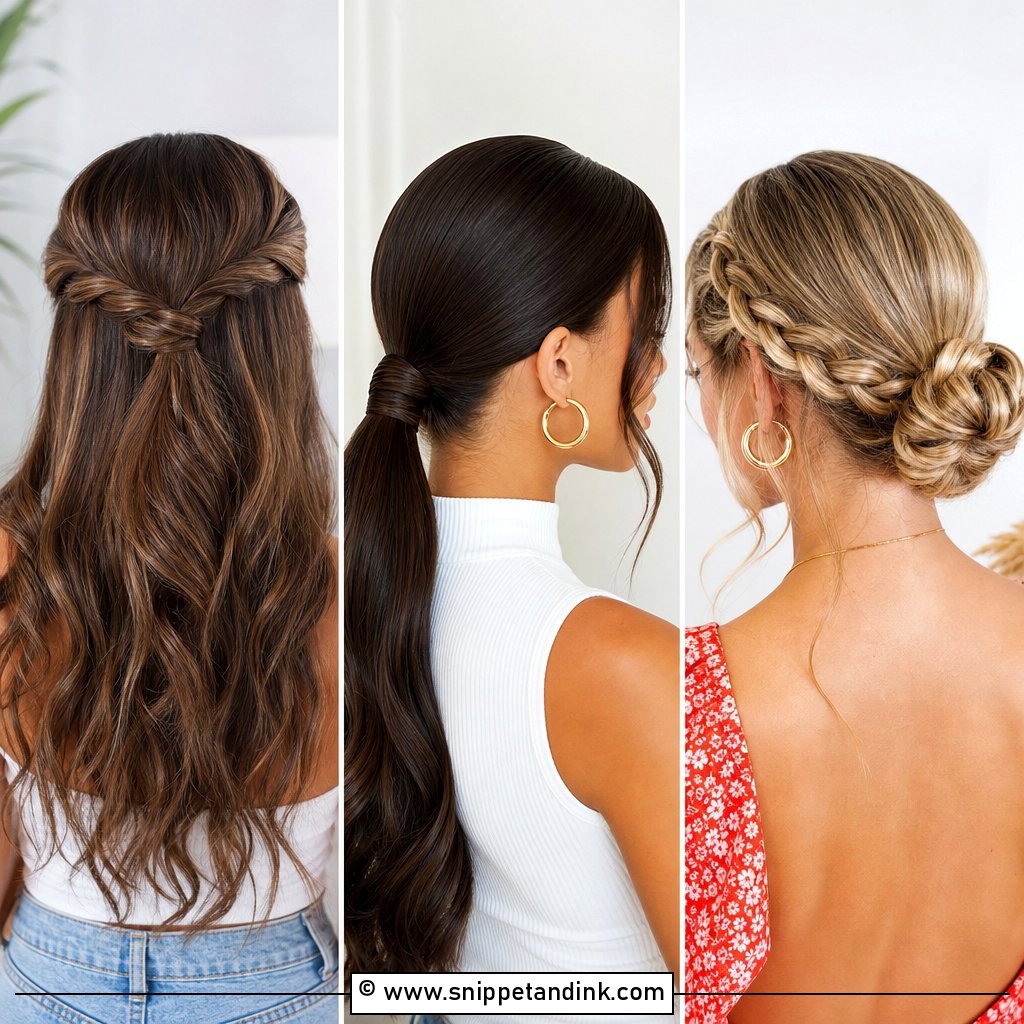
Half-up is the answer for anyone torn between up and down, but on fine hair it carries more risk than anything else here. The bottom half has nothing holding it, so the curls drop there first. I curl the lower section with a smaller barrel than the top and let each curl cool before brushing. Secure the top with a small elastic and two crossed pins over it, never pins alone, or a veil comb will drag it down by the speeches.
3. Loose Waves Wedding Hairstyle
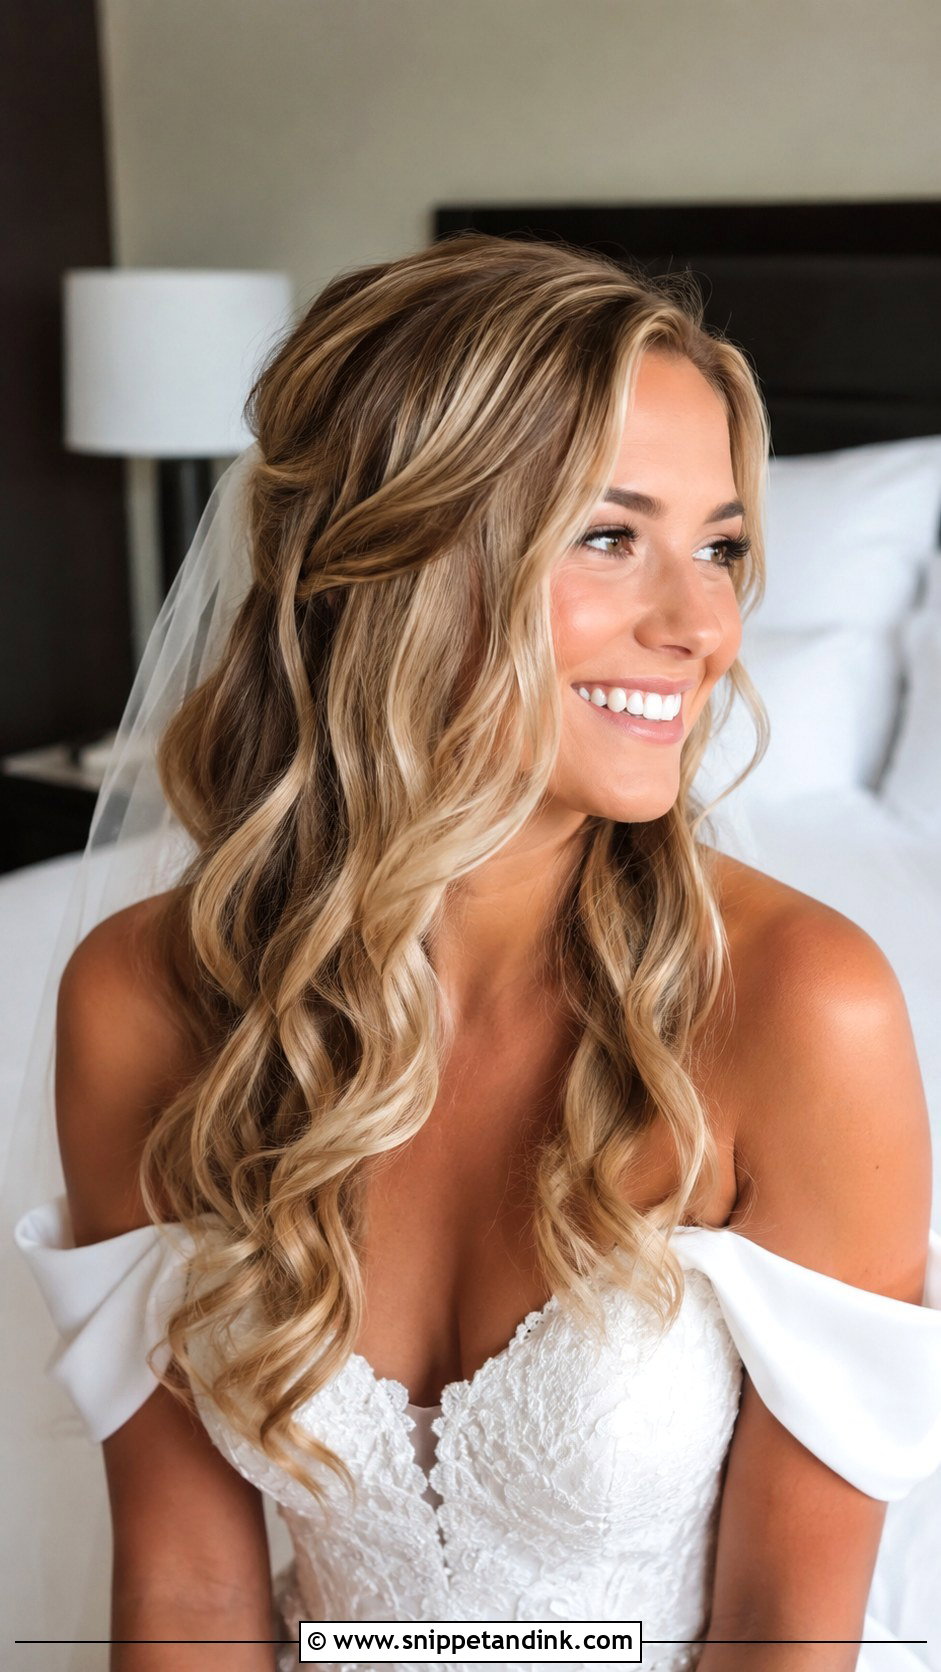
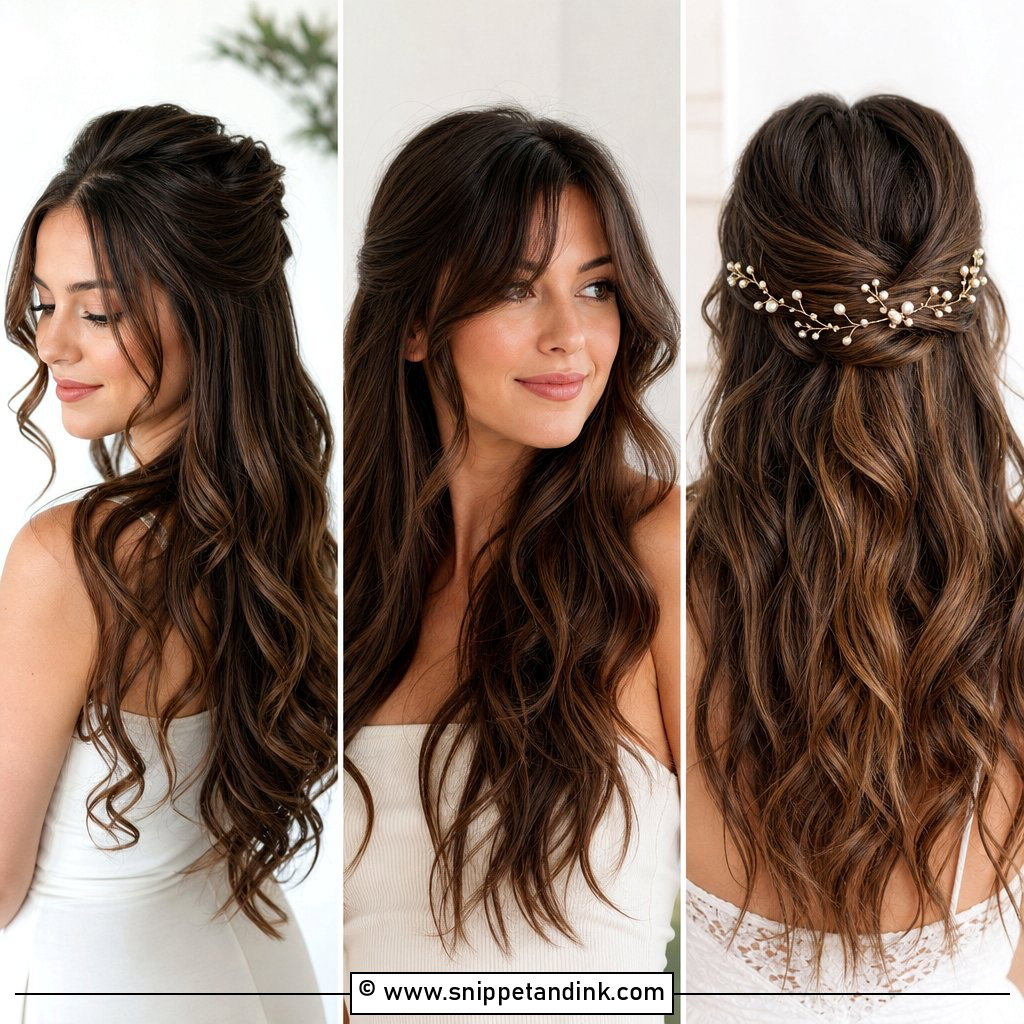
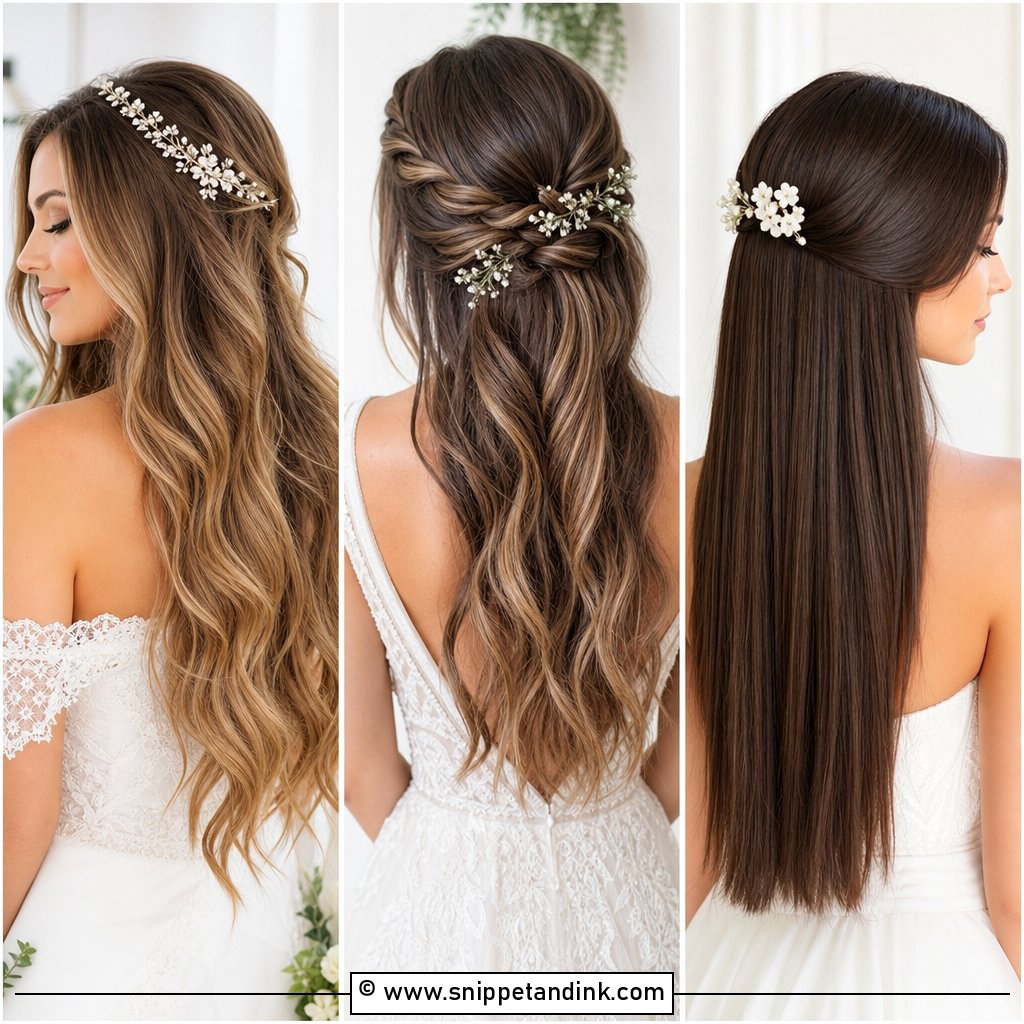
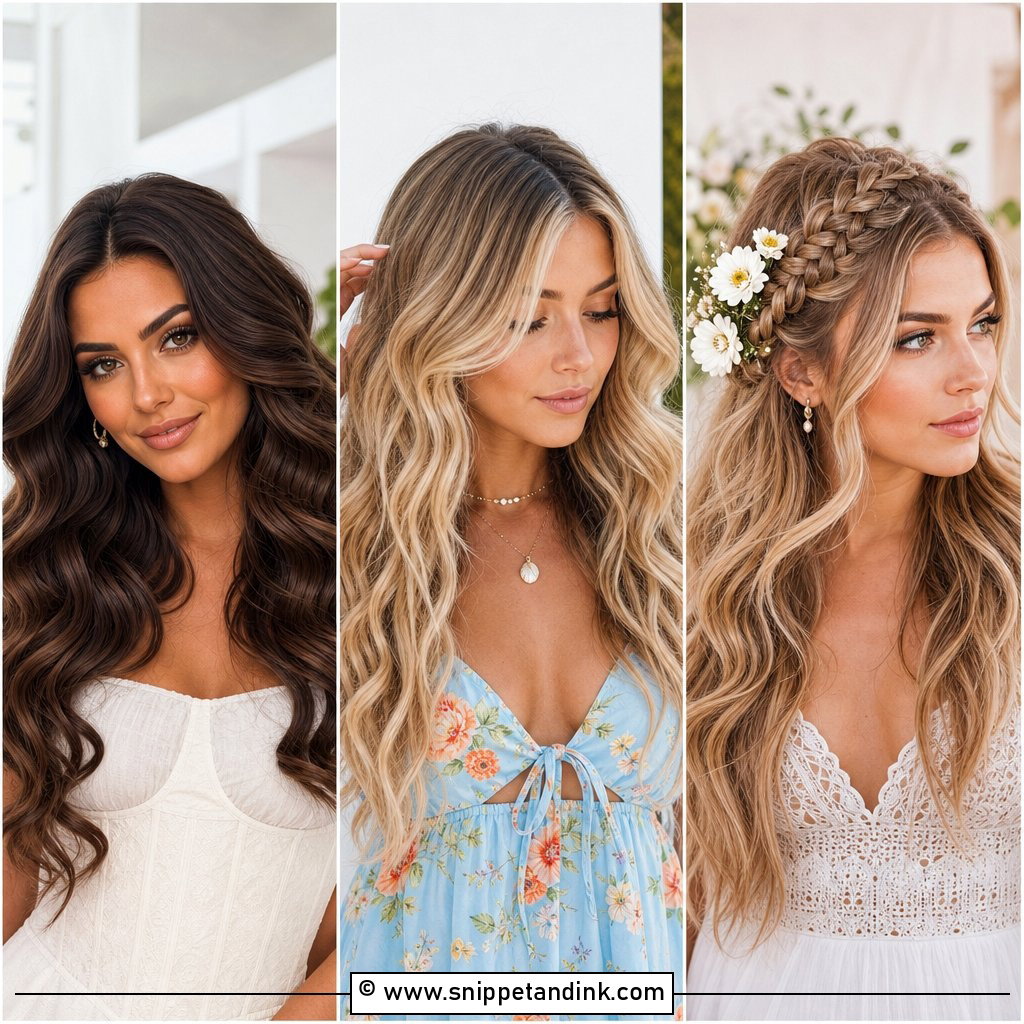
Loose waves look like the easy option and are actually the one I worry about most in summer. Humidity relaxes a wave far faster than it loosens a pinned style, so for an outdoor day I start with a tighter curl than the bride expects and brush it out only once it has fully cooled. Prep matters more than the iron: a little mousse at the roots on damp hair gives the bend something to hold. Very silky, straight hair does better with a heat protectant that adds grip than with a smoothing serum.
4. French Twist Wedding Hairstyle
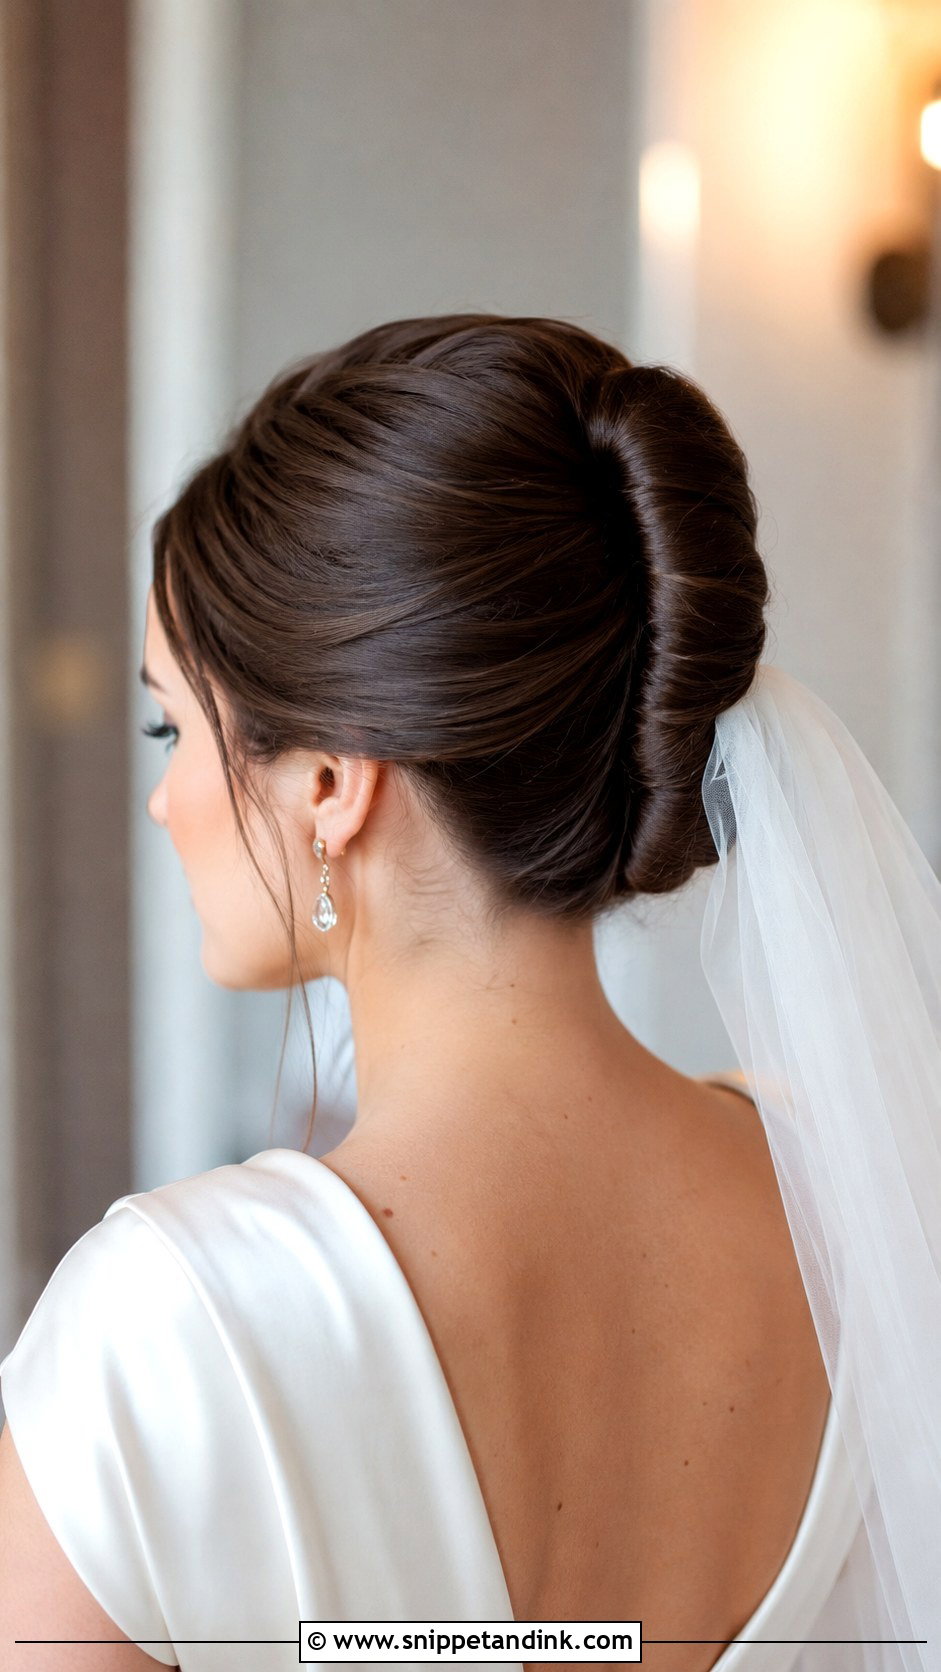
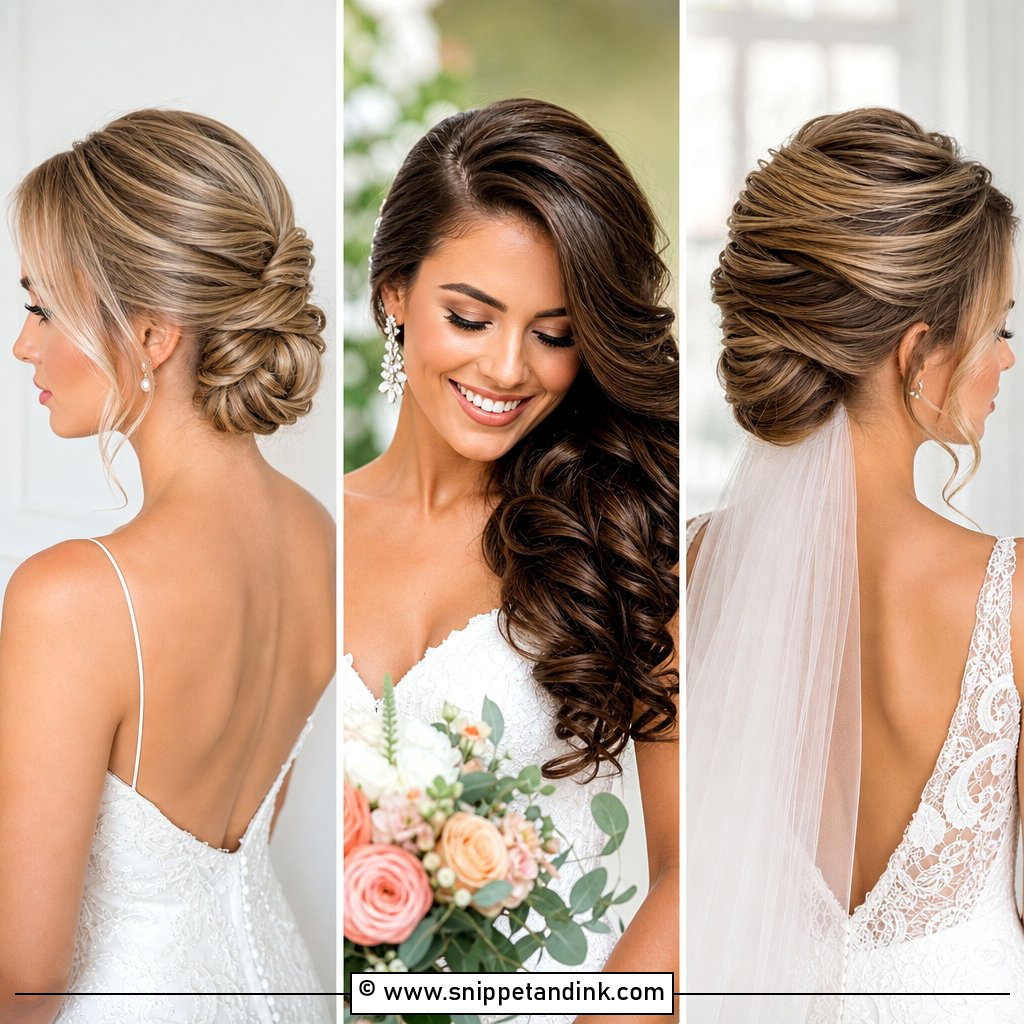
A French twist lives or dies on its vertical seam. I backcomb lightly where the roll will sit, then cross-pin a row of bobby pins up the back of the head as an anchor before folding the hair over them. Every finishing pin goes into that anchor row, not just into the roll. On very thick hair the roll gets bulky, so I’ll tuck the ends into a tiny hidden bun inside it. Above the shoulder there usually isn’t enough length to wrap, and I’d steer you to a chignon instead.
5. Low Ponytail Wedding Hairstyle
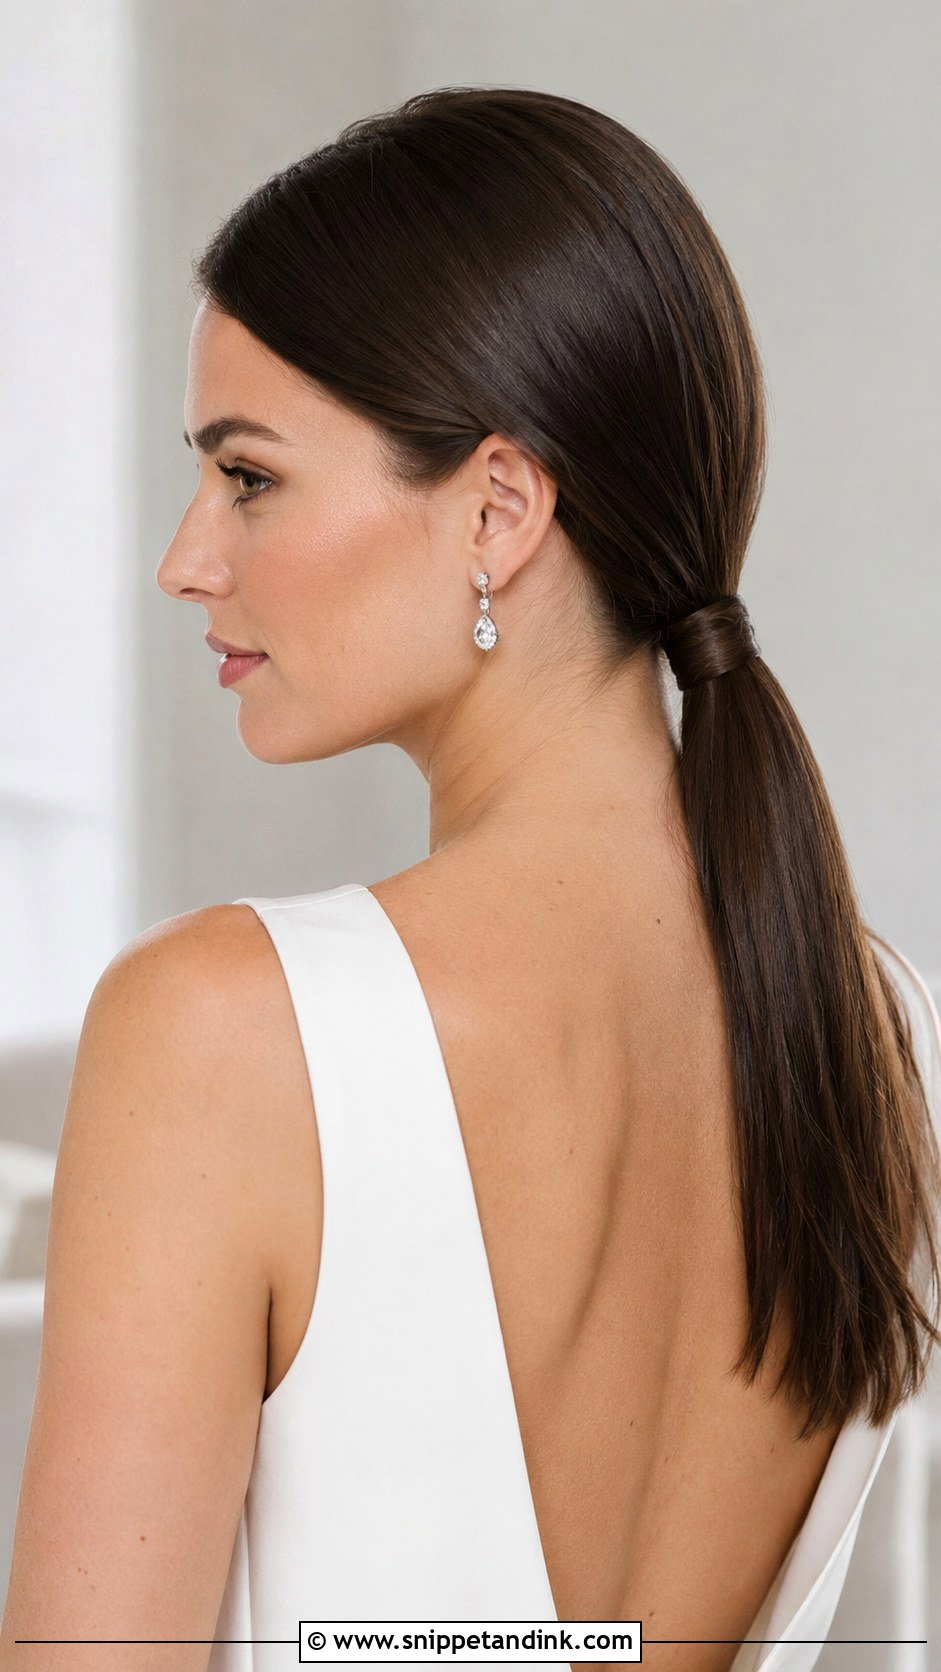
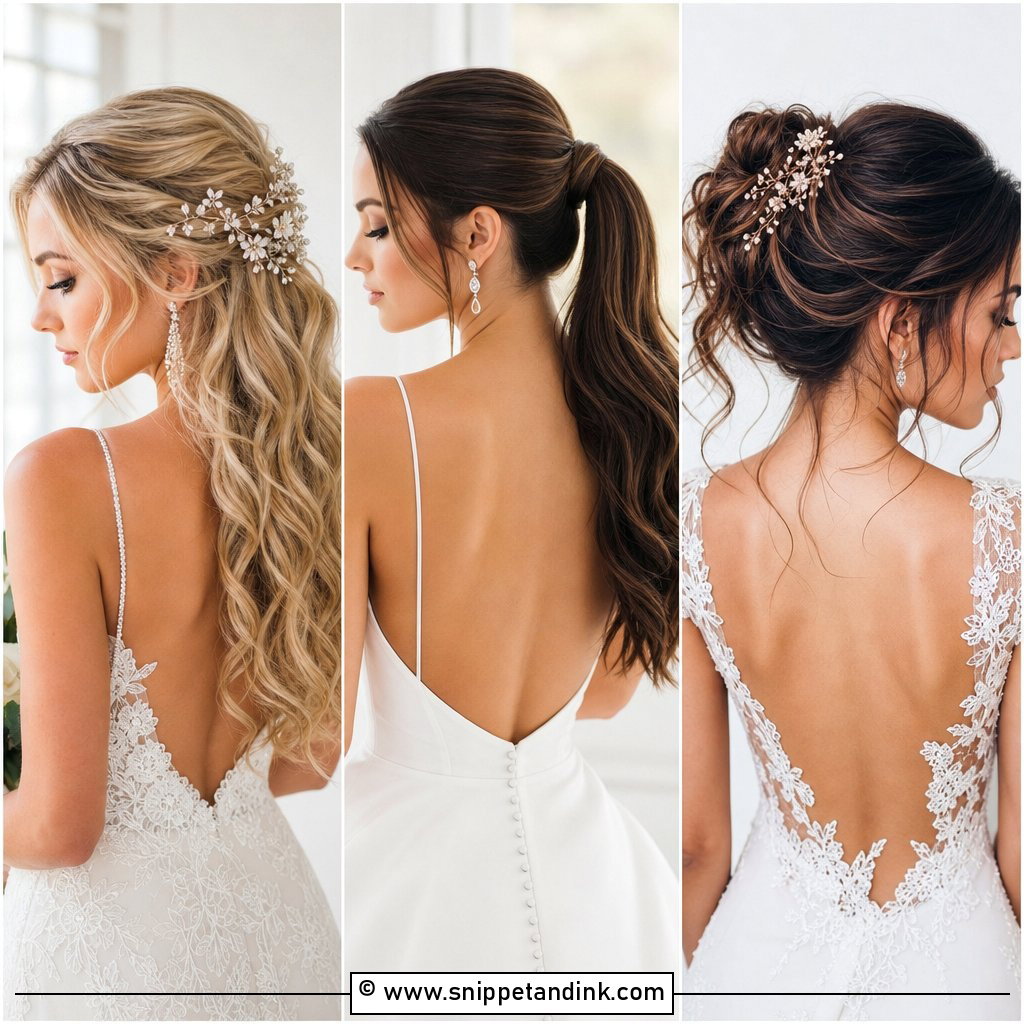
Brides who hate the feel of pins love this one, and it’s the most comfortable style on the list to wear for twelve hours. It does show every bump. I brush it back with a boar bristle brush and a pea-sized amount of cream before tying it at the nape. When you wrap a strand around the elastic to hide it, push the securing pin through the elastic itself; pinned only into hair, the wrap slides off by evening. A soft bend through the length hides flyaways better than poker-straight hair does.
6. Braided Crown Wedding Hairstyle
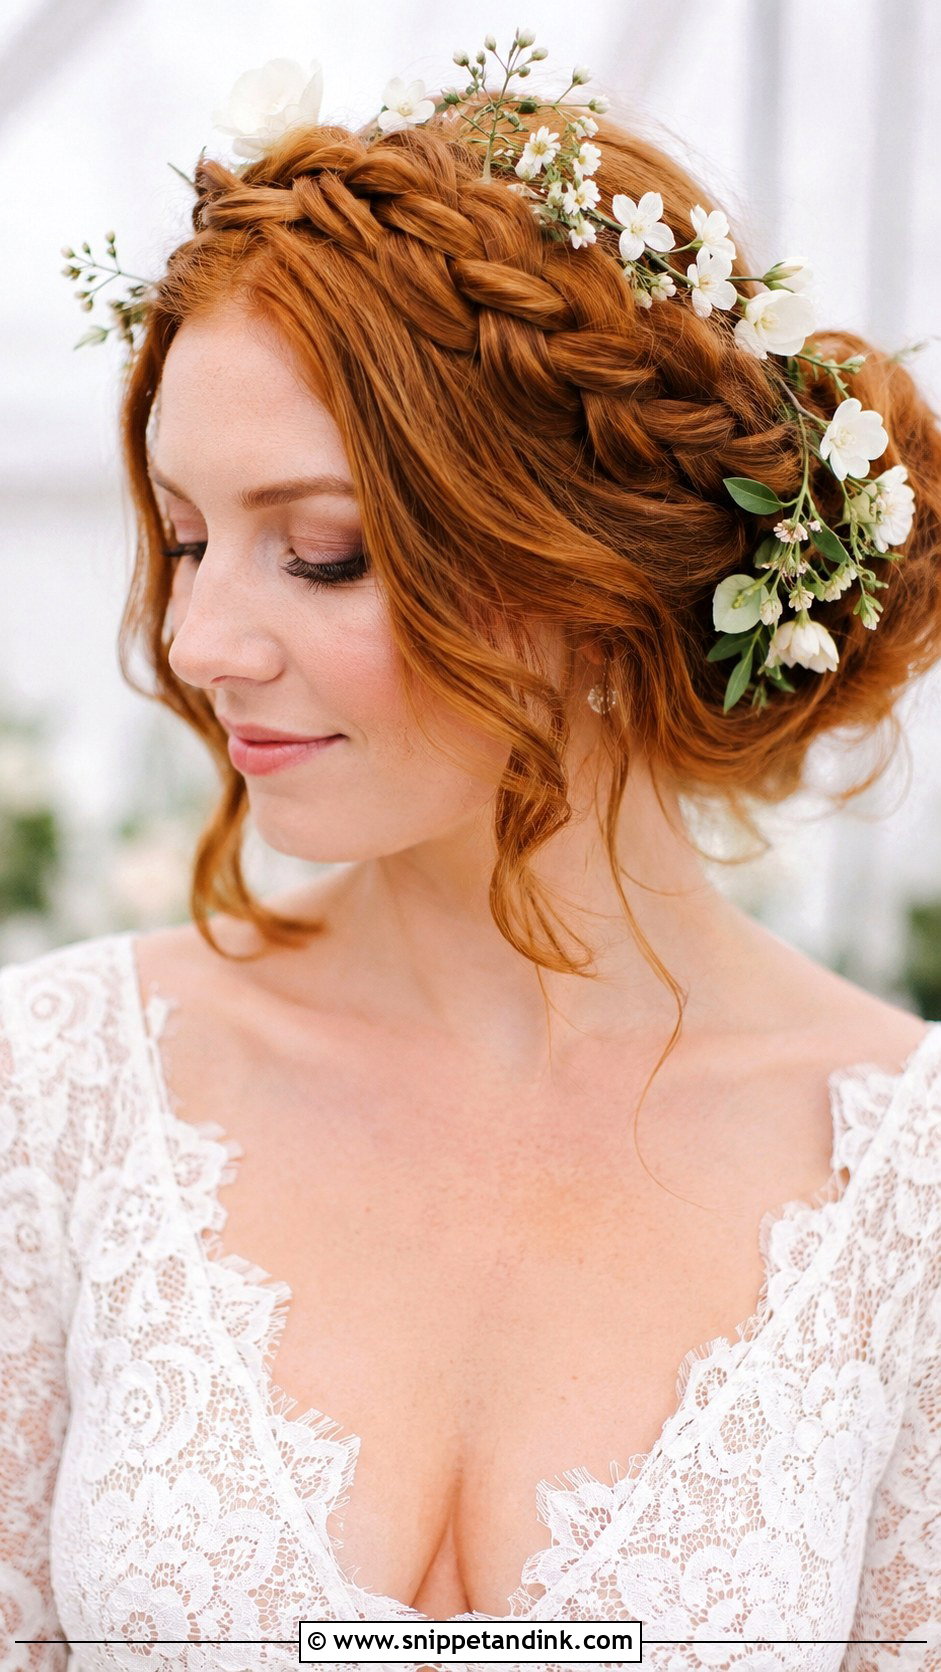
The first thing I check before promising a braided crown is the length of the layers around the ears. Short pieces there pop out of the plait by mid-afternoon. I braid two plaits from behind the ears, cross them over the top of the head, and pin each with the pin opened slightly so it hooks into the braid instead of resting on it. Pull the braids wider before they’re pinned; tugging at a pinned braid only loosens it. A braid also grips a flower stem well, so this is a good base for fresh blooms.
7. Chignon Wedding Hairstyle
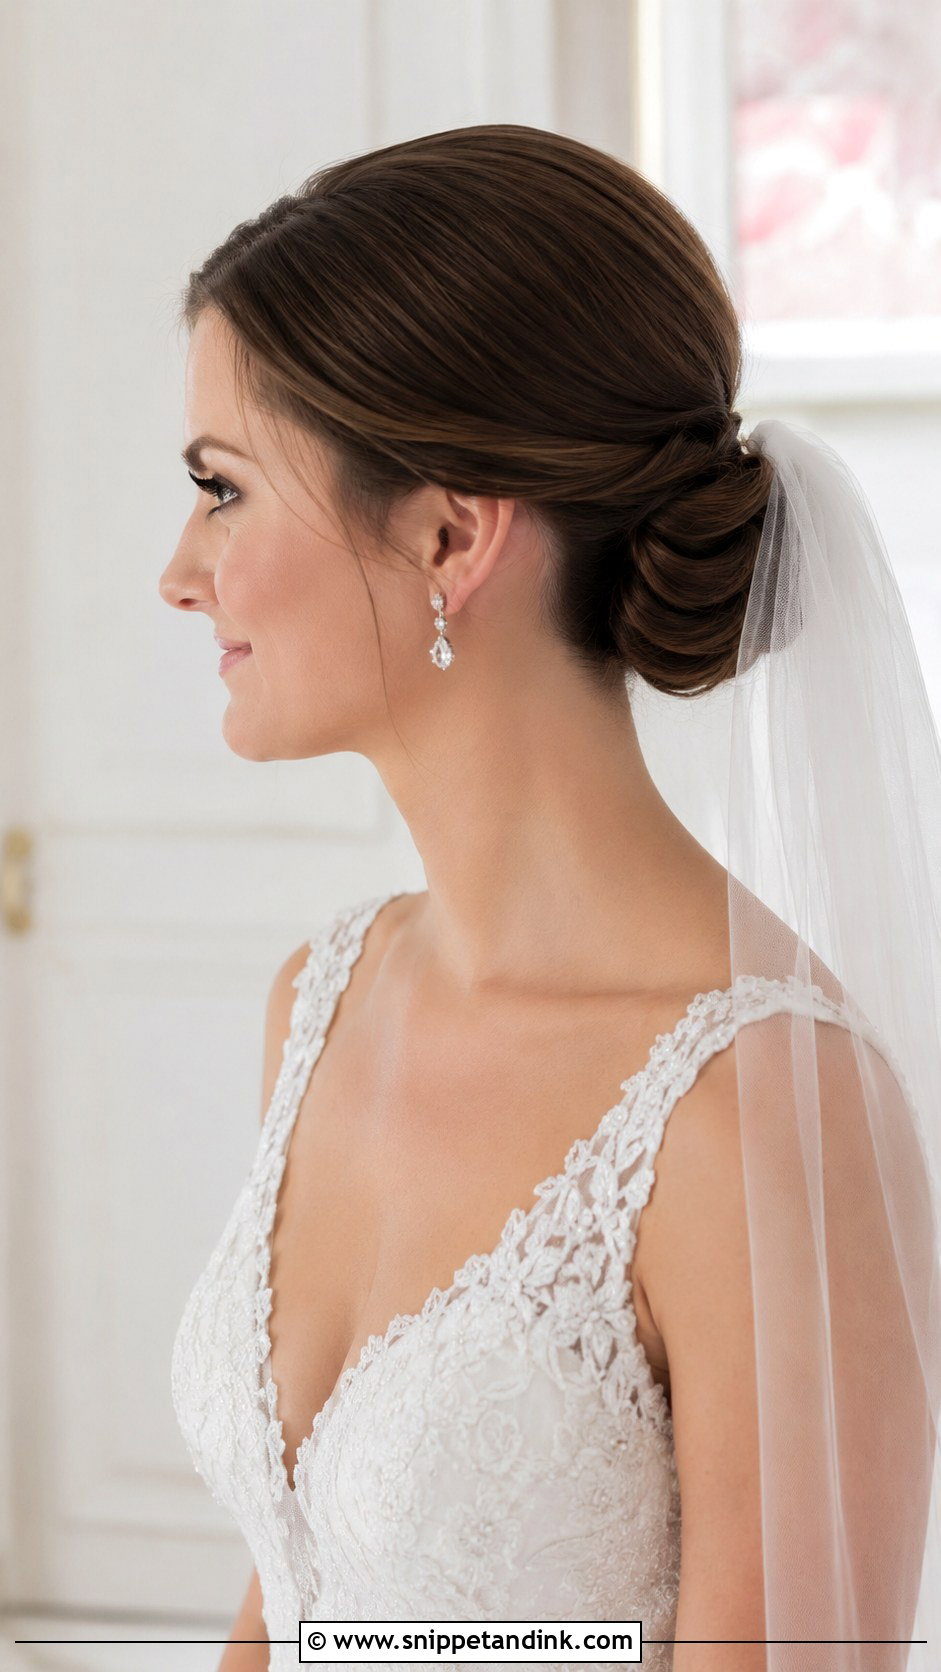
A chignon sits lower and tighter than a bun, and it rewards healthy ends. Even for a sleek version I set the hair with a large barrel first, because a slight bend lets the coil wrap without kinking. Coil the length, pin from the outer edge inward, and switch to U-pins on thick hair; a standard bobby pin can’t bite through that much. It’s a quiet shape, so the part and the hairline need to be clean for it to look finished.
8. Messy Bun Wedding Hairstyle
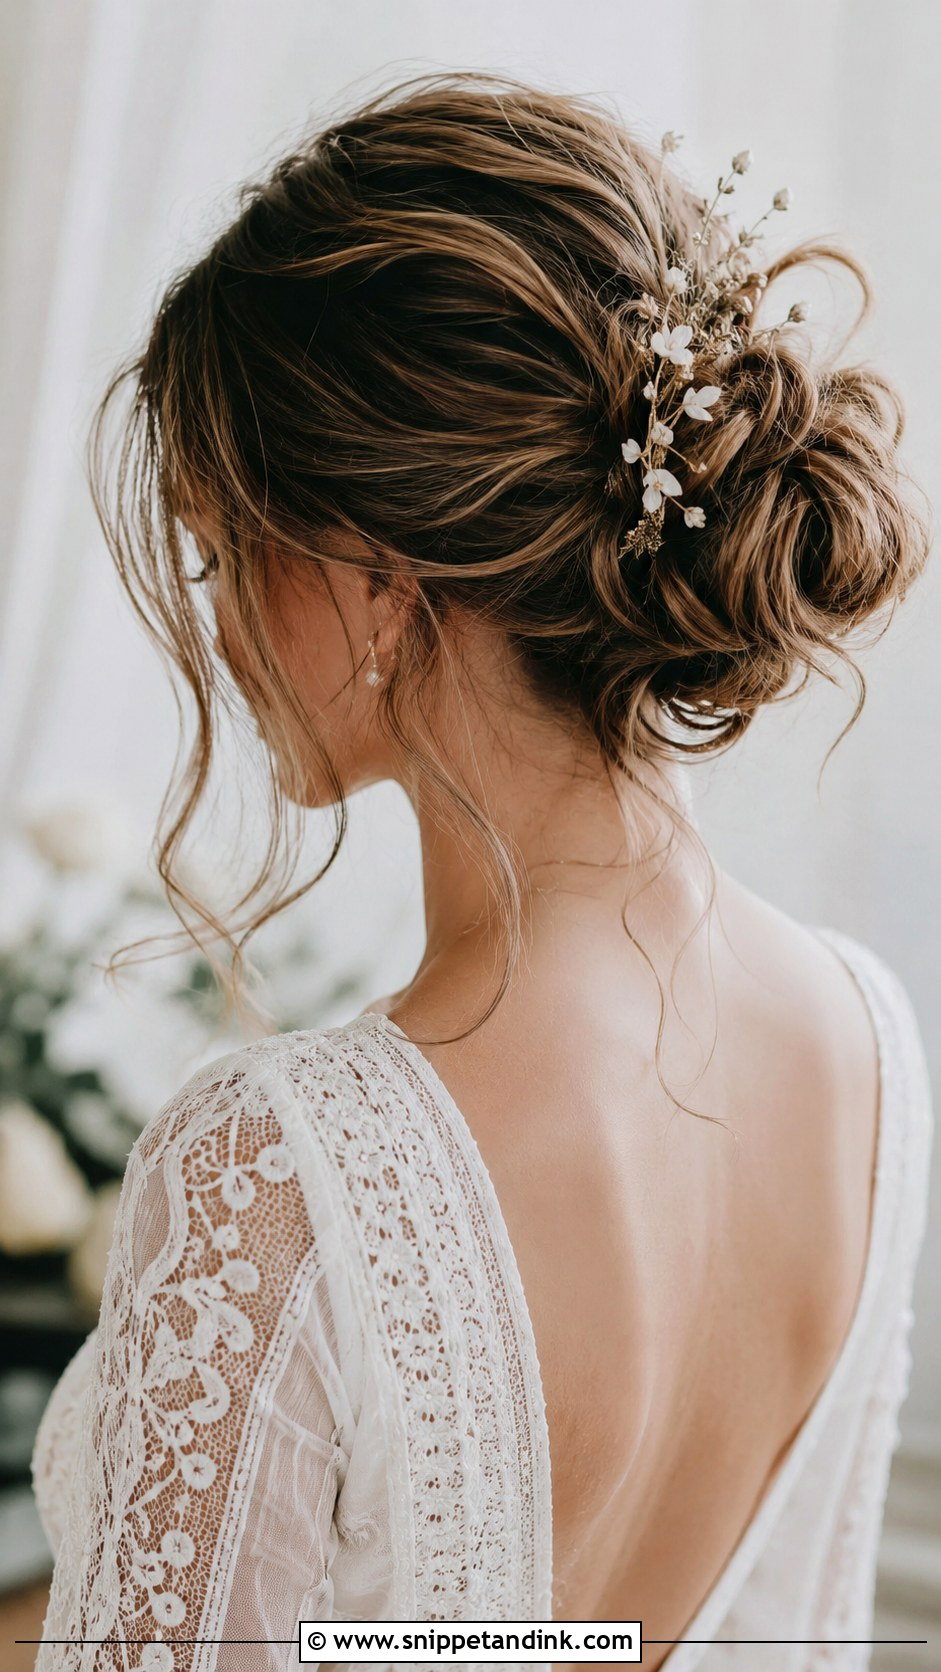
On the day, a messy bun should look messy and feel solid, so it is built with more care than people think. I curl the whole head first so the texture exists before I start, then make the bun and pull pieces free one at a time, checking the side profile in a hand mirror. The usual mistake is pulling texture from the crown, which loosens the base. Pull from the bun itself and around the hairline instead. Naturally wavy hair does half the work; very sleek hair needs a dry texture spray before it will look lived-in.
9. Side-Swept Curls Wedding Hairstyle
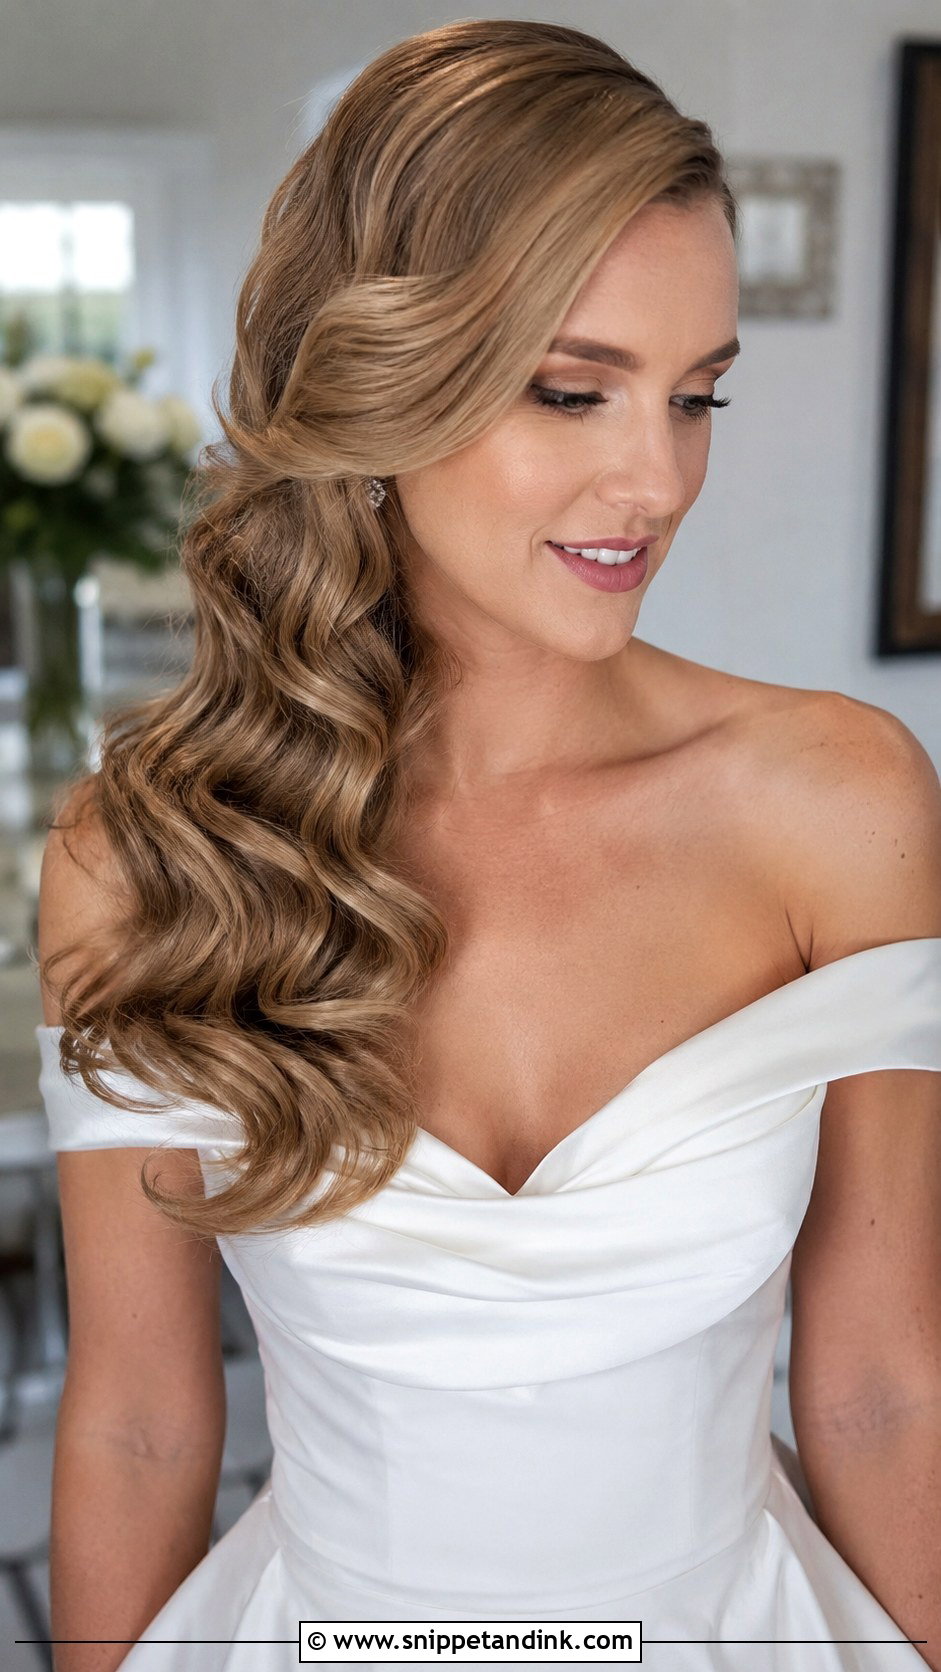
Side-swept curls put all the weight on one shoulder, so the pinned side has to be locked in. I cross two pins behind the ear on the bare side and hide them under a lifted section. Curls set away from the face, pinned to cool, then brushed with a wide paddle brush give that rolled vintage shape. Look at your neckline before you choose it. A one-shoulder gown on the same side as the curls will catch and flatten them all day.
10. Sleek Bun Wedding Hairstyle
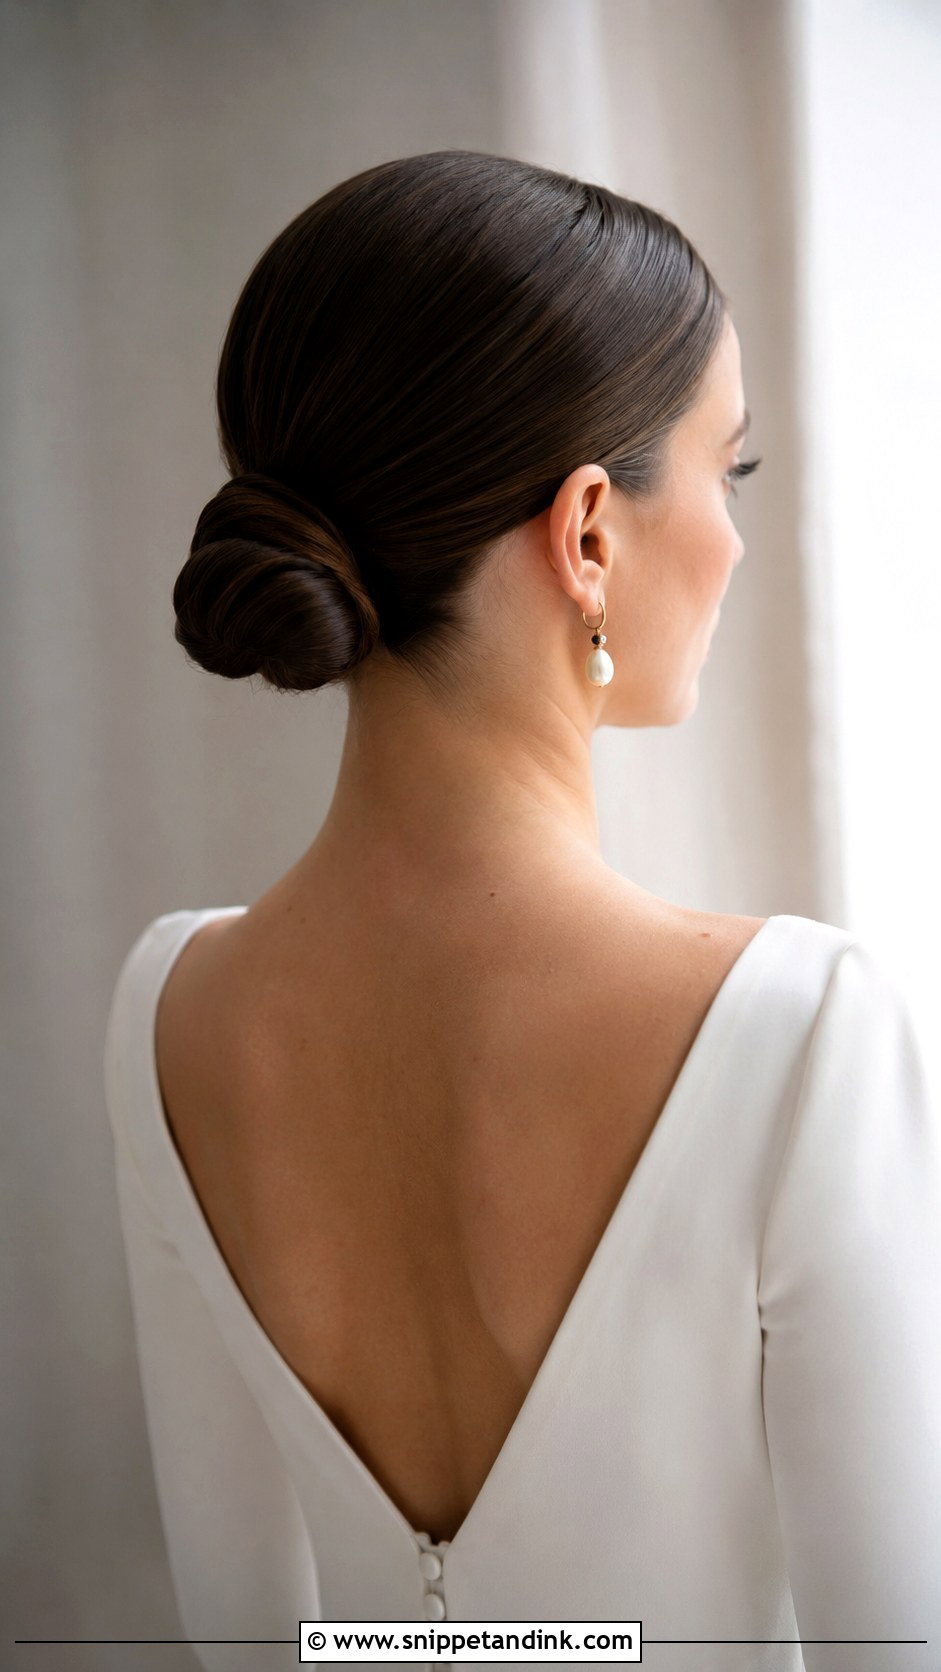
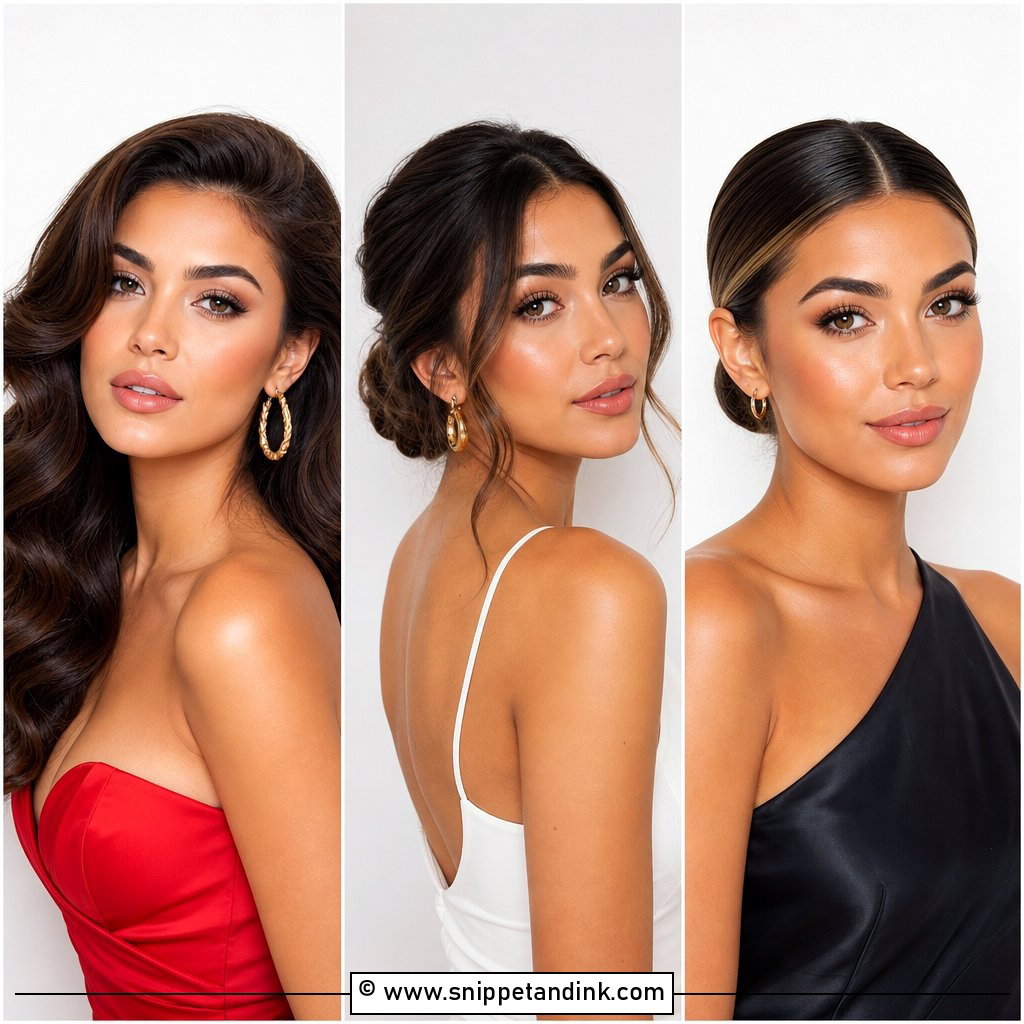
Nothing hides in a sleek bun. I smooth the hairline with a cream or gel and a fine-tooth comb in two or three passes, letting the product set between them, and the part line gets decided at the trial because it shows so clearly. Tie it firmly but not so tight that the skin at the temples pulls; that tension is what gives brides a headache by dinner. On very curly hair, a sleek bun means a full blow-dry first, which adds real time to your morning schedule.
11. Half-Up Braid Wedding Hairstyle
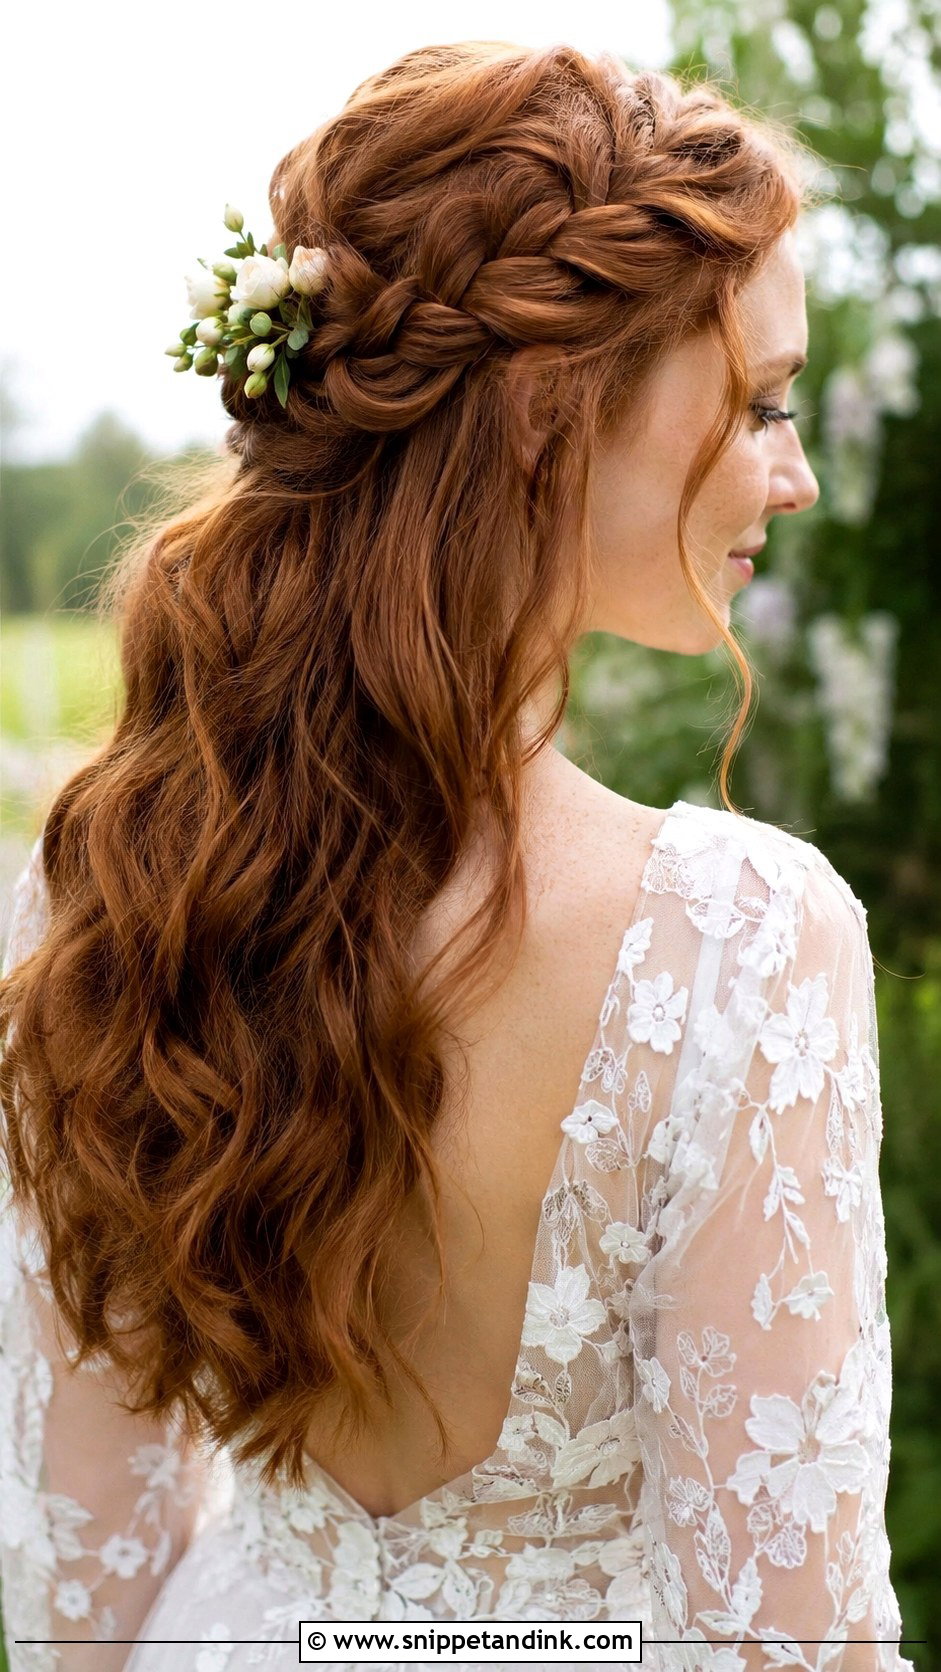
This is my usual fix for a bride whose hair won’t hold a curl all day, because a braid is structure that doesn’t depend on hairspray. I braid the top section loosely, widen it from the ends toward the root before pinning, and pin it across the back. Then I curl the length underneath. On fine hair I sometimes add a small clip-in weft under the braid so the top doesn’t look thin once it’s pulled wider.
12. Textured Updo Wedding Hairstyle
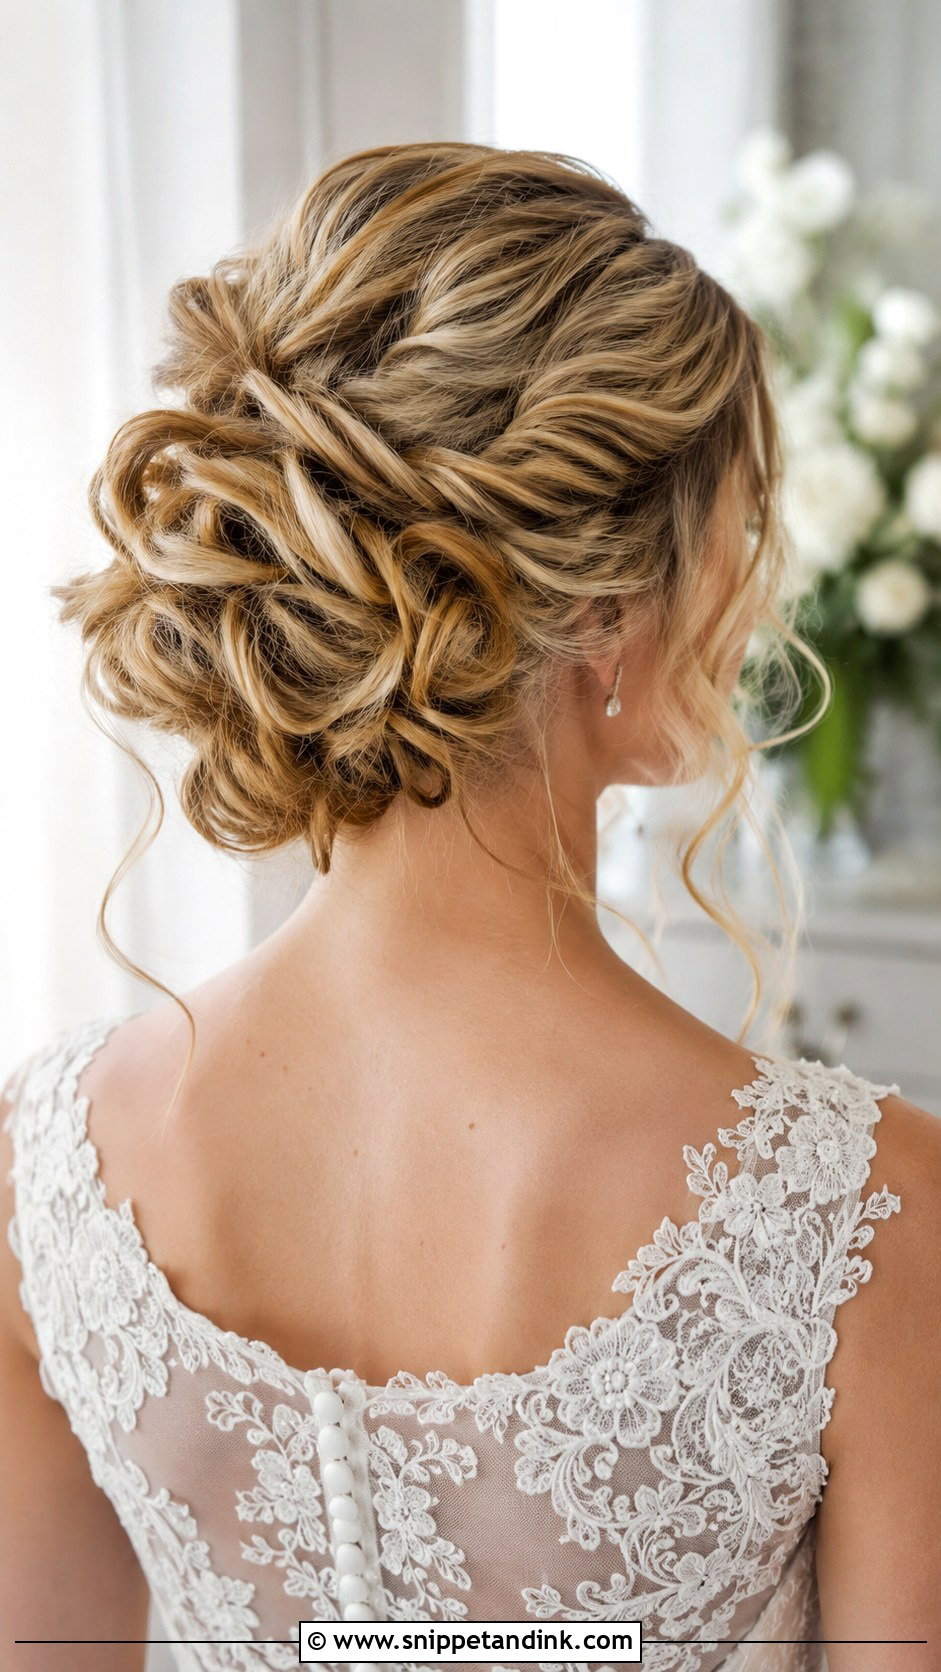
Textured updos forgive more than any other style here, since a slightly misplaced section just reads as part of the design. That makes them a good choice for a first-time DIY. I curl everything, let it cool, then pin sections up one at a time around a small anchor ponytail. The risk is collapse. Spray texture at the roots before you begin, and if your hair is fine and straight, skip conditioner at the roots the night before so it keeps some grip.
13. Twisted Half-Up Wedding Hairstyle
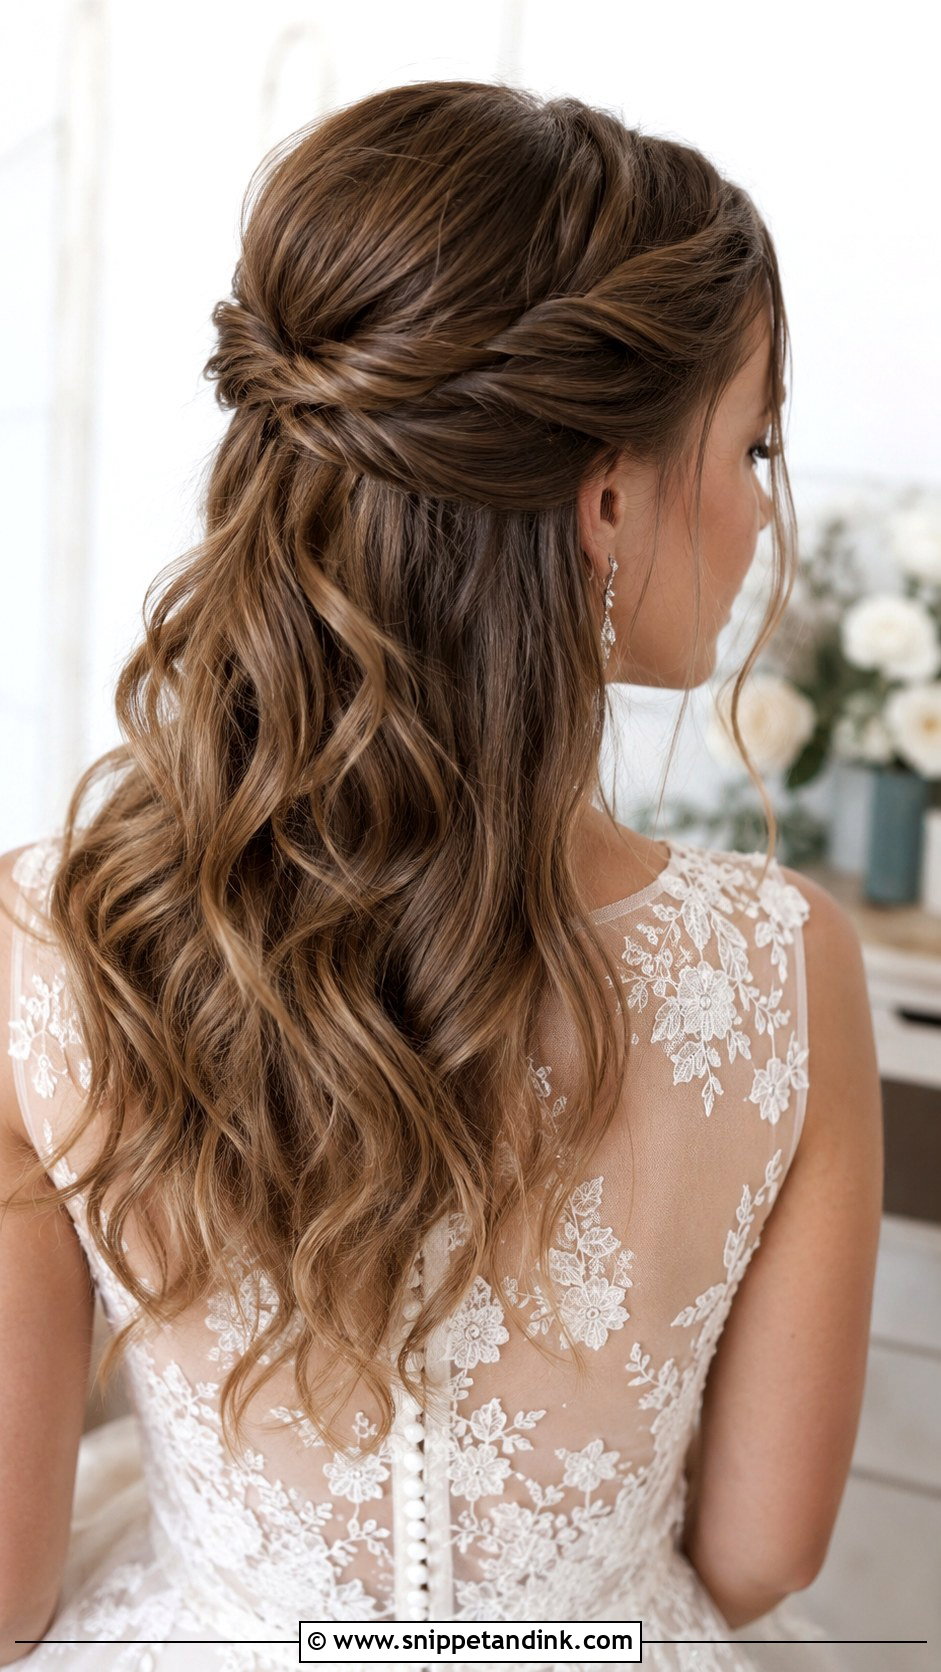
Twists are kinder than braids if you aren’t confident with your hands. Take a section from each temple, twist away from the face, and join them at the back with a small clear elastic, then cover the elastic with a pin. A twist unwinds faster than a braid, so I put one pin along each twist before joining them. On fine hair, keep the twists close to the hairline so the back still looks full.
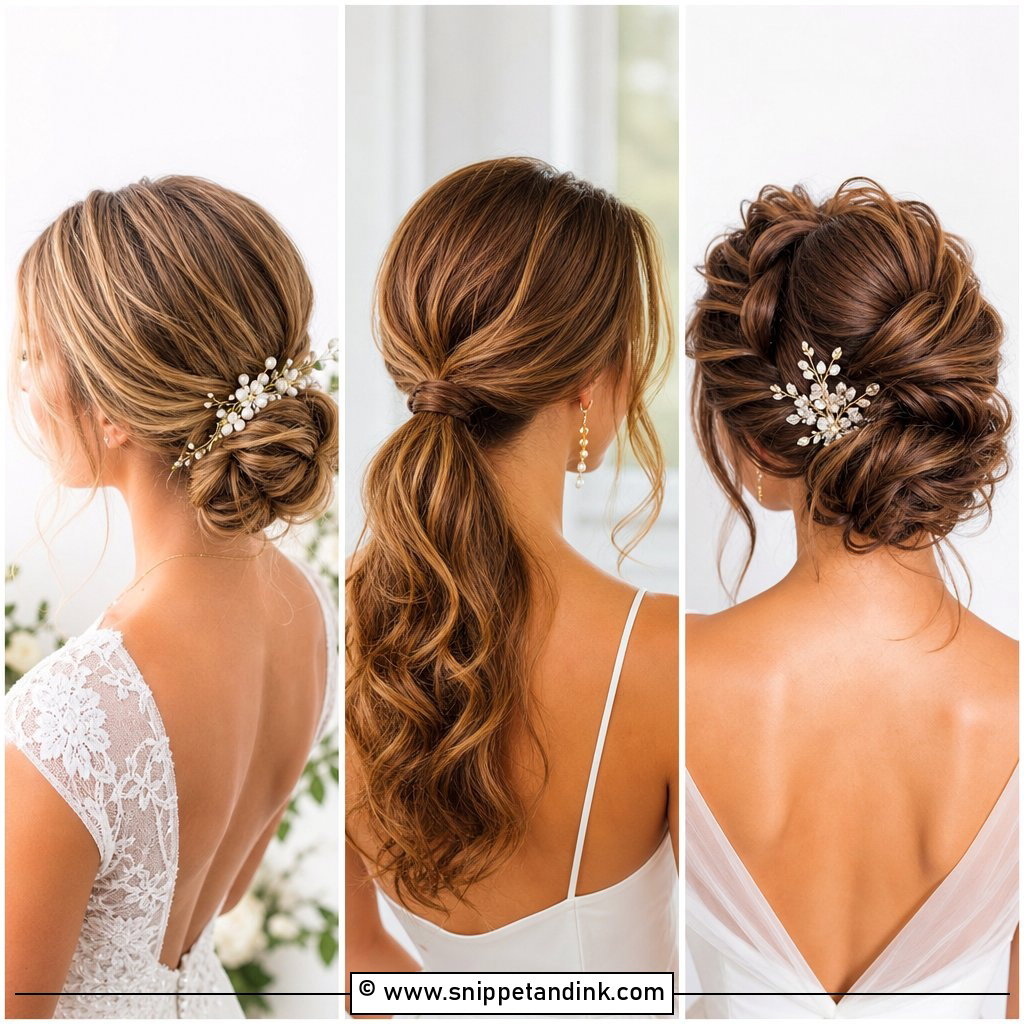
14. Low Knotted Bun Wedding Hairstyle
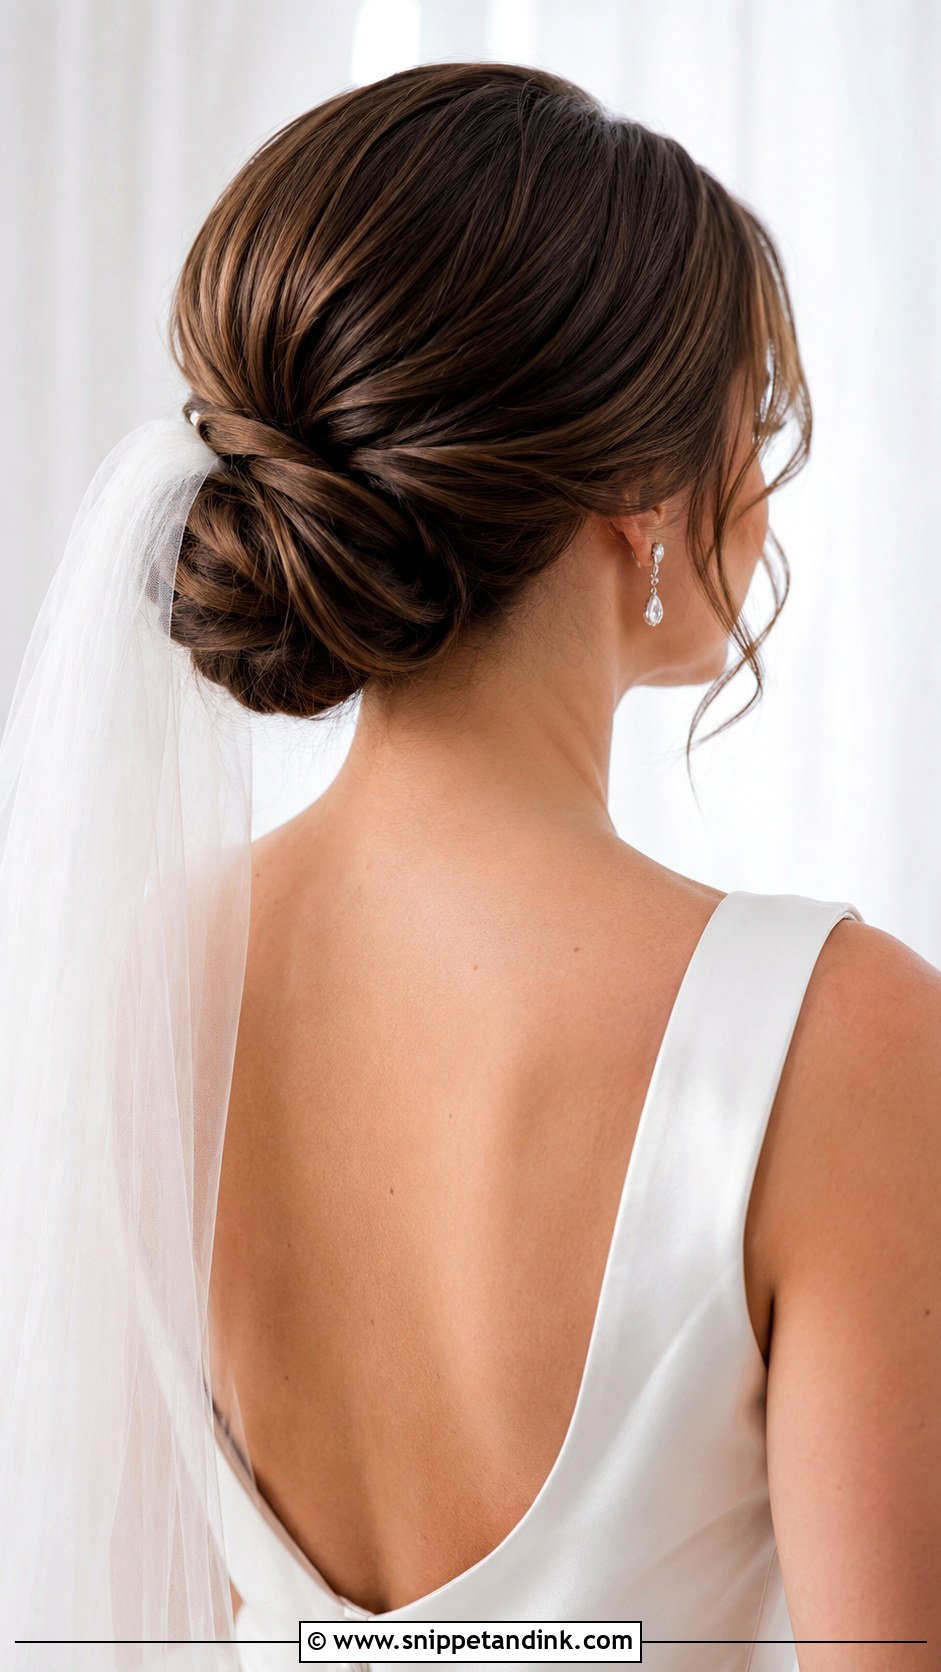
Tied the same way you’d tie a shoelace, this is the bun I teach bridesmaids who want to do their own hair. Split the hair into two sections and knot them once. Then push a pin through the centre of the knot before wrapping the ends, or it slowly unravels under its own weight. Thick hair gives the most defined knot. On thin hair the knot can look small, so I backcomb each section a little before tying.
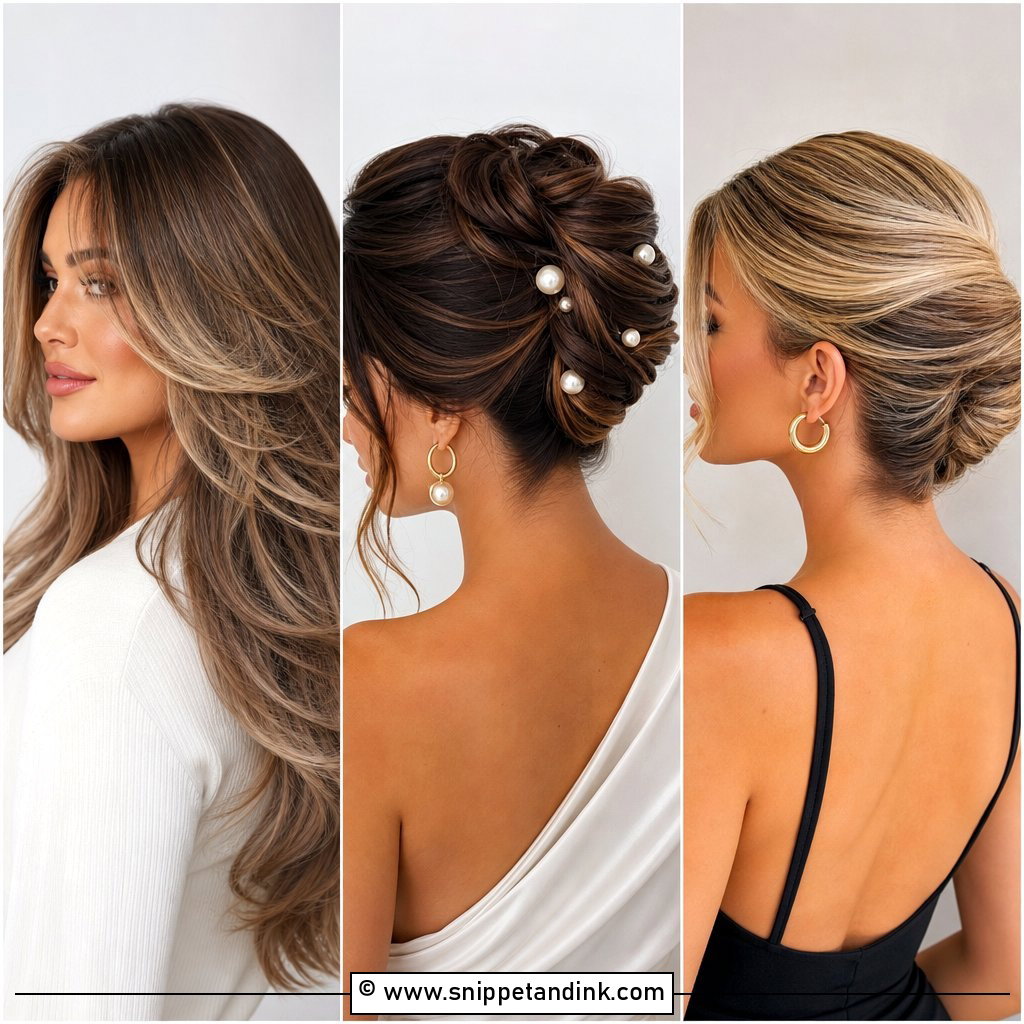
15. Boho Waves Wedding Hairstyle
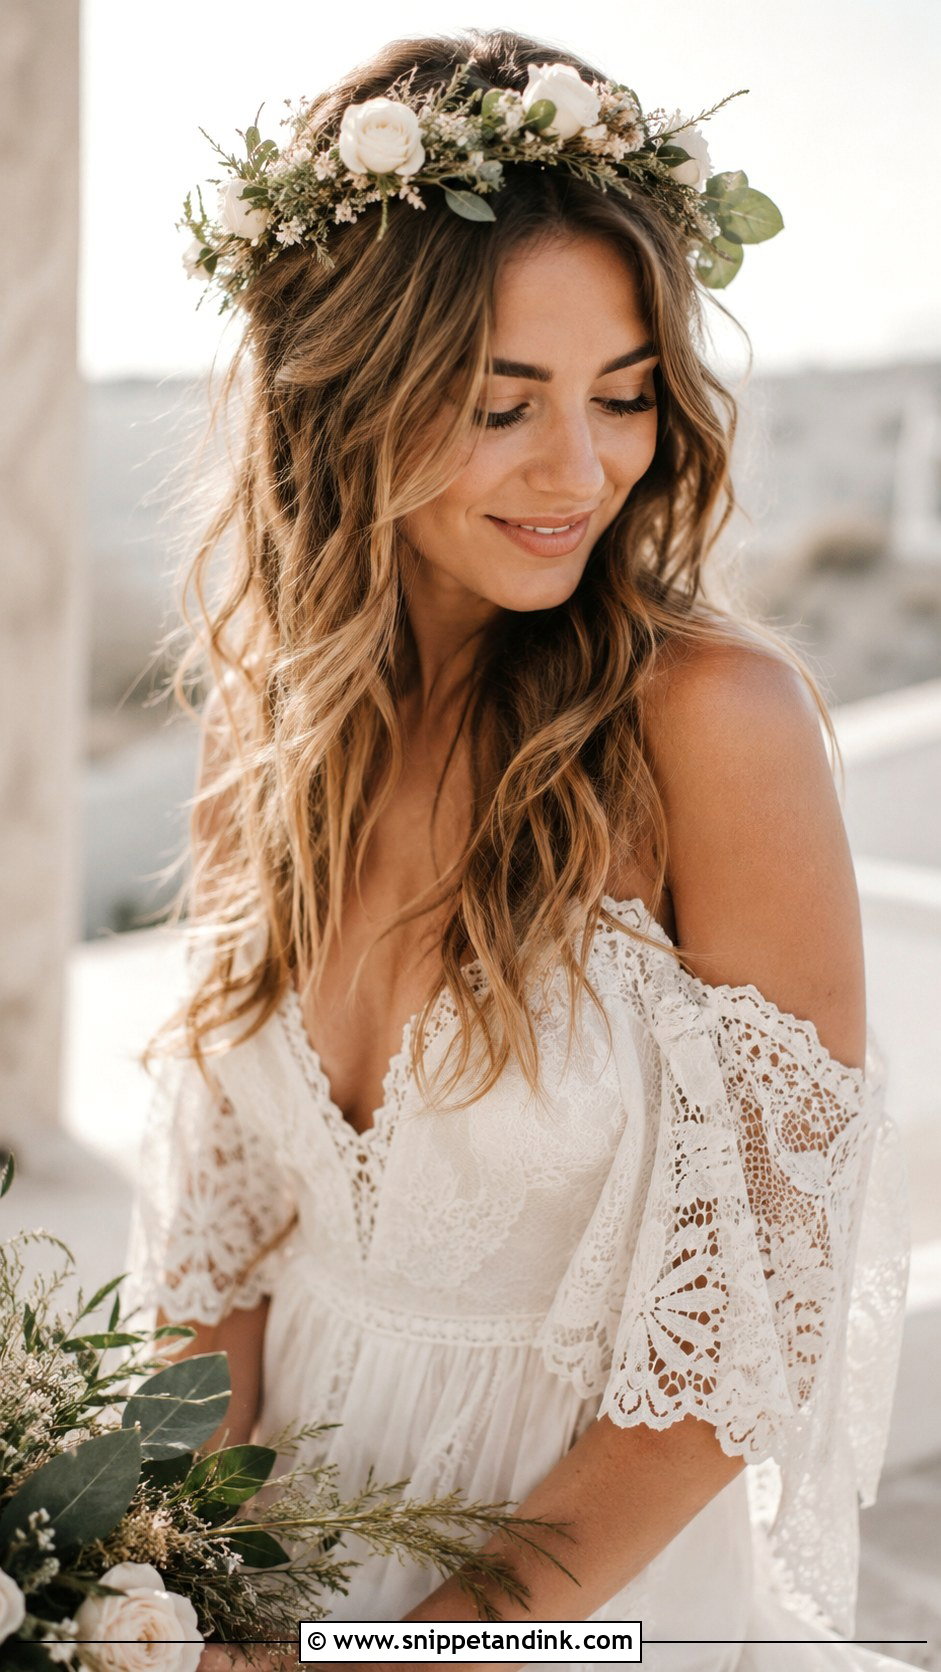
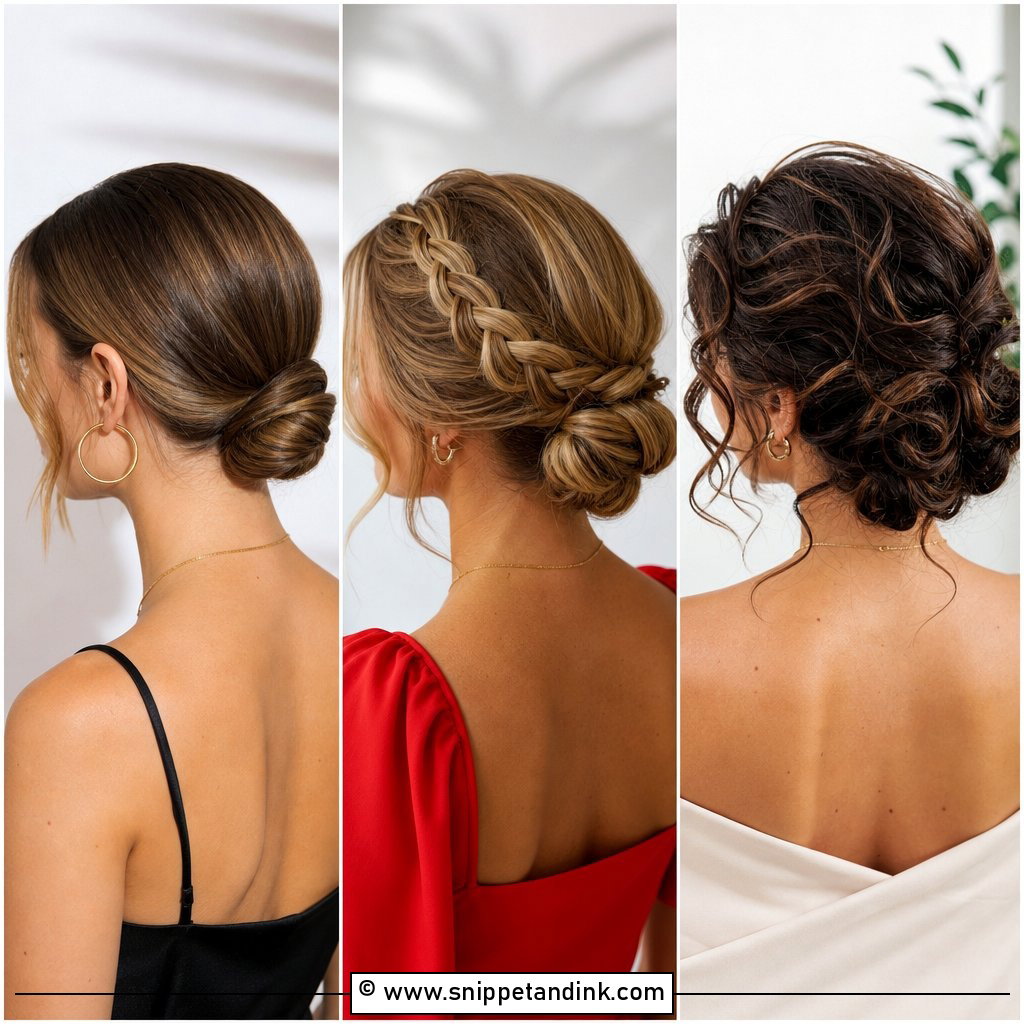
Boho waves should look as if you woke up with them, and getting that takes more than one product. I alternate the curl direction around the head so the waves don’t clump into one shape, then rake through with fingers rather than a brush. A salt or texture spray gives the beachy finish, though too much leaves hair crunchy. These relax fastest in damp air, so a travel-size texture spray in a bridesmaid’s bag is worth having for a refresh before portraits.
16. Pinned Back Waves Wedding Hairstyle
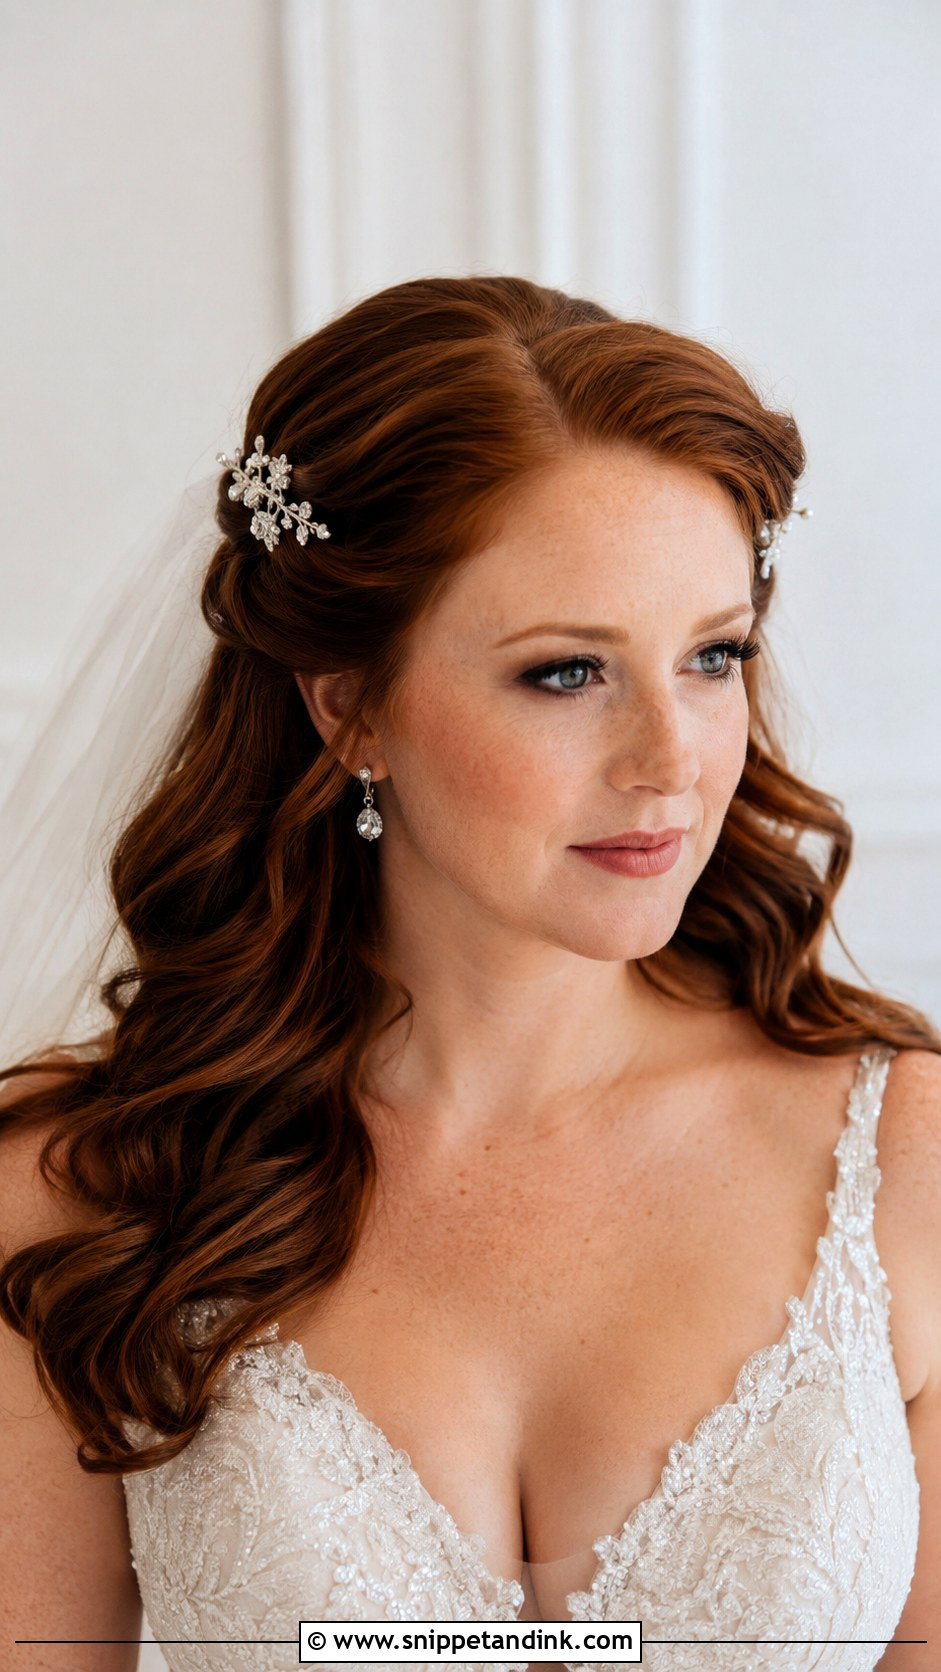
Pinning back the sides is the smallest change that makes down hair look finished, and it’s practical too: hair stays out of lip gloss and off the face in a breeze. I hold each side with two crossed pins and lay any decorative pin over them. If your face is narrow, set the pins lower, behind the ear rather than above it, so the head doesn’t look flat at the sides.
17. Bridal Updo With Curls Wedding Hairstyle
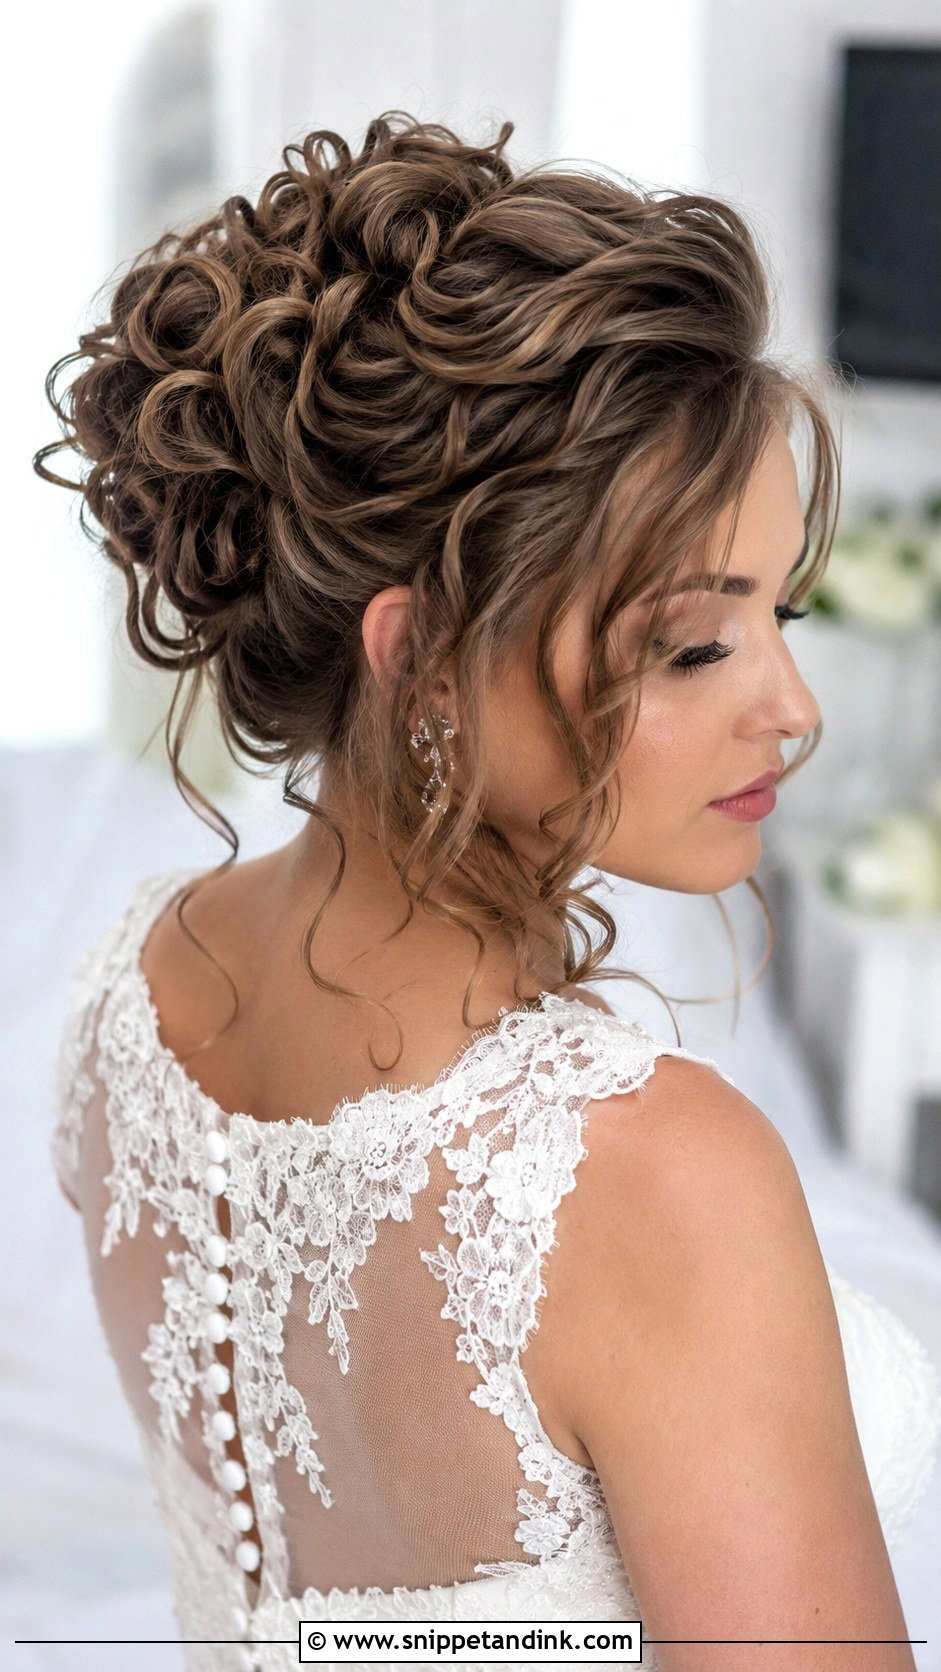
A curled updo uses each curl as a building block, pinned up whole. So I curl in small, even sections and let them cool completely, which gives a loose, dimensional bun that keeps its shape. The crown needs a little backcombing; without lift there, the style looks squashed in front-facing photos. Natural body helps. Heavily layered hair works as well, it just needs more pins to catch the shorter pieces.
18. Sleek Low Ponytail Wedding Hairstyle
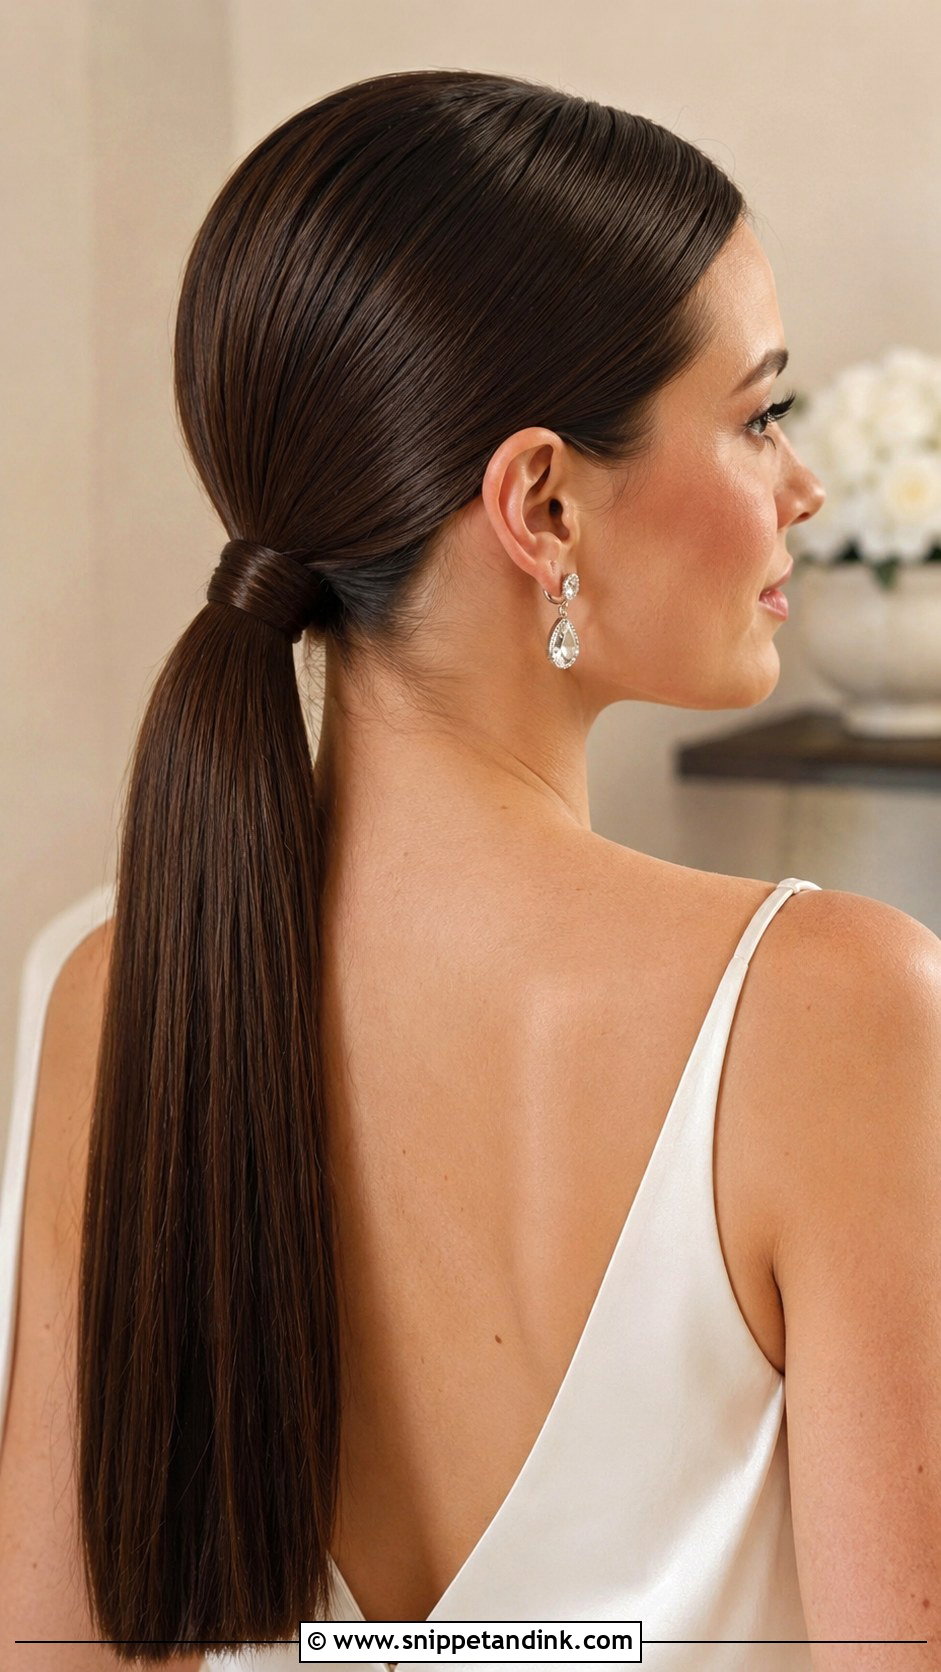
Think of this as the polished version of the low ponytail earlier. The difference is all in the finish: I blow-dry the hair completely straight, smooth it back with a drop of serum, and hide the elastic. It looks sharp, but frizz shows quickly, so I prefer it for indoor venues or cooler months. Strapless and minimal necklines suit it best, since nothing competes around the neck.
19. Flower Adorned Updo Wedding Hairstyle
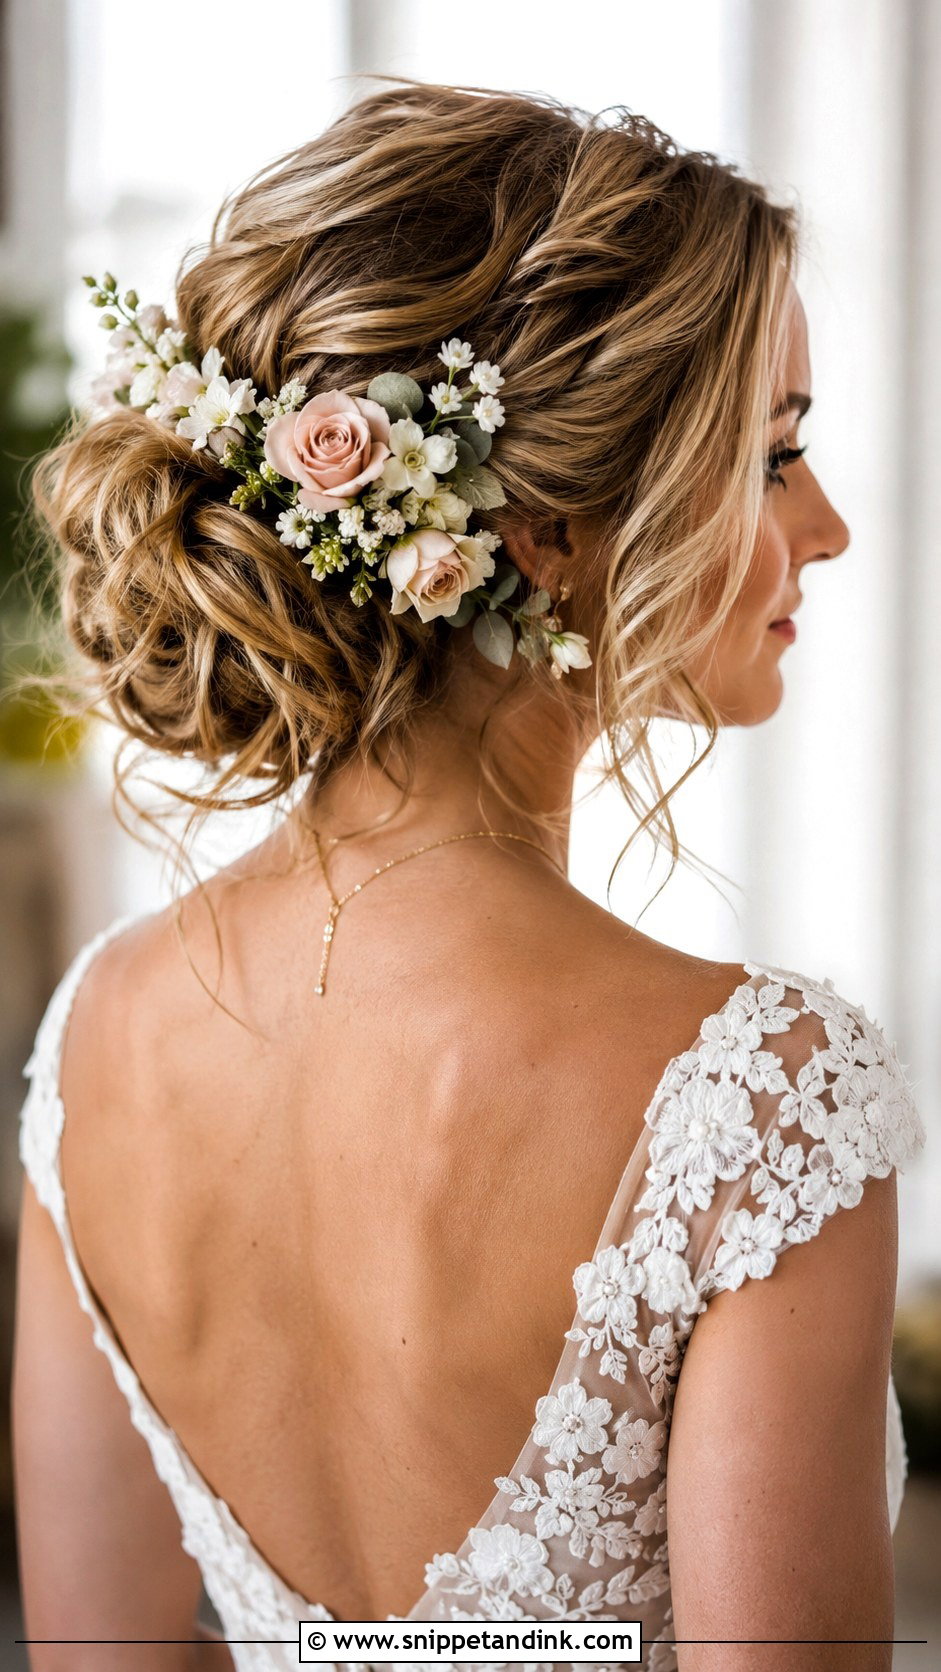
Fresh flowers in an updo are partly a question for your florist. I ask for small, sturdy blooms such as spray roses or waxflower that tolerate hours out of water, with the stems wired or taped. Gardenias and other soft petals bruise brown once they’re handled. I finish the updo first and add flowers last, anchoring each stem with a pin crossed over it. For a long day, a small spare bunch for a mid-reception refresh helps.
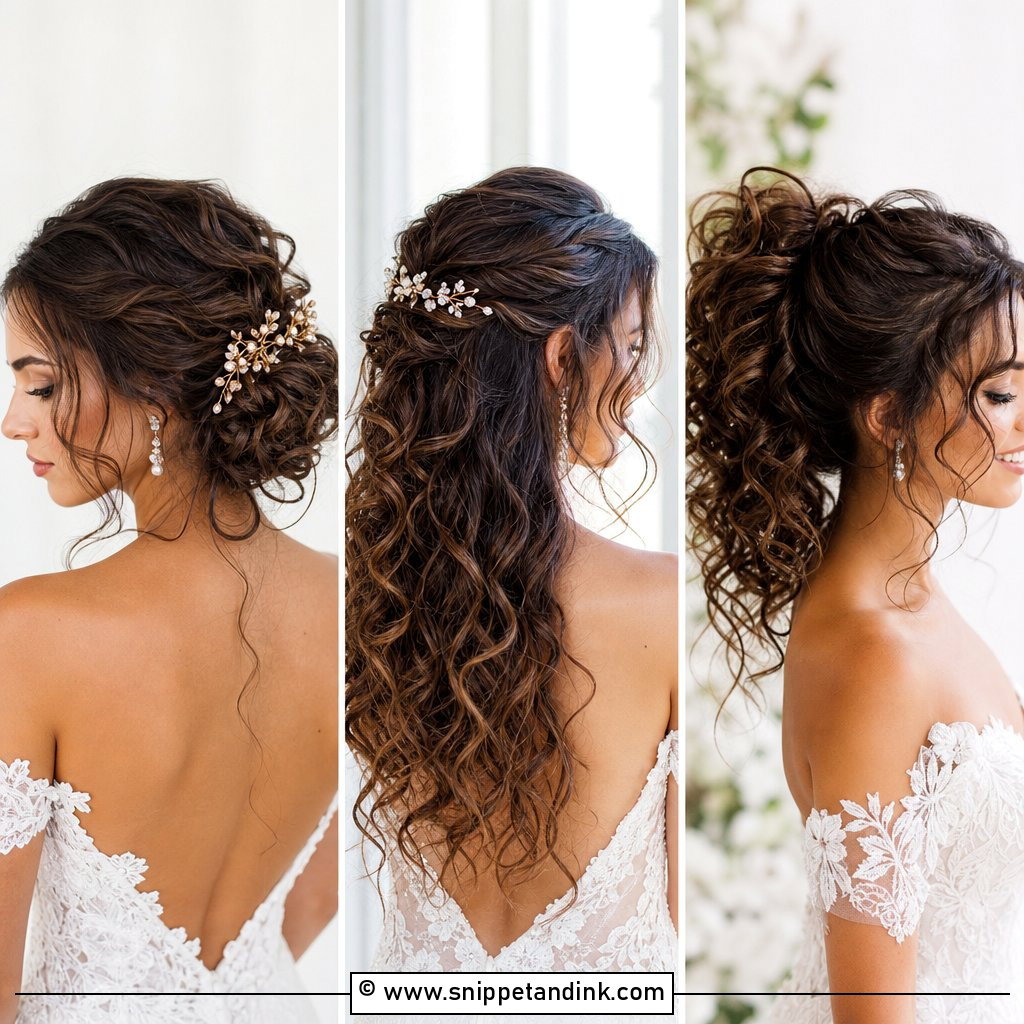
20. Curtain Bangs Wedding Hairstyle
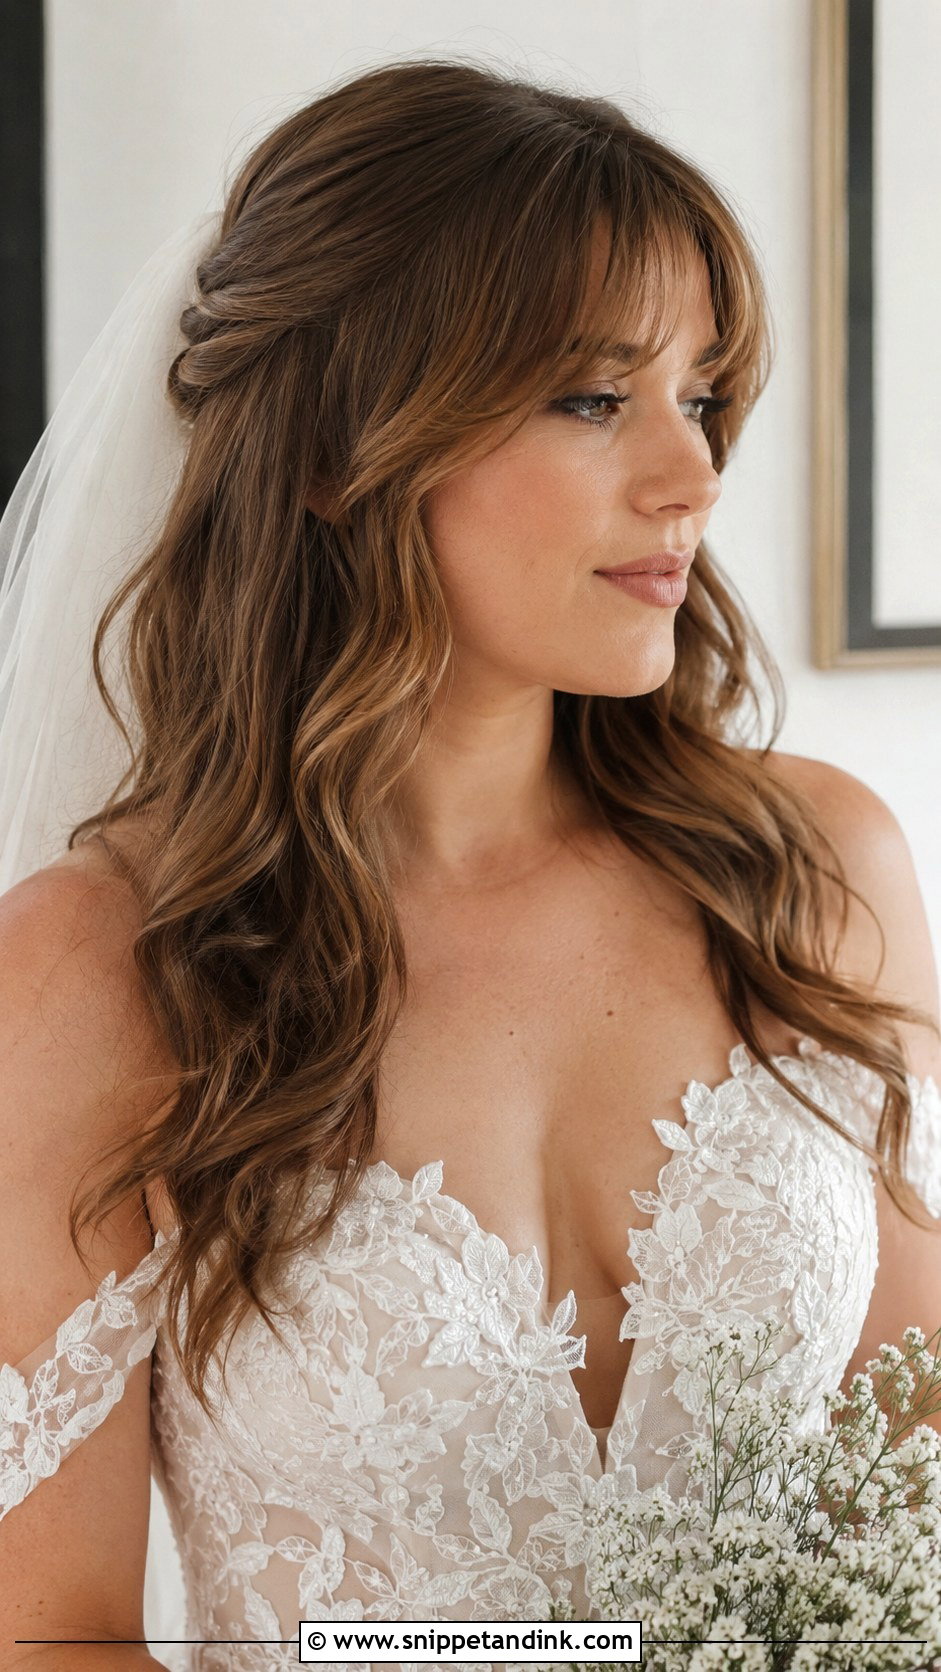
Curtain bangs are a decision for months ahead, not the week before. Freshly cut bangs sit too short and too blunt, so I suggest cutting them about six weeks out and trimming lightly two weeks before. On the morning I blow them out over a round brush and set them in a velcro roller while I work on the rest. They sit well with loose waves or a relaxed updo. Curly hair can wear them too, though they spring up shorter than they look wet.
21. Braided Updo Wedding Hairstyle
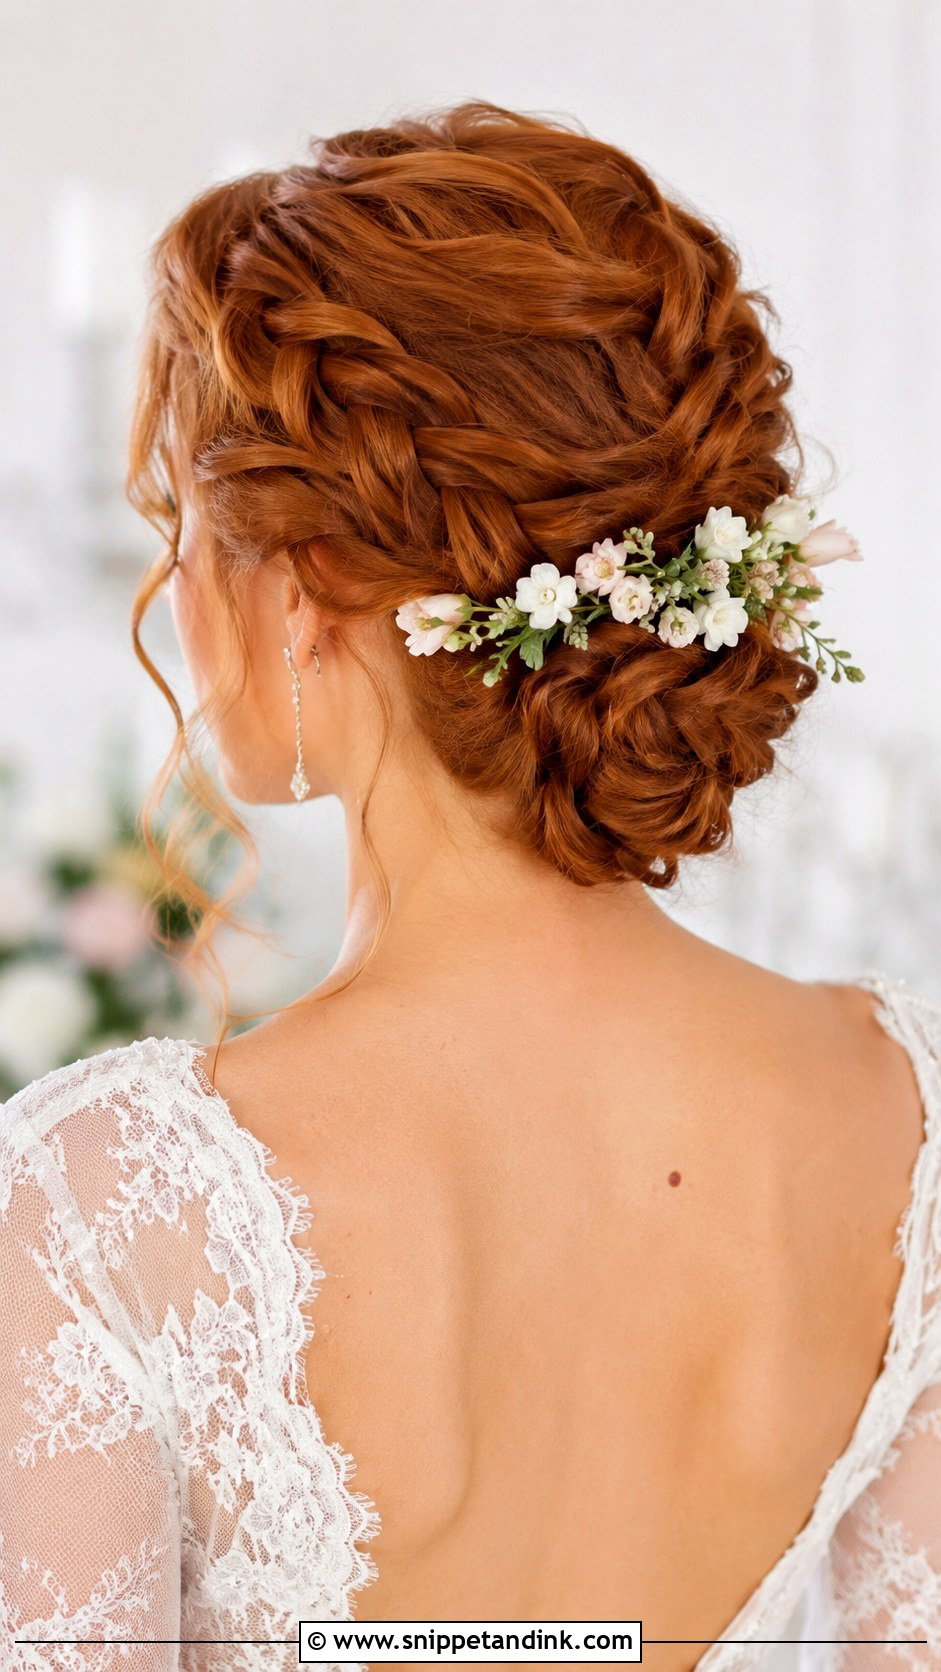
A braided updo is usually two or three braids coiled and pinned into a bun shape. The braids act as anchors, so it lasts through hugs and dancing better than most styles. I braid each section firmly, pull it wider, then coil and pin, hiding the ends inside. On very thick hair the result can feel heavy at the back of the head; braiding only the outer hair and tucking the inner hair as a base keeps the weight down. Small flowers and pins sit securely in the plaits.
22. Glamorous Hollywood Waves Wedding Hairstyle
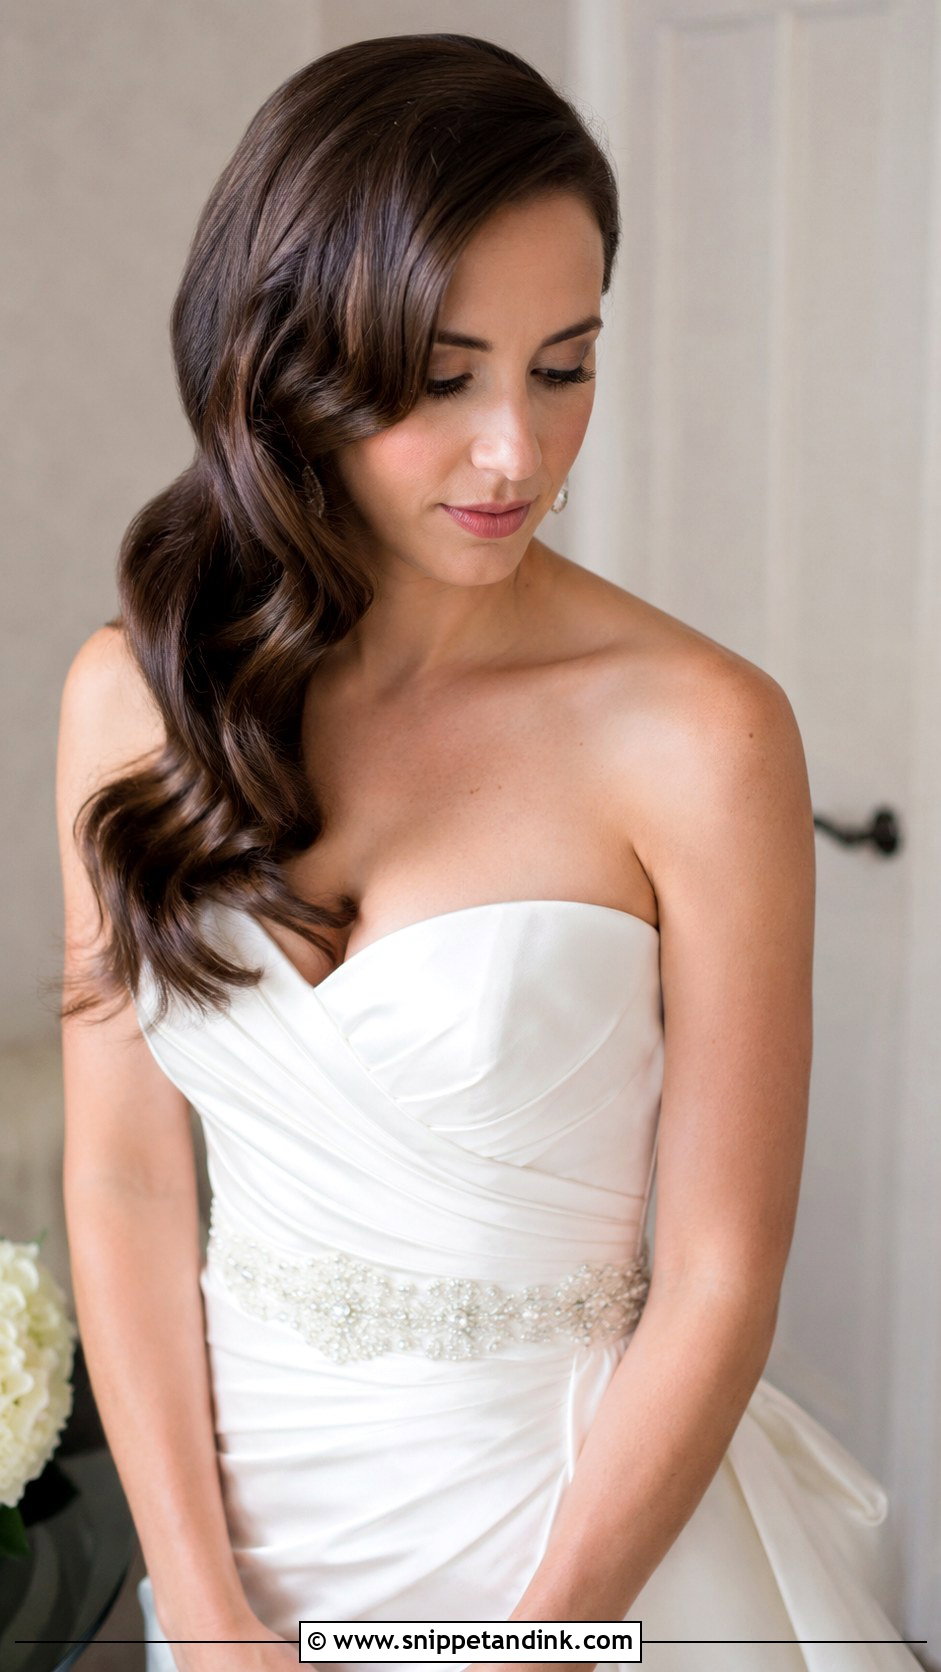
Hollywood waves are the most technical style here and the hardest to copy at home. Every curl is set in the same direction, pinned to cool, then brushed together into one continuous wave. I press each S-shape with flat clips while I spray, then remove them before photos. It needs a deep side part, and heavily layered hair struggles to form an unbroken wave. Pair it with a sleek gown for screen-siren glamour, and keep a fine comb handy to smooth it again before the evening portraits.
23. Twisted Low Bun Wedding Hairstyle
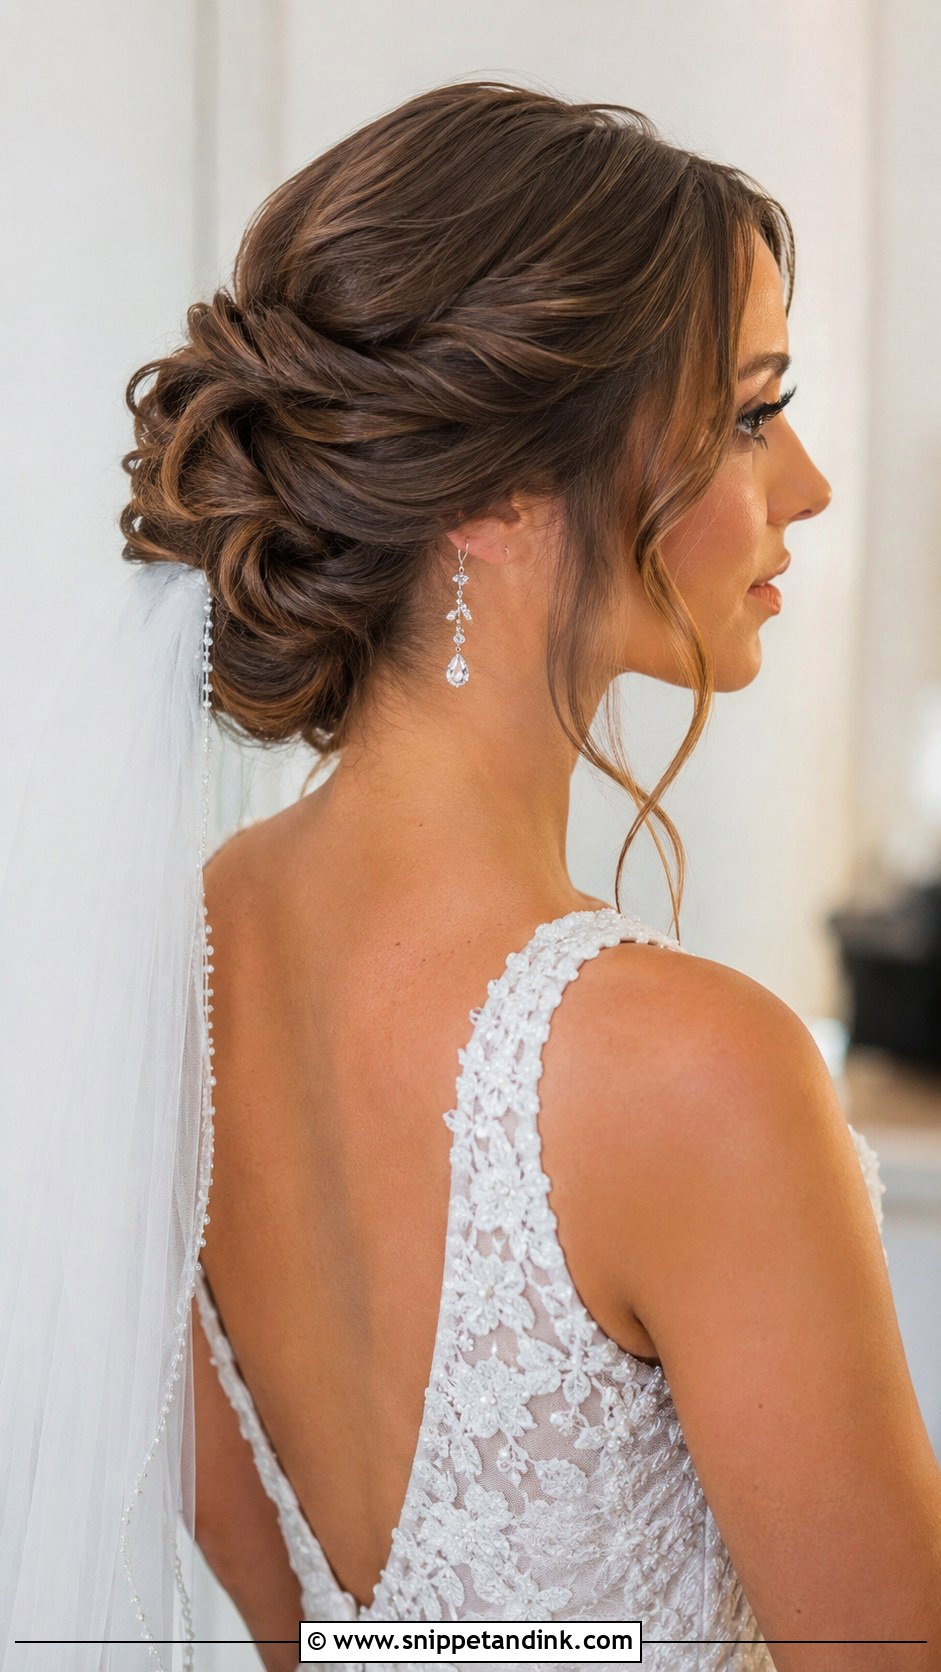
Twisting the sections before coiling gives the bun ridges that catch light, which is why it reads as more detailed in photographs than a plain bun. I split the hair into three, twist each, then wrap them around a base ponytail and pin through all of them. Twists that are too tight make the bun look small, so ease them out a little before pinning. A veil comb sits just above it.
24. Soft Updo With Tendrils Wedding Hairstyle
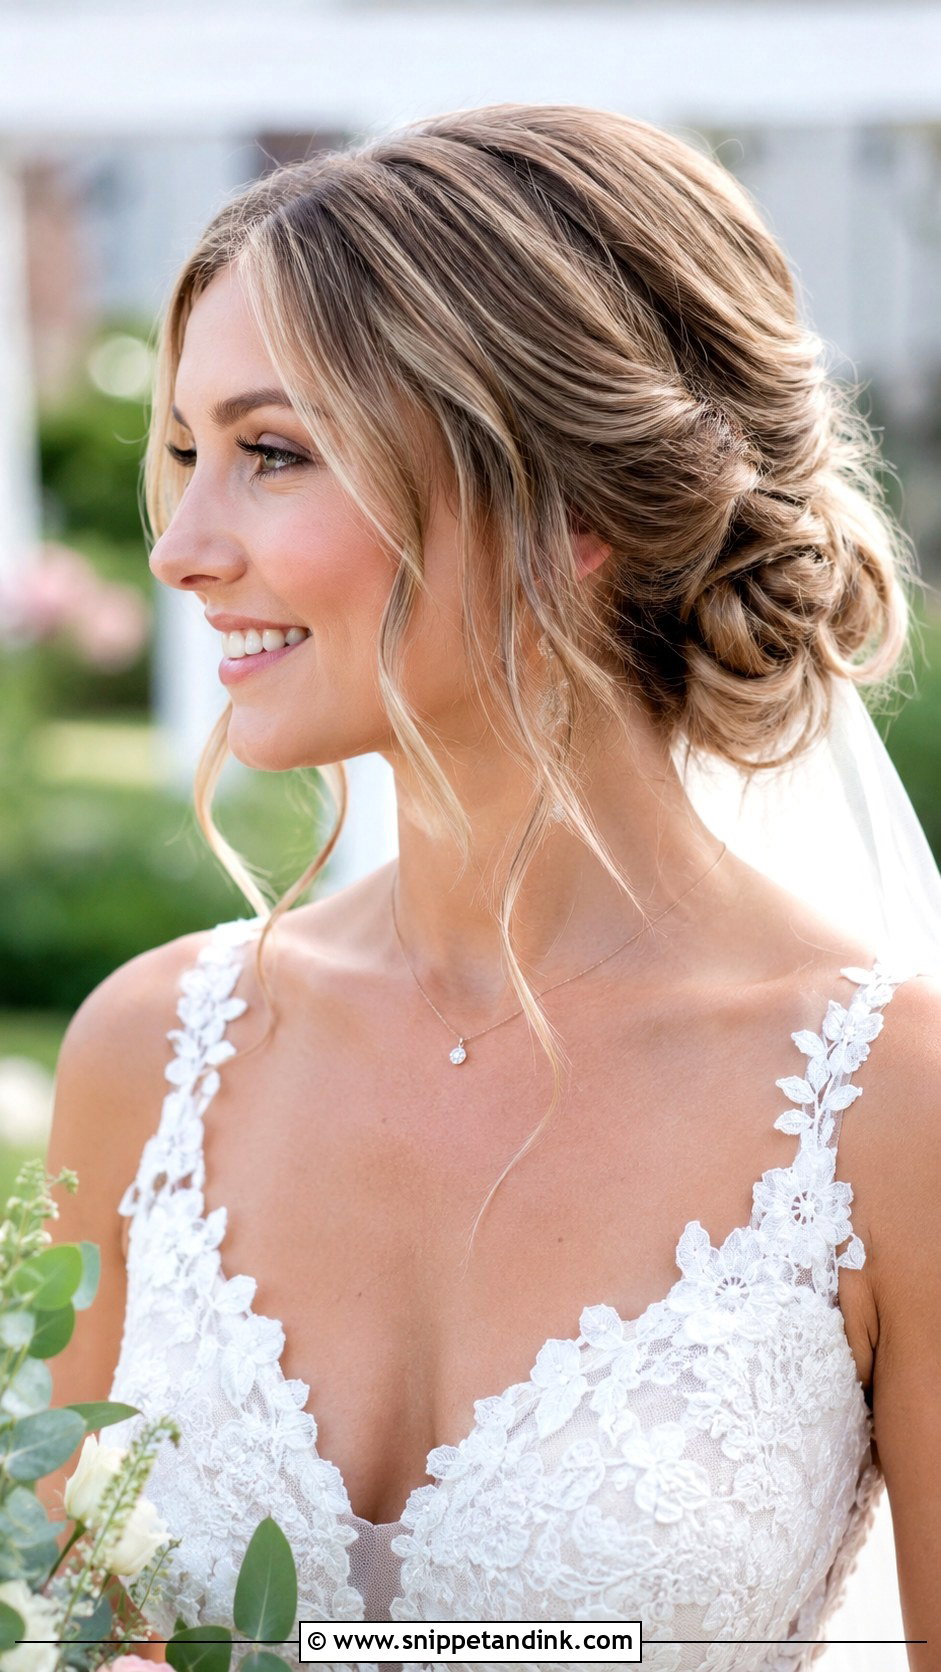
Tendrils are where many updos go wrong. Too many look untidy by evening, and long thin pieces stick to lip gloss. I leave out two or three per side, no more, and curl them away from the face with a small barrel. Separate them before the updo is finished so you don’t loosen it pulling them free later. On very curly hair, I’d let the natural curls frame the face rather than creating new ones with an iron.
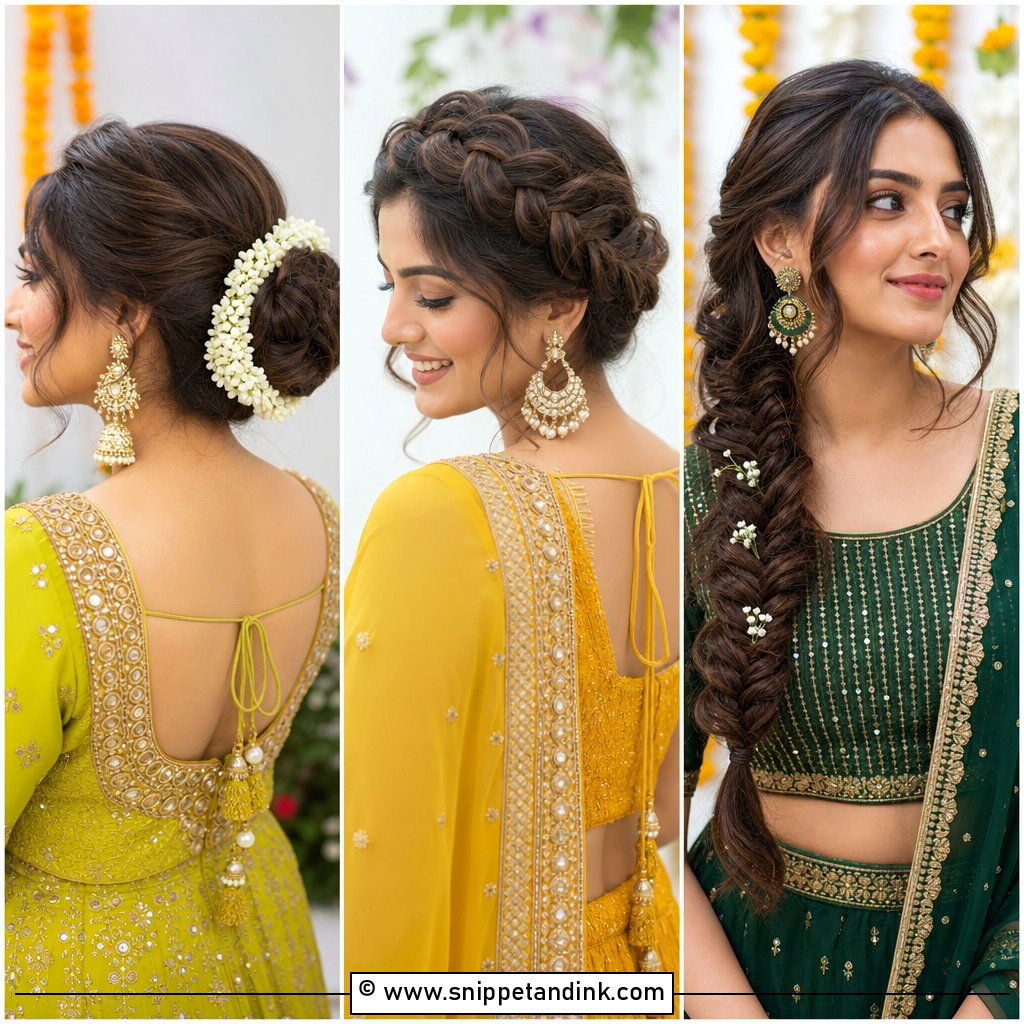
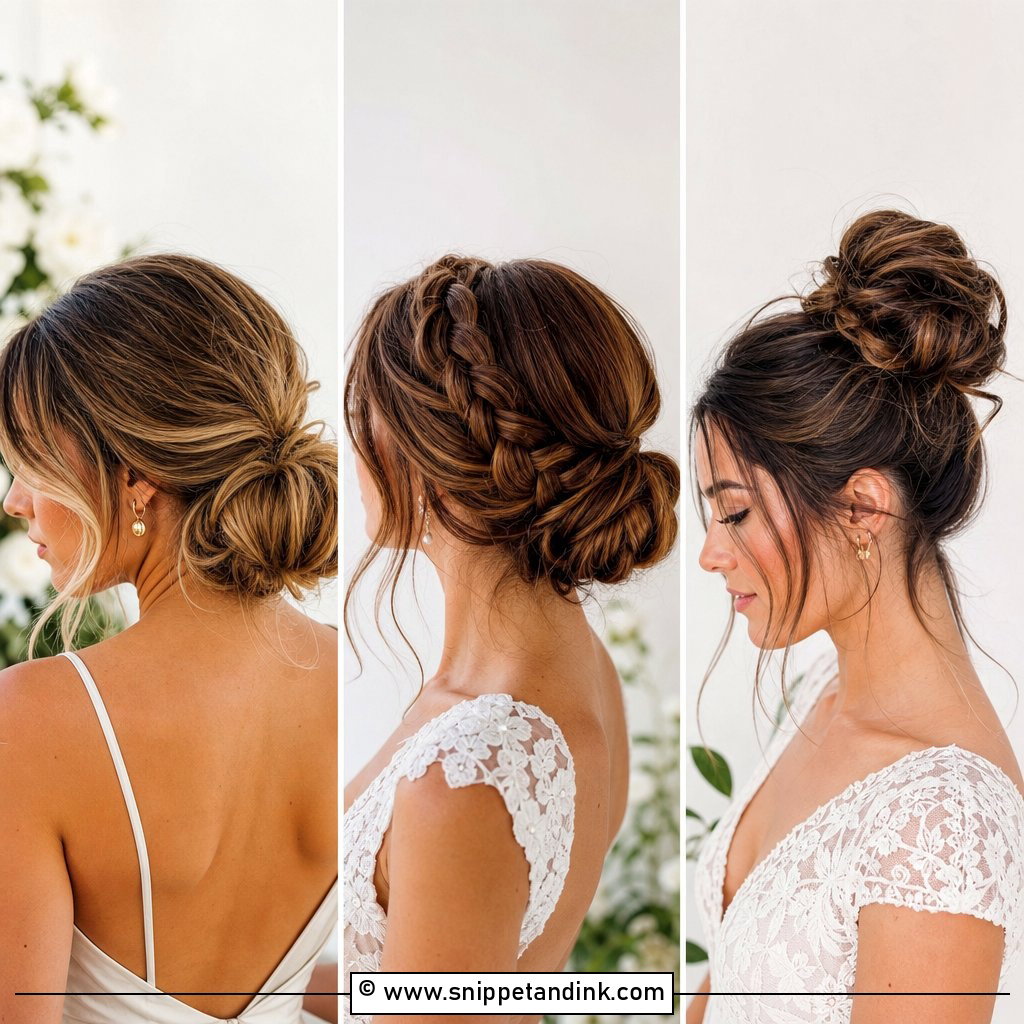
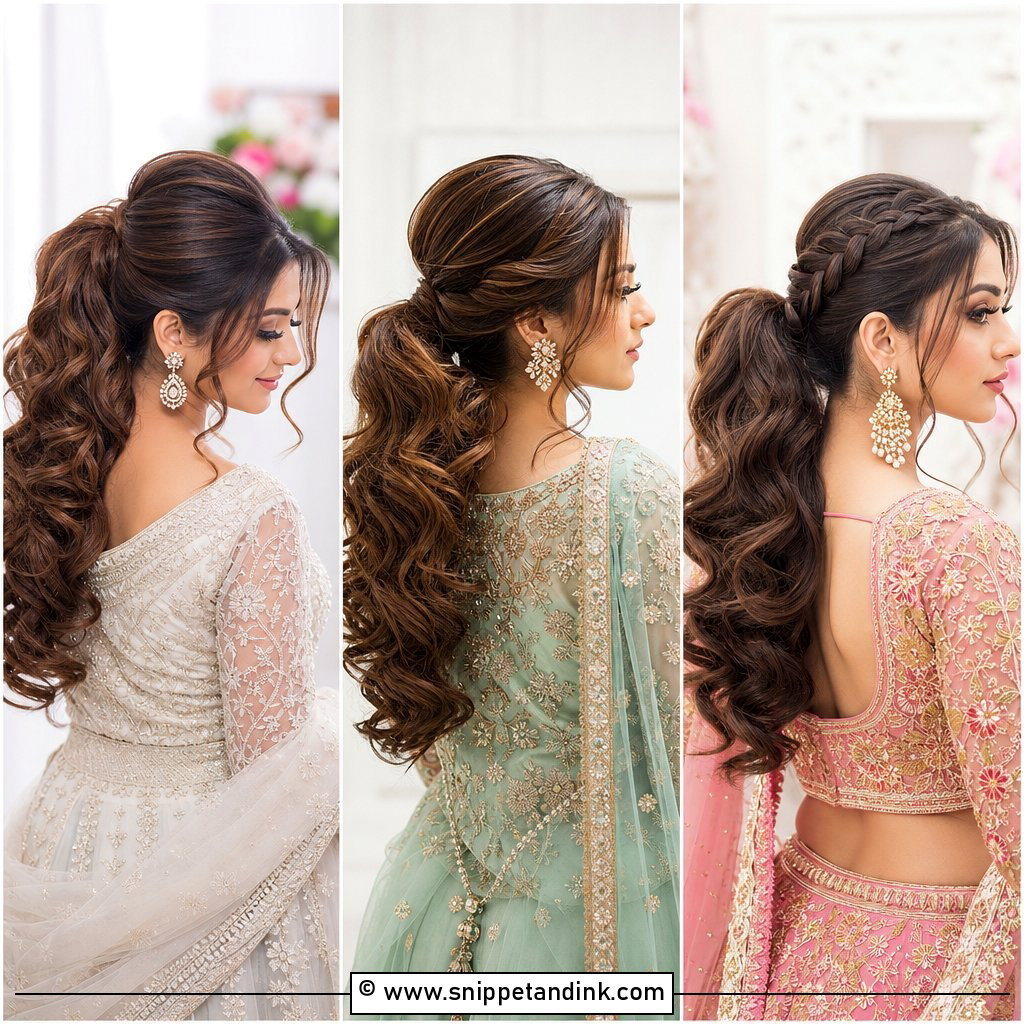
25. Accessorized Half-Up Wedding Hairstyle
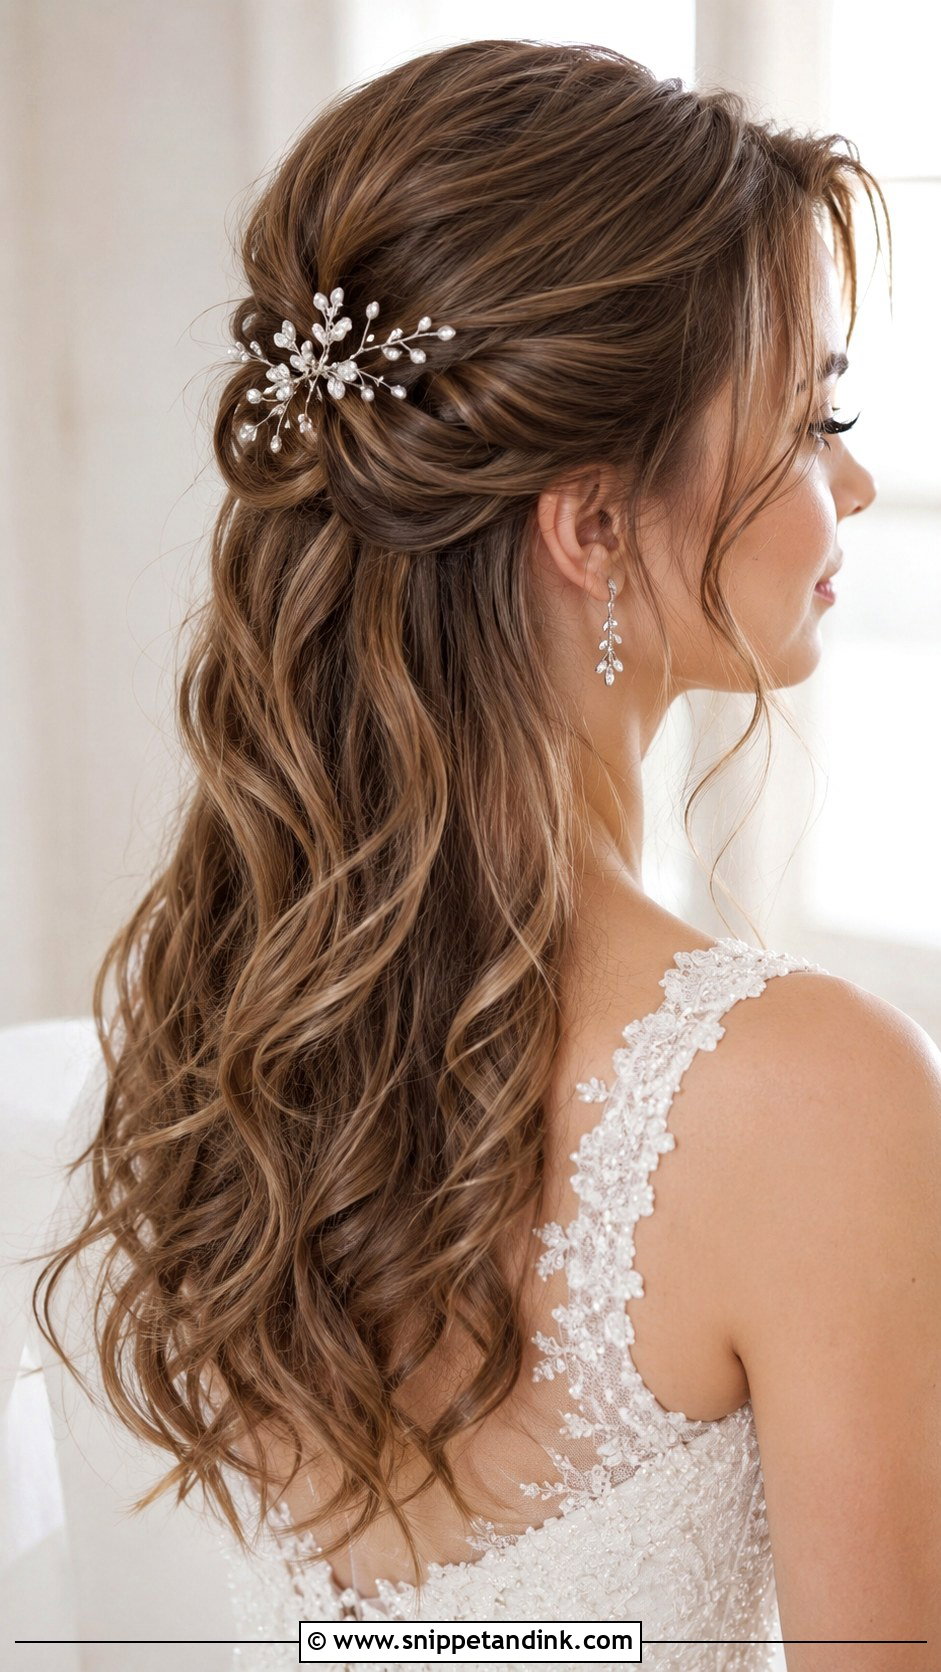
With this style I choose the accessory first and plan the hair around it. A heavy comb needs a firm base, so I make a small ponytail under it instead of relying on loose hair. A headband stays put better on slightly textured hair, since smooth hair lets it slide back. A light pin sits happily on a classic half-up. Don’t put a large comb and a veil in the same spot; they fight for grip and space.
Rehearse It, Then Wear It for an Afternoon
If you’re styling your own hair, do one full rehearsal about two weeks before the wedding, on hair washed the way you plan to wash it. Do it at the hour you’ll be getting ready and set a timer. Simple styles nearly always take longer than people expect the first few times, and that time comes out of makeup or photos if you haven’t planned for it.
Then live in it. Walk, sit in a car, hug someone, lean back against a chair. After three or four hours, look at what moved and fix the cause rather than adding spray:
- Curls dropped: use a smaller barrel and let each curl cool fully before you touch it.
- The bun sagged: build it around a small elastic base instead of loose hair.
- Flyaways at the crown: smooth them with a clean toothbrush misted with hairspray, not more product all over.
- A headache: loosen the elastic or move a heavy accessory lower on the head.
Photograph the Back in Daylight
Ask someone to take photos from behind and from the side near a window. Your guests spend the ceremony looking at the back of your head, and gaps at the nape or shiny pins that seem fine in a mirror show up clearly on camera. Sort those out at the rehearsal, not on the morning itself.
A Plain Style That Stays Put Until the Last Dance
Simple styles still need honest prep. Pick one or two looks from the list, try them at home or at a trial, and wear each for a few hours to see what slips. Note what your hair needs to hold the shape and pack that product. Your dress and venue should guide the choice, but so should how the style feels after an afternoon on your head. A low bun that stays exactly where it was pinned will look better in your photos than an elaborate one that’s falling apart by the first dance.
You'll Like These Ideas:


Leave a Reply