
Brides send me photo after photo of the back of an updo, and almost nobody sends the front. Yet the front is what the camera faces during the vows, the aisle walk, the portraits and every one of the close-up videos your friends will take. Your part, the pieces near your cheeks, the height at the crown and how the veil sits all decide how your face is framed, far more than the shape of a bun nobody sees head-on. The styles below are judged from that angle. Save the ones that suit your face and take them to your trial.
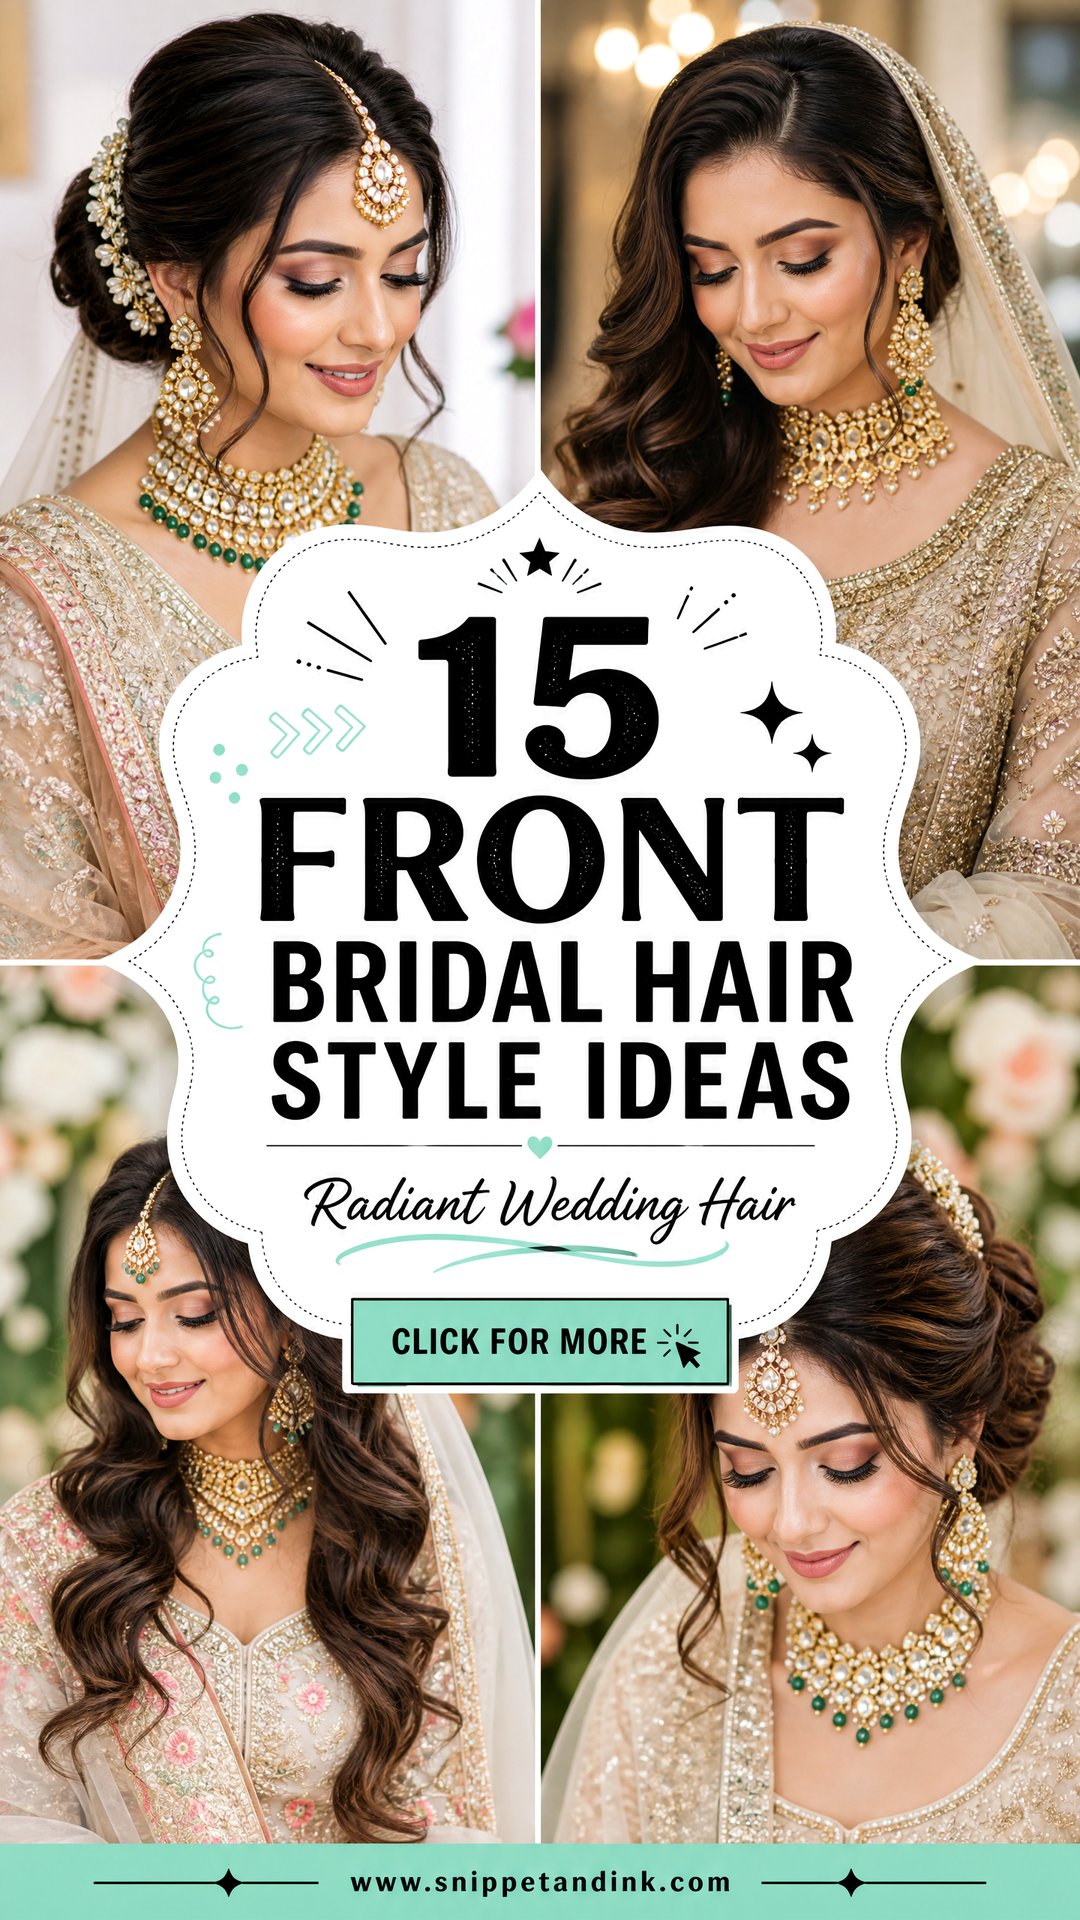
Where Your Part Sits Changes Everything Else
Before you fall for any style below, decide on the part, because it sets the frame for everything else. A centre part looks balanced and current, but it’s honest: it shows any asymmetry in your face and needs a very clean line to look intentional. A soft side part adds height on one side and tends to flatter rounder faces and wider foreheads. A deep side part is the most glamorous and the least forgiving if your hair naturally falls the other way.
The test I give brides is one you can do at home. Pull your hair back loosely, take a phone photo straight on with each part, and look at them side by side the next day. Most people find one version obviously looks more like themselves. Tell your stylist which one before the trial, since moving a part on the morning can leave a lifted kink at the root that won’t lie flat.
How long the face-framing pieces should be
Where loose pieces end matters more than whether you have them. Pieces that stop at the cheekbone lift the face. Pieces that stop at the jaw soften it but can drag it down if they’re heavy or tightly curled. If you aren’t sure, I’d ask for them slightly longer than you think, curled away from the face, so the bend can be adjusted during the trial.
1. Front Bridal Low Bun
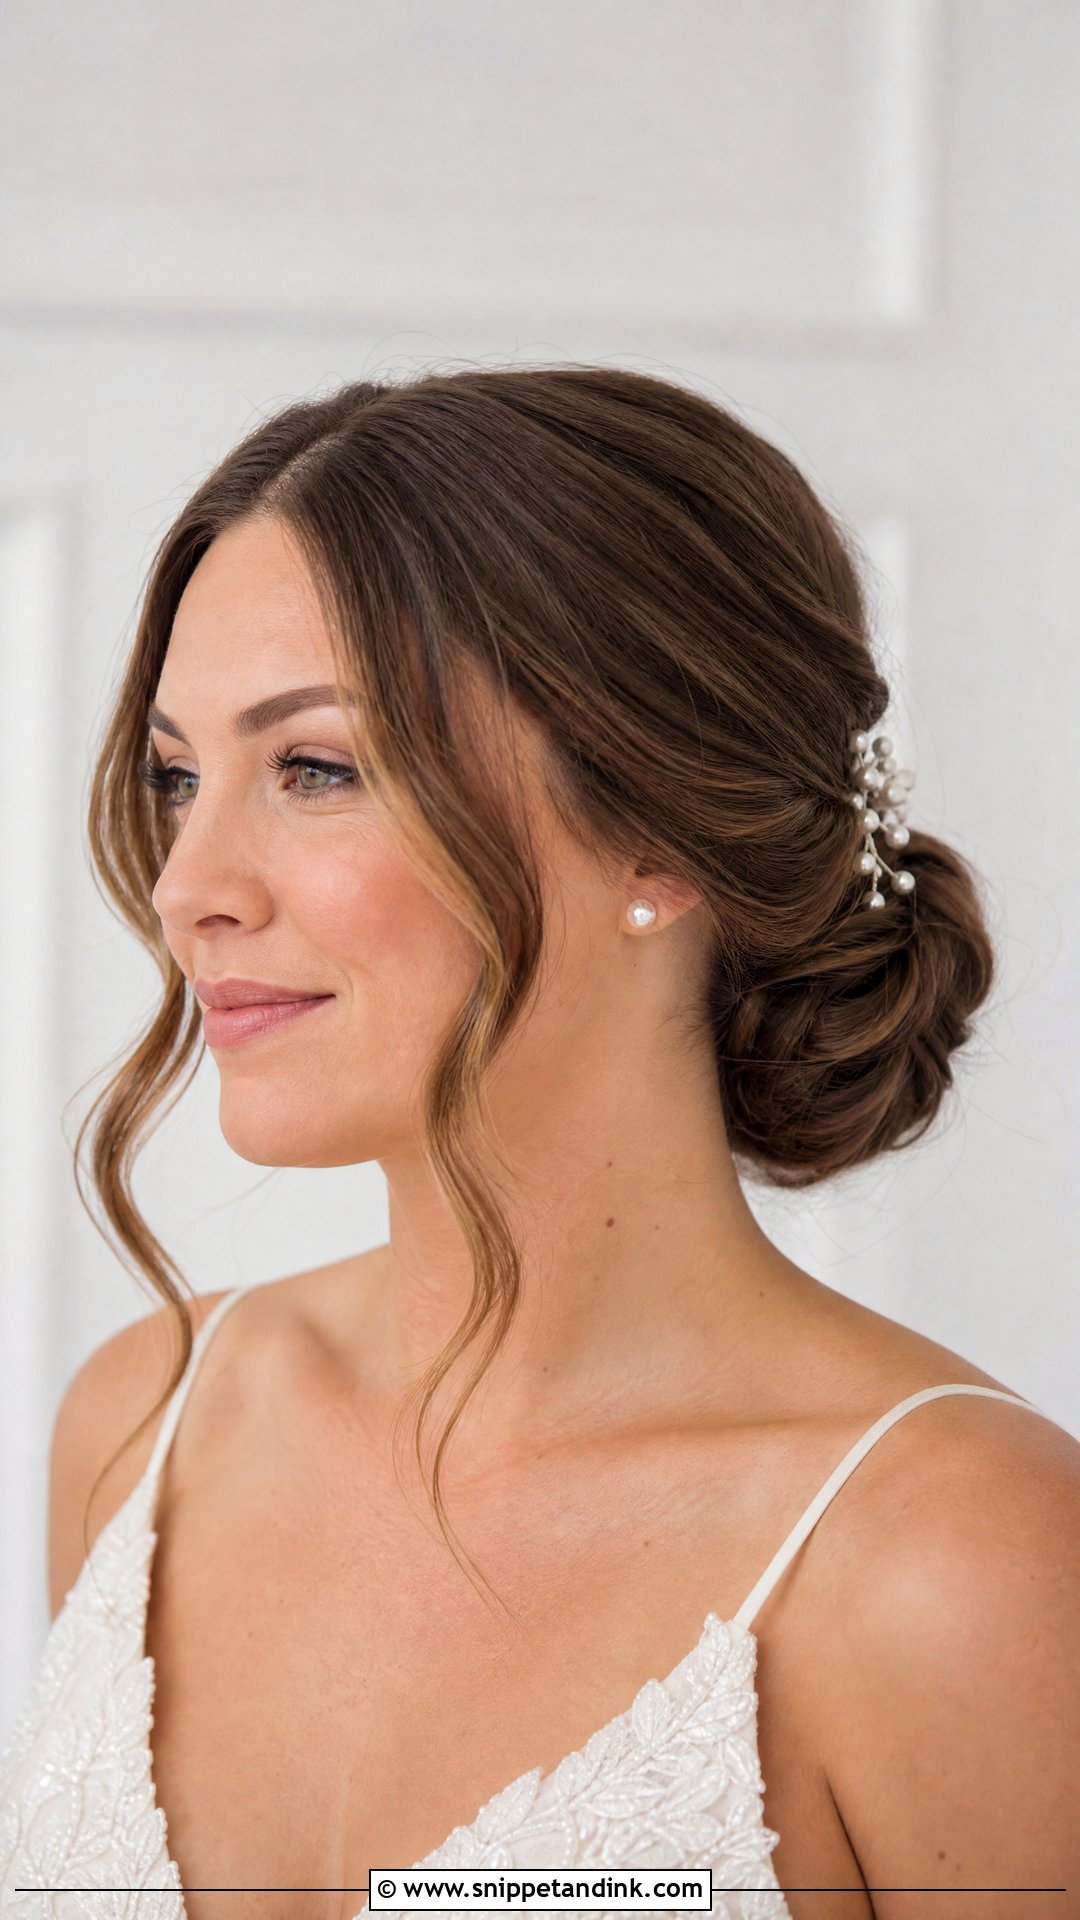
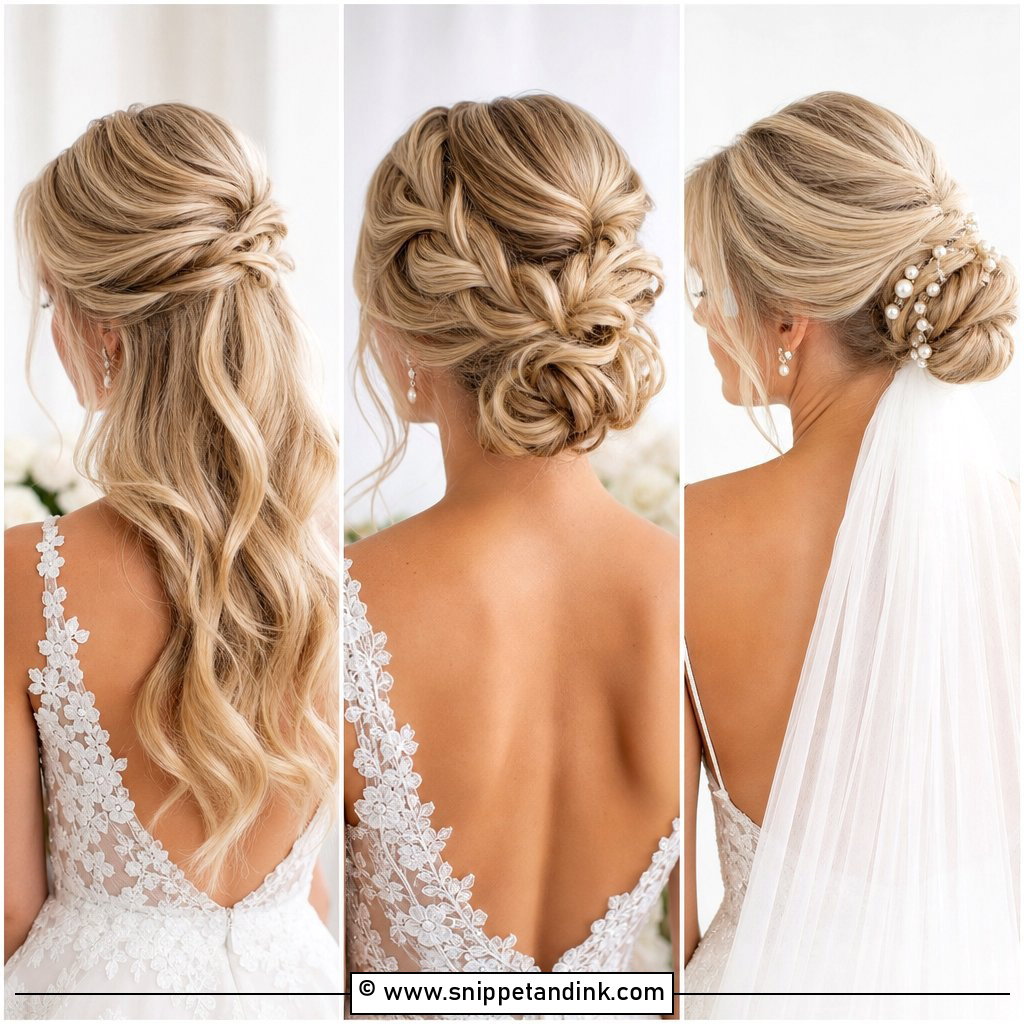
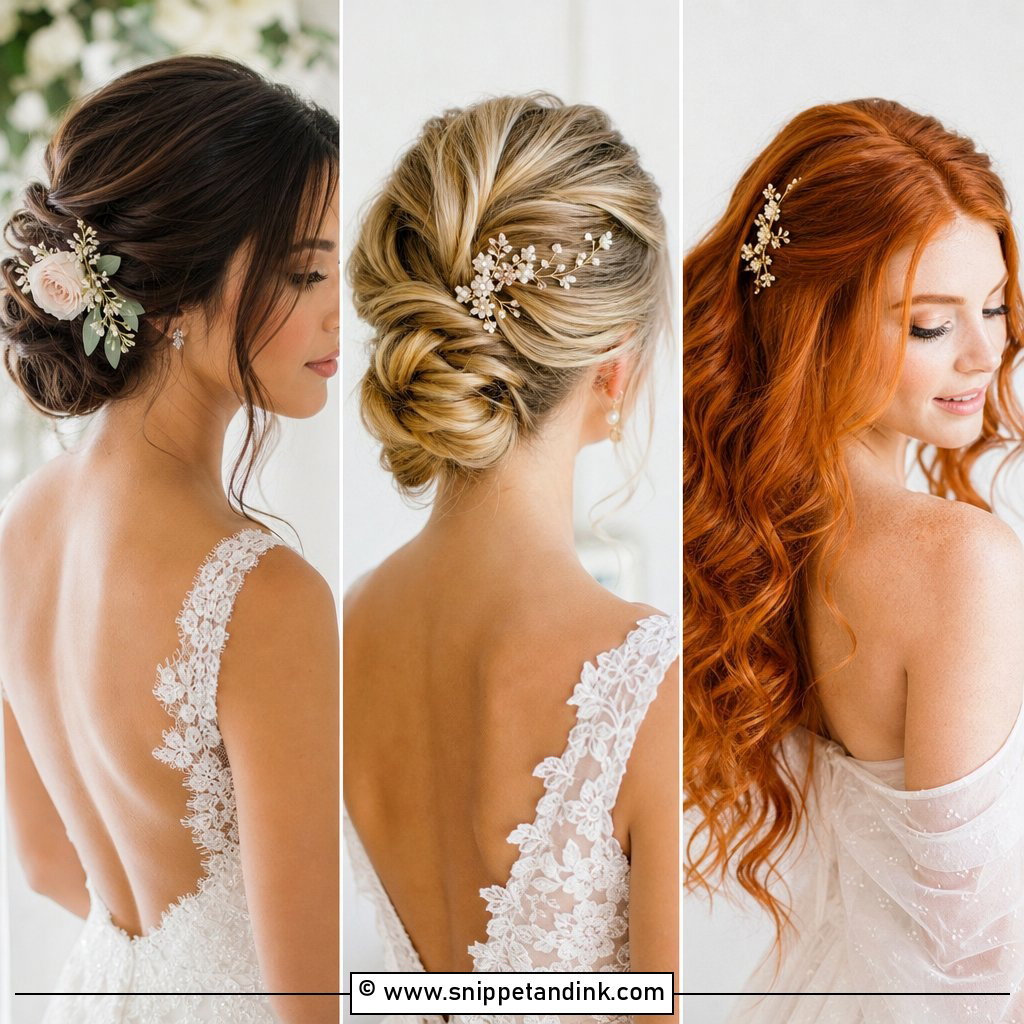
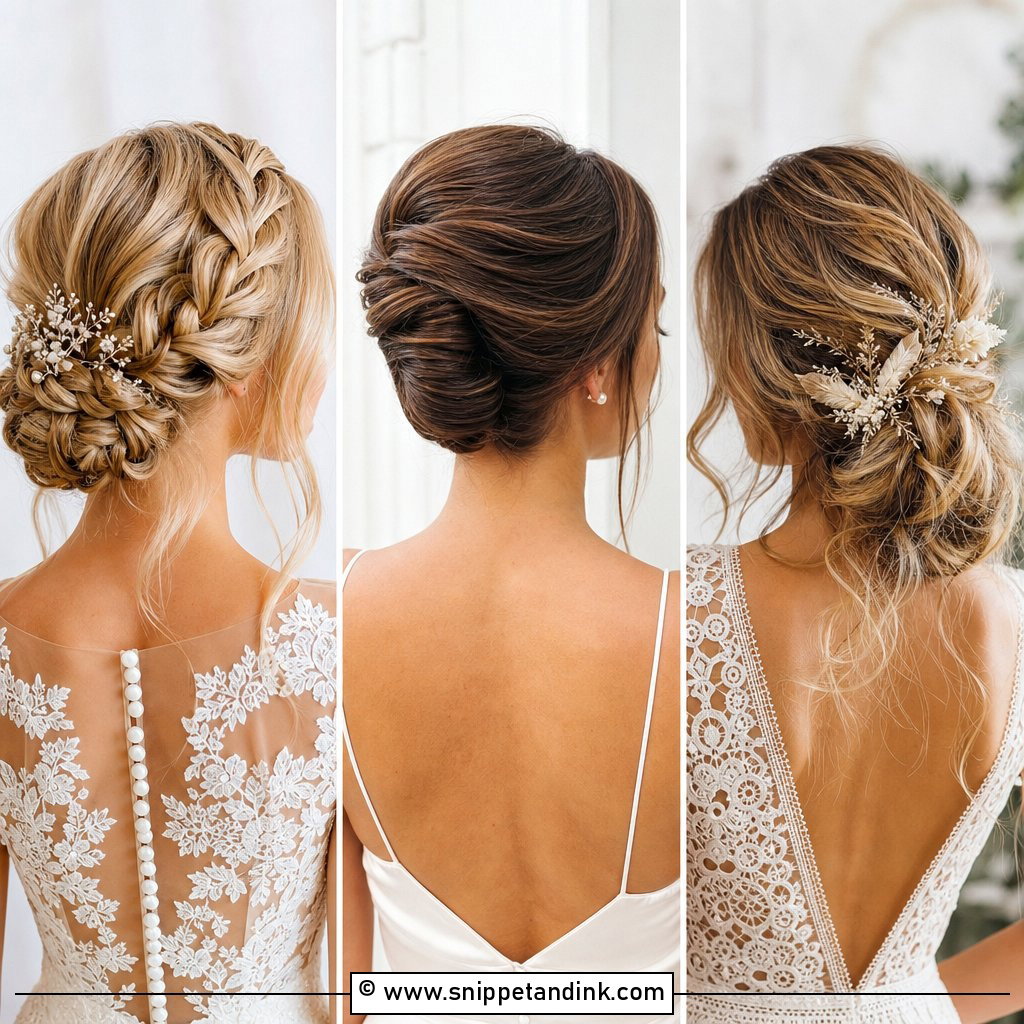
From the front, a front bridal low bun barely looks like an updo at all: you see a smooth part, a little lift and maybe two soft pieces by the cheeks. That’s why I like it for brides who worry about looking severe. The bun itself sits at the nape, out of the way of a veil, pearl pins, a hair vine or a plain comb, and it holds its shape outdoors. The mistake I see is a crown that’s been brushed completely flat, which makes the face look longer. A small amount of backcombing under the top layer fixes that.
2. Front Bridal Half Up Hair
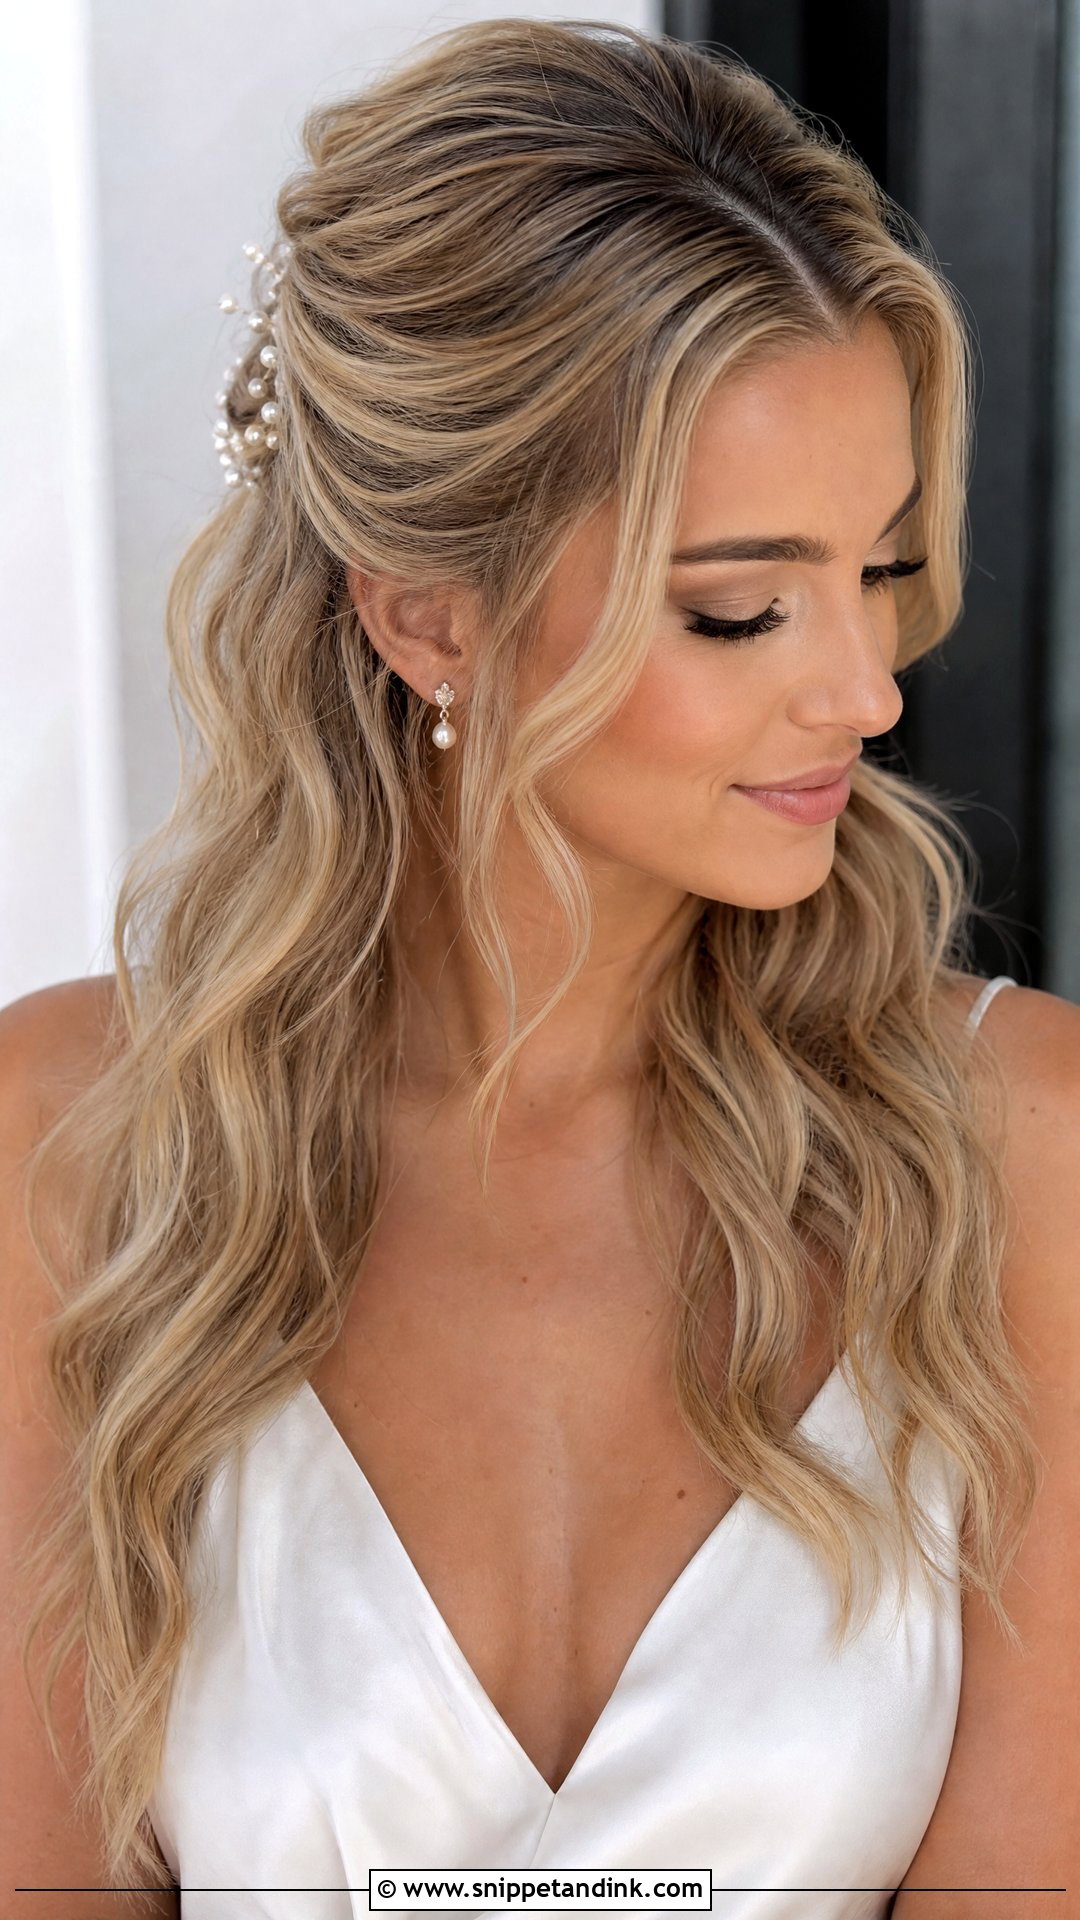
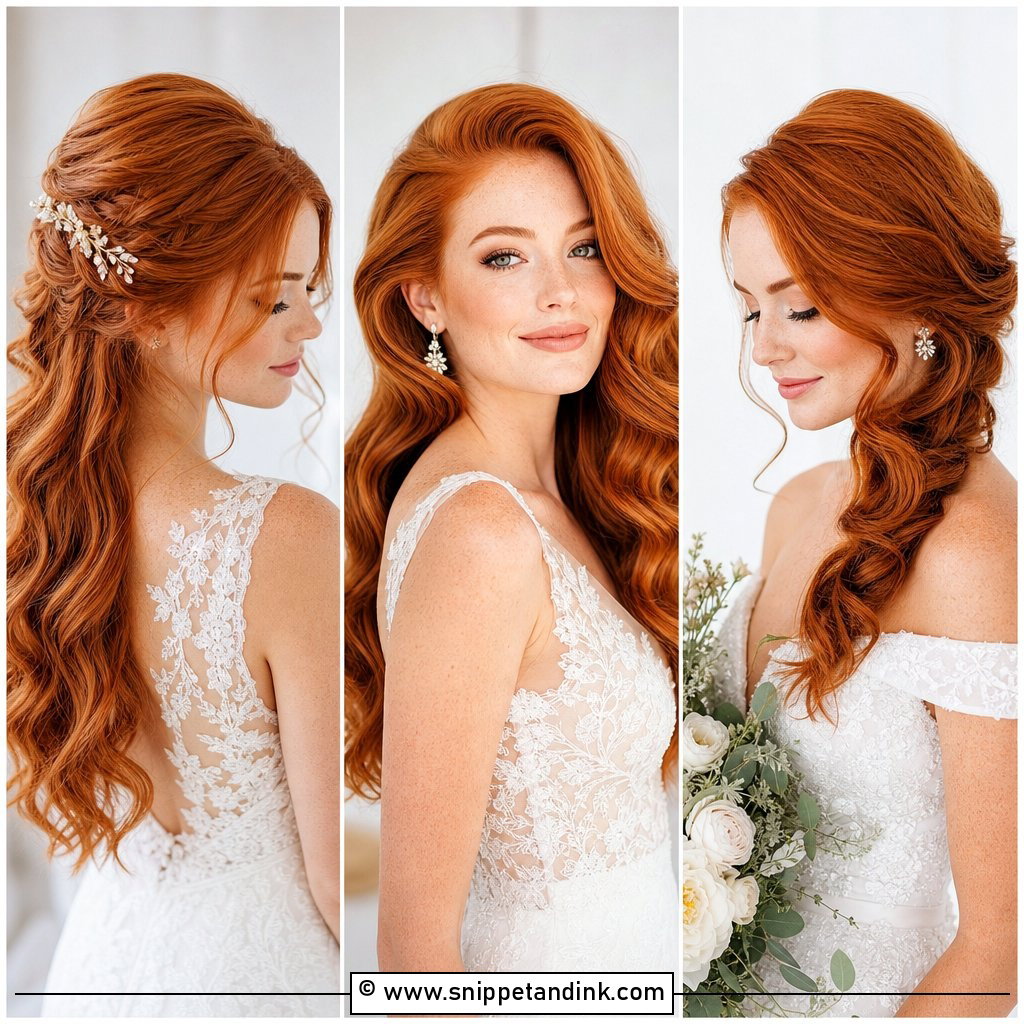
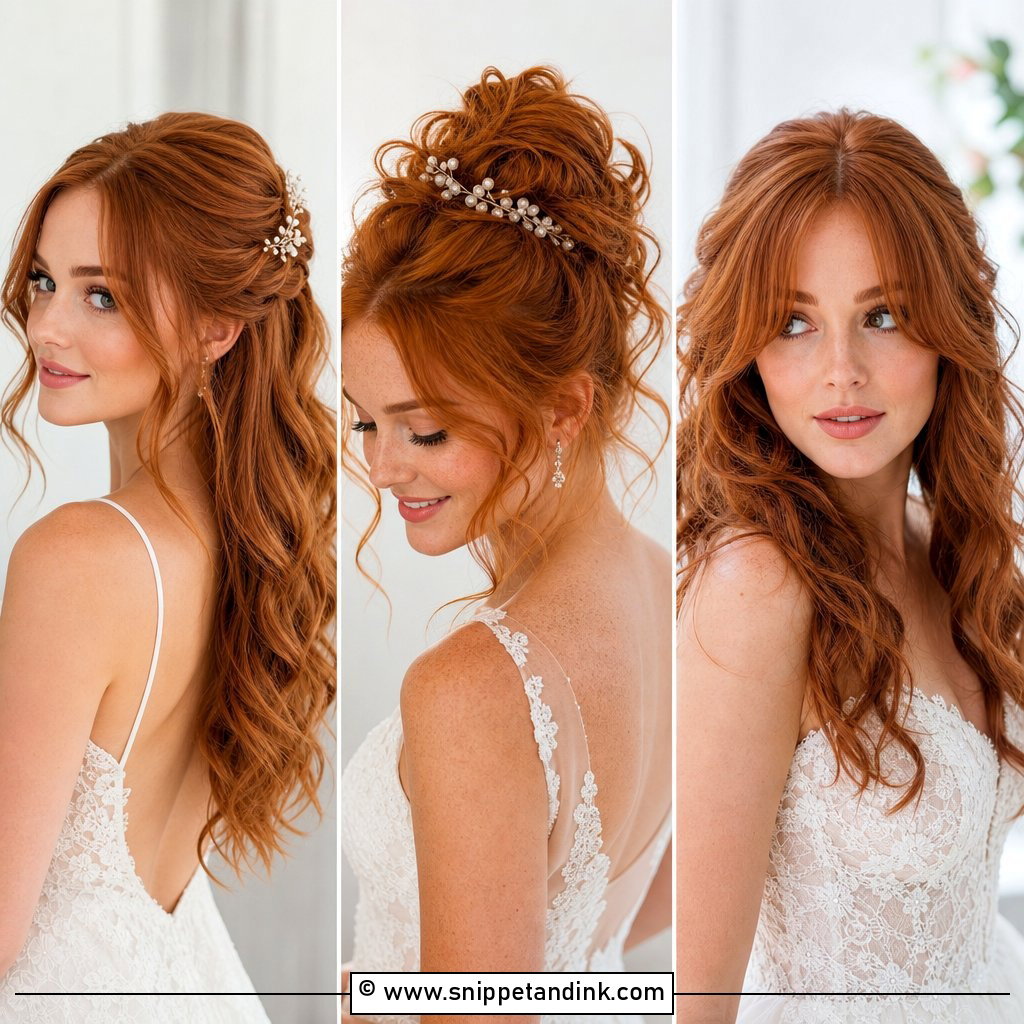
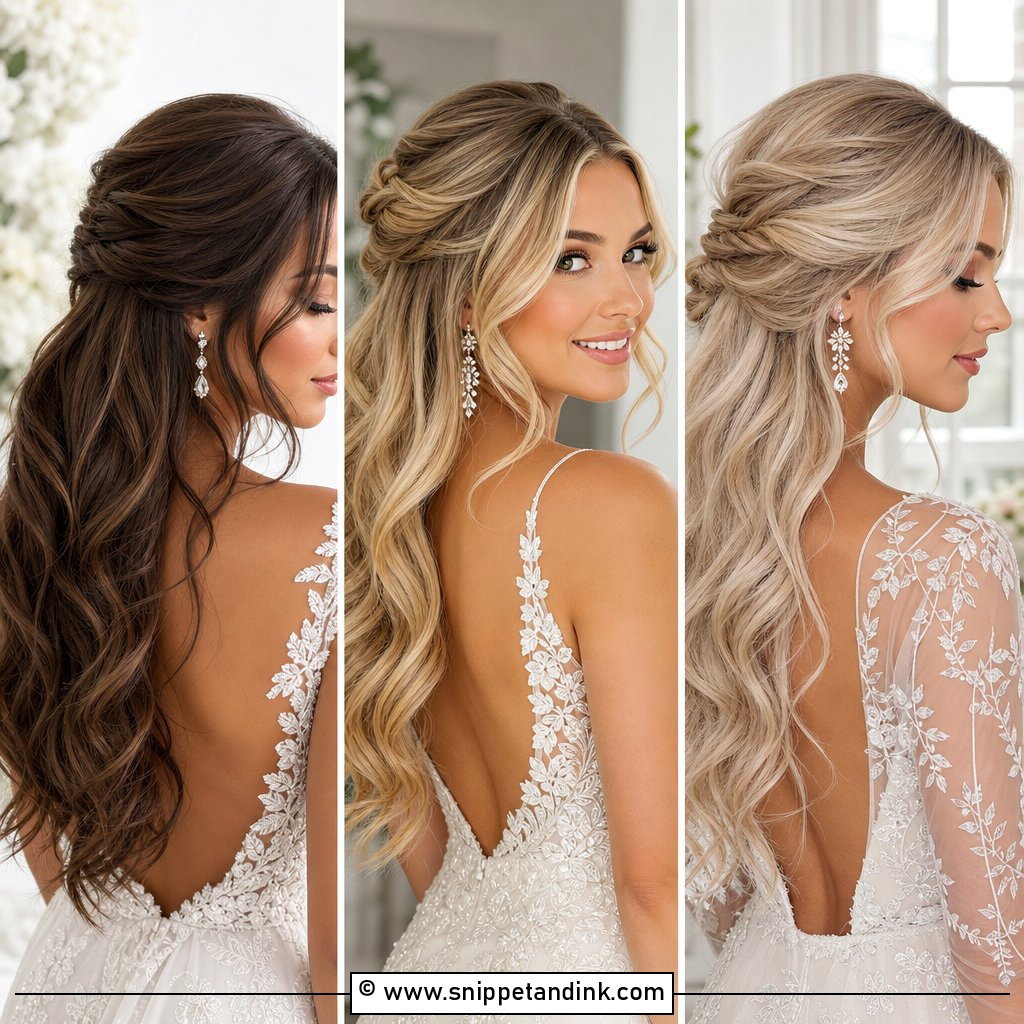
Half up is my compromise when a bride wants her hair moving on their shoulders but not in her mouth during the vows. Head-on, it should show light waves and a gently lifted crown, with the top section drawn back loosely. Pull it tight and you lose the softness that makes the style worth wearing. I secure the back with crossed pins under a small twist rather than an elastic, so nothing drags. It sits well with strapless, off-shoulder, and sweetheart necklines, and a tiny pearl clip where the sections meet hides the pins.
3. Front Bridal Curls
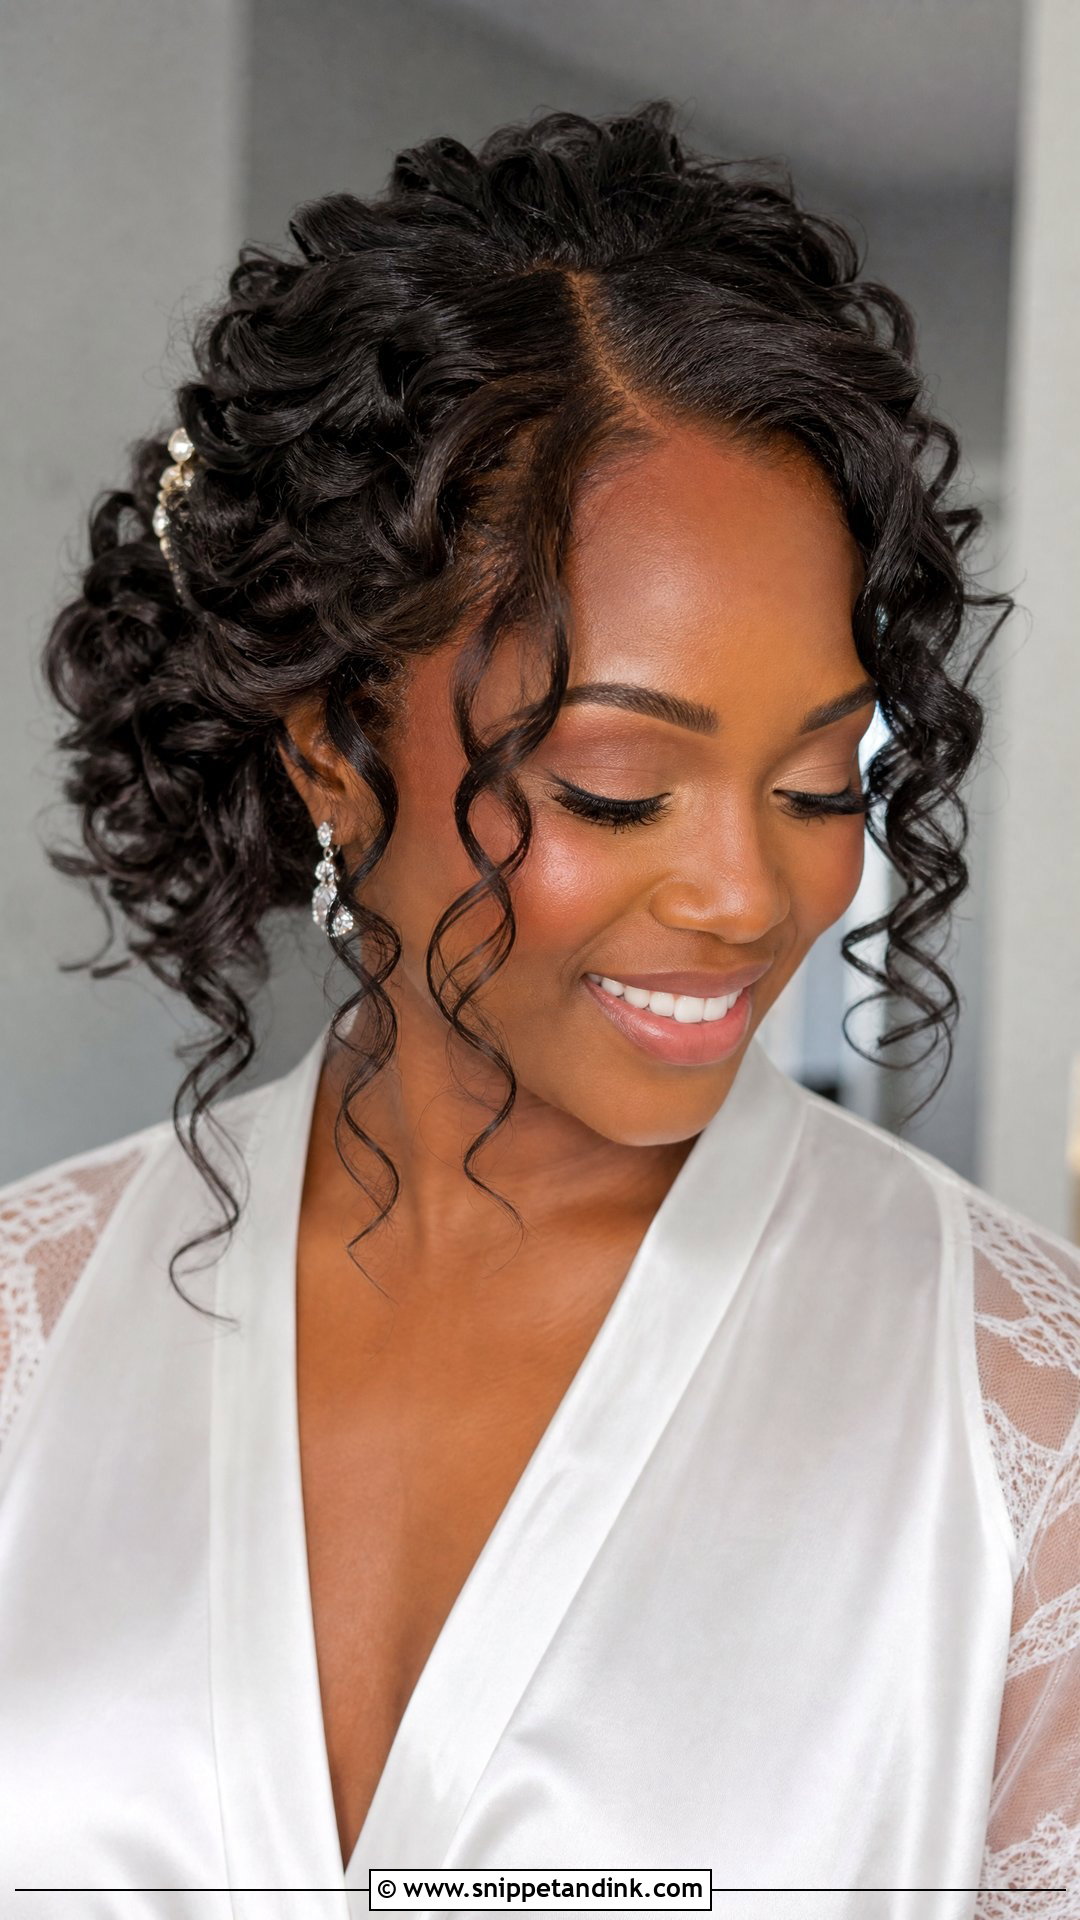
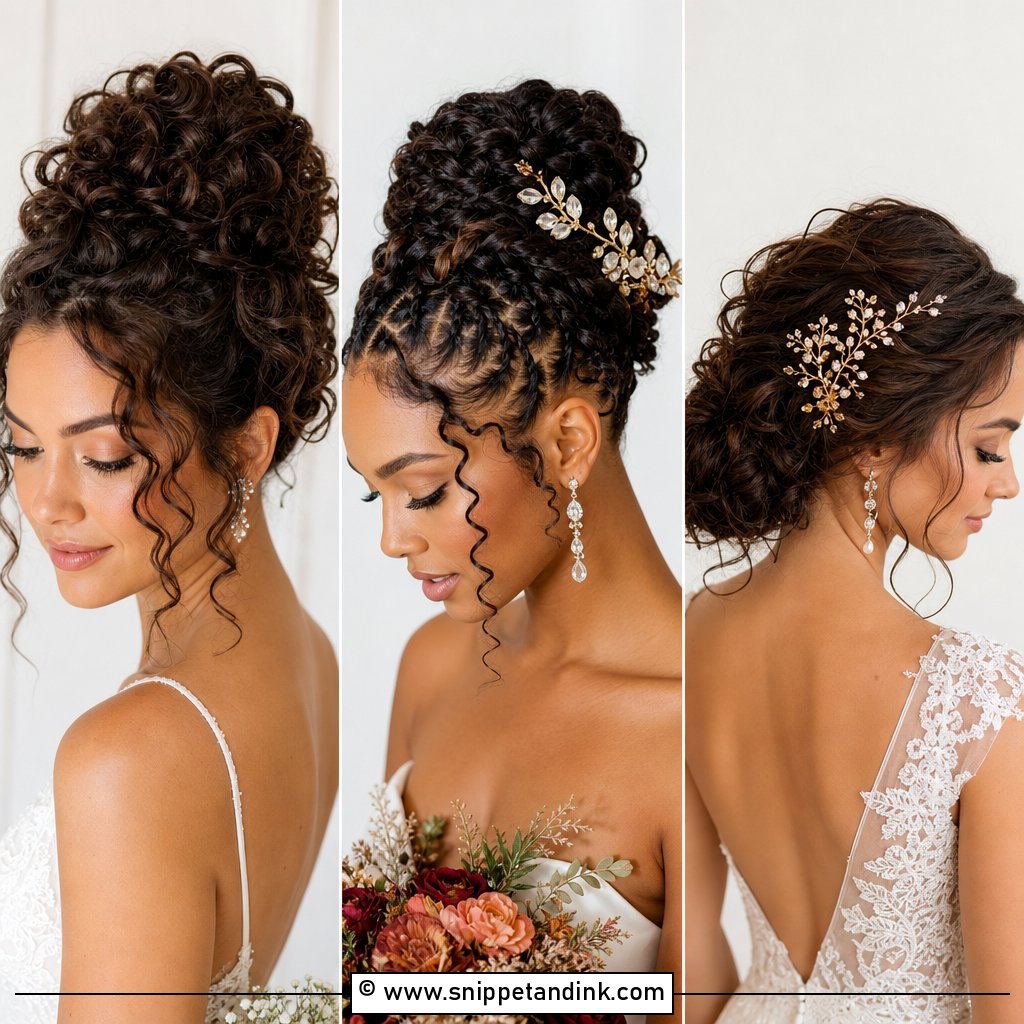
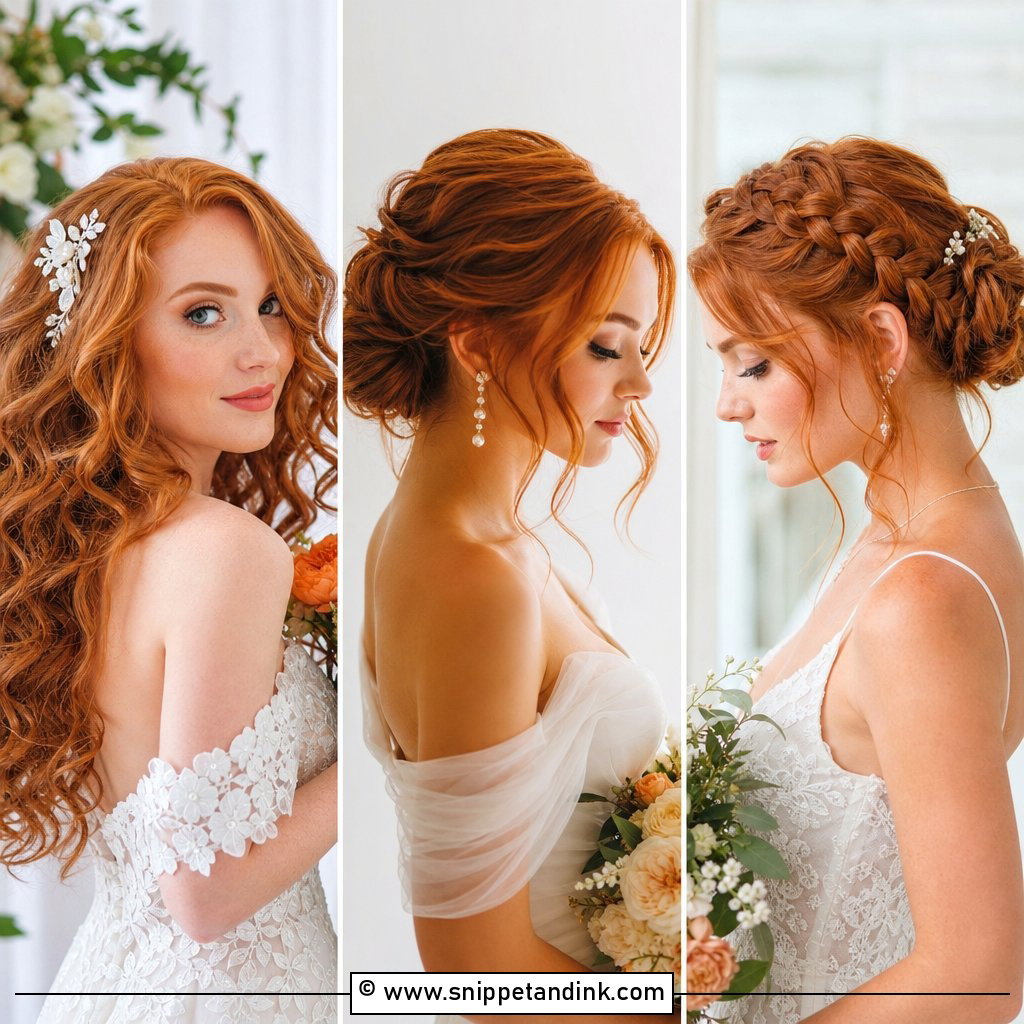
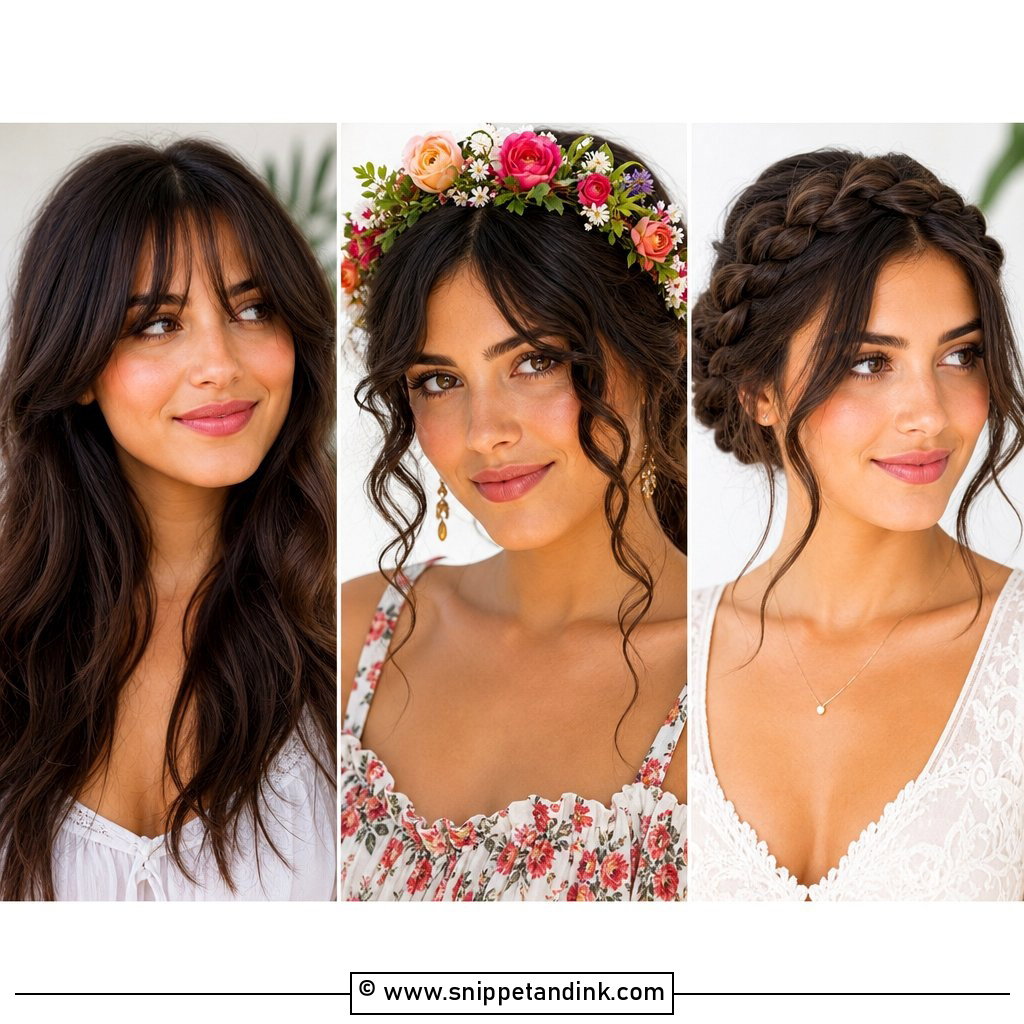
Curls near the face have to look deliberate, or they just look like volume. I define the ones along the hairline more carefully than the rest and set them curling away from the face, which opens it up instead of crowding it. A side part gives a glamorous swoop; a centre part looks more balanced. Natural curls, heat-set curls and curly extensions can all do this. Heavy creams are the trap here. They weigh the front pieces down first, so I use something light and pin one or two curls back if they start to fall forward.
4. Front Bridal Sleek Bun
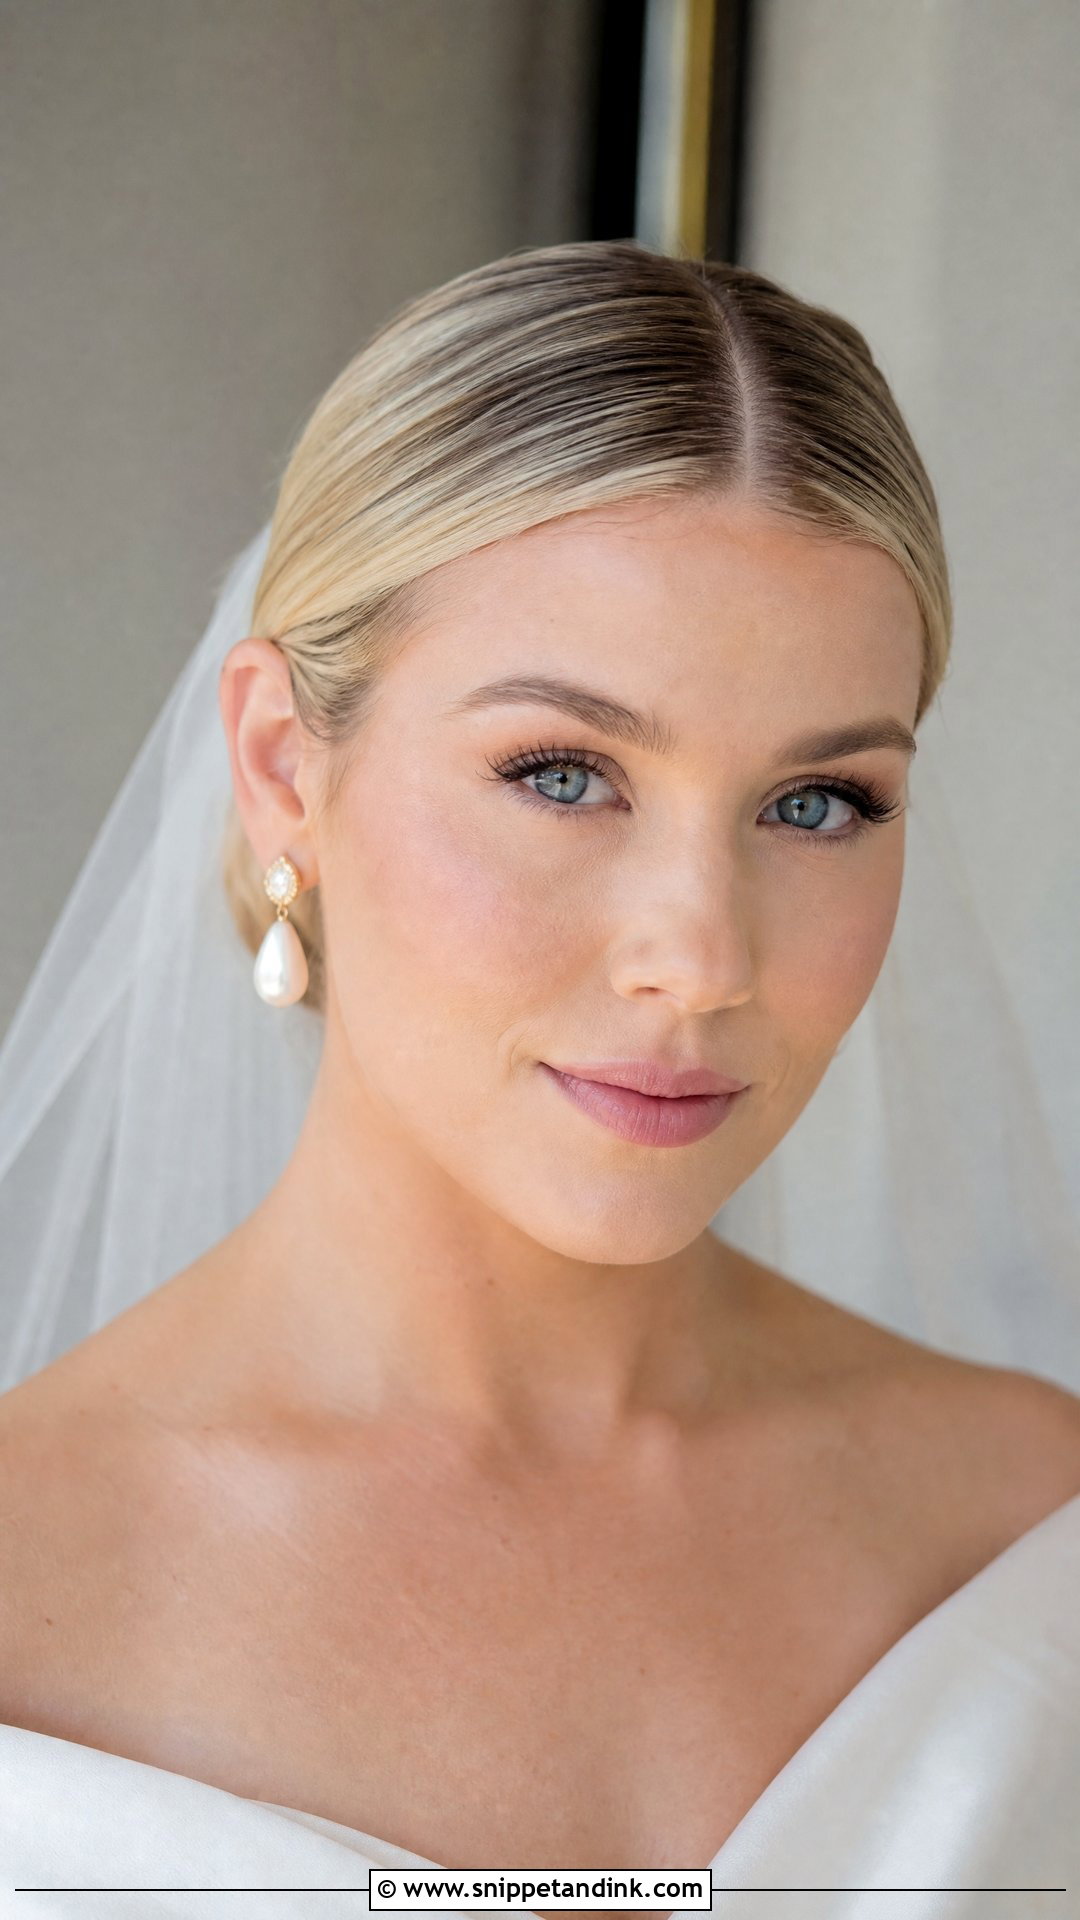
The sleek bun is honest about your features, which is exactly why some brides love it and others feel exposed. Everything rests on the hairline and the part: shine, control and a line that’s perfectly straight. Statement earrings, high necks and minimalist gowns suit it, because nothing competes with them. I’d never pull the front tight against the scalp, though. Tension shows in photos as stretched temples and gaps at the hairline, and it gives you a headache by noon. Smooth but relaxed is the target.
5. Front Bridal Side Part Waves
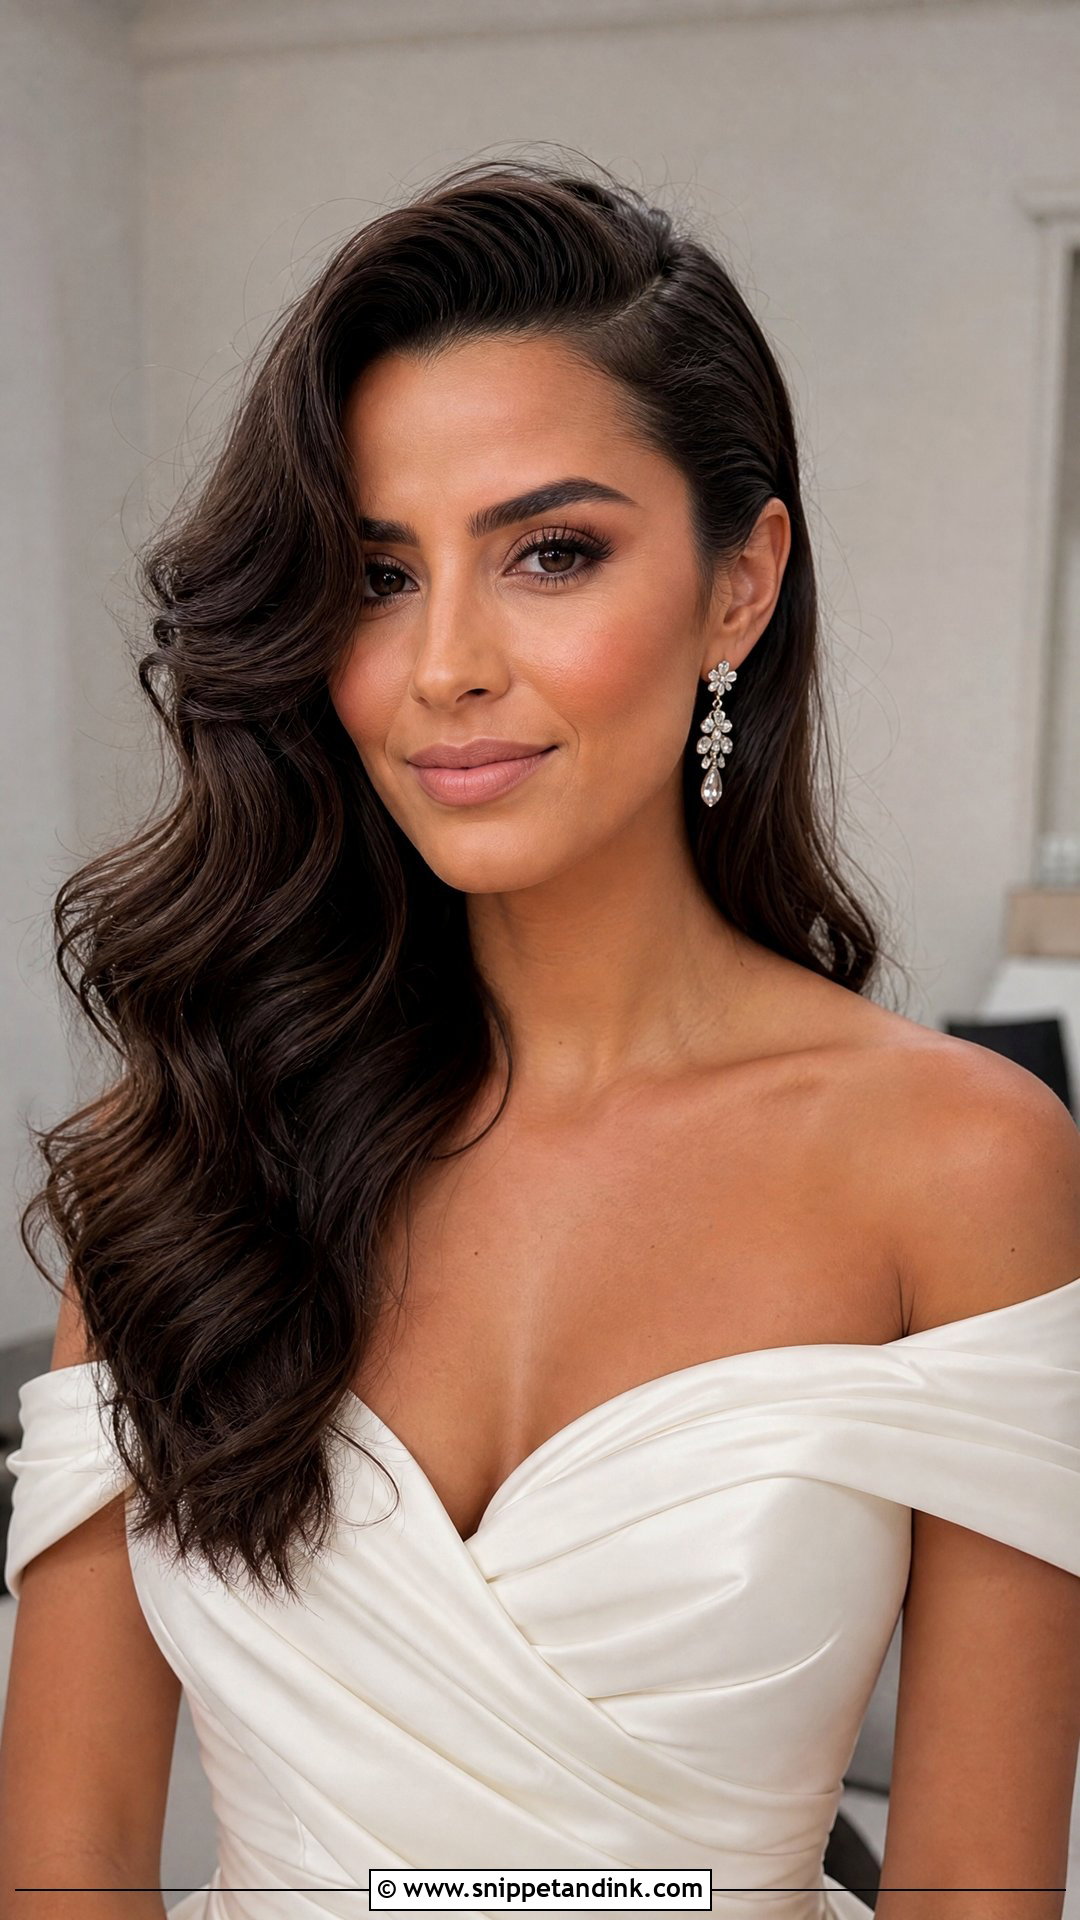
A deep side part with waves gives the most glamorous front view on this list. The heavy side lifts, the waves fall around the face, and in portraits the shape catches light along every bend. It’s Hollywood hair, softened. I set the waves all in one direction and brush them out, because tight curls left as they are look dated from the front. Tuck the light side behind your ear to show an earring, or leave it loose. Medium to long hair suits it, and a couple of wefts help if your hair is fine.
6. Front Bridal Curtain Bangs
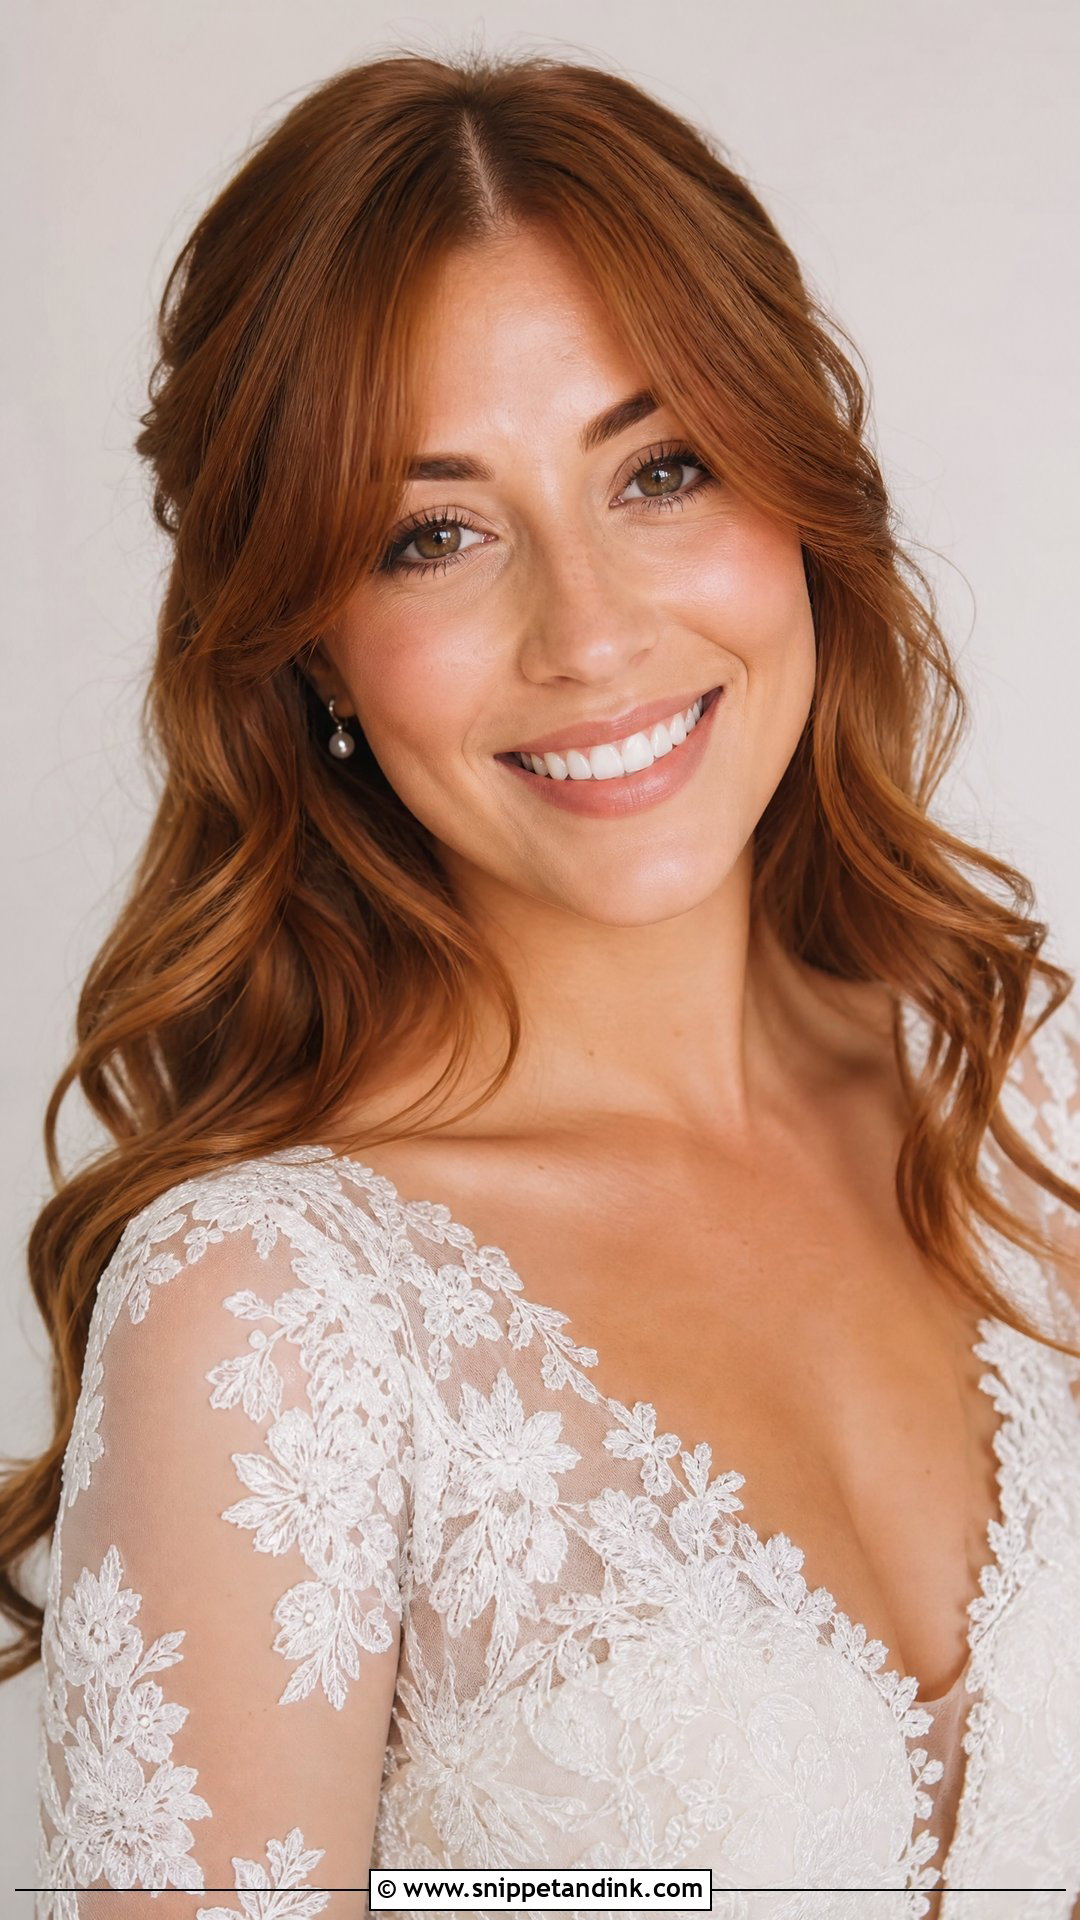
Front bridal curtain bangs give you a frame around the eyes and cheekbones without covering your face. They part in the middle or just off it and blend into waves, a bun or a half-up style. If you already wear them, keep them; your face won’t look like yours in photos without them. What I avoid is a tight curl. Curtain bangs want a single soft bend from a large round brush, and they should never be trimmed in the last week, since freshly cut bangs always sit shorter and stiffer than you expect.
7. Front Bridal High Bun
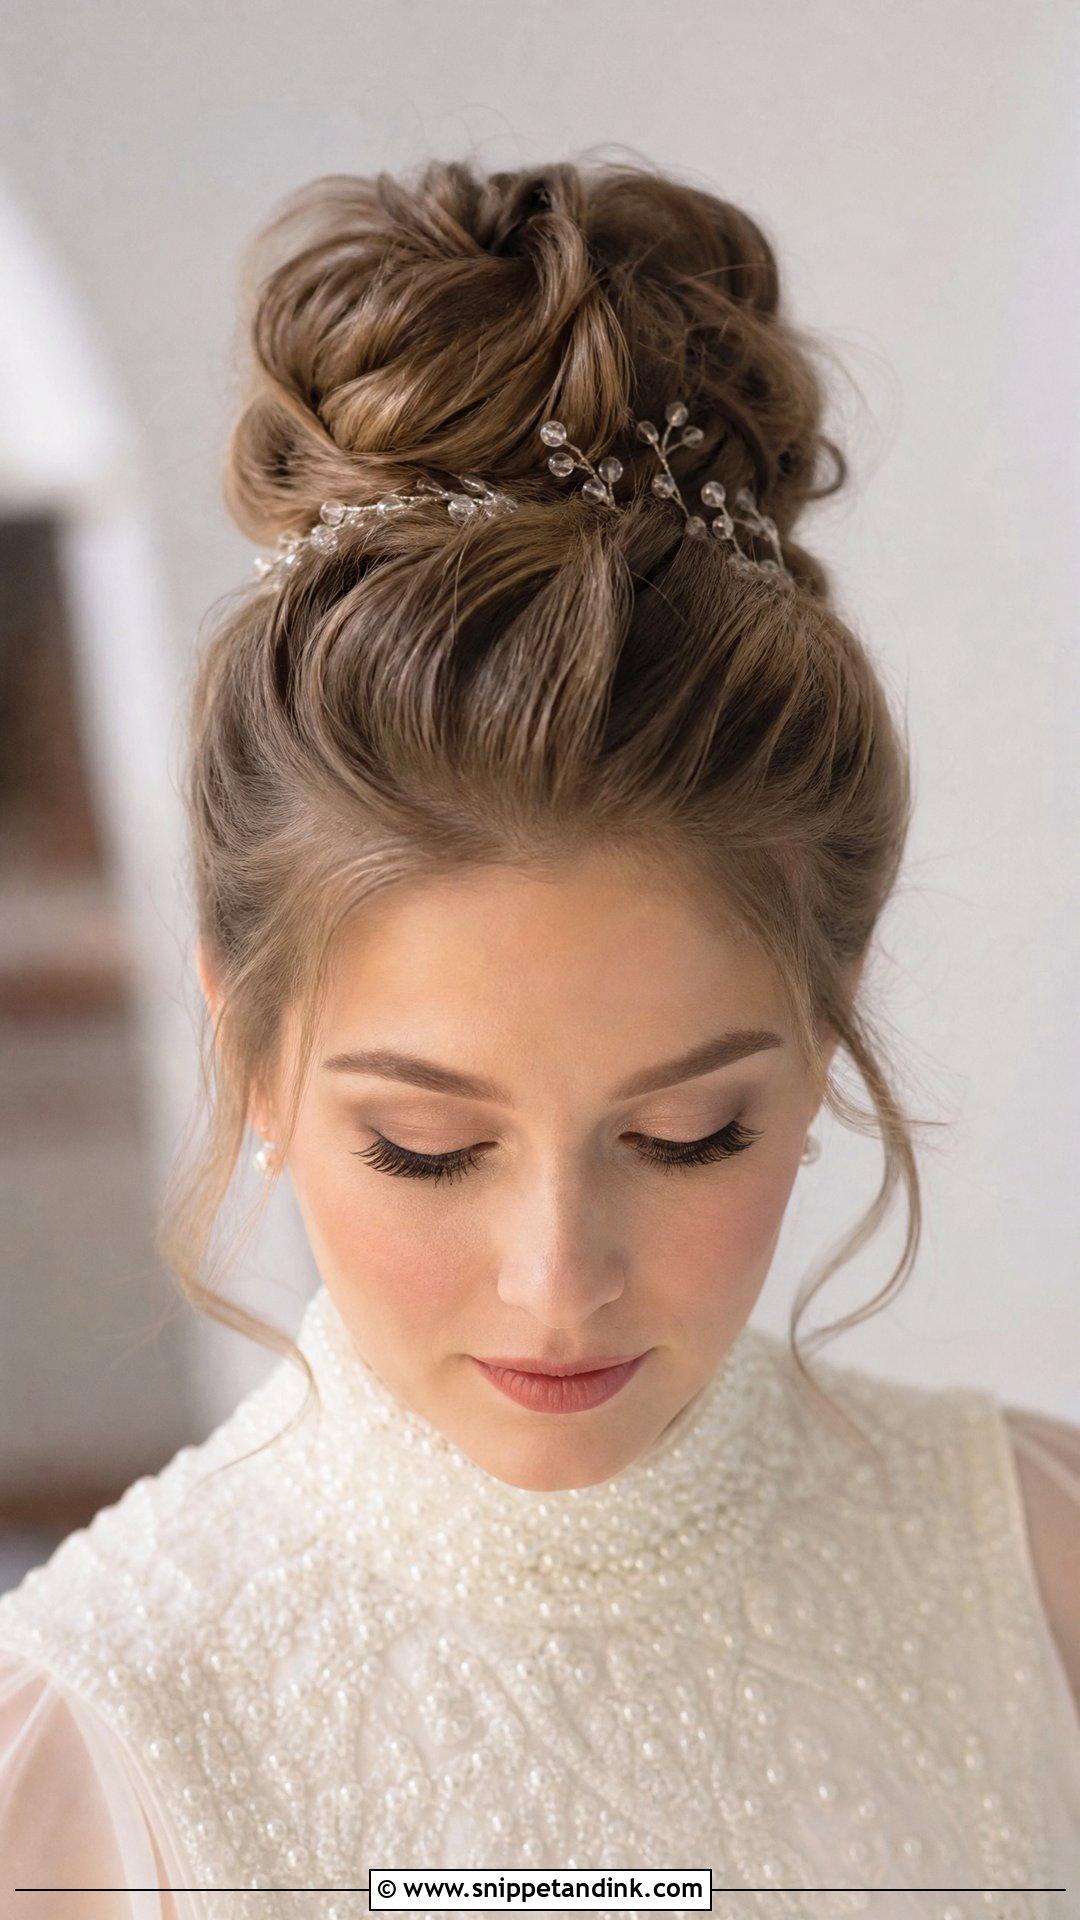
A high bun lengthens the face and opens up the neck and shoulders, which is why it pairs so well with high necklines, long sleeves and detailed bodices. Height is the judgement call. Too high and it starts to look like a costume from the front, so I check it in a mirror held straight ahead rather than from the side. Soft pieces at the temples make it romantic; a clean front gives a ballet feel. A veil goes under the bun, and pearls or a few crystal pins finish it. Lift at the roots keeps the front from looking scraped back.
8. Front Bridal Ponytail
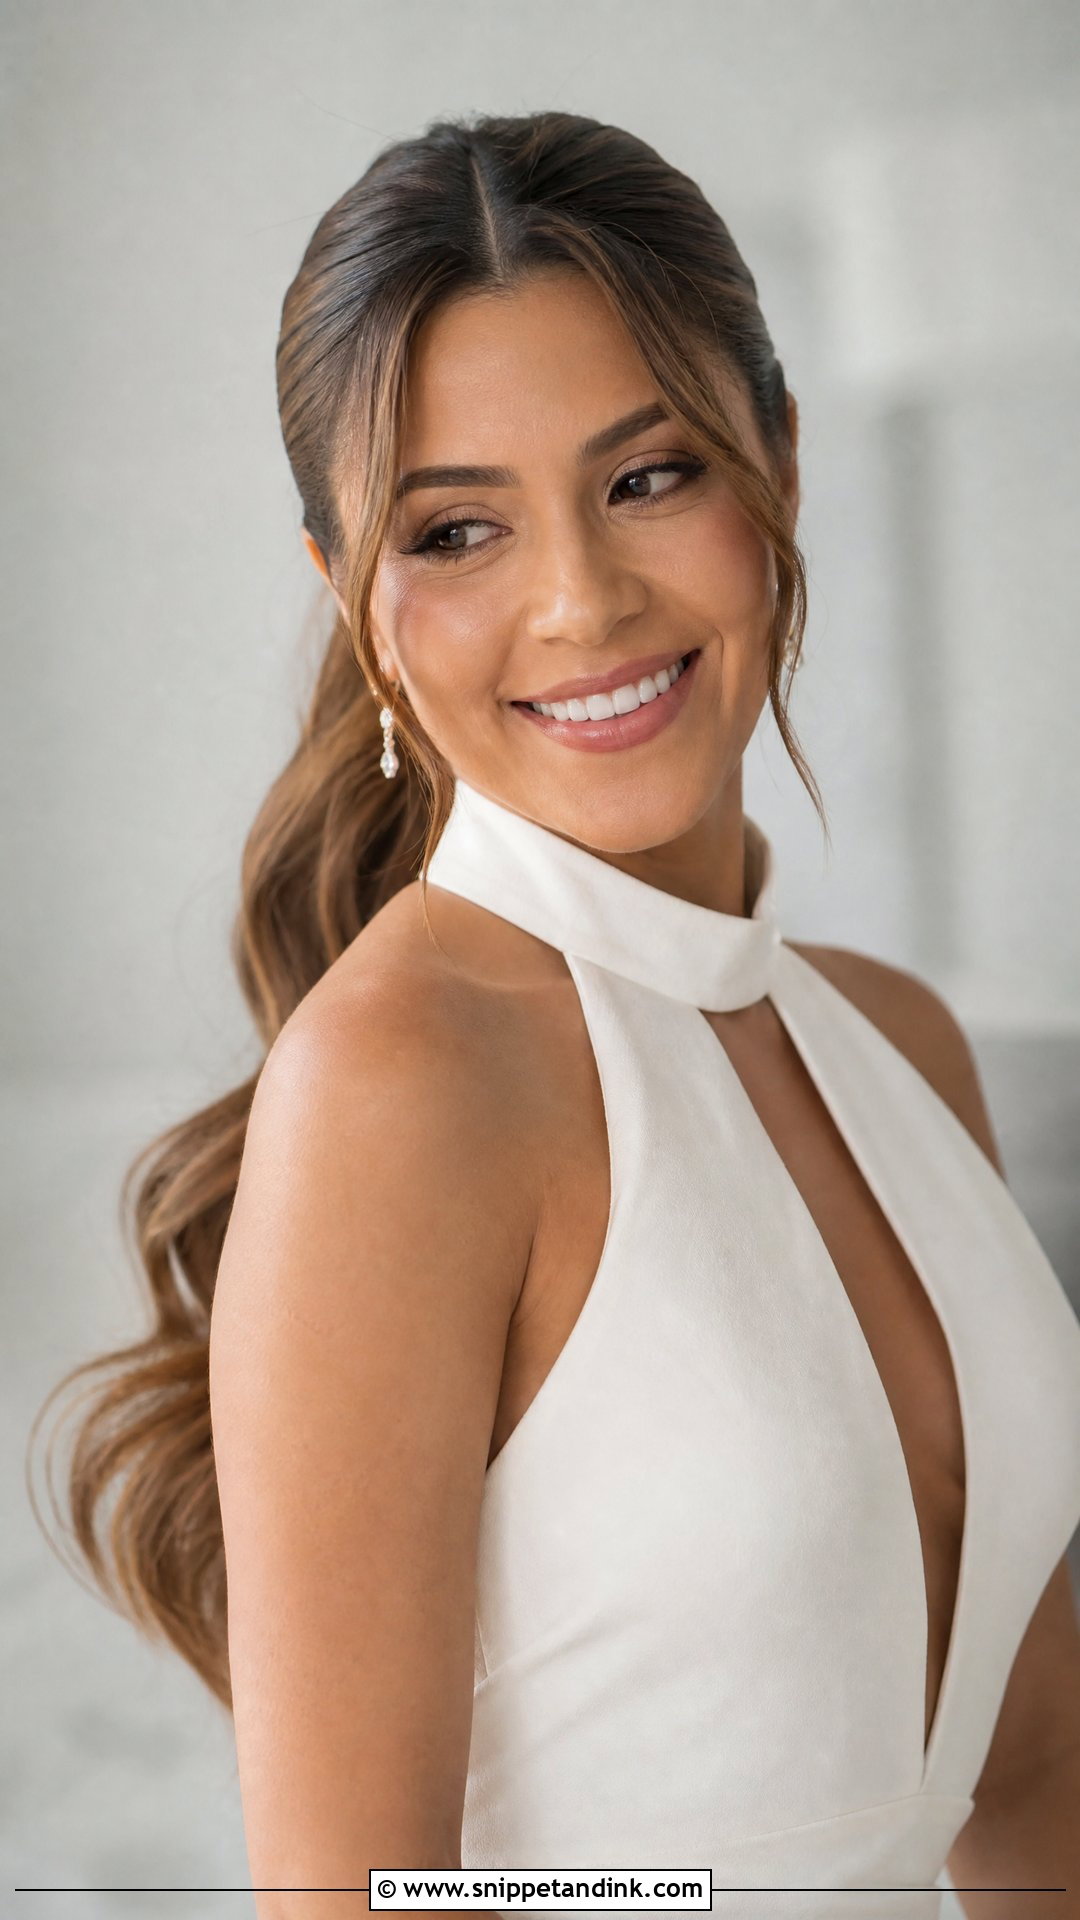
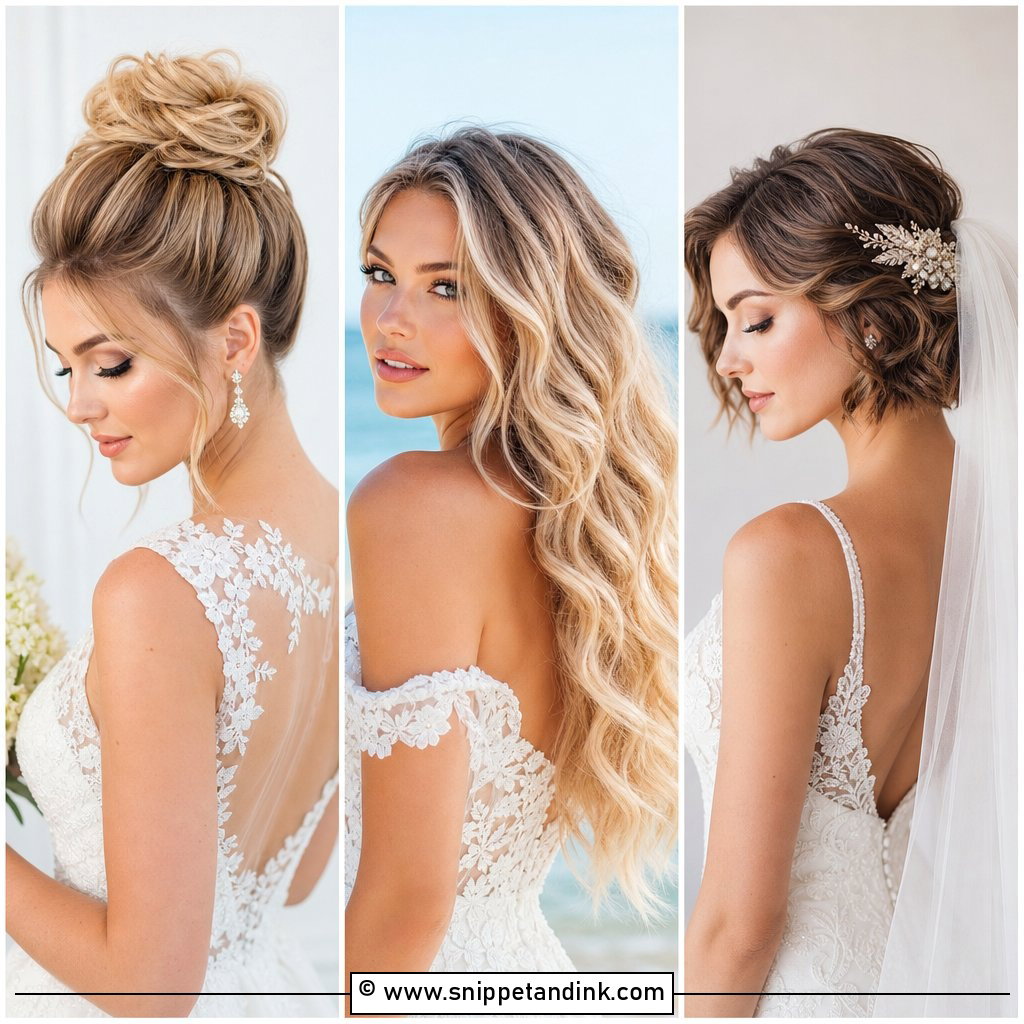
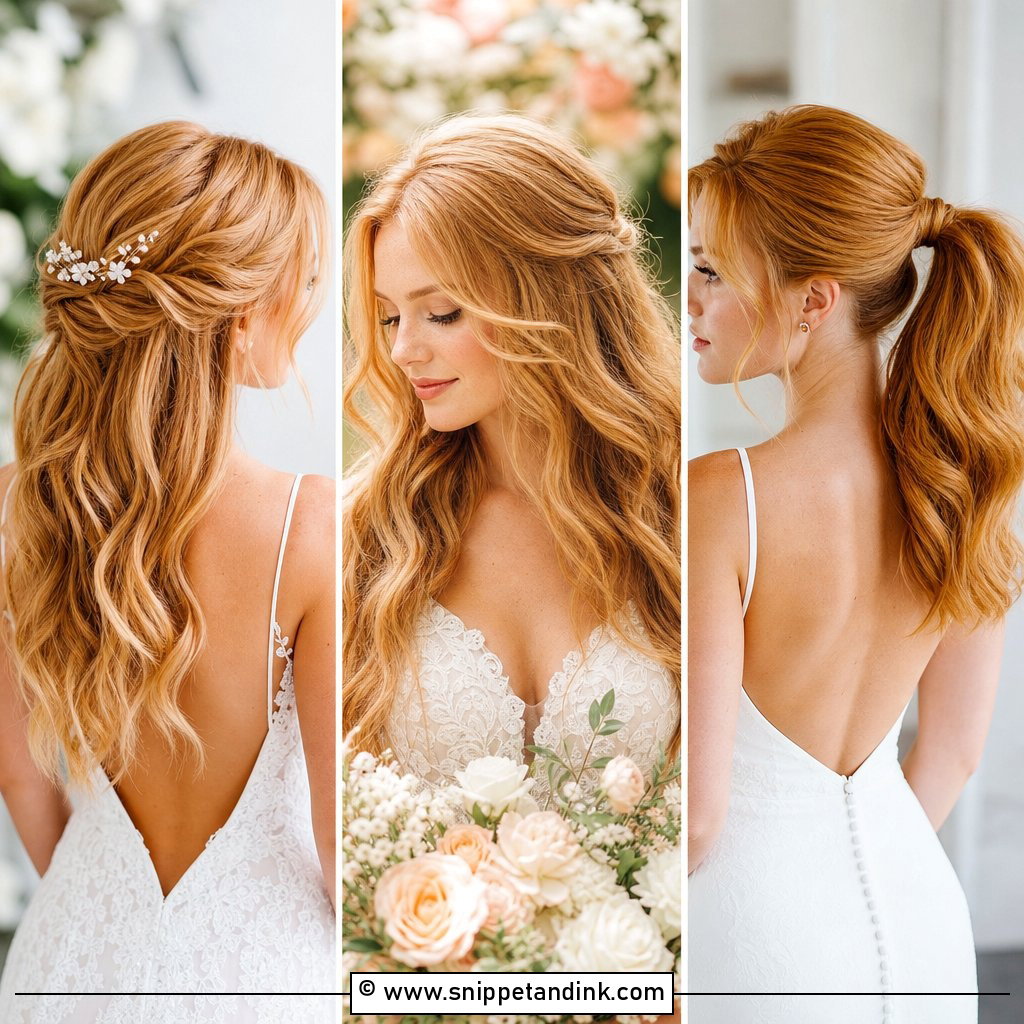
A ponytail can look properly bridal, mostly because of what you can see from the front. A middle part keeps it sharp and current, a side part softens it, and a few face-framing layers stop it from looking like a gym ponytail. I wrap a section of hair around the base to hide the elastic and pin it underneath. It’s practical too: hair stays off your neck, and it swings on the dance floor without losing shape. Waves through the length are what make it look finished rather than casual.
9. Front Bridal Loose Waves
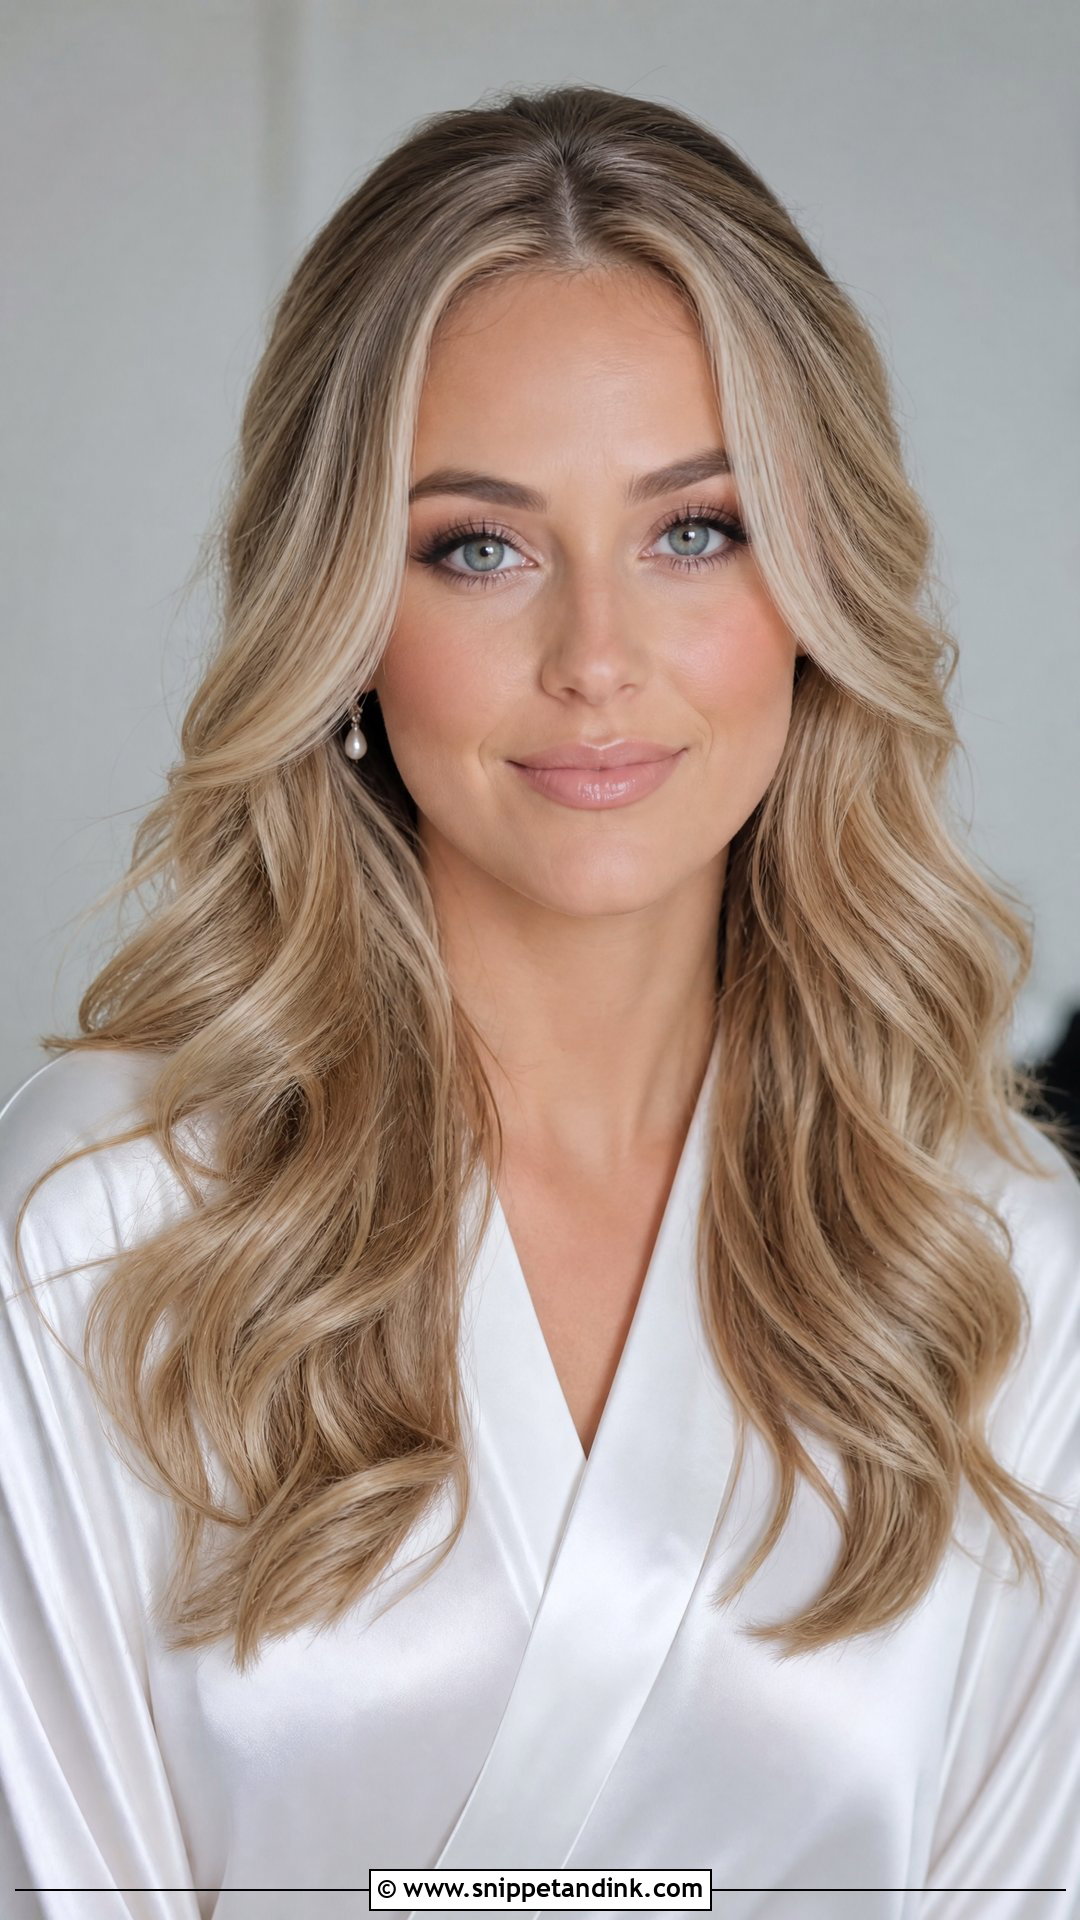
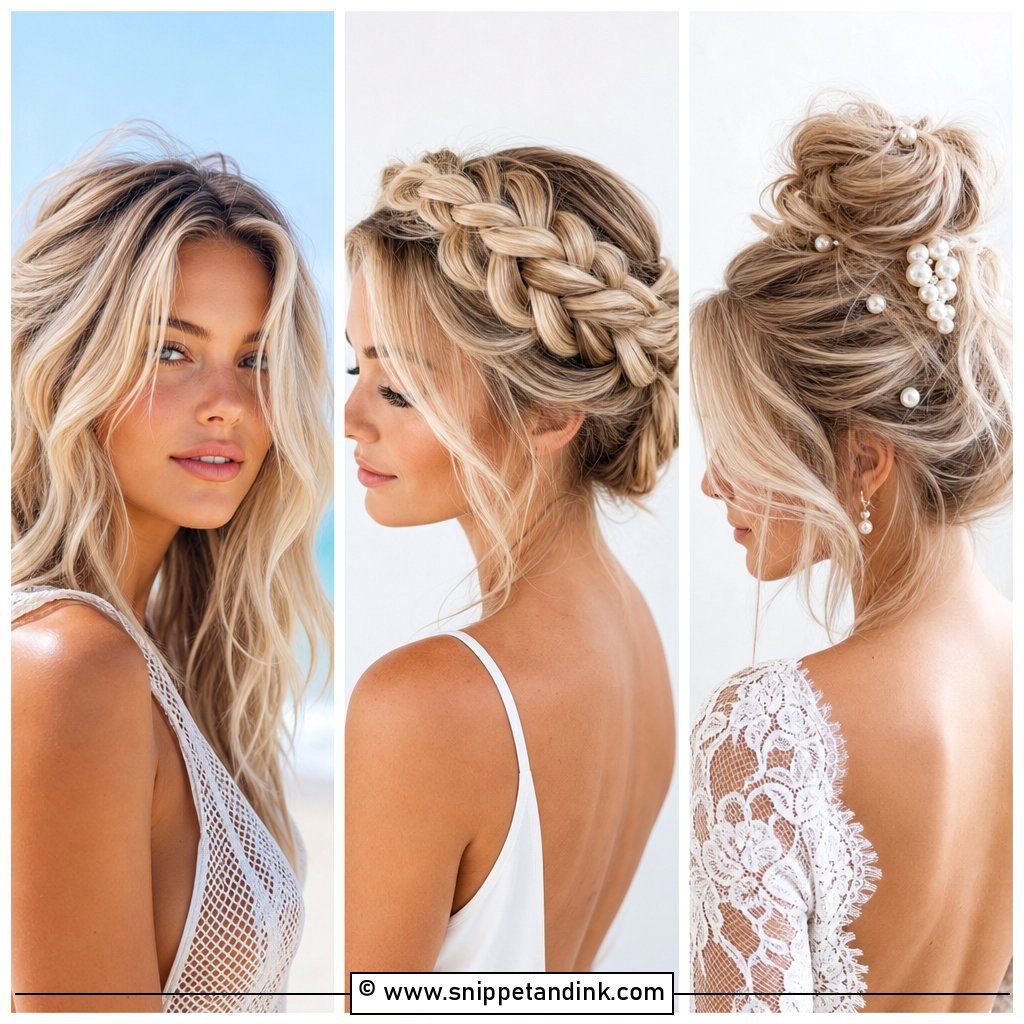
Loose waves are what most brides who wear their hair down every day end up choosing, and for good reason. My rule for the front is to start the wave below the cheekbone. Start it higher and the hair crowds the face and hides the eyes in side profile. A centre part looks modern; a side part gives more volume. Flower clips, pearl pins and a veil all sit easily in it. I finish with a flexible spray rather than a firm one, so the waves still move when you turn your head.
10. Front Bridal Braided Crown
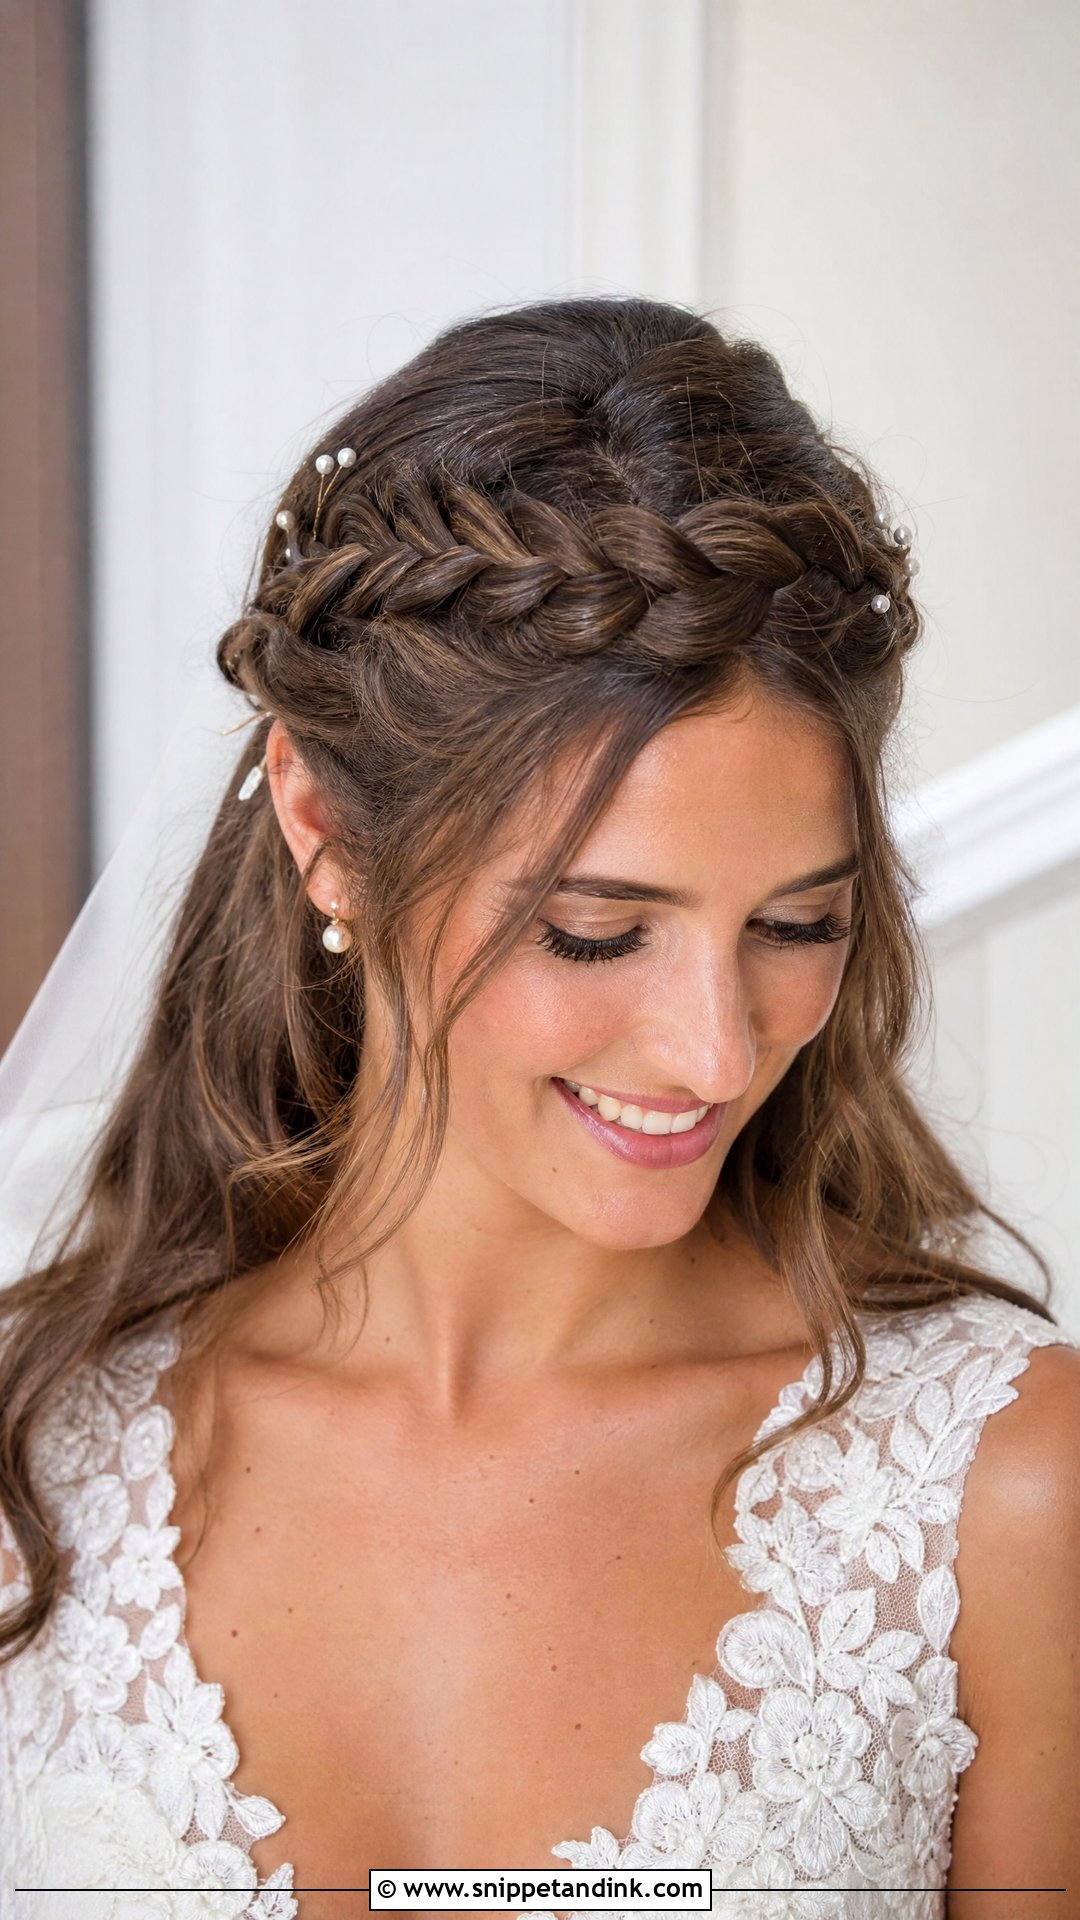
A braided crown frames the face from the hairline back, like a halo, and it keeps everything secure without heavy accessories. It can blend into a low bun, curls or waves. Garden and outdoor ceremonies are its natural setting. I braid it fairly firmly, pin it, and only then loosen the edges with my fingers, because a braid loosened before pinning slips out of place by the end of the ceremony. Tuck small pearls or tiny flowers into the braid if you want more detail; it needs very little.
11. Front Bridal Middle Part Bun
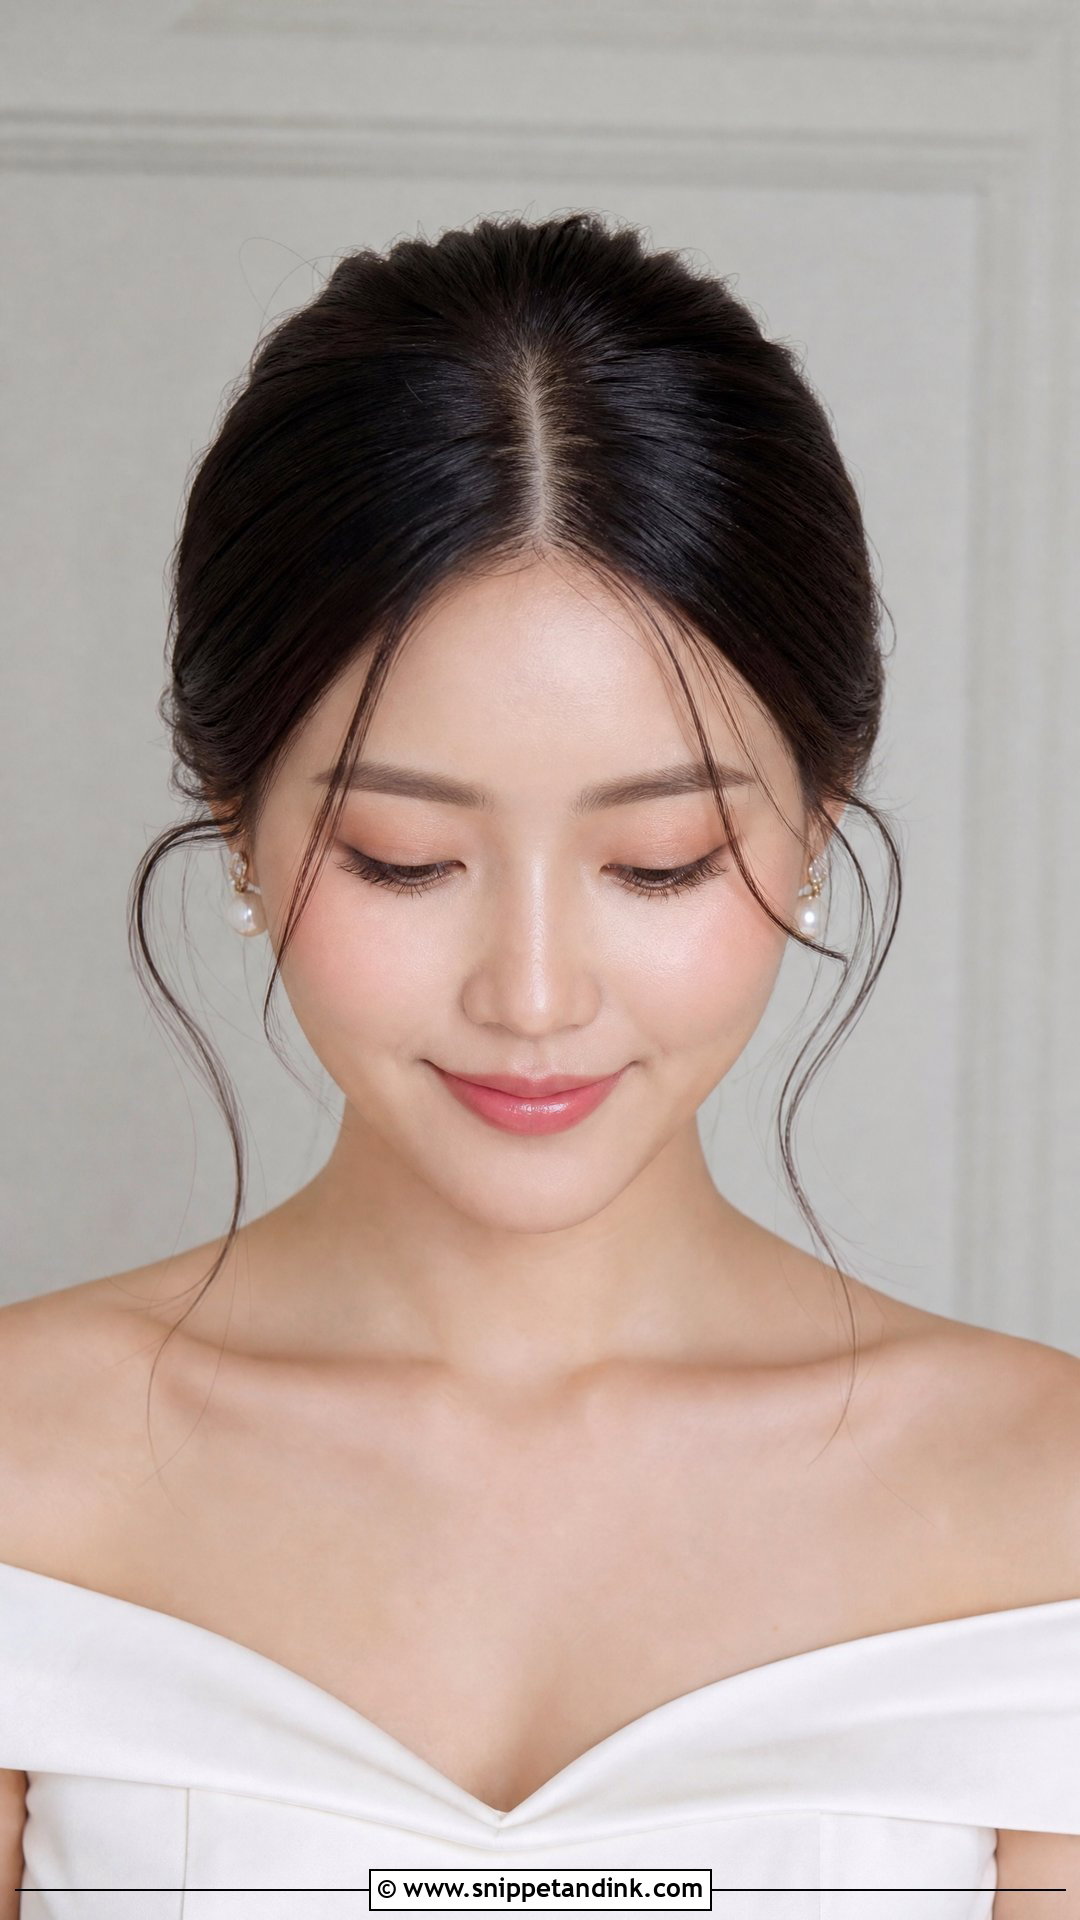
Symmetry is the whole point of a middle-part bun. The centre part, the even sides and a structured bun make a clean frame that never fights a detailed gown, a heavy veil or statement jewellery. Two thin tendrils soften it if you want. The bun can sit low, mid-height or a bit higher. The part itself takes the longest. I comb it in, check it straight on in the mirror, and redo it if it wanders even slightly, because a crooked centre part is the first thing anyone notices from the front.
12. Front Bridal Twisted Updo
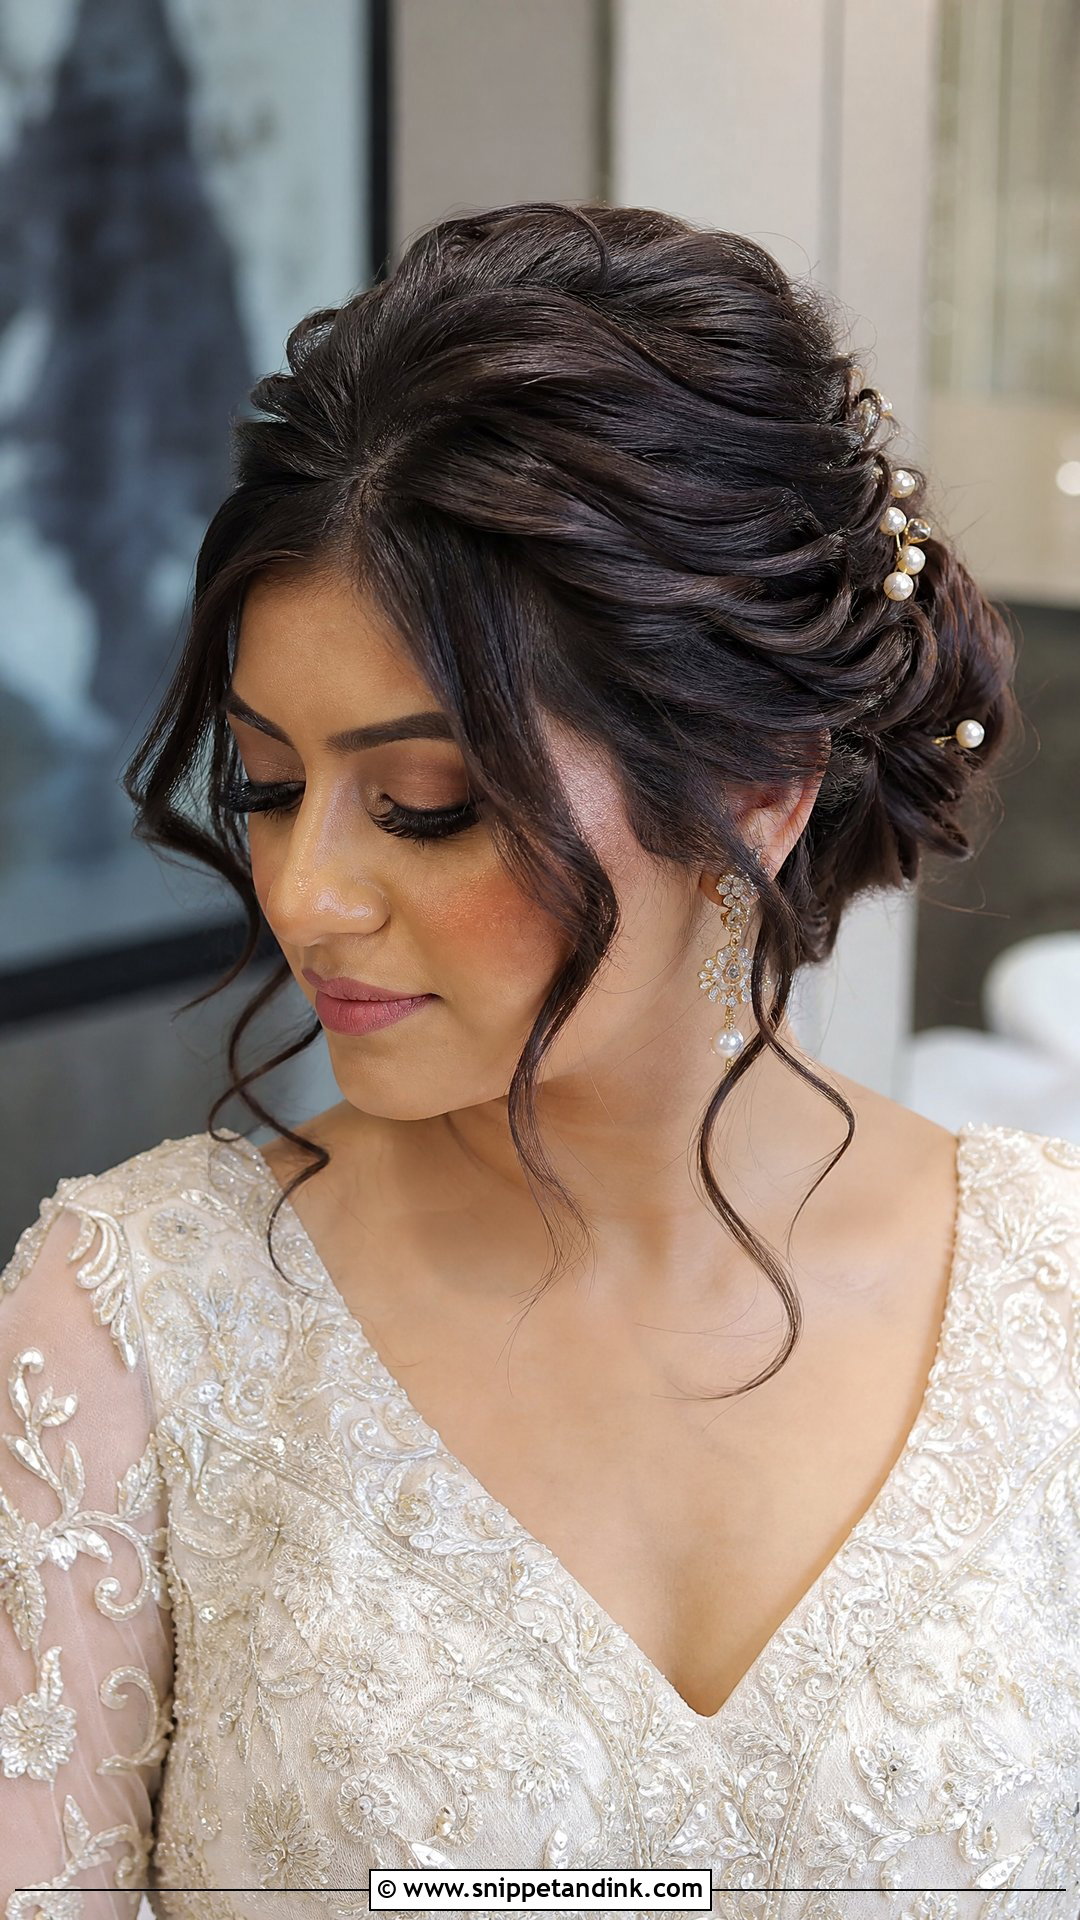
Twists give texture at the front without the more rustic feel some brides associate with braids. They start near the temples and roll back into a low or mid-height updo, framing the face as they go. They hold especially well on wavy, curly, or layered hair, where the texture helps them grip. On very straight, silky hair I add texture spray first, or the twists slowly unroll. A few loose pieces at the hairline and a pearl pin or small comb are all it needs.
13. Front Bridal Soft Bangs
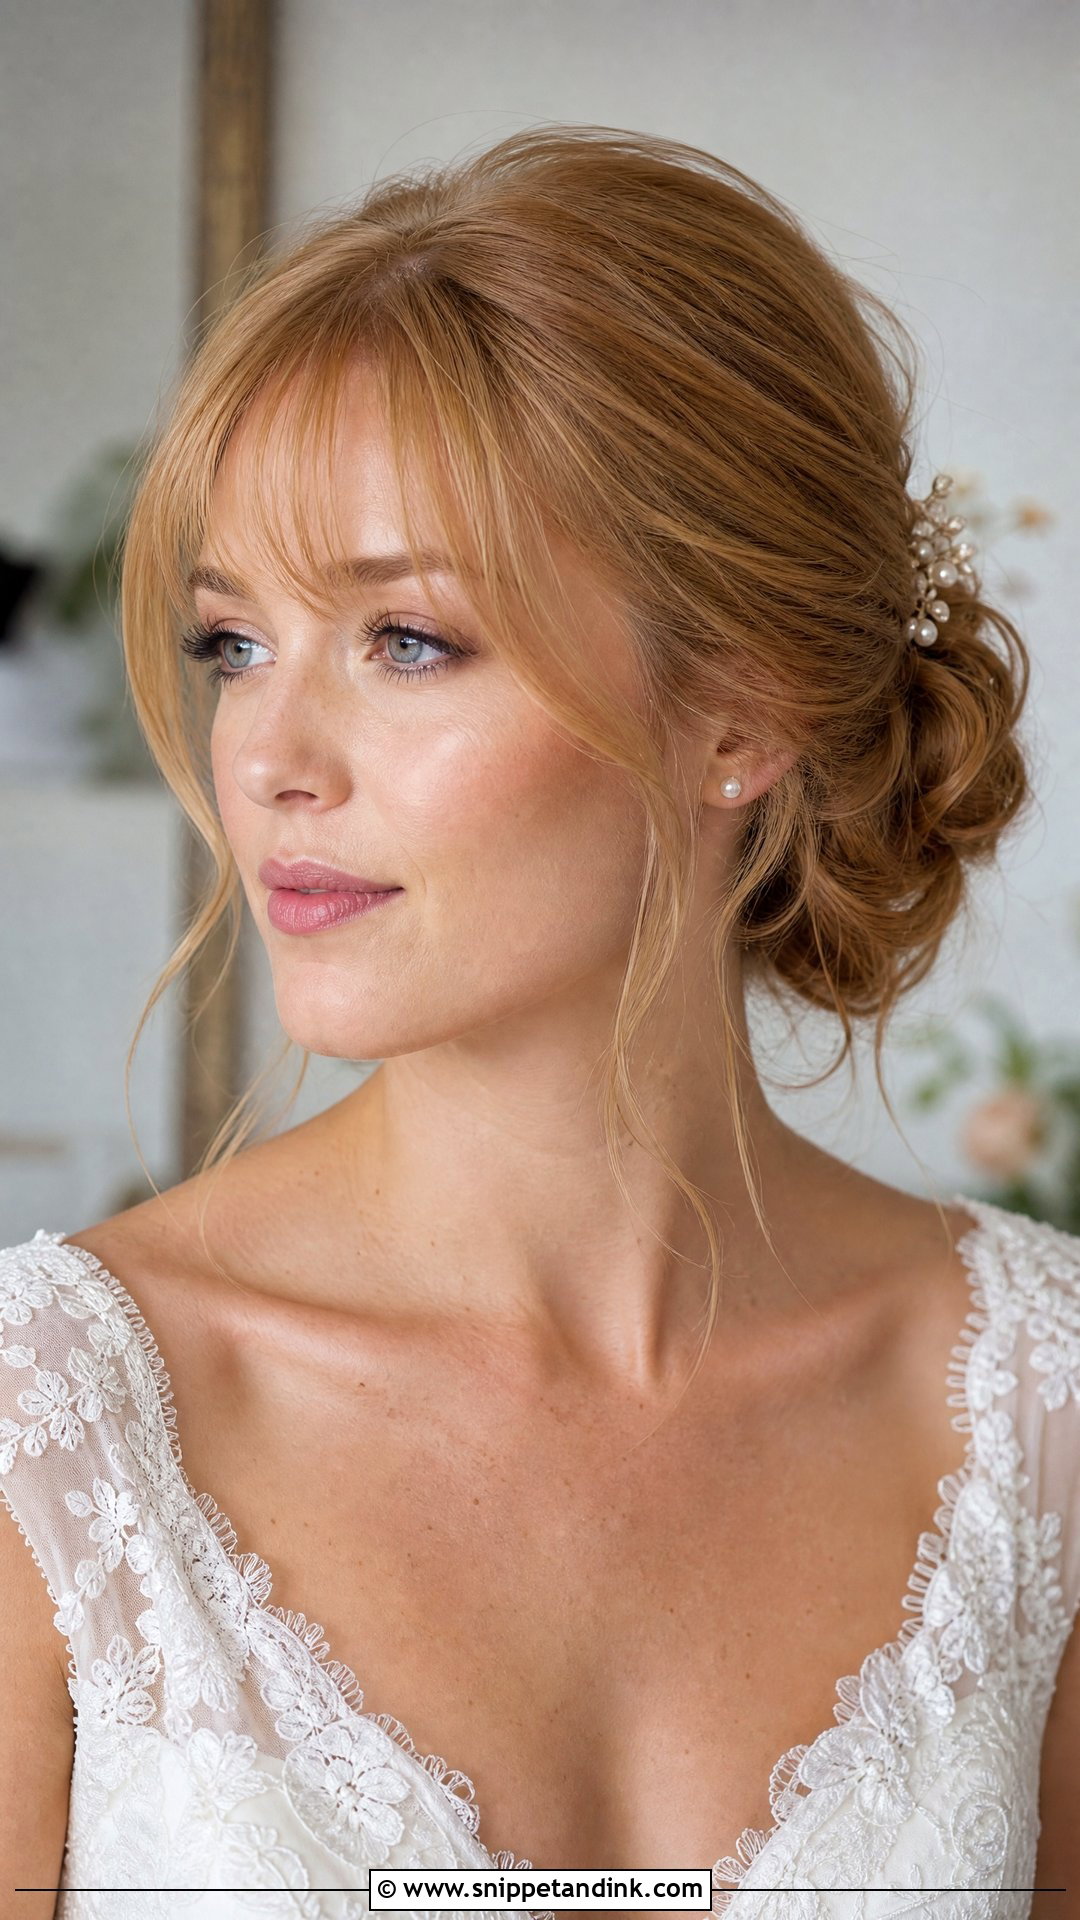
Soft bangs are curved and airy, not blunt, and they blend into the rest of the style, whether that’s a low bun, half-up waves, loose curls or a relaxed updo. From the front they draw attention straight to the eyes. They suit someone who already wears a fringe or wants a lighter version of one. The risk is oil: bangs sit against the forehead, mix with foundation and separate into strands within a few hours. A little dry shampoo through them before styling and blotting papers in your bag solve most of that.
14. Front Bridal Veil Bun
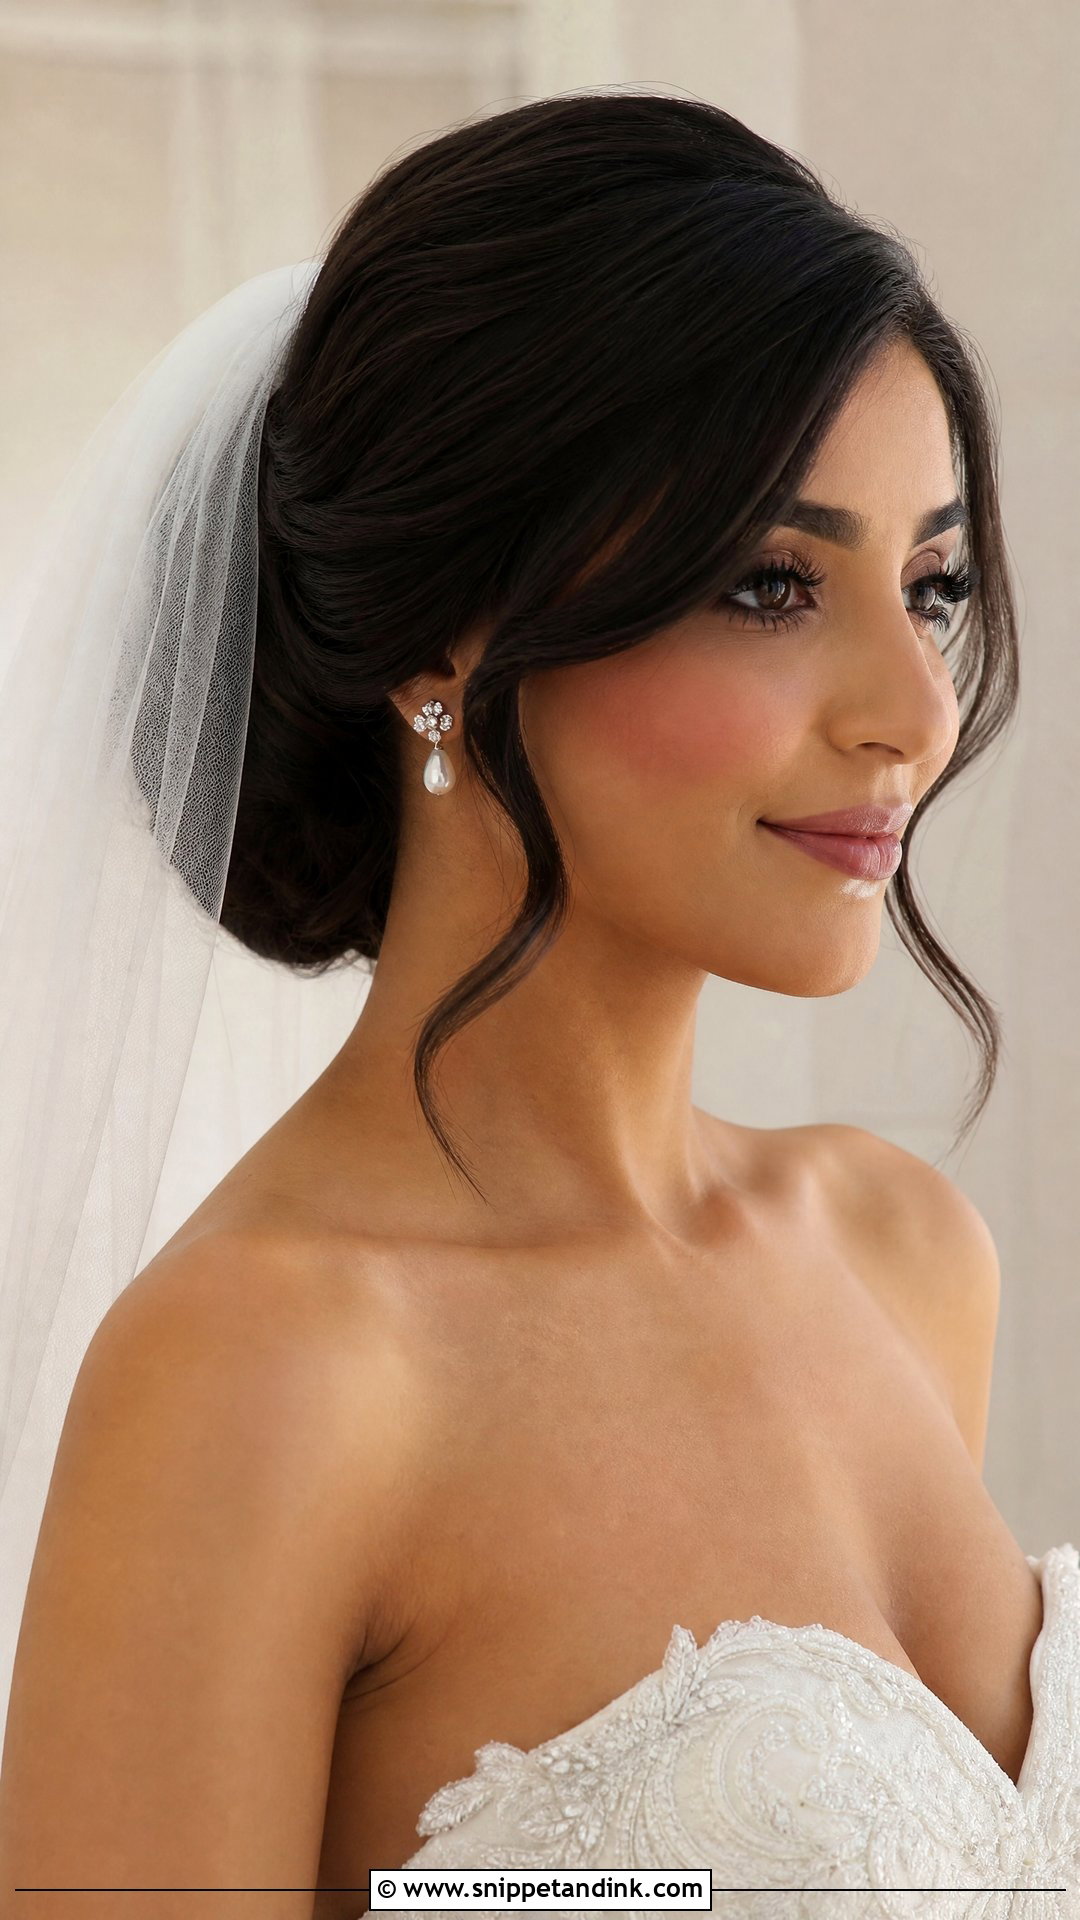
With a veil bun, the bun is there to hold the veil, and the front is free to do whatever suits your face: centre part, side part or a few soft pieces. Aisle photos are where this pays off, since the veil falls behind your face rather than over it. Cathedral, fingertip and simple tulle veils all sit on it. I always place the comb at the trial with the real veil in, then check from the front whether the comb has pushed the crown forward. Often it has, and moving it half an inch back fixes the whole silhouette.
15. Front Bridal Open Hair
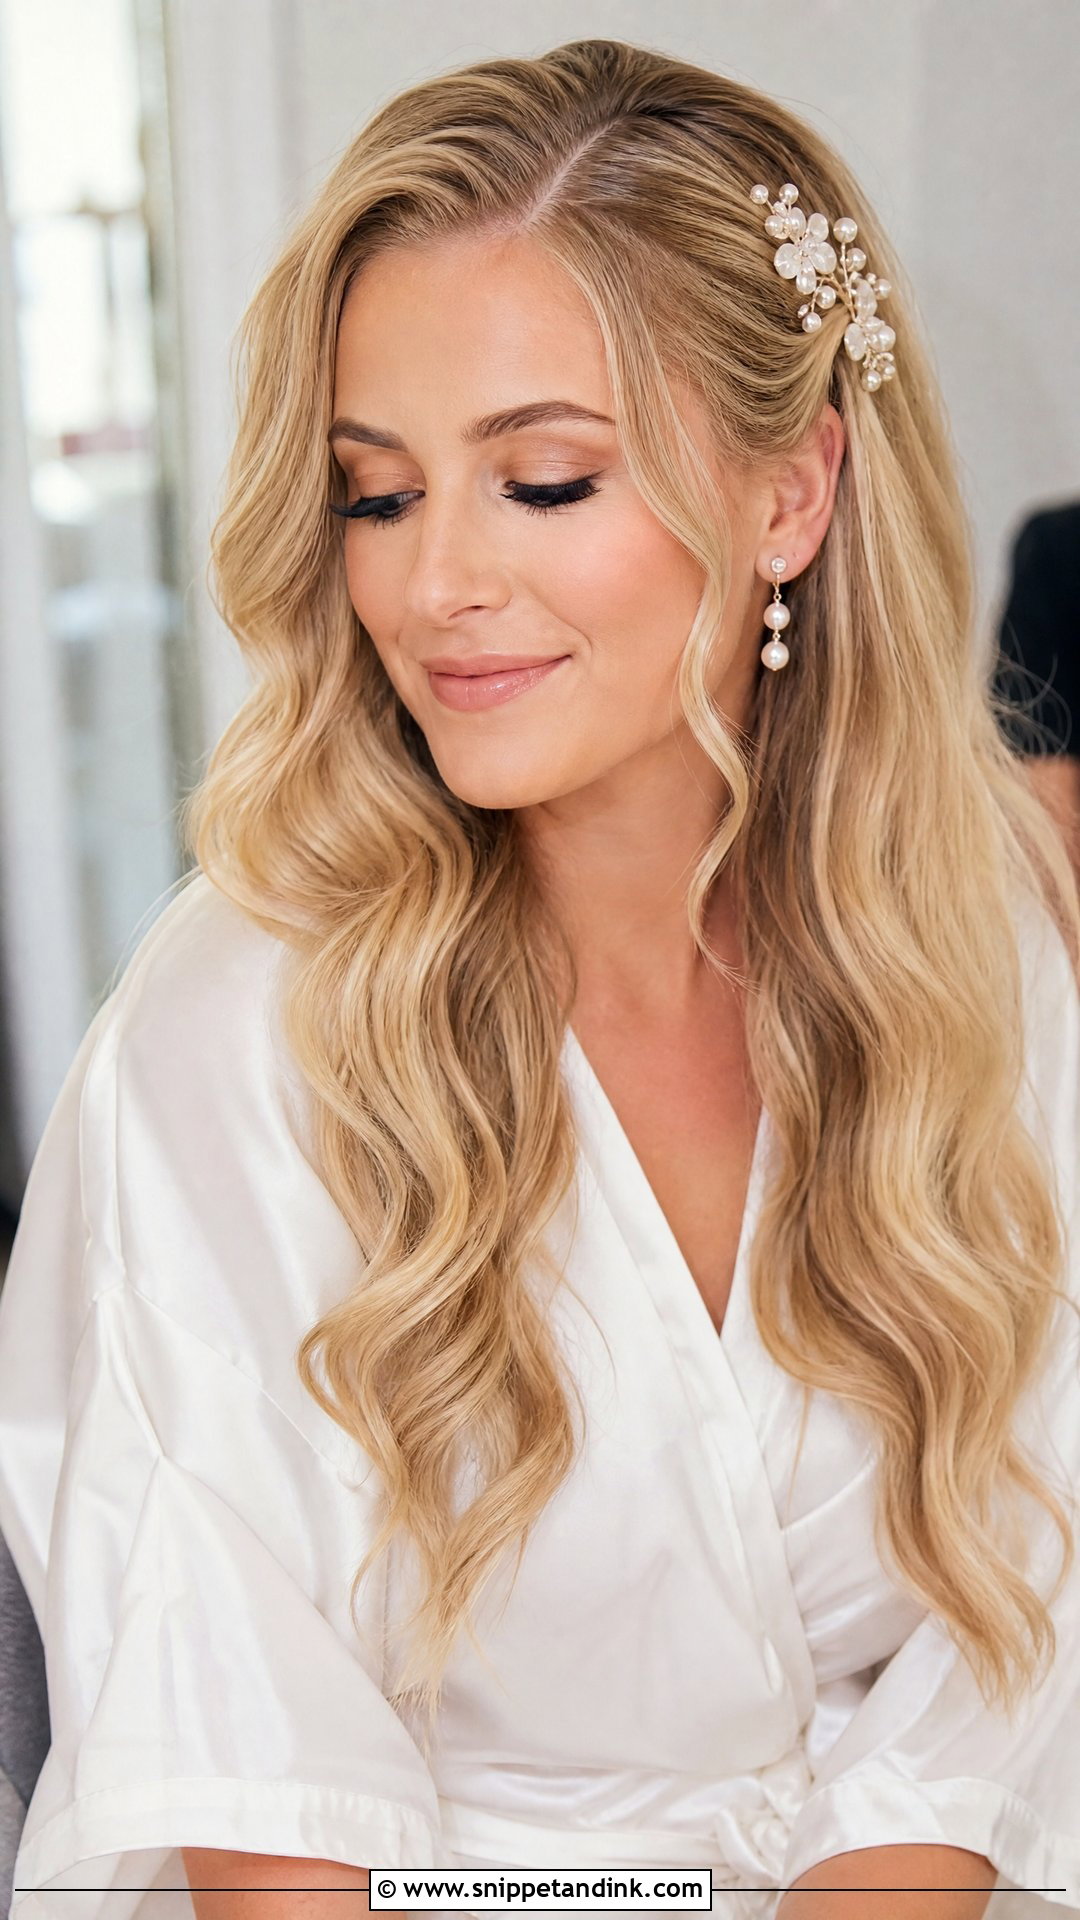
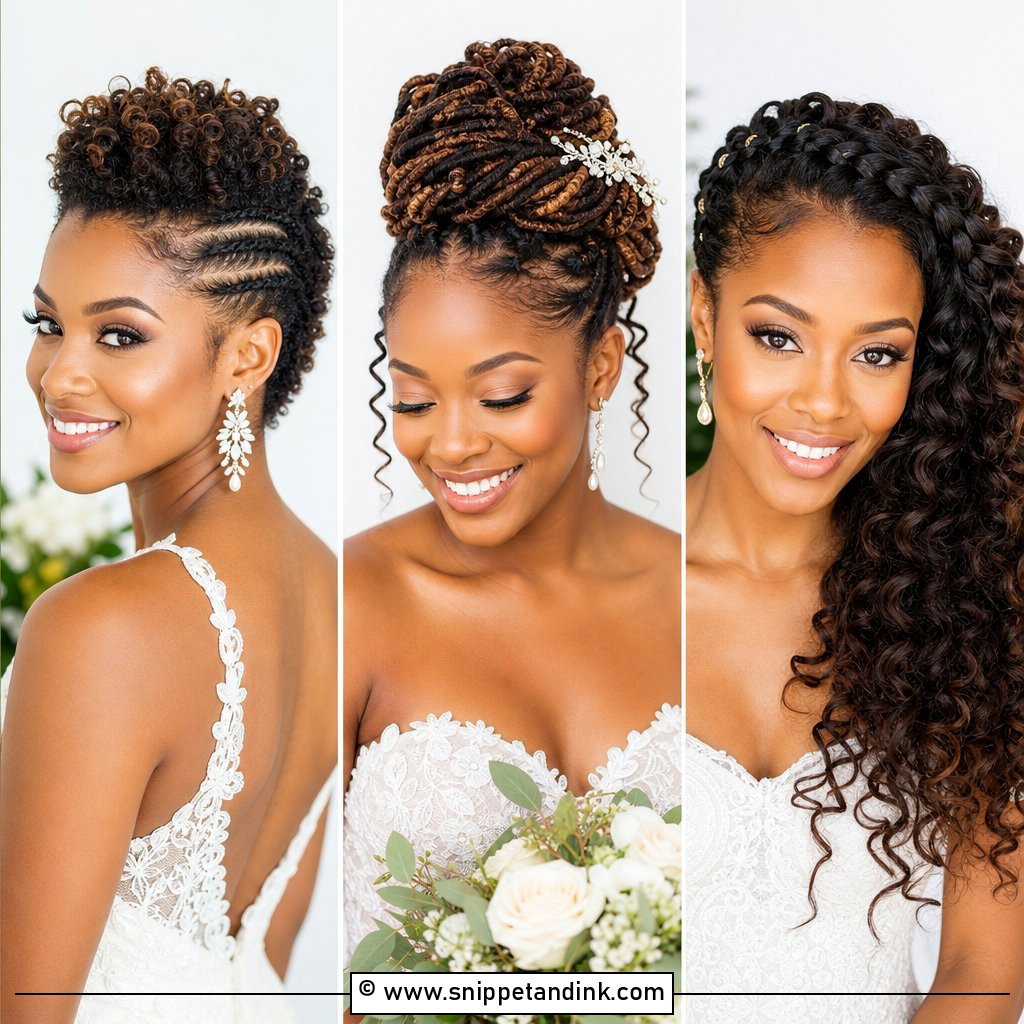
Open hair has to look styled, not just left down. That means lift at the roots, waves that frame the face neatly and ends that look healthy, so a trim a few weeks before the wedding matters more here than for any updo. Long layers help the shape. A simple veil, floral clips, pearl pins or a thin headband all go with it. Humidity is the main enemy of loose hair, and I’d plan for it: an anti-frizz product before styling, and one side pinned back during the ceremony if wind is likely.
The Hairline Up Close, Under Flash and Daylight
Close-ups are harder on the front of the hair than anything the back has to face. Flyaways along the part catch backlight and glow like a halo, flash flattens any volume that was only teased in loosely, and the smallest gap in a smoothed-back hairline shows as a shadow. None of this needs a lot of product. It needs a little attention at the right moments.
A five-minute check at your trial
- Stand by a window and take a front photo without flash, then one with flash. Compare the crown height in both.
- Look at the part in the flash photo. If the scalp looks wide or shiny, ask for a slightly zigzagged or softened part.
- Turn so the window is behind you and look for flyaways at the temples. A clean toothbrush with a little hairspray, or a wax stick, fixes them.
- Put the veil in and check whether the comb pushes the front forward or flattens it, then adjust the placement before you leave.
On the day, the front relaxes before anything else does, especially in heat or after a few hugs in the receiving line. I ask whoever is holding the touch-up bag to check the hairline just before portraits and again before the first dance. A fingertip of smoothing cream and one bobby pin hidden under a face-framing piece usually restores it. If your hairline is naturally curly or has baby hairs, decide in advance whether you want them laid flat or left soft, so nobody tries to fix them in a hurry halfway through the evening.
Your Photographer Sees the Front First
The right front-facing style is the one you feel like yourself in, up close and in real light. Before your trial, save front-view inspiration rather than only back views, because your guests and photographer see your face first. Then filter it by your neckline, veil, earrings, makeup, texture and the likely weather. Almost any of these styles can look right if the front is balanced. At the end of the trial, have someone photograph you from the front, both sides and the back, and look at those photos the next day before you decide.
You'll Like These Ideas:


Leave a Reply