
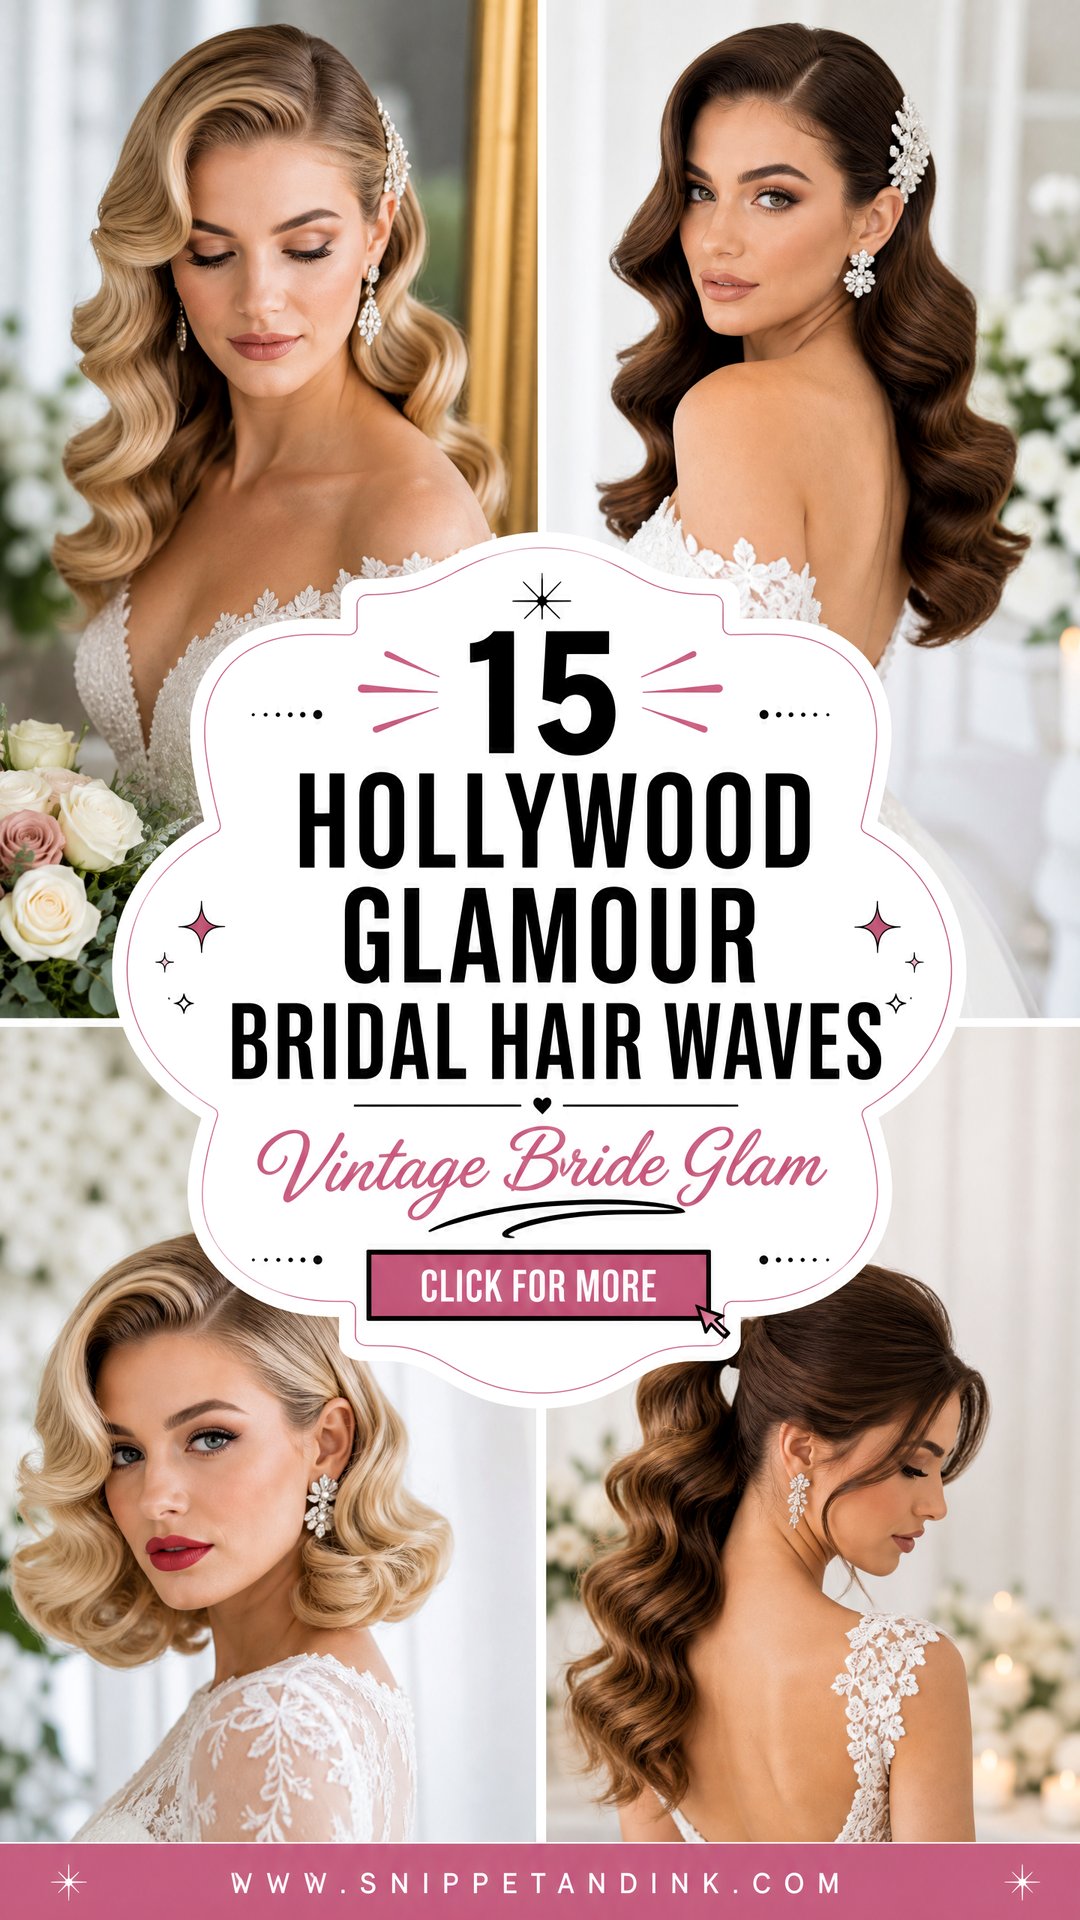
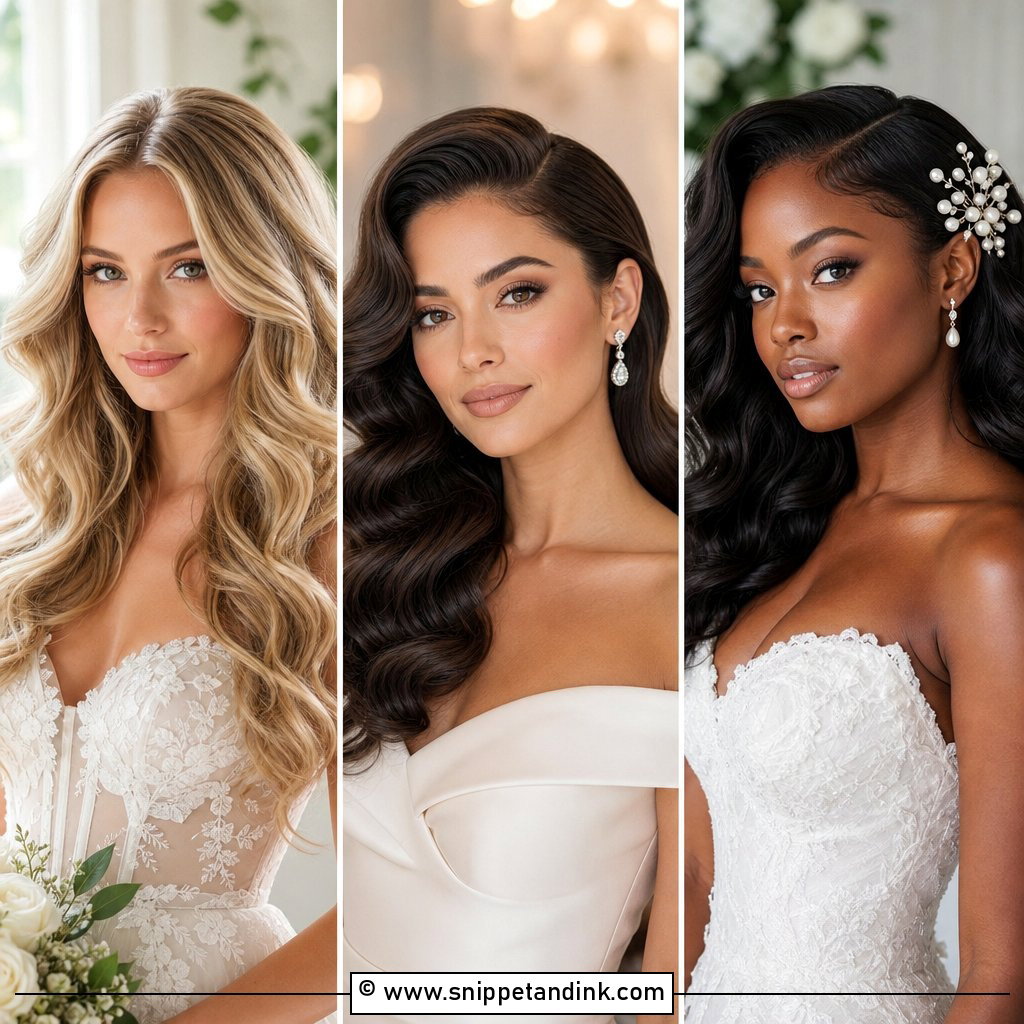
I get asked for Hollywood waves at weddings that have nothing else vintage about them, and I understand why. A properly set wave looks finished from every side, so it holds up in a candid at the bar as well as in a posed portrait. It isn’t a beach wave. It’s one smooth, connected S-shape with real shine and a clear outline, which is exactly why it sits so well under a veil, next to pearl pins, or above a strapless or satin gown. The same set can also be worn several ways: down, swept over one shoulder, half up, tucked behind an ear or gathered into a low ponytail. Below are fifteen of them, with what I’d watch for in each.
Pin Curls, Hot Rollers and the Brush-Out Behind Every Wave
Most people assume these waves come straight off a curling iron. The good ones don’t. The iron or rollers only create the curl. The wave appears during the brush-out, when I smooth all those separate curls into one continuous ripple.
My set usually goes like this. I section along a deep side part and wind every curl in the same direction, away from the face, so the bends line up later. Each curl is then pinned flat or left in a heated roller while it cools completely. That cooling time is the step people rush, and it decides whether the wave lasts until midnight or drops before the cake is cut. I give it at least twenty minutes.
Then comes the brush-out with a boar bristle brush, followed by duckbill clips pressed into each dip to sharpen the ridges while a light spray sets. The clips come out just before you step into the dress.
How your texture changes my plan
- Very straight, silky hair lets a curl slide out within the hour. A mousse or setting lotion through the roots and mid-lengths gives it something to grip.
- Fine hair often looks flat once brushed out. A few clip-in wefts under the top layer give the wave enough body to show its shape.
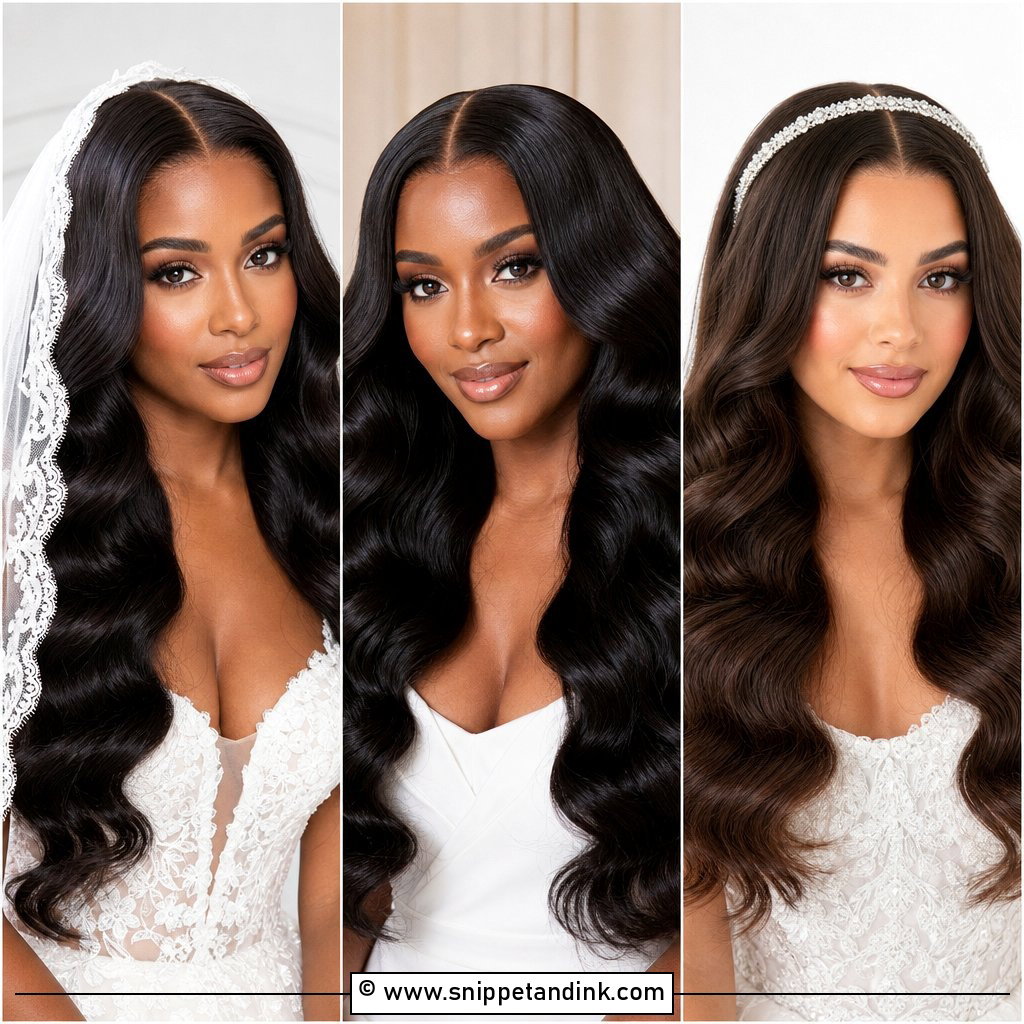
- Naturally curly or coily hair needs a silk press or smooth blow-dry first, and I’d want a trial on a humid day to see how long that smoothness lasts.
- Heavy, thick hair holds a set well but can take twice as long, so build that into the morning schedule.
1. Classic Hollywood Waves Bridal Hair
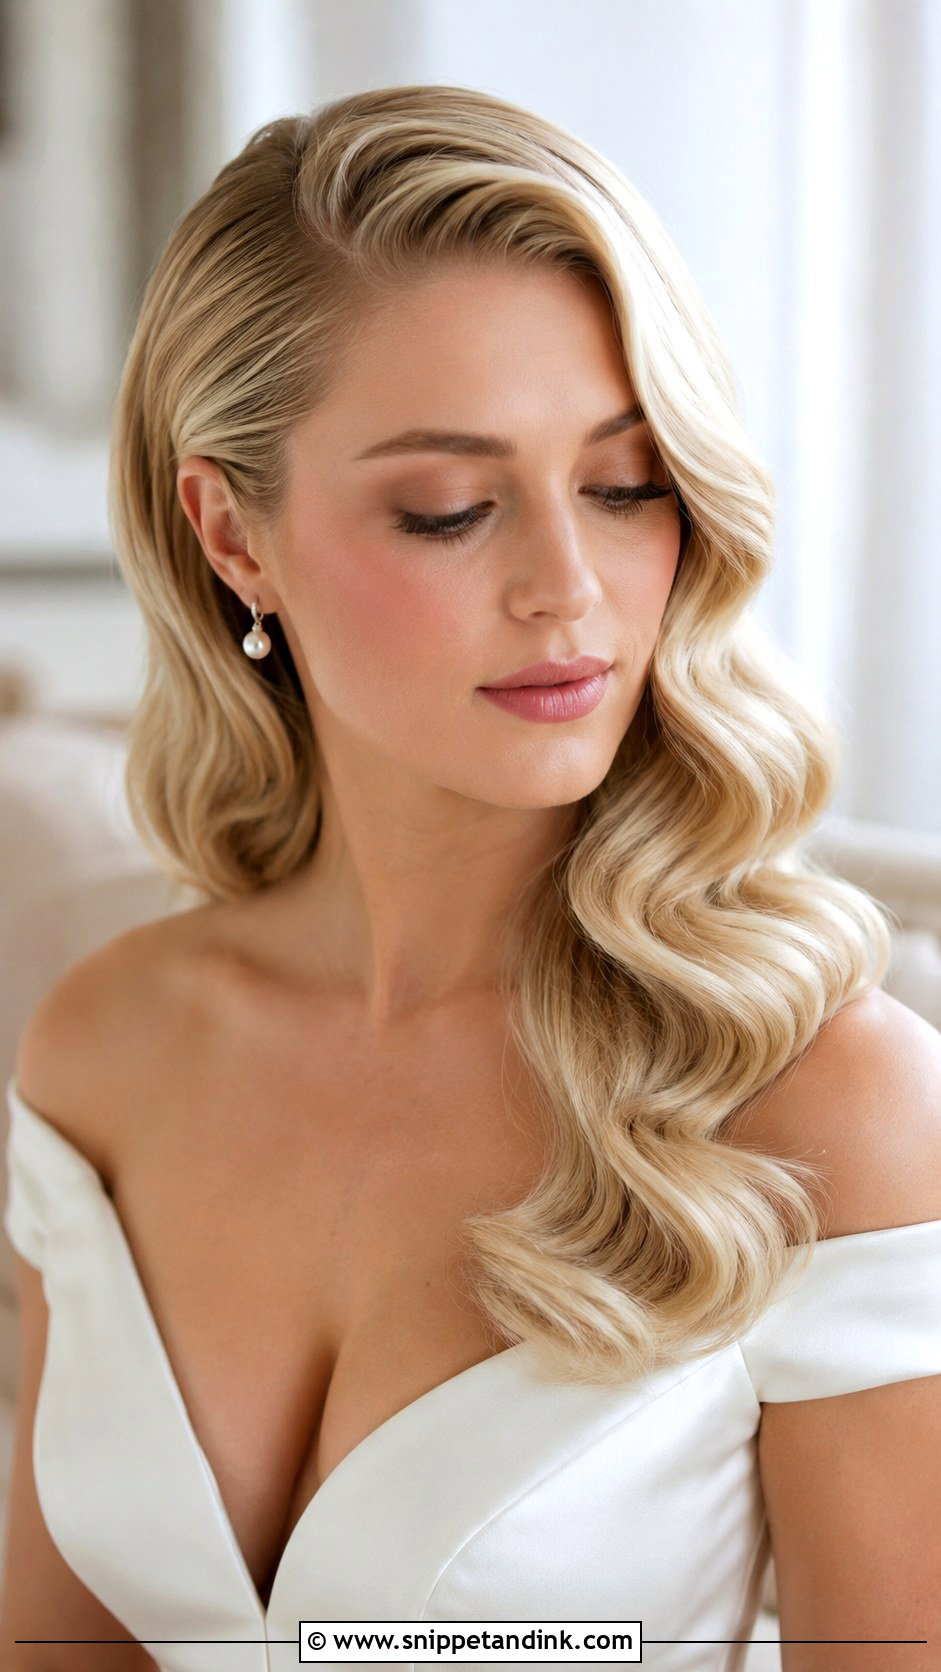
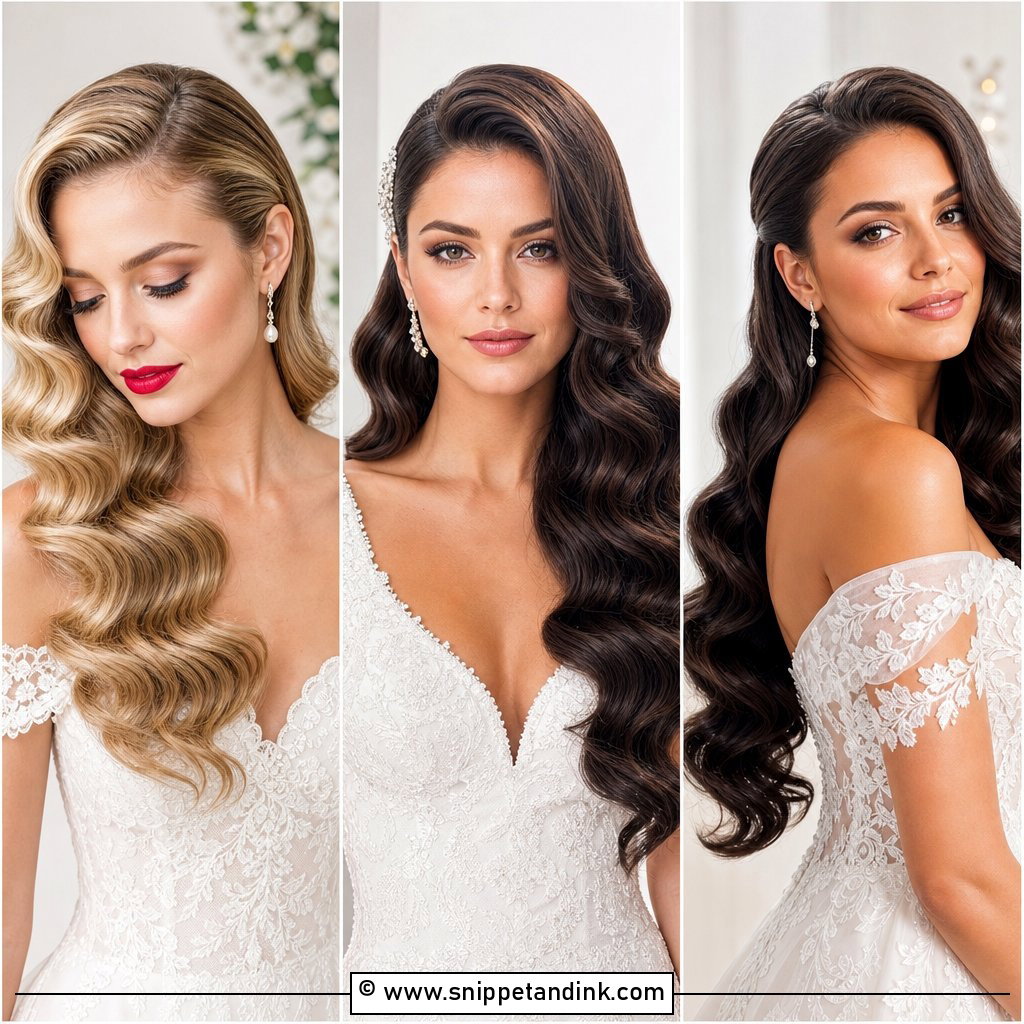
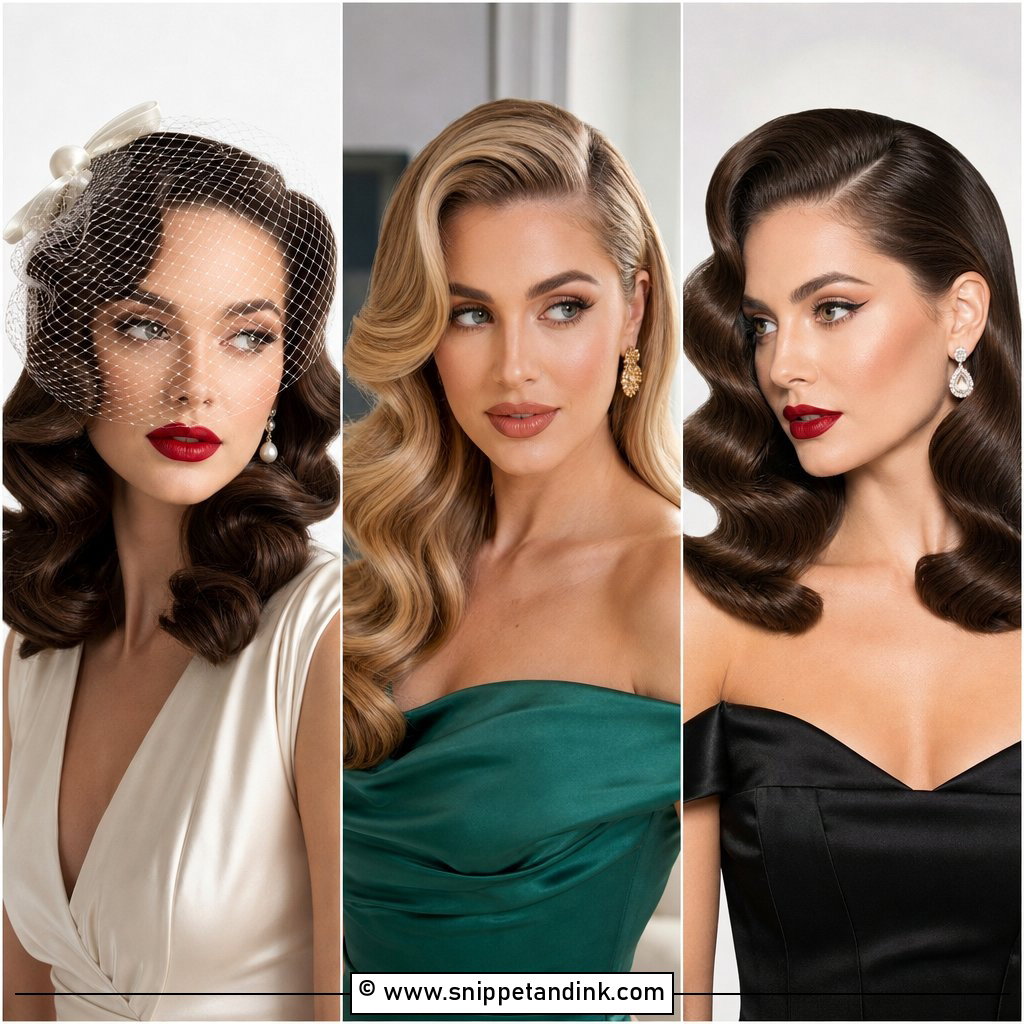
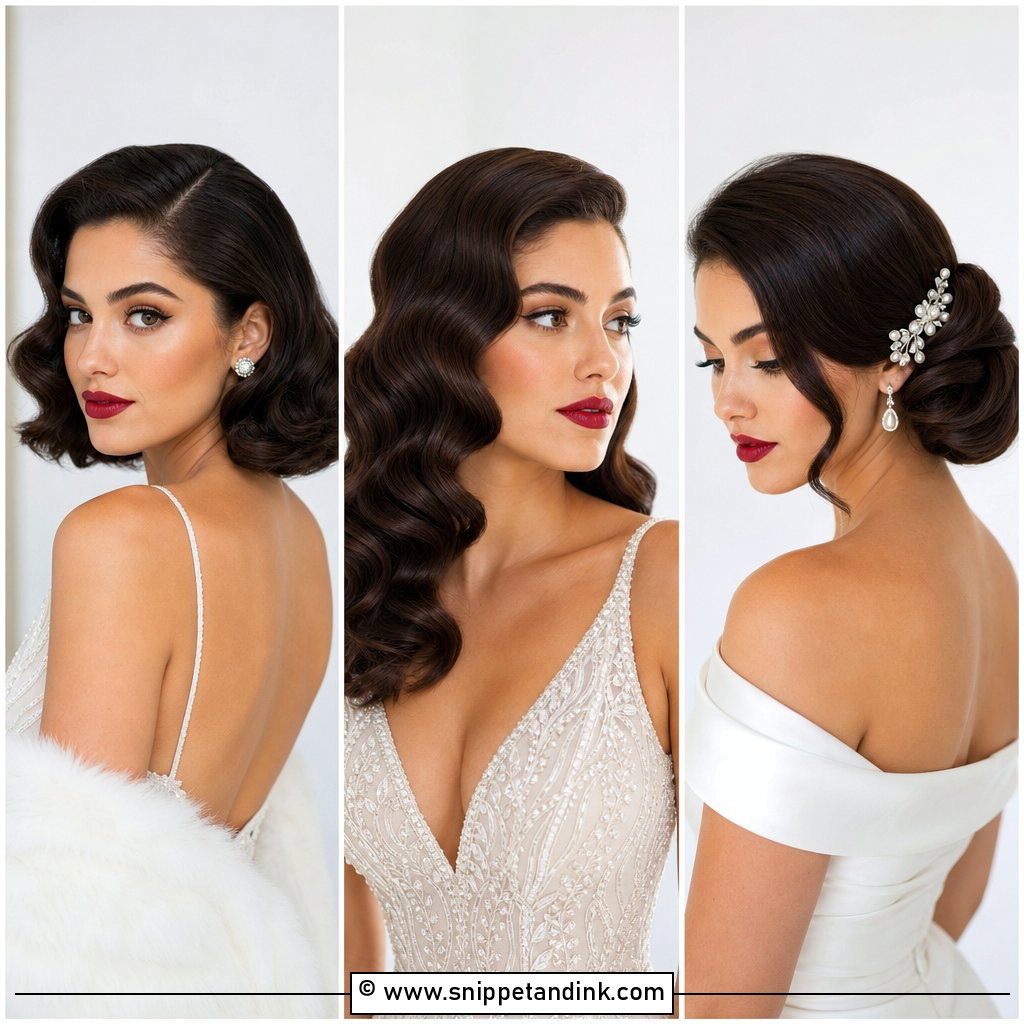
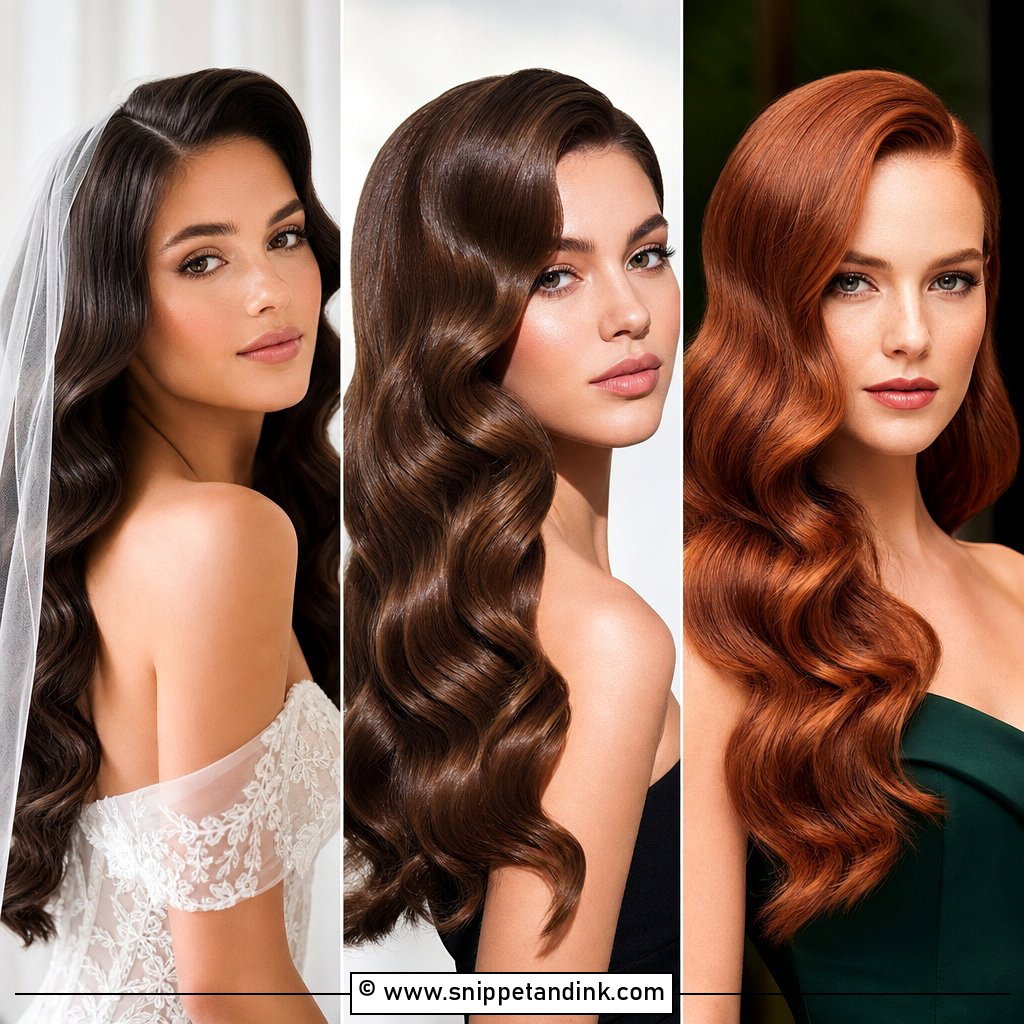
If you show me a photo of a 1940s screen star, what you’re usually asking for is Classic Hollywood waves bridal hair: worn down, a deep side part, flat smooth roots and big brushed-out waves moving as one. Length matters here. On medium to long hair the S-curve has room to repeat two or three times, which is what makes it read as glamour rather than curls. At the trial, ask for shine and a single soft bend near the face instead of tight ringlets. I keep the veil low at the back with this one so it never flattens that side-part lift.
2. Old Hollywood Waves Bridal Hair
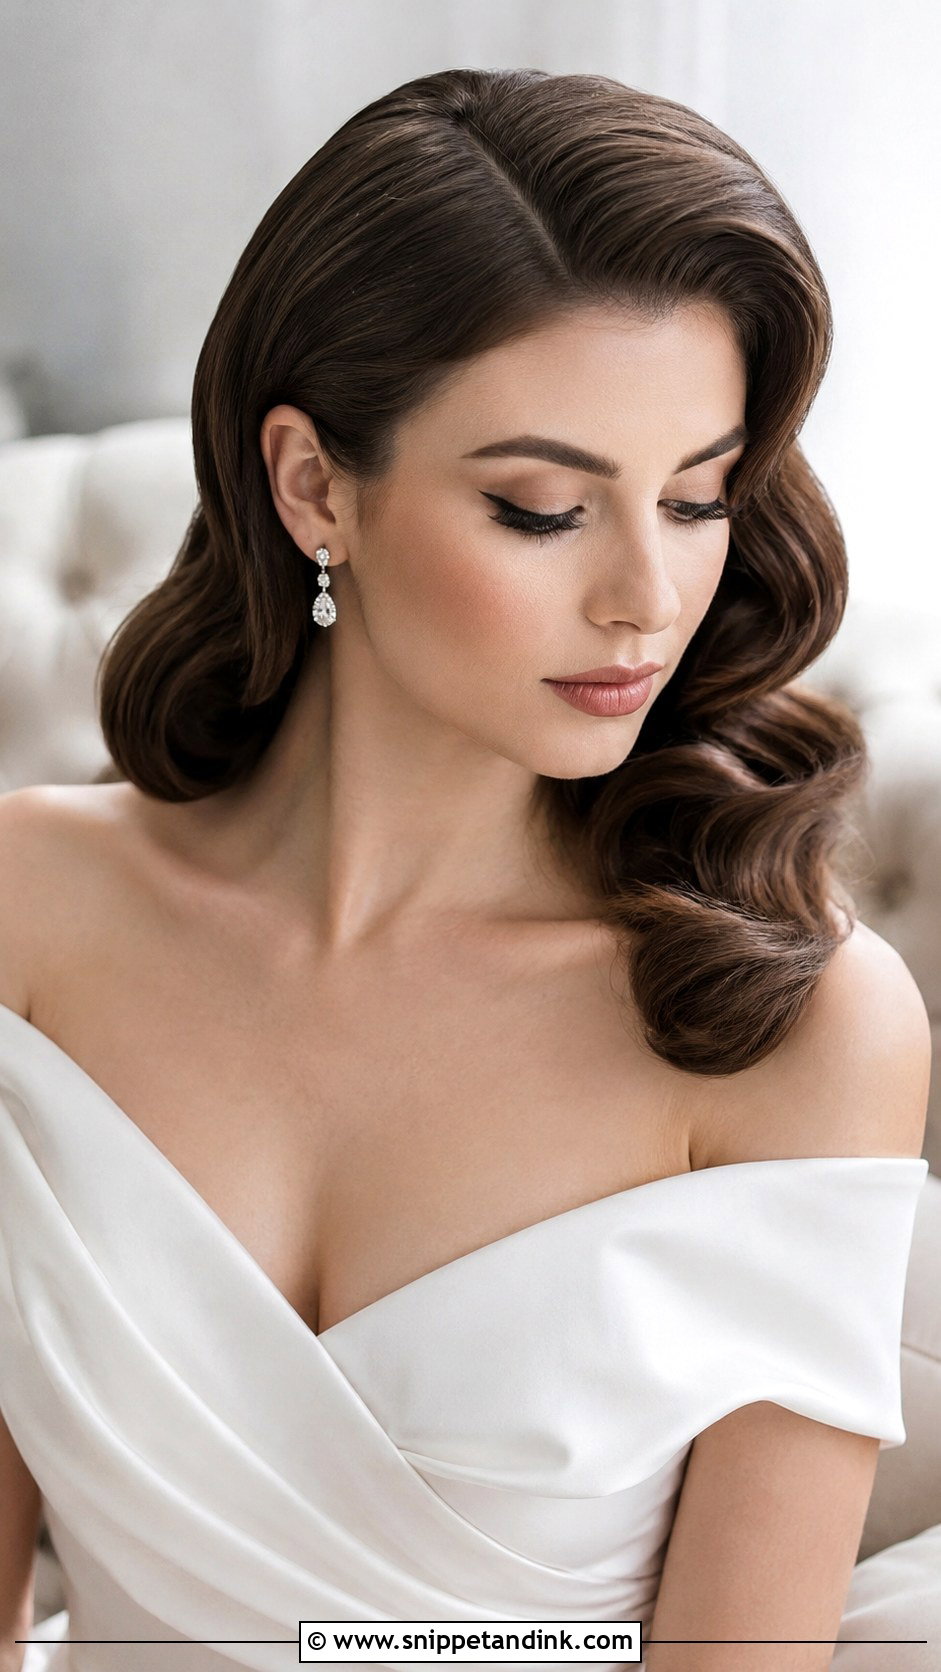
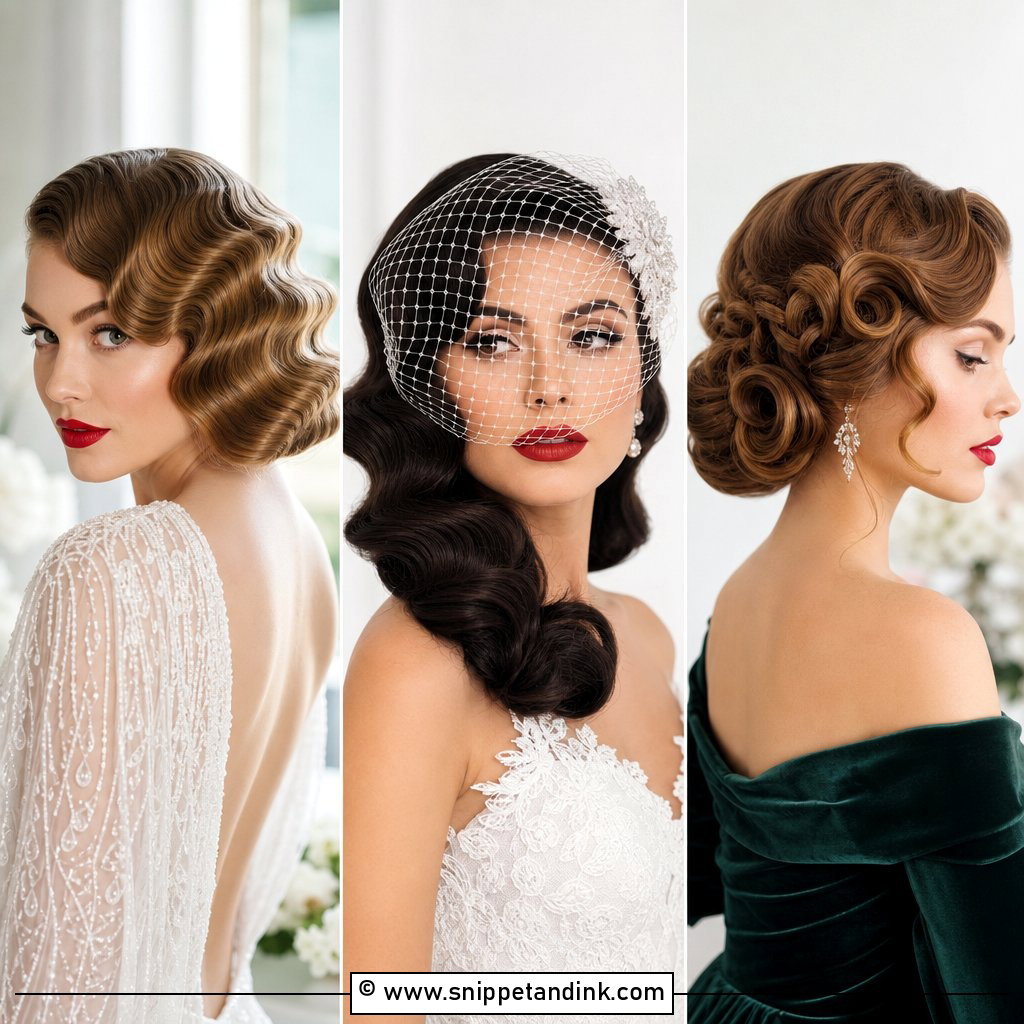
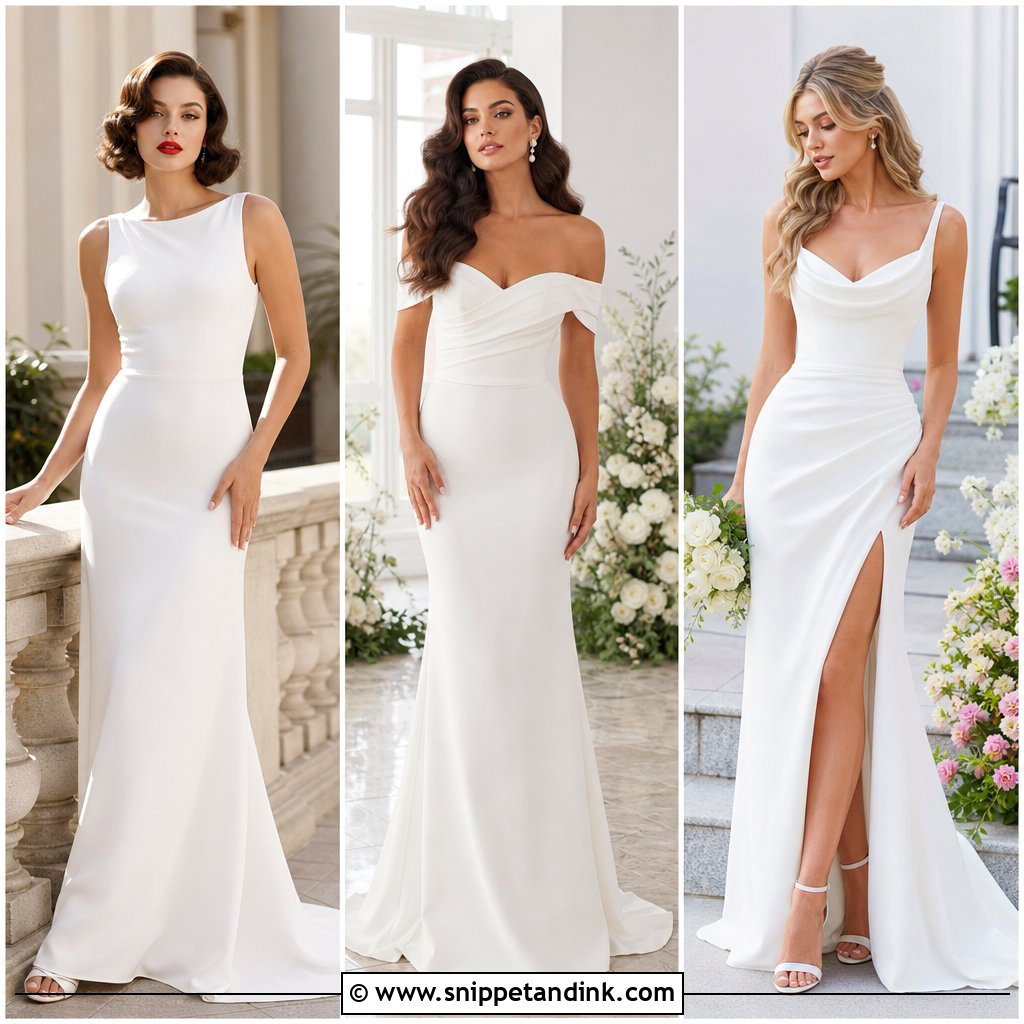
Old Hollywood waves go further into the vintage mood: sculpted ridges, a glassy surface and a dramatic part. They suit a dress with a classic line, like a fitted gown, an off-shoulder neckline or a sleek column. Control is the whole game. I set this version with pin curls and setting clips, then brush and press the ridges with clips while the spray dries, because a single fuzzy section breaks the illusion. Test a humidity-resistant spray at your trial. For a ballroom reception or black-tie portraits, this is the one that looks most like the real thing.
3. Hollywood Waves With Veil
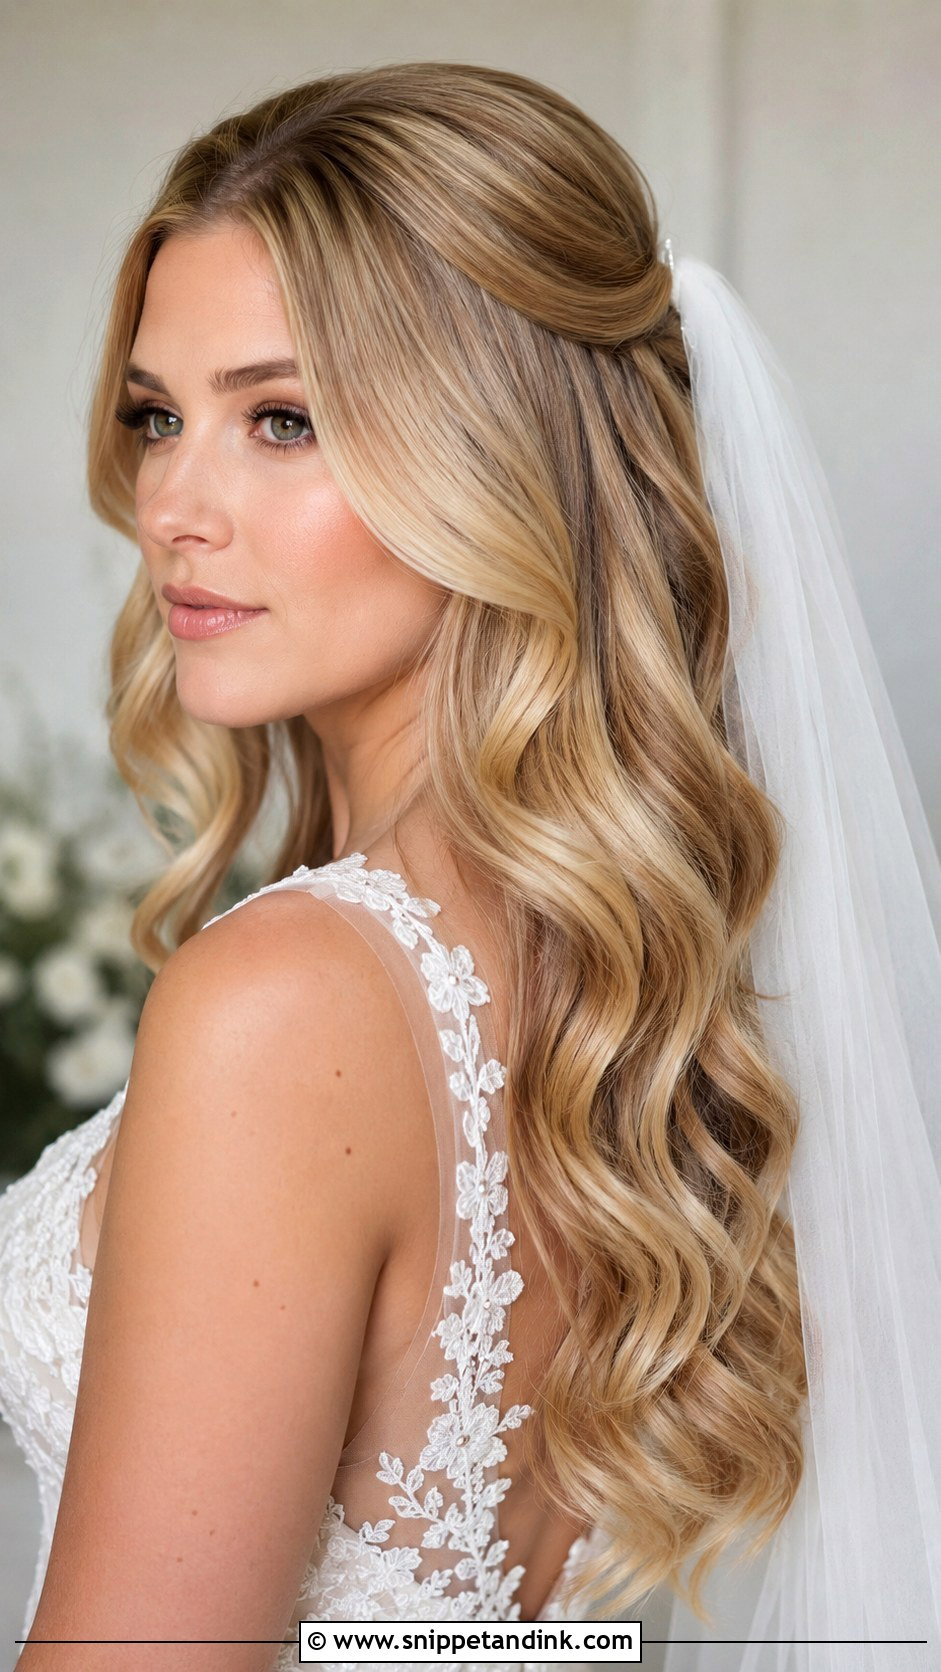
With a veil, the waves stay visible and the tulle adds movement around them. I nearly always anchor the comb low, below the crown, because a high placement crushes the root lift and interrupts the first wave. If you want more height, I add light root lift before setting rather than backcombing afterwards. On fine hair I often suggest a couple of clip-in wefts so the pattern still looks full by the reception. This pairs well with cathedral veils, fingertip lengths and plain tulle. Skip extra accessories; the veil is already doing enough.
4. Side Part Hollywood Waves Bridal Hair
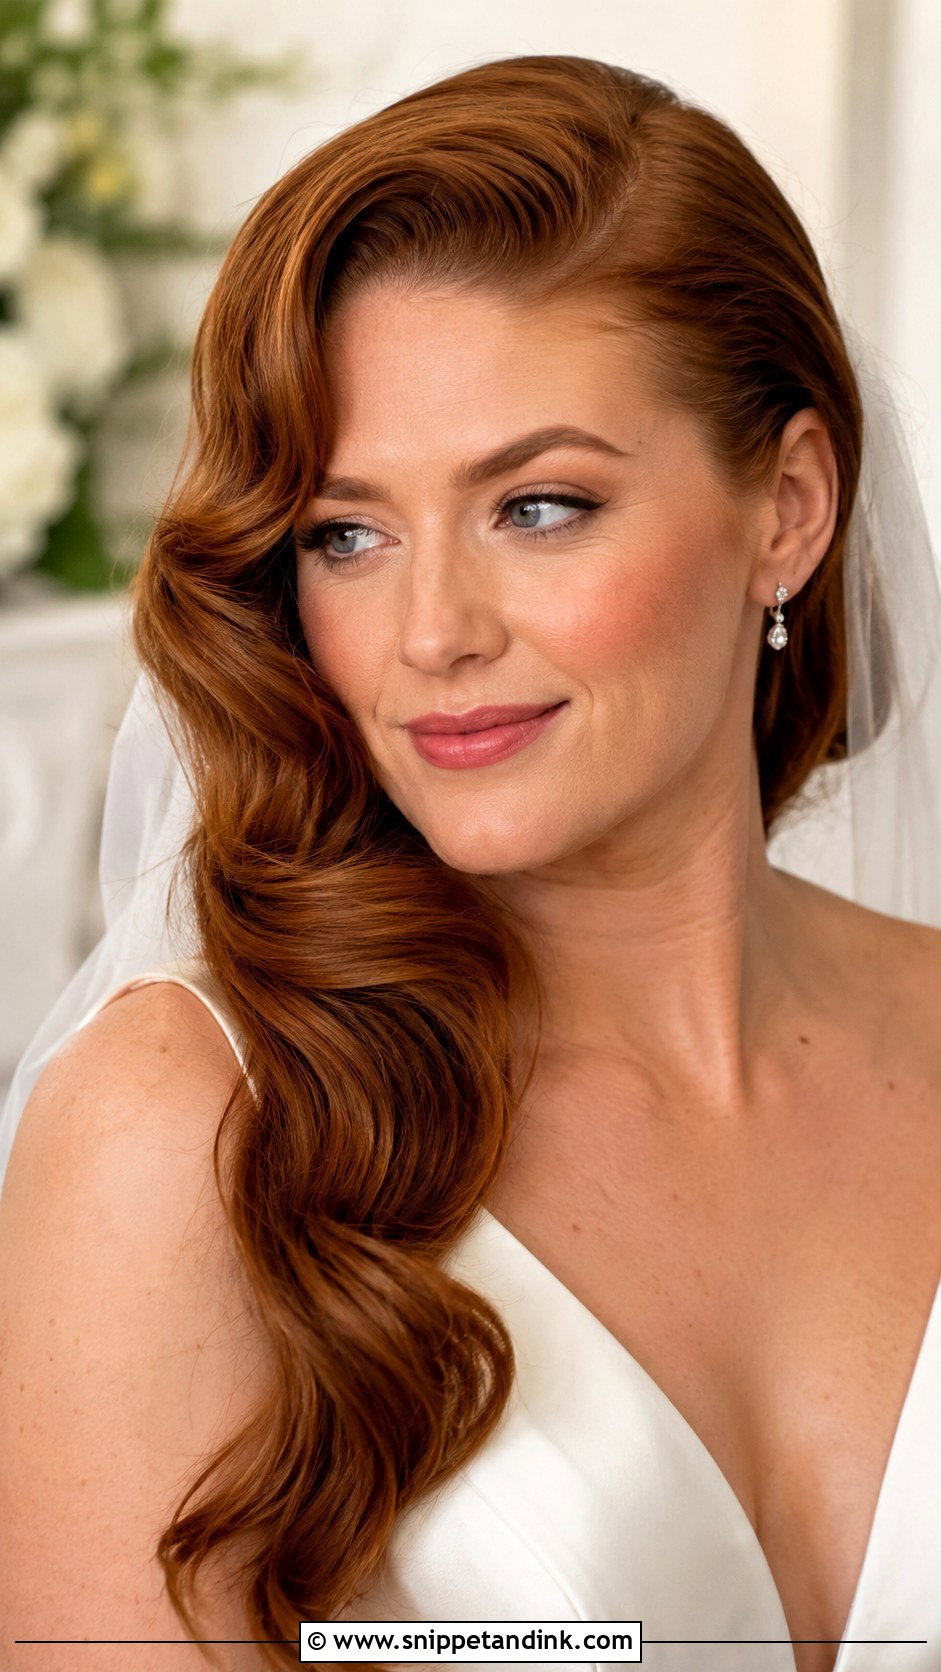
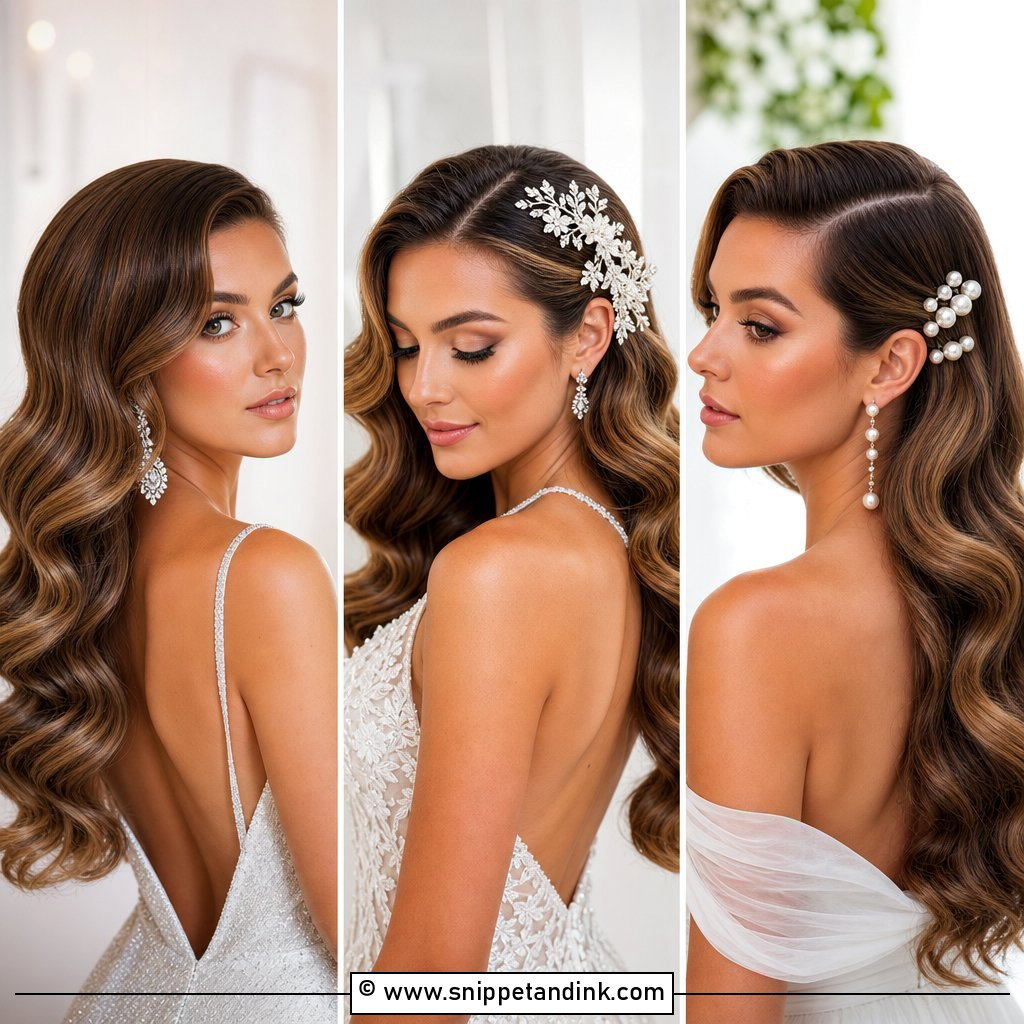
A deep side part is the most flattering version I know. It creates lift on the light side and lets the heavy side fall across the cheekbone and jaw, which gives a strong profile in close-ups and ceremony shots. It suits anyone who wants one soft, glamorous side without pinning everything back. My one warning is about shine products. A mist adds gloss, but an oil or serum on the lengths will make the waves separate and look wet in flash photos, so I keep oils to the very ends, if at all.
5. One Side Hollywood Waves Bridal Hair
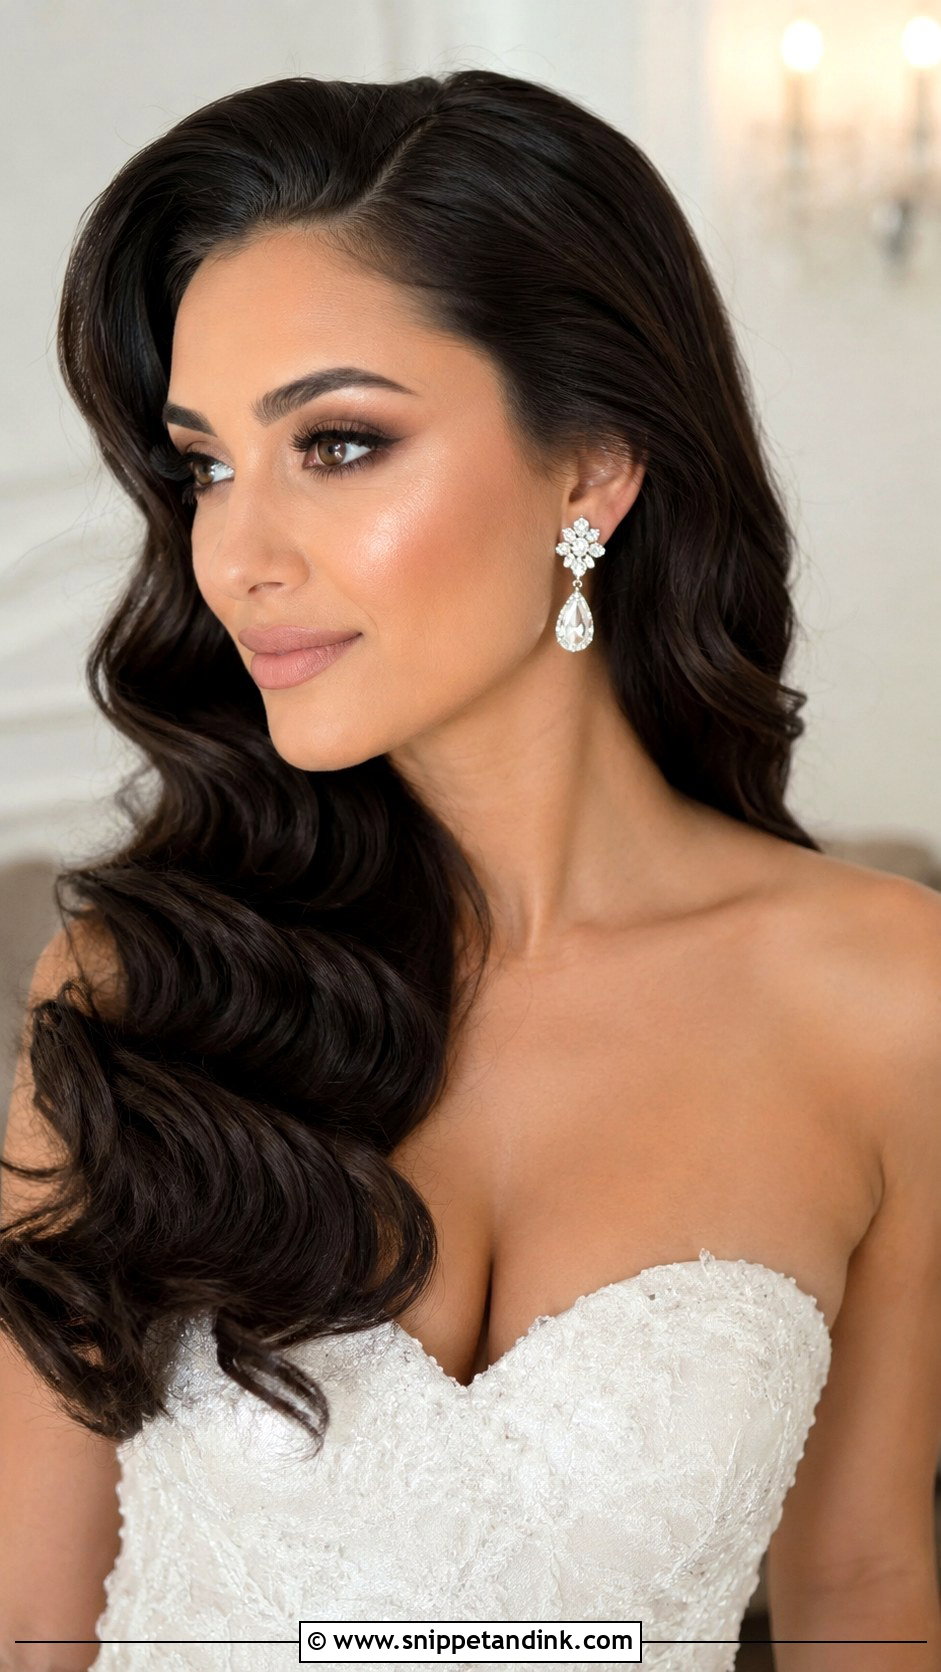
Sweeping every wave to one side gives you drama while the hair is still down. I brush the whole pattern across and hide two crossed pins behind the far ear and shoulder so it can’t swing back. The asymmetry suits statement earrings, strapless gowns, one-shoulder dresses and clean necklines. On thick hair I smooth the underside and sometimes thin the bulk underneath with pins so the side doesn’t look heavy. On fine hair, extensions are what turn a thin sweep into a full cascade.
6. Hollywood Waves Half Up Bridal Hair
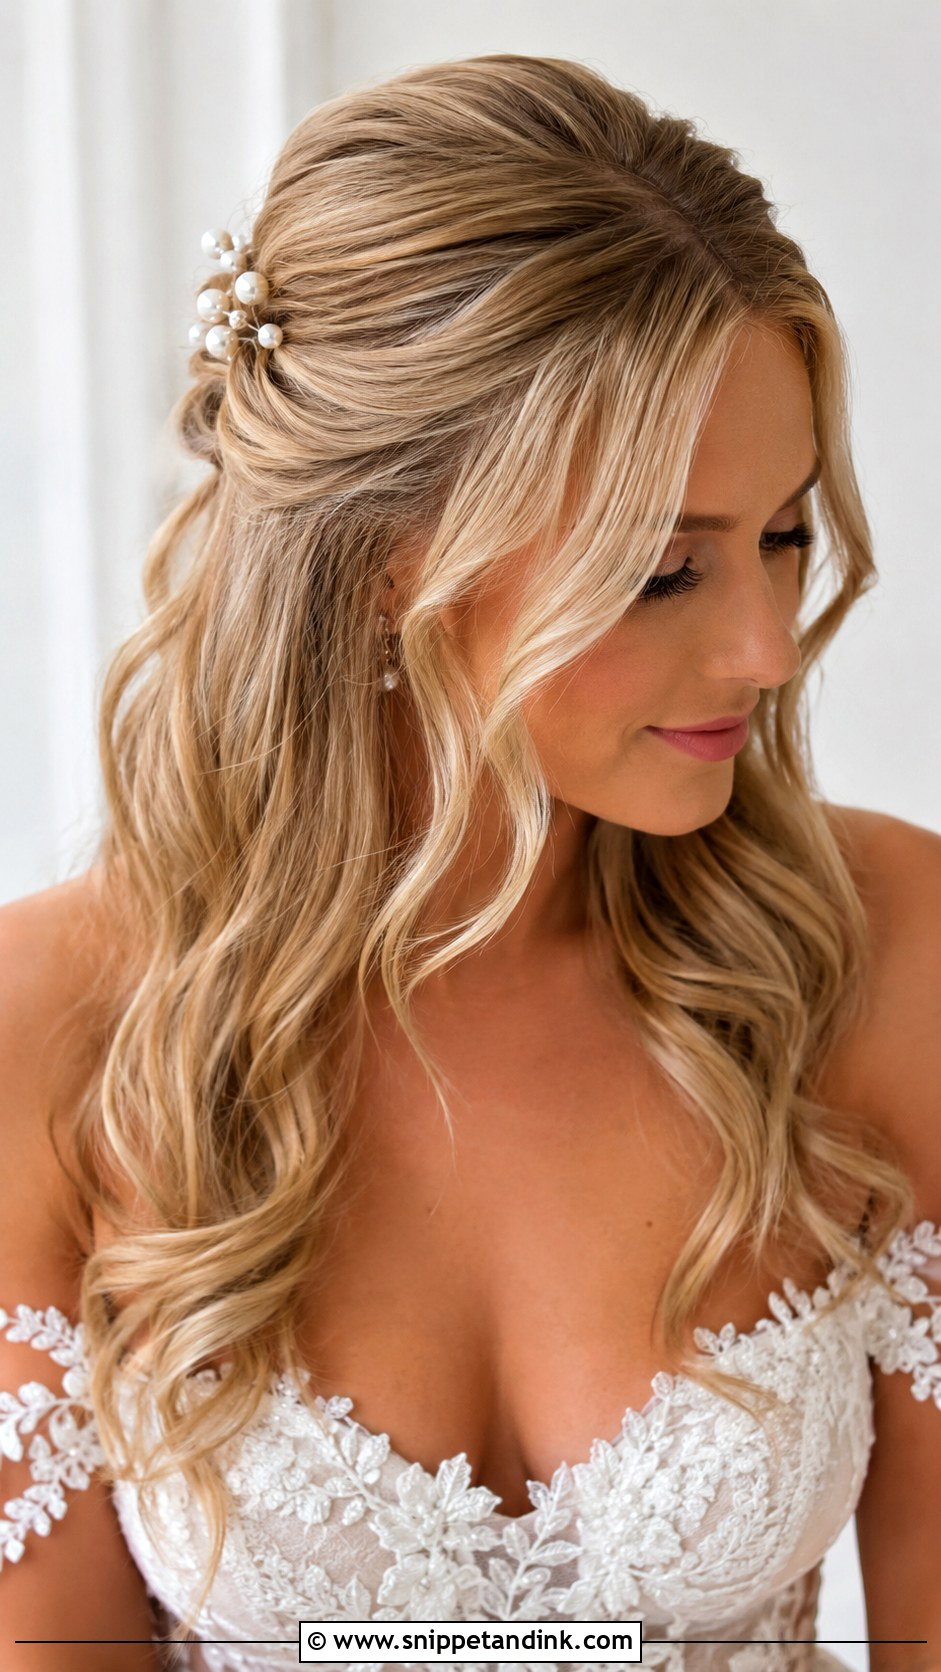
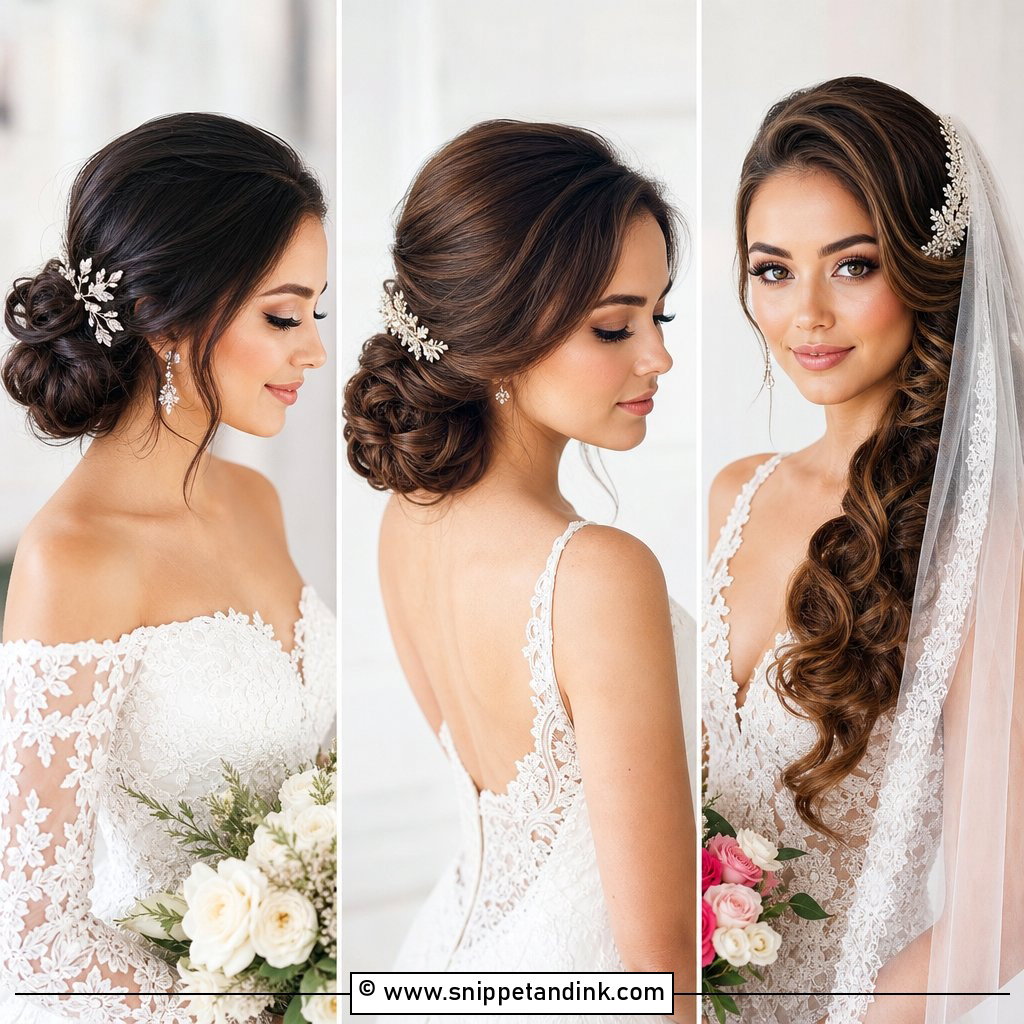
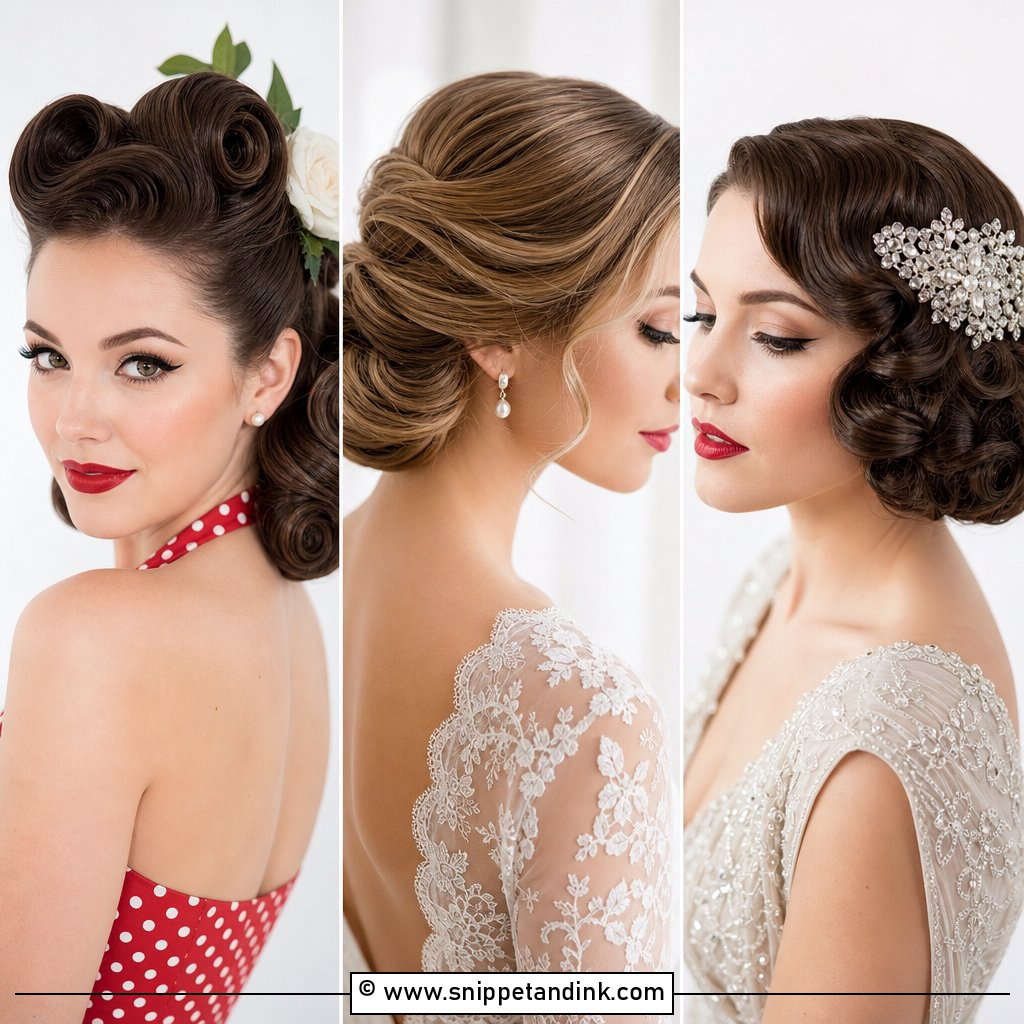
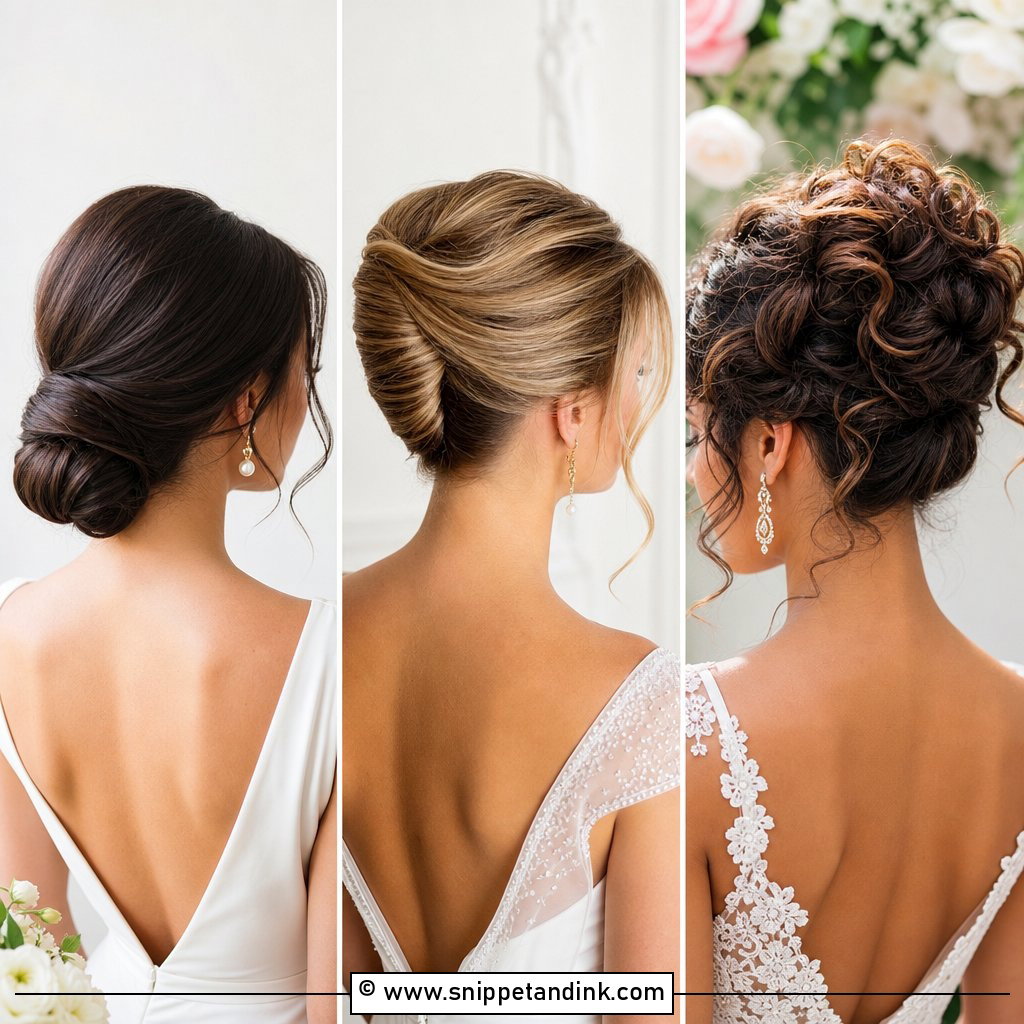
Half up is what I suggest when someone loves their hair down but hates it falling forward when they bend over to sign or hug. The top section gets a gentle twist or a small bump, pinned at the crown, and the lower waves stay smooth underneath. Keep that top section plain. I find that once you add braids or a lot of texture up there, it fights with the wave pattern and the whole head starts to look busy. Veils, pearl pins and small combs all sit happily on the pinned section.
7. Hollywood Waves With Pearl Pins
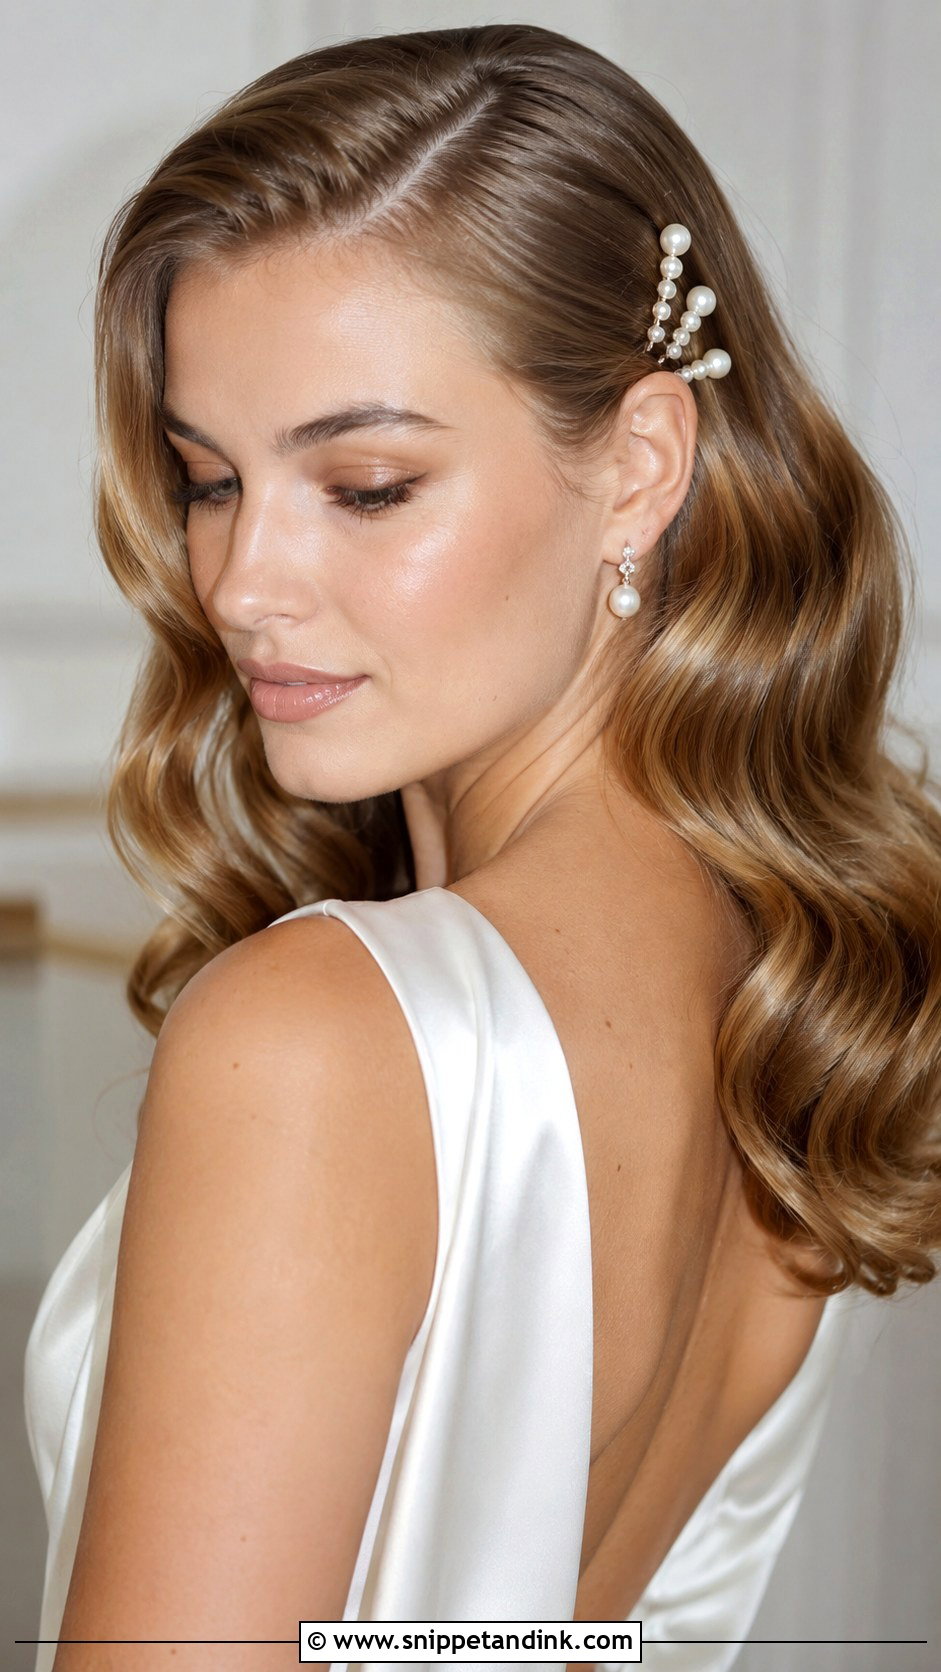
Pearl pins are my favourite way to add something without changing the hairstyle. I place them on the tucked side, a few above one ear, or at the back where the veil comb sits so they hide the anchor. Glossy hair and pearls play off each other nicely in close-ups. Match the pearl tone to your dress or veil trim, since a bright white pearl next to ivory silk can look slightly blue. For a more modern feel I use three or five pins in one tight group rather than scattering a dozen.
8. Hollywood Waves With Hair Comb
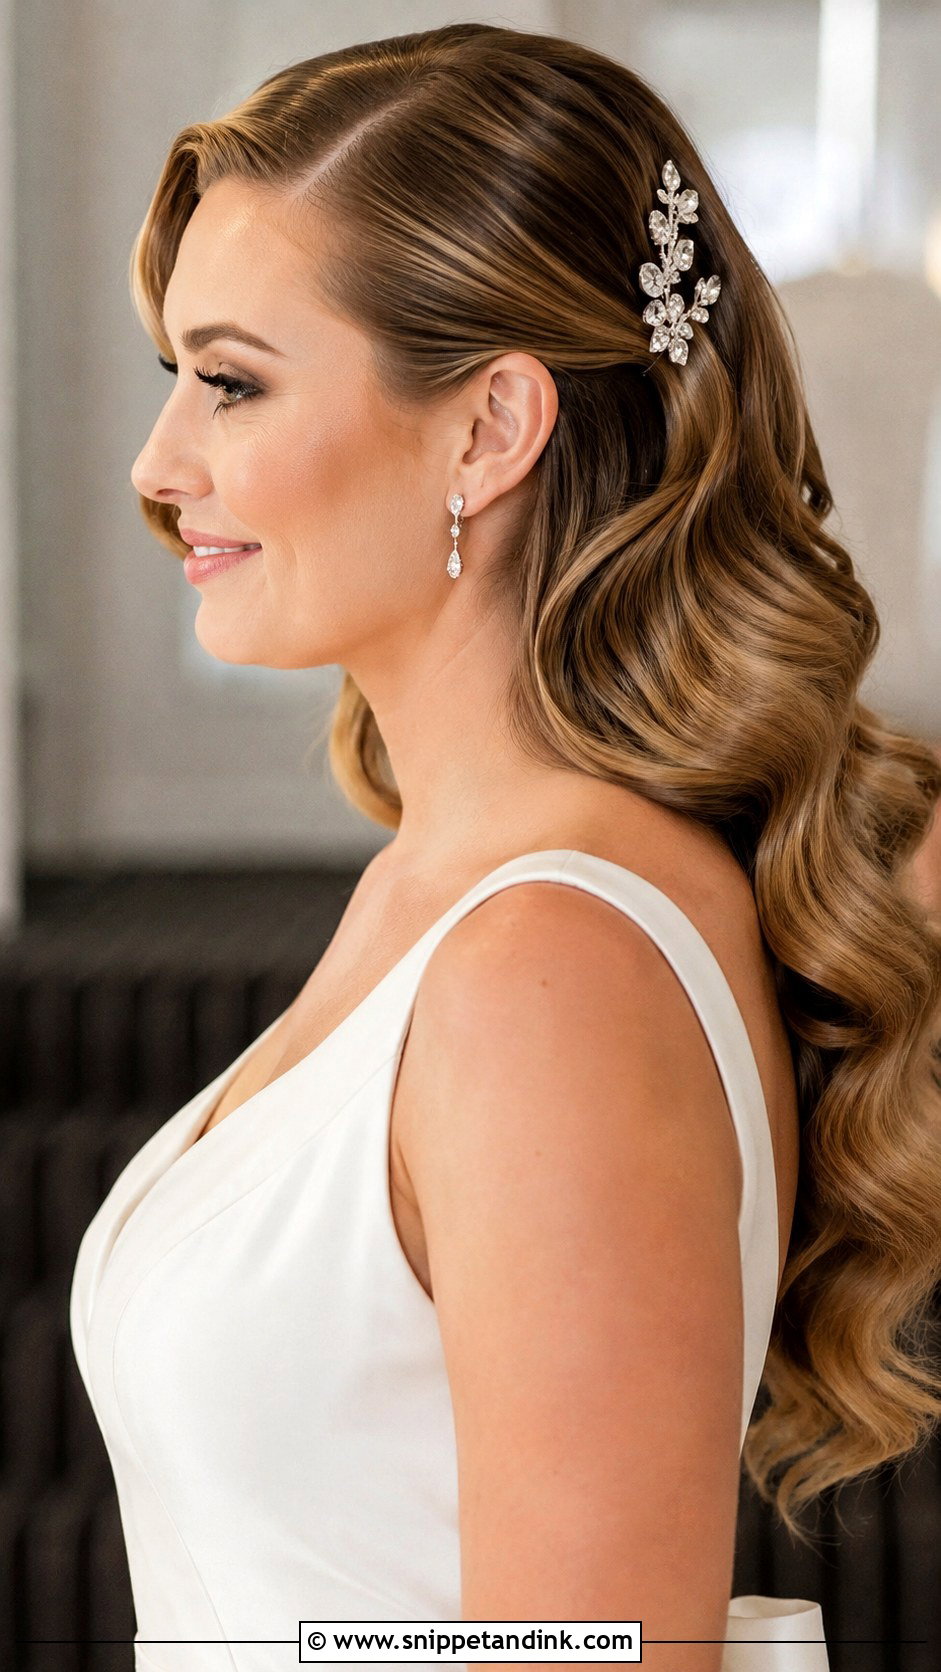
A comb is the accessory I trust most for a long day, because it grips instead of just sitting on top. It can go above the ear, at the back of a half-up section or right beside a low veil. Crystal reads formal; pearl reads softer. What I always do is build a hidden cross of bobby pins first and slide the comb teeth into that, so it can’t wobble or tug at the scalp by the evening. Keep it proportionate. A wide comb on a small head of waves swallows the shape.
9. Hollywood Waves For Long Hair
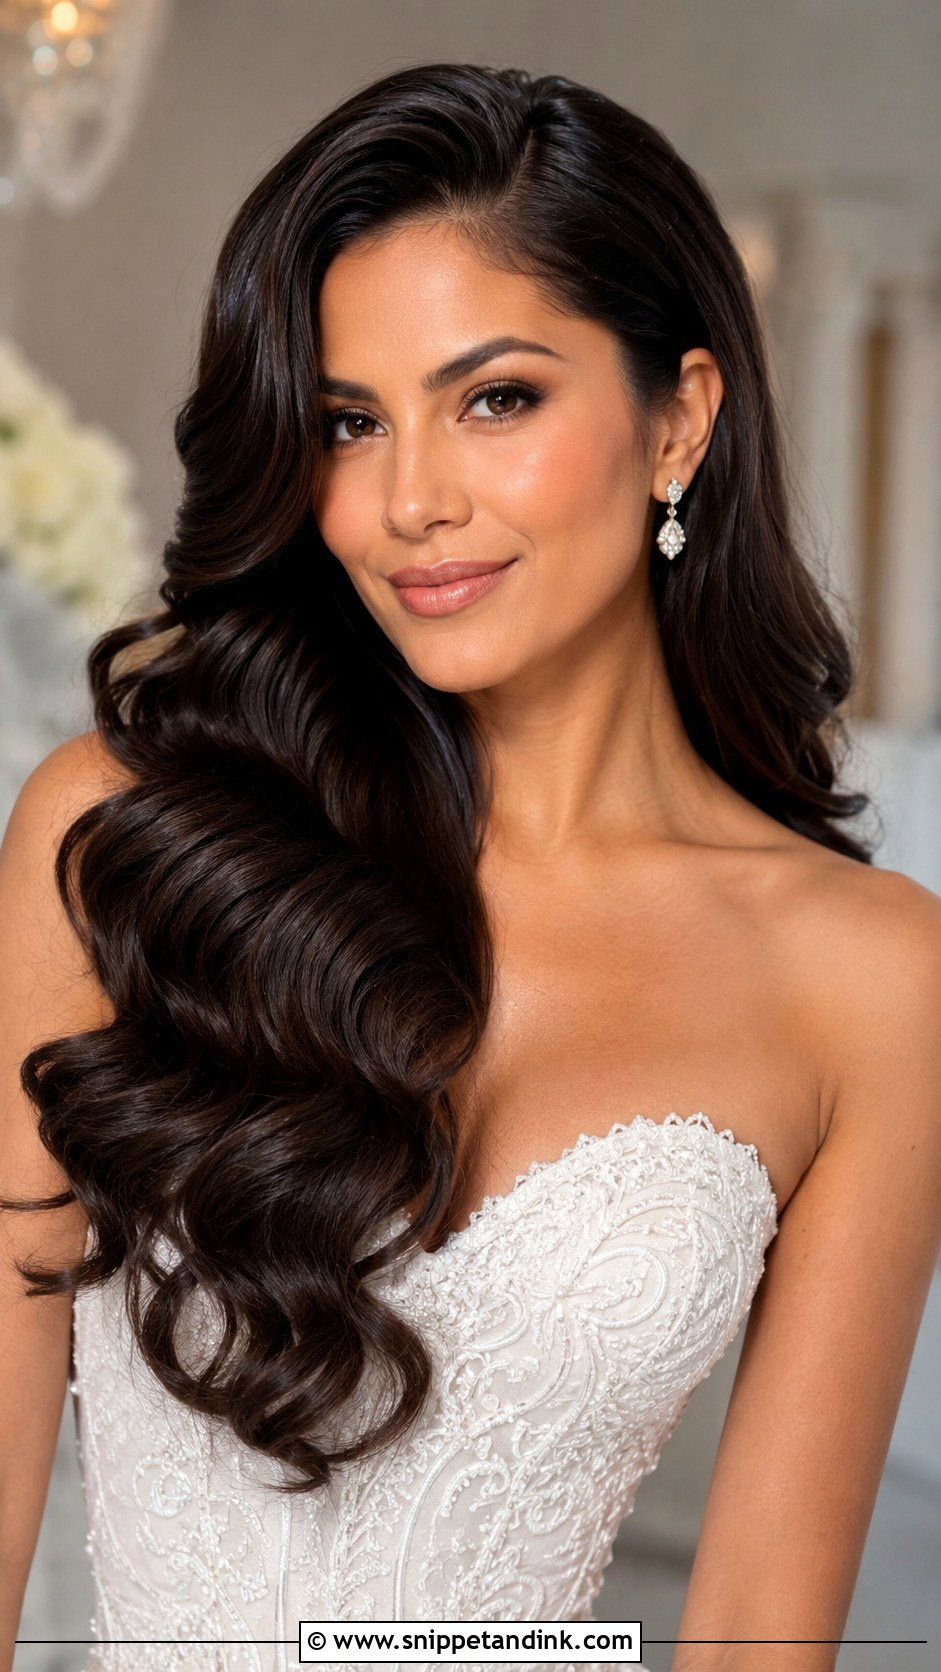
Long hair shows off every curve, which is why the most famous red-carpet waves are long. It also needs the most prep. Hair should be clean but not slippery, so I avoid heavy conditioner on the morning and use a setting spray before the iron. After curling, I brush everything into one connected shape. Long layers help the waves move; lots of short layers do the opposite and break the pattern into separate flicks. Long veils, fitted gowns and soft glam makeup all sit comfortably with it.
10. Hollywood Waves For Medium Hair
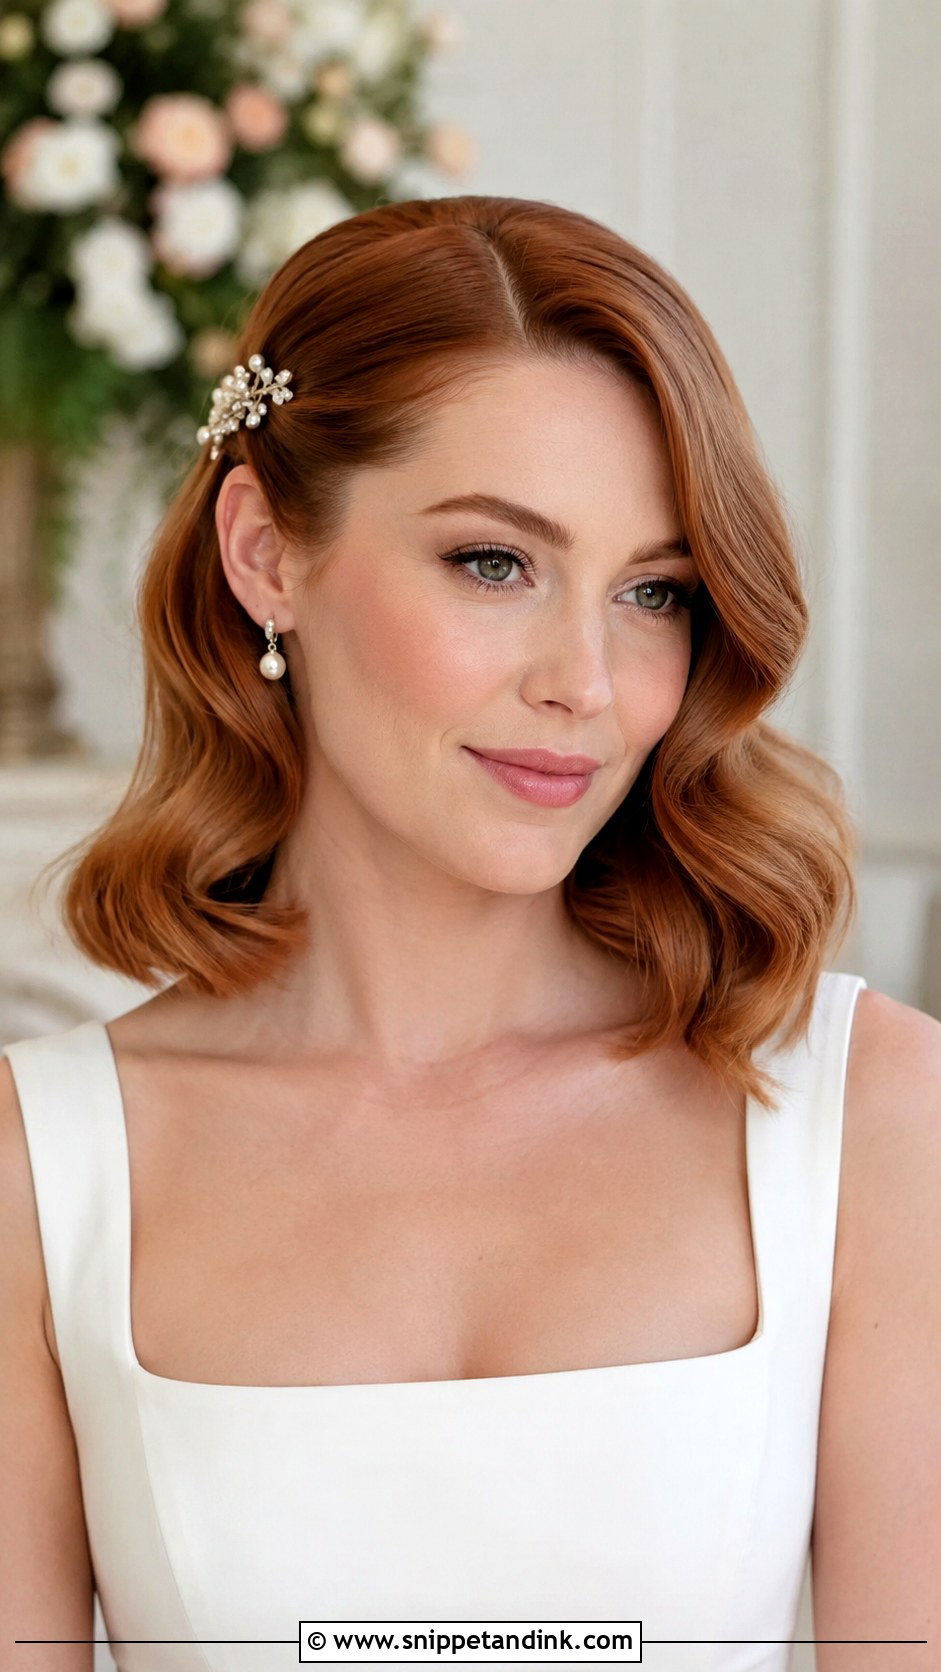
Shoulder-length and collarbone-length hair is honestly easier to wave than very long hair, and it holds longer because there’s less weight dragging the curl down. The pattern comes out more compact, which gives a tidy, salon-fresh finish. I usually add a tucked side and a deep part to make it read as vintage. Most of the time no extensions are needed, and a medium cut keeps its shape under a veil better than heavy lengths do. A light shine spray and a flexible hold finish are all I’d use.
11. Hollywood Waves Bob Bridal Hair
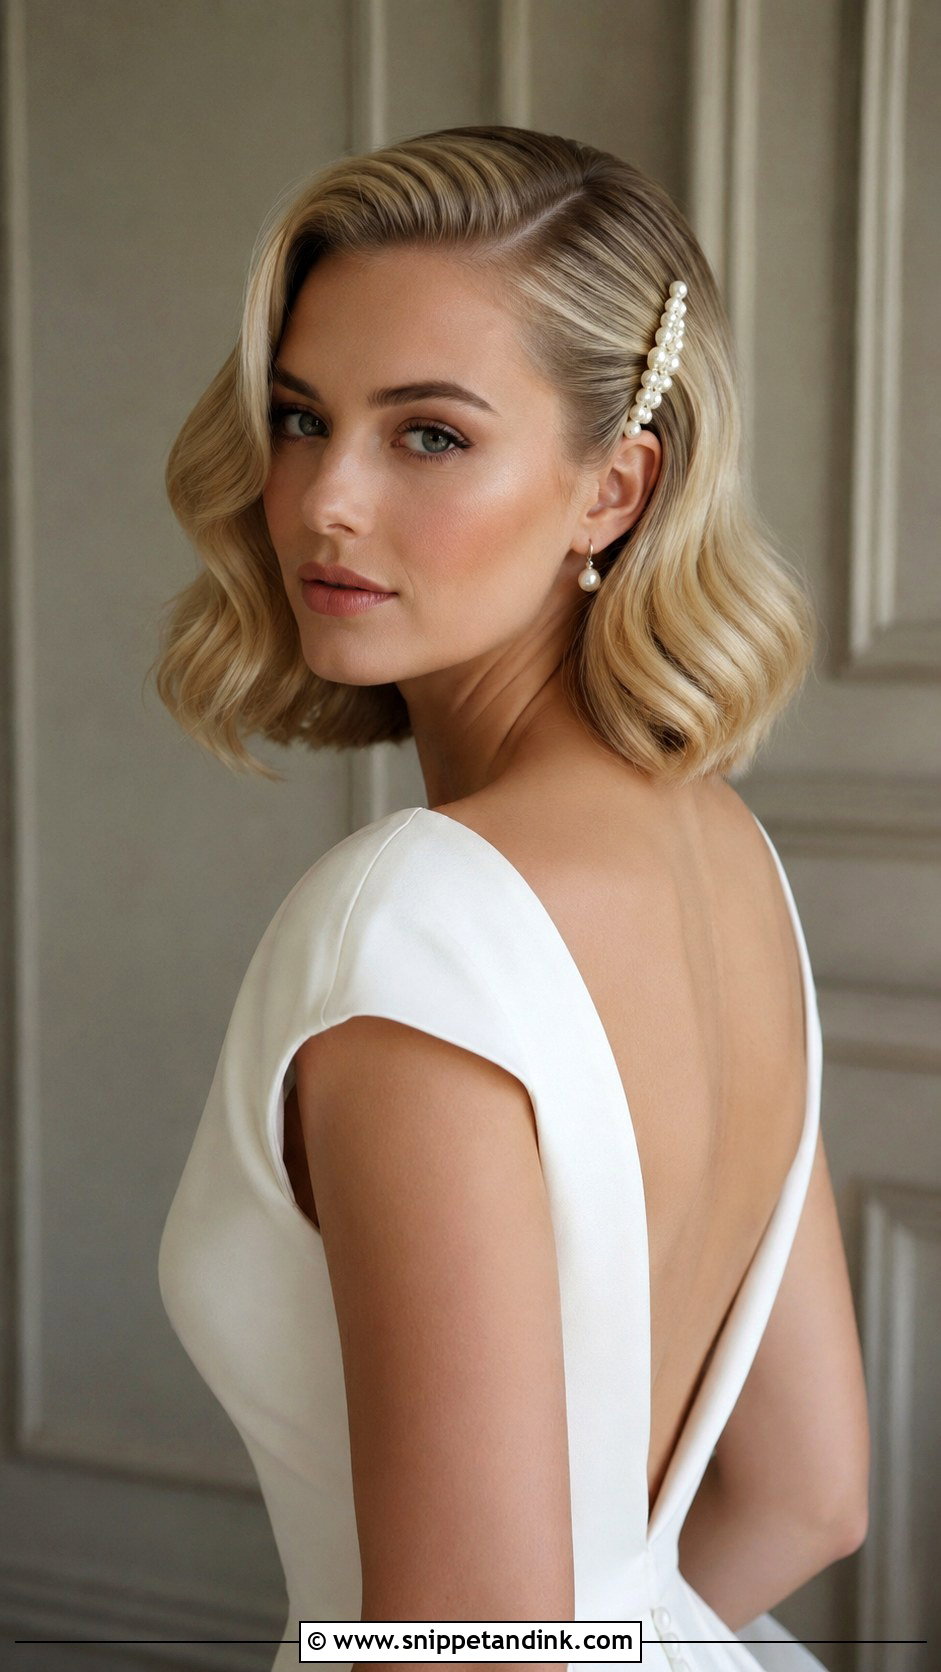
Hollywood waves bob bridal hair proves you don’t need length for a formal finish. I shape a bob into soft S-waves and tuck one side behind the ear, and it instantly reads as vintage. Pearl clips, a crystal barrette or a birdcage veil all suit it. Precision matters more on short hair because there’s nowhere for a frayed end to hide: the part, each bend and the tips all have to be smooth. I’d suggest a trim about two weeks before so the ends are clean but not freshly blunt. It’s a confident choice for a courthouse ceremony or a city wedding.
12. Soft Hollywood Waves Bridal Hair
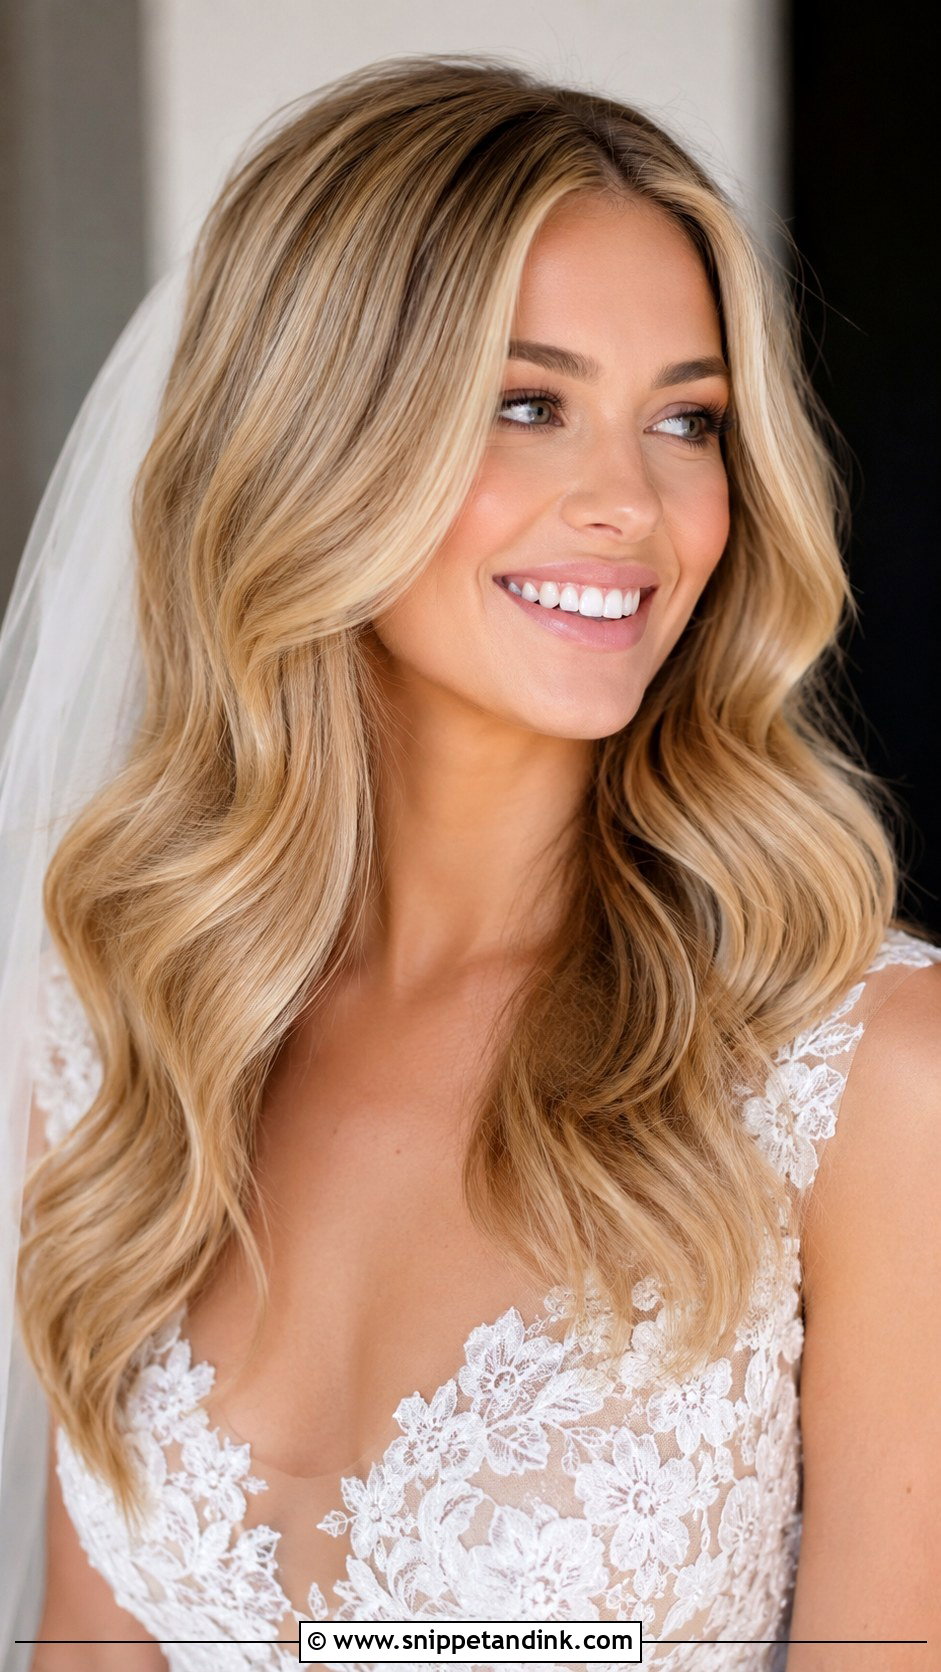
Some brides like the idea of glamour but feel overdone with sculpted ridges, and this softer version is my answer. I set the waves the same way, then brush them out further, with less spray, so they move when you walk. Garden ceremonies, outdoor venues and light makeup all suit it, as do airy dresses and lace sleeves. My trick is to keep the shape crisp around the face and let it loosen through the ends. That way it still reads as bridal in photos even as the bottom relaxes over the day.
13. Modern Hollywood Waves Bridal Hair
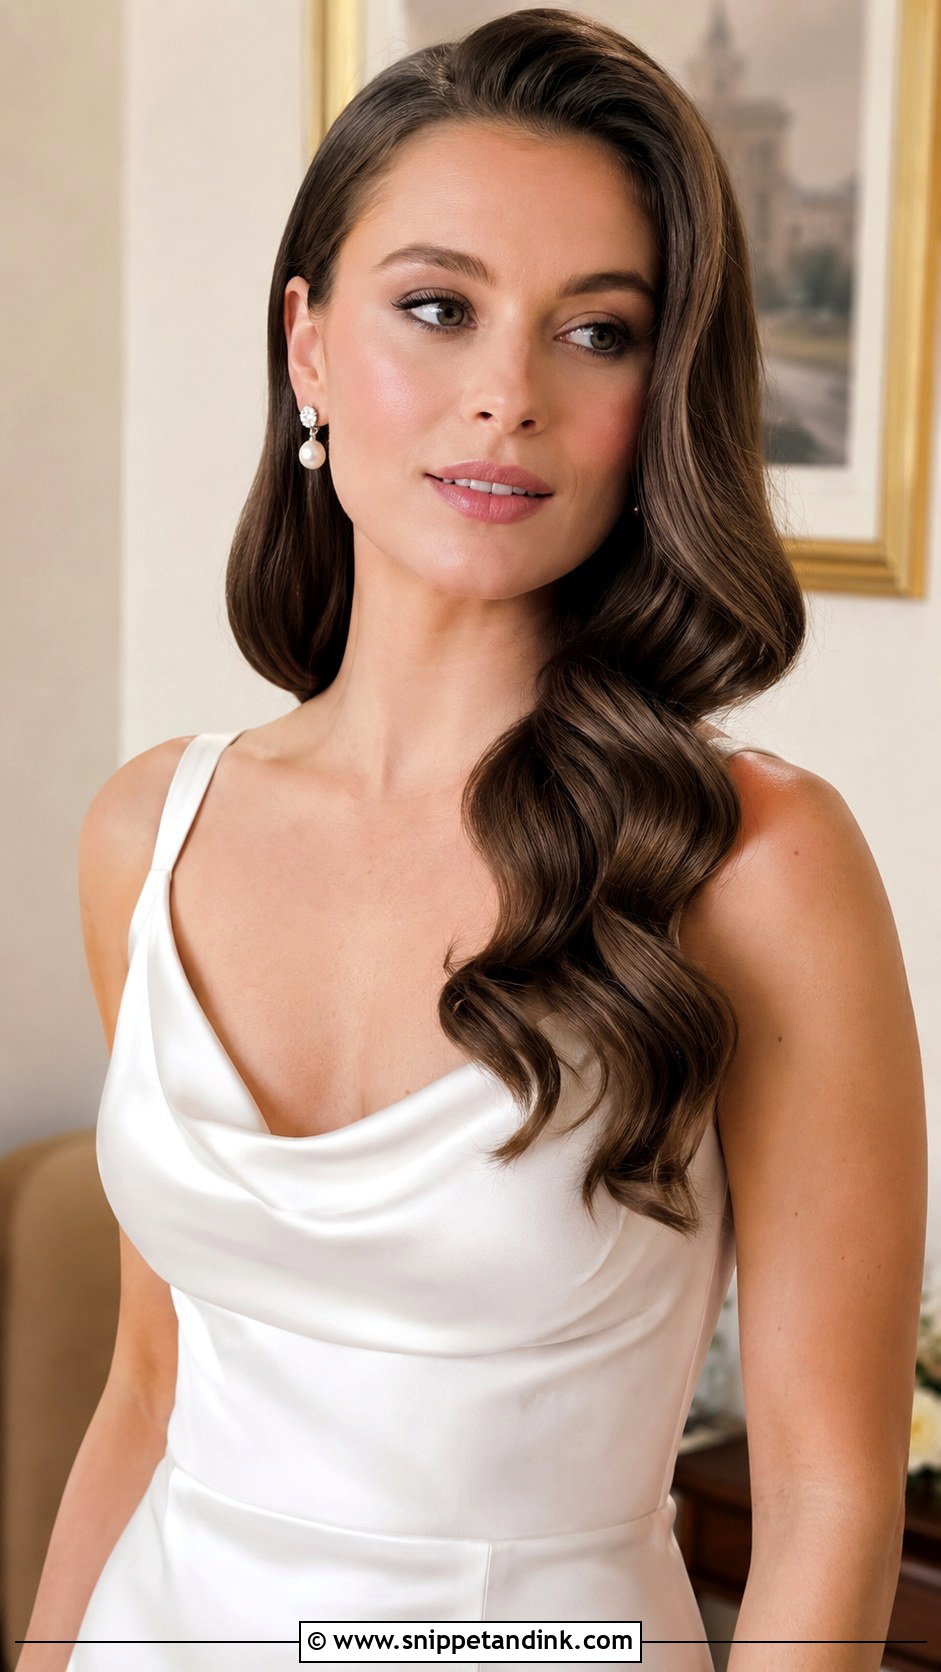
The modern take keeps the wave but drops the costume. I make the part slightly less deep, add a little lift at the crown and leave the ends looser and more fluid. For minimalist brides who want polish without a heavy vintage theme, this is the version I’d point to. It sits well with sleek gowns, square necklines, small earrings and glowing skin. The test I use: if you can run a hand through it without it crunching, the hold is right. If it feels stiff, it will look stiff in photos.
14. Hollywood Waves Ponytail Bridal Hair
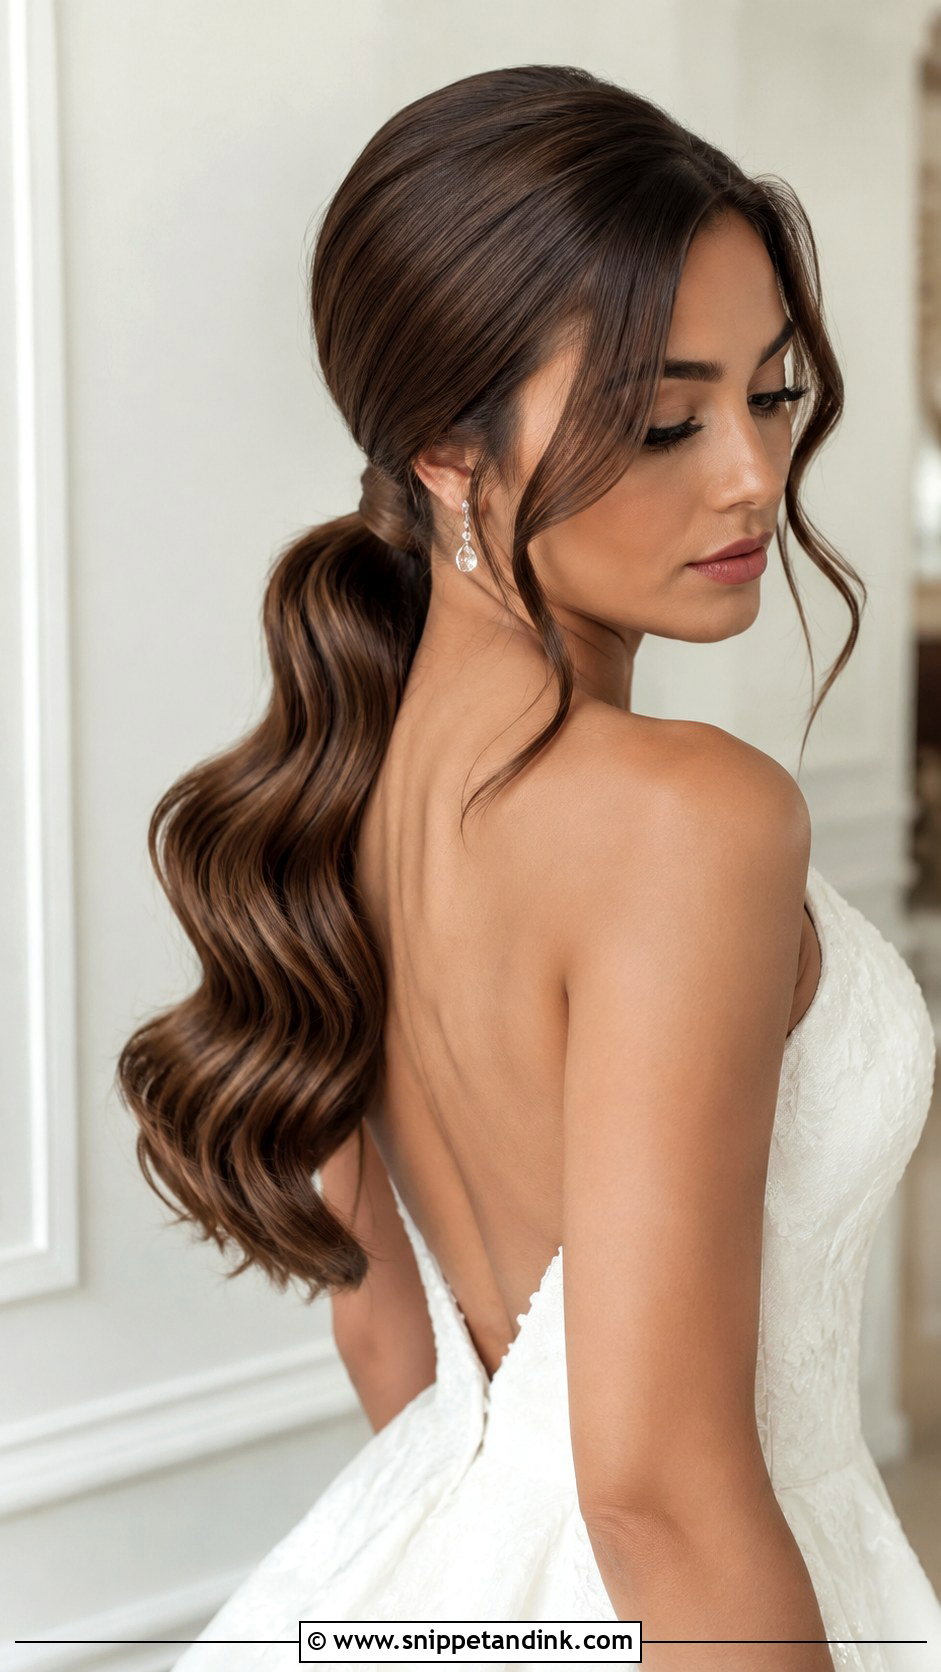
Gathering the waves into a low or mid ponytail keeps the face and neckline open but still gives you that glossy movement down the back. It’s what I suggest for July weddings and big dancers, because the elastic takes the weight off the set. I wrap a section of hair around the band and pin it underneath to hide it. A veil can go just above or just below the tie. One honest note: a high ponytail pulls the wave pattern straighter, so keep it at the nape or mid-head for the Hollywood effect.
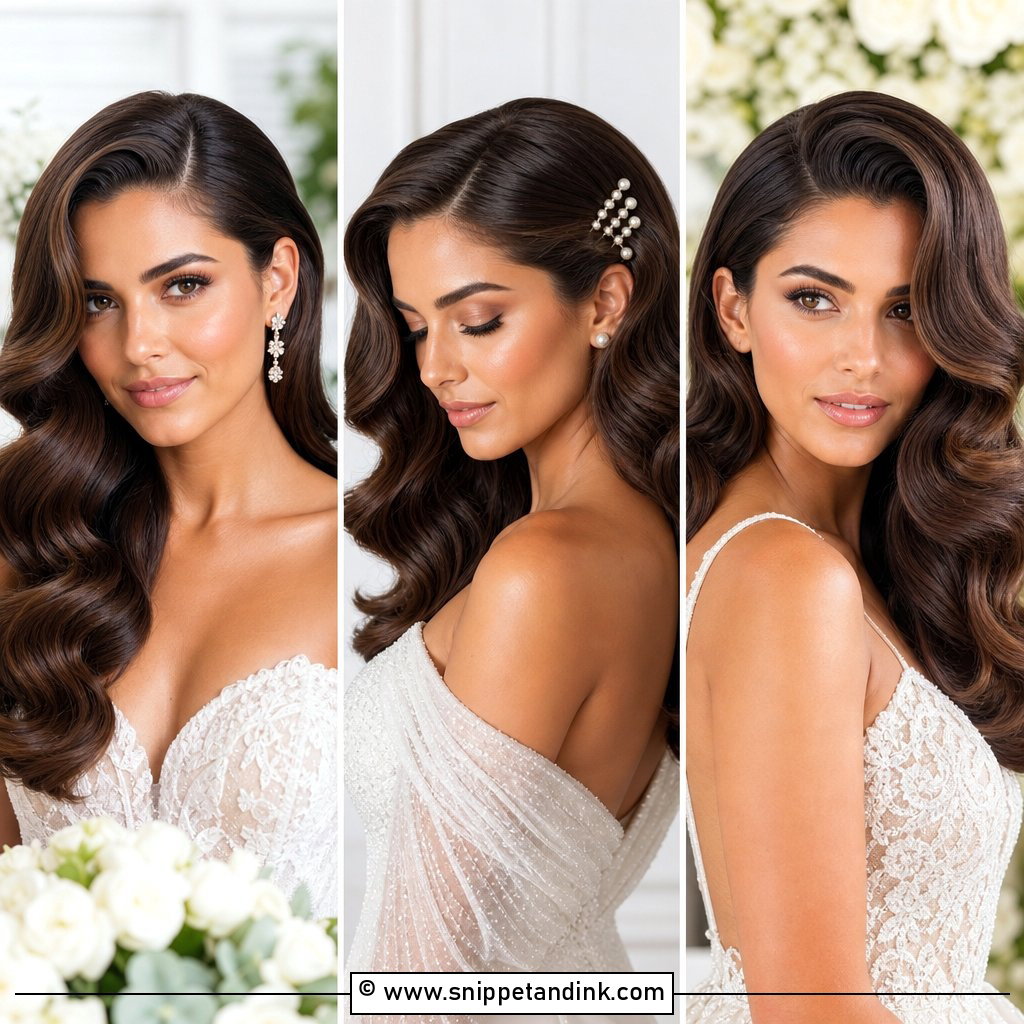
15. Hollywood Waves With Bridal Barrette
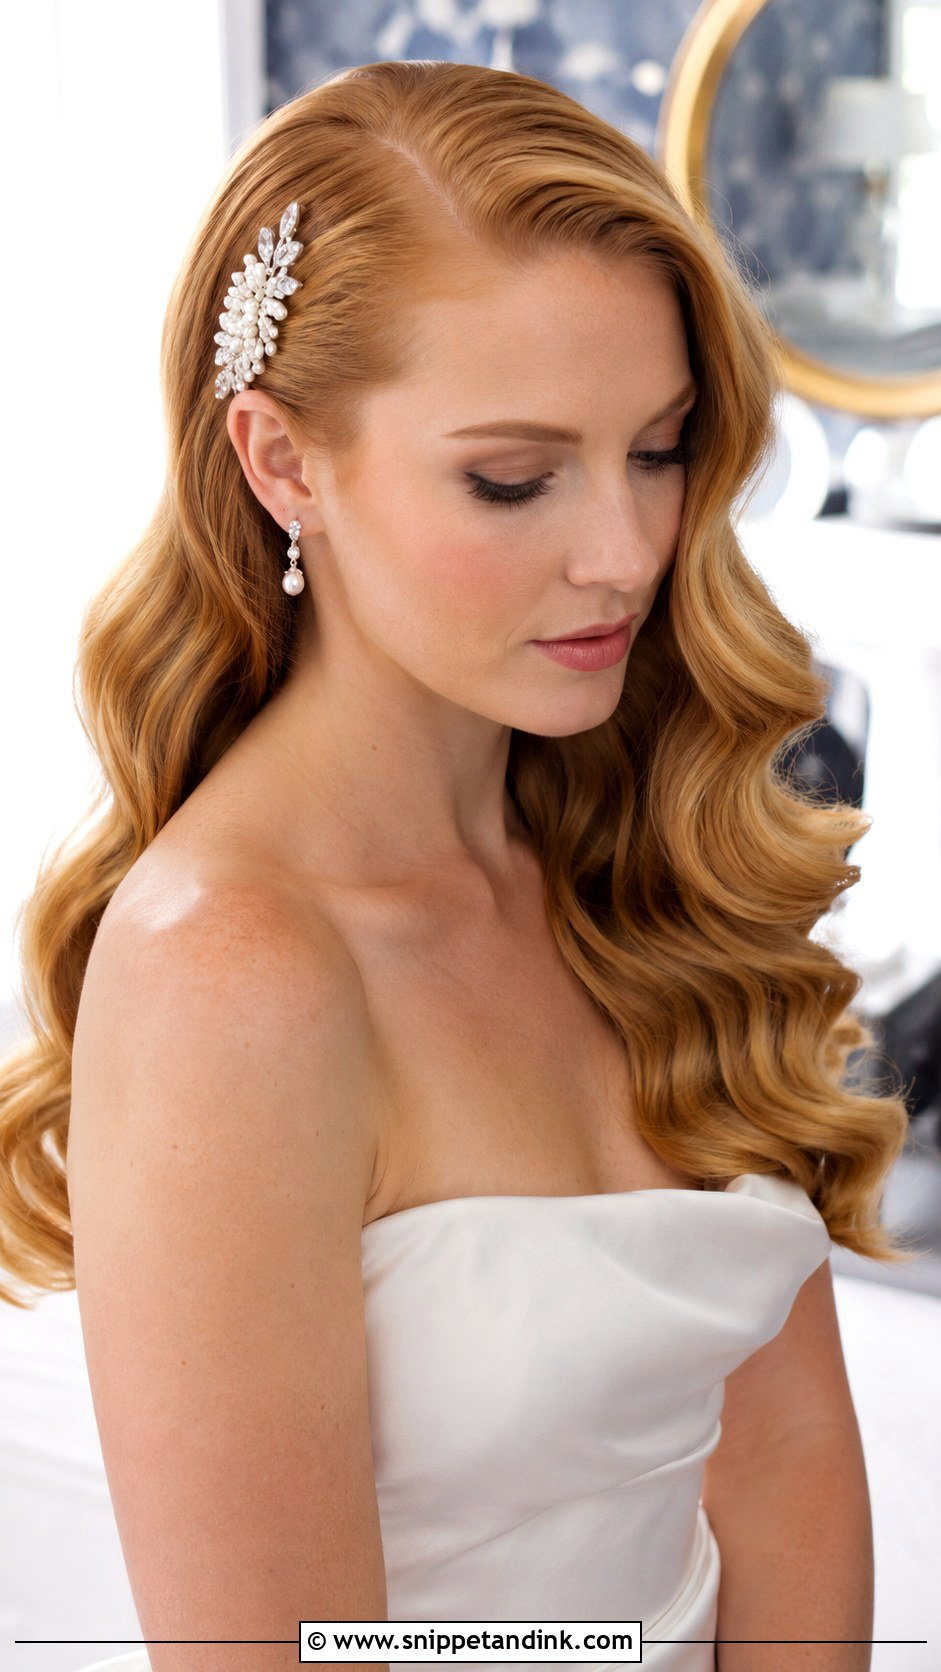
A barrette gives the waves a focal point while keeping almost everything down. I place it on the tucked side, just above or slightly behind the ear, where it also stops that side from springing loose. Pearl, crystal or satin depends on your dress details. It suits anyone who wants to show off earrings, neckline and makeup with hair mostly down. Look for a slim one with a firm clasp; a bulky barrette drags on fine hair and slides down by the reception. With a deep side part and glossy waves, it gives a neat vintage finish.
Why Hollywood Waves Lose Their Shape by the Speeches
This is a structured style, and structure has enemies. The usual culprits are damp air, a veil pressing on the crown for hours, a lot of hugging on the side where the wave sits, and freshly washed hair that was too soft to hold anything in the first place.
So I ask brides to wear the trial style for the rest of that day. Go for a walk, sit in a car, put a coat on and take it off. By evening you’ll know whether your hair keeps the S-shape, relaxes into a looser wave, or goes straight. All three are fixable, but only if you find out before the wedding.
What I’d put in the touch-up bag
- Four or five duckbill clips to re-press the waves while you sit for ten minutes before the reception.
- A travel-size brushable hairspray, not a strong-hold lacquer that turns the lengths crunchy.
- A small boar bristle brush for the top layer only. Brushing the whole length again dissolves the wave.
- Bobby pins in your hair colour, for any tucked section behind the ear that starts to slip.
If you’re marrying somewhere humid or outdoors in high summer, I’d steer you toward the half-up or ponytail version. Gathering part of the hair takes weight off the set and protects the side that faces the camera.
A Deep Side Part Does Half the Work
Every version above comes back to two things: smooth structure, and movement that still looks touchable. Classic and down, swept aside, half up, short and tucked, or gathered at the nape, the wave is the star and everything else supports it. What makes it work on the day is less glamorous than the photos. A proper trial, inspiration pictures of hair like yours, hair that isn’t squeaky clean, and a stylist who knows how to set and brush out a wave. Then I’d weigh up your neckline, veil, the forecast and how much dancing you plan to do, and let the part do the rest.
You'll Like These Ideas:


Leave a Reply