
Glam waves are the wedding style that looks simplest in a photo and takes the most discipline in the chair. Every curl has to go the same way, cool in its set, and be brushed into one continuous ripple, which is why the shine reads so well on camera. The family is wide: loose mermaid waves, sculpted finger waves, half-up cascades, side-swept Hollywood curls. They sit well with veils, tiaras and big earrings. Below are twenty versions I’d happily do, with notes on how each one is built and what it needs from your hair to last.
Barrel Size, Pin Sets and the Brush-Out
Three things separate a glam wave from a head of curls, and none of them is an expensive iron.
- Barrel size. I usually use around an inch for classic Hollywood waves, slightly larger for loose mermaid waves, and smaller for short hair. Too large and the wave won’t hold; too small and you end up with ringlets.
- Direction. For a single sculpted ripple, every curl goes the same way. For loose waves, I alternate direction so they separate.
- Cooling. Hair holds its shape as it cools, so I pin each curl into a coil the moment it comes off the iron and leave it until the whole head is done.
Then the brush-out, done slowly from the ends upward, joins the curls into waves. Hair washed the day before holds better than hair washed that morning, which can be too soft and slippery to grip a curl.
1. Old Hollywood Glam Waves
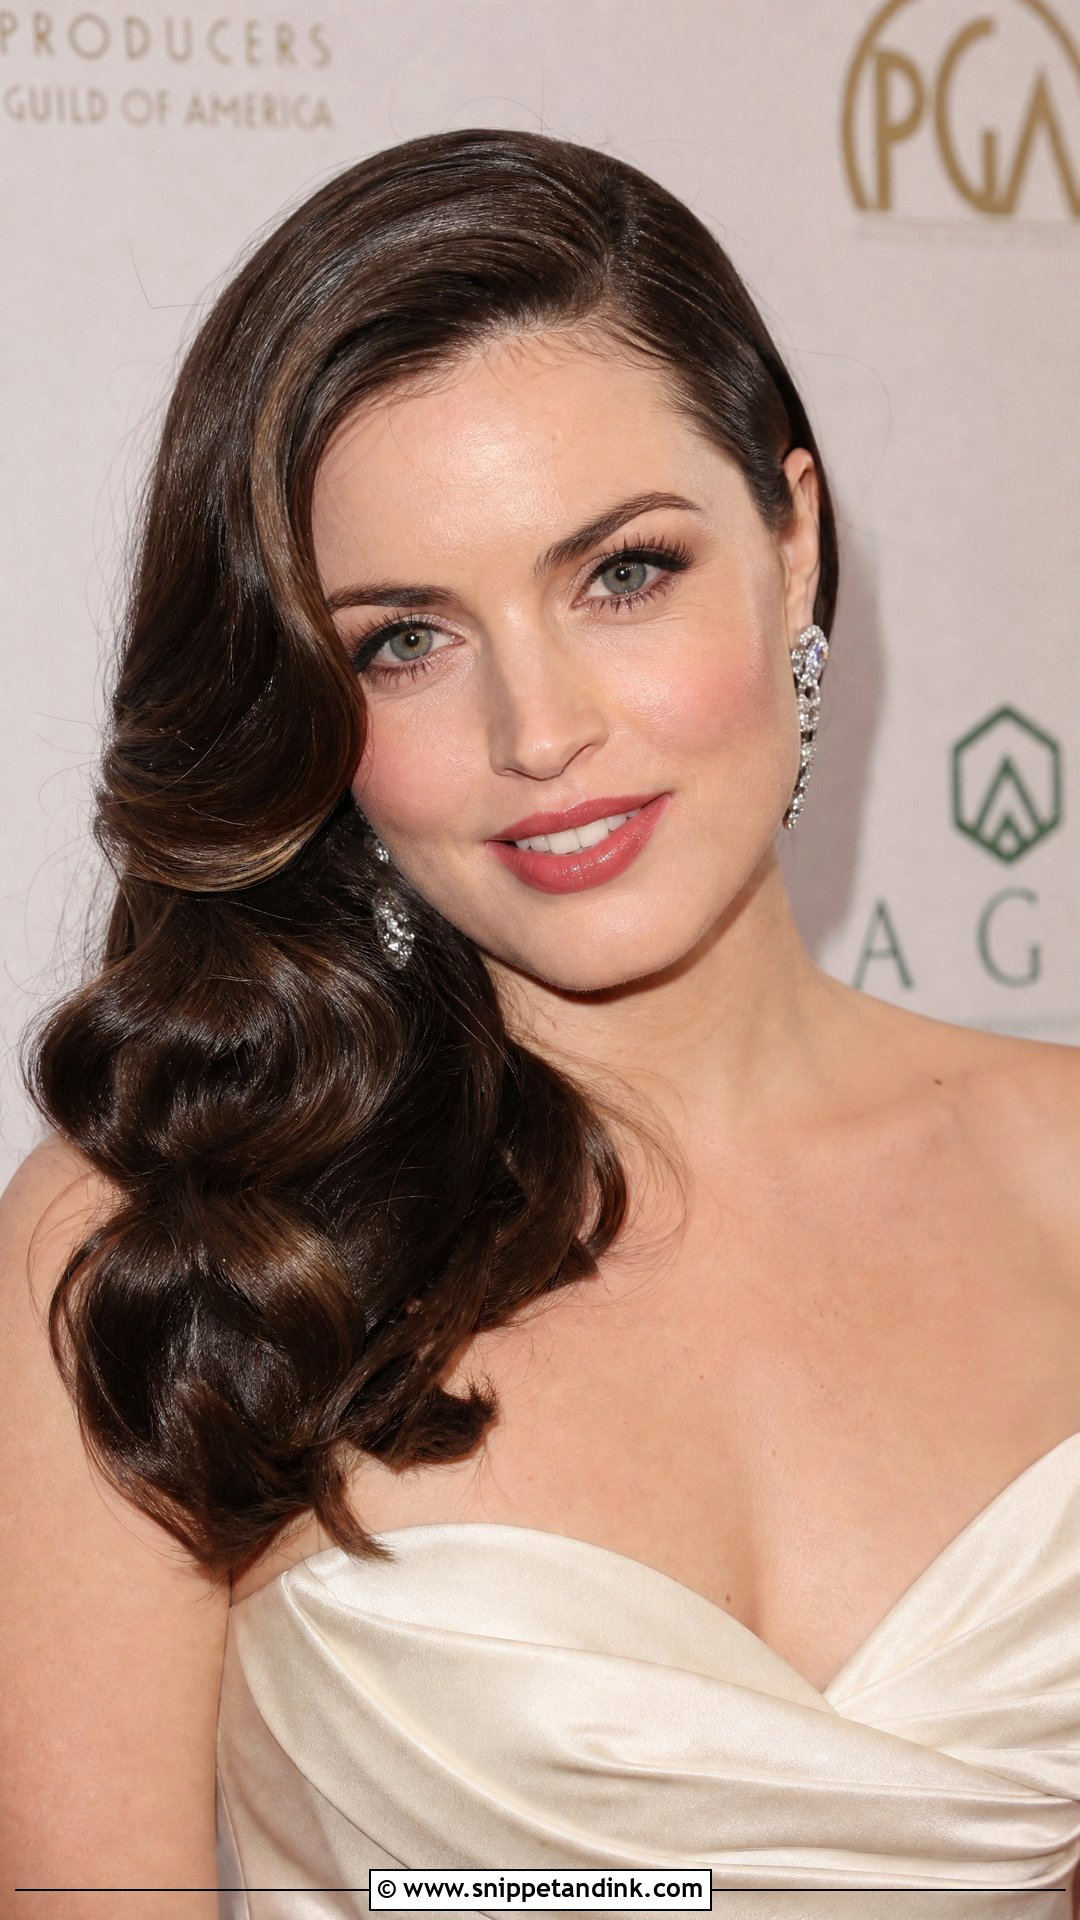
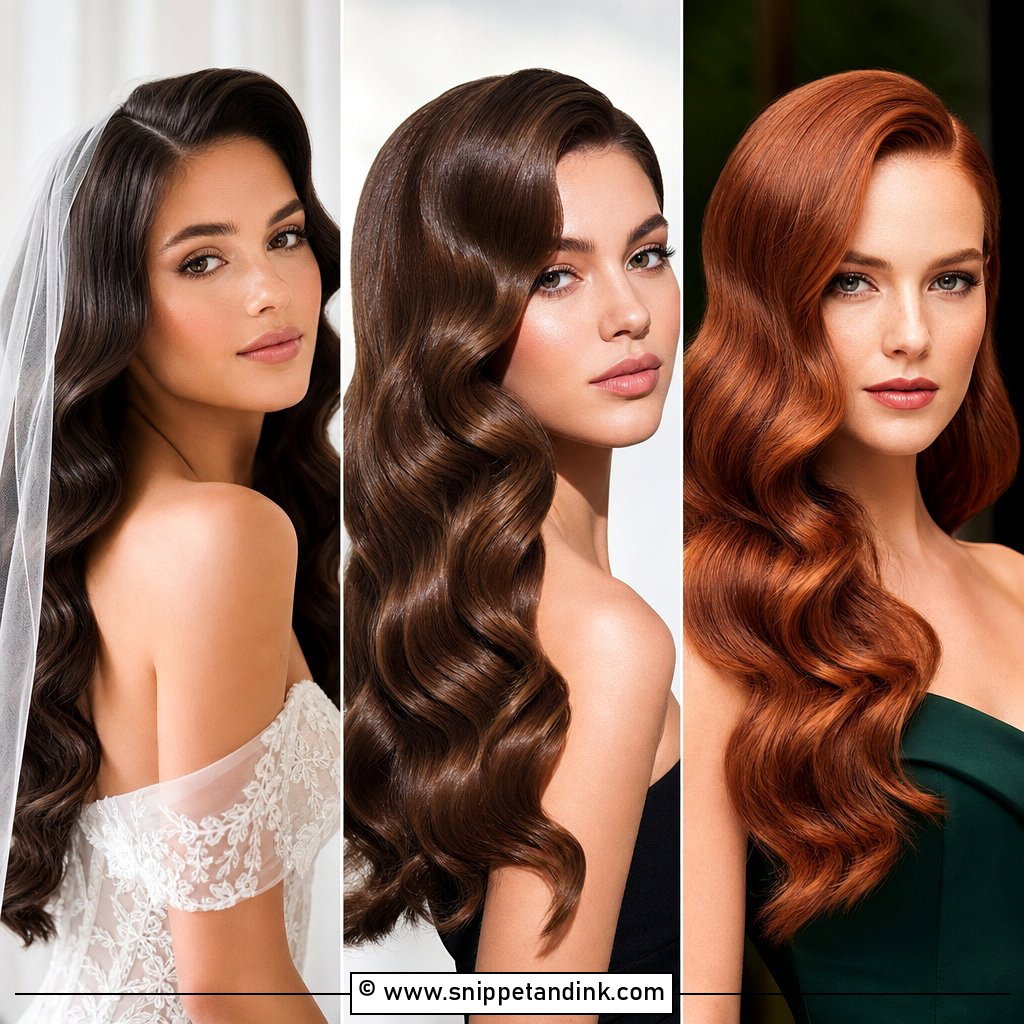
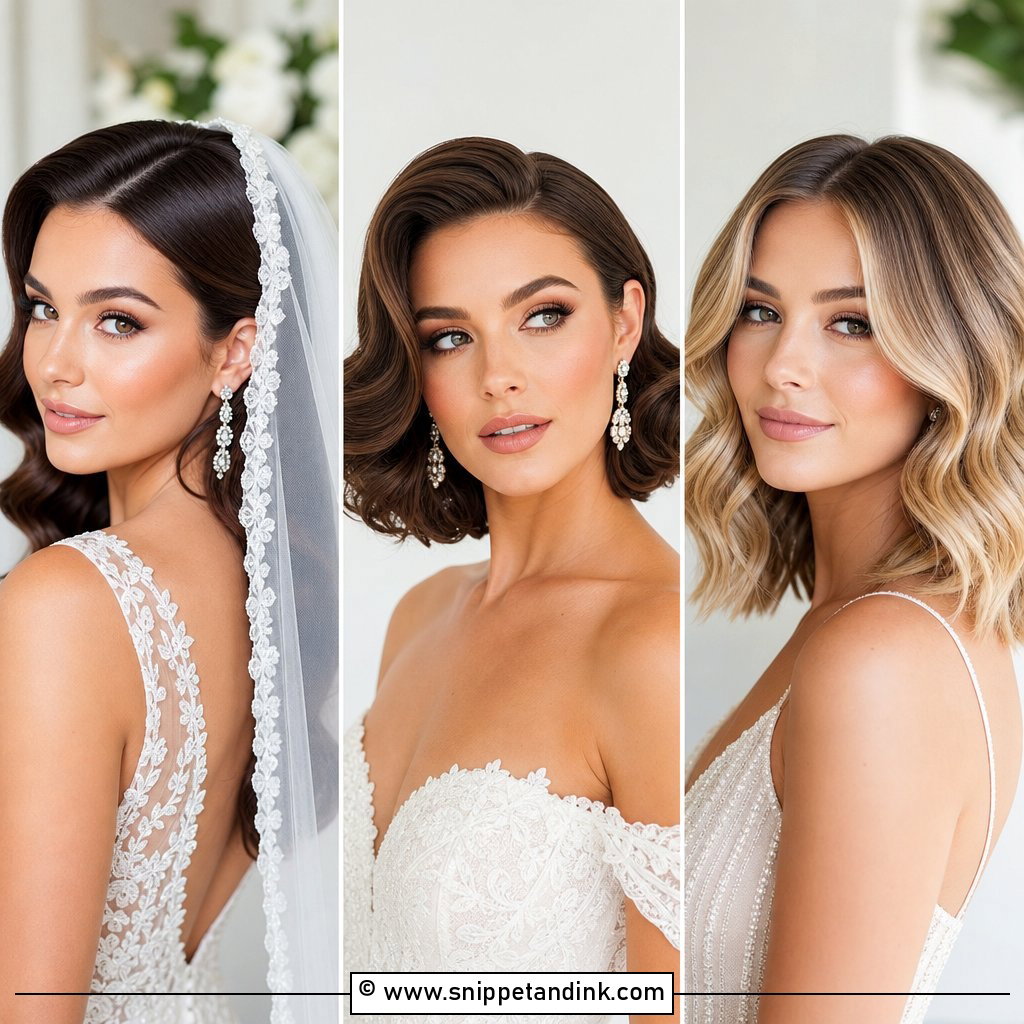
Old Hollywood waves are curled in one direction only, then brushed until the individual curls merge into a single S-shaped ripple. That’s the bit people skip at home, and it’s why their version looks like separate ringlets. I set each curl in a pin curl to cool, brush out with a boar bristle brush, then press clips into the ridges and mist with spray before removing them. A deep side part suits it best. Strapless gowns and statement earrings are its natural partners.
2. Side Swept Glam Waves
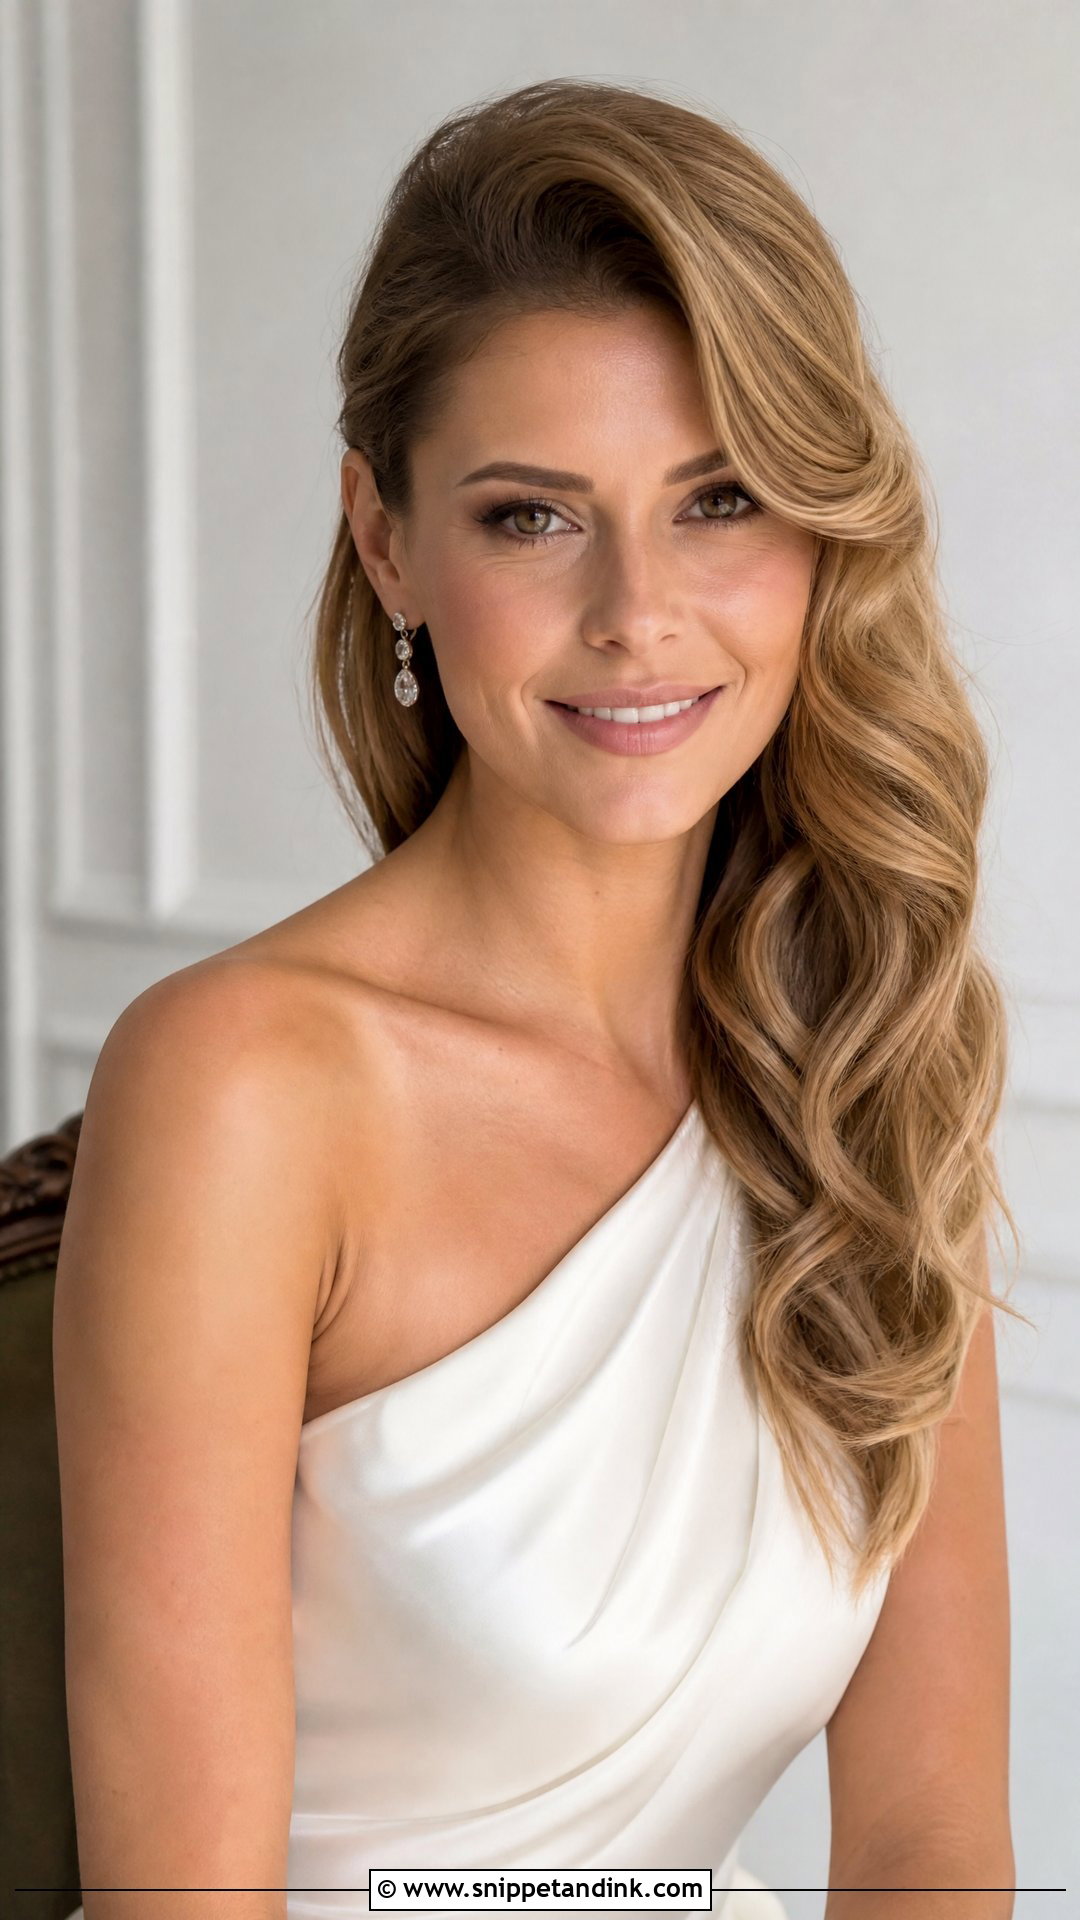
Sweeping every curl over one shoulder gives that Veronica Lake asymmetry and leaves the other side of the neck bare, which shows off a one-shoulder neckline or a big earring. The hair on the bare side needs a hidden anchor: I cross two bobby pins behind the ear so the weight of the waves doesn’t pull it loose by the speeches. Tuck it behind the ear or finish with a jeweled clip. It’s forgiving, and holds up equally well outdoors or in a ballroom.
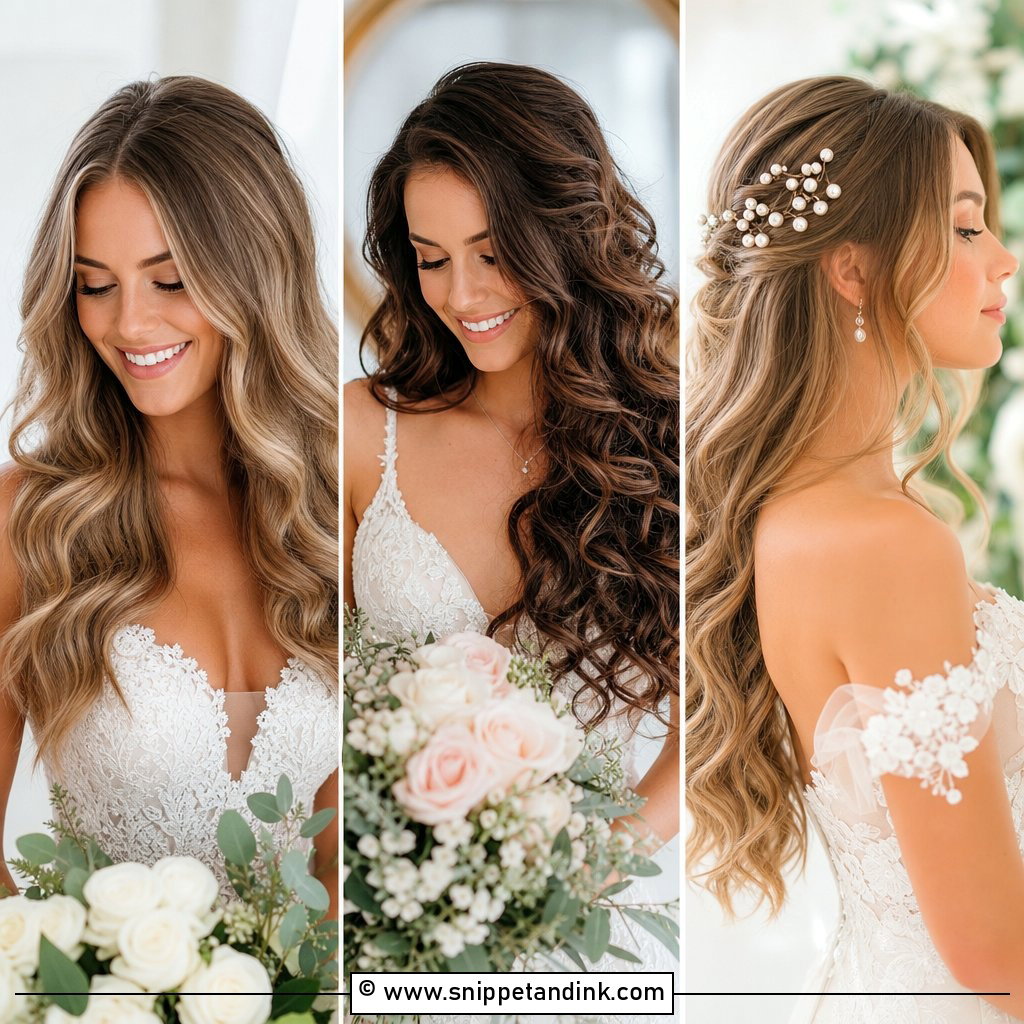
3. Loose Romantic Bridal Waves
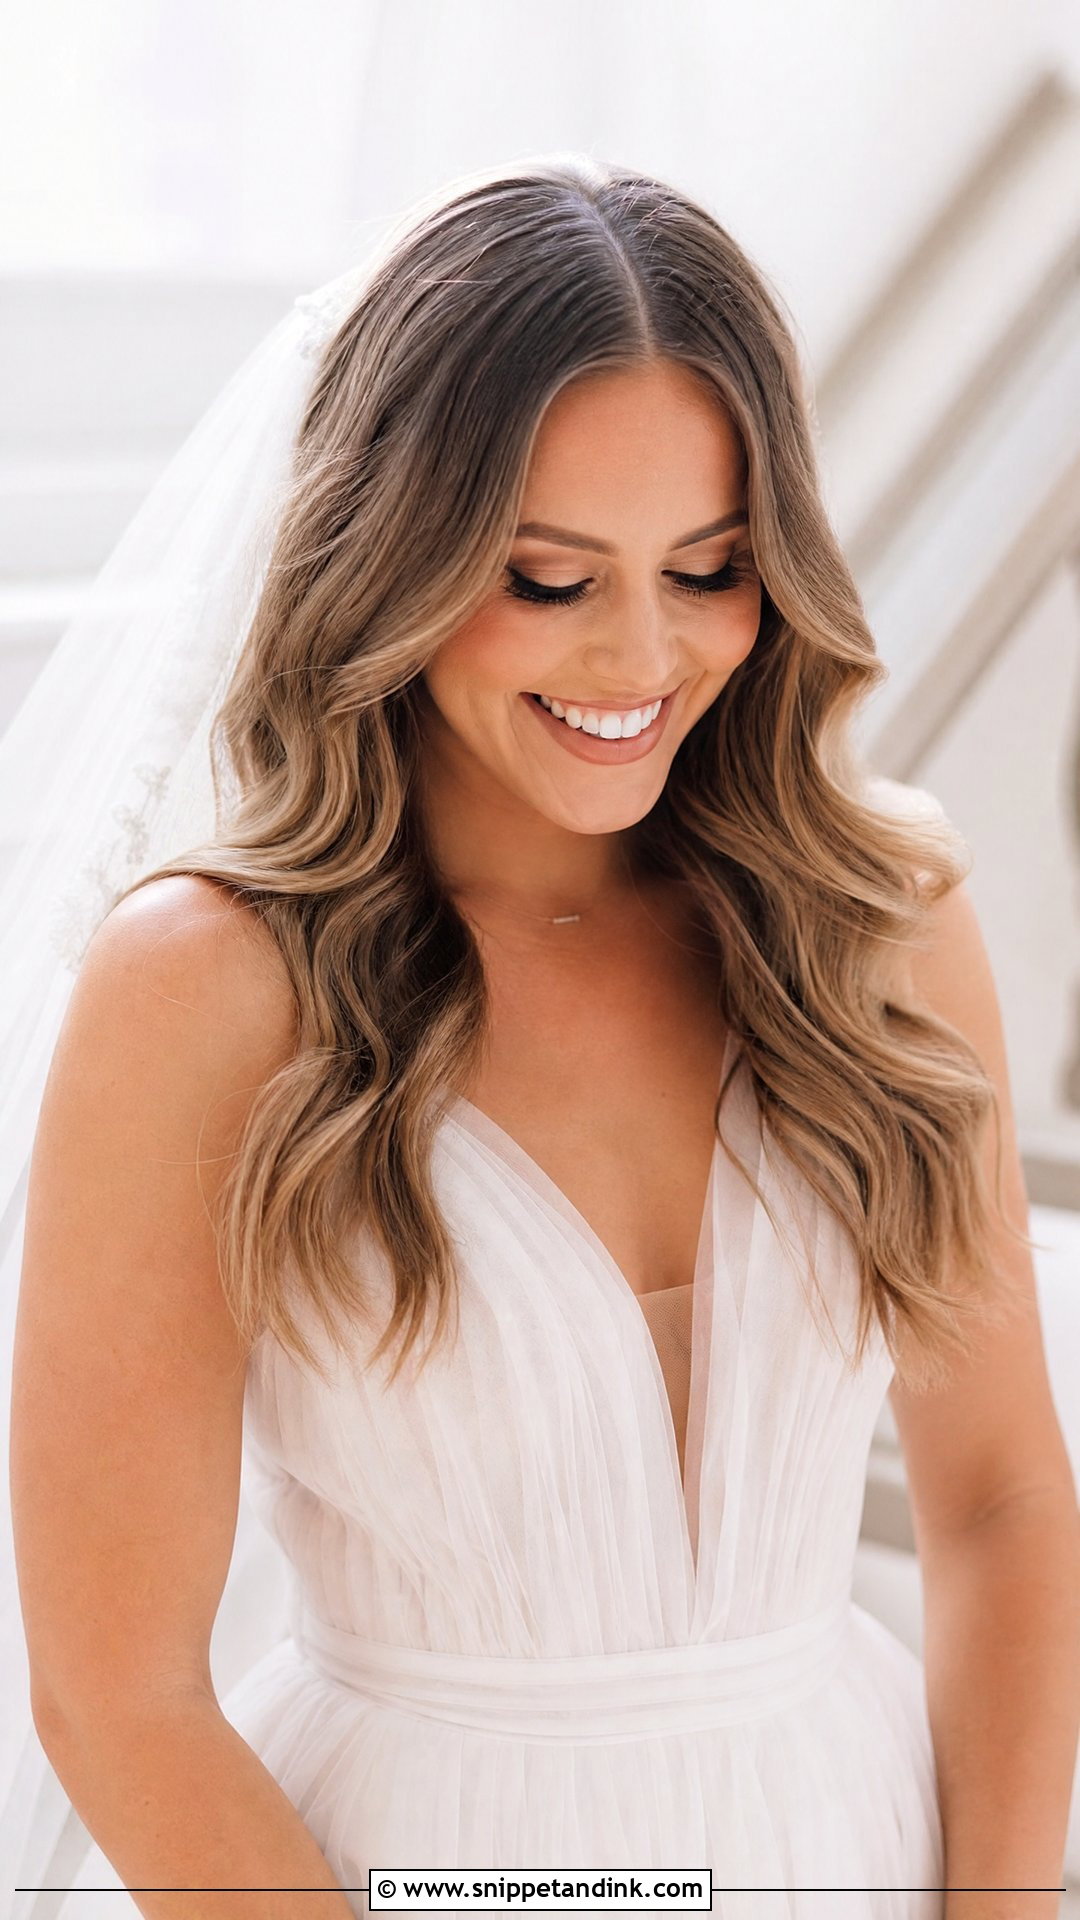
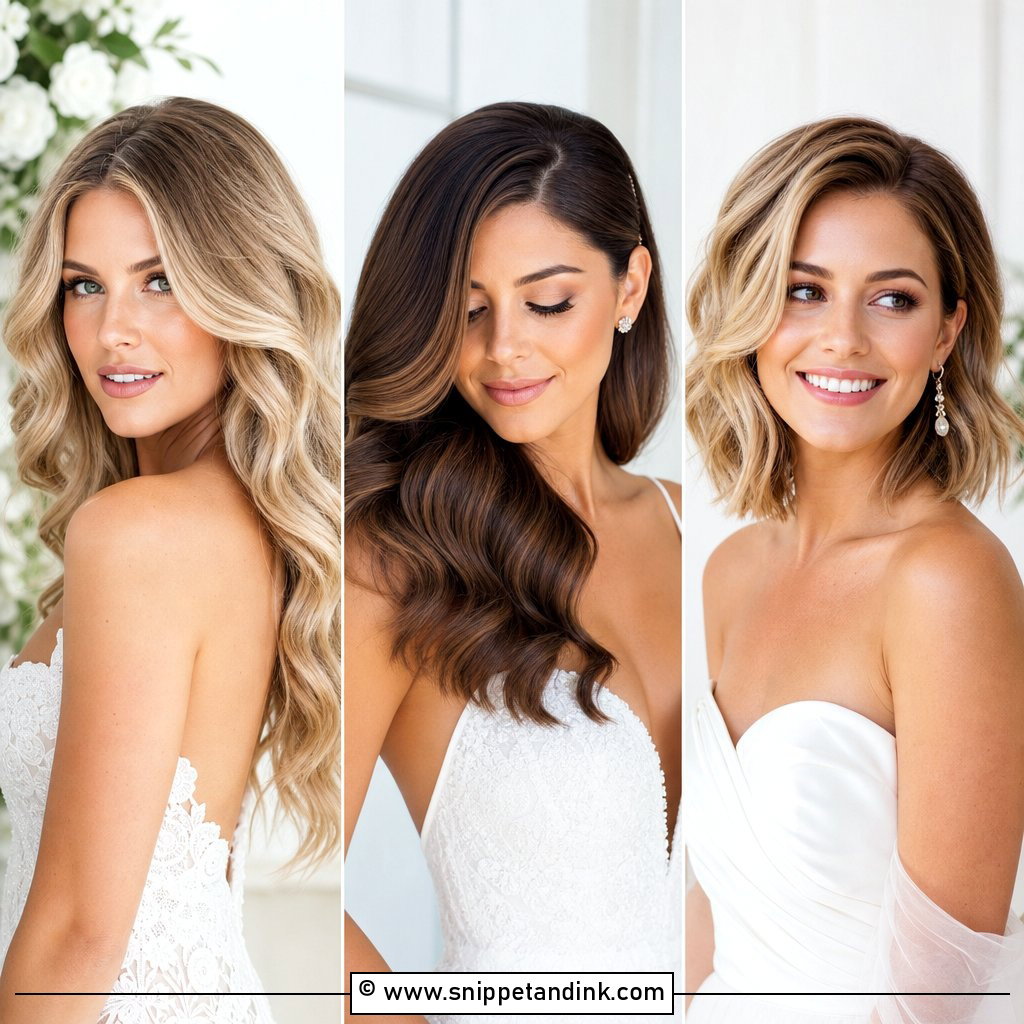
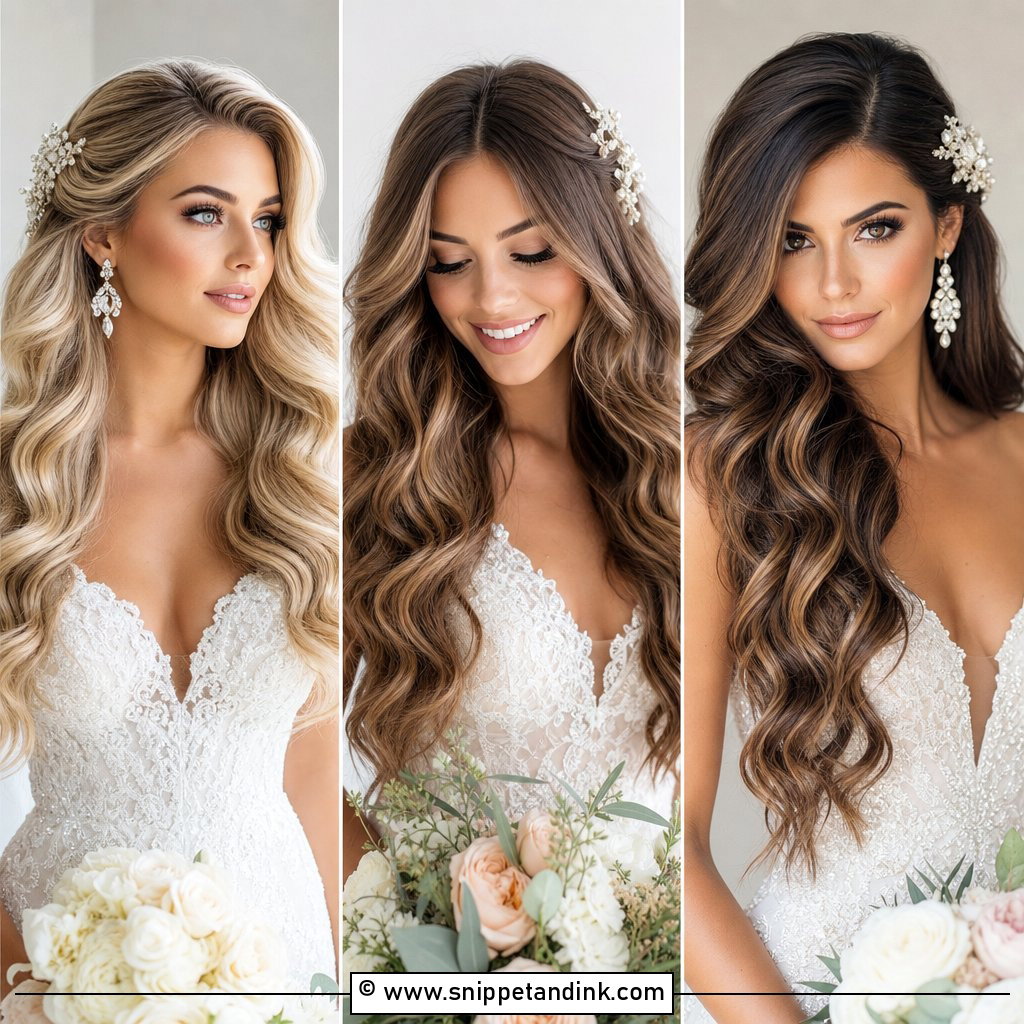
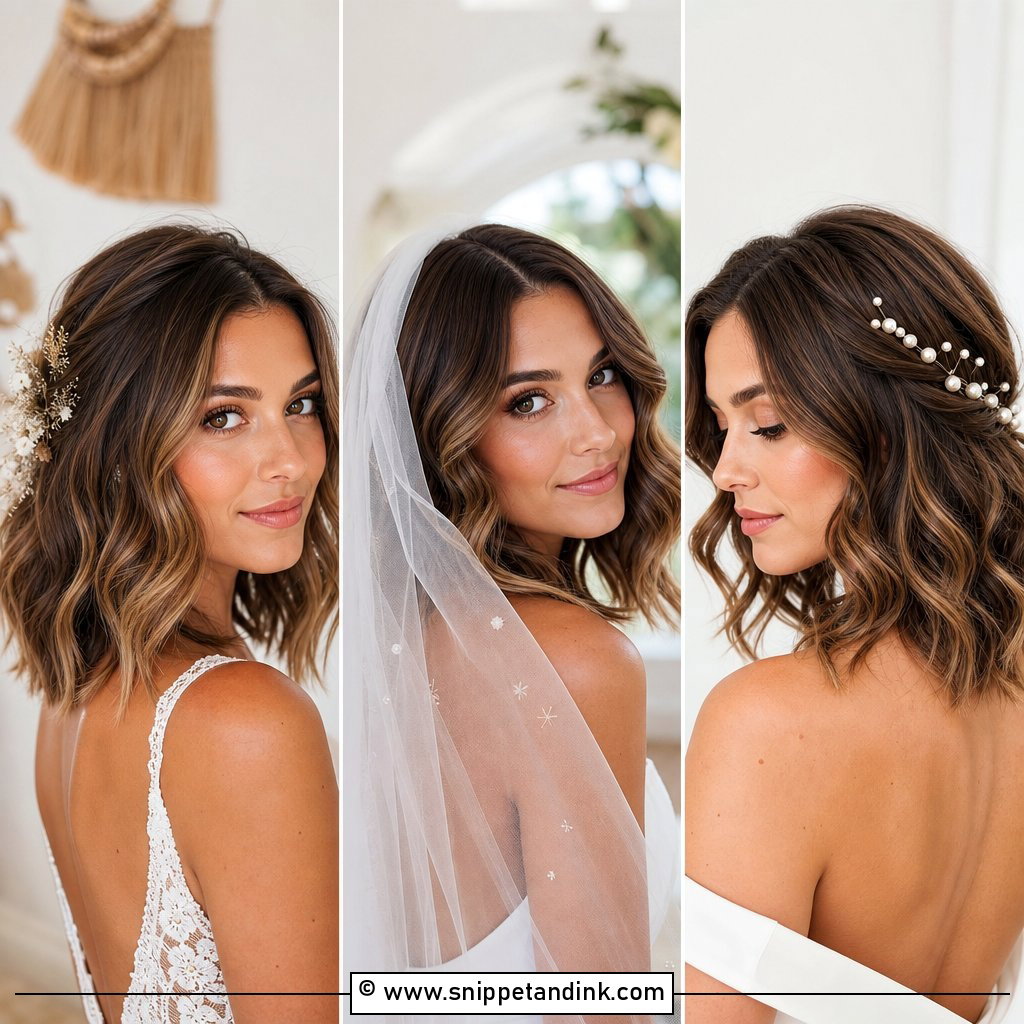
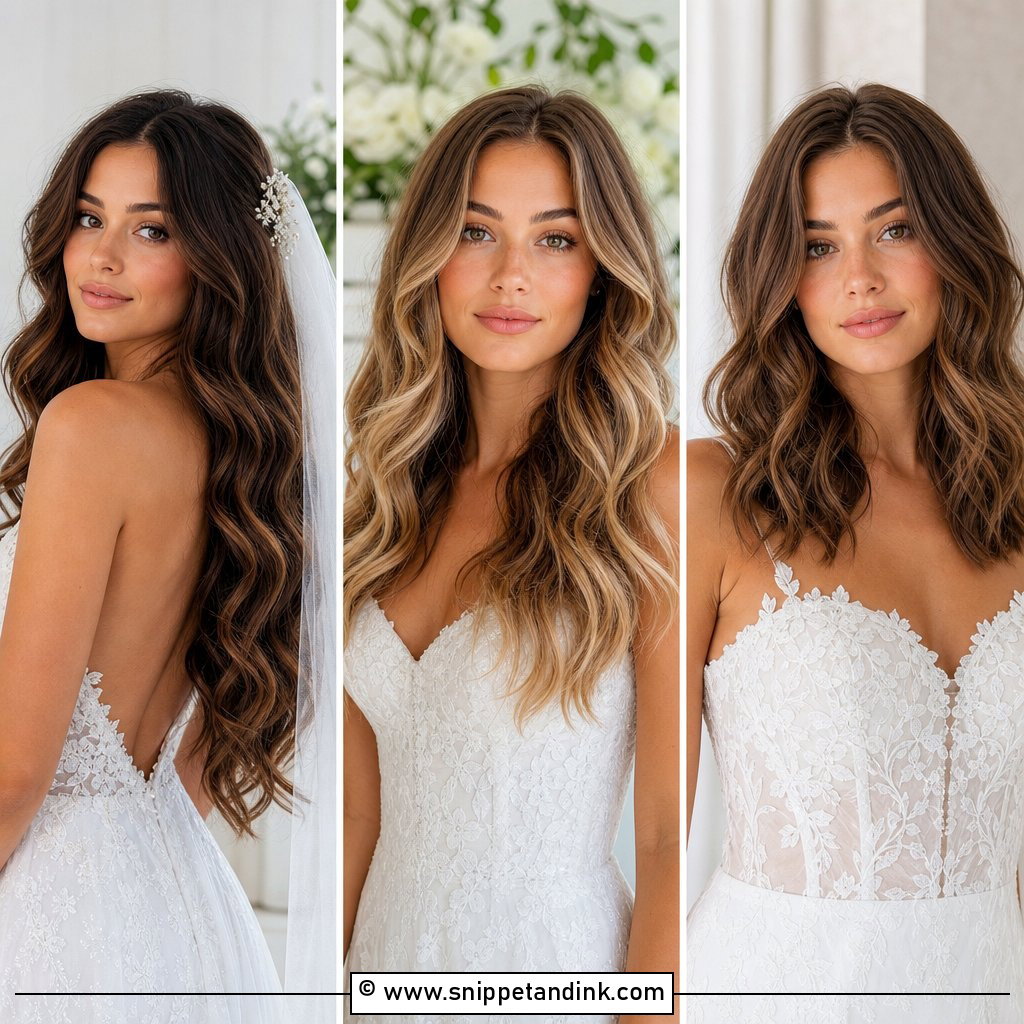
These are curled, then brushed out with fingers rather than a brush, so they stay airy and separate instead of glossy and sculpted. A center part keeps them modern. They suit floral crowns and fine veils, and they read best on long hair, where there’s room for the wave to open. The trade-off with any loose wave is drop; I curl them a little tighter than the finished look so they relax into place rather than relaxing flat.
4. Half Up Glam Waves
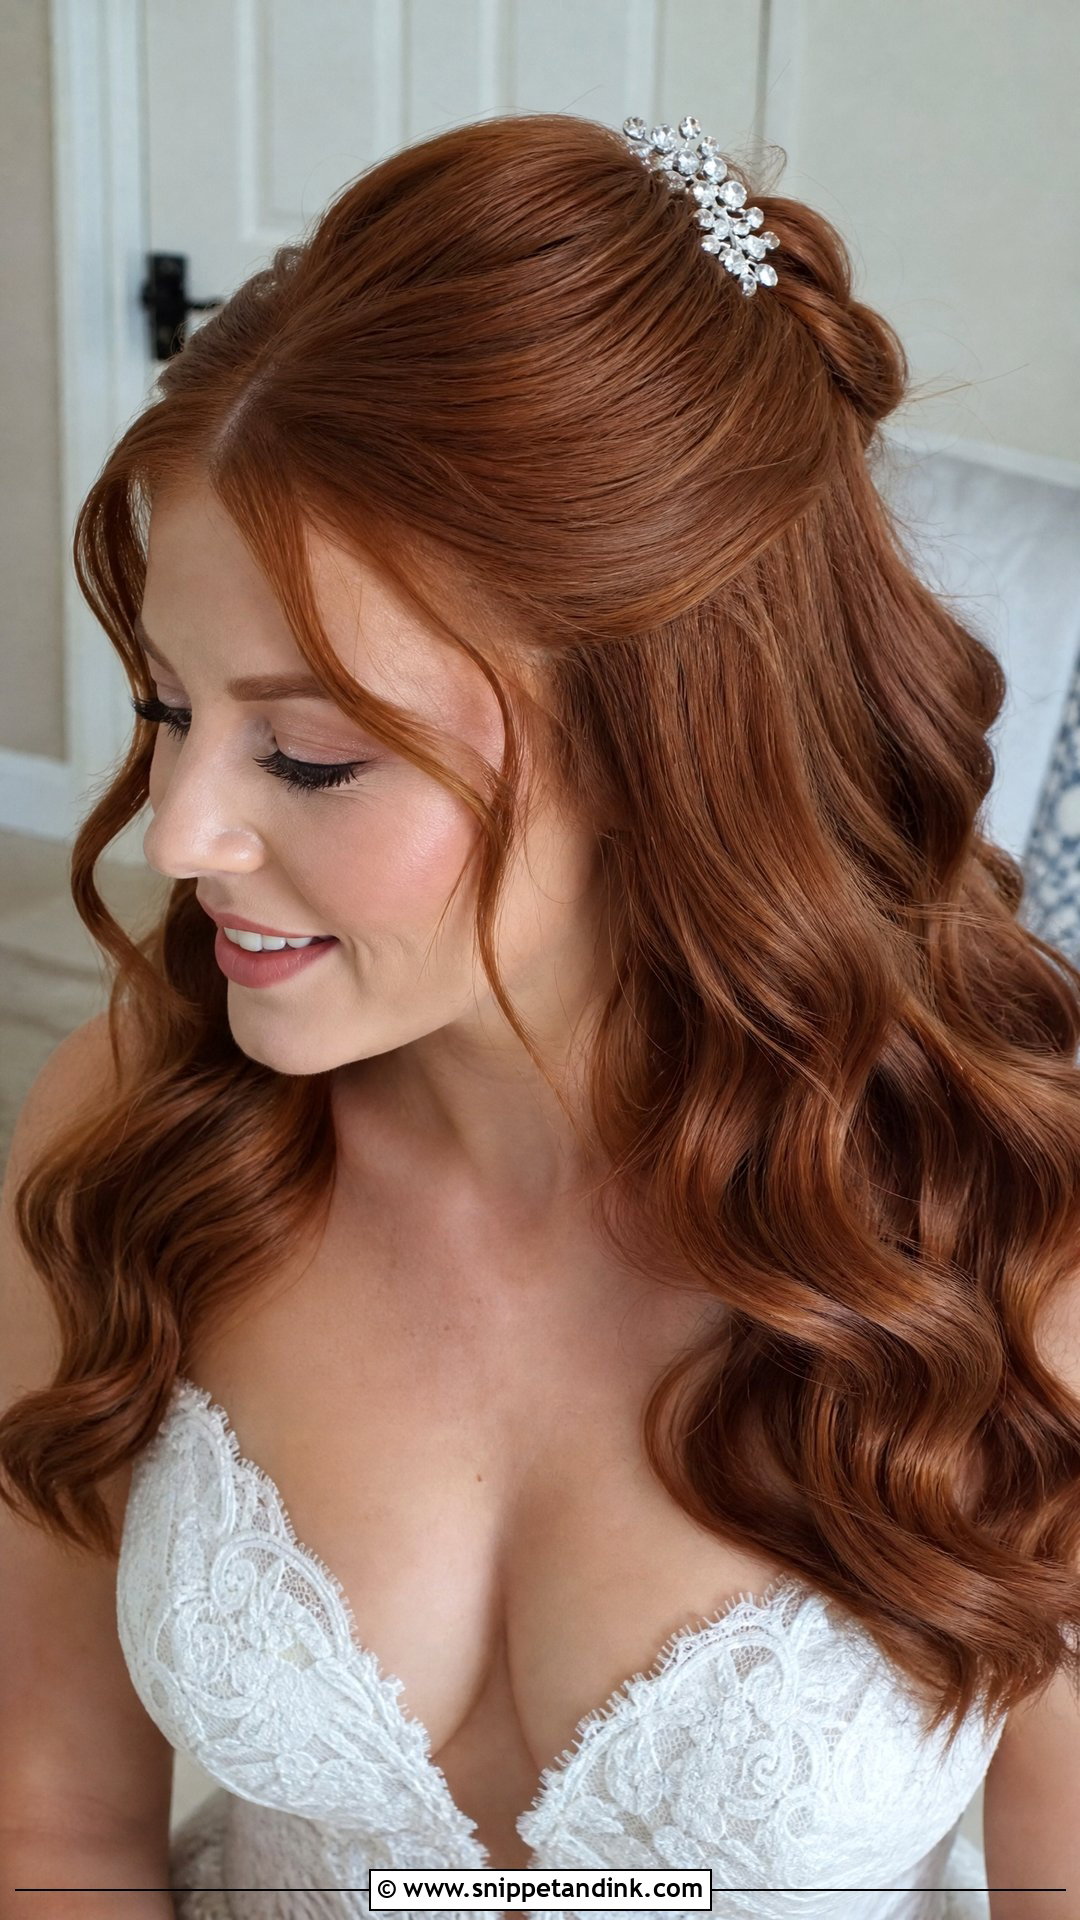
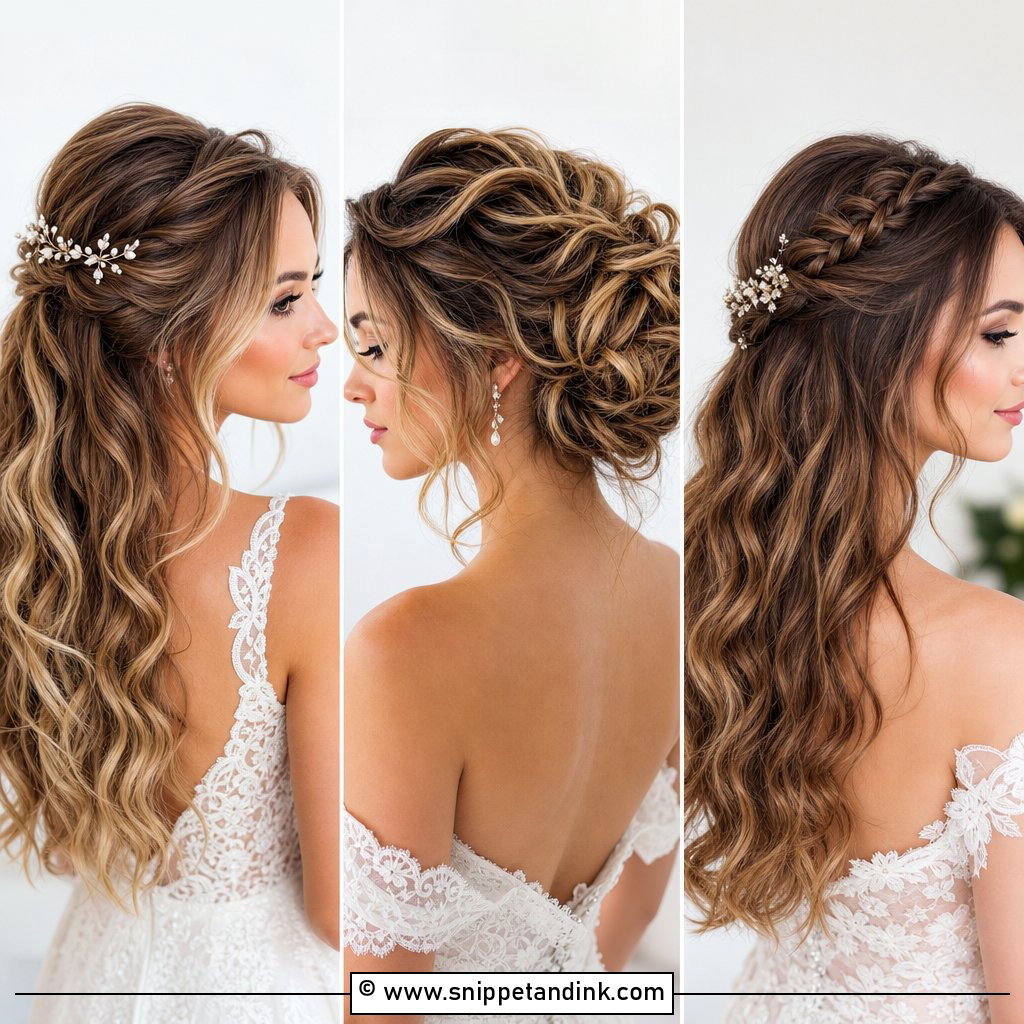
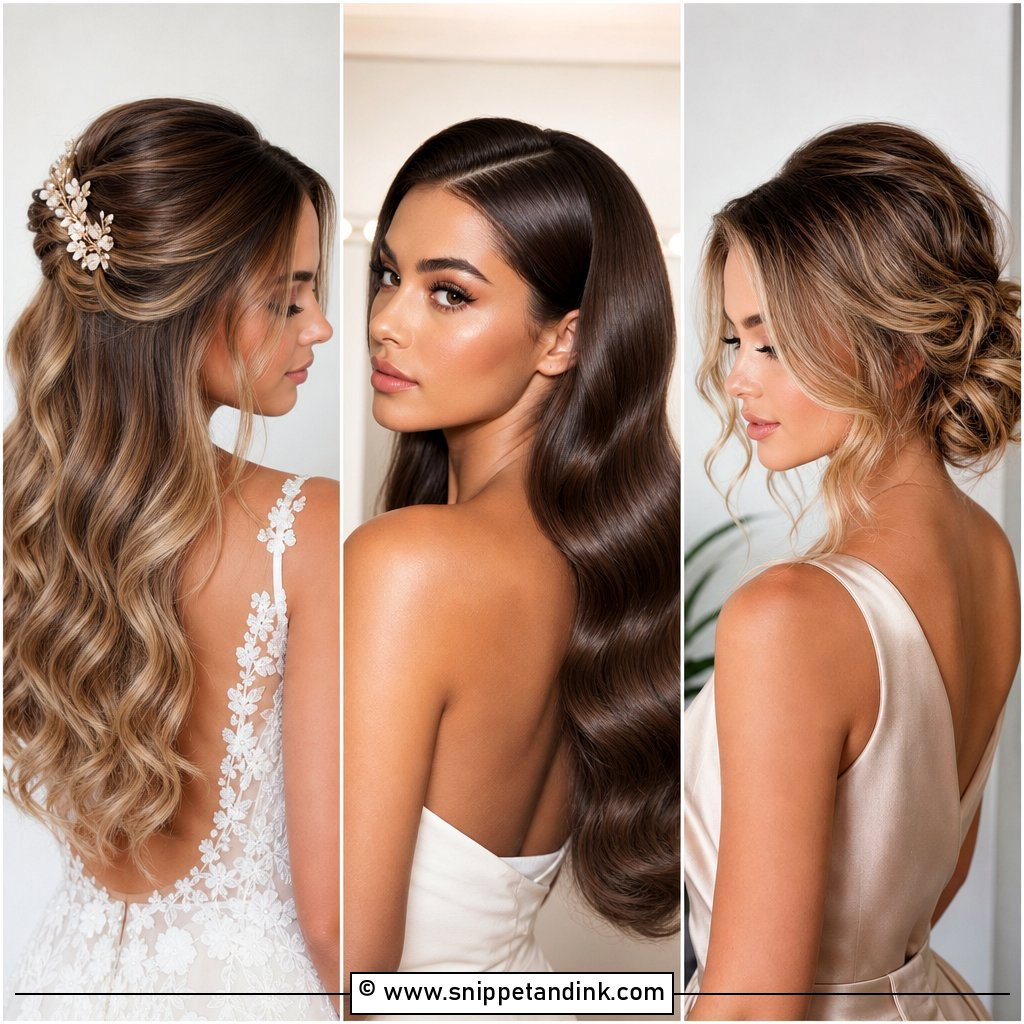
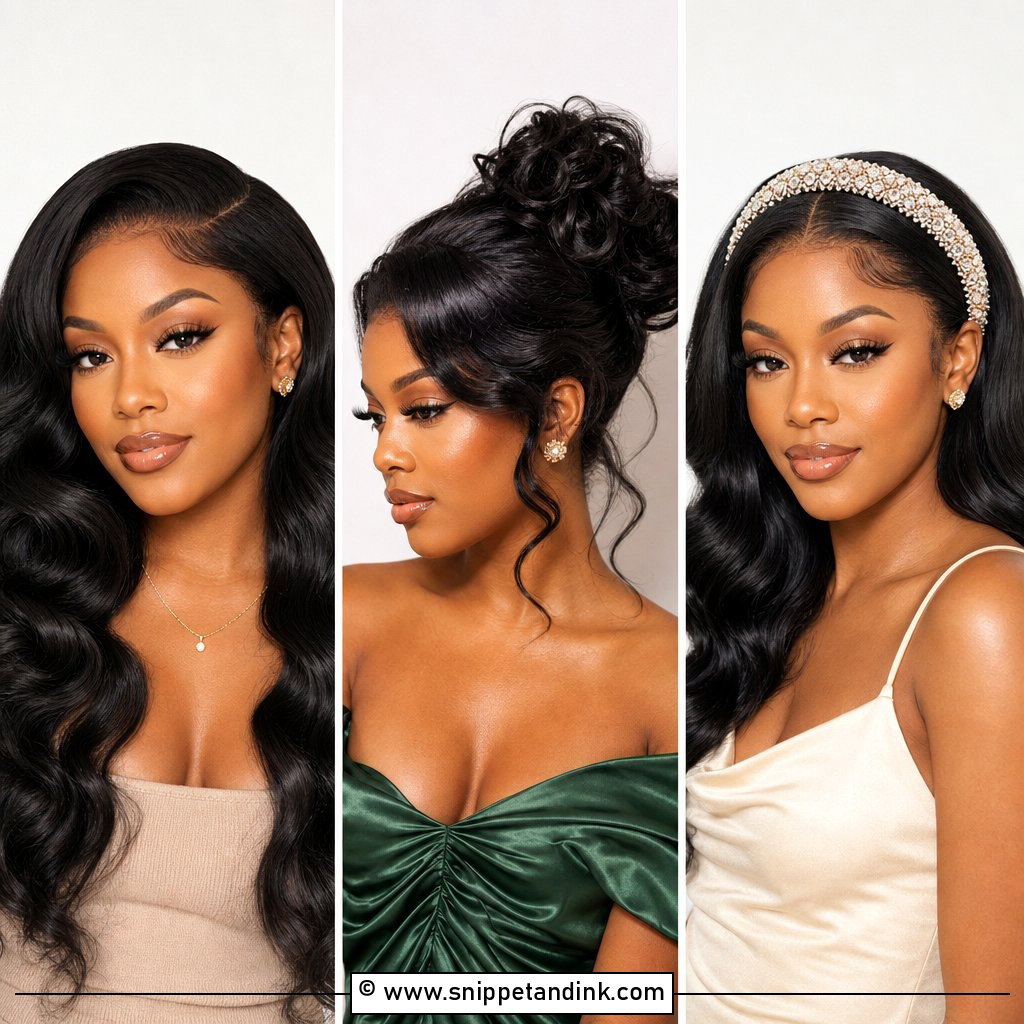
Half up keeps hair off your face while the length still shows. I take the top section back into a twist or a clip and leave the rest falling in glossy waves. The secured section is also the best place to anchor a veil comb, far steadier than combing it into loose hair. It frames the face, shows your necklace, and survives hugs and emotional moments better than hair worn fully down.
5. Voluminous Bombshell Waves
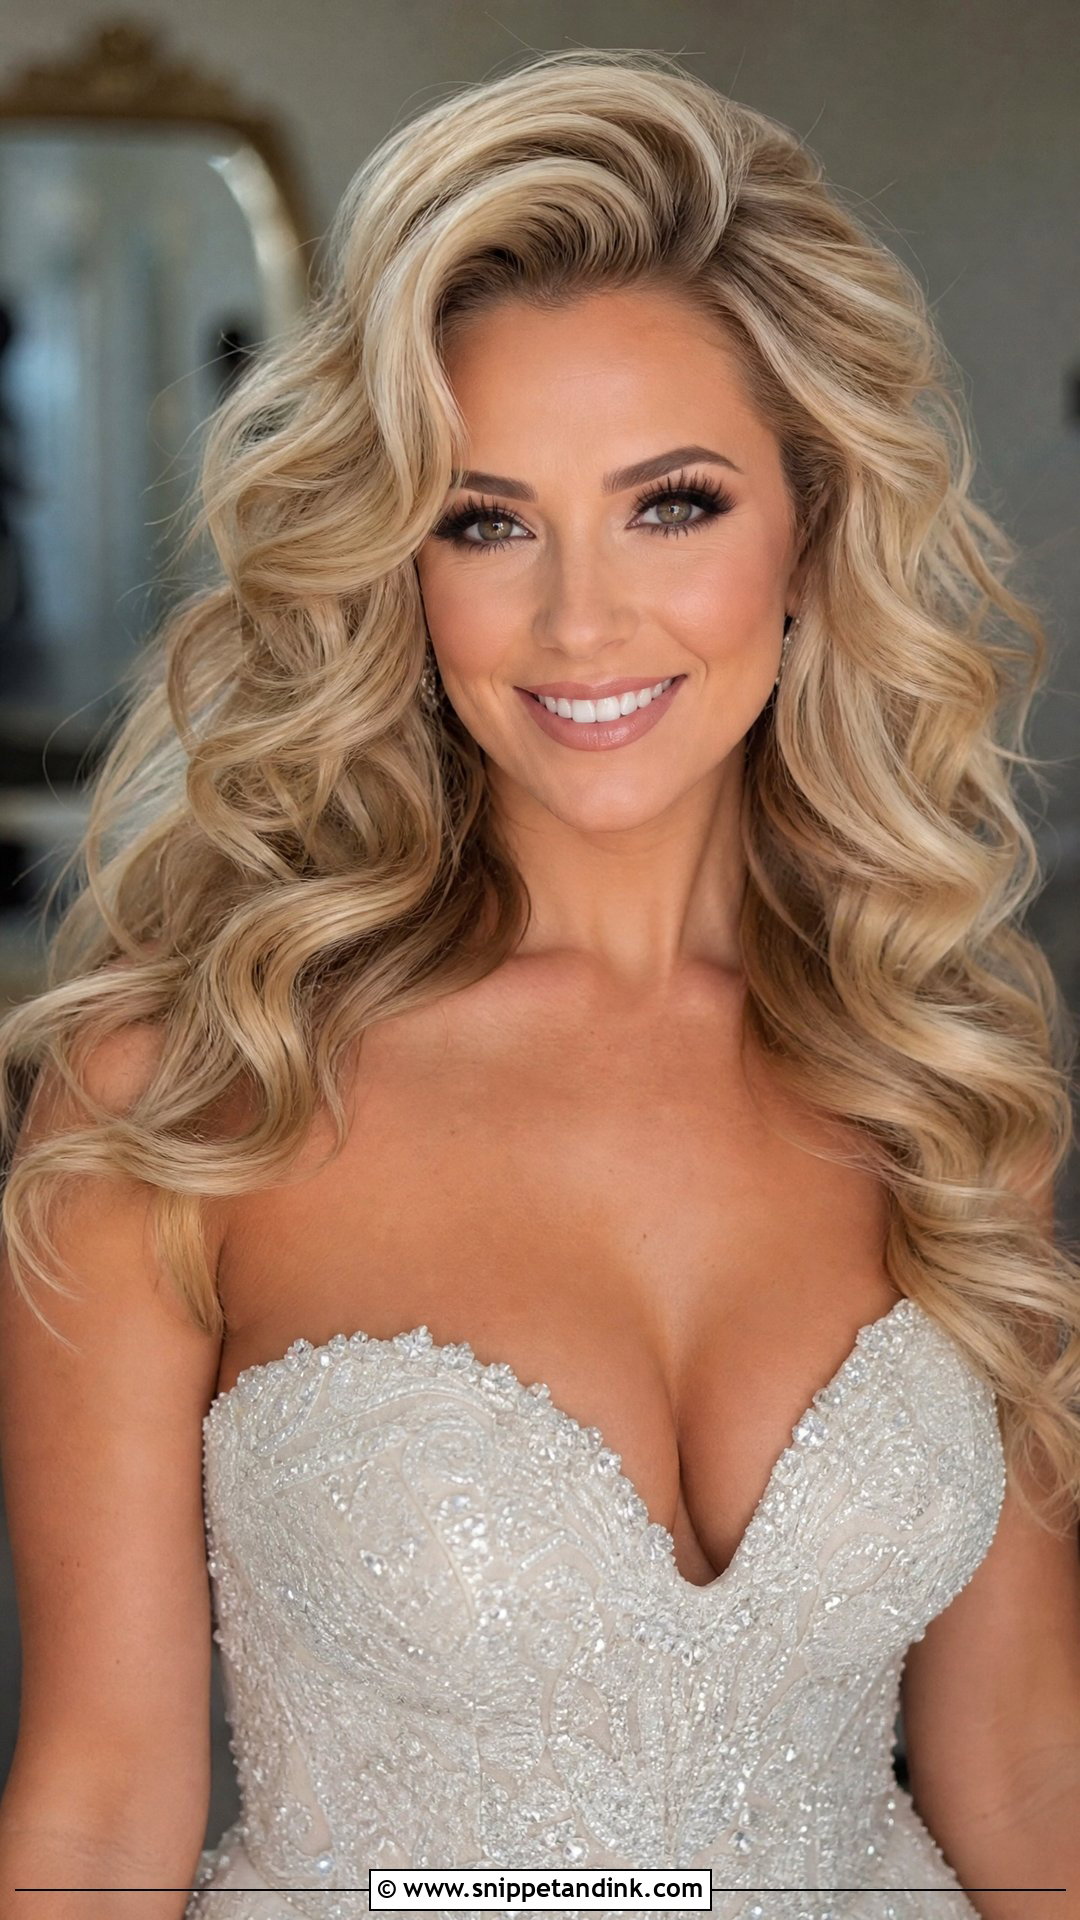
Bombshell waves are about volume: lift at the crown and fullness all the way through, brushed soft but kept big. Thick hair gets there naturally. Fine hair usually needs volumising extensions and backcombing at the roots, otherwise the weight of the curls flattens the crown within a couple of hours. Bold lashes and glowing skin suit it, as do strapless and sweetheart necklines. Daylight shows the fullness best.
6. Sleek Finger Waves
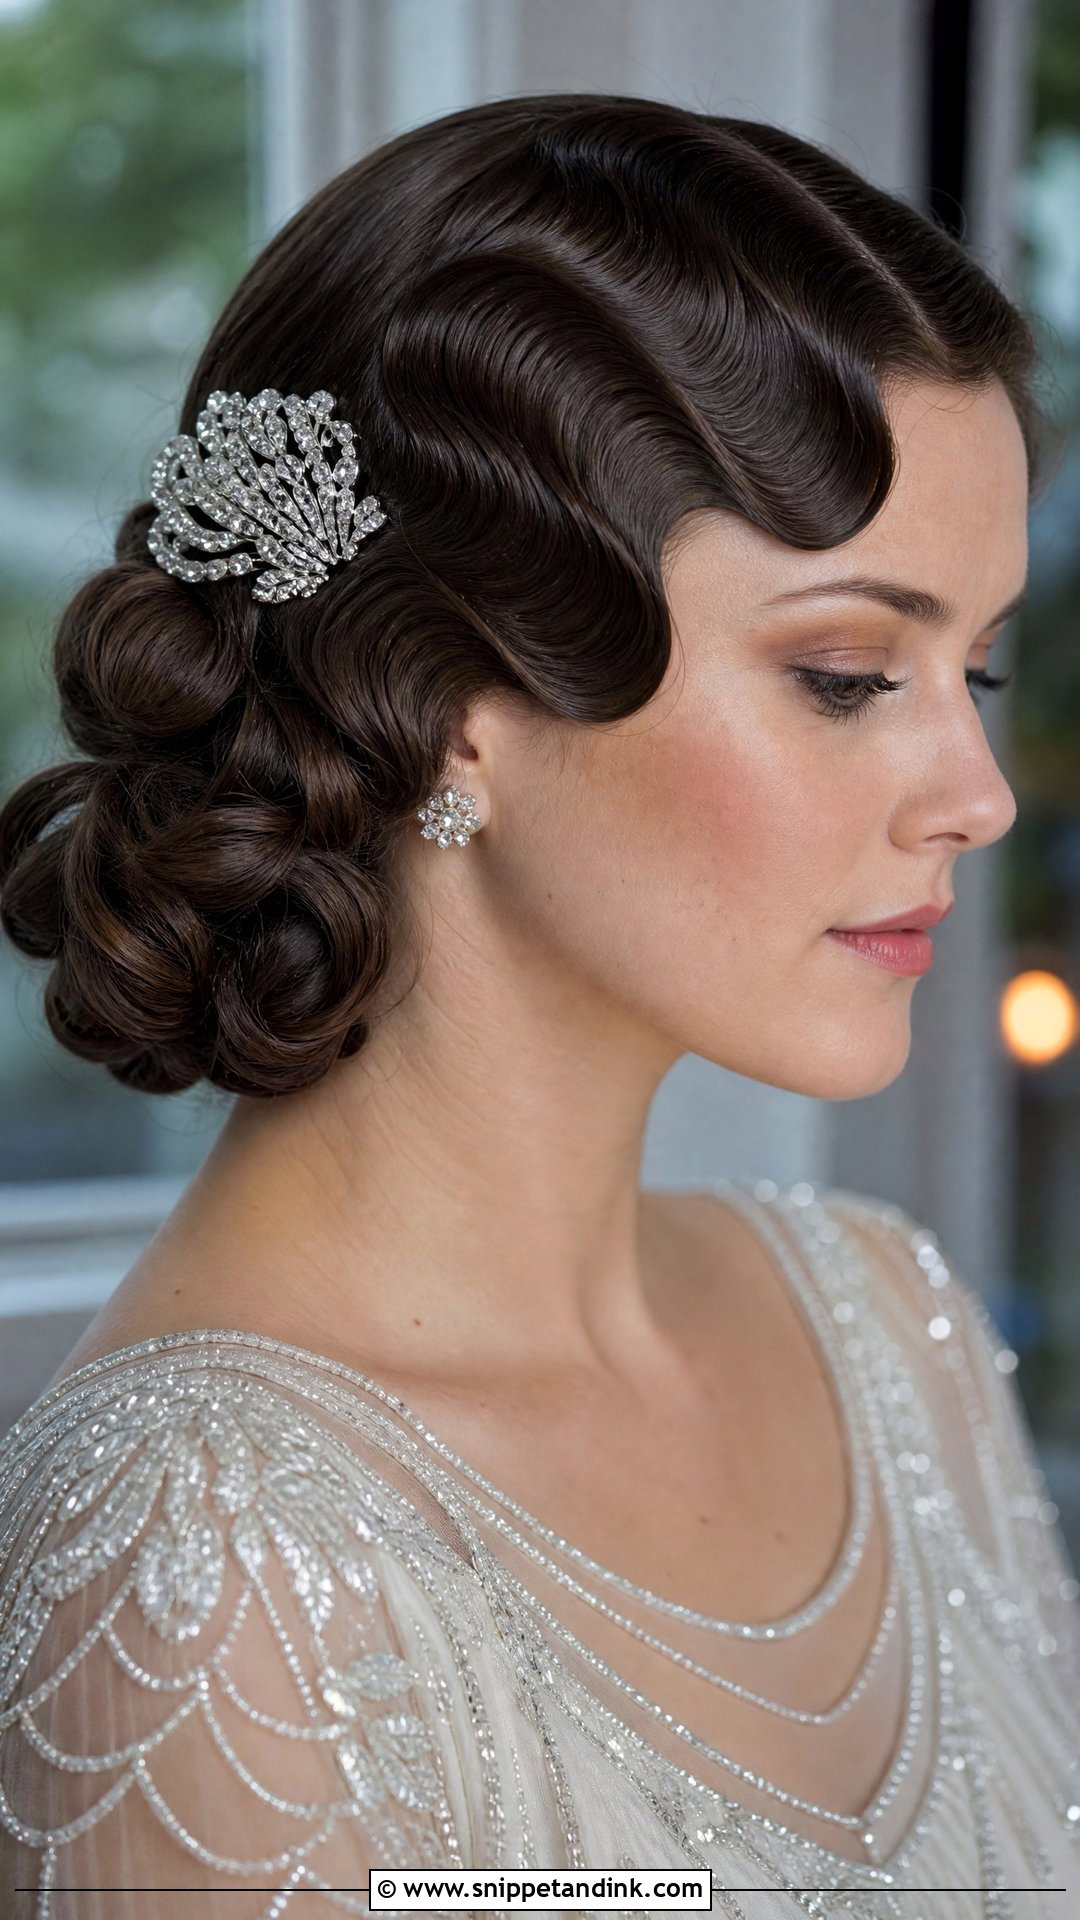
Finger waves are S-shaped ridges molded close to the head, usually around the crown and front, before softening into looser waves. They suit art deco and Gatsby-themed weddings. True finger waves are set wet with a strong gel and combed and pinched into shape, which takes time and a steady hand; a heat-set version is quicker but less crisp. They’re at their best on shorter hair or a bob. Add a crystal clip or vintage headpiece.
7. Mermaid Bridal Waves
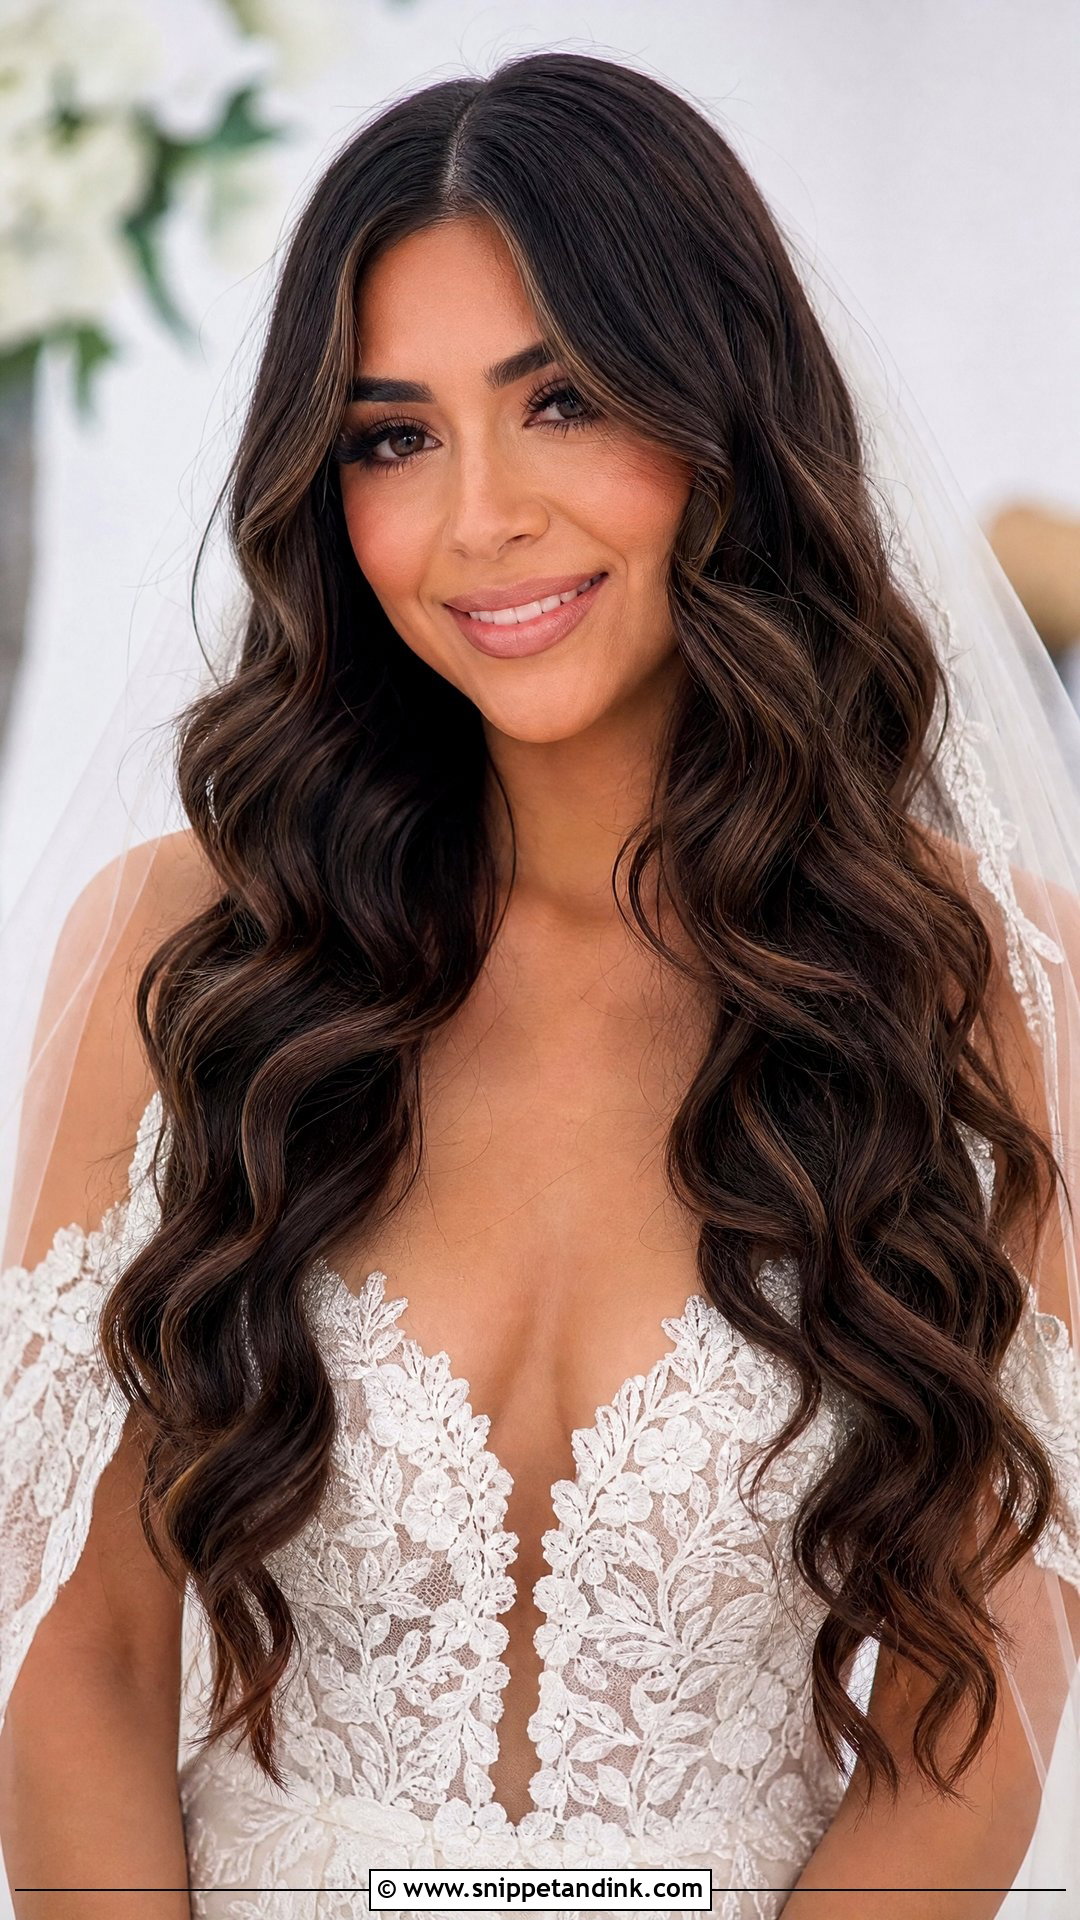
Mermaid waves need length. They’re looser and more textured than Hollywood curls, with a ripple running from root to tip, usually made with a wide barrel or a waver. A center part and a fine flowing veil suit them, and a few face-framing pieces soften the front. Beach and garden weddings are their home, though sea air is also their enemy: I add texture spray rather than heavy oil, since oil weighs the ripple down in humidity.
8. Glam Waves With Tiara
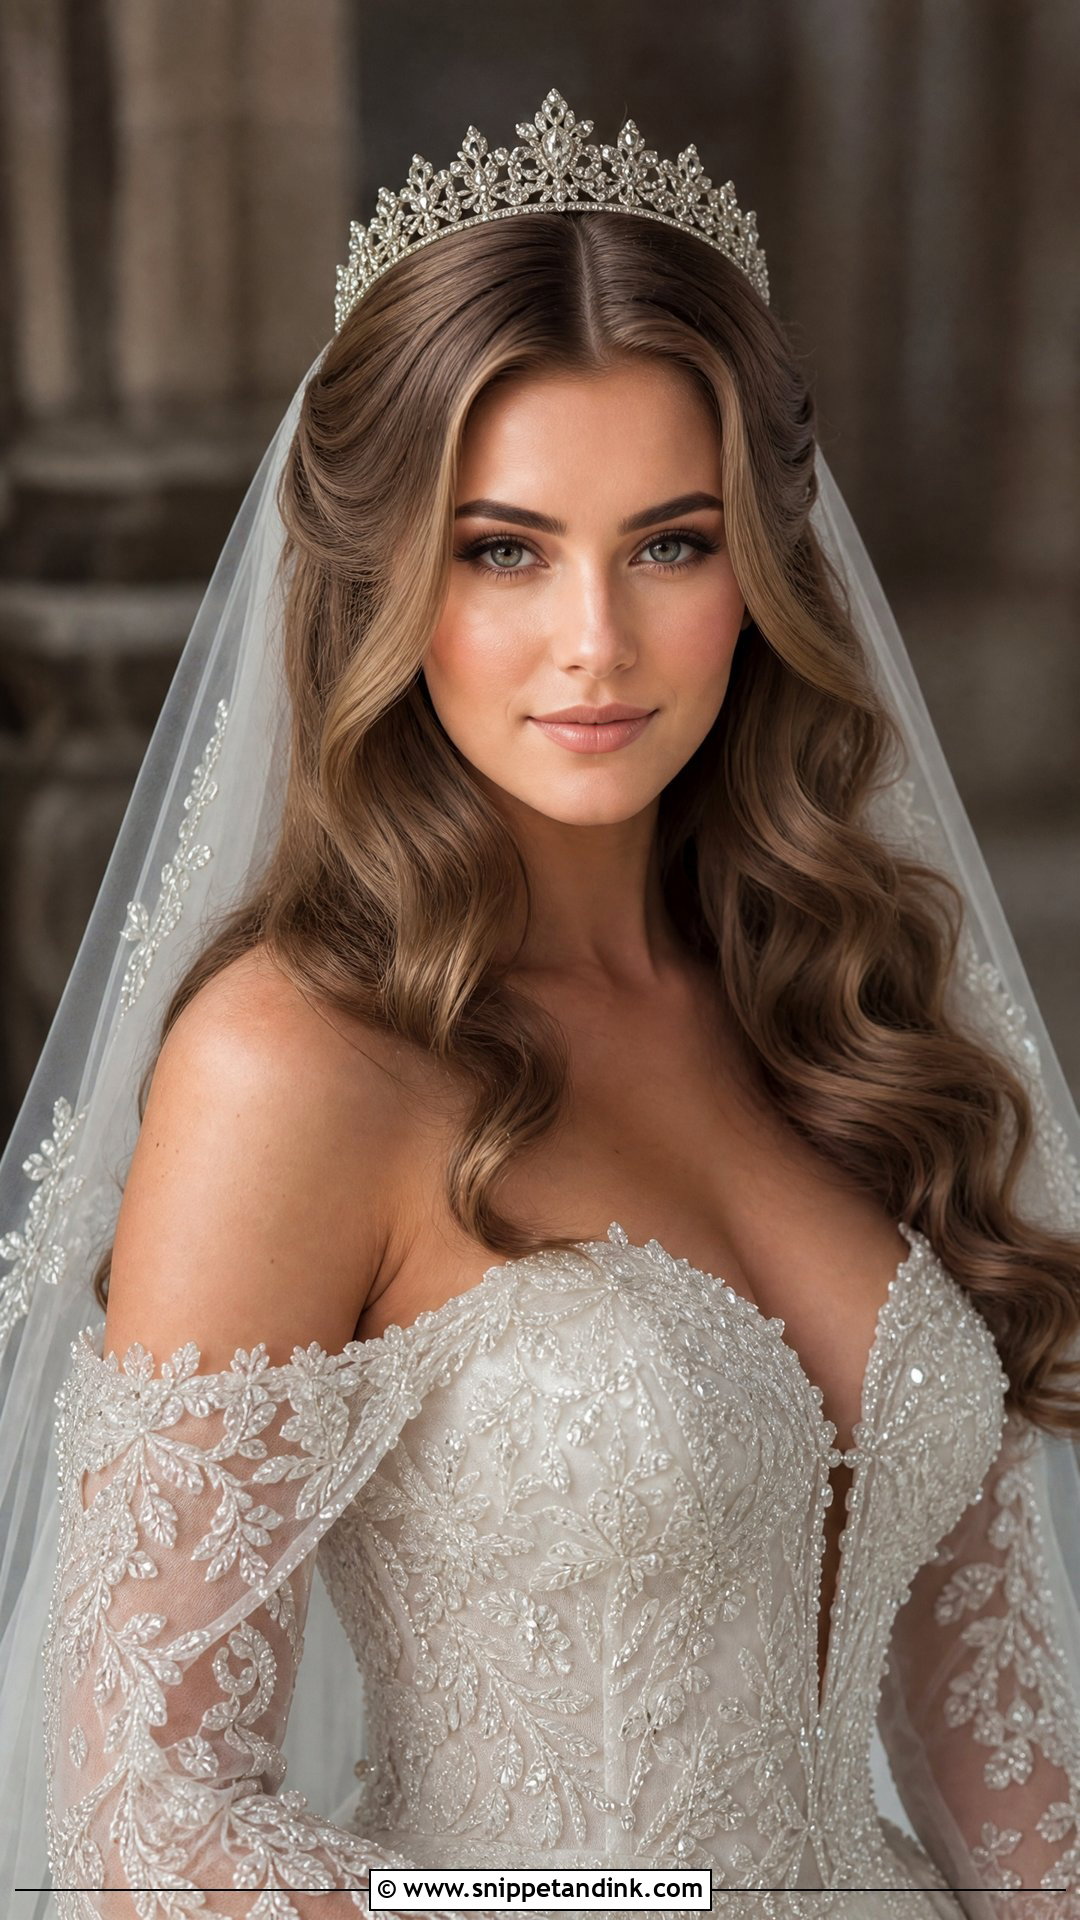
Waves under a tiara need a little more lift at the crown than usual, otherwise the tiara sits flat and the band shows. A middle part gives the symmetry a crown wants. I backcomb a small section just behind where the tiara will sit and anchor it with bobby pins threaded through the tiara’s loops, not just its combs. Ballroom weddings suit it, especially with a long veil underneath. Few looks feel as classic as glam waves with a tiara.
9. Low Glam Wave Ponytail
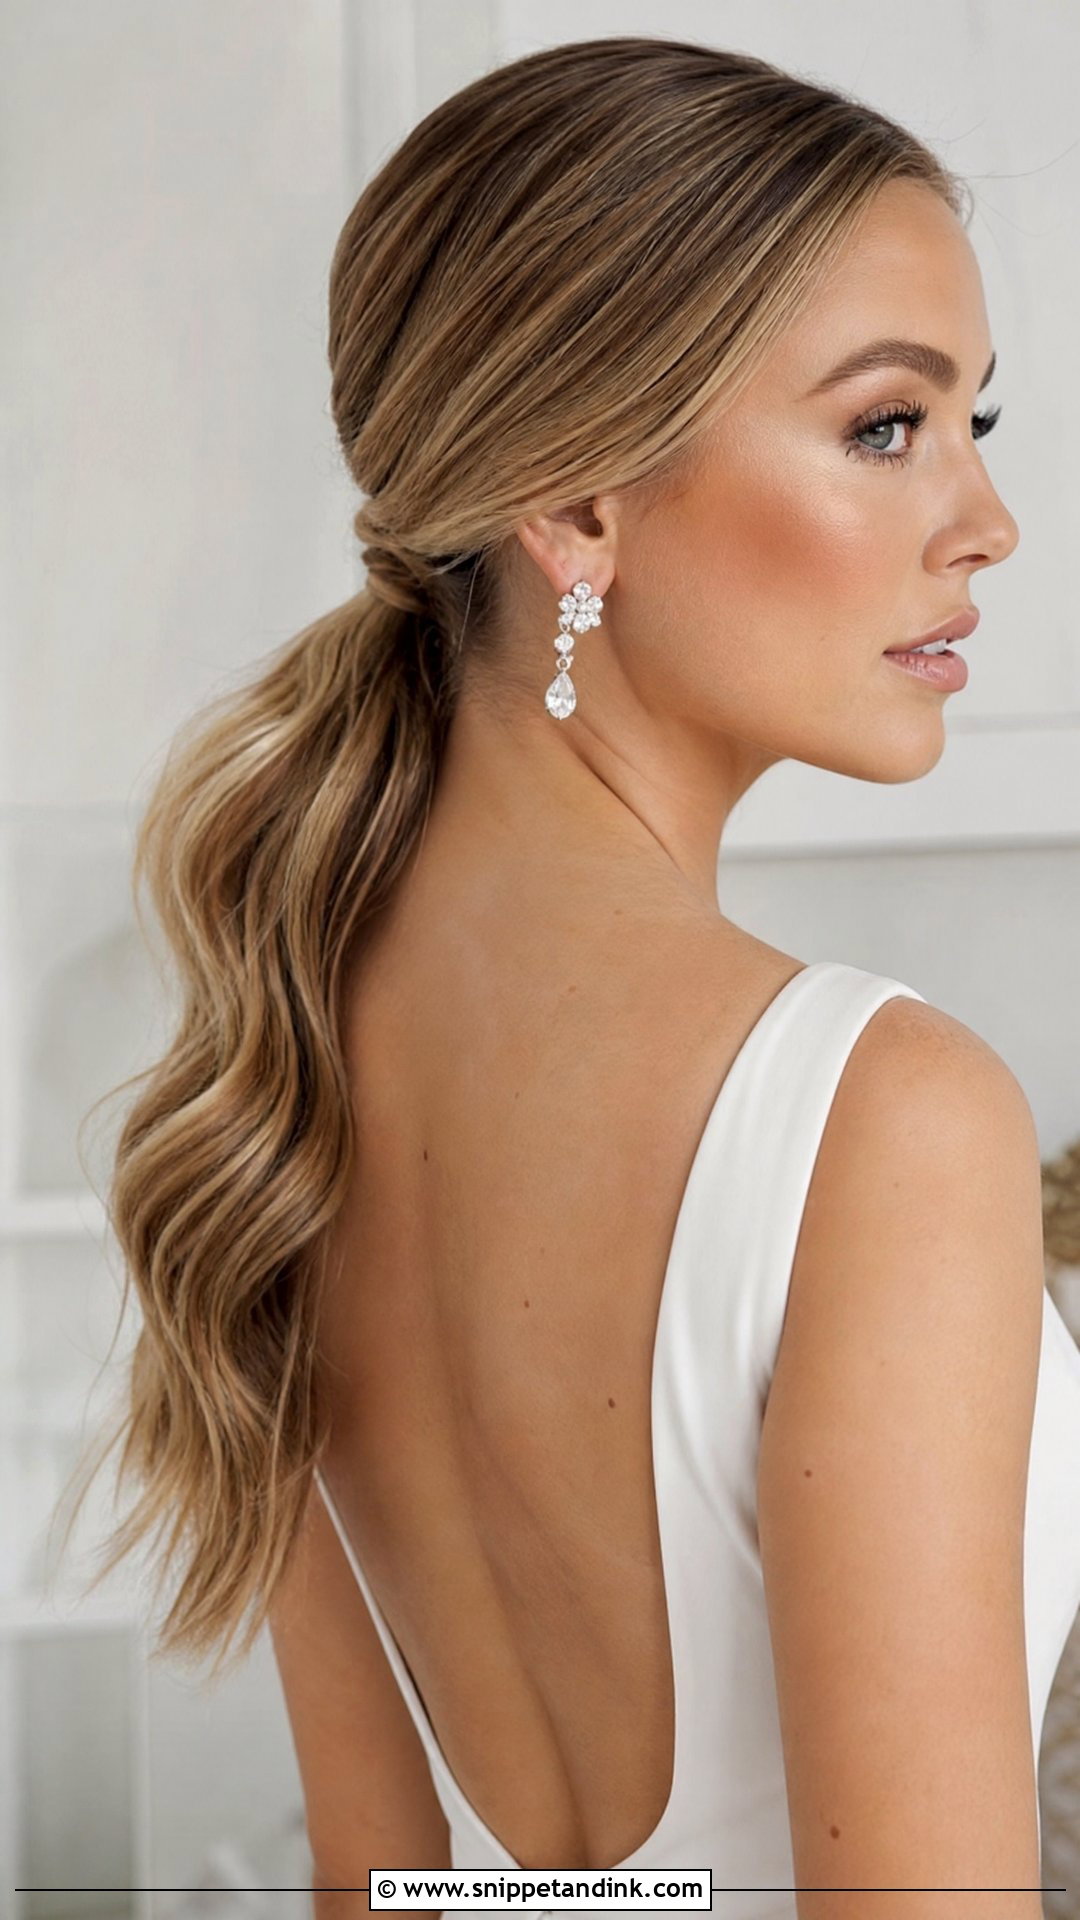
A low ponytail at the nape, wrapped with a piece of its own hair, then waved below. It’s sleek on top and full of movement underneath. Clip-in extensions add length and body if your own ponytail is thin. I secure the base with two elastics and pins, because a ponytail carries all its weight at one point and will slip by evening otherwise. It shows off earrings and neckline, and it’s one of the steadiest styles for dancing.
10. Vintage Pin Curl Waves
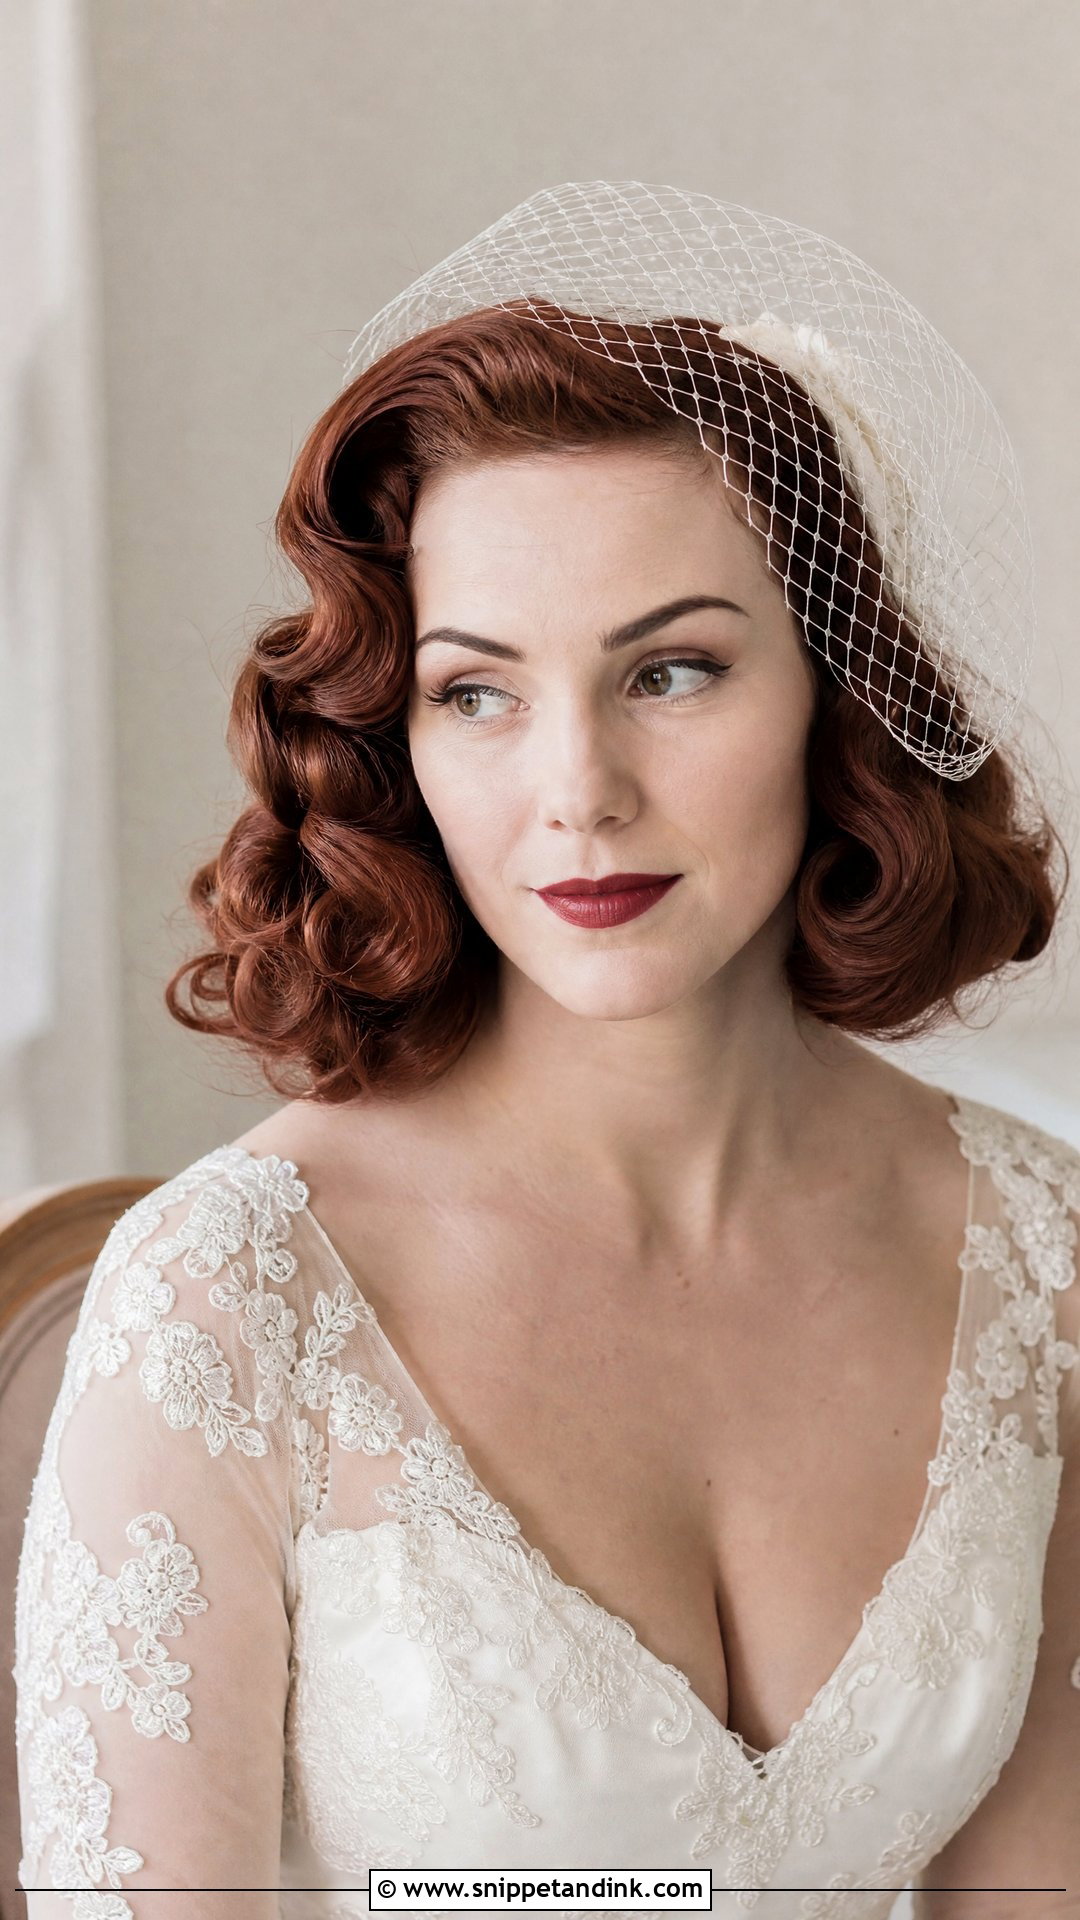
Pin curls are set tightly, left to cool or dry completely, then brushed into bouncy, uniform retro waves. The result looks like a 1940s portrait. Because the curl is set and cooled in place, this is one of the longest-lasting wave techniques I use, though it needs time in the chair. A birdcage veil or a vintage comb completes it, and it looks just as good in black and white.
11. Center Part Glam Waves
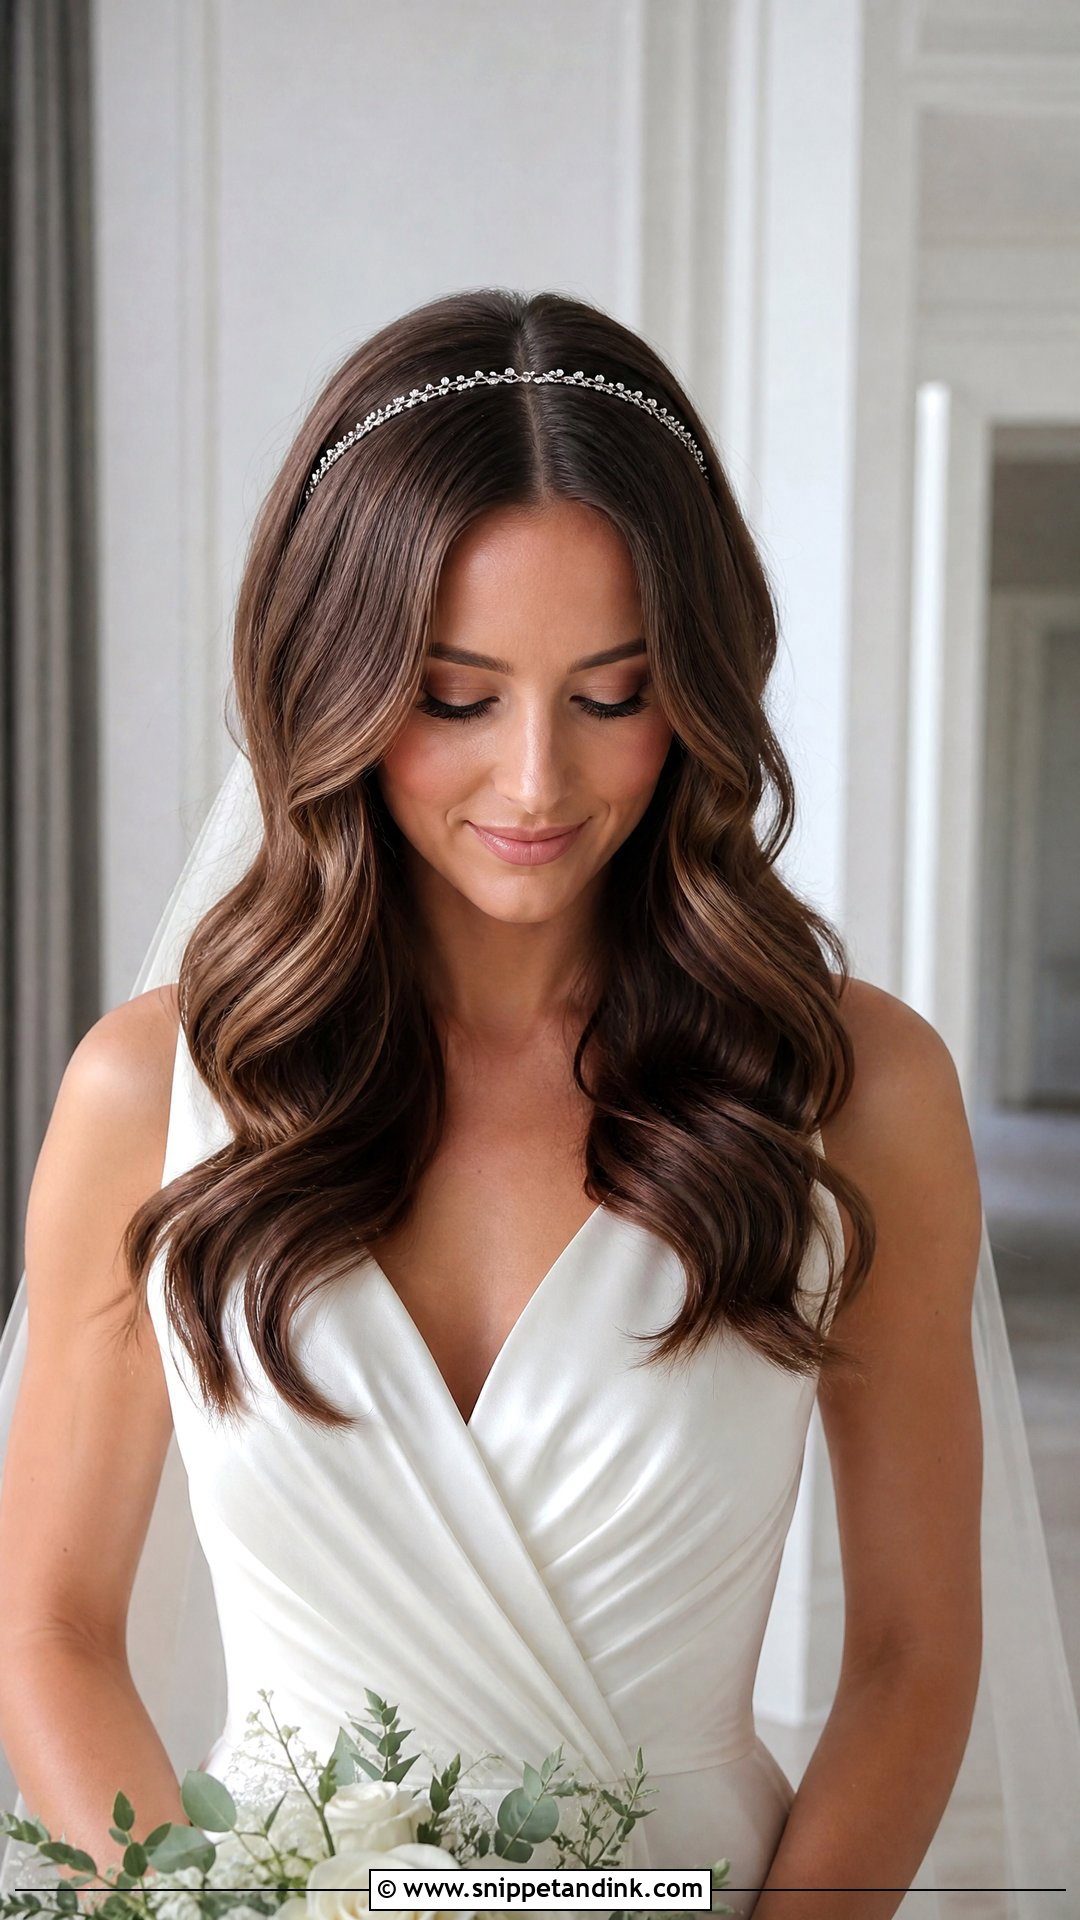
A center part gives classic waves a more modern balance, with glossy waves falling evenly on both sides. It’s harder than it looks to get both sides matching, so I curl each side away from the face in mirror image. It suits tiaras, headbands and hair vines. Center parts aren’t for everyone; a strong cowlick at the front hairline will fight it all day, and I’d check that at your trial.
12. Glam Waves With Hair Vine
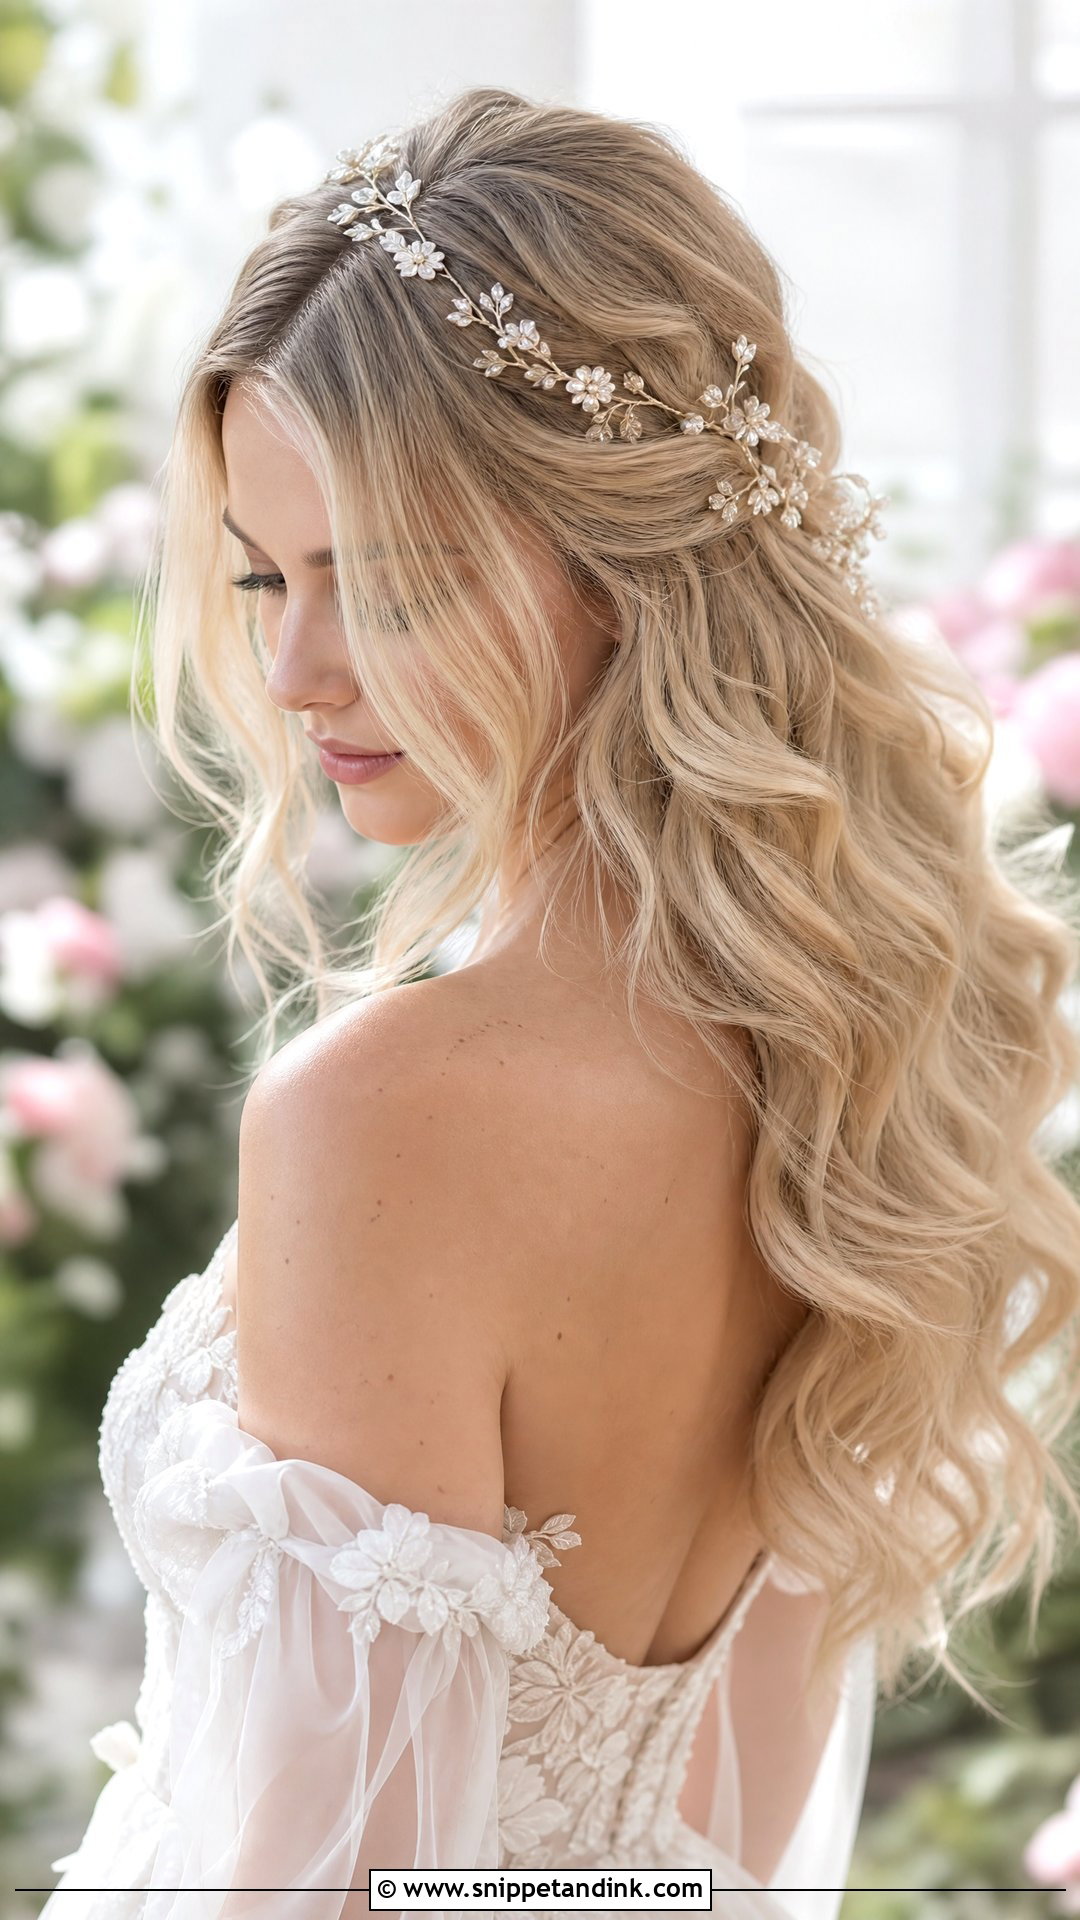
A flexible hair vine woven through soft waves catches light as you move. It can wrap the crown or trail down one side. The waves stay loose so the vine is visible, and I stitch it in with small pins every few inches, because vines are light enough to slide out of glossy hair. It suits garden weddings and works with or without a veil. A hair vine layered into glam waves gives sparkle without the formality of a tiara.
13. Brushed Out Glam Waves
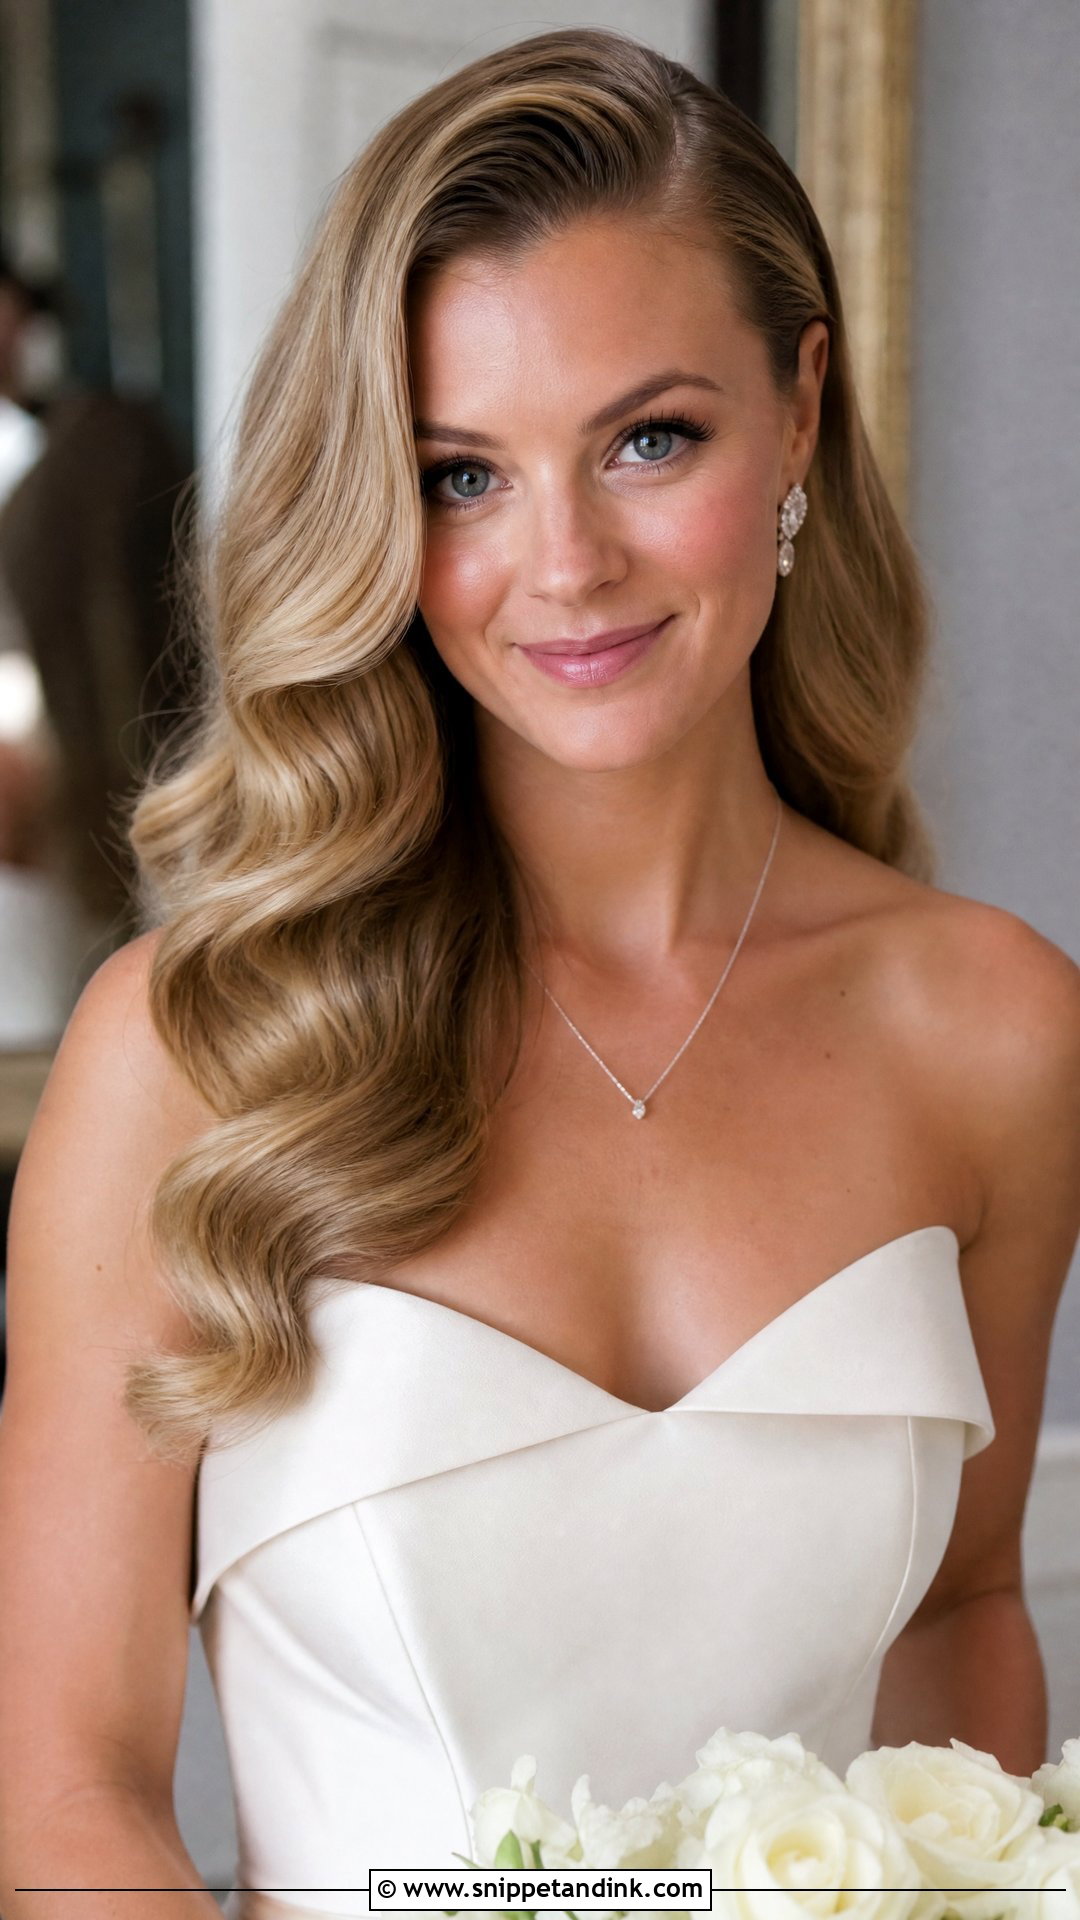
Brushing out is the step that turns curls into waves. Once each curl has cooled, I brush it gently, section by section, until the curls merge into smooth ripples. Brush too early, while the hair is still warm, and the curl falls out; brush too little, and you’re left with ringlets. Done properly it removes all the stiffness and gives a soft, glossy shape that suits black-tie and ballroom weddings. A deep side part adds drama.
14. Glam Waves For Short Hair
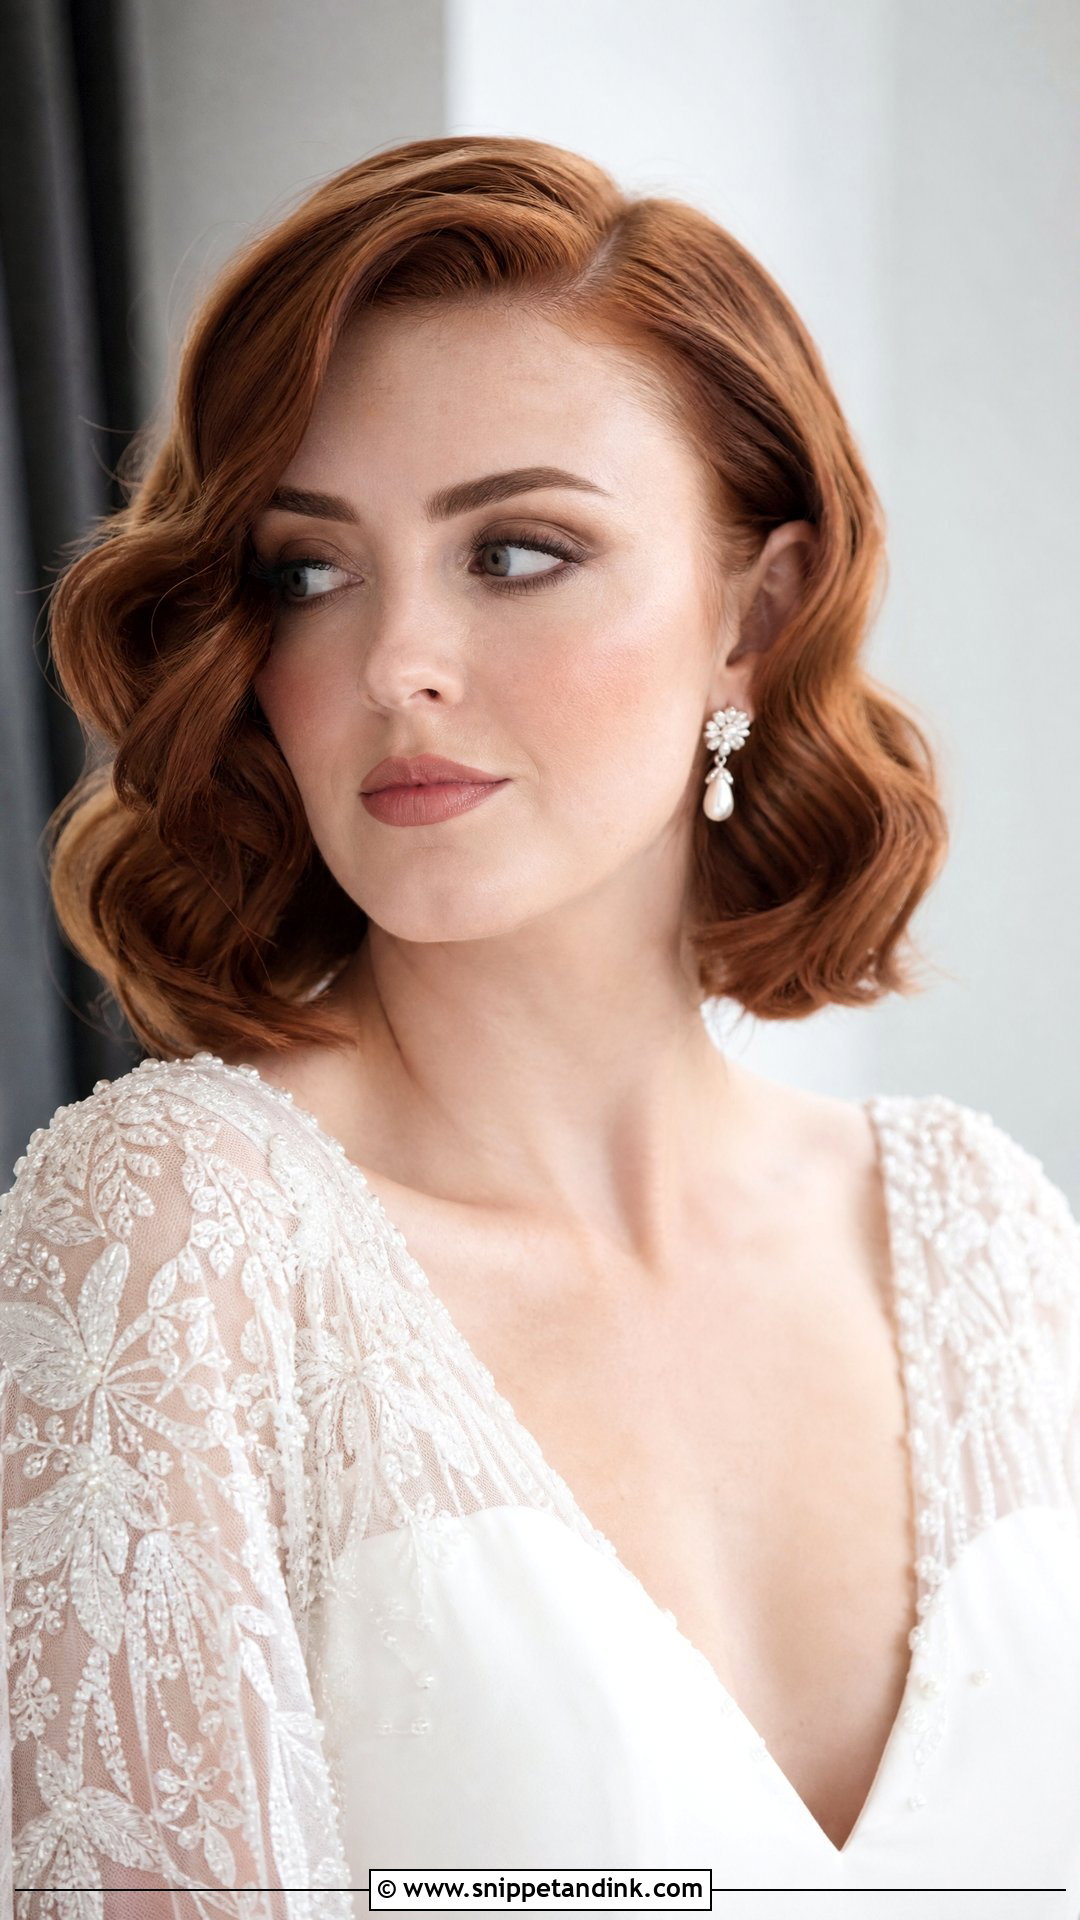
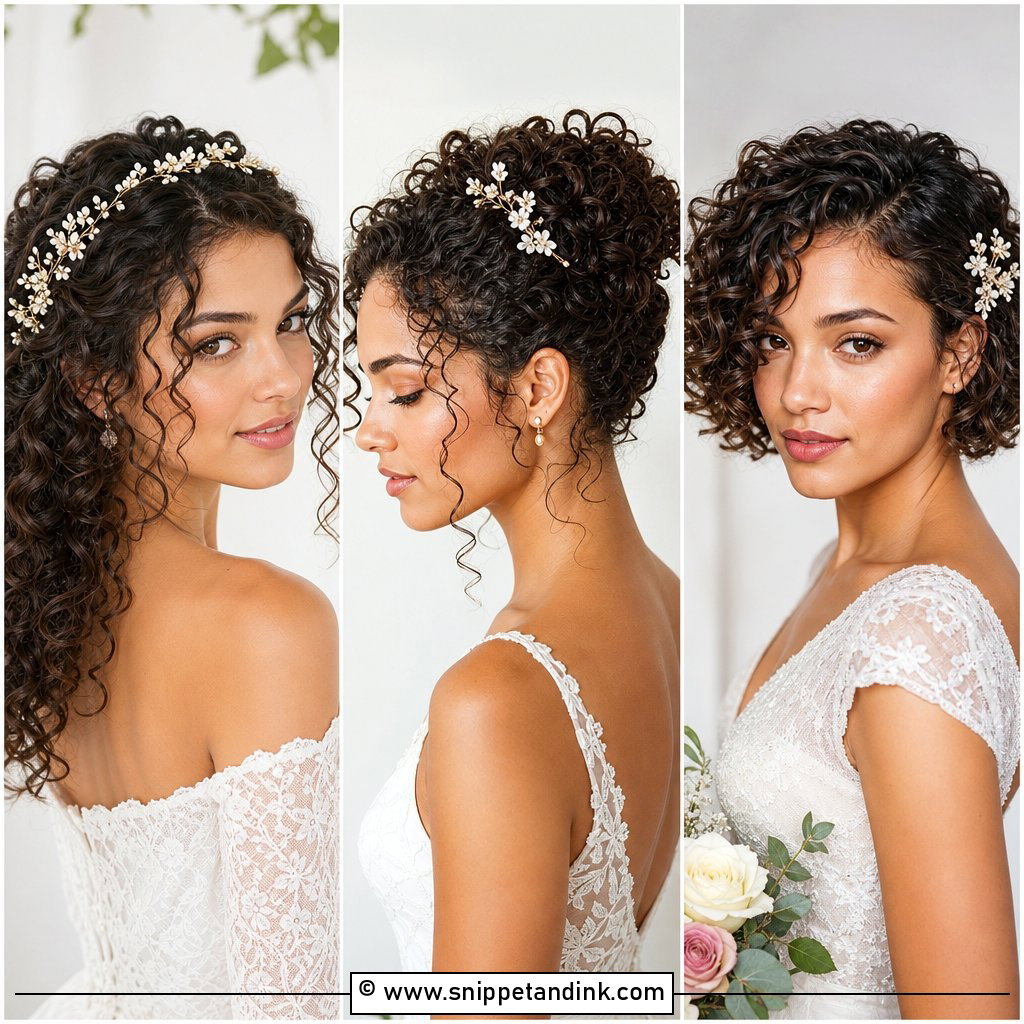
Short hair takes waves well, often better than long hair, since there’s less weight pulling the curl down. On bobs and lobs I use a smaller barrel and finish with finger-wave detail near the crown for a vintage feel, with a side part for drama. Statement earrings are worth it with this length. A small comb or delicate clip adds a finishing detail.
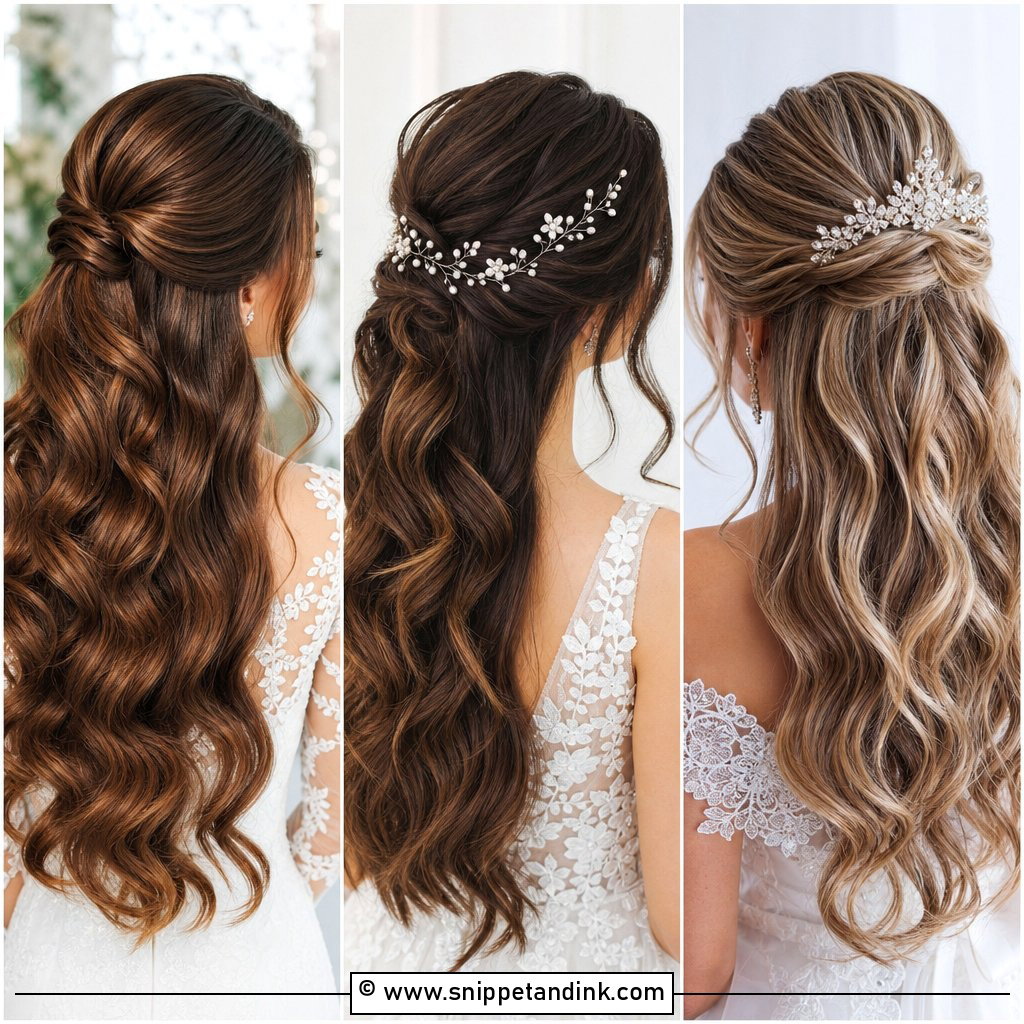
15. Deep Side Part Glam Waves
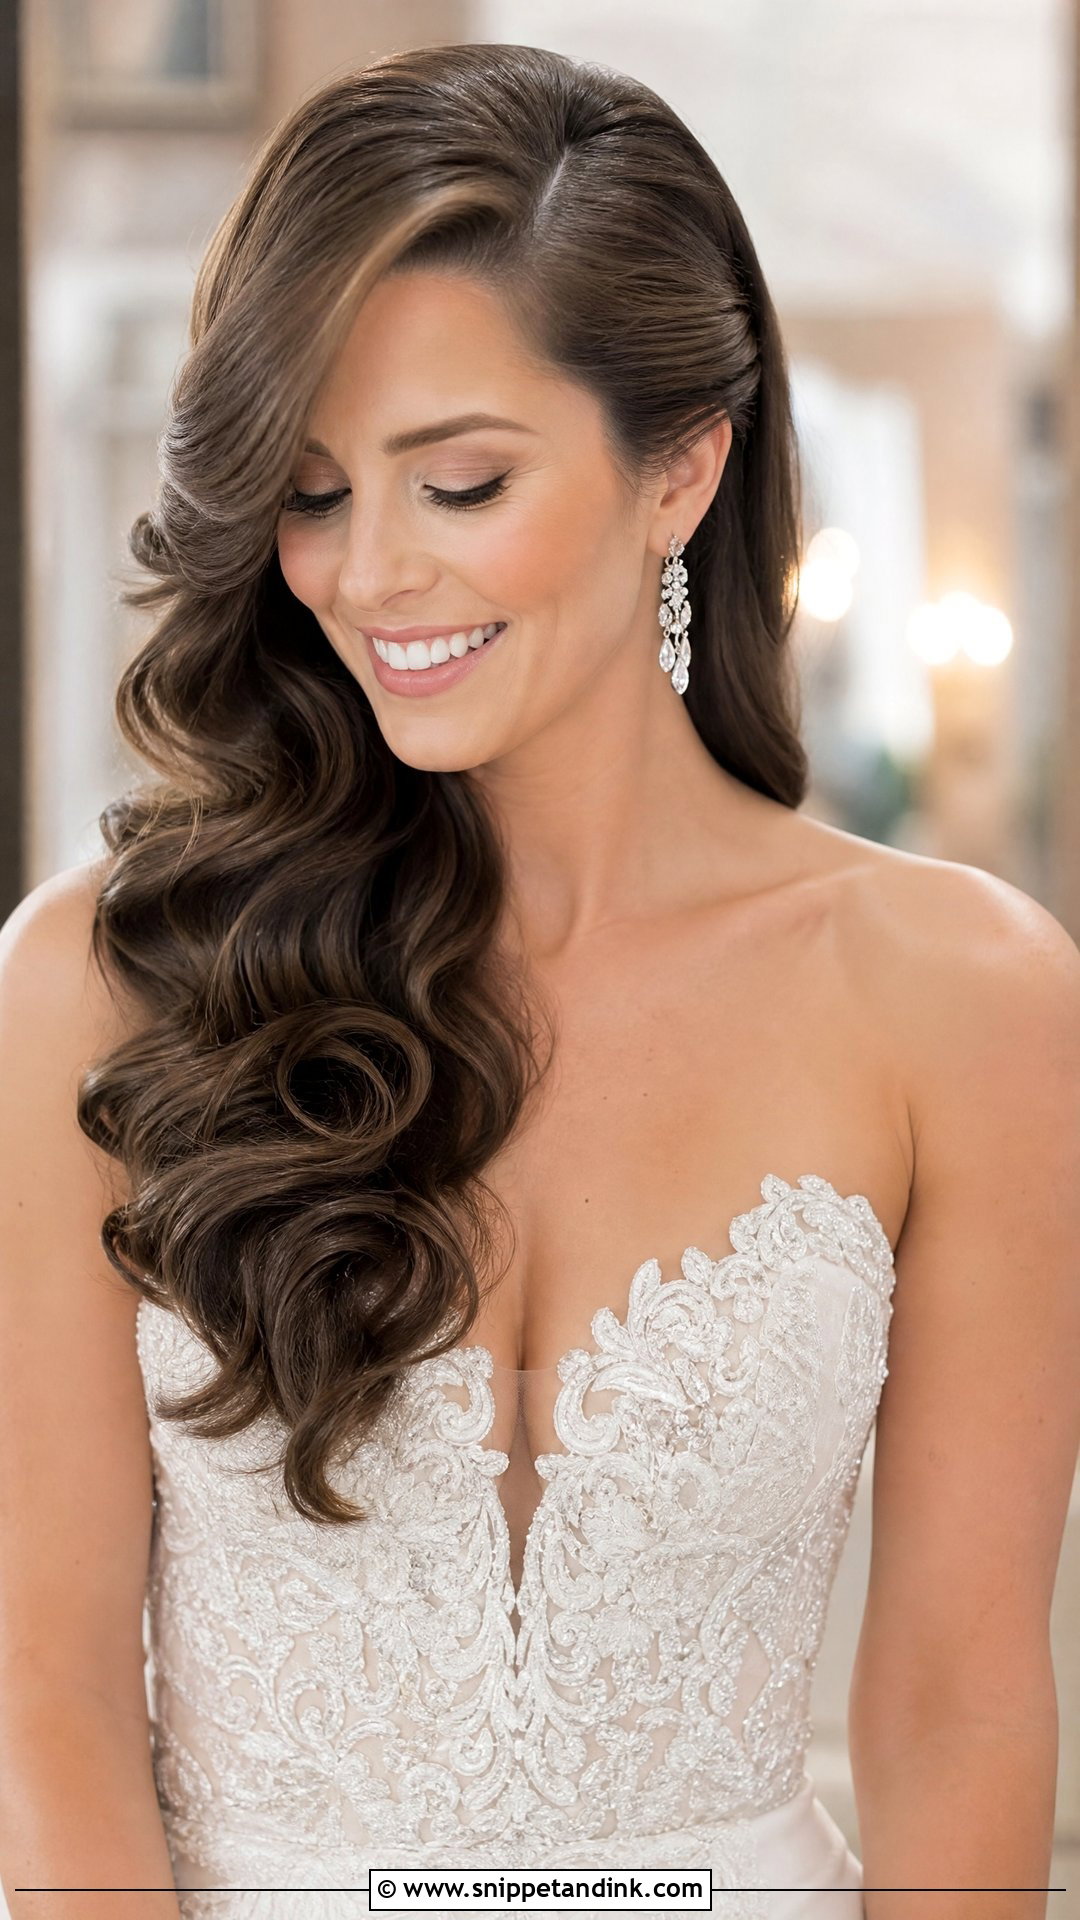
Moving the part well over to one side lifts the crown and swoops the hair across the face, giving the classic old-Hollywood drape over one shoulder. It adds definition to round and angular faces. The deep part does mean one side carries most of the hair, so I pin under that swoop near the temple to stop it sliding into your eye during the ceremony. Soft, glowing makeup and earrings suit it.
16. Soft Curtain Glam Waves
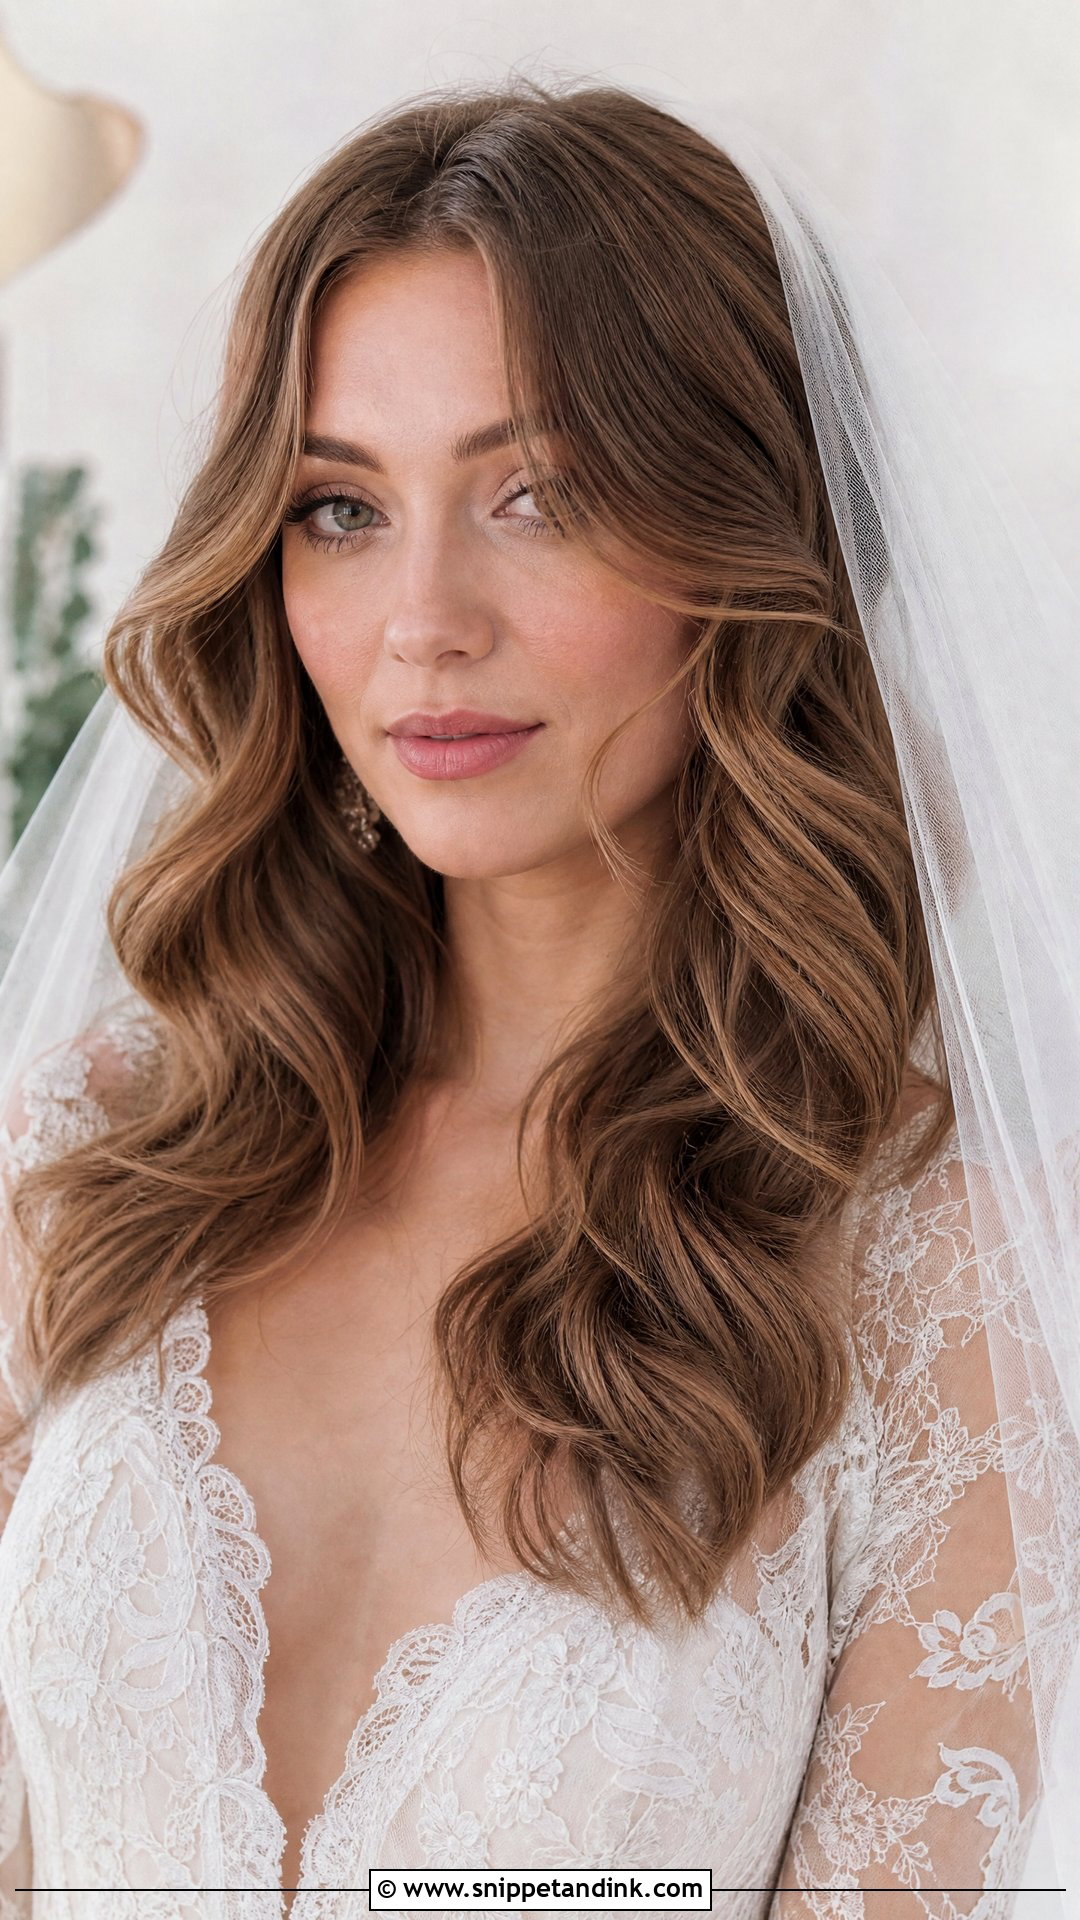
Curtain waves part in the center, sweep the front pieces back and away from the face, then fall into glossy waves. The front pieces are the focus, so I curl them away from the face with a slightly smaller barrel than the rest. It’s soft, flattering and suits boho or modern brides, fine veils and natural makeup. On very short curtain bangs, the sweep can fall forward by evening, and a tiny invisible pin behind the ear solves that.
17. Glam Waves With Veil
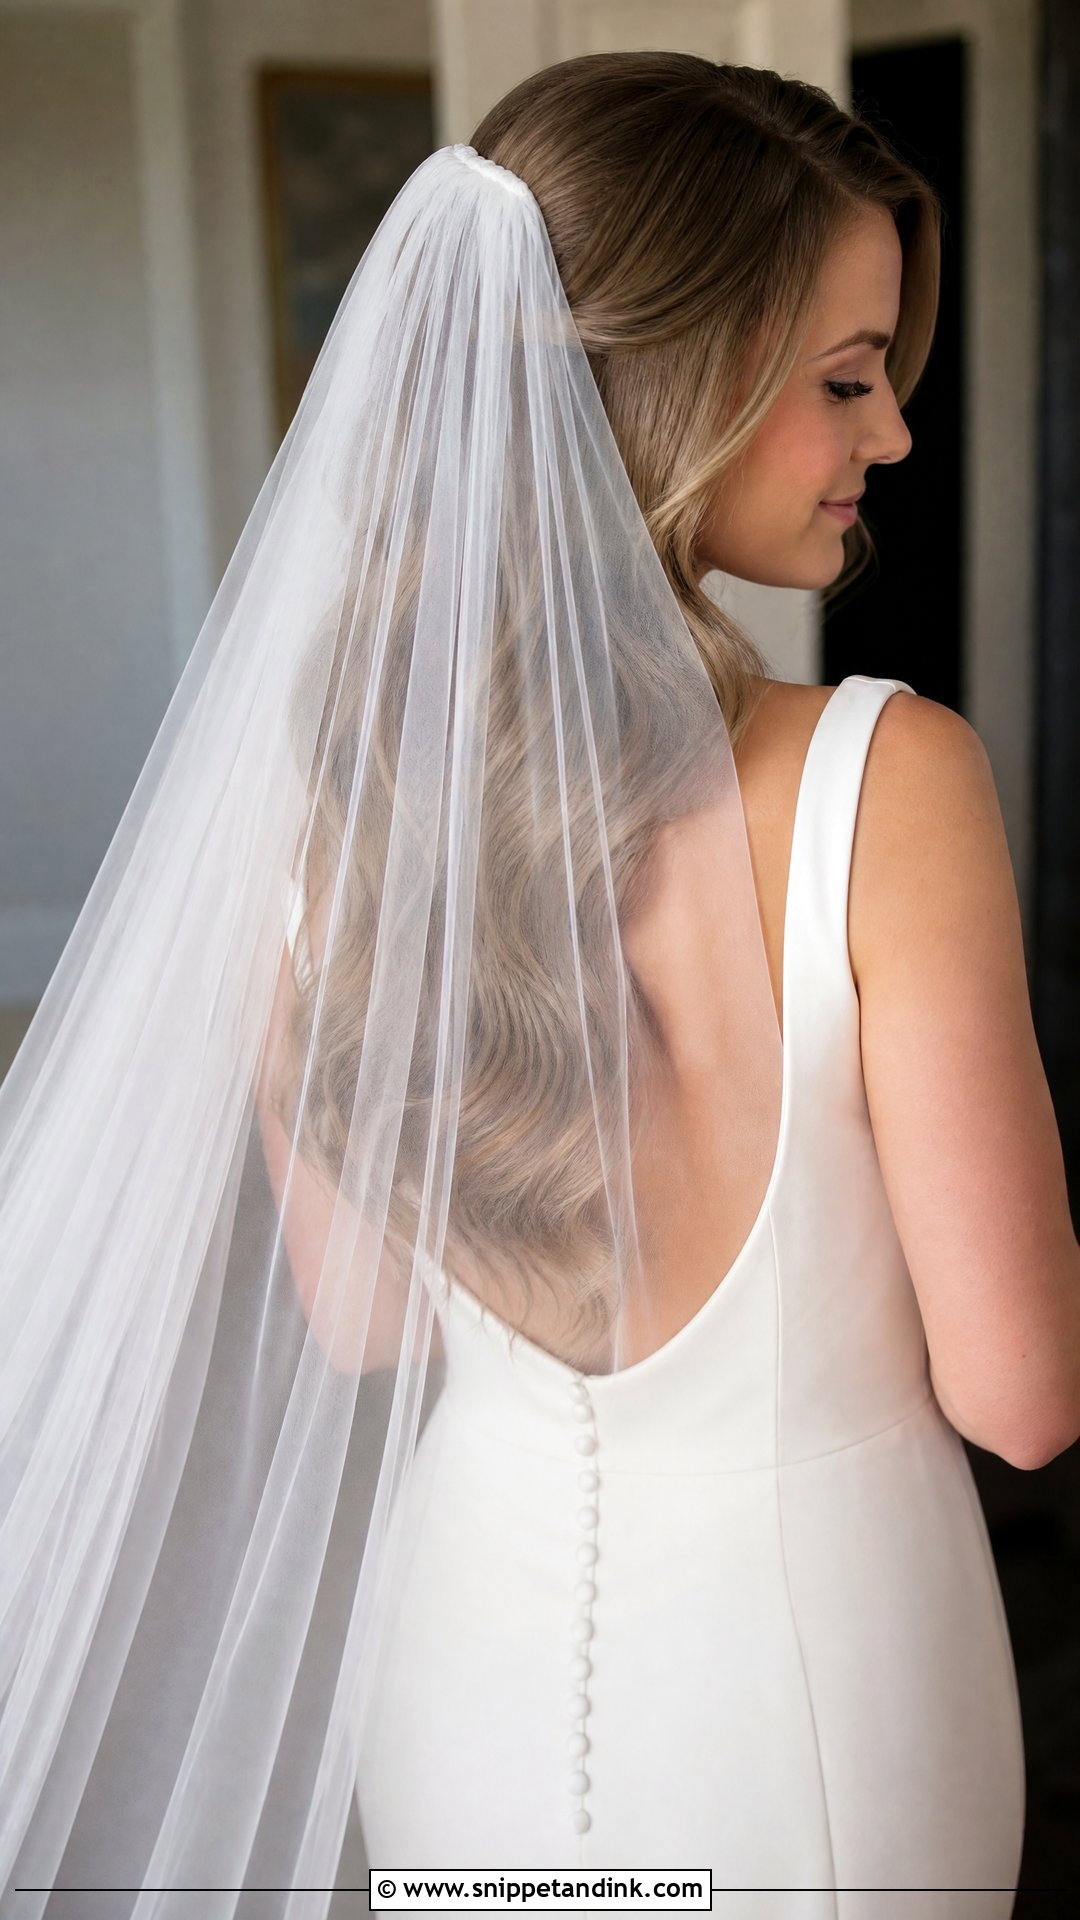
Waves under a veil need a solid anchor. I build a small hidden base, a twist or a few crossed bobby pins under the top layer of hair, where the comb can grip, because a comb pushed into loose glossy waves slides out the first time the veil catches the wind. Cathedral or fingertip, the waves still show below. After the ceremony the veil comes out and the waves carry on through the reception. A second comb or pins add extra security for long veils.
18. Glossy Wet Look Waves
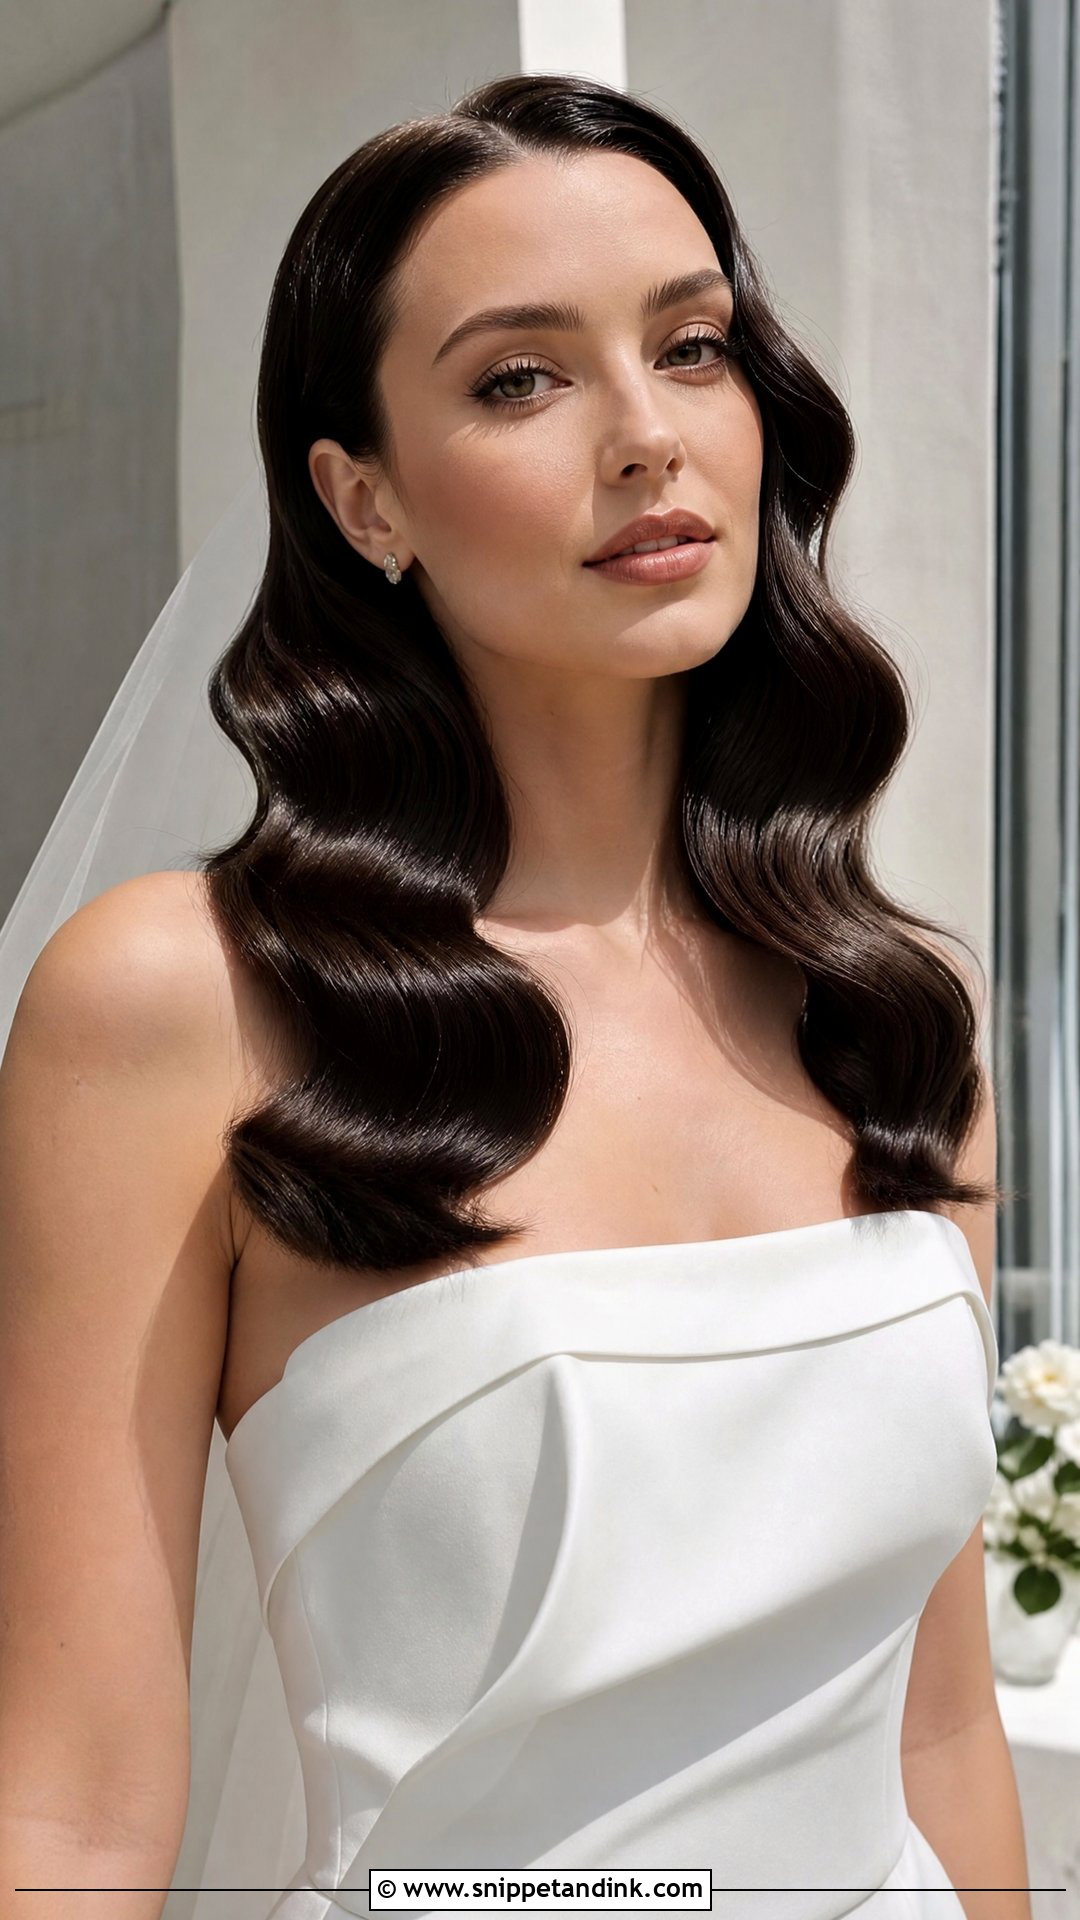
Wet-look waves have a high-shine, almost lacquered finish that reads editorial. They’re defined and sleek, created with a gel or shine cream rather than hairspray. Sleek gowns and minimal accessories suit them; city weddings and modern venues are their home. Keep makeup glowing and dewy so the skin matches the hair’s shine. The finish can look greasy in harsh direct sun if overdone, so I keep the wettest look to the front and lighten it toward the ends.
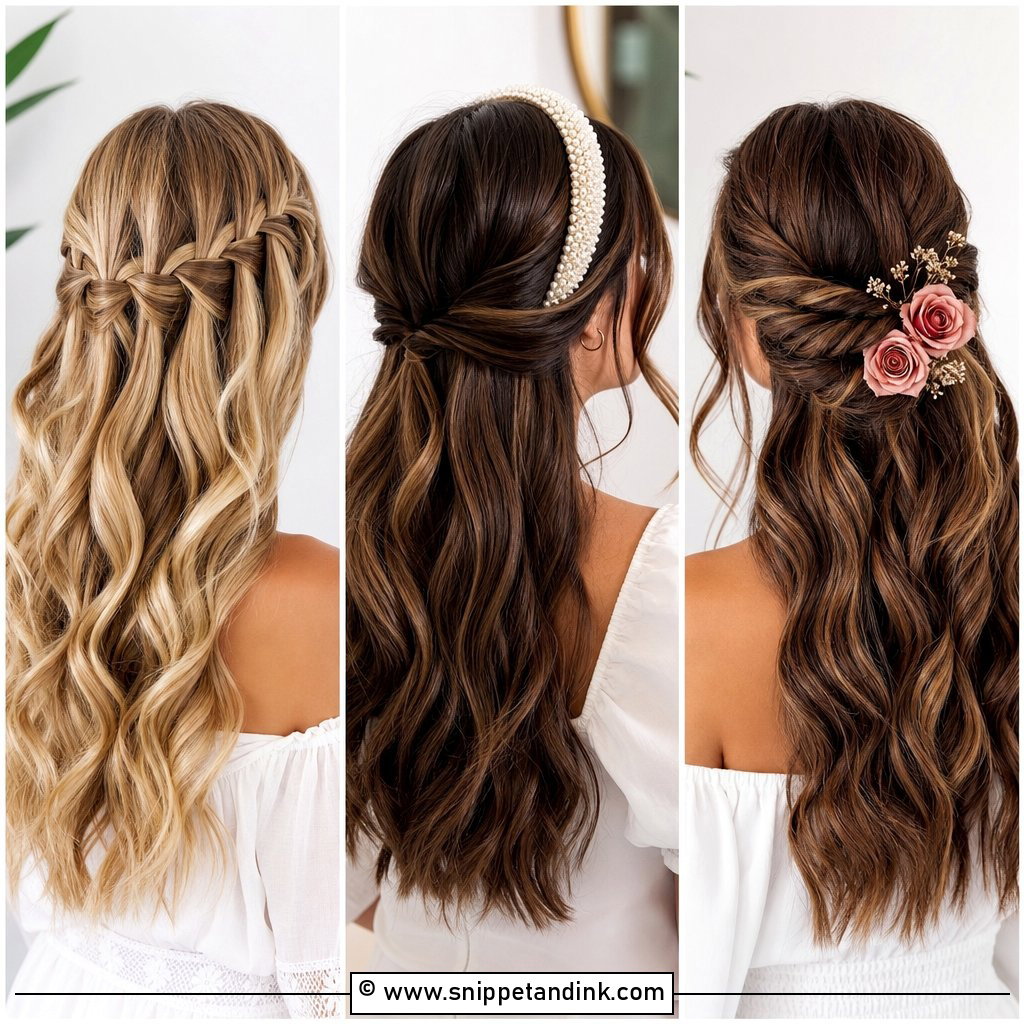
19. Glam Waves With Side Braid
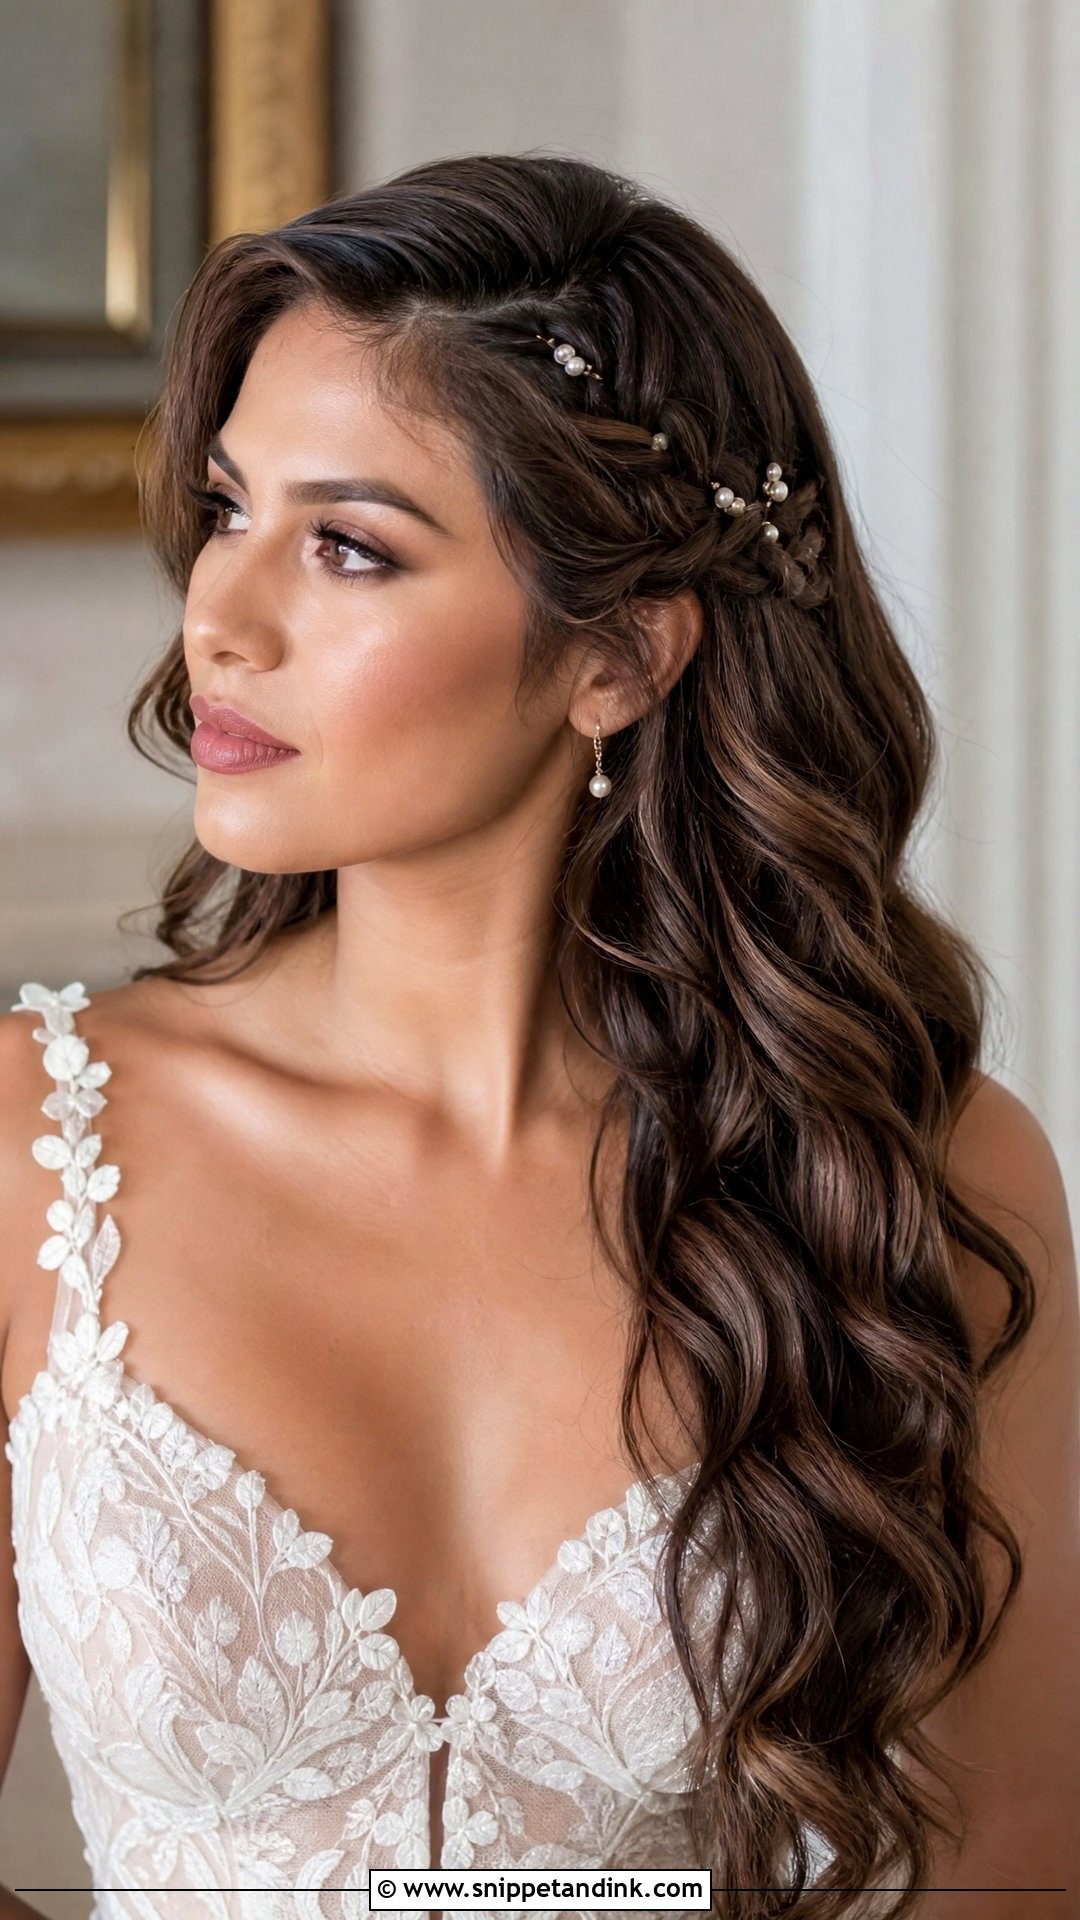
A soft braid along one side, flowing into waves on the other, adds texture without fuss. I pancake the braid slightly, pulling the loops wider so it looks soft rather than tight. Tiny flowers or pearls tucked into it suit garden and boho weddings. It works on most lengths, though on shoulder-length hair the braid uses up most of the length, leaving less wave.
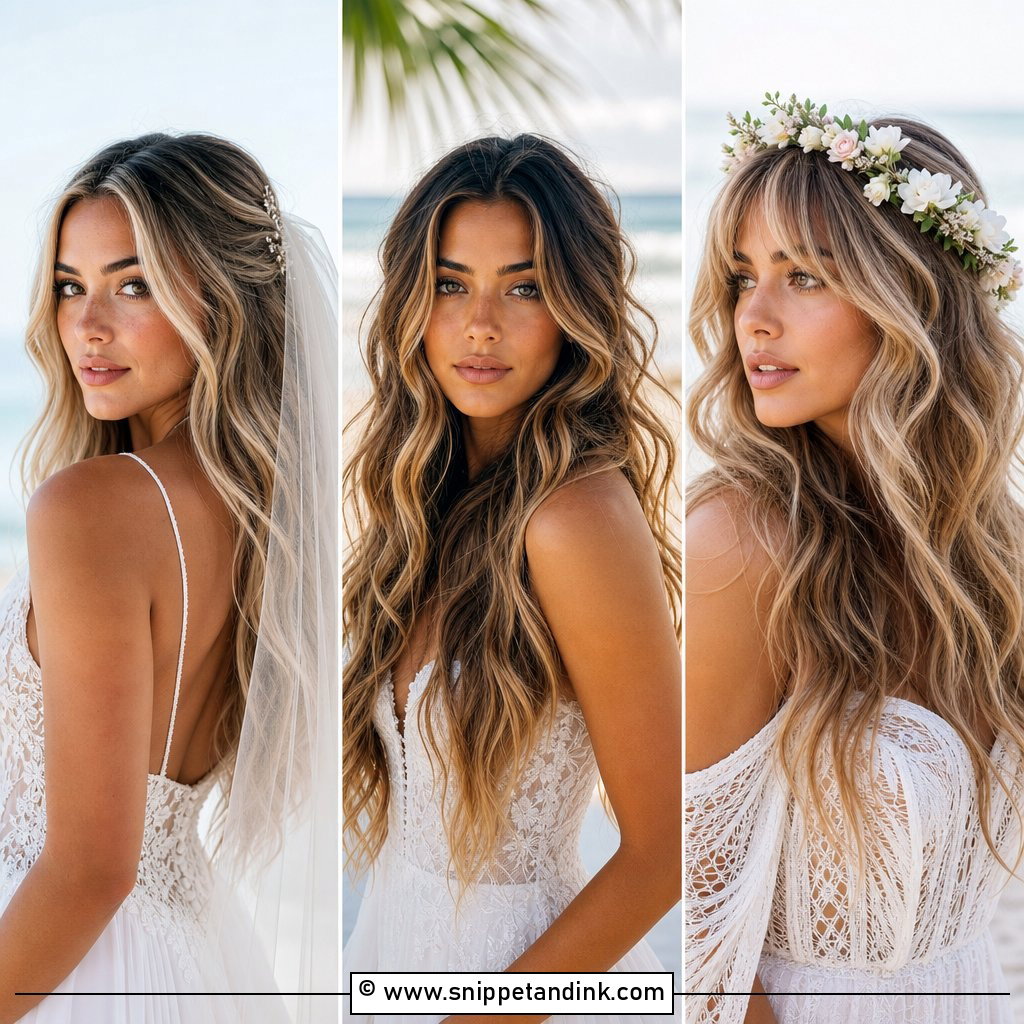
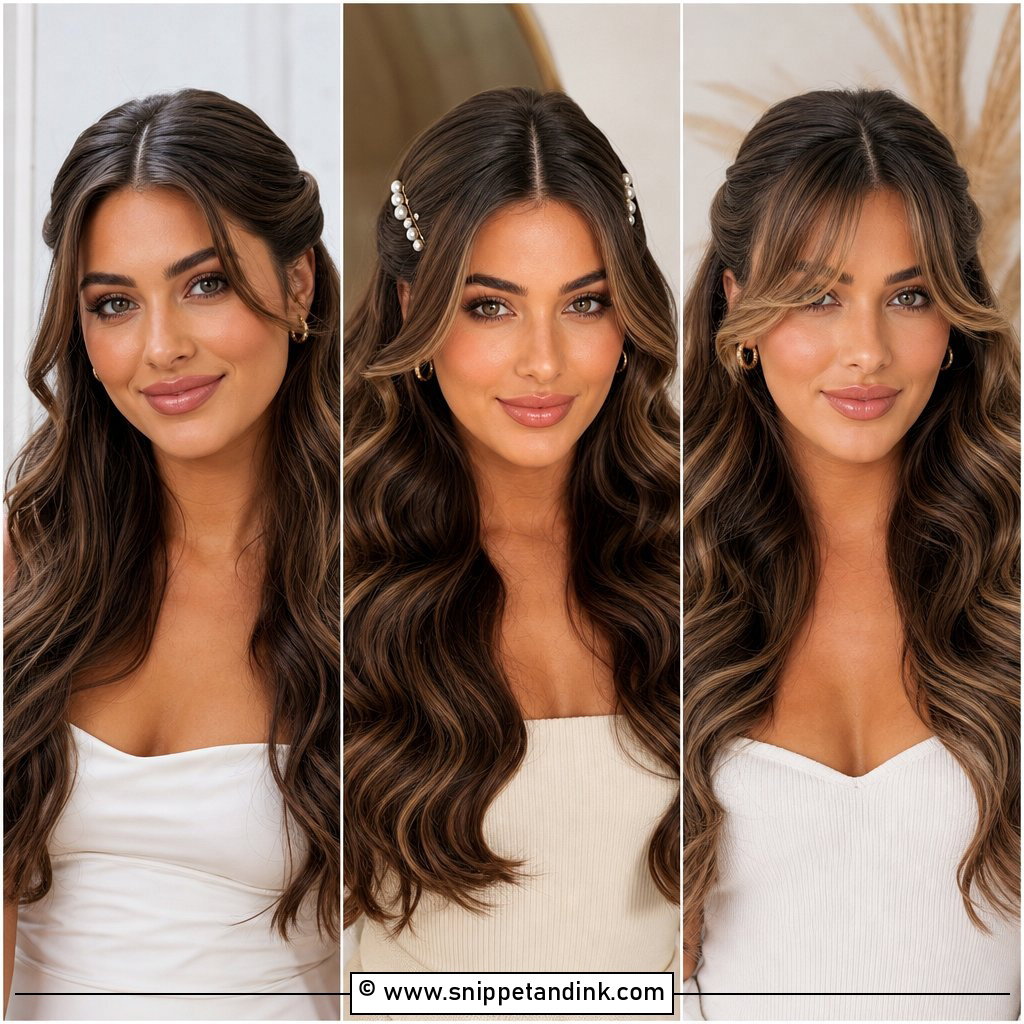
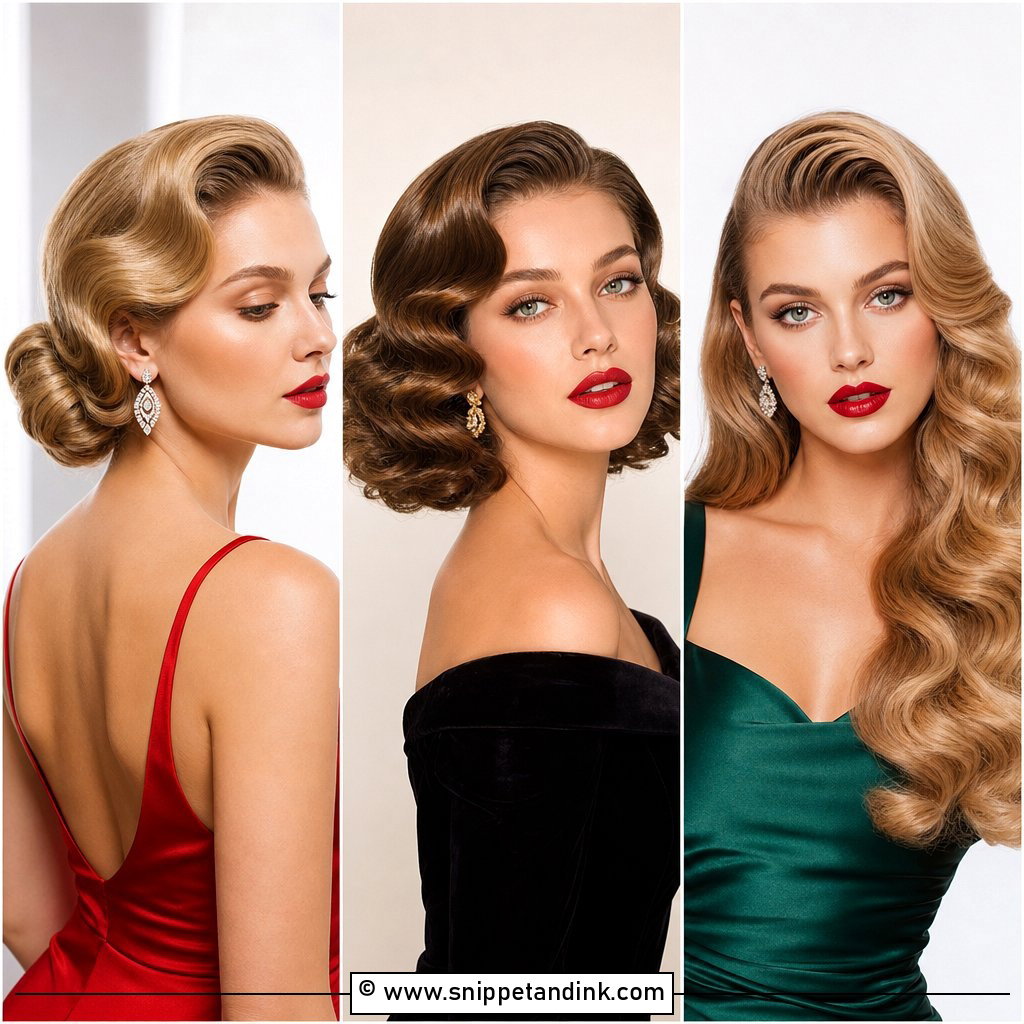
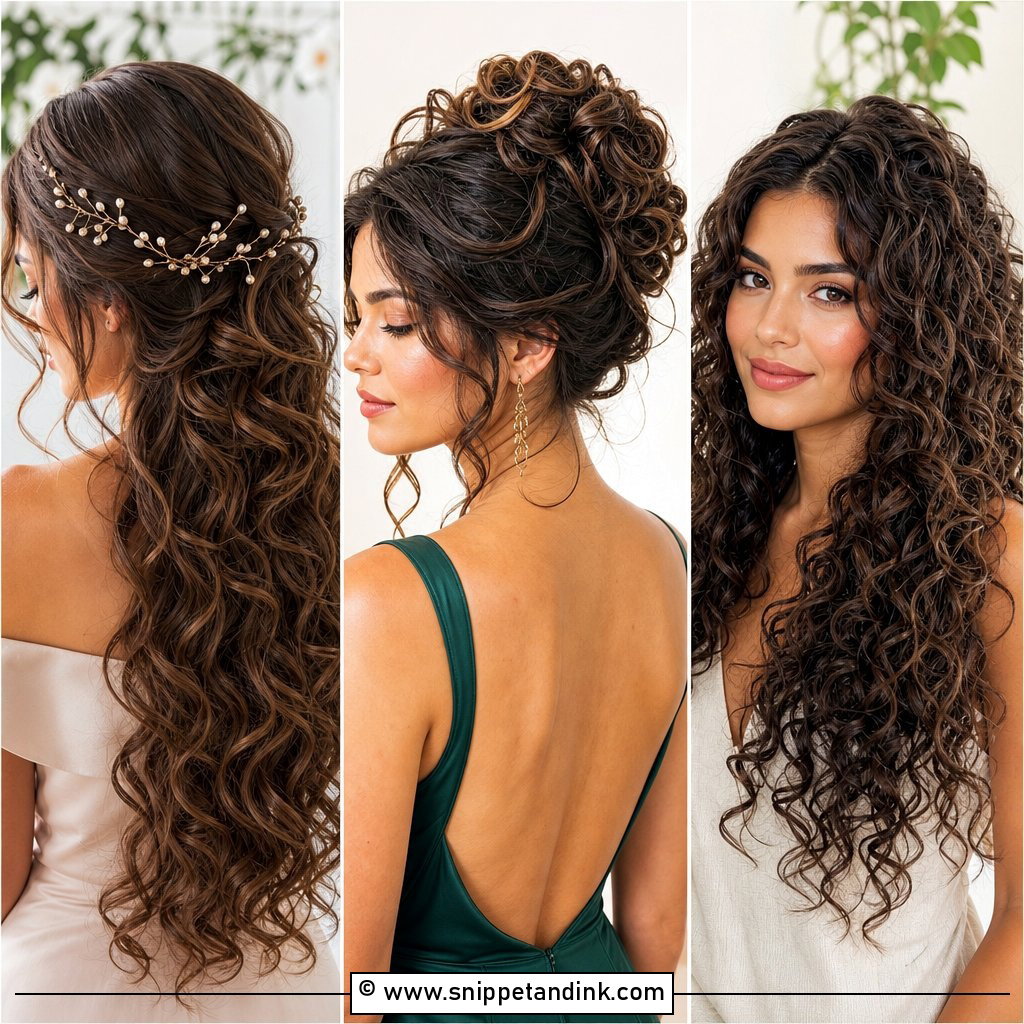
20. Retro Glam Waves With Bold Lip
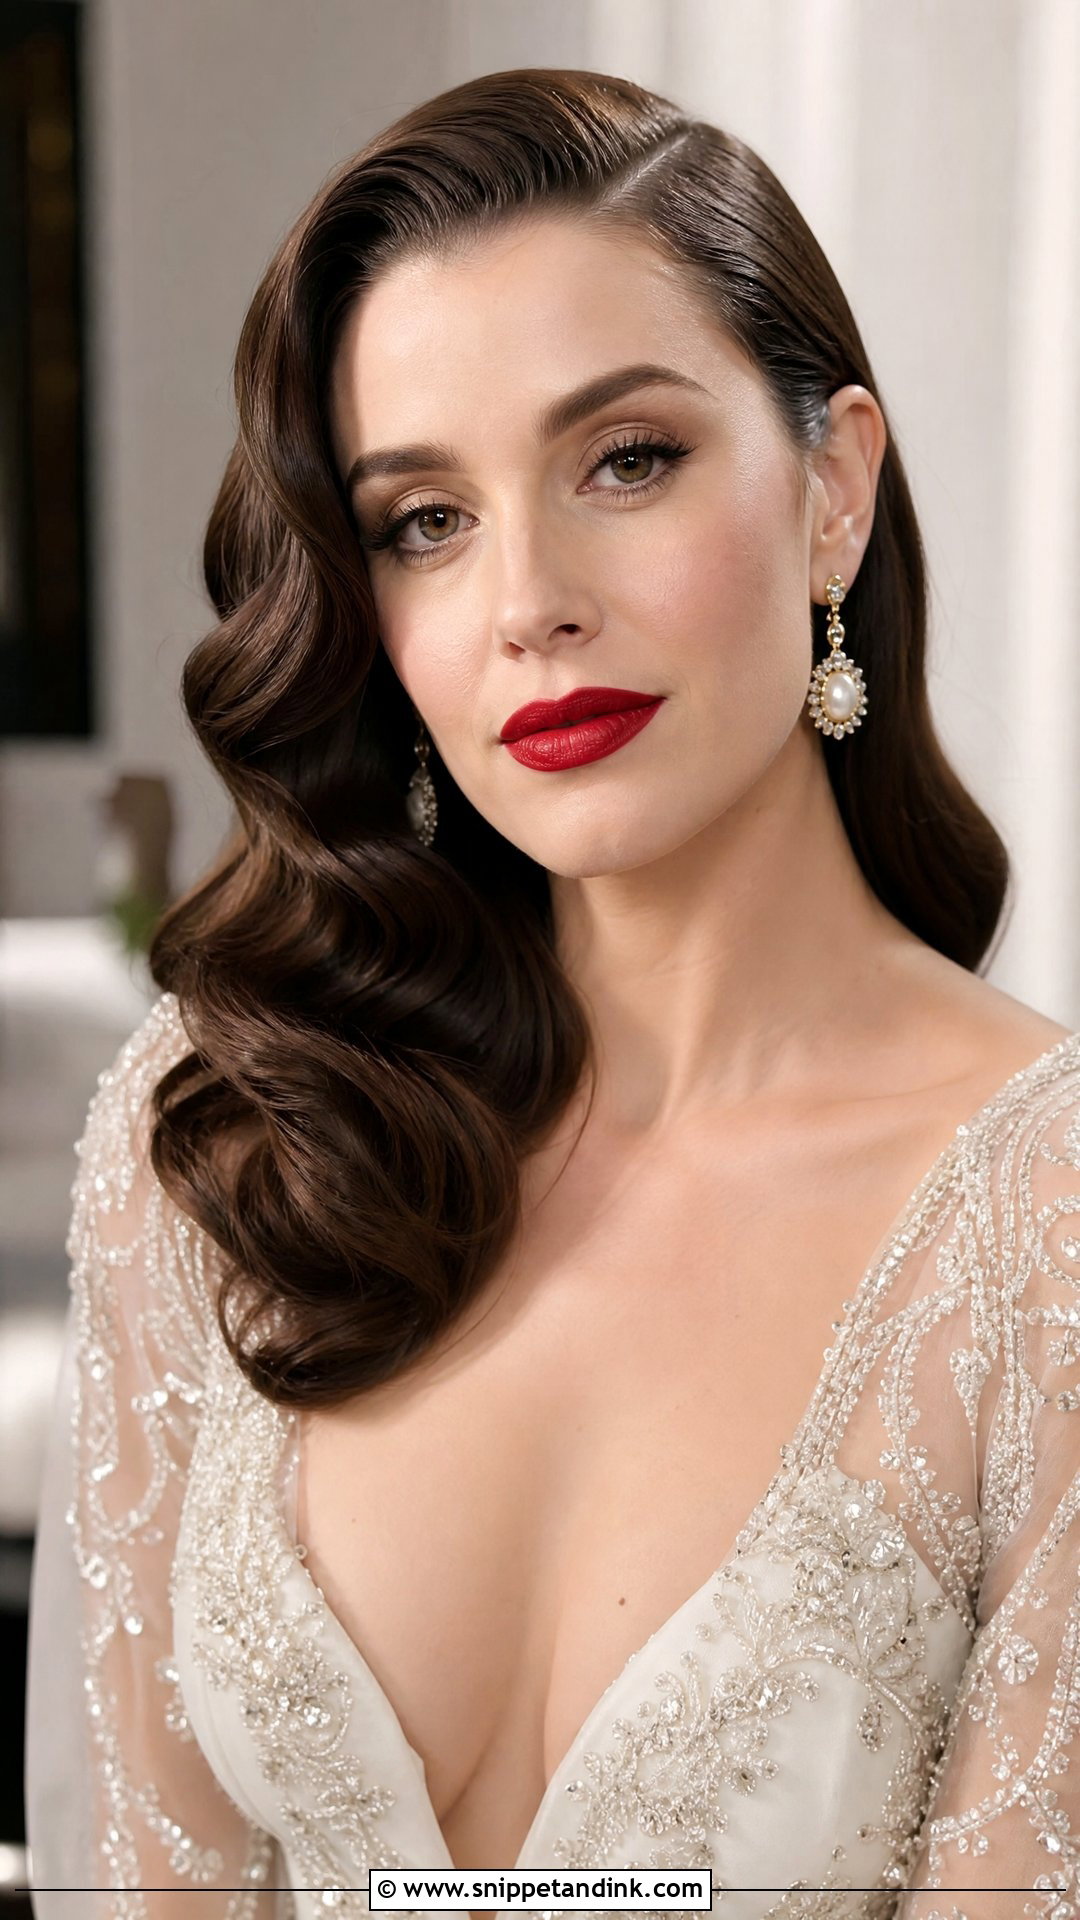
Sculpted, glossy waves running one direction, plus a bold red or berry lip: this is timeless screen-siren energy. The waves are smooth and structured, set and brushed exactly as for Old Hollywood. A deep side part and statement earrings finish it. I’d coordinate with your makeup artist at the trial, since a strong lip and a strong wave both draw attention and the rest of the face needs to stay quiet.
How I Adapt Glam Waves to Different Textures
Fine or straight hair
Fine hair drops fastest. I prep it with a lightweight mousse or setting spray before curling, take smaller sections, and leave the pin set in for longer. A little backcombing at the roots gives the waves something to sit on.
Thick, heavy hair
Thick hair holds curl well but takes much longer to heat through, and its own weight can stretch the wave by evening. I work in more, smaller sections and give it extra cooling time.
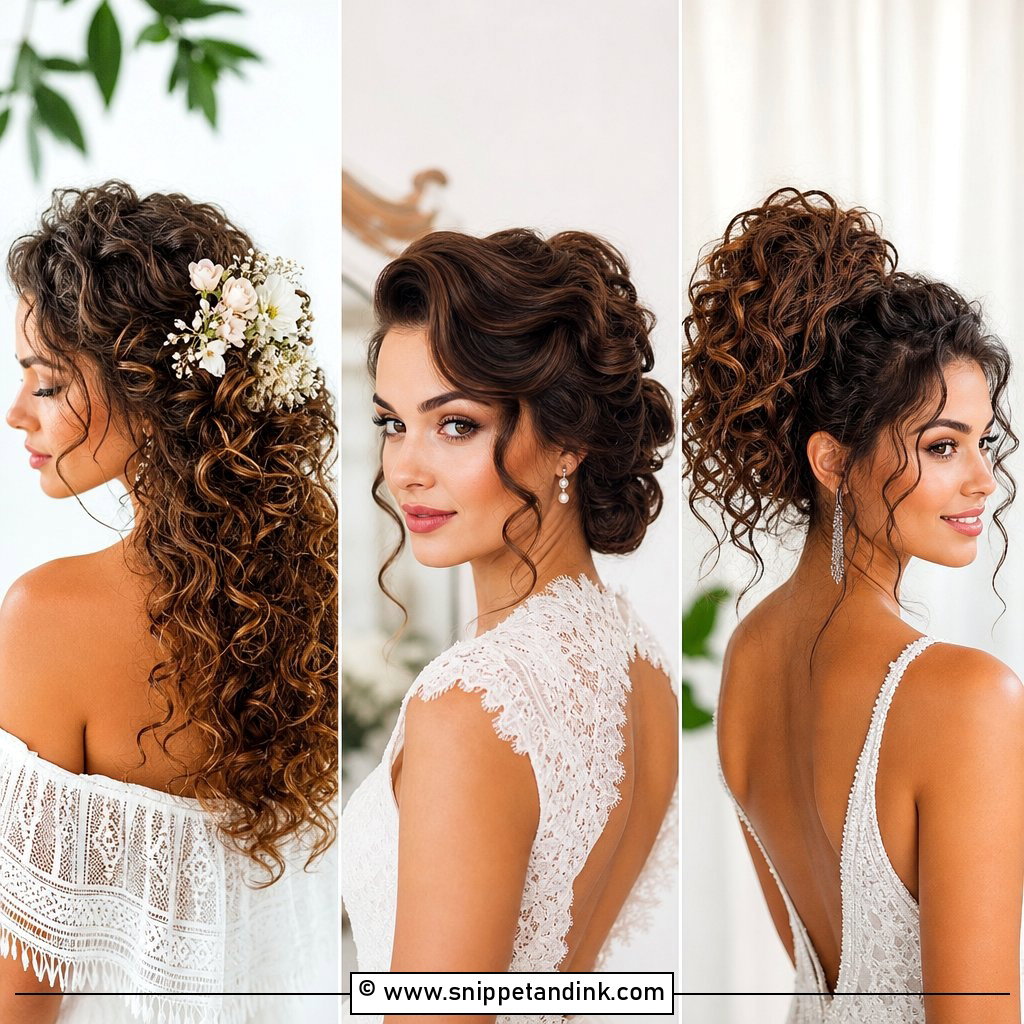
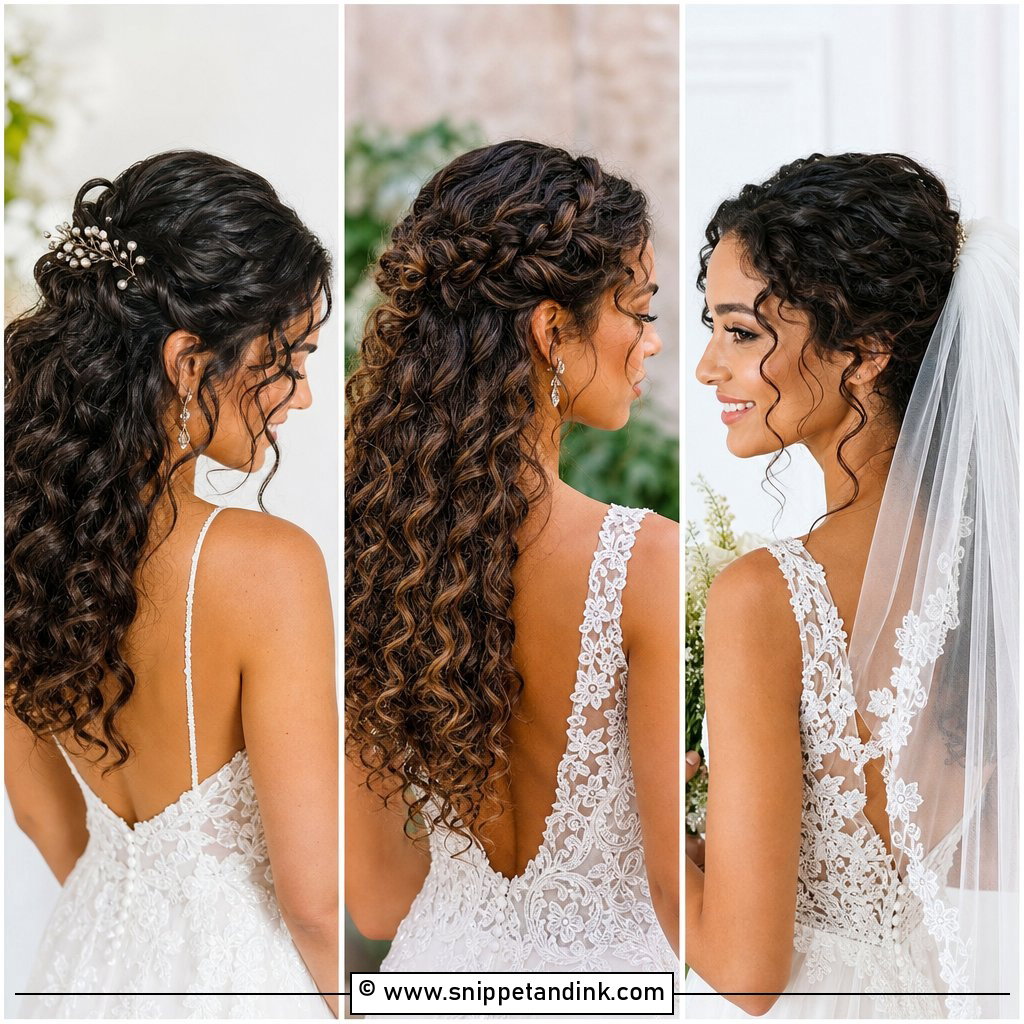
Naturally curly or coily hair
To get a smooth glam wave on curly hair, I’d usually blow it out smooth first, then set the wave. Humidity will pull it back toward your natural pattern, so I’d talk through the forecast at your trial. Enhancing your own curl into a defined, glossy shape is another honest option that won’t fight the weather.
Rescuing Waves That Fall Flat by the Reception
Don’t brush them; that just loosens them further. Twist a limp section around two fingers, pin it flat against the head for ten minutes while you eat, then release it and mist lightly. A little dry shampoo at the roots brings back lift. If your stylist is staying for touch-ups, a quick pass with a small iron on the front pieces does more than redoing the whole head.
Glam Waves Are Mostly About the Set, Not the Iron
From sculpted Old Hollywood to loose mermaid waves, there’s a version for most hair lengths and wedding styles, and the shine and movement are what make them so photogenic. A tiara, a veil, a hair vine or a bold lip all pair well. What decides how they last is preparation: the right barrel size, curls set to cool, careful brushing, and a hidden anchor for anything you wear in your hair. Bring photos to your trial, wear the outfit’s neckline if you can, and let your stylist see how your hair holds over a few hours before the day.
You'll Like These Ideas:


Leave a Reply