
Golden-era screen hair was never casual. It was set, cooled, brushed and sculpted, and that discipline is exactly why it still reads as glamour in a wedding photo decades later. Think of the glossy sweep Rita Hayworth wore or the smooth restraint of Grace Kelly. Below are the vintage looks I get asked for most, from sculpted finger waves to low chignons with a jeweled pin, along with what each one actually demands from your hair. Some are forgiving on fine or short hair, a few really need length and density, and I’ll tell you which is which as we go.
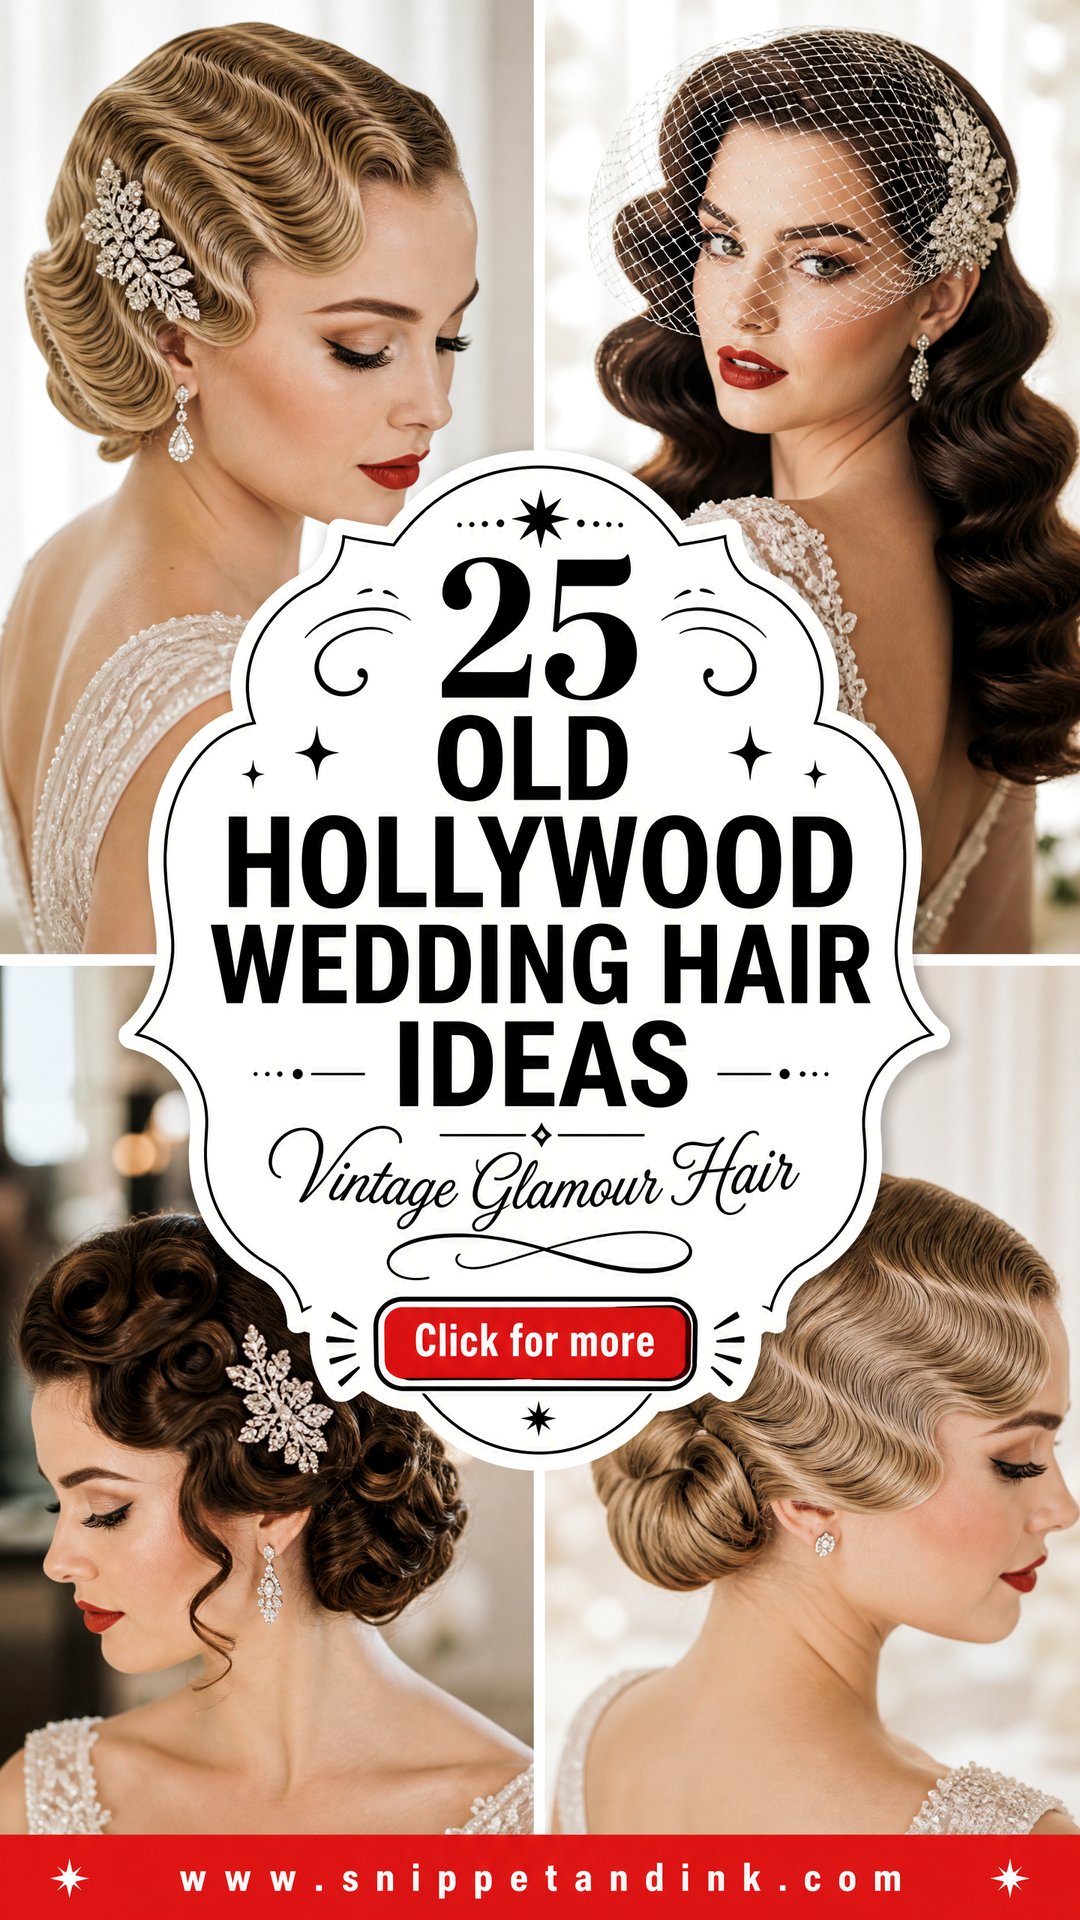
Setting Vintage Waves So They Last Until the Last Dance
Every look below depends on a set, and that’s the part most people skip when they try this at home. A curl only holds its shape if it cools in that shape. When I curl a section and let it drop while it’s still warm, gravity starts pulling it straight right away. So I pin every curl flat against the head or roll it onto a velcro roller as it comes off the iron, and leave the whole head to cool for at least twenty to thirty minutes.
The brush-out is the second half of the job. I use a natural bristle brush and work from the ends up, which makes the separate curls join into one continuous wave. It looks like a frizzy mess for about a minute, then the ridges appear. If you want sharper waves, I press each ridge with a duckbill clip and mist it with hairspray, then remove the clips after it sets.
What helps the set hold
- Hair washed the day before, not the morning of. Squeaky clean hair slips out of pins.
- A setting lotion or mousse at the roots and mid-lengths before curling.
- Curling every section in the same direction, so the waves line up when brushed.
- A light flexible hairspray at the end rather than a stiff one, which cracks the wave when you move.
Humidity is the real enemy. If your wedding is outdoors in summer or near water, I’d lean toward the updos with sculpted waves only at the front, since a full head of loose waves can relax noticeably by evening.
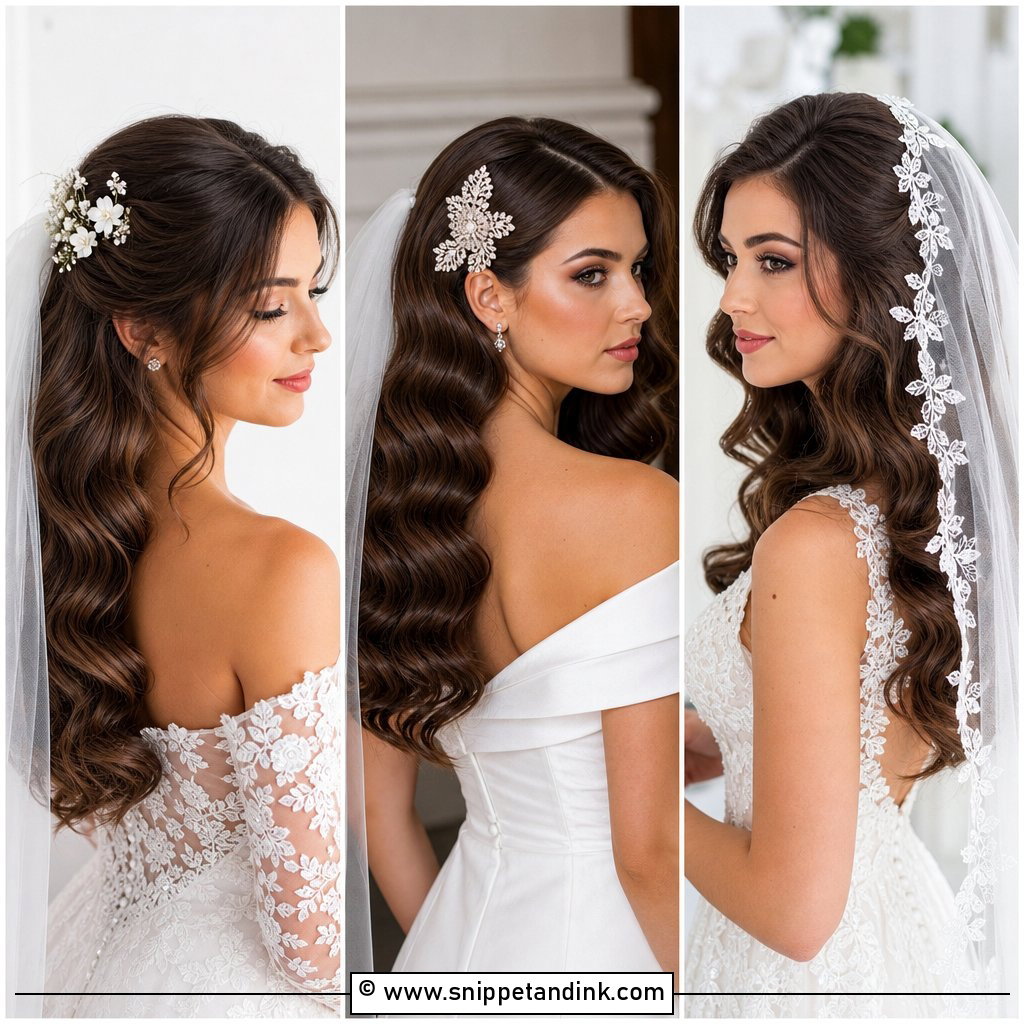
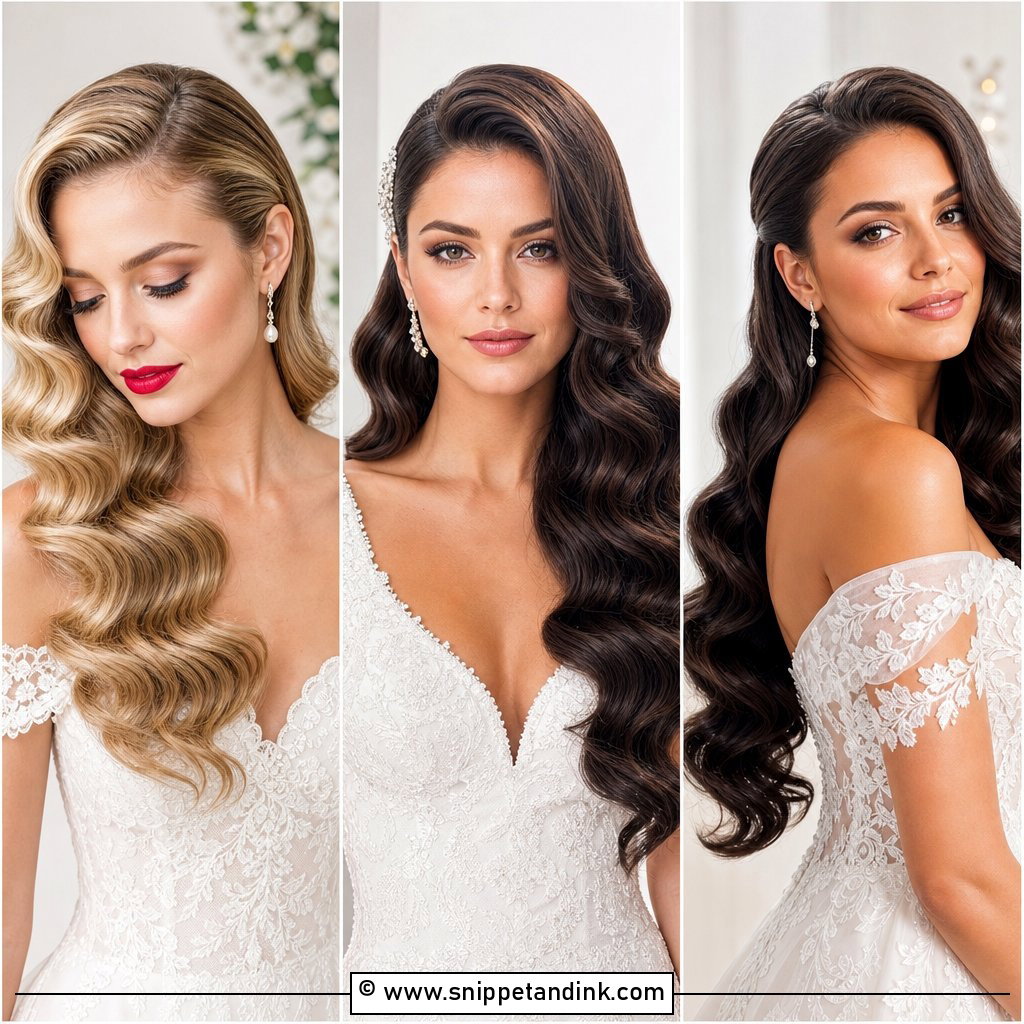
1. Old Hollywood Waves for Long Hair
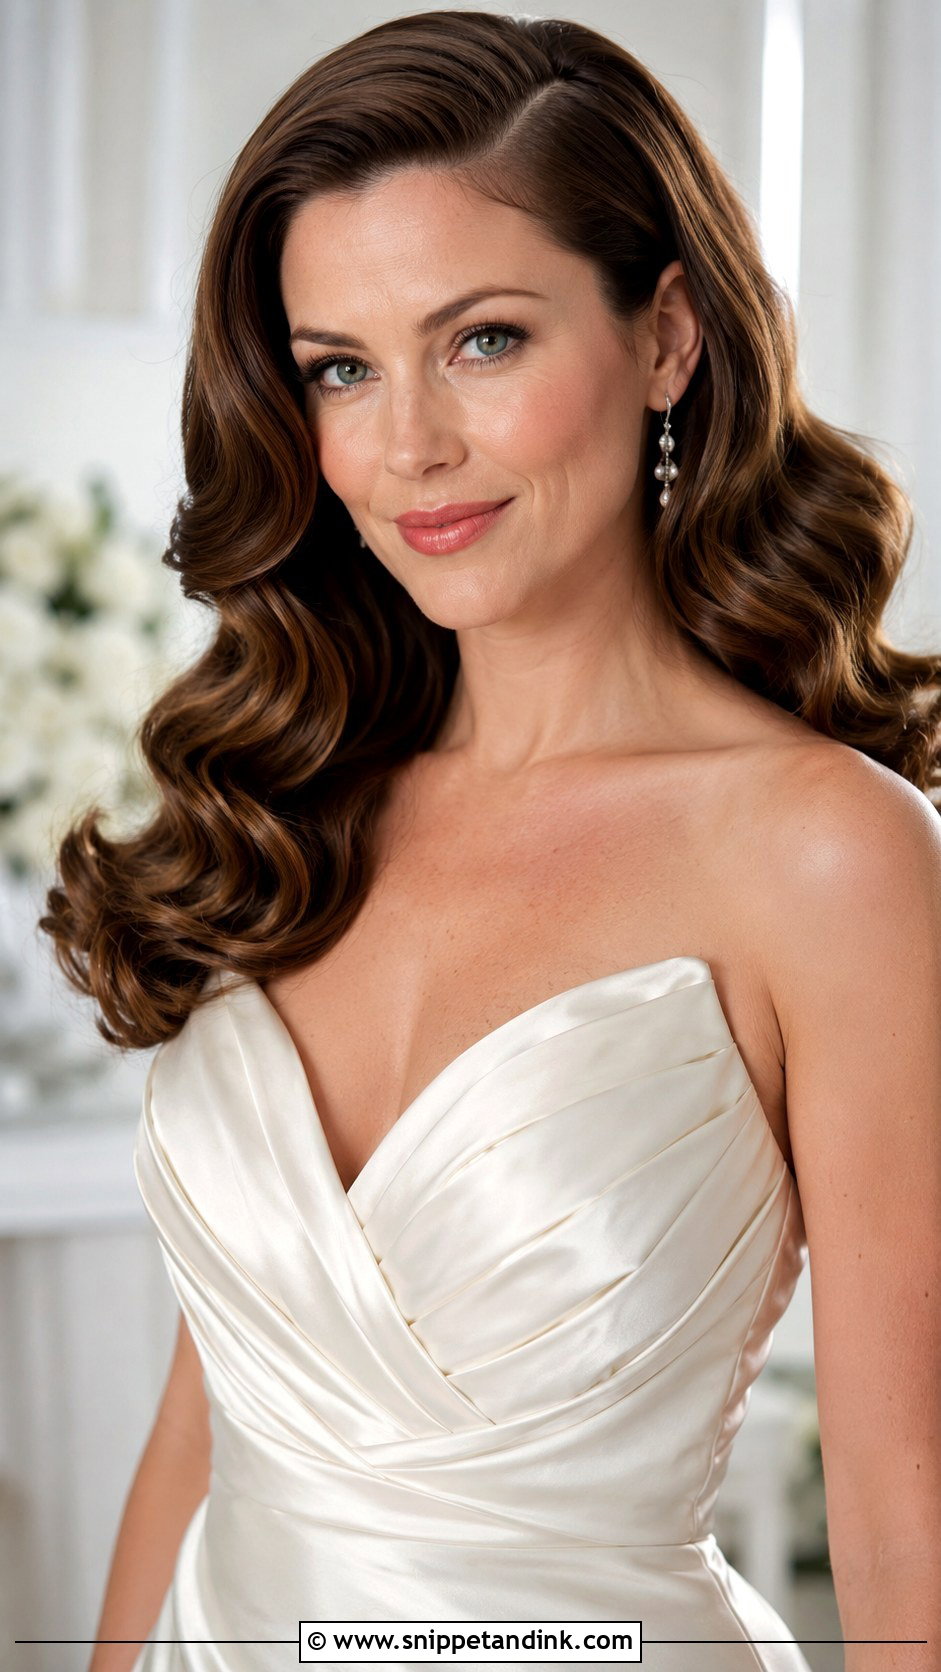
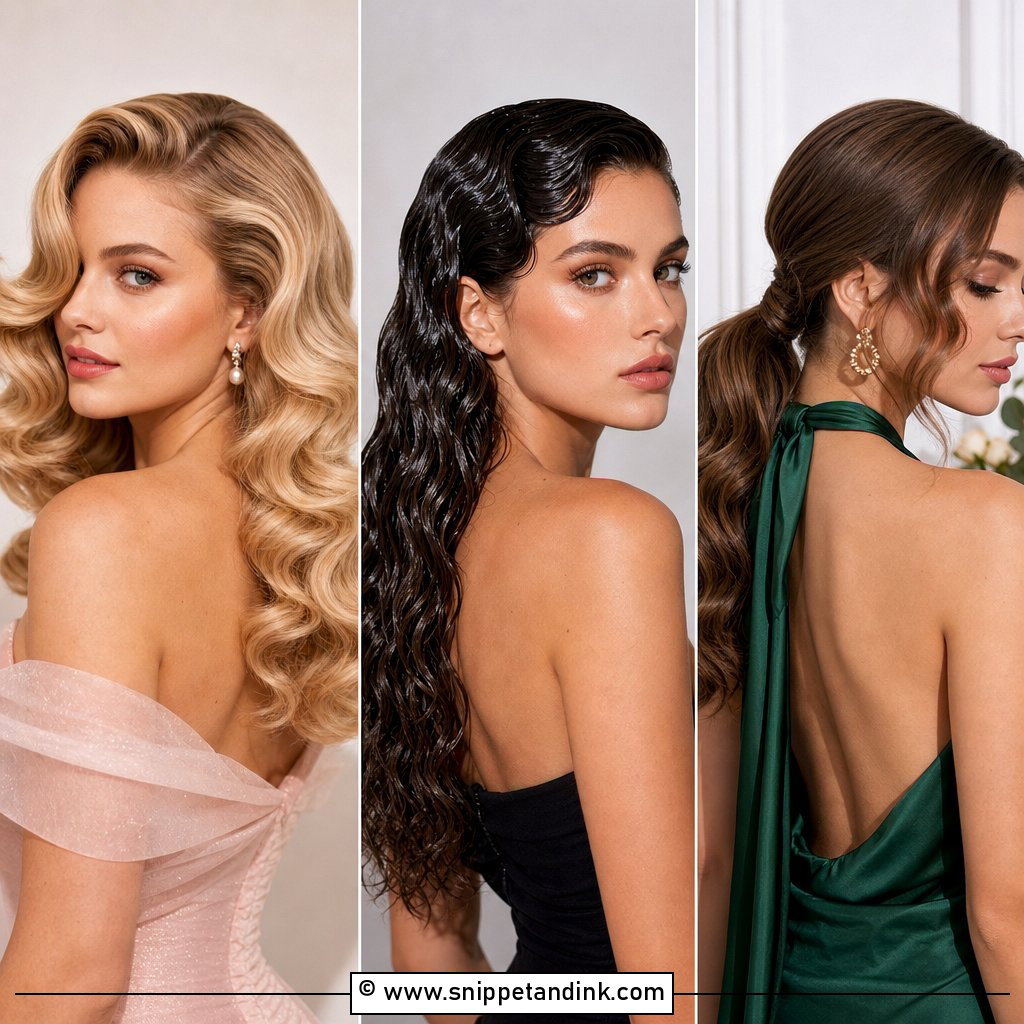
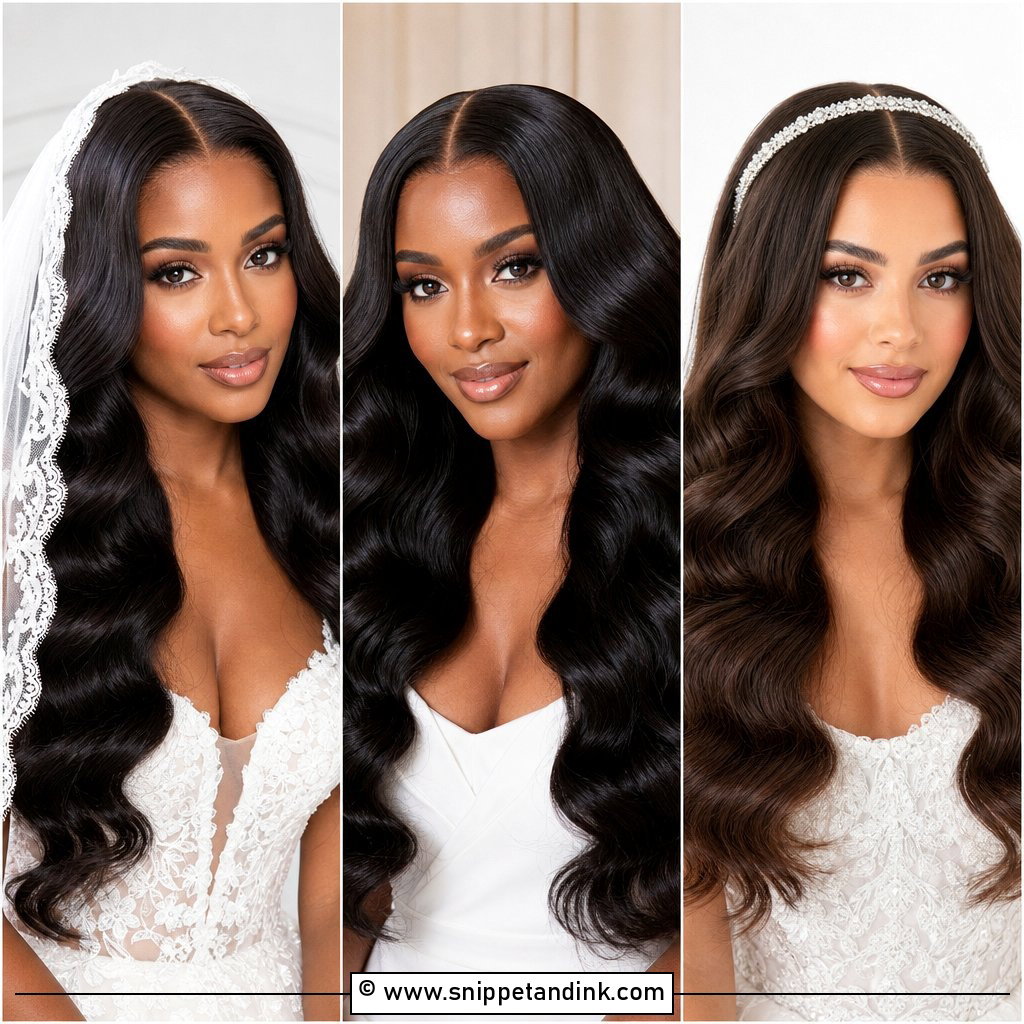
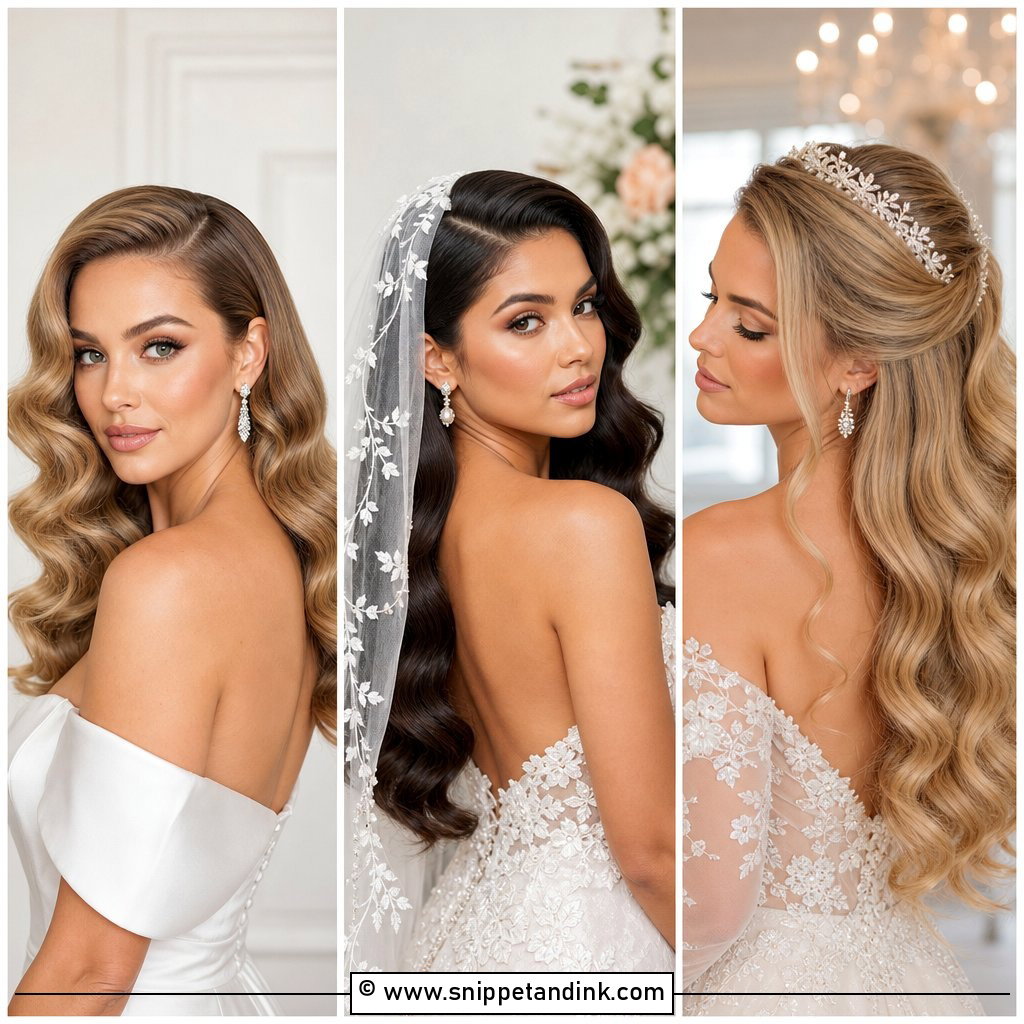
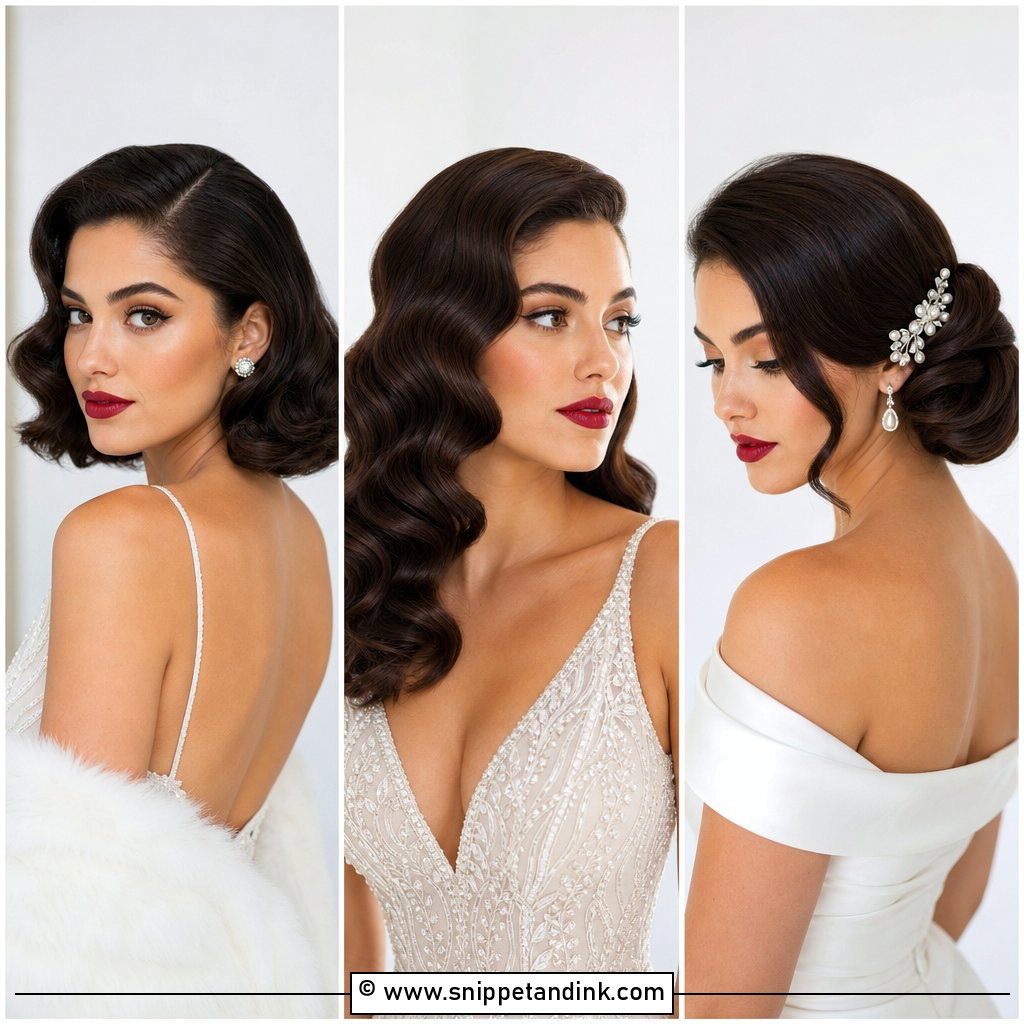
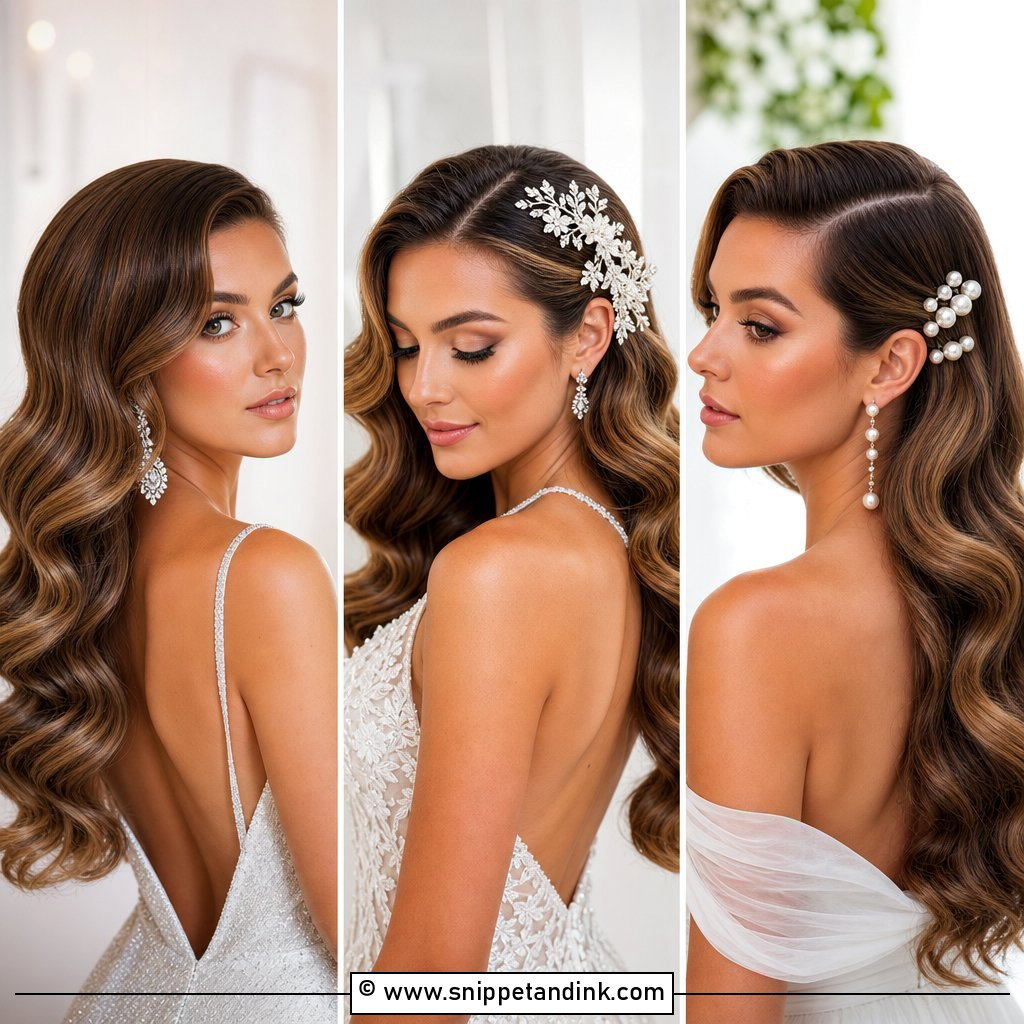
This is the look most brides mean when they say “Old Hollywood”: one continuous S-shaped wave running from the part down past the shoulders. Length helps, because the wave needs room to complete its curve. I curl every section in the same direction with a large barrel, let it cool fully pinned, and only then brush it out with a boar bristle brush until the curls join into one ripple. Skip the cooling step and the pattern falls apart within an hour. A drop of shine serum on the palms, never on the roots, keeps the surface reflective without making it limp.
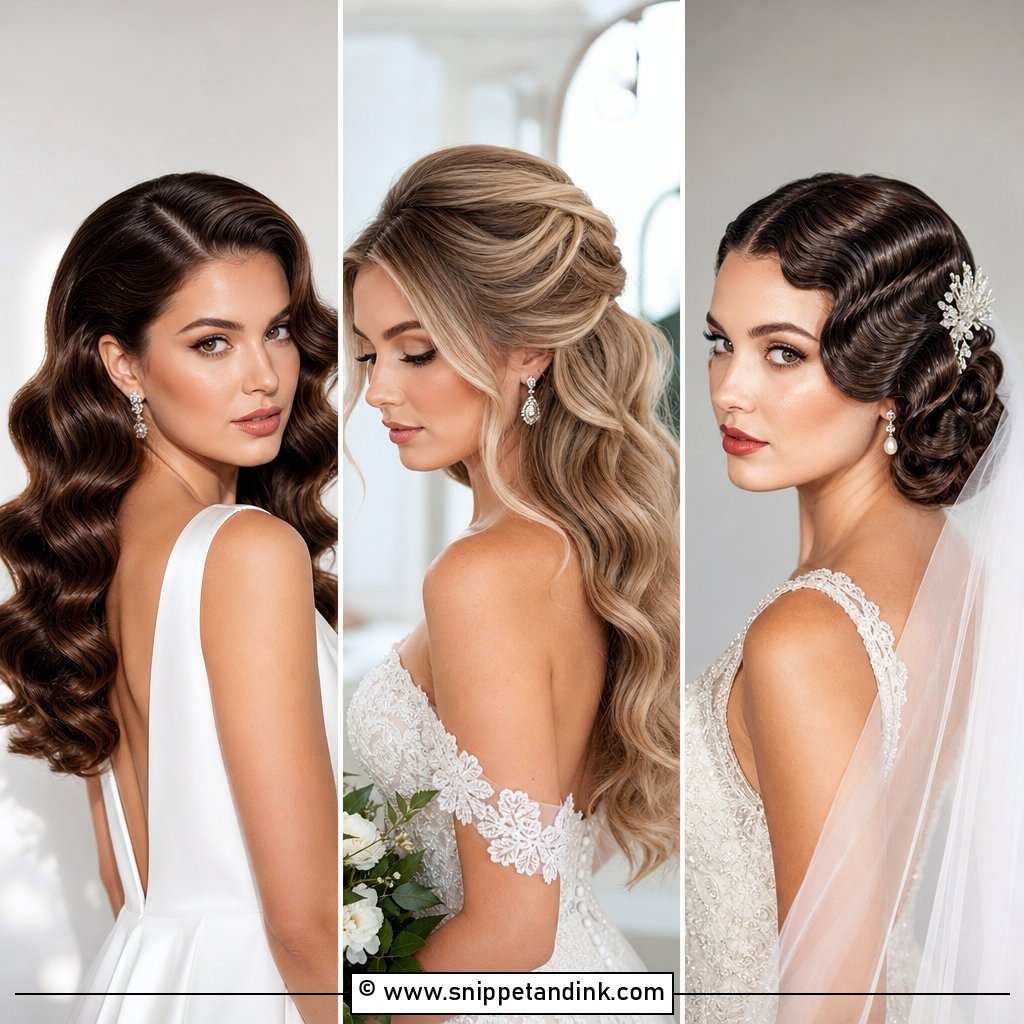
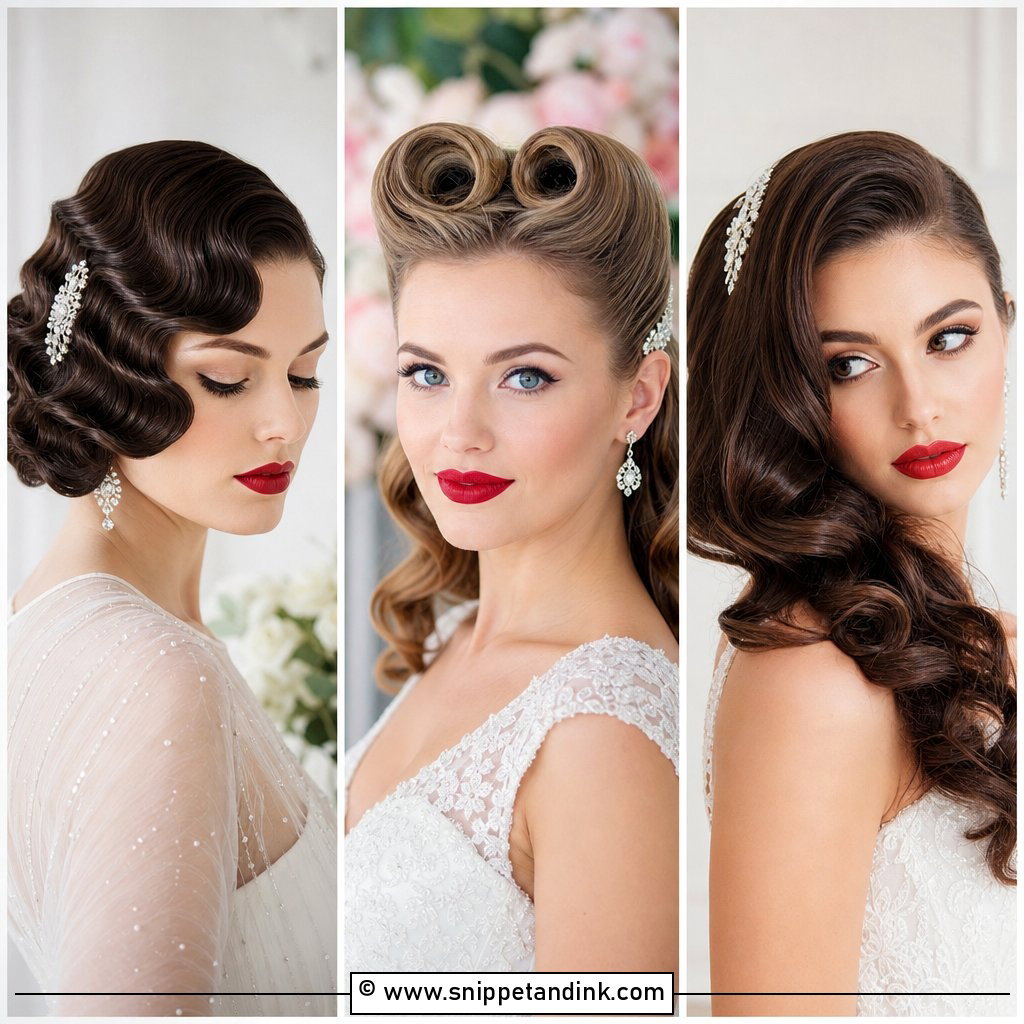
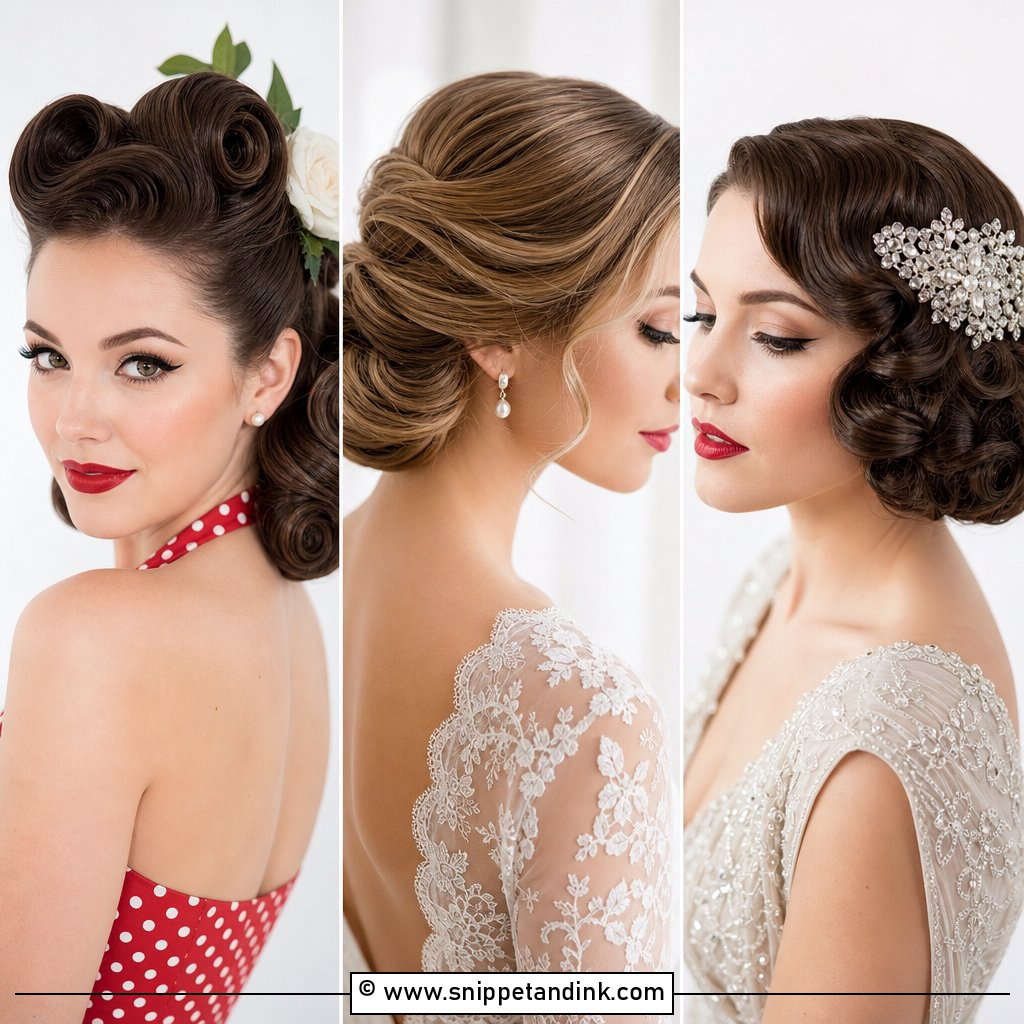
2. Finger Waves Wedding Hairstyle
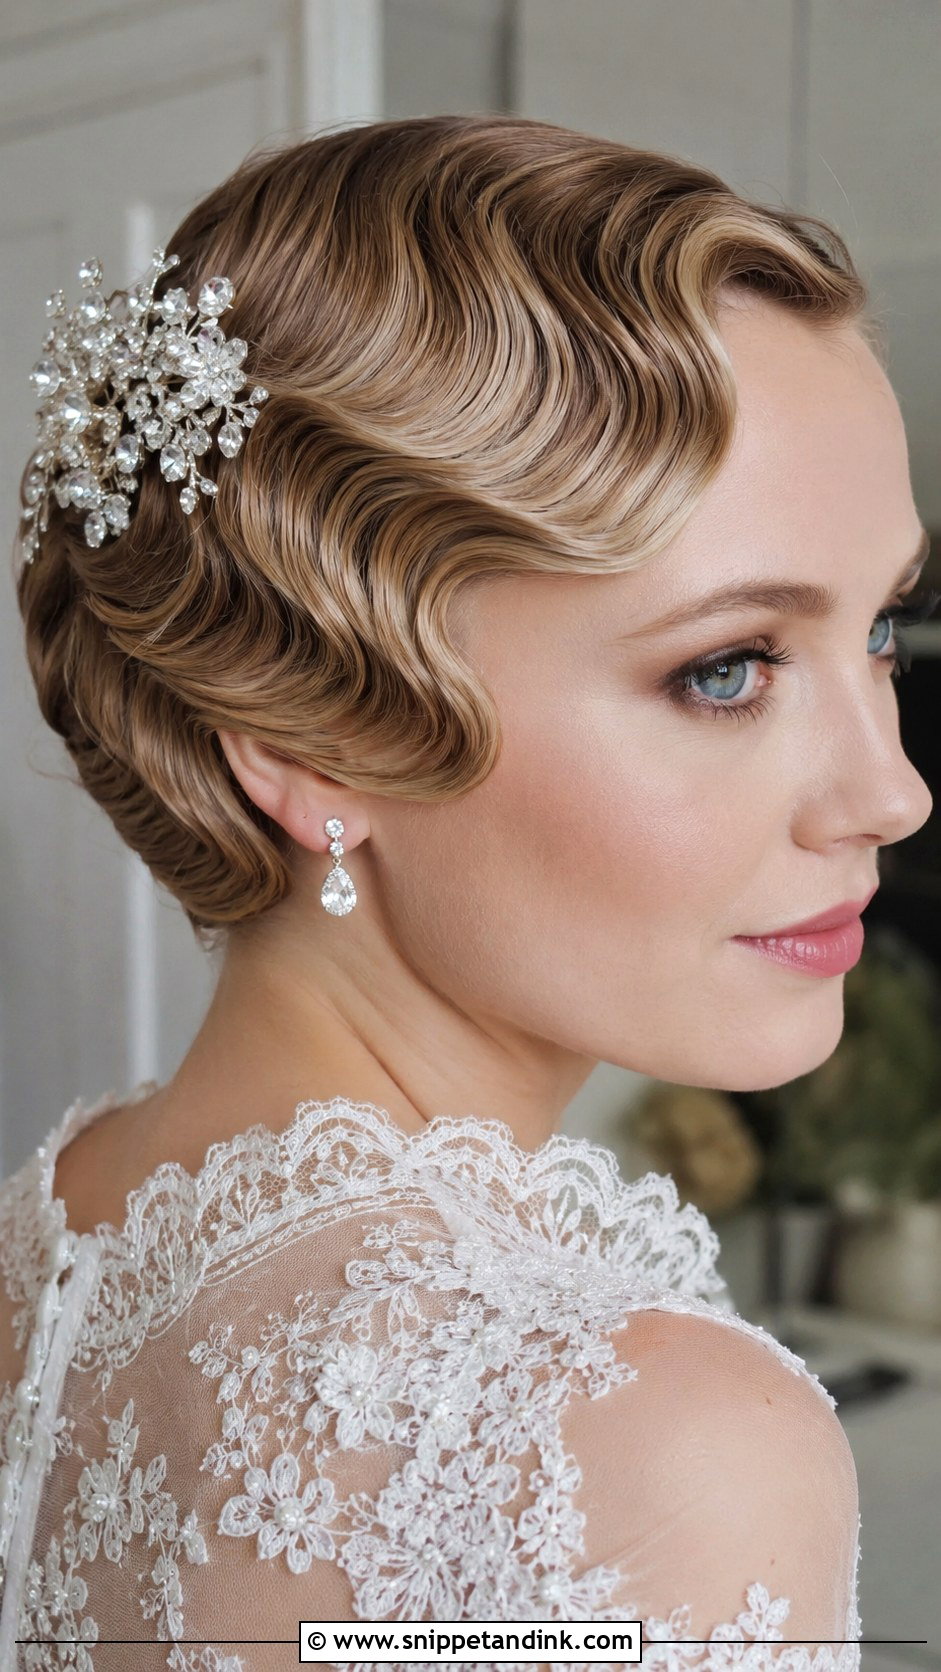
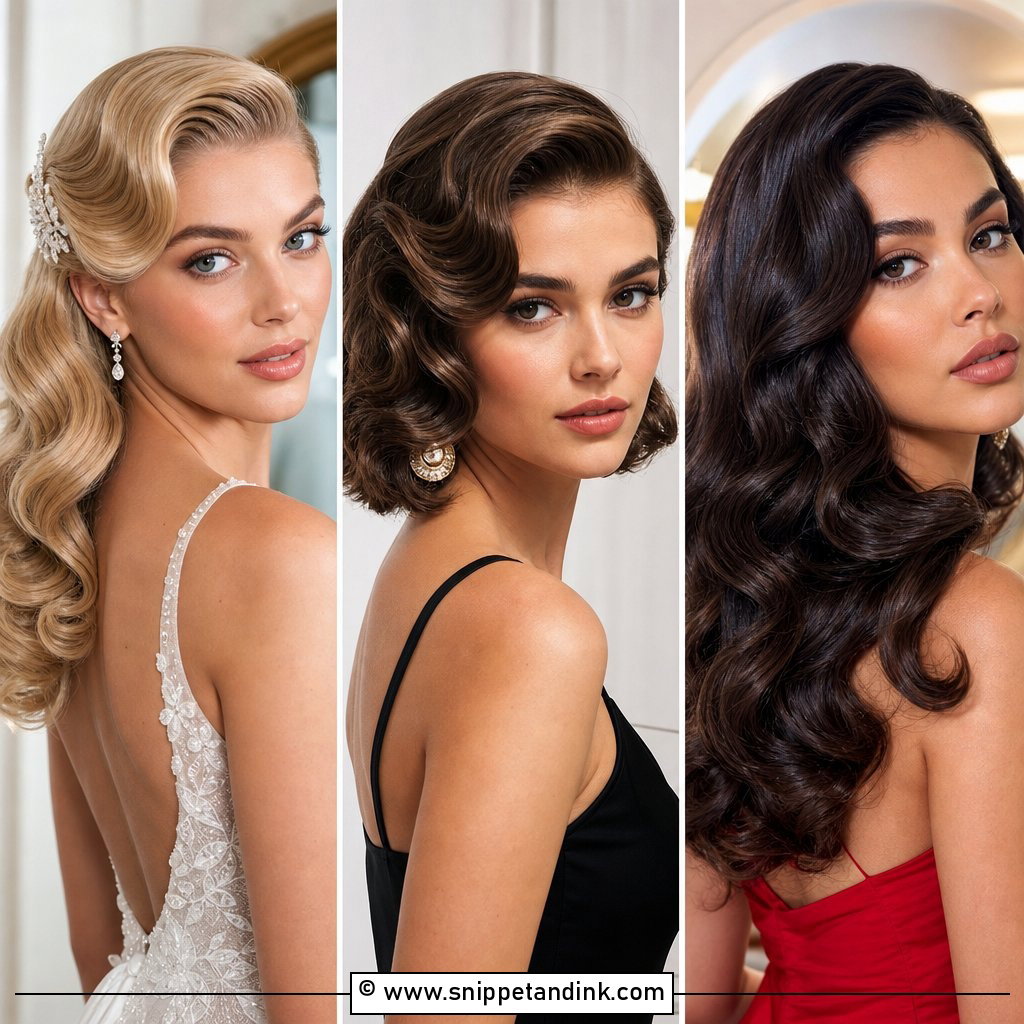
Finger waves are the most technical look on this list. Each ridge is pushed into place with the fingers and a fine comb while the gel is still wet, then left to dry undisturbed, usually clipped. They came out of the 1920s and 1930s, and they sit best on short hair or as a sculpted panel at the front of longer hair that’s pinned up behind. I’d only promise a bride true finger waves if her hair is fairly straight and not heavily layered, since short layers pop out of the ridges. A crystal comb or birdcage veil at the side finishes it without hiding the work.
3. Vintage Low Bun With Side Waves
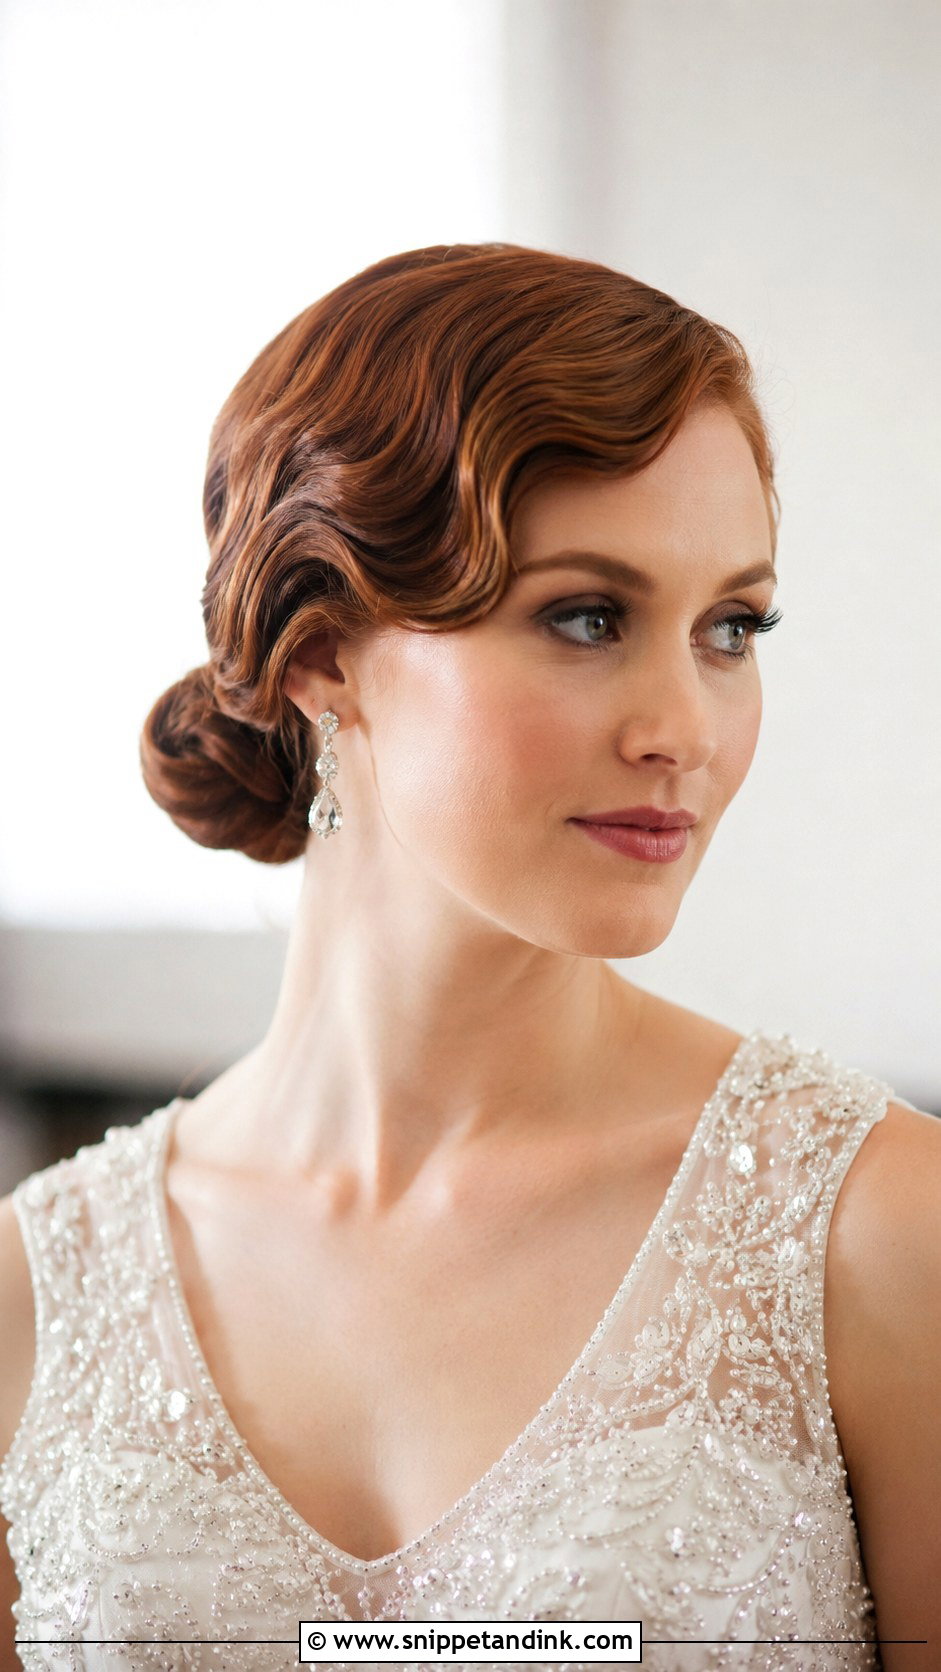
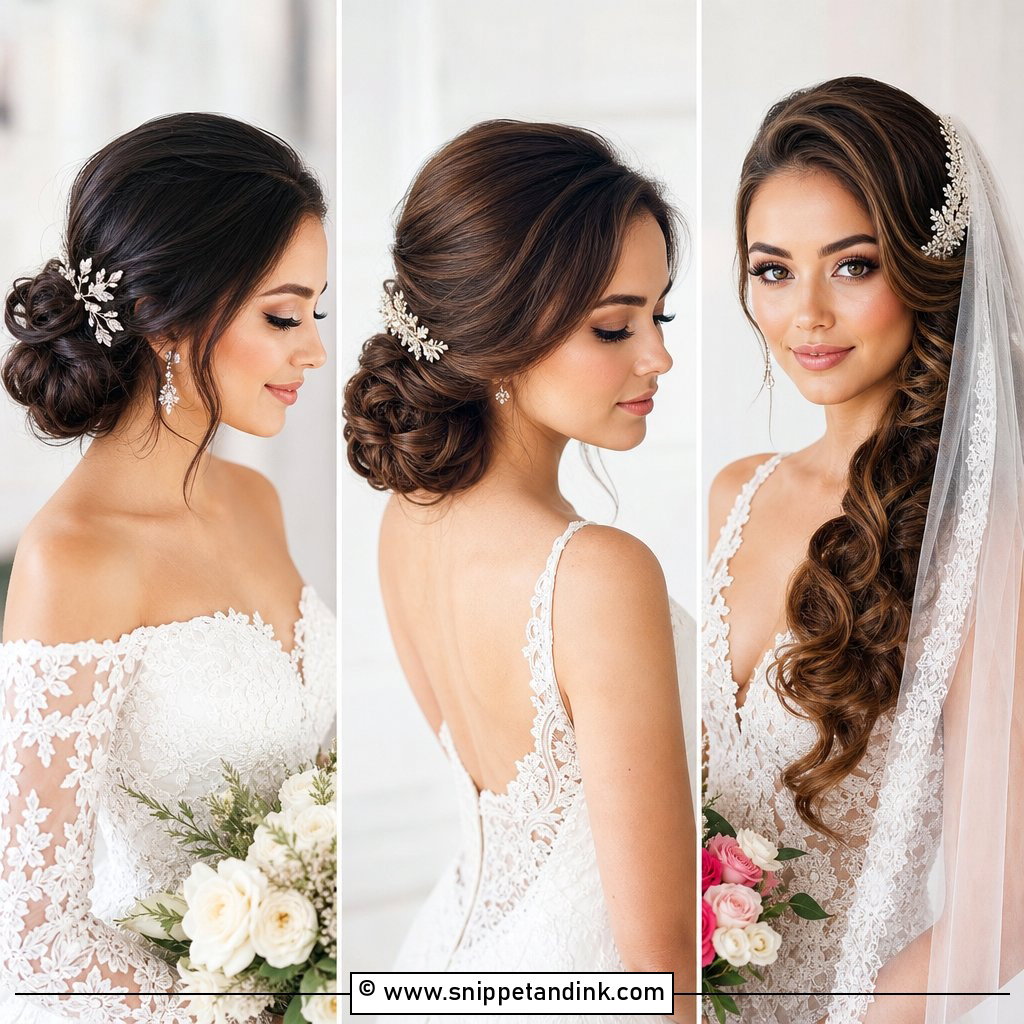
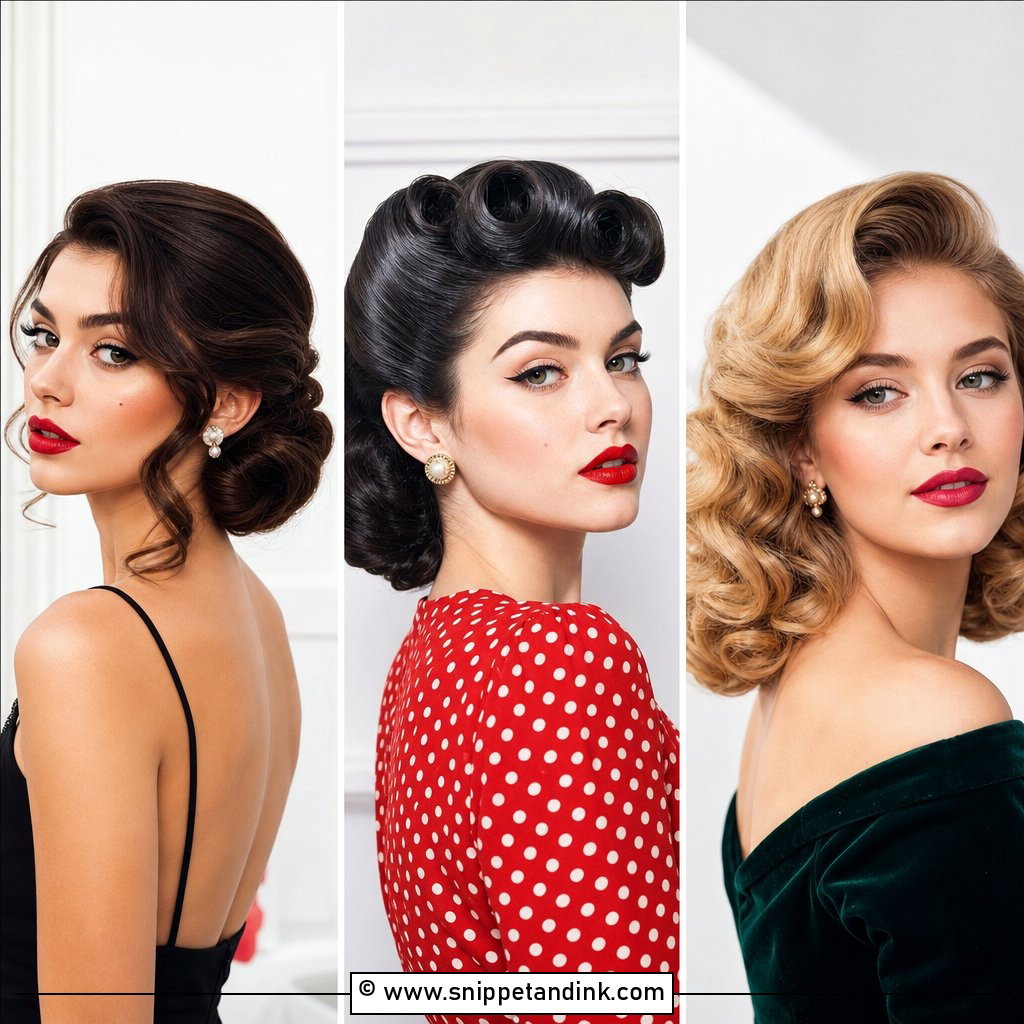
Here the back is a smooth, low knot at the nape and the front is swept into one or two glossy waves that curve back toward it. I like this combination for long days because the bun does the holding while the waves only have to stay put across a small area near the face. The trick is to set the front waves first and build the bun second, so the wave tails can be tucked into the knot instead of floating loose. A pearl comb slid in beside the bun hides the pins that join the two.
4. Half Up Half Down Hollywood Glam
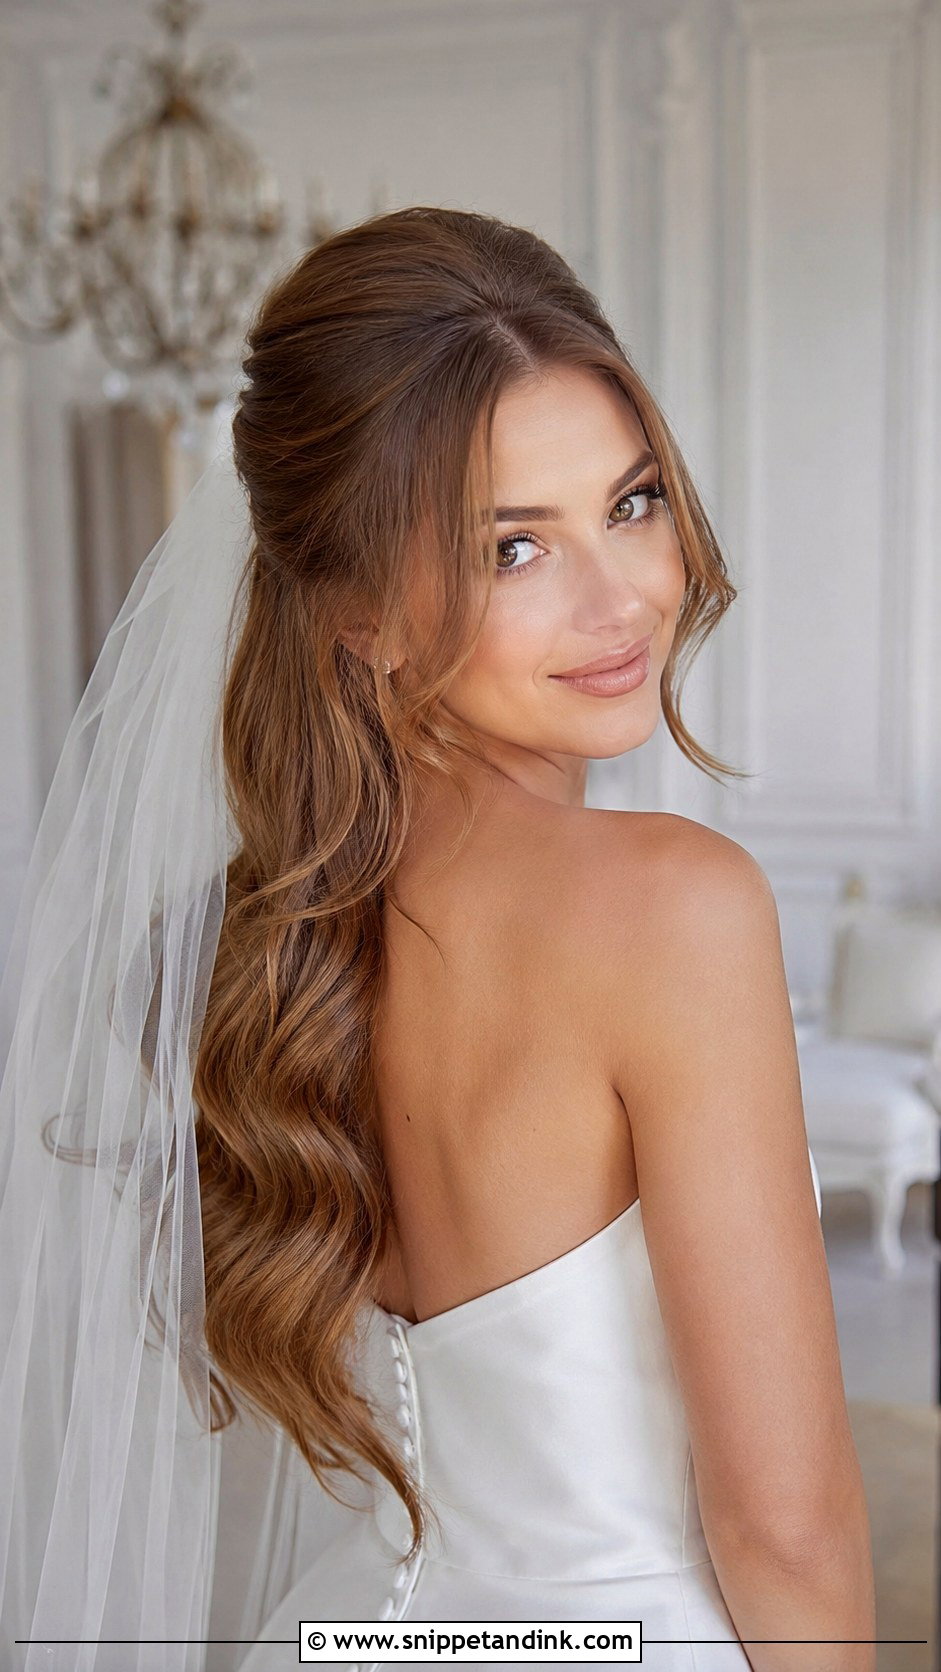
Can’t decide between up and down? Half up gives you both, but in this era it needs more shape than a modern half-up. I tease a little lift at the crown, smooth over it, and secure the top section with crossed bobby pins so the clip or comb has something solid to grip. The lower lengths then get the same set-and-brush waves as a full down style. If your hair is very heavy, warn your stylist, because the waves underneath can pull the half-up section loose by evening unless it’s anchored well.
5. Veronica Lake Peekaboo Waves
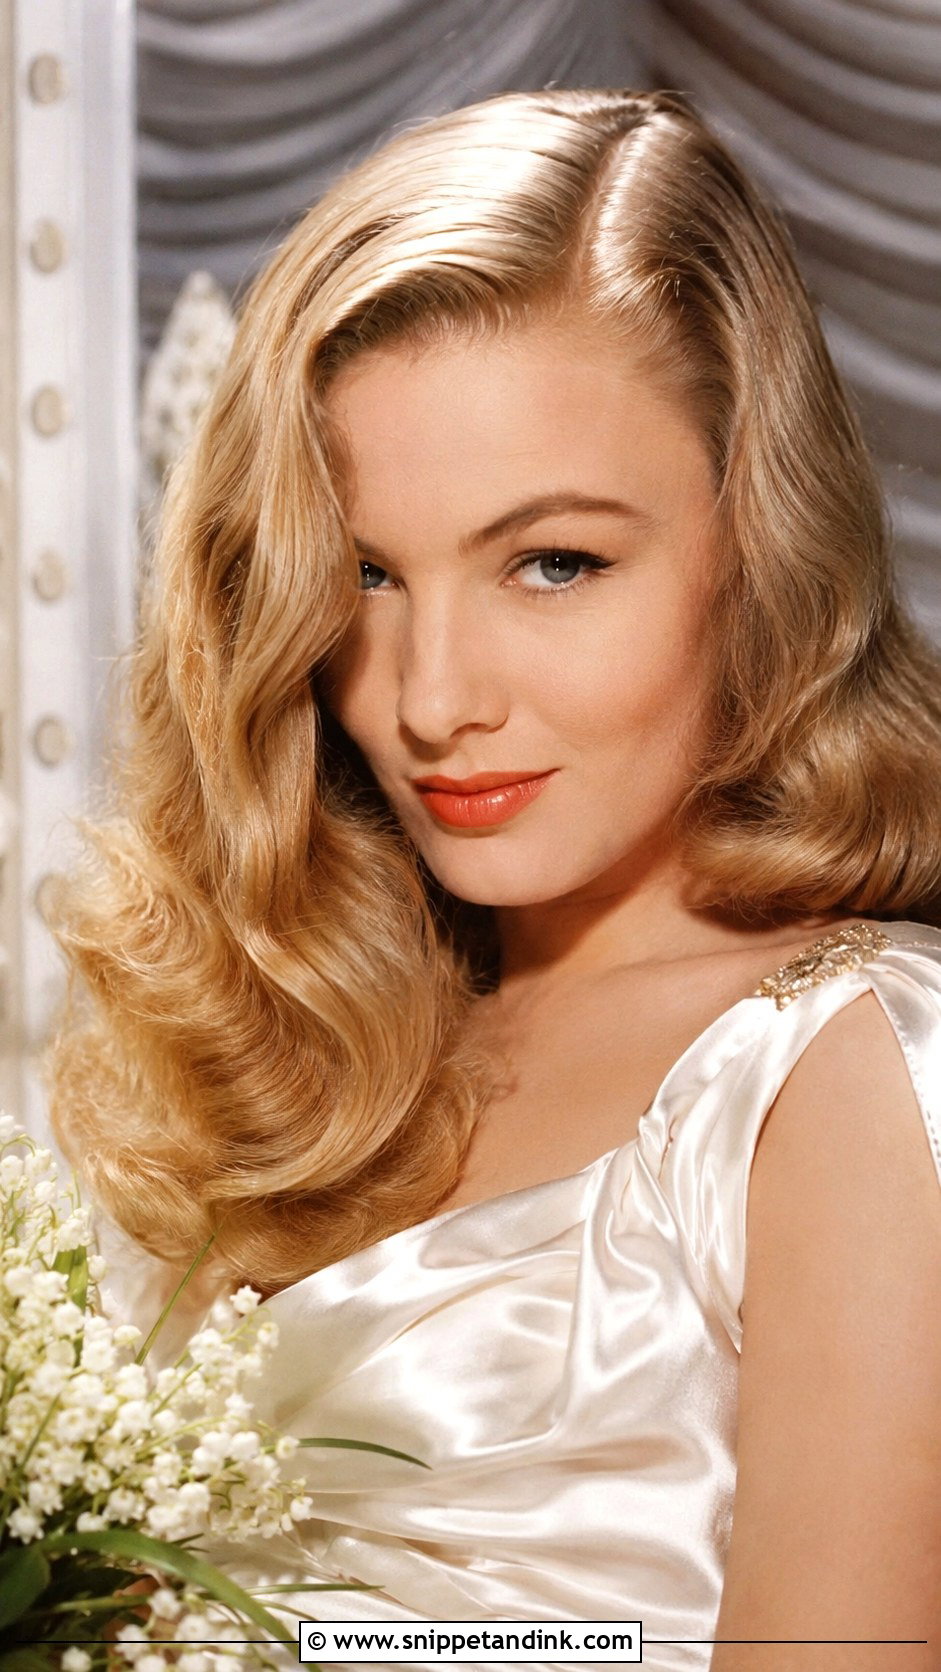
Named for the 1940s actress, Veronica Lake waves drop from a deep side part so one wave falls across the brow and cheek. It’s sultry on screen, but at a wedding it has a practical cost: that front section will cover one eye in some photos and you’ll be pushing it back all night. I usually keep the drape a little shorter than the original so it frames the cheekbone instead. You need medium to long hair with real body for the curve to fall cleanly. A hidden clip behind the ear holds it.
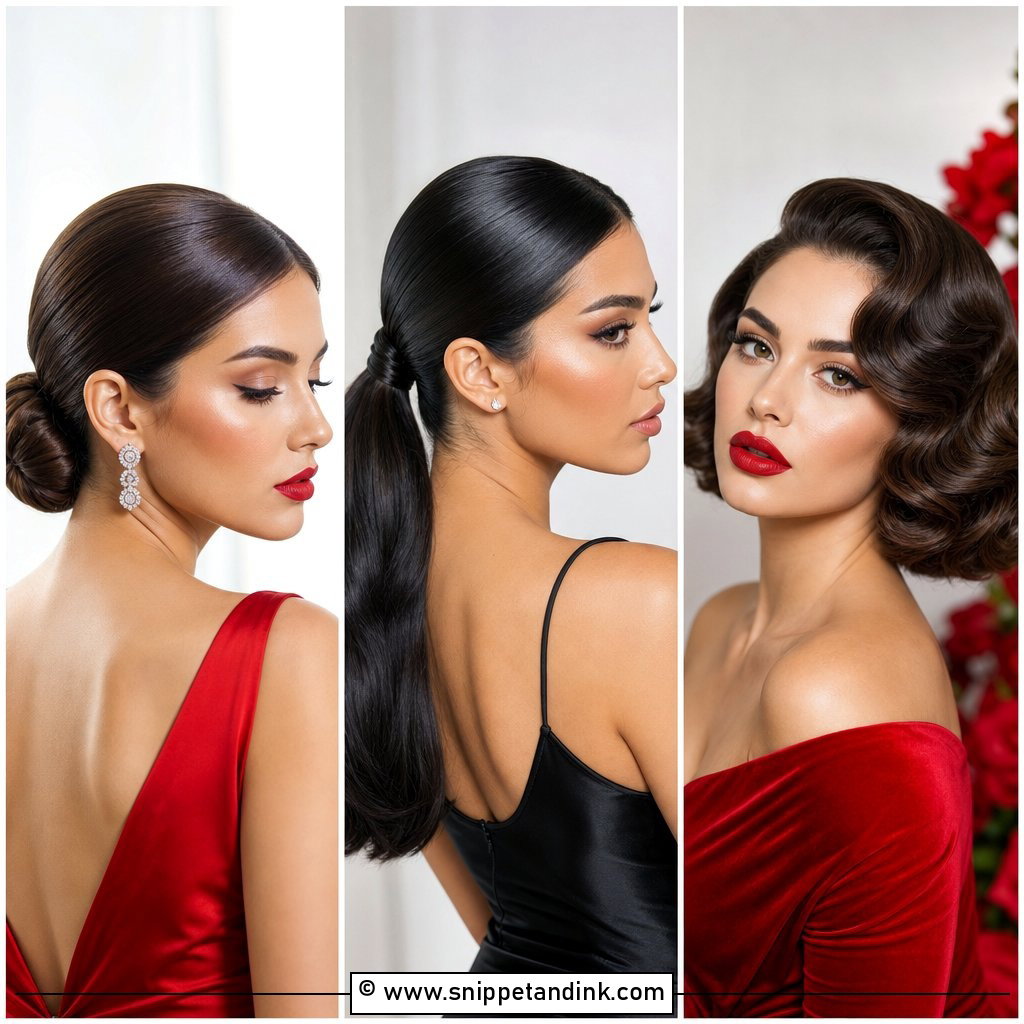
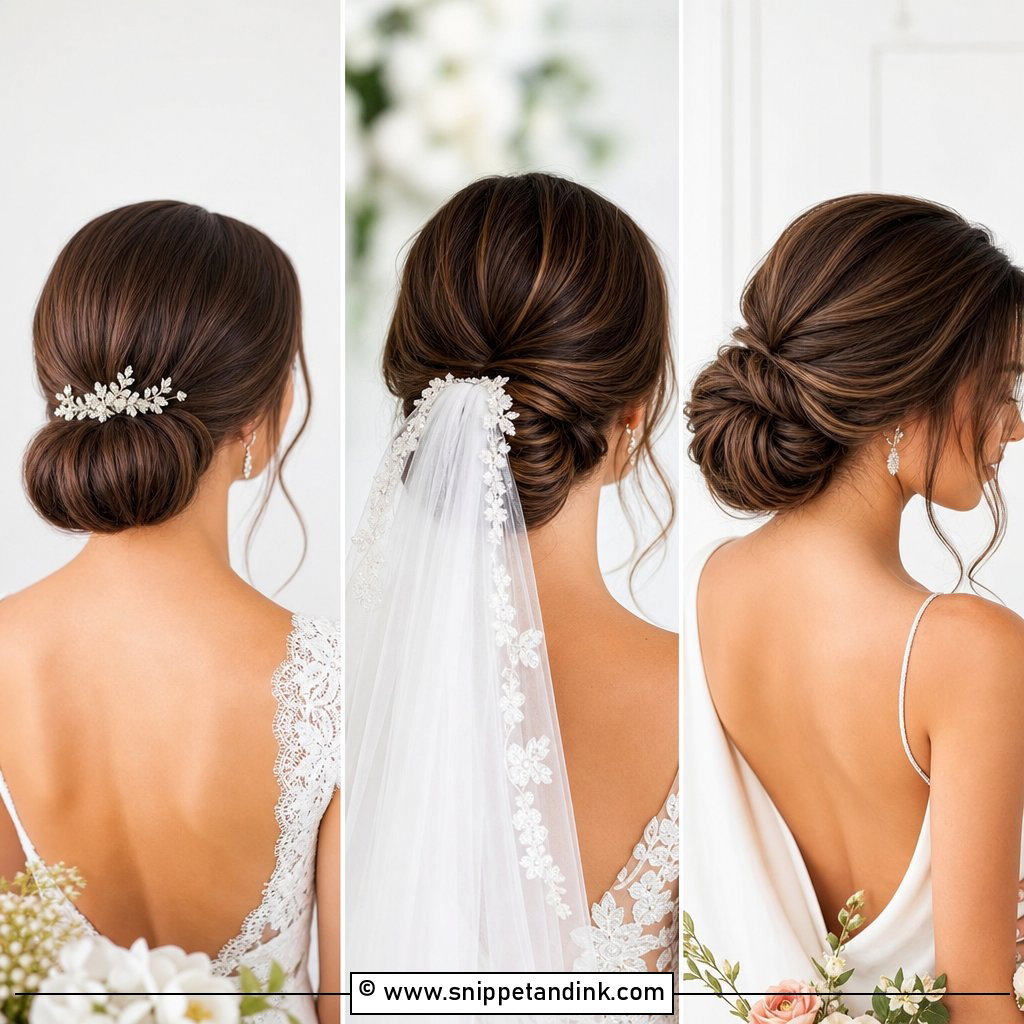
6. Sleek Low Chignon for Brides
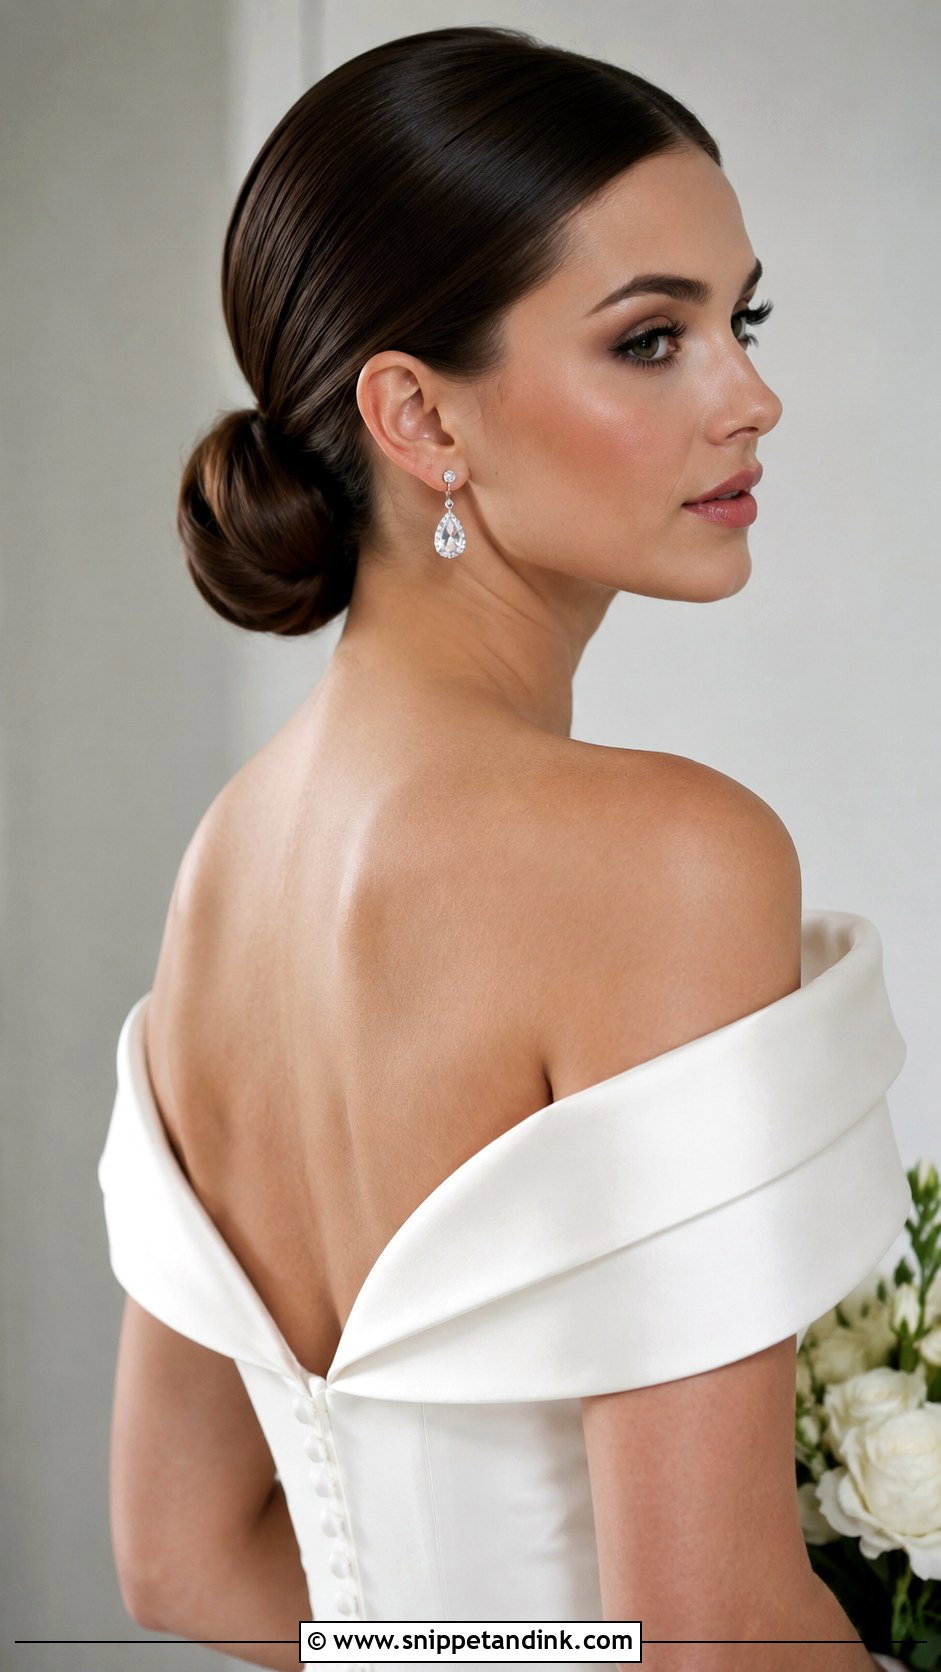
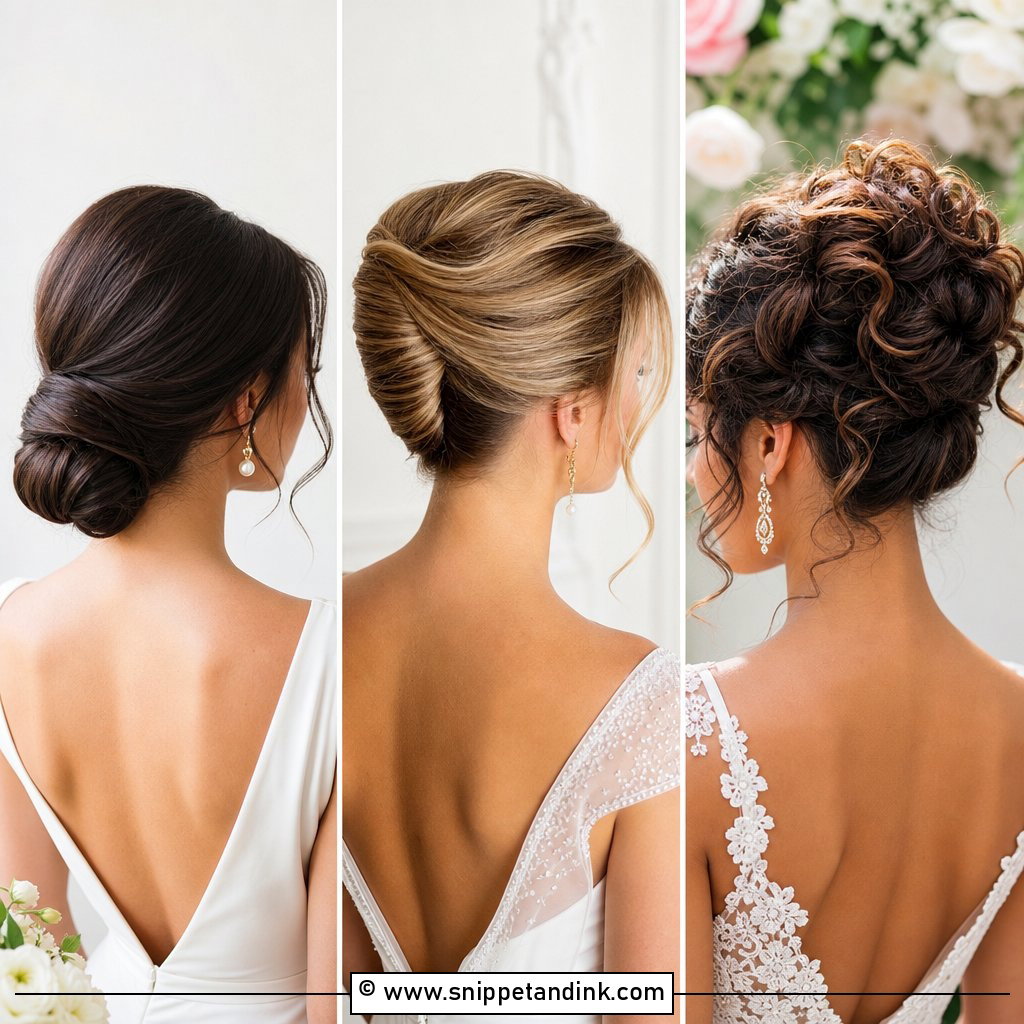
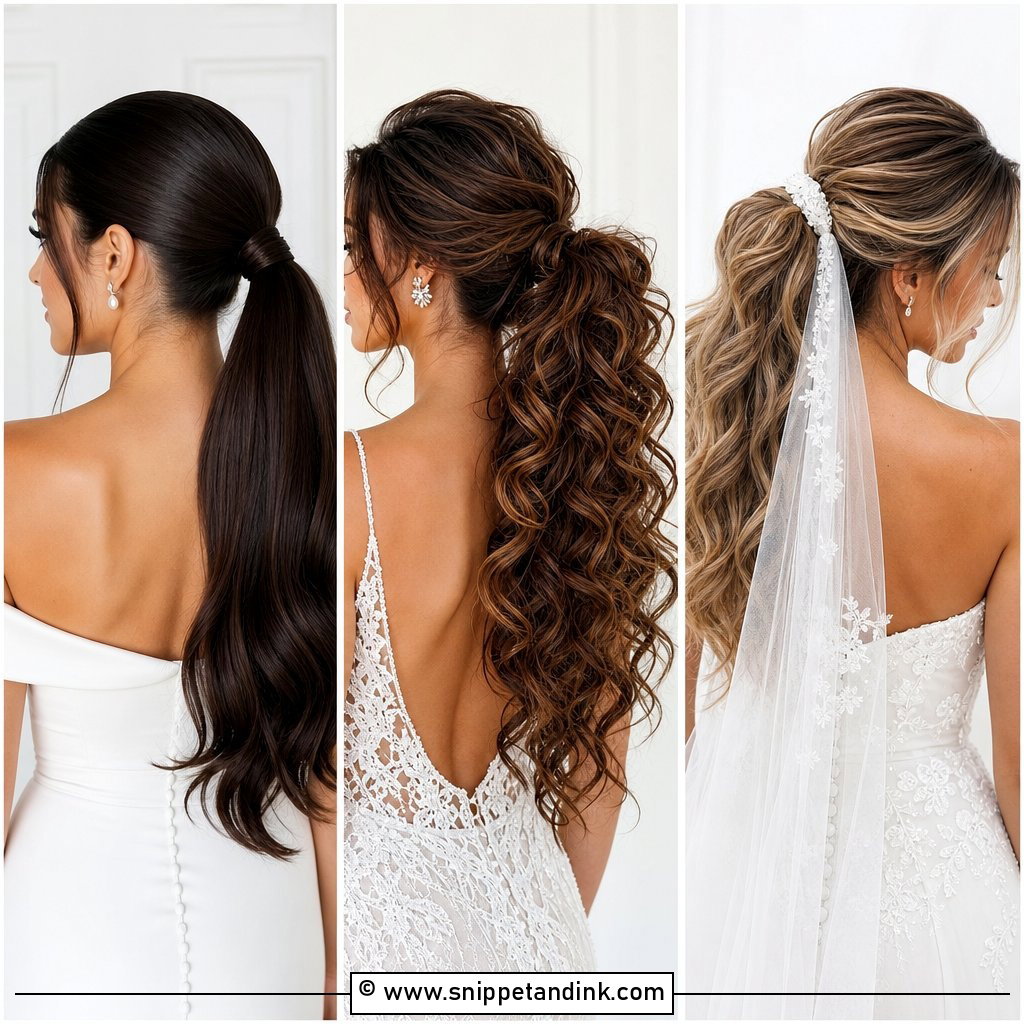
A sleek low chignon has nothing to hide behind, so the prep is the whole job. I blow-dry the hair straight and smooth with a paddle brush, then use a little cream and a fine comb to lay every strand back before twisting the knot at the nape. Any bump left on the head shows up in profile photos, so I check from the side, not just the mirror. This one suits a bride who’d rather her earrings and neckline did the talking. A single jeweled pin or a cathedral veil anchored above the knot is enough.
7. Victory Rolls Bridal Look
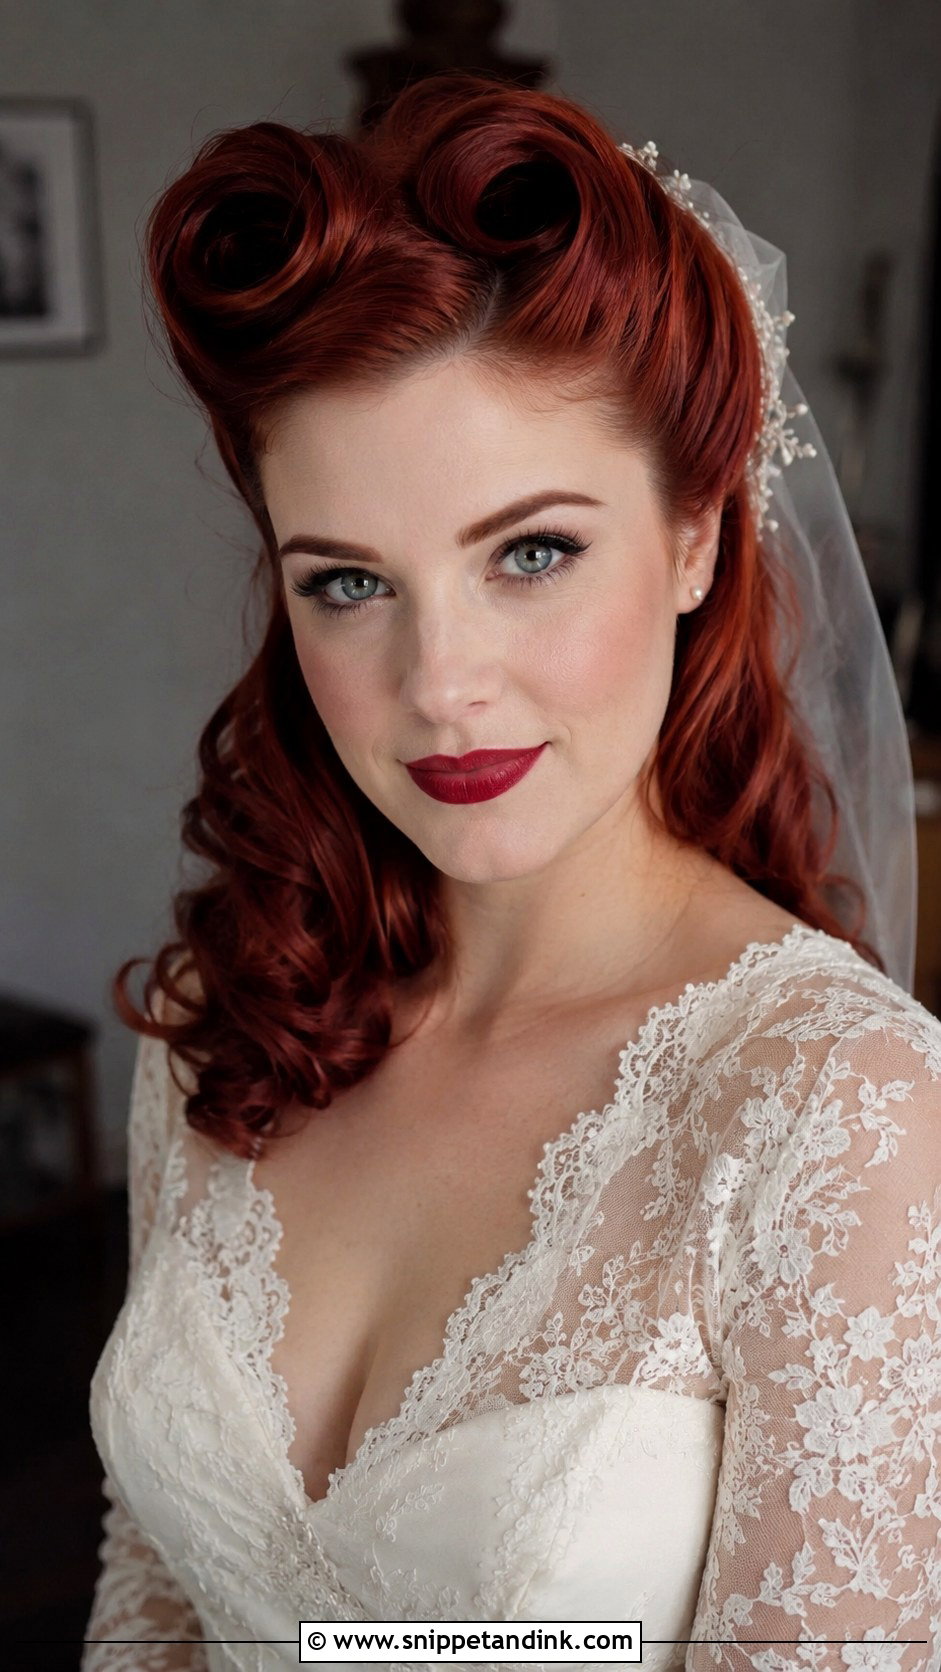
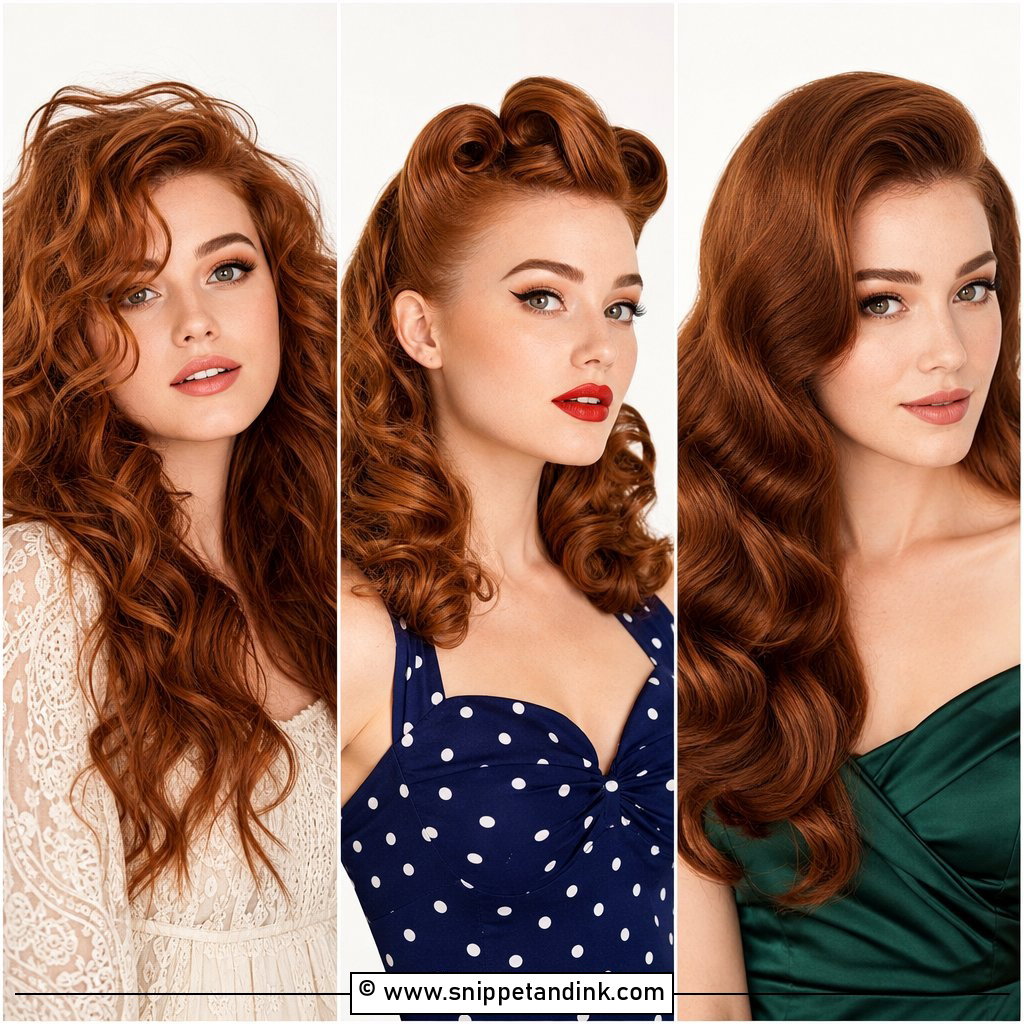
Victory rolls are the boldest option here and the least forgiving. Each roll is wrapped around two fingers, slid off, and pinned with the opening facing back, and if the hair is too clean or too silky it simply unrolls. I prep with texture spray or dry shampoo the day of. Wear two matching rolls for a true 1940s look or a single one for something less costume-like, with loose waves at the back to soften it. Be honest with yourself about whether you’ll still love them in your photos in twenty years, because they read very strongly as a period.
8. Marcel Waves Wedding Hairstyle
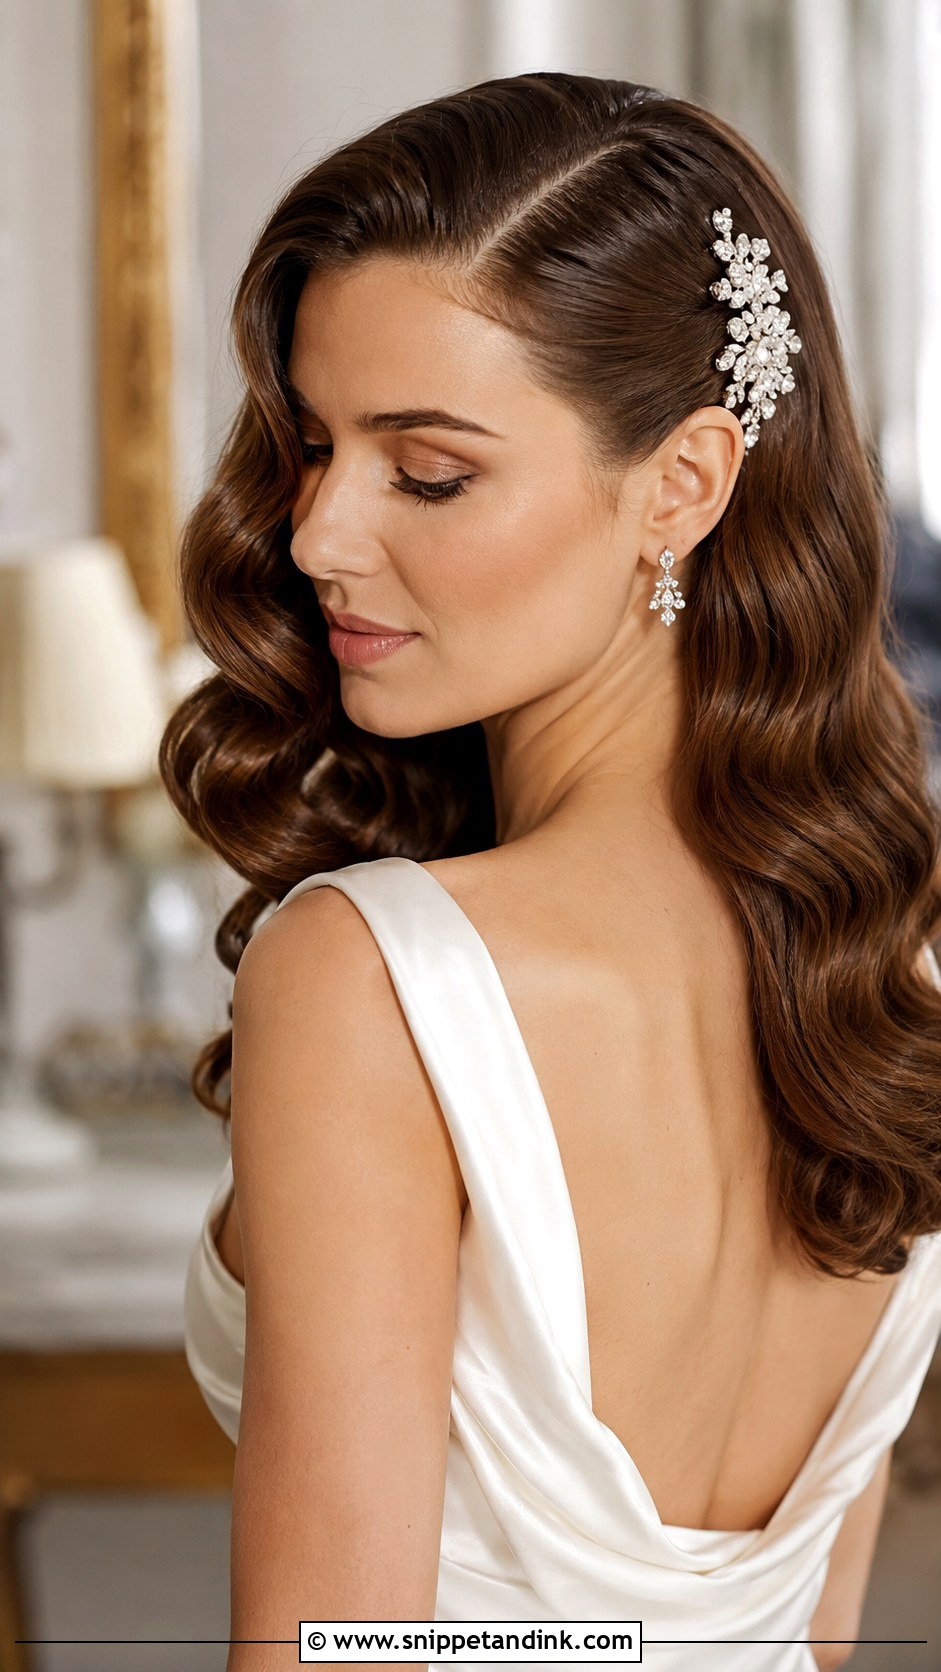
Marcel waves were originally made with a heated iron rather than fingers and gel, which gives them a softer, more even ripple than finger waves. The method dates to the late 1800s and was everywhere on golden-era actresses. I find them more wearable for brides because the waves have some movement and don’t look wet. They show up best on medium-length hair with a deep side part. Finish with glossing serum, then a vintage barrette at the part to give the look a point of focus.
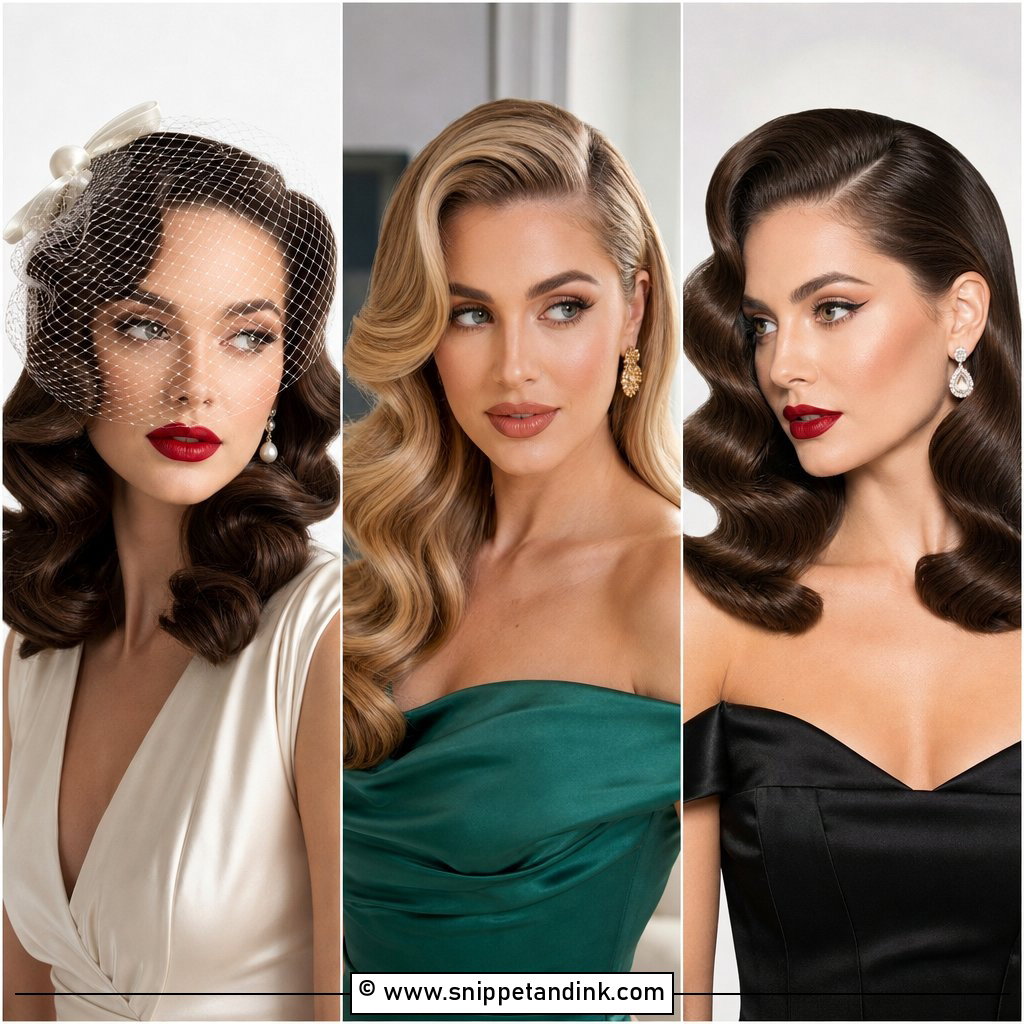
9. Hollywood Waves With Birdcage Veil
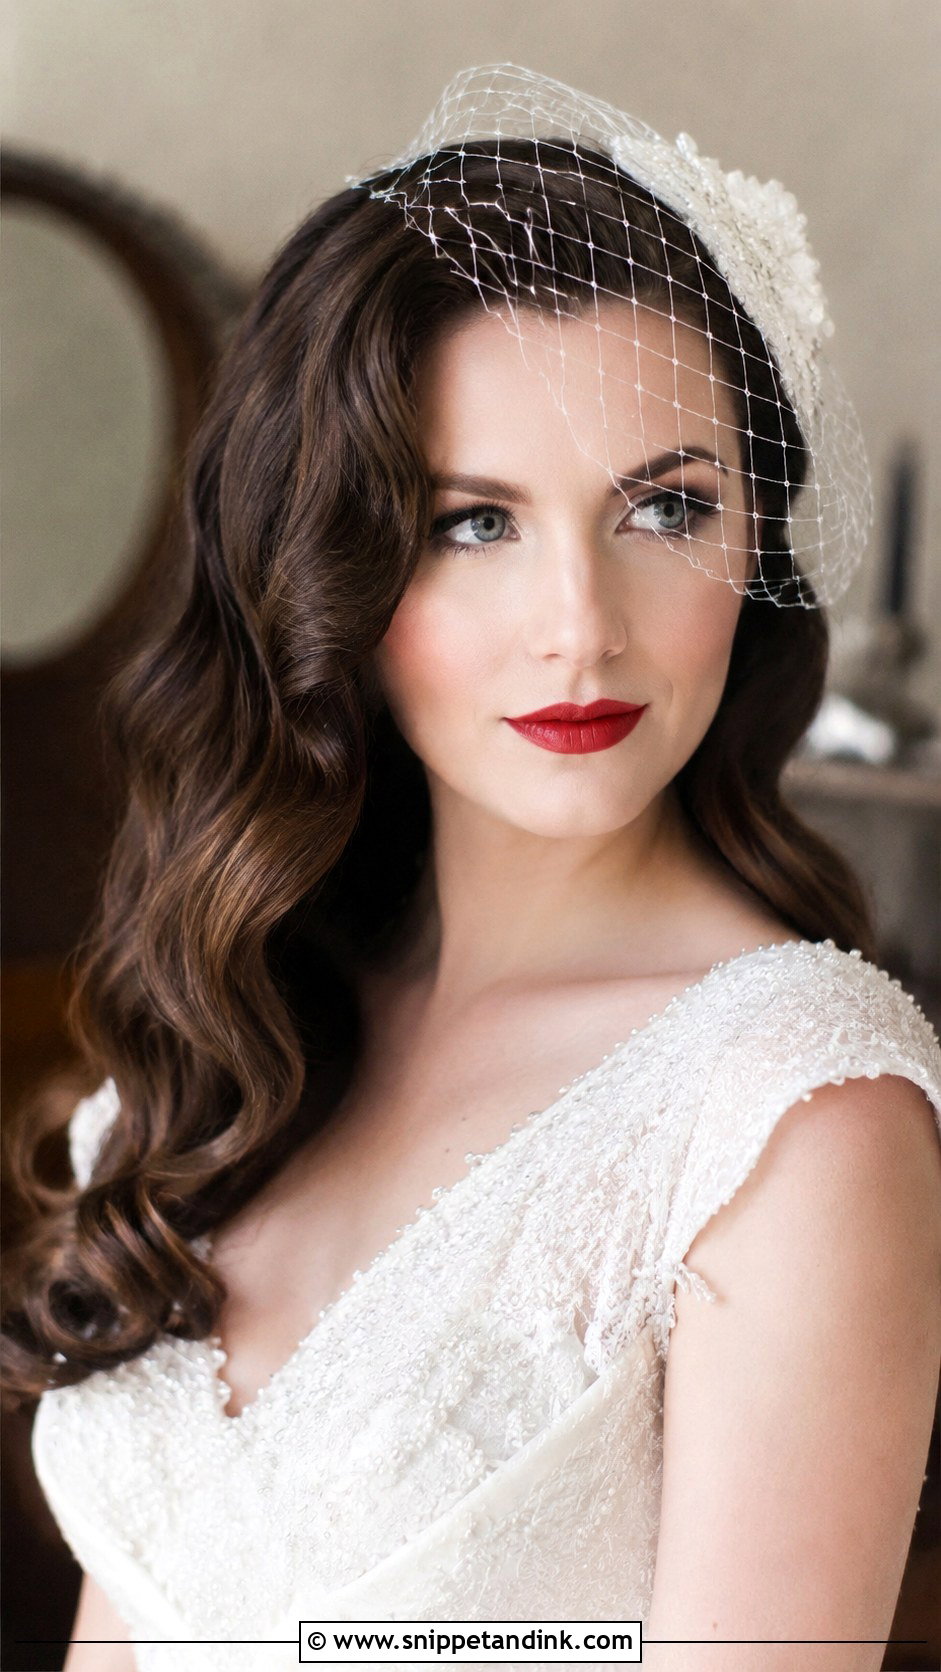
A birdcage veil is short netting that covers part of the face, so the wave has to be designed around where it sits. I set the hair first, then pin the veil at an angle on the side opposite the deep part, which keeps the netting from flattening the volume you just built. On very fine hair I anchor the comb into a small hidden braid so it doesn’t slide during the ceremony. Paired with a red lip and a strong earring, the whole thing feels like a 1950s film still without any extra props.
10. Vintage Updo With Curls
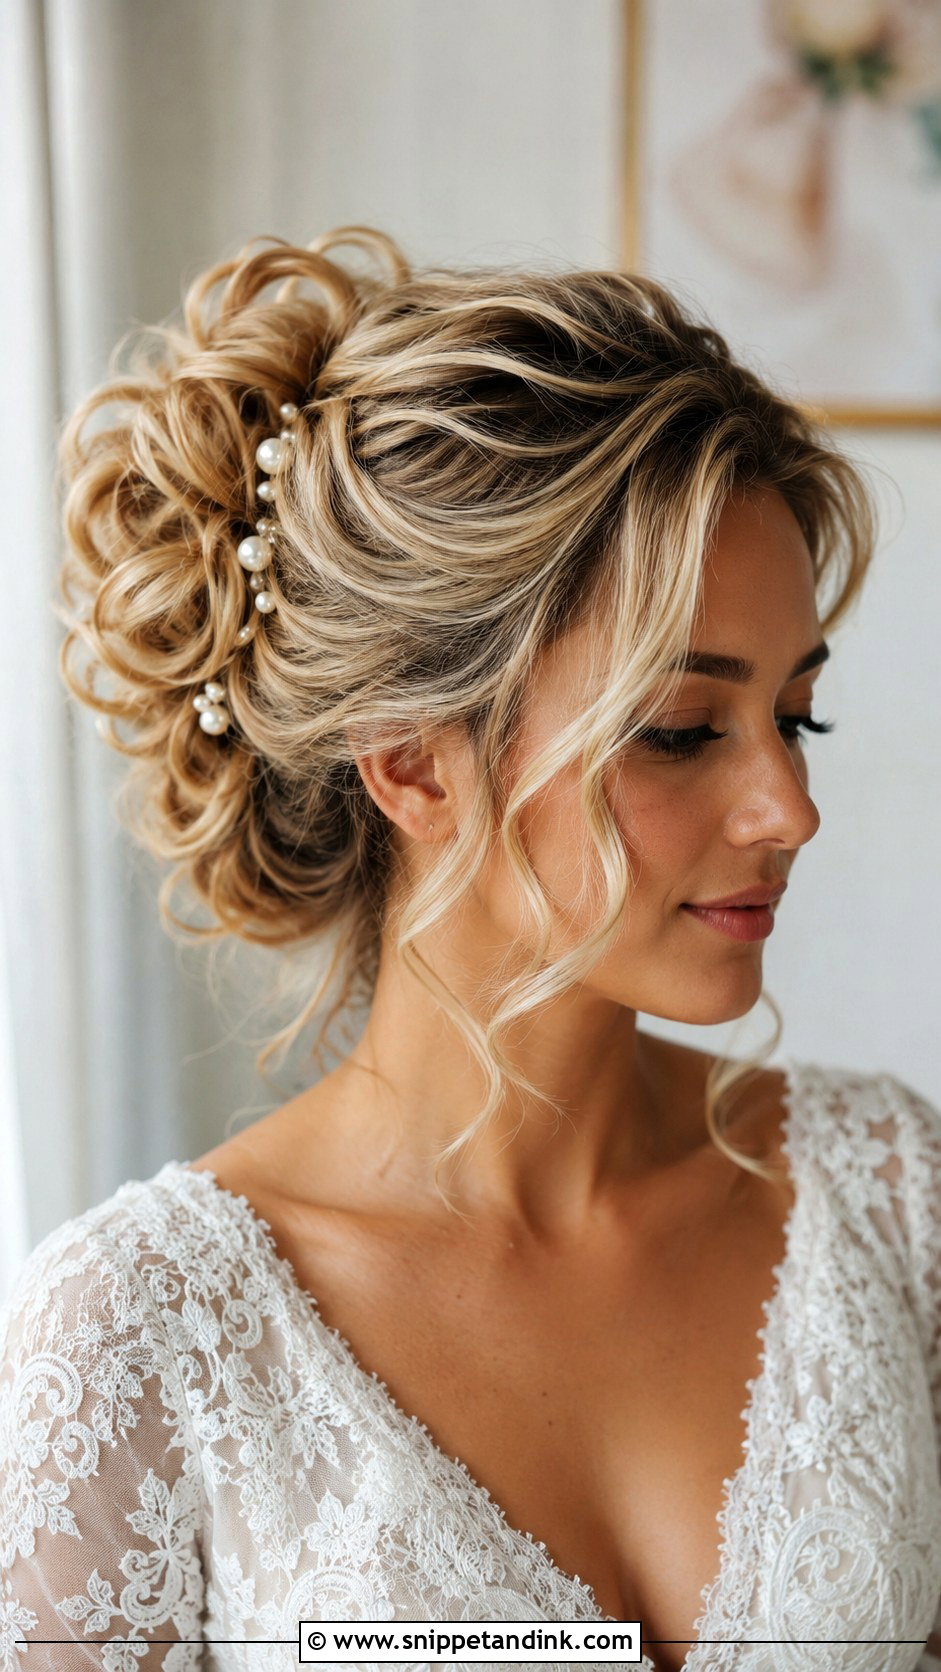
Rather than a smooth knot, this updo is built from curls pinned into a cluster at the back or crown. I curl the whole head first, let the curls cool, and then pin them one by one, which gives far more texture and hold than curling after pinning. A couple of loose tendrils at the temples keep it from looking stiff. This is one of the better vintage choices for fine hair, because the pinned curls create the volume your hair might not have on its own. Crystal combs or pearl pins slot easily between the curls.
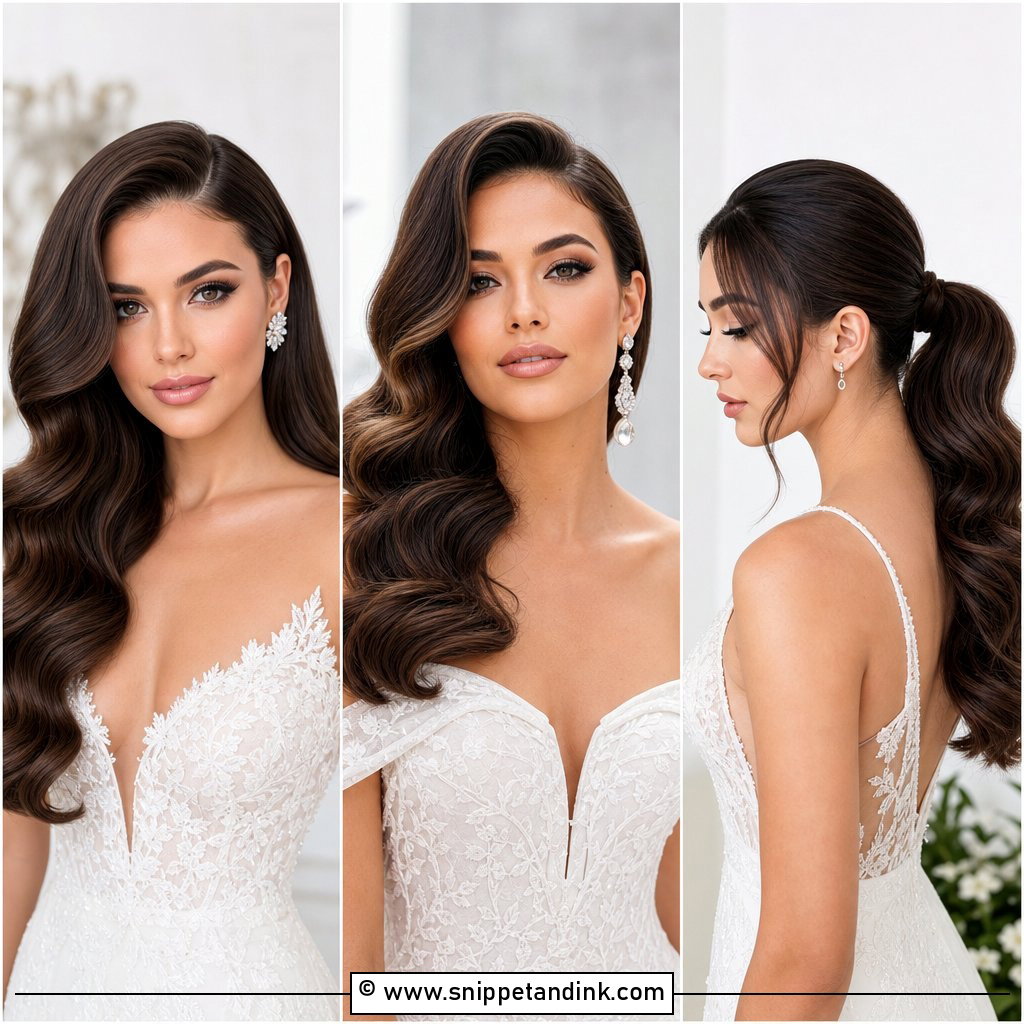
11. Side Swept Glamour Waves
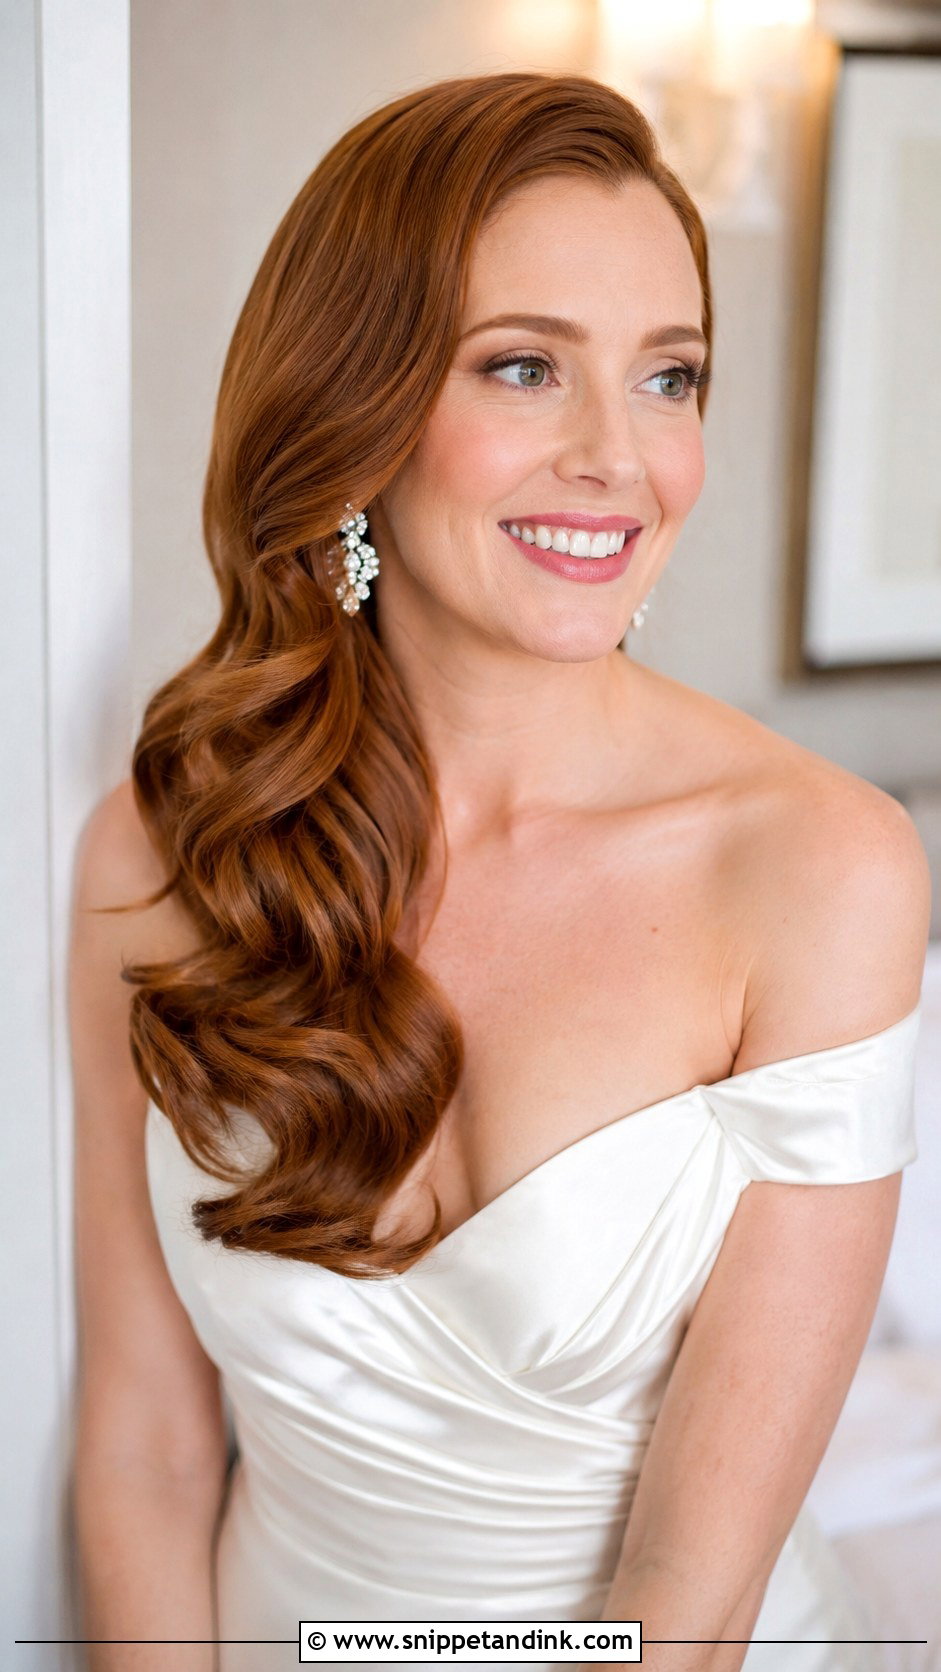
All the volume swept over one shoulder makes this the most asymmetrical look here, and it puts one side of your neck and one earring fully on show. The weight is the challenge. I curl and brush out the waves, then cross a row of bobby pins up the back of the head on the bare side, under the hair, to lock the sweep in place. Long, thick hair suits it best, since thinner hair can look sparse once it’s all moved over. A small sparkling clip near the part balances the empty side.
12. Pin Curls Wedding Hairstyle
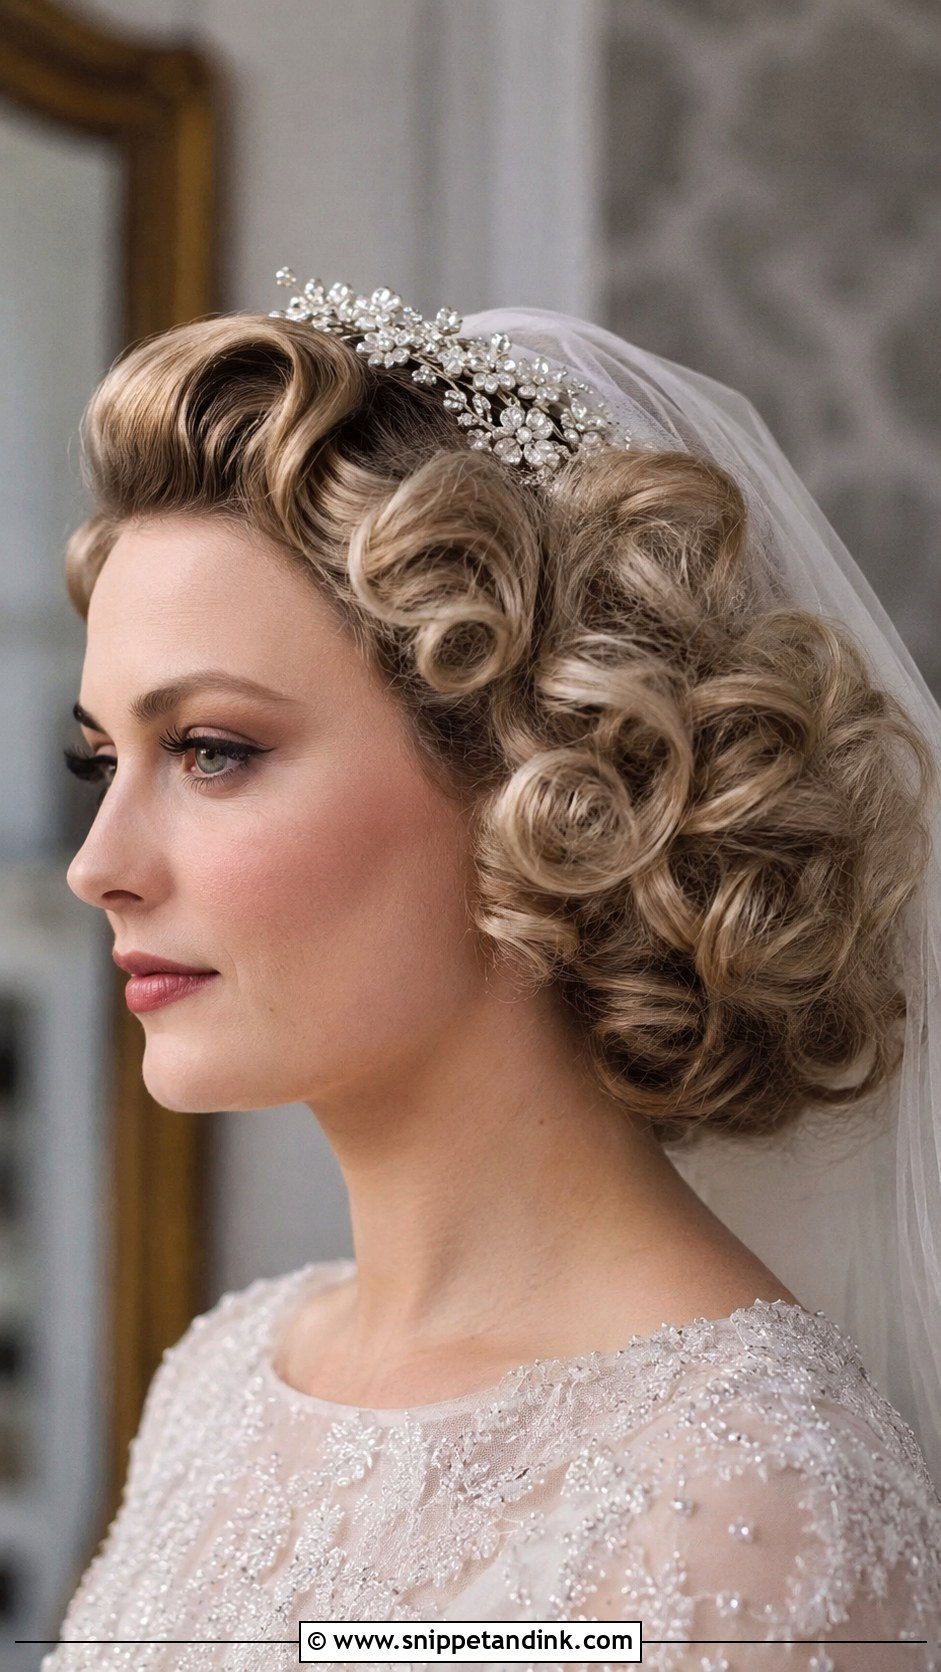
Pin curls are how most of these looks were actually built in the era, and I still use them for anything that needs to last. Small sections are curled flat against the head and pinned to set as they cool, sometimes for an hour or more. Brush them out fully for a soft wave, or leave them more defined for stronger retro texture. They hold far better than a curling iron alone, especially on hair that normally drops a curl by lunchtime. A light hairspray at the end is all they need.
13. Grace Kelly Inspired Bridal Hair
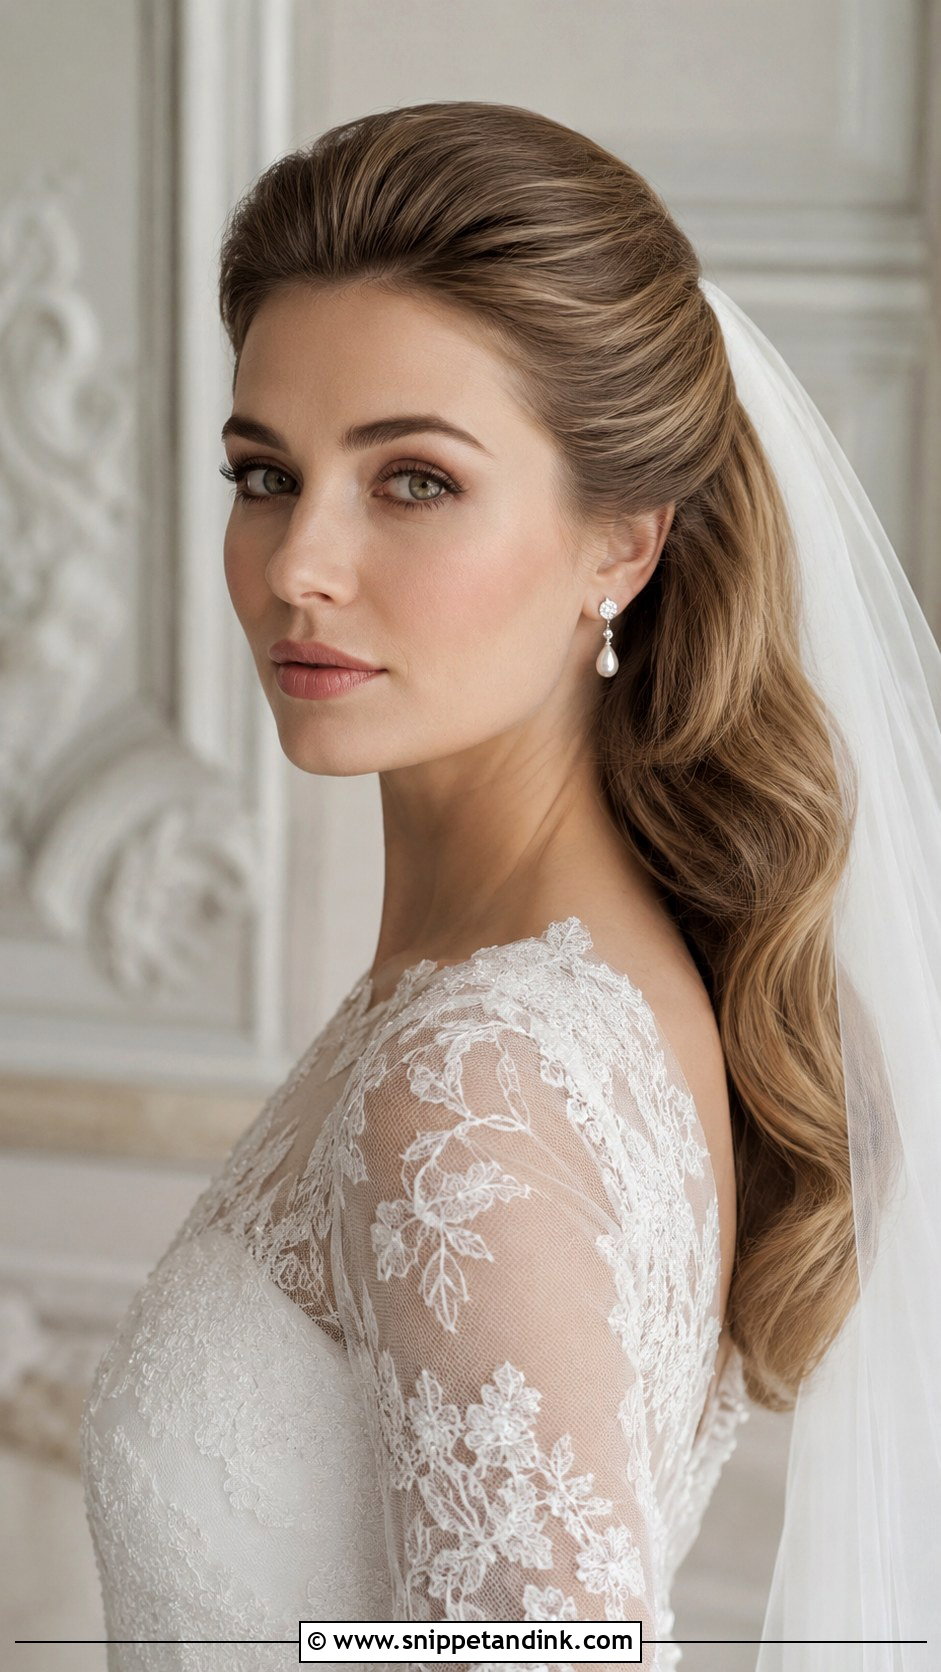
Princess Grace wore her hair softly waved and gently pulled back, never fussy, and it’s still one of the most copied wedding looks. Grace Kelly’s bridal look works because the volume is small and controlled, mostly a little height at the crown with smooth sides. I keep the front sections combed back with a slight wave rather than a strong curl. It sits well under a lace veil or a delicate tiara. If you love quiet, polished hair more than drama, start here.
14. Old Hollywood Waves for Short Hair
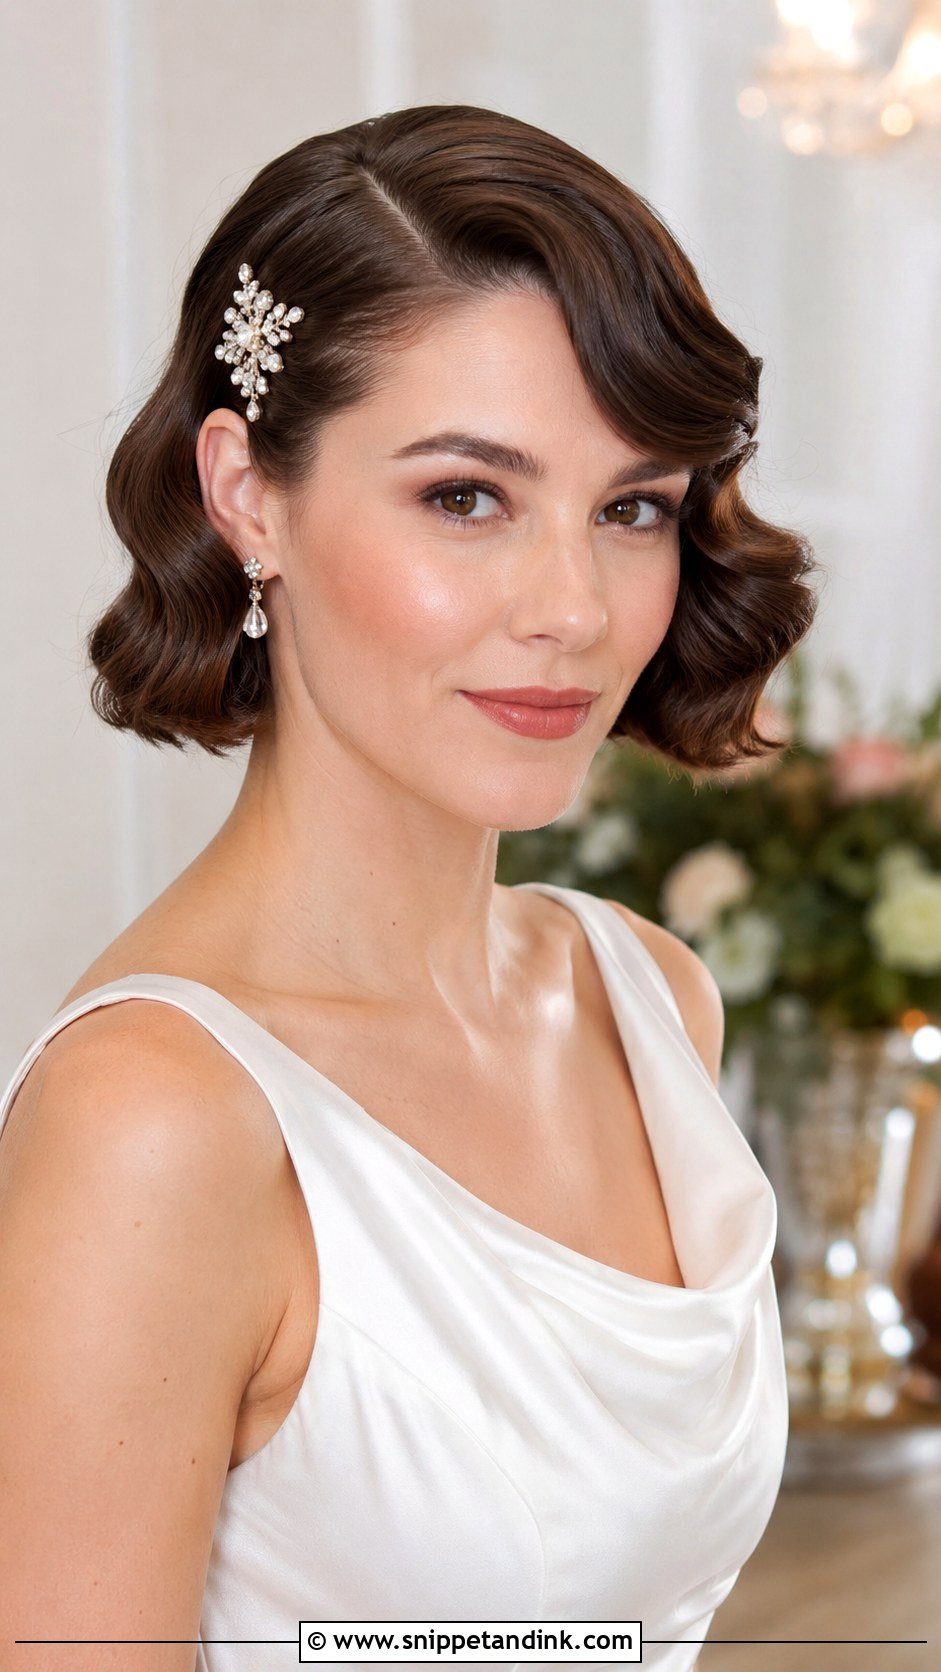
Short hair takes vintage waves better than most people expect, since a bob was the original 1930s cut for them. I switch to a smaller barrel, around an inch, so the wave completes its curve within the shorter length, and then brush it out into a smooth ridge. A deep side part does most of the work. One caution: a bob with heavy razor layers won’t wave evenly, so if you’re getting a cut before the wedding, ask for blunter ends. A small jeweled pin or a birdcage veil adds the finishing detail.
15. Glamorous Bun With Hair Accessories
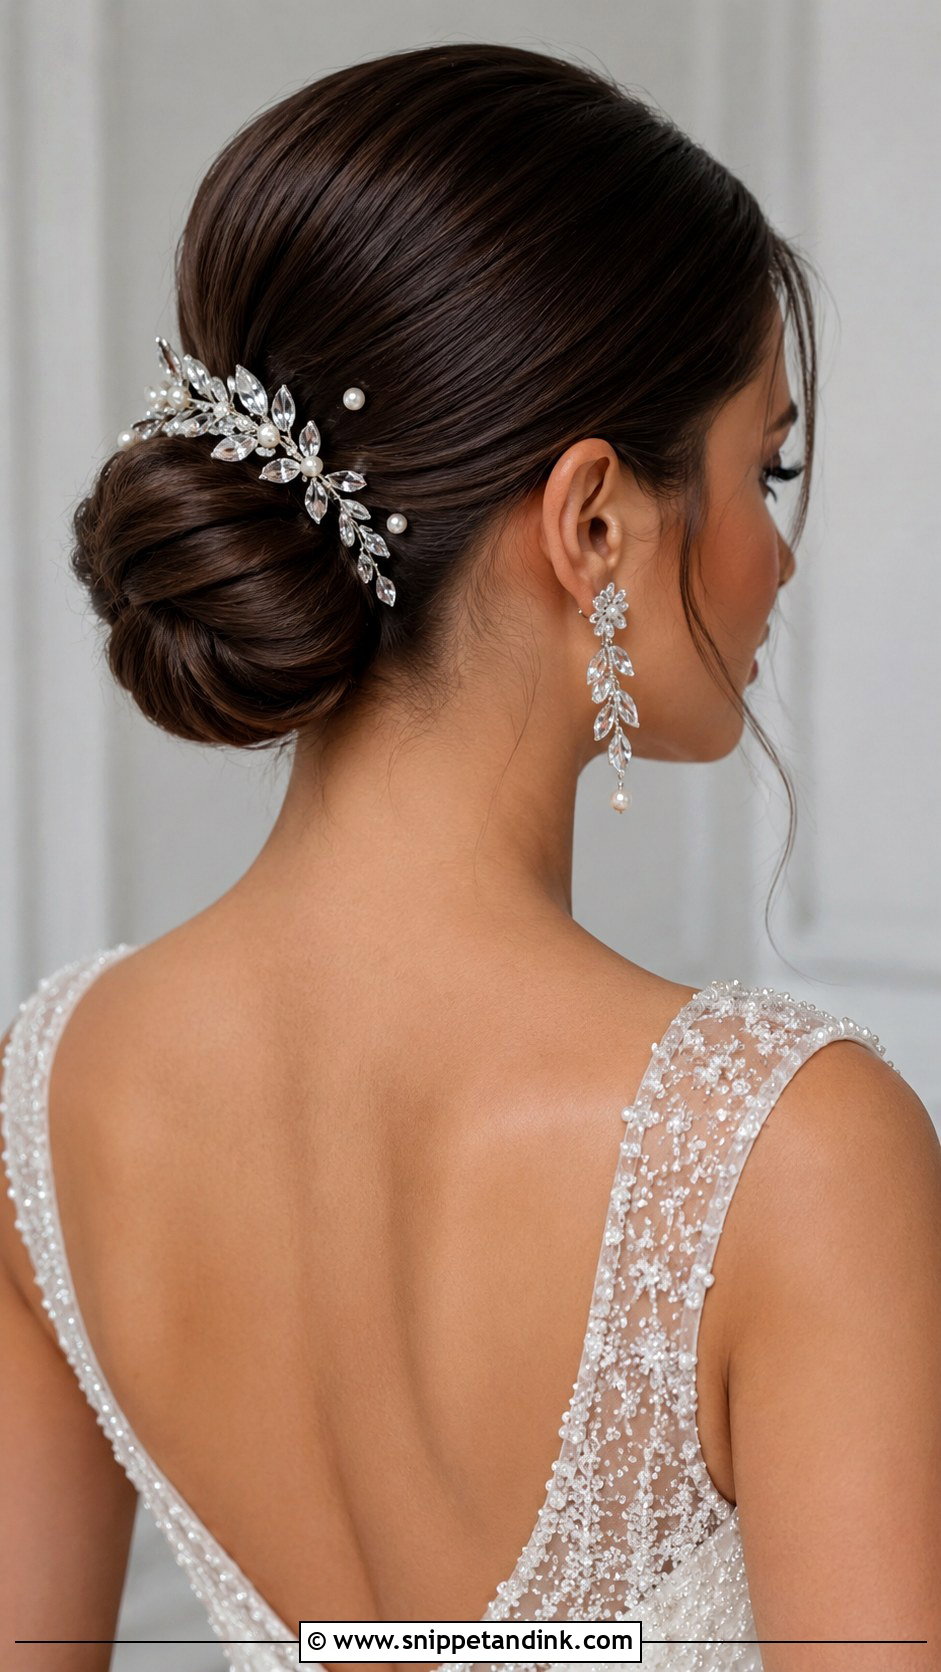
A plain structured bun becomes the backdrop for the accessories here, so the bun itself should be simple and smooth. I build it low or mid-height depending on the dress neckline and the veil, then place combs or pearl pins along one side or around the base. Metal accessories catch the flash in photos, so I angle them slightly toward the camera side you’ll favor. This works if you love sparkle but want your hair to stay put through dancing. Keep the earrings in proportion so the head doesn’t look crowded.
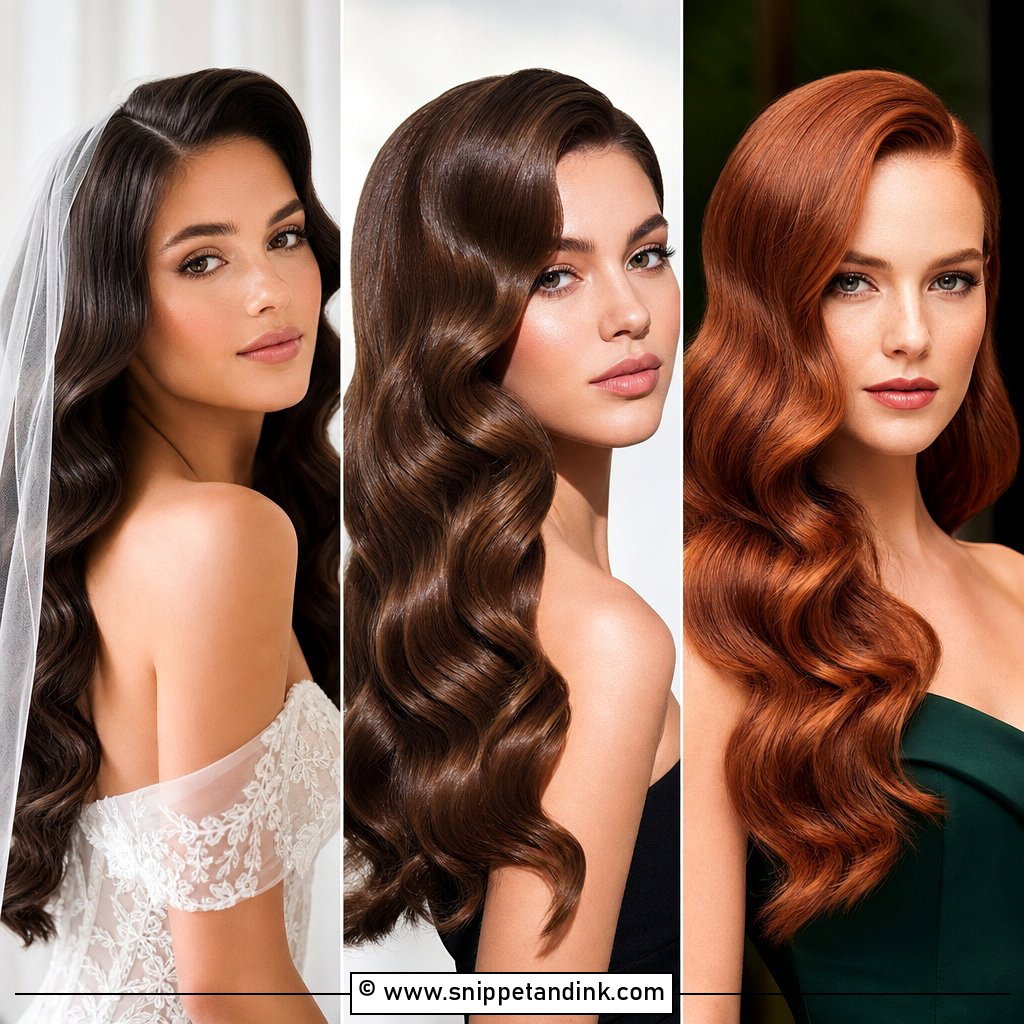
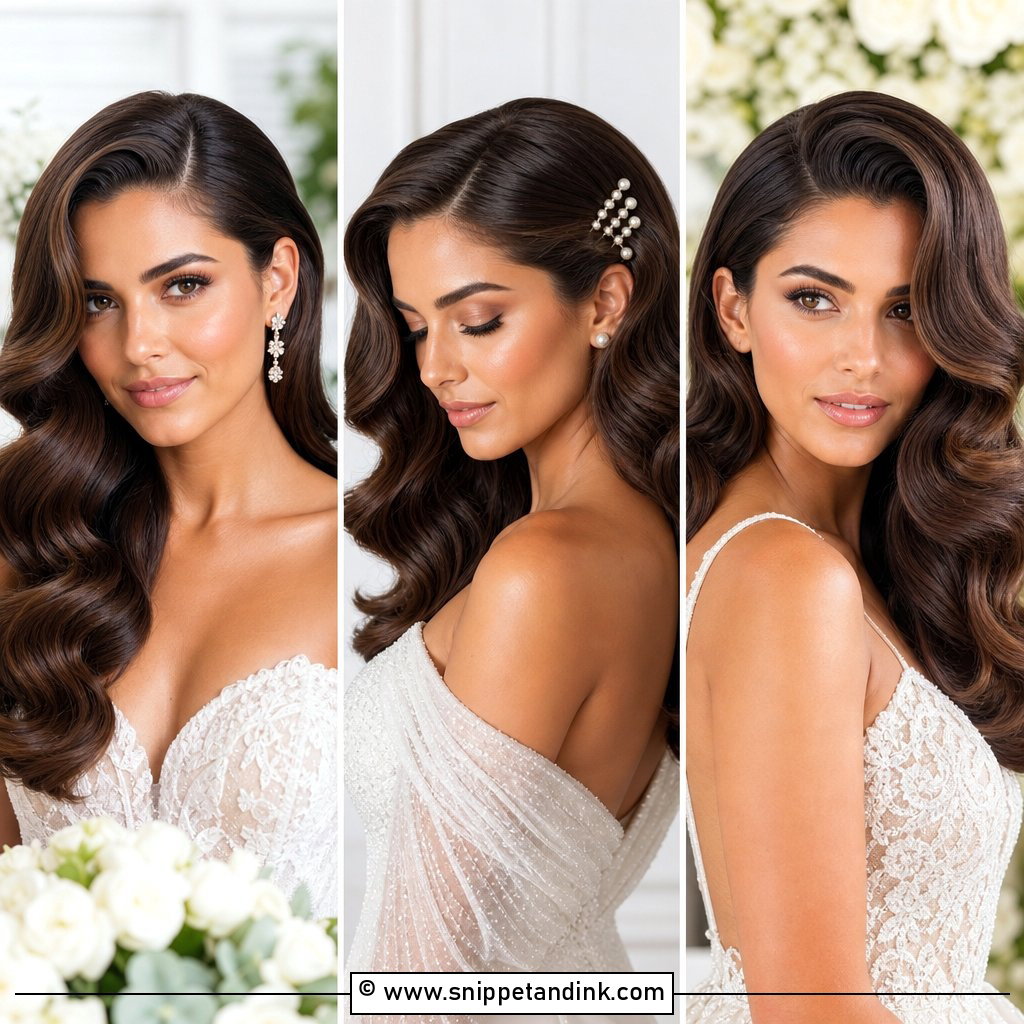
16. Deep Side Part Glamour Waves
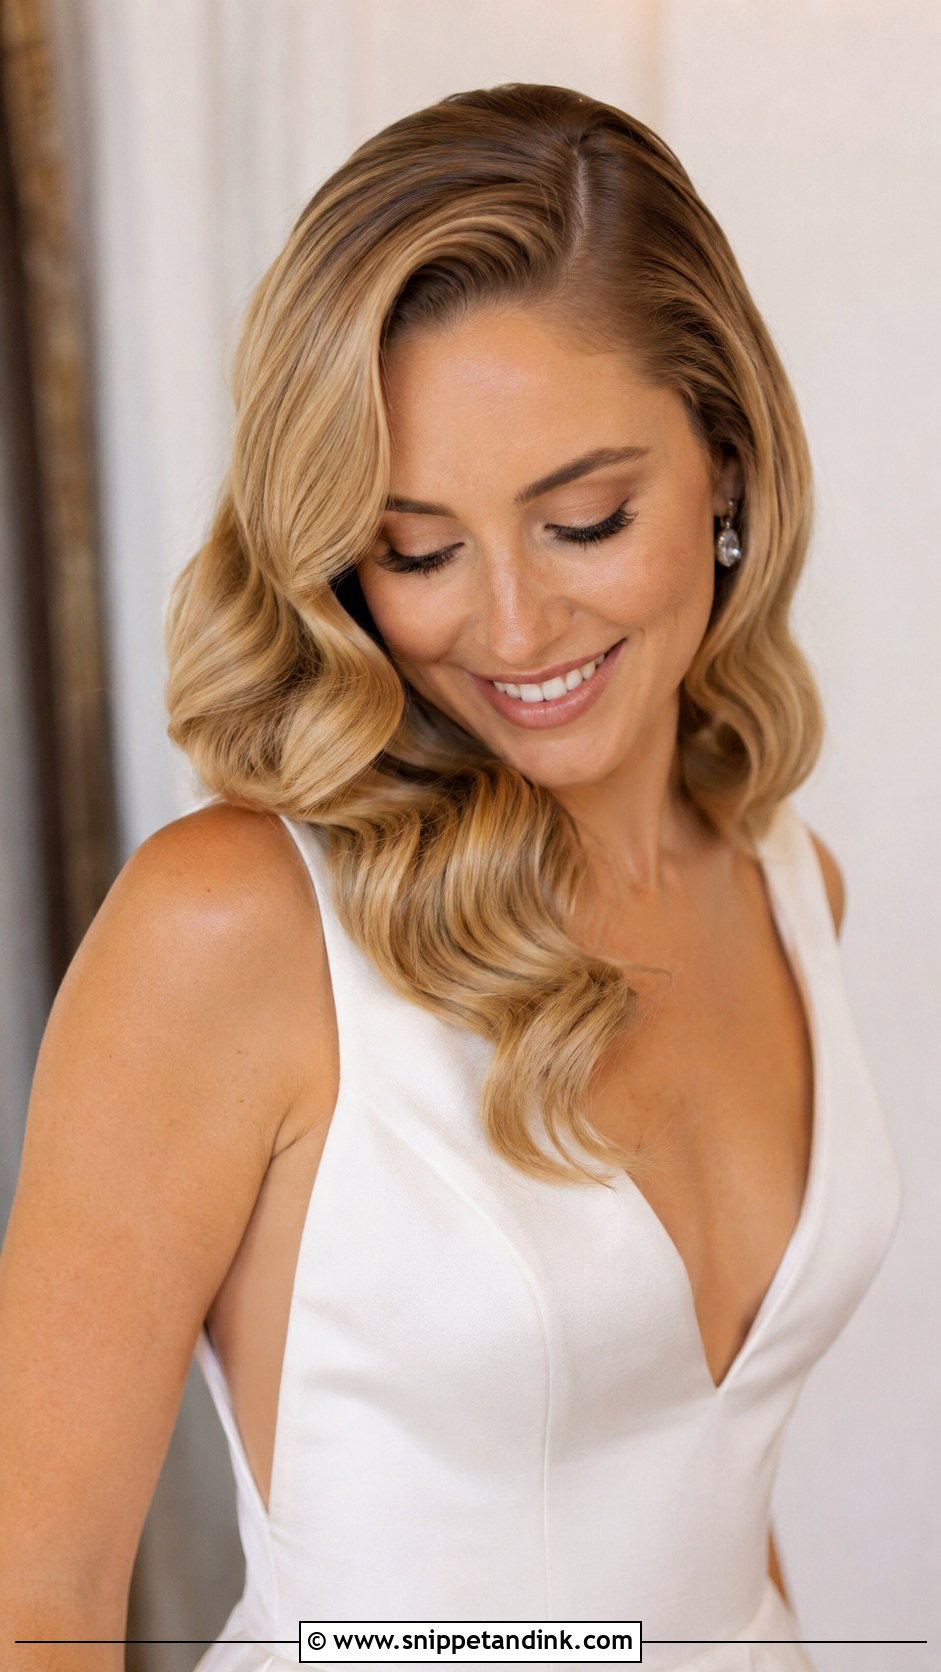
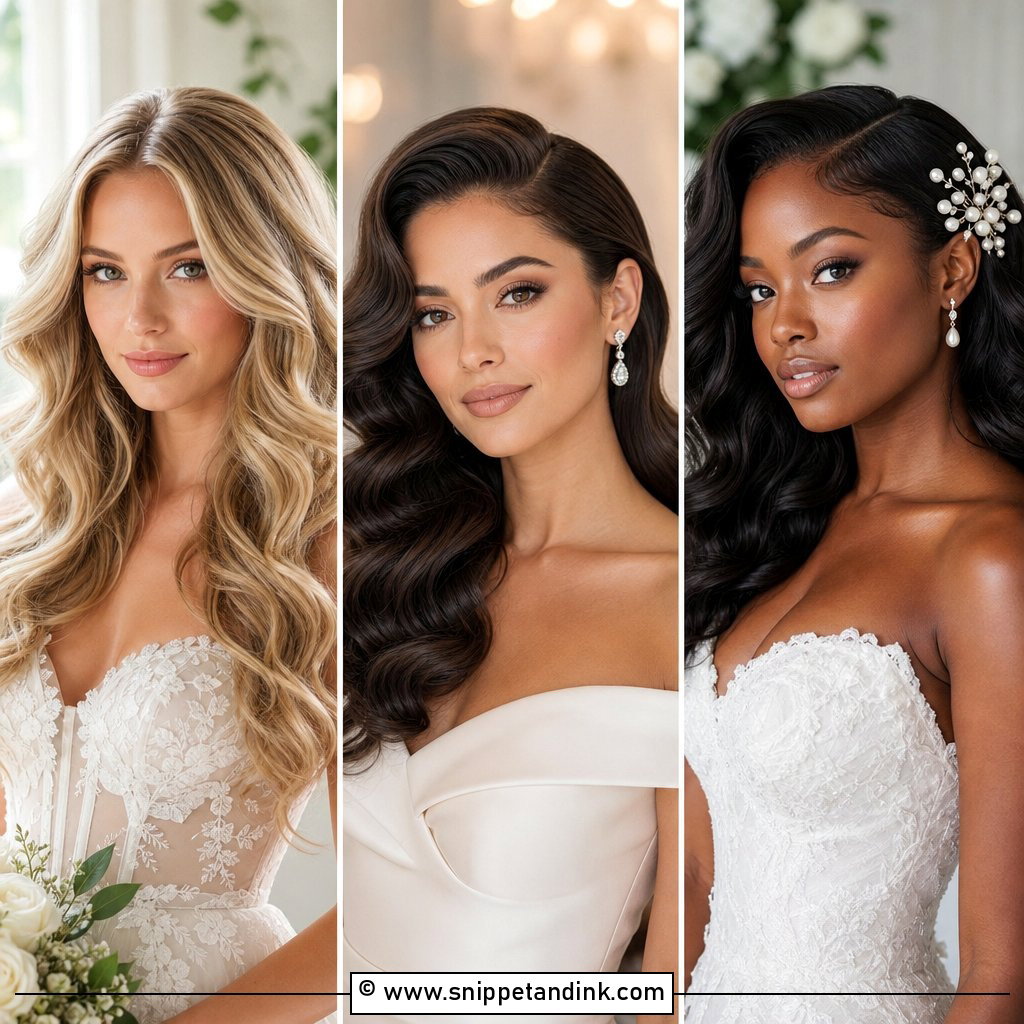
A deep side part is the cheapest, quickest way to make any wave look vintage. Moving the part out toward the arch of the brow pushes the volume to one side and creates the asymmetry these looks rely on. I check where your hair naturally falls first, because forcing a part against a strong cowlick fights you all day. Pair it with smooth S-shaped waves and a little shine serum. This works on most lengths and textures, which makes it a good starting point if you aren’t sure how far into the era you want to go.
17. Romantic Curls With Tiara
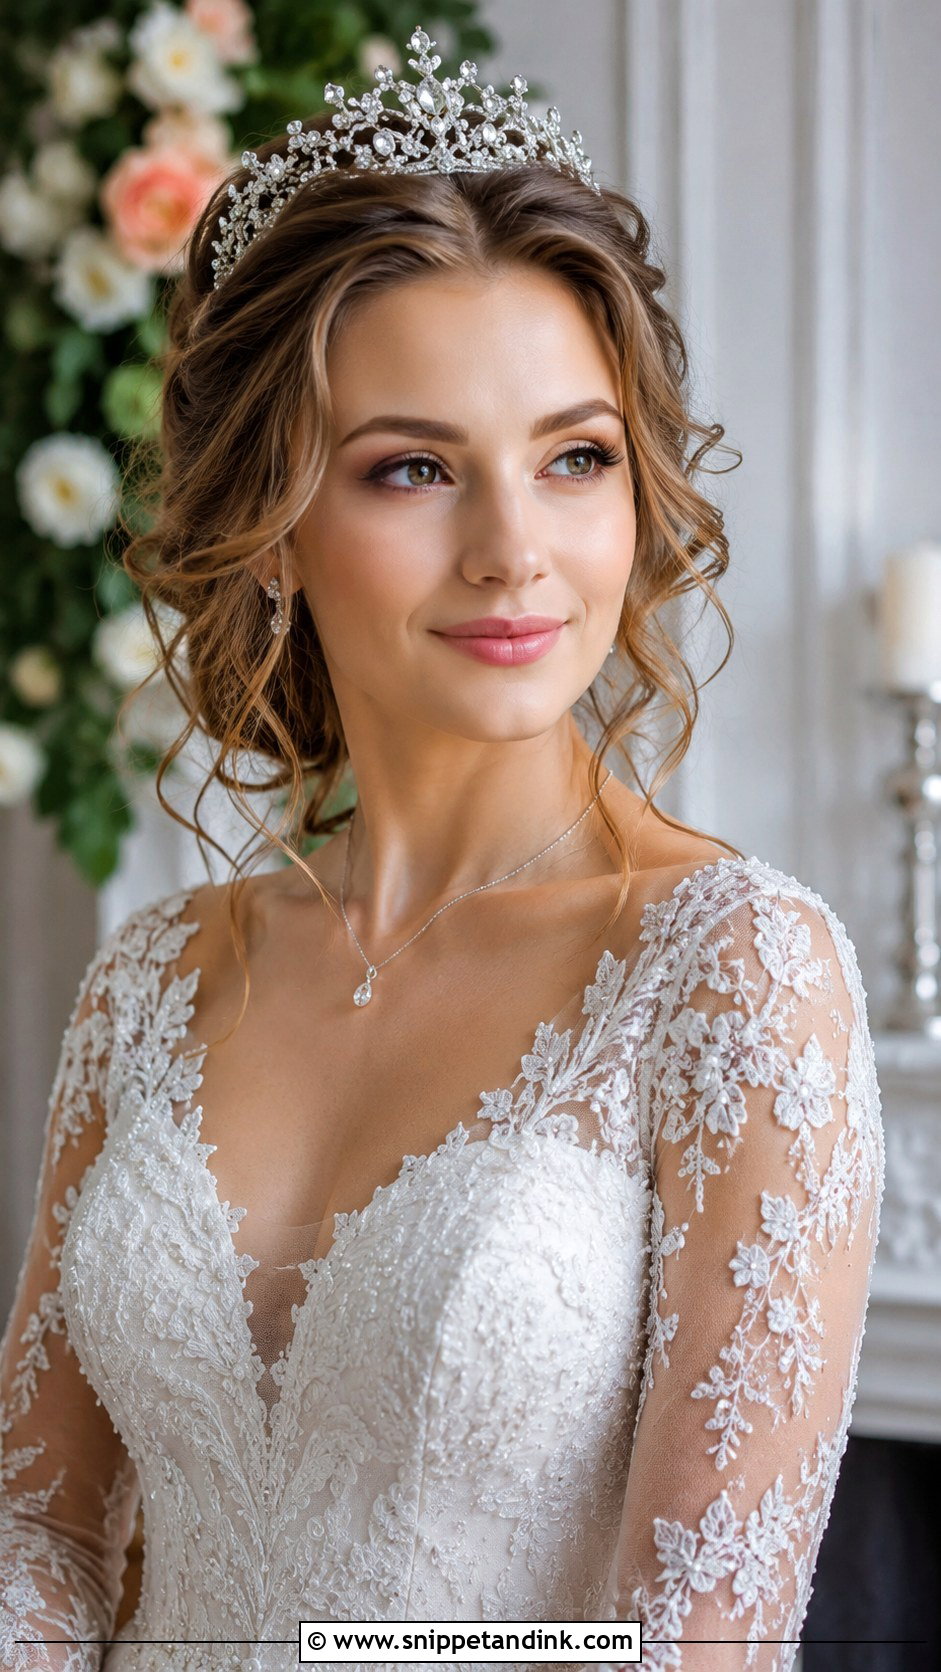
This is the softest look on the list: loose curls with a tiara at the crown, more fairy tale than film noir. I curl the hair, brush it out only lightly so the curls keep their shape, and place the tiara before the last section of curls goes in so the band sits flush against the head. A few loose pieces at the face keep it gentle. It works worn down or half up. If your tiara is heavy, ask for it to be fitted at the trial, since a band that tips forward pulls on the hairline by the reception.
18. Bardot Bombshell Waves
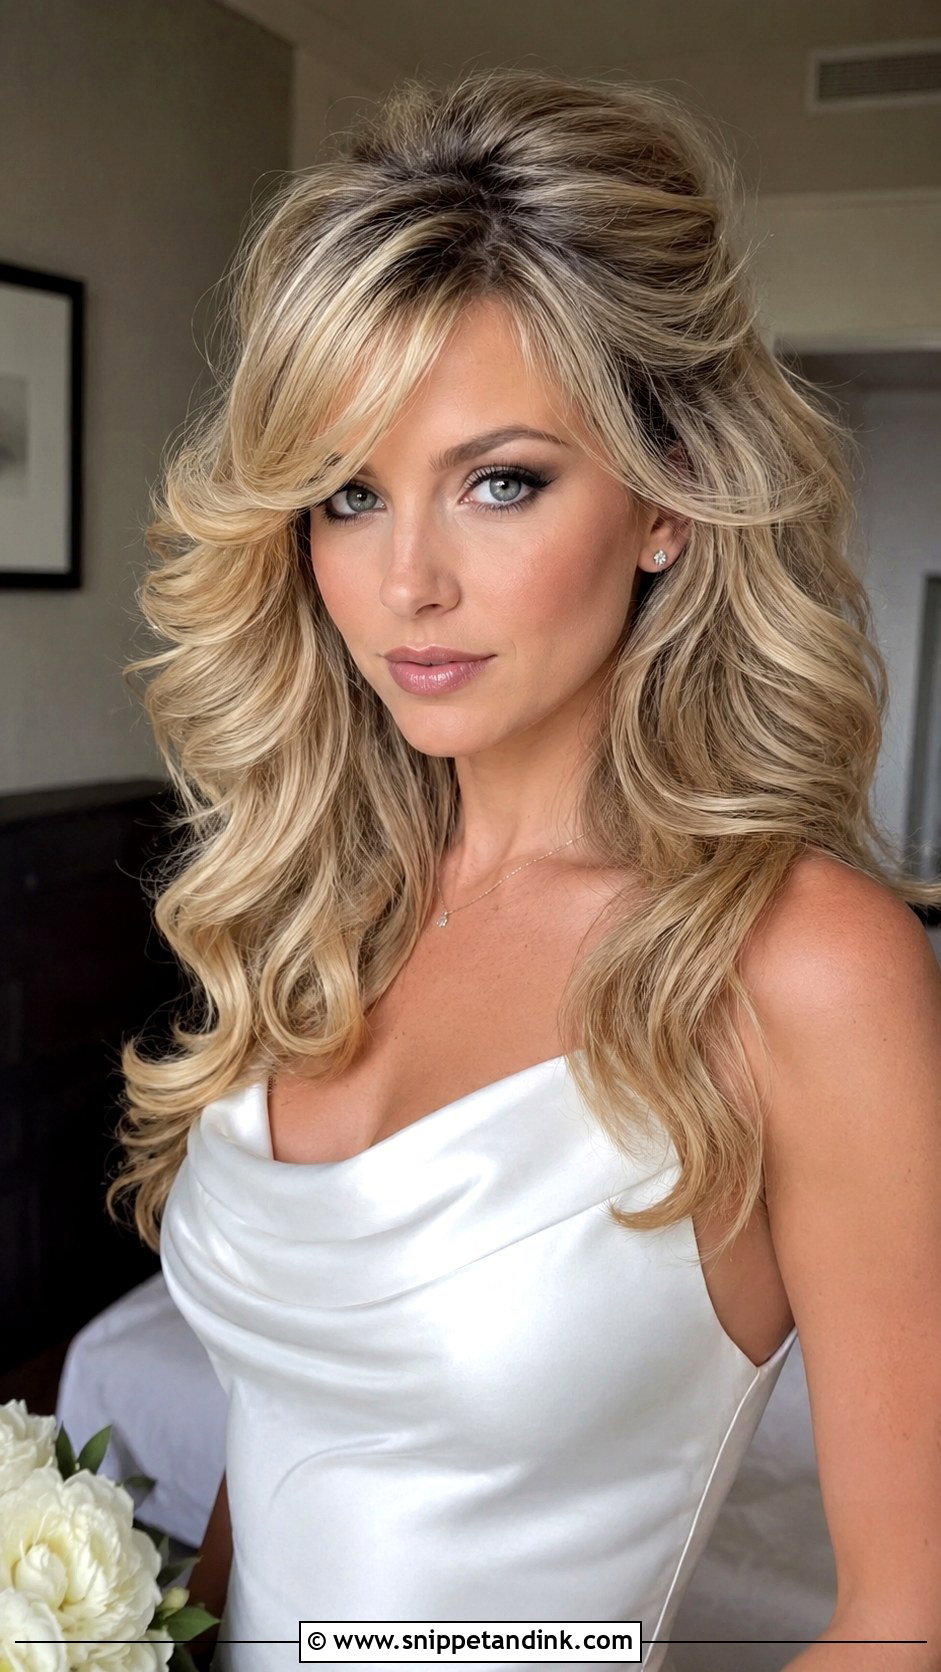
Inspired by Brigitte Bardot, this one swaps sculpted gloss for height at the crown and tousled, undone waves. It’s the most relaxed vintage look here and the easiest to wear with a modern dress. I backcomb the crown in small sections, smooth just the top layer over it, and finish the lengths with texturizing spray instead of serum. It pairs well with bangs or a curtain fringe. The Bardot bombshell waves are not the right call for very fine hair that collapses under its own weight, unless you’re open to a few hidden clip-in pieces for lift.
19. Low Bun With Finger Waves
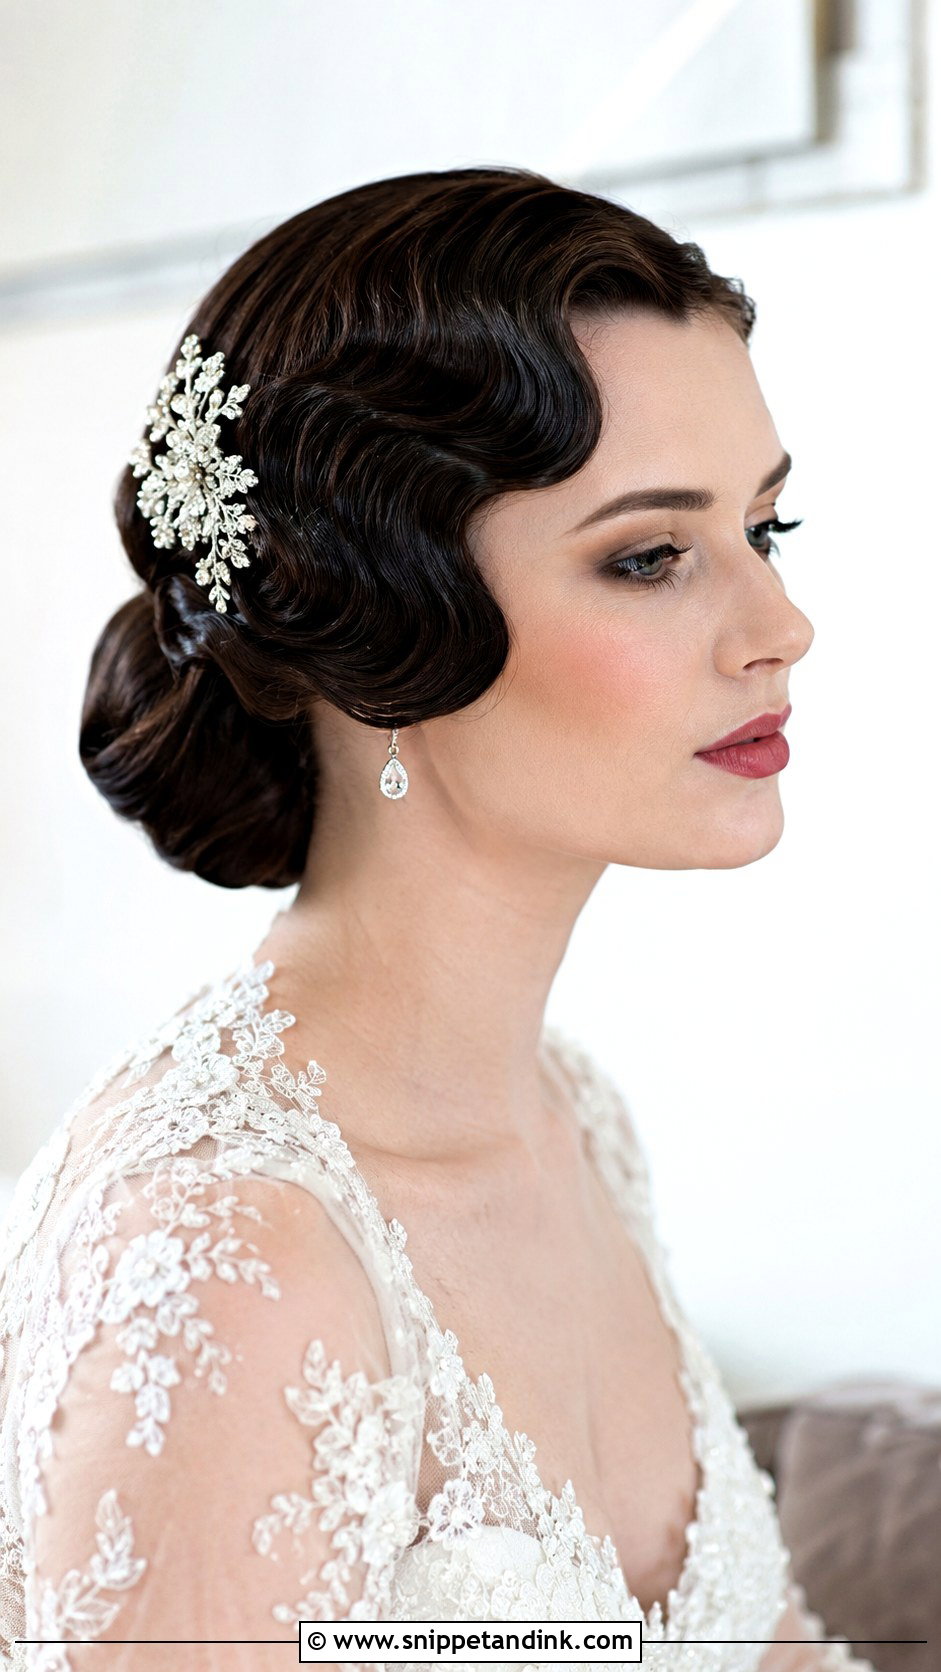
Finger waves at the front and a smooth bun at the nape give you the most sculpted look of the updos. I set the front waves first with gel while the back is still loose, let them dry, and only then gather the rest into the bun, so I’m not disturbing the ridges as I work. It needs fairly straight hair at the front for the ridges to read clearly. A jeweled pin above the bun adds a little light. It’s a strong choice for a formal evening wedding with a sleek gown.
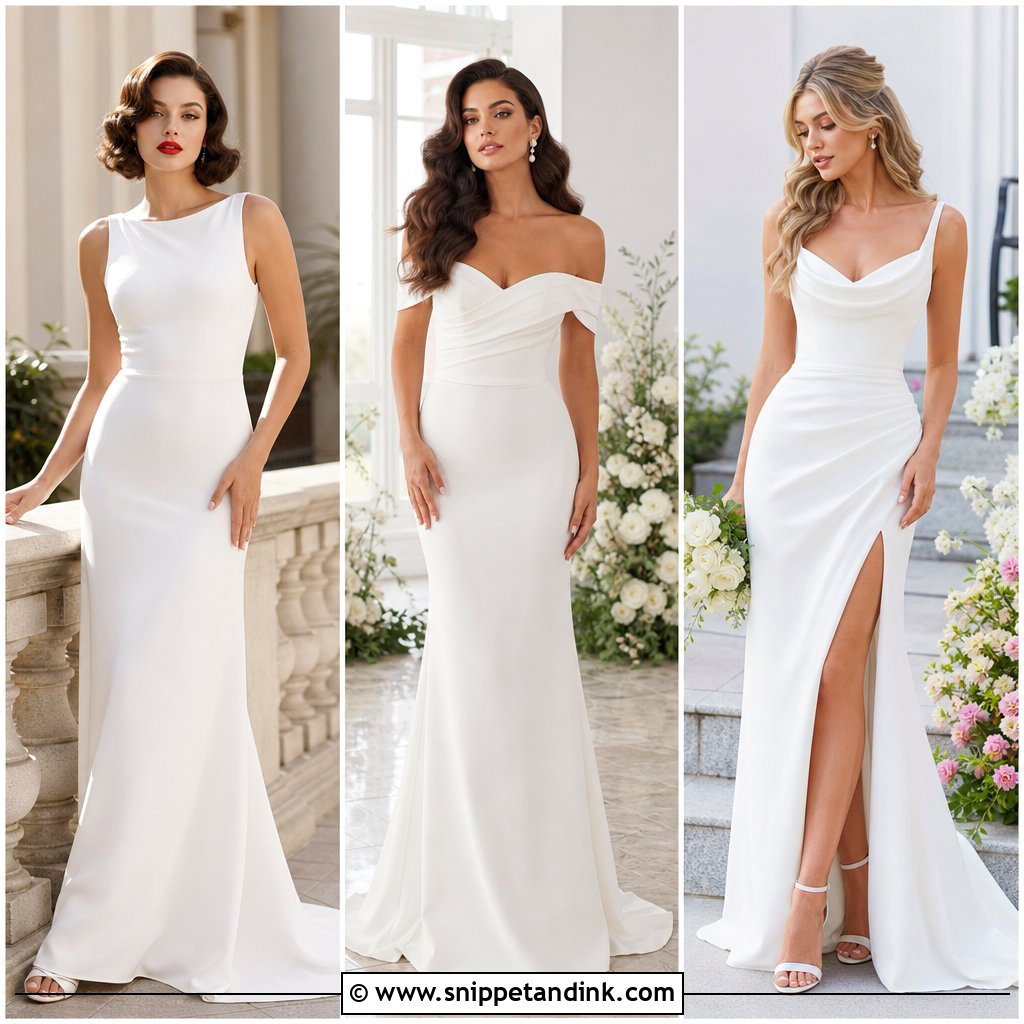
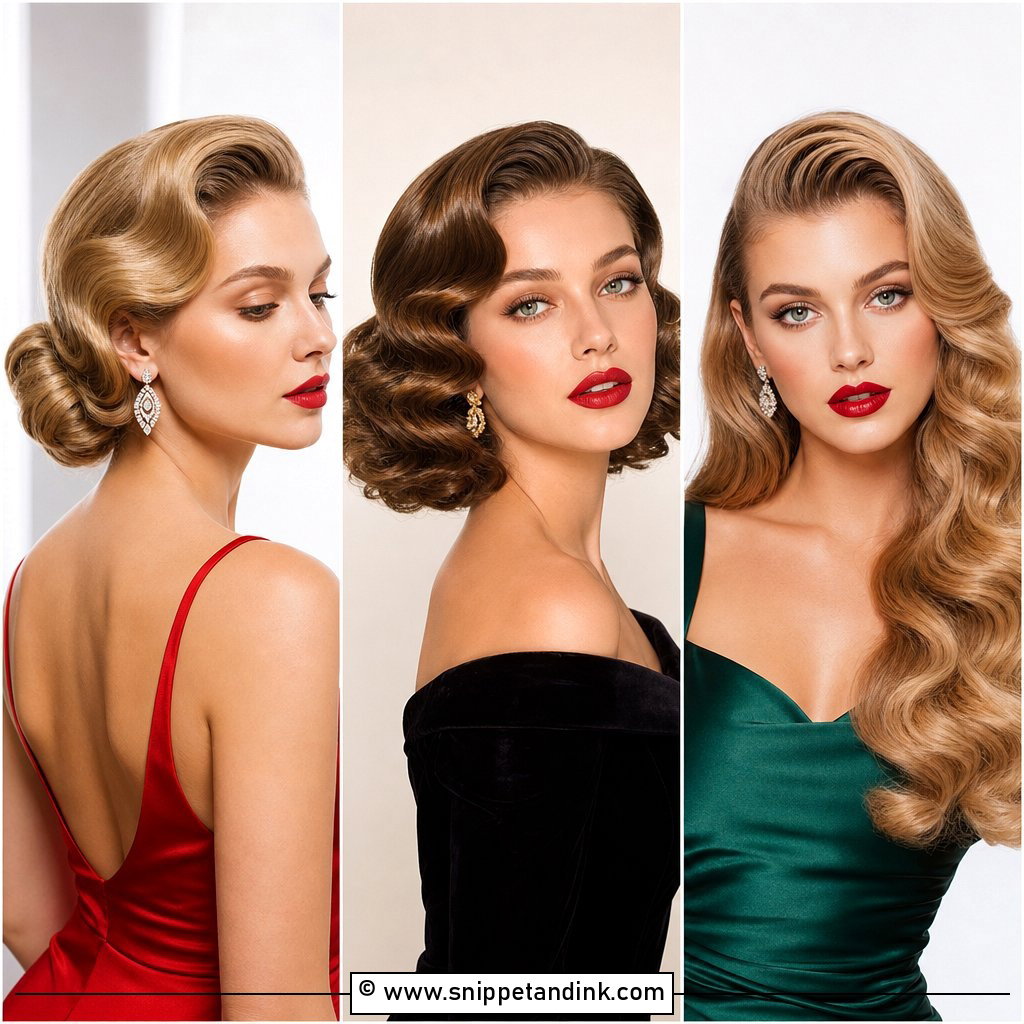
20. Glossy Waves With Red Lips
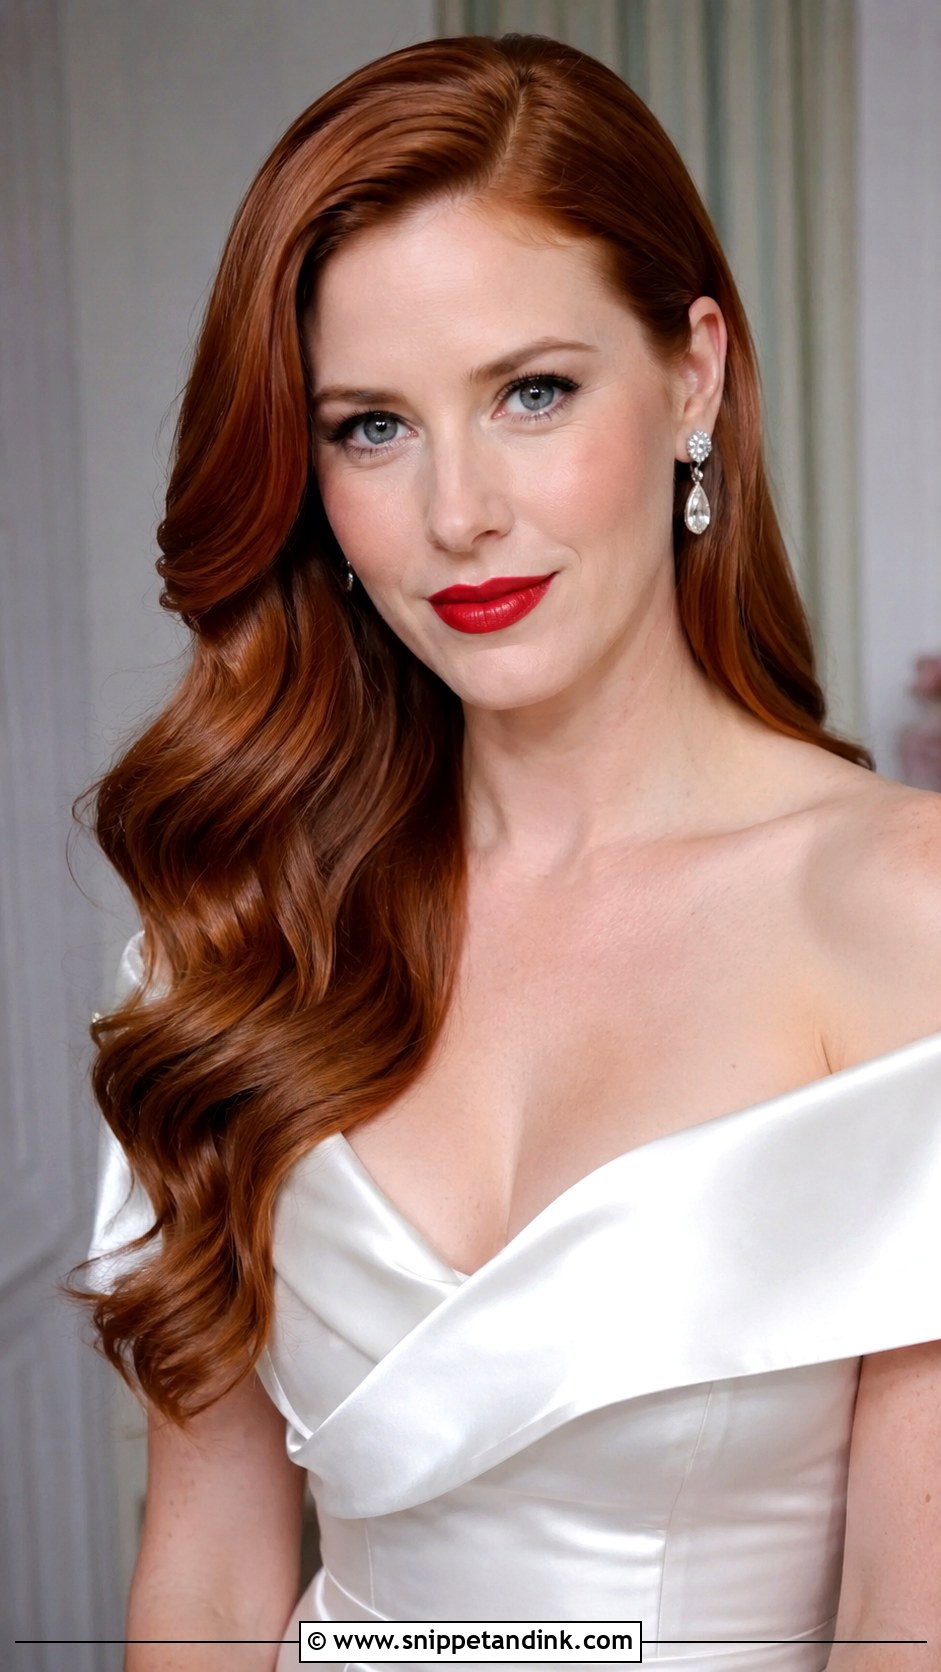
Glossy waves and a red lip are the shorthand every guest will recognize as Old Hollywood. The waves should be smooth and shiny with clear dimension, falling around the face. I always ask a bride to wear her red lip to the hair trial, because it changes how much volume looks right; a strong mouth usually needs slightly calmer hair. This combination works on any length and any hair color. Add a side part and one sparkling earring, and stop there.
21. Vintage Half Updo With Volume
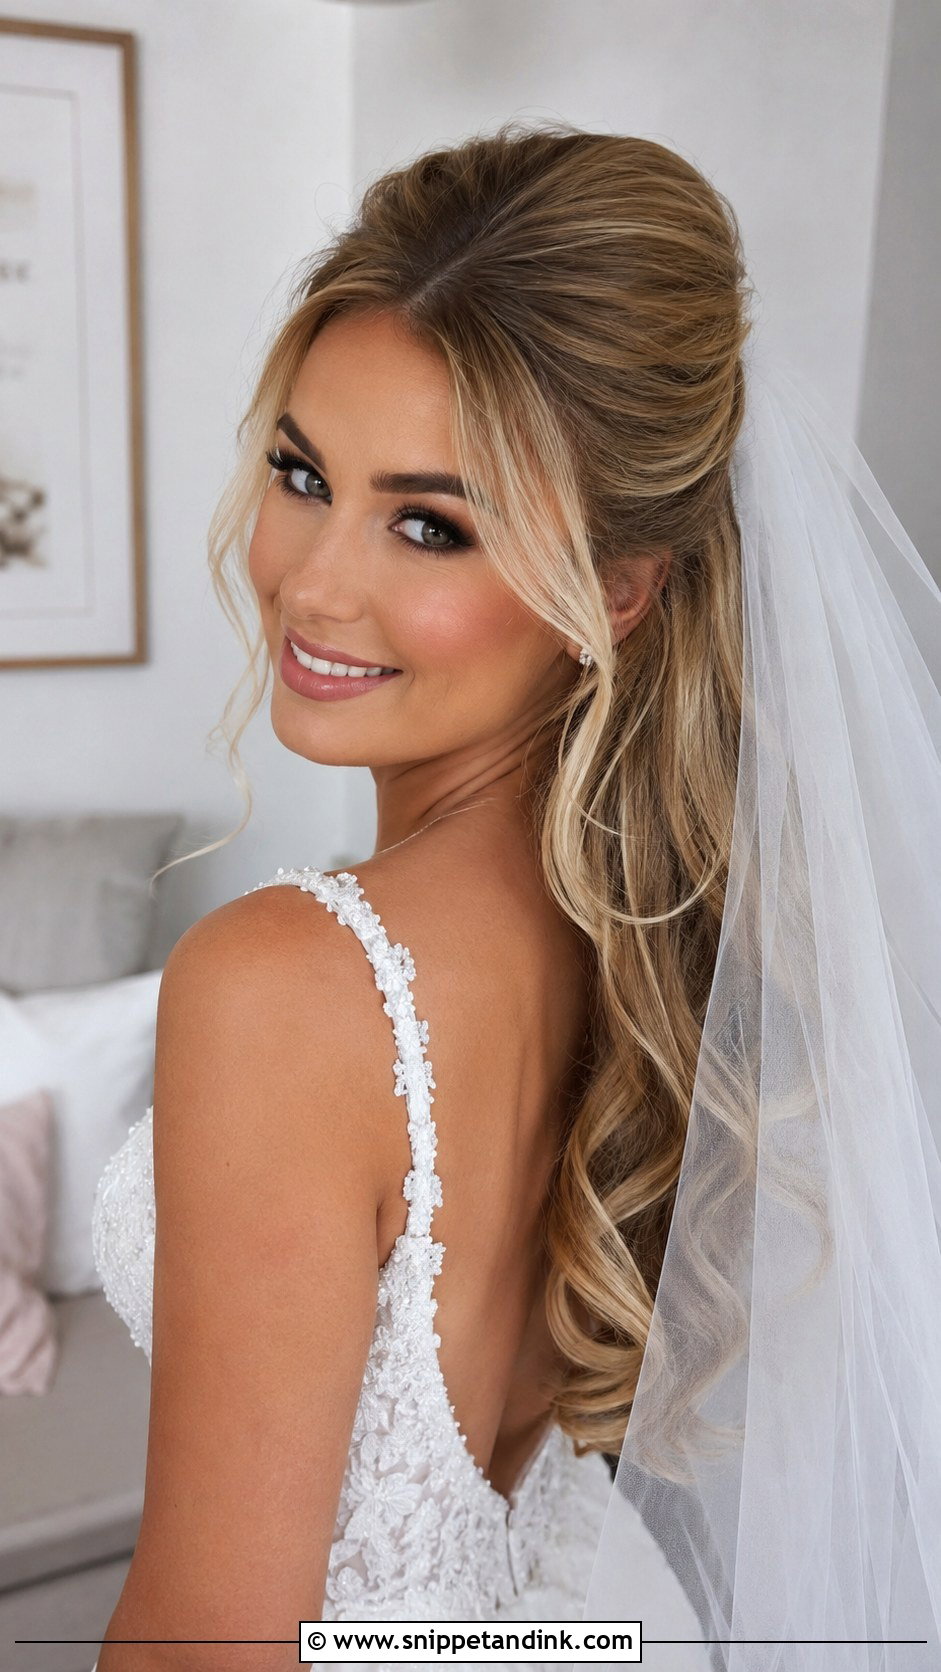
This half updo adds height through a teased crown, then lets the rest fall in waves. The silhouette is the point, a lifted crown over smooth lengths. I tease only the underside of the crown sections and smooth the top over, so the lift doesn’t look ratted from behind in photos. Pin the top section with crossed pins before you style the waves below. It works with a veil anchored just under the lift or with decorative pins, but avoid heavy cathedral veils, which drag the volume flat.
22. Sculpted Waves With Crystal Comb
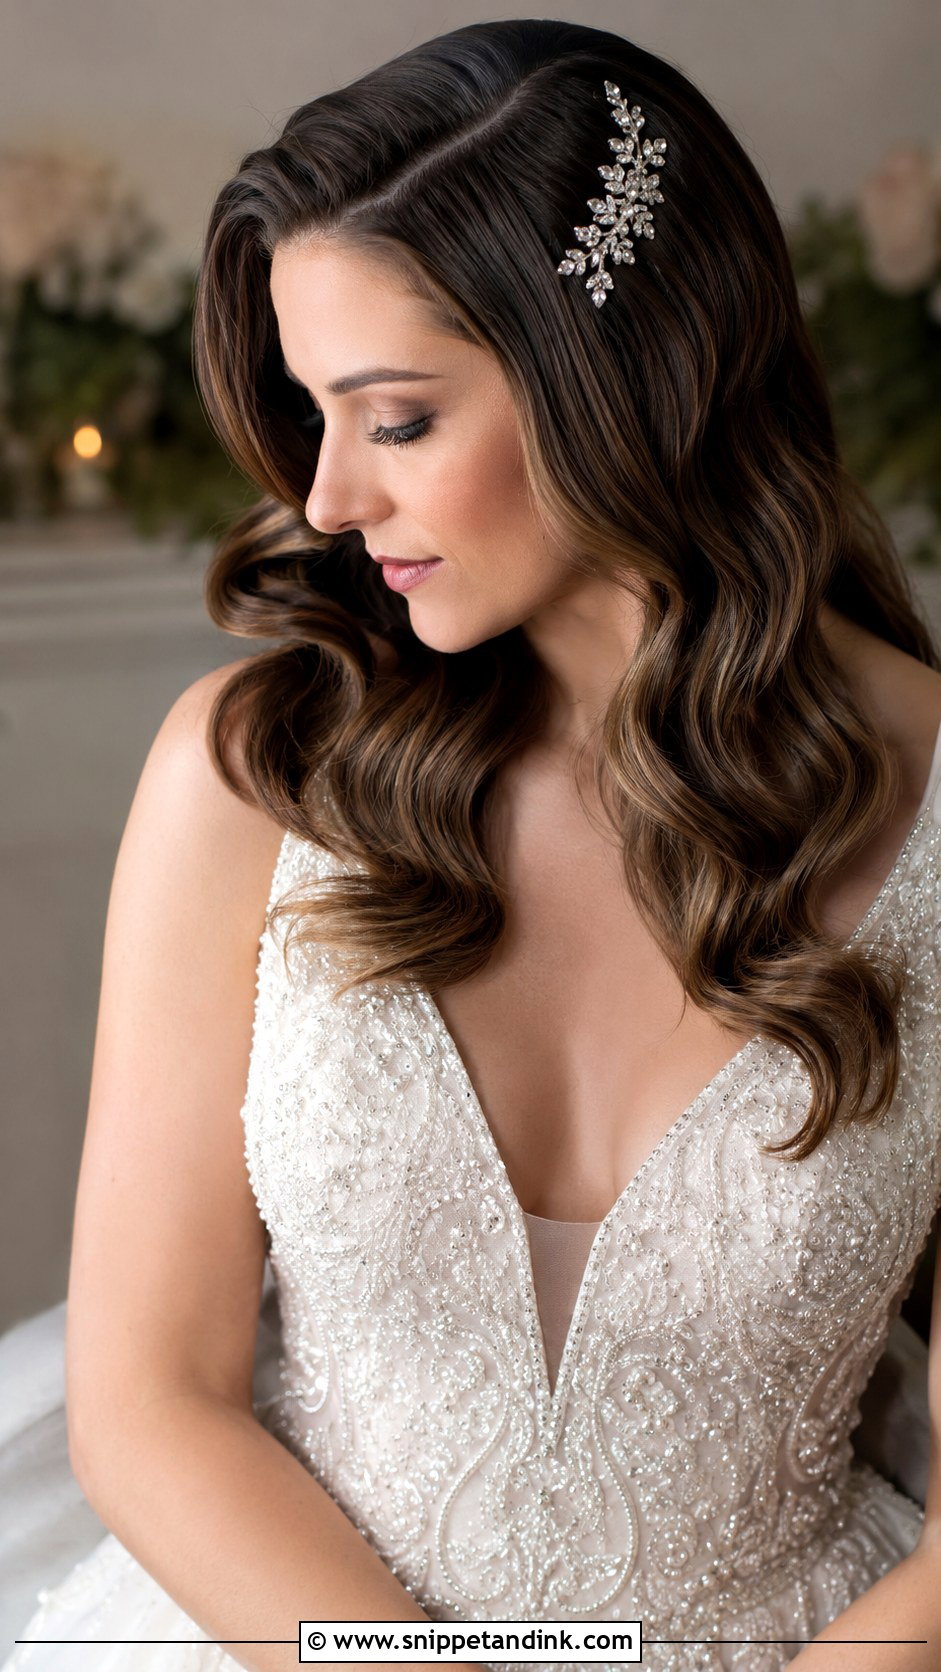
A crystal comb tucked into defined waves gives you structure and sparkle in one move. I set the waves first, then slide the comb in at the side where the wave dips, so it echoes the shape instead of sitting on top of it. Keep the hair glossy and smooth, since frizz around a crystal comb makes it look cheap. This one suits medium to long hair with a side part. A comb with teeth facing the right way for your part matters more than you’d think; bring it to the trial.
23. Soft Waves With Floral Accessory
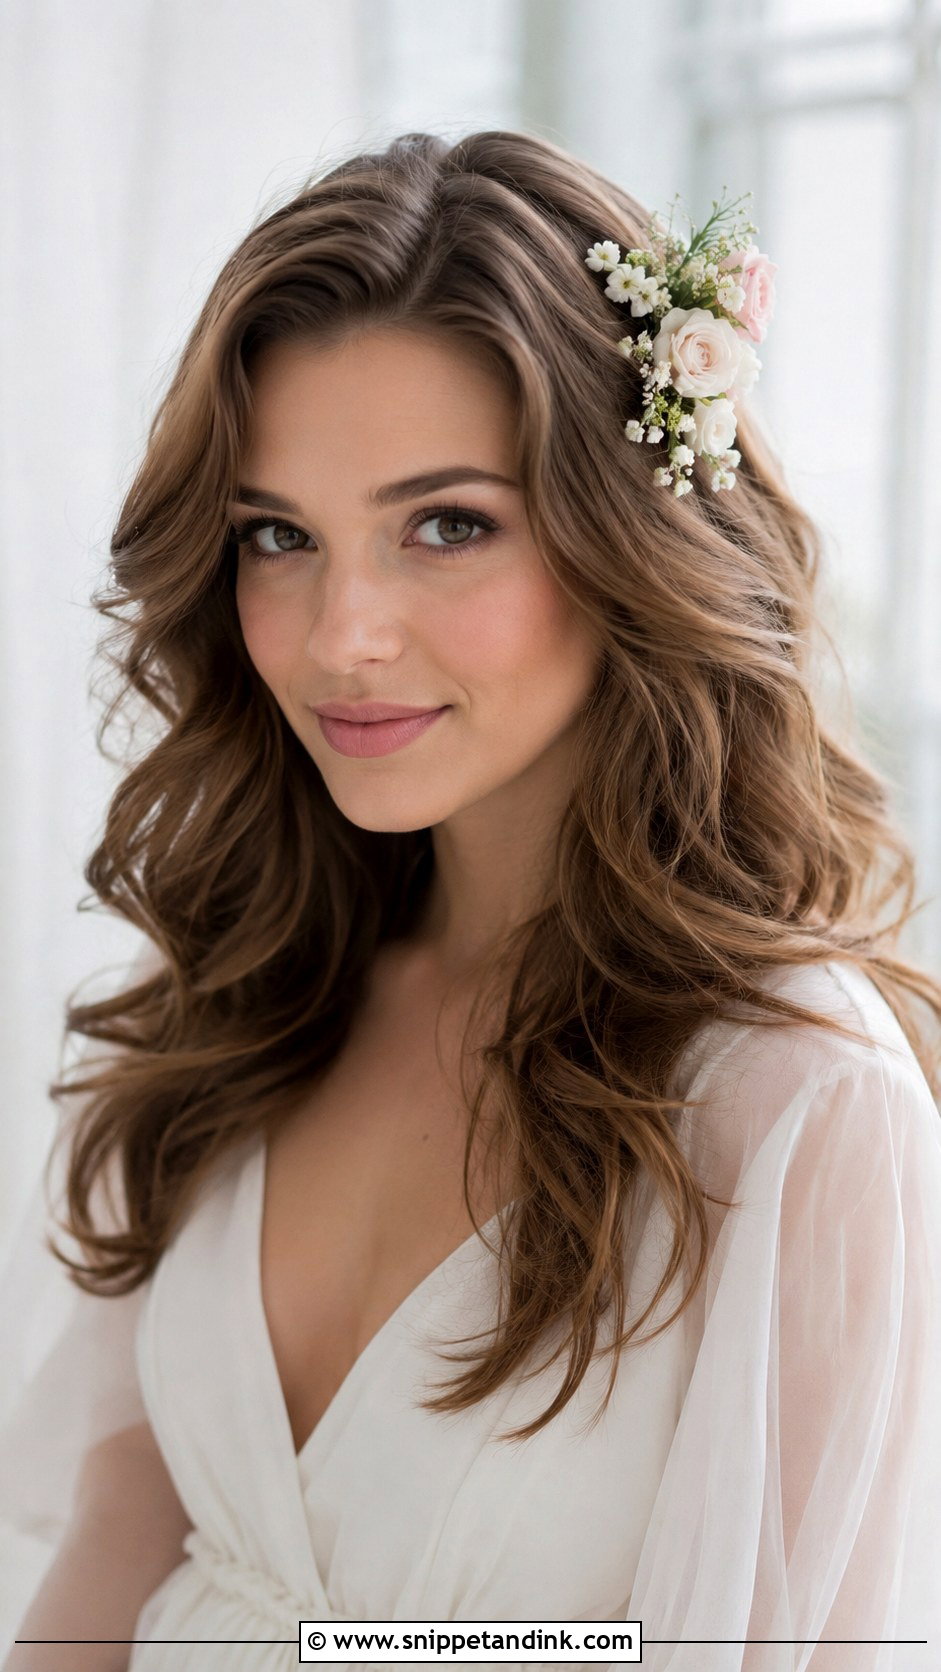
Soft waves with a small floral pin bring a garden-party note into vintage hair, a natural fit for spring and summer weddings. Fresh blooms wilt fast against warm hair and under sun, so I usually suggest a fabric, silk or preserved flower for anything worn more than a few hours. Style the waves loose and glossy, then place the pin near the side part. It works down or half up. If you want fresh flowers, ask your florist for hardy varieties and have them wired to a small comb.
24. Rita Hayworth Inspired Waves
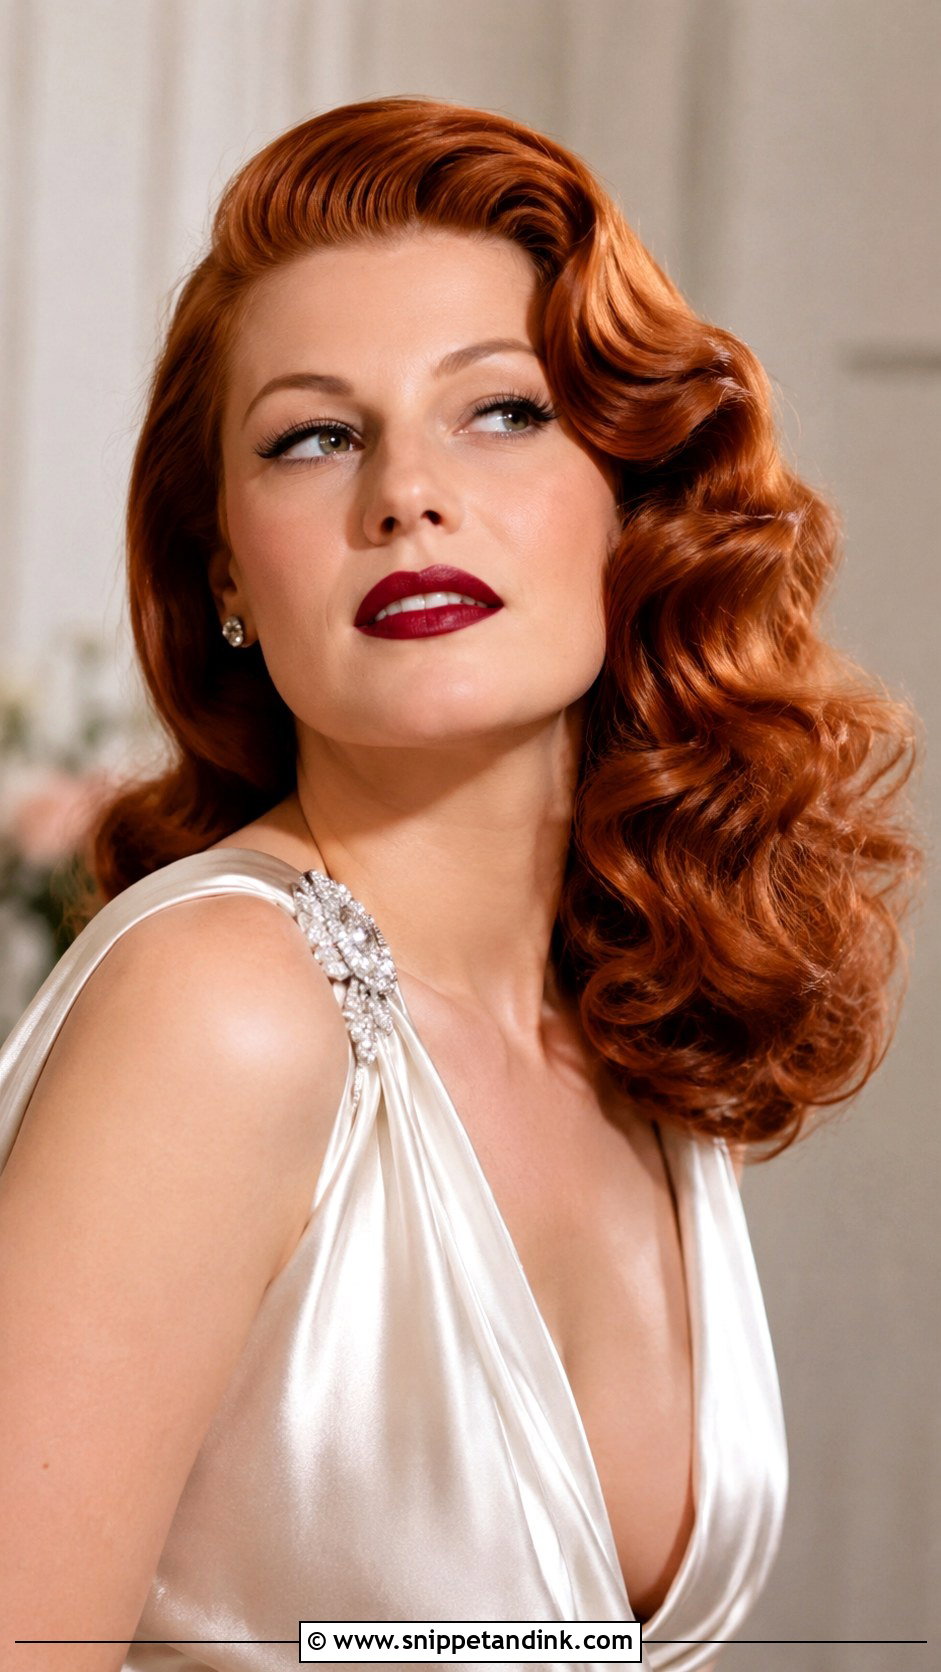
Rita Hayworth’s full, voluminous waves are one of the most recognizable hairstyles from the golden era. Her look had volume, shine and a deep side part. To recreate it I use large rollers or a large barrel, set the curls to cool, and brush them out into soft, full waves. This needs long, thick hair that holds a curl; on fine hair it flattens by the first dance. Finish with shine serum and a bold lip, plus statement earrings to balance the volume around the face.
25. Classic Chignon With Side Waves
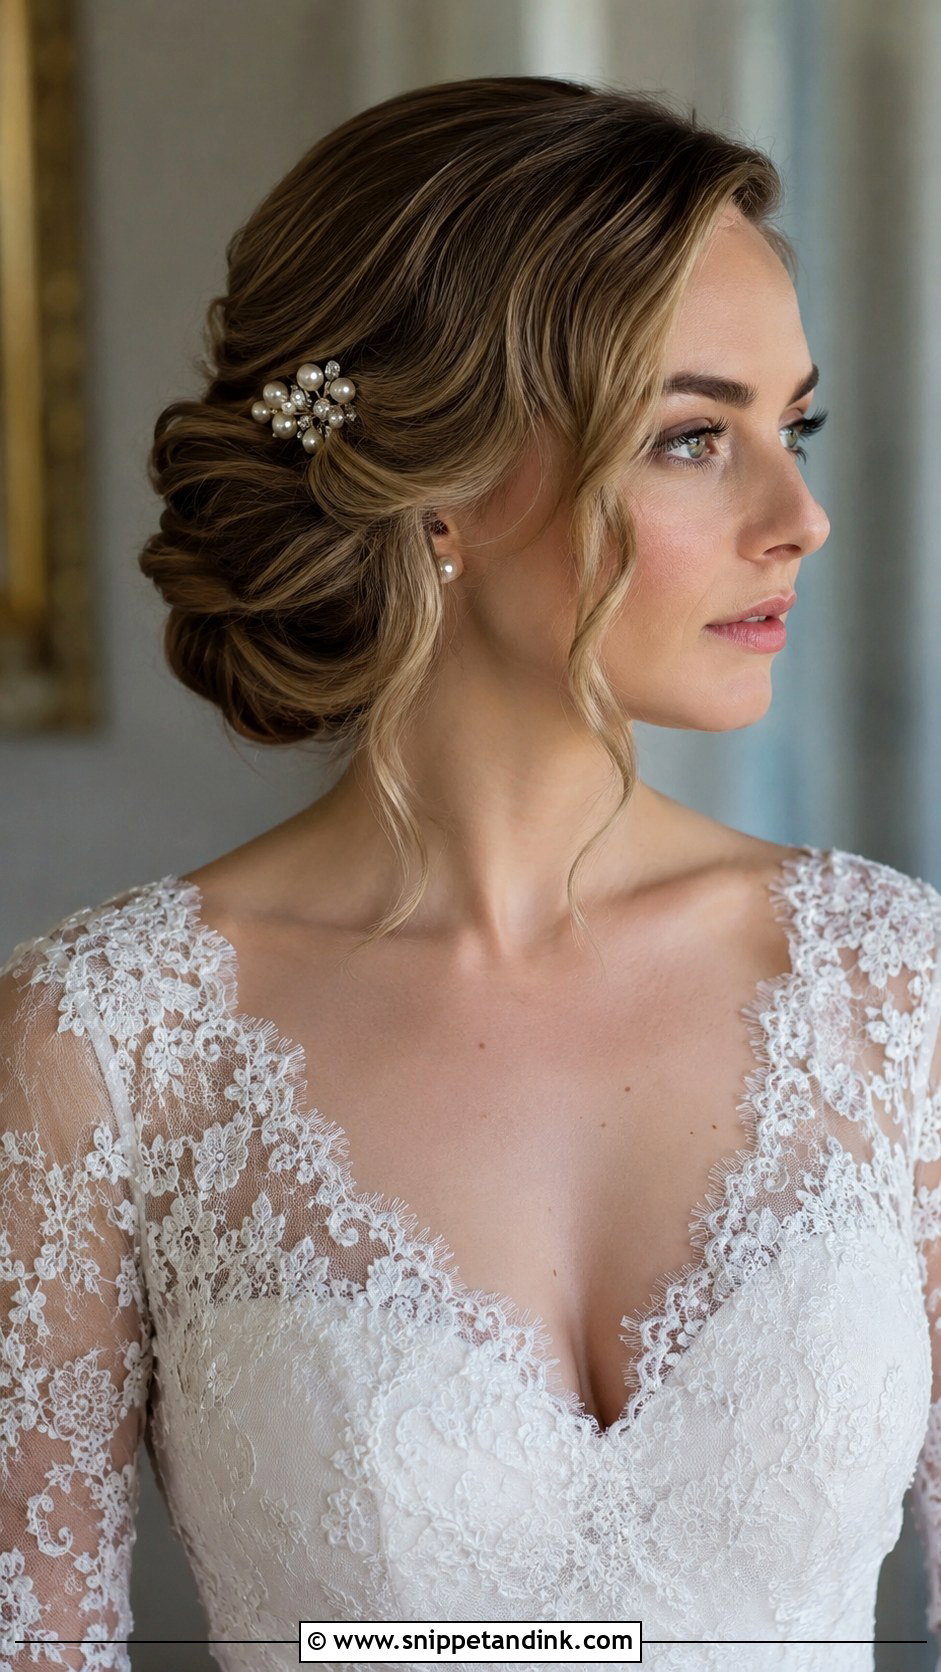
The classic chignon with soft side waves at the front is the style I’d recommend to a bride who wants Old Hollywood but also wants to forget about her hair for ten hours. The twisted knot can sit low or mid-height, and the front sections are swept into waves that lead back to it. Because the waves only cover a small area, they hold far longer than a full head of loose waves. A pearl pin or crystal comb finishes it, and it sits comfortably under almost any veil.
Does Your Hair Texture Suit Sculpted Waves?
These looks were designed for straight to slightly wavy hair, so I always adapt them to the head in front of me rather than copying the photo. The goal is the outline and the gloss, not forcing your hair into something it won’t hold.
Fine or thin hair
Fine hair takes a curl easily but drops it quickly. I use smaller sections, more setting product and longer cooling time, and I steer fine-haired brides toward the pinned curl updos or a chignon with front waves. A couple of clip-in wefts placed under the top layer can give a down style the body it needs.
Thick or very long hair
Thick hair holds a wave beautifully but takes much longer to set, so allow extra chair time. The weight can pull a half-up section or a side sweep loose, which is why I pin those more heavily than they appear.
Curly and coily hair
You don’t need to straighten your curls to wear this era. If you want true waves, a silk press followed by a set will get you there, but a sculpted front section with a defined curly chignon behind it keeps your natural texture and still reads vintage. Talk to your stylist about heat, because repeated high heat before the trial and the wedding can loosen your curl pattern.
How Much Vintage Is Too Much?
My honest advice is to pick one strong era signal and let the rest of the look be quieter. Finger waves, victory rolls, a birdcage veil, a red lip and pin-up winged liner all at once can drift into costume, especially next to a modern dress. One sculpted element plus clean makeup almost always photographs as glamorous rather than themed.
At your trial, wear the earrings and a top with a similar neckline to your dress, and take photos from the side and back as well as the front. Vintage hair is all about shape, and the profile is where you’ll see whether the volume sits in the right place.
Where Your Vintage Look Should Start
Old Hollywood hair stays popular because it’s built on technique, not trend. Drawn to sculpted finger waves, a sleek low chignon or full Hayworth curls? Start with what your hair length and texture will actually hold, then choose the period detail. Don’t forget the finishing touches: one crystal comb, a birdcage veil or a red lip usually does more than all three together. Save the two or three looks you keep coming back to and take them to your trial, where you’ll quickly see which one belongs on your head.
You'll Like These Ideas:


Leave a Reply