
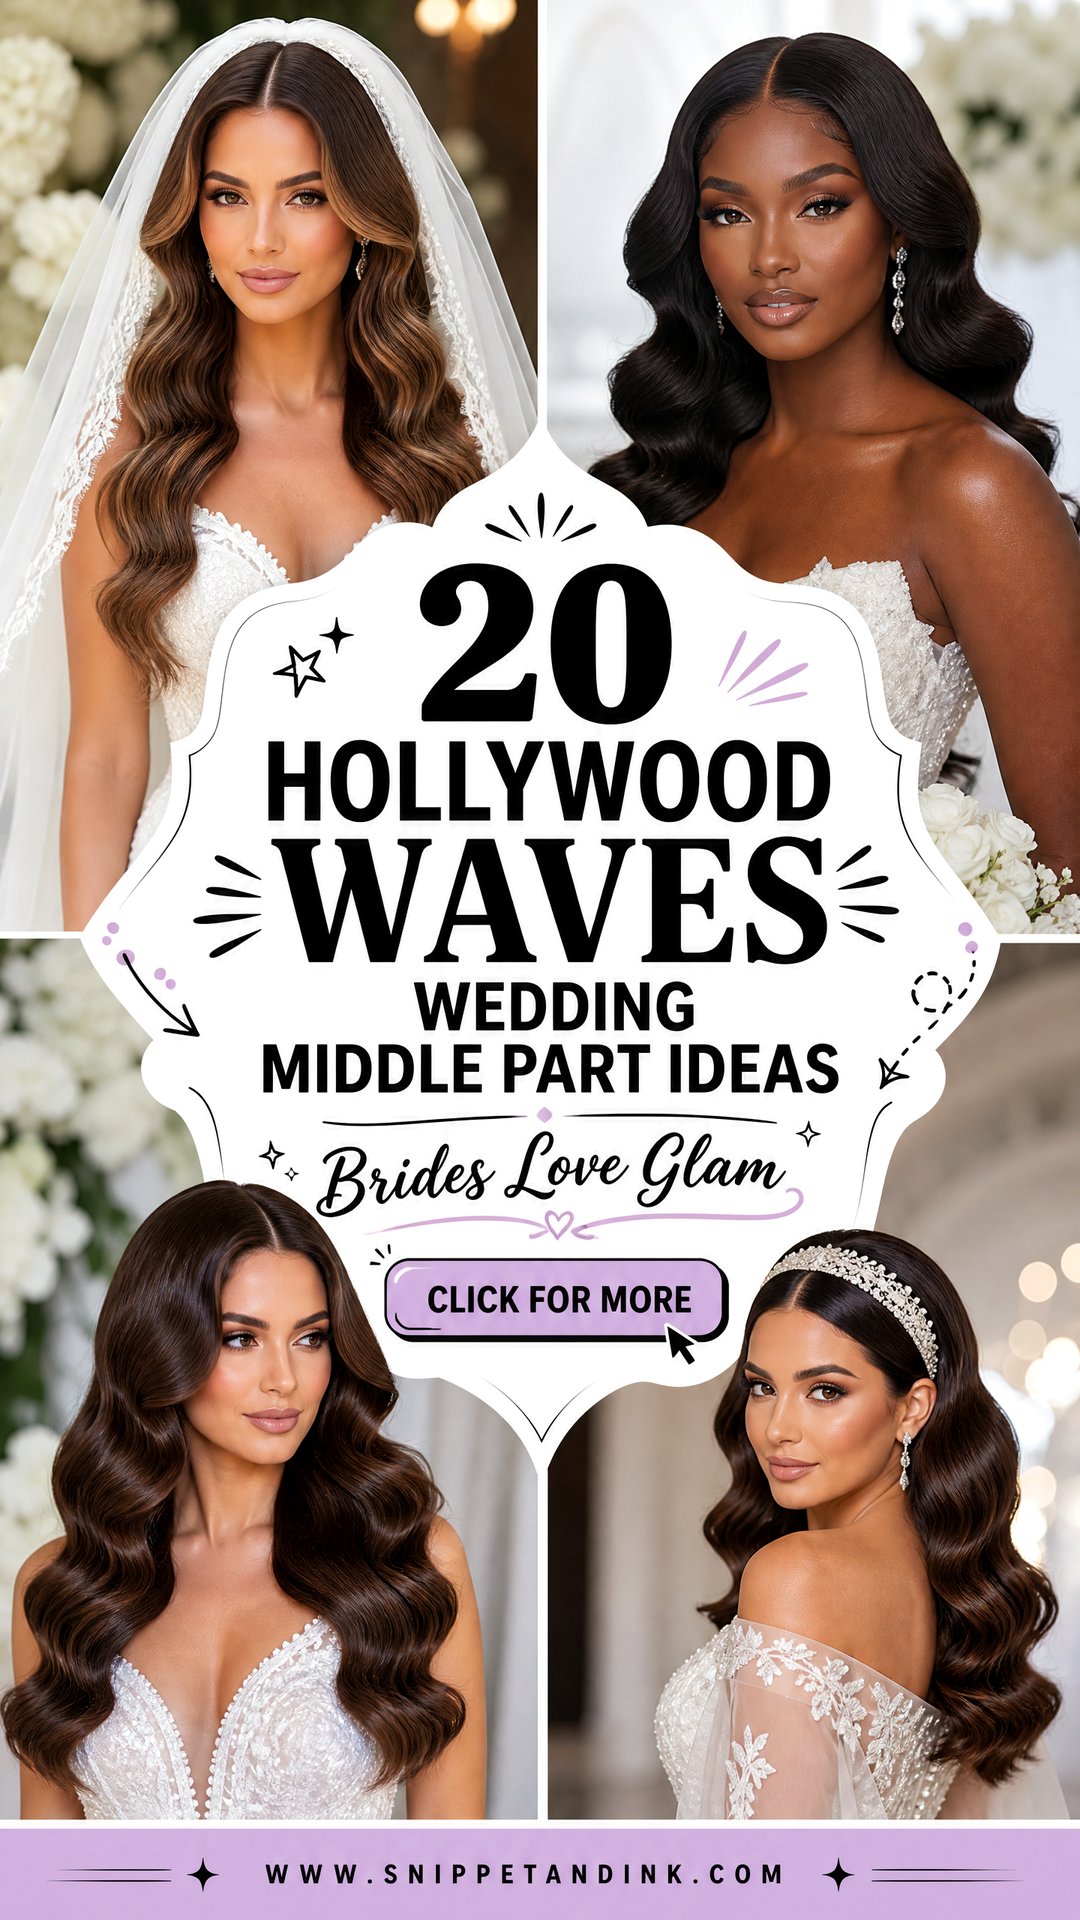
A middle part takes old Hollywood waves and makes them feel current. The smooth curls still run in one continuous line, but instead of a heavy sweep to one side, the hair falls evenly around the face. That symmetry is why it suits tiaras, headbands, and veils so well: each sits level on a centered part. It’s also less forgiving than a side part, which I’ll come back to. Below are 20 middle-part versions, from sculpted finger waves to loose brushed-out sets, with notes on the hair and the day each one suits.
What a Center Part Shows That a Side Part Hides
A side part disguises a lot: a cowlick, an uneven hairline, one side thinner than the other. A center part puts the face and hairline on full display, and front-facing portraits show any difference between the two sides. That isn’t a reason to avoid it. It’s a reason to plan for it.
What I check before setting a middle part
- Where your hair naturally parts. If it falls to one side, I’ll lift that side with root product so both stay level.
- Any cowlick at the front hairline, which can push one wave up and away from the face.
- Density on each side. Thinner sides may need a slightly smaller curl to match the fuller side.
- How your face looks with hair evenly framing it. Some brides prefer a part a finger’s width off center, which still reads as middle in photos.
If your part usually sits to one side, start wearing it centered for a week or two before your trial. Hair trains surprisingly quickly, and it will stay put much better on the day.
1. Classic Hollywood Waves With Middle Part for Long Hair
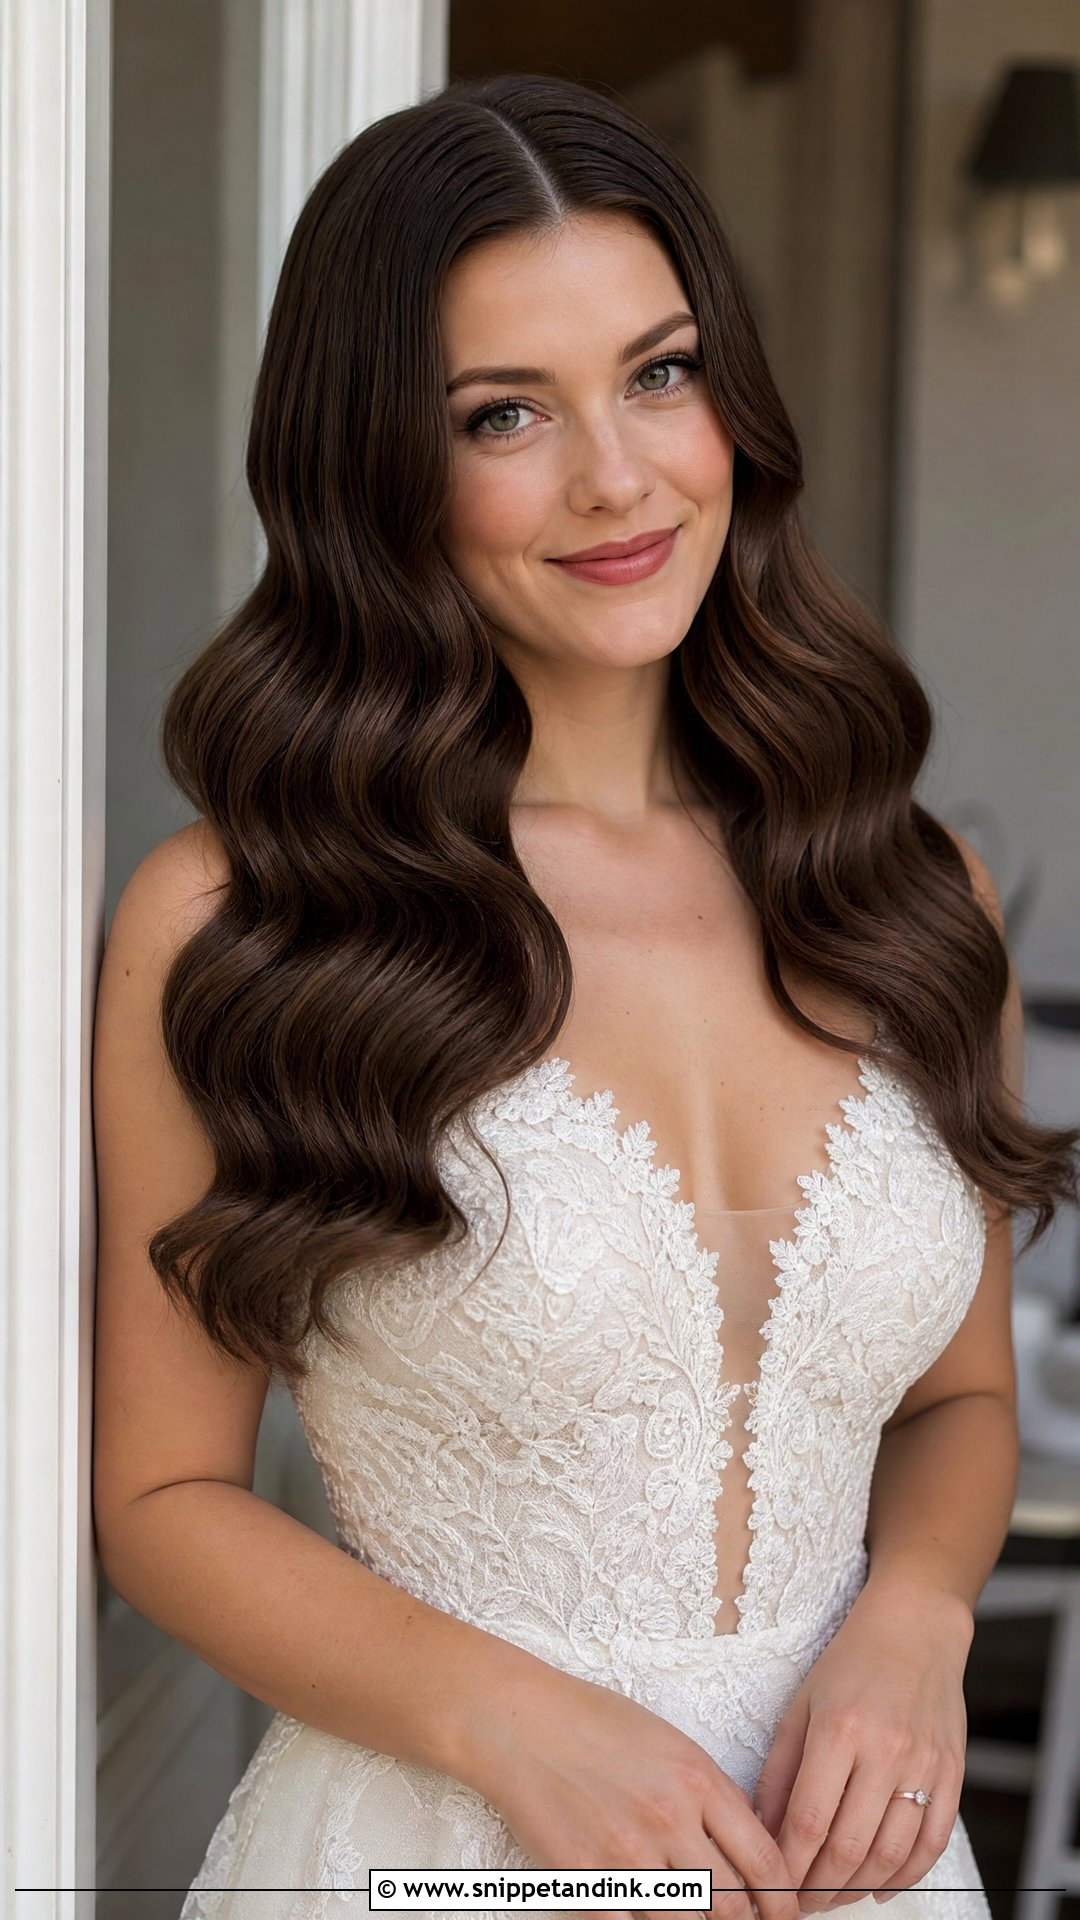
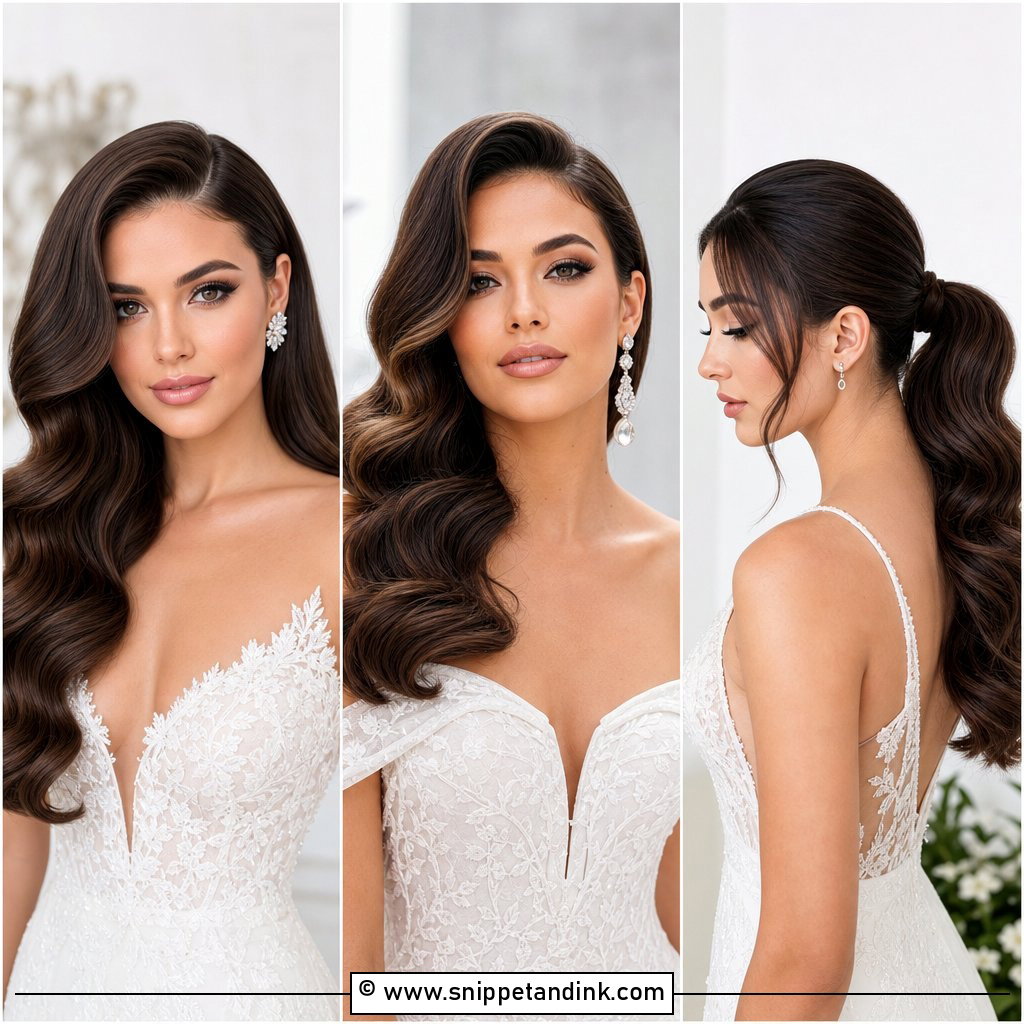
With long hair and a clean center part, the waves fall evenly down both sides, which is the closest version to the original 1940s look. The work is in keeping both sides identical. Each one is curled in mirror directions and pinned to cool, then brushed into one S-pattern. Long hair is heavy, so I finish with a firm spray to stop the lower waves from dropping by evening. It suits formal weddings and a long veil.
2. Soft Loose Hollywood Waves Middle Part
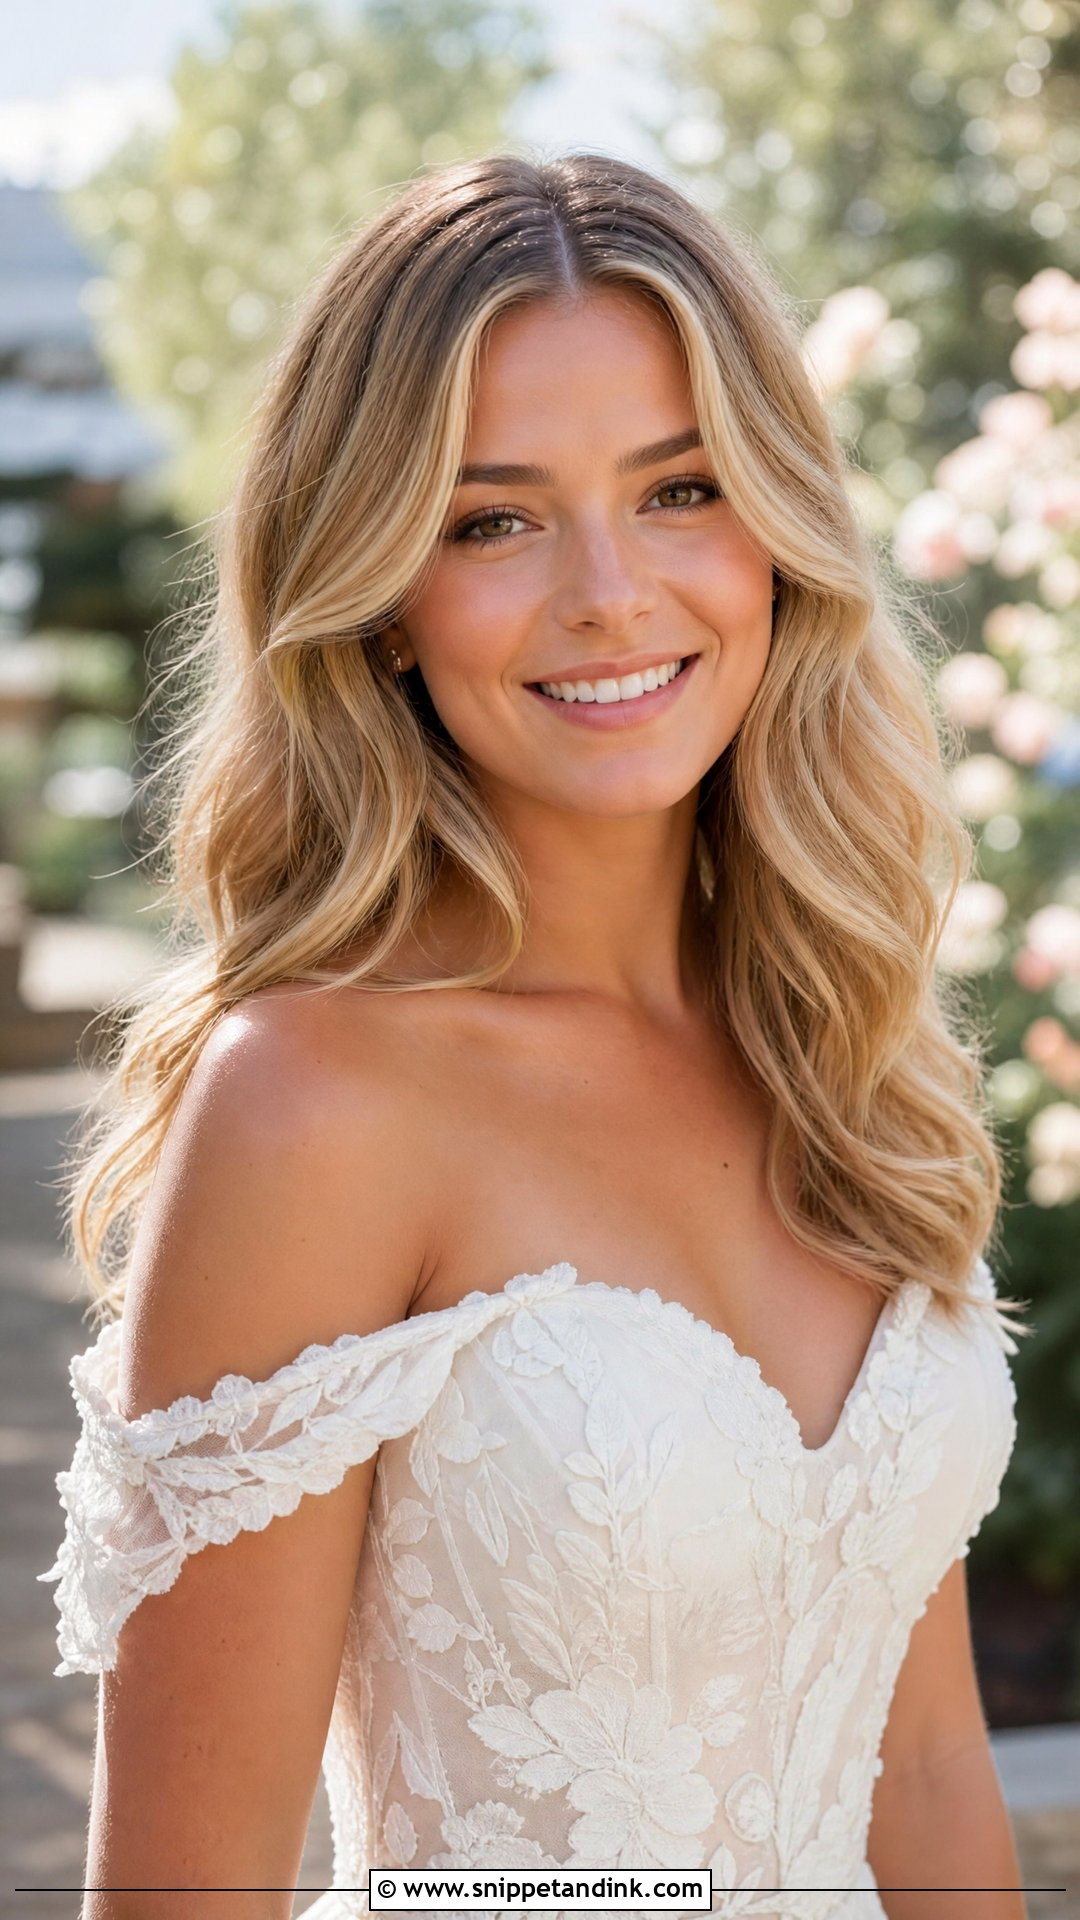
Larger curls, brushed out further and left without pressed ridges, give a relaxed version that falls loosely around the shoulders. Outdoor and garden weddings suit it, and the softness tends to flatter round and heart-shaped faces because it doesn’t add width at the cheekbones. A light shine serum finishes it. On fine hair, expect it to relax a good deal more by evening.
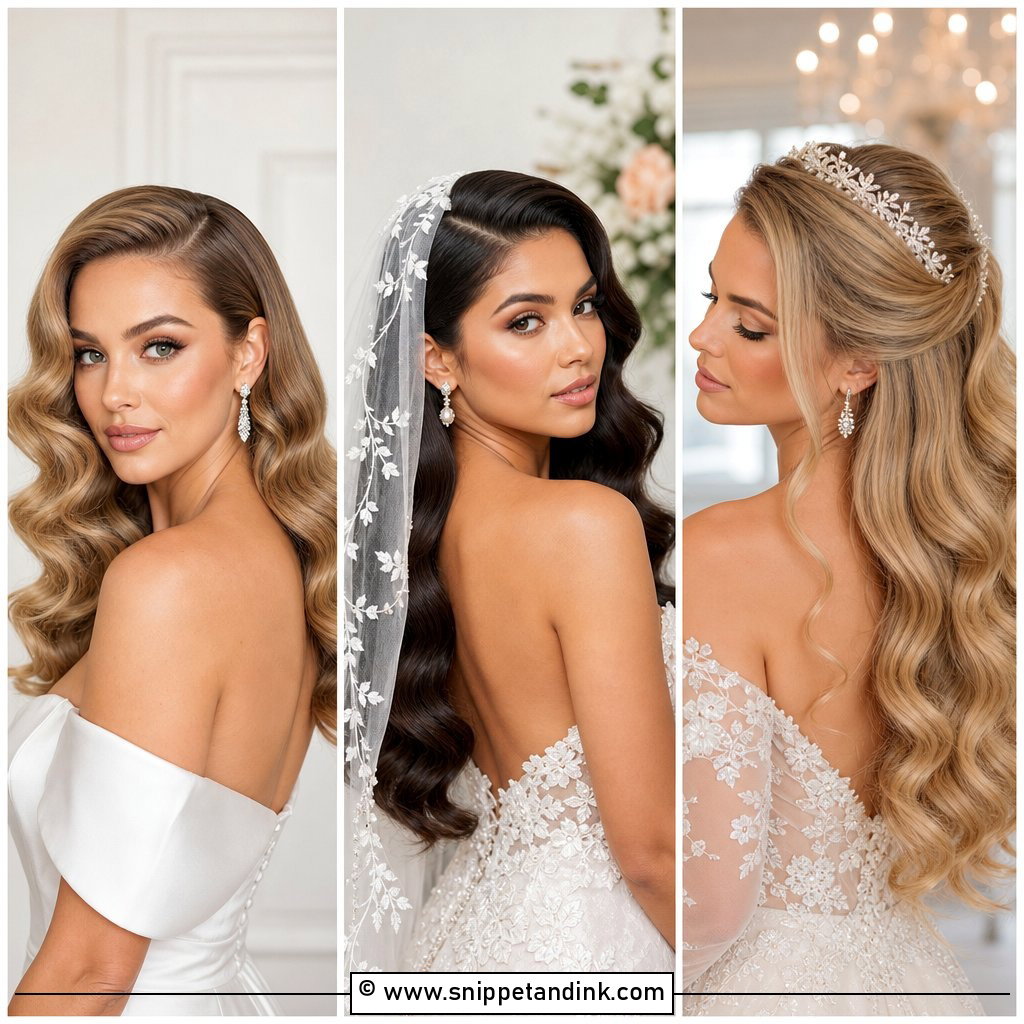
3. Hollywood Waves Middle Part With Tiara
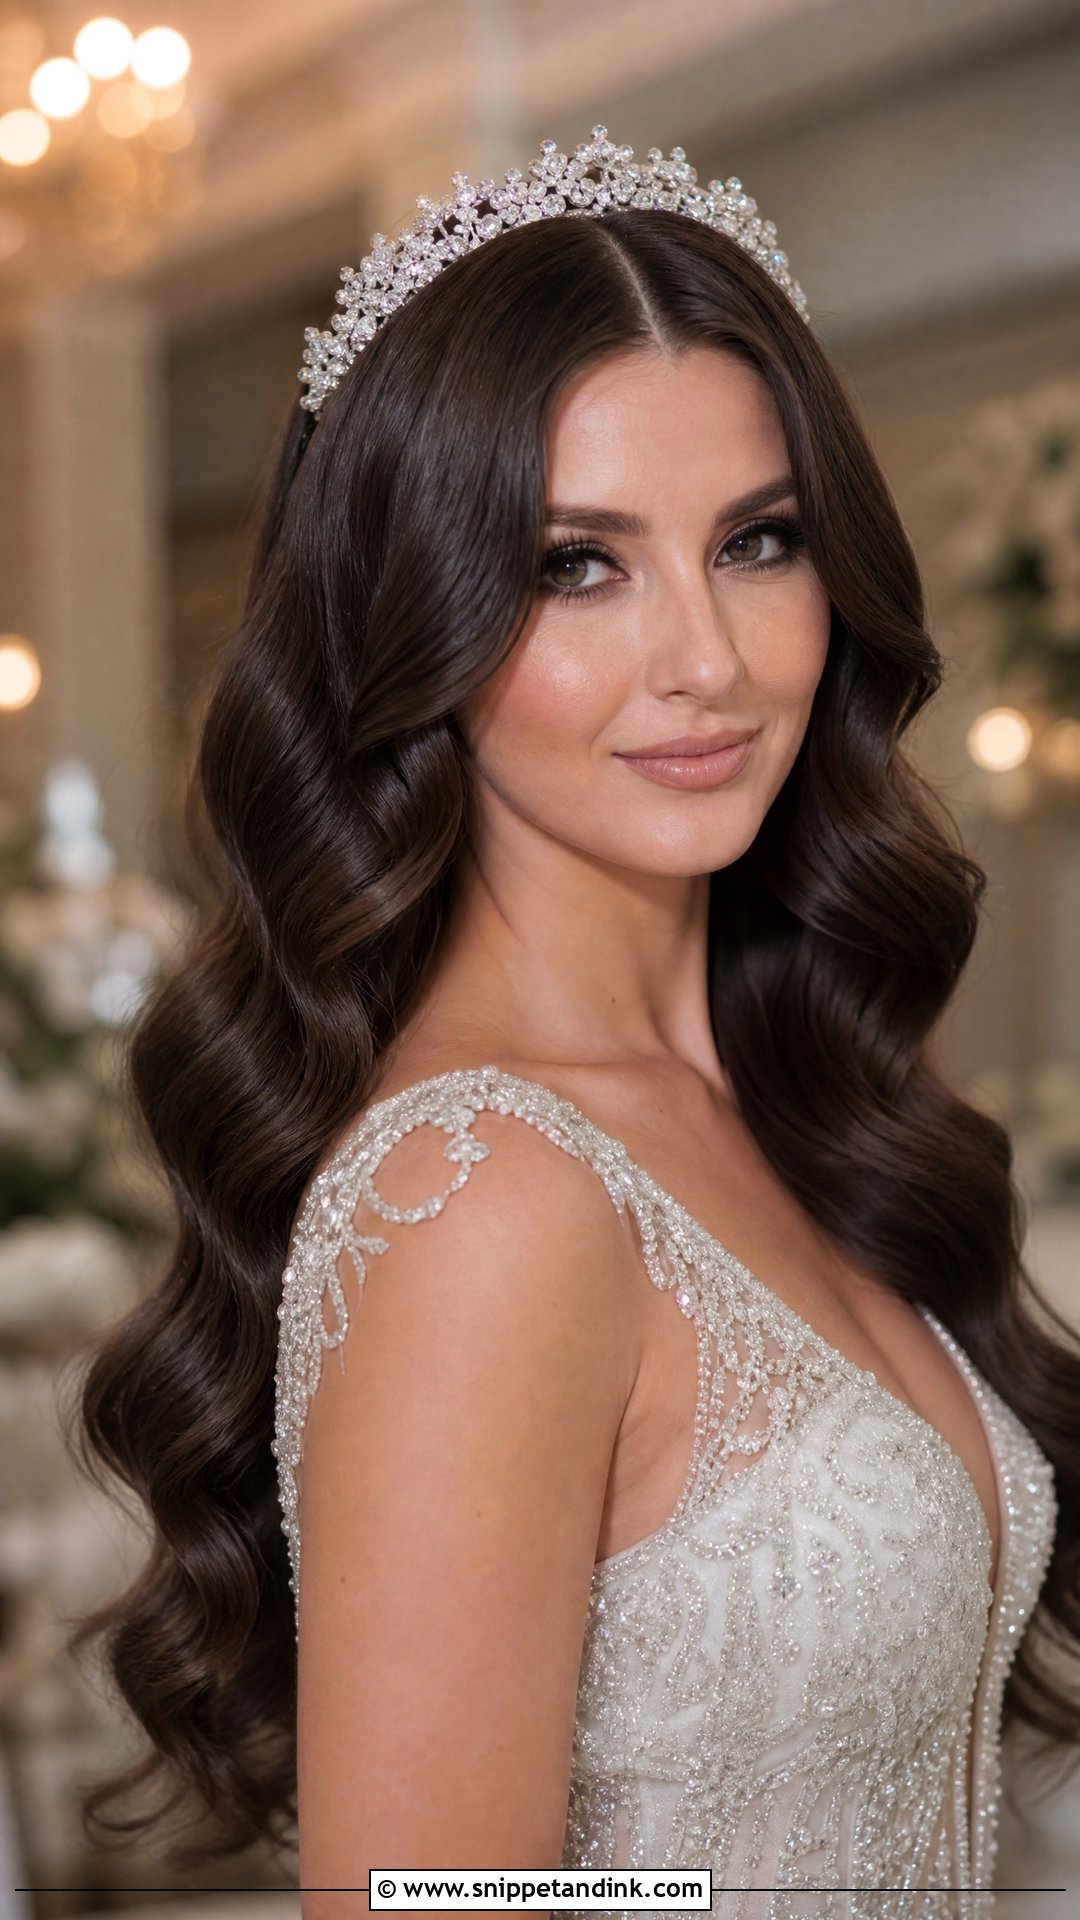
A centered part gives a tiara a level base, so it sits evenly instead of tilting toward the heavy side. Pair the waves with a sparkling tiara and the smooth surface lets the crystals stand out. I pin the tiara through its side loops into small anchor sections, never just pushed into loose waves. Ballrooms and grand venues suit it.
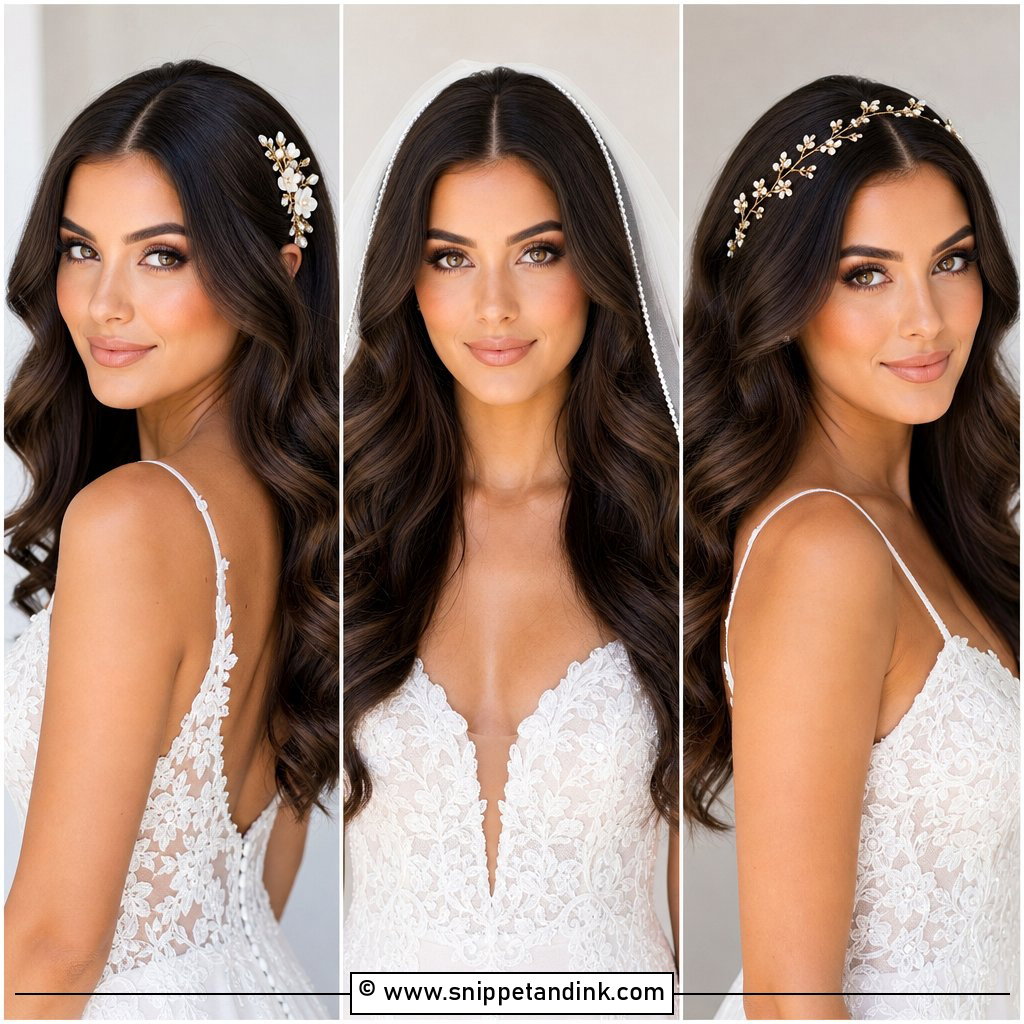
4. Hollywood Waves Middle Part With Veil
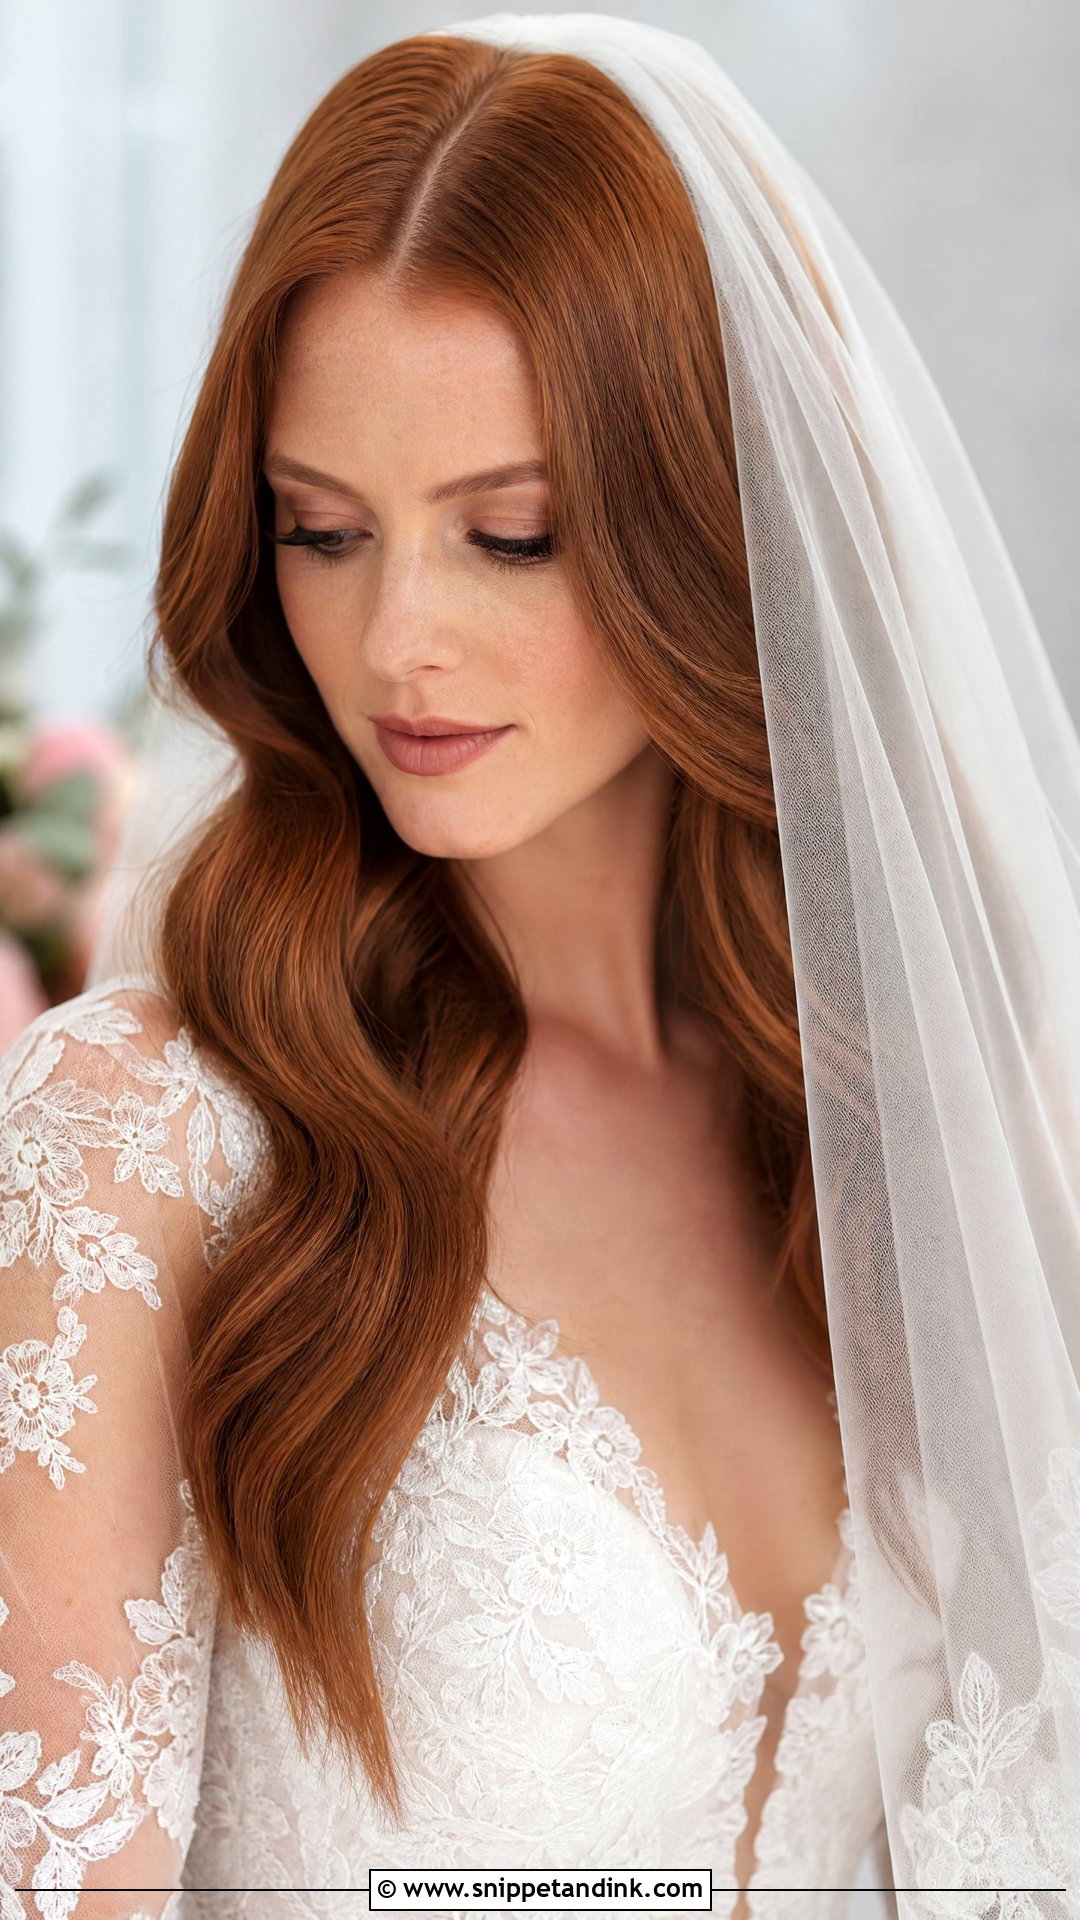
With a center part, the veil comb sits right at the back of the crown, straight down the line of the part, and the waves fall evenly beneath it. That balance makes the veil hang symmetrically, which reads well in front-facing ceremony photos. Short and long veils both work. If you’ll wear a blusher, ask your stylist to set the front waves a little firmer, since lifting it can brush them out of place.
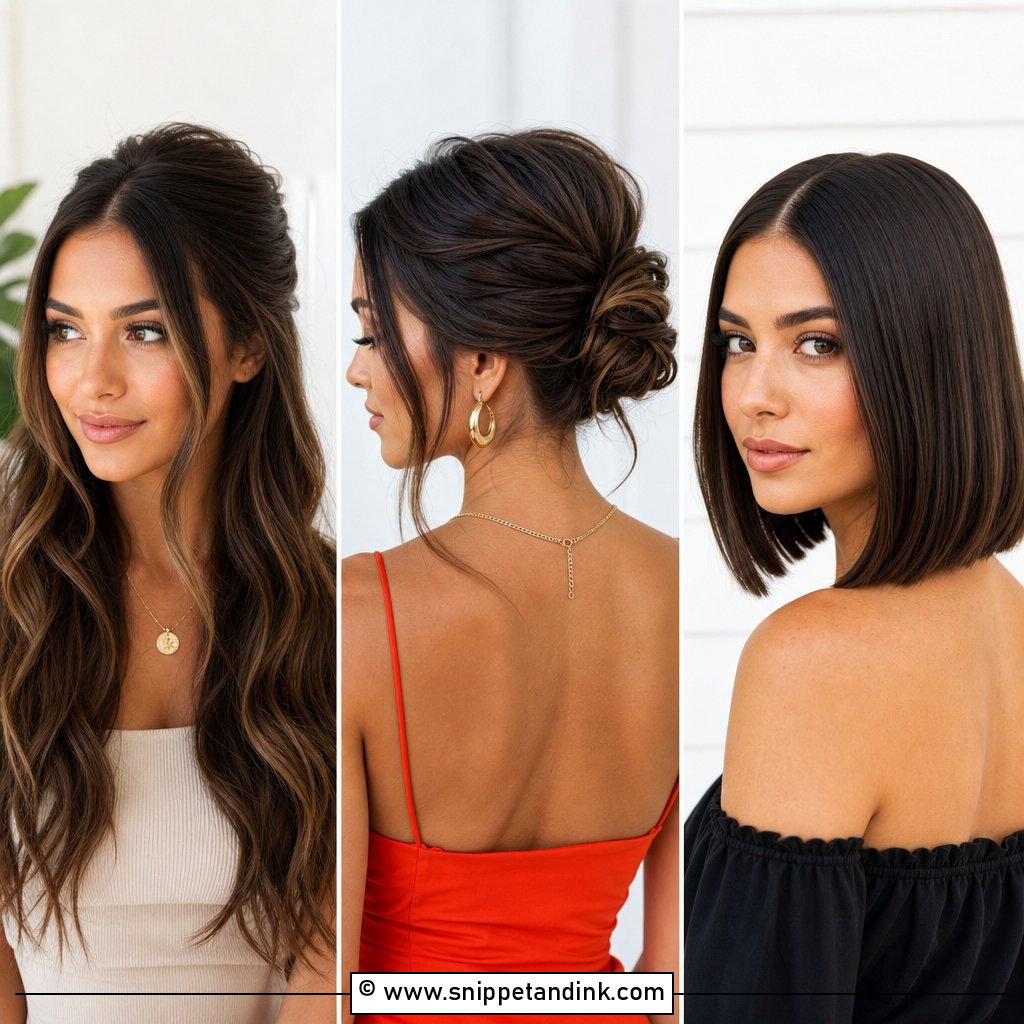
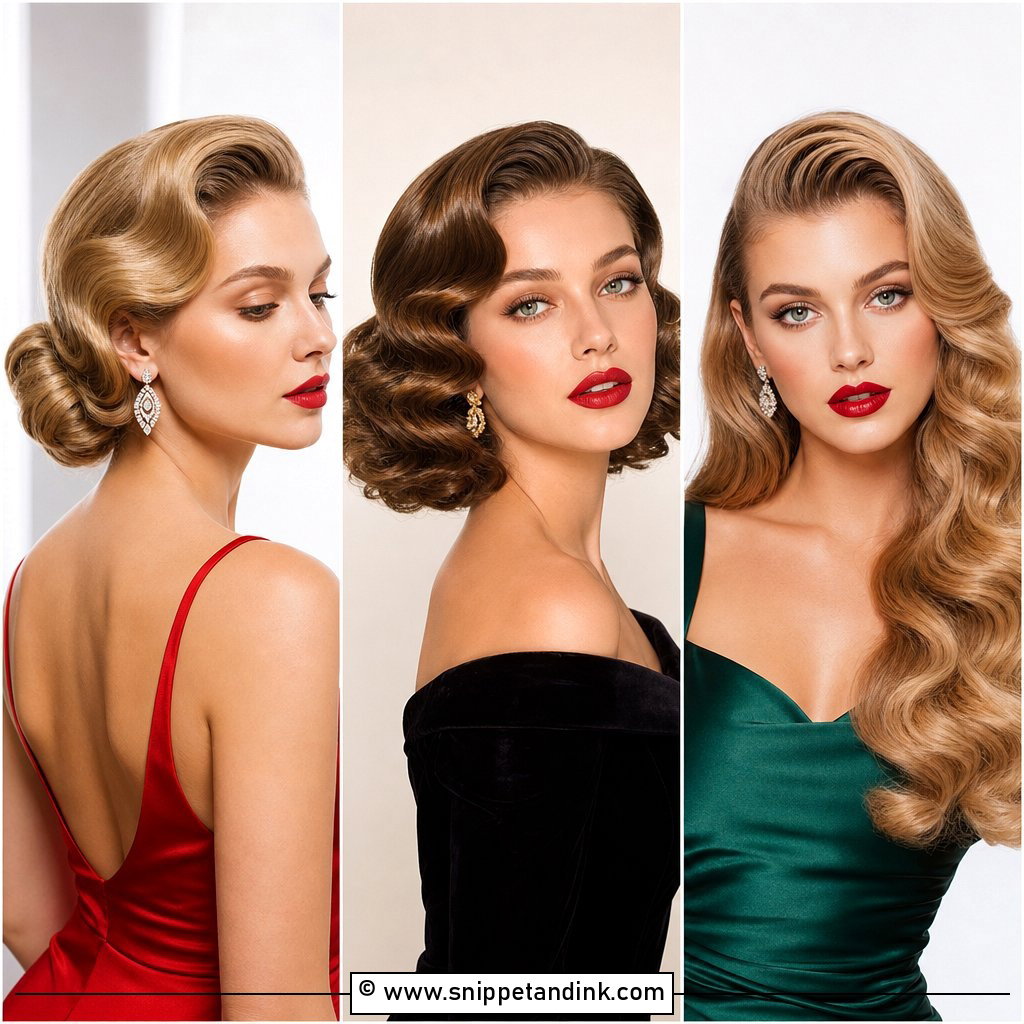
5. Sleek Hollywood Waves Middle Part for Short Hair
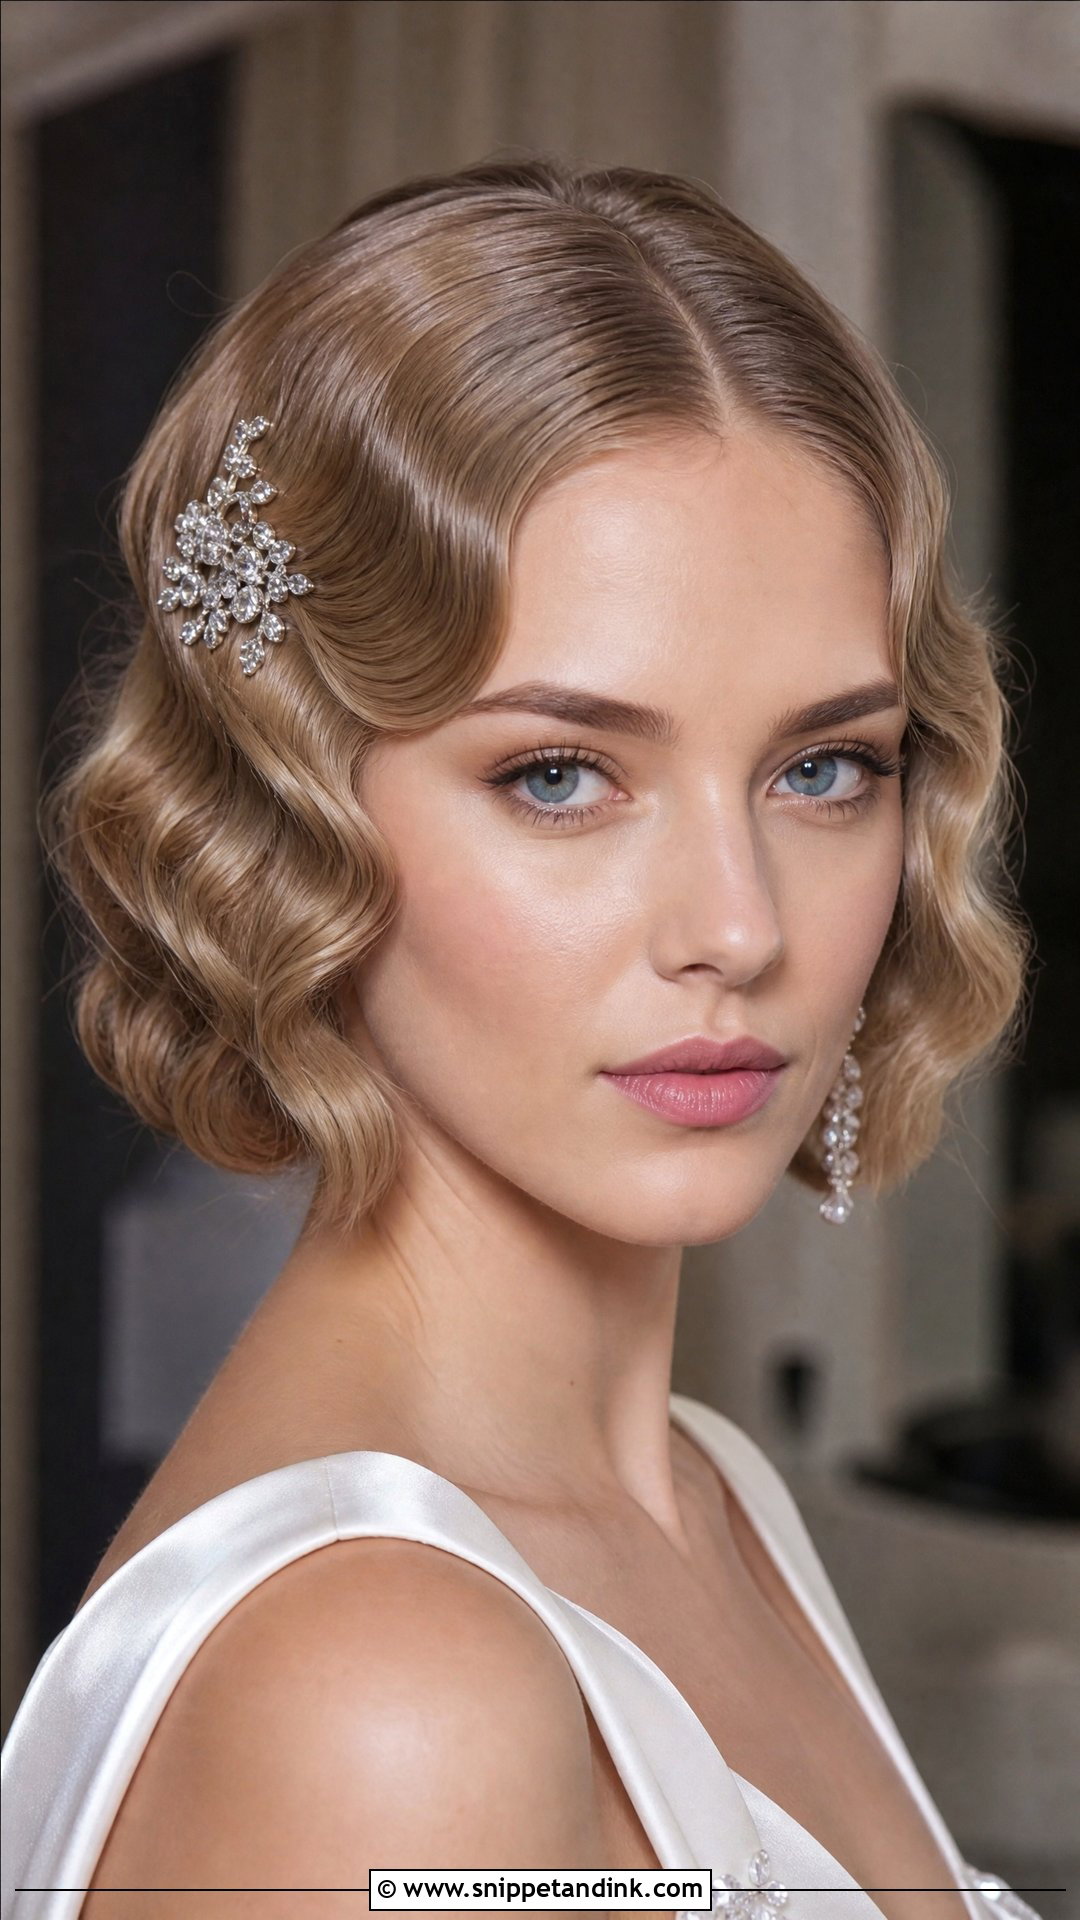
Short hair takes a sleek finger-waved style well, and a sharp center part makes it look editorial rather than costume. The waves hug the head, pulling from the 1920s and 40s. Bobs and lobs suit it. Short hair often holds the shape better than long because there’s no weight dragging it down. A small jeweled clip near one temple adds sparkle without breaking the symmetry.
6. Vintage Finger Wave Hollywood Style Middle Part
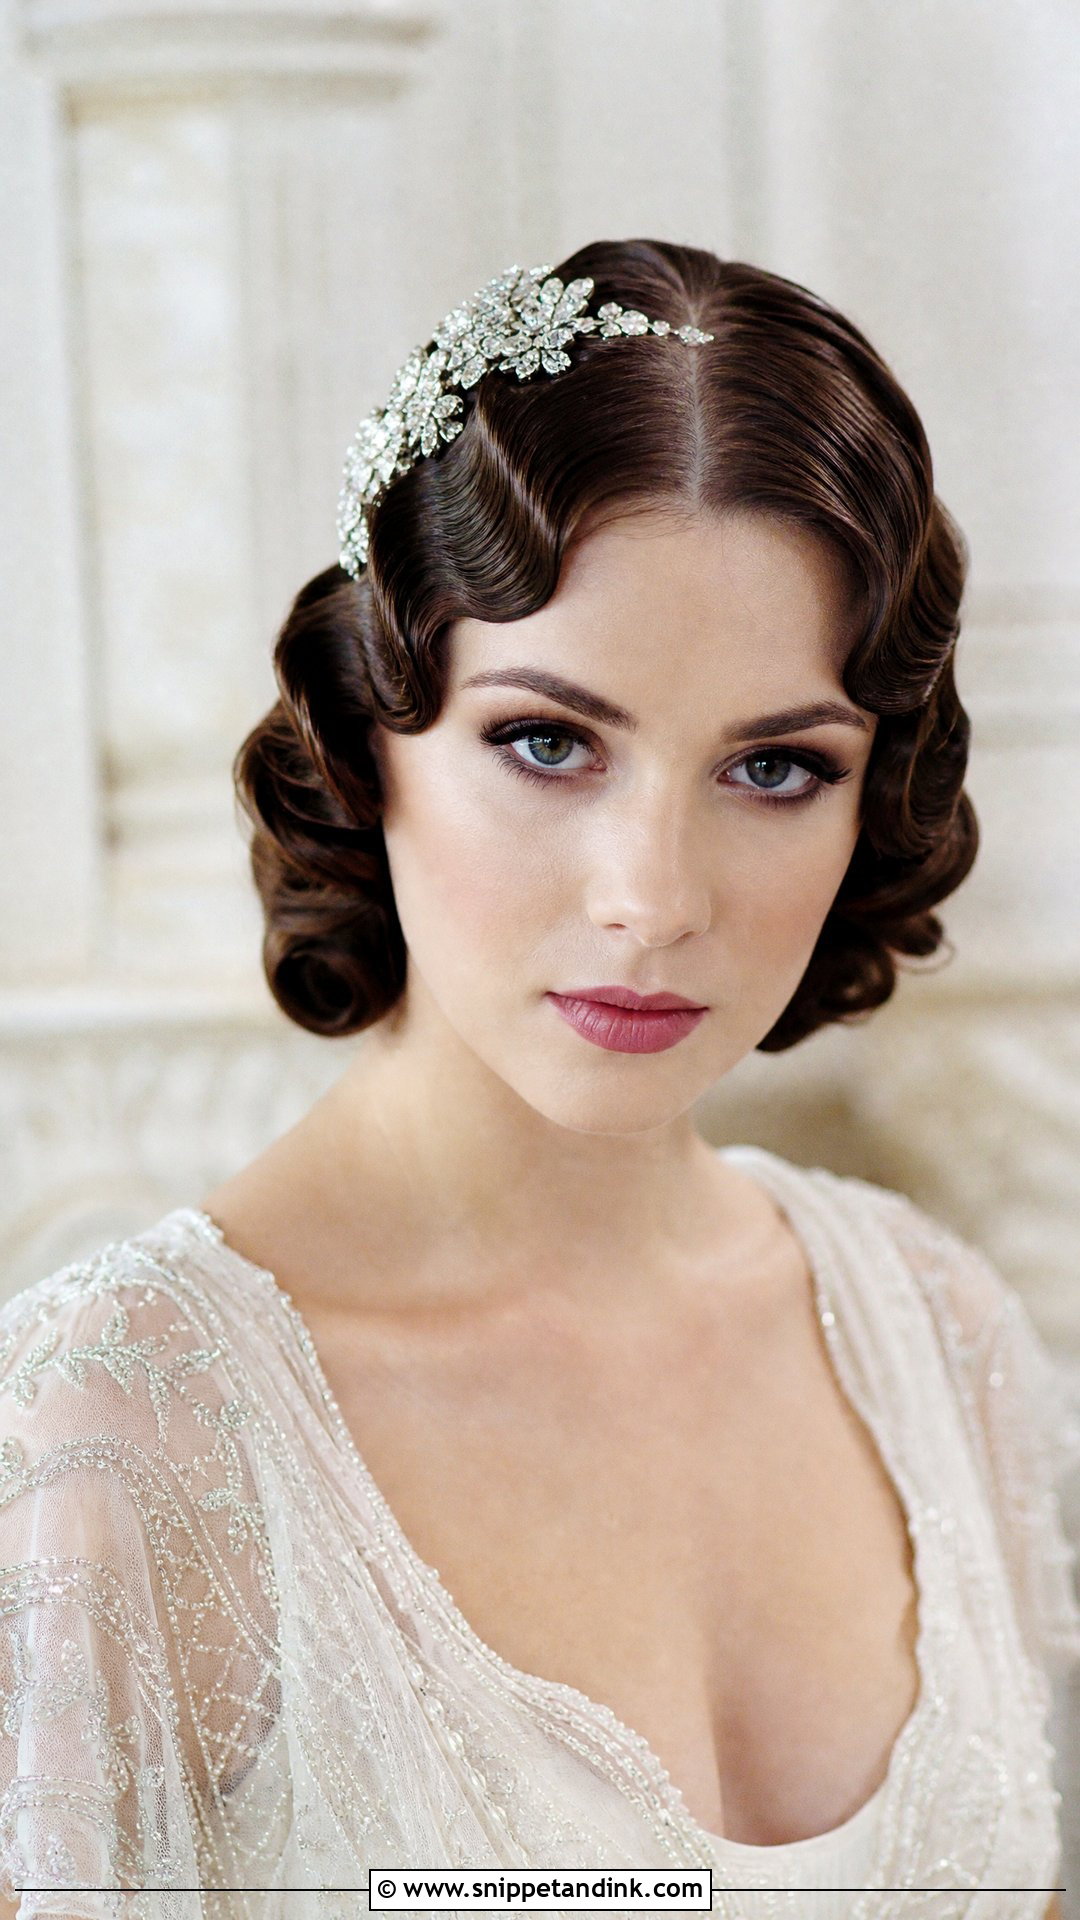
Finger waves are sculpted, not curled: the hair is coated in setting gel or lotion, pushed into ridges with fingers and a comb, and clipped in place until dry. A middle part means both sides need matching ridges, which takes real skill and time. Art-deco and retro weddings are made for it. Check your stylist’s own finger-wave photos before booking, and add a vintage headpiece if you want the full period look.
7. Hollywood Waves Middle Part With Hair Vine
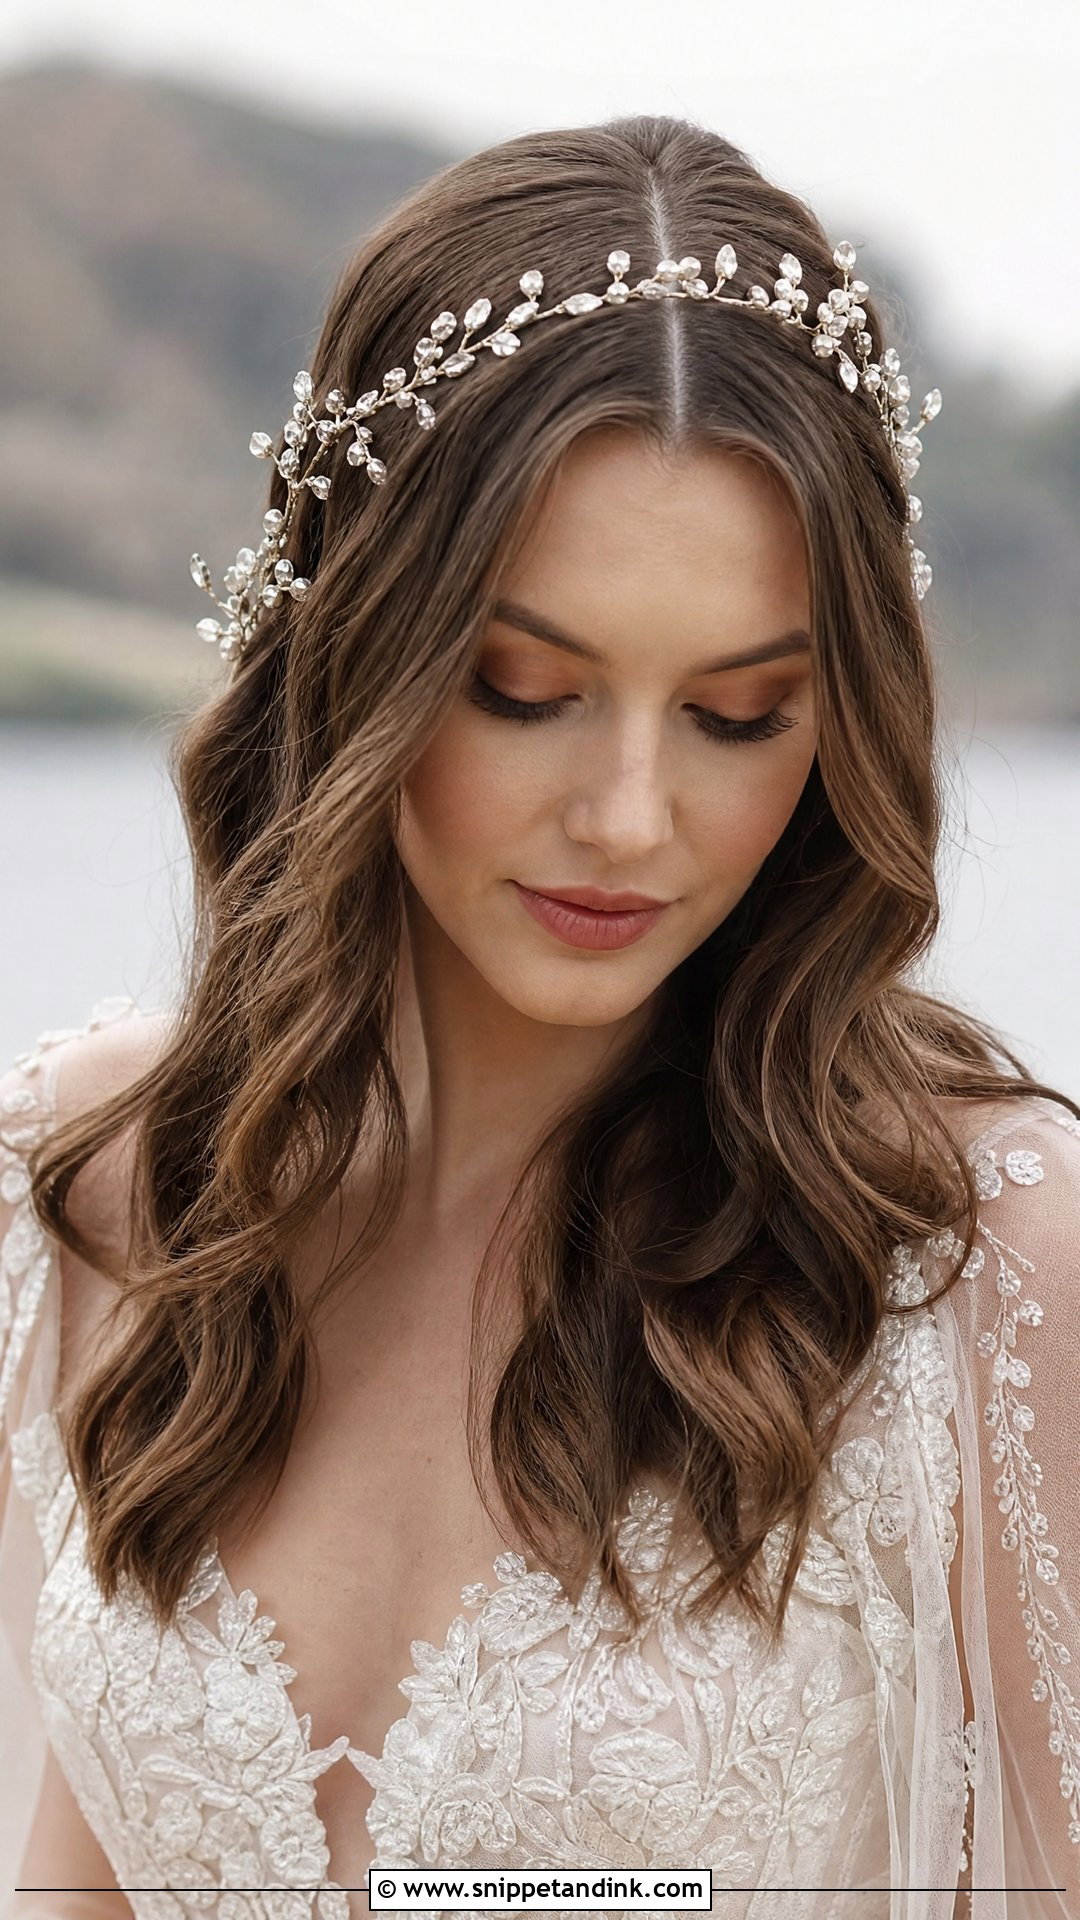
A hair vine laid along the part or wound through the waves adds scattered sparkle. I pin the wire underneath the ridges every few inches so it follows the wave rather than sitting on top. With a middle part, I usually run it back from the crown on both sides for balance. It suits garden and boho weddings, and works best with smooth waves so the crystals or pearls actually show.
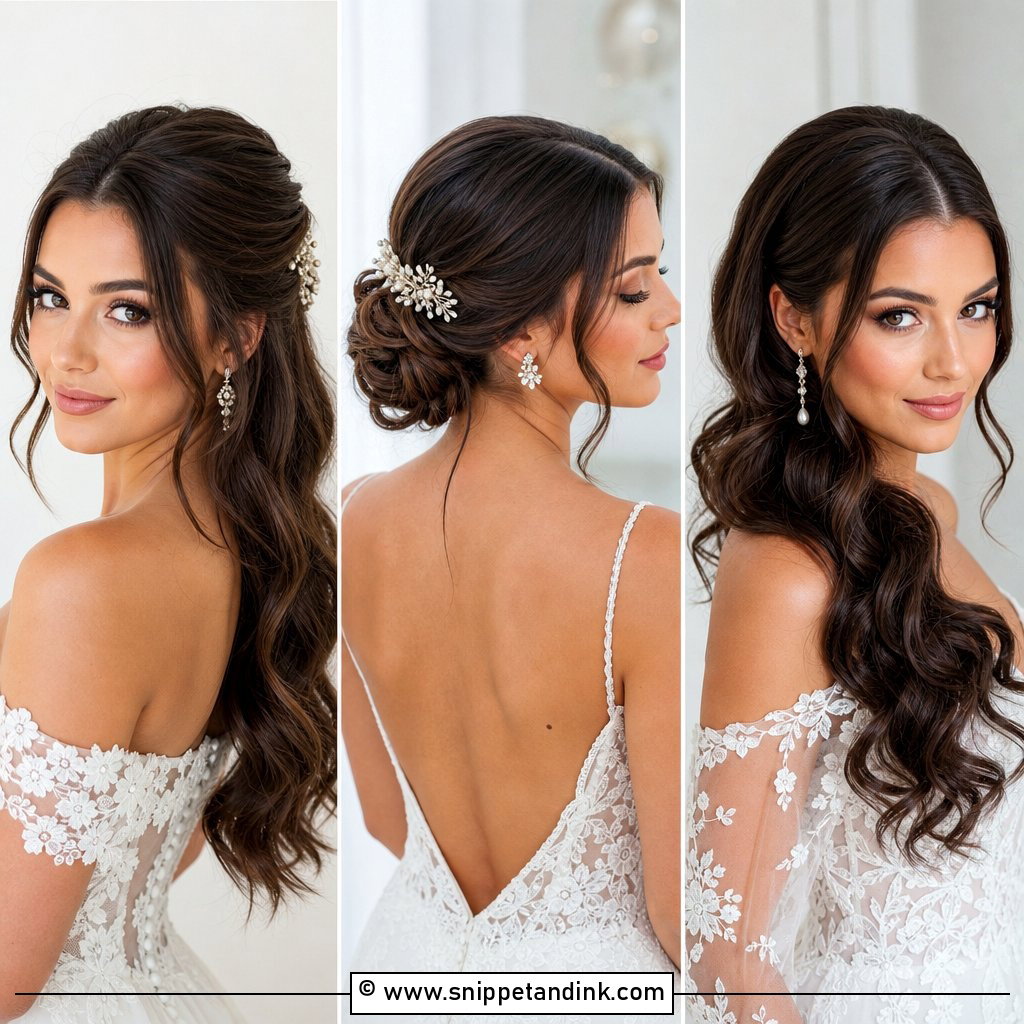
8. Half Up Hollywood Waves Middle Part
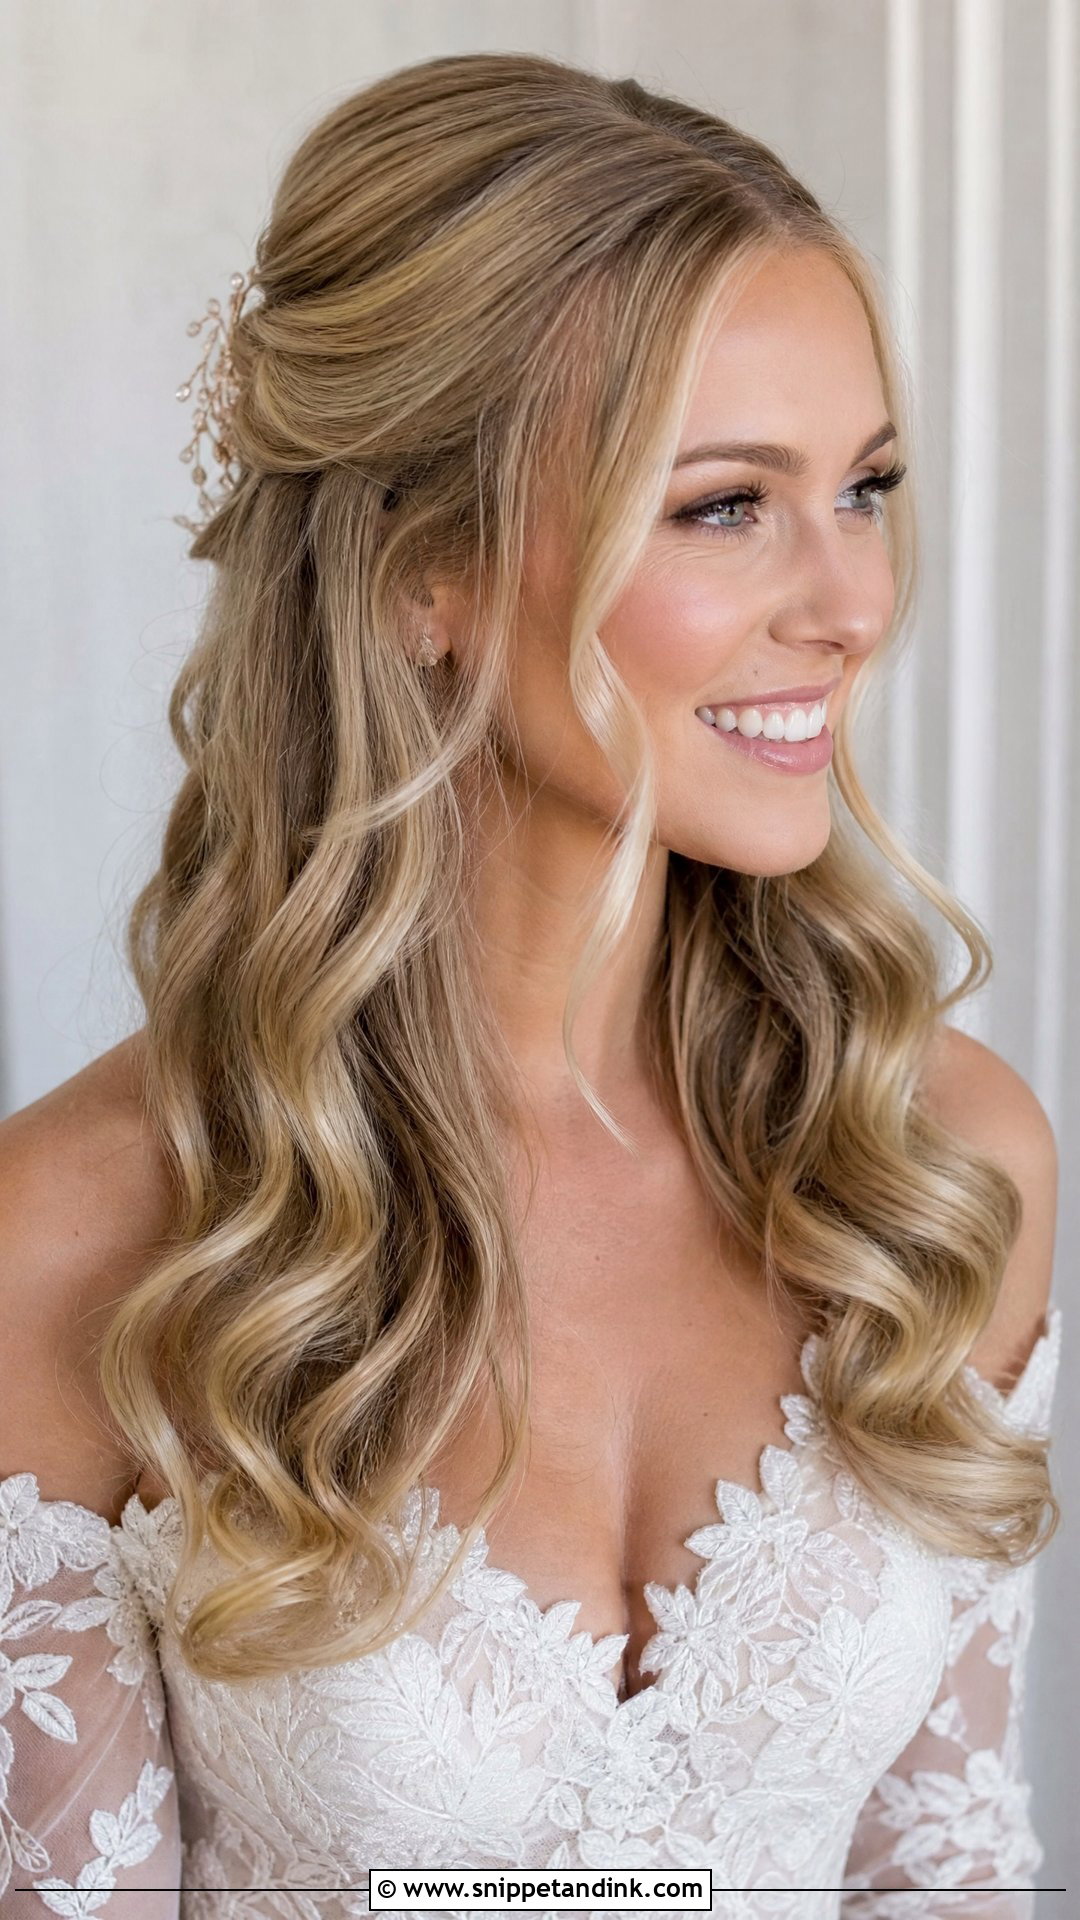
The top section is drawn back and pinned while the rest falls in waves, and the center part keeps the front balanced. It’s practical for long ceremonies and outdoor vows, since nothing blows across your face. A small clip or pins at the back cover the join. Most face shapes suit it. I keep the pulled-back section smooth, not teased, so it matches the polish of the waves.
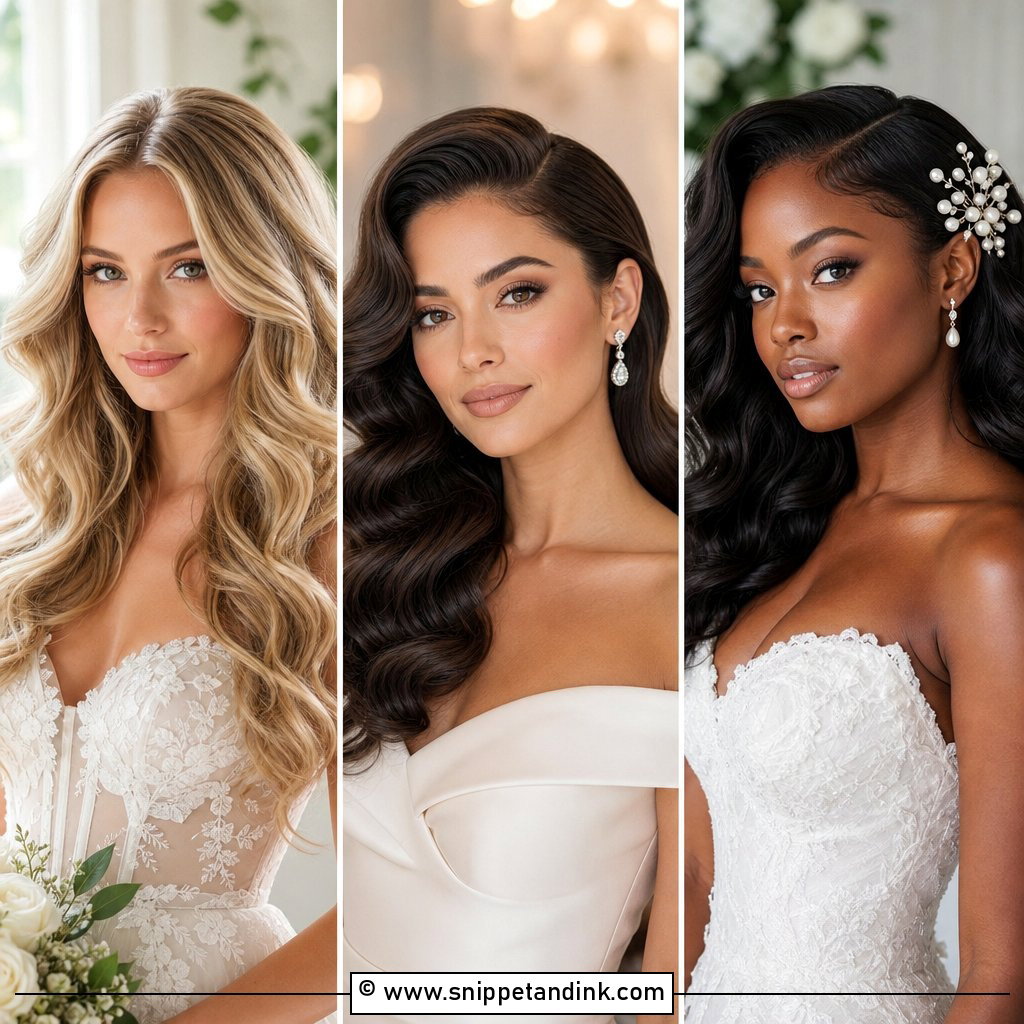
9. Hollywood Waves Middle Part for Black Brides
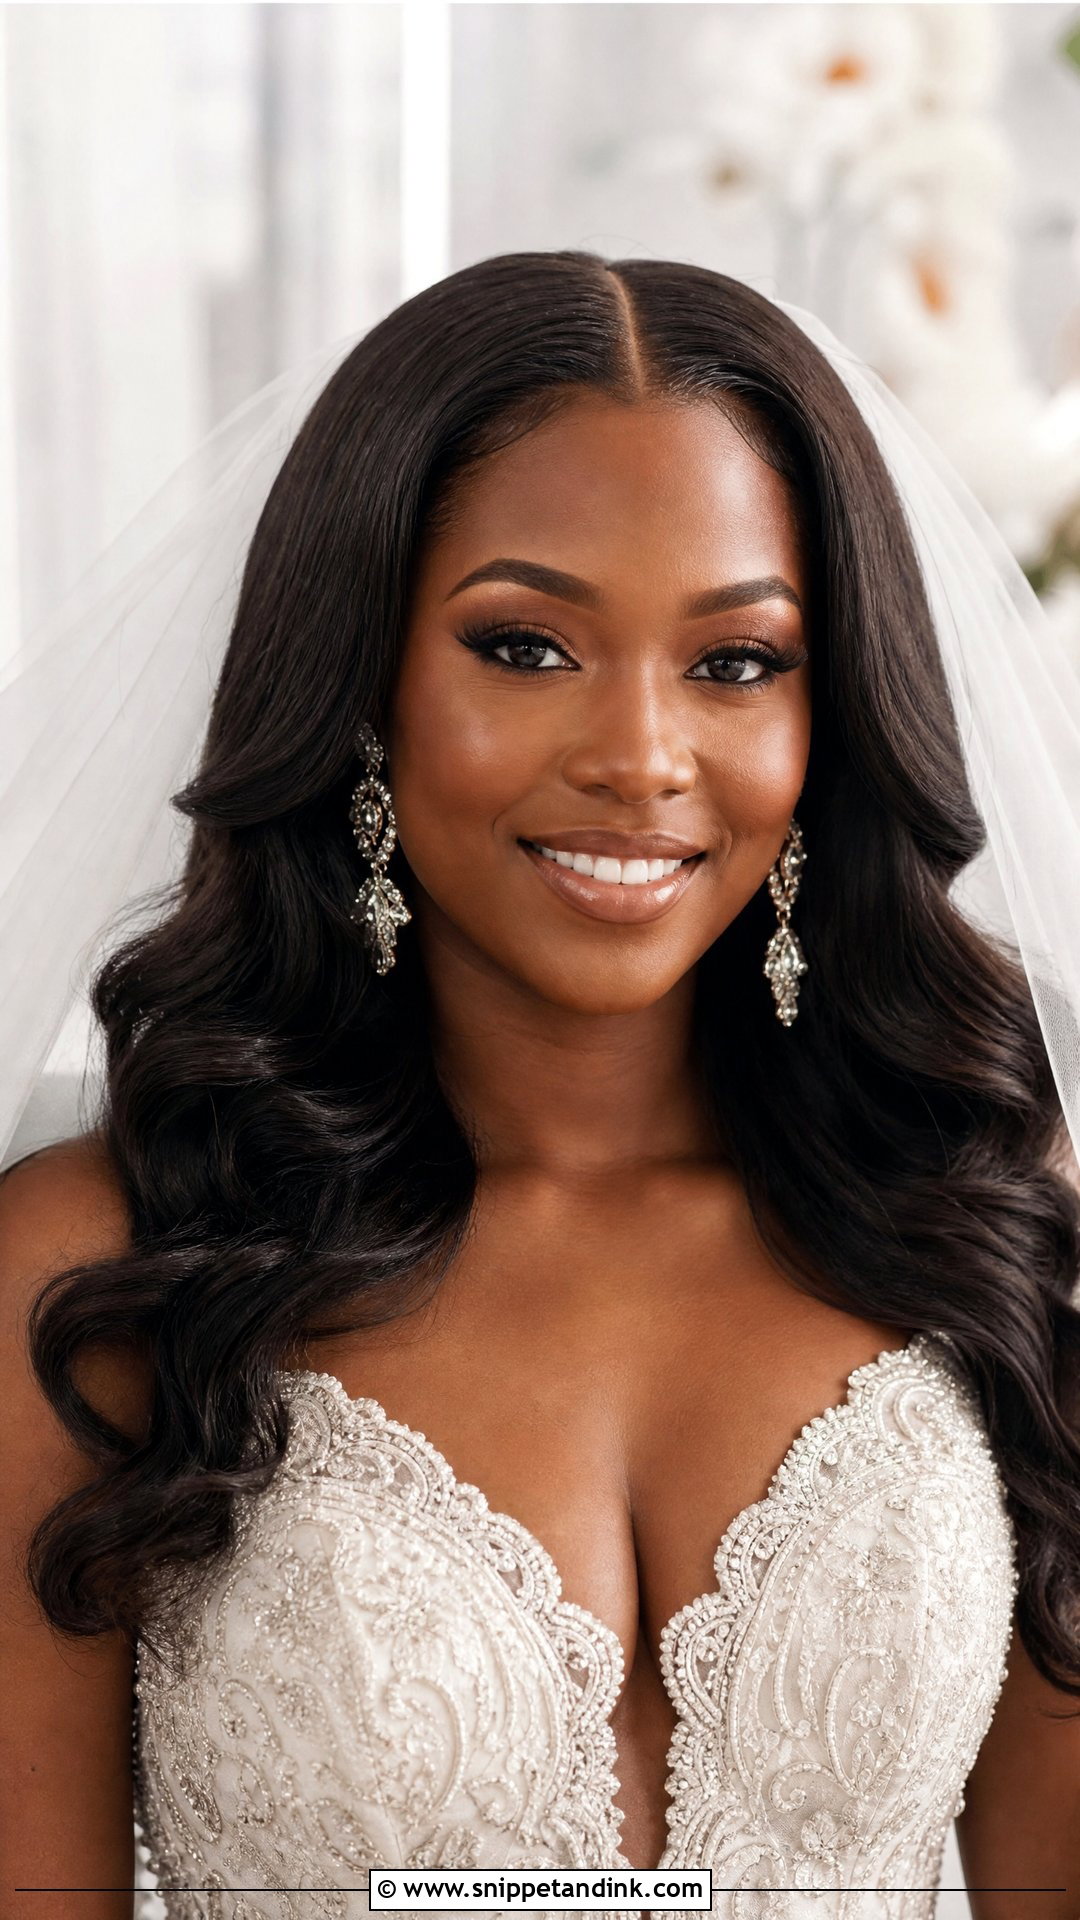
On textured and relaxed hair, this look is usually built on a silk press or careful heat styling, then set into smooth waves with a clean part. I’m cautious with heat: one controlled pass and a roller or pin-curl set rather than going back over sections with an iron. Humidity is the main threat, so an anti-humidity sealing spray is worth it on warm days. Statement earrings and a bold lip suit the shine.
10. Deep Side Swept Hollywood Waves With Center Part
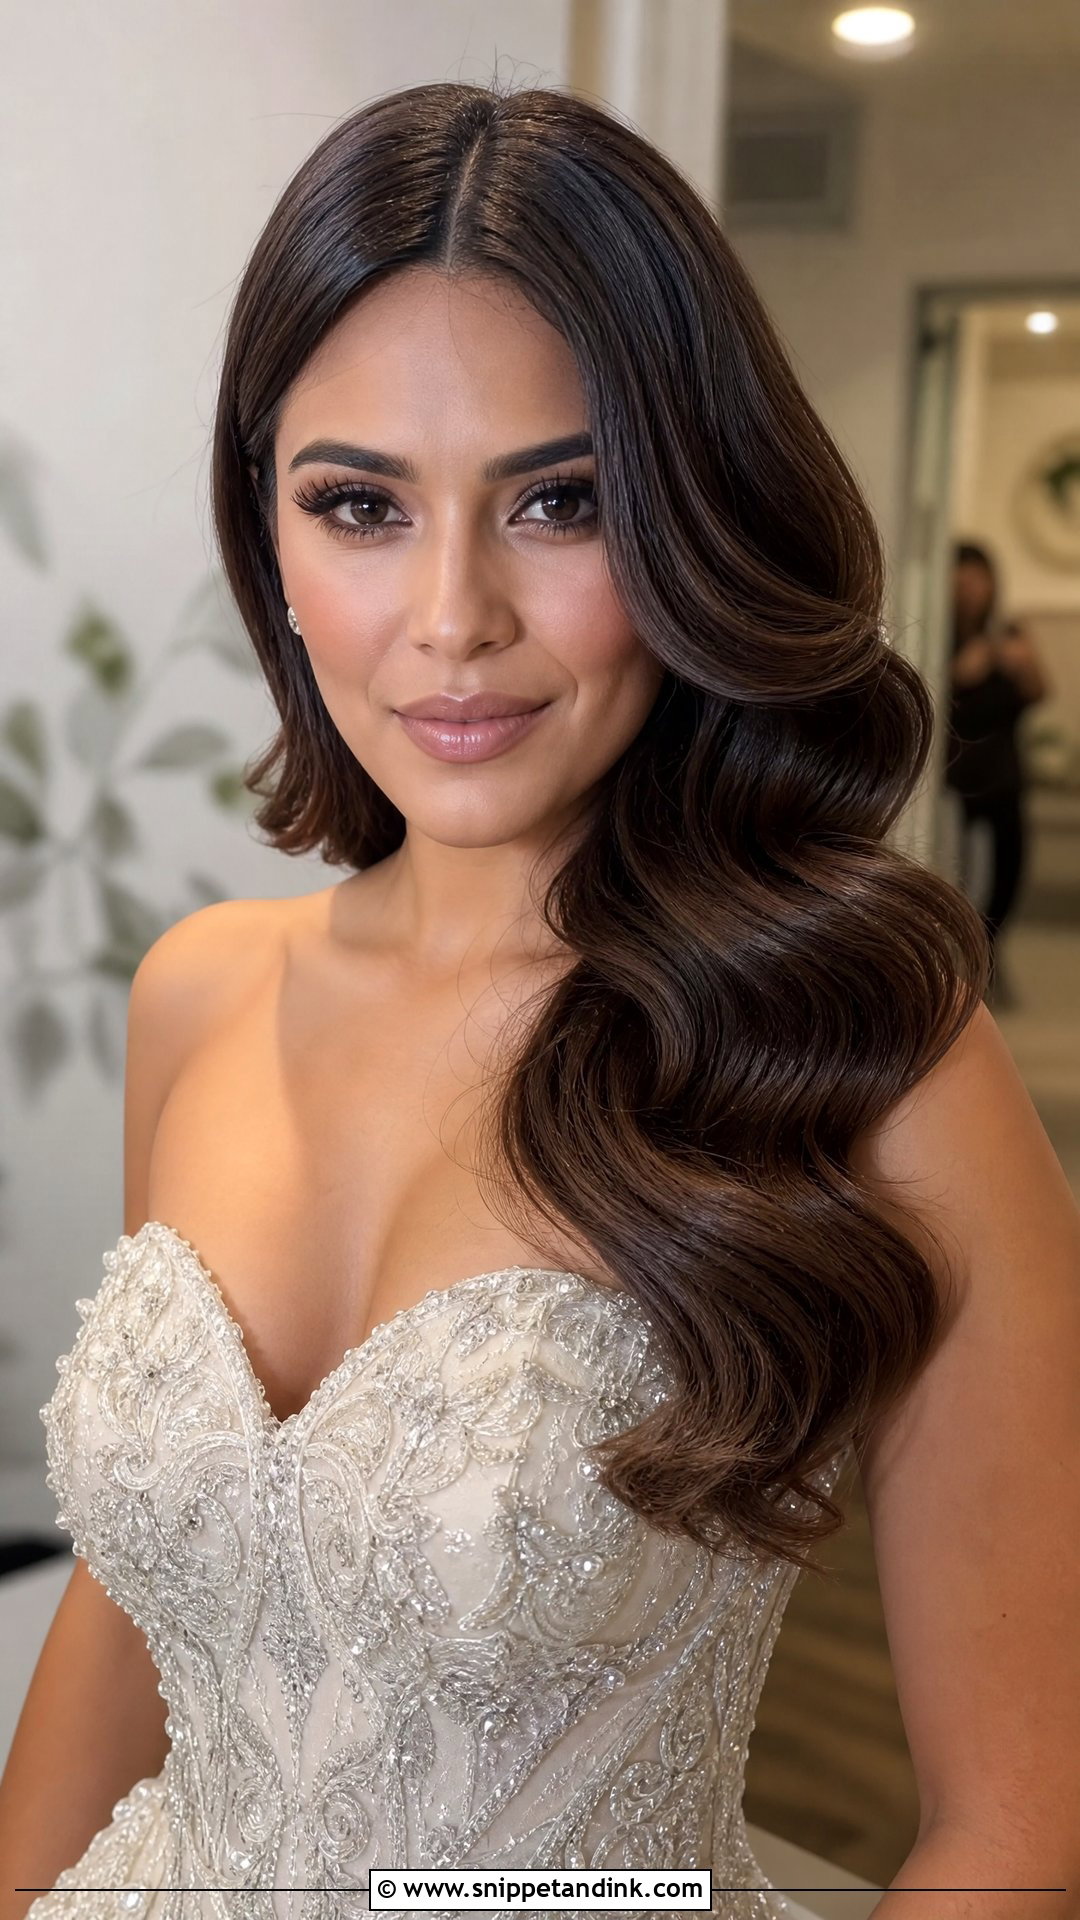
This keeps the center part but adds a deep swooping bend near the roots on each side, which gives far more volume than a flat middle part. It reads dramatic, so evening and formal weddings suit it best. I build root lift with a round brush or velcro rollers before curling, because volume added afterward with teasing tends to collapse. Keep the surface smooth and glossy.
11. Hollywood Waves Middle Part With Flowers
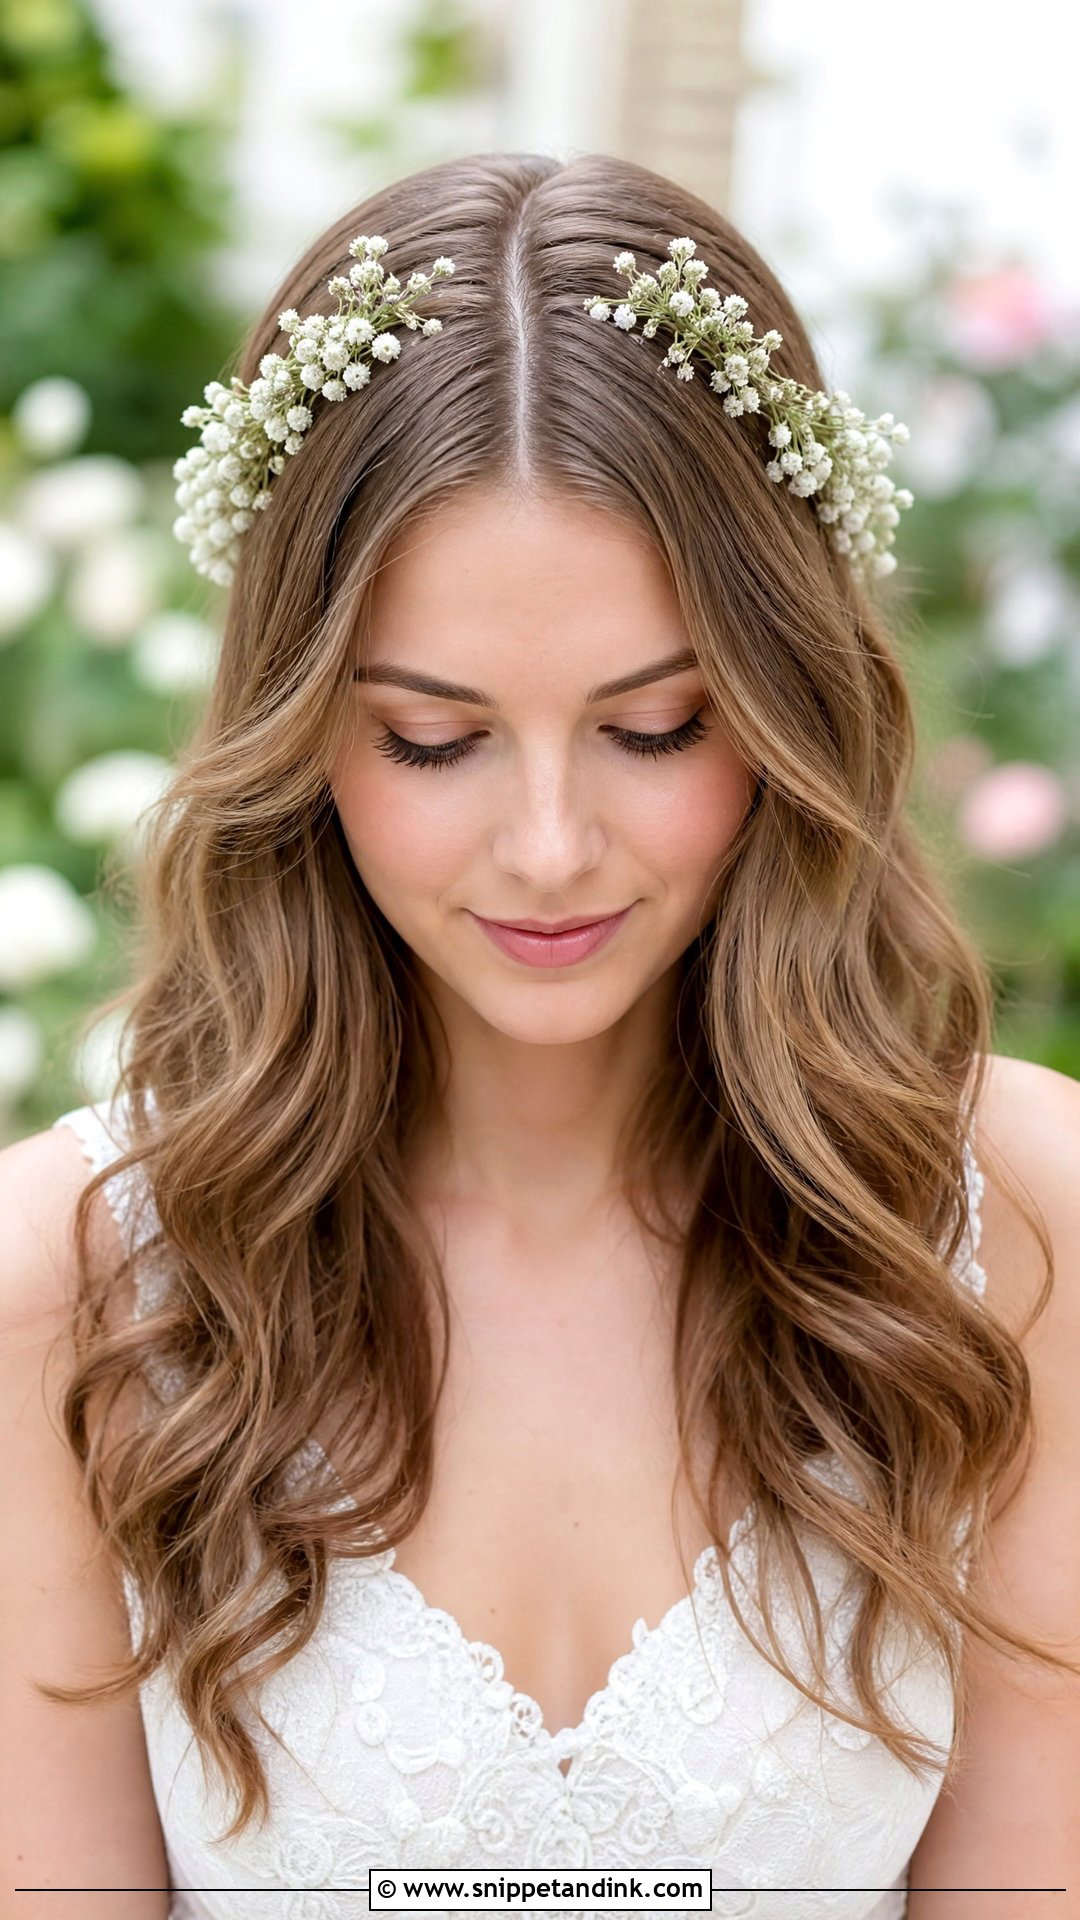
Flowers can go symmetrically on both sides of a middle part or clustered on one side for a softer balance. I wire small blooms onto pins so they anchor into the set rather than resting on it. Baby’s breath and spray roses hold up well; very delicate petals bruise within hours. Spring and summer weddings suit it, and silk flowers are a sensible backup on very hot days.
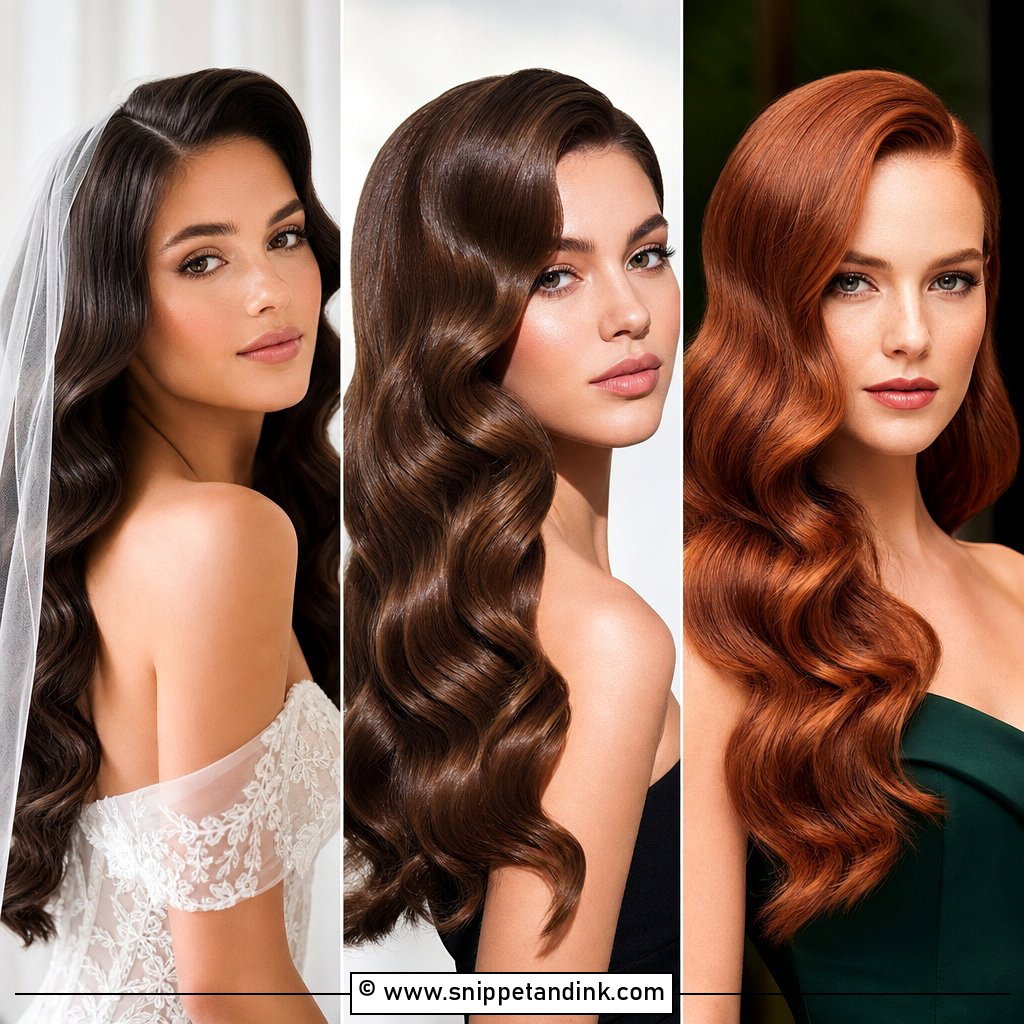
12. Glossy Brunette Hollywood Waves Middle Part
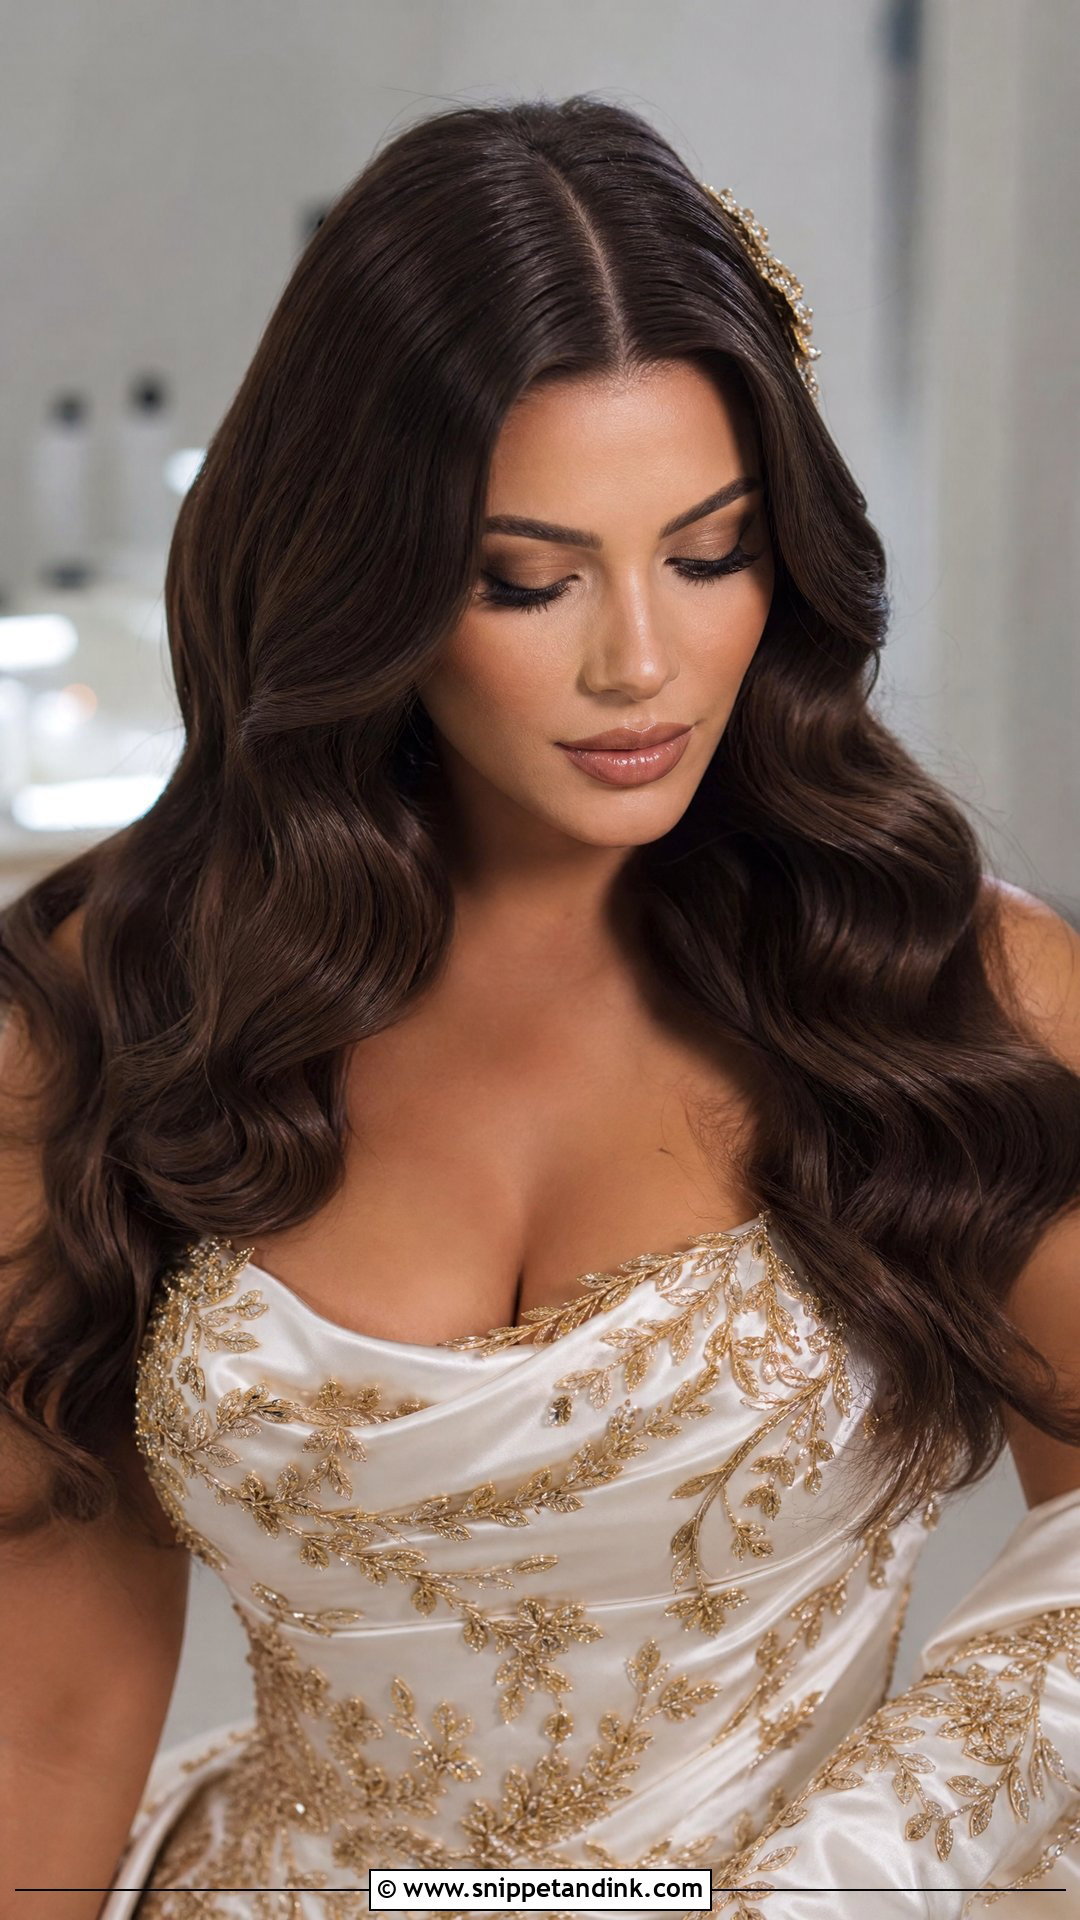
Dark hair shows a deep gloss, and the contrast between light and shadow along each wave makes the pattern easy to see. For brunette brides, a shine serum before setting helps, but use it sparingly; too much makes the waves clump. Very dark solid color can flatten in photos, so subtle highlights add definition. Gold and pearl accessories both suit it.
13. Blonde Hollywood Waves Middle Part
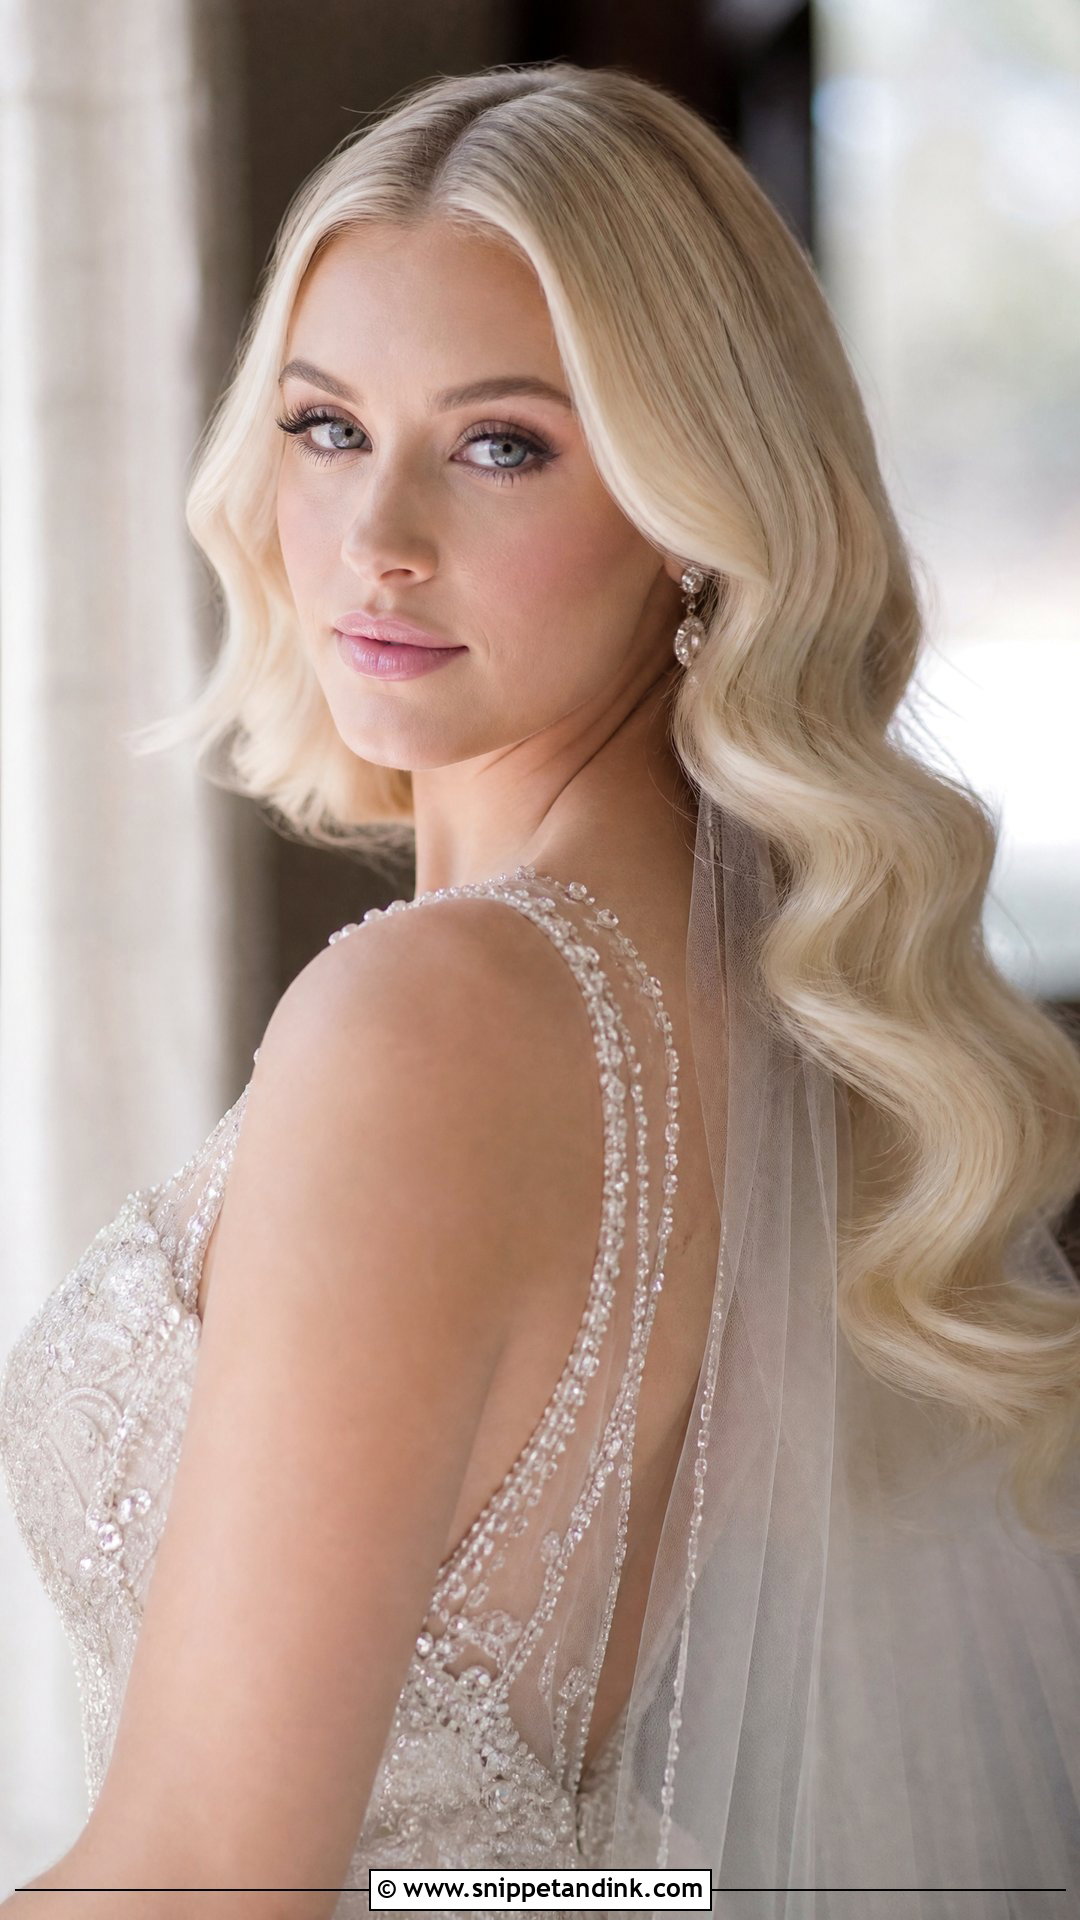
Light hair shows each curve clearly and looks bright in daylight. Platinum, golden, and honey shades all work. Blonde also shows dryness and product build-up, so I keep shine spray light and suggest a conditioning gloss a week or so before the wedding. Crystal and silver accessories sit well against it. With a clean center part, blonde Hollywood waves look polished and soft at once.
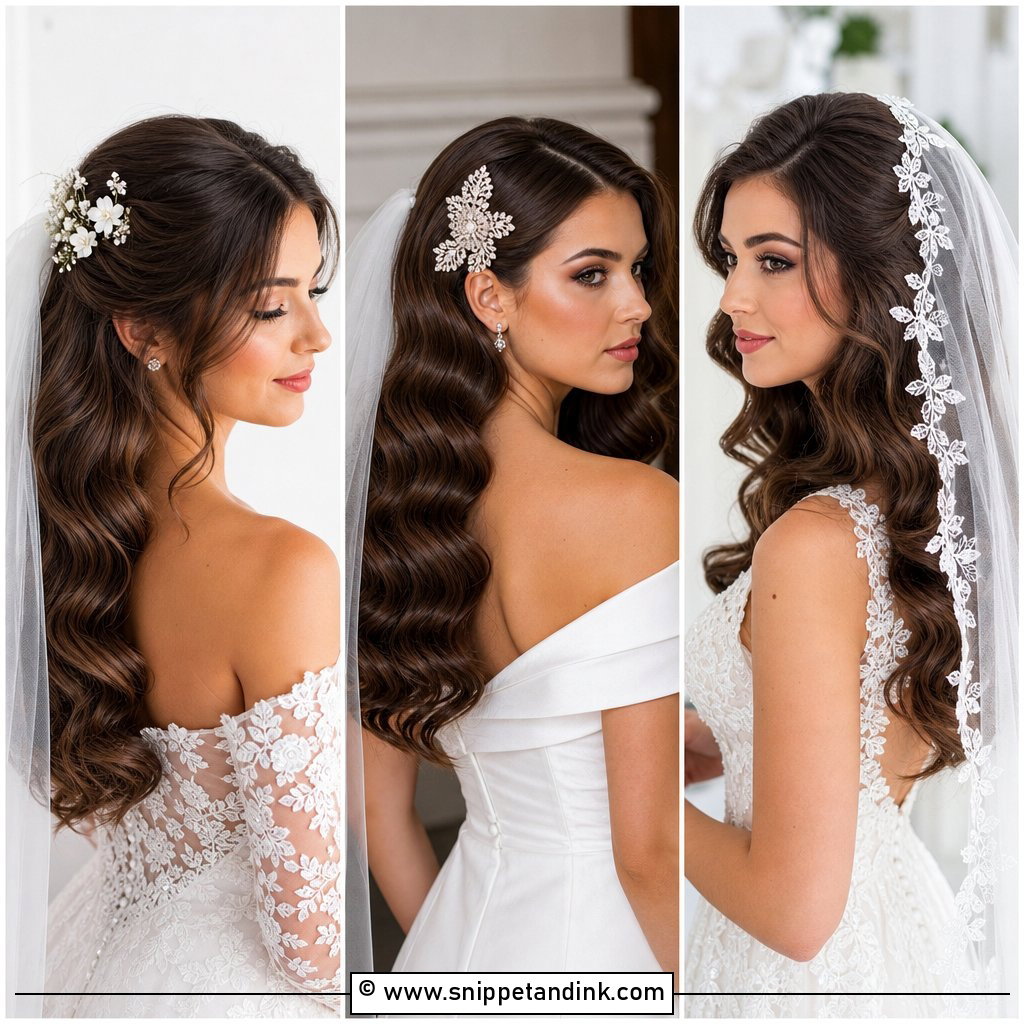
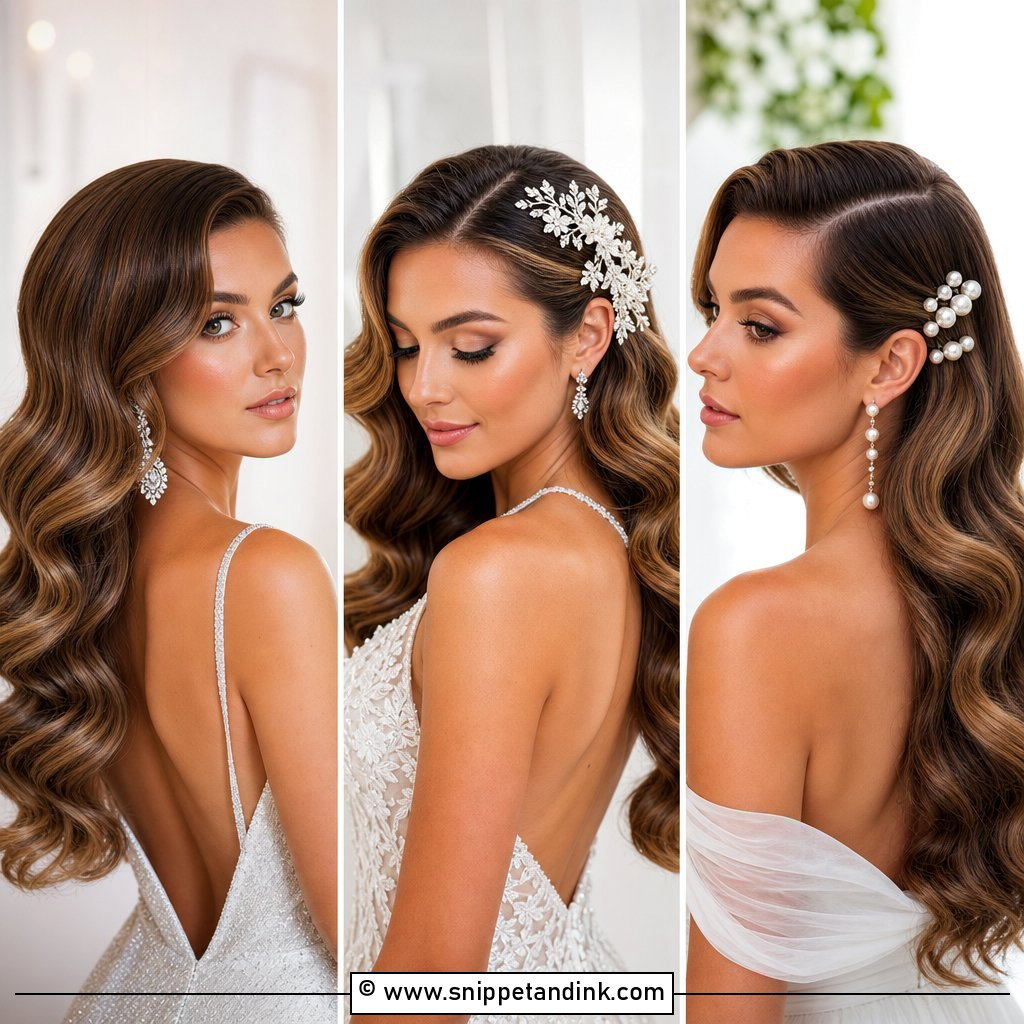
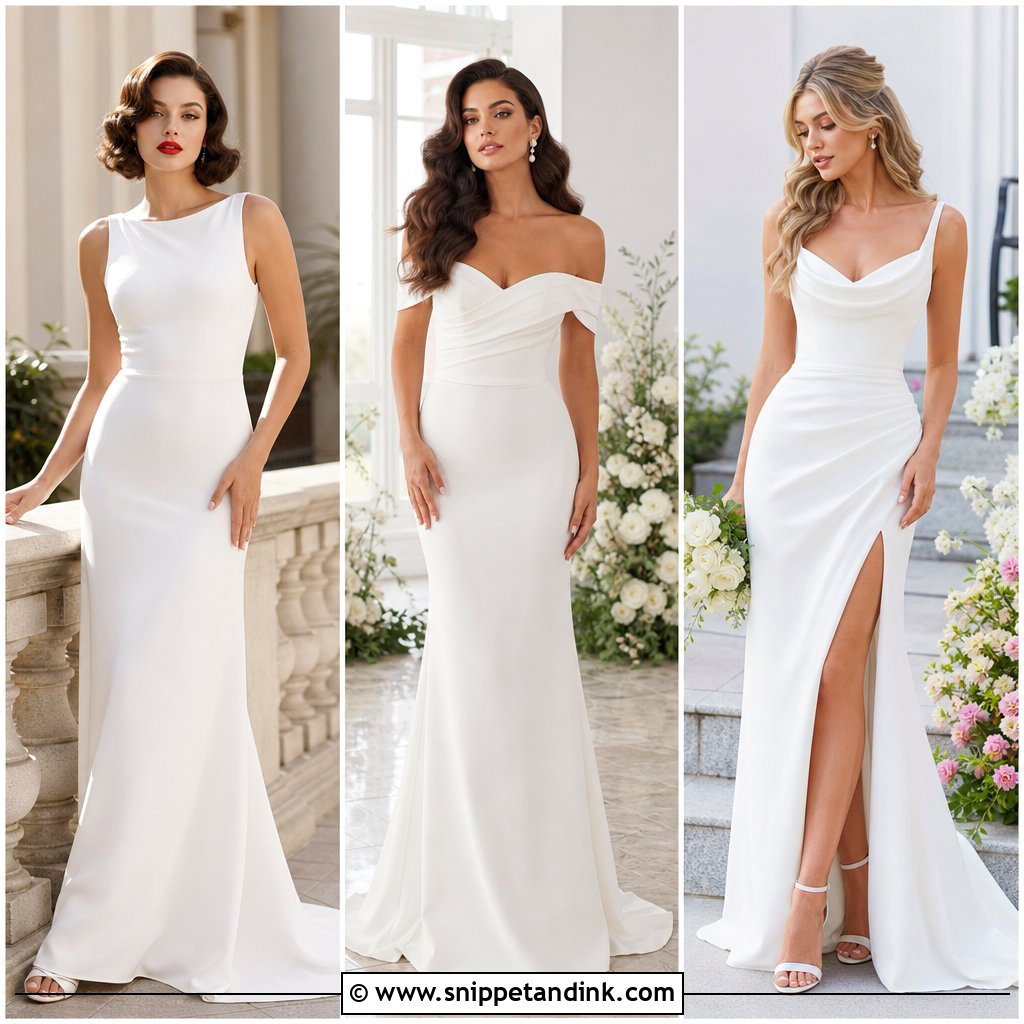
14. Hollywood Waves Middle Part for Medium Length Hair
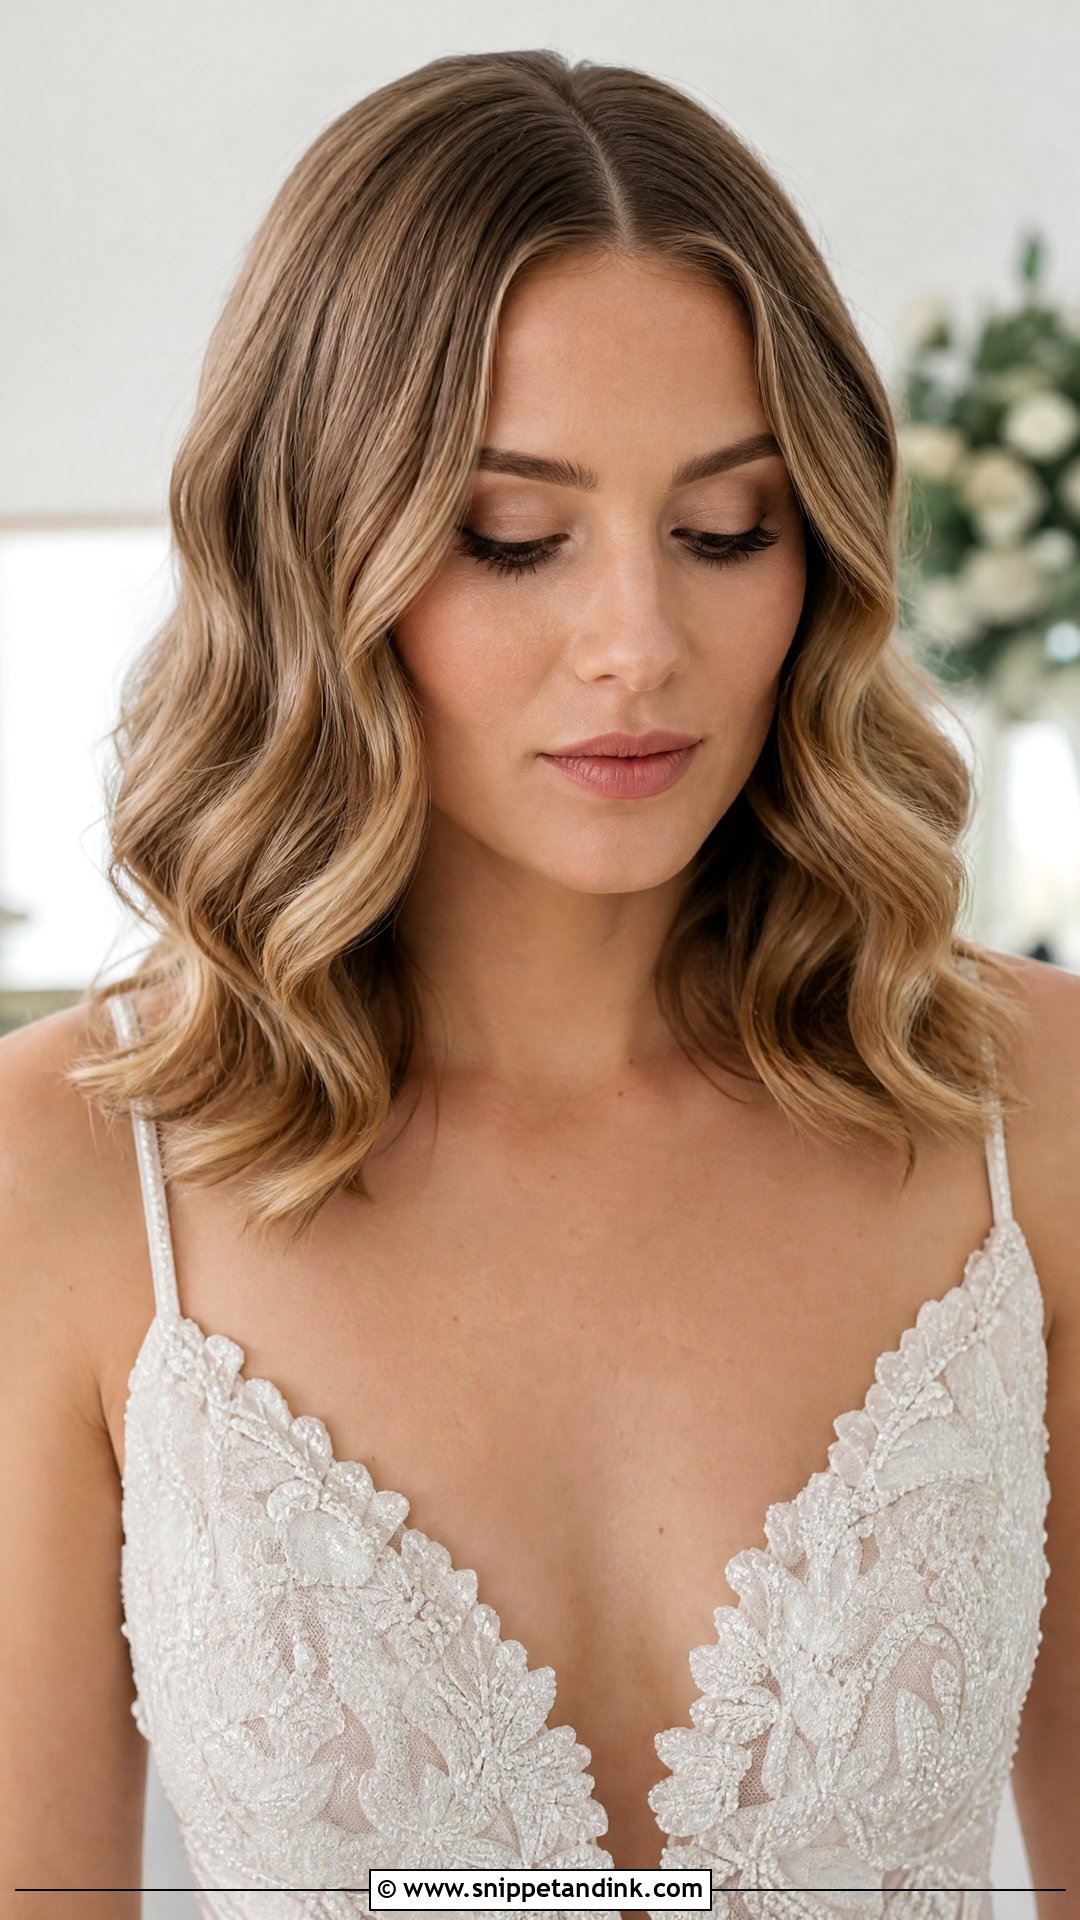
Shoulder-length hair is the easiest length to wave. There’s enough to form a defined pattern, but not enough weight to pull it straight, so it holds well through the day. A center part frames the face evenly. It suits both formal and relaxed weddings, and needs fewer touch-ups than longer hair. No need to grow it out for the wedding.
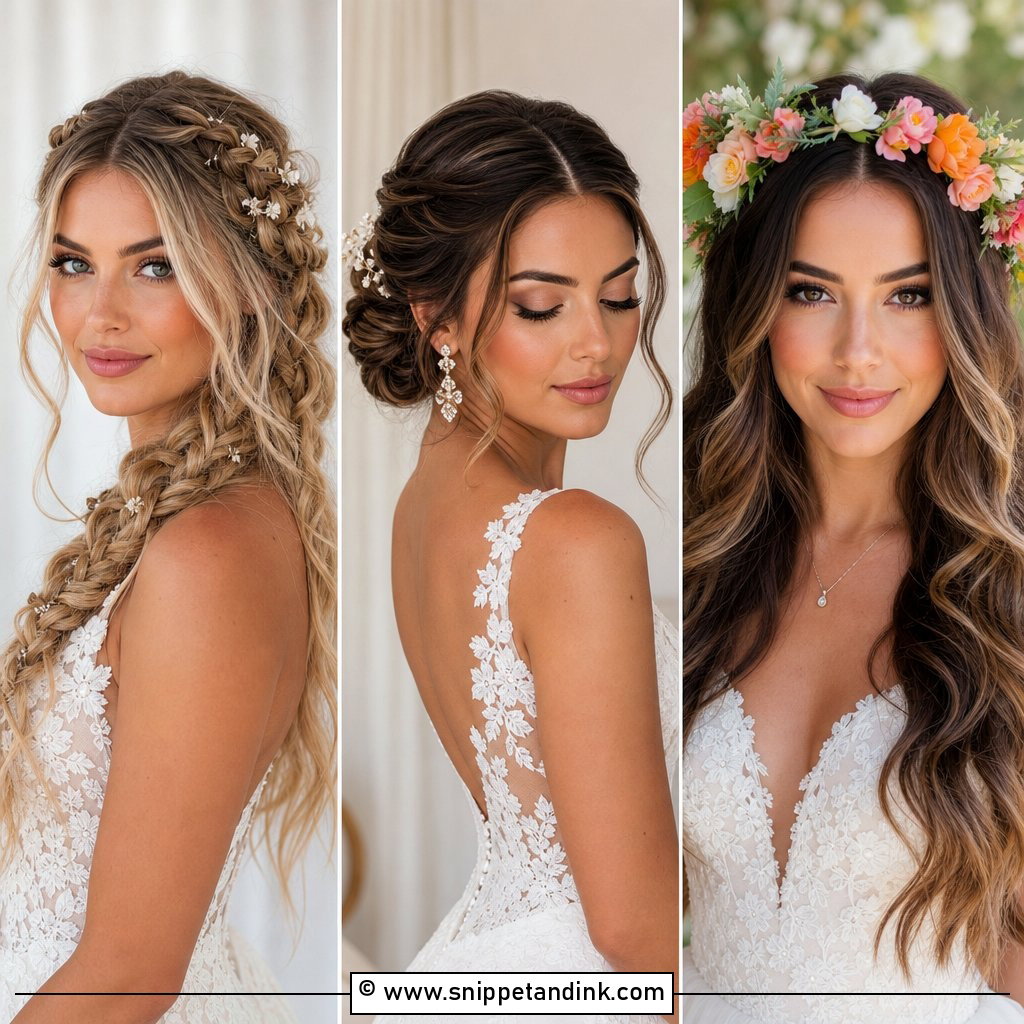
15. Red Hollywood Waves Middle Part
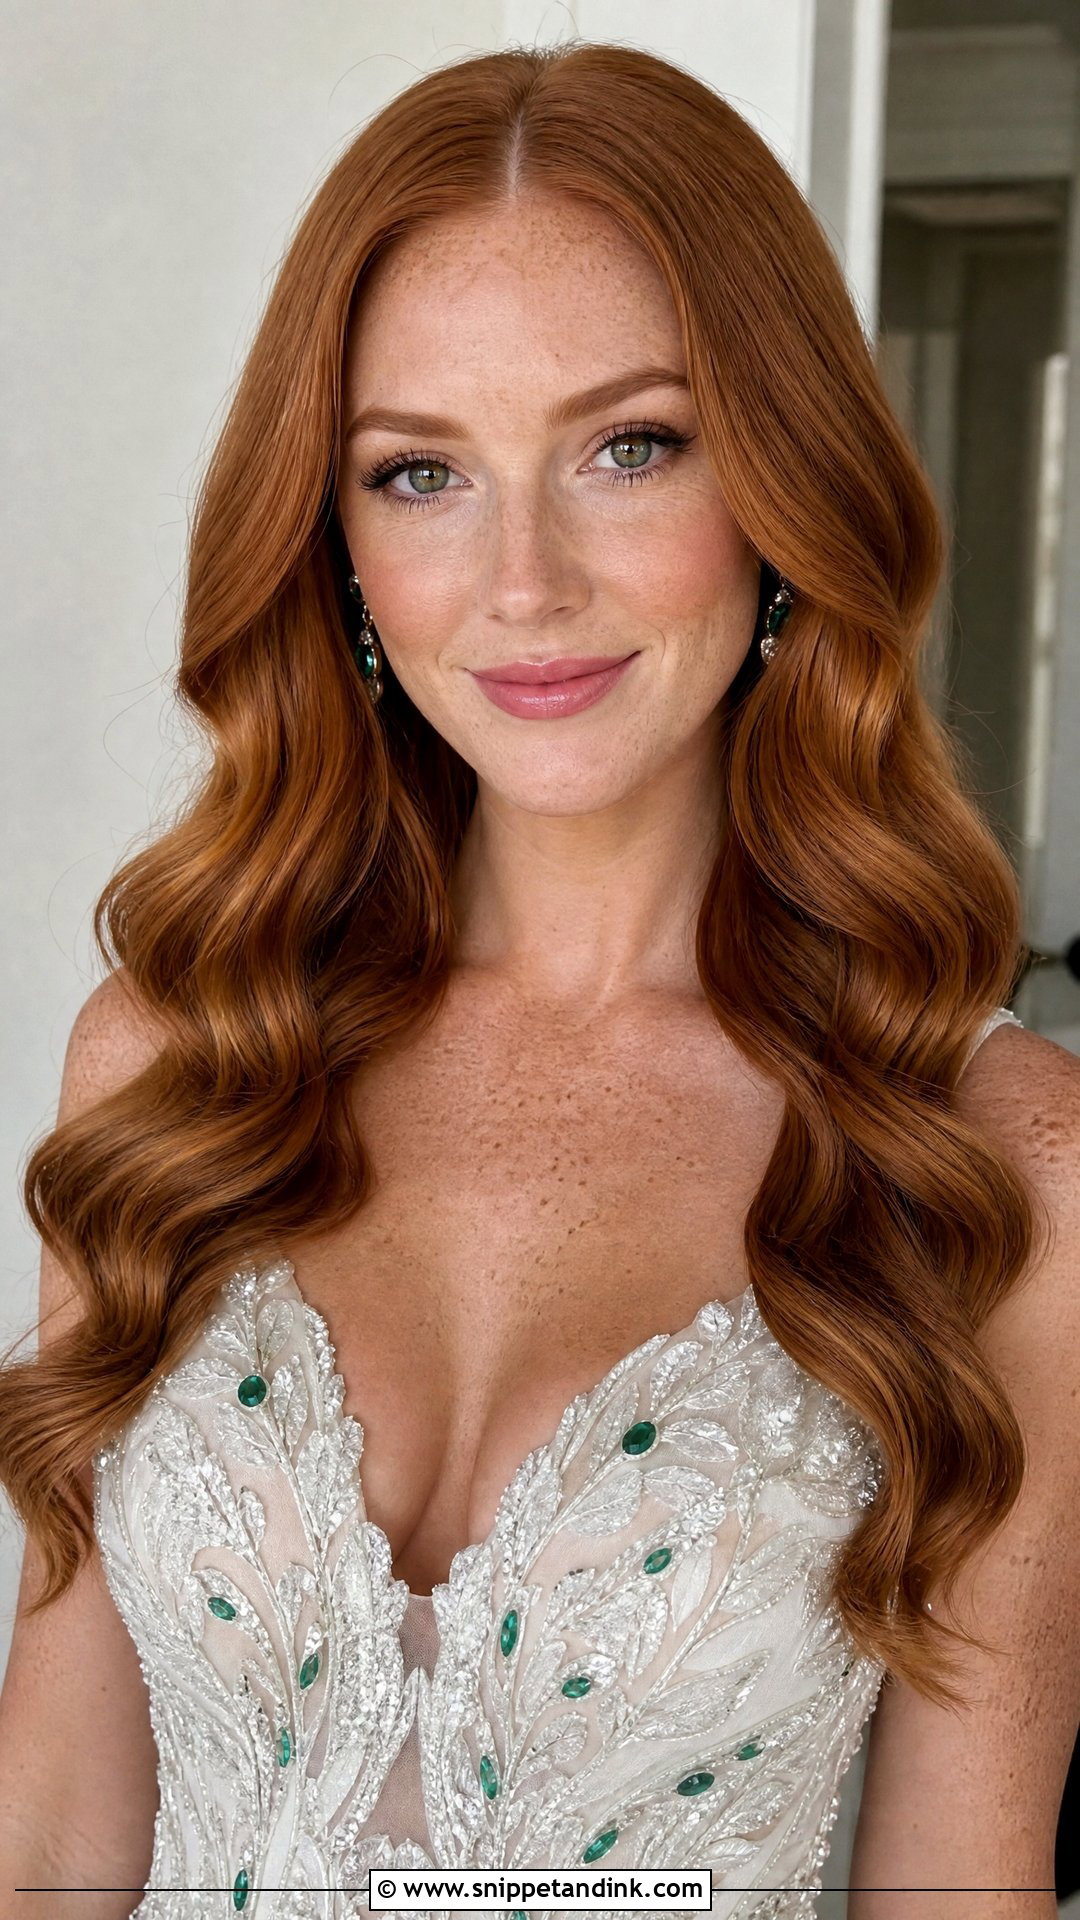
Auburn, copper, and deep red tones glow along each curve, and a center part keeps the look balanced. Red hair can look orange next to bright white, so ivory or soft white fabric often flatters it more. These waves bring fiery elegance to a classic shape. Gold and emerald accessories work well. If you’re coloring red for the wedding, do it weeks ahead, because fresh red fades fastest.
16. Pearl Accented Hollywood Waves Middle Part
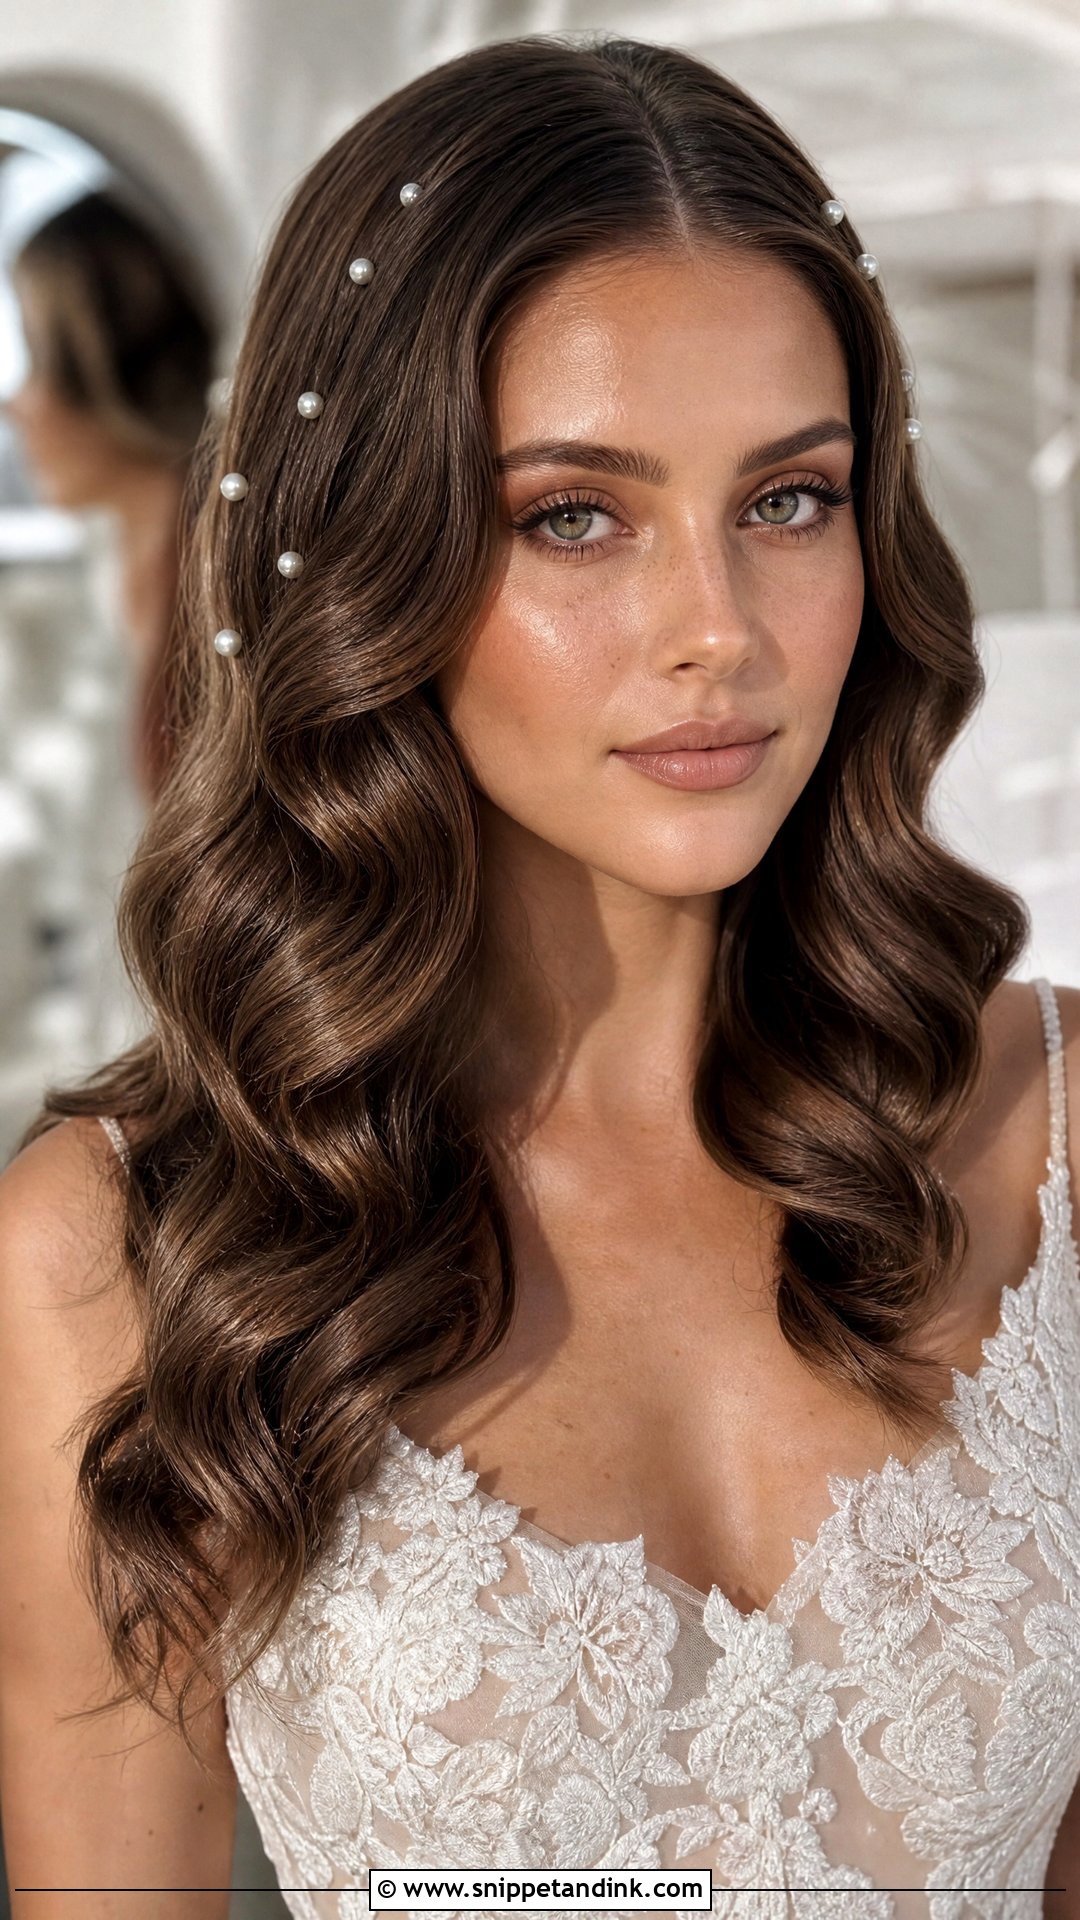
Tiny pearl pins scattered through the waves add a quiet shimmer. With a middle part, I place them symmetrically, angled under each ridge so only the pearl is visible. Pearls suit every hair color, though they show best on brunette and red. Keep the earrings simple so the hair detail isn’t competing. They’re a good choice if a tiara feels too formal.
17. Hollywood Waves Middle Part With Low Bun
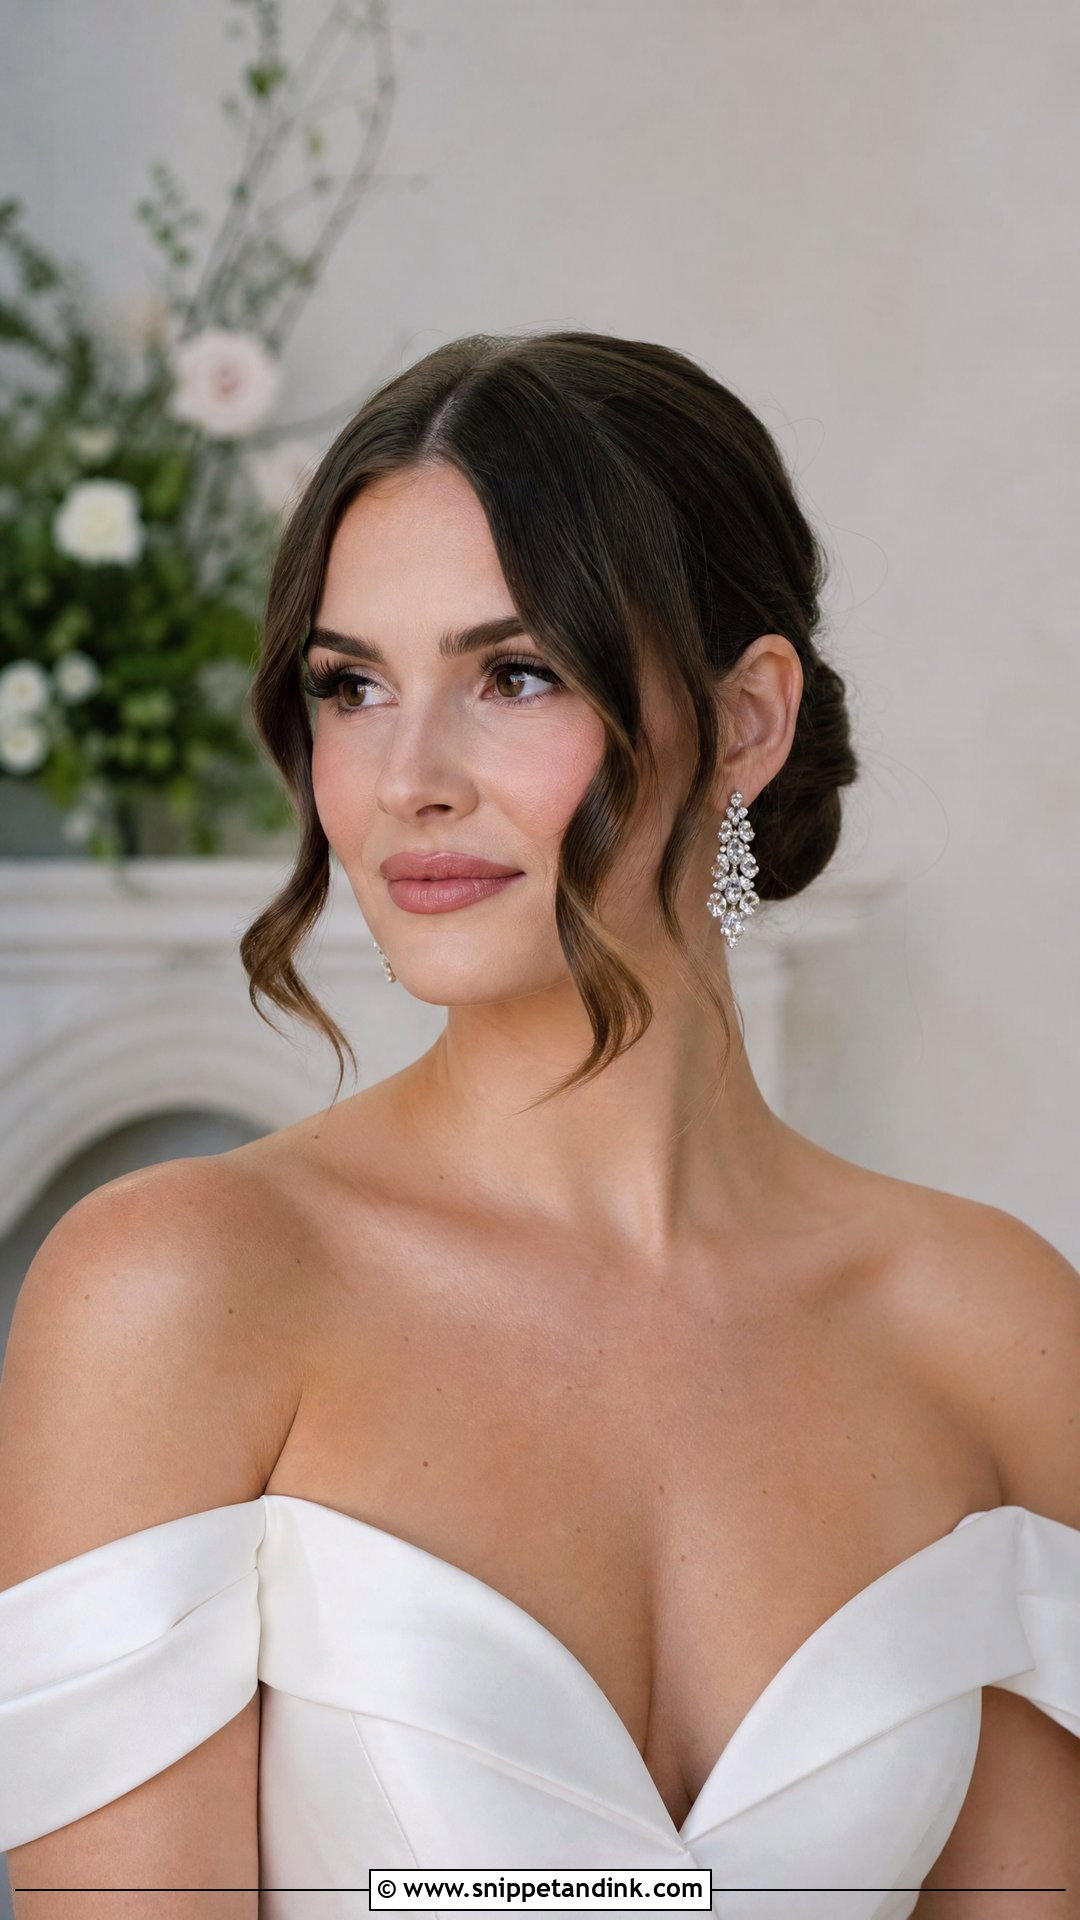
The front sections are waved around a center part and the rest is gathered into a low bun at the nape. It keeps your neck clear and the hair secure all day, and long faces suit it because the waves add width at the sides. I’d recommend it for fine hair that won’t hold a full down set. A veil comb tucks just above the bun, and statement earrings stay visible.
18. Modern Hollywood Waves Middle Part
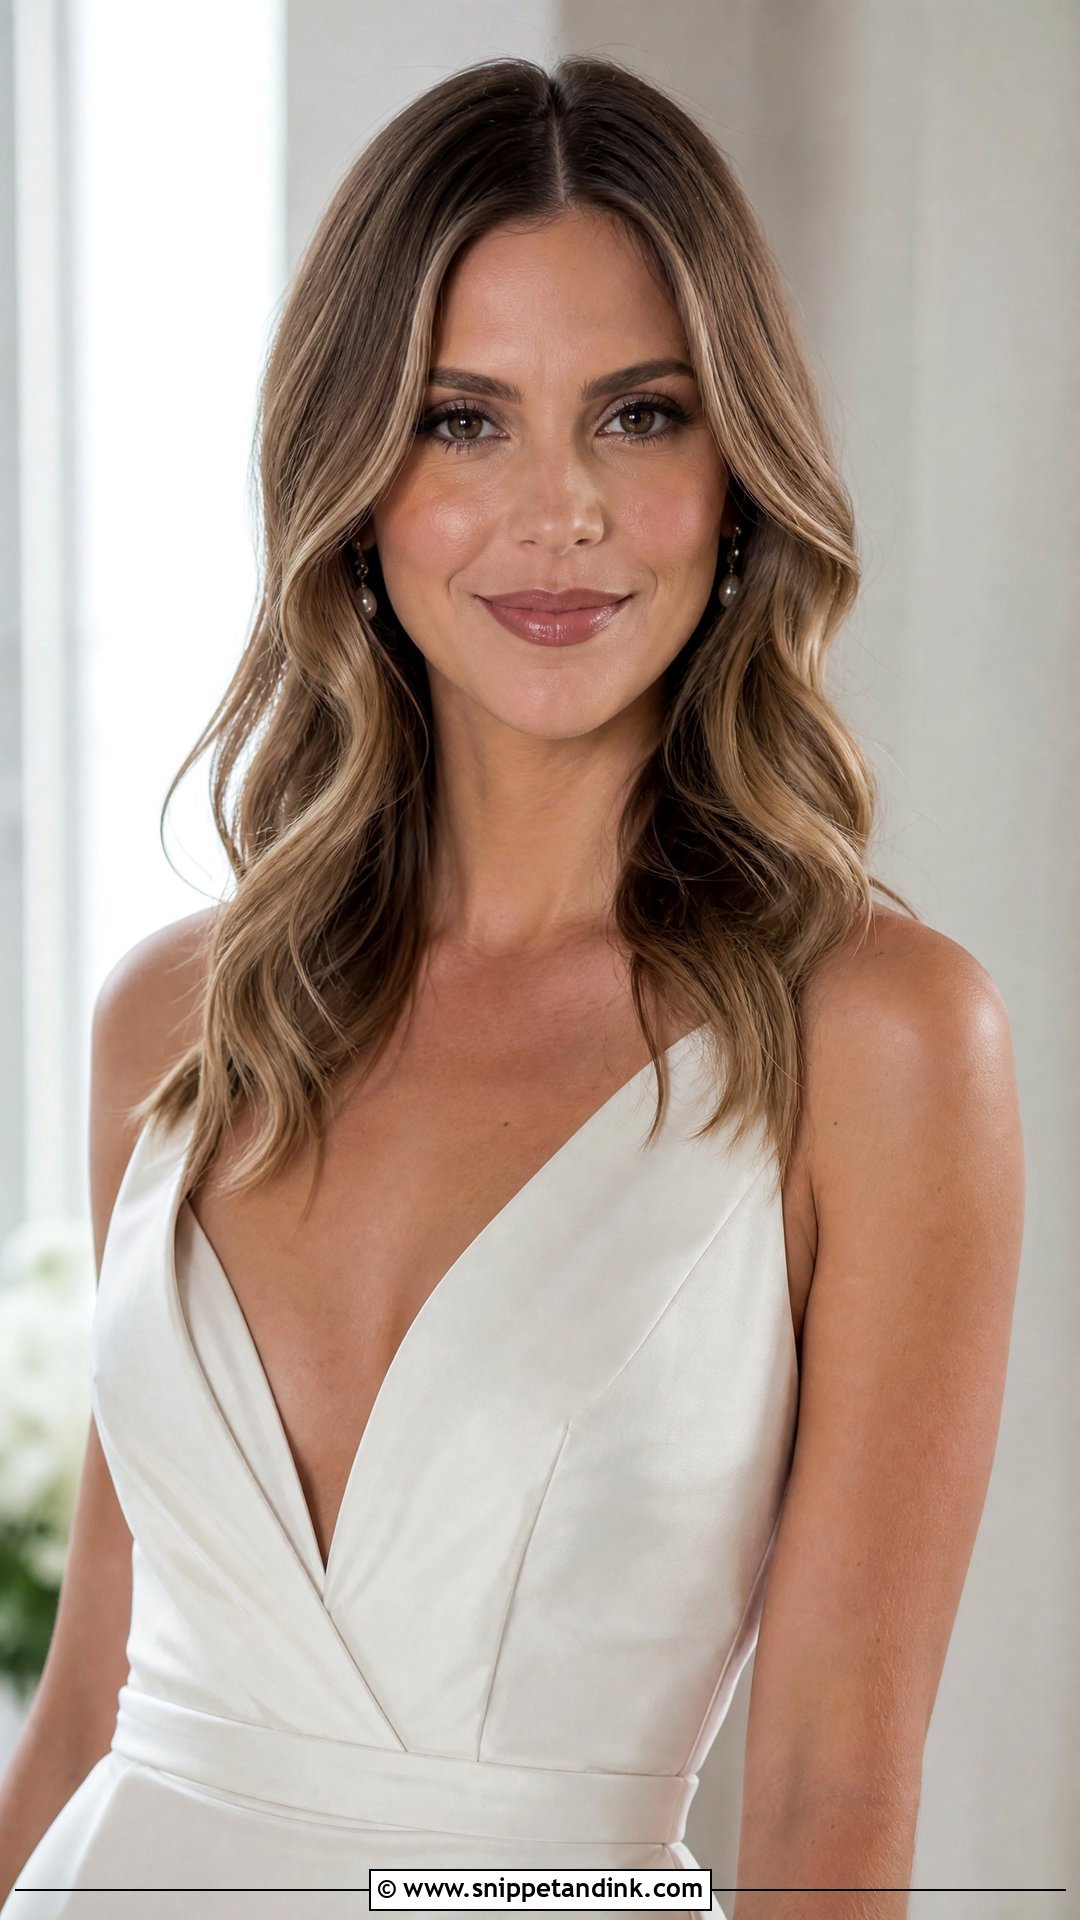
The modern version uses looser waves, softer definition, and a lower-shine or matte finish for a more current feel. It suits minimalist weddings and simple accessories. Because it’s less structured, it’s more forgiving if the waves loosen. The trade-off is that it reads less obviously Hollywood, so if the old-film look is what you love, go for a glossier finish.
19. Hollywood Waves Middle Part With Headband
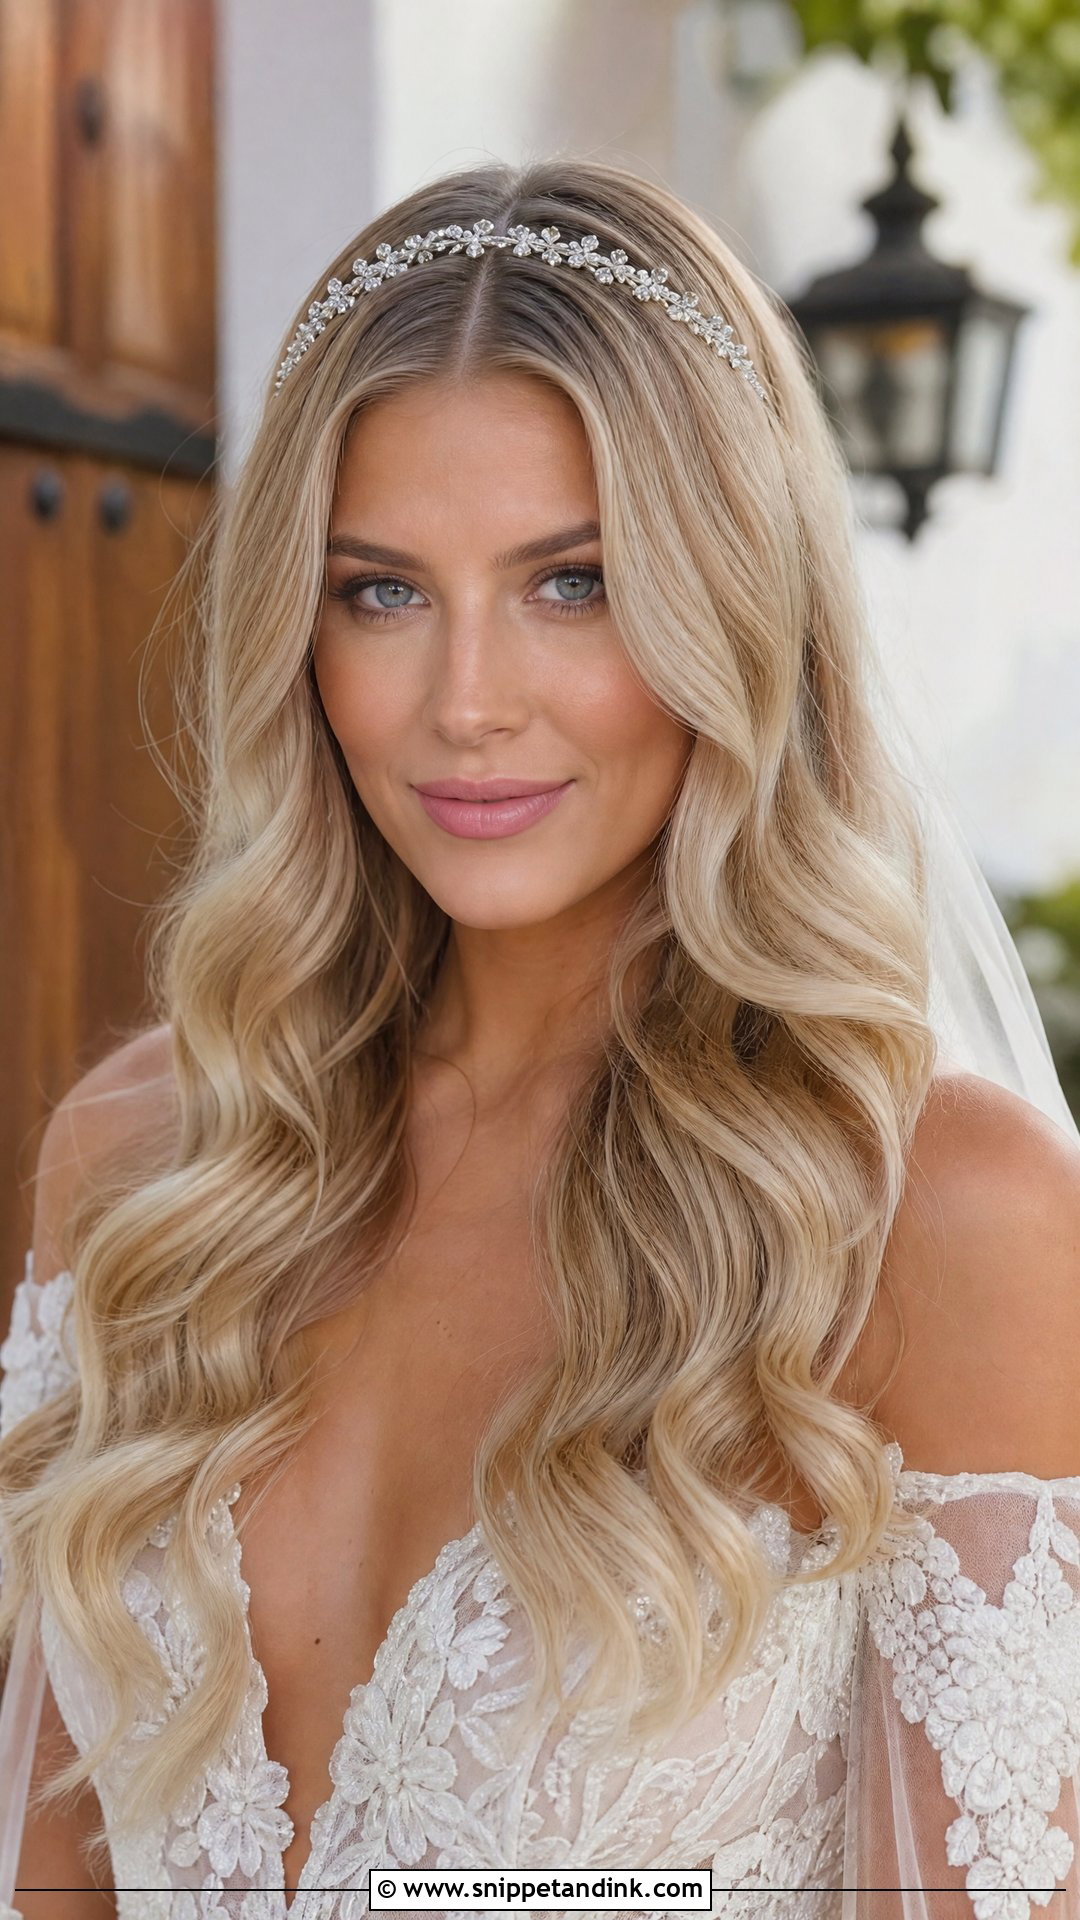
A jeweled or crystal headband set just back from the part frames the face and holds the front sections in place. Headbands can pinch behind the ears over a long day, so I anchor them with pins on each side and check comfort at the trial before committing. It suits a glam-boho look and works for formal and relaxed weddings.
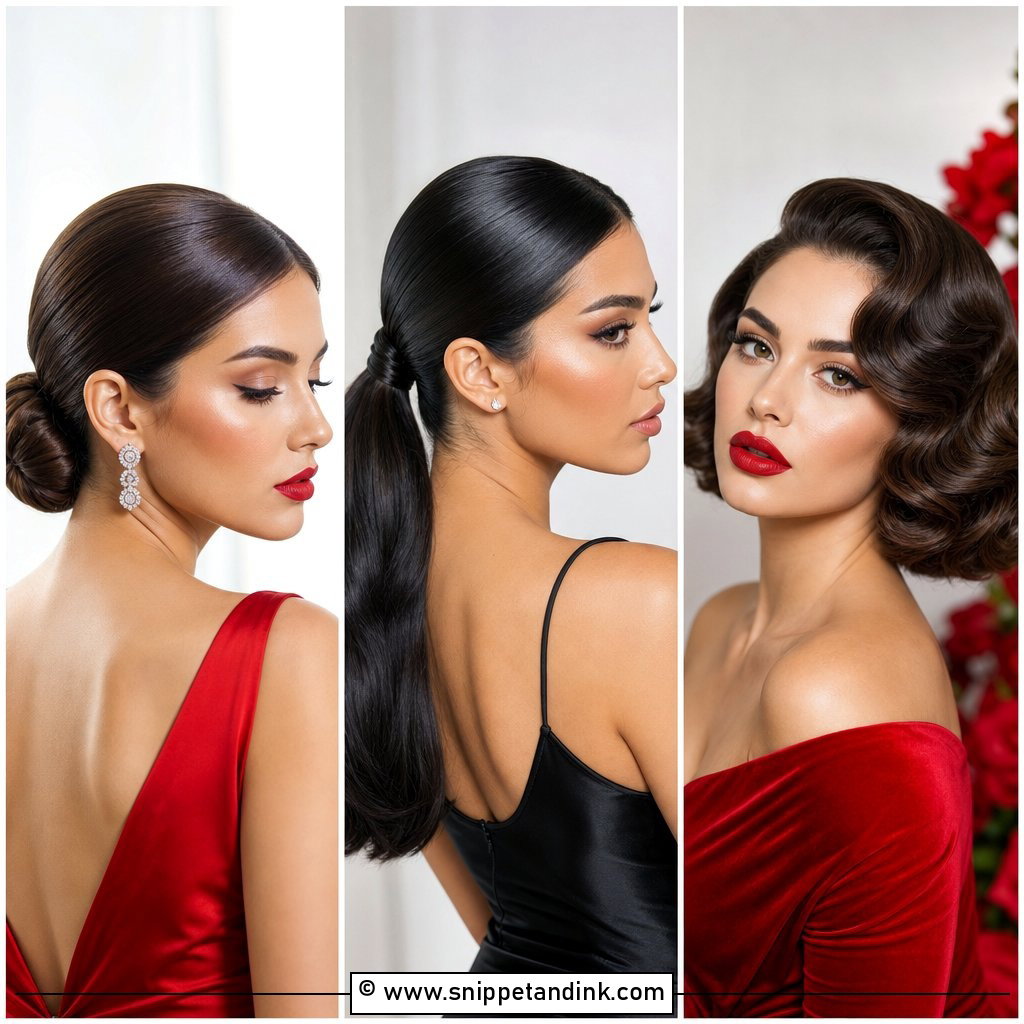
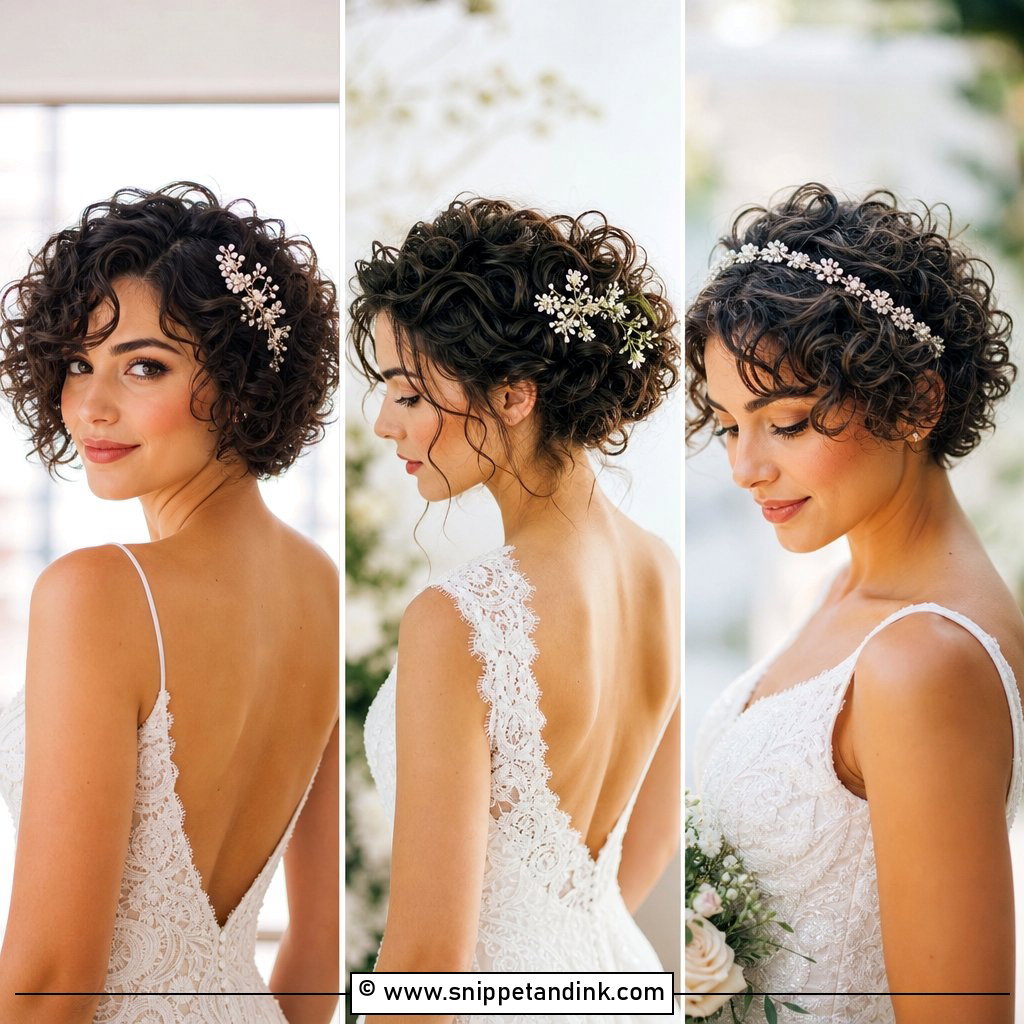
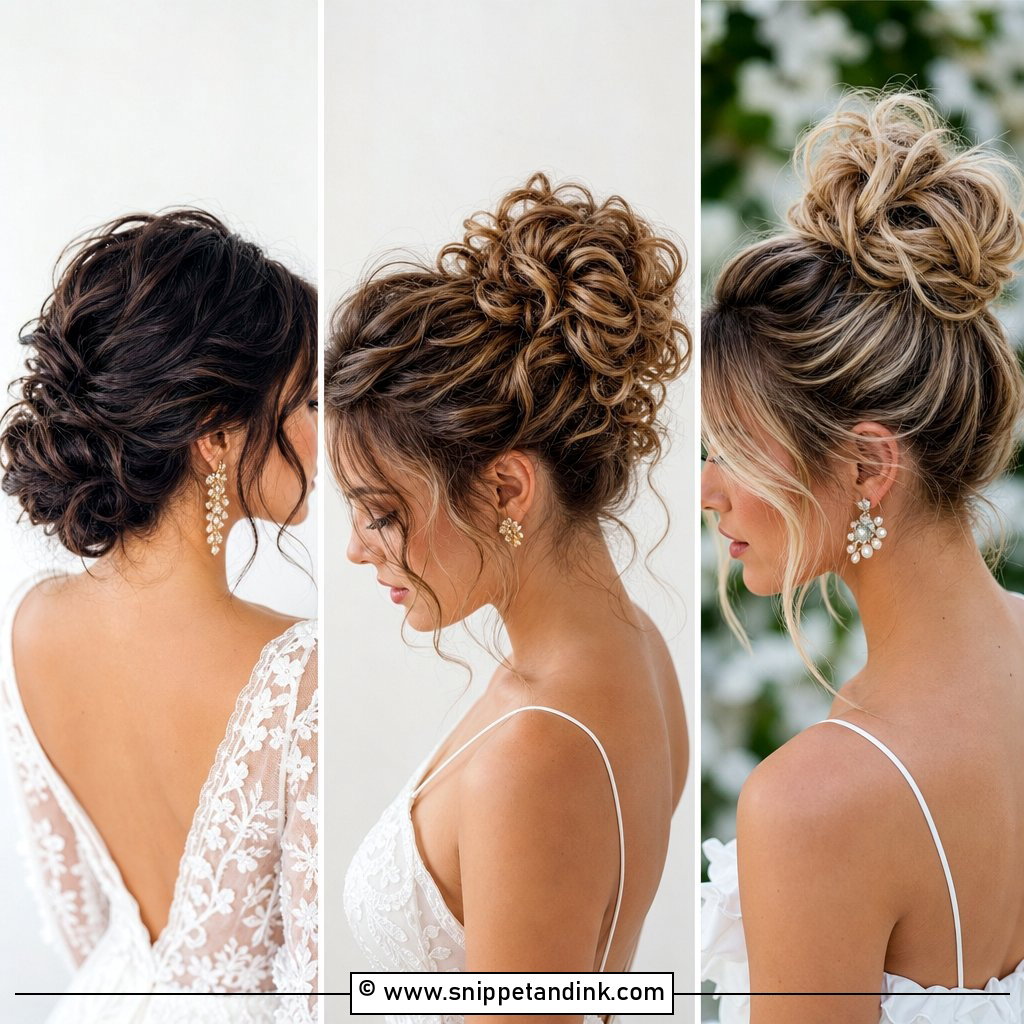
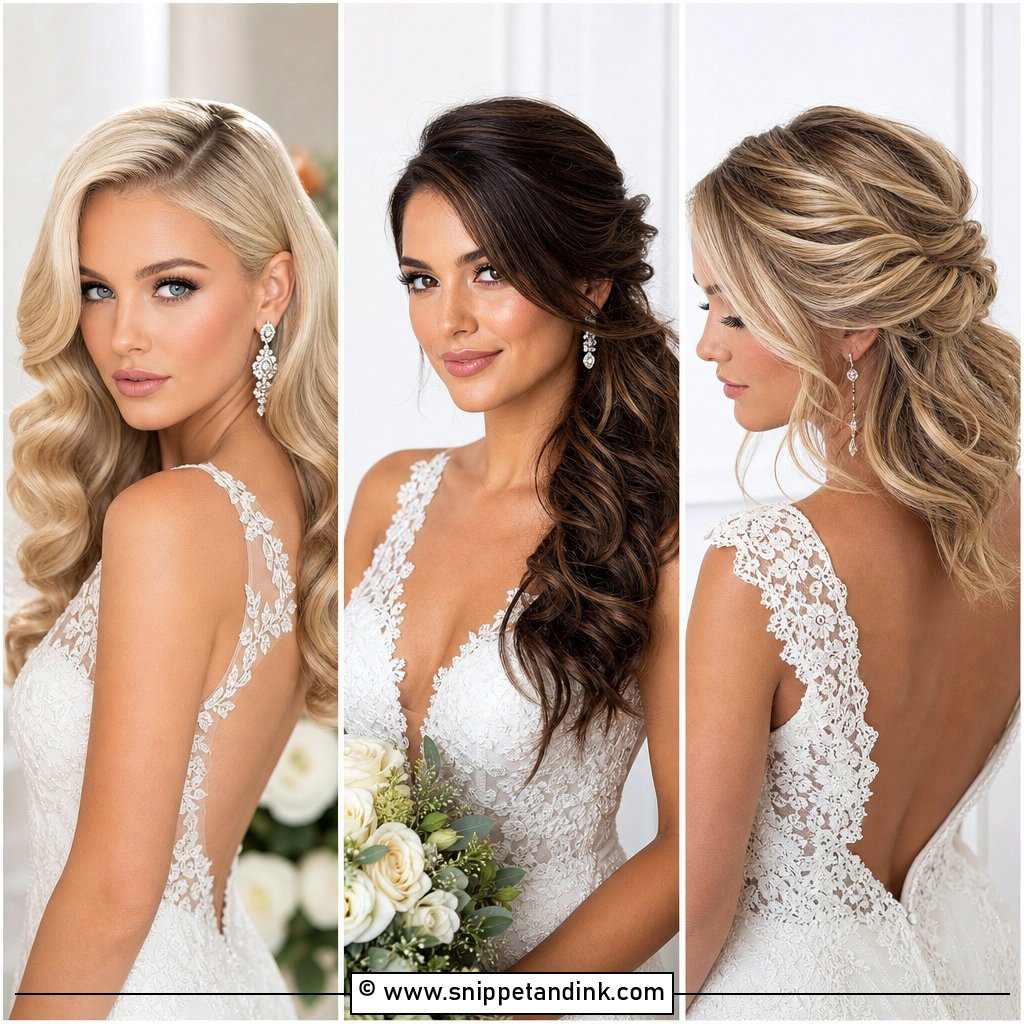
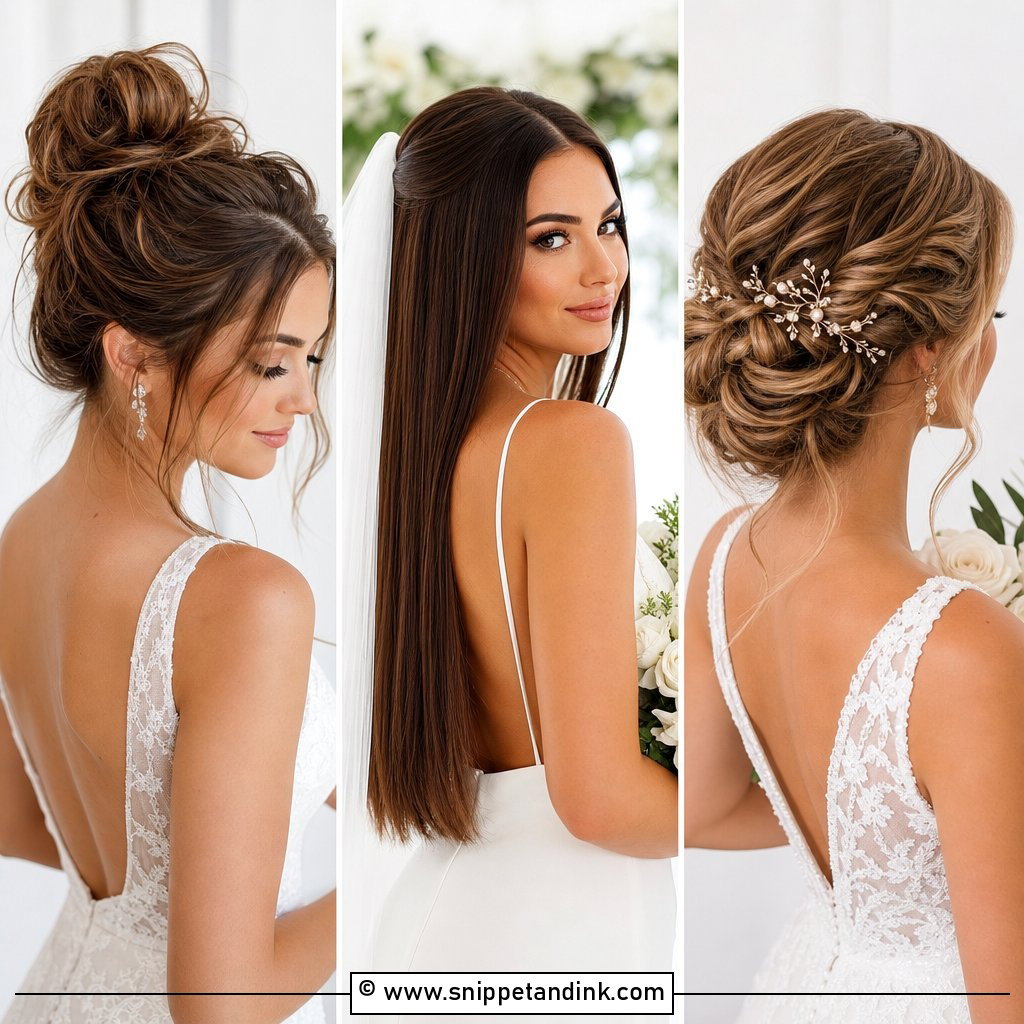
20. Hollywood Waves Middle Part With Long Veil and Tiara
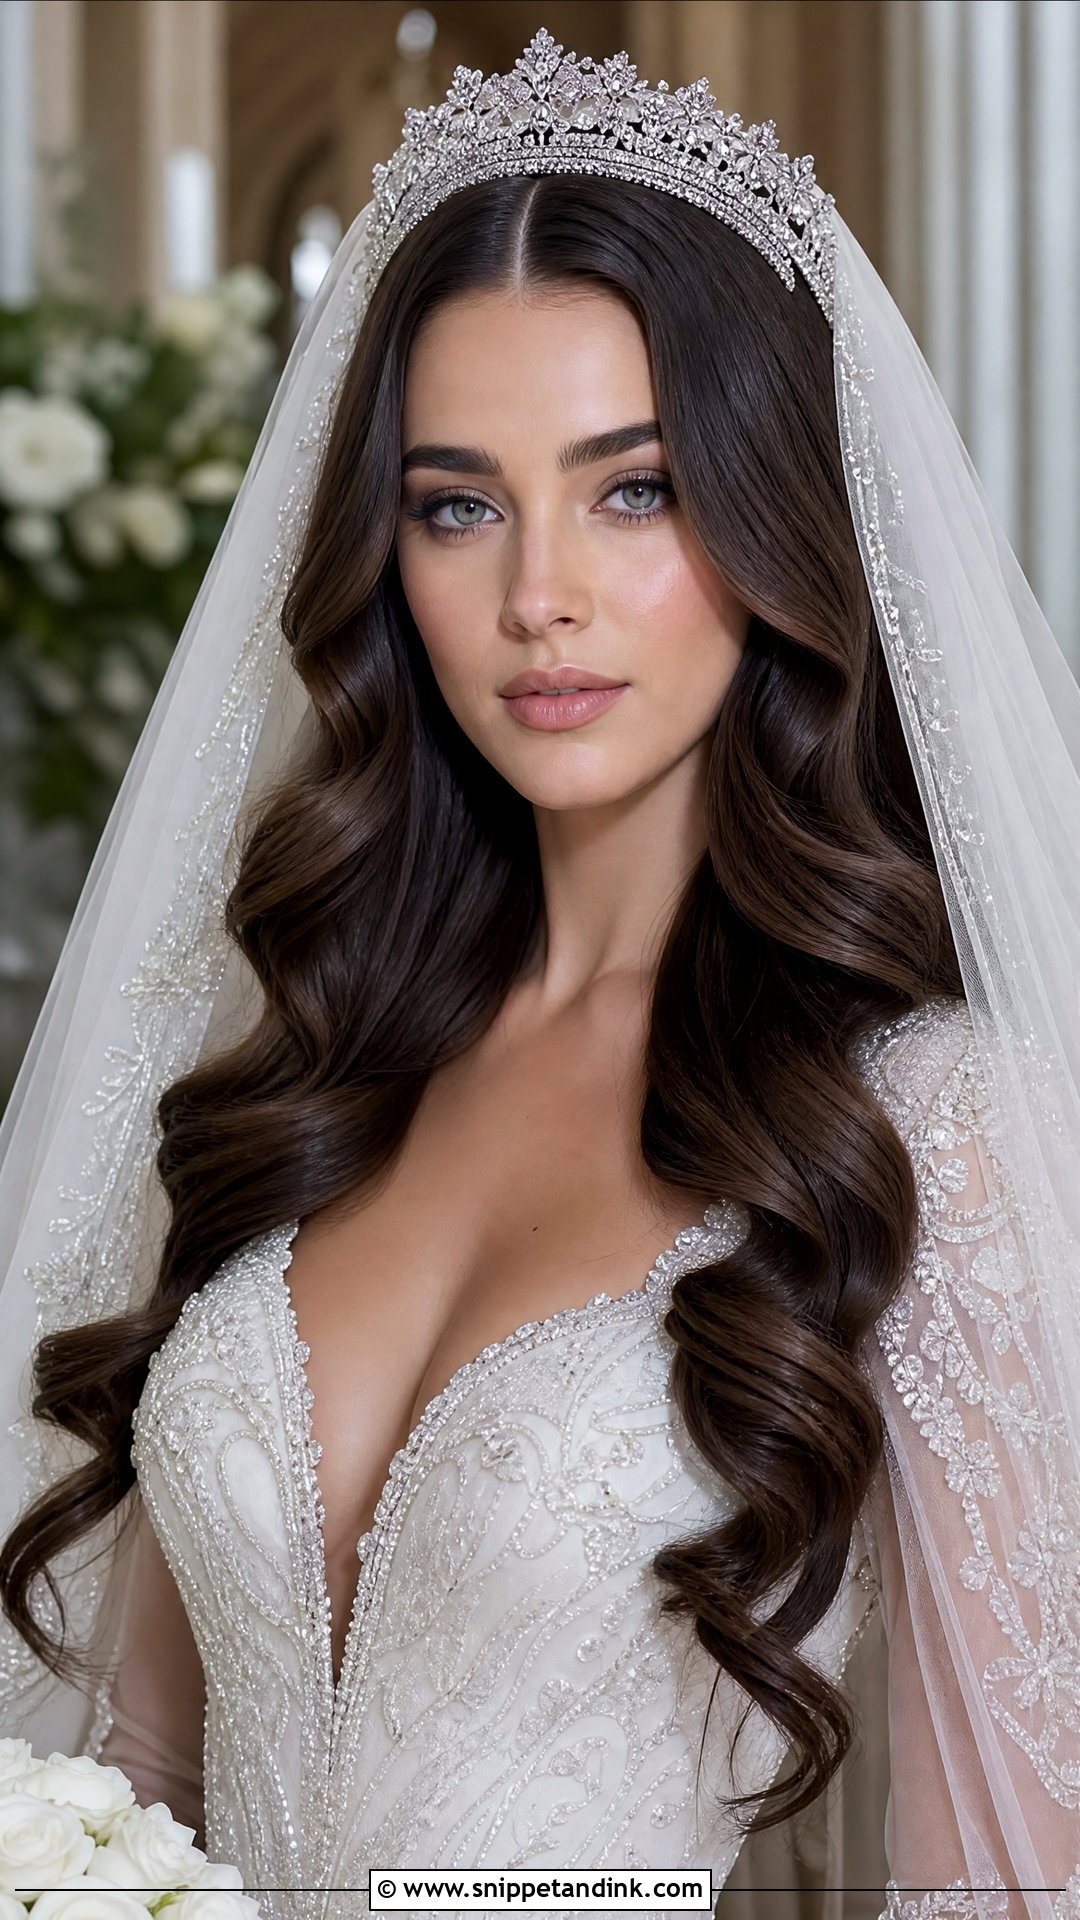
Combining a long veil, a tiara, and waves is the most formal option here, and the center part gives the crown a symmetrical base. Weight is the issue. A tiara plus a cathedral veil pulls on the hair at the back of the crown, so I anchor each on separate sections. Grand venues suit it, and it’s a true princess moment. Test it at the trial for at least a few hours, since a heavy anchor can give you a headache by the reception.
Layering Tiaras, Veils and Headbands Without a Headache
Several of these looks stack accessories on a center part, and every piece adds weight in one spot. A tiara, a veil comb, and a dozen pins on the same section of hair pull on the scalp. After a few hours that becomes a dull headache, which brides often blame on nerves or the champagne.
- Set and brush the waves completely before anything goes on.
- Anchor each piece into its own small base section with crossed pins, not loose hair.
- Place the tiara or headband first, then the veil comb behind it on a separate section.
- Check by moving your head: look down, turn, and hug someone. Nothing should shift or pinch.
Plan for the veil to come off after the ceremony or photos. Removing that weight at the reception makes a real difference, and with a center part the waves underneath will still sit evenly. Have someone you trust take it out, pin by pin, so the set isn’t dragged loose.
Is the Middle Part Your Part?
A middle part gives Hollywood waves balance, and it lets a tiara, veil, hair vine or flowers sit evenly. From finger waves to loose modern sets, the right version depends on your length, texture, and how centered your natural part really is. Take a few favorites to your trial, check them in front-facing photos, and wear the set for the rest of the day. That tells you more than any picture can.
You'll Like These Ideas:


Leave a Reply