
I book more side buns than almost any other bridal updo, mostly because they solve two problems at once. The hair is off the neck and secure for dancing, yet the bun sits where it can be seen from the front, which a centered nape bun never quite manages. It also gives a veil comb or a cluster of pins a solid place to grip. The fifteen below run from glossy and sculpted to loose and gathered, and for each one I’ve written what it needs from your hair and where it tends to go wrong.
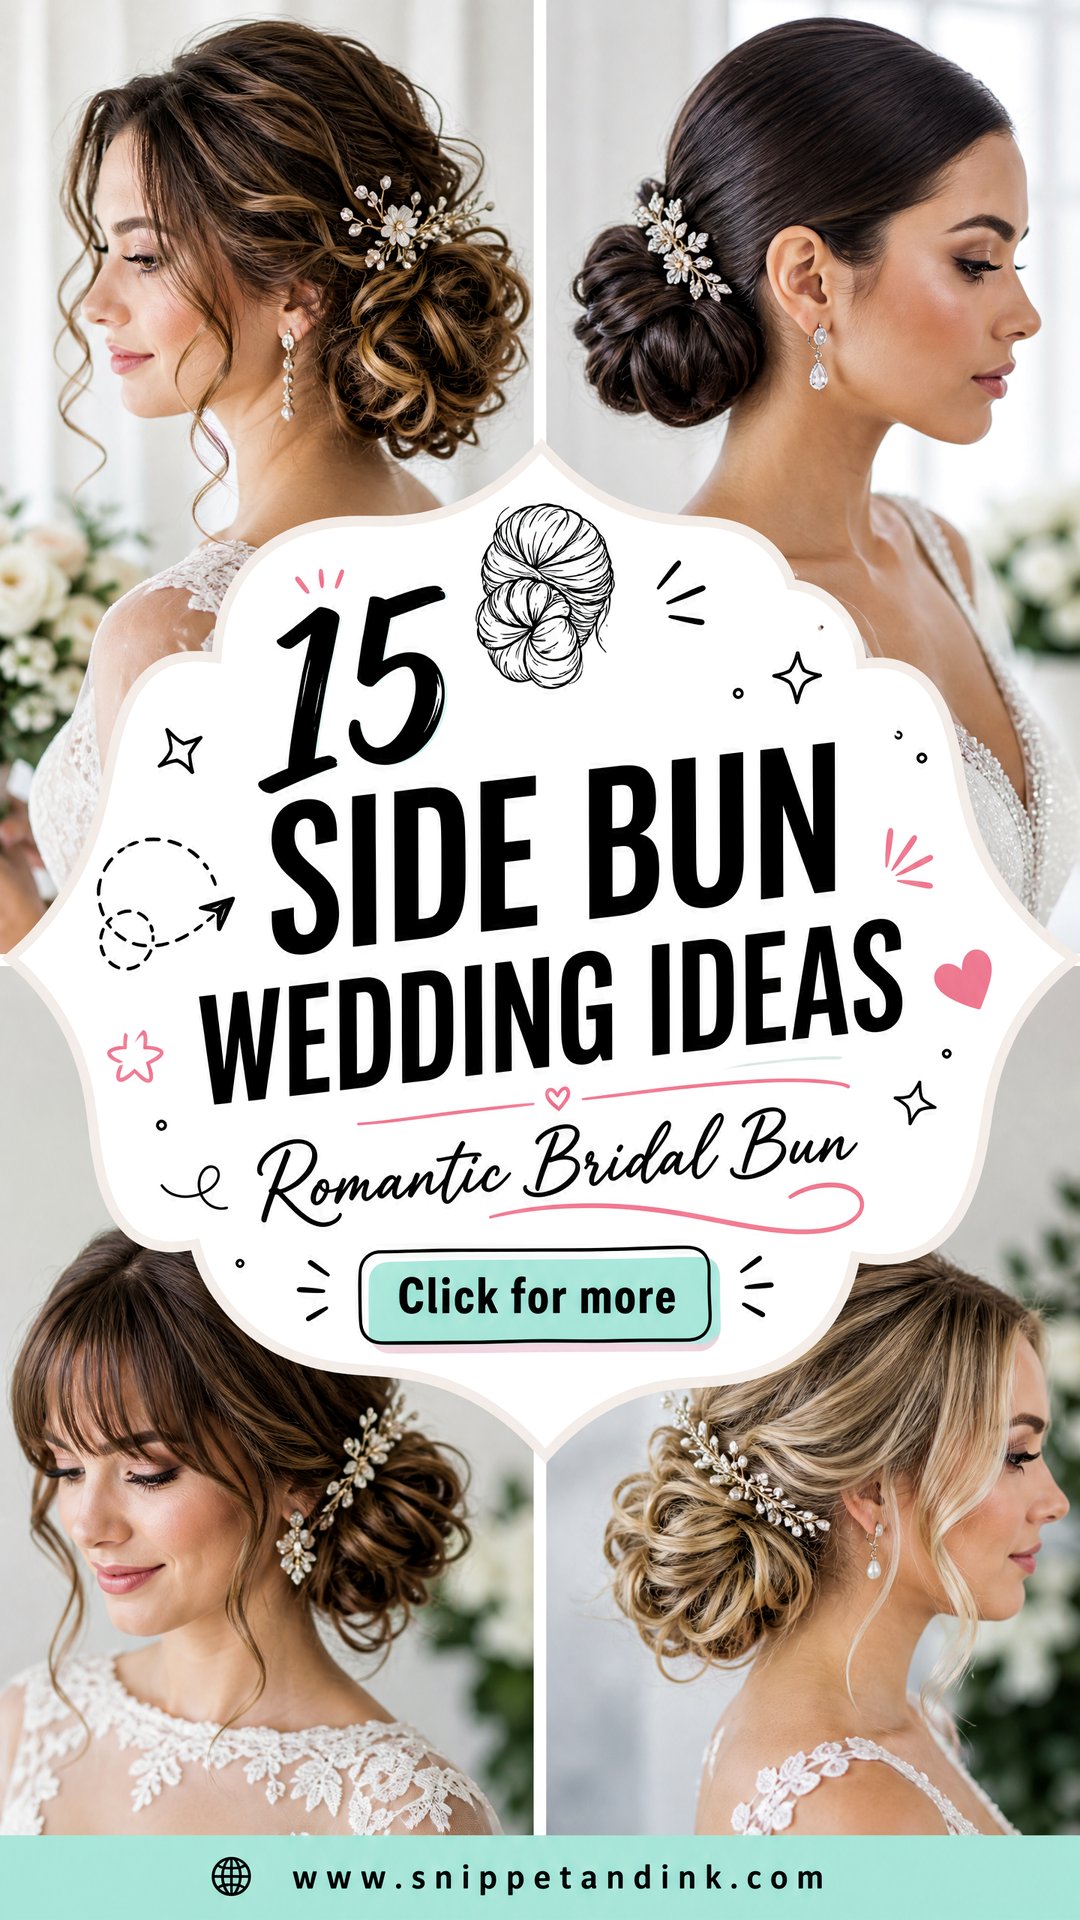
Set the Bun Level With Your Earlobe, Then Adjust
Height and distance from the center change a side bun far more than the style name does. My starting point for most brides is a bun level with the earlobe, sitting just behind the ear on the side your hair naturally falls. From there I move it based on three things.
- Your neckline. A high neck or a collar pushes the bun up so it doesn’t sit on the fabric. Strapless and off-the-shoulder gowns let it drop lower to the nape.
- Your jawline and neck length. A bun level with a strong jaw can make the jaw look wider in profile, so I raise it slightly. A shorter neck usually looks longer with the bun a little higher too.
- Your veil and headpiece. A veil worn behind the crown needs the bun low enough to leave room for the comb above it.
Look at the bun in a hand mirror from the side and at an angle from behind, not only straight on. In the wedding photos, the side view is the one you’ll see most.
1. Low Side Bun Wedding Hair
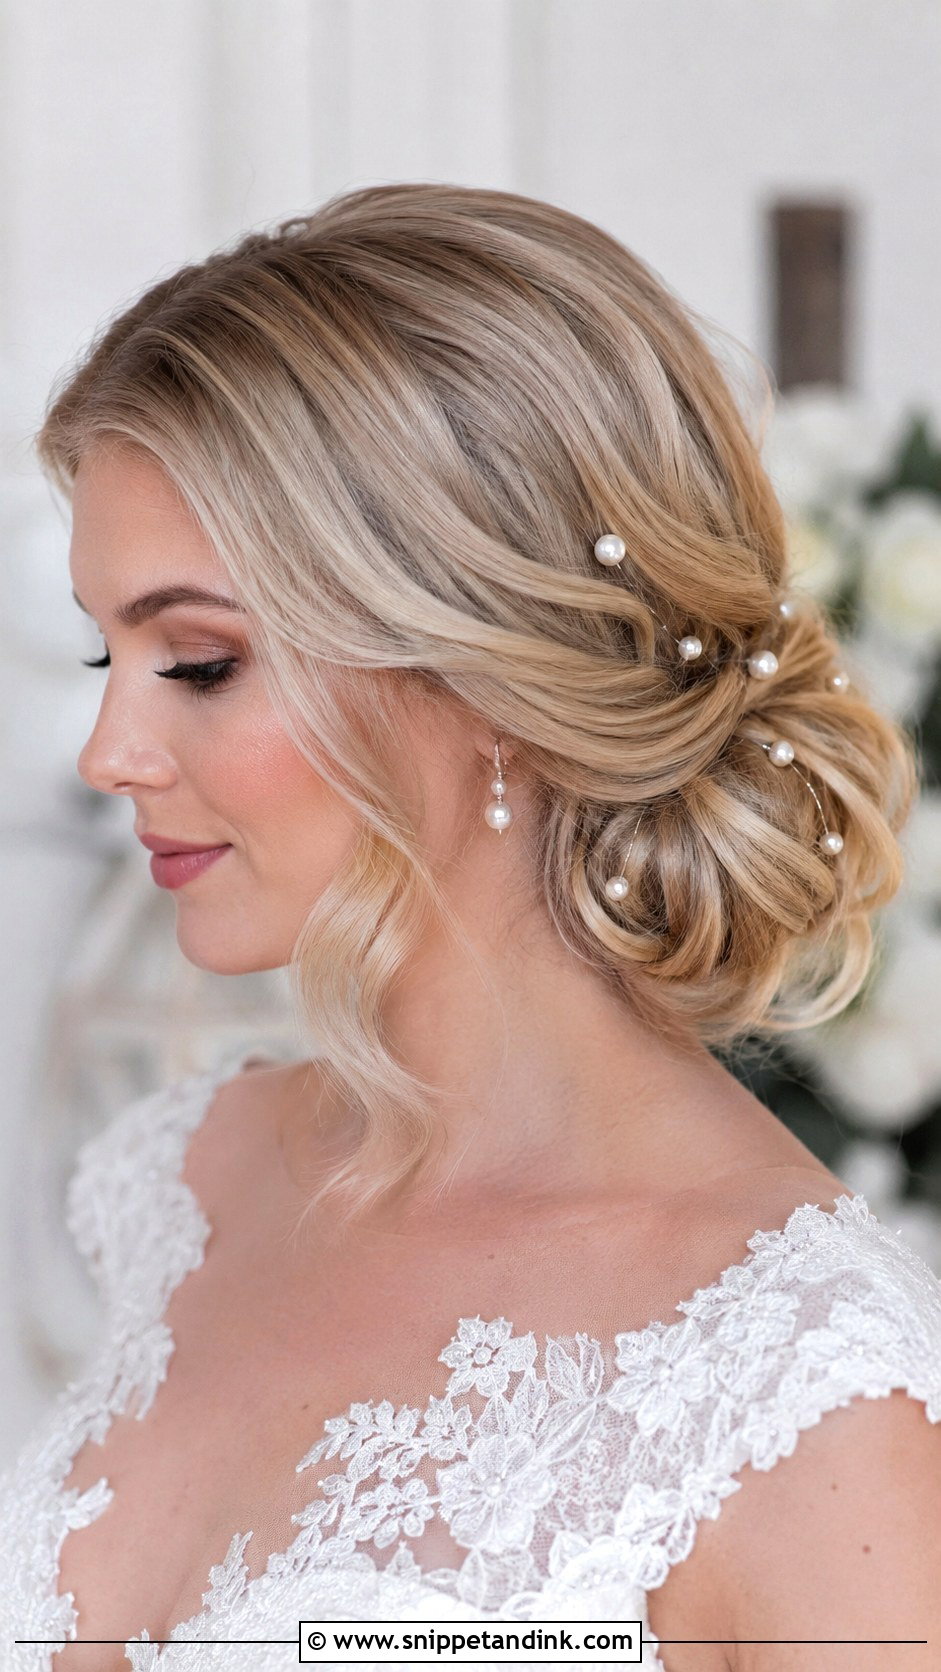
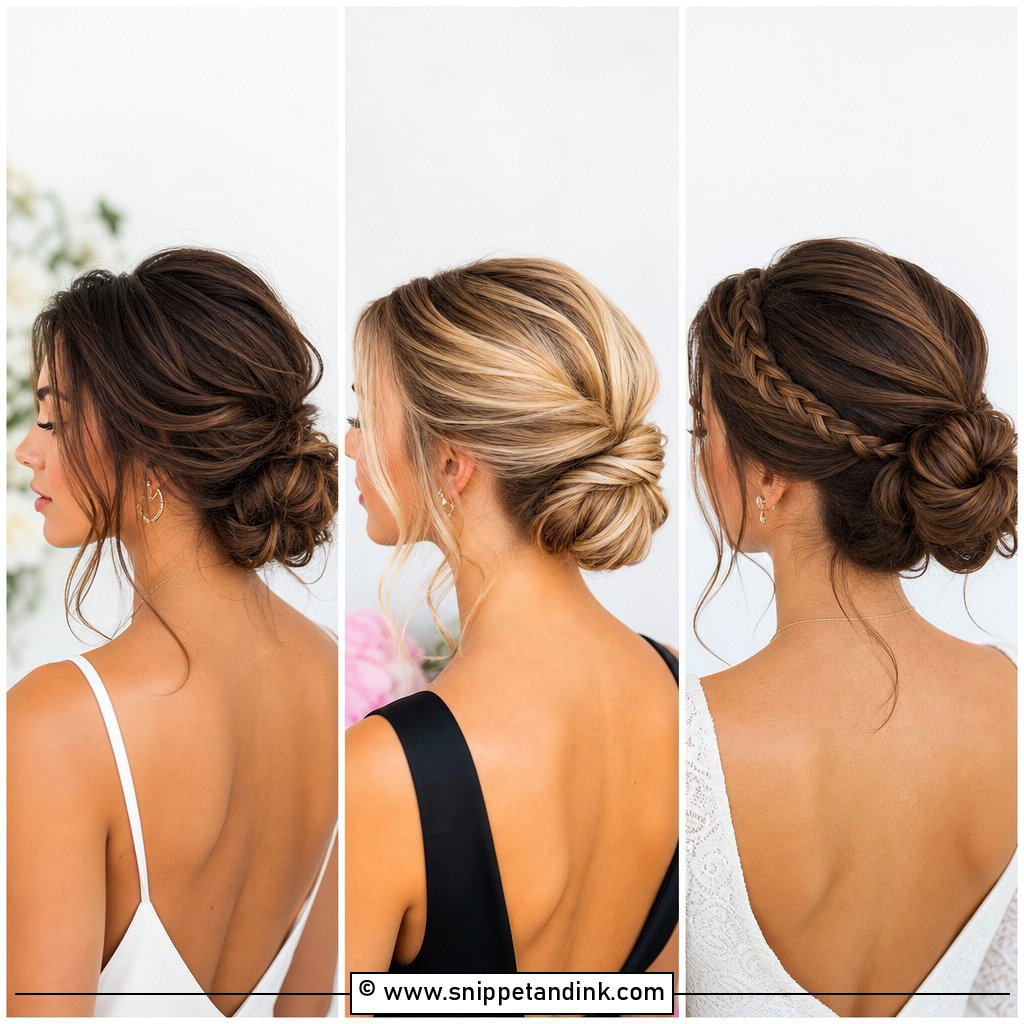
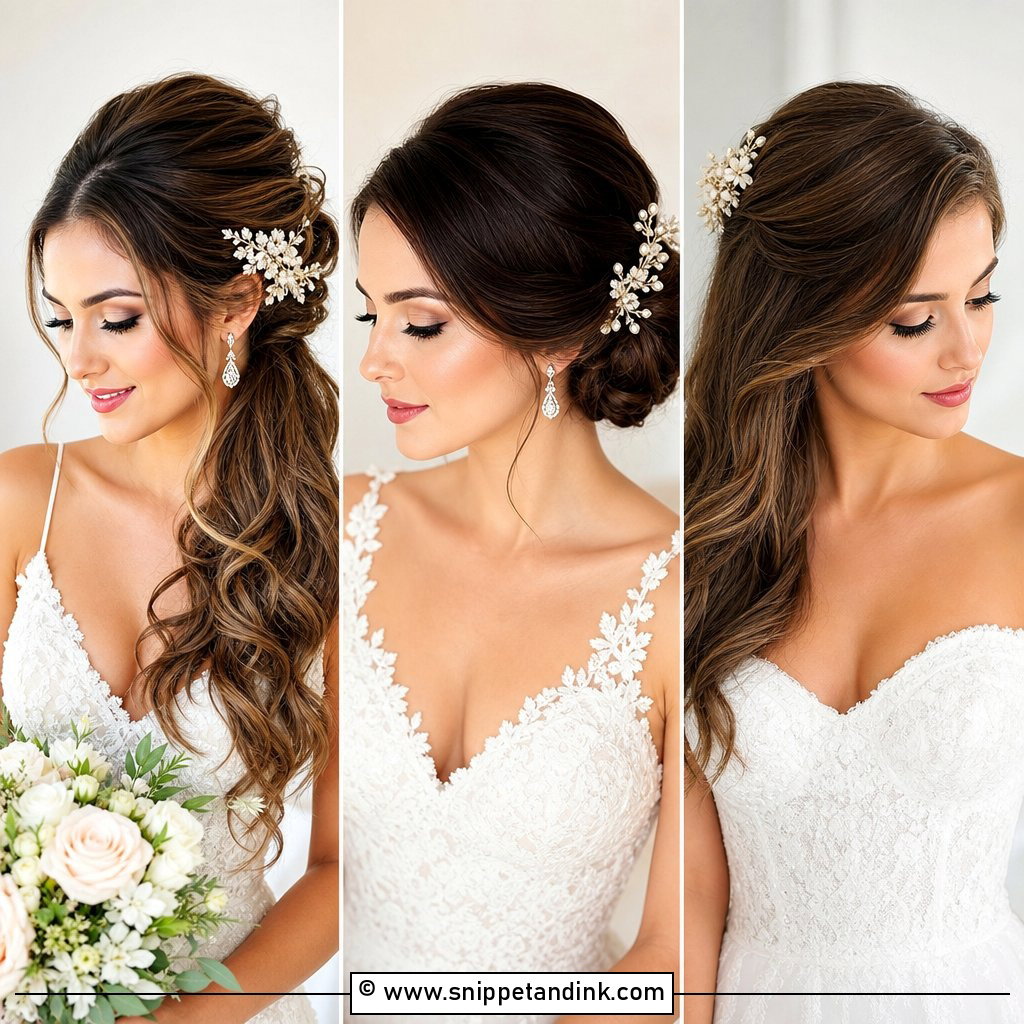
The low version is the one I’d call the safest bet on this list. It sits at the nape, nudged just off center toward one ear, so the angle shows in profile without looking lopsided from the front. Center parts and soft side parts both work. I always add a little height at the crown before I gather the hair, because a low bun with a flat top looks heavy in photos taken from slightly above. It needs very little attention outdoors; once it’s pinned, wind mostly moves the loose front pieces.
2. Messy Side Bun Wedding Hair
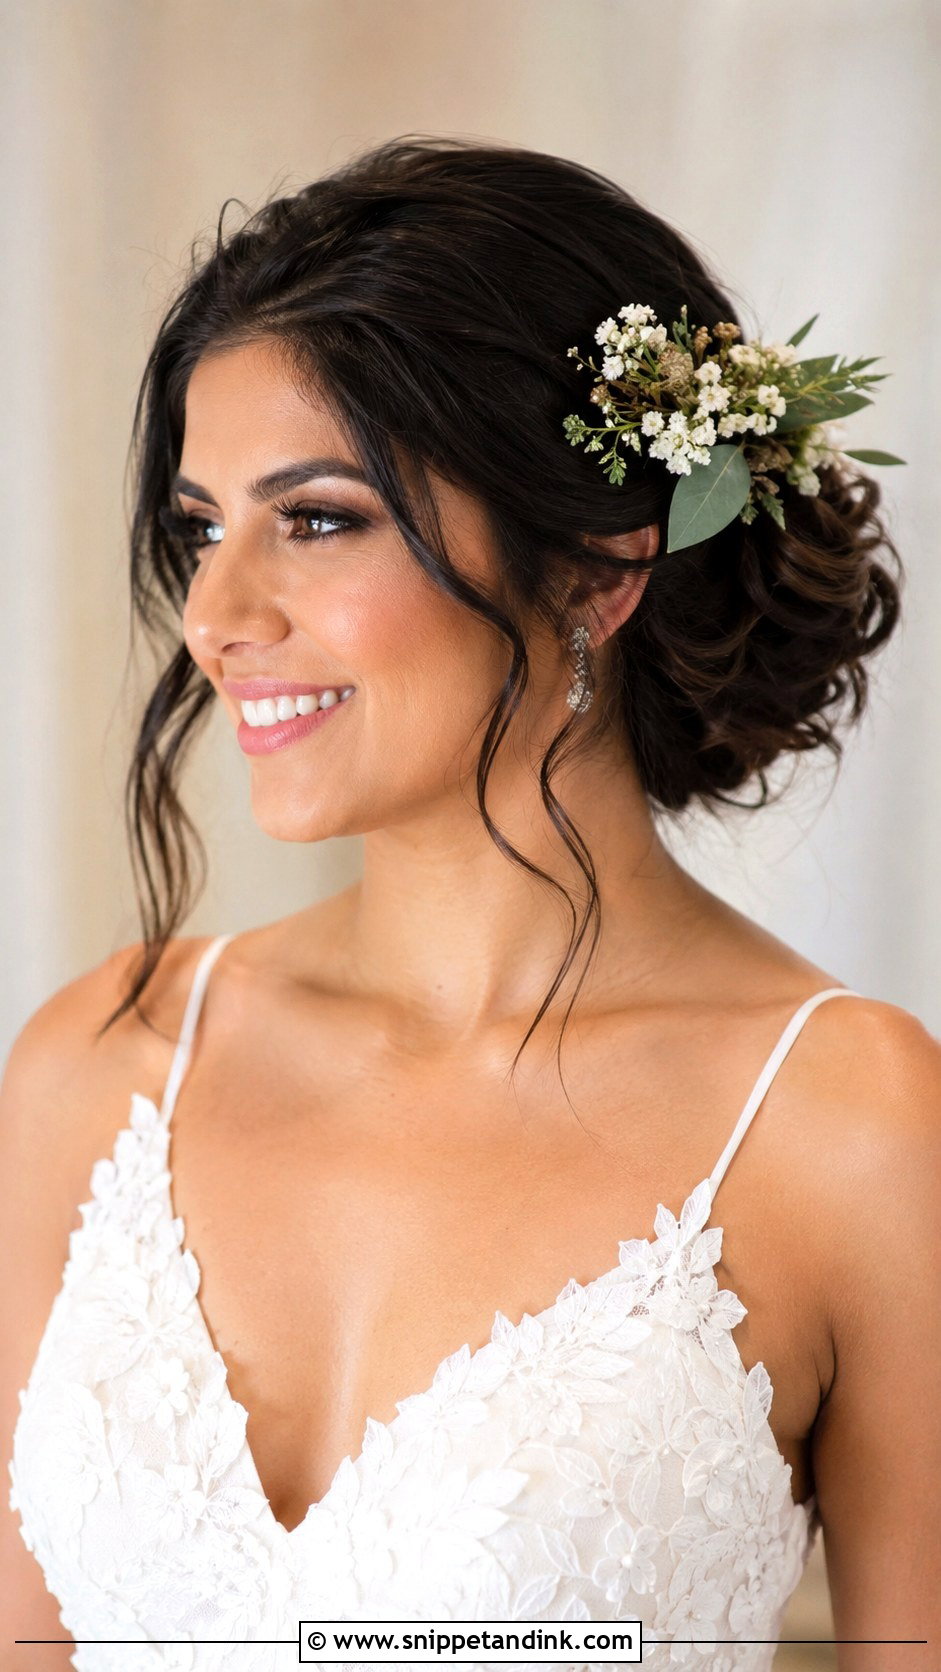
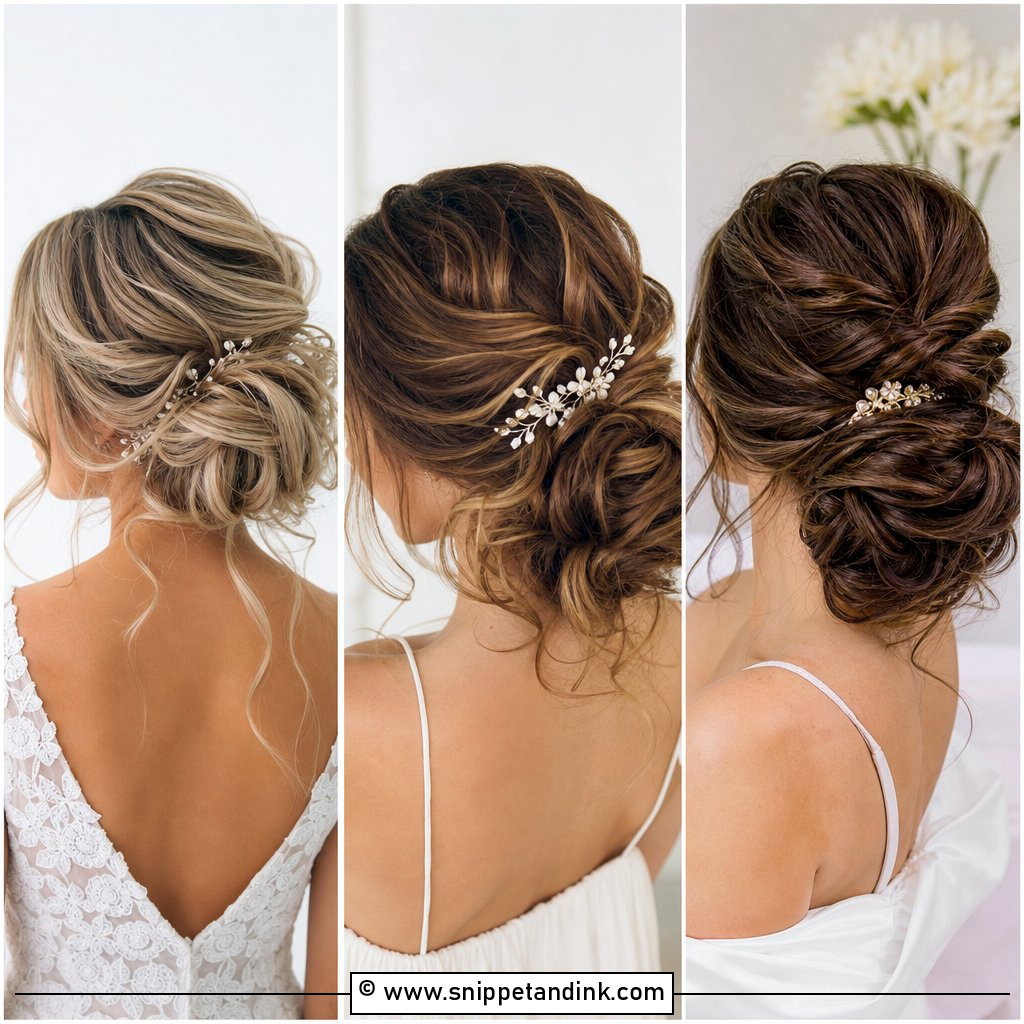
Messy on purpose is harder to do than neat. I curl everything first, rough the curls up with texture spray, then gather and pin loosely, pulling out loops one by one until it looks soft but the base is still locked tight underneath. Lace, chiffon and sleeves suit it far better than structured satin. Two or three tendrils at the face are plenty. A delicate hair vine or a few floral pins can wind through the loops. If your hair is very silky and won’t hold texture, expect it to look flatter than the photo by evening.
3. Curly Side Bun Wedding Hair
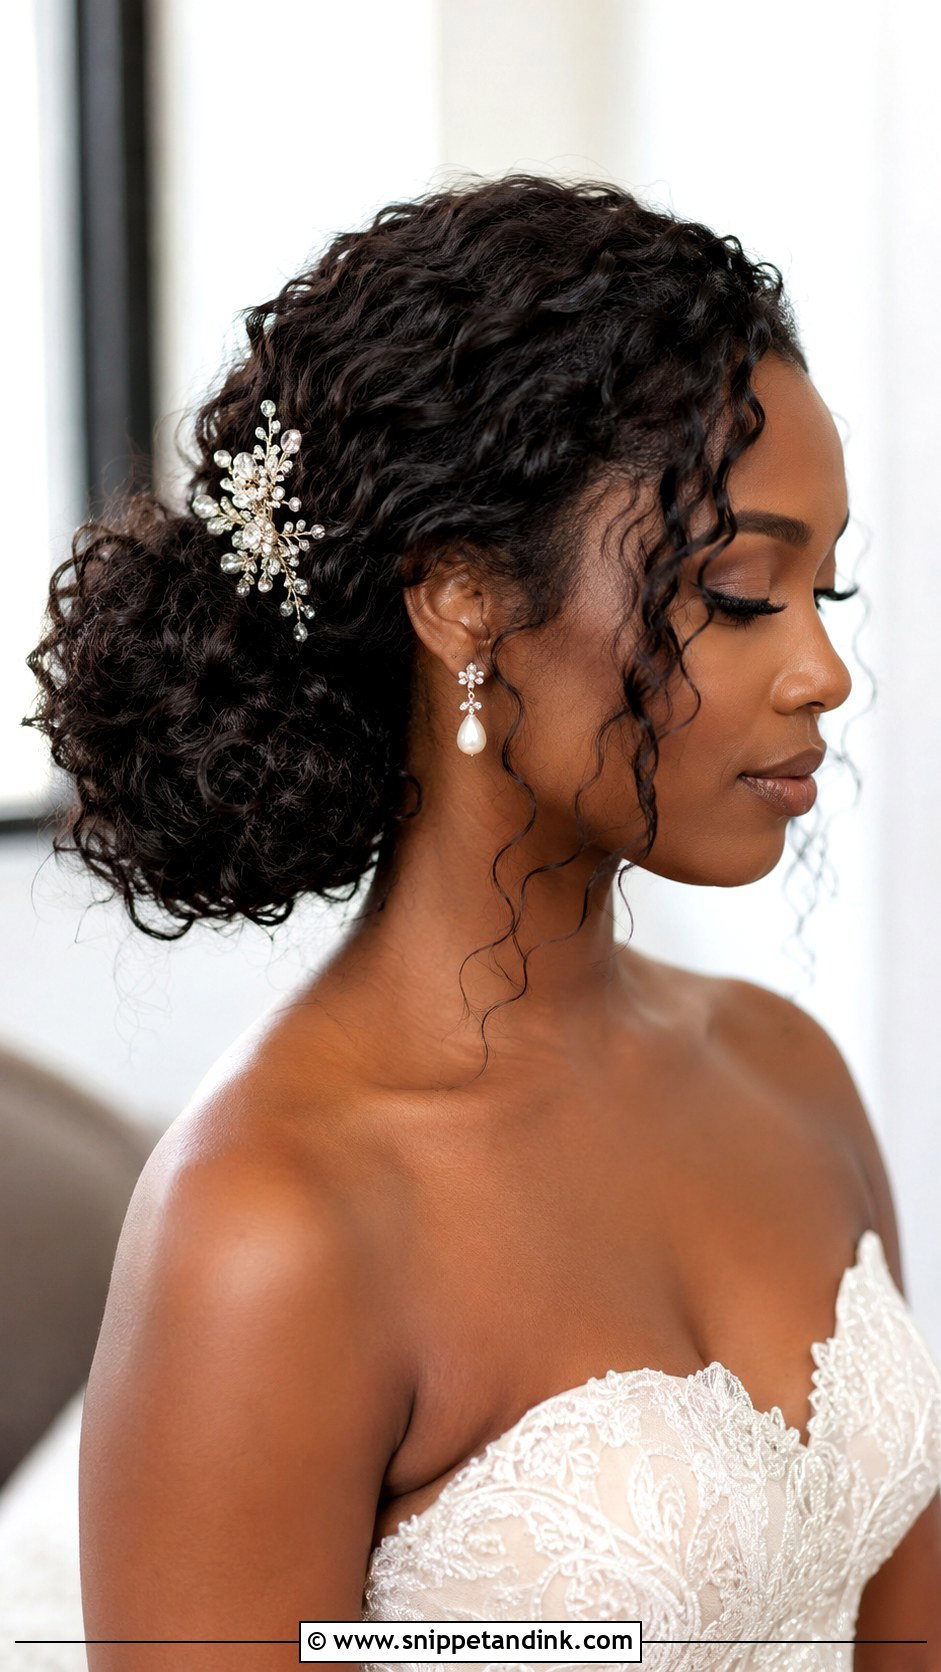
Natural curls shouldn’t be brushed out to make a bun. I build this one from the curls as they are: refresh them with water and a curl cream, then gather sections into loops so the pattern stays visible on the outside of the bun. Brushing curly hair dry turns it into a cloud of frizz, so all shaping is done with fingers and a wide-tooth pick. Placing it to the side lets the curls sit along the jaw. Pins and small flowers can go between the loops without flattening them.
4. Braided Side Bun Wedding Hair
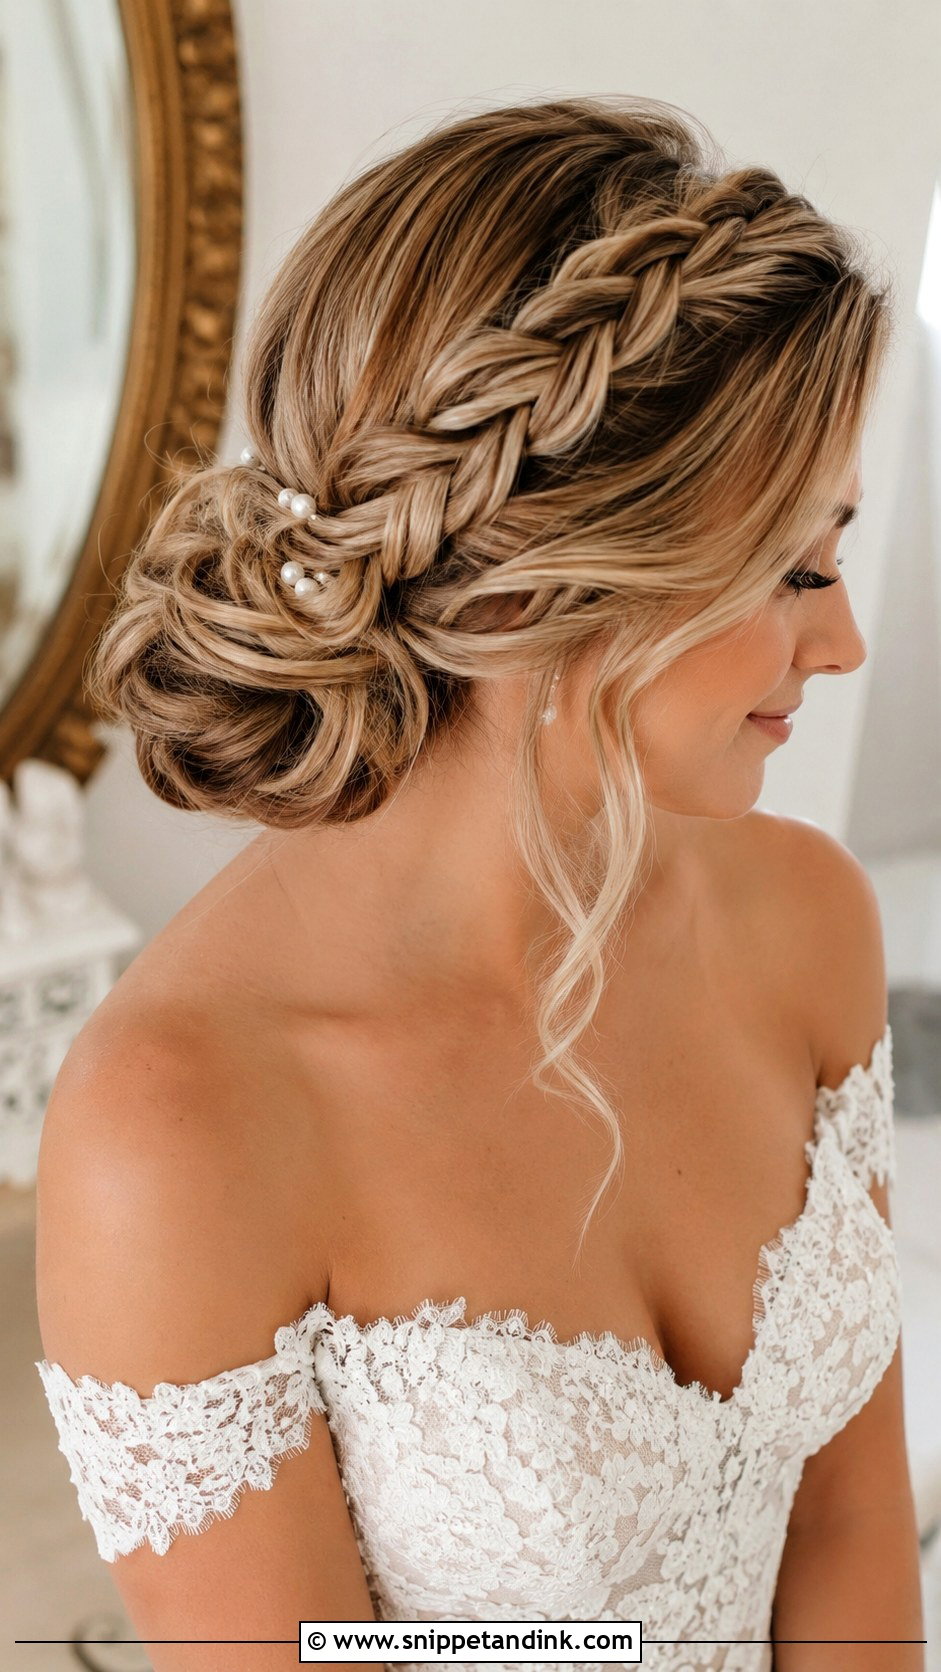
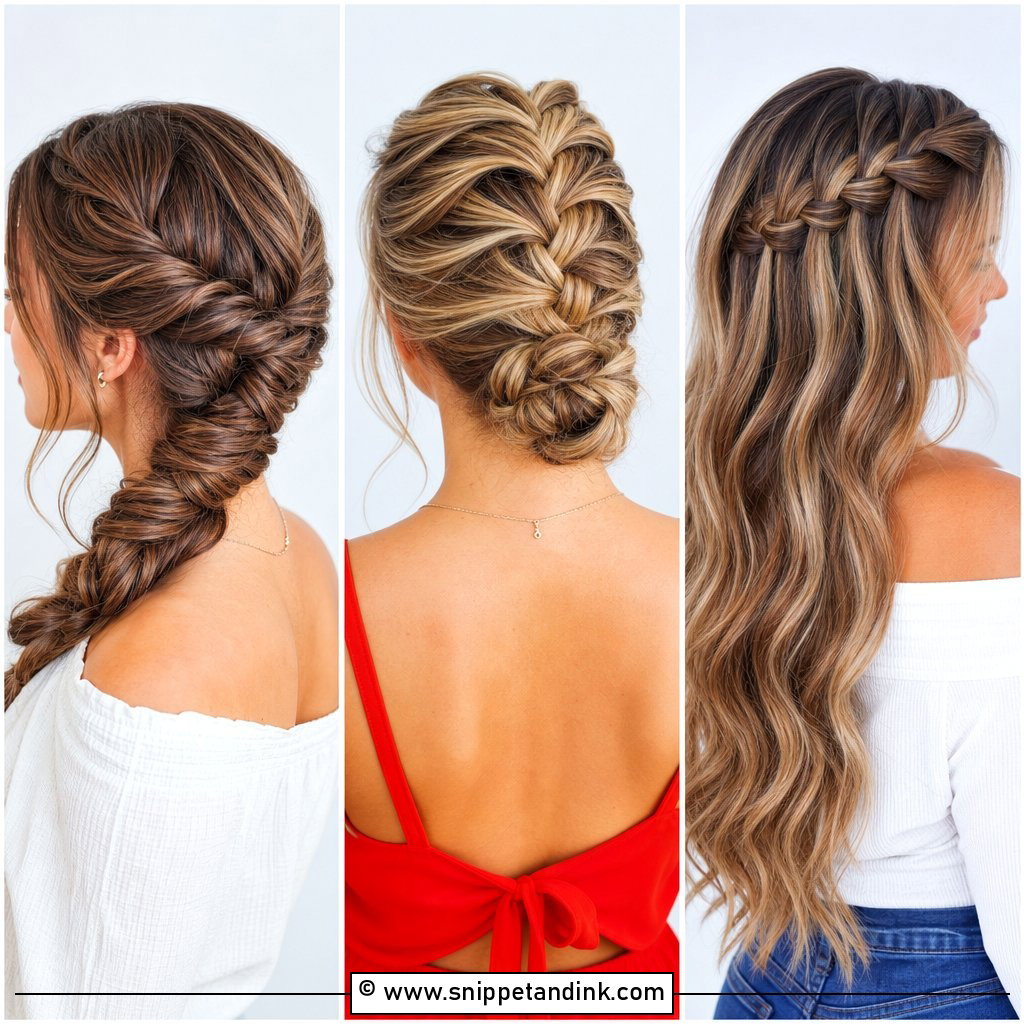
A braid running into the bun does two jobs. It adds pattern, and it acts as a rail that the bun is pinned onto, which makes this one of the most secure options for long ceremonies and hours of dancing. I usually start the braid at the part and run it across the back toward the bun side. Highlighted or balayage hair shows the weave clearly; very dark, single-tone hair can make a braid hard to read in photos, so I pull the edges wider to catch the light.
5. Sleek Side Bun Wedding Hair
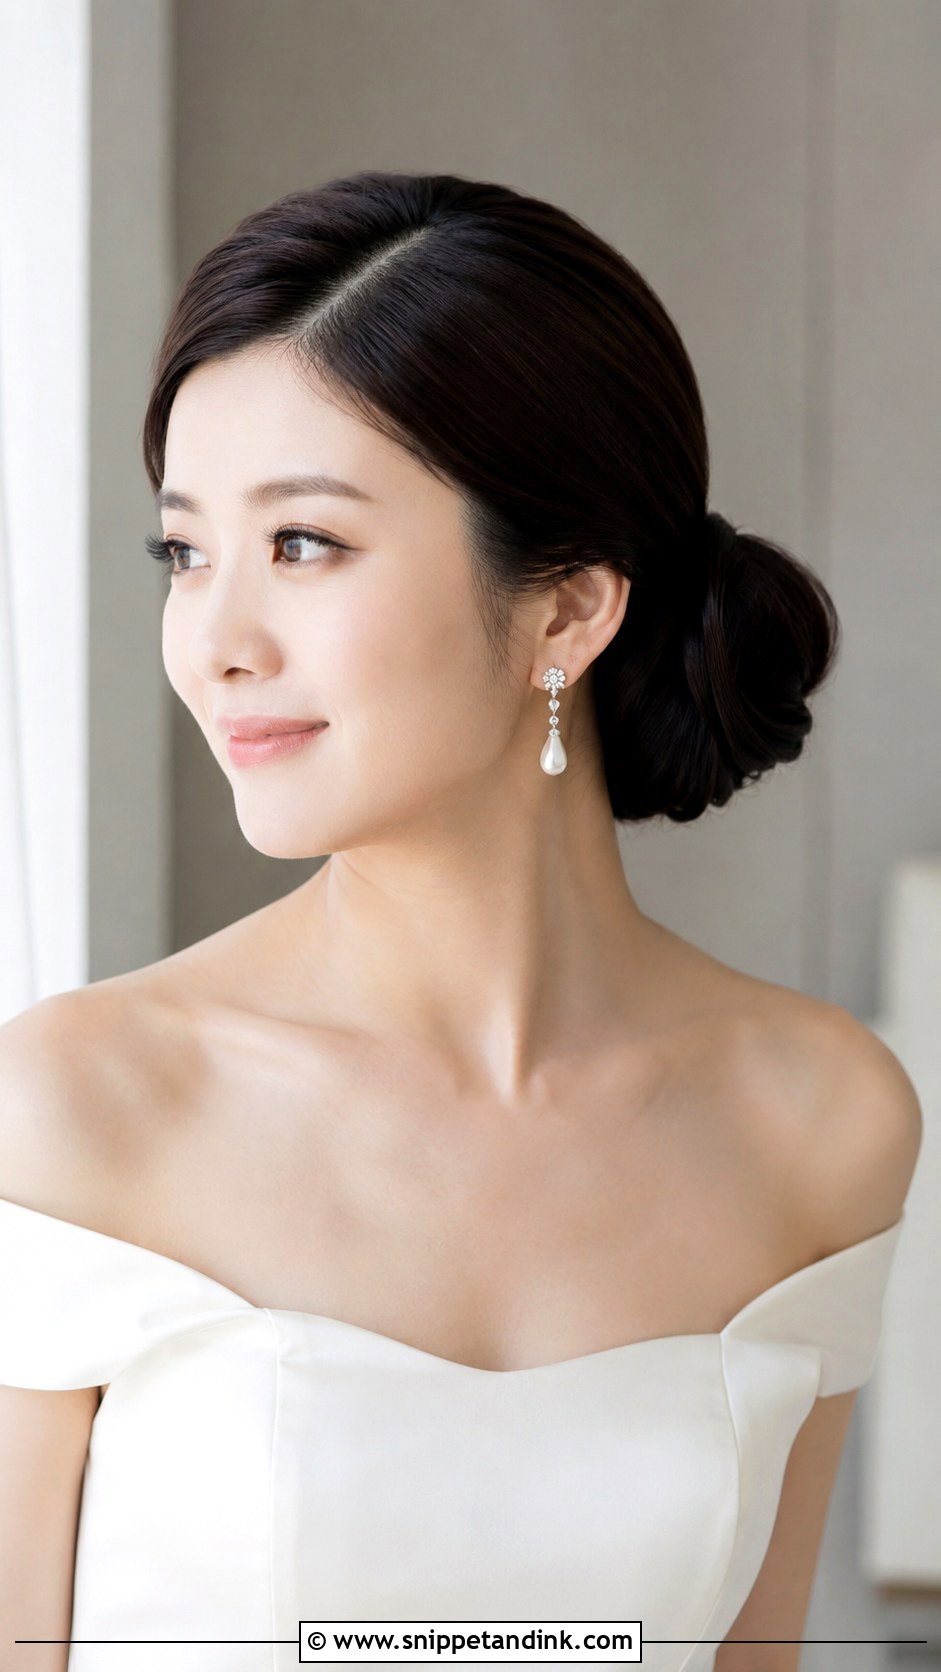
Sleek styles show every bump, so this is the slowest bun on the list to set. I smooth the hair flat with a boar bristle brush and a little gel at the hairline, secure a tight ponytail low behind one ear, then wrap and pin it into a neat round. It suits satin, minimalist gowns, high necks and big earrings. A deep side part gives it a glamorous edge; a center part keeps it plain and sharp. Choose one accessory only. With this much polish, a second sparkly piece starts to look cluttered.
6. Side Bun Wedding Hair With Veil
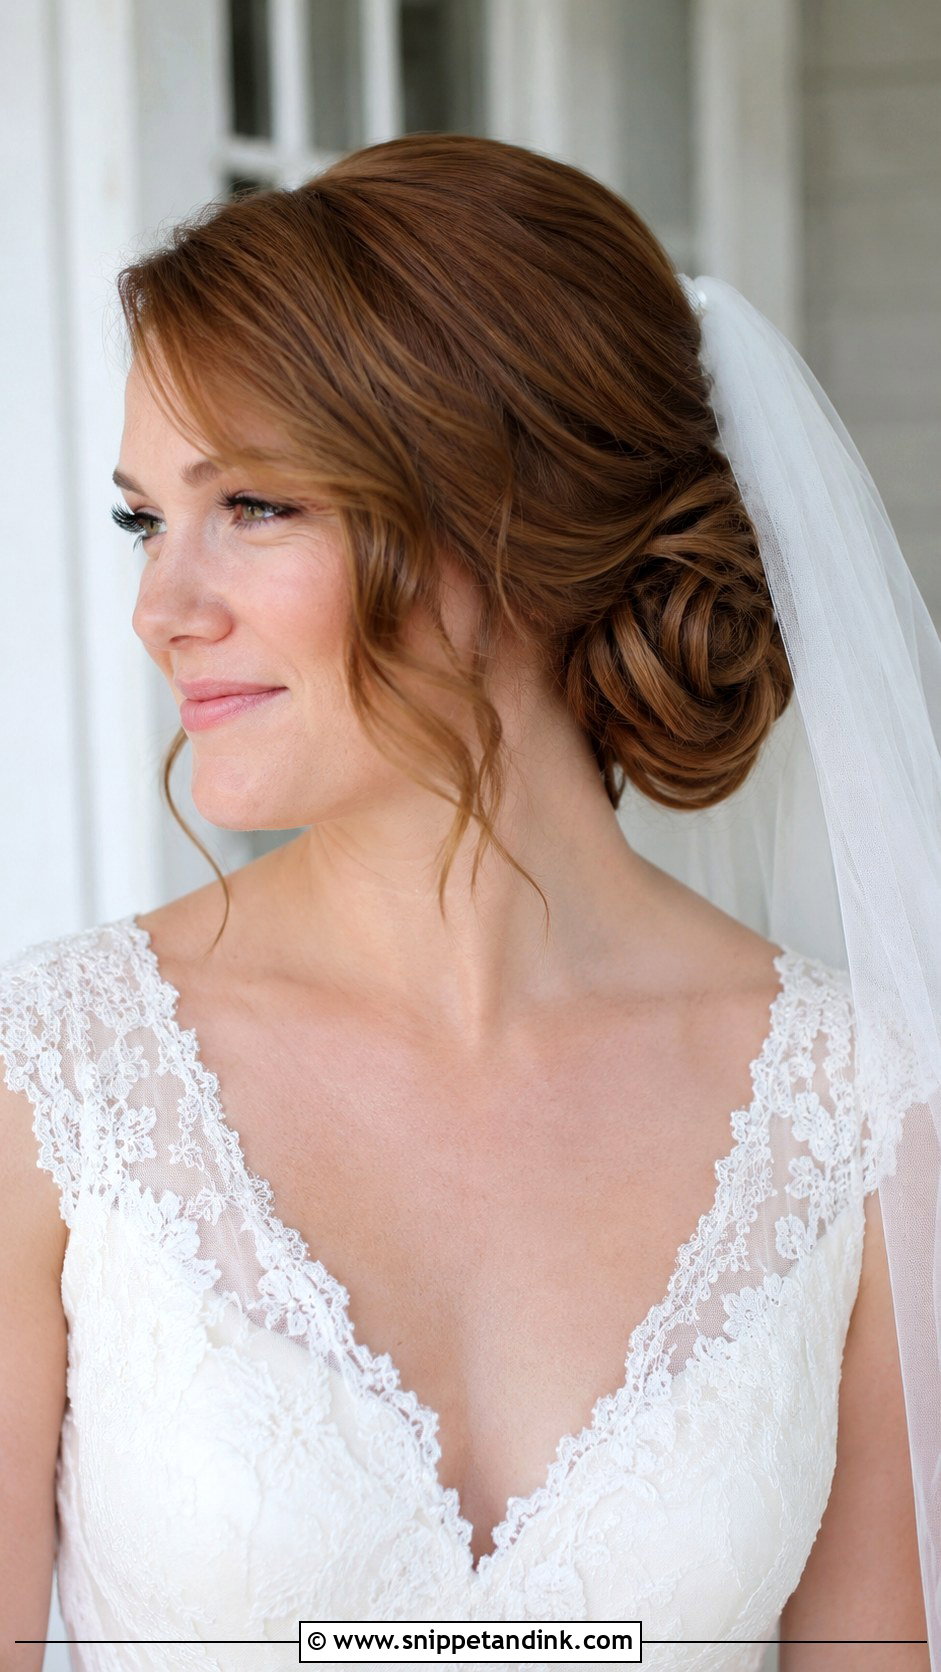
A side bun is one of the easiest bases for a veil because the comb can slide into the solid hair just above it. I position the comb according to the dress and where the photographer will stand: above the bun for a traditional fall, behind it to keep the bun on show, or slightly to one side for a softer drape. If the veil edge is heavily beaded or lace, keep the bun smooth so the two textures don’t fight. Bring the veil to the trial so I can feel its weight; a long cathedral veil needs more anchoring than a short tulle one.
7. Side Bun Wedding Hair With Flowers
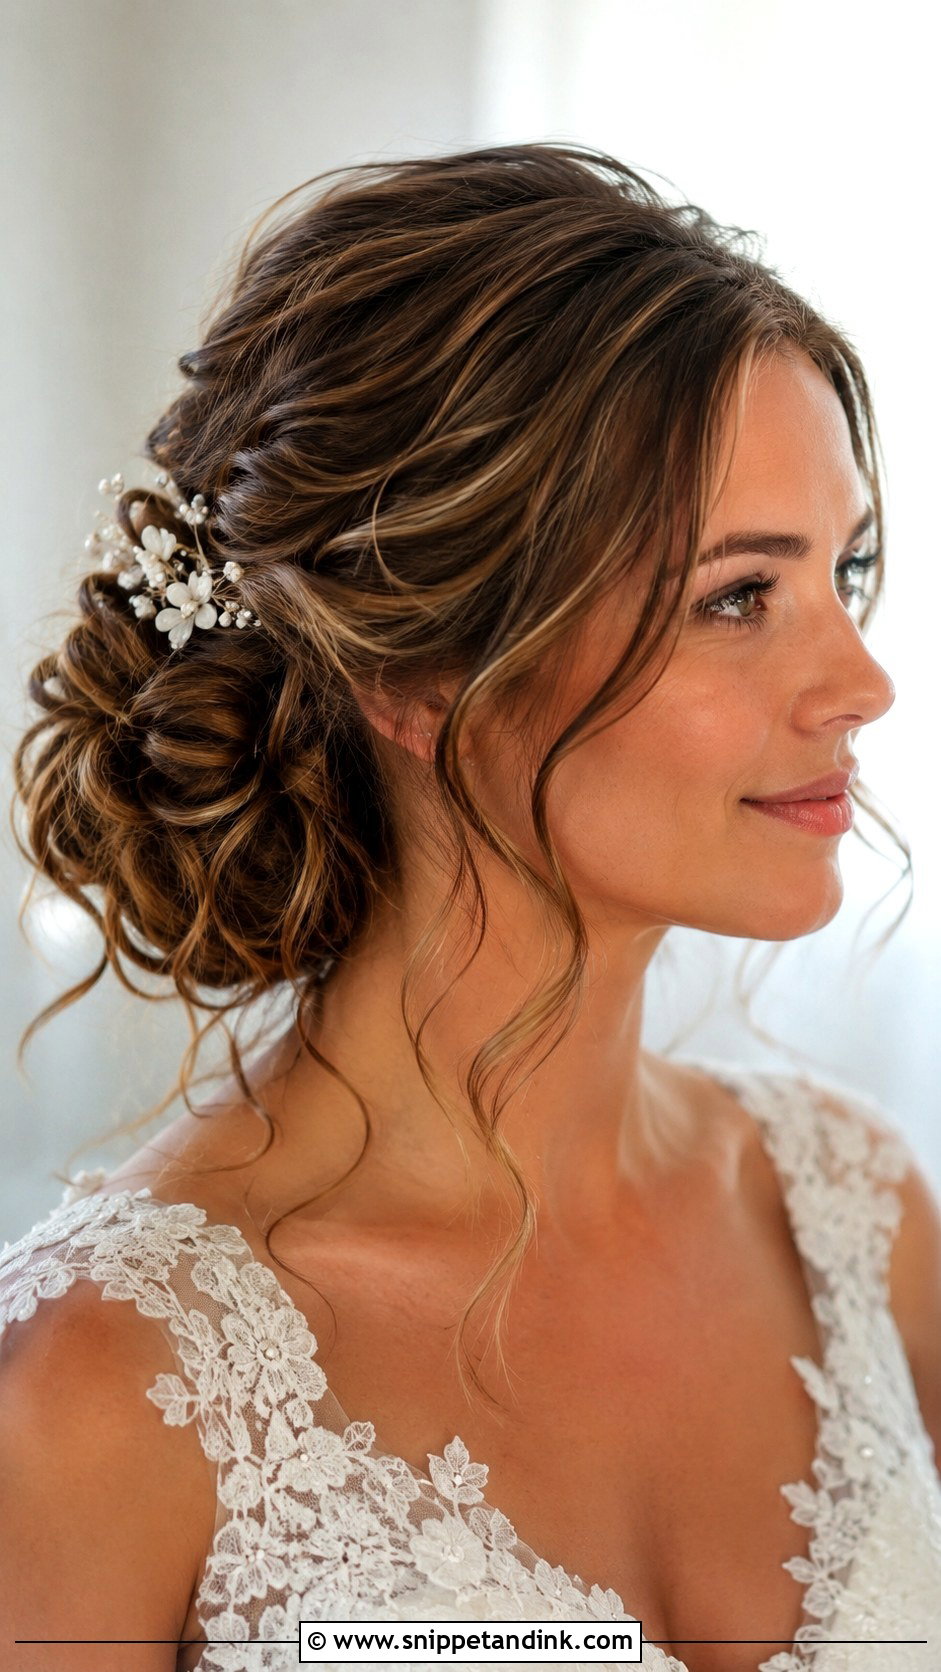
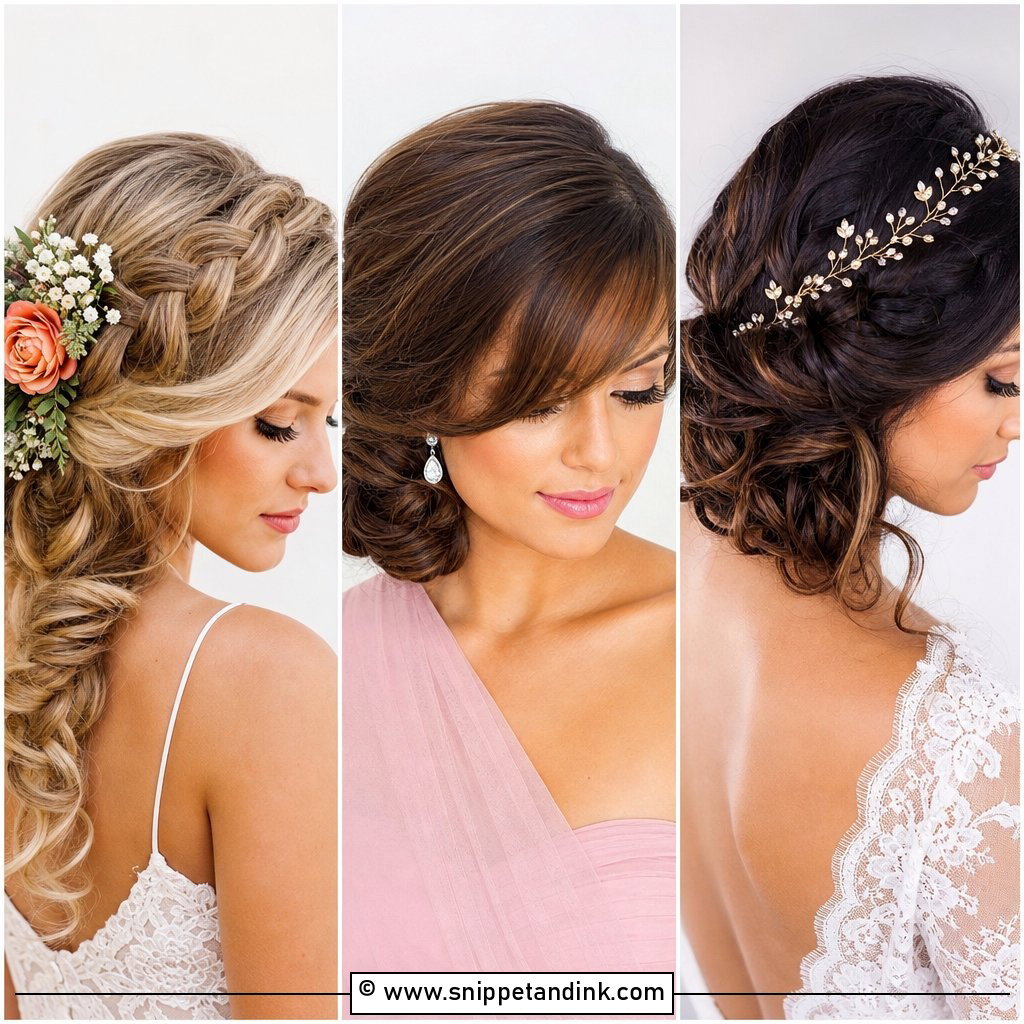
Flowers in a bun look natural when they sit between twists rather than on top of smooth hair, so I give this version some texture first. Small roses, waxflower, orchids and baby’s breath hold up better out of water than delicate blooms, and soft greenery fills the gaps. I ask the florist to wire and tape stems so they’re ready to pin. Keep them in proportion to your face; a single large peony beside a small bun looks pinned on. Hold a few beside your face at the trial before committing.
8. Side Bun Wedding Hair With Pearls
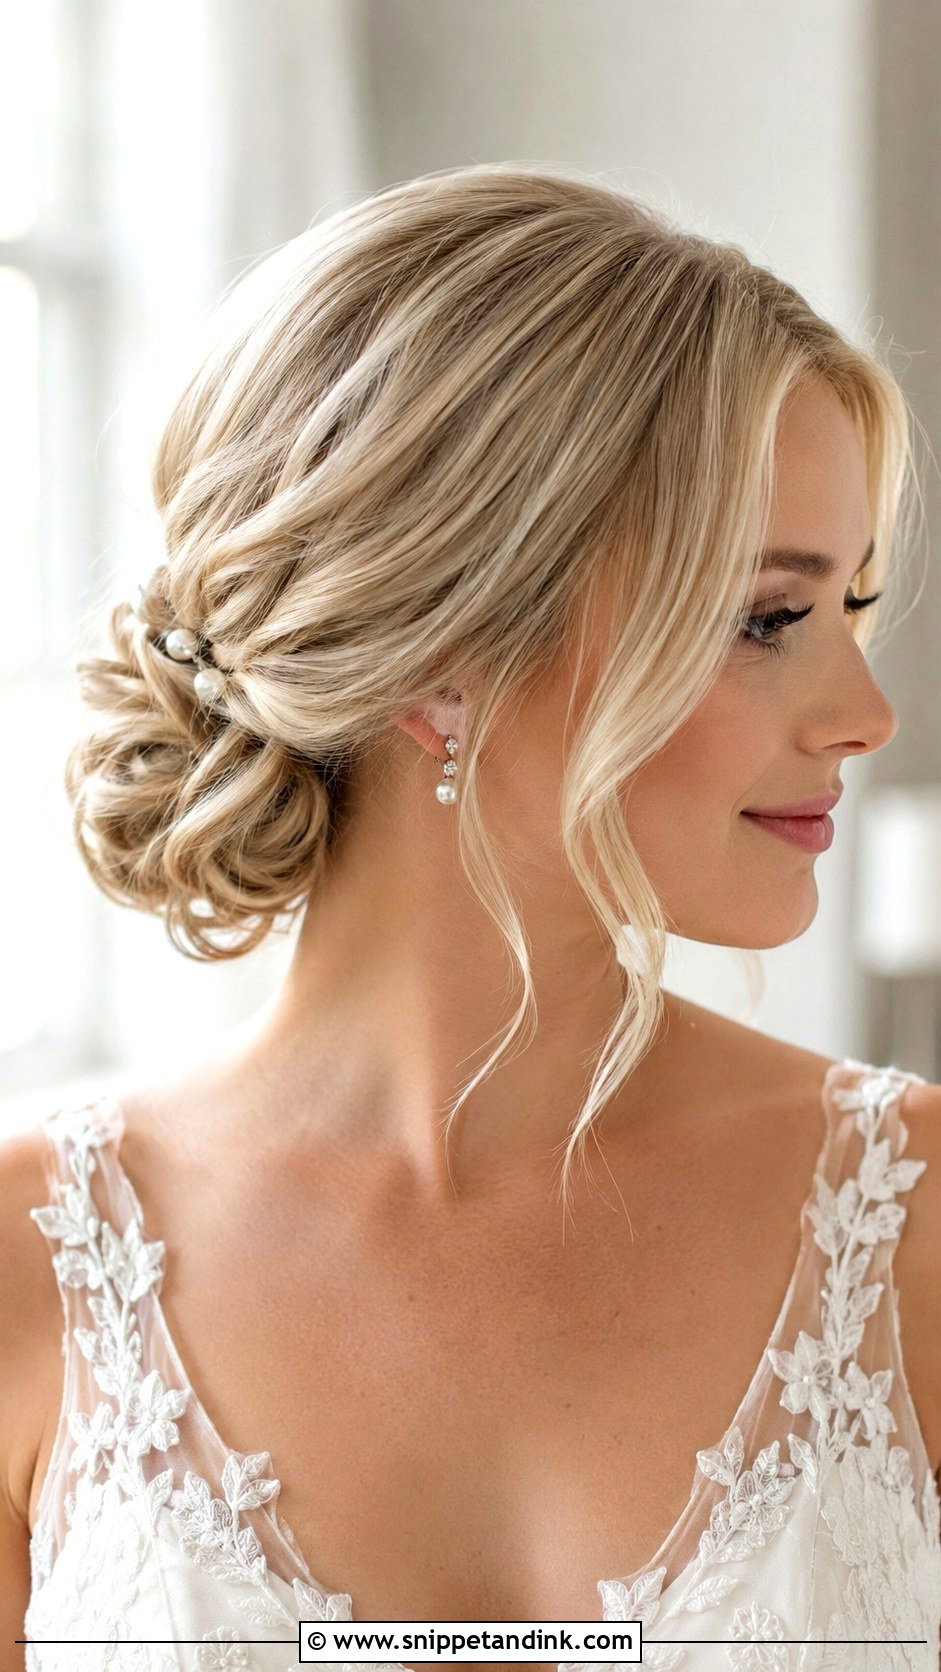
Pearls catch light without glare, which is why they suit classic makeup and lace so well. Scatter small pearl pins through a textured bun, set a pearl comb above it, or bend a pearl vine to follow its curve. I push each pin in against the direction the hair was wrapped so it grips instead of sliding out. If your veil is plain, pearls give the hair the detail; if the veil is beaded, I’d use far fewer.
9. Side Bun Wedding Hair With Bangs
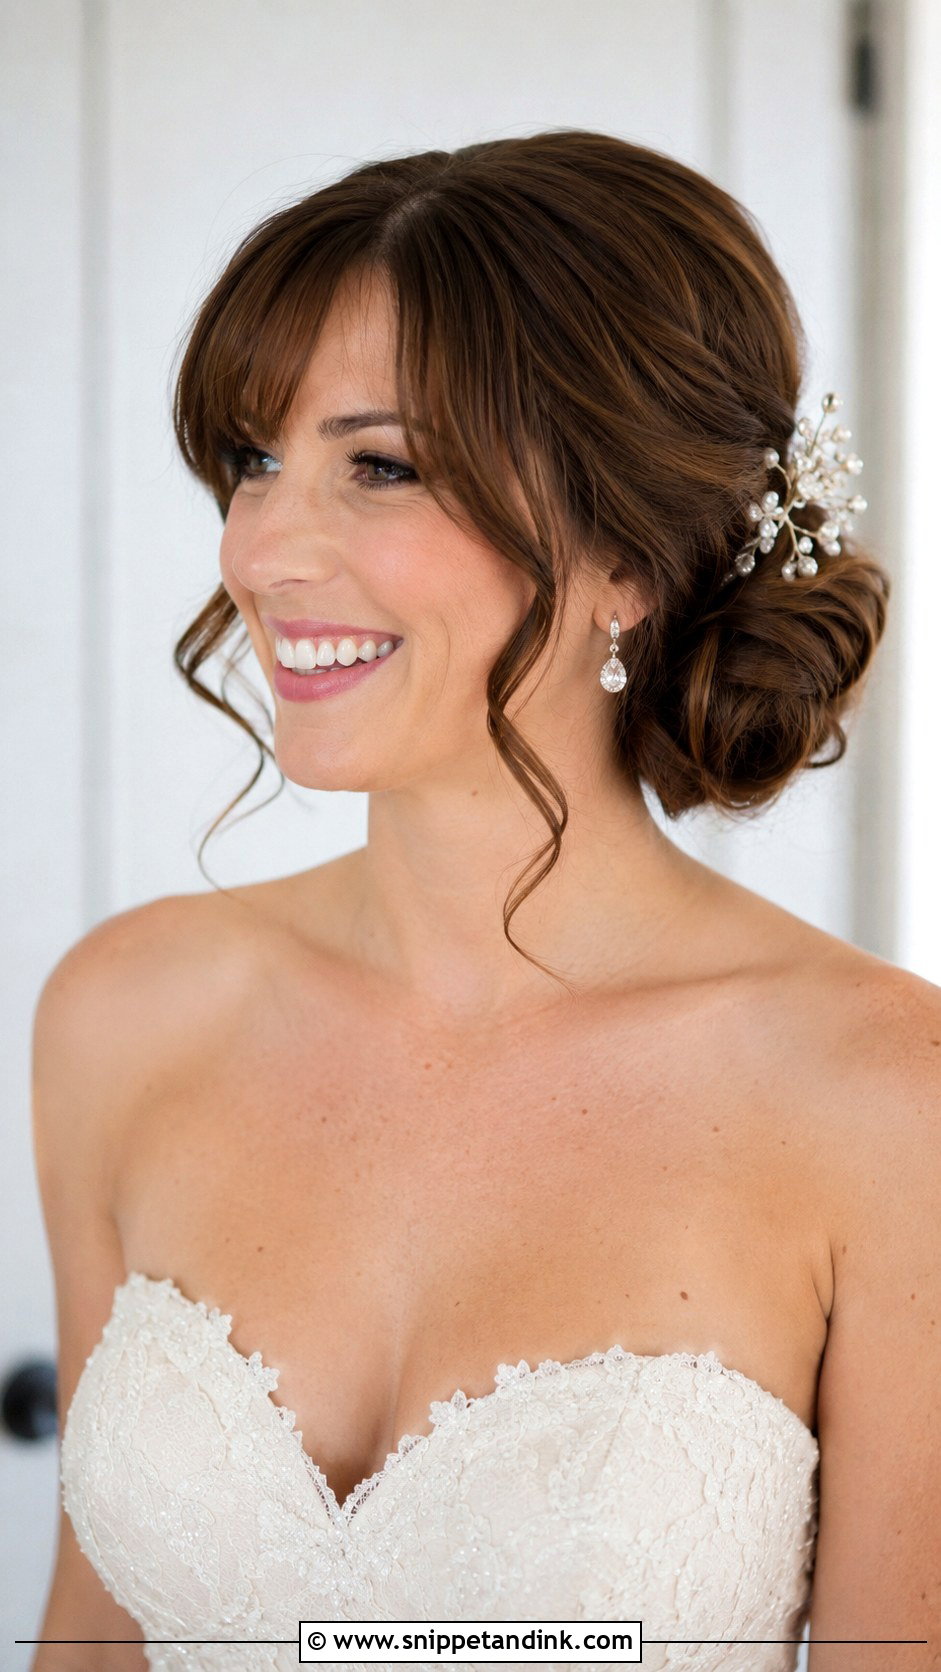
Bangs need to look like part of the updo, not something left over from it. Curtain bangs blend into curled face-framing pieces; full blunt bangs sit best above a smoother bun with a bit of crown height. Side-swept bangs follow the angle of the bun almost on their own. I style bangs with a round brush and only a light mist of spray, because stiff bangs separate into strips by the afternoon. Trim them about a week out, not the day before, so they have time to settle.
10. Vintage Side Bun Wedding Hair
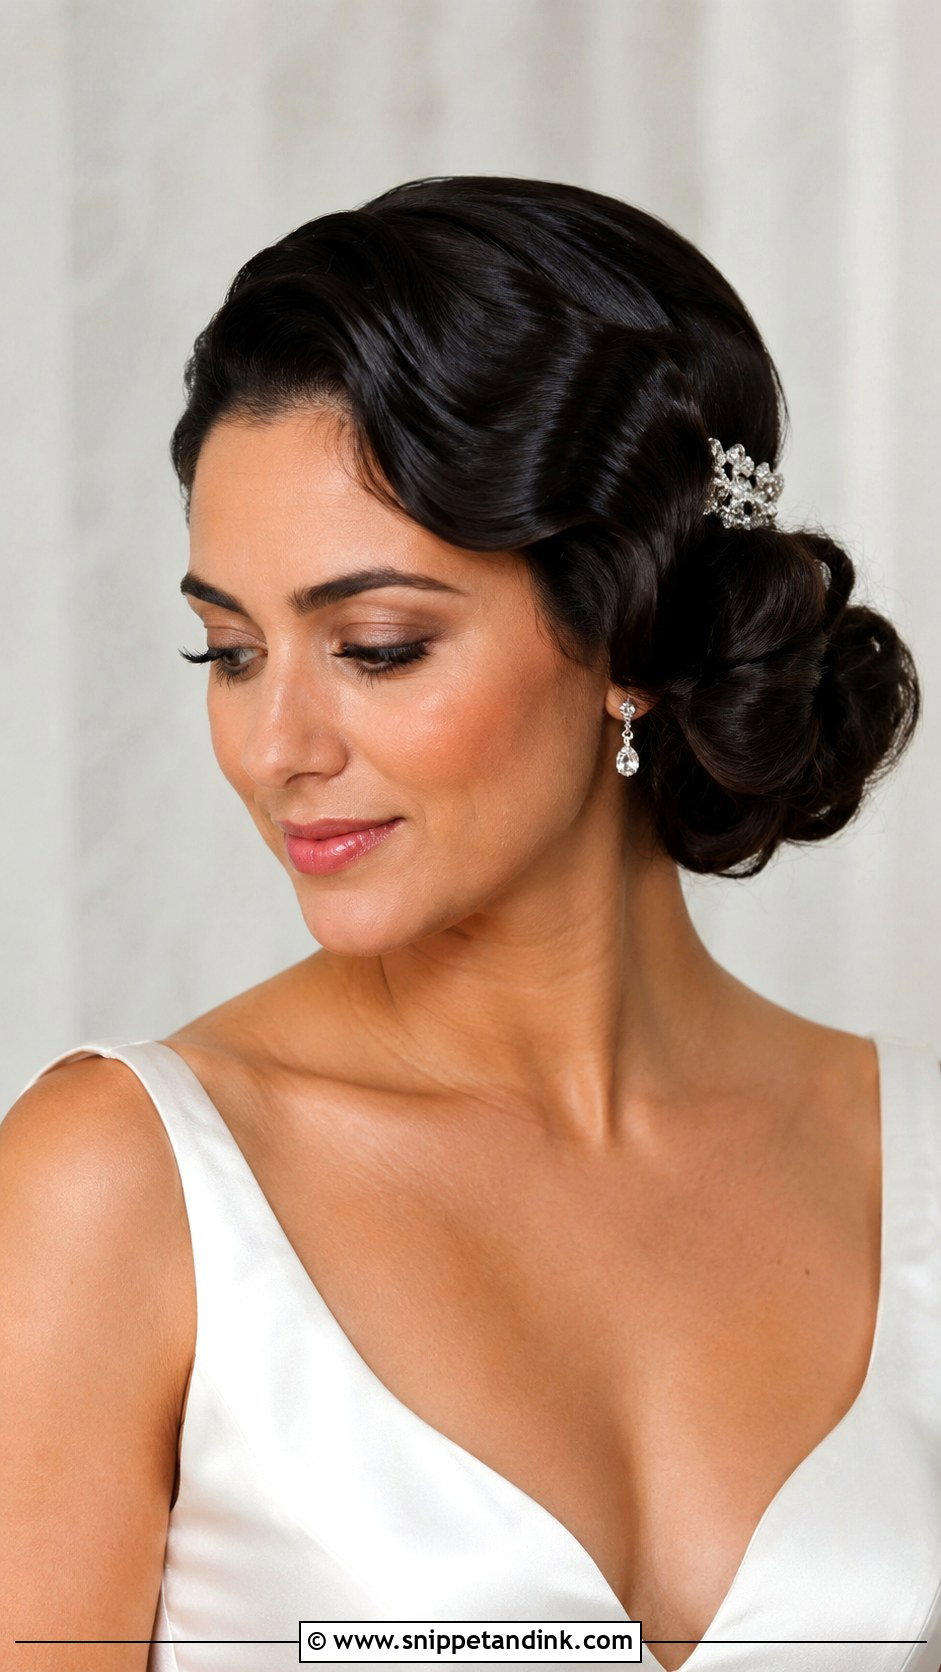
This vintage version starts with a deep side part and set waves that lead into a rolled or tucked bun low on one side. The waves are curled, pinned to cool, then brushed into ridges, and that set is what gives the style its old-film look. It sits with satin, vintage lace, red lips and winged liner. Keep the finish glossy; a frizzy vintage set just looks undone. A birdcage veil or a crystal barrette is all it needs, and close-ups show the sculpted waves best of all.
11. Boho Side Bun Wedding Hair
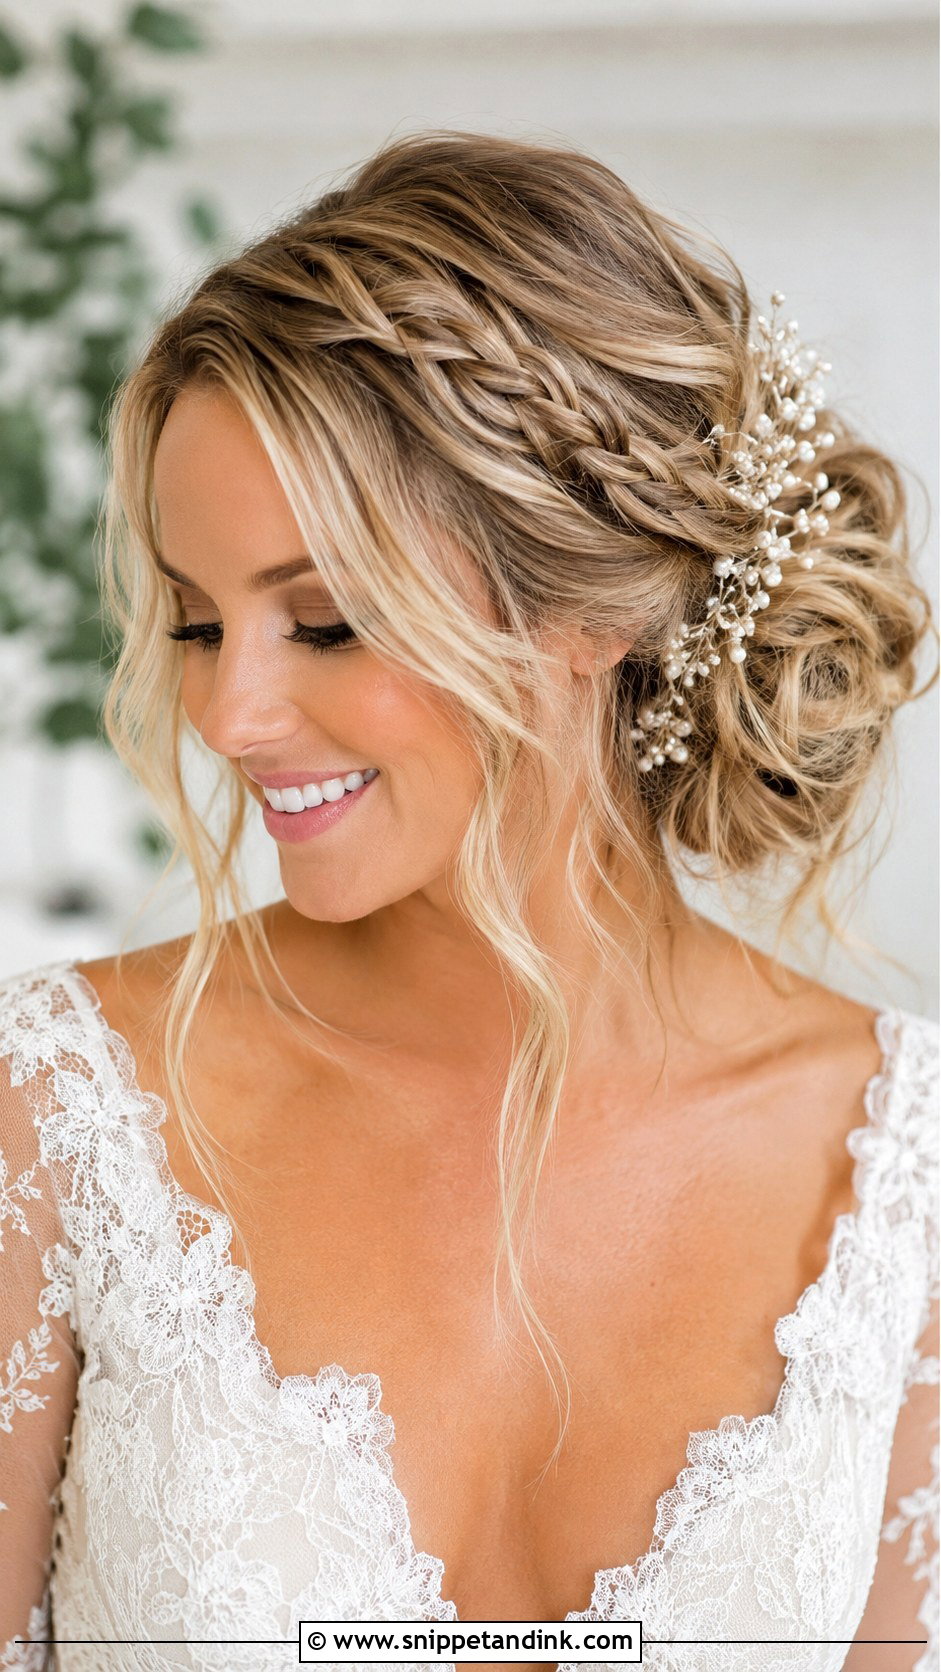
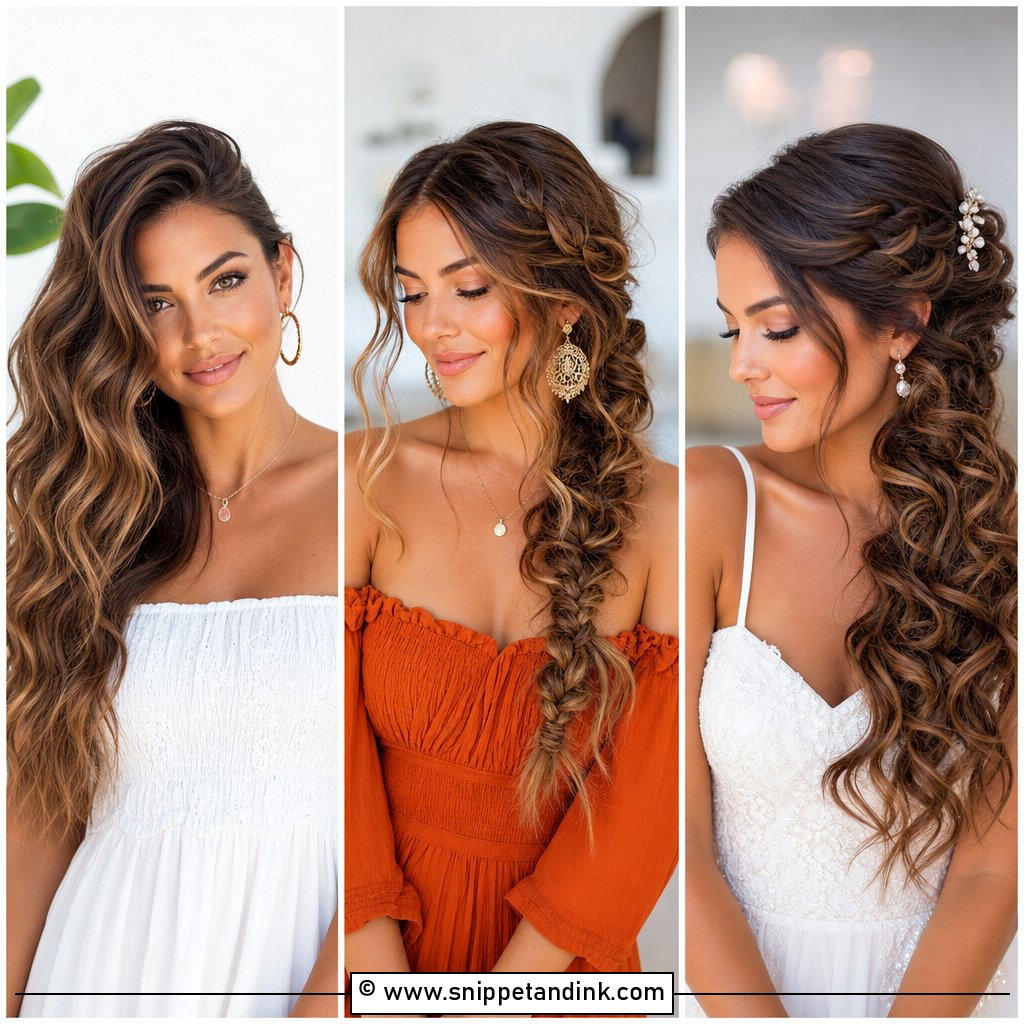
The boho bun is gathered, not wrapped. I combine loose waves with a couple of thin braids and airy twists, then bring it together low on one side with pins hidden underneath. It belongs with flowing dresses, lace sleeves and outdoor venues. The risk is that it relaxes too much in warm air, so I hide a small elastic at the base and keep the loose parts loose, while the core stays fixed. A thin vine or a few floral pins finish it.
12. Side Chignon Wedding Hair
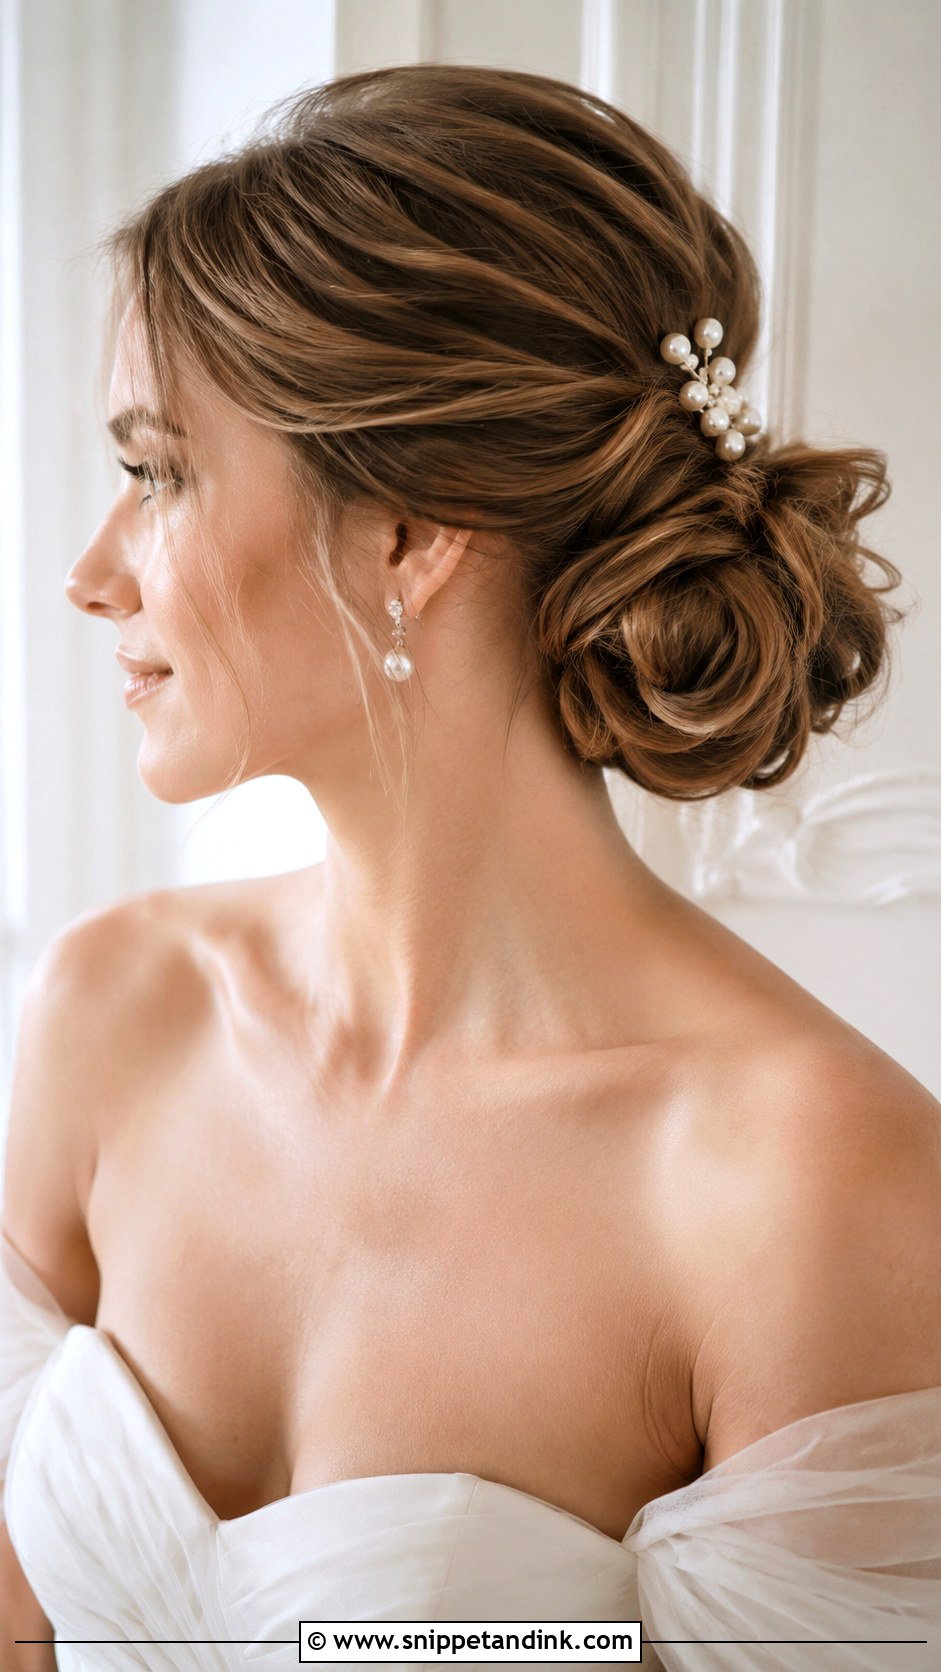
A chignon is a bun with the edges tucked in, so the shape reads as one smooth roll rather than a coil of hair. Strapless, off-the-shoulder and bateau necklines suit it because the whole line of the neck and shoulders is clear. It also takes a veil comb and statement earrings well. Pinning is the craft here: every pin should disappear into the roll. Ask for a little crown volume so the profile doesn’t look flat.
13. Side Bun Wedding Hair For Long Hair
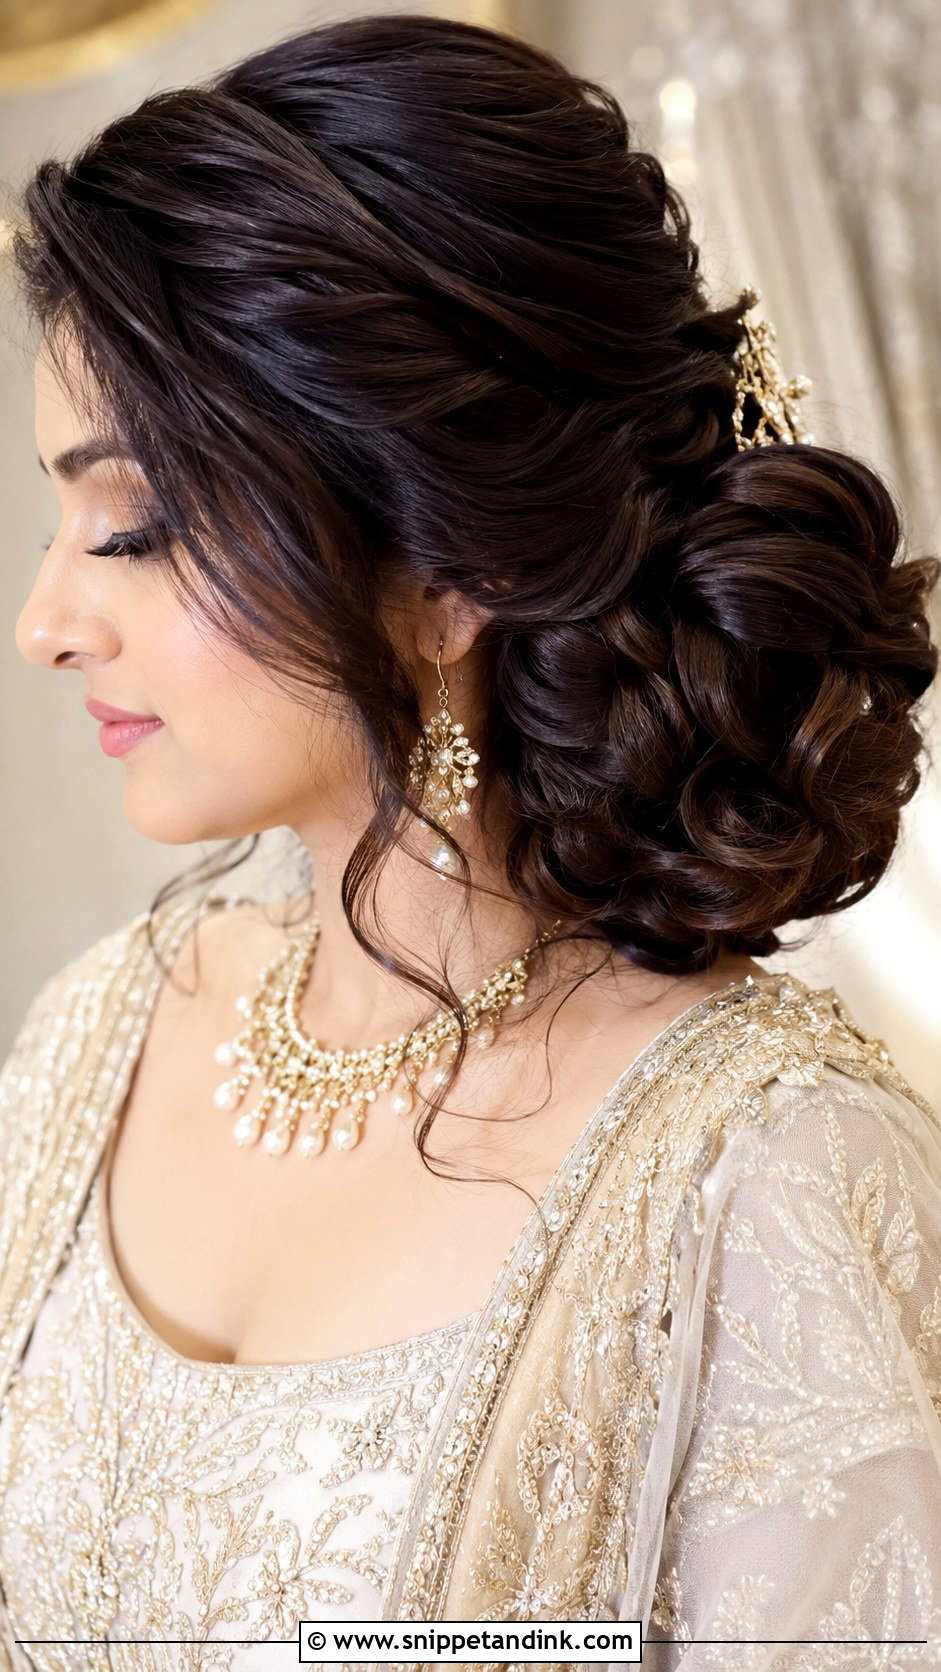
Long hair gives you a fuller bun but more weight on one side of the head, and by evening that weight can pull at the scalp. I divide the hair and pin it in two or three sections rather than one heavy coil, which spreads the load. Curls wrapped into the bun add volume without needing padding. Keep the bun centered over its anchor point rather than hanging off it, or it slowly drifts downward toward your collar.
14. Side Bun Wedding Hair For Medium Hair
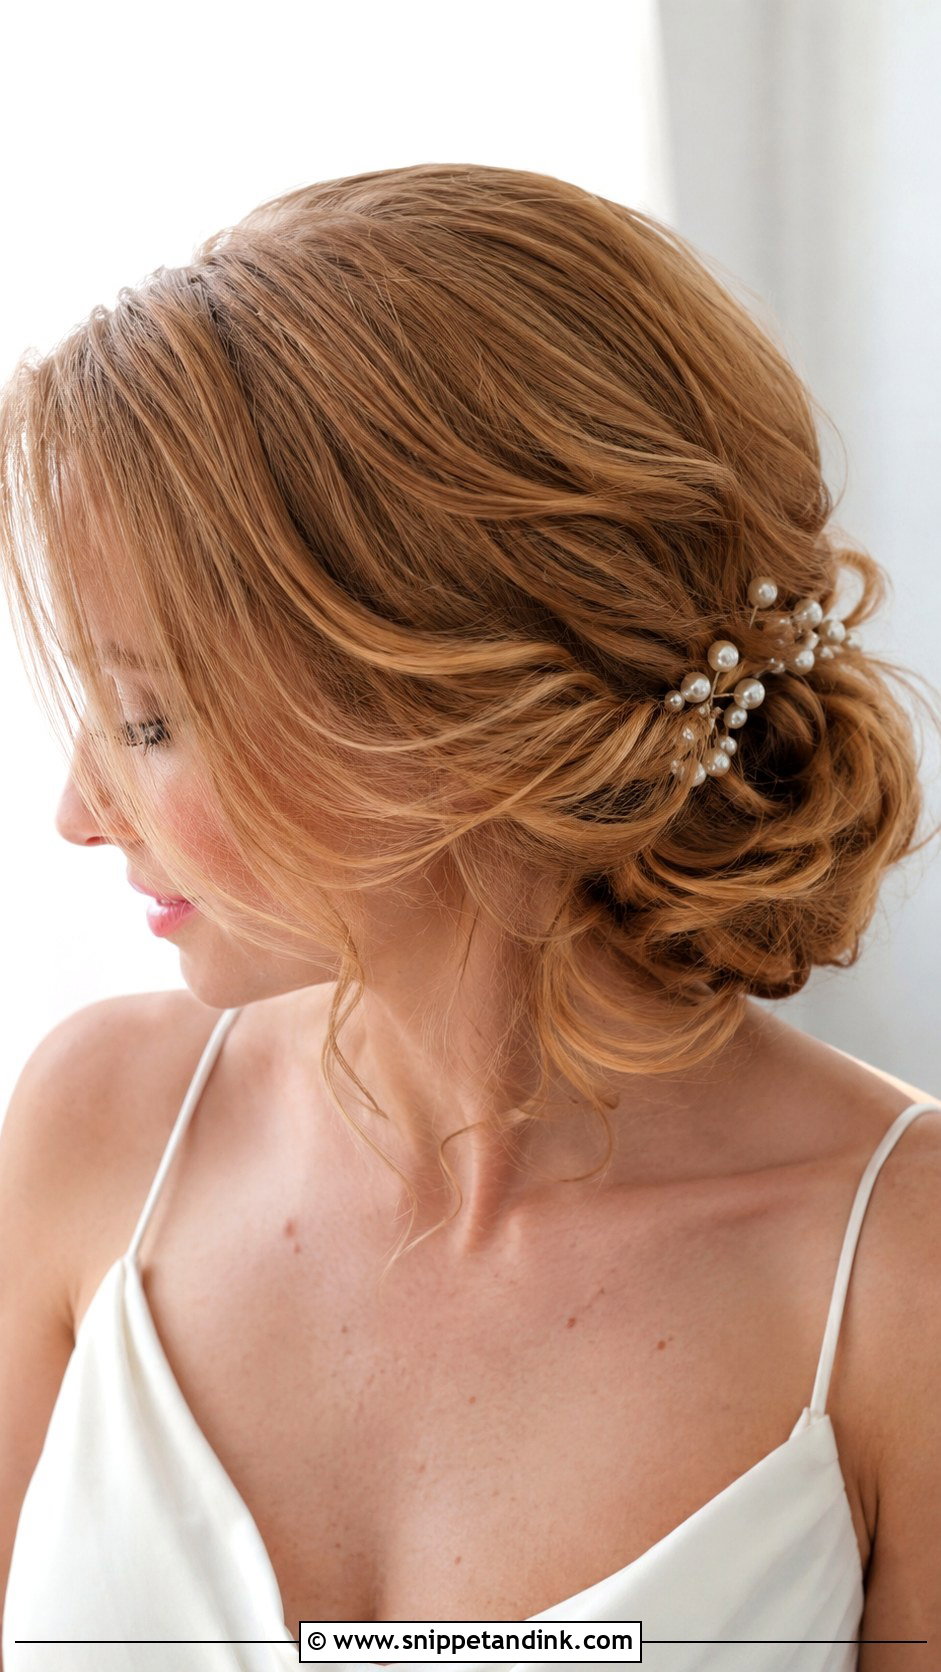
Shoulder-length and medium hair make a lighter bun that’s often more comfortable than a long-hair version. I curl it first, since the waves give pins something to grip, then gather it into a low side bun with a little texture. If you’d like more size, a small mesh filler or a couple of clip-in wefts underneath adds fullness without changing the look. Layered medium hair tends to leave short ends sticking out, so expect a few extra pins along the back.
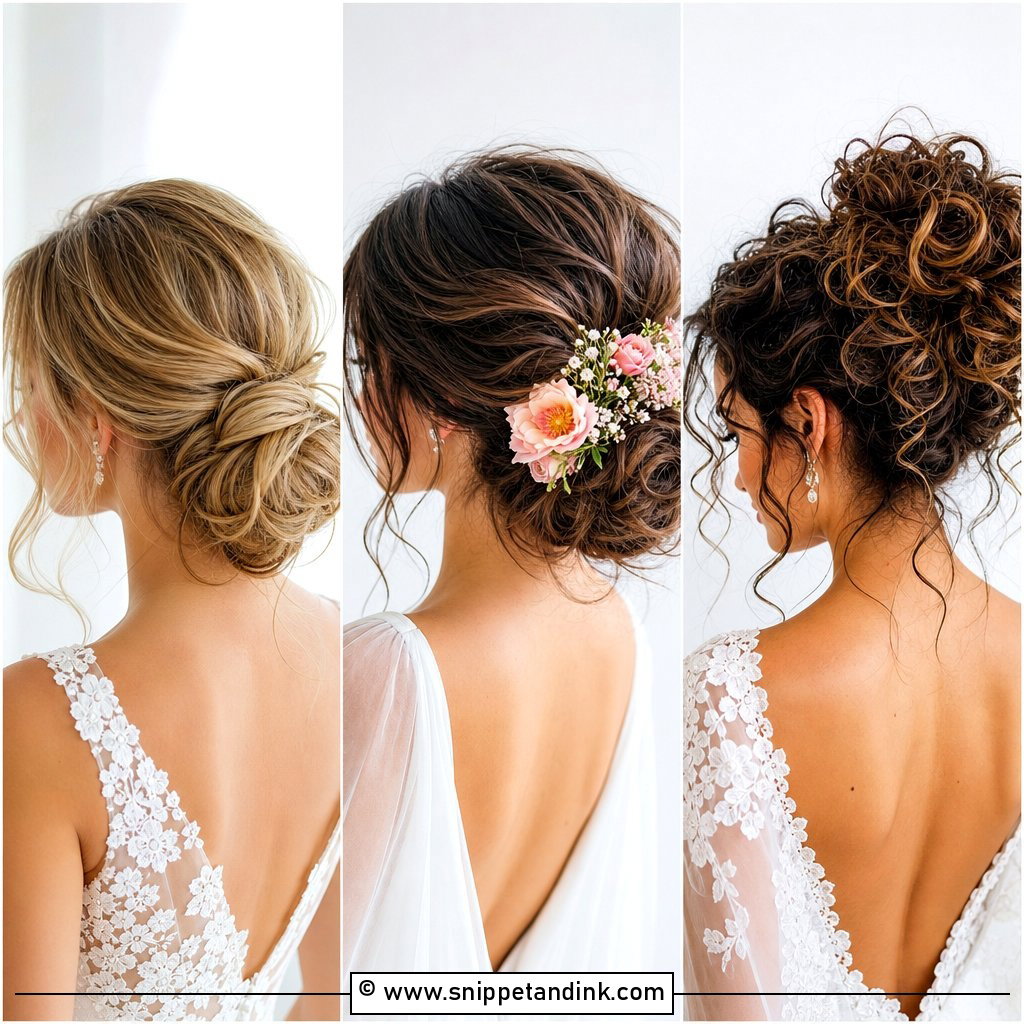
15. Side Bun Wedding Hair For Short Hair
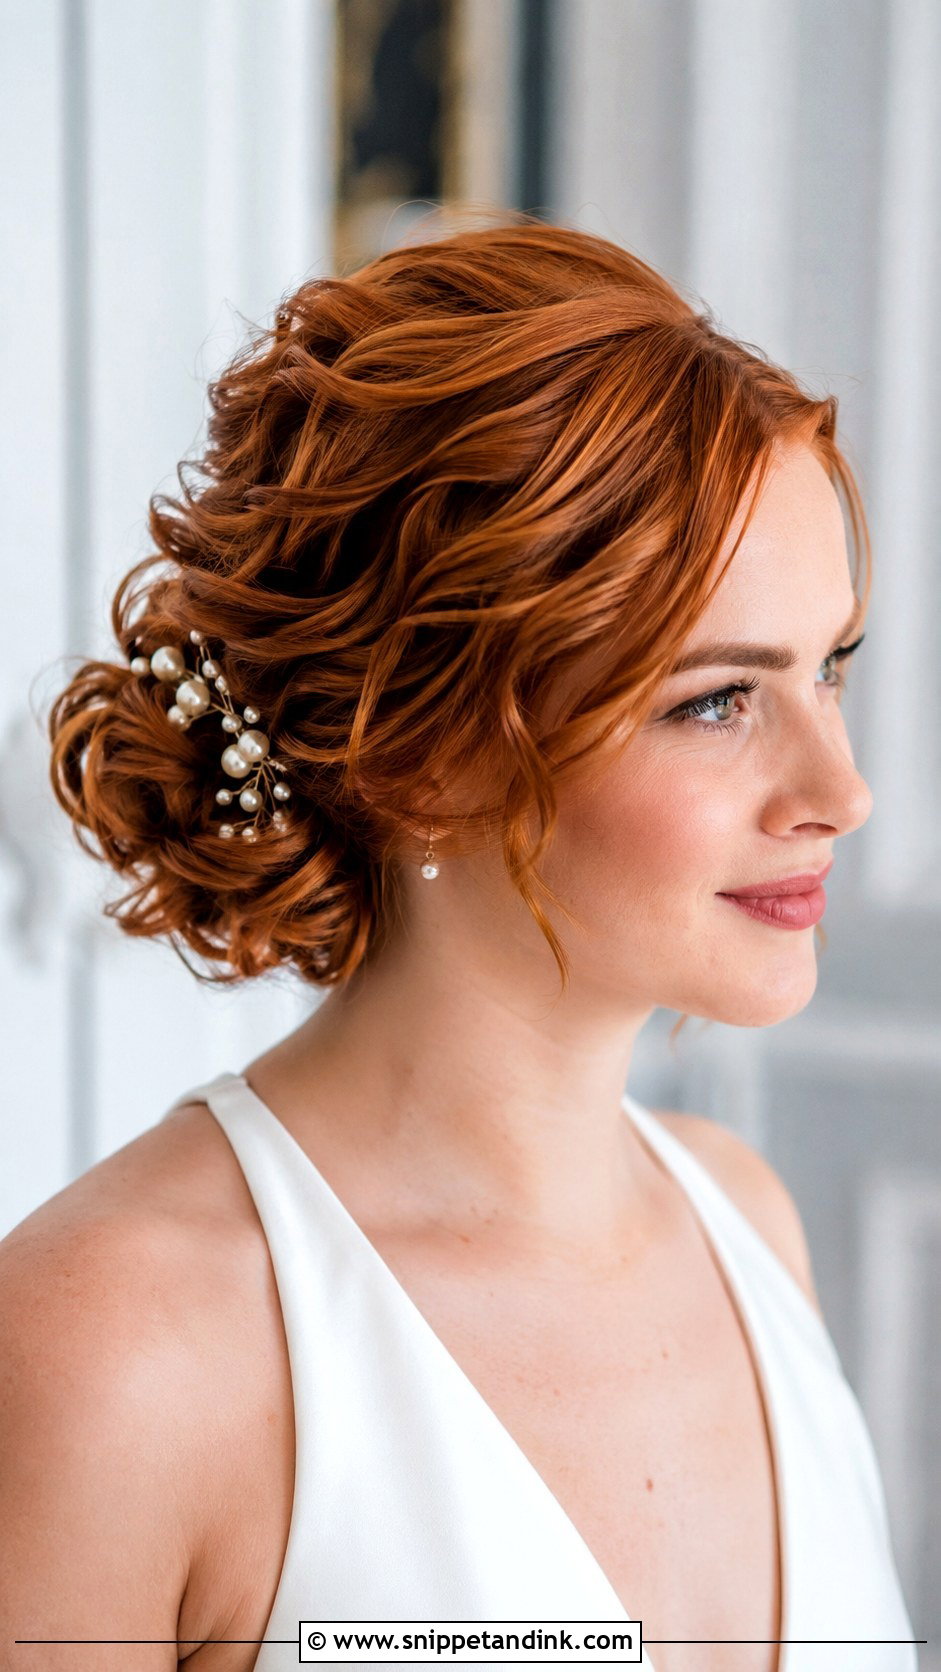
Bob-length hair can’t wrap into a true bun, but it can look like one. I curl the hair, sweep it to one side, and pin the curls into a tight cluster behind the ear so they read as a small bun from the front. Short layers at the nape get pinned flat or left soft. A comb or a few pearl pins placed over the cluster hide the joins. If you want a fuller shape, a clip-in bun piece matched to your color is quick to add and comfortable to wear.
Car Headrests, Hugs and a Pin Count at Midnight
A side bun lives on one side of your head, and that side takes all the contact. Leaning back into a car headrest or a high chair presses it flat, so I tell brides to sit forward slightly in the car and to put the bun on the side away from the window seat if they can. Hugs are a smaller issue. Most guests lean in from the front, and a well-anchored bun shrugs that off.
If it slips during the evening, don’t pull it out to redo it. Push it back up to the anchor and slide two pins in from below, crossing each other. A bridesmaid with a mirror can do this in under a minute.
Taking it down is where hair breaks. Ask your stylist how many pins went in, and count them out. Find each one by feeling along the bun and slide it out the way it went in. Leave the hair alone until every pin is gone, then work through it from the ends upward with a wide-tooth comb and a little conditioner or oil. Rinse out the hairspray the next morning instead of brushing it dry.
Your Trial Settles the Bun Height in Ten Minutes
Every version on this list shares the same practical advantages: secure, off the neck, easy to fit around a veil. The decisions that matter at the trial are bun height, how far it sits to the side, how smooth or loose you want it, and which accessory goes where. Bring two or three photos, your dress neckline and the veil itself. The bun should feel firm when you shake your head gently, and nothing should pinch.
You'll Like These Ideas:


Leave a Reply