
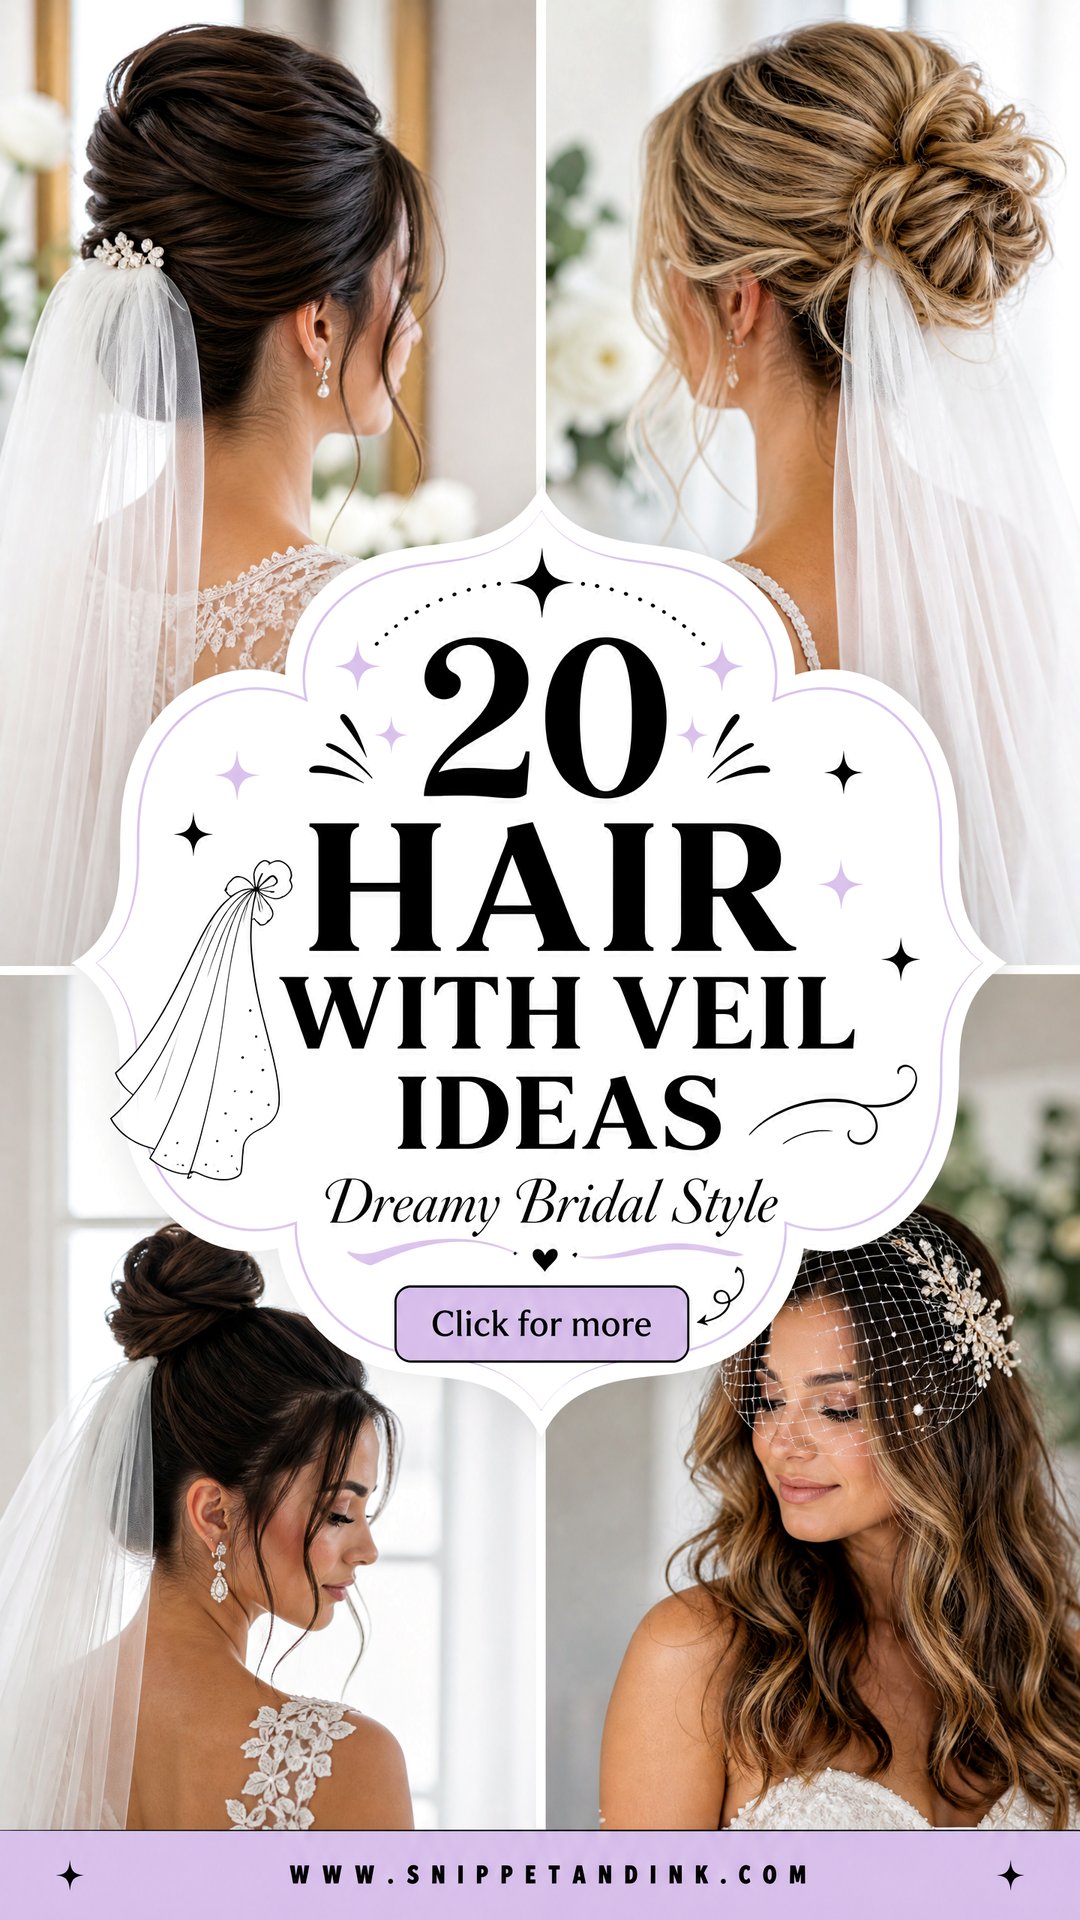
A veil changes how a hairstyle behaves. It adds weight at one point on the head, it needs something firm to grip, and it covers part of whatever I’ve styled underneath. So the question I ask at every trial isn’t just which hairstyle you like, but which one can carry your particular veil for ten hours. Some styles give the comb a solid base; others look lovely in the mirror and start sliding the moment a long veil catches the breeze. The 20 pairings below cover updos, half-up styles and hair worn down, with notes on where the comb goes and what each style needs to hold it.
Veil Weight and Where the Comb Sits
Before I pick a hairstyle, I pick up the veil. A single layer of soft tulle at fingertip length weighs almost nothing; a two-tier cathedral with a lace edge pulls hard on whatever is holding it. The heavier the veil, the more structure the hair needs at the comb.
- Crown placement shows the hairstyle underneath and suits half-up and hair worn down.
- Placement above a bun lifts the veil off the head and gives height in photos.
- Placement below a bun or chignon keeps the hairstyle visible from behind and drapes more softly.
Whatever the position, the comb needs a base. I make a small cross of bobby pins where the comb will go, then hold the comb with its teeth pointing up, slide it in against the direction of the hair, flip it down and push it home. The teeth lock under the pins and won’t slip out when the veil drags.
Bring the Real Veil, Not a Photo
Veil weight and comb width vary so much that a picture tells me very little. If the veil isn’t ready in time for the trial, a piece of tulle of similar length pinned on gives a rough sense of how the hair holds up.
1. Half Up Half Down With Veil
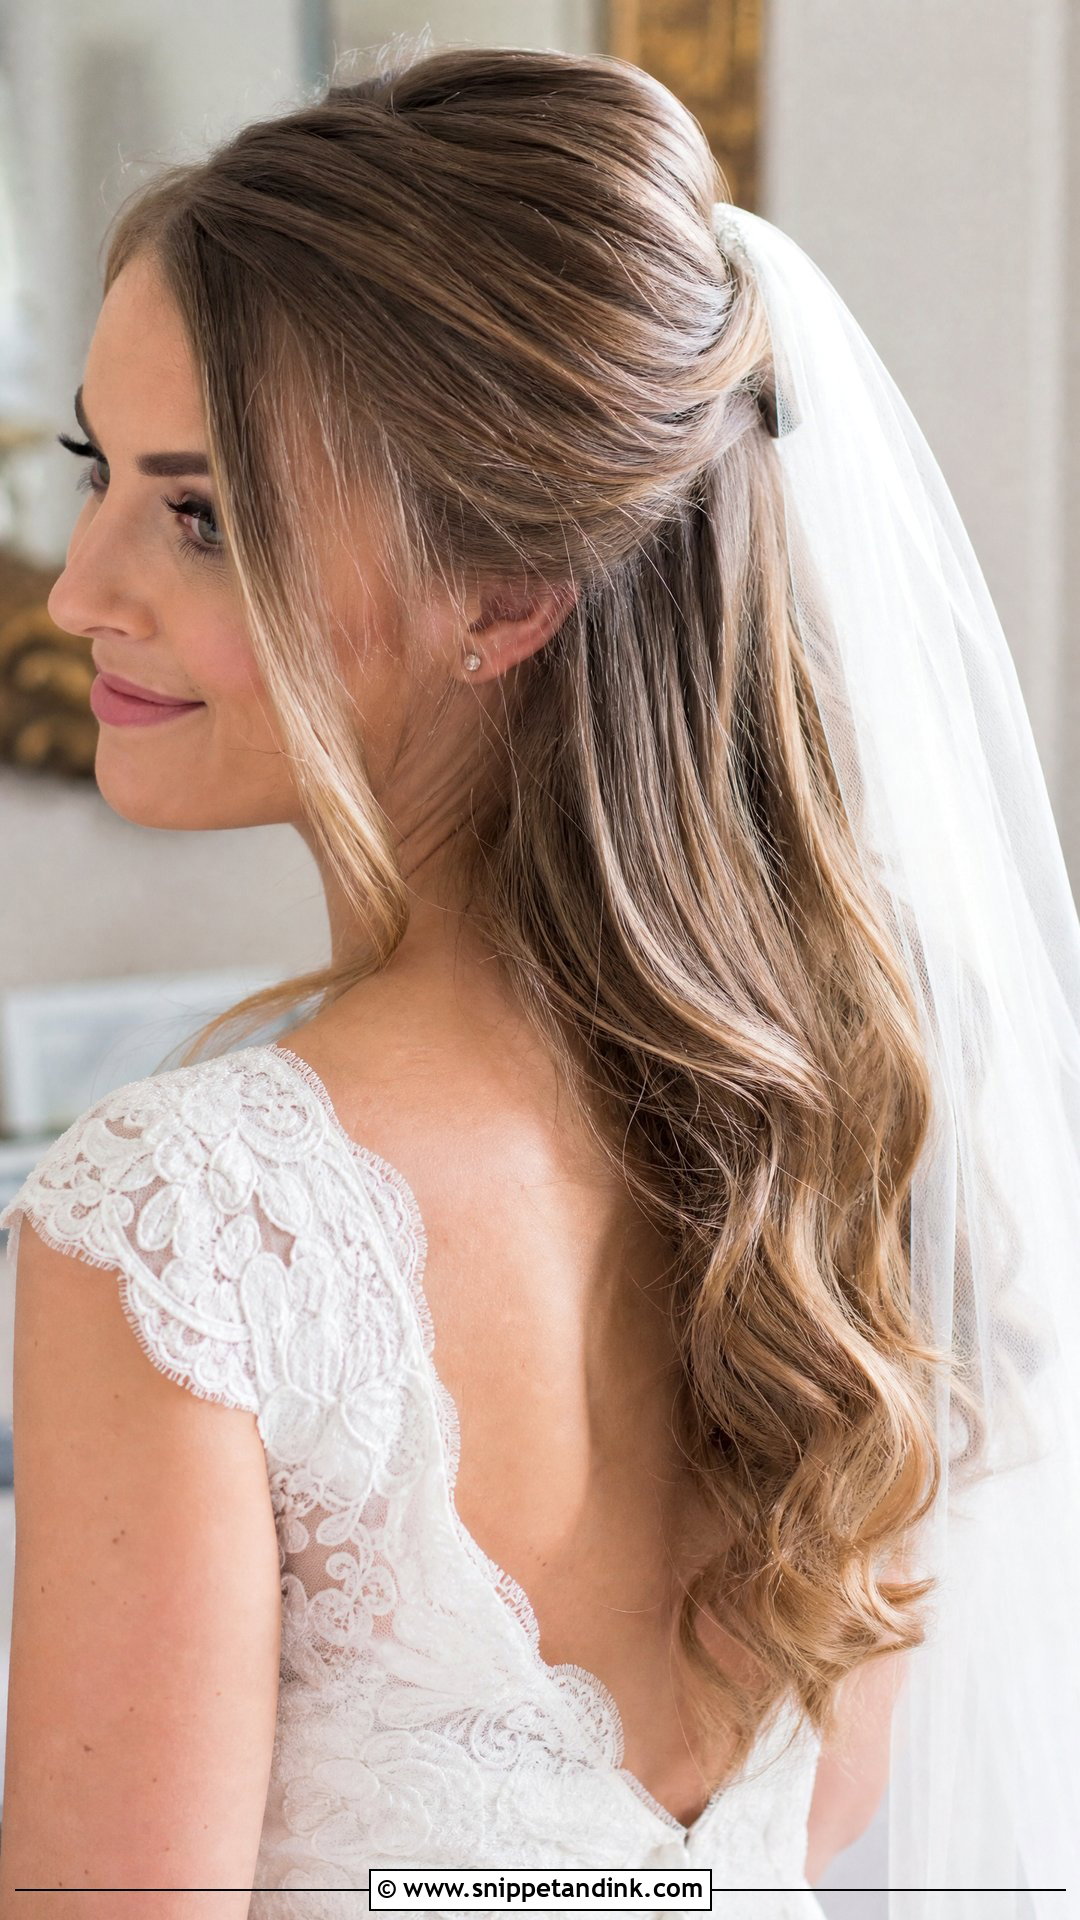
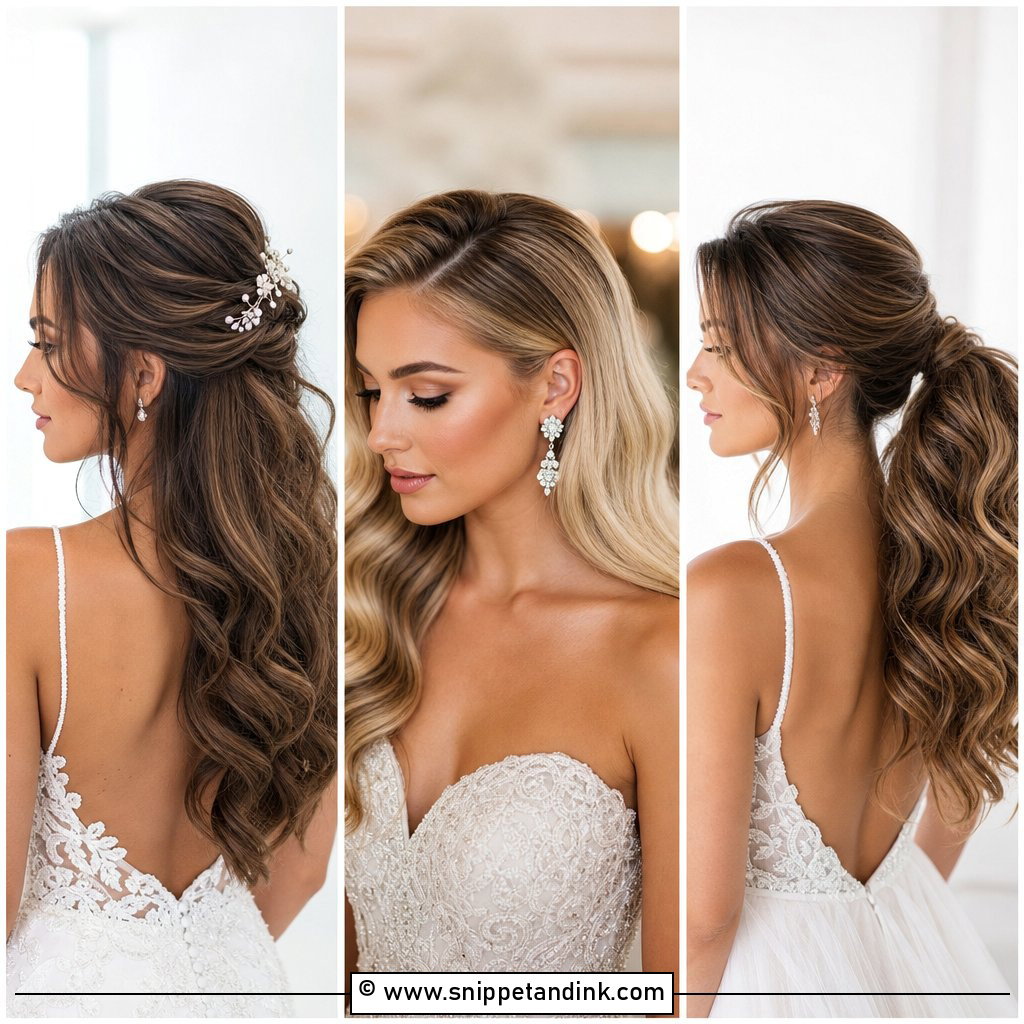
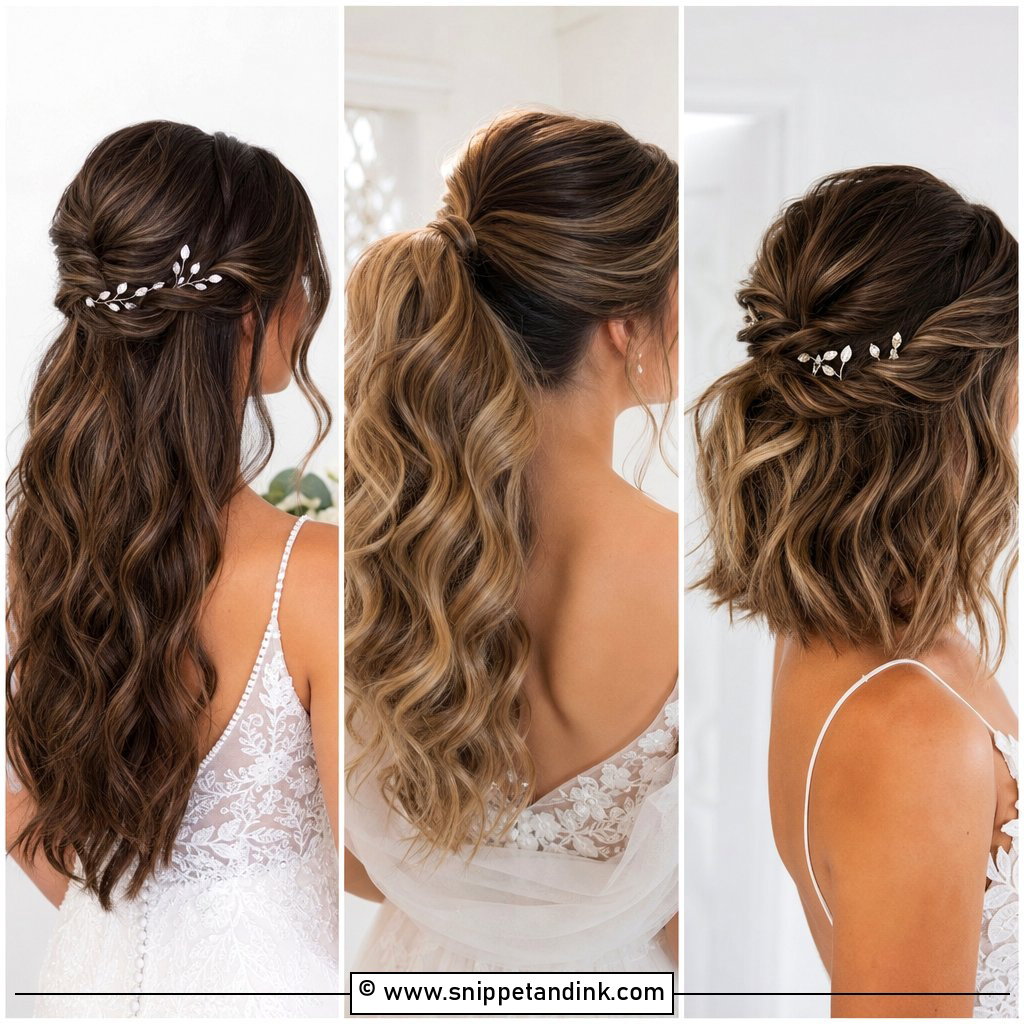
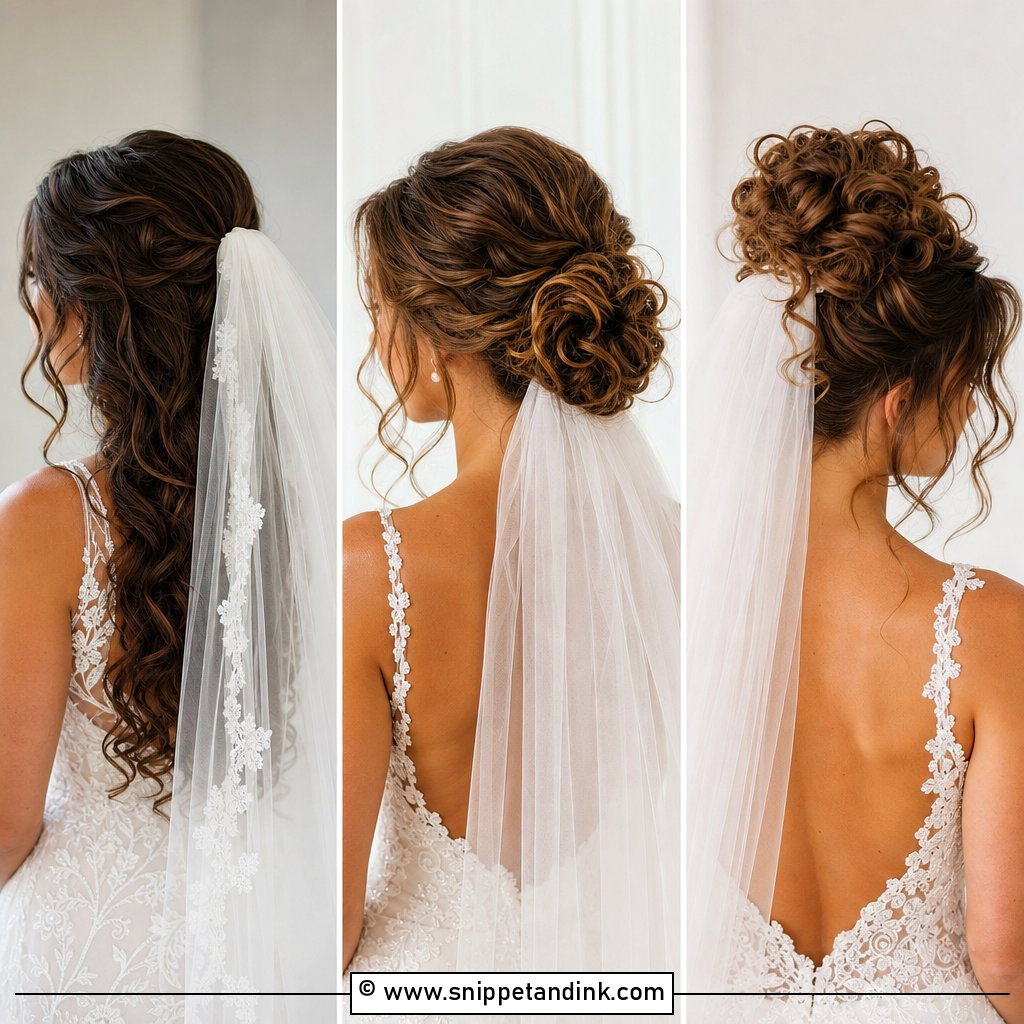
Half-up is the style I’m asked for most, and it’s a reliable partner for a veil because the pinned top section gives the comb something solid to bite into. I slide the comb in just under the twist or pinned section at the crown, so the hair above hides the teeth. It handles everything from a short blusher to a cathedral length, as long as the anchor is built with crossed pins first. The loose lengths underneath are the weak point. Curls there drop under a veil faster than elsewhere, since the tulle rests on them, so I curl a little tighter than the look you want.
2. Low Chignon With Veil
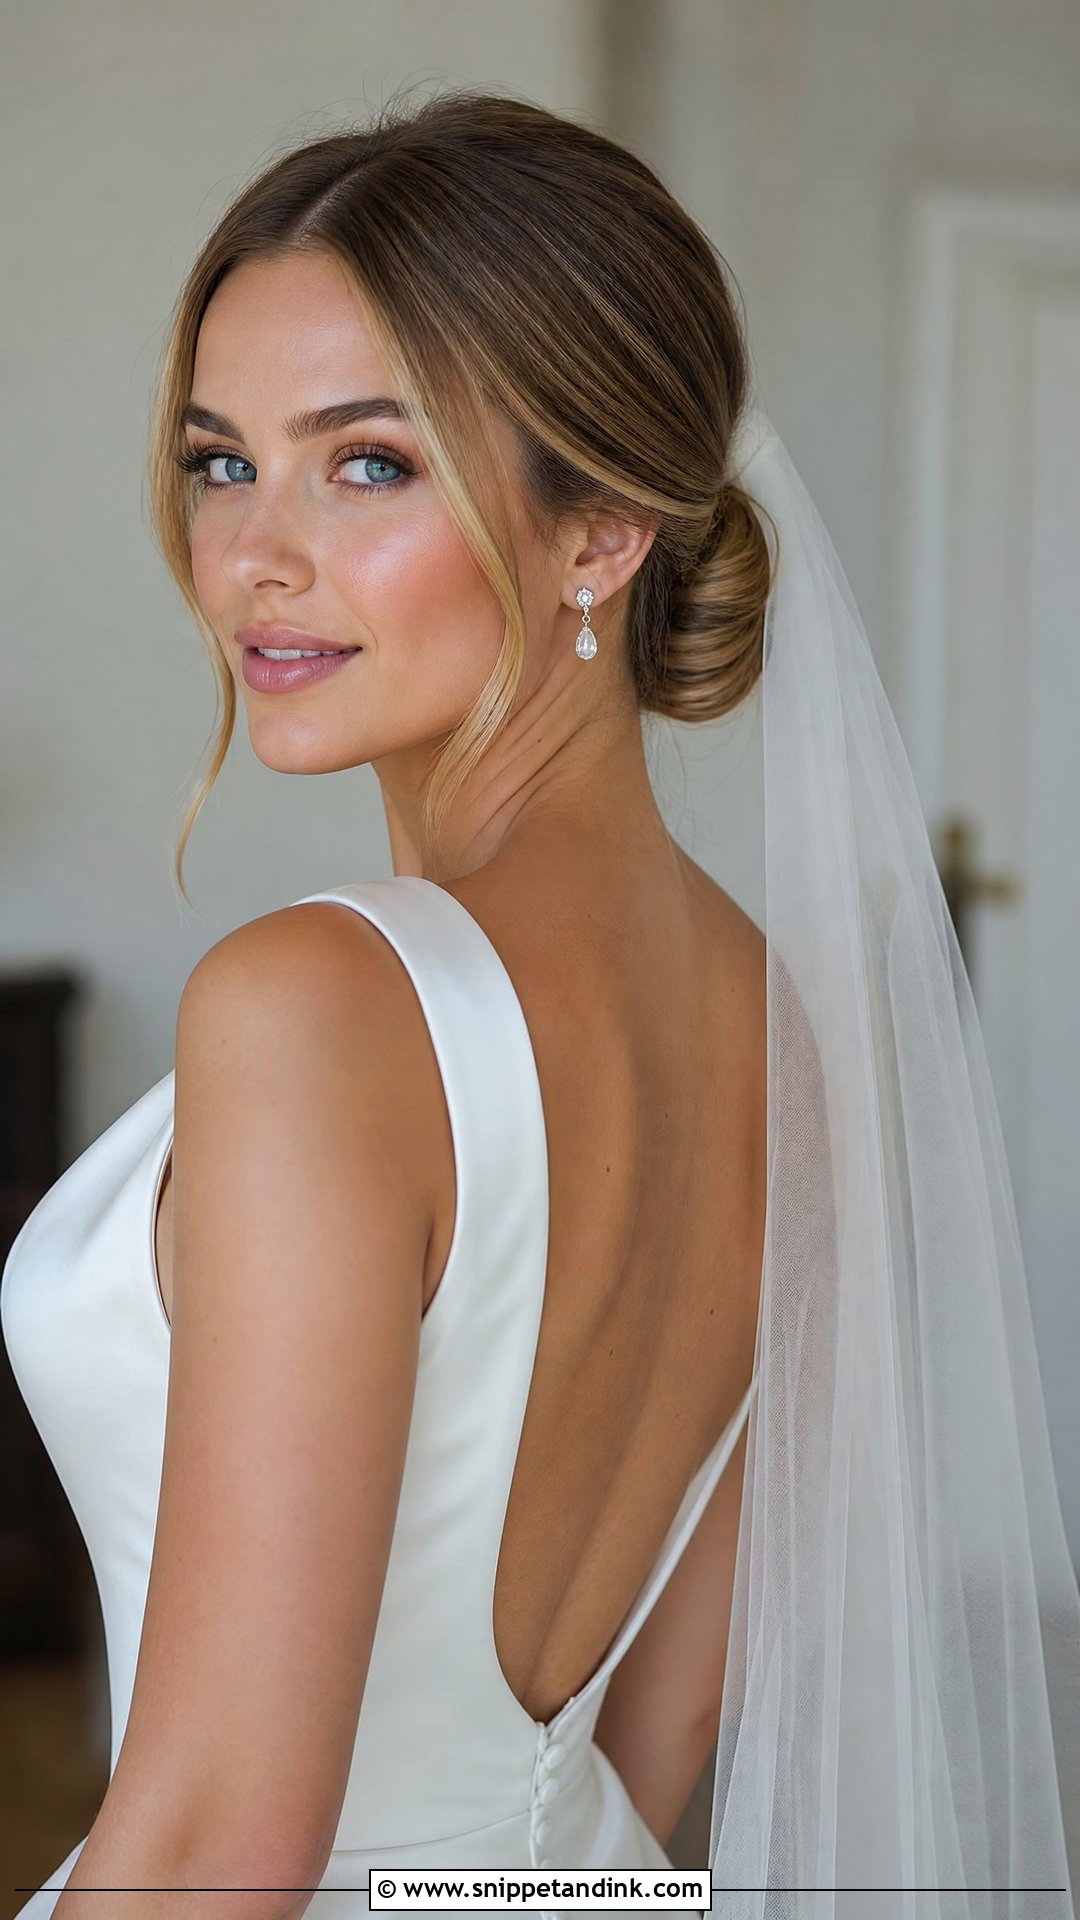
A low chignon at the nape keeps the neckline clear and gives the veil two possible homes. Tucked into the top of the chignon, the comb lifts the veil slightly away from the head; slid in underneath, the tulle falls in a softer, closer drape. It sits well with both blusher veils and long cathedral styles. I build the chignon a touch firmer than I would without a veil, because a soft one compresses under the comb and loses its shape by the first dance. A couple of loose face-framing pieces keep it from looking severe at a church ceremony.
3. Romantic Loose Curls With Veil
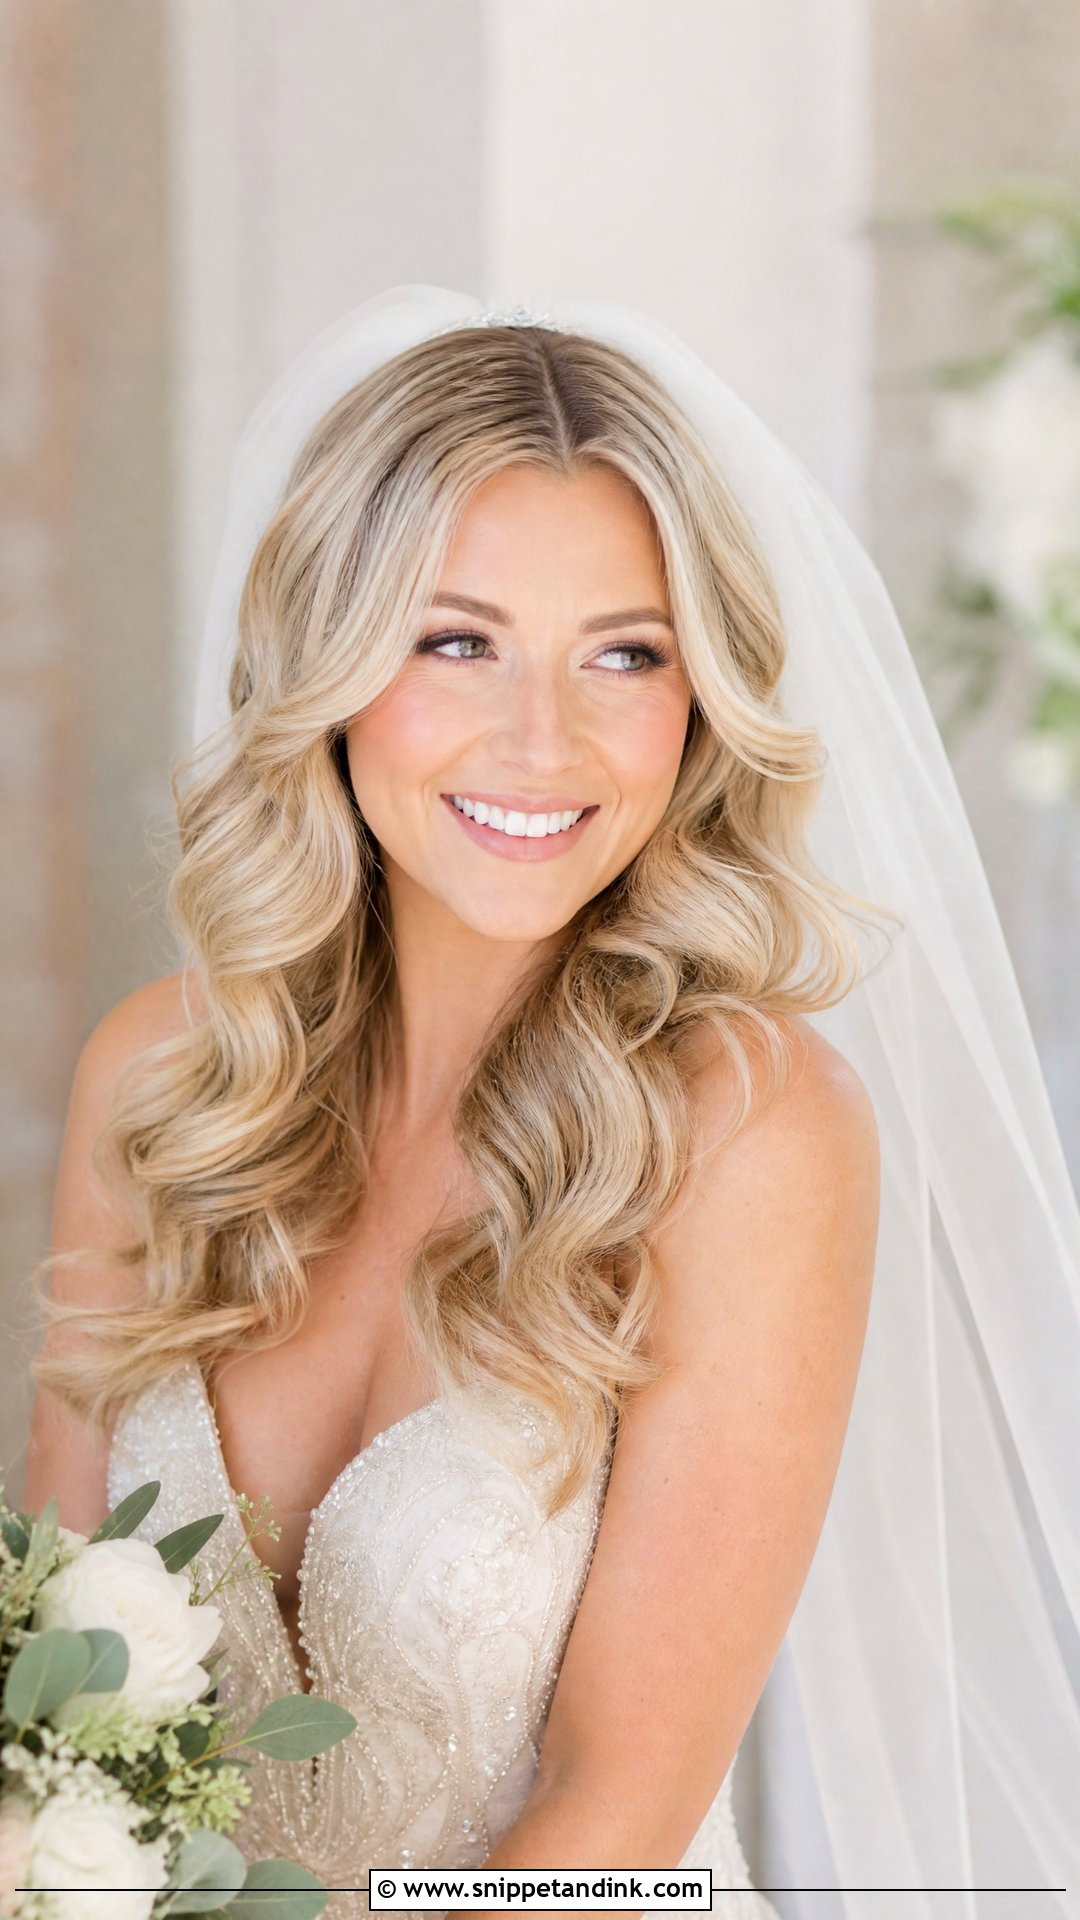
Big, bouncy curls worn down with a middle part look modern, but they’re the hardest style here to keep fresh under a veil. The comb sits at the crown with nothing structural to hold it, so I create a small hidden anchor first: a tiny section twisted and pinned flat, invisible under the top layer. The veil then drapes over the curls rather than pressing them flat. Set each curl with a curling iron, let it cool fully, and finish with flexible hold spray. Elaborate, embellished veils can still work, but very heavy lace will flatten the curls by the reception, so keep this one for lighter tulle.
4. Sleek Ballerina Bun With Veil
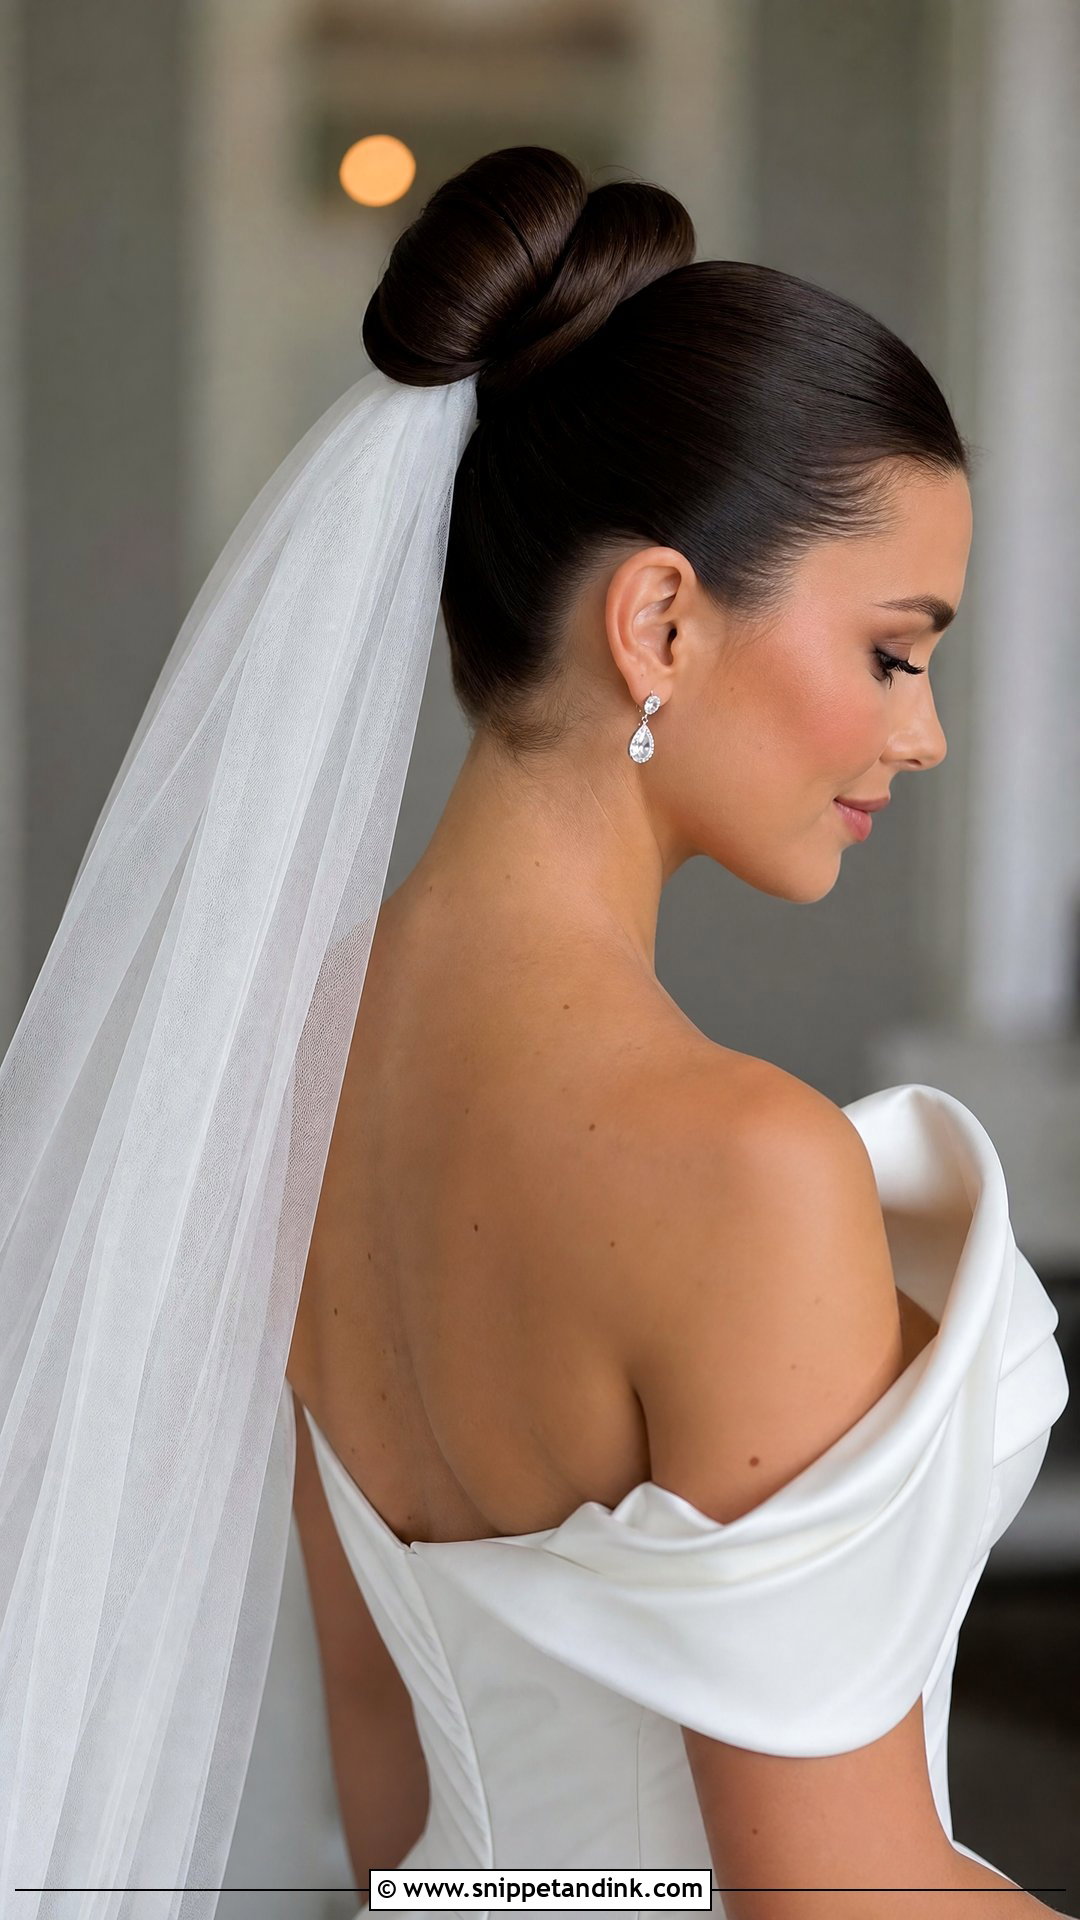
A high ballerina bun is the cleanest base for a dramatic, cascading veil. The comb goes just beneath the bun, so the tulle falls straight from a high point and creates a long line down the back. Smoothing gel on damp hair, brushed flat, gives the slicked surface and keeps flyaways down under the netting. I’d think twice about this one if your veil is very long and heavy. All that weight hangs from the crown and tugs on a tight bun, which gets uncomfortable over a long day. It suits evening weddings and earrings you want seen.
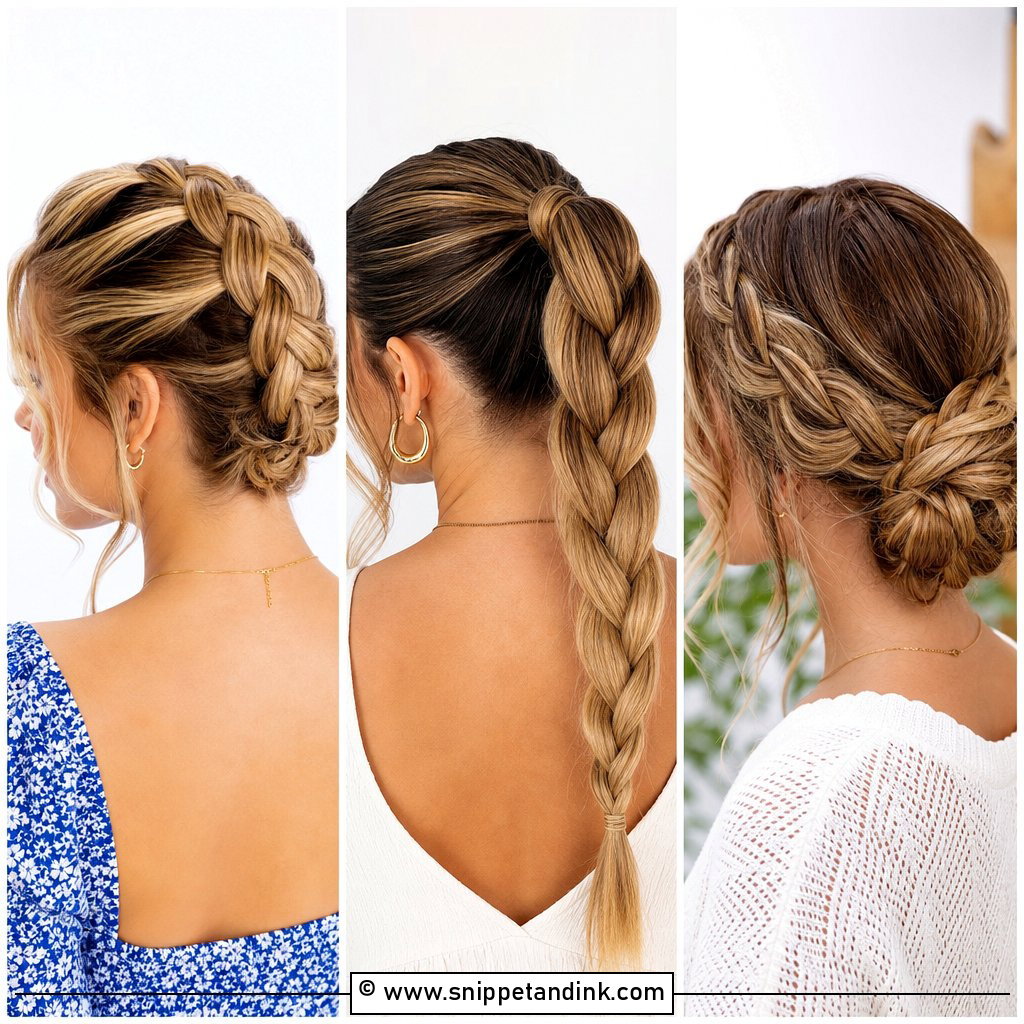
5. Boho Braided Updo With Veil
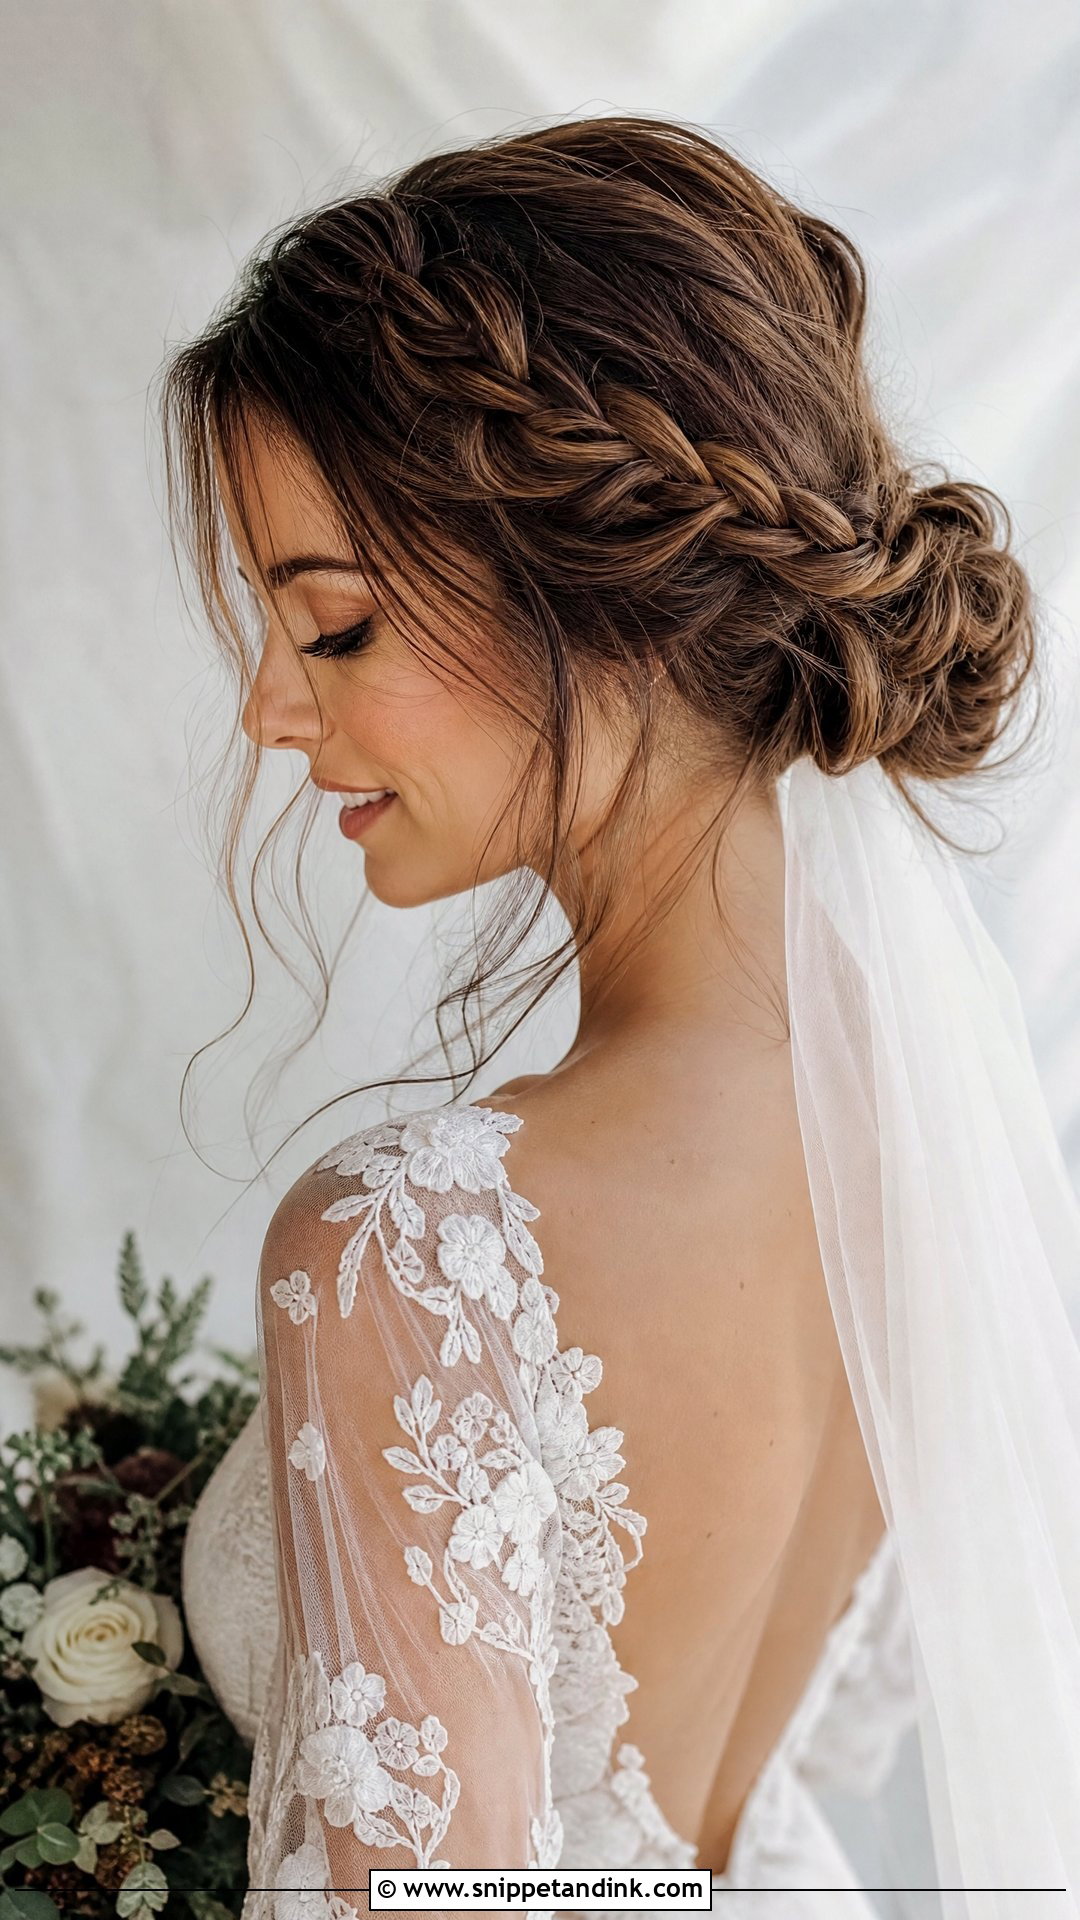
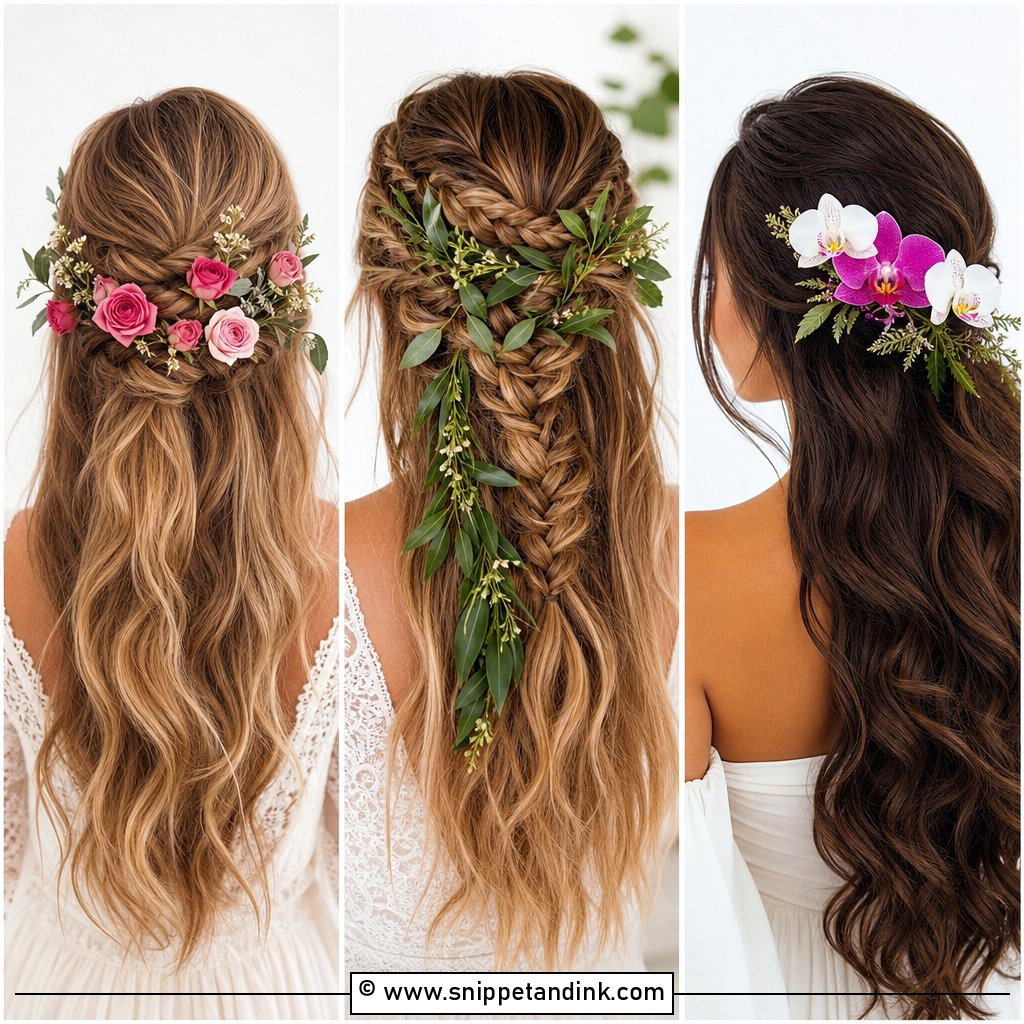
Loose, textured braids gathered into a low bun with height on top make a sturdy base for a veil, even though they look relaxed. The braids give the comb dozens of crossings to grip. I set the veil just above the bun so the volume on top stays visible through the tulle. Pull out a few wispy strands after the veil is in, not before, or the comb drags them back. Flowers tucked into the braids are lovely at rustic and beach weddings, but keep them clear of the comb so the tulle doesn’t snag on stems.
6. French Twist With Veil
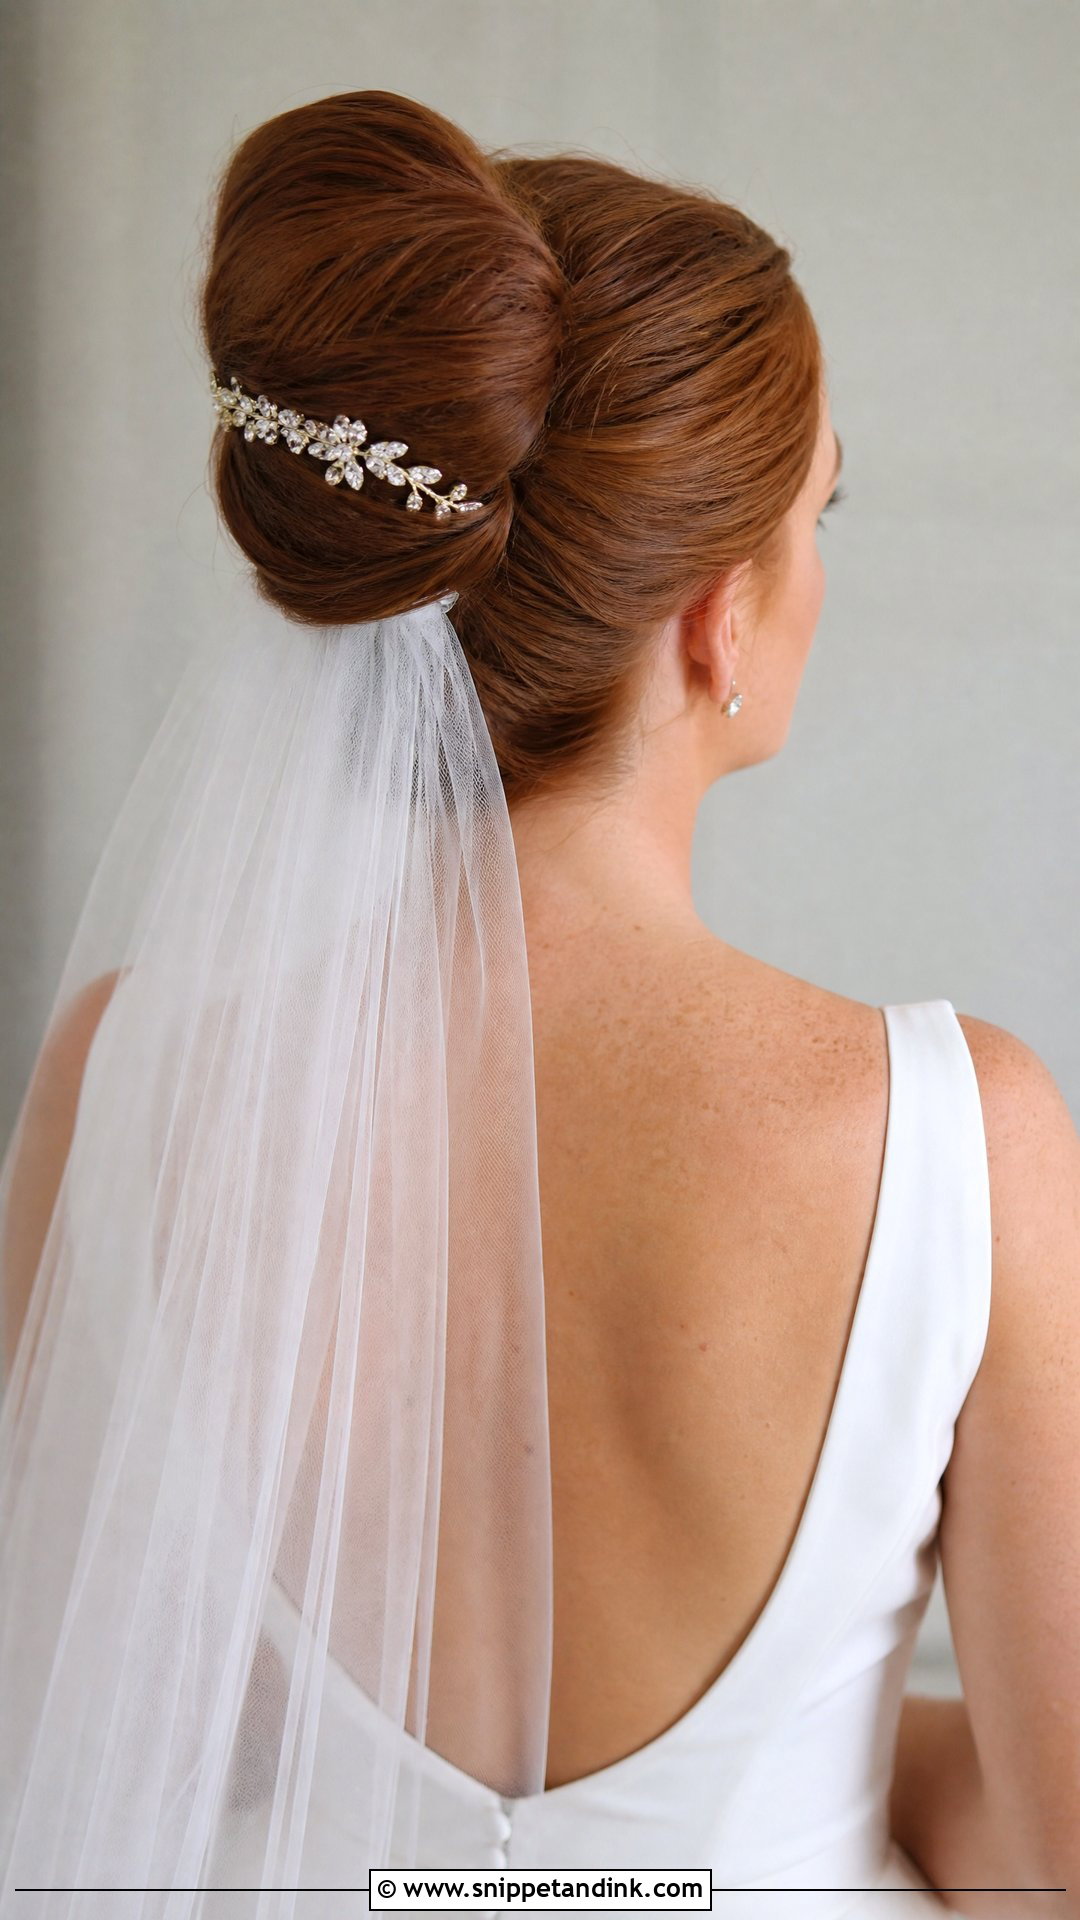
The vertical roll of a French twist forms a seam down the back of the head, and that seam is one of the best places to anchor a comb. I tuck it into the top of the twist so the veil falls straight behind. The structured shape holds short and long veils equally well, and it leaves the gown’s neckline and back detail completely clear. A sparkling comb at the base is a nice touch, but only if the veil comb above it is plain, or the two compete. It belongs at formal, classic weddings.
7. Half Up With Cathedral Veil
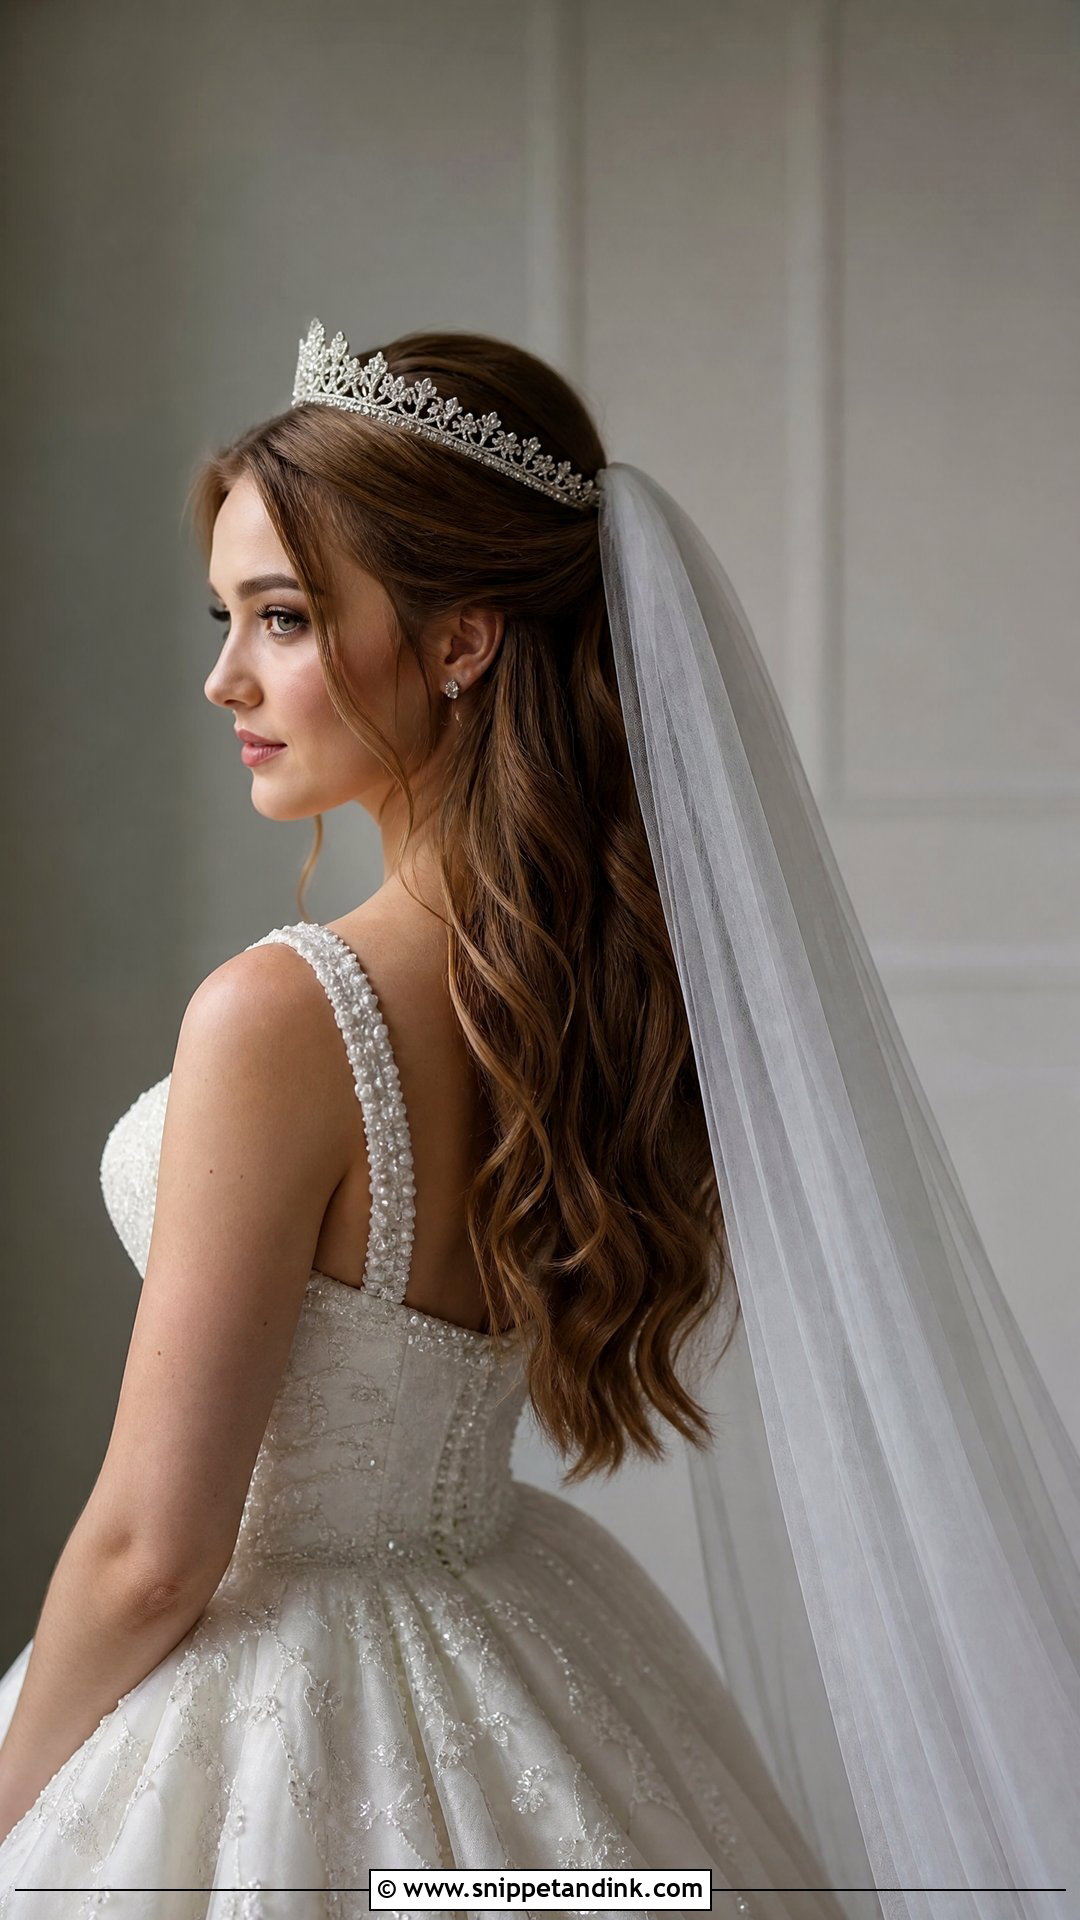
A dramatic cathedral veil is heavy, and it pulls backward every time you take a step. Half-up hair gives it the anchor it needs: the top is pinned firmly at the crown, the comb goes into that section, and the bottom half stays in soft waves. For this length I always add a second row of crossed pins under the comb, because a cathedral veil dragging along an aisle carpet will lever out a comb held by hair alone. It’s made for grand churches and ballrooms, and the aisle walk is where it shows best.
8. Messy Bun With Veil
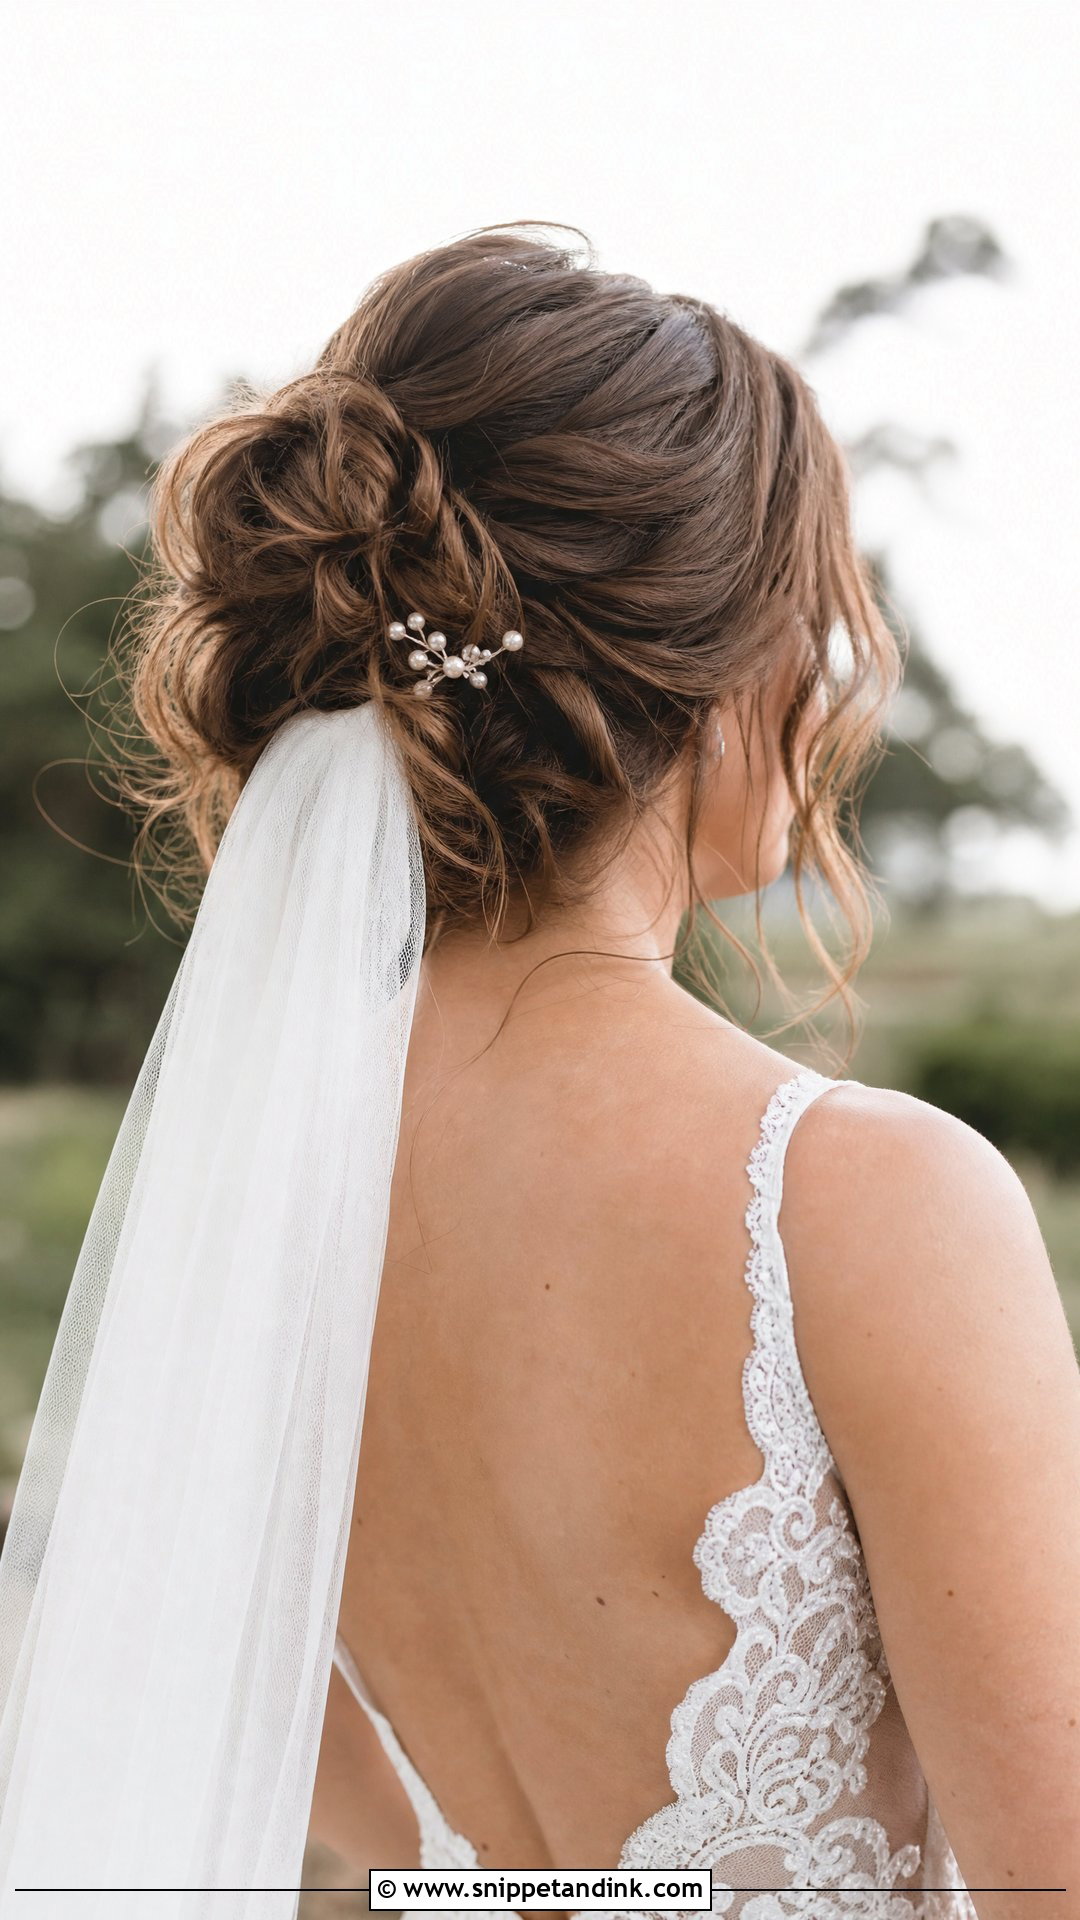
The messy bun is relaxed and textured, with soft tendrils at the face, and the veil tucks underneath it for a casual drape. This is a good match for boho and outdoor weddings, but I make the bun look messier than it really is. Underneath the loose surface, the base is pinned tight, because a genuinely loose bun shifts under a veil’s weight within an hour. A small floral or pearl pin hides any visible comb teeth. Choose a lighter, single-layer veil here; a heavy one makes the bun look crushed.
9. Sleek Low Ponytail With Veil
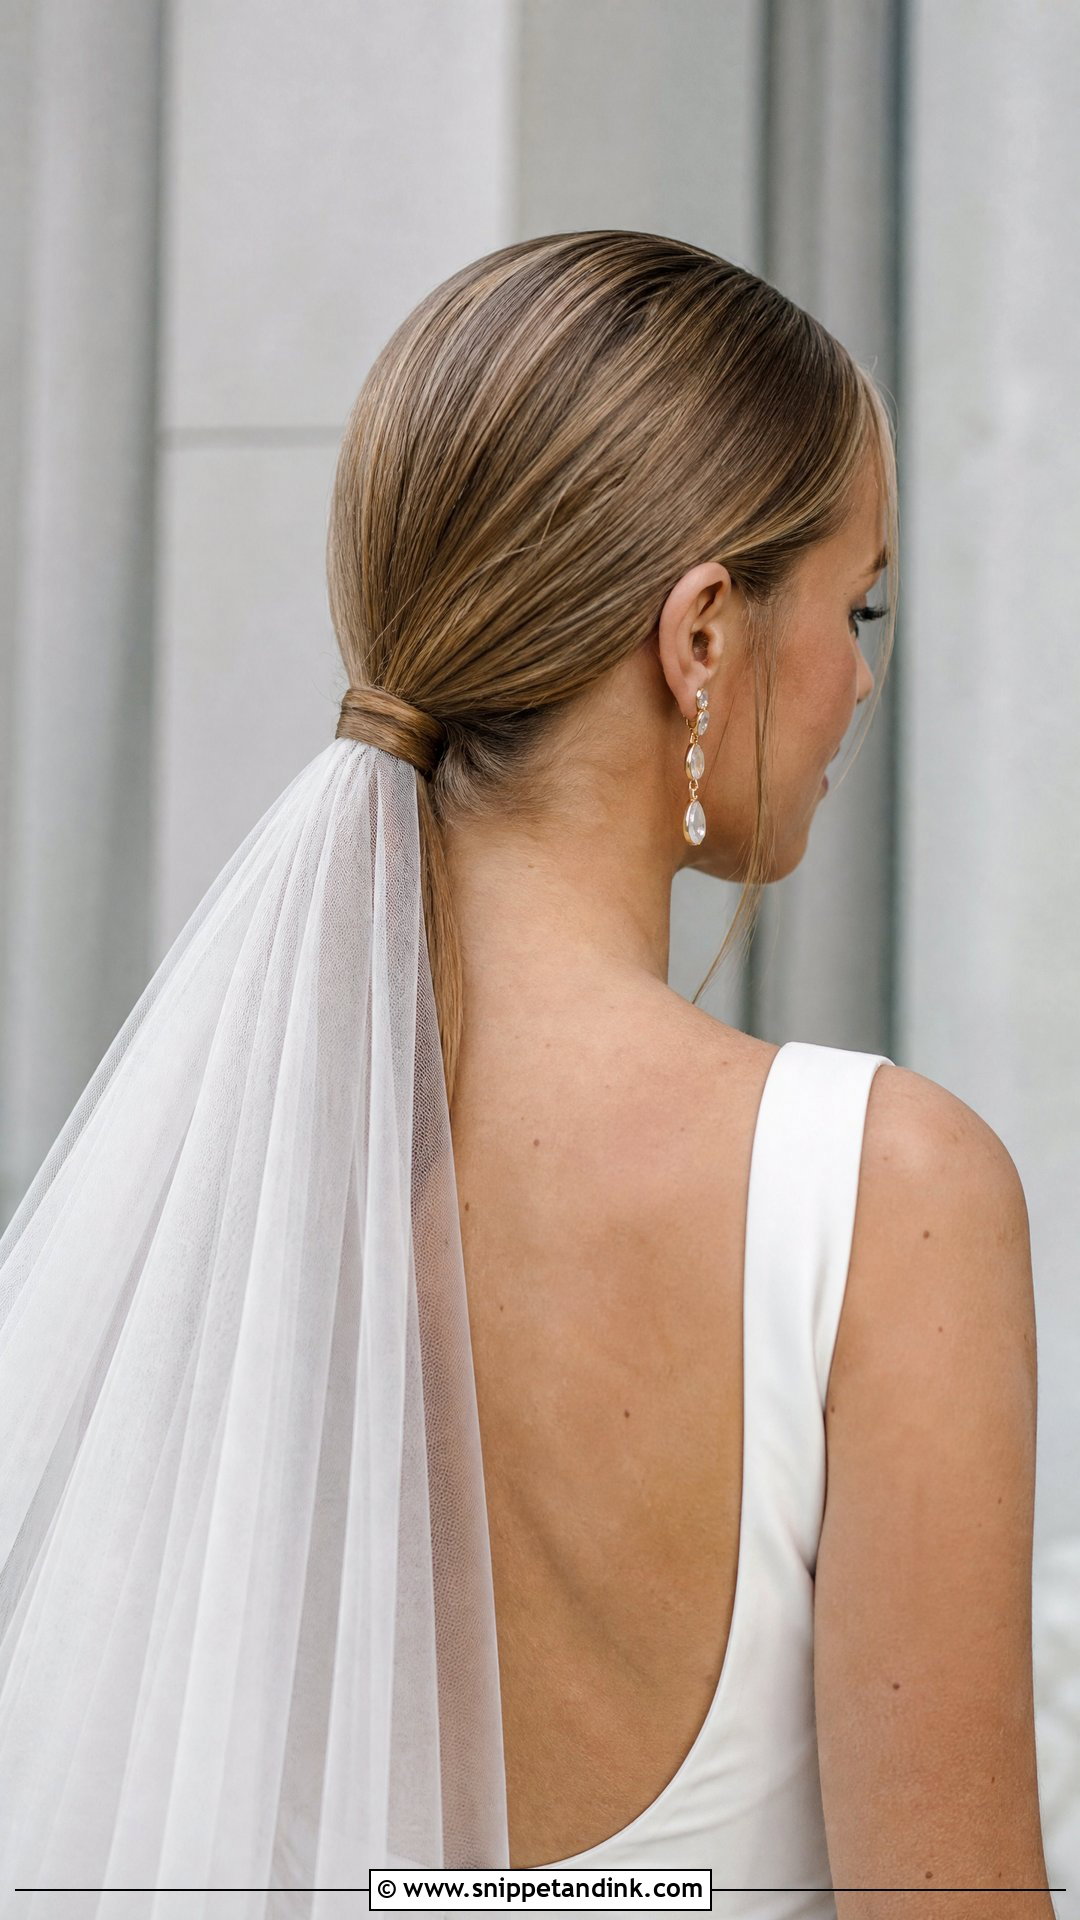
A low ponytail at the nape is sleek and contemporary, and the veil attaches just above where the ponytail starts. Serum and a smooth brush give the glossy surface, and a strand wrapped around the elastic hides it. The challenge is grip. Smooth, straight hair gives a comb very little to hold, so I tease a small hidden section above the ponytail base and slide the comb into that. It suits minimalist weddings and brides who want their jawline and earrings on show.
10. Curly Hair Down With Veil
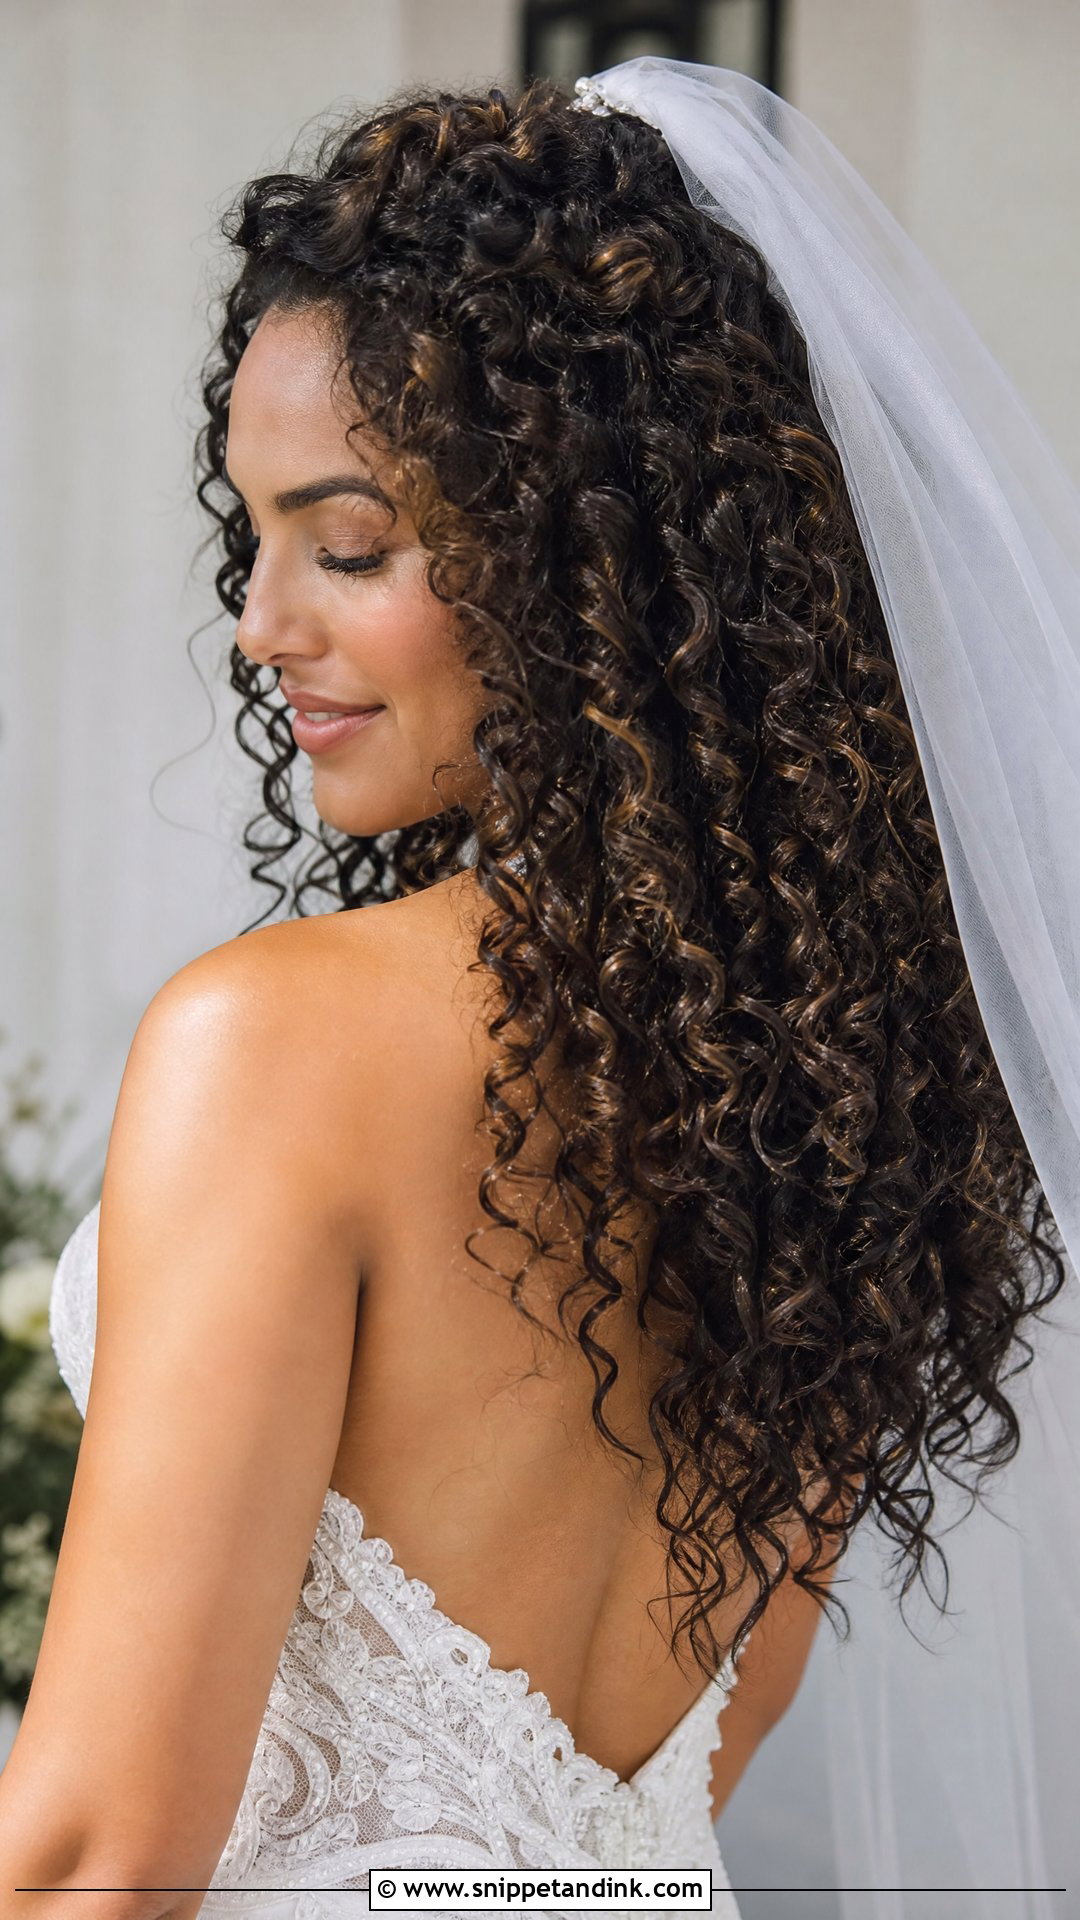
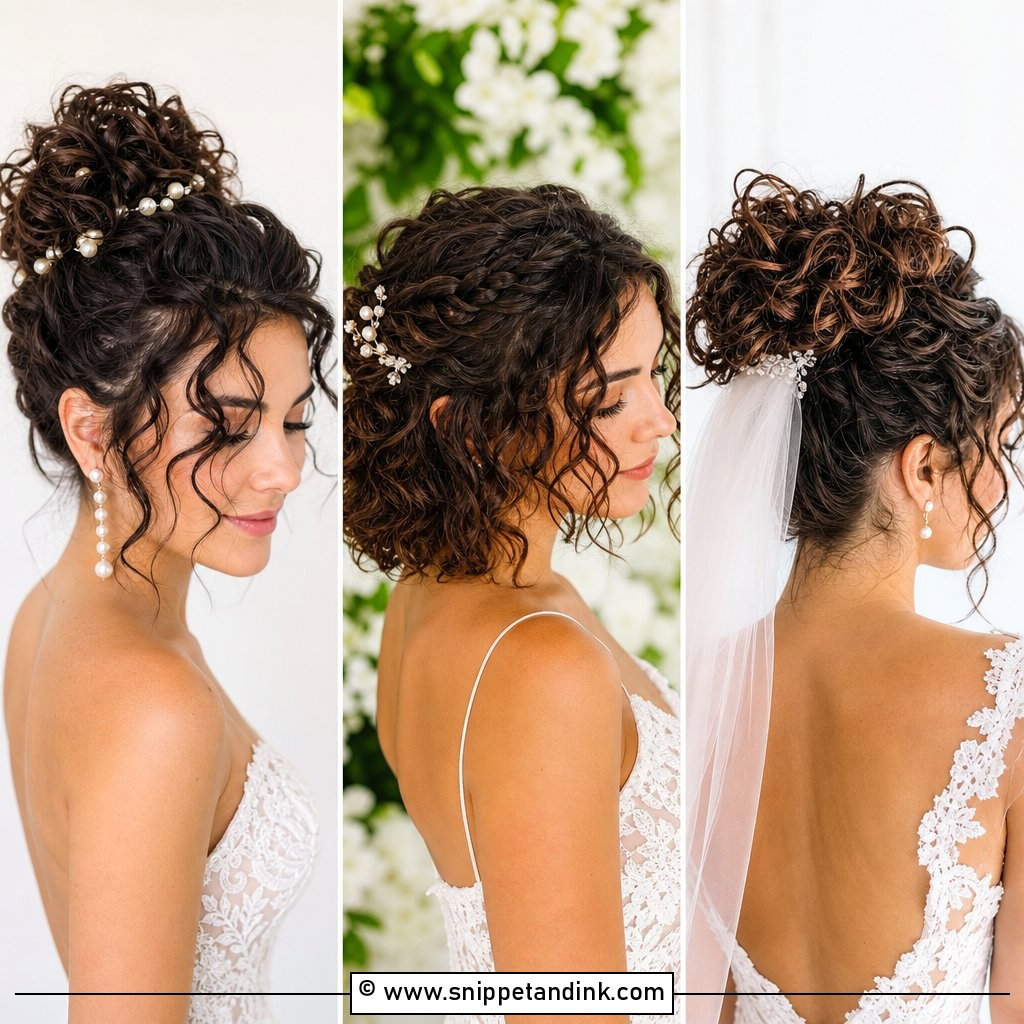
Natural curls worn down with a veil show off your real texture. The veil sits at the crown and drapes over the curls rather than flattening them, provided the tulle is light. I define curls with a lightweight cream on wash day and refresh with water on the morning, never a brush. For the comb, I work it in gently along the curl direction so it doesn’t break up the pattern, then secure it with pins that match your hair color. It’s a joyful, personal choice for outdoor and small weddings.
11. Side Swept Curls With Veil
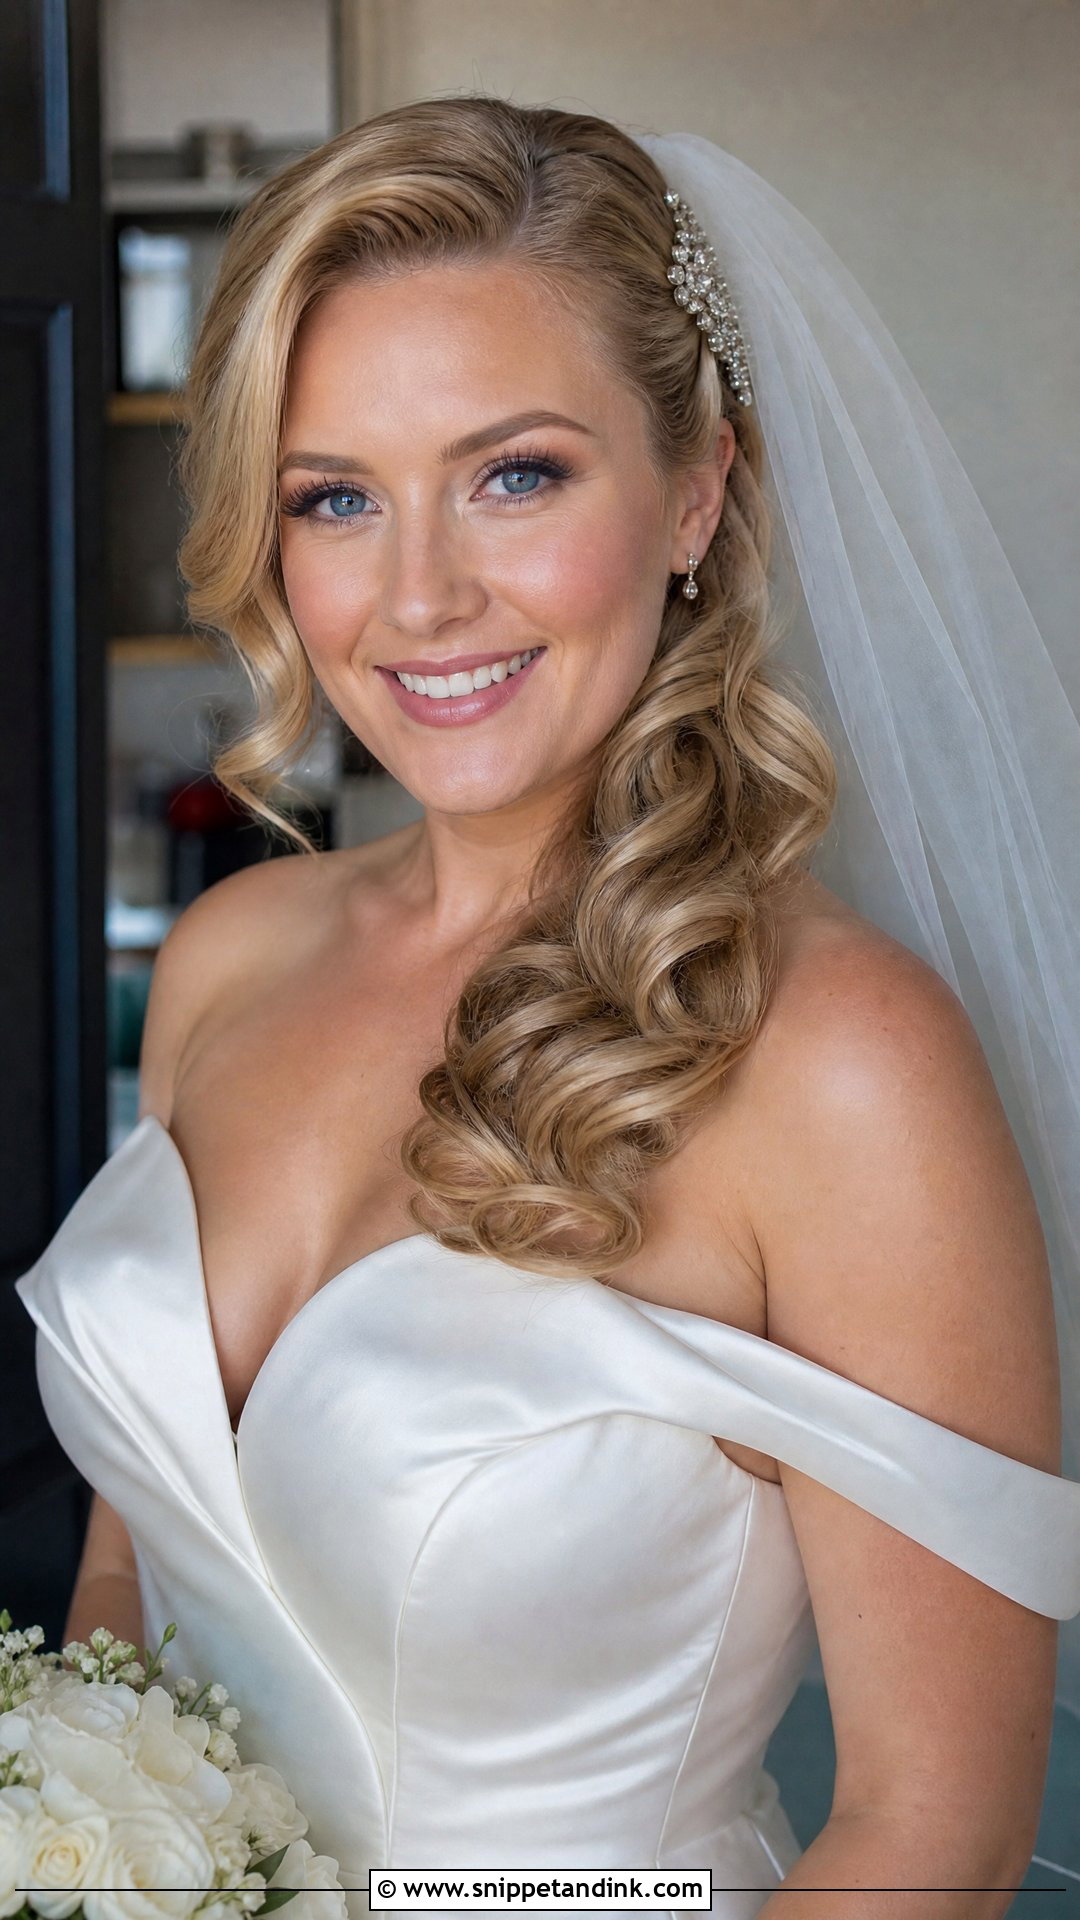
Curls swept over one shoulder give an old Hollywood outline and show off your neckline and earrings on the bare side. The veil goes on the opposite side of the crown, which balances the weight of the swept hair. I secure the sweep with crossed pins at the nape before adding the veil, because a side style always wants to slide toward its heavy side. Medium to long hair is needed. A sparkling clip at the gather looks good, and the profile shots are where this pairing really pays off.
12. Braided Crown With Veil
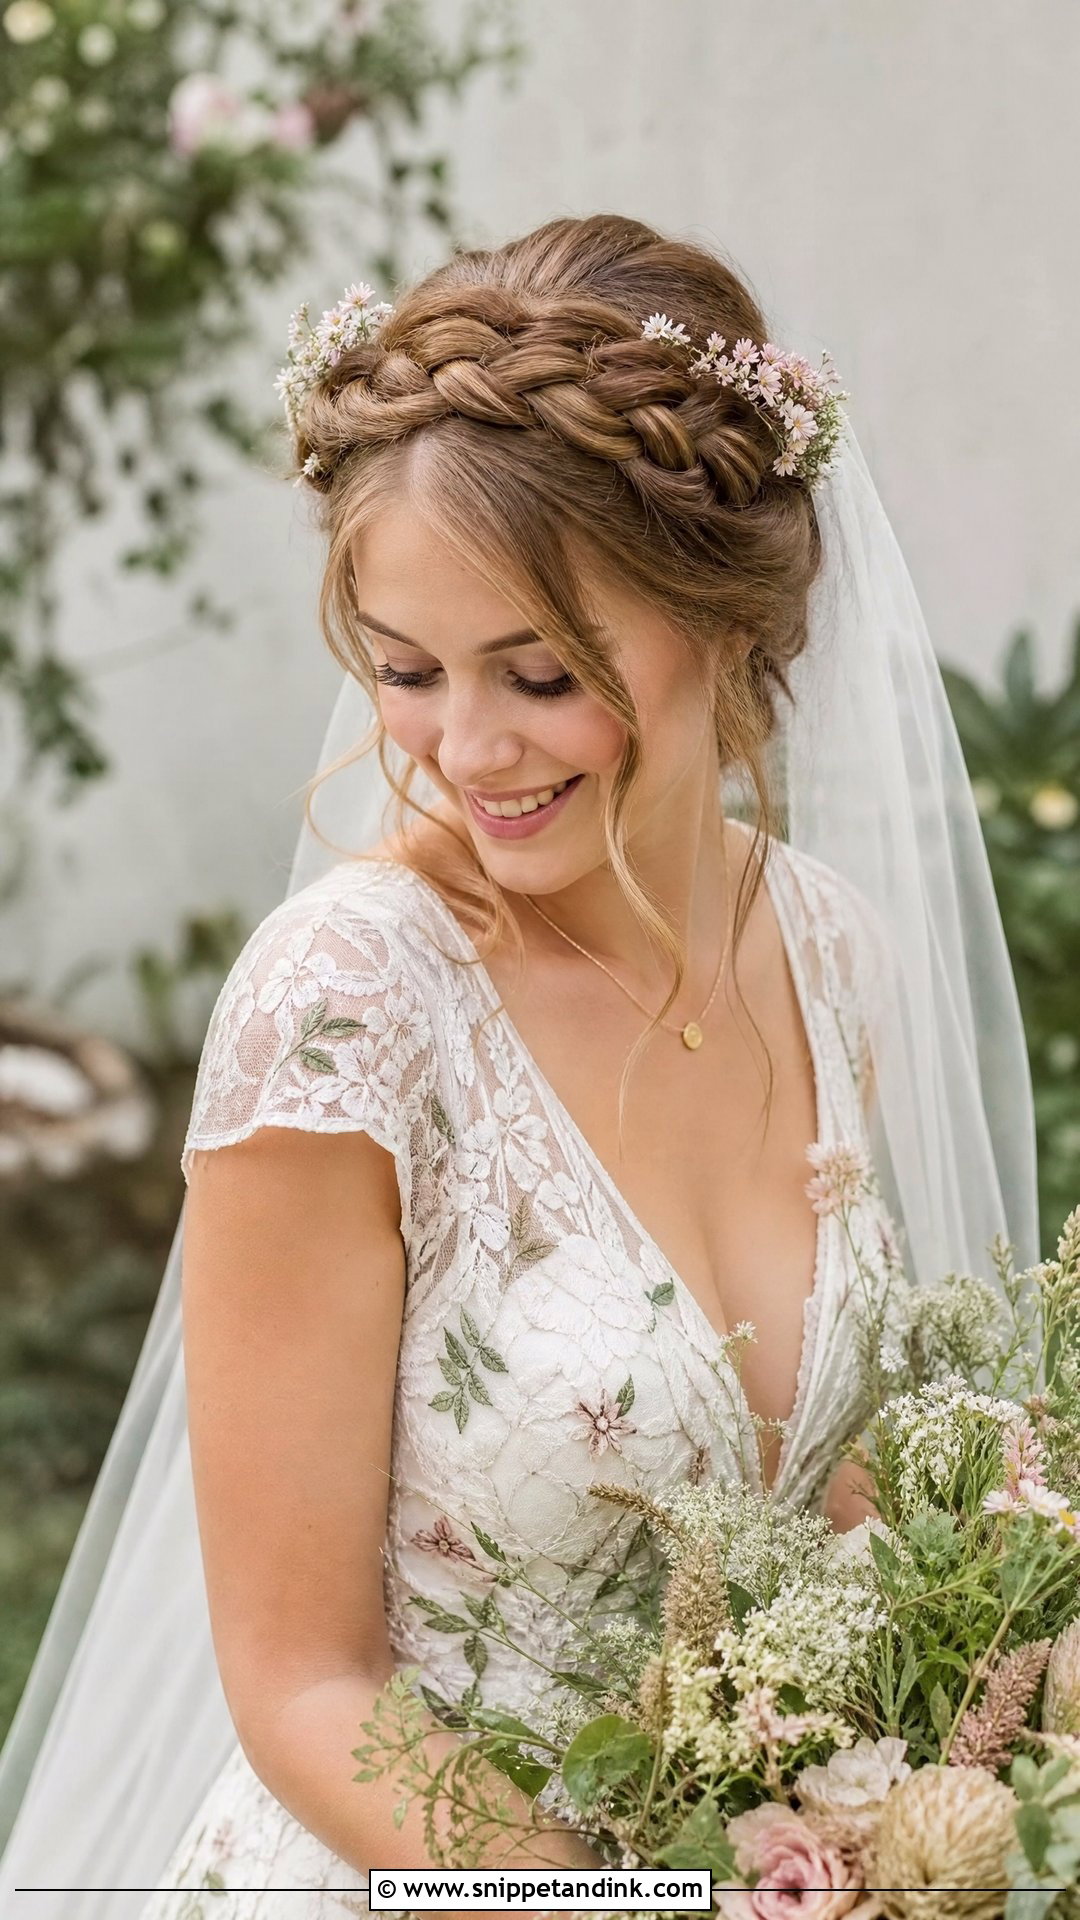
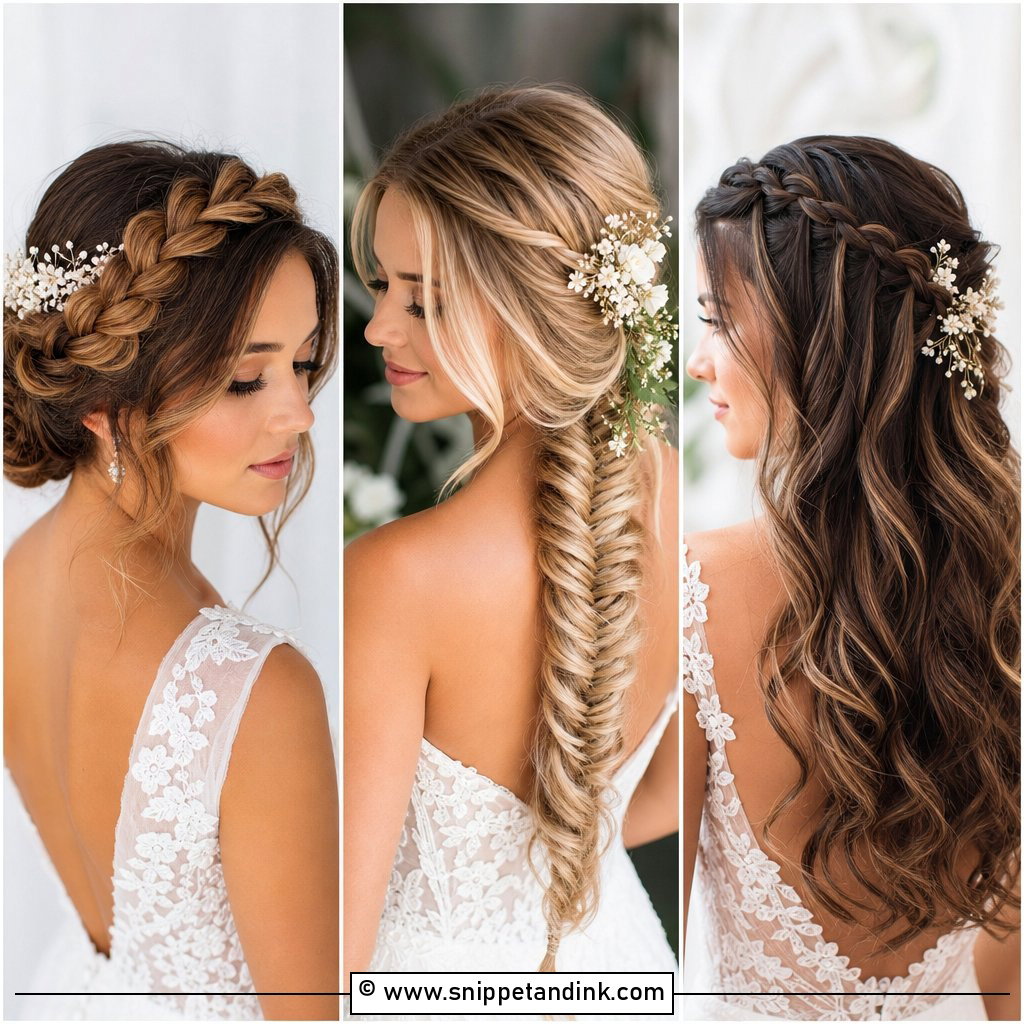
Here, braids encircling the crown form a natural halo, and the veil attaches beneath the braid at the back, so the braid stays visible on top. That placement is the reason this works: a comb pushed through the braid itself would distort it. The rest of the hair can be left in waves or gathered into a low bun. Flowers tucked into the braid suit garden weddings. It needs long hair; shorter hair can do two braids pinned across instead.
13. Vintage Finger Waves With Veil
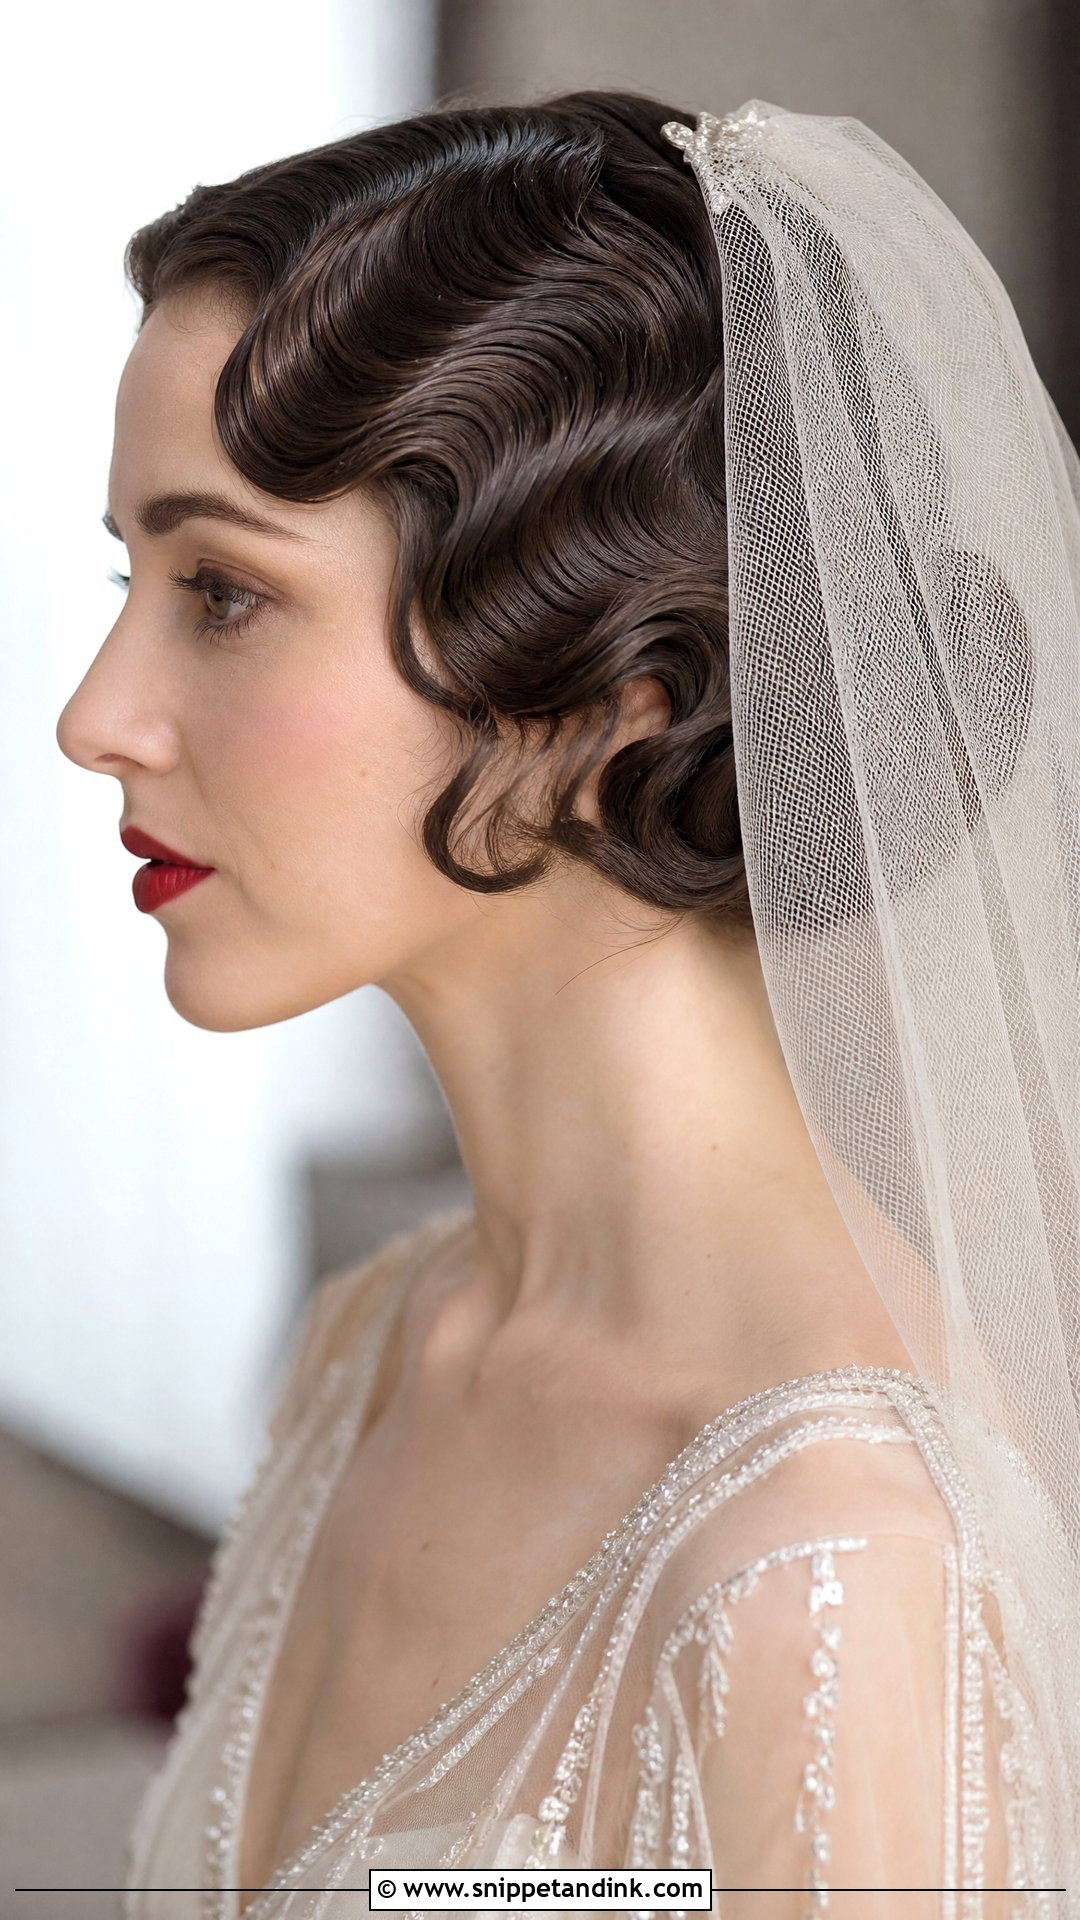
Finger waves are sculpted S-shapes set close to the head, a 1920s style with real structure. They look best with a sleek, plain veil attached at the crown, because heavy lace hides the waves. Set them wet with gel and clips and let them dry fully, or set with a flat iron on dry hair if your hair won’t hold a wet set. The comb has to go in gently without disturbing the ridges; I usually place it where the waves meet at the back. It suits vintage themes and formal weddings, and it shows off cheekbones.
14. Top Knot With Veil
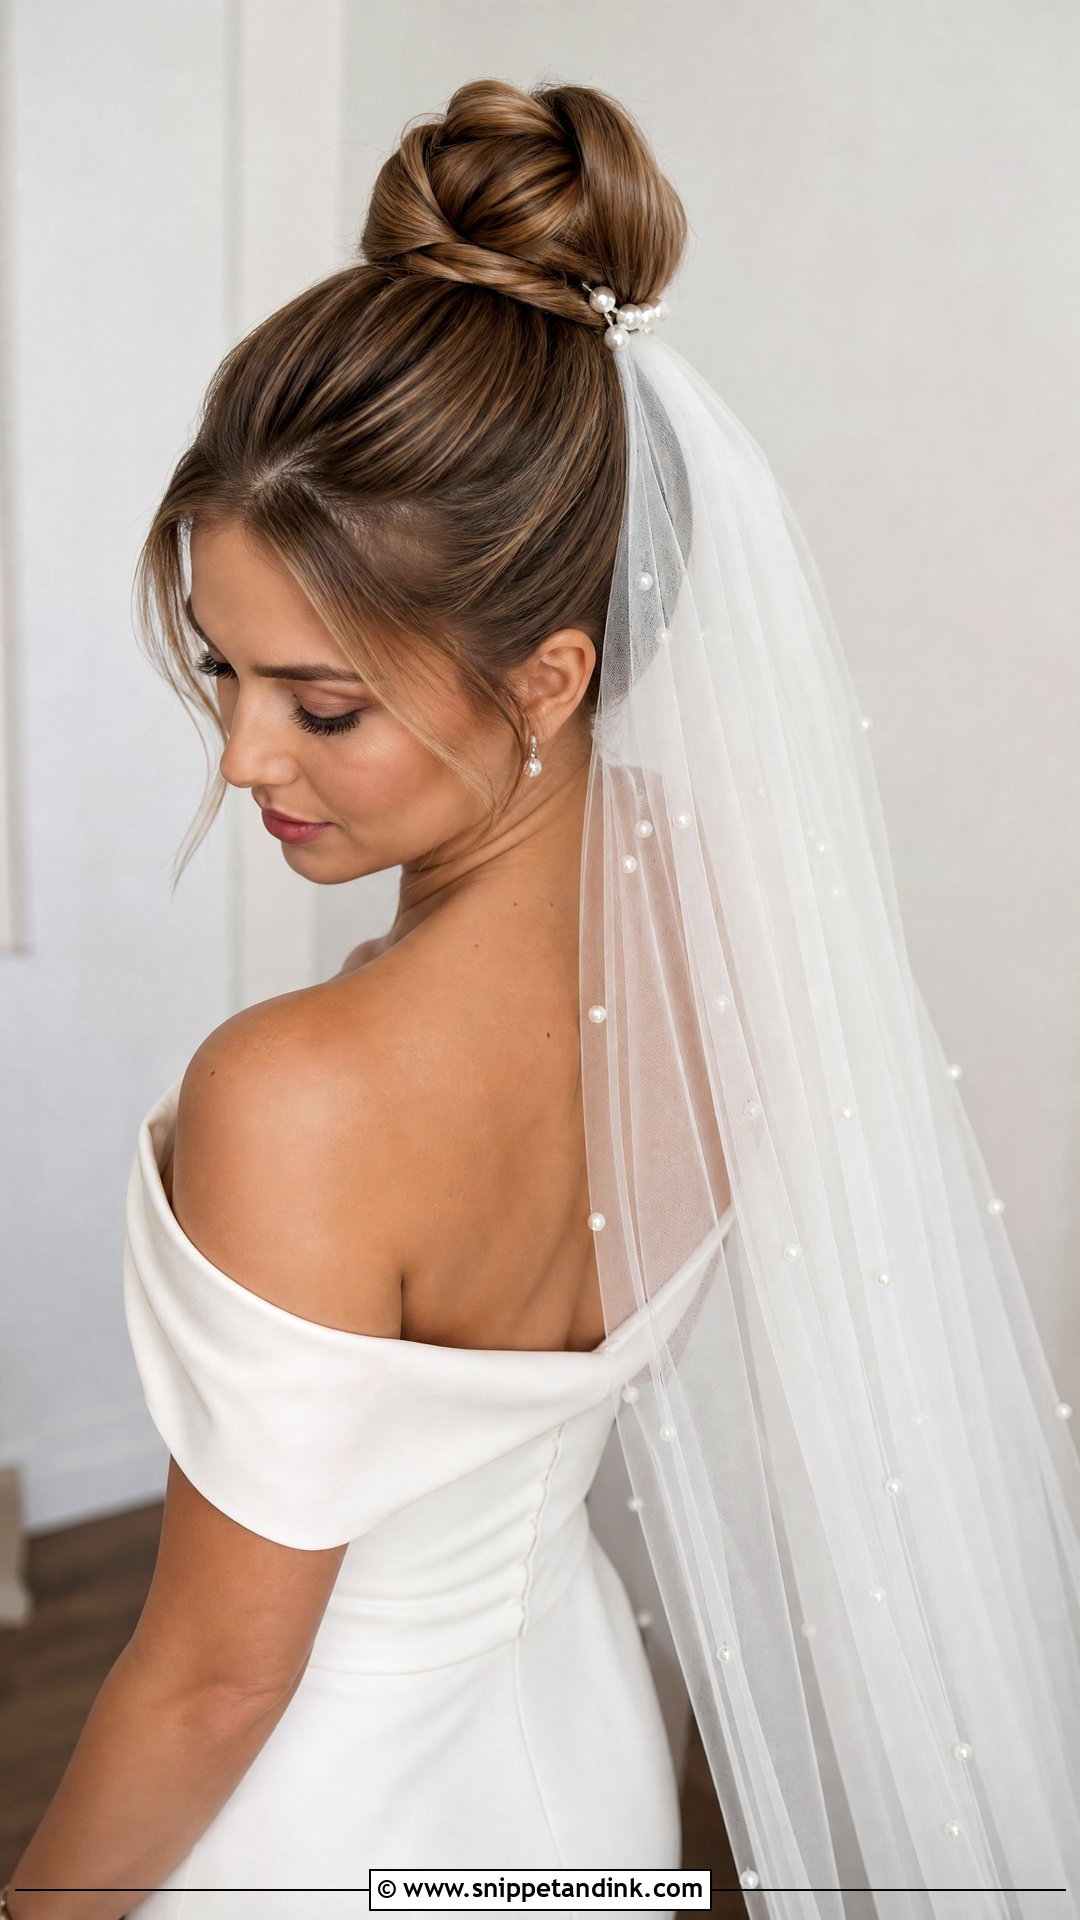
A high, sculpted knot at the crown gives a contemporary line, with the veil attaching just beneath it and falling down the back. The knot itself works as a sturdy anchor, so this holds well through dancing. Smooth back flyaways for a clean finish, and add a single pearl pin if you want a little shine. I’d keep the veil fairly light here, since all the weight hangs from one high point. It suits city weddings and minimalist gowns.
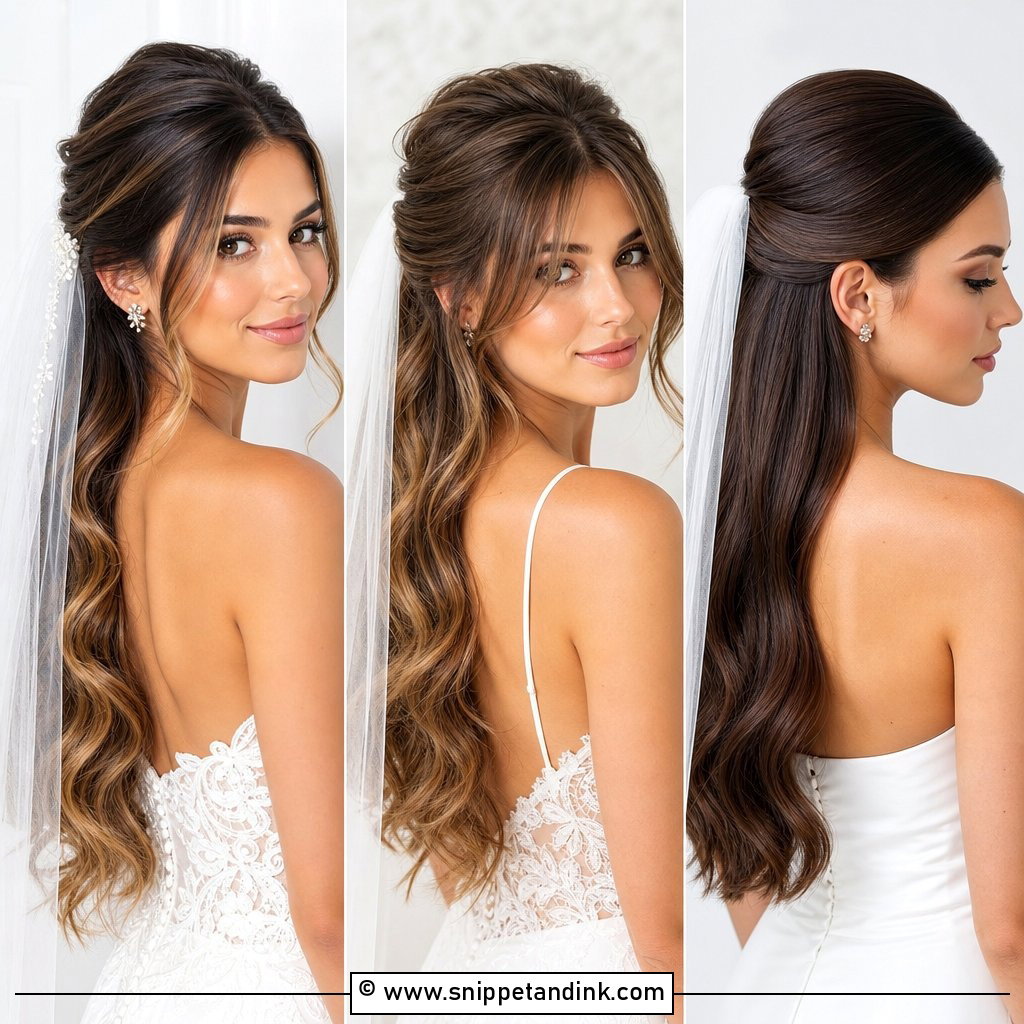
15. Loose Waves With Birdcage Veil
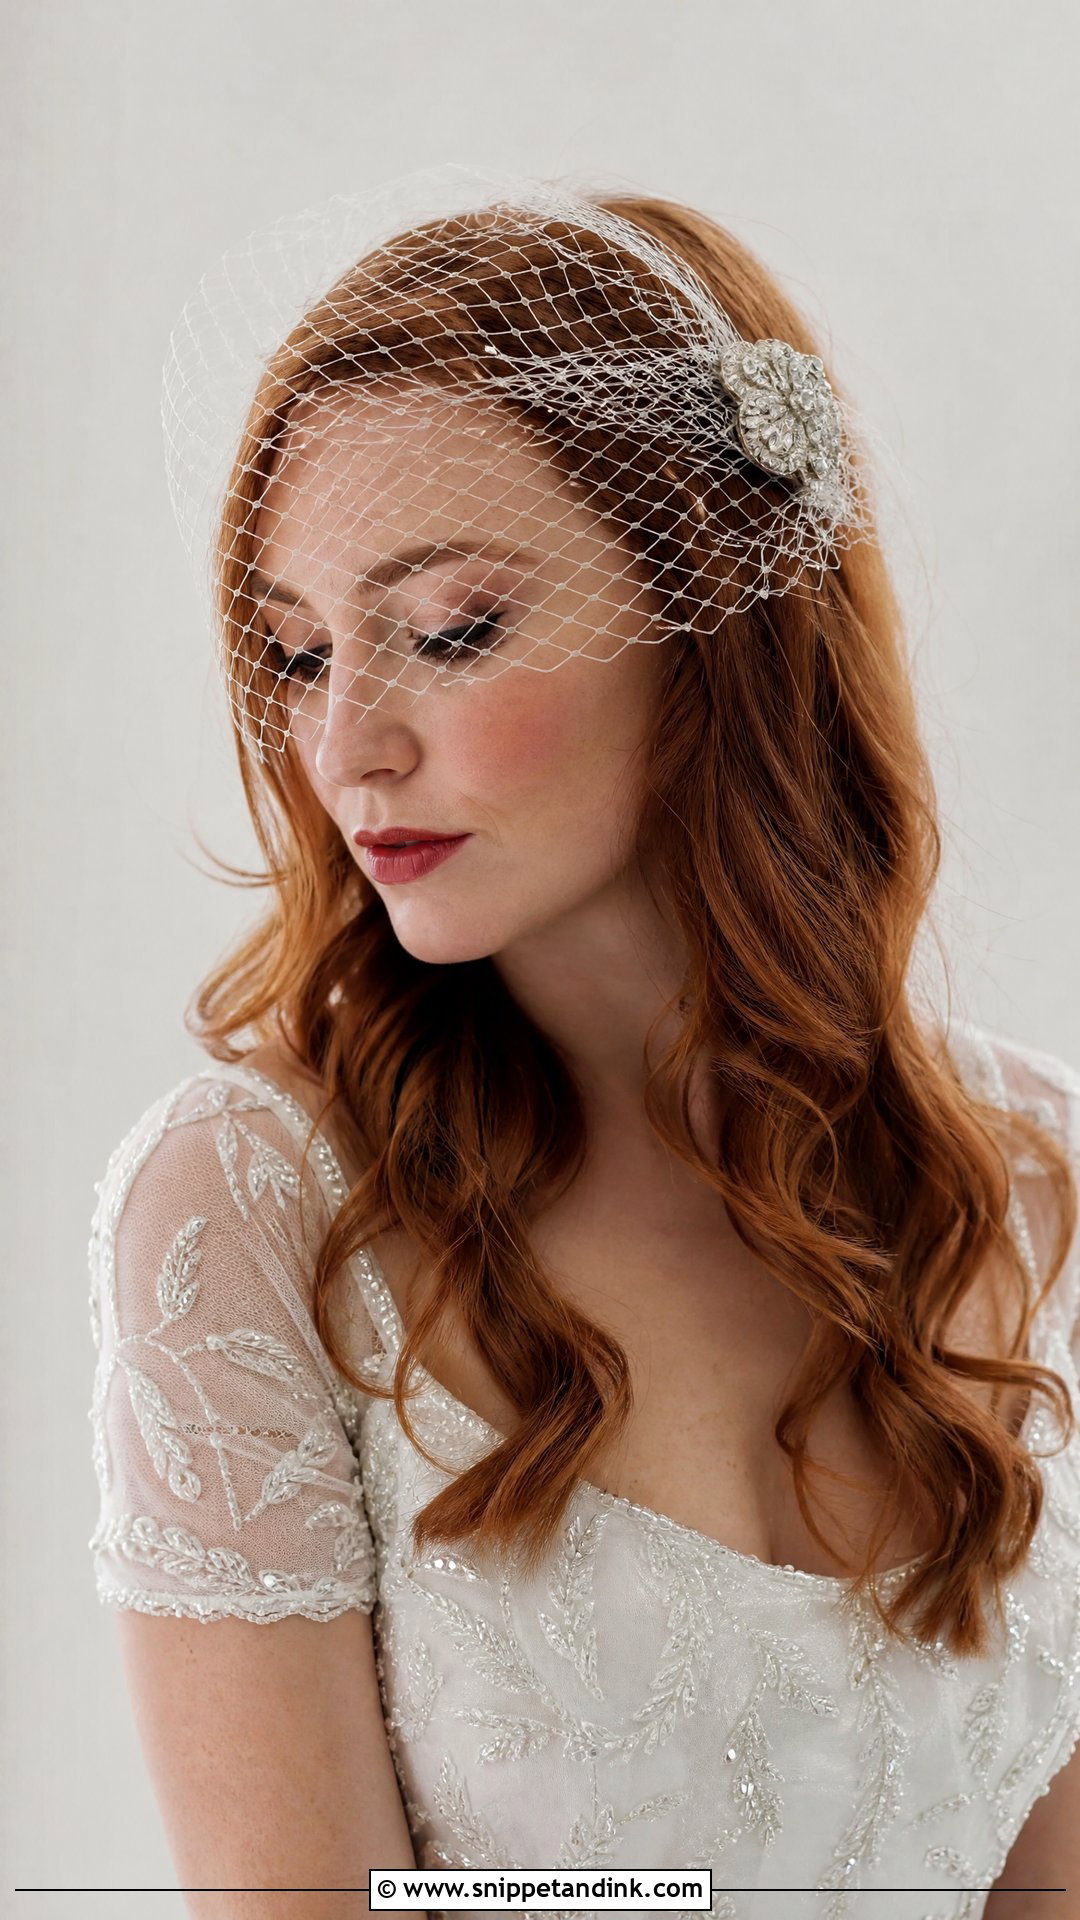
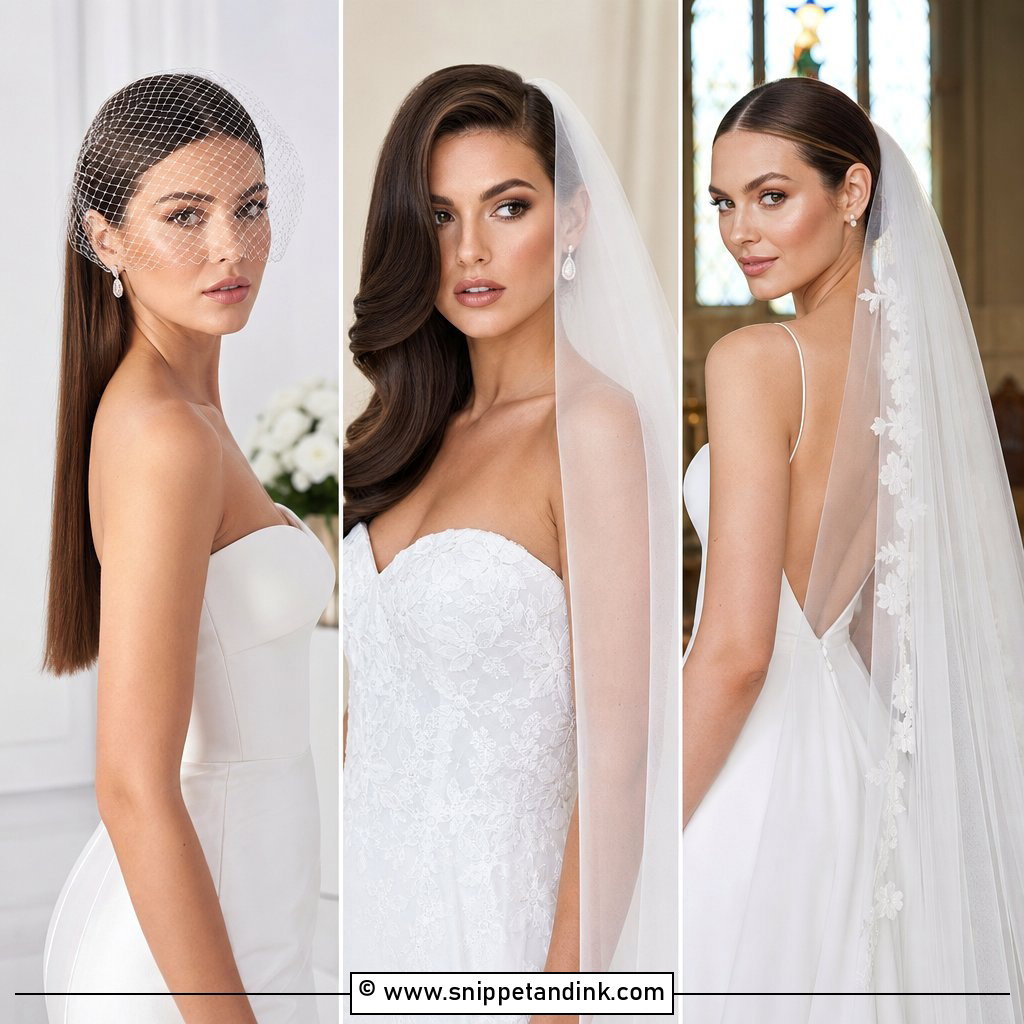
A short birdcage veil with loose waves feels vintage without being costume. The netting covers part of the face and attaches with a comb at the side or front of the hair, which makes this the one veil on the list that sits forward rather than back. Brides who love retro elegance and short veils tend to pick it. I set a hidden anchor at the side part for the comb, since loose waves alone let it tilt. It’s well suited to courthouse and small weddings, and a vintage brooch can sit beside the comb.
16. Low Bun With Floral Veil
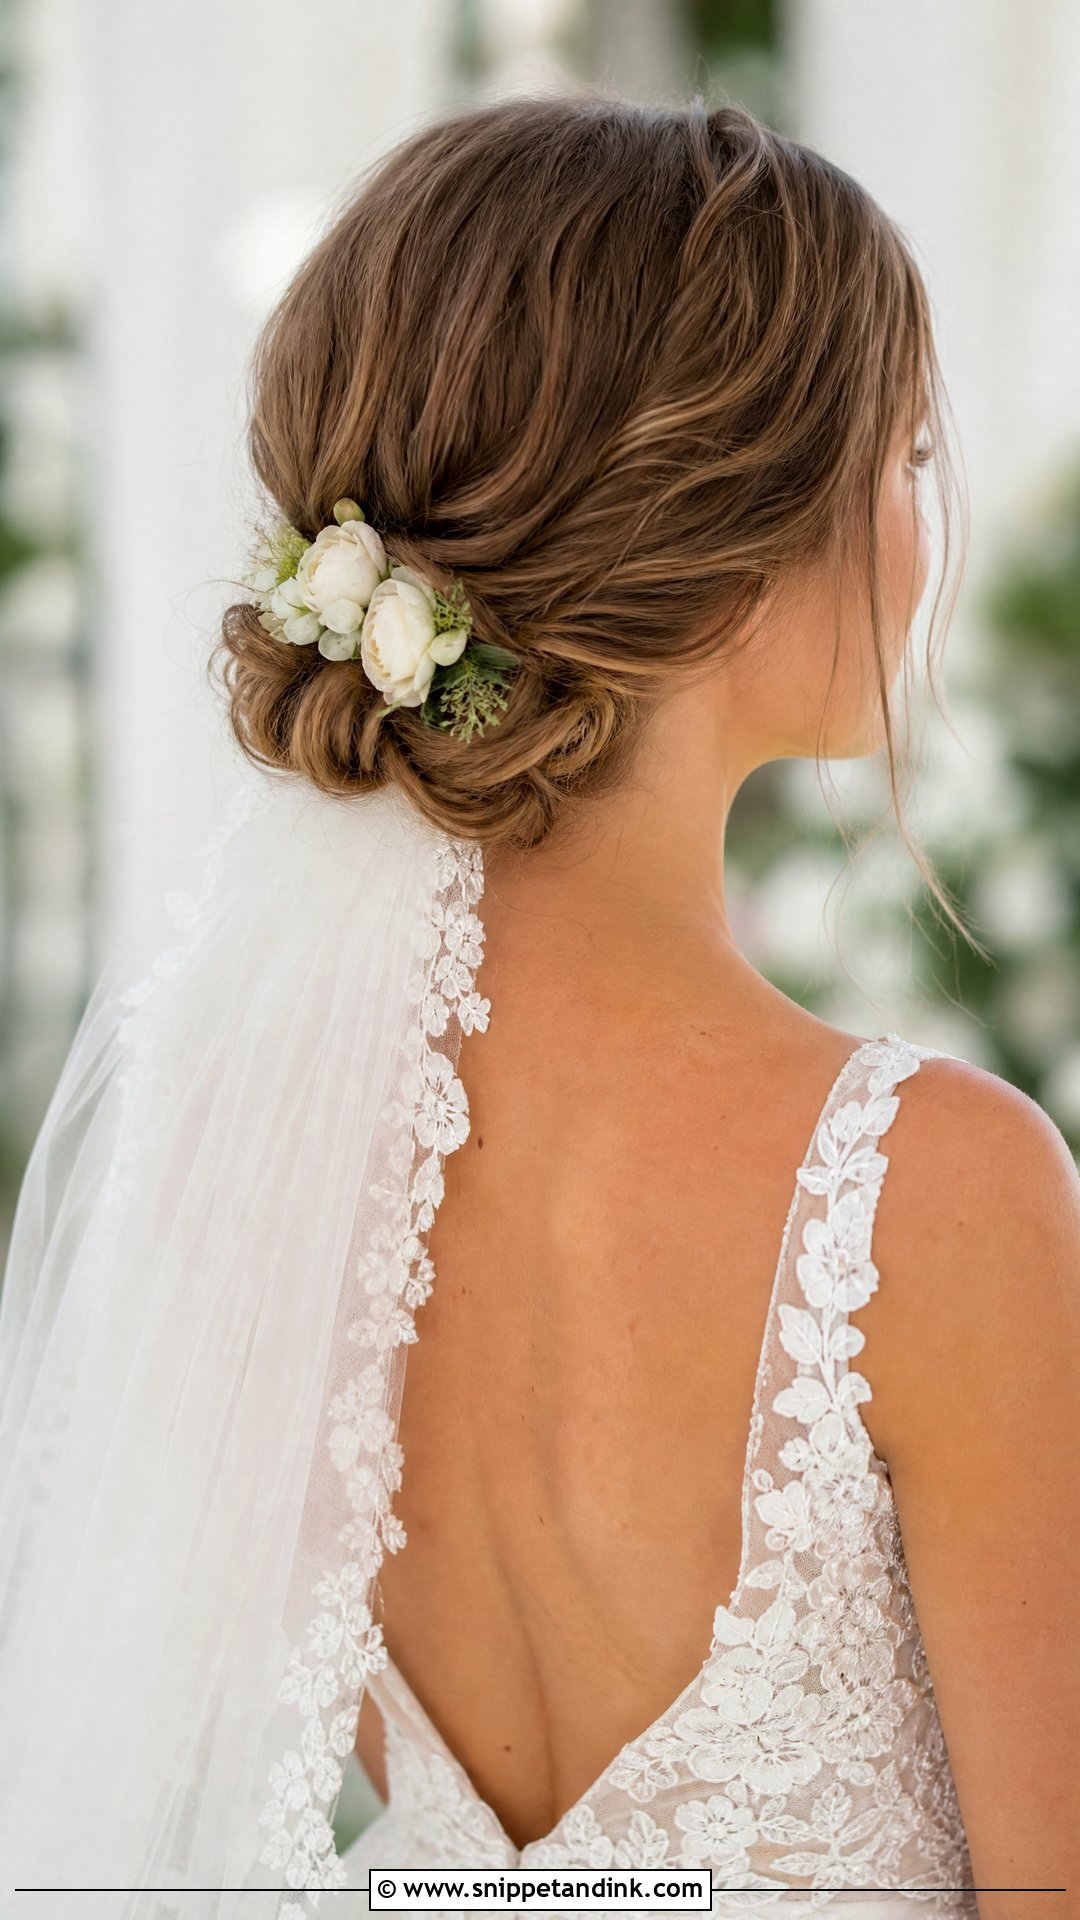
A low bun with floral accents brings garden romance, with the veil draping over the bun and fresh or silk flowers tucked in. Here’s the practical point: fresh flowers wilt and flatten under tulle, so I place them around the sides of the bun where the veil doesn’t rest. Silk flowers are more reliable if you’re keeping the veil on for hours. It suits spring and summer weddings, and a few loose face-framing pieces soften it.
17. Sleek Straight Hair With Veil
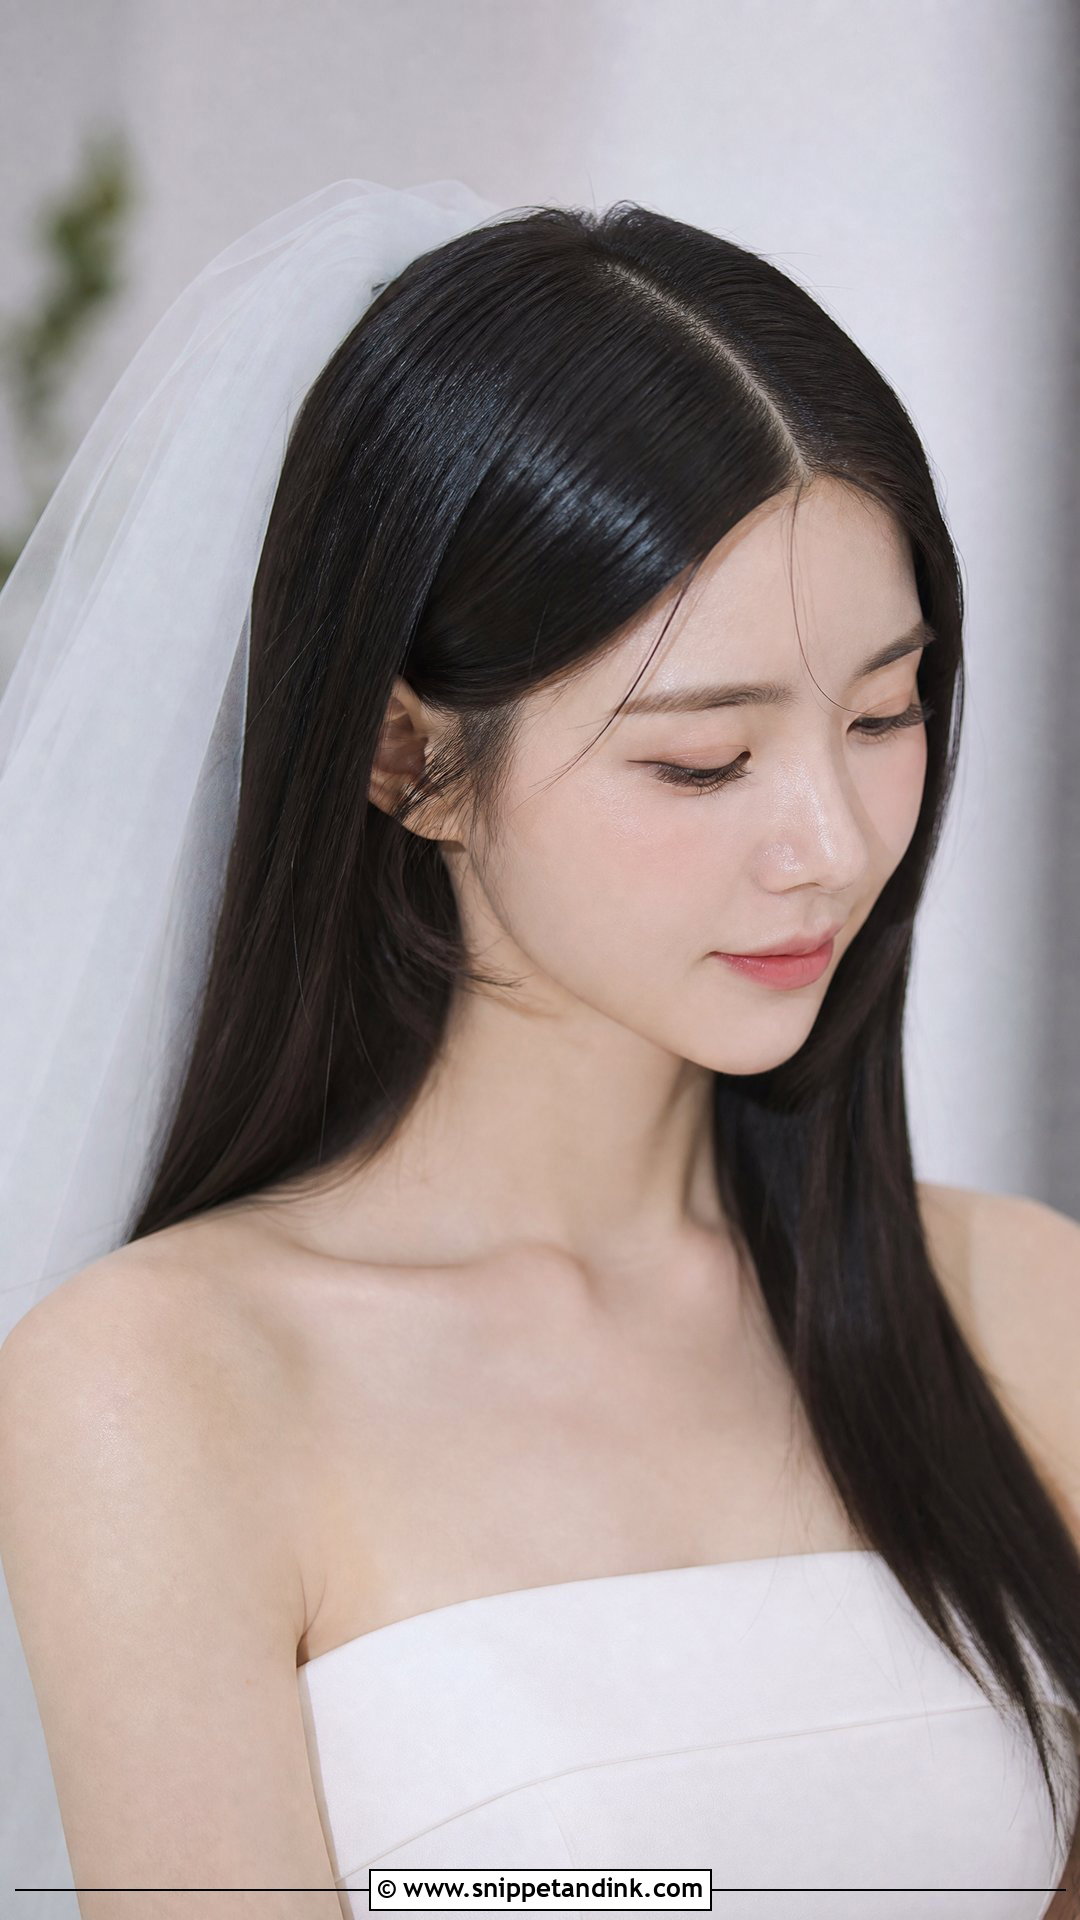
Straight, glossy hair worn down with a center part is minimalist and clean. The veil attaches at the crown, but straight hair is slippery, so I tease a small section under the top layer and anchor the comb there. A smoothing serum gives the shine. Expect static: tulle can stick to very fine, straight hair, so a light mist of hairspray on your palms smoothed over the surface helps. It works for modern and city weddings.
18. Twisted Updo With Veil
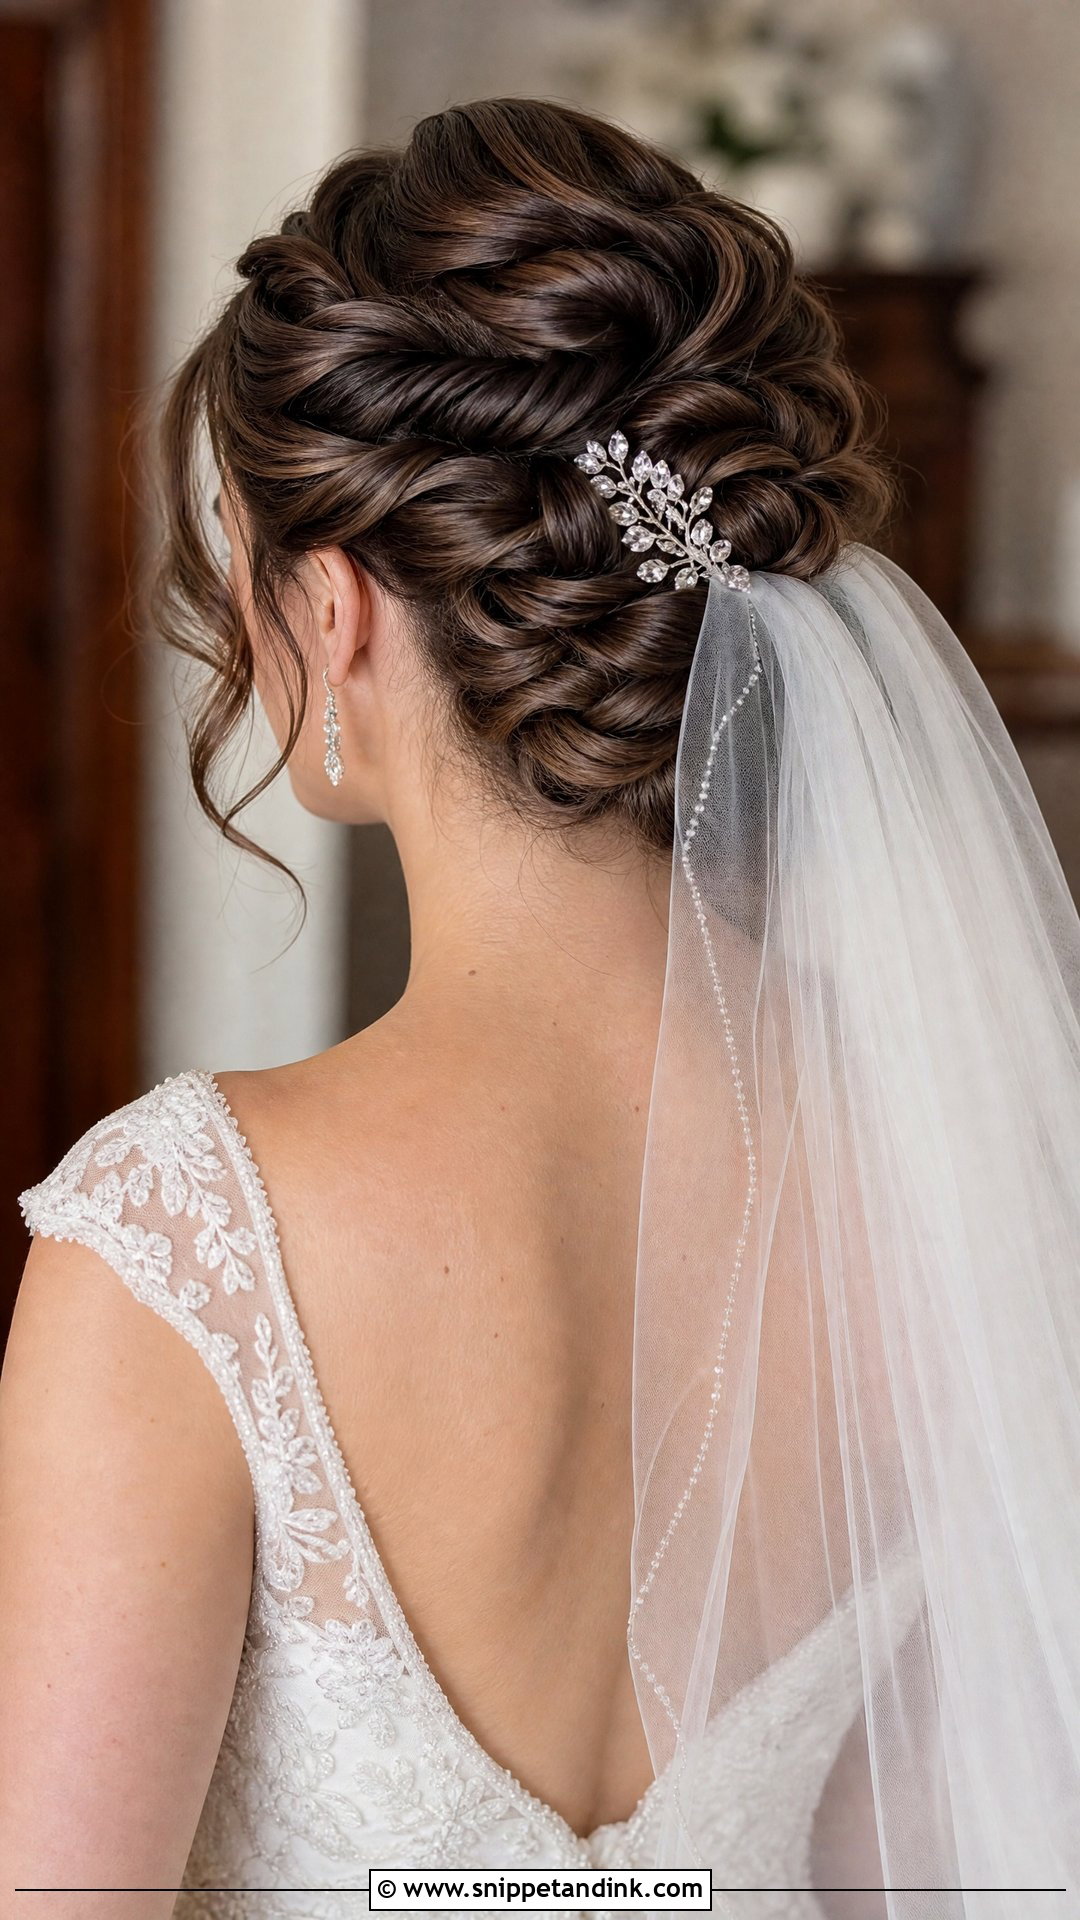
Twisted sections gathered into a sculptural bun give texture and plenty of grip. The veil tucks securely beneath or above the twists, depending on whether you want the twists hidden or shown. I prefer it below, so all that detail stays visible. Pull out a few soft pieces at the face. It suits formal and semi-formal weddings, and it shows off the gown’s neckline and back detail.
19. Half Up Braid With Veil
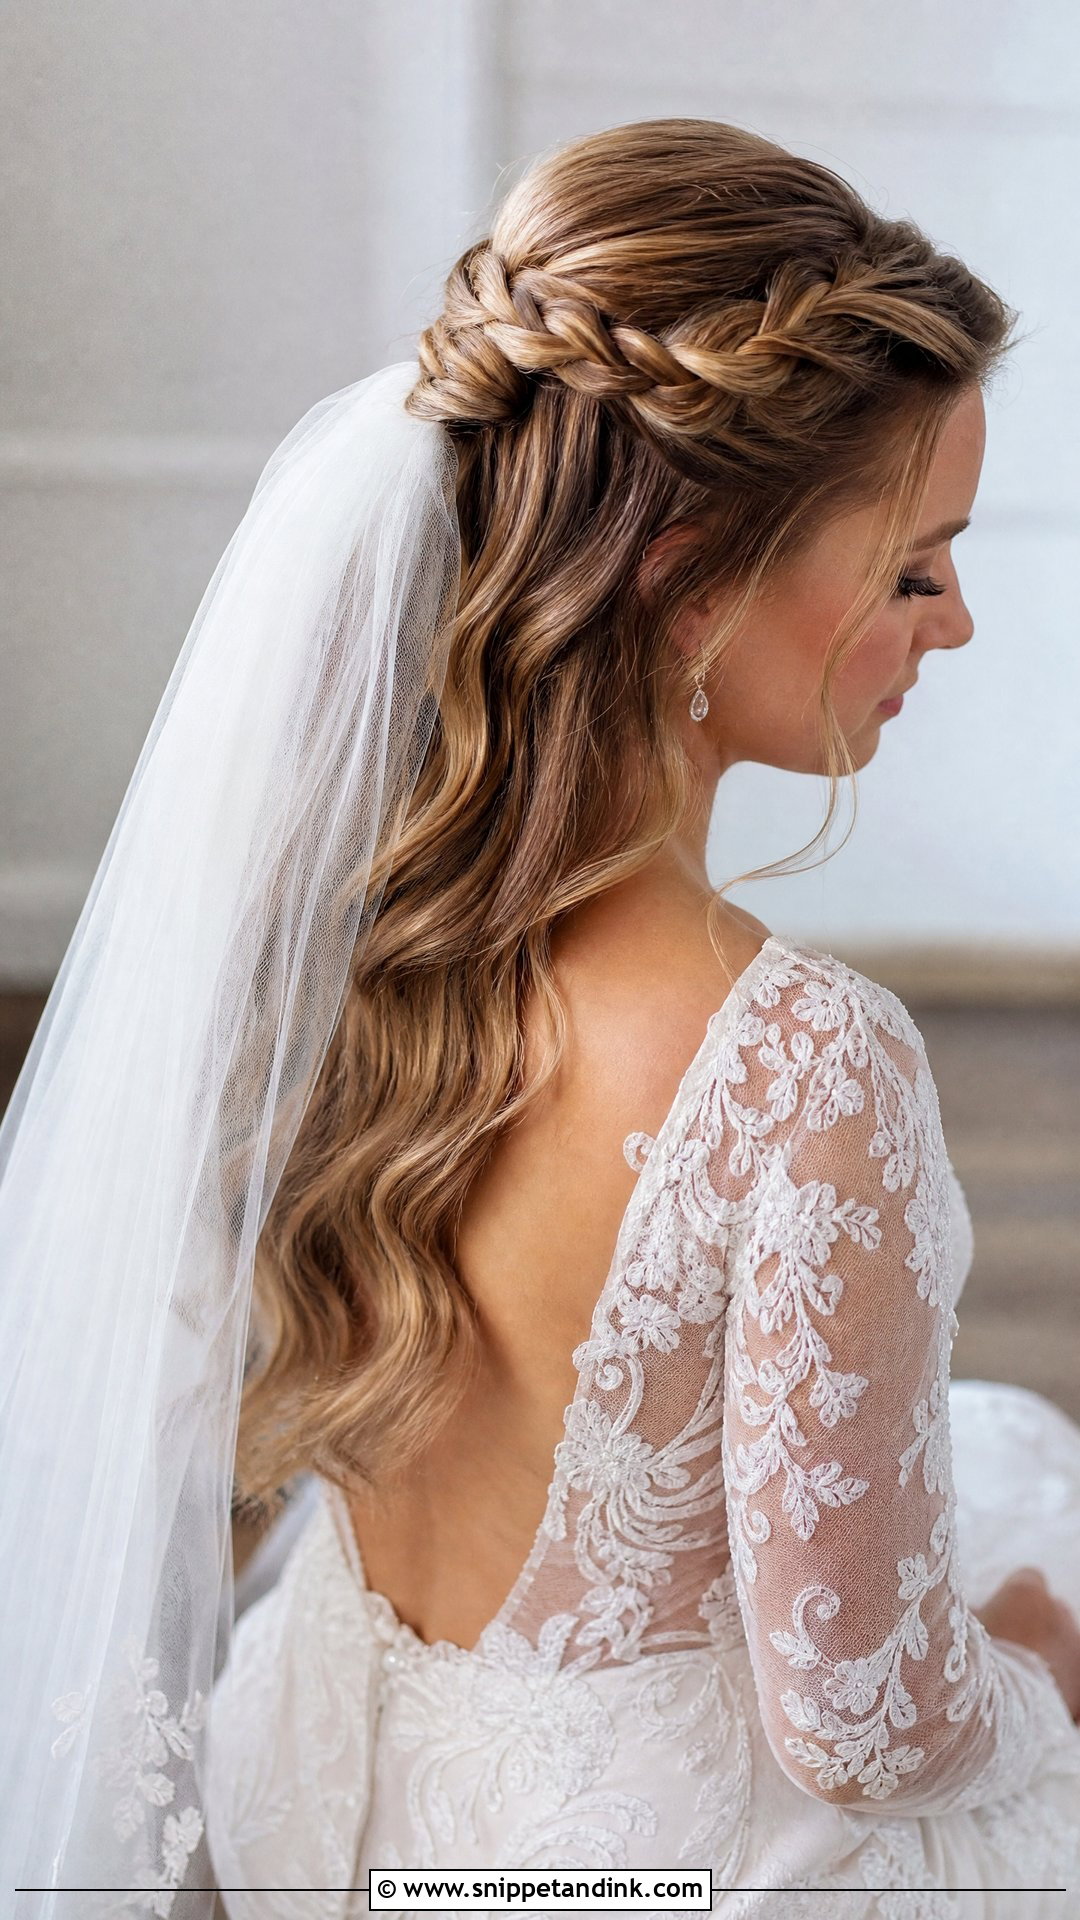
A braid woven into the pinned-back top section, with the rest of the hair flowing below, gives detail plus movement. The veil attaches beneath the braided section, so the braid frames the top of the tulle. Braids give firm grip for the comb. Leave the bottom in loose waves. It suits boho and outdoor weddings, and works with medium length hair as well as long.
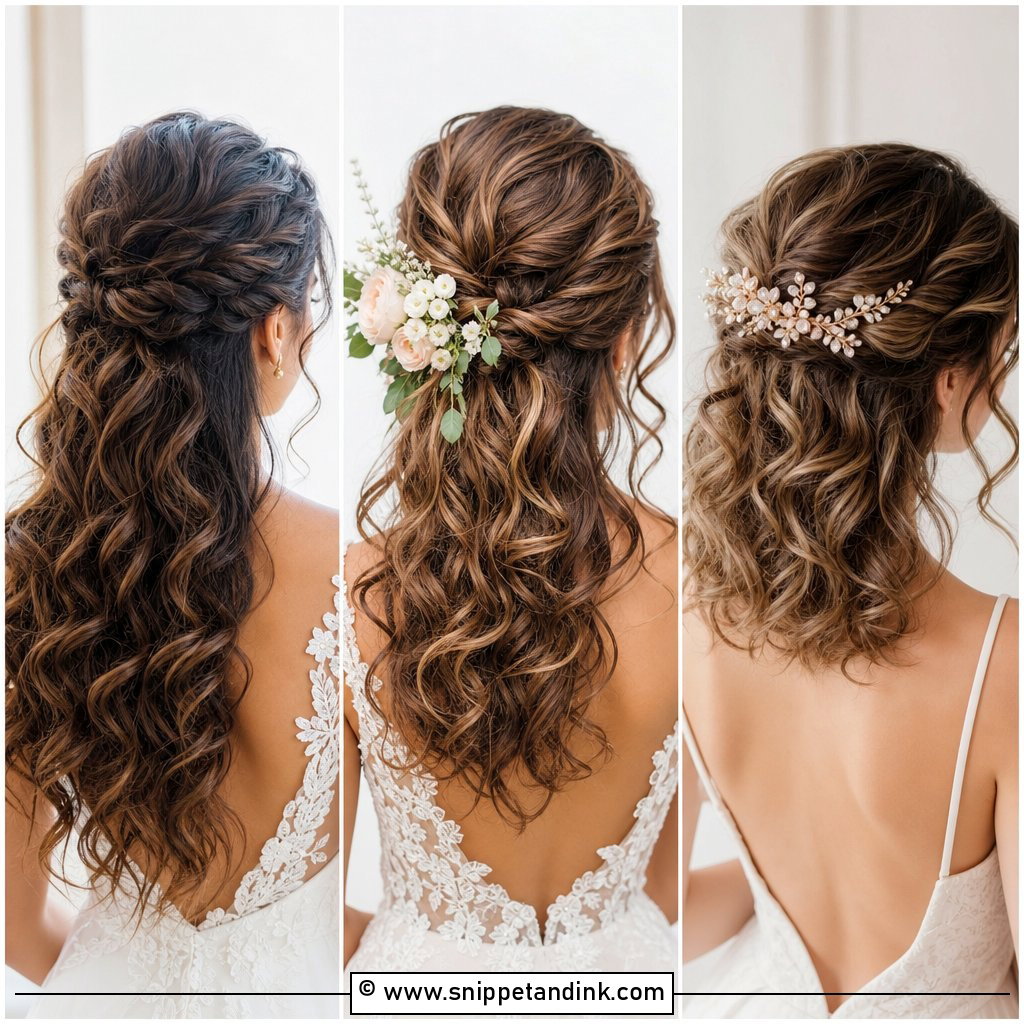
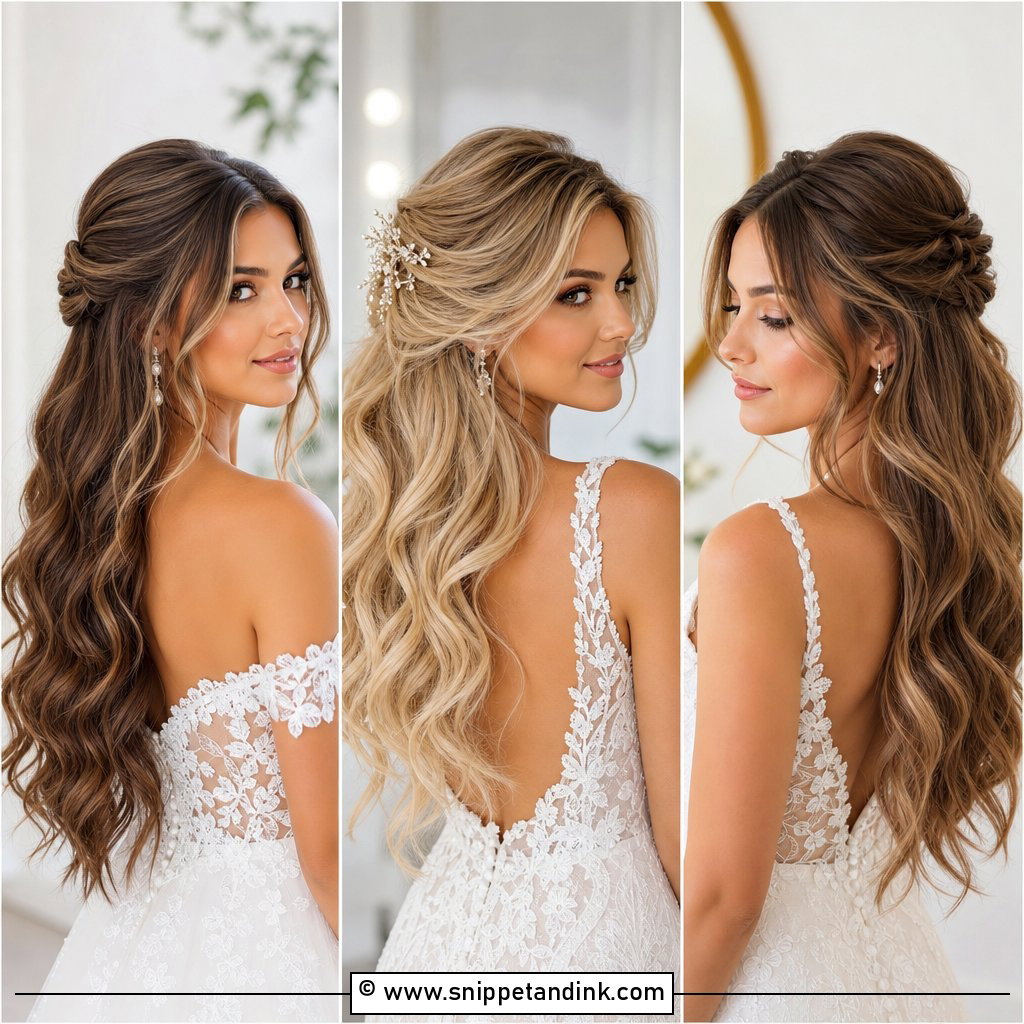
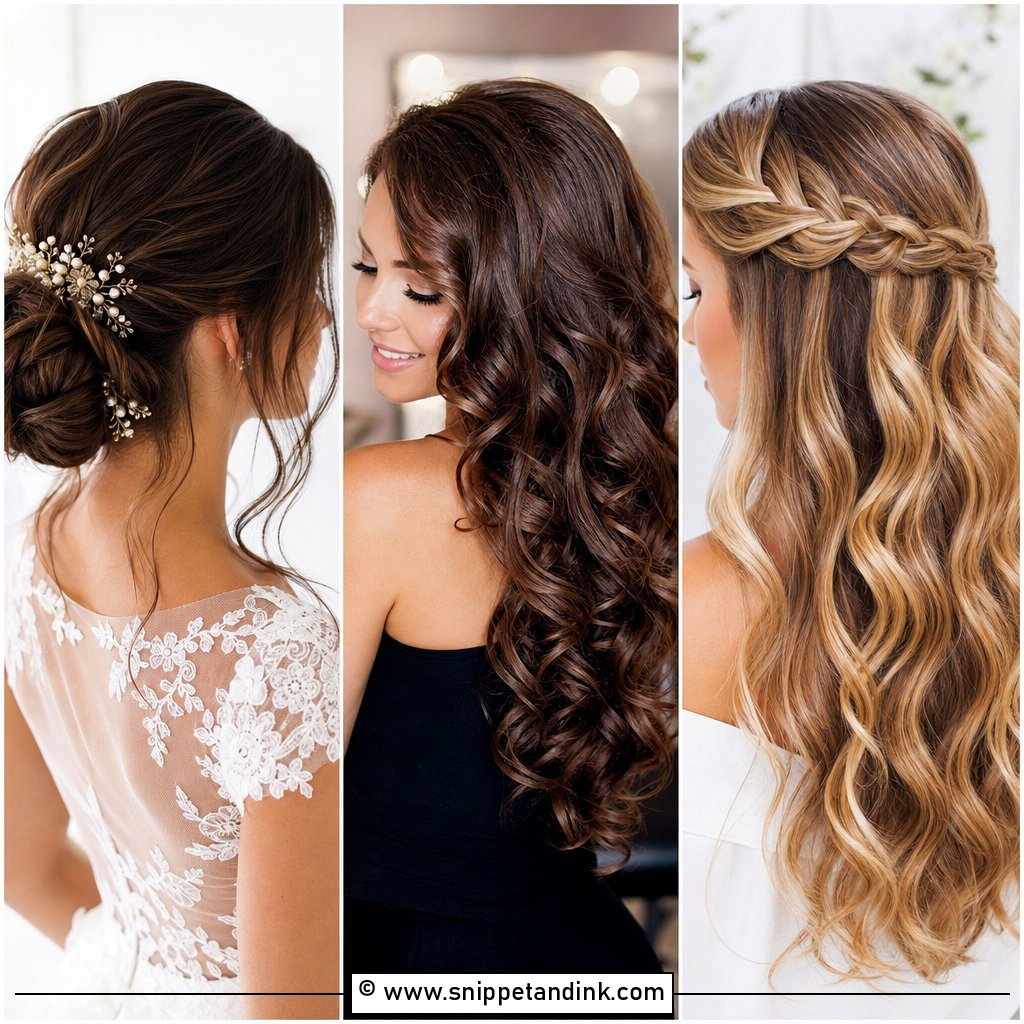
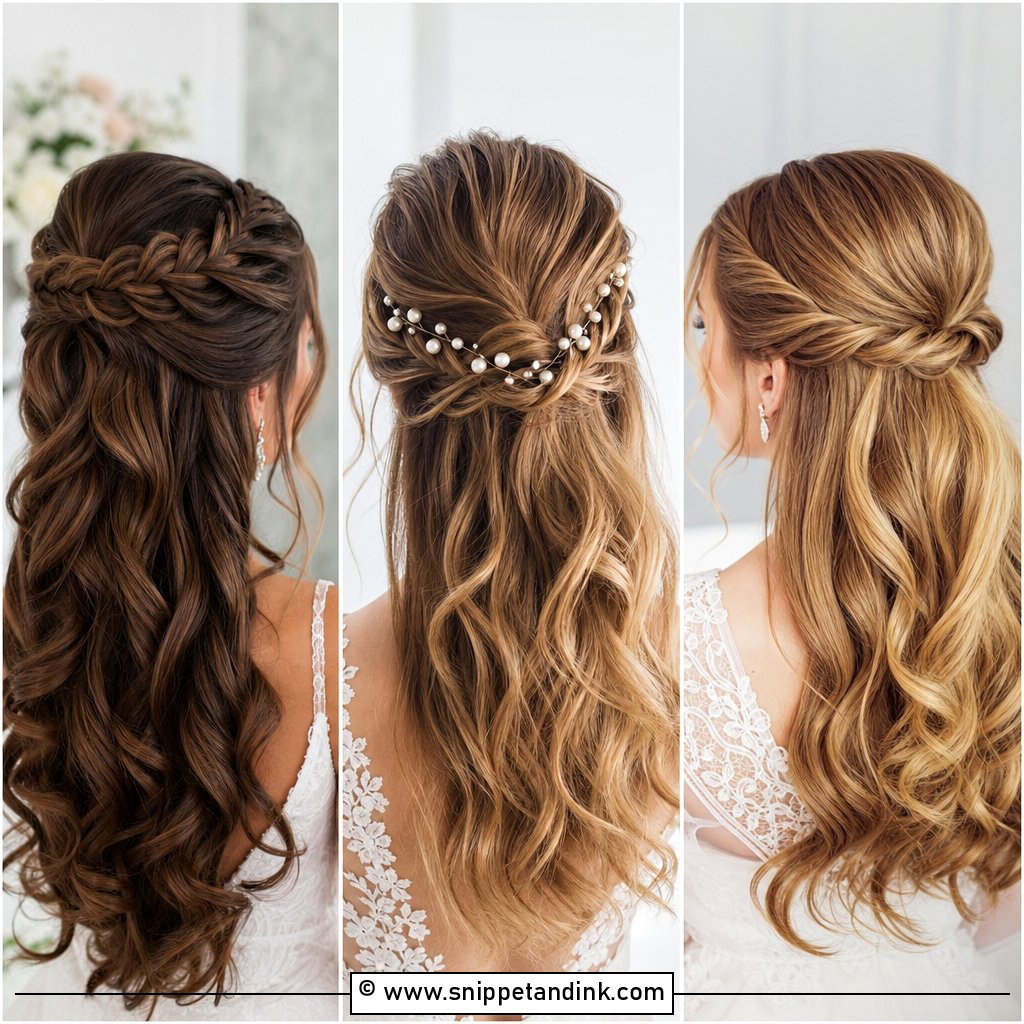
20. Pinned Back Waves With Veil
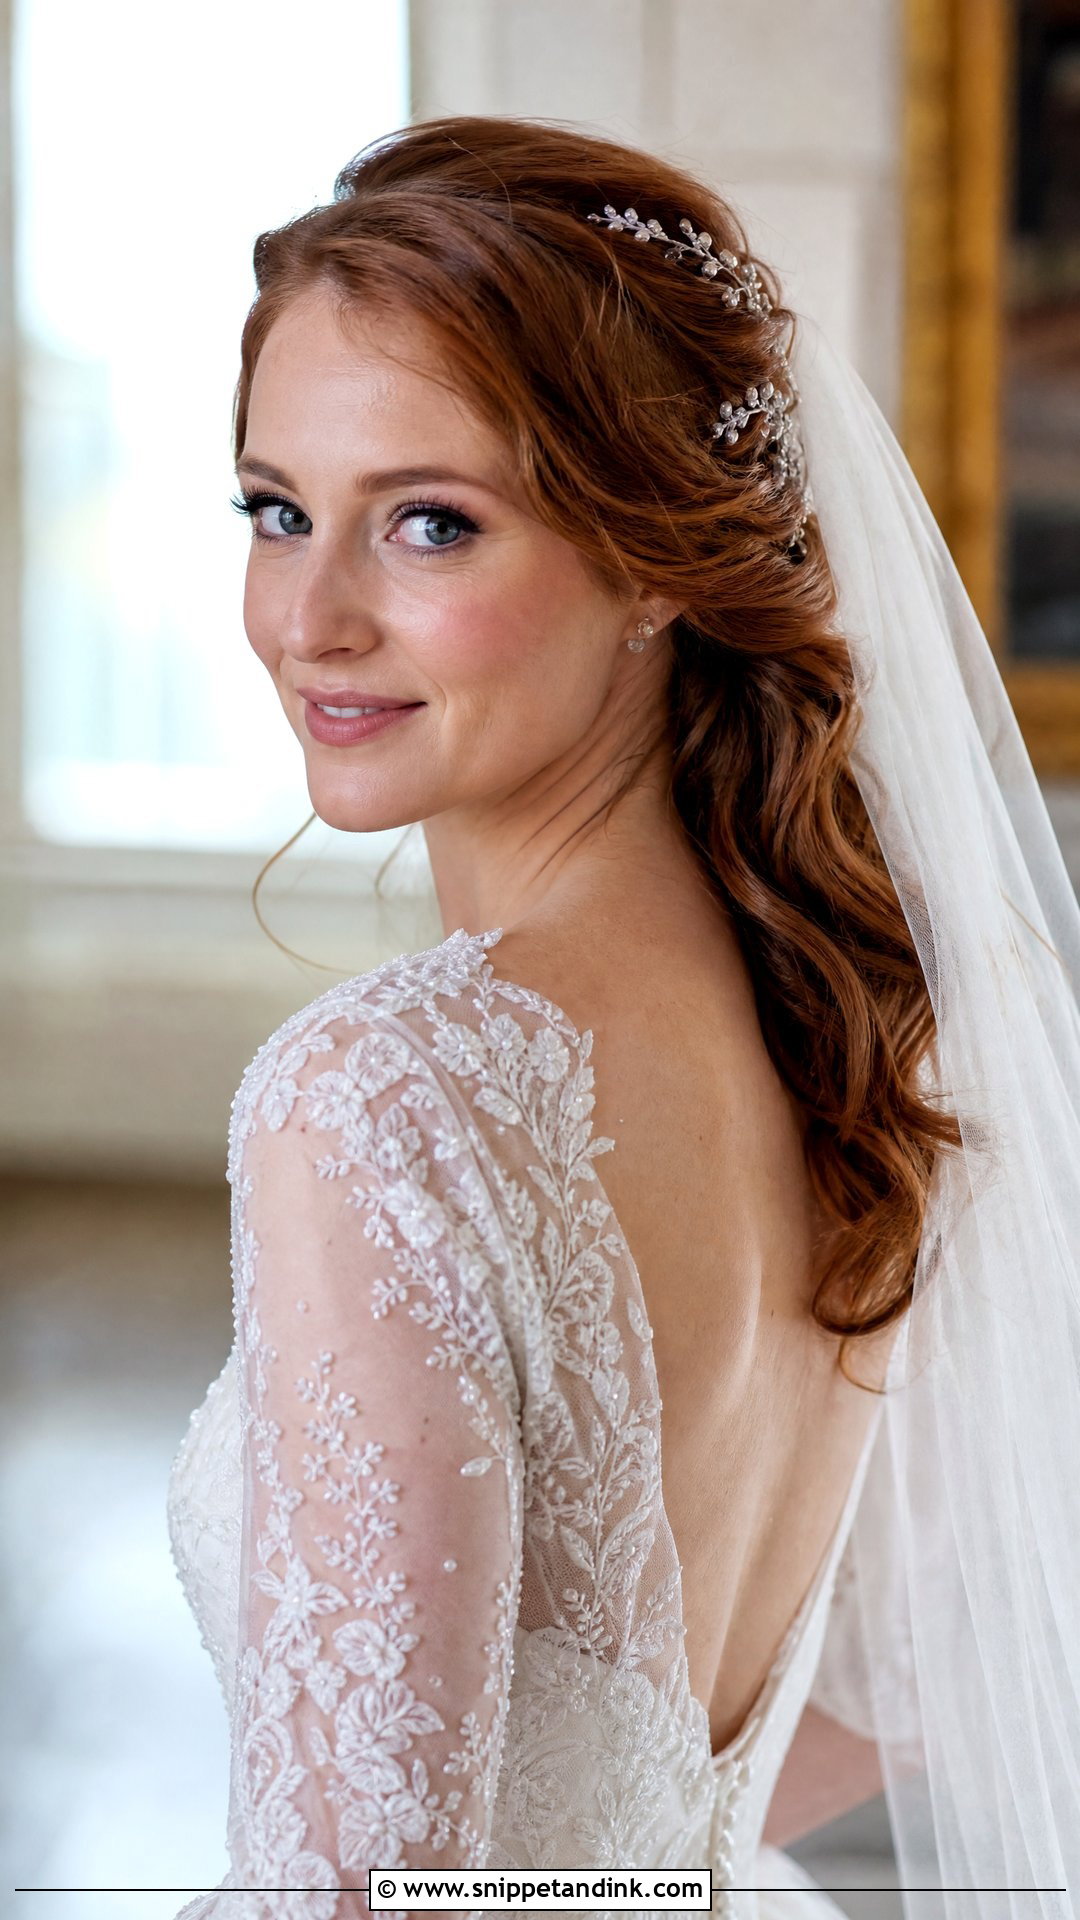
Soft waves with the sides pinned back off the face, secured with decorative pins, keep hair off the shoulders while still letting waves fall behind. The veil attaches at the crown, above where the side pieces meet. That meeting point is a natural anchor, so I build the comb into it. Pearl or crystal pins add sparkle. It suits classic and garden weddings and almost every neckline.
Wind, Static and Taking the Veil Out
Outdoor ceremonies bring wind, and a long veil acts like a sail. For anything past the shoulders outside, I add a second row of pins under the comb, and I have someone ready to hold the hem during portraits. Very light tulle also builds static against fine hair; a little hairspray on your palms smoothed over the surface calms it.
Most brides take the veil out before the reception, and it’s where updos often get wrecked. Ask a bridesmaid or your stylist to do it, not you in a bathroom mirror:
- Remove the extra pins first, gently, one by one.
- Lift the comb straight up and back in the opposite direction it went in, rather than pulling it outward.
- Smooth the small lift left by the comb with fingers and a tiny bit of spray, or slide a decorative pin into the gap.
If you plan to swap to an accessory for the reception, practice this at your trial so it takes two minutes, not twenty.
Start With the Veil, Then Build the Hair Under It
Start with the veil, because its length and weight decide whether you need a sturdy updo or can wear your hair down. From there it’s about the anchor: a firm base where the comb goes, built before the veil goes in. Personalize with flowers, pearls or a sparkling comb if you like. At your trial, wear the actual veil, walk around, turn your head, and sit down, so you know the pairing will hold through the ceremony and beyond.
You'll Like These Ideas:


Leave a Reply