
Plenty of wedding hairstyles are less complicated than they look, and some brides would honestly rather do their own hair than book a stylist. Others just want to understand how a style is built so they can brief someone well. These are the steps I’d teach a bride sitting in front of me, from a low chignon to a braided crown, written so you can recreate them at home or take them to your stylist. I’ve noted where each style tends to go wrong, because that’s the part tutorials usually skip. Practice is the real secret: none of these looks good the first time.
Set Out Your Kit the Night Before
Most DIY wedding hair goes wrong because of missing tools, not missing skill. Lay everything out the night before so you’re not hunting for pins in the morning.
- Bobby pins in your hair color, plus U-shaped hairpins for buns. Buy more than you think; you’ll drop half of them.
- A curling iron in the barrel size the style calls for, and a heat protectant.
- Clear elastics for braids and small elastics for ponytails.
- A boar bristle brush for smoothing, a tail comb for parting and a small brush for the hairline.
- Texture spray or dry shampoo for grip, a flexible hairspray and a stronger finishing spray.
- Two mirrors, one in front and a hand mirror, so you can check the back.
Clean, freshly washed hair is often too slippery to hold pins, so I’d wash the day before for most updos and add texture spray in the morning.
1. Classic Low Chignon Bun
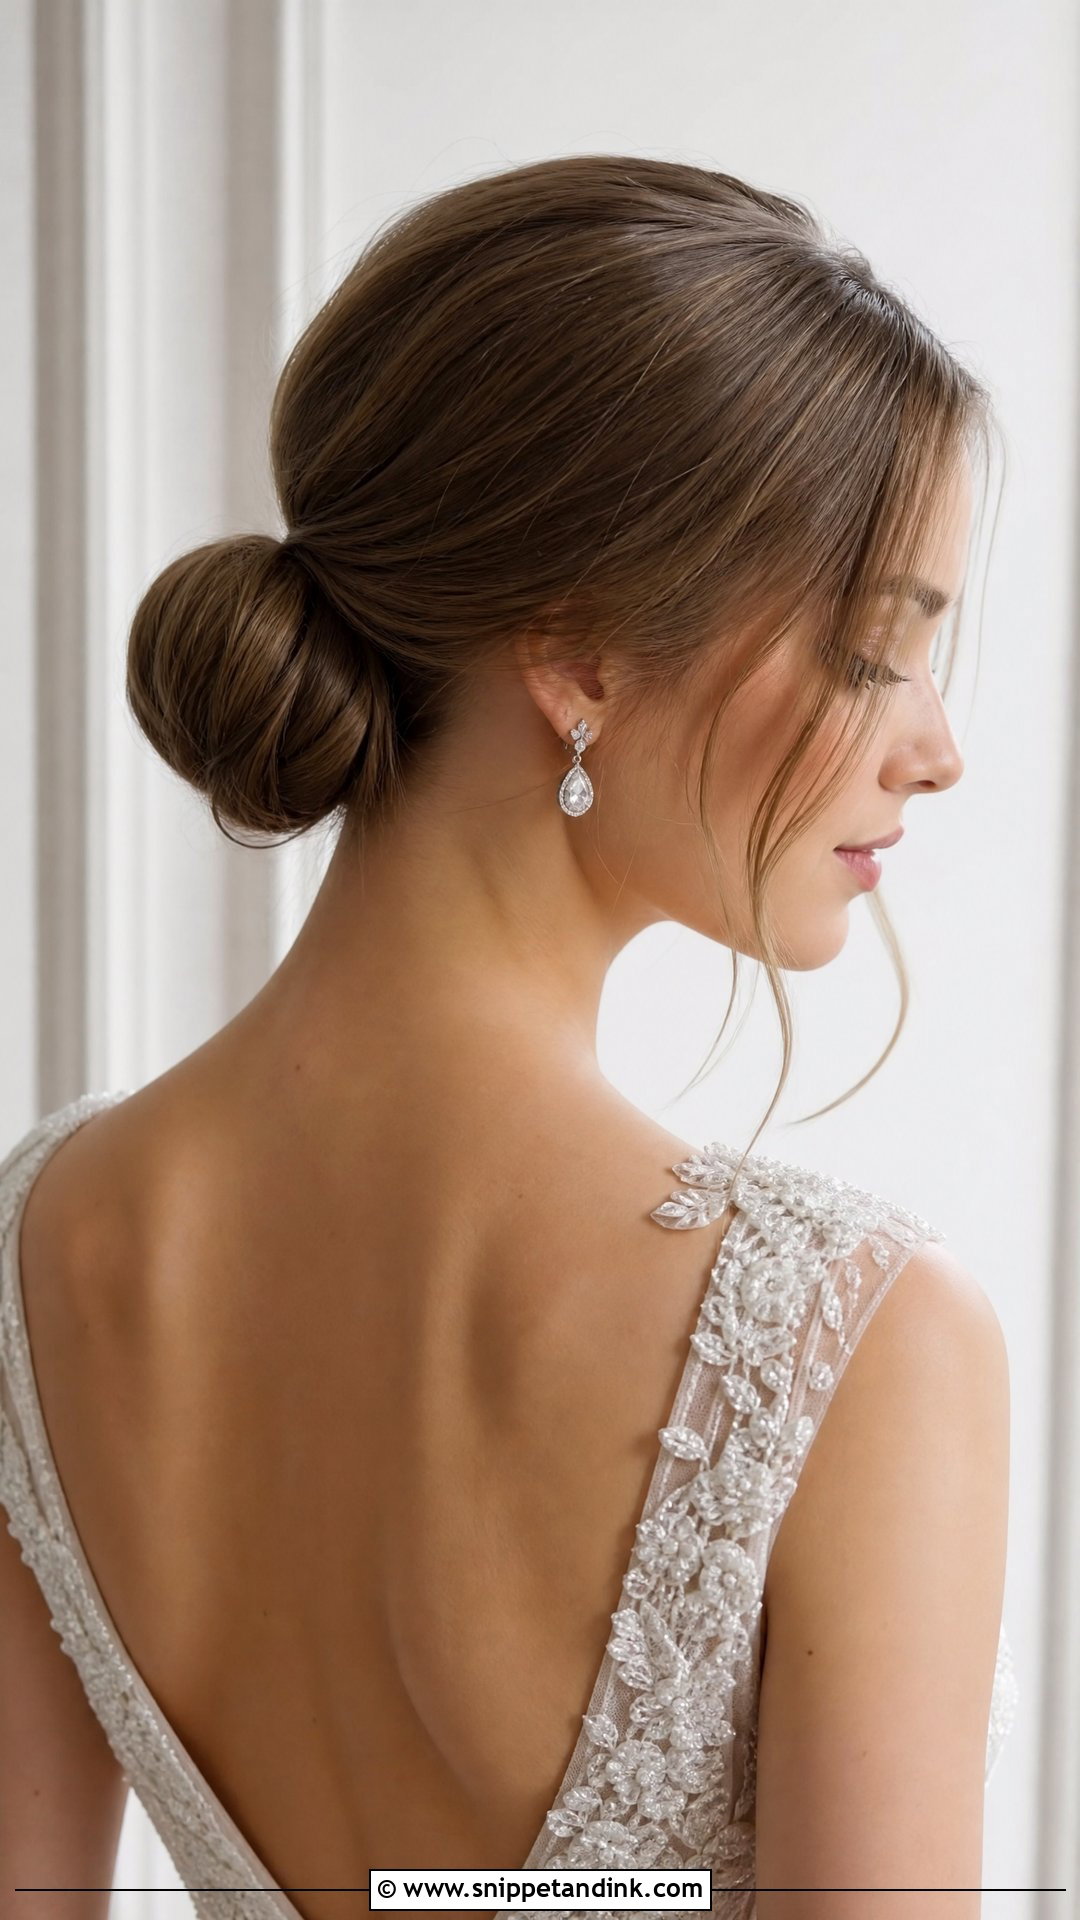
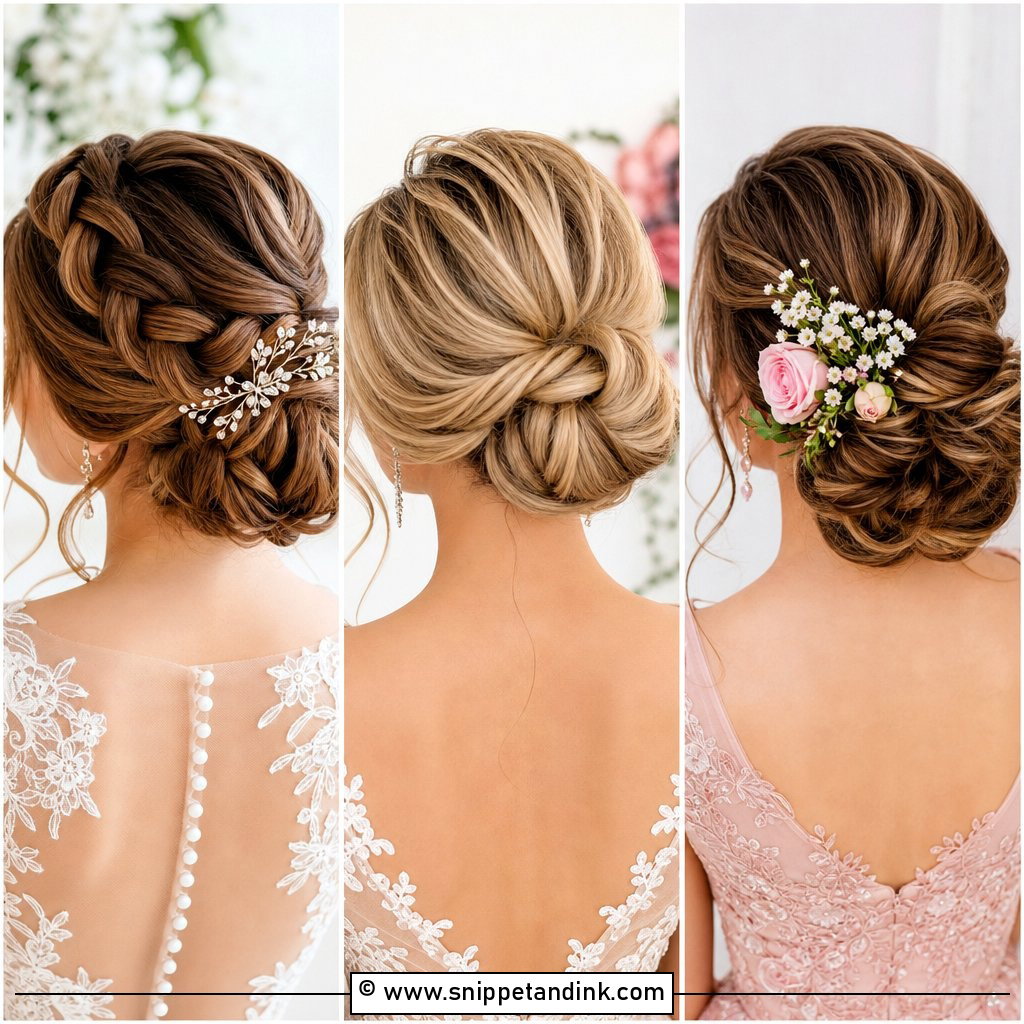
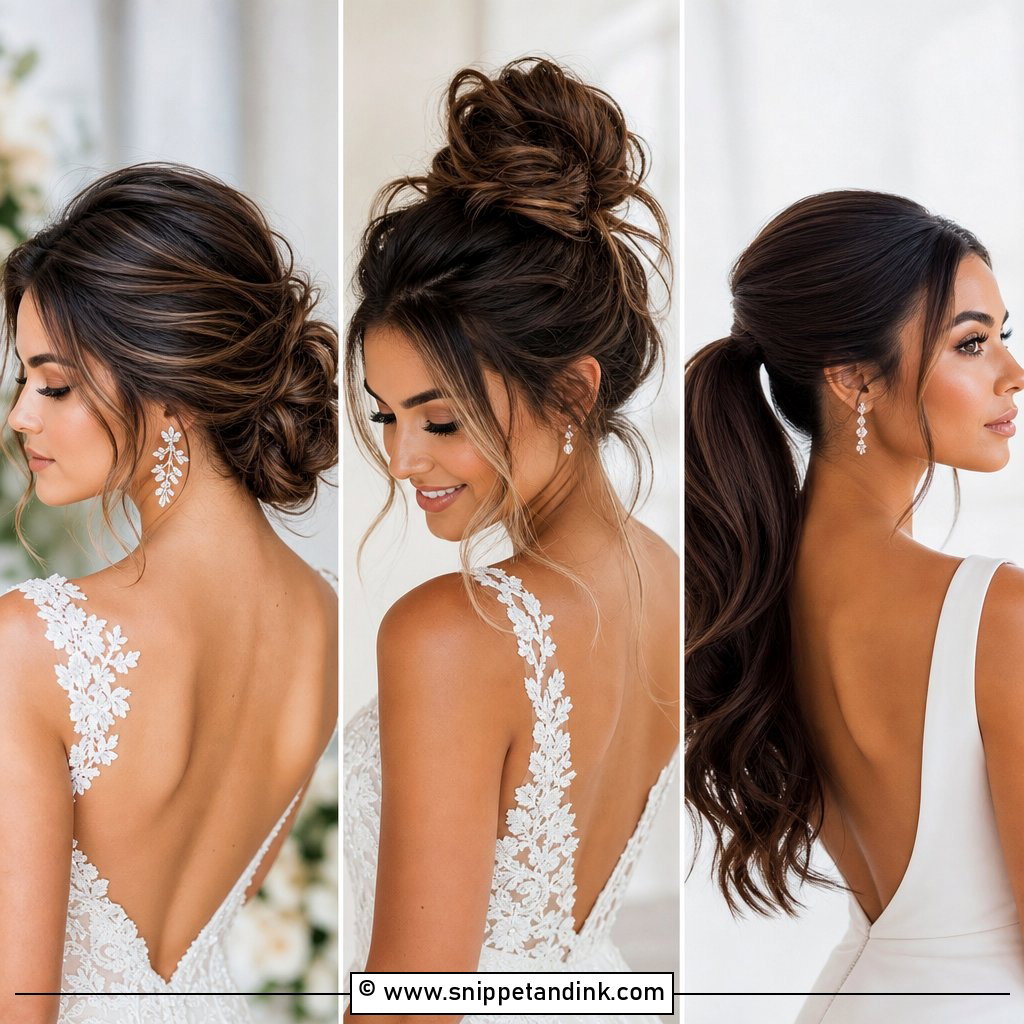
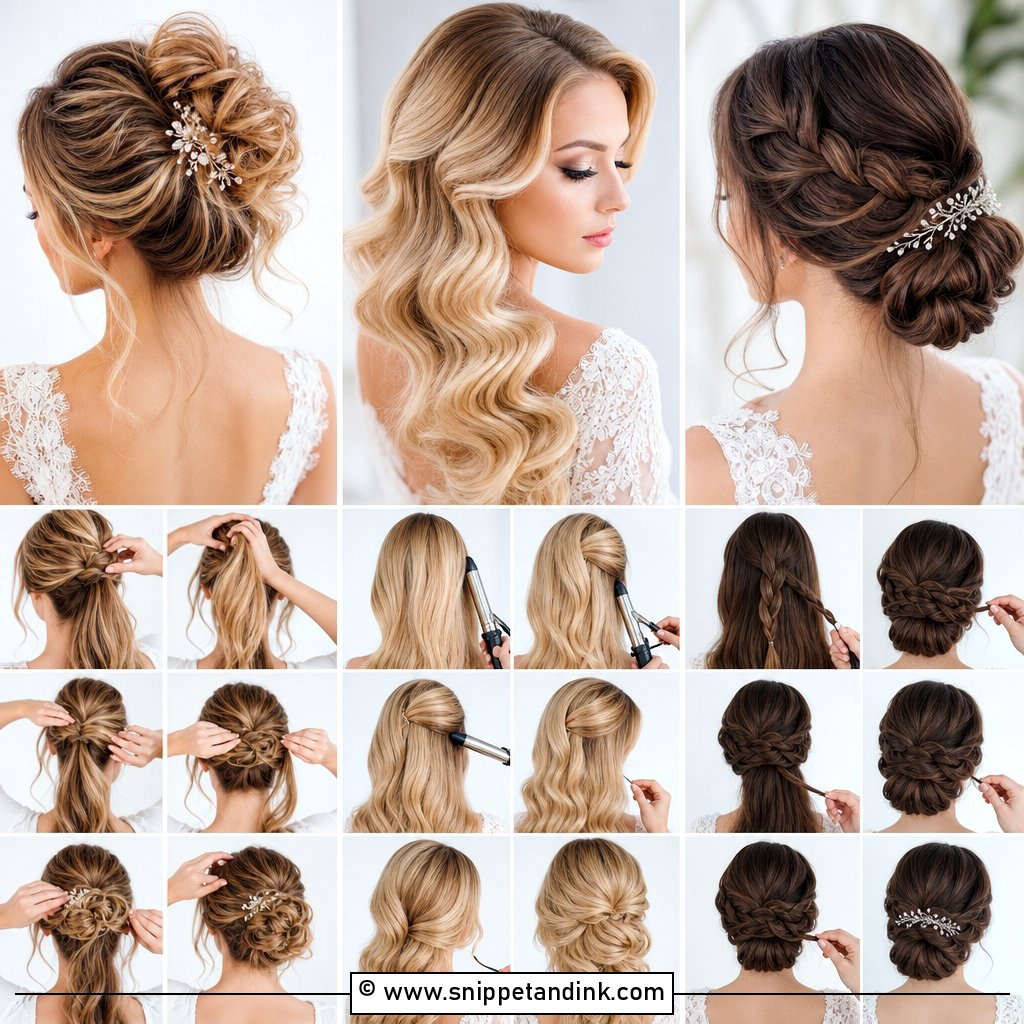
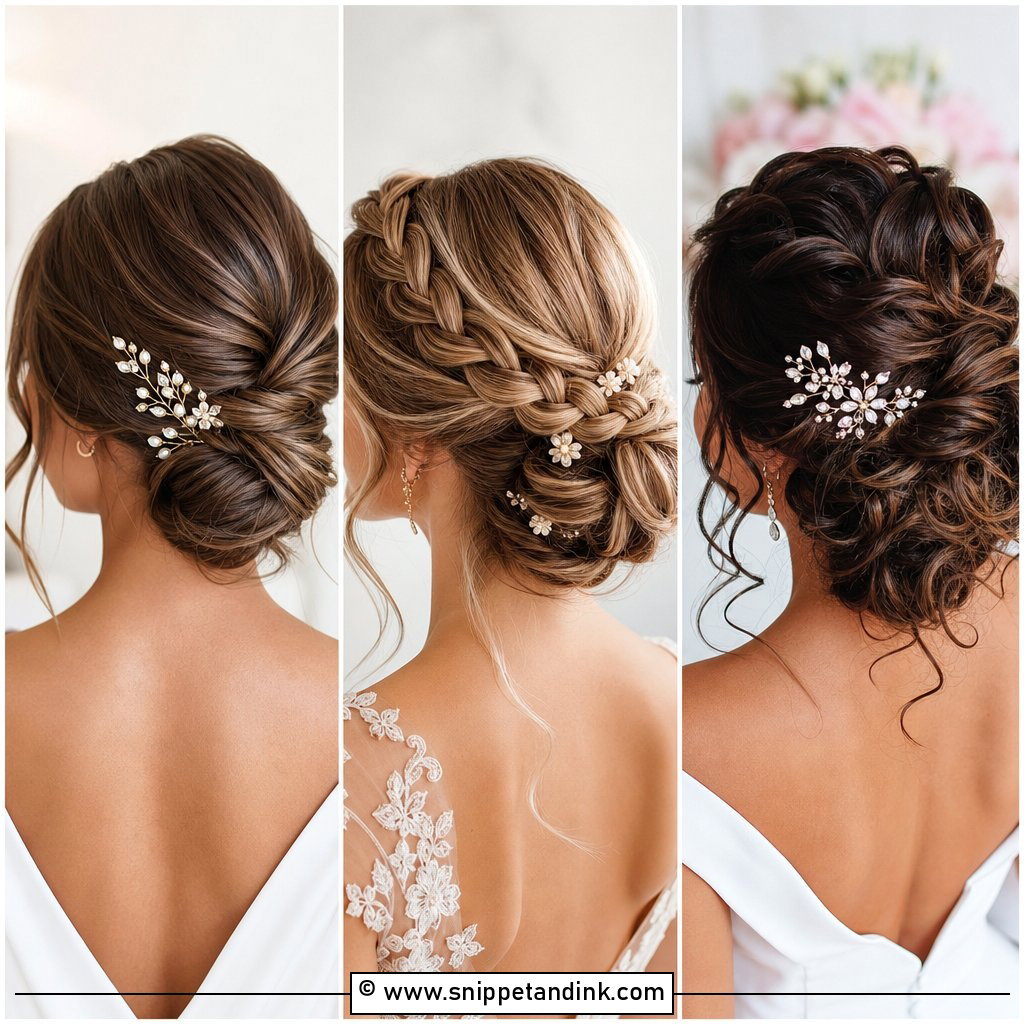
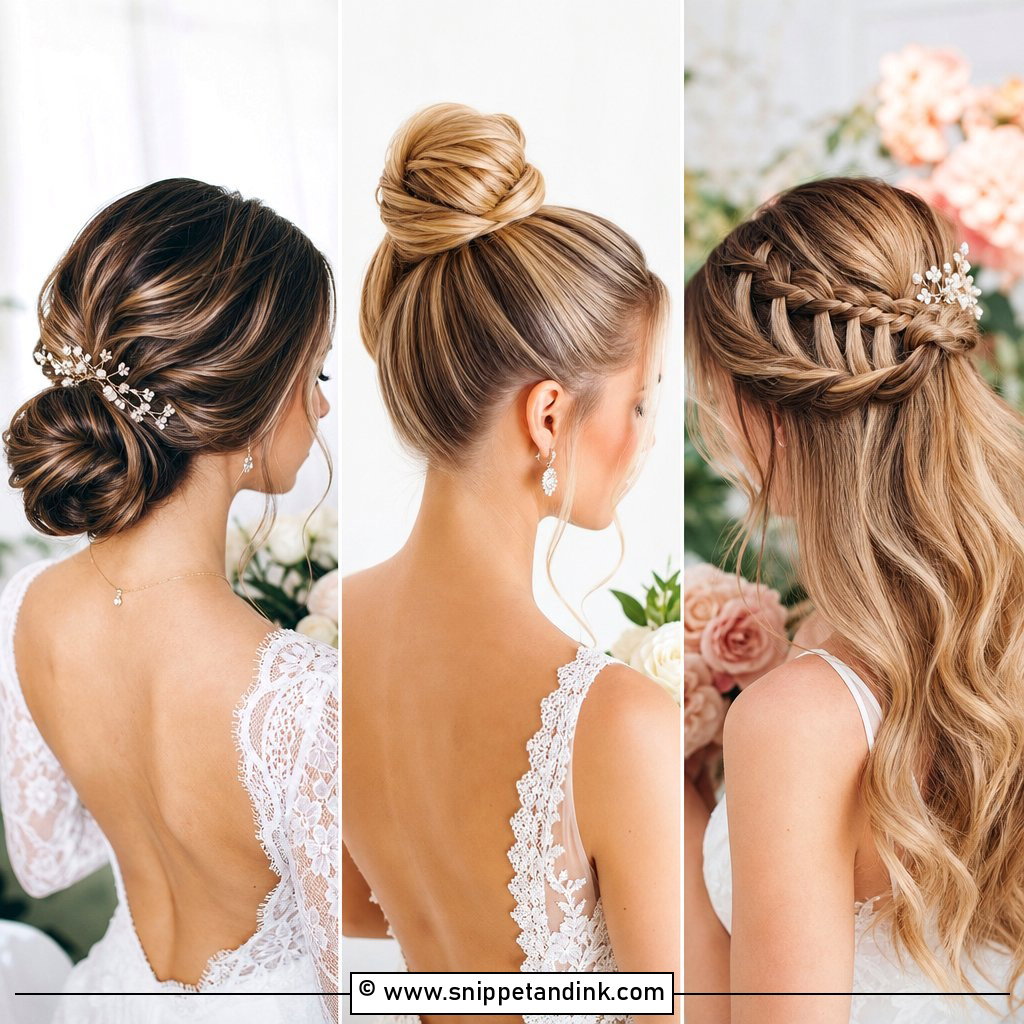
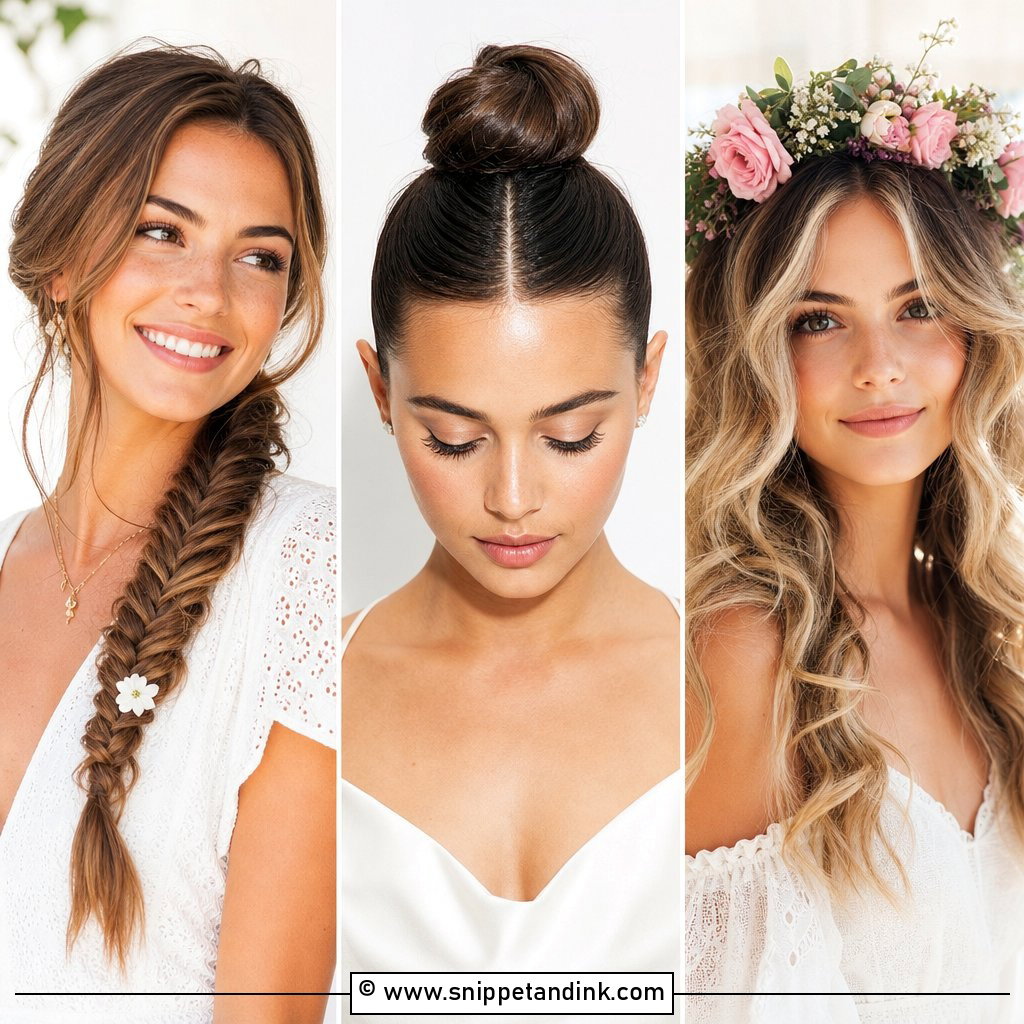
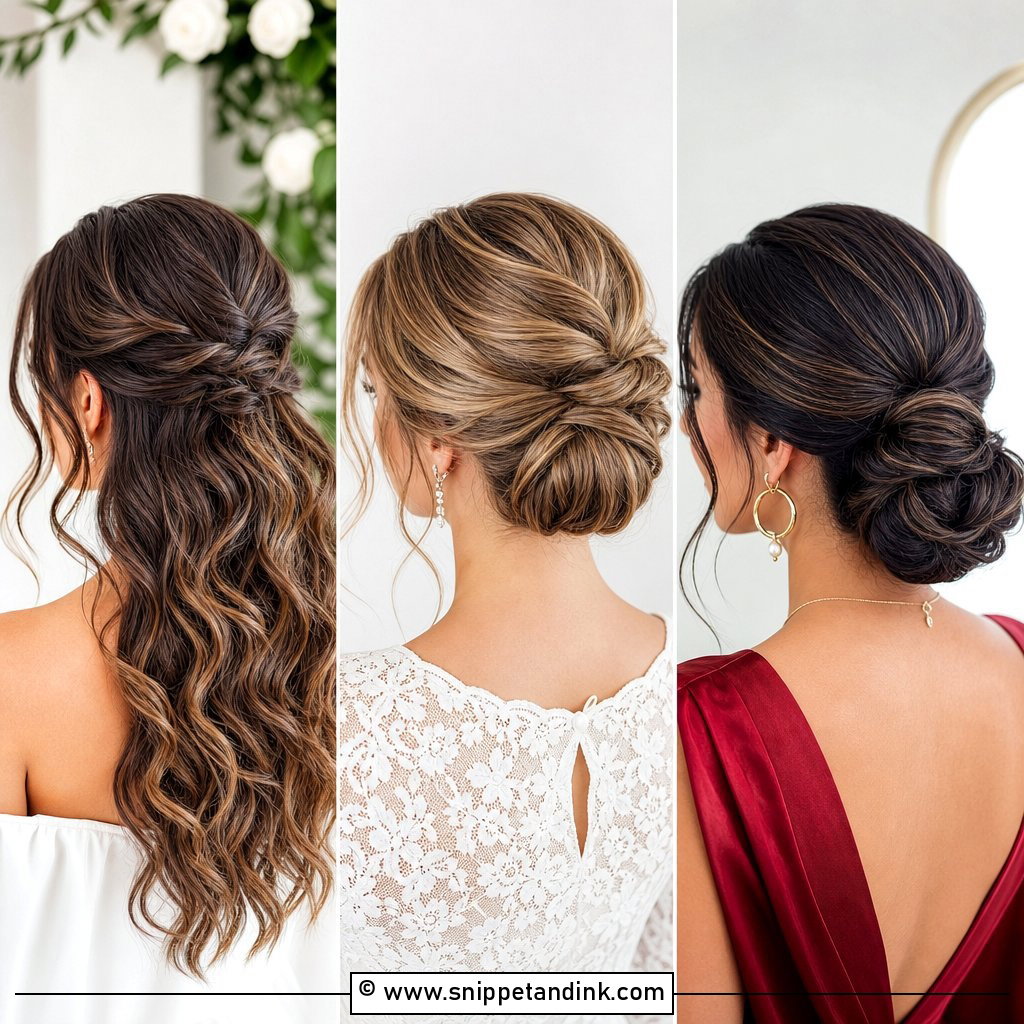
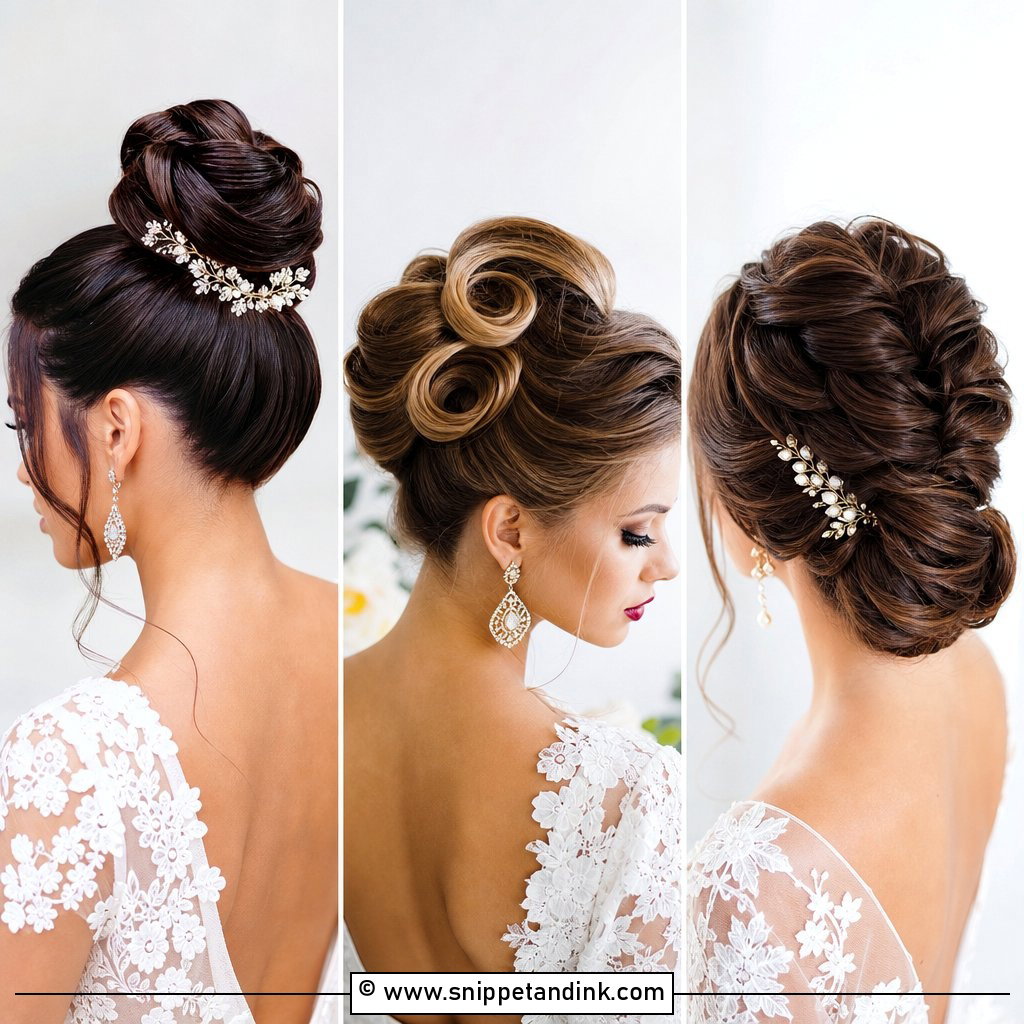
The low chignon is where I’d start anyone learning bridal hair, because it’s forgiving. Smooth the hair into a low ponytail at the nape, twist the length into a loose coil and wrap it around the base. Pin it with bobby pins pushed in at an angle toward the elastic, then add a few U-shaped hairpins, which grip a bun better than bobby pins alone. Pull out a few strands at the temples. A light mist of hairspray holds it. Veils, sparkly clips and flowers all sit easily in the coil.
2. Half-Up Half-Down With Curls
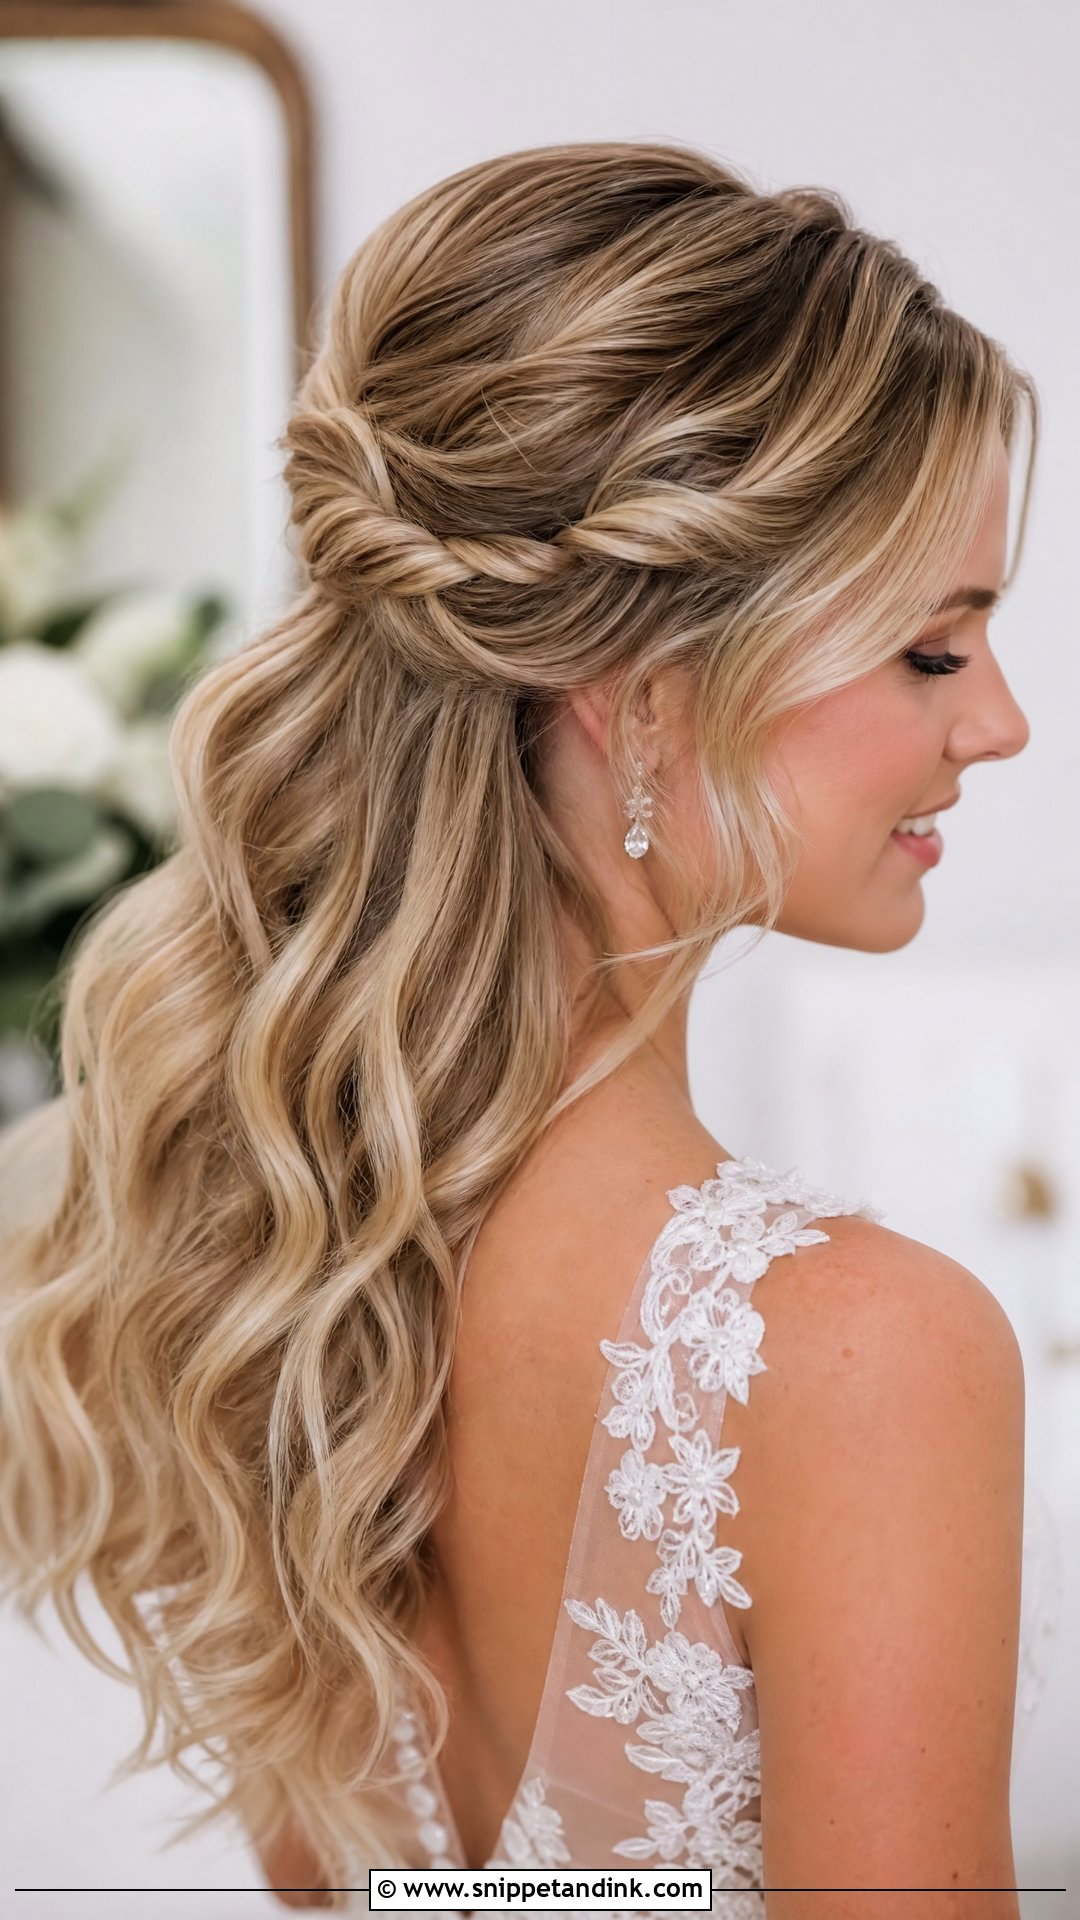
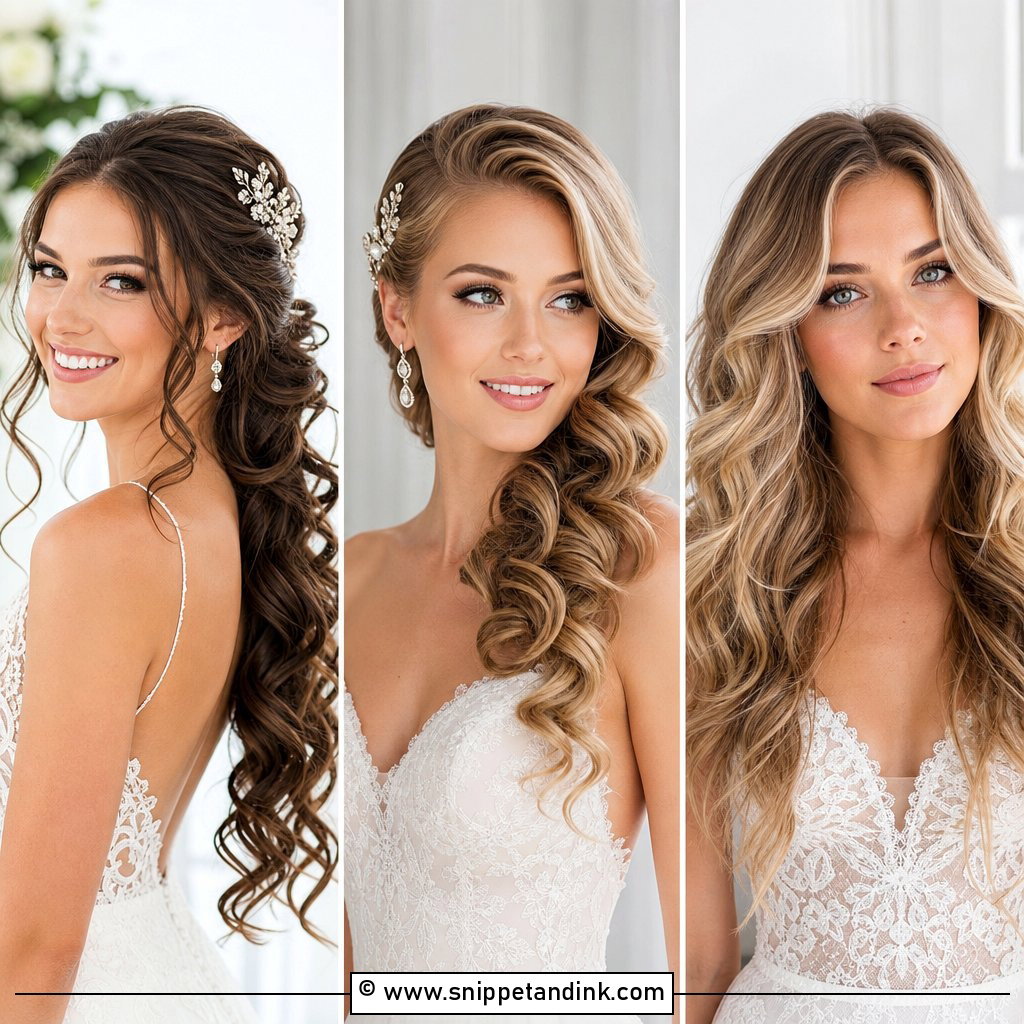
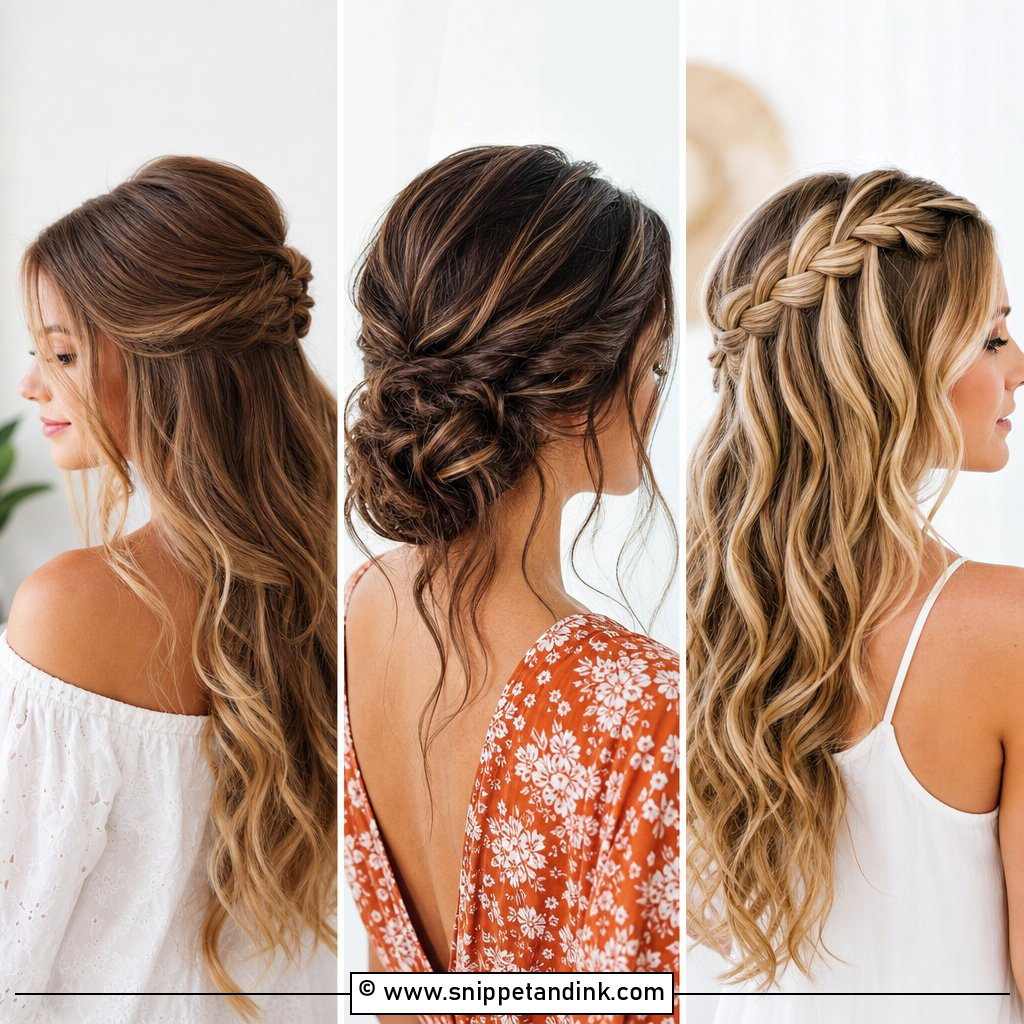
Curl everything first with a one-inch barrel, then let the curls cool fully before touching them; brushing warm curls is the fastest way to lose them. Take a section from above each ear, twist the two backward and pin them together at the crown. A little backcombing under the crown before you pin gives volume. Leave the rest loose over the shoulders. The common mistake is pinning the twists too low, which makes the top look flat, so place them at or slightly above the widest part of the head.
3. Braided Crown Updo
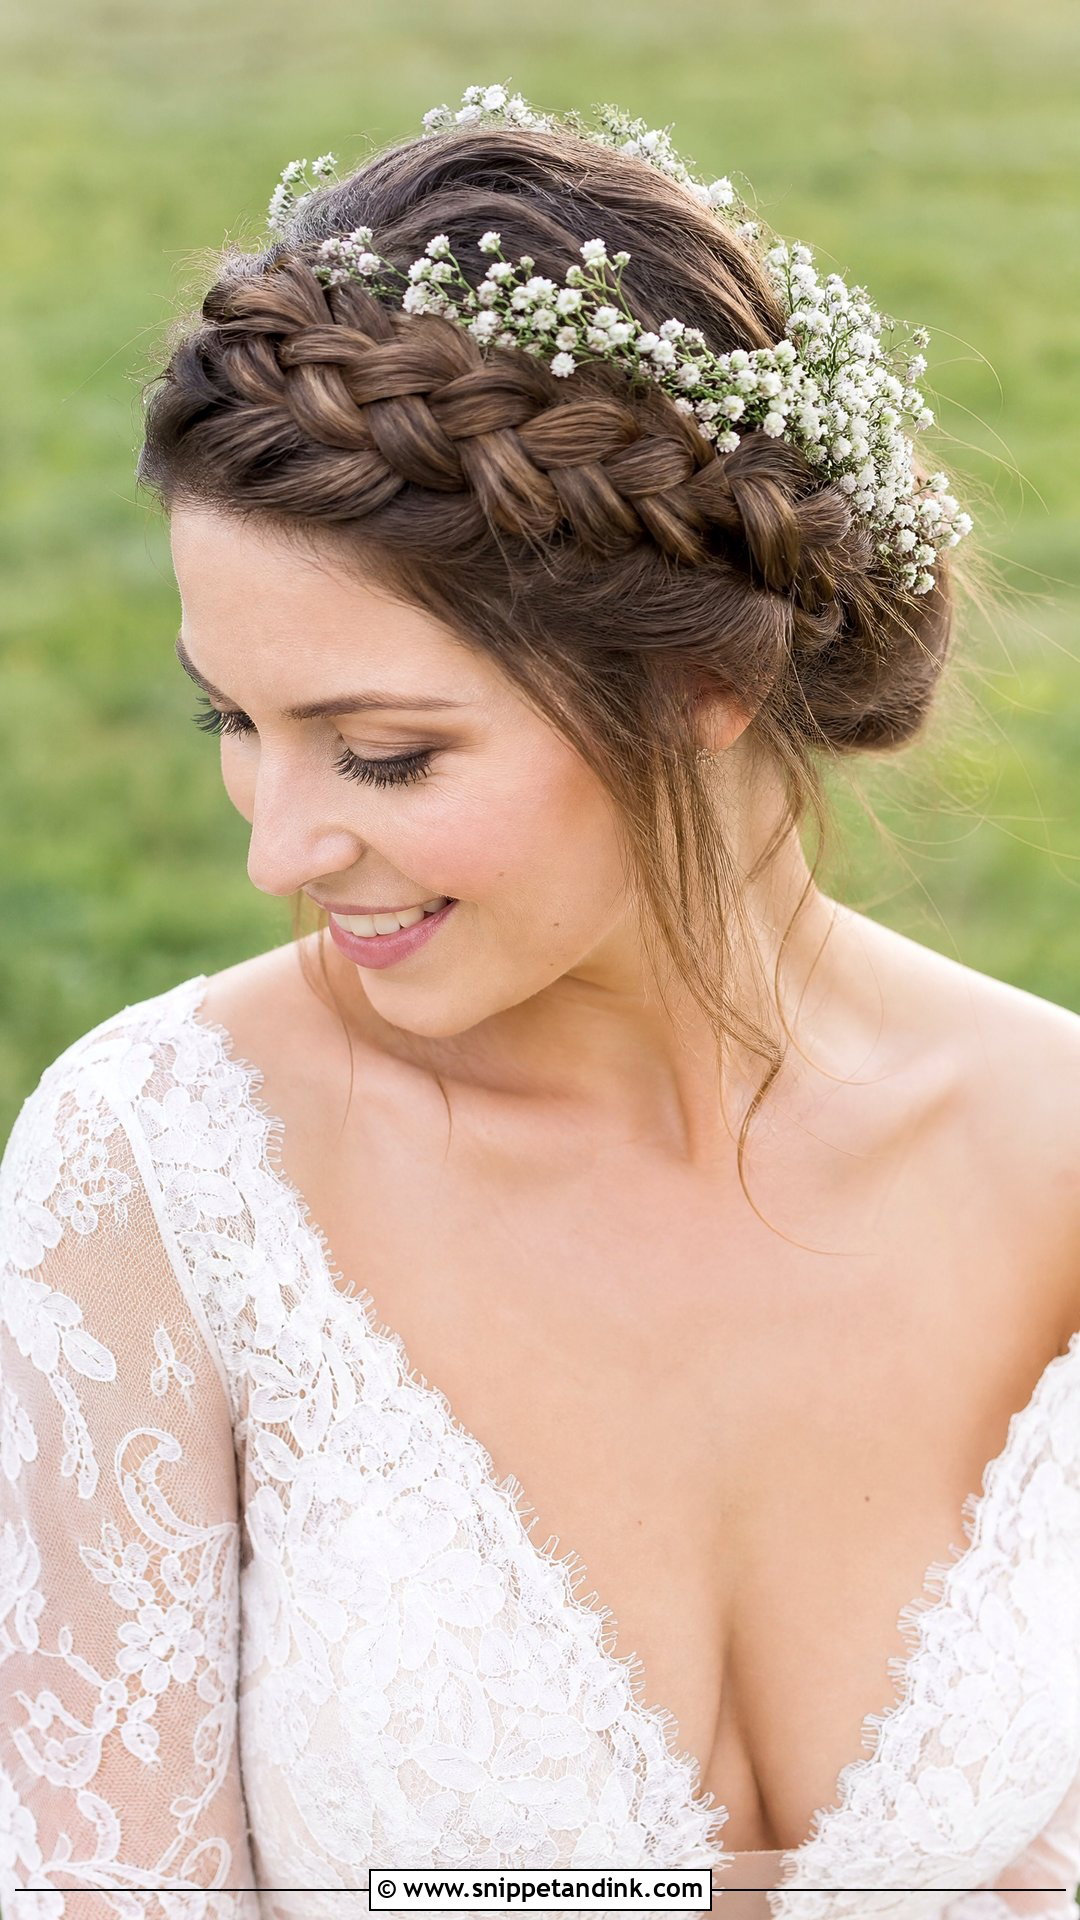
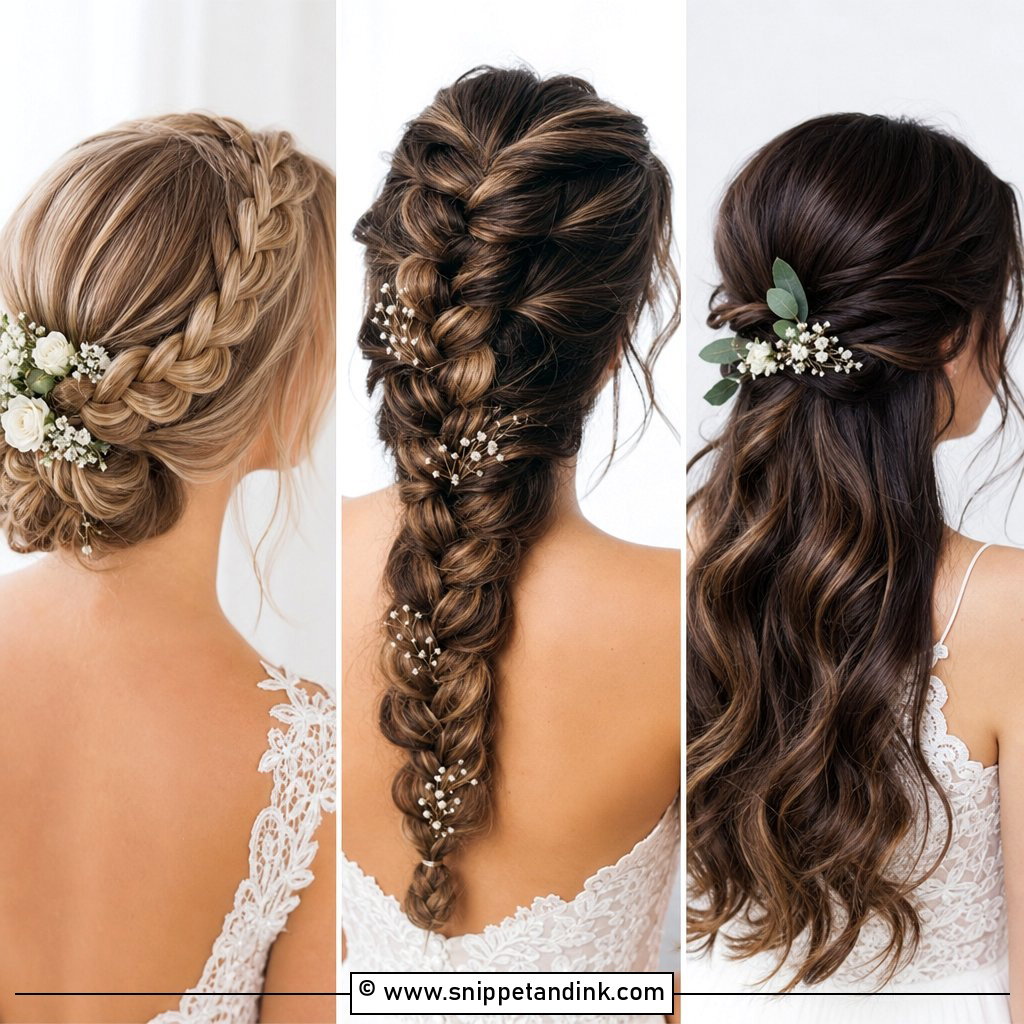
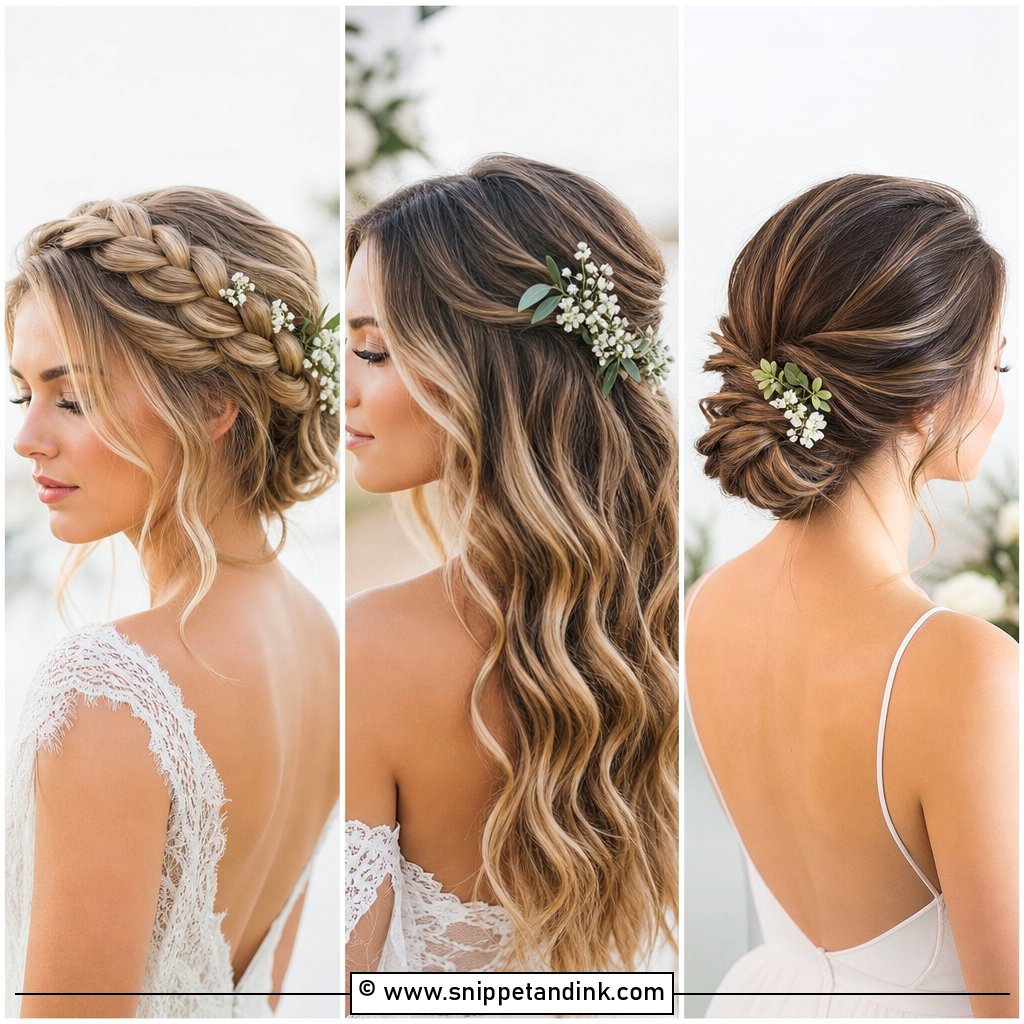
This crown needs reasonably long hair. Part down the center and divide into two sections. Make a Dutch braid on each side, crossing strands under rather than over, which makes the braid sit on top of the hair. Once both are done, bring them up over the head like a halo and pin each behind the opposite ear, tucking the ends under. Gently tug the edges of the braid outward for fullness. Baby’s breath tucks in easily. If your braids don’t meet, a clip-in piece braided into each side helps.
4. Sleek Low Bun
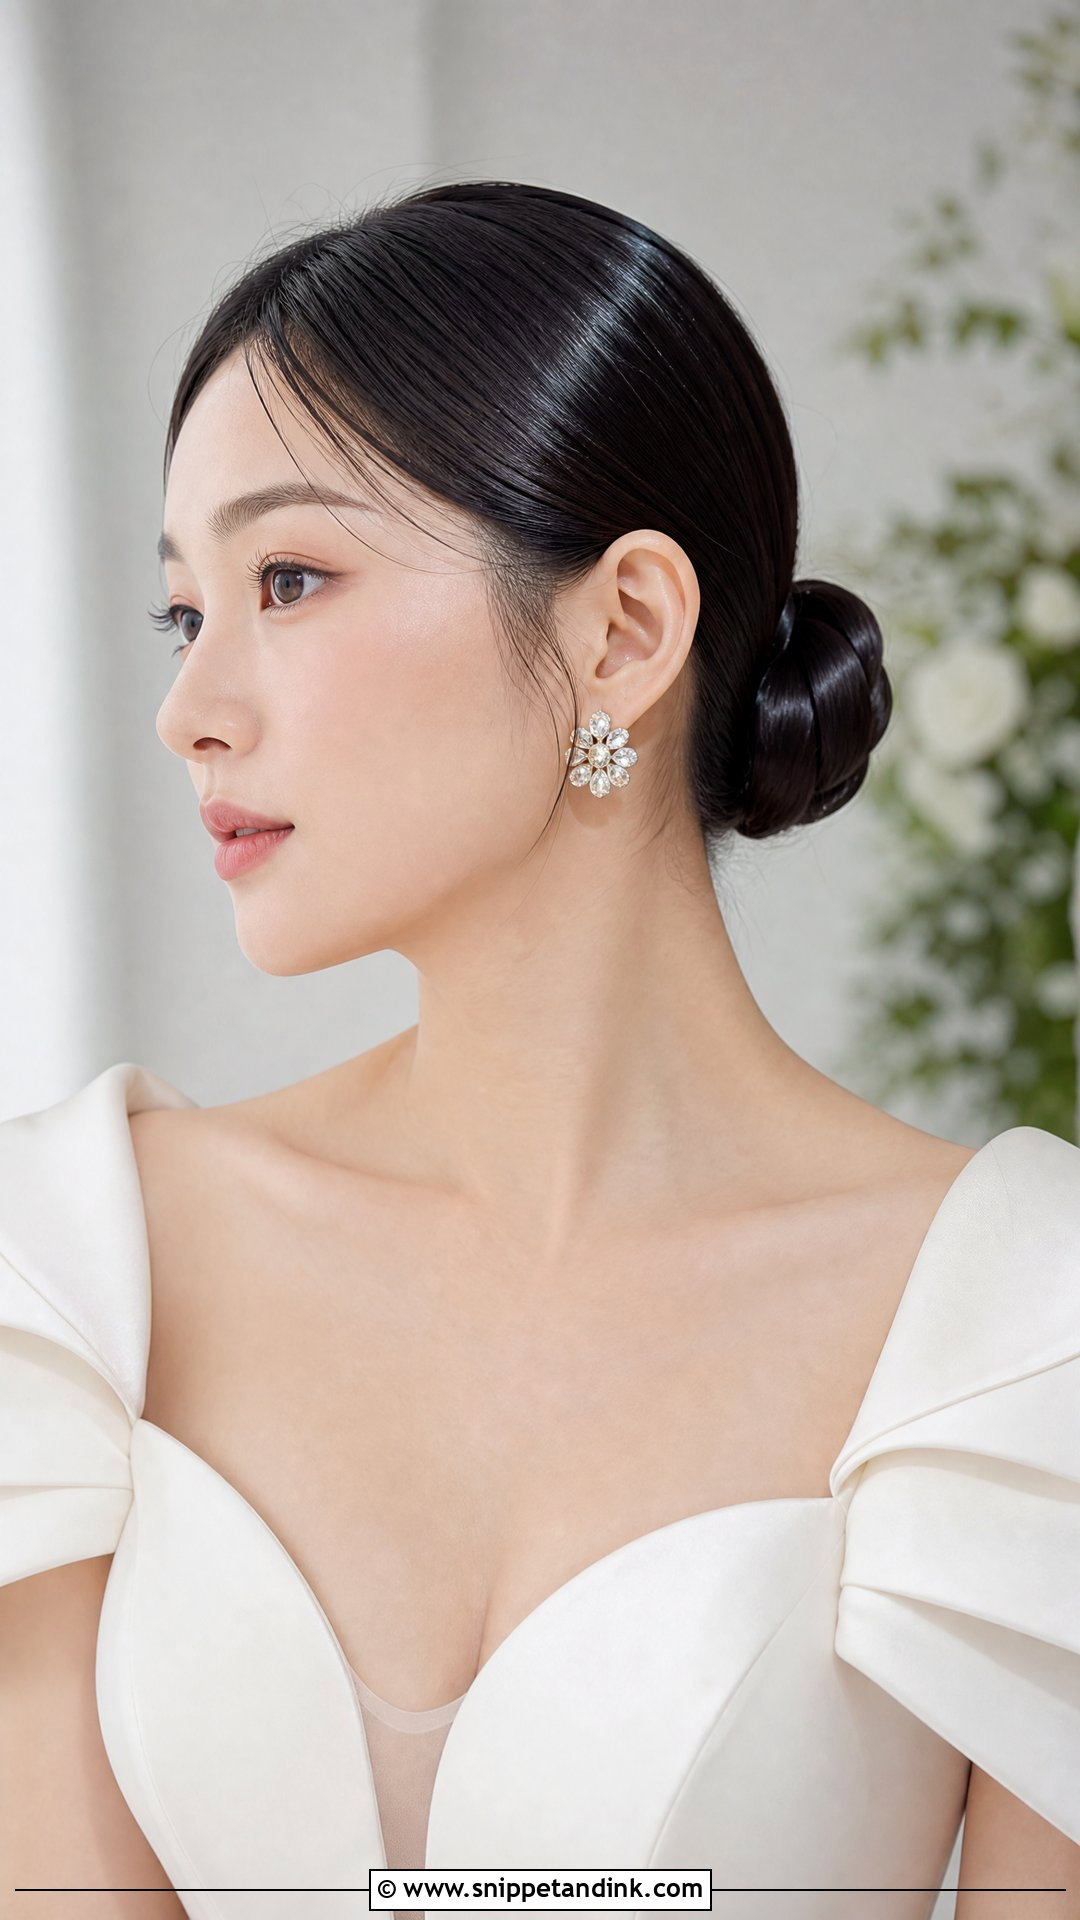
Sleek styles are mostly about the blow-dry. Apply a smoothing serum to damp hair, then blow-dry it completely straight with a paddle or round brush; any wave left in will show. Brush everything back into a low ponytail with a boar bristle brush, then twist it into a compact bun and pin it firmly. An edge brush and a little gel tame the hairline. Doing this on yourself is harder than it looks, since you can’t see the back, so use a hand mirror and check from several angles. It suits structured gowns and statement earrings.
5. Romantic Side Swept Waves
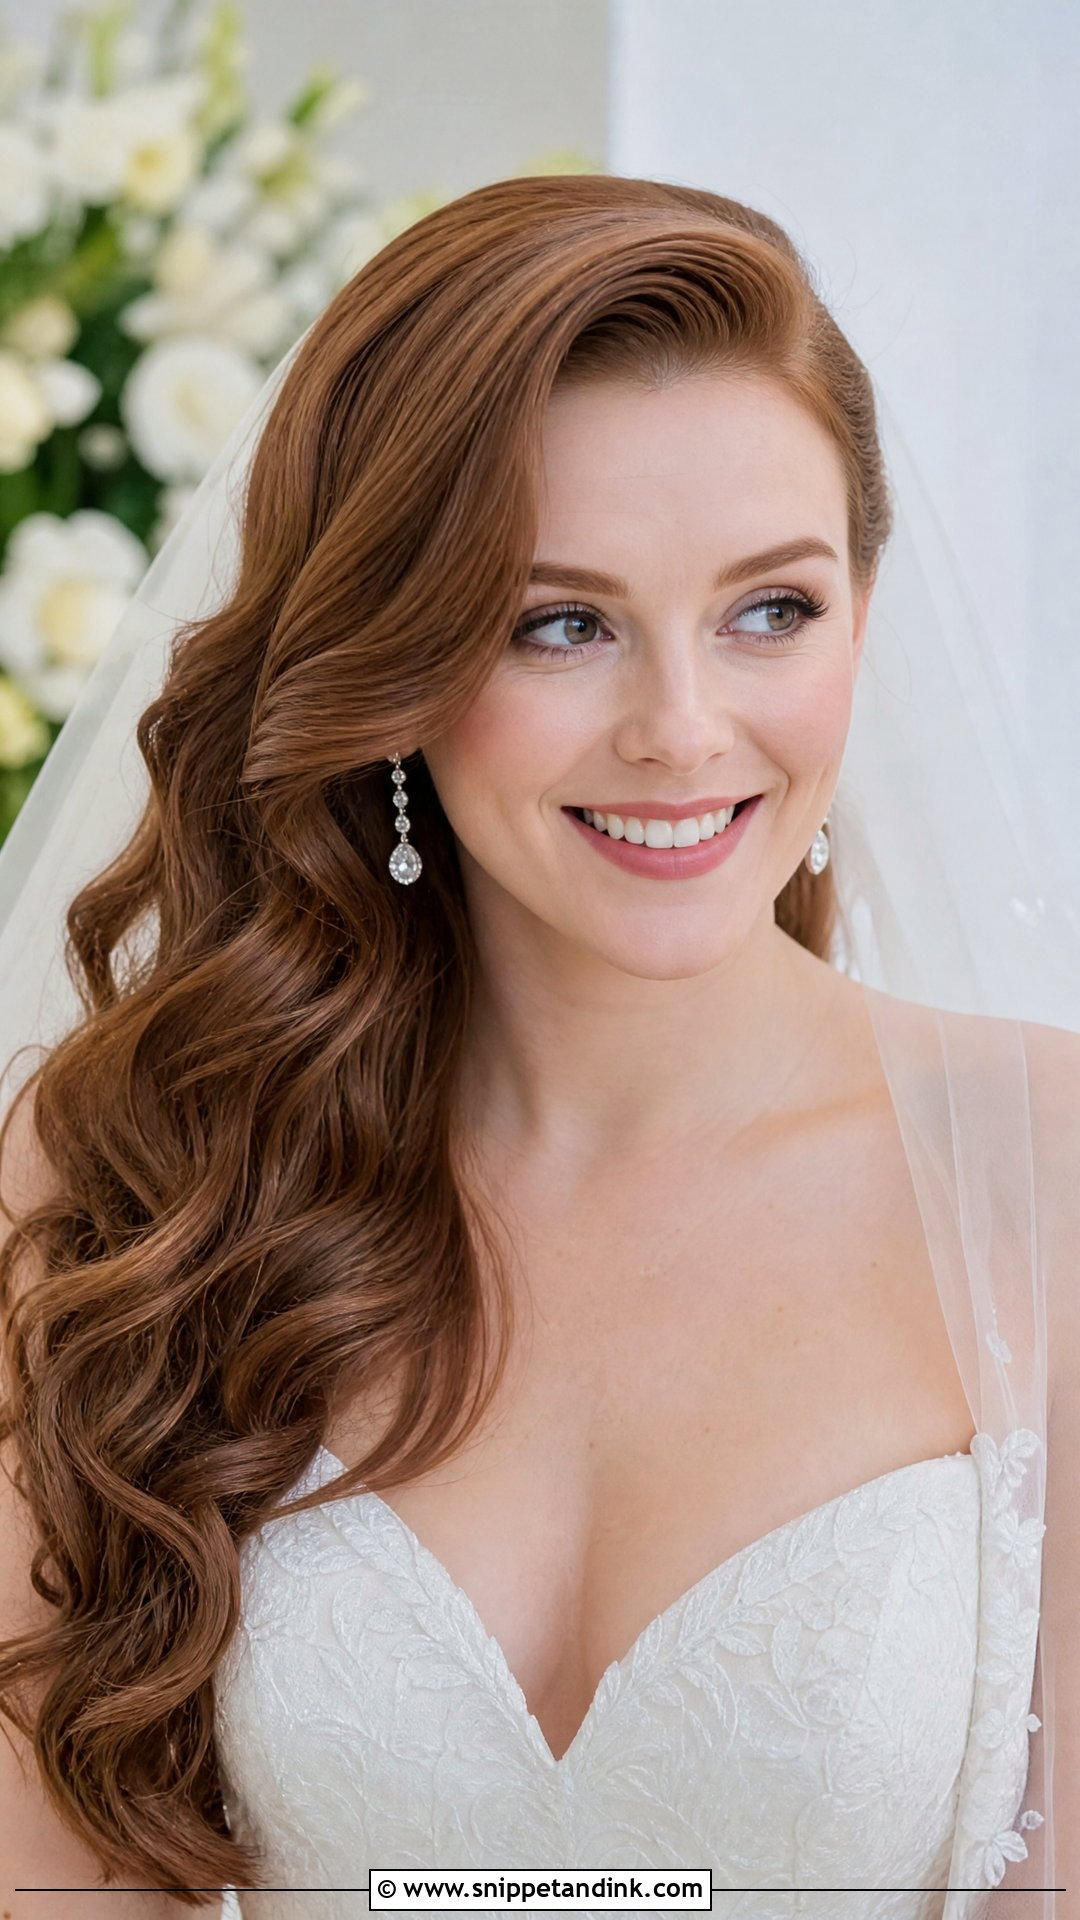
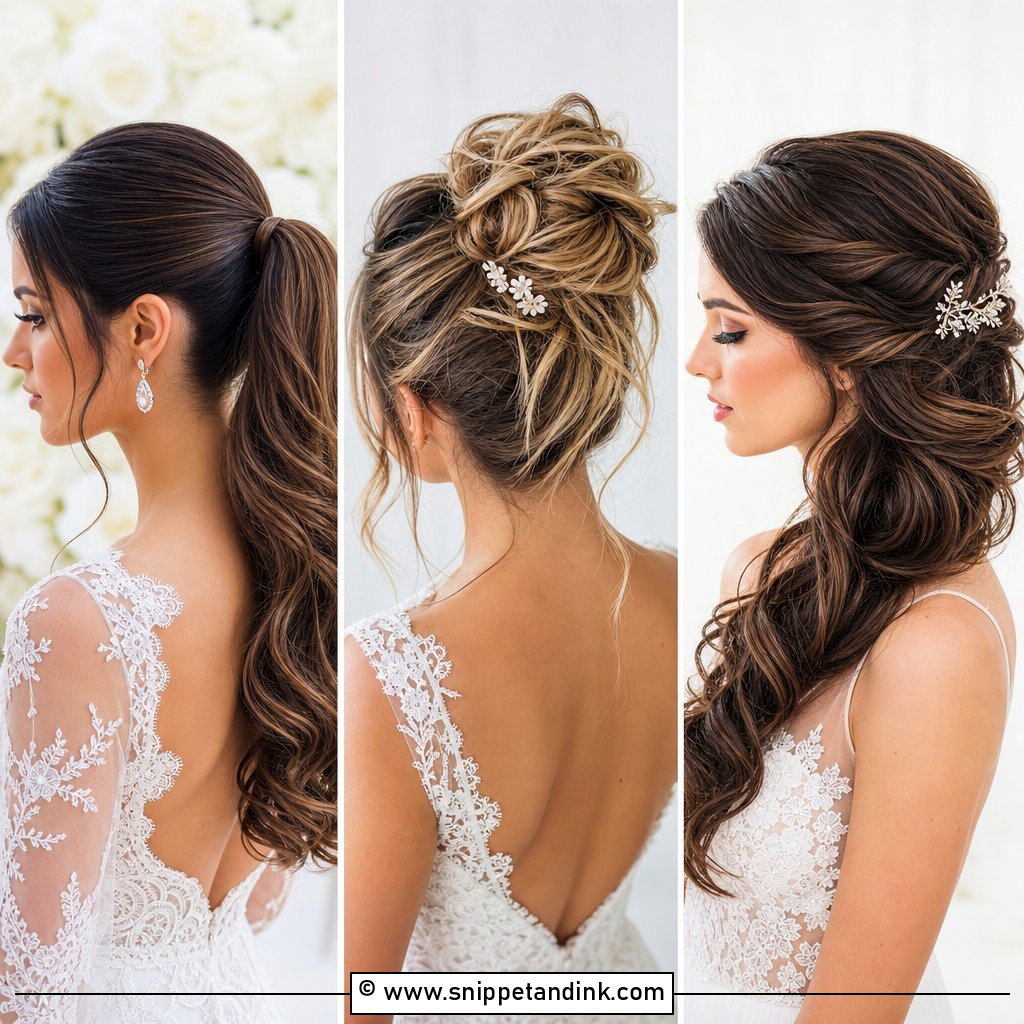
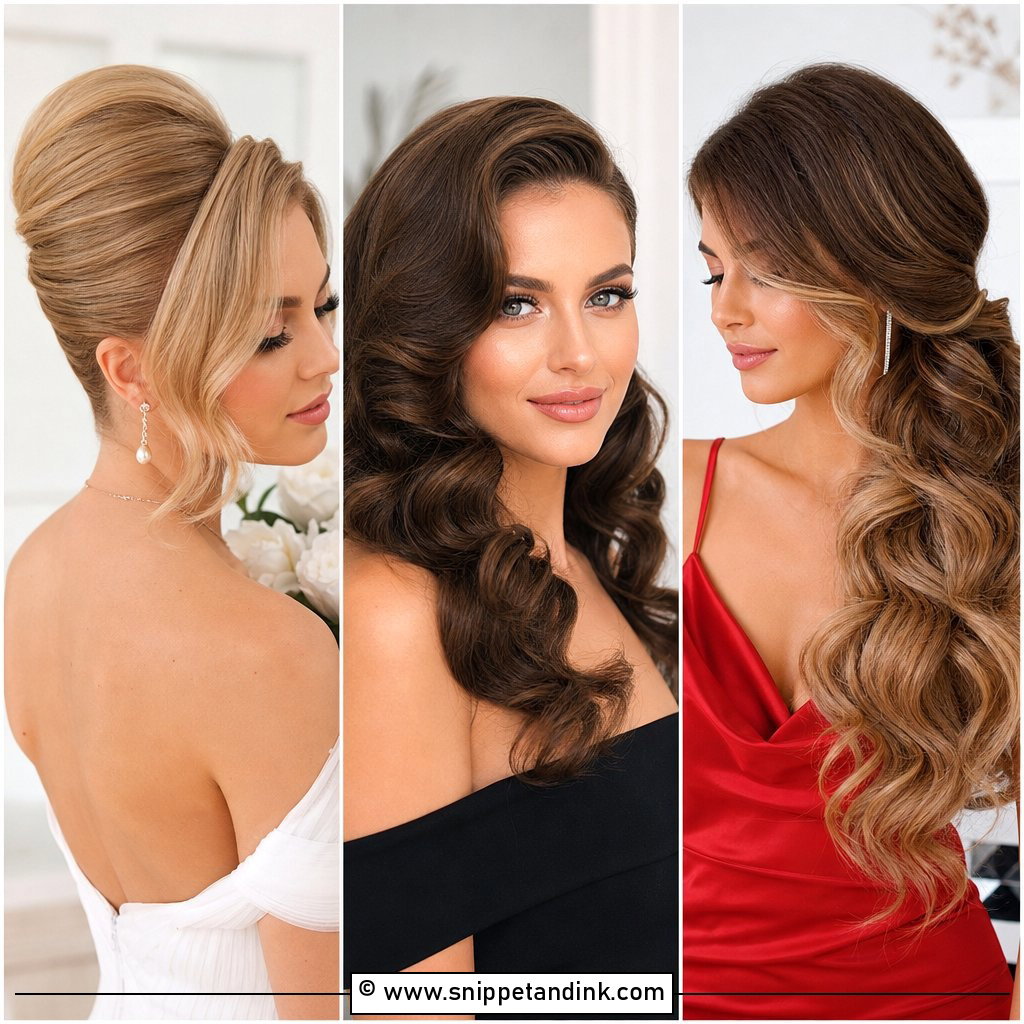
Make a deep side part and curl the hair away from the face with a large barrel iron, all in the same direction. Let the curls cool pinned up, then brush them through with a soft bristle brush until they merge into waves. Sweep everything over one shoulder and pin the other side behind the ear with two crossed bobby pins. Shine spray finishes it. Don’t skip the cooling step; that’s what sets the shape. It suits a sweetheart neckline and drop earrings, and an evening reception.
6. Messy Bun With Tendrils
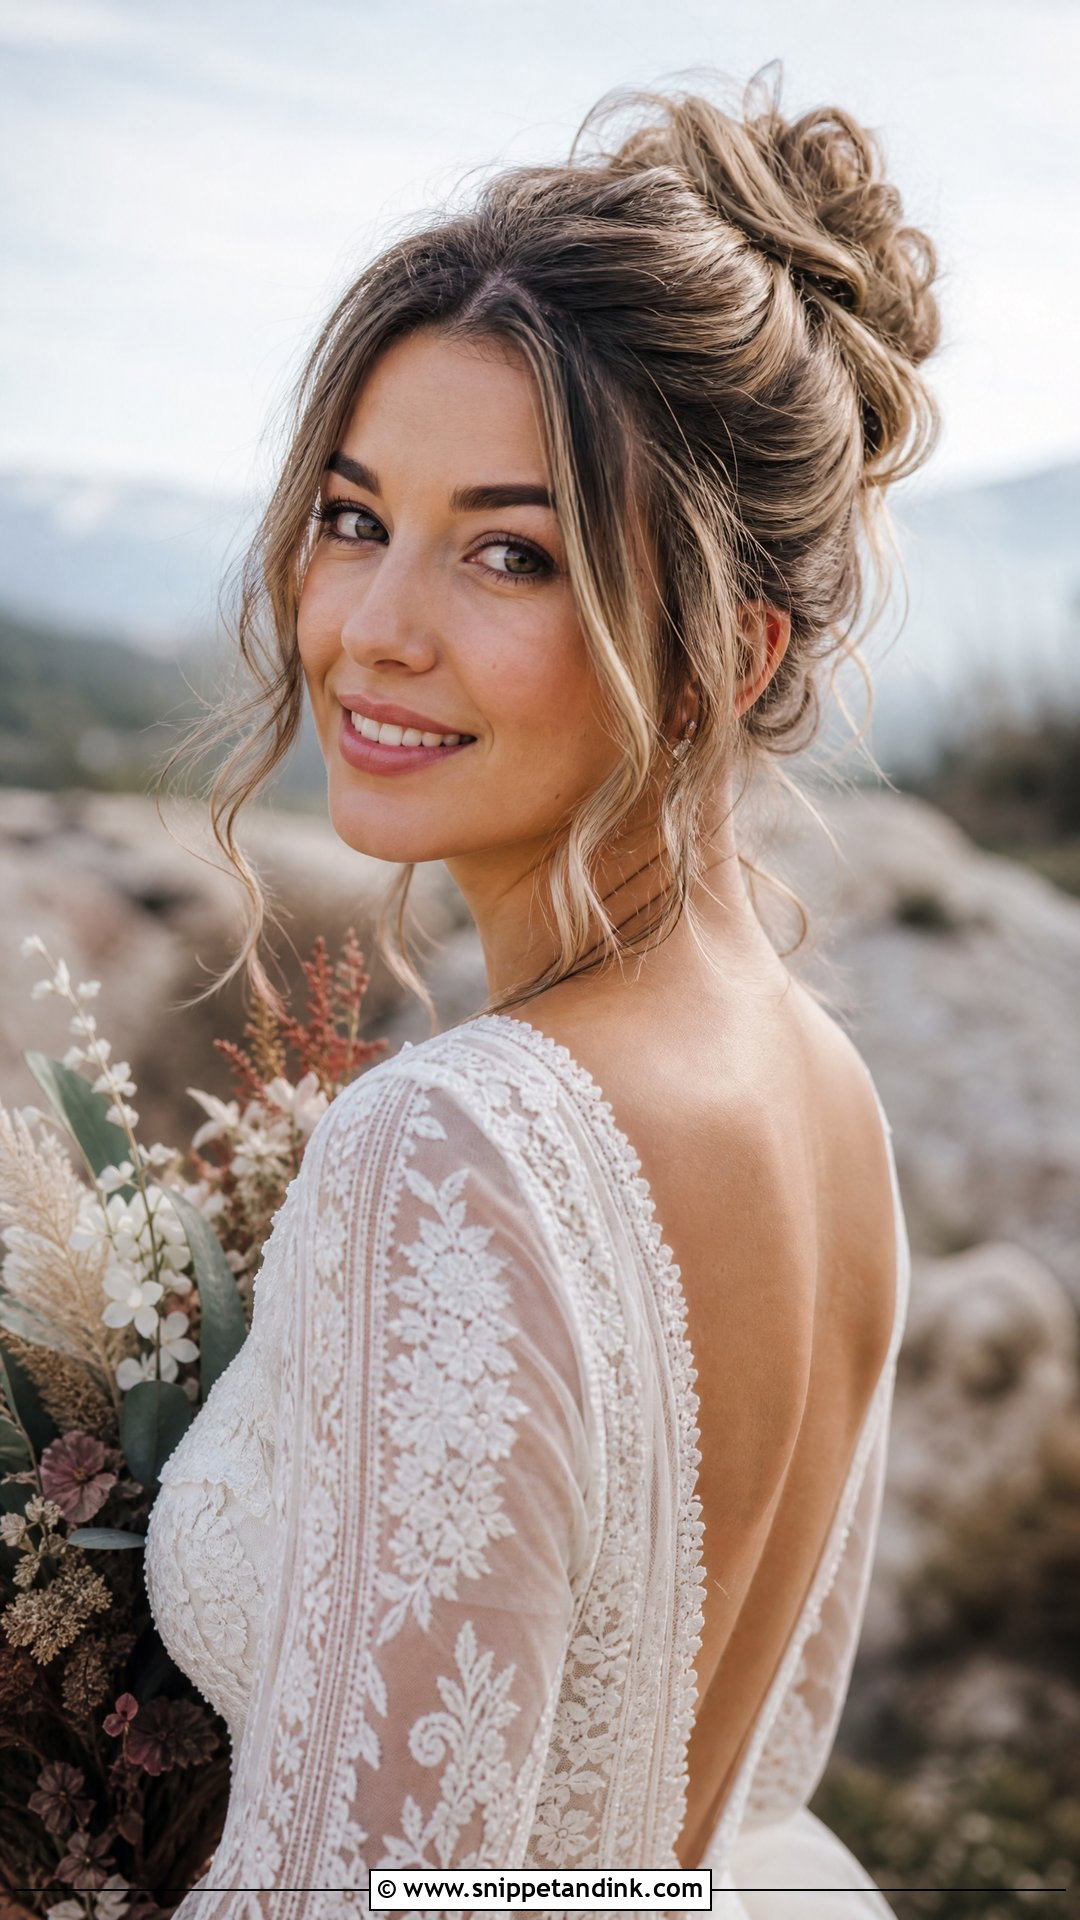
Messy buns need grip, so start with second-day hair or a texture spray on clean hair. Gather the hair into a high ponytail, twist it loosely, wrap it into a bun and pin it in several places so it’s soft but anchored. Pull out a few tendrils and curl them lightly. Then gently tug at the bun to widen it. The mistake I see most is pinning it too loosely to look effortless, which means it falls down by the first dance. Make the base tight; make the outside loose.
7. French Twist Updo
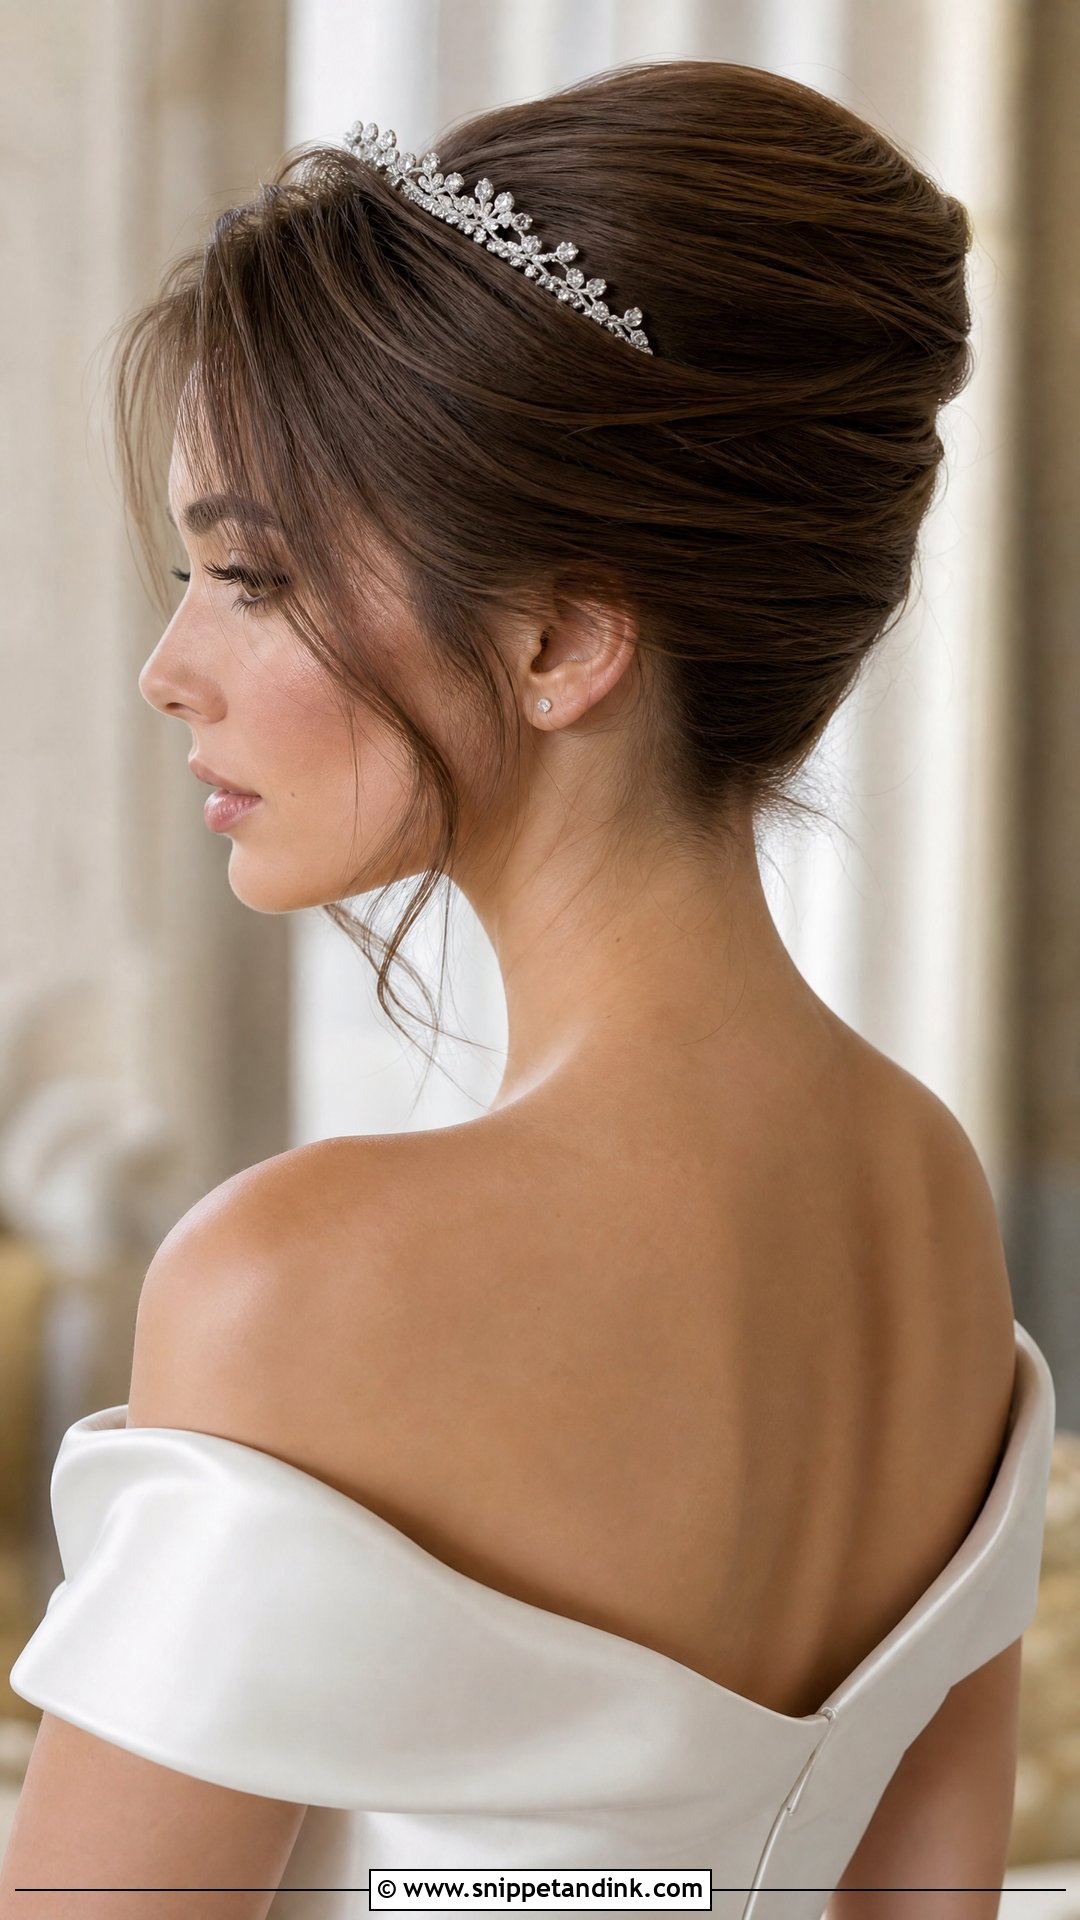
Brush the hair to one side and pin a vertical row of bobby pins down the center of the back, crossing them so they form a firm wall. Then gather the loose length, roll it inward over that row and tuck the ends underneath to form a vertical fold. Pin along the seam, pushing the pins into the roll. Wispy front pieces soften it. It looks hard but becomes easy after a few tries. Shoulder-length hair is about the minimum; shorter hair won’t make a full roll.
8. Boho Fishtail Braid
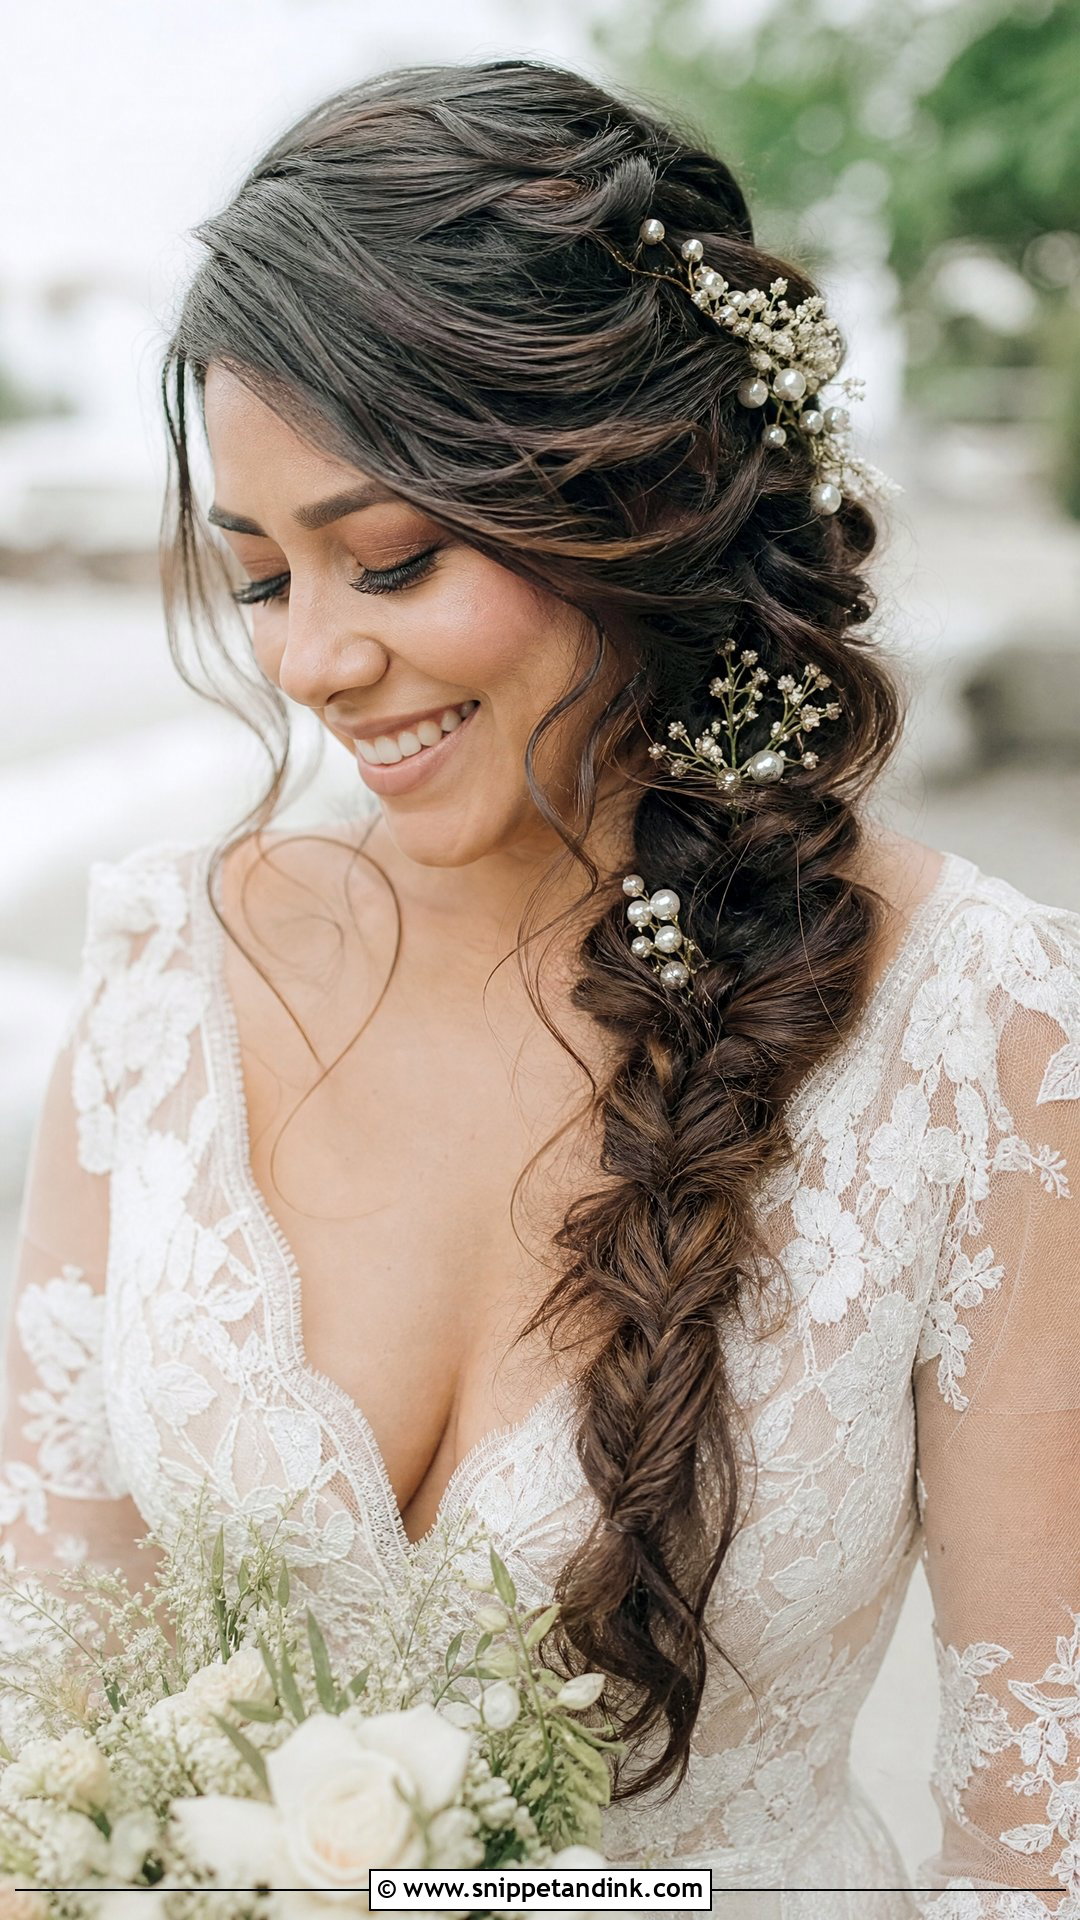
Gather the hair over one shoulder and split it into two sections. Take a thin strand from the outside of one section, cross it over and add it to the other, then repeat on the opposite side. Keep the strands thin; that’s what makes the pattern visible. Work to the ends and secure with a clear elastic. Pull the edges apart gently for a loose look. On layered hair, short ends will poke out, so run a little pomade over your fingers as you braid. It suits long, thick hair and outdoor weddings.
9. Curly Updo for Natural Hair
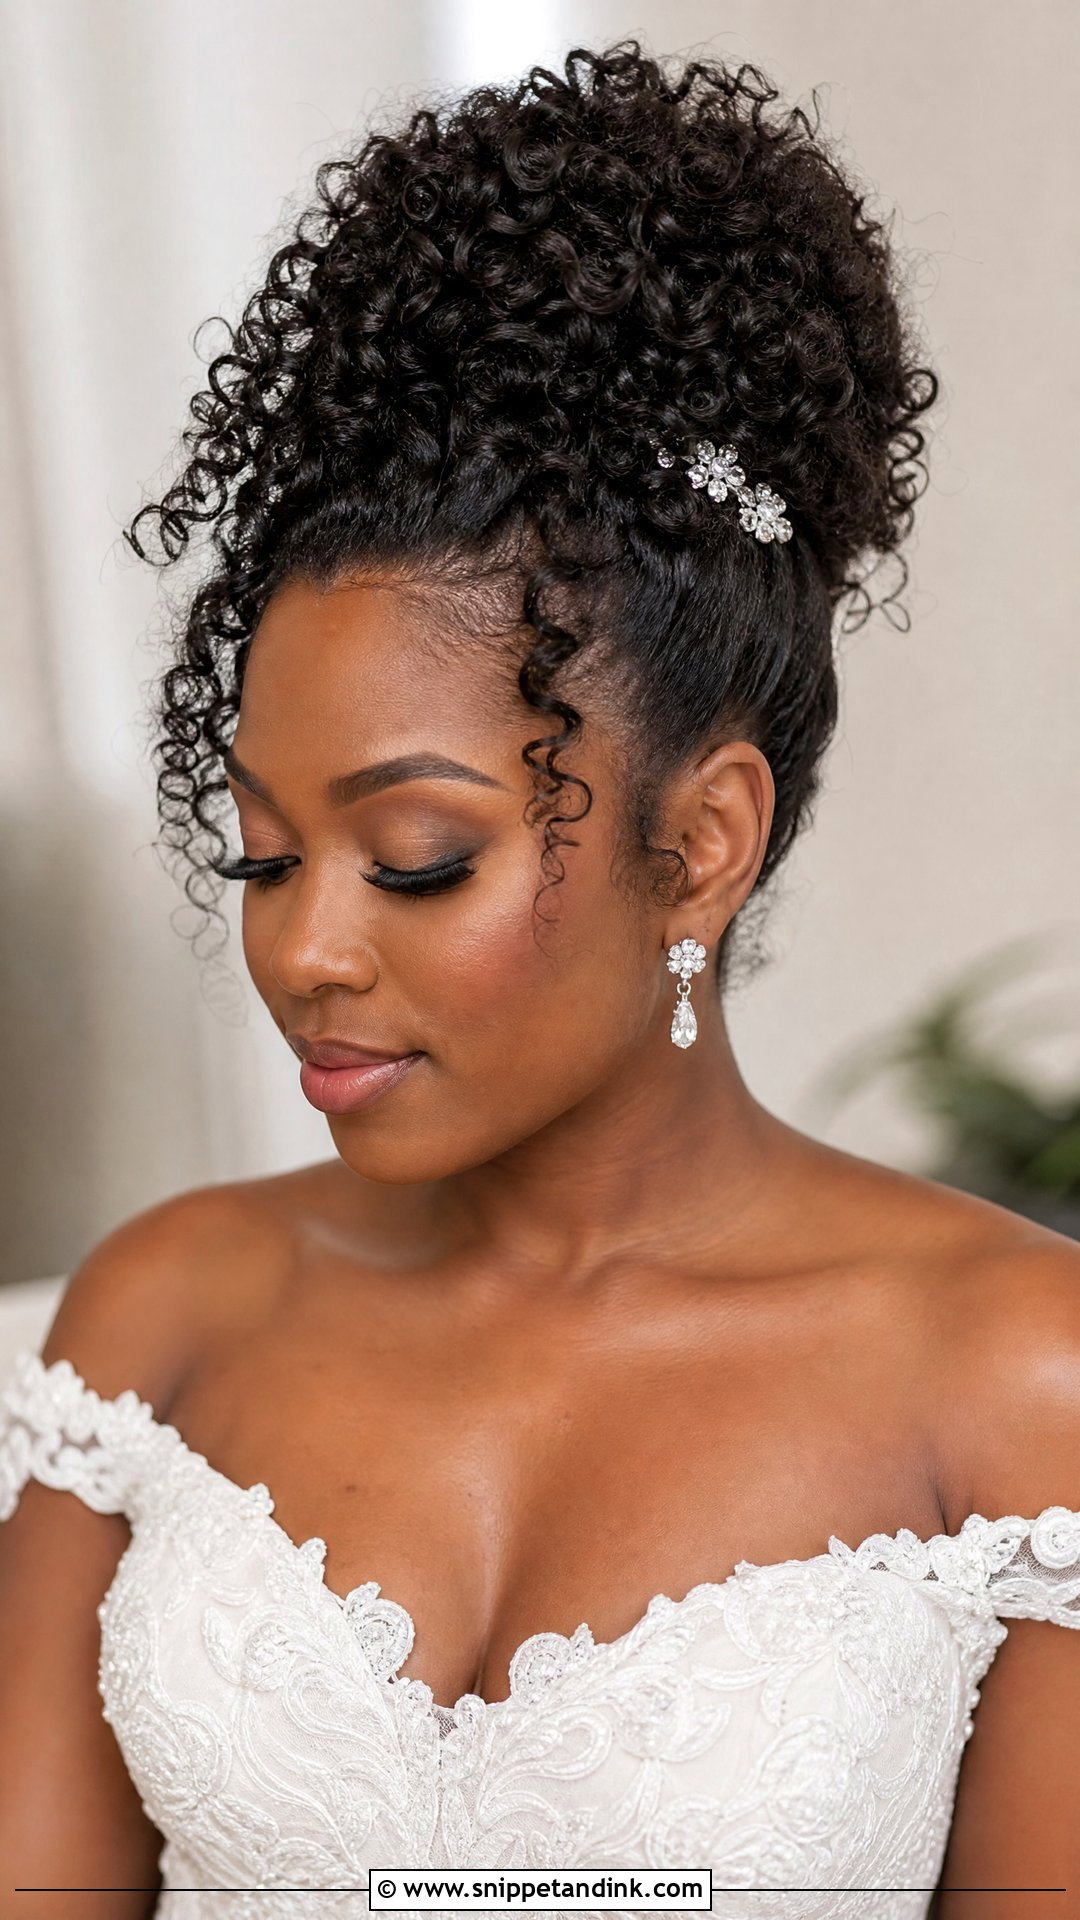
Moisture first: start with well-hydrated curls defined with your usual styling cream, and refresh any frizzy areas with water rather than brushing. Gather the hair up toward the crown with your hands and let the curls pile naturally for height. Secure the base with pins and let some curls spill out. Leave a few coils around the face. A sparkling pin or fresh flowers adds the bridal detail. Large bobby pins or U-pins hold curly hair better than standard pins, which can slip in very thick hair.
10. Low Ponytail With Wrapped Detail
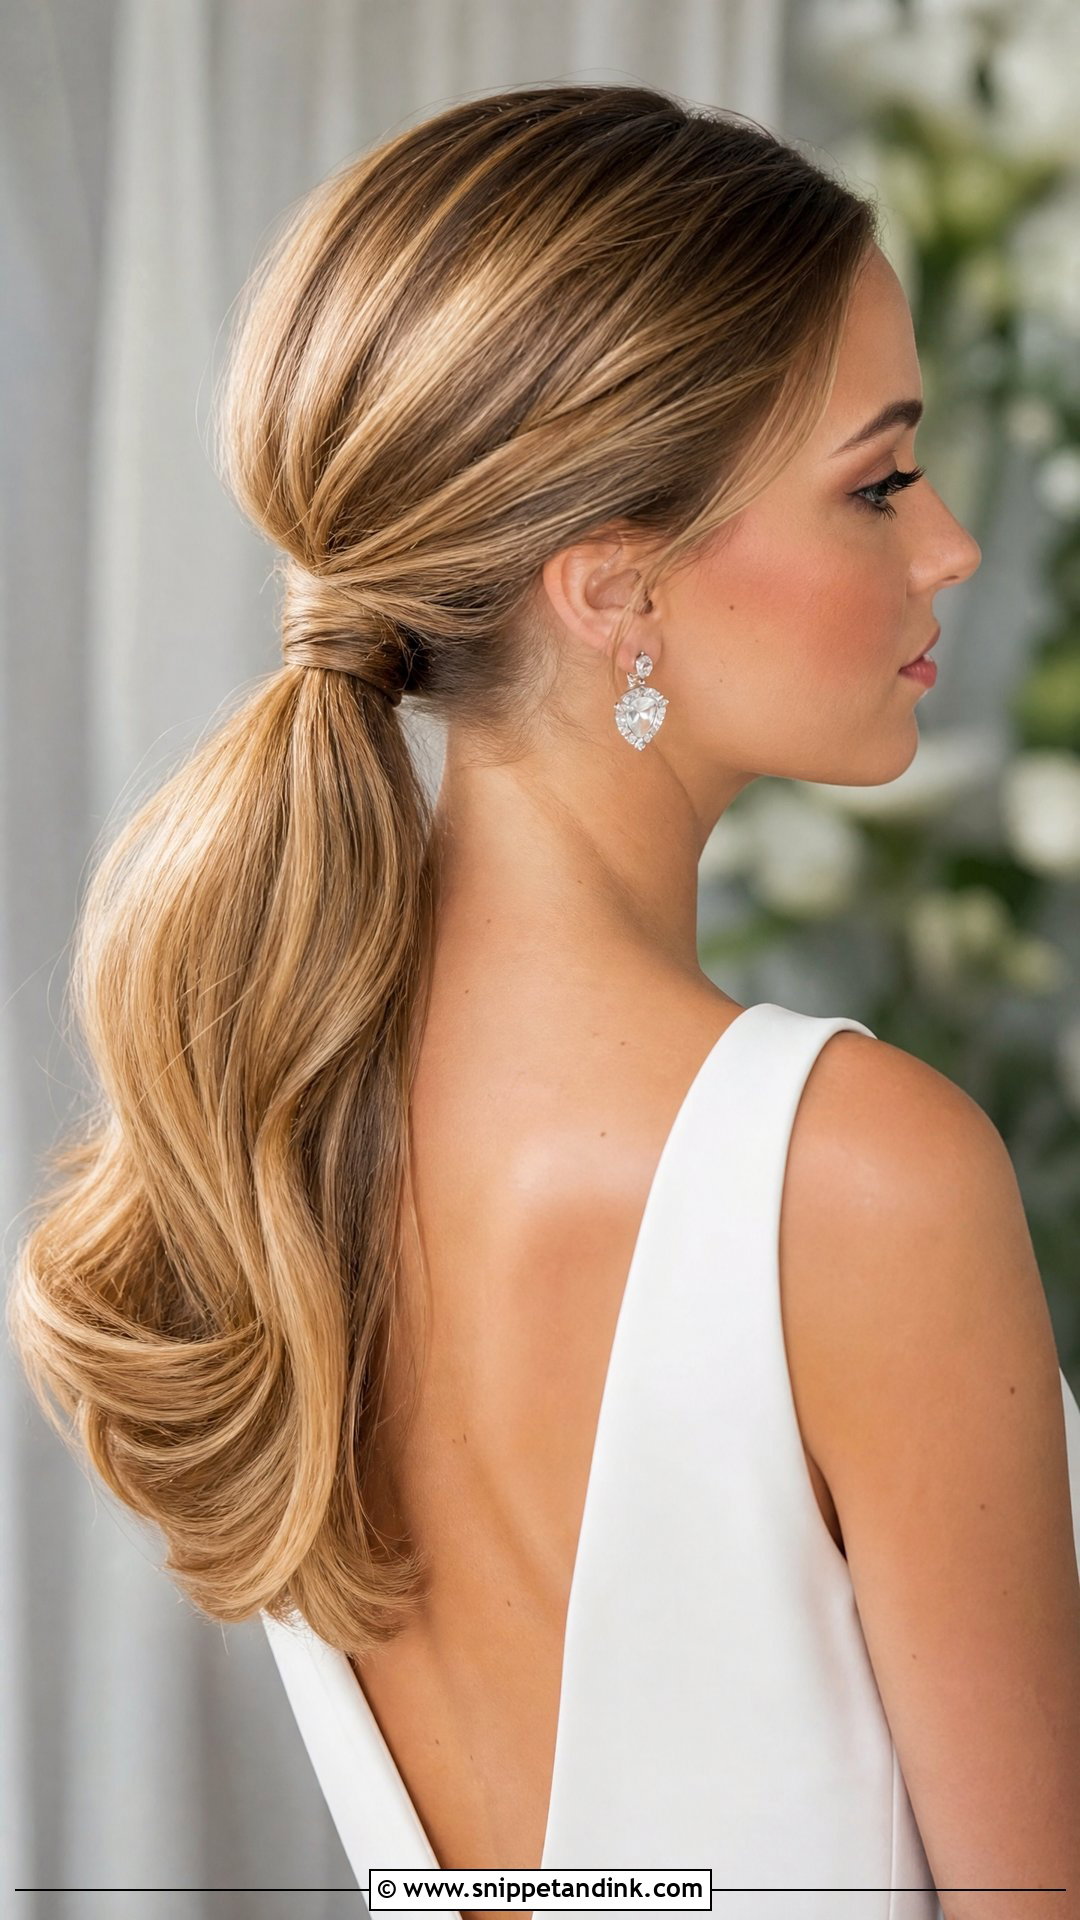
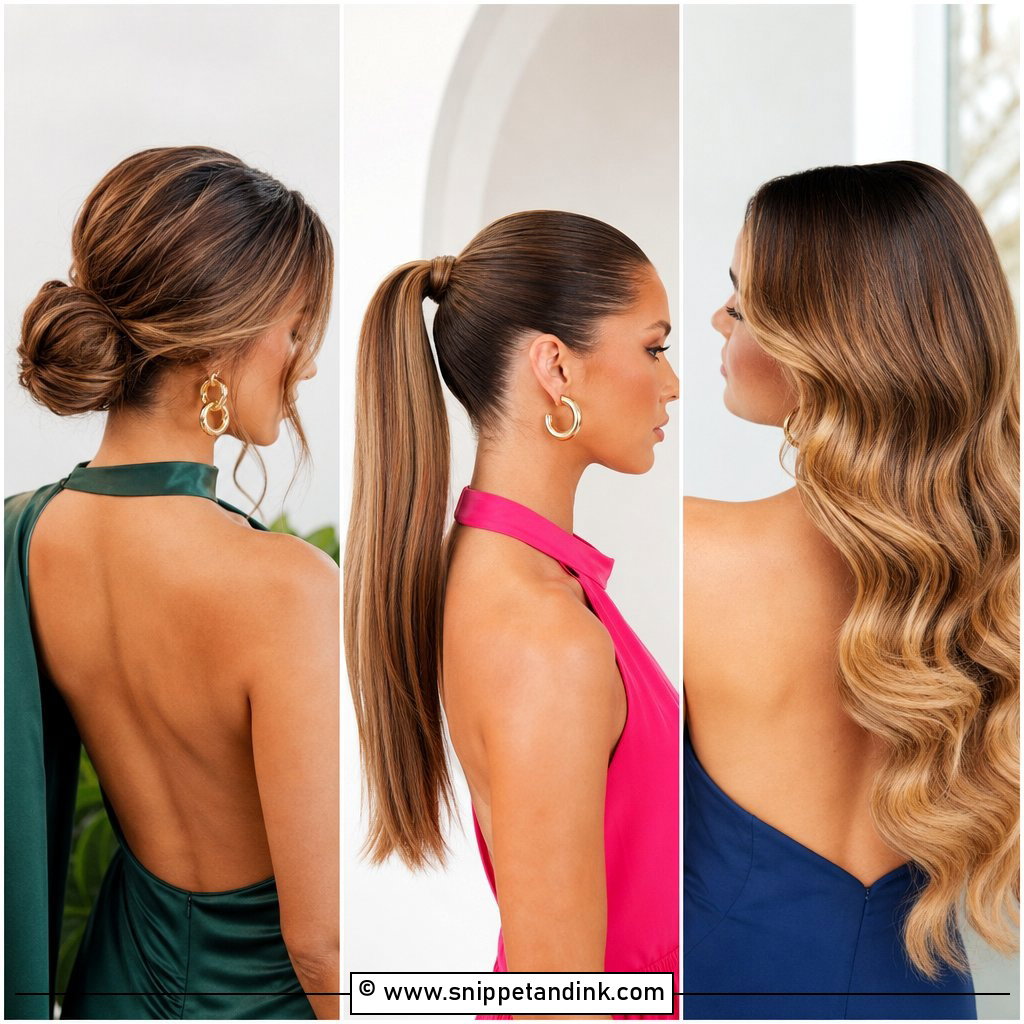
Smooth the hair back into a low ponytail at the nape, keeping the top polished. Take a small strand from underneath, wrap it around the elastic and pin the end under the ponytail where it won’t show. That wrap turns a basic ponytail into something finished. Curling the length into loose waves adds a little glamour. It’s one of the easiest looks to do on yourself and stays neat for a long day. It goes nicely with statement earrings.
11. Twisted Half-Up Updo
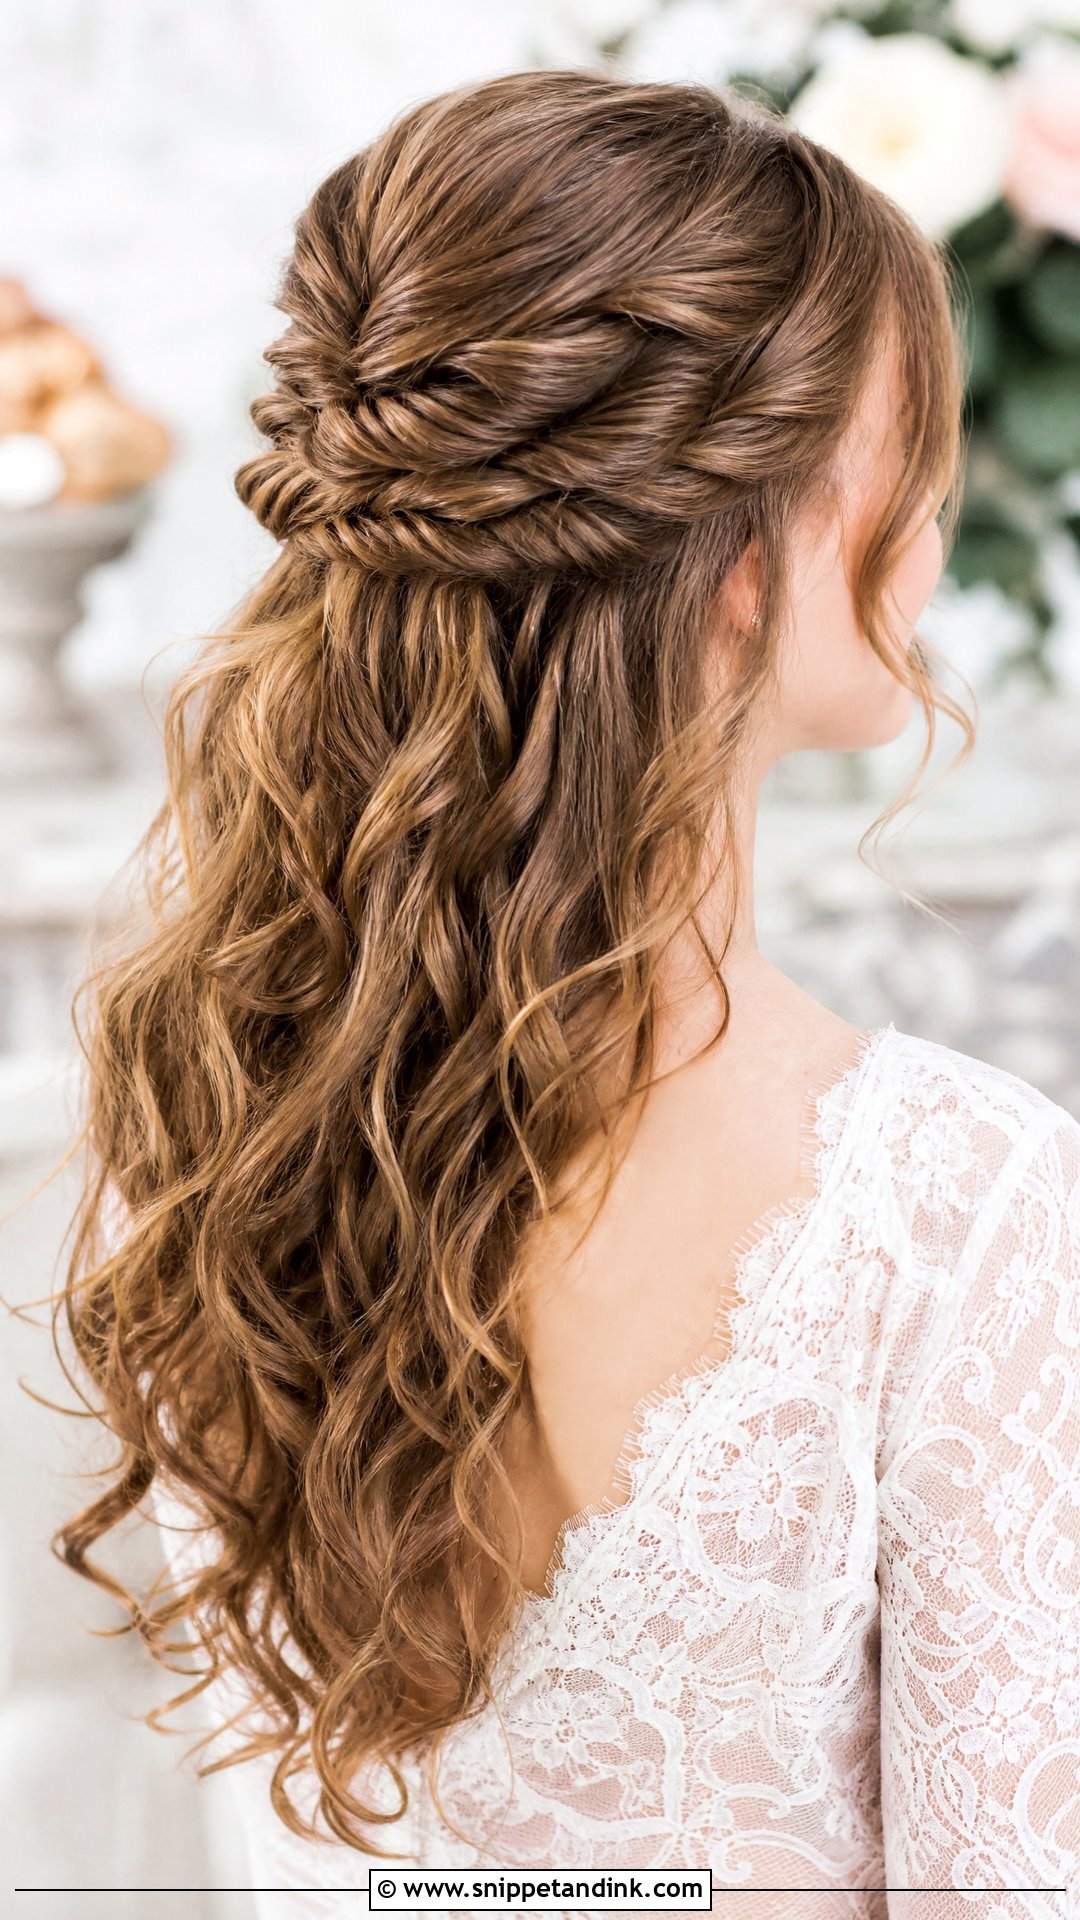
Take a section from each side at the front, twist each backward and pin them together at the crown. Keep adding twisted sections below, layering them so they cascade downward like a rope. Leave the lower hair loose in soft curls. Gently loosen each twist for fullness. The trick is twisting in the same direction on both sides, away from the face, or the twists unravel. It keeps hair off the face and shows off length. A comb or small pins finish it.
12. Vintage Finger Waves
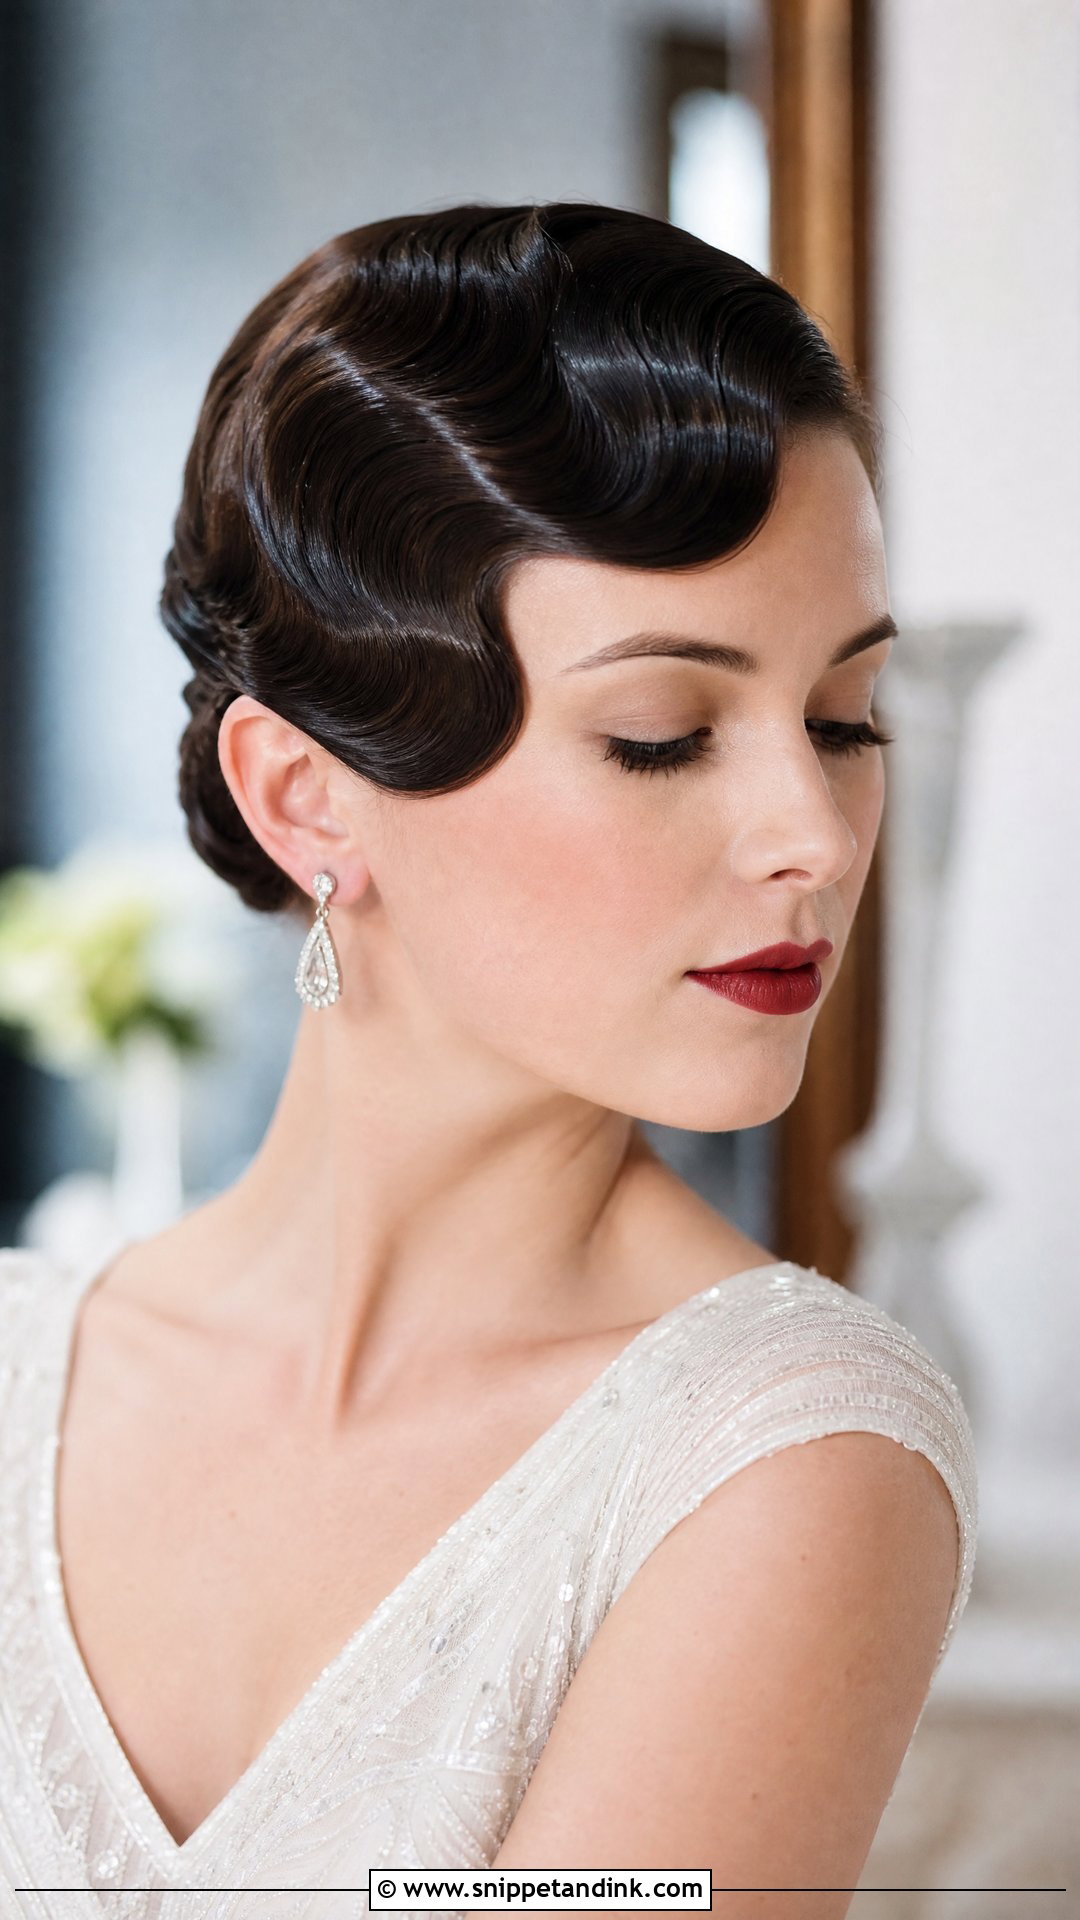
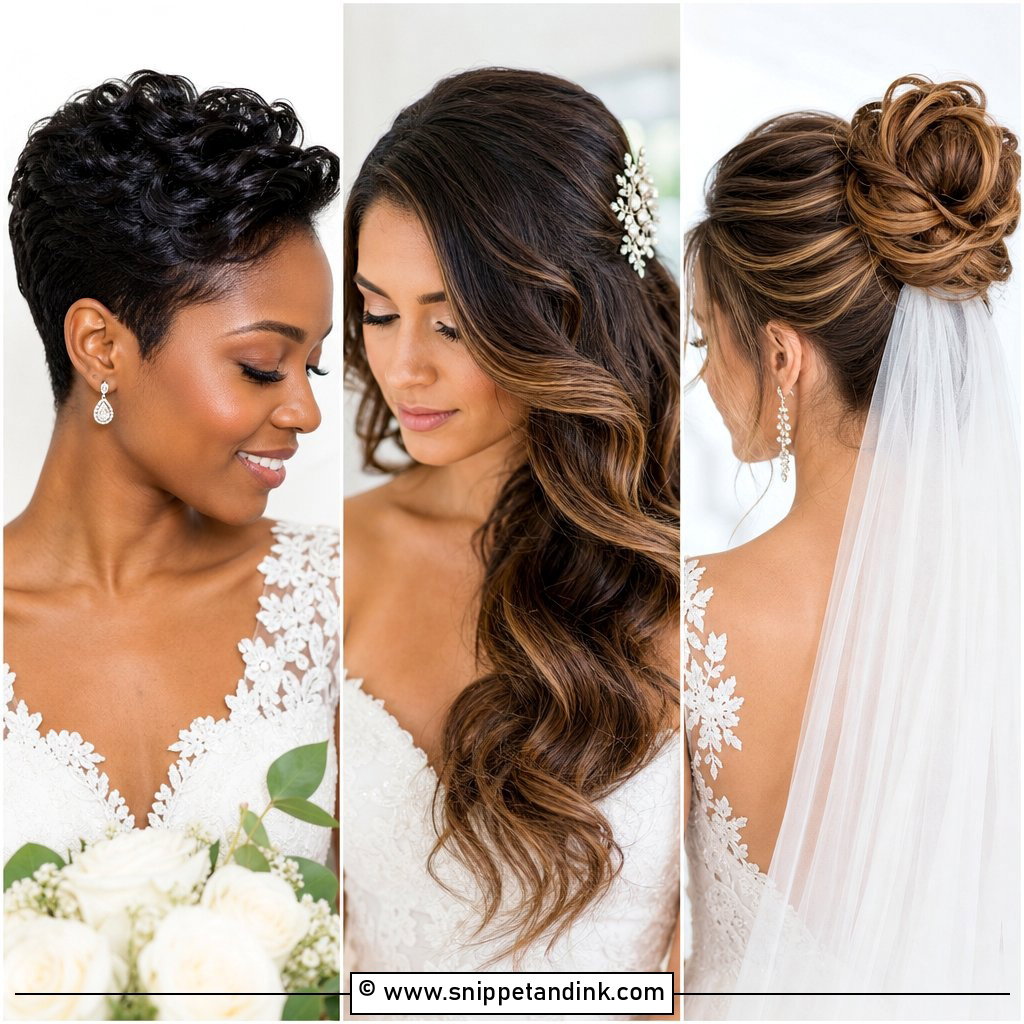
Finger waves are the hardest look on this list to do yourself. Apply plenty of styling gel to damp hair, then shape S-shaped waves close to the scalp with a fine-tooth comb and your fingers, clipping each ridge as you go. Let the hair dry completely before removing the clips; impatience ruins this look. They suit short bobs, vintage gowns and Art Deco themes. A gloss spray finishes them. Practice several times, or book a stylist who does vintage work for the day itself.
13. Floral Accented Bun
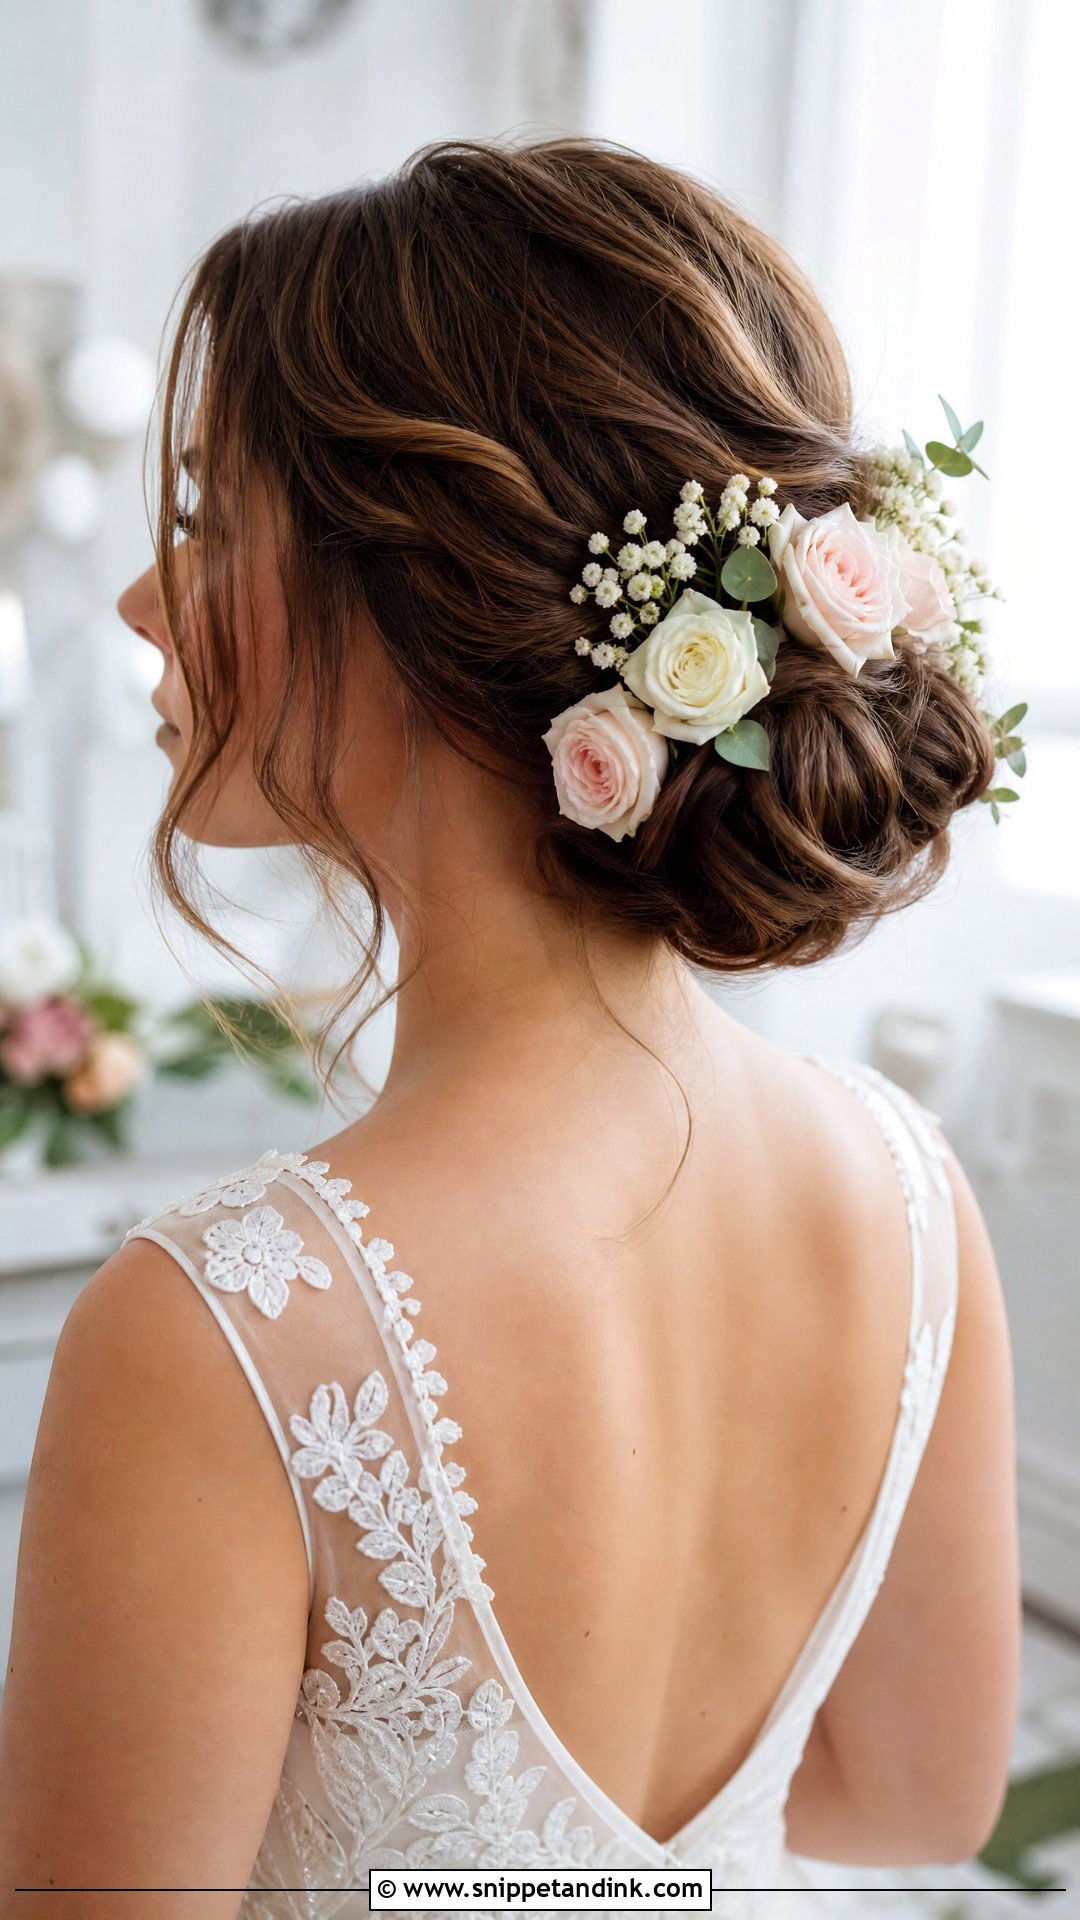
Twist the hair into a soft, low bun at the nape and pin it loosely, keeping the texture relaxed. Then tuck small fresh blooms, like spray roses or baby’s breath, around and into the bun, placing them off to one side. Ask your florist to wire the stems and fix them to bobby pins, which makes placing them much easier. Add the flowers last, as close to the ceremony as possible, since they wilt out of water. It ties nicely into the bouquet at spring and summer weddings.
14. Sleek Straight Hair Down
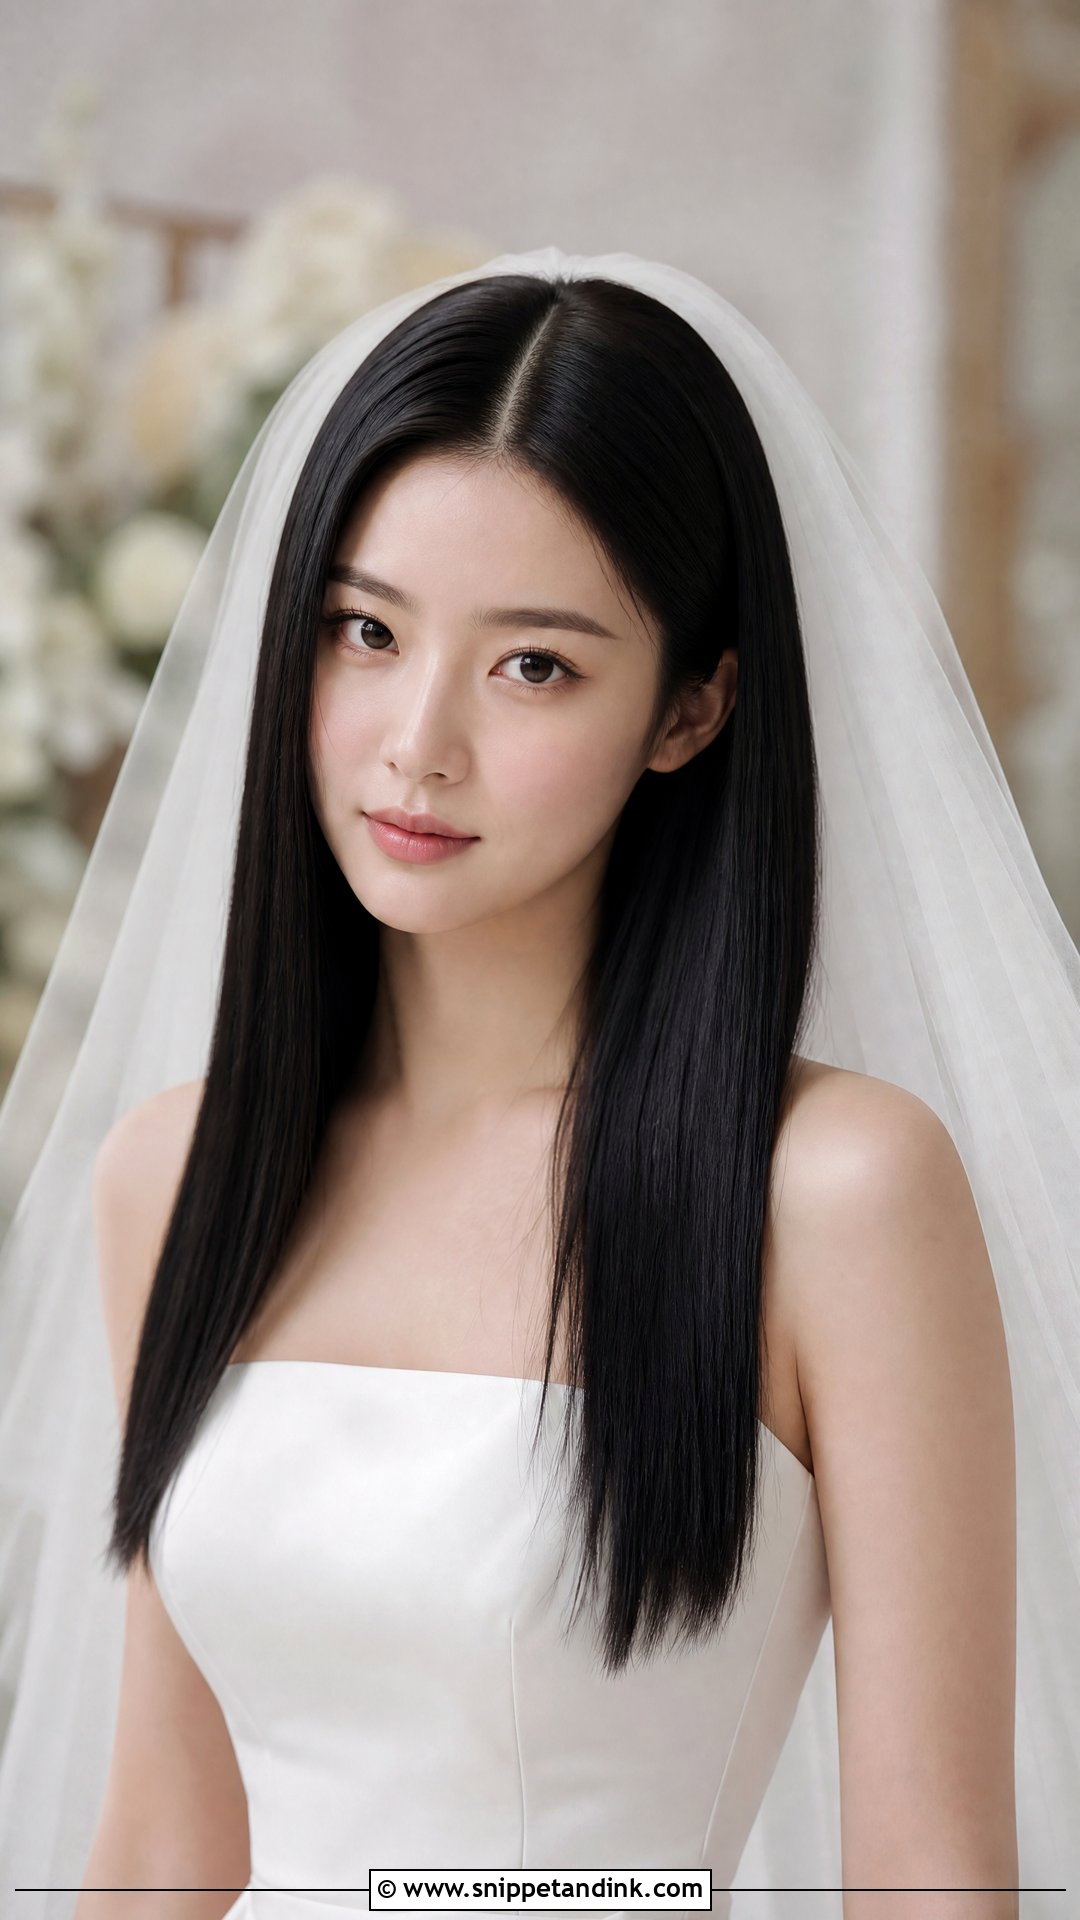
Straight hair worn down depends on the prep. Blow-dry straight with a smoothing brush and heat protectant, then flat iron small sections for a glossy finish. Part in the center or to the side. A tiny amount of serum calms frizz; too much looks greasy in photos, so start with a drop and add more only if needed. It goes with any neckline and suits a minimalist look. Pair it with a simple veil or sparkling headband. In humid weather, straight hair often bends again by evening, so carry an anti-frizz product.
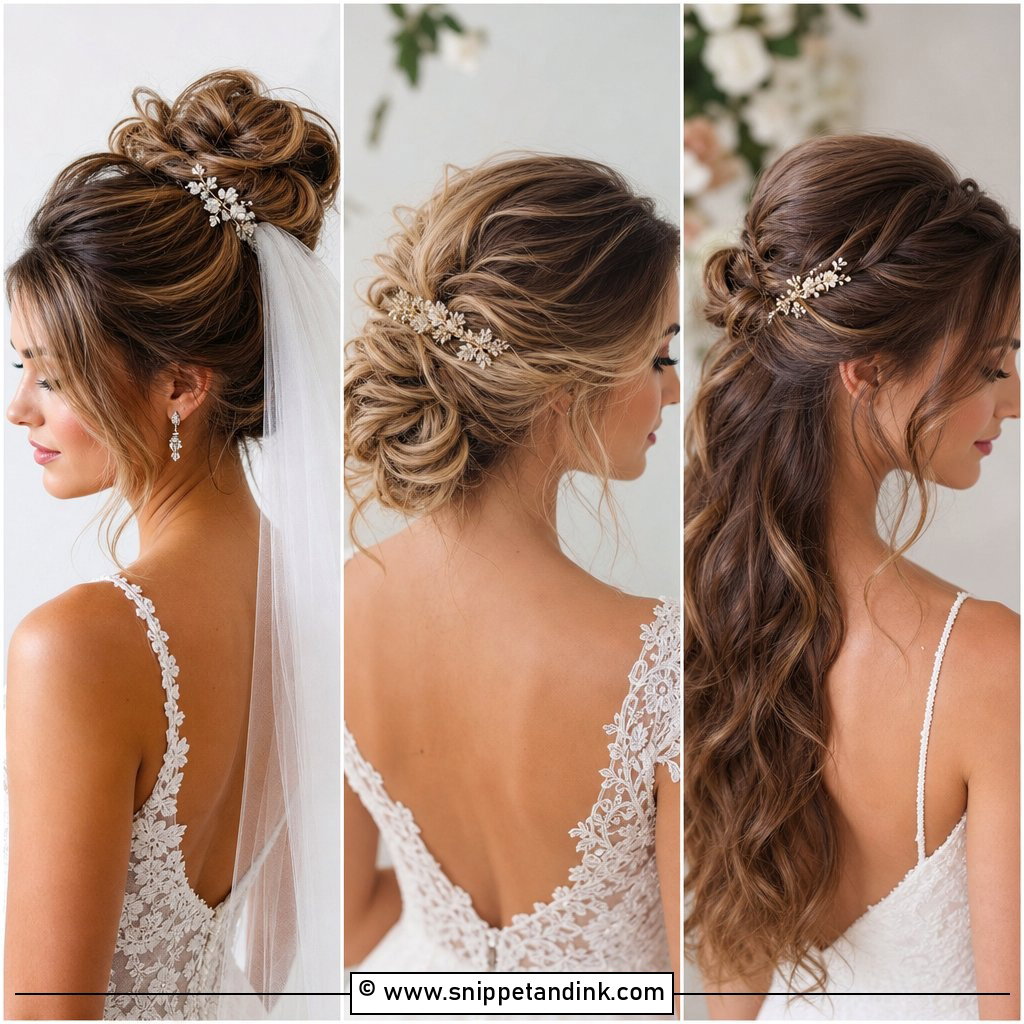
15. Bohemian Waterfall Braid
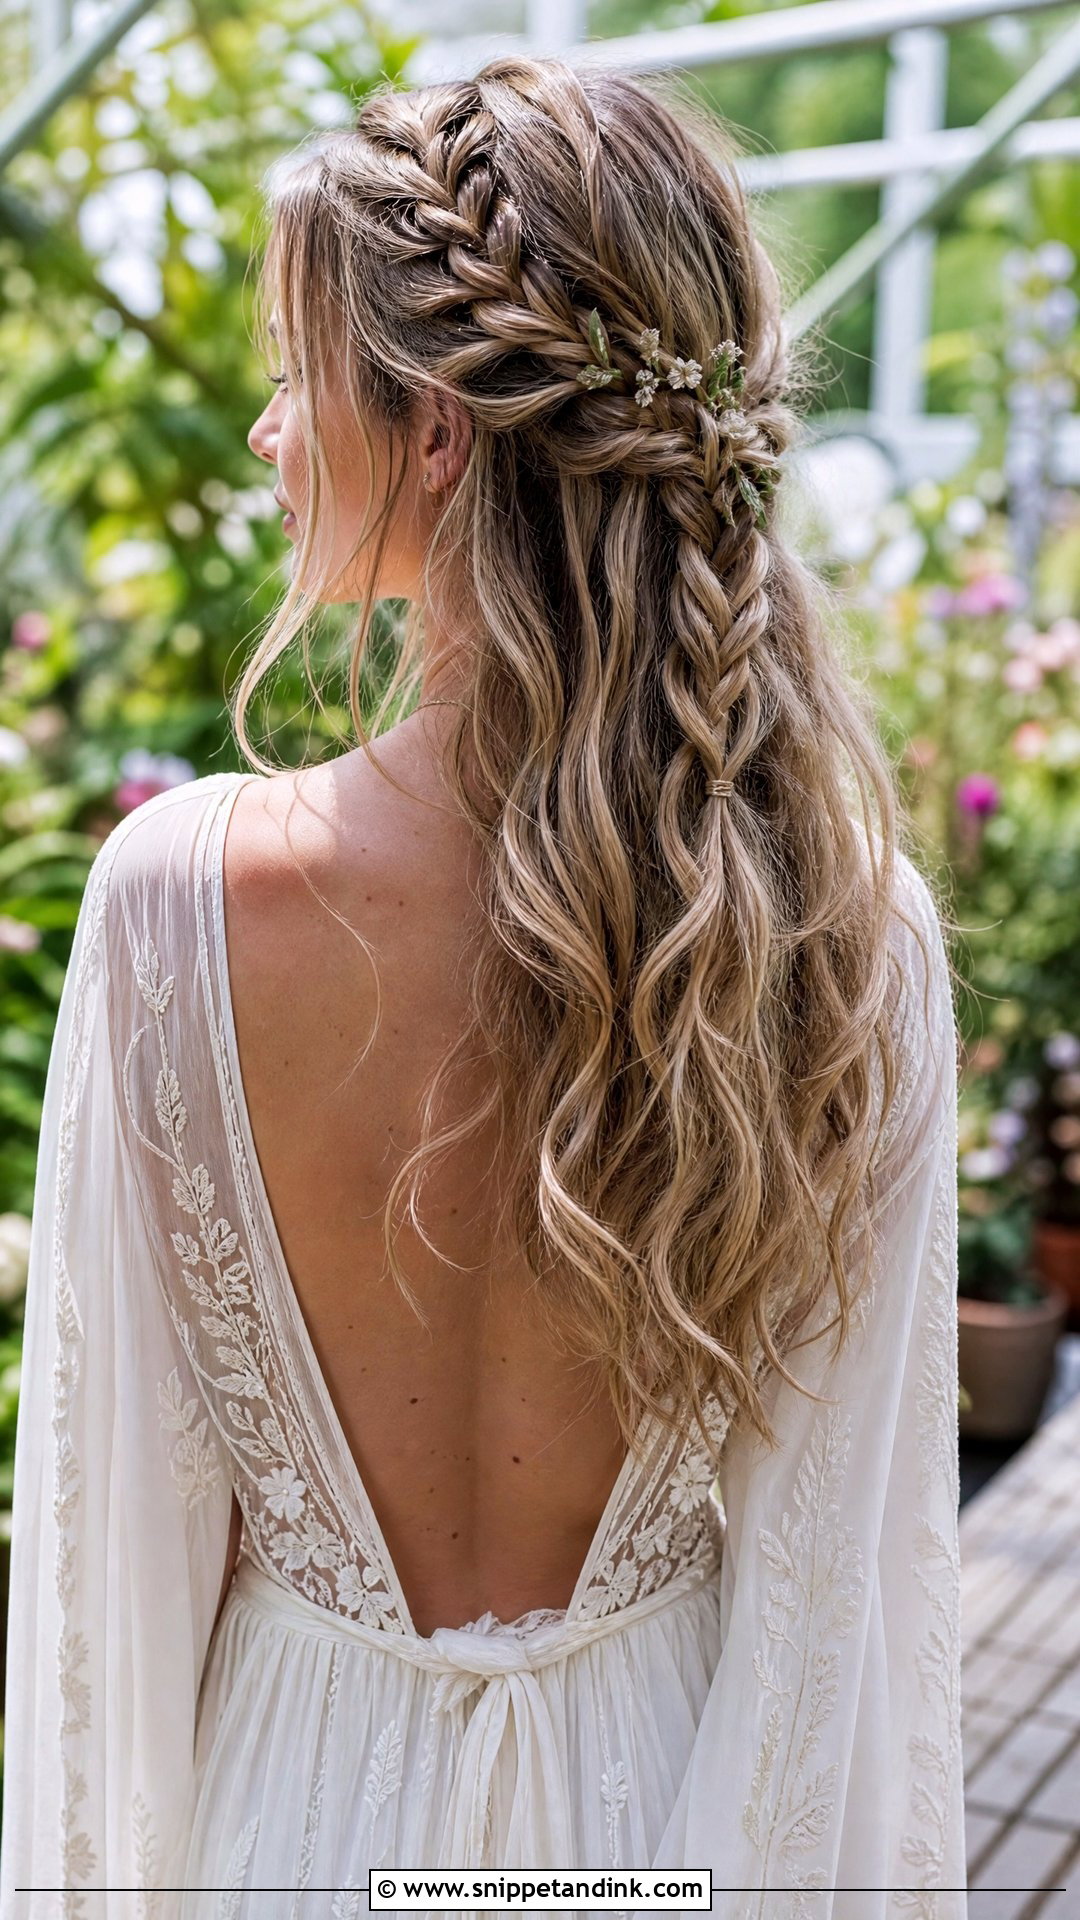
The waterfall braid looks complicated but follows one repeated move. Start a regular braid near the temple. Each time the top strand crosses down, let the bottom strand drop and pick up a fresh section from above to replace it; the dropped pieces hang loose like falling water. Continue across the head and secure the end with a clear elastic or pins. Curl the loose strands underneath. It pairs well with flowing waves at outdoor and garden weddings. Use a mirror behind you while practicing.
16. High Bun With Volume
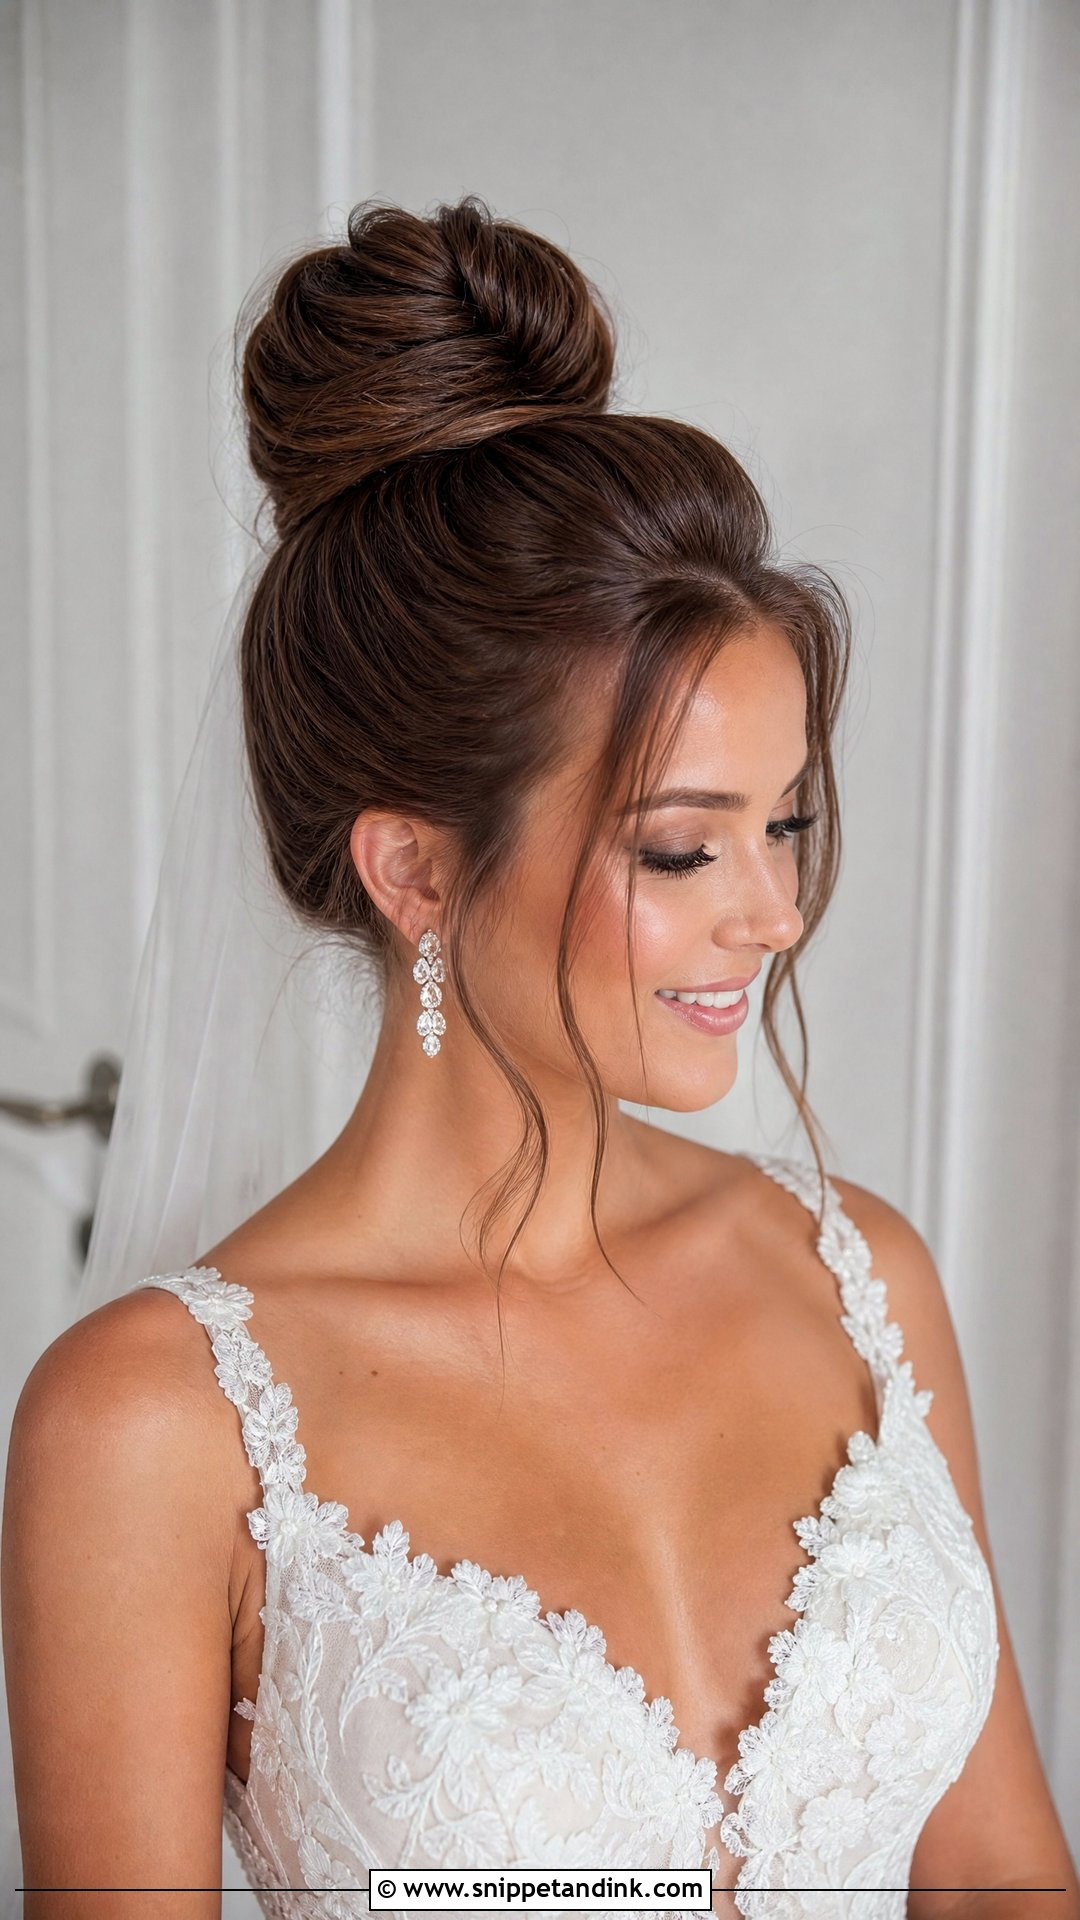
Gather all the hair into a high ponytail at the crown and secure it tightly. Tease the ponytail lightly for volume, then twist and wrap it into a full bun and pin all around the base. A hair donut slipped over the ponytail before wrapping adds fullness, especially on fine hair. Leave a few soft pieces by the ears. It lengthens the neck and shows off earrings, and suits formal weddings. Very heavy hair can make a high bun feel tight on the scalp after a few hours, so test it for a full afternoon.
17. Soft Curls With Headband
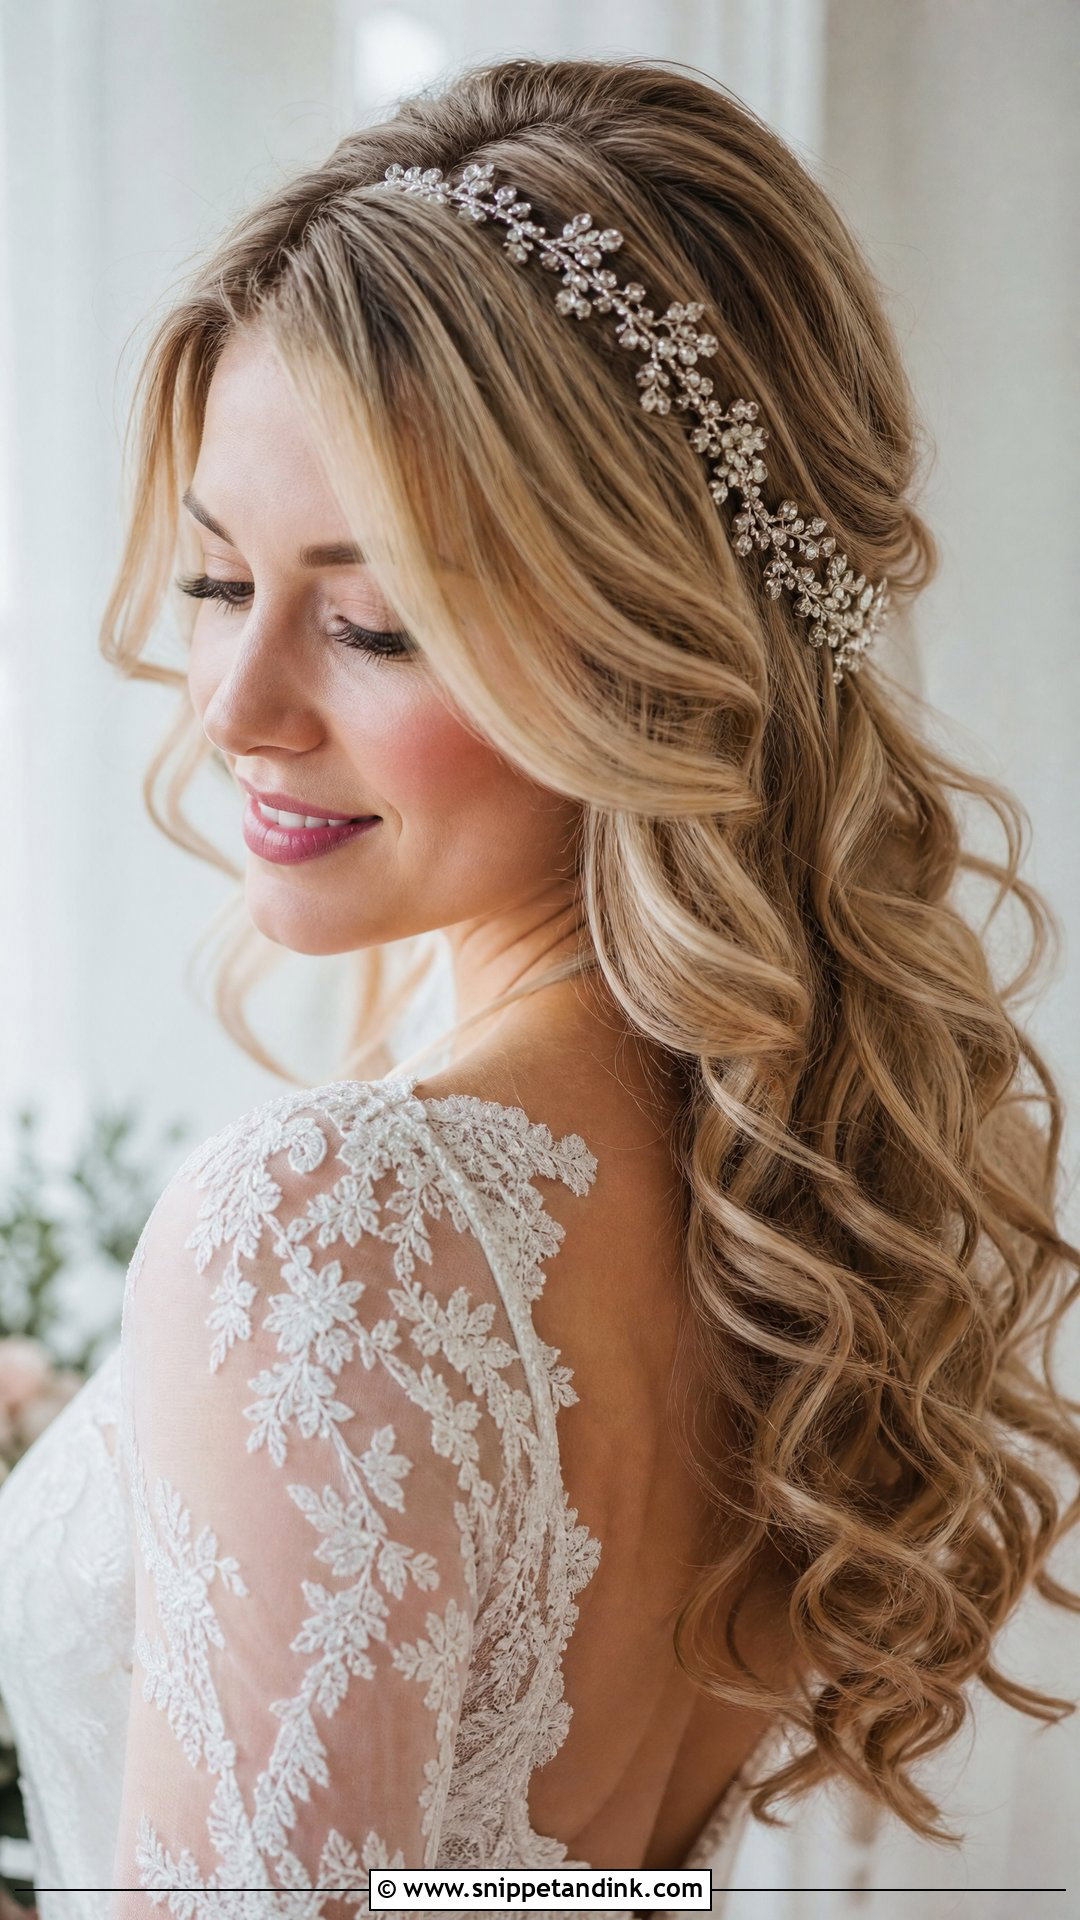
Curl the hair with a medium barrel, alternating the direction of each curl so they don’t clump. When cool, brush through gently to loosen them into waves. Slide a jeweled headband or hair vine into place just behind the hairline, and tuck a few pieces over it so it sits snugly. A couple of bobby pins behind the ears stop it sliding back. The rest flows freely. It’s an easy one to do on yourself, and it gives hair worn down a clear bridal detail.
18. Braided Bun Combination
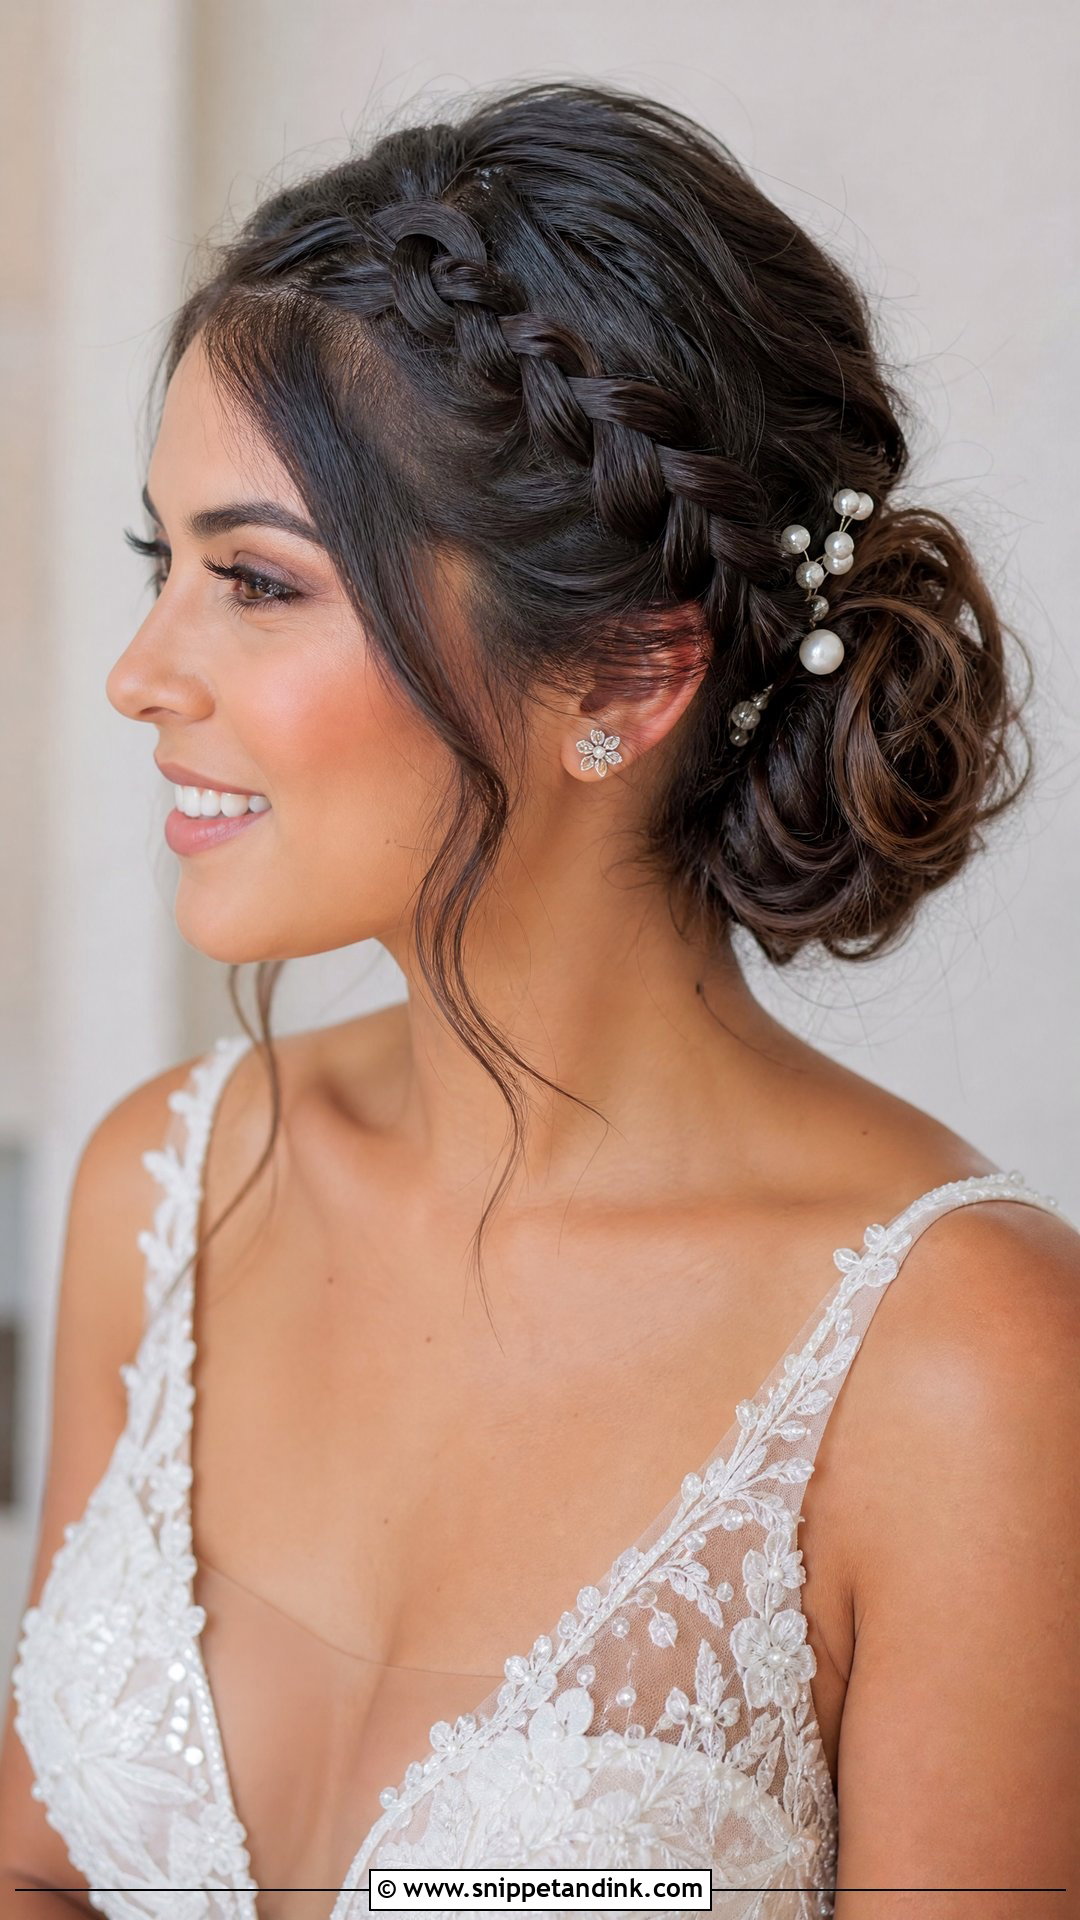
Braid along one side of the head, French or Dutch, then gather the rest of the hair with the braid into a low bun at the nape. Twist and wrap everything together and pin it securely. Loosen the braid and the bun slightly for a textured finish. The braid acts as a handle for pins, so this combination is one of the most secure styles here. It looks detailed from every angle. Small pearl pins or fresh flowers tucked along the braid add a final touch.
19. Pinned Back Curls With Veil
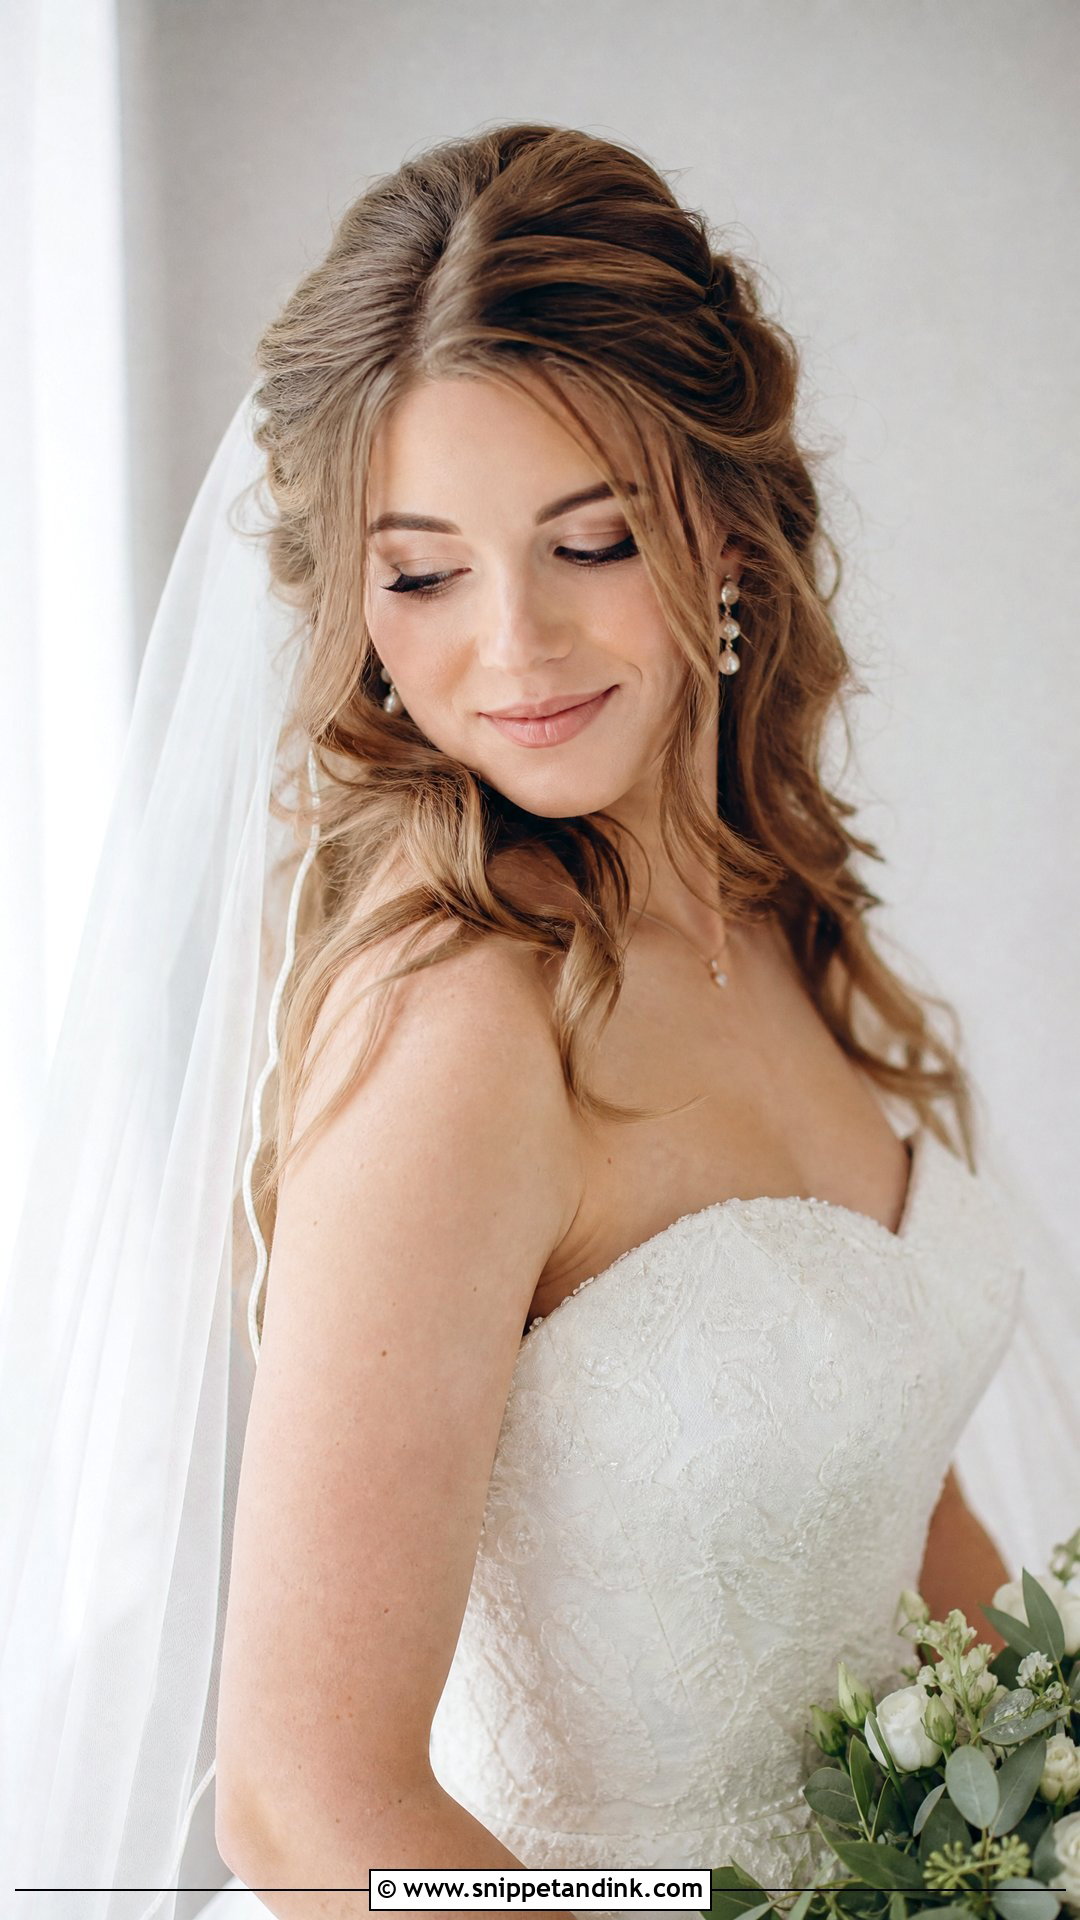
Curl the hair into loose waves. Take the front sections from each side and pin them back toward the crown, keeping the face open. Then place the veil comb just behind the pinned section, sliding its teeth into the pins so it sits securely. The rest flows loose down the back. Practice taking the veil out with the hair still in place, because that’s how you’ll be doing it at the reception. It’s a versatile choice that shows off both the hair and the veil.
20. Twisted Side Updo
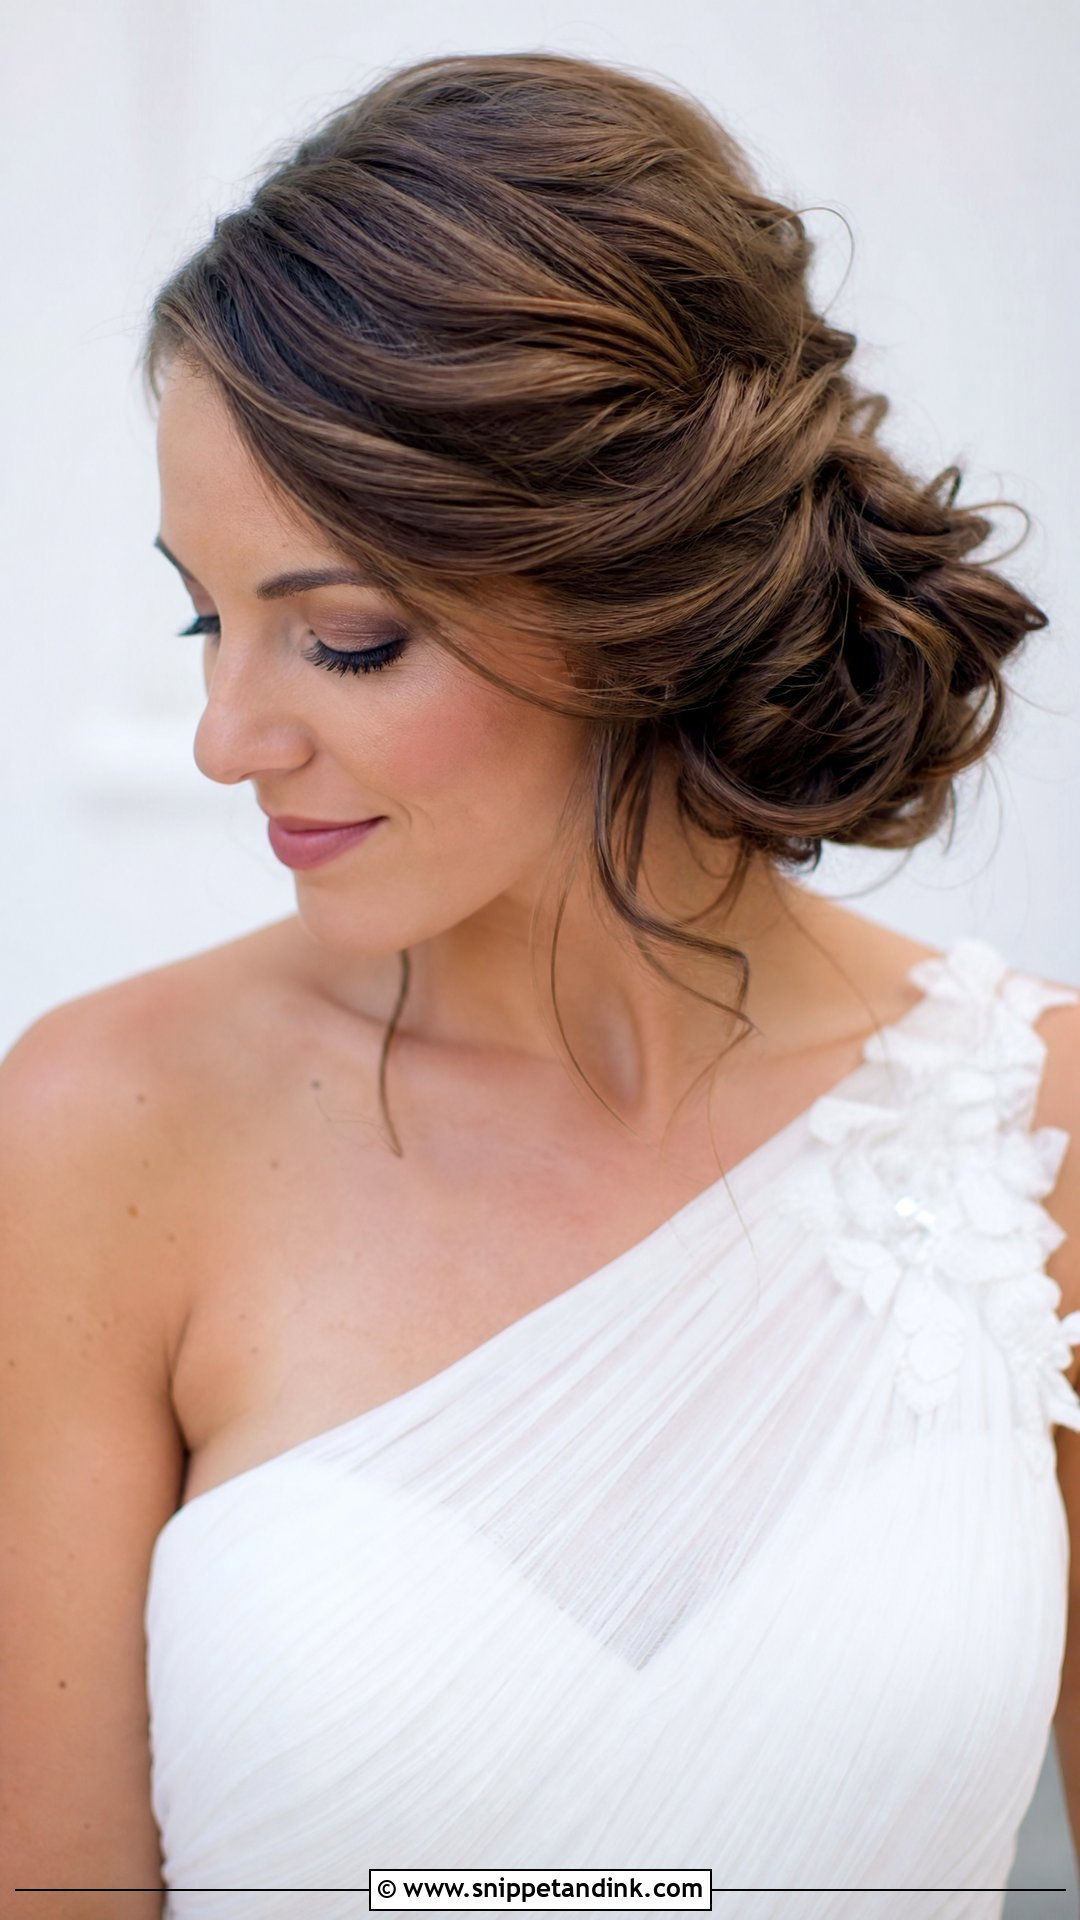
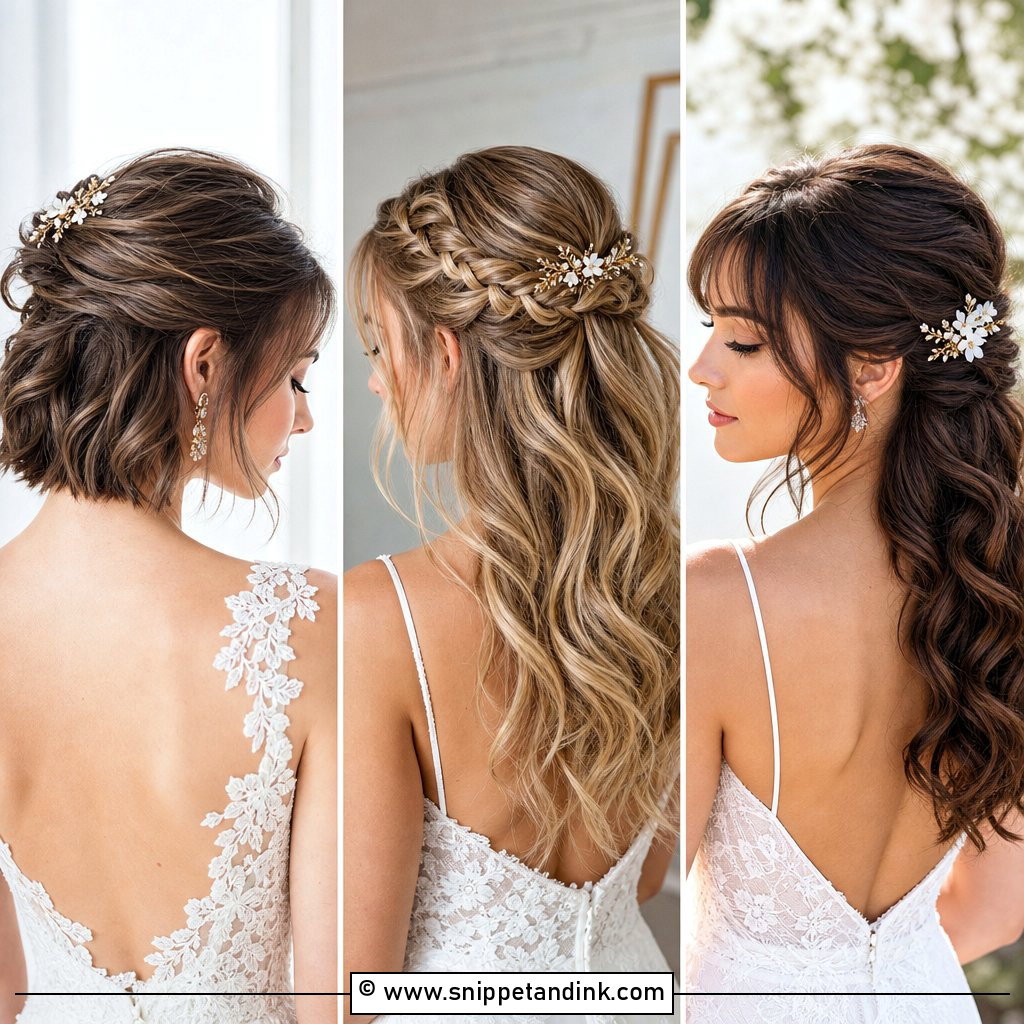
Sweep all the hair to one side, with a deep part on the other side. Twist sections loosely toward the gathered side and pin as you go to build a textured cluster low near the ear. Keep twisting and pinning until all the hair is secured in a side knot. Pull out a few strands for softness. The hard part is getting the knot heavy enough that it doesn’t slide, so I’d anchor it with a small ponytail first. It suits one-shoulder gowns and contemporary weddings.
Solo, With a Friend, or Leave It to a Pro
Honestly, some of these are easy to do on yourself, and some are much harder when you can’t see the back of your own head. Here’s how I’d sort them.
- On your own: the low chignon, the wrapped low ponytail, the messy bun, soft curls with a headband and sleek straight hair.
- With a friend: the braided crown, the waterfall braid, the half-up twists and the side updo, since all need hands at the back.
- Book a stylist if you’re unsure: finger waves and the French twist, which are hard to get right without practice.
Plan two practice runs. Do the first a few weeks out and photograph it from the front, side and back. Do the second a week before, timed, so you know exactly how long it takes and can build that into the morning schedule with room to spare.
When a bobby pin just won’t hold
Usually the pin is going in the wrong way. The wavy side should face your scalp, and the pin should catch a little of the hair that’s already secured, not just the loose piece. Two pins crossed in an X hold far better than one. If the hair is too silky, spray the pin itself with dry shampoo or hairspray before you slide it in, and it will grip.
Practice Twice, Then Trust Your Hands
Your hairstyle should feel like you and suit your dress, venue and hair type. A chignon or French twist, a boho braid or loose curls: each can be done at home with enough practice. Choose something you can manage without stress on the morning, rather than the hardest thing you can find. Practice at least twice, or book a trial with a stylist if you’d rather hand it over. Add personal touches like fresh flowers, sparkling pins or a family veil, and leave yourself more time than you think you need.
You'll Like These Ideas:


Leave a Reply