
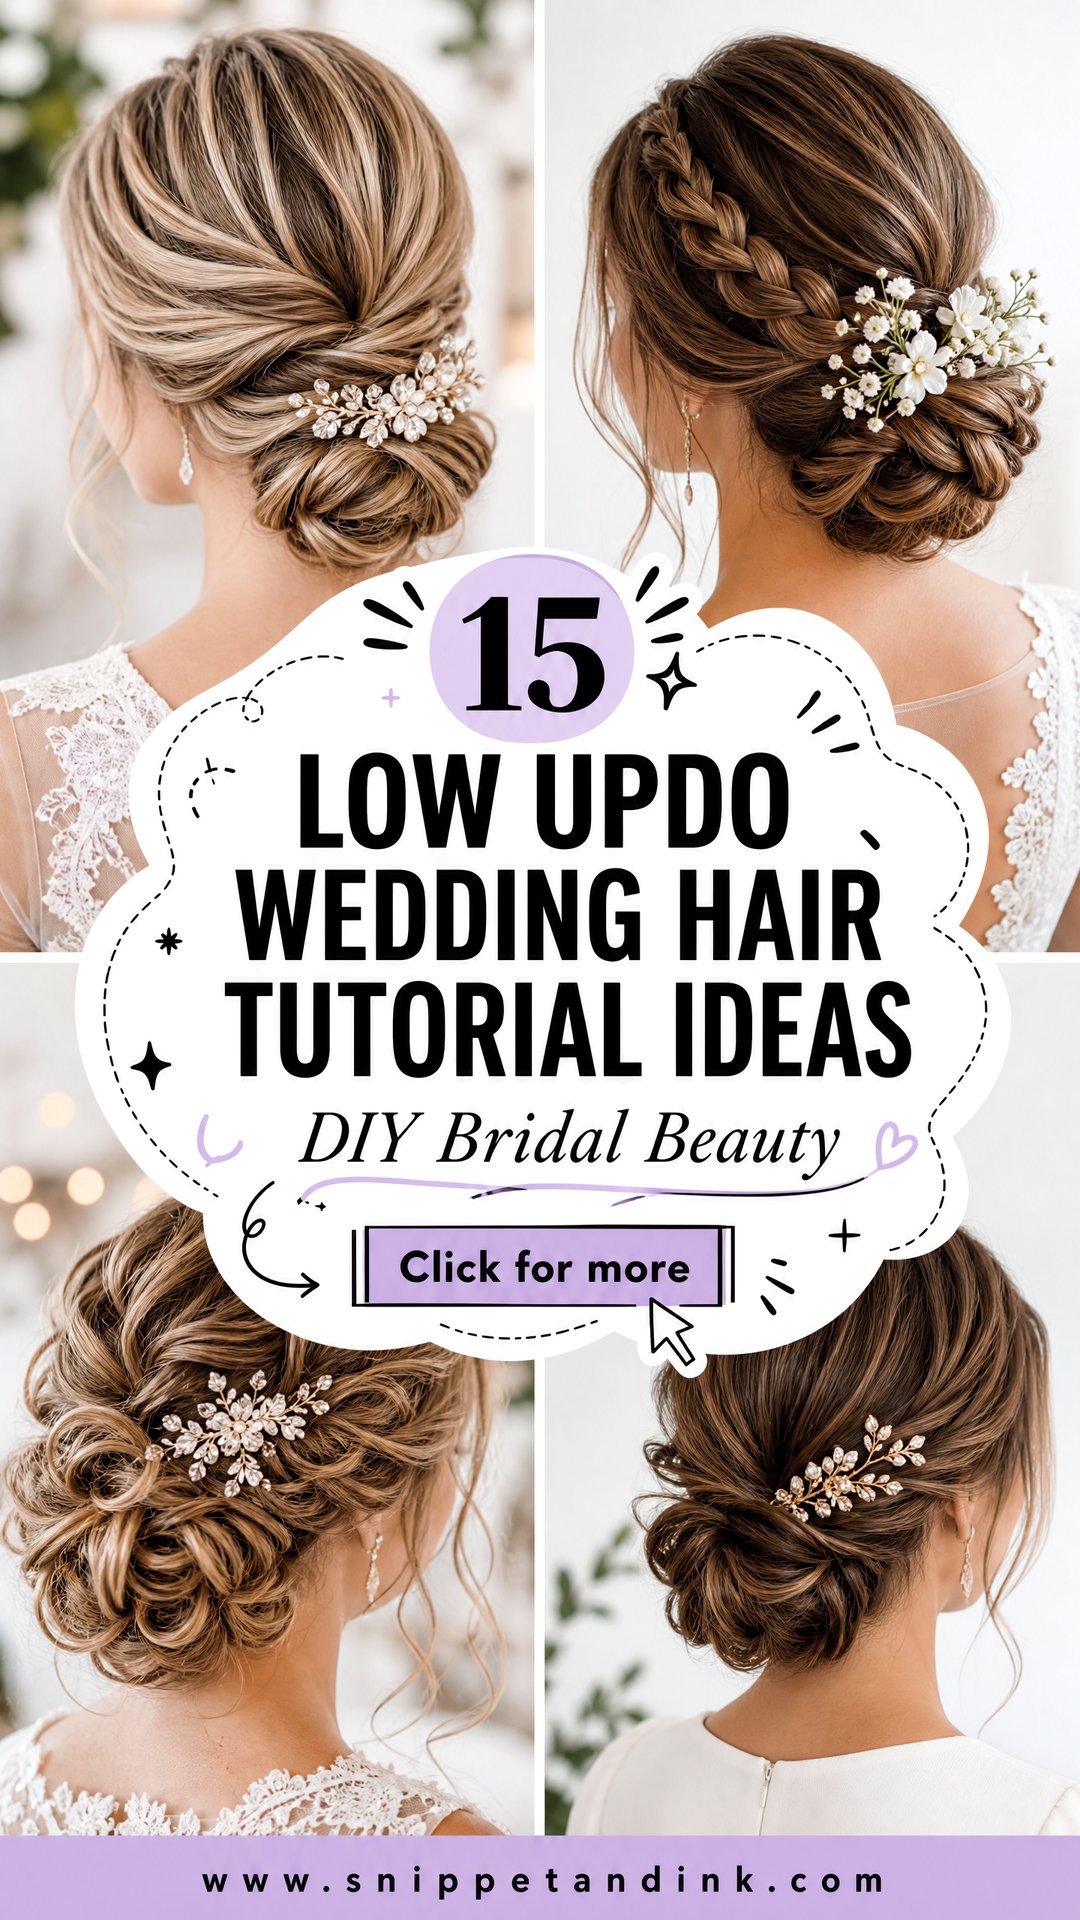
A low updo is the style I suggest most often to brides who plan to do their own hair, because the weight sits at the nape where gravity is on your side. A high bun fights to stay up all day; a low one mostly has to stay put. It also leaves room at the crown for a veil comb and gives the photographer a clean back view during the vows. Every version below can be done with your own hands, a mirror and a box of pins, and I’ve noted where fine, thick or curly hair needs a different approach.
Pinning Blind at the Back of Your Own Head
The hard part of a DIY low updo is not the technique. It’s working on a spot you can’t see, with your arms raised, while your shoulders ache. Set yourself up so you’re not fighting the room as well as your hair.
- Sit with your back to the bathroom mirror and hold a hand mirror at eye level, or prop your phone on selfie mode facing the back of your head. Flip the phone image in your mind: it shows left and right reversed.
- Lay out more pins than you think you need. A medium-length bun often takes twenty bobby pins and a handful of U-pins.
- Use pins that match your hair colour and open each one with your teeth or thumb only slightly. Prying them wide ruins their grip.
- Rest your elbows on a counter between sections. Tired arms are why buns end up lopsided.
Getting a Pin to Actually Hold
Slide a bobby pin in with the wavy side down, catch a little hair from the bun, then turn it and push it flat against your scalp so it locks into the base. A pin pushed straight in only holds the surface hair and works loose with every head turn. If you can feel a pin pressing on your skin, move it now. It will turn into a headache by the speeches.
Second-day hair is easier to pin than freshly washed hair, which slips. If you wash the morning of, add dry shampoo or texture spray at the roots and through the lengths before you start.
1. Classic Low Bun Wedding Hair
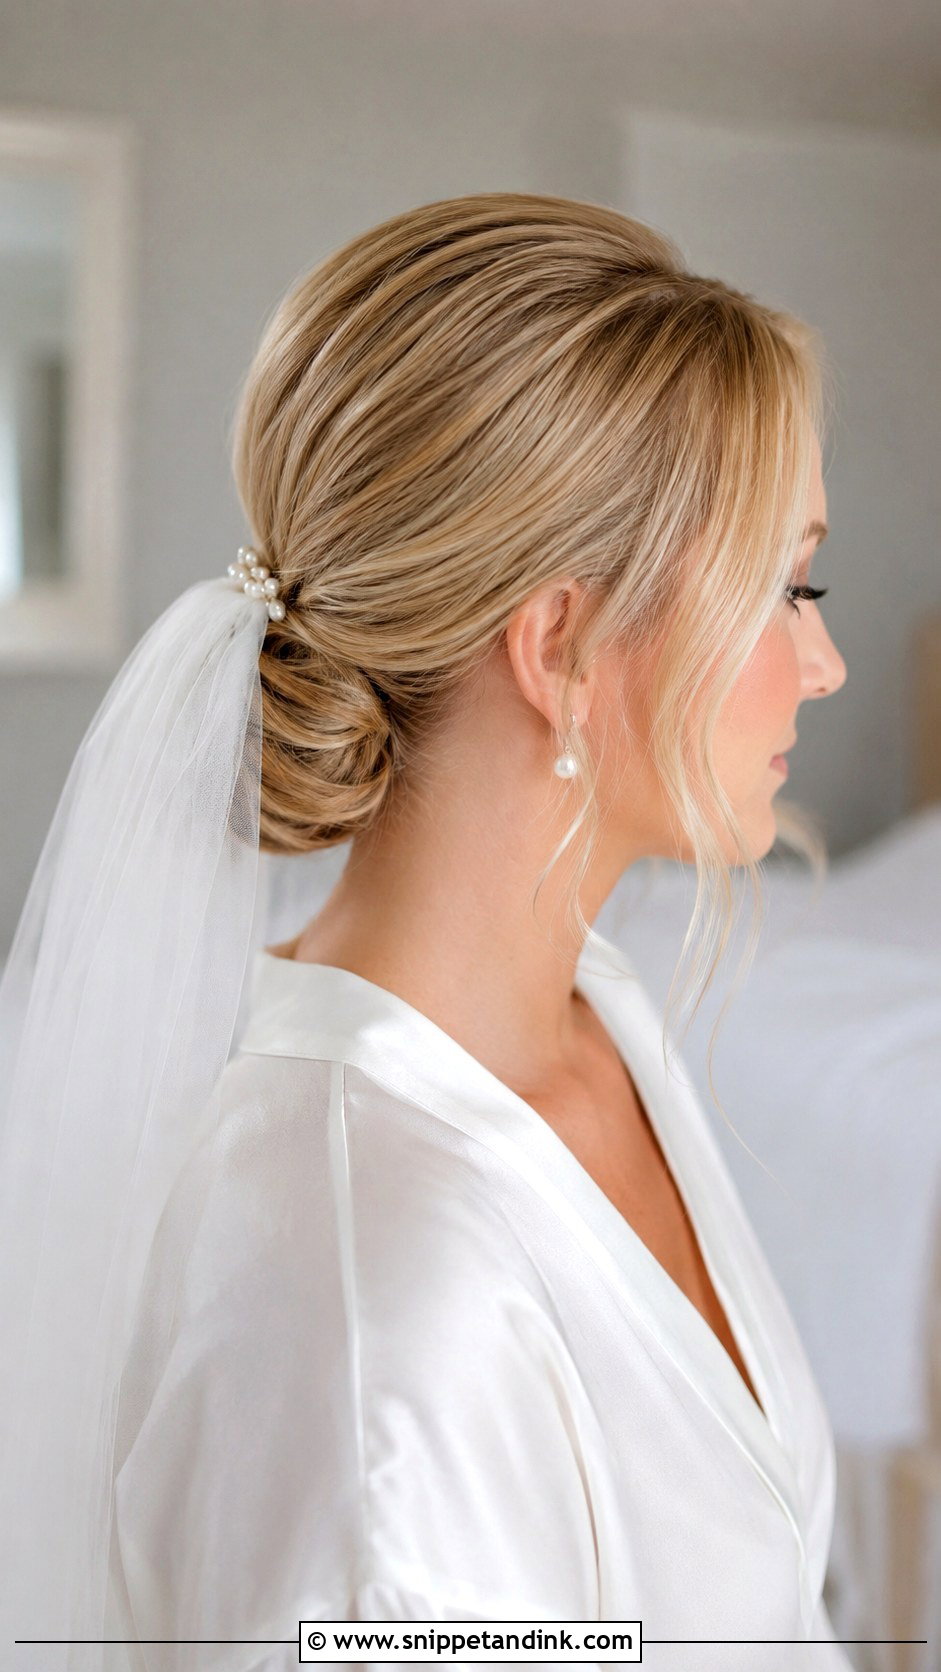
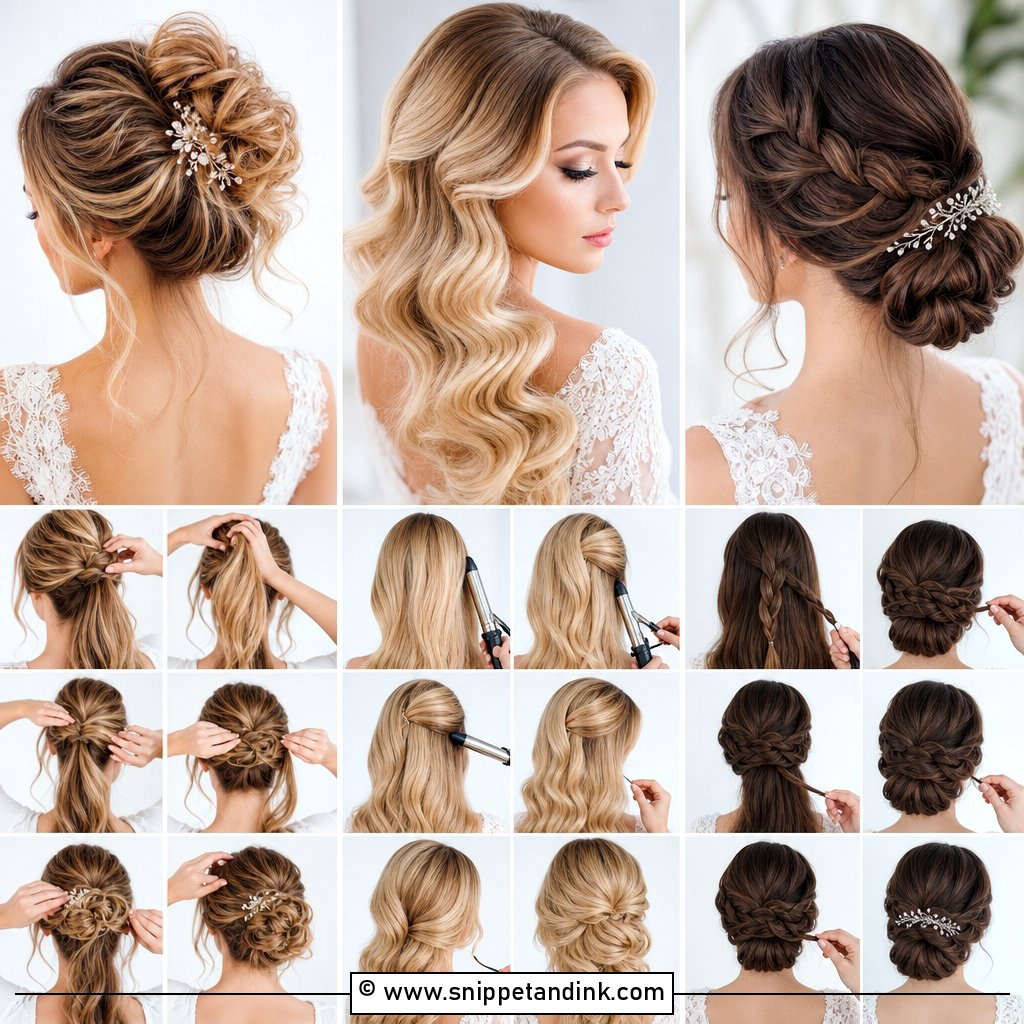
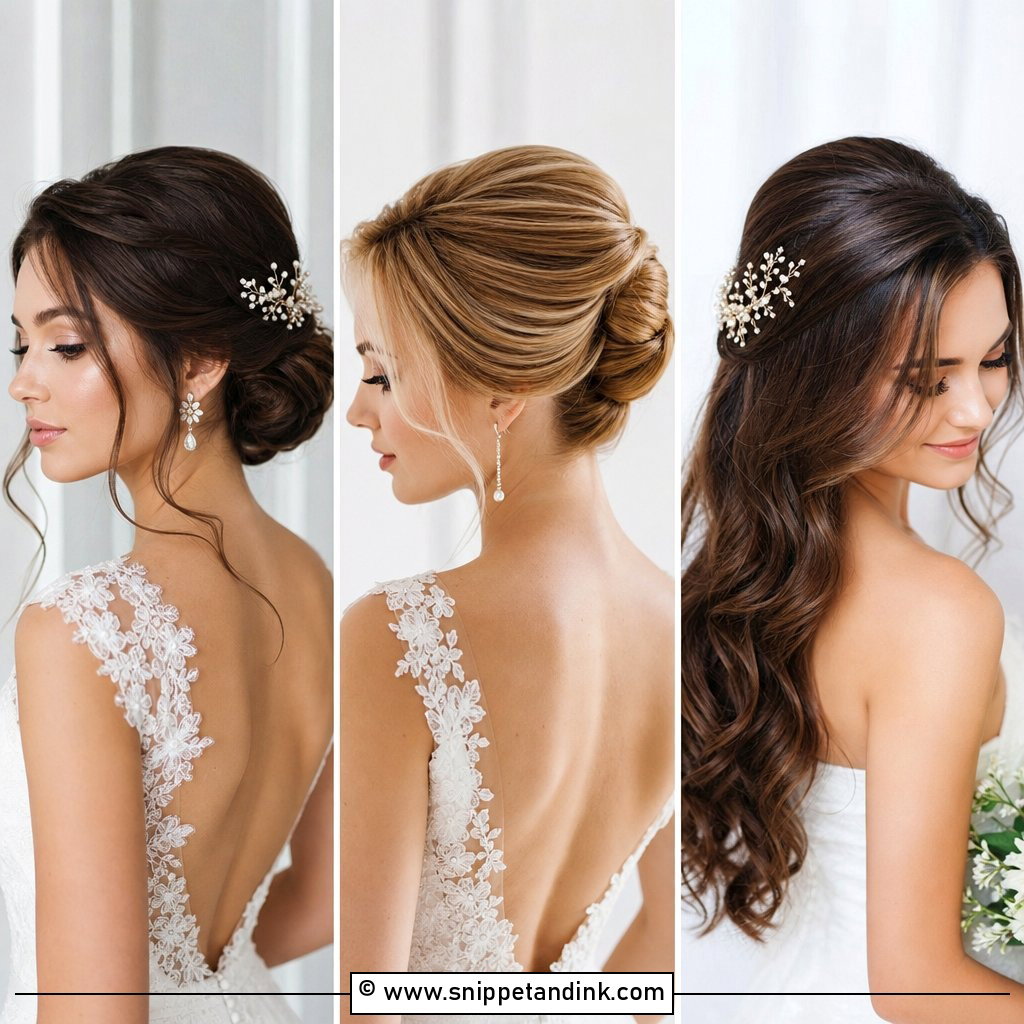
Start here if you have never pinned your own hair. Smooth a pea-sized amount of cream through the lengths, make a ponytail right at the nape, then twist the tail around the base and pin it flat with the pins pointing in toward the elastic. The step most people skip is lifting the crown slightly with the tail of a comb before the elastic goes in. Without that lift the head looks flat and severe from the front. Leave two thin pieces out at the temples and mist the bun, not the face-framing pieces, with flexible spray.
2. Romantic Low Chignon Wedding Hair
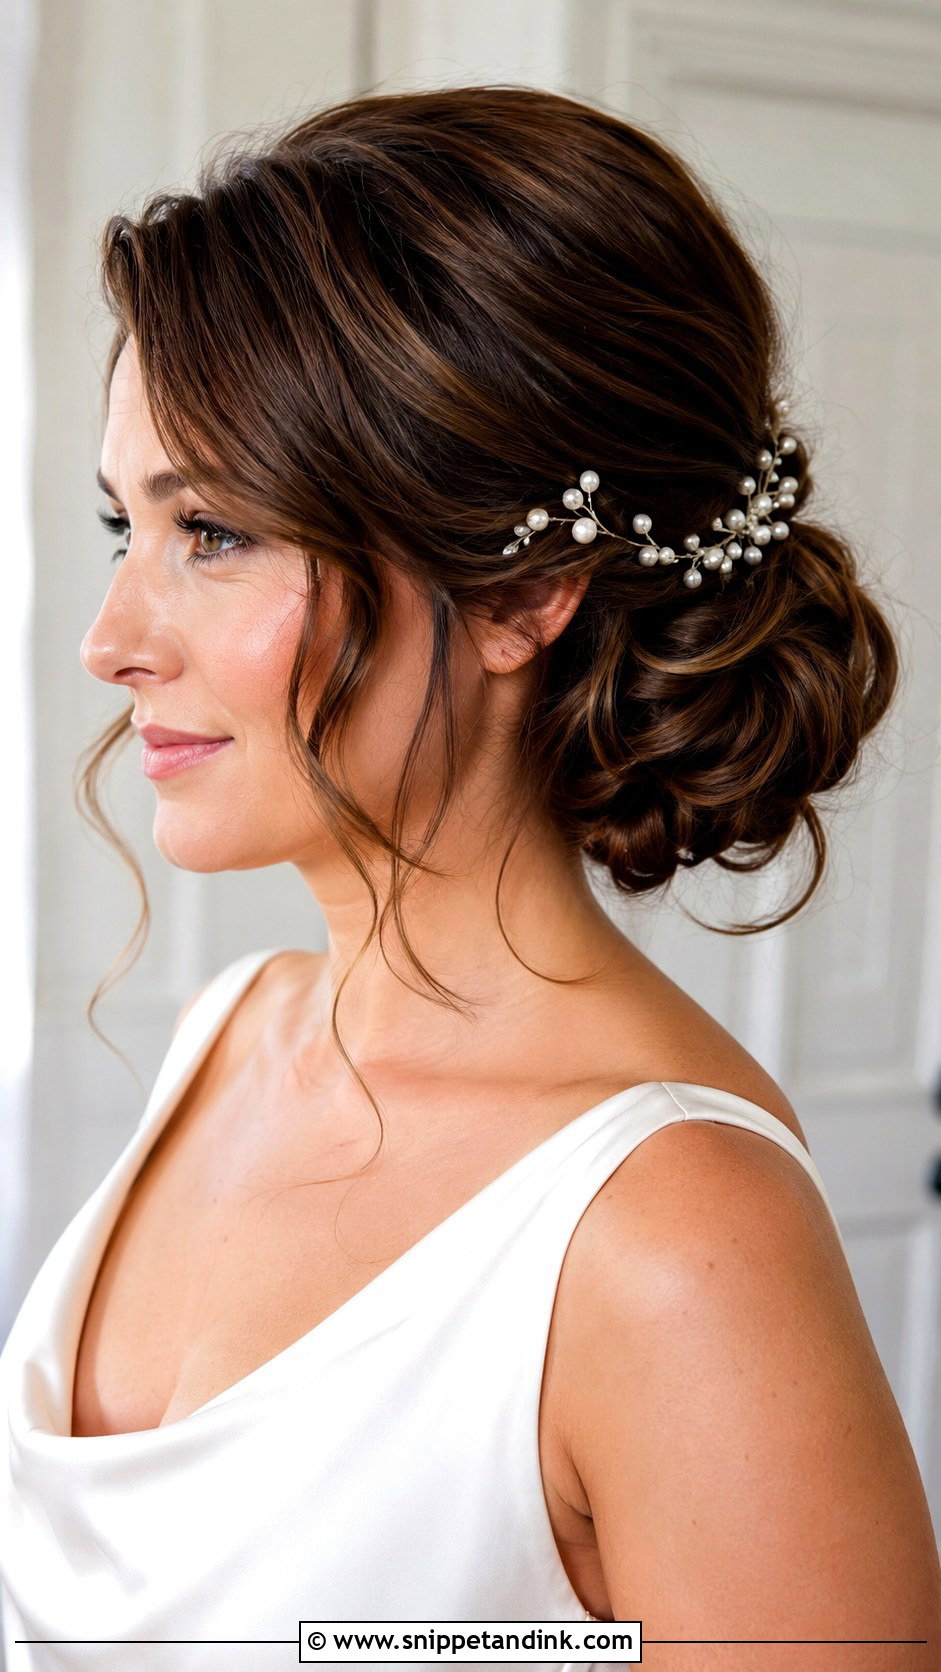
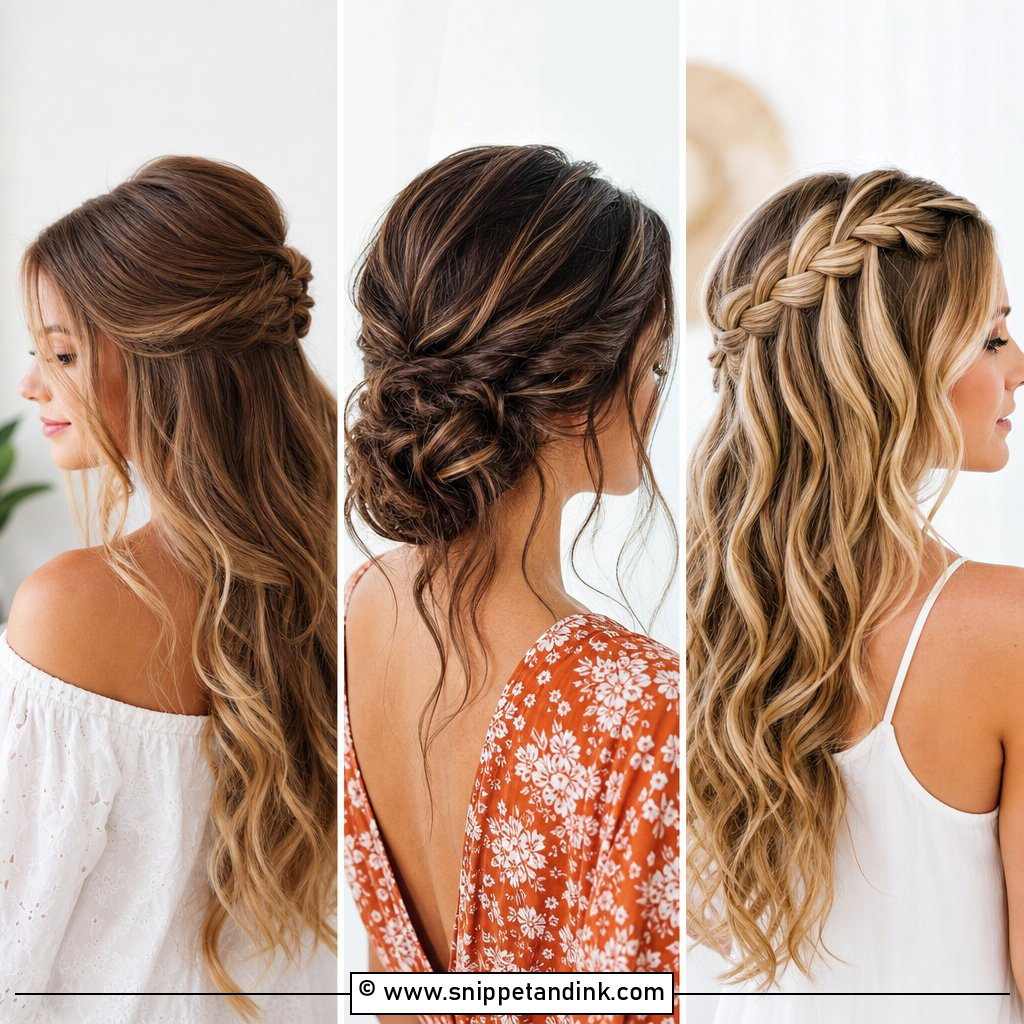
A chignon is really a rolled tuck rather than a wrapped bun, so it needs bend already in the hair. Curl loosely the night before or that morning, gather low without brushing the curl out, and roll the ends inward toward the nape. Pin the roll through its underside so no metal shows. This tutorial works especially well on medium to long hair; on hair above the shoulders the roll comes out too small to hold its shape. If your dress is plain satin or crepe, a line of pearl pins along one side carries the detail the fabric doesn’t.
3. Messy Low Updo Wedding Hair
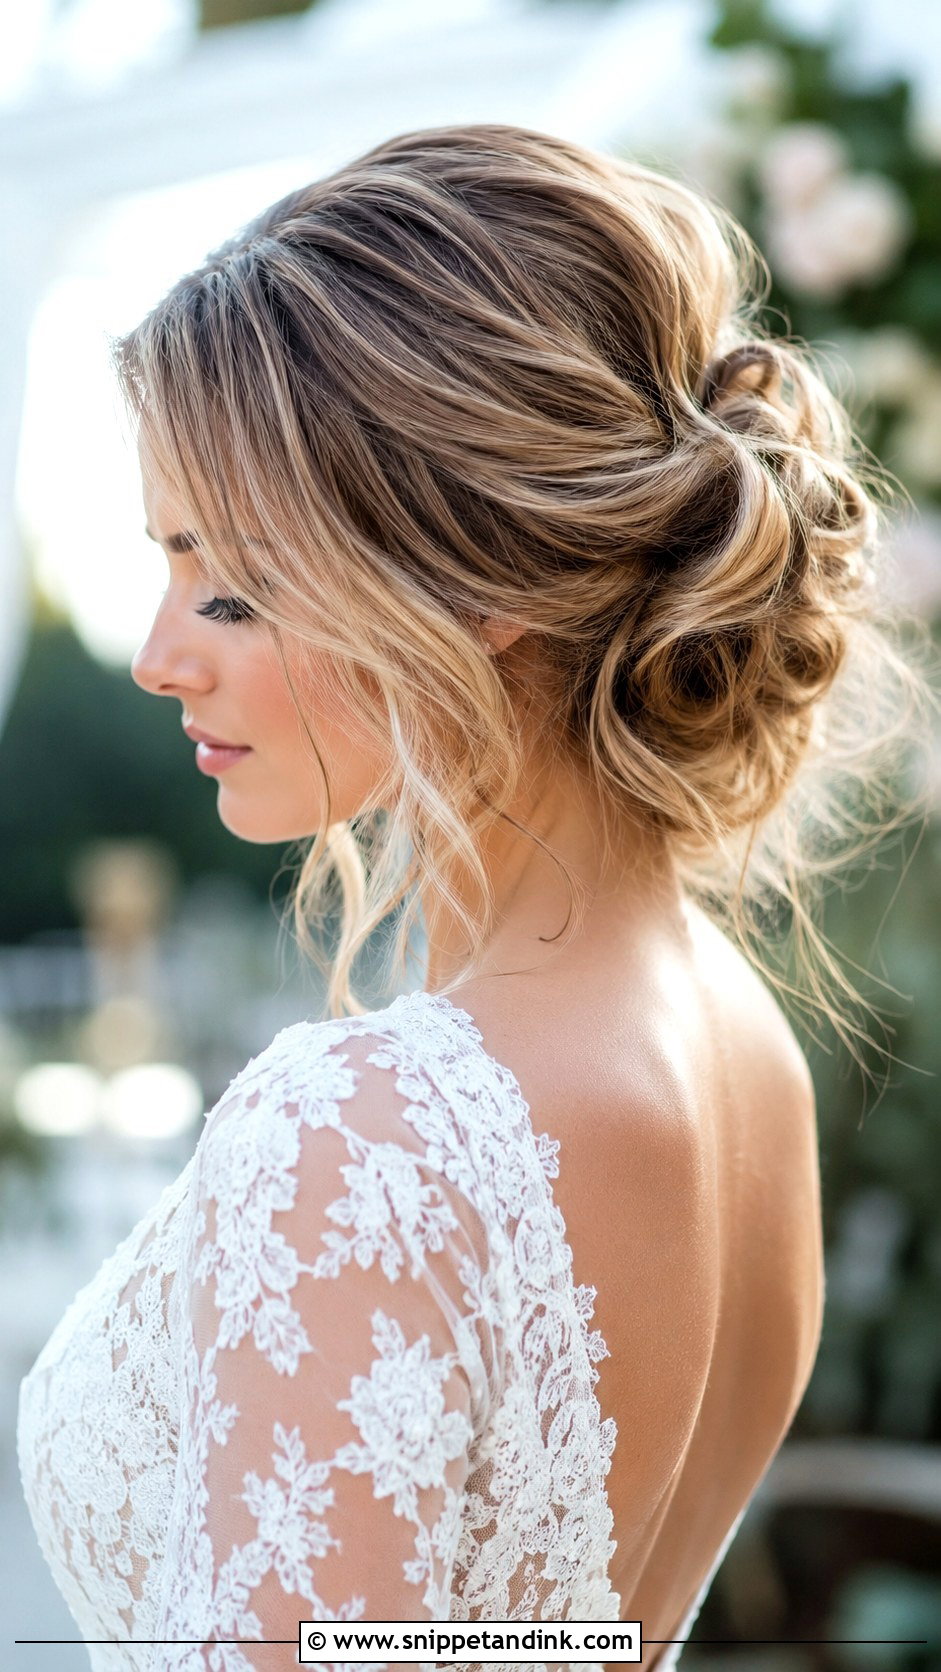
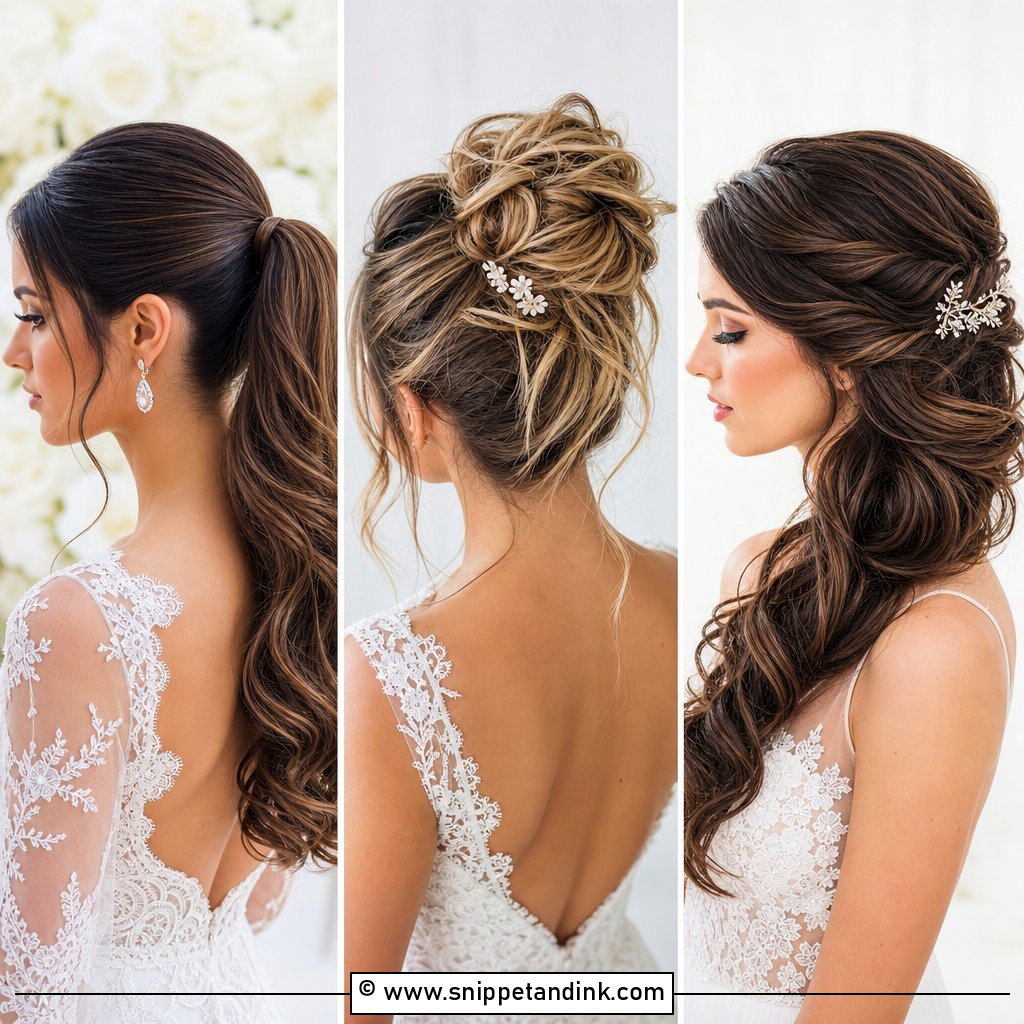
Messy is the hardest look on this list to fake, because random pieces read as an accident unless the base underneath is solid. I build the bun first with texture spray and backcombing at the crown for grip, then curl separate pieces and pin them around the base one at a time. Pulling the bun wider with your fingertips softens it. Keep the loose front strands pencil-thin. Thick chunks around the face look heavy in close-ups and frizz faster outdoors, which matters at a garden or beach ceremony.
4. Twisted Low Bun Wedding Hair
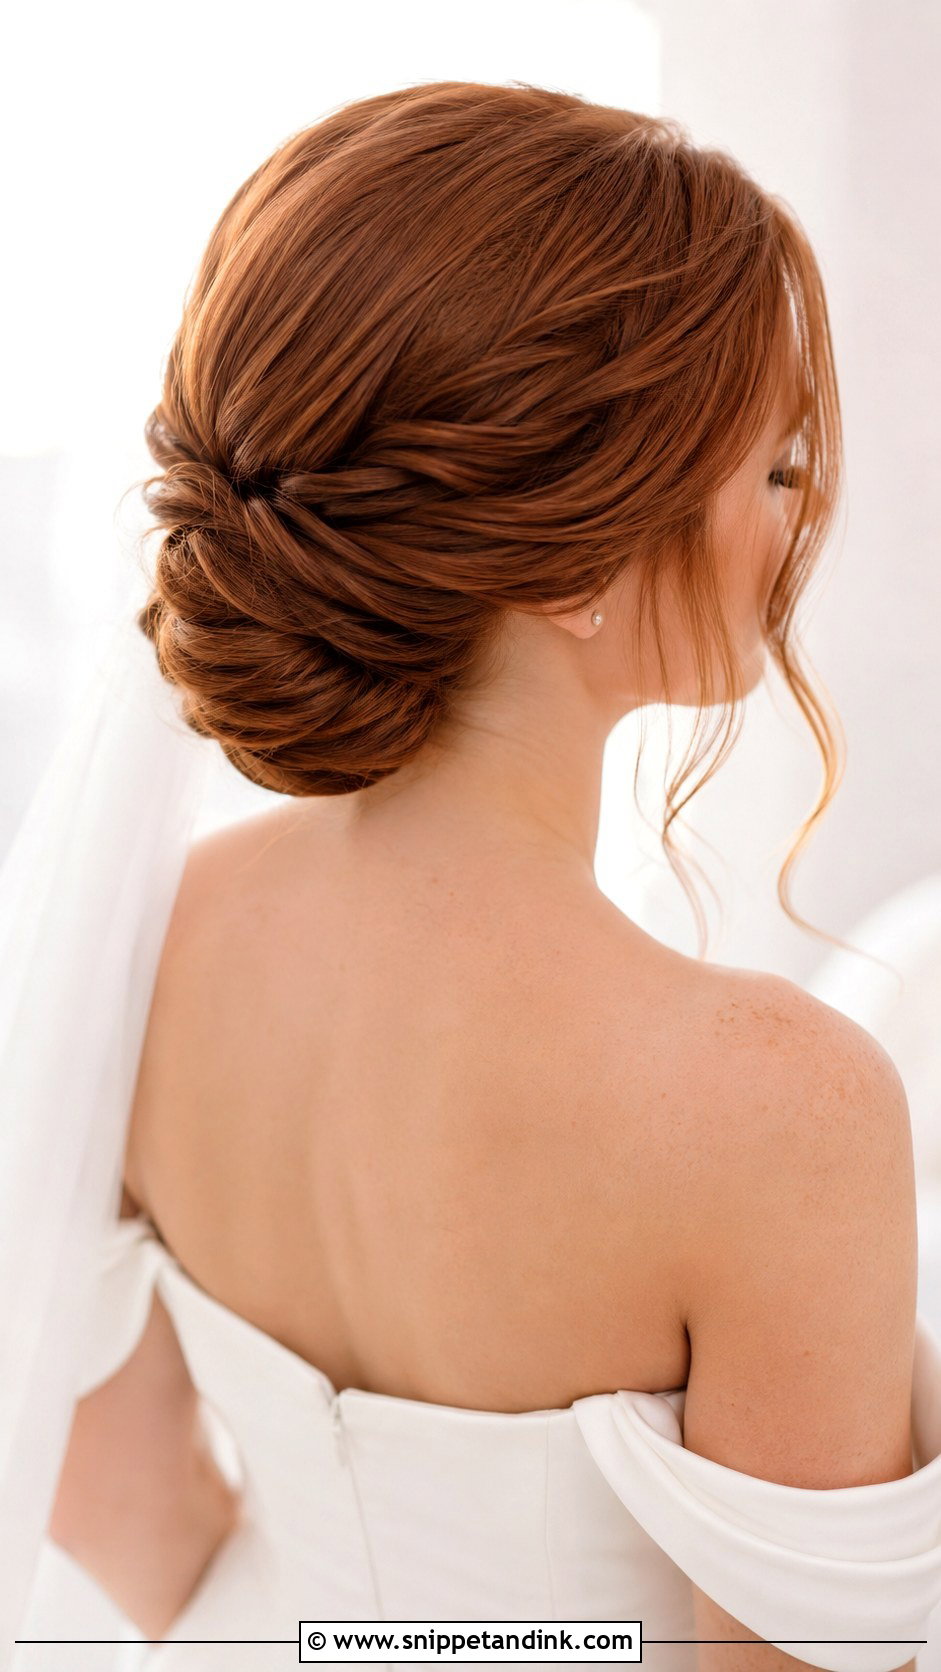
If your arms tire quickly, a twisted bun is the one to try, since the twists do the decorating and the bun itself can stay simple. Part where your hair naturally falls, twist each side back toward the nape, and join both into a low ponytail before wrapping the rest. It’s a simple tutorial choice for layered cuts: the twists catch the shorter lengths that would spring out of a sleek wrap. Twist away from the face, never toward it, or the sides collapse forward by the reception.
5. Braided Low Updo Wedding Hair
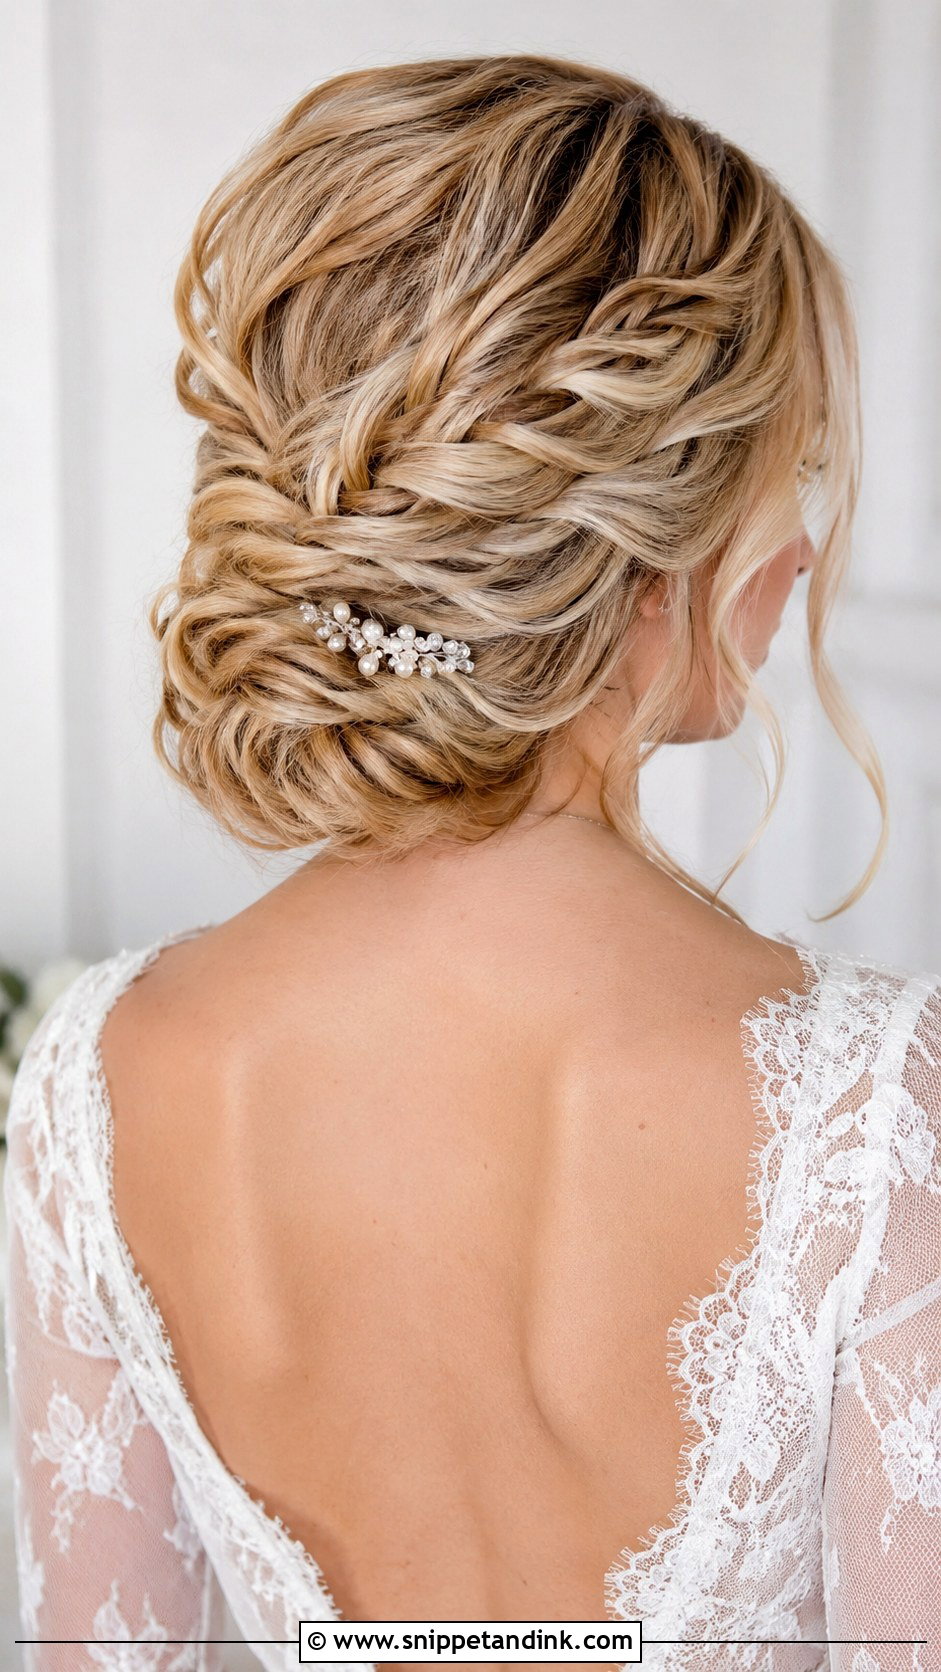
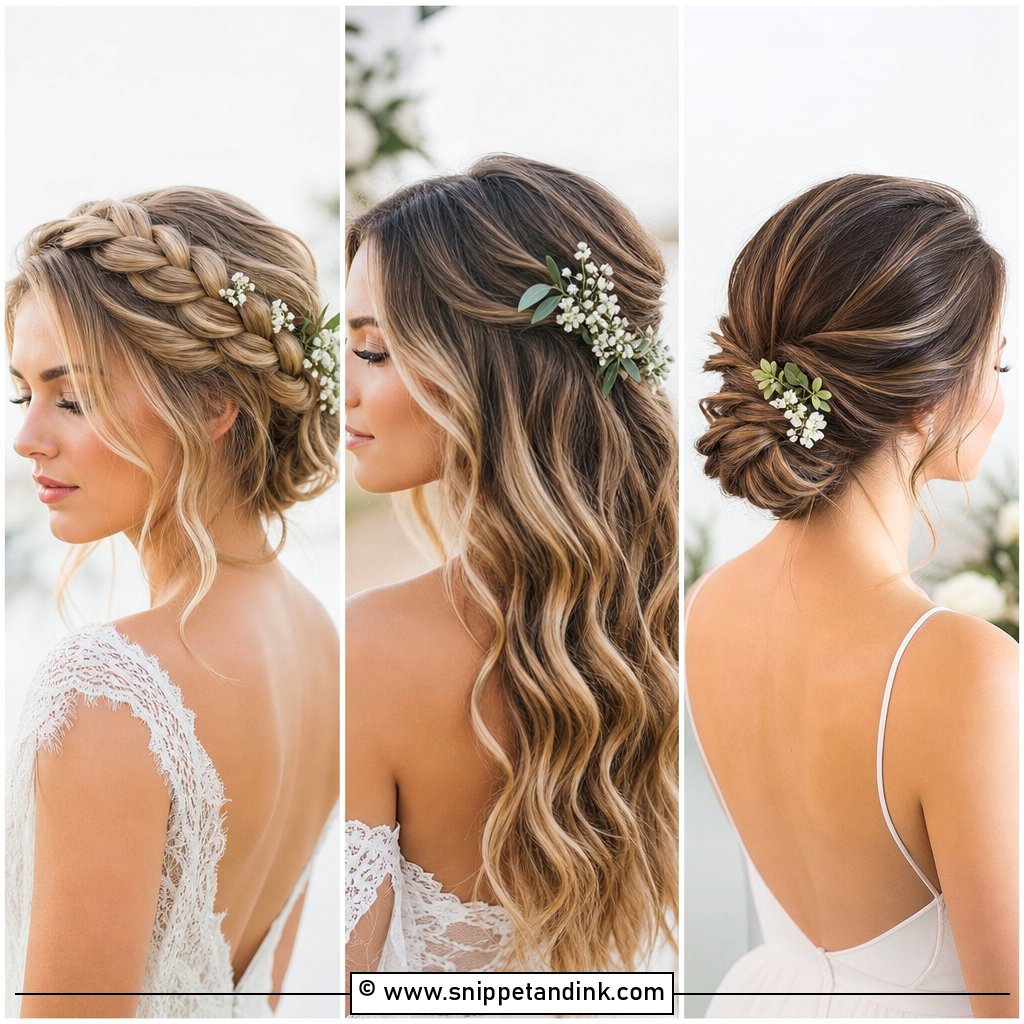
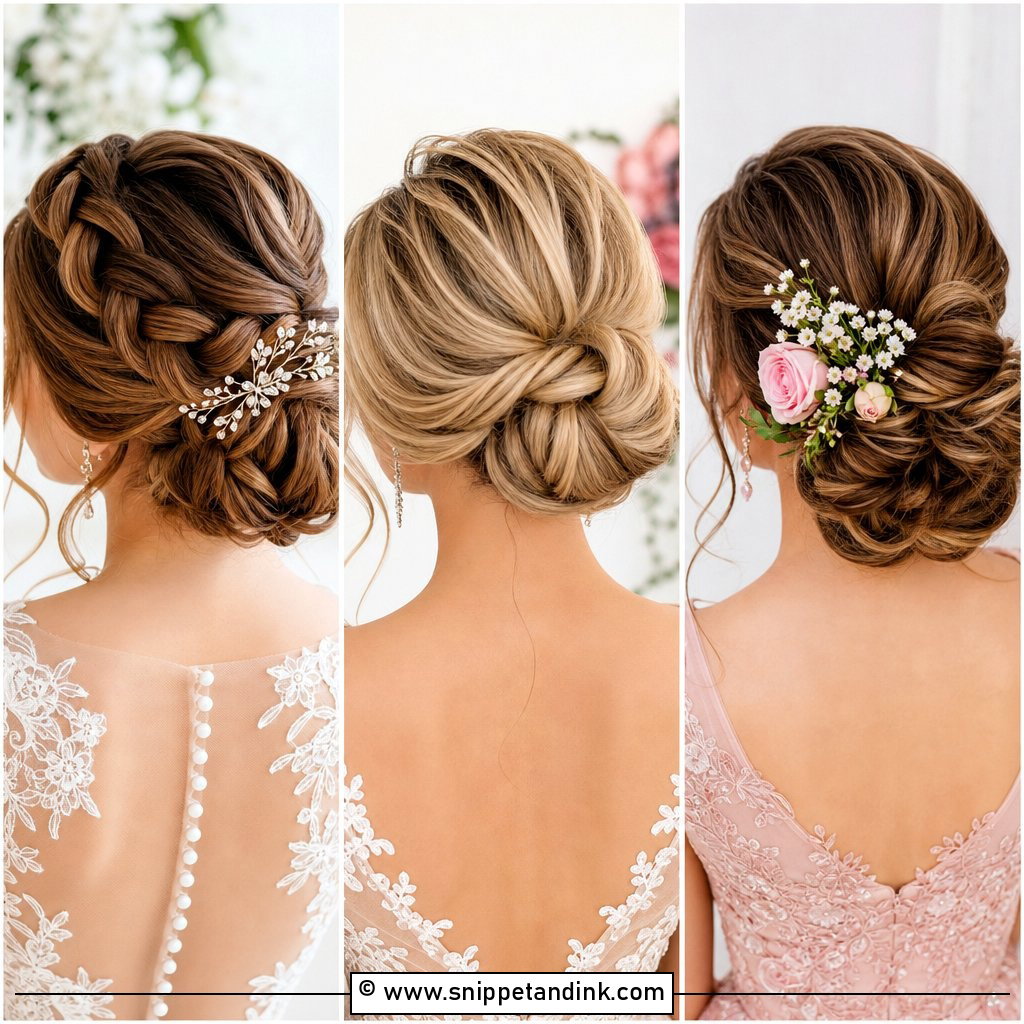
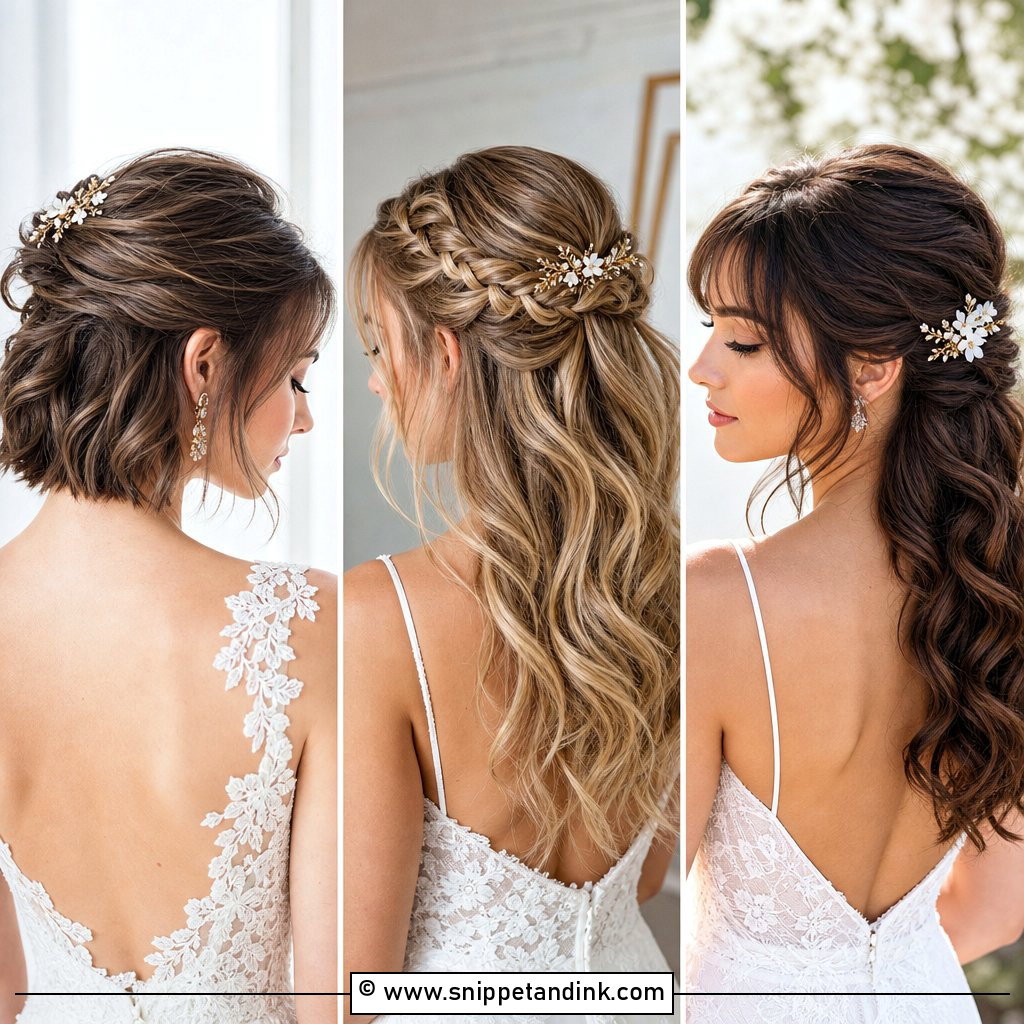
Braids give grip as well as pattern. I make one loose three-strand braid on each side, pancake the edges by pulling the outer loops apart, then bring both braids into a low bun or tucked chignon. Keep them wide; a tight everyday braid looks thin once it wraps around a bun. Highlighted or balayage hair shows this one off because the stretched loops expose the different tones. Outdoors it’s a sensible pick, since the braids hold short layers that wind would otherwise pull free.
6. Low Side Bun Wedding Hair
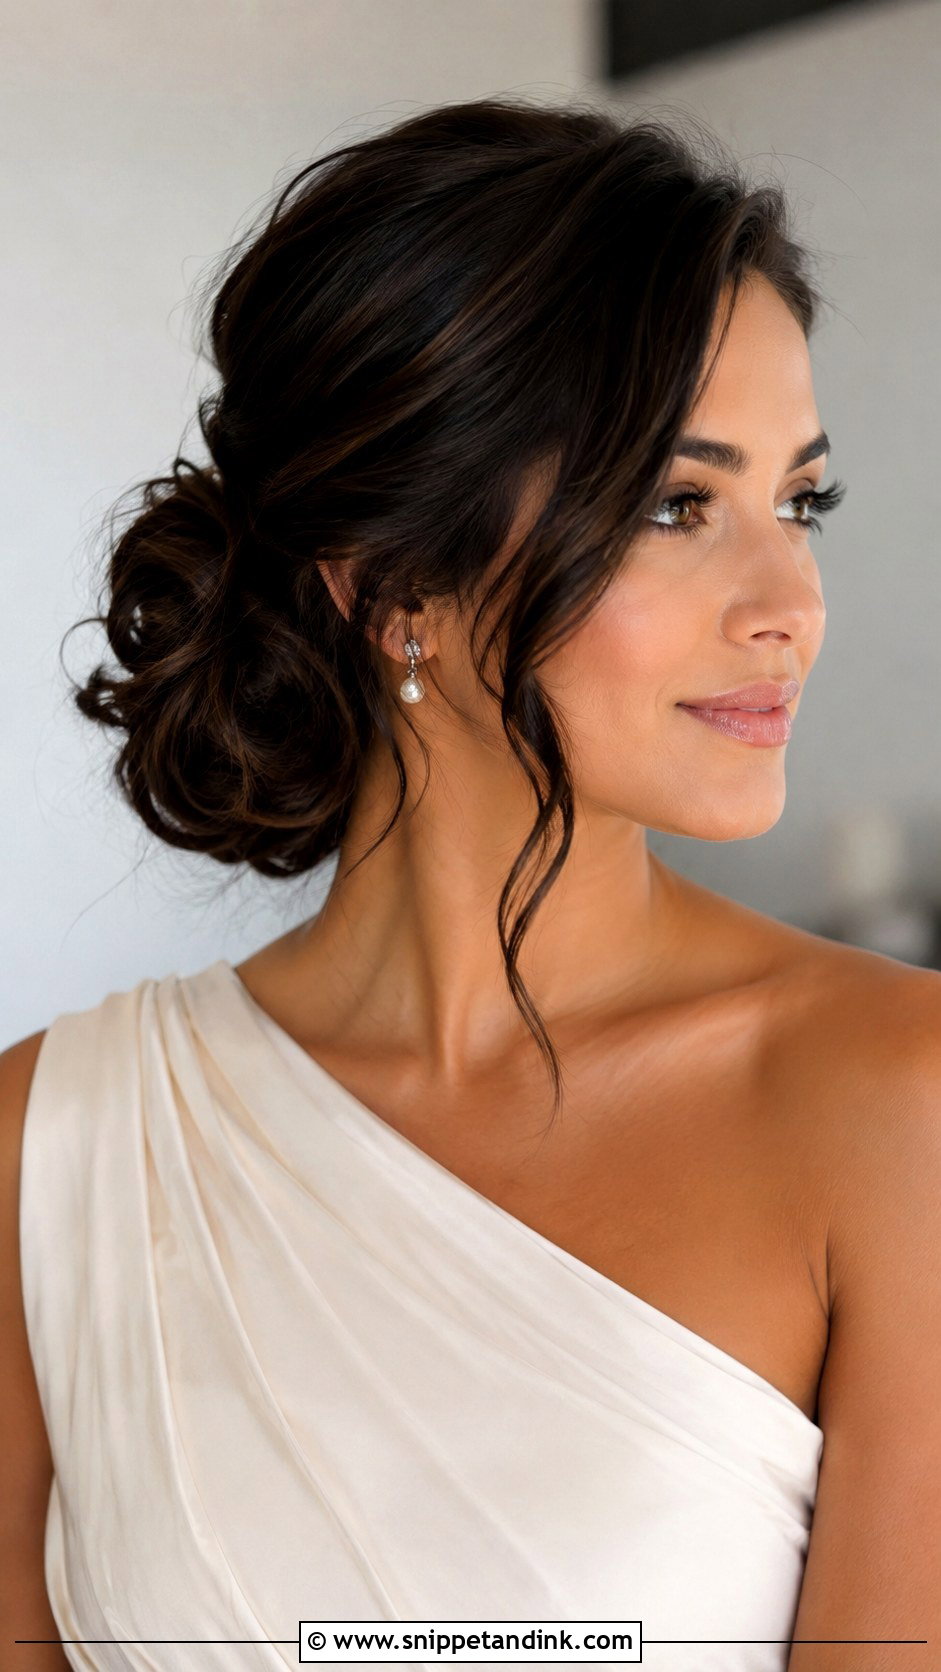
Sit the bun just behind one ear rather than at the centre of the nape. Sweep everything to that side, secure with an elastic, then loop or twist the tail into a soft knot. The side you leave bare should be smooth or lightly twisted so the head doesn’t look lopsided. I match the bun to the shoulder a one-shoulder neckline leaves open, so the hair and the dress balance each other. For a tutorial-friendly finish, cross two pins in an X under the bun; that small lock keeps it steady through hugs and dancing.
7. Sleek Low Bun Wedding Hair
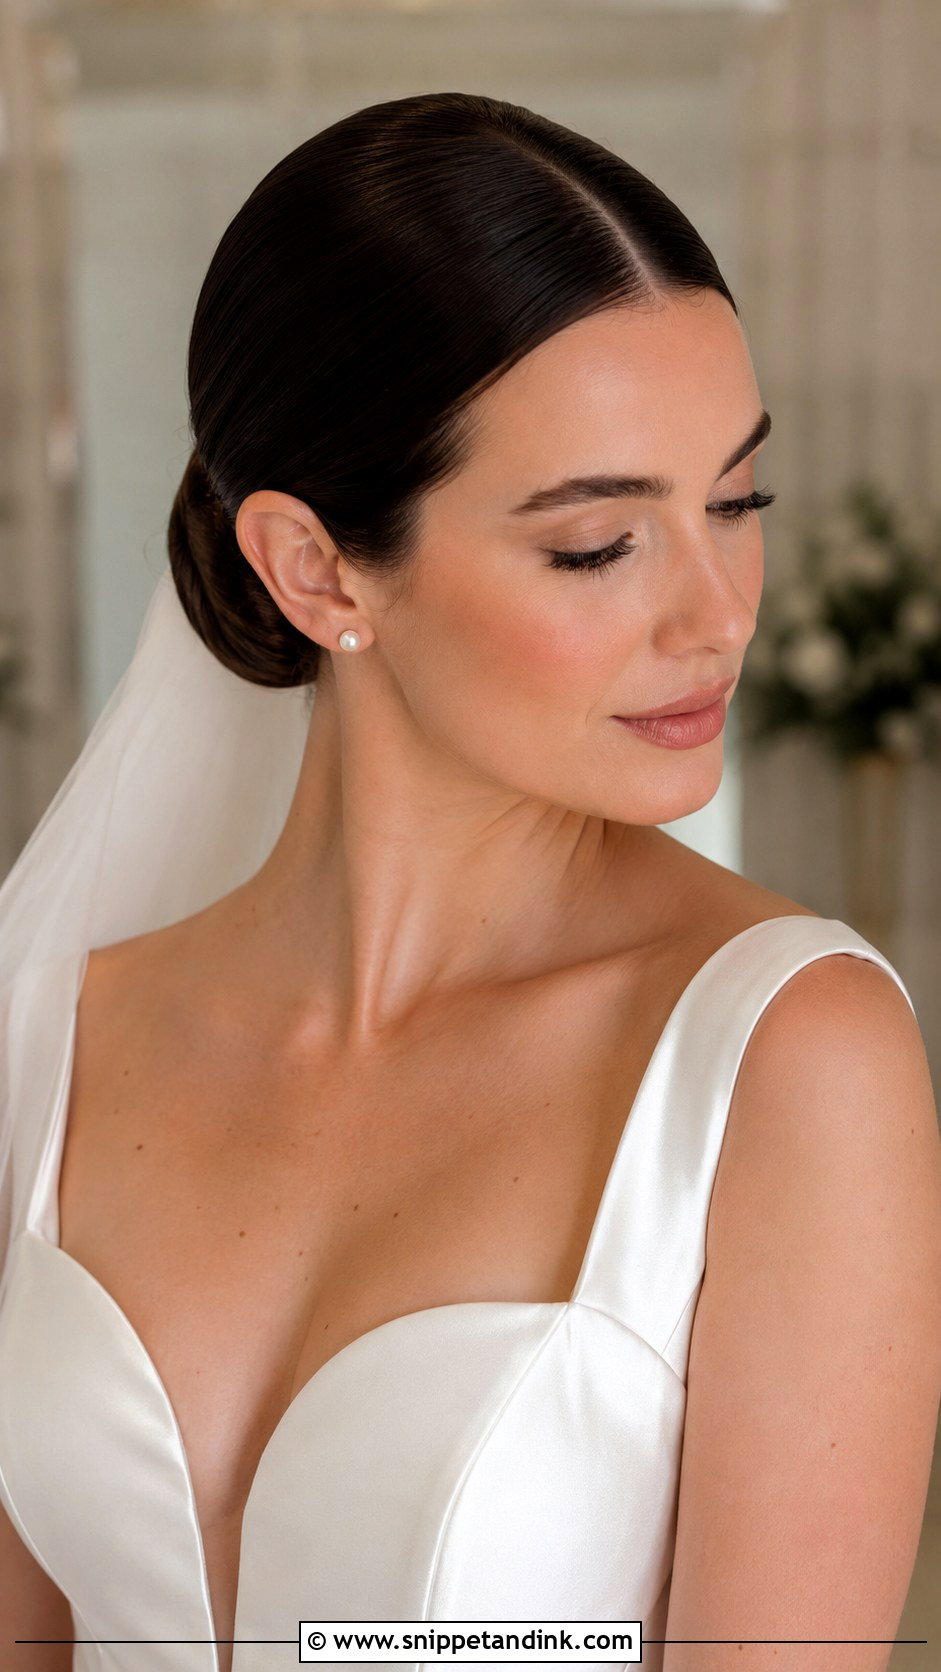
Sleek hair forgives nothing, so the work happens before the bun. Apply smoothing cream to damp hair, blow-dry it straight with the nozzle pointing down the hair shaft, then brush into a firm low ponytail. Wrap the length into a compact bun. Use wax stick only along the hairline; brushed through the lengths it turns greasy under flash. I’d skip this one if you have a lot of baby hair or a strong cowlick at the nape, because both fight a flat finish all day. It suits minimalist gowns and structured veils best.
8. Curly Low Updo Wedding Hair
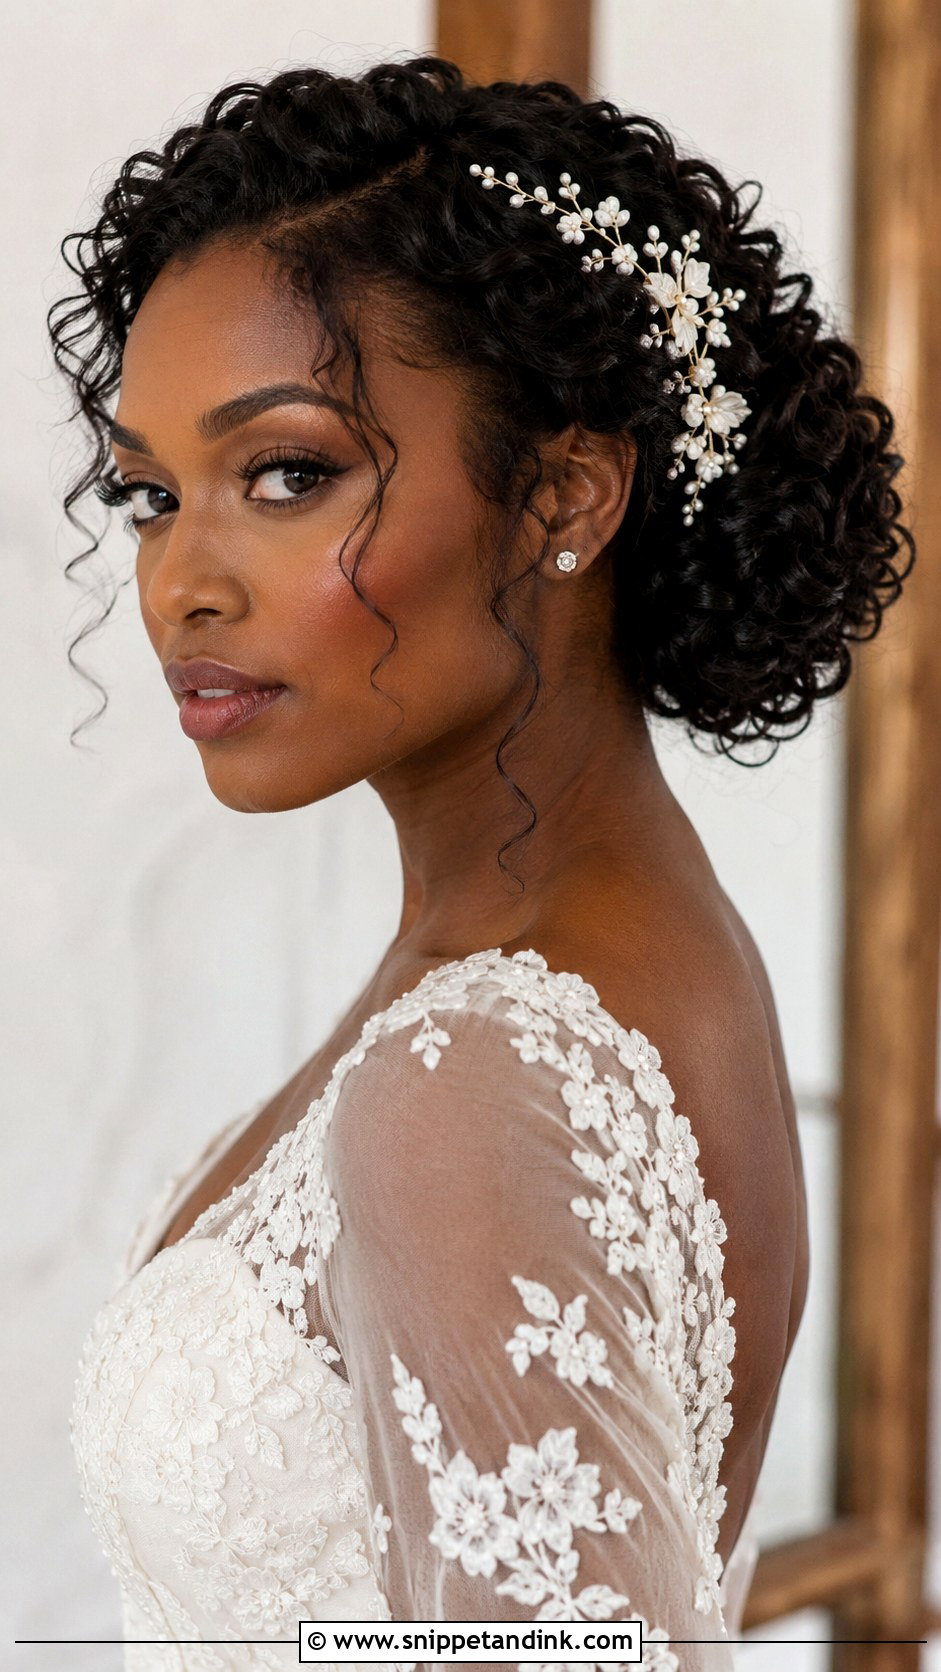
Curly hair holds an updo better than almost any other texture, as long as you don’t brush it. Define the curls with cream or mousse, let them dry completely (damp curls stretch and frizz once pinned), then gather loosely at the nape and pin sections into a rounded shape. I use U-pins here instead of bobby pins because they slide into curls without dragging them flat. This tutorial is great for naturally curly hair since the shape is built from the pattern you already have. A light veil or a single floral comb is plenty.
9. Low Updo Wedding Hair With Pearls
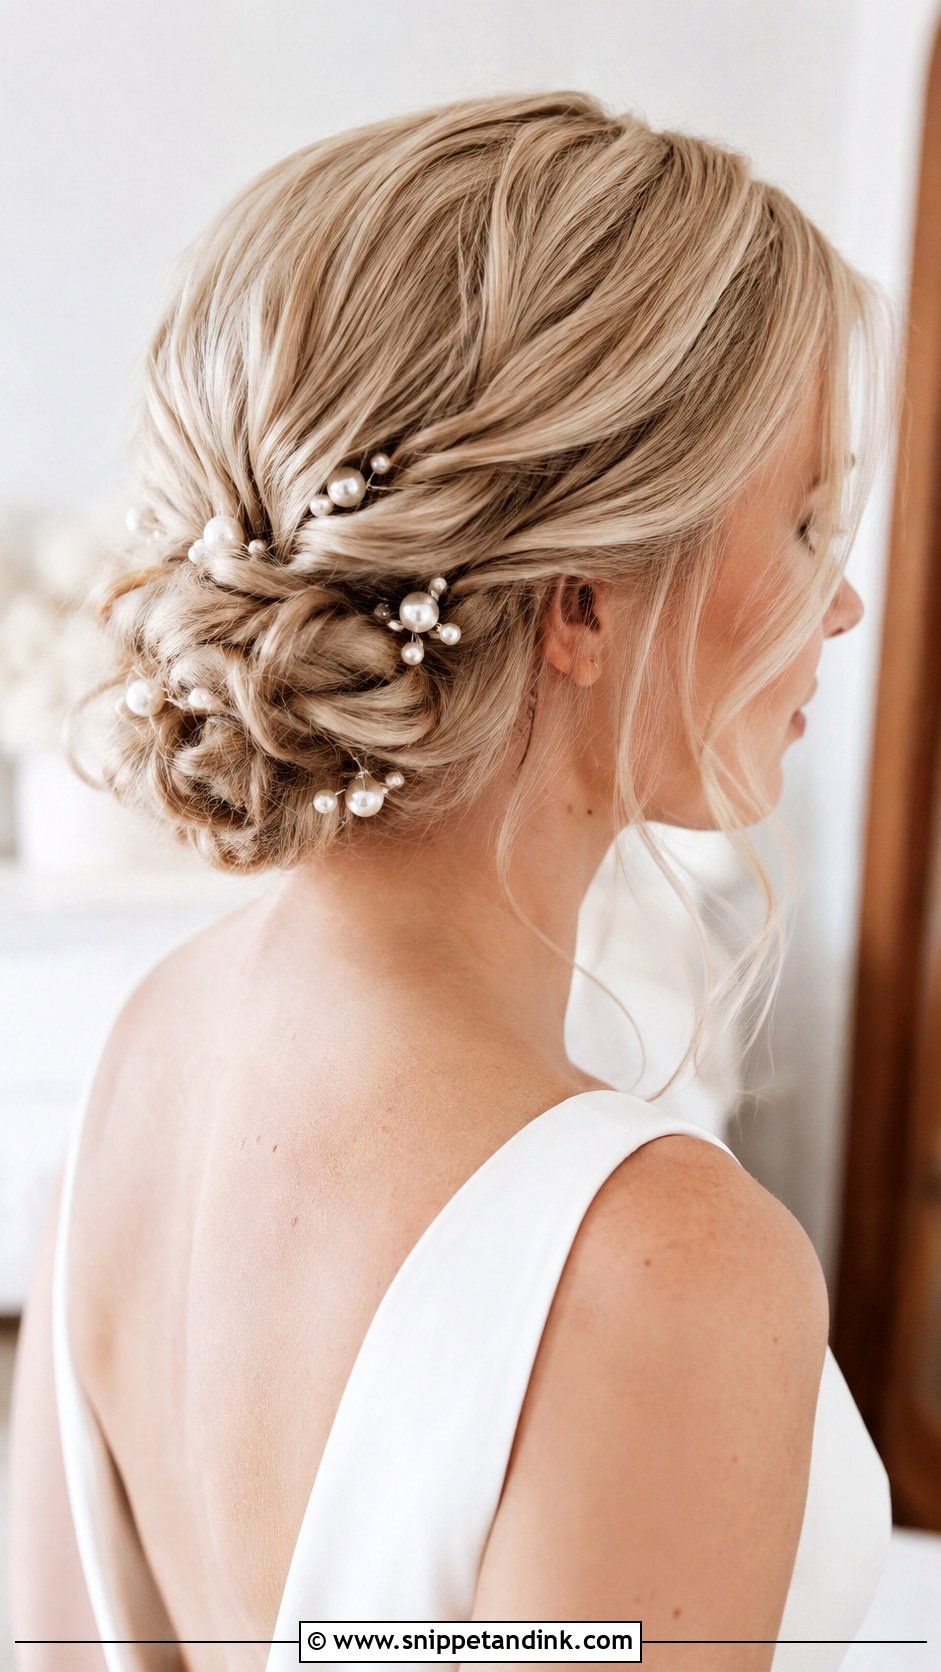
Pearls are decoration, not structure, and the mistake I see most is relying on them to hold hair. Build your low bun, twisted chignon or braided base with matte bobby pins first, then add pearl pins last where light will hit them. I group them on one side of the bun. Scattered all over, they compete with beaded or lace bodices and the hair starts to look busy. Check each pearl pin by tugging gently; the cheap ones lose their pearls if the glue is weak.
10. Low Updo Wedding Hair With Flowers
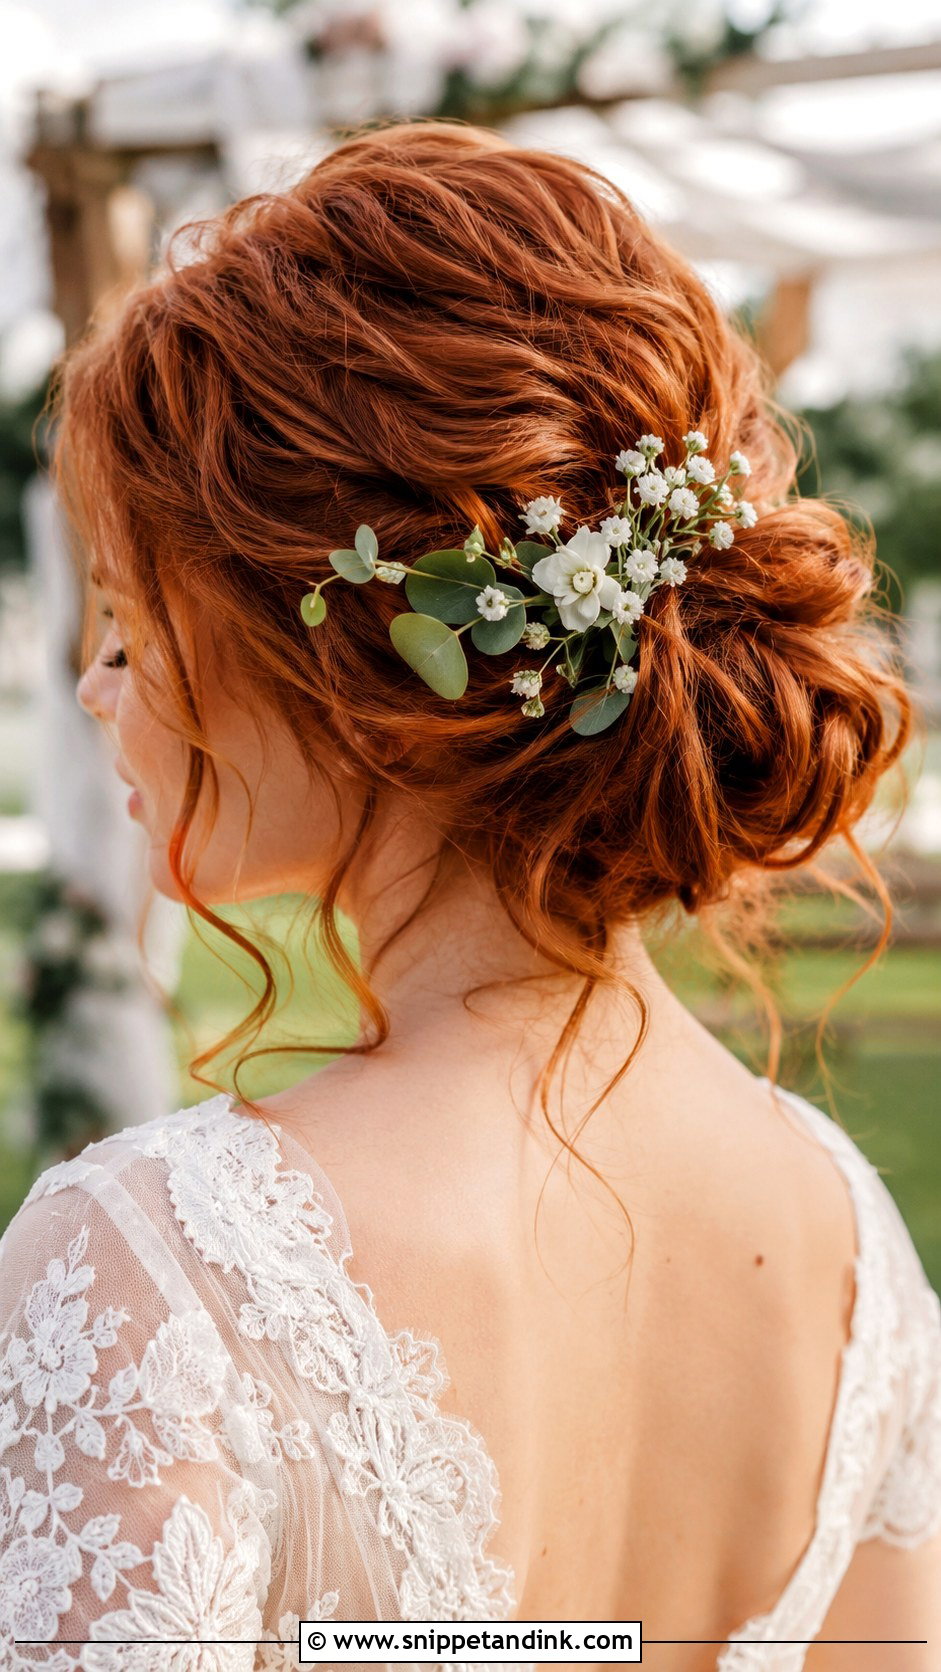
Flowers look softer tucked along the base of the bun than covering the whole thing. Start with a textured low bun or loose chignon, then add blooms in a crescent along one edge. Baby’s breath, spray roses, dendrobium orchids and dried florals stay light enough to pin, while heavy peonies drag a low bun down within an hour. Ask your florist for wired stems with the heads taped, and keep them in the fridge until you’re ready. Leave the face-framing pieces relaxed so the hair matches the loose feel of the flowers.
11. Low Updo Wedding Hair With Veil
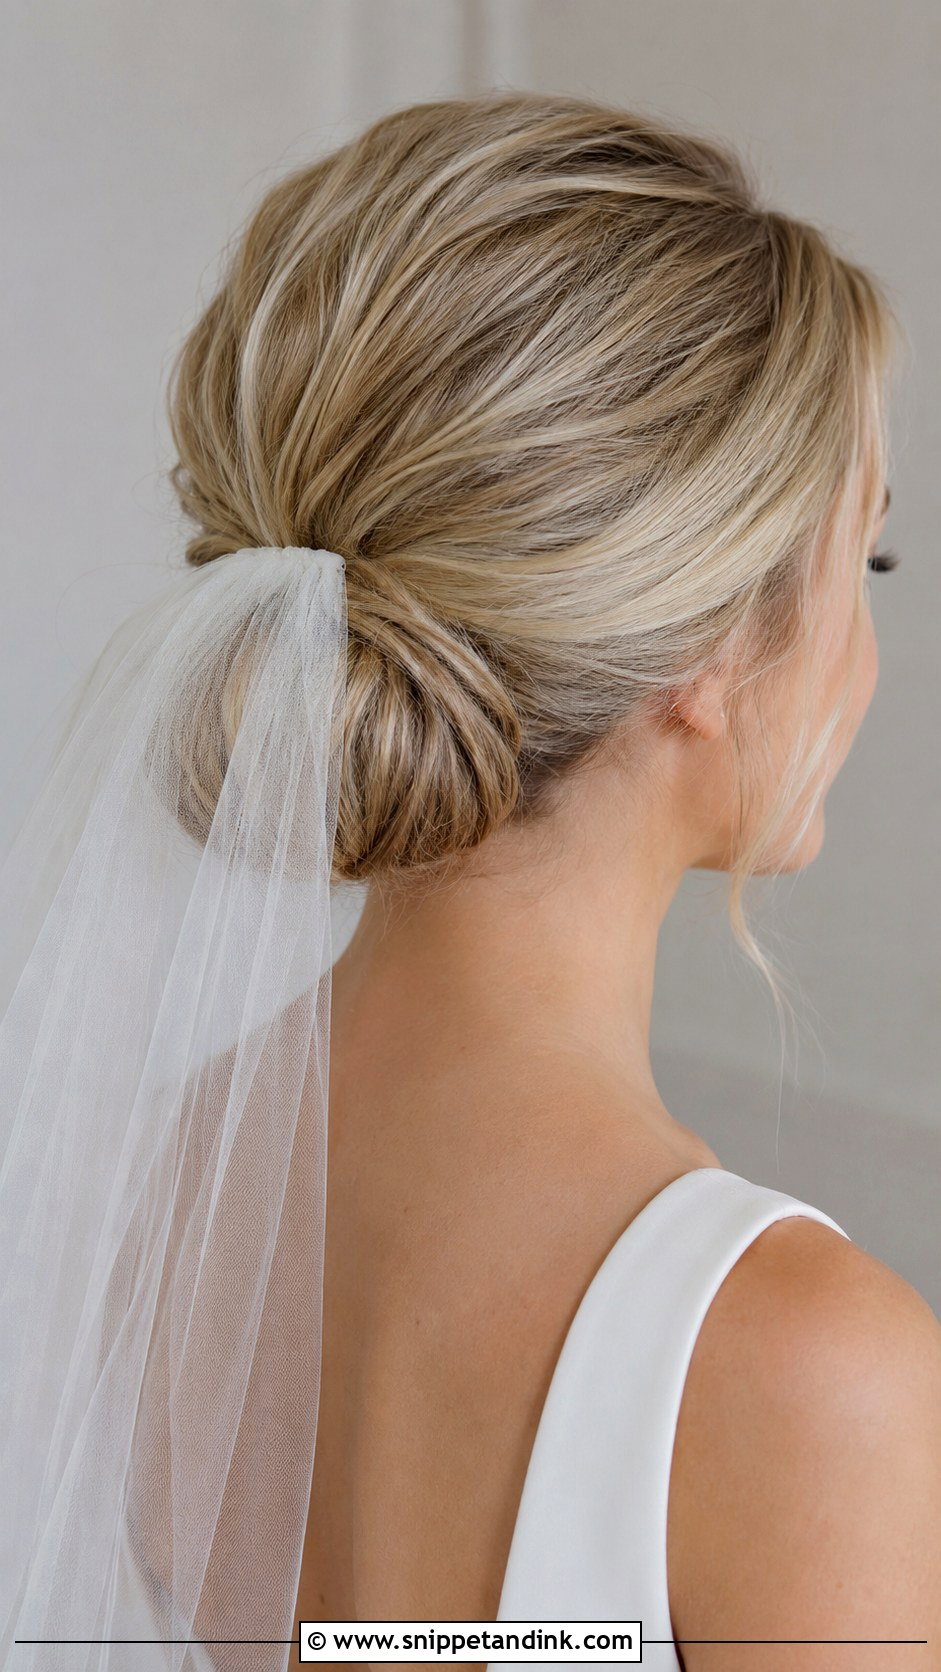
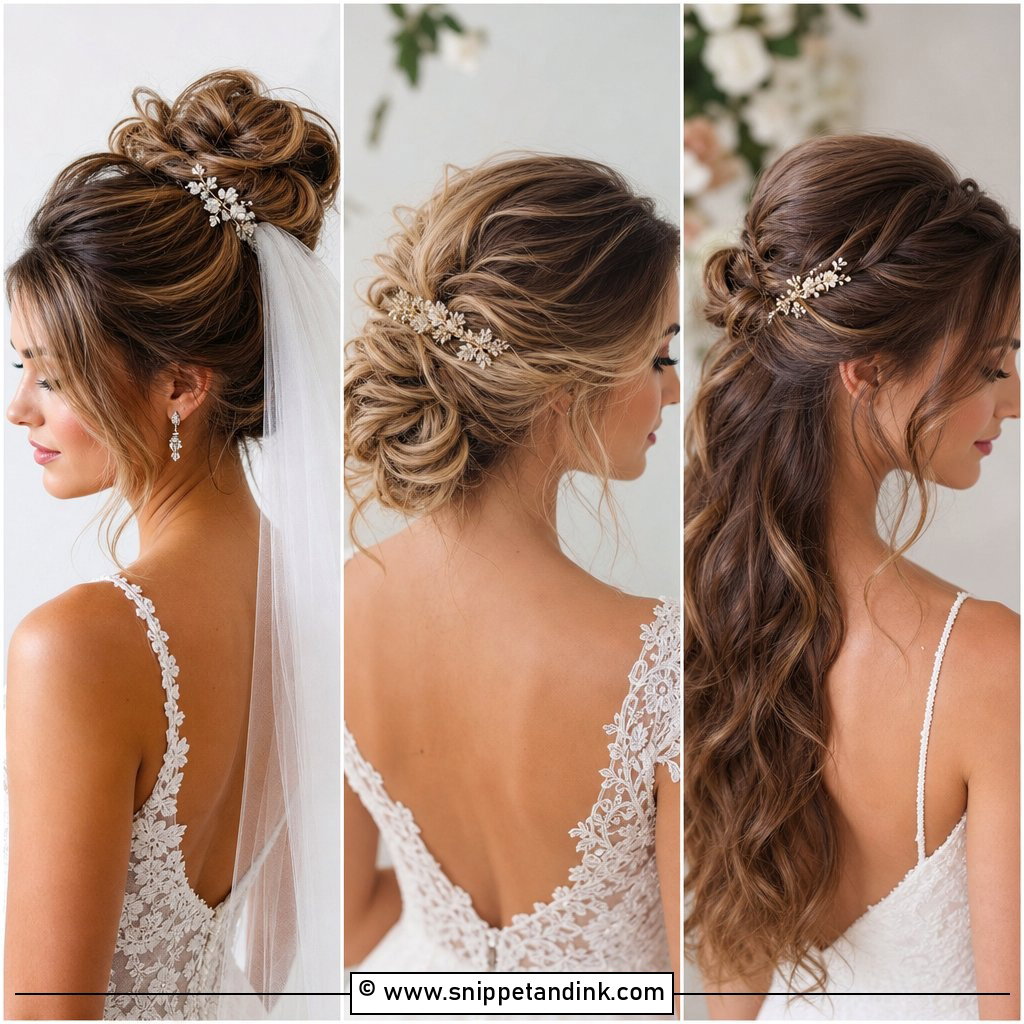
A veil comb needs something solid to bite into, and a firmly pinned low bun gives it that. Build the style first. For a classic drape, slide the comb in just above the bun with the teeth facing down, then turn it and push it in. For a lower, more modern fall, set it under the bun instead. Long cathedral veils pull backward with every step, so add two crossed pins on each side of the comb. I always have the bride walk and turn her head before I call it done.
12. Low Updo Wedding Hair For Thin Hair
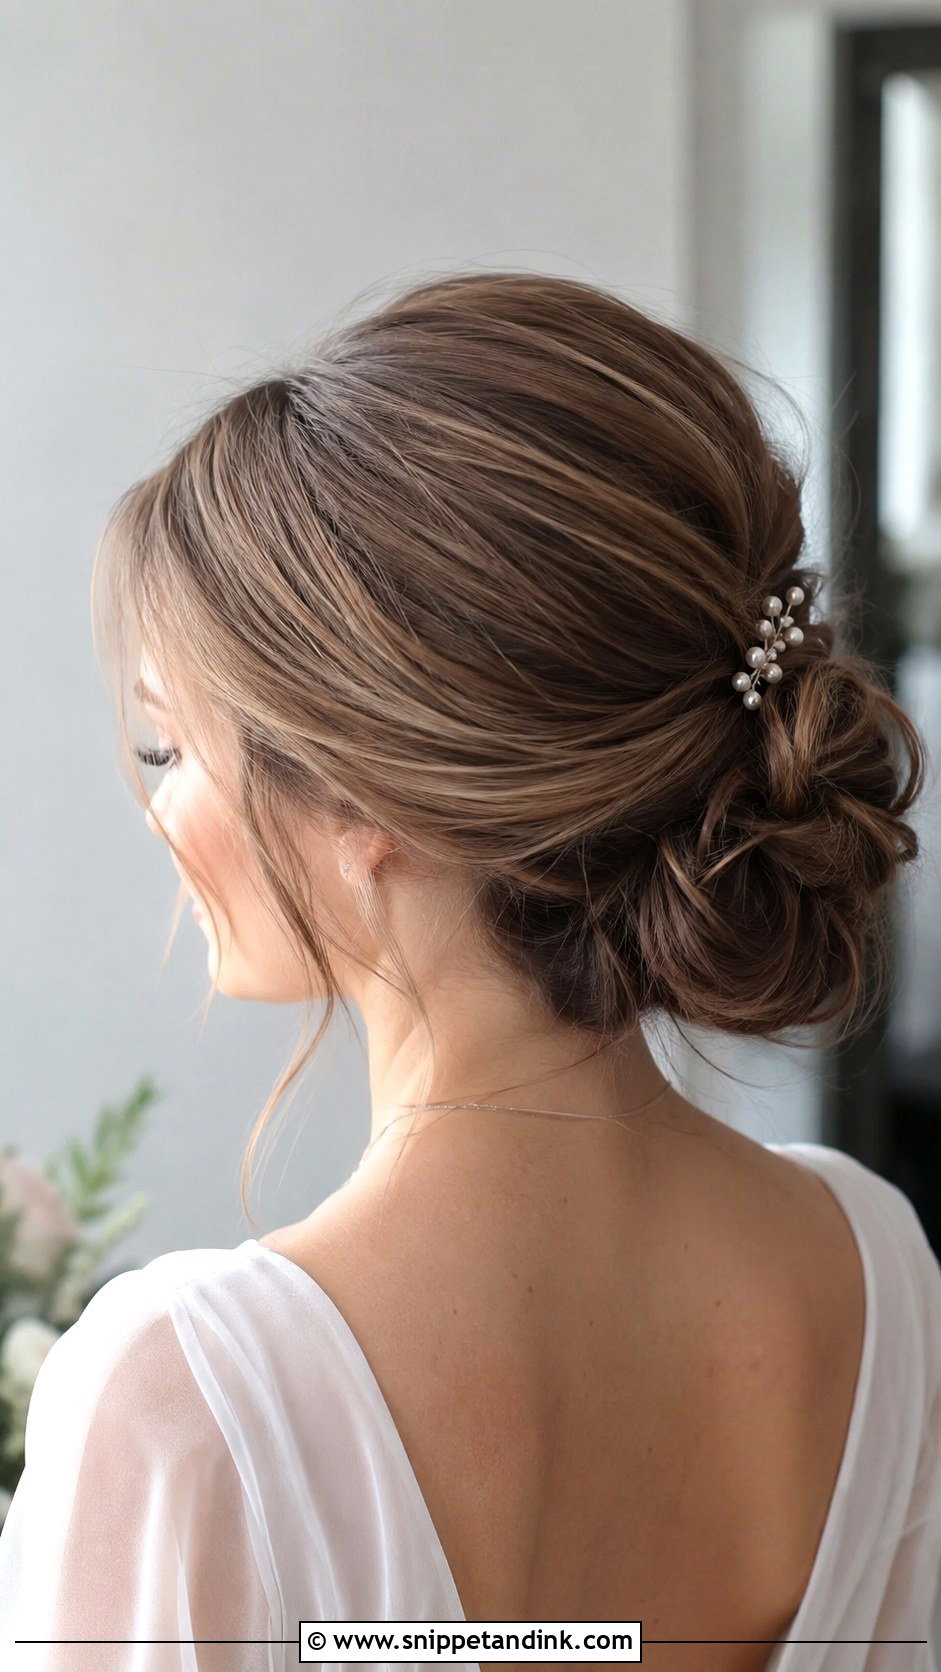
Thin hair can look fuller in a low updo, but tightness works against you. Apply volumizing mousse at the roots before blow-drying, curl for body, then backcomb lightly at the crown and just above the nape. Make a low ponytail and wrap it around a small bun cushion matched to your hair colour. Pull the outer edges wider so the bun reads bigger. Soft twists, a few pearl pins and loose pieces at the face add width without asking more of hair that isn’t there.
13. Low Updo Wedding Hair For Long Hair
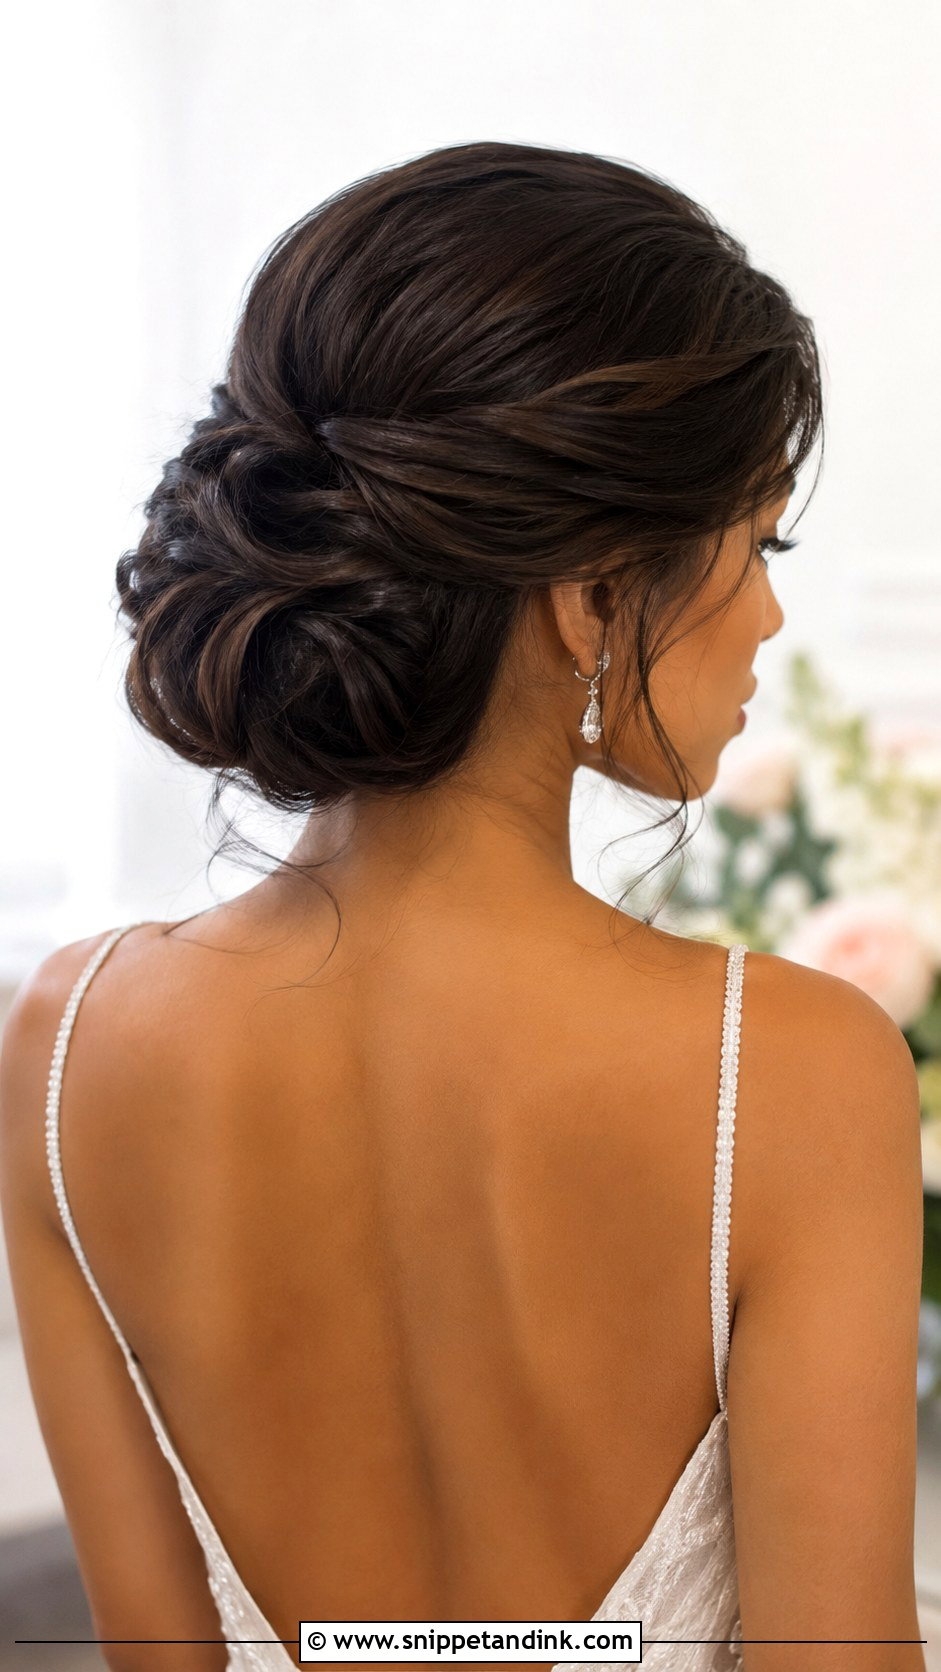
Long hair carries a lot of weight, and packing all of it into one knot is how buns slide by the reception. I divide the hair into two or three sections first. The lower section becomes the core bun; the side sections wrap around it in layers, which spreads the weight across more pins. The result works with veils, combs and backless dresses. Use strong pins and flexible spray, then sit down in your dress. A long-hair bun often rubs against a high collar once you’re seated, and you only find that out sitting.
14. Low Updo Wedding Hair For Medium Hair
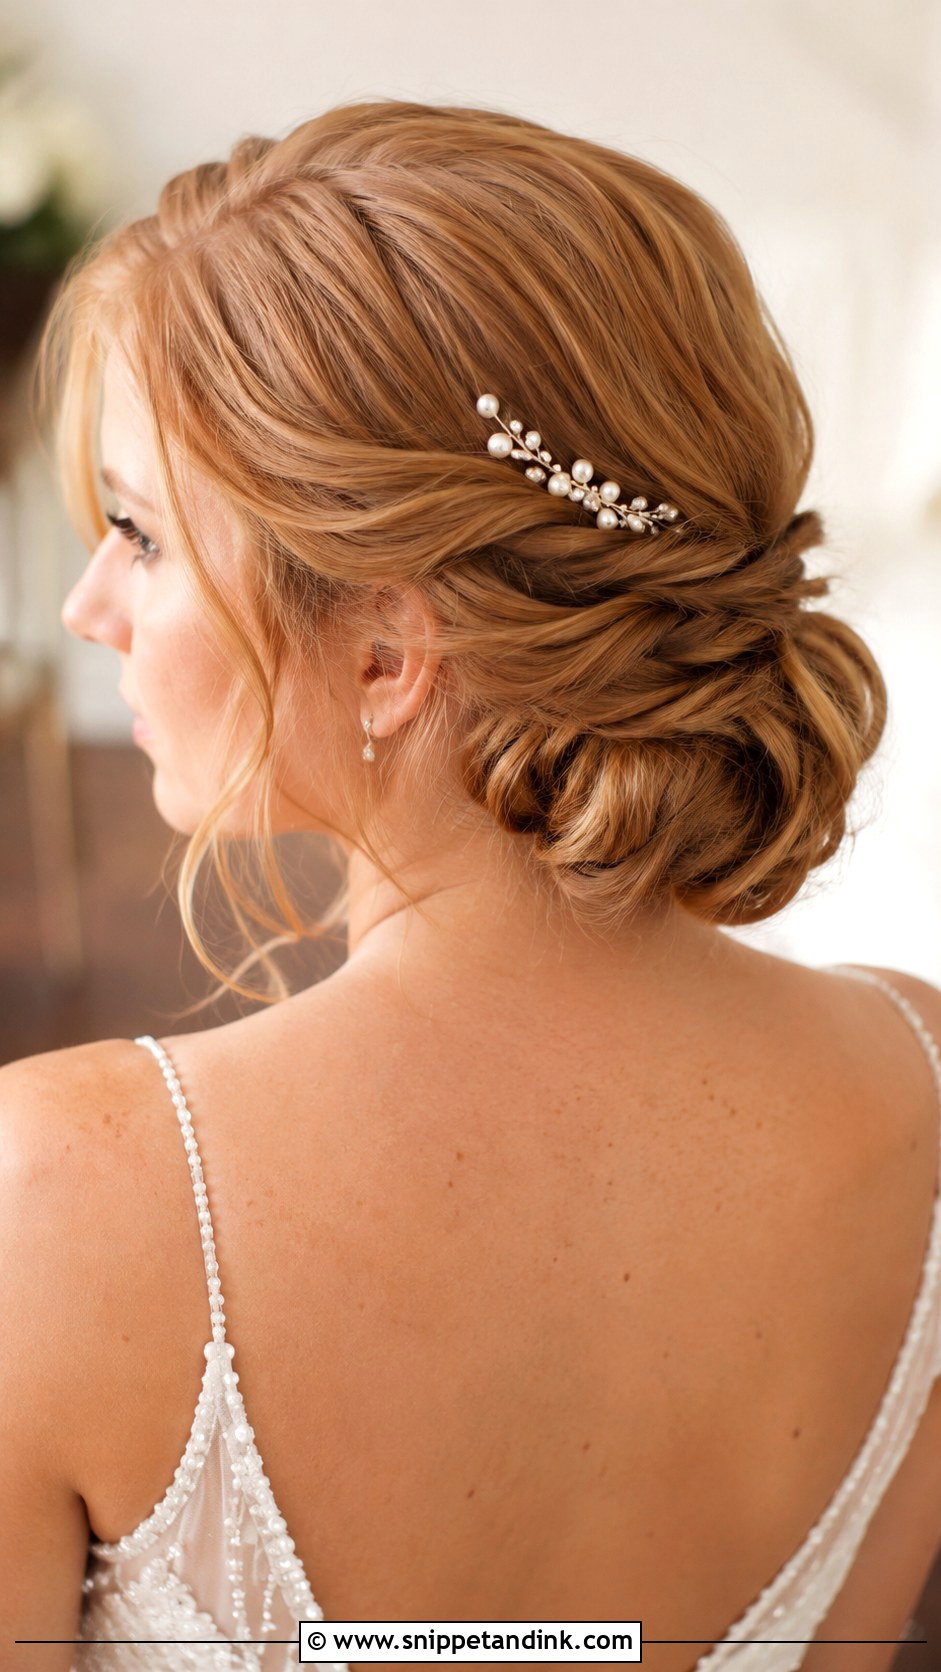
Shoulder-length hair is easier to pin into a low updo than most people expect: there’s enough length to hold and not enough weight to drag. Curl first, make a small ponytail at the nape and tuck the ends under into a roll. Pin side pieces over the roll to fill it out. Lobs and layered cuts behave well here. When short ends pop out of the roll, curl them and let them sit as texture instead of trying to force them flat. A comb, pearl pin or ribbon makes it read as bridal.
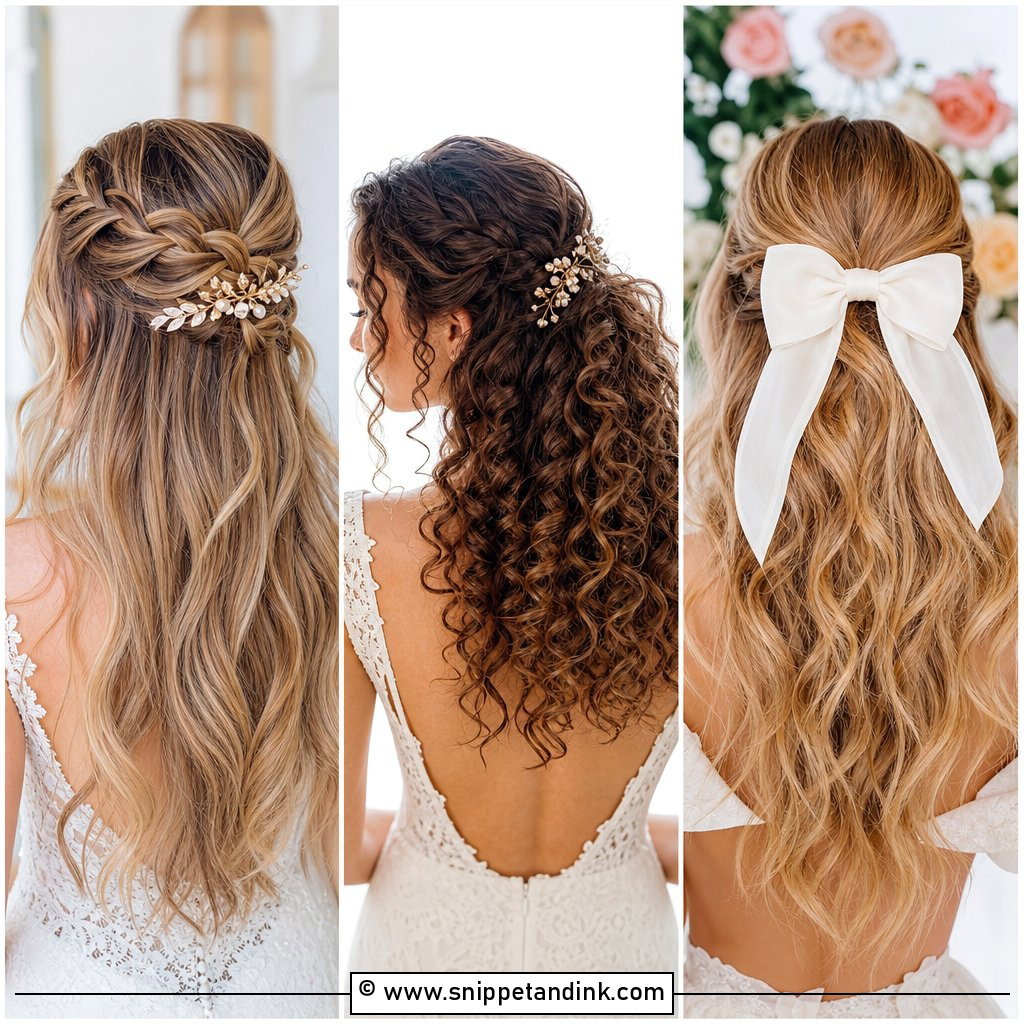
15. Low Updo Wedding Hair With Face Framing Pieces
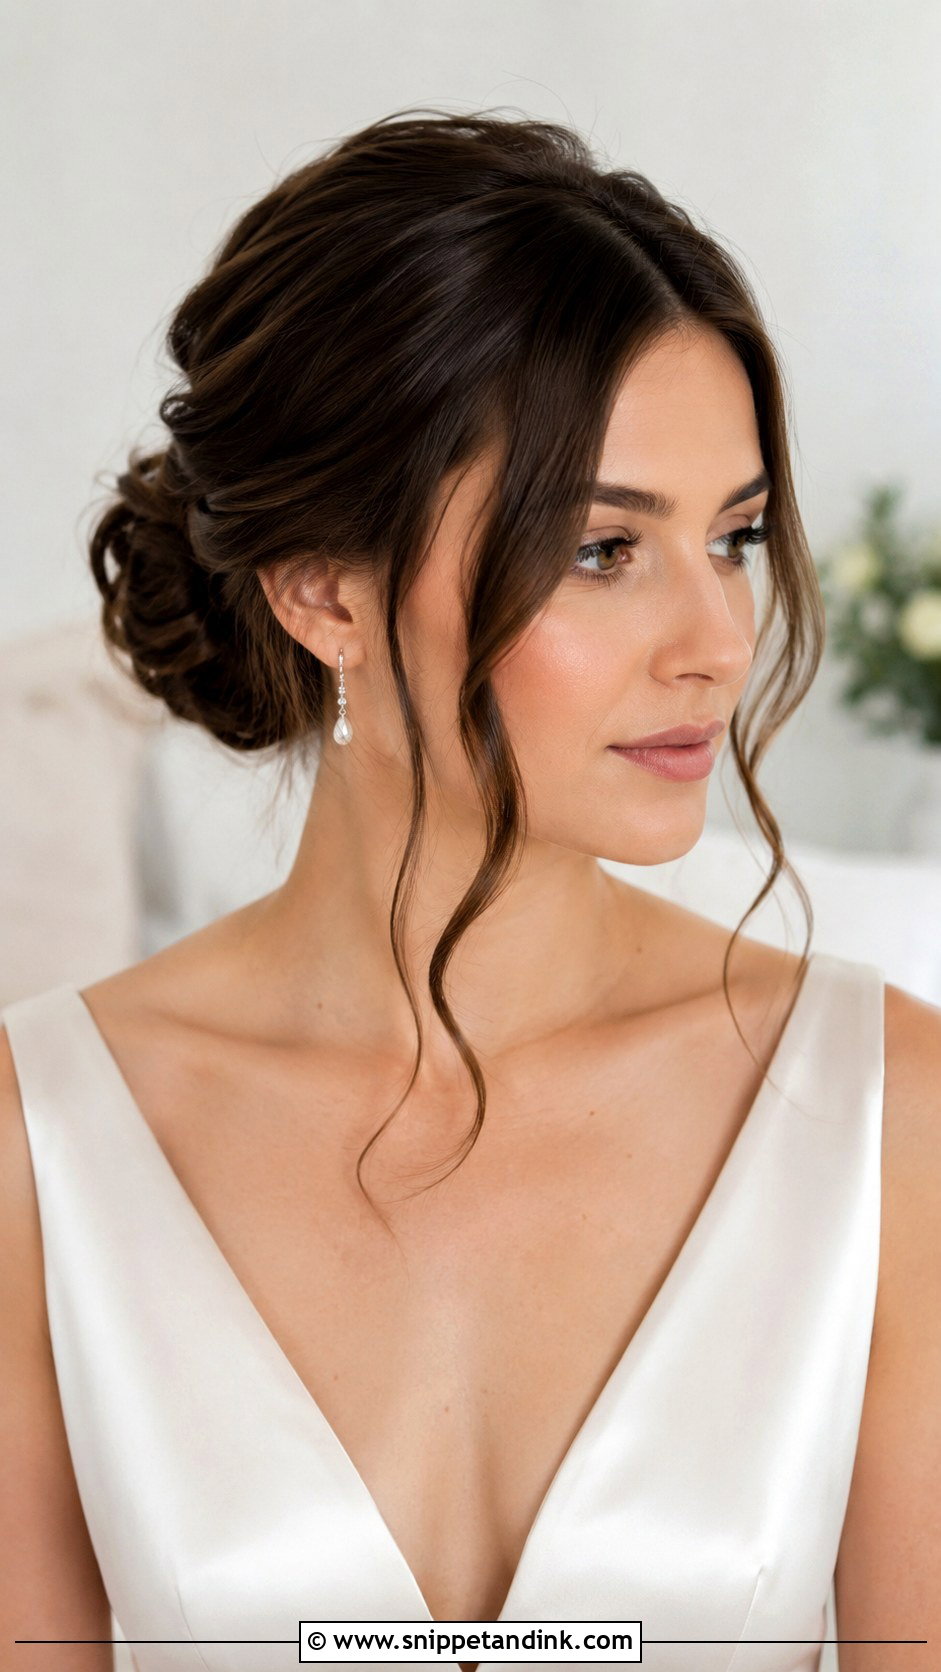
If an updo leaves you feeling exposed, leave out two slim sections at the hairline before pinning anything. Curl them away from the face, then break them up with your fingers. Make them thinner than you think; a thick section looks like a mistake by the time the photos are taken. The bun behind them should be neat enough to balance the softness at the front. I pair these with a centre part on oval and long faces and a side part on round faces, though trying both in a mirror tells you more than any rule.
Rehearsal Schedule for a Self-Done Updo
Your first attempt will take far longer than your fifth, and you want the fifth one to be the wedding. Start practising about six to eight weeks out and do your chosen style at least three times.
- First run: just get the shape. Time yourself and note which section fought you.
- Second run: add your accessories and the veil or a stand-in, then wear it around the house for four hours.
- Final run, about a week before: do it exactly as you will on the day, in the same order, with the same products, and photograph it from the back and both sides.
If your colour or a trim is booked, do it before the final run. Fresh layers can change how the ends tuck, and a new cut a few days before the wedding is the one thing I’d steer every DIY bride away from.
When the Bun Sags Halfway Through the Reception
A sagging bun almost always means the base pins only caught the surface hair. Don’t add more pins on top. Hold the bun up where it should sit, then slide two fresh pins upward from underneath into the elastic, crossing them in an X. That fixes most slips in under a minute.
Give a bridesmaid a small pouch with ten bobby pins, two U-pins, a travel hairspray and a clear elastic. Show her the X trick at your final practice run, so the person fixing your hair in a hotel bathroom already knows what she’s looking at.
A Low Updo Is Mostly Pin Work and Patience
Each of these styles comes down to the same thing: a firm base at the nape, then whatever softness, braiding or decoration suits your dress. Sleek reads modern, a chignon reads classic, braids add texture, and flowers suit an outdoor setting. The best tutorial choice depends on your hair length, texture, neckline, veil and how long your arms can stay raised. Practise it, photograph it from behind, and wear it for a few hours before you commit. Done with the right pins, a low updo will last from the ceremony to the last song.
You'll Like These Ideas:


Leave a Reply