
Wedding hairstyles feel much easier when you can picture the finished look and follow a simple order. The best bridal hair does not have to be stiff, overdone, or impossible to recreate. It should hold through photos, hugs, dancing, and a long celebration while still looking soft and pretty. This guide breaks down 15 wedding hairstyles step by step, from classic buns to half-up curls, braids, ponytails, and short-hair looks. Each one gives you a clear plan, so you can practice before the day, show your stylist a direction, or create a polished wedding guest hairstyle at home.
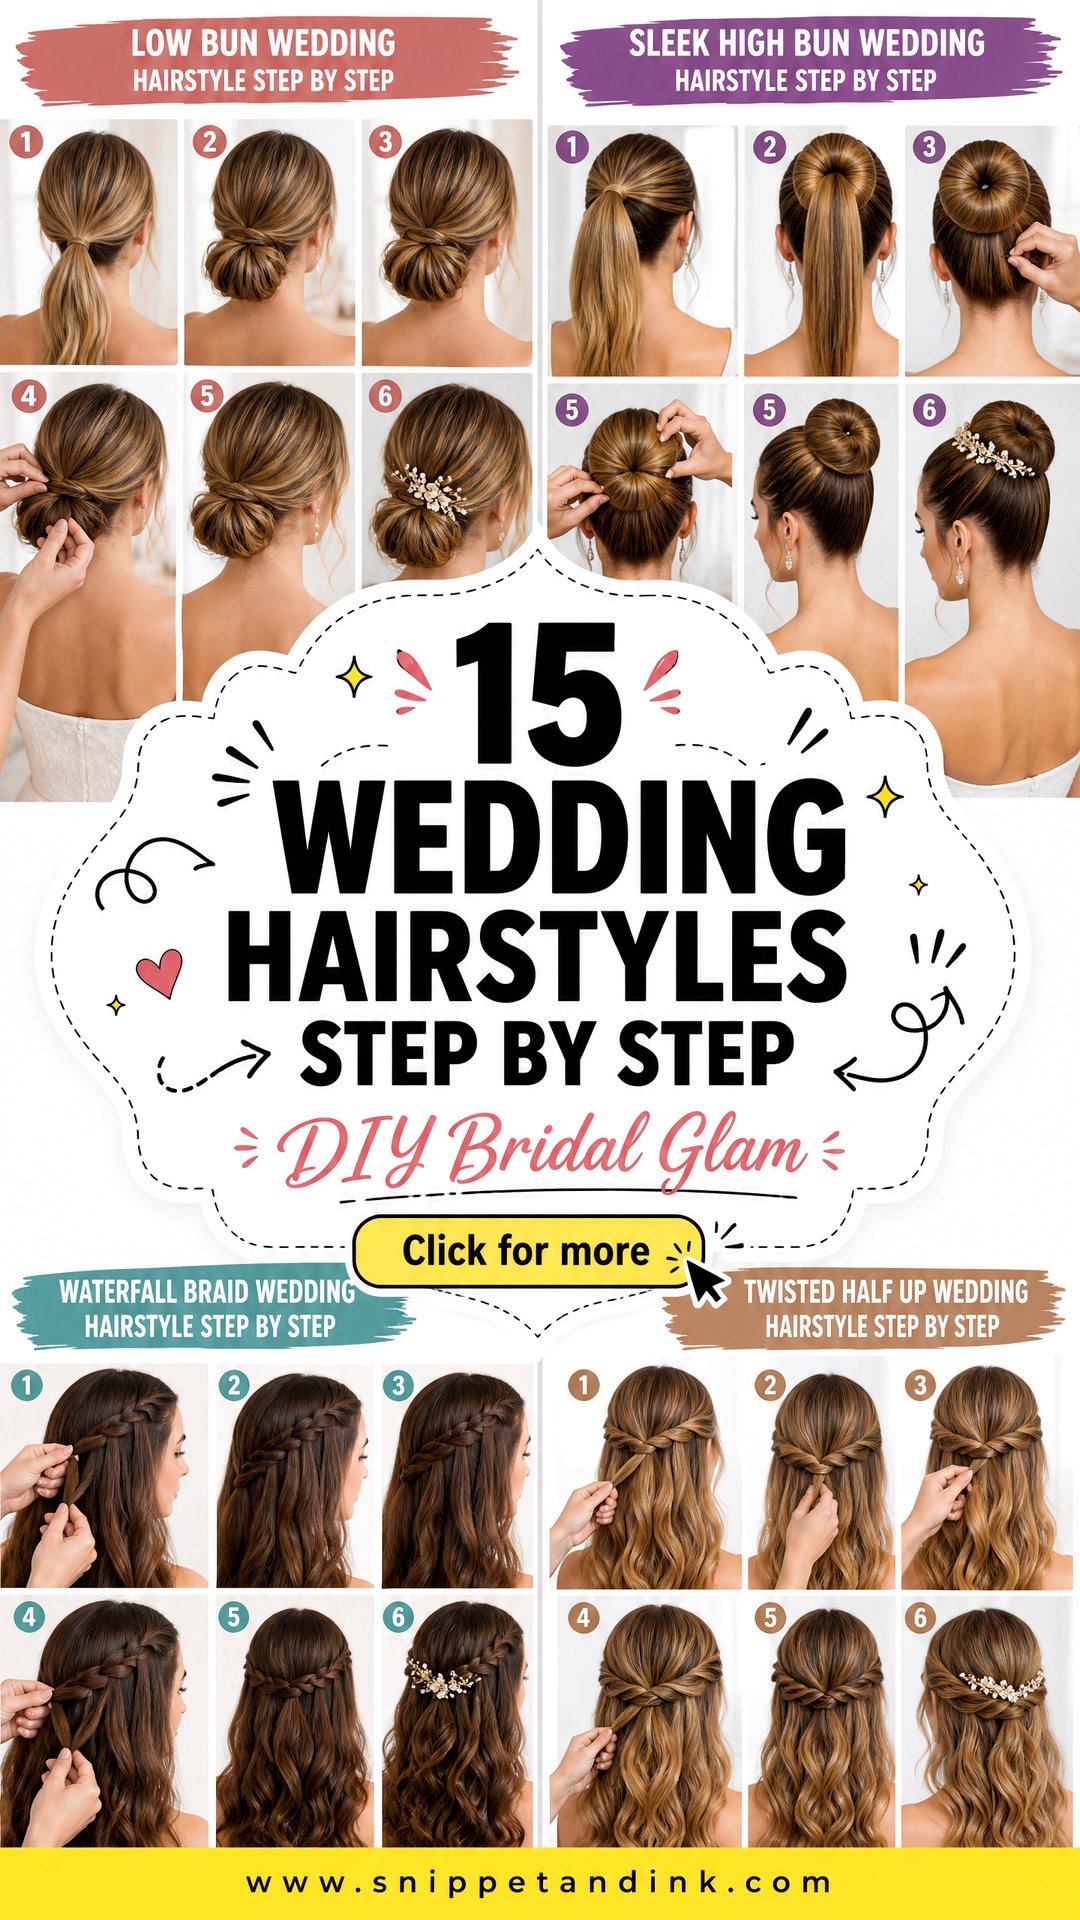
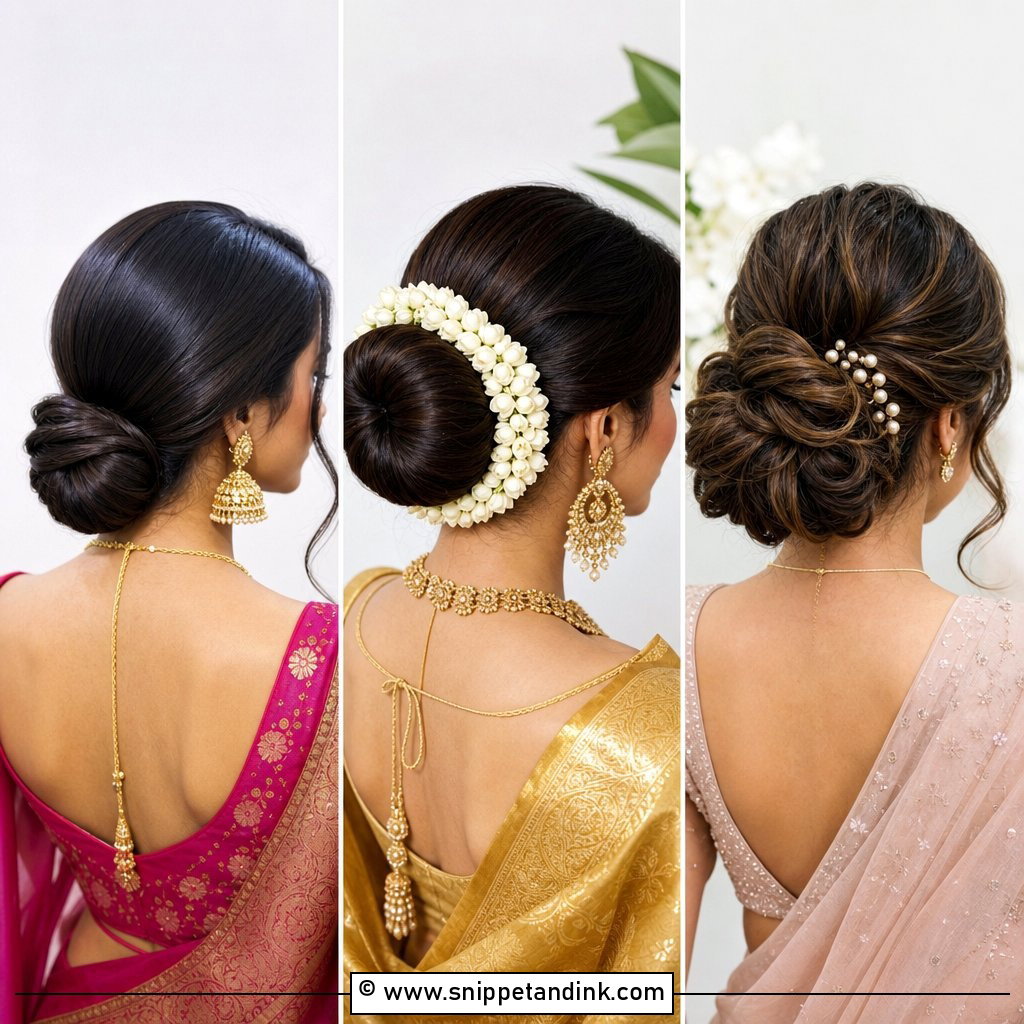
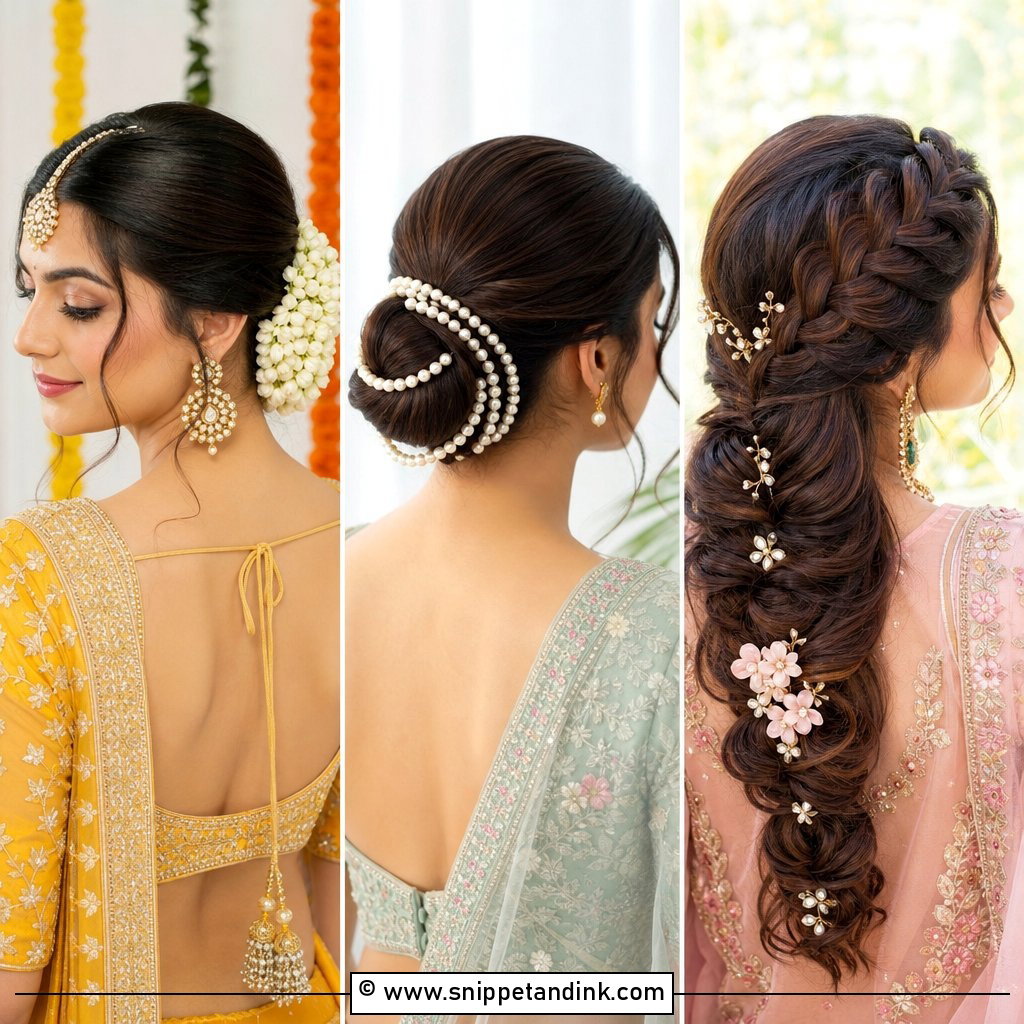
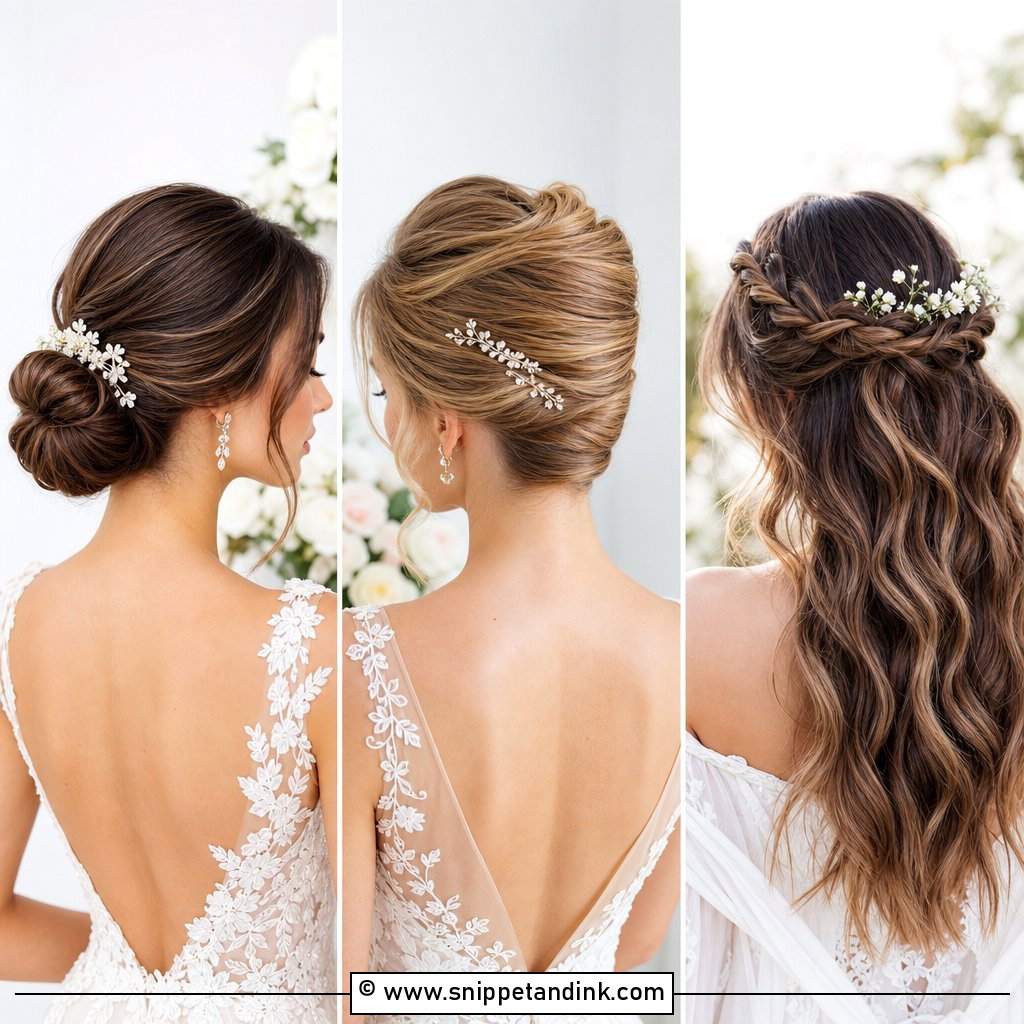
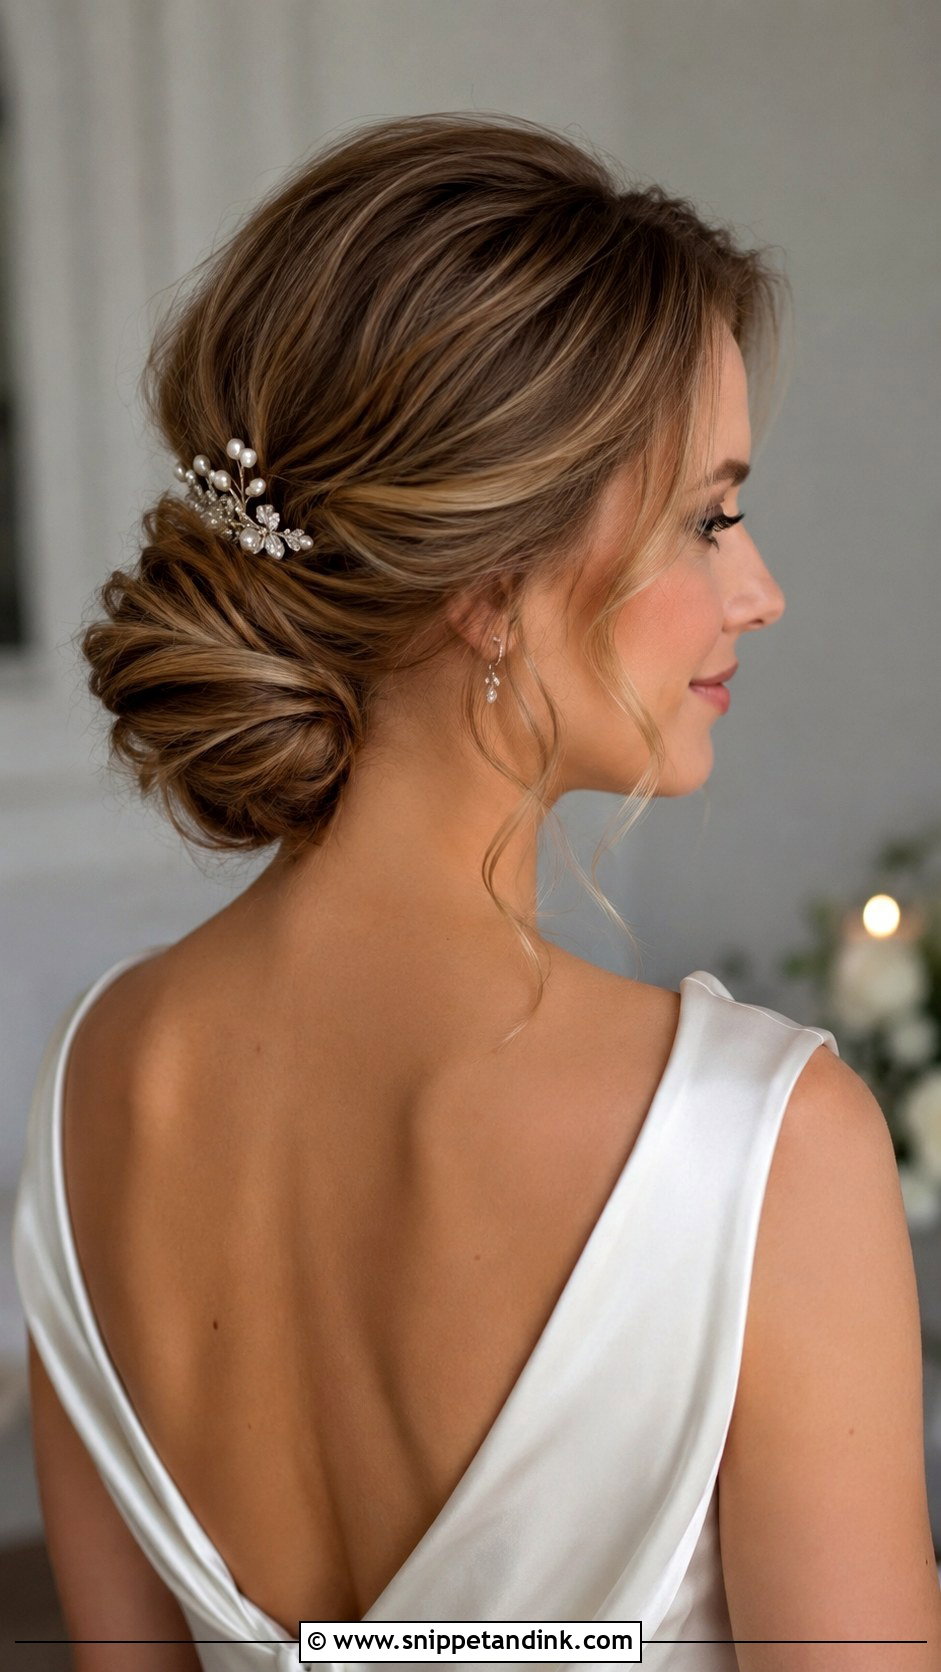
1. Low Bun Wedding Hairstyle Step By Step

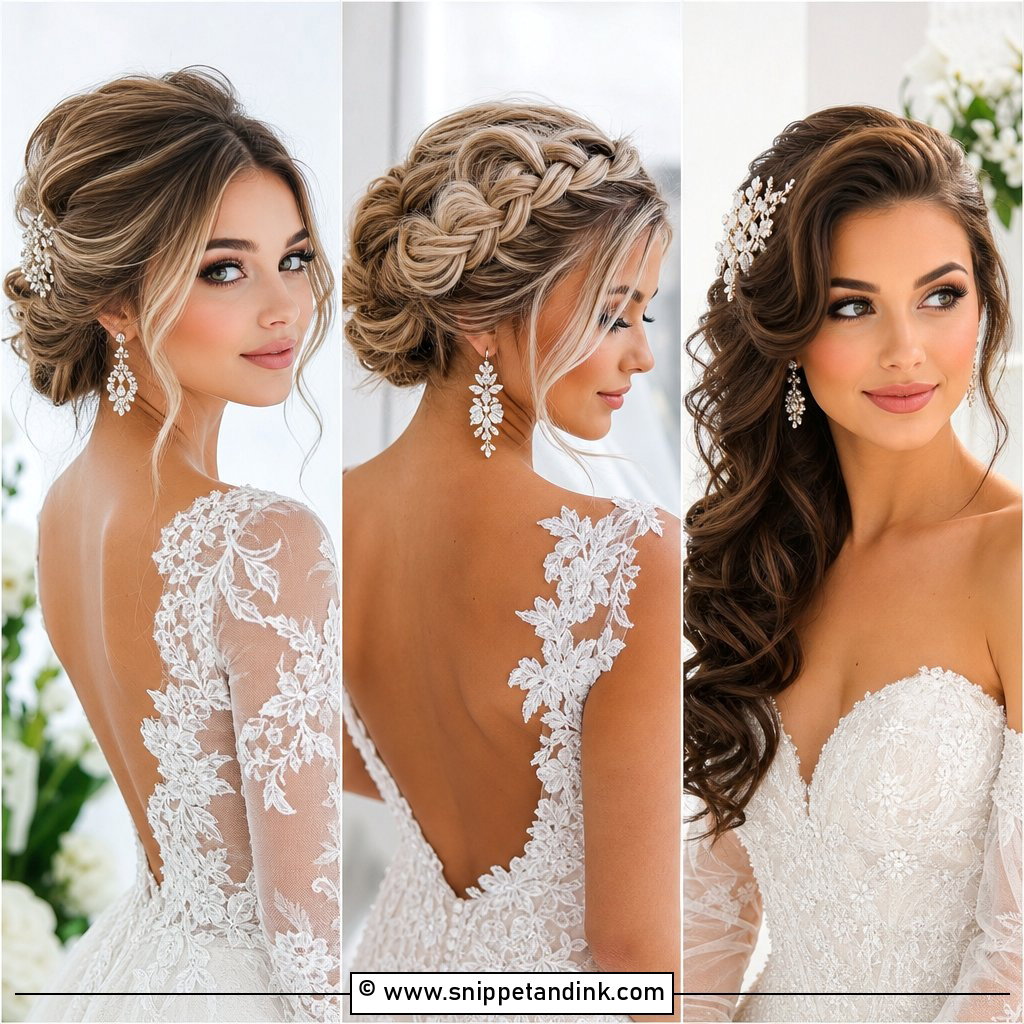
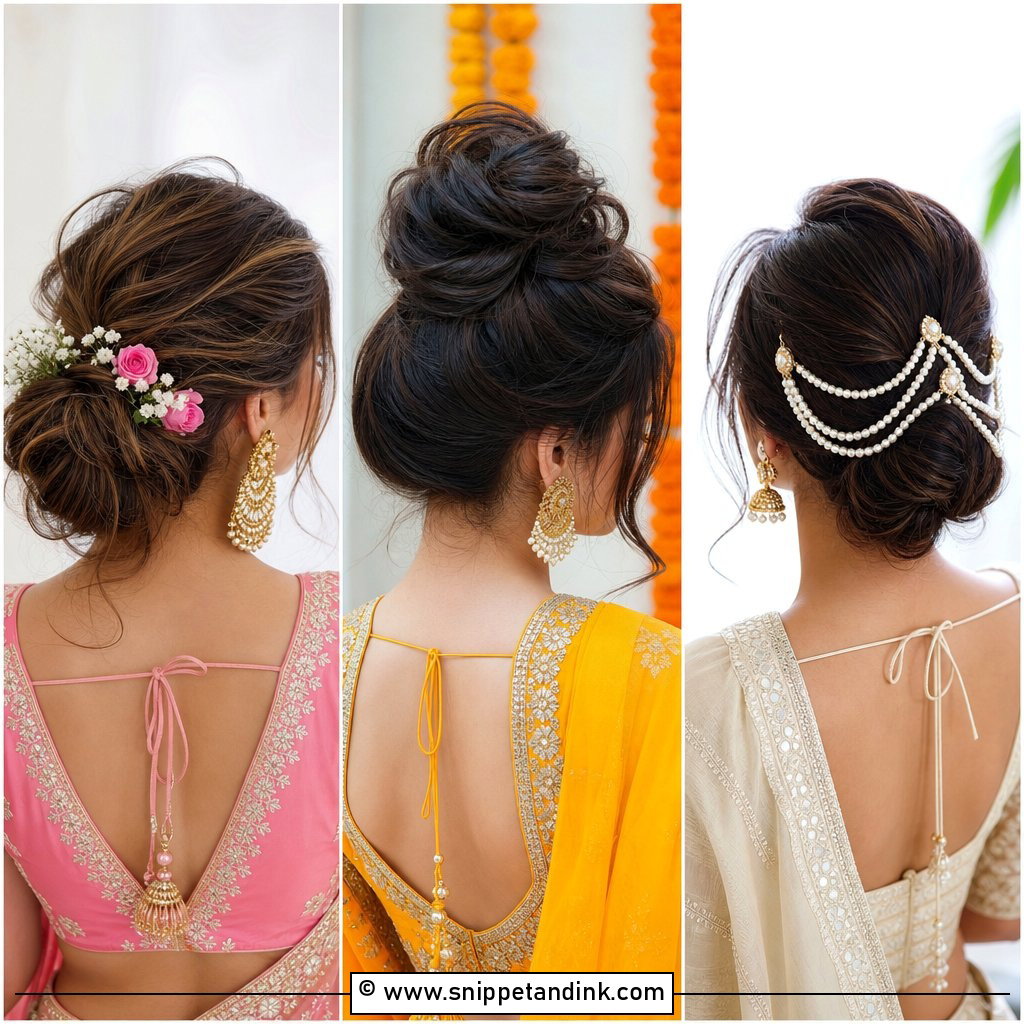
A low bun is one of the easiest wedding hairstyles to make look expensive and timeless. Start by curling the hair with a medium barrel, then brush the curls out softly for movement. Create a middle or soft side part, leaving two small face-framing pieces loose. Gather the rest into a low ponytail at the nape and secure it with an elastic. Twist the ponytail loosely, wrap it around the base, and pin it in sections instead of one tight coil. Gently pull the bun wider for fullness. Finish with light hairspray, smooth flyaways, and add pearl pins or a veil comb above the bun.
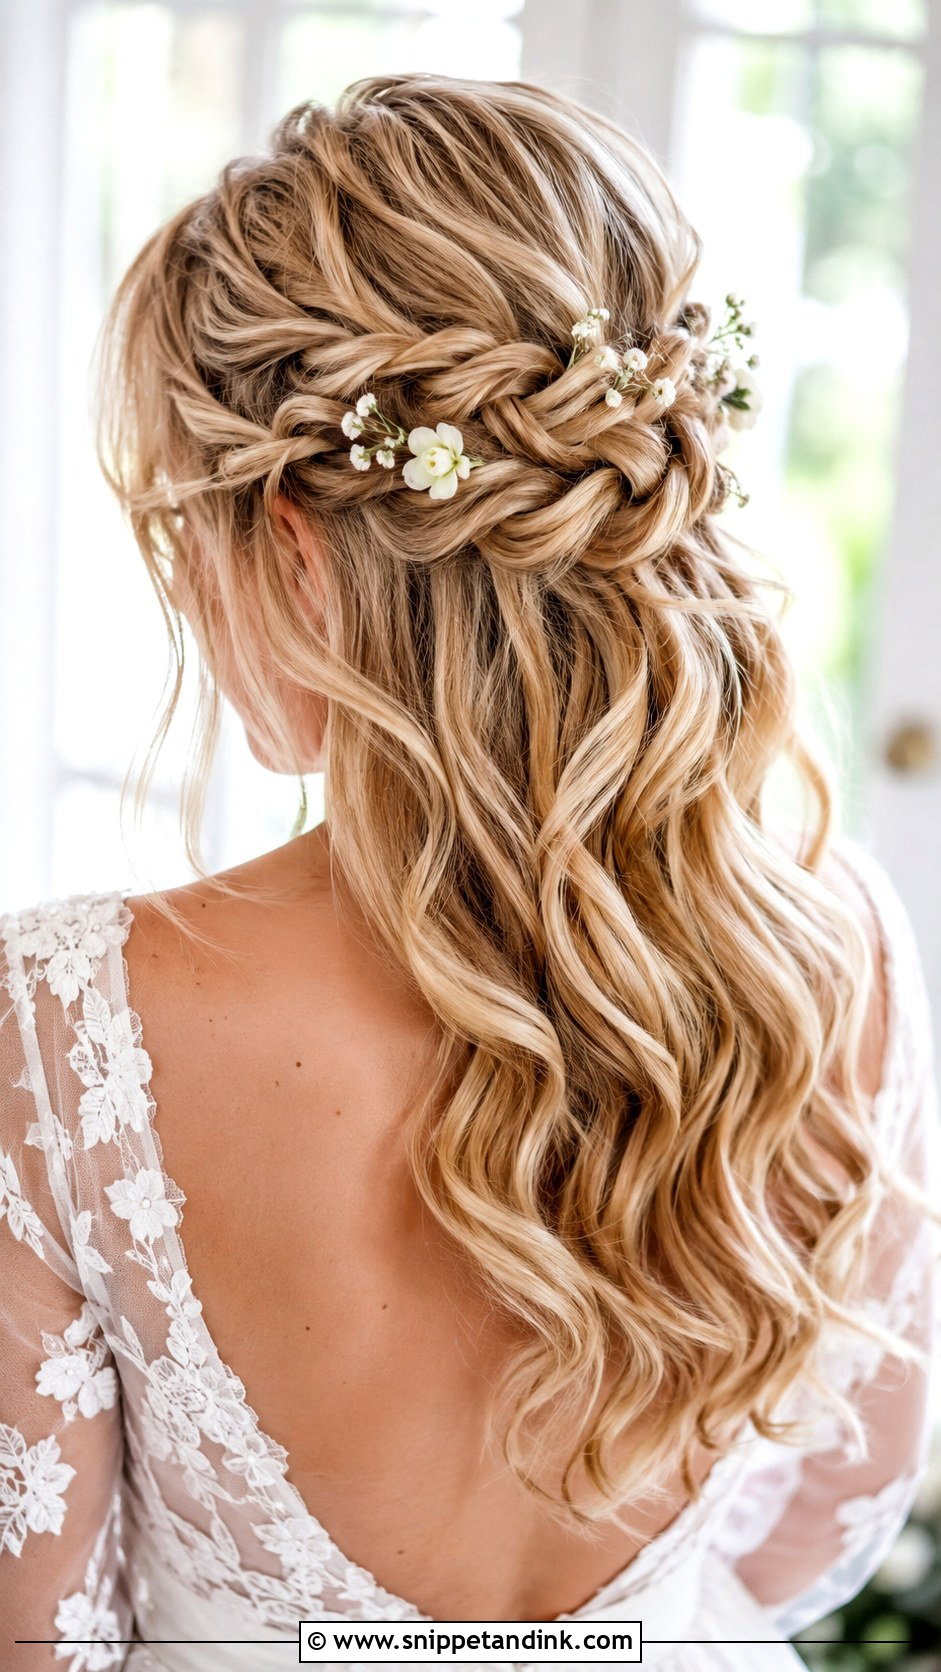
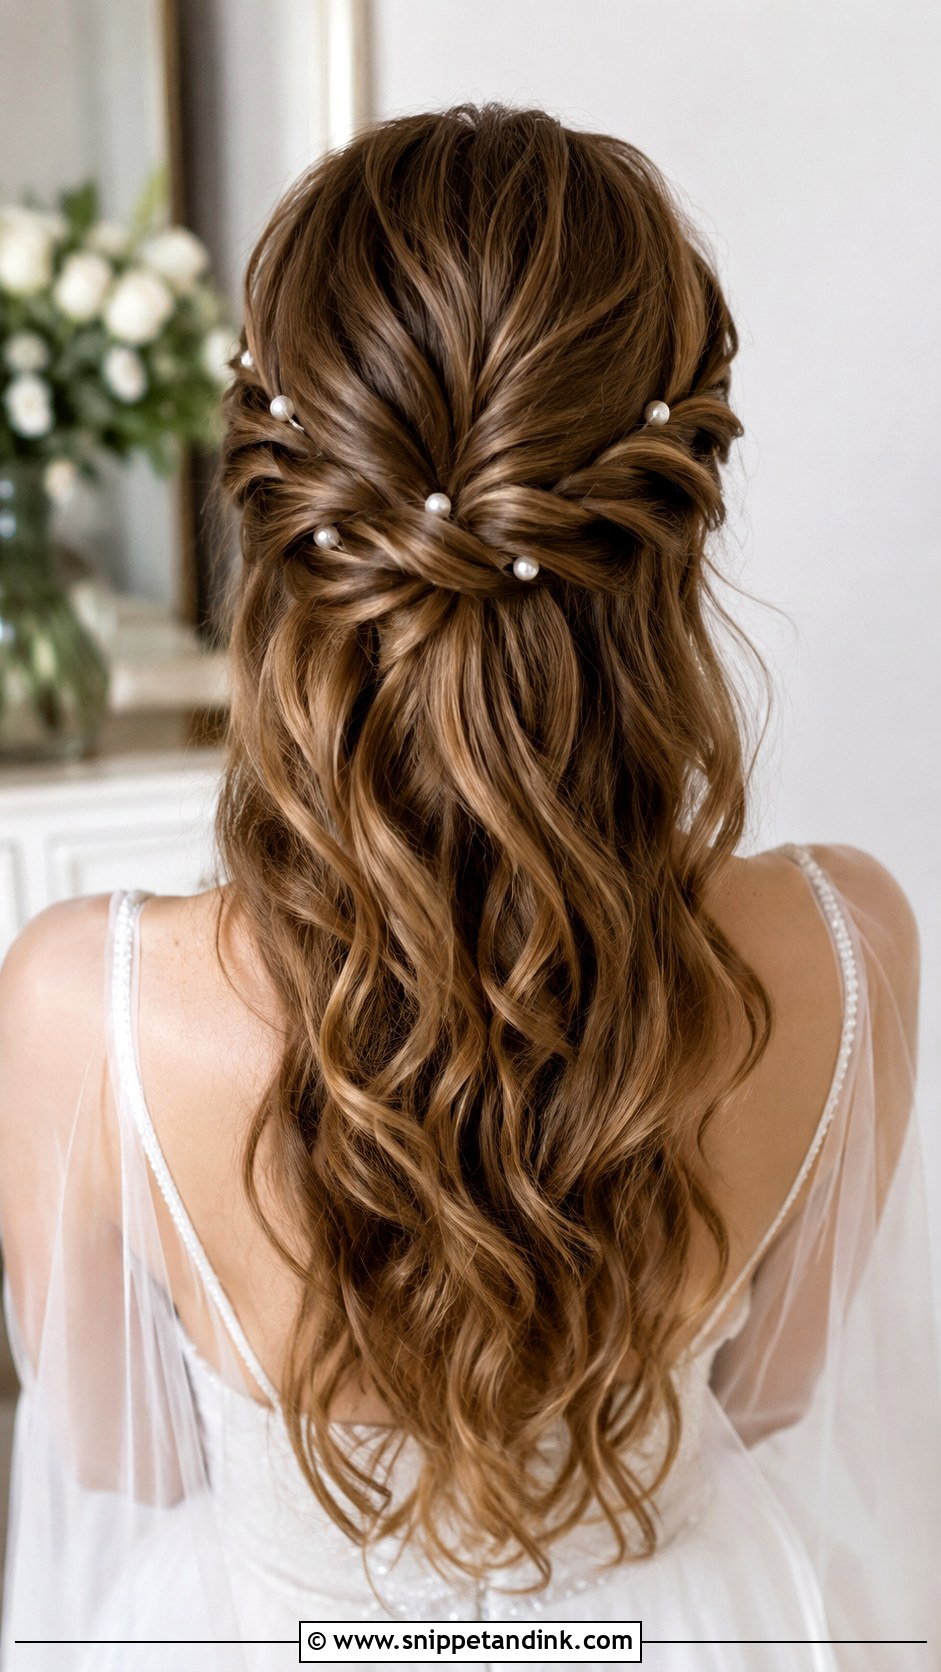
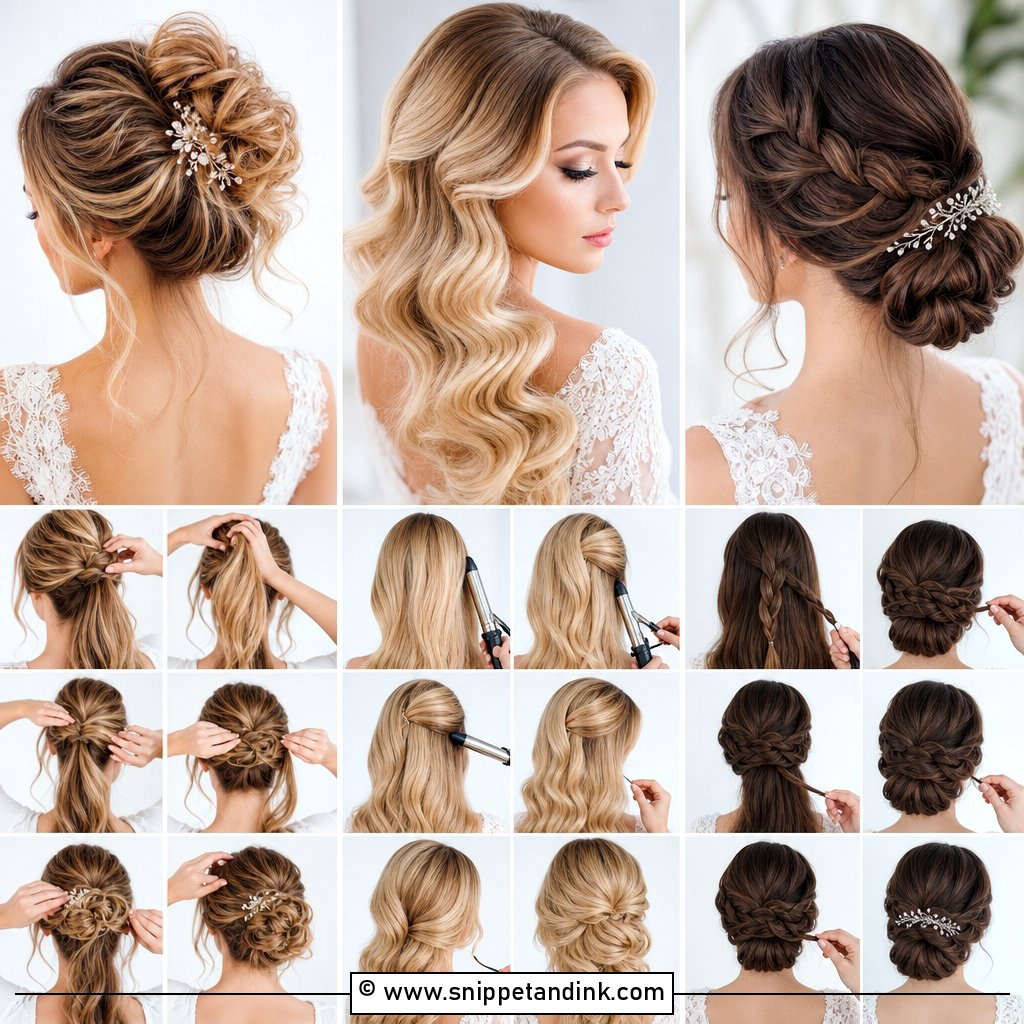
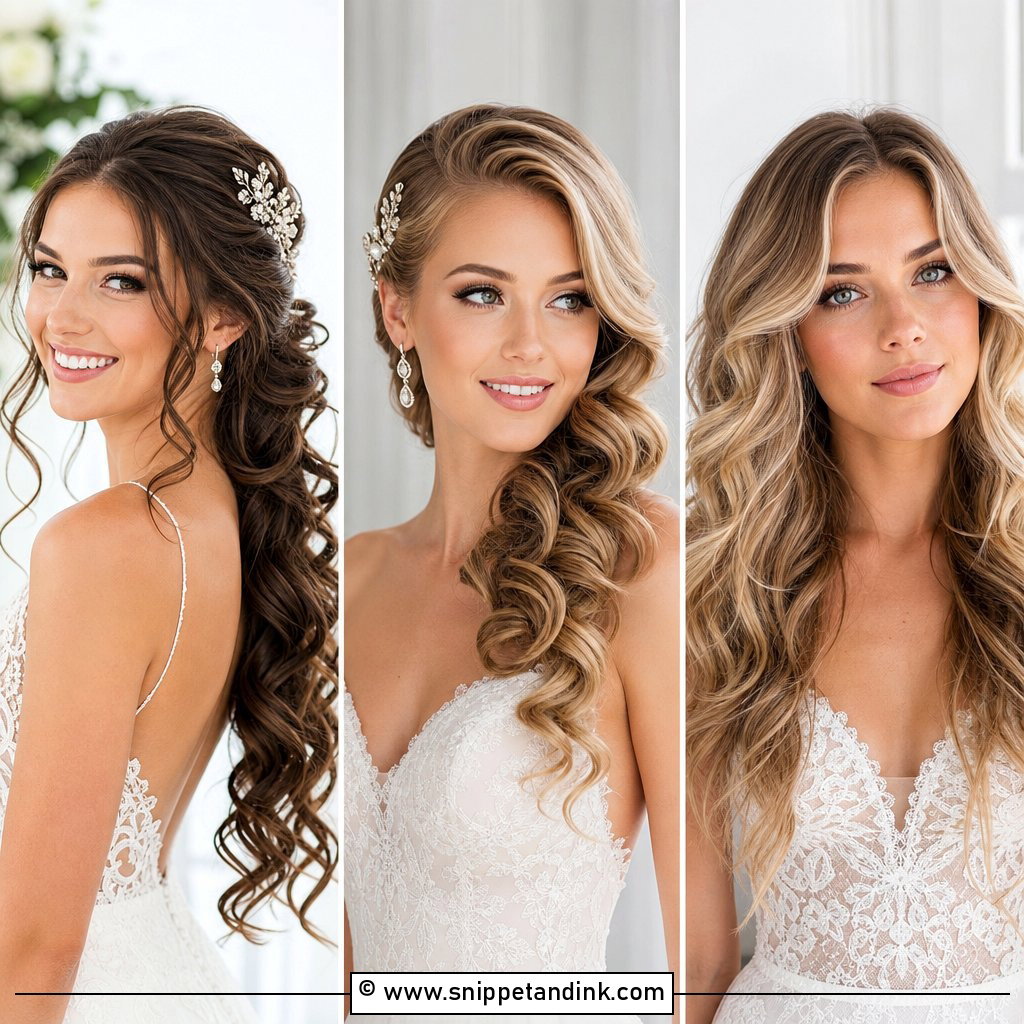
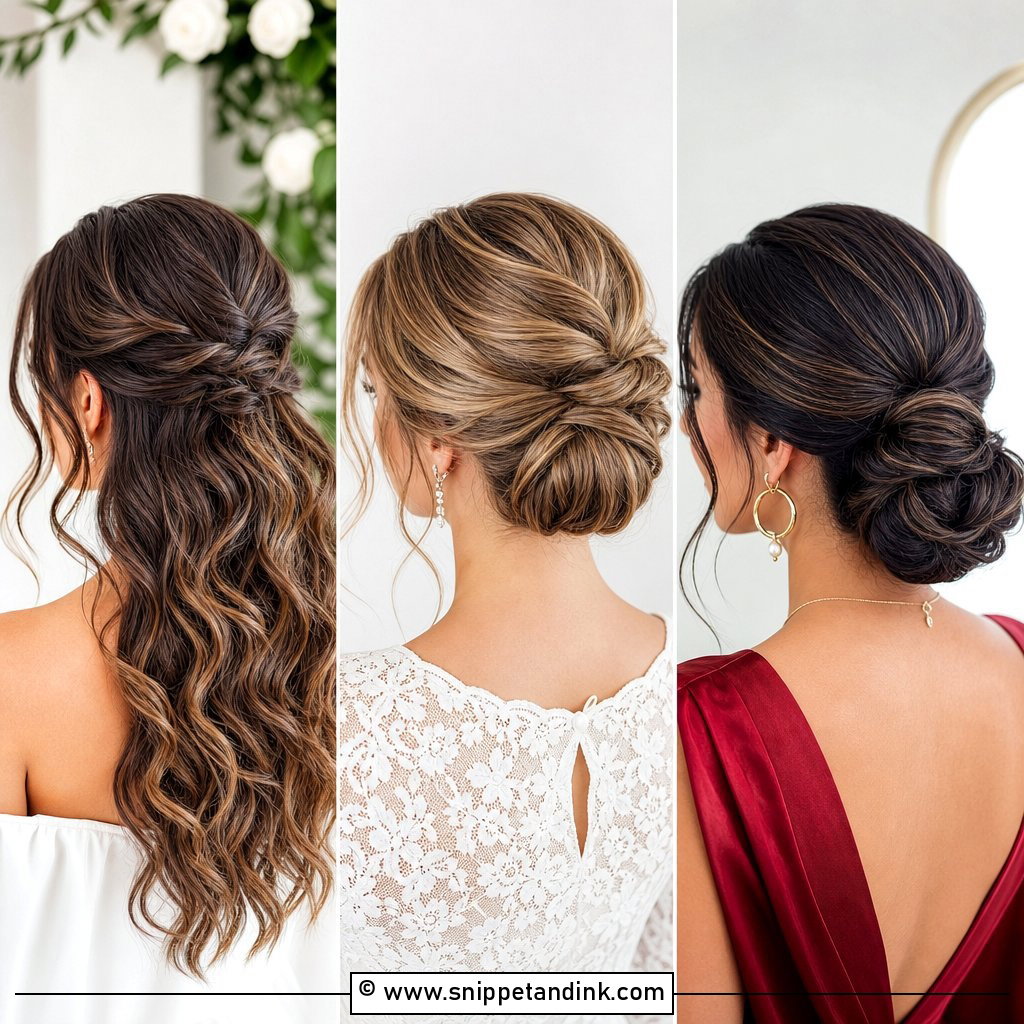
2. Half Up Half Down Wedding Hairstyle Step By Step
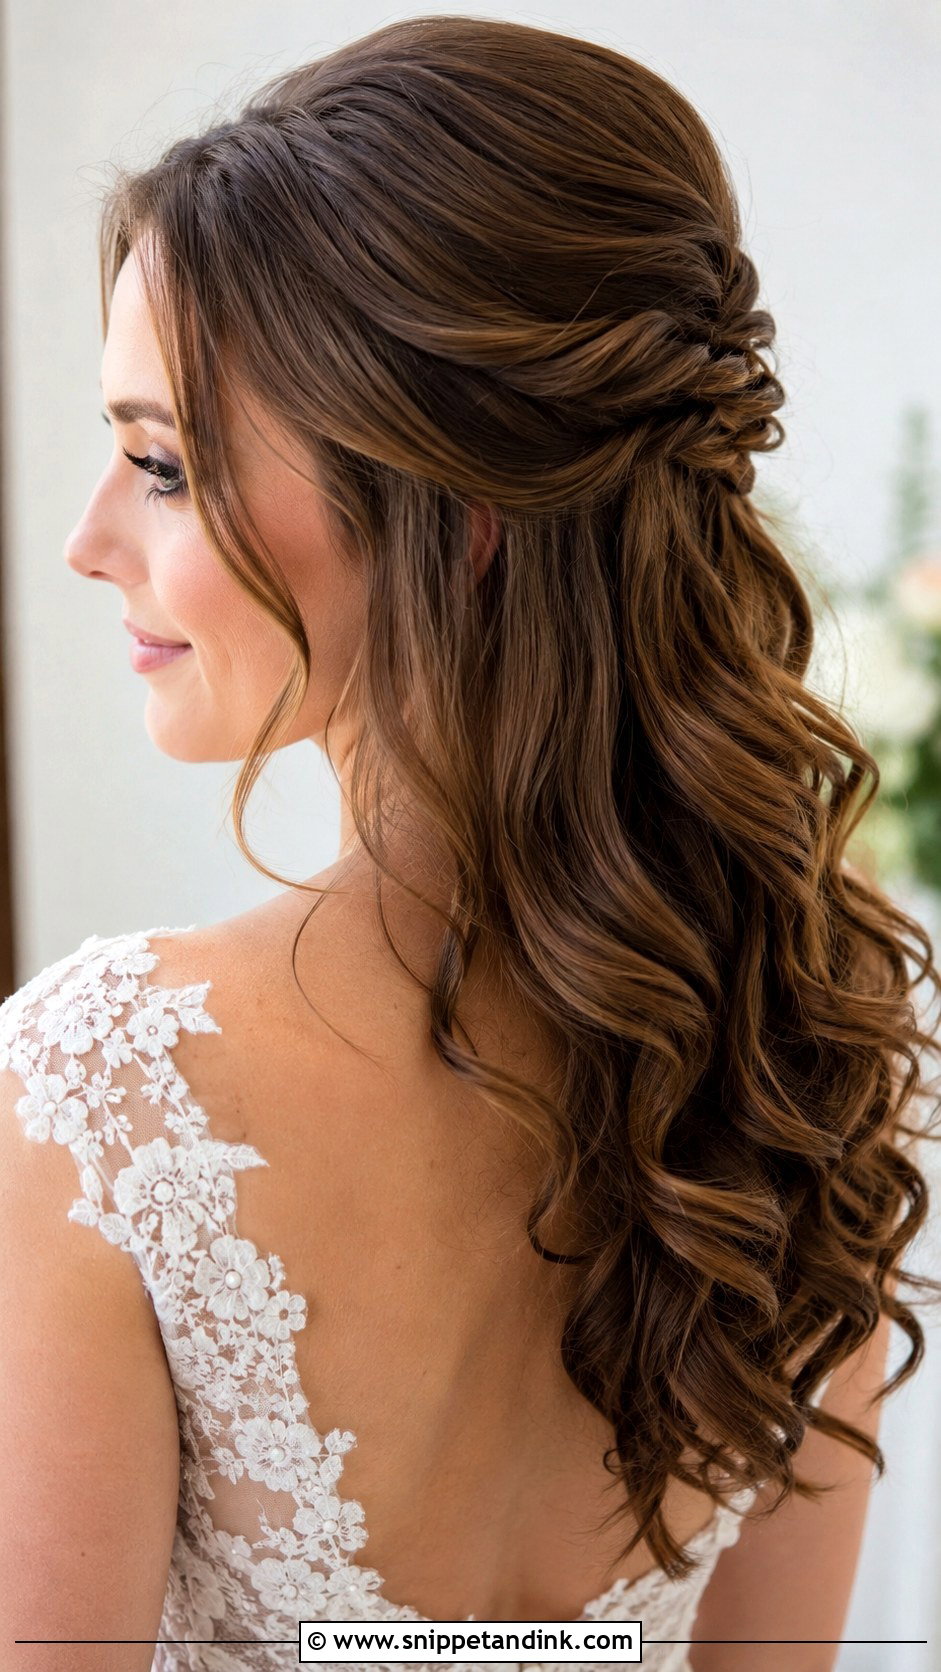
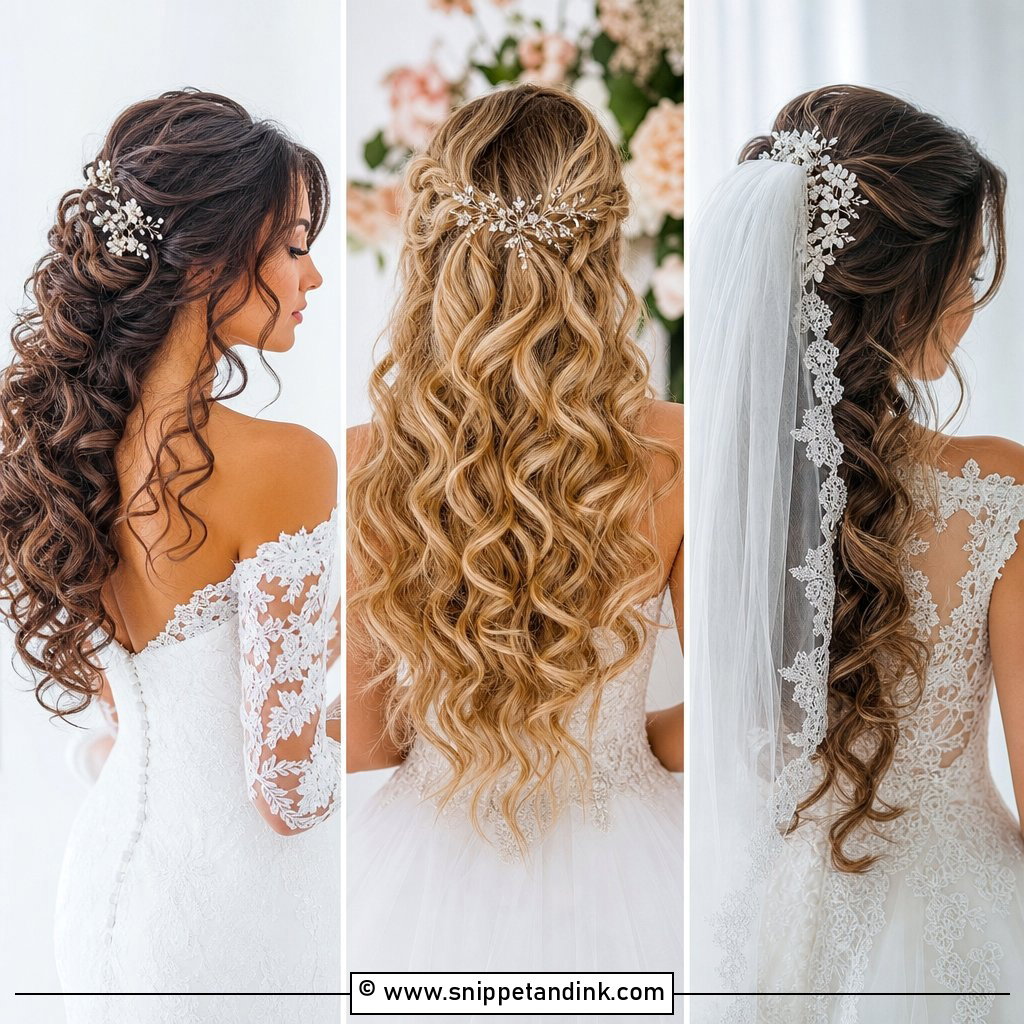
Half up half down hair is perfect when you want the romance of loose curls with the security of pinned-back pieces. Begin with dry hair and curl everything away from the face, then let the curls cool before touching them. Tease the crown lightly for lift, but keep the top smooth. Take one section from each temple, twist both pieces backward, and secure them together at the center with pins or a small clear elastic. Hide the elastic by wrapping a tiny strand around it. Loosen the twists with your fingers, shape the curls over the shoulders, and finish with flexible spray for soft movement.
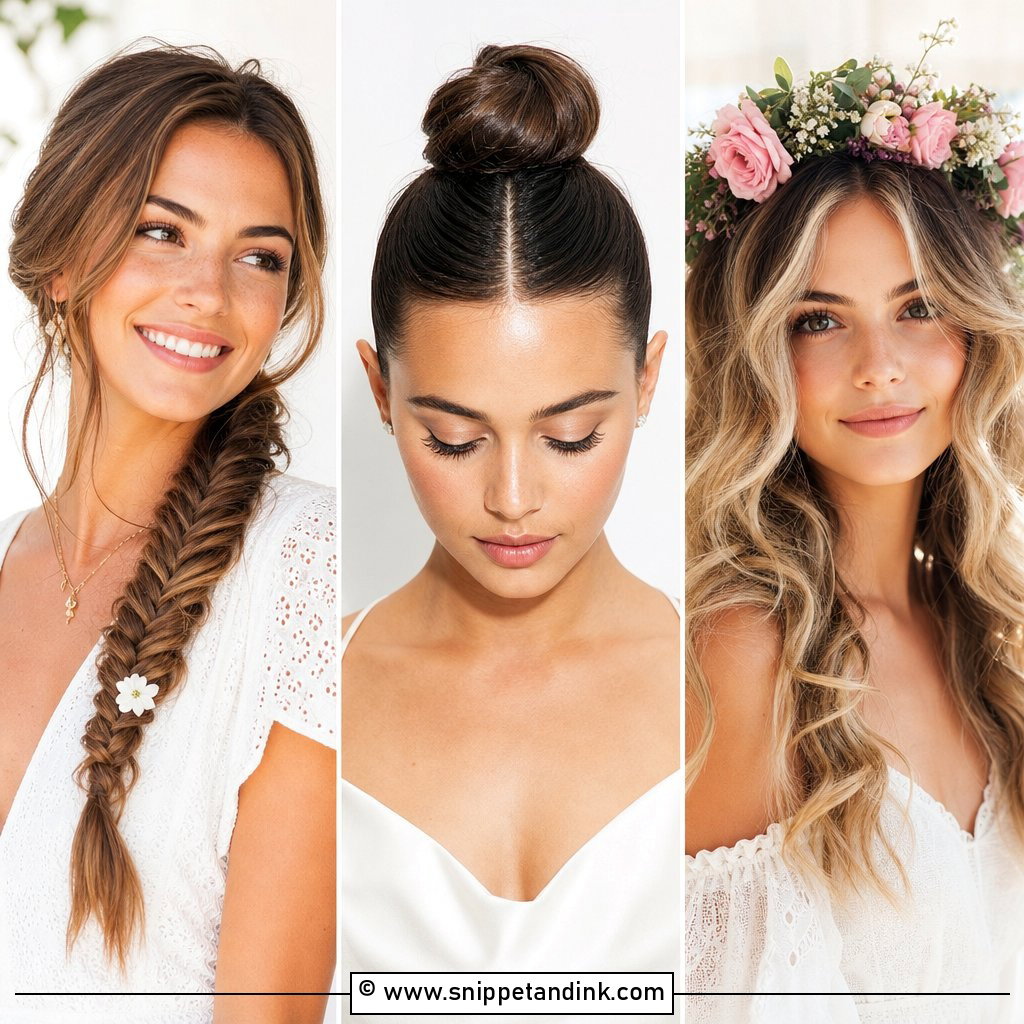
3. Braided Crown Wedding Hairstyle Step By Step

A braided crown gives wedding hair a soft, garden-inspired look while keeping the face open. Start by adding texture spray so the braid has grip. Part the hair slightly off center, then create a Dutch braid along one side of the hairline, adding small sections as you move toward the back. Repeat on the other side until both braids meet near the nape. Pin the braid ends flat and tuck them under each other, forming a crown shape. Pull the braid loops gently to make them fuller. Leave a few curled tendrils around the face and add tiny floral pins for a romantic finish.
4. Hollywood Waves Wedding Hairstyle Step By Step
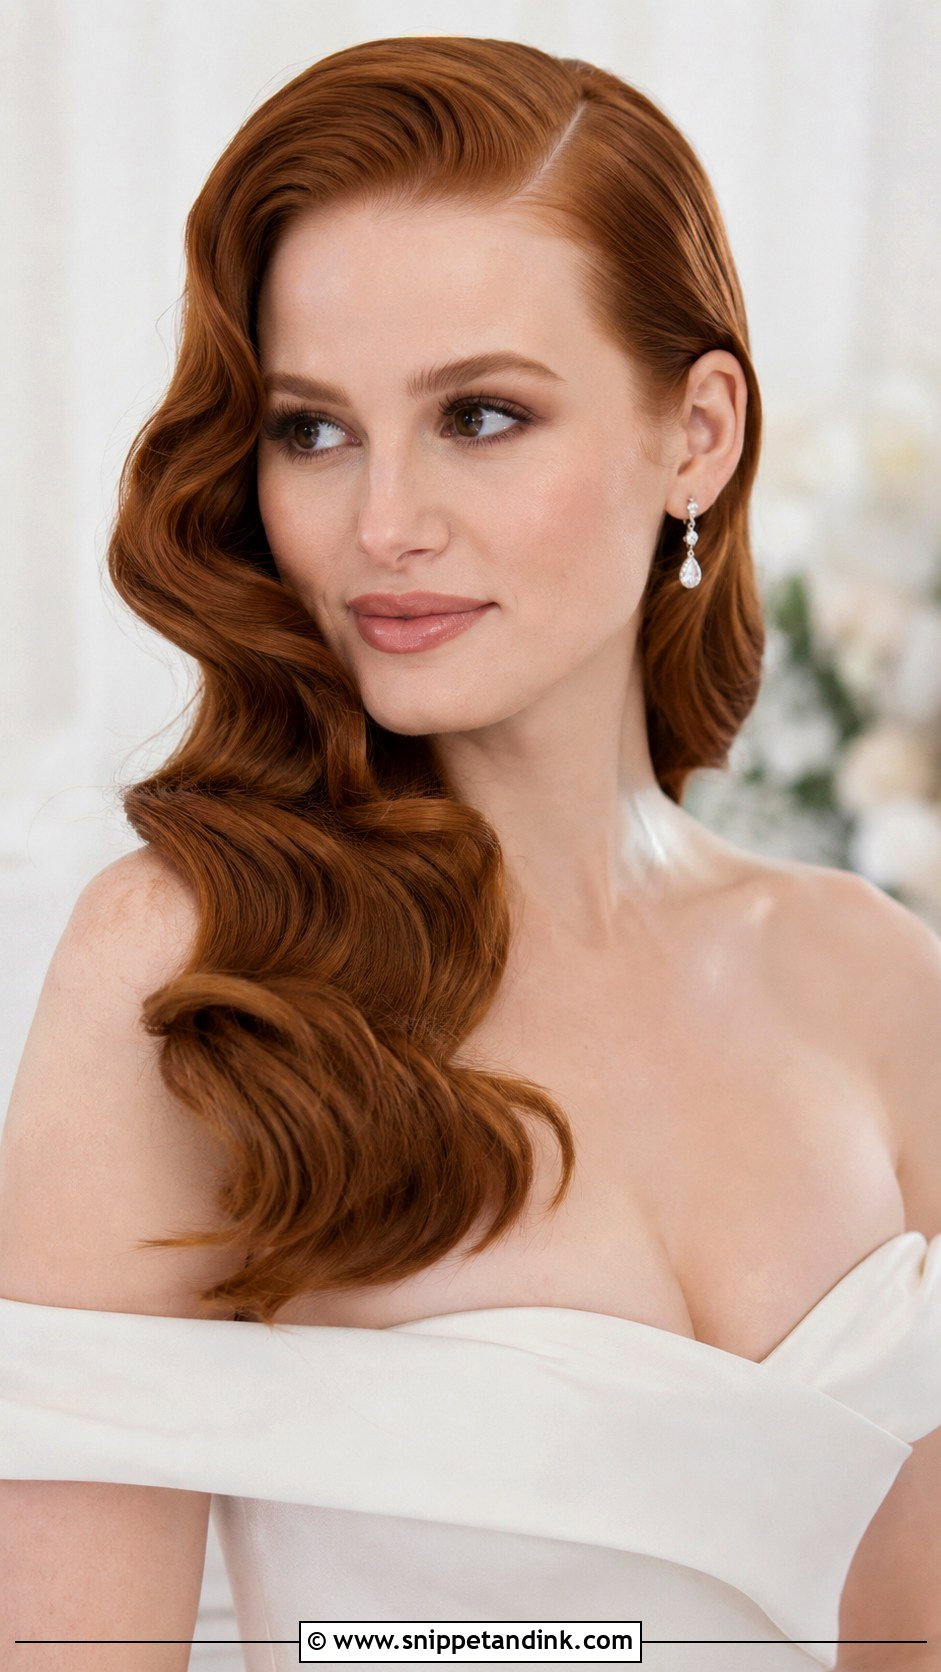
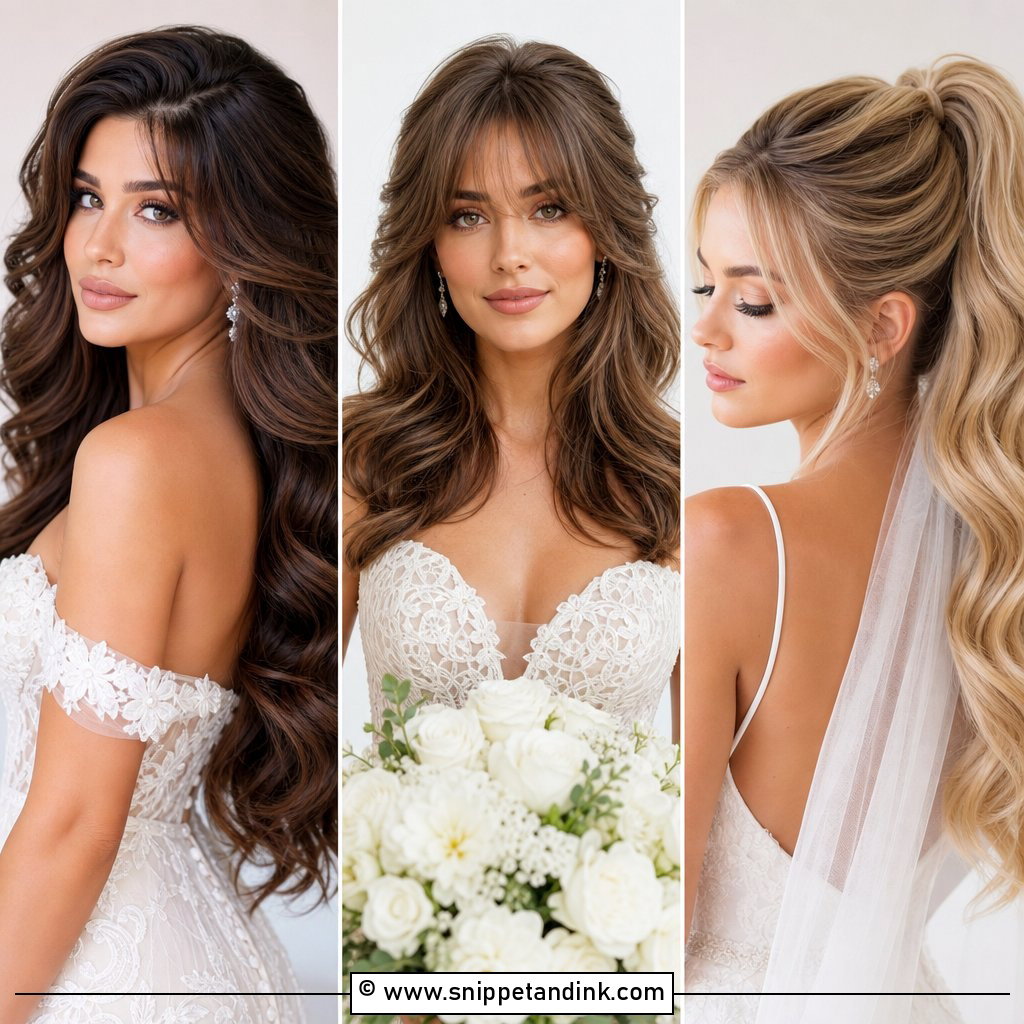
Hollywood waves are smooth, shiny, and beautiful for formal wedding dresses. Start with a deep side part and apply heat protectant. Curl every section in the same direction using a one-inch curling iron, then pin each curl to cool. Once the hair is fully cool, remove the pins and brush through slowly with a soft paddle brush. The waves should connect into one flowing pattern. Use clips along the wave bends for a few minutes to set the shape. Smooth the top with a tiny amount of serum, tuck one side behind the ear, and finish with shine spray and firm but touchable hold.
5. Messy Bun Wedding Hairstyle Step By Step
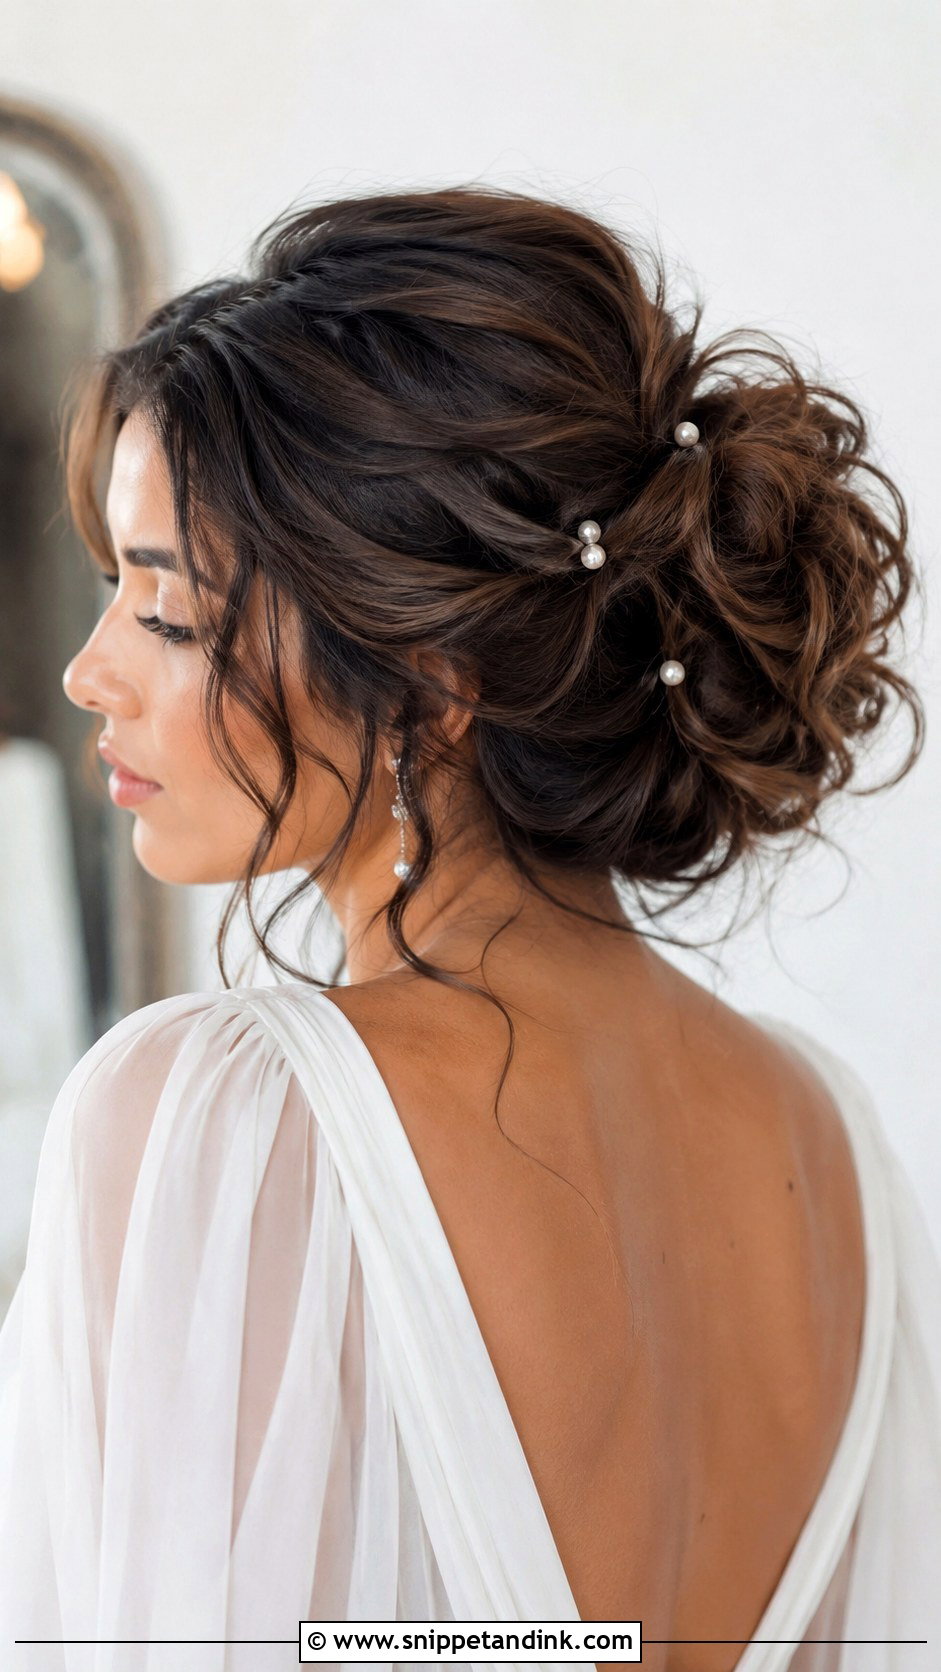
A messy bun works beautifully for relaxed weddings because it looks soft without feeling careless. Start by curling the hair in loose waves and spraying the roots with texture spray. Pull the hair into a low or mid-height ponytail, leaving out front pieces. Split the ponytail into two or three sections, twist each section loosely, and pin them around the base in different directions. Do not aim for a perfect circle. Gently pull the bun apart to create volume and softness. Curl the front pieces away from the face, then lightly mist the entire look. Add small pins if you want extra bridal detail.
6. Side Braid Wedding Hairstyle Step By Step

A side braid feels romantic, easy to wear, and great for outdoor wedding photos. Begin by curling the hair for texture, then sweep everything over one shoulder. Create a loose side part and leave a few face-framing pieces free. Start a French or Dutch braid near the opposite temple, adding hair as you braid diagonally across the back toward the shoulder. Once all hair is included, continue with a regular braid and tie the end with a clear elastic. Pull the braid apart gently so it looks thick and soft. Wrap a small strand around the elastic and pin it underneath for a polished finish.
7. Sleek High Bun Wedding Hairstyle Step By Step
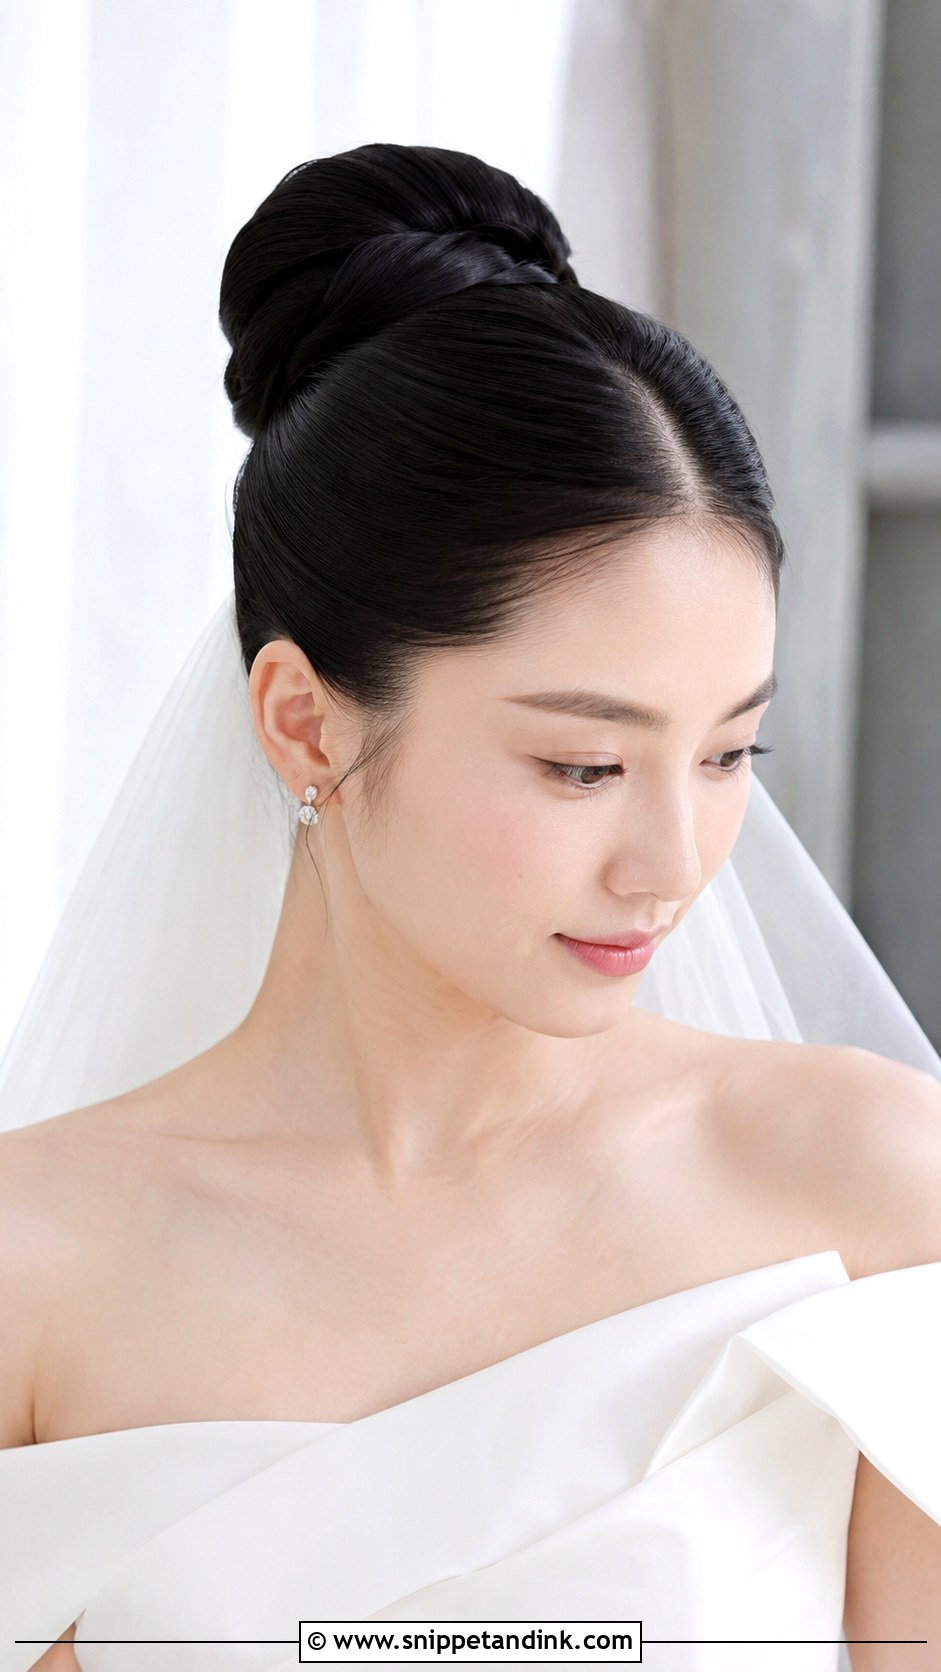
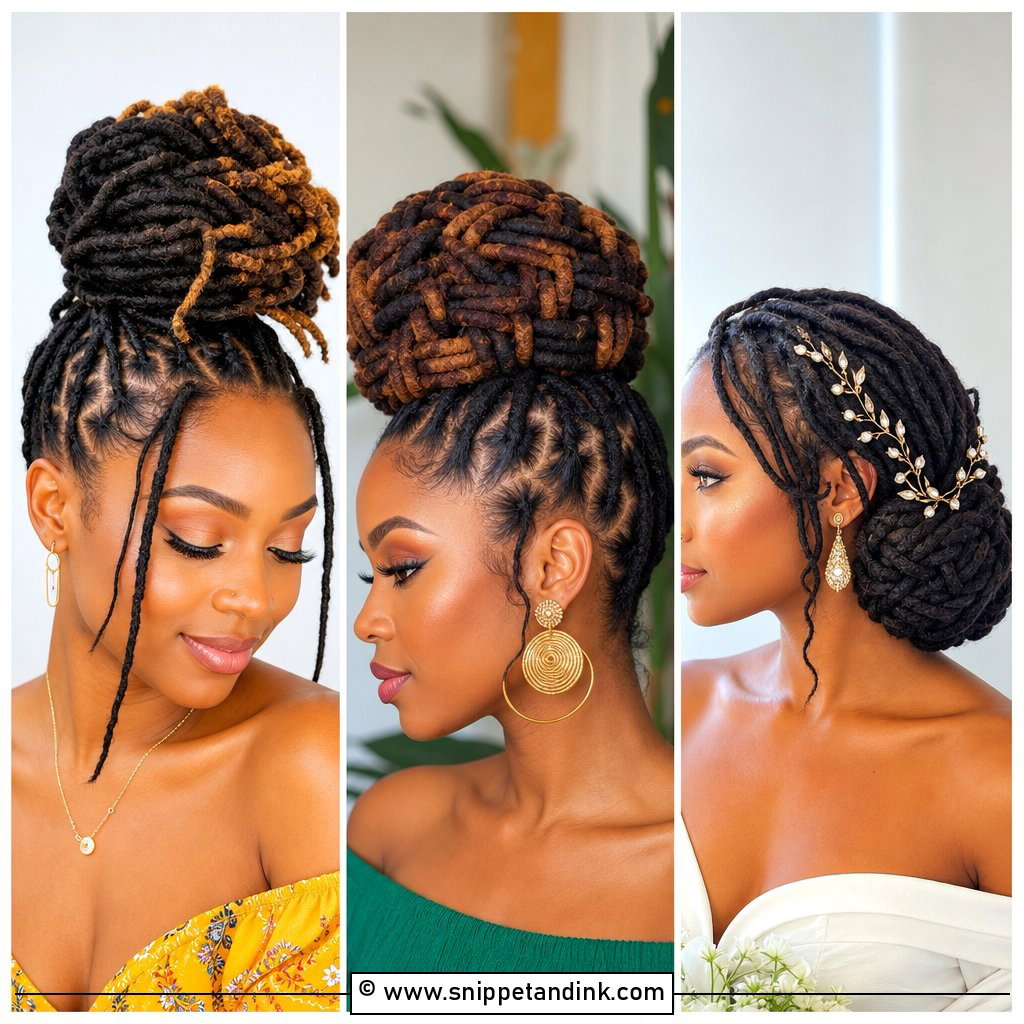
A sleek high bun gives a clean, modern wedding look that pairs well with statement earrings and simple gowns. Start by straightening the hair or smoothing it with a brush and blow dryer. Apply a lightweight styling cream around the hairline, then brush the hair into a high ponytail at the crown. Secure it tightly with an elastic. Twist the ponytail into a rope, wrap it around the base, and pin it neatly. Use a fine-tooth comb to smooth bumps, then set the shape with strong hairspray. For a fuller bun, use a bun form before wrapping the hair over it.
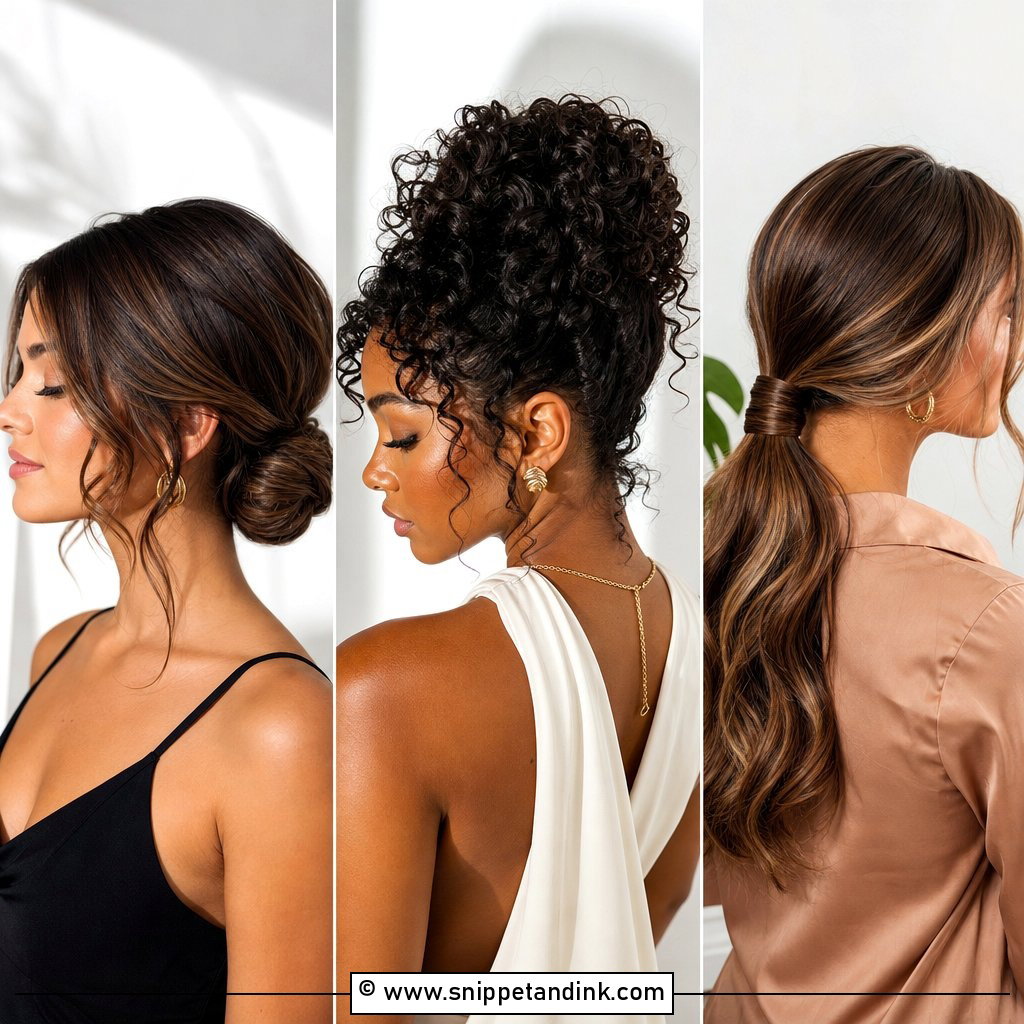
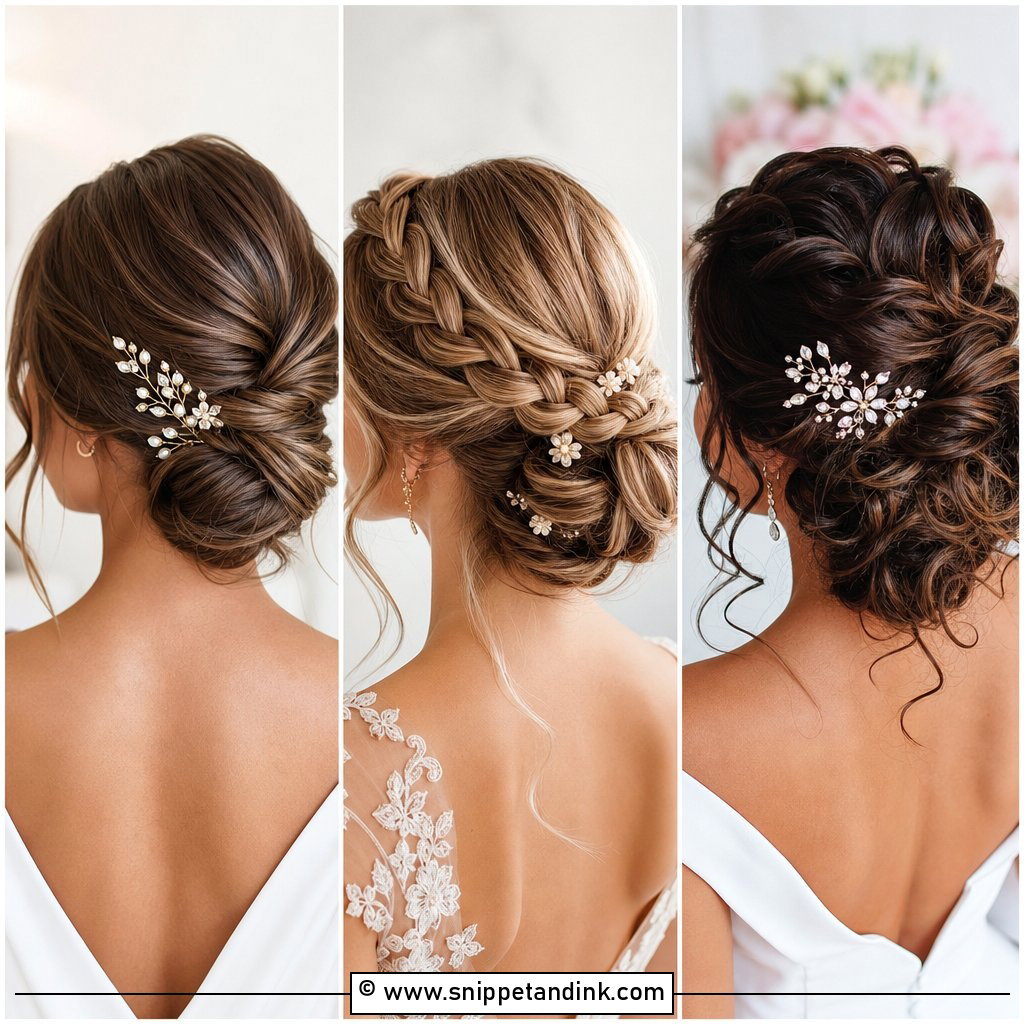
8. Curly Updo Wedding Hairstyle Step By Step
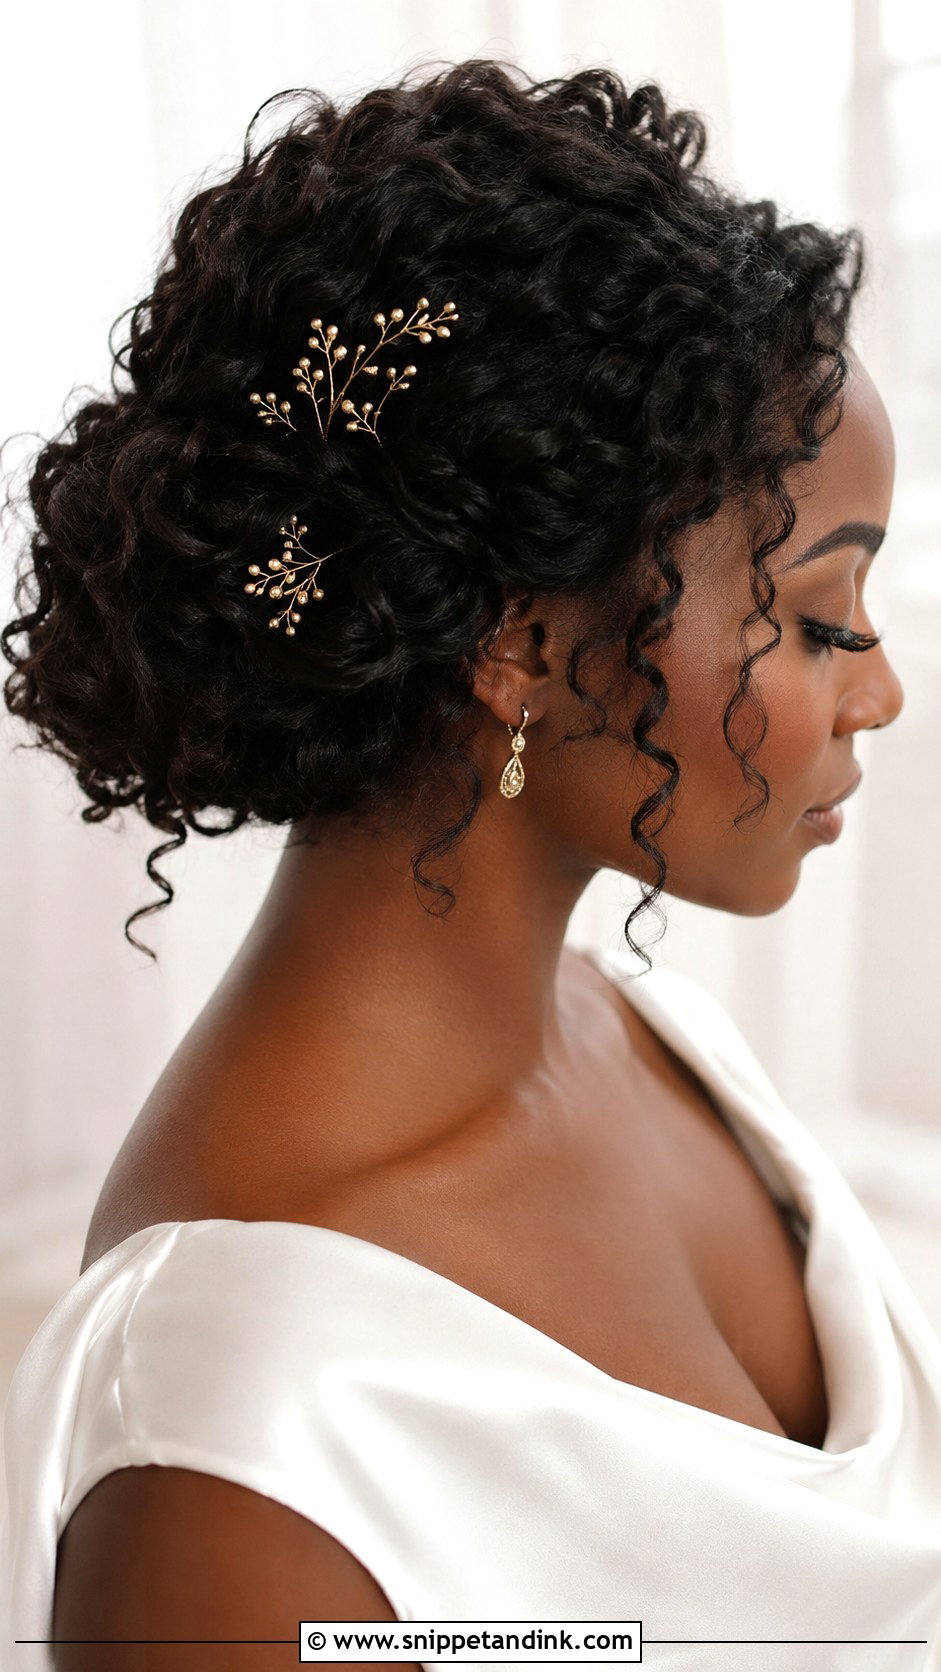
A curly updo is stunning because it lets natural texture stay visible while creating a secure wedding shape. Start on clean, defined curls, and refresh any flat areas with curl cream or a small curling wand if needed. Leave a few curls out around the face. Gather the back into a loose low ponytail, then pin individual curls upward and inward around the base. Work slowly, placing each curl where it looks best instead of forcing a perfect bun. Keep the crown softly lifted, not slick. Finish with humidity-resistant spray and add decorative pins between the curls for a detailed bridal finish.
9. French Twist Wedding Hairstyle Step By Step
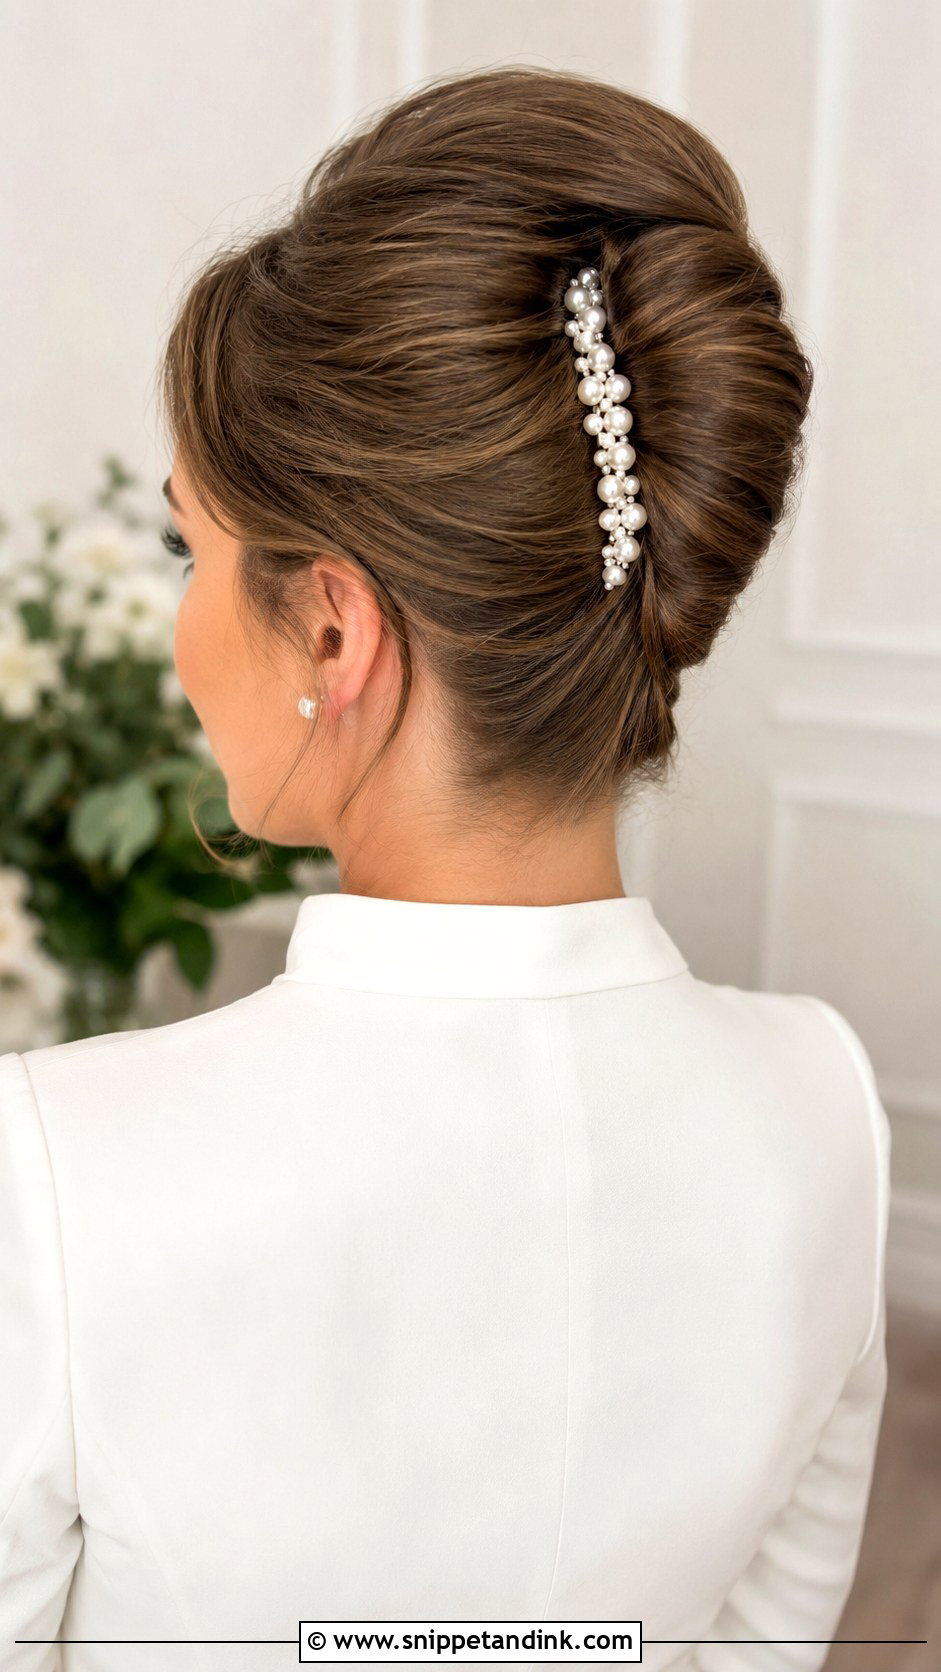
A French twist is elegant, polished, and ideal for classic wedding beauty. Start with lightly textured hair, because very clean hair may slip. Brush the hair back, then gather it low as if making a ponytail, but do not secure it. Twist the length upward against the back of the head, tucking the ends inside the roll. Place long pins vertically along the seam to hold the twist in place. Gently loosen the crown if you want a softer shape. Smooth the sides with a comb and hairspray. Add a small comb, pearl pins, or a veil at the top of the twist.
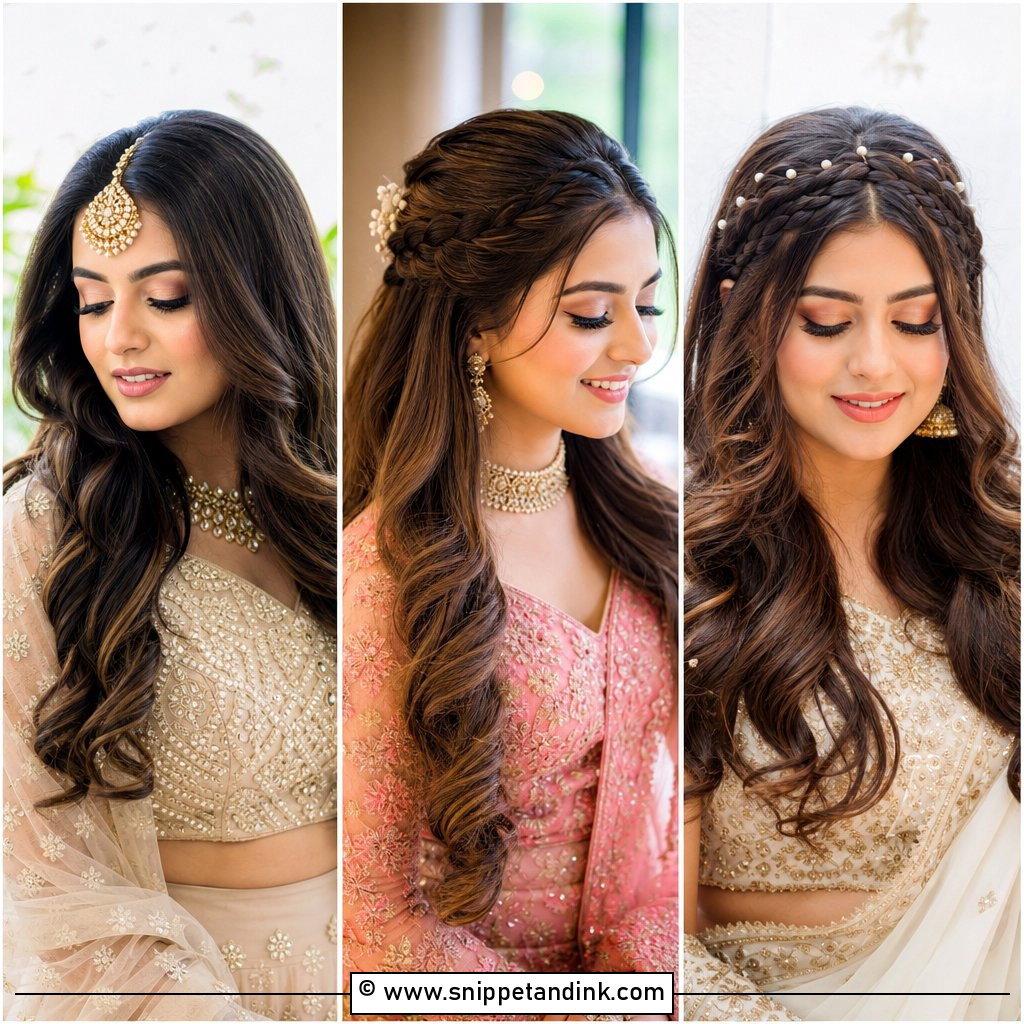
10. Low Ponytail Wedding Hairstyle Step By Step
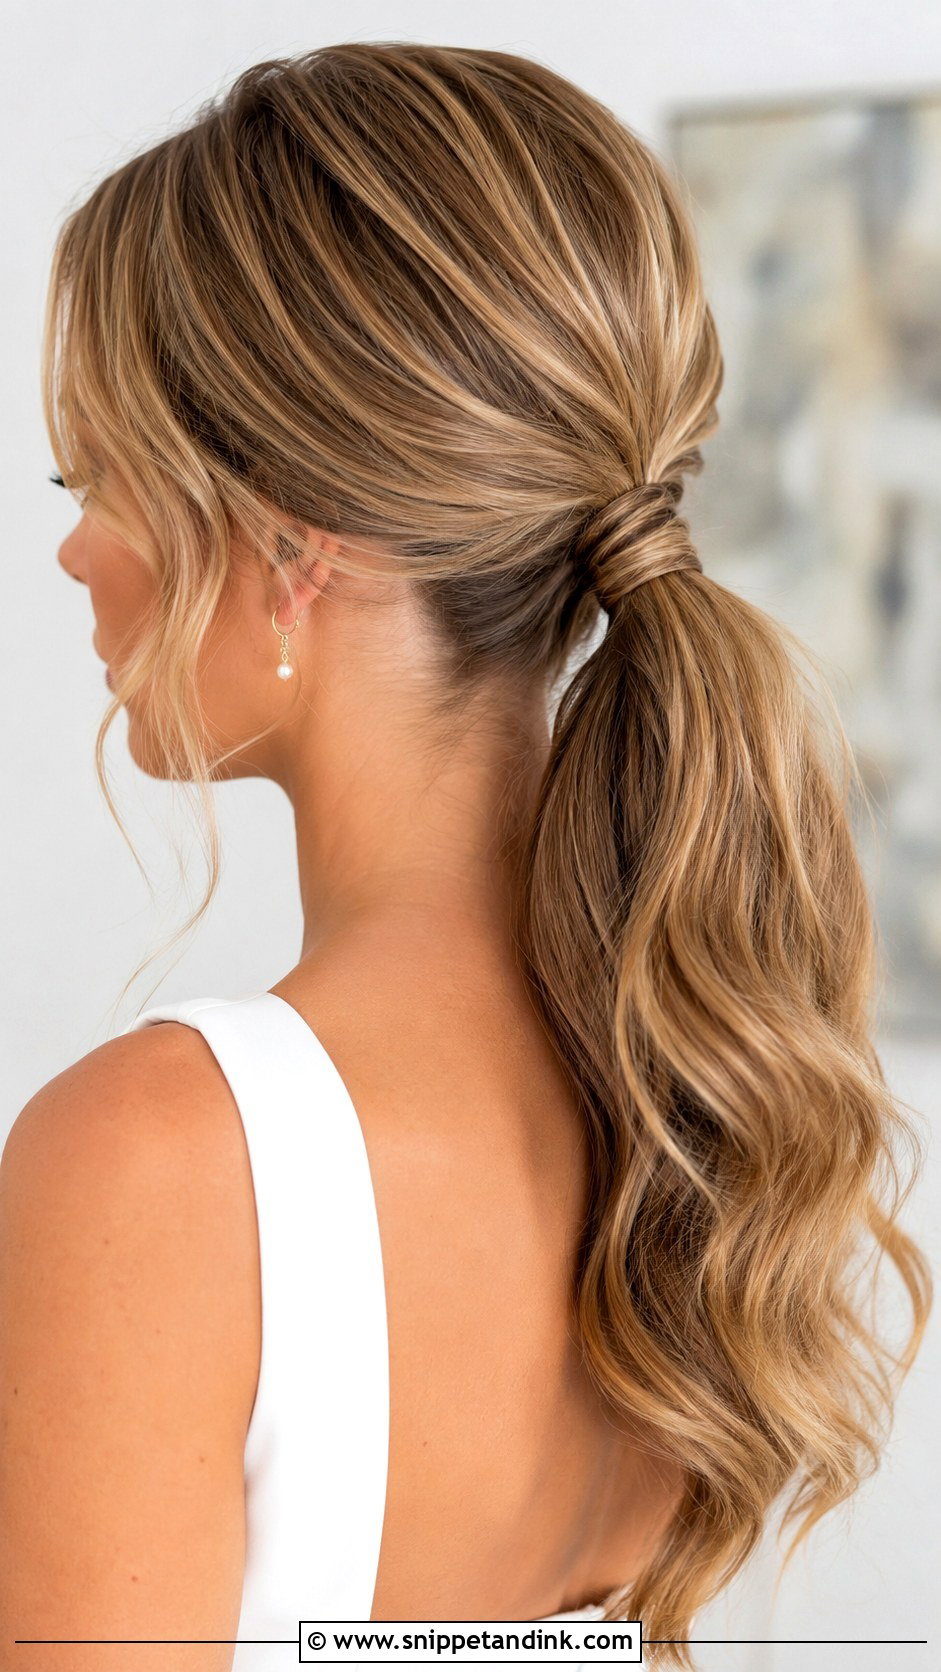
A low ponytail can look very bridal when it has volume, shine, and soft waves. Start by curling the hair, then brush through for a smooth finish. Tease the crown lightly and smooth the top layer over it. Gather the hair at the nape and secure it with a strong elastic. Take a small strand from underneath the ponytail, wrap it around the elastic, and pin it hidden below. Pull a few front pieces loose and curl them softly. Add texture to the ponytail with your fingers, then finish with shine spray. This look works especially well with minimalist dresses and modern accessories.
11. Waterfall Braid Wedding Hairstyle Step By Step
A waterfall braid looks delicate because pieces flow through the braid like soft ribbons. Start with loose curls, since the falling sections show better with movement. Take a small section near the front and divide it into three pieces. Begin a regular braid, then drop the lower strand each time and replace it with a new section from above. Continue across the back of the head, keeping the braid even and not too tight. Pin the end under a section of hair or secure it with a clear elastic. Gently stretch the braid, define the curls, and add tiny floral pins for extra detail.
12. Short Hair Wedding Hairstyle Step By Step
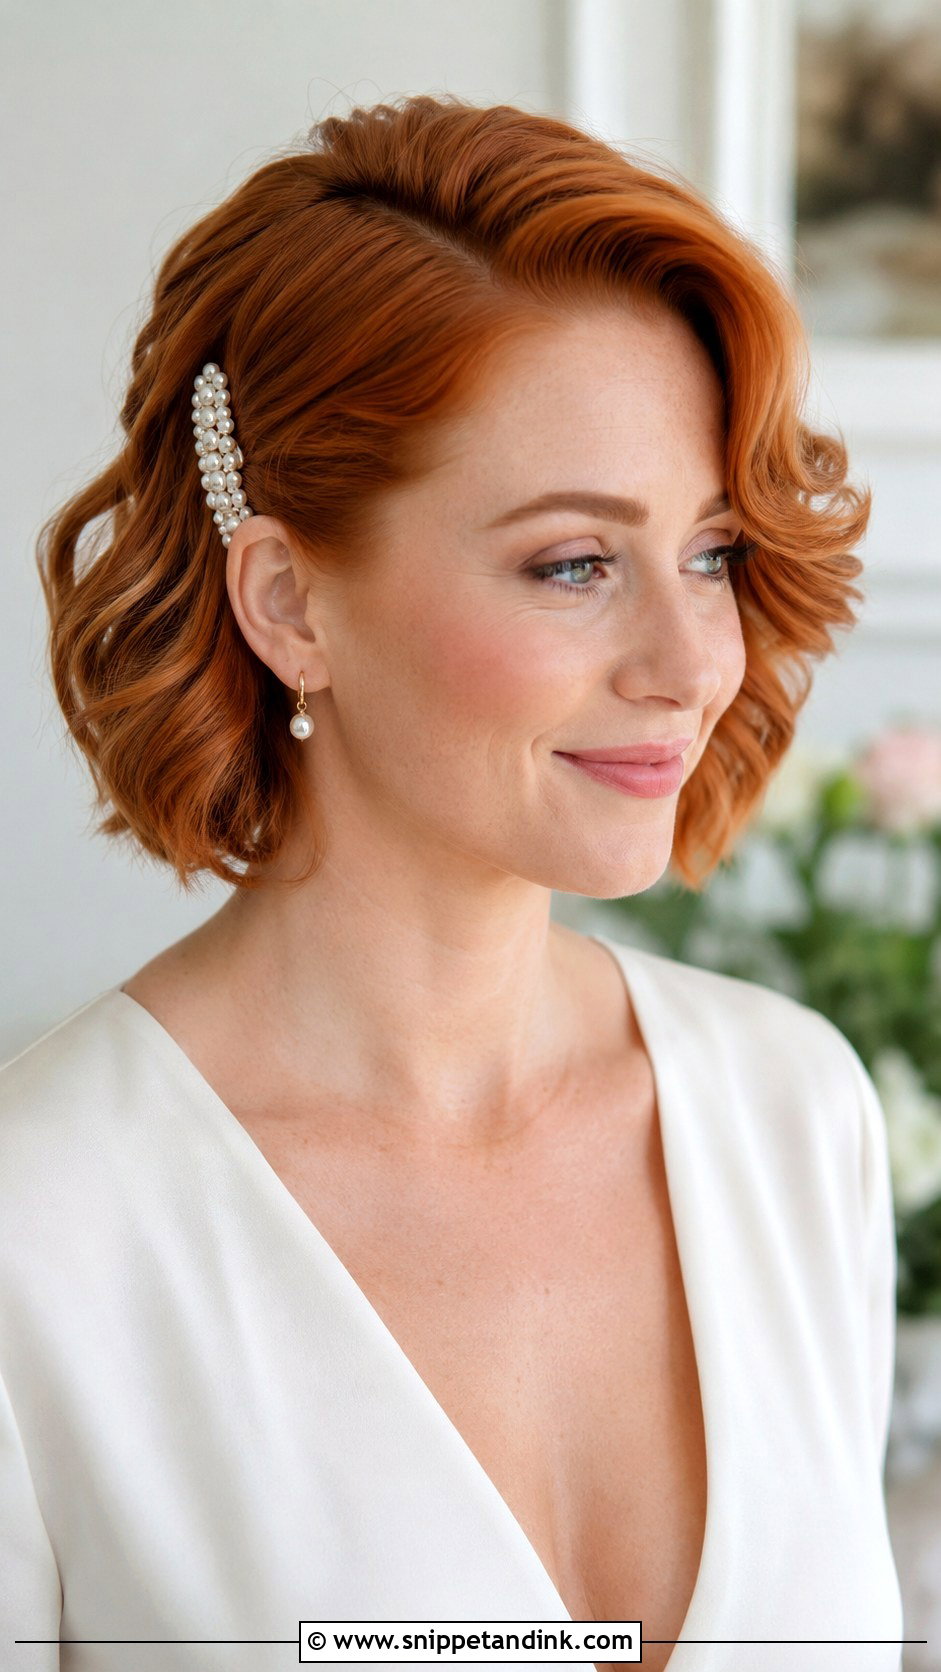
Short hair can look just as bridal as long hair when shape and texture are planned well. Start by adding mousse to damp hair and blow-dry with a round brush for lift. Curl small sections away from the face, then break them up with your fingers. Create a soft side part or swept-back shape, depending on your haircut. Pin one side behind the ear with a decorative clip, pearl barrette, or small comb. Lift the crown with texture spray and lightly smooth the front. Finish with flexible hold spray. The key is making the whole haircut look intentional, shiny, and photo-ready.
13. Fishtail Braid Wedding Hairstyle Step By Step
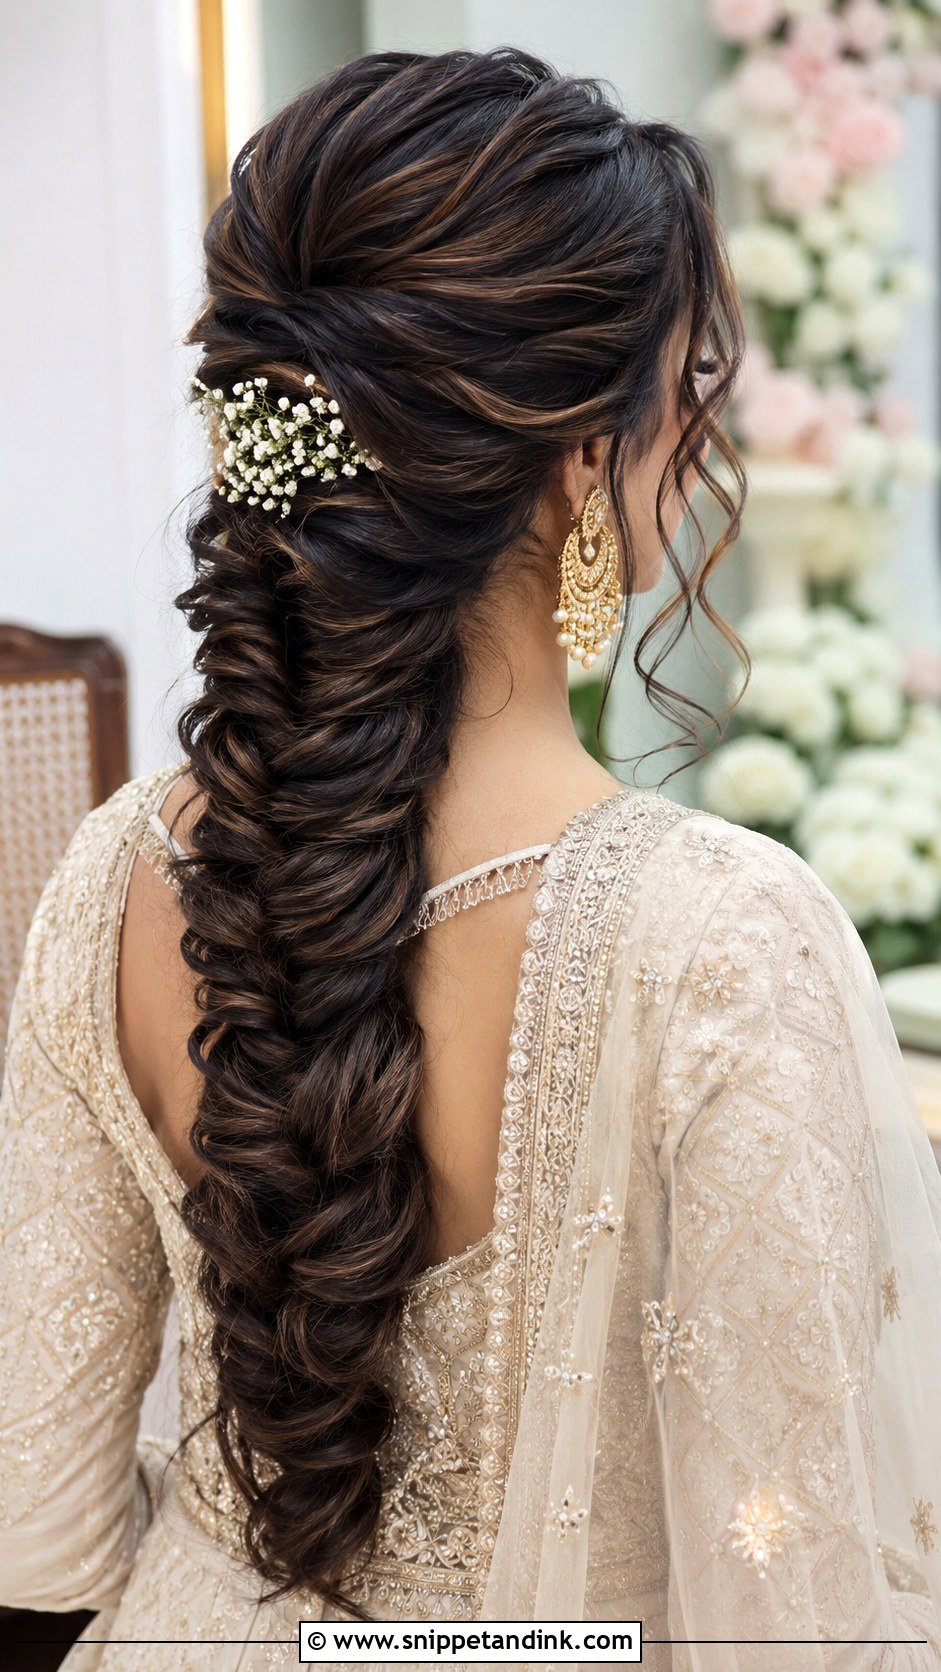
A fishtail braid creates a detailed wedding hairstyle without needing complicated tools. Start by adding wave and texture to the hair so the braid holds better. Sweep the hair to the back or one side, then split it into two equal sections. Take a tiny piece from the outside of the left section and cross it over to the right. Repeat from the right side to the left, working down the length. Tie the end with a clear elastic. Pull the braid edges outward to make it fuller and softer. Leave the front loose, curl the face-framing pieces, and finish with light spray.
14. Twisted Half Up Wedding Hairstyle Step By Step
A twisted half up wedding hairstyle is simple, soft, and flattering from every angle. Start by curling the hair in loose waves and adding light texture spray through the mid-lengths. Take a section from the left side, twist it away from the face, and pin it at the back of the head. Repeat on the right side, crossing it slightly over the first twist. Continue adding one more twist from each side if you want a fuller look. Loosen each twist with your fingertips, then smooth the crown gently. Finish by shaping the curls and adding a small comb or pearl pins.
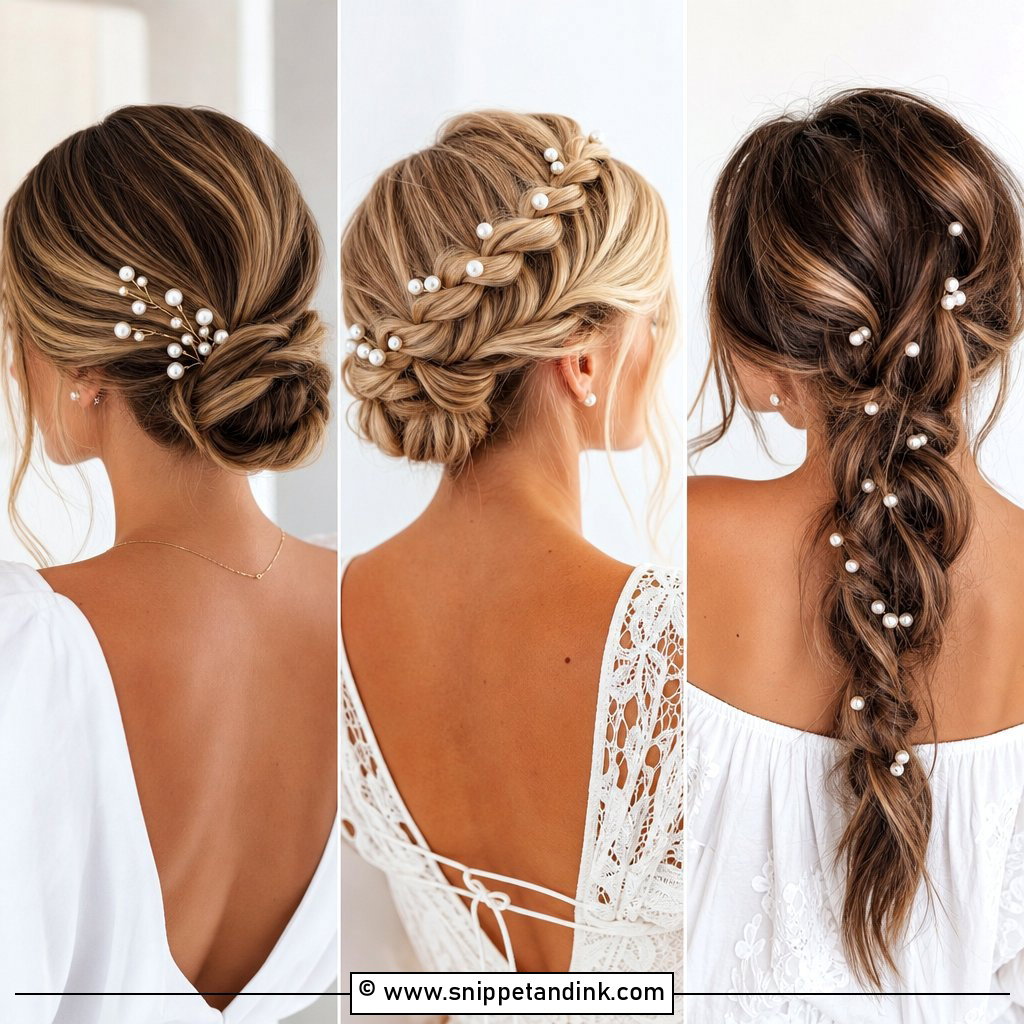
15. Chignon Wedding Hairstyle Step By Step
A chignon is a refined low updo that works for brides, bridesmaids, and wedding guests. Start with curled or lightly waved hair for body. Make a low ponytail at the nape, then loosen the hair above the elastic to create softness. Roll the ponytail upward or tuck it under into a rounded shape, securing it with pins along the base. If your hair is fine, tease the ponytail first for more volume. Pull small pieces around the bun to make it airy, not stiff. Smooth the sides, curl any loose front strands, and set the style with hairspray that holds without looking crunchy.
Conclusion:
The best wedding hairstyle is the one that feels beautiful, secure, and true to your personal style. A low bun gives timeless elegance, while half-up curls feel soft and romantic. Braids bring texture, ponytails feel modern, and short hair can look polished with the right shape and accessory. Before the wedding, practice your chosen look at least once with the same products and pins you plan to use. Take photos from the front, side, and back so you know how it will appear on camera. With these step-by-step wedding hairstyles, you can create a look that feels special without feeling stressful.
You'll Like These Ideas:
Leave a Reply