
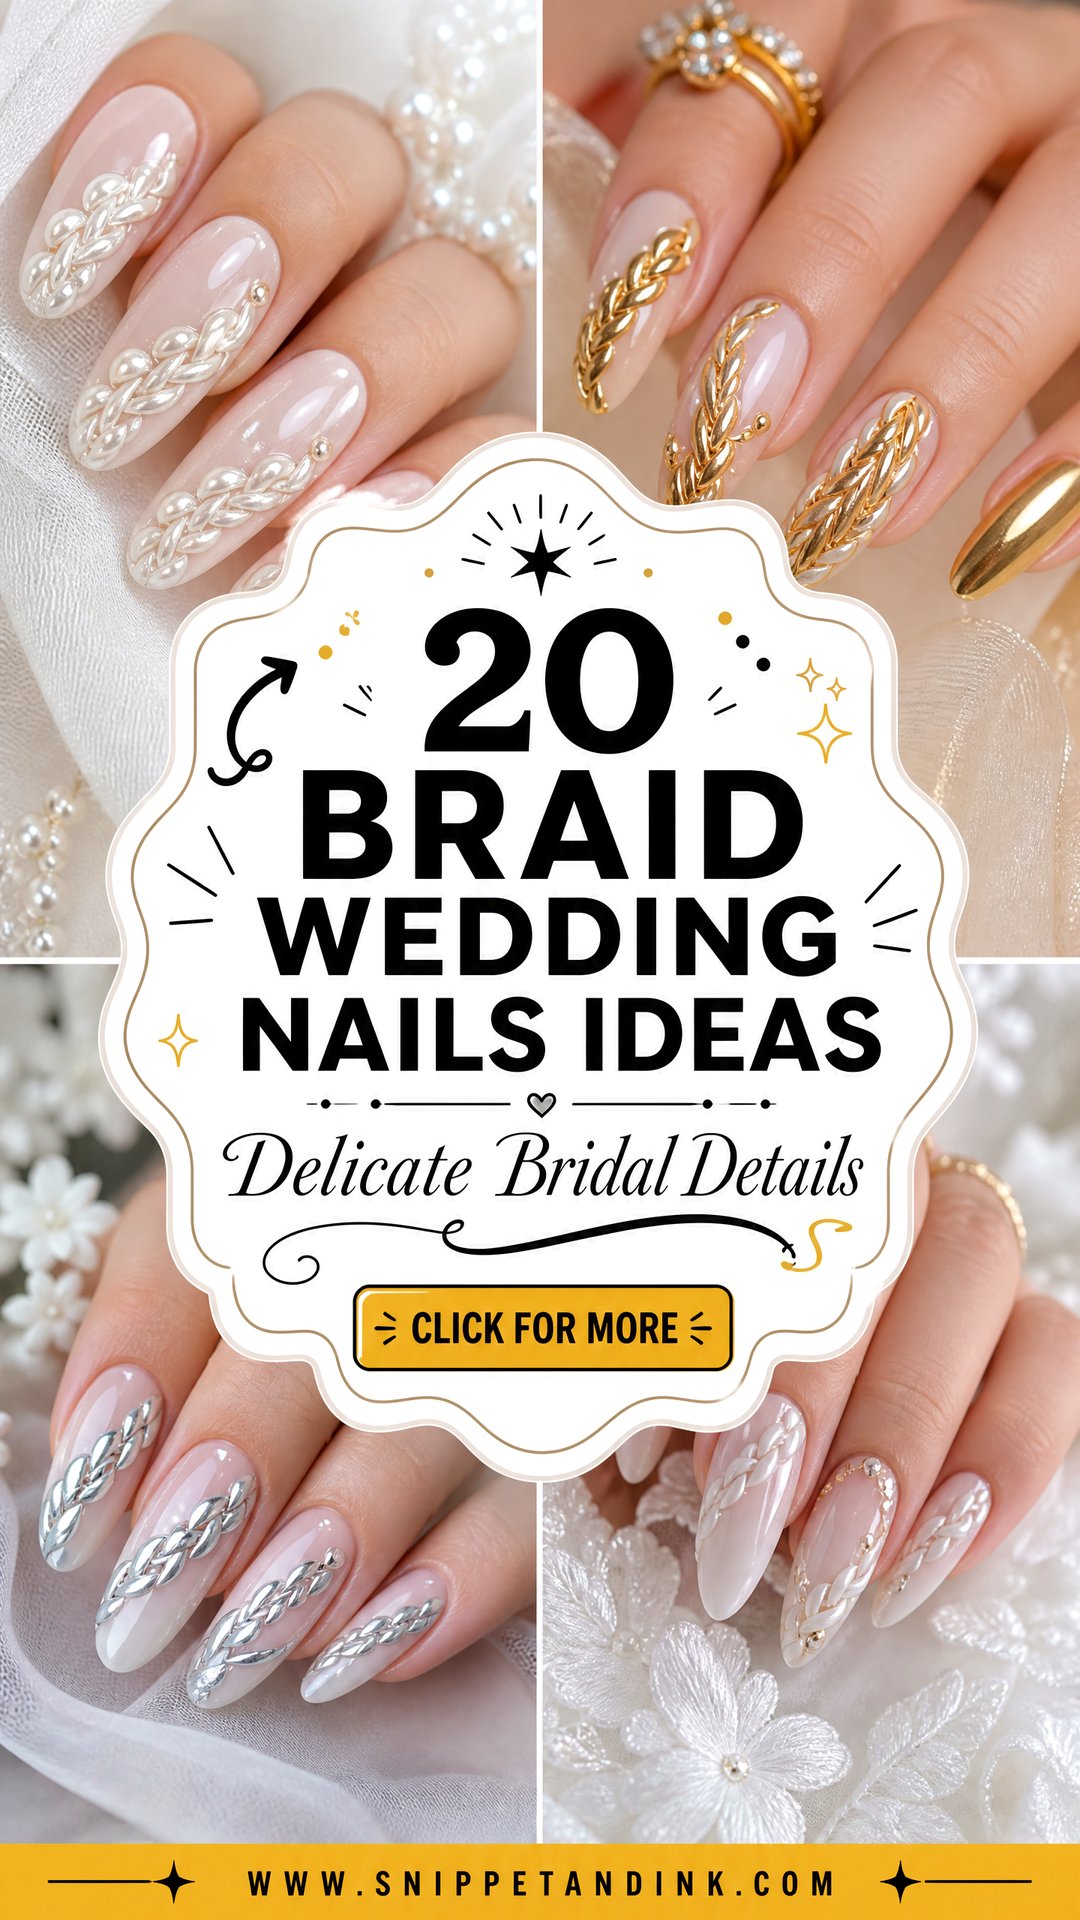
A braided line on a nail is one of my favourite ways to give classic bridal manicures some detail without colour or glitter taking over. It’s drawn in gel as two or three crossing strands, slightly raised, so it catches light like stitched trim on a gown. It can be as quiet as thin white lines over a milky base or carry pearls, chrome, lace work or florals. Almond, oval, square and coffin shapes can all take it, though each changes how much room the pattern has. Below are 20 sets, with notes from the nail desk on how each one is built and who it suits.
How a Braid Is Drawn in Gel, Strand by Strand
A braided nail isn’t a sticker or a stamp. I draw it by hand with a long, thin liner brush and a thick art gel that holds its shape without spreading. Each strand is a short curved stroke, and the strokes alternate left and right so they appear to cross. I cure in stages, a few strands at a time, so the earlier ones don’t flatten while I work on the next.
That process has two consequences for you. First, it adds time: a pair of braided accent nails adds a noticeable chunk to a normal gel appointment, and ten braided nails can double it, so book a longer slot and say so when you book. Second, the base needs to be smooth. Ridged nails get a thin builder layer first, otherwise the braid sits on a bumpy surface and the top coat pools around it.
Bring the dress fabric colour or a swatch if you can. Bridal whites range from bright to ivory, and matching the braid colour to the gown is easier in person than from memory.
1. White Braid Wedding Nails
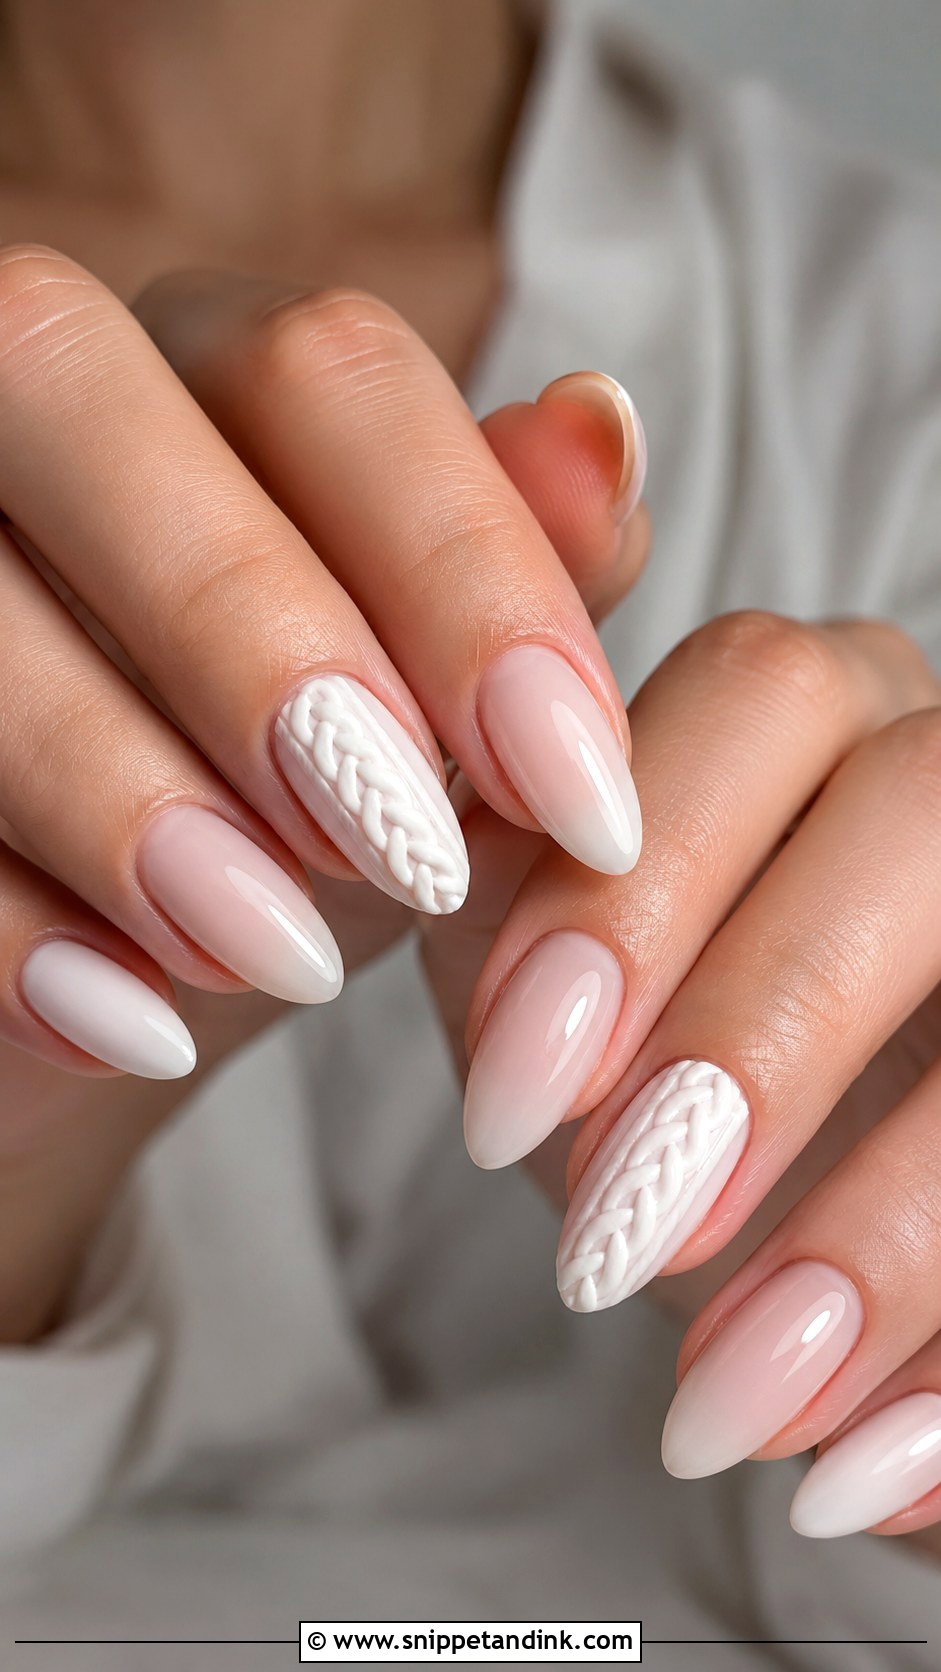
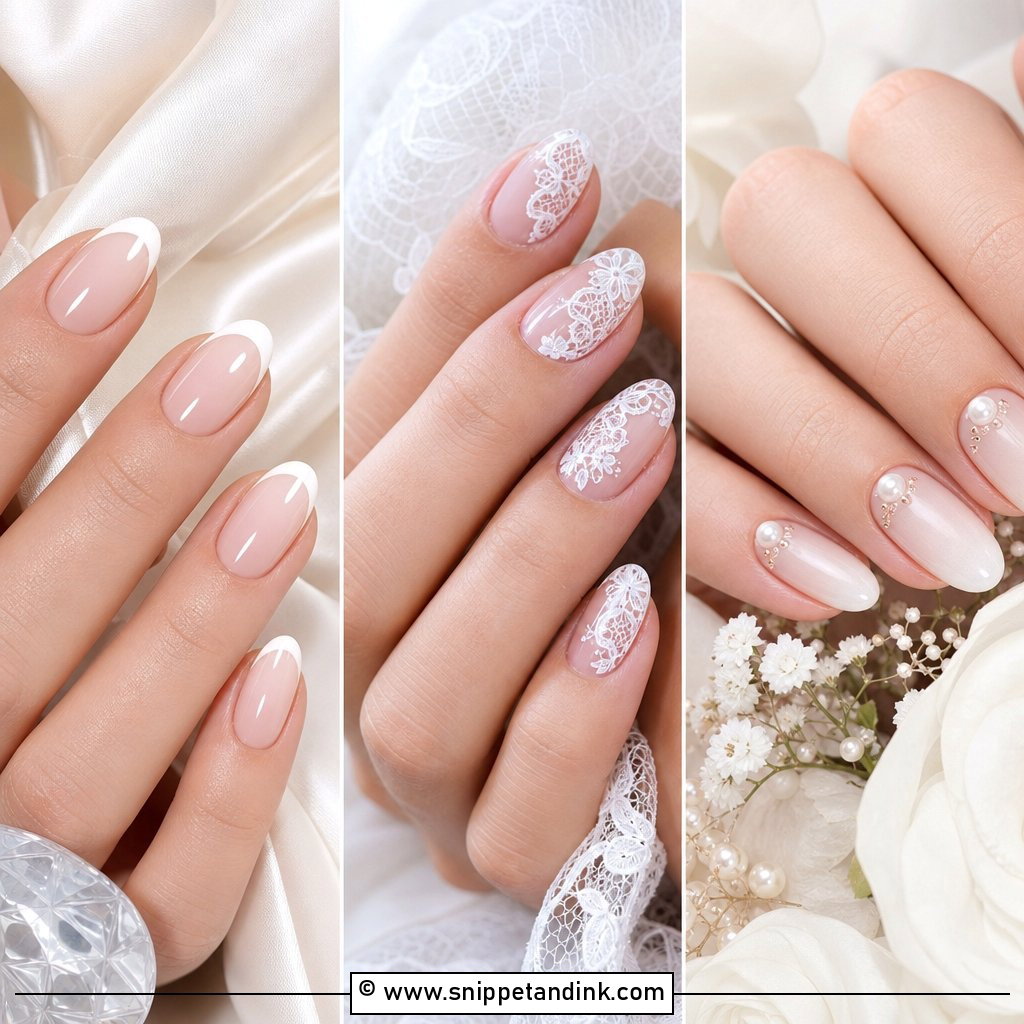
White braid art starts on a sheer nude, milky white or pale pink base, and the raised white gel lines are crossed to read as a plait. Because the colour stays soft, all the interest comes from texture, which is why it suits lace gowns and pearl jewellery. I’d usually put the braid on two or three accent nails and leave the rest glossy; ten braided nails at once can look busy in a ring photo. Almond and oval shapes give the line room to taper. Short square nails take a single short braid neatly.
2. French Braid Wedding Nails
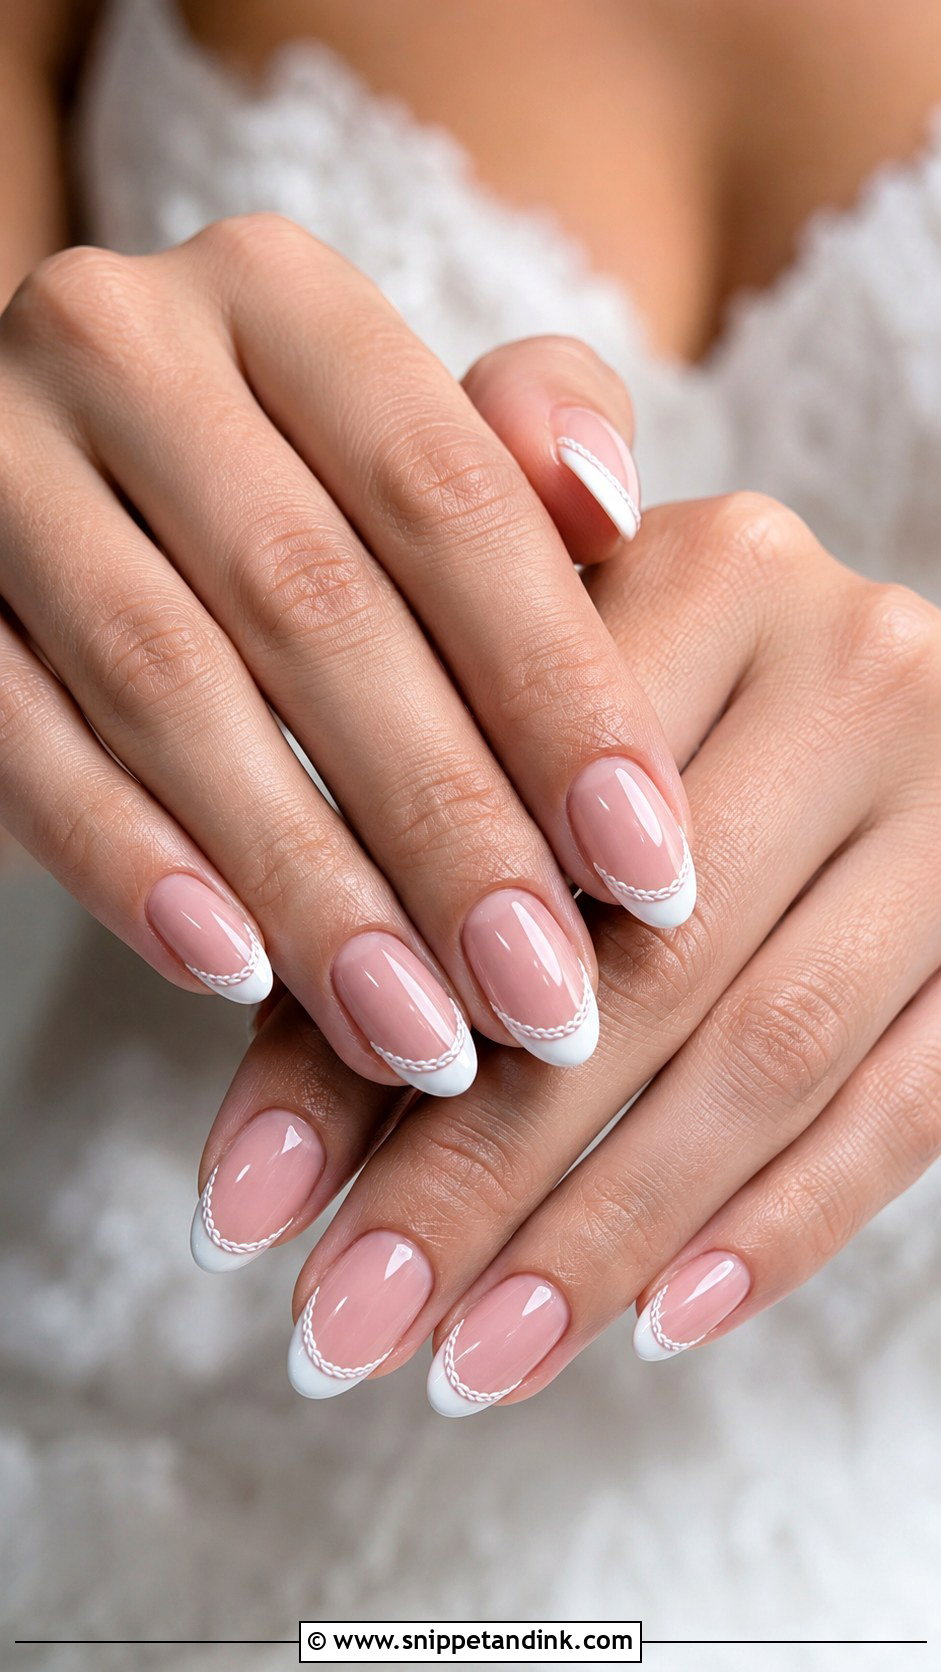
A sheer pink base, a crisp white French tip and a braid running along the smile line: this set combines two bridal staples. The braid can also run down one side or across the accent nails like ribbon. If you love classic French nails but want something more personal, this is the gentlest step up. Ask for thin raised lines rather than thick art. The hardest part technically is keeping the braid parallel to the smile line on every finger, so I mark both sides of each nail before drawing. Medium almond, oval and square all suit it.
3. Pearl Braid Wedding Nails
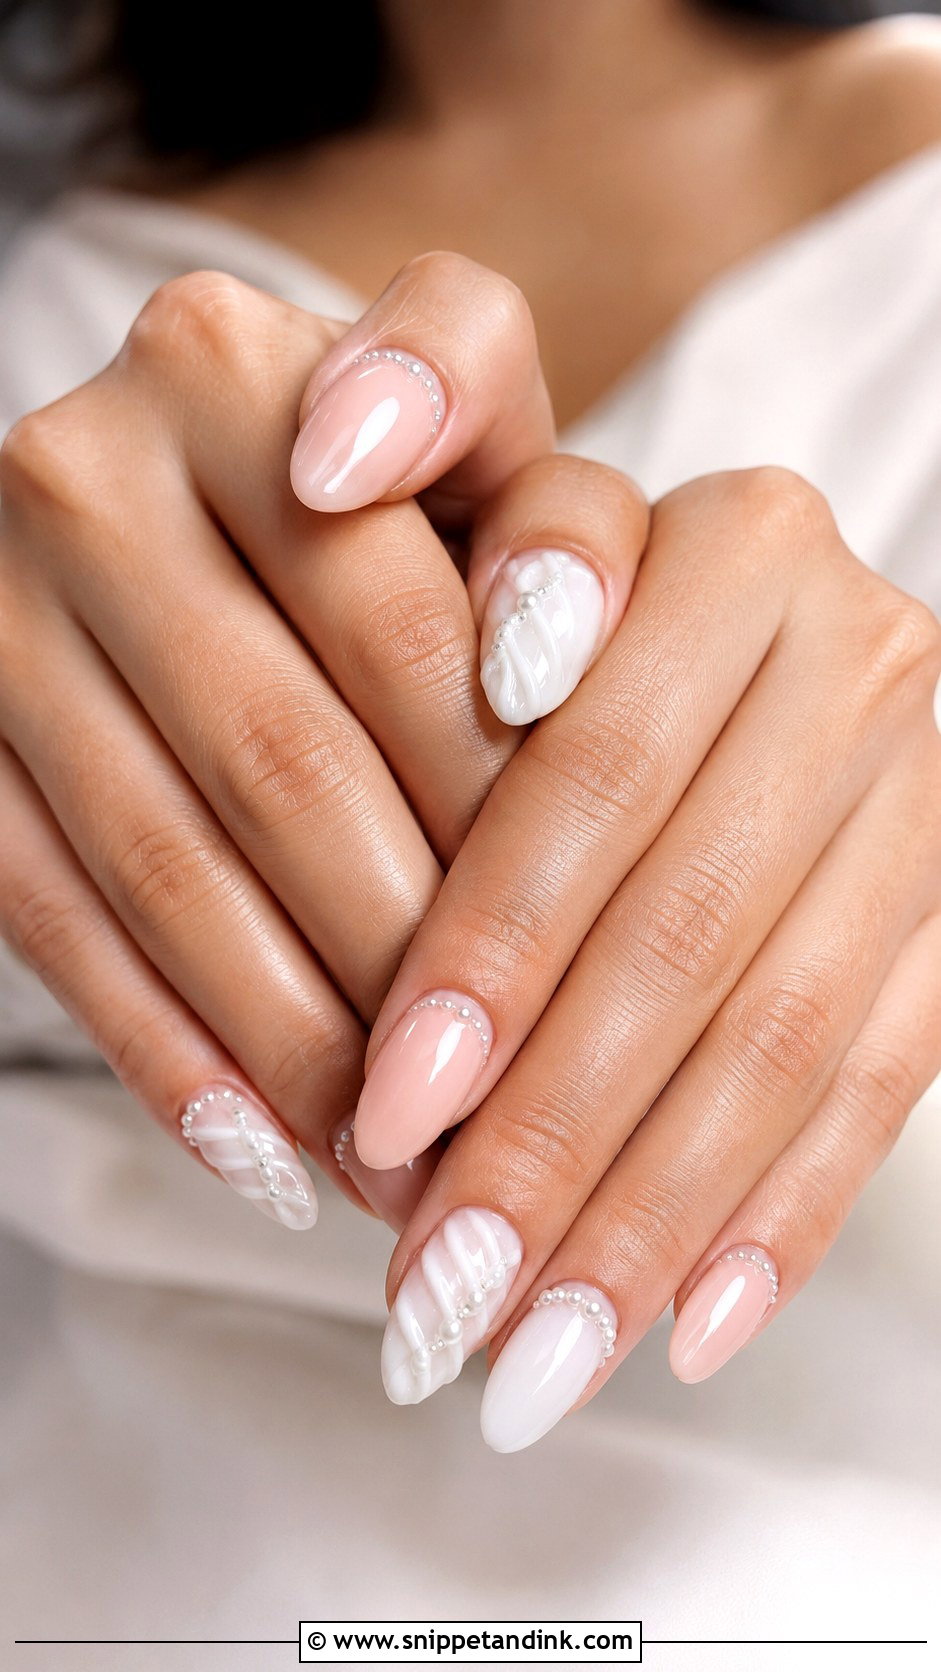
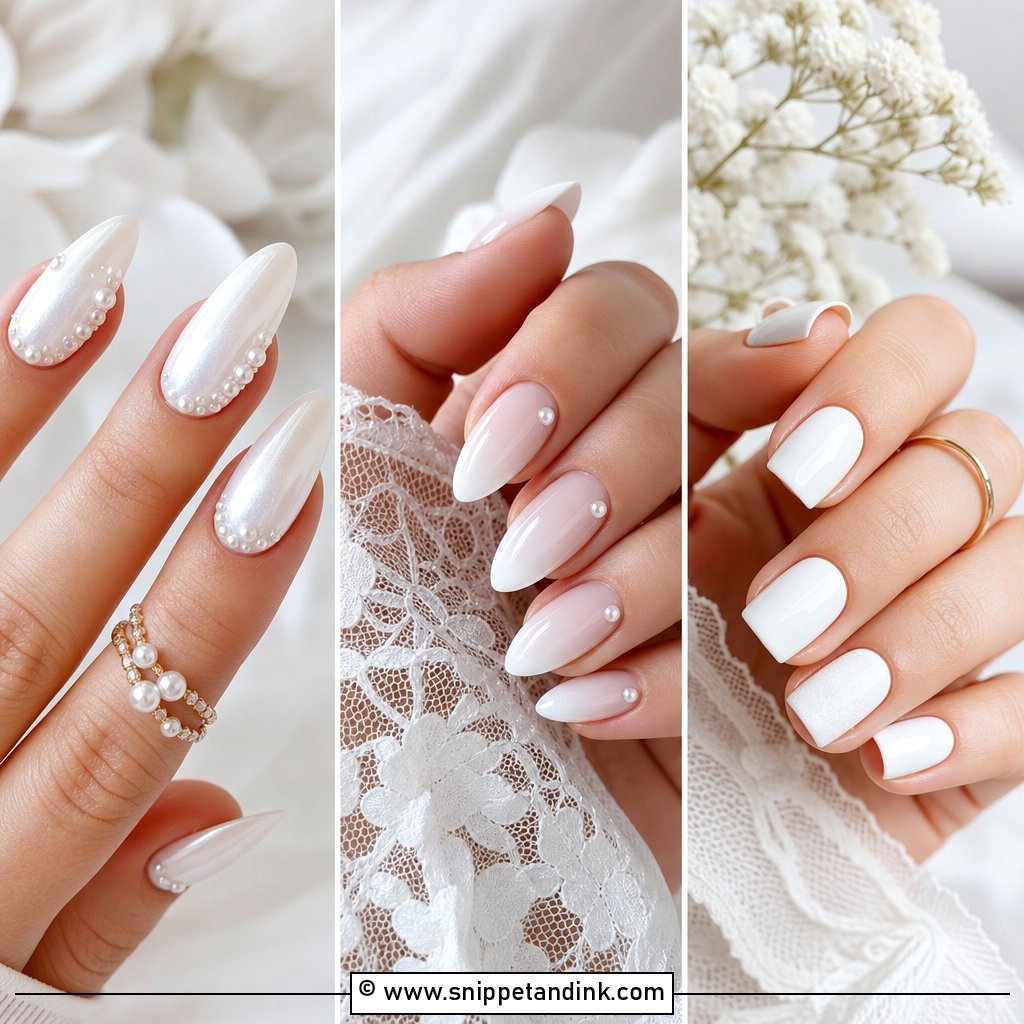
Tiny pearls placed along the crossings of a braid look delicate only if they’re small. Oversized pearls turn the nail lumpy and catch on fabric. I set each one into a dot of gel, cure it, then seal around its base so it can’t pop off when you hug people. Pearl earrings, pearl hair pins and beaded gowns all echo it. For a modern balance, keep the pearl braid to the ring or middle fingers and leave the others plain. Almond nails make it look especially fine.
4. Chrome Braid Wedding Nails
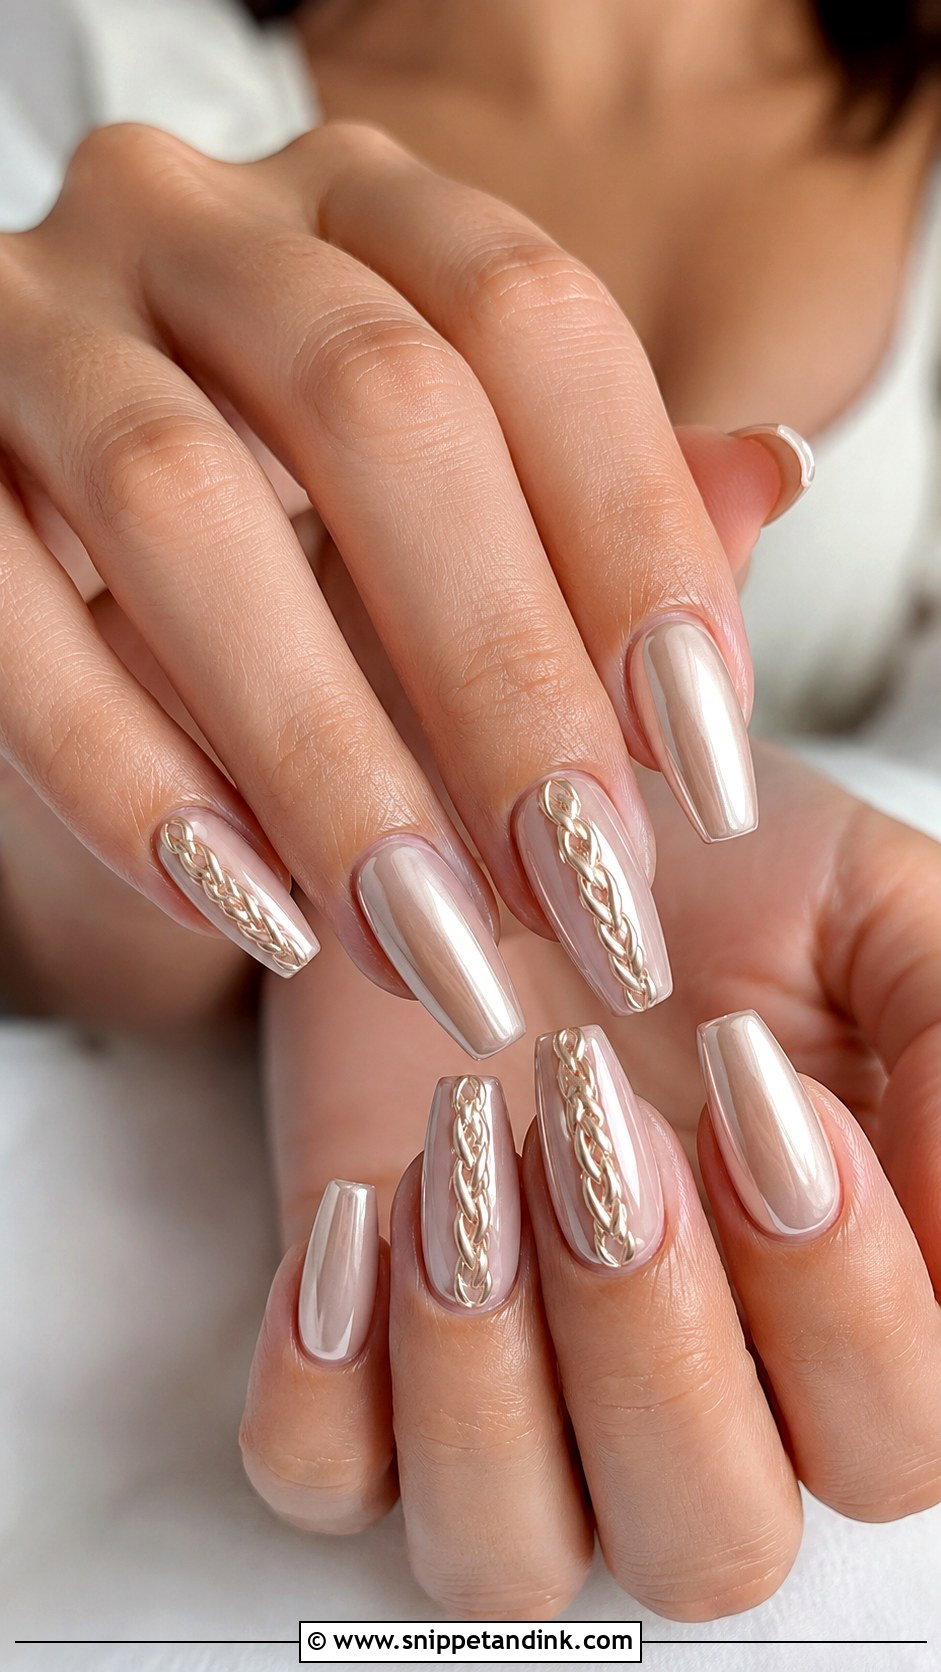
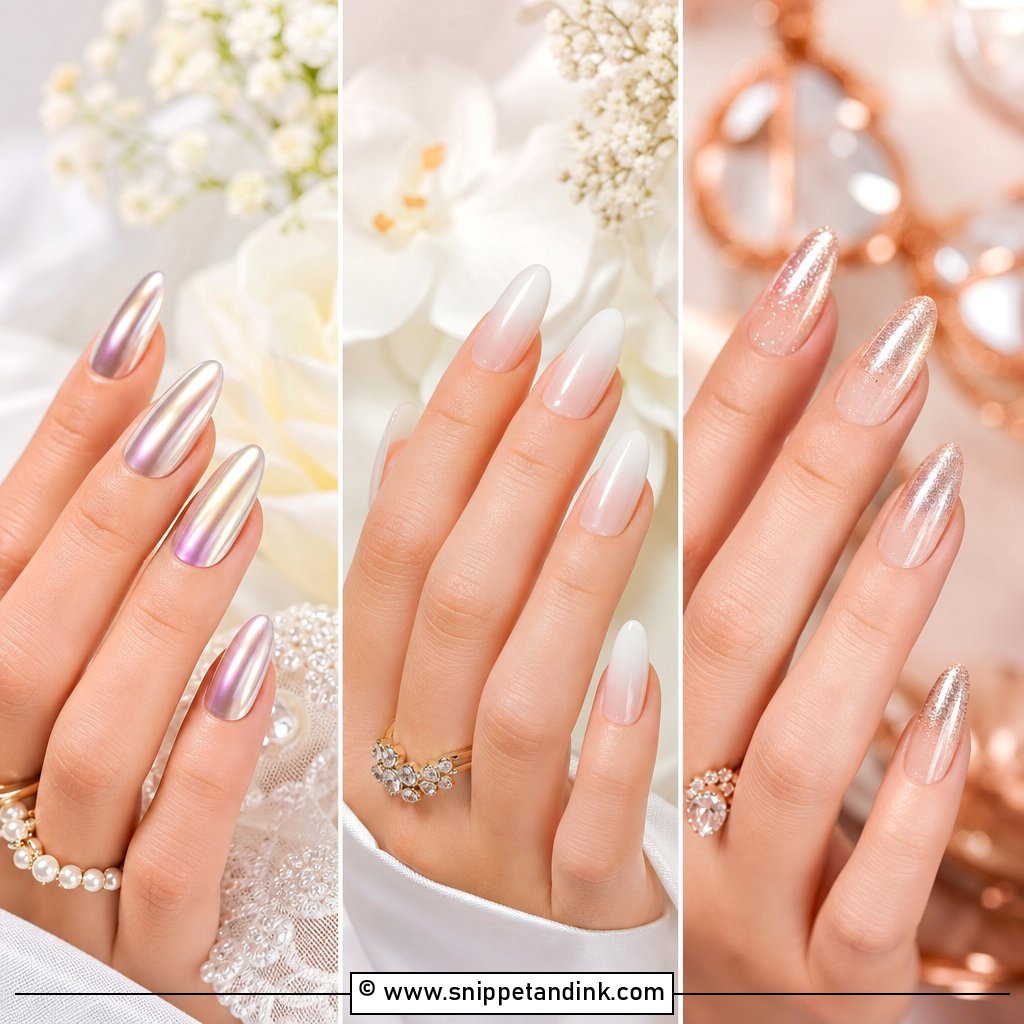
Chrome changes how the braid photographs: it turns the raised lines into reflective highlights. The base is sheer nude, blush or milky white, then braided gel lines are drawn, cured and rubbed with a pearl or champagne chrome powder. Chrome only on the braid is subtle; chrome over the whole nail is bolder. Chrome powder shows every bump, so the braid has to be drawn cleanly and the surface underneath smoothed first. Medium almond or coffin nails give it room without looking dramatic.
5. Nude Braid Wedding Nails
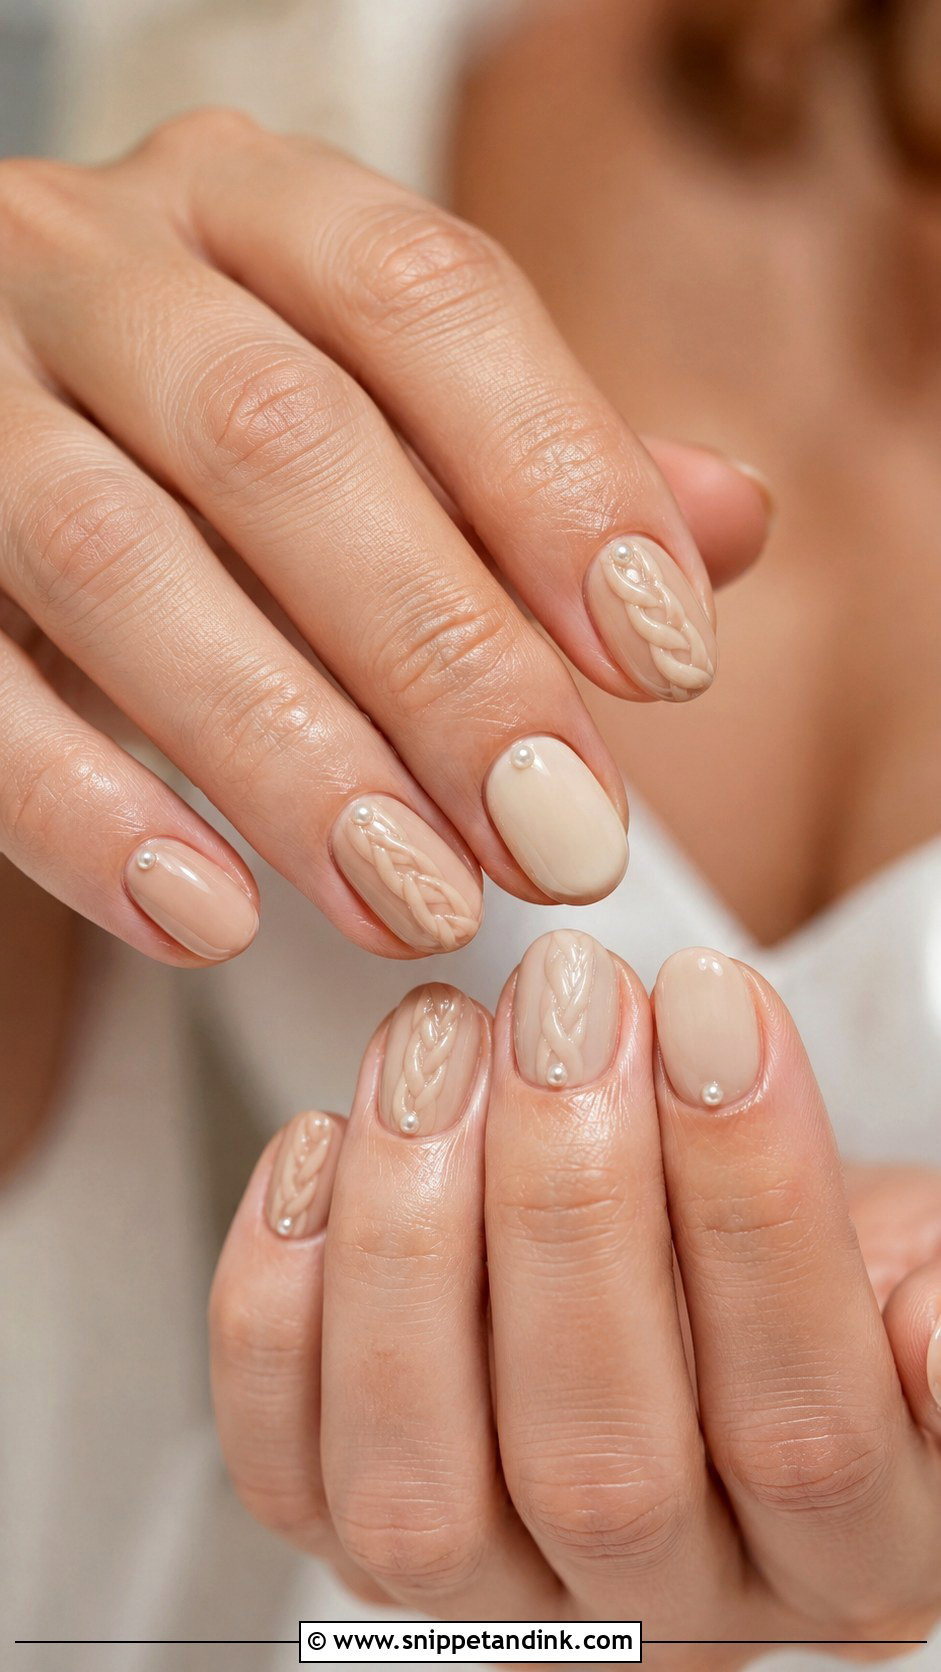
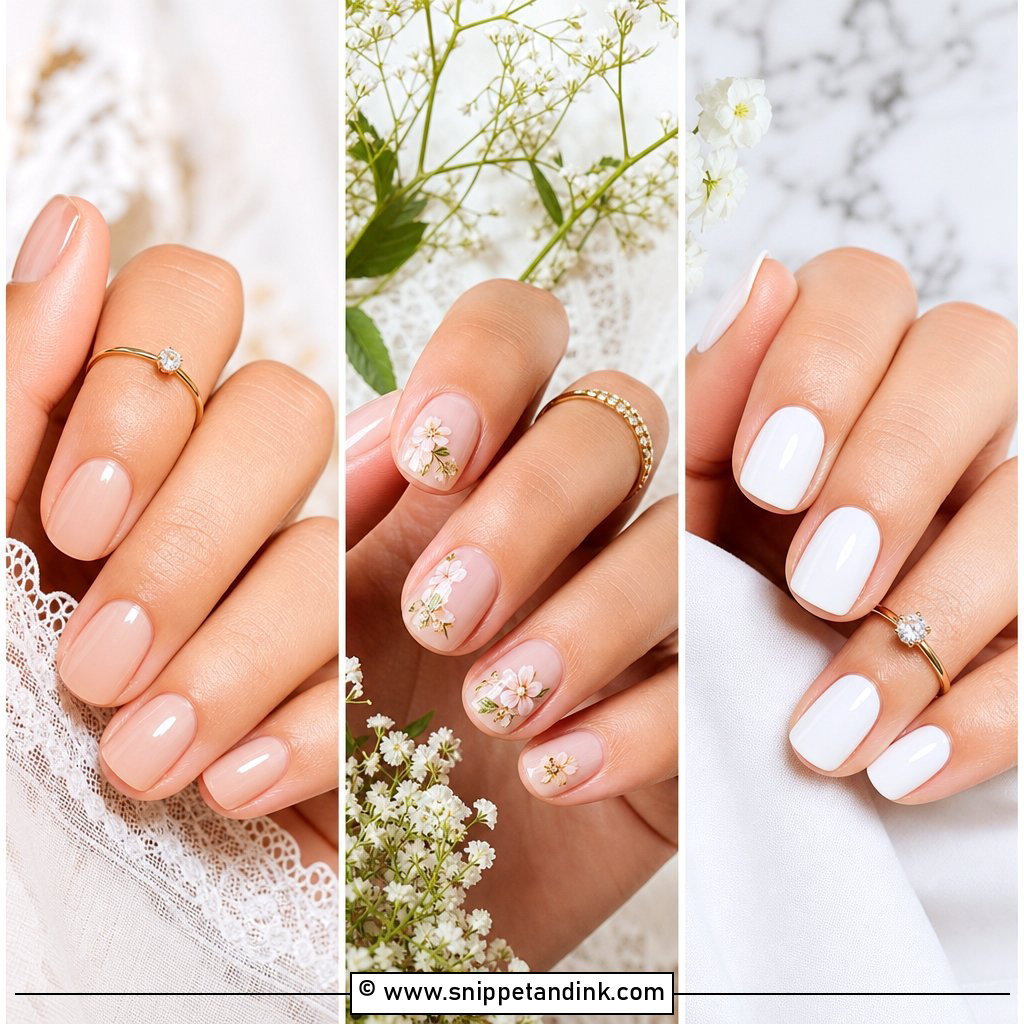
Most of the work in a nude set is picking the right nude. Beige, blush nude, peach nude, caramel and soft taupe all exist because undertones differ, and a nude that’s too pink or too grey makes hands look washed out in photos. I swatch two or three shades against the skin at the cuticle before choosing. The braid then goes on in white, cream or a nude a shade lighter. This set makes sense if the dress or veil already carries plenty of detail. A tiny crystal or pearl at the base of the accent nails is optional.
6. Pink Braid Wedding Nails
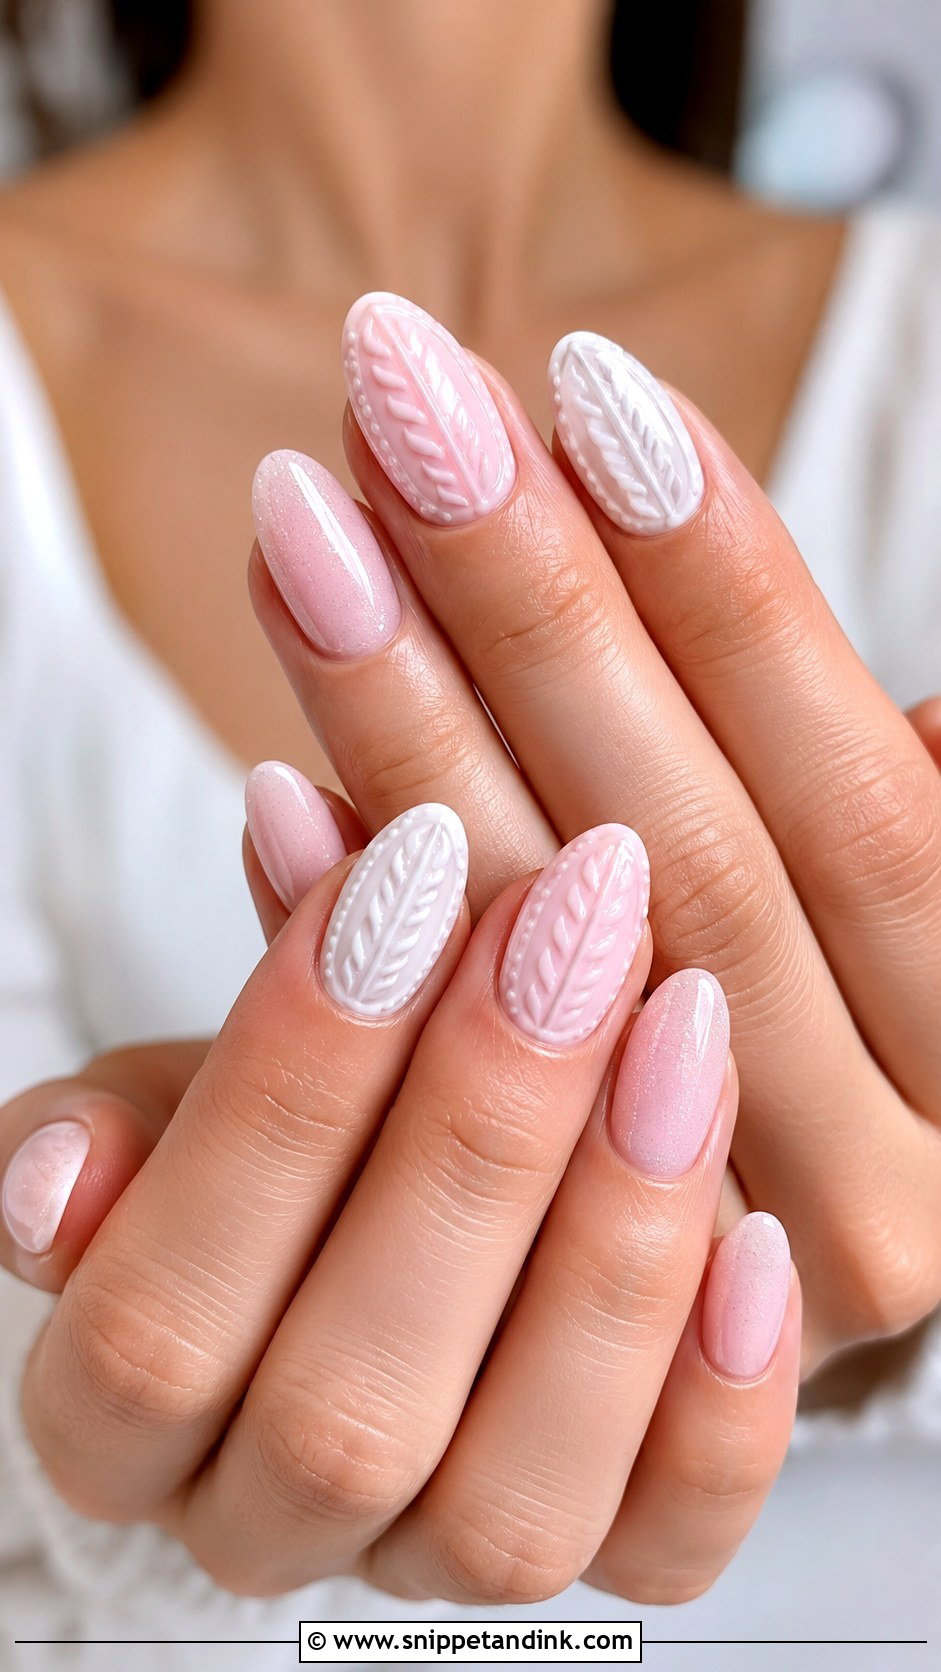
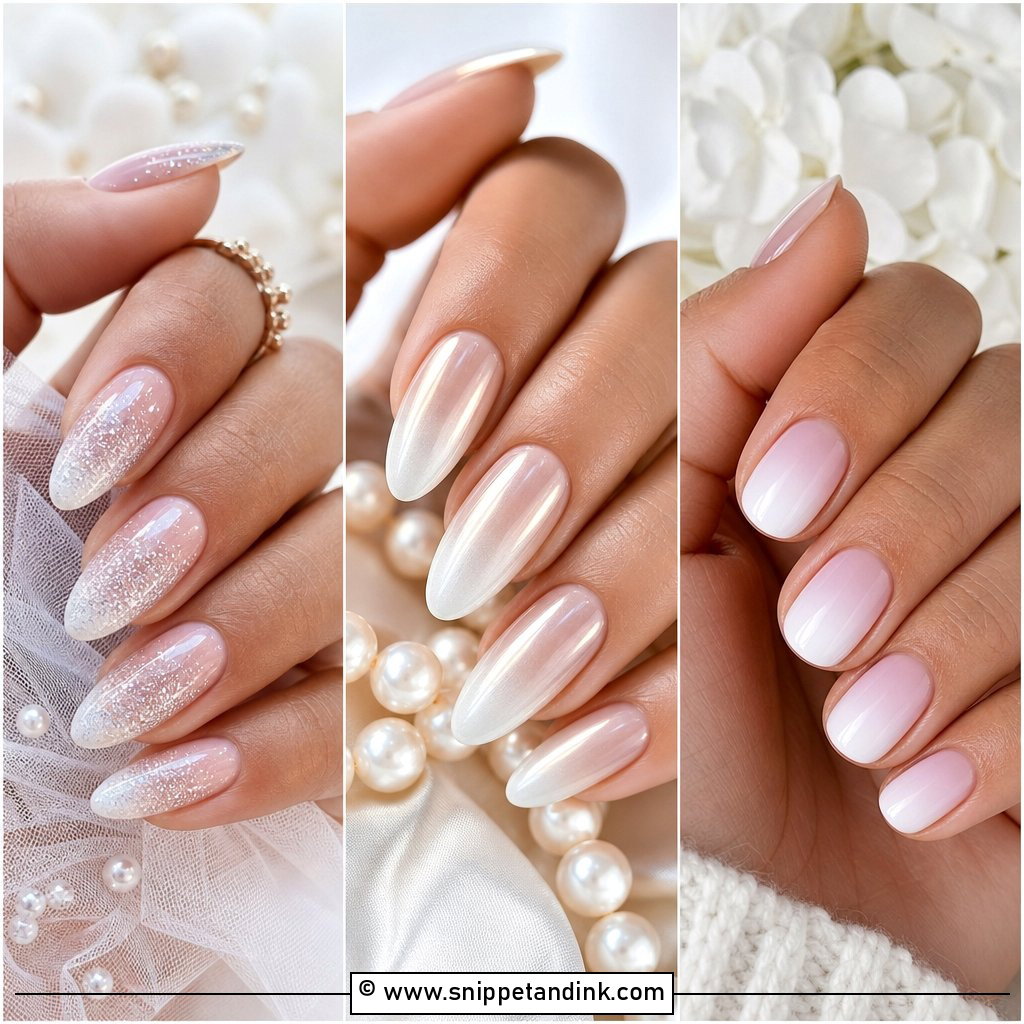
A sheer baby pink or blush base gives a healthy glow, and the braid can be soft white, pale pink or a deeper rose for a tone-on-tone finish. Tone-on-tone is my preference here, as it shows up in close-ups without reading as nail art from across the room. It translates easily to bridesmaids and guests, who can wear the same base without the braid. Keep the finish glossy and the extras small: a pearl, a silver dot or a fine shimmer at most. Almond and oval shapes soften the pinks further.
7. Milky White Braid Wedding Nails
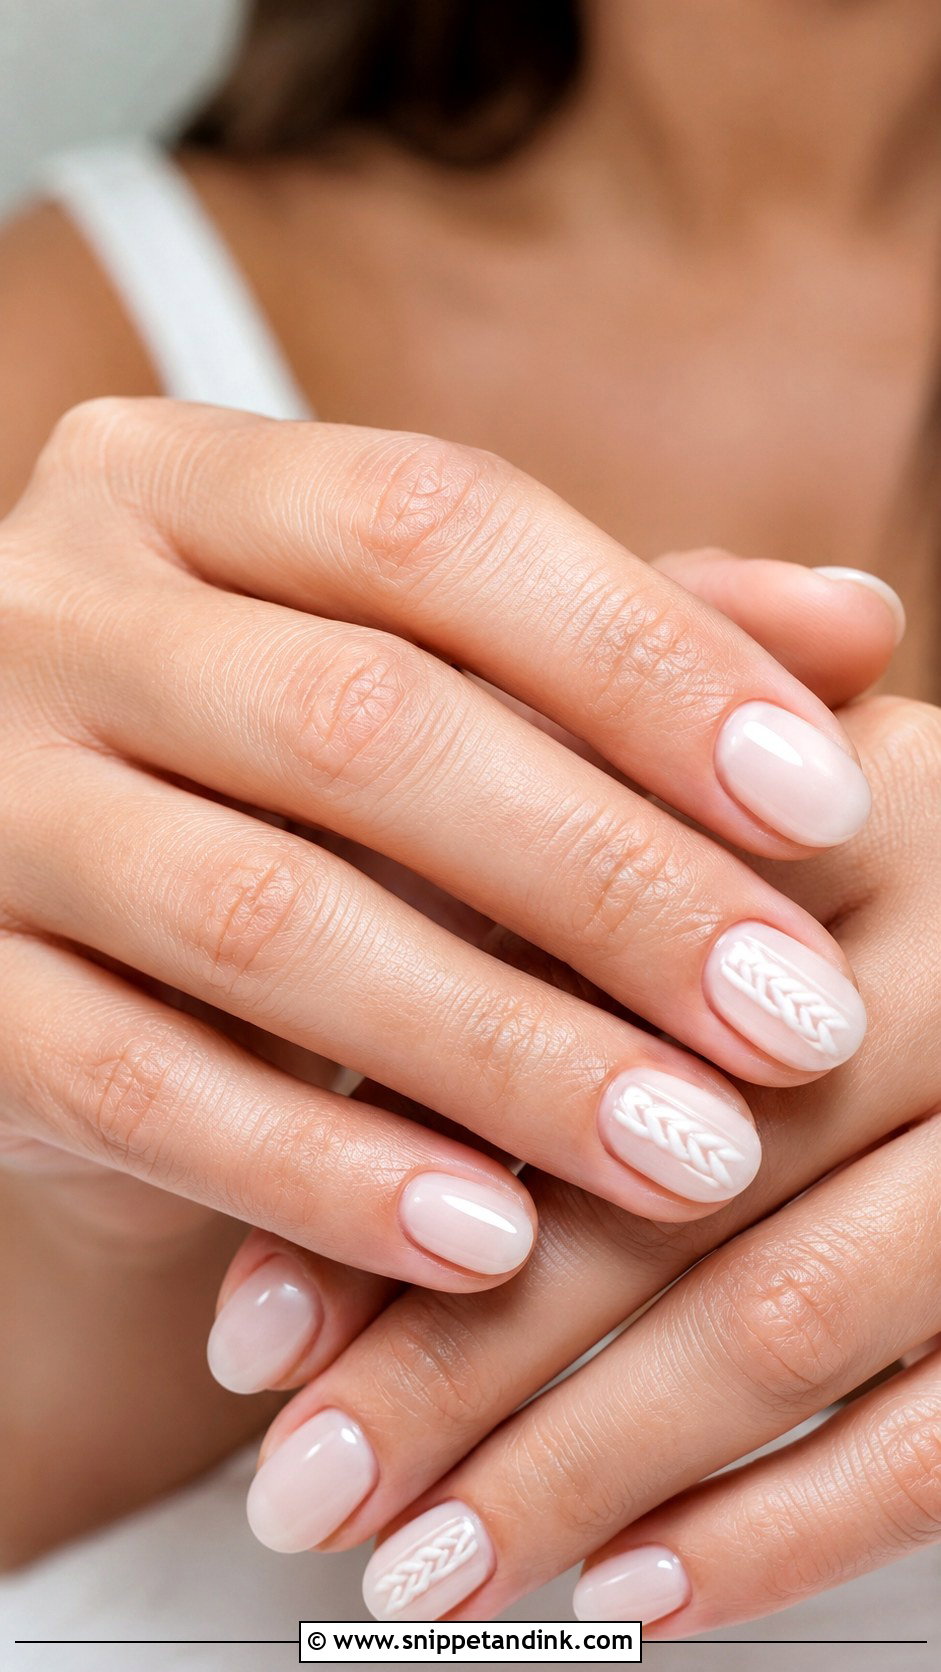
Milky white is translucent, so it hides small marks on the nail while still looking finished, which is why it’s my default base for brides with ridges or staining. Raised white braid lines on top add a gentle 3D effect that shows in macro shots. Minimalist gowns, satin and soft glam makeup all suit it. Put the braid vertically down the centre of each nail or only on accent nails. A pearl chrome top coat adds glow; plain high gloss keeps it classic. Short oval or medium almond nails both work.
8. Lace Braid Wedding Nails
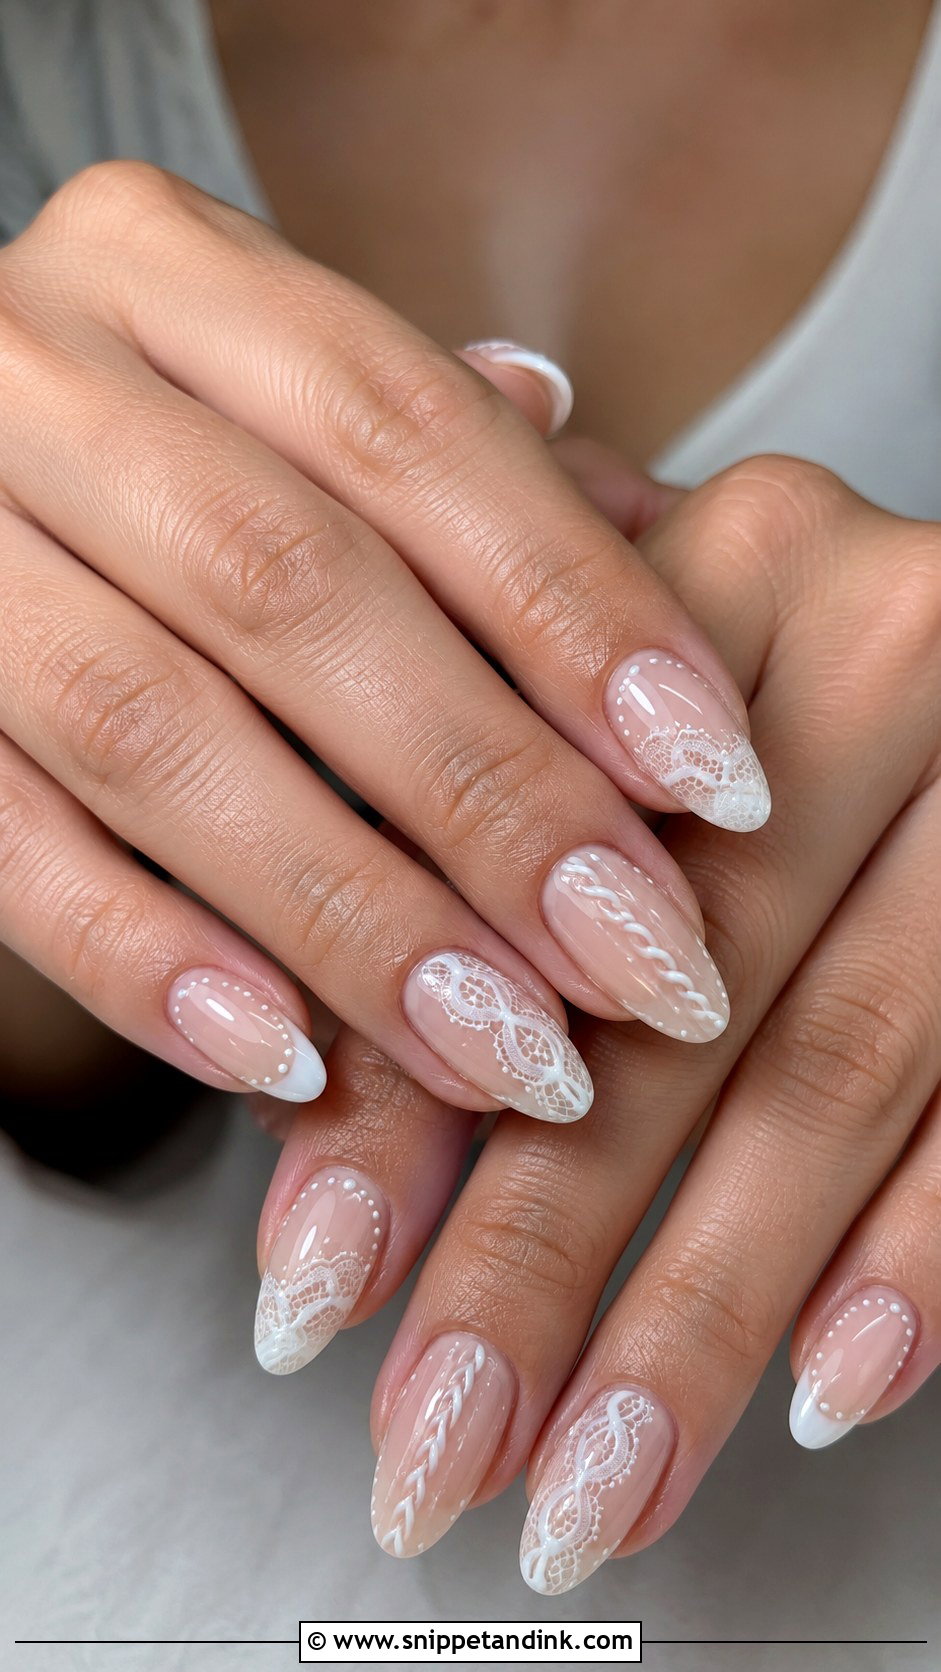
This one combines a woven braid with fine lace lines, tiny dots and curves, and it’s a detailed hour at the desk. Over a sheer nude or pale pink base it looks like the edge of a veil. It suits lace sleeves, embroidered veils and textured gowns. The risk is crowding: lace art needs blank space between motifs or it looks smudged in photos. I keep it to two accent nails and do the rest as a simple French or milky white. Almond tips give the lace pattern the best flow.
9. Floral Braid Wedding Nails
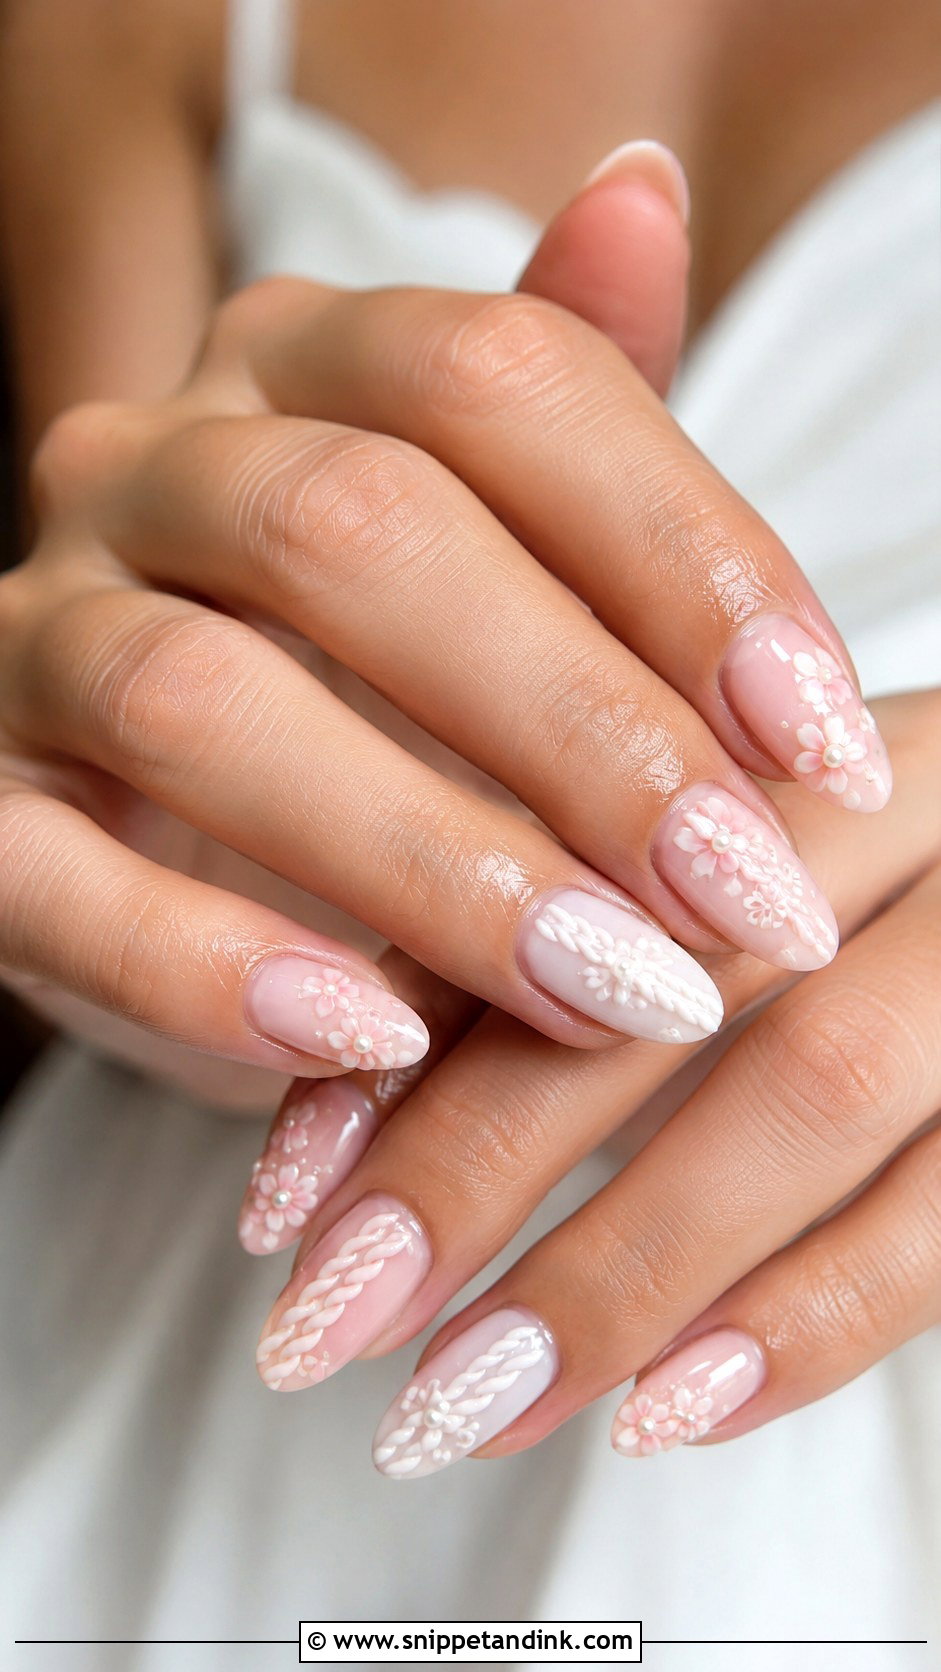
Tiny flowers around a braided line work best for spring and summer, though in muted colours they work any time of year. White petals, pale pink blossoms or soft blue flowers can be painted around the braid. A sheer nude base stops the florals looking bright. Painted flowers sit flat; if you want raised petals, they’re built in gel and add height, which matters if you’ll be wearing gloves. Small pearl centres finish the flowers. Medium almond nails have enough room for both braid and florals.
10. Gold Braid Wedding Nails
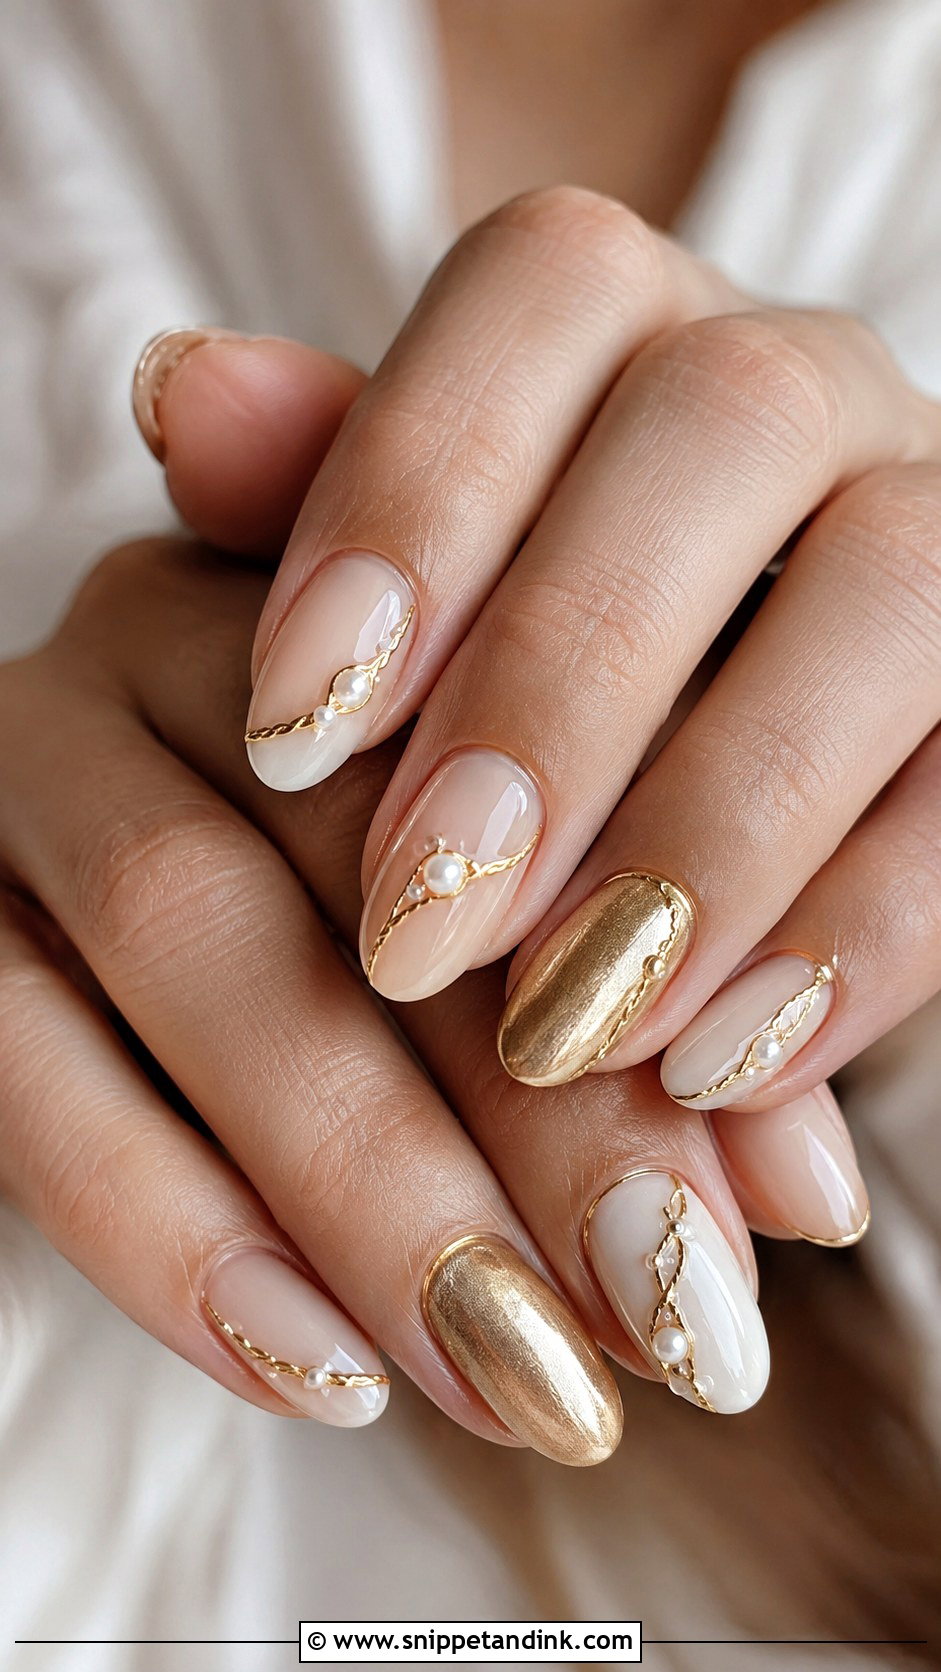
Gold gives a manicure a fine-jewellery feel, and it pairs naturally with gold rings and ivory gowns. The base can be sheer nude, milky white, blush or beige, and the braid is outlined in thin gold gel, foil or metallic striping. Foil looks more like real metal but can wrinkle at the crossings, so for a braid I prefer metallic gel. Keep the gold delicate, never chunky. Gold on the accent nails with glossy nude elsewhere is the balance I recommend. Almond, oval and soft square all work.
11. Silver Braid Wedding Nails
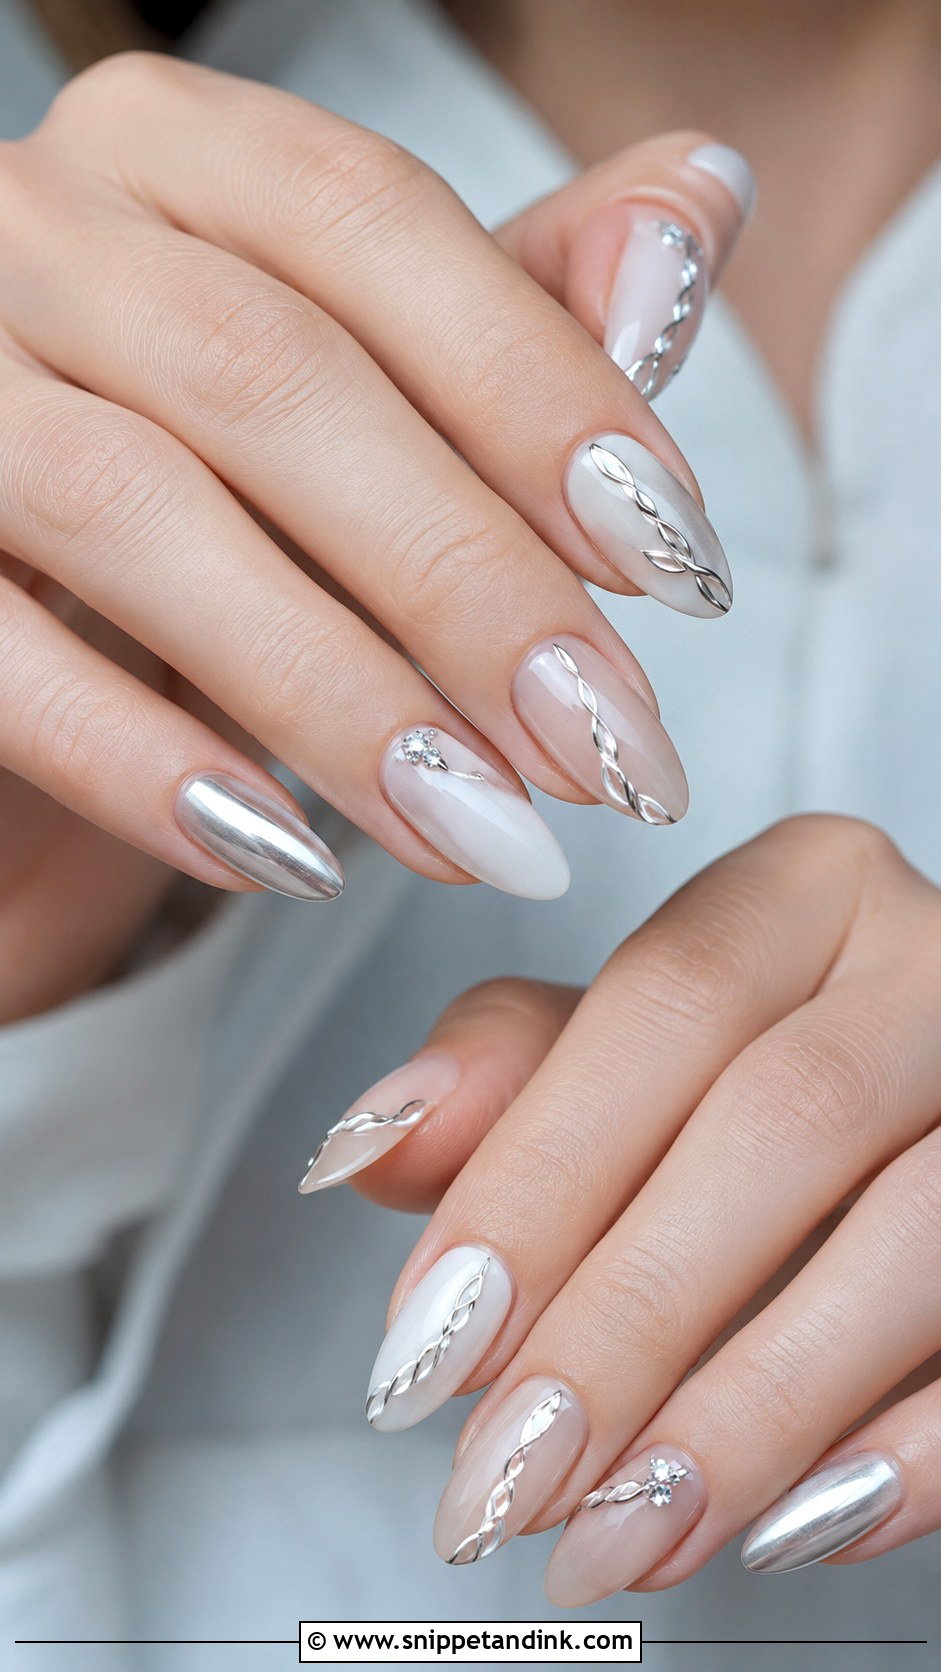
Silver is the cool-toned version, and it sits best over sheer pink, icy nude or milky white. The lines can be painted in metallic gel or made with fine chrome powder over raised gel. It suits platinum and white-gold rings, crystal hair pieces and bright white gowns. Choose a fine shimmer over heavy glitter, which looks dated in close-ups. A few tiny crystals near the braid add sparkle, but they need space between them. On a warm gold engagement ring, silver can clash; check your ring against it first.
12. Blue Braid Wedding Nails
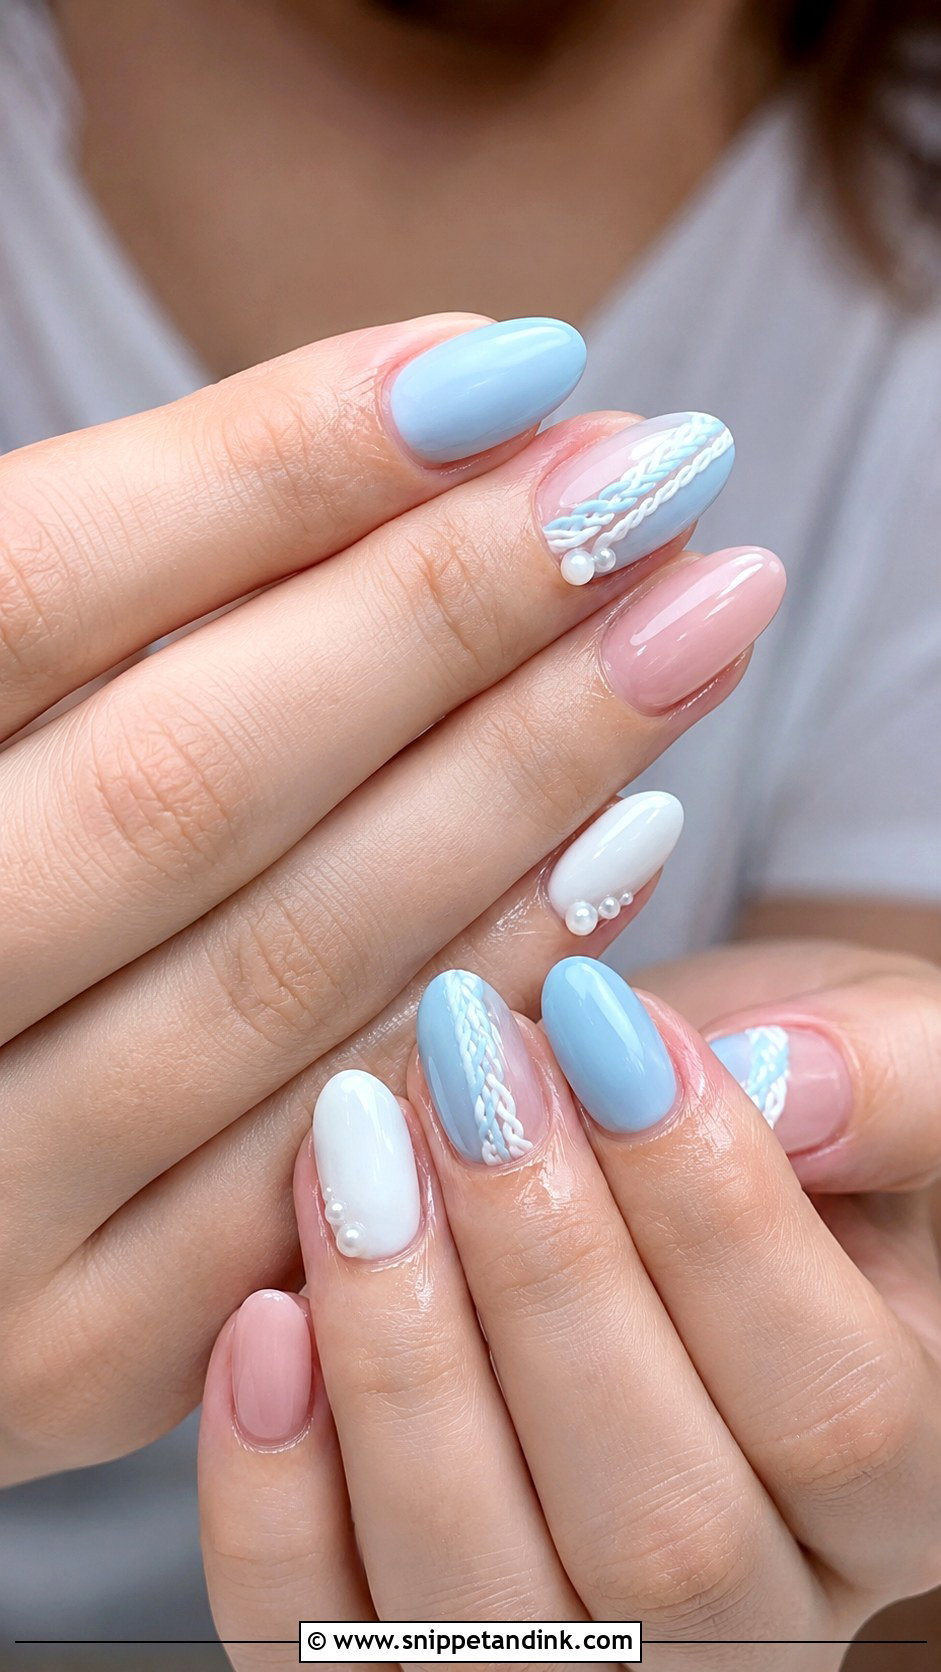
Something blue on the nails is easy to wear when it stays pale. I use powder blue, misty blue or a sheer blue tint rather than a bright shade, and add white or silver braided lines on top. Keep the blue to accent nails with milky white or sheer pink on the rest if you want it to stay a secret detail. Pale blue gel can look slightly grey on very warm skin tones, so I’d test it next to your hand before the wedding week. A tiny pearl softens it. Short oval and almond nails both suit it.
13. Glitter Braid Wedding Nails
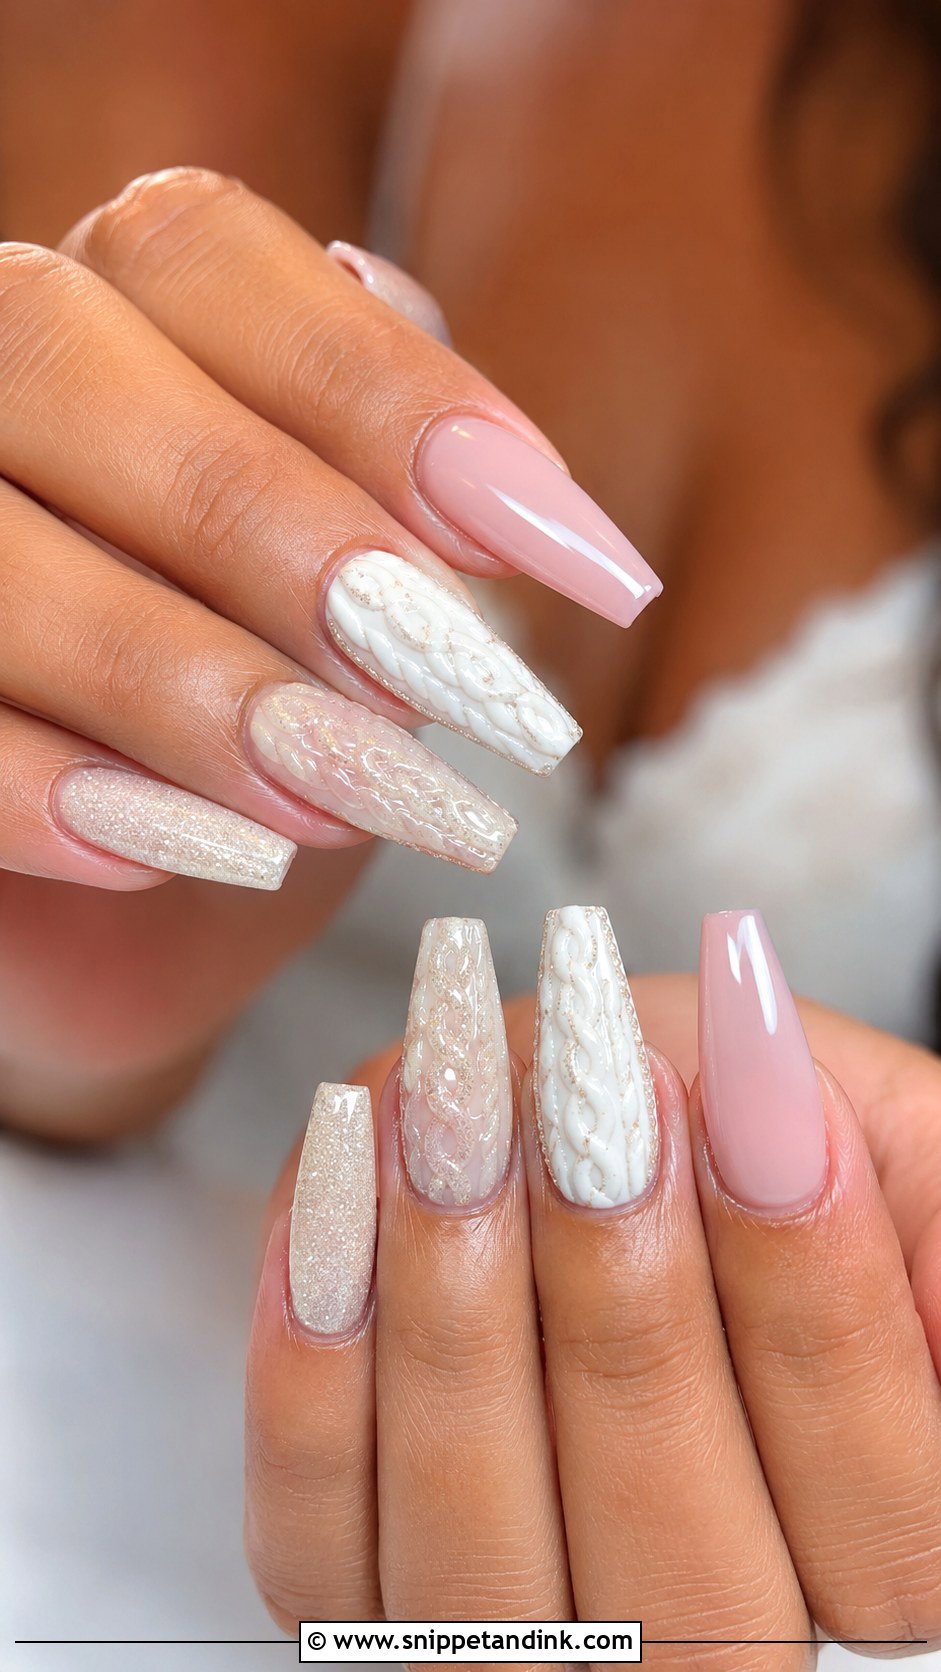
Fine glitter, dusted onto a raised braid, picks out the woven lines when light moves across them. Champagne, pearl, silver and rose gold glitter suit a wedding; chunky glitter dates quickly and makes removal harder. A sheer nude or blush base keeps it refined. It shows best in candlelit evening receptions. The glitter needs a thick, smooth top coat over it, or the surface feels rough and snags hair. Coffin and almond nails show the sparkle most.
14. Ombre Braid Wedding Nails
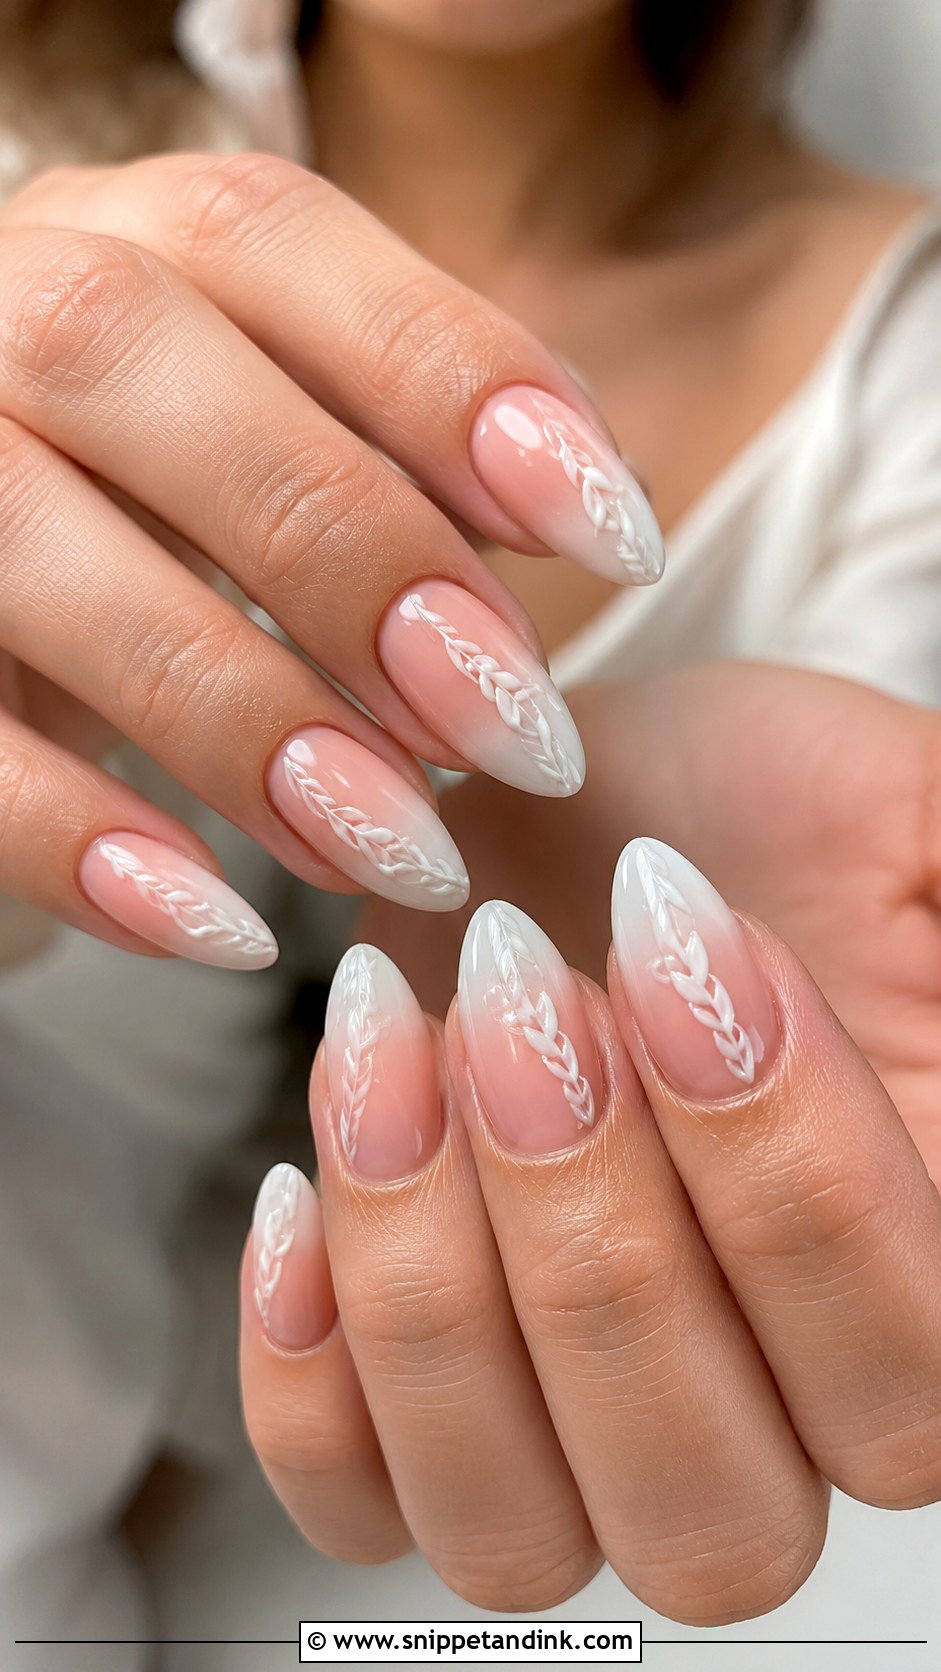
A bridal ombre fades from sheer pink at the base to milky white at the tip, and a white braid on top gives the gradient some structure. It’s softer than a French tip and more detailed than plain ombre. The braid can run vertically on accent nails or curve along one side like ribbon. Ombre is applied with a sponge or brush blend, so the surface needs a builder layer before any braid art goes on, or the lines sink into the texture. A glossy finish keeps the transition smooth. Almond and coffin nails show it best.
15. Matte Braid Wedding Nails
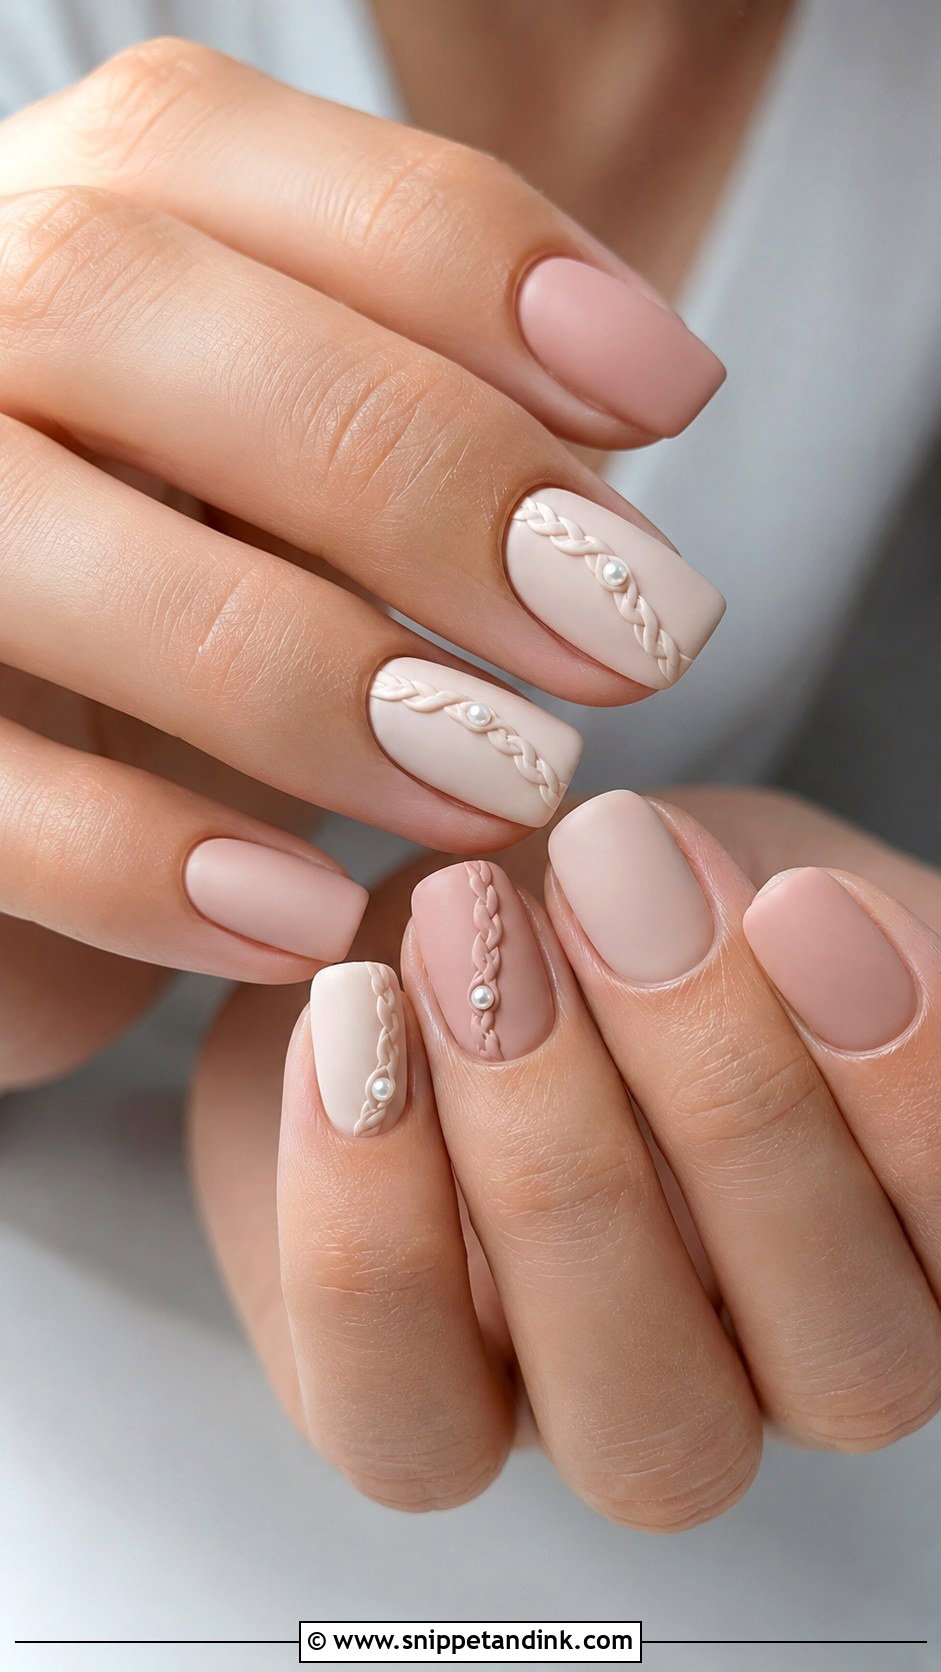
Matte top coat turns any base into something velvety, and glossy raised braid lines on top of it make the contrast that gives this set its interest. The base can be nude, blush, ivory or milky white. Fully matte is quieter. One honest drawback: matte top coat picks up marks from foundation, fake tan and hand cream, so by the second day it can look slightly dull. I tell brides to keep a lint-free wipe handy. Short square nails look sharp with it; almond feels softer.
16. 3D Braid Wedding Nails
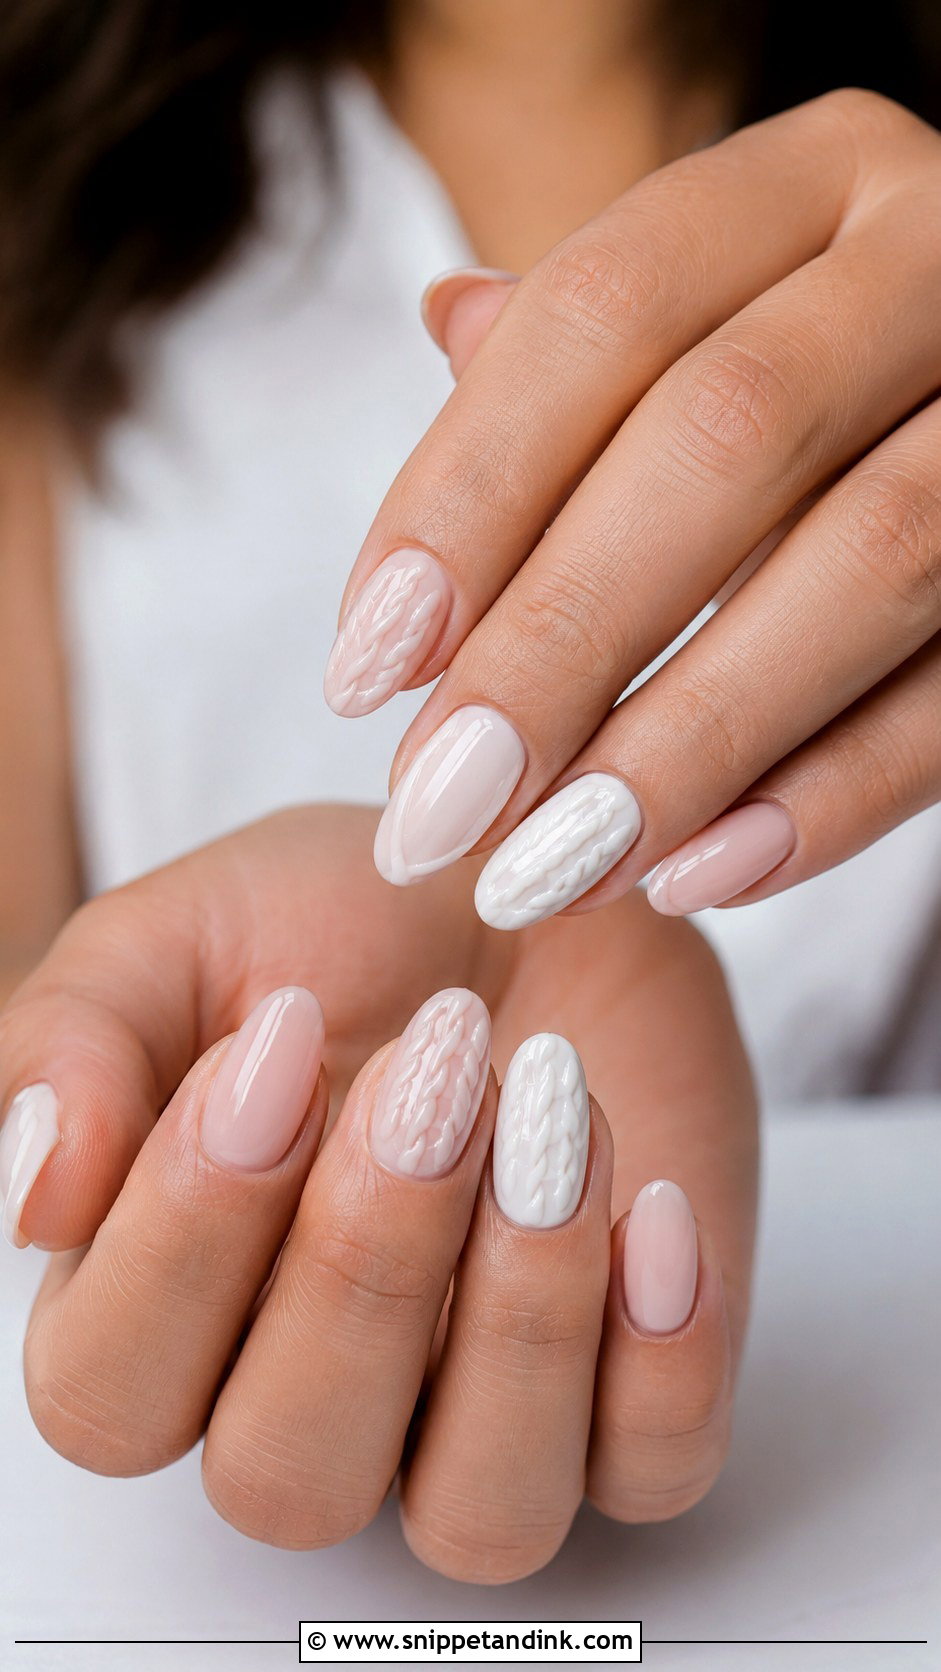
The braid here is sculpted in builder gel or thick art gel, so it stands up off the nail rather than being painted on. Keep the palette soft, such as milky white, blush, ivory or nude, so the shape does the work. The braid can run down the centre of accent nails or diagonally like a ribbon. I build it in small sections and cure each one, because thick gel cured all at once can shrink and lift at the edges. Keep extra embellishments minimal. Medium almond and coffin give the raised pattern enough room.
17. Short Braid Wedding Nails
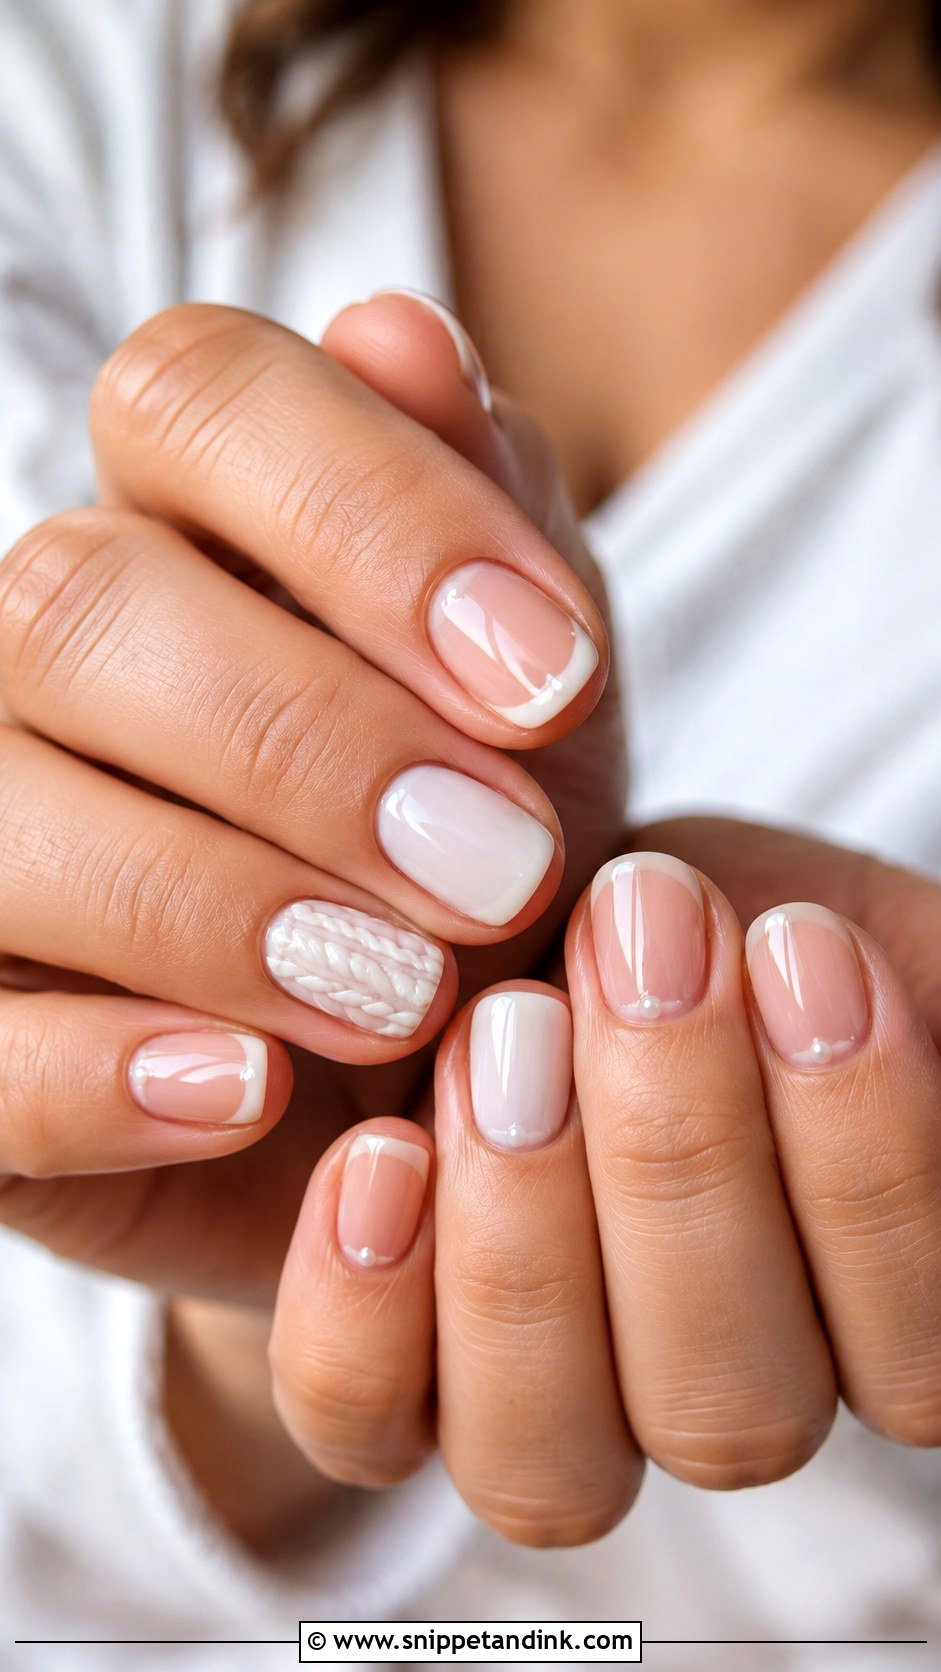
Bridal nail art doesn’t need extensions. A short oval, round or soft square nail can carry one fine braid on one or two accent nails, and it looks tidy rather than unfinished. Sheer pink, nude or milky white keeps it light. Short nails are the practical choice if you work with your hands, play an instrument or are heading straight off on a trip. On a very short nail I draw the braid thinner and shorter, or it reaches the free edge and chips. A tiny pearl or shimmer dot is plenty.
18. Almond Braid Wedding Nails
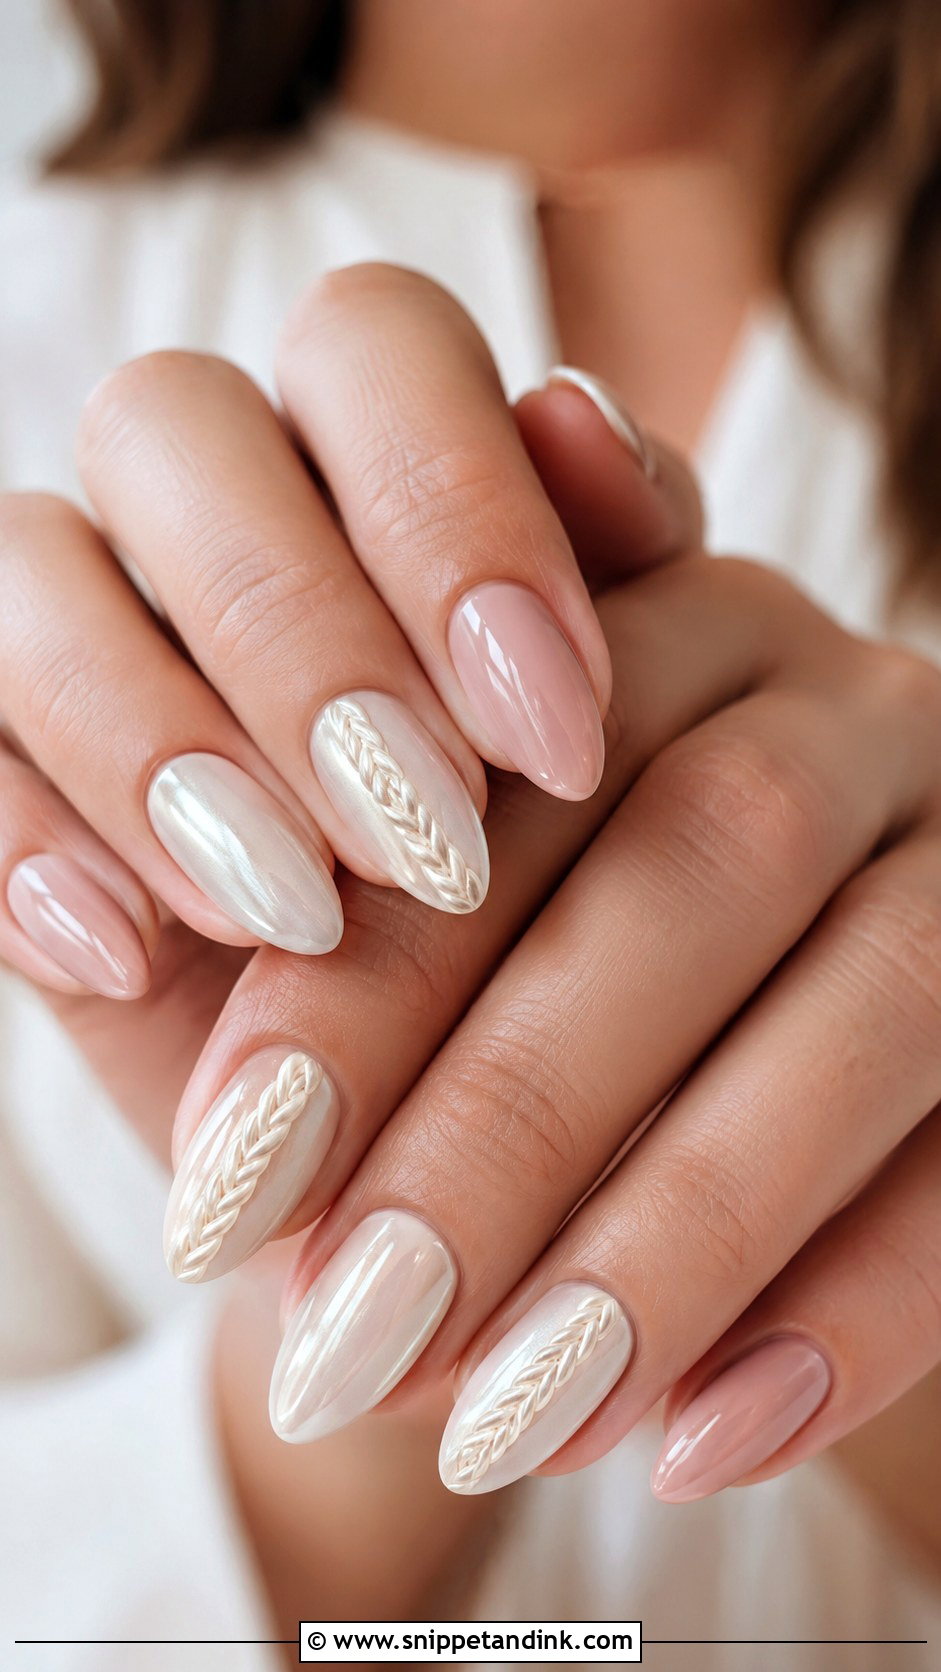
The tapered almond shape makes fingers look longer, and the narrowing tip lets a braid taper naturally. A sheer nude or pale pink base is the usual start, with white, pearl, silver or champagne braid lines down the centre or along one side. It pairs with French tips, chrome, pearls and florals. Two or three decorated nails per hand, the rest glossy, is the balance I like. Almond on very short natural nails can look pinched, so I sometimes add a little length with gel first.
19. Coffin Braid Wedding Nails
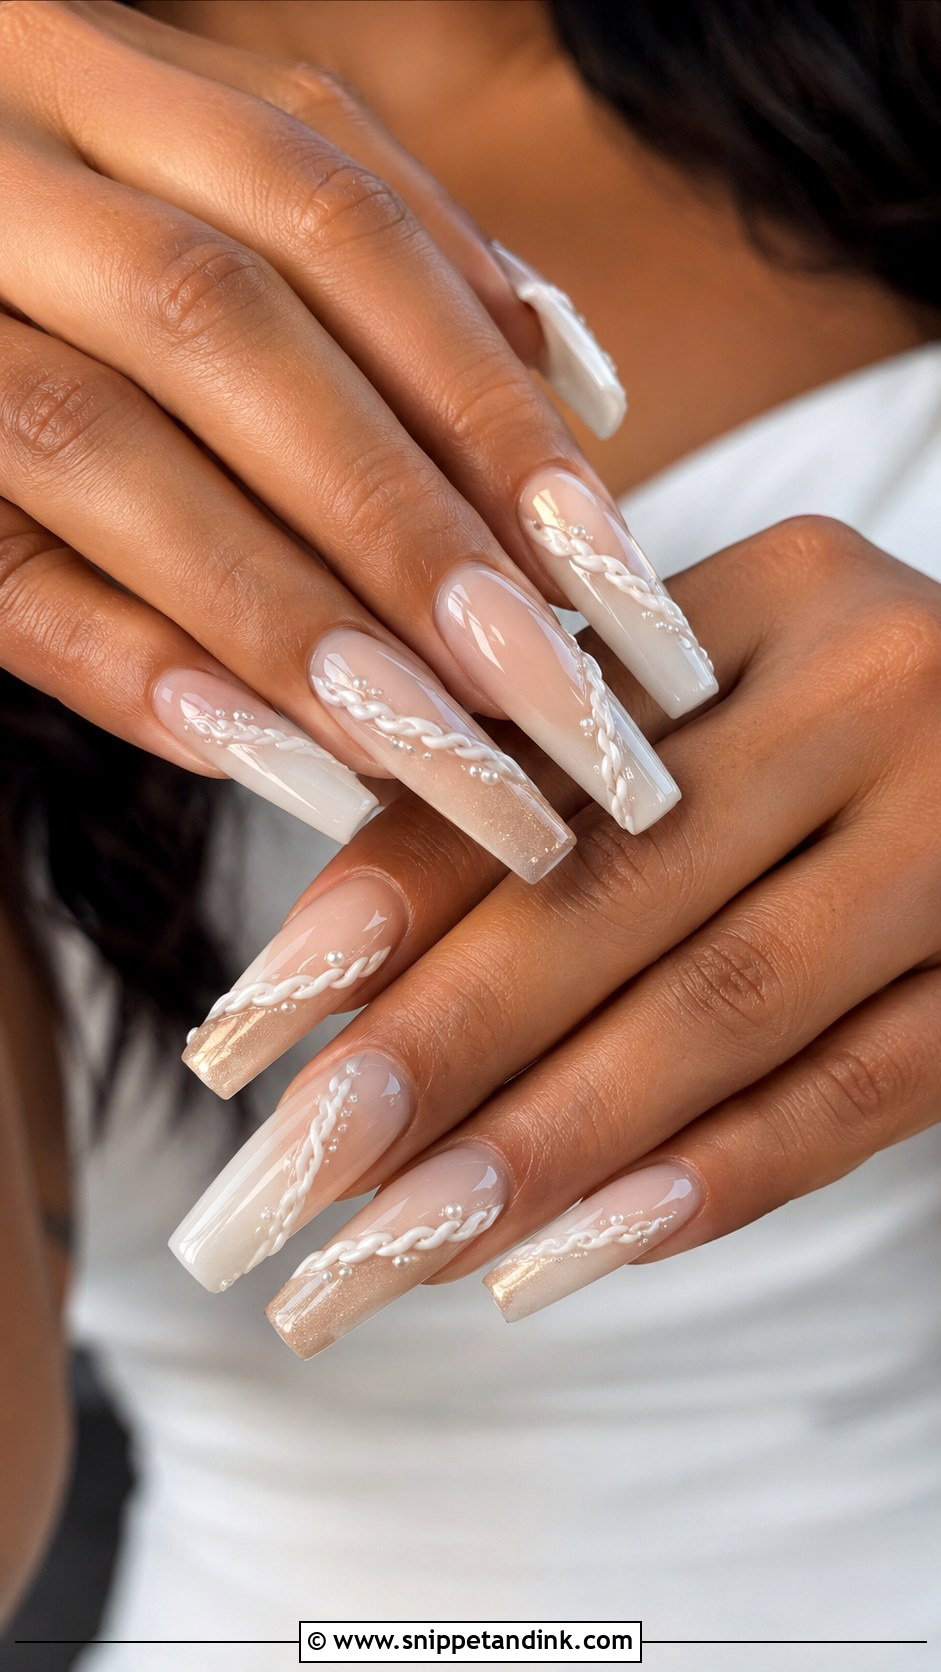
Coffin nails, long and tapered with a flat tip, give the most room for detailed braid art, French tips, ombre, pearls or chrome. Keep colours soft, such as blush, nude, ivory, champagne or milky white, for a wedding. A diagonal braid looks modern; a vertical one, classic. Add pearls or crystals sparingly. The flat tip is the part that takes the knocks, so I reinforce the corners; a chipped coffin corner is the most common repair I see before a wedding. A glossy finish keeps it refined.
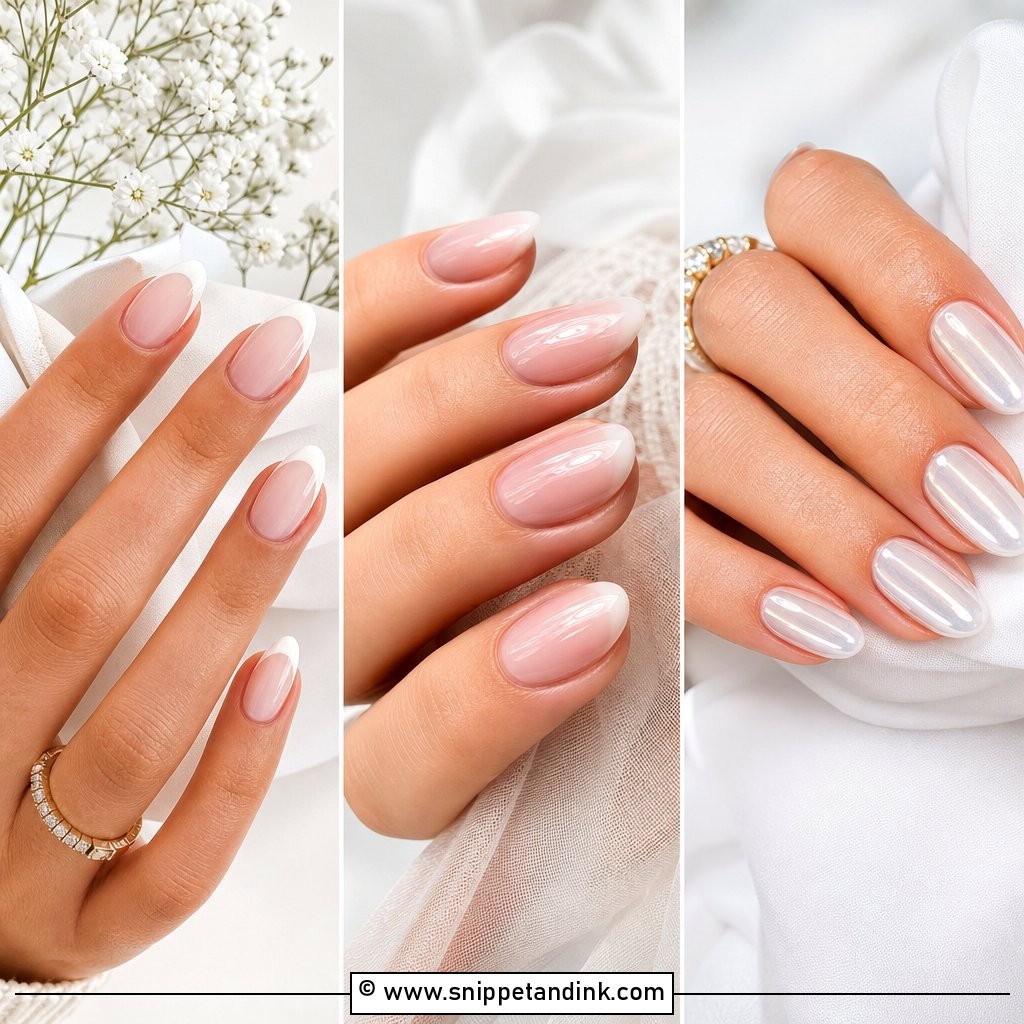
20. Boho Braid Wedding Nails
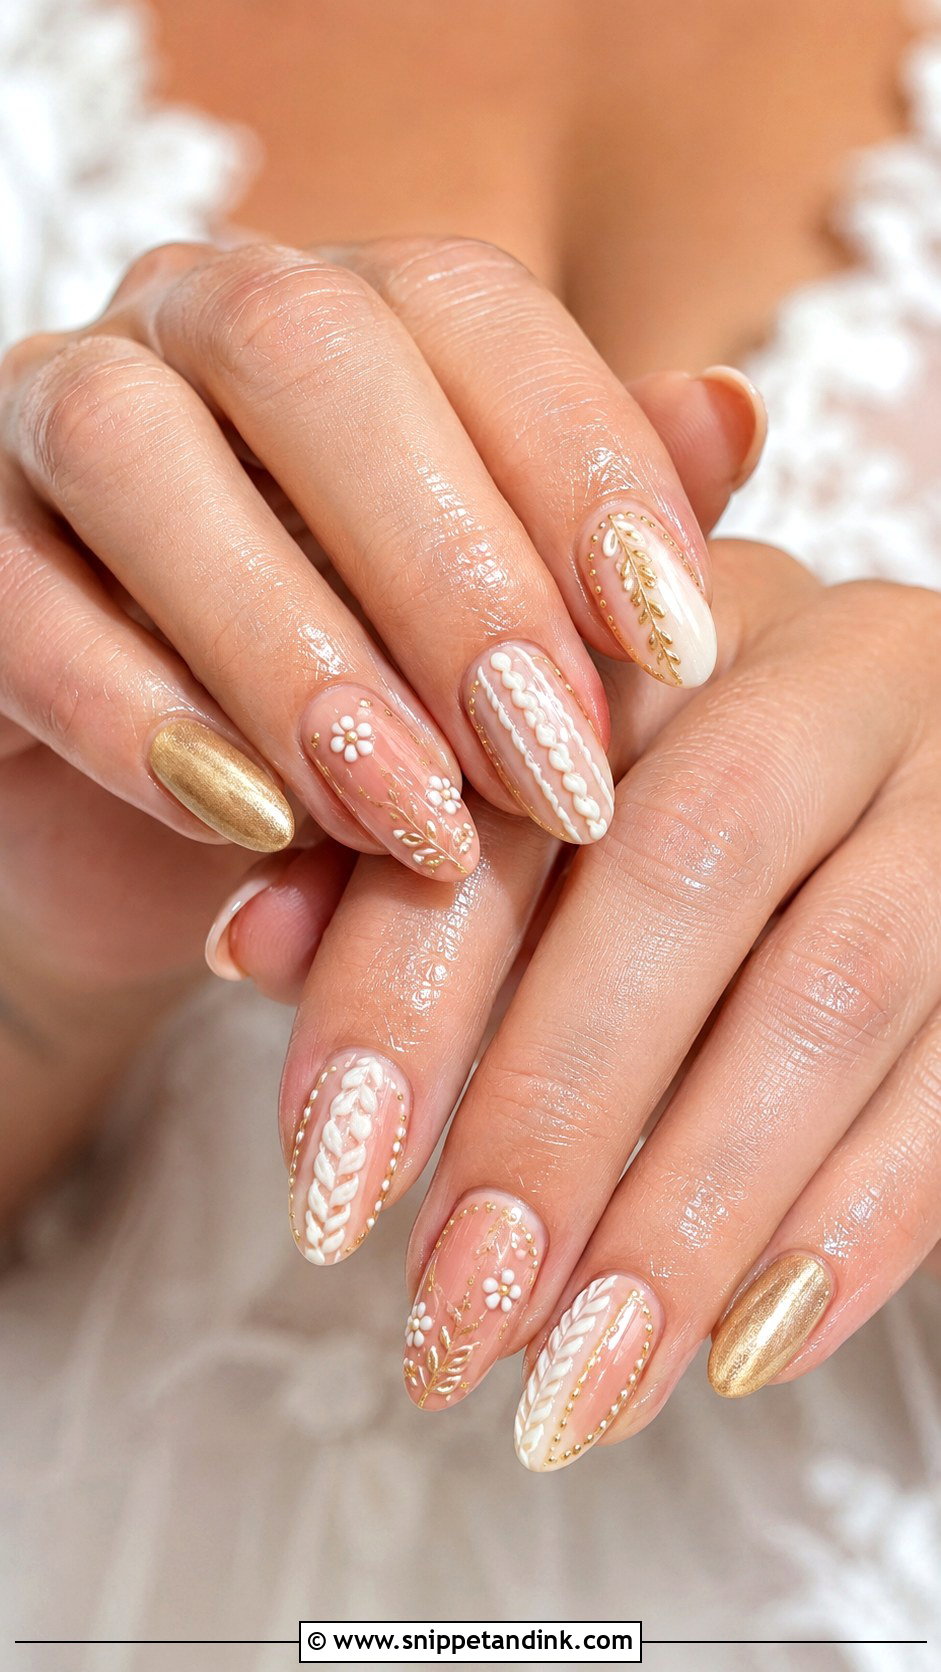
Boho braid nails start with a warm nude, soft beige, ivory or sheer peach base and white gel braids. Tiny florals, fine dots, soft gold accents or lace lines can join them. The details have to stay delicate so the set looks handmade rather than busy; a loose hand with the dotting tool suits the look better than perfect symmetry. Flowing gowns, outdoor venues and loose waves all fit. Almond or oval feel soft, and short square gives it a modern note. Glossy or satin finishes both work.
Raised Art Next to Lace Sleeves and Tulle
Anything that sticks up from the nail can catch fabric. Fine tulle veils, lace sleeves, bead-covered bodices and loose curls are the usual culprits. A properly sealed braid is smooth to the touch, but a pearl with an exposed edge or glitter left under a thin top coat will snag.
- Run your fingertip across each nail at the end of the appointment; anything you can feel catching, ask to be sealed again.
- Keep pearls and crystals away from the free edge, where they take the most knocks.
- If your veil is fine tulle, choose flat painted braids rather than sculpted 3D ones.
Schedule It Two Days Out
I like to do bridal gel one to three days before the wedding. That leaves time to fix a lifted corner or a chipped tip, and the cuticles have settled after any prep. Rub cuticle oil in every night before, and once more the morning of, because the ring shot is a close-up of your hand and dry cuticles show more than the art does.
Plan removal too. Thick braid art needs filing back before soaking, so book a proper removal rather than peeling it off on the trip, which takes layers of nail with it.
Thin Lines, Soft Shades and a Photo of Your Ring
Braided nail art brings texture to a bridal manicure, and it can be simple and barely there or carry pearls, chrome, florals, glitter or gold. Short nails take a small accent braid; almond and coffin show off fuller patterns. For a result that still looks right in photos years later, stick to soft shades like nude, blush, ivory, milky white or pale blue, keep the lines thin and space the embellishments out. Bring a photo of your ring and dress to the appointment, and we’ll fit the braid to both.
You'll Like These Ideas:


Leave a Reply