
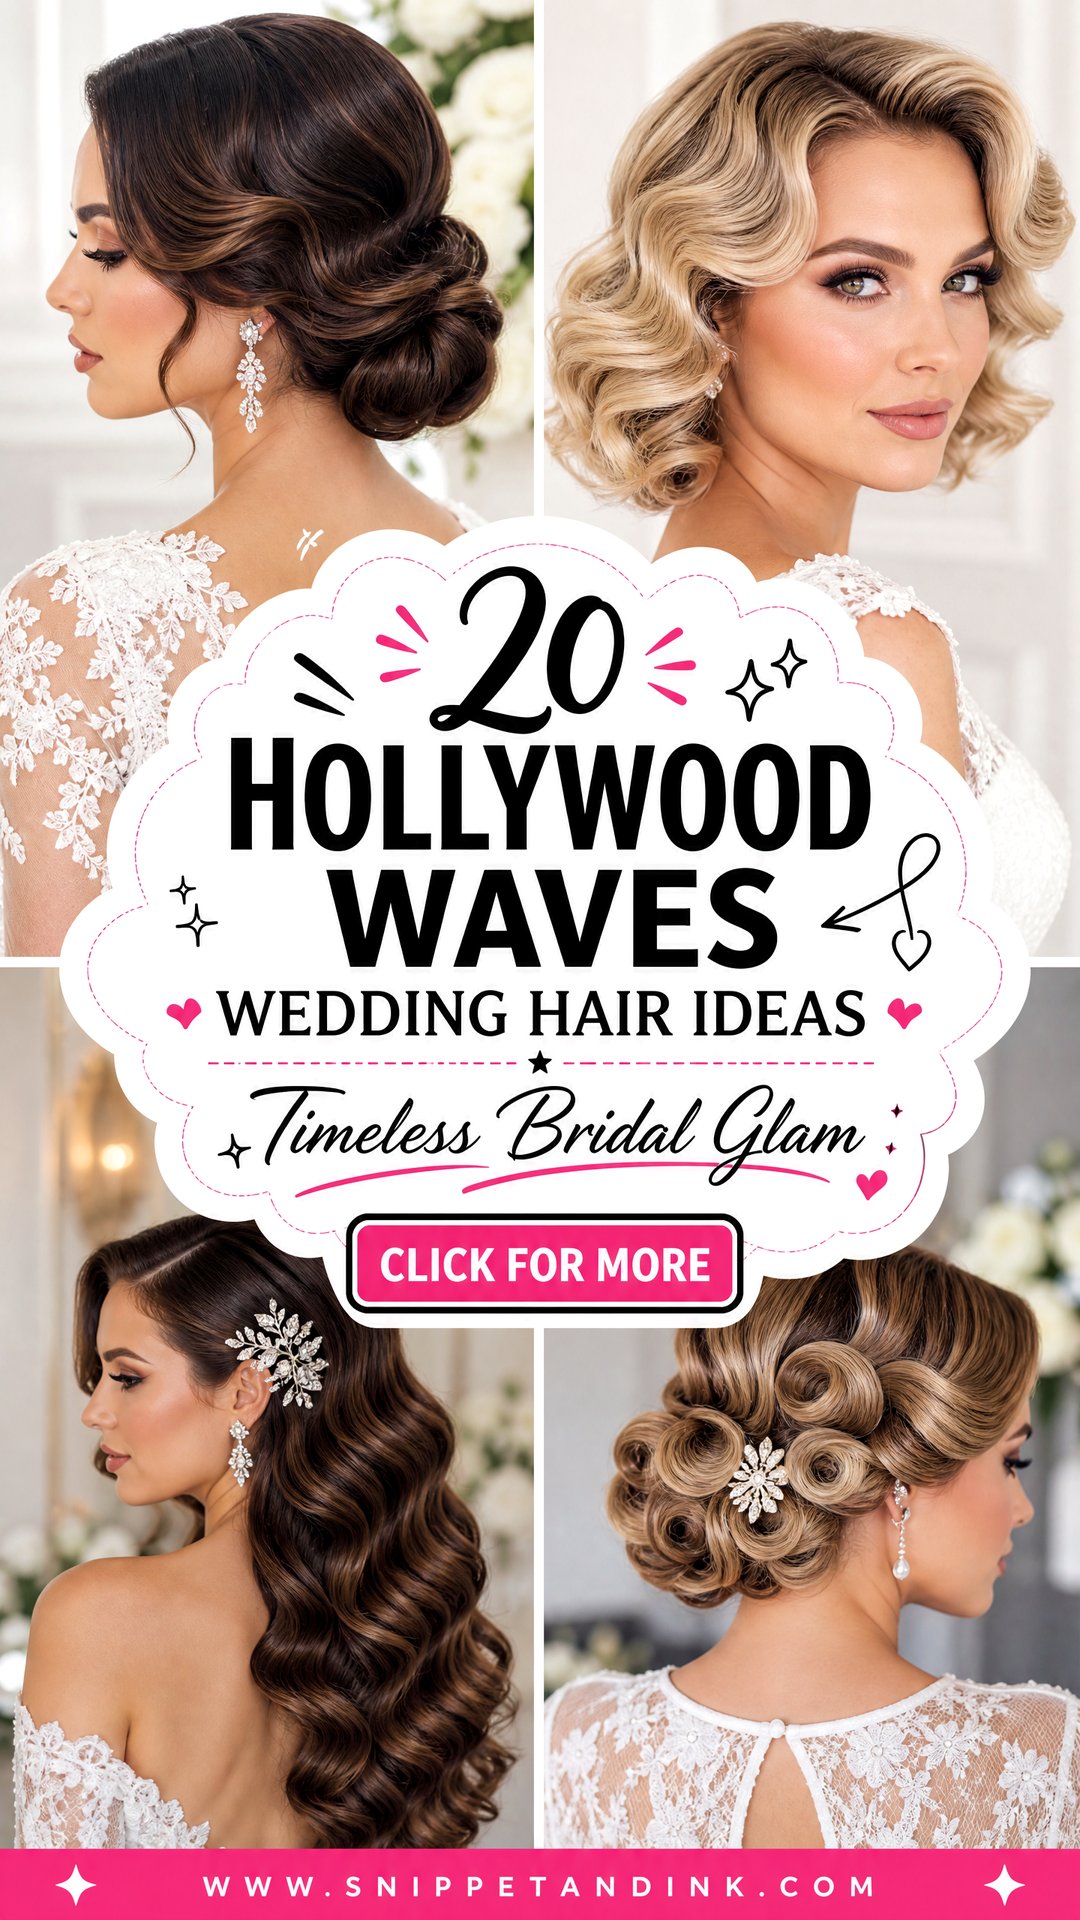
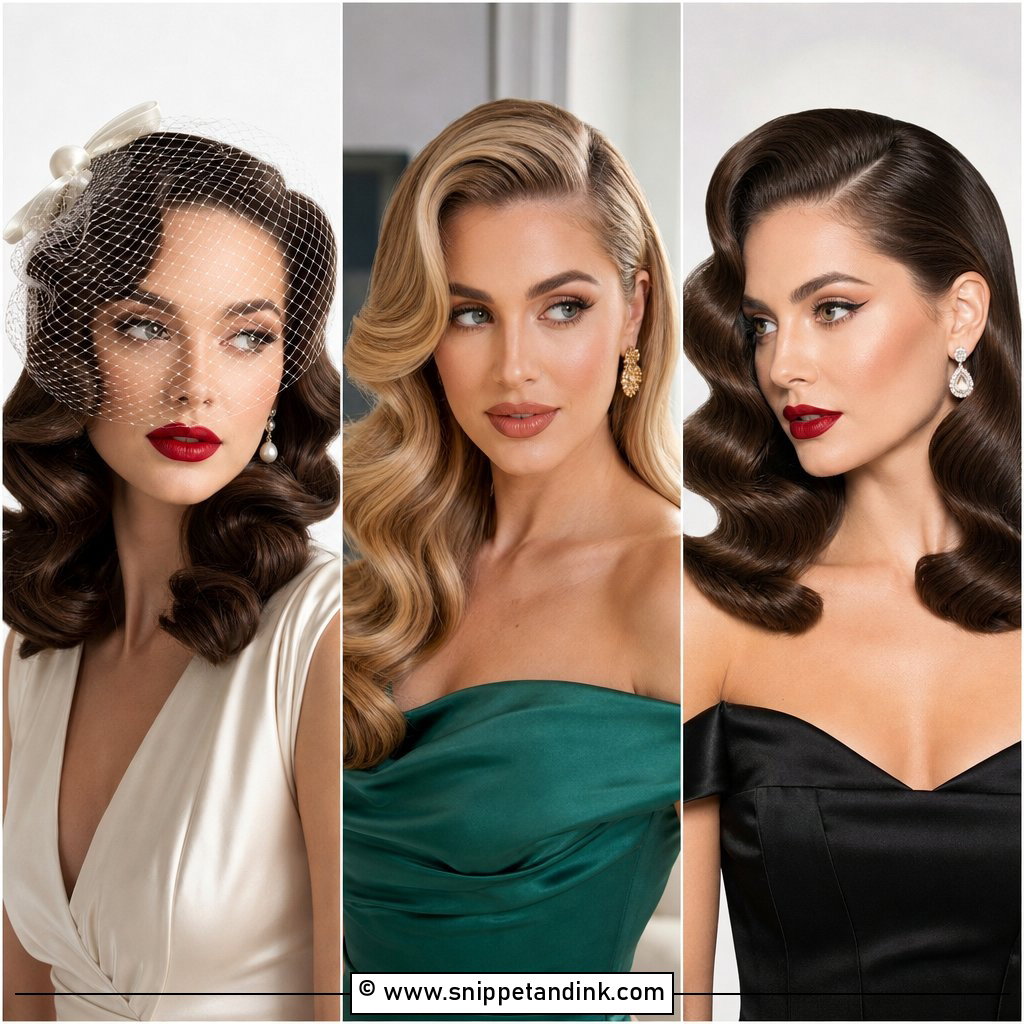
Hollywood waves borrow their shape from 1940s film stars: smooth, glossy curls that run in one unbroken line instead of a row of separate ringlets. They adapt to short, medium, and long hair, and to most textures, as long as the set is built for the hair in the chair. I’ve included down styles, low buns, a ponytail, and the older finger-wave and pin-curl methods, because the right one depends as much on your dress and venue as on your length. If you’ve been saving pictures of Veronica Lake or Rita Hayworth, here are 20 ways to get there, with notes on what each one asks of your hair.
Hot Iron or Pin Curls? How Each Set Behaves
There are two ways I build these waves, and the choice matters more than most brides realize. A curling iron is faster, and on medium-thick hair that grips a curl, it’s all you need. Each section is curled in the same direction, pinned while it cools, then brushed out. The cooling is what fixes the shape, so a stylist who skips it is giving you a wave that won’t last.
Pin curls take longer. Small sections are wound flat, often with setting lotion, and left to set completely before the brush-out. I lean on them for very straight, heavy, or silky hair that drops an iron curl within an hour, and for anyone wanting the defined ridges of an old film still.
- Hot iron: quicker, softer finish, best on hair that already holds a curl.
- Pin curls or a wet set: more time, crisper ridges, much better hold on resistant hair.
- Finger waves: sculpted with gel and clips, ideal for short hair, a specialist skill.
1. Side Swept Hollywood Waves
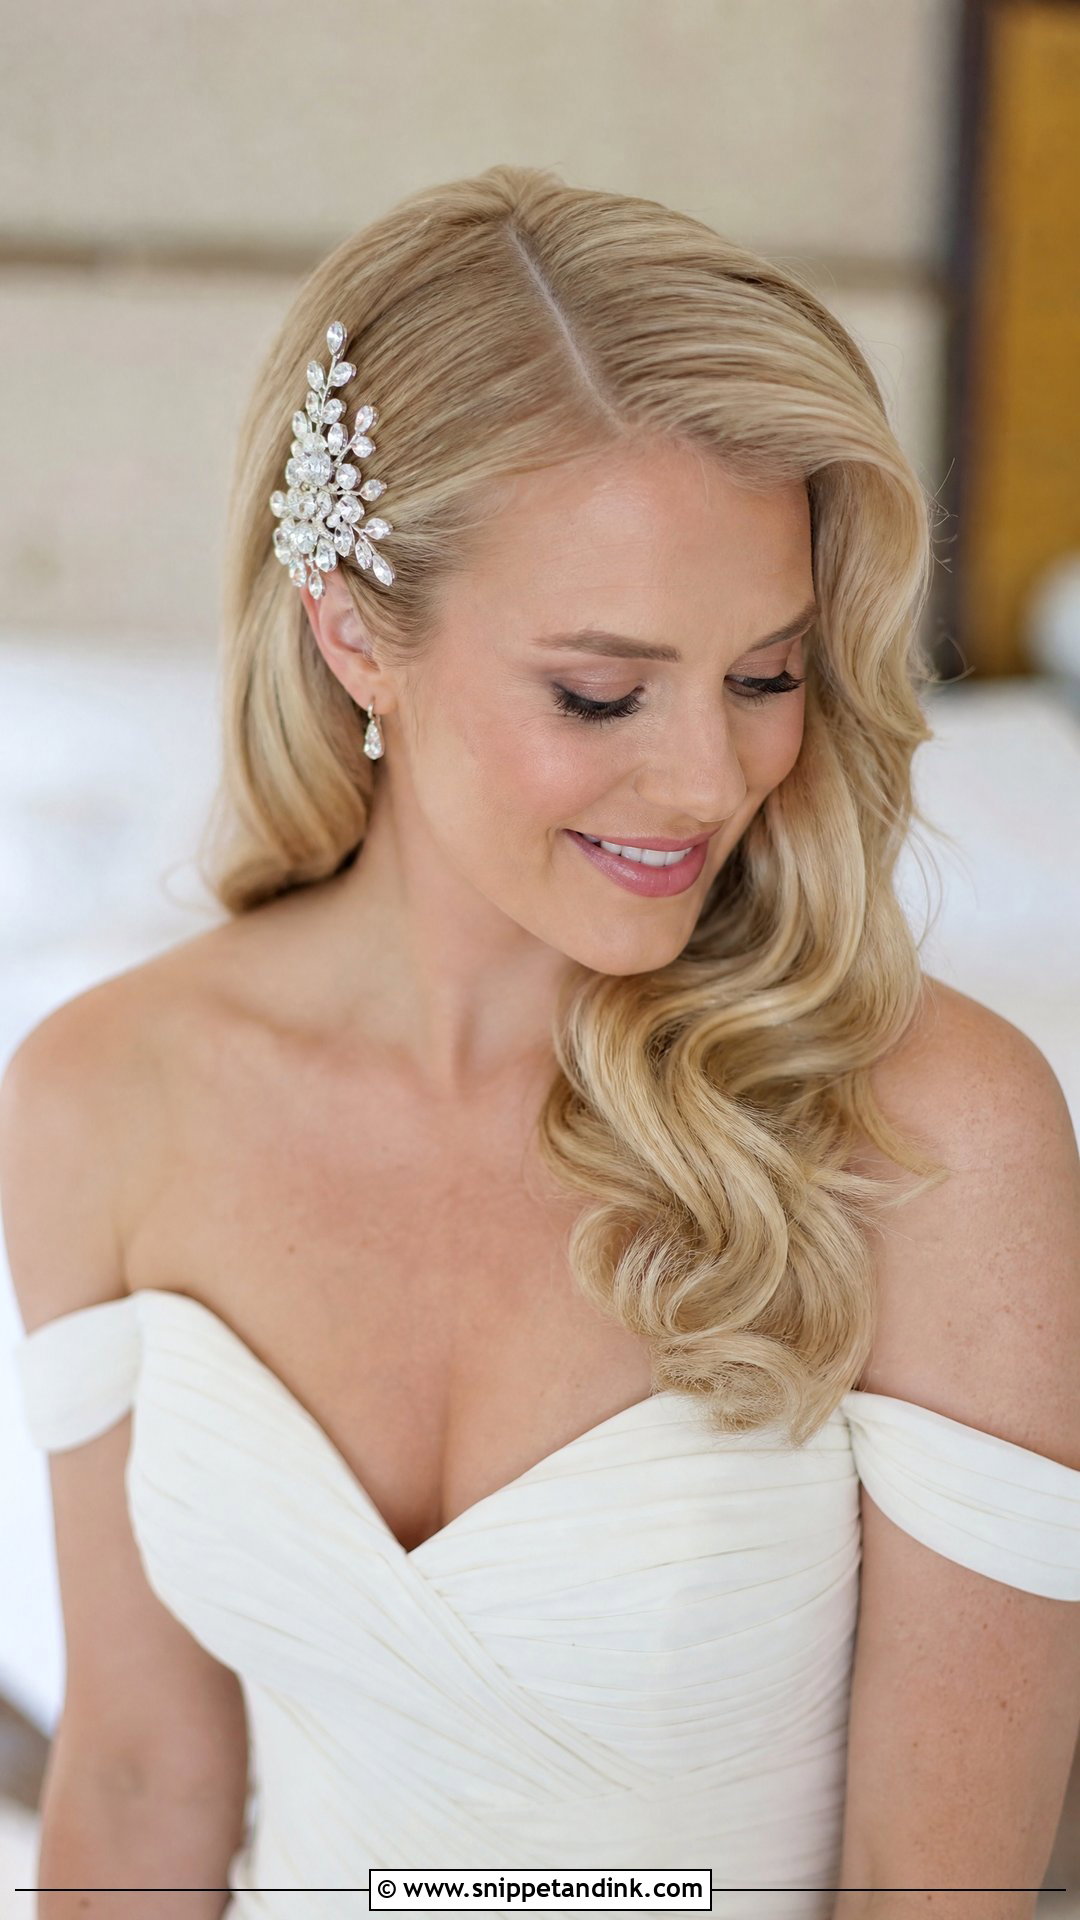
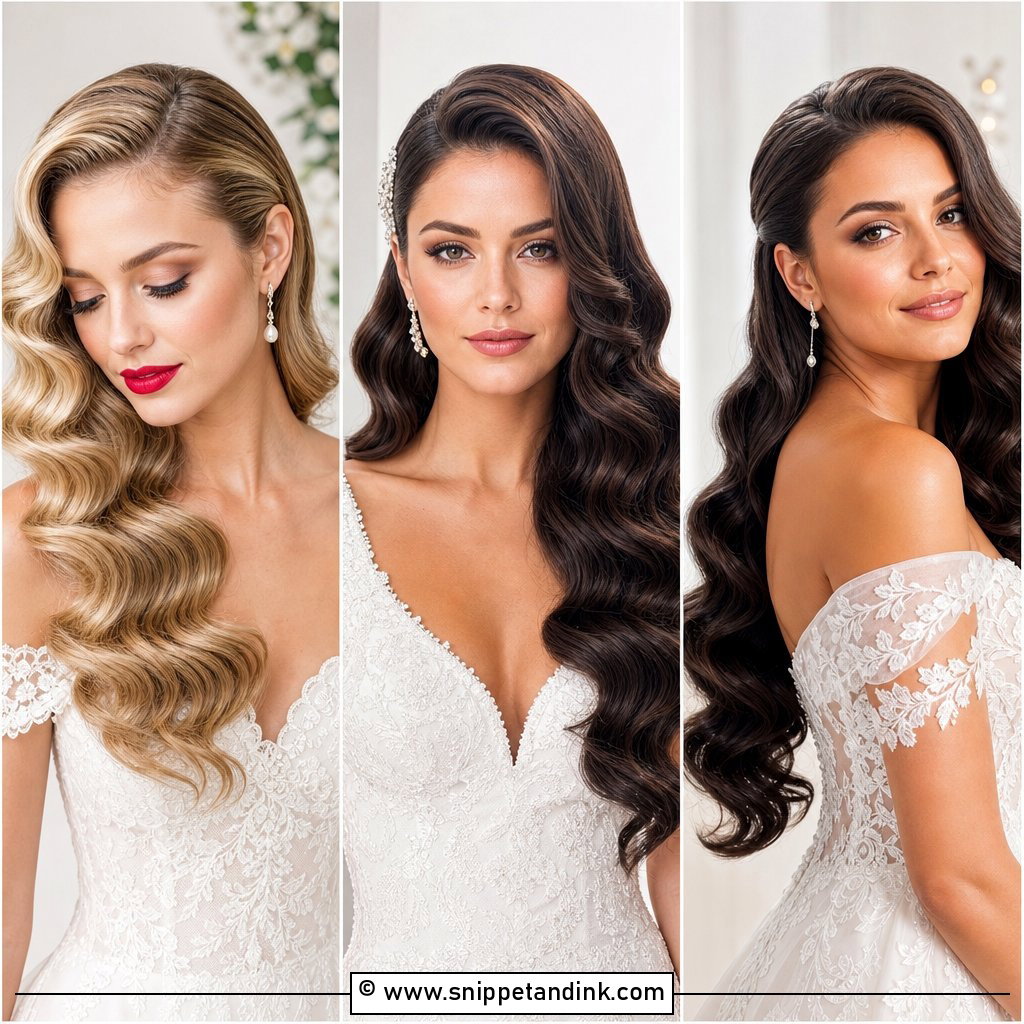
Everything goes over one shoulder here, with a deep side part pushing a heavy wave across the brow in the Veronica Lake shape. It’s the classic choice for an off-shoulder gown, since one side of the neck is fully bare. The hair on the back of the head is the weak point. I pin it flat in a line under the sweep, or by the cocktail hour the waves start sliding back toward the center. A crystal comb above the clear ear adds sparkle and hides those pins.
2. Middle Part Hollywood Waves
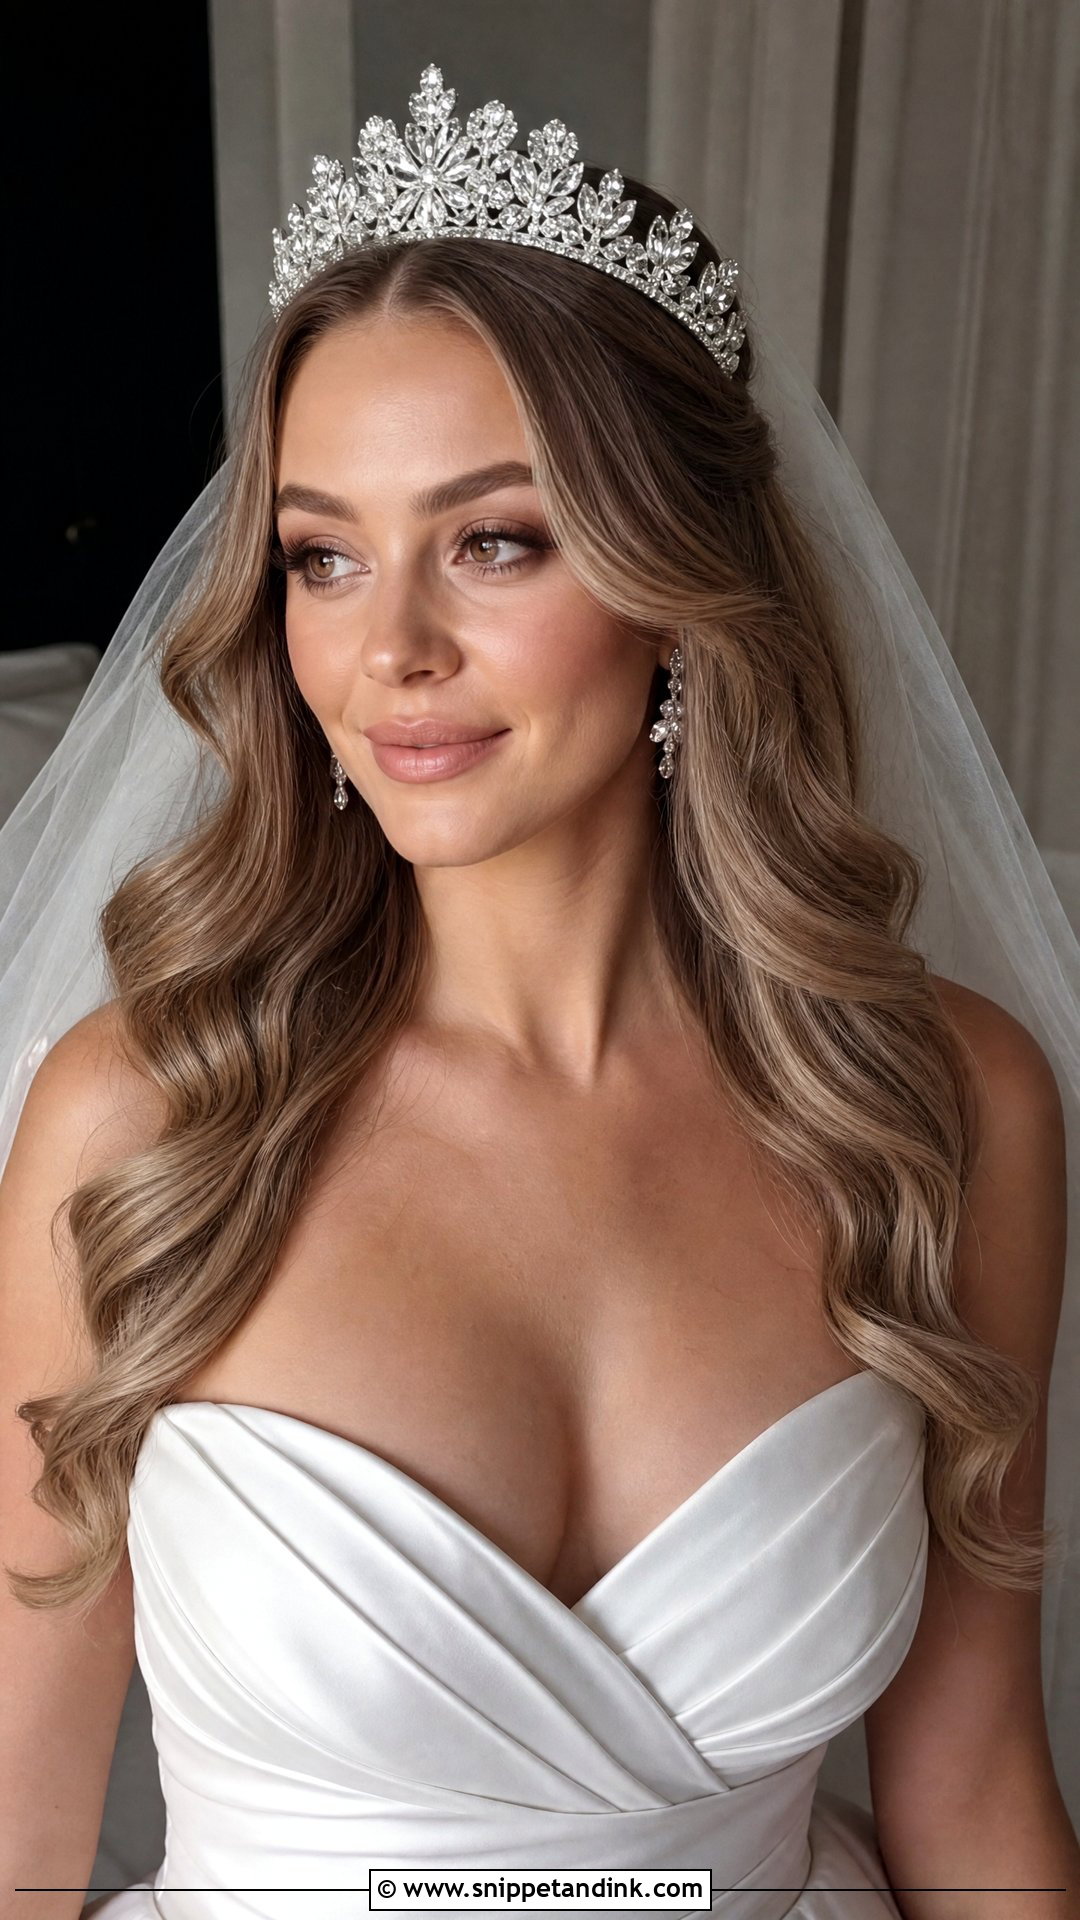
Quick verdict: the center part is the more forgiving version for round, heart-shaped, and oval faces, and the easiest one to wear with a crown. Tiaras, headbands, vines, and floating halo crowns all sit level on it. I start the waves just below the cheekbones. Any higher and they push the hair outward at the temples, which reads wide in front-facing photos.
3. Hollywood Waves Low Bun
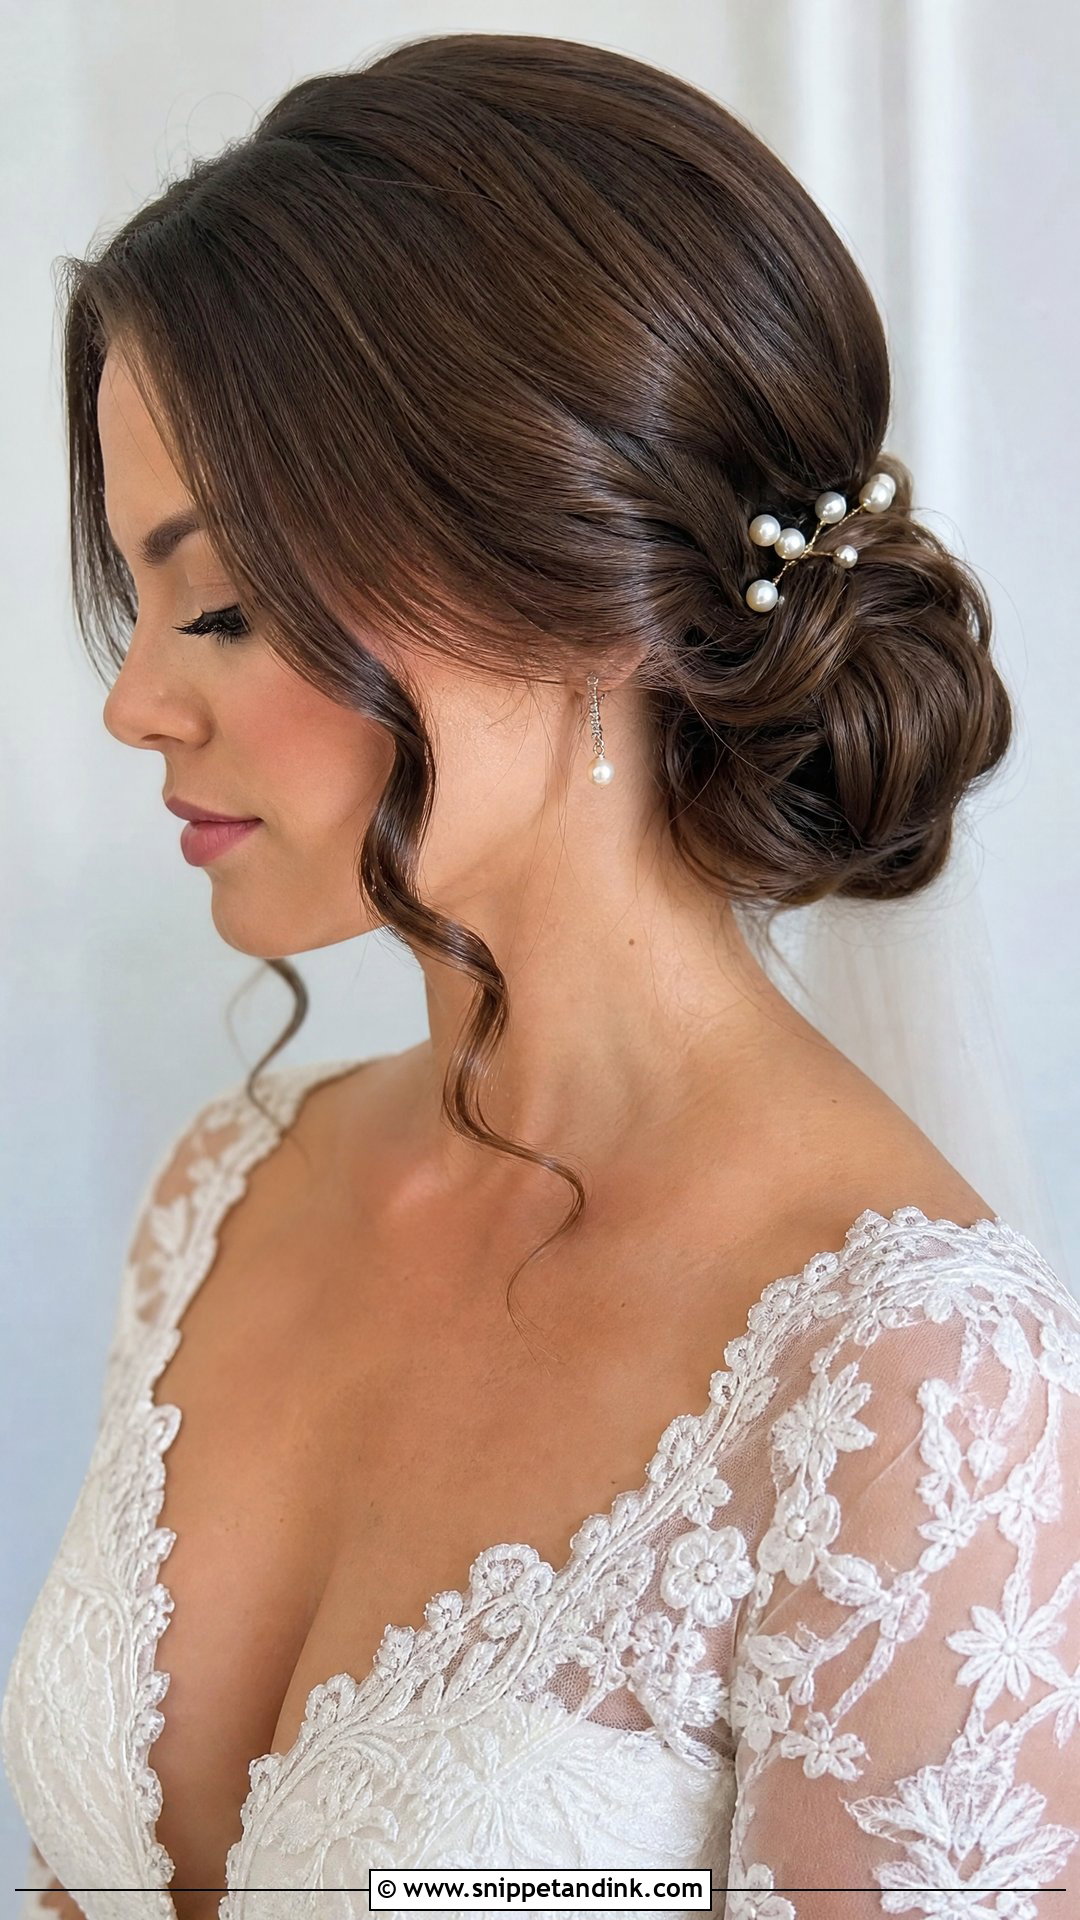
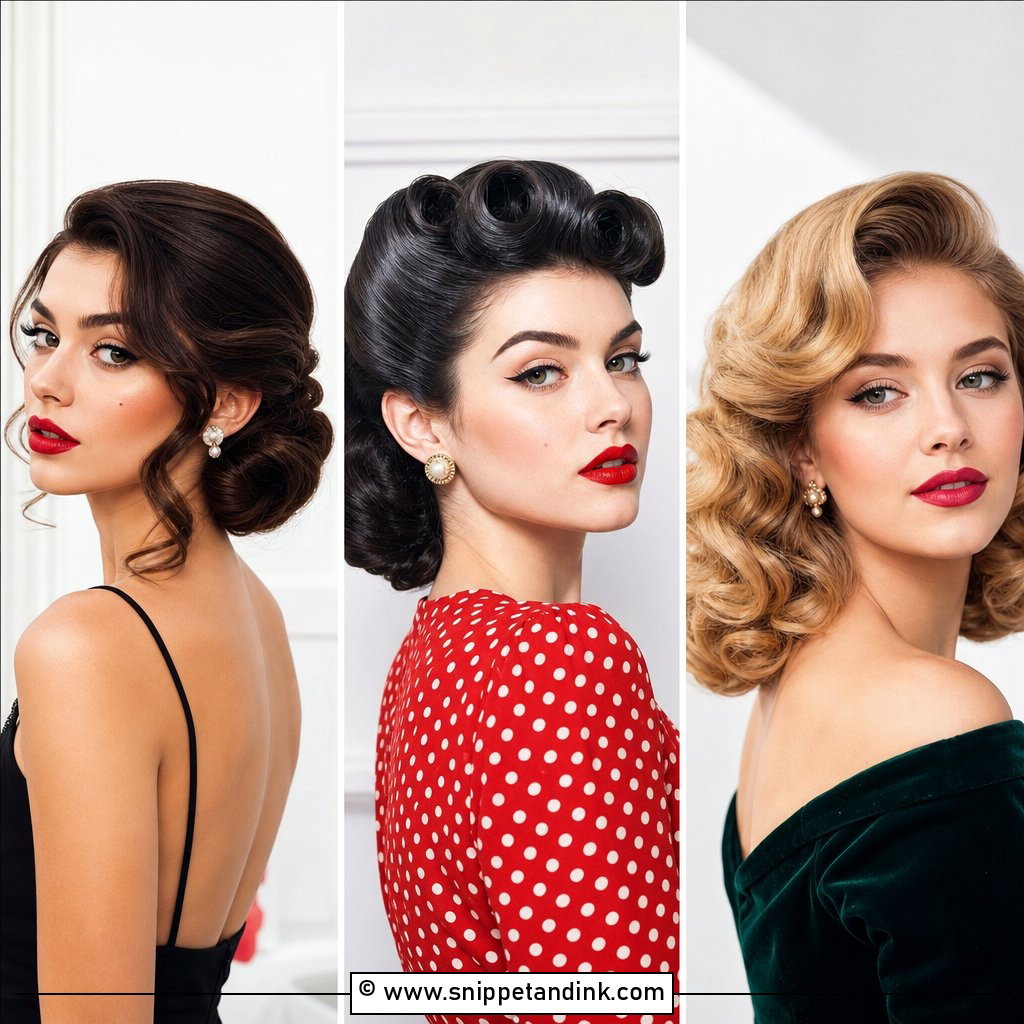
Waves gathered into a low chignon at the nape give you the glamour with most of the hair secured. The front sections stay smooth and waved around the face. This is my first suggestion for brides with fine hair that won’t hold a full down set for ten hours, since the bun carries most of the length. Tuck a veil comb just under the bun so the weight sits on pinned hair, and add pearl pins or a crystal clip if you want some shine at the back.
4. Hollywood Waves Ponytail
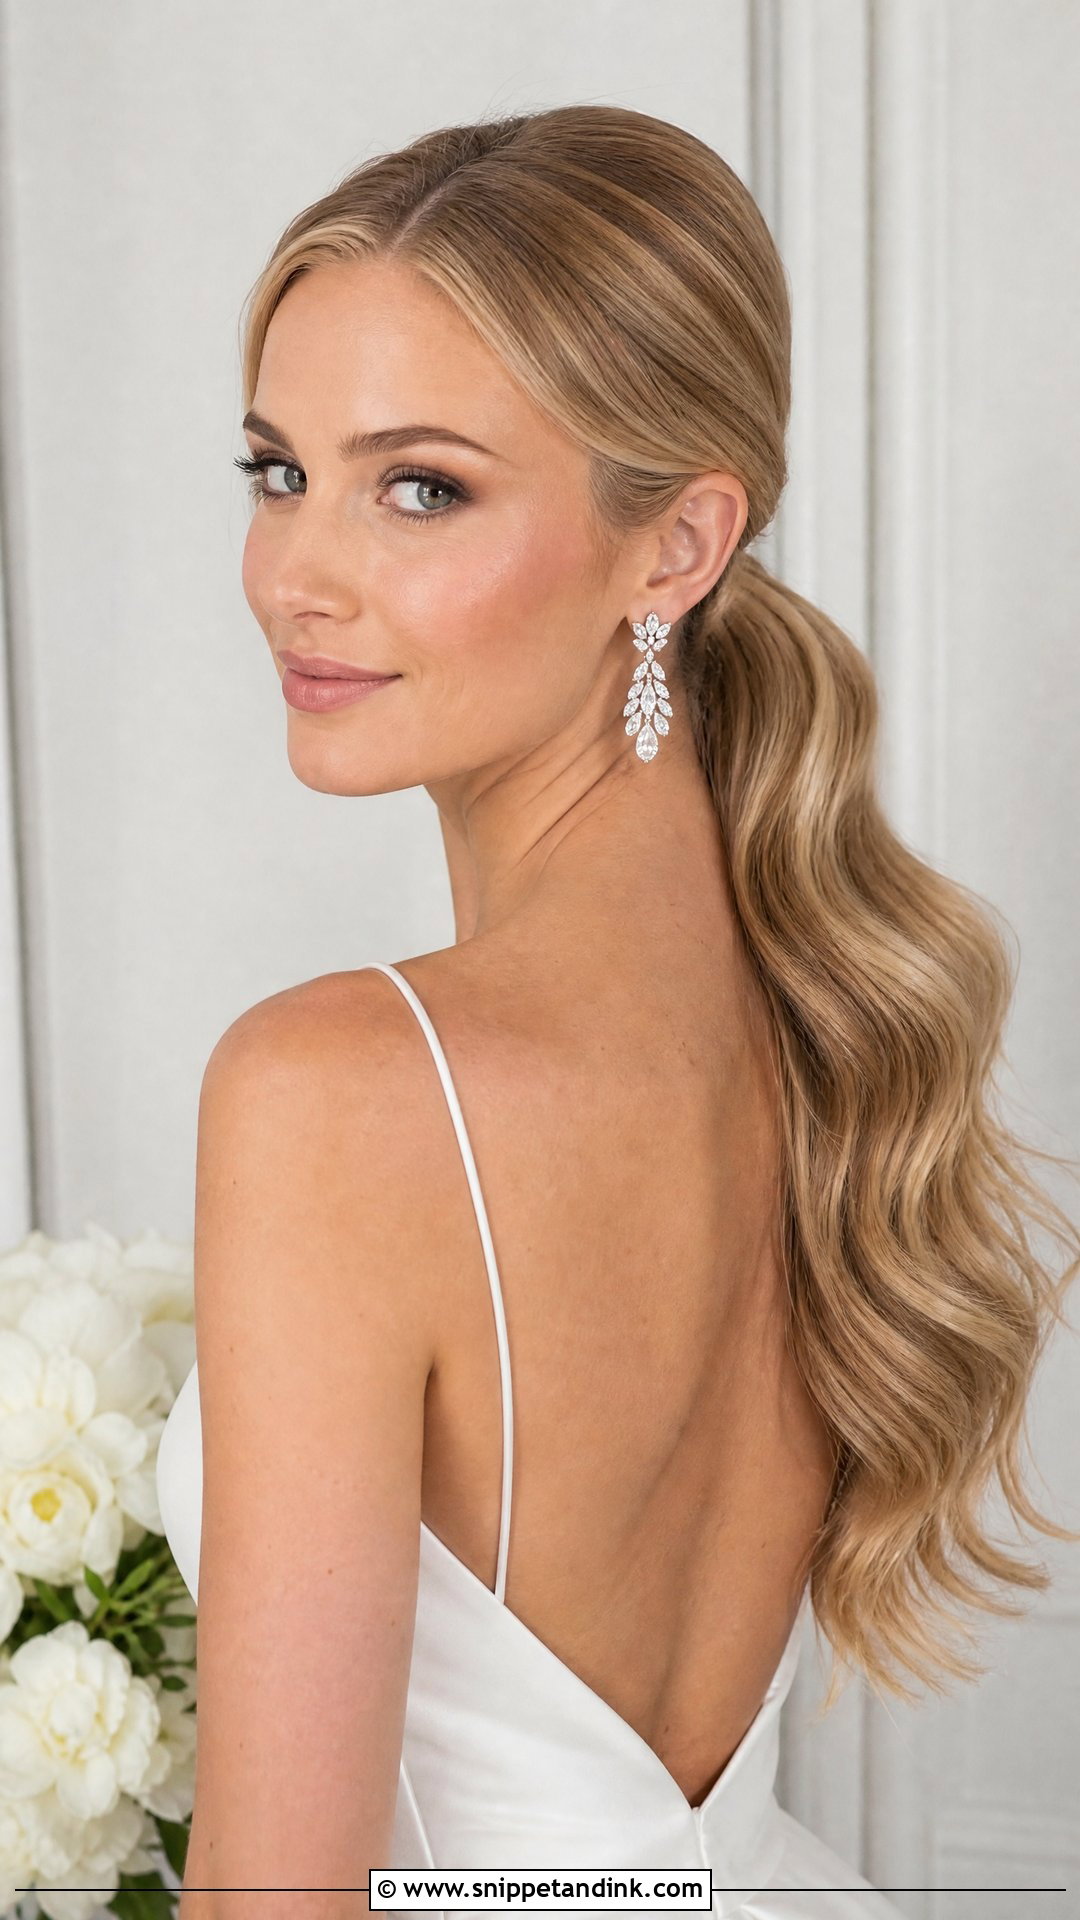
A waved ponytail moves well when you walk and dance. It can sit high for drama or low for something softer. The base needs a firm anchor, so I use an elastic first, wrap a section around it, and pin the wrap underneath. Thin ponytails look sparse once waved, which is why clipping a waved extension over your own hair is common and almost invisible if the color is matched. Statement earrings keep the focus up at the face.
5. Half Up Hollywood Waves
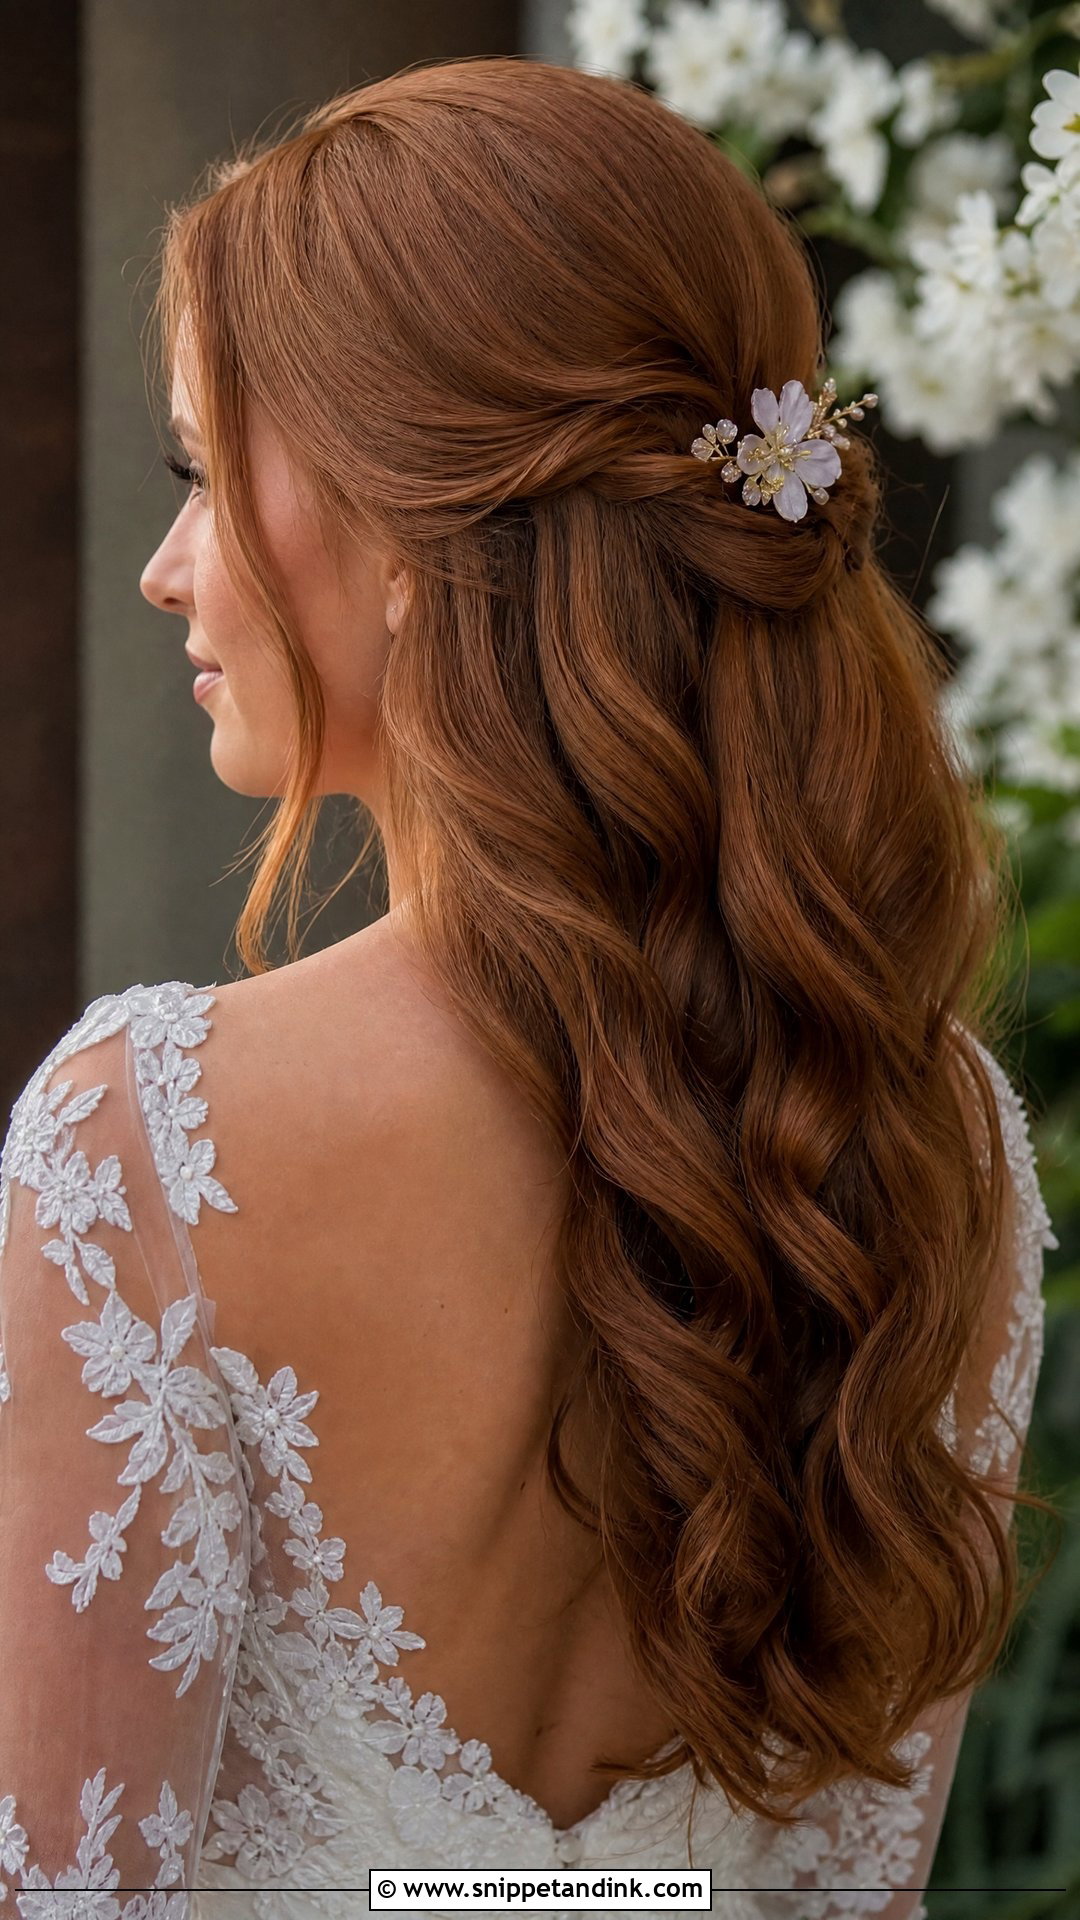
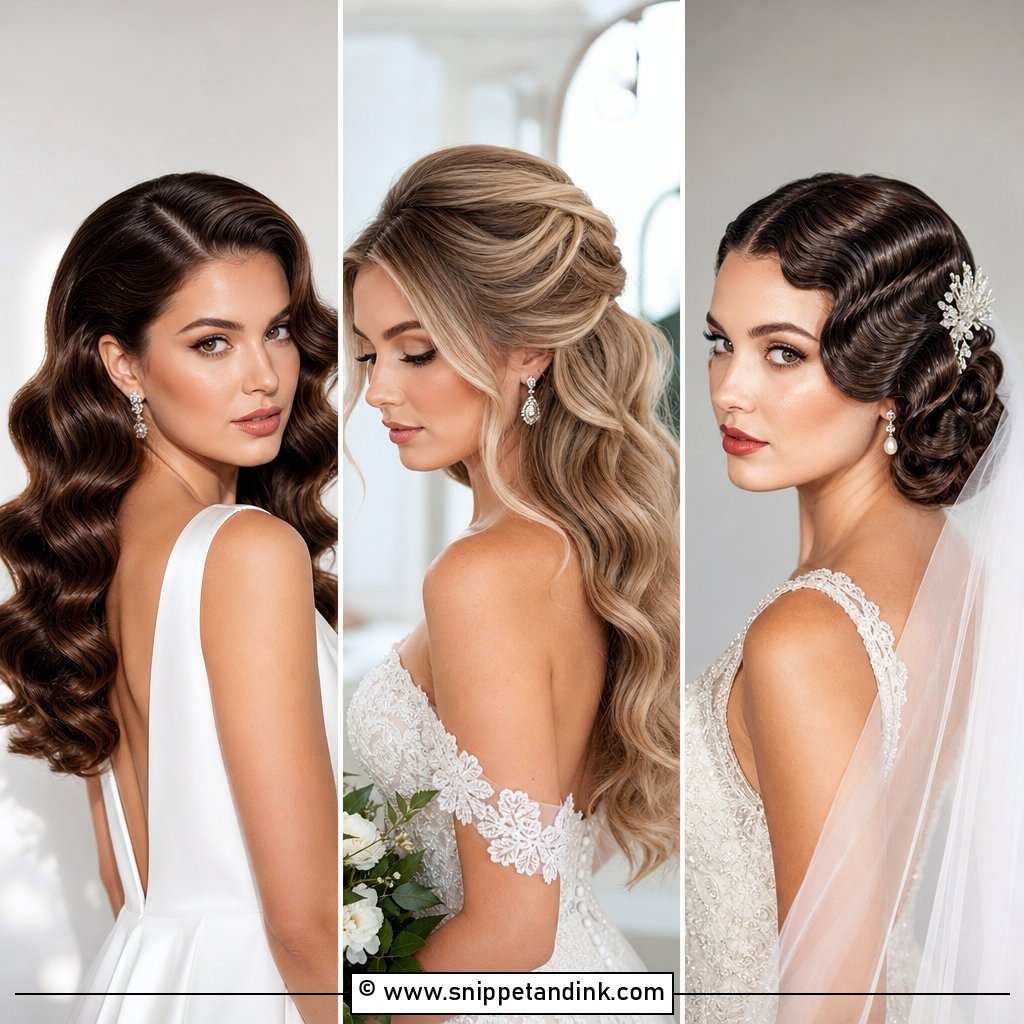
If you can’t decide between up and down, pull the top section back and let the waves fall below. It keeps hair off your face and still shows length. I set the lower waves slightly firmer here, since the pinned top section takes some of the weight. Flowers, pearls, or a small clip can cover the join. It suits garden ceremonies, and a veil anchors well just under the half-up section.
6. Hollywood Waves With Veil
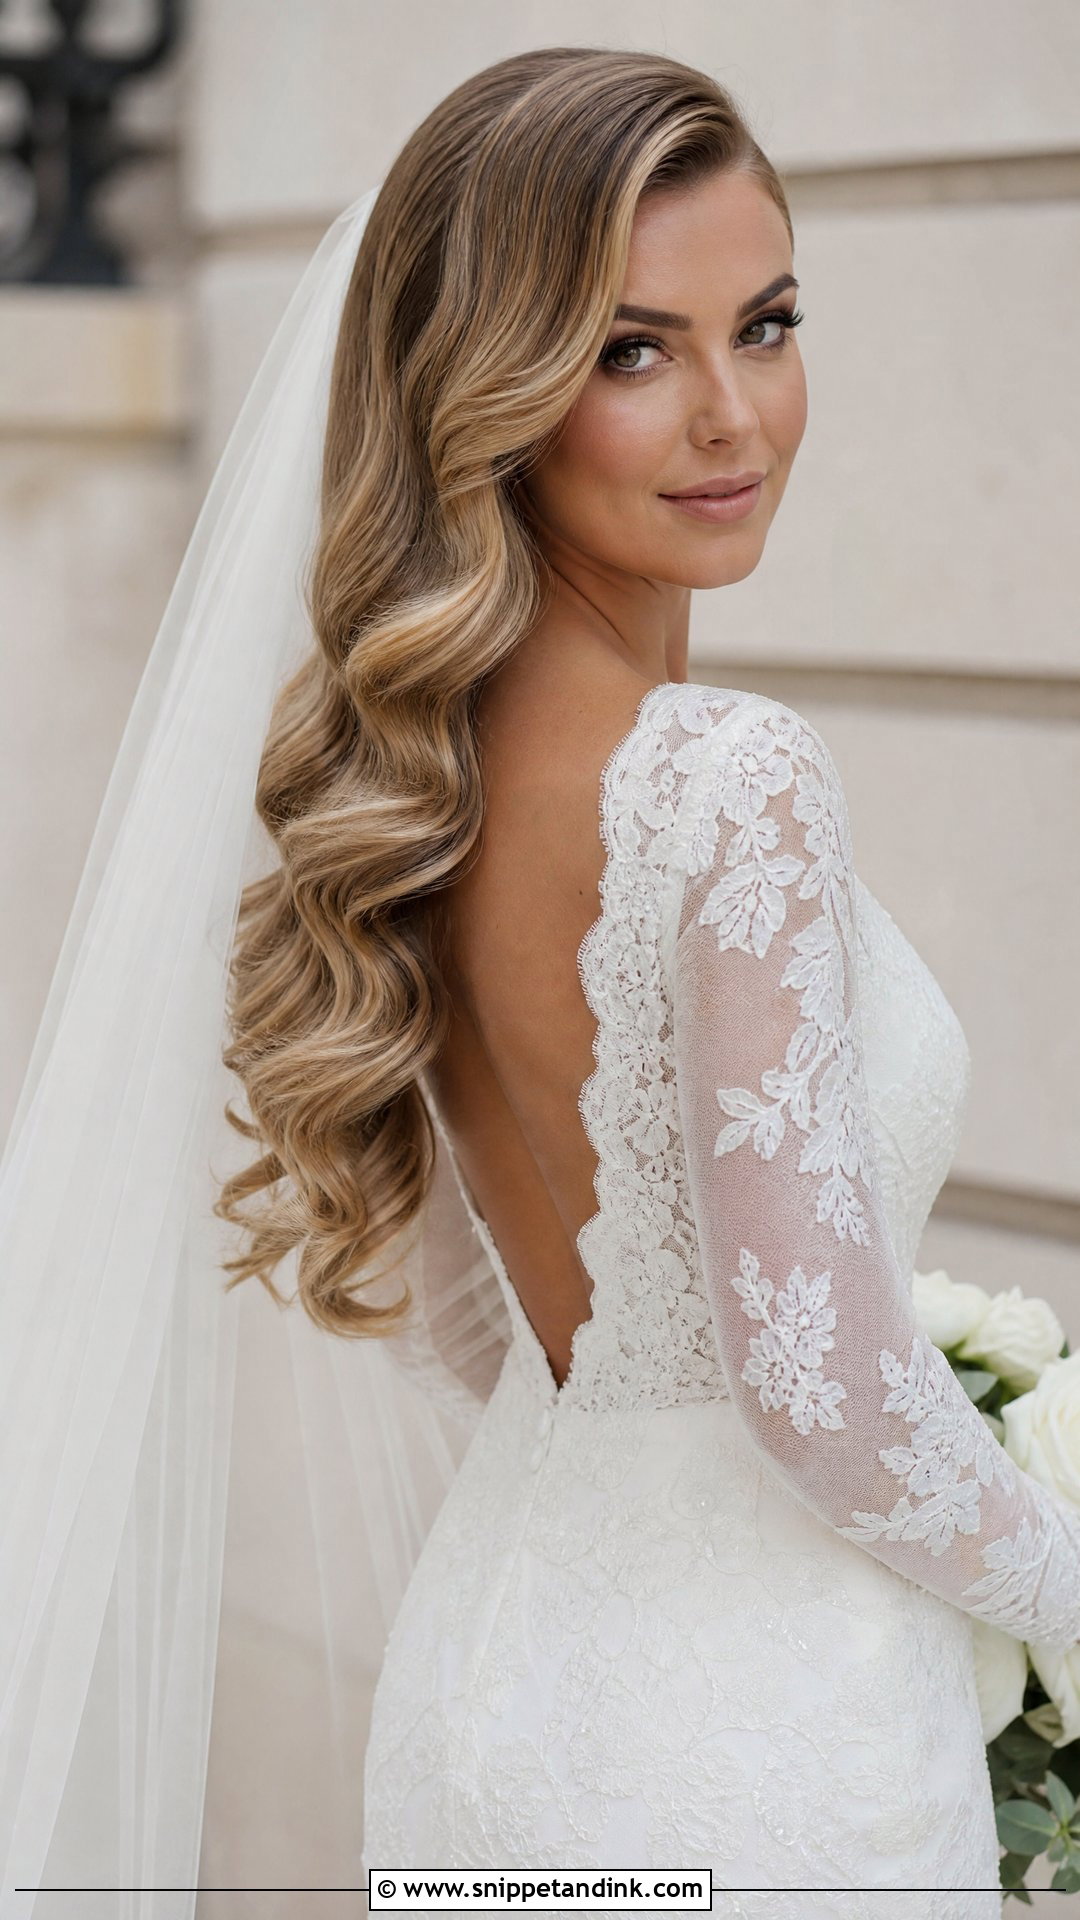
Waves give any veil a smooth base, but the placement decides whether they survive it. A blusher veil sits well over soft side-swept waves, and a cathedral length trails nicely behind glossy curls. I anchor the comb either tucked under the waves at the back or at the crown, never on top of the sweeping front wave, which it would crush. Once the blusher is lifted, the waves underneath should still be in place. That only happens if the veil was placed at the trial, not improvised that morning.
7. Short Hollywood Waves
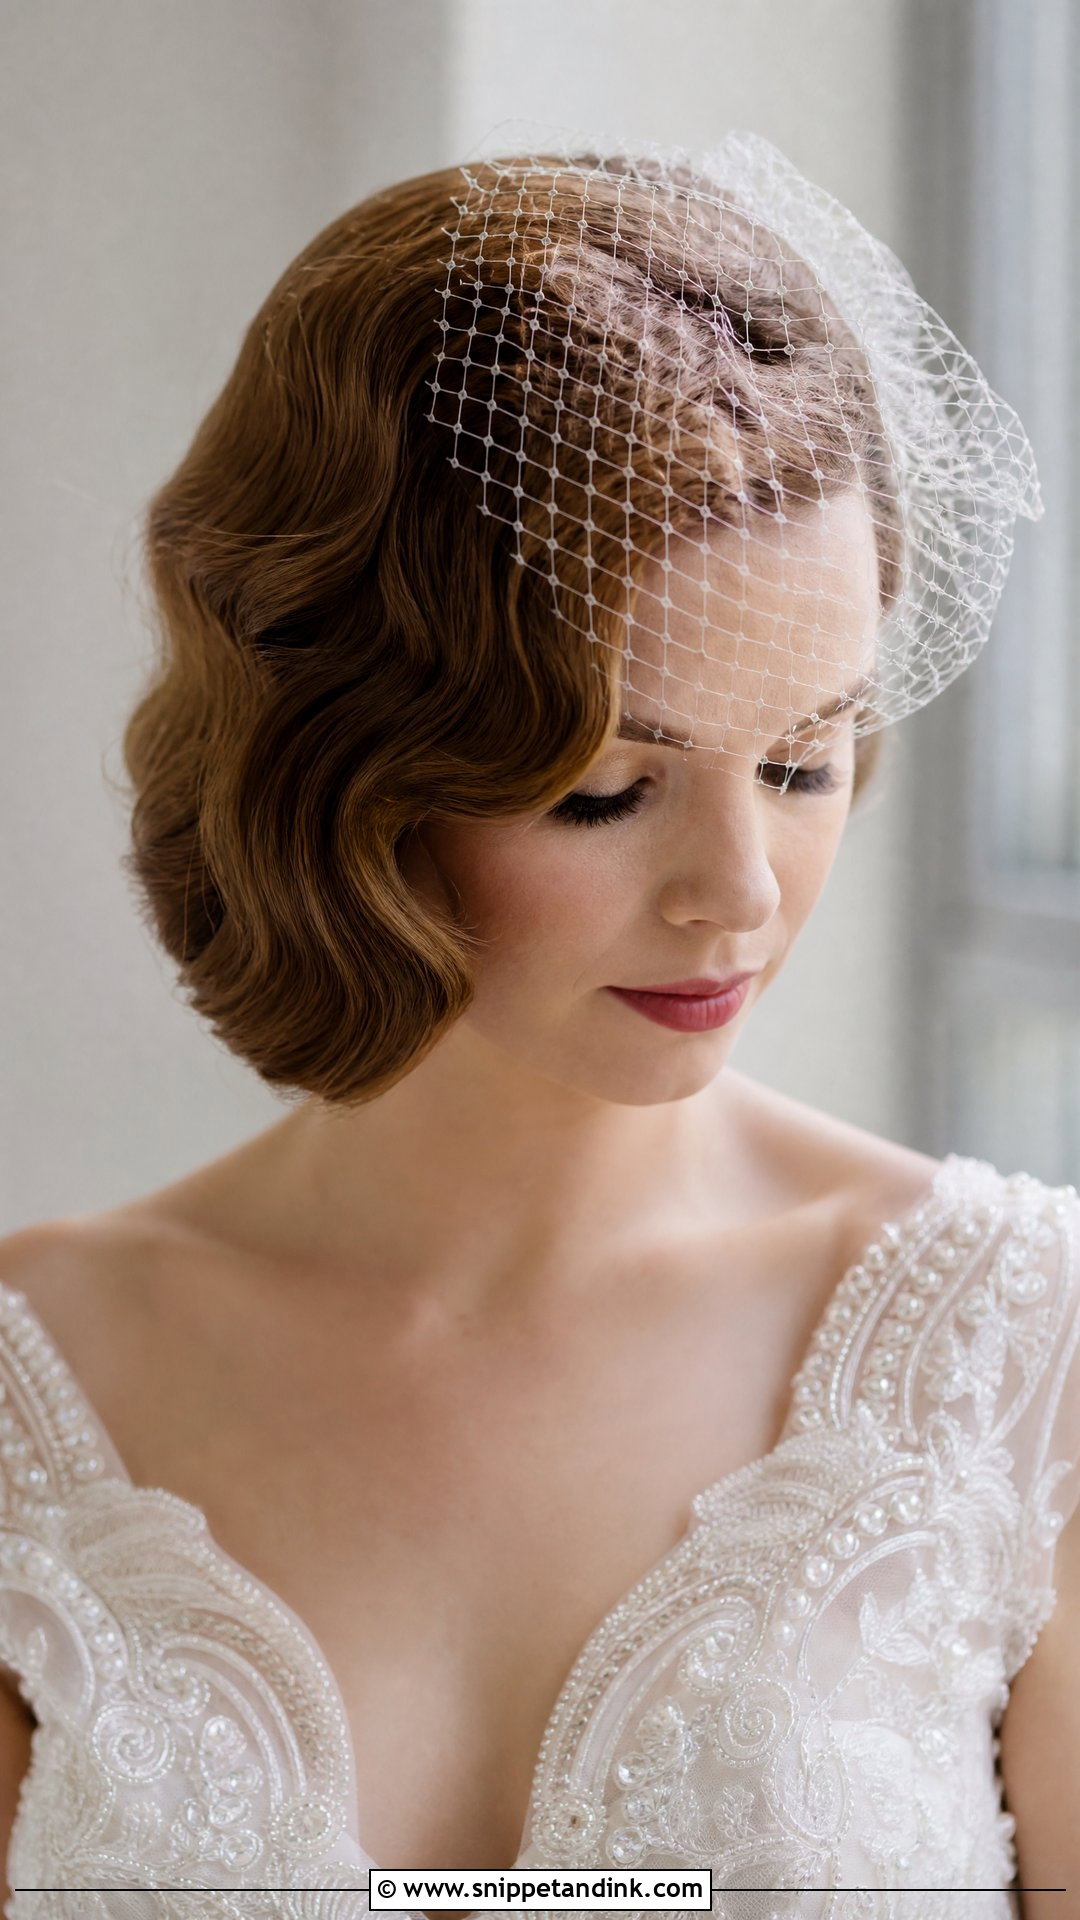
On bobs and lobs, the waves sit close to the head in tight S-shapes, closer to 1920s glamour than 1940s. A deep side part adds movement. Short hair often holds a sculpted wave better than long hair, since there’s no weight pulling it straight, and finger waves are especially at home at this length. A birdcage veil or a jeweled comb rounds out the retro feel. Book a trim about two weeks out so the ends curve cleanly.
8. Long Hollywood Waves
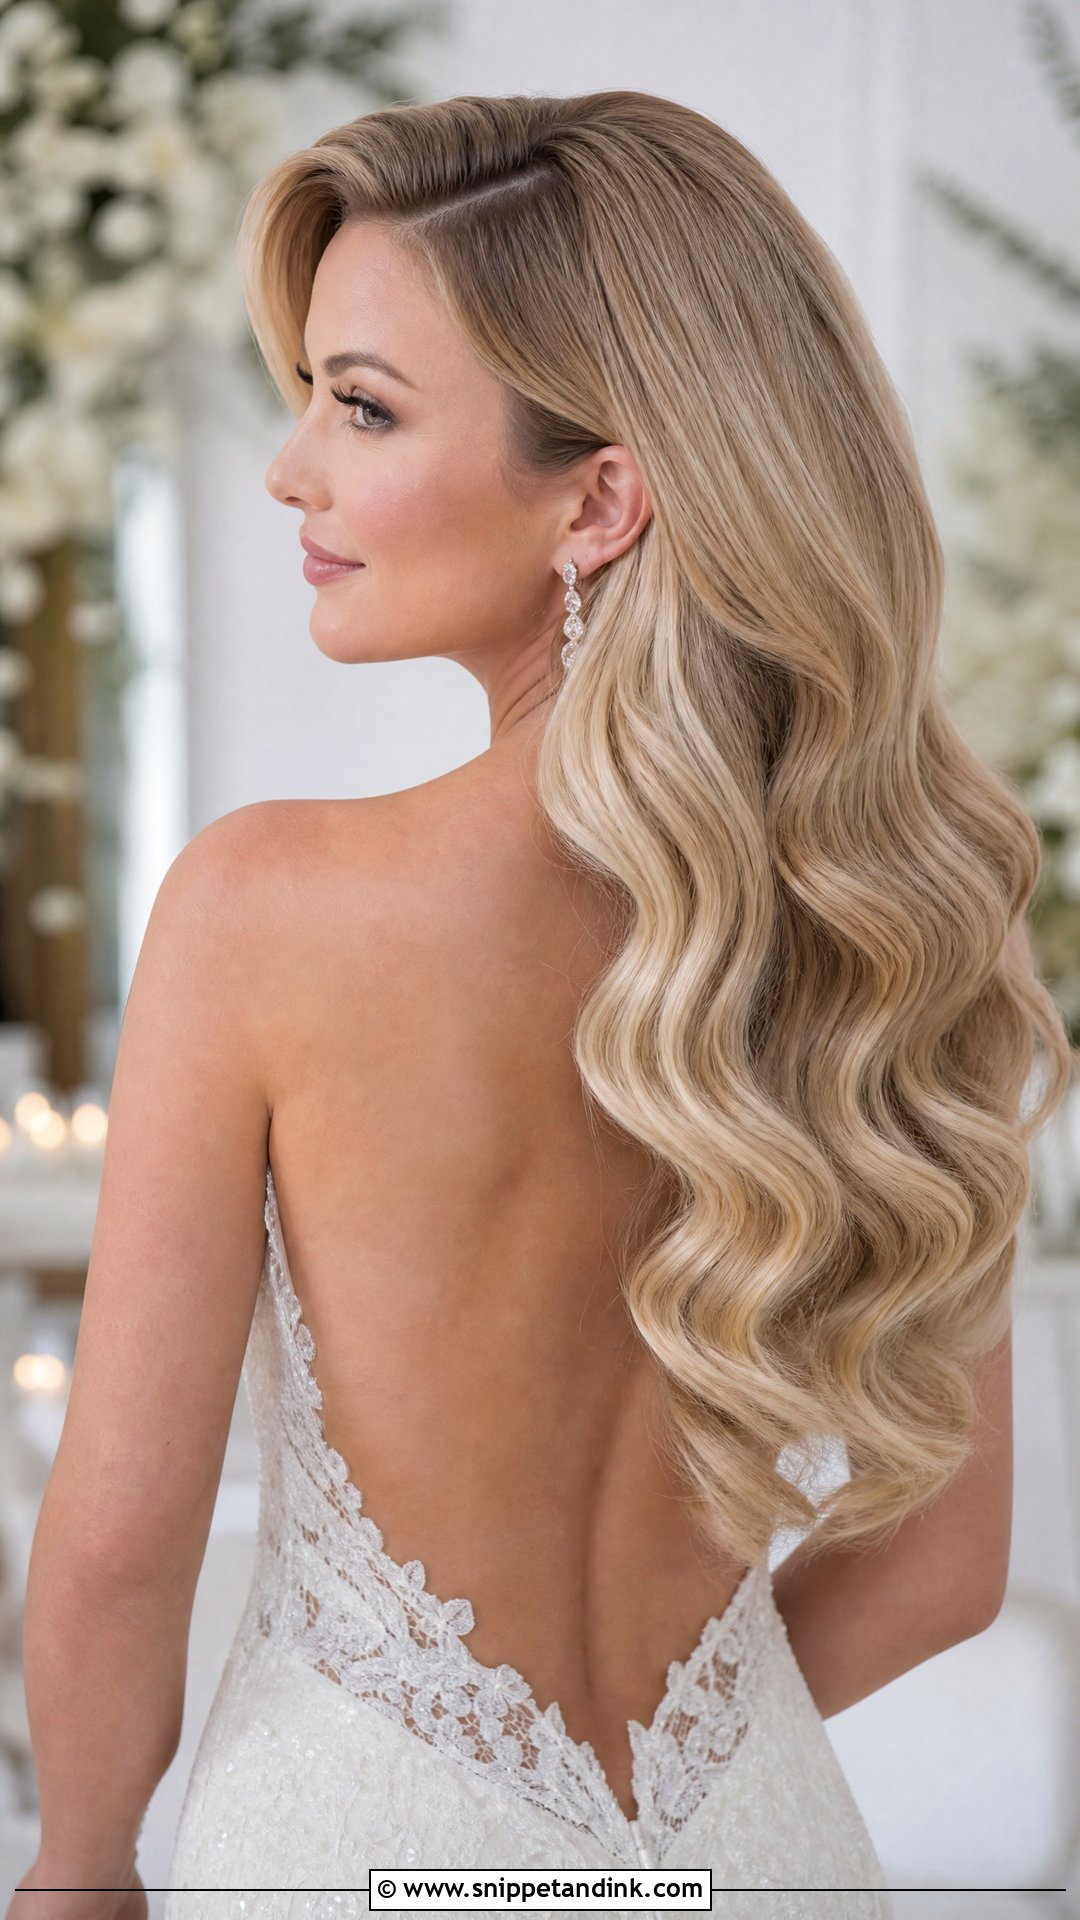
Long hair shows the wave pattern down the whole back, in a continuous brushed line. It’s also the hardest to keep. The weight drags the lower waves straight, so I pin each curl while it cools, build some root volume for lift, and use a stronger spray than I would on medium hair. Pair it with backless gowns and keep the jewelry focused at the ears. If your hair reaches your waist, consider the low bun version for the reception.
9. Medium Length Hollywood Waves
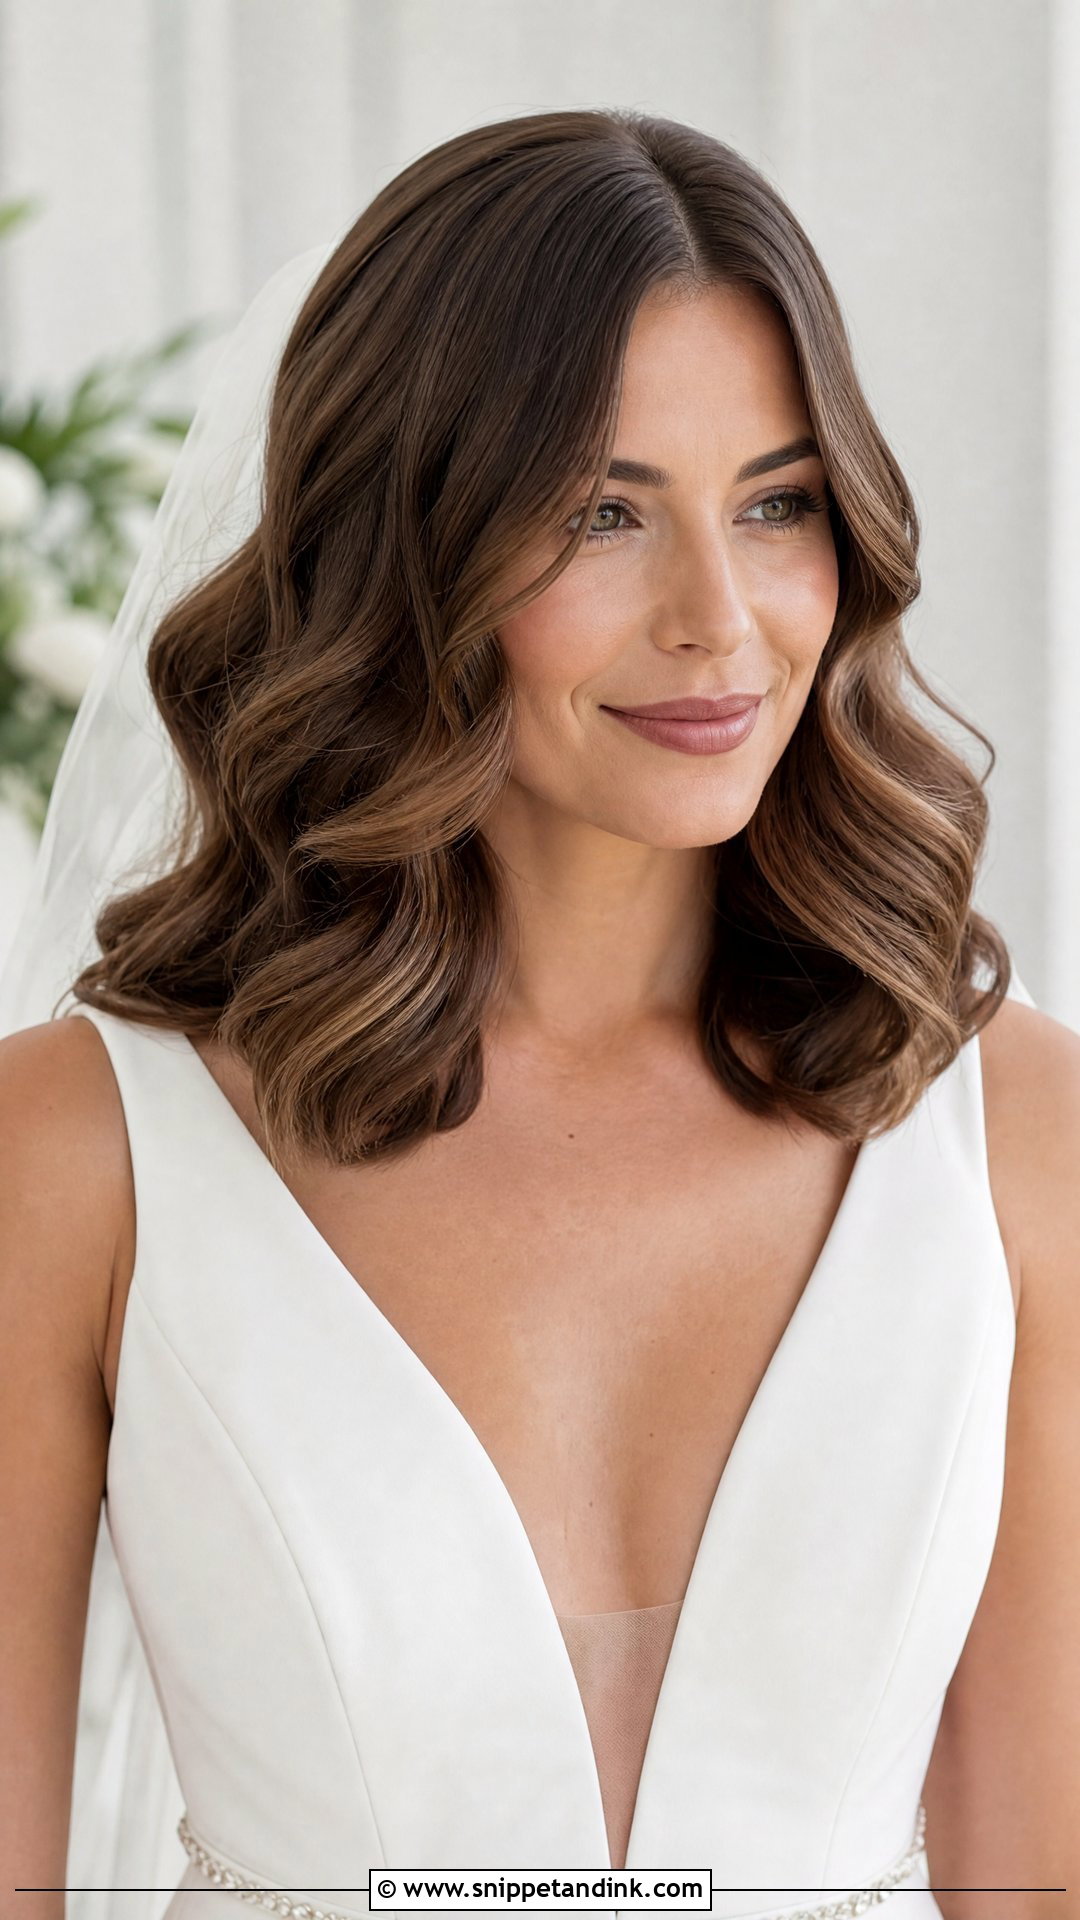
Just past the shoulders is the easiest length to wave. There’s enough hair for a full pattern but not enough weight to undo it, so it needs fewer touch-ups through the day. Both a side and a center part work. It sits well with combs, vines, and veils, and it’s what I’d point you toward if your hair is at this length and you’re unsure whether to grow it out for the wedding. Don’t, unless you have a year to spare.
10. Deep Side Part Hollywood Waves
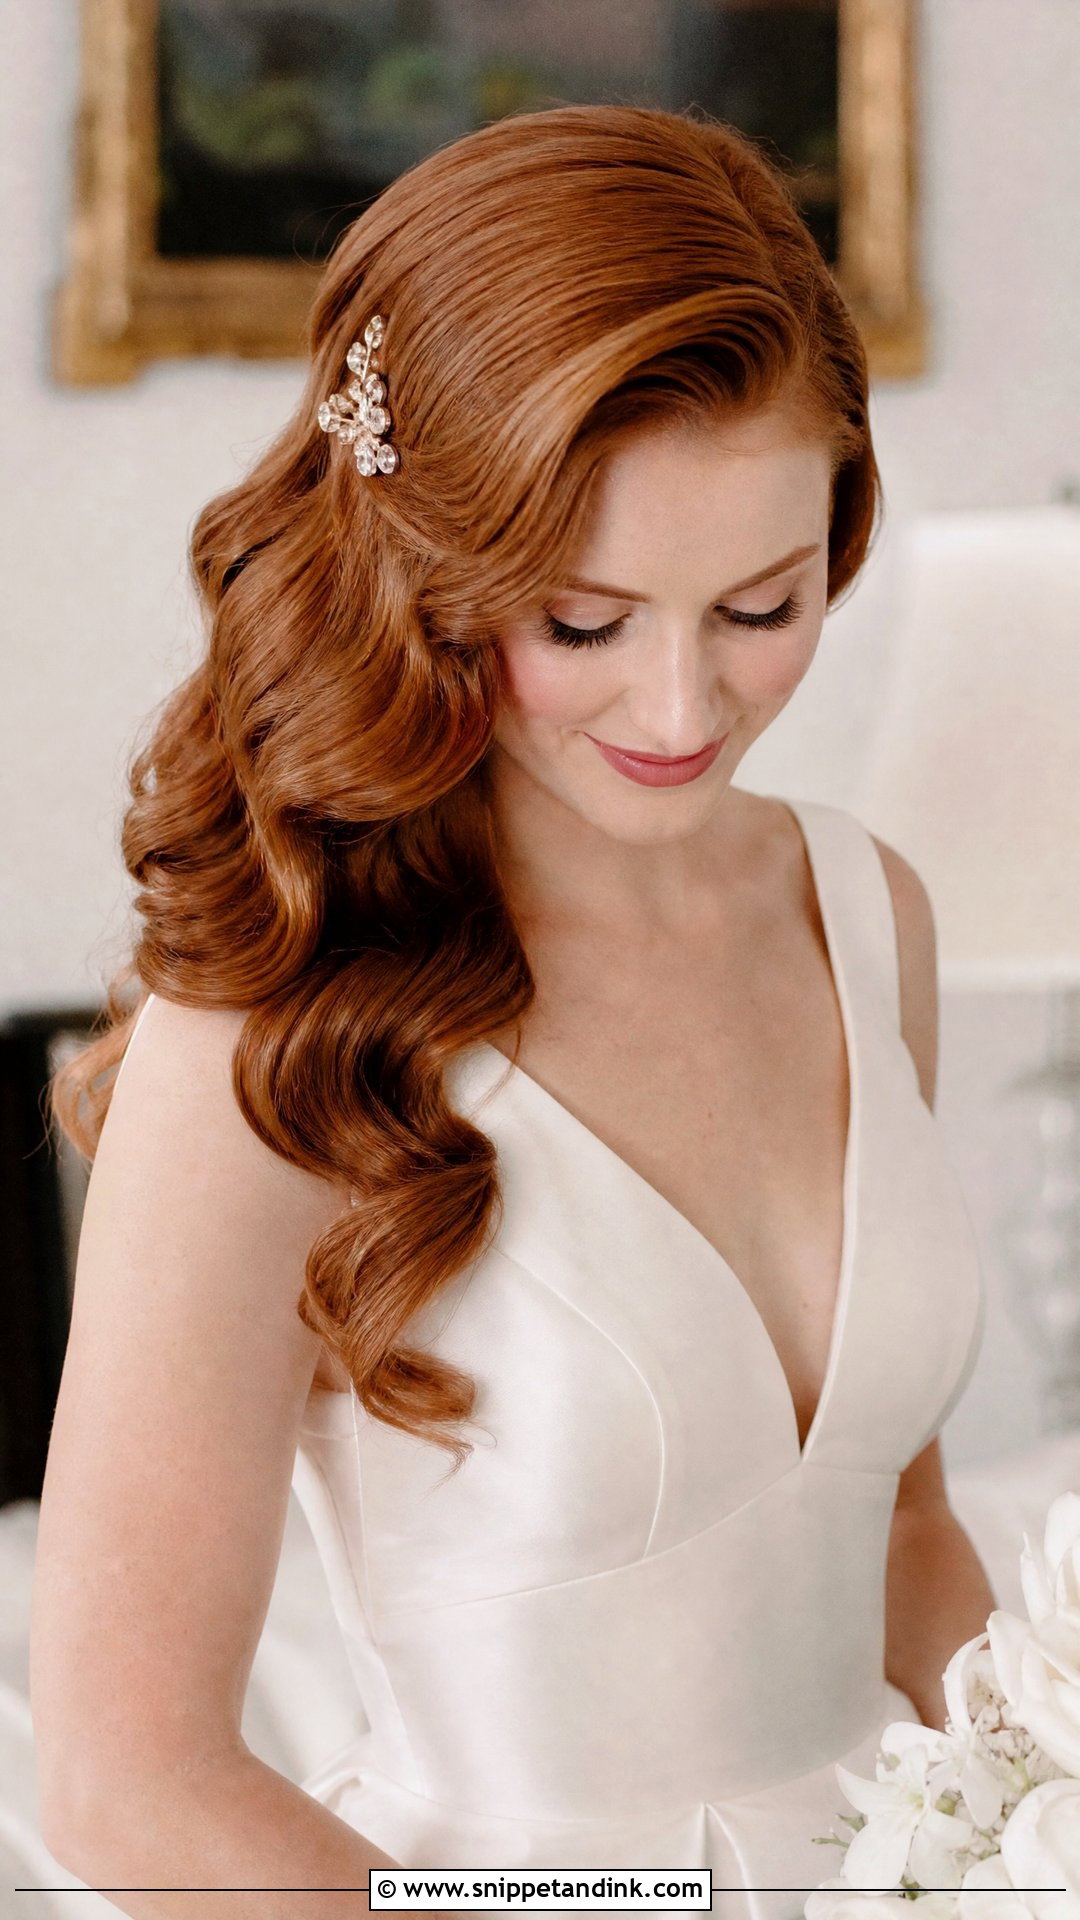
The deep part is where most Hollywood shapes begin. It sends a large section across the forehead into a swooping first wave, which adds volume at the crown without teasing. It softens most face shapes. The risk is the swoop dropping into your eye, so I pin under the first bend, hidden by the wave above it, or slide a comb in there. It works for both down styles and updos.
11. Finger Waves Bridal Hair
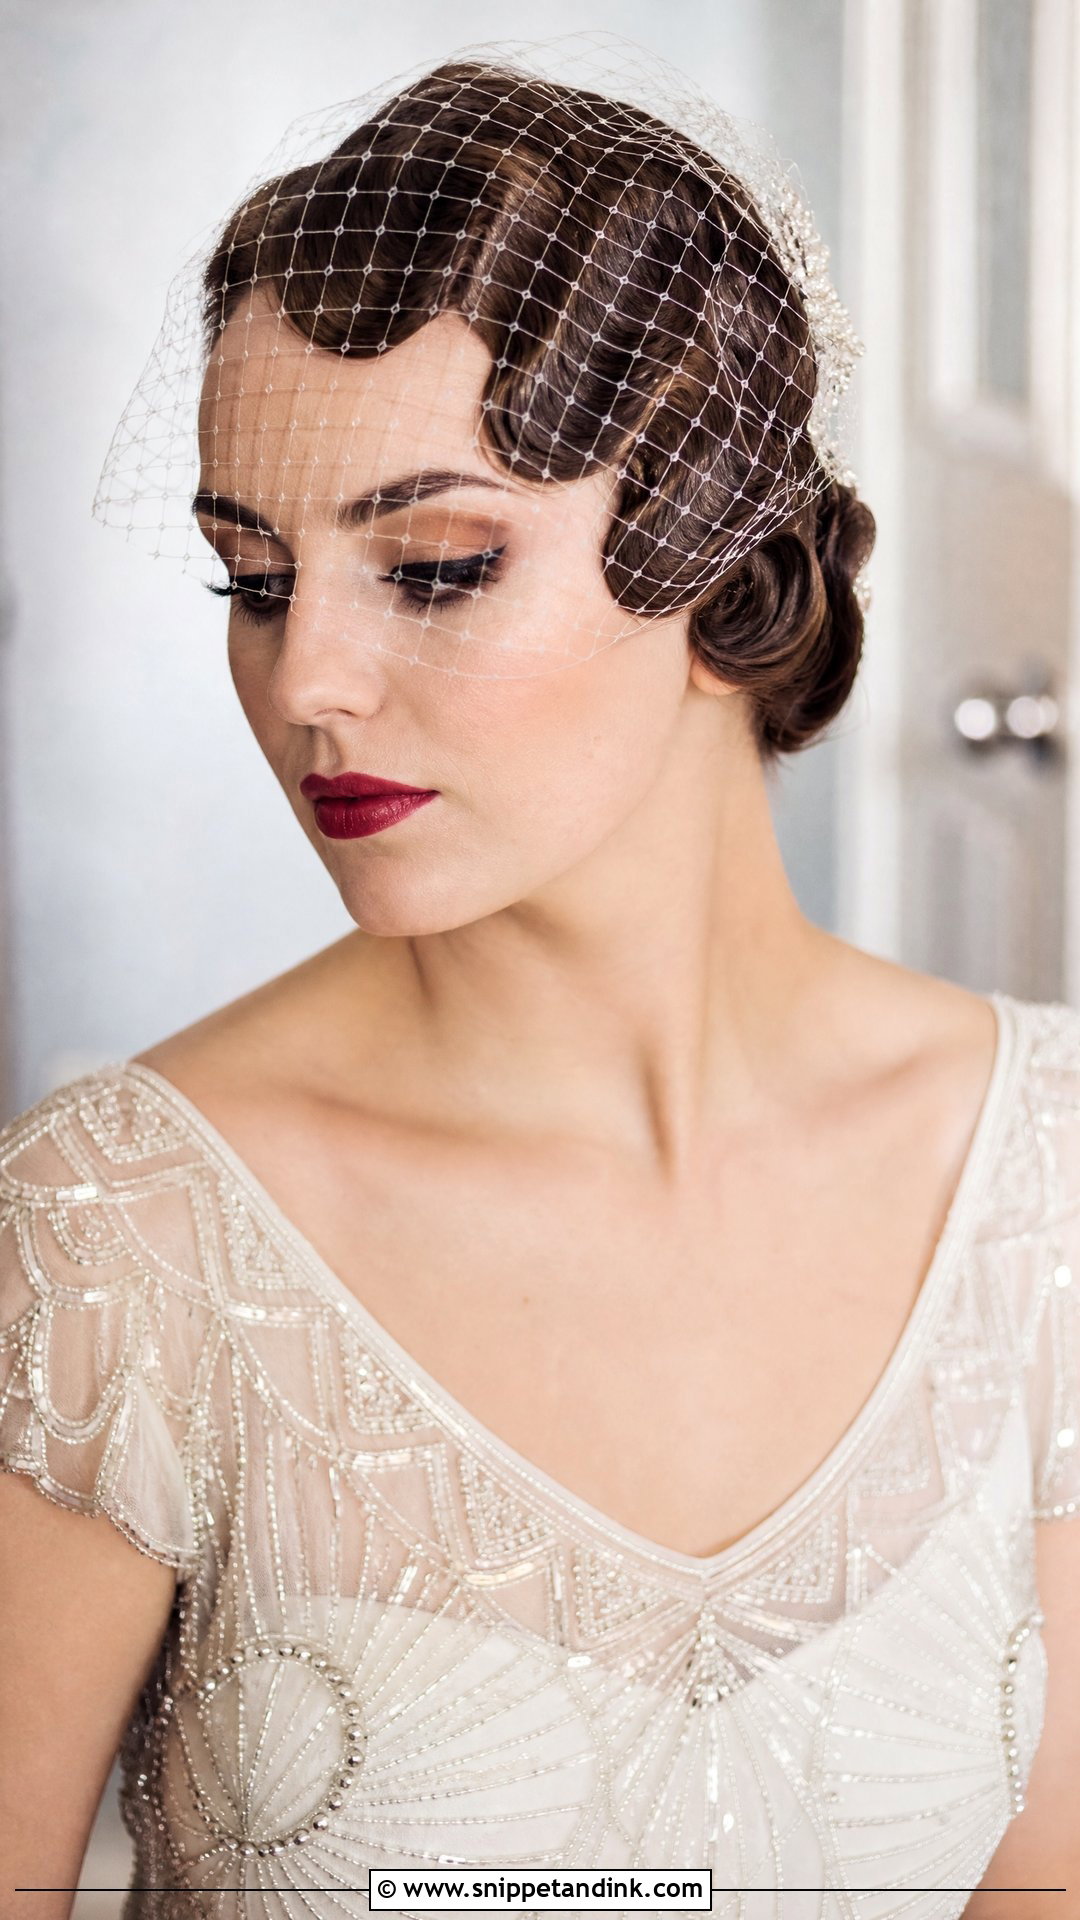
Done properly, elegant finger waves are sculpted rather than curled. The hair is shaped with setting lotion or gel and the fingers or a comb, then clipped into place to dry. The result is a flat, defined S-pattern that hugs the head, very 1920s. Short and medium hair suit it best. It takes time, and it’s a specialist skill, so ask to see your stylist’s own finger-wave work before booking. A birdcage veil is the natural partner.
12. Hollywood Waves With Crystal Comb
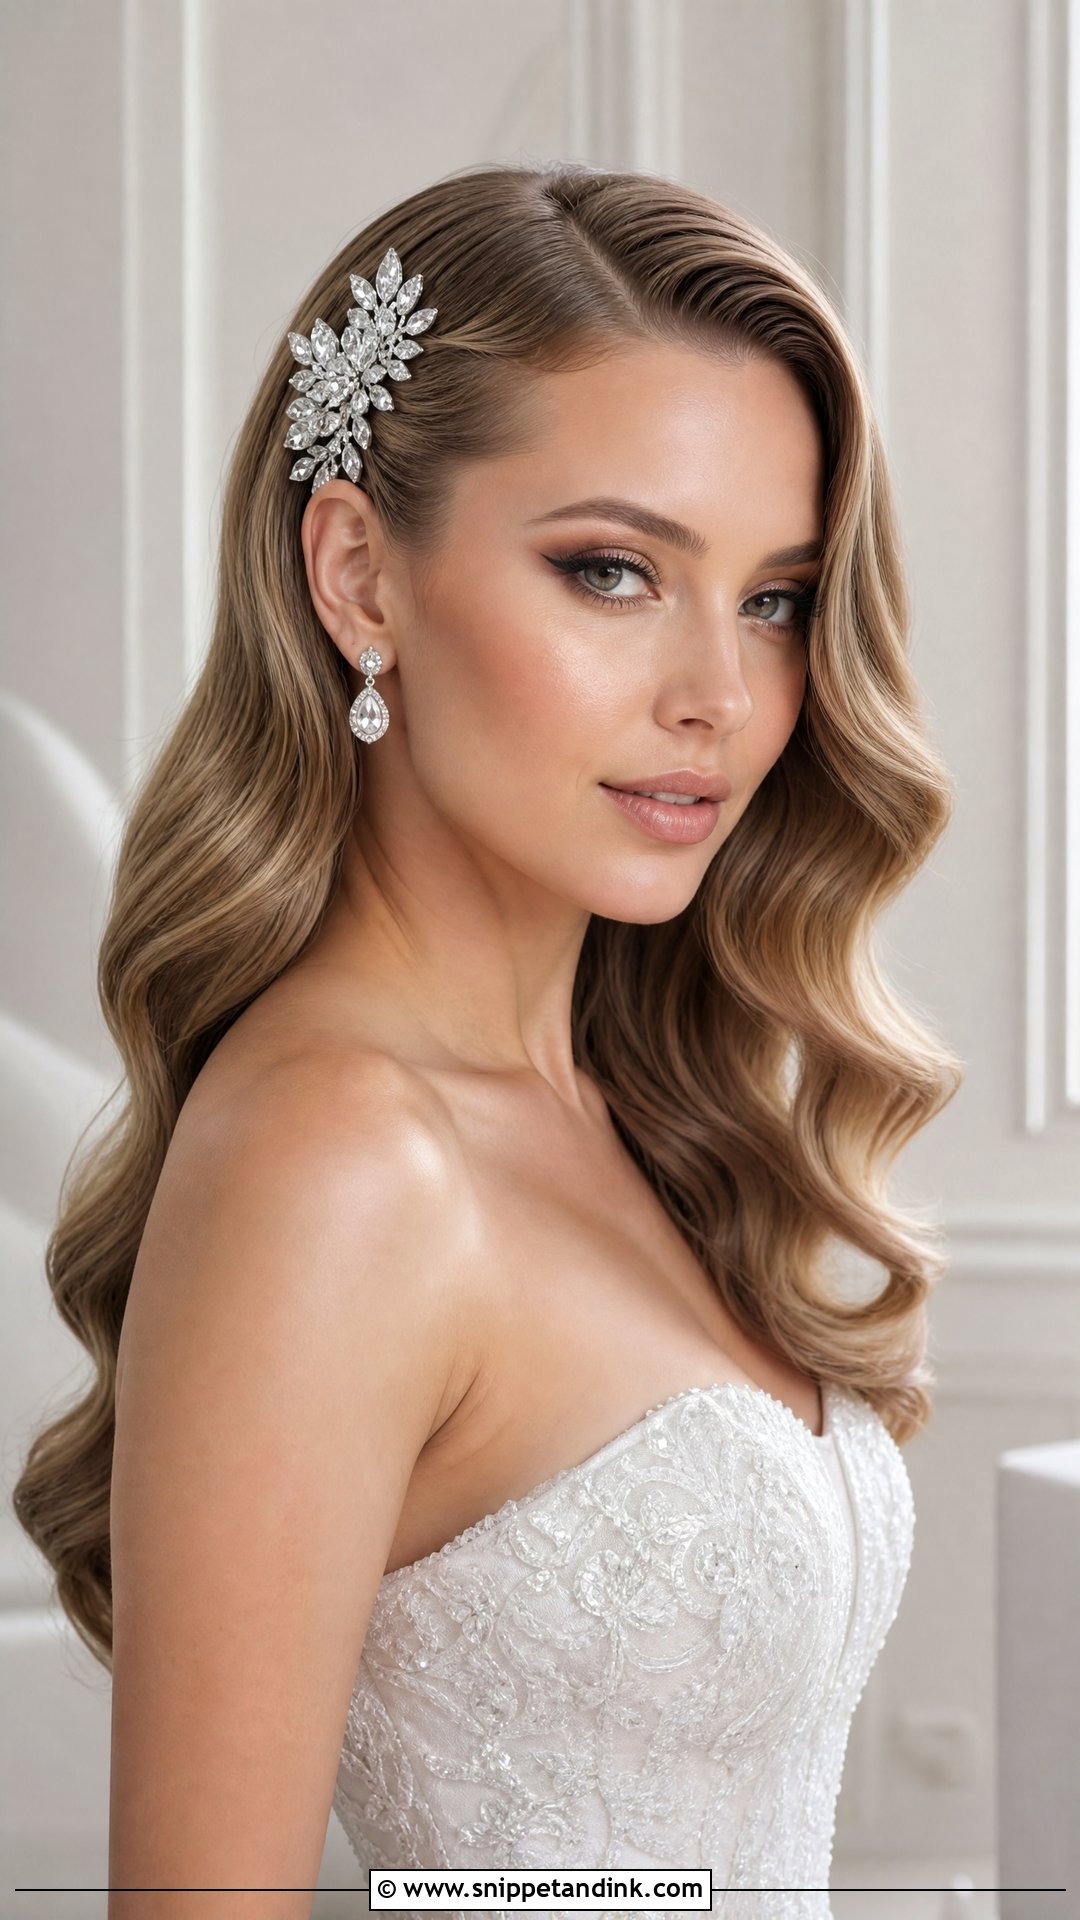
A crystal comb does two jobs on a wave set: it adds light and holds the swoop of a deep part. I place it above one ear on side-swept styles, angled so the teeth run along the wave rather than across it, which keeps the pattern unbroken. It works on either part. If you want shine but find a tiara too formal, this is the middle ground.
13. Hollywood Waves With Tiara
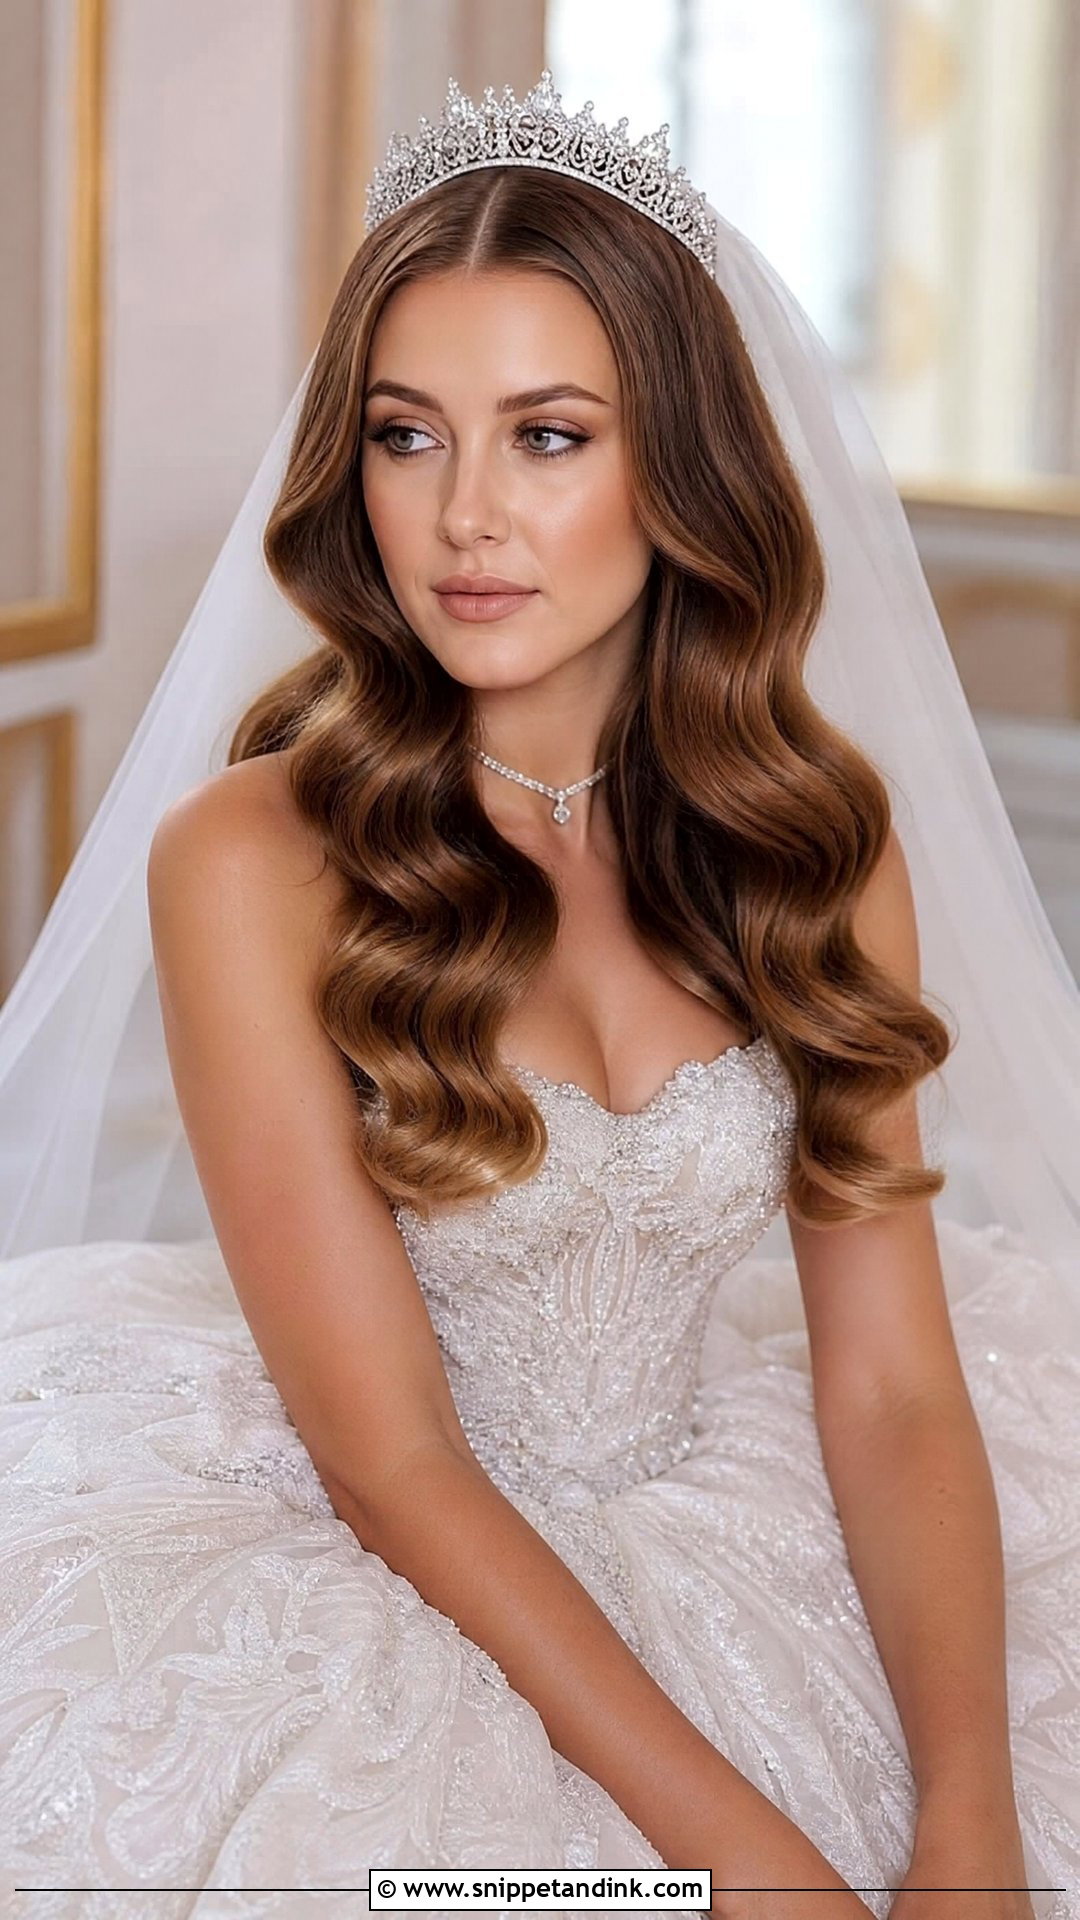
A sparkling tiara on smooth waves suits ballrooms and grand venues. The center part balances it best. The tiara goes on after the waves are finished and is pinned through its side loops into small anchor sections, otherwise it tips forward every time you look down at your vows. A long veil can tuck in just behind it for a full traditional look.
14. Hollywood Waves With Hair Vine
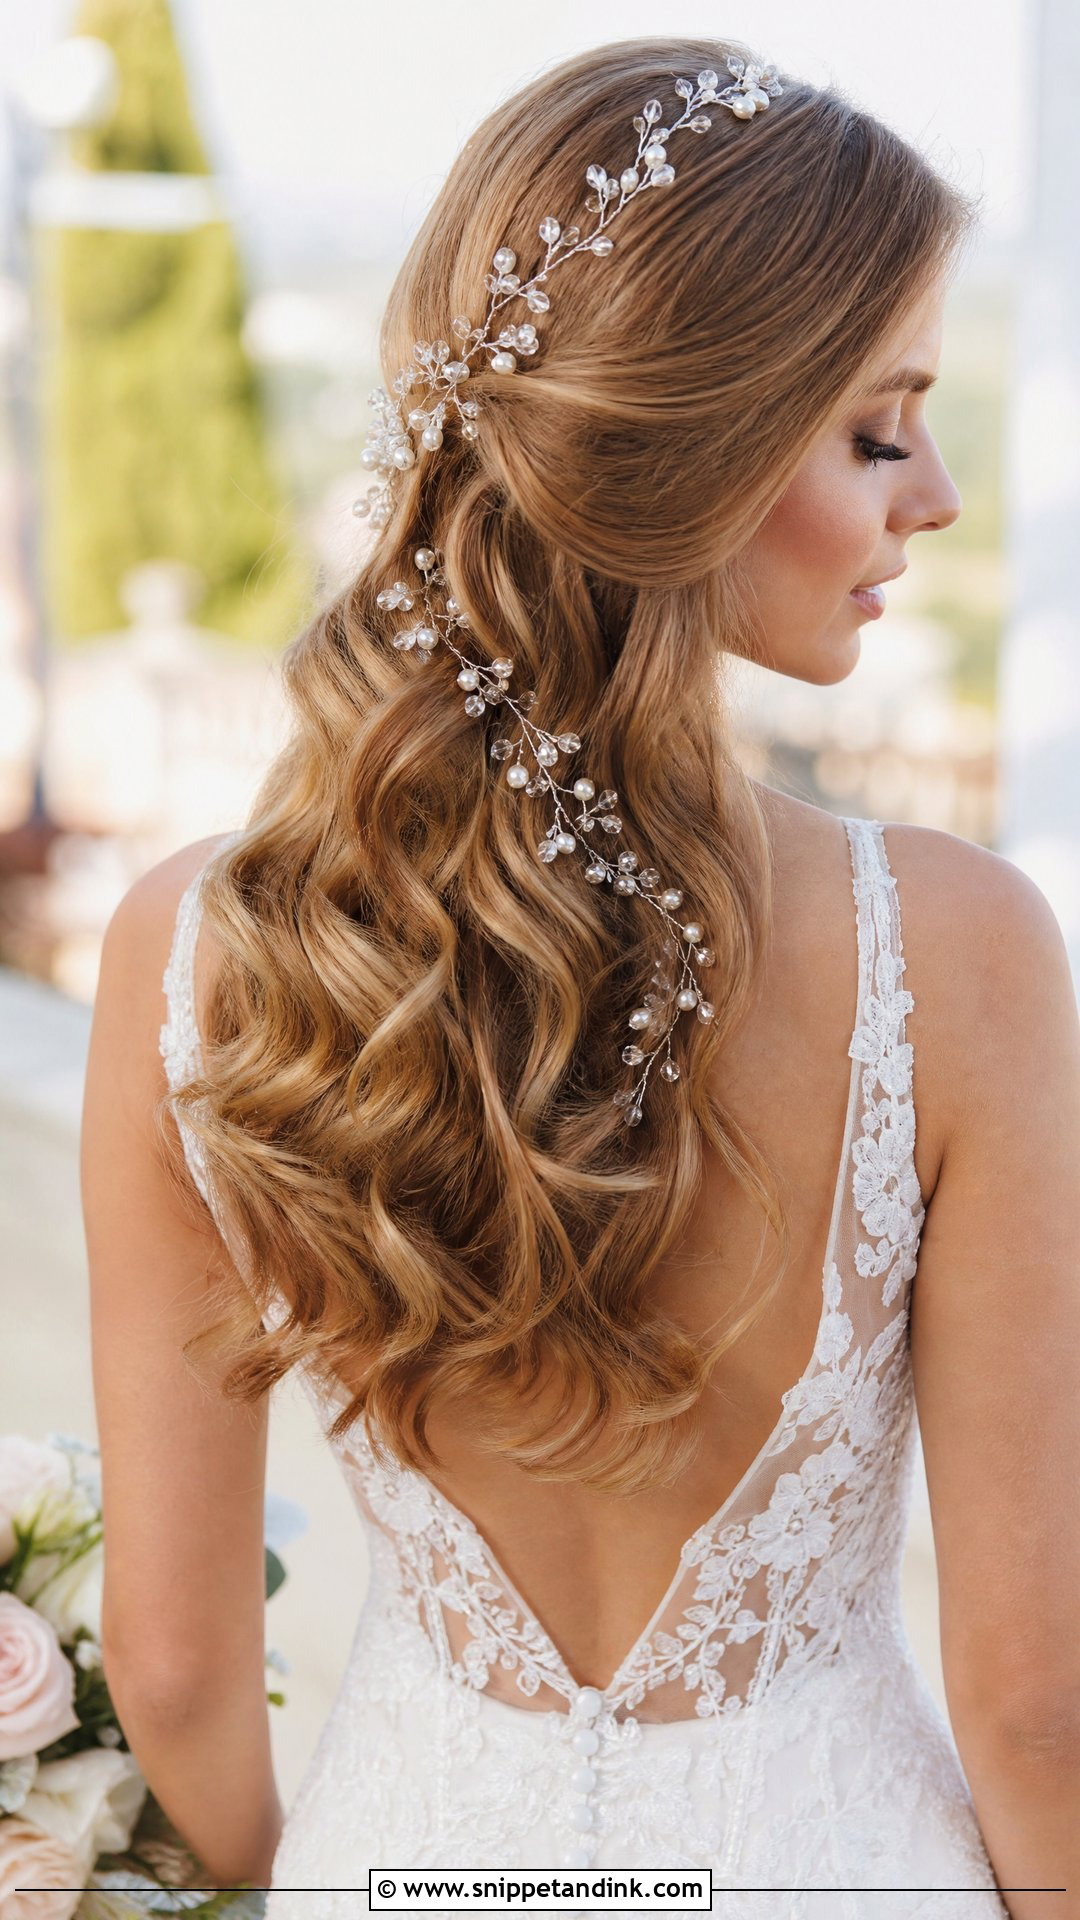
A hair vine woven through the waves adds sparkle in a scattered, organic way. I thread it after the brush-out and catch the wire under the ridges with small pins, so the crystals follow the wave rather than sitting on top. It can trail through loose waves or wrap a half-up section, and it suits garden and outdoor ceremonies. Keep other accessories minimal; a vine and a comb together get busy.
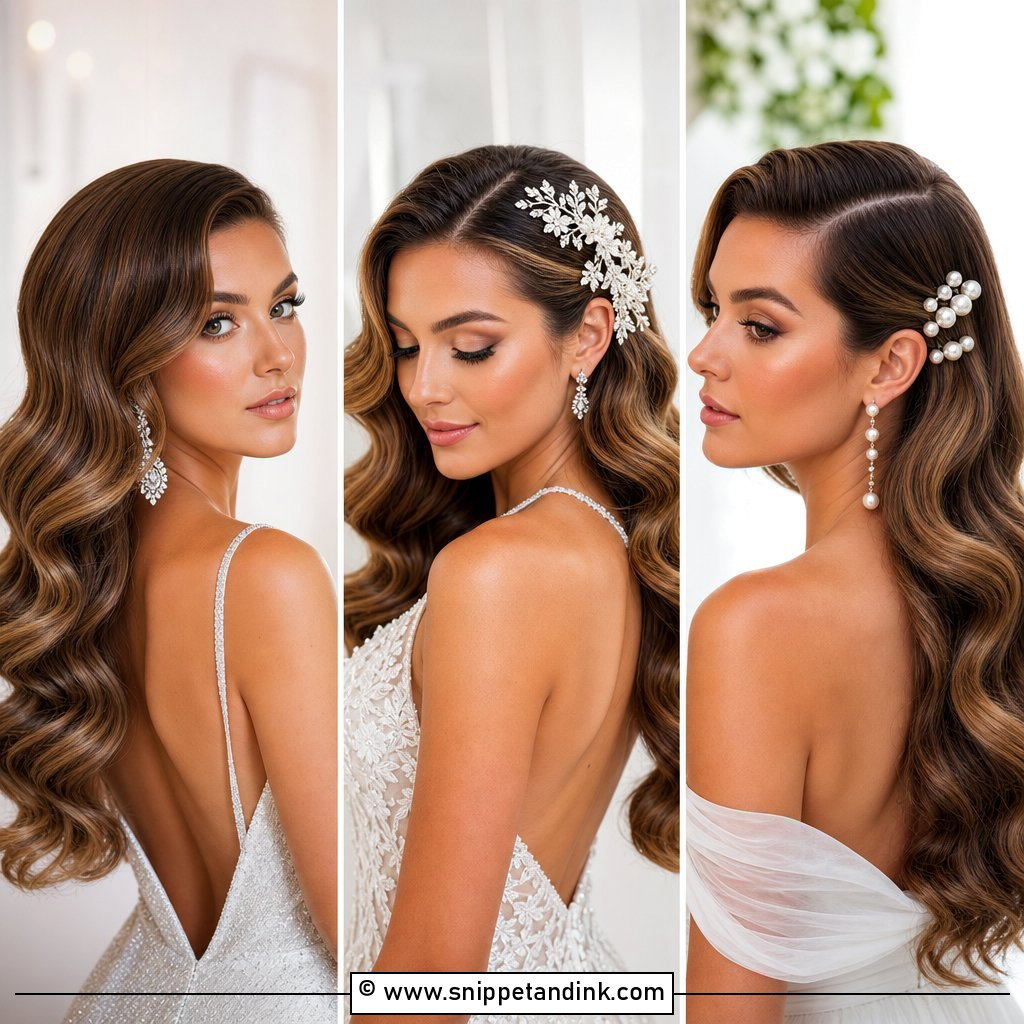
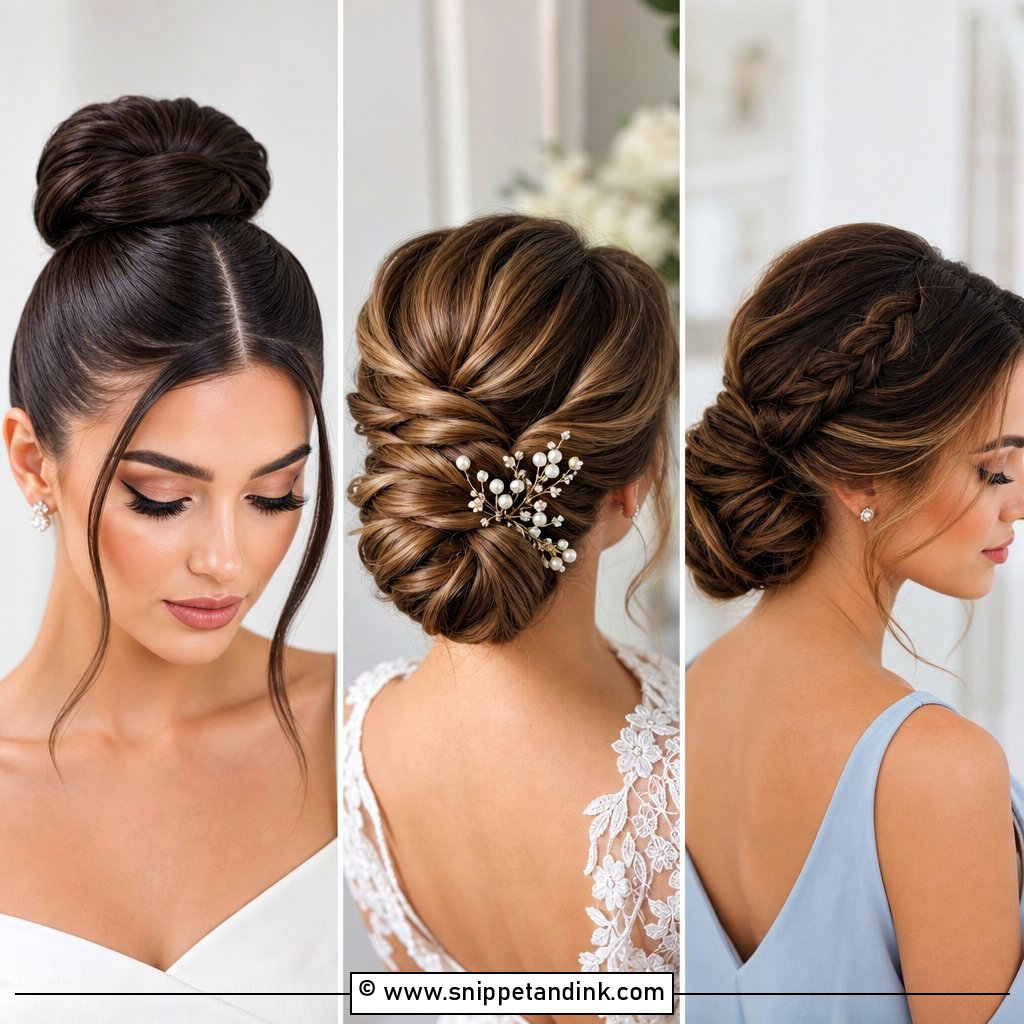
15. Side Hollywood Waves Over One Shoulder
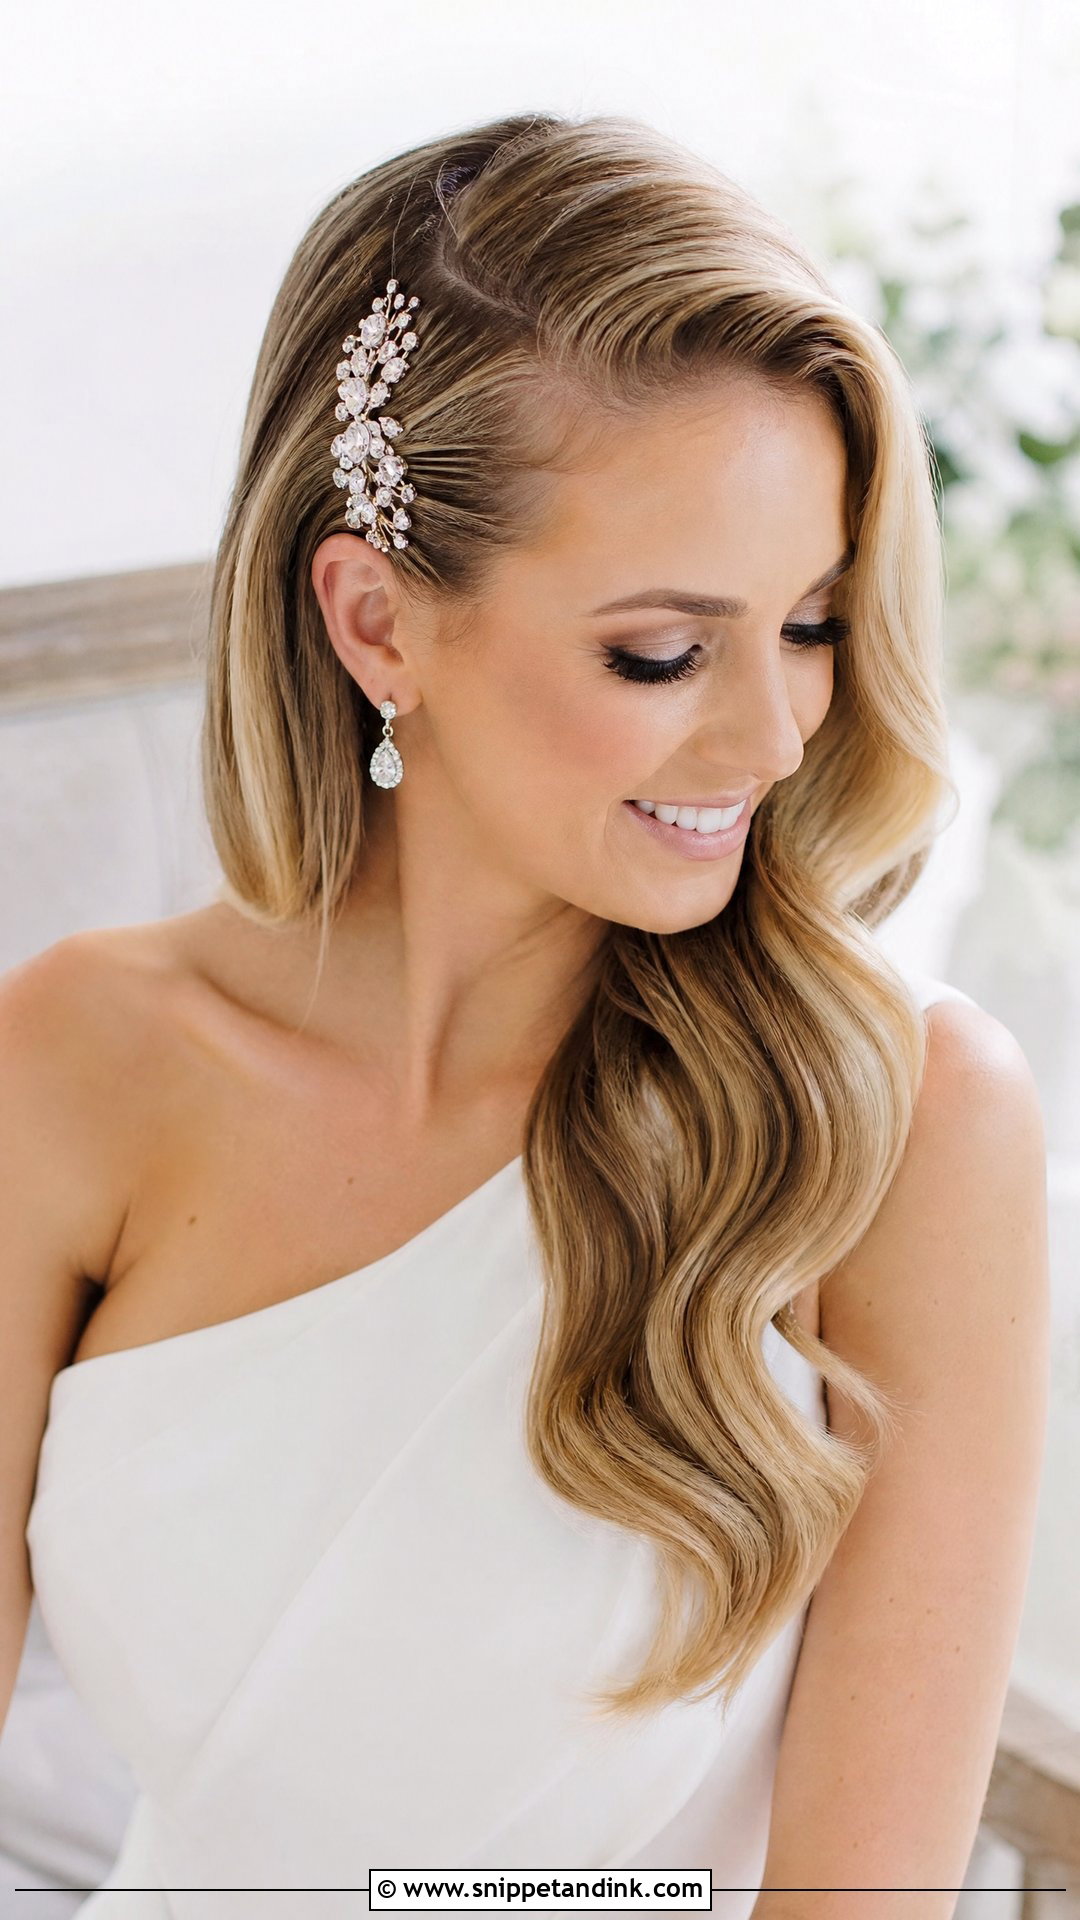
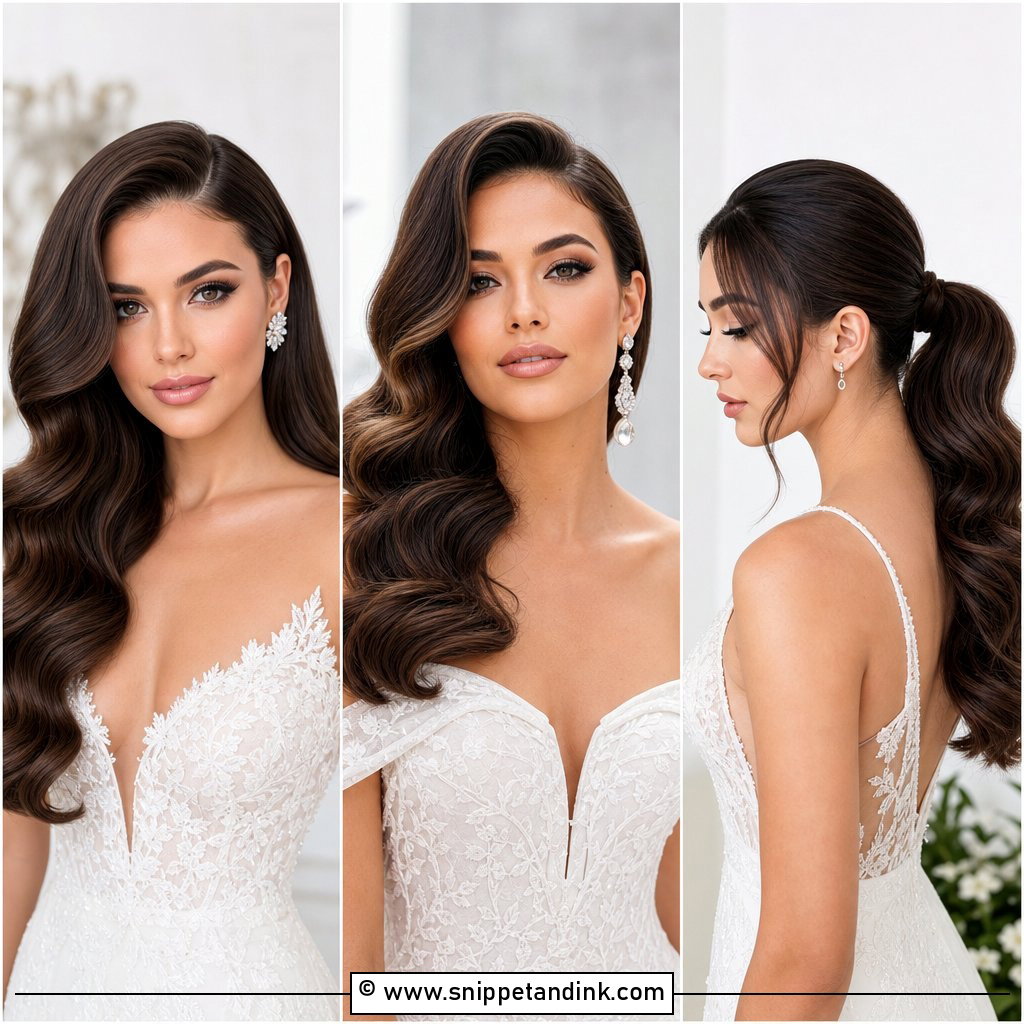
Draping the waves over one shoulder lengthens the neck and frees one ear for an earring. This one differs from the side sweep above in where the hair gathers: it’s collected lower, near the nape, so it reads softer. I secure the gathering point with crossed pins and a comb if you want shine there. One-shoulder and strapless gowns suit it.
16. Voluminous Hollywood Waves
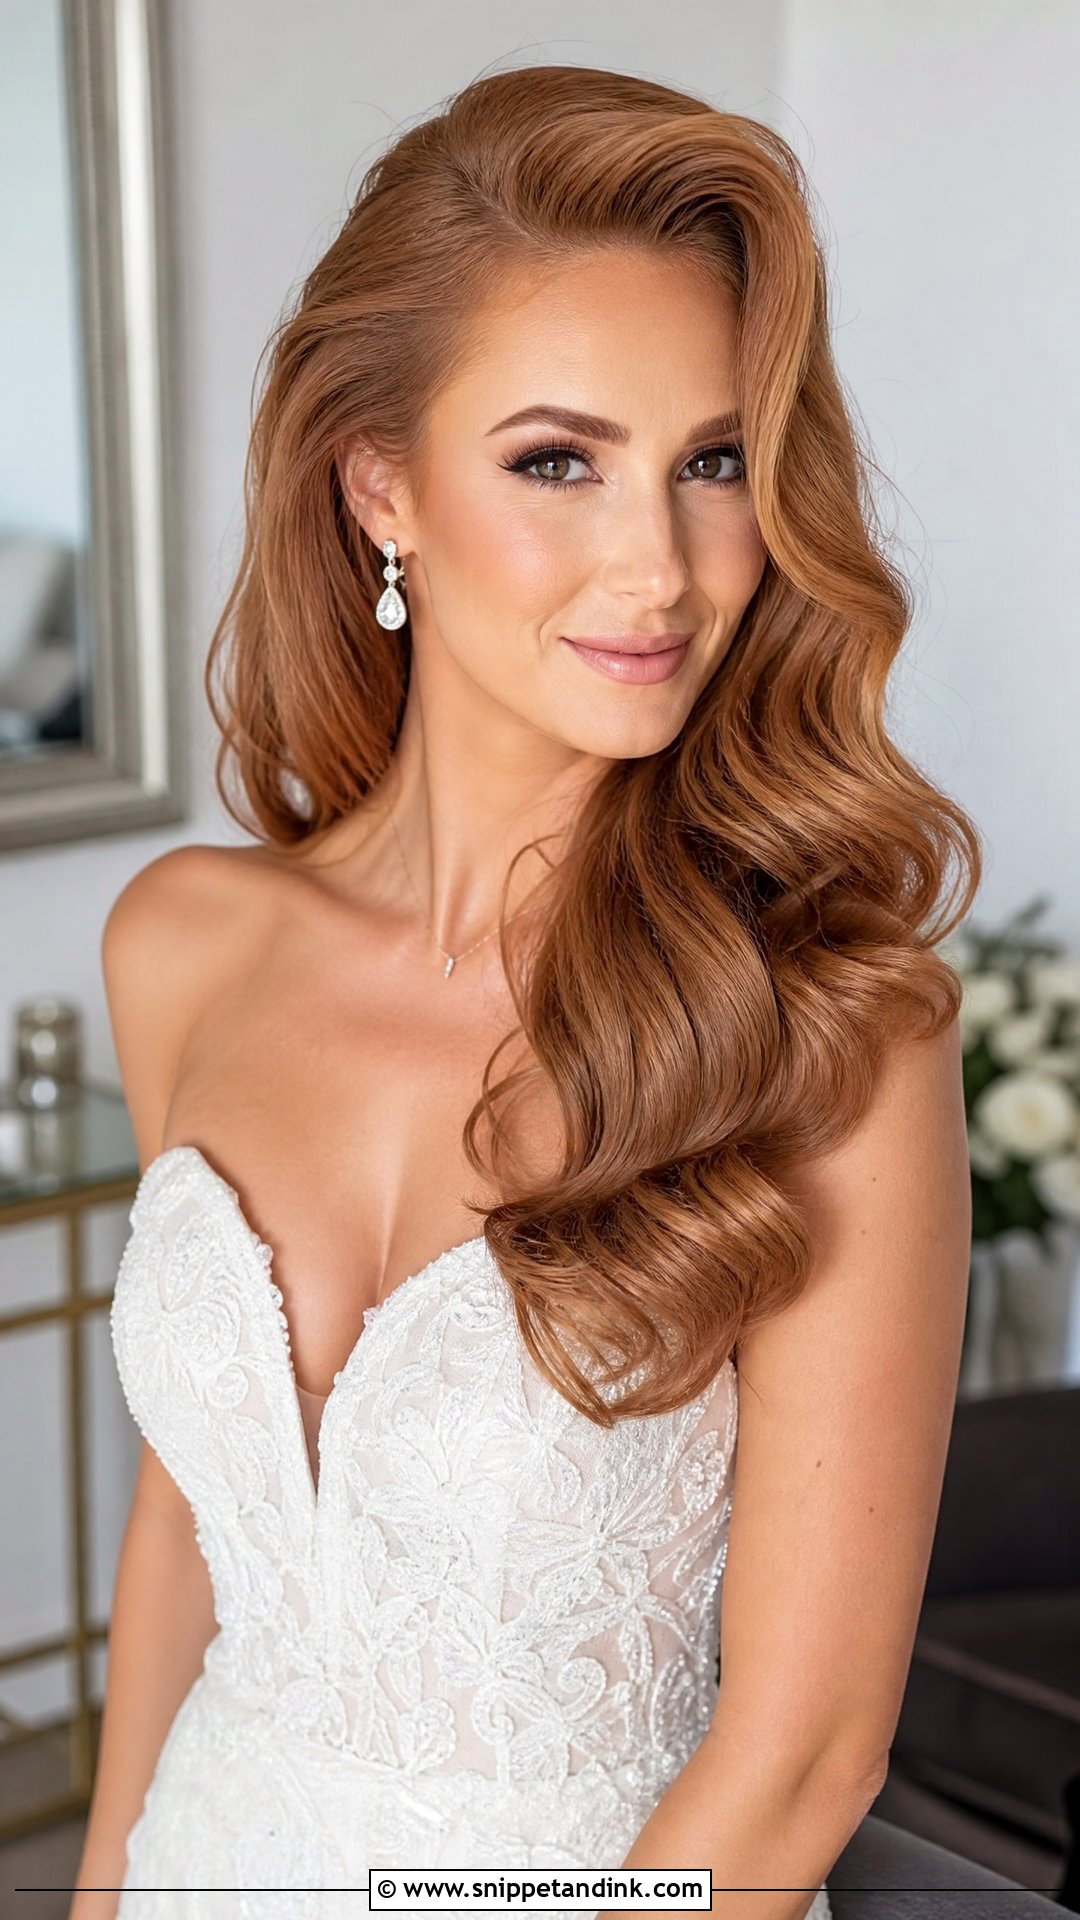
Big, bouncy waves with lift at the roots give the pin-up version of the look. Thick hair handles this naturally. Fine hair needs extensions or careful backcombing at the crown, and I’d test it first, because heavy teasing on fine hair can look flat again within a few hours. A center or deep side part both work. It’s a confident style, best for brides who like a lot of hair.
17. Sleek Hollywood Waves
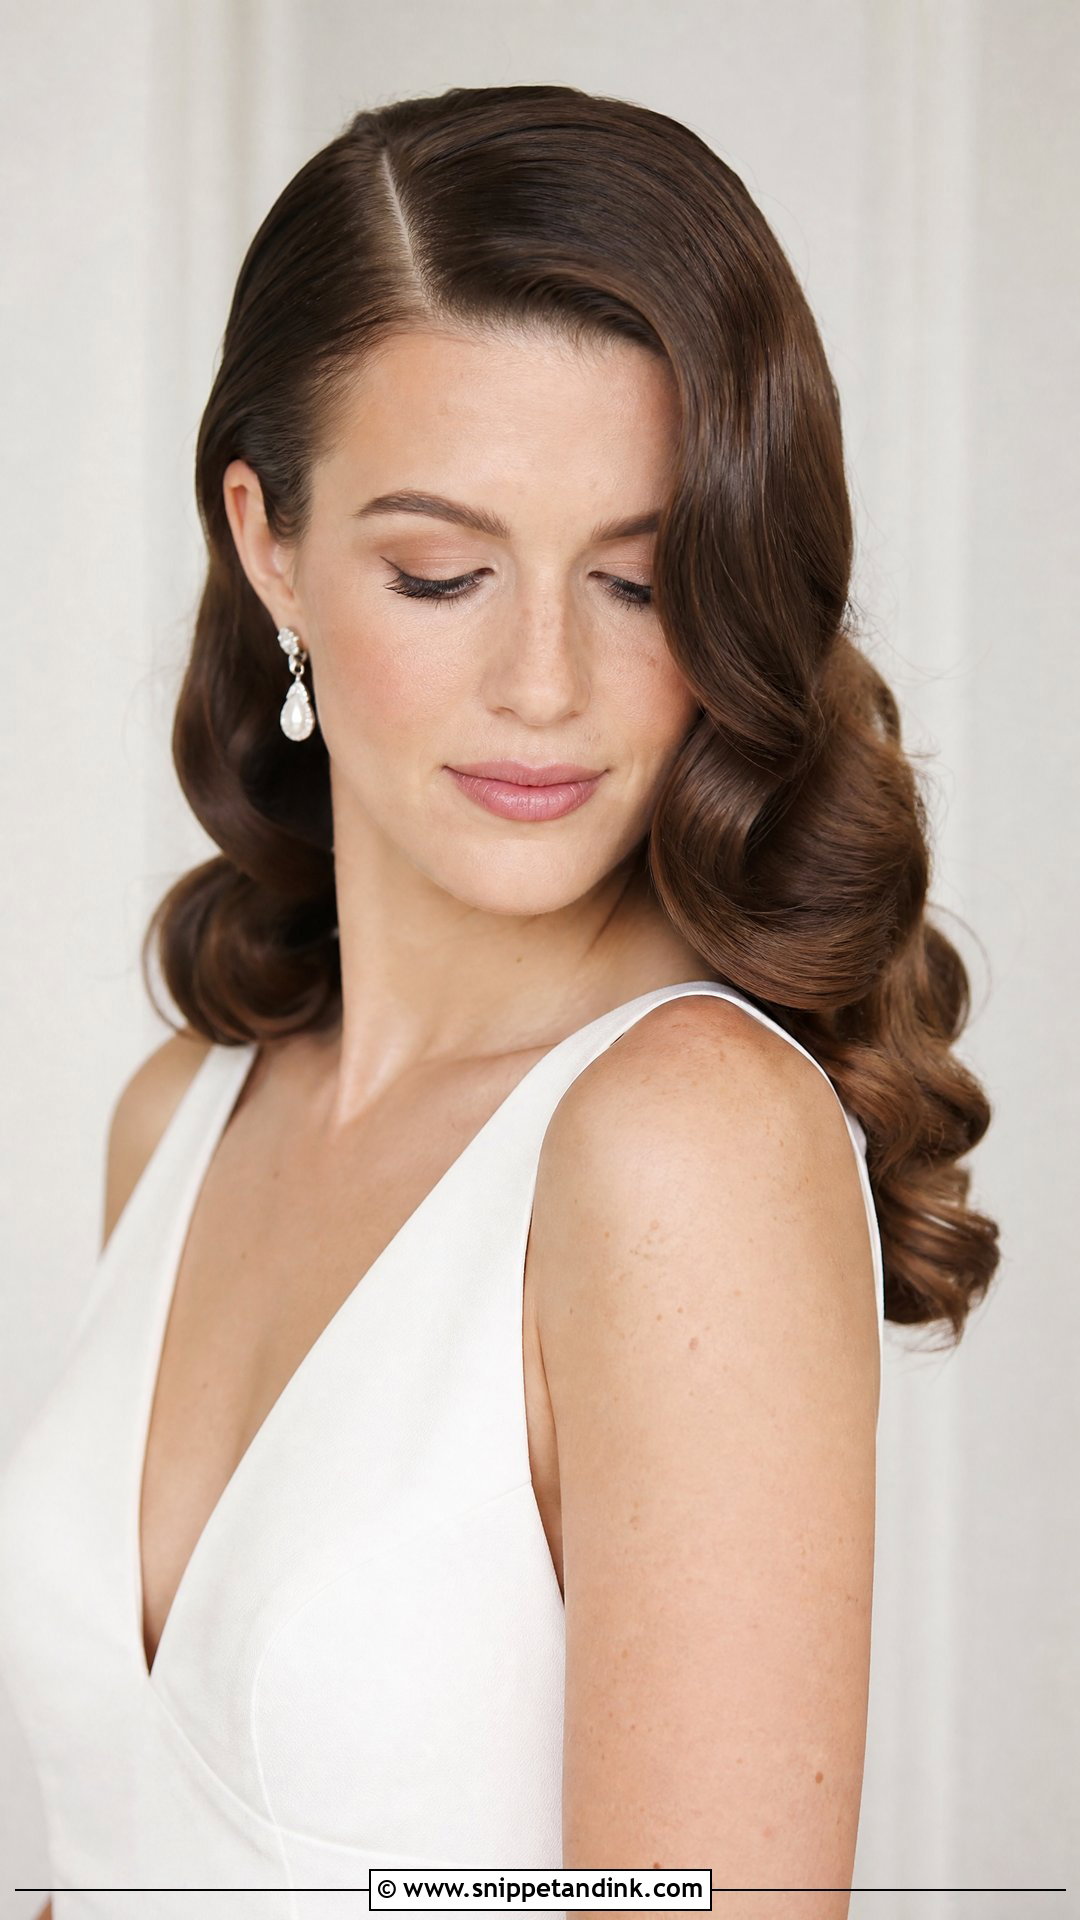
The sleek version is all about surface. Every curl is brushed into a mirror-smooth line, no frizz, no flyaways. I use a smoothing cream before setting and a fine shine mist at the end, never heavy oil, which splits the waves apart. It goes well with minimalist gowns and statement jewelry. On very curly or humidity-prone hair, it’s the hardest version to keep, so plan for a touch-up.
18. Loose Hollywood Waves
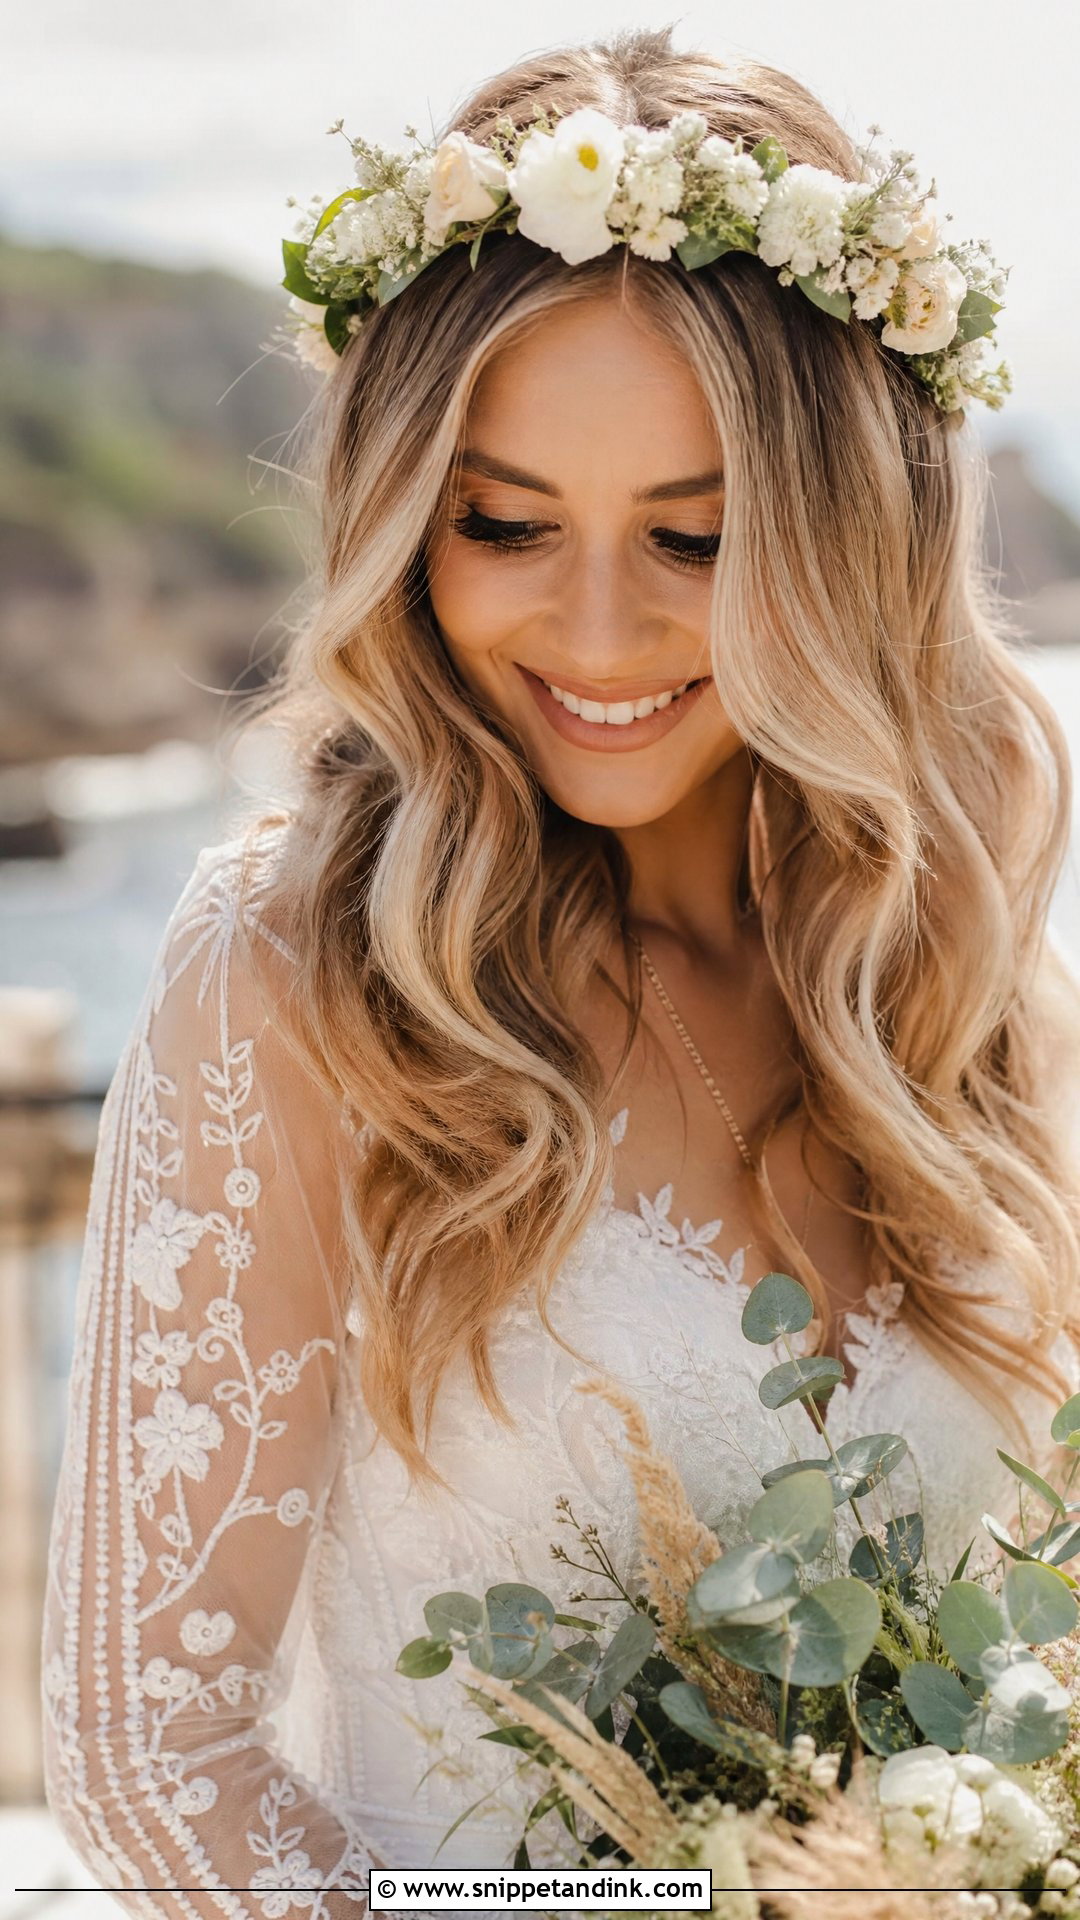
Loose waves are the relaxed relative: larger curls, brushed out further, without pressed ridges. A center part suits the easy feel. They’re good for outdoor and boho weddings and sit nicely with flower crowns and vines. Be realistic about hold; looser sets soften fastest, so on fine or straight hair they may be close to straight by the evening.
19. Hollywood Waves With Bangs
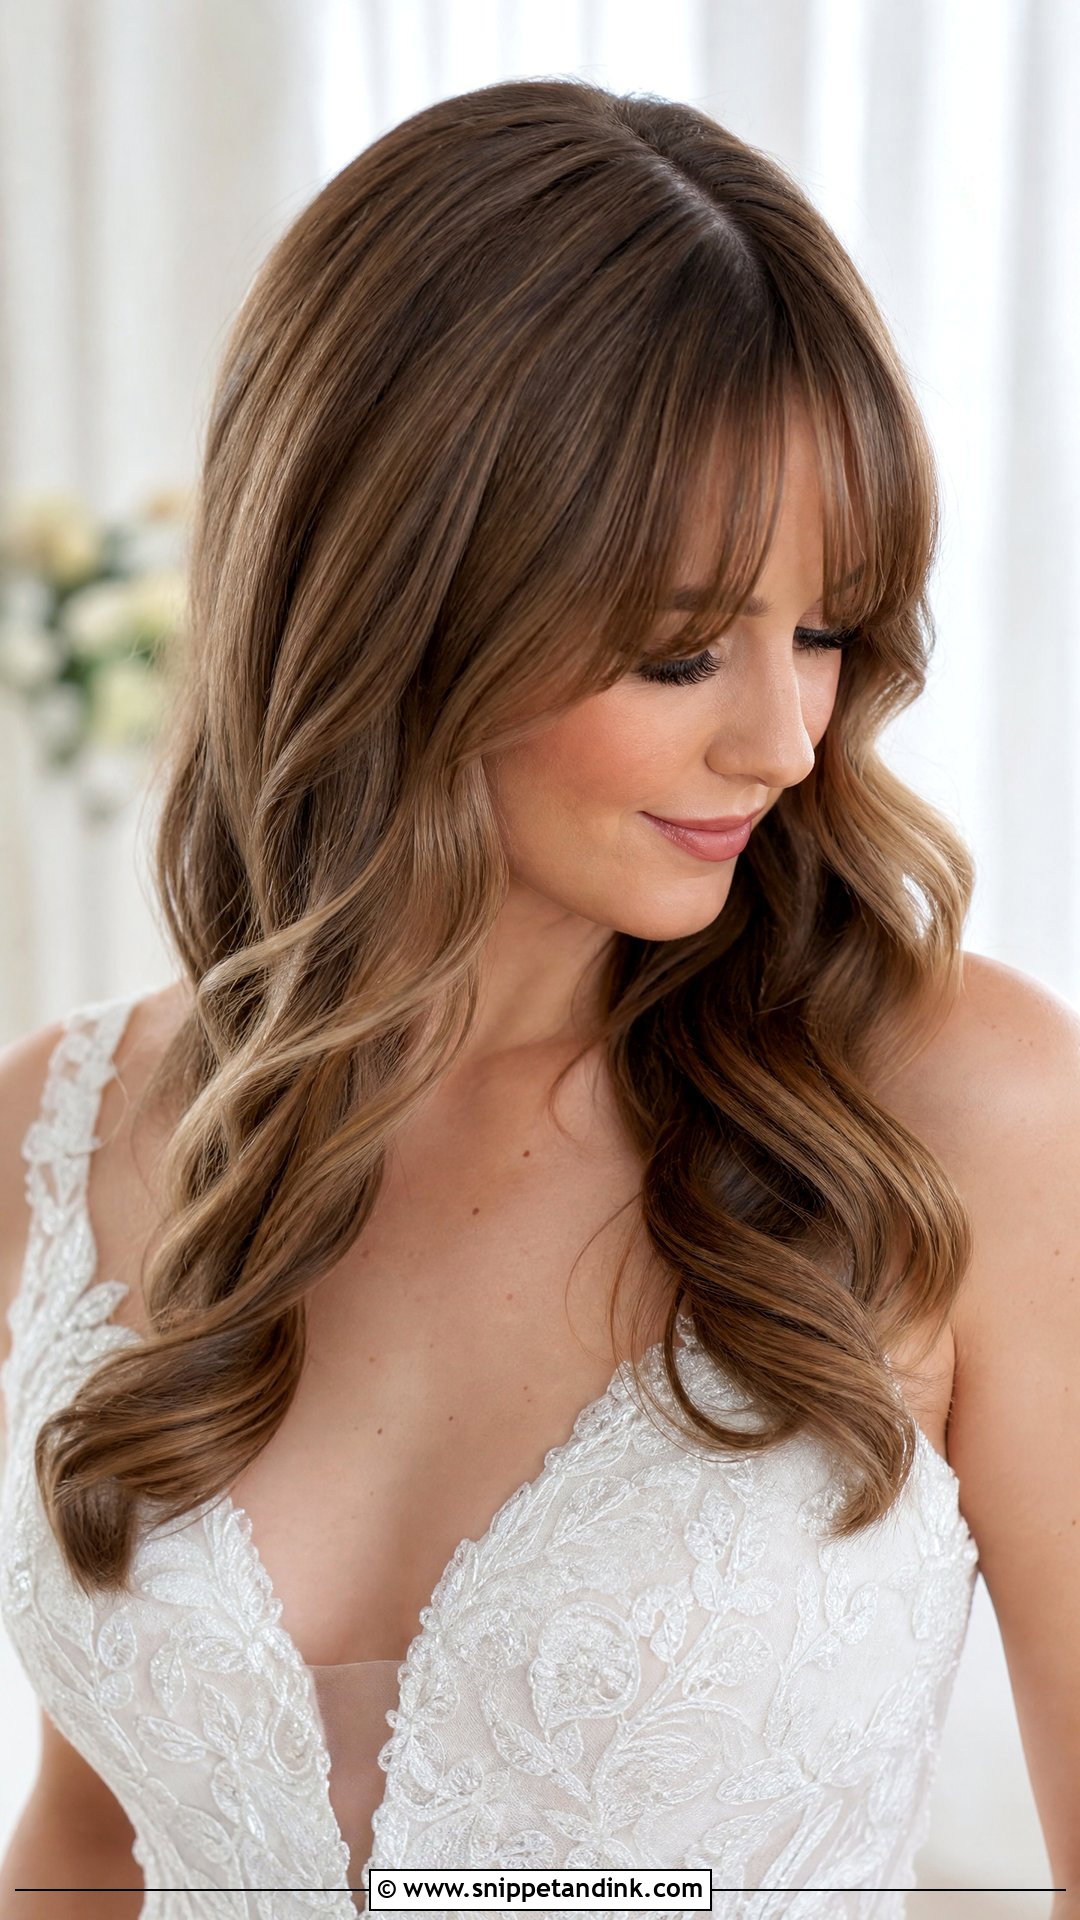
Yes, bangs work here. The fringe frames your face while glossy, cascading curls fall below. Side-swept bangs suit a deep part; curtain bangs can be round-brushed so they flow into the first wave. I’d only recommend it for brides who already have bangs that have grown in. A comb or vine can add sparkle near the part.
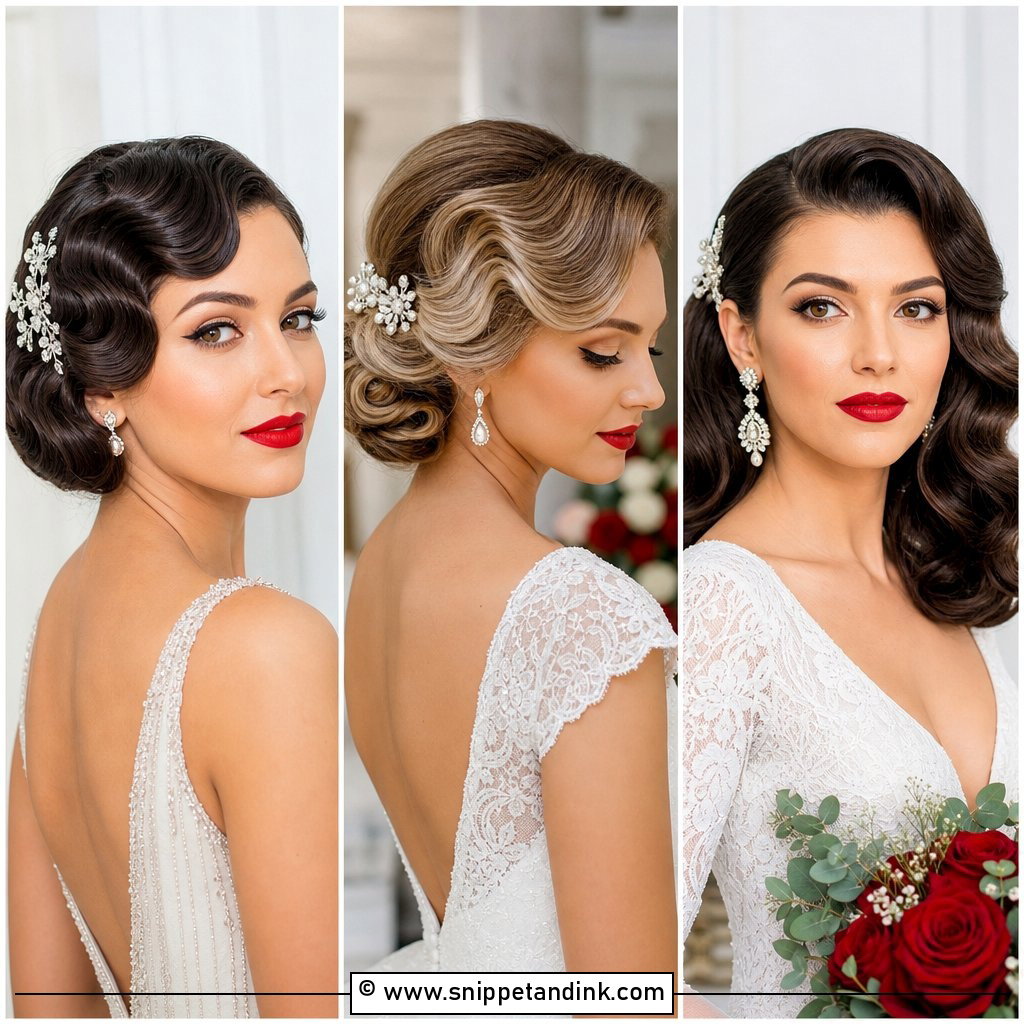
20. Pin Curl Hollywood Waves
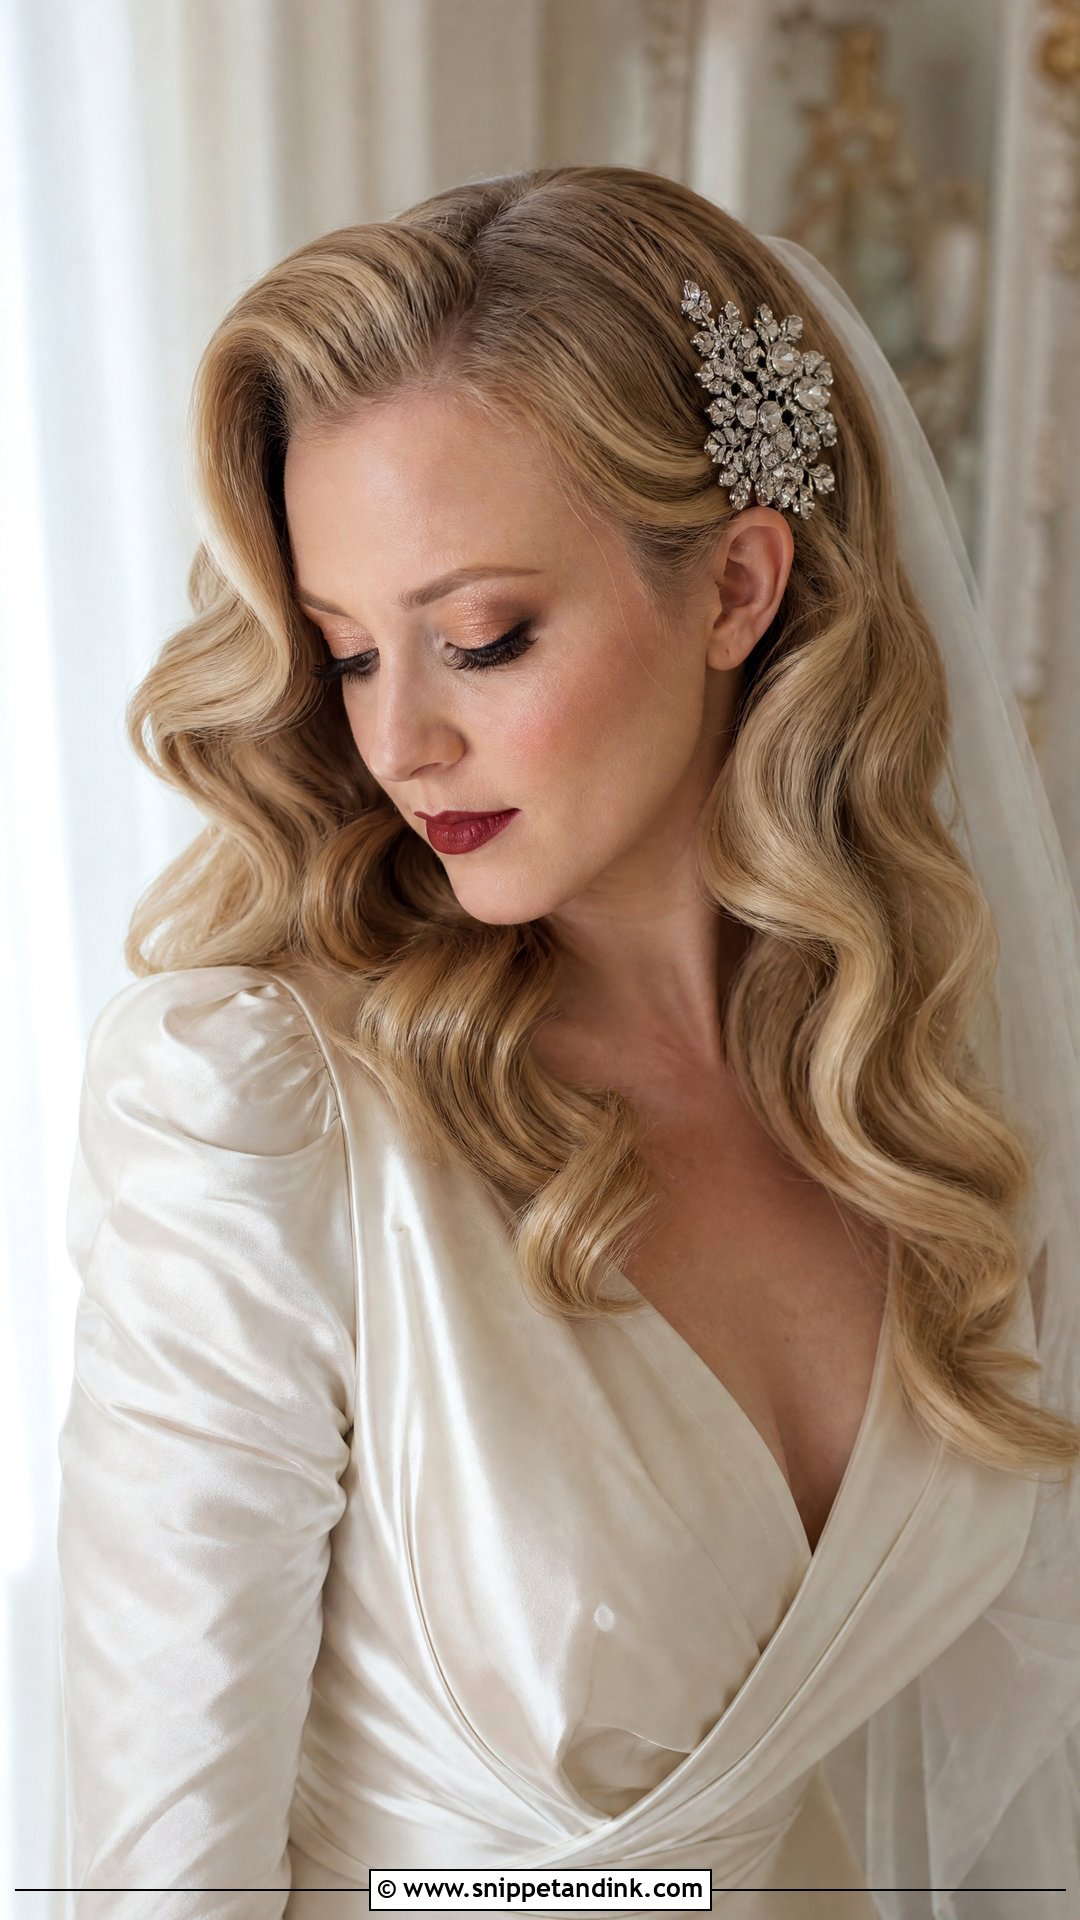
Pin curls are the original method. Small sections are wound flat into coils, pinned to the scalp, and left to set before being brushed out into structured waves. It takes longer than a hot iron, but the cooled set tends to hold better on stubborn hair. It works on short, medium, and long hair. A birdcage veil or crystal comb gives it a full period finish.
Getting Your Hair Ready in the Last Month
Glossy waves show the condition of your hair more than almost any other style. Dry ends separate, frizz catches the flash, and fresh color can look flat if it hasn’t settled. A little planning helps more than any product on the morning.
- Four to six weeks out: book your color, so it has time to soften and any correction can be done.
- Two to three weeks out: a light trim to tidy the ends without changing the shape your stylist tested.
- About a week out: a gloss or conditioning treatment if your hair runs dry.
- The day before or that morning: wash as your stylist instructed, skip heavy oils and masks, and dry it completely.
Avoid anything new in that last week. A new shampoo, a new serum, or a first-time keratin treatment can change how your hair grips a curl, and you won’t find out until the set falls.
Getting the Pins and Spray Out After Midnight
A wave set built to last all day will feel stiff by the time you take it down. Don’t brush it dry. Find and remove every pin first, feeling along the hairline at the back where most are hidden. Then saturate the hair with conditioner in the shower, leave it a few minutes, and work through from the ends up with a wide-tooth comb. It loosens the spray without snapping strands, and your hair will be back to normal by the next wash.
Same Wave, Different Brides
All twenty start from the same idea: curls set in one direction, cooled, and brushed into a single wave. Part, length, accessory, and how firmly the set is held change the result. Shortlist the versions that suit your hair and your neckline, take them to your trial, and ask your stylist whether your hair will hold that set for the whole day or needs one of the more secure shapes. A little honesty at that stage saves a flat wave at the reception.
You'll Like These Ideas:


Leave a Reply