
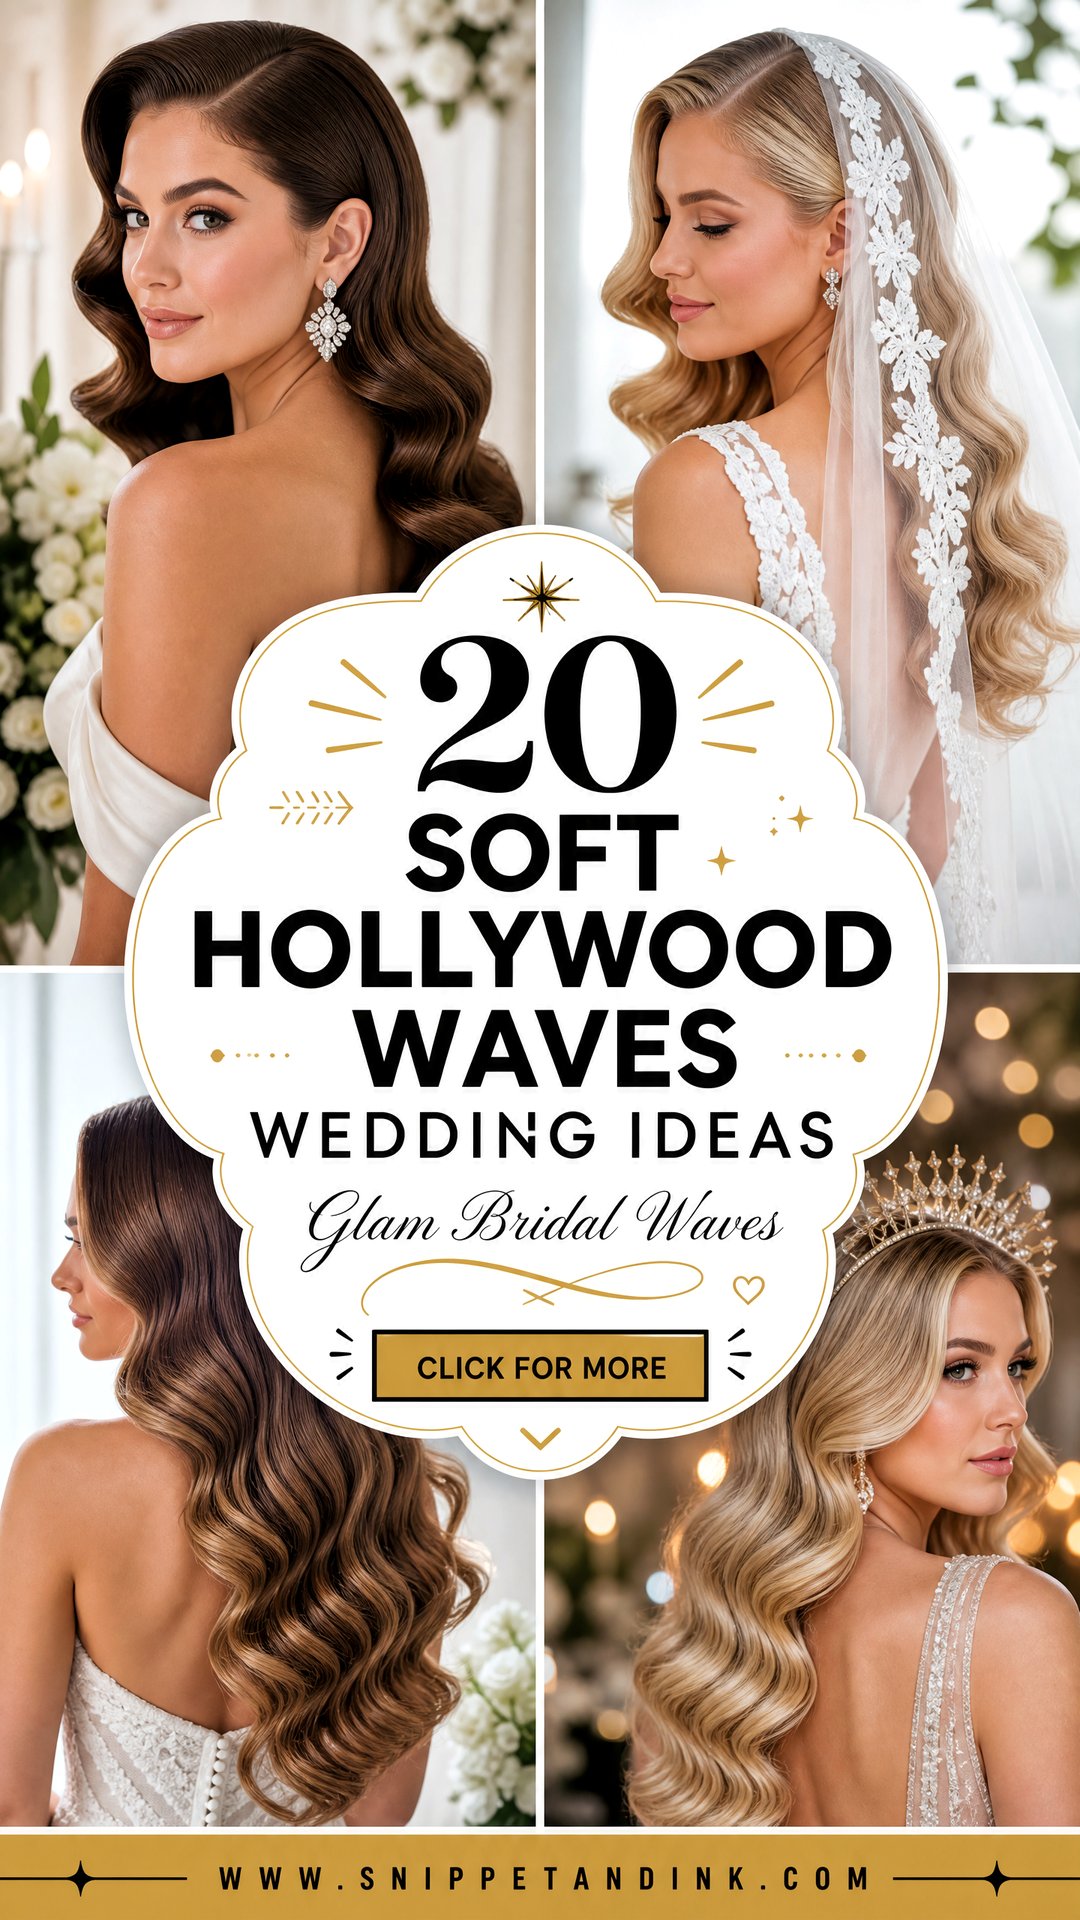
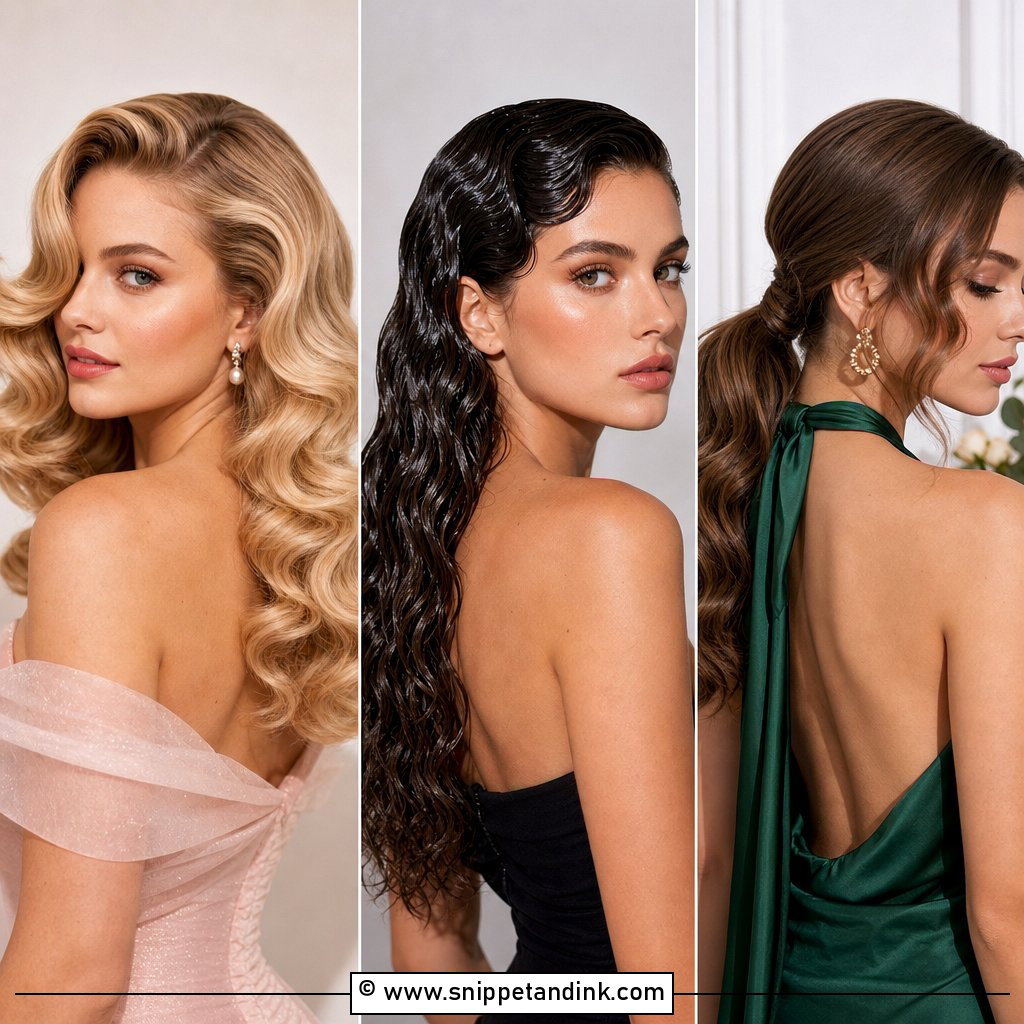
Hollywood waves are the one bridal style where the finish is the whole point. There’s no braid or bun to hide behind, just a single glossy S-curve that either reads as polished glamour or as a set of tired curls by the first dance. The look comes straight from the golden-era screen, Veronica Lake’s deep part included, and it works on more face shapes than people expect because you can move the part to balance the face. Below are 20 versions I’d actually put in front of a bride, from sculpted finger waves to loose brushed-out curves, with notes on what each one asks of your hair and your day.
How a Hollywood Wave Is Actually Built
Every look on this list starts from the same process, and knowing it helps you judge whether a stylist can deliver it. The hair is curled in sections all wound in one direction, so the curls stack on top of each other rather than spiraling apart. Each curl is then pinned in place while it cools. That cooling step matters more than the iron: hair sets its shape as it cools, and a curl released hot drops within an hour.
Once everything is cold, I brush the whole set out with a boar bristle or paddle brush until the separate curls merge into one ridged wave. Then I push each ridge into place with my fingers, clip the dips with duckbill clips and mist with hairspray. The clips come out a few minutes before you put on the dress.
What your hair needs to arrive with
- Wash the day before, not the morning of. Second-day hair grips curl better, especially if it is fine.
- Skip heavy conditioning masks that week; they make the lengths too slippery to hold a set.
- Arrive with hair completely dry and free of oil or styling cream.
- If your hair is coloured, get any toning done one to two weeks ahead so the shade has settled.
Thick or coarse hair takes longer to set and cool, sometimes an hour on its own, so budget extra chair time. Naturally curly hair can wear this style well, but it needs smoothing first and a dry day; otherwise the natural pattern pushes back through the wave.
1. Classic Side-Swept Hollywood Waves
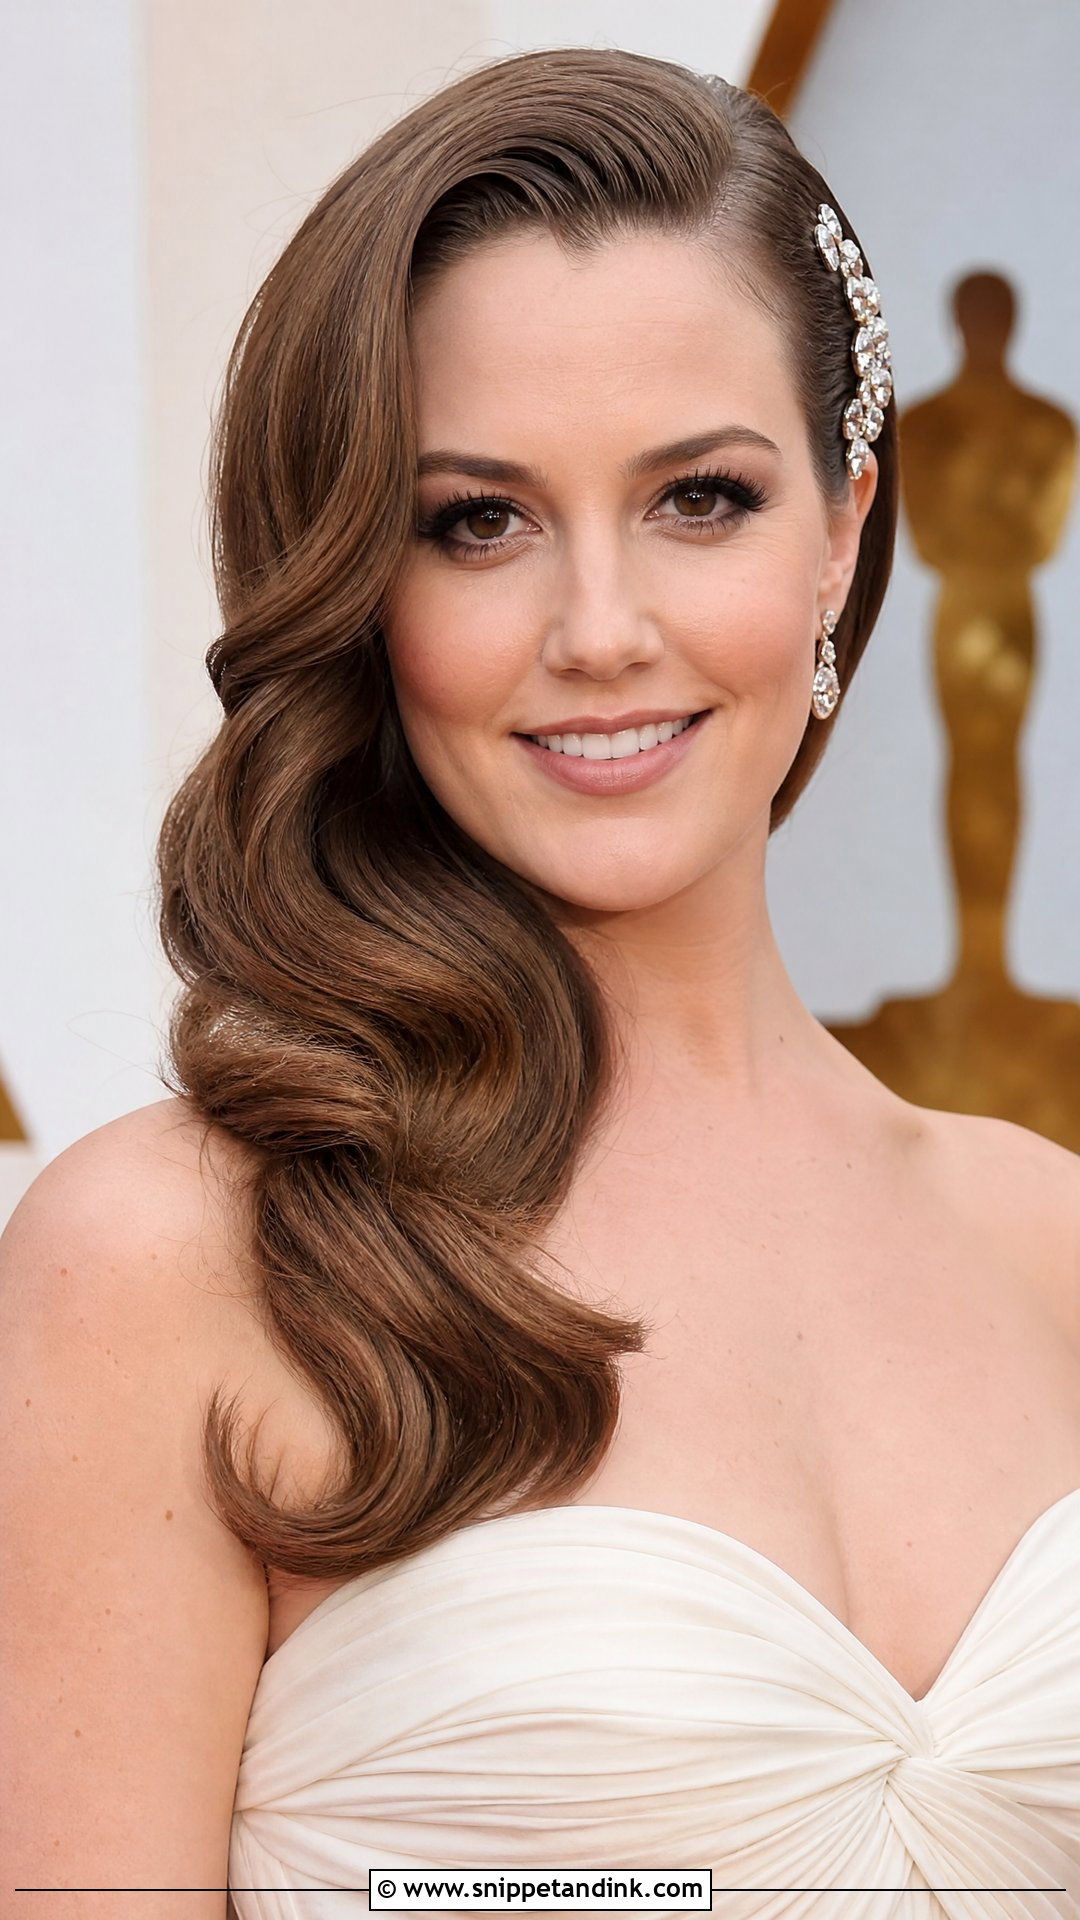
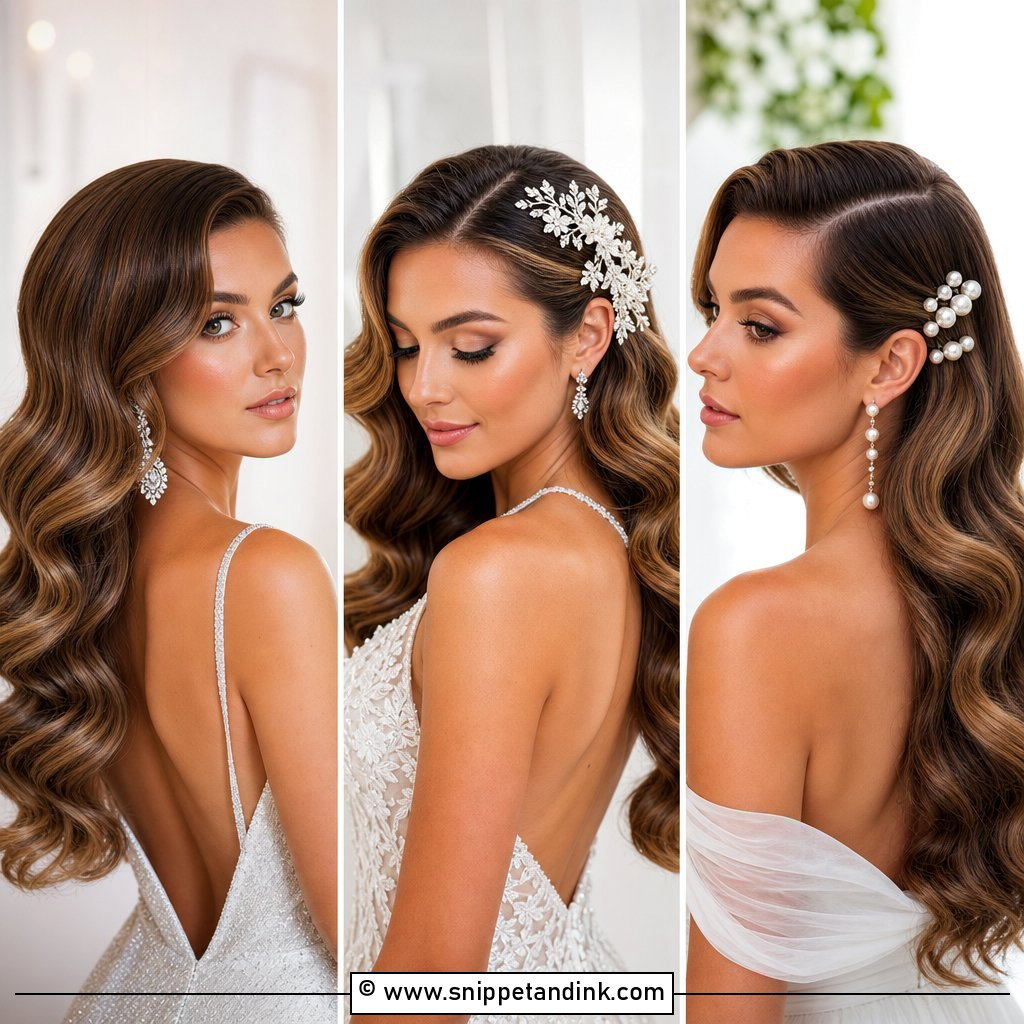
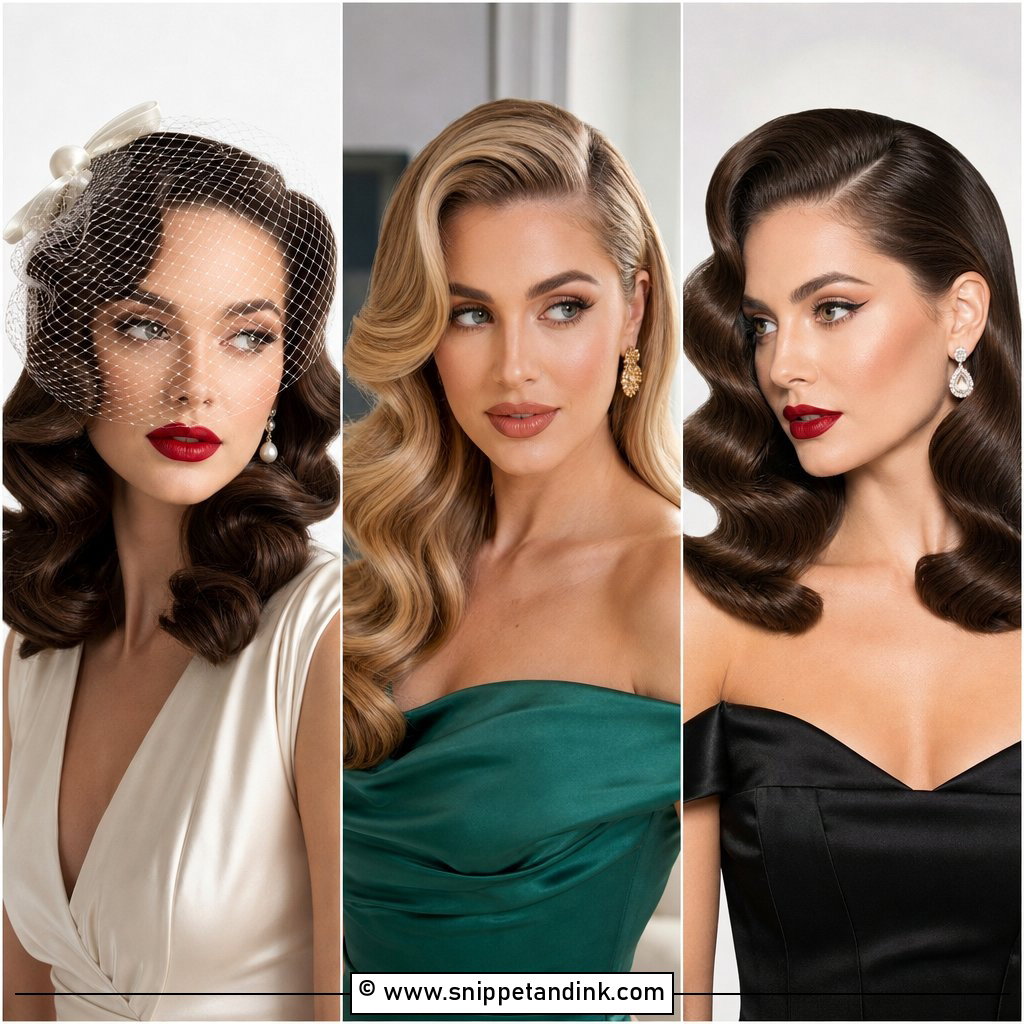
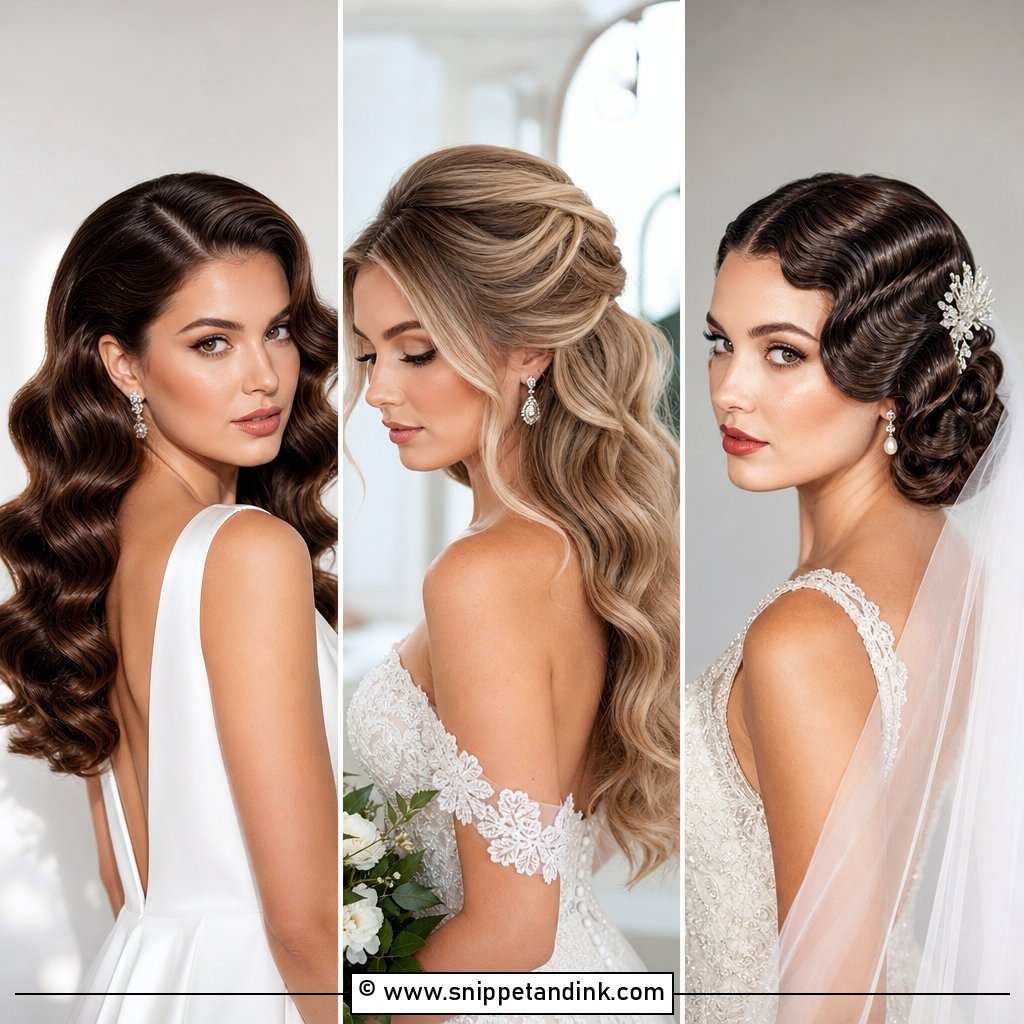
This is the original Veronica Lake shape: a deep side part and every wave travelling over one shoulder in one continuous line. The trick is that all the curls are wound in the same direction on the heavy side, so when I brush them out they lock together into a ridge instead of separating into ringlets. It leaves the jaw and one earring completely open, which suits a fitted or vintage-cut gown. A comb above the ear is optional; the hairline usually does that job already.
2. Middle Part Hollywood Waves
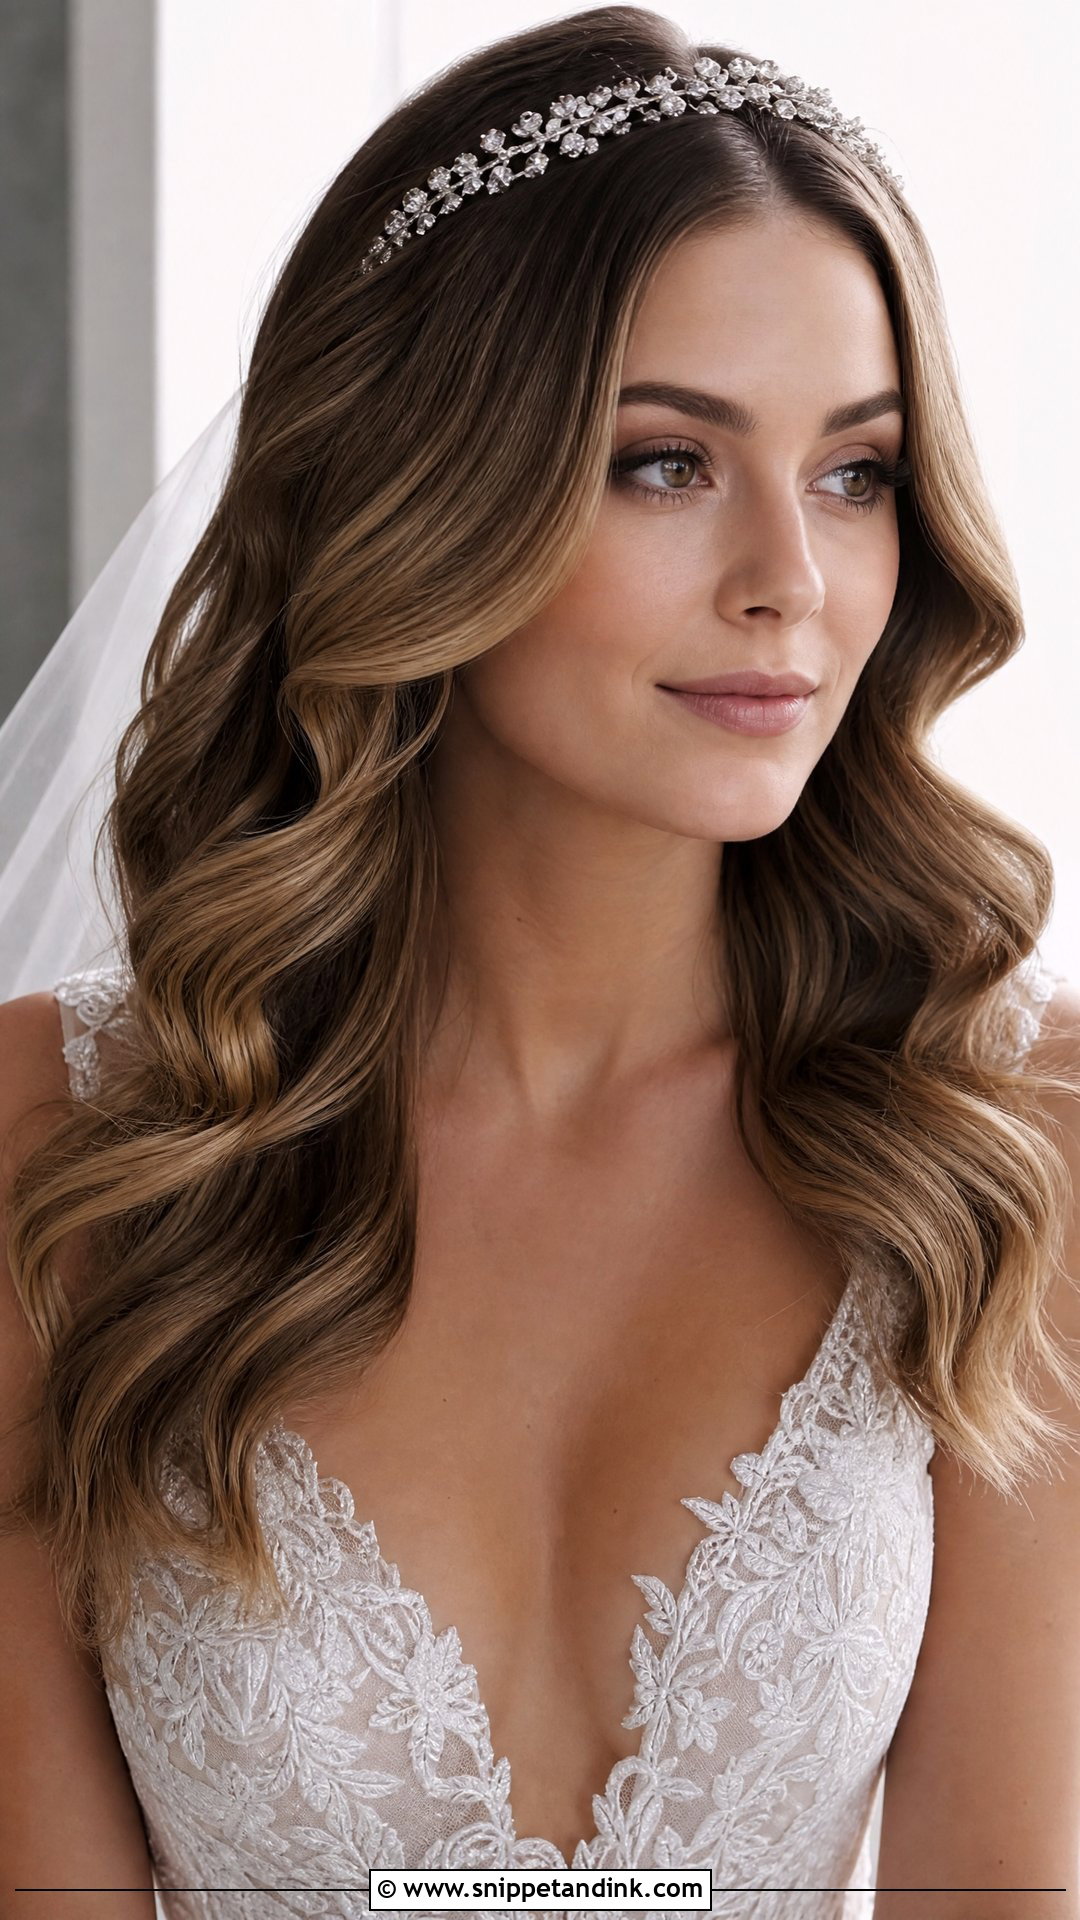
A center part splits the hair into two mirrored halves, so the waves have to match on both sides or the eye catches it straight away. I wind the left side toward the face and the right side away, then check them in the mirror together before brushing. The symmetry suits tiaras, headbands and hair vines that sit dead center. On a face that’s longer than it is wide, I’d usually nudge the part a few millimeters off center so it doesn’t drag the face down.
3. Old Hollywood Sculpted Waves
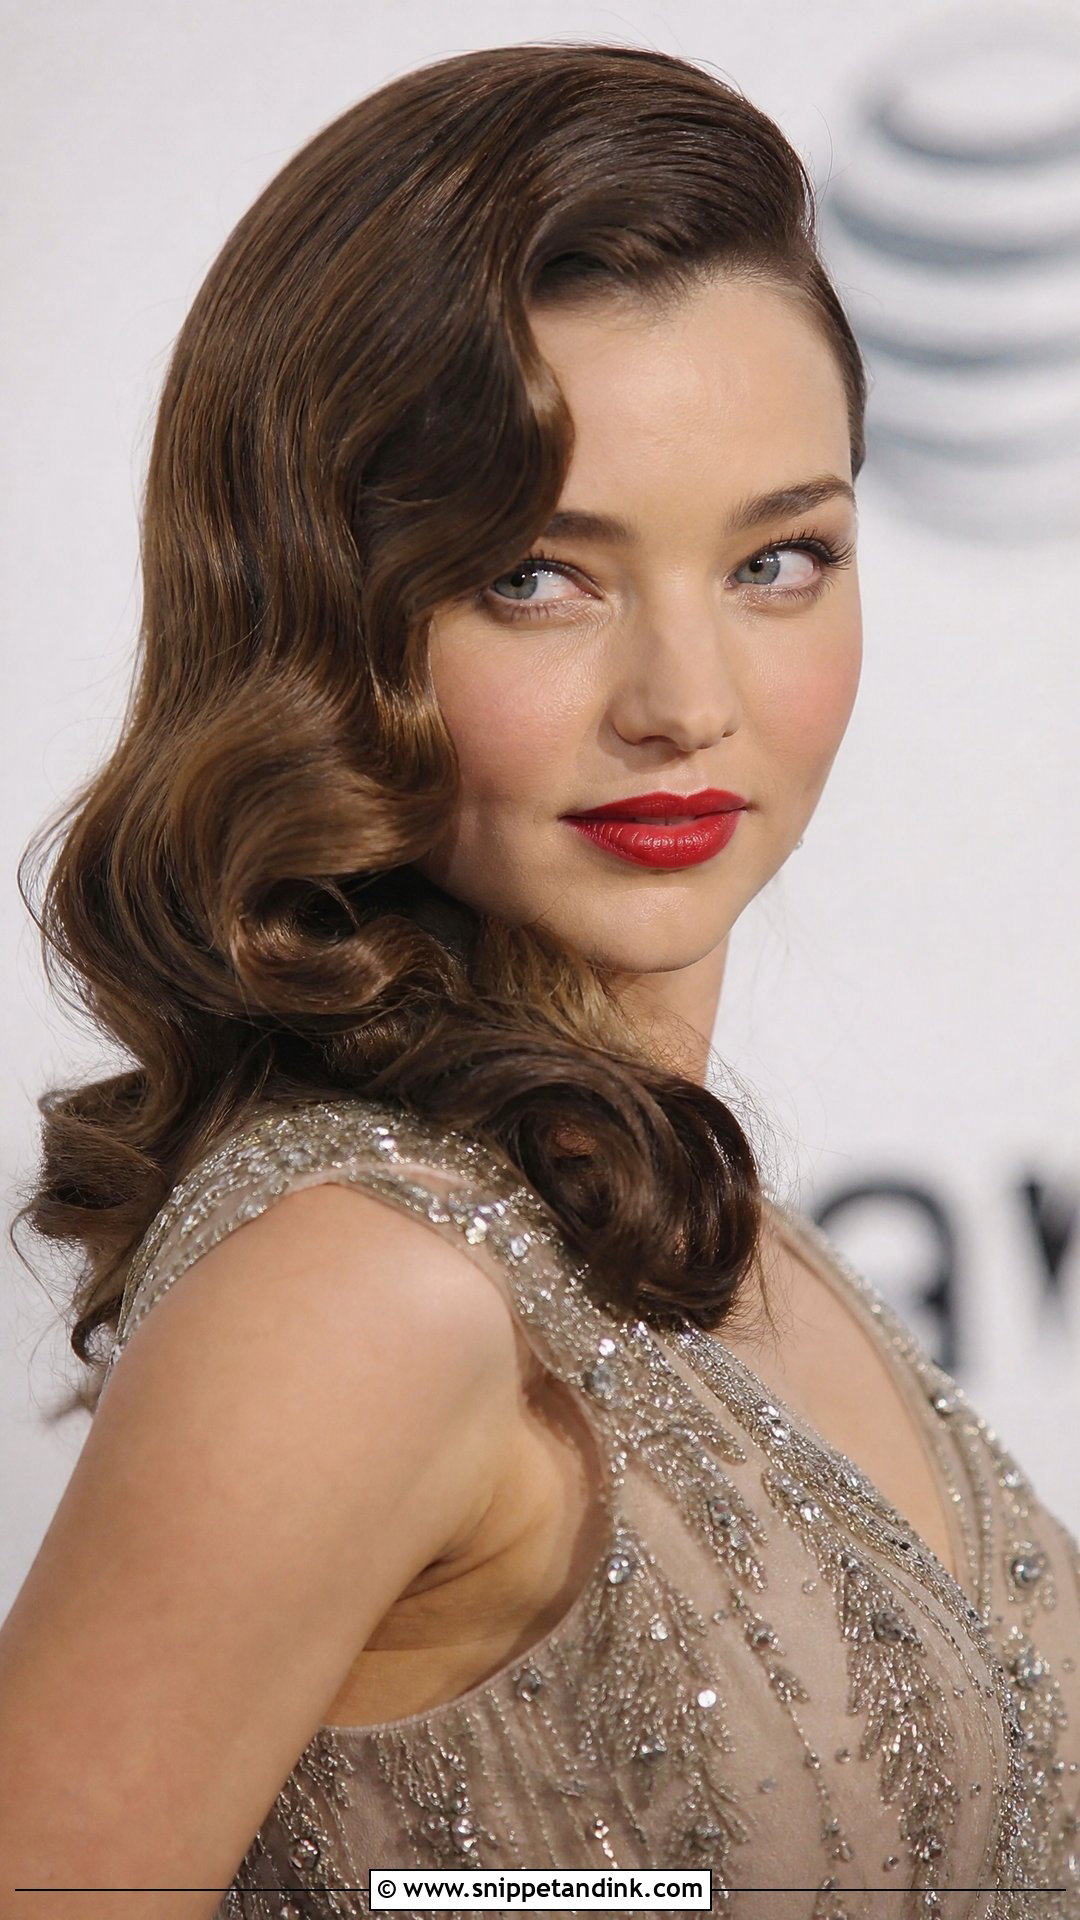
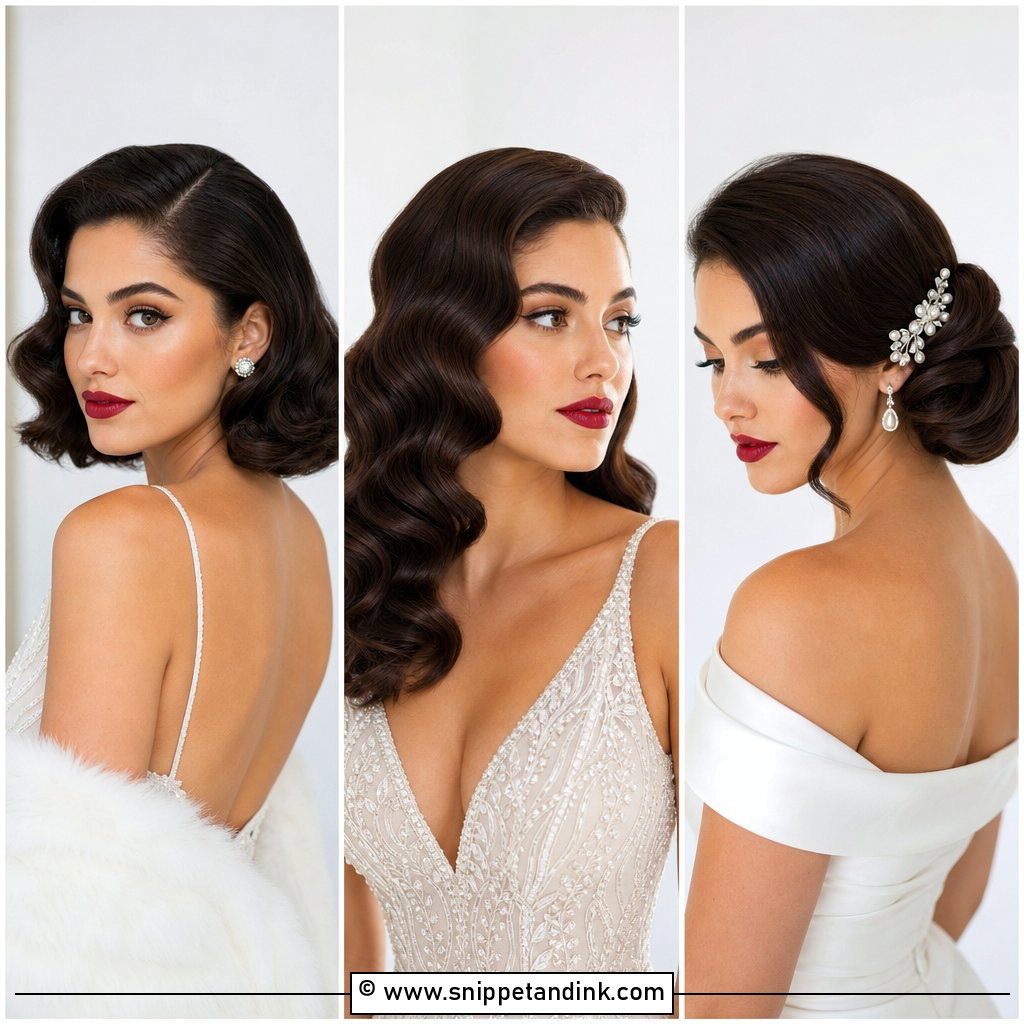
Sculpted waves are the deeper, more formal cousin of the soft version, set tighter and pressed into defined ridges that catch light along each crest. It’s the look of the 1940s film stars, and it needs at least shoulder-length hair to show two full waves. I set it with pin curls left to cool completely, then brush and clip each ridge while I mist it. Paired with a red lip, it’s very convincing in black-and-white portraits. I’d skip it for a beach or barn wedding; it looks out of place in a breeze.
4. Soft Loose Hollywood Waves
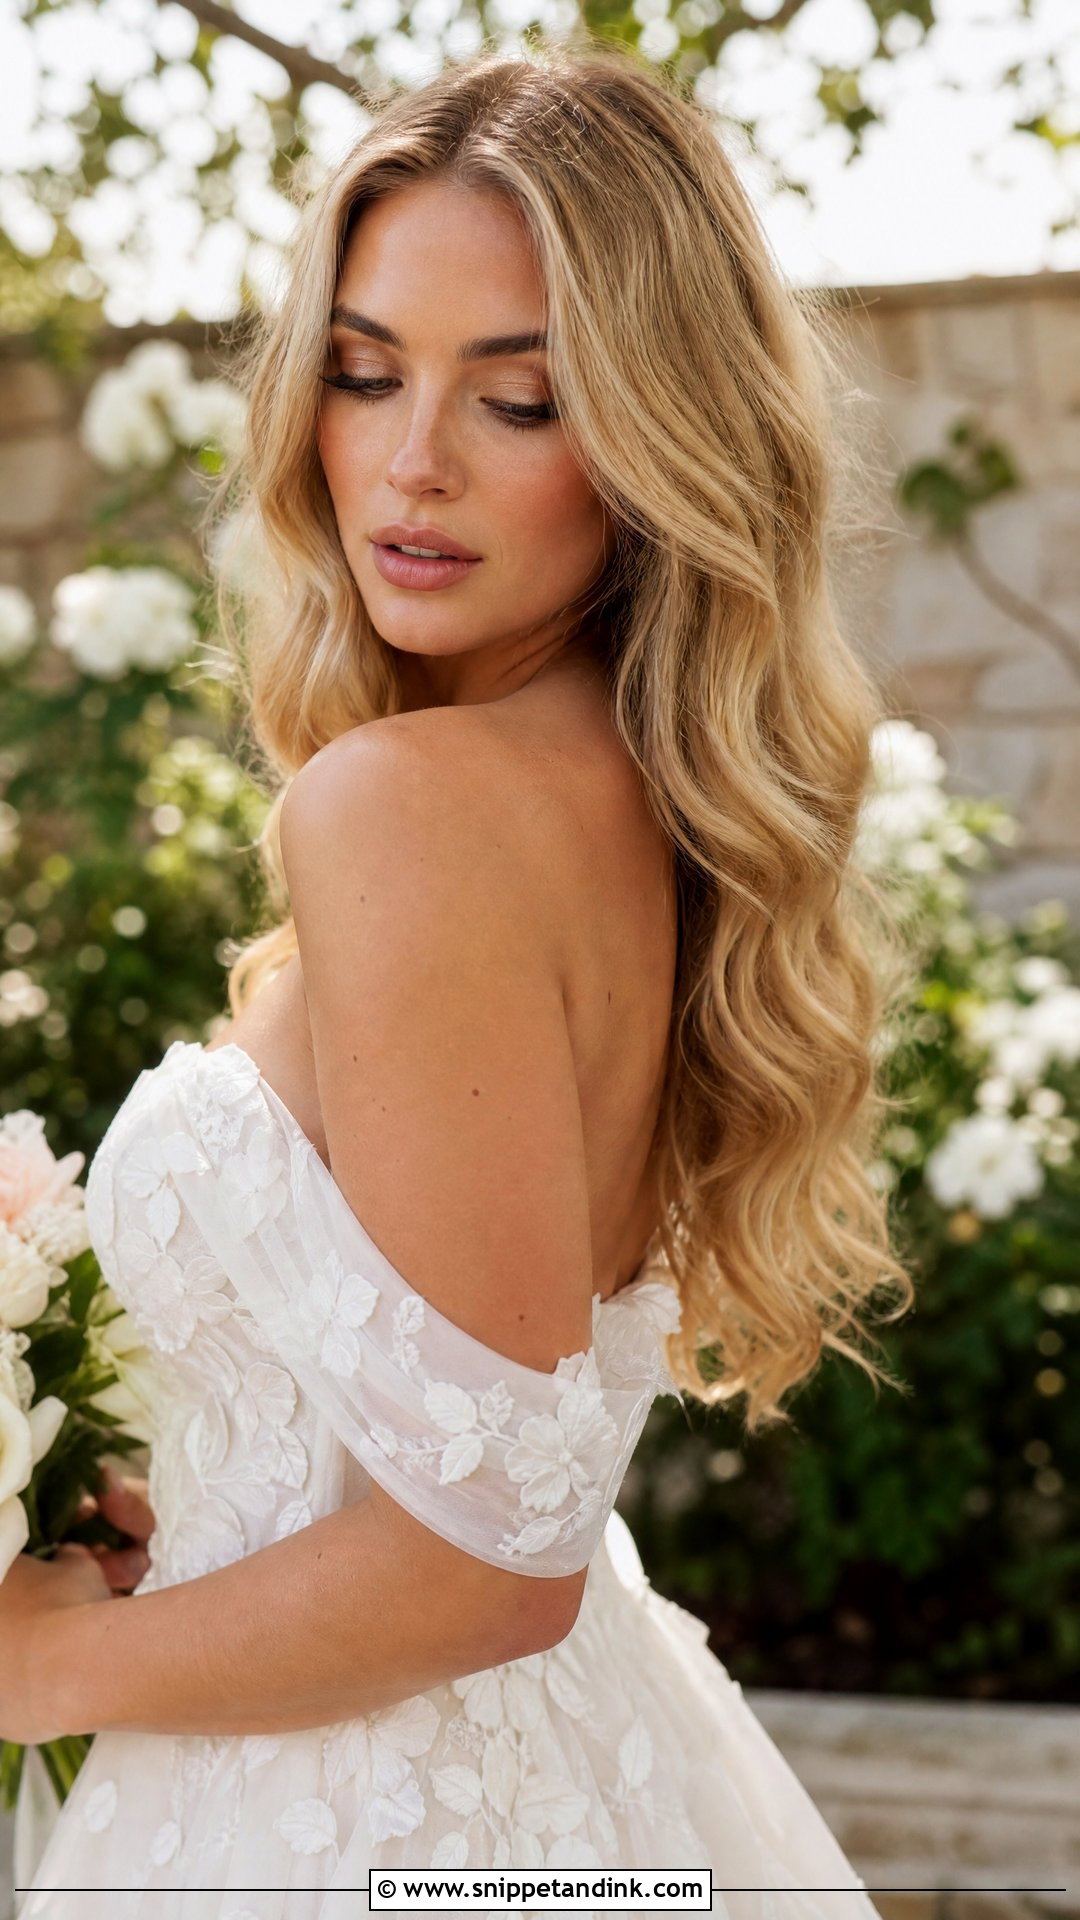
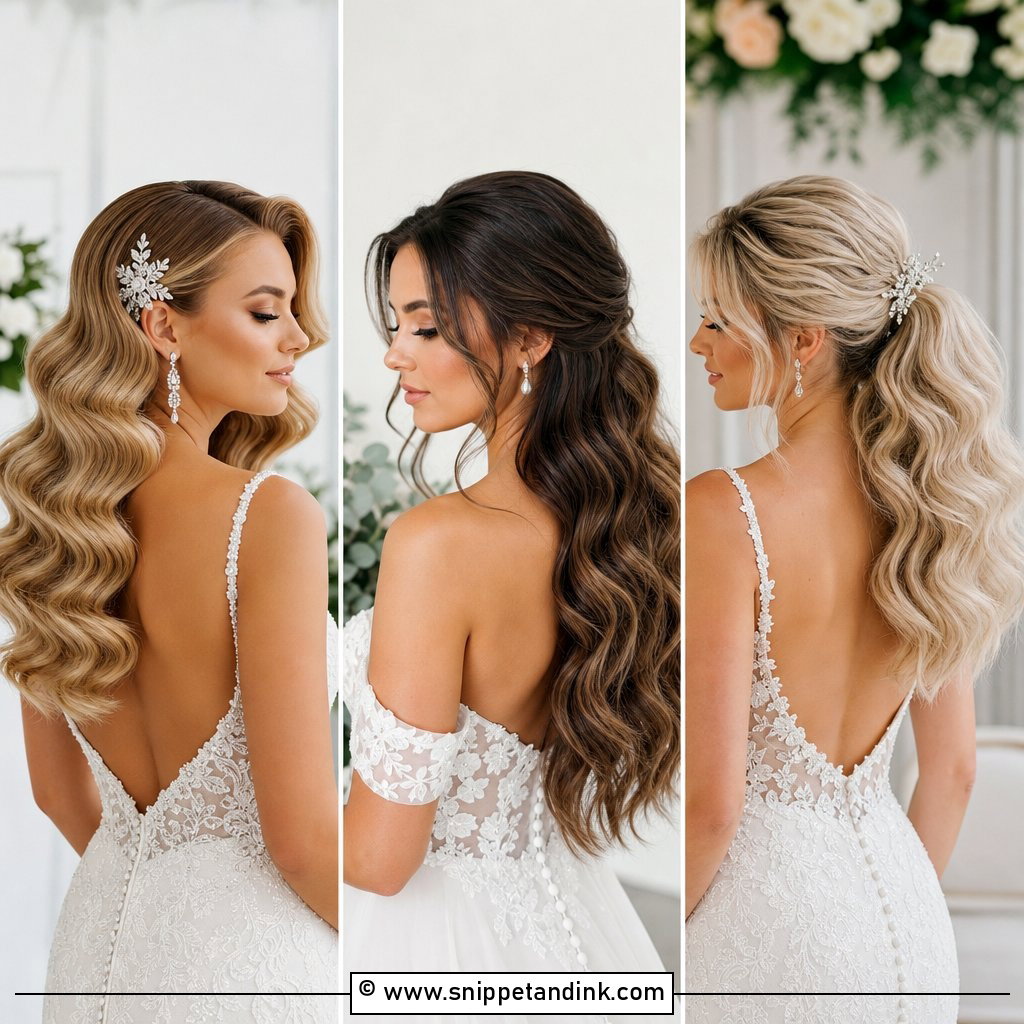
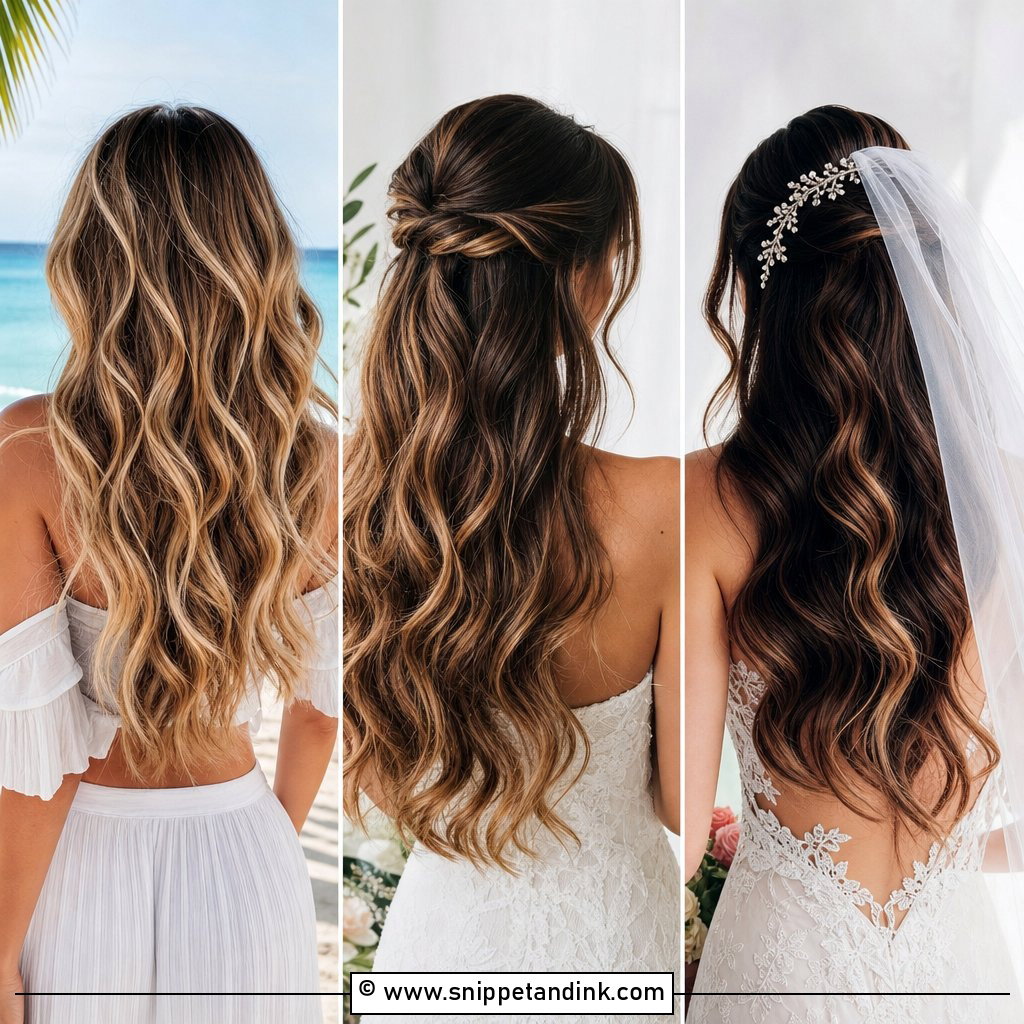
Loose waves keep the S-shape but brushed out further, so the pattern looks like it settled on its own. I use a bigger barrel and fewer, wider sections, then rake it with fingers rather than a boar brush. It moves when you walk, which is the appeal at a garden ceremony. The honest trade-off: looser waves drop faster, so very fine or freshly washed hair needs a day-old base and a texture spray underneath, or it will look straight by the reception.
5. Hollywood Waves With a Side Hair Comb
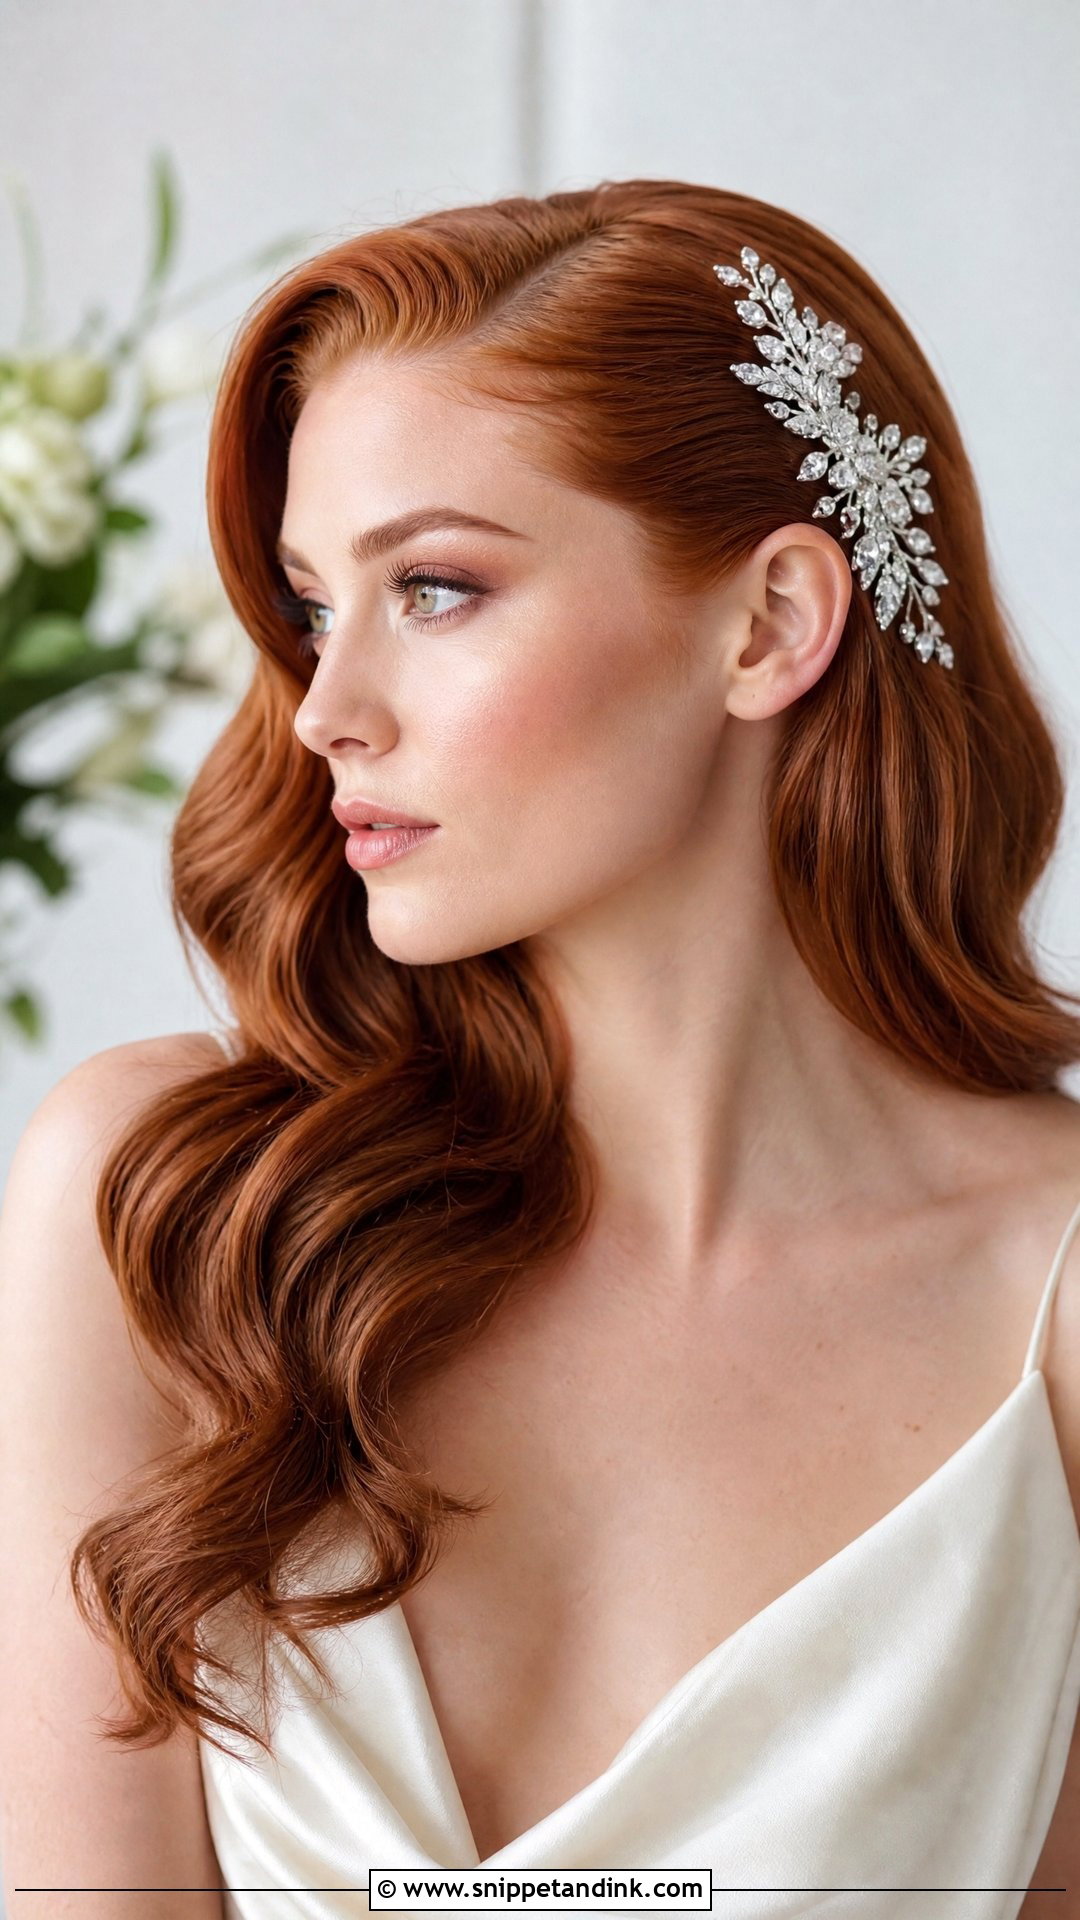
A comb above one ear does structural work, not just decoration. It holds back the side that would otherwise fall in the face and pushes more volume over the opposite shoulder. I always anchor it with two crossed bobby pins underneath first, then slide the comb teeth into that base, because waved hair is too smooth to grip a comb alone. Crystal, pearl or vintage metal all work; match the metal tone to your earrings rather than to the gown.
6. Hollywood Waves With a Crystal Tiara
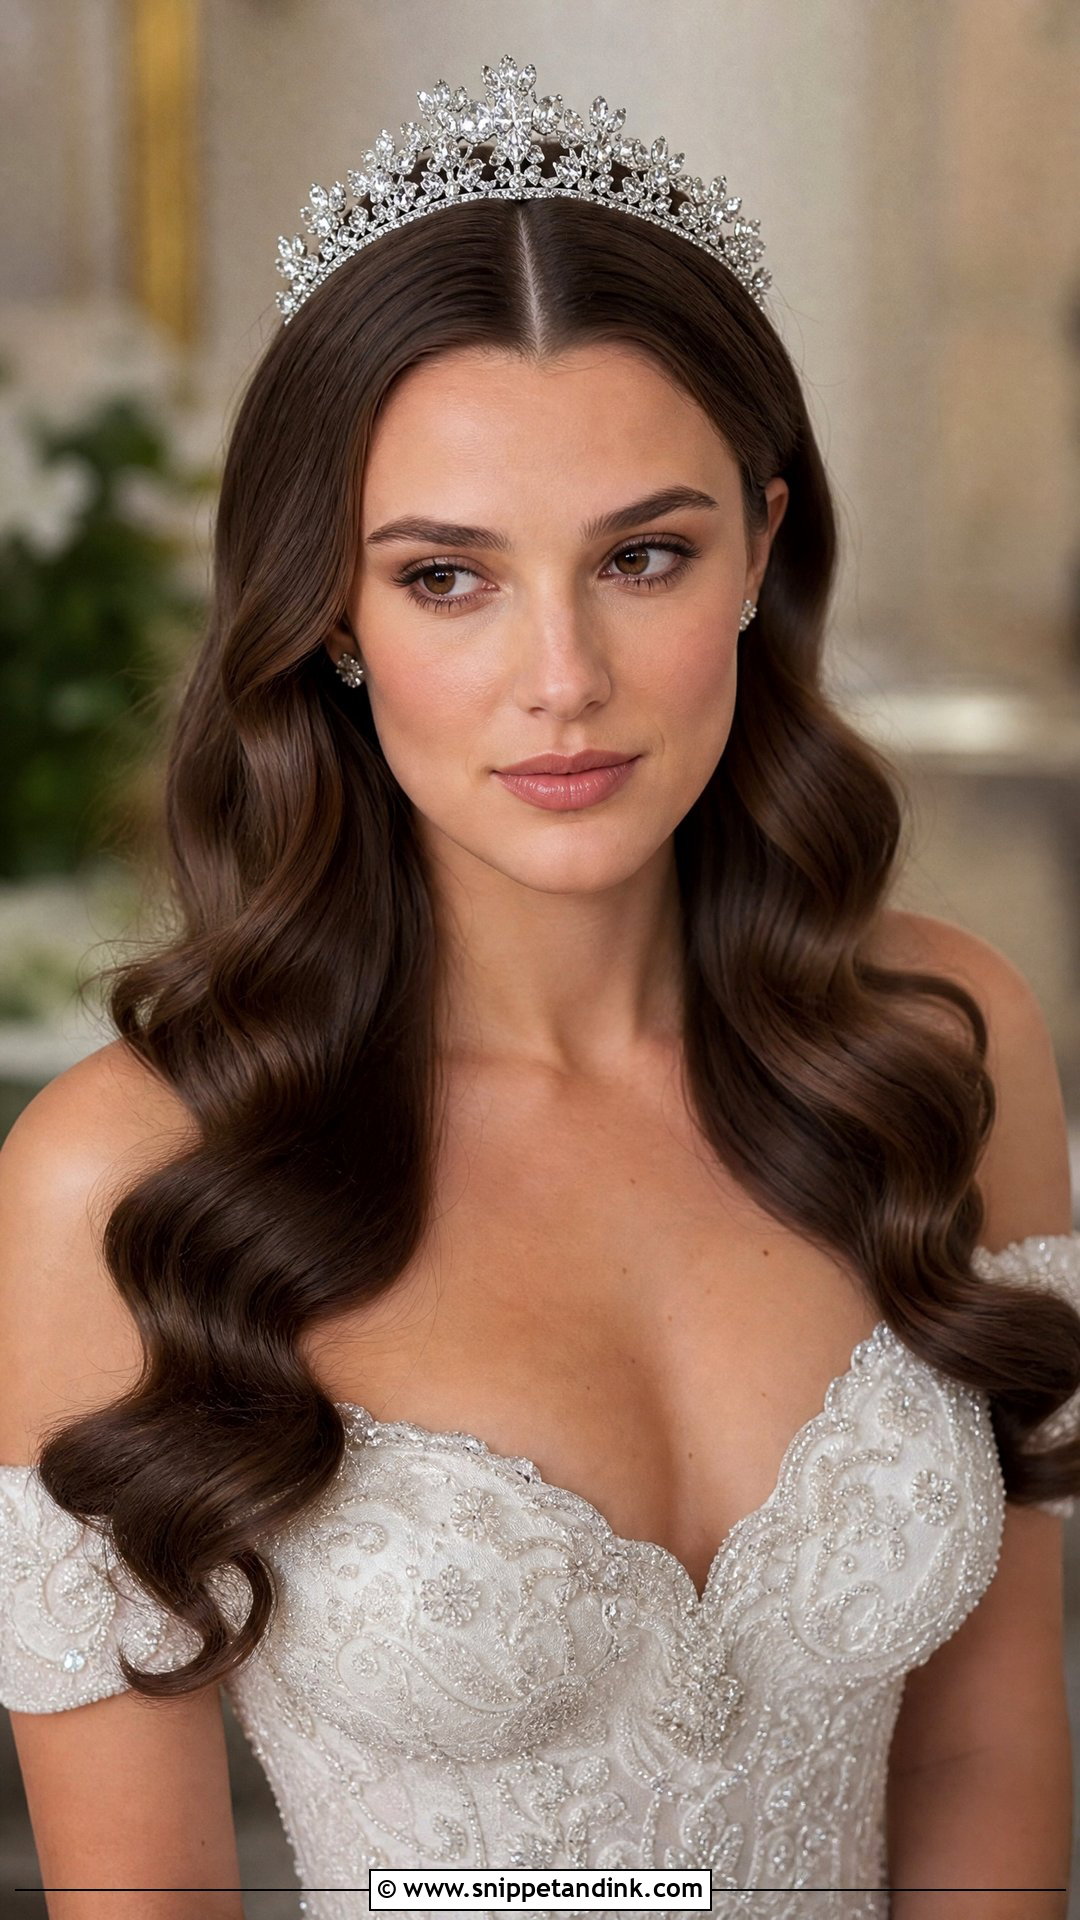
A crystal tiara wants a center part so it sits level across the crown, with waves framing the face below it. Before I set anything, I place the tiara on dry hair and mark where its ends land, because the waves need to start below that line or the band crushes the first curve flat. This pairing feels at home in a ballroom or formal hotel. Keep the waves glossy rather than fluffy; the crystals already give plenty of sparkle.
7. Shoulder-Length Hollywood Waves
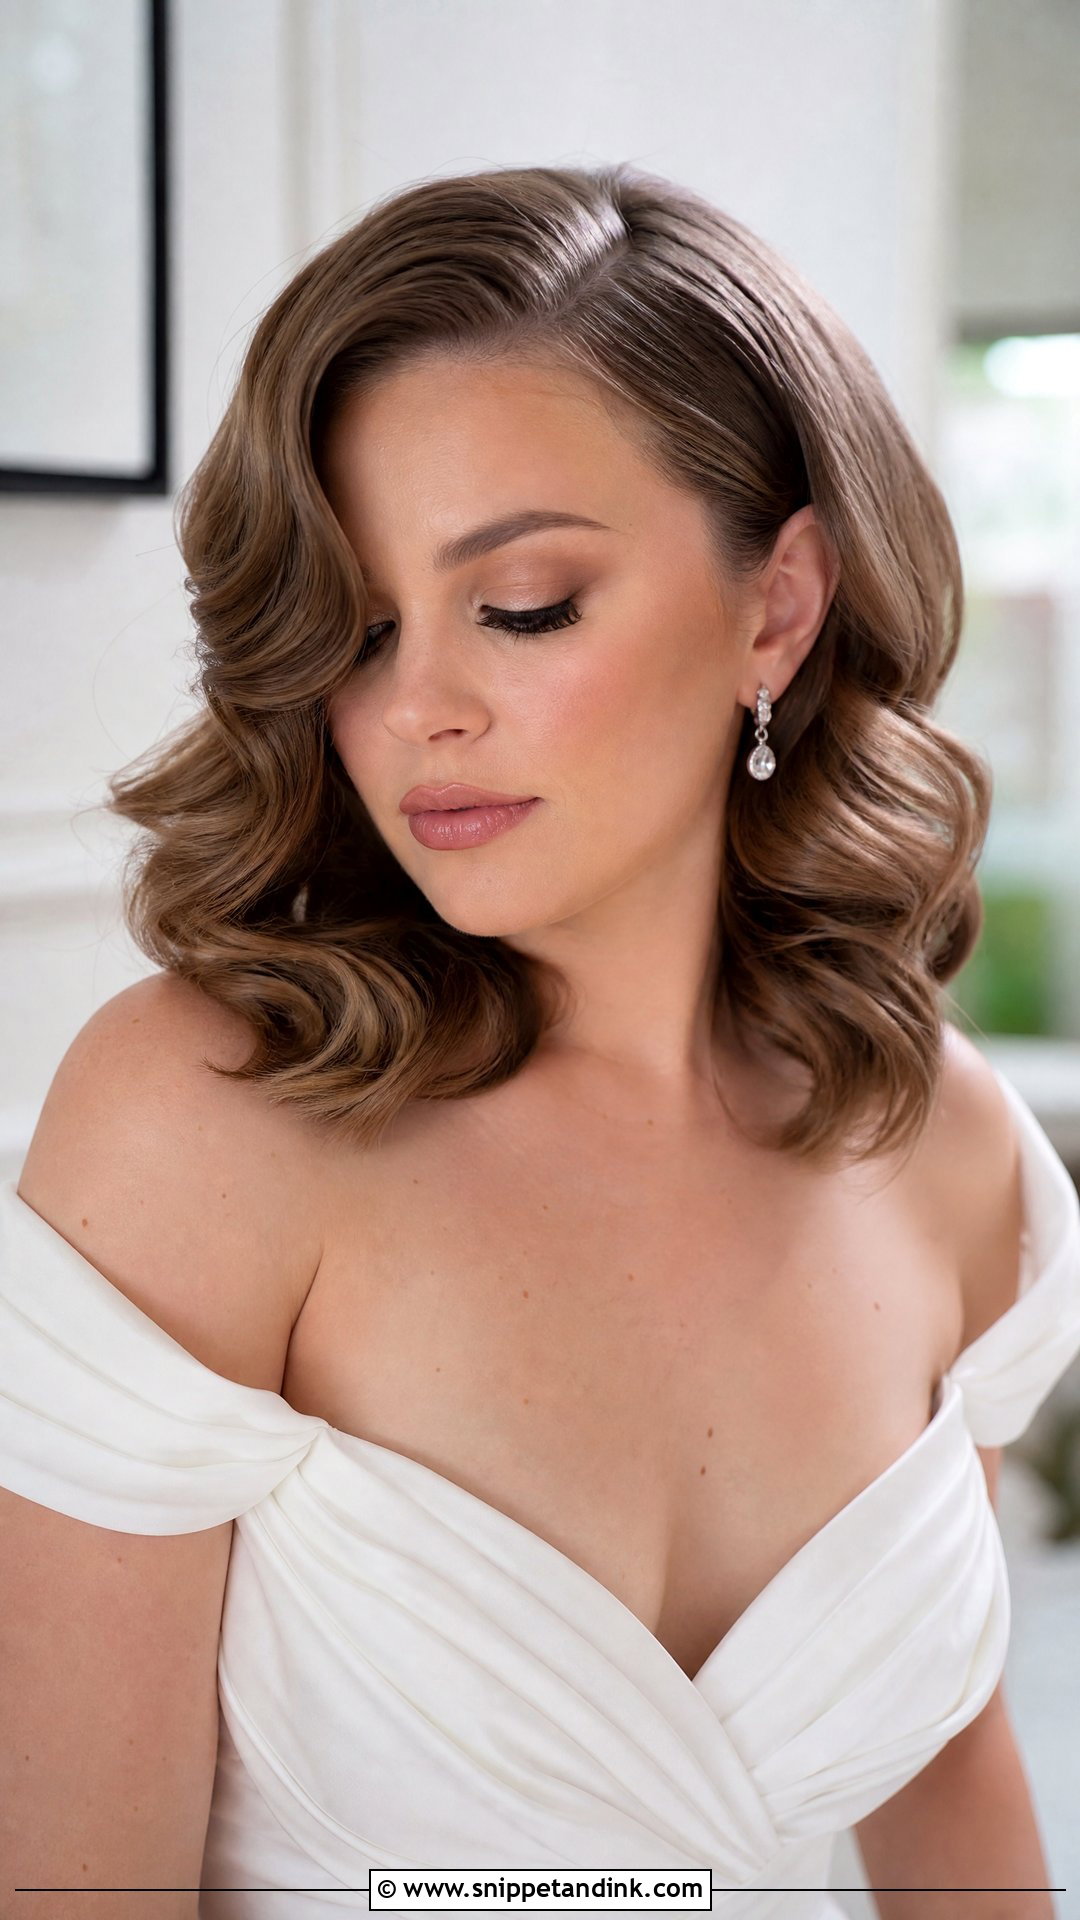
Shoulder-length hair is often better for this style than very long hair, because the weight is lighter and the curl holds longer. You’ll get one and a half to two waves before the ends, which gives that bouncy retro outline. A deep side part adds lift at the roots and a little drama. The one thing to watch on a bob or lob is the ends flipping out when they hit the shoulders; I curl the last inch under so it rests on the collarbone instead.
8. Hollywood Waves With a Deep Side Part
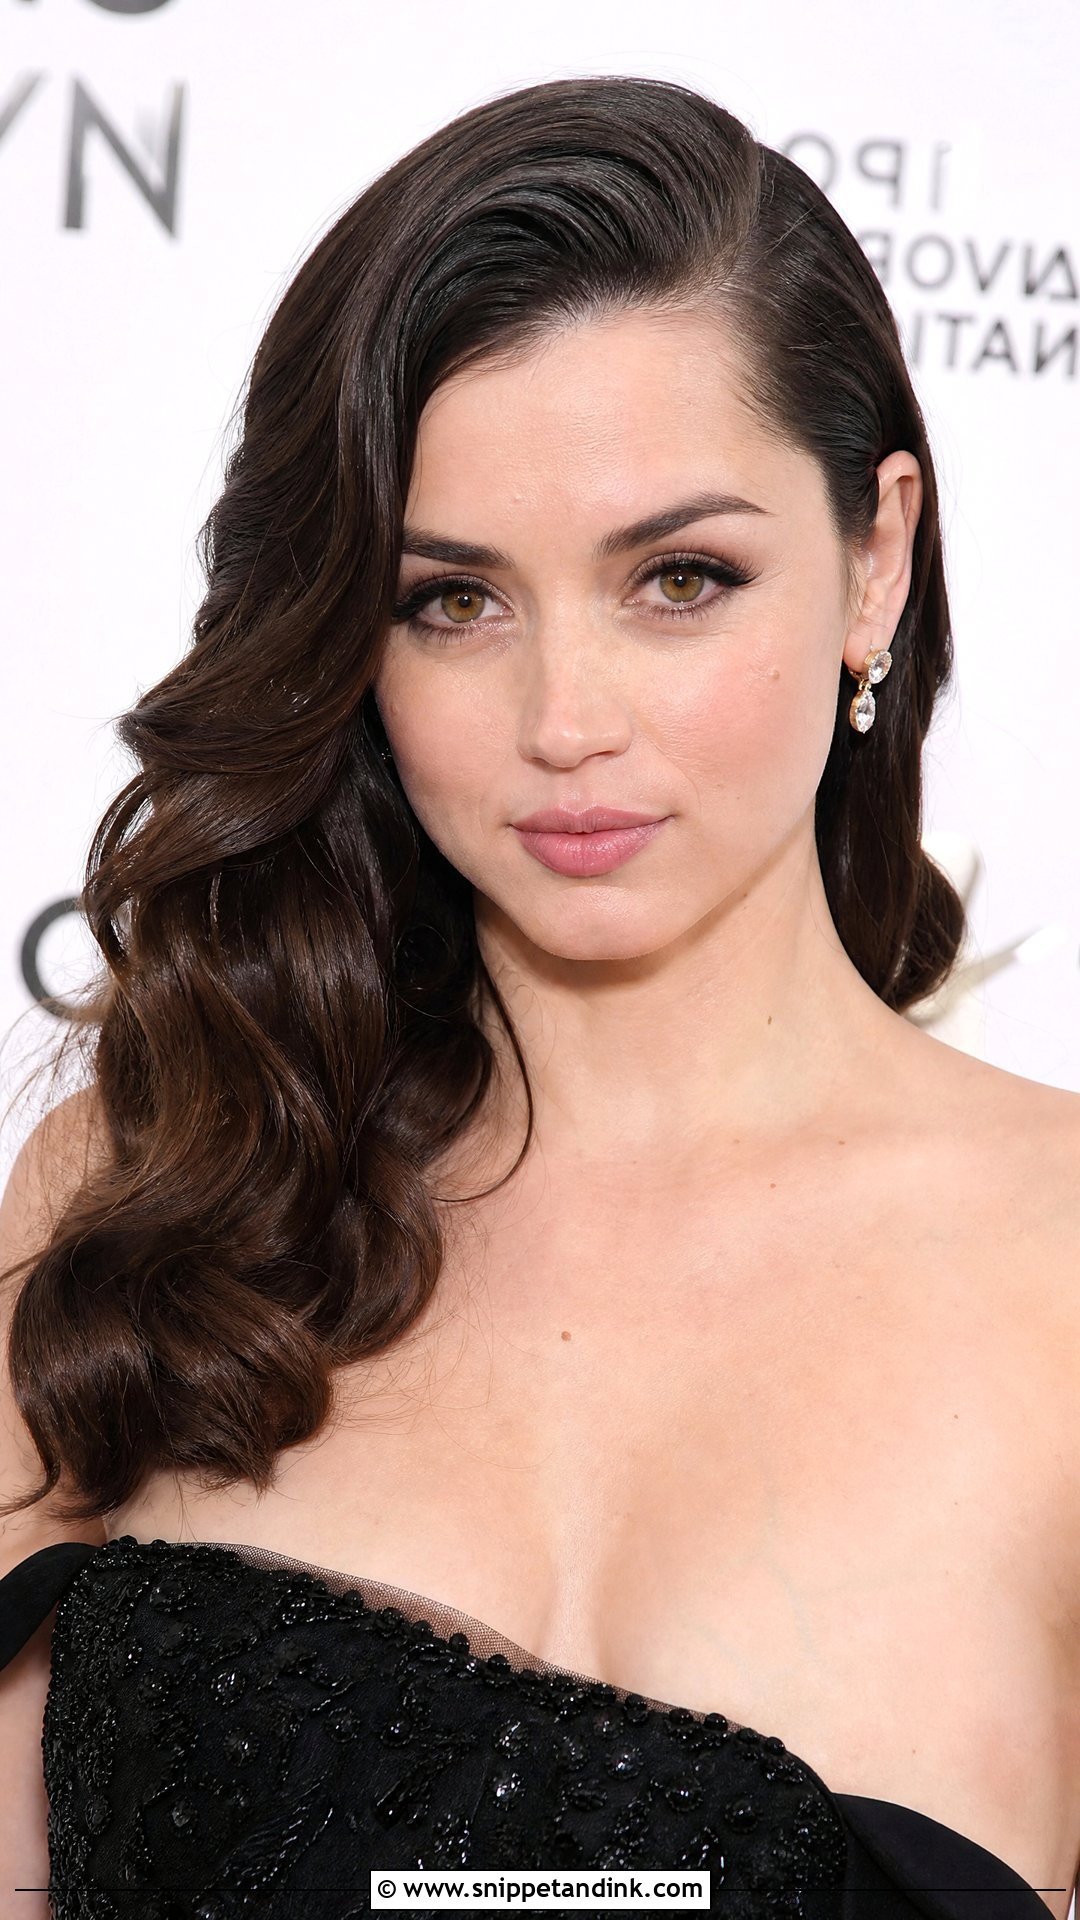
The part is where most of the drama in this style lives. Moving it deep, roughly in line with the arch of the eyebrow, puts most of the hair on one side and builds natural lift at the root. I backcomb just the first inch at the part on the heavy side so it doesn’t collapse after the veil comes out. It suits almost any face shape and adds height where a face needs it, and it works with both down styles and pinned ones.
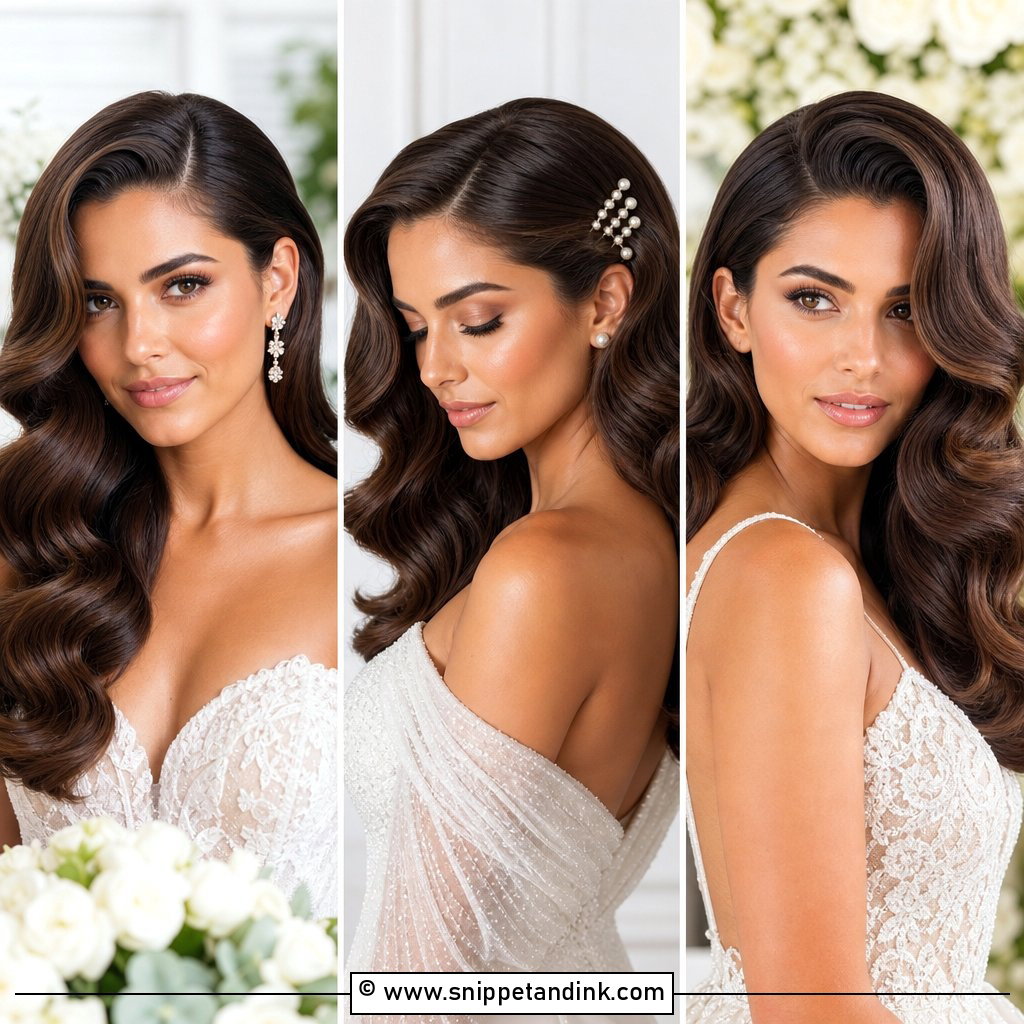
9. Hollywood Waves With Pearl Hair Pins
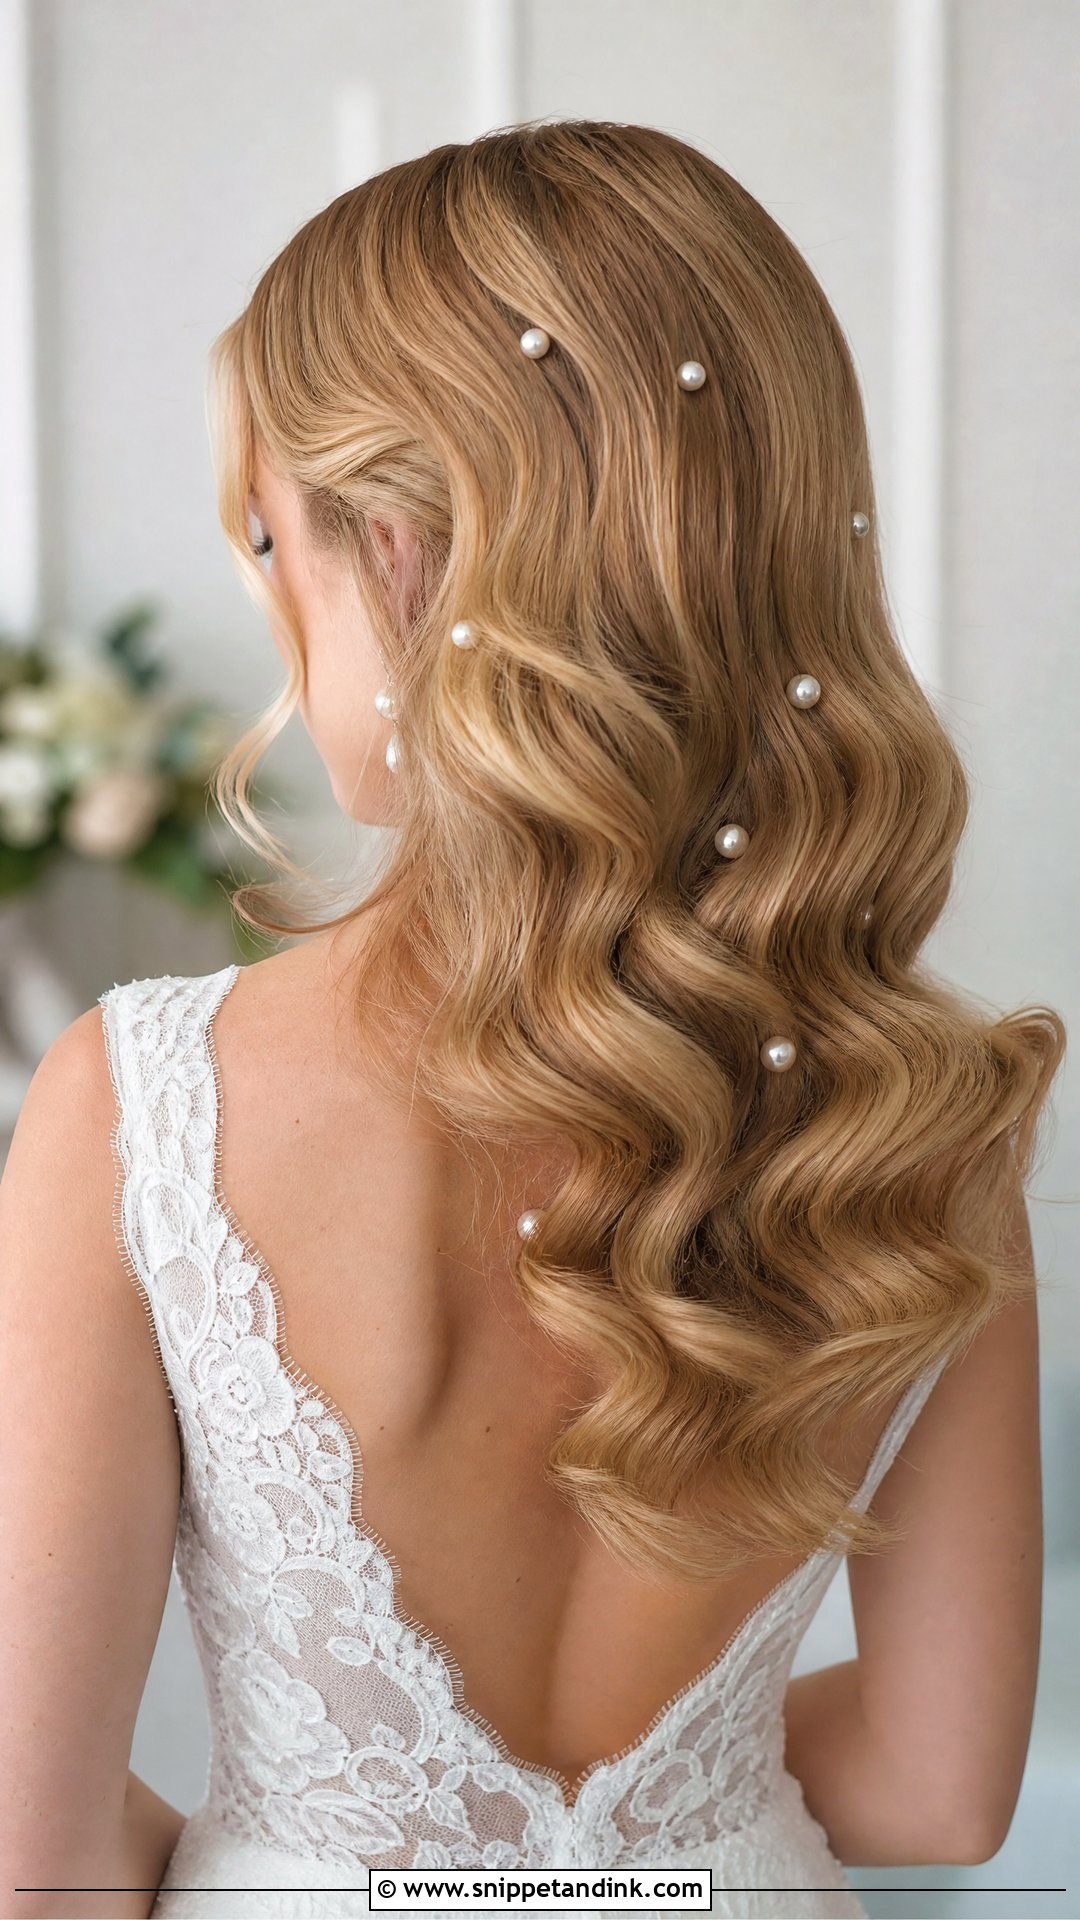
Pearl pins tucked between the waves give small points of shine without competing with the curve itself. I place them in the dips of the S, never on the crests, because a pin on a crest breaks the line and reads as a lump in photos. Cluster them on the heavy side or scatter a few evenly; either way, under a dozen is usually enough. They look best in soft daylight, where pearls read creamy rather than white.
10. Half-Up Hollywood Waves
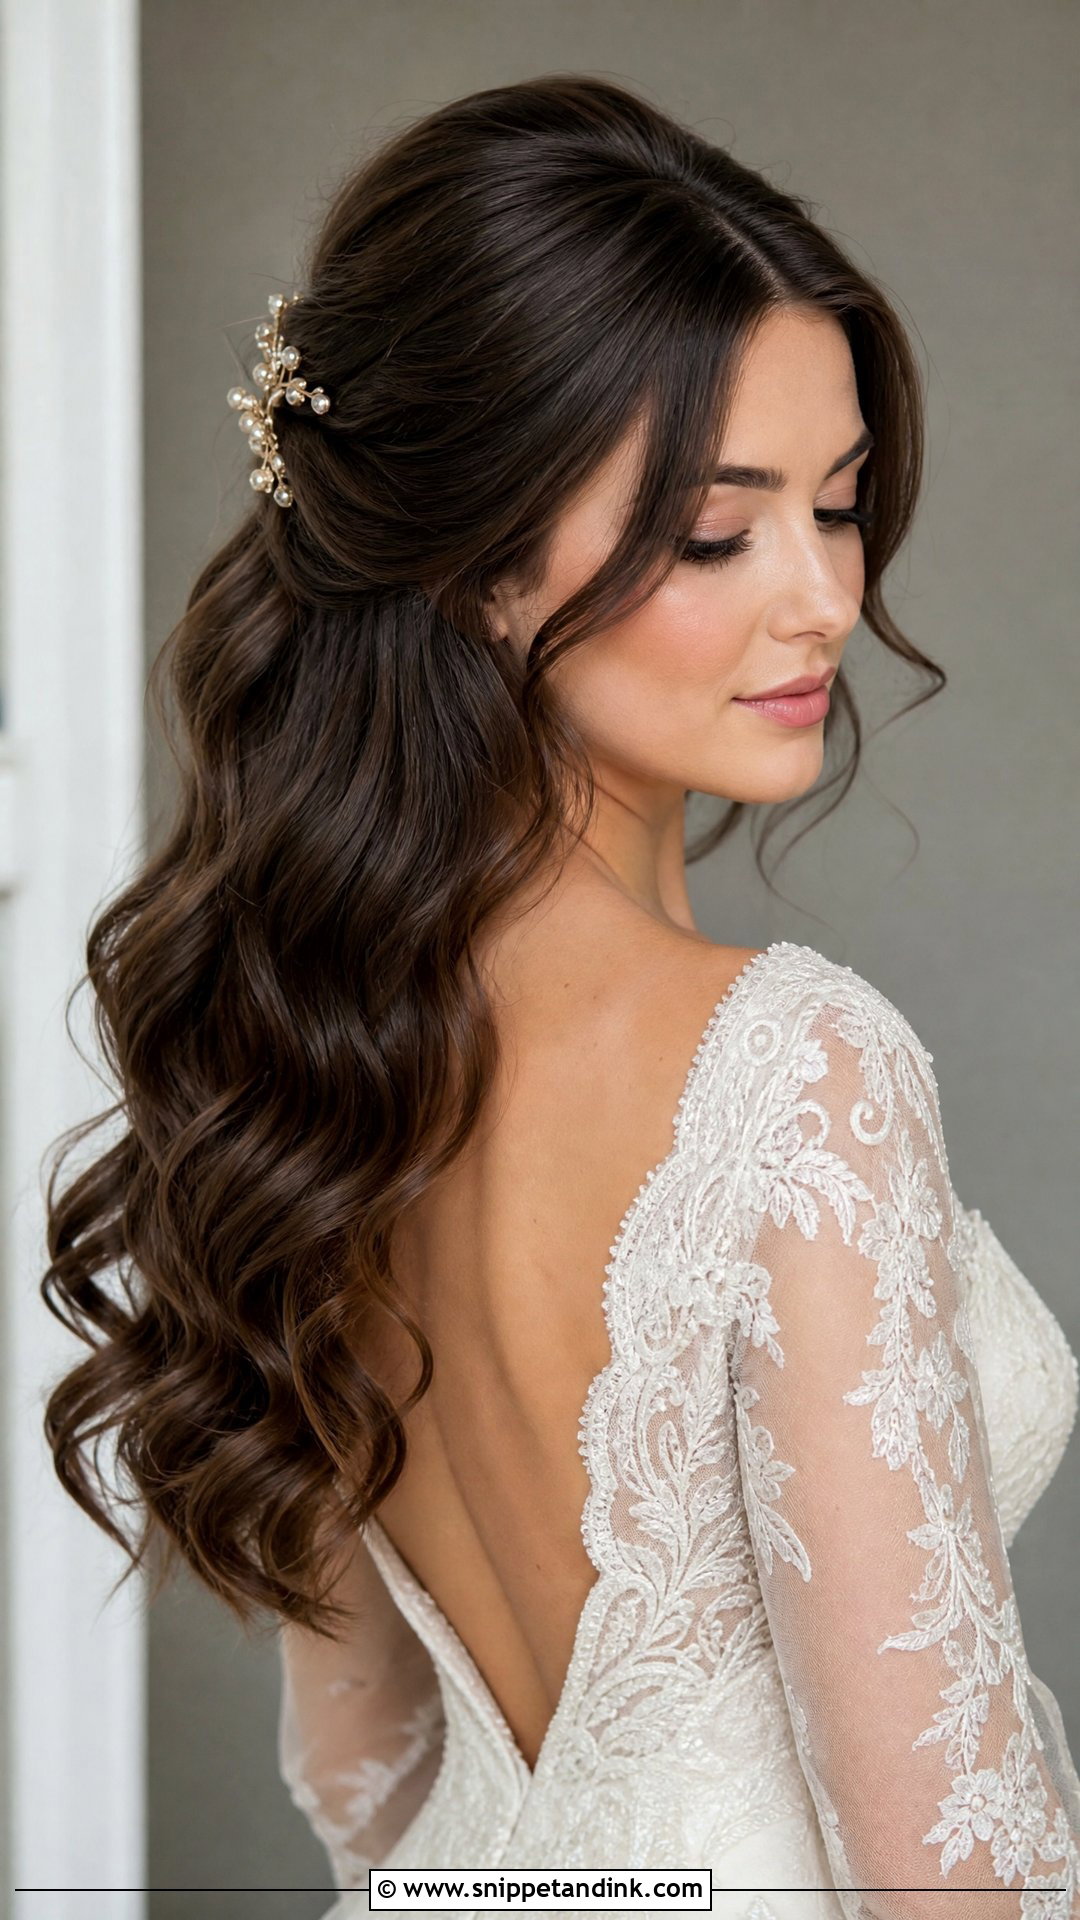
Half-up waves pin the top section back at the crown and let the rest fall in the S-shape below. The pinned section gives the style a stronger anchor than a fully down look, so it tends to last longer, and it keeps hair off the face for hugs. I crisscross the pins under the gathered section and set a hair vine or small clip over them. It flatters most lengths, though very short layers can poke out of the gathered top, so bring a photo of your hair down to the trial.
11. Hollywood Waves With a Veil
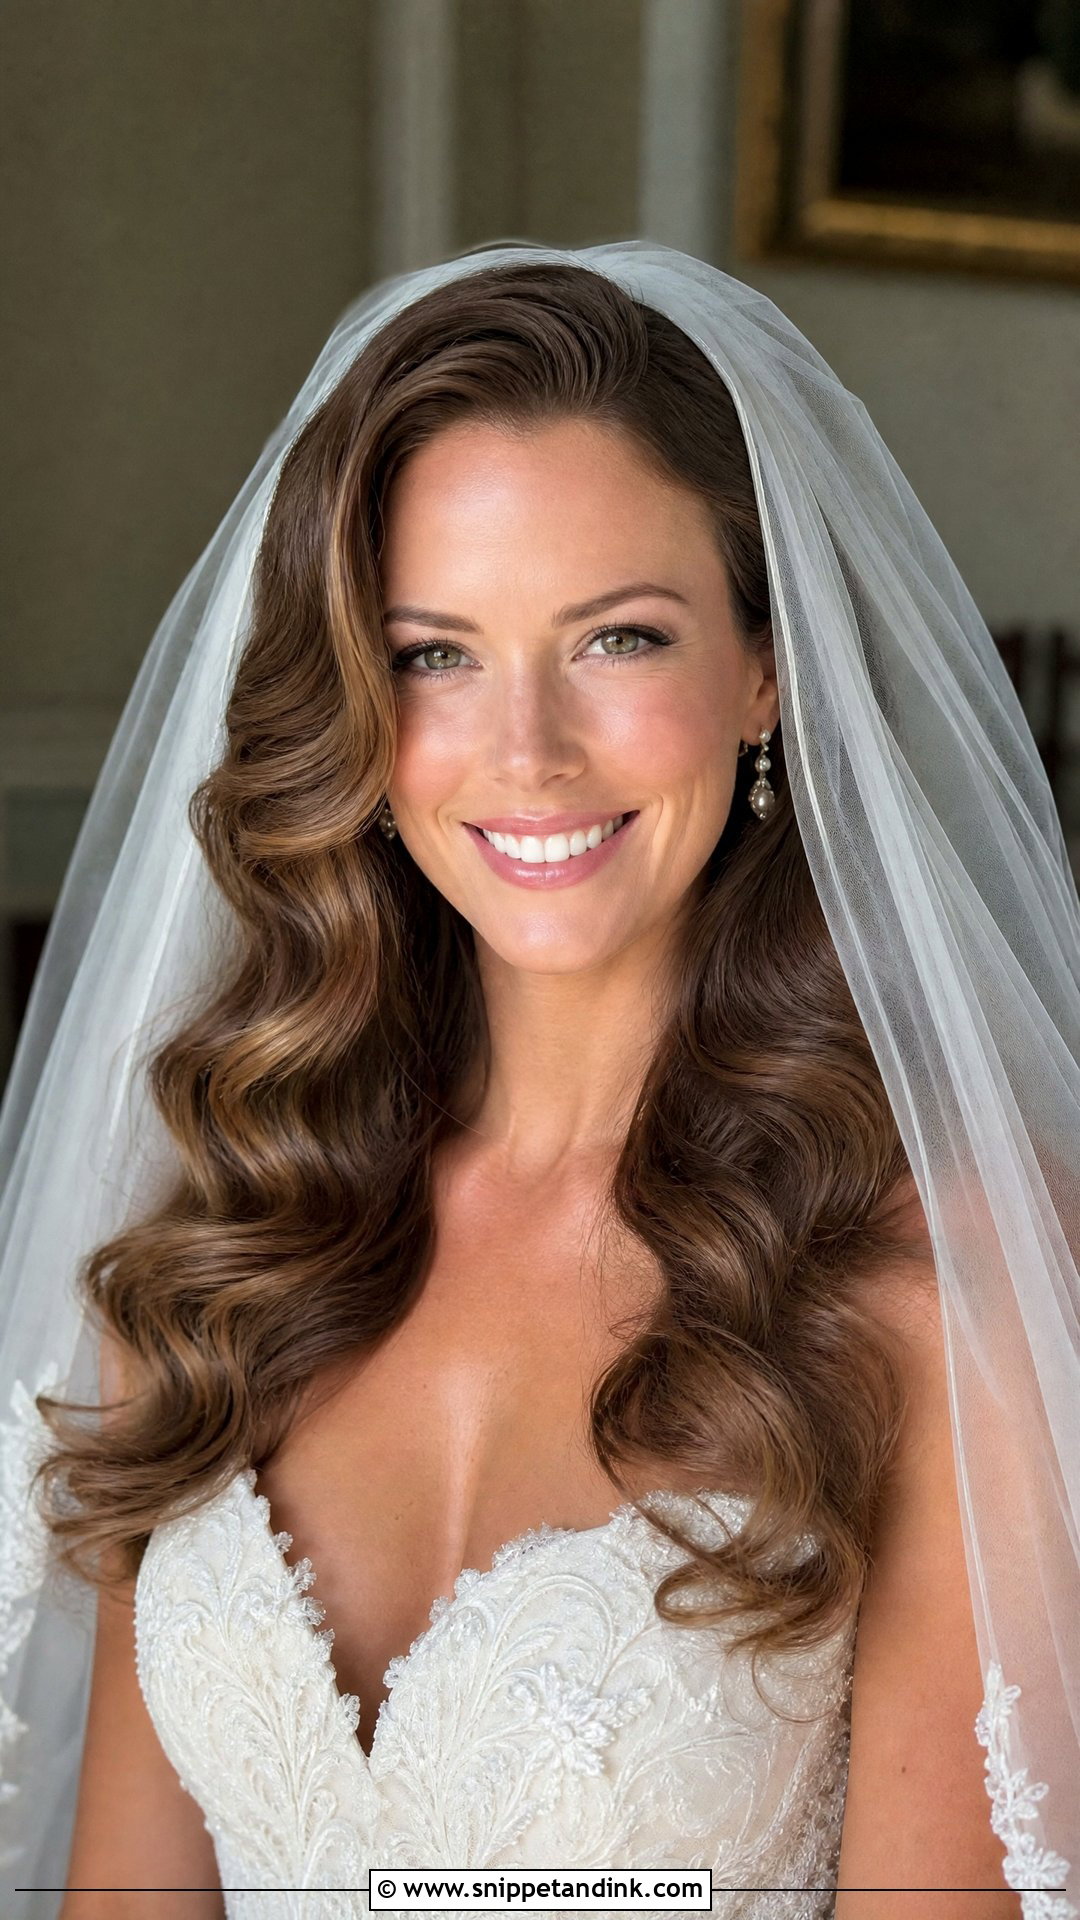
Waves and a veil can live together, but the veil comb has to go in below the crown, under the waves, never on top of them. If it’s pushed through the curl pattern, the waves split around it and stay split after the veil comes off. Cathedral and fingertip lengths both work. When the veil comes out for the reception, I bring a brush and a quick mist to smooth the spot where the comb sat, and the waves carry on through the evening.
12. Vintage Finger Wave Hollywood Style
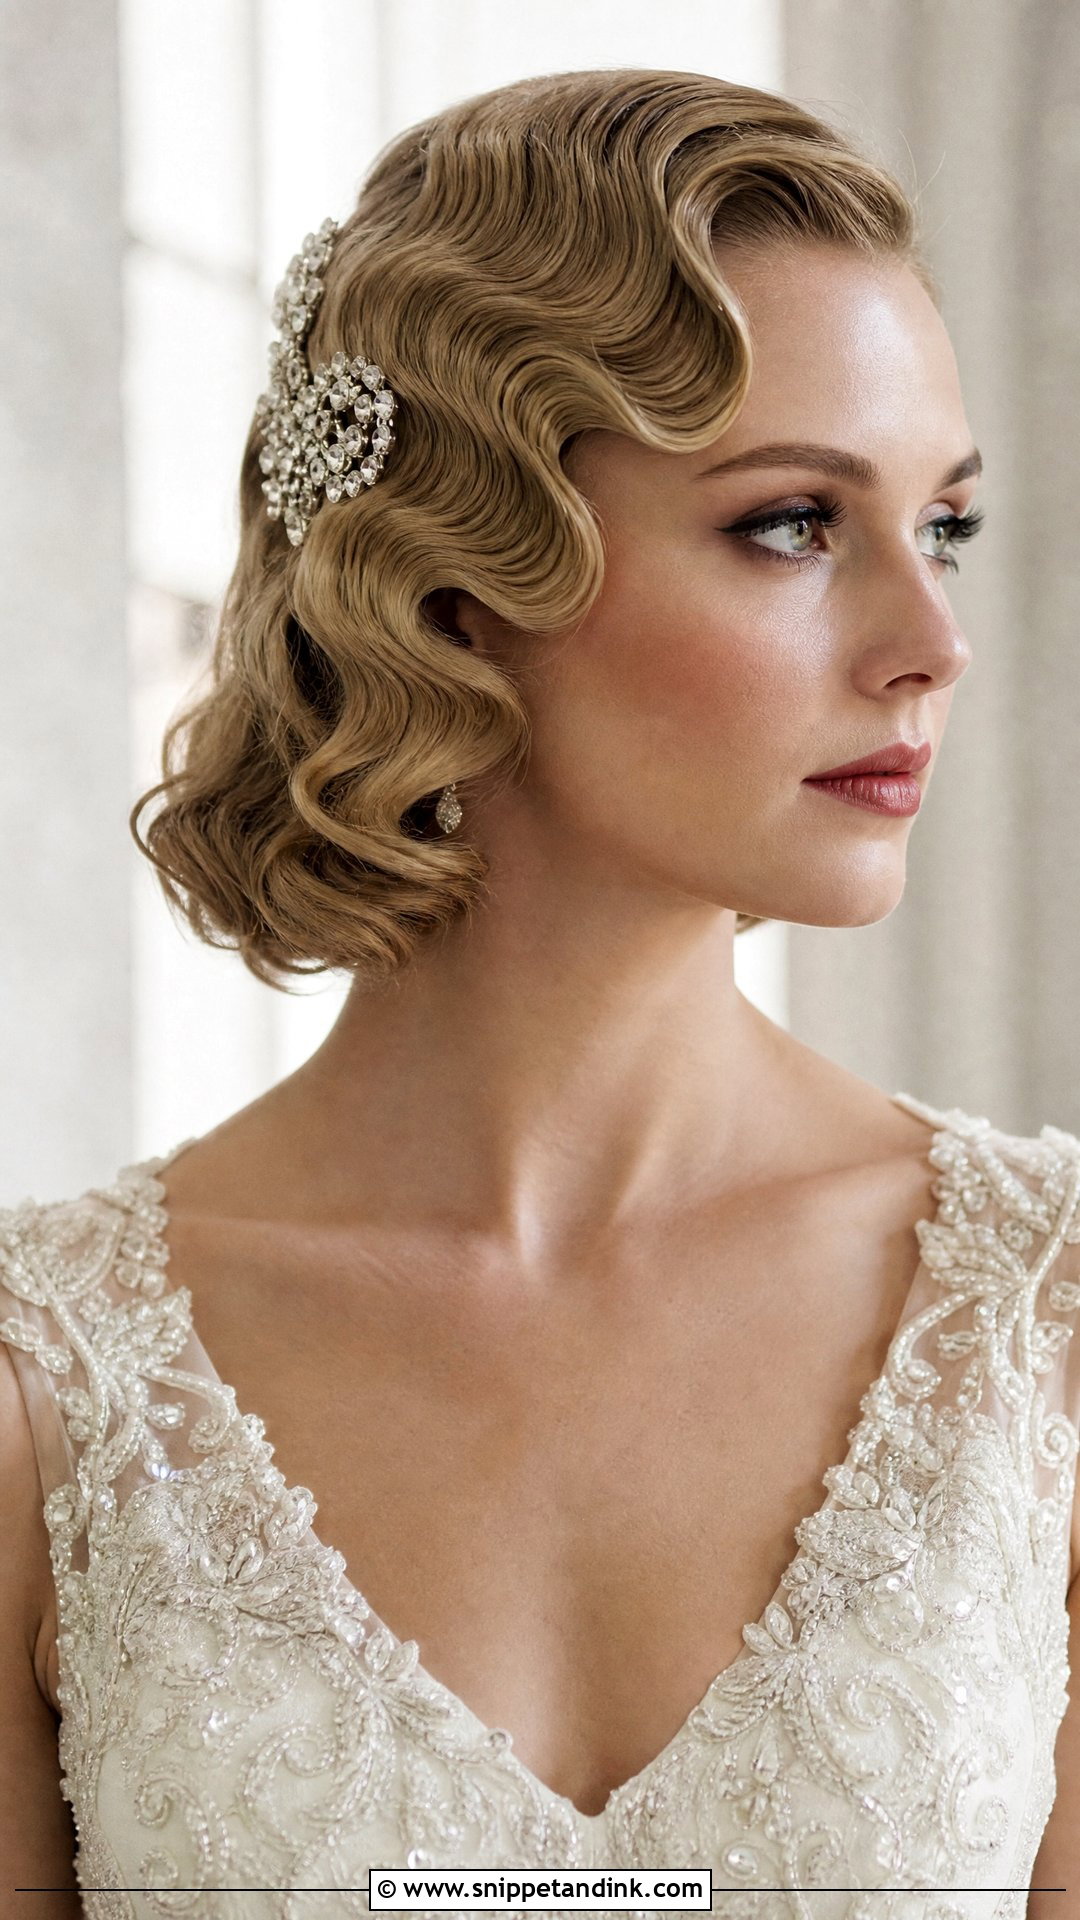
Finger waves are the 1920s and 30s version: tight ridges pressed close to the head near the crown, opening into softer curls toward the ends. Traditionally they’re shaped with gel, fingers and a comb while the hair is wet, then left to dry, though a hot-iron version is faster on the day. They show best on short and medium hair. Add an art deco clip and the silhouette is unmistakable. I’d only suggest this to someone who has worn a strong retro look before; it is a commitment.
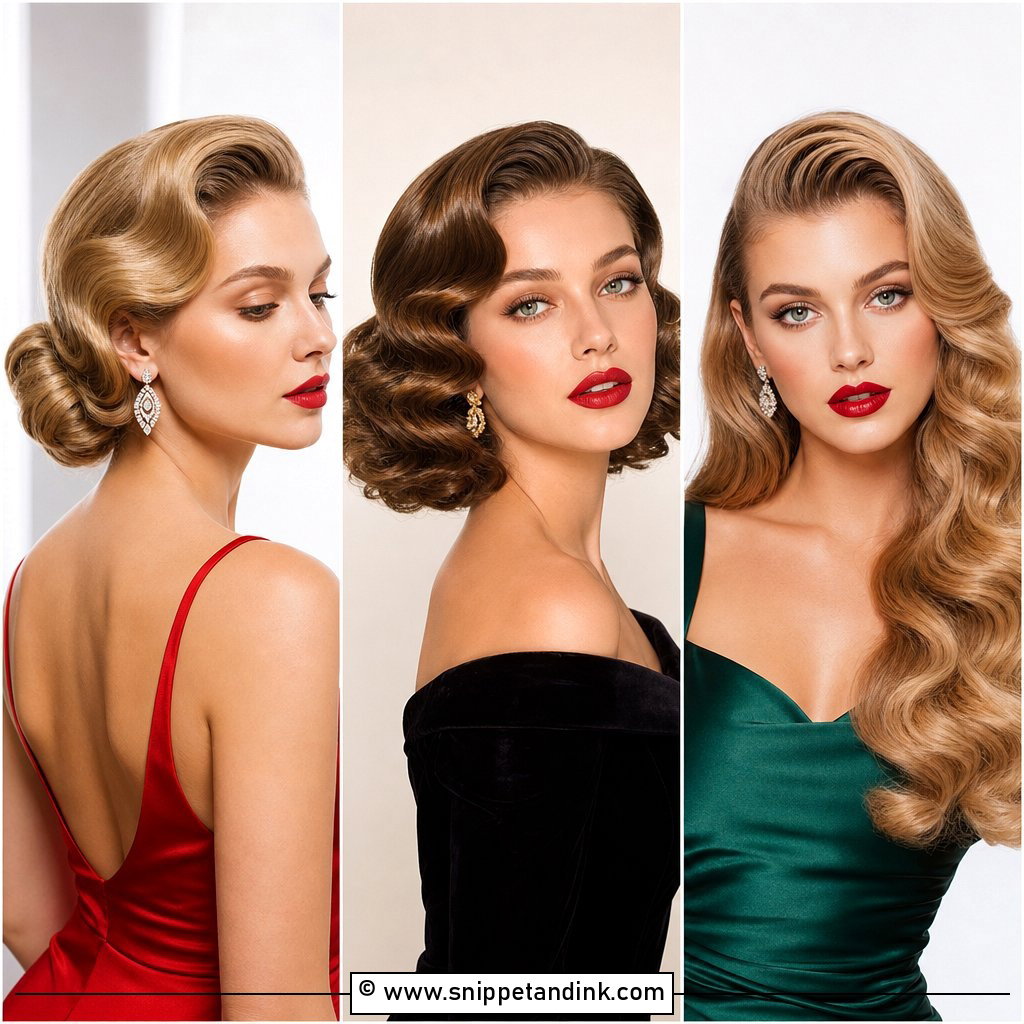
13. Hollywood Waves With a Bold Red Lip
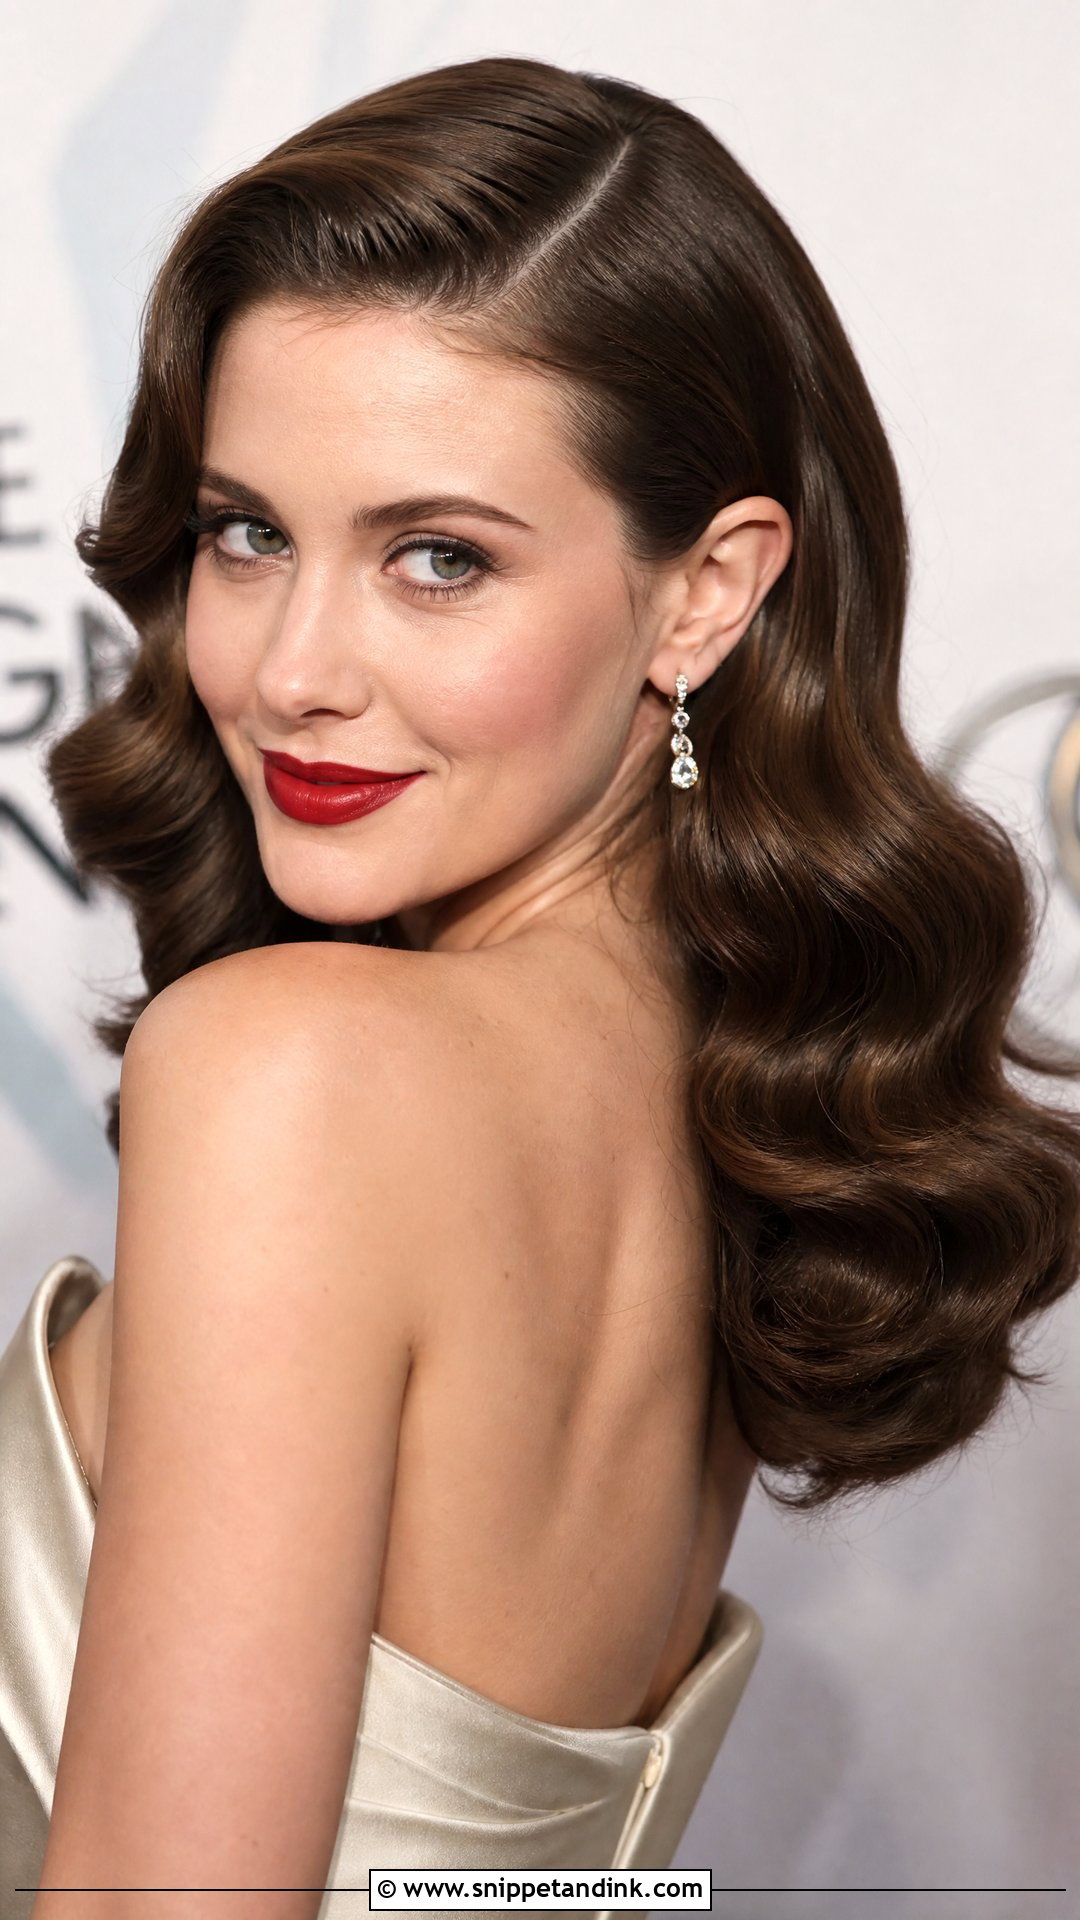
Glossy waves and a bold red lip are the classic film-star pairing, and they balance each other. A strong lip next to frizzy or soft hair looks unfinished, so I push the shine further with a light serum on the lengths when a bride chooses red. A deep side part makes the vintage reference stronger. Book your hair and makeup trials on the same day if you can, so you see both together in one photo.
14. Low Bun With Hollywood Waves
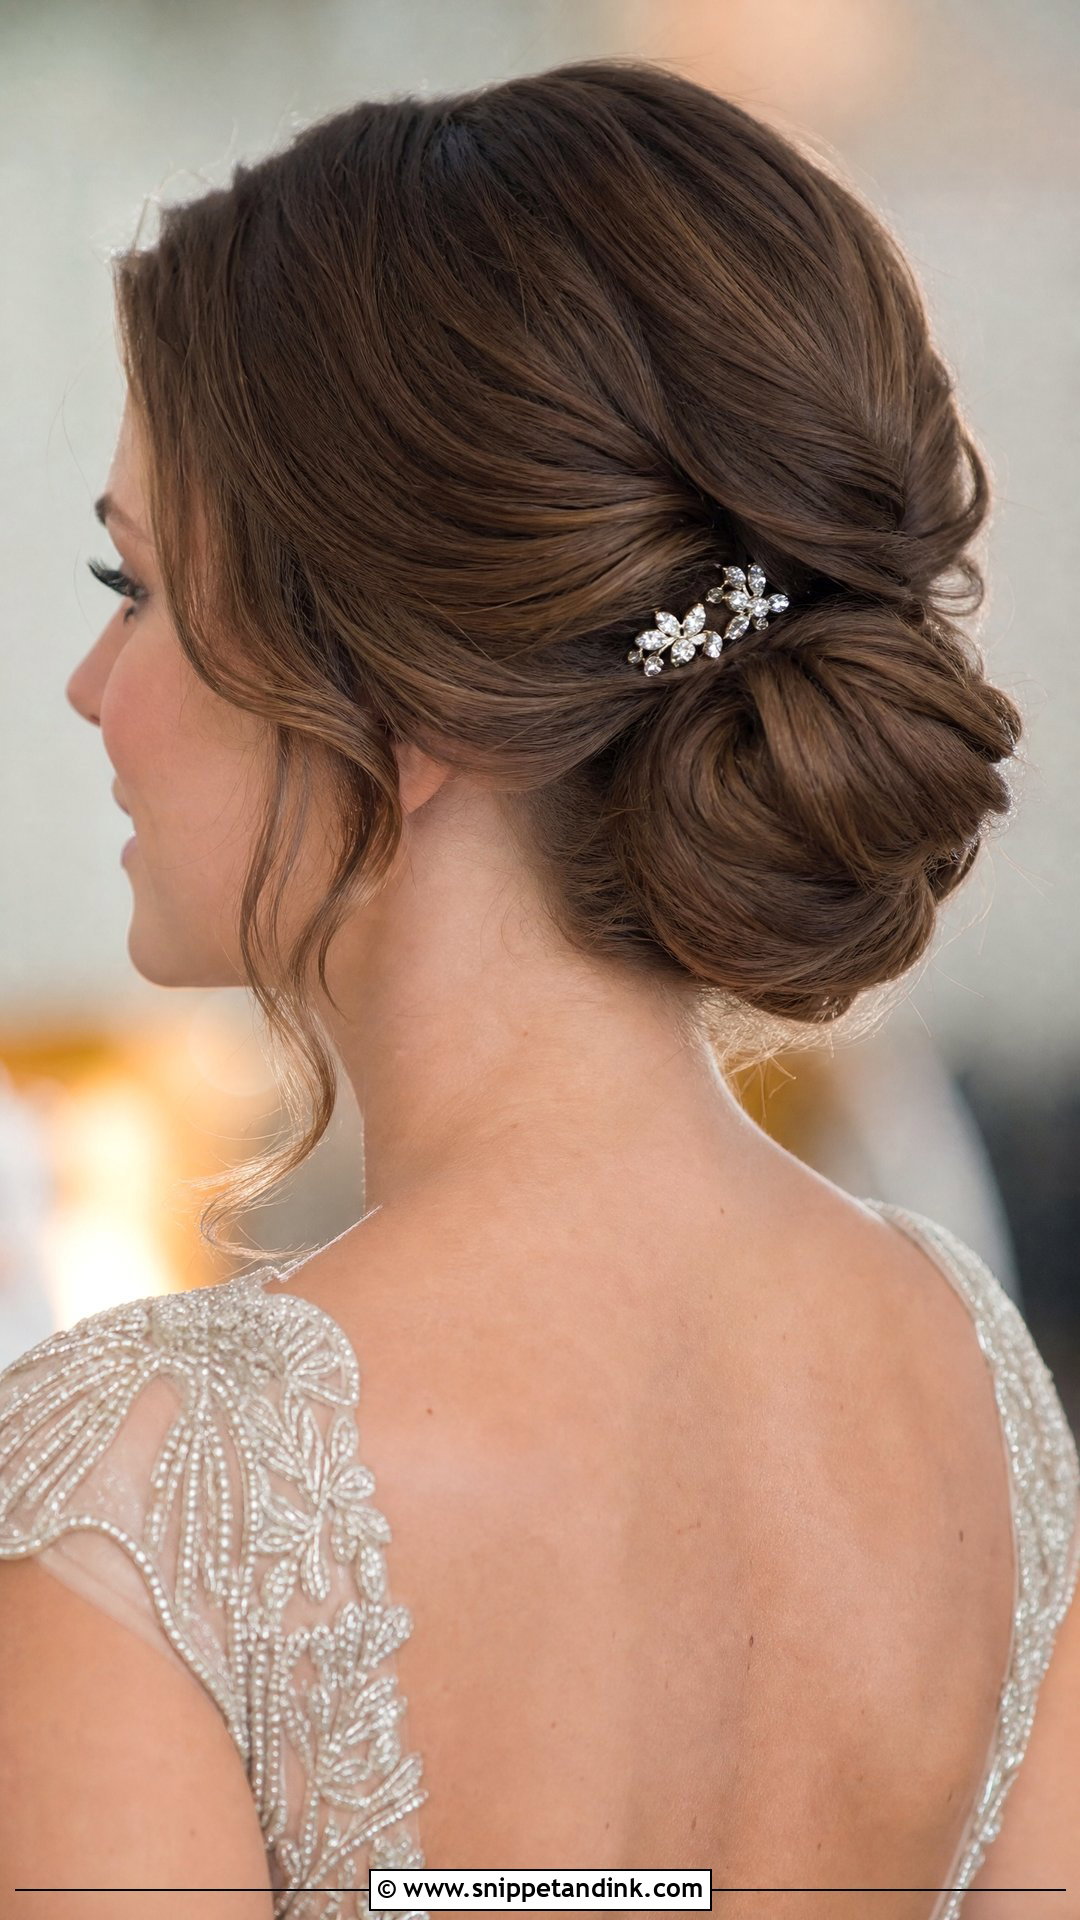
A low bun with waved front pieces gives you the vintage curve around the face and a secure updo behind it. I set the face-framing sections first, let them cool, then gather everything else into a soft bun at the nape before brushing the front out. It’s my usual suggestion for a hot outdoor day, because the back is off the neck and the heavy hair isn’t fighting humidity. A few sparkly pins along the bun are enough decoration.
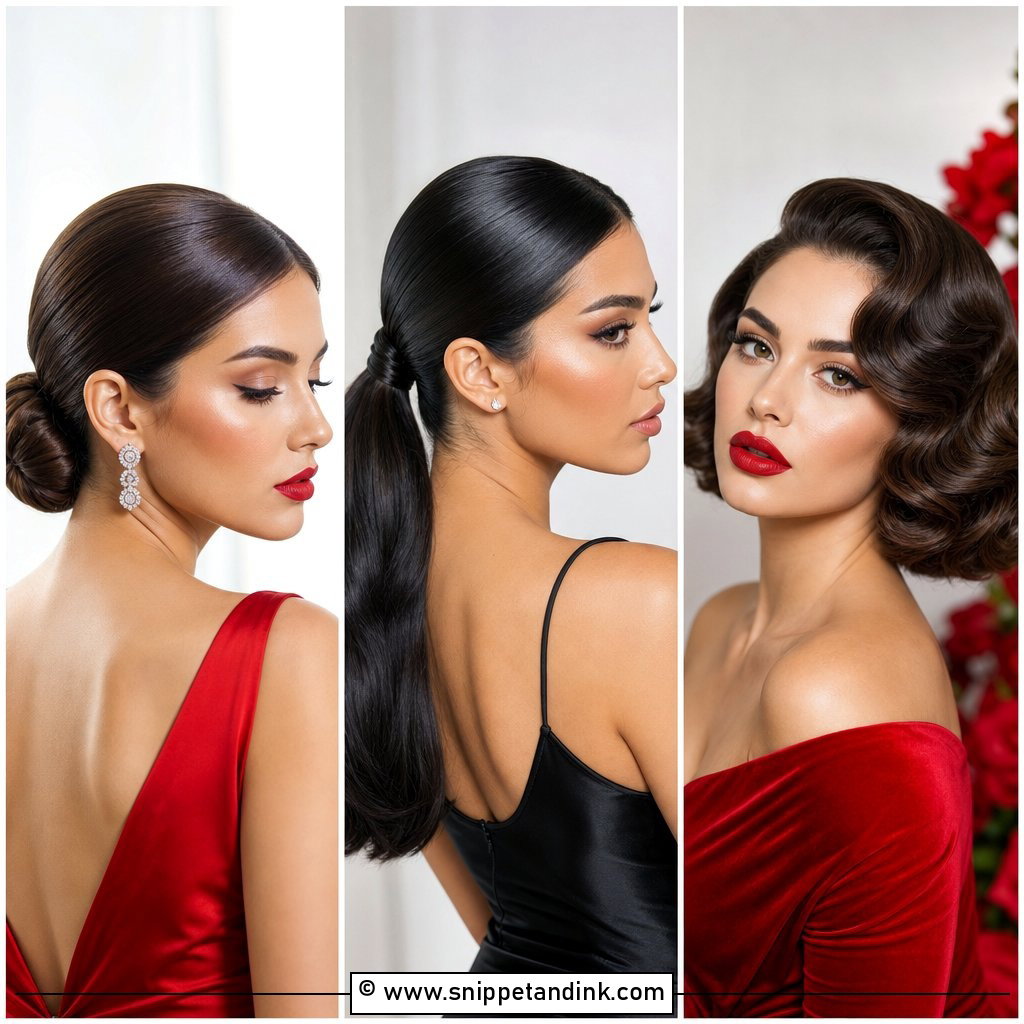
15. Hollywood Waves With Bridal Hair Vine
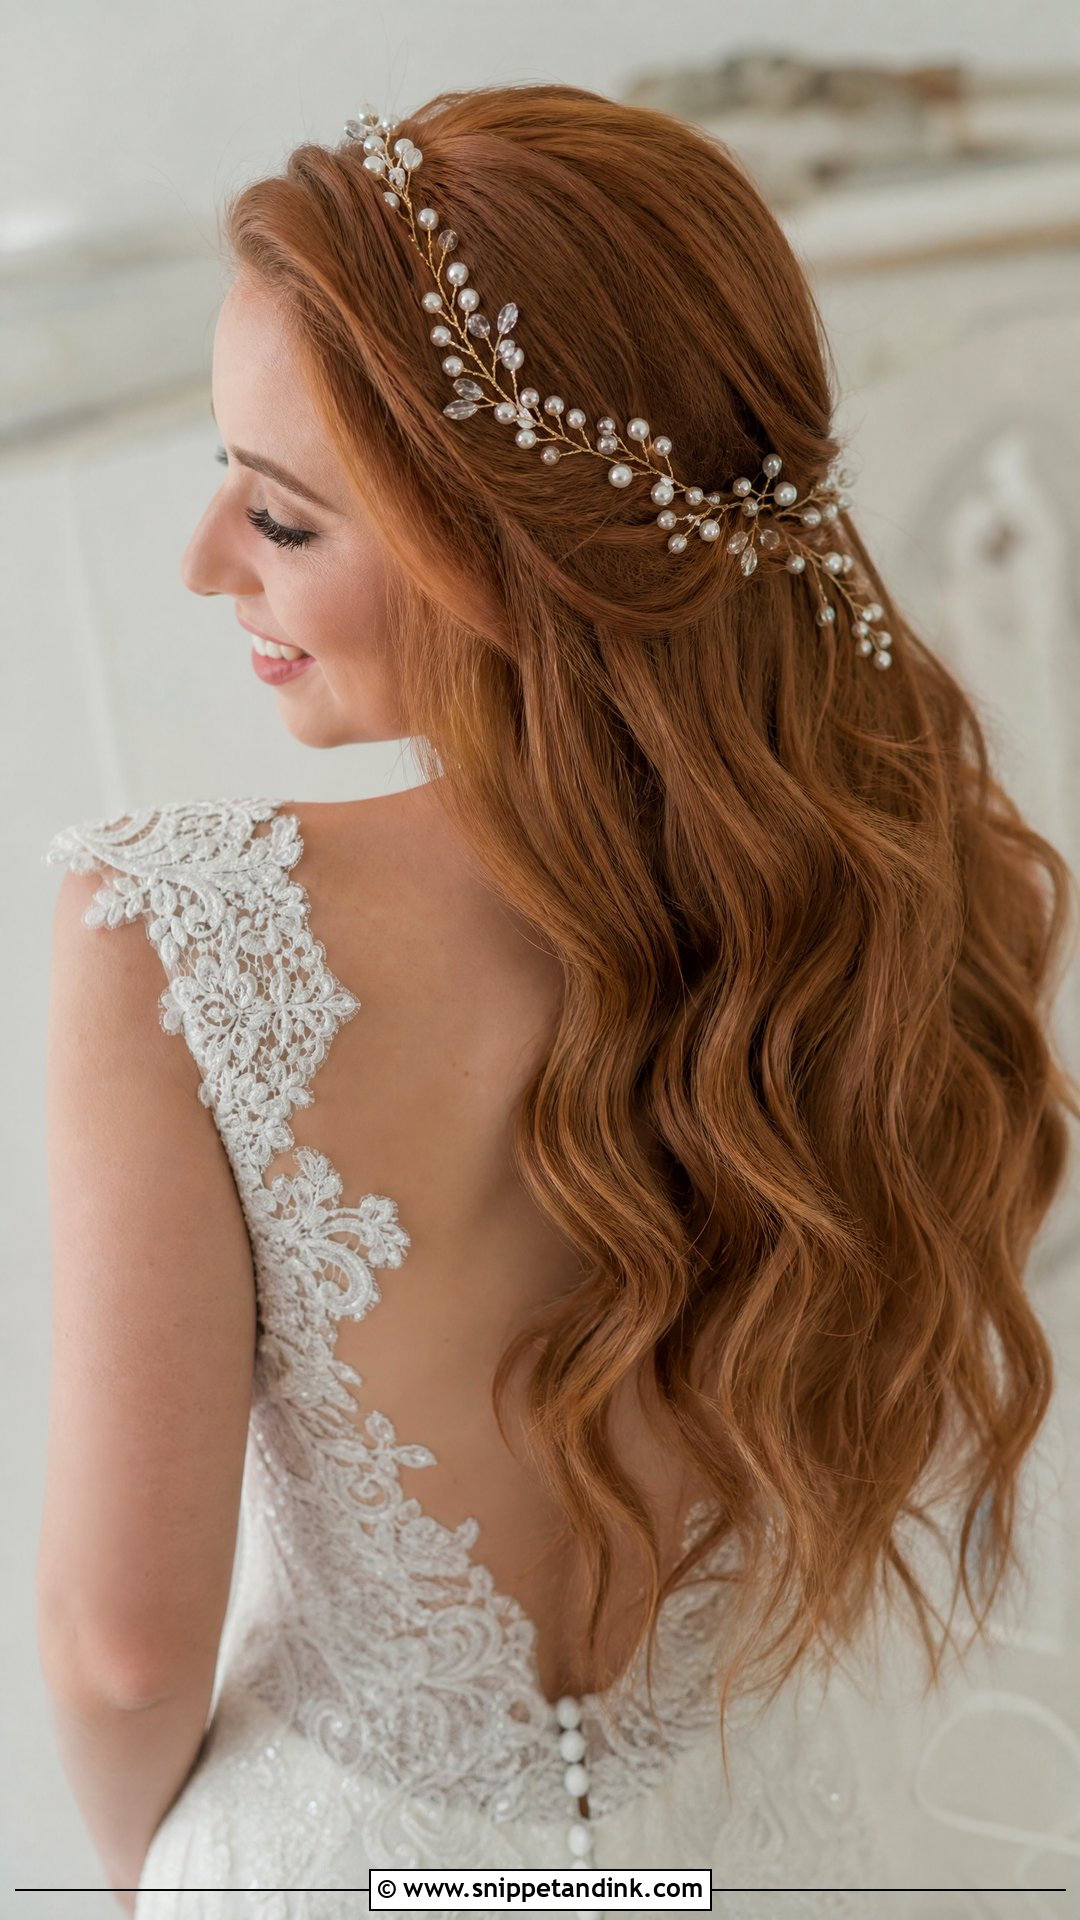
A hair vine is a strand of crystals, leaves or pearls on bendable wire that I weave through the hair and pin at intervals. On waves, I run it along the part or follow one curve on the heavy side so it echoes the S rather than cutting across it. It leans boho-glam, which can be a nice softening note against a polished set. Ask to try it at your trial; some vines are heavier than they look and need extra pins at each end.
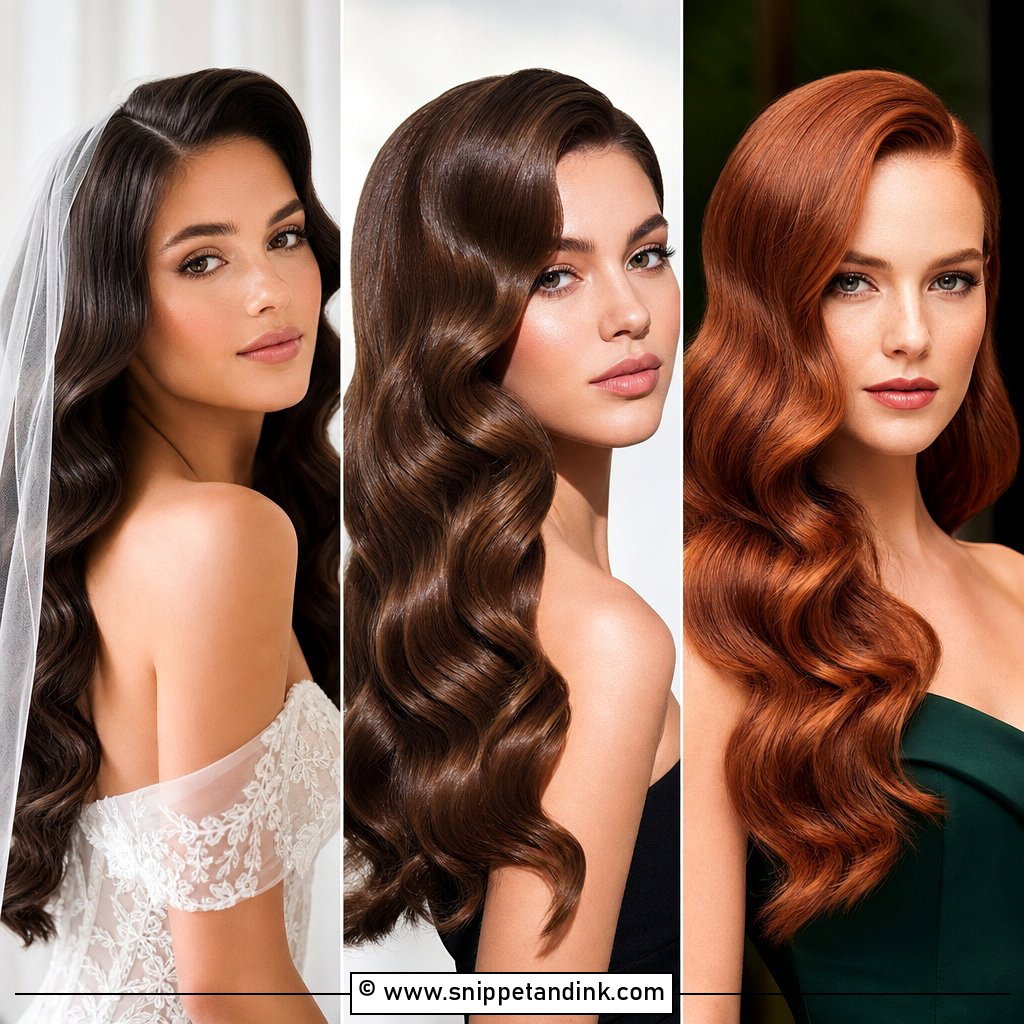
16. Brunette Hollywood Waves
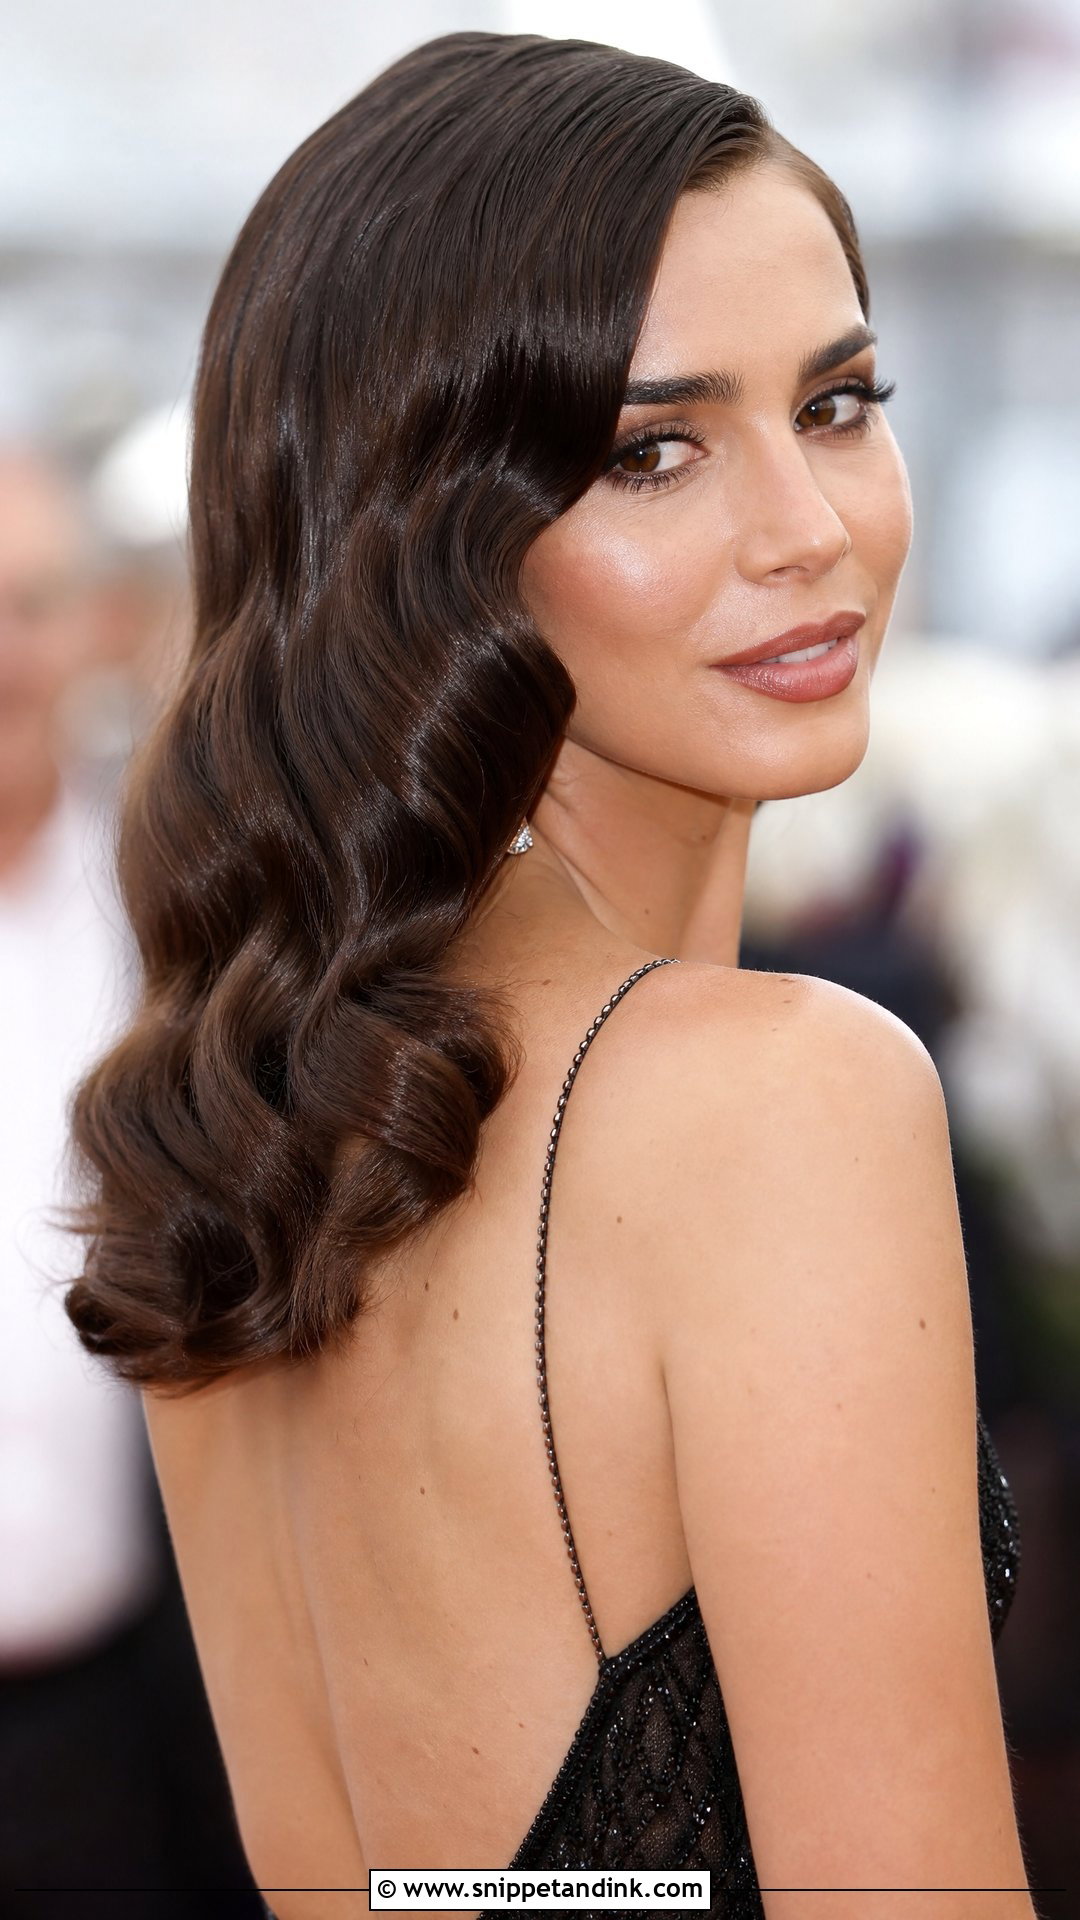
Dark hair shows waves with real depth because the light catches the crest of each ridge and leaves the dip in shadow. Brunette waves on natural brown or espresso tones can take more shine product than blonde without looking greasy. A deep side part pushes the drama further. My one caution: very dark, very thick hair can hold so much curl that it reads as ringlets, so I brush it out longer than usual.
17. Blonde Hollywood Waves
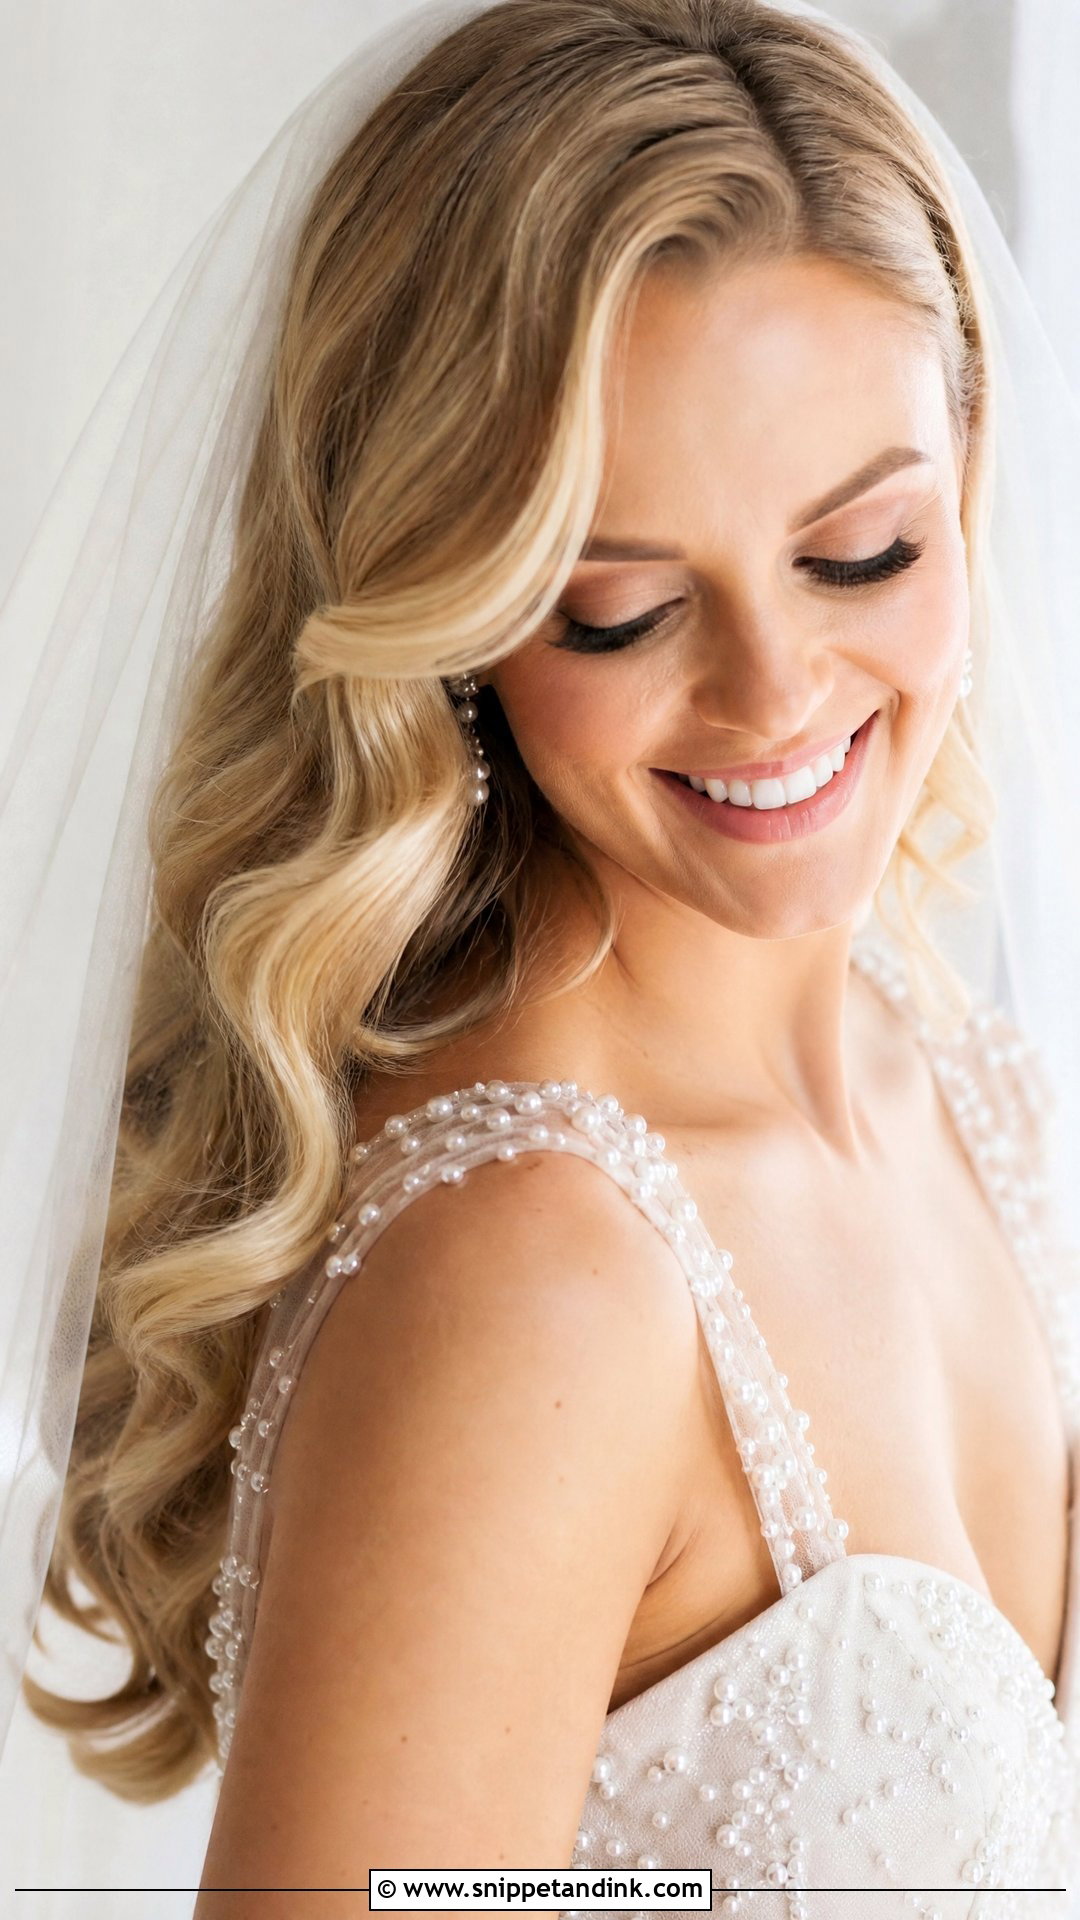
Golden blonde hair shows the S-curve softly, because there’s less contrast between the crest and the dip. That’s why blonde waves look airy in spring and summer daylight. To keep the shape from washing out in photos, I like hair with some lowlights or dimension through the lengths. A side part and a few pearl pins suit the softer look. Lightened hair is often drier too, so it needs a heat protectant every time it meets the iron.
18. Hollywood Waves for Long Hair
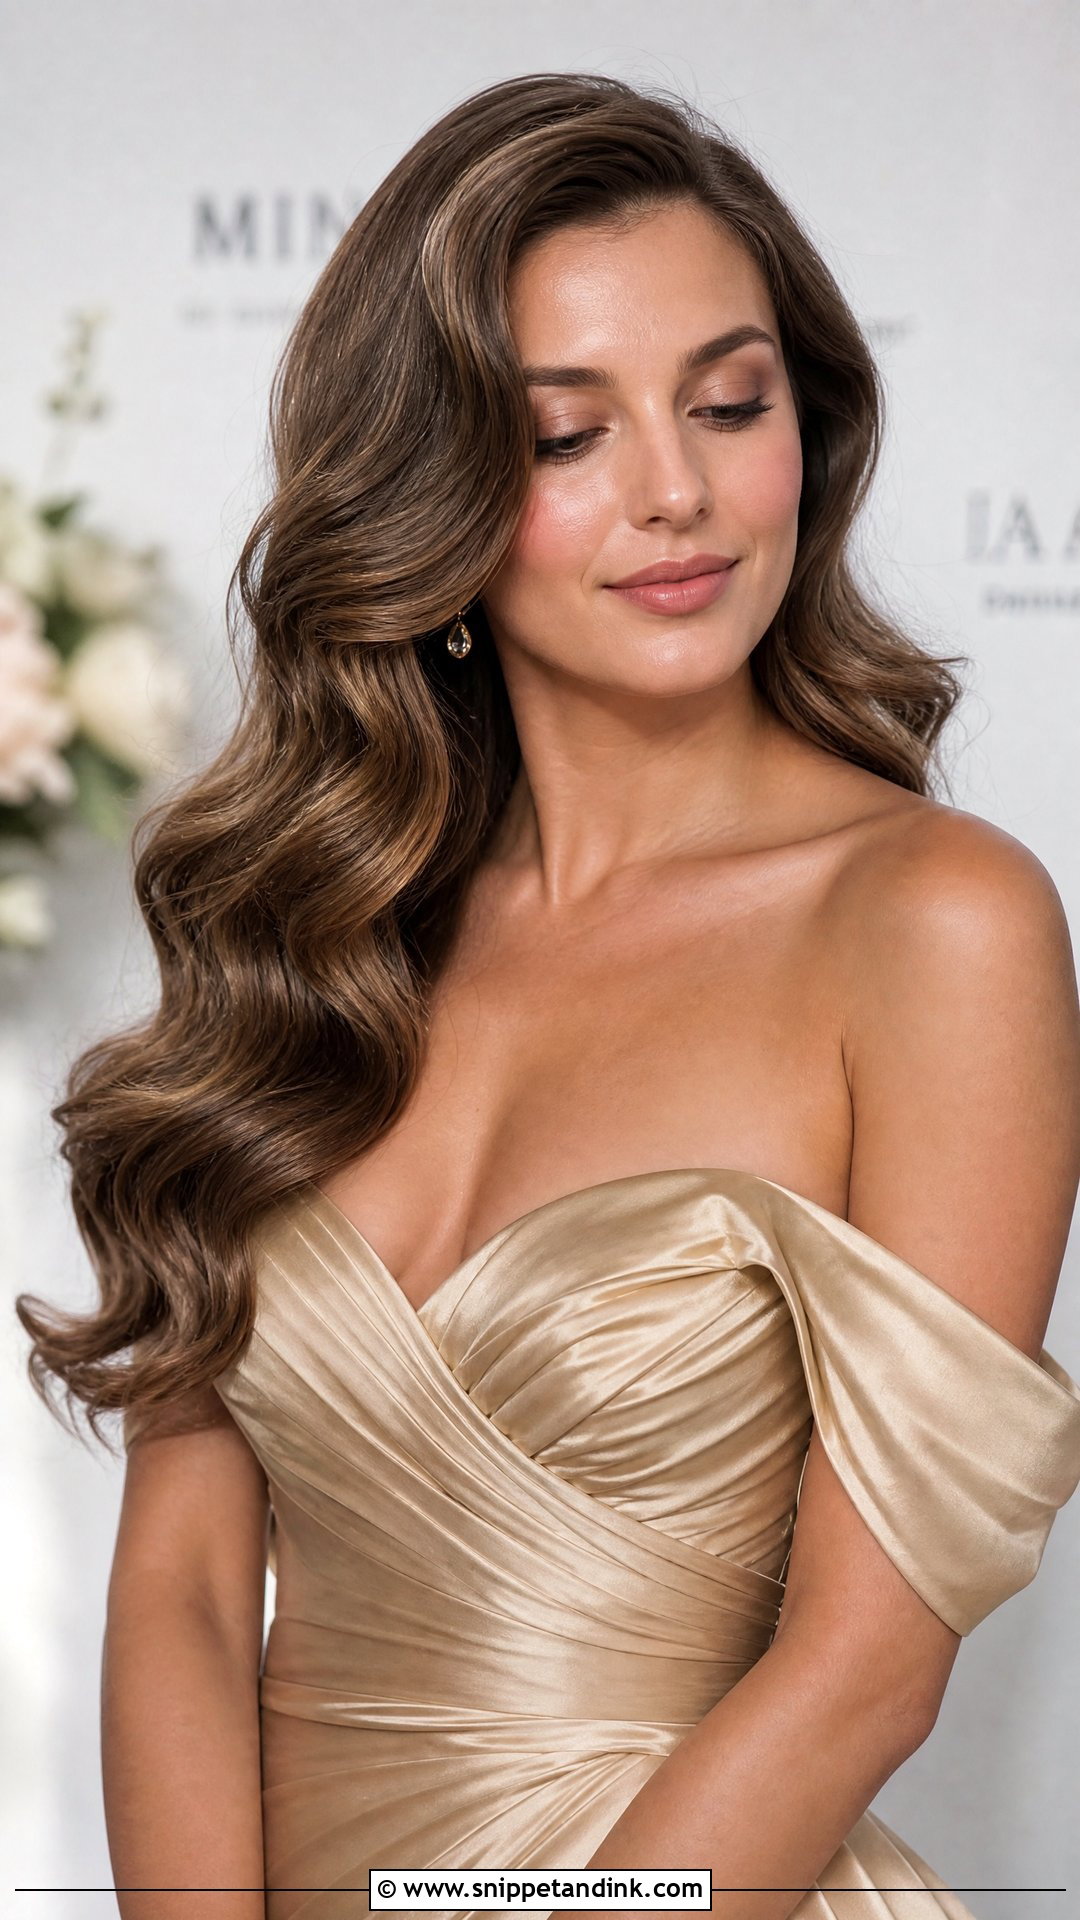
Long hair gives the most length of S-curve, running well past the shoulders. The catch is weight: the longer the hair, the faster gravity pulls the waves straight, so I set long hair in smaller sections and let each curl cool in a pin before brushing. A smoothing primer keeps the lengths glossy, and a deep side part adds lift at the crown. Long hair that’s also very fine is the hardest combination to hold for a full wedding day, so tell your stylist if yours is both.
19. Side-Swept Waves With a Statement Earring
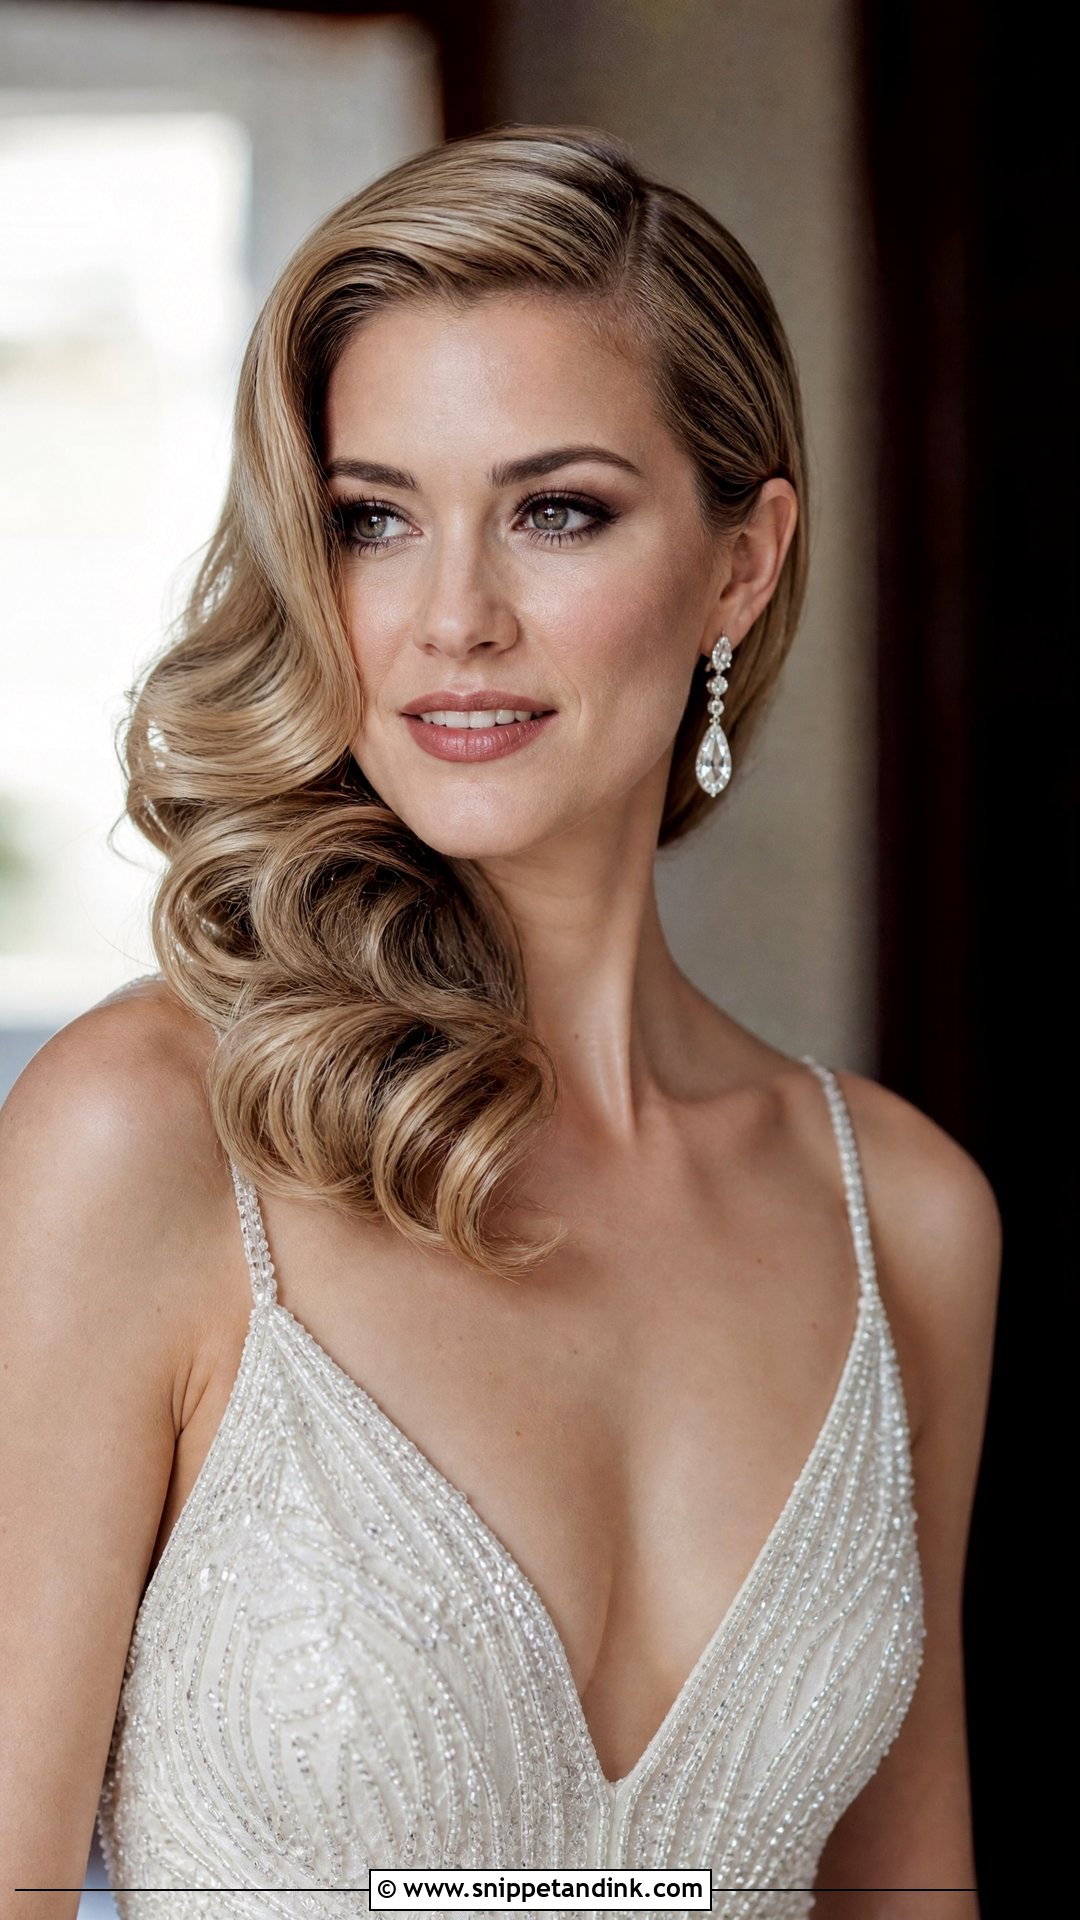
Sweeping all the hair to one side leaves the opposite ear and jaw completely bare, which is exactly where a chandelier or crystal drop earring wants to sit. I set the waves so the open side lies flat against the head, with a hidden pin behind the ear to stop strands drifting forward. Evening and formal weddings suit this best. Keep the makeup balanced so the earring and hair read as the two features.
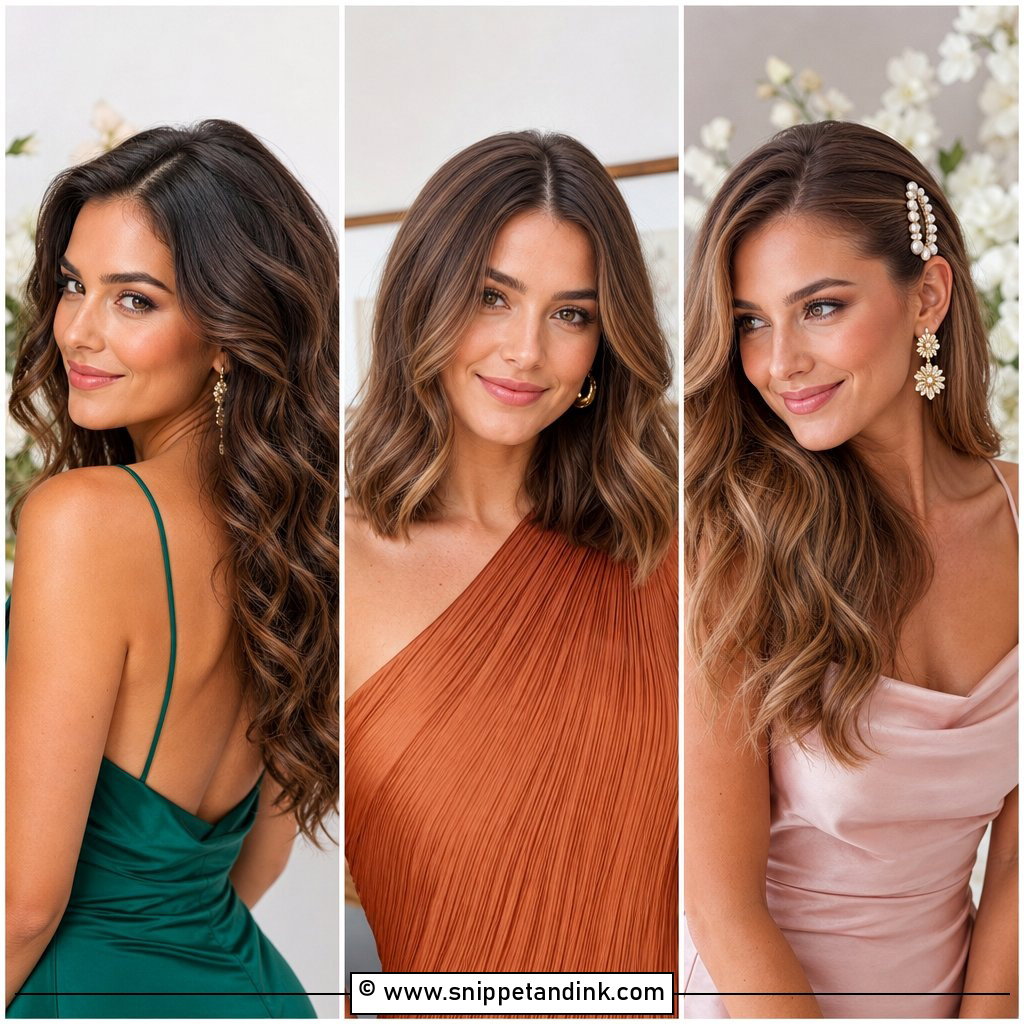
20. Hollywood Waves With Glittering Halo Crown
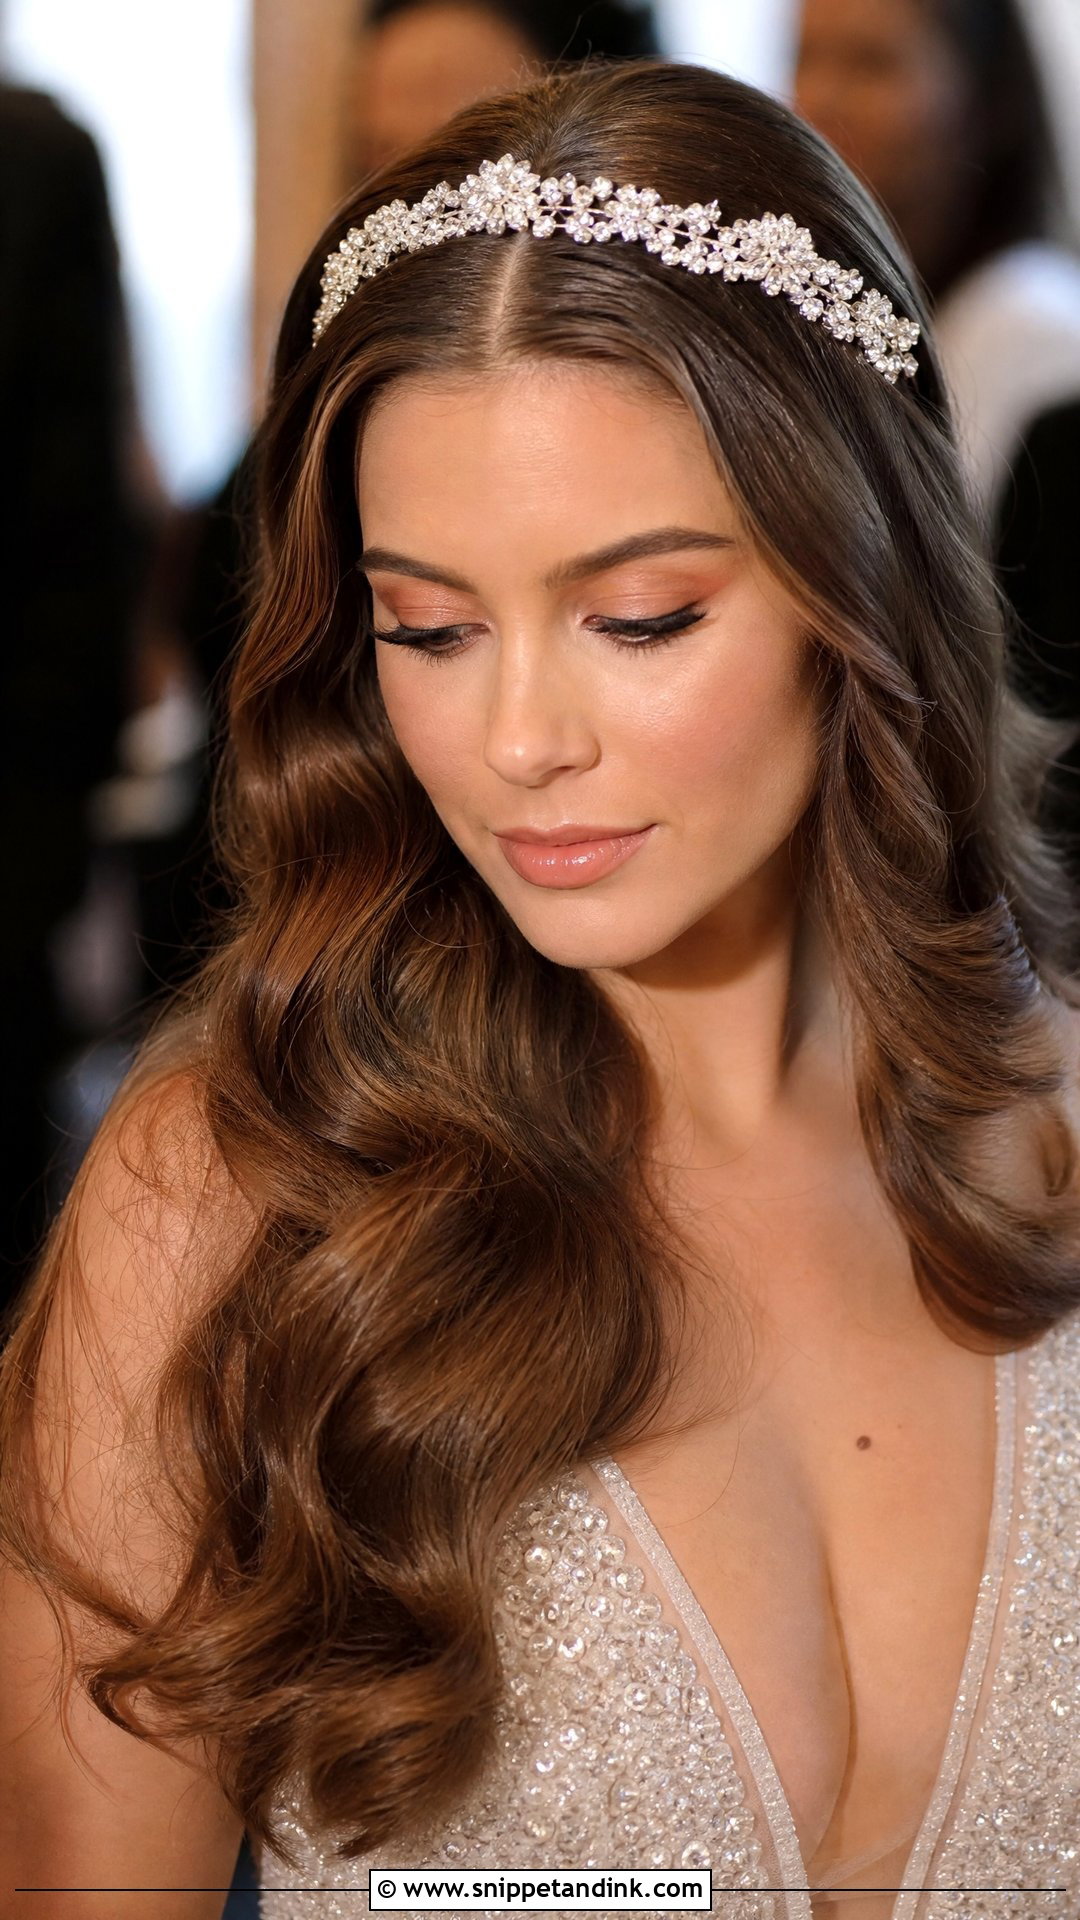
A halo crown is a full band of crystals across the top of the head, more dramatic than a tiara because it circles further around. Over soft waves it reads as regal, and it suits a formal ballroom setting. I place it just behind the hairline, set slightly back so it doesn’t press the first wave flat, and anchor it with pins hidden under the waves at each side. Wear it for an hour at your trial. If it pinches at minute twenty, it will ache by speeches.
Why Waves Fall Flat by the Reception, and How I Stop It
Damp air is the biggest enemy of a set. Hair absorbs moisture, swells and lets go of the shape heat gave it. On a humid day I use a firmer hold spray, set smaller sections, and choose a half-up or low-bun version over a fully loose one. An outdoor summer ceremony followed by a hot dance floor is about as hard as conditions get.
The second cause is touching. Every hug, every hand pushing hair back, breaks the brushed line a little. That doesn’t ruin the style, but it does mean the waves will look softer at nine at night than at noon. Plan for that softness rather than fighting it with more spray, which turns the hair crunchy and dull in photos.
A small bag for whoever is helping you
- Travel-size flexible hairspray and a small boar bristle brush
- Six to eight bobby pins in your hair colour
- Two duckbill clips to reset a ridge that has flattened
- A smoothing balm for flyaways at the part
If I’m not staying for the reception, I show a bridesmaid at the trial how to brush and clip one wave back into place. It takes two minutes in a restroom and saves most of the evening photos.
The Wave Comes Down to the Set
Hollywood waves have lasted because they suit so many faces and lengths once the part and the set are right. Swept to one side, split into a romantic middle part, or framed with a tiara or vine, the same principle holds: curls wound in one direction, cooled properly and brushed into a line. Take your favorite two or three photos to your trial, wear the look through the afternoon, and judge it by how it looks at dinner, not at the mirror.
You'll Like These Ideas:


Leave a Reply