
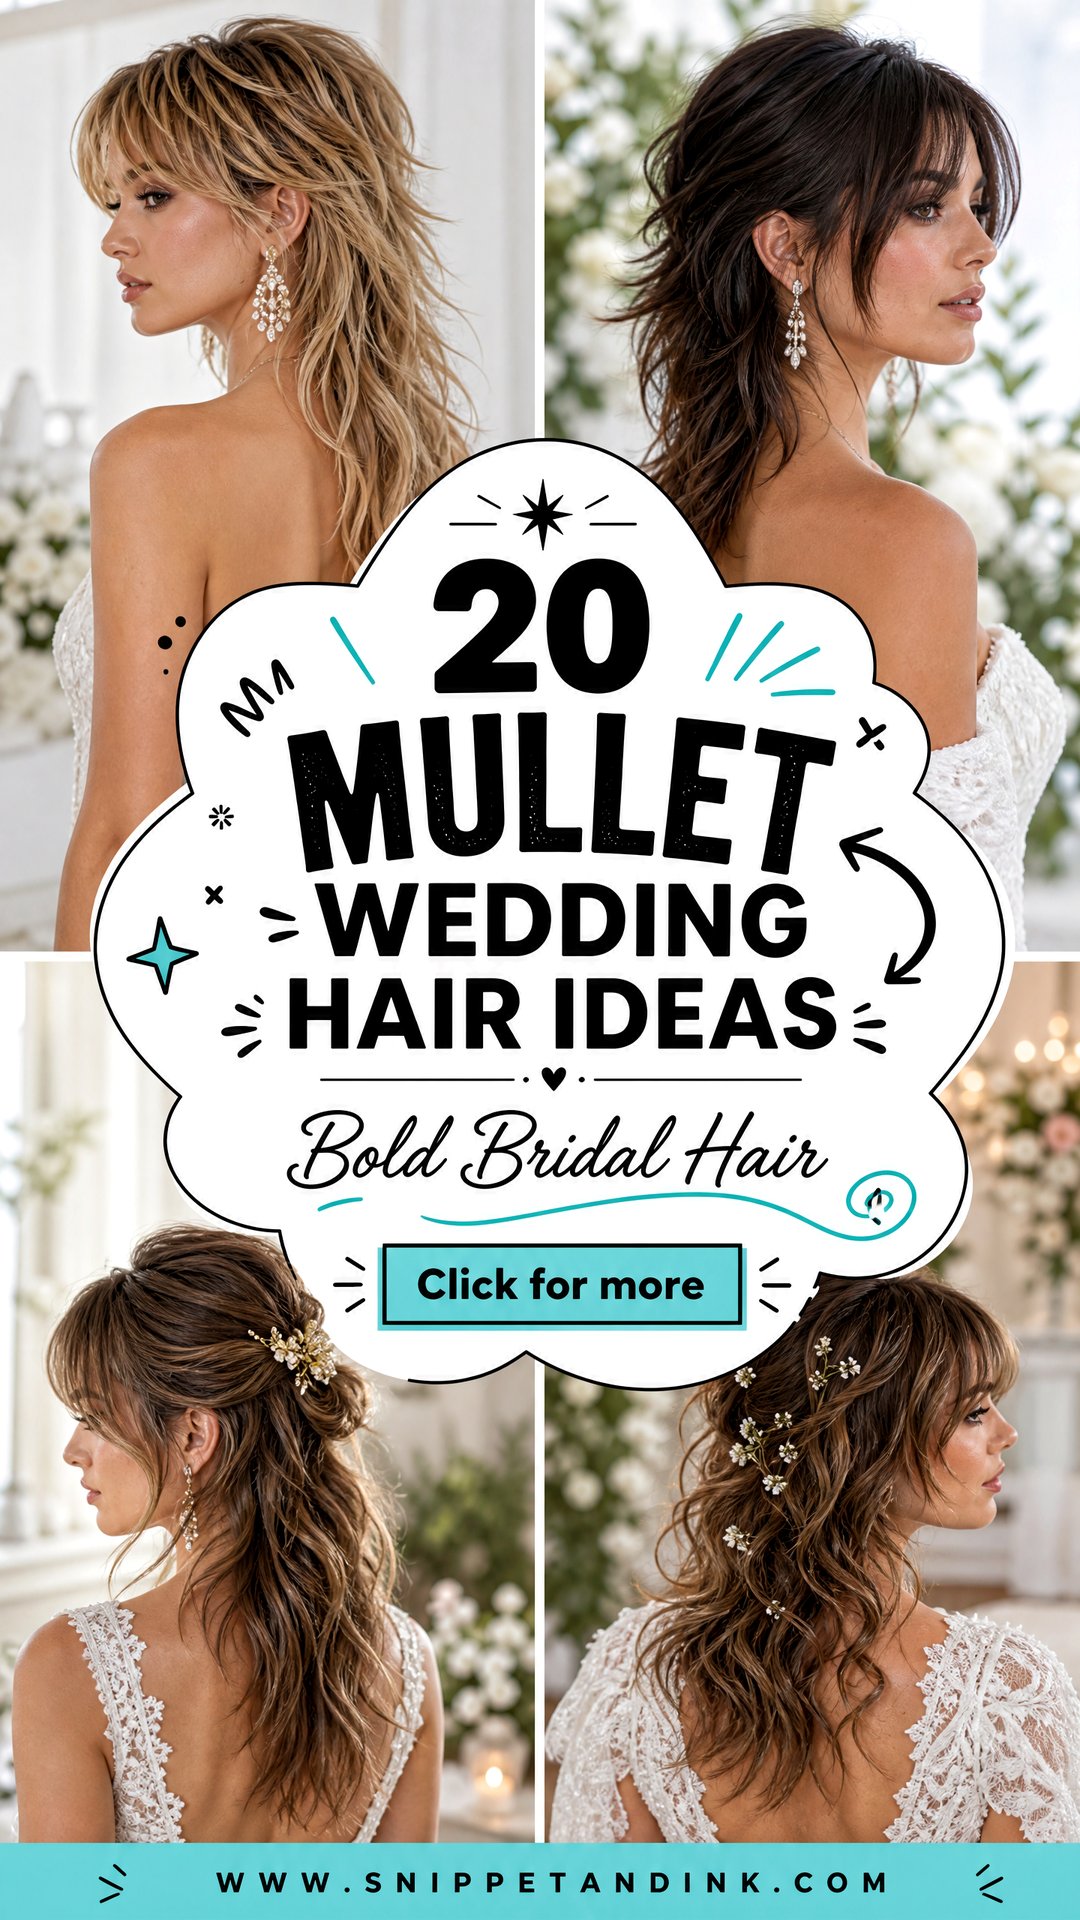
A mullet at a wedding works when it’s styled soft rather than stiff. I treat it like any other bridal cut: it can be curled, pinned, glossed, braided or dressed with a veil. What makes it different is the contrast between the short top and the long back, and everything I do is about balancing those two lengths so the shape looks deliberate from the front, the side and the back. The ideas below suit brides, bridesmaids and guests alike, from sleek and editorial to soft and curly, with notes on what each needs from the cut itself.
Where Short Layers Meet the Long Back
Every style on this list depends on the transition between the short top and the long back. Hairdressers cut that transition in two very different ways, and which one you have decides what’s possible on the day.
Blended mullets
The layers graduate gradually from short to long. Waves, curls and half-up styles blend easily, and a veil can sit almost anywhere. This is the more versatile cut for a wedding.
Disconnected mullets
There’s a clear step between the short and long sections. Sleek and wet-look styles show off the step, but half-up and ponytail styles may not work, because the top doesn’t reach the back.
Have the cut refreshed about two weeks before the wedding. A mullet loses its shape fast as the top grows, and two weeks lets any sharp edges soften. Tell your hairdresser which style you plan to wear, so they don’t take off the length you’ll need to pin or tie.
Curly hair needs extra thought. Curls shrink as they dry, sometimes by a third or more, so a back that looks long when wet can sit at the collar once styled. If you’re curly, have the cut done dry or ask your hairdresser to allow for shrinkage, and wear your usual curl routine to the trial so you both see the real length.
1. Soft Curly Mullet Wedding Hair
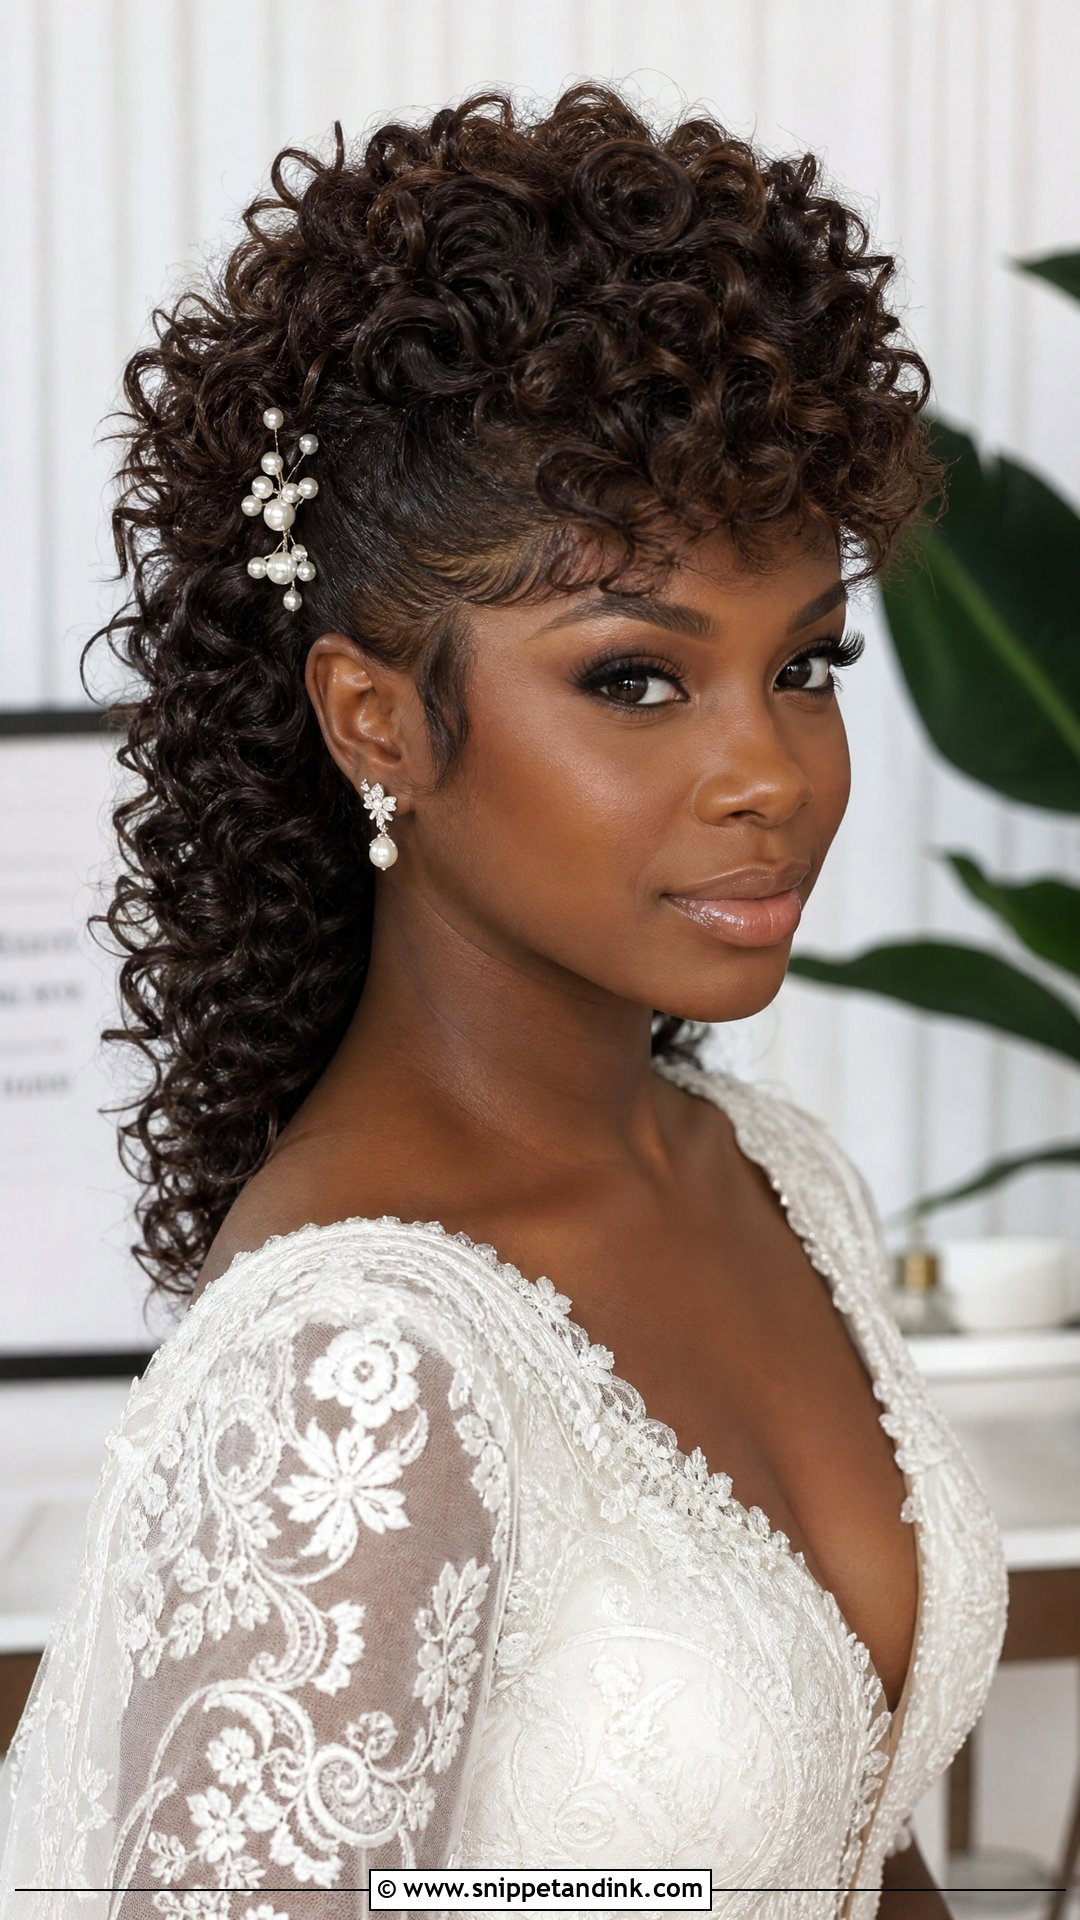
Natural curls make the most romantic mullet there is, because the curl pattern softens the line between short and long. I work a lightweight curl cream into wet hair and lift the crown with my fingers while diffusing, then leave the curls alone until they’re fully dry; handling them while damp is what makes them frizz. The back falls into soft, defined coils. A simple veil, pearl pins or small floral clips at the sides suit it. Keep the finish touchable, not crunchy. A side part looks more graceful, a middle part more modern.
2. Wavy Shag Mullet Wedding Hair
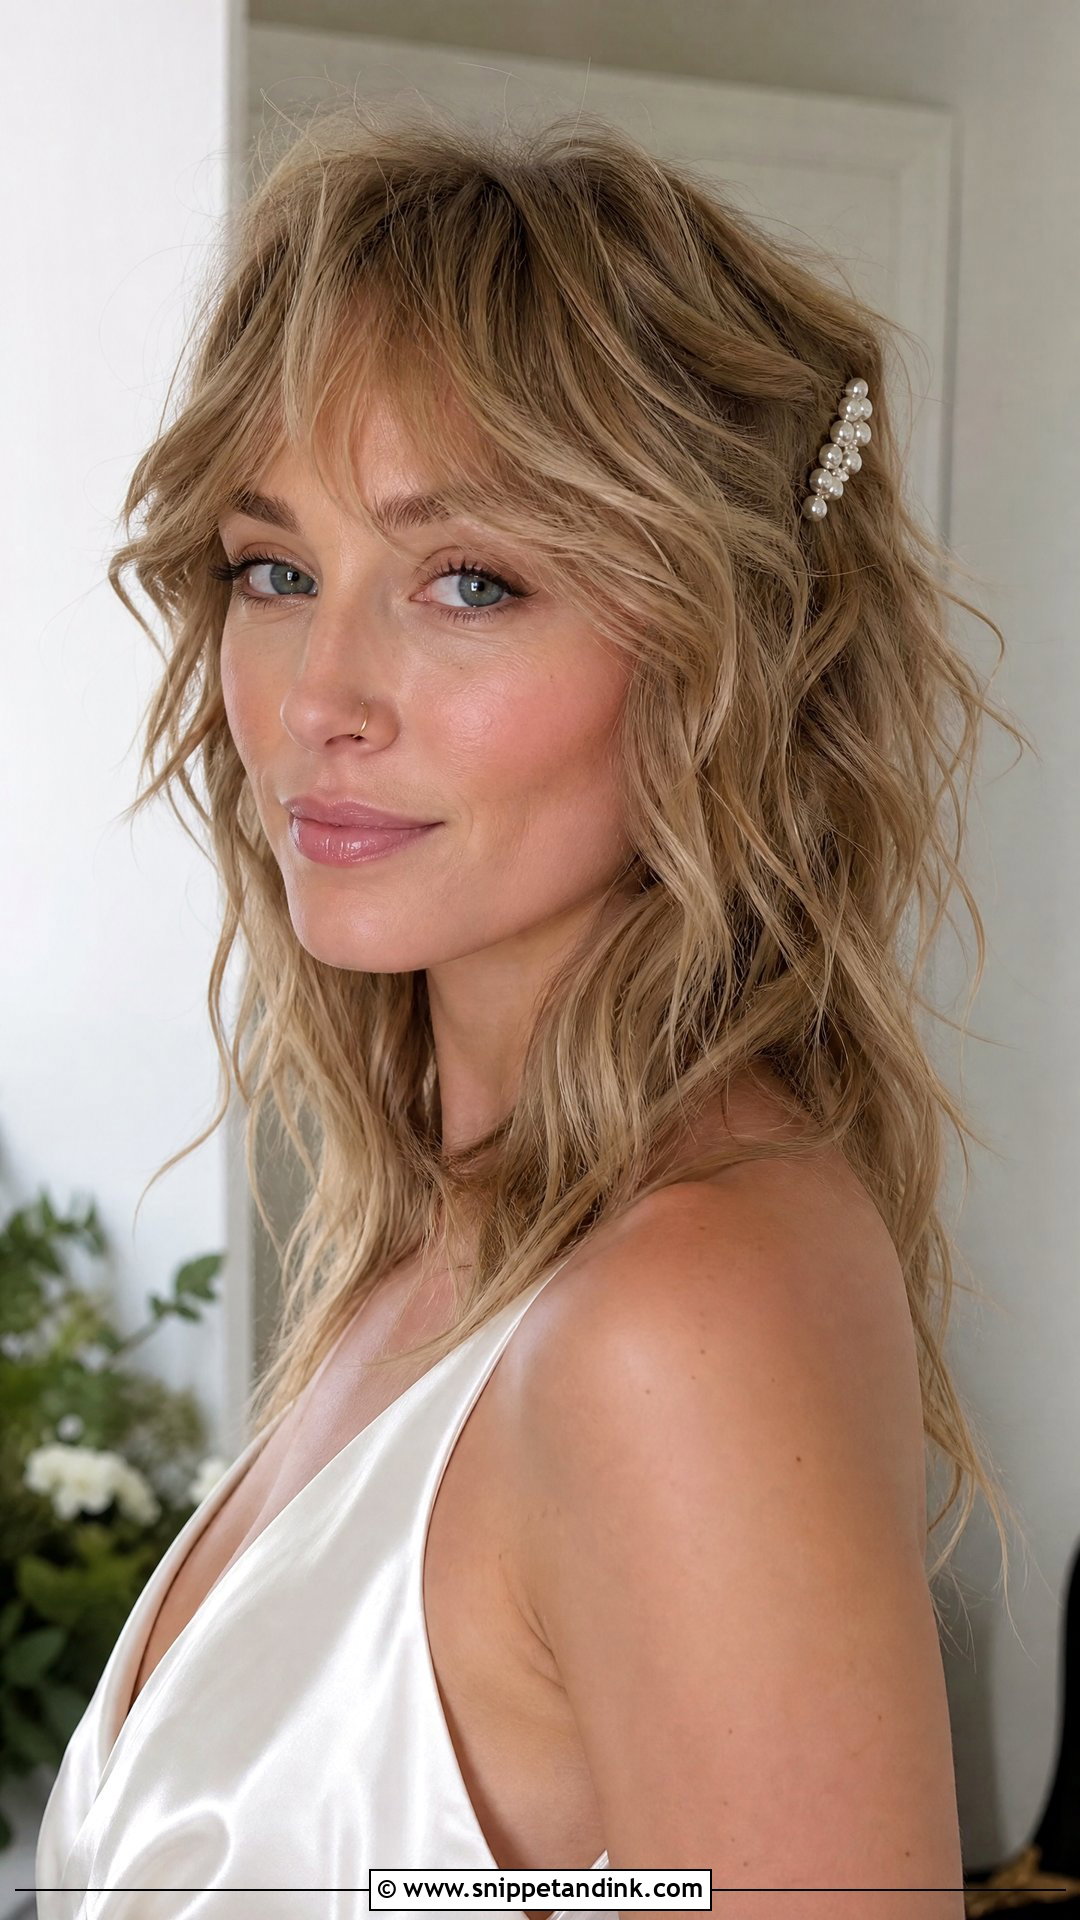
Of all the versions here, Wavy shag mullet wedding hair is the most relaxed, with just enough polish for a ceremony. The shaggy layers soften the face while the long back keeps the statement shape. I set loose bends with a large wand, or heatless overnight if your hair dislikes heat, then break them up with my fingers. It looks striking with a satin slip dress, a lace gown or a bridal suit. Tuck one side behind the ear and add a slim pearl comb for a bridal detail. Very fine hair can look sparse with this much layering, so a texture spray at the roots helps.
3. Sleek Mullet Wedding Hair
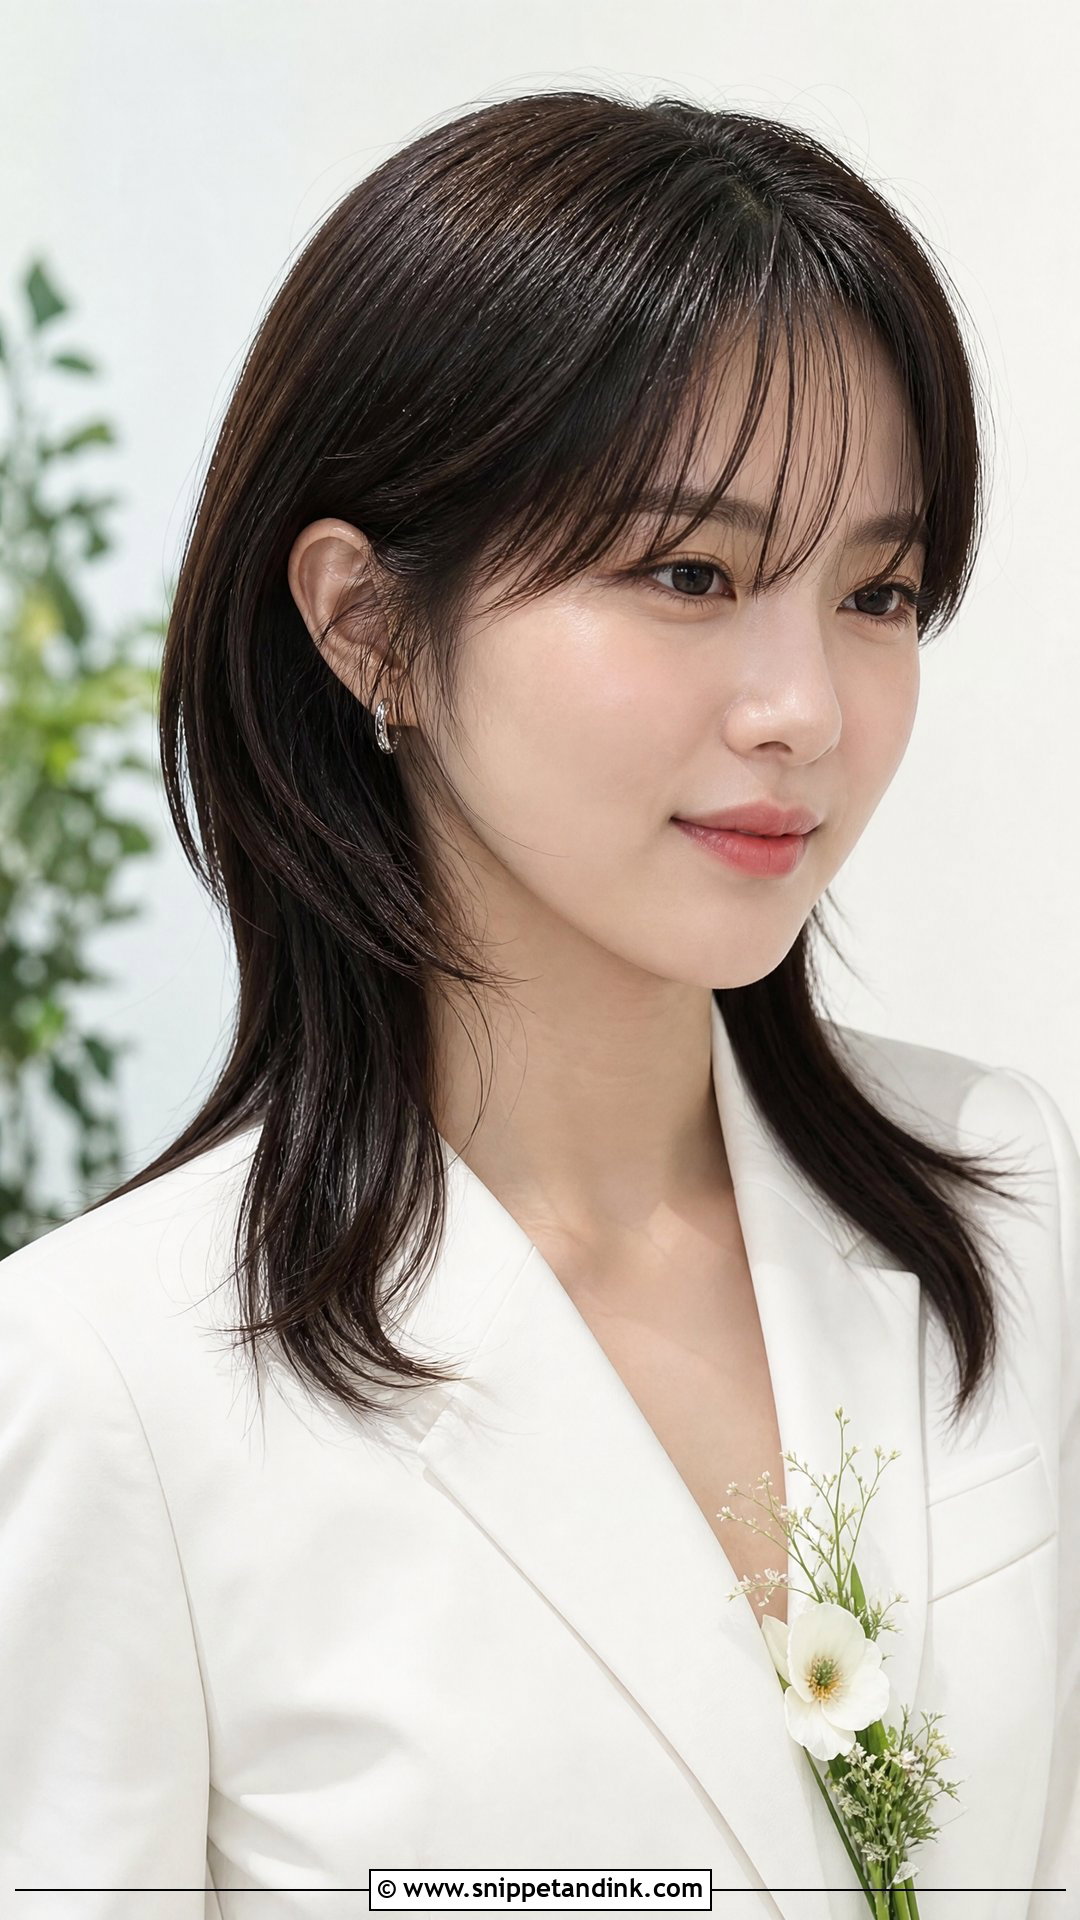
Sleek styling turns a mullet high-fashion. I smooth the top and sides close to the head with a flexible gel and keep the long back straight and glossy, flat-ironed in thin sections. It suits minimalist dresses, structured gowns and city weddings. A shine spray tames flyaways. If you have bangs, keep them softly separated or swept aside rather than flat across the forehead. The shape is bold, but the polish keeps it formal enough for family photos.
4. Textured Mullet Wedding Hair With Veil
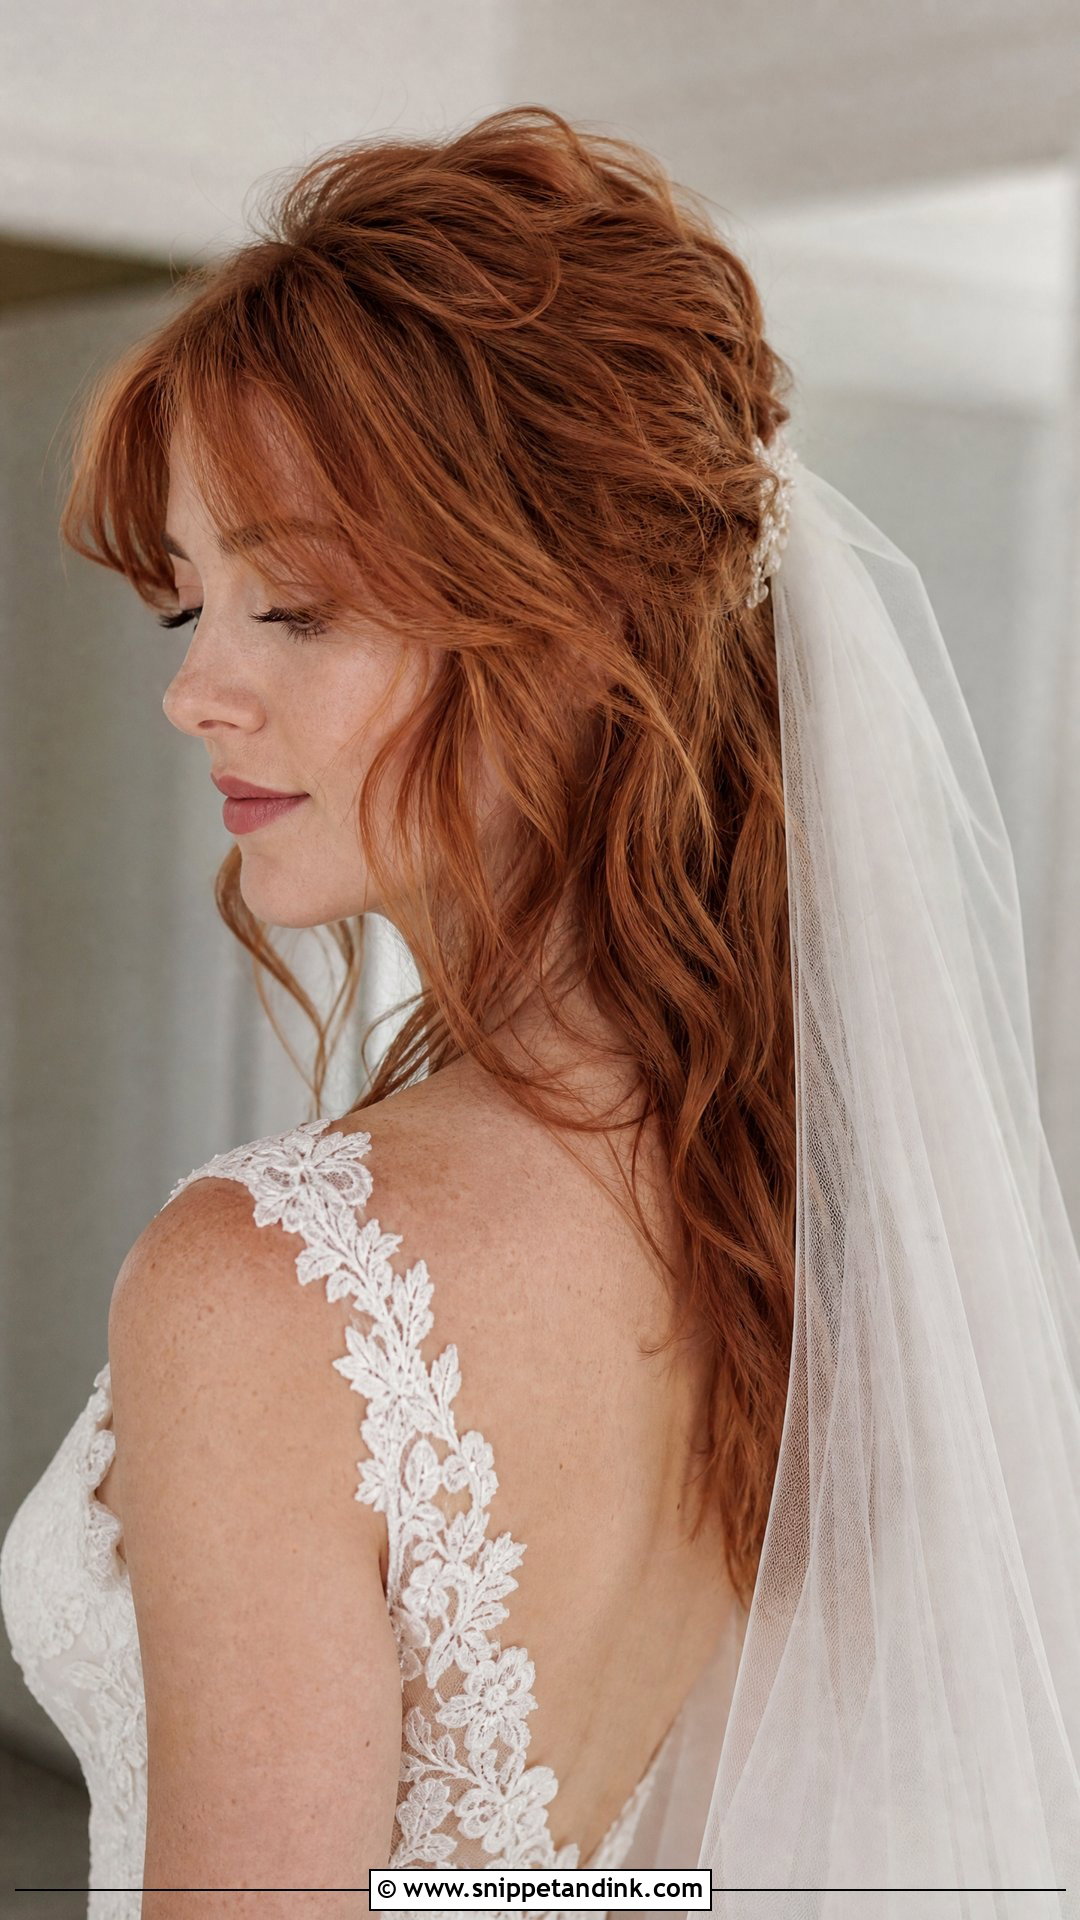
Veils and mullets can absolutely work together. The trick is placement: a small comb veil sits just behind the shortest top layers so it doesn’t flatten the crown, and the long back flows underneath. I add soft waves or piecey texture so the cut keeps its movement. Keep other accessories delicate, since the shape already carries a lot of interest. It honours bridal tradition without asking you to hide your cut.
5. Short Mullet Wedding Hair
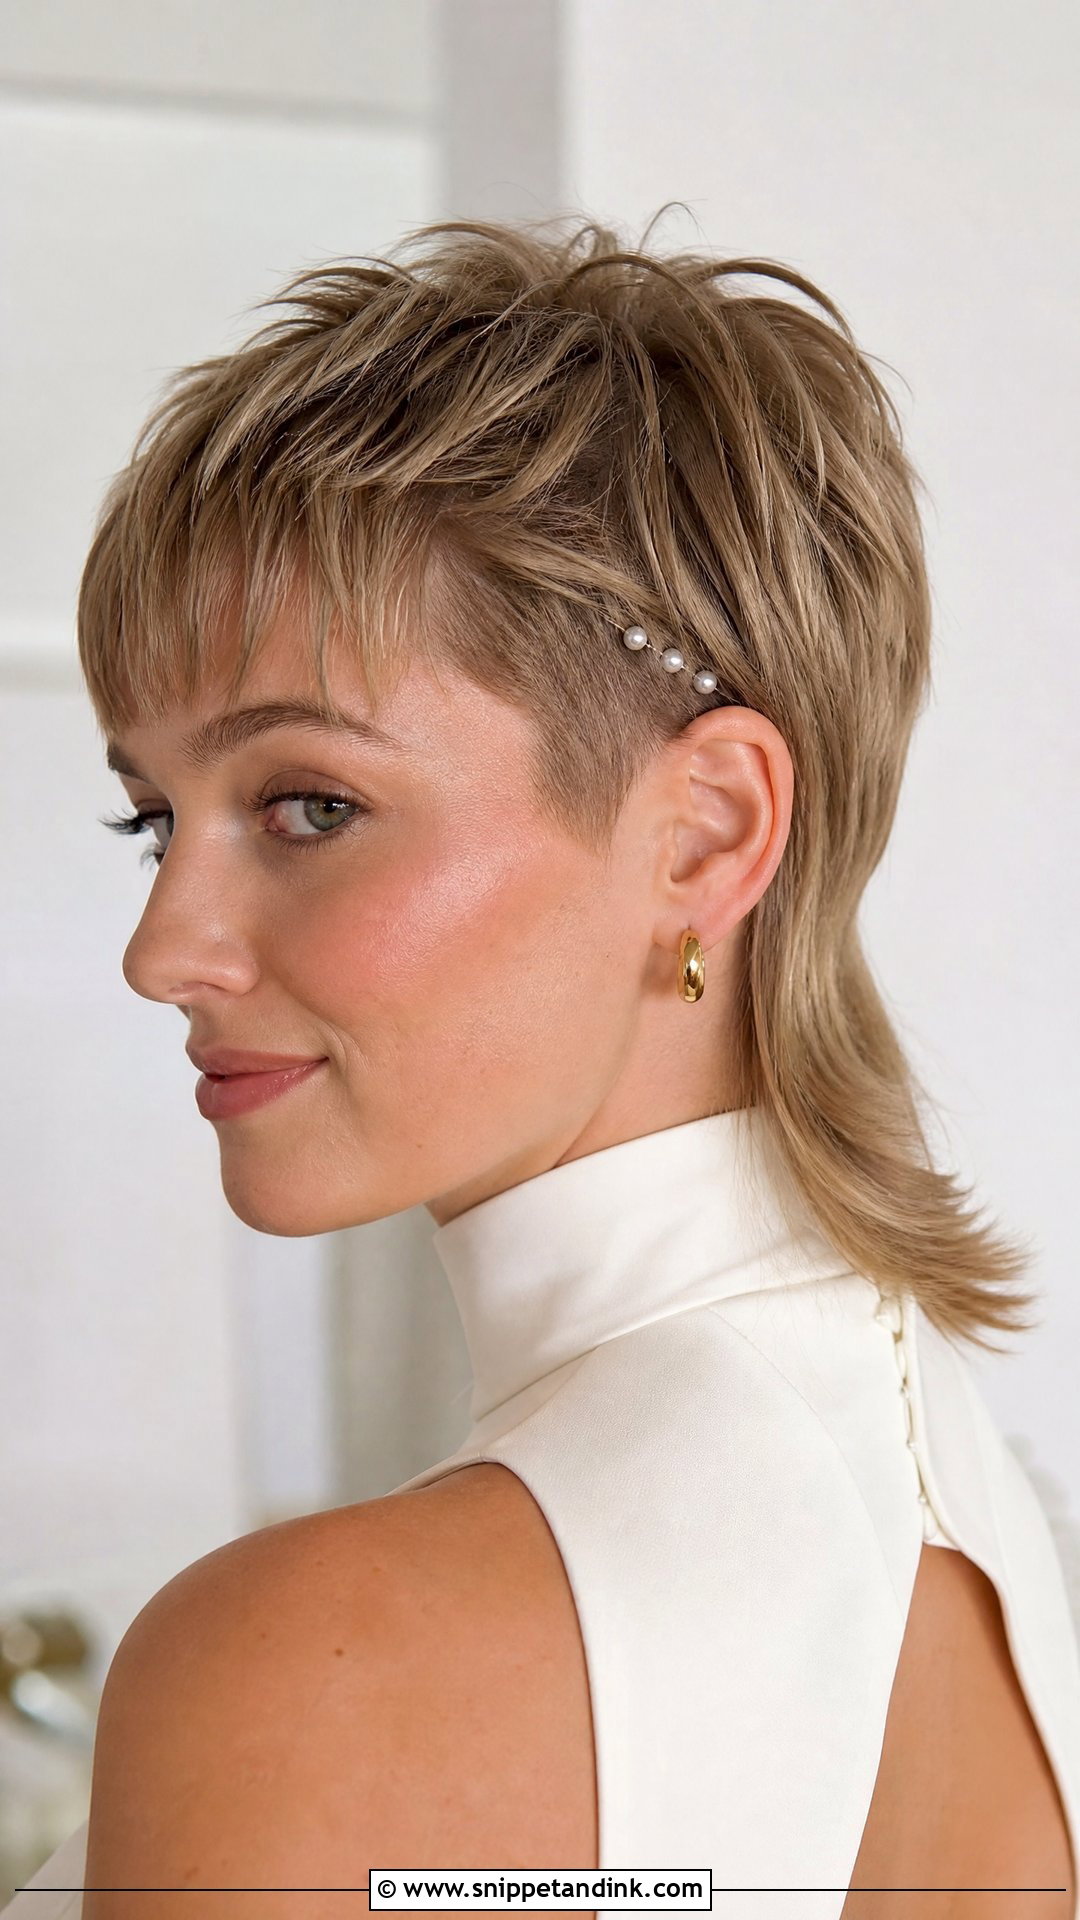
Cropped front and sides with just enough length at the back to show the silhouette: the short mullet is sharp and very easy to wear. For a wedding, I work a lightweight paste through the crown for soft texture and smooth the ends so the back looks finished rather than grown out. It pairs well with statement earrings and high necklines, since there’s nothing to cover the neck. A small cluster of pearl pins or a slim metal clip dresses it up. It needs almost no attention during the day.
6. Long Mullet Wedding Hair
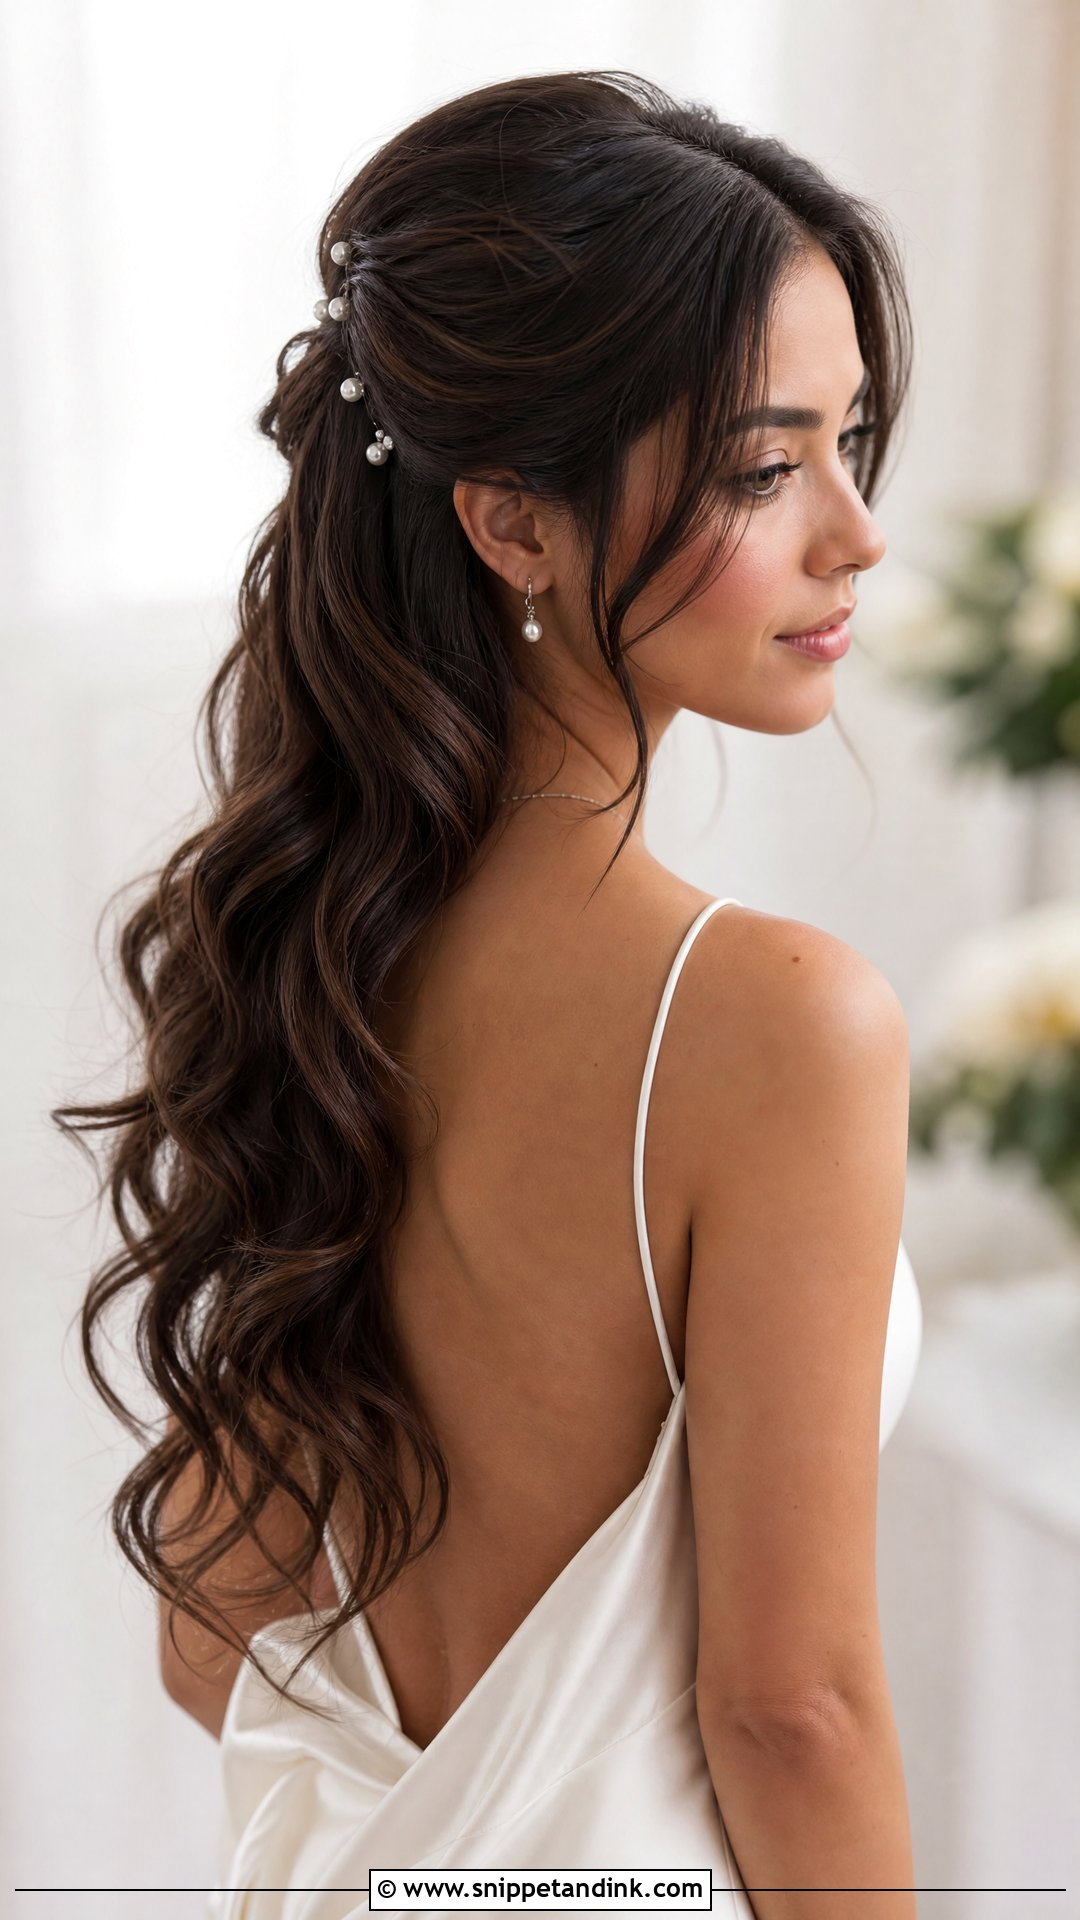
More length means more options. On a long mullet, I add volume at the crown so the top doesn’t look flat next to the heavy back, then curl the back away from the face. Scattered pearl pins along one side give a bridal touch. It’s dramatic without being an updo, and the long back looks particularly good in side-profile shots. Long back sections hold curl less well than short ones, so a curl set with pins while it cools lasts much longer.
7. Mullet Wedding Hair With Curtain Bangs
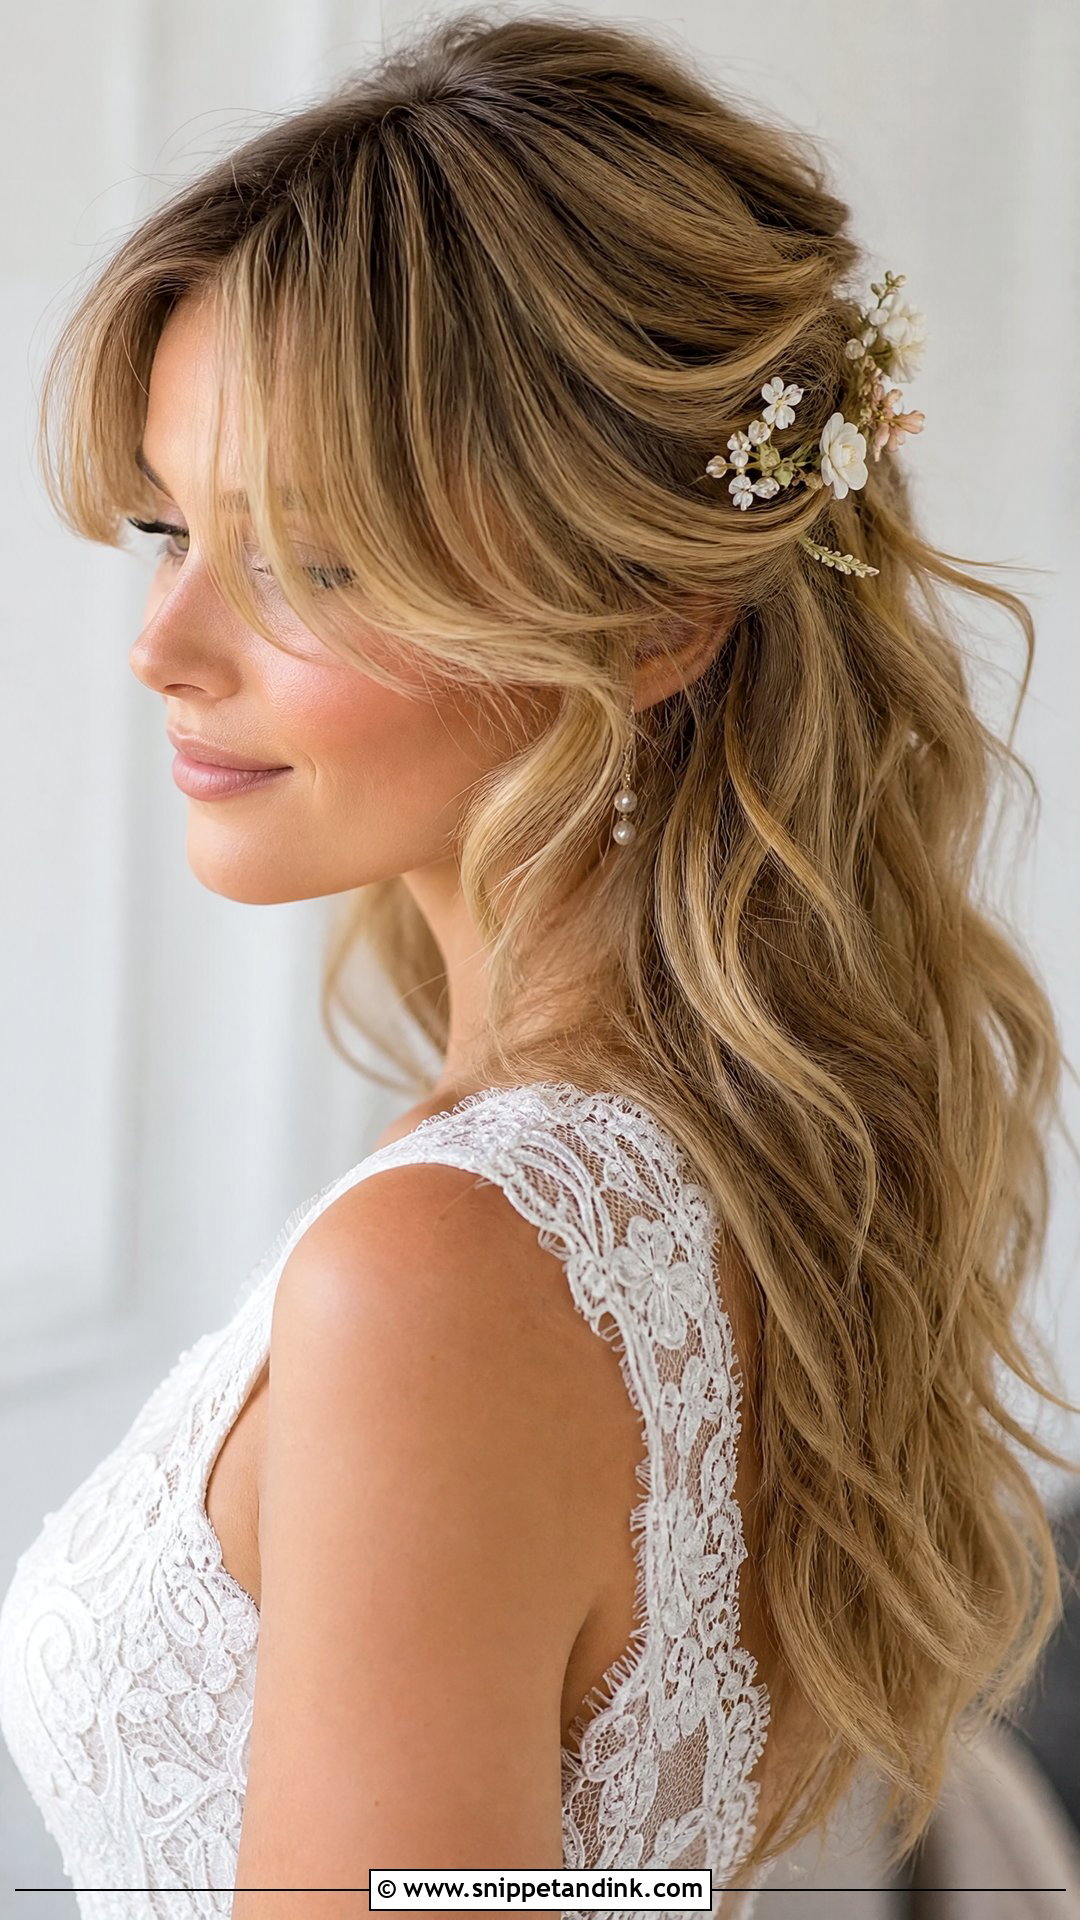
The softest way to wear this cut is a mullet with curtain bangs. The bangs open up the eyes and cheekbones while the layered back keeps the signature shape. I blow-dry them with a round brush, rolling each side away from the face, then add loose waves to the rest. Veils, flower crowns, pearl clips and barrettes all sit happily with it. The front layers balance many face shapes. Keep the finish airy; heavy product weighs the bangs down by afternoon.
8. Mullet Wedding Hair With Baby Bangs
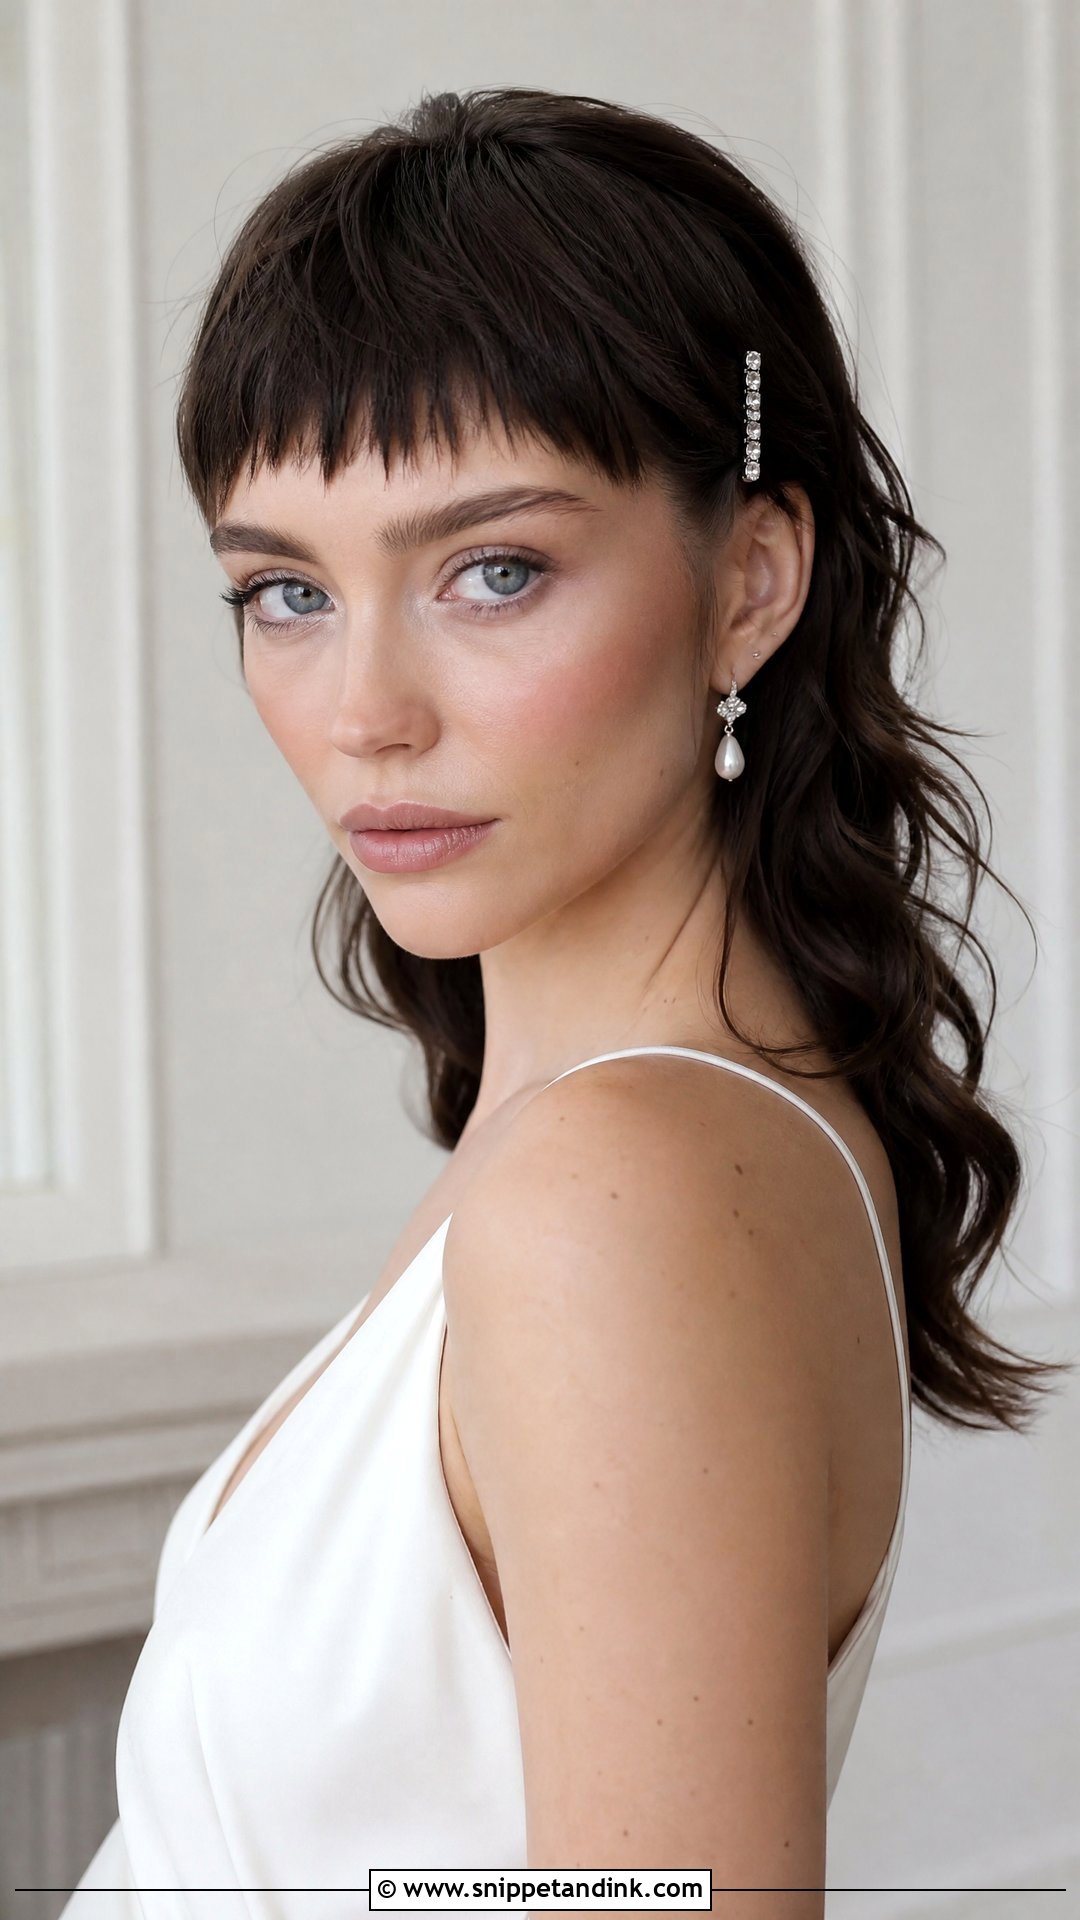
Short baby bangs with a long back is the edgiest version here. The fringe draws every eye to your face, so brows and eye makeup matter more. For a wedding, I polish the texture so it reads as styled rather than messy, and add soft waves to the back to balance the sharp line at the front. A delicate clip near one temple works well. Baby bangs need a trim within a week of the wedding, because a few millimetres of growth changes them completely.
9. Mullet Wedding Hair With Side Part
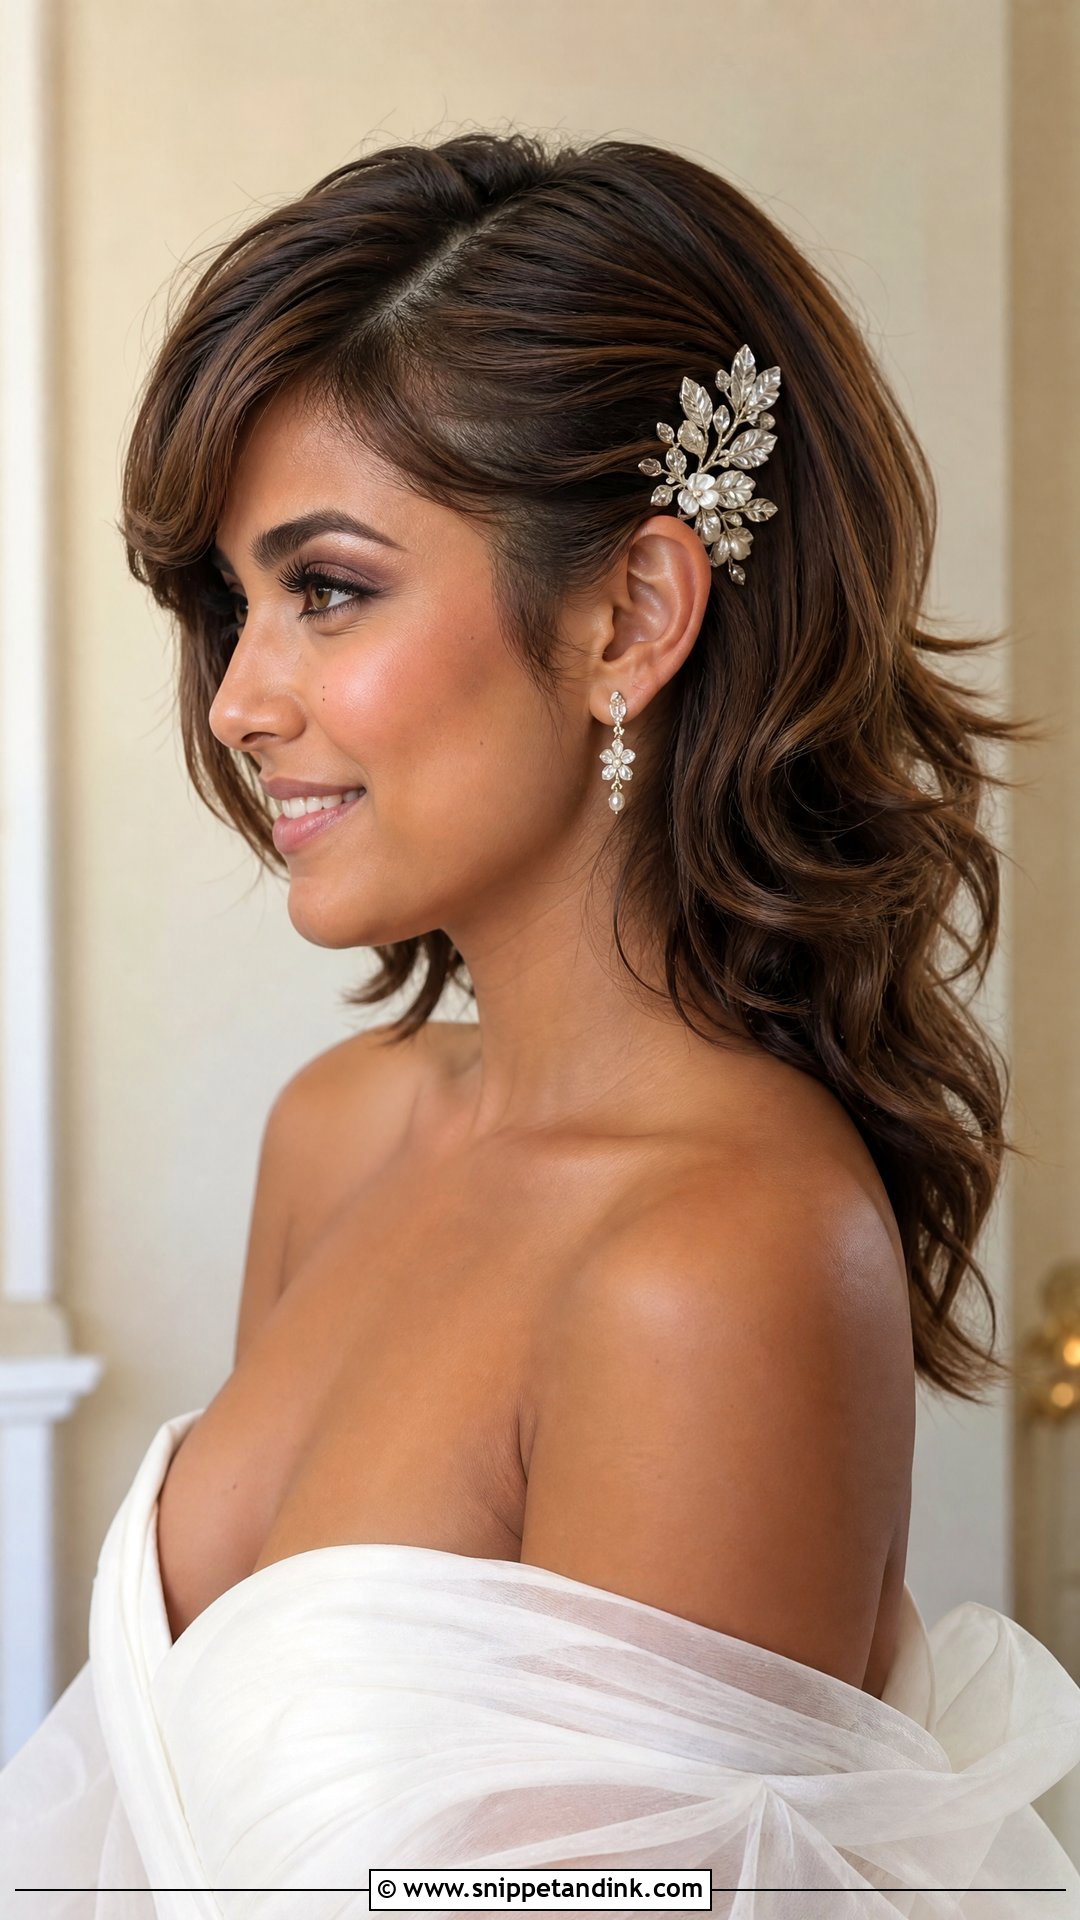
A side part instantly softens the cut. The shorter layers sweep across the forehead, adding movement and framing the face. The back can be curled, waved or smoothed depending on the mood of the wedding. I place one decorative comb on the lighter side of the part, which balances the extra volume on the other. A light-hold spray keeps the sweep in place through hugs, dancing and outdoor photos.
10. Mullet Wedding Hair With Pearl Pins
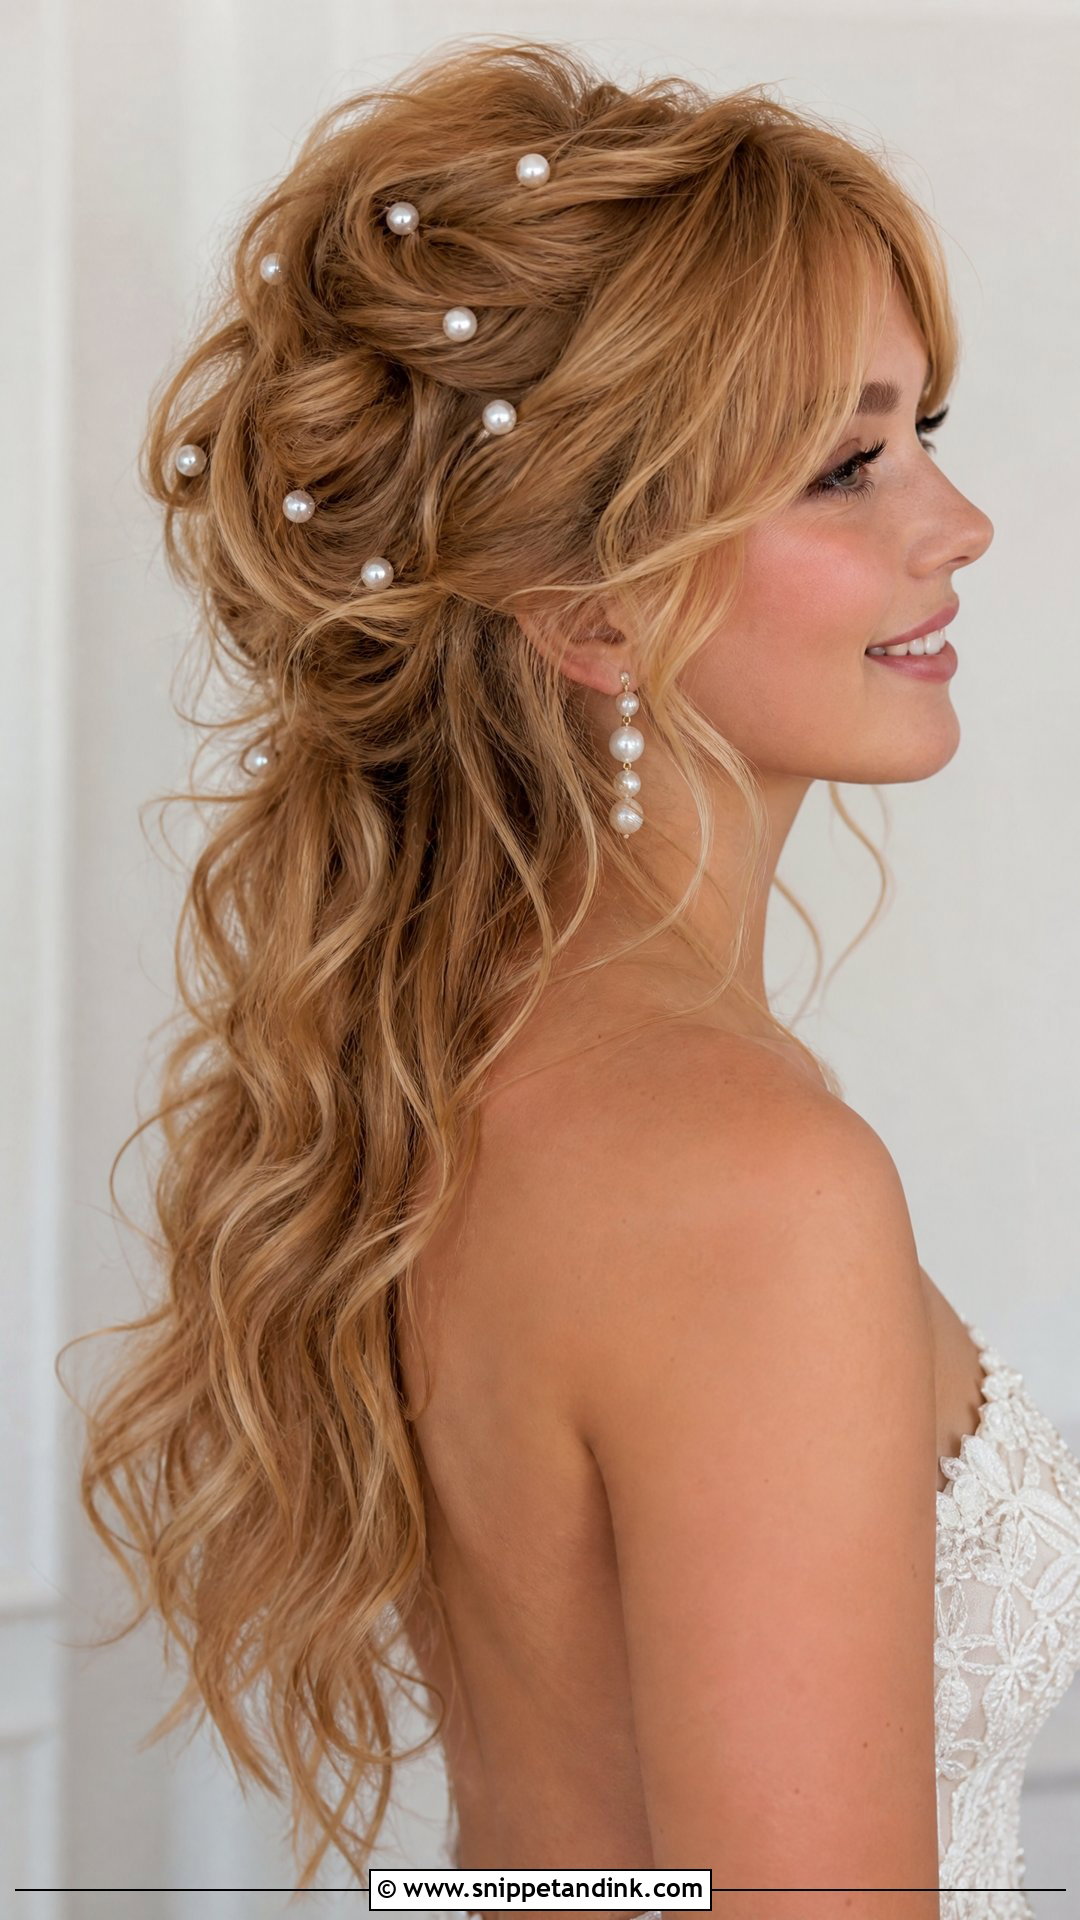
Pearl pins make the cut bridal without changing its shape. I place them along one side, across the crown or scattered through the long back, and push each one in at an angle against the direction of the hair so it grips. Waves or loose curls help the pins look woven in. It’s a good choice if you want detail but no large veil or heavy accessory. Short crown layers hold small pins better than heavy pieces.
11. Mullet Wedding Hair With Floral Clips
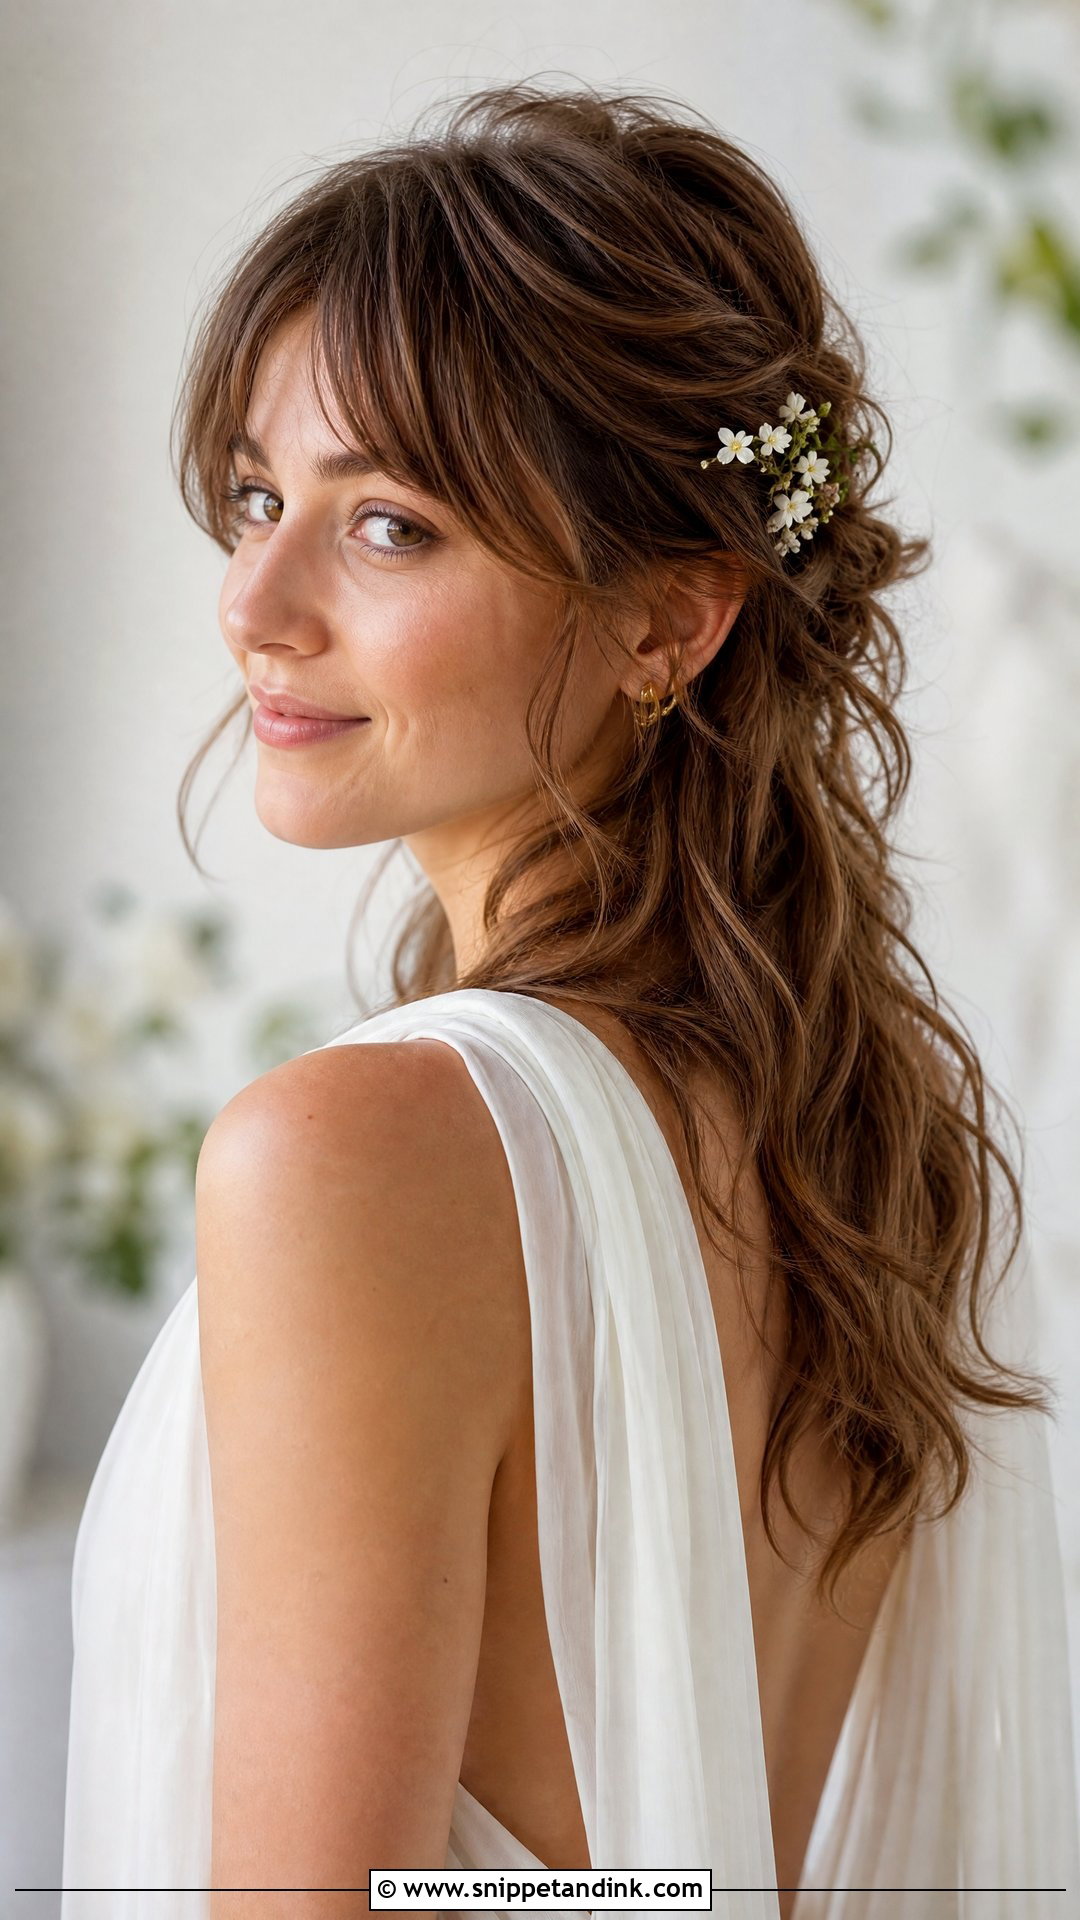
Small floral clips suit garden weddings and soft outfits. Small clips balance better than oversized flowers, because the mullet already has a strong shape. Place them near the ear, along the crown or at the transition between short and long. Loose waves make the flowers look natural. White blooms feel classic, pastels add gentle colour. If you use fresh flowers, choose sturdy ones such as spray roses or waxflower; delicate blooms wilt within a couple of hours out of water.
12. Half Up Mullet Wedding Hair
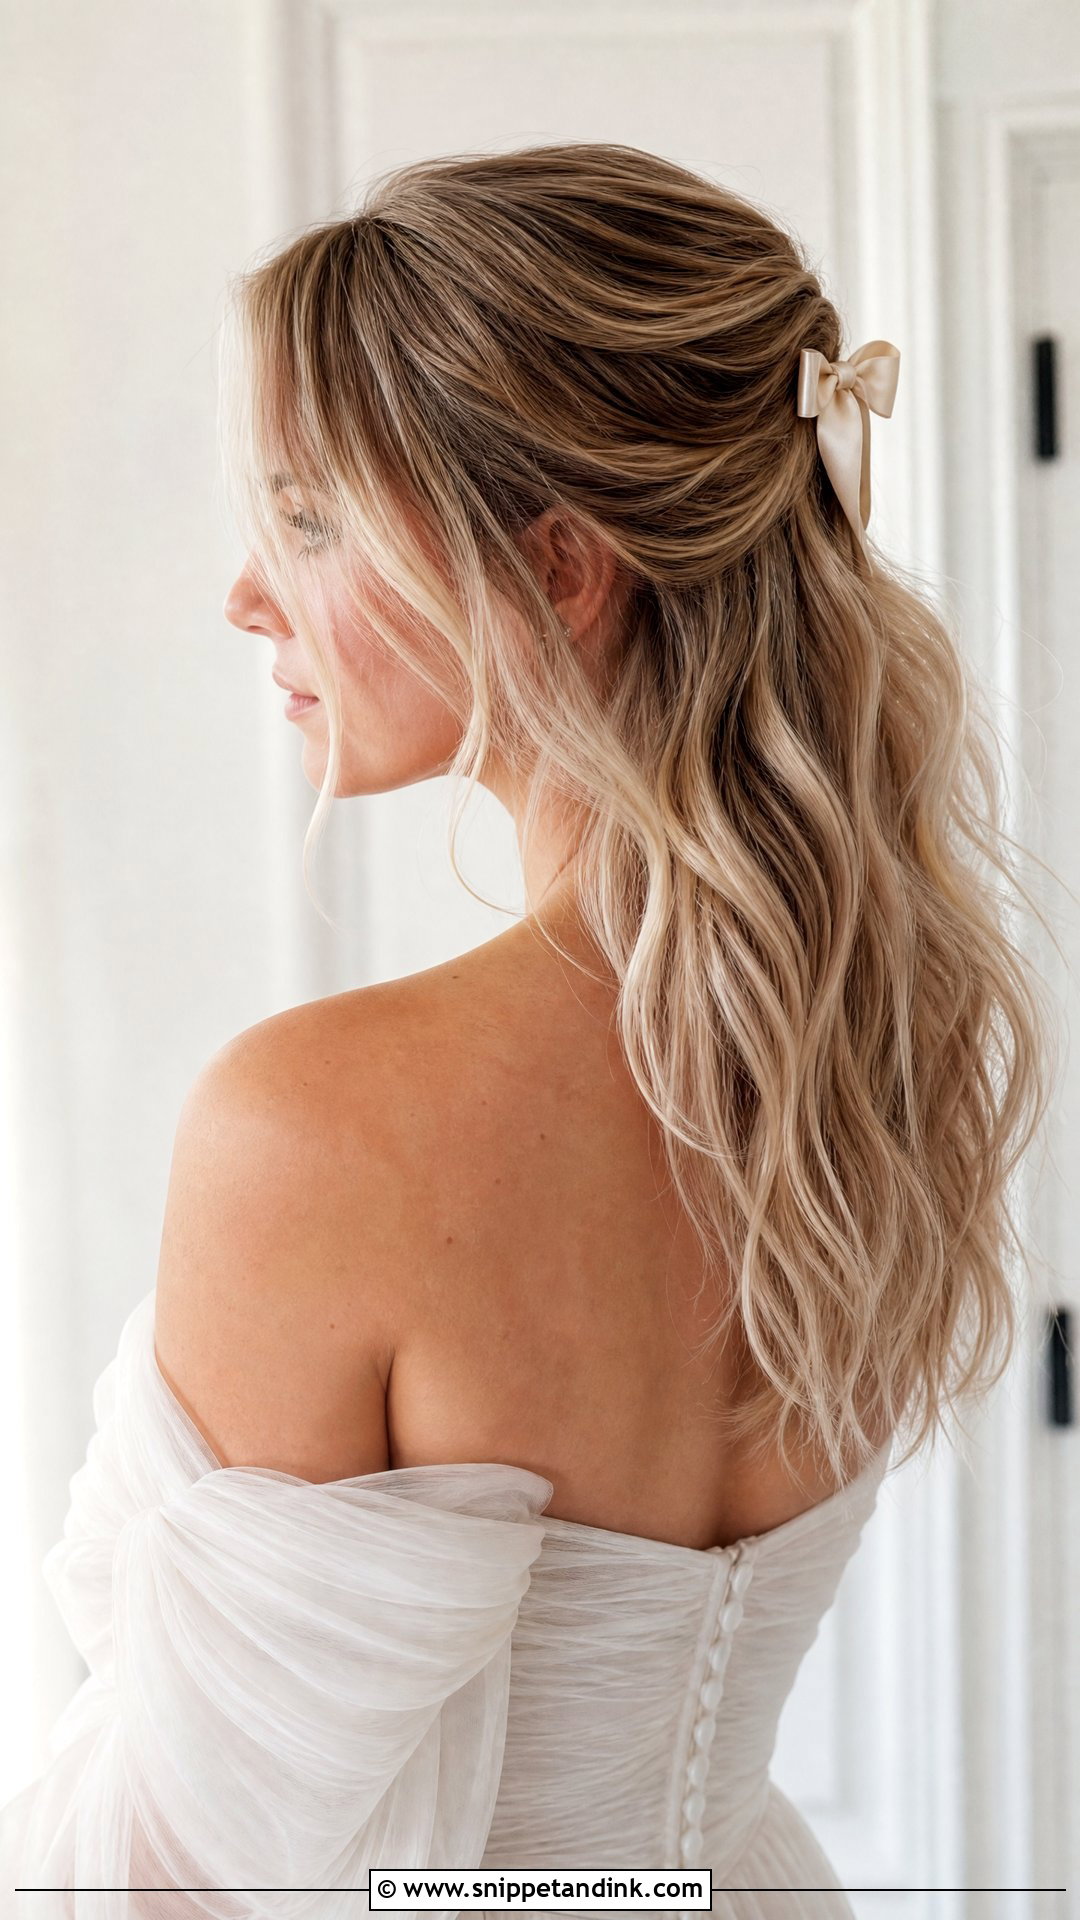
Pulling the top back adds structure at the crown while keeping the long back on show. I secure the top layers with a small clip, comb or ribbon and leave a few shorter face-framing pieces loose so it stays soft. Medium and long mullets suit it best, because the contrast between pinned top and flowing back is easy to see. On very short top layers, there may not be enough length to reach; check at your trial. It keeps hair off your face all day without hiding the cut.
13. Braided Mullet Wedding Hair
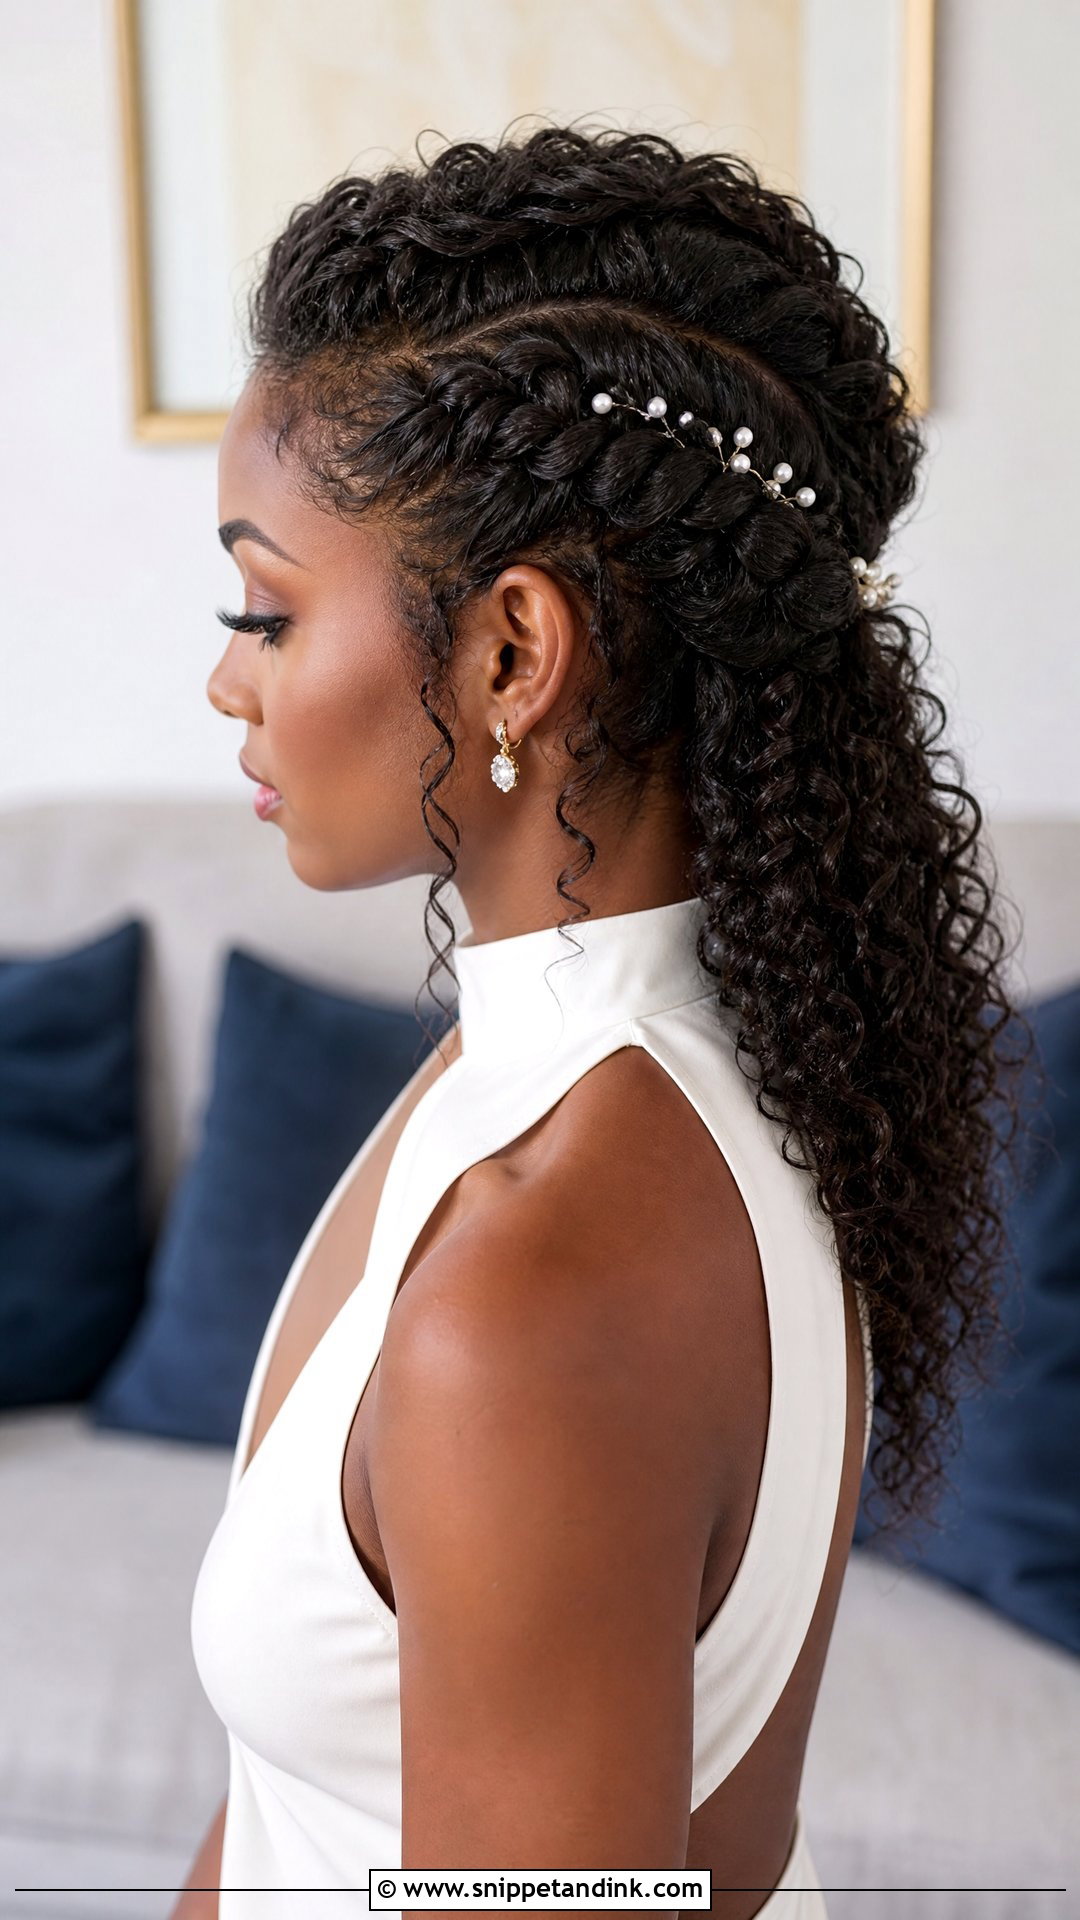
Braids add texture and make the style more formal. A small side braid, crown braid or two slim accent braids all work. Short top layers can be tricky to braid, so I start the braid where the hair is long enough and tuck the shorter pieces under. Keep the braids loose; tight braids look severe. The back can stay wavy, curly or smooth. Add a few pearl pins or tiny flowers near the braid.
14. Mullet Wedding Hair With Headband
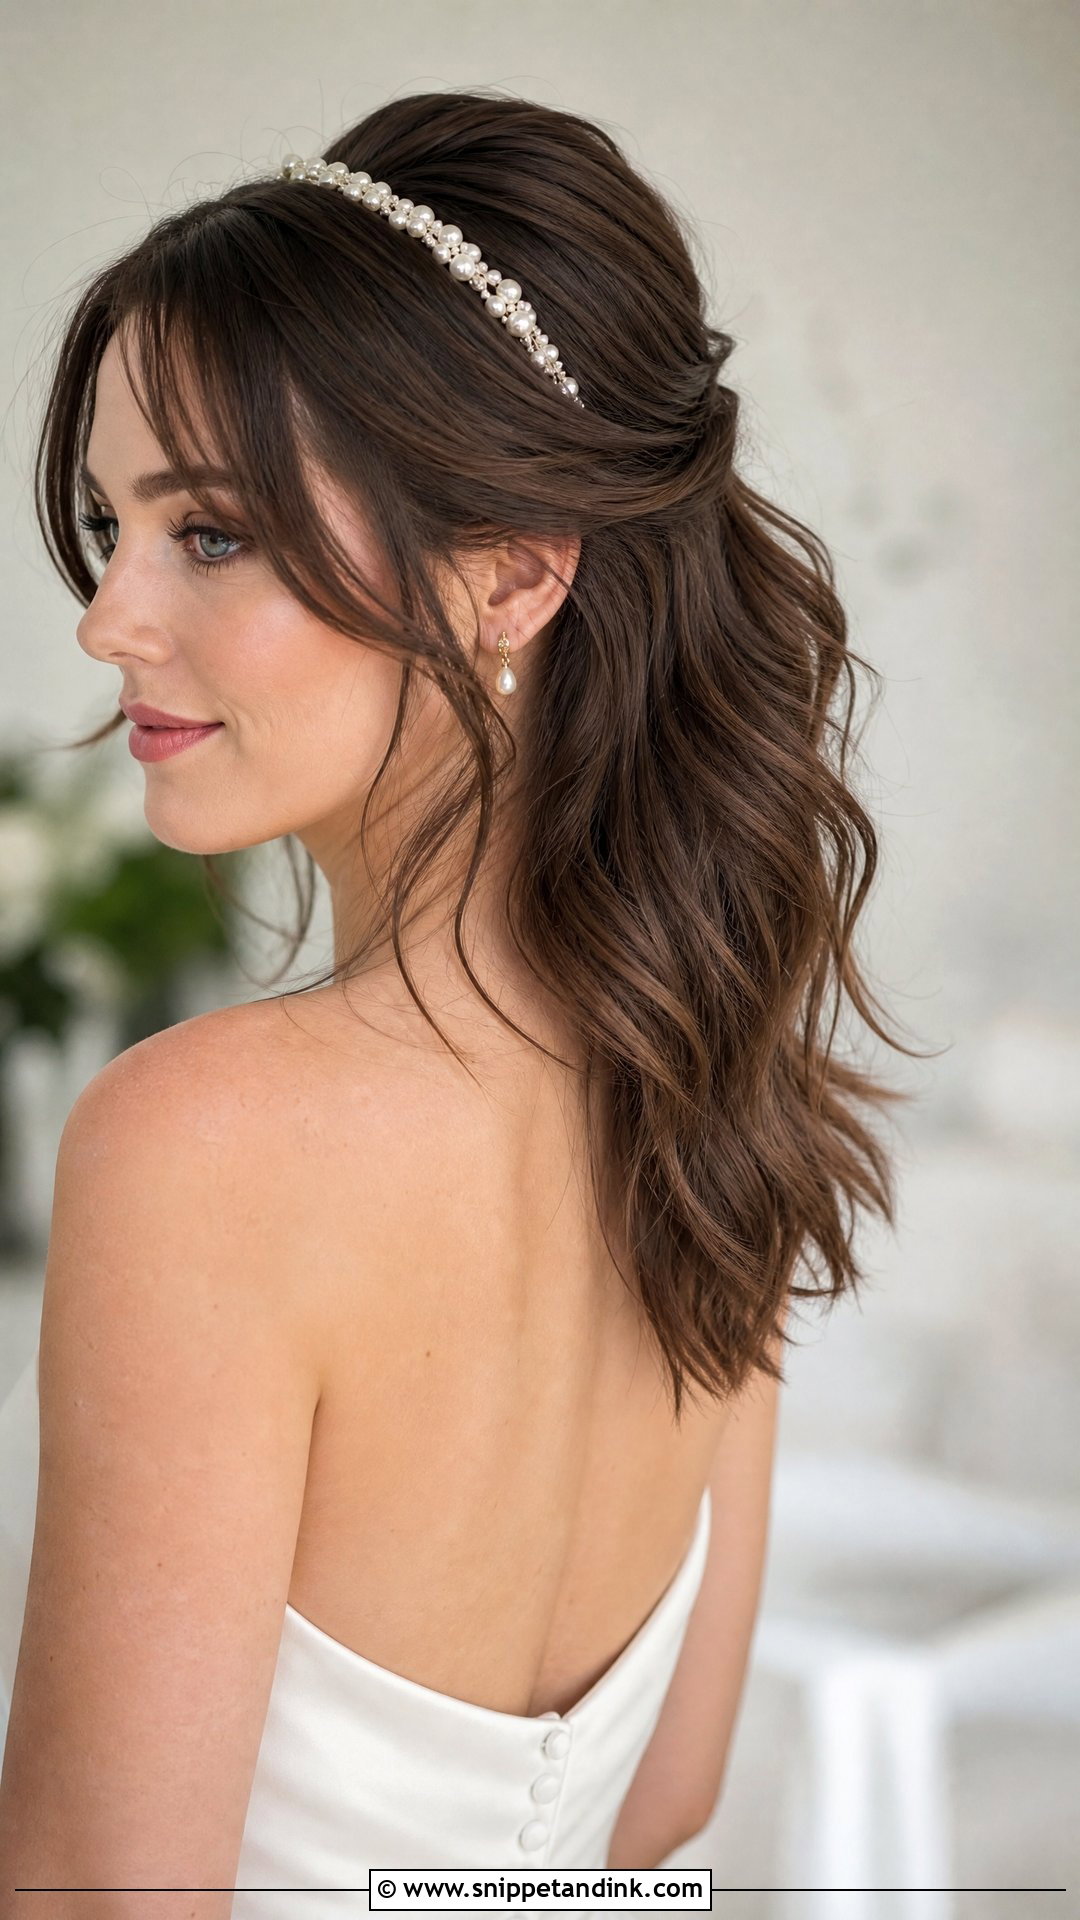
A headband is one of the easiest ways to control short crown layers. Satin, pearl, crystal and metallic bands all define the top while letting the back flow. I style the rest in soft waves or smooth bends. Choose the width to suit your face and outfit: a slim band feels delicate, while a padded headband gives a stronger fashion look for a modern outfit. Test it for a few hours before the wedding; some bands press behind the ears.
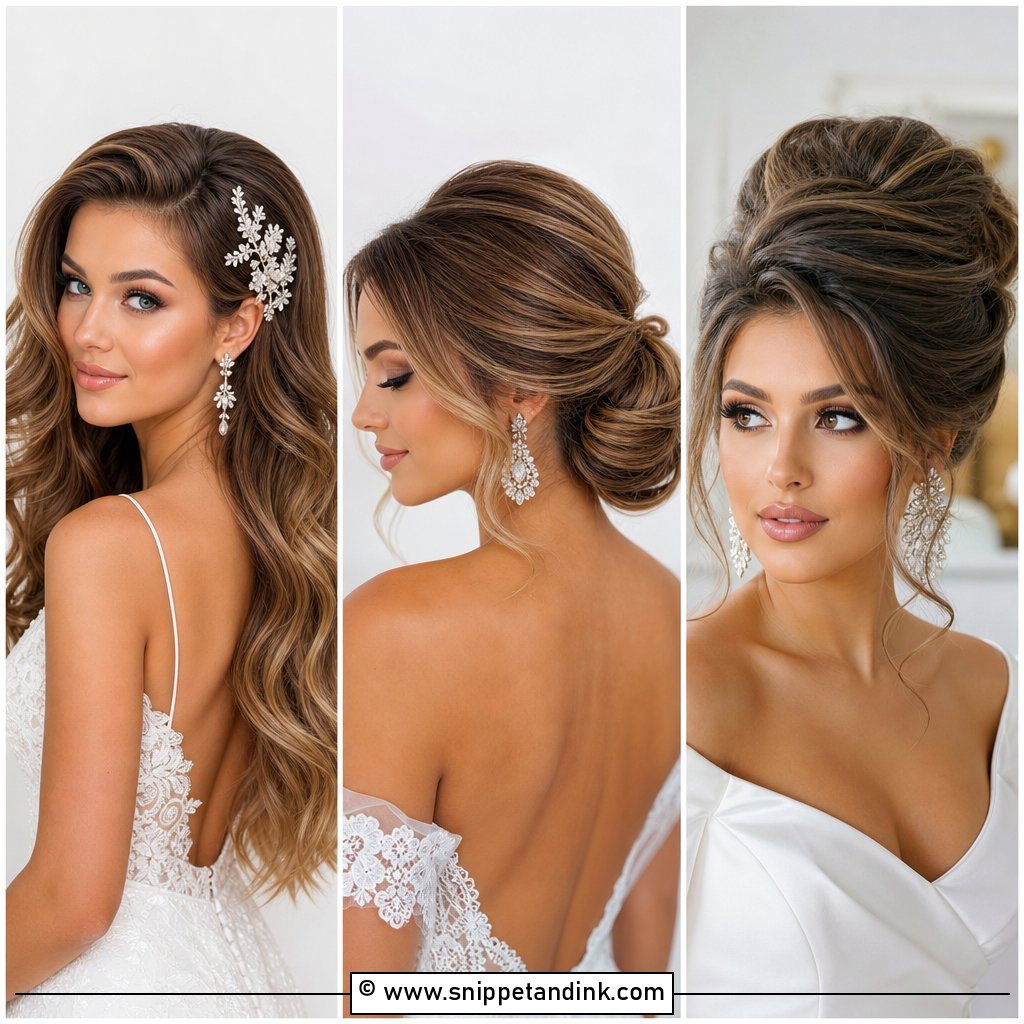
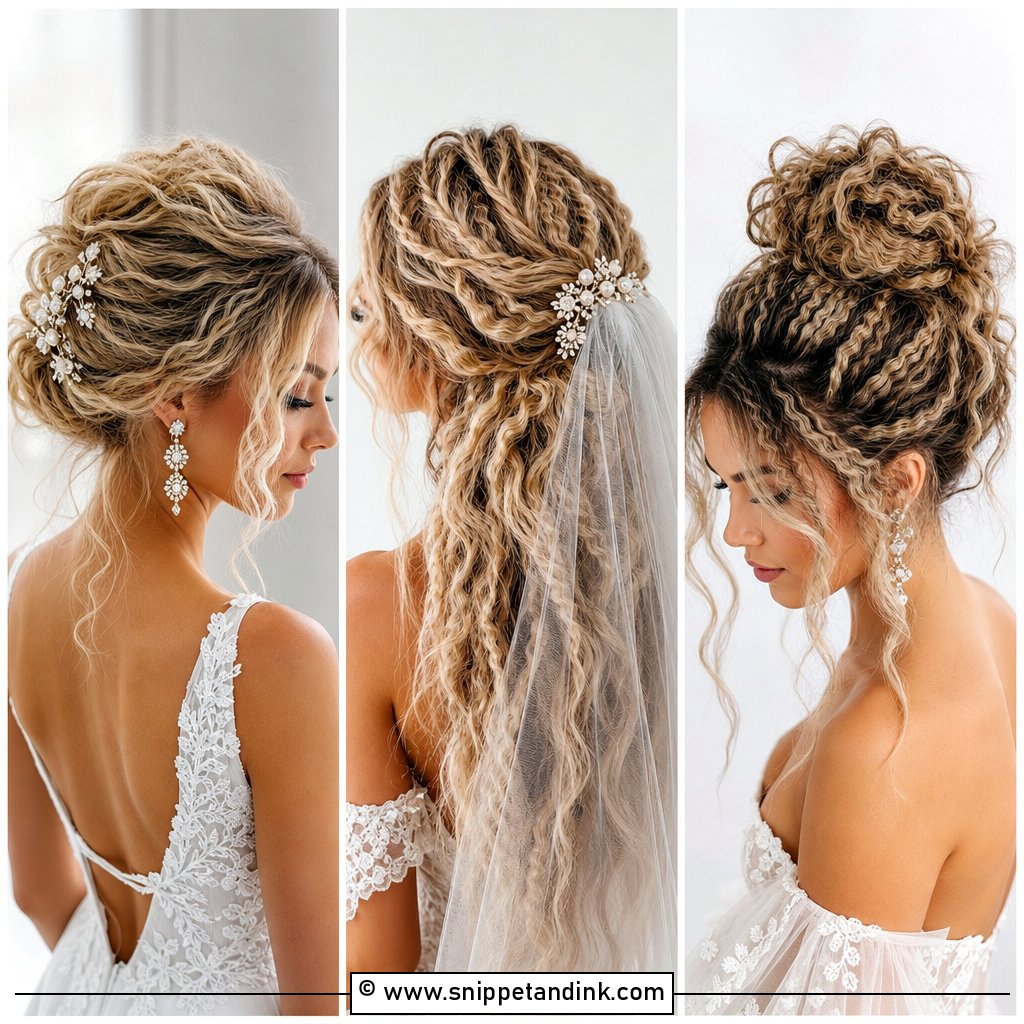
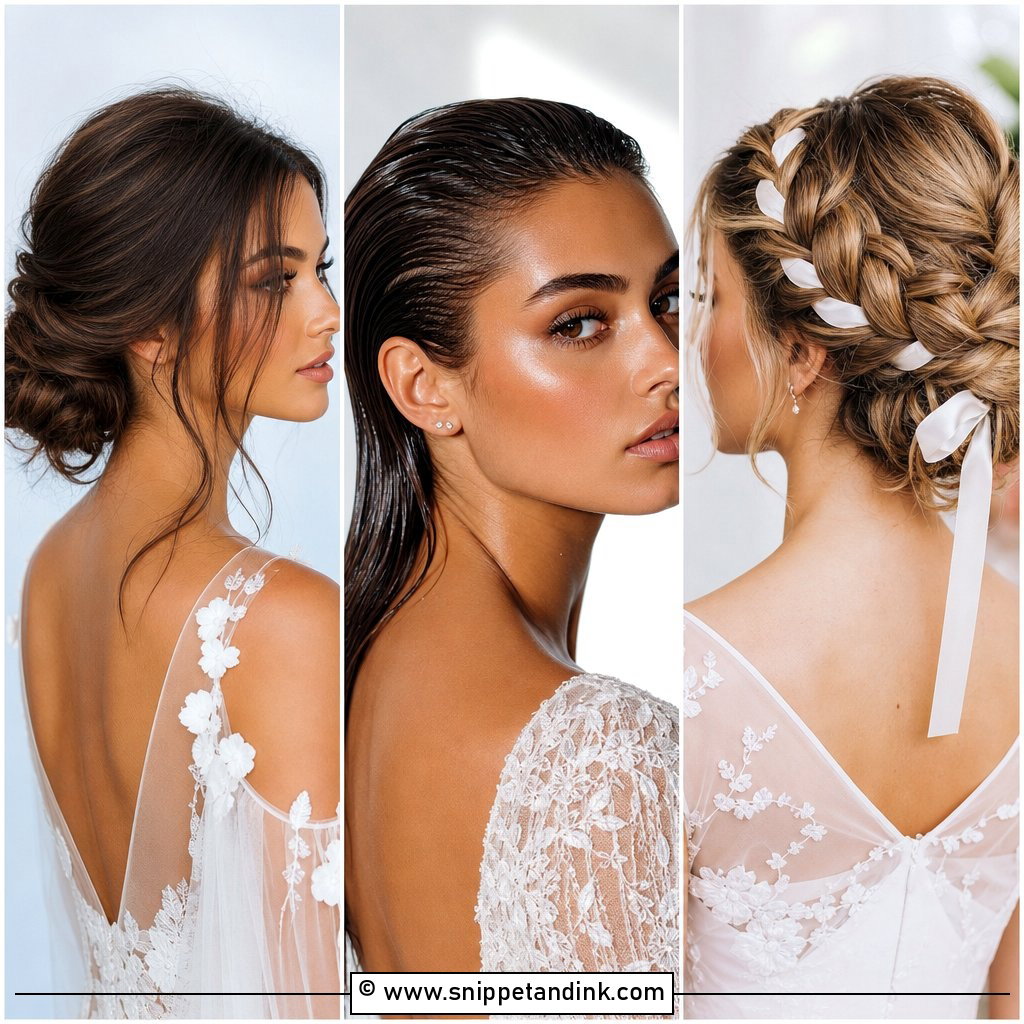
15. Wet Look Mullet Wedding Hair
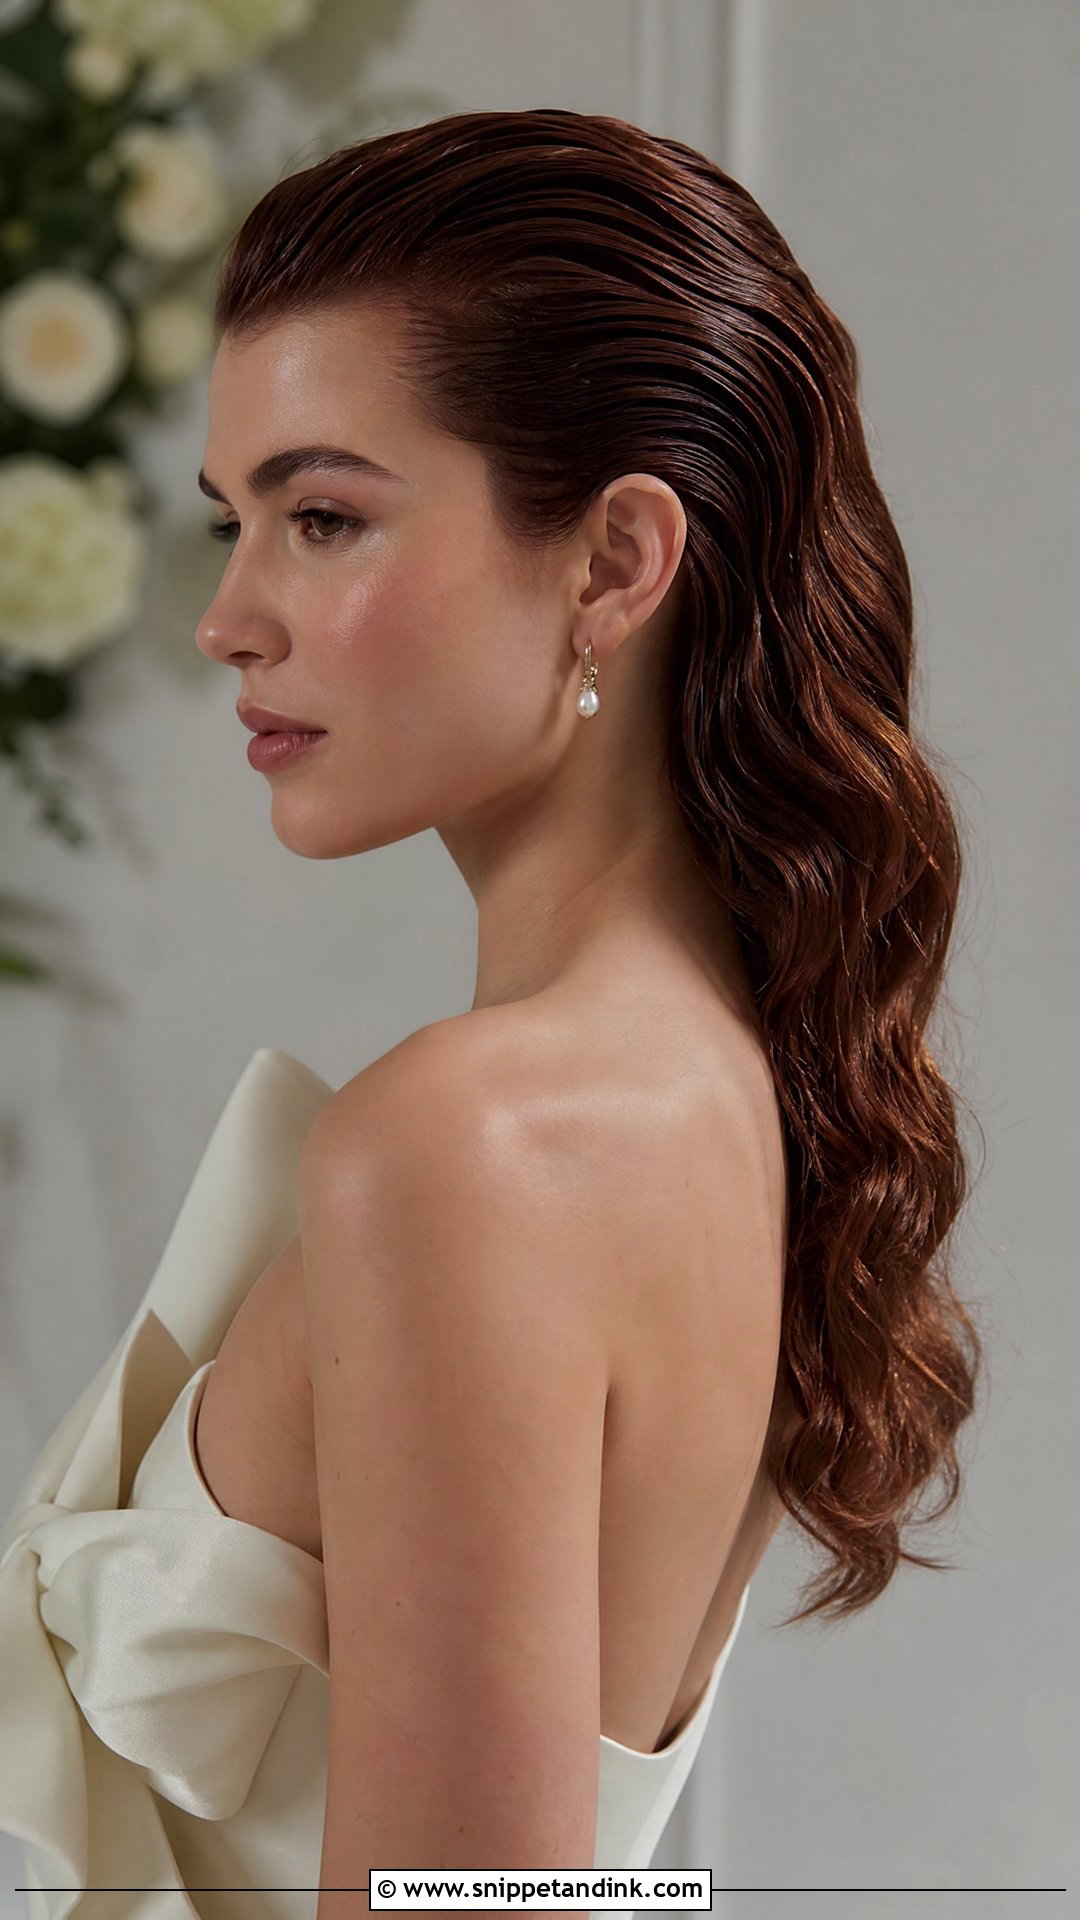
The wet look is the most editorial finish here. The top and sides are combed back with shine gel while the back stays smooth or slightly waved. The goal is glossy and controlled, not greasy, so I apply gel on damp hair and comb it through in one direction, then let it set without touching. It pairs with clean makeup, sculptural earrings and simple gowns, and catches the light at evening receptions. Test it before the wedding; some gels flake when they dry.
16. Mullet Wedding Hair With Loose Waves
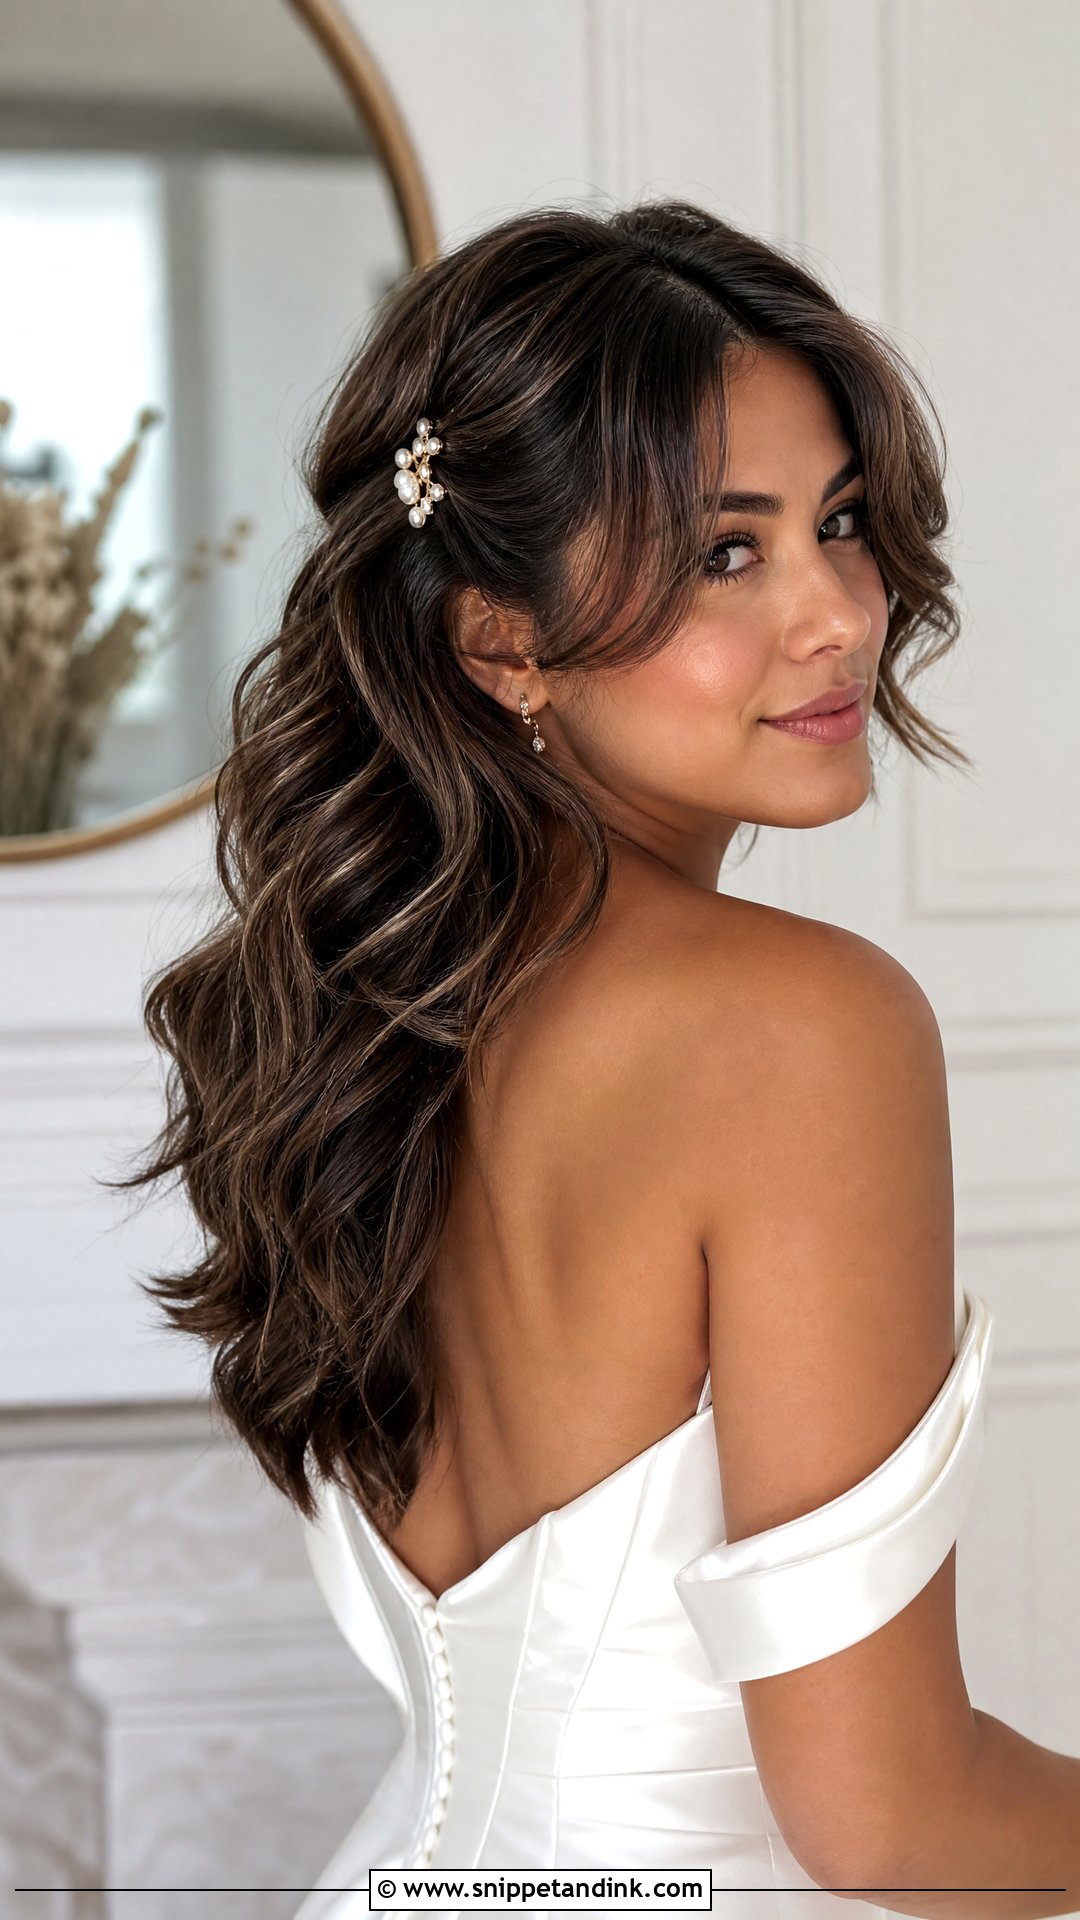
Loose waves are the easiest way to soften the cut. The waves bring movement to the back and help the shorter layers blend into the long ones around the face. I use a large barrel for wide bends and then brush lightly. Brides, bridesmaids and guests can all wear it, since it looks special without being too formal. A small clip, veil or comb adds a bridal detail.
17. Mullet Wedding Hair With Crown Volume
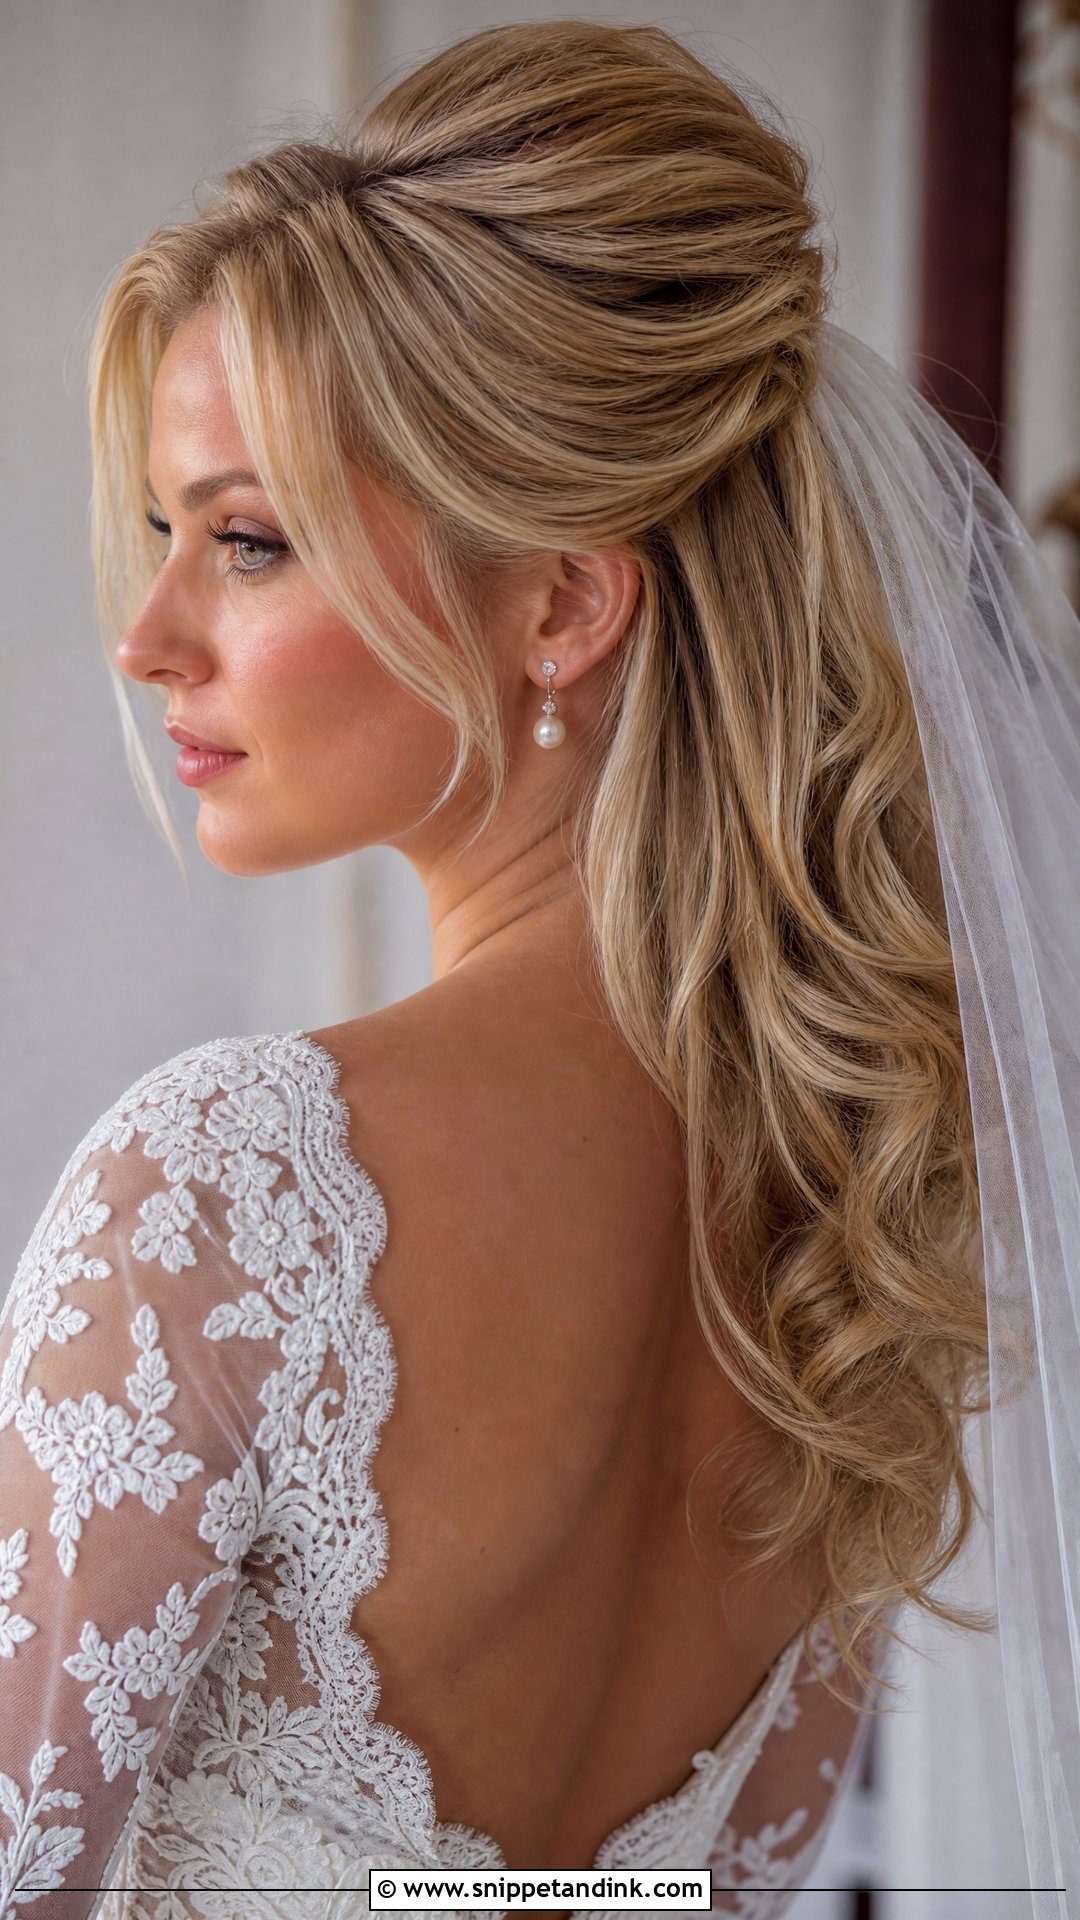
A lifted crown balances the long back, especially in formal photos where a flat top makes the mullet look bottom-heavy. I use a round brush and root spray, plus gentle backcombing under the top layers, then smooth the surface. The back can be curled or waved. A veil placed behind the volume keeps the height visible. It’s the fix for hair that falls flat by midday.
18. Mullet Wedding Hair With Low Ponytail
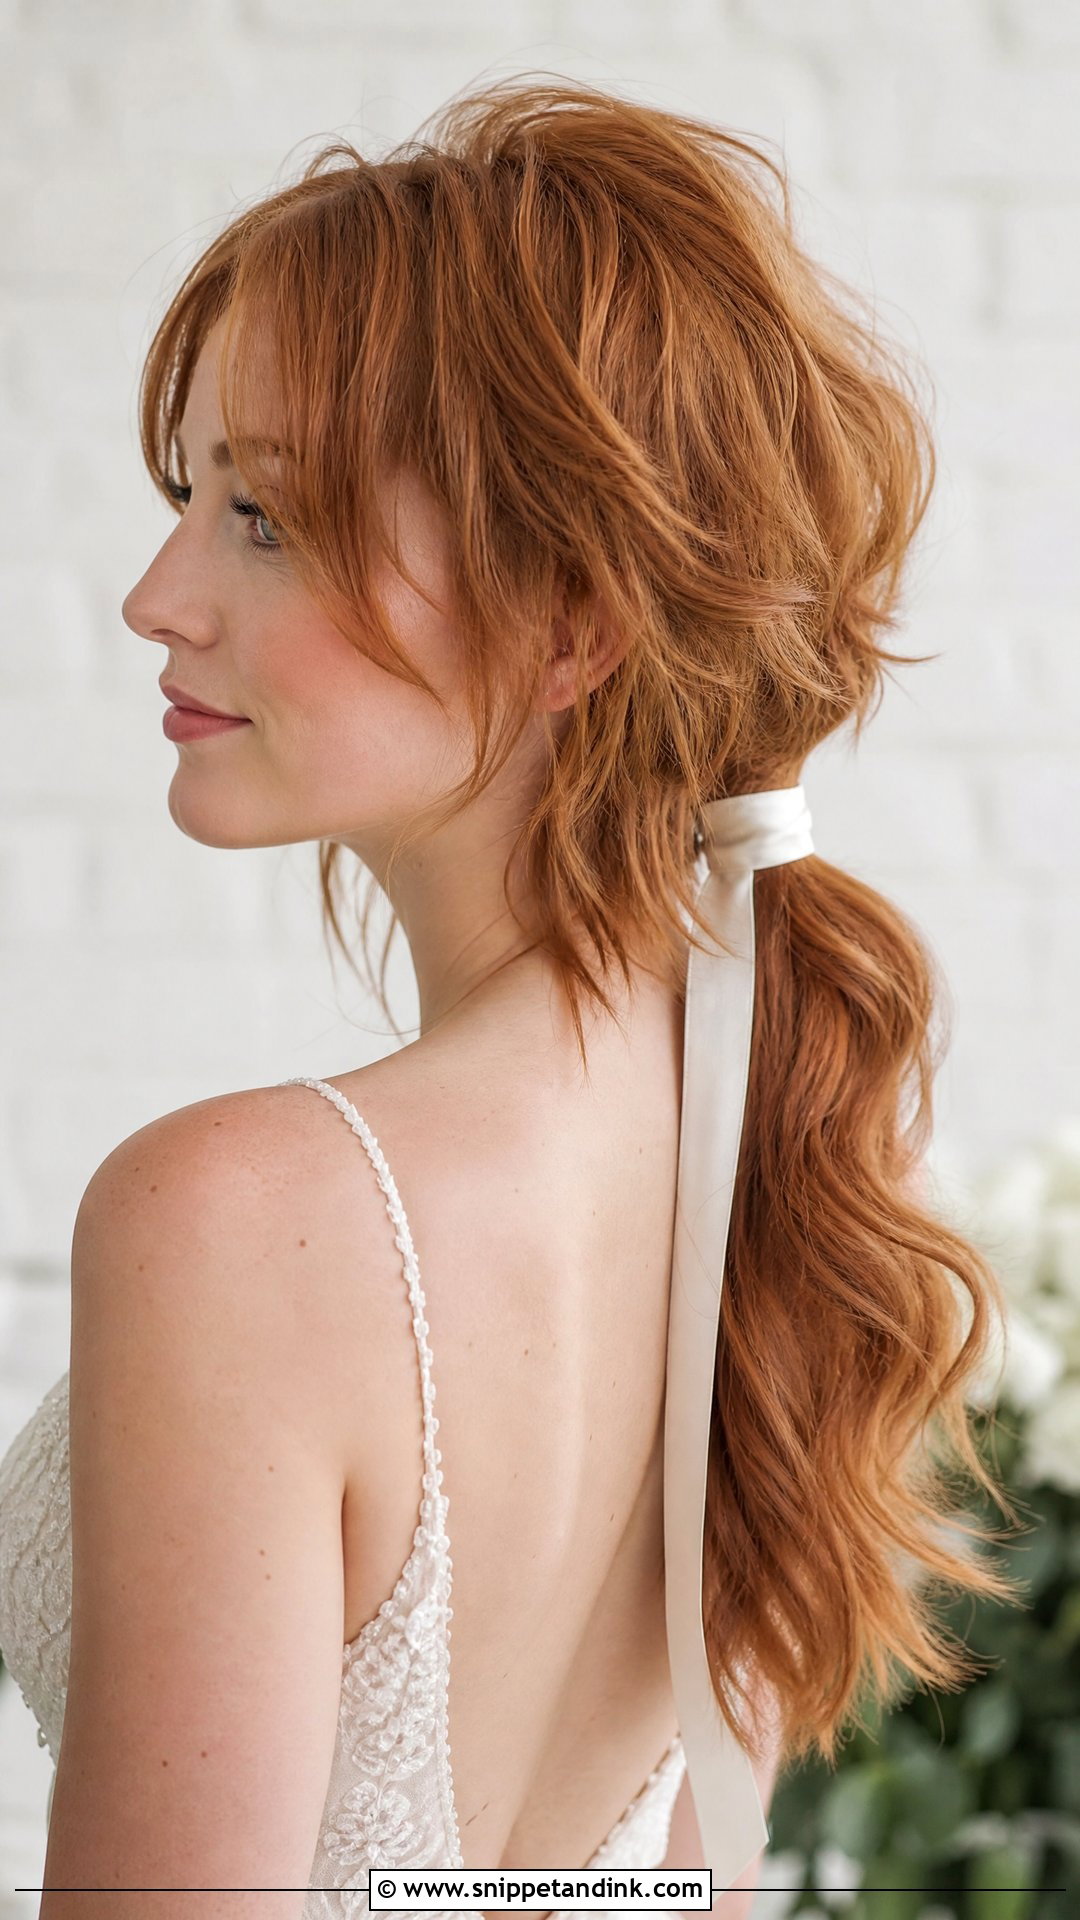
For a warm-weather wedding, a low ponytail is comfortable and still polished. The short top layers stay loose around the face, while the back is gathered at the nape. That keeps the shape visible without wearing everything down. I wrap a small piece of hair around the elastic and pin it underneath, or tie a ribbon that matches the outfit. Soft waves in the ponytail make it more romantic. Check that the back is long enough to gather; very short mullets won’t reach.
19. Mullet Wedding Hair With Soft Curls
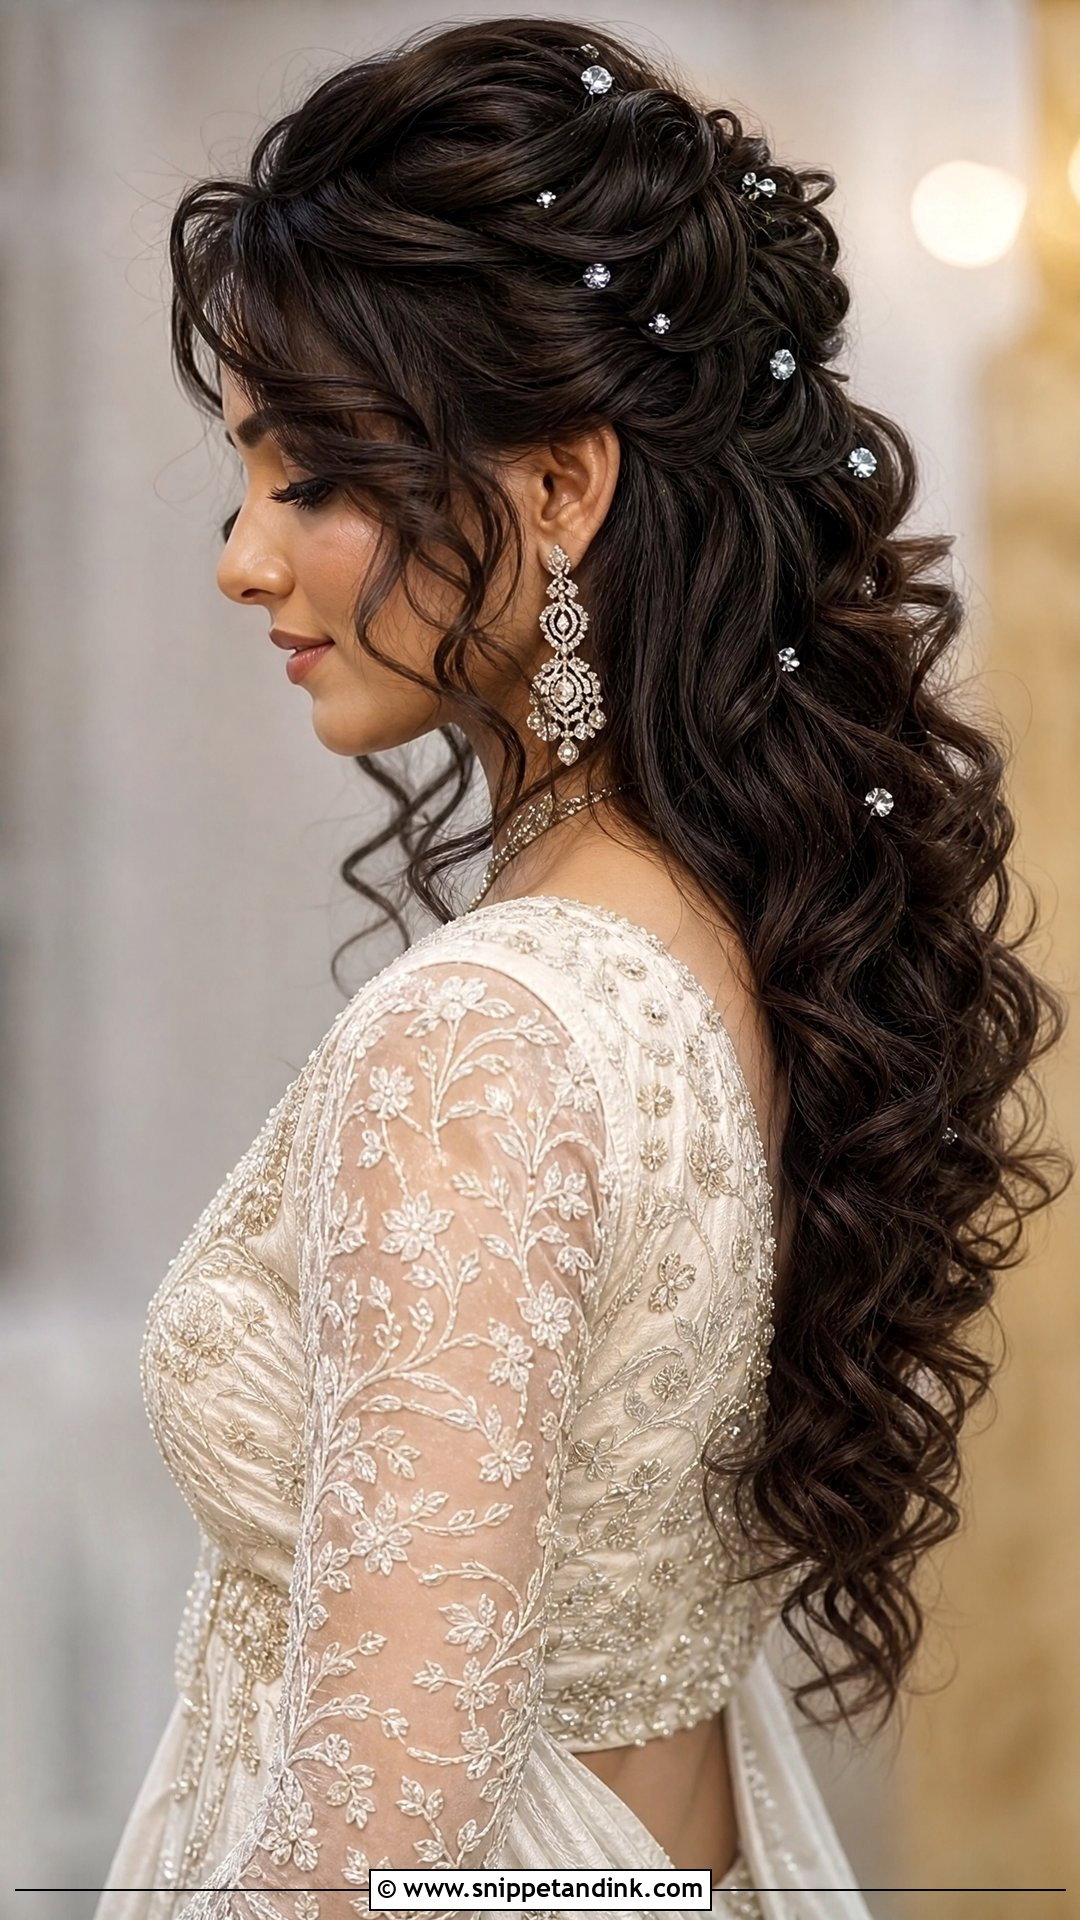
Soft curls give the cut a romantic shape from front to back. The shorter layers curl lightly around the cheekbones, while the back forms fuller curls near the shoulders. It suits lace, satin and simple accessories. I use a curl mousse or a light-hold spray so curls stay bouncy. If your hair is naturally curly, define each section rather than brushing it out, which turns curls into frizz. The finish feels gentle but keeps the cut’s personality.
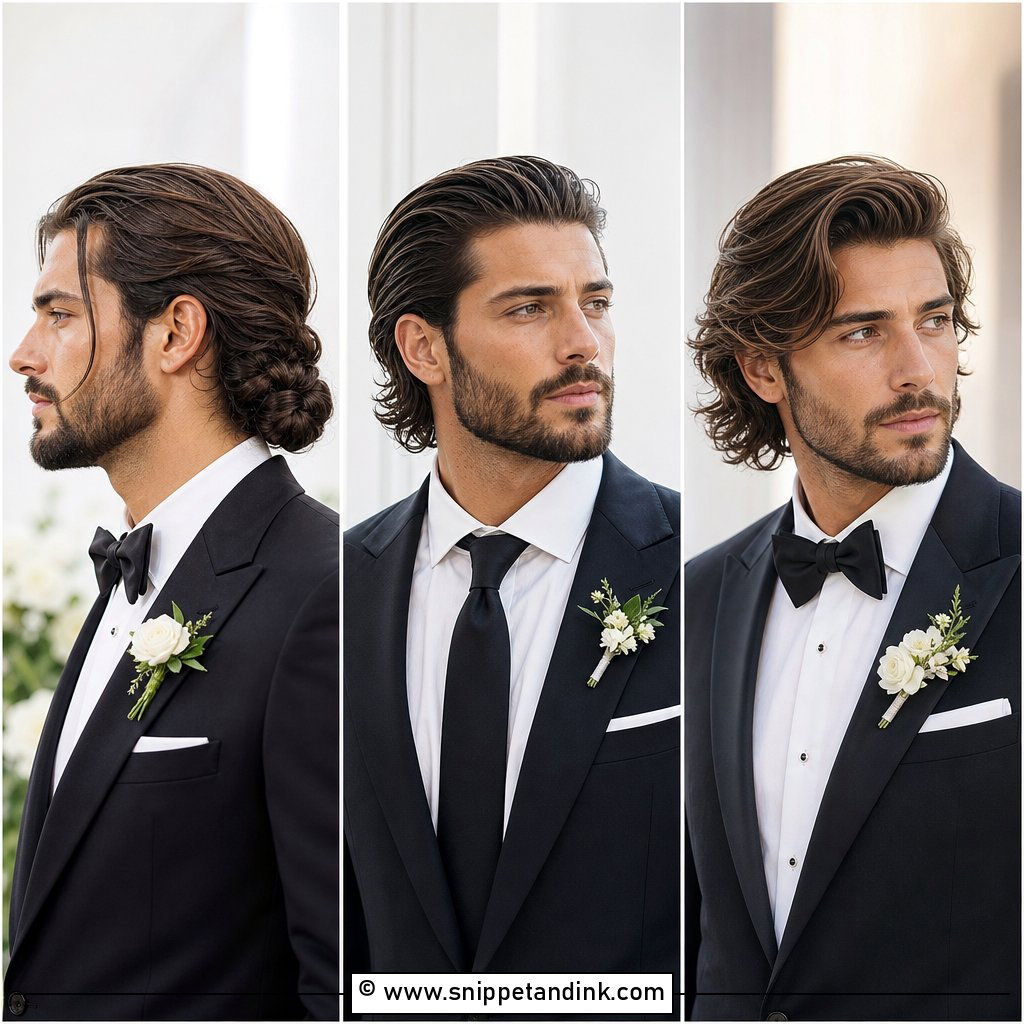
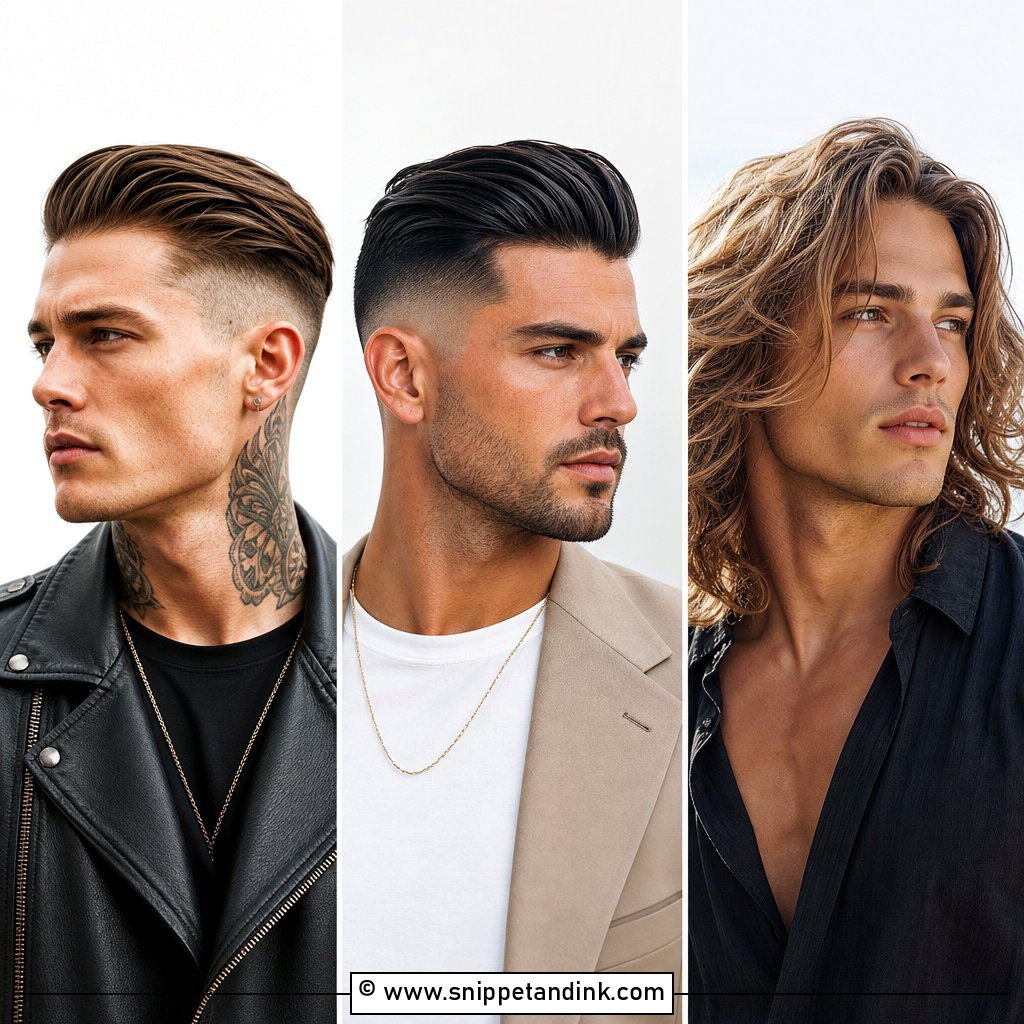
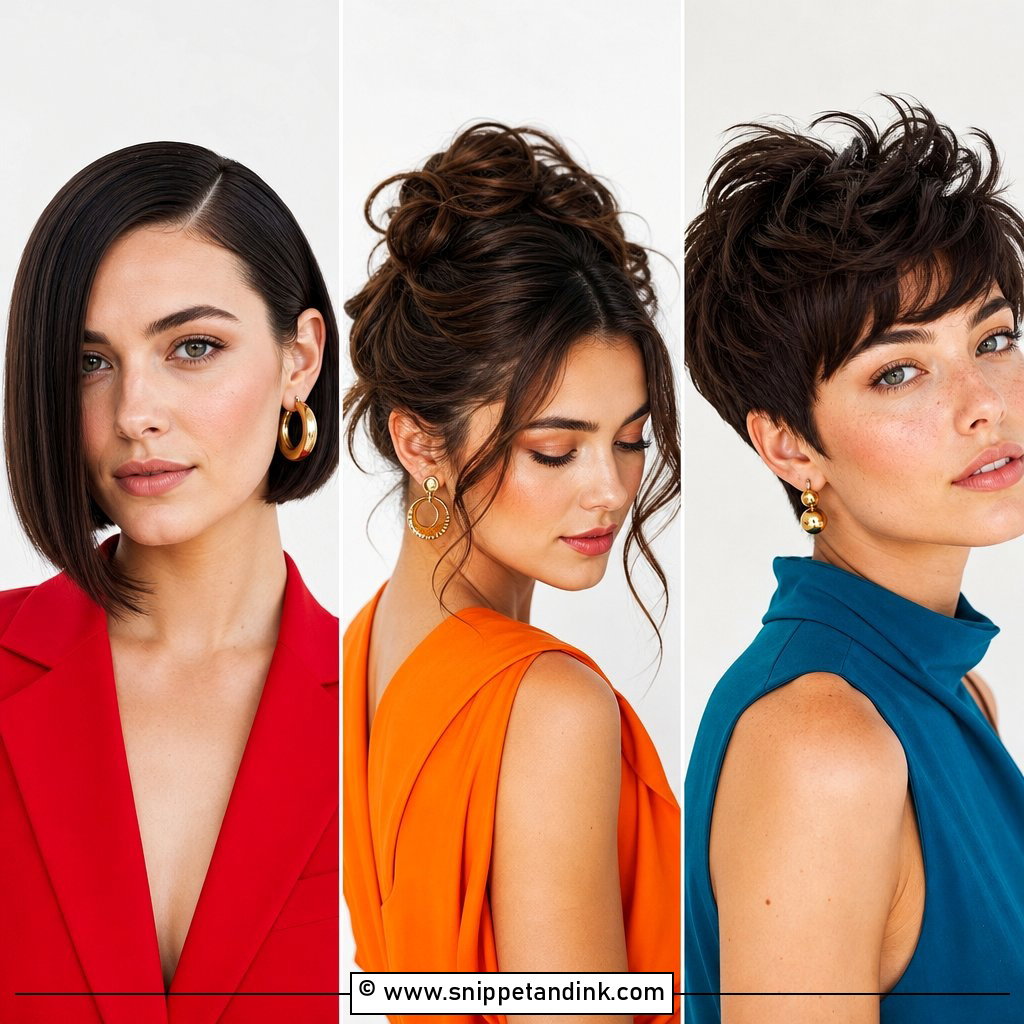
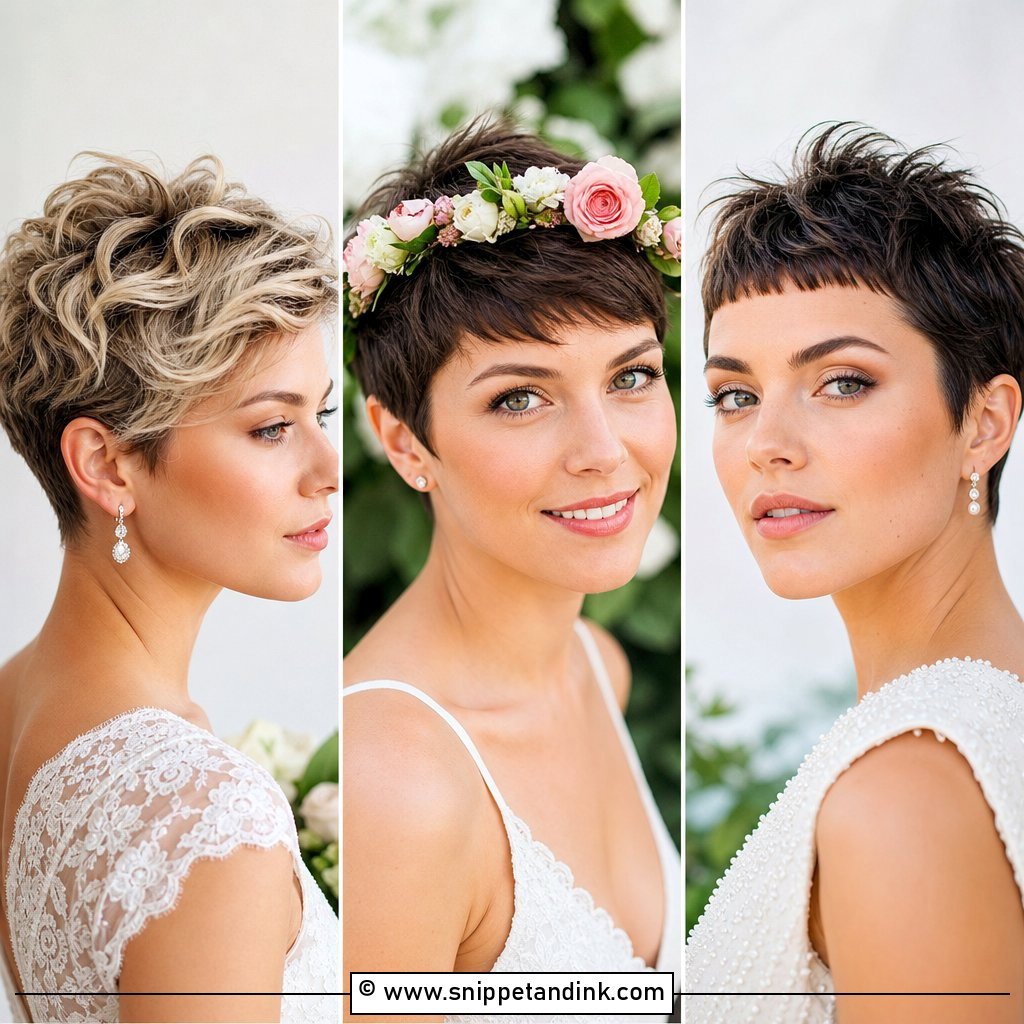
20. Mullet Wedding Hair With Hair Comb
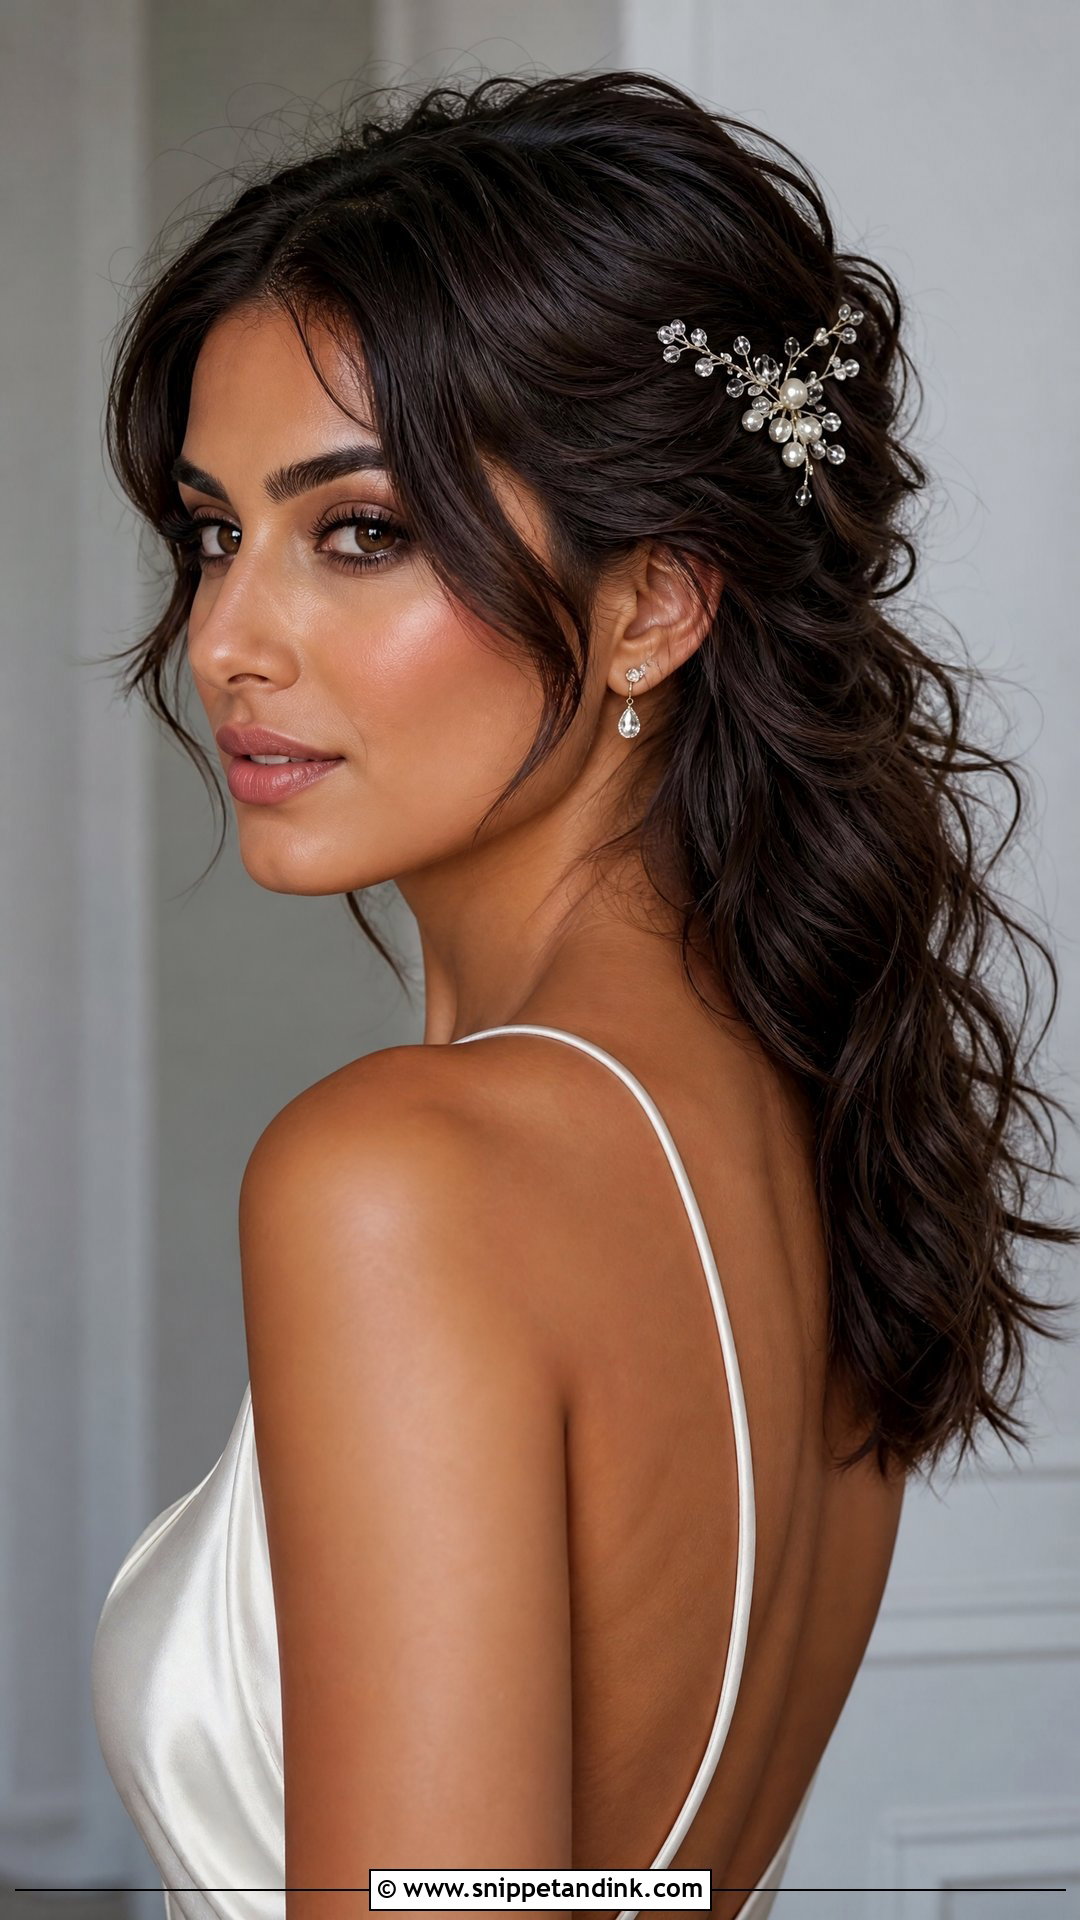
A decorative comb is classic but still lets the cut look modern. I place it on one side above the ear, or at the back where the short layers meet the long section, which highlights the shape instead of covering it. Style the hair first with waves, smooth texture or defined curls, then add the comb. Pearls, crystals and minimal metal designs all work. It adapts easily for brides, bridesmaids and guests.
Accessories on Short Crown Layers: What Grips and What Slides
Short layers give combs and pins very little to hold onto. A comb that would sit securely in a bun can slide straight out of a two-inch crown layer. These are the things I do at every mullet trial:
- Use dry texture spray where the accessory will sit. Freshly washed, silky hair is the hardest to grip.
- Cross two bobby pins in an X as an anchor, then slide the comb over them.
- Place heavier pieces at the transition line, where the hair is longer and thicker.
- Keep veils light. A long, heavy veil pulls on short layers all day; a short or mid-length veil is far kinder.
- Plan the veil removal. Ask your stylist to show someone how to take it out without flattening the crown, and keep a small brush for a quick lift afterwards.
If the accessory moves at the trial, it will move on the day. Better to change the piece or its position then than to spend the reception pushing it back in.
Look at It From the Side Before the Wedding
A mullet is all about balance between its two lengths. The cut already has personality, so the best bridal versions add polish, softness and a few careful details. Curls make it romantic, sleek styling makes it modern, and accessories make it formal without hiding the shape. Test your chosen look with your veil, earrings, neckline and makeup together. Take photos from the front, side and back, because a mullet looks very different from each angle. Styled well, it looks beautiful and completely ready for the wedding.
You'll Like These Ideas:


Leave a Reply