
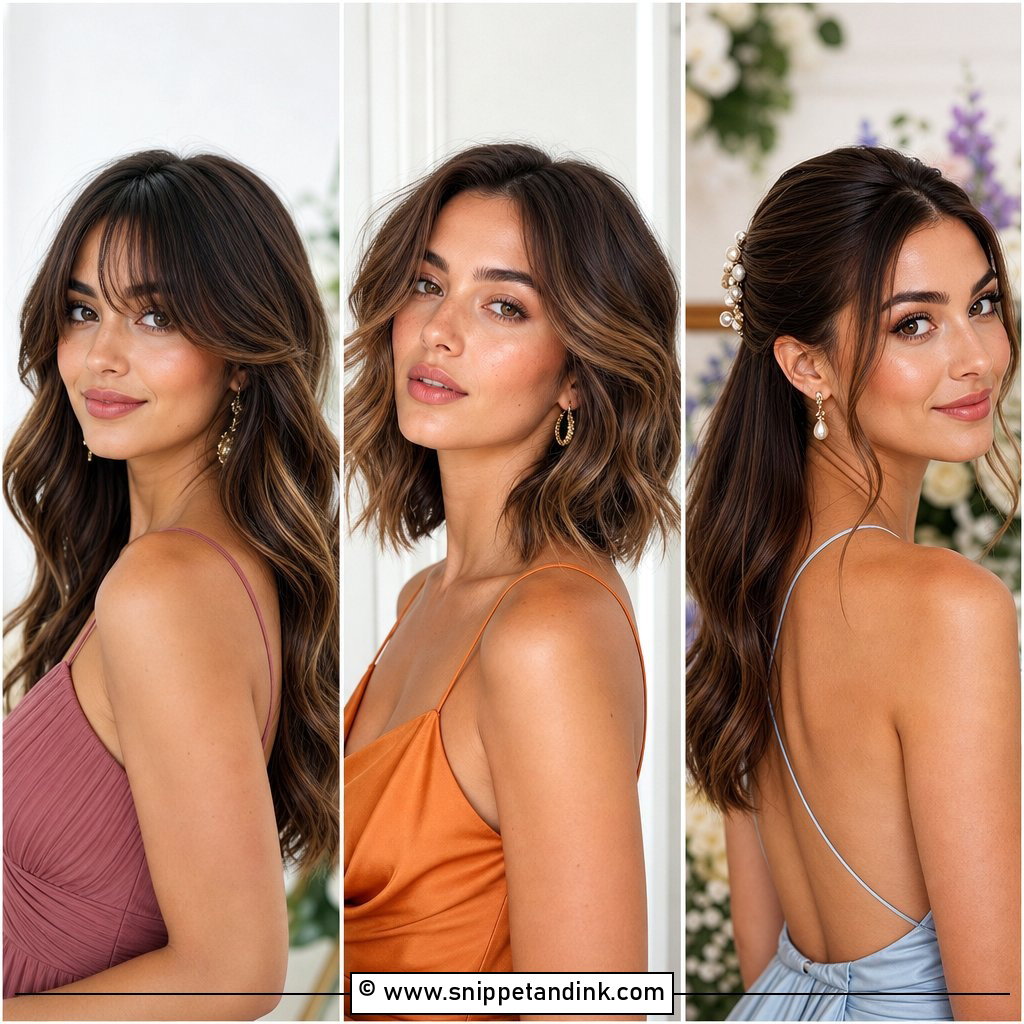
Old money bridal hair is less about a particular shape and more about condition and restraint. The hair looks healthy, the finish is smooth without being crunchy, and nothing on the head competes with the dress. When a bride brings me this kind of reference at a consultation, I look past the style itself to the shine and the tidiness of the hairline, because those are what make these looks read as expensive. Below are 20 old money bridal hair ideas, from low buns to sculpted waves, with notes on how each one is actually built and who it suits.
Why Gloss and a Clean Hairline Matter More Than the Updo
Brides often assume the old money look comes from the shape of the style. In my chair, it comes from three quieter things, and if any of them is missing, even a perfect chignon reads as ordinary.
- Shine you can’t fake. Light reflects off a smooth cuticle. Dry, bleached or heat-damaged ends scatter it, and photos pick that up immediately.
- Soft, dimensional color. Bright blocky highlights and visible roots work against this aesthetic. Color that grows out gently and a fresh toner look richer than anything high-contrast.
- No visible mechanics. Elastics wrapped in hair, pins hidden under the surface, a hairline without fuzz. When nobody can tell how a style is held, it looks expensive.
Accessories come last. I’d rather see one row of pearls or a single comb than a headband, a veil and pins competing for the same few inches of hair.
1. Sleek Low Bun for Brides
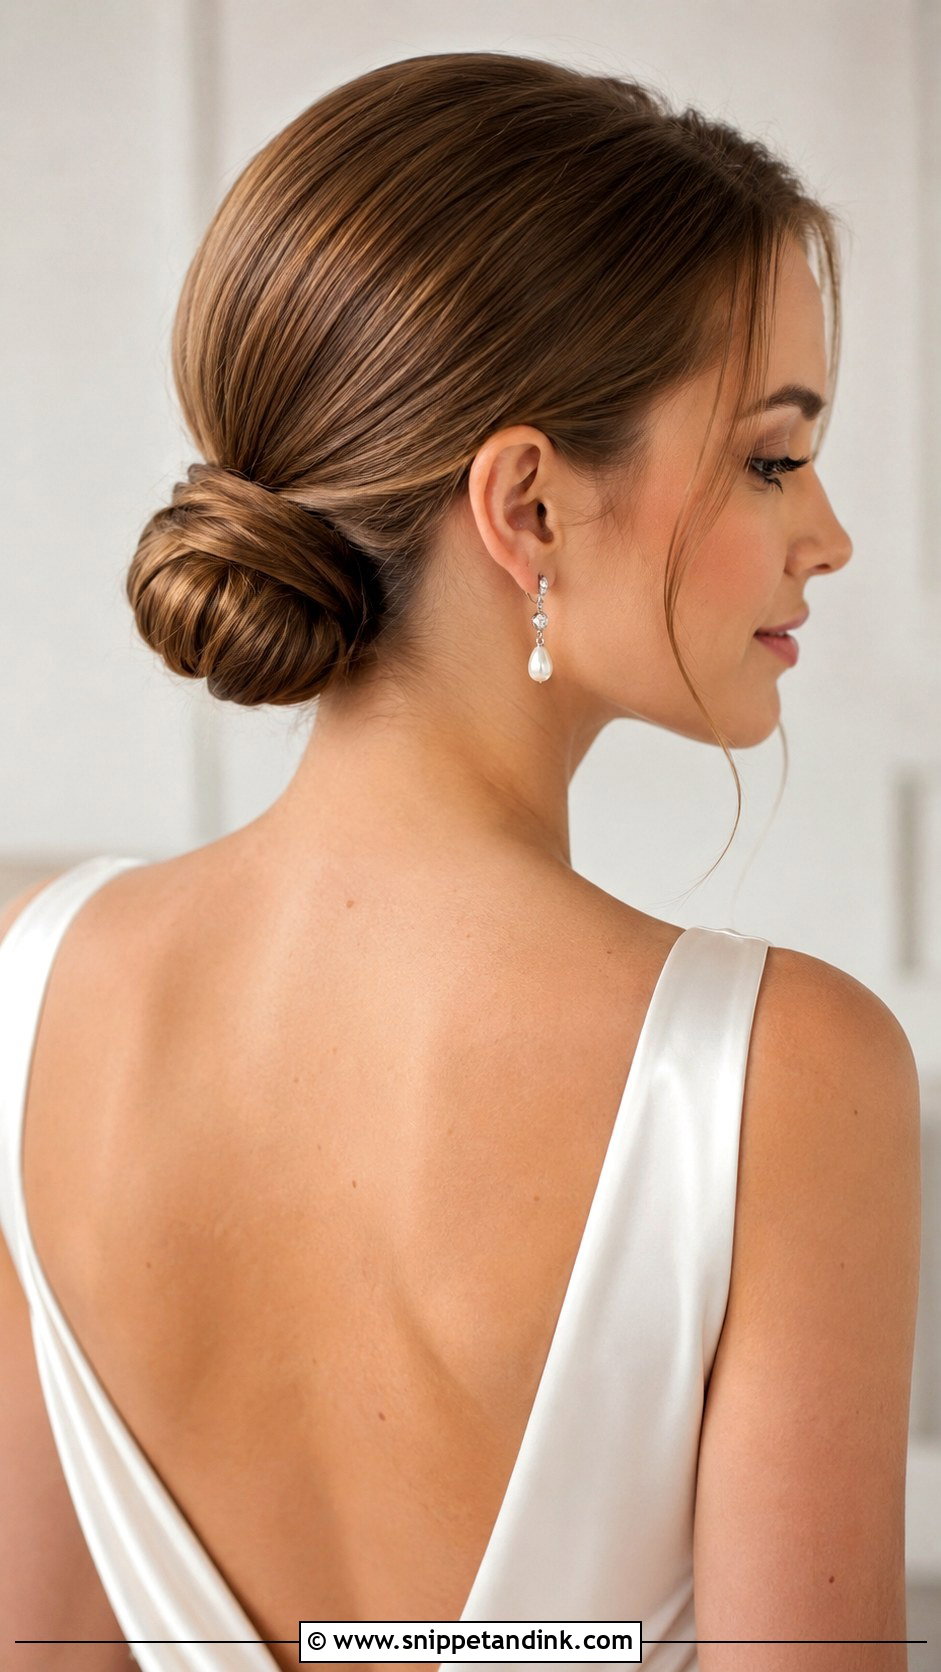
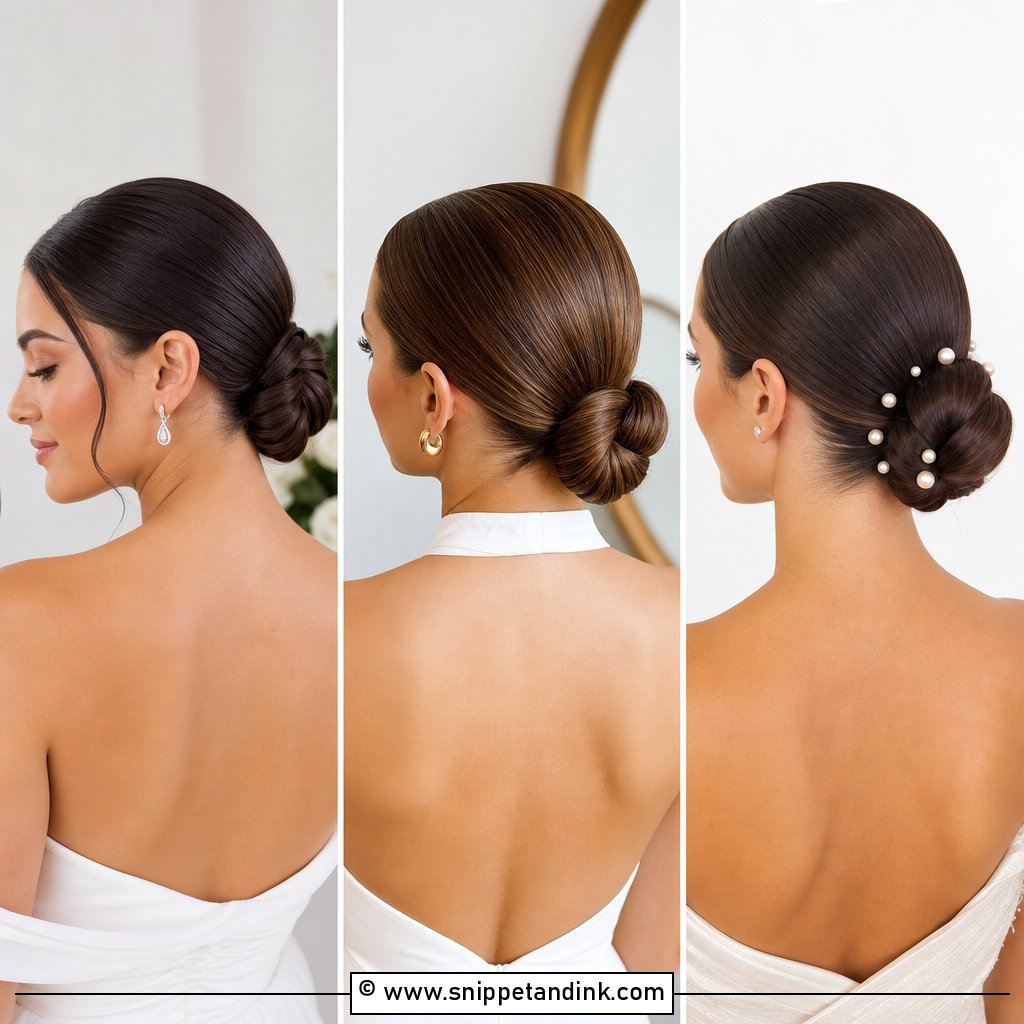
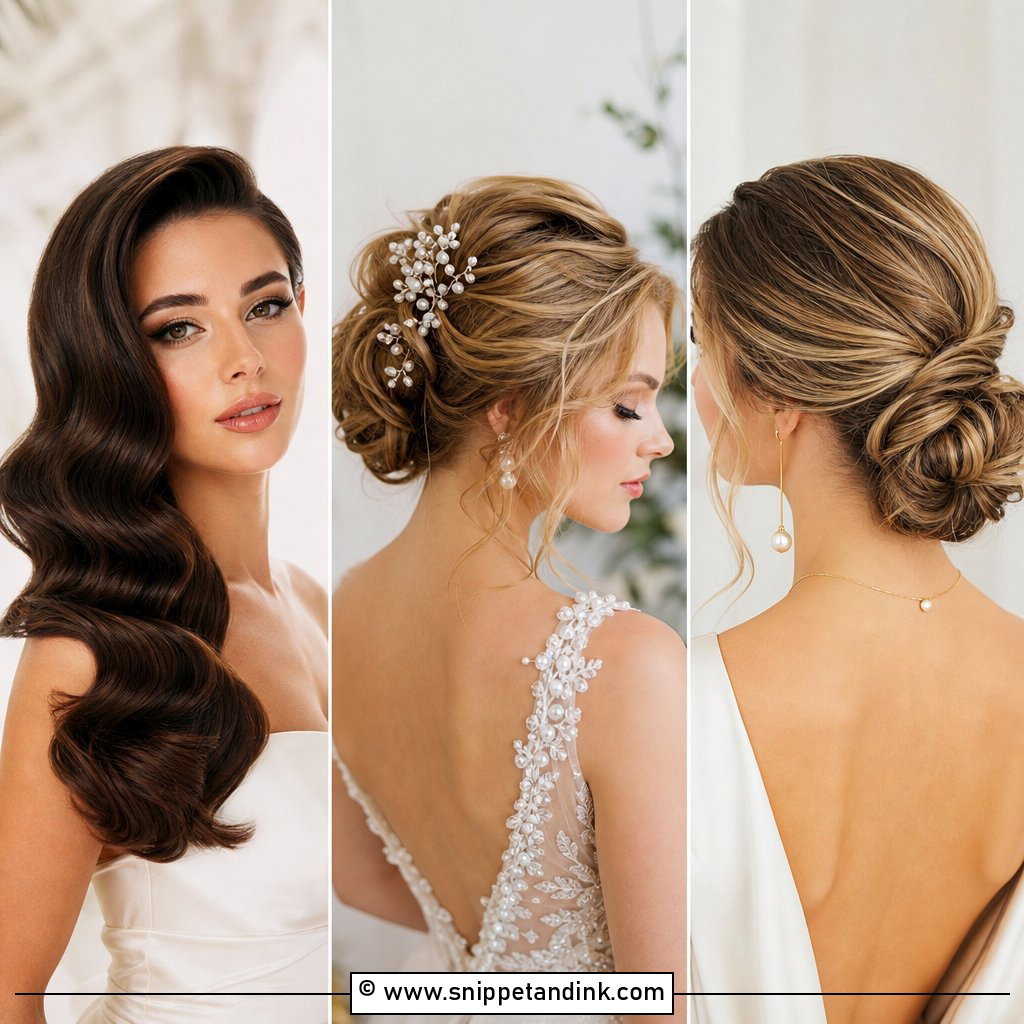
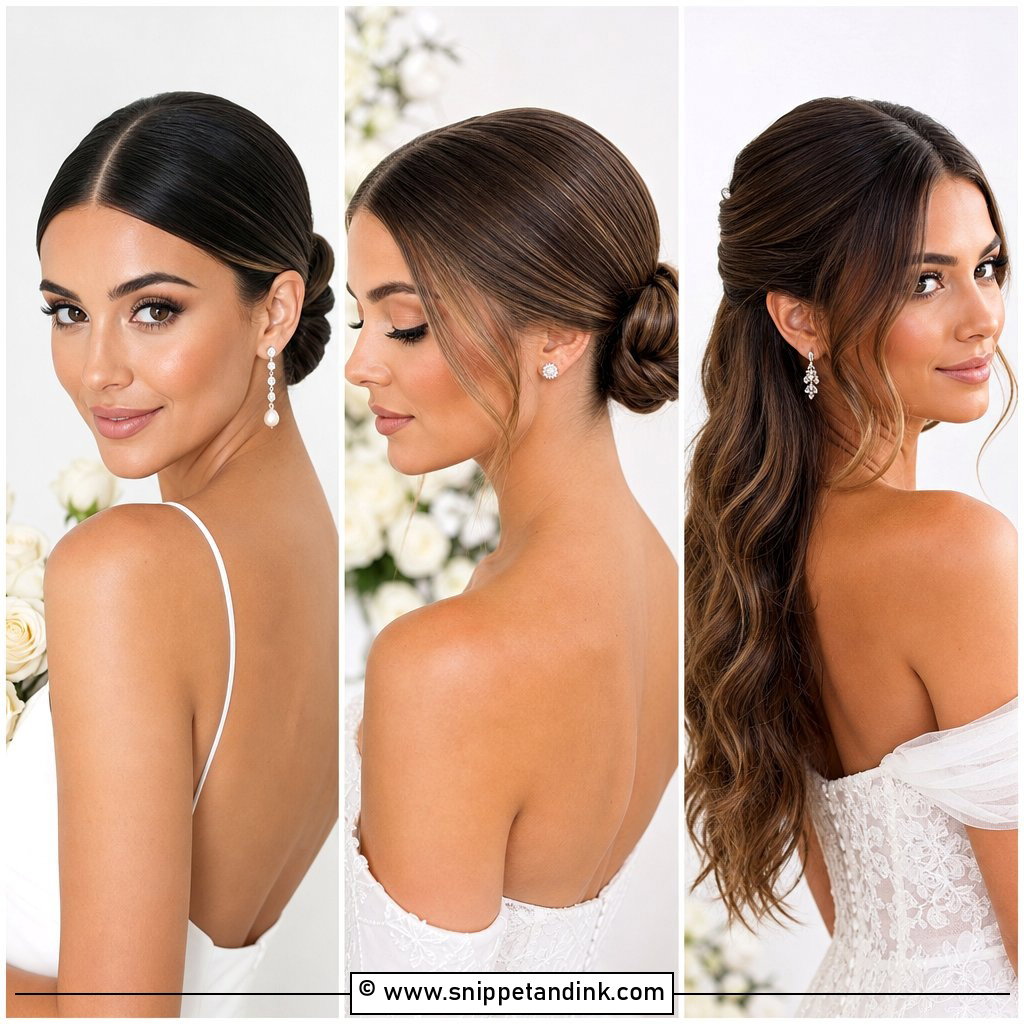
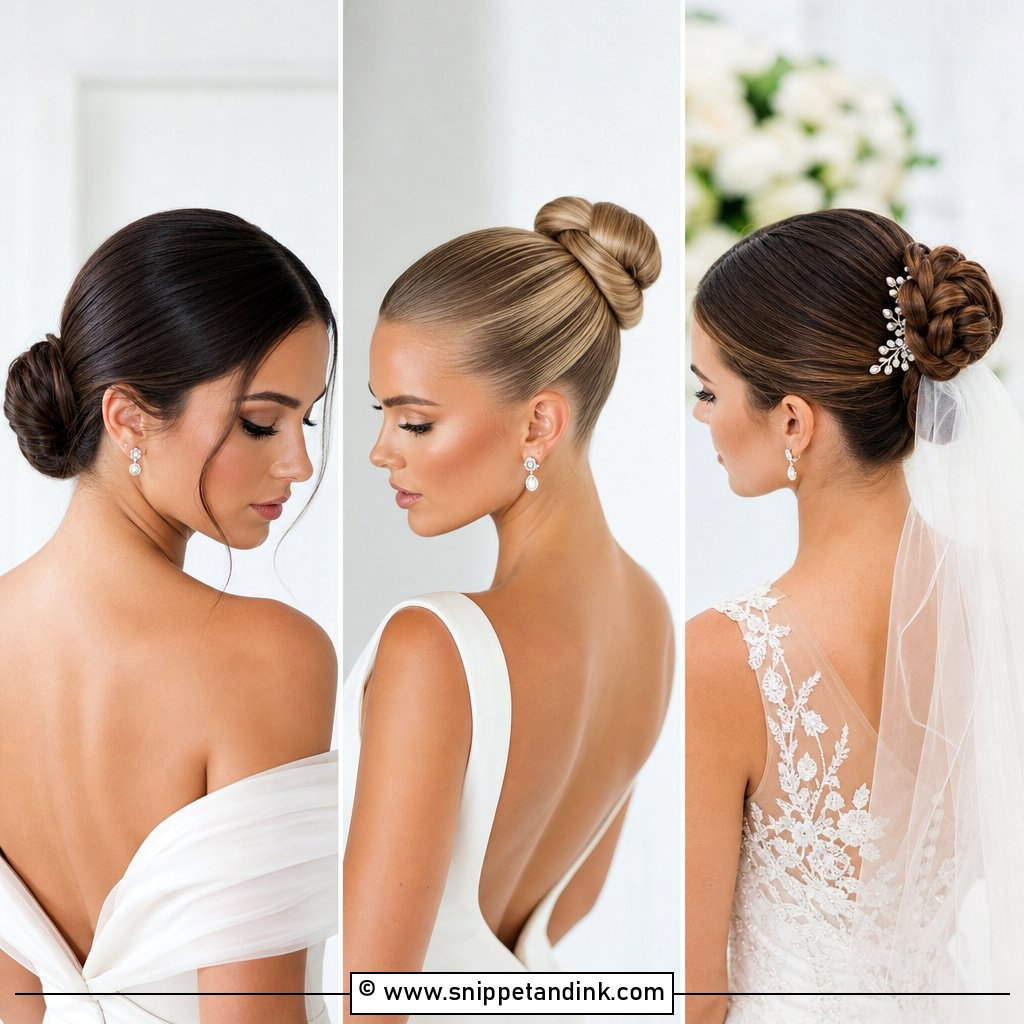
This is the style most brides ask me for after Sofia Richie’s celebrated wedding, and it’s harder than it looks. A sleek low bun has nowhere to hide, so I blow-dry the hair completely smooth and brush it back with a bristle brush before a single pin goes in. Any bump at the crown shows up in side-profile photos. If your hair is heavily layered, expect a few short pieces to escape at the nape by evening; a wax stick tames them in seconds. I’d keep the neckline plain and add pearl drops, since the bun is already doing the talking.
2. Classic Chignon Updo
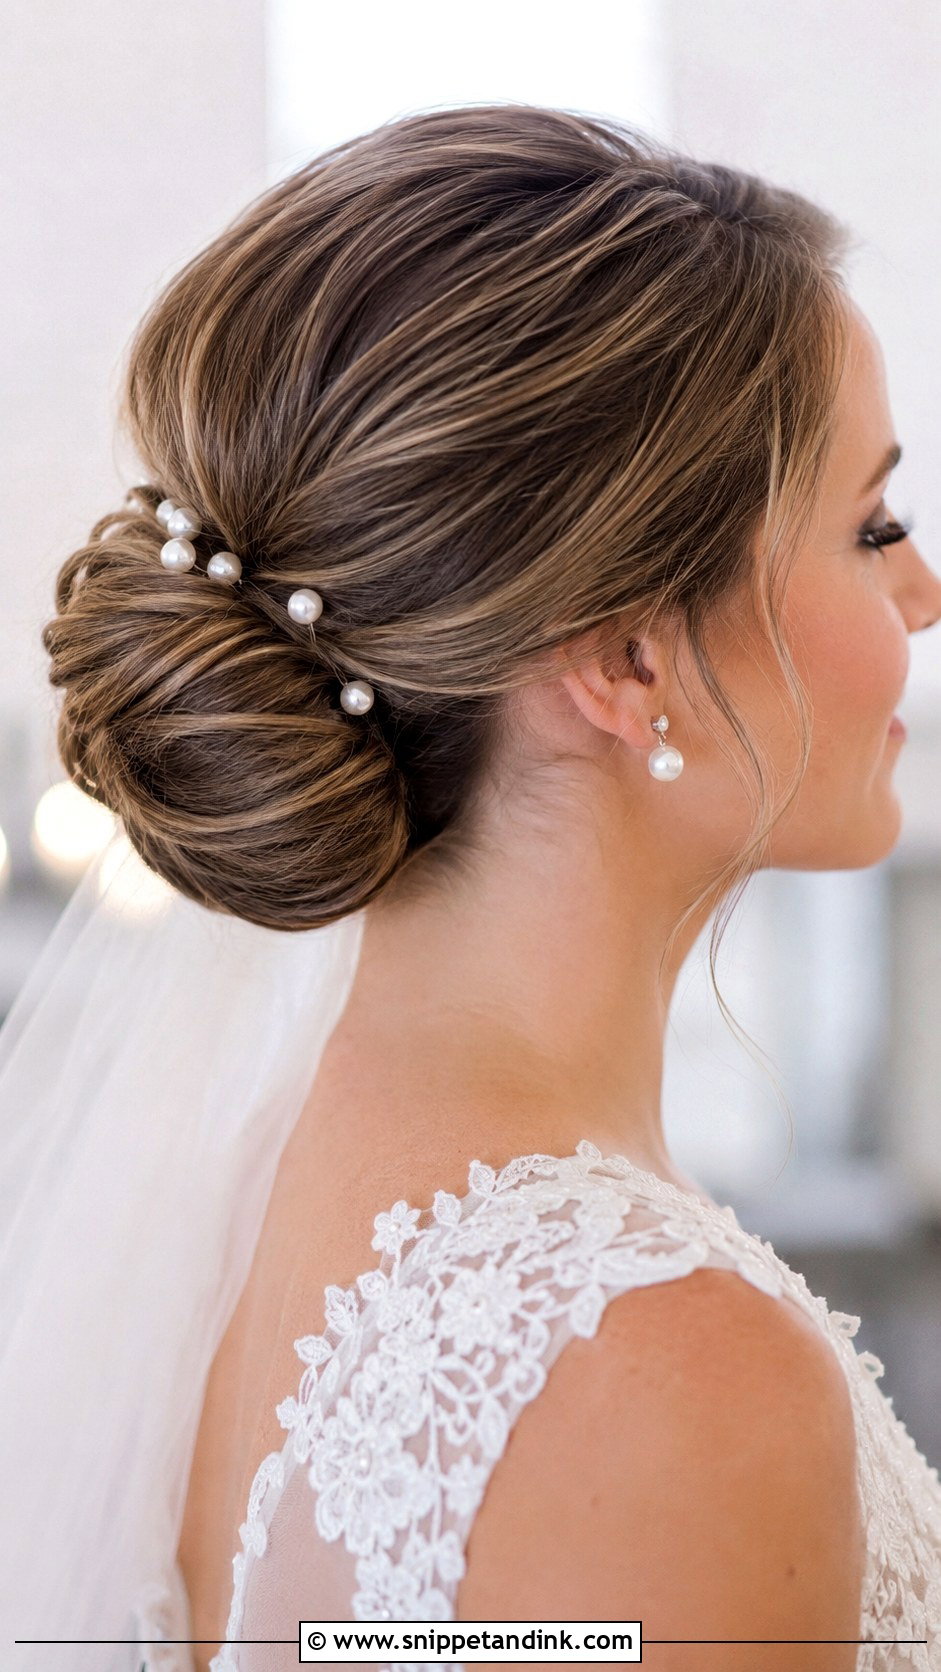
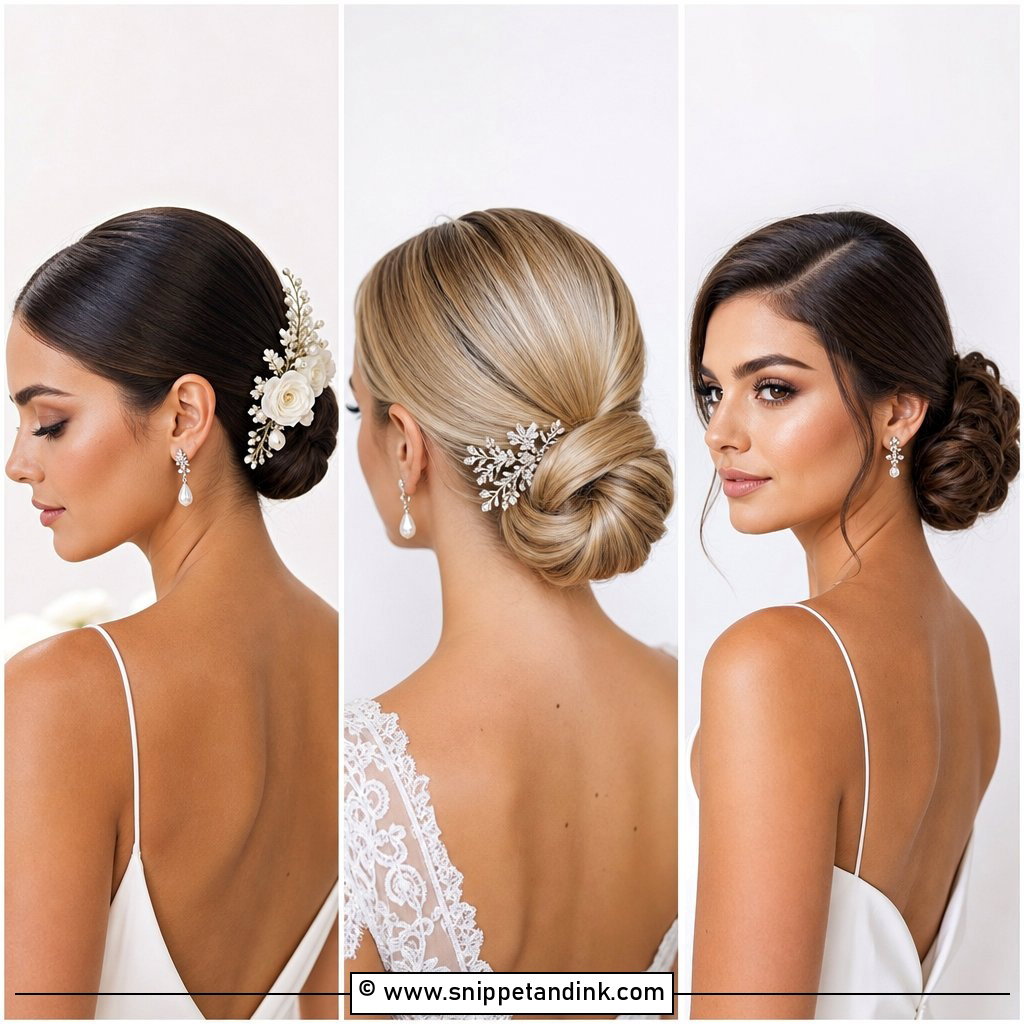
A classic chignon is the safest bet here for a long day. The hair is gathered low and coiled into a rounded knot, which spreads its weight across more pins than a tight bun and puts less tension on the scalp. I build it over a little backcombing at the base so pearl pins or a veil comb have something to grip. Keep the surface smooth but let the coil stay slightly soft. A heavily lacquered chignon can look like a hairpiece in close-up shots.
3. Old Hollywood Waves
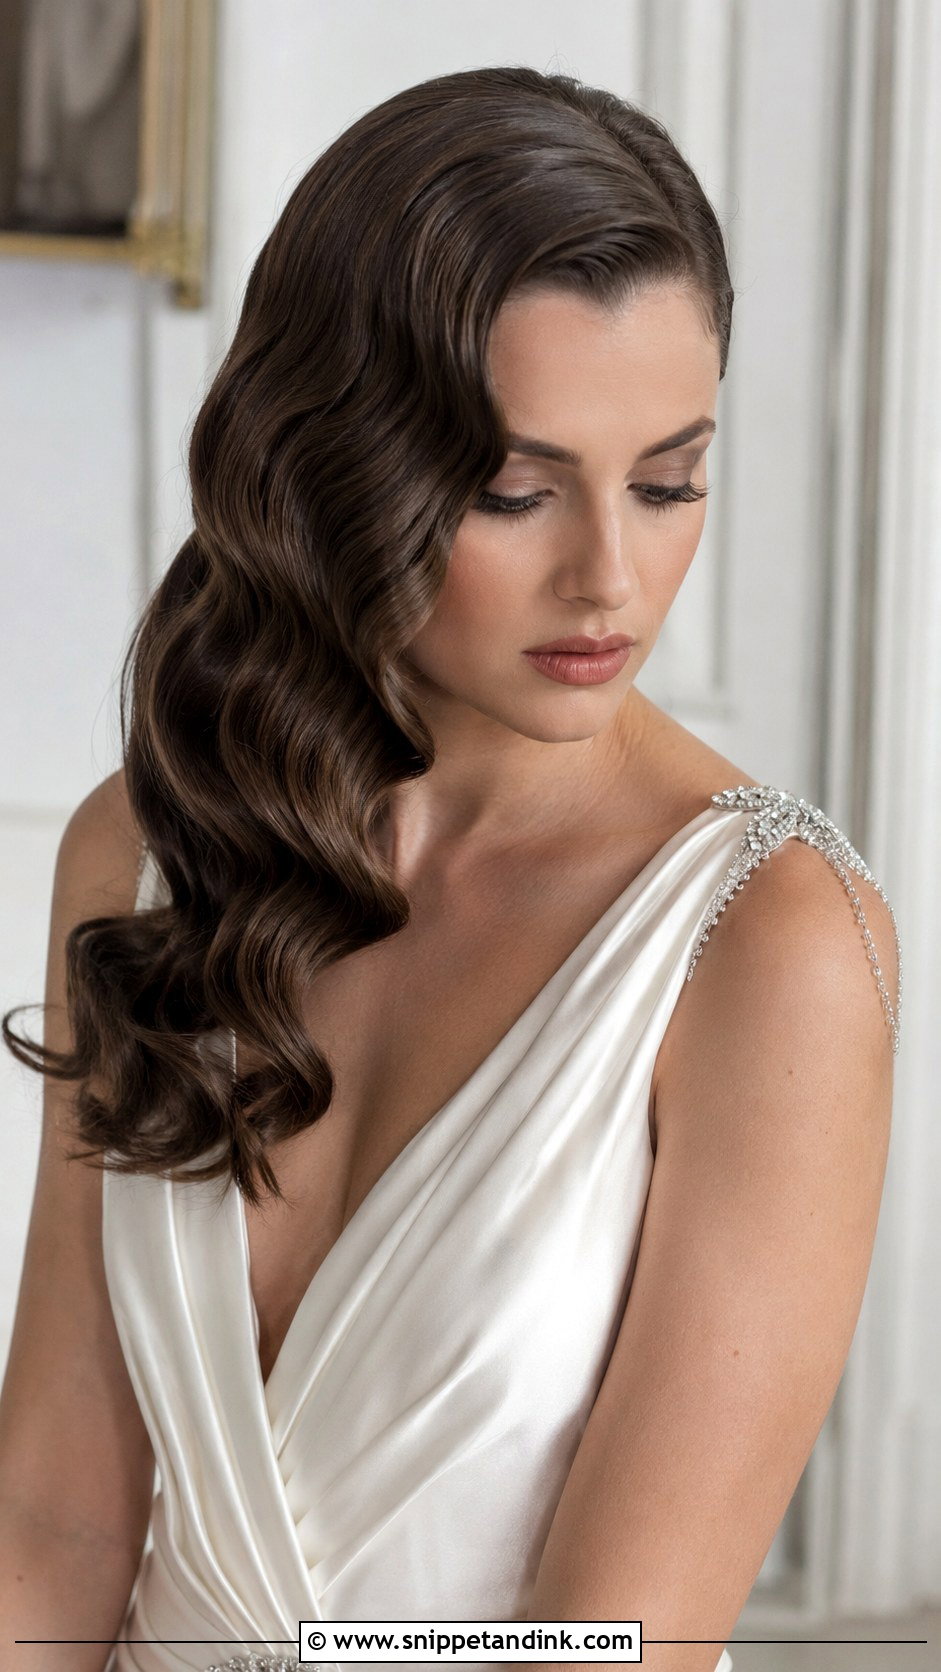
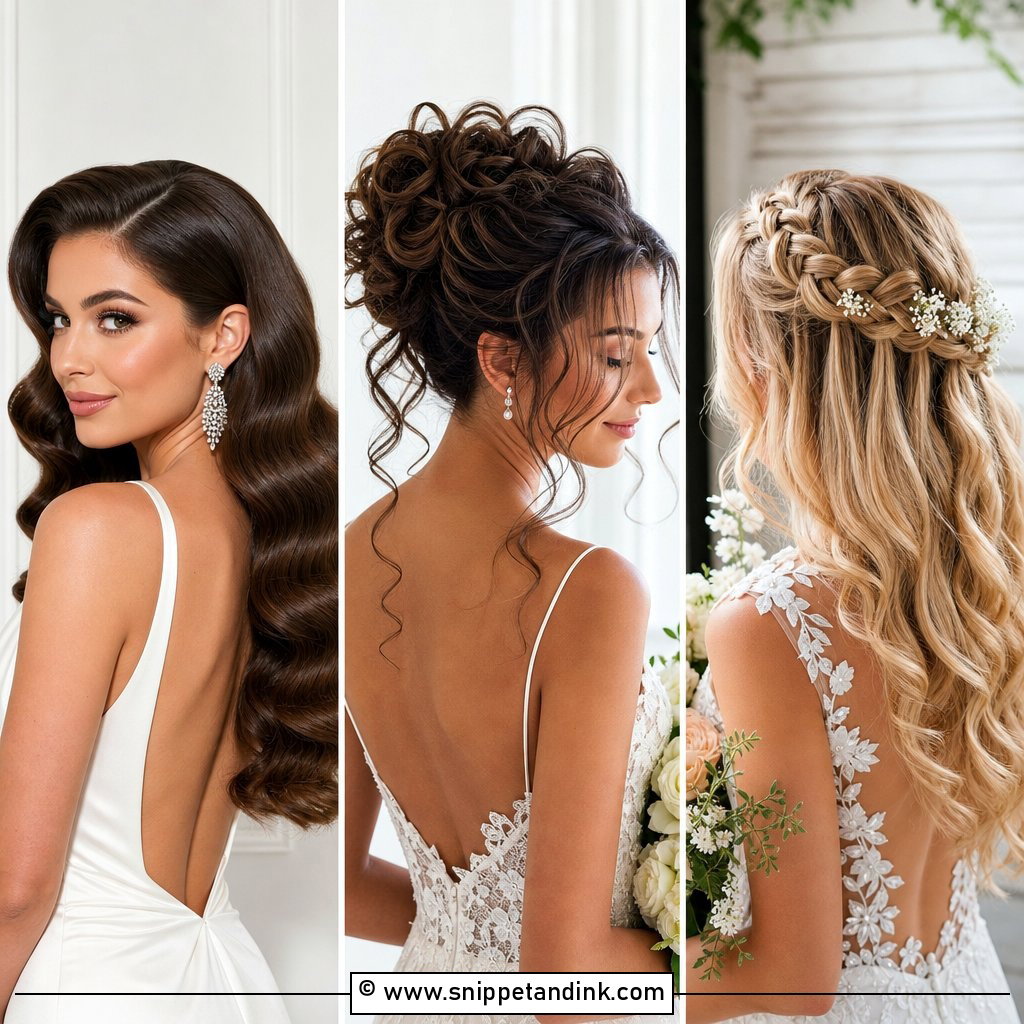
Old Hollywood waves depend on one step: setting the curl before you brush it out. I curl every section in the same direction, pin each one to cool, then brush the whole head with a paddle brush until the curls merge into one continuous wave. That brushing is what most home attempts skip, and it’s why they end up as separate ringlets. The waves usually sweep from a deep side part with a little shine serum on the lengths. Very fine, straight hair relaxes within a few hours unless it’s prepped with a strong mousse, so try to book your trial on a humid day.
4. Low Chignon With Pearl Pins
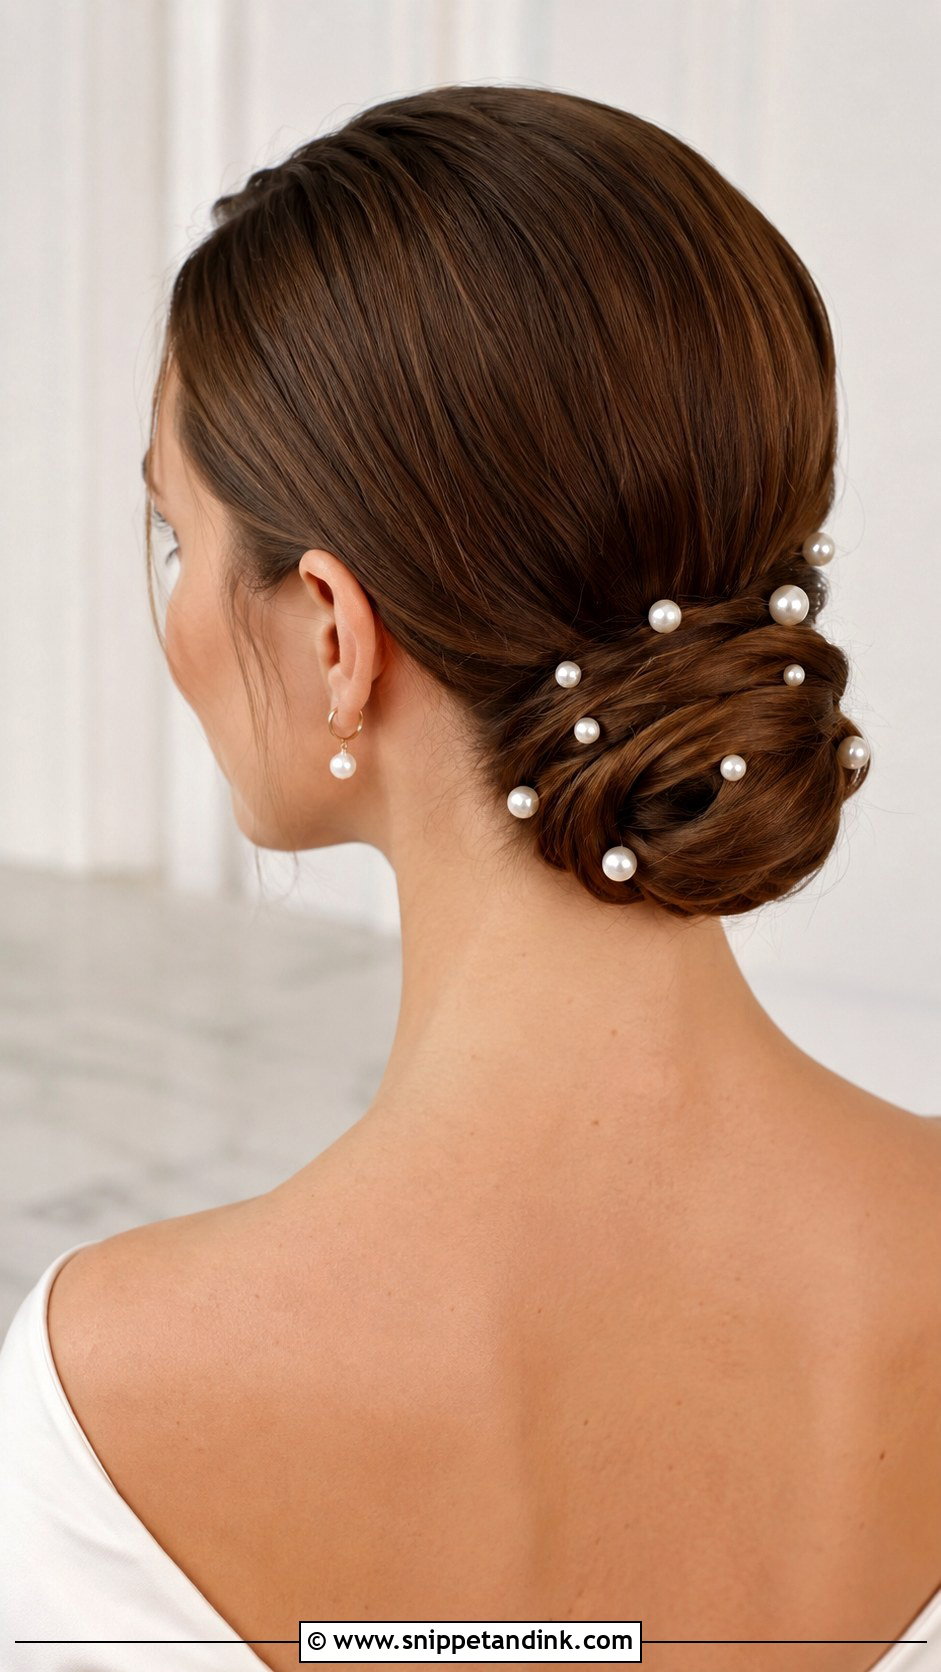
Pearl pins look simple, but placement decides whether they stay. I add them last, once the chignon is fully secure, and push each one in at an angle so it hooks under a working pin; on their own, decorative pins are too smooth to grip. Odd numbers scattered along one side look more natural than a symmetrical row. Ivory or cream pearls suit most skin tones and sit better against most dress fabrics than bright white. With a bare neckline, this is all the jewelry your hair needs.
5. Soft French Twist
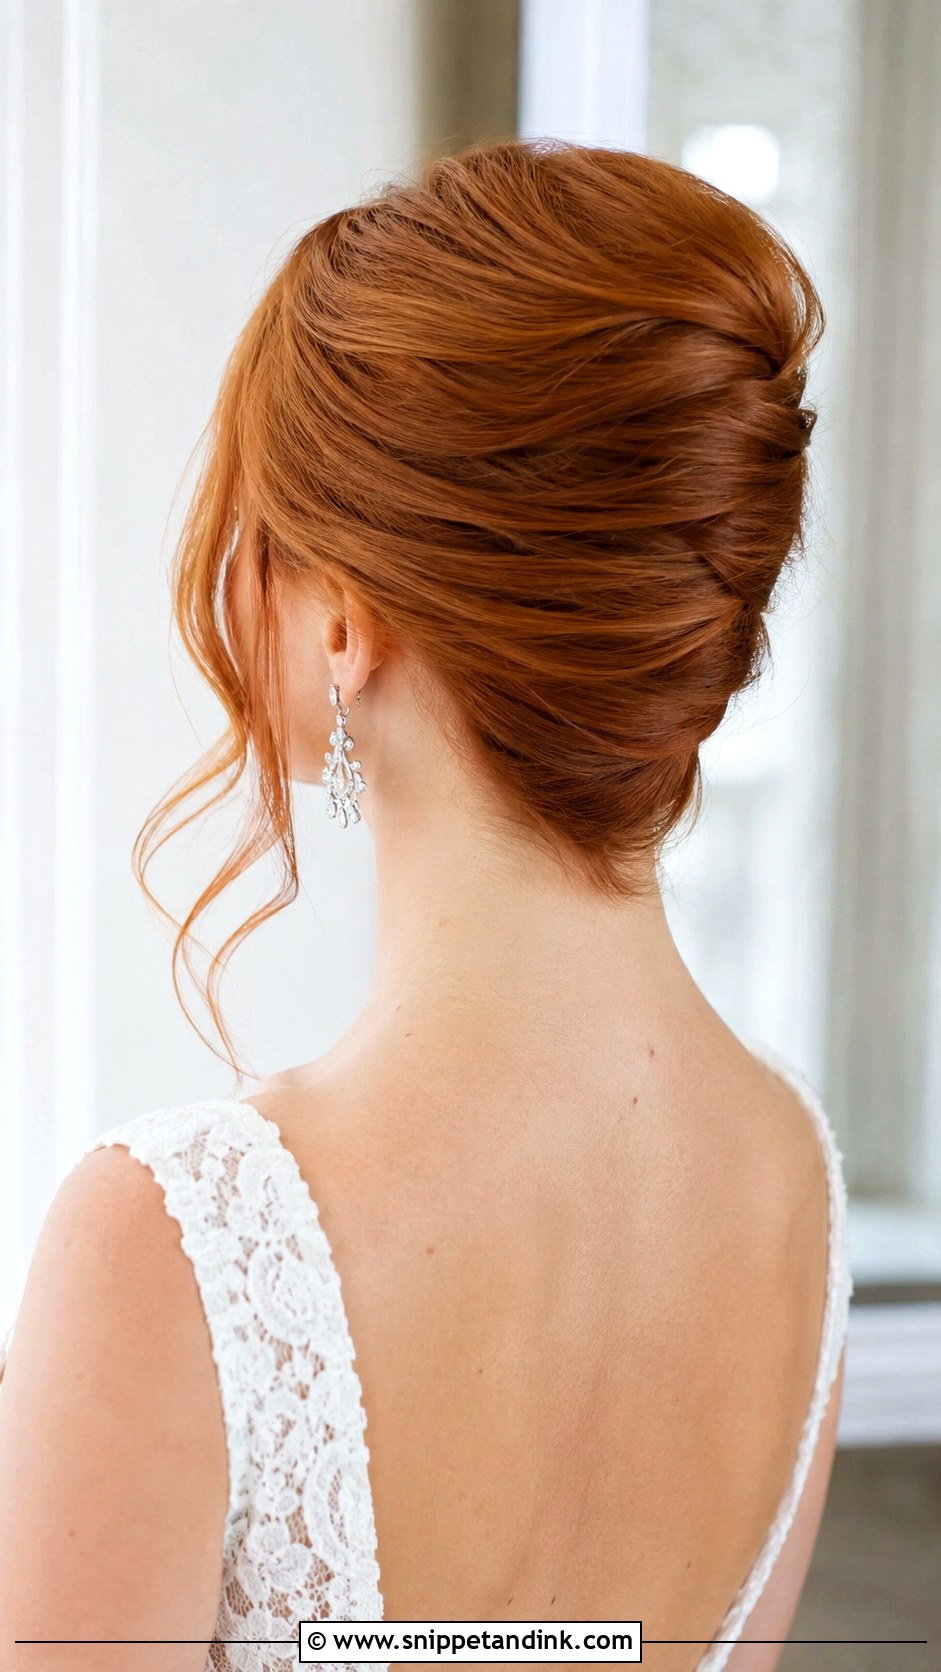
A French twist is a vertical roll up the back of the head, and it needs hair that’s at least shoulder length with some grip to it. Silky, freshly washed hair slides straight out of a twist, so I ask brides to wash the day before and I mist texture spray through before starting. I keep the top soft rather than pulled flat against the scalp, which is the difference between this version and a stiff eighties one. With both ears clear, statement earrings or a classic veil sit comfortably.
6. Romantic Half-Up Half-Down
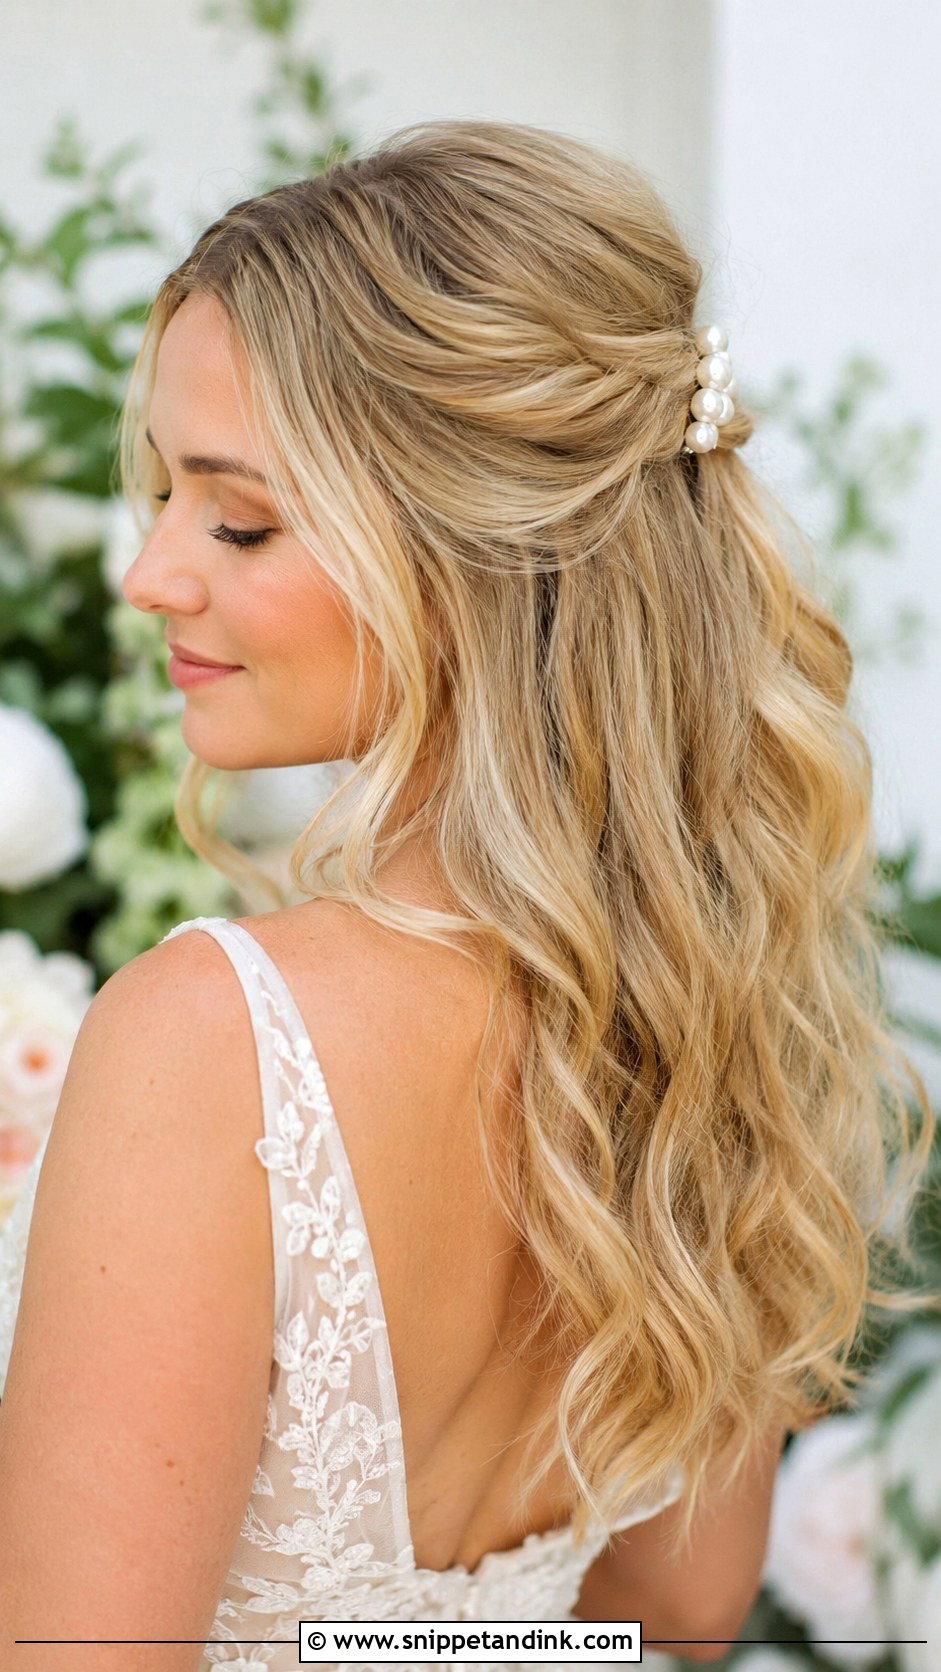
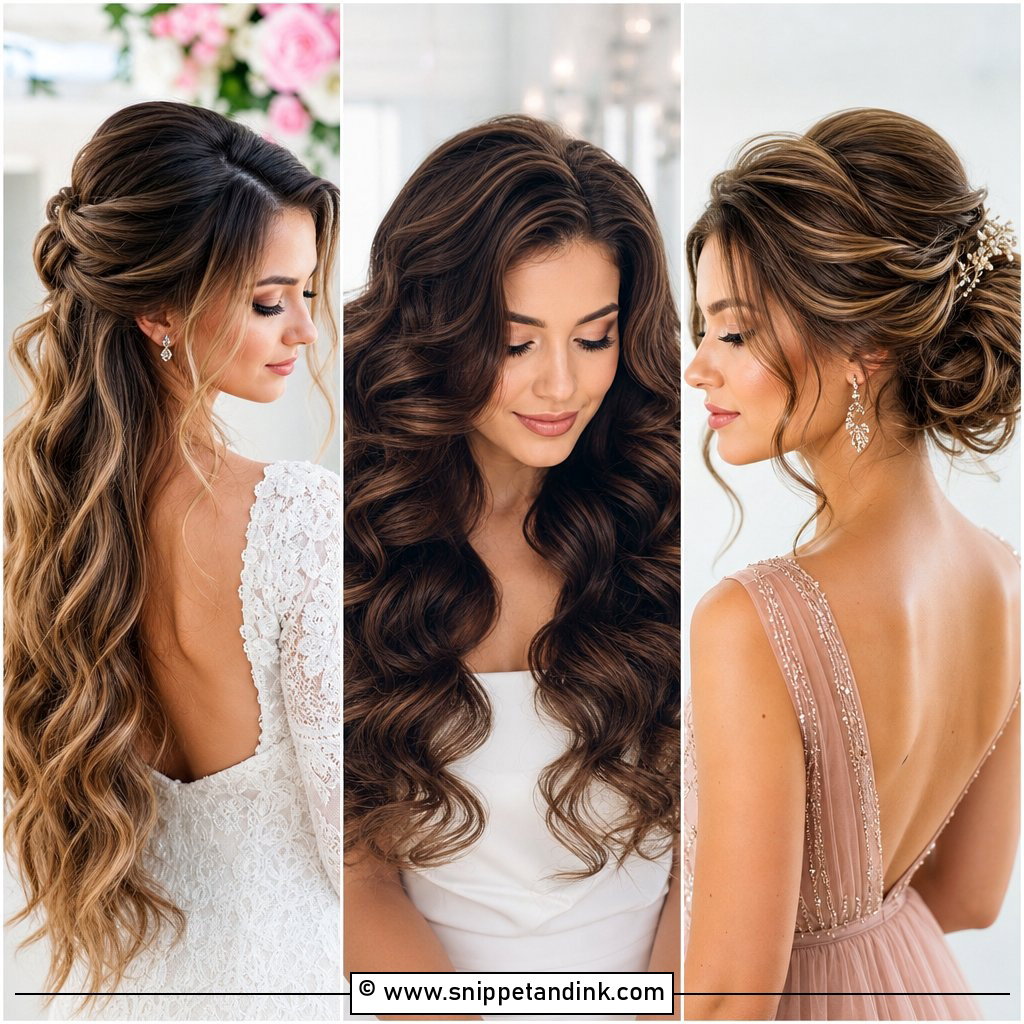
Can’t decide between an updo and loose hair? Half-up styles are the ones I see drop most often, simply because the loose lengths are exposed to humidity, hugs and a veil rubbing against them. To keep this one polished, I secure the top section with crossed pins over a small cushion of backcombing, then set the waves in the lengths with a heat-activated setting spray. A little lift at the crown stops the top from flattening under a veil comb. A pearl clip or a narrow ribbon finishes it. For an outdoor summer ceremony, I’d at least test a full updo alongside it.
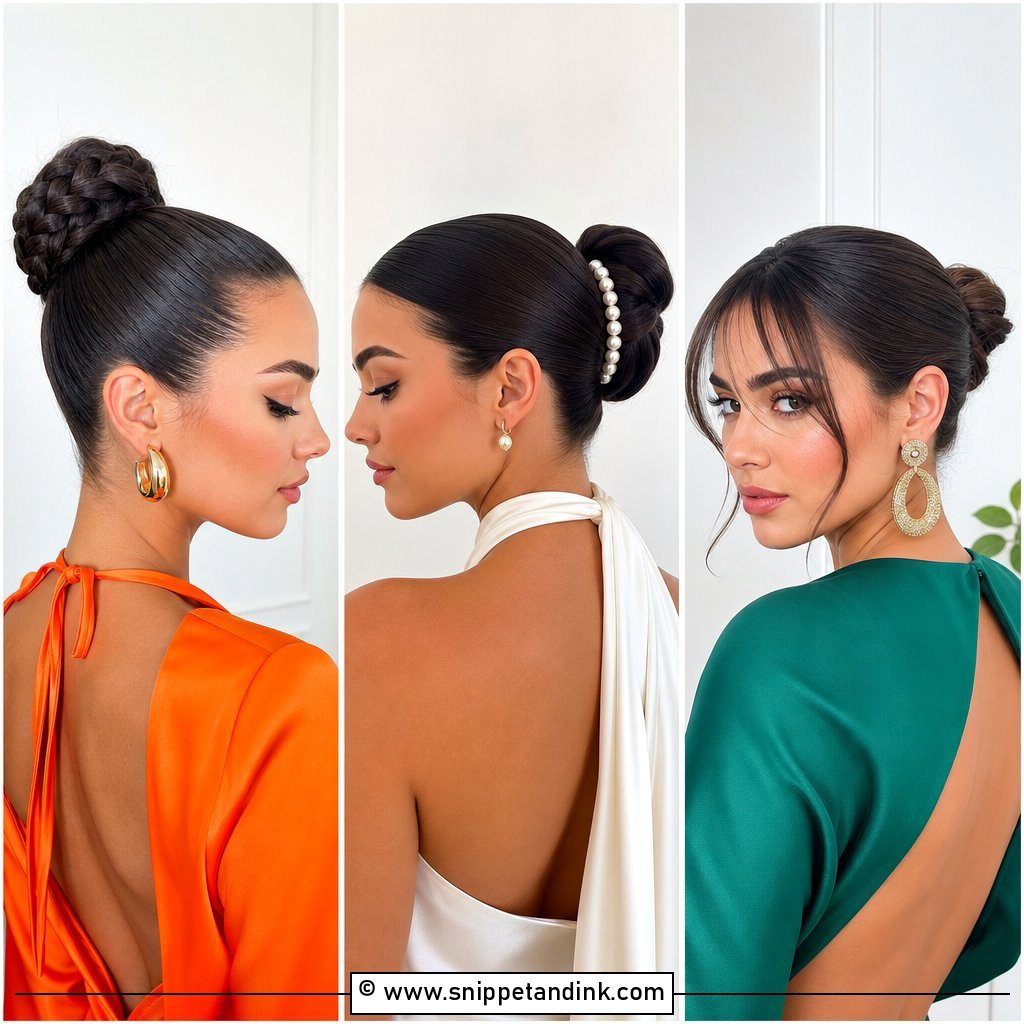
7. Sleek Center-Part Bun
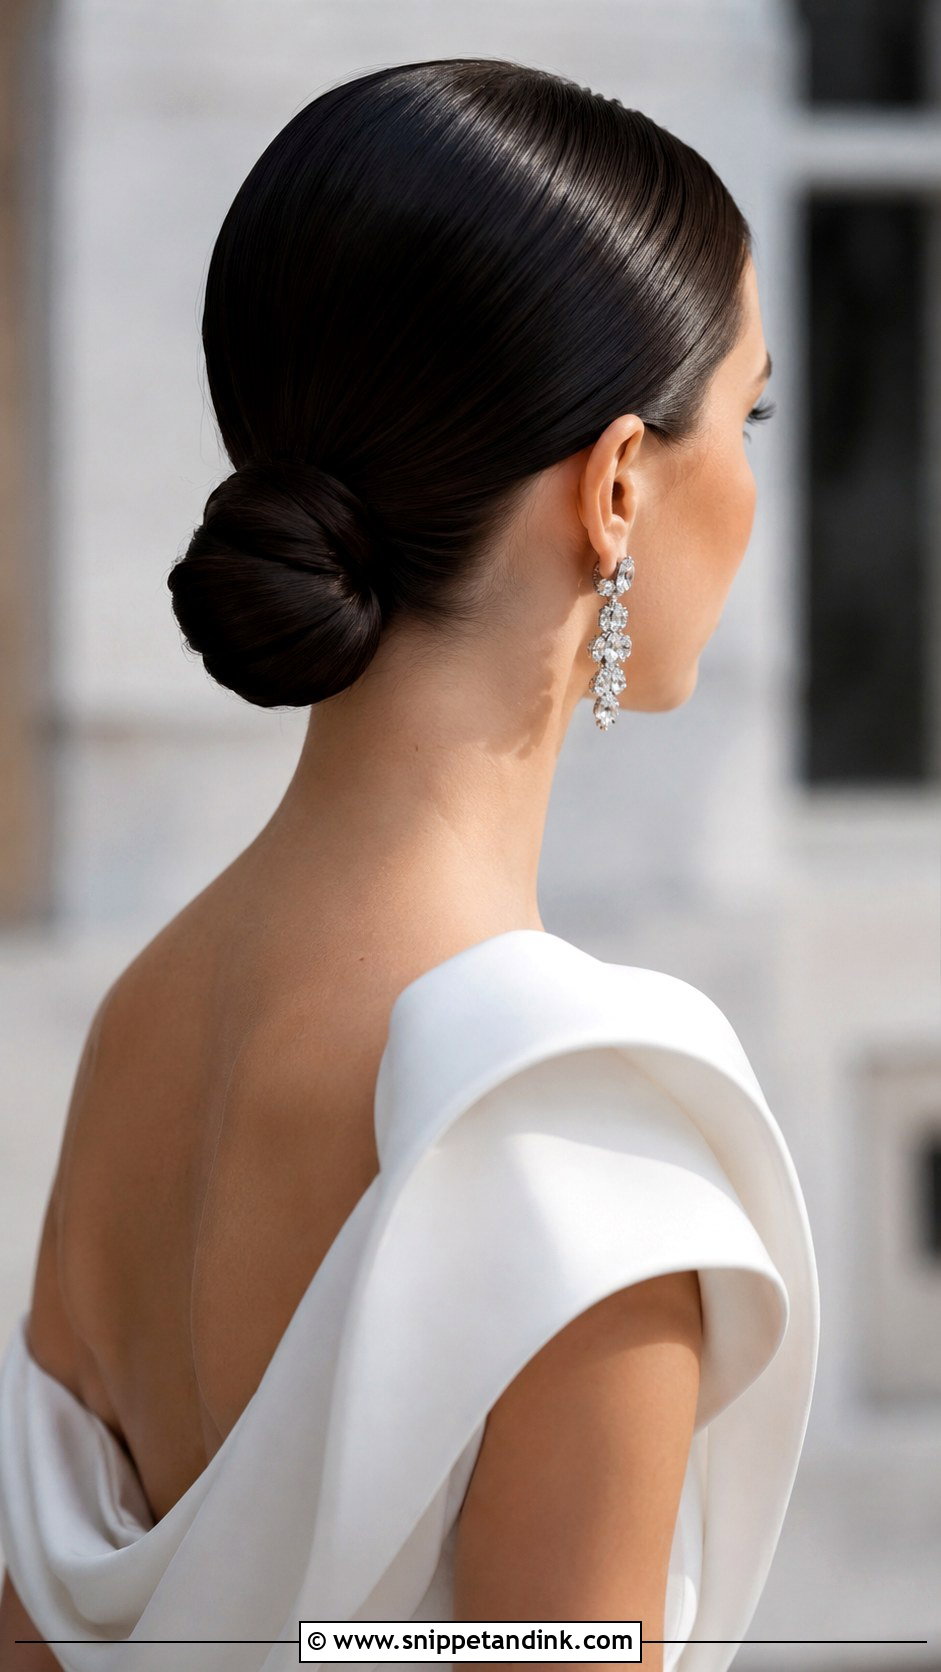
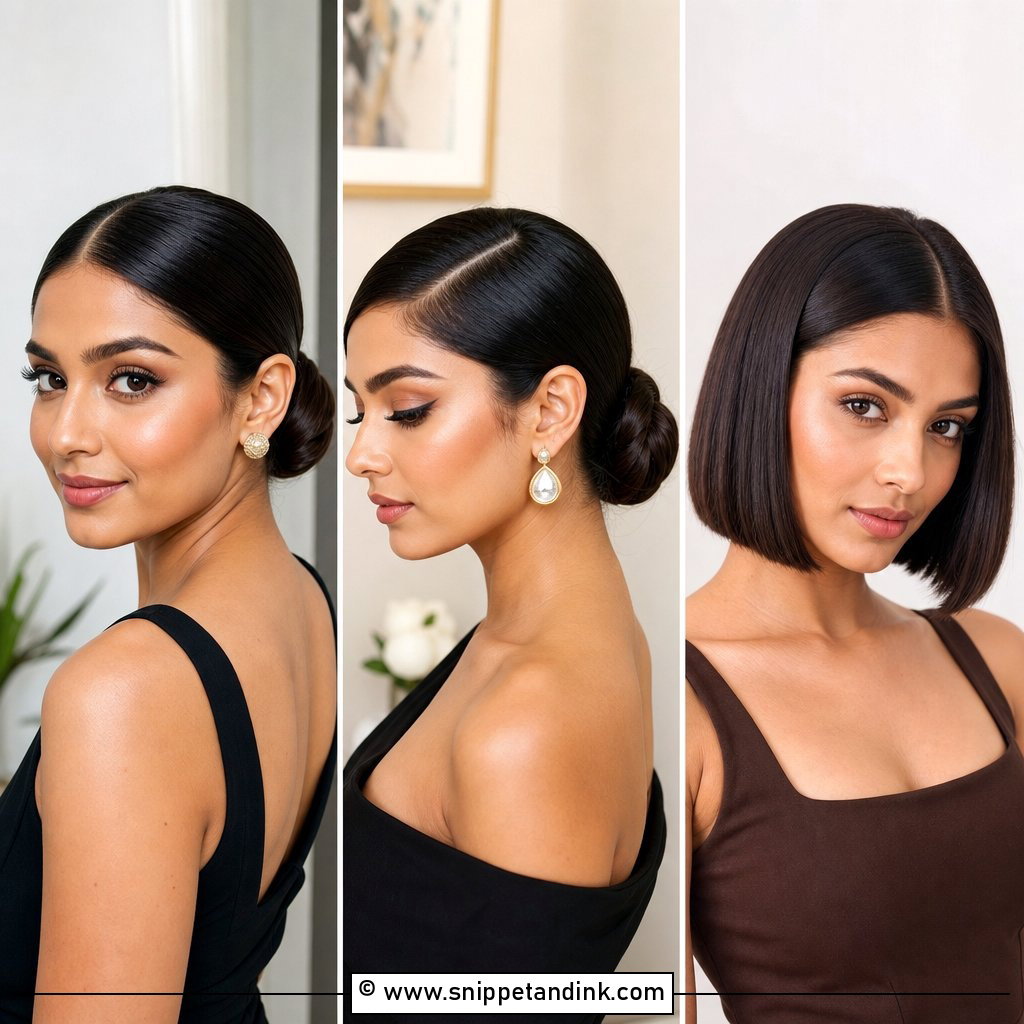
A center part is unforgiving. If your hairline or a cowlick isn’t symmetrical, a dead-straight part exaggerates it, so at a trial I’ll try it shifted a few millimeters to see what sits naturally. The hair is brushed firmly back into a smooth low knot, and a small amount of serum on the surface gives the glassy finish. Sculptural gowns and bolder jewelry work with this bun because the hair itself carries no ornament at all.
8. Vintage Finger Waves
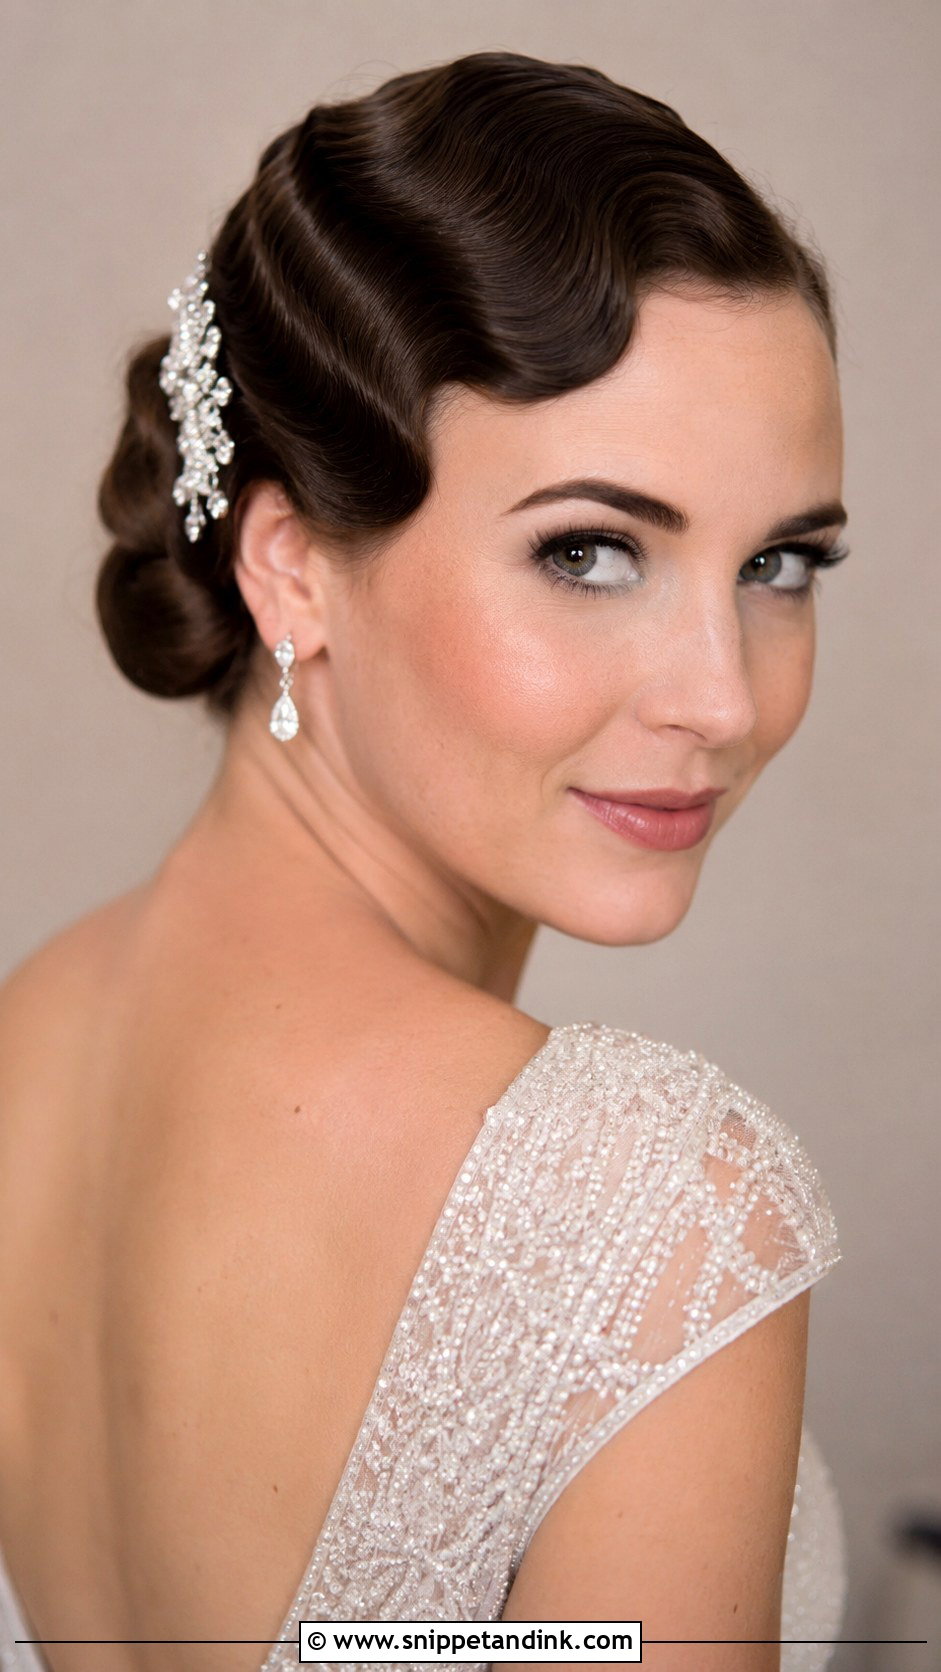
Finger waves are sculpted S-shaped ridges pressed close to the head, set wet with gel and shaped with fingers and a comb, or done faster with a flat iron and clips. They’re at their best on bobs and shorter cuts, or as a side panel leading into a low bun on longer hair. This is a specialist skill, so ask to see photos of waves your stylist has actually done, not just updos. Art deco pieces and a high-shine finish complete it. I’d only suggest it if you genuinely love 1920s style, because it’s a strong look.
9. Braided Crown Updo
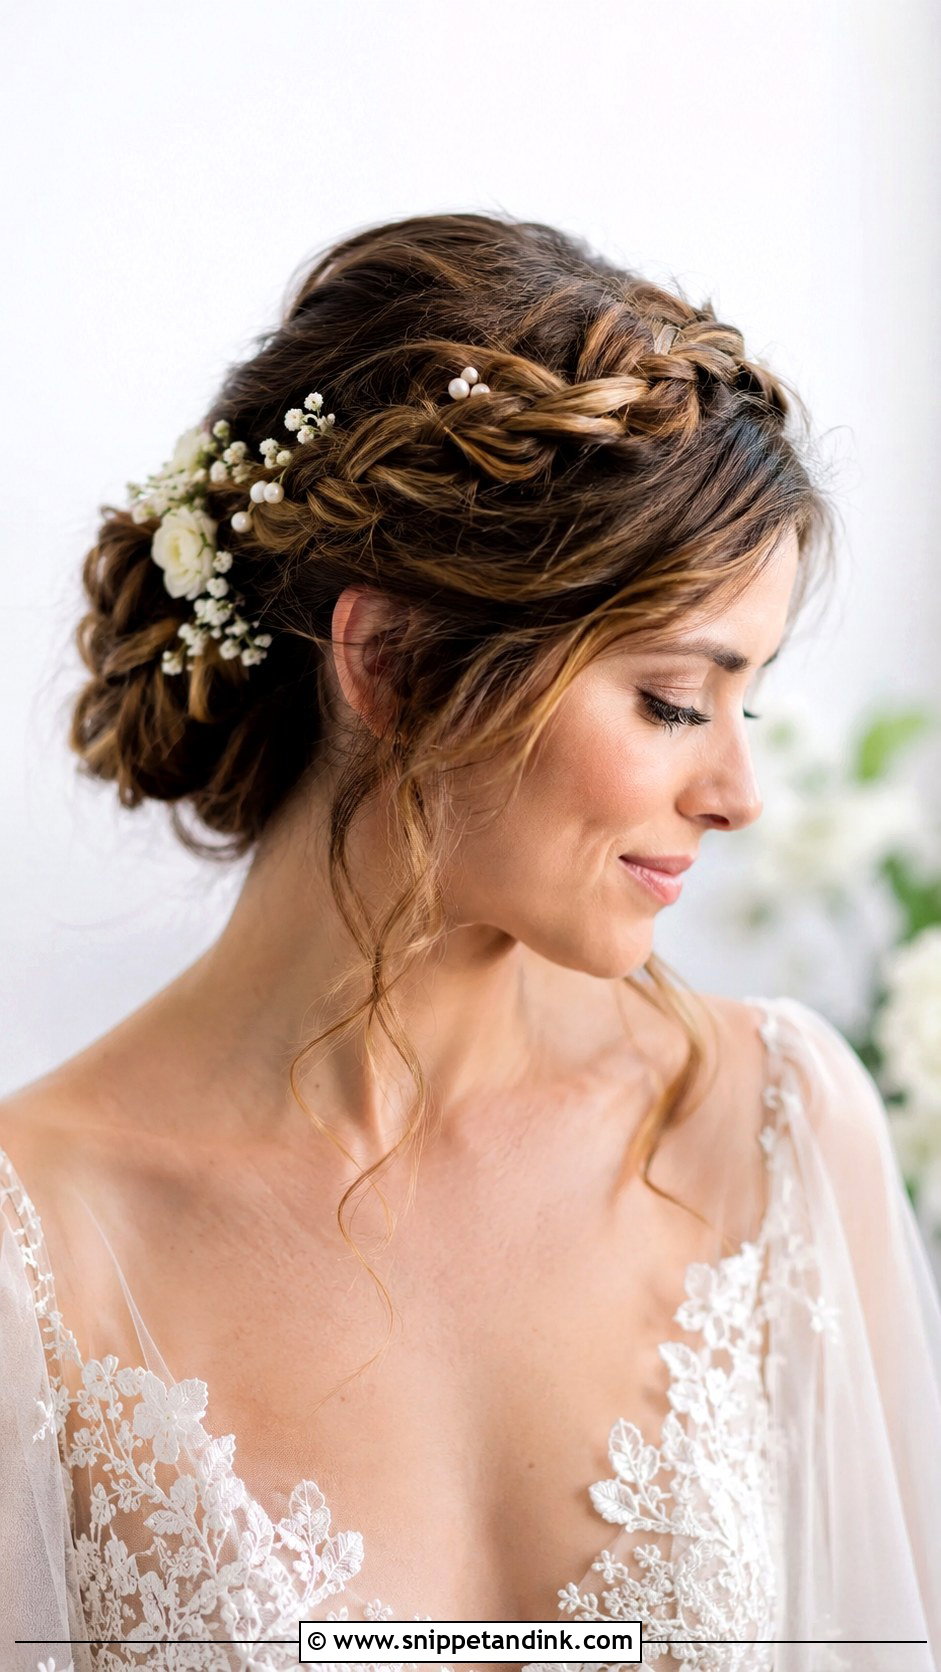
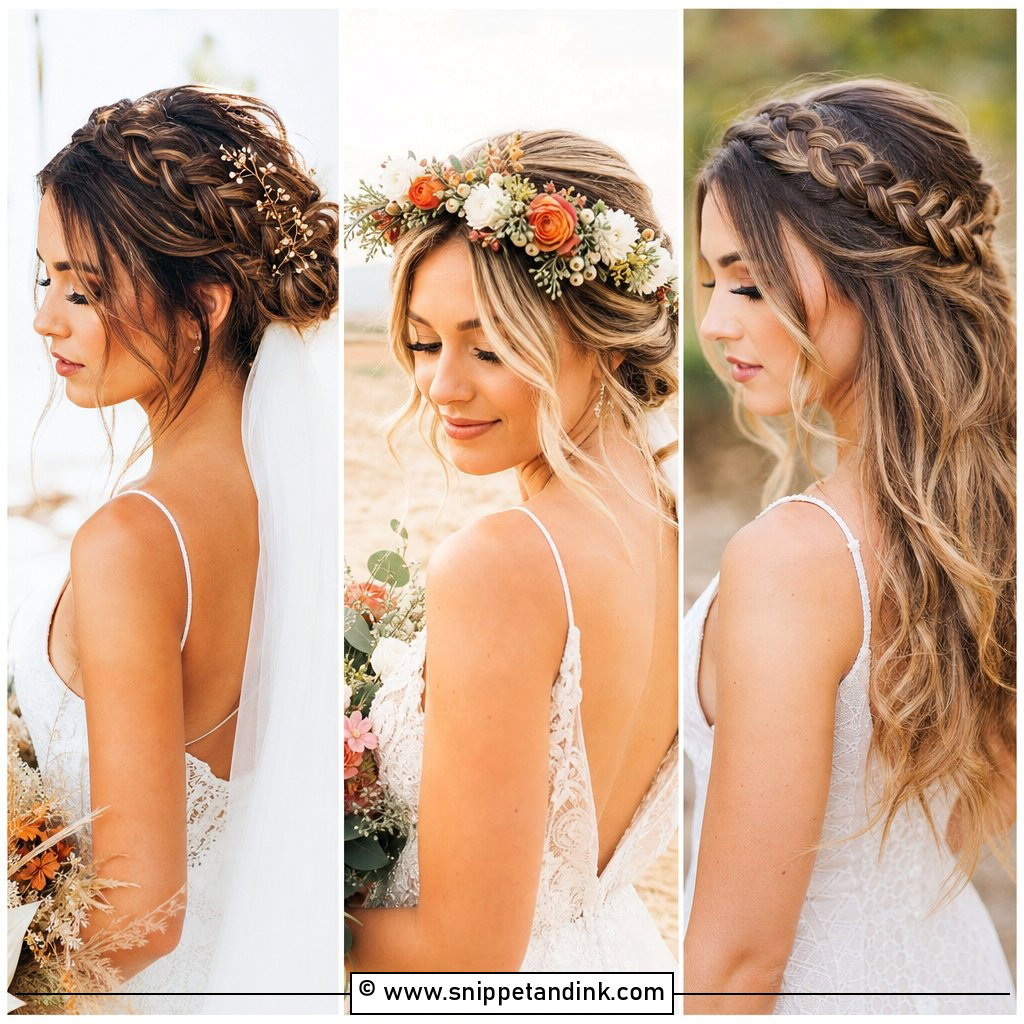
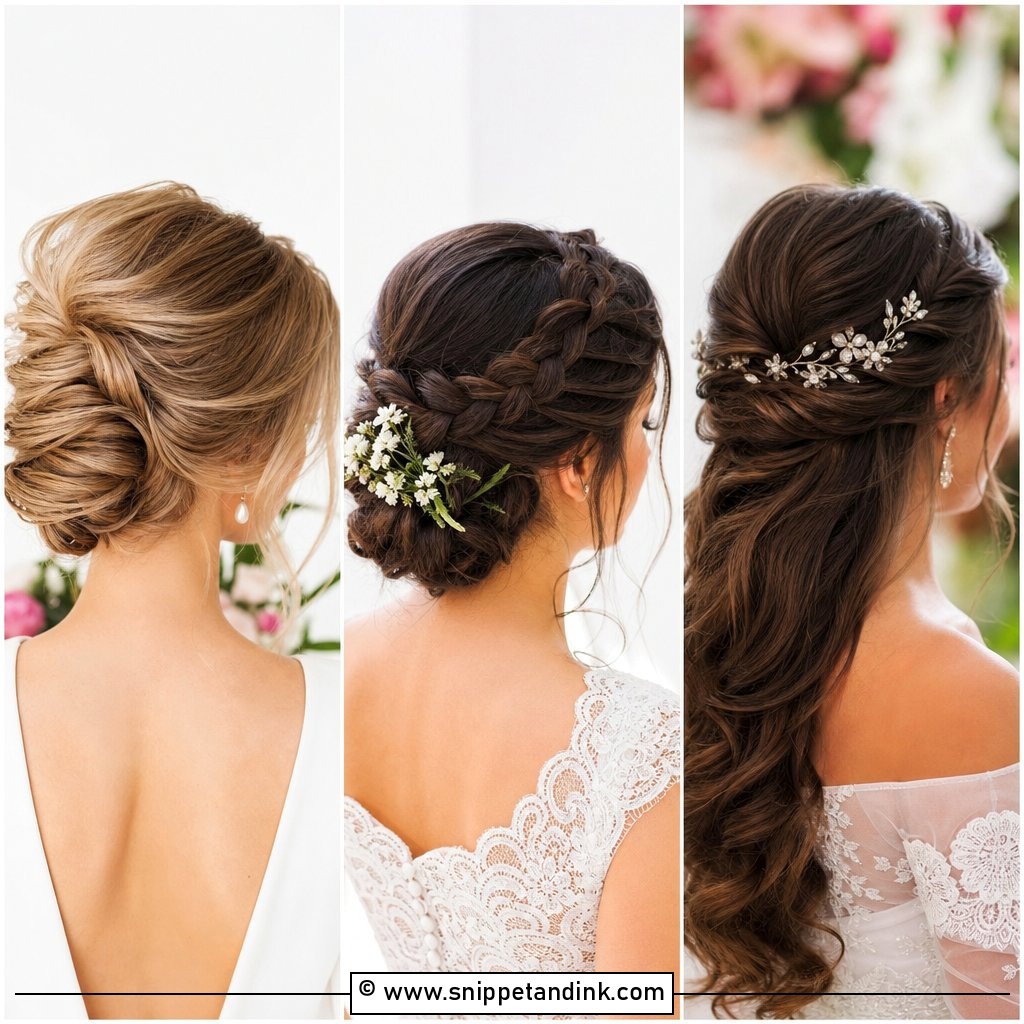
A braided crown wraps braids around the head like a halo, and it’s one of the most secure styles I do because each braid locks the hair beneath it. For an old money finish I gently pancake the braids, pulling the edges wider so they look soft rather than tightly plaited. Hair needs to reach roughly the shoulder blades to circle the whole head; shorter hair can get there with a clip-in braid. It suits gardens and outdoor ceremonies, and a veil can be tucked underneath at the back. Flowers or pearl pins are optional, though I’d pick one rather than both.
10. Low Ponytail With Volume
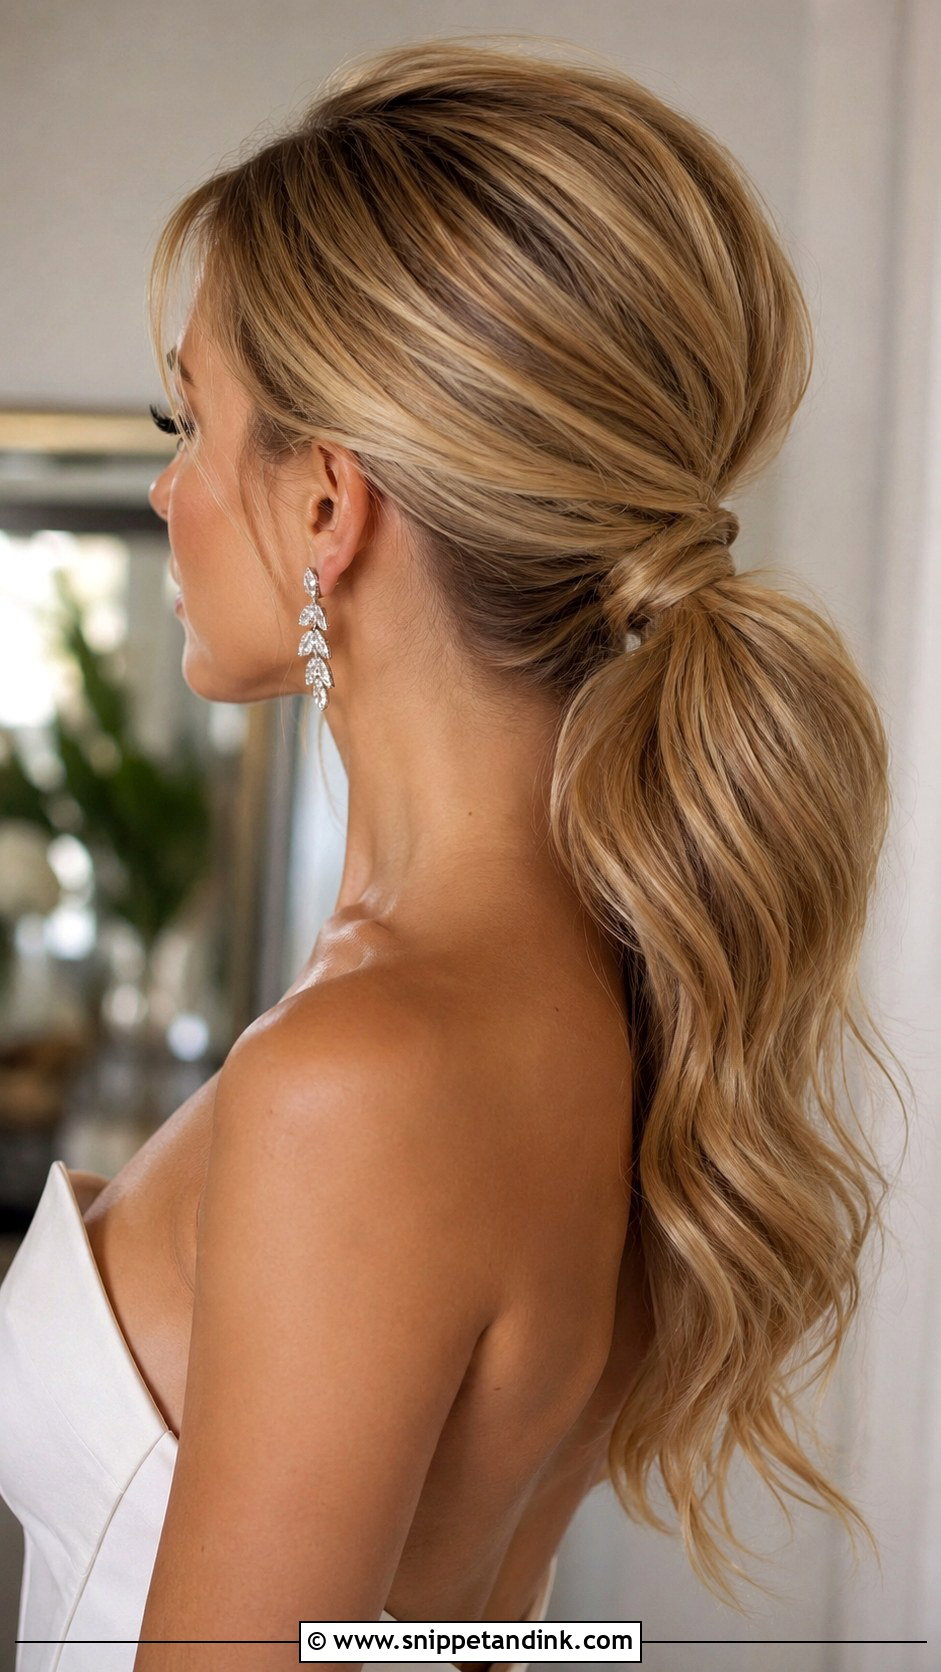
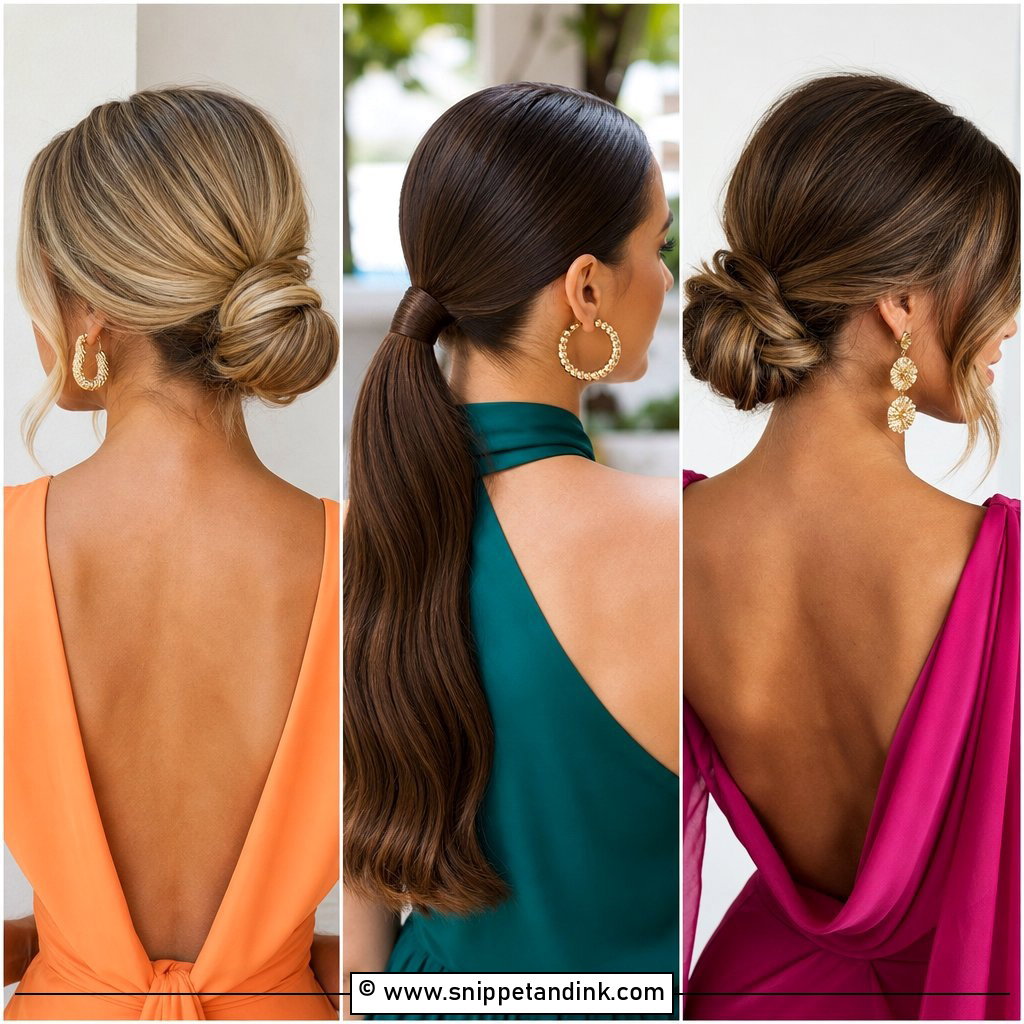
The elevated low ponytail lives or dies on its base. I secure it with a small elastic, then wrap a strand around it and pin the end underneath so the band disappears. Volume at the crown comes from backcombing only the underneath layer, so the surface stays smooth. If your ends are thin, a clip-in ponytail piece gives the length a fuller shape. The tail can stay straight or carry loose waves. A ponytail also survives dancing better than loose hair, which is a practical reason to pick it.
11. Twisted Low Bun
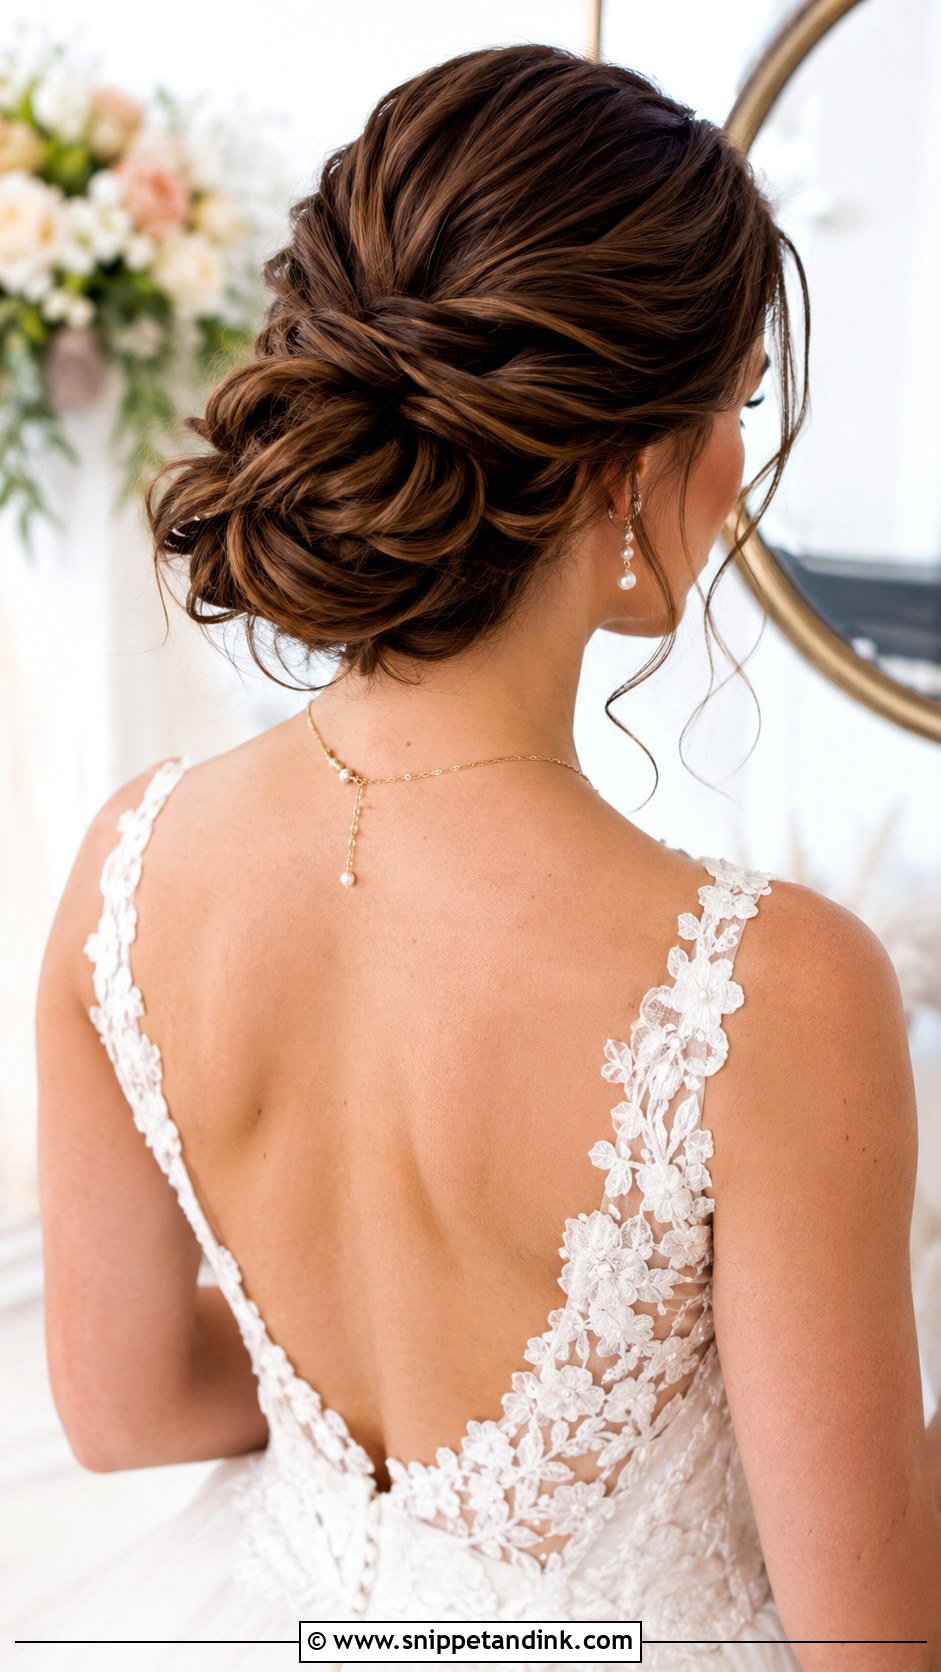
Here, sections are twisted before they’re pinned, so the bun shows texture rather than one smooth coil. That texture is forgiving: if a twist loosens during the day, it blends in instead of looking like a mistake. Medium to thick hair fills each twist well. Fine hair usually needs a little backcombing inside the twists so they don’t look thin. A couple of loose tendrils at the front keep it from feeling severe, and pearl accessories or a delicate veil sit comfortably in the grooves.
12. Side-Swept Curls
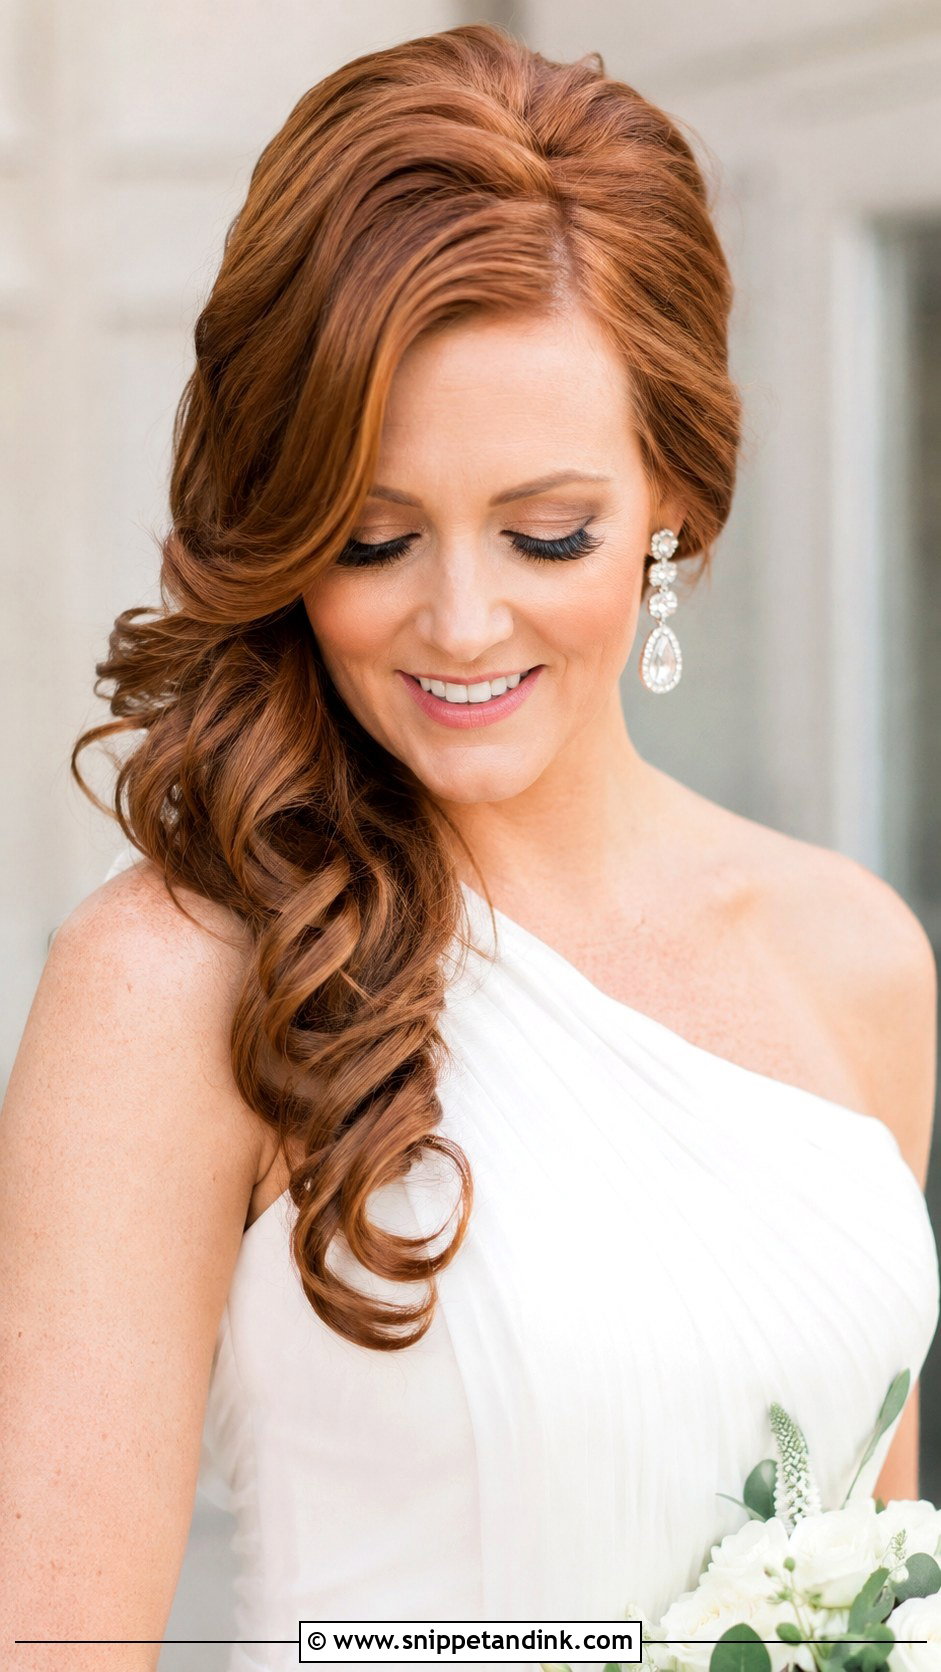
Side-swept curls are pinned over one shoulder, and the pinning behind the ear is the hidden work. I anchor the hair behind the opposite ear with a line of crossed pins so the weight doesn’t drag the whole style back to center after an hour. A one-shoulder gown on the other side balances it. Shine serum goes on the lengths, never the roots, or the curls flatten. One practical note: the side your hair falls on is the side your photographer should favor, so tell them before the ceremony.
13. Slicked-Back Bridal Bun
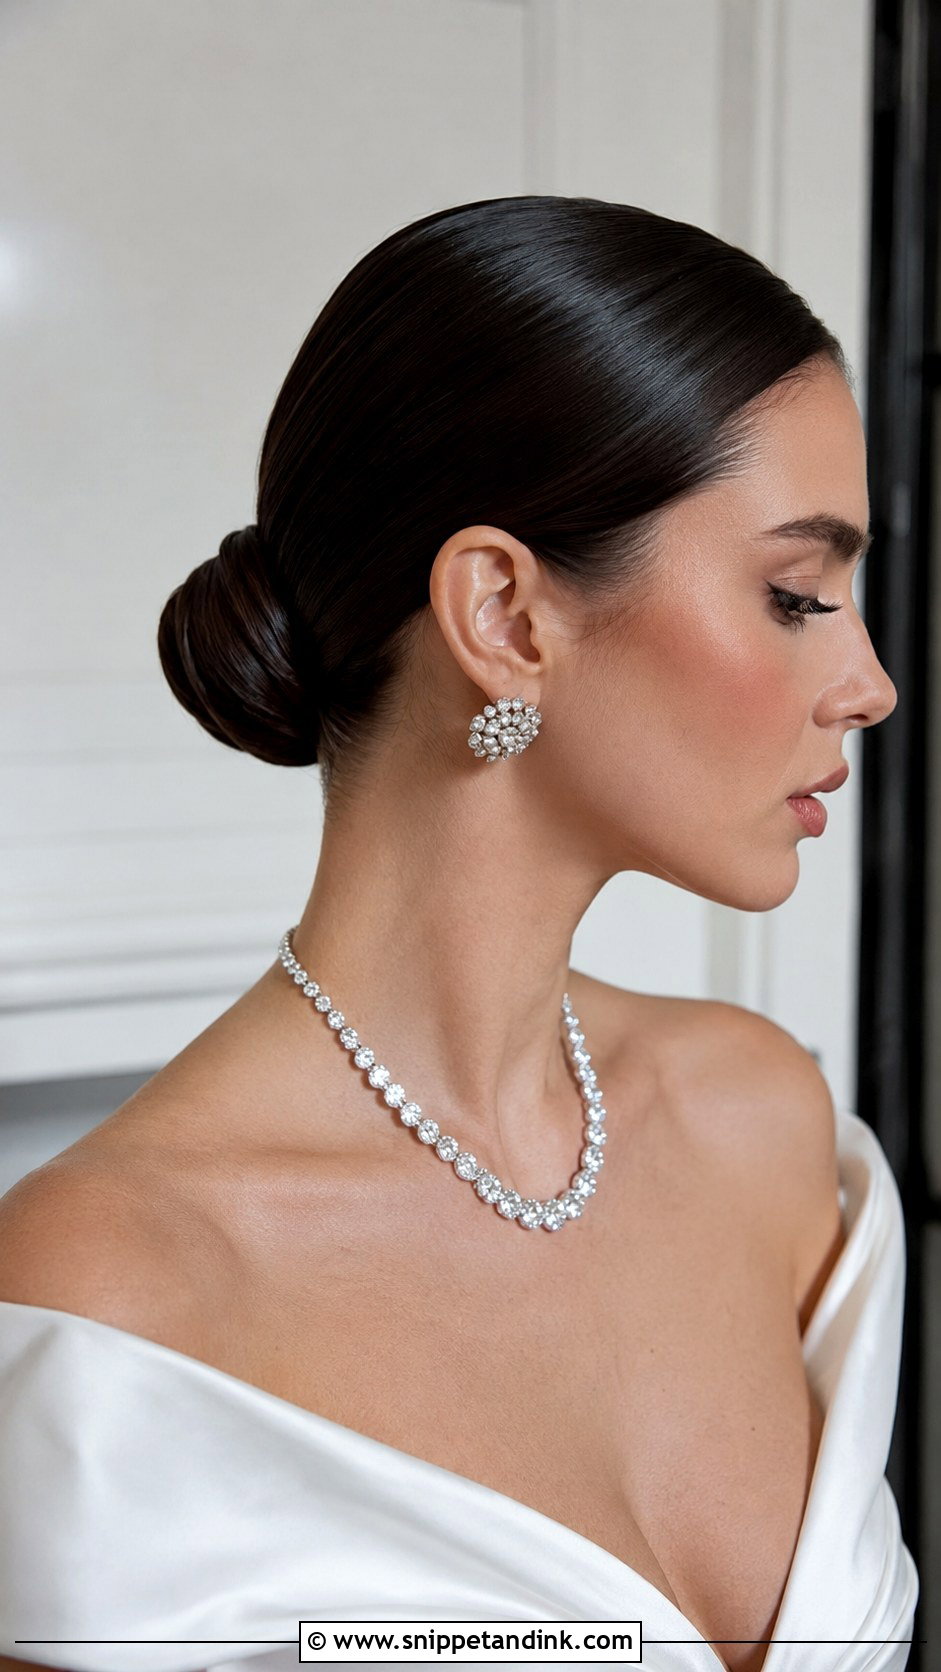
The slicked-back bridal bun pulls every strand into a tight knot with a glossy, almost wet surface. I use a smoothing gel at the hairline and serum on top, combing in sections rather than all at once so the lines stay straight. It shows off bone structure, but it also shows any thinning around the temples, and I’d tell you honestly at the trial if it doesn’t flatter your hairline. Structured gowns and bold jewelry match its clean lines.
14. Loose Updo With Tendrils
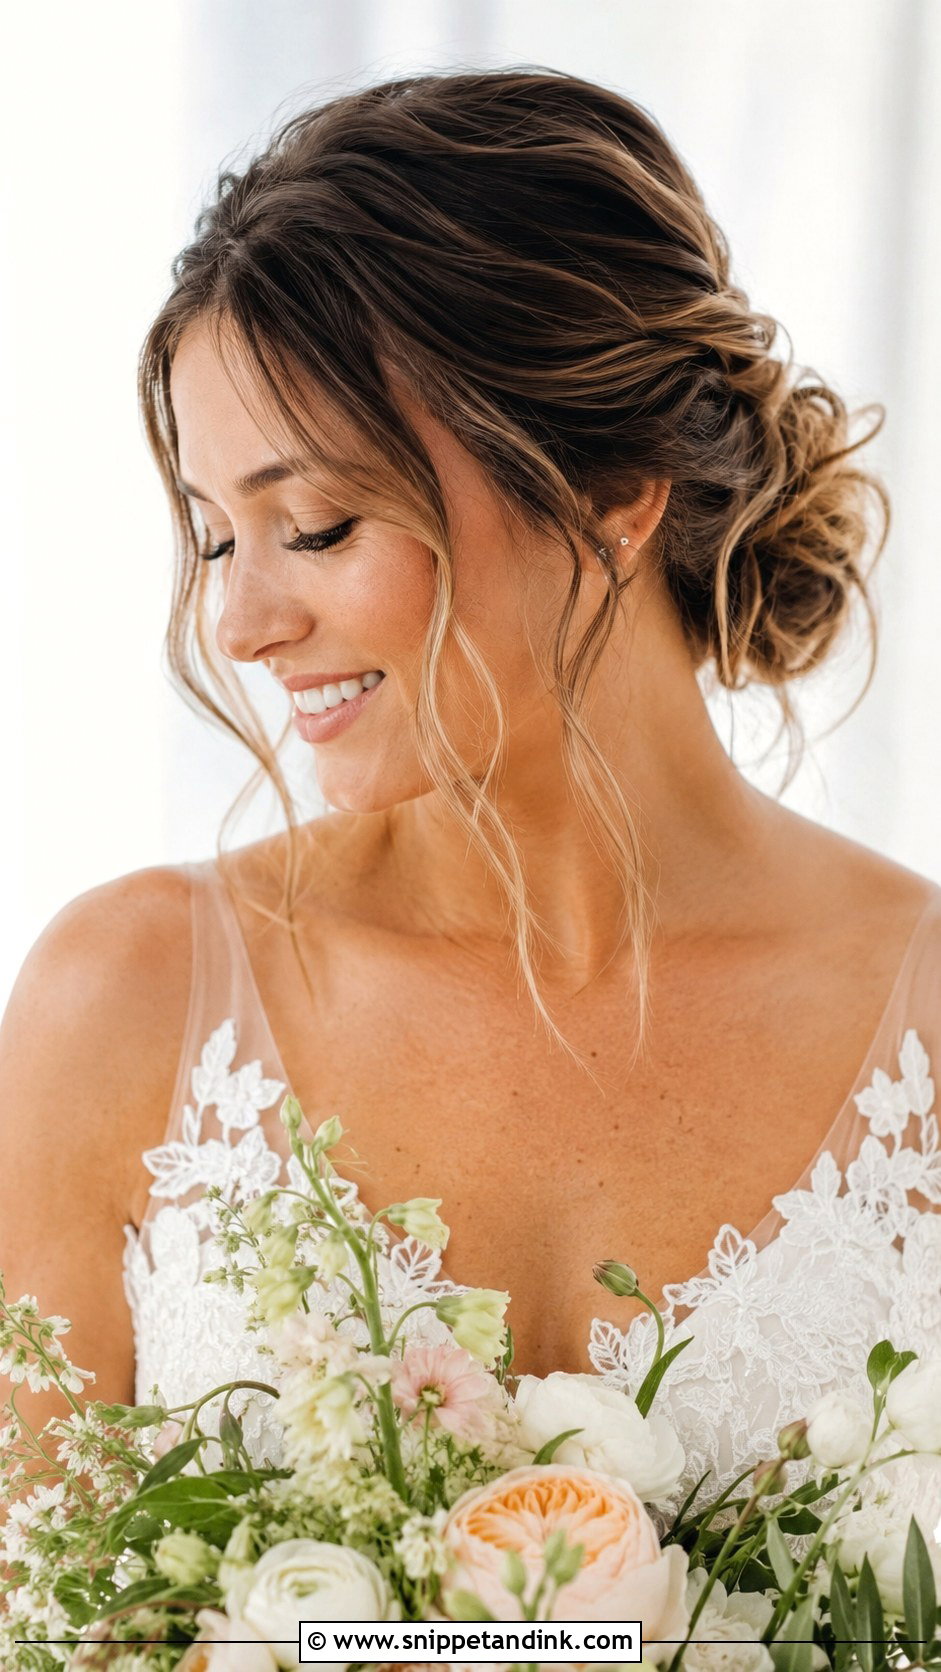
Loose updos are often the hardest to make last, because the softness that makes them pretty is also what lets them slip. I build them on a secure hidden base, usually a small ponytail or twisted foundation, and pin the softer pieces on top so the looseness lives only on the surface. Tendrils should be chosen at the trial; too many start to look untidy by the reception. Leave them a little longer than the jaw so they can go behind the ear if they frizz. Fresh flowers suit this style better than pearls.
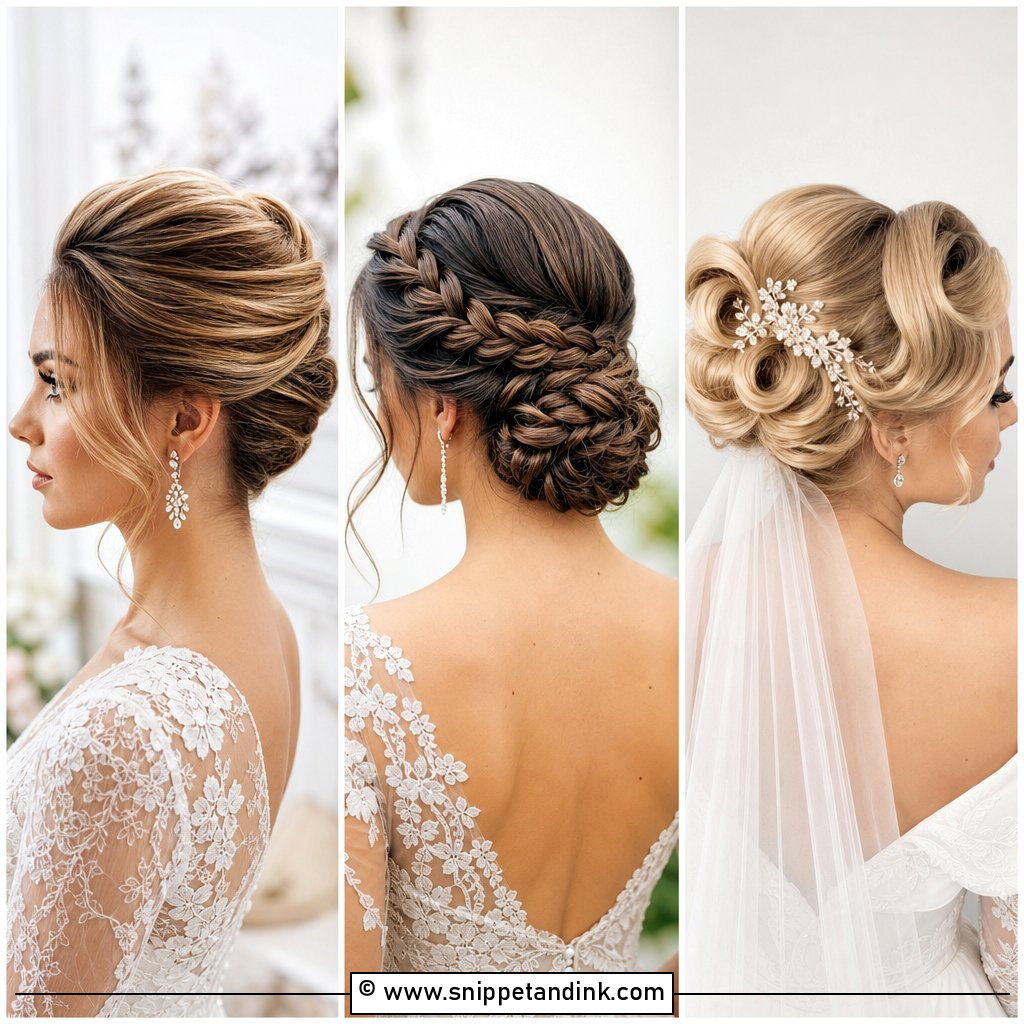
15. Sleek Bob for Brides
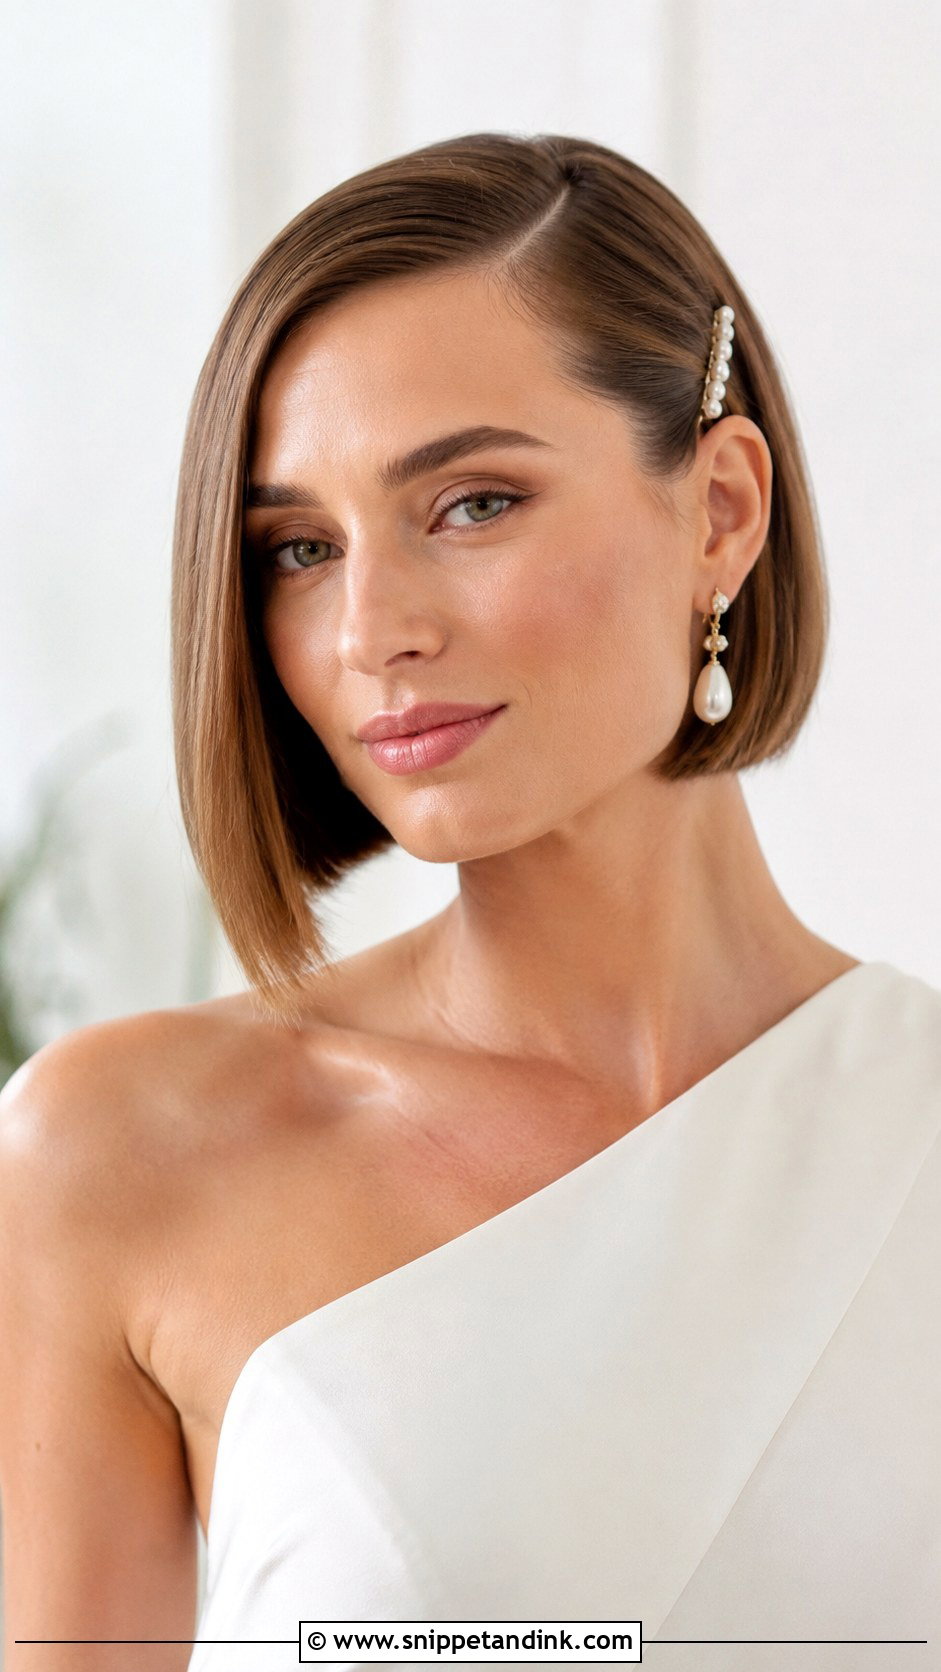
Short hair suits this aesthetic very well, since a sharp, well-kept bob already looks deliberate. My main request is a trim about two weeks before the wedding, so any too-blunt edges have softened slightly. On the day, I blow it smooth with a round brush, bend the ends under and add gloss. A deep side part and a pearl clip or slim headband are enough decoration, and statement earrings show clearly because nothing covers them.
16. Pearl Headband Updo
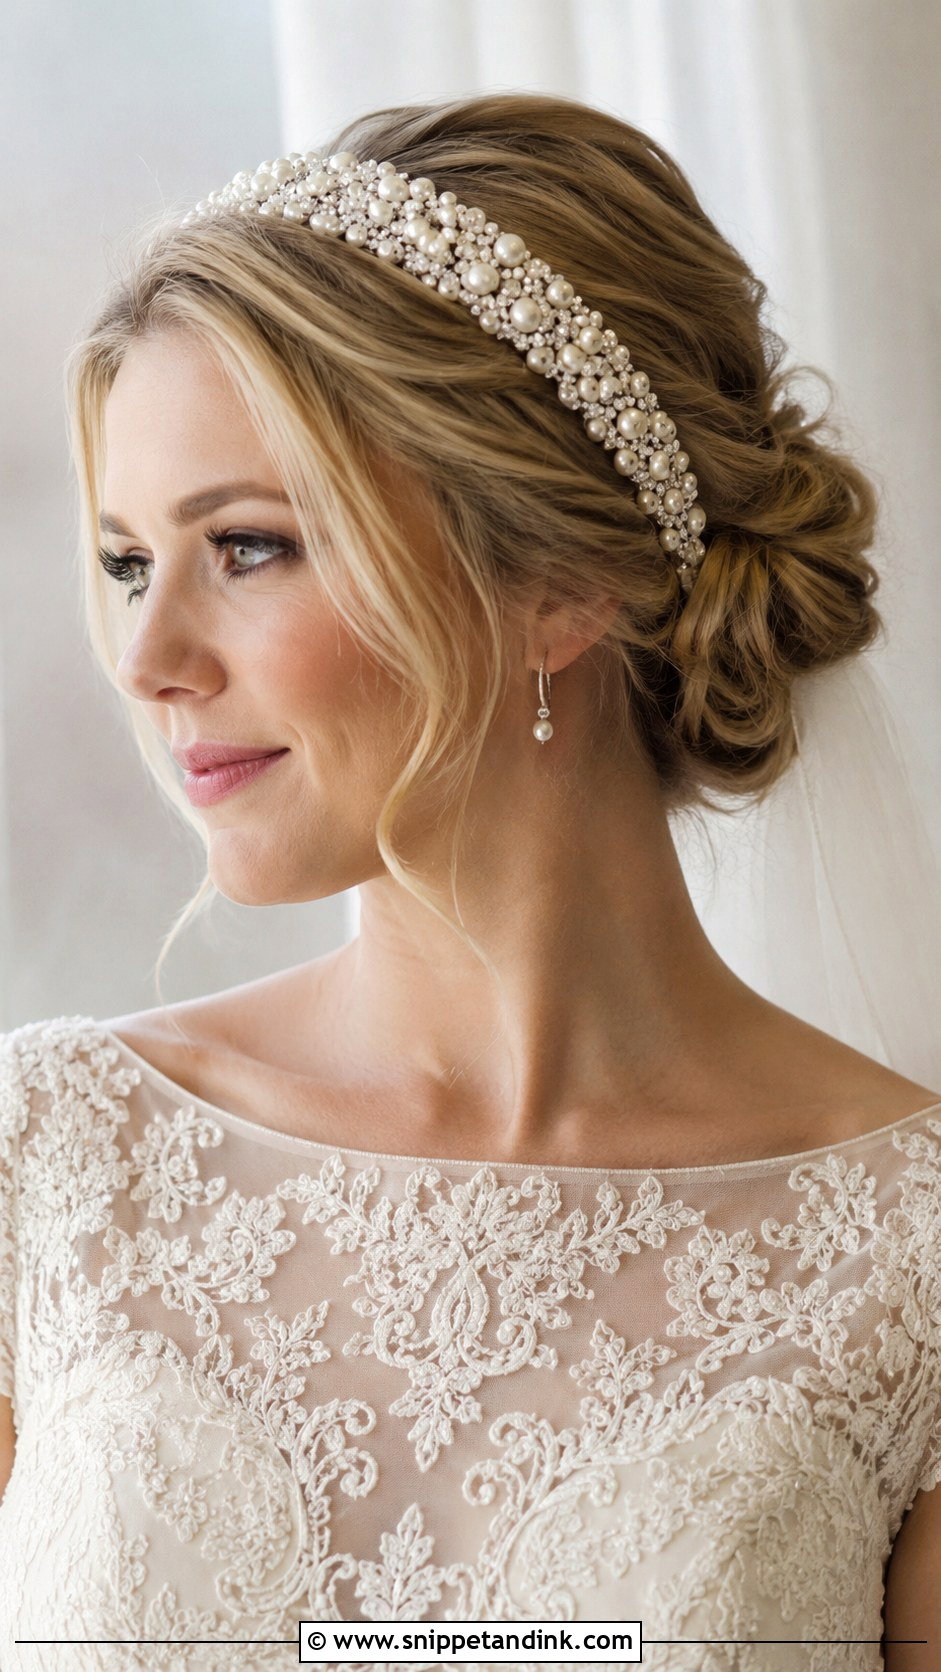
A pearl headband sits in front of a soft chignon or low bun and adds polish without much height. Fit matters more than people expect: a band that’s too tight gives many brides a headache by mid-afternoon, so wear yours for an hour or two at home first. I tuck its ends under a thin layer of hair behind the ears and pin beside it so it can’t slide back. A veil comb goes into the bun behind the band, never into the band itself. Choose pearl sizes that echo your earrings rather than match them exactly.
17. Voluminous Blowout
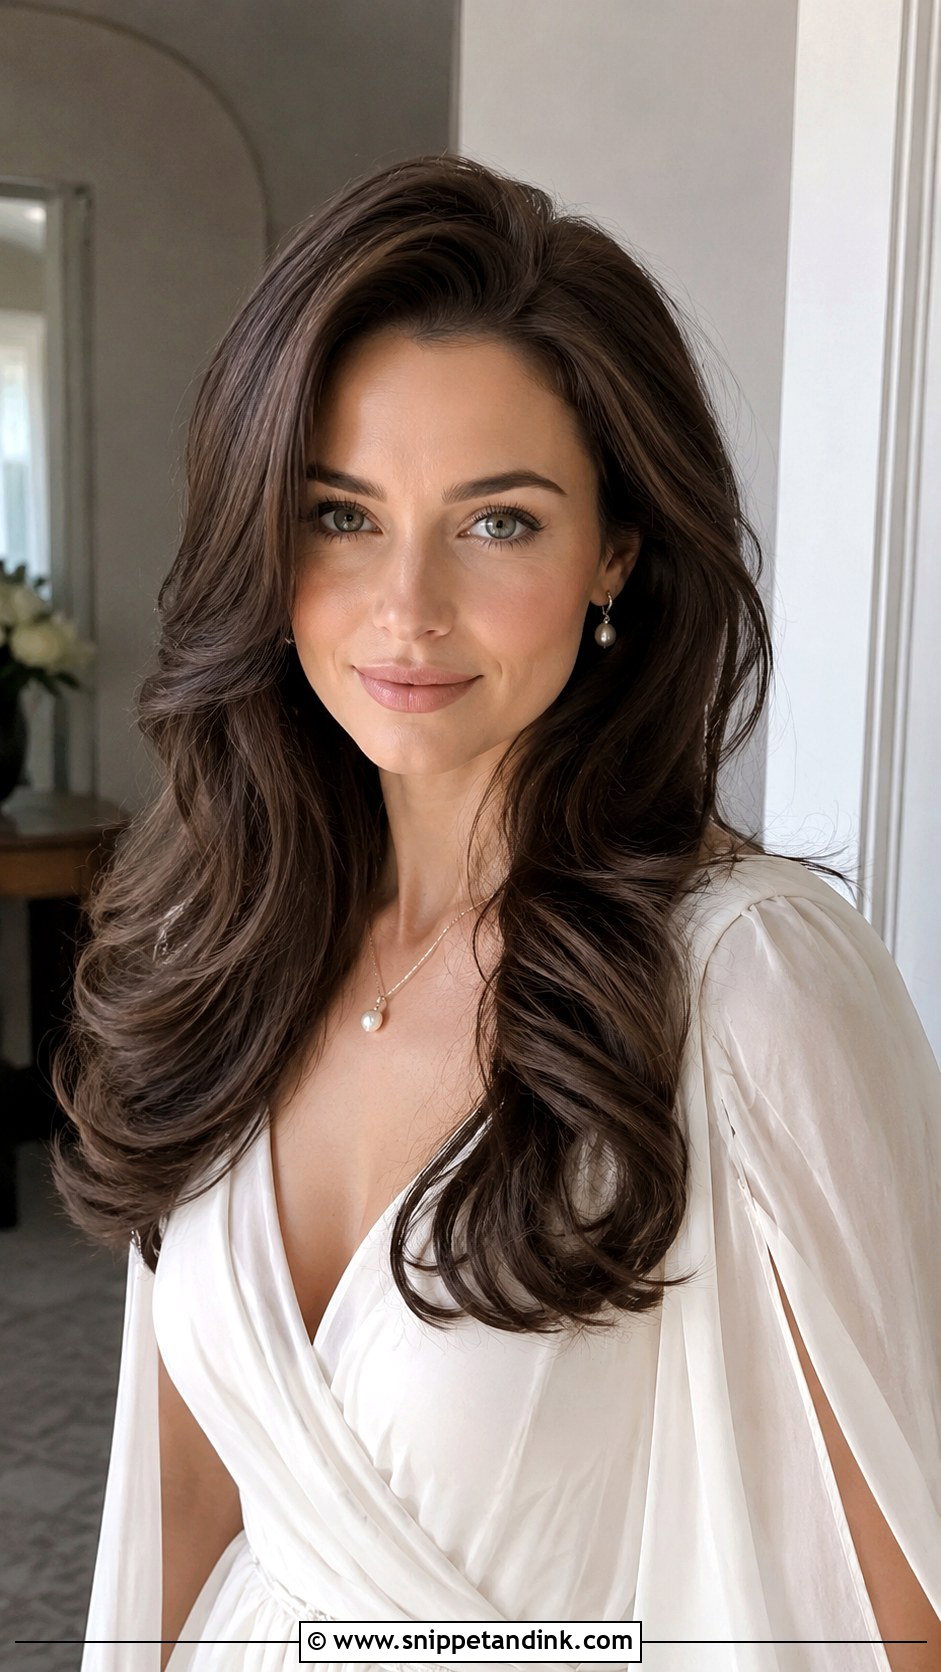
Sometimes the most polished choice is simply very good hair, worn down. A bridal blowout uses a round brush and firm tension at the root to build rounded crown volume, with ends turned slightly under. The shine has to come from healthy hair; no serum fully hides split ends, so a trim and a gloss treatment in the weeks before do more than any product on the day. Blowouts relax fastest in humidity. For a warm venue, I’d plan a half-up or low pony to switch into for the reception.
18. Low Knotted Bun
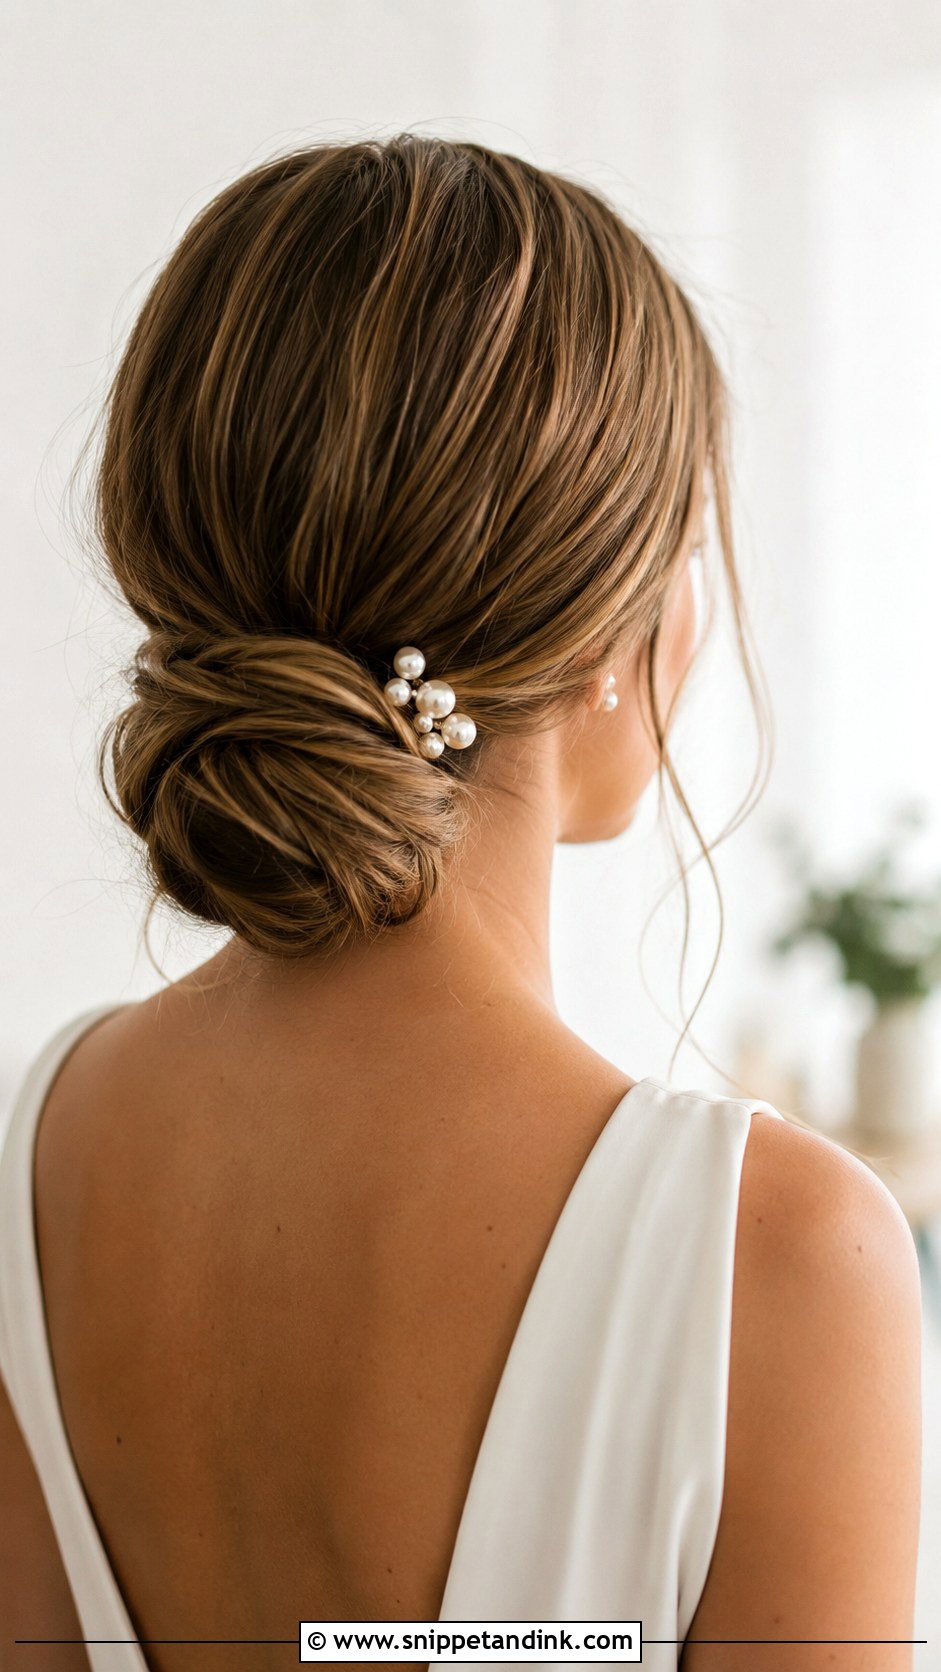
The knotted bun is made by literally tying two sections of hair together, once or twice, before tucking and pinning the ends. It gives a small sculptural shape at the nape with the knot as its detail. Each section needs enough length to tie and still tuck away, so it works best on long hair with some thickness. I keep the knot fairly loose and smooth the surface around it. On very fine hair, I’d suggest the twisted bun above instead, which needs less length to look full.
19. Soft Curls With Deep Side Part
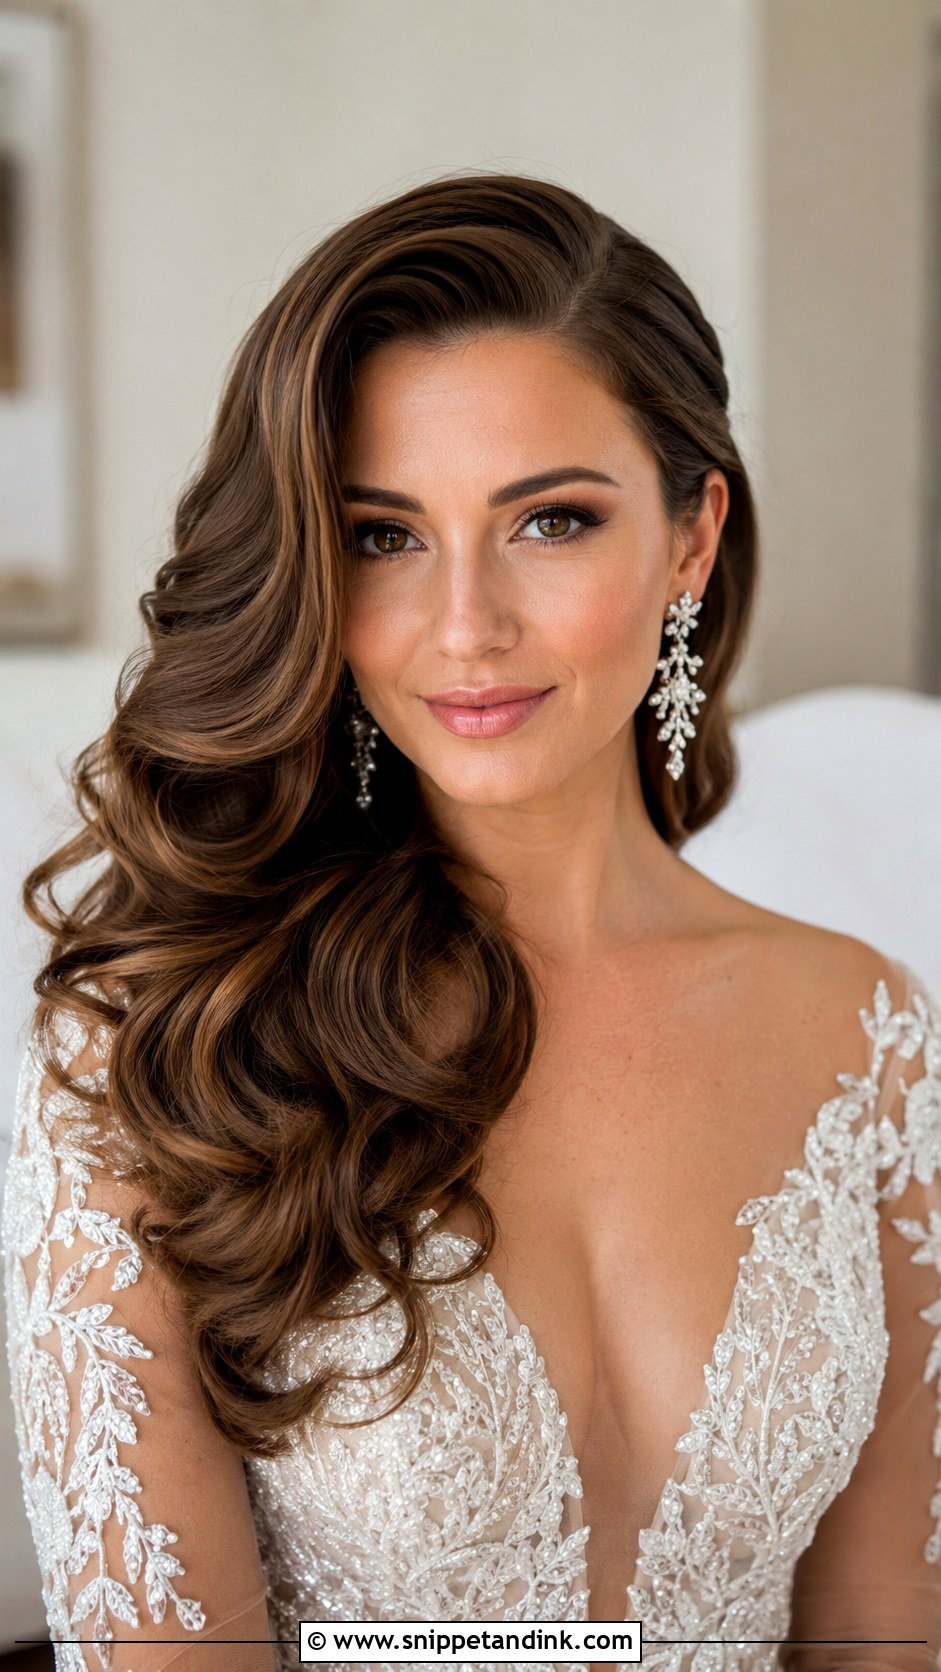
A deep side part moves more hair over one side of the face, which adds instant drama to simple curls. I set the part at the trial, because one that fights the way your hair naturally grows will spring back by evening. The curls are set, cooled and only loosely brushed so they stay defined but polished, with gloss on the lengths to catch the light in photos. With hair down and a part this deep, statement earrings belong on the exposed side.
20. Veil-Friendly Low Bun
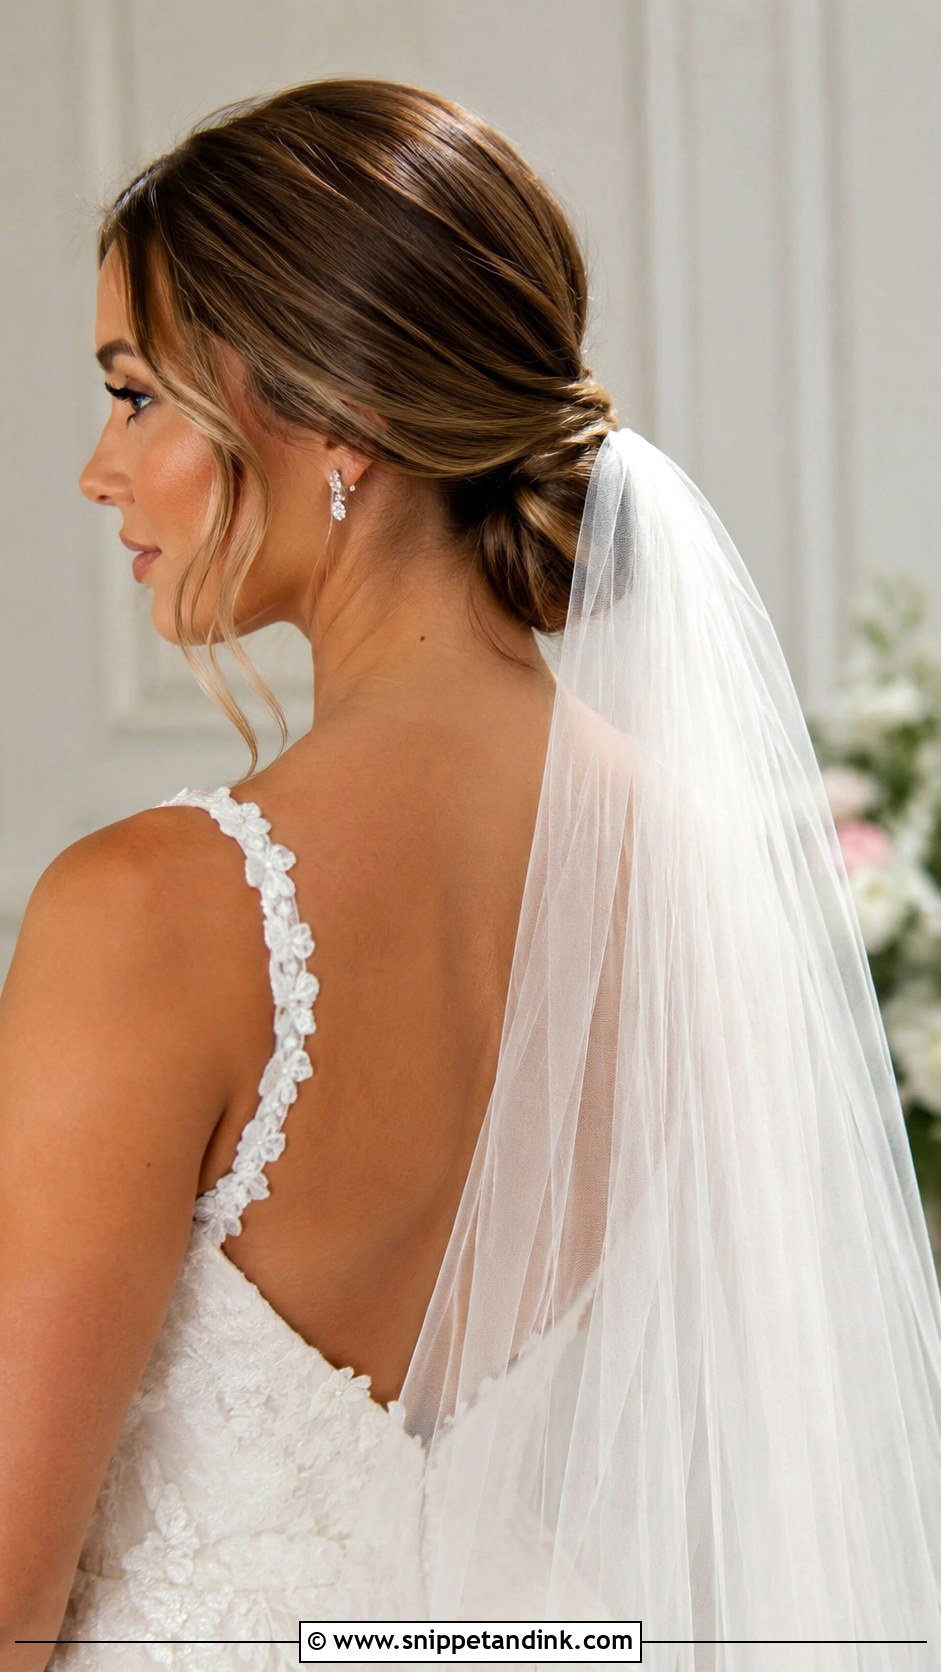
Planning to wear a veil? Tell your stylist where it will sit before the trial, because that decides the bun’s height. For a veil worn under the bun, the bun sits right at the nape; for one worn above it, I leave a smooth platform of hair at the crown. I always add a crossed-pin anchor beneath the comb, since cathedral and fingertip veils pull backward every time someone steps on them. After the ceremony the veil lifts out and the bun stays as your reception style. A couple of soft face-framing pieces keep it from looking stark once the veil is gone.
Getting Your Hair Into Old Money Condition Before the Trial
Most of what makes these styles work happens weeks before the wedding, not on the morning. Here’s the order I suggest to my brides, counted back from the date.
- Color about two to three weeks out. Toners fade with every wash, so too early and the tone has shifted; too late and you’ve no time to fix a result you don’t like.
- A small trim around two weeks out. Enough to remove split ends without changing the length your stylist planned around.
- A gloss or shine treatment in the final week, if your salon offers one. It smooths the cuticle and is the closest thing to bottled condition.
- No new smoothing or keratin treatments close to the date. They leave hair so slippery that updos struggle to hold pins, so do any of these well before your trial or skip them.
- Wash the day before, not that morning, unless your stylist tells you otherwise. Second-day hair grips pins far better.
What Smooth Styles Need After Hugs, Heat and a Veil Coming Off
Sleek hair shows wear sooner than textured hair, because a single loose strand stands out against a glossy surface. The fixes are small, and whoever carries your bag should have them.
- A wax stick or a dab of hair balm for flyaways at the nape and hairline.
- Six or eight bobby pins in your hair color, plus two that match any pearl pins.
- A small fine-tooth comb for re-smoothing the part after the veil comes out, since veil combs leave a little ridge where they sat.
- Blotting papers. Hair gel and a shiny forehead side by side in photos look oily rather than polished.
If your style is worn down, expect it to drop by the evening in heat. That isn’t a failure, and a quick twist into a low bun often looks more intentional for the dance floor than a tired blowout.
Bring Three of These to Your Trial, Then Edit Down
All 20 of these styles share the same habits: healthy, glossy hair, a smooth finish that still moves, and accessories kept to one quiet idea. A sleek low bun, a sculpted wave or a soft chignon will read as old money when the condition and the finish are right. Start from your neckline and your veil, bring two or three references to the trial, and watch what your own hair does with them before you commit.
You'll Like These Ideas:


Leave a Reply