
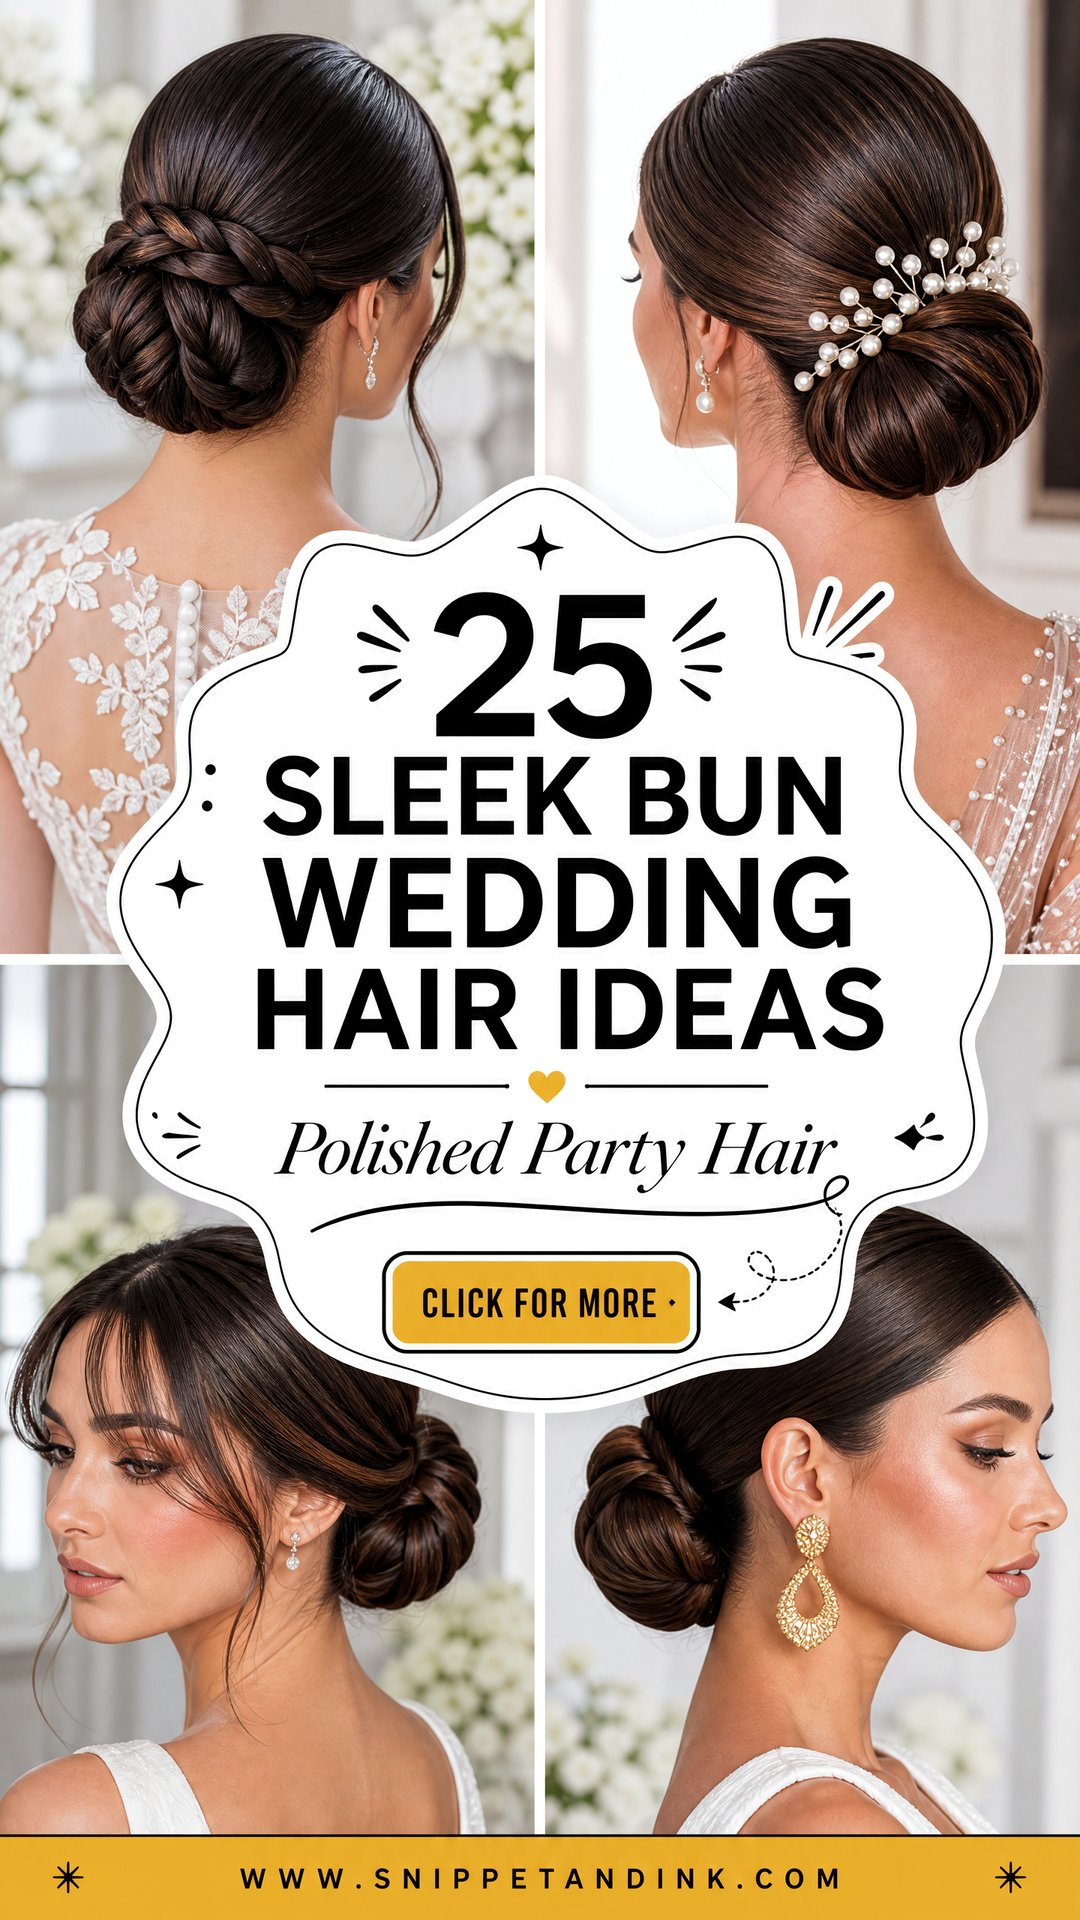
A sleek bun looks like the simplest style in my kit, and it’s the one that shows every shortcut. There’s nowhere for a bump, a loose pin or an uneven part to hide. Get it right, though, and it holds through a veil, a long dinner and a dance floor better than almost any loose style. Below are twenty-five versions I’d happily put on a bride or a guest, from a plain ballerina knot to braided, twisted and floral-adorned styles, with notes on placement, hair type and what each one asks of your hair.
What Your Texture Changes About a Slick Bun
The same photo can need three different methods depending on whose hair it’s going on. I plan a sleek bun around the hair first, then the look.
Fine or thin hair
Fine hair makes a small bun, and every gap in the scalp shows when it’s pulled tight. I use a bun pad or a sock-style donut in your shade to give it size, and a little texturising spray at the roots so pins have something to hold. Clip-in pieces can add bulk if you want a big knot.
Heavy or very thick hair
Thick hair makes a beautiful bun but a heavy one, and weight is what gives brides a headache by the evening. I split it into two ponytails stacked one above the other, which spreads the load across more of the scalp.
Curly and coily hair
You have two honest options: a silk press or blow-out a few days before, or a slicked finish using gel and a soft brush on your natural texture. The gel route is kinder to curls and holds better in humidity. If you go with heat, book it close enough to the day that it hasn’t reverted, and pack a silk scarf for the night before.
Layered cuts
Short layers pop out of a smooth bun. I tuck and pin them before the knot goes in, and use a wax stick to hold the shortest ends flat.
1. Sleek Low Bun With Center Part
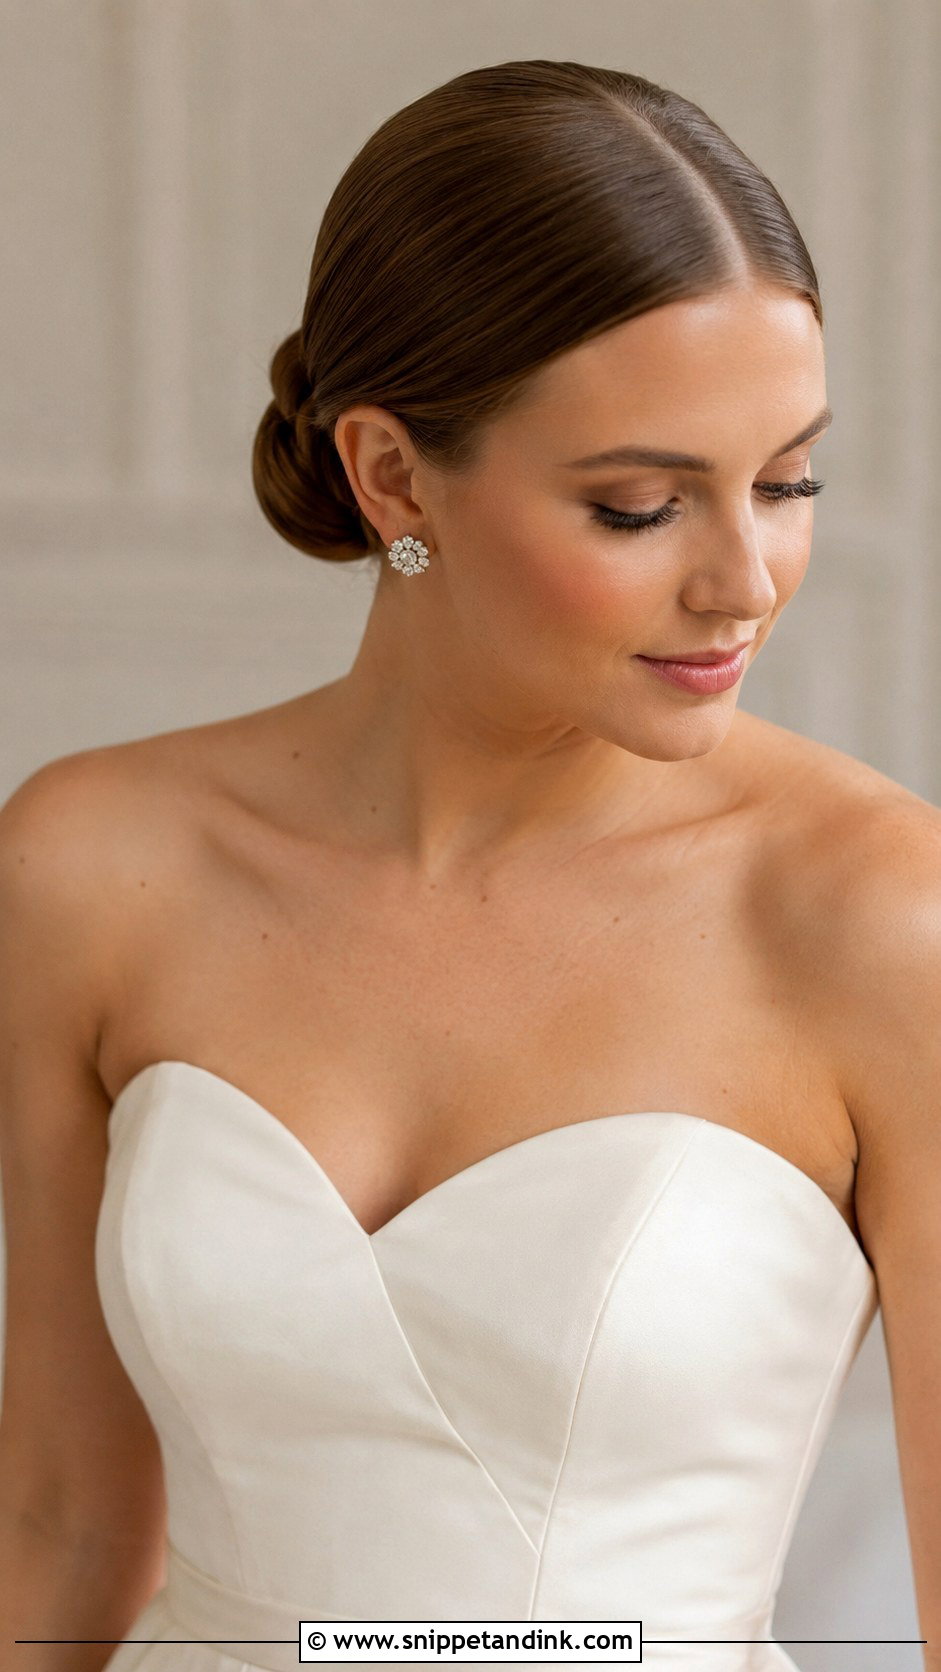
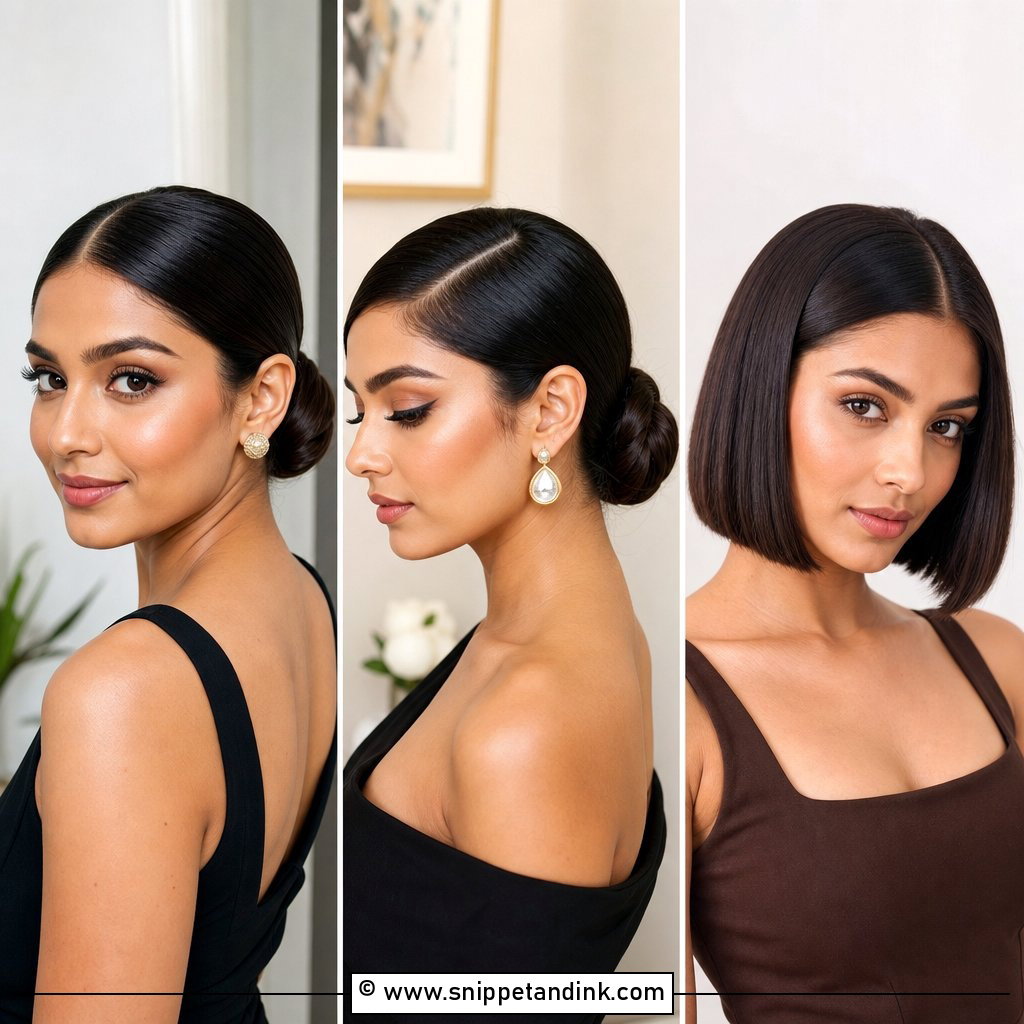
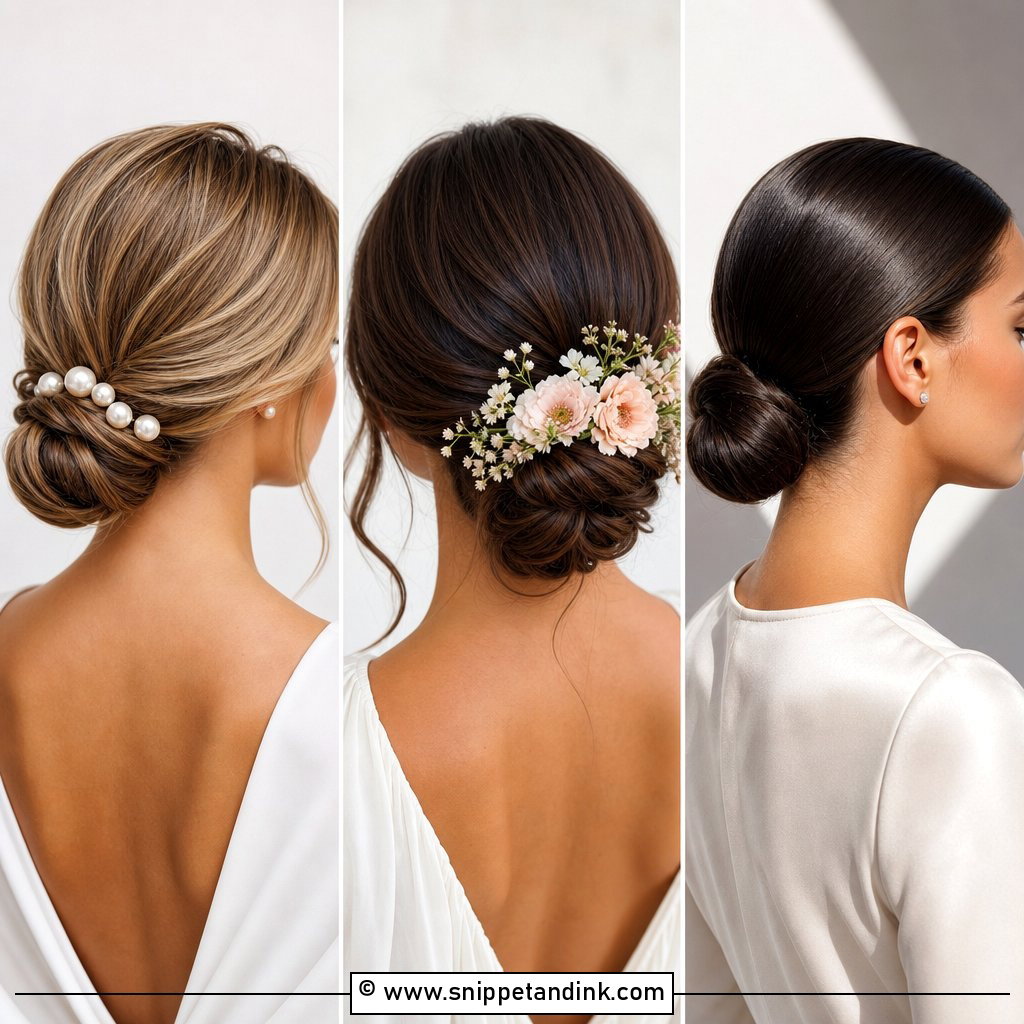
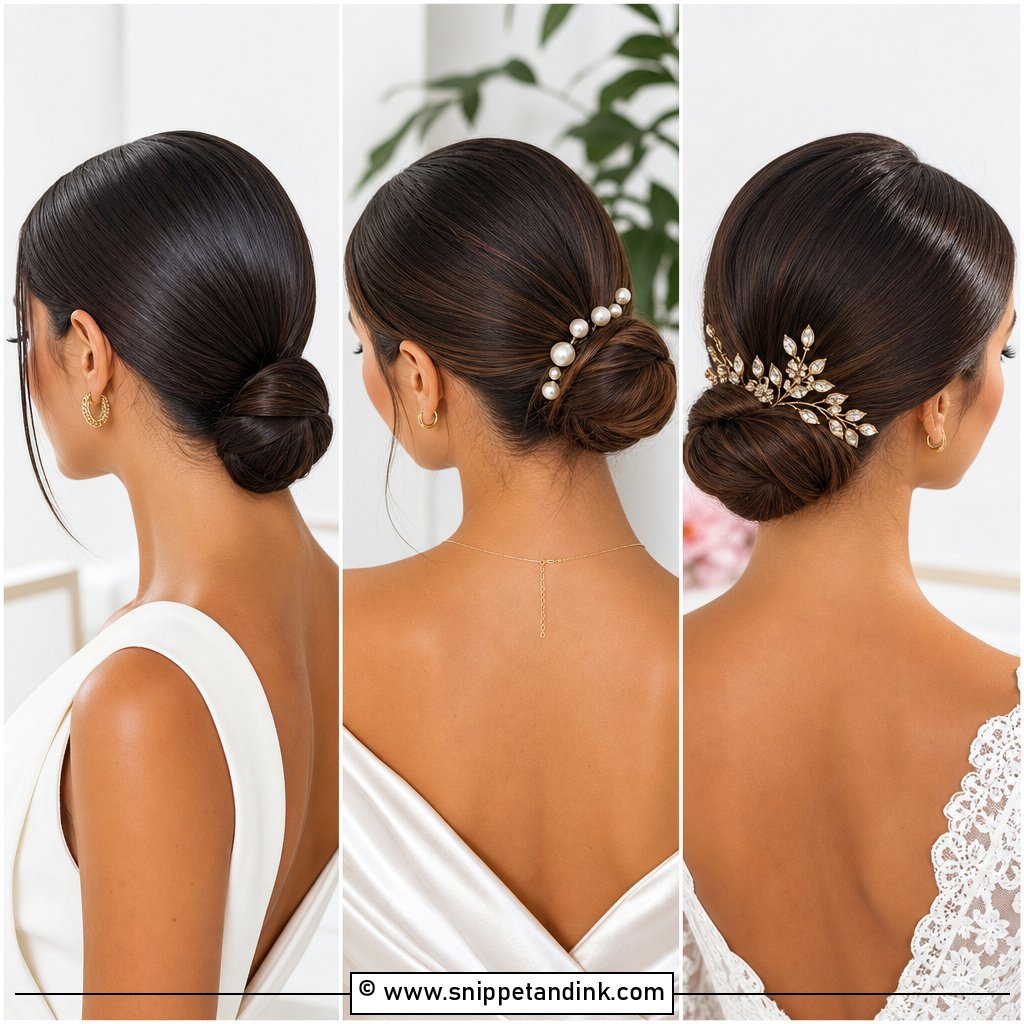
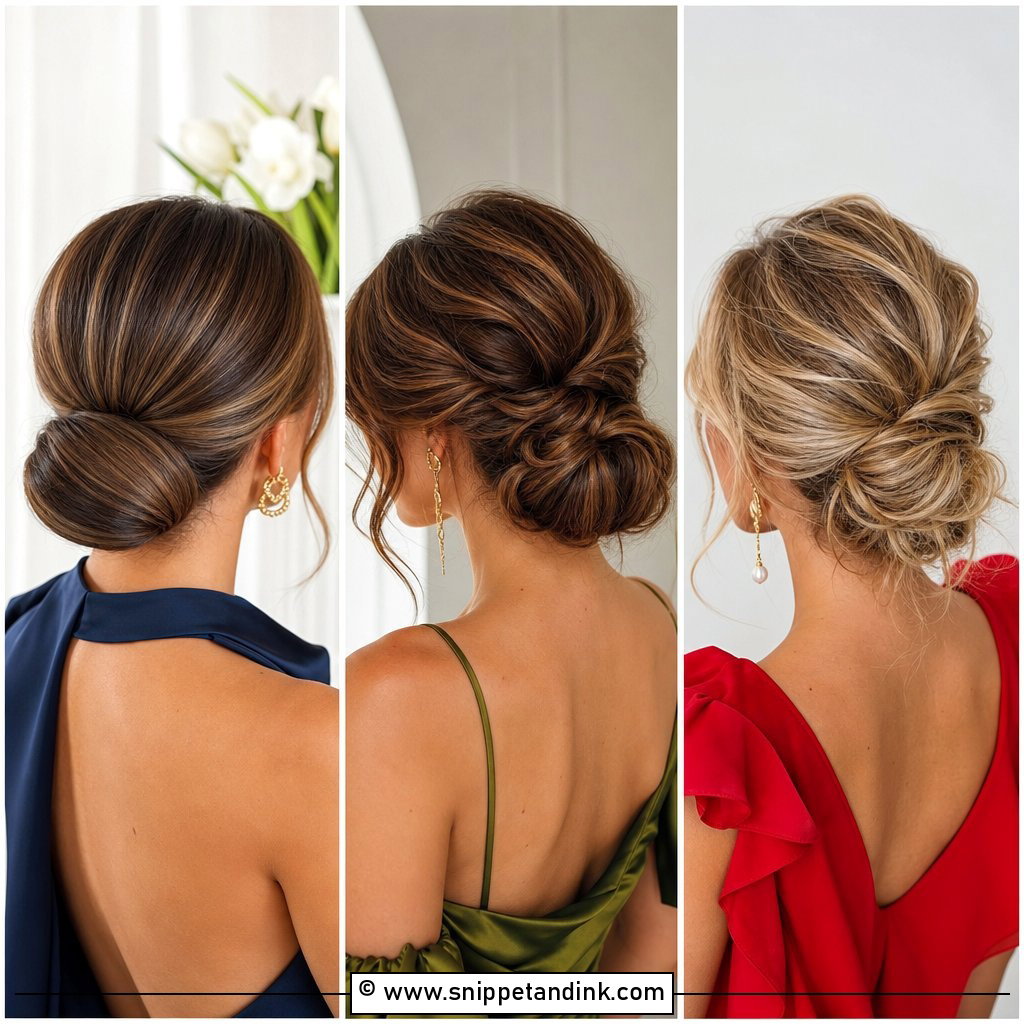
The center-part low bun is the version I’m asked for most right now. Hair is brushed straight back into a smooth, low knot resting at the nape, and the even part frames the face. The part itself is the hard bit: it has to be perfectly straight, so I set it with the tail of a comb on damp hair rather than on dry. A flat iron on the lengths and a drop of glossing serum gives the mirror finish. It sits best with structured gowns and simple jewellery.
2. Classic Ballerina Bun
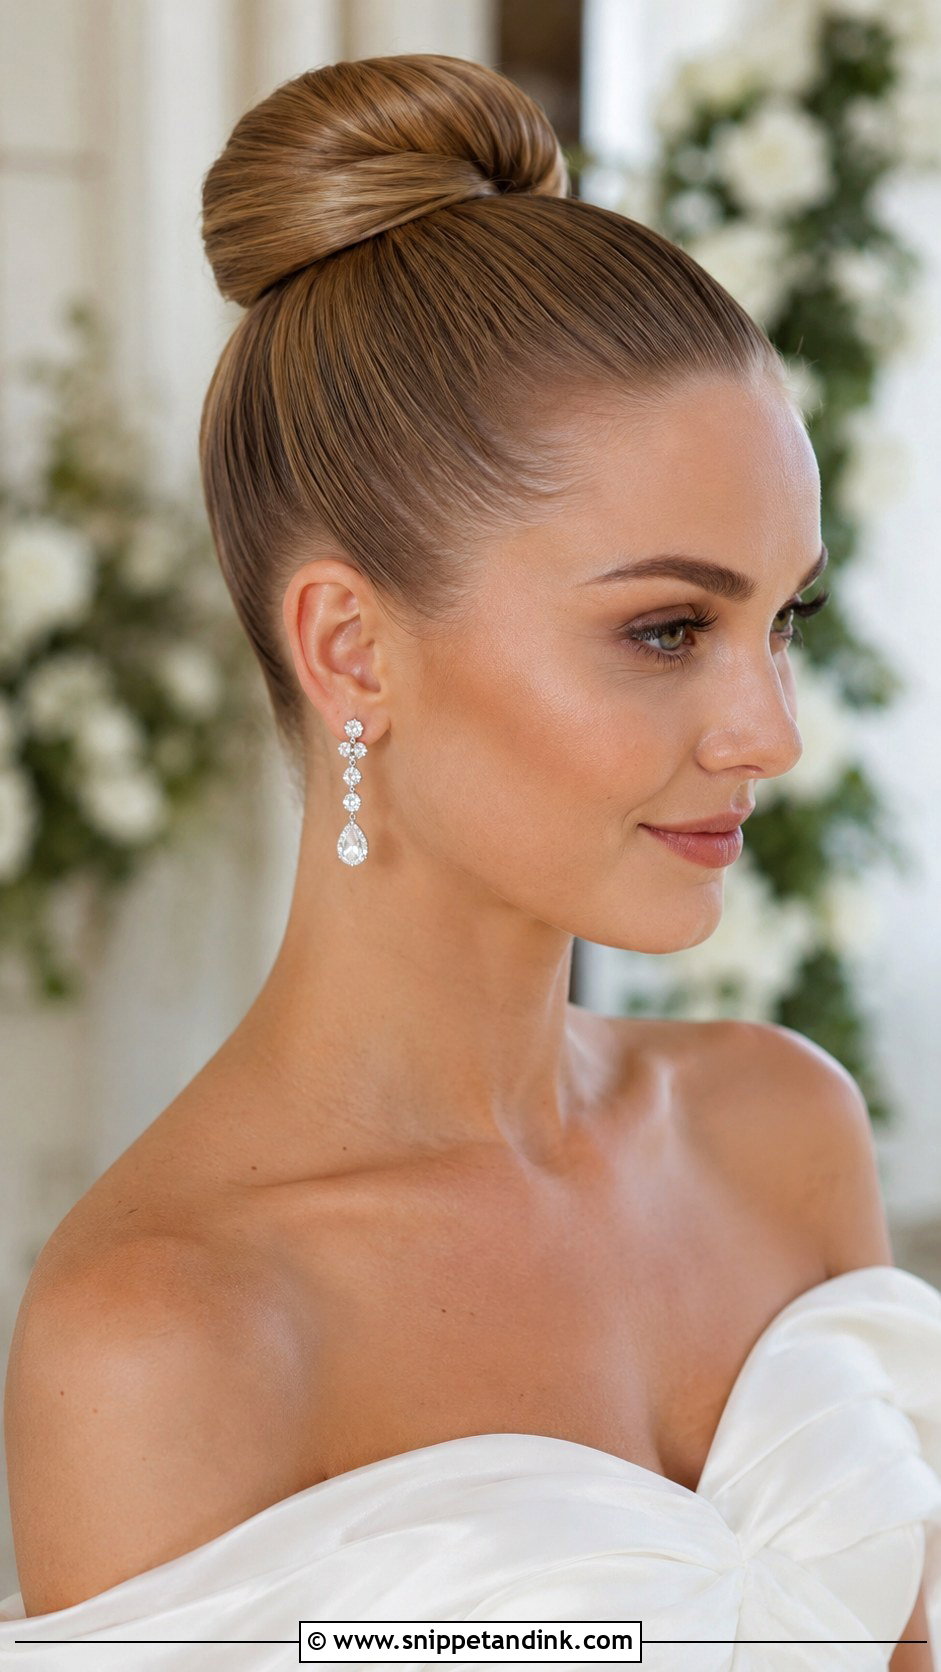
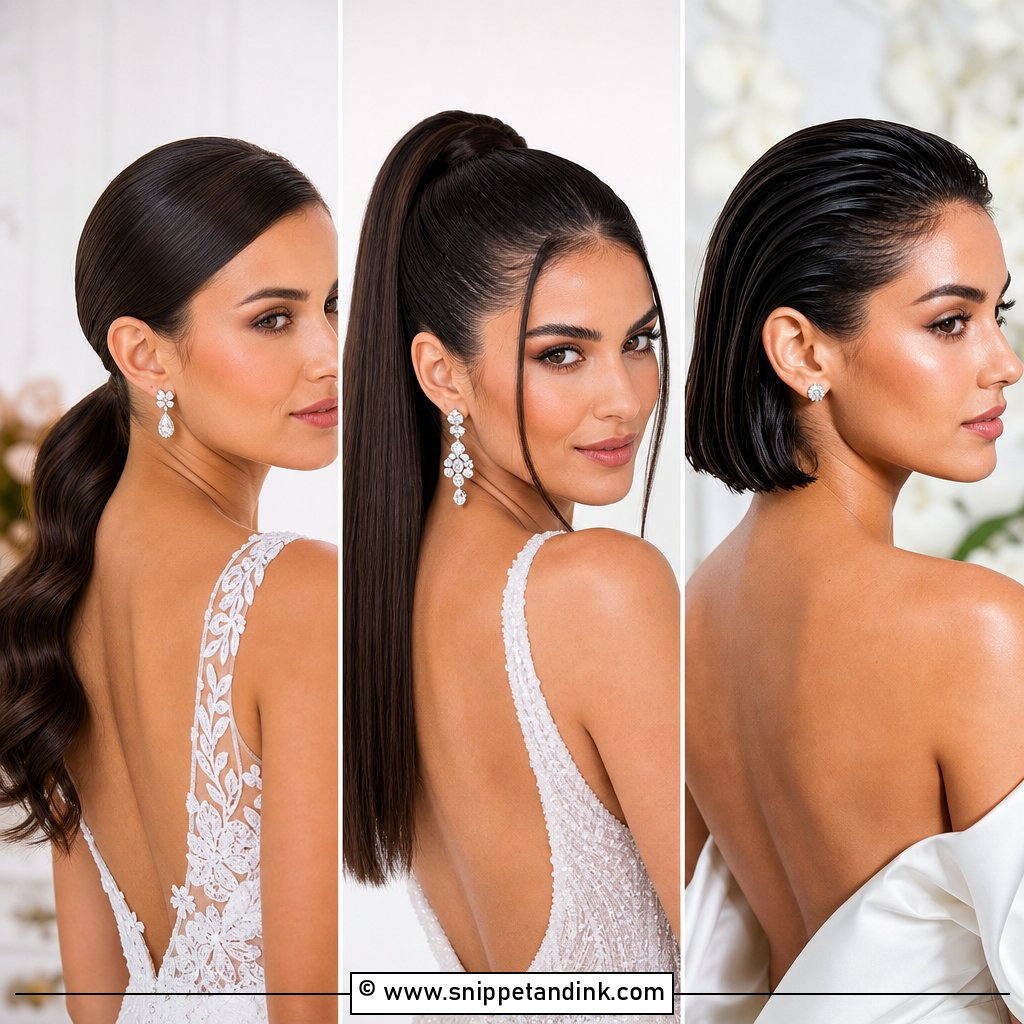
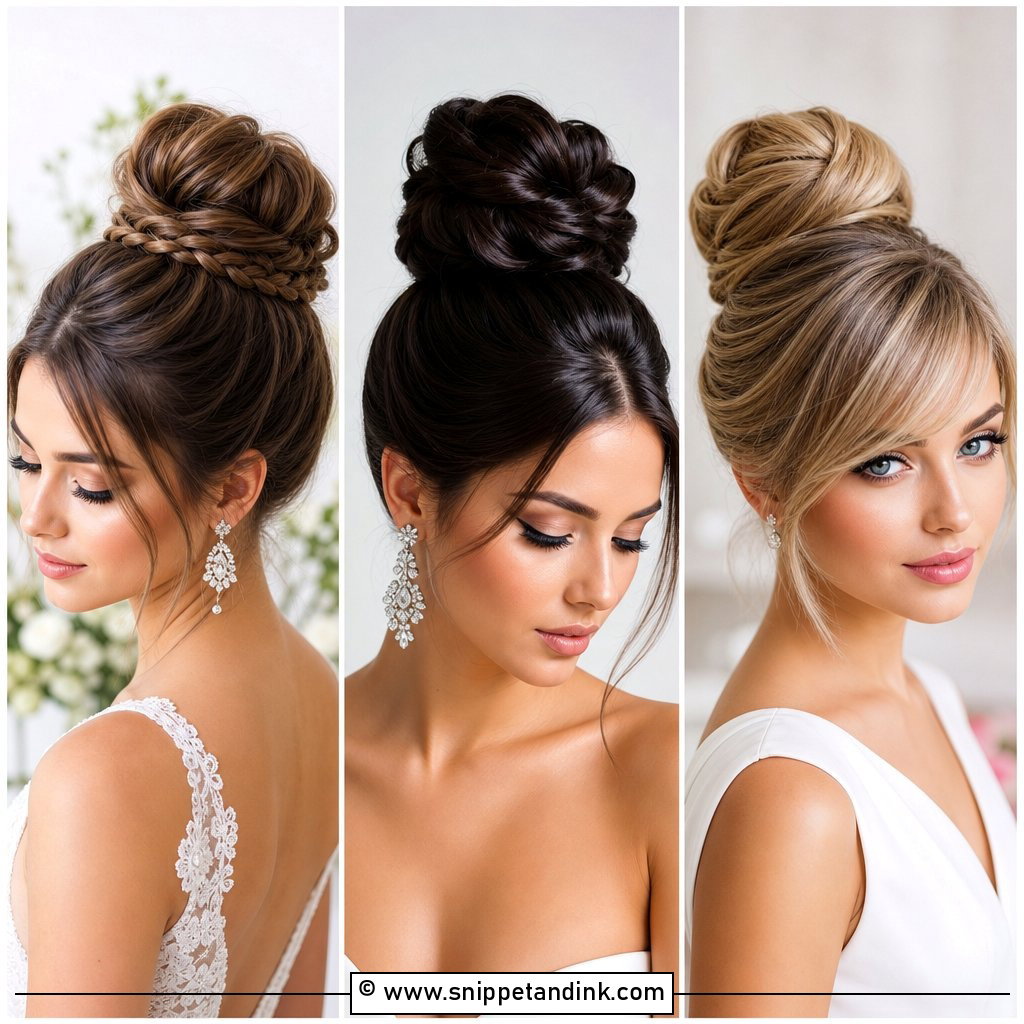
A ballerina bun sits high on the crown, pulled tight and wrapped into a round knot. It lengthens the neck and shows the jawline, which is why it suits strapless necklines and statement earrings. Height adds weight to the pins, so I anchor the ponytail with two elastics and cross the pins through the base. I’d avoid it under a heavy veil; there’s nowhere sensible to put the comb.
3. Sleek Bun With Side Sweep
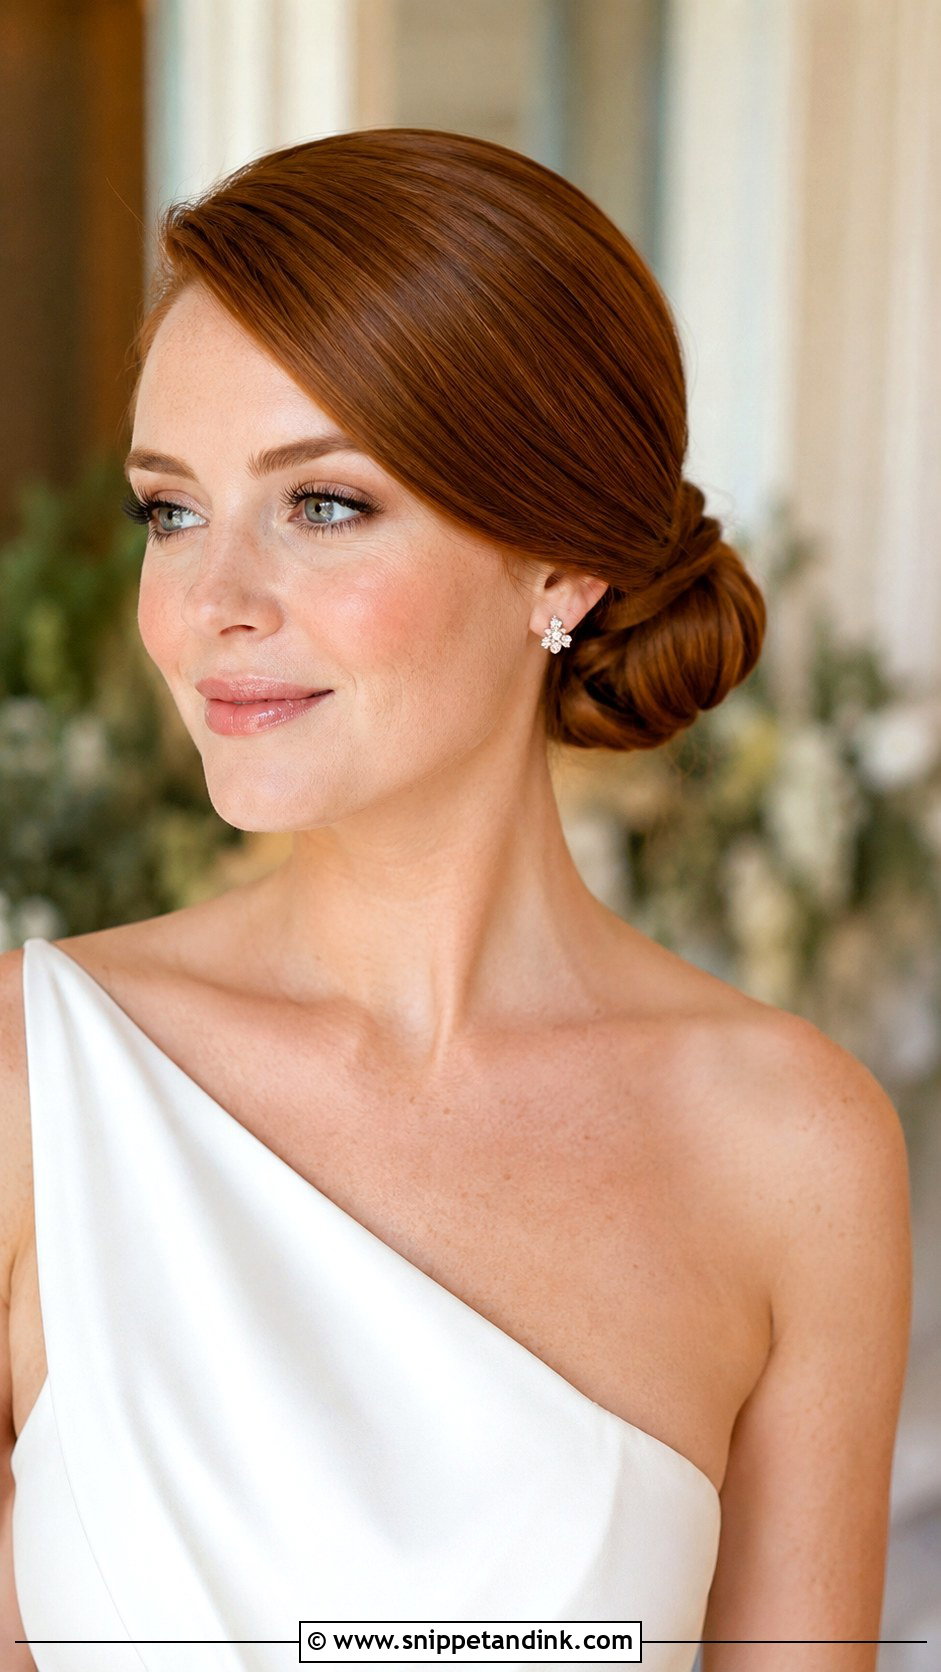
A deep side part that sweeps across the forehead before dropping into a low bun gives a soft curve along one side of the face. It’s kind to round and heart-shaped faces because it breaks the symmetry. The sweep needs to be set while warm and held with a duckbill clip until it cools, otherwise it springs back toward the part within an hour. One bold earring on the open side balances it.
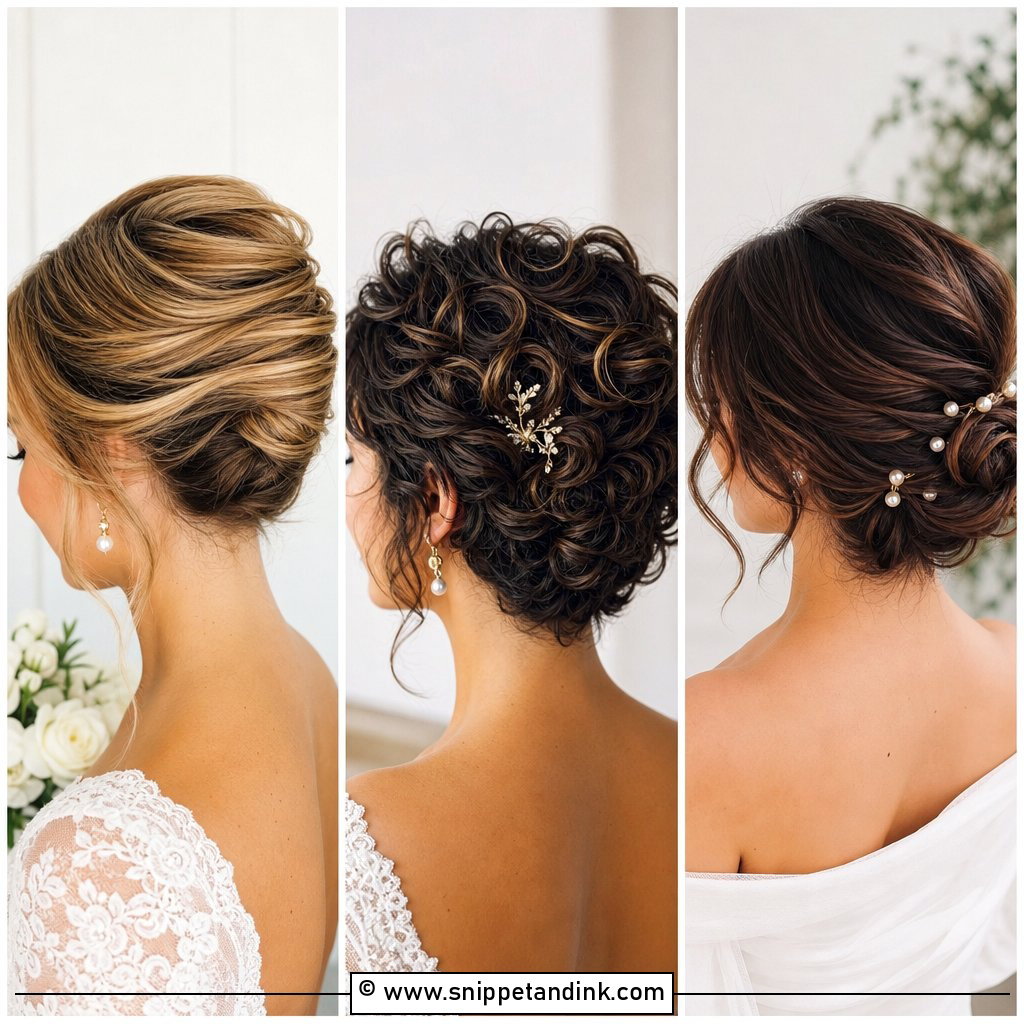
4. Twisted Low Bun
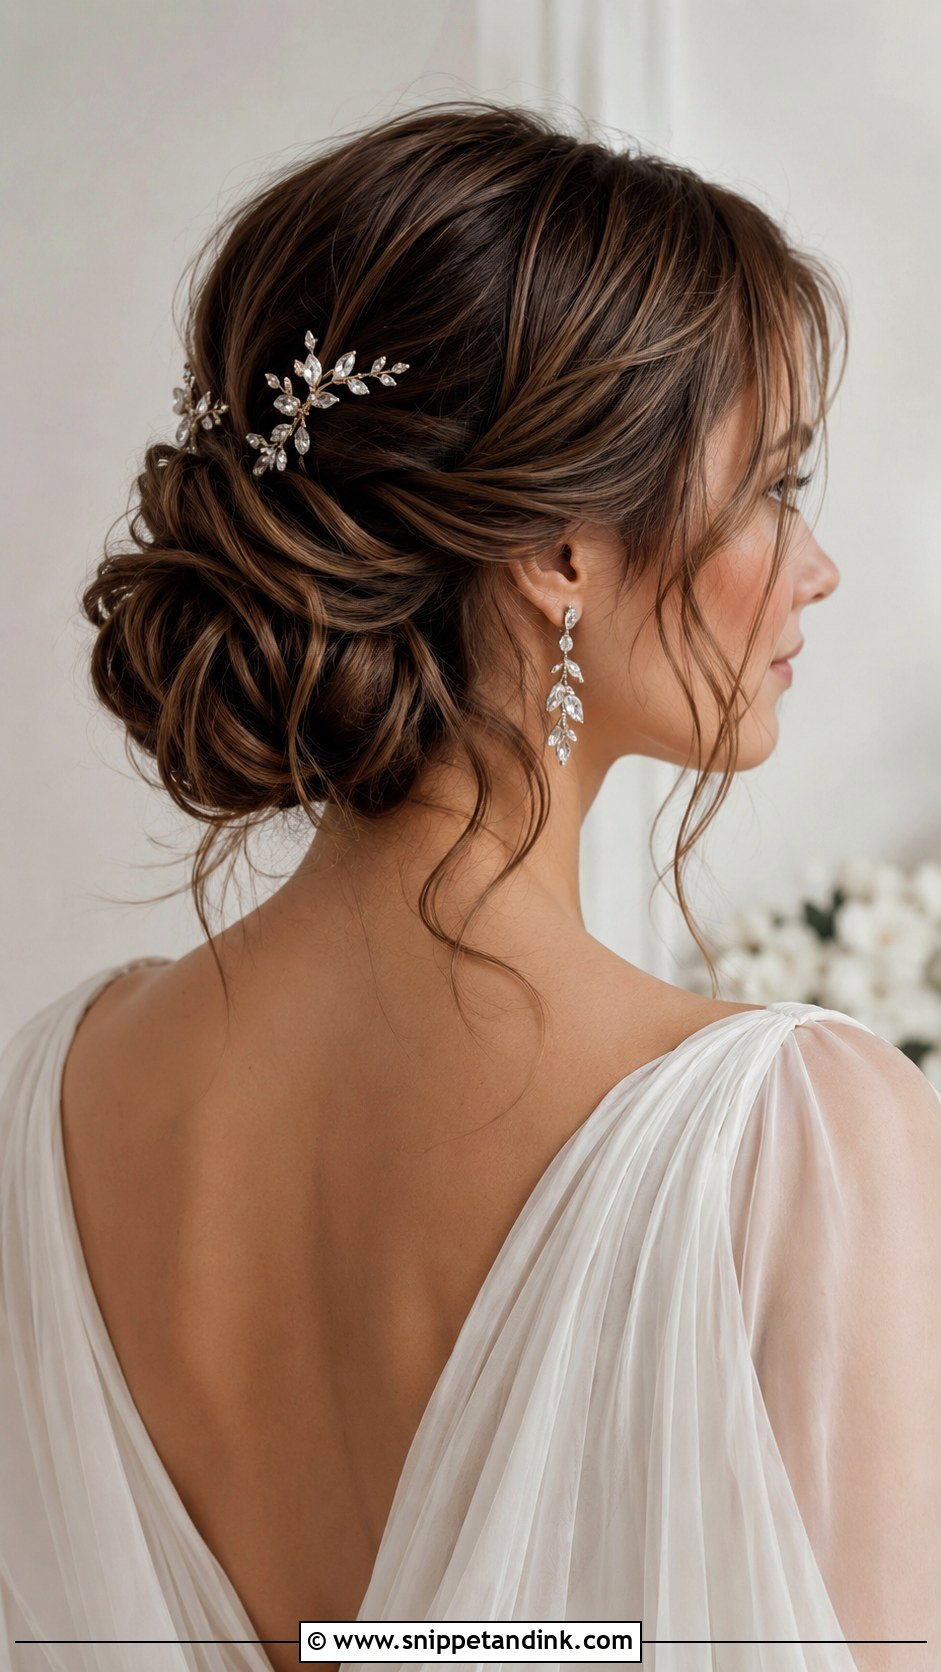
Twisting the lengths before they’re gathered adds texture at the back while the front stays slick. It’s my usual compromise for brides who think a fully smooth bun looks too severe. Small pearl or crystal pins tuck neatly into the grooves of the twists. If you leave tendrils by the ears, curl them the night before the trial so you can see how much they drop.
5. Braided Sleek Bun
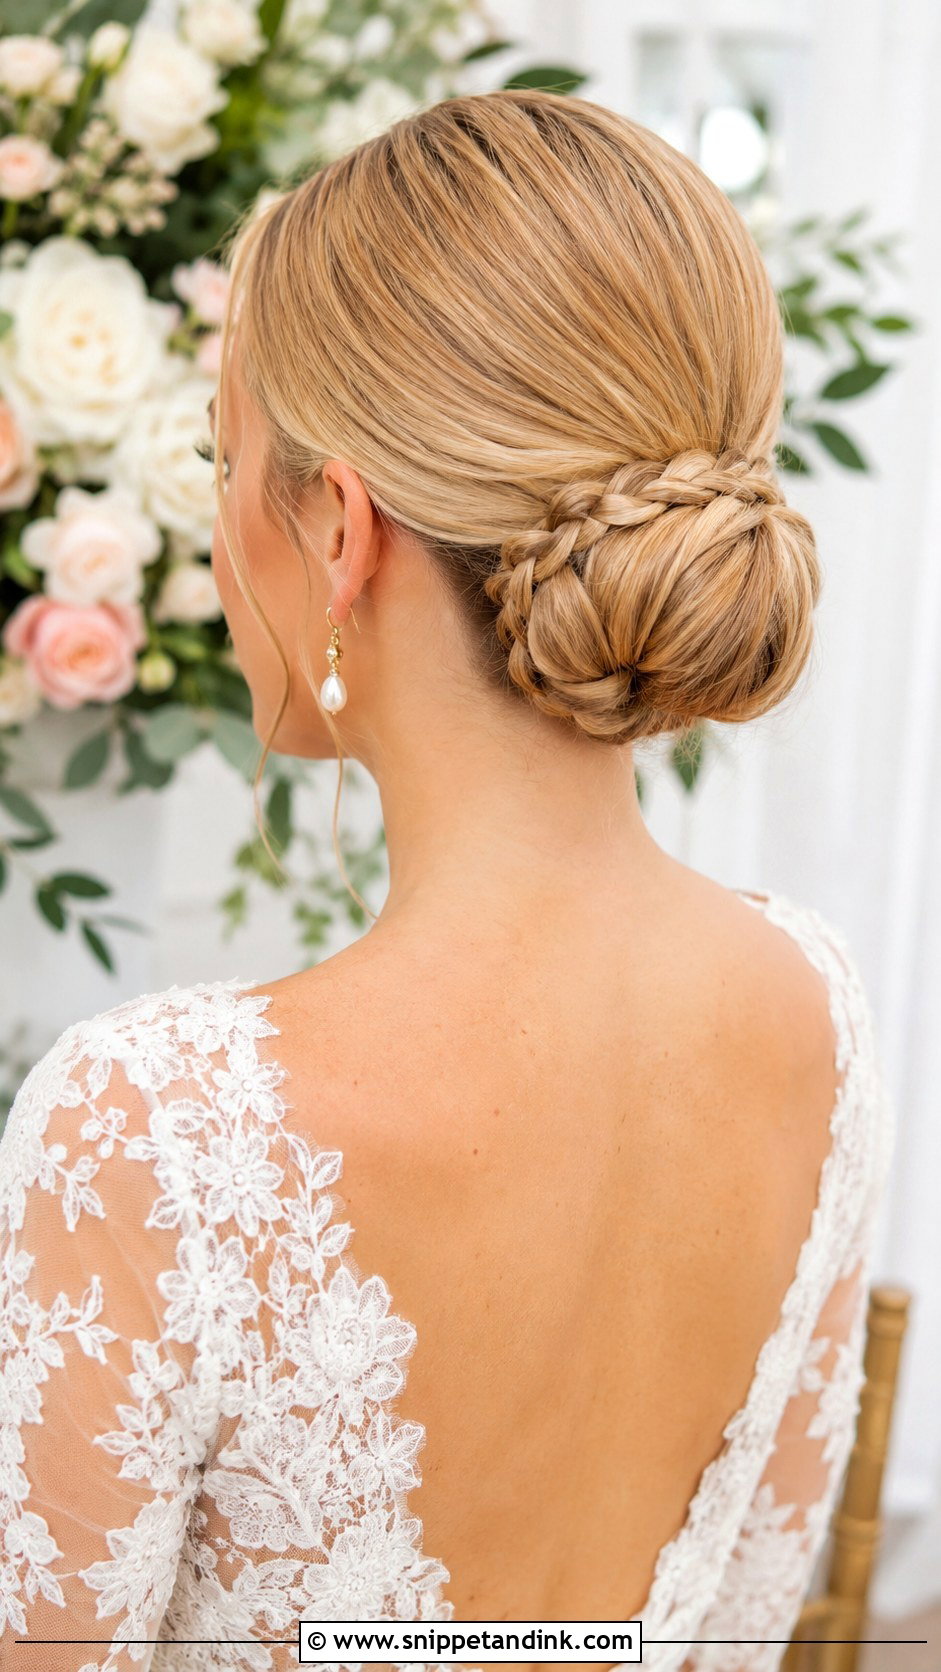
A single braid wrapped around the base of the knot adds handwork without breaking the polish on top. A thin three-strand braid reads subtle, while a fishtail or a thicker plait reads more relaxed and suits garden weddings. I always braid slightly loosely and then pancake the edges, since a tight braid wrapped around a bun can look like a rope rather than hair. It catches detail in back-view photos, which you’ll have more of than you expect.
6. Sleek Bun With Veil
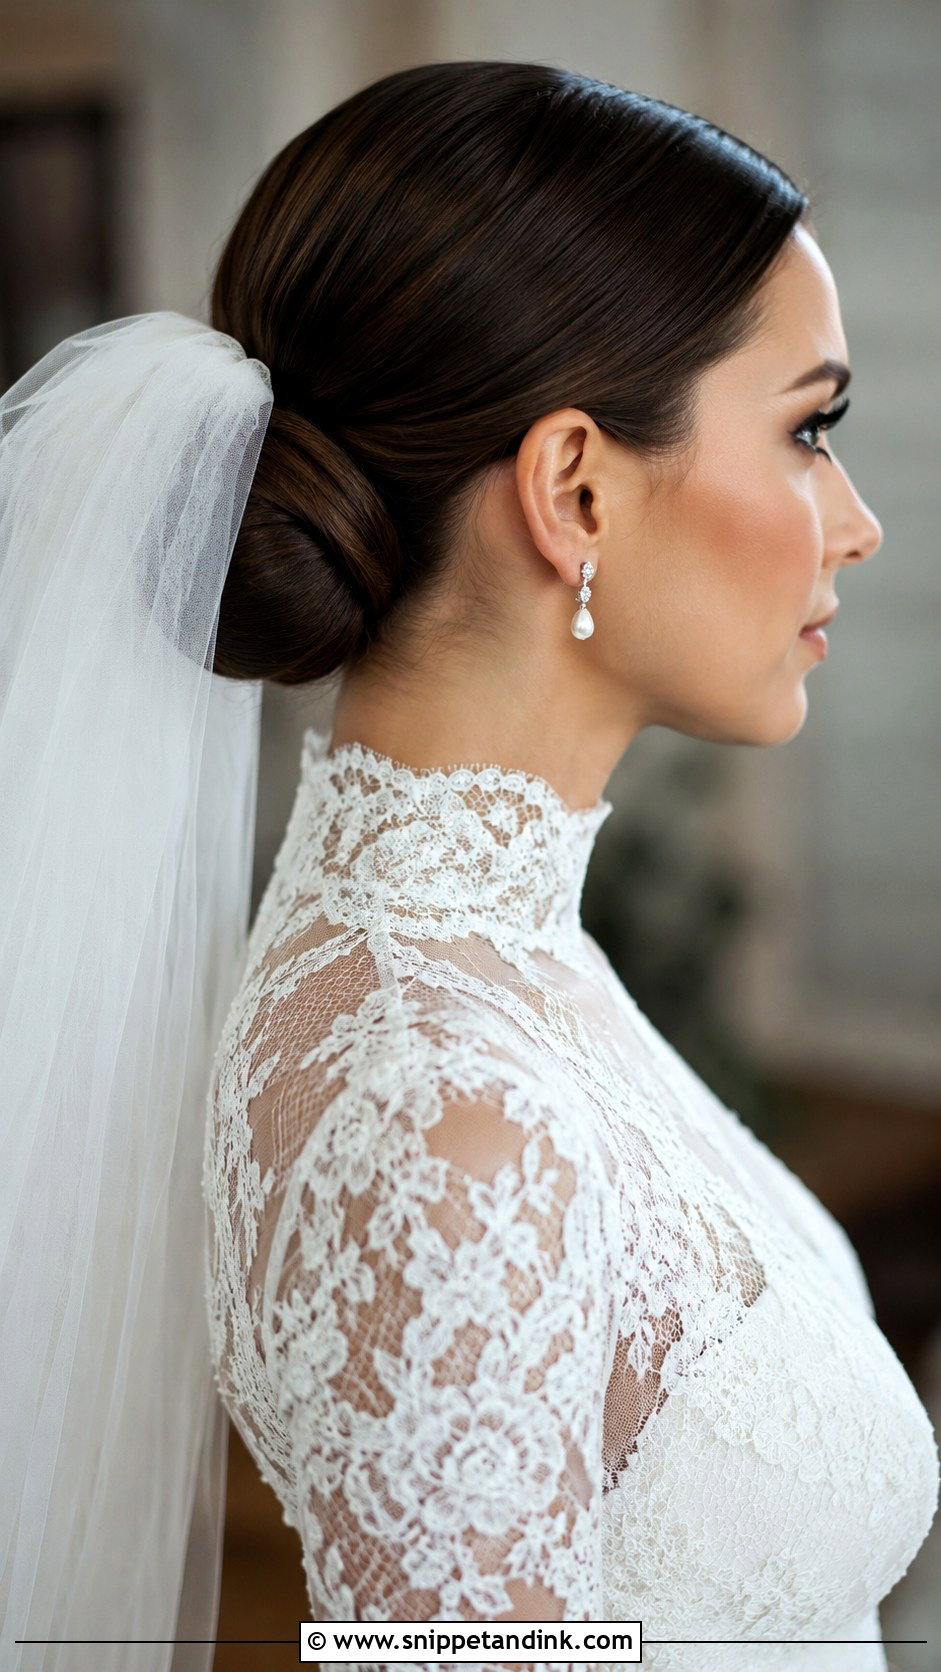
A smooth bun is the most practical base for a veil I know. The comb slides in either above the knot, so the veil frames the bun, or just beneath it, so the bun shows above the fabric. Above gives height in ceremony photos; beneath is easier to remove for the reception. Because nothing is textured, the veil lies flat against the head without catching. Plan where it goes at your trial with the actual veil, not a stand-in.
7. Low Chignon With Loose Tendrils
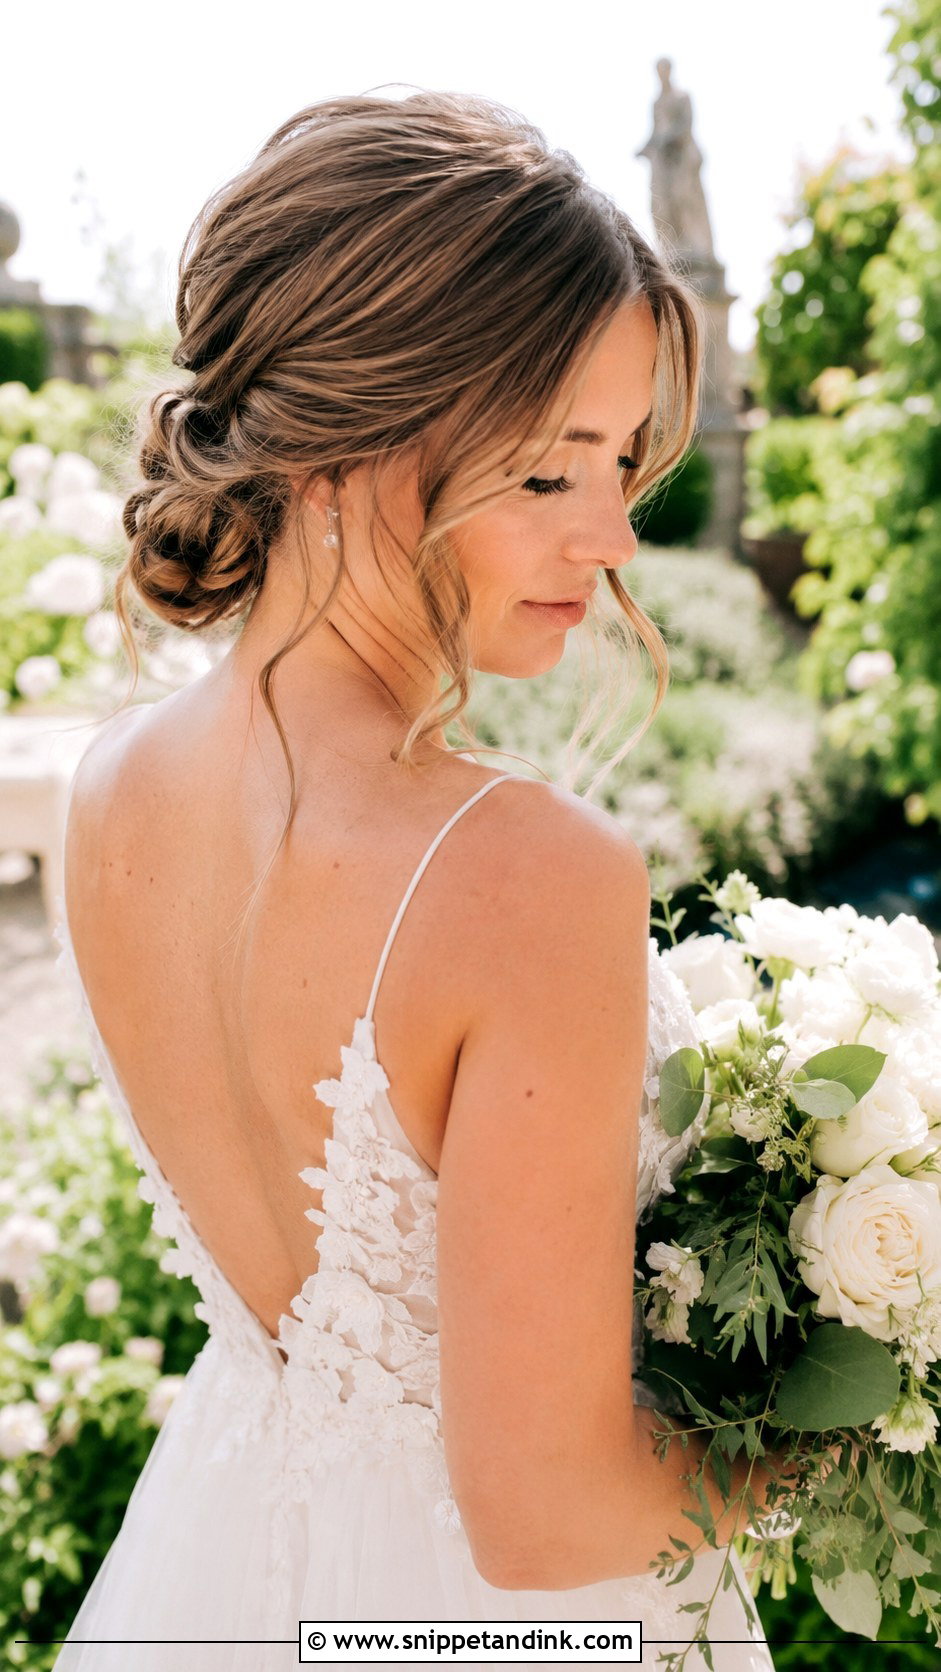
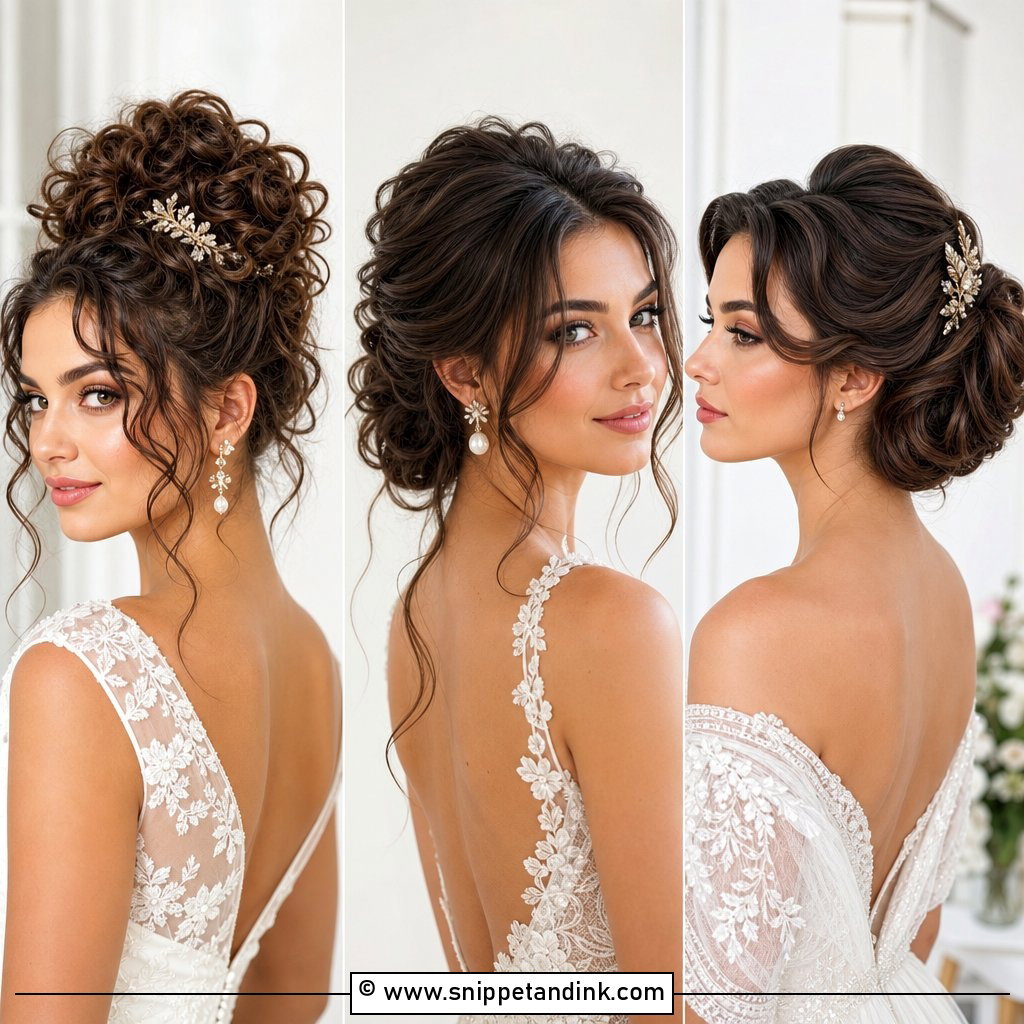
A low chignon with a few loose strands is the softer end of sleek. The trick is choosing the tendrils deliberately: two thin pieces in front of the ears, cut from the hairline, rather than whatever falls out. I give them a loose bend with a small wand, not a ringlet. It suits outdoor and relaxed weddings, and it forgives you if a strand comes loose during the day.
8. Sleek Bun With Pearl Accessories
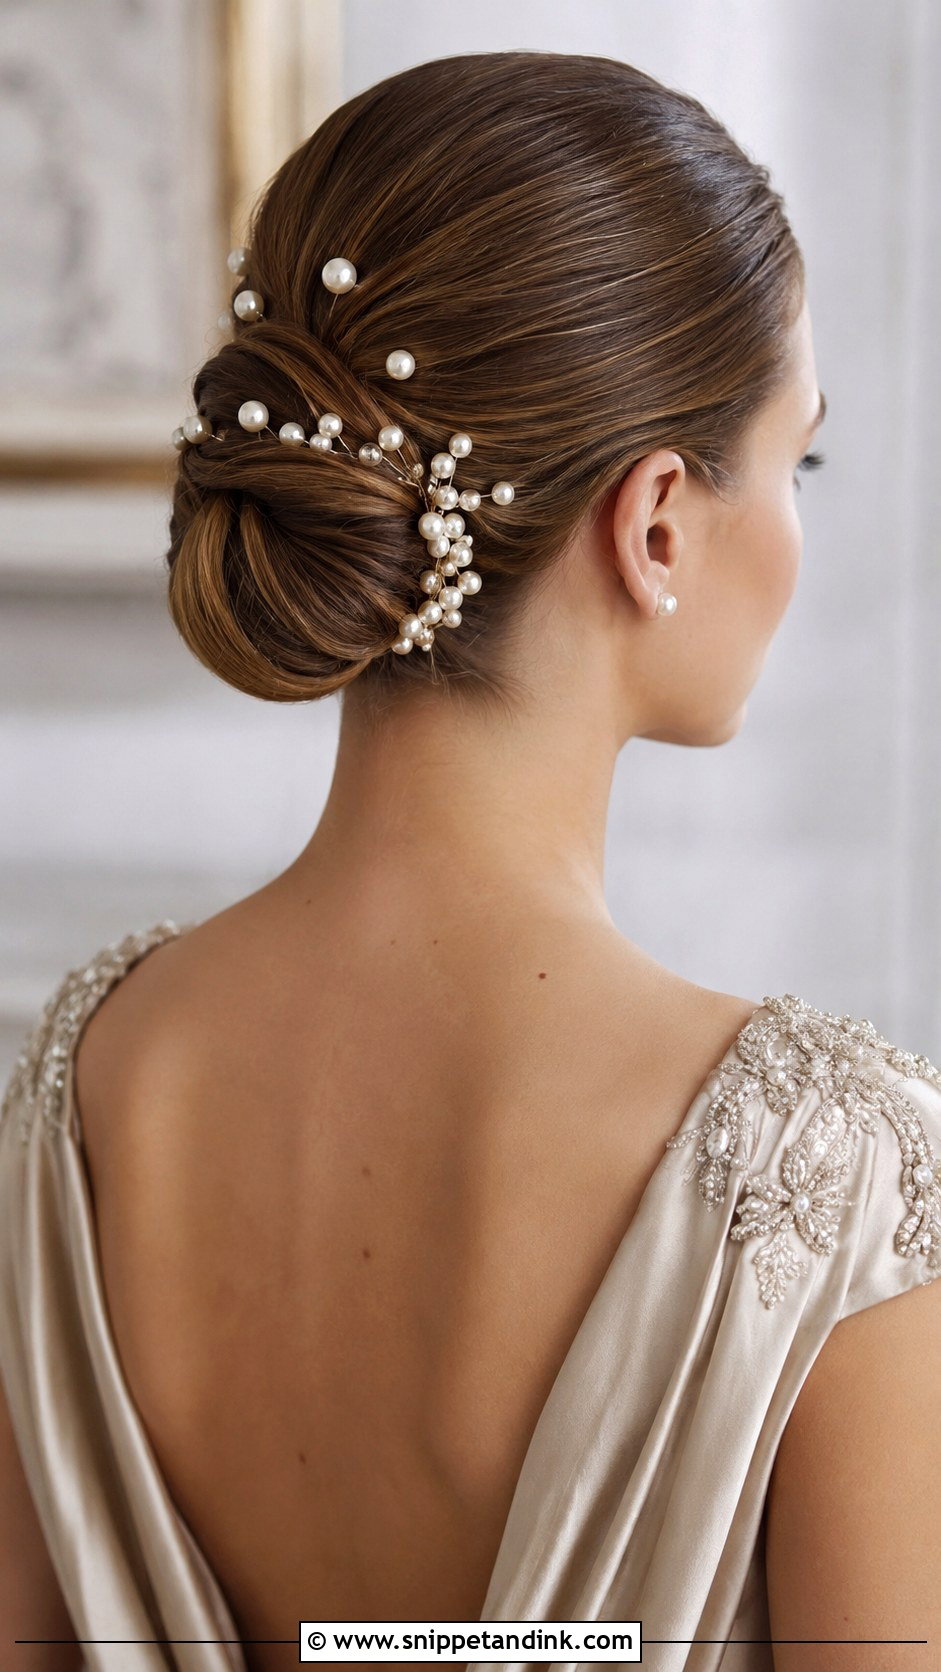
Pearls show up best on a bun with no texture behind them. A few small pearl pins scattered around the knot feel quiet; a pearl comb set at one side looks more vintage. I insert pins at an angle toward the centre of the bun so they grip, rather than straight in, where they slide out as the hair relaxes. Ivory pearls next to an ivory or champagne gown match better than bright white ones.
9. Sleek High Bun With Middle Part
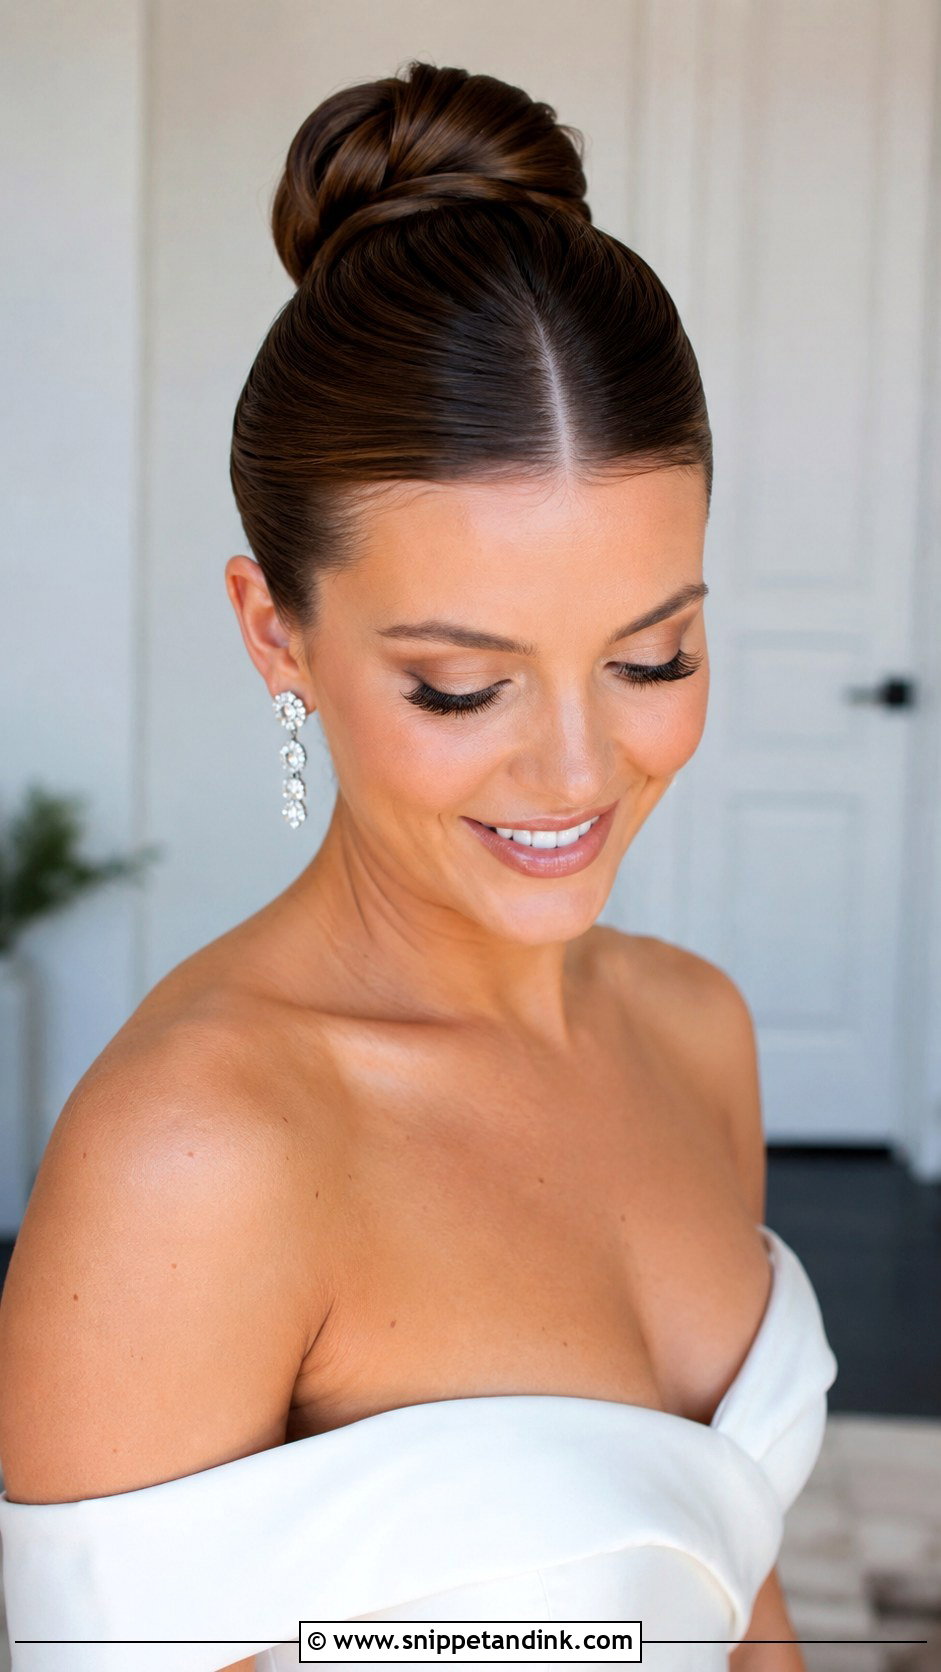
A high bun with a crisp middle part is the most fashion-led look here. It lifts the eye, shows the neck and keeps hair off your shoulders, which is a relief at a summer wedding or on a crowded dance floor. Symmetry is everything: I check the bun is centred from behind and in a mirror from the front, because a high bun that’s slightly off-centre is obvious in photos. Serum and a fine-tooth comb deal with flyaways along the part.
10. Sleek Bun With Floral Pins
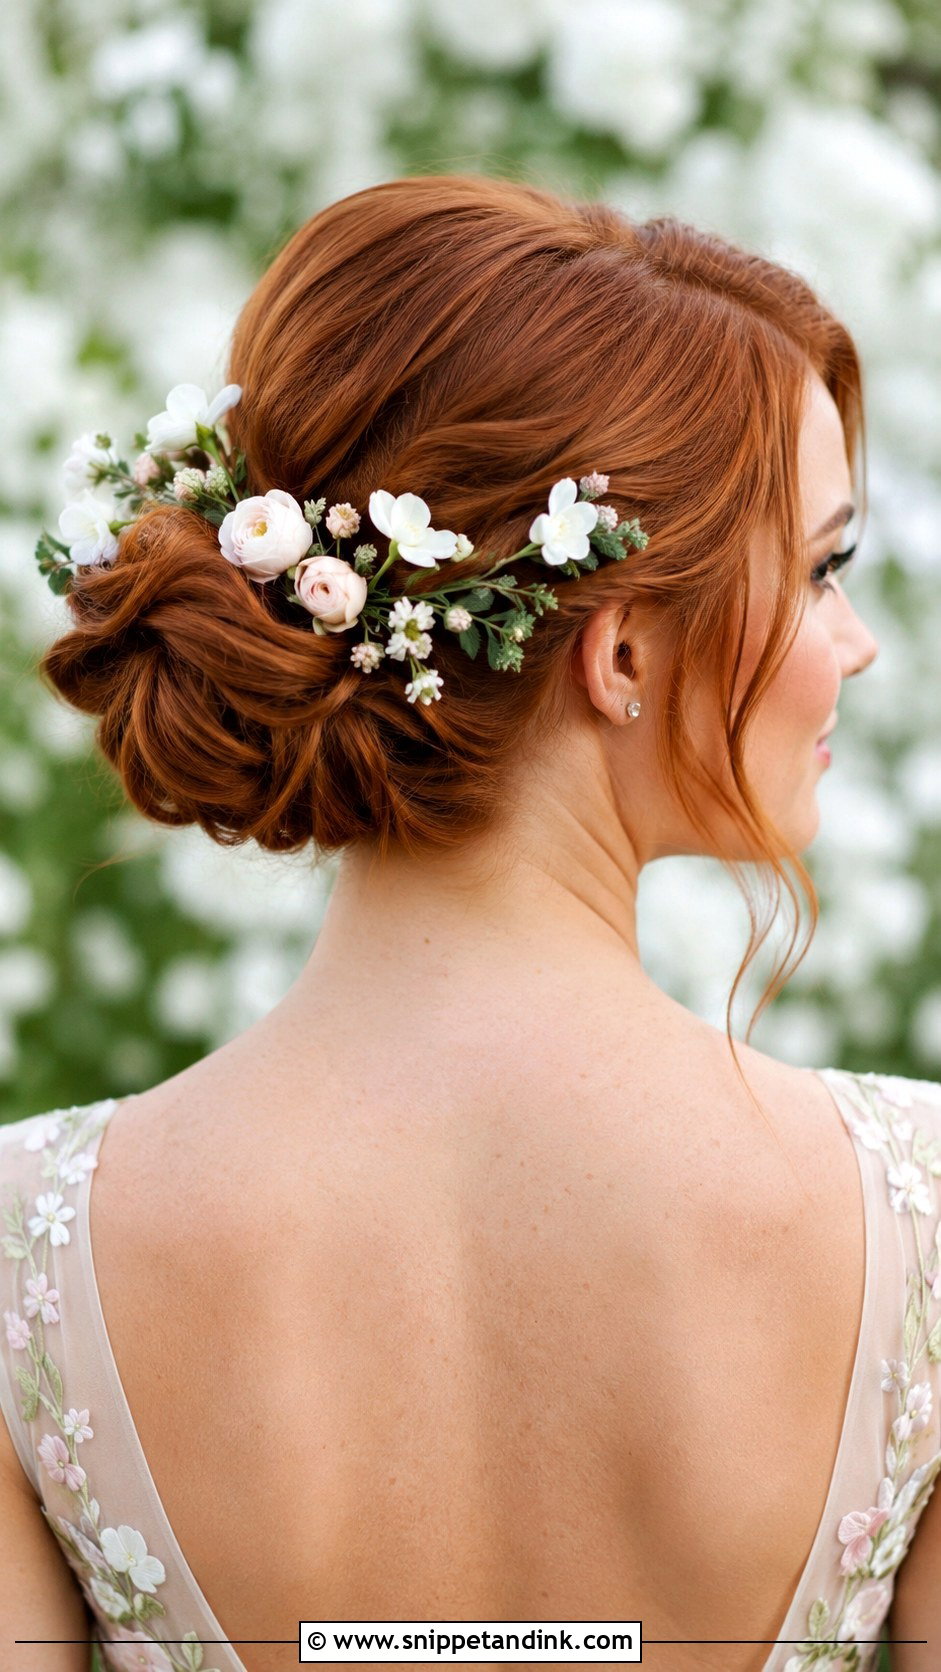
Fresh flowers around a smooth knot bring the bouquet into the hair. Small, sturdy blooms like spray roses, waxflower or wired baby’s breath last longest out of water; delicate petals bruise and droop by the evening. Ask your florist to wire and tape them as pins so I can place them without crushing the bun. Silk flowers are the safer bet for a hot outdoor day.
11. Sleek Bun With Baby Hairs Styled
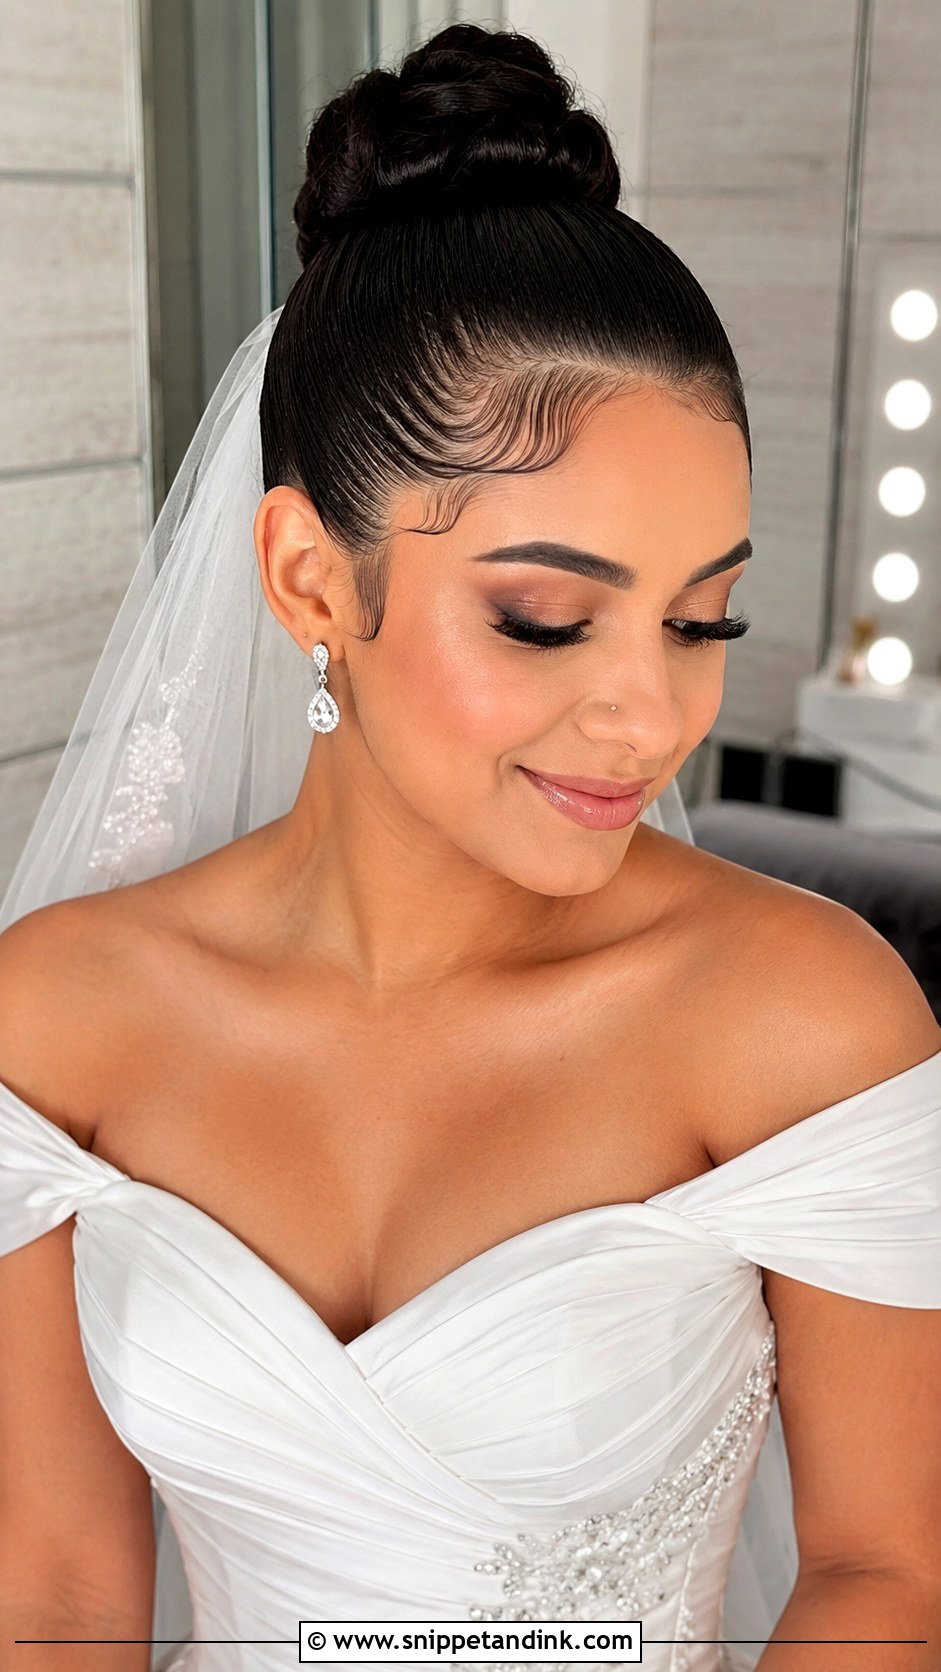
Styled baby hairs add personality around the hairline while the bun stays tight. I lay them with a soft edge brush and a little edge control product, shaping gentle swirls rather than stiff ones. They need to be set last, after makeup, so foundation doesn’t smudge them. This detail suits brides whose natural hairline already has fine edges, and it looks sharp in close-up portraits.
12. Sleek Bun With Headband
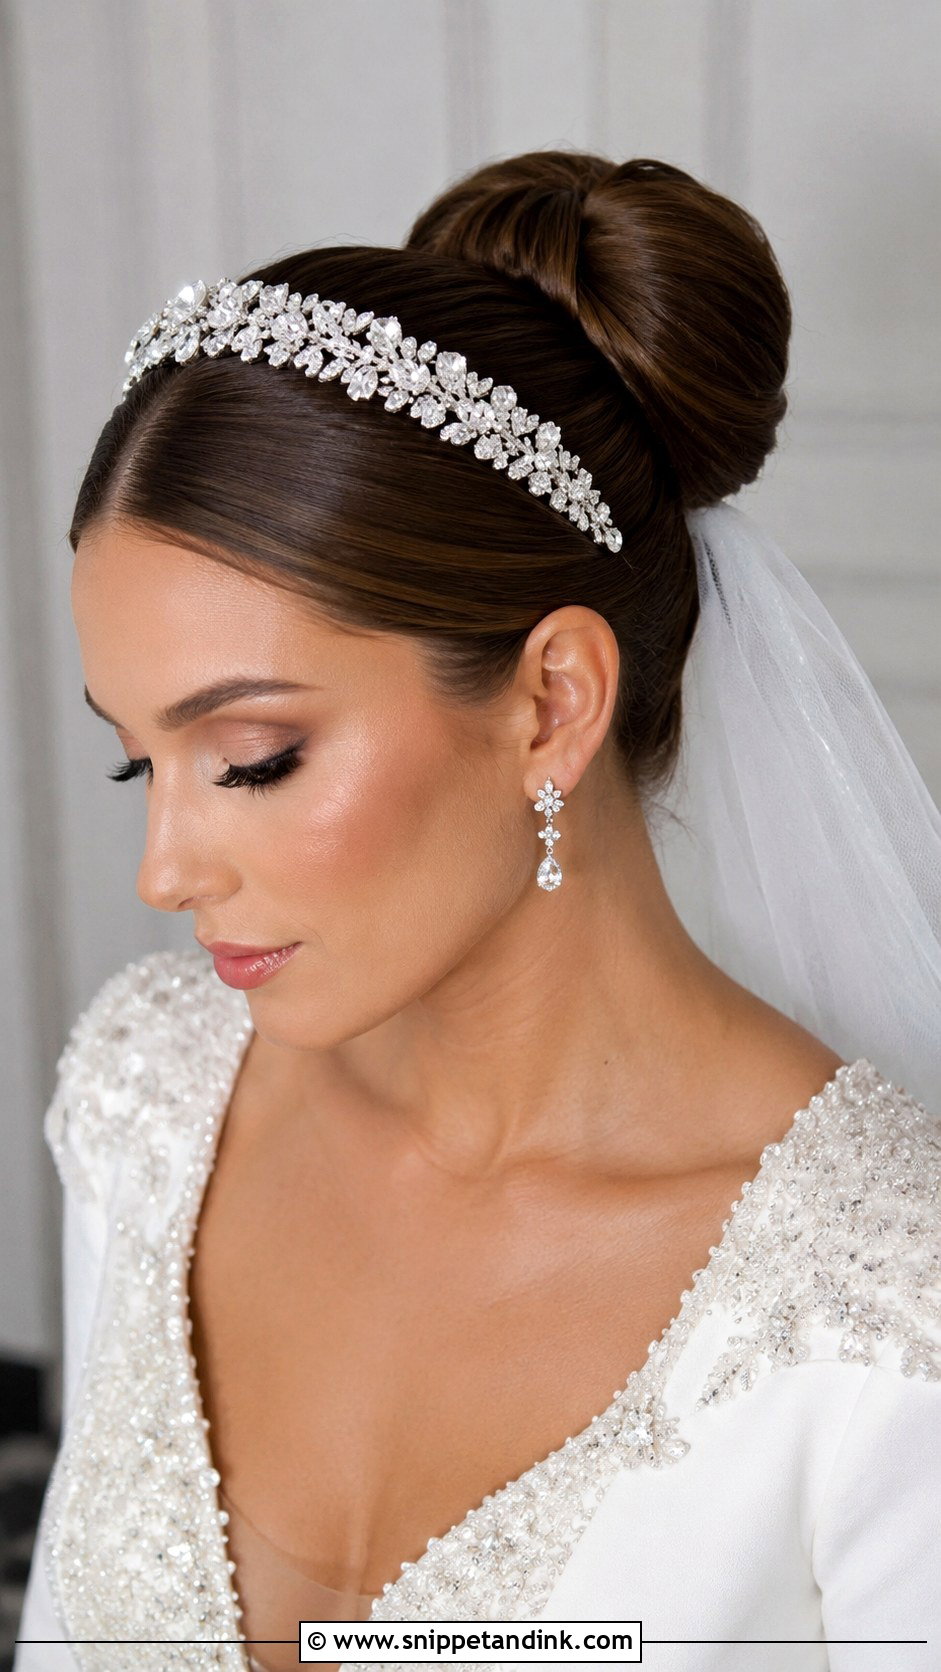
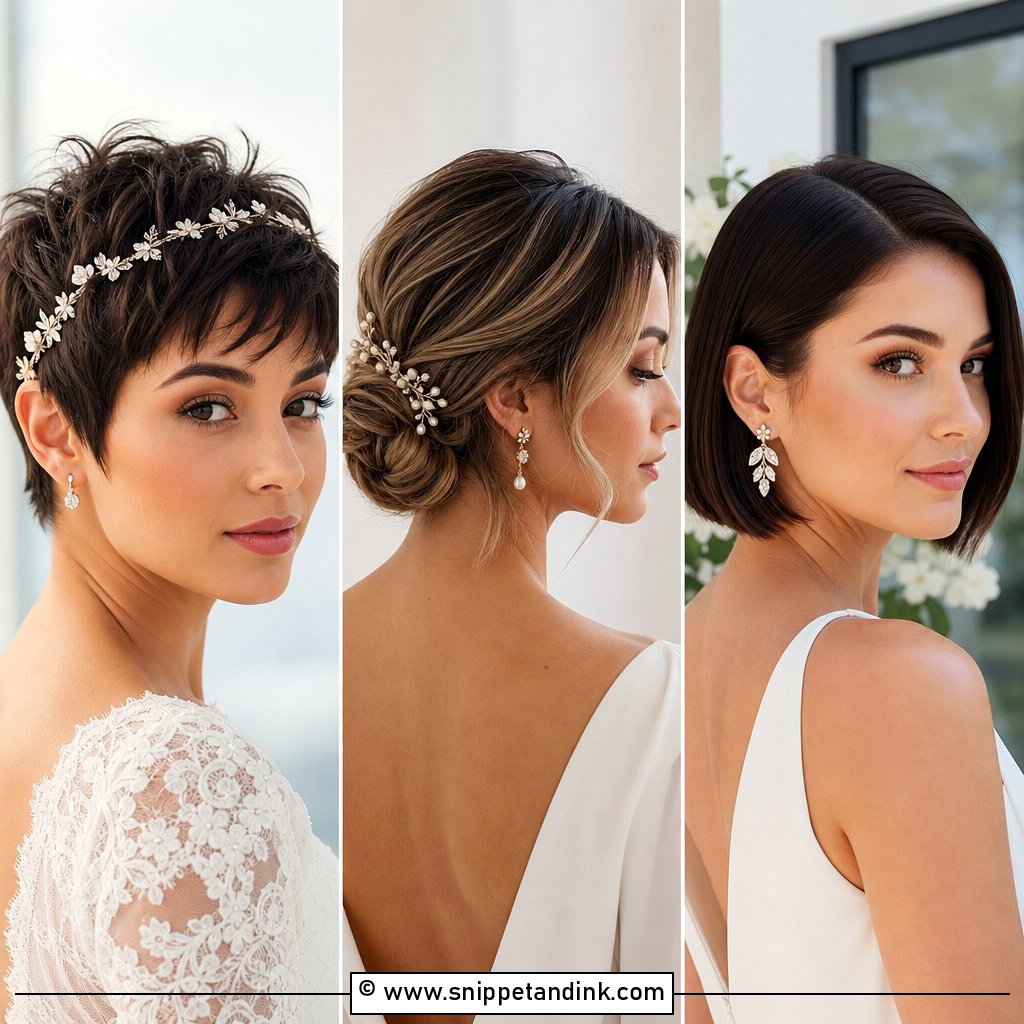
A jewelled headband changes the bun from simple to formal in one move. The band sits a little behind the hairline, and the smooth hair underneath means it doesn’t slip. I set it before the final spray so it’s held in place, and I check behind the ears, since rigid bands can press after a few hours. A structured gown is the best match.
13. Sleek Bun With Deep Side Part
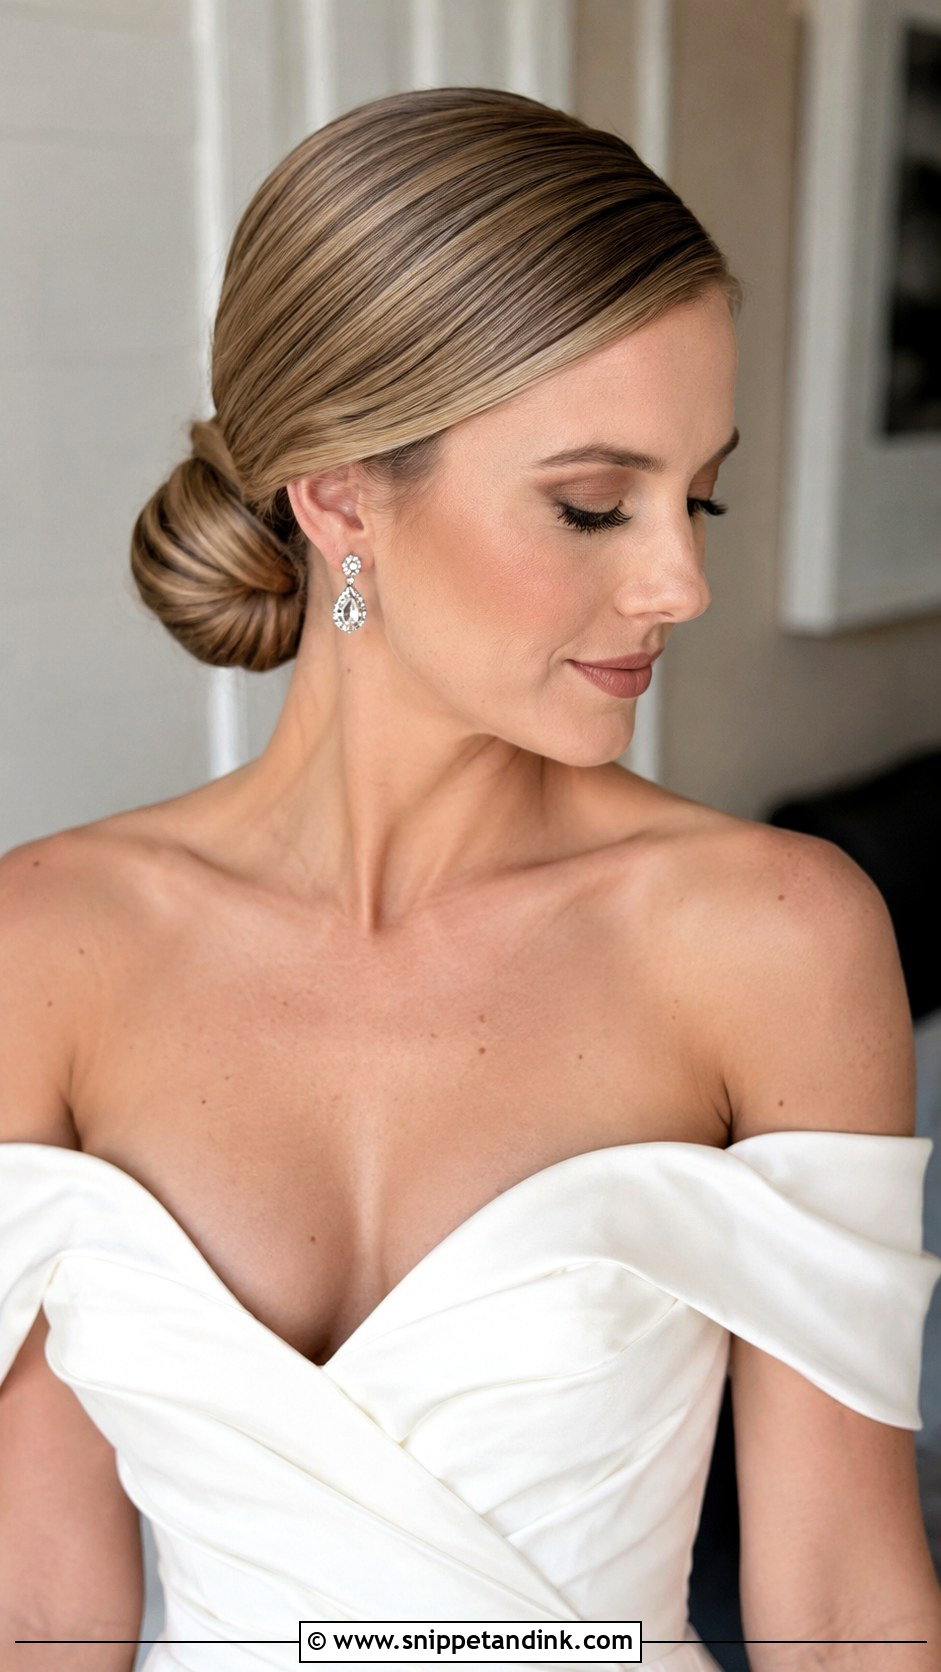
An exaggerated side part, pushed further than you’d normally wear it, gives a bold asymmetry and a nod to old Hollywood. It flatters angular faces because the sweep softens the forehead. The risk is the part line itself; if your hair naturally grows the other way, it will fight back. I blow-dry the roots in the new direction first so the sweep stays. An off-shoulder neckline is the natural partner.
14. Sleek Bun With Hair Vine
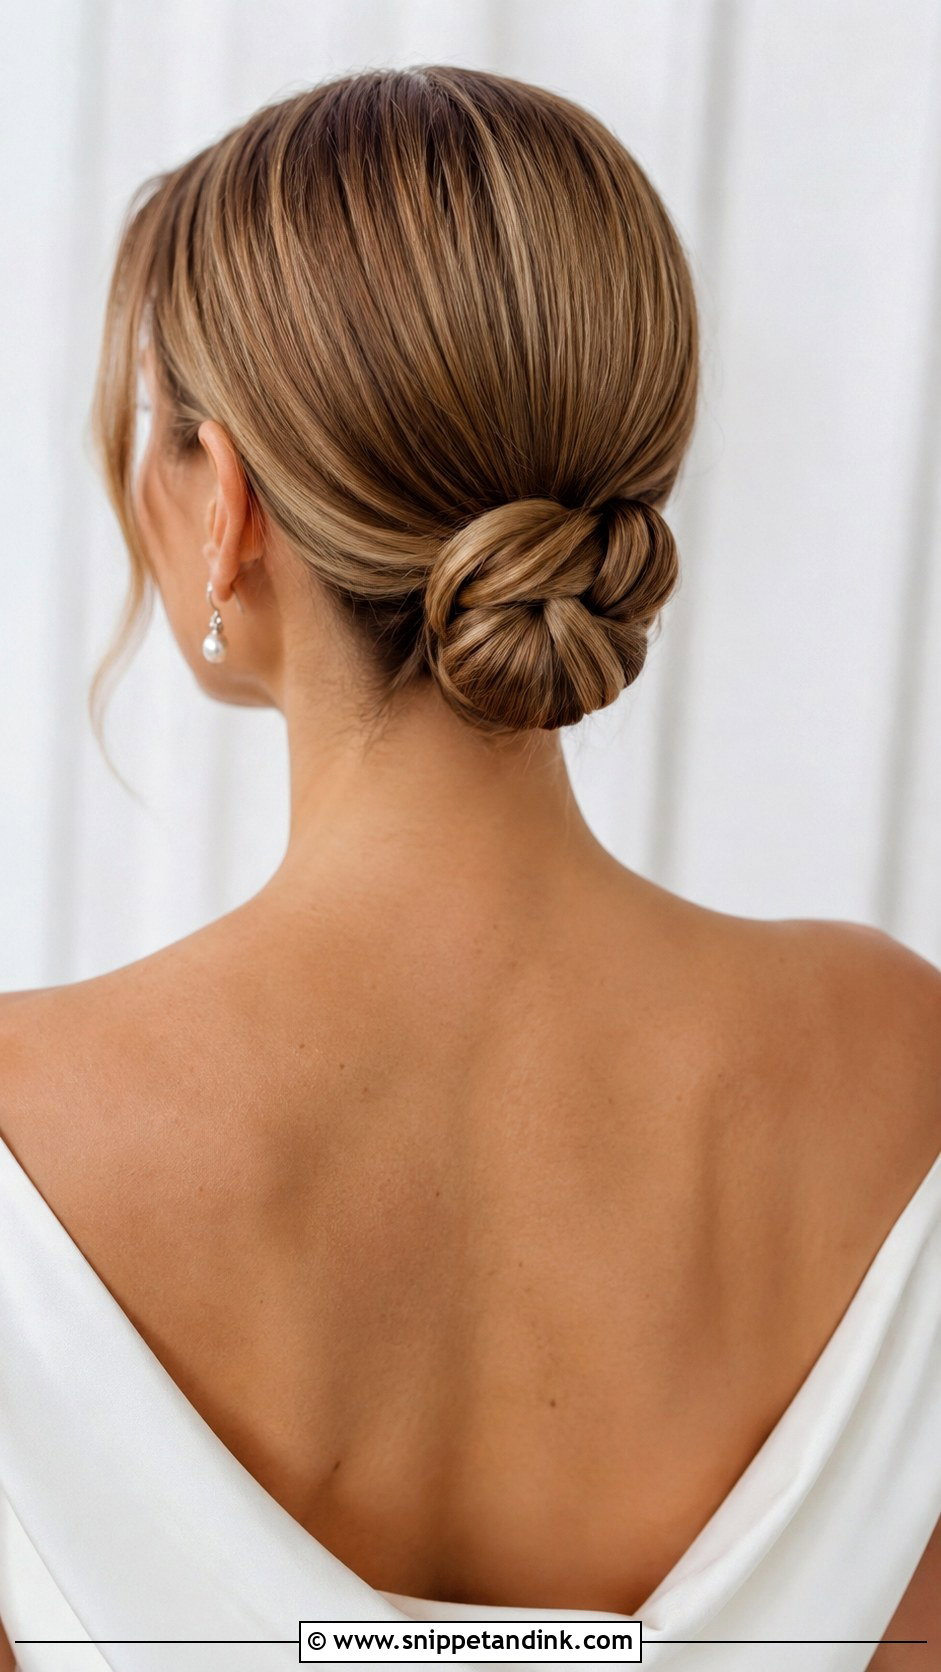
A hair vine is a flexible wire strung with tiny crystals or pearls, which I wrap around the bun or trail along one side. It’s lighter than a comb and adds shimmer from every angle. The wire needs securing every few inches with small pins hidden underneath, otherwise it shifts when you turn your head. It’s a good option if a headband or tiara feels too formal for you.
15. Sleek Bun With Wispy Bangs
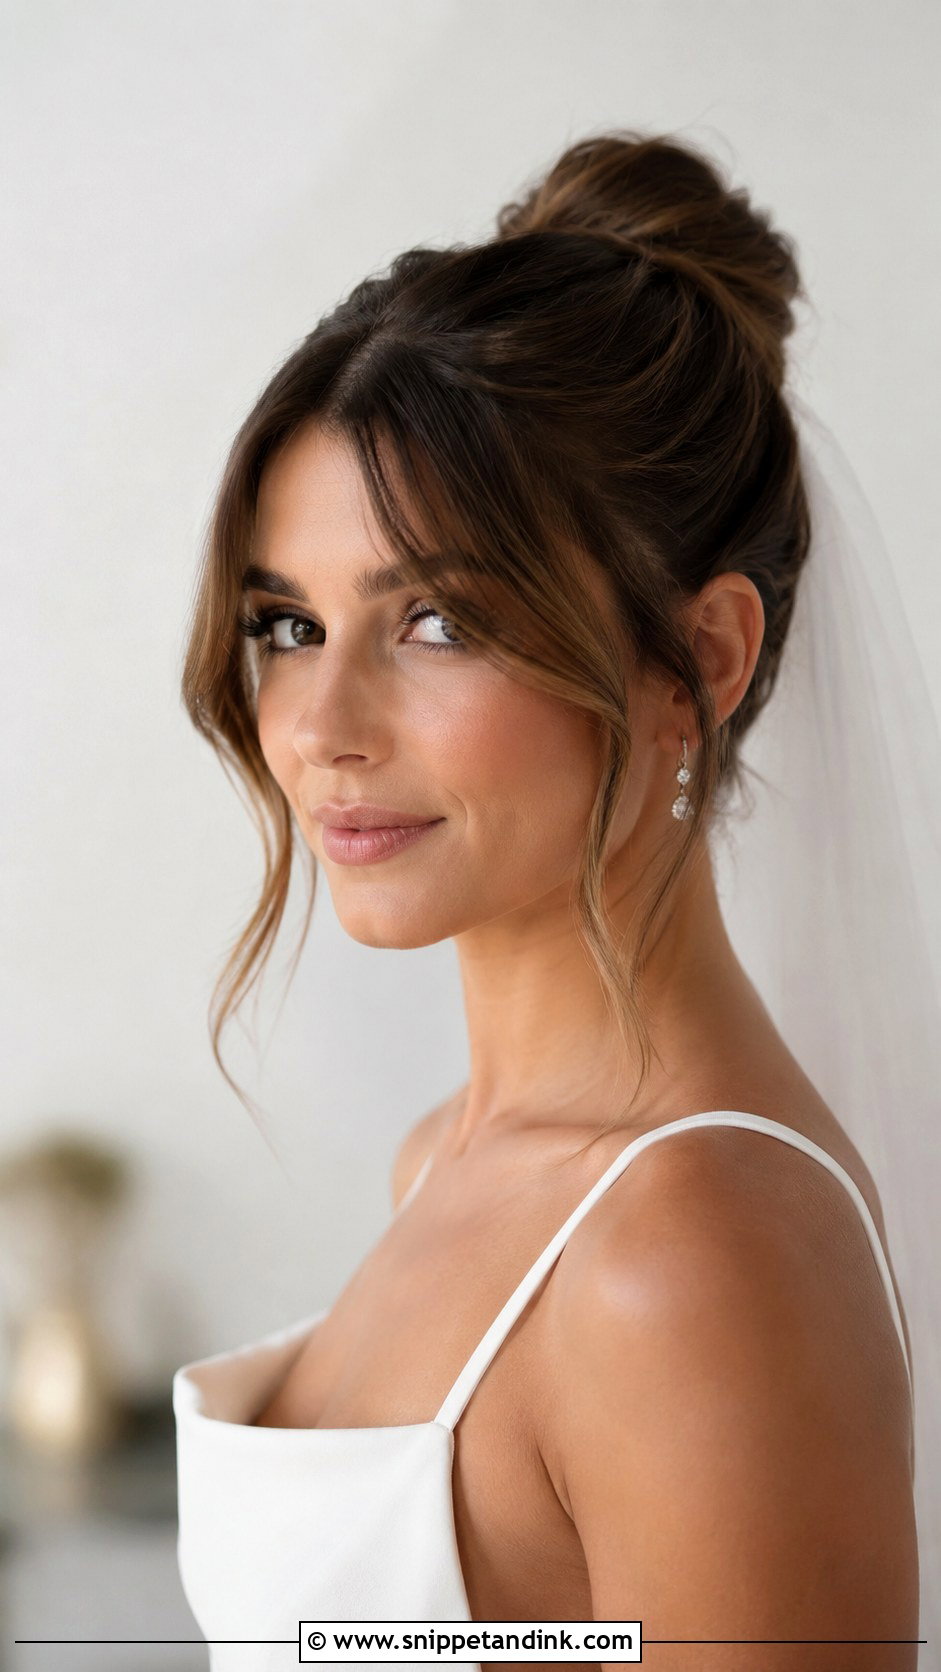
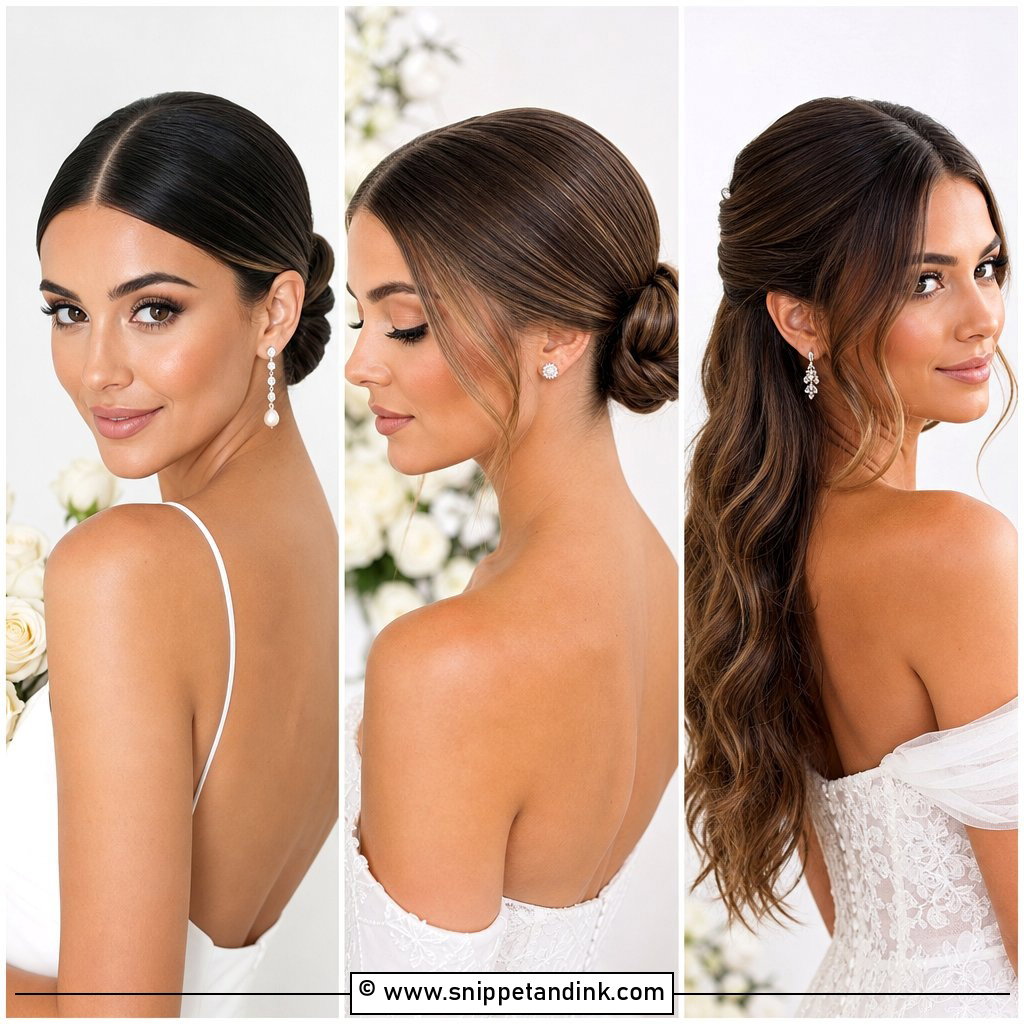
Wispy curtain bangs soften a sleek bun and draw attention to the eyes. They work best for brides who already have a fringe; growing one out for a wedding rarely lands at the right length in time. I style them with a small round brush so they split softly at the centre. Bangs and a polished bun together give a relaxed feel without the bun losing its structure.
16. Sleek Bun With Gold Accessories
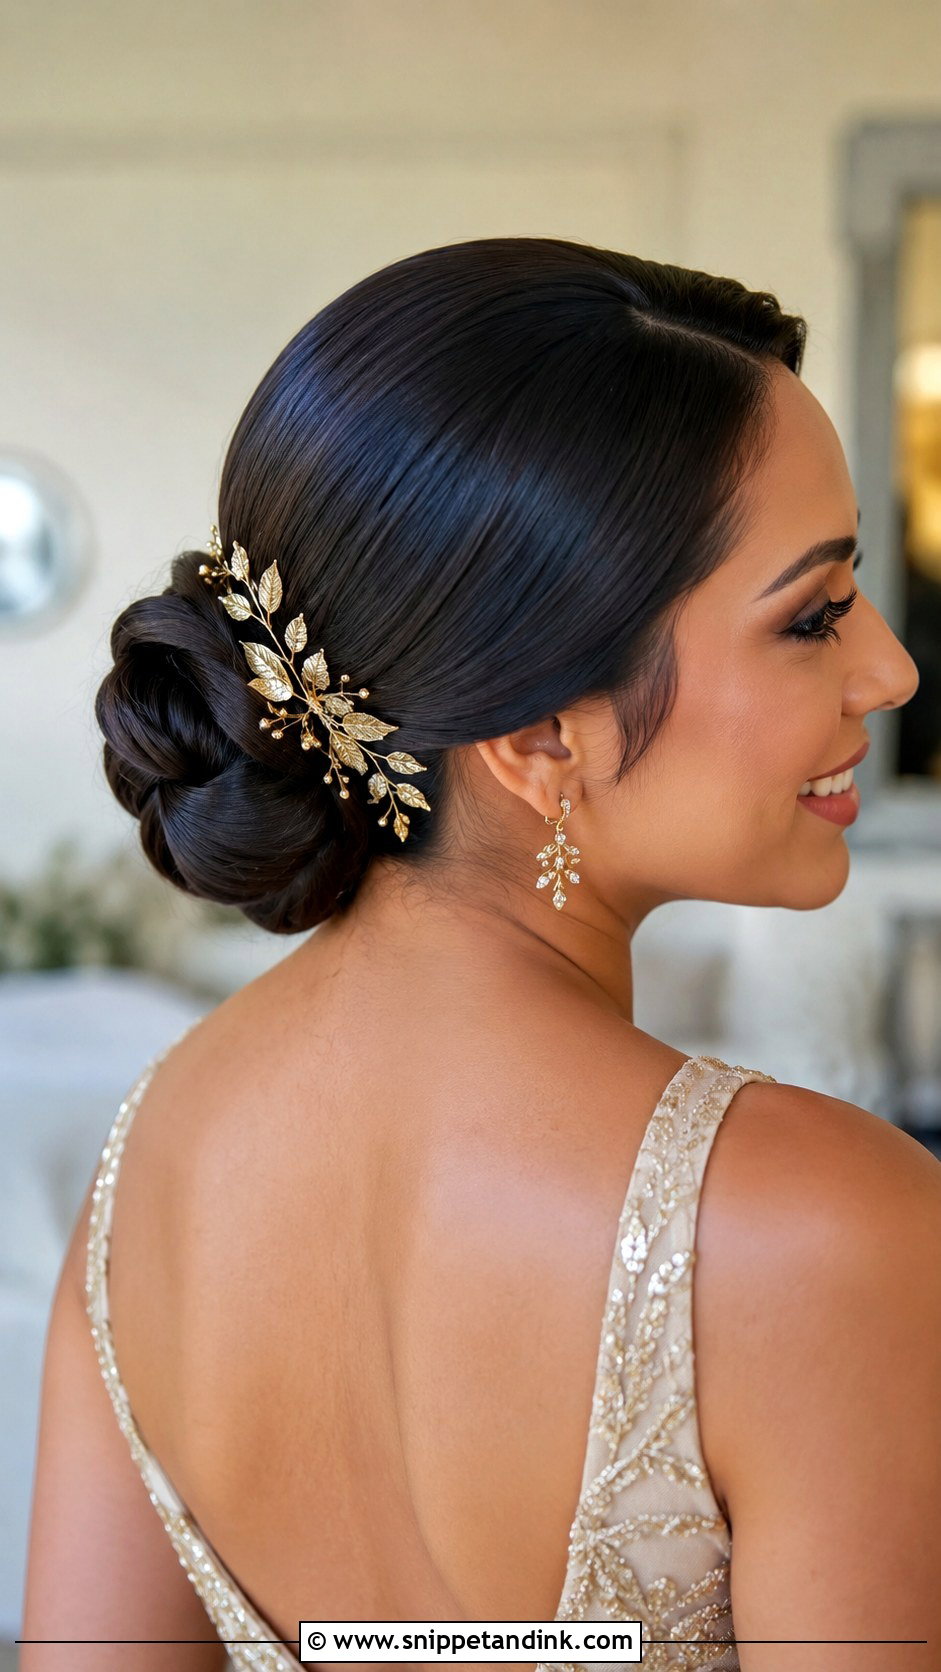
Gold pins, combs or small leaf-shaped pieces tucked into the knot add warmth. Gold flatters warm skin tones and sits well against champagne-colored gowns. One statement piece is usually enough; layering several works only if they’re from the same finish, since mixing yellow and rose gold looks accidental. Check the pieces against your earrings and ring before the day.
17. Sleek Bun With Bouffant Crown
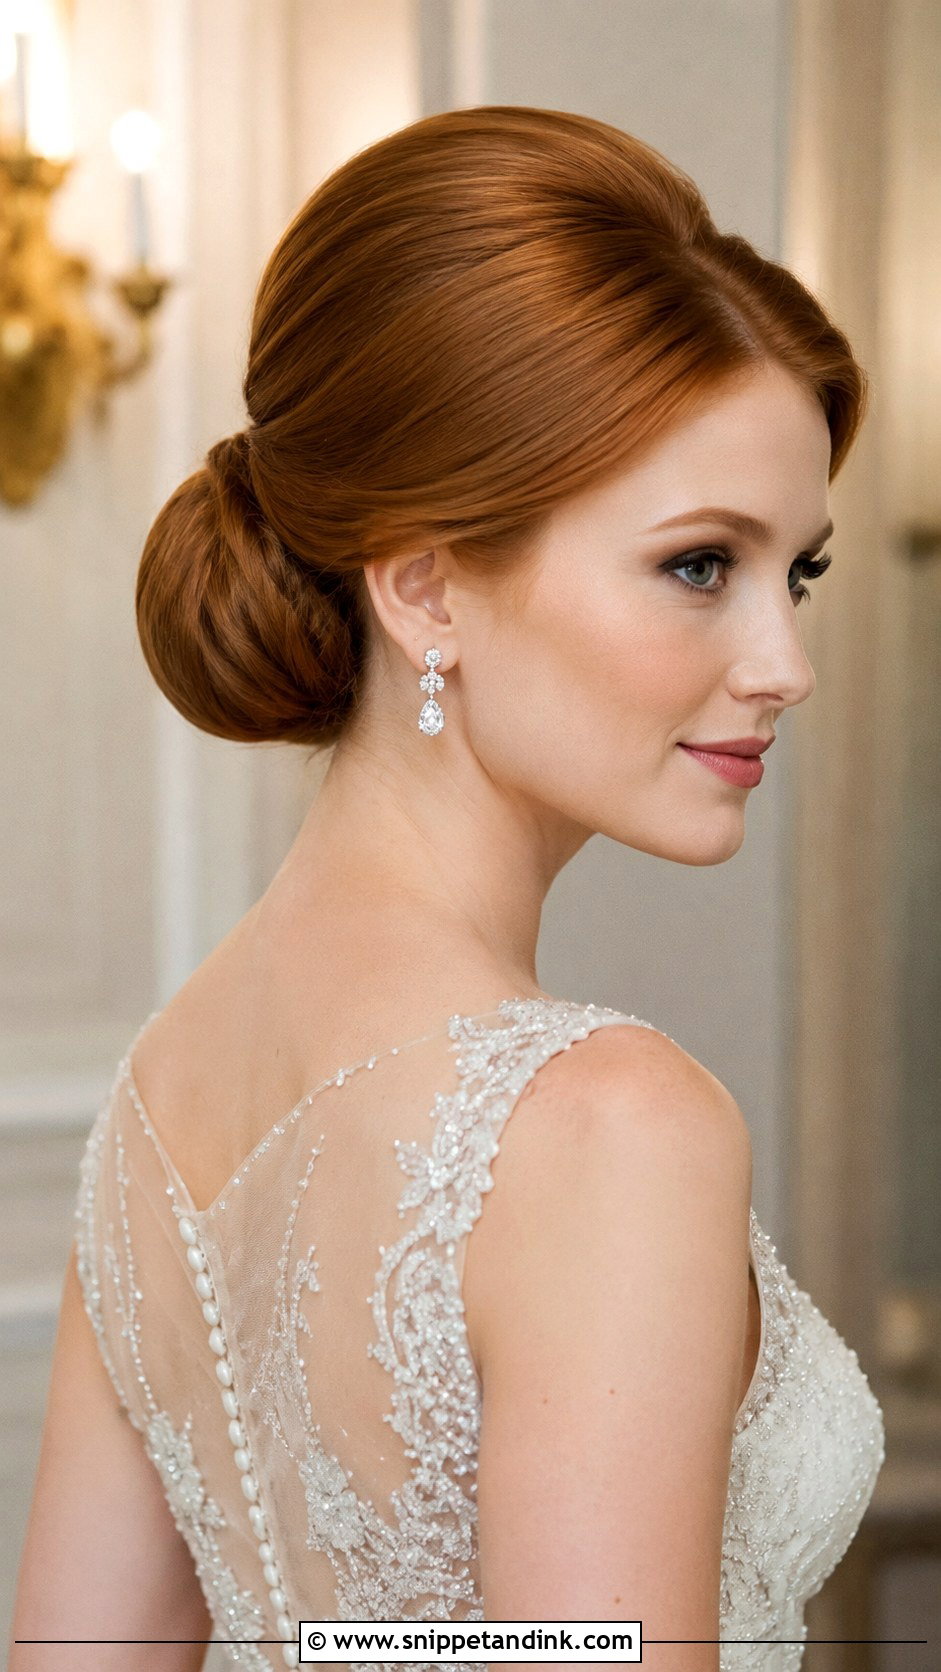
A gentle bouffant at the crown with a sleek low bun behind it adds height and a vintage line. The volume comes from backcombing at the root, then smoothing a top layer over it, so the surface stays polished. It lengthens round faces. Go easy on the height, though. A crown that’s too tall can look dated, and it changes where a veil comb can sit.
18. Sleek Knotted Bun
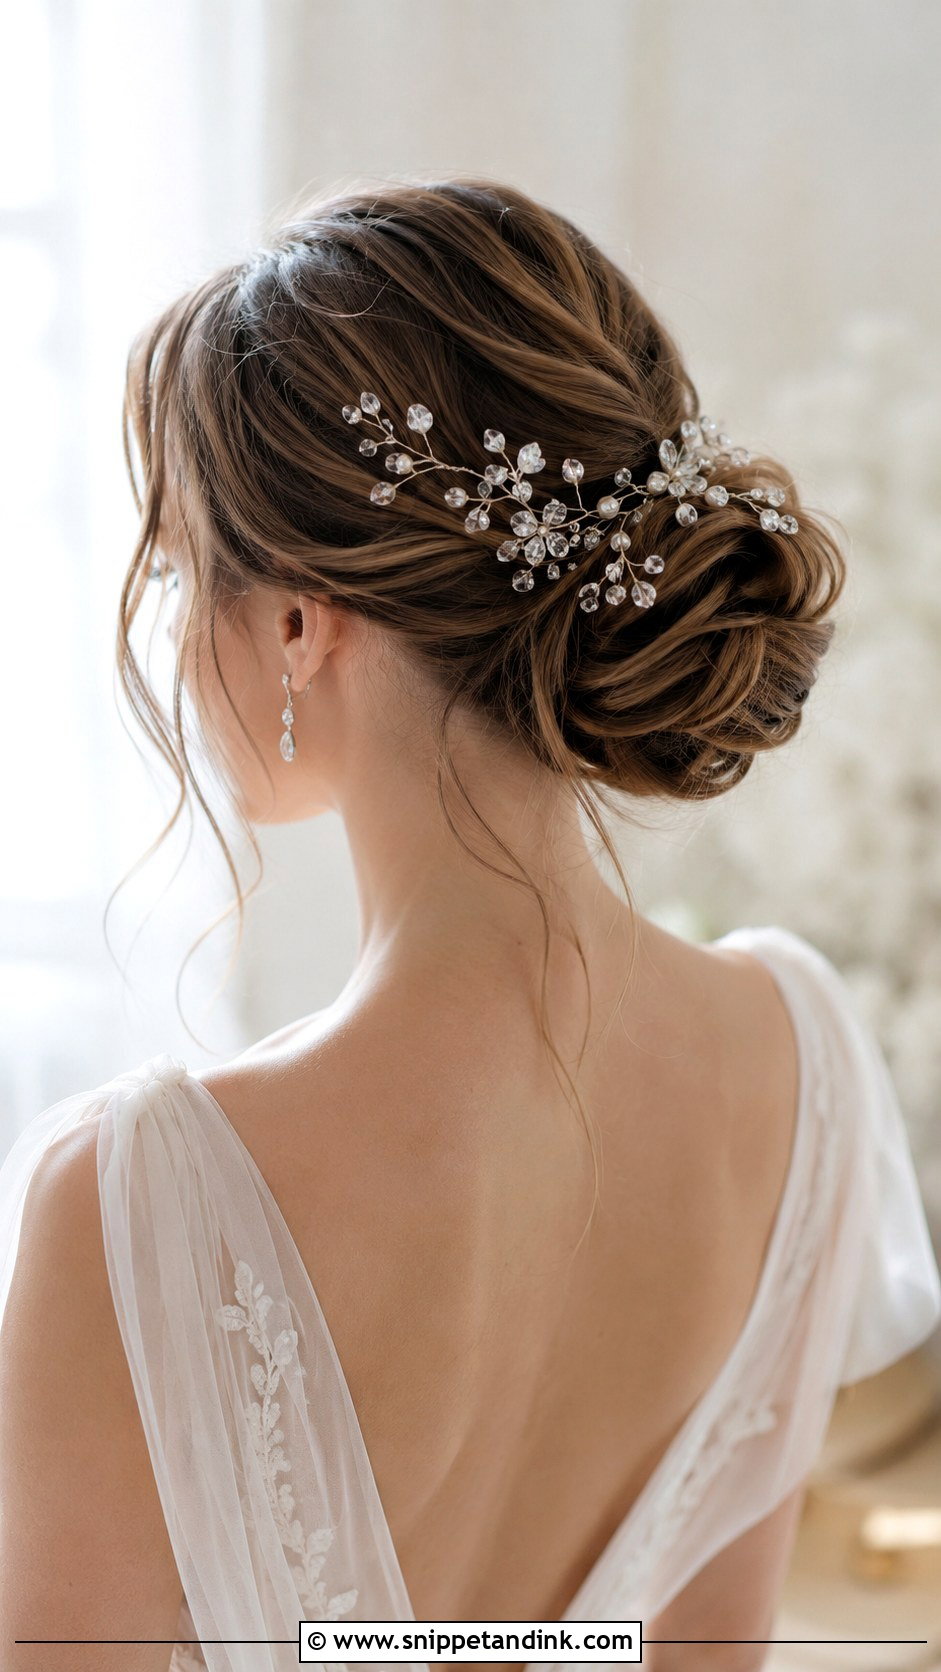
The knotted bun is made by tying two sections of hair over each other before wrapping them into the bun, which leaves a sculptural loop at the back. It needs reasonable length, roughly past the shoulders, or the knot looks stunted. I add a few pins underneath the knot itself, because the tension of the tie wants to pull it loose. It suits minimalist gowns and modern venues.
19. Sleek Bun With Cathedral Veil
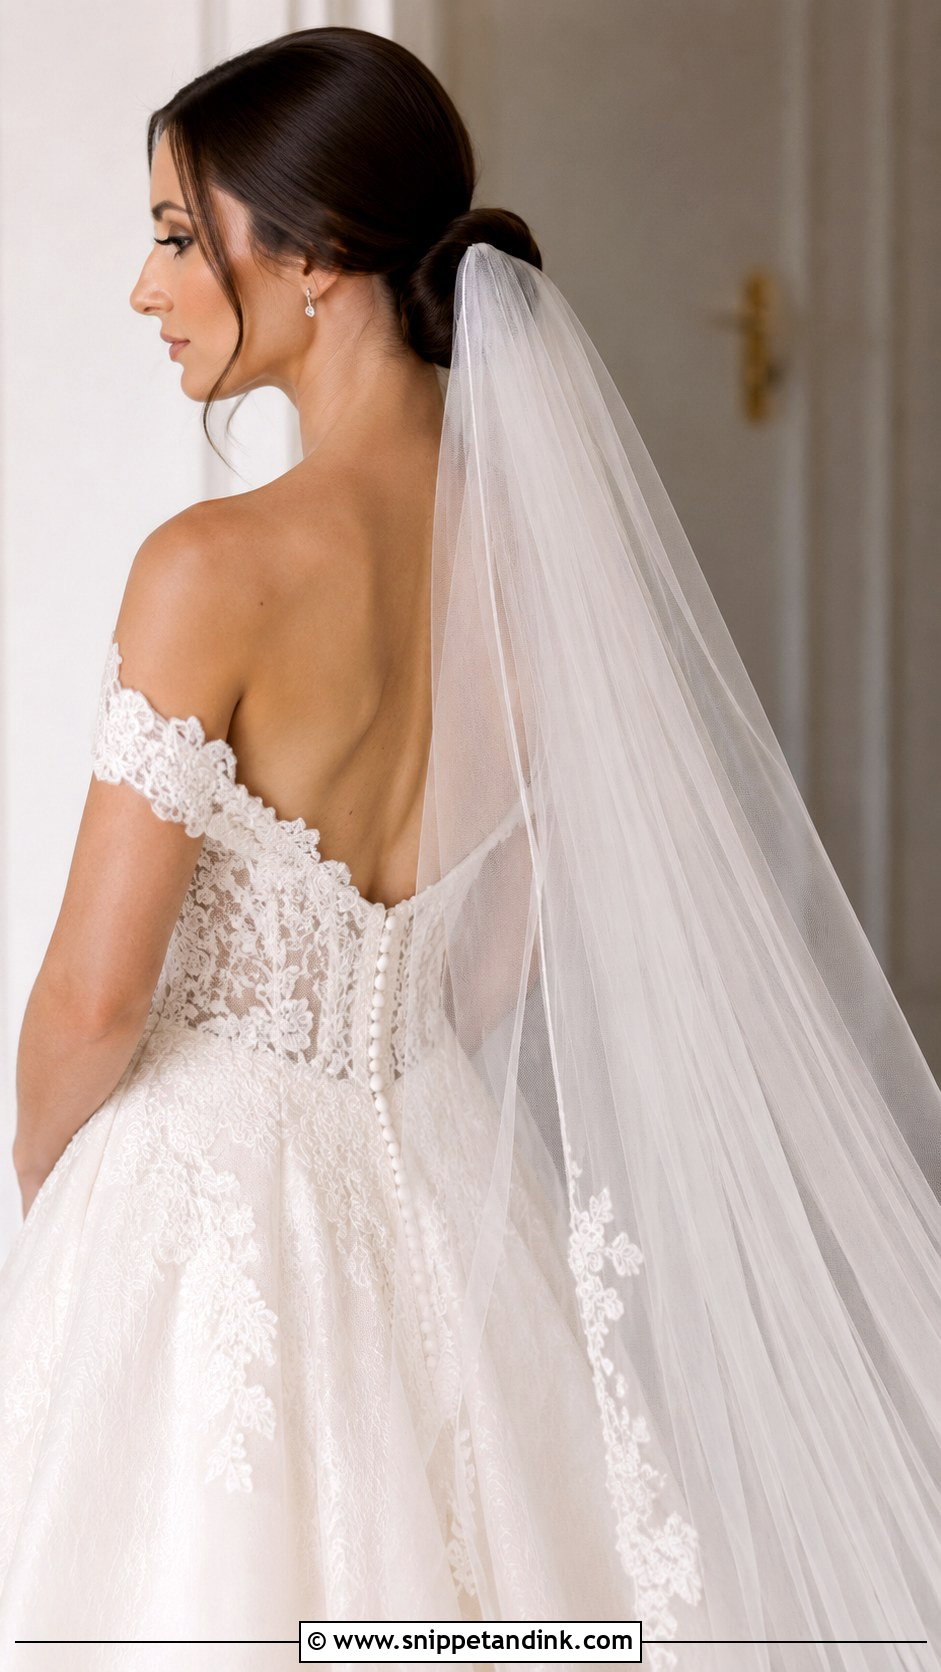
A cathedral veil is long and heavy, so the bun has to work as an anchor. I build it lower and tighter than usual and cross-pin the base before the comb goes in. A sleek finish lets the veil drop cleanly down the back for the processional. Wear the veil for at least twenty minutes at your trial to feel the pull on your scalp, since that’s what you’ll feel at the altar.
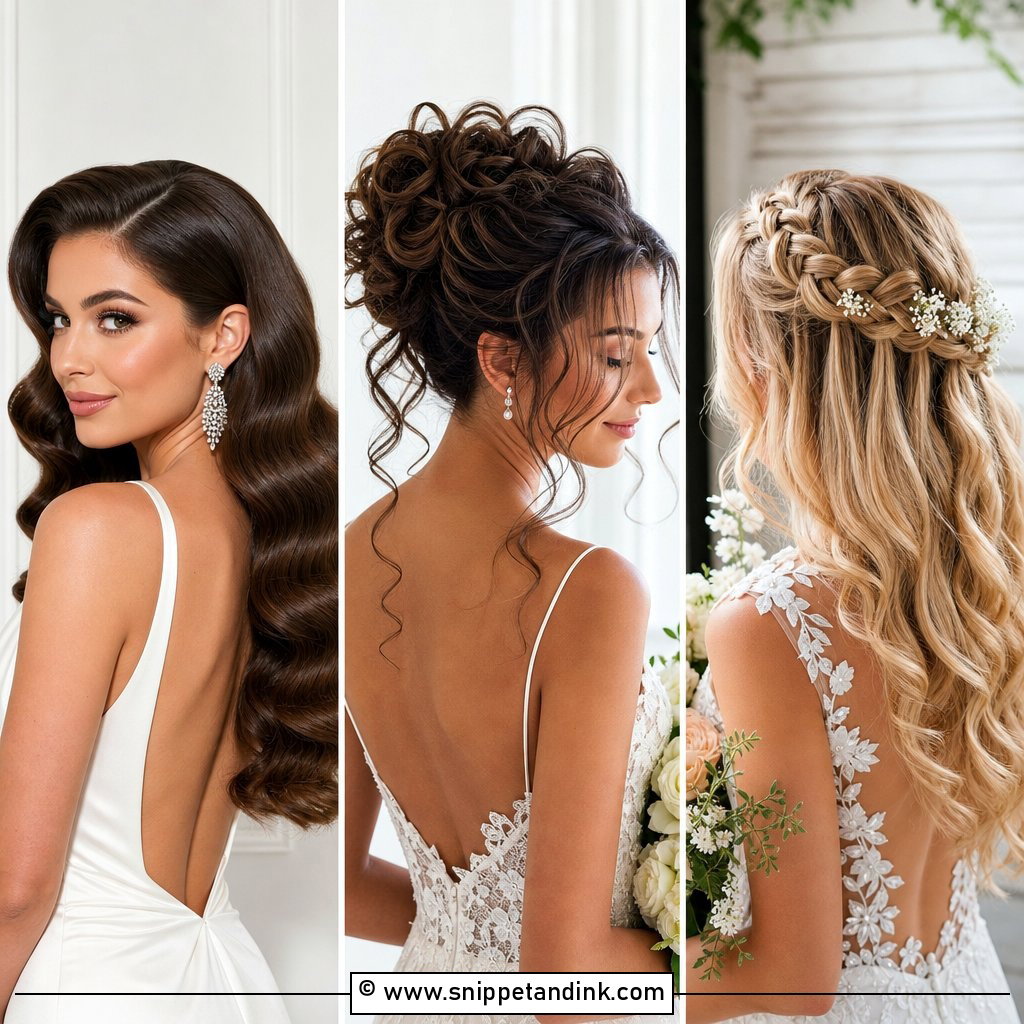
20. Sleek Bun With Loose Curls Around Face
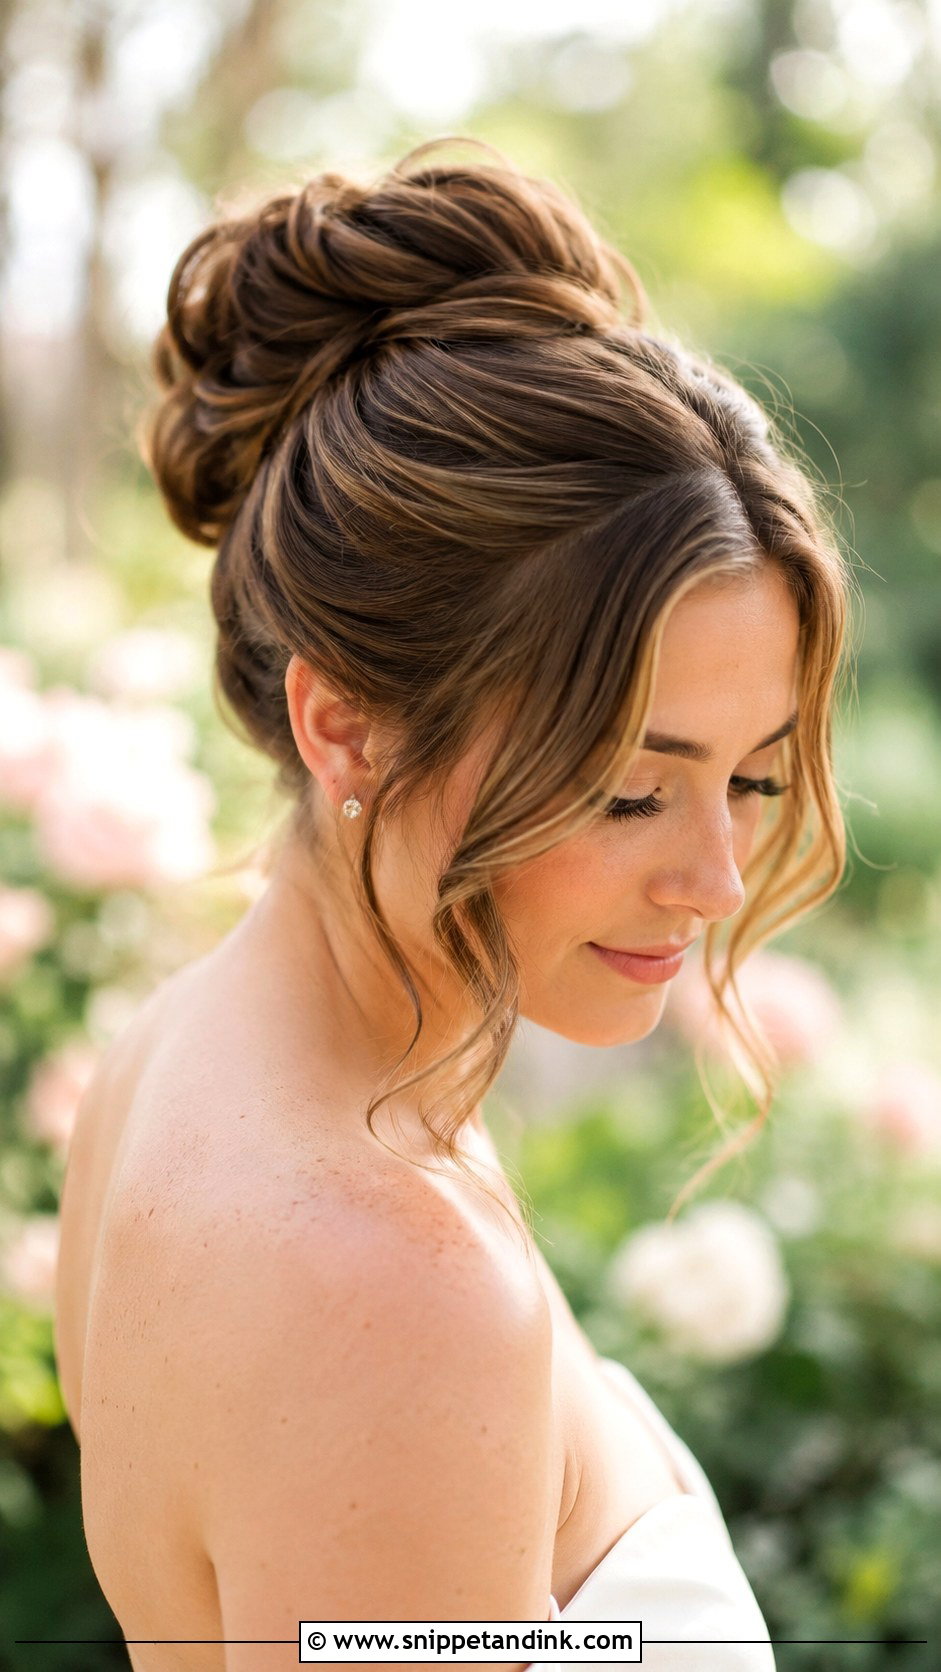
Curled pieces around the face warm up a sleek bun and make it look less strict. I use a medium wand and leave the curls loose, then brush them out slightly so they read as waves. Fine hair drops these curls quickly, especially outdoors, so I set them with a little mousse before curling. This version suits garden settings and outdoor ceremonies.
21. Sleek Double Bun
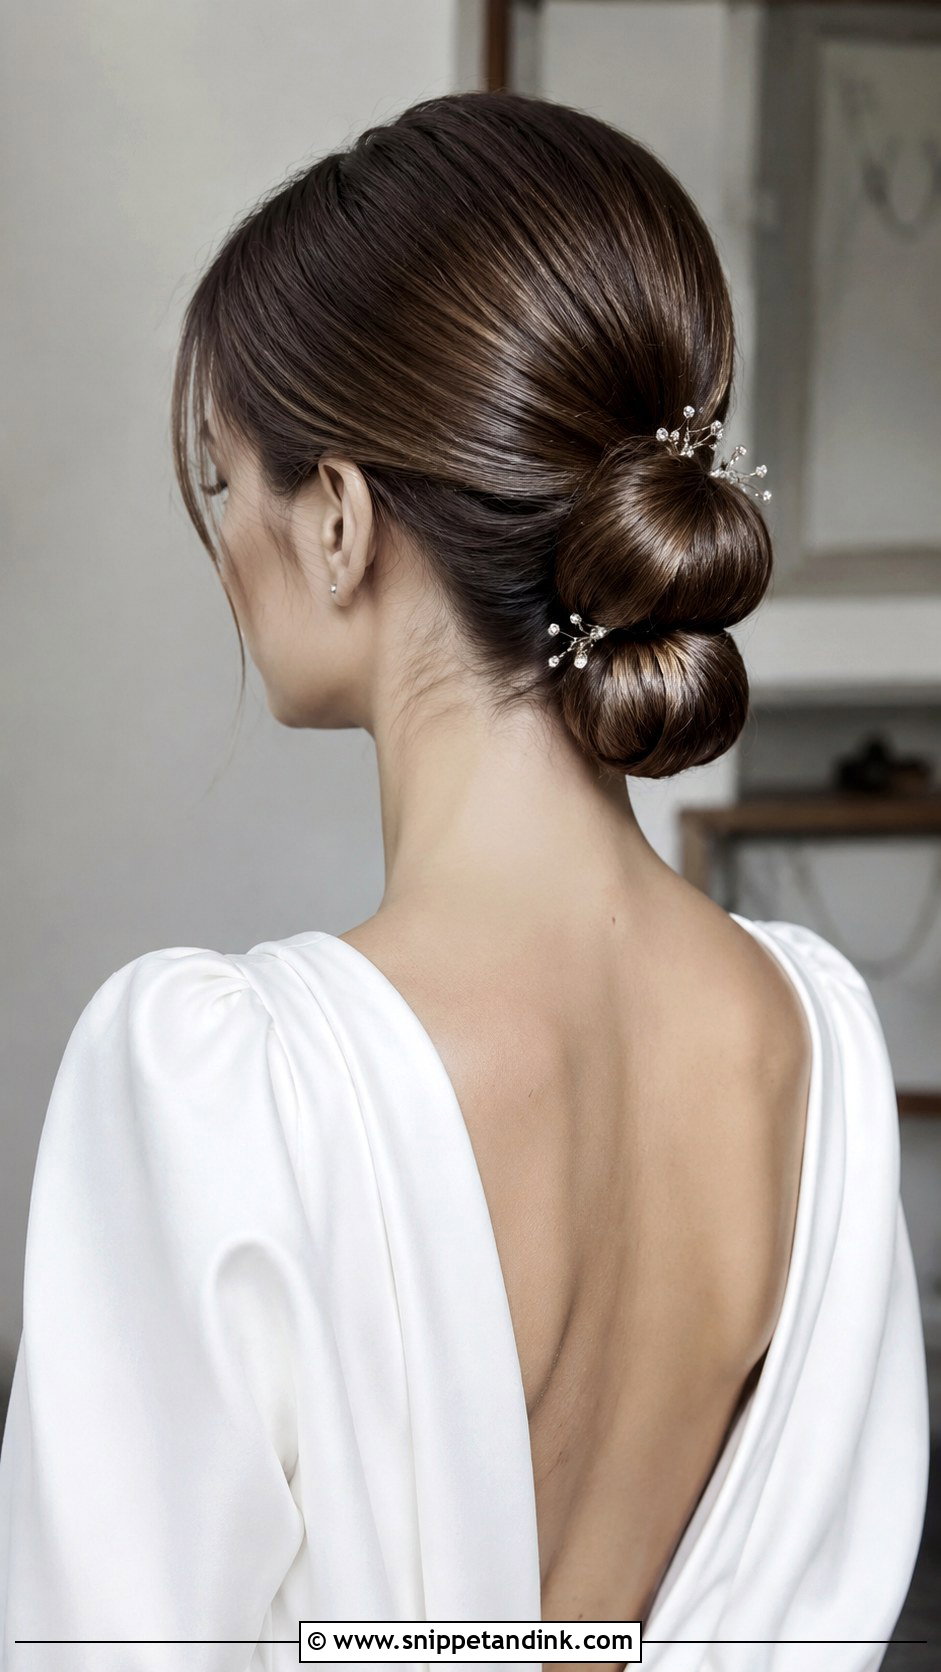
Two smaller buns stacked at the nape, or set side by side, give a fuller and more sculptural shape than one. I split the hair horizontally, secure each section with its own elastic, and wrap them close together so they read as a pair rather than two separate styles. It’s a good choice if you have a lot of hair and one bun would be too heavy. Small pins in the gap between them hold the shape.
22. Sleek Bun With Crystal Comb
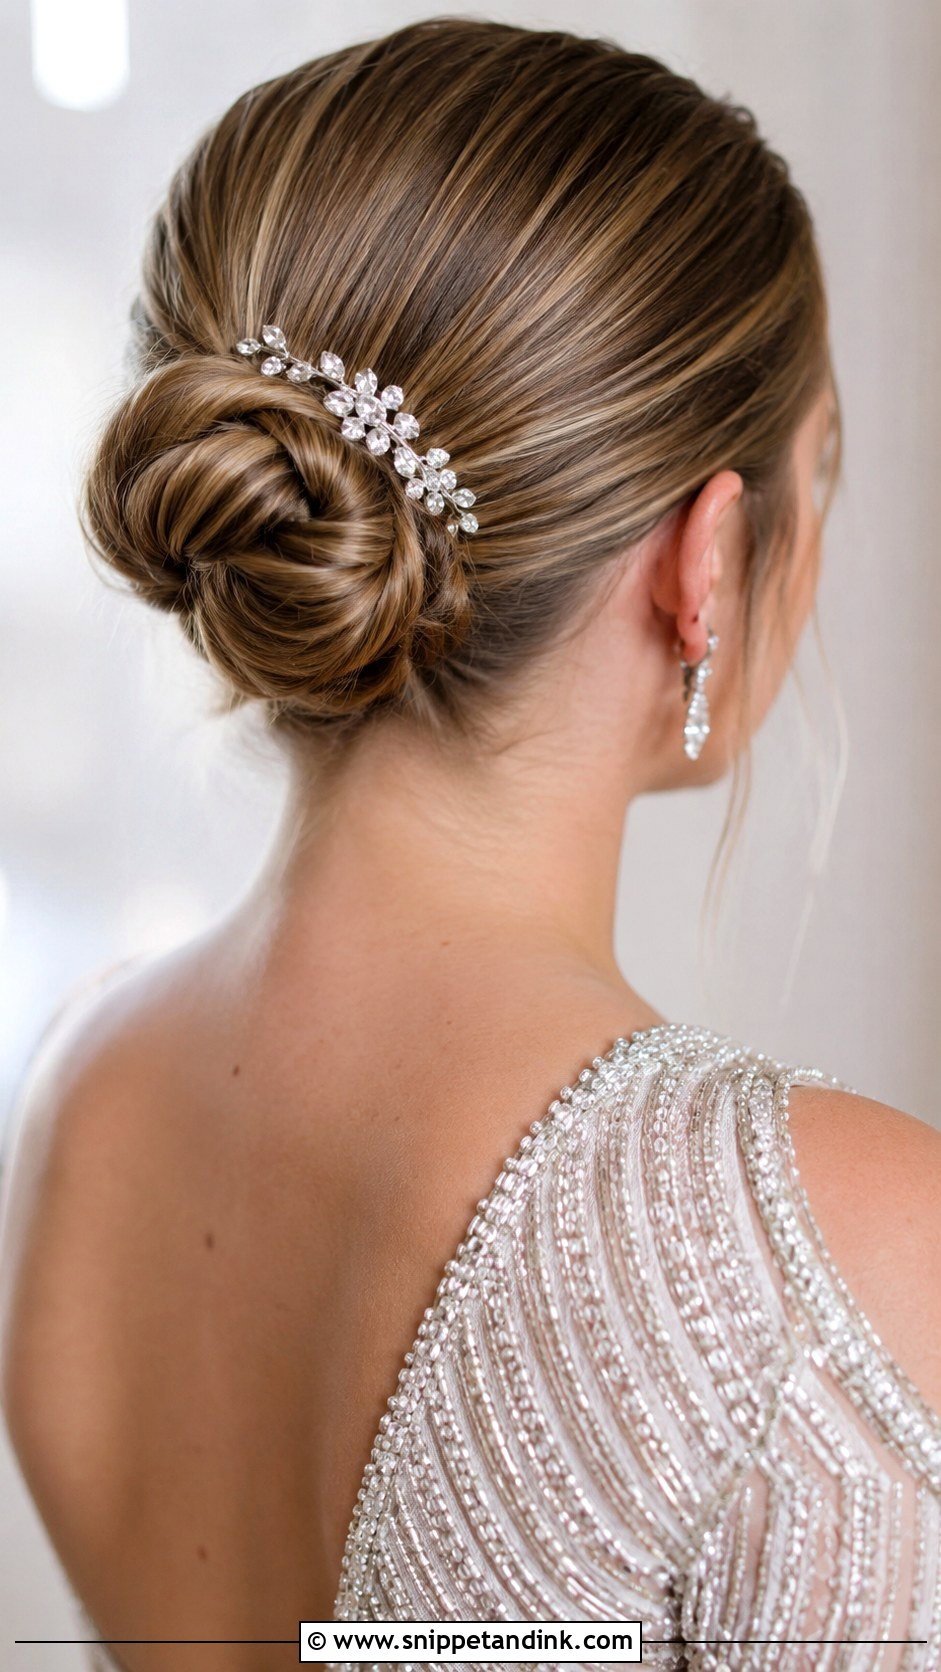
A crystal comb next to or above the bun adds sparkle for an evening reception. Combs grip best in a firm base, so I place them where the hair is tightest and lock the teeth under a crossed pin. Crystals echo beaded and sequined gowns well. A small comb looks refined; a large one works only if your earrings stay simple.
23. Sleek Bun With Tucked Braids
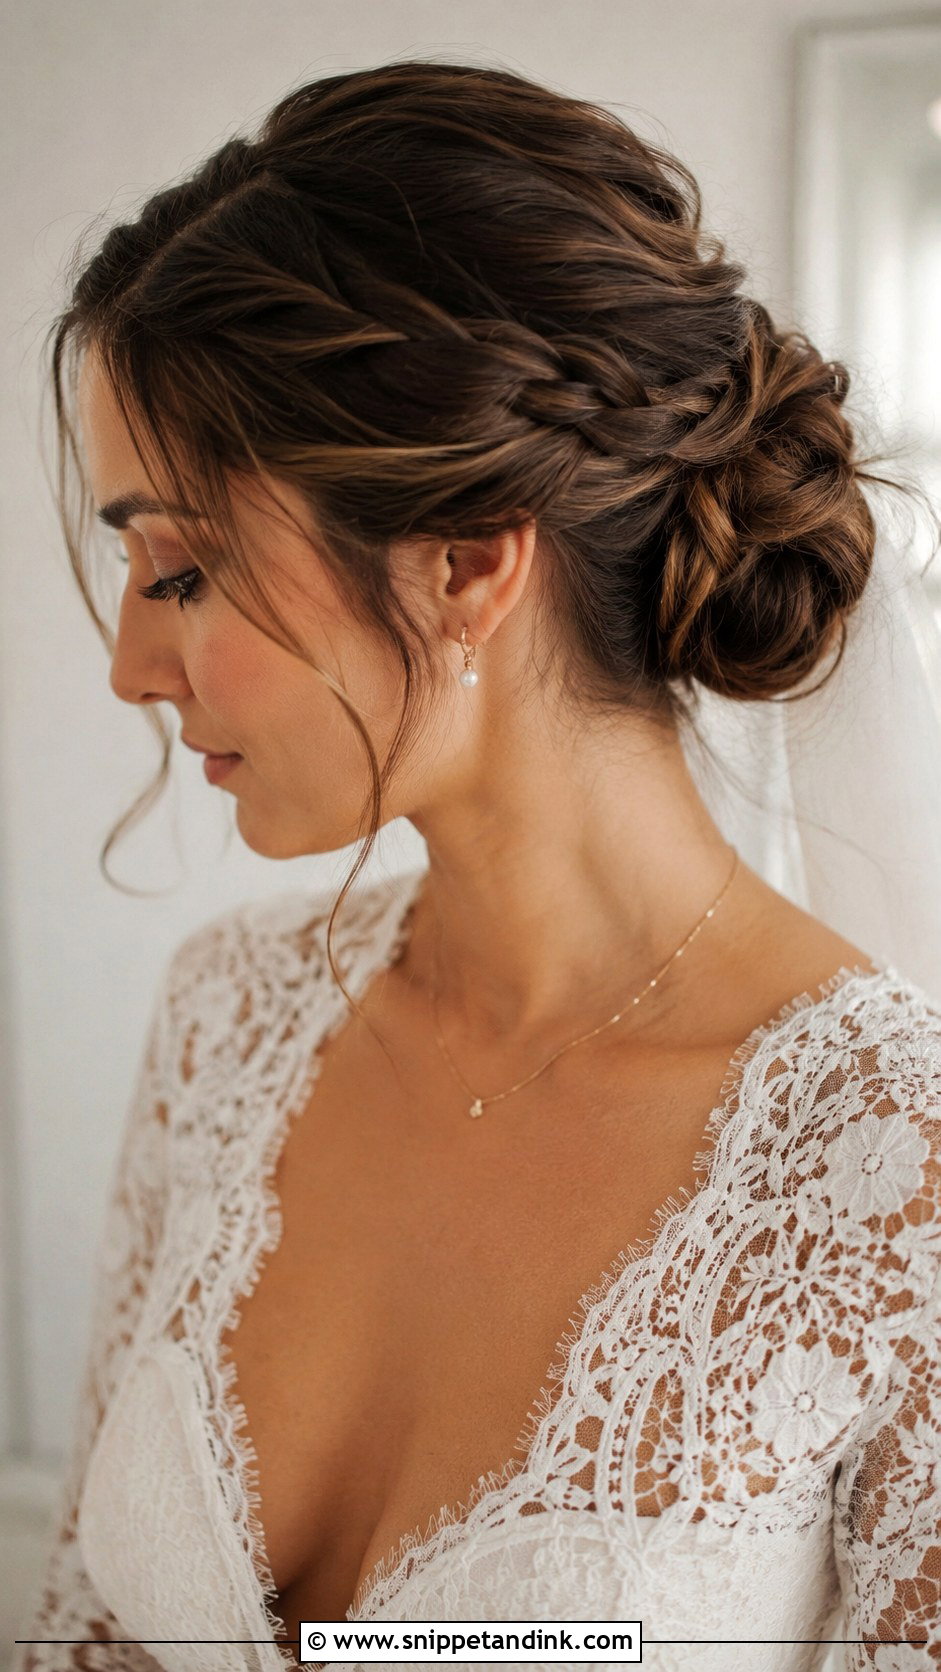
Thin braids worked into the bun itself add detail that you only notice close up. I usually braid two narrow sections from behind the ears and wrap them into the knot, so they peek through rather than sit on top. The crown stays slick for a polished line. Loose tendrils at the front soften the face if the braided back feels too structured.
24. Sleek Bun With Bold Earrings
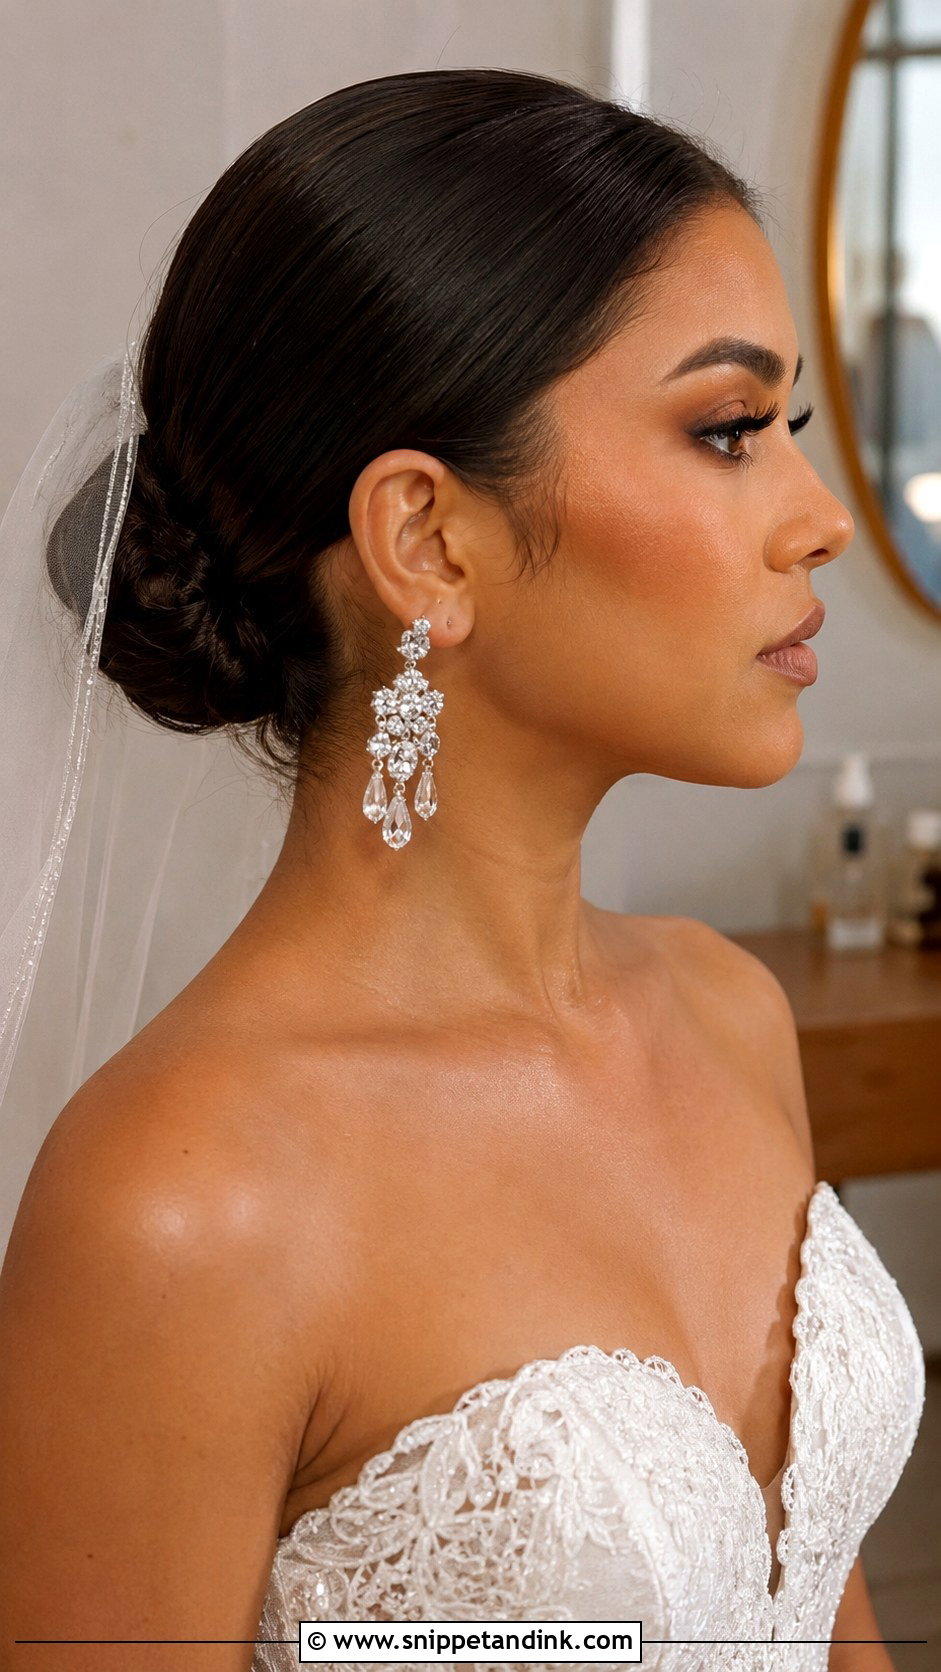
Sometimes the hair’s job is to step aside for the jewellery. A low, tight bun pulls everything back so chandelier earrings and a strong neckline do the talking. I keep this bun smaller than usual and slightly lower, so it doesn’t compete in profile. Check that your earrings don’t catch on any loose ends or pins behind the ear.
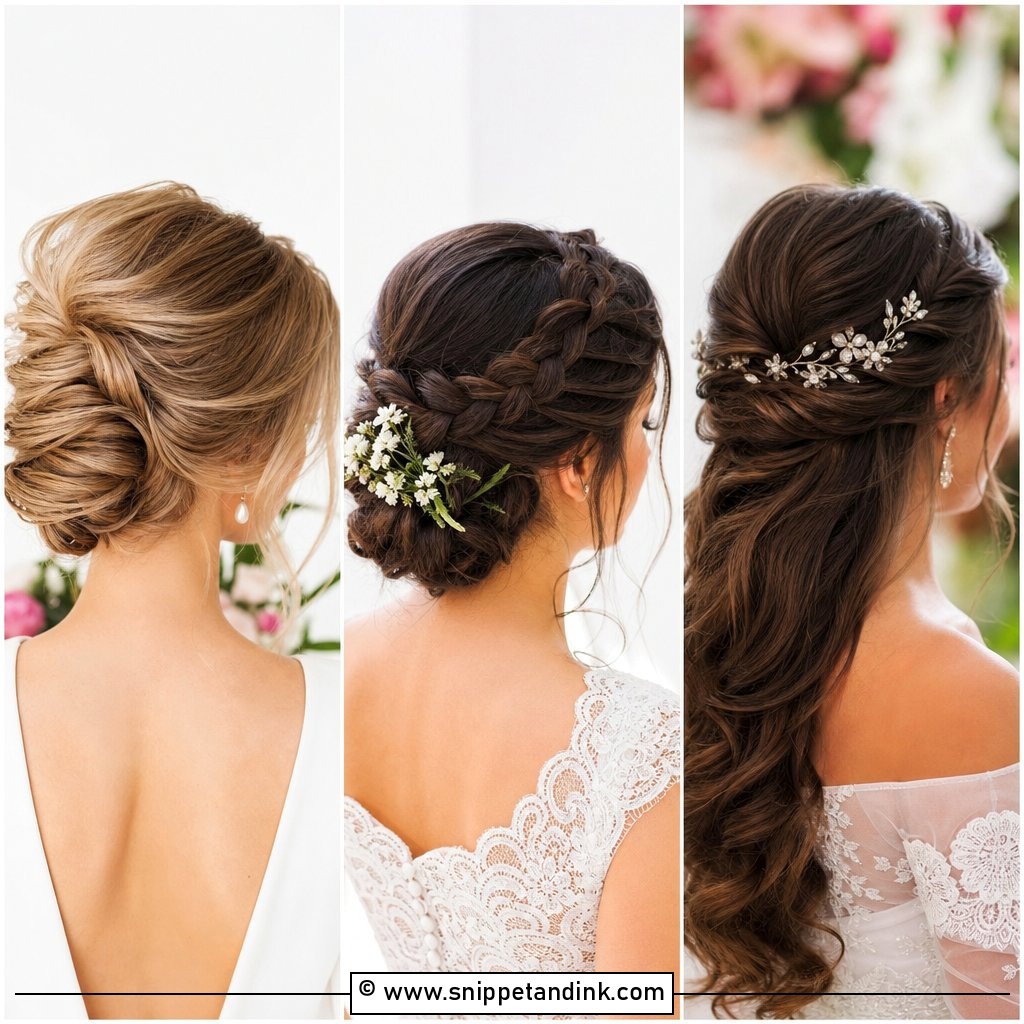
25. Sleek Bun With Soft Side Tendrils
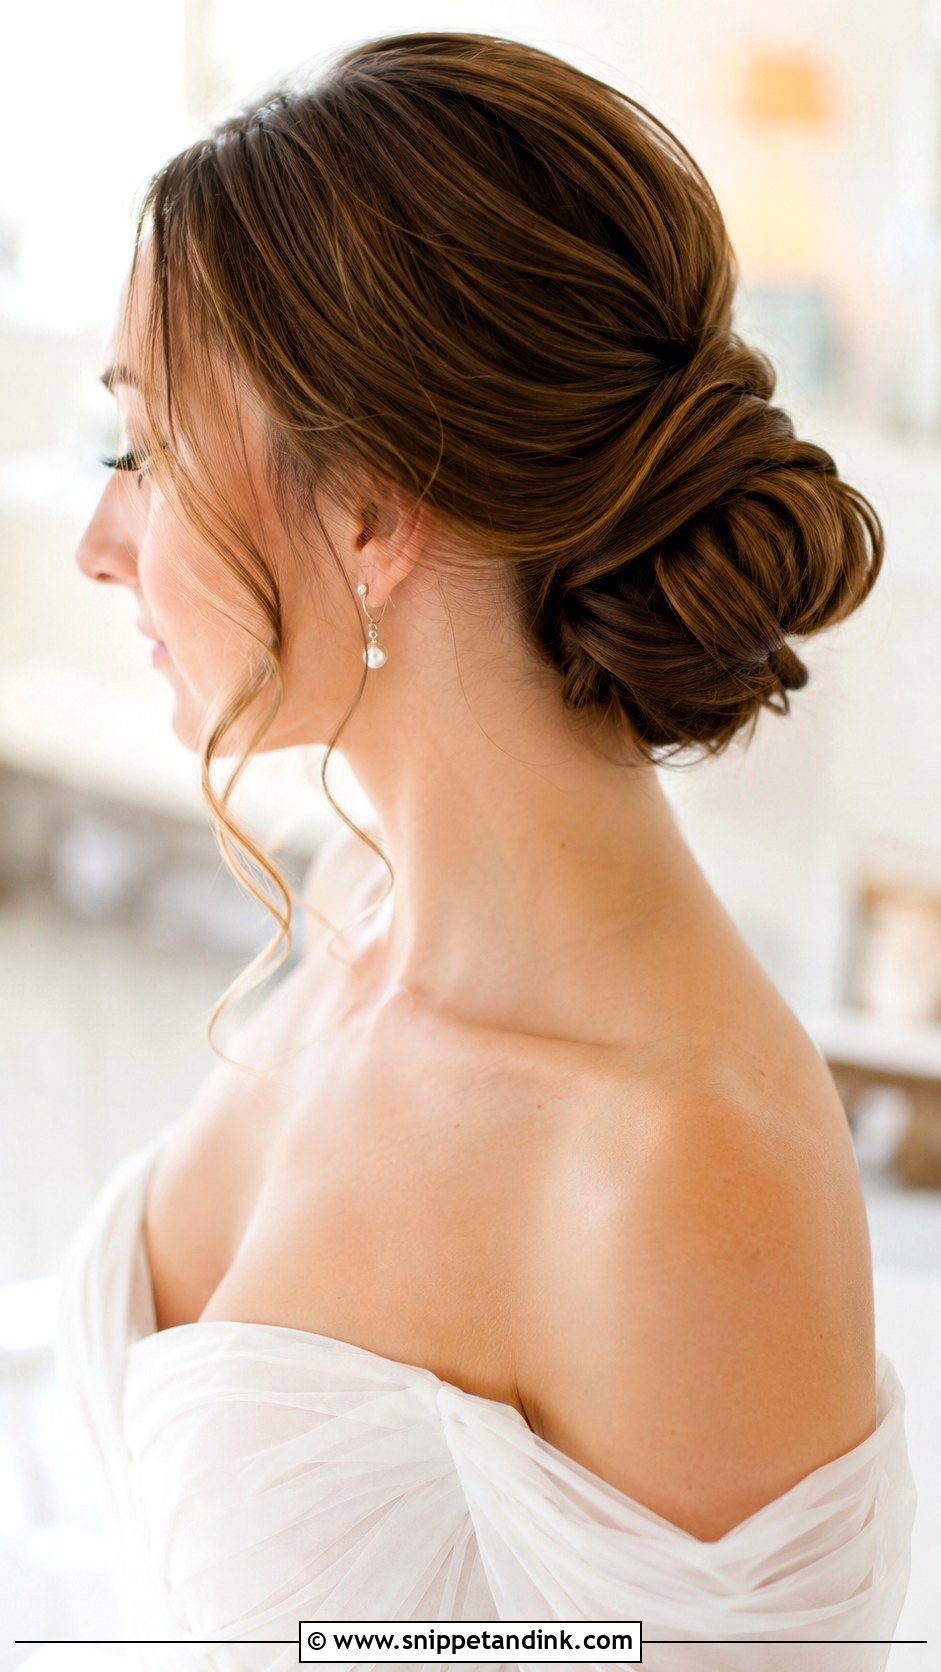
Tendrils on one side only give the bun a soft, asymmetrical line. I take them from the side opposite the part so they balance the face, and give them a light bend. Oval and angular faces suit this best. Set the tendrils with a light spray only; heavy hairspray makes them stiff and separated by the end of the night.
Headaches, Flyaways and the Late-Evening Check
Sleek buns fail in two ways. They hurt, or they fuzz. Both are preventable.
Pain usually comes from one tight elastic carrying all the weight, or from pins pressed straight into the scalp. Tell your stylist at the trial if anything pinches after twenty minutes, because it will feel ten times worse after a long day. I’d rather loosen the base slightly and add more pins than send a bride off with a tight ponytail.
Flyaways come with humidity and with hugging. Pack a small kit for your bridesmaid to carry:
- A clean spoolie or toothbrush with a little gel or wax on it for smoothing the hairline
- A travel-size flexible hairspray
- Six or so bobby pins in your hair colour
- Blotting papers, since an oily hairline makes the slick look greasy in flash photos
When it’s time to take it down, remove every pin before you touch the elastic, then rinse with plenty of conditioner. Brushing a gelled bun out dry is how hair snaps.
Placement First, Then the Polish
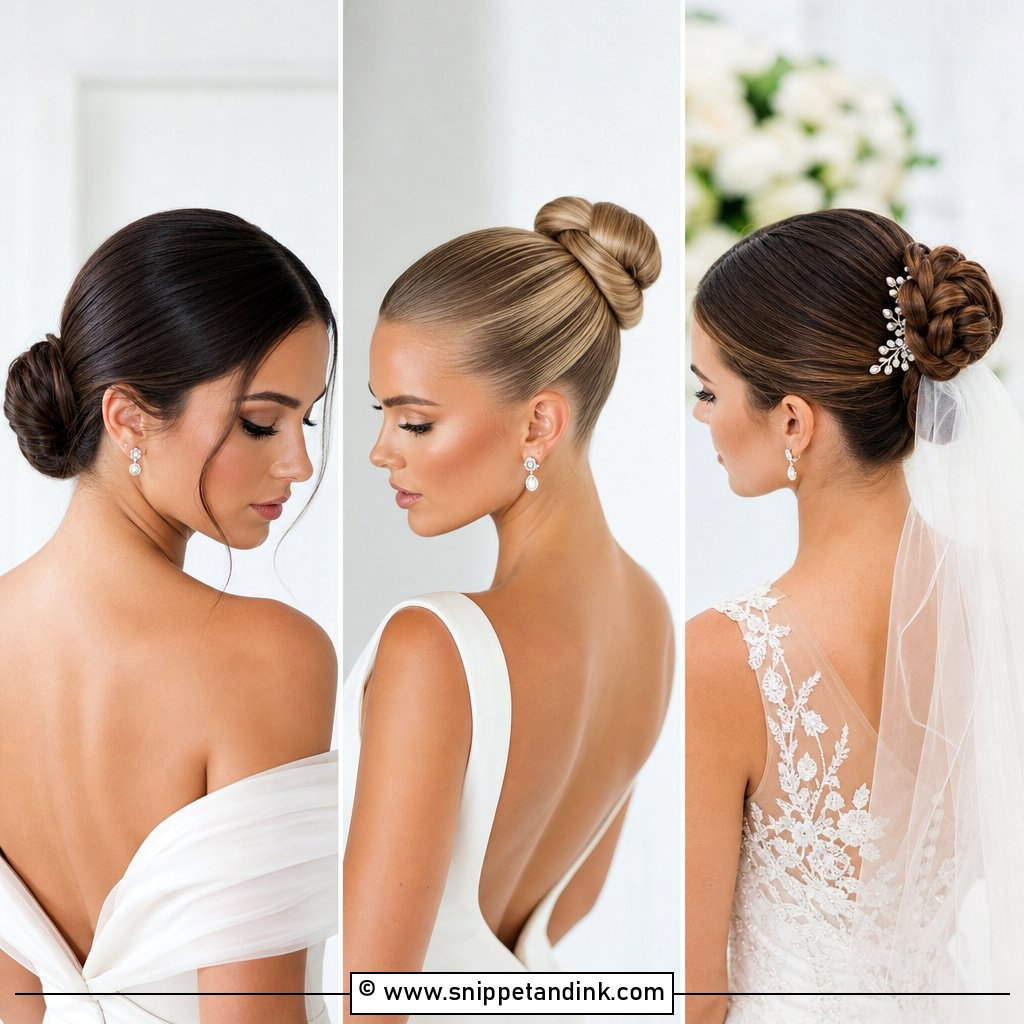
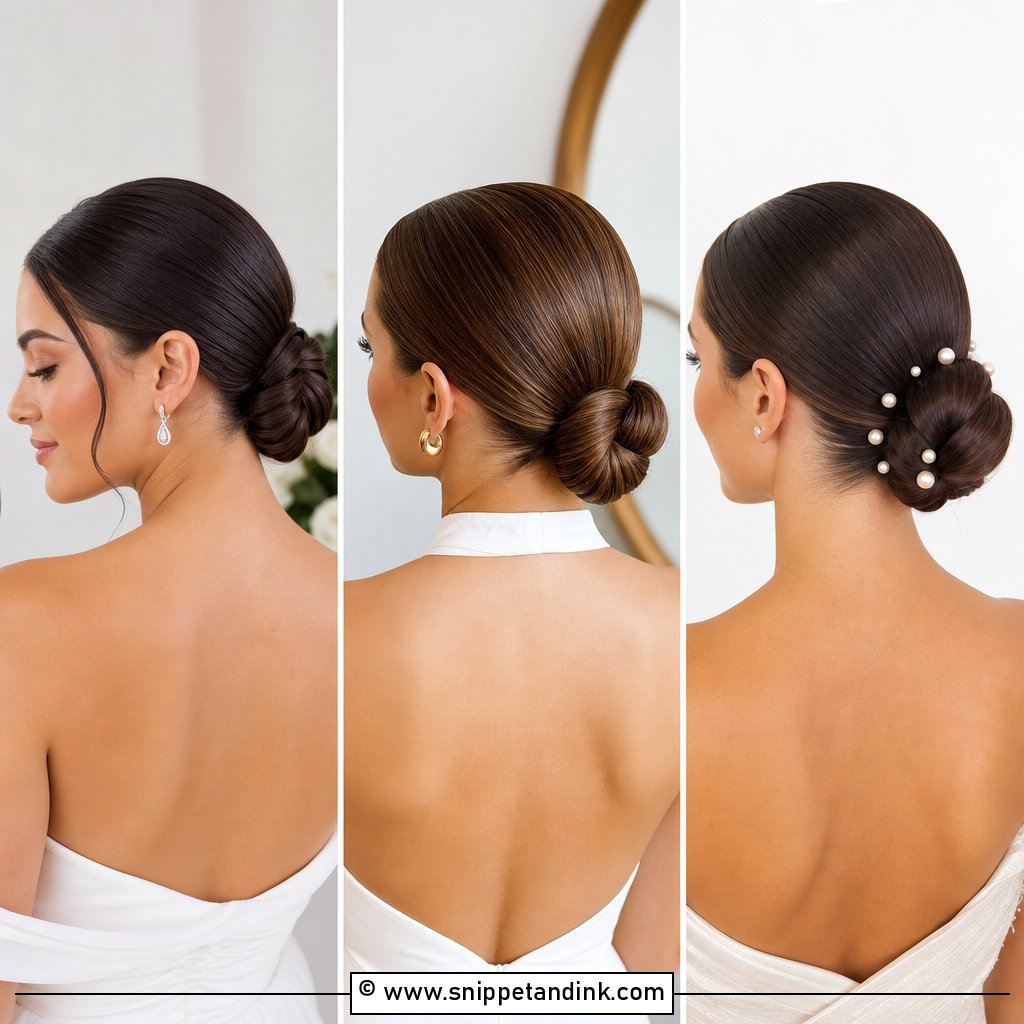
A sleek bun suits almost any wedding, so the real decision is where it sits and how much texture you allow. A clean ballerina knot, a low chignon with tendrils and a braided bun with pearls are three very different moods built on the same base. Decide on height first, because that controls where your veil and accessories can go. Make sure the bun feels secure without pulling at your scalp, then bring your favourite photos and your accessories to the trial.
You'll Like These Ideas:


Leave a Reply