
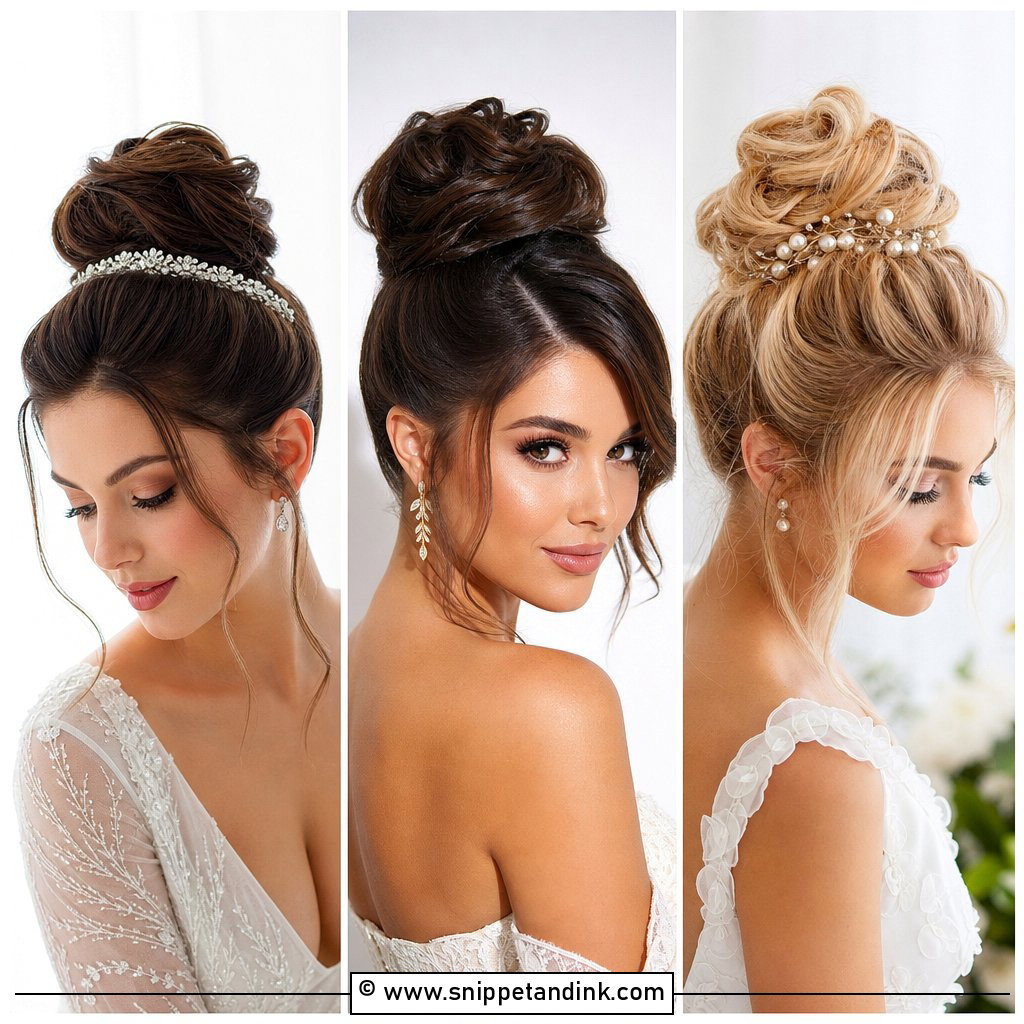
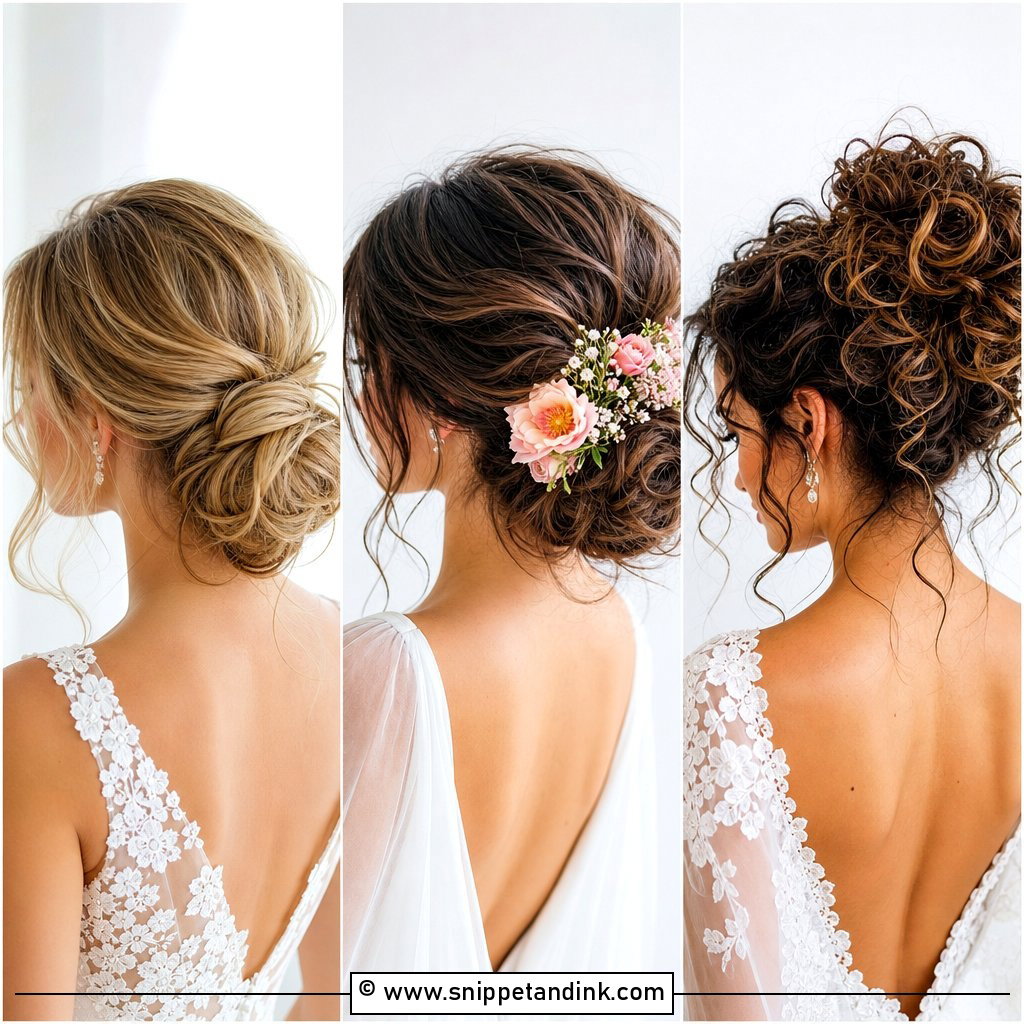
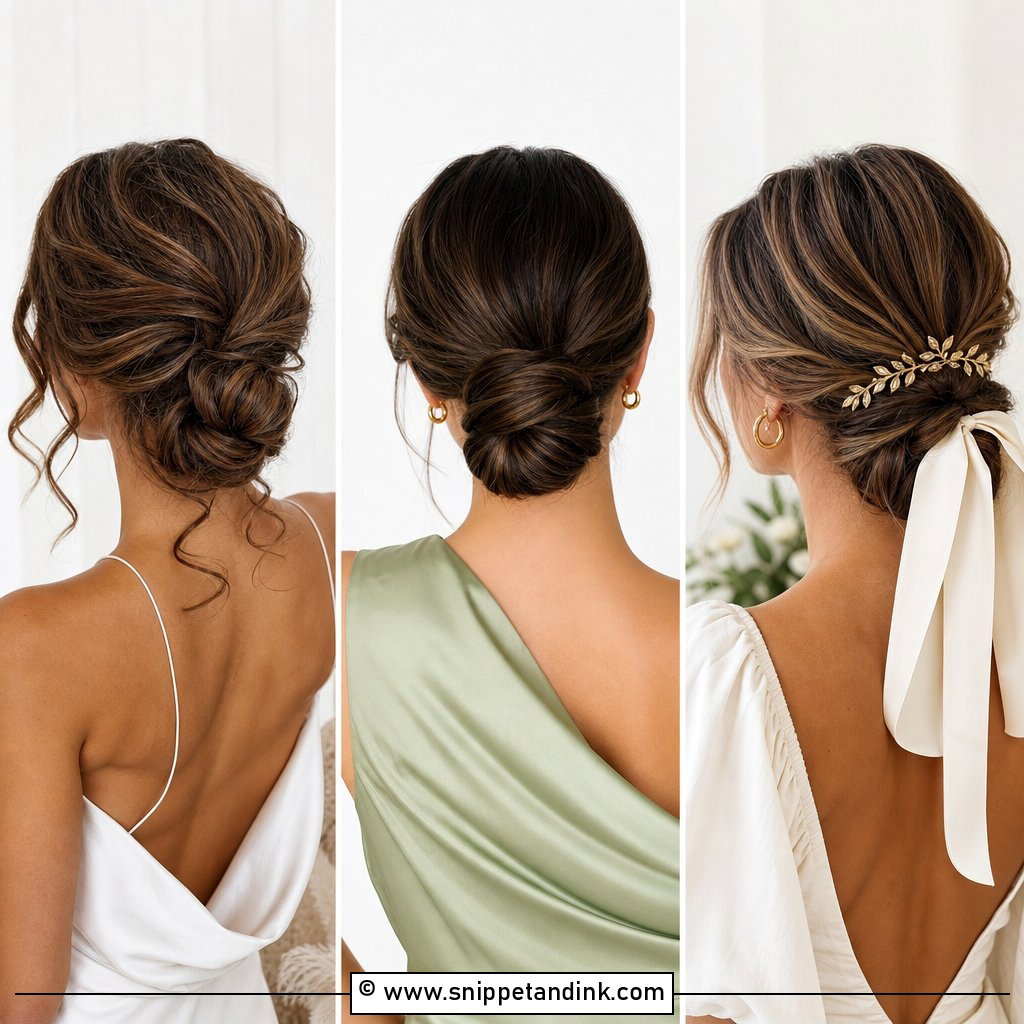
A high bun is the updo I reach for when a bride wants her neckline, her earrings and the back of her dress on show at the same time. Lifting the hair to the crown clears the shoulders completely, which matters more than people expect once the photographer starts shooting from behind at the altar. The range is wider than it looks: a loose, pulled-apart knot and one of those glossy ballerina knots are built in completely different ways and need different hair to start with. Below are 25 versions I would actually put on a bride, with notes on what each one asks of your hair and where it tends to struggle.
How High Should a Wedding Bun Actually Sit?
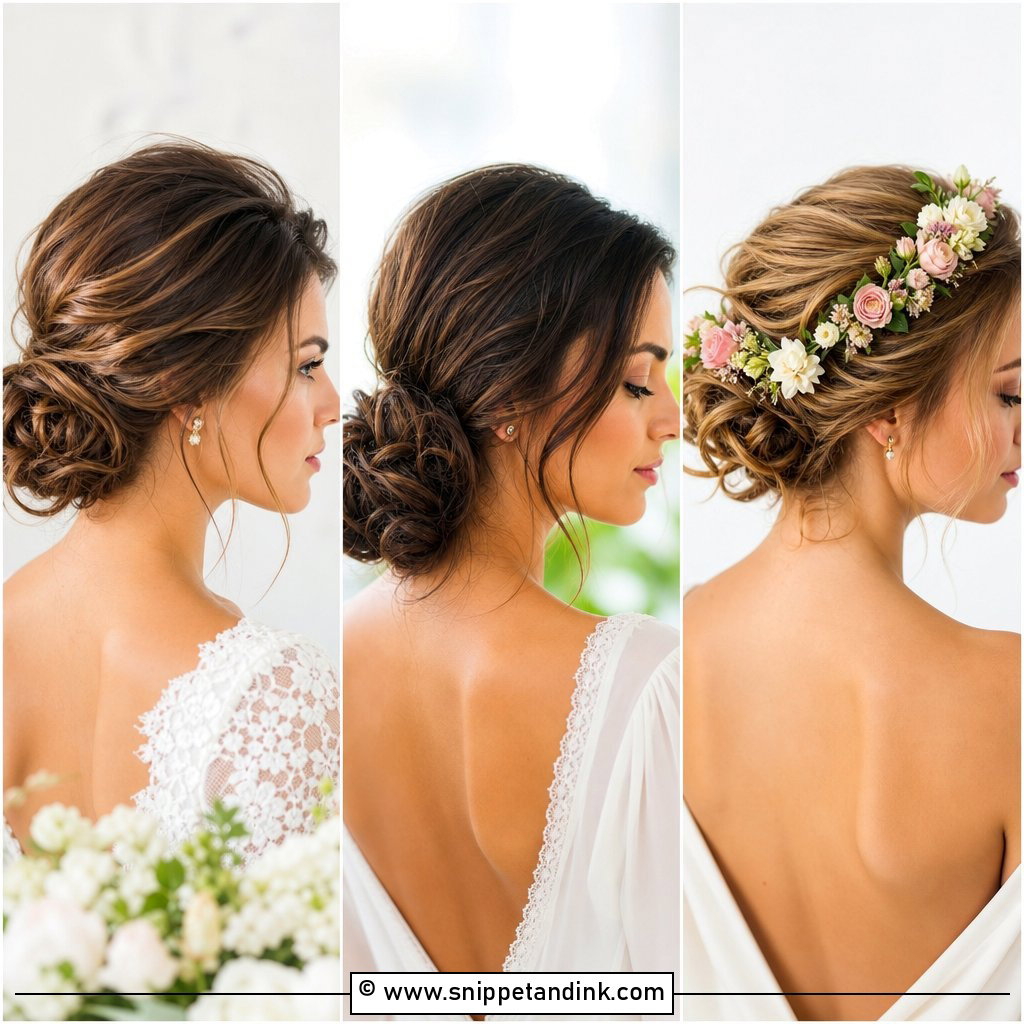
“High” covers a lot of ground. A bun right on top of the head looks dramatic and youthful; one set just behind the crown looks more classic and is easier to pair with a veil. To find your spot, I picture a line running from the jaw up past the cheekbone and place the bun where it meets the head. That angle tends to lift the face rather than fight it.
Height also changes how you look in a full-length photo. Taller brides can carry a bun right on top. Petite brides often look better with it slightly lower and smaller, because a large knot on top shifts the proportions of the whole silhouette. Always check from the side and the back, not only in the mirror in front of you.
What I ask brides to bring to the trial
- The veil, or one of the same length and weight, so we can test the comb placement.
- A top with a neckline close to the dress, so we judge the bun against your shoulders.
- Any hairpiece, tiara or headband you’ve bought, since each one changes where the bun goes.
- Photos of the back of the dress; the bun is what guests see during the vows.
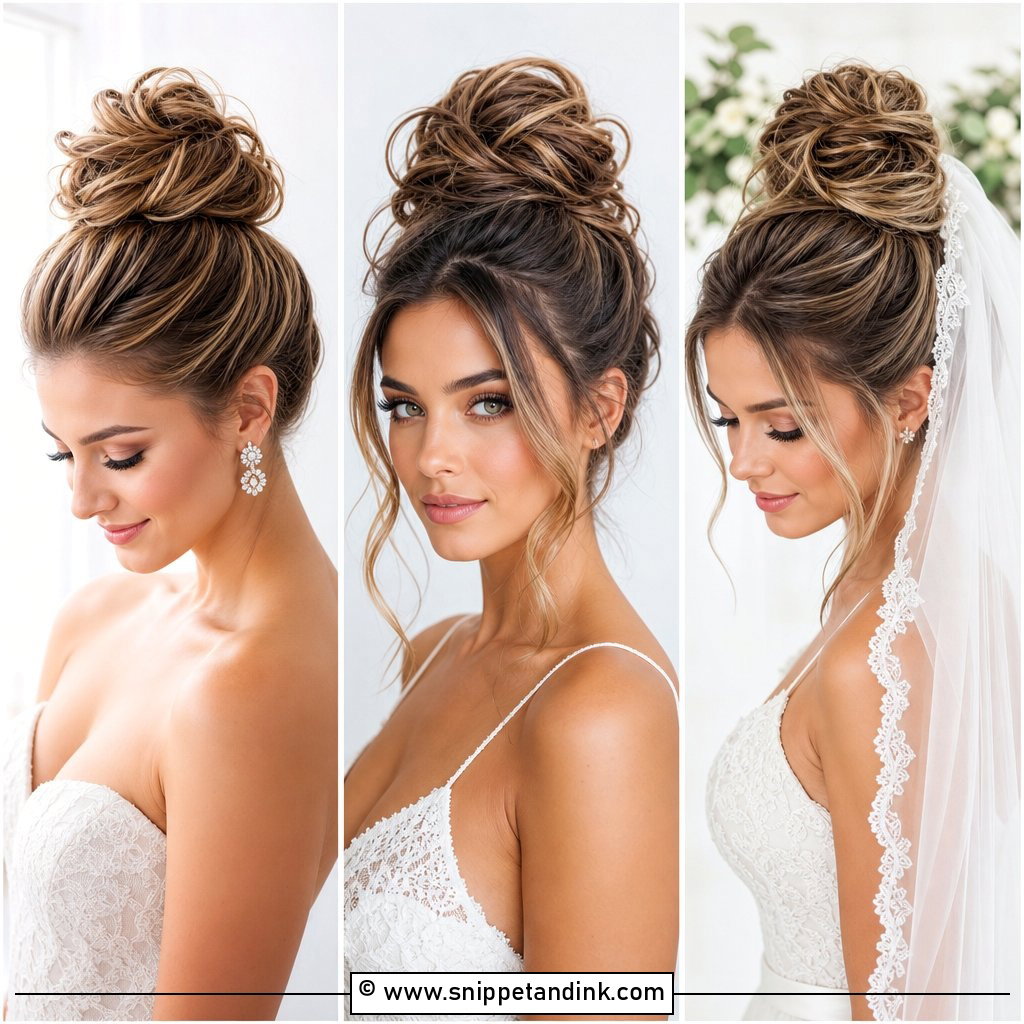
1. Sleek High Bun for Modern Brides
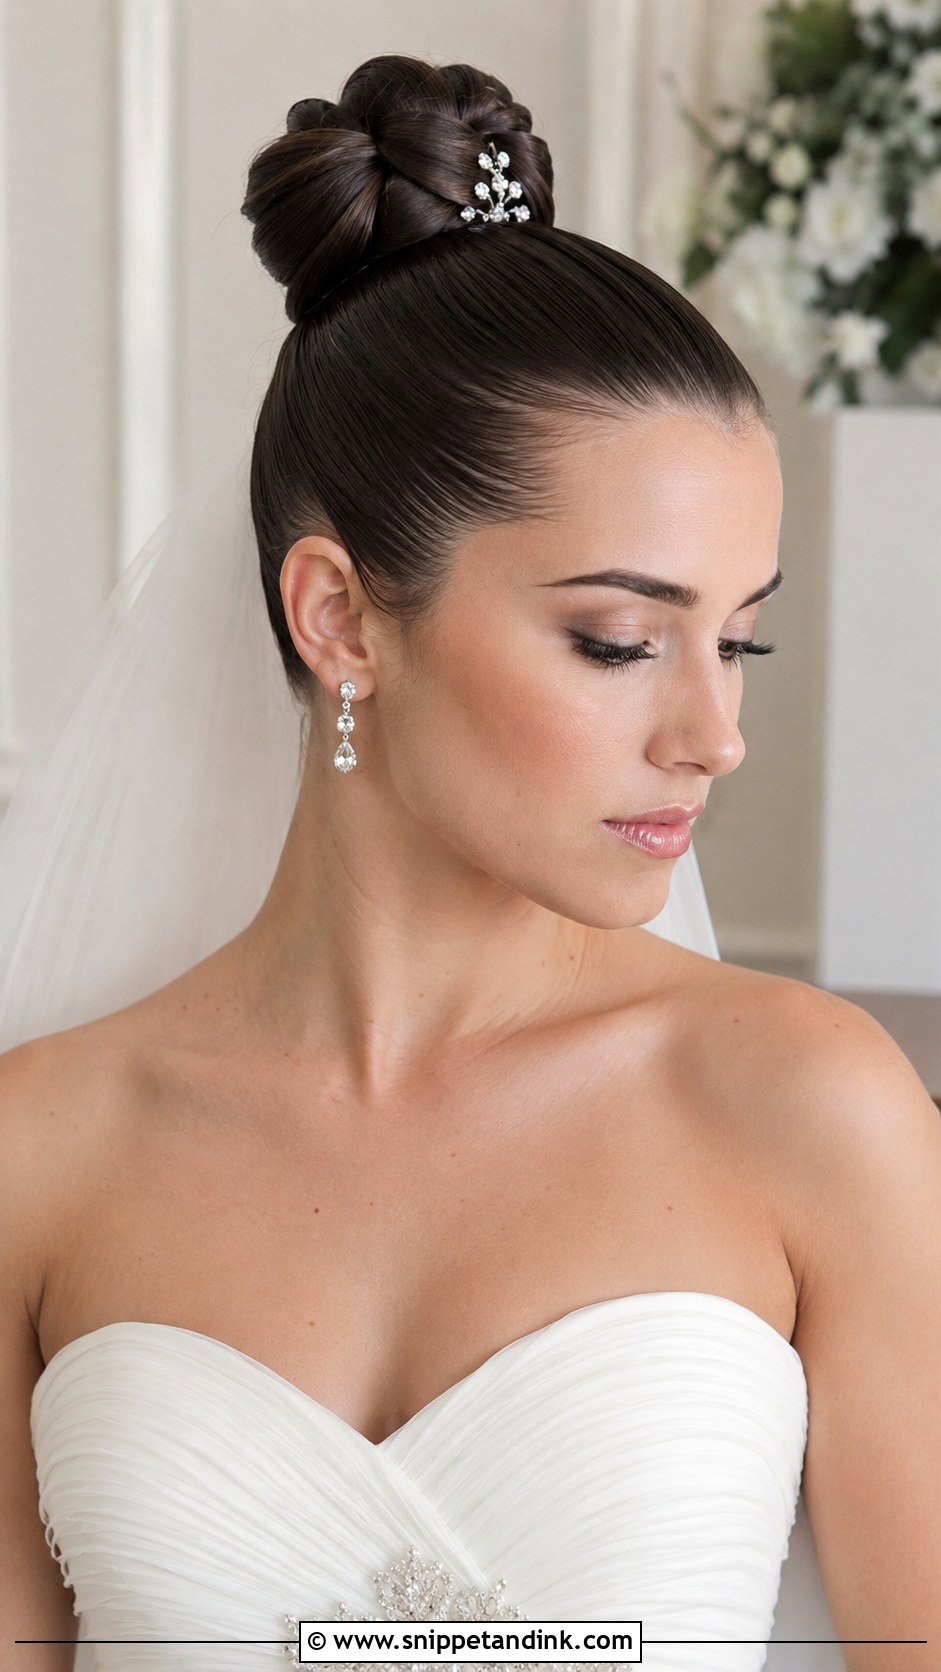
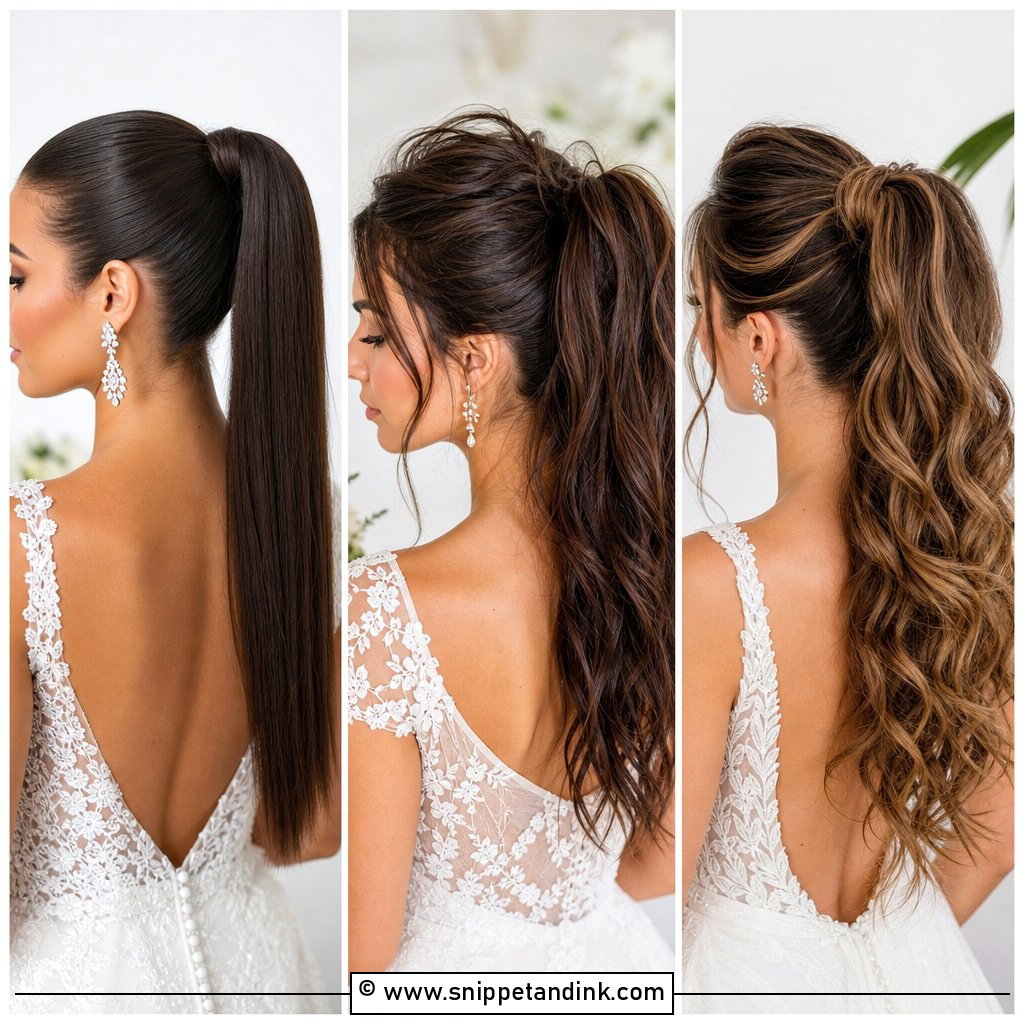
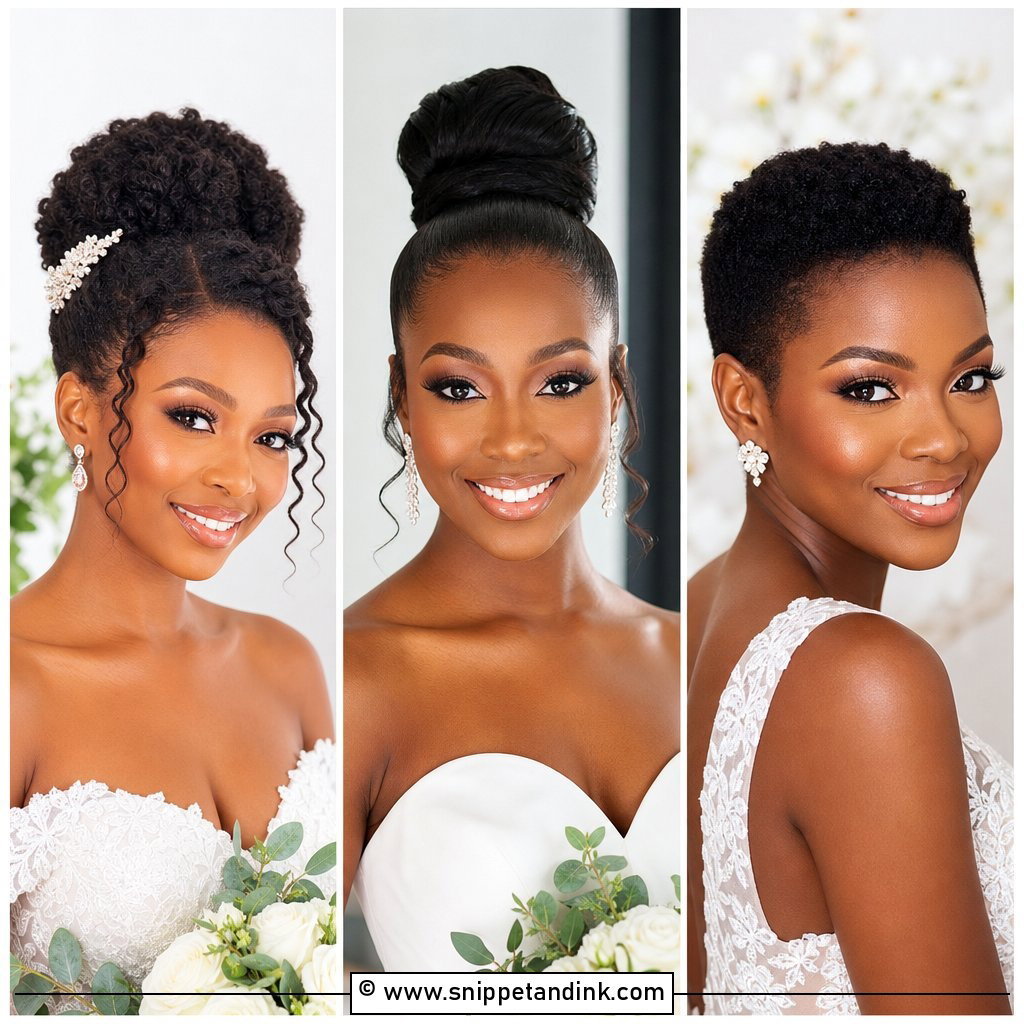
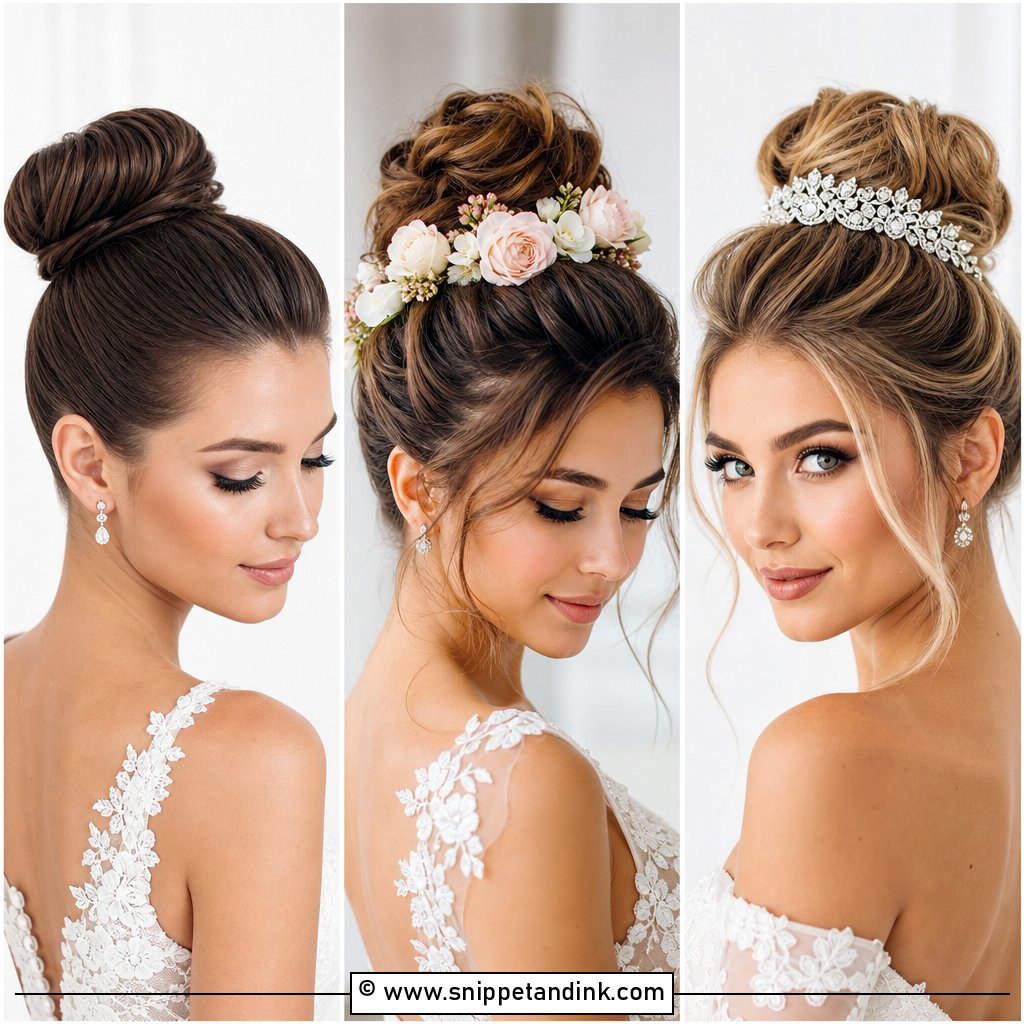
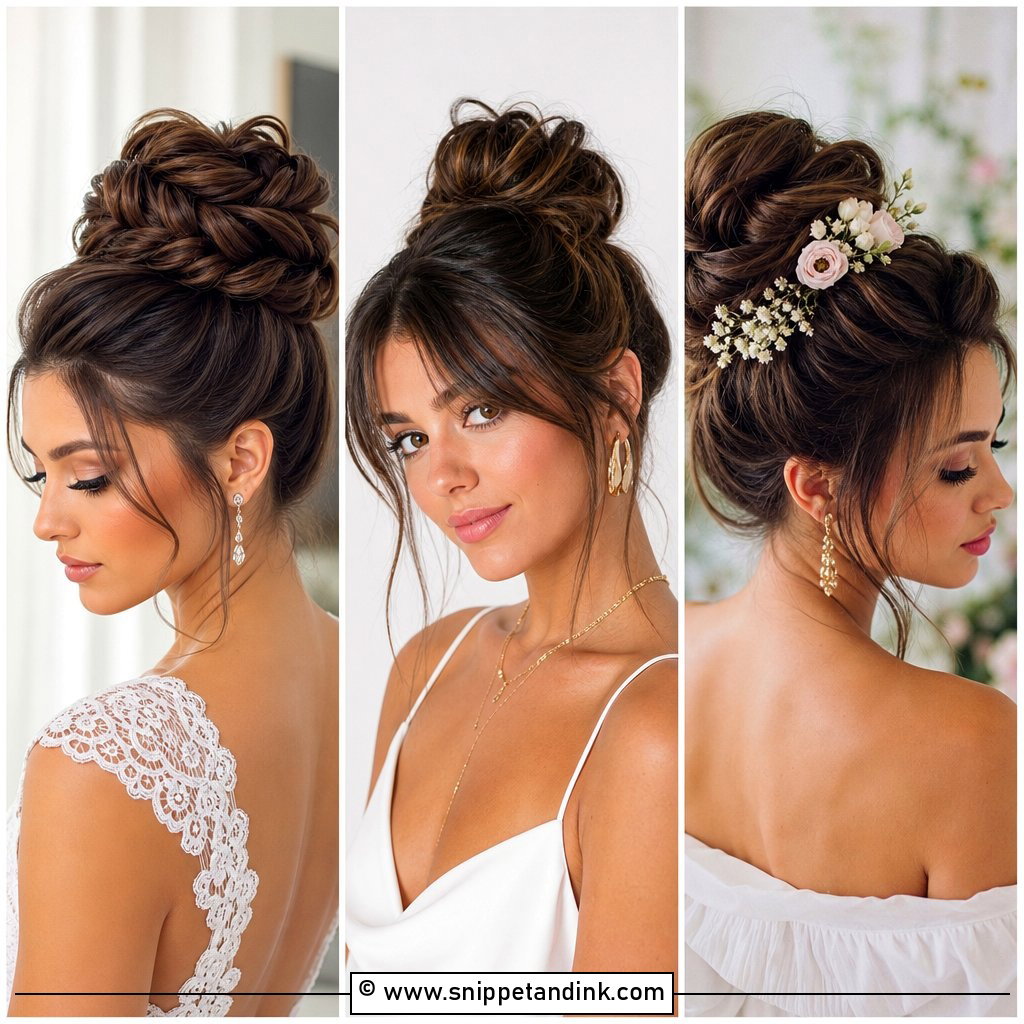
Glass-smooth and pulled to the crown, this is the most exposing bun on the list, and I mean that kindly. Every bump shows. I brush the hair up with a boar bristle brush while it still holds a little smoothing cream, lock it with a tight elastic, then wrap and pin. On straight or relaxed hair it’s quick. On fine hair the ponytail can look thin once wrapped, so I hide a small padded form inside to give the knot some body. A few crystal pins along one side break up the shine, and it sits well with a structured gown and long earrings.
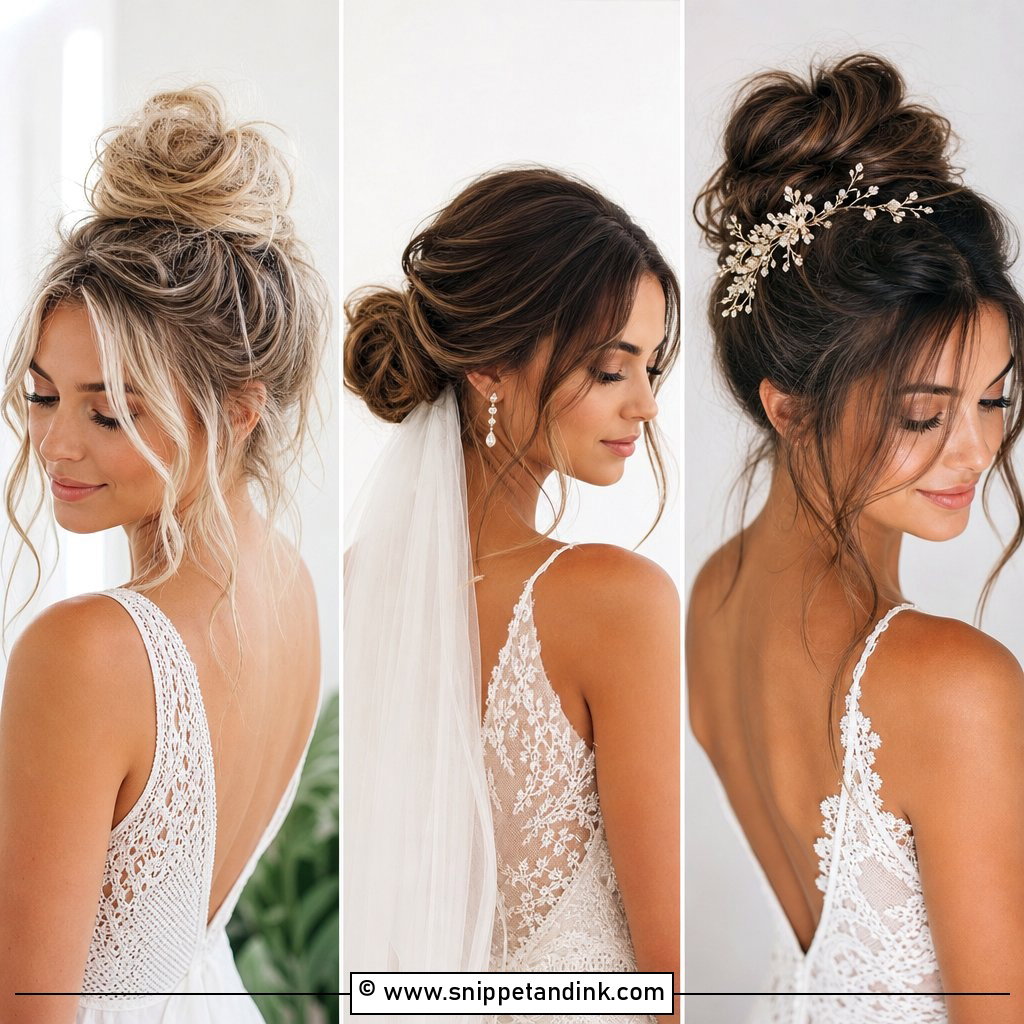
2. Messy High Bun With Loose Tendrils
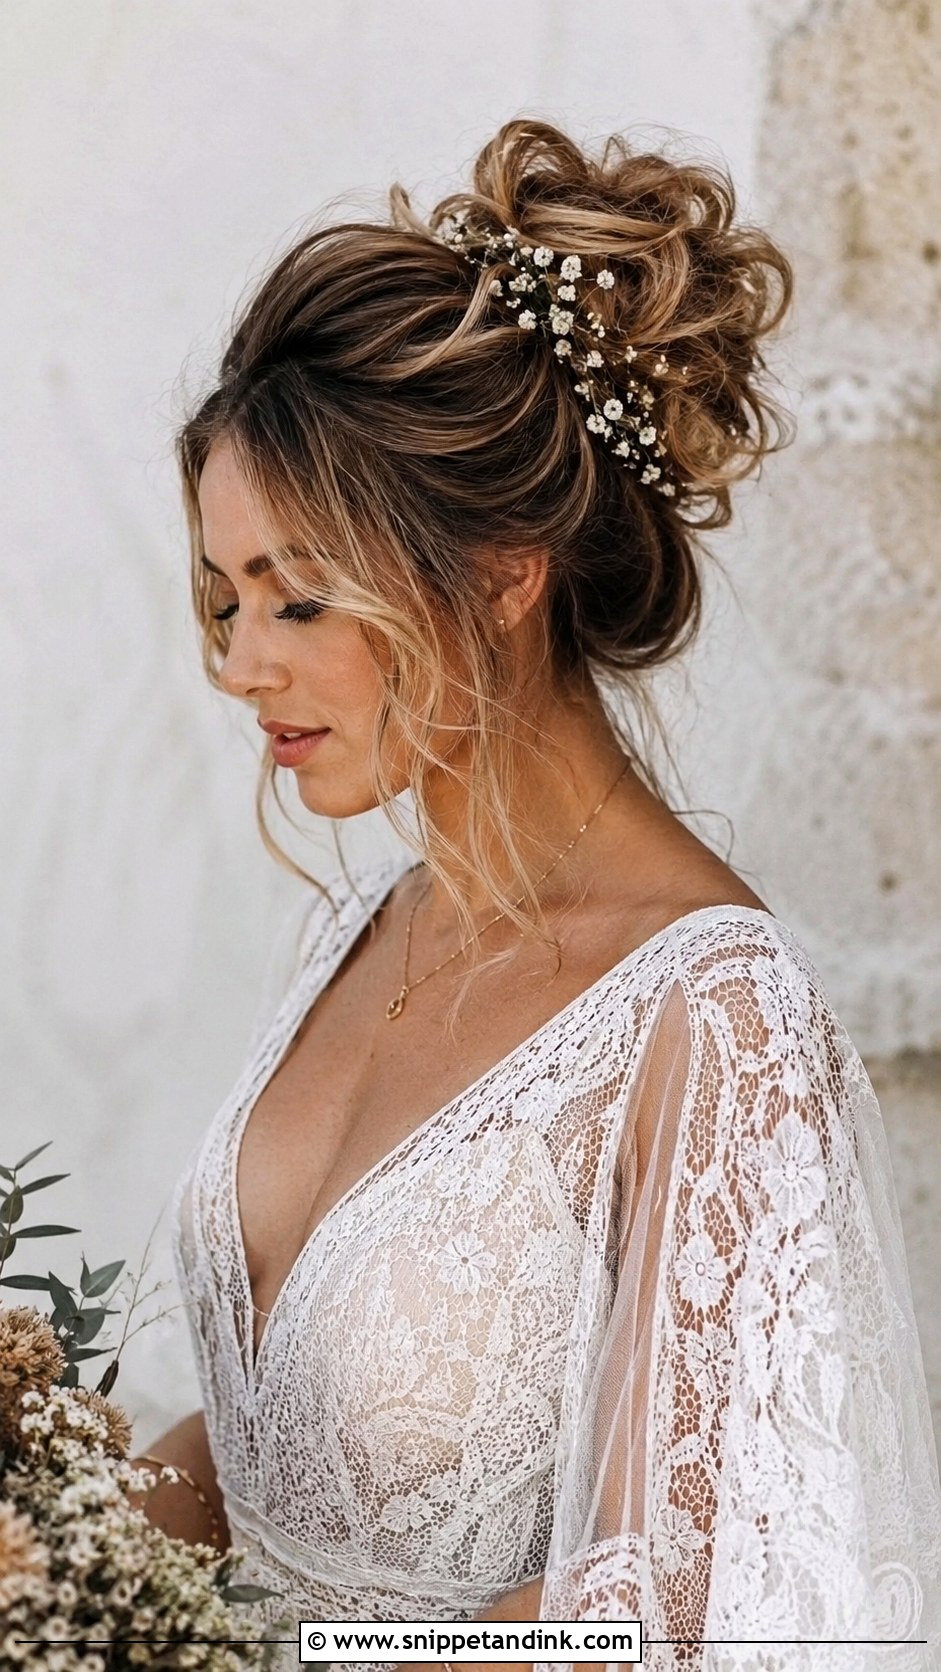
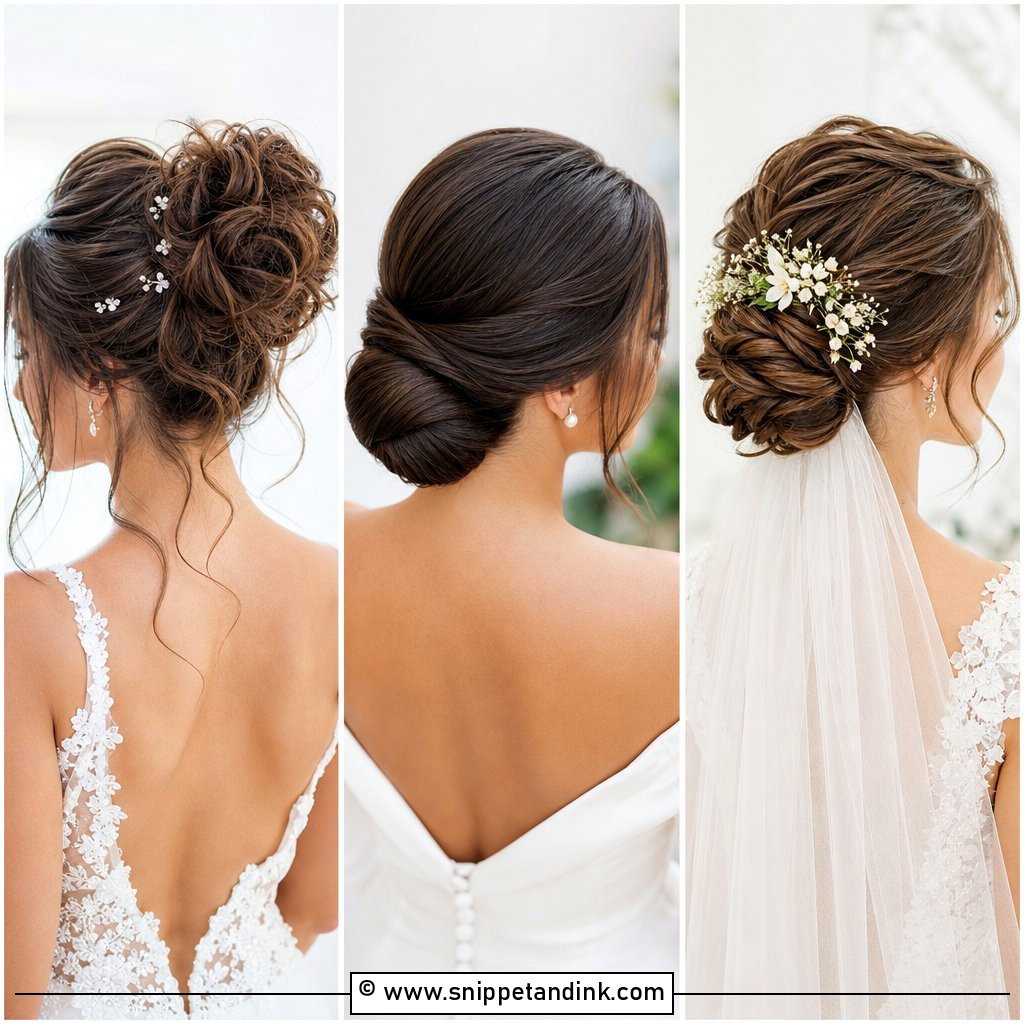
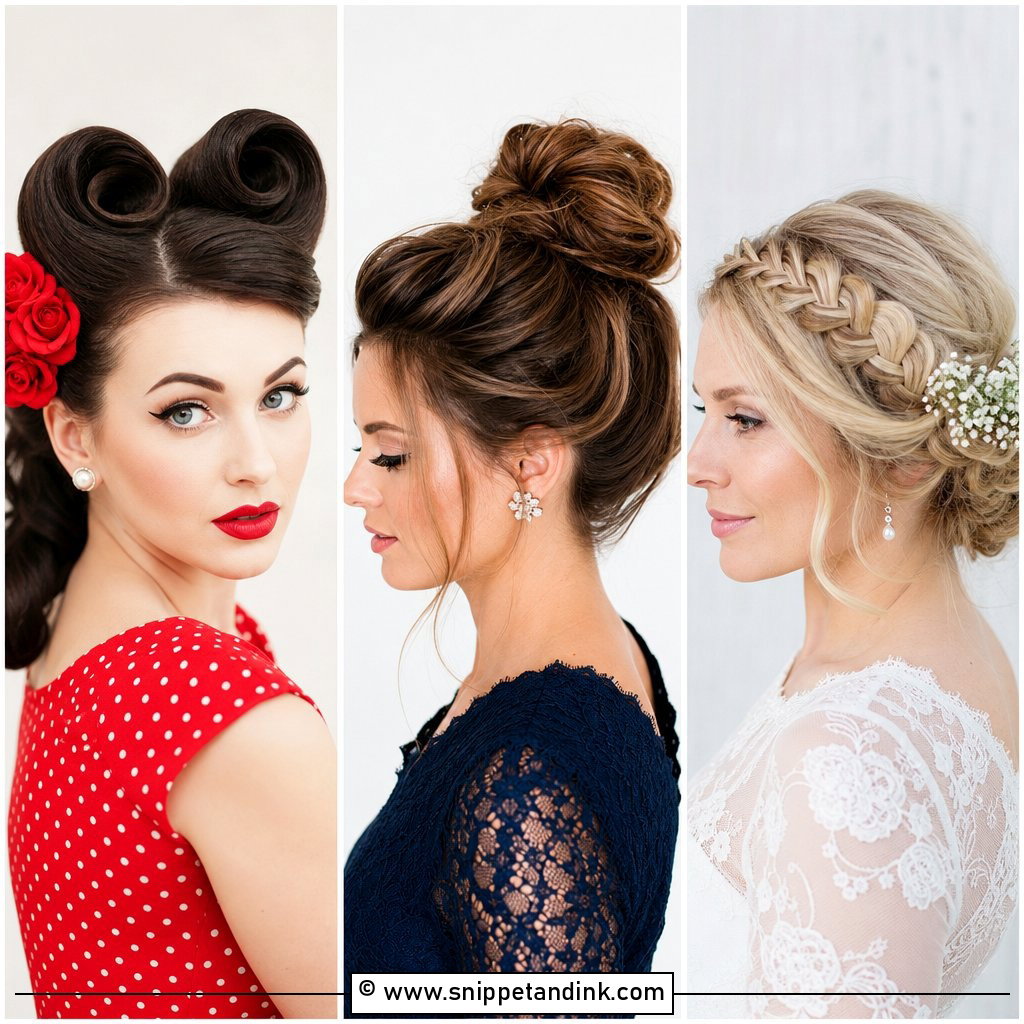
A messy bun has to be built tidy and then loosened. I set the hair in curls first, pin a secure base, and only then pull the loops apart with my fingertips. Straight hair twisted up loosely without that base slides down by the first dance. Wavy and textured hair holds this best. I leave two or three tendrils at the temples and curl them away from the face, because tendrils curled toward the face end up stuck in lip gloss. A few sprigs of baby’s breath suit a flowy dress and a garden setting.
3. High Bun With Braided Crown
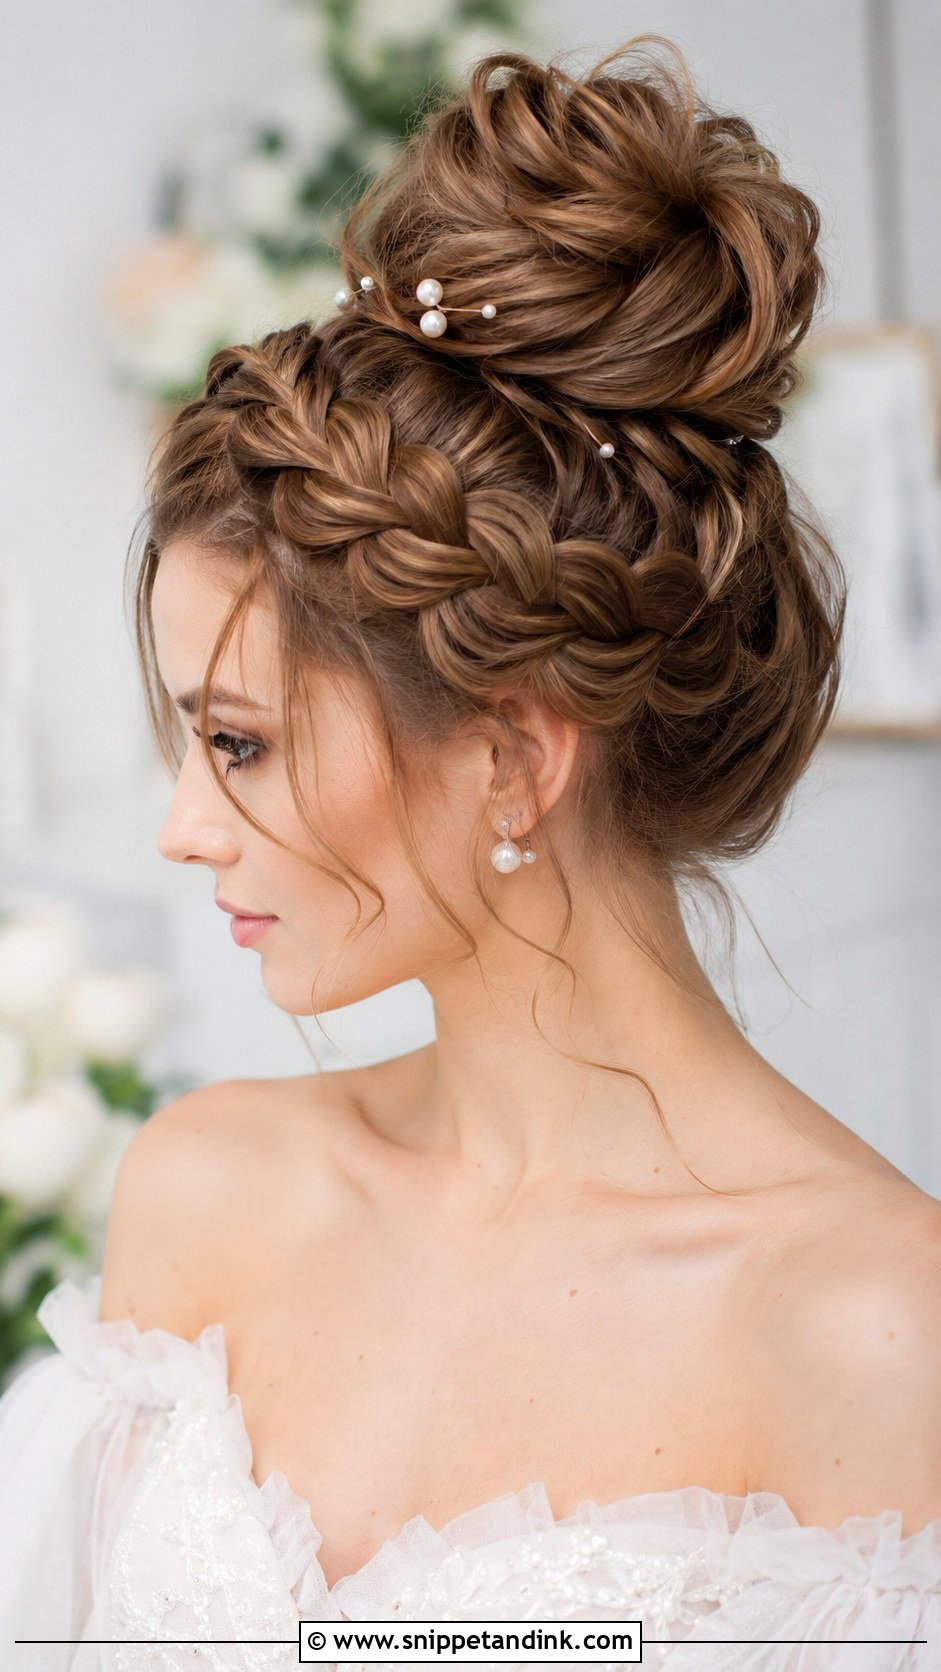
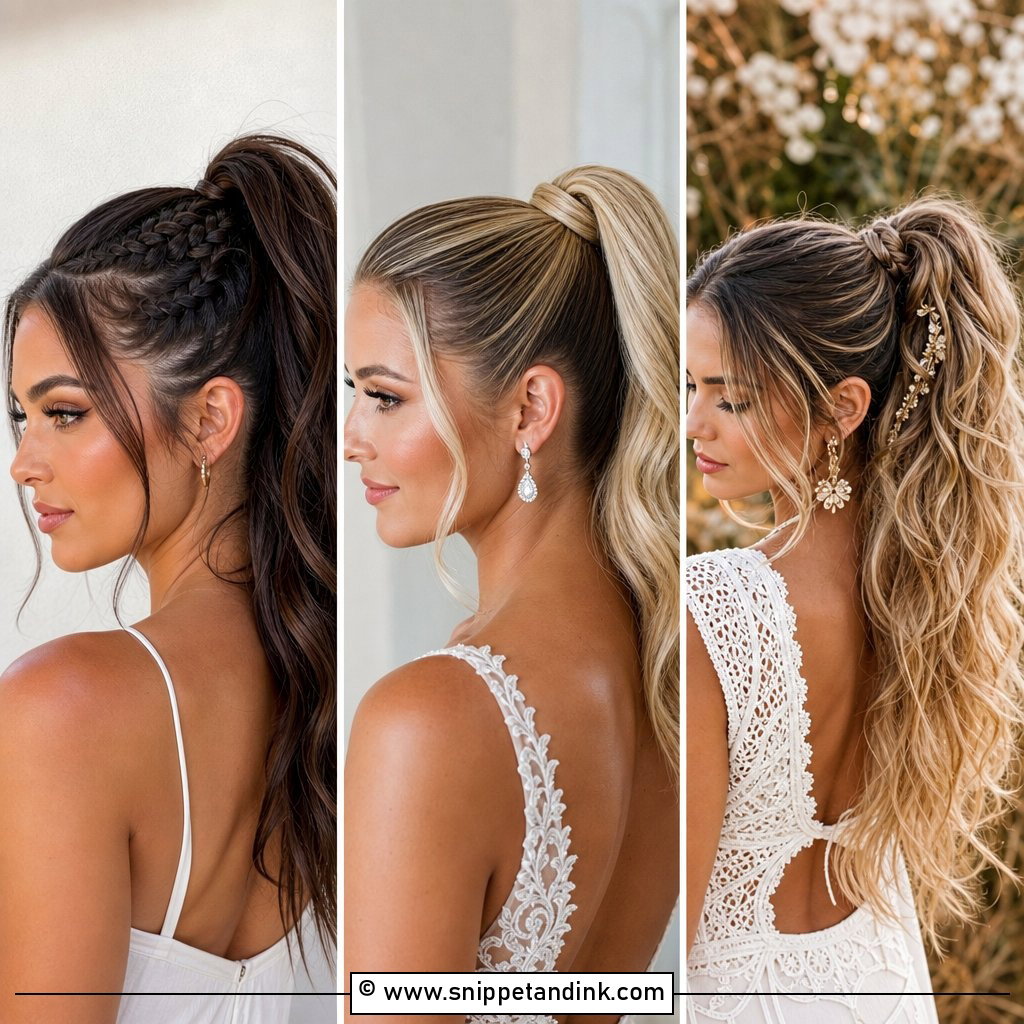
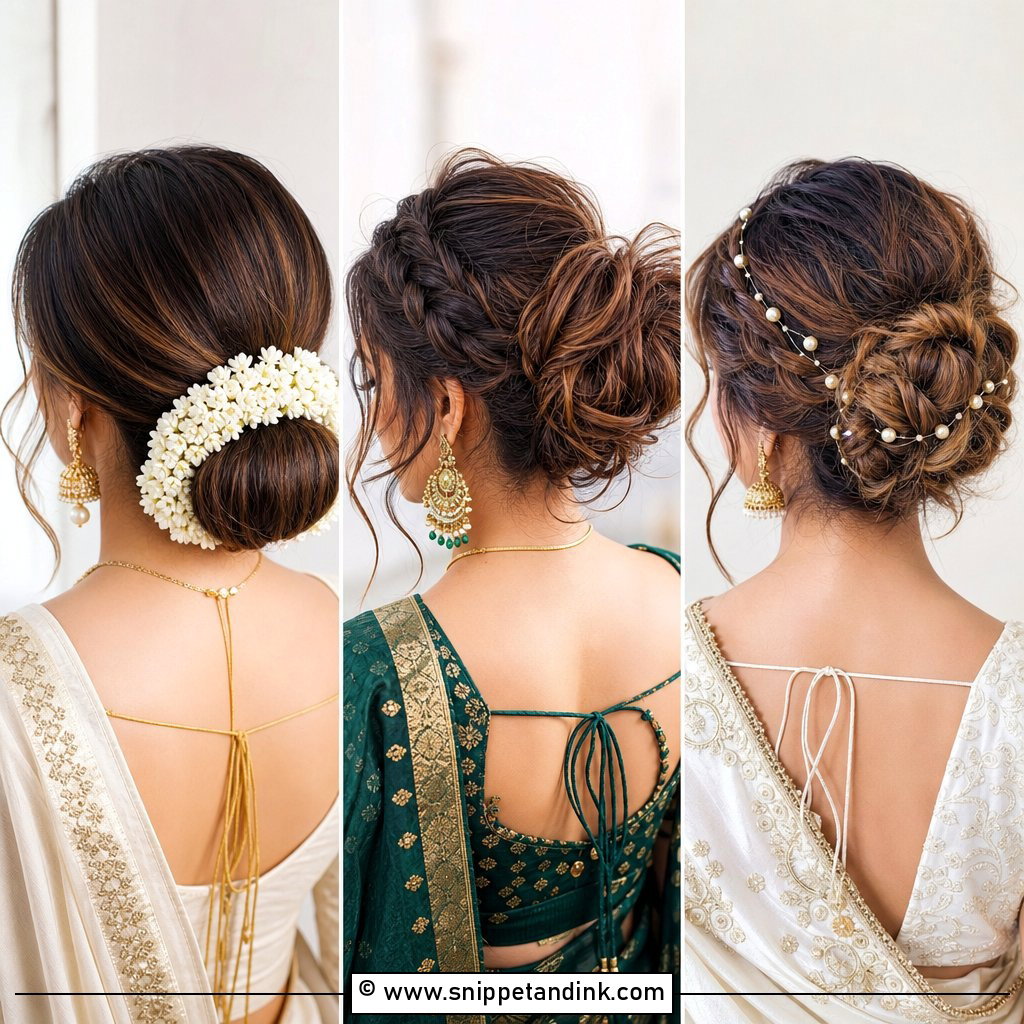
Here a braid wraps the hairline like a band and feeds into the bun at the top. I braid from behind one ear around to the other, then fold the tail into the bun so there’s no visible end. A Dutch braid sits raised and reads from across a room; a fishtail looks finer and suits a relaxed outdoor wedding better. The catch is that the braid uses up hair the bun would otherwise have, so you need real length and density. Shorter or thinner hair usually needs a clip-in piece added to the bun to keep it in proportion. Flowers or pearl pins placed along the braid follow its line nicely.
4. Ballerina Bun for Elegant Weddings
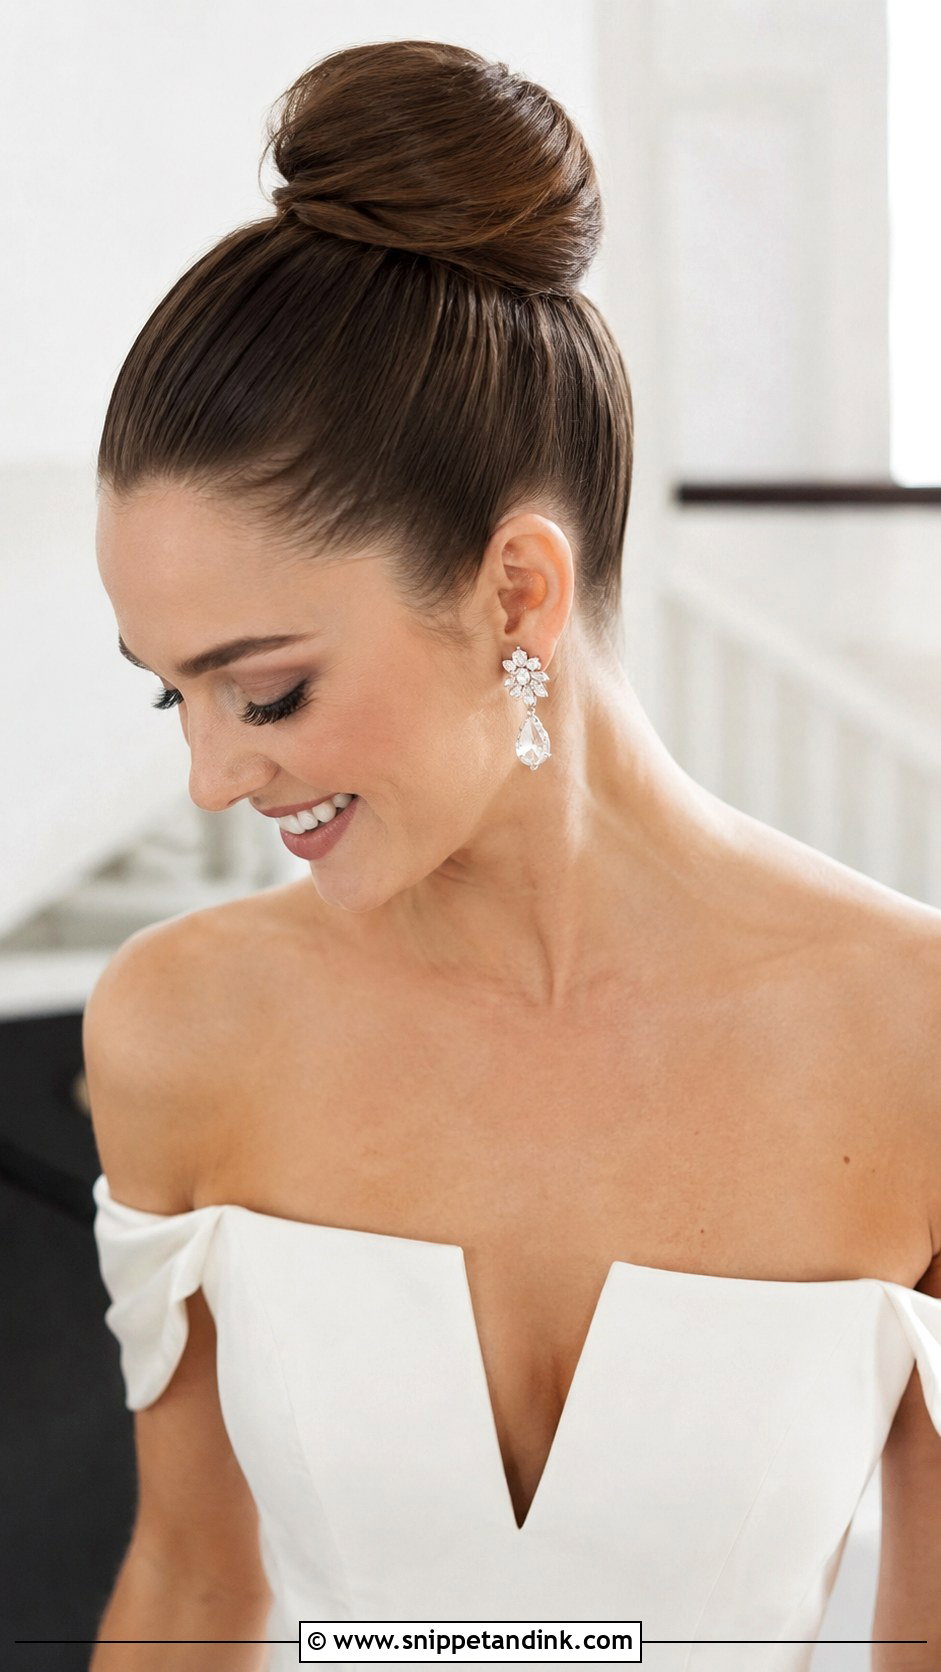
Round, centred and smooth: with a ballerina bun the shape is the whole point. I tease a little at the base of the ponytail so the bun has a cushion to sit on, then wrap the length around and pin it flat underneath so no pins show from the side. On medium hair a bun form keeps it truly circular. It belongs at black-tie weddings and with a plain gown, where the veil and earrings carry the detail. I’d steer you away from it if you dislike tension at the crown, because it has to be fairly tight to stay round all day.
5. High Bun With Face-Framing Bangs
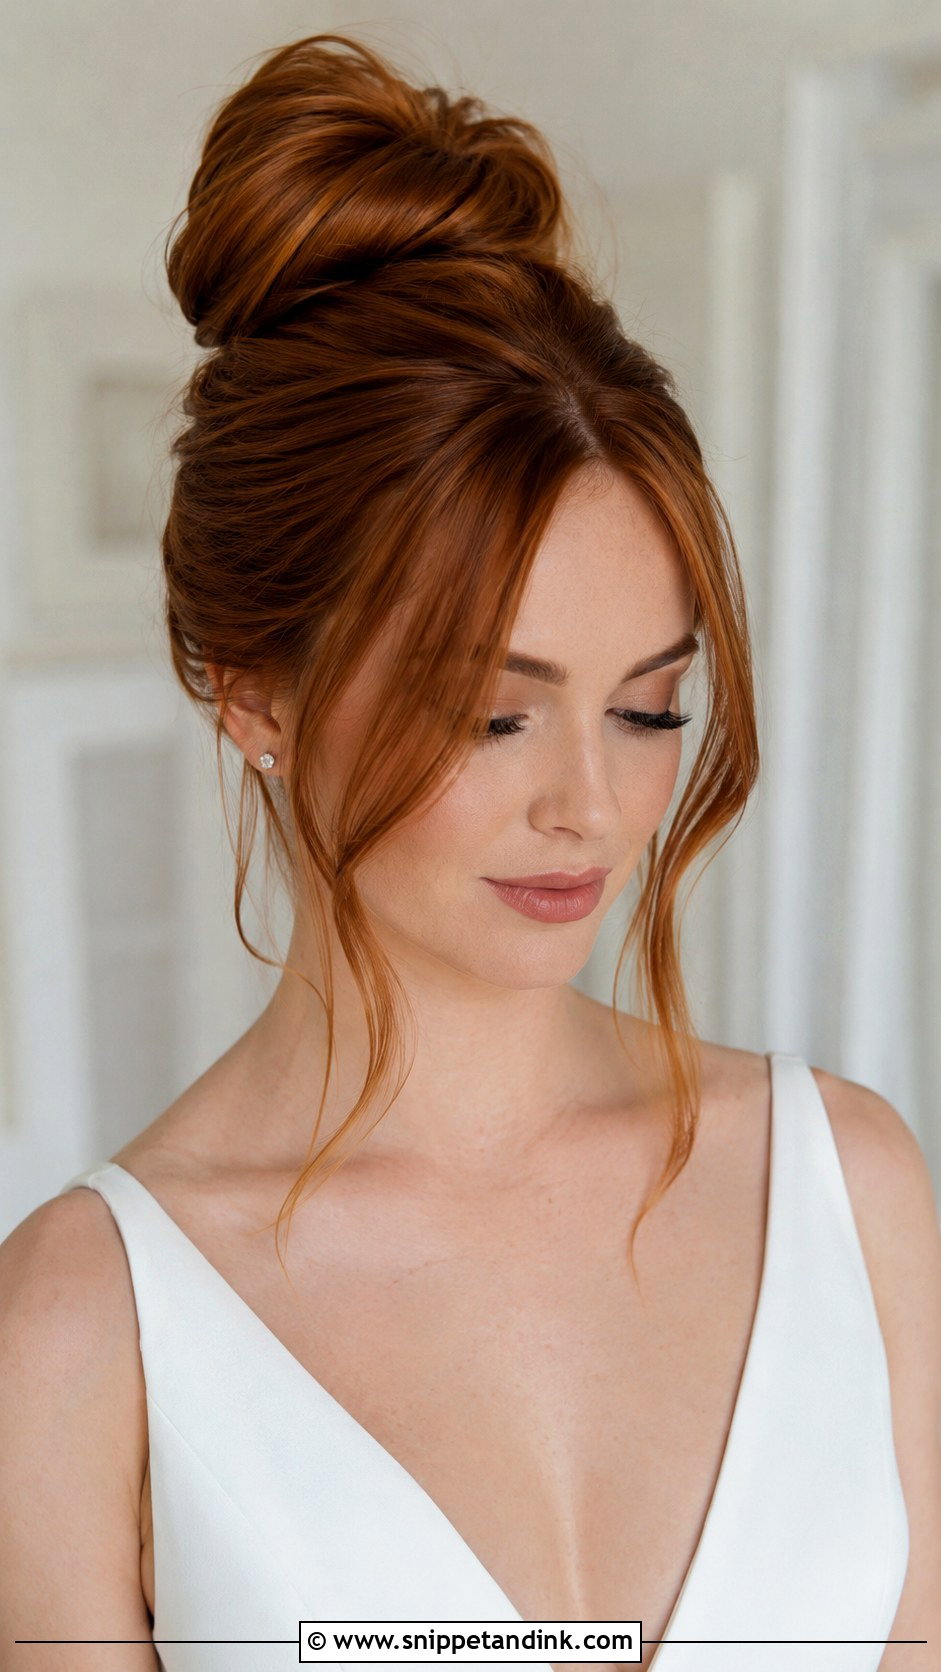
Pulling everything up can feel severe on some faces, and bangs take the edge off. With the bun sitting tall, a soft fringe softens your forehead and stops the look from reading like a gym ponytail. Curtain bangs are the easiest to style because they split and fall to each side on their own. My one warning: don’t have bangs cut in the last two weeks. A fresh fringe always sits shorter and stiffer than it will a fortnight later, so trim at least three weeks out and let it settle.
6. Twisted High Bun Updo
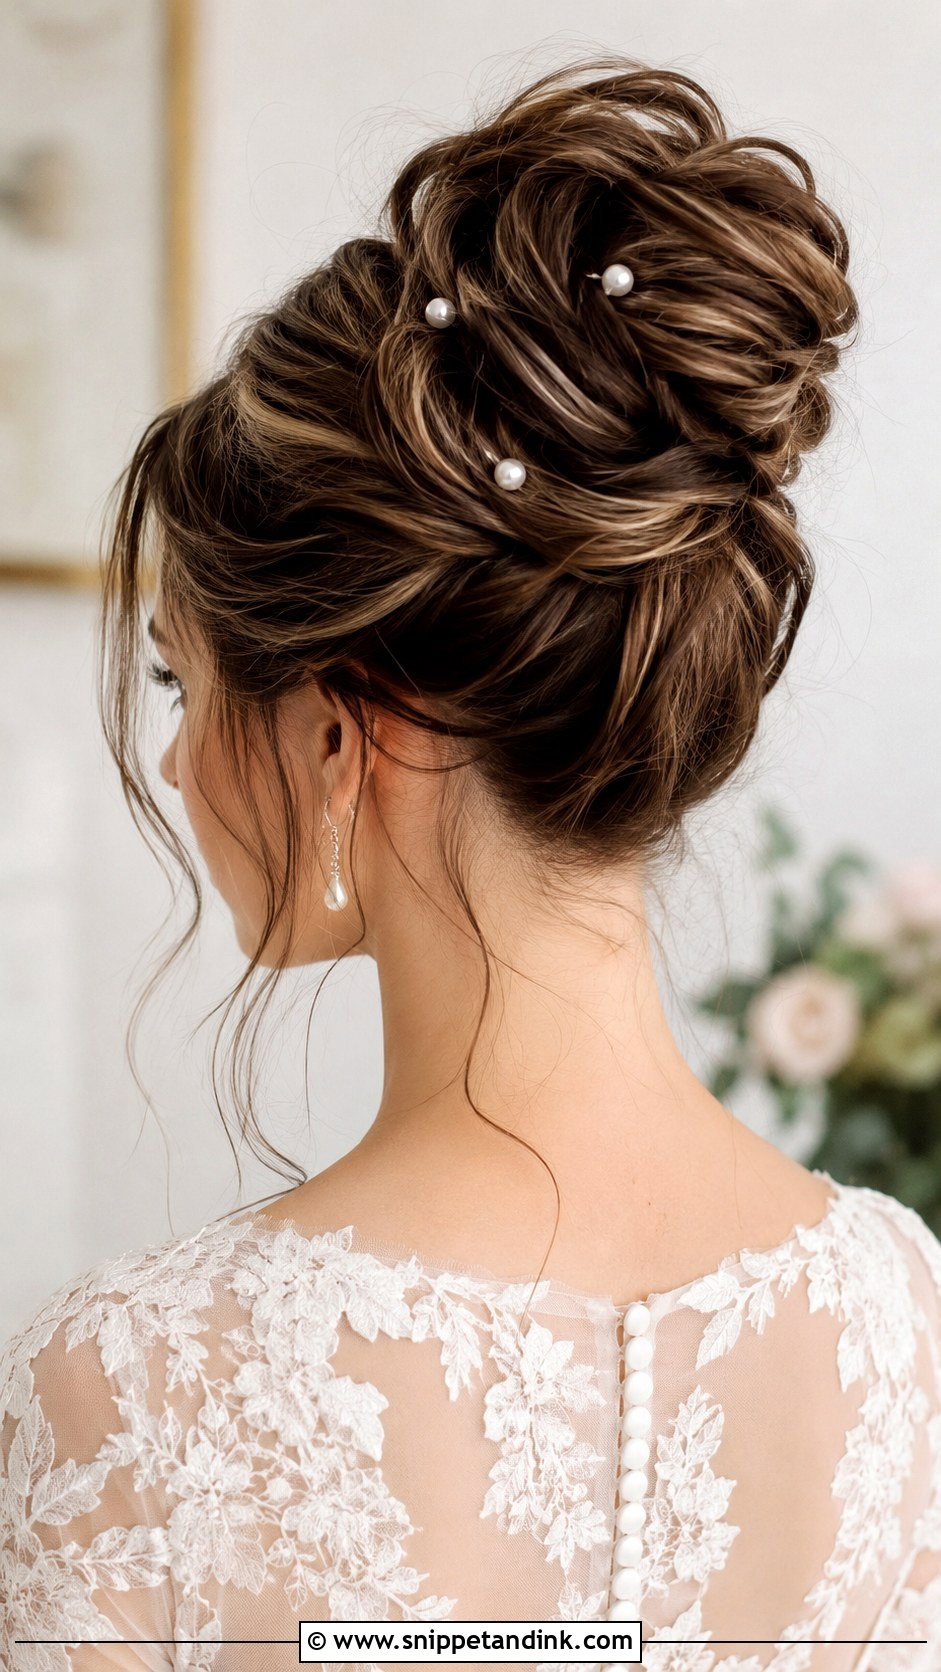
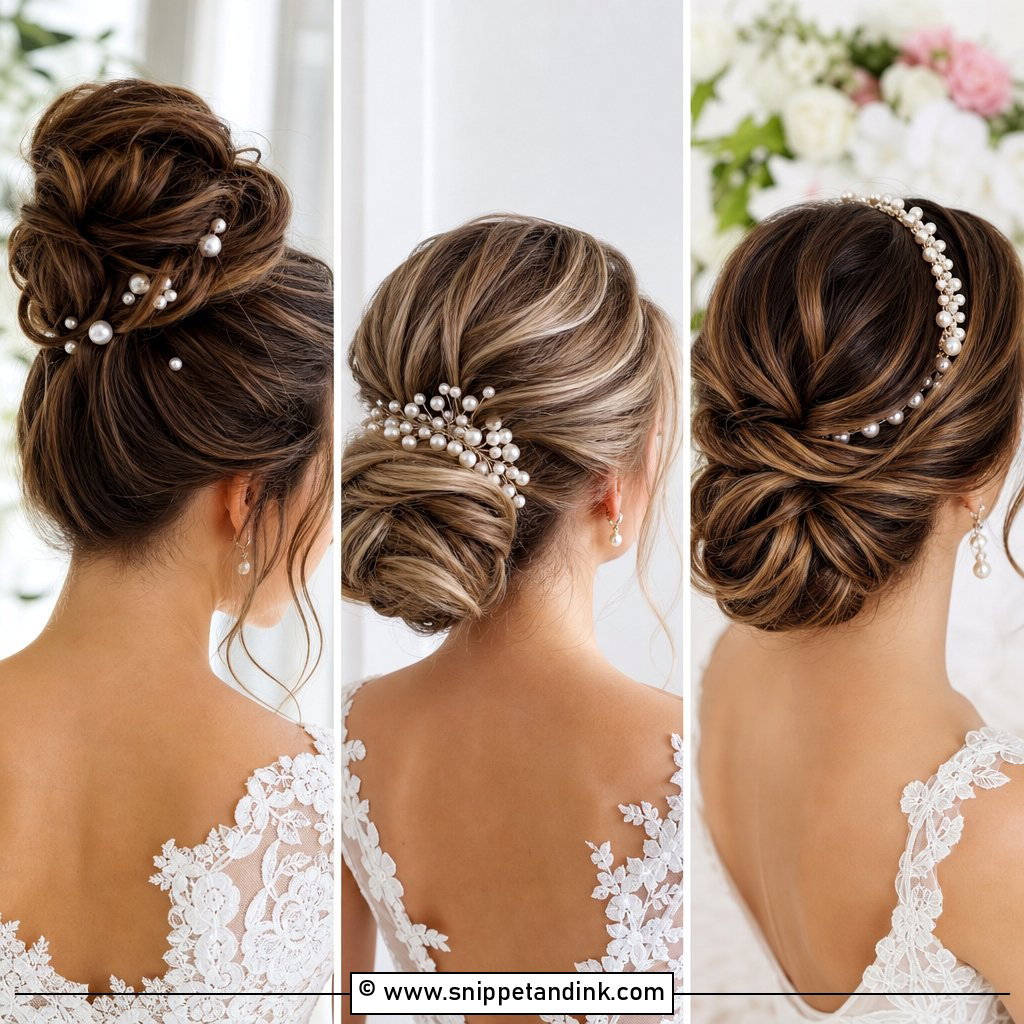
Instead of one wrap, the length is split into sections and each one is twisted and pinned around the base. That leaves ridges that catch the light, which shows up well in back-of-head shots during the ceremony. It looks intricate but it’s forgiving, since a twist that relaxes a little still looks intentional. Medium to long hair works. On heavily layered hair the shorter ends poke out of the twists, so I press those down with a touch of pomade before twisting. Pearl pins sit neatly in the grooves between sections.
7. Low-to-High Bun With Volume
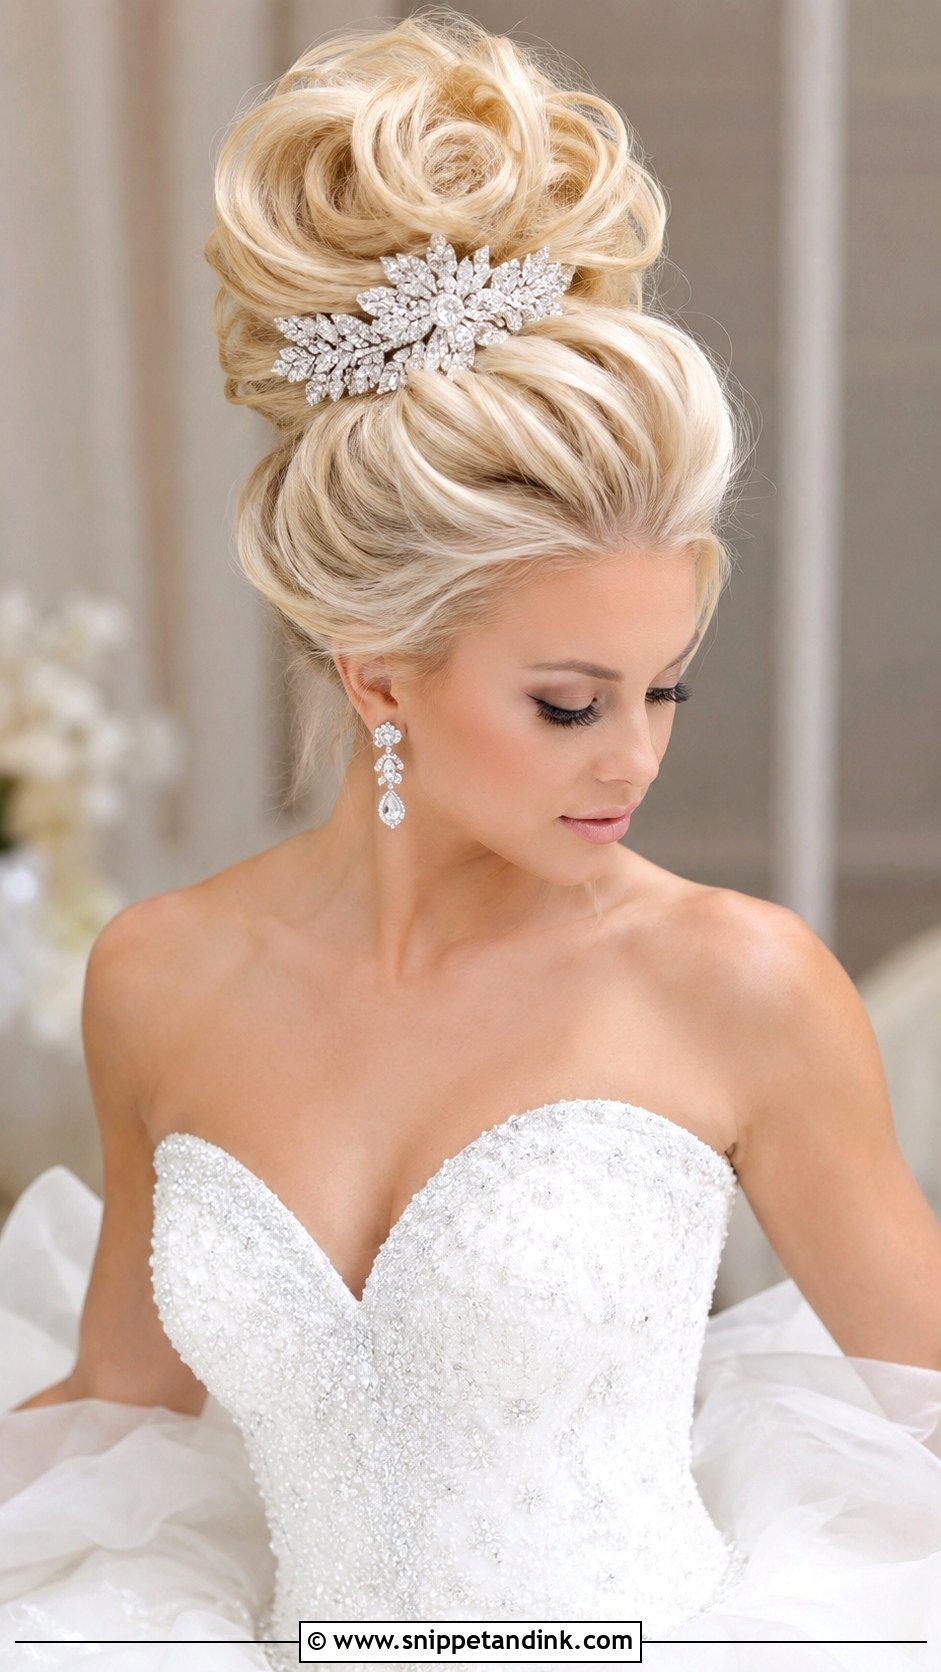
Height at the crown comes from backcombing the roots in horizontal sections before anything gets brushed up. I smooth only the top layer over that teased cushion; brush too deep and the lift collapses. Thick hair handles this, or fine hair with a padded insert. Heavy teasing on fine hair alone looks matted from the side. Watch proportion as well. A tall bun above a long face makes it look longer, so I sometimes drop it an inch toward the back of the crown. With a ballgown and a big veil, it holds its own.
8. High Bun With Pearl Accessories
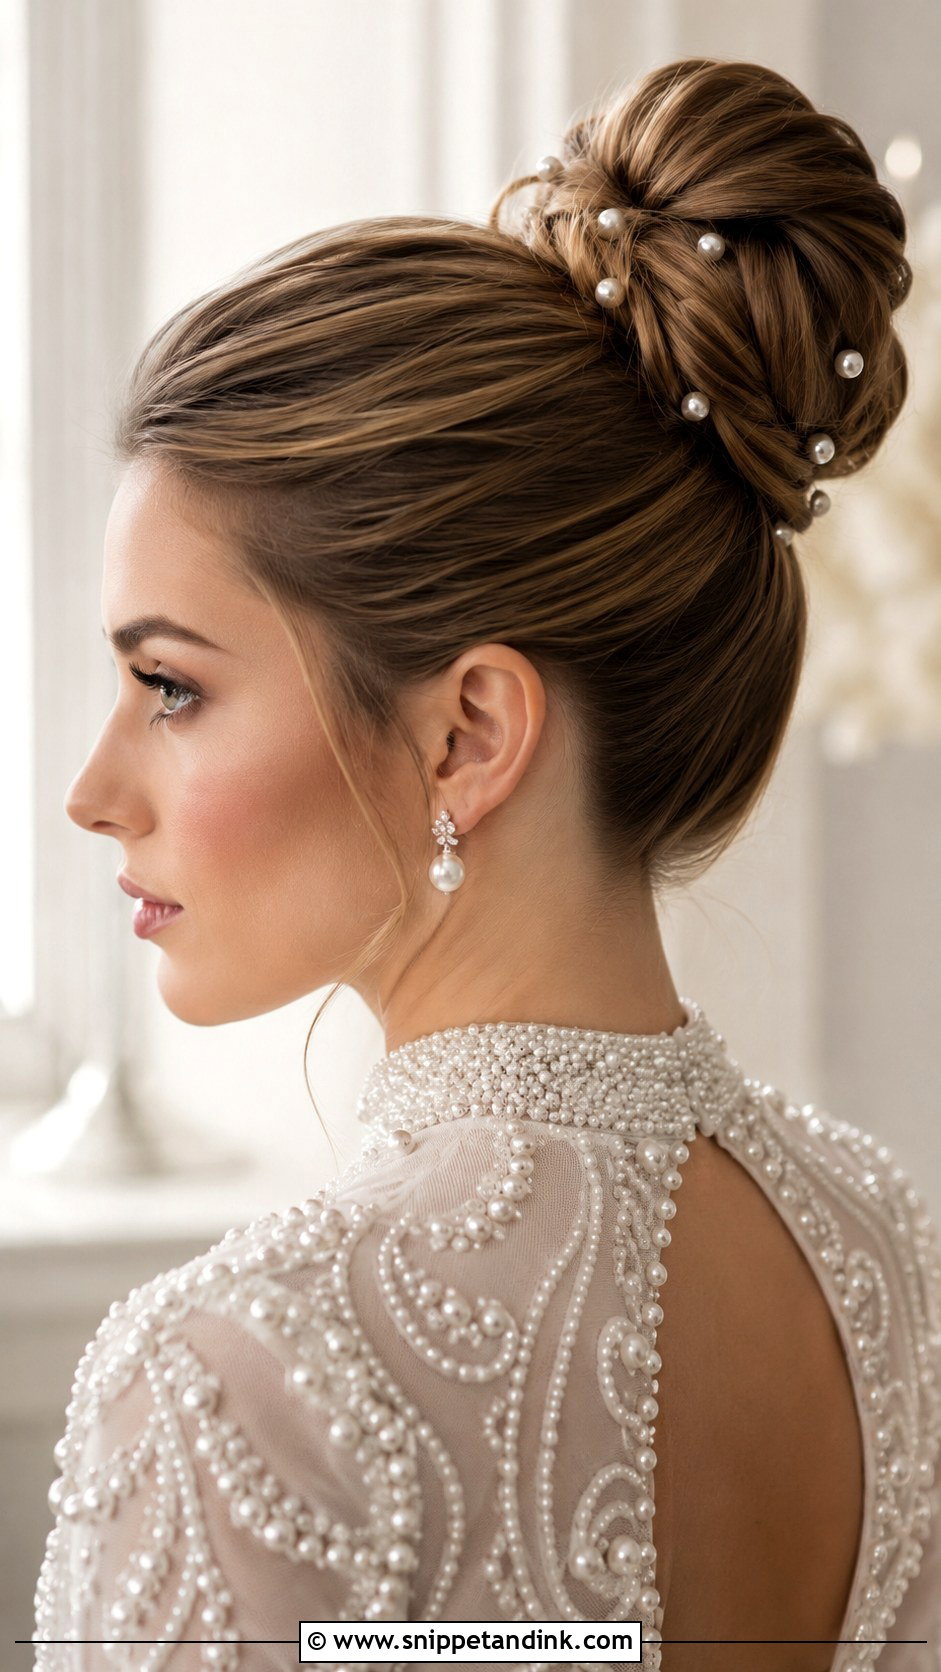
Pearl pins are the easiest accessory to place, and also the easiest to overdo into a polka-dot pattern. I cluster them in odd numbers along one side of the bun instead of spacing them evenly. They need something to grip, so on very silky hair I mist in a little texture spray first or use pins with a slight bend, otherwise they work loose by the speeches. A pearl comb is more secure if you’d rather not manage lots of small pins. Match the pearl tone to your dress, too: bright white pearls next to ivory silk can make the fabric look yellow.
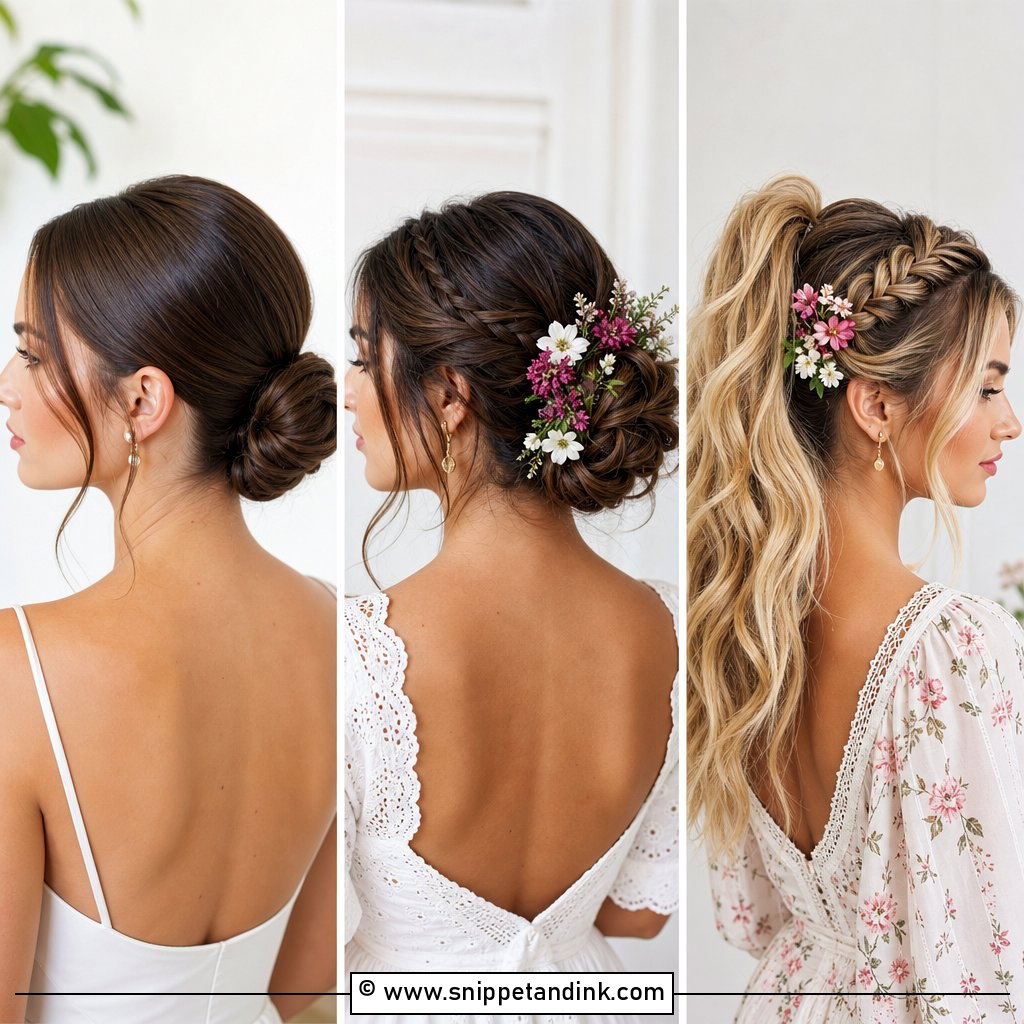
9. Boho High Bun With Flowers
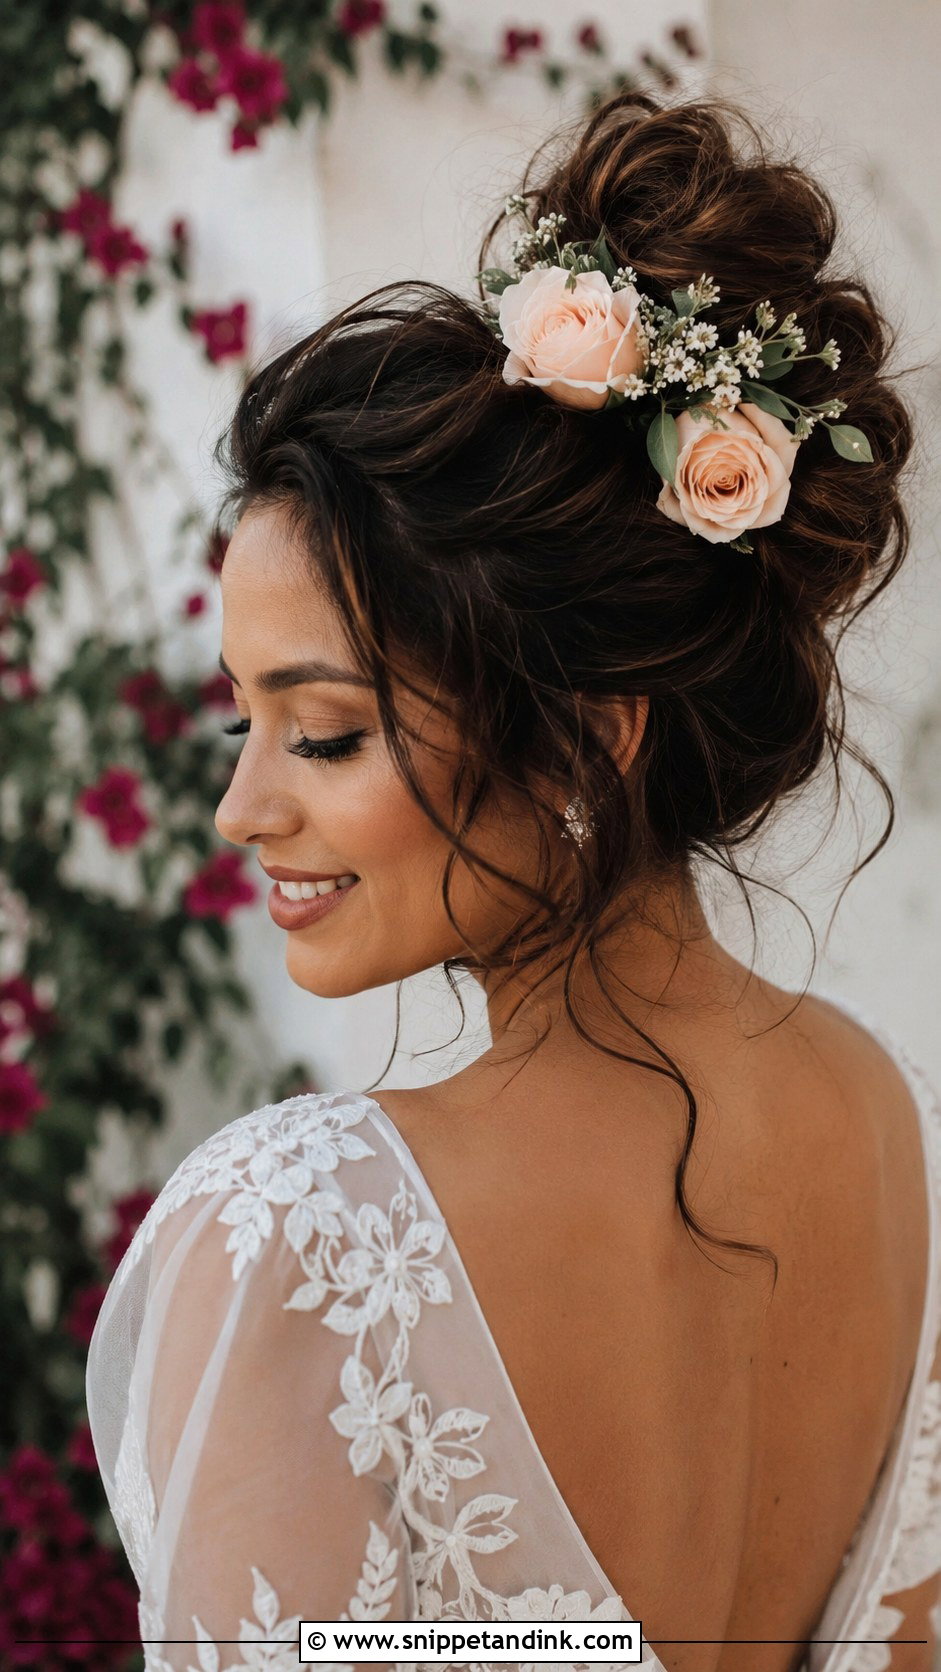
Fresh flowers in a bun need a conversation with your florist, not a few stems pulled from the bouquet on the morning. Baby’s breath, roses, or wildflowers with firm stems hold up for hours out of water, while hydrangea and sweet pea droop quickly. I pin each stem into the base of the bun and keep heavier heads low so they don’t drag it sideways. The bun stays loose and textured, which suits wavy hair. On a hot outdoor day, ask for a few spare stems kept cool for evening photos.
10. Sleek High Bun With Middle Part
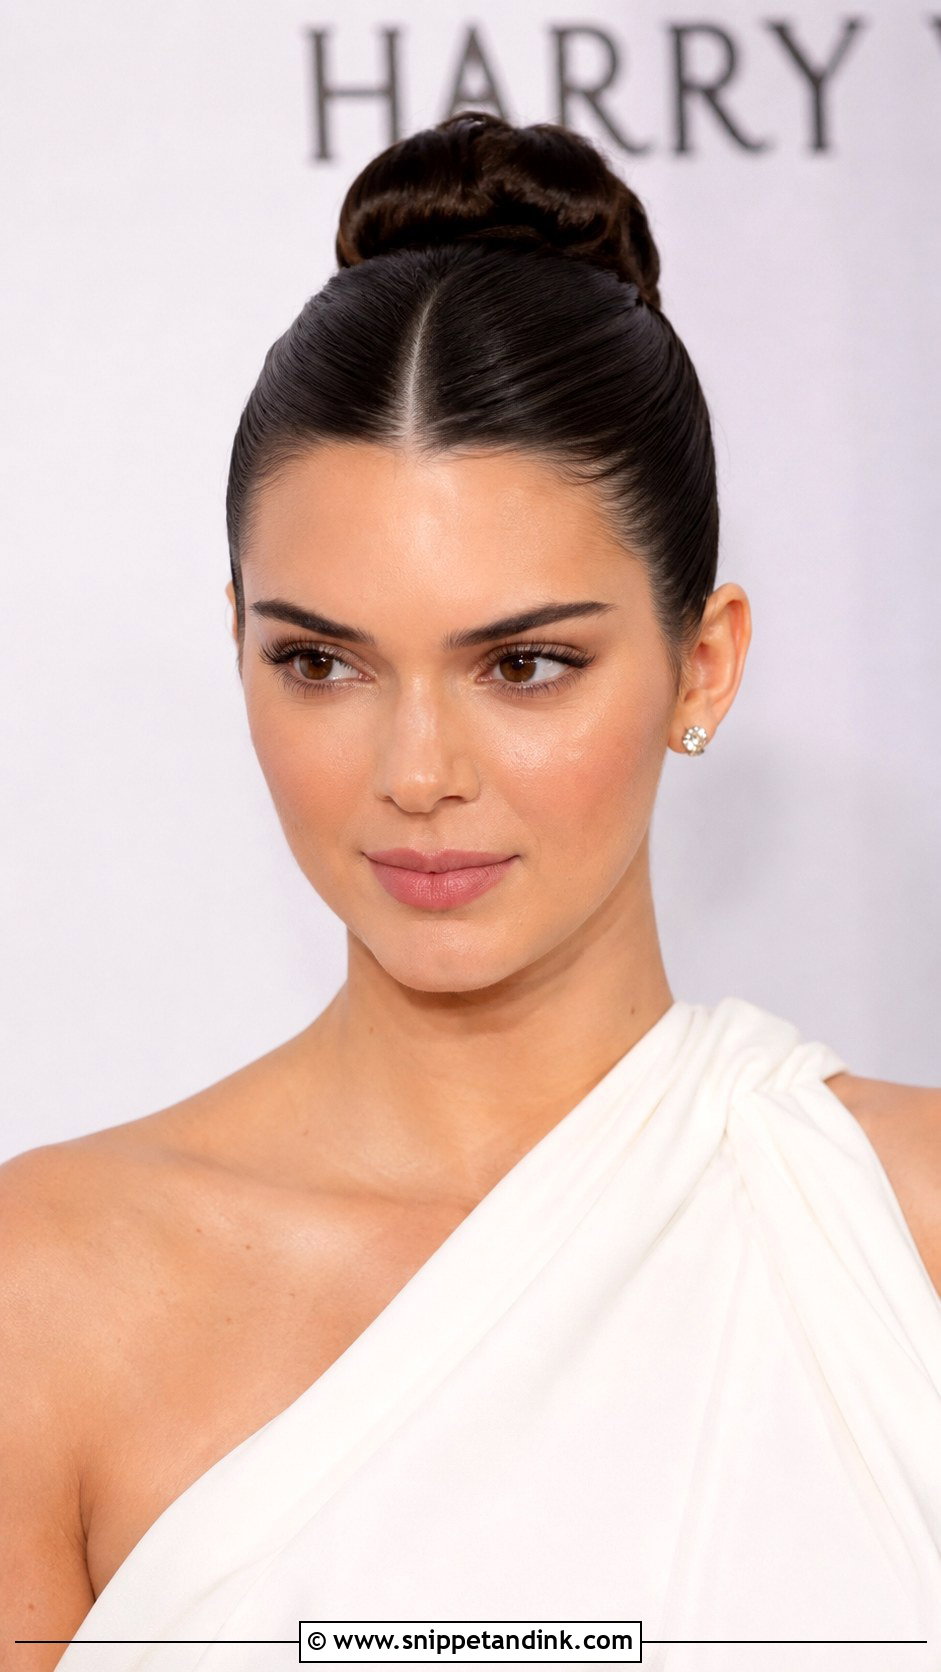
A centre part makes a sleek bun look editorial, but it’s honest about symmetry. Most faces are slightly uneven and a dead-centre line shows that, so I find the part from the bridge of the nose and then nudge it a couple of millimetres if one side looks heavier. I comb the part with the tail of the comb on damp hair and smooth gel over it straight away so it dries crisp. Straight or relaxed hair suits it best. Finish with shine spray held well back; sprayed too close, it leaves wet-looking patches in flash photos.
11. High Bun With Side-Swept Bangs
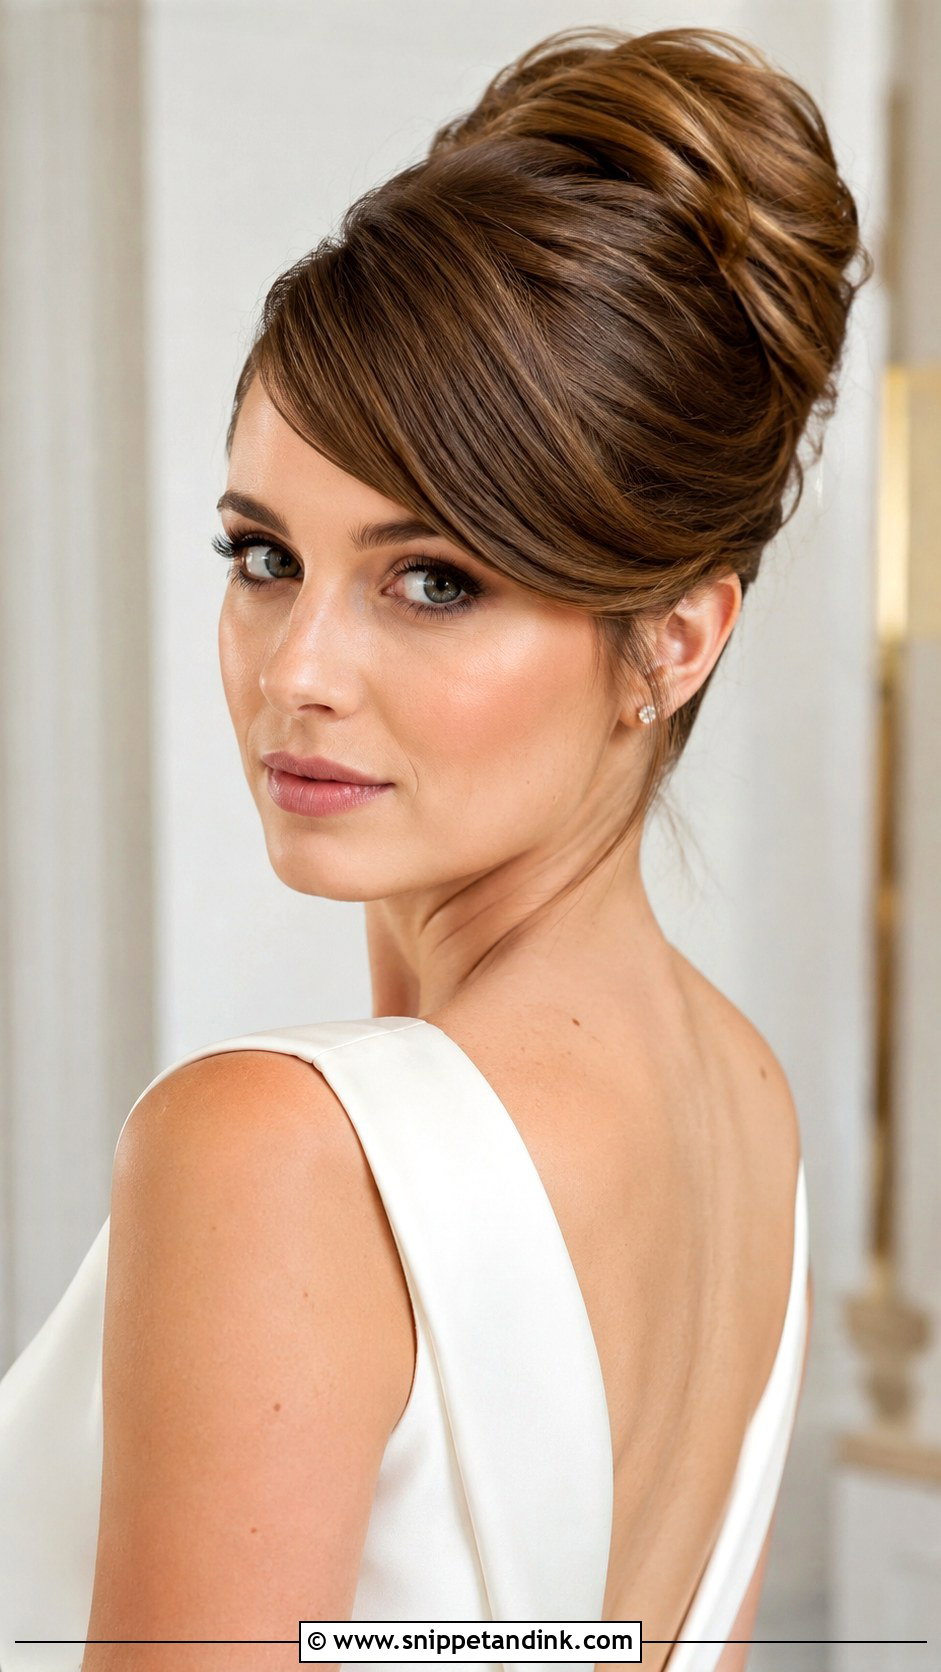
A side-swept fringe softens a high bun from one side only, which tends to flatter square and heart-shaped faces. The work here is keeping the fringe in place. I blow-dry it across the forehead with a small round brush, set it in a velcro roller while I build the bun, then finish with a light hairspray. Heavy product makes a fringe split into strips by mid-afternoon. A small sparkly pin just above the fringe on the parting side holds the sweep and adds a little shine.
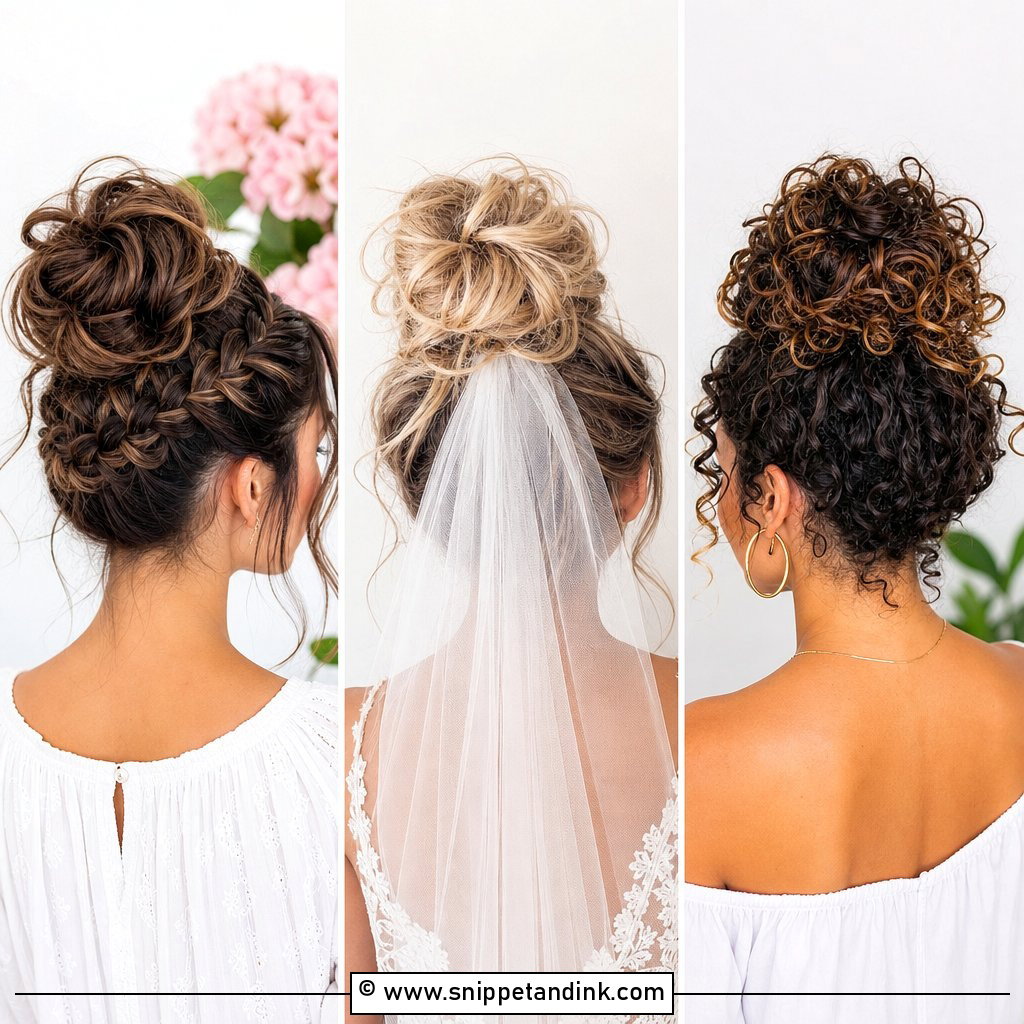
12. Curly High Bun for Natural Hair
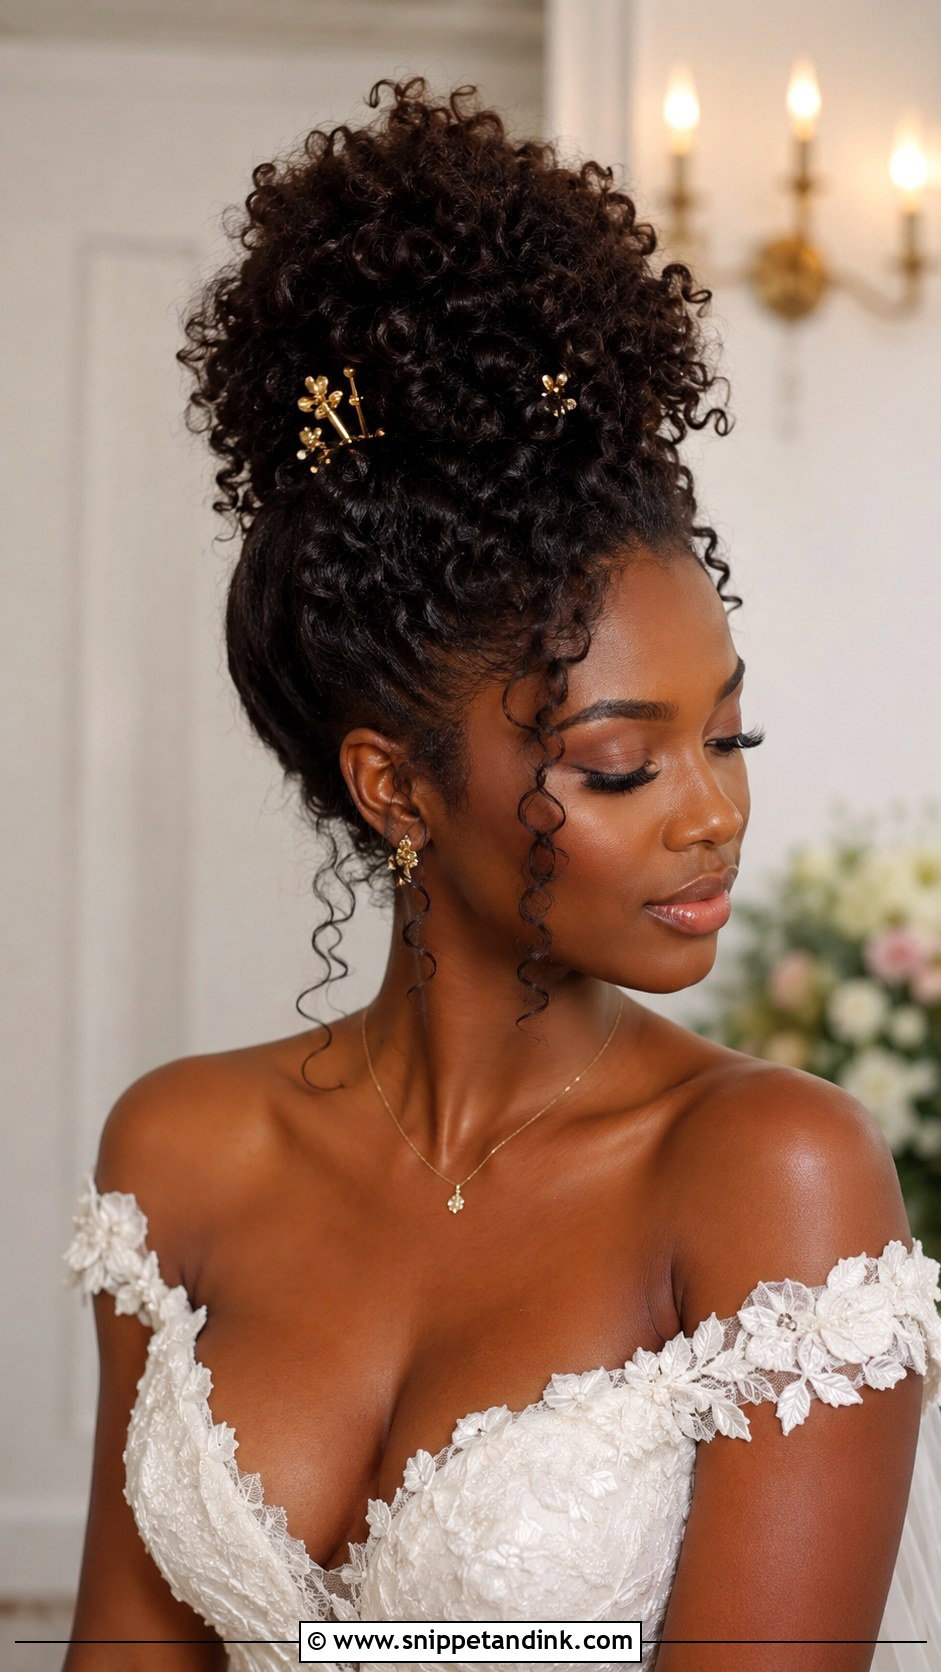
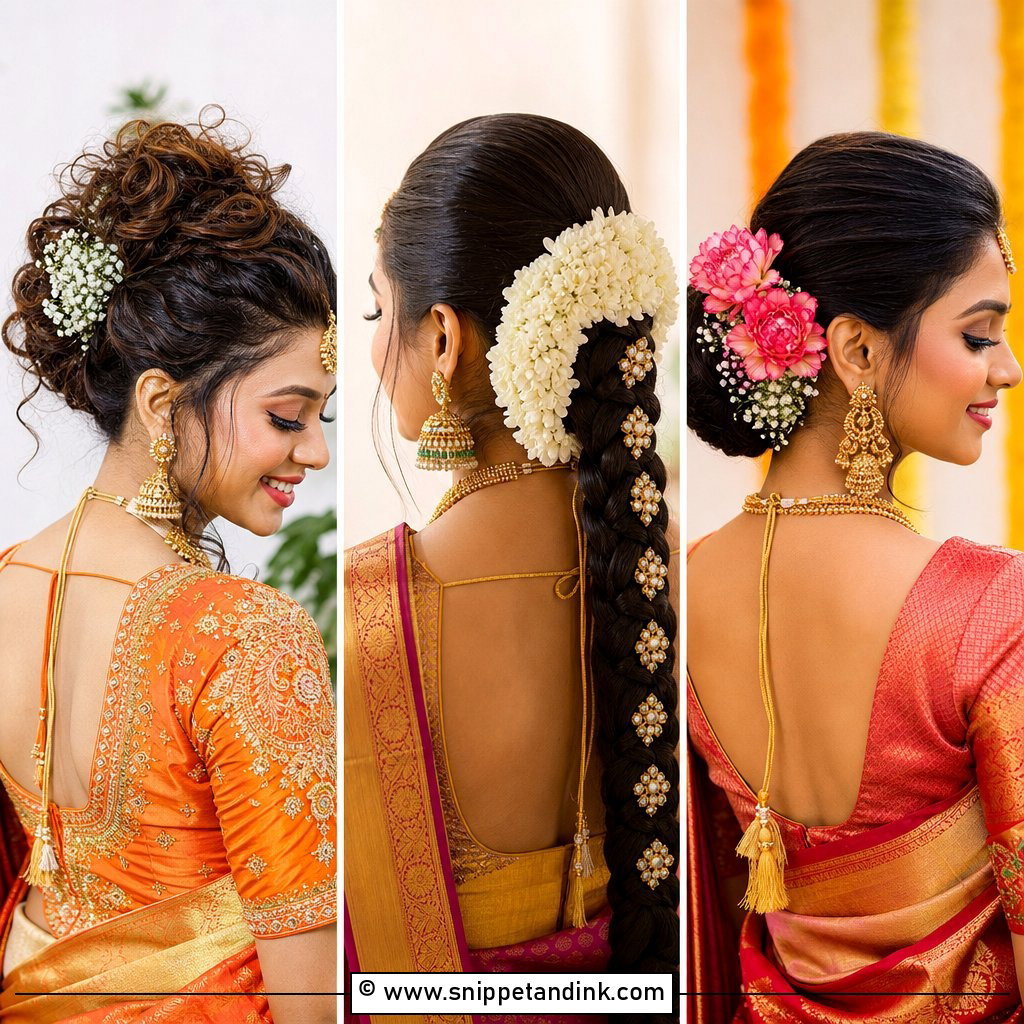
Natural curls and coils make one of the fullest buns there is, with no padding needed at all. Please don’t let anyone comb the definition out. I gather the hair up with my hands or a soft brush, secure it with a fabric-covered band rather than a rubber elastic, and shape the bun with pins pushed in from the side. Edges can be laid with a soft gel if you like that finish. A few loose coils around the face look natural, and gold pins or flowers show up well against dark curls. Moisturise the night before rather than that morning, so the curls aren’t damp and soft when the pins go in.
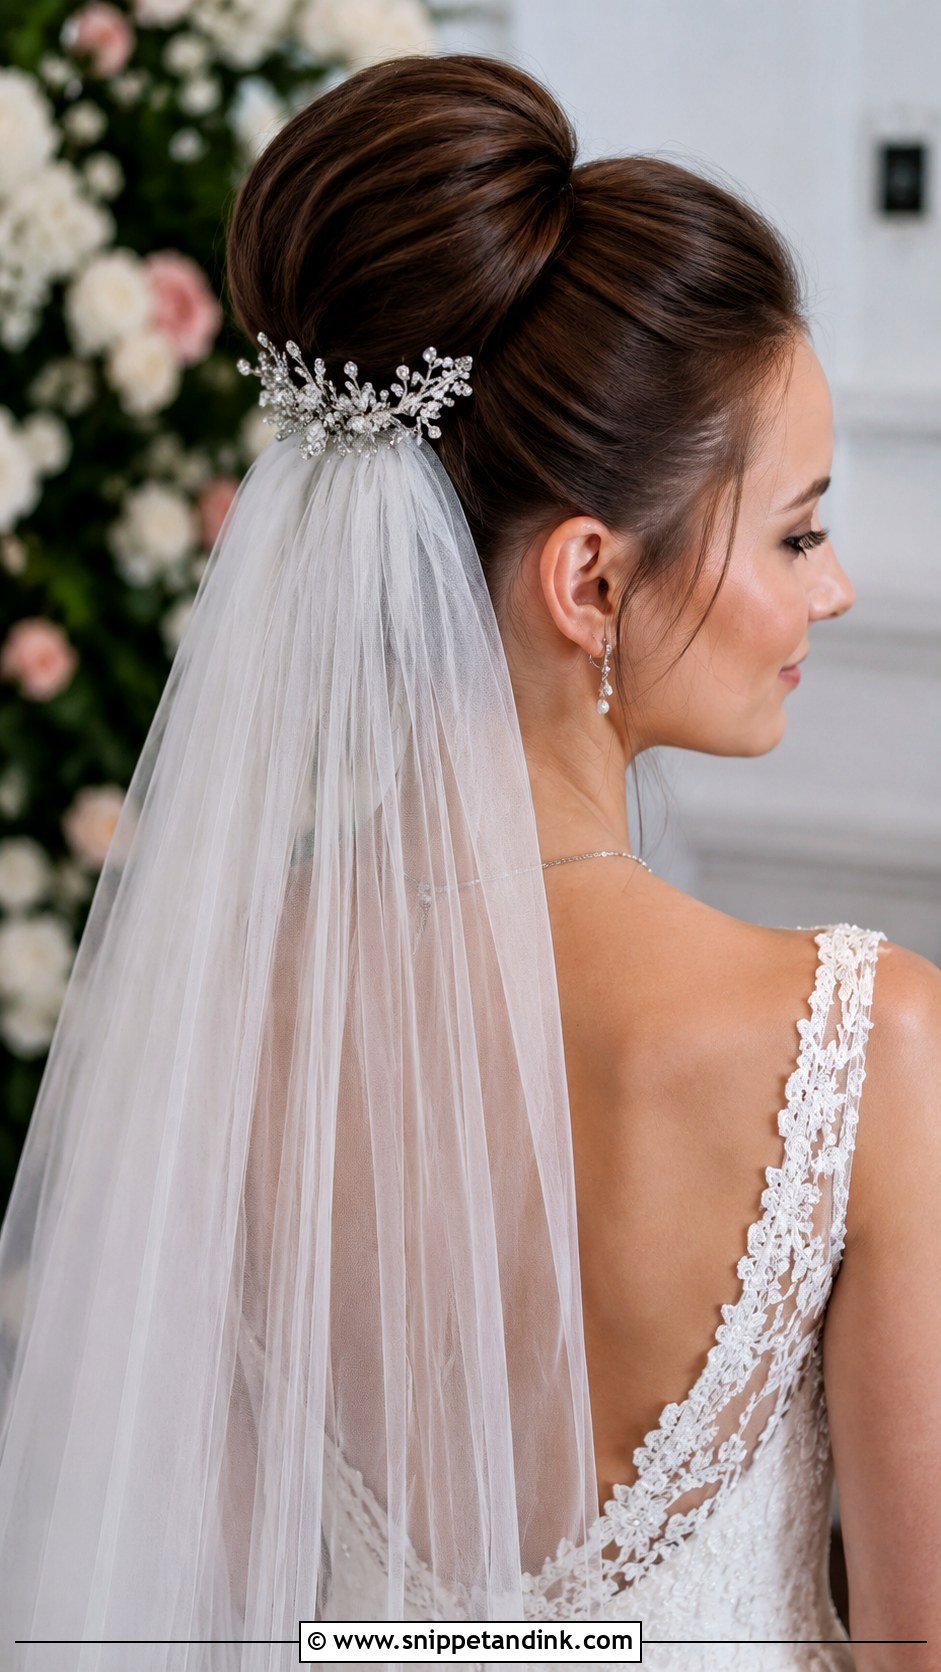
13. High Bun With Veil Underneath
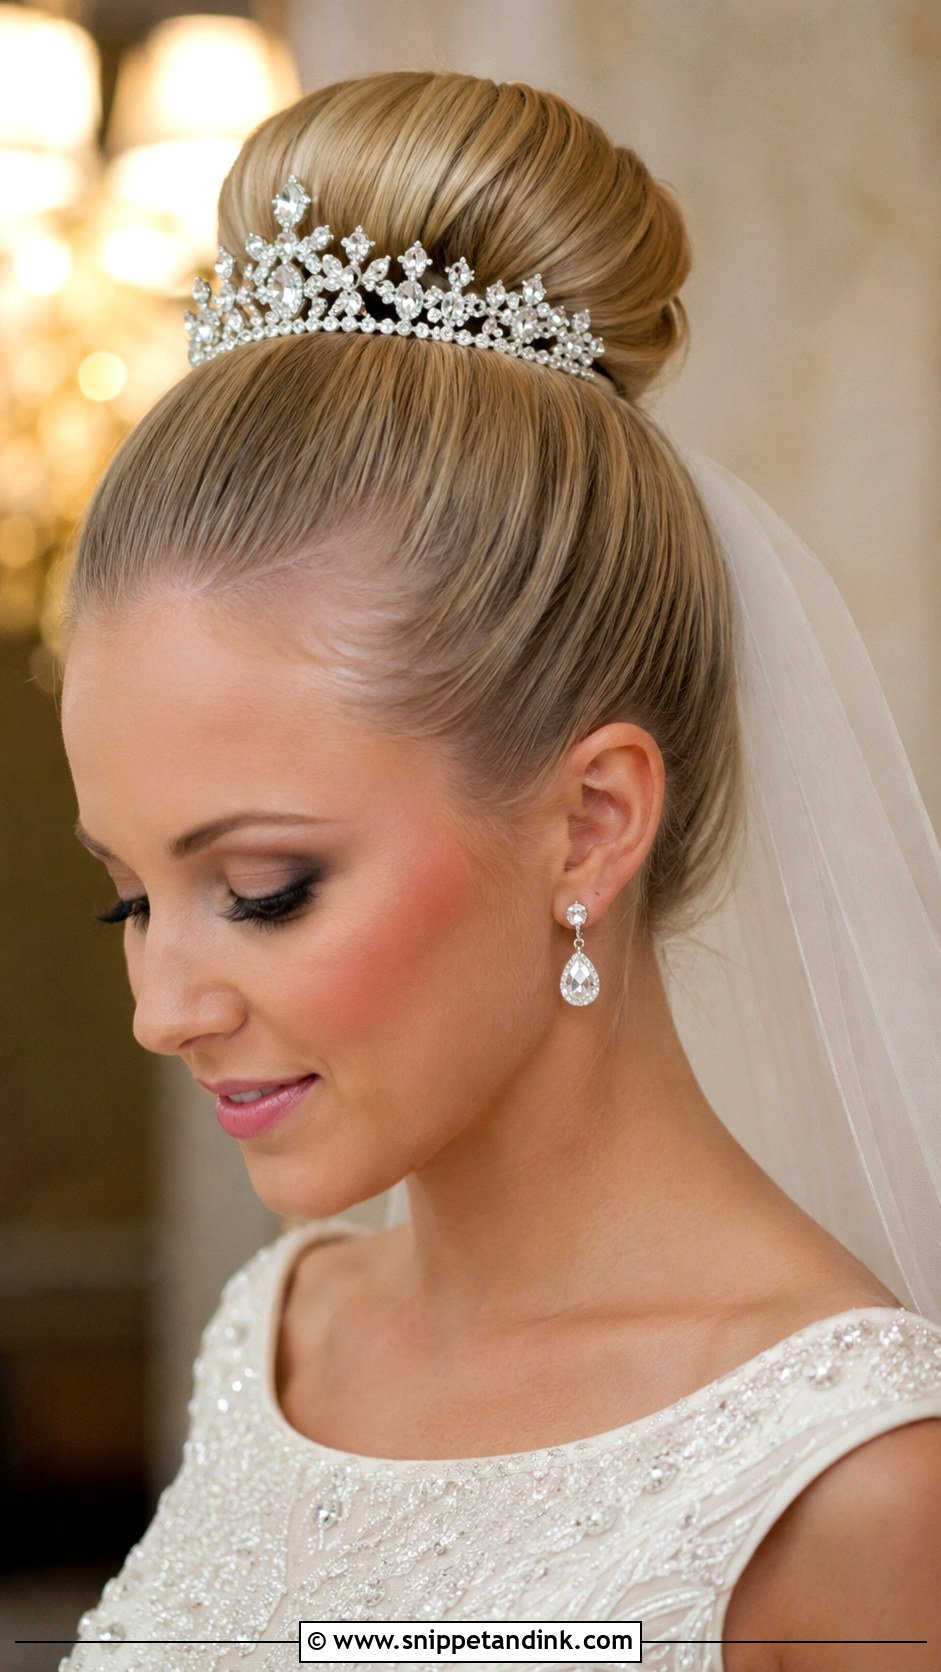
Sliding the veil comb in beneath the bun is the most traditional placement and the most comfortable for long wear, since the bun sits above and takes none of the veil’s weight. I insert the comb with its teeth angled up into the base, then push it down so it locks against the hair. A fingertip veil suits most gowns. Cathedral length pulls much harder, so I anchor it with two bobby pins crossed over the comb’s spine. A small jewelled comb above the bun gives a second detail at the top.
14. Textured High Bun With Waves
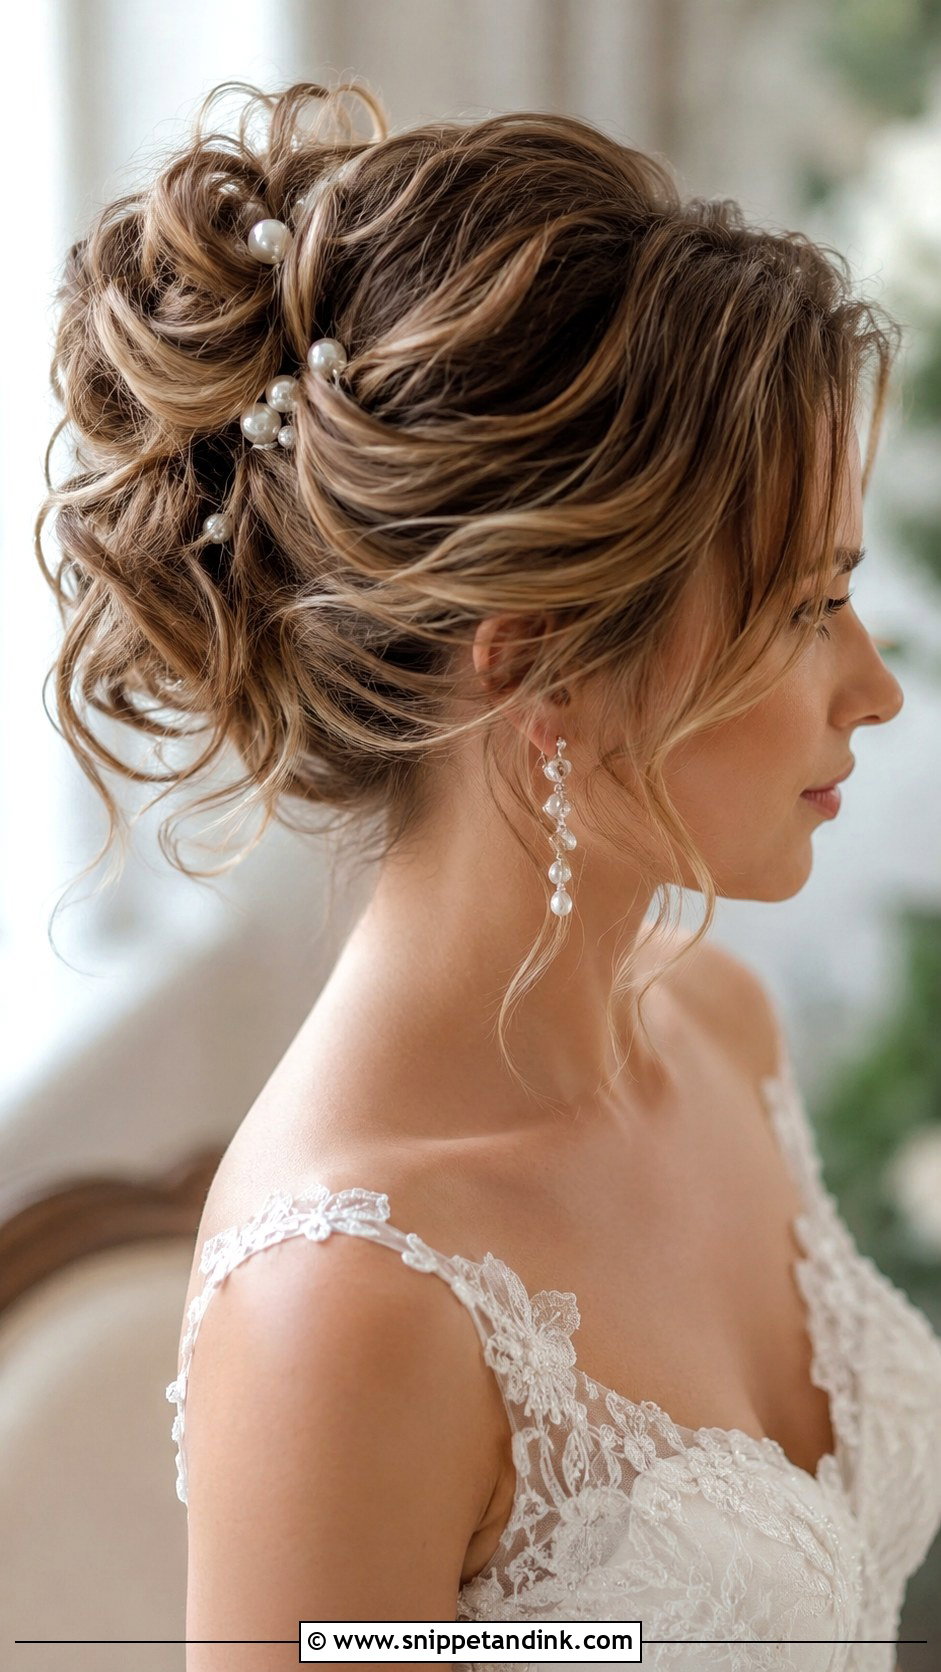
The waves are set before the hair goes up, with a medium barrel iron, and left to cool pinned in curls so they hold their shape. Brushing them out lightly before gathering gives smooth, rope-like texture rather than separate ringlets. Wavy hair takes this naturally. Very straight, slippery hair drops the wave within a few hours unless it’s prepped with a setting spray and properly cooled. The face-framing pieces are the last thing I curl, right before you leave the chair.
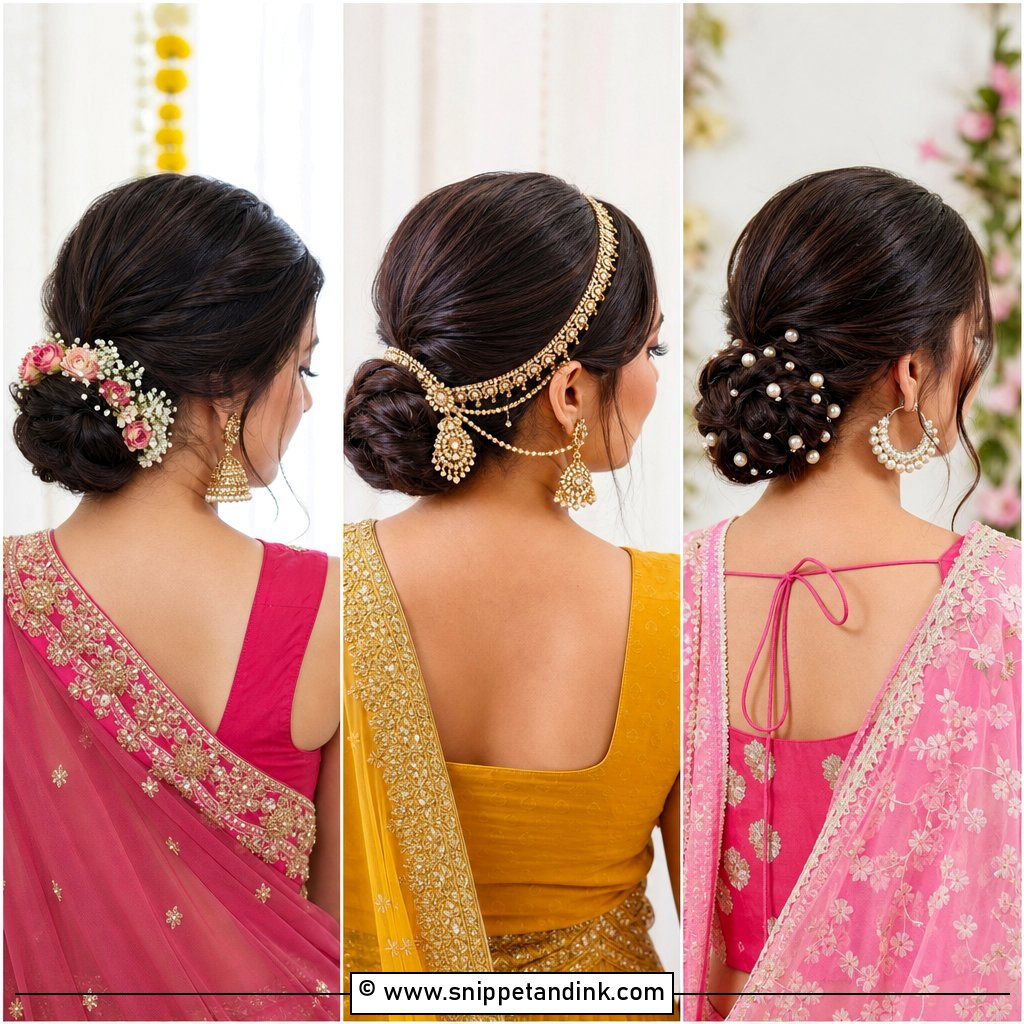
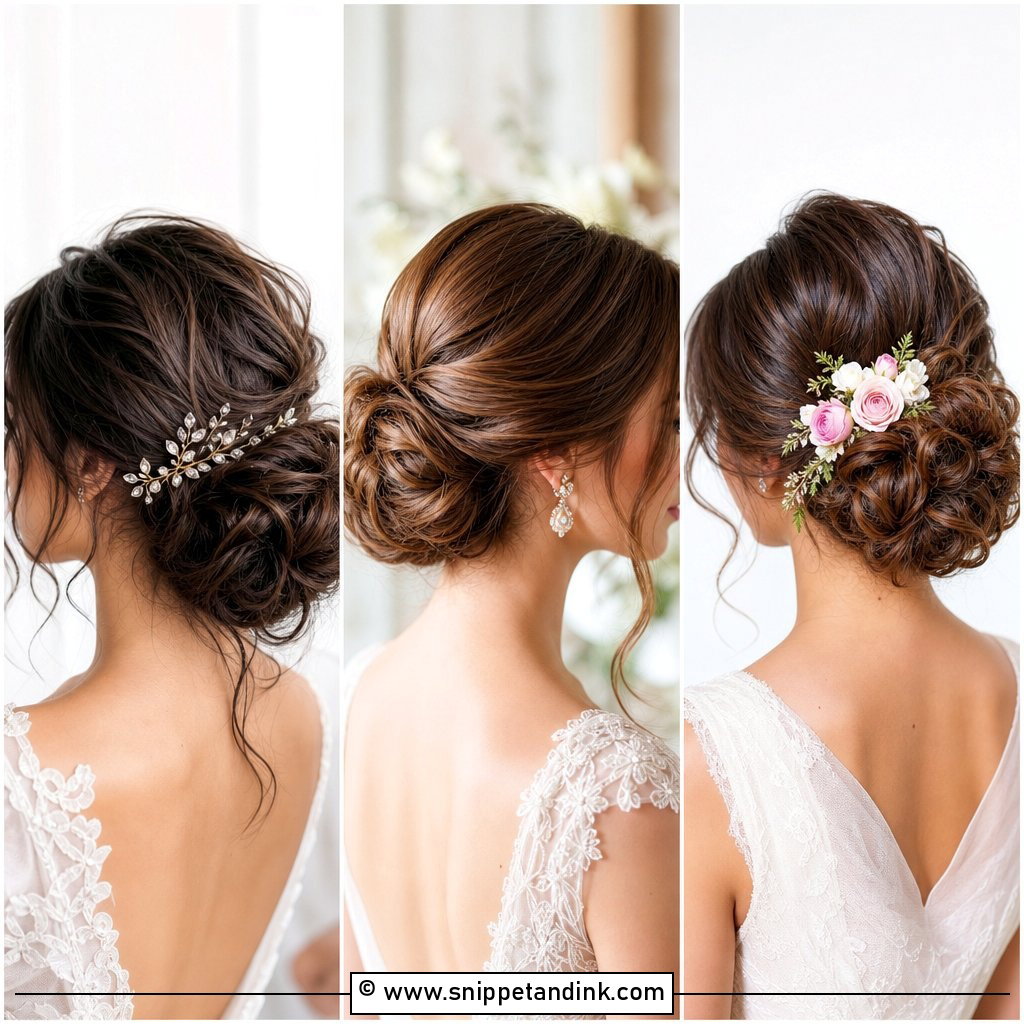
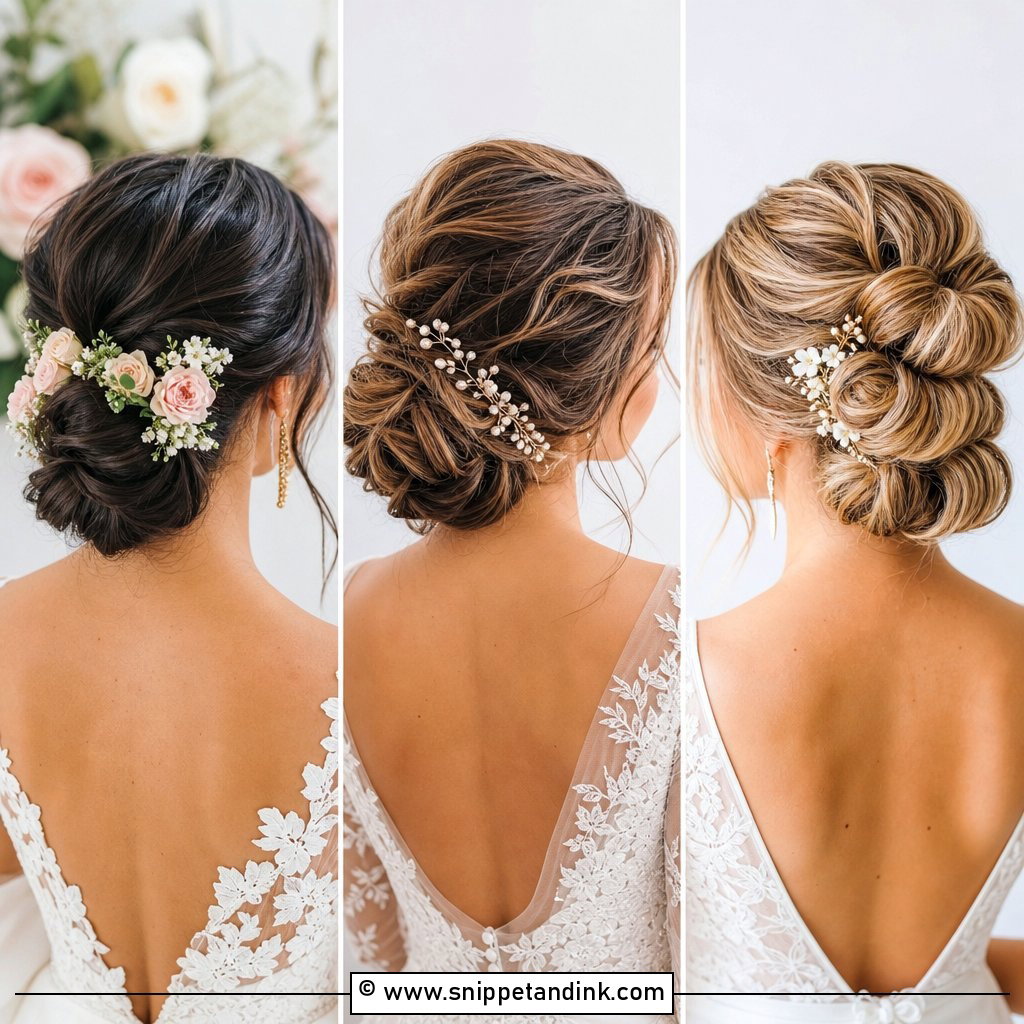
15. High Bun With Rhinestone Hairpiece
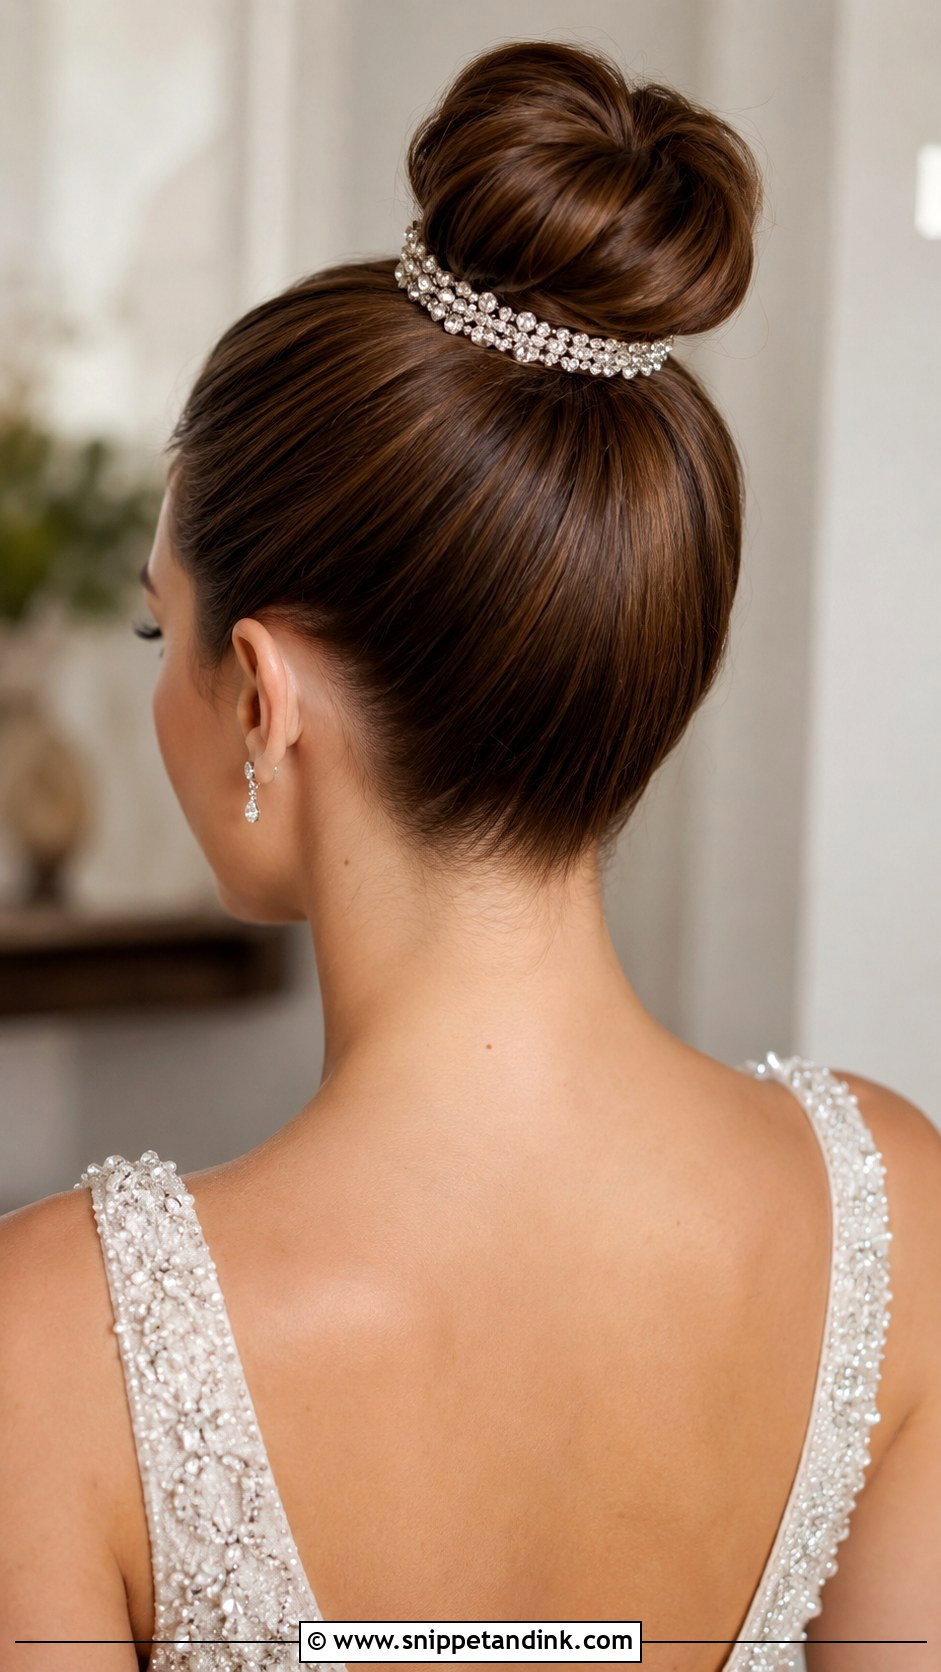
A rhinestone hairpiece on a sleek bun gives the most light reflection for the least fuss. Placement depends on where the camera will be: at the base of the bun it shows in ceremony photos from behind, on the side it shows in portraits. Check the weight before you buy. Heavy wire vines drag on the bun and loosen it over a long evening, so I pin them through to a small braided anchor hidden underneath. Candlelit evening receptions are where this piece really earns its place.
16. Double Bun Wedding Style
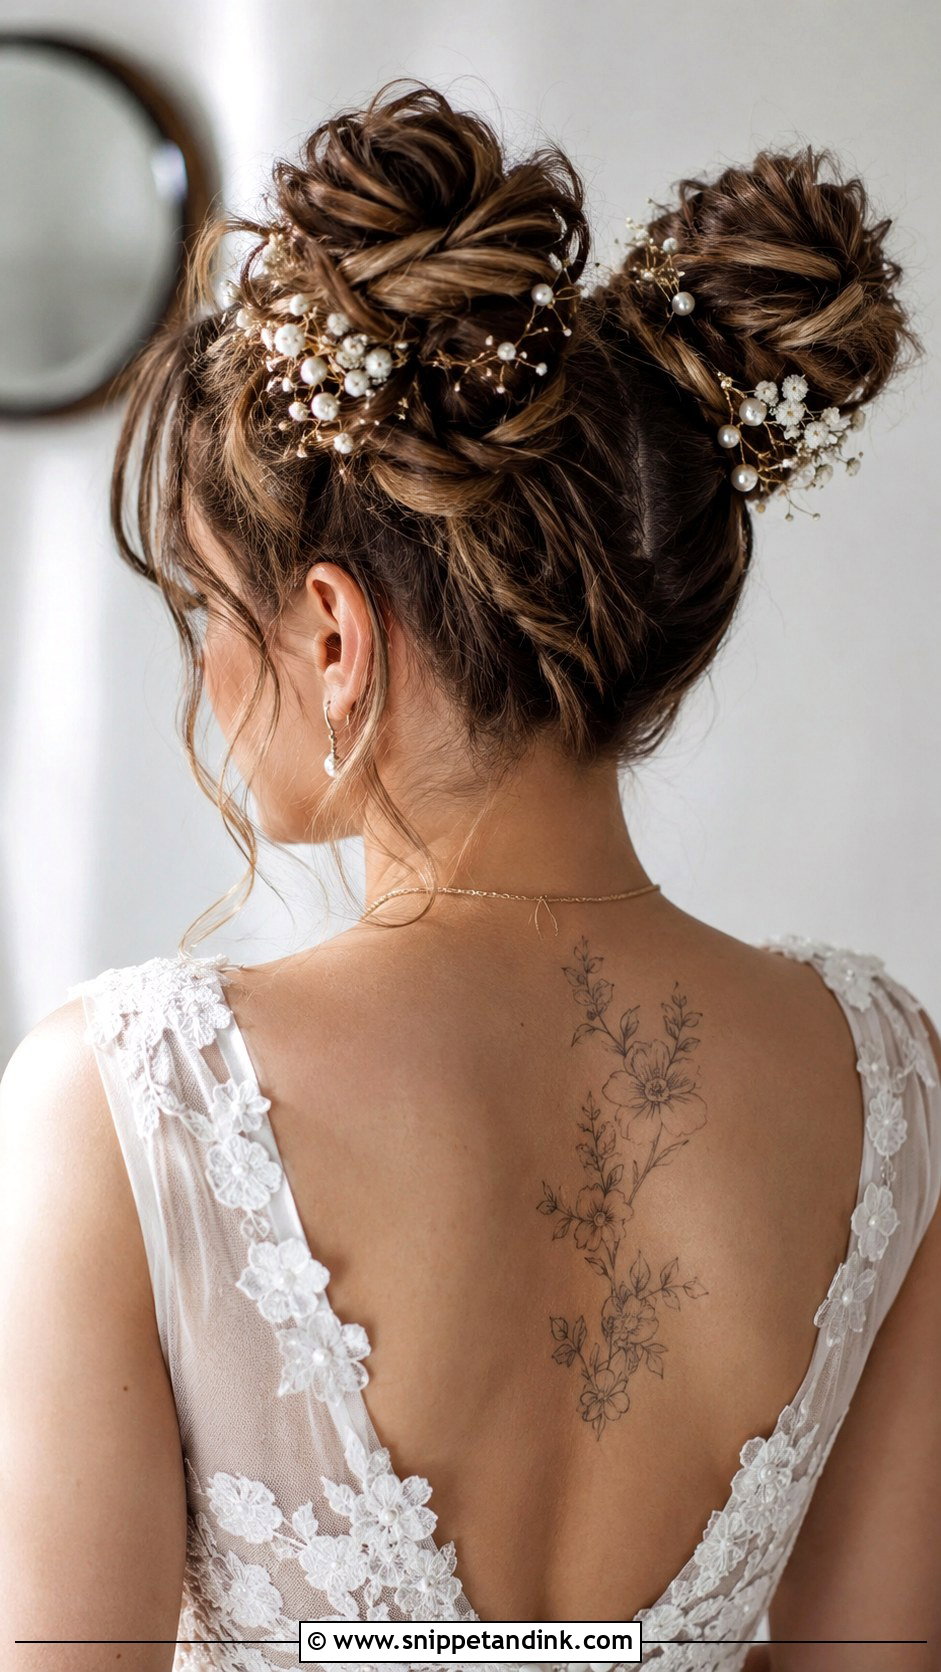
Two buns, either stacked or set side by side high on the head, make the most fashion-led look here. They need medium to long hair and a very precise parting, because any wobble between the two sections is obvious. I keep the rest of the hair flat and smooth so the two shapes read clearly. It isn’t for every wedding. With a cathedral veil there’s no tidy place to anchor the comb, and the playful shape can clash with a very formal gown. With a short dress or a city venue it makes sense, and a few pearl pins pull it back toward bridal.
17. High Bun With Loose Curls Around Face
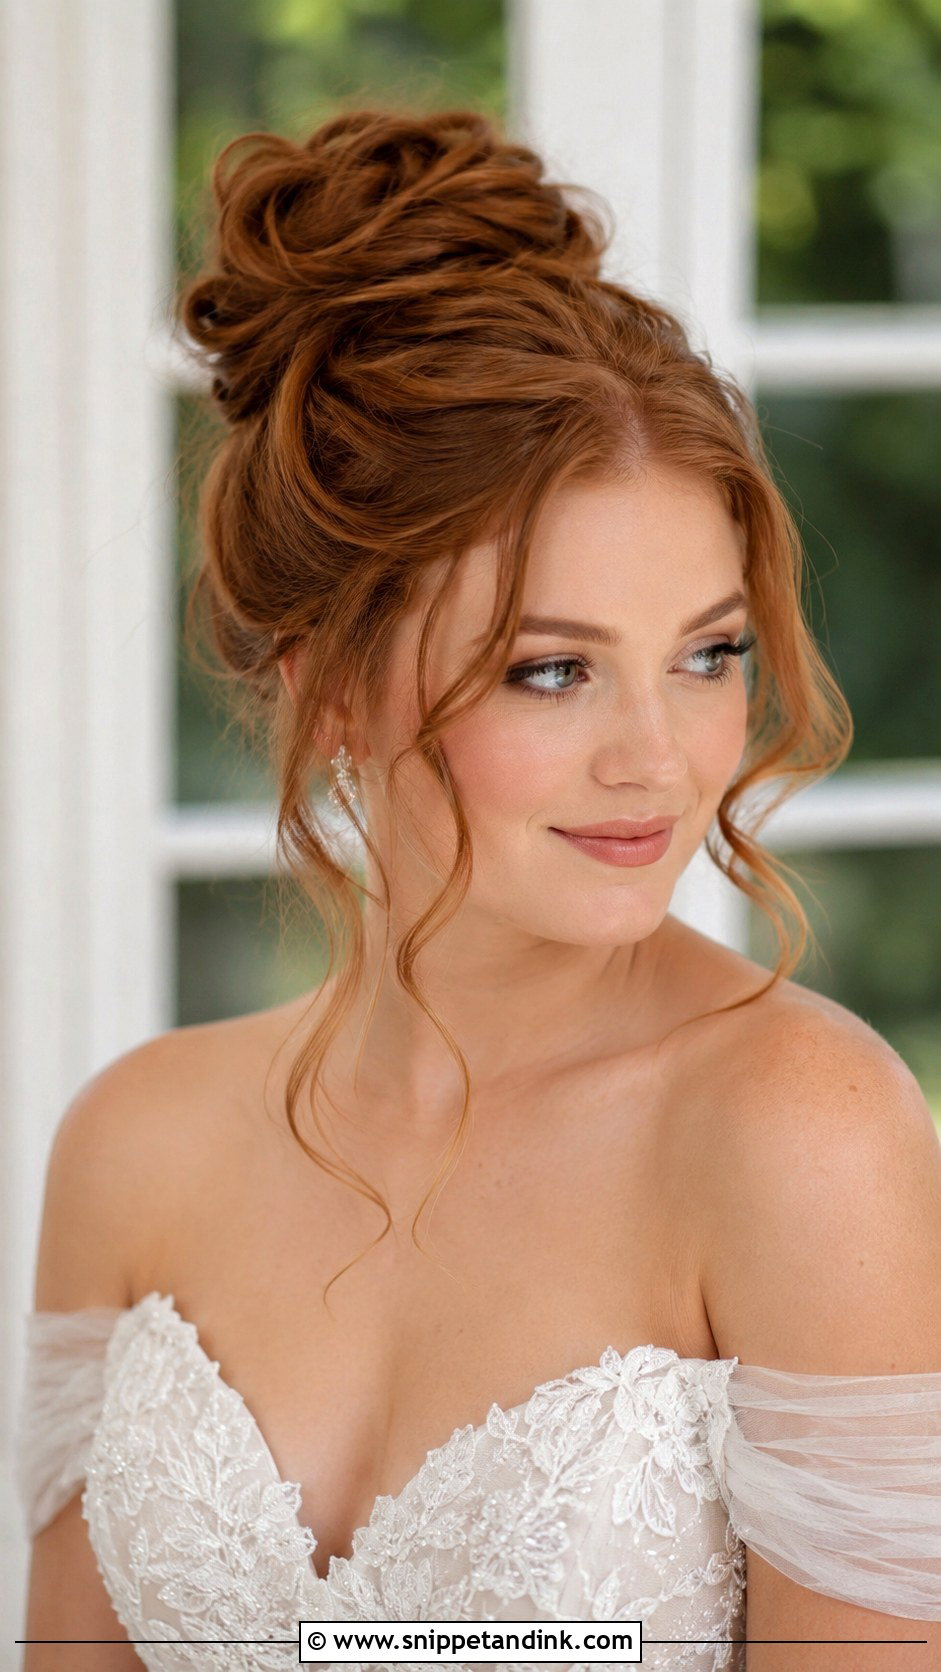
Most of the hair goes up into the bun, but I leave several curled pieces around the face and at the nape. The ratio matters. Leave out too many and the style starts to look like a half-up; too few and they look like strands that escaped. One at each temple and one or two at the neck is usually right. Those pieces drop first in humidity, so I curl them with a smaller barrel than the rest and let them cool completely before touching them.
18. Vintage High Bun With Finger Waves
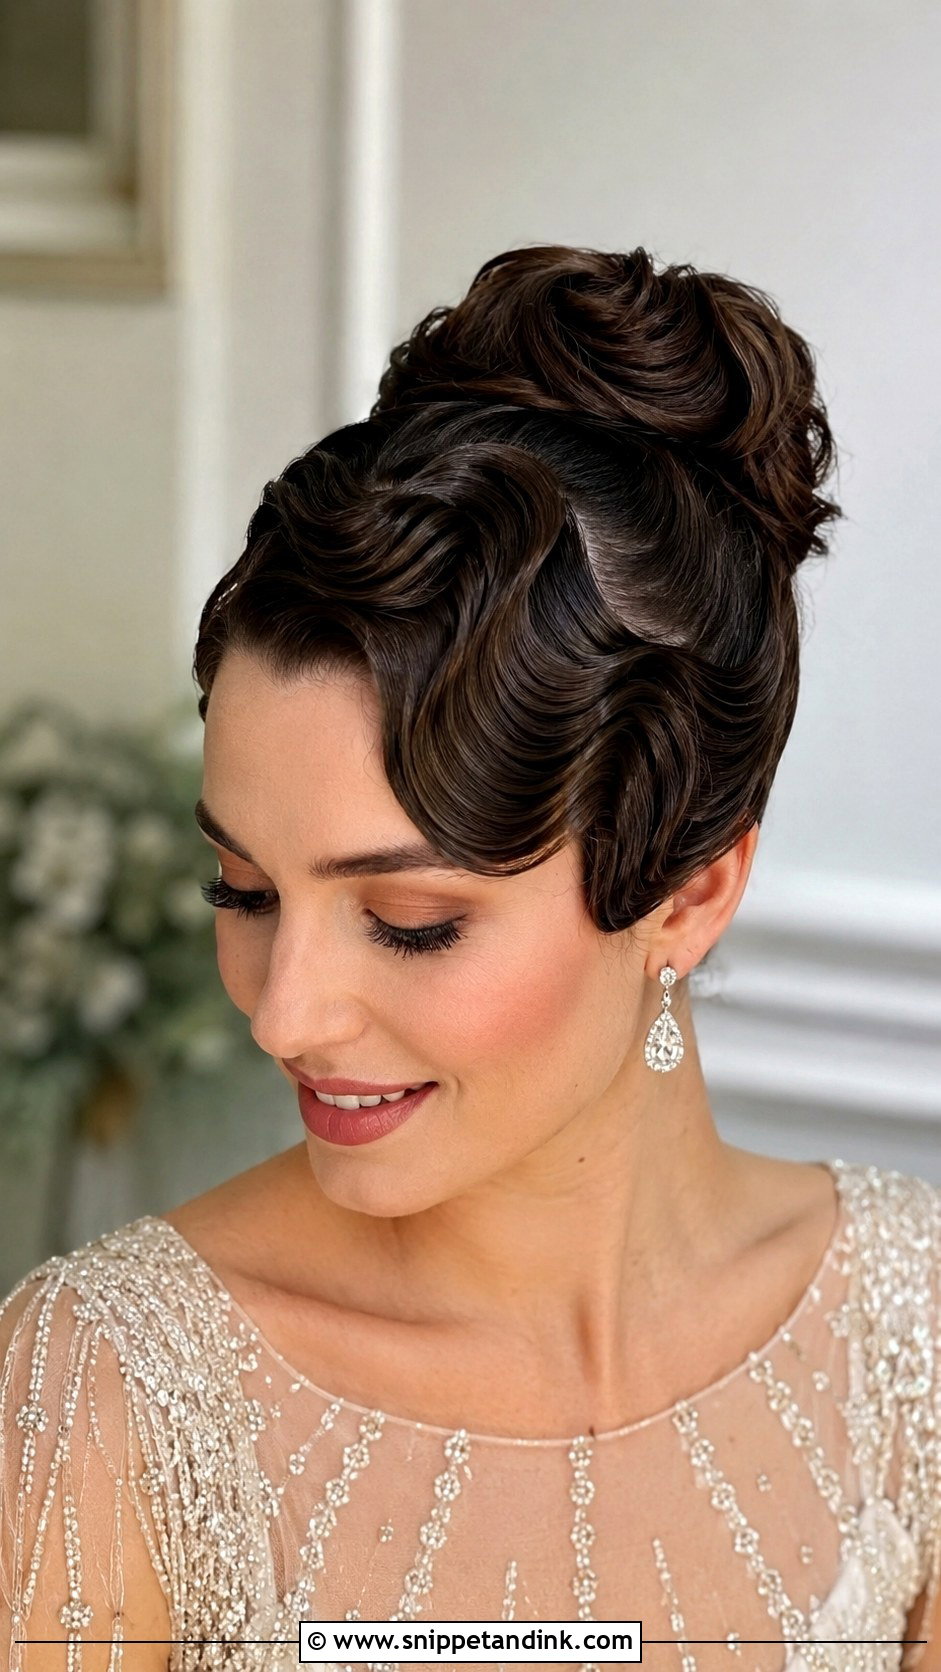
Finger waves are sculpted, not curled. I set them on damp hair with setting lotion, pressing each S shape in with my fingers and a comb, clipping every ridge until it dries completely, then pinning the length into a polished bun. They take time, so plan a longer slot in the chair. Straight and wavy hair sculpt easily; very curly hair can be waved but needs more product and patience. A red lip and a vintage comb suit the era this look borrows from.
19. High Bun With Tiara
A tiara and high bun work well together because the bun gives the band something to rest against. I decide where the tiara will sit first, then build the bun just behind it so the band never floats in front of empty space. The ends slide under the hair at each side and are held with bobby pins crossed in an X through the side loops. Bring the tiara to your trial. Tiaras vary in curve, and one bought online may not follow the shape of your head without some gentle bending. If you’re adding a veil, the comb goes behind the bun.
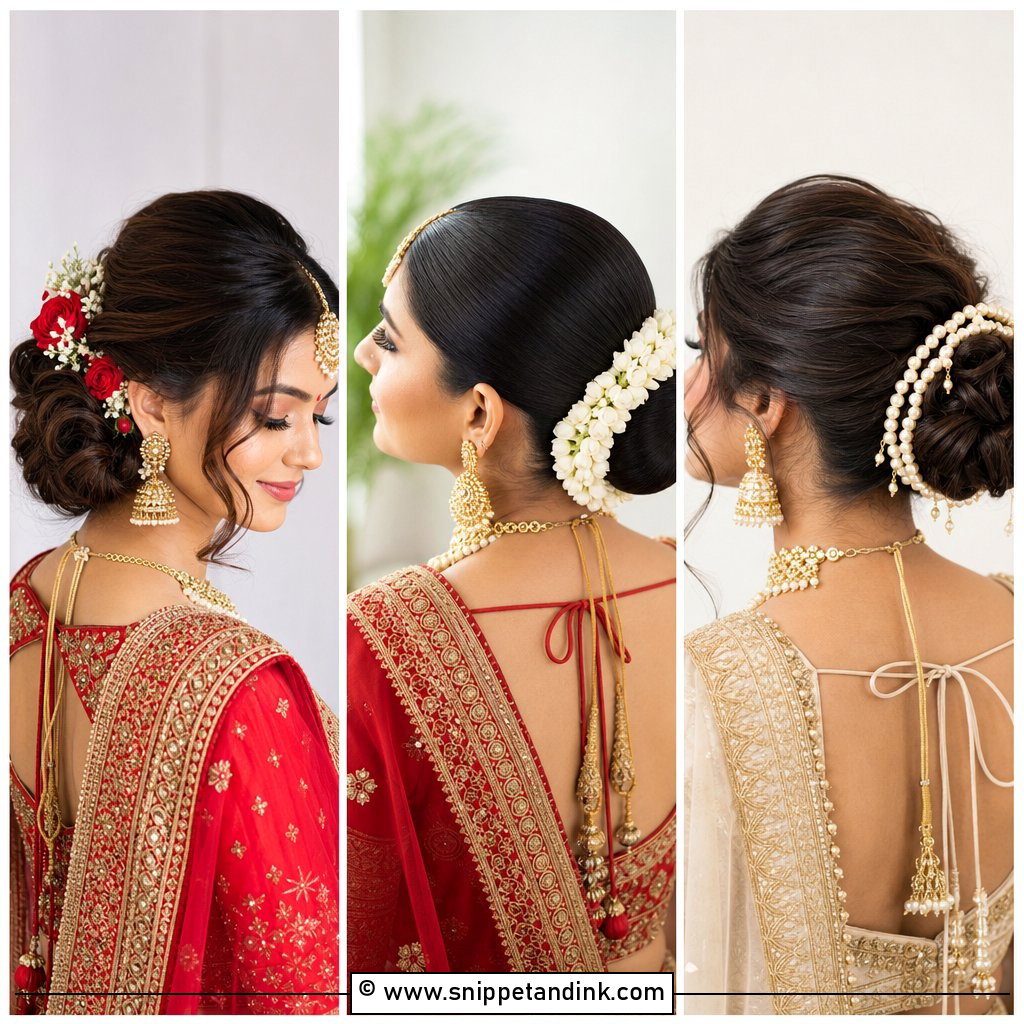
20. Low-Volume Sleek Bun With Center Detail
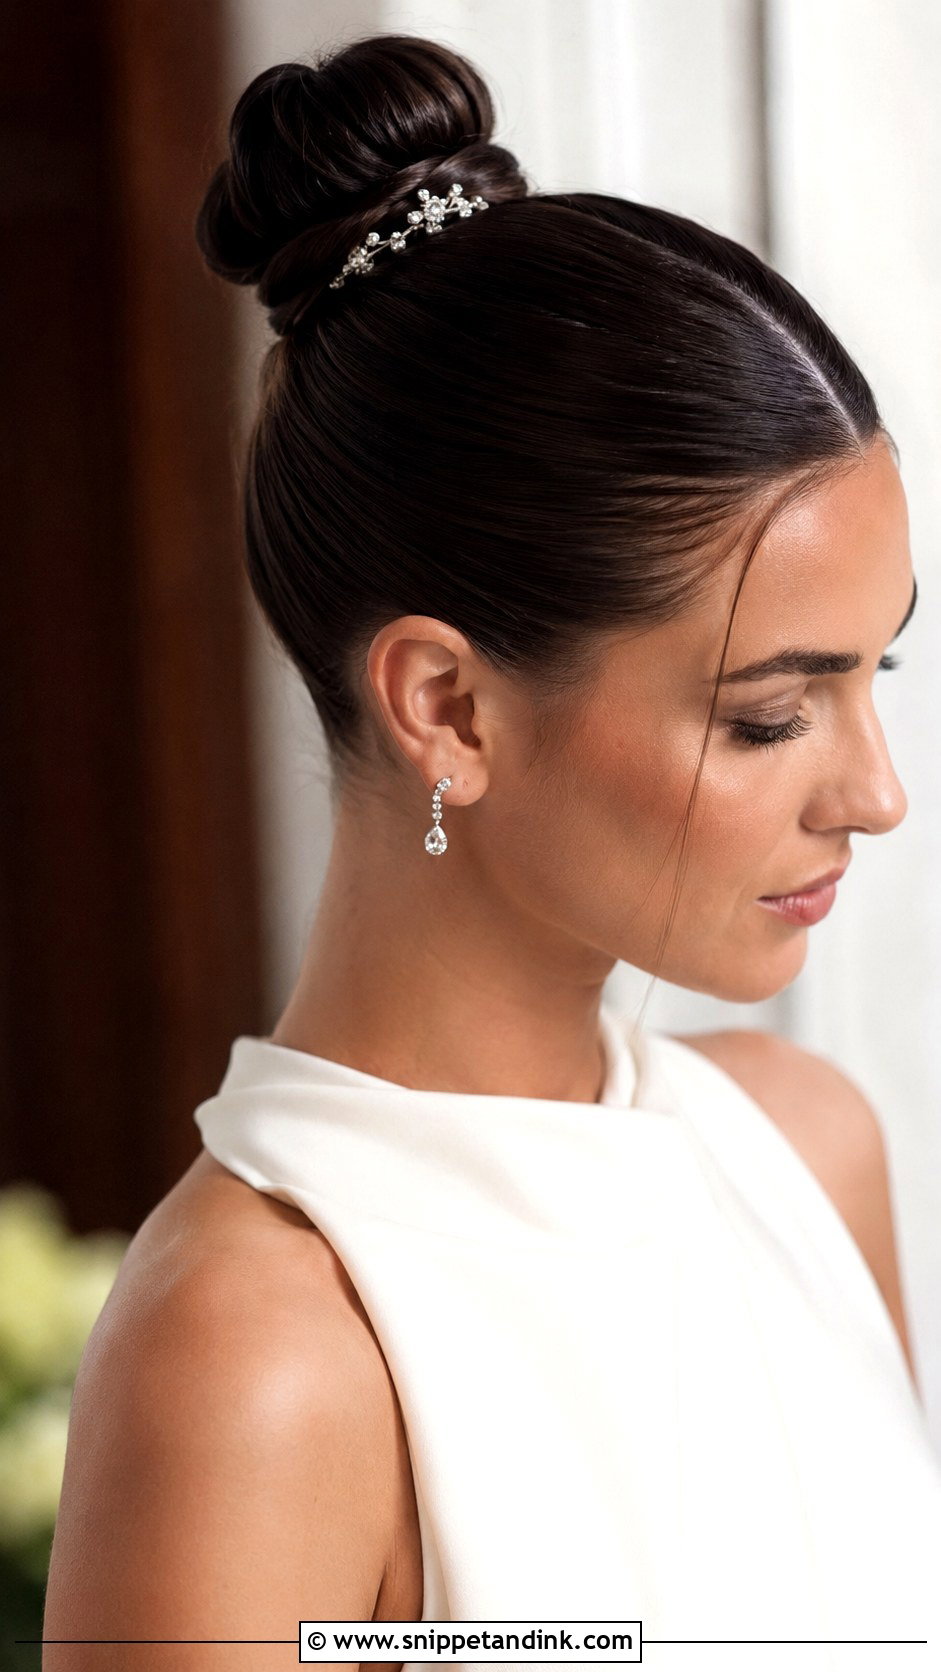
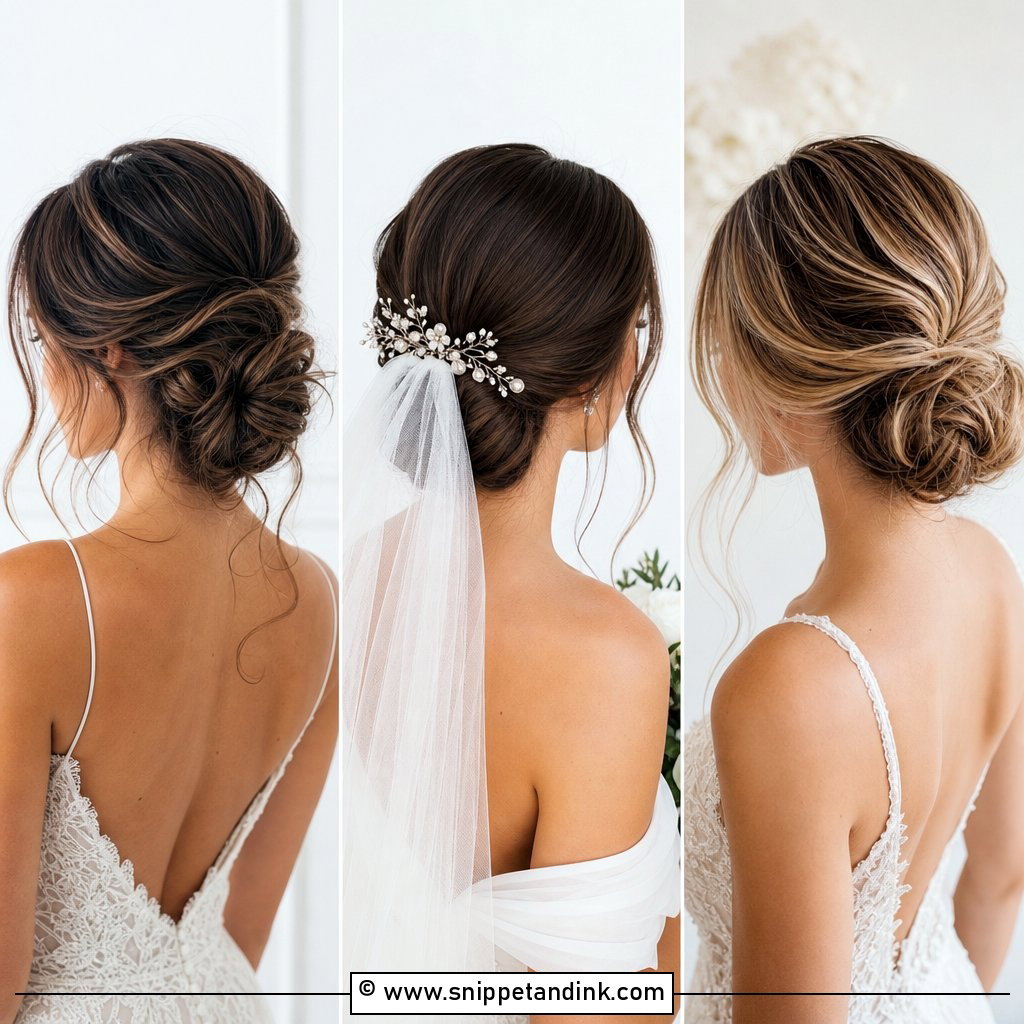
Here the shape is flatter and neater, with one focal point. A wrapped strand or decorative pin at the centre covers the elastic and gives the eye somewhere to land. Wrapping a strand of your own hair is my default, because it matches exactly and can’t fall out. I keep this bun compact, so it suits brides who feel swamped by big updos on a petite frame. Straight or relaxed hair gives the cleanest finish.
21. High Bun With Baby’s Breath
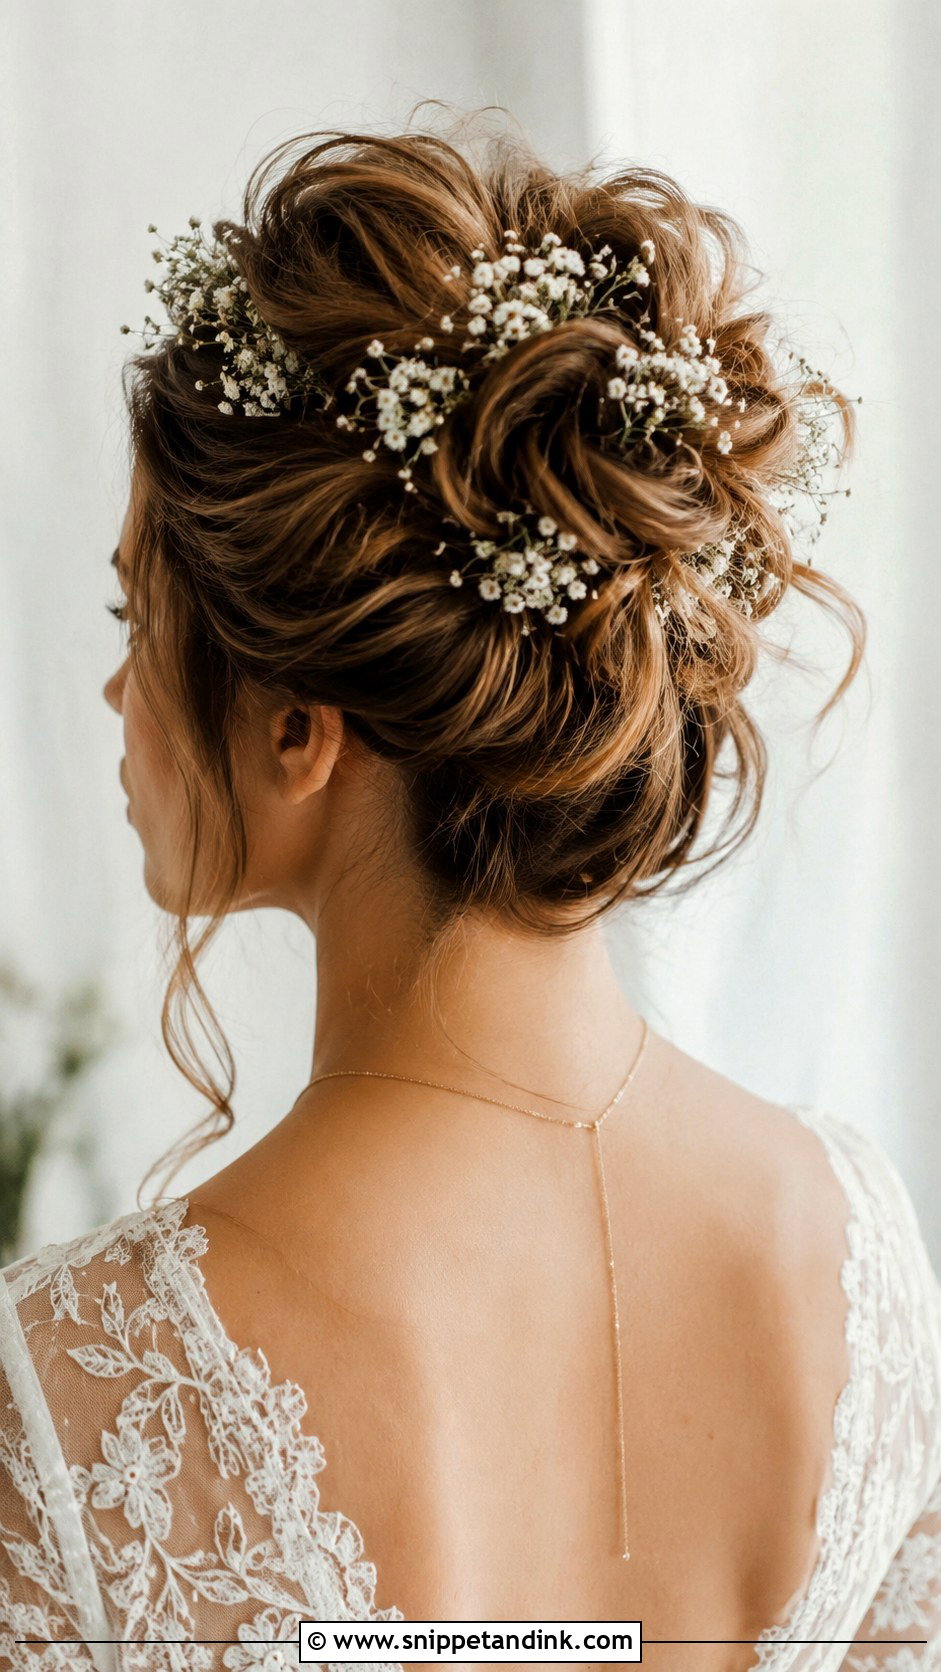
Baby’s breath is the most practical flower for hair. It’s light, it lasts for hours out of water, and small clusters slide into a bun on a single bobby pin. I snip tiny sprigs rather than tucking in whole stems, and scatter them unevenly so they look as if they landed there. One thing to check: some people find its scent unpleasant up close, so smell a stem before you commit to wearing it by your face all day. It fits garden and rustic weddings and works on almost any hair length.
22. High Bun With Headband Accessory
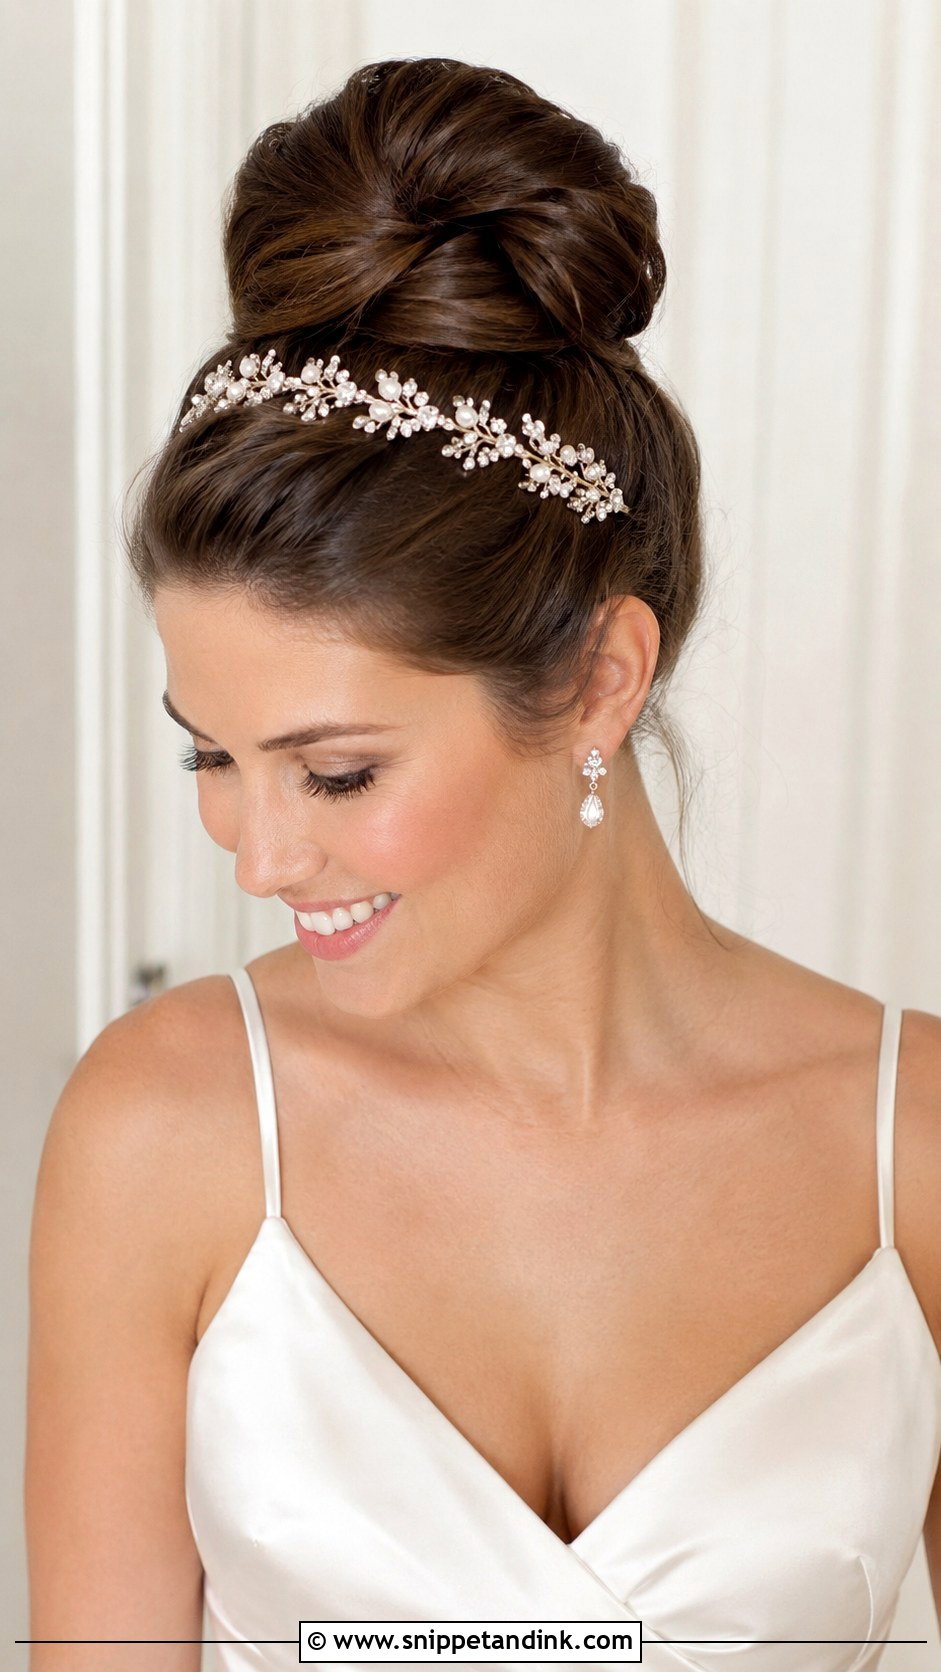
A decorative headband is the simplest way to add something to a plain bun, and it’s a sensible choice if you’d rather not rely on lots of pins. The band sits across the crown just in front of the bun, with pearl, crystal or floral detail. The catch is pressure. A rigid metal band pressing behind the ears gets painful after a few hours, so wear yours around the house for an evening before the wedding. Keep the bun smooth, so the band isn’t competing with texture.
23. High Bun With Wispy Tendrils and Veil
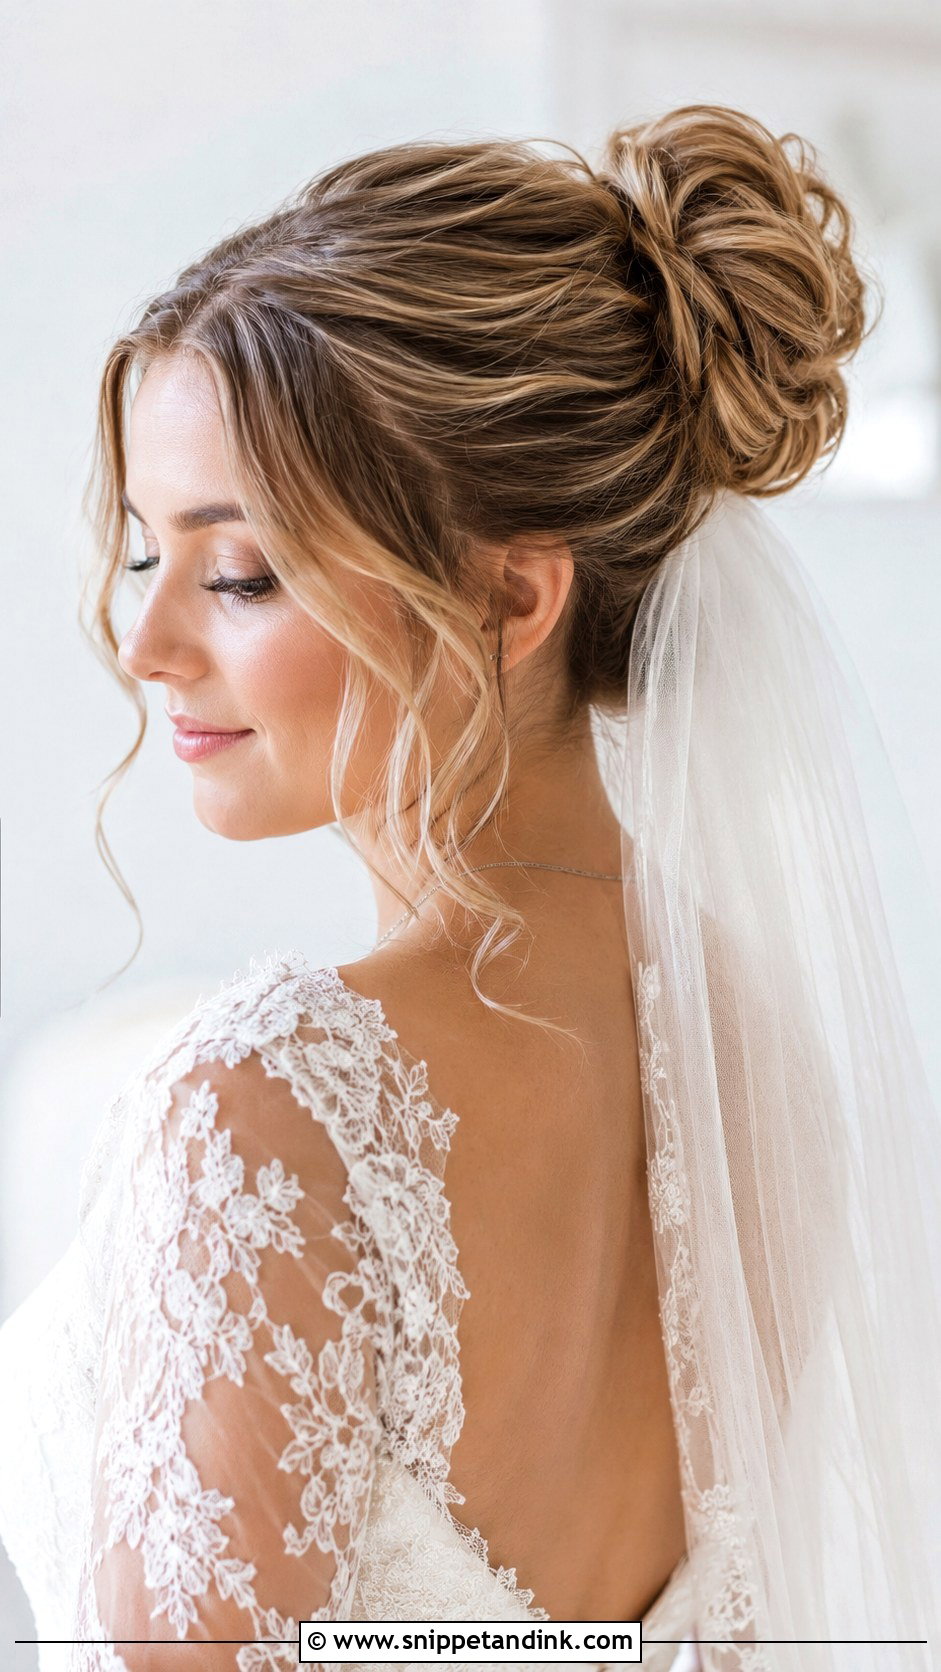
Wispy tendrils and a veil look soft together, but long face pieces tangle in tulle. I keep them chin length or shorter and mist them lightly so they don’t catch on the veil edge when you turn your head. The veil can go above or below the bun: above frames the face and shows more of the veil, below shows off the bun. Curl the tendrils loosely and always try the actual veil at your trial, not a stand-in.
24. Slicked-Back High Bun for Bold Brides
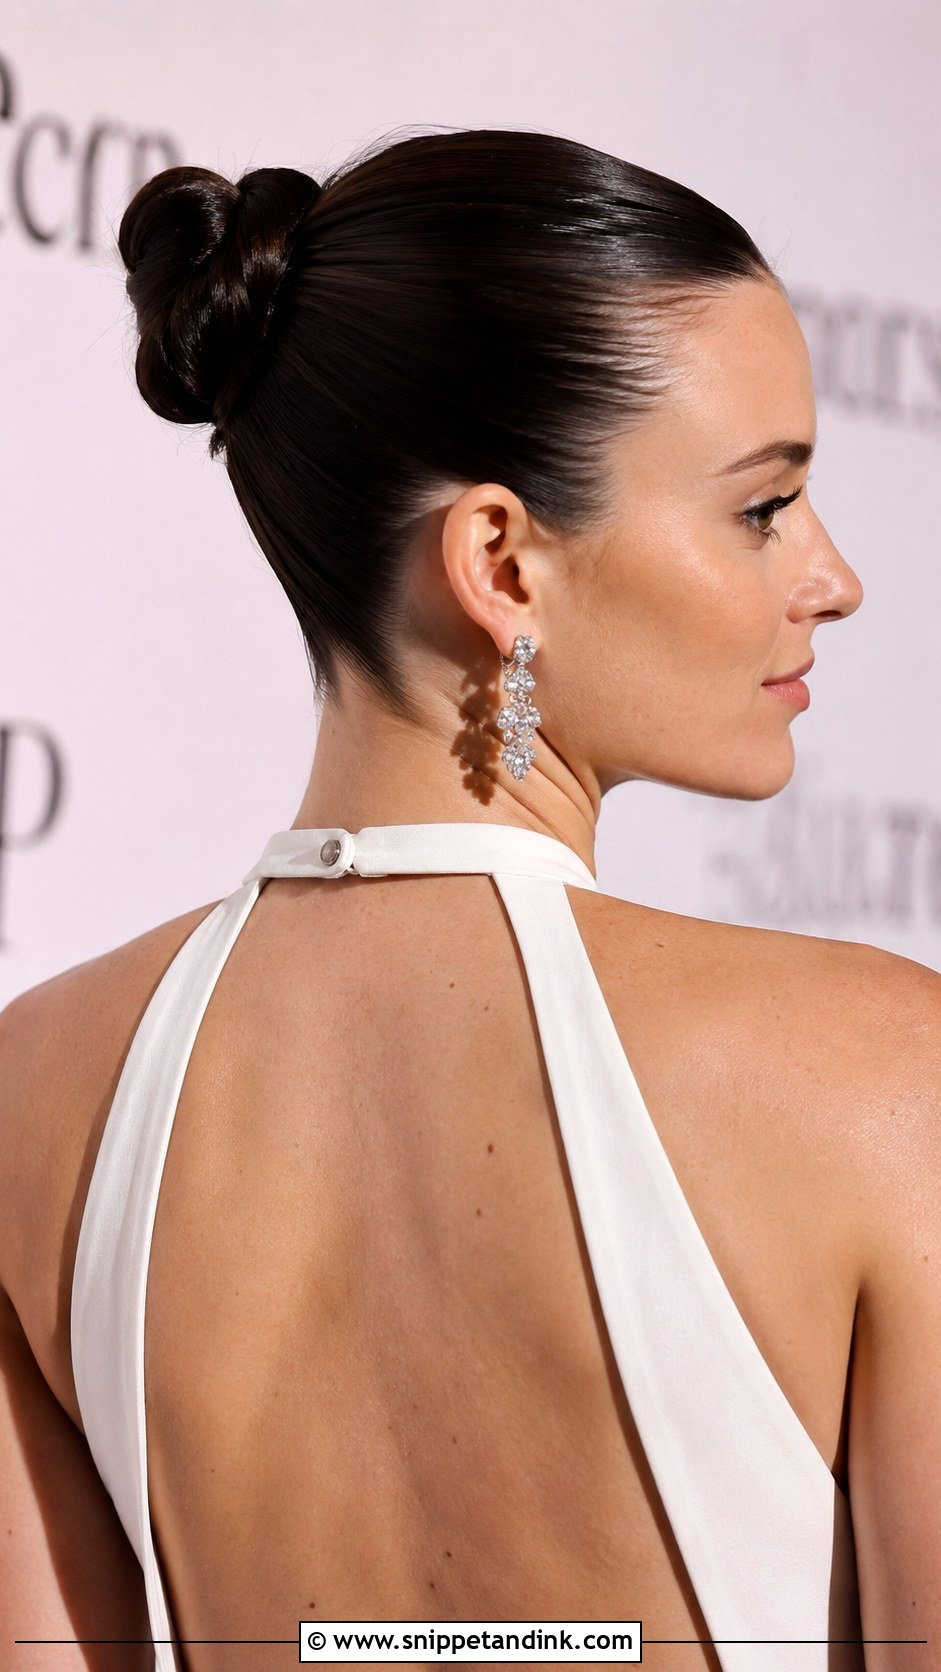
Every strand pulled flat to the scalp means this look is all prep. I apply a strong-hold gel in sections and brush it through with a fine bristle brush before securing the ponytail. Pick a gel that dries without flaking, because white flakes on dark hair show up in every close-up. It suits brides with defined cheekbones and a minimal dress. Be honest about tension, though. This style can leave a sore scalp, and anyone with a fragile hairline should have it set a little looser.
25. High Bun With Gold Leaf Accents
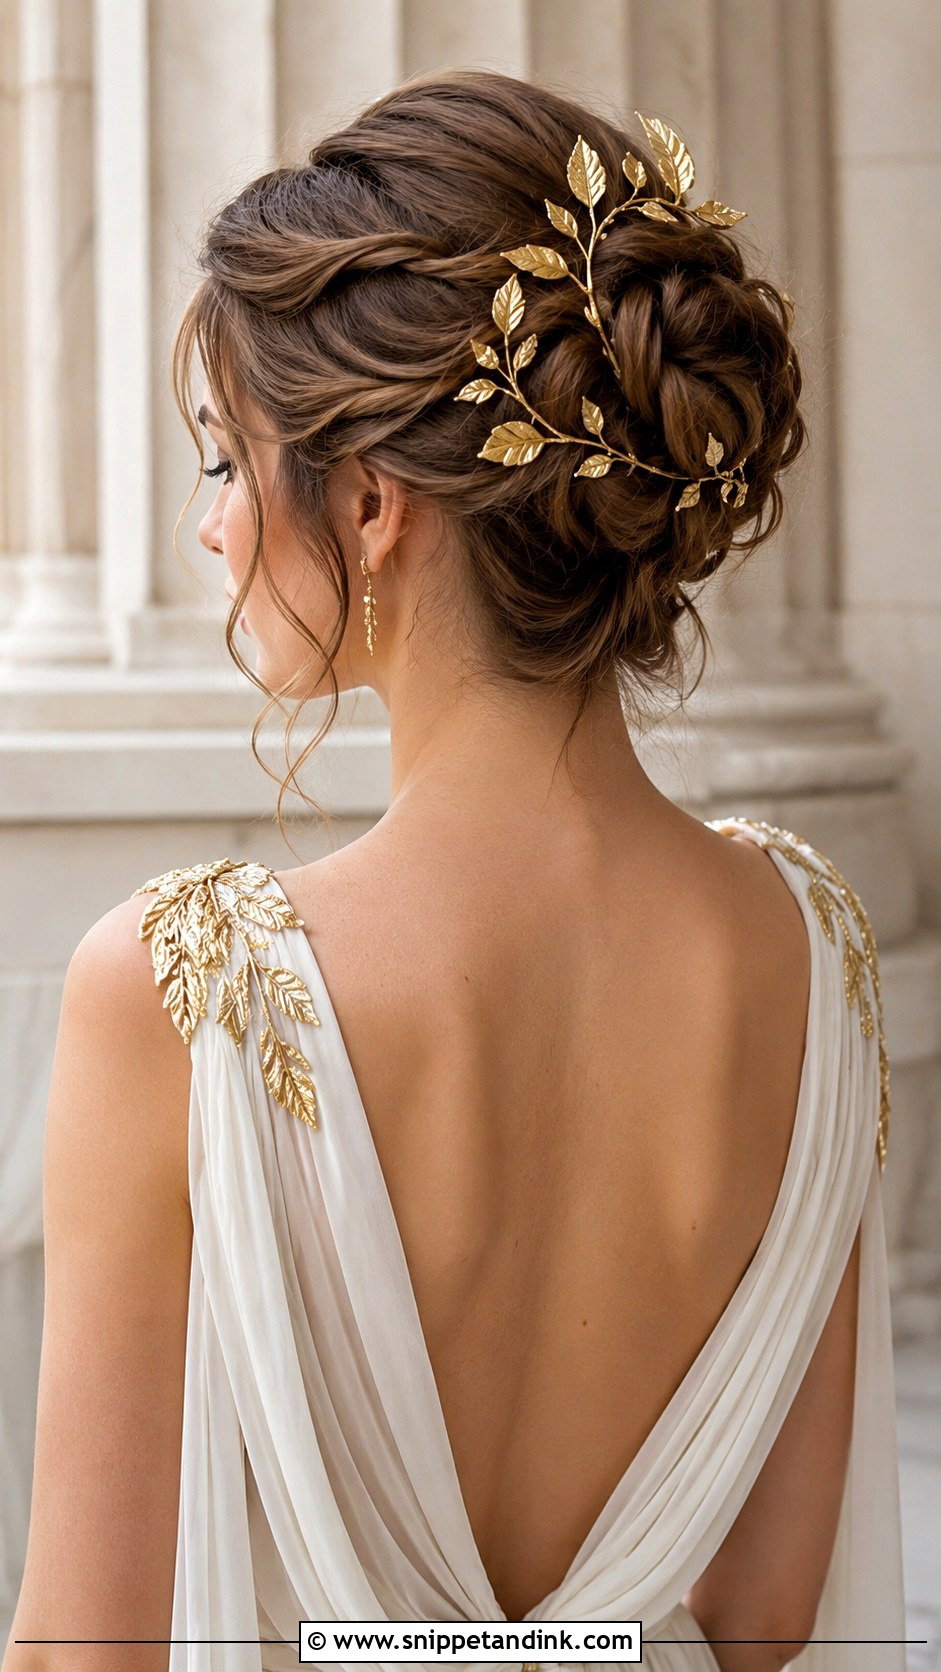
Gold leaf accents, as single leaf pins or a short vine, warm up a bun under evening light. They sit well with gold jewellery and Grecian-style gowns. I keep the pieces to one cluster or a single line rather than covering the whole bun, because too much metal starts to read as costume. Check that the gold tone matches your earrings and any hardware on the dress. Run a finger along the backs as well; cheaper leaf pins can have sharp edges that snag a veil.
Headaches, Heavy Pins and a Long Evening Up
The complaint I hear most about high buns isn’t that they fall. It’s that they hurt by the reception. The tension comes from a ponytail pulled too tight at the crown and from pins pressed straight into the scalp. I set the base firmly but not tight, and I slide pins in flat along the scalp, catching hair from the bun and the base together, instead of pushing them down into the head.
Heavy hair needs the weight shared. I often split very thick hair into two ponytails, one on top of the other, so the bun is anchored in two places rather than hanging from one. If you feel a pin digging in during the day, ask whoever is helping you to move it rather than pulling it out yourself; one pin removed in the wrong spot can loosen a whole side.
- Six to eight bobby pins matched to your hair colour
- A travel-size hairspray
- A small mirror for checking the back
- Pain relief, in case the tension catches up with you
Clean Hair or Day-Old Hair for a High Bun?
It depends on your texture. Fine, slippery hair holds pins far better a day after washing, when it has a little natural grip. Thick or curly hair is often easier freshly washed and fully dried, because product build-up makes it frizz. Whatever you decide, skip conditioning masks and heavy oils the night before, as they leave the hair too soft to hold a sleek shape.
A High Bun Starts With the Dress, Not the Photo
Start with your dress. The neckline and the back of the gown tell you how high and how big the bun should be, and your hair type tells you which of these styles will last. Bring your veil and accessories to the trial, keep the style in for several hours afterwards, and notice where it pulls or slips. A bun built on a solid base will still be where we put it when the last song plays.
You'll Like These Ideas:


Leave a Reply