
Of all the updos I build on wedding mornings, the bun is the one I trust most to still be standing at the last dance. It keeps hair off a warm neck, gives a veil comb something solid to grip, and it reads as finished from the aisle as well as up close. Buns have also softened lately: less lacquer, more shape. What I always remind brides is that a bun has to suit you from the front and the side, not only from behind, so your neckline, veil, hair texture and the forecast all go into the decision. Below are fifteen versions I’d actually recommend, from sleek and low to curly, braided and flower-trimmed, with notes on who each one suits.
Height First, Texture Second
At a trial, the first thing I decide with a bride is where the bun sits. Texture can change on the morning; height can’t, because the veil, the earrings and the neckline are all planned around it. A bun in the wrong spot can make a well-chosen gown look crowded, or leave a long neck looking oddly bare.
- Low, at the nape: best with open and illusion backs, and with cathedral veils that drape from beneath the bun. The back of the dress stays visible during the ceremony, which is when everyone is looking at it.
- Mid-height, on the curve of the crown: the easiest all-rounder. It balances round and heart-shaped faces and leaves room for a veil comb above or below.
- High, near the top of the head: lengthens the line from shoulder to crown with halters, high necks and strapless bodices. On petite frames I soften the front so it doesn’t look severe.
- Off to one side: shows in straight-on photos and suits one-shoulder dresses, but the veil then goes on the opposite side or tucks underneath.
If you can, bring a side-profile photo of yourself in the dress, or a top with a similar neckline. I judge proportion far better when I can see exactly where the fabric stops.
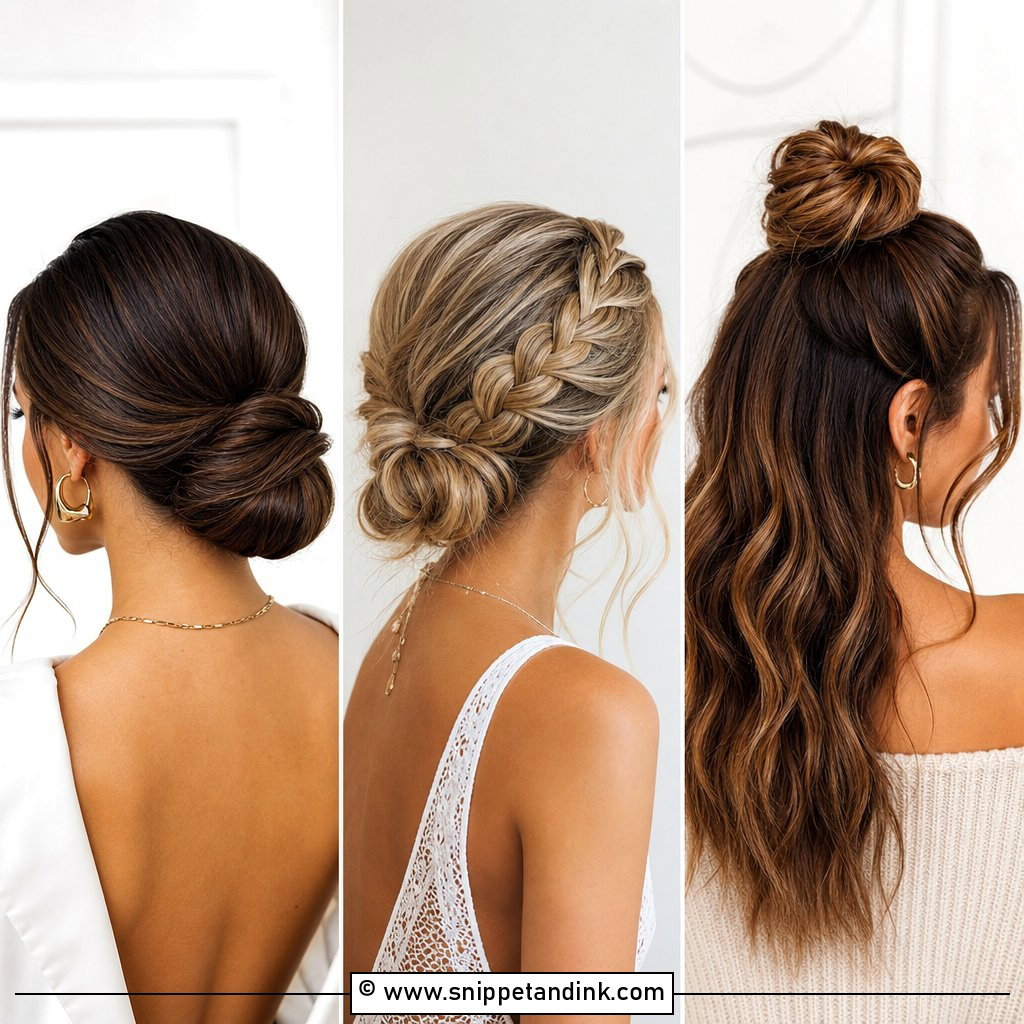
1. Sleek Low Bride Bun
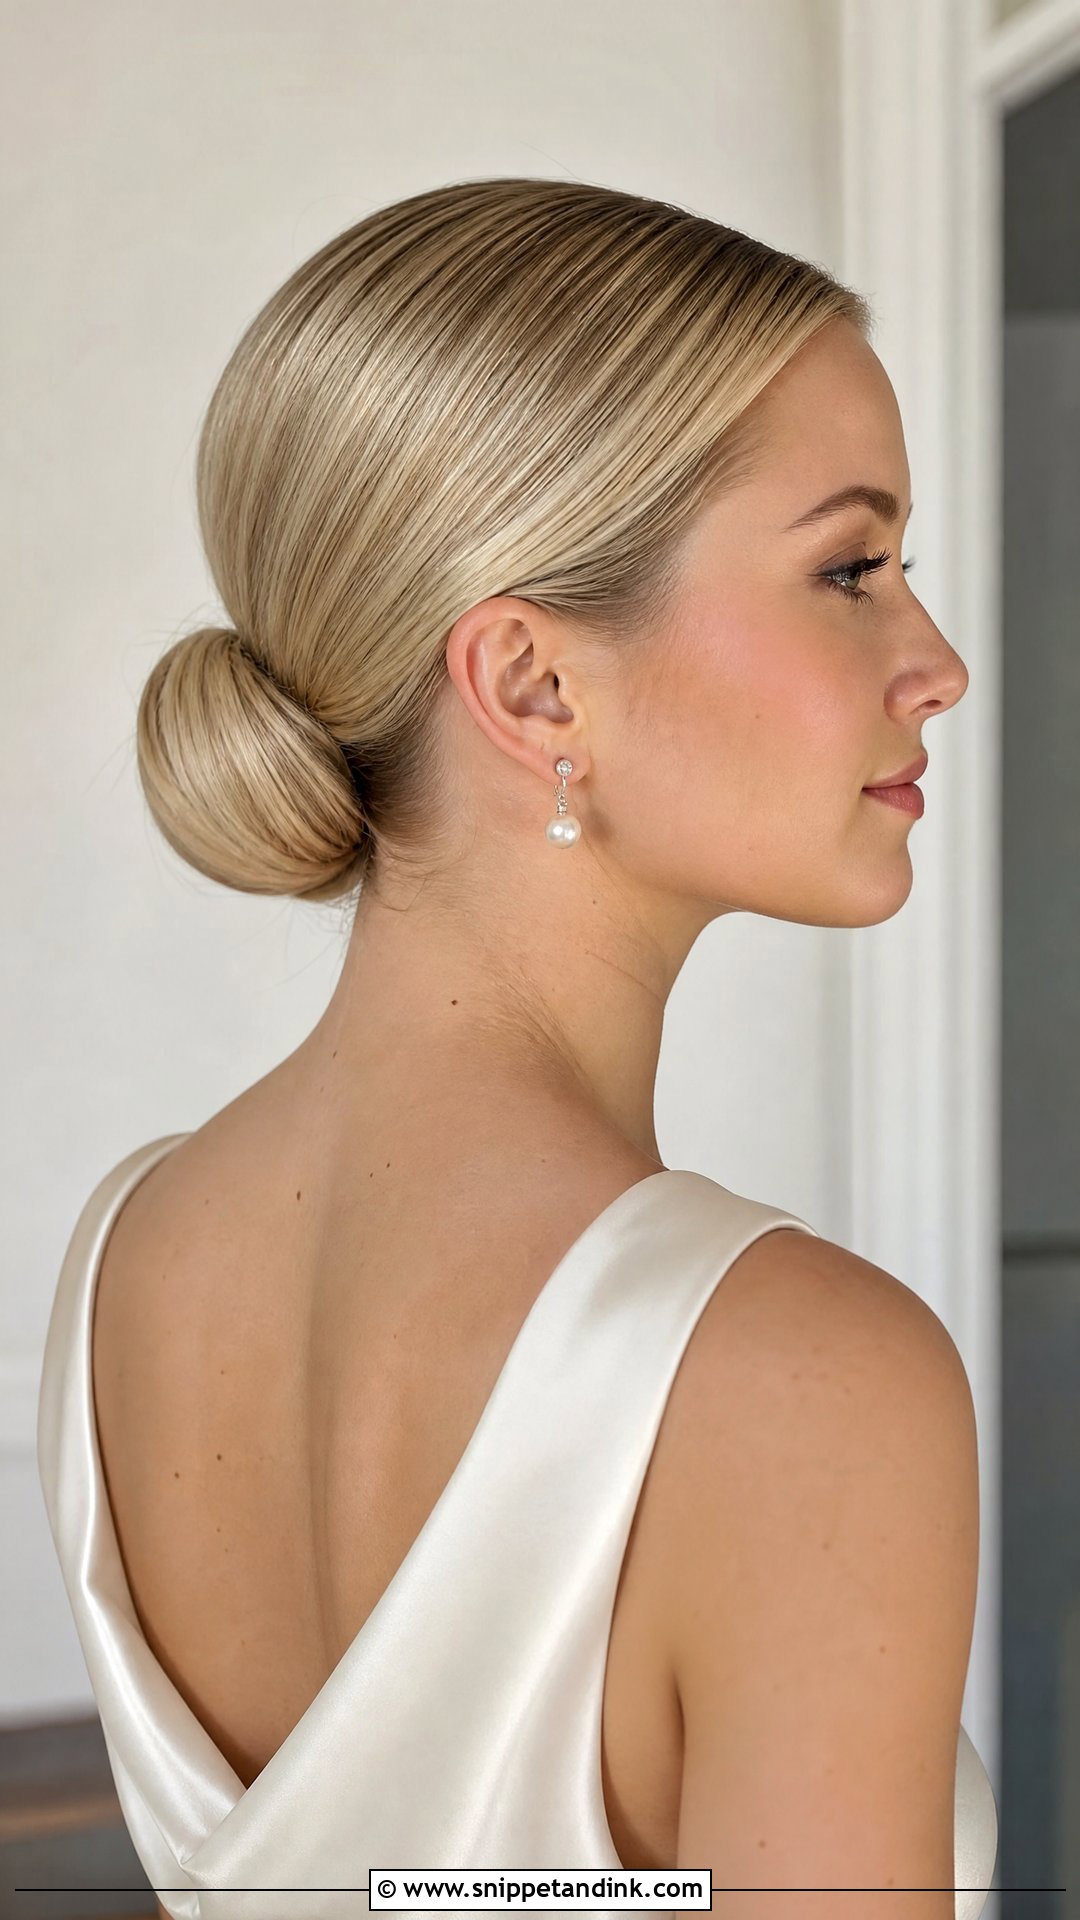
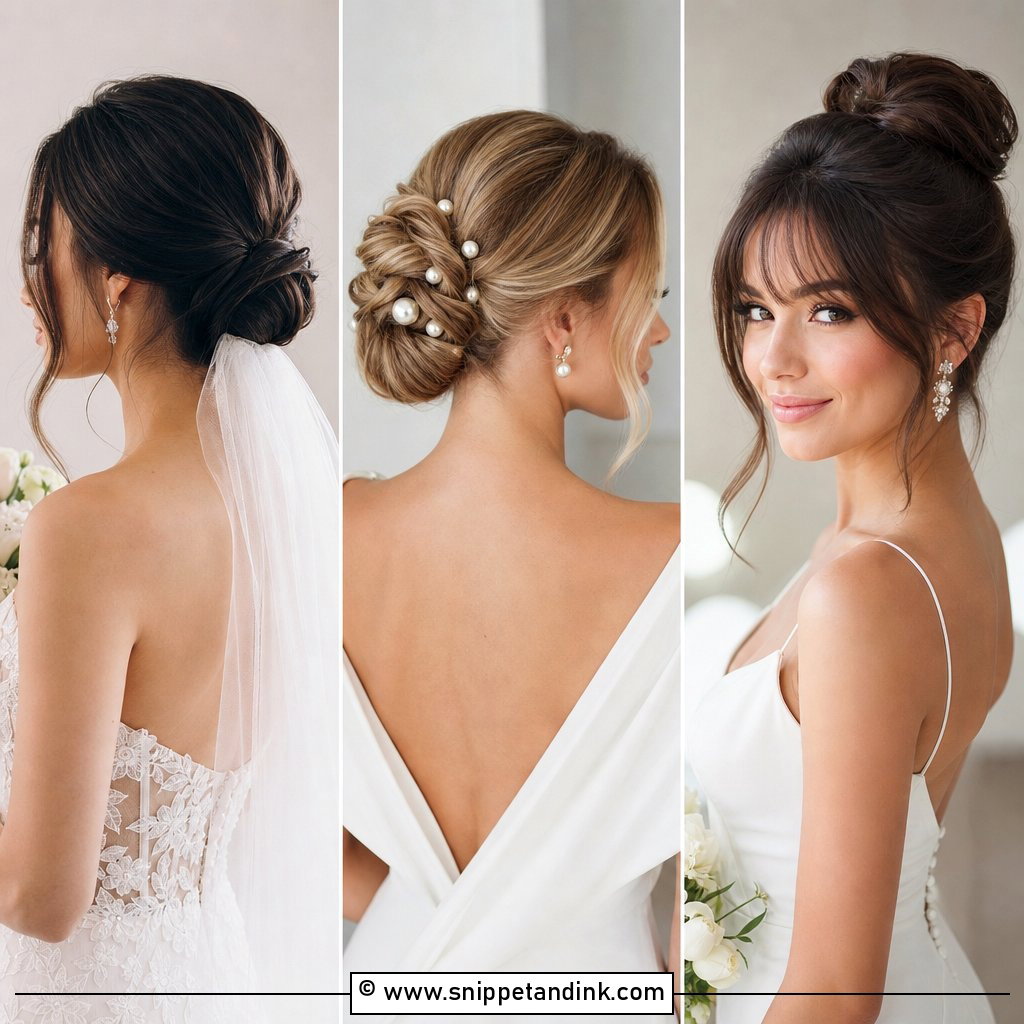
This is the bun I reach for when the dress is doing the talking. It sits close to the nape with smooth roots, so your face, earrings and neckline get all the attention, and it pairs especially well with satin, square necklines and a clean center or side part. The work is in the roots: I blow the hair completely smooth before it goes into the elastic, because any bend left in the hair shows as a ripple once it’s pulled tight. On fine hair I hide a small padding piece or a couple of clip-in wefts inside the bun so it reaches a size that balances your head and veil without looking heavy.
2. Soft Low Chignon Bride Bun
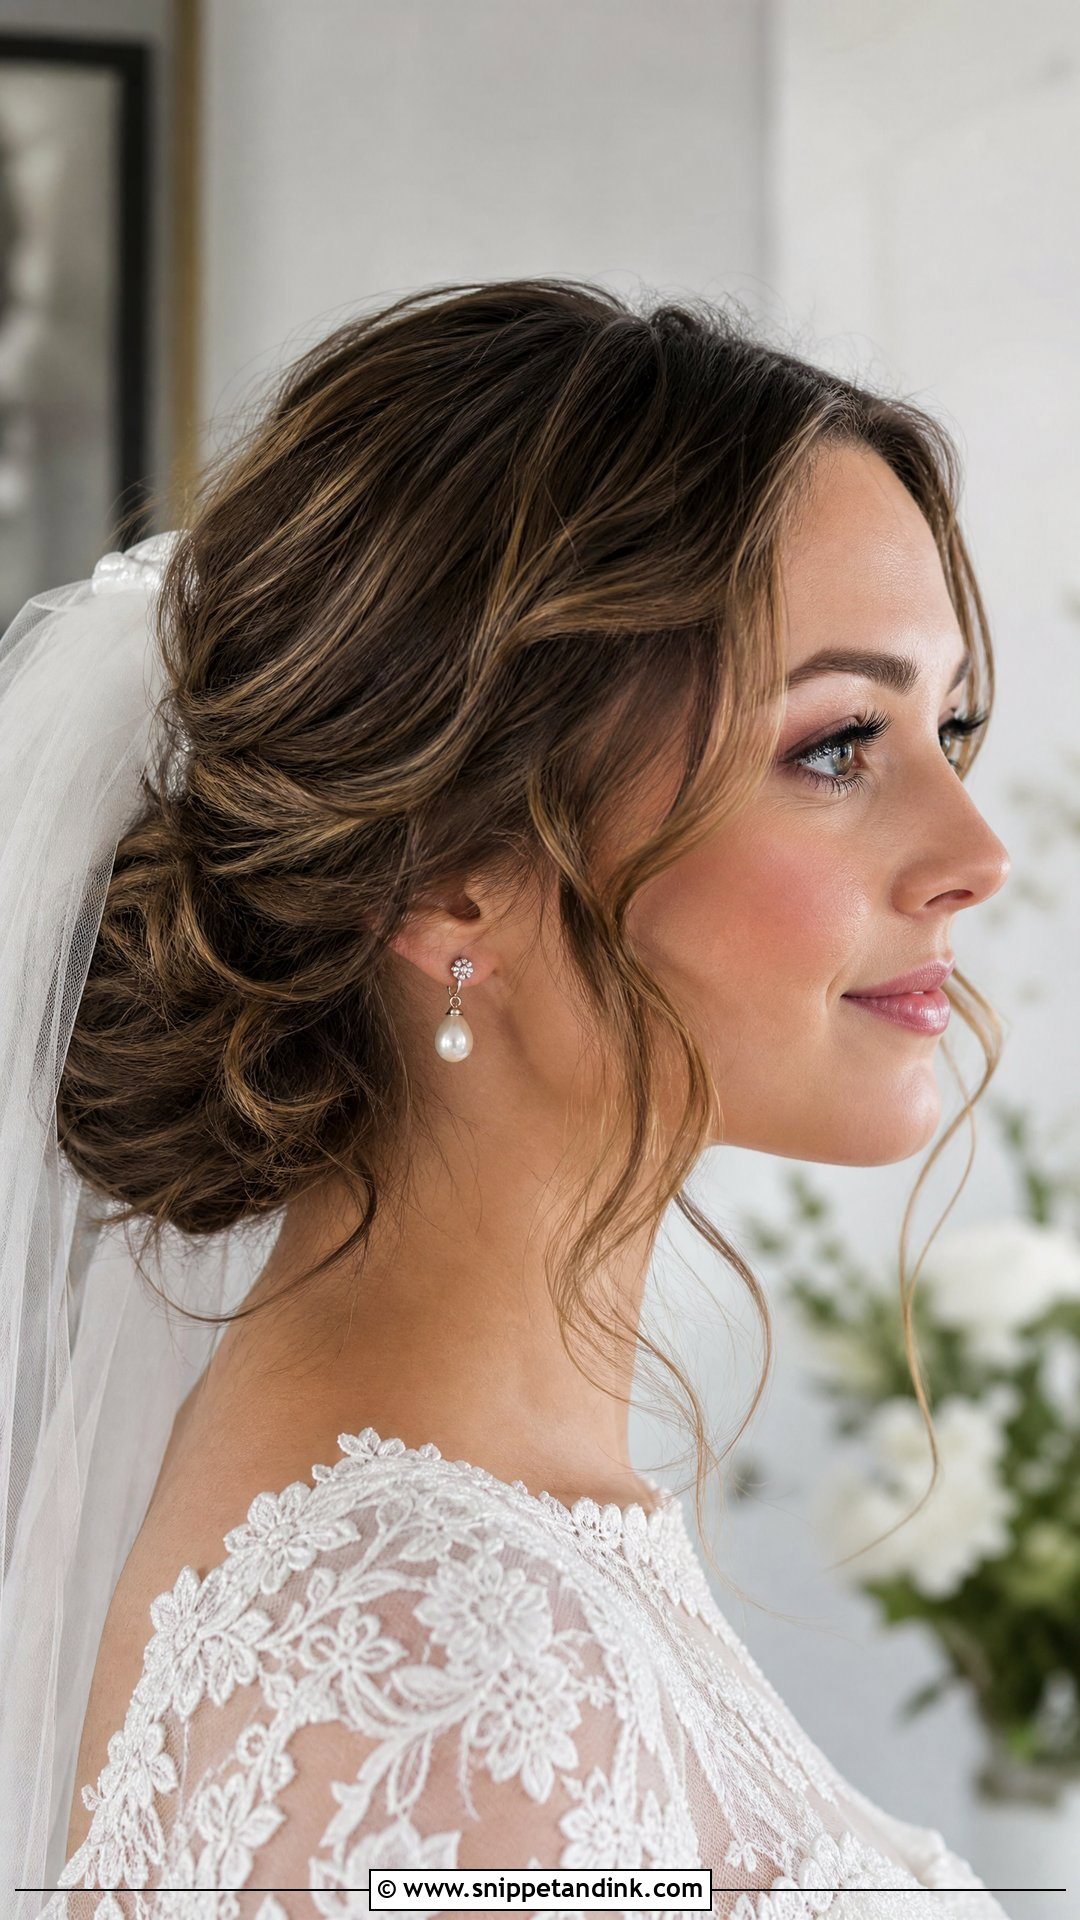
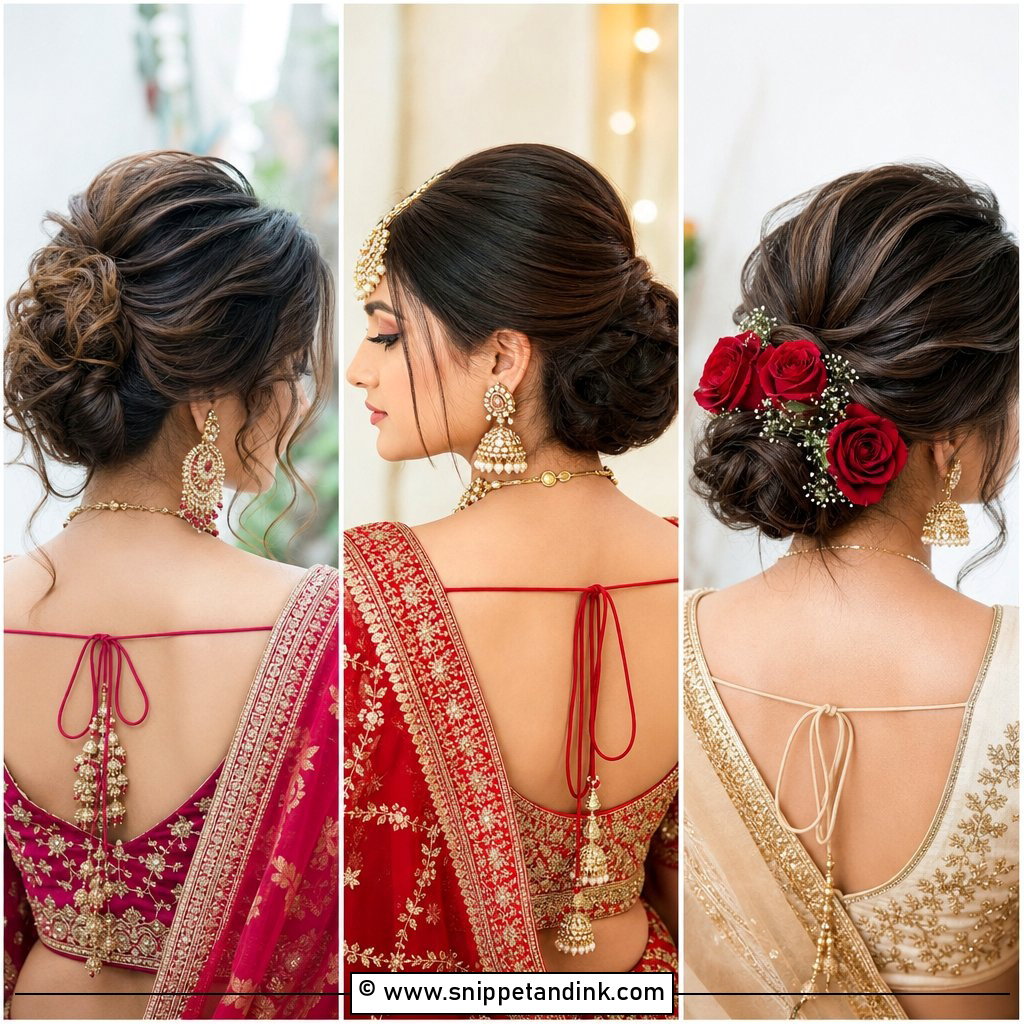
A soft chignon is what I suggest to brides who find a sleek bun too strict. It still sits at the nape, but the sections are rolled and pinned loosely so there’s movement through the crown and the shape looks folded rather than wound. Lace gowns and garden ceremonies suit it well. Any face-framing pieces should be curled with intent, about one bend each, otherwise they read as hair that fell out. Because the chignon is built from layered sections, it takes combs, pearls and a veil comb easily. I usually make it a little wider than it is tall, which flatters most head shapes from the side.
3. Textured Low Bride Bun
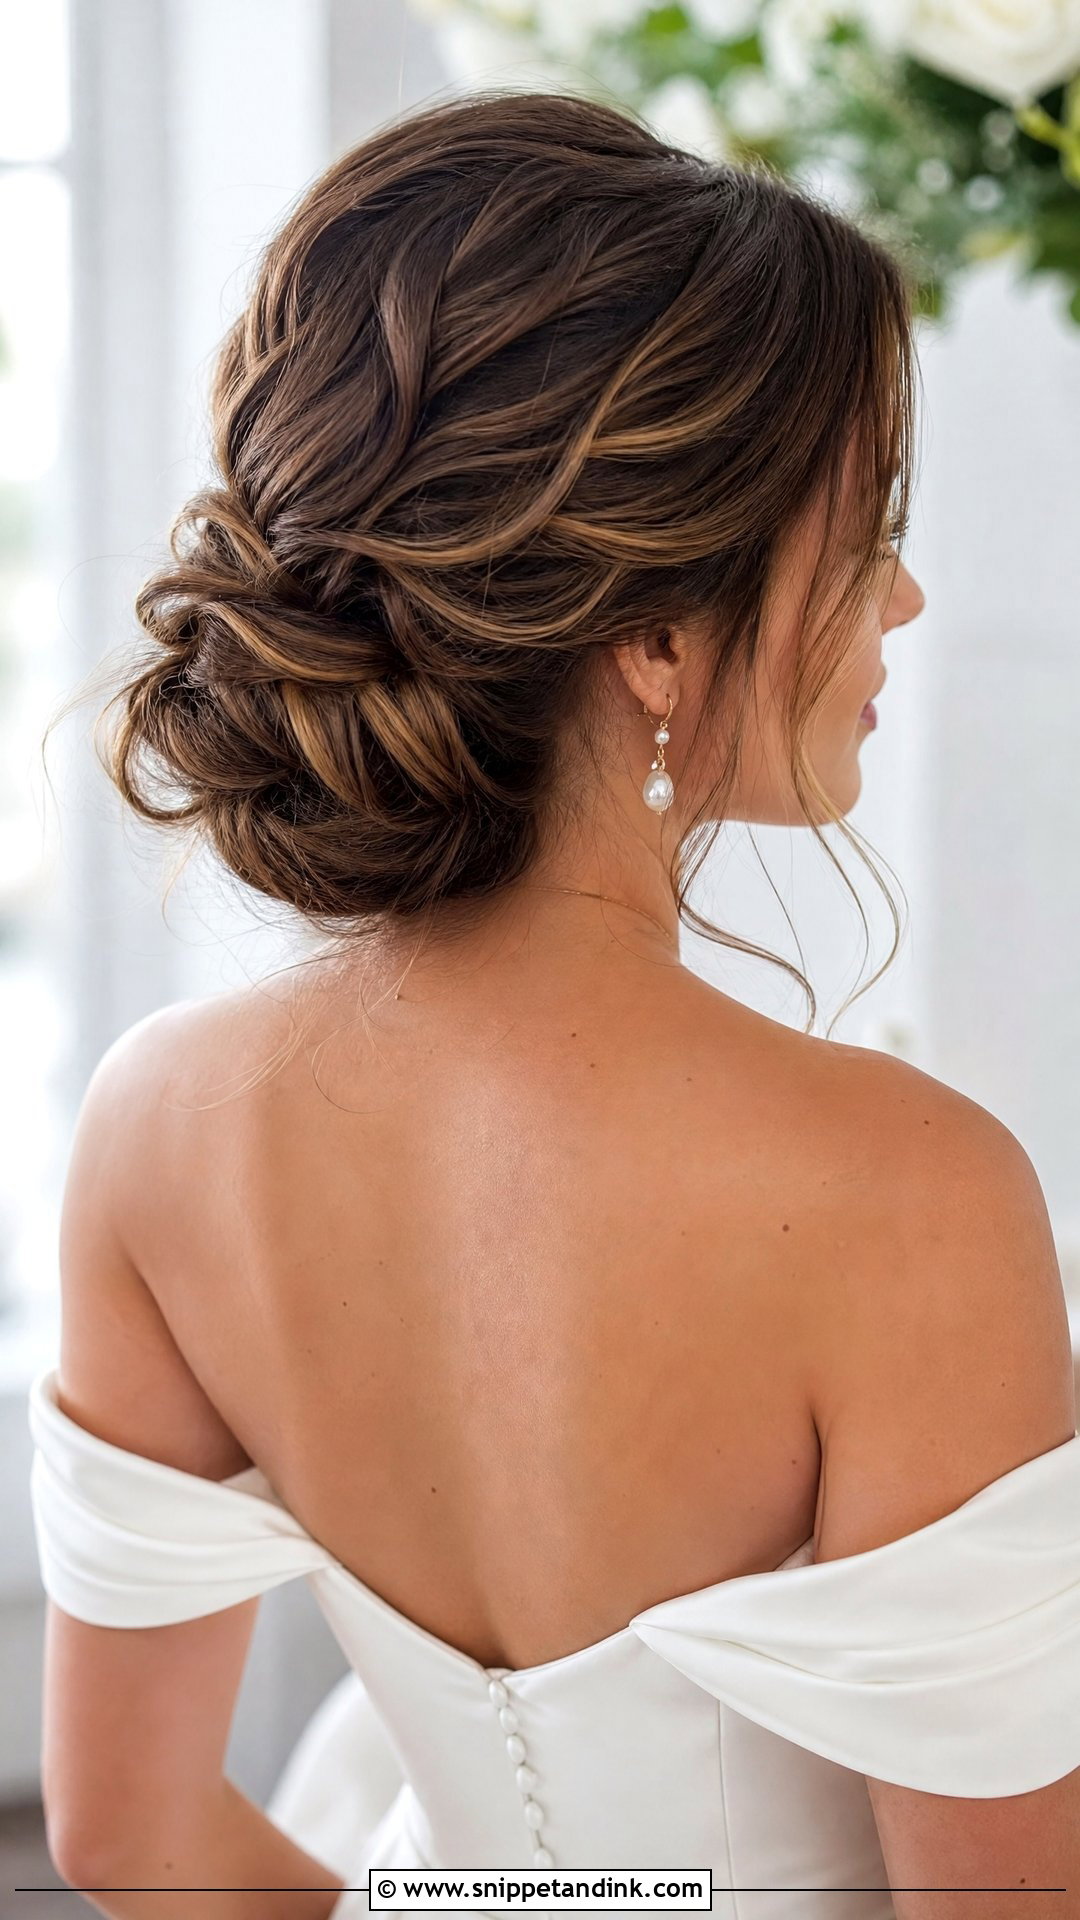
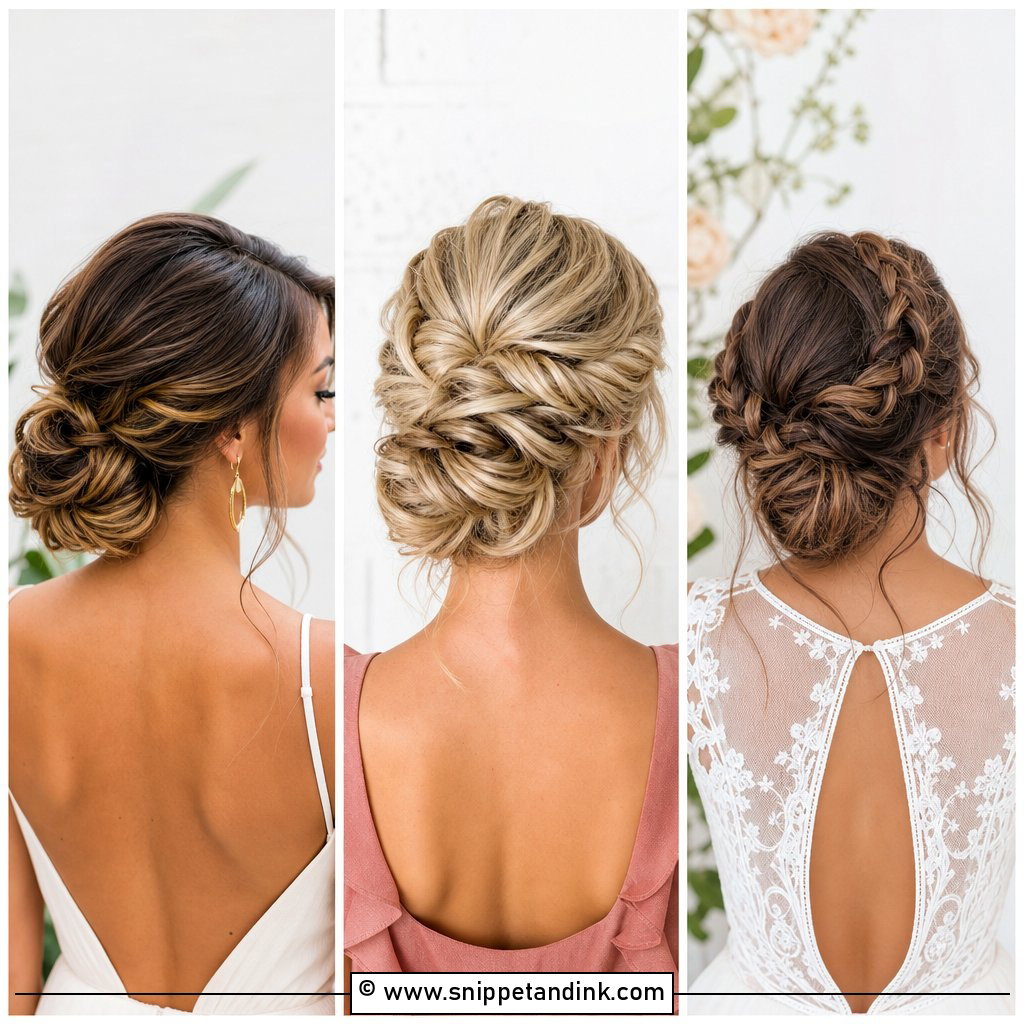
Texture here means bends and twists pulled out by hand, not frizz. I curl everything first with a medium barrel, let it cool fully, then pin the bun from those set curls so the surface has depth and the hair has grip. Highlighted or balayaged hair shows this style off best, because the lighter strands catch the light on each fold and the shape stays readable in photos. It sits nicely with off-the-shoulder dresses and fresh flowers. On very silky hair the texture can relax within a few hours, so I always want a trial to see how your particular hair holds a bend.
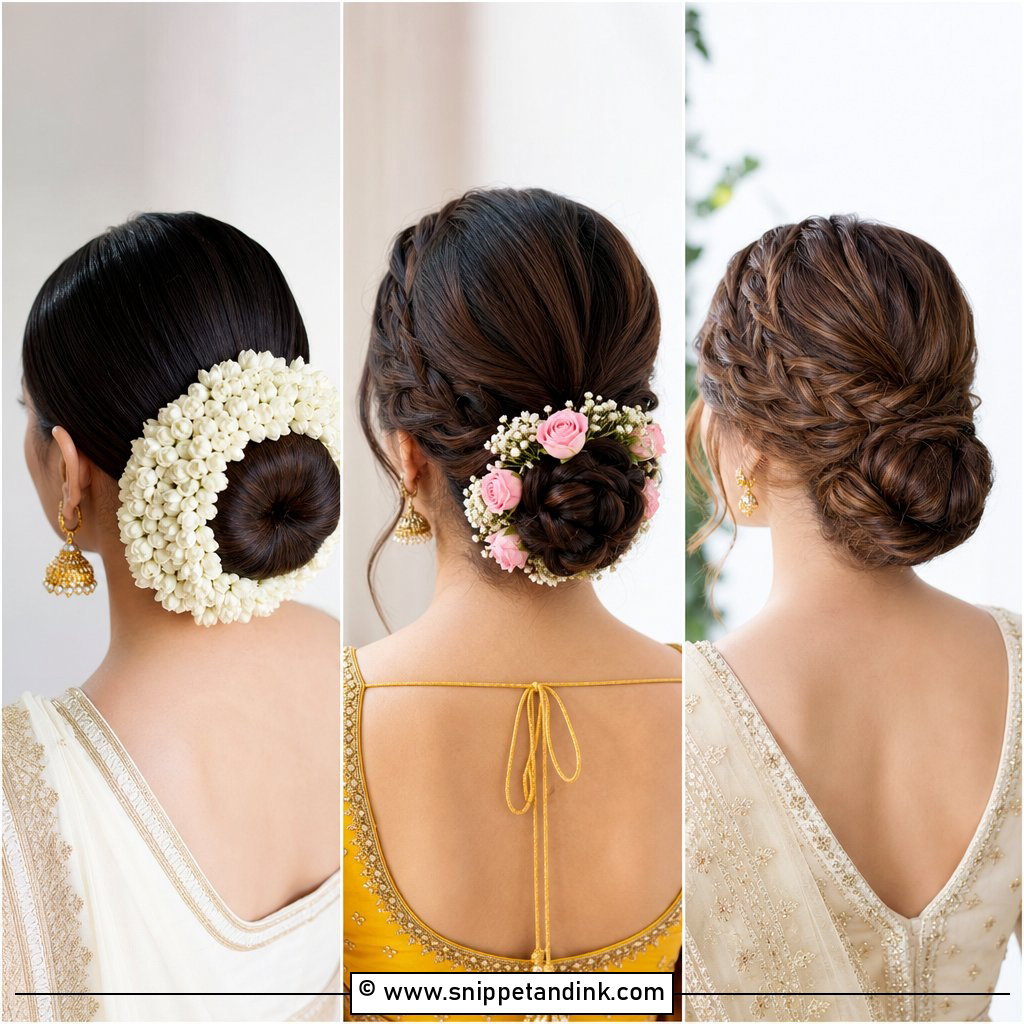
4. Braided Bride Bun
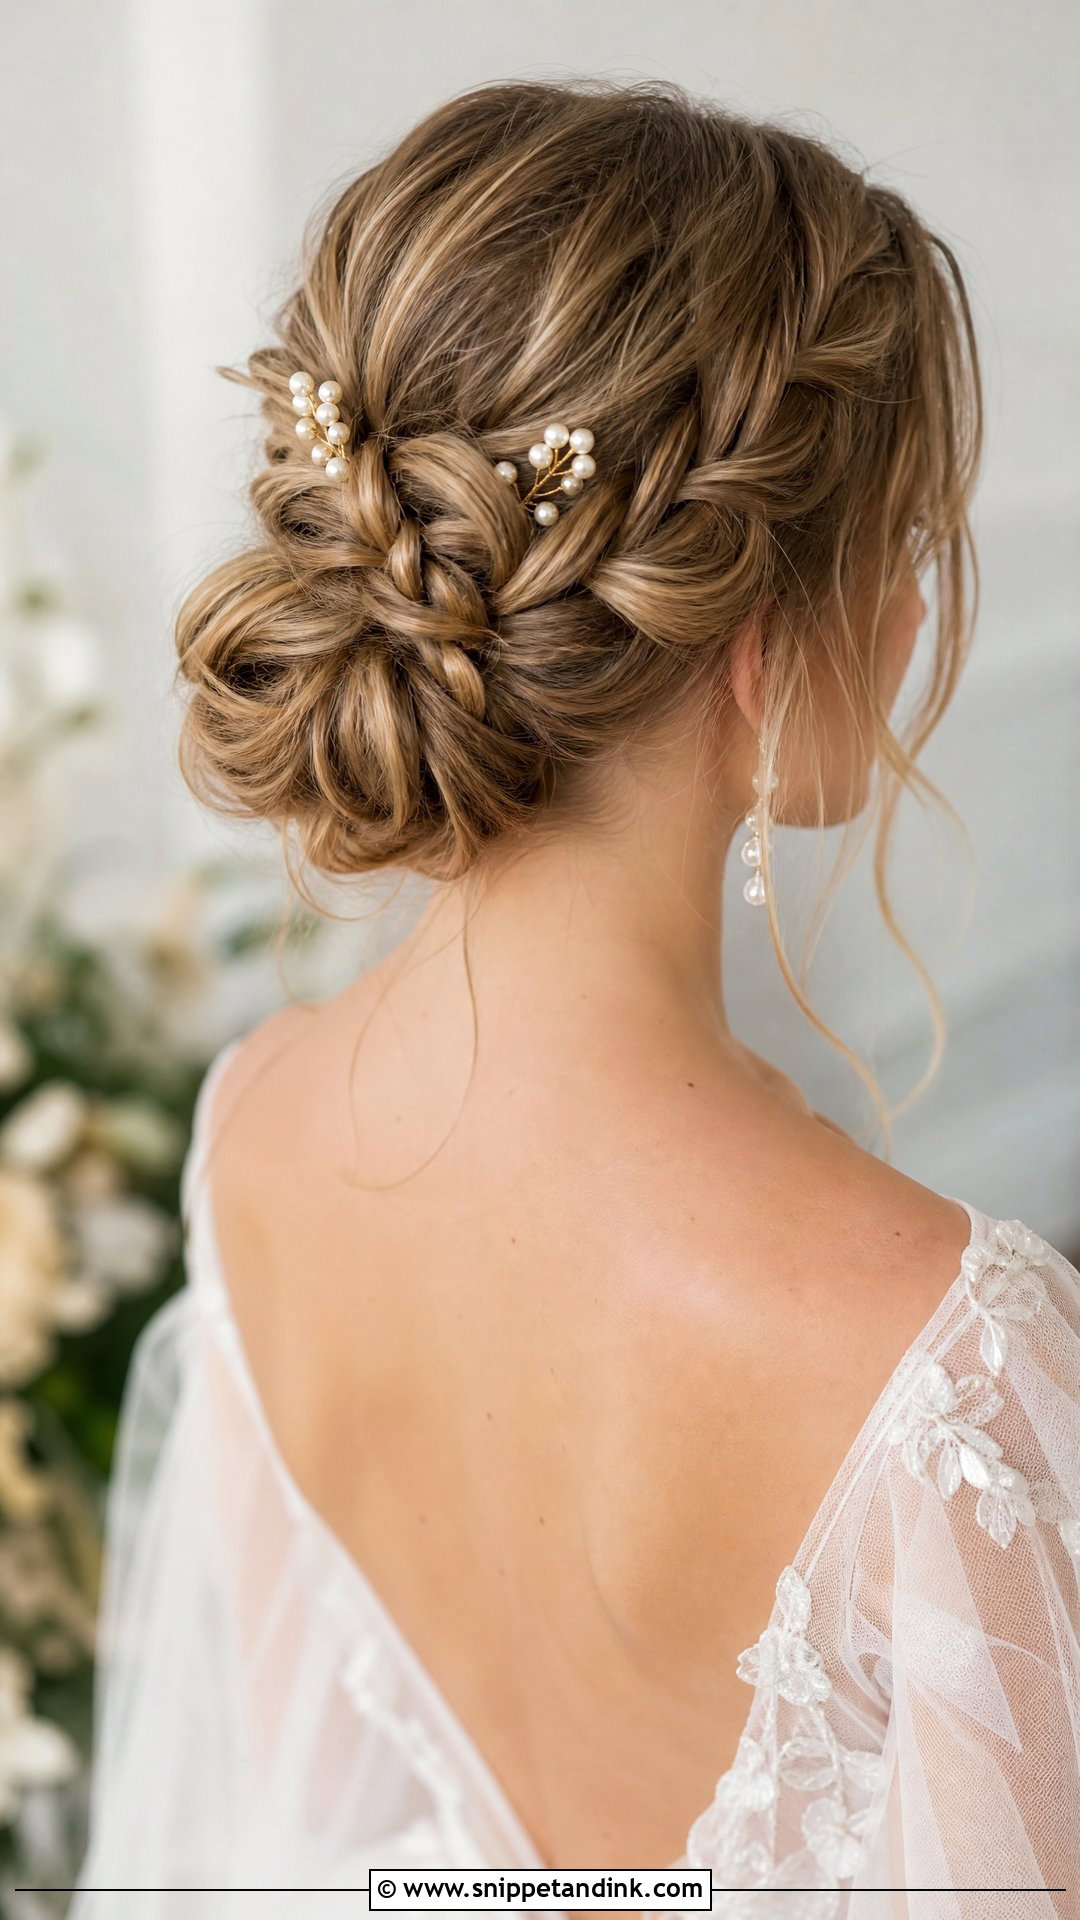
Wrapping a braid around the bun, feeding it in, or starting it along the hairline adds detail that people notice when you turn your head. It also adds security, since a braid is far harder to knock loose than a smooth section. Long, thick or dimensional hair braids best; very fine, short layers tend to poke out of the plait. My one caution is pancaking: I loosen the braid gently, a few loops at a time, and stop while the pattern is still clear. Small pearl or floral pins tucked between the braid loops finish it.
5. High Bride Bun
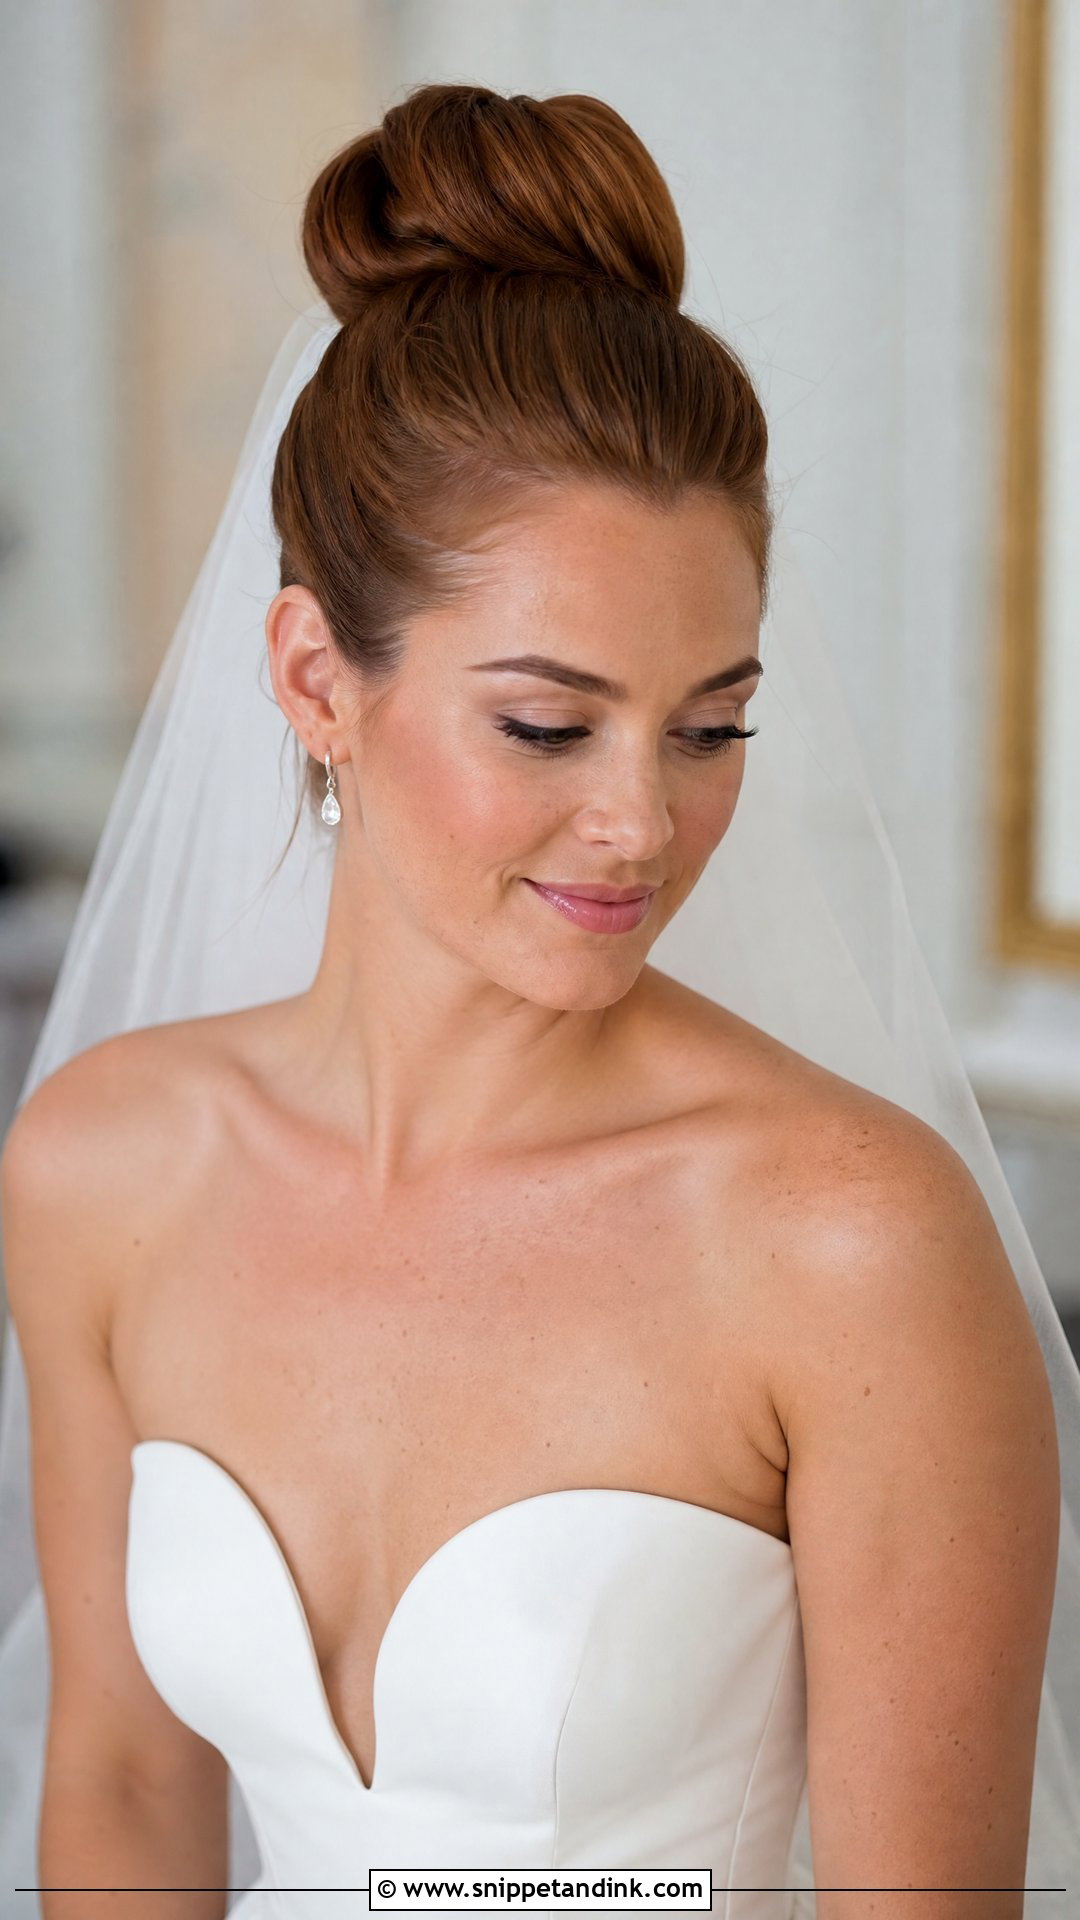
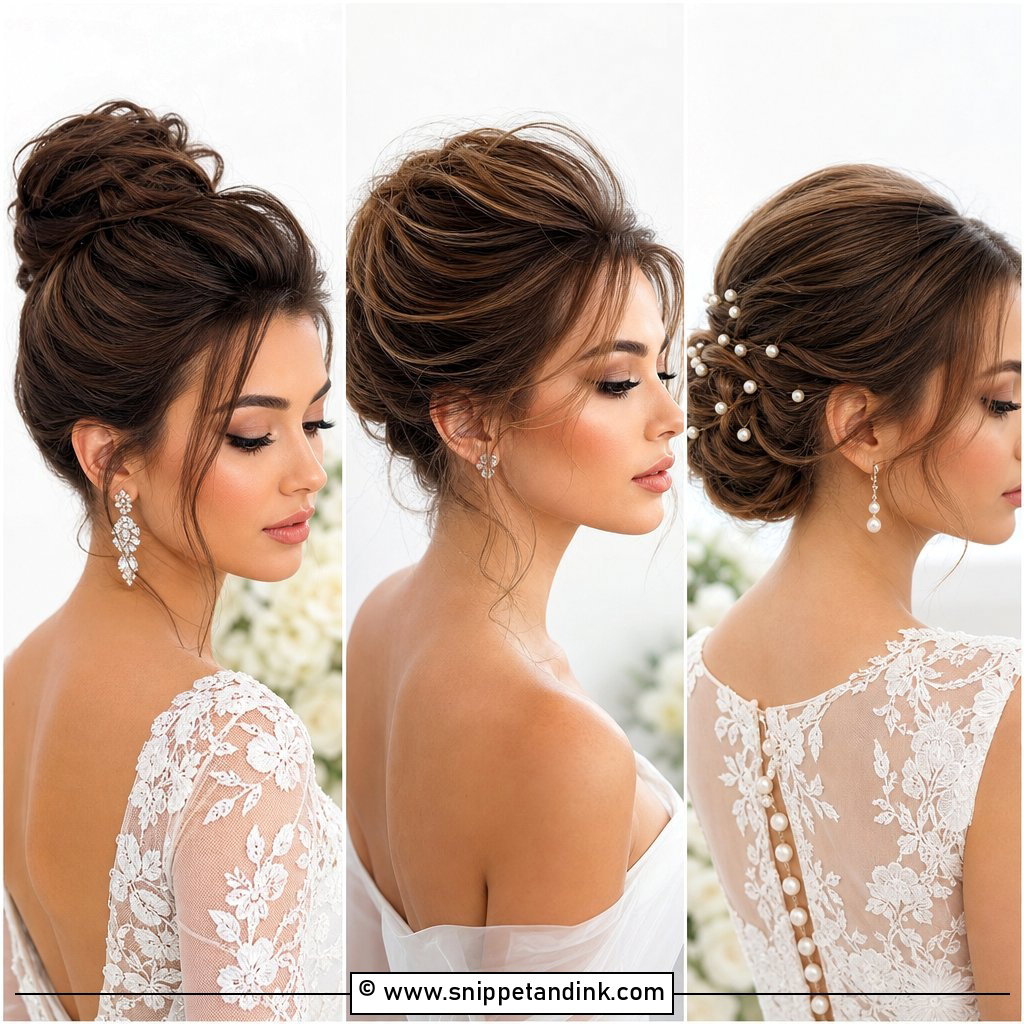
Sitting the bun high draws the eye upward and makes the neck look longer, which is why I like it with strapless, halter and high-neck bodices. Brides who want the veil anchored underneath the bun often choose this height. Proportion is everything at the crown. Too small and it looks like a gym bun; too large and it competes with your face, so I measure it against your shoulders in the mirror before setting. A high bun carries all its weight on fewer pins, so I build it on a firm elastic base and cross the anchoring pins in an X.
6. Messy Bride Bun
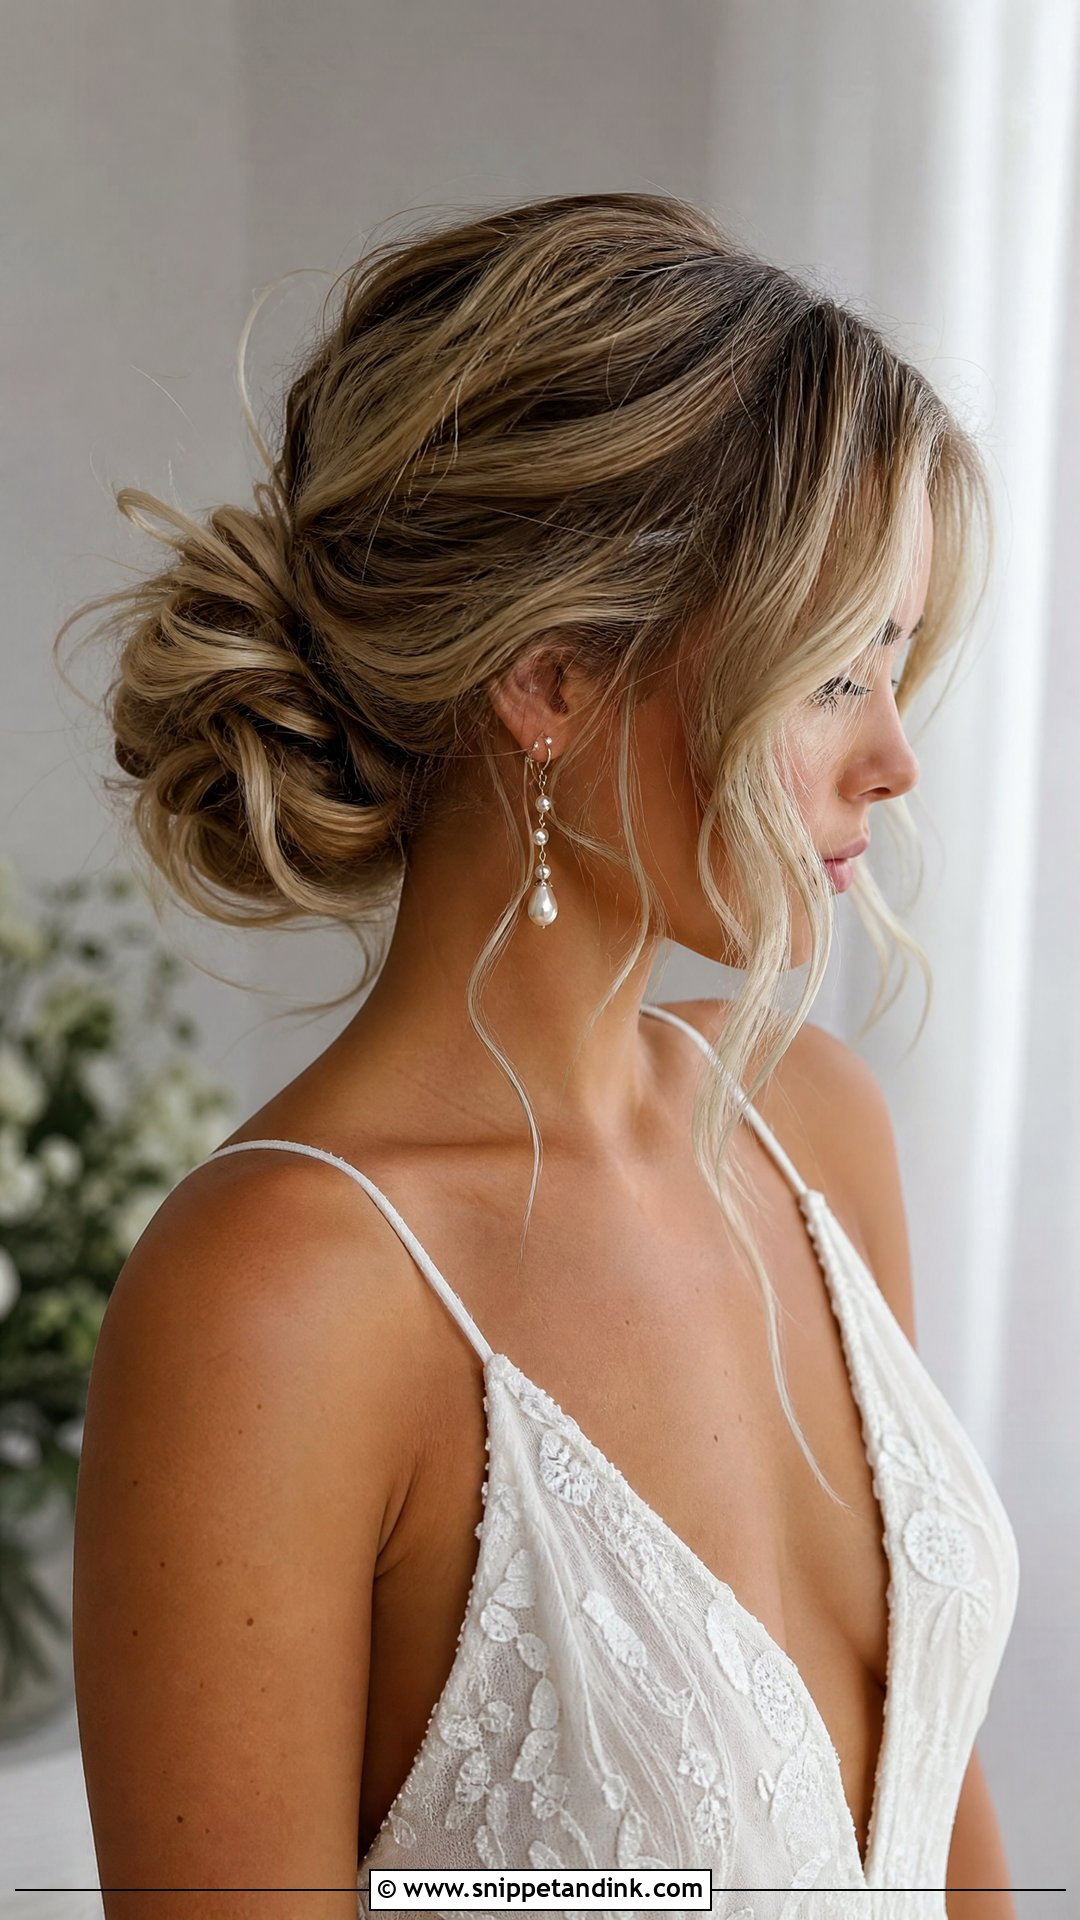
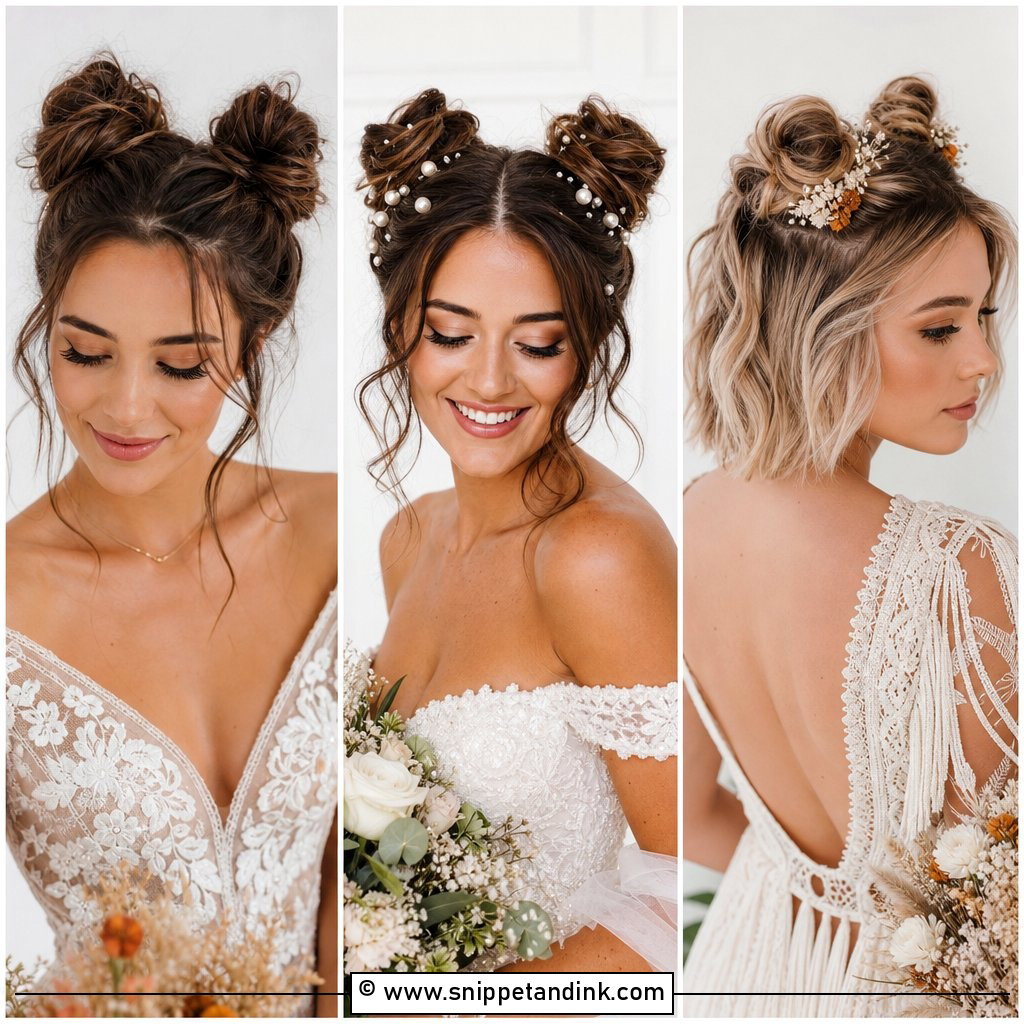
I tell brides that a messy bun is the most structured style I do, it just hides it. The outside has airy texture and soft pieces, but underneath everything is pinned to a tight base so hugs and dancing can’t collapse it. It suits boho dresses, beach ceremonies and rustic venues, and anyone who dislikes a shiny, tight finish. Loose tendrils around the face soften it further, especially with curtain bangs or long layers. The mistake I see most is pulling out too many pieces at the start; they only get looser as the day goes on, so I leave a few in reserve.
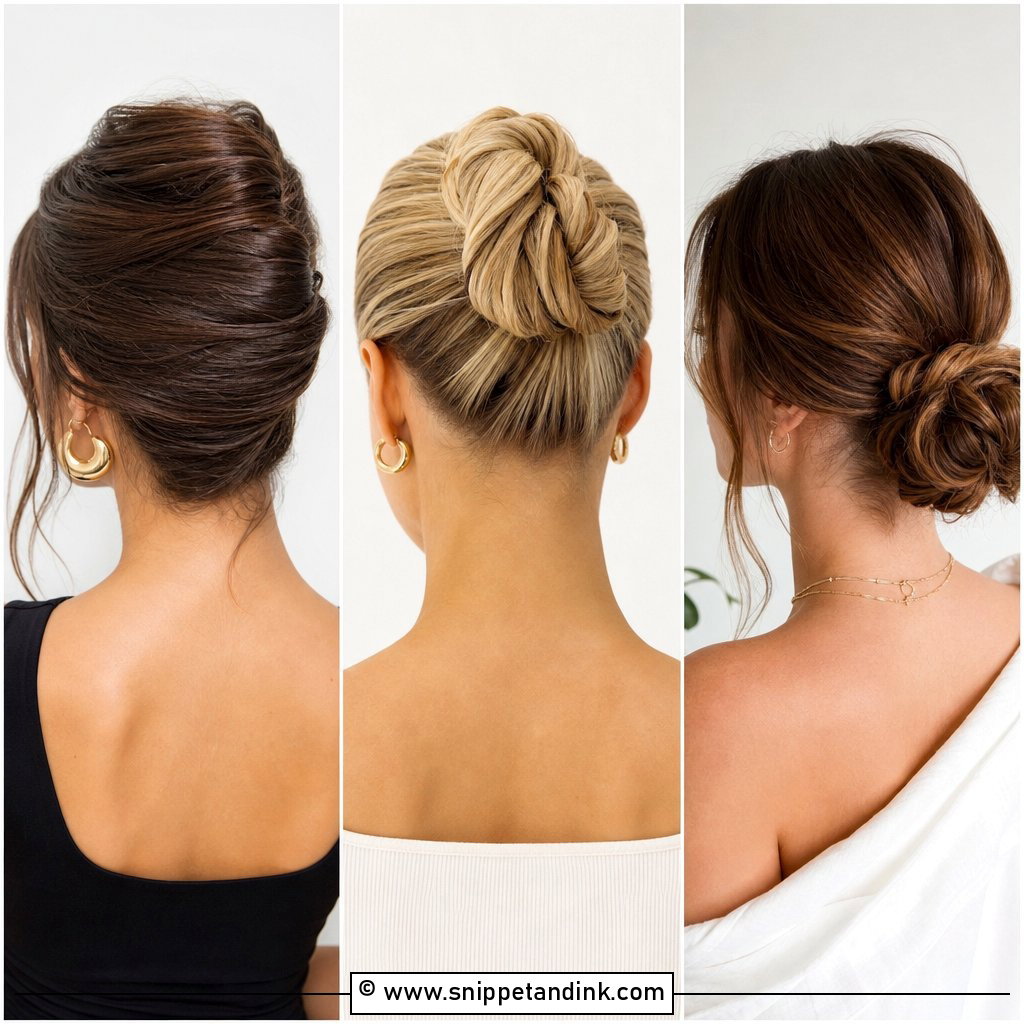
7. Side Bride Bun
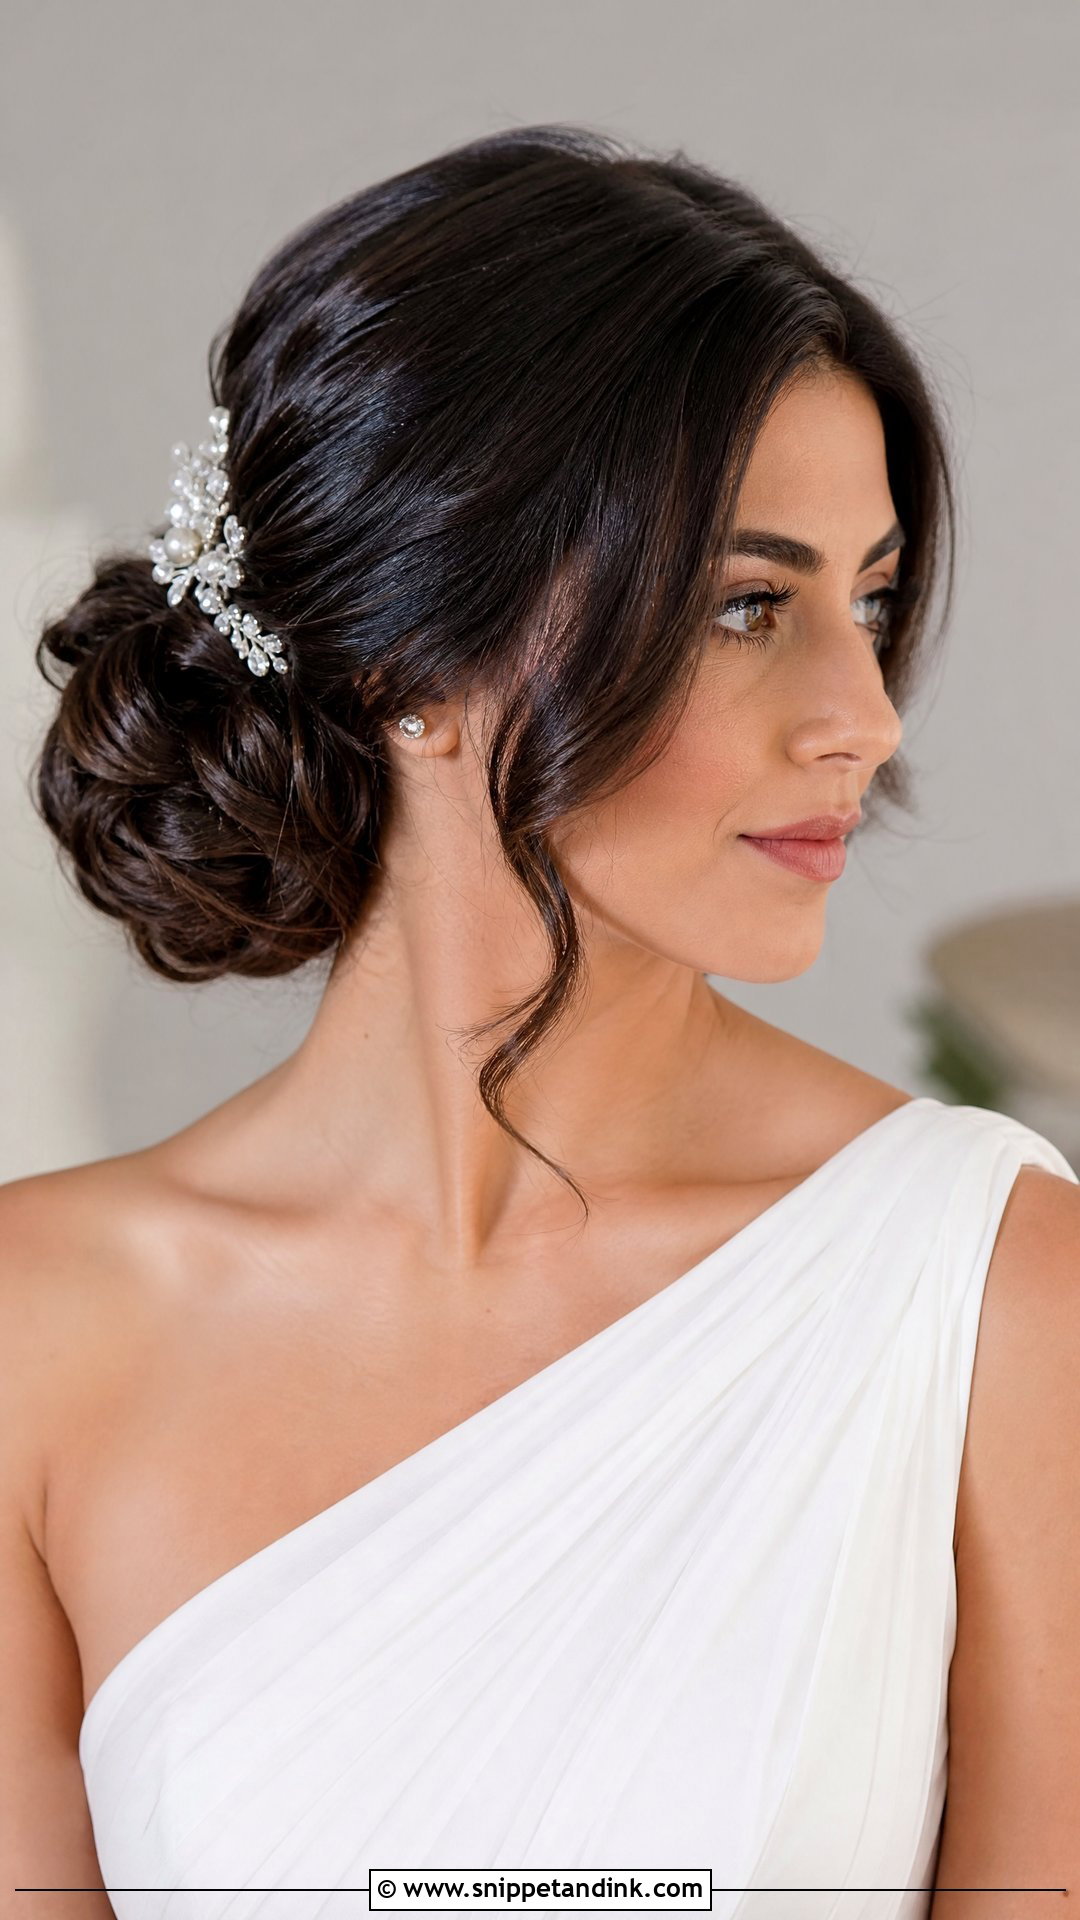
Moving the bun off center means it actually shows in front-facing photos, which is where most of your wedding pictures are taken. It works with one-shoulder dresses, a deep side part and statement earrings on the open side. The bun itself can be smooth, braided, curled or twisted. Placement matters for the veil too: if you want your veil or hairpiece visible rather than tucked away, the side bun gives it a deliberate spot. I keep it low and close to the ear, because a side bun set too high starts to look heavy on one side of the head.
8. Curly Bride Bun
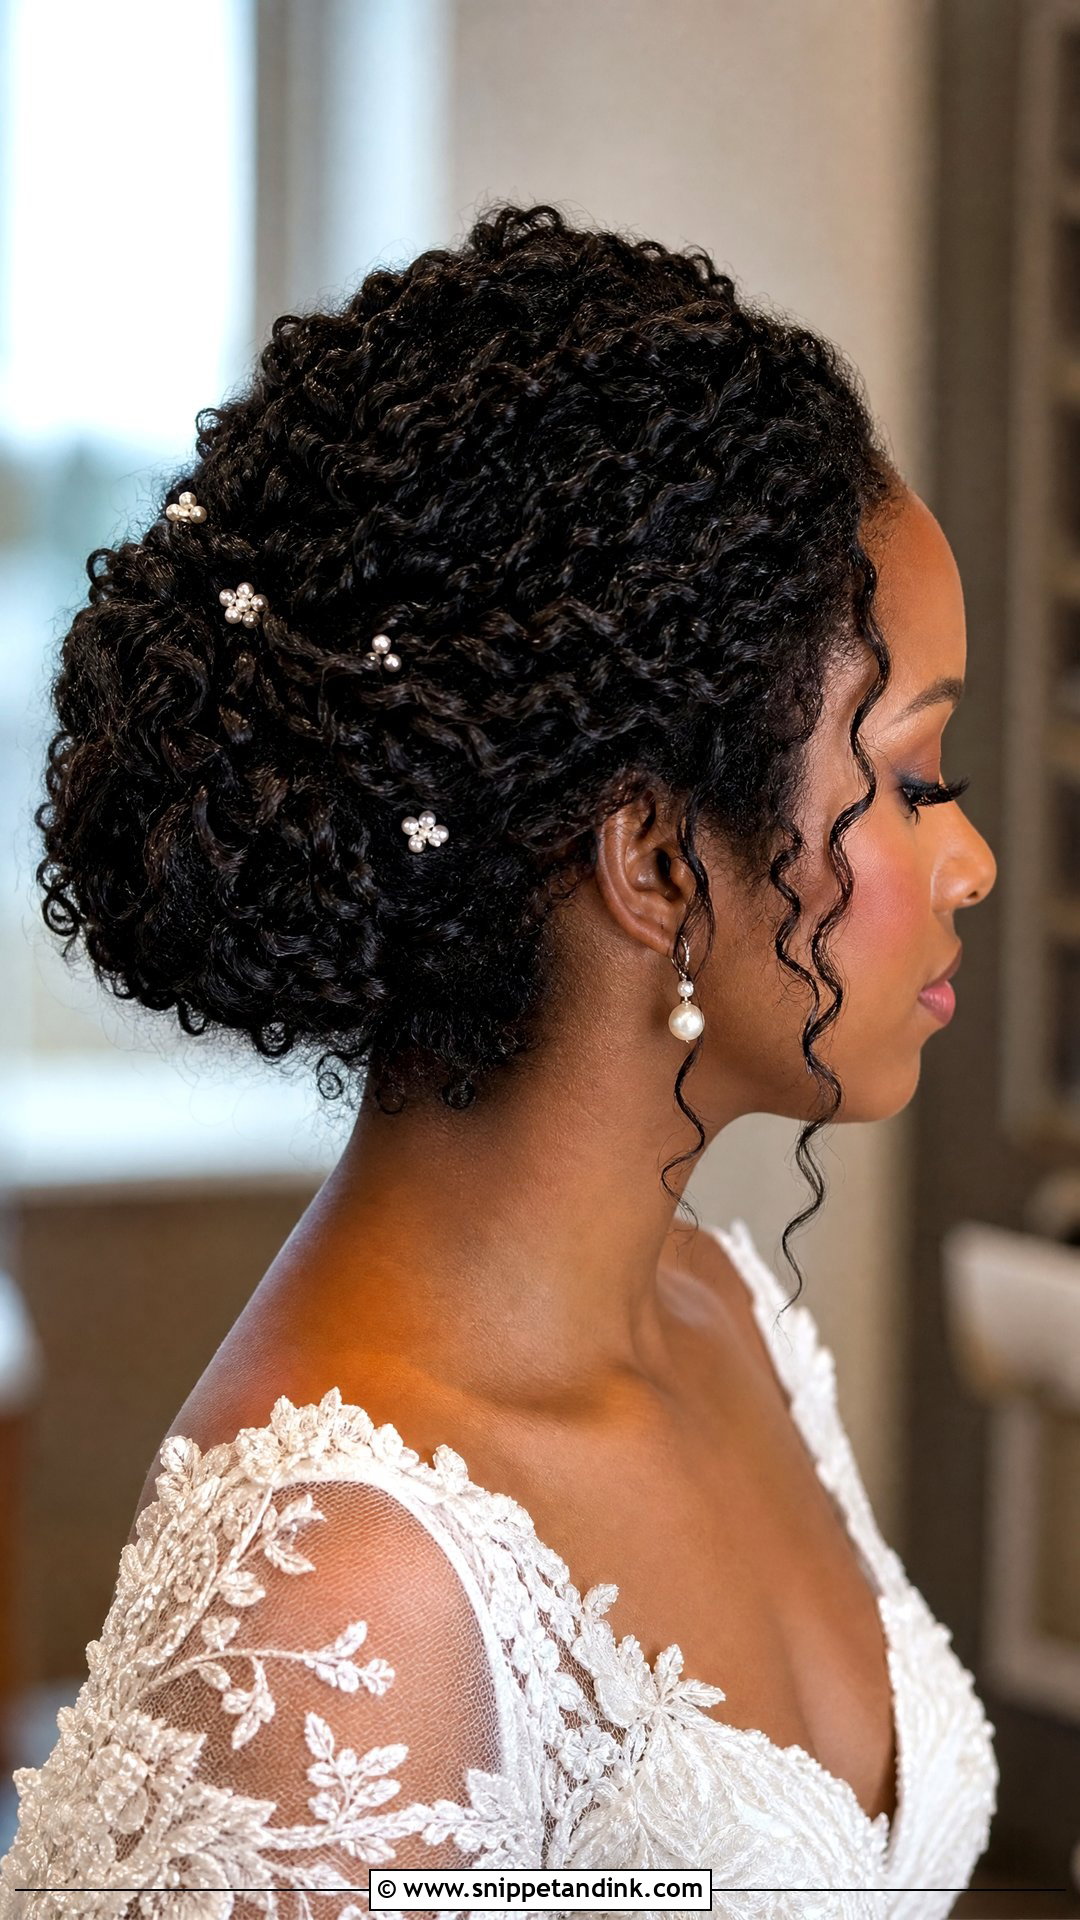
With curly or coily hair I’d rather work with the pattern than fight it. The curls are gathered into a defined bun so the texture is the detail, and the height can go low, mid or high depending on the dress and veil. Prep matters more than anything I do with pins: hydrated, defined curls the day before, and an anti-humidity product on the morning. I shape the edges of the bun with my fingers so the curls look intentional from every side, and I avoid brushing them out at the perimeter, which only makes frizz. Gold or pearl pins look great against curl texture.
9. Twisted Bride Bun
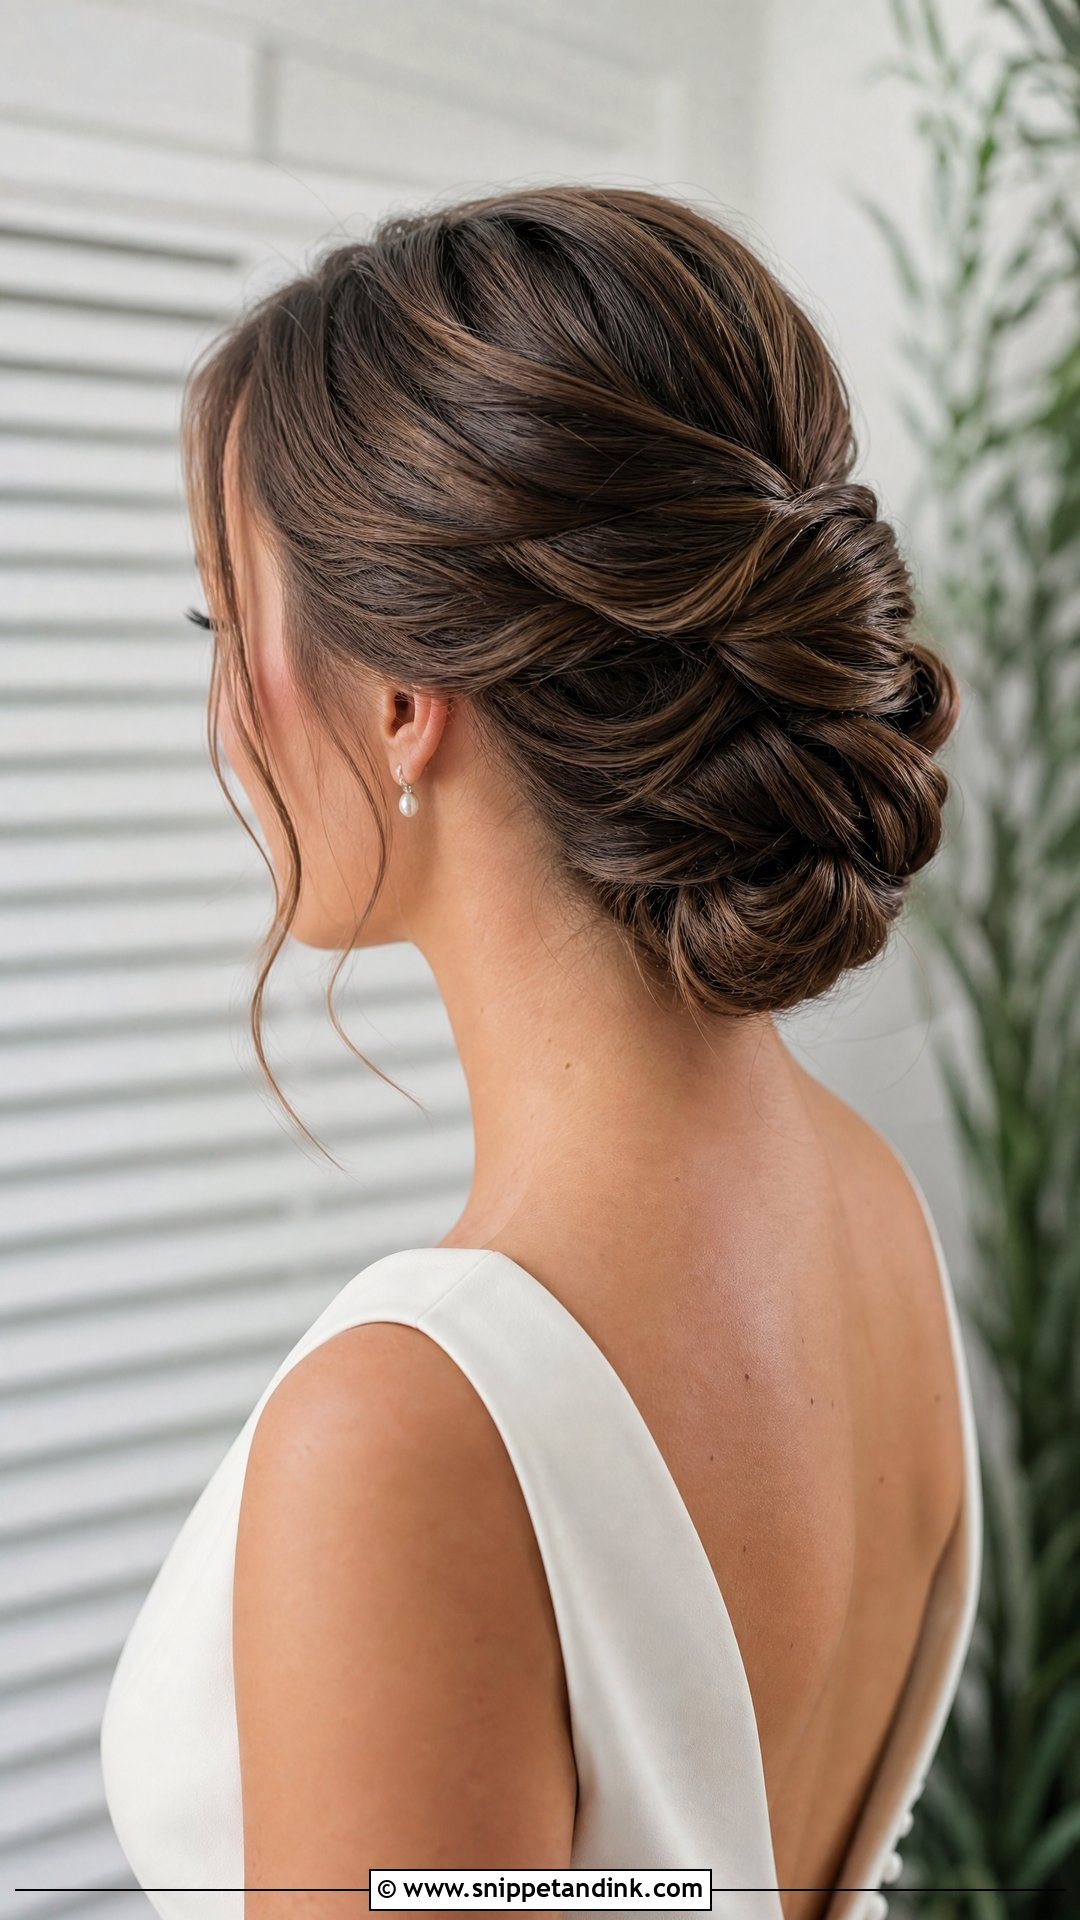
Twists are my middle ground when a bride can’t decide between sleek and textured. Each section is twisted toward the bun and pinned, so you get smooth lines with soft shadows between them. Medium to long hair is the minimum; shorter layers spring out of the twist. The dimension shows up best with balayage, highlights, or brunette shine, because the color shifts along each twist. I usually cross the twists at the back of the head or wrap them around the crown, and a light shine spray at the end keeps them from looking dry under flash.
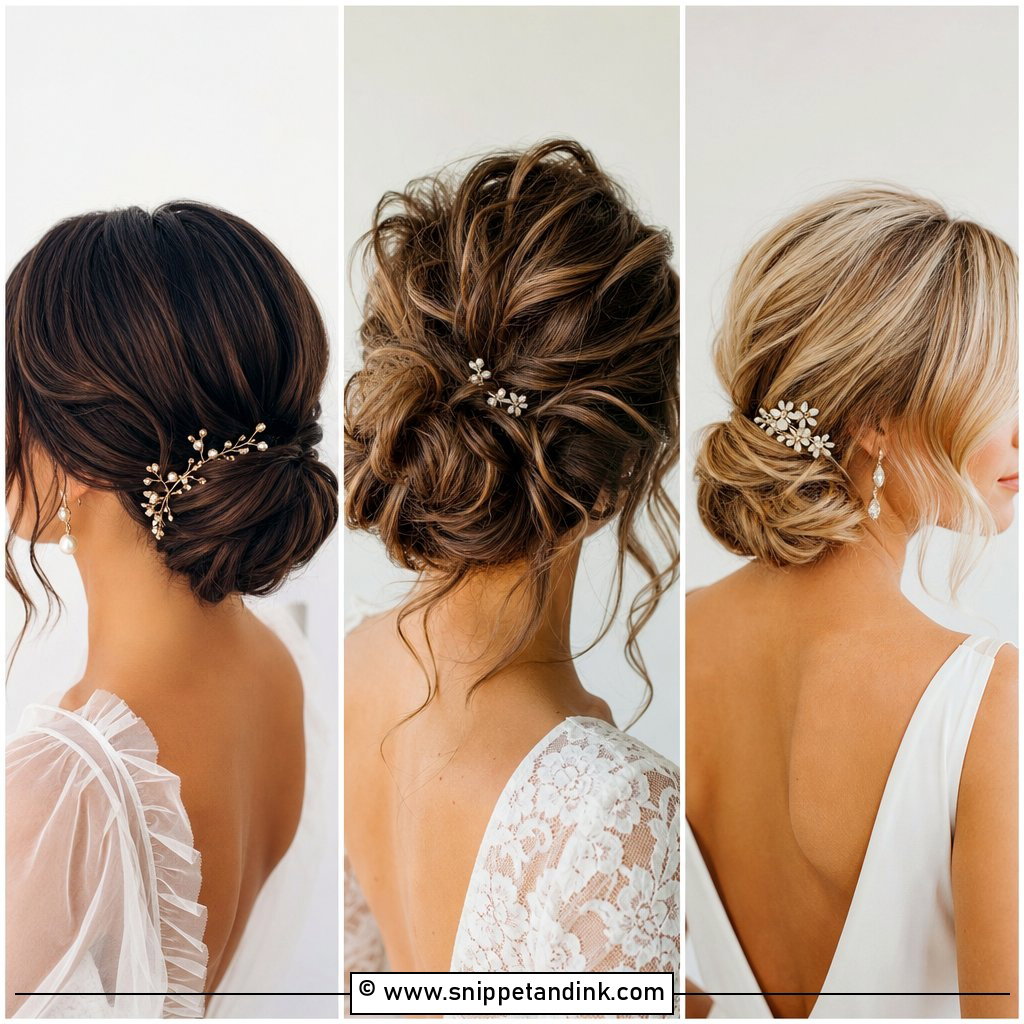
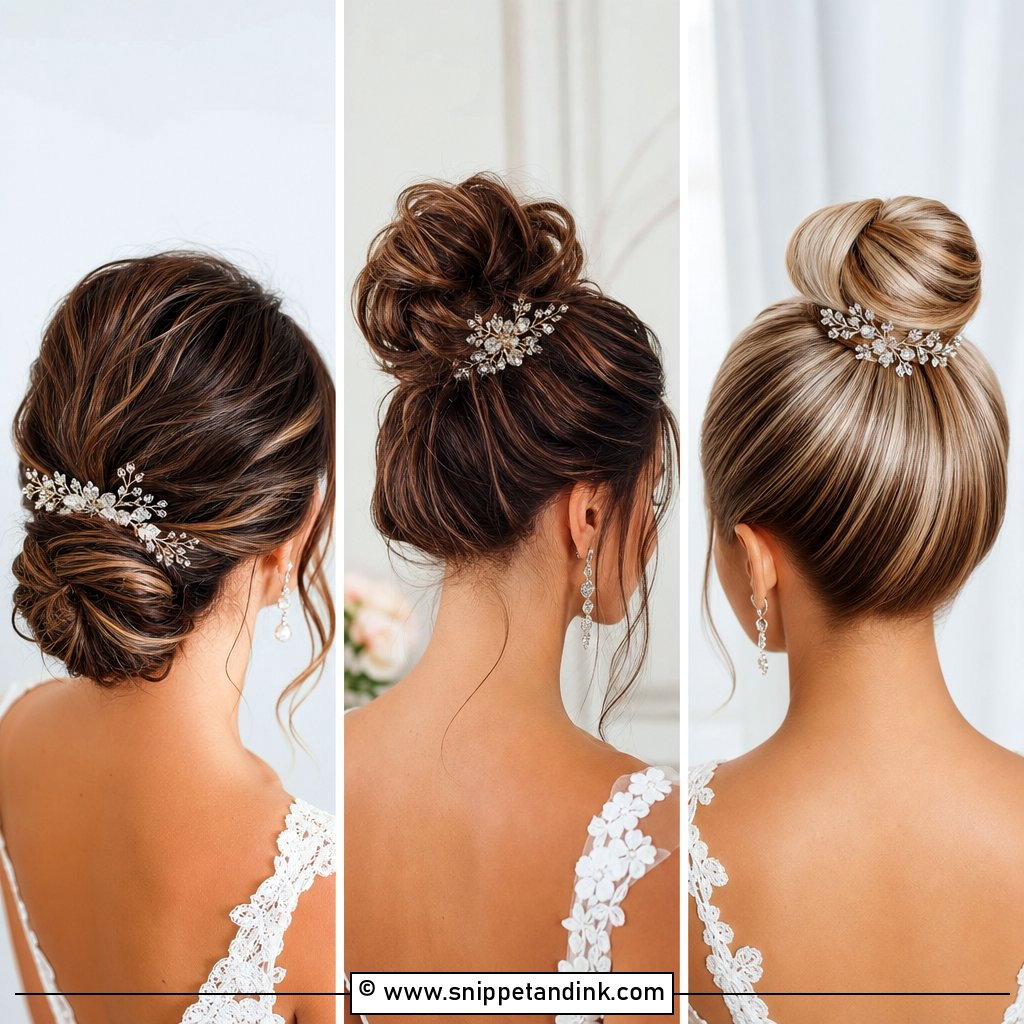
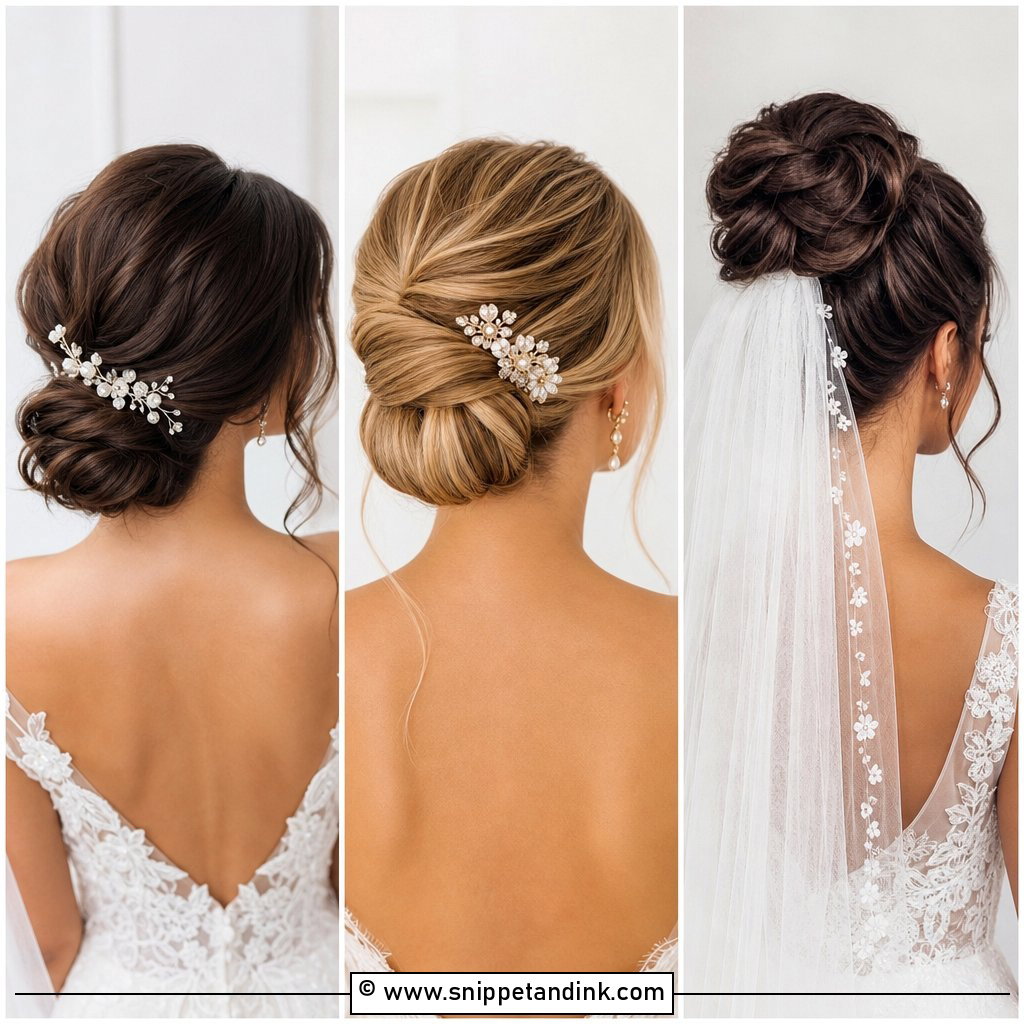
10. Pearl Bride Bun
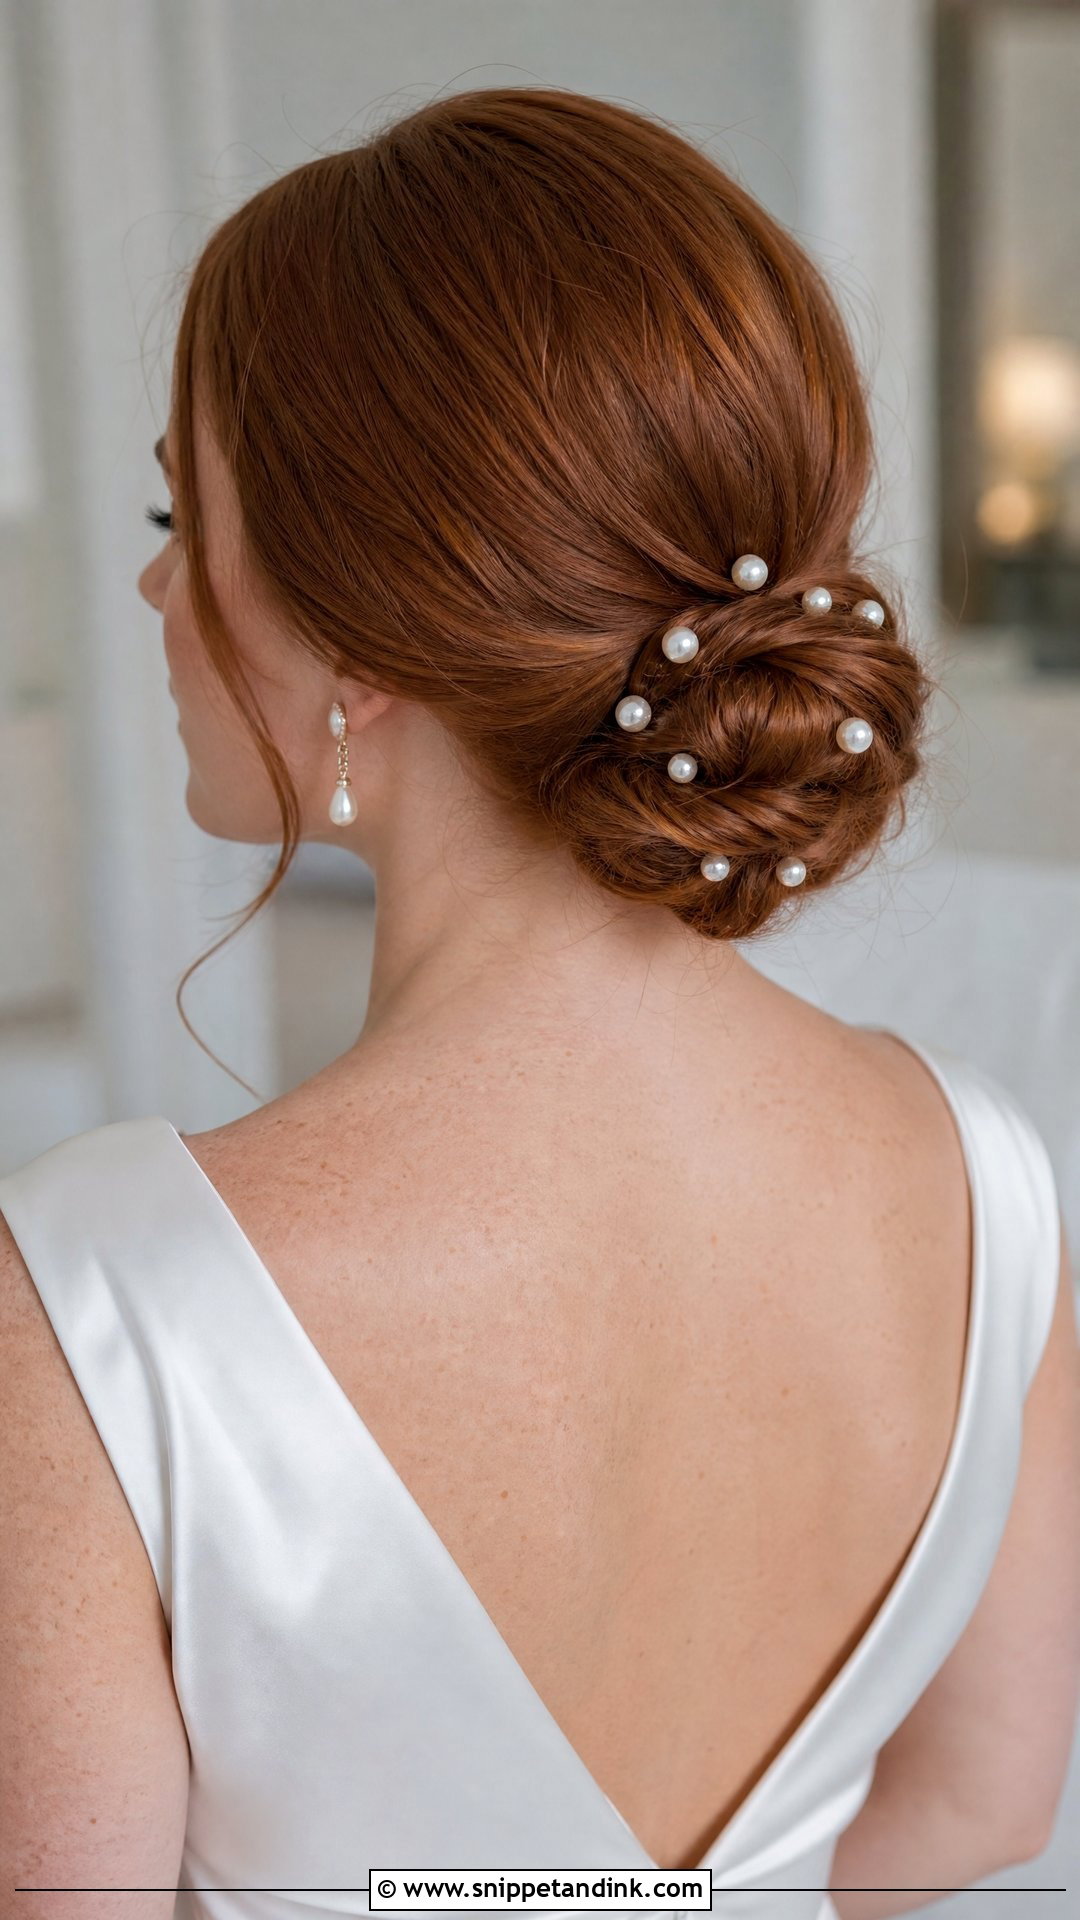
Pearls give a bun a bridal finish without a big headpiece. I scatter small pearl pins through a low bun, ring a chignon with them, or tuck a few into a textured updo where they look like they landed there. They suit sleek, braided and soft buns equally well, and they echo pearl earrings, simple veils, lace and clean satin. My rule is scale: tiny pearls on a sleek bun, slightly larger ones on a full textured bun. I place them last, after the setting spray, so the lacquer doesn’t dull them.
11. Veil Bride Bun
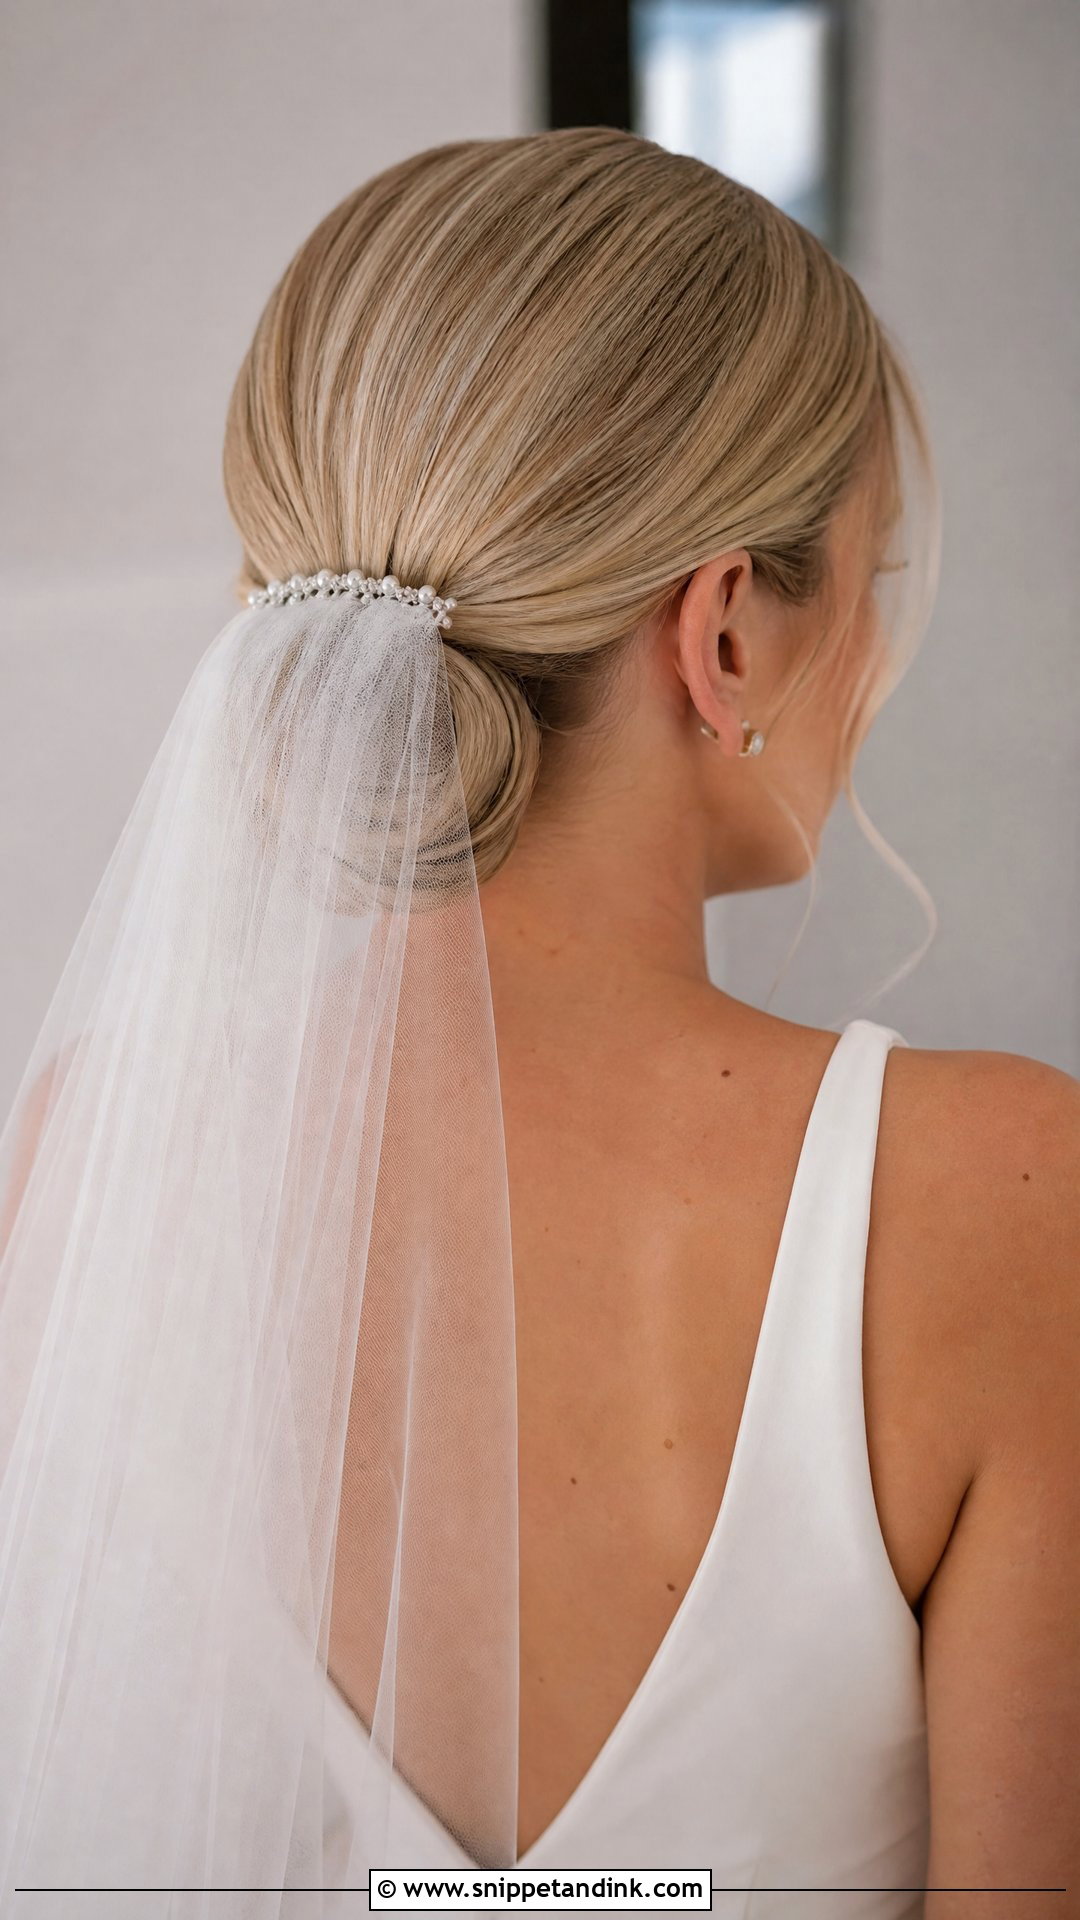
Here the veil comes first and the bun is built around it. A low bun takes a veil either above it or slid underneath, while a high bun usually wants the veil below for that lifted outline. Whatever the texture, the base must be strong enough for the comb to bite into, which is why I anchor a few crossed bobby pins exactly where the comb will sit. Please bring the actual veil to your trial. I test the weight, practice the removal, and check that the bun still looks complete once the veil comes off for the reception.
12. Middle Part Bride Bun
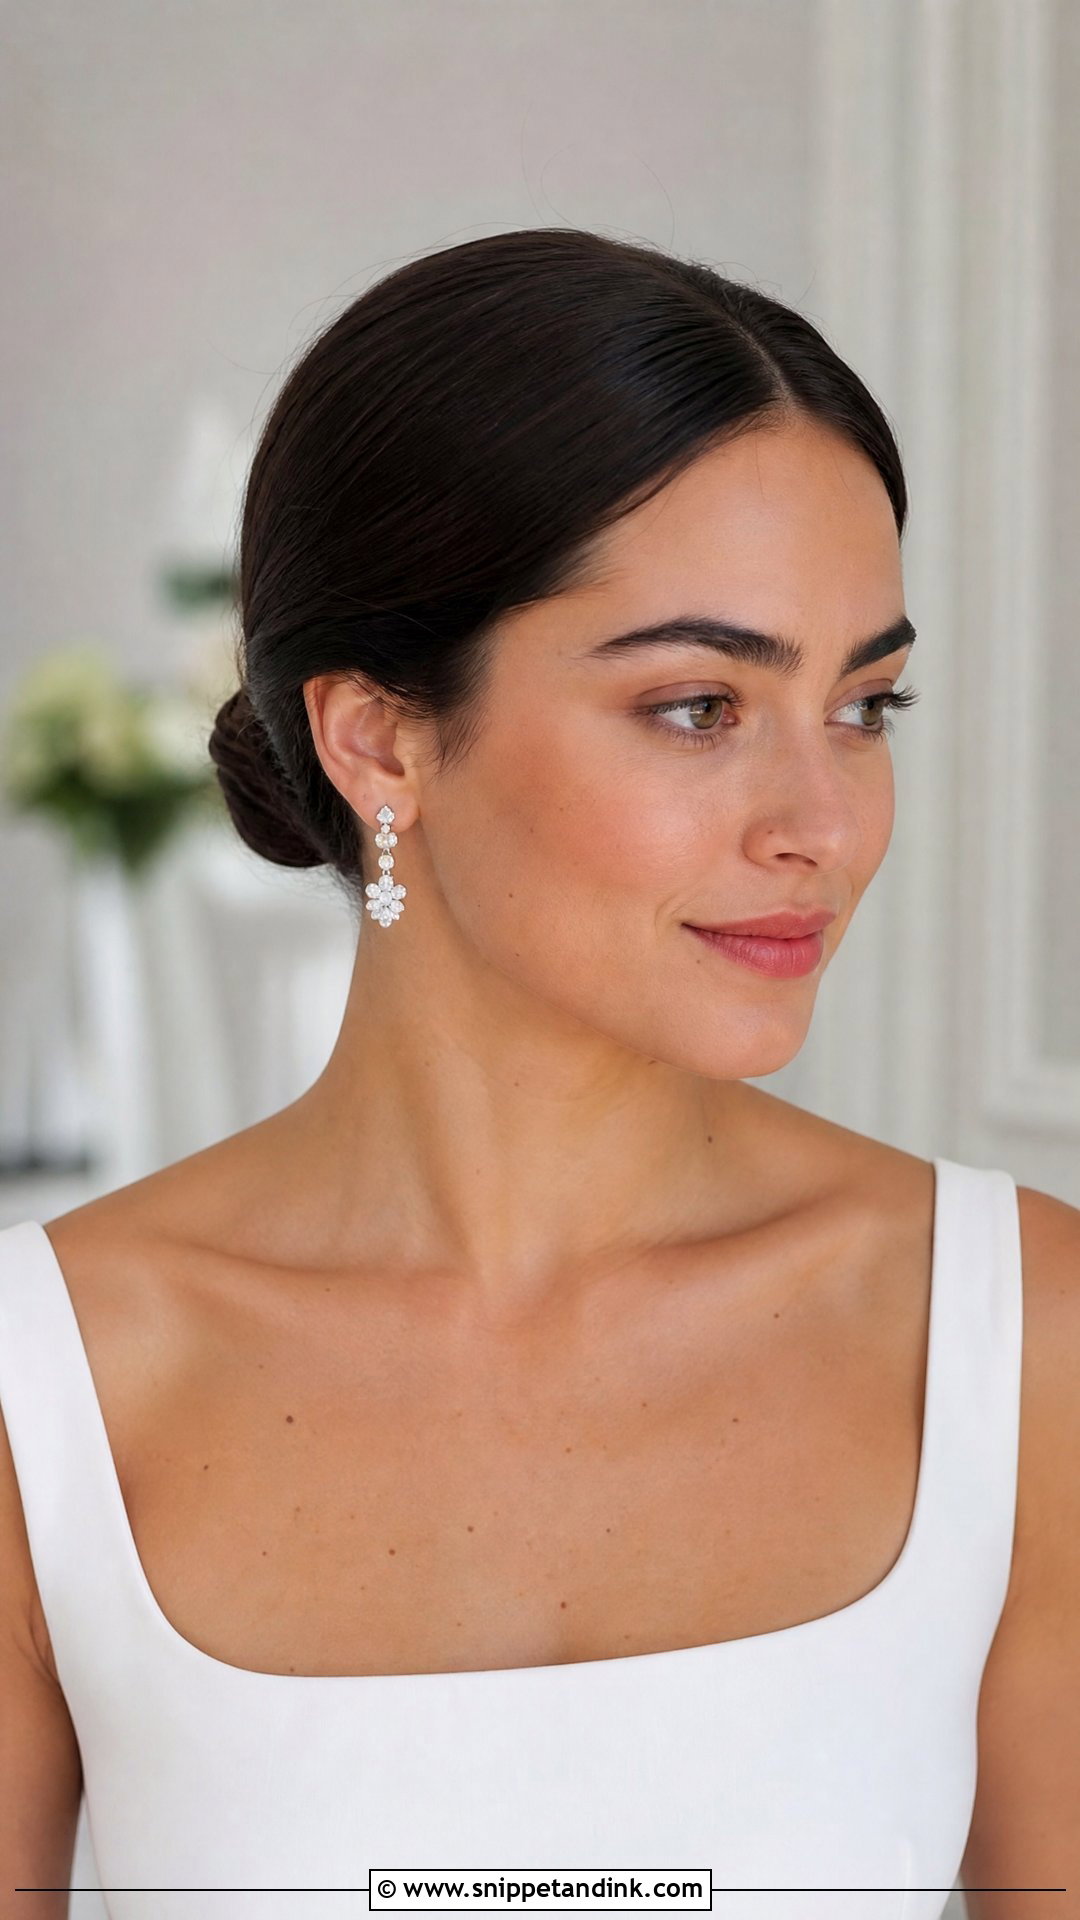
A center part gives symmetry, and symmetry reads modern. It flatters a sleek low bun, a soft chignon and sculpted updos, and it lets bold earrings and a minimal dress carry the look. I’m honest with brides about one thing: a middle part shows any unevenness in the face or hairline, so we try it at the trial before committing. For softness, I leave very fine pieces near the cheekbones. For a sharper version I tuck everything back and gloss it. Either way the crown shouldn’t be flat, so I tease the inside of the top section lightly before smoothing over it.
13. Side Part Bride Bun
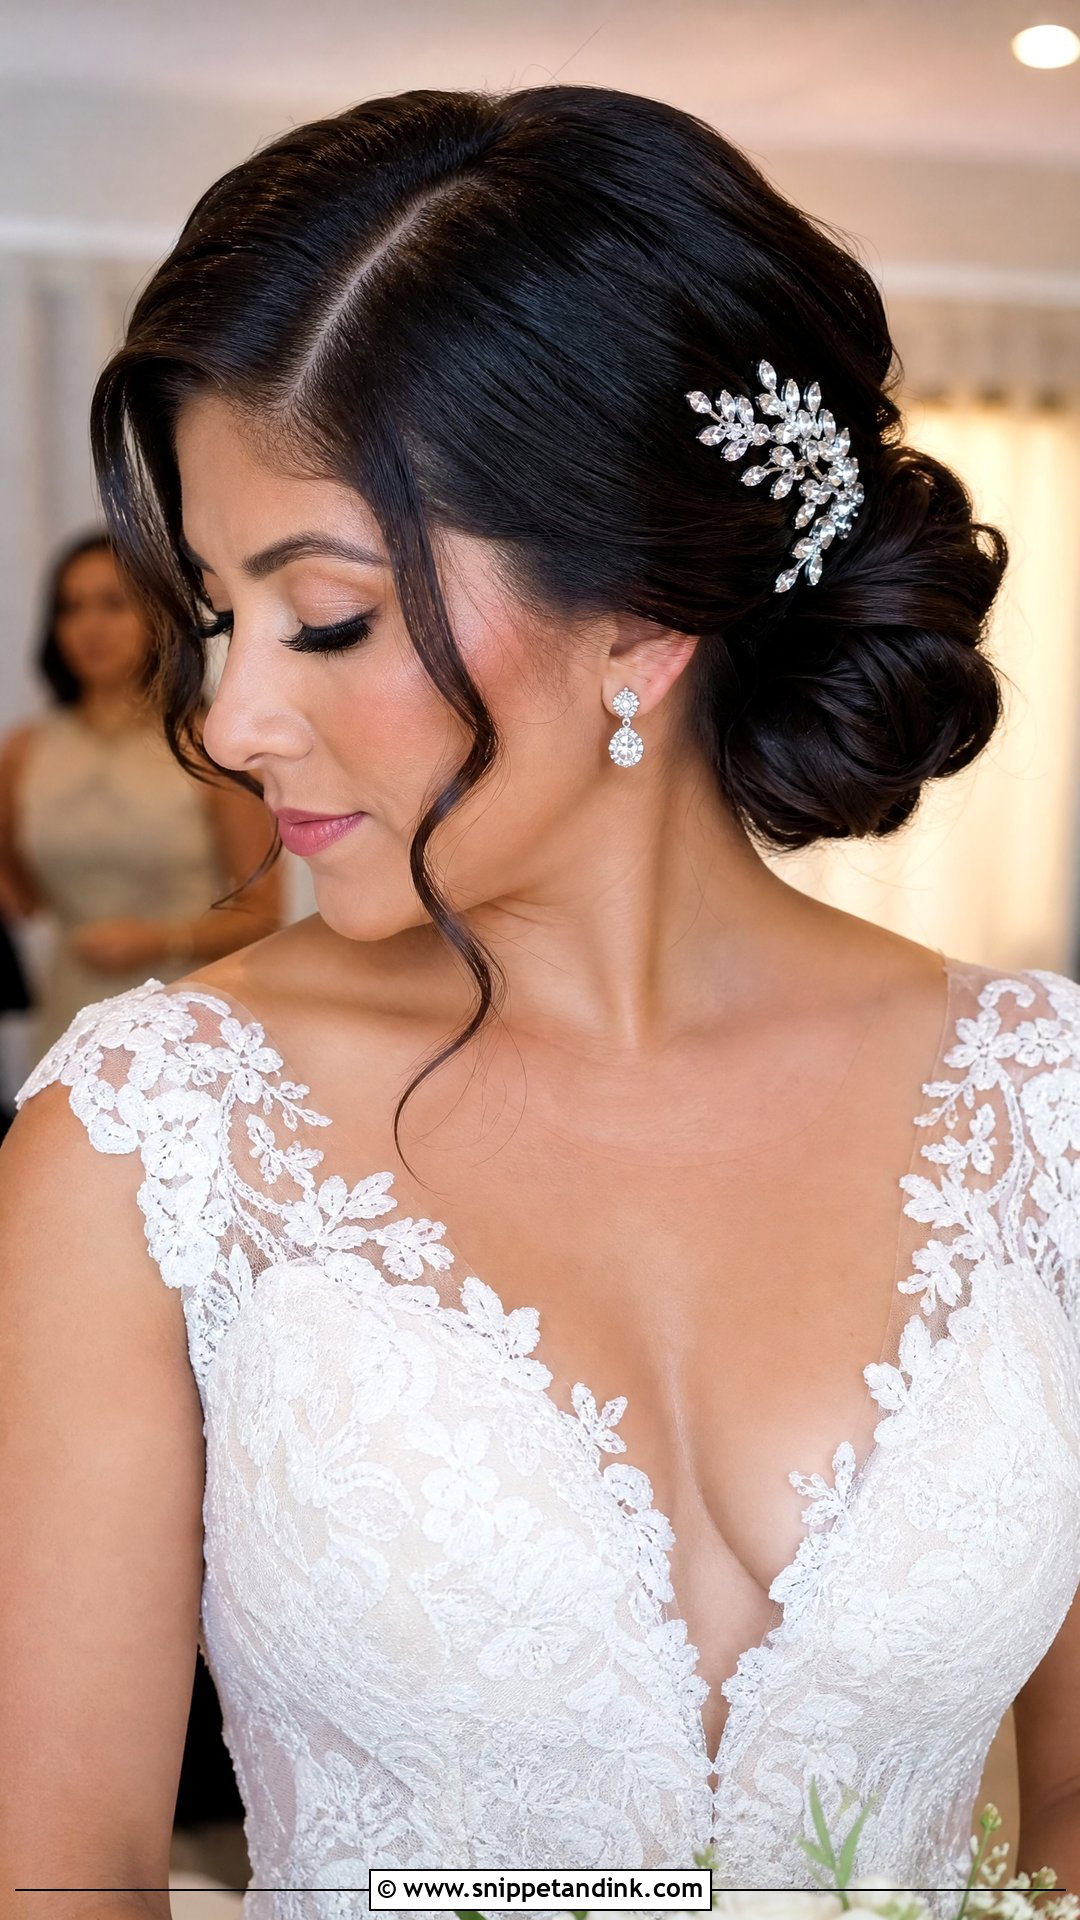
When a center part feels too severe, I move it to the side and the whole face softens. The part can lead into a low bun, a twisted chignon or a side bun. I like brushing a soft wave through the front section and pinning it neatly behind one ear, which gives movement without loose pieces that blow around. It pairs with a comb, a veil or one dramatic earring on the open side. Find your natural part first; a part forced against your growth pattern pops back up within an hour.
14. Ballerina Bride Bun
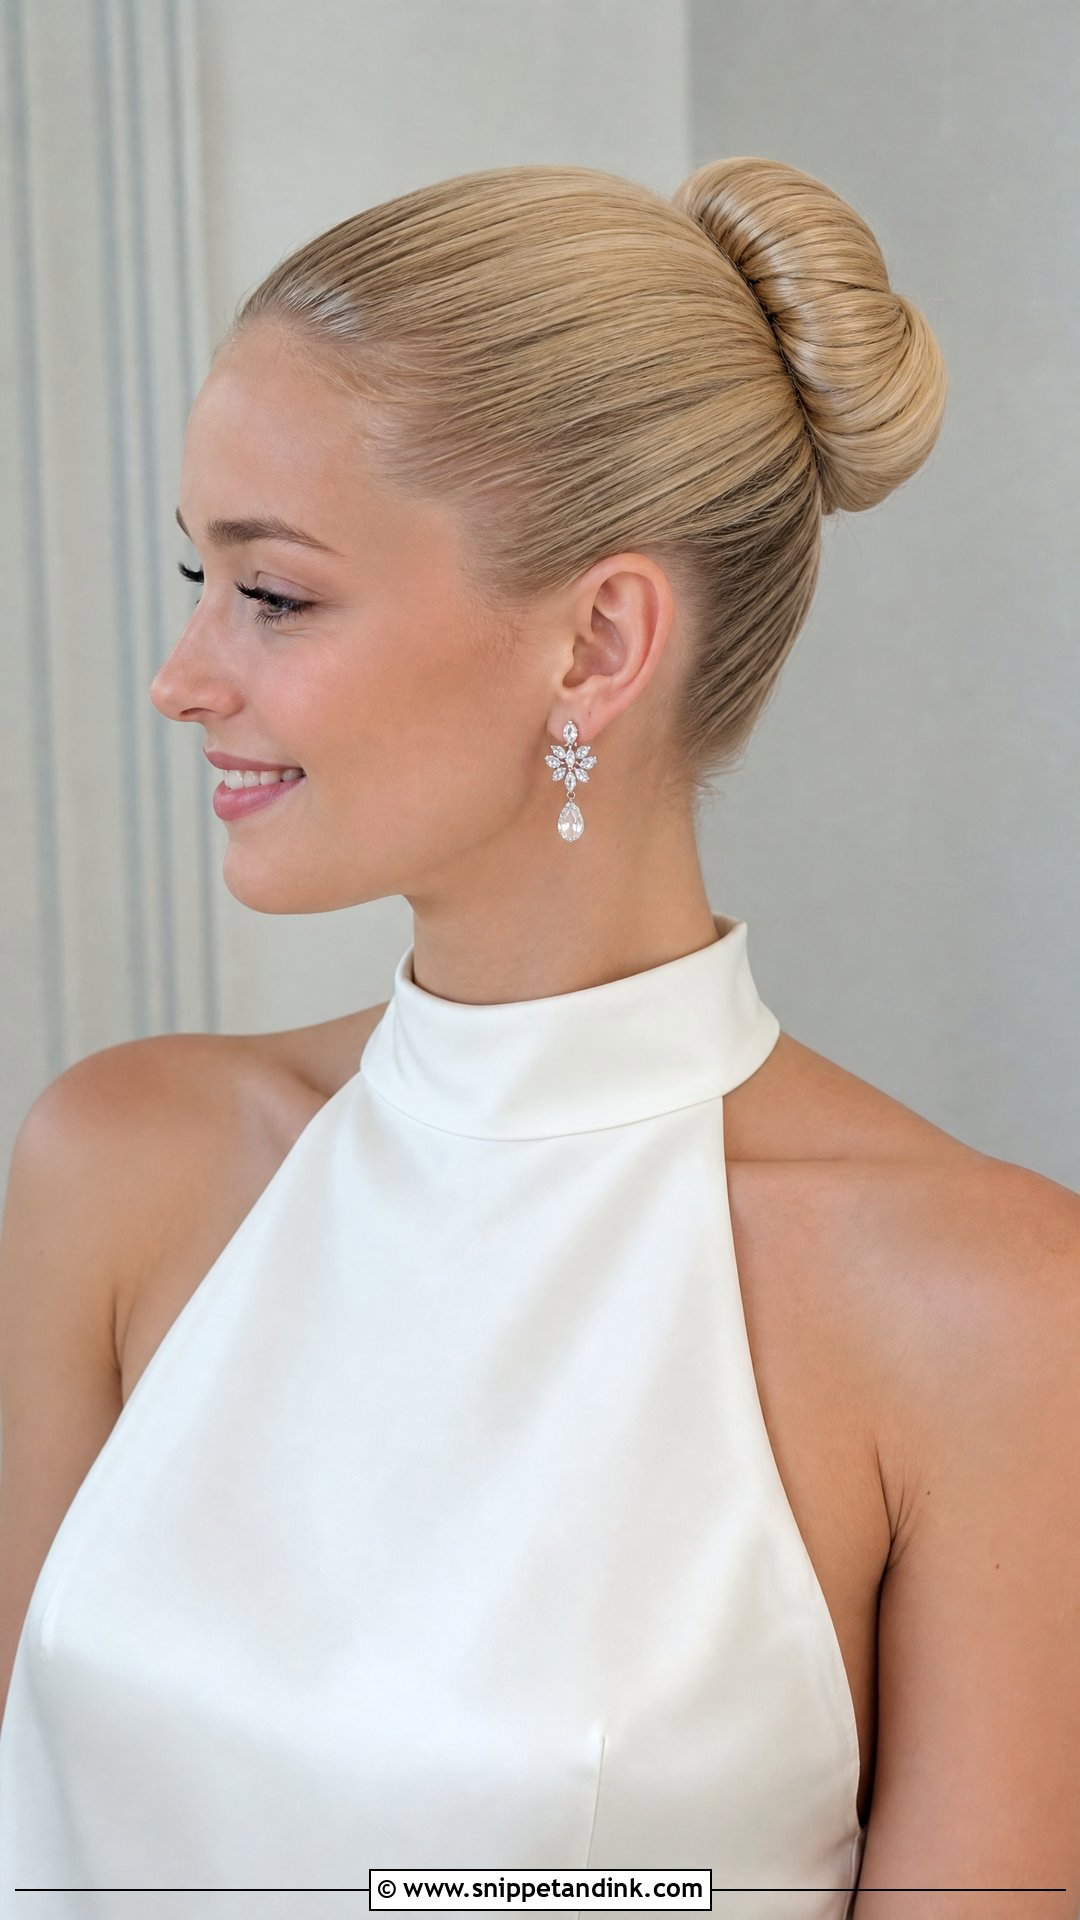
A ballerina bride bun is all about a clean silhouette: tightly gathered, rounded and smooth. It can sit at the crown, mid-height or lower, depending on comfort and face shape, and it suits structured gowns, high necklines and long veils. Because there’s nothing to hide behind, every detail shows. I smooth flyaways with a toothbrush and a little gel, add shine, and check from directly behind that the bun is centered. It’s my top pick for hot weather, since a tight, smooth bun has almost nothing for humidity to frizz.
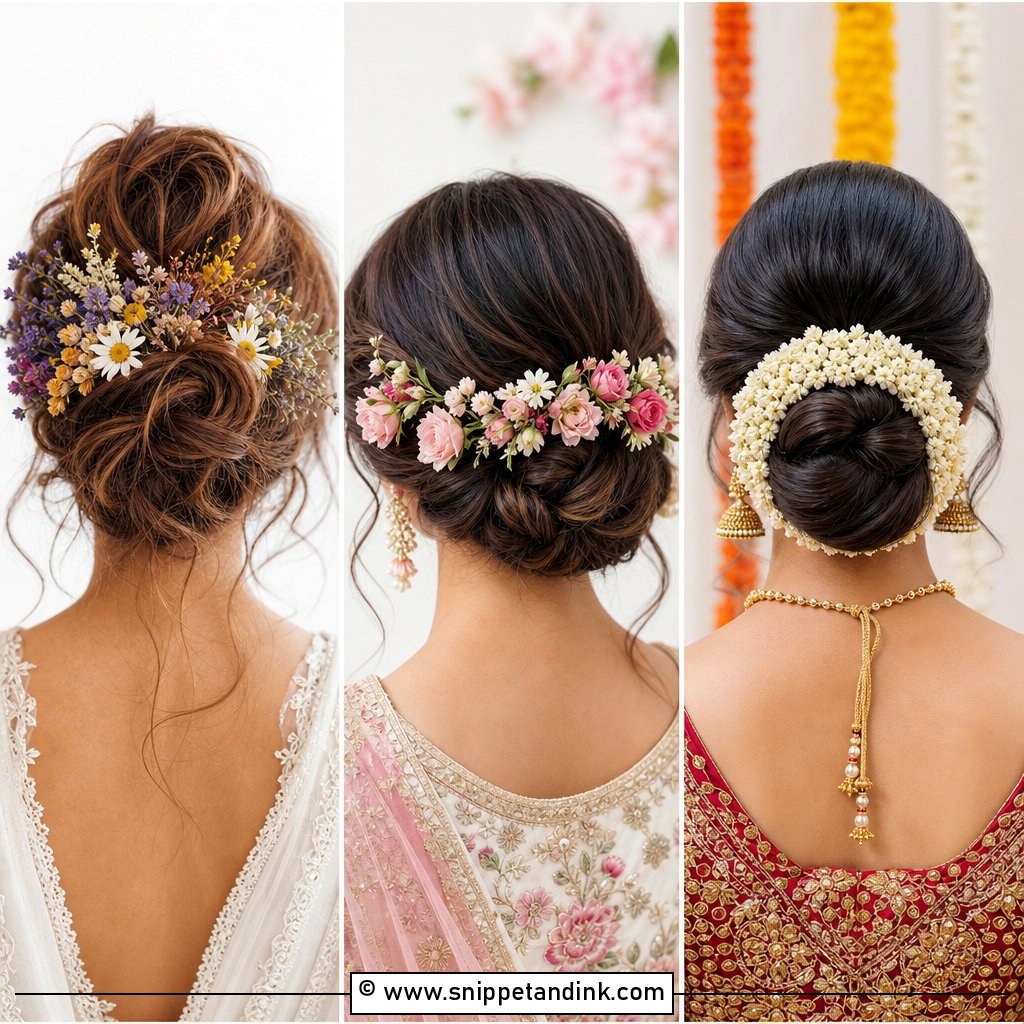
15. Flower Bride Bun
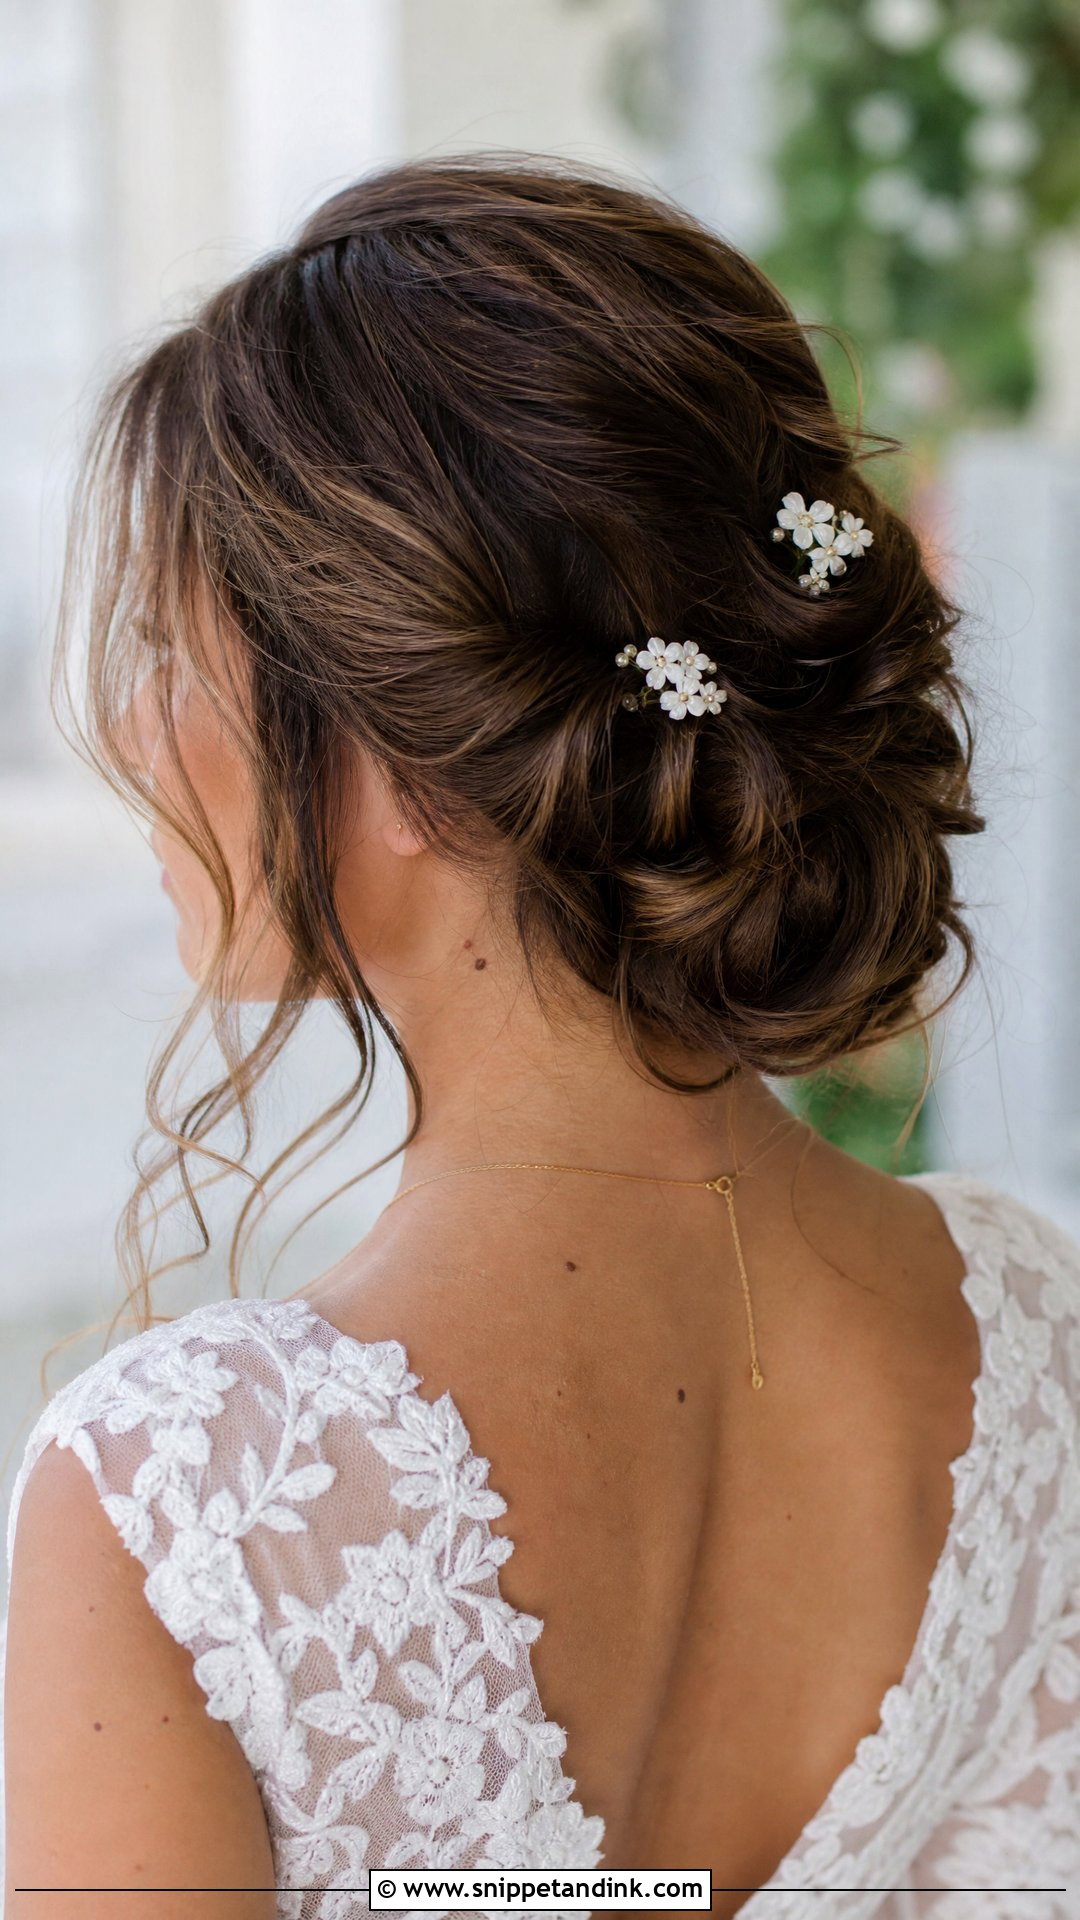
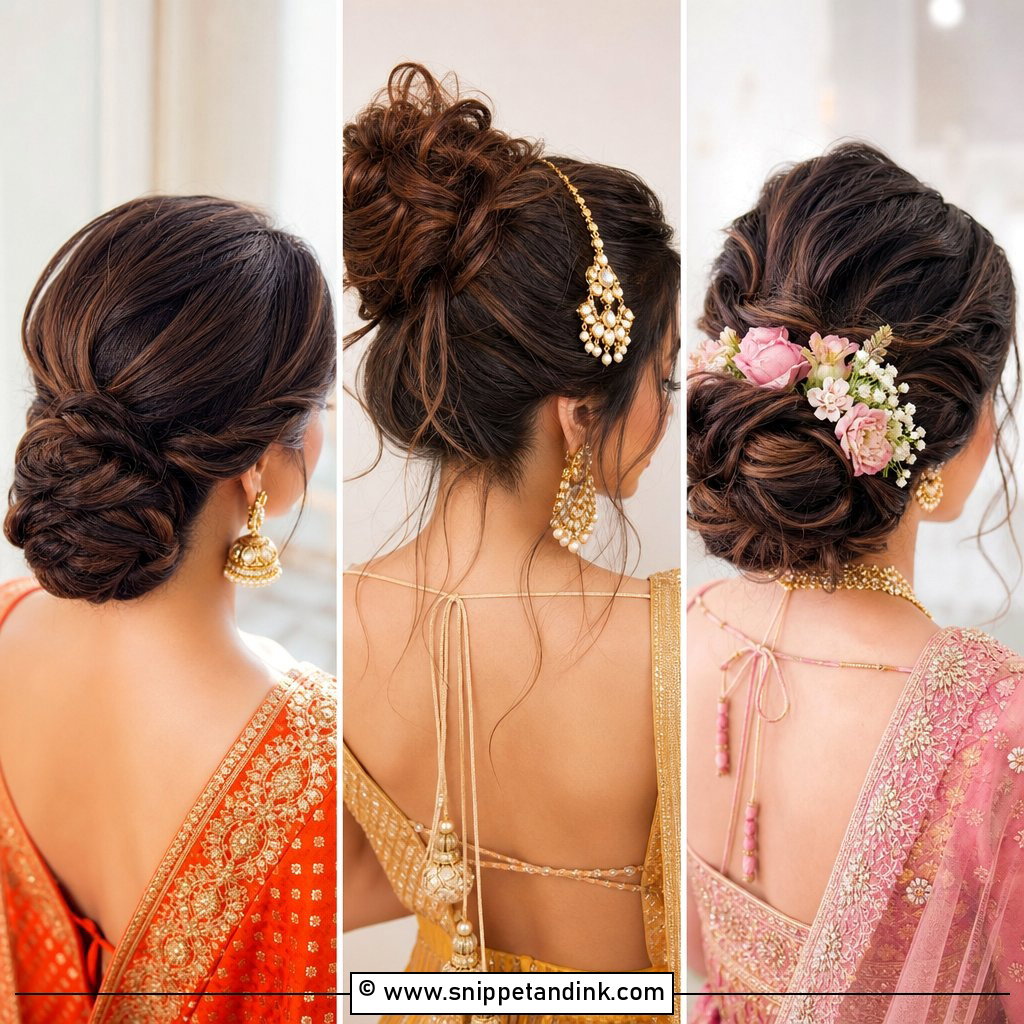
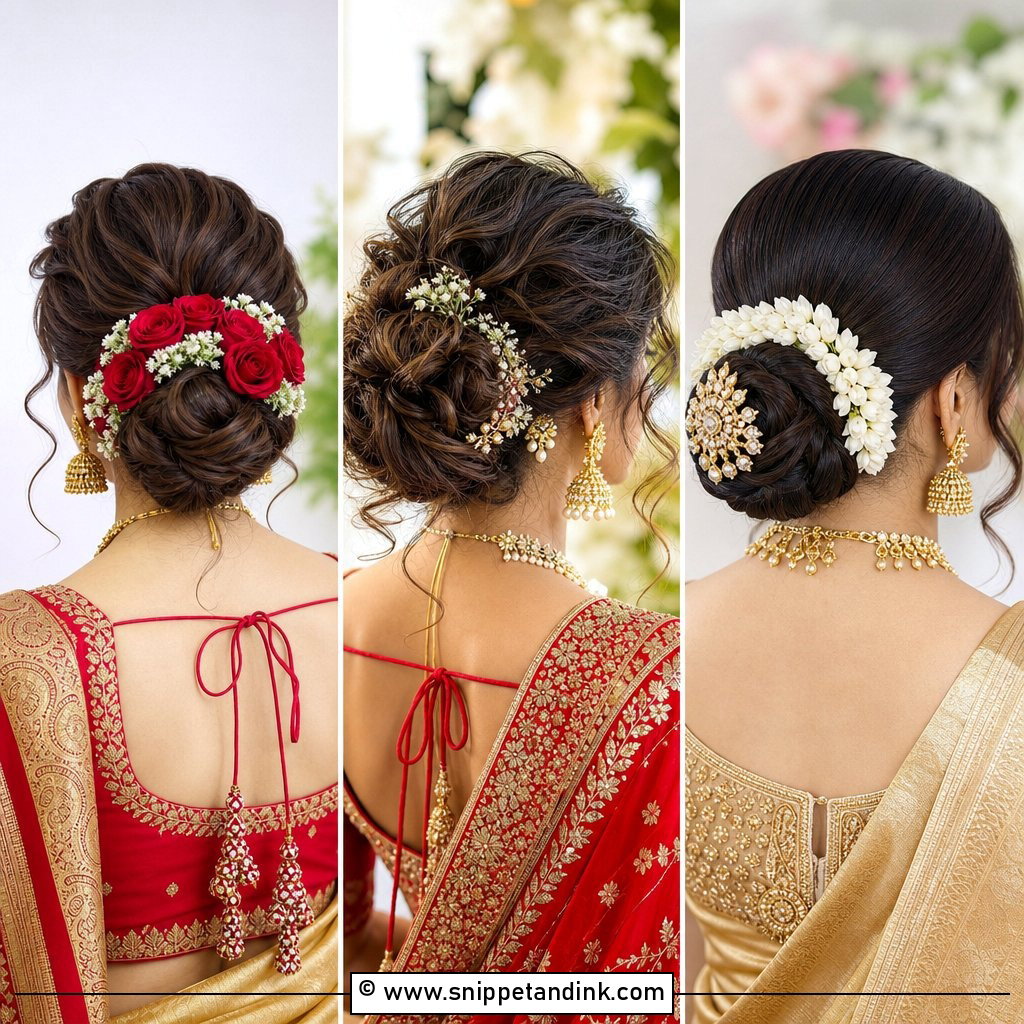
Flowers bring a garden-party softness to a bun that sparkle doesn’t. Fresh or realistic floral pins can ring a low bun, tuck into a braided one, or cluster along one side. Spring weddings and outdoor ceremonies suit them best. I coordinate with the florist so the blooms match the bouquet, and I keep the scale small so the bun stays the shape. Hardy choices like Baby’s breath, small roses, orchids last longest out of water; delicate petals can brown at the edges by evening. Each stem gets wired and pinned separately so nothing slides when you hug people.
The Hidden Build That Keeps a Bun Up Until Midnight
The pretty part of a bun is the outside. Whether it’s still there after the first dance depends on what nobody sees.
Hair that grips
Freshly washed, silky hair slides straight out of pins. I prefer hair washed the night before, or on the morning with a texturizing spray or dry shampoo through the lengths. Even for a sleek bun, I’ll often run a curling iron through very clean, fine hair first, because a bend gives the pins something to catch.
A base and two kinds of pins
Nearly every bun I trust starts with a tight elastic, then gets wrapped or pinned around it. Open U-shaped pins hold the shape of the bun; bobby pins crossed in an X lock it to the head. If you need padding or clip-in wefts for size, match the color at the ends, not just the roots, since the ends are what show in the bun.
If It Starts to Slip at the Reception
A heavy veil, a humid evening or a lot of dancing will test any bun, and the face-framing pieces drop first. That’s why I curl them a touch tighter than you want them and let them relax. Taking the veil off before the party removes most of the strain.
- Put six or eight bobby pins in your bag and give a few to a bridesmaid.
- If the bun loosens, push one pin in from the outer edge toward the center of the bun, then twist and anchor it into the base; don’t keep stacking pins on the surface.
- A tiny bit of hairspray on a clean toothbrush tames flyaways without flattening the shape.
- Avoid tugging at loose pieces. Tuck them up and behind the ear instead.
A Bun Should Look Finished From the Front Too
A bun earns its place because it asks so little of you once it’s in. A low chignon reads soft and classic, a sleek bun reads modern, and braids, twists, curls, pearls or flowers add as much romance as you want. My advice is to settle the height first using your neckline and veil, then choose the finish. At the trial, ask your stylist to take a straight-on photo, since that’s the angle most of your pictures will show. If the bun looks right from the front, you’re done.
You'll Like These Ideas:


Leave a Reply