
If I had to name the bridal style that survives the longest day with the least drama, it would be a bun. It keeps hair off your neck in the heat, sits happily under a veil, and doesn’t fall apart when people hug you. The variety is wider than most brides expect: sleek chignons, messy textured knots, braided and twisted versions, vintage rolls and sculpted modern shapes. What changes between them is where the bun sits, how much hair it needs, and how much structure I build underneath. These thirty cover most lengths and textures, with notes on what each one asks of your hair.
Matching Bun Height to Your Neckline and Veil
Where the bun sits on your head matters more than which style it is. My rule of thumb: the bun should balance the neckline of the dress and leave room for the veil.
- High neck or halter: a high or mid-crown bun clears the collar and keeps the neck long.
- Low back or open shoulders: a low bun at the nape frames the skin you’re showing.
- Strapless or sweetheart: almost any height works; I decide by face shape and veil.
- Cathedral or long veil: the comb usually sits under a low bun or just above a mid bun. A very high bun pushes the veil backward, so test it.
Earrings come into it as well. Long drop earrings swing freely beside a bun set slightly above the nape, but a bun sitting right on the neck can catch them every time you turn your head. Studs and ear climbers show best with a high bun, since nothing covers the ear at all.
I also check the bun from the side in profile. A bun that’s too big for a small head, or too small for long, thick hair, looks off-balance in profile photos even when it looks fine from the front.
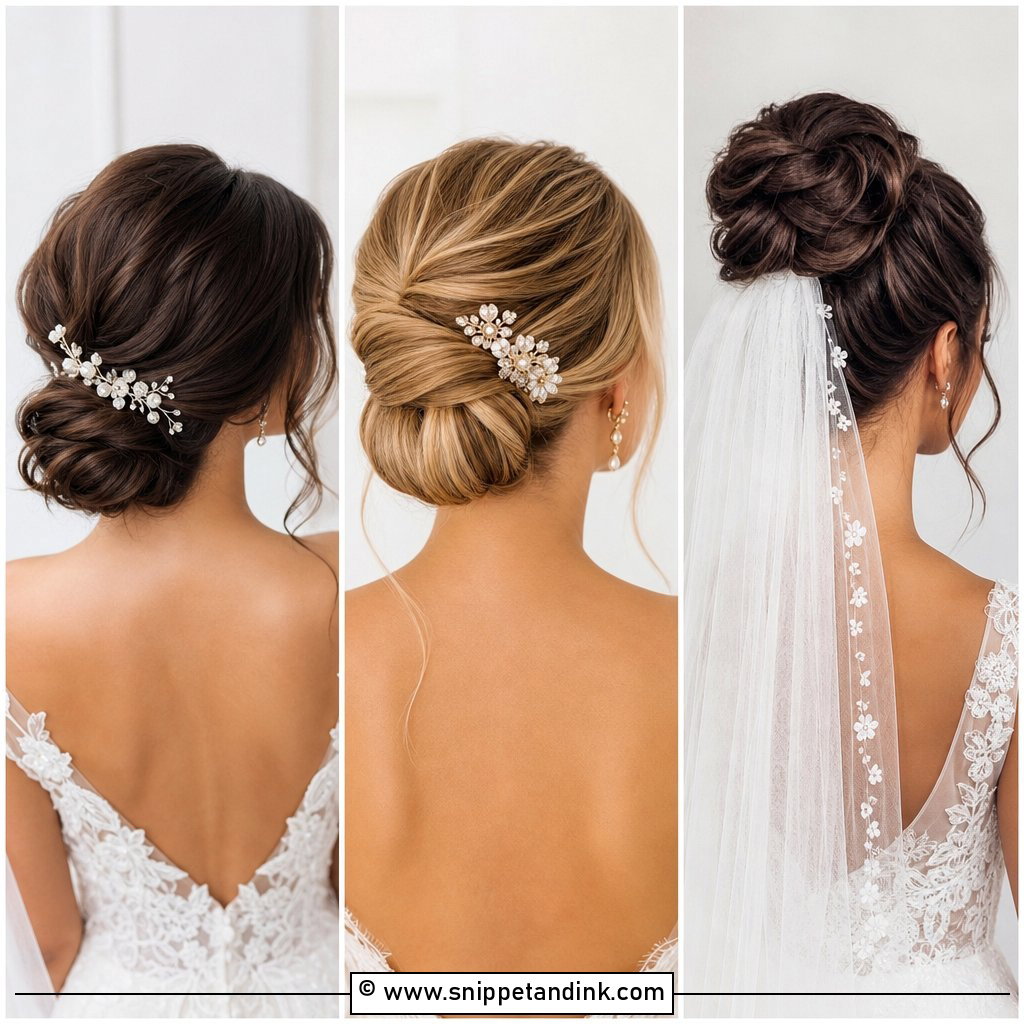
1. Classic Low Bun
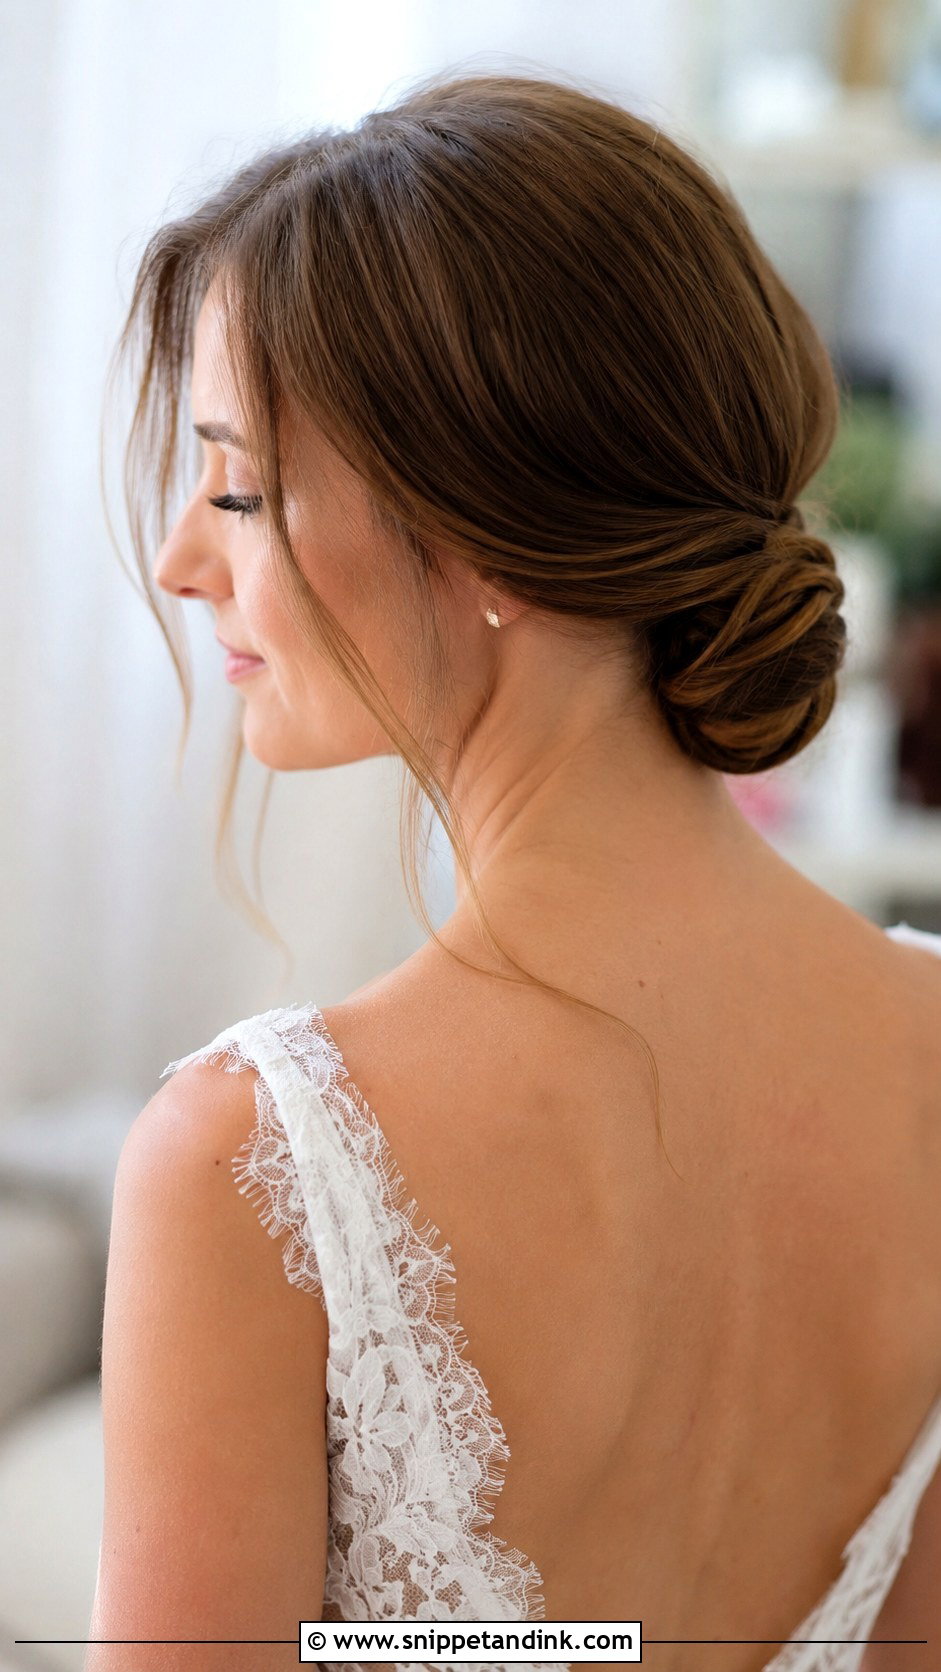
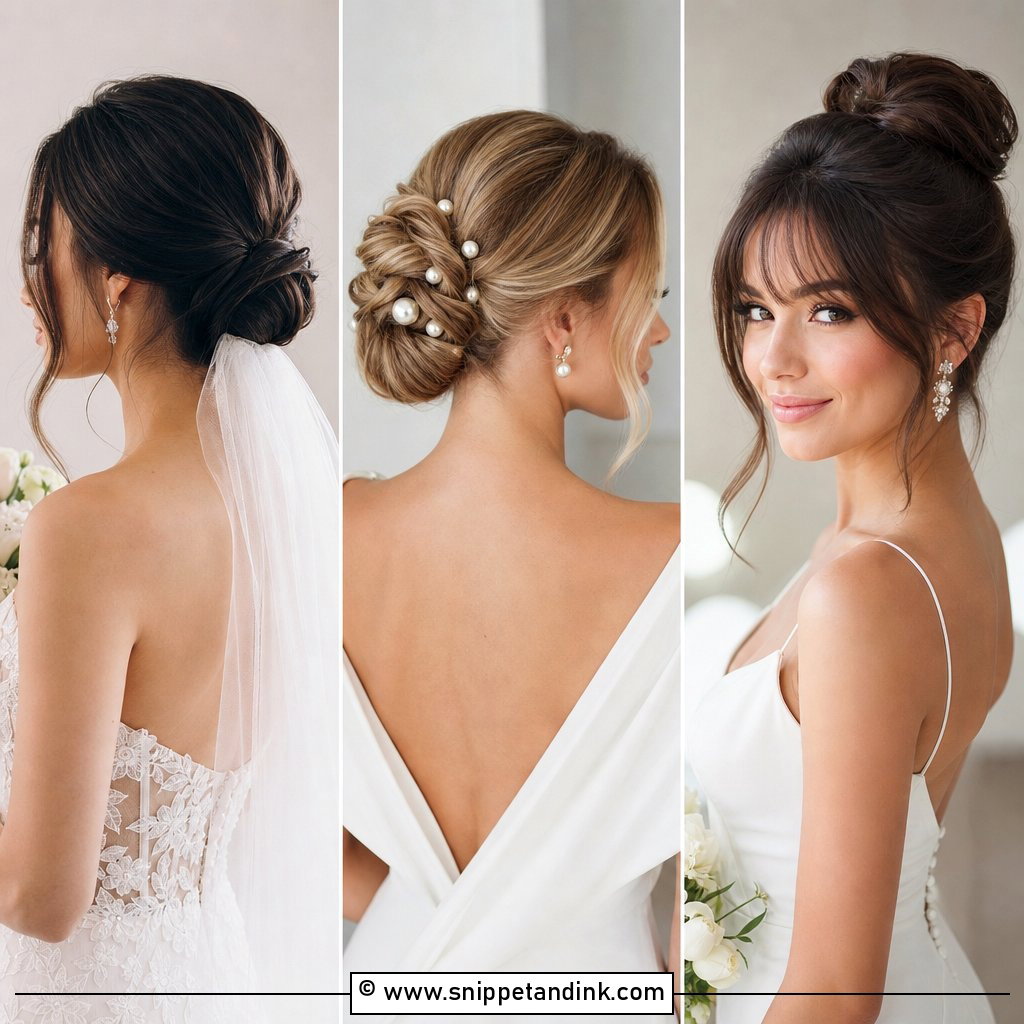
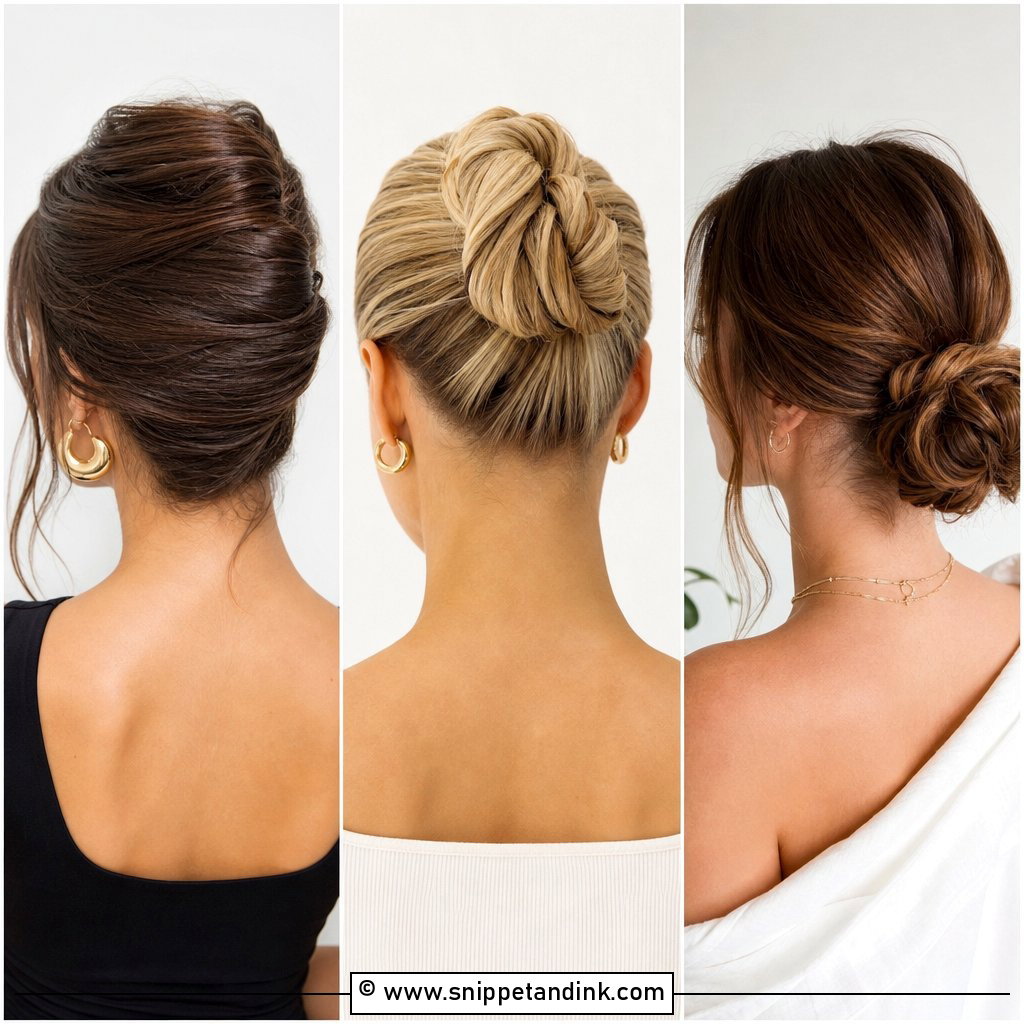
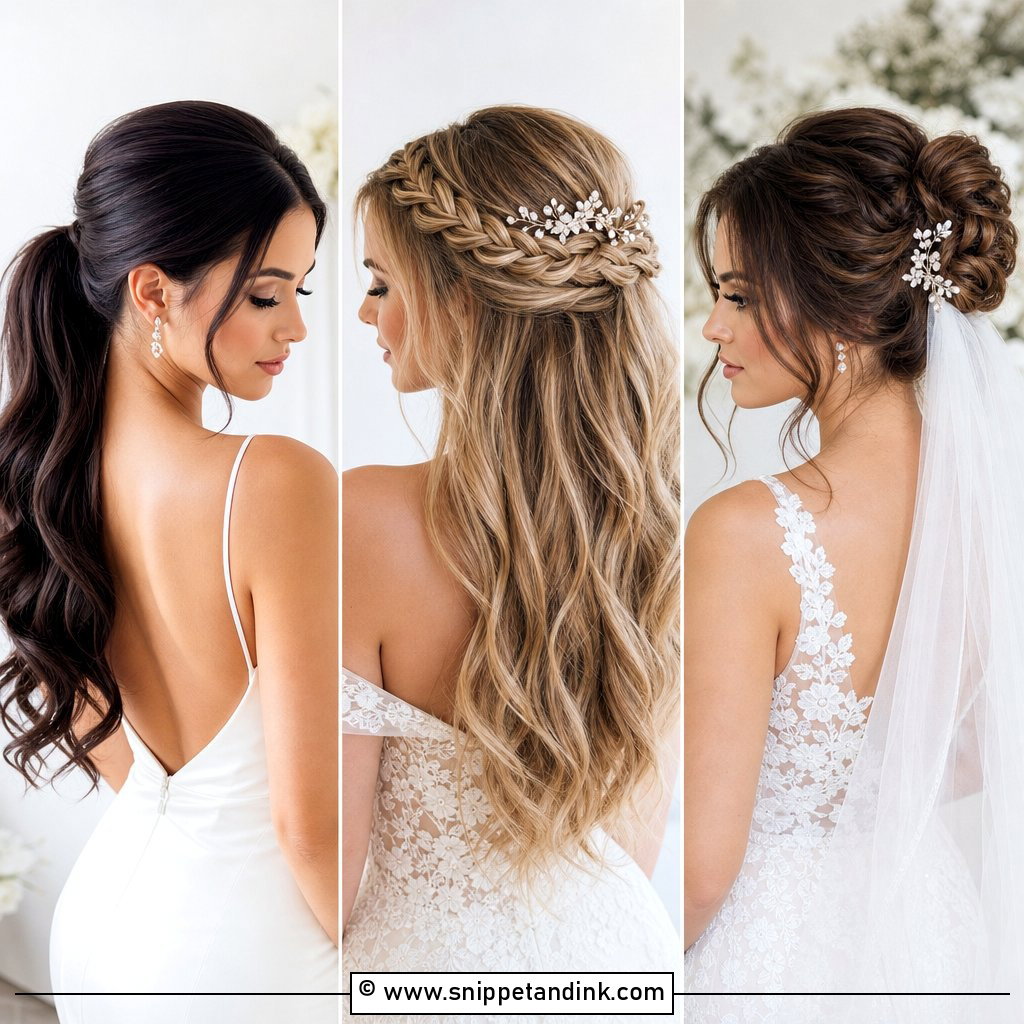
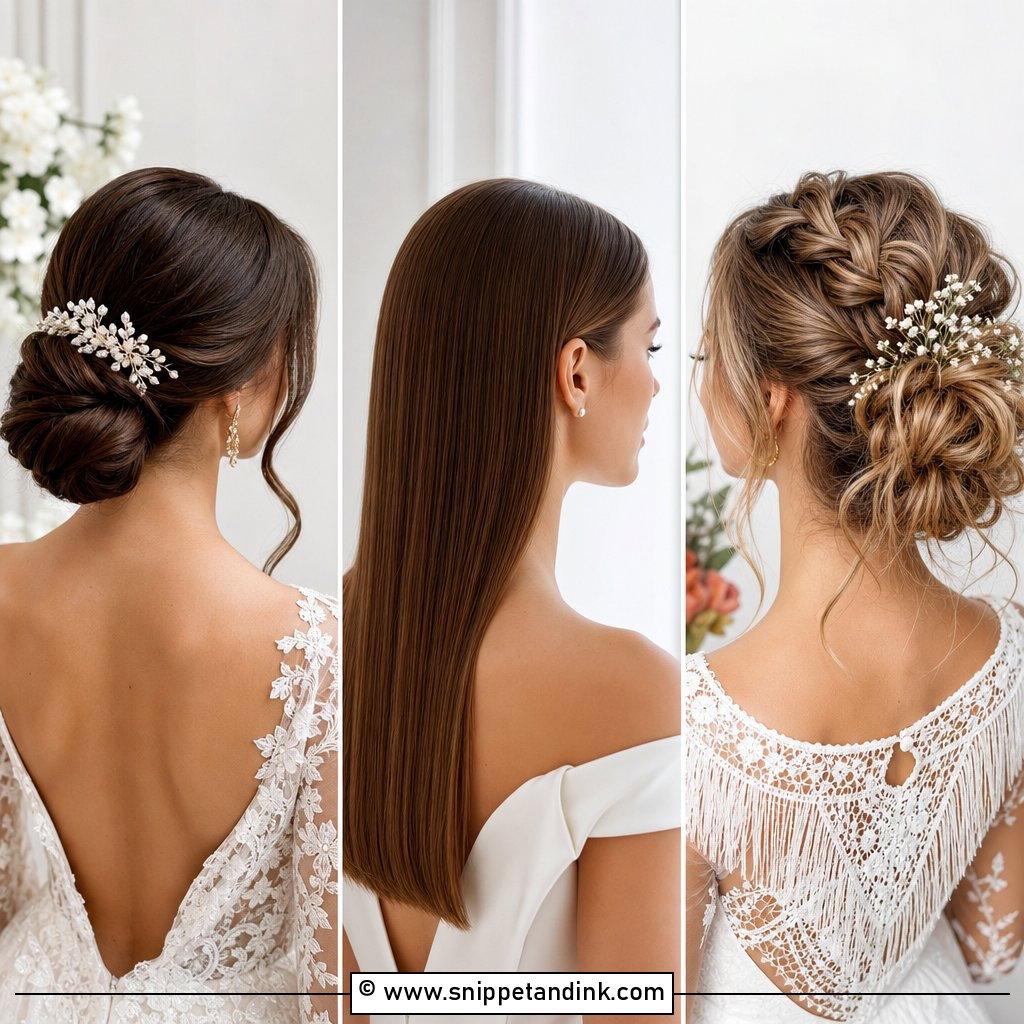
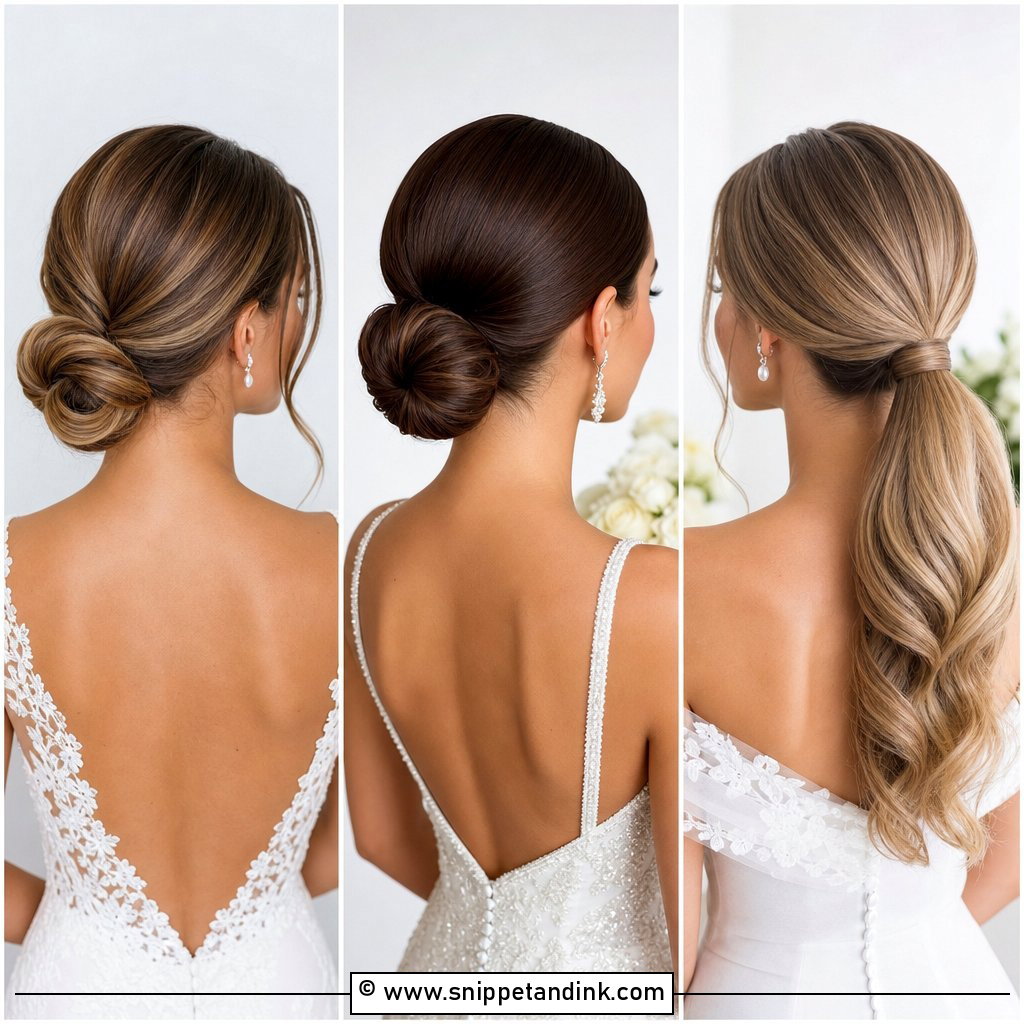
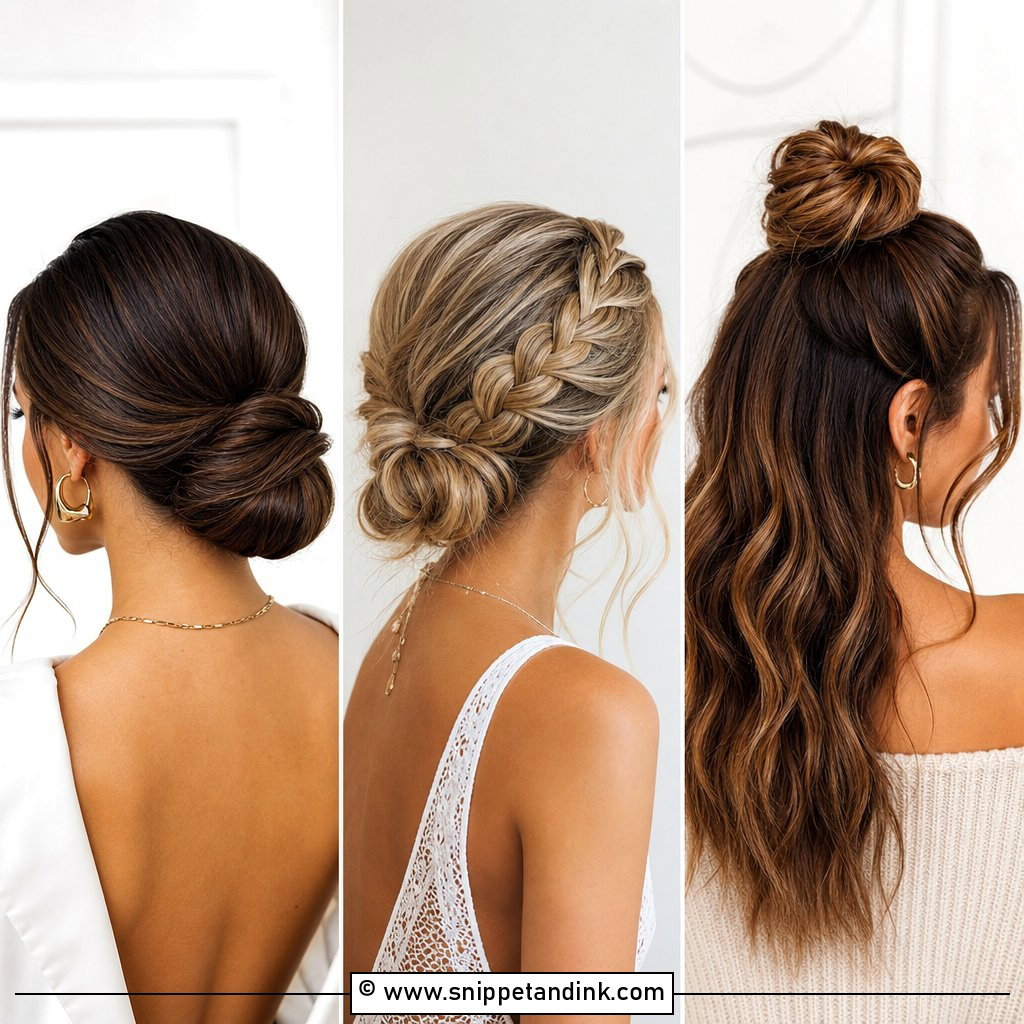
Smooth at the sides, gathered at the nape, twisted into a tidy knot: this is the bun I can put on almost anyone. It flatters most face shapes because it adds nothing to the width of the head, and it sits under a veil, a tiara or a single pearl pin without competing. The secret to it lasting is the elastic. I set a firm ponytail first and pin the bun into that base, rather than pinning loose hair to the scalp. A few soft pieces at the temples stop it from looking severe.
2. Messy Textured Bun
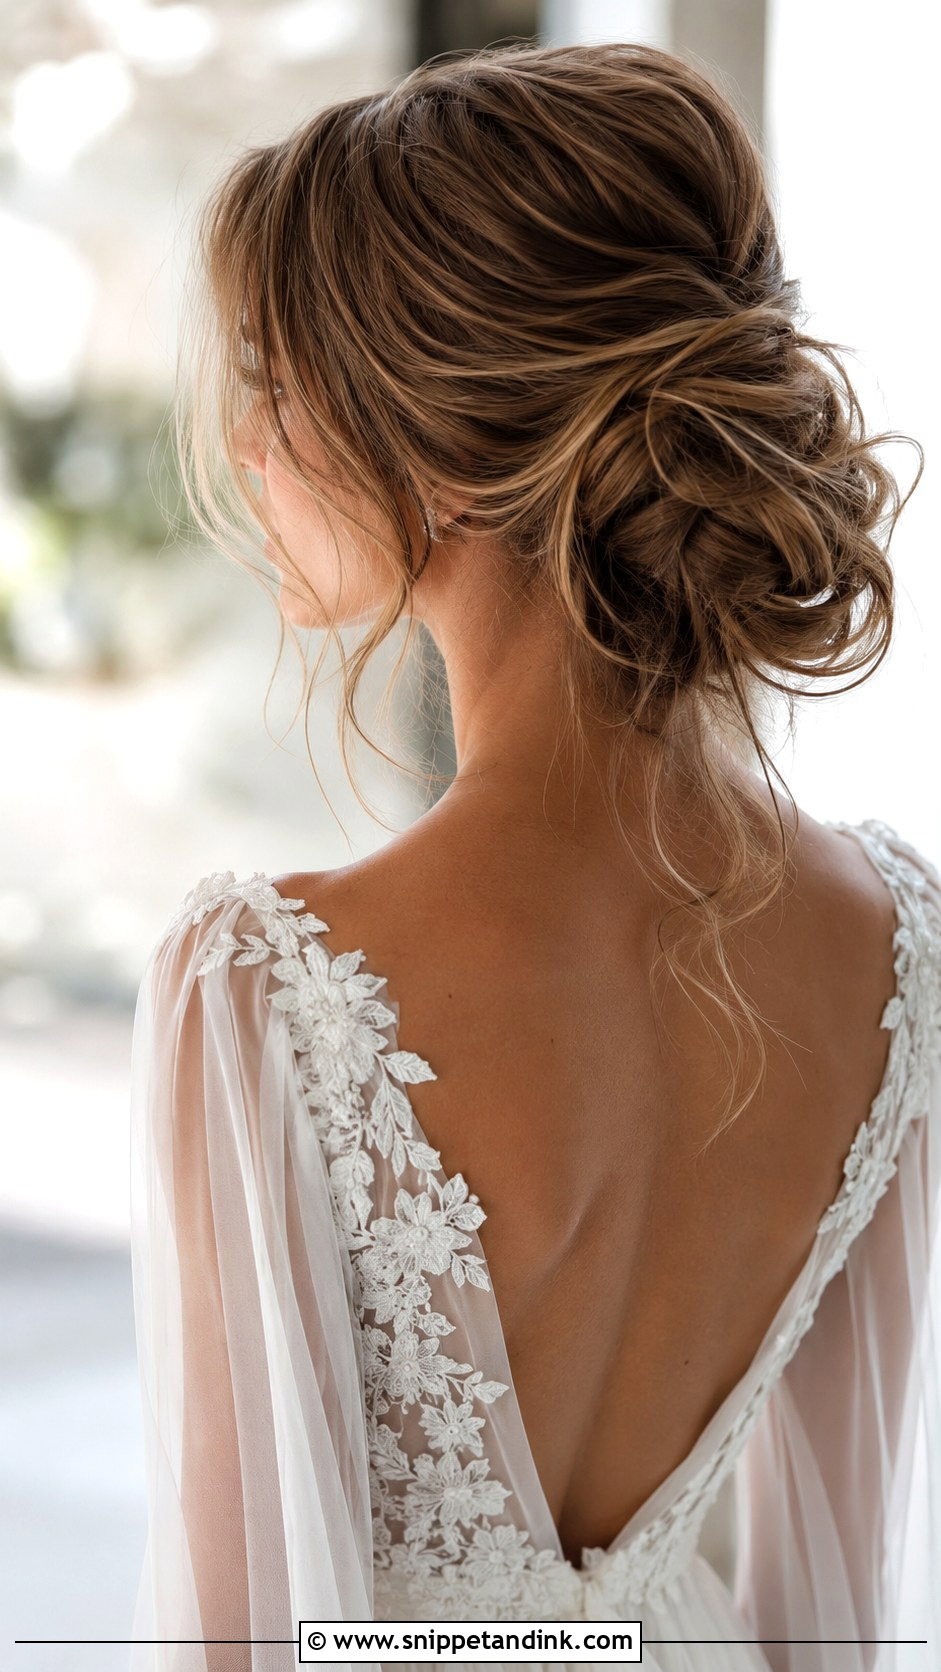
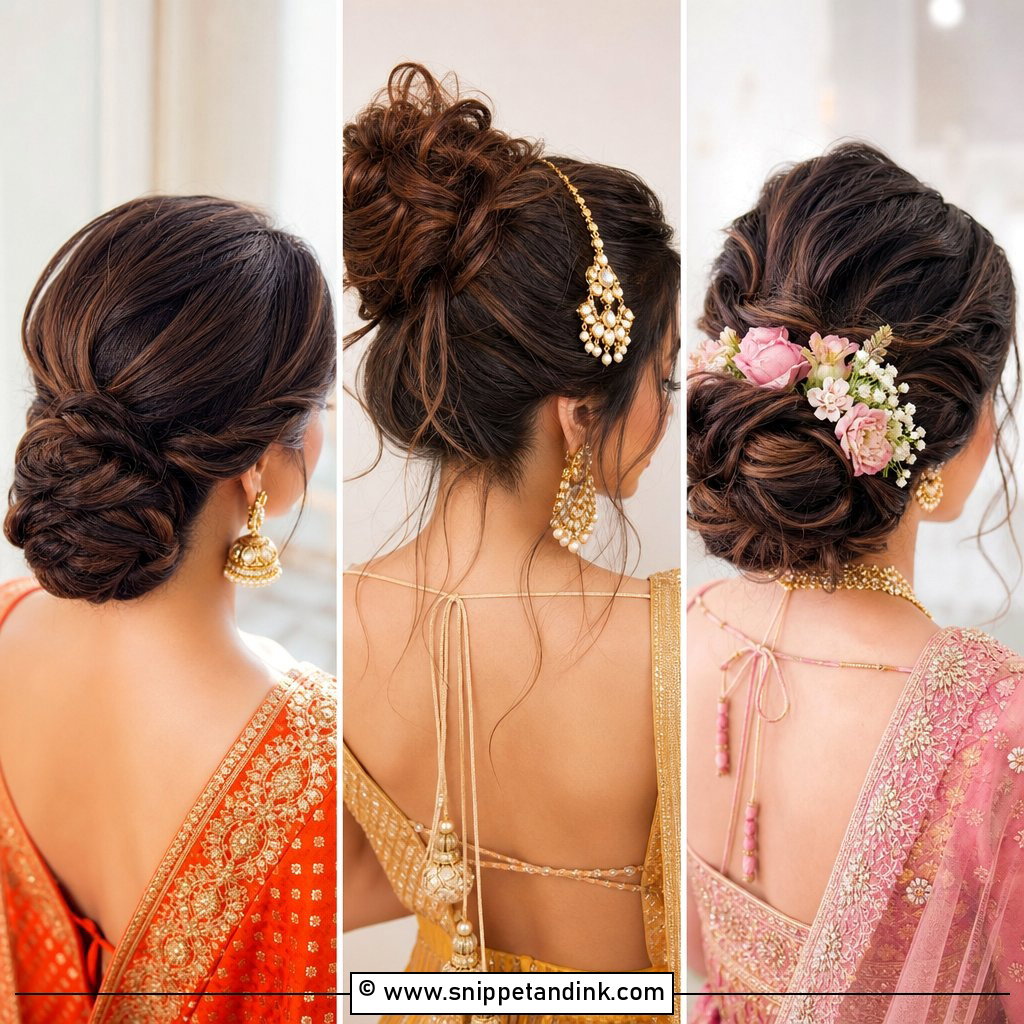
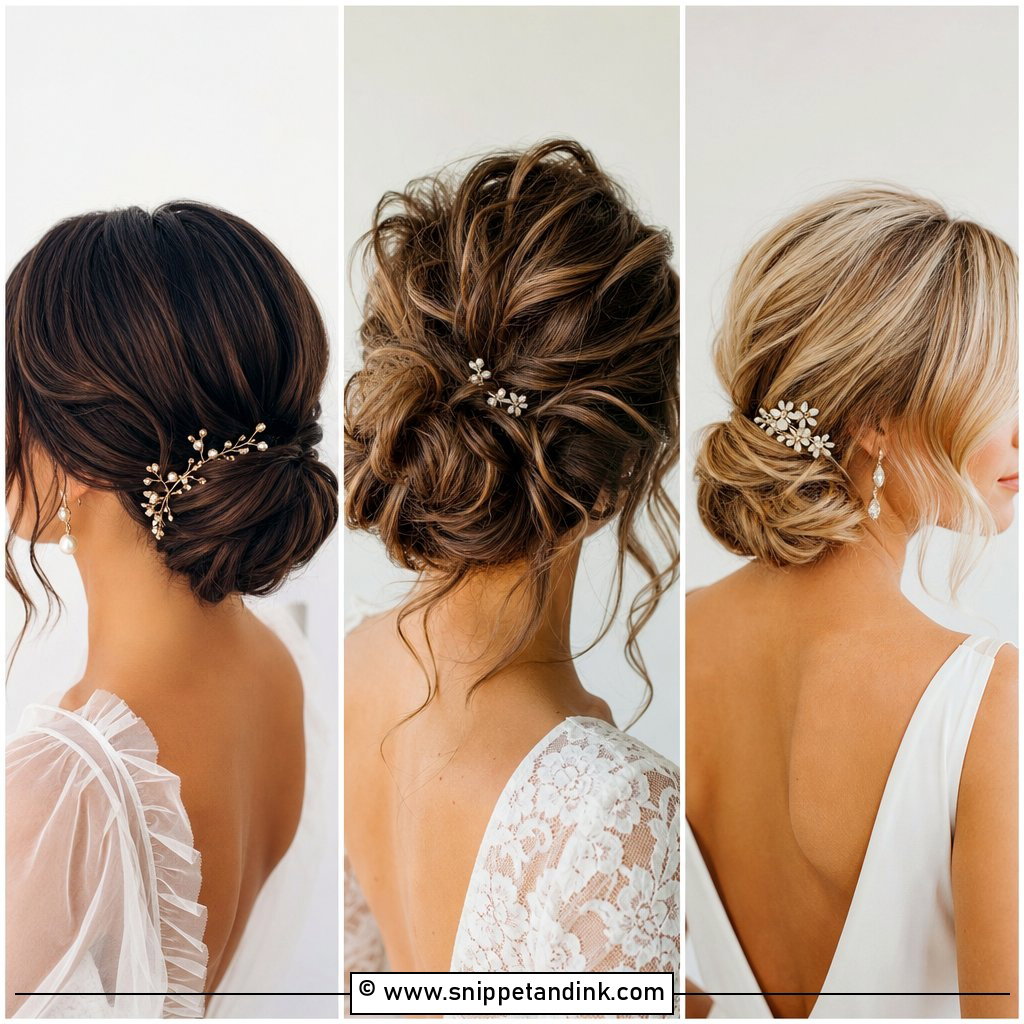
A messy bun is not quick to do well. Looking undone takes more pins than looking sleek. I start with loose waves set the night or morning before, pin the knot loosely, then pull out small pieces around the face and at the nape. Each loose piece needs a hidden pin at its base, or the whole thing gradually collapses. It suits outdoor and garden ceremonies, and it accepts small floral pins without fuss. If your hair is very fine and straight, I’ll use texture spray generously or the mess just slides flat.
3. Braided Low Bun
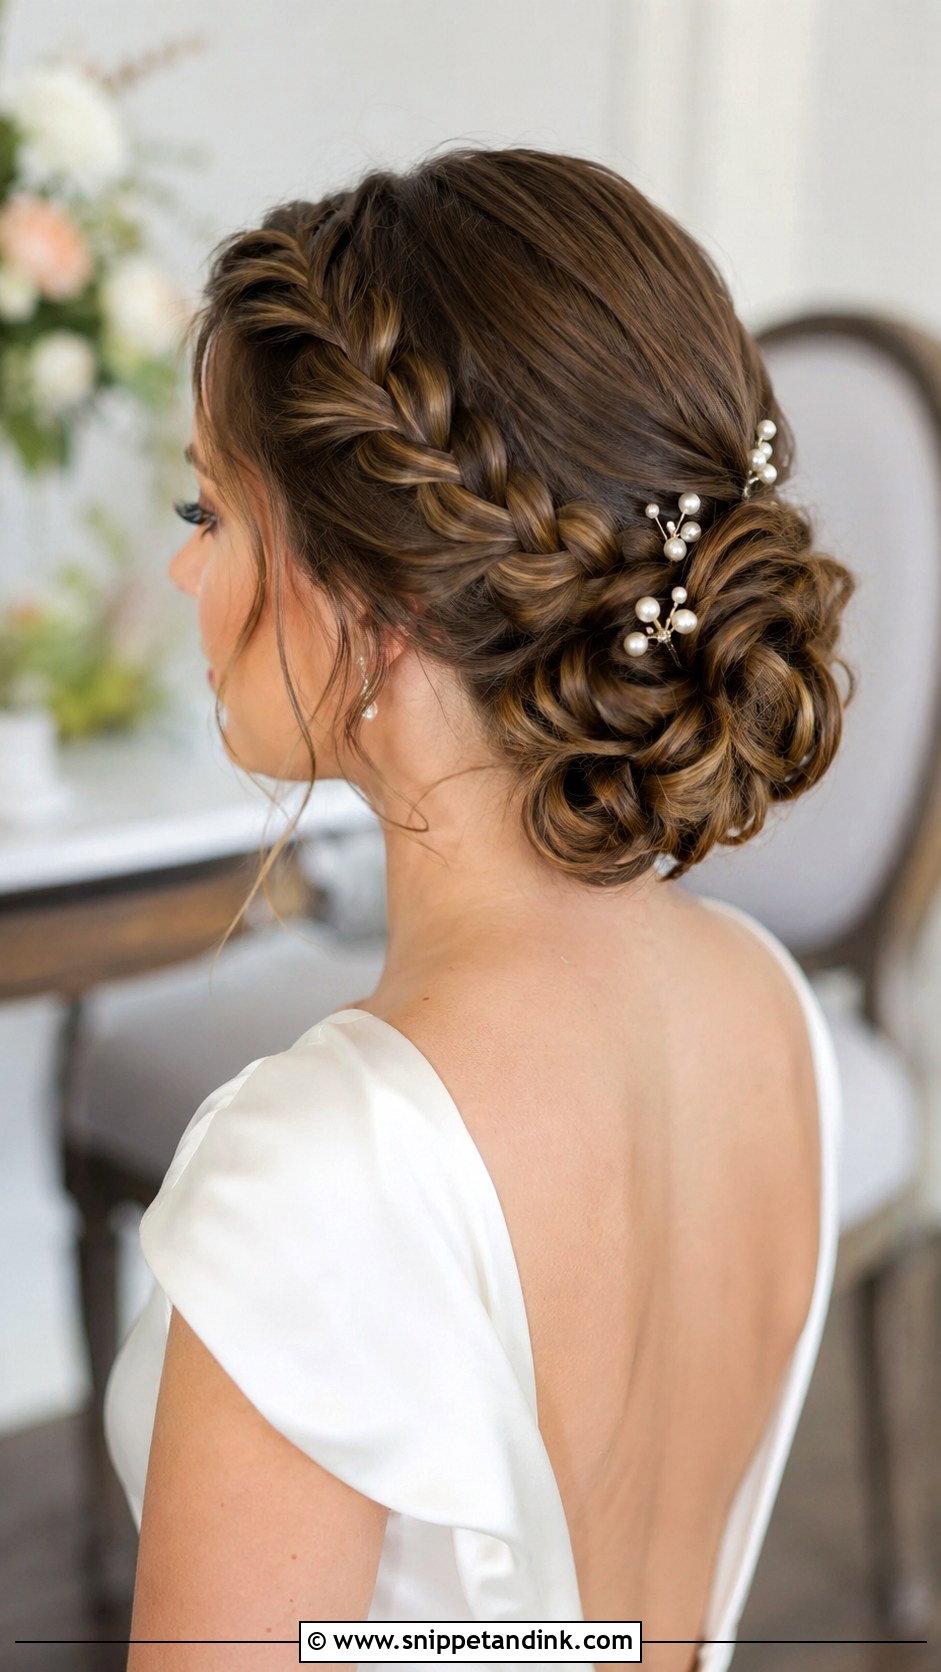
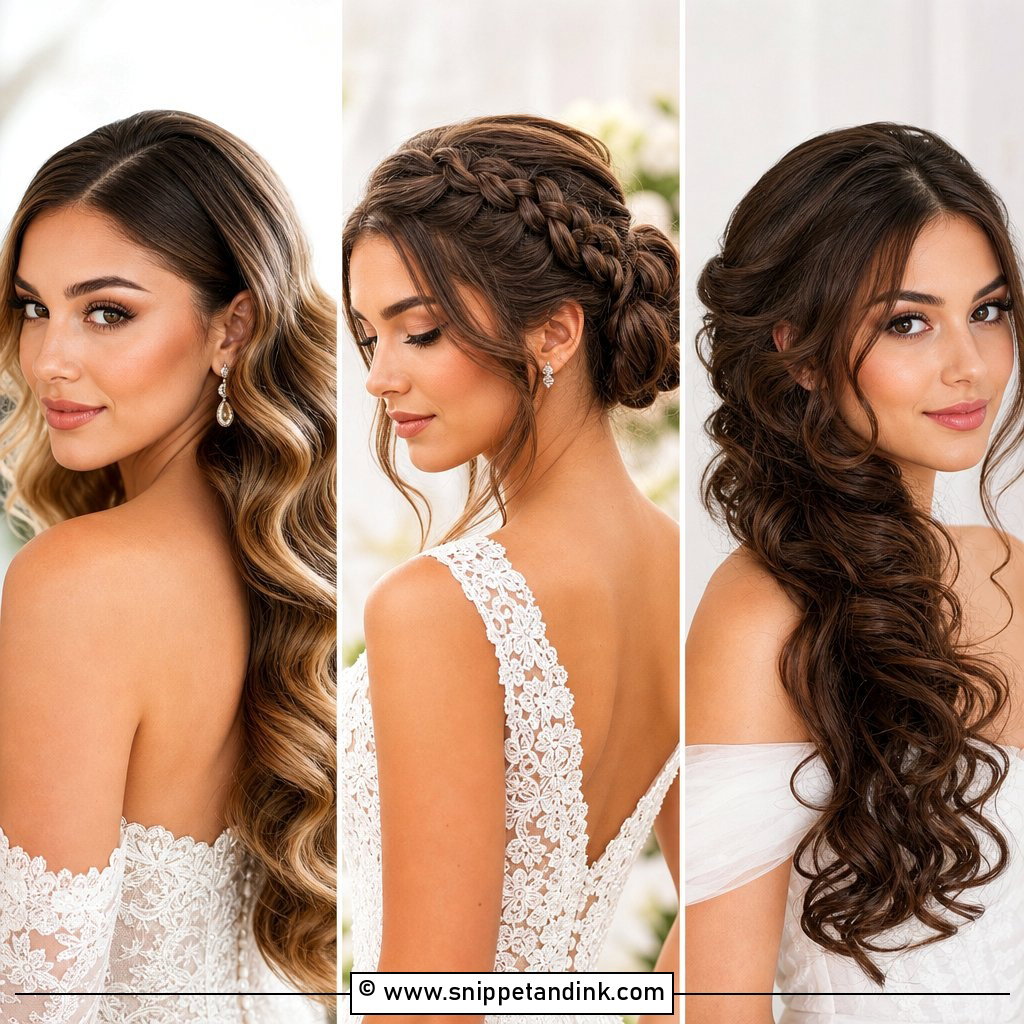
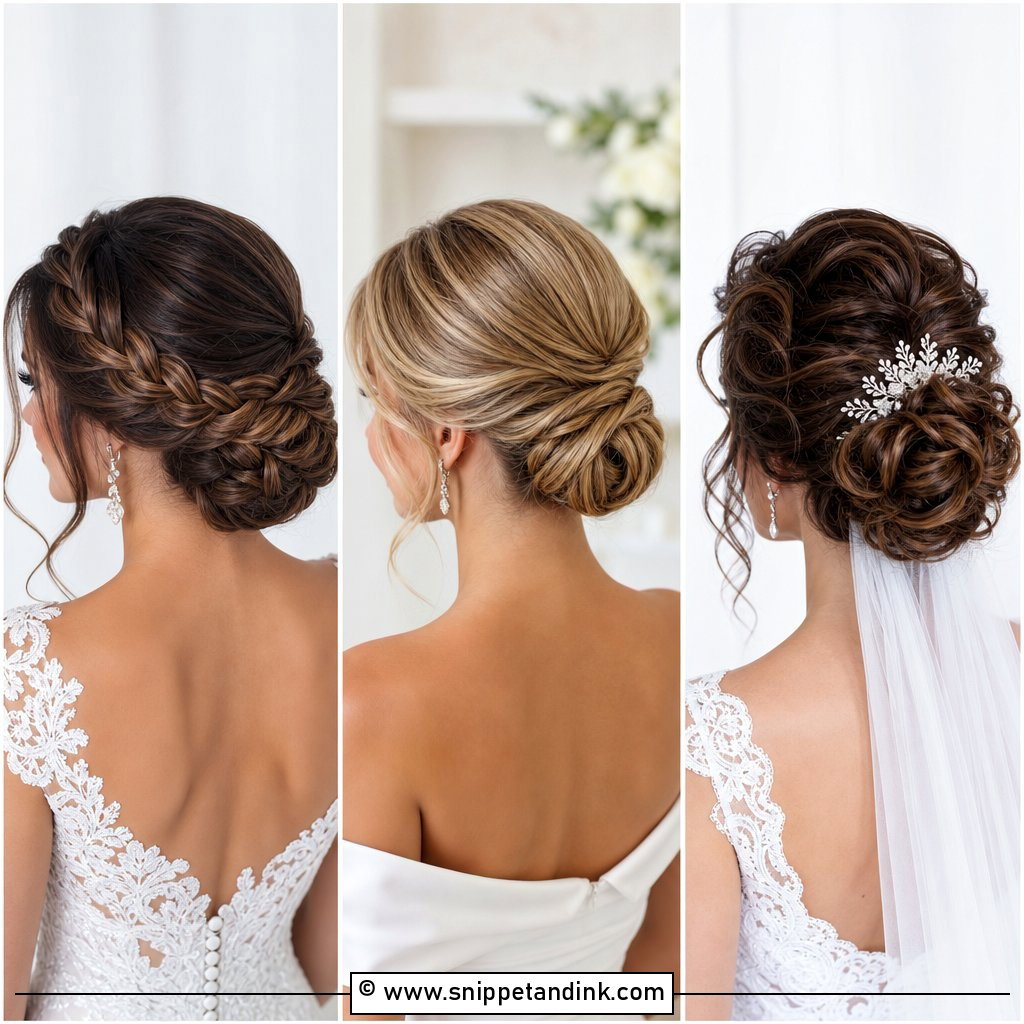
A braid running into a low bun adds texture and gives me a structural advantage: the braid itself grips pins better than loose hair. I can run a French braid along one side, a Dutch braid across the back, or tuck several small braids into the knot. A tight braid reads classic; a pulled-out, loose one reads boho. Pearl pins set along the braid catch light without needing a separate headpiece.
4. High Bun
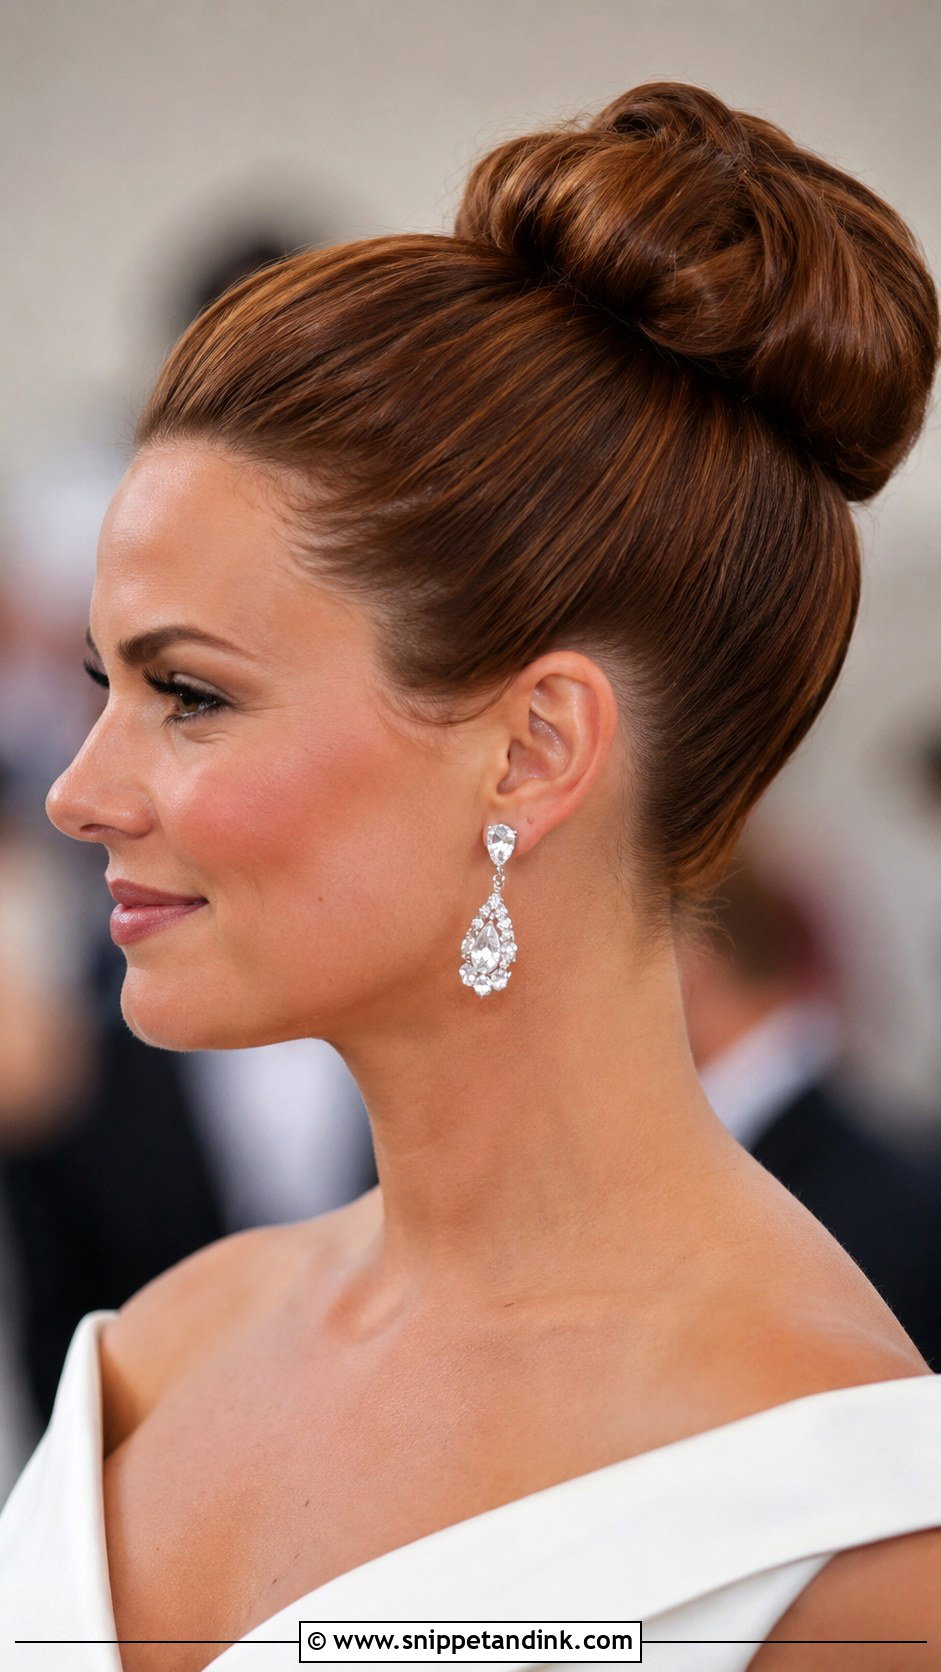
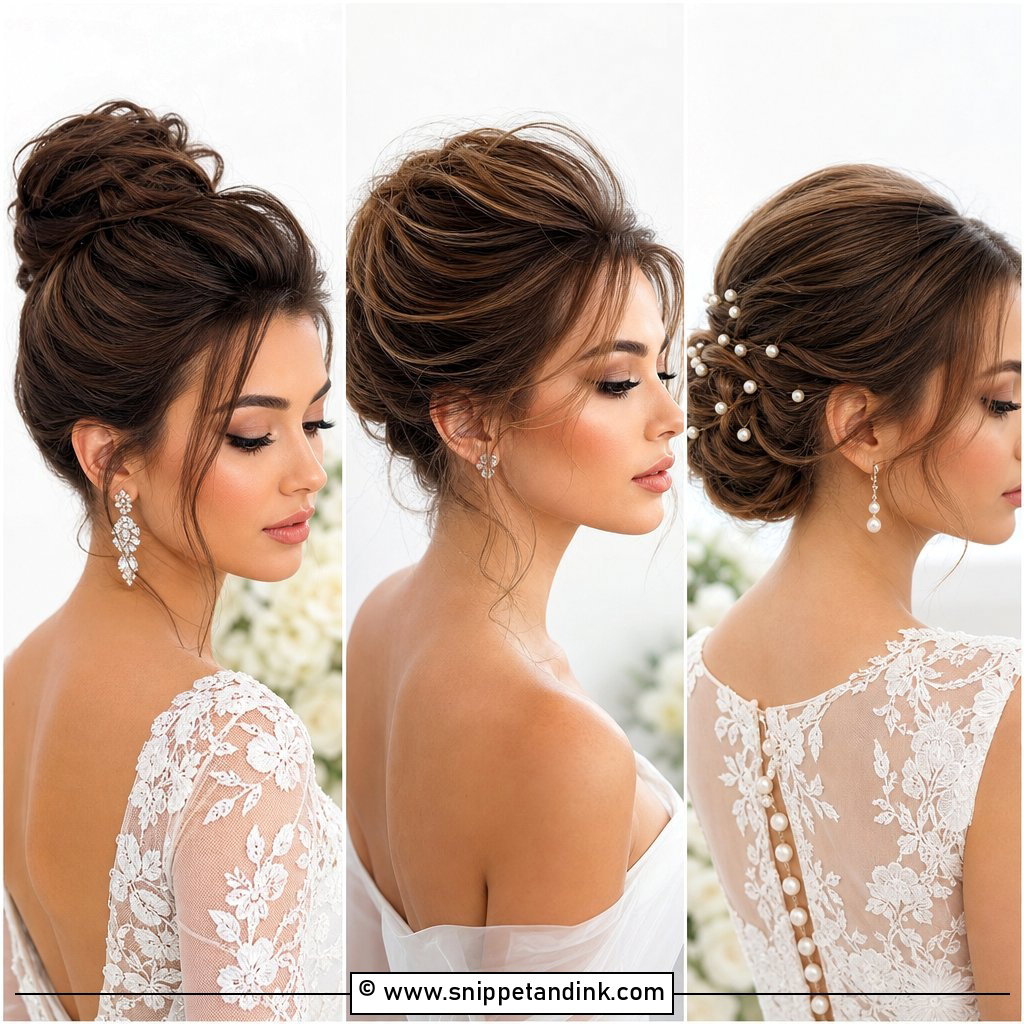
A high bun on the crown lengthens the neck and shows off earrings and an open neckline, which is why it suits structured gowns and formal ballrooms. It’s harder to anchor than a low bun because gravity is working against it all day. I brush the hair up with the head tilted forward, secure a very firm ponytail, and build the bun around it. One honest caution: a high bun and a long veil can fight. The veil comb usually goes under the bun, which pushes it back, so check the combination at your trial.
5. Low Chignon Bun
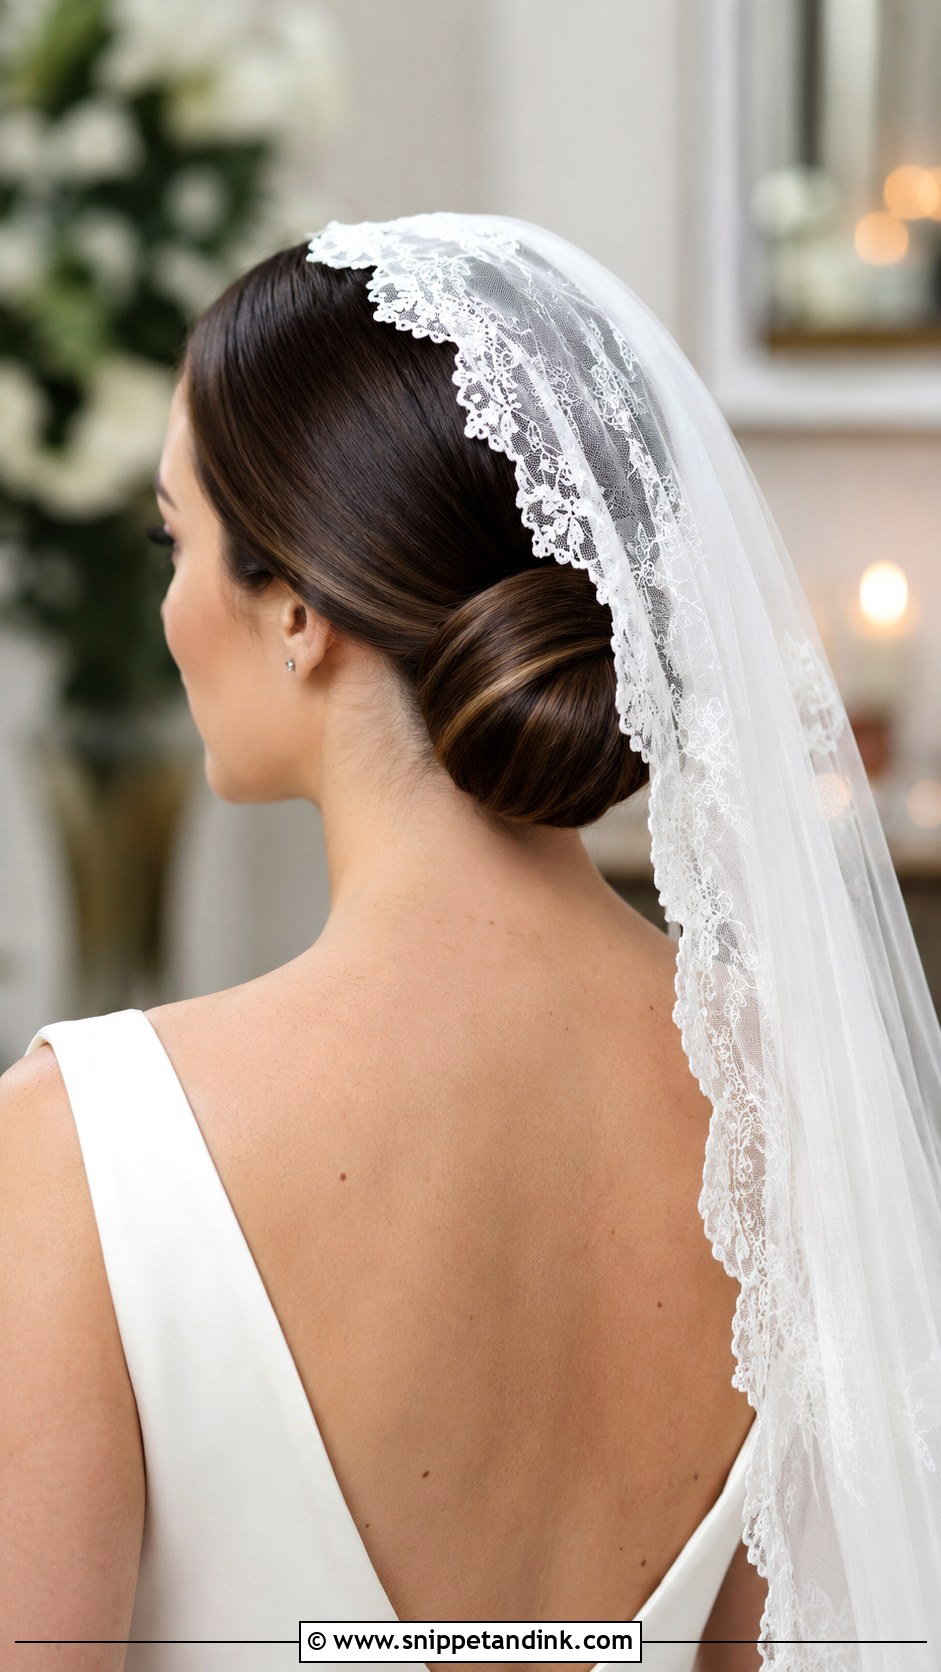
A chignon is the cleanest bun there is: a smooth roll sitting low and tight against the neck. It looks best with a mantilla or a single comb and with sleek, modern gowns where nothing else competes. Shine serum, used sparingly on the outer layer only, keeps it glossy without looking greasy in photos. It needs medium to long hair with some weight; very short layers tend to poke out of the roll, and I tuck them with small pins or a little pomade.
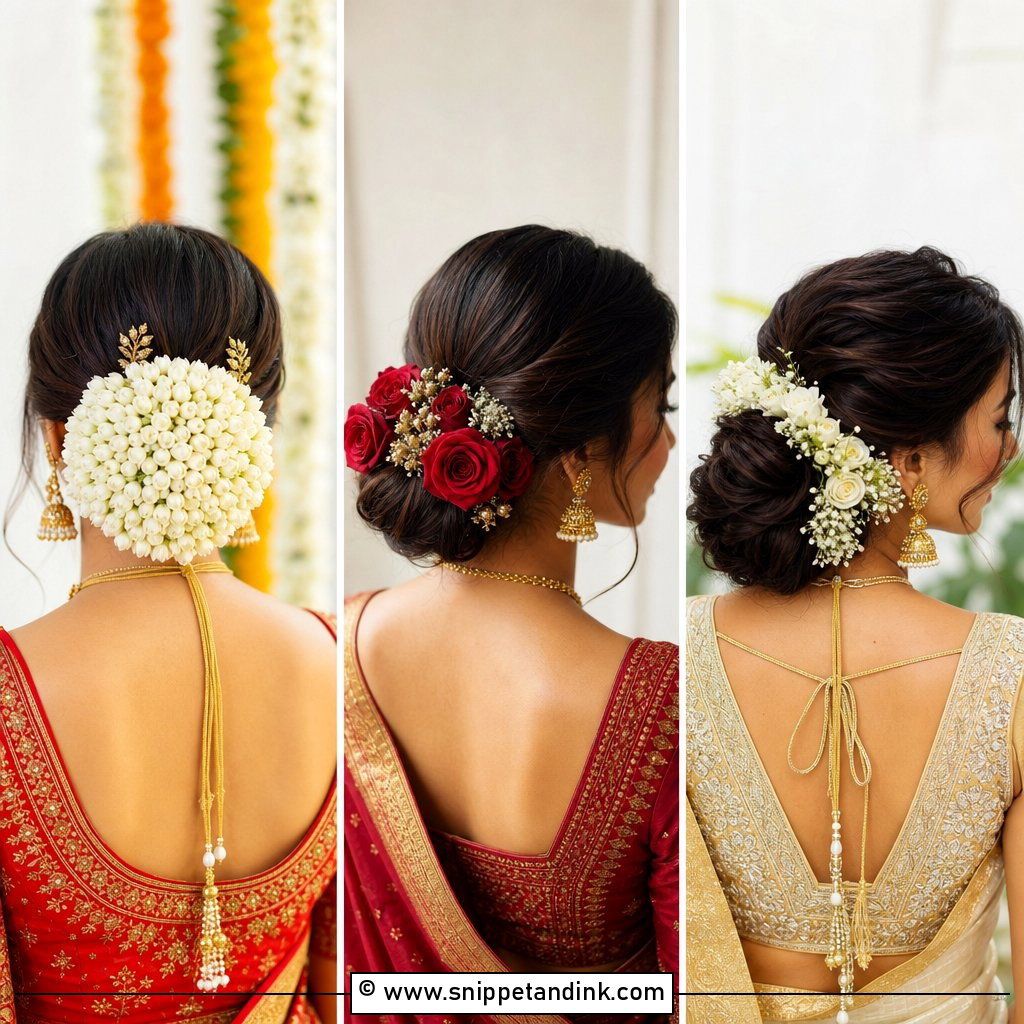
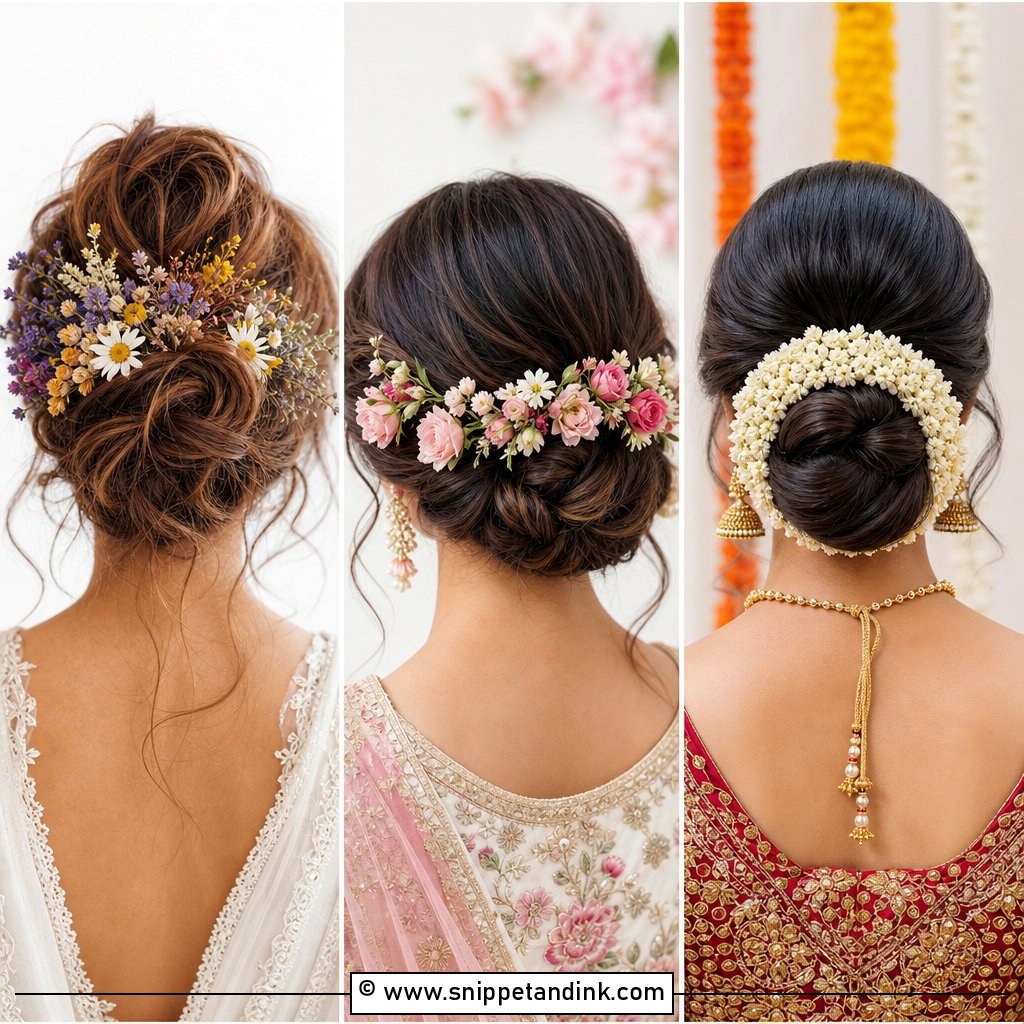
6. Floral Embellished Bun
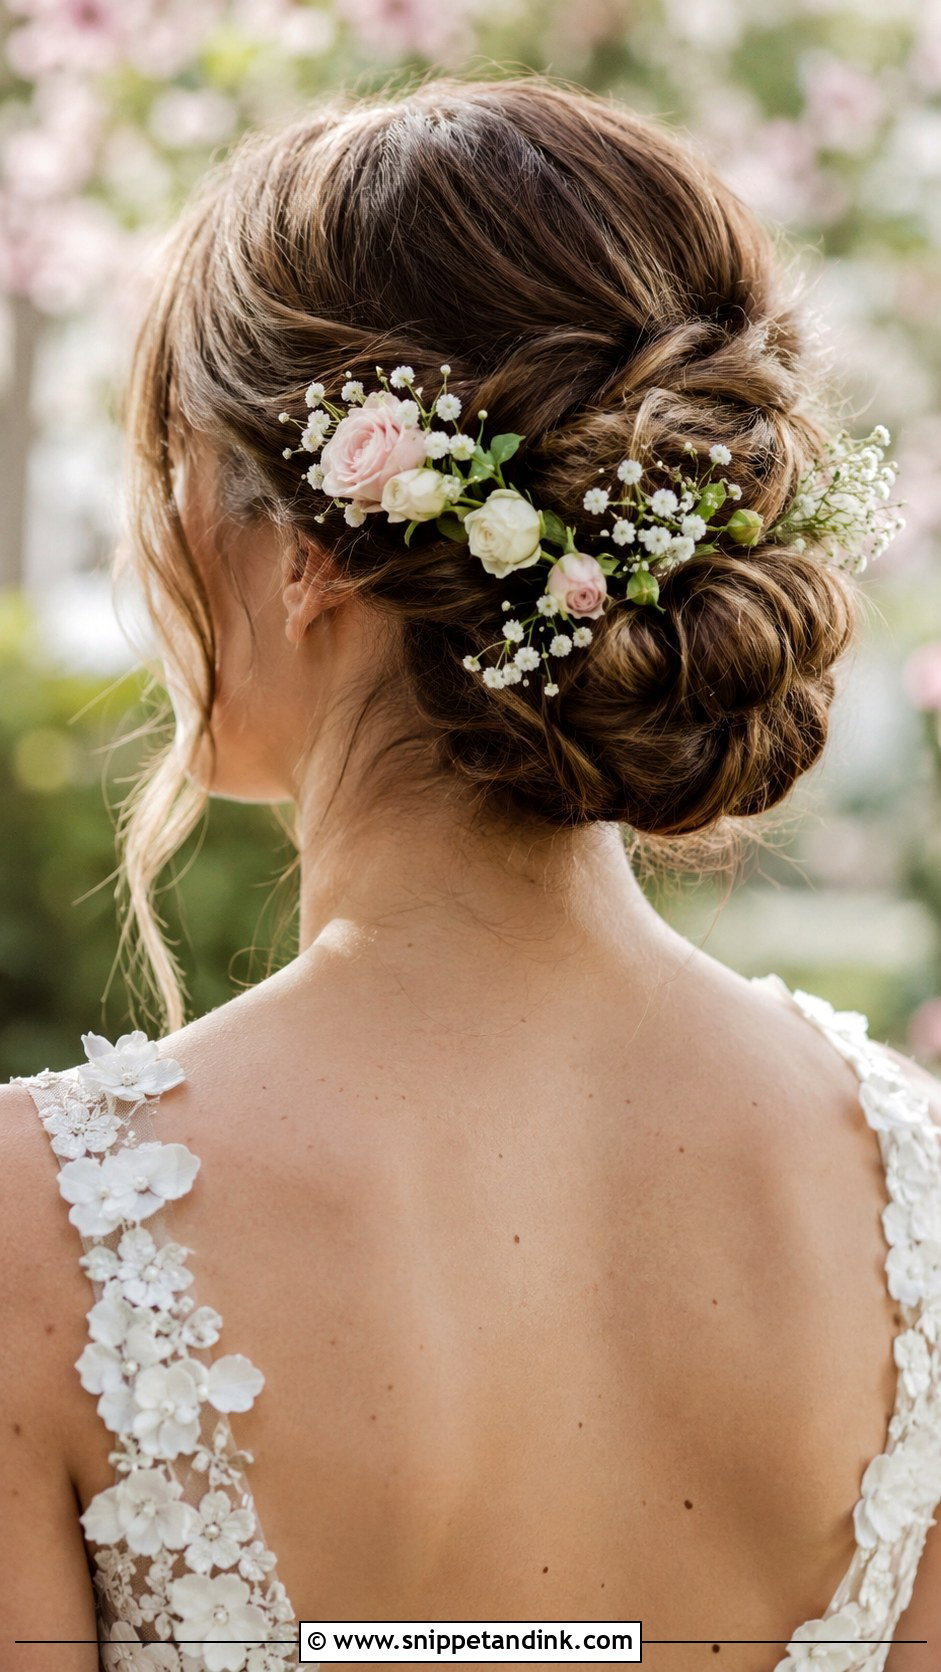
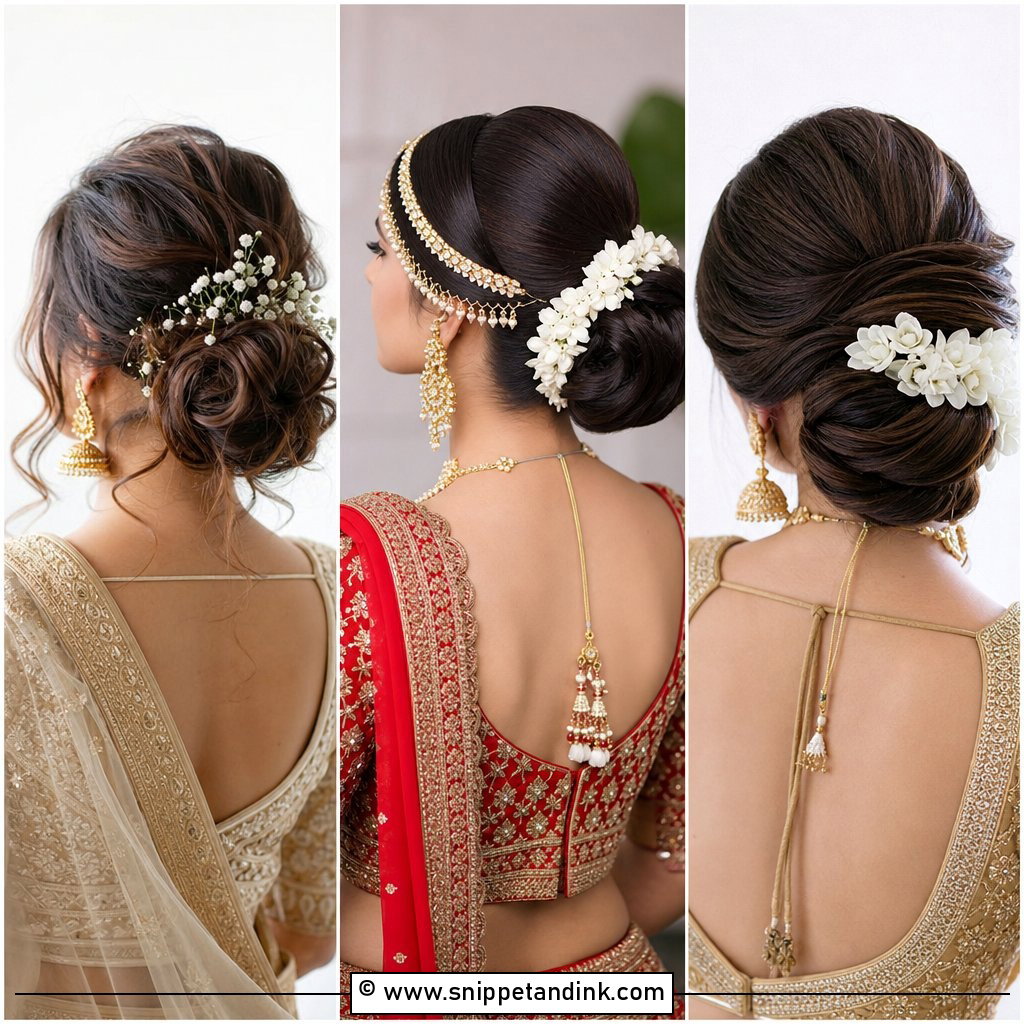
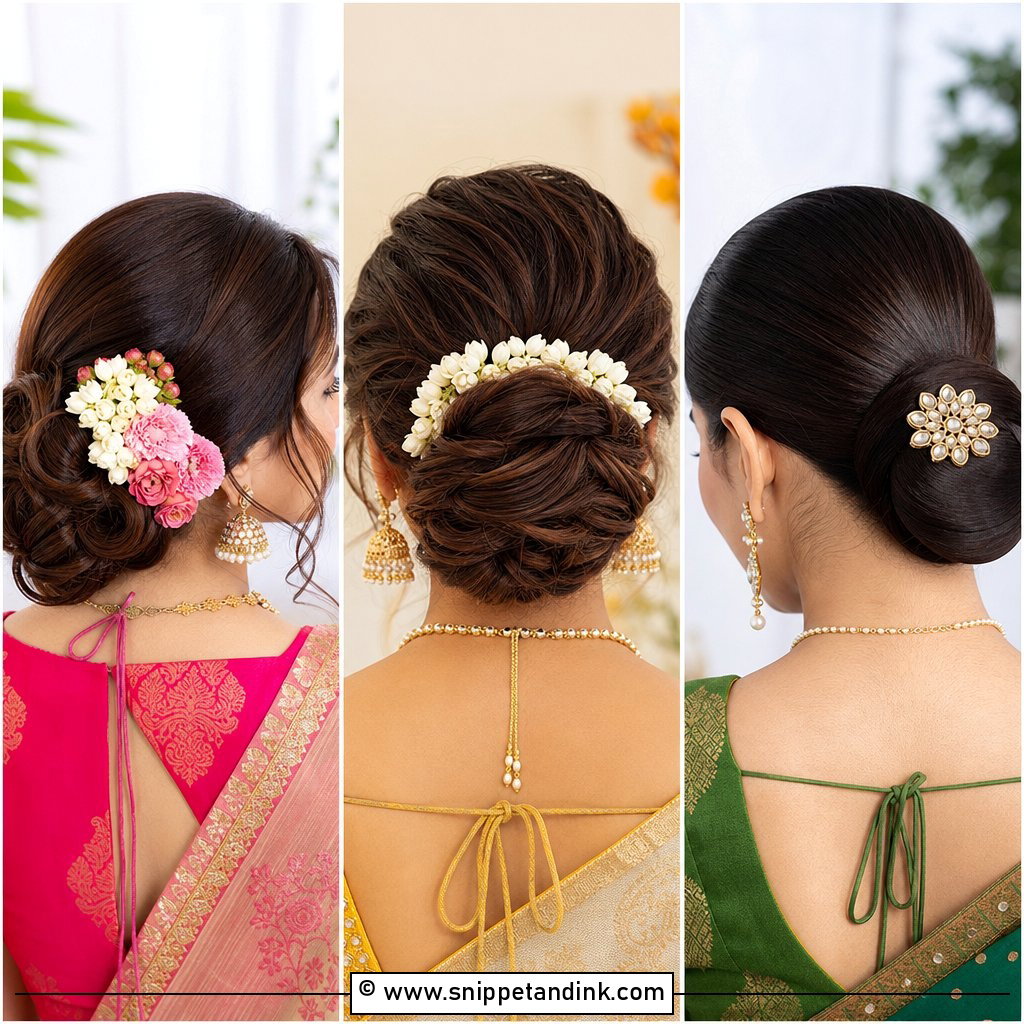
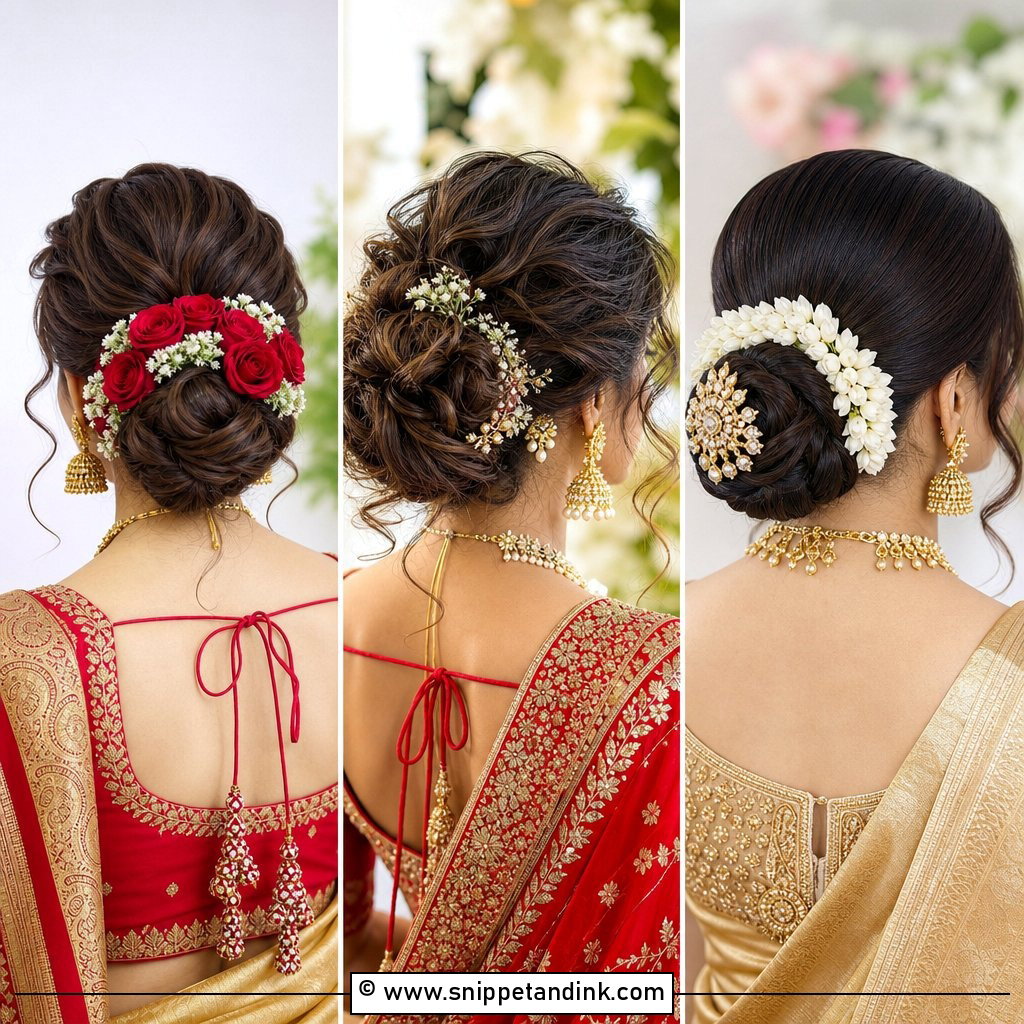
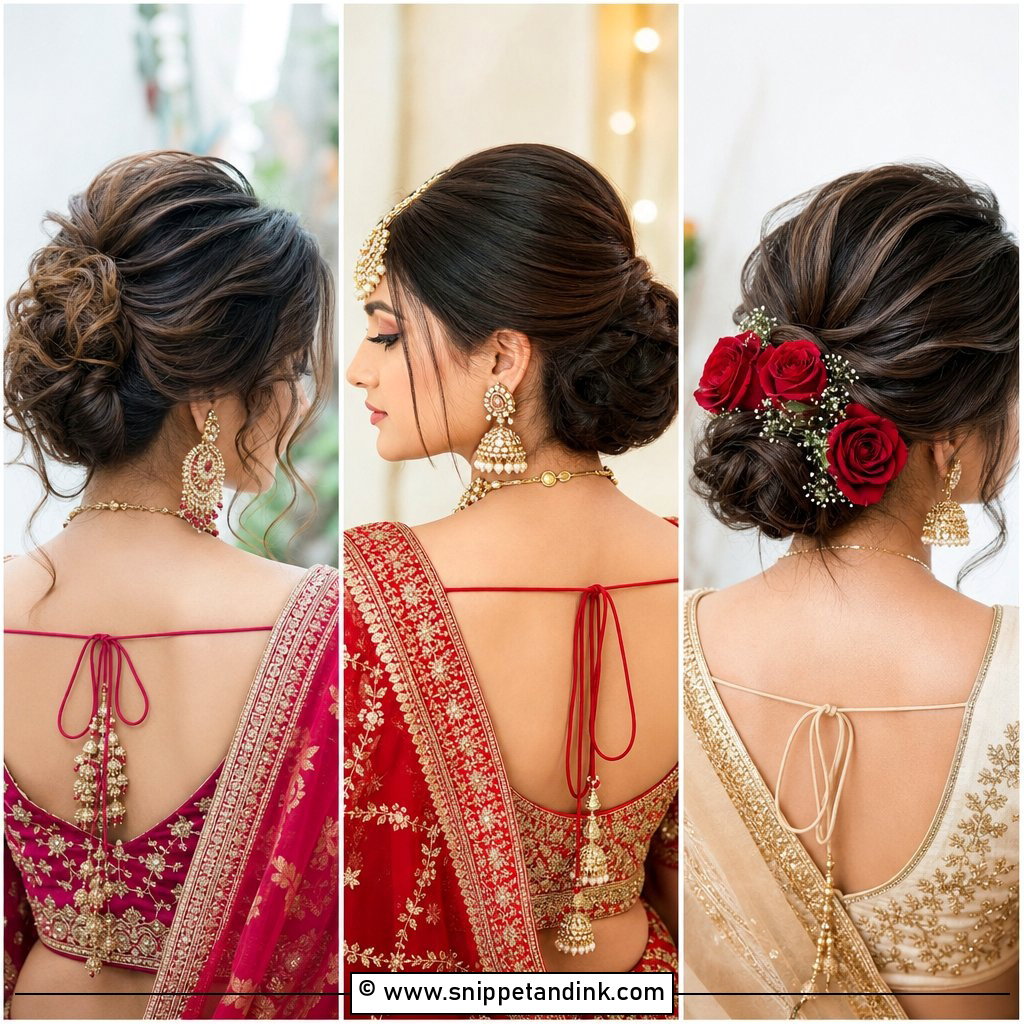
Flowers worked around a knot bring color and soften a structured style. Small blooms such as baby’s breath, roses, or eucalyptus sprigs sit best because they don’t weigh the bun down. Sleek or messy bases both work. I place flowers last, after the hairspray, so the petals aren’t marked. Fresh flowers should be wired by your florist and kept cool until the morning; faux ones will hold their shape all night. Spring and garden weddings suit this most.
7. Twisted Rope Bun
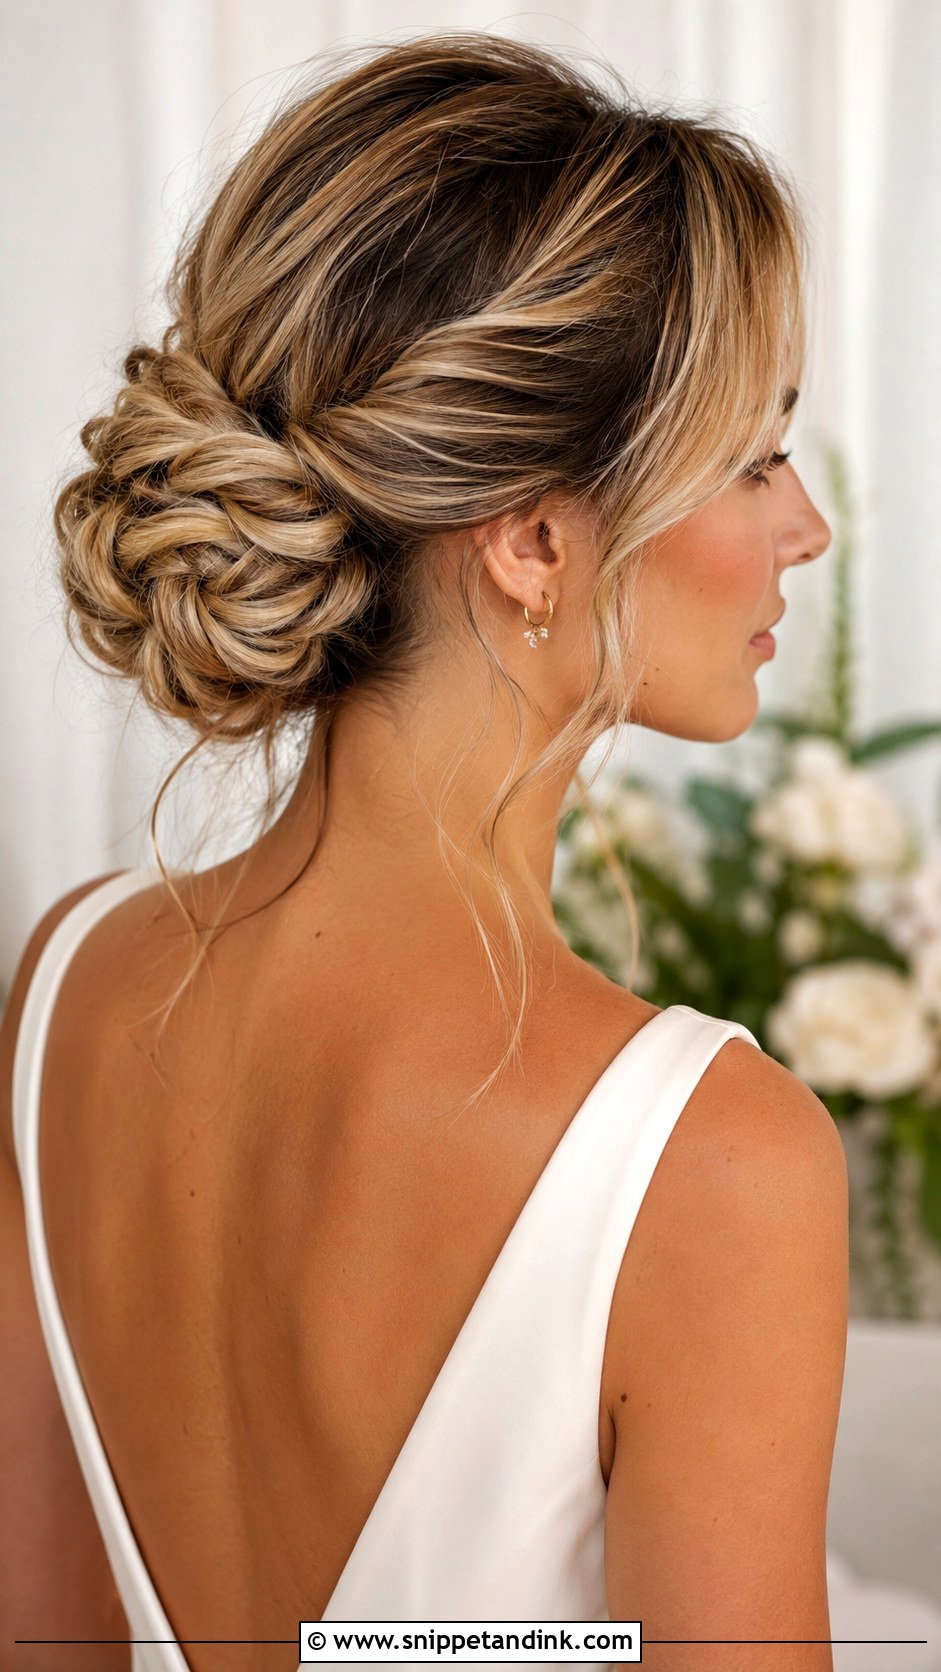
Twisting sections before coiling them gives a rope-like texture without the formality of a braid. It catches light especially well on highlighted or balayage hair, because the twist shows the different tones. It’s a good middle ground between polished and relaxed, from city weddings to countryside ones. I pin each twist at the point where it meets the bun, then a few across the coil, so it doesn’t start to unravel. A small hairpiece or nothing at all is enough.
8. Sleek Ballerina Bun
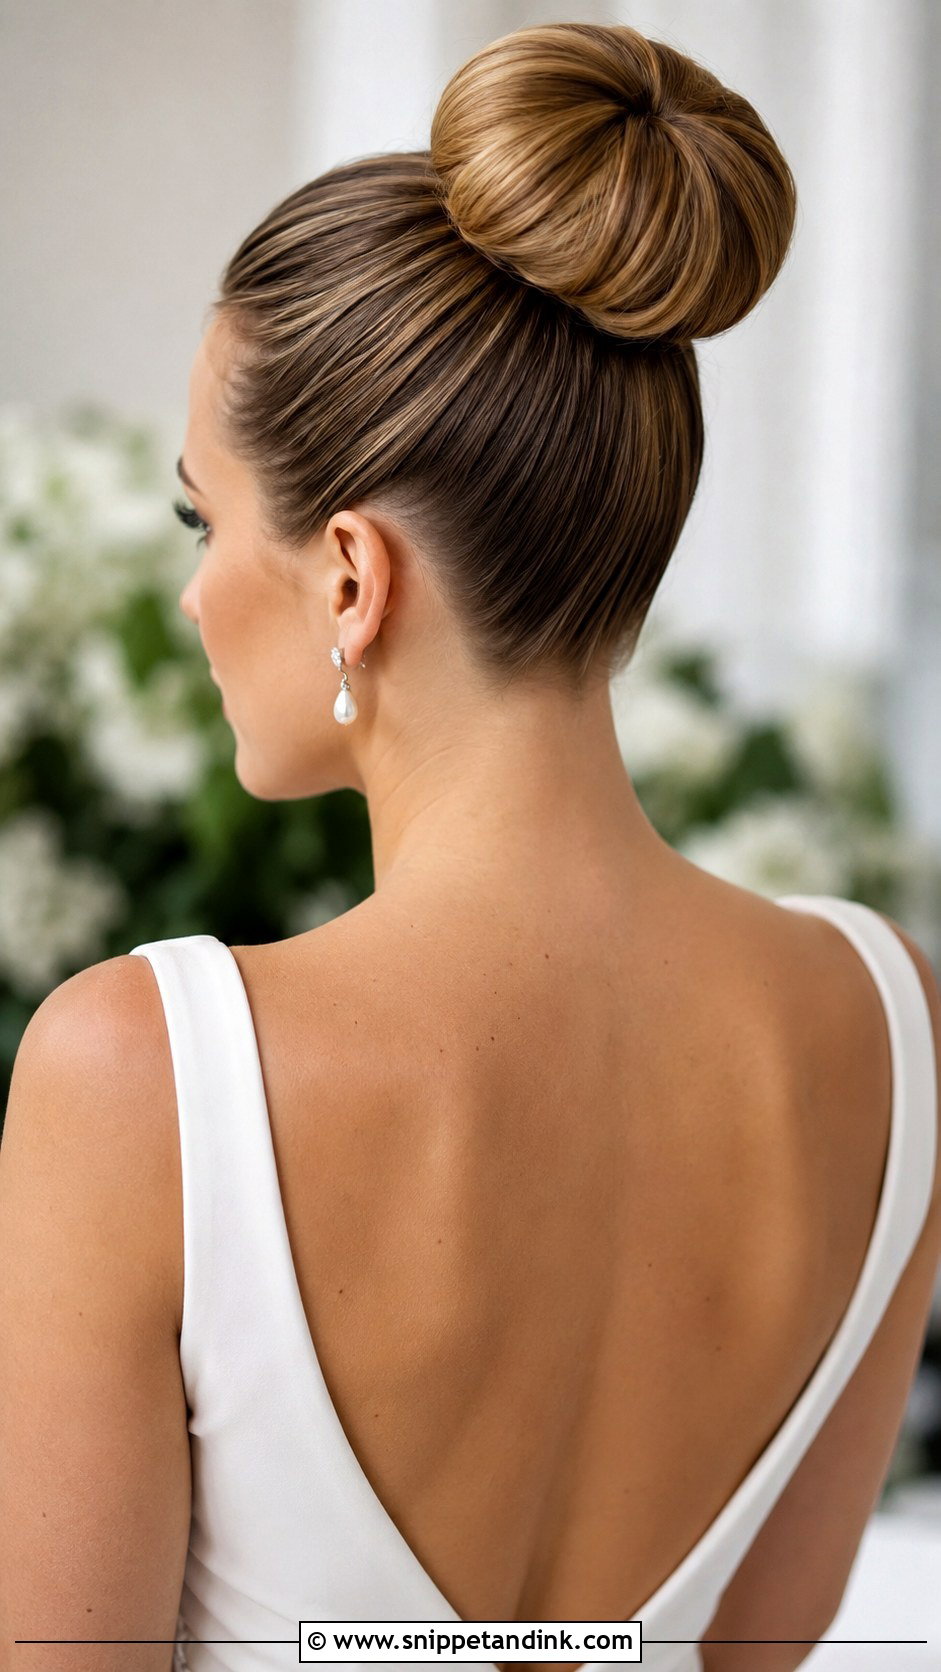
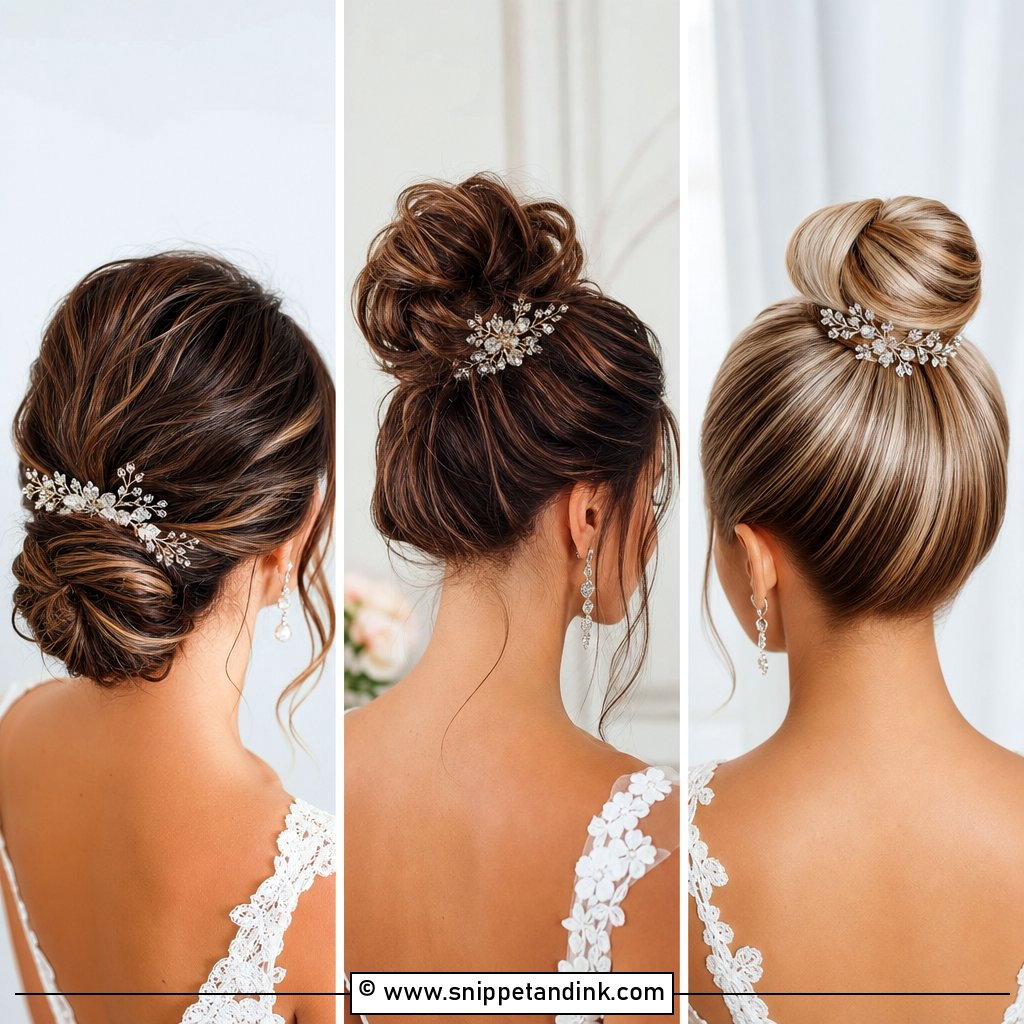
The sleek ballerina bun is pulled back tight and wrapped into a smooth, round knot at the high or mid crown. It suits bold, minimalist gowns and brides who like a sharp look. It’s unforgiving: every bump shows. I brush it with a boar-bristle brush and use a strong-hold gel or spray, then a light shine spray on top. Tight styles can give headaches by evening, so if your scalp is sensitive, I’d lower it slightly and loosen the base.
9. Bohemian Loose Bun
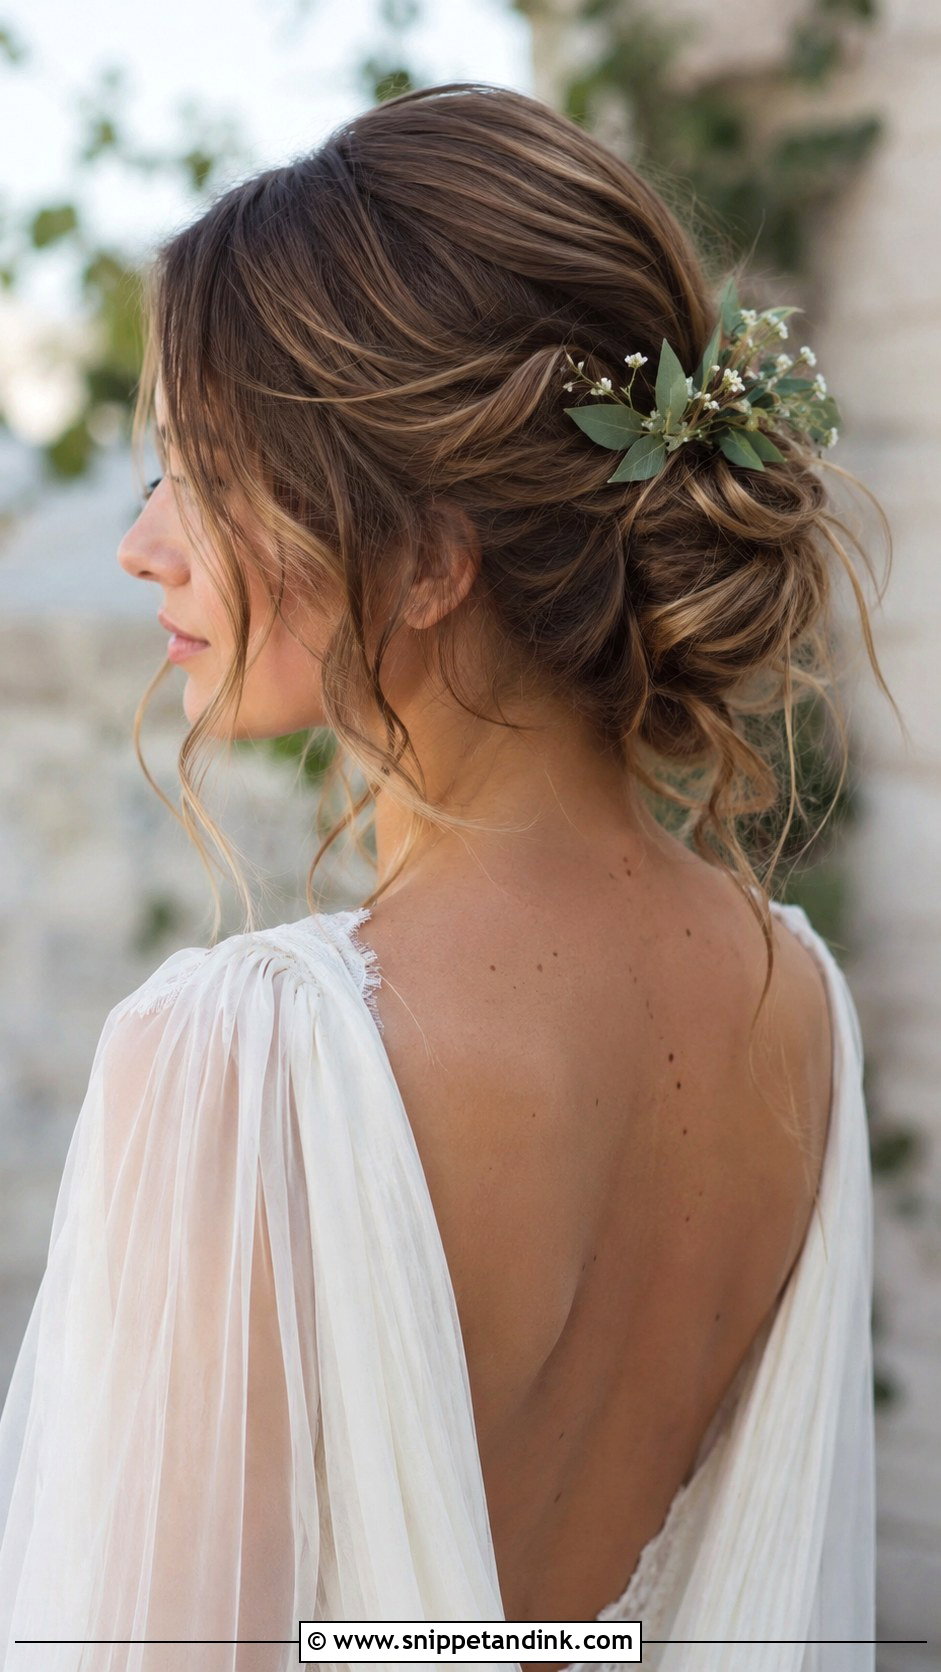
This one is about loose waves, tendrils and a tousled finish, gathered softly at the back with plenty of pieces left out around the face. Outdoor and beach weddings suit it. The trade-off is wind: a loose bun at the beach moves, and that’s part of the charm, but I still pin it more firmly than it looks. Small braids, flowers or a vine accessory add to the boho feel. Natural makeup and flowing gowns go with it.
10. Vintage Pin Curl Bun
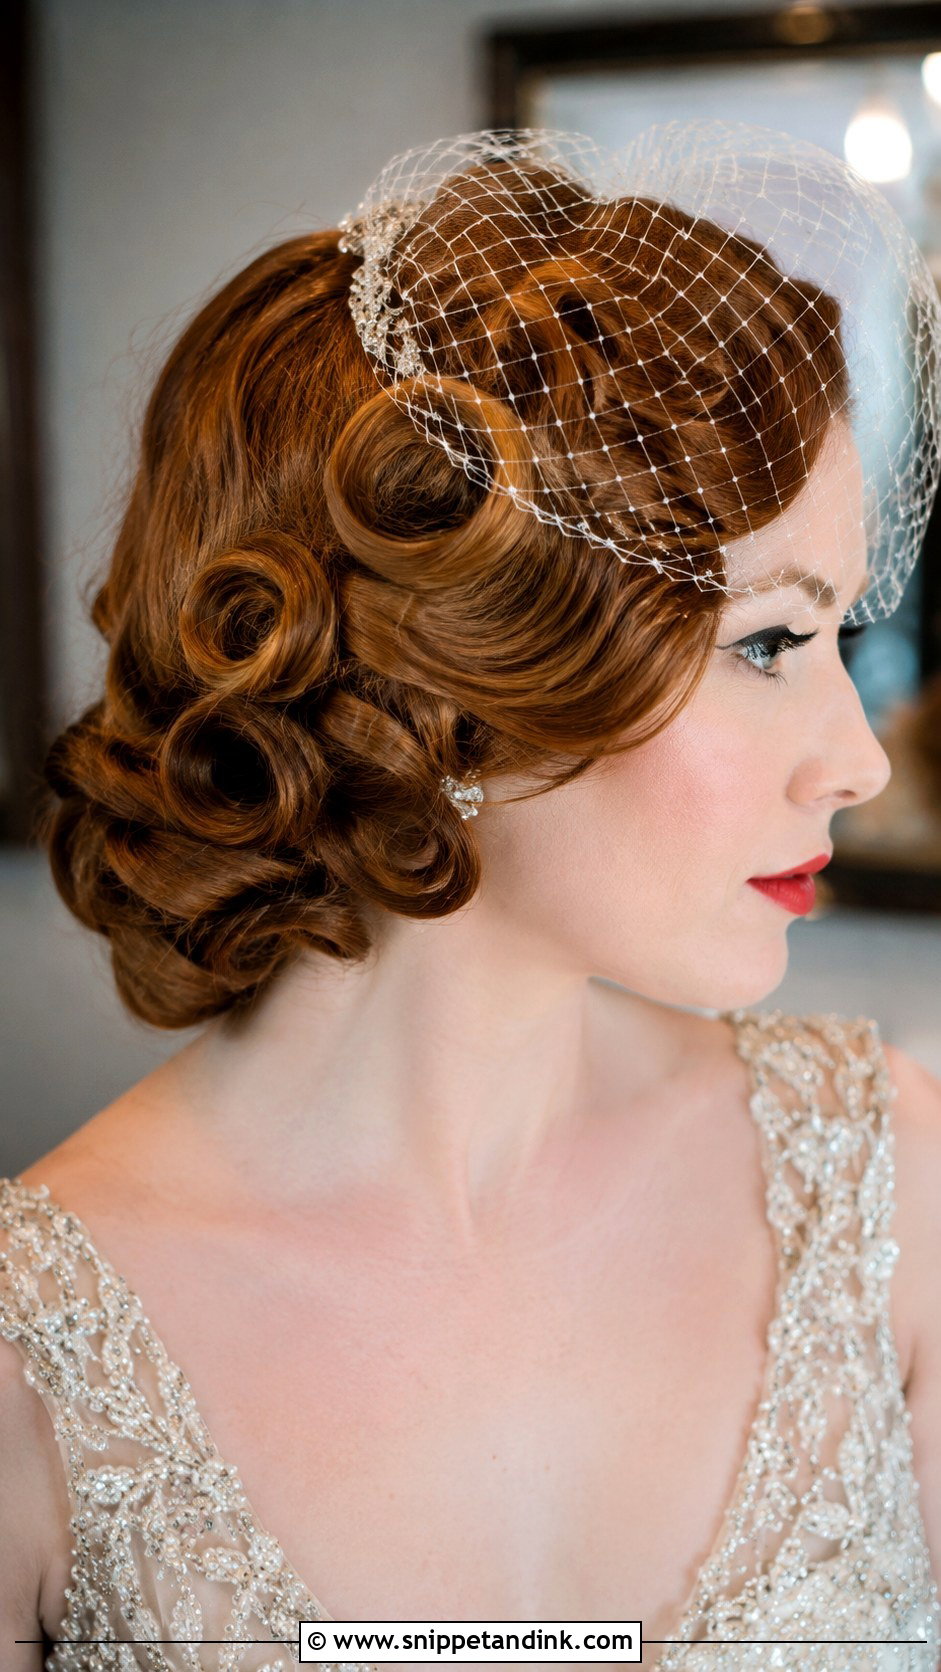
Structured curls swept into a low bun bring old Hollywood glamour. I set the curls with heat or pin curls, let them cool fully so they hold, then brush and pin them into shape. Patience during the cooling step decides whether the curls last. It pairs with a birdcage veil or a vintage clip, and it suits themed or glamorous celebrations. Very straight, heavy hair needs more setting product to hold the sculpture.
11. Side Swept Bun
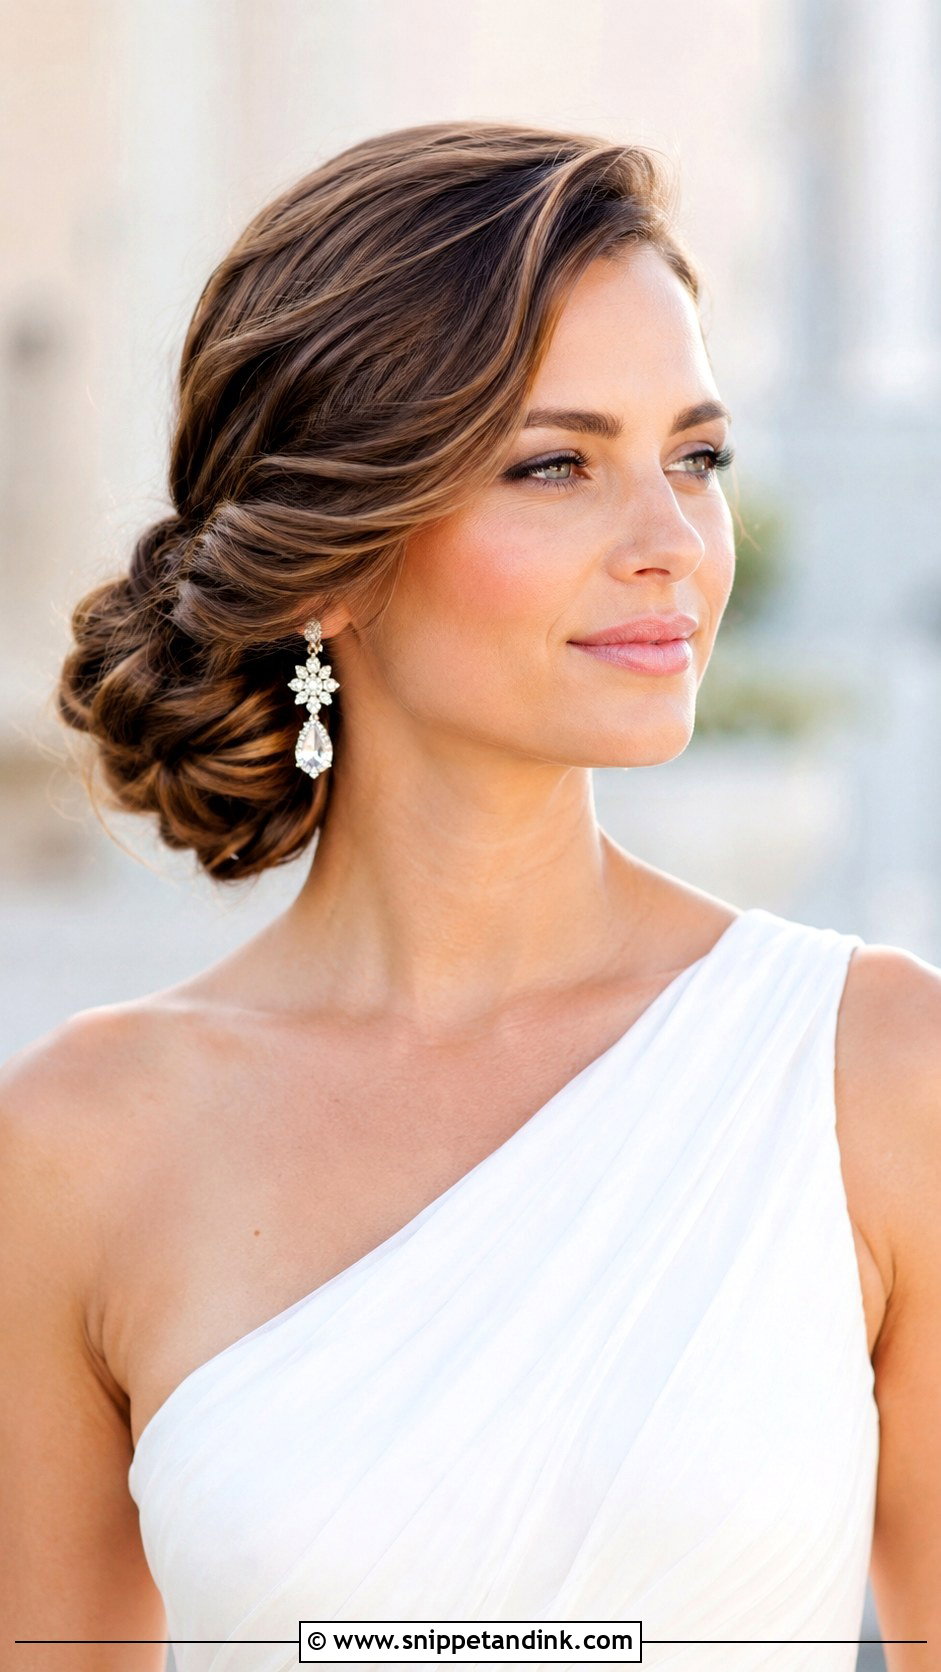
Gathering the hair to one side and twisting it into a soft knot gives an asymmetric shape that suits one-shoulder and off-shoulder gowns. I usually put the bun on the side opposite the bare shoulder, so there’s balance. It shows statement earrings well. Add waves or a few tendrils for softness. It needs to be pinned firmly to the side of the head because it’s not supported by the neck, and I always check it from the angle the photographer will shoot most.
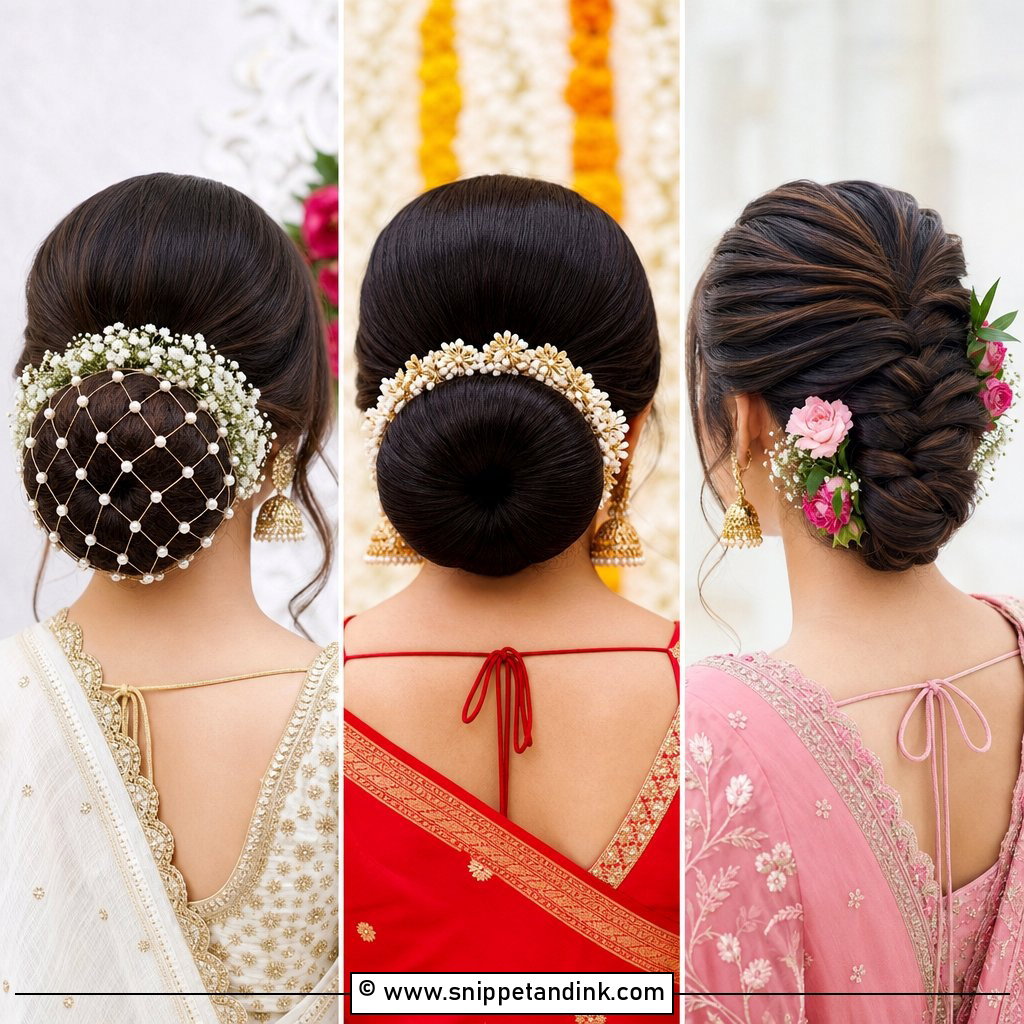
12. Pearl Adorned Bun
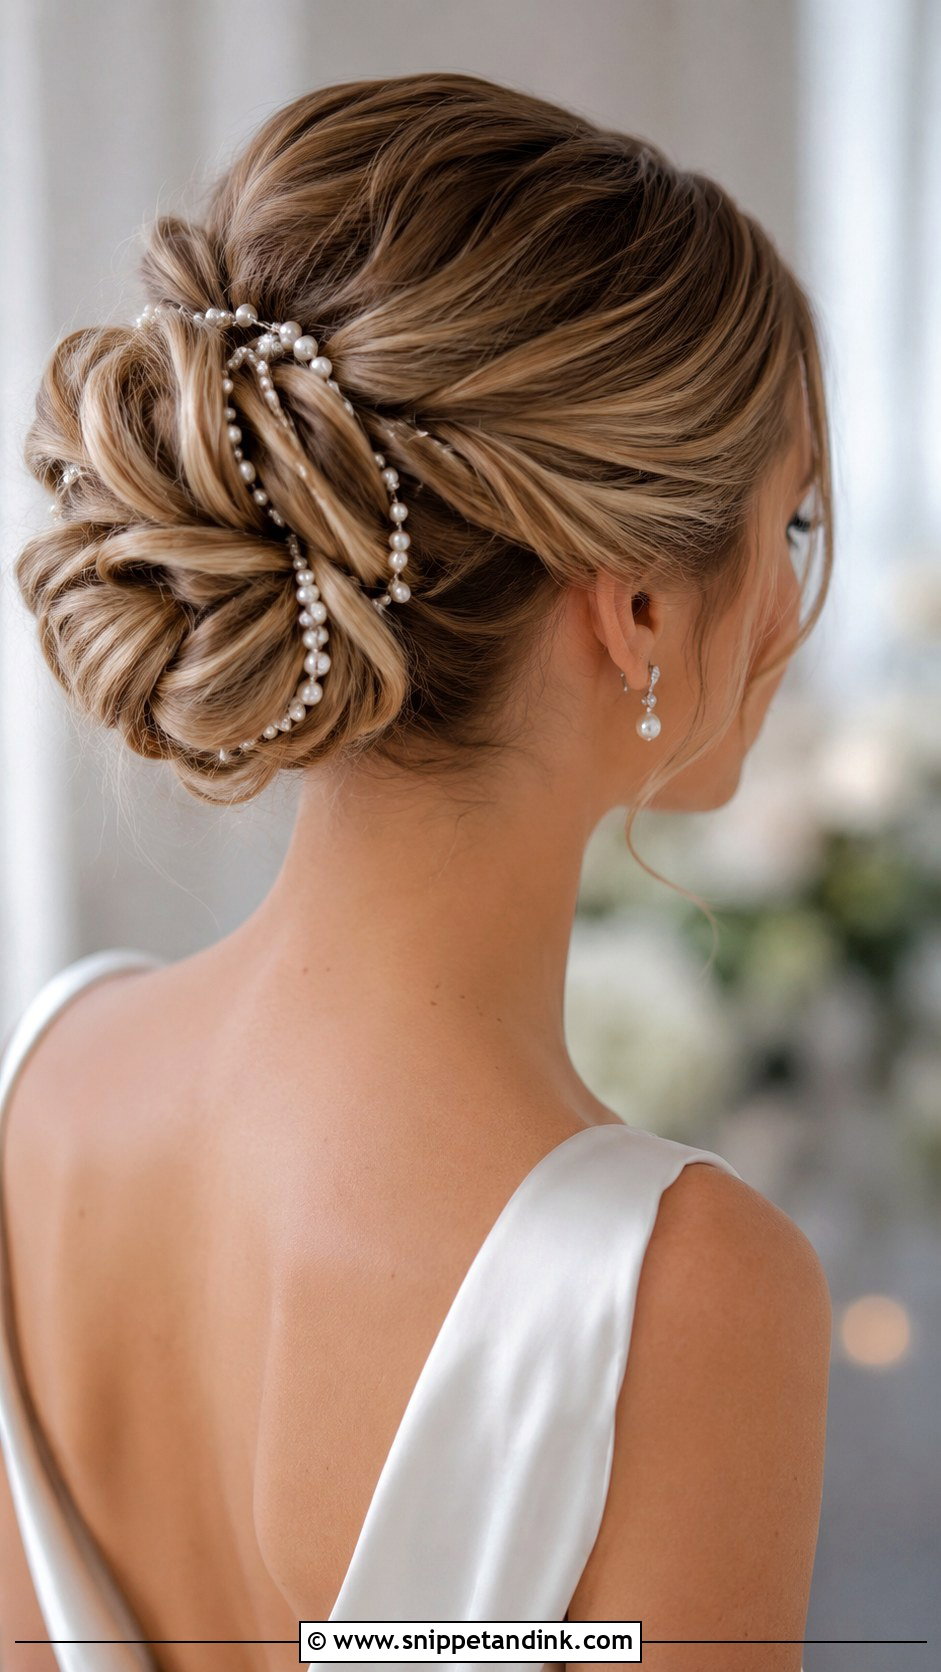
Pearls threaded or pinned through a bun tie the hair to the jewelry. The soft, luminous beads catch the light and suit almost any gown, and work on sleek or textured buns. Pearl strands can be woven through the knot, or individual pins scattered around it. For a low bun, I place them where they’ll be seen from behind during the ceremony; for a chignon, I frame the edge. Real pearls are heavier than faux ones, so I add a pin or two more.
13. Double Bun
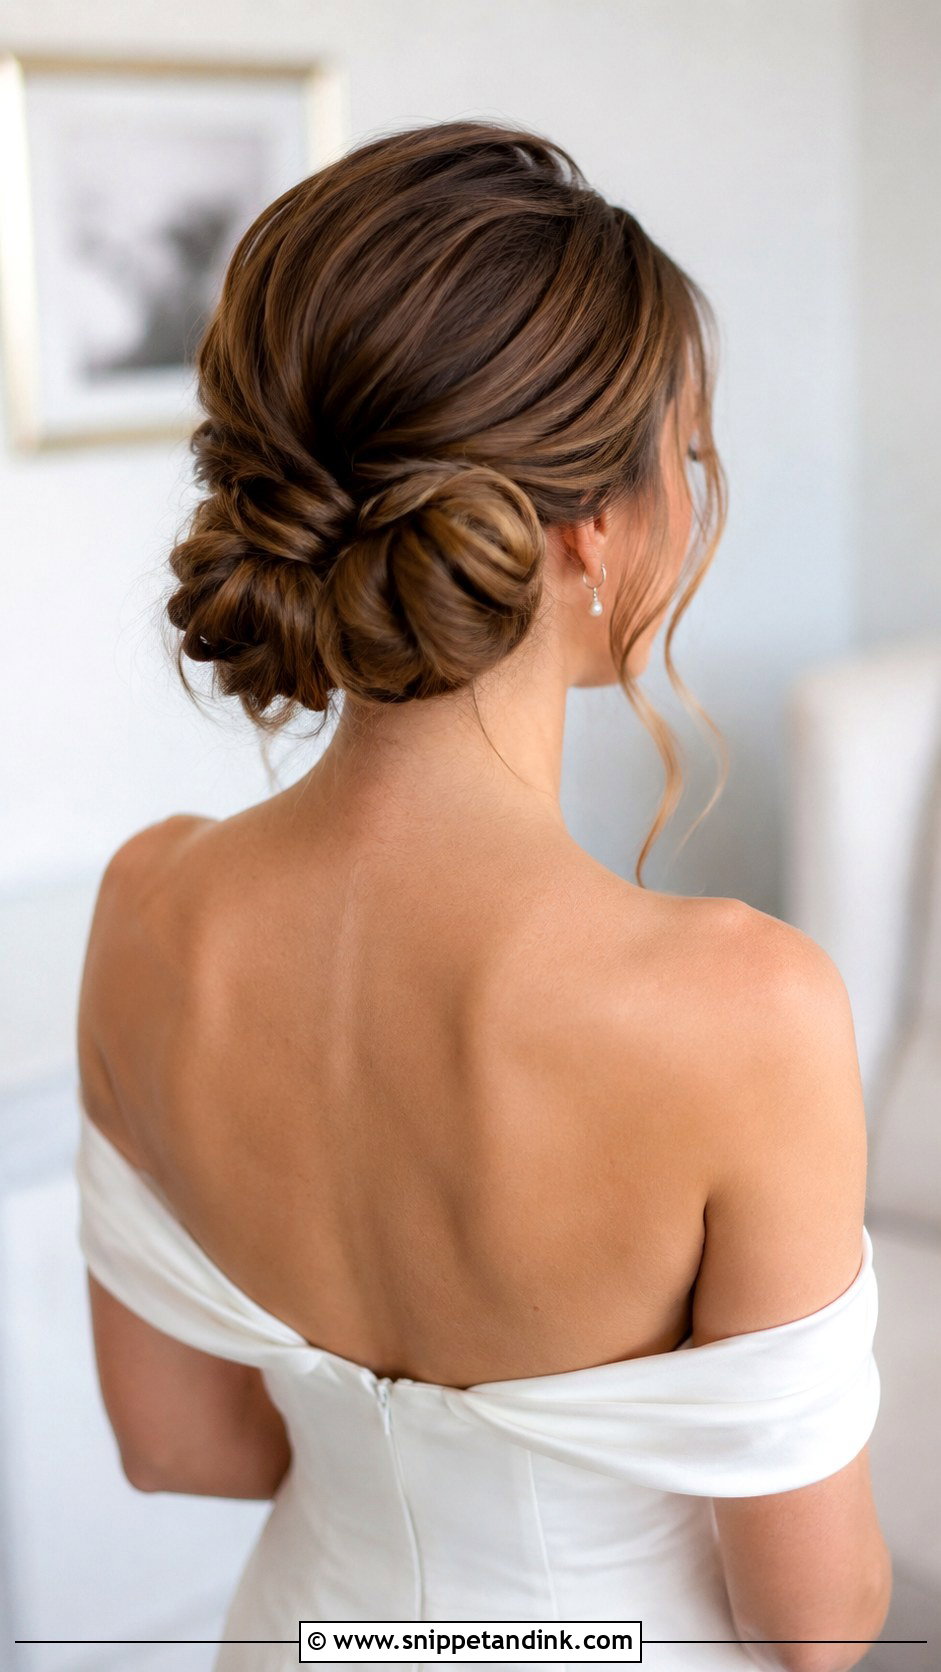
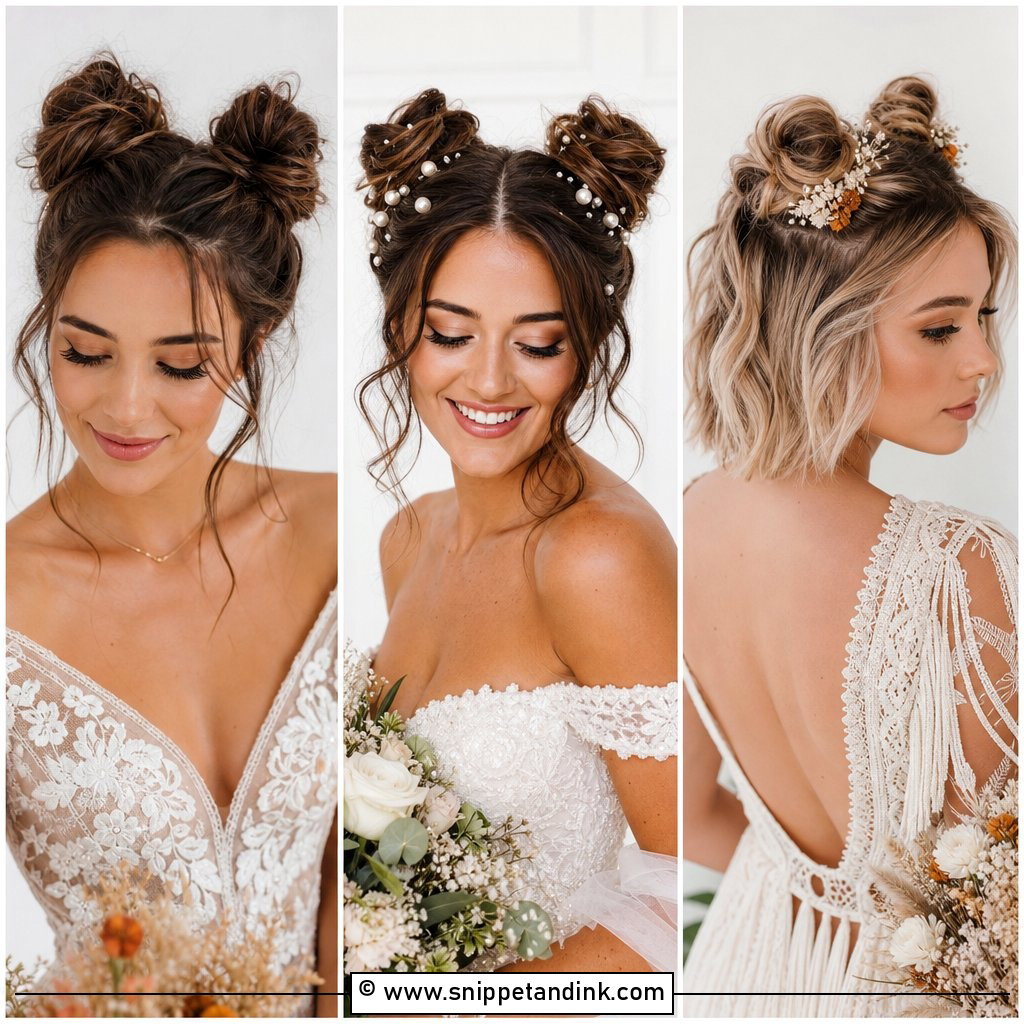
Two buns close together or stacked give a playful but neat shape. It can be sleek for modern weddings or softly textured for romance. Younger brides and those wanting a contemporary look often like it. I’d keep accessories minimal so the shape stays clear. It needs more hair than a single bun, since you’re dividing it, so fine or short hair might need some padding or a few clip-in pieces.
14. Crown Braid Bun
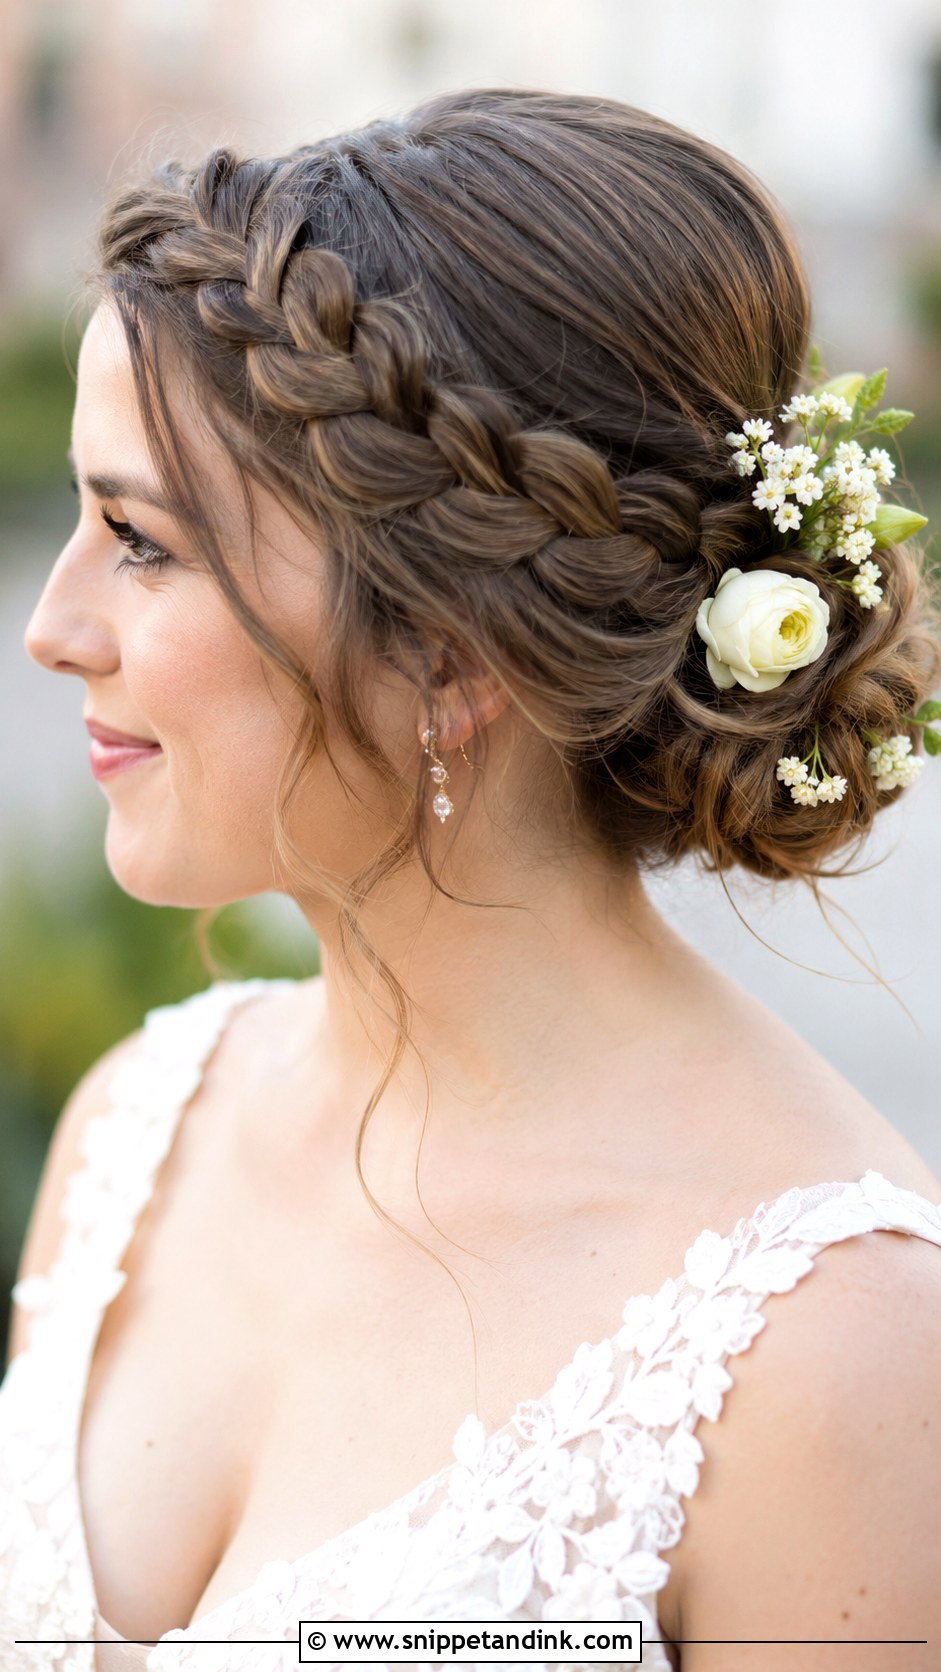
A braid wrapped around the head like a halo, leading into a soft bun at the back, gives an intricate, romantic look that suits boho and garden weddings. The braid also holds everything firmly, so it’s one of the most secure styles on this list. Flowers tucked along the braid add charm. It needs hair long enough to reach around the head; shoulder-length hair can work with a smaller crown or two shorter braids meeting at the back.
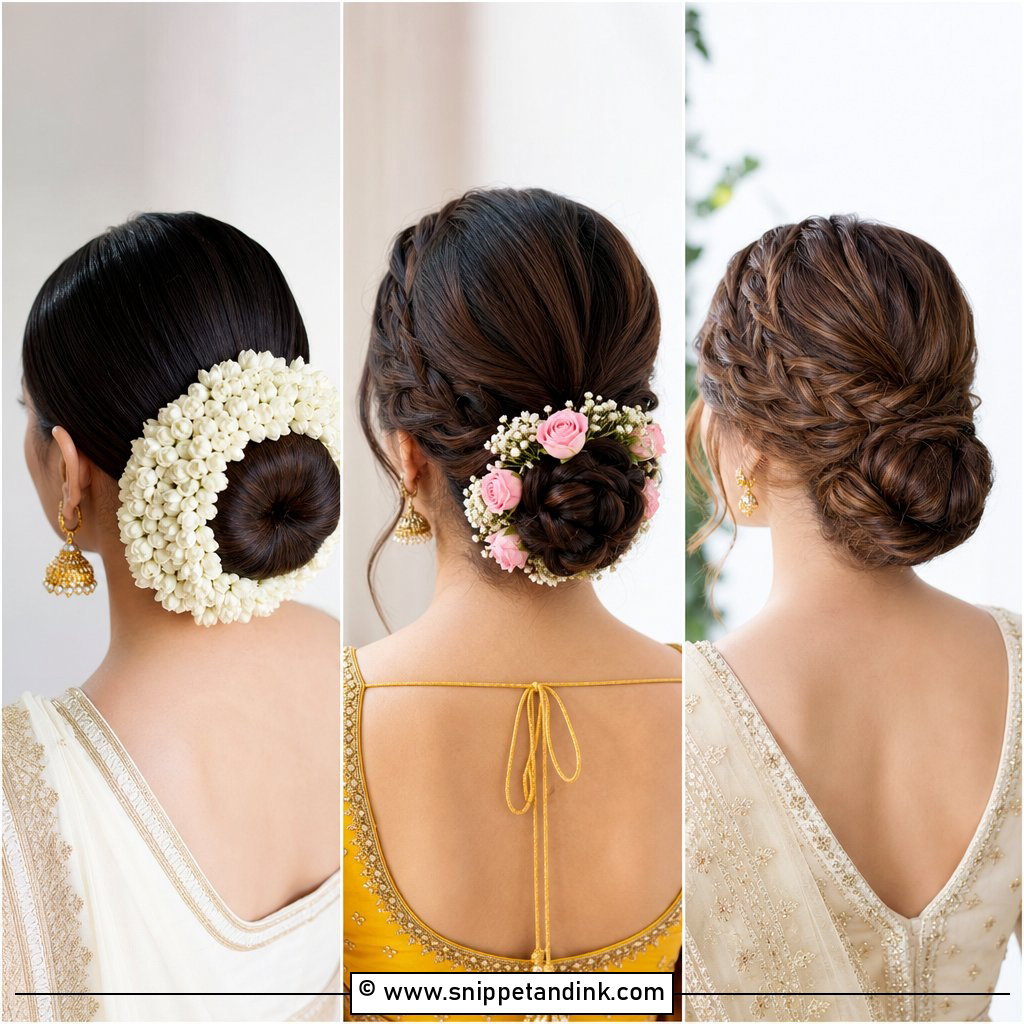
15. Fishtail Braided Bun
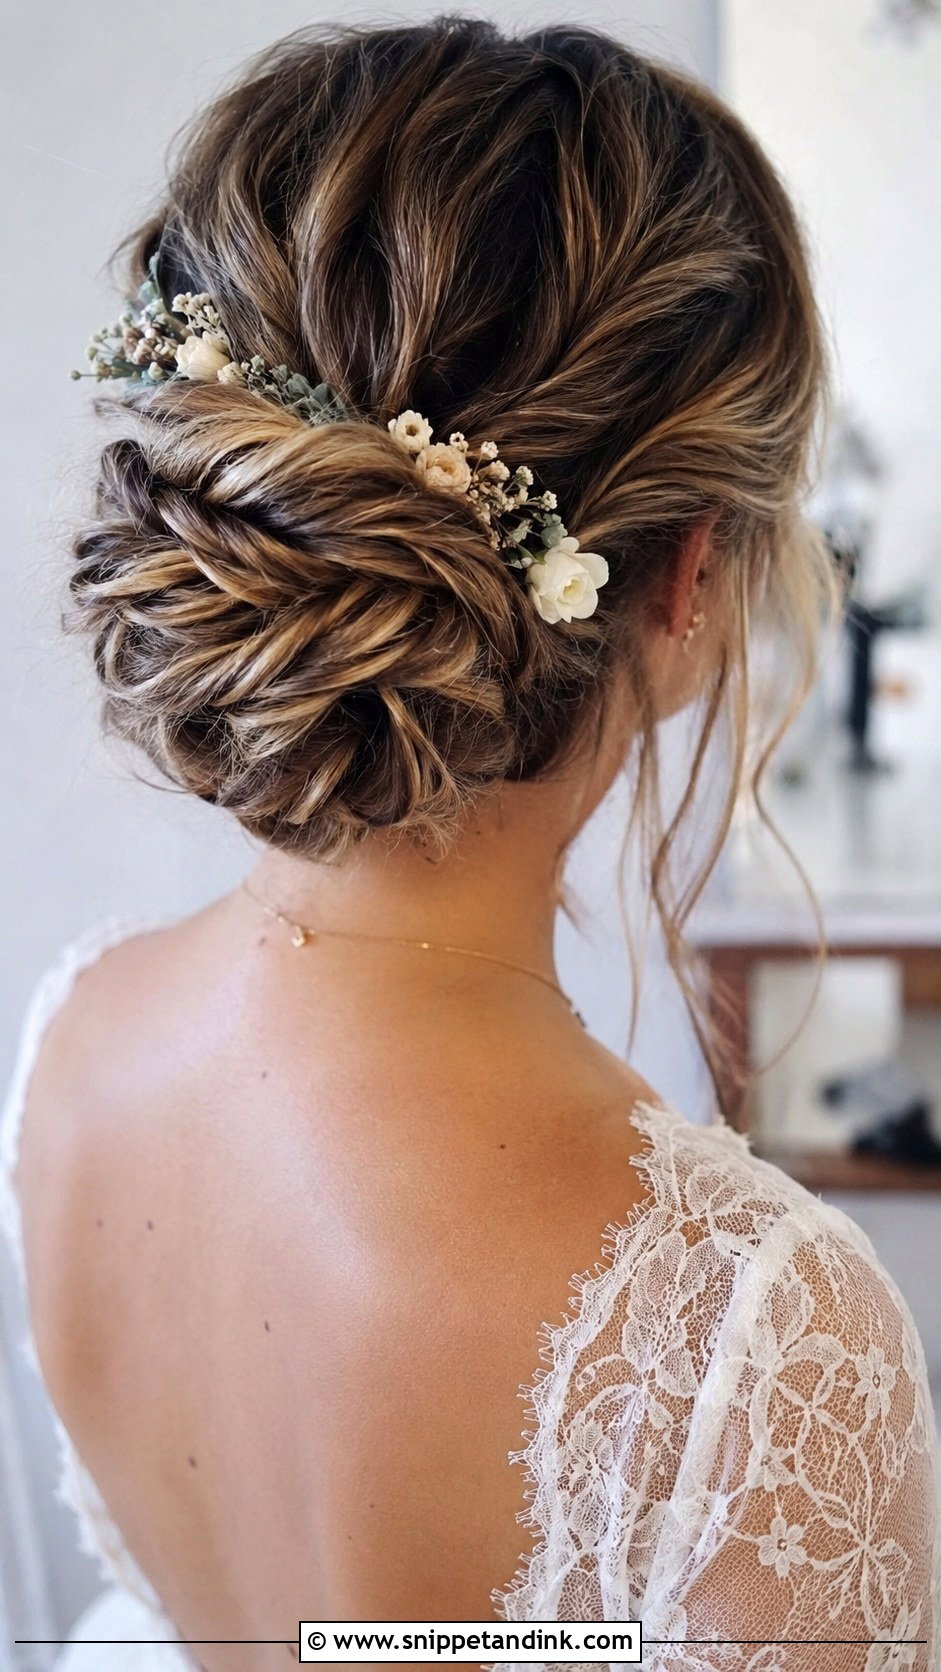
A fishtail braid coiled into or leading to a knot adds fine, woven detail. I loosen it slightly afterward by pulling the edges gently, which makes it look fuller and softer. It suits boho, rustic and romantic weddings. Floral accents or pearl pins work well. Fishtails take time, and I need hair long enough to braid down, so it’s not the choice for a rushed morning or very layered cuts.
16. Sleek Top Knot
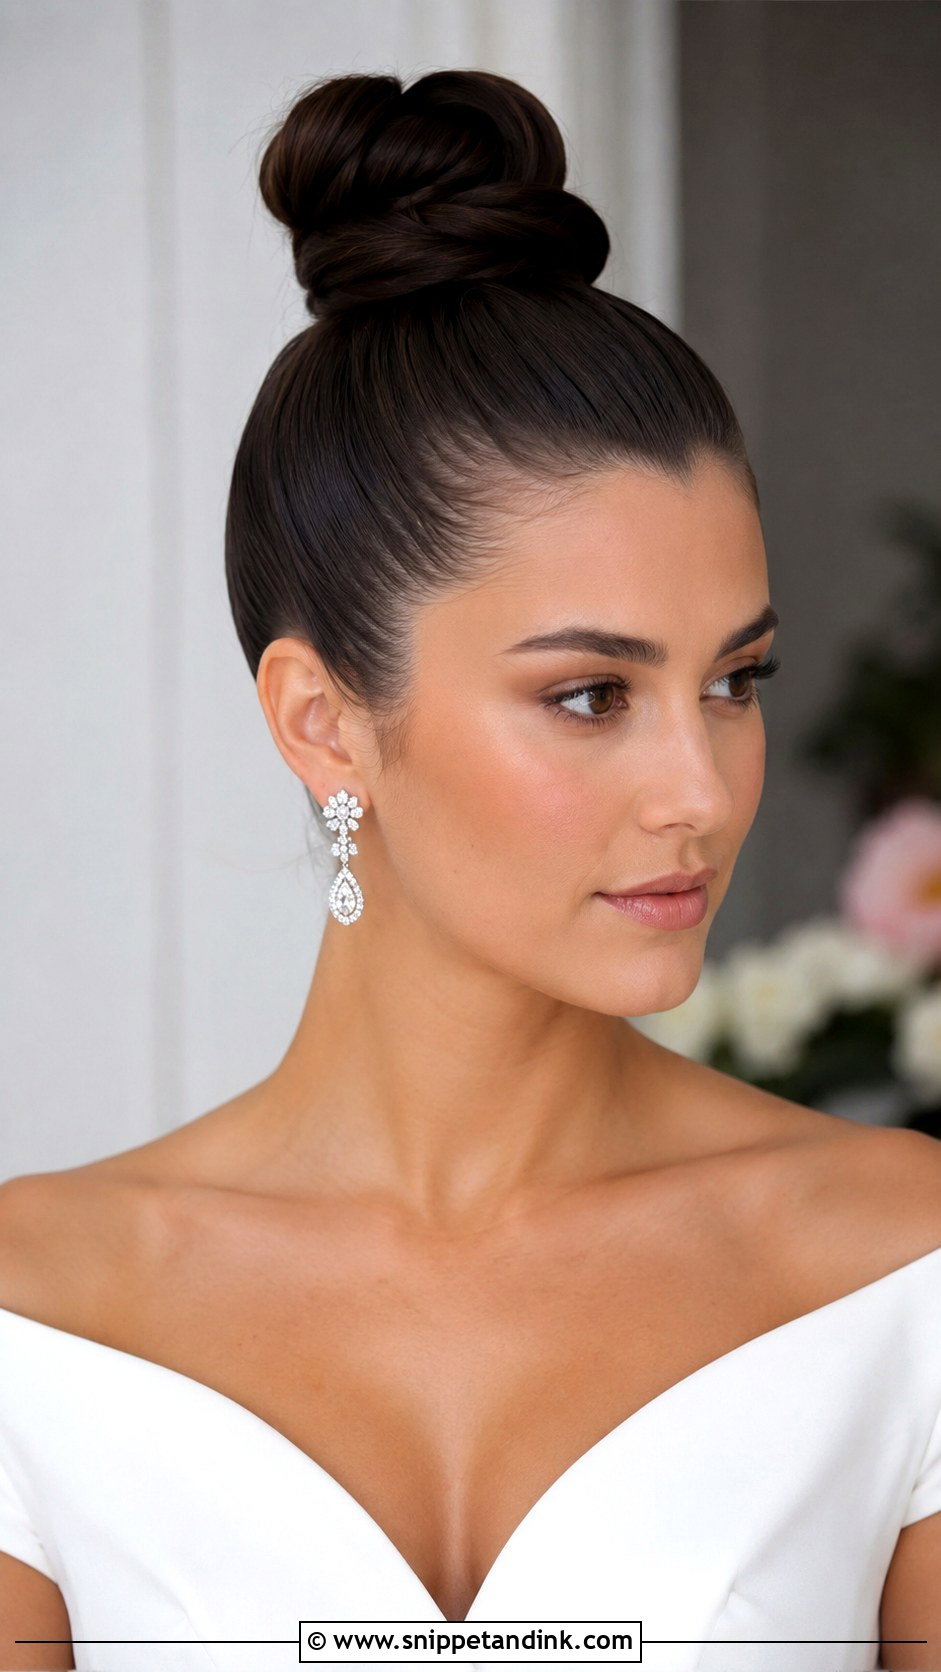
The sleek top knot is clean and bold, high on the crown, elongating the neck. Fashion-forward brides like it with statement earrings and structured gowns. Shine spray keeps it polished. Like the ballerina bun, it’s a tight style that pulls, and the weight sits on a small point of the scalp, so a wear test of a few hours before the wedding is a good idea. City weddings and modern ceremonies suit it best.
17. Curly Hair Bun
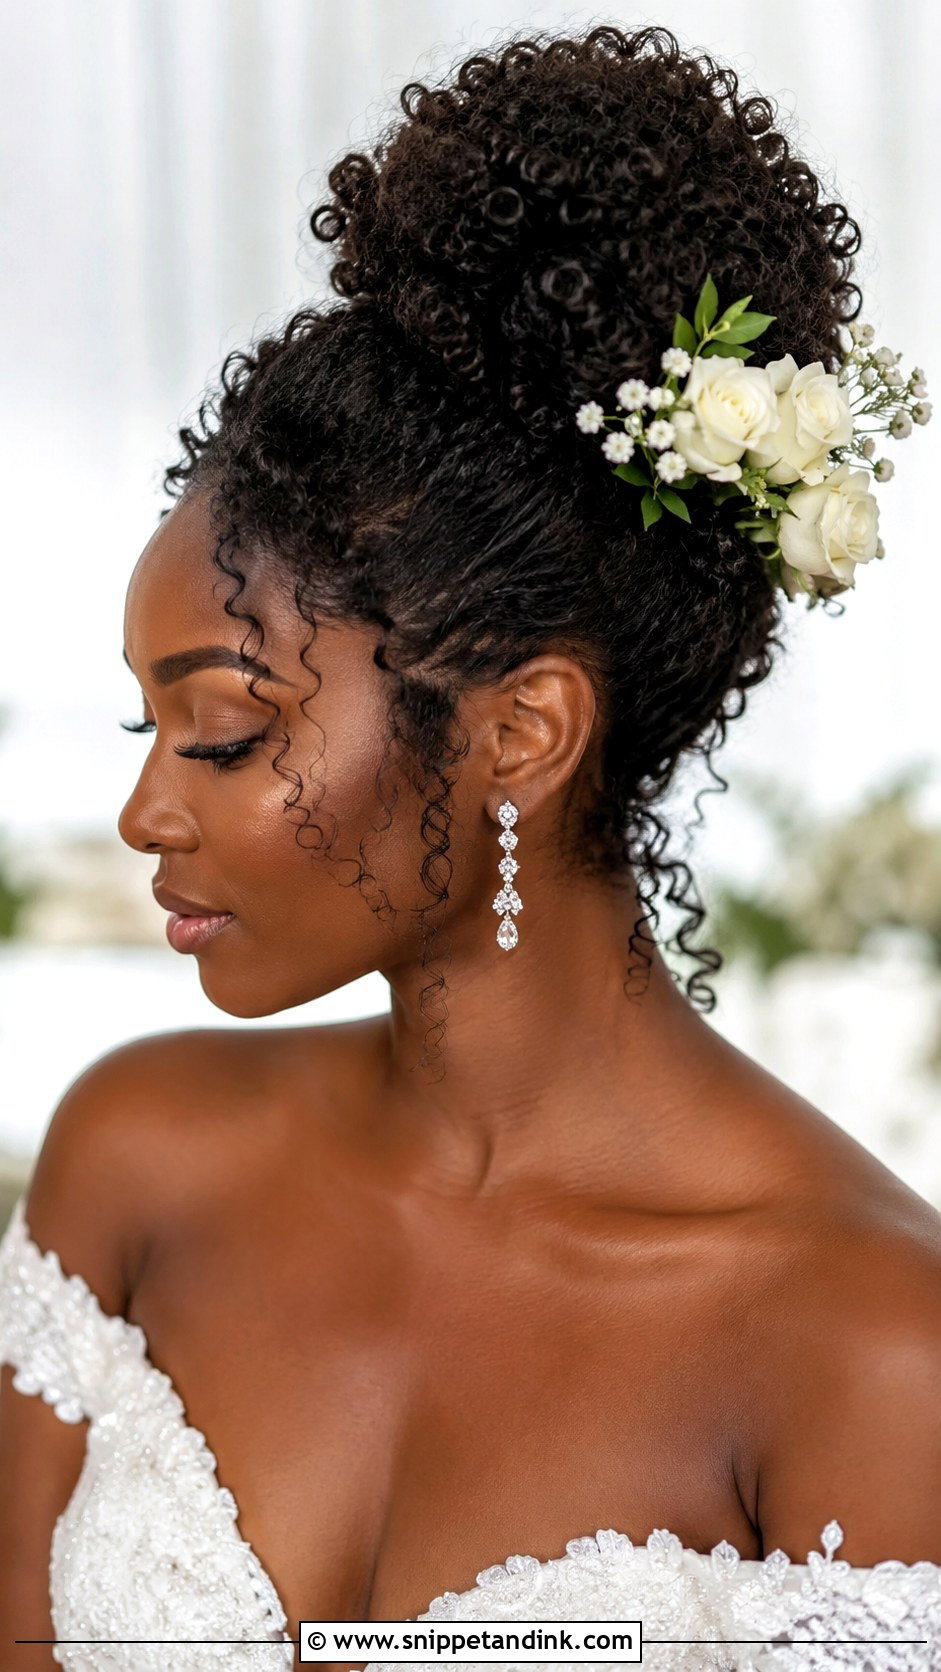
Curly and coily hair makes a full, textured bun on its own, and I don’t try to smooth it out. I work with the curl pattern, gathering the spirals into a voluminous knot and leaving a few curls loose around the face. Moisturizing products, rather than heavy spray, keep the curls defined and stop frizz. A sparkling pin or fresh flowers add to it. I’d ask you to come with hair washed and styled as you usually wear it, so we’re not fighting fresh conditioner.
18. Romantic Half Bun
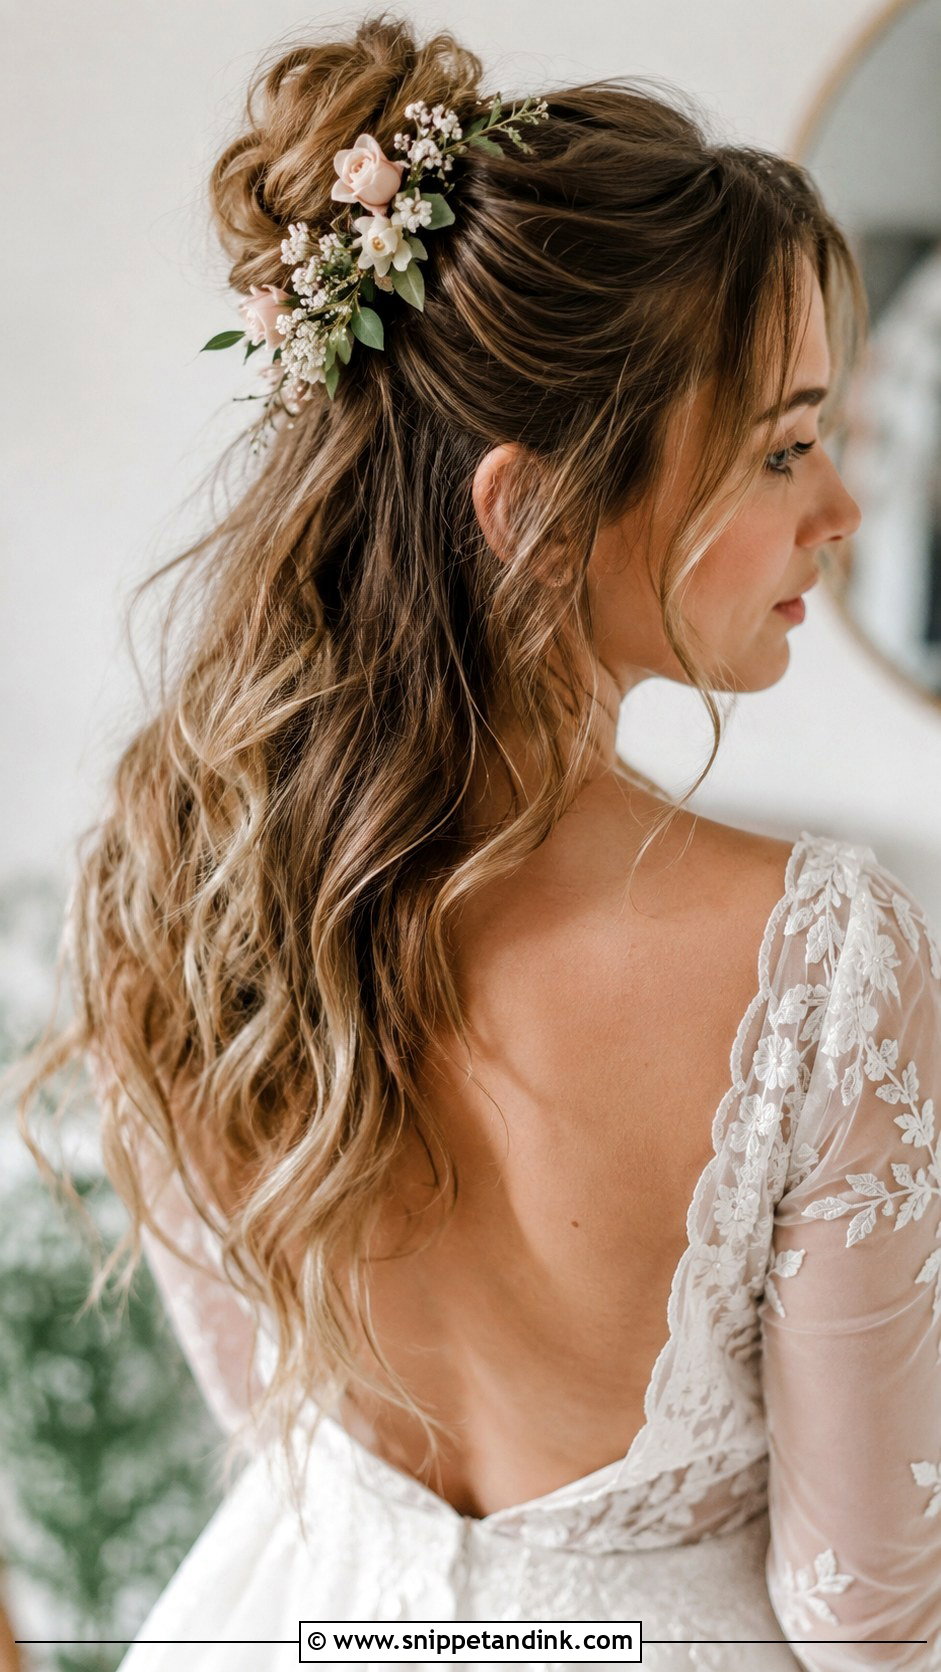
Top section gathered into a soft bun, the rest flowing in loose waves: the half bun is for brides who don’t want their hair fully up. It shows off both the face and the length. Add waves or curls to the loose part for romance. The downside is heat and humidity, which drop loose curls fastest, so for a summer or beach wedding I set the waves with more hold and pin the bun firmly. Small pins or flowers decorate the bun.
19. Low Bun With Tendrils
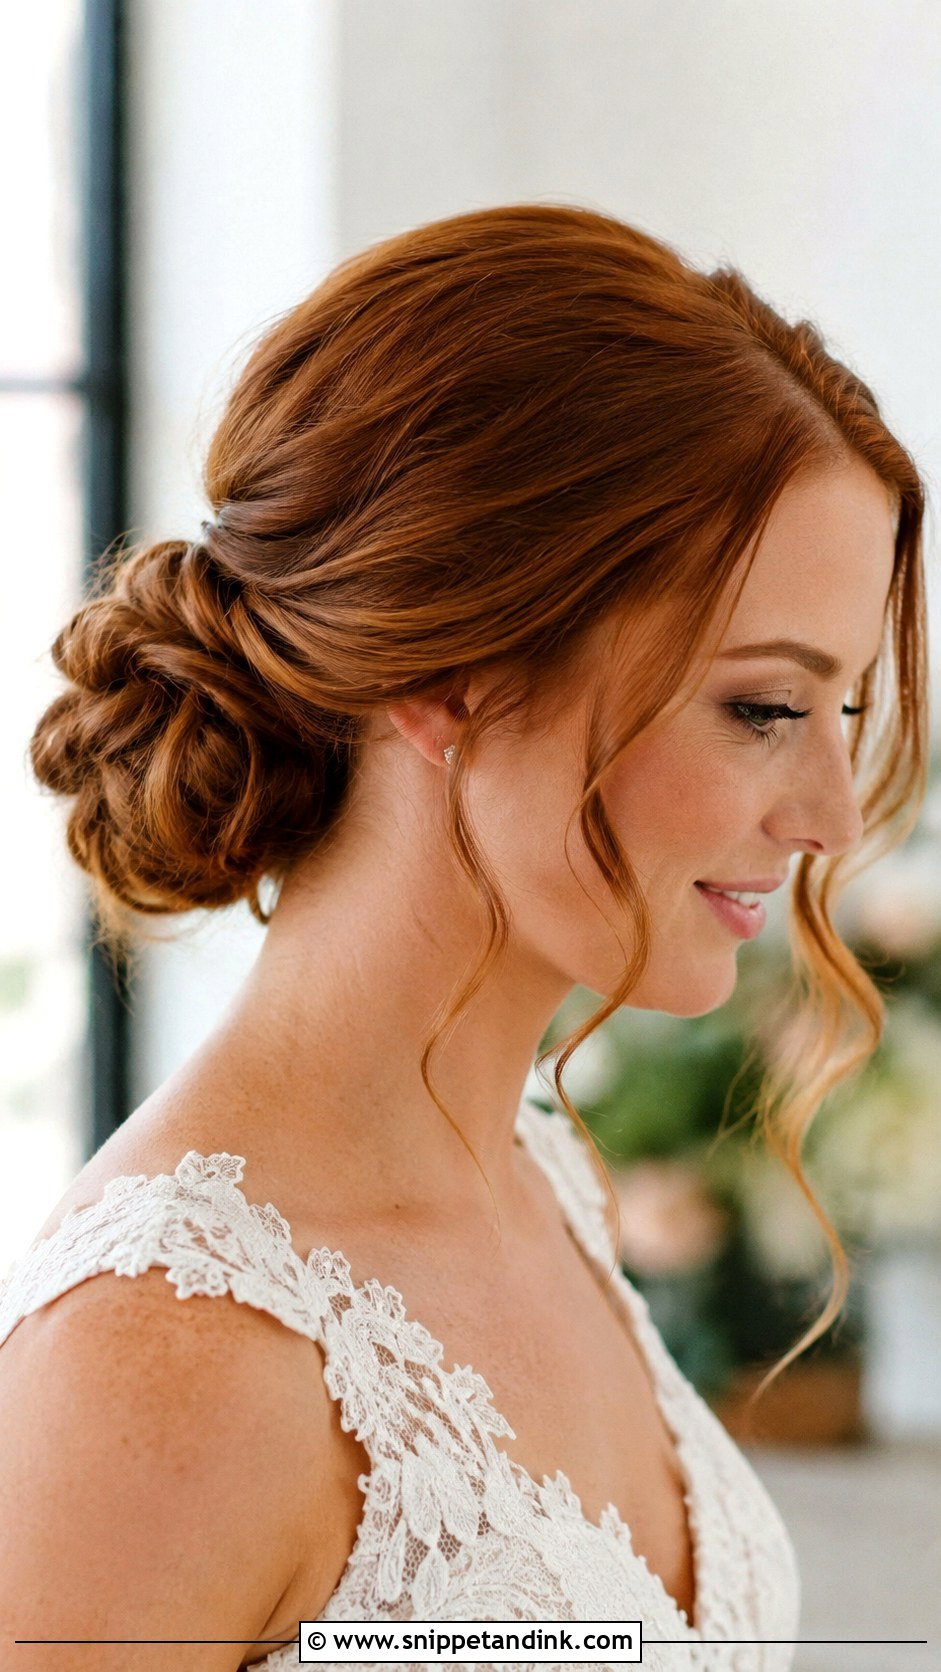
A neat bun at the nape with wispy pieces around the face and neck softens the whole look. I choose the tendrils carefully: too many look messy, too few look accidental. I usually take a thin piece from in front of each ear and a couple at the nape. Curling them gently gives movement. It works with veils, combs or floral pins and with most face shapes.
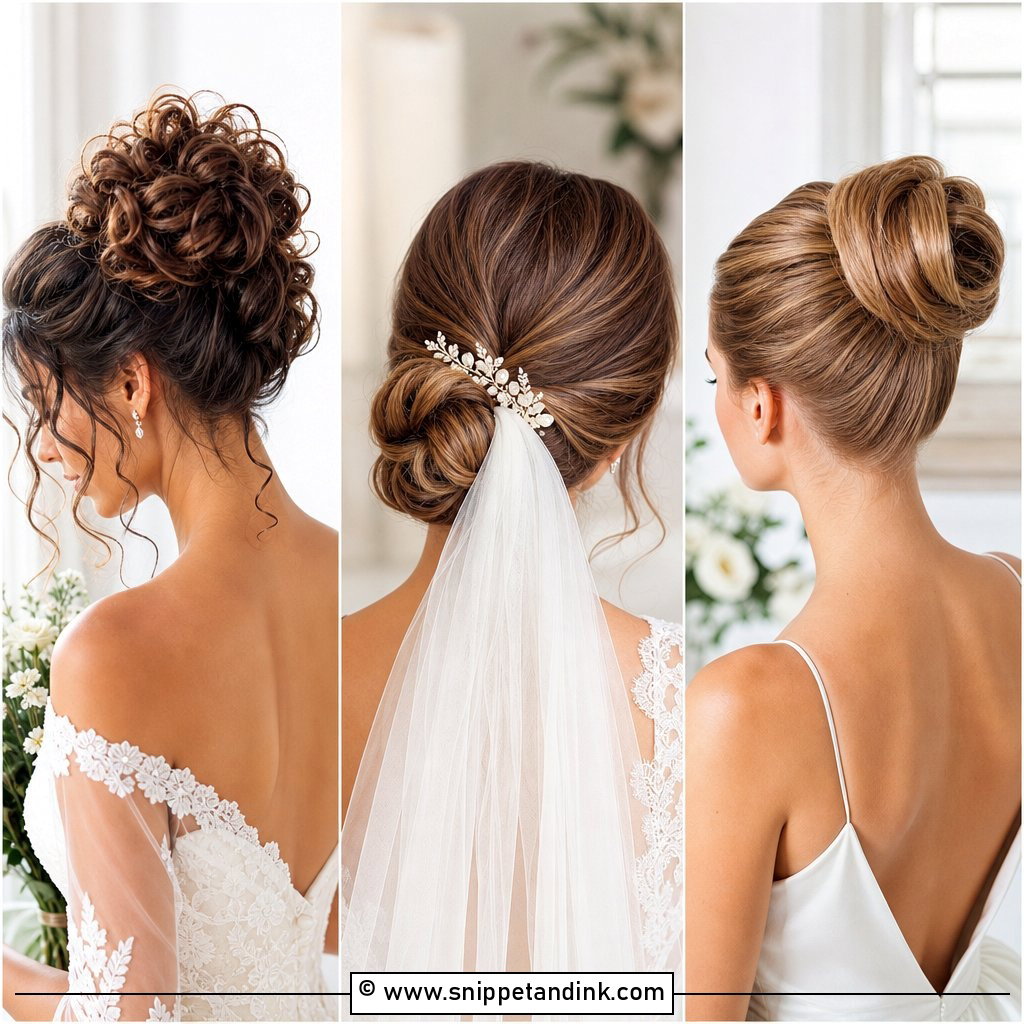
20. Knotted Bun
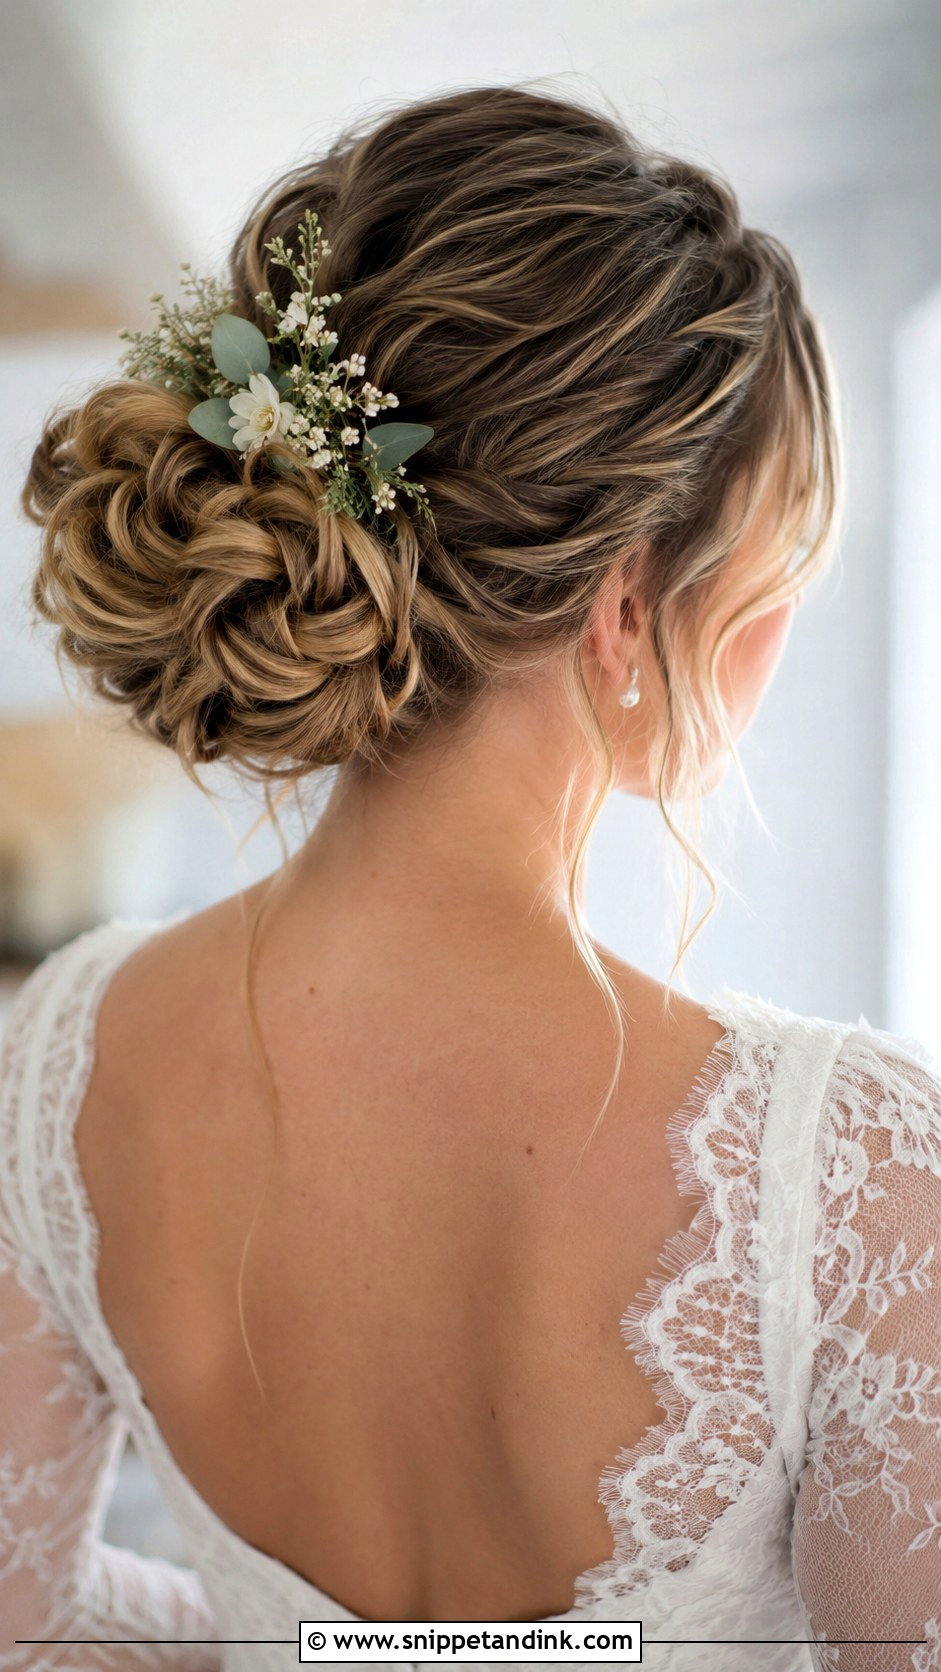
A series of twists and knots gathered at the back gives texture and interest without strict structure. Highlighted hair shows the dimension best. Loosen the knots for a softer finish or keep them tight for polish. Each knot needs a pin at its base, otherwise it slowly unties itself as you move. Delicate accessories or fresh flowers suit it.
21. Glamorous Volume Bun
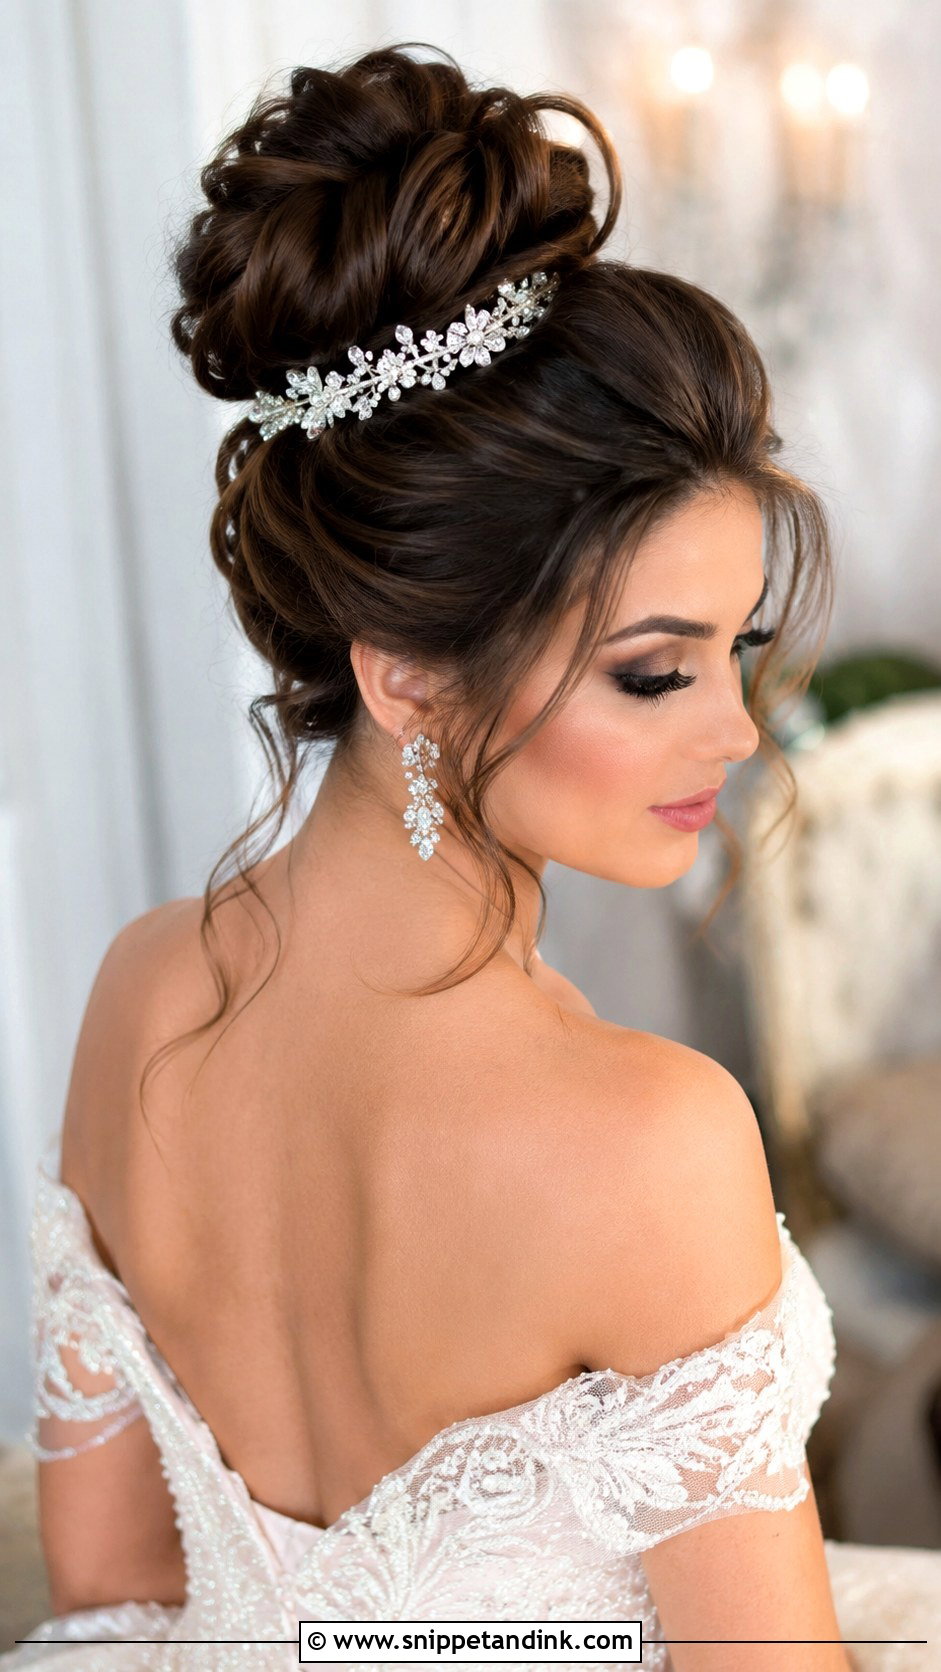
Height and fullness give the volume bun its formal drama. I tease the crown for lift before gathering the hair into a soft, full knot. It pairs with sparkling accessories and bold gowns, and suits formal celebrations. Teasing must be done at the roots only and smoothed over; visible teasing looks dated. Fine hair might need a padding piece or a bun shaper to get the size without overteasing, which is hard to brush out later.
22. Twisted Updo Bun
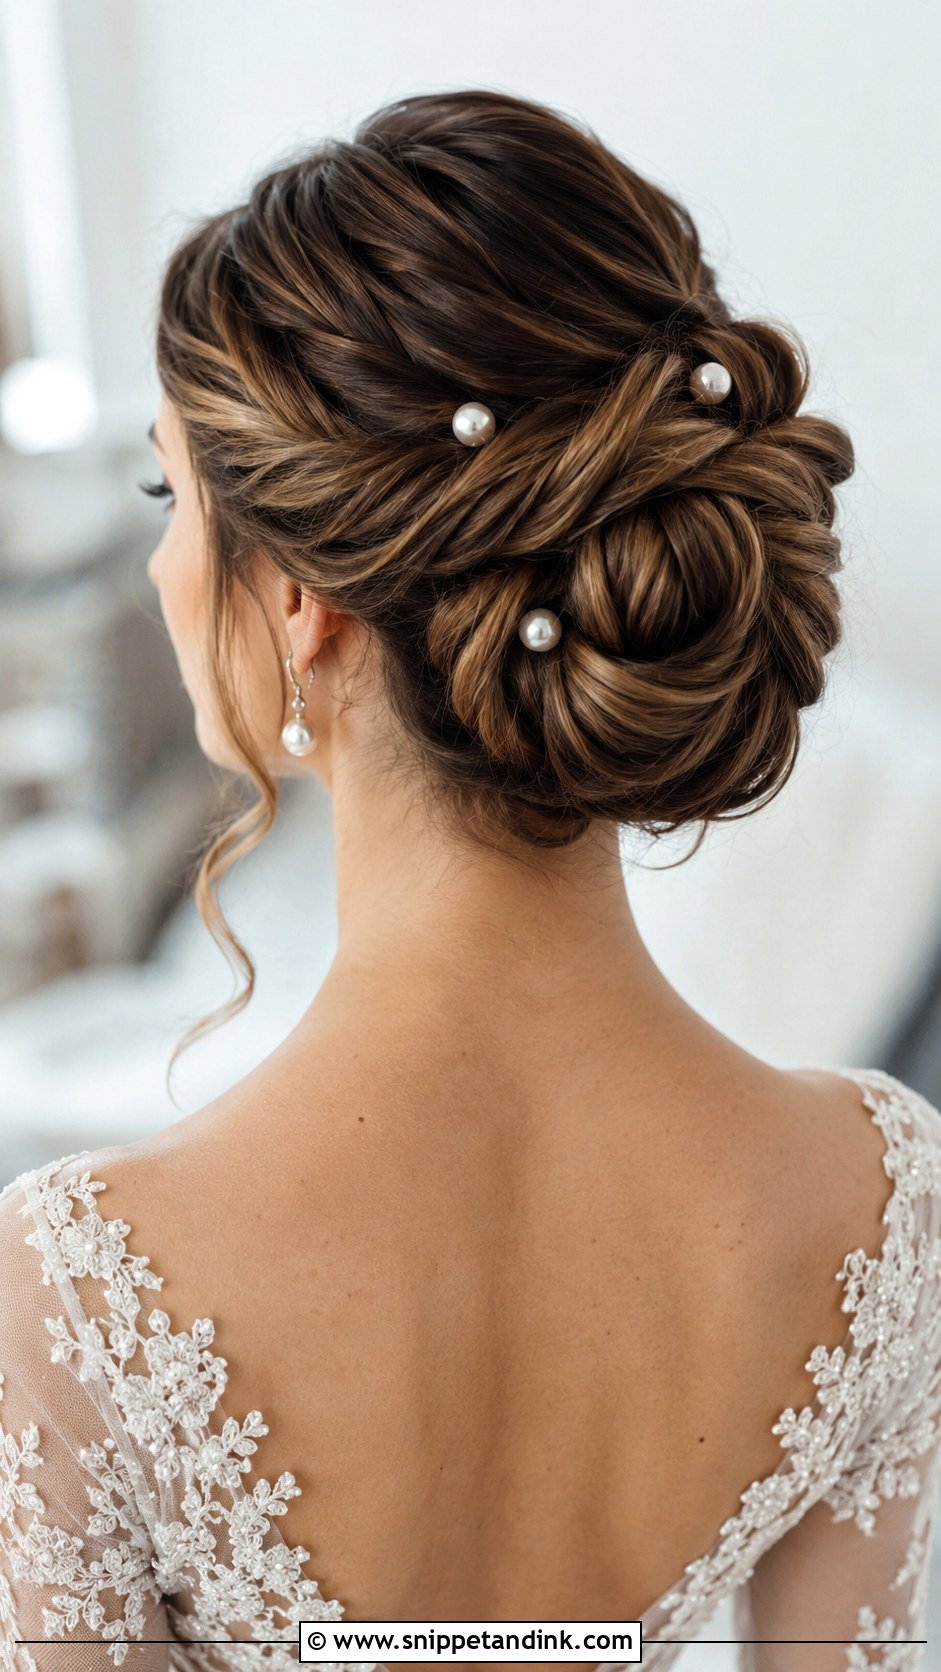
Several twisted sections woven together create a structured, sculptural knot. It looks modern and refined, without the formality of braids, and suits classic and contemporary weddings. Pull the twists loose for a softer finish or keep them tight. A pearl pin or delicate comb finishes it. Each twist should be pinned in at least two places, since twisted hair tends to spring back.
23. Boho Braided Crown Bun
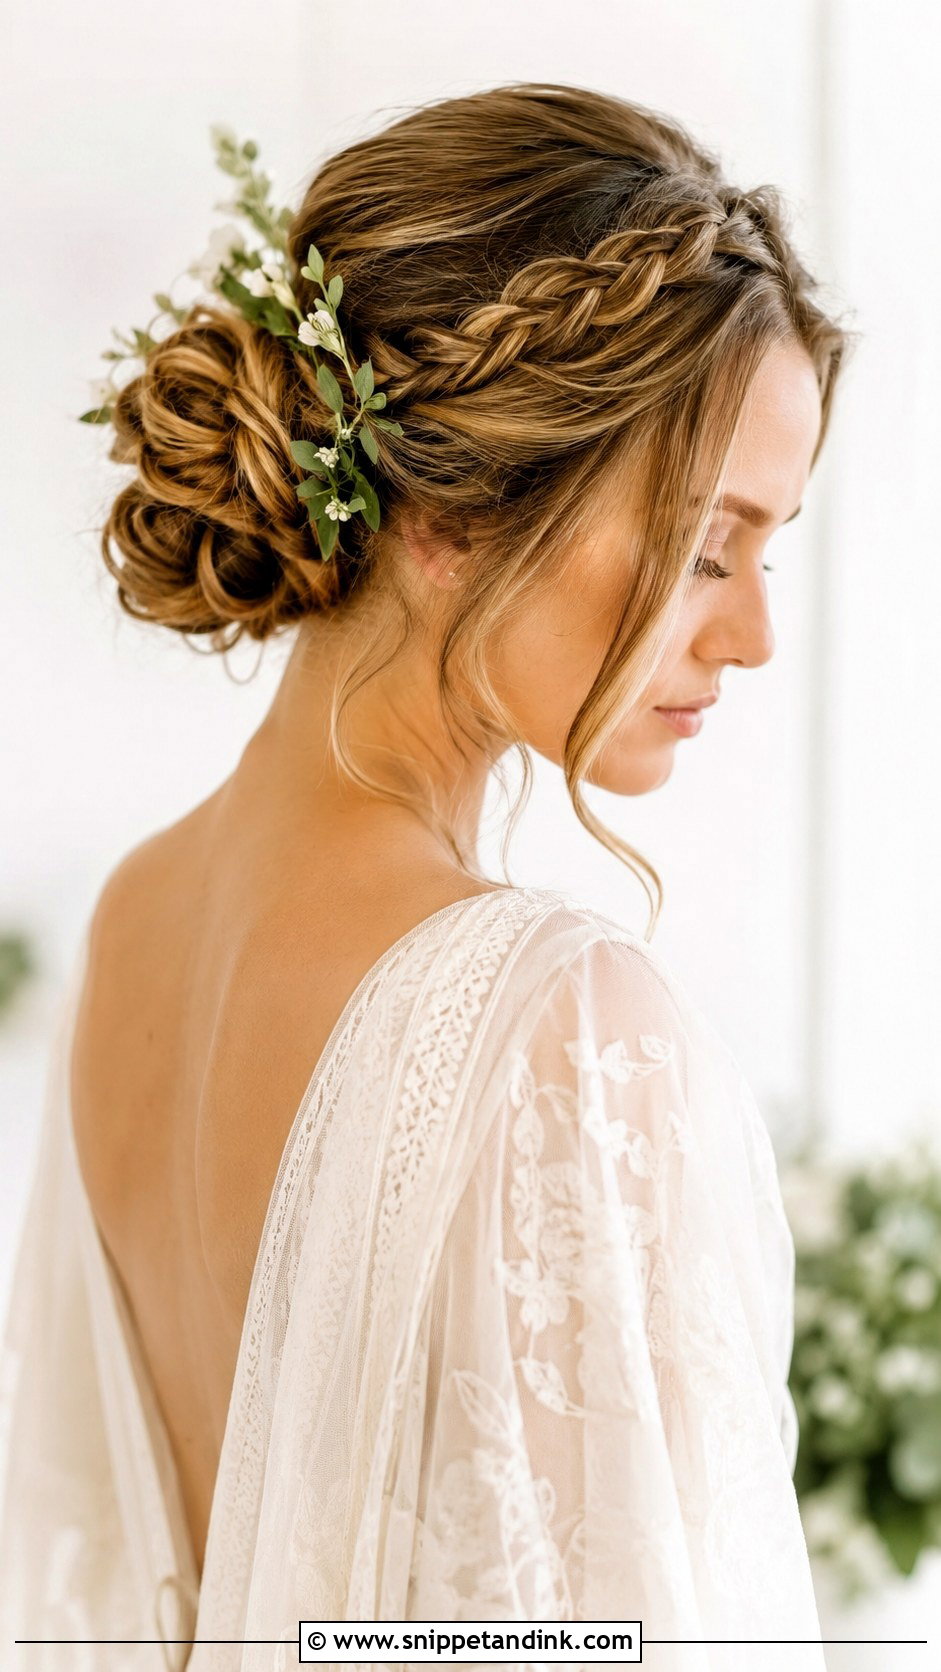
Loose braids woven around the head lead into a textured, undone knot, with plenty of face-framing pieces. It suits outdoor and festival-style weddings, and fresh flowers or greenery tucked in finish the look. Of all the braided styles, this is the one I’d suggest for hair with lots of layers, since loose braids forgive shorter pieces poking out. It goes with flowing gowns.
24. Wrapped Bun
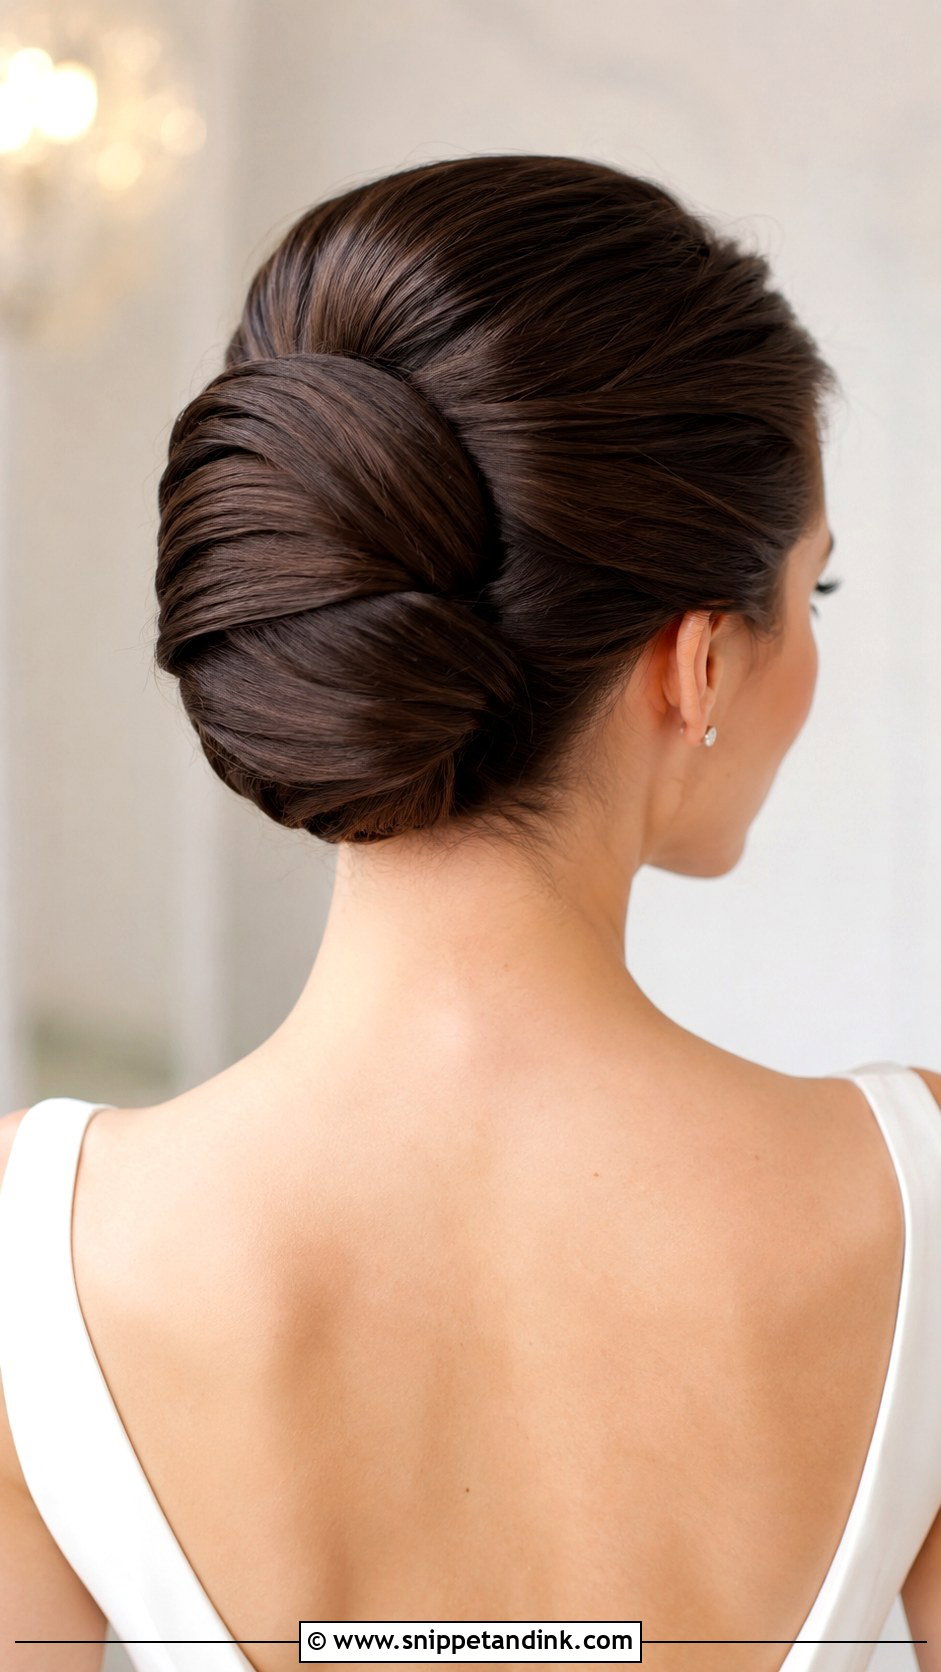
A wrapped bun is made from hair elegantly wound around itself, building clean, smooth layers into a sculptural shape. It suits sleek, contemporary weddings and minimalist gowns. The wrapping technique creates structure and hold. A hidden pin or small accessory finishes it. I work the hair while it’s slightly damp with a smoothing cream, so the layers sit flat and catch light evenly. It holds well through a long day.
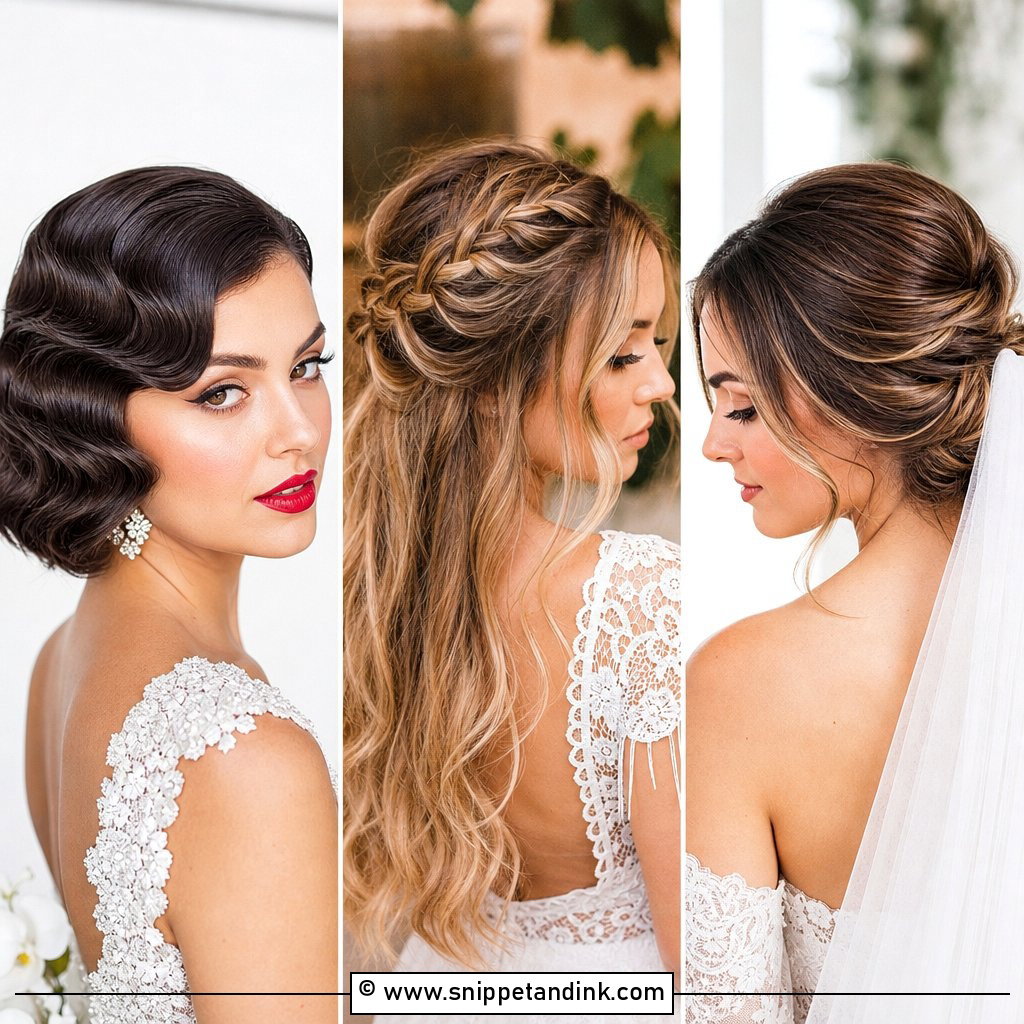
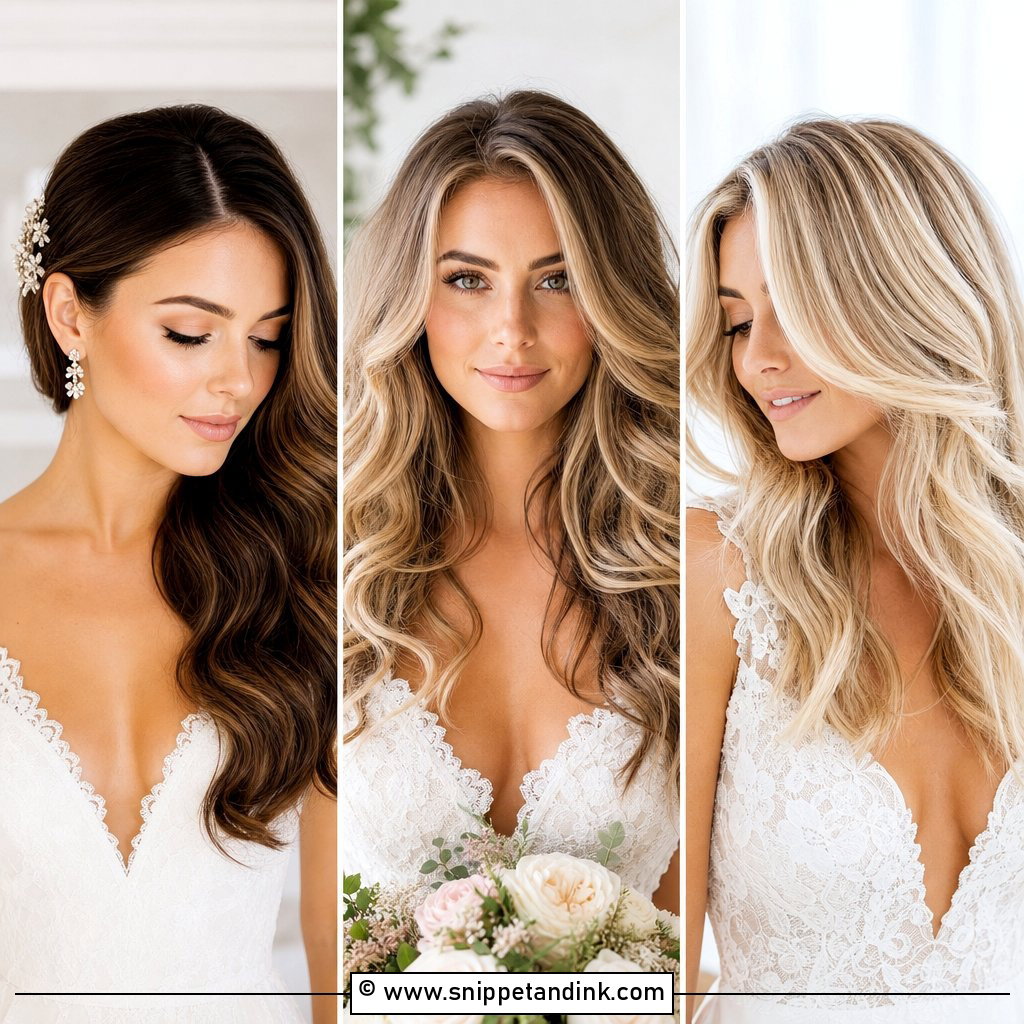
25. Accessorized Sparkle Bun
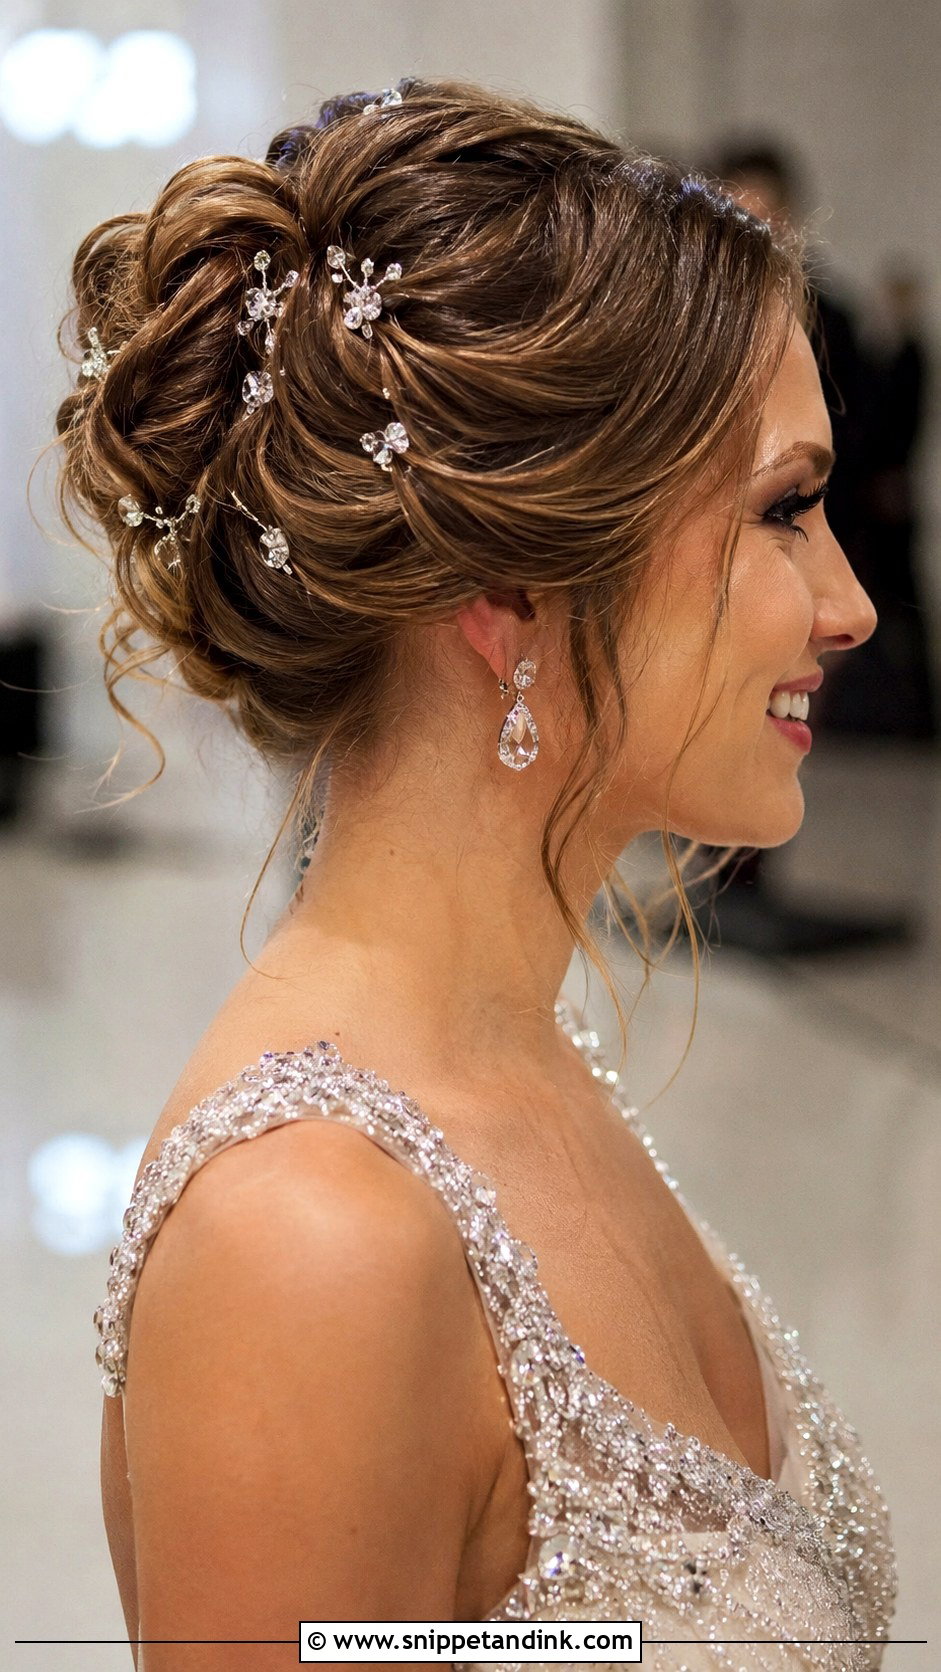
The accessorized sparkle bun shines under evening light, with crystals, rhinestones or jeweled pins set into any bun base. Scatter the crystals across the knot or cluster them on one side for a focal point. It suits formal, evening and luxurious weddings. One thing I watch: lots of sparkle plus a sparkly veil and earrings can get busy, so I usually decide which one leads and keep the others quieter.
26. Low Twisted Chignon
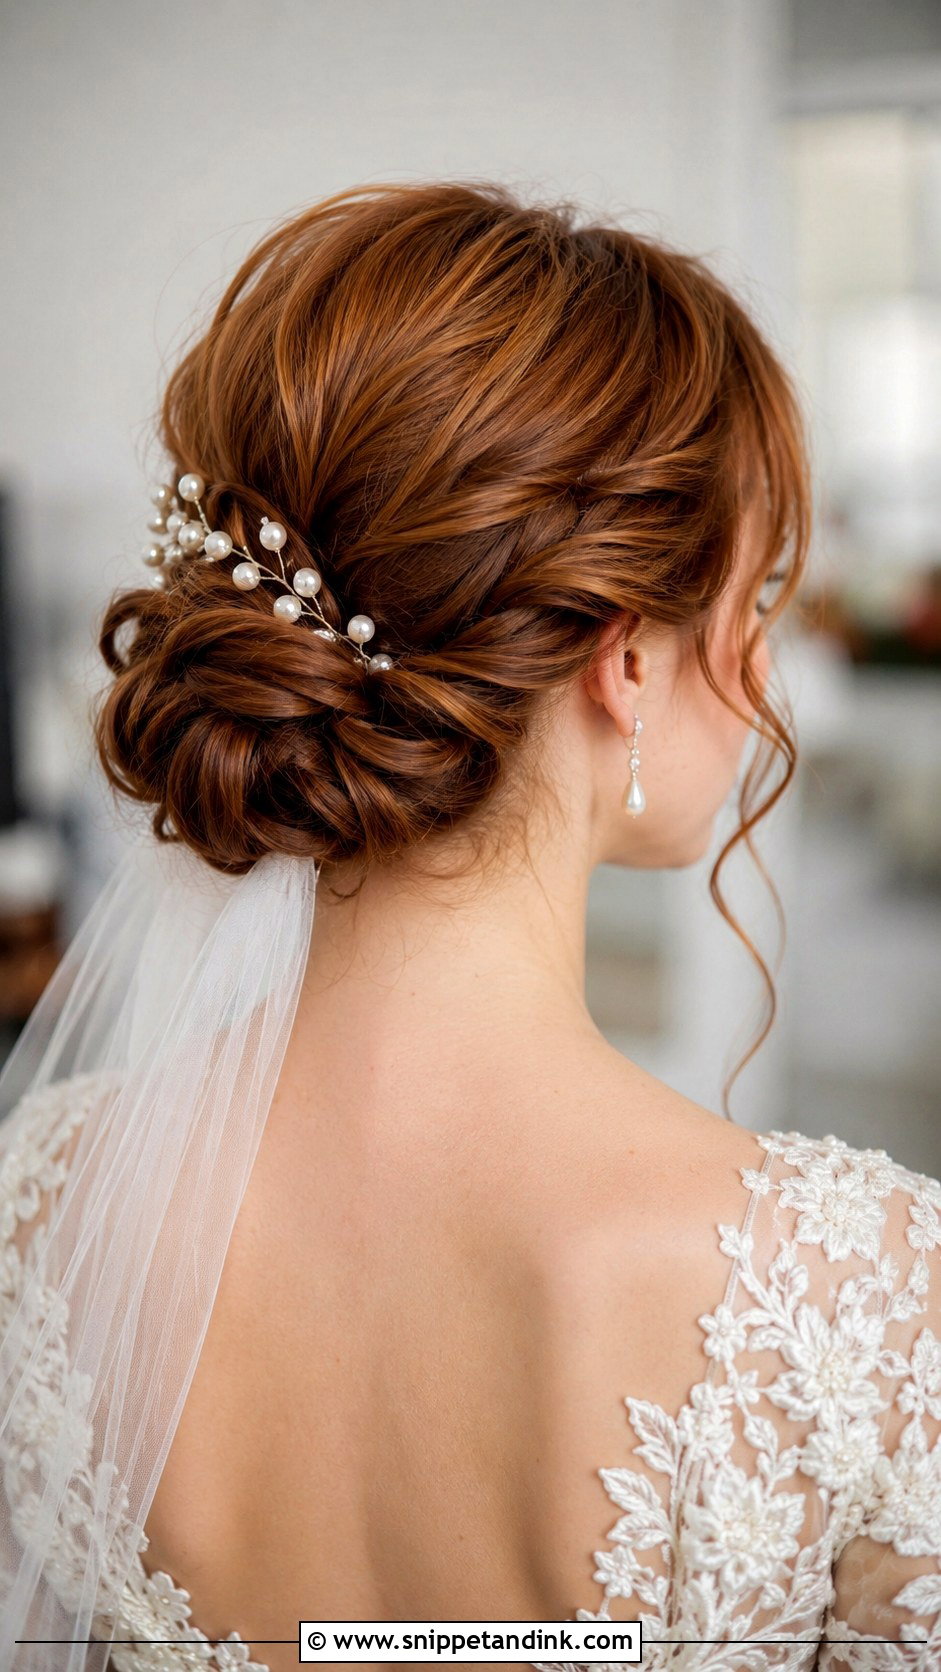
Sections twisted before being coiled into a low knot add detail to a classic chignon shape. It suits formal and romantic weddings alike. Pair it with a veil, comb or pearl pins. I set the twists in the same direction so the light catches them evenly; mixing directions looks messy in photos. It works with most face shapes and gowns.
27. Voluminous Updo With Braids
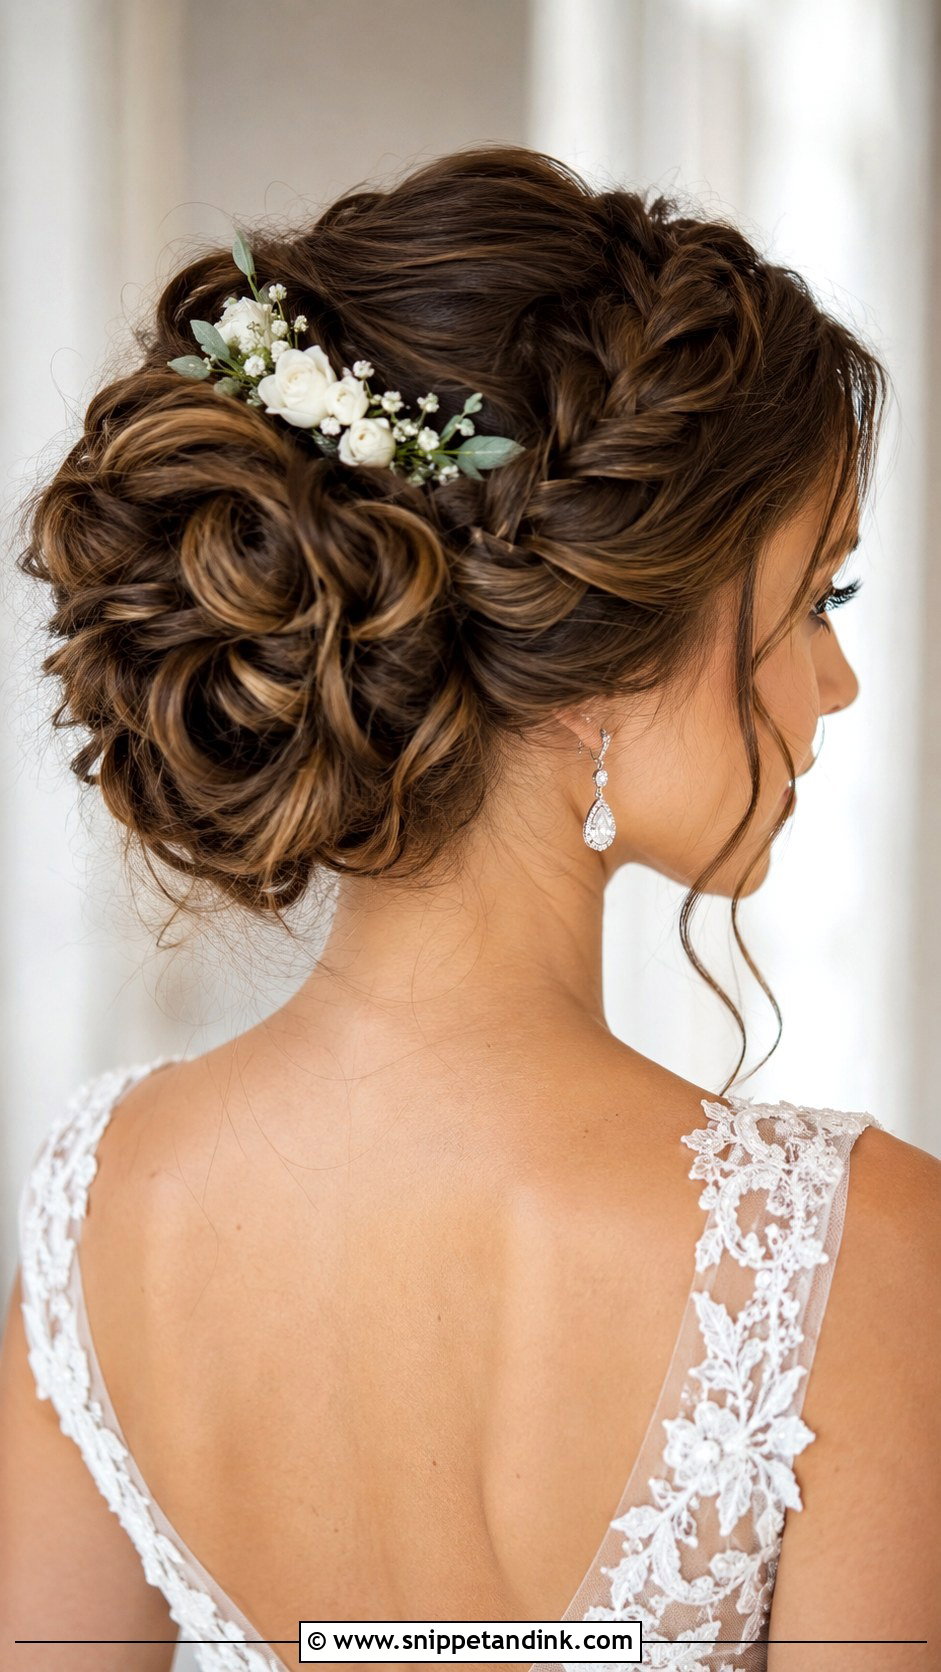
Volume plus braids gives a full, intricate updo with a lot of presence. Voluminous hair is gathered into a soft bun while braids weave throughout. It’s a statement style for formal, boho or romantic weddings. Fresh flowers or sparkling pins add to it. It needs a lot of hair; if yours is fine, I’d add clip-in extensions in a matching shade for fullness, placed under the top layer so nothing shows.
28. Soft Wavy Bun
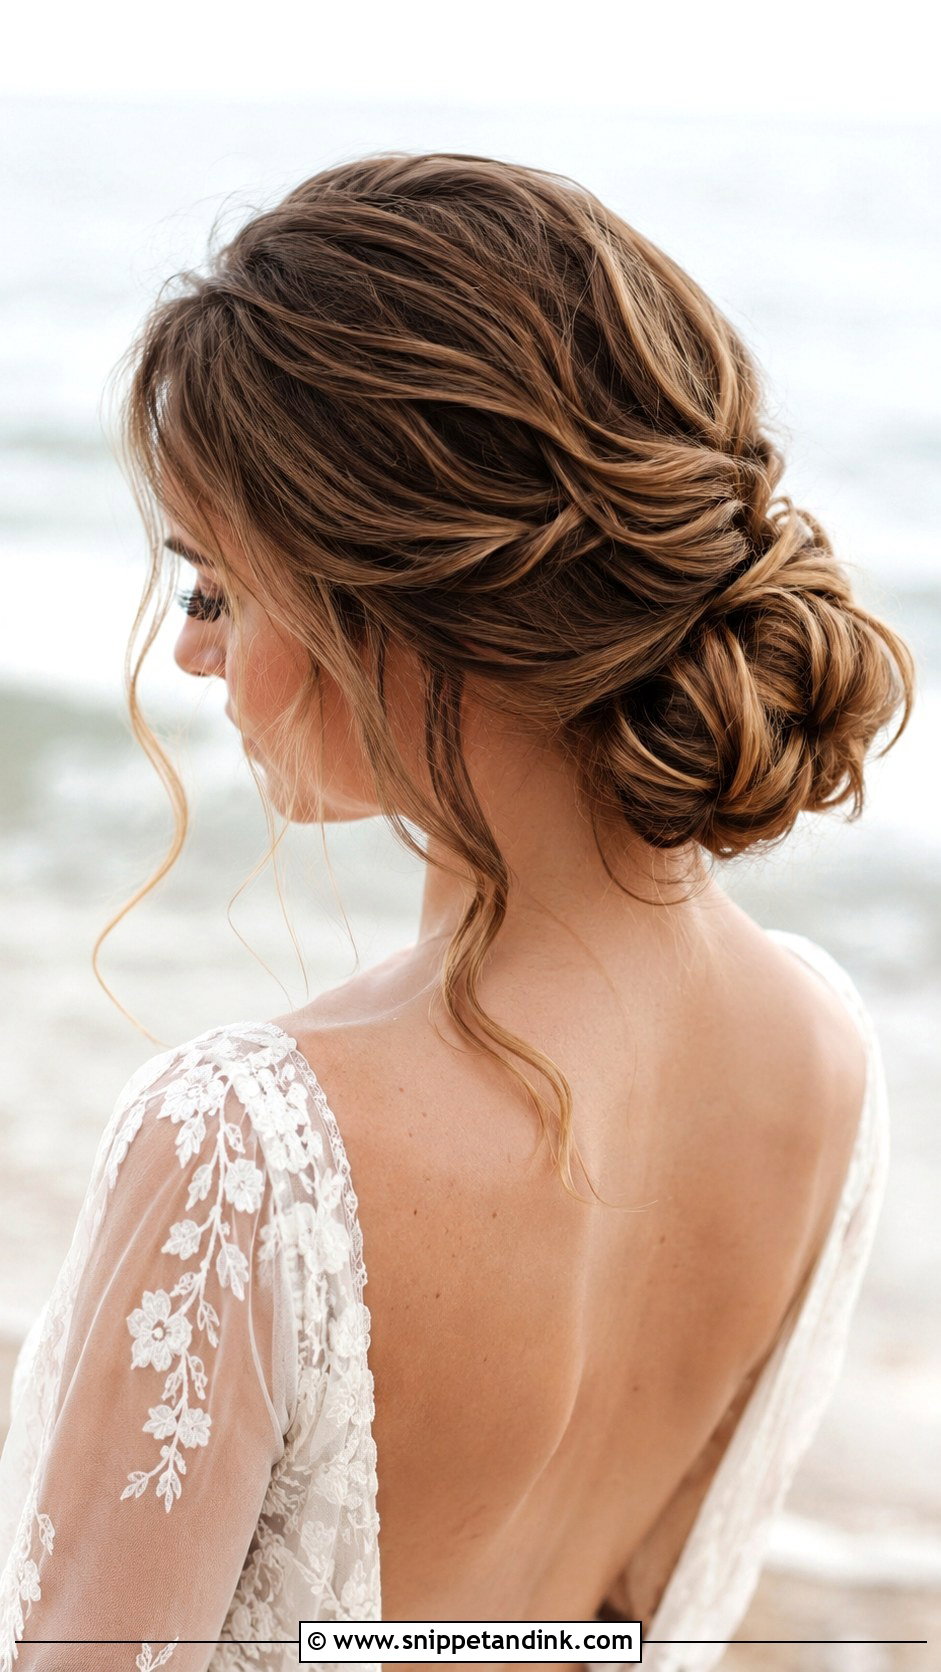
Combining gentle waves with a relaxed knot, this soft wavy bun has movement and a natural, airy feel. The hair is waved before being gathered loosely. It suits garden, beach and romantic weddings. Leave a few wavy tendrils around the face. I curl the hair a day before for brides with hair that won’t hold a curl, since second-day waves often grip pins better. Delicate accessories or fresh flowers finish it.
29. Sleek Wrapped Low Bun
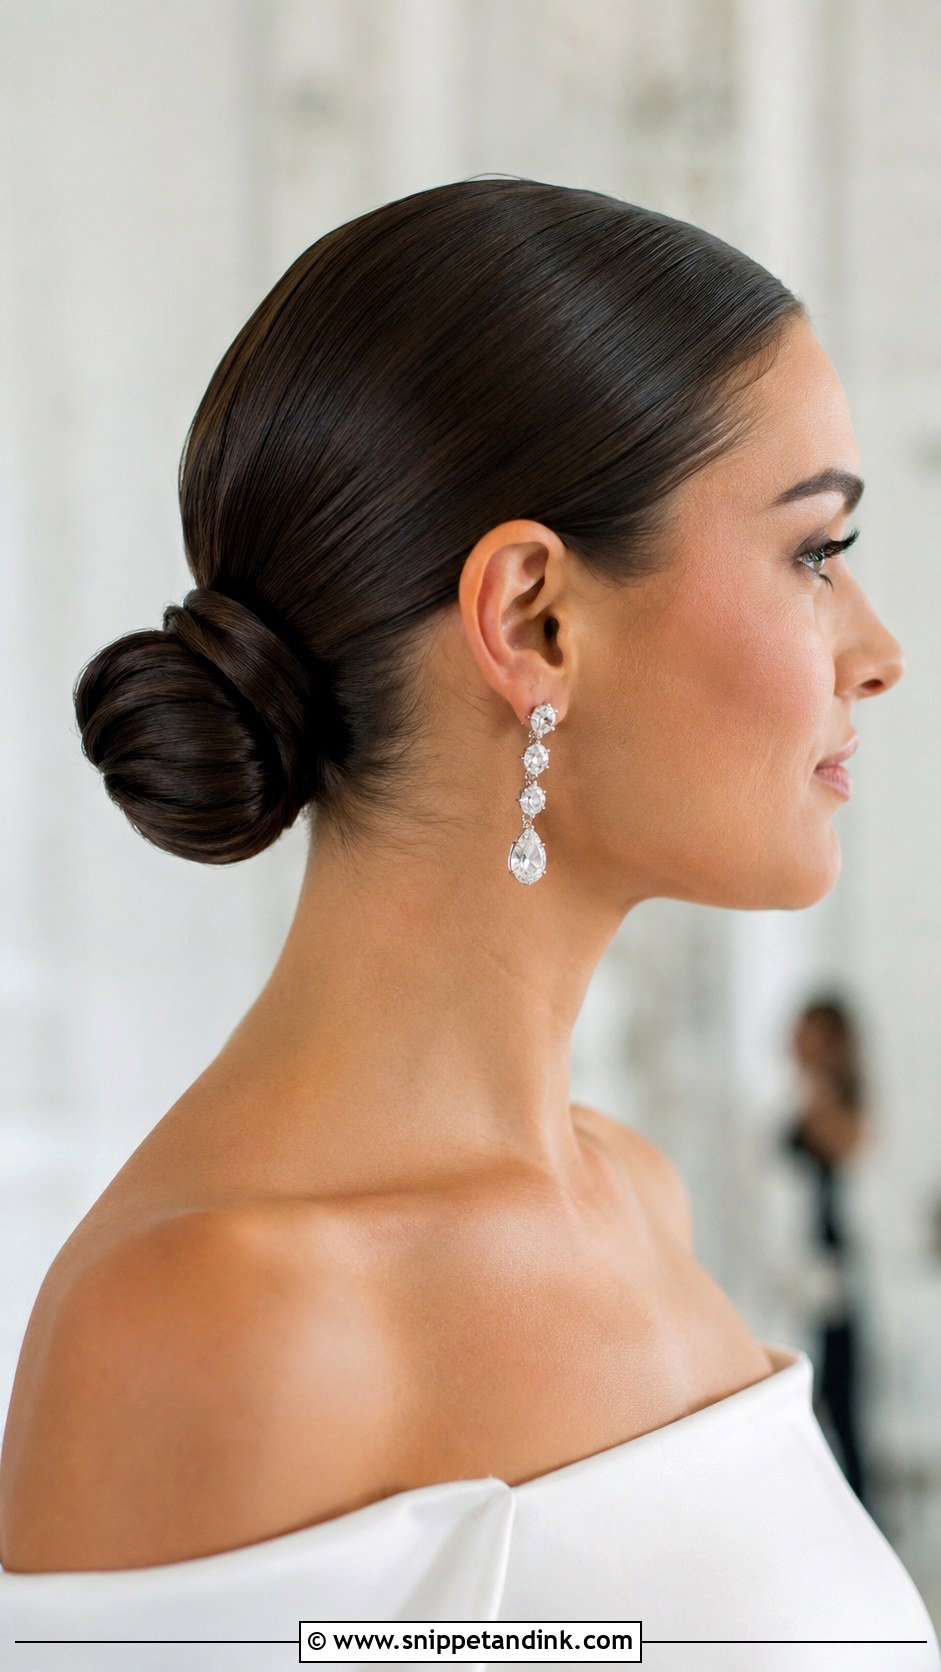
Smoothed back and wrapped into a tight, glossy knot at the nape, this is the cleanest finish on the list. It shows the face and neckline and suits minimalist gowns and statement jewelry. Shine serum gives the glossy finish, but too much makes hair look wet in flash. I apply it to my palms first, then smooth the surface. Formal and city weddings suit it, and it holds all day.
30. Vintage Rolled Bun
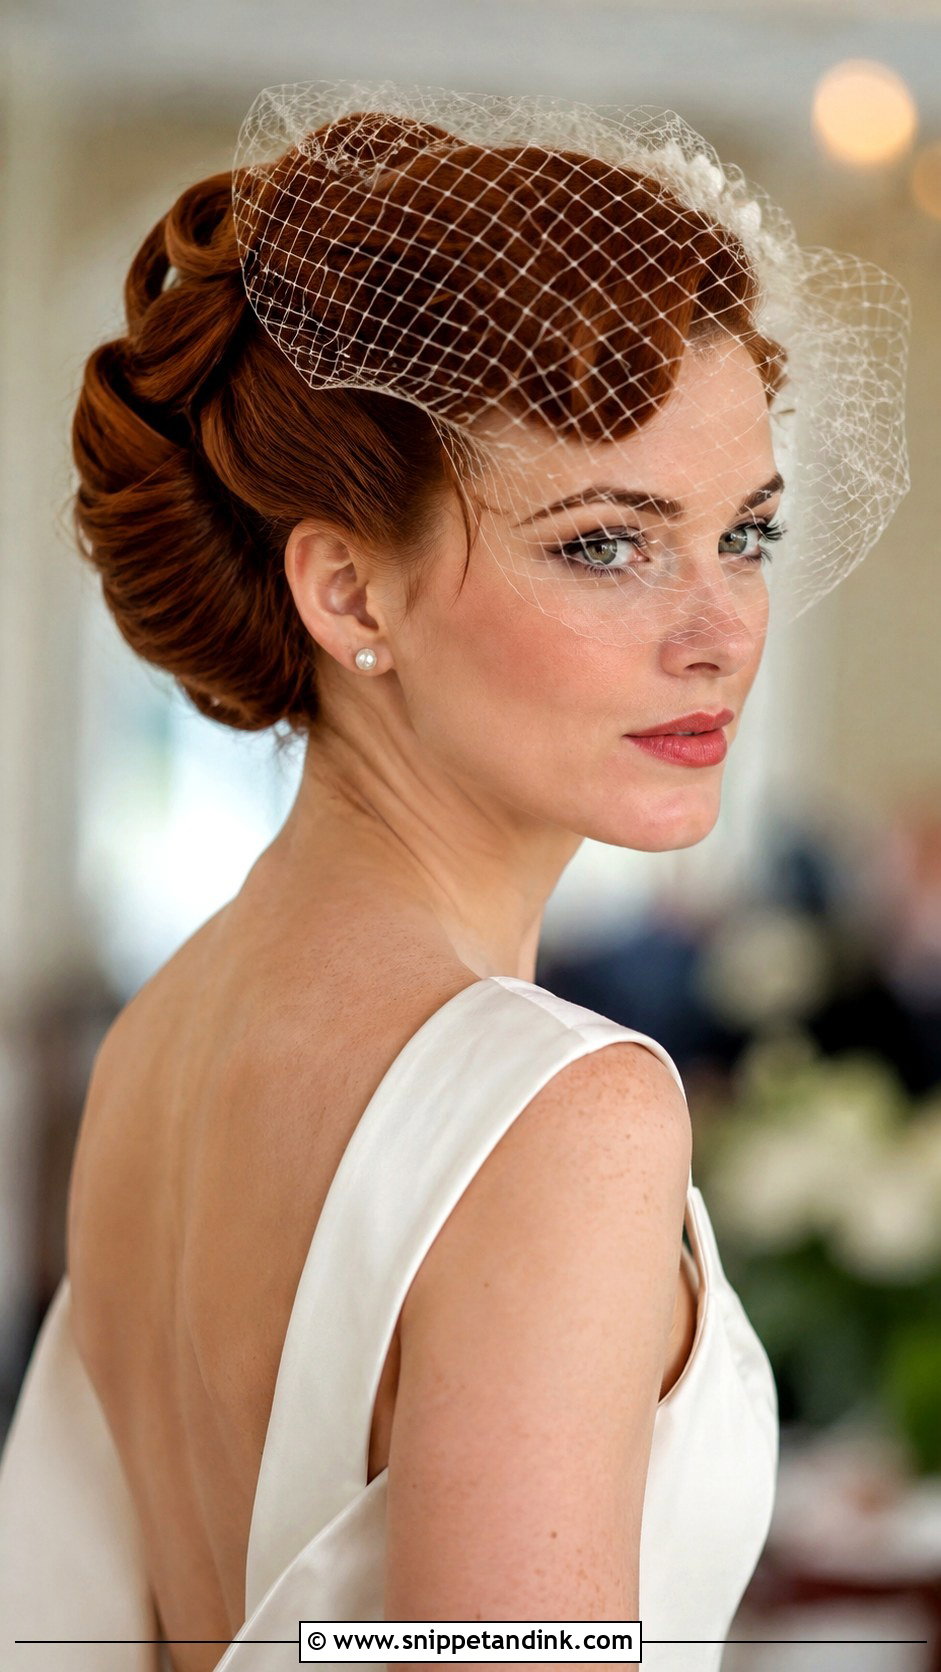
Rolled and tucked into a structured shape, the vintage roll has smooth, sculpted glamour. It pairs with a birdcage veil or vintage accessory and suits classic or themed weddings. The rolls need setting carefully, often around a hidden padding roll for consistent shape. It’s secure and lasts, as long as the base is pinned firmly. Old-world charm without looking costume-like.
Too Little Hair, or Too Much, for the Bun You Saved
Most bun photos are of brides with long, thick hair. If yours is fine, shoulder length or thick enough to make a bun look heavy, it’s not a reason to give up the style, but it changes the method.
- Fine or thin: a bun shaper or donut padding gives size, and clip-in extensions matched to your color add body without teasing.
- Shoulder length: a low, smaller knot works; pieces at the nape will need small pins and sometimes a little pomade.
- Very thick or long: I divide the hair and build two smaller sections into one bun, which spreads the weight and keeps it from dragging.
- Layered cuts: braids and twists hold shorter layers better than a sleek roll does.
Undoing it at midnight
A wedding bun can have thirty to fifty pins in it. Take it down slowly, removing pins from the bun first and then the base, and don’t brush until the pins are out. A little conditioner or oil worked through dry hair helps loosen hairspray and teasing before you wash.
The Back of Your Head Gets Photographed Too
Guests watch the back of your head for most of the ceremony, and the photographer shoots it during the vows, so the bun deserves as much thought as the front. Sleek chignons, messy knots, braided or twisted styles all have a place. Think about your hair length, texture, and the veil, flowers or pearls you’ll wear. A good bun should feel comfortable at hour ten, hold its shape when hugged, and look like you. Book a trial, wear it for the afternoon, and take a photo from behind before you decide.
You'll Like These Ideas:


Leave a Reply