
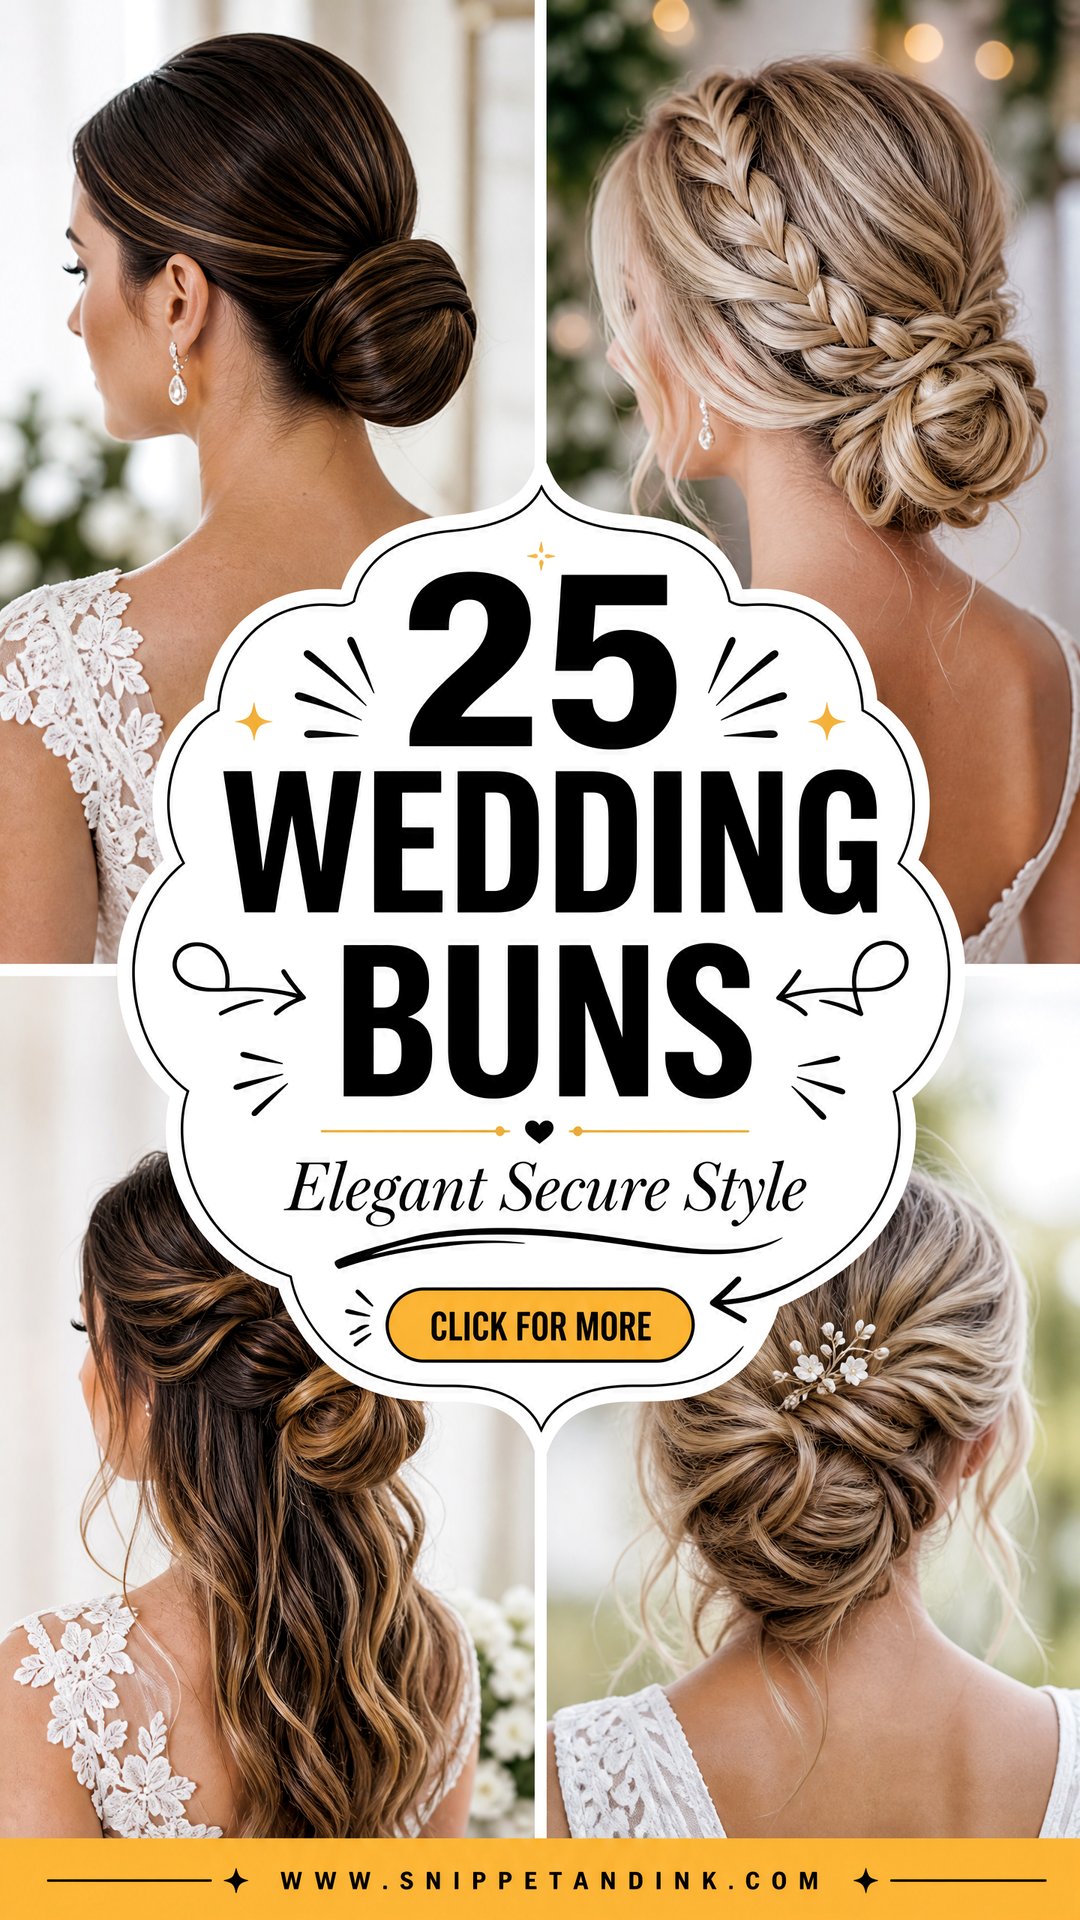
Ask a bridal hairstylist which style survives a full wedding day best and most of us will say a bun. The hair is gathered, anchored and out of the way, so it stays put through the ceremony, the photos and a crowded dance floor. Within that, the range is wide: sleek low chignons favored by quiet-luxury brides, loose knots with soft pieces around the face, braids and rolls and twists. These are 25 I’d happily put on a bride, with notes on how each one is built and what hair it really needs.
The Hardware Hidden Inside a Bun That Lasts
A secure bun has very little to do with the style you pick and almost everything to do with what’s underneath it. Each of the 25 looks below is built on the same small kit, and knowing what’s in it helps you understand why some buns hold until midnight and others start slipping by the toasts.
A base to pin into
Most of my buns start with a ponytail secured by a snag-free elastic. Pins hold far better when they can lock into that base than when they’re only gripping loose hair. Messy or twisted styles sometimes skip the ponytail, but then I backcomb the area where the pins go so there’s something to bite into.
The right pin for the job
- Bobby pins lock sections flat against the head. They hold best pushed in against the direction of the hair, wavy side down.
- U-shaped pins hold volume in place without crushing it, so they suit chignons and rolls.
- Spiral pins twist into a knot and grip a lot of hair with one pin, useful on thick hair.
- Padding or a small donut fills a bun out on fine hair, as long as it’s color matched and fully covered.
Heavy hair needs its weight split. If your hair is long and thick, ask whether your stylist will build the bun in two or three sections, each pinned on its own, rather than one large coil that drags as the day goes on.
1. Classic Low Bun
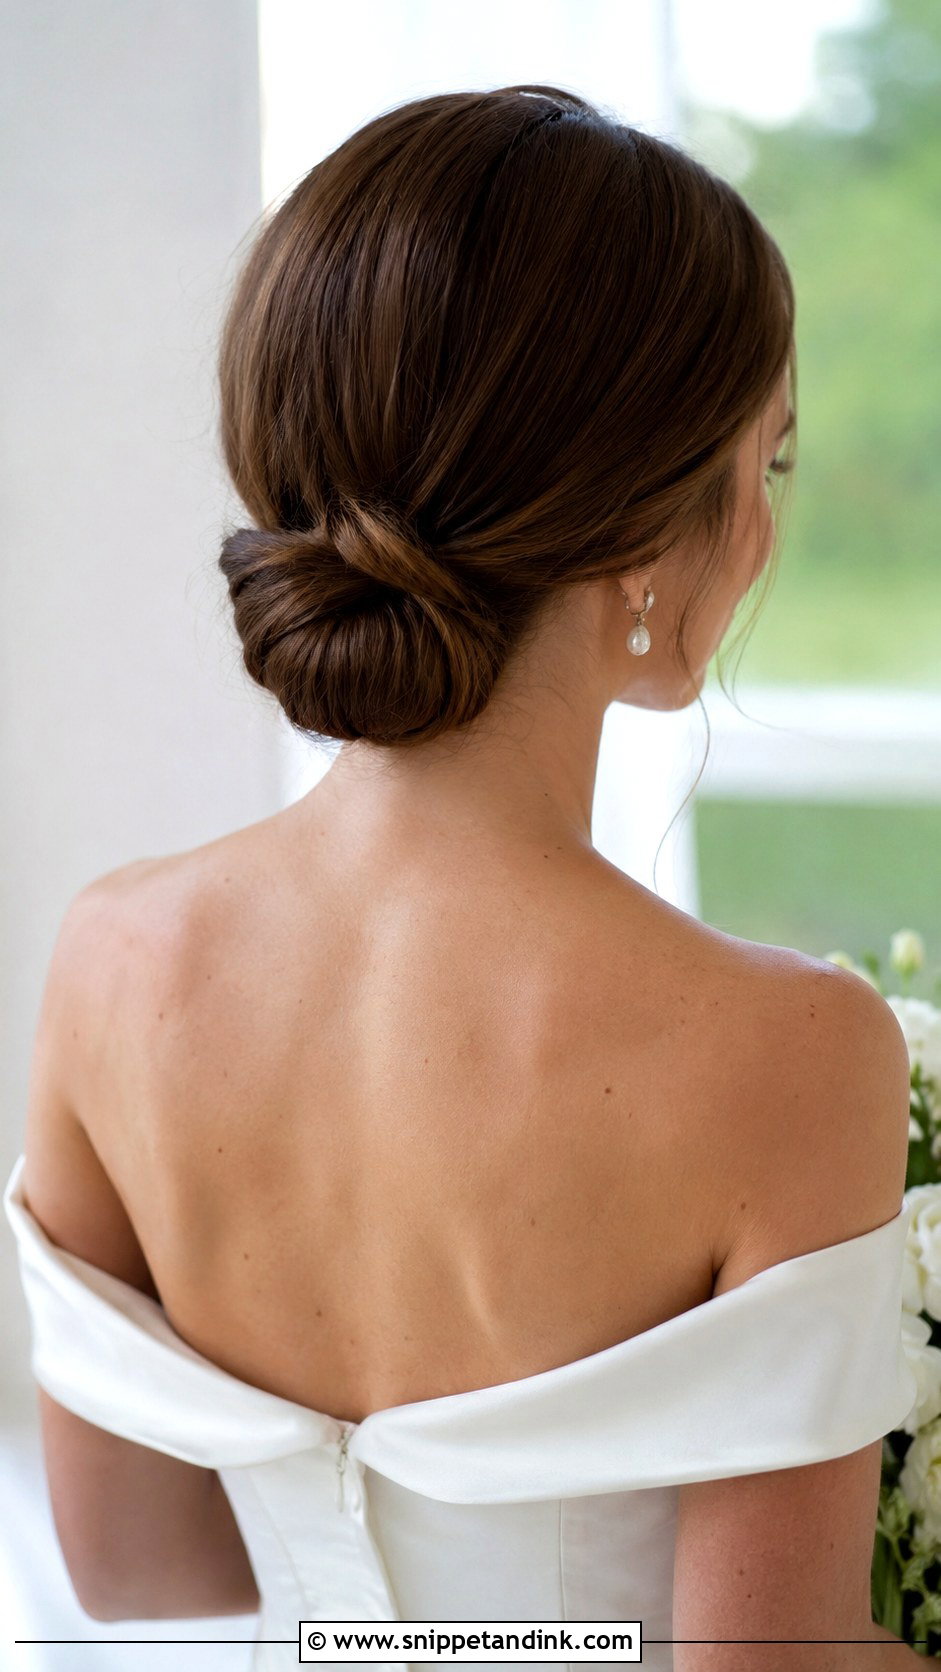
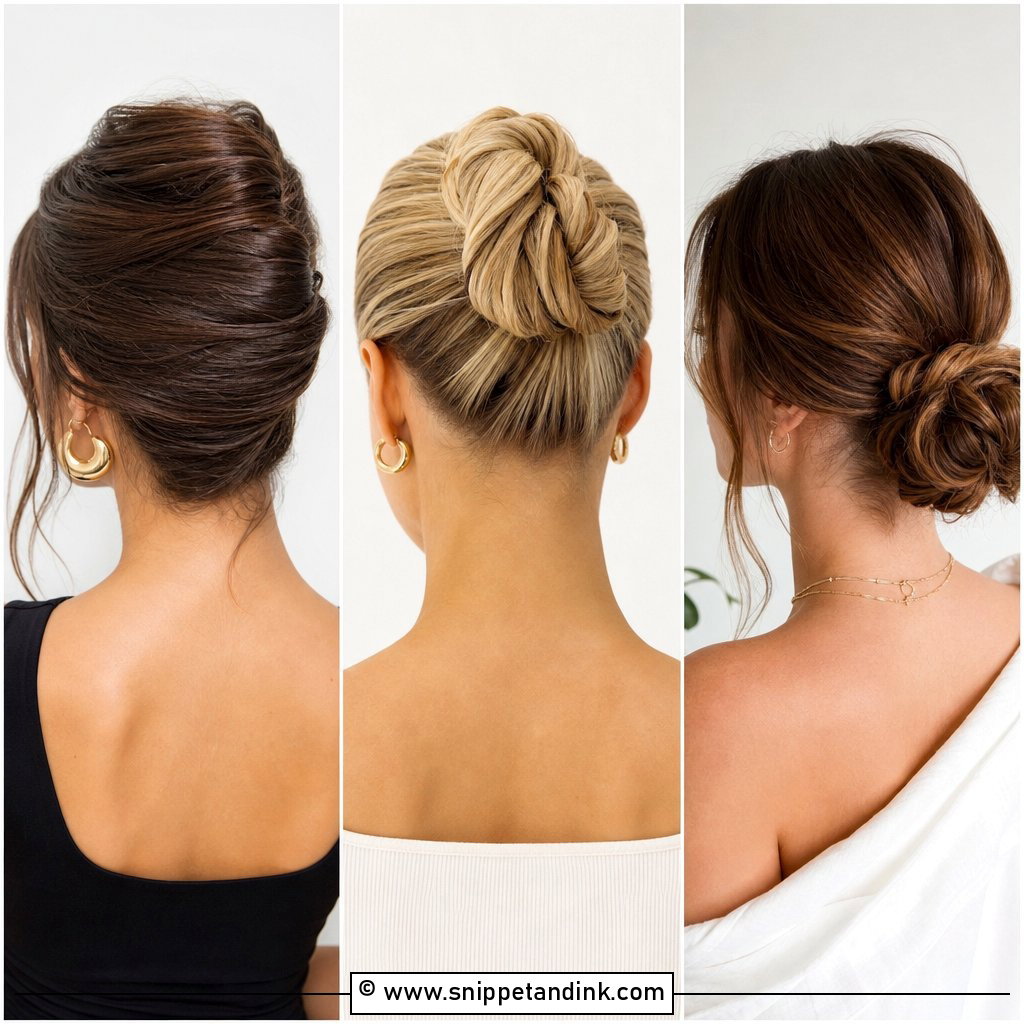
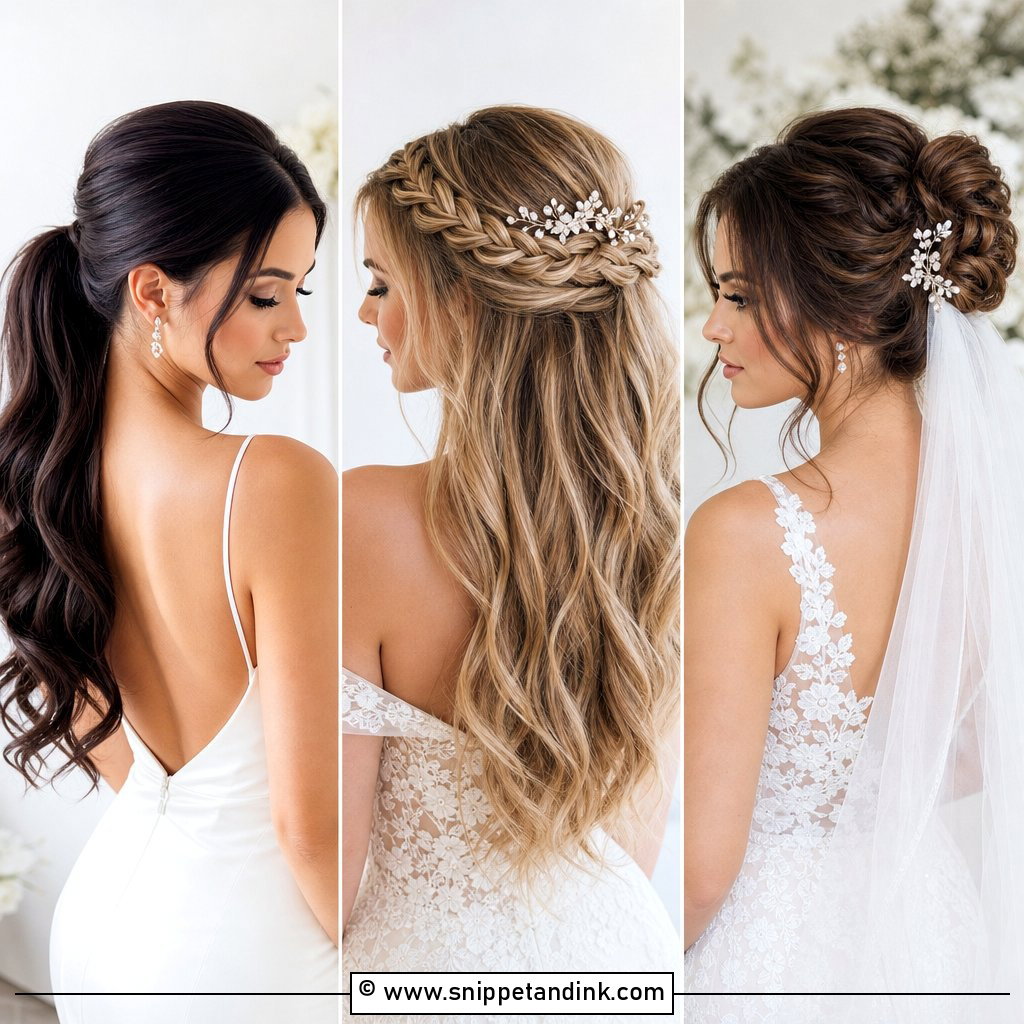
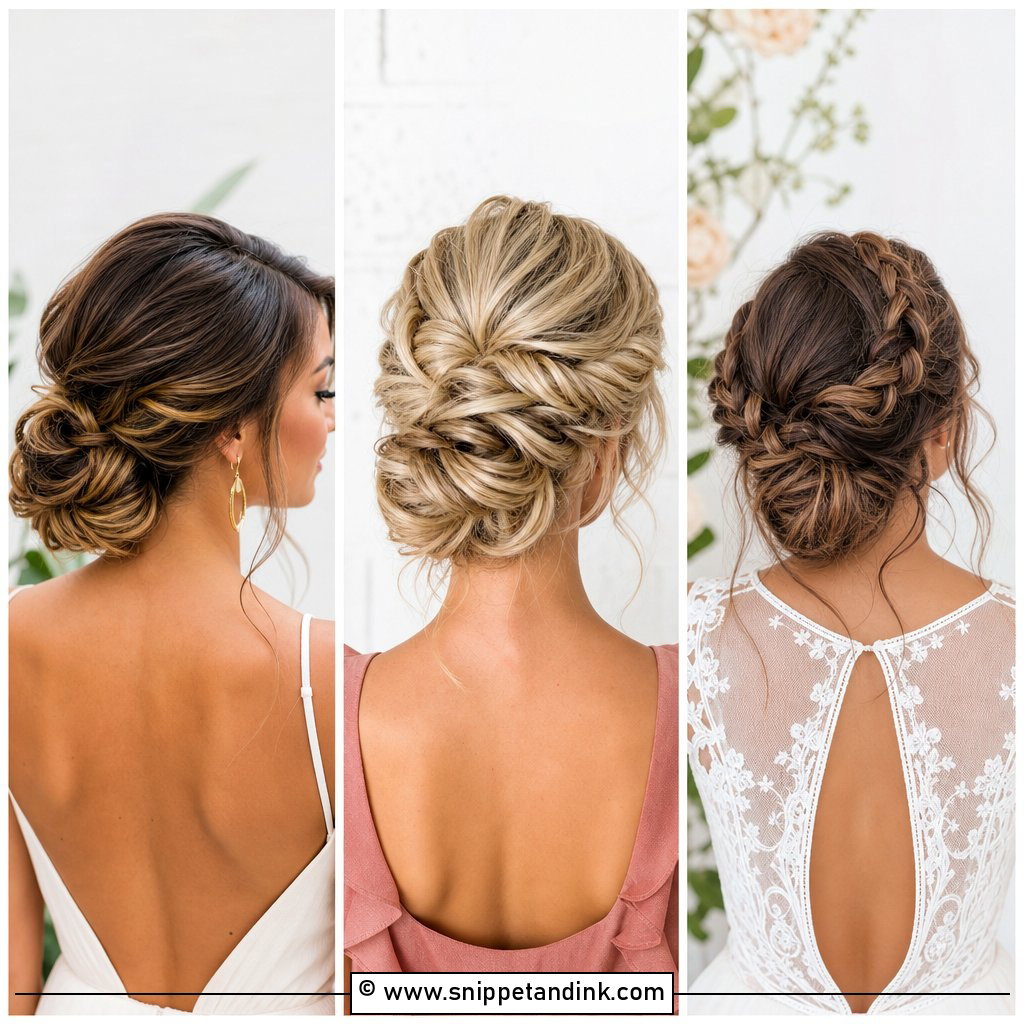
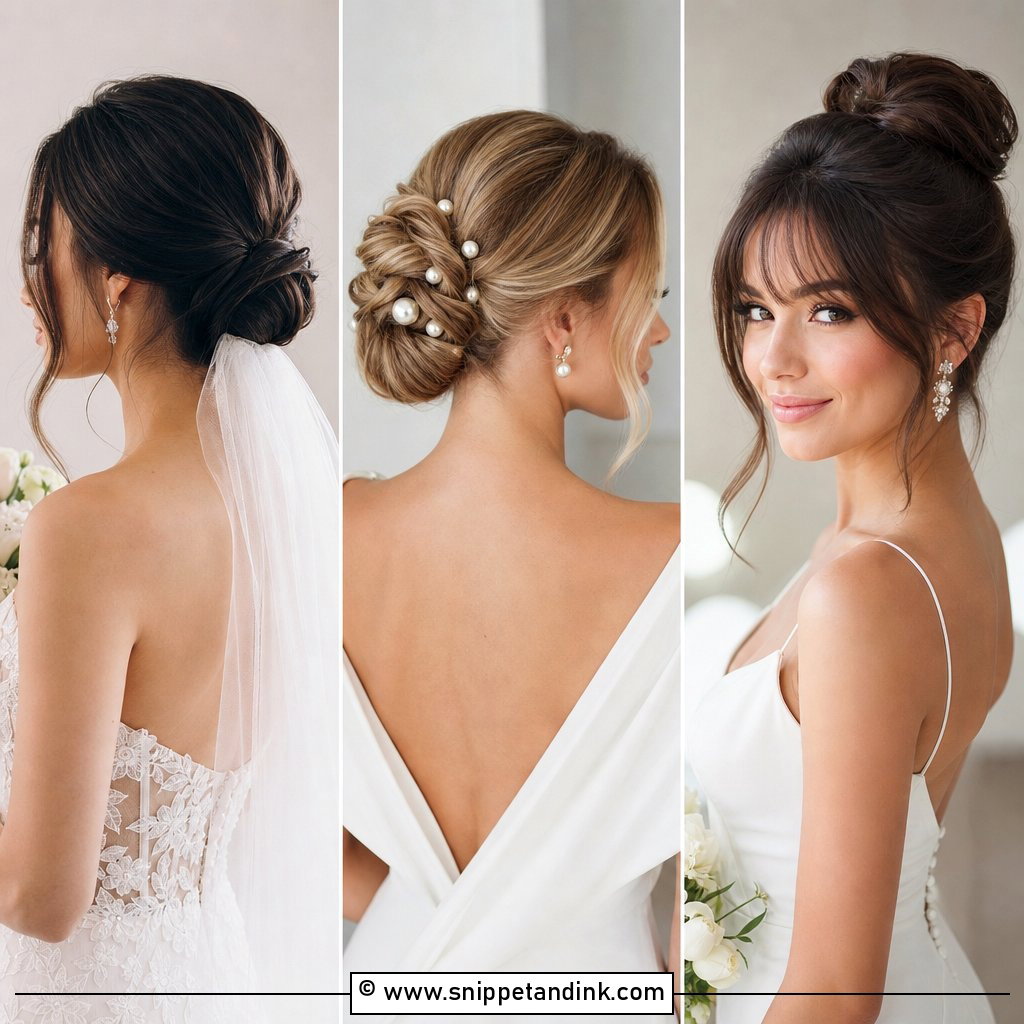
Brides keep coming back to the low bun because it rarely fights the dress. It sits at the nape, clear of most necklines, and gives a veil or a small tiara a firm base. I twist the gathered hair into a coil around an elastic and pin it from underneath, so the hold is hidden. Simple as it looks, it’s the style where good prep shows most: hair that’s been blow-dried smooth will sit cleaner than hair left to air-dry.
2. Messy Low Bun
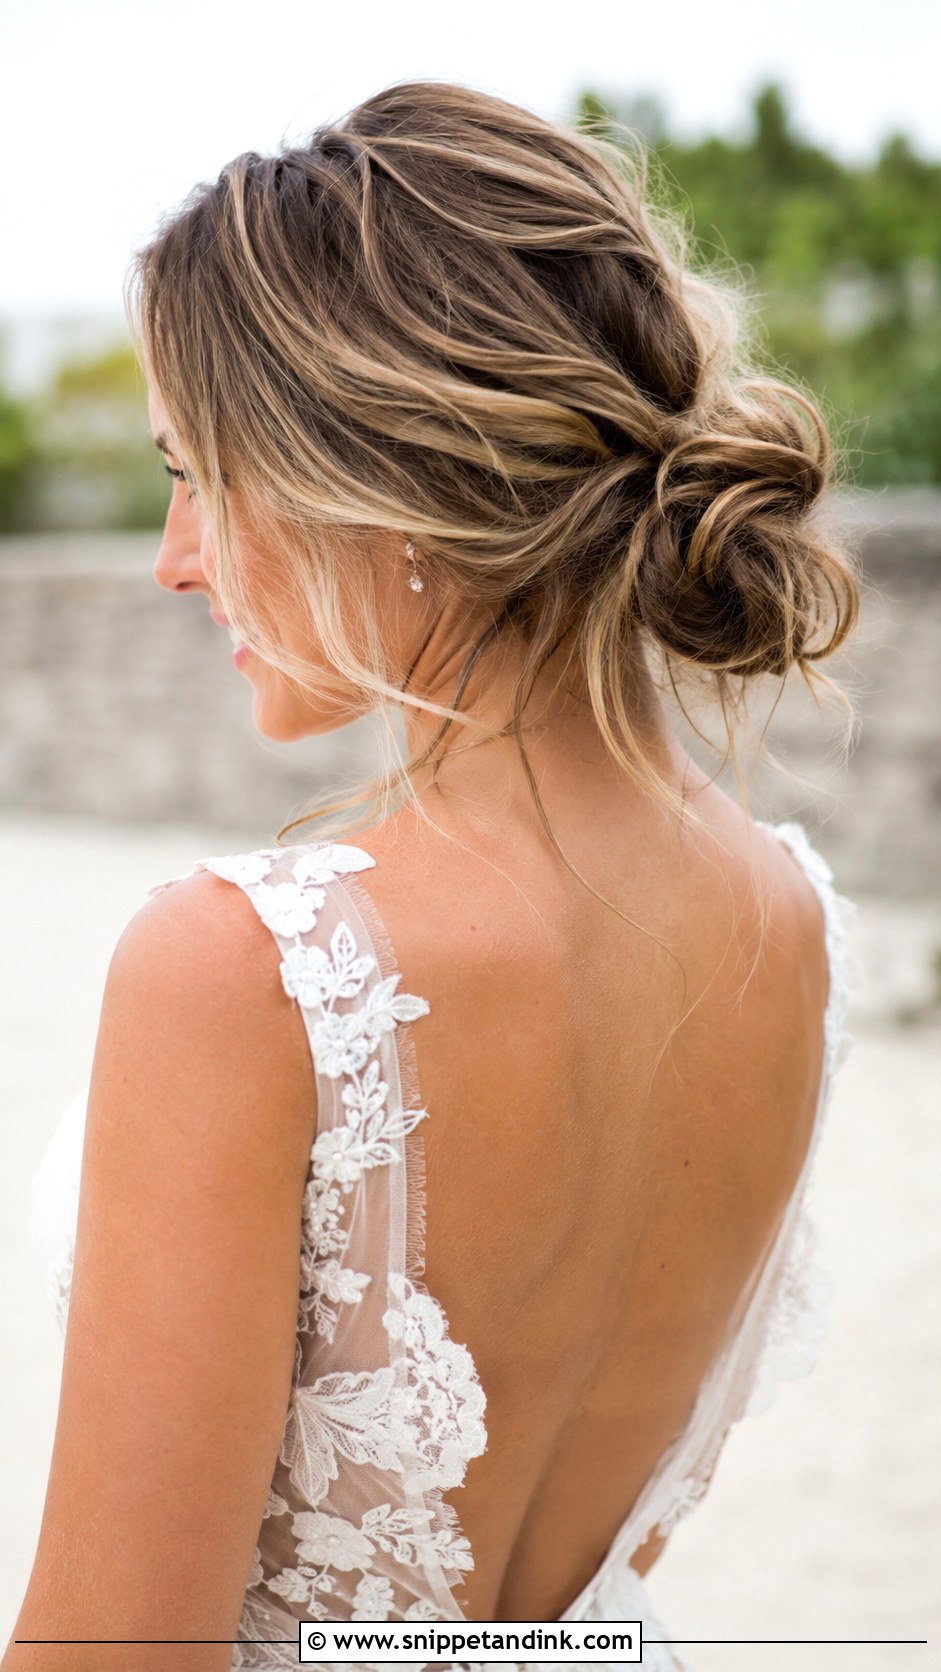
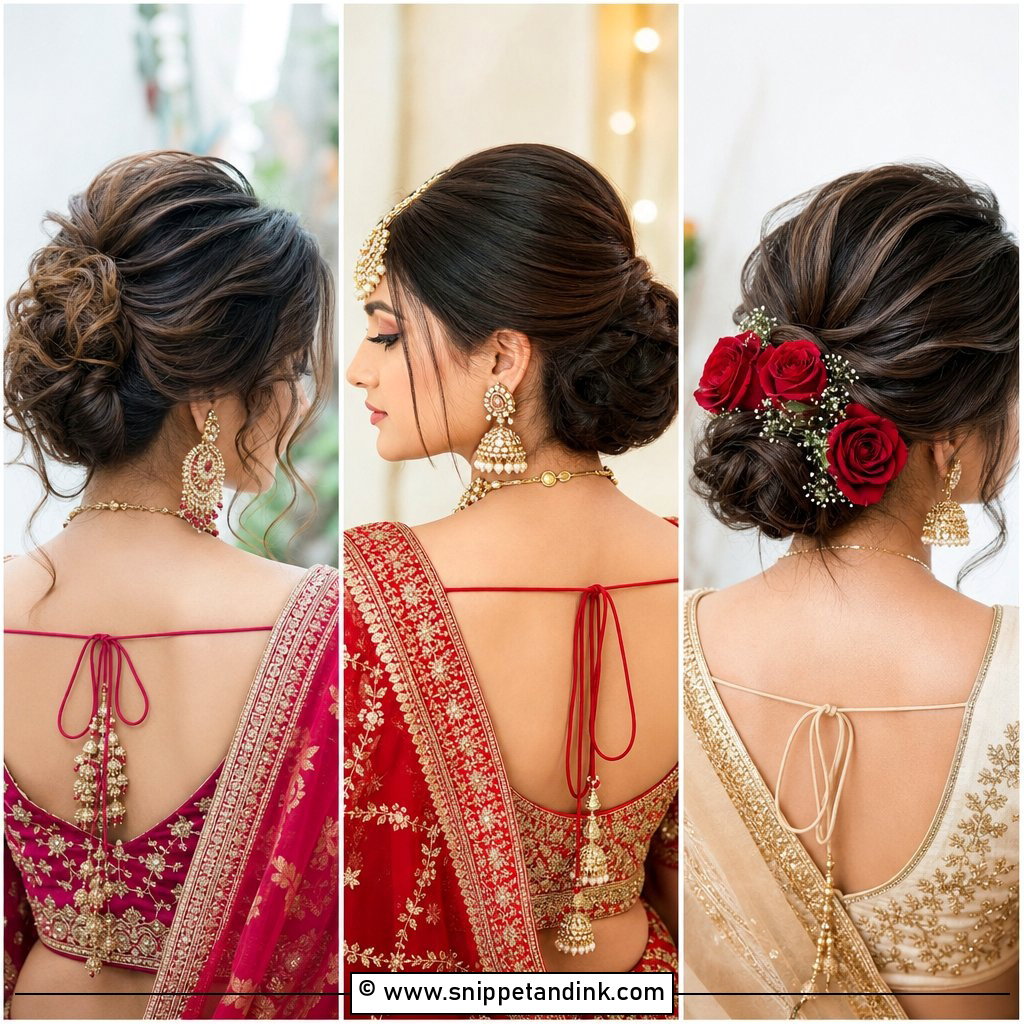
Done well, a messy low bun looks like you put it up yourself on a warm afternoon. Getting there takes more work than a sleek one. I curl the whole head first, brush the curls out into a soft wave, then gather and pin loosely, pulling pieces free once it’s secure. It moves when you dance, and that’s the appeal. If your hair is very fine and slippery, ask for a texture spray at the roots, or the volume flattens by the first dance.
3. Sleek Chignon
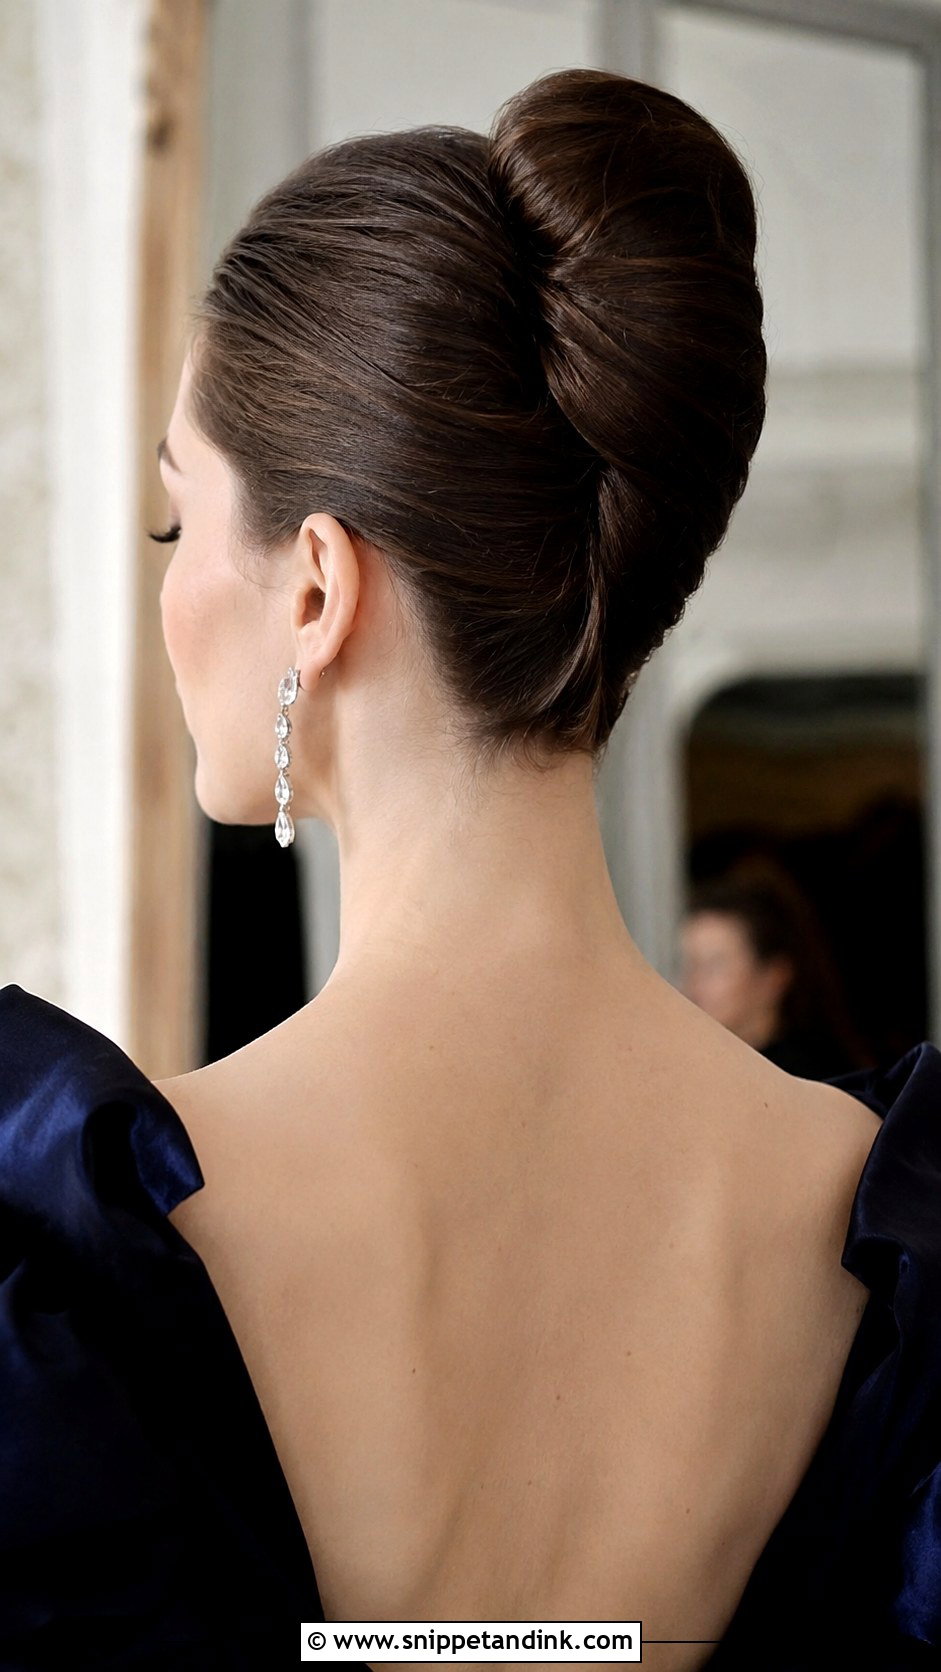
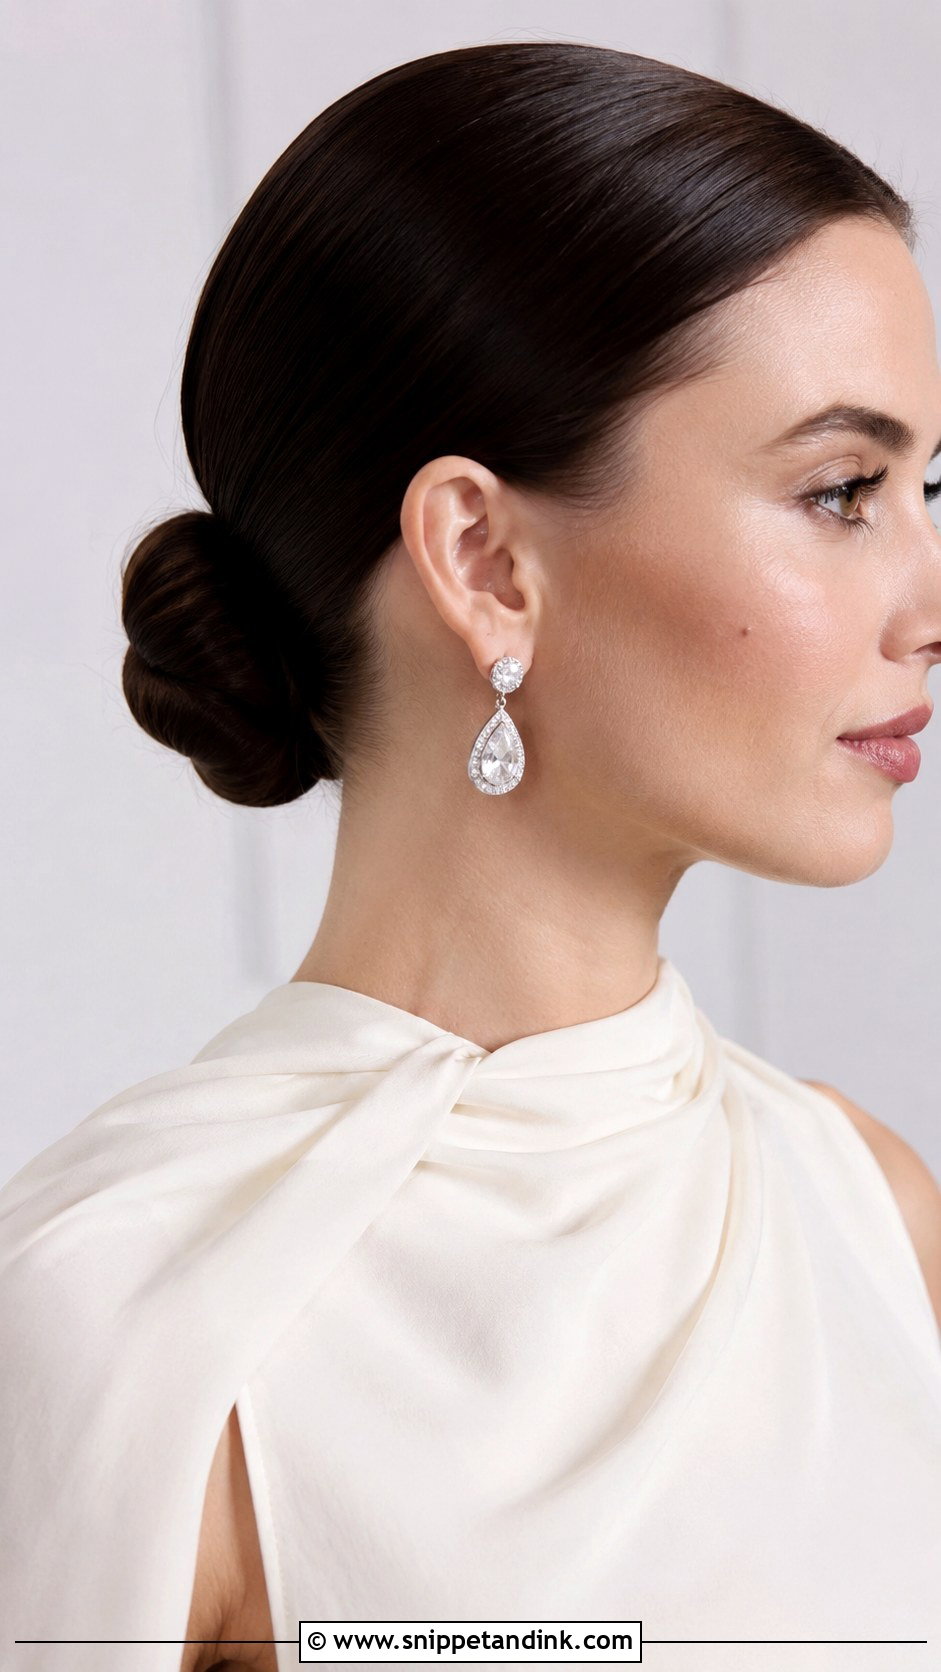
Plain, smooth and close to the neck, the sleek chignon is the bun most associated with the quiet-luxury look. There’s nowhere to hide here. I work with a little cream and a fine brush, checking the hairline from the side as well as the front, because a ripple above the ear is the first thing a camera catches. It suits structured gowns and big earrings. A light shine spray at the end gives the glossy finish without making hair stiff.
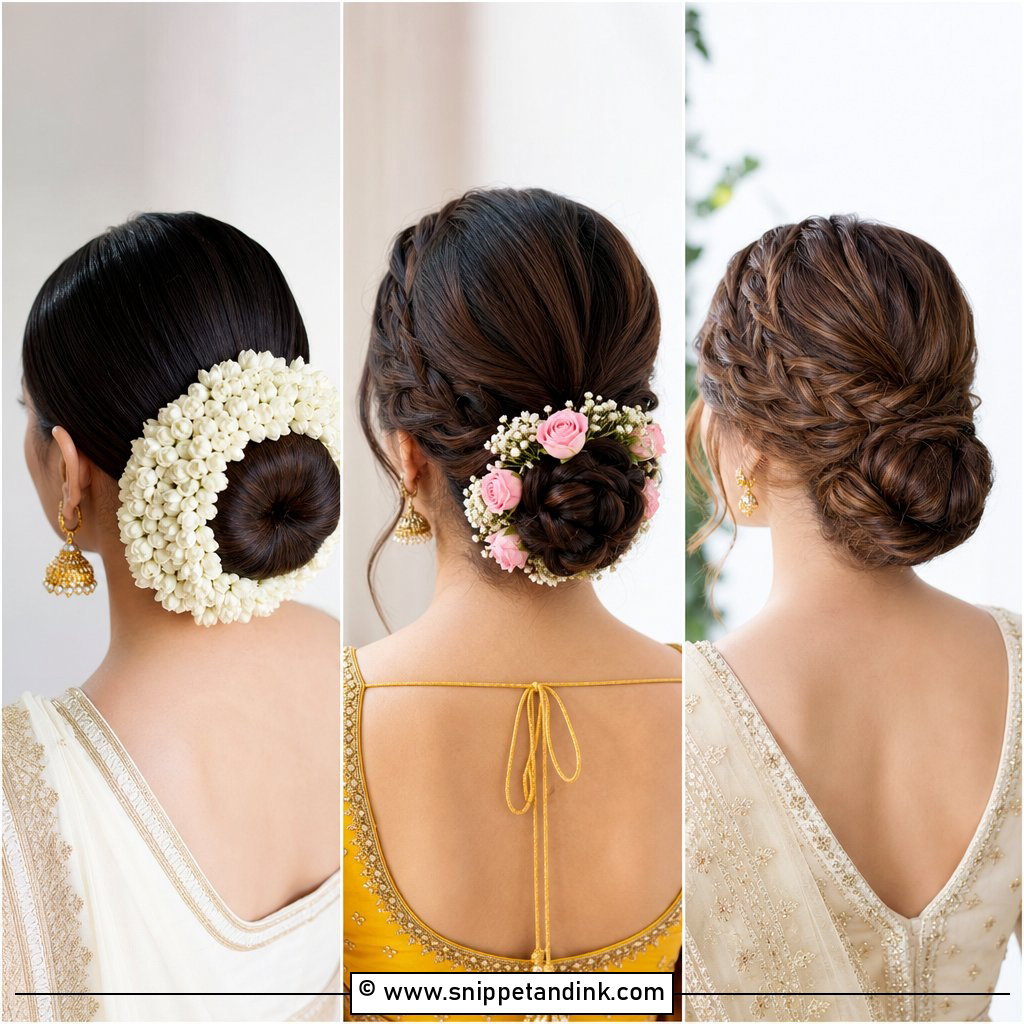
4. Braided Low Bun
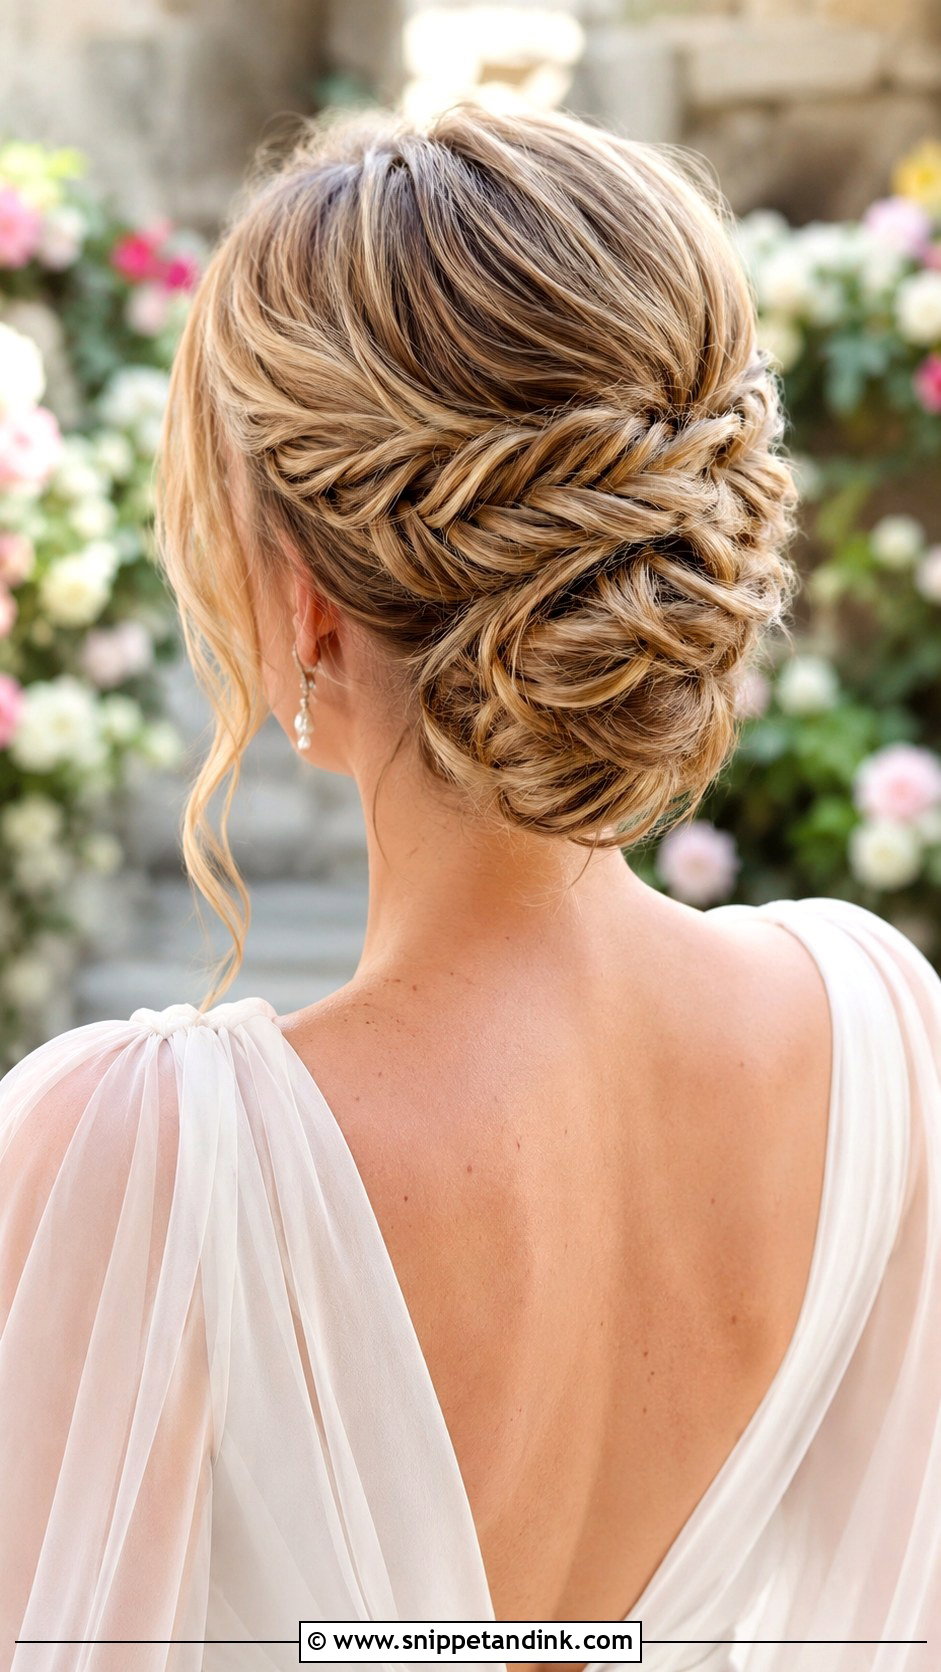
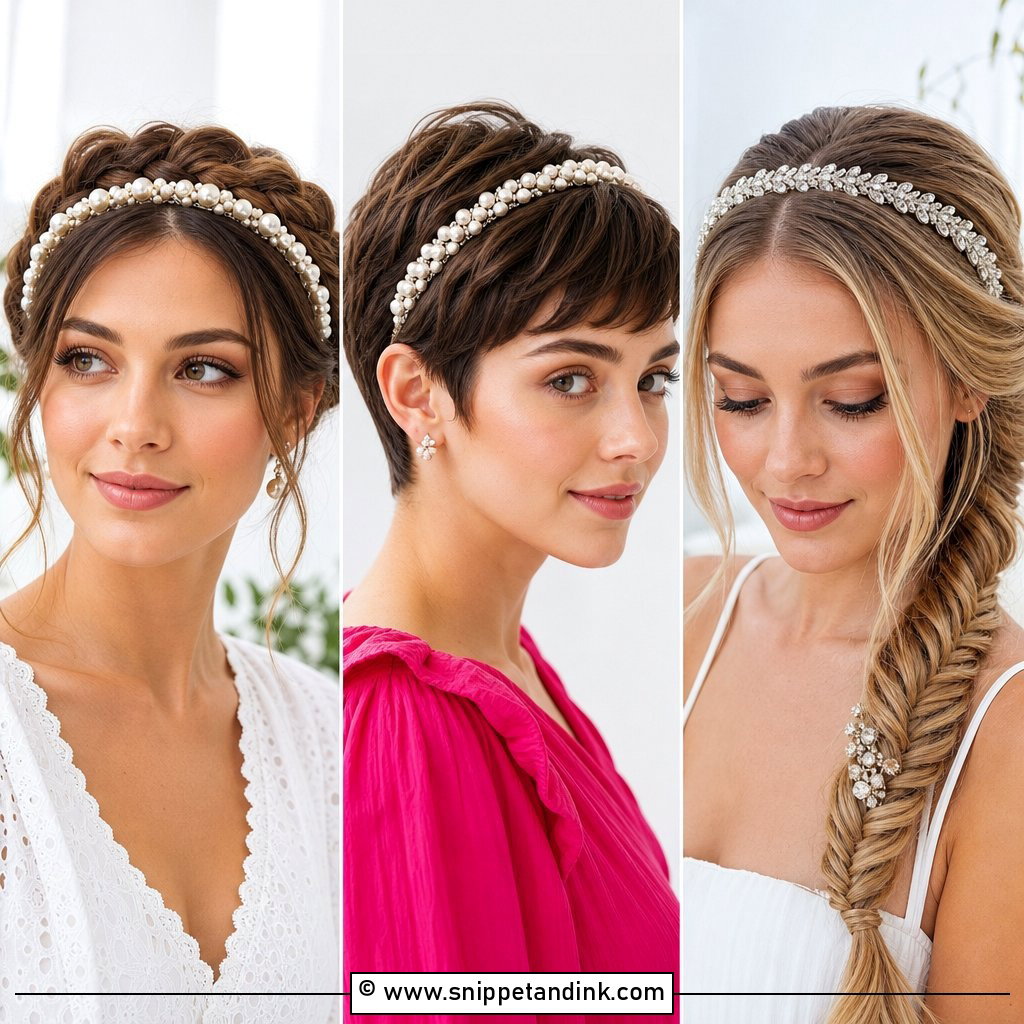
Braids add texture, but they also add security, which brides don’t always realize. A braid wrapped around the head or trailing down into the knot holds sections that would otherwise slip loose. A fishtail gives a fine, flat pattern; a Dutch braid sits raised and reads from further away, so the choice depends on how close guests will be. Both need hair past the shoulders to wrap comfortably into a coil.
5. Twisted Updo Bun
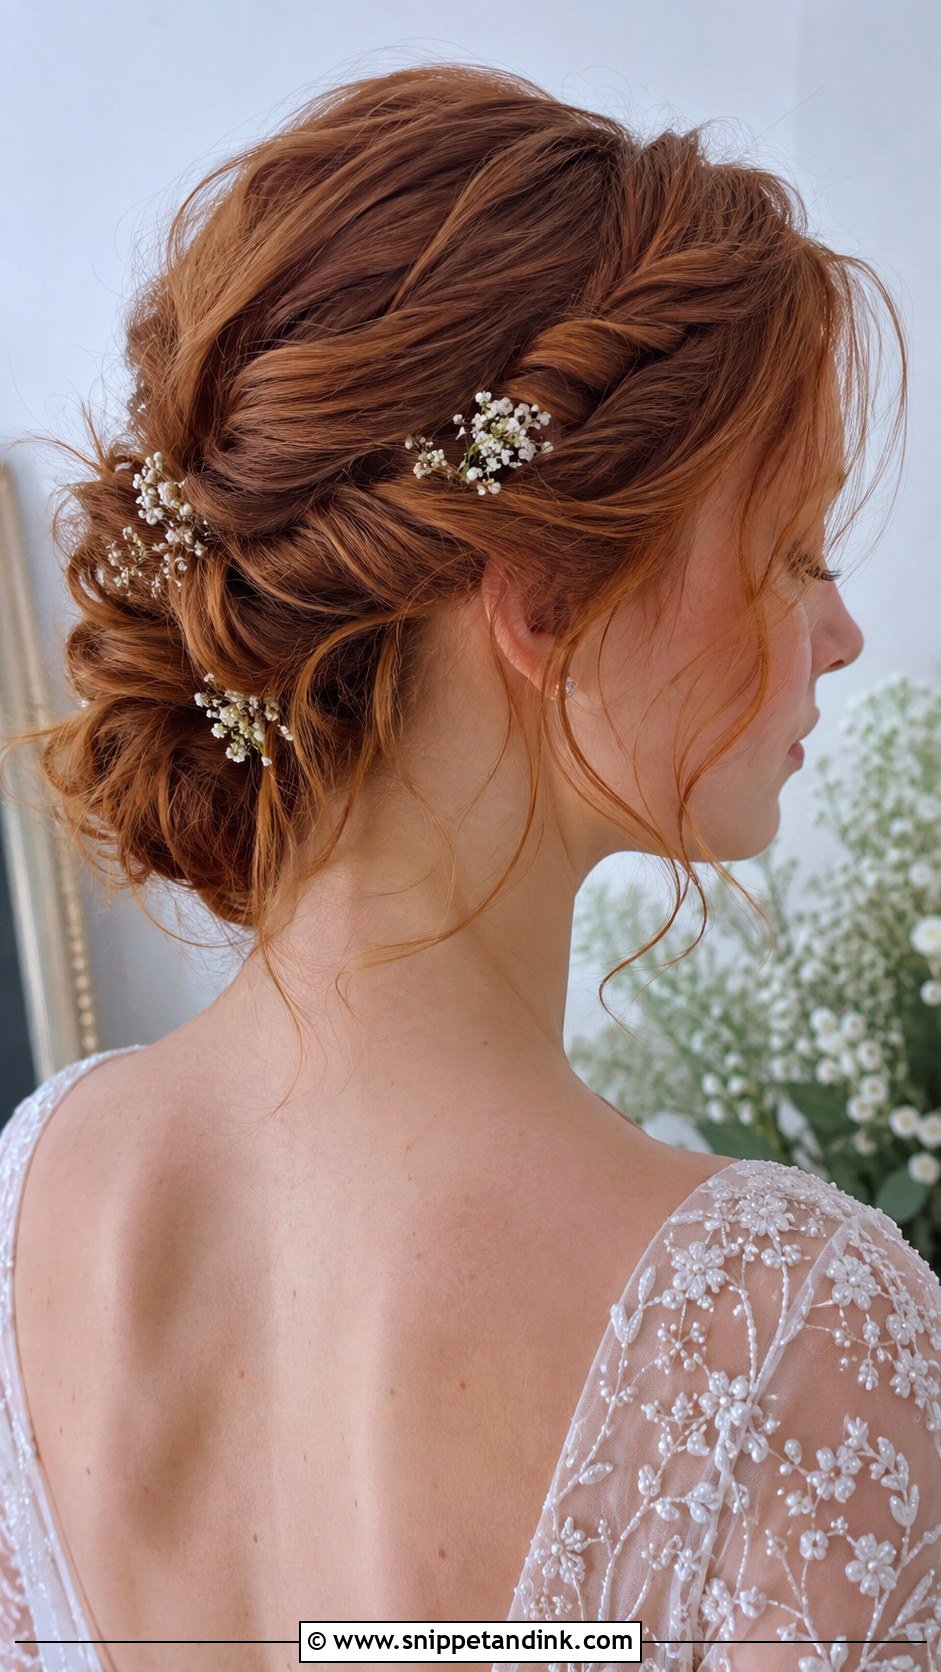
Twisted buns are pinned in sections instead of wound into one tight knot, which spreads the weight and makes them comfortable for a long day. That also makes them the bun I suggest for brides who say updos usually give them a headache. Medium to long hair works best. Loose tendrils around the face soften it, and a sprig of baby’s breath or a few small pins fit neatly into the folds.
6. French Twist Bun
There’s a reason the French twist has lasted for generations. Hair is swept to one side and rolled vertically, then pinned down the seam into a neat tuck. For black-tie weddings it’s hard to beat, and the upright line makes the neck look longer. The catch is length: very short layers at the back won’t reach the roll, so I’d want to see your hair before promising it.
7. Half-Up Bun
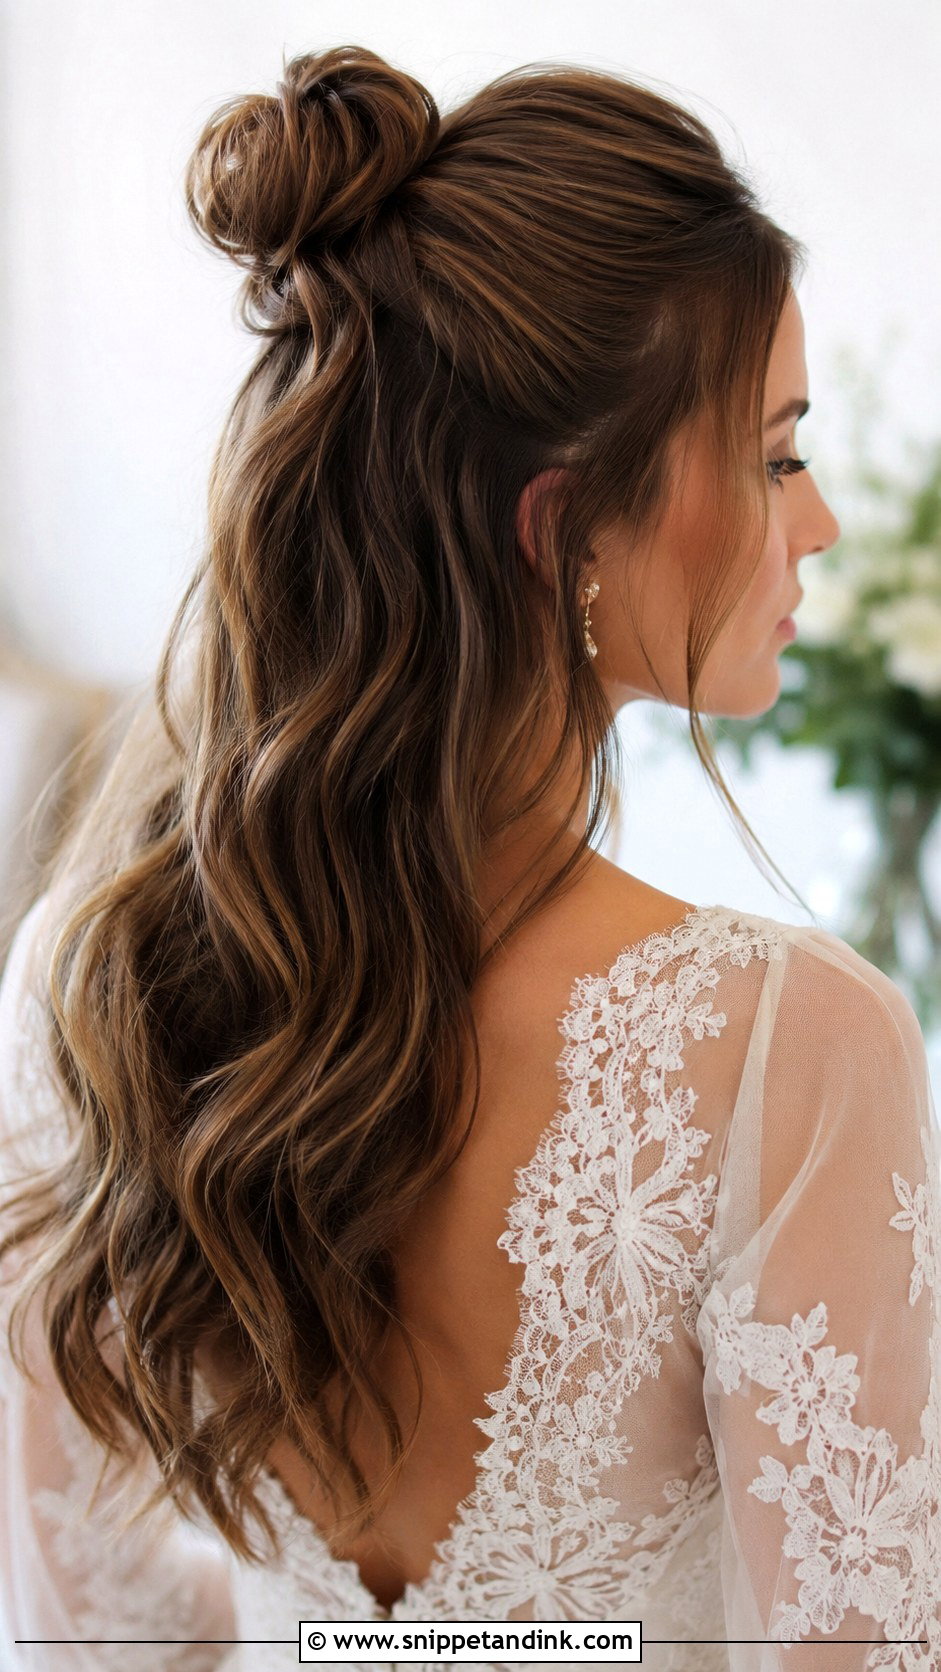
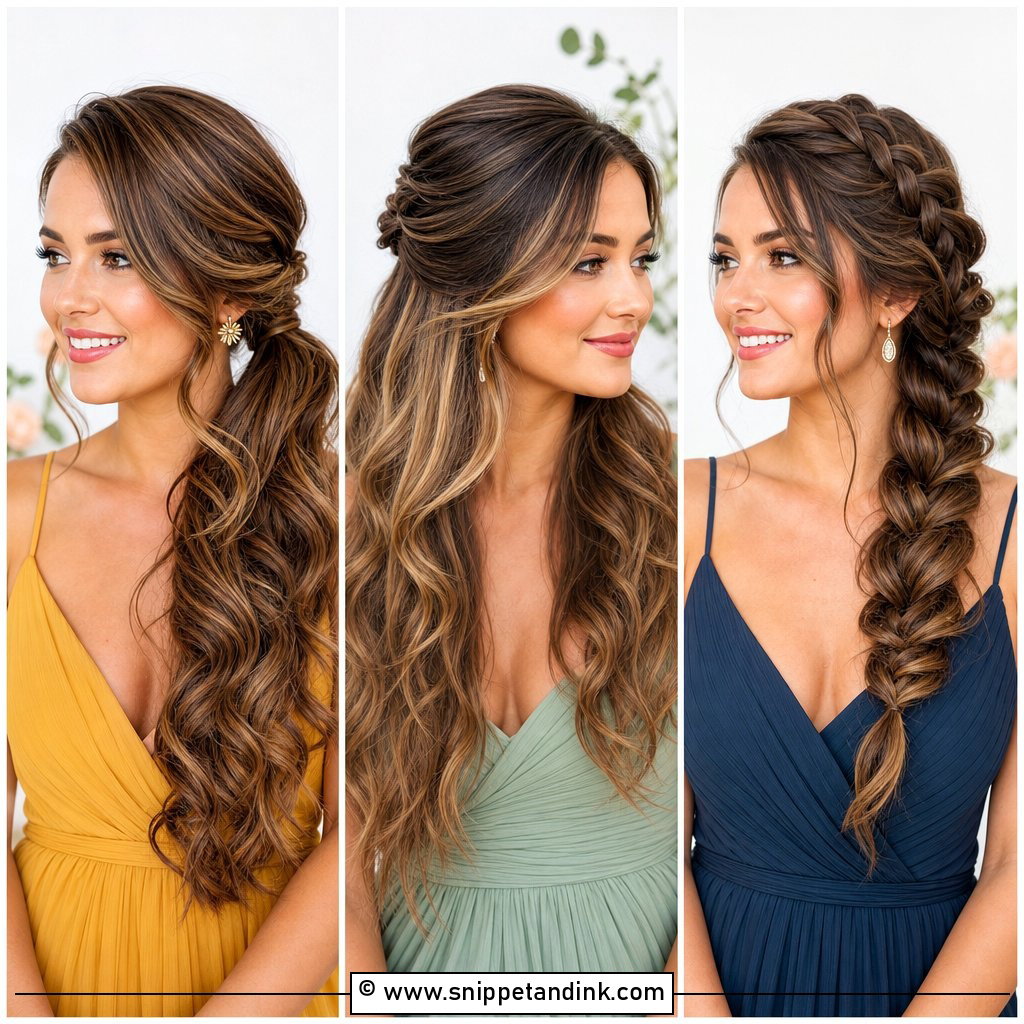
The half-up bun is the compromise for brides who can’t give up their length. A small knot holds the top section while everything below hangs free. I’ll be honest: the loose part is what fails first, especially outside in humid weather. Curl it with a large barrel, pin each curl to set while it cools, and release it right before you walk. A few accessories in the bun hide the pins.
8. Side Bun
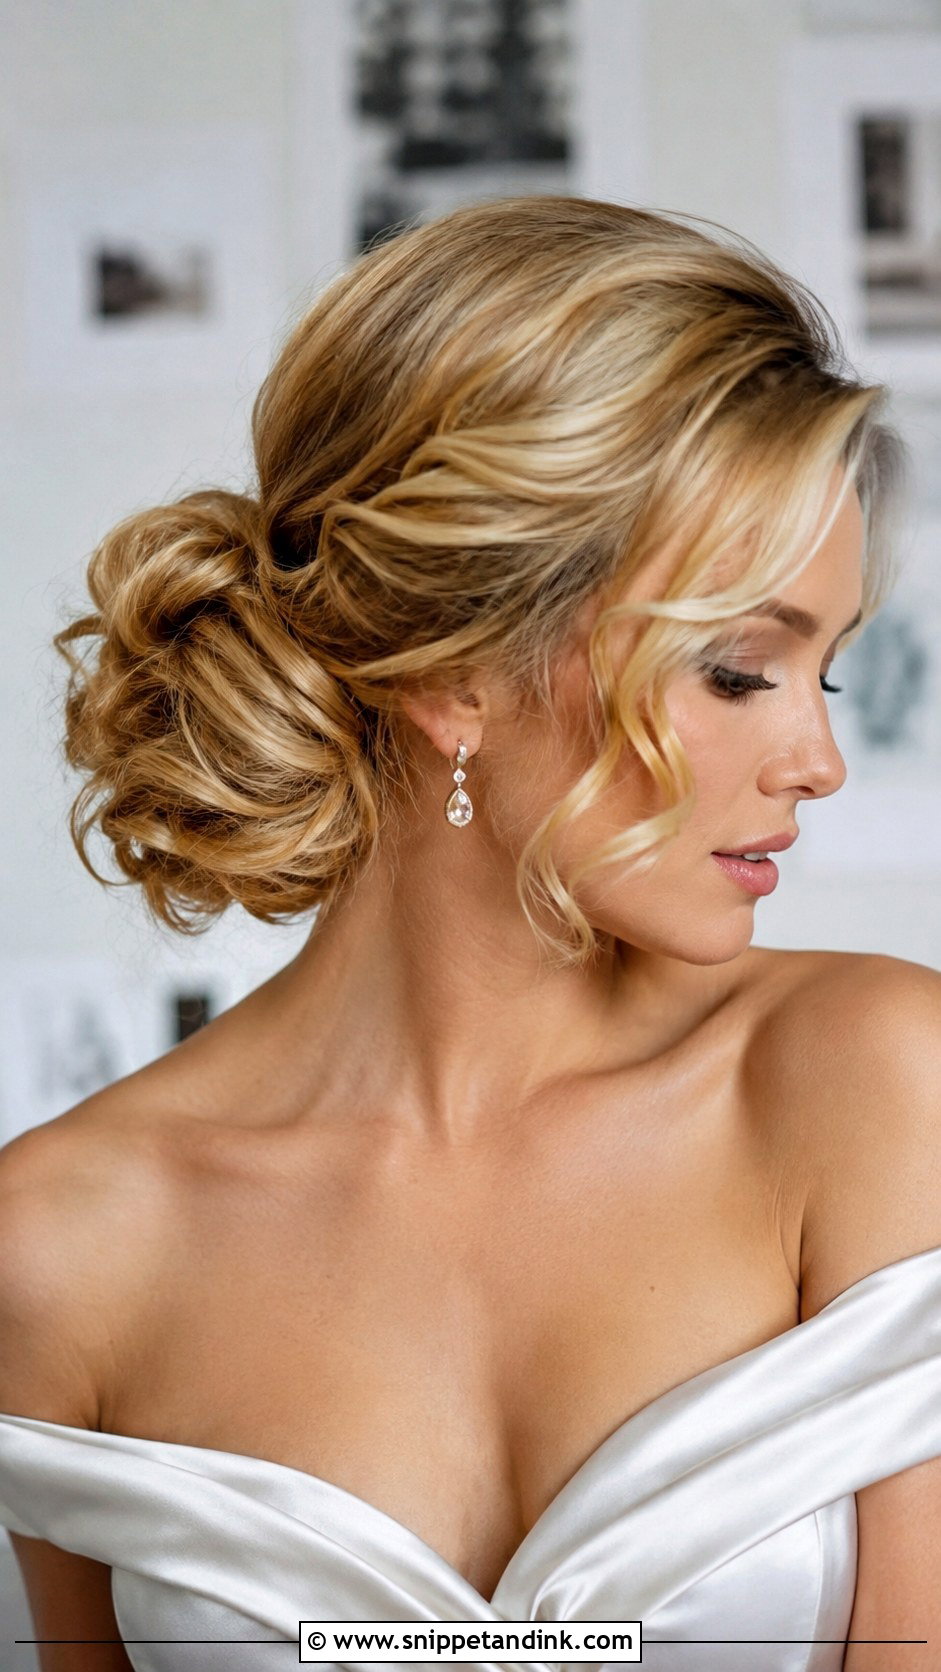
Set just behind one ear, a side bun has a 1940s feeling to it. It pulls attention to the jawline and suits off-the-shoulder gowns and a drop earring on the open side. Think about which side faces your guests during the vows: a bun there shows in every ceremony photo, while on the far side it disappears. Keep the swept side smooth, because any lumps over the ear are very visible at that angle.
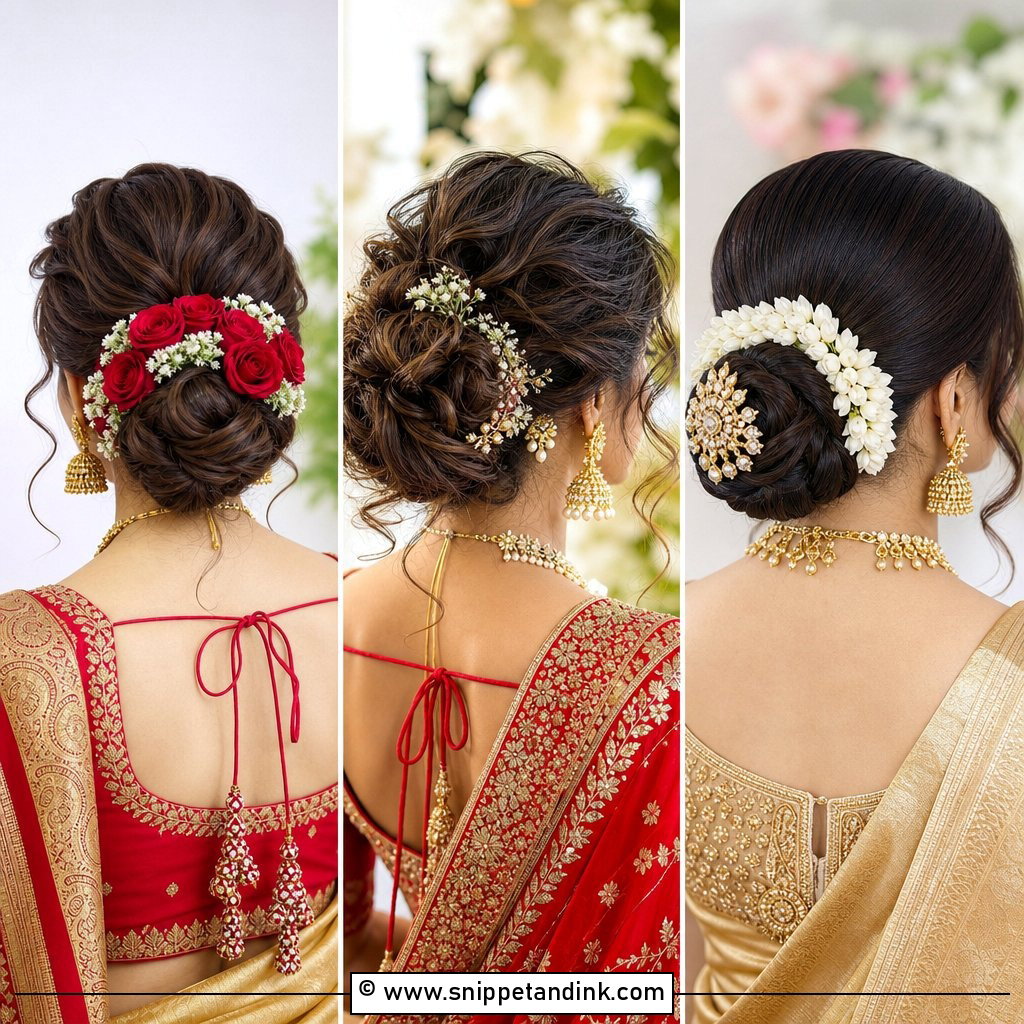
9. Floral Adorned Bun
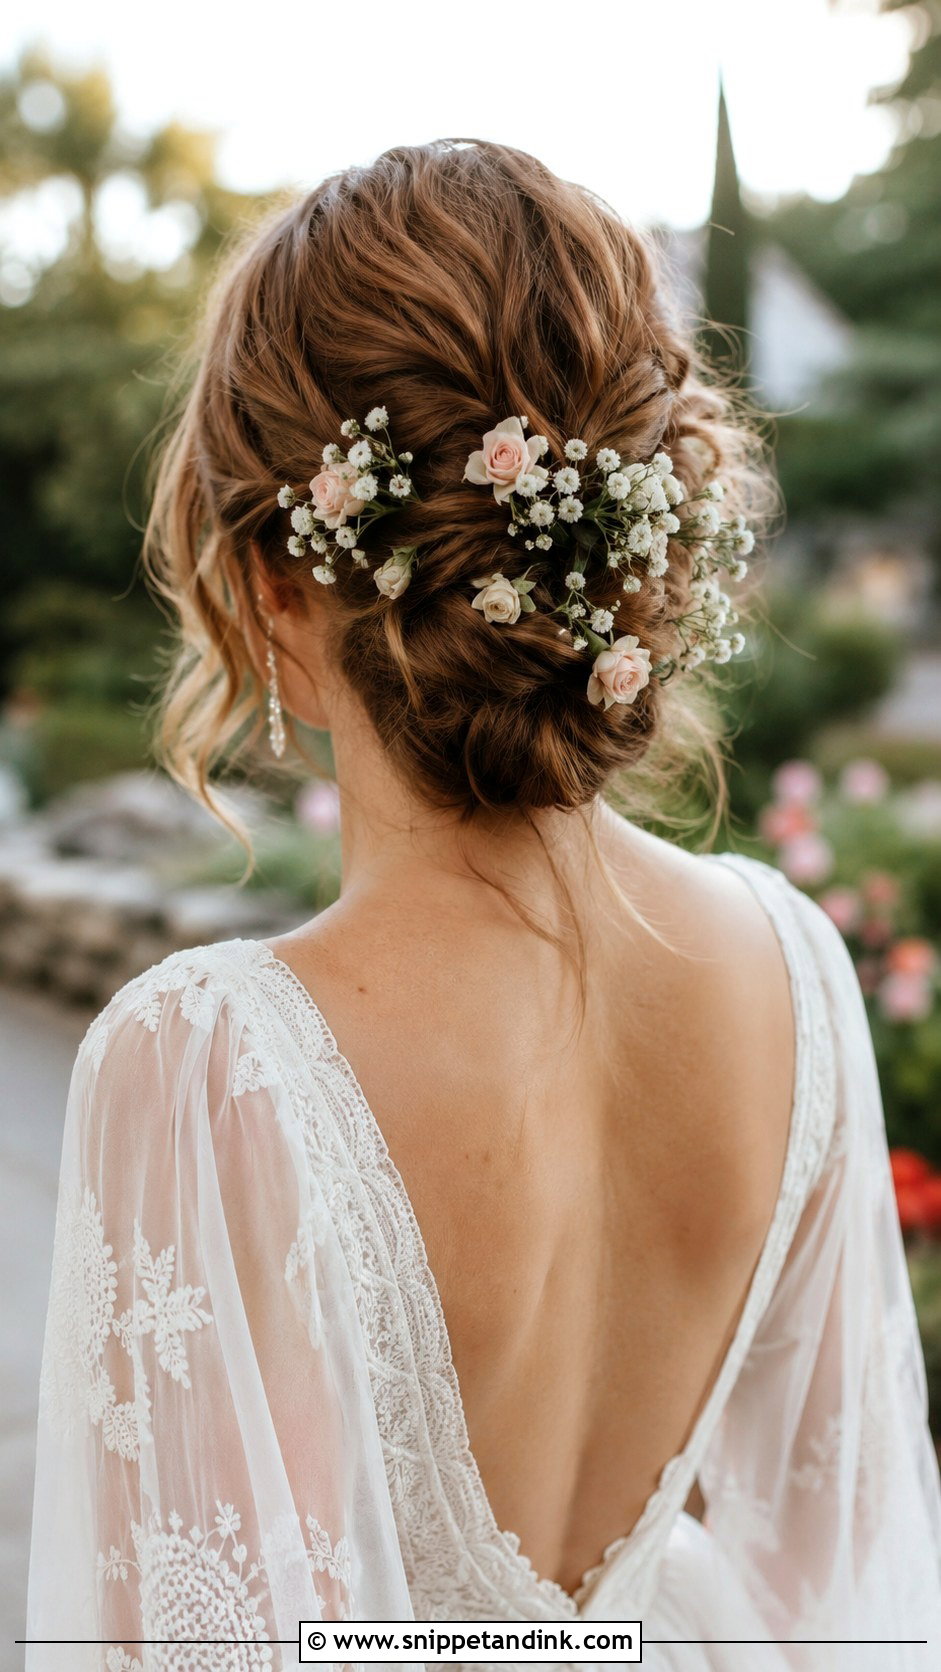
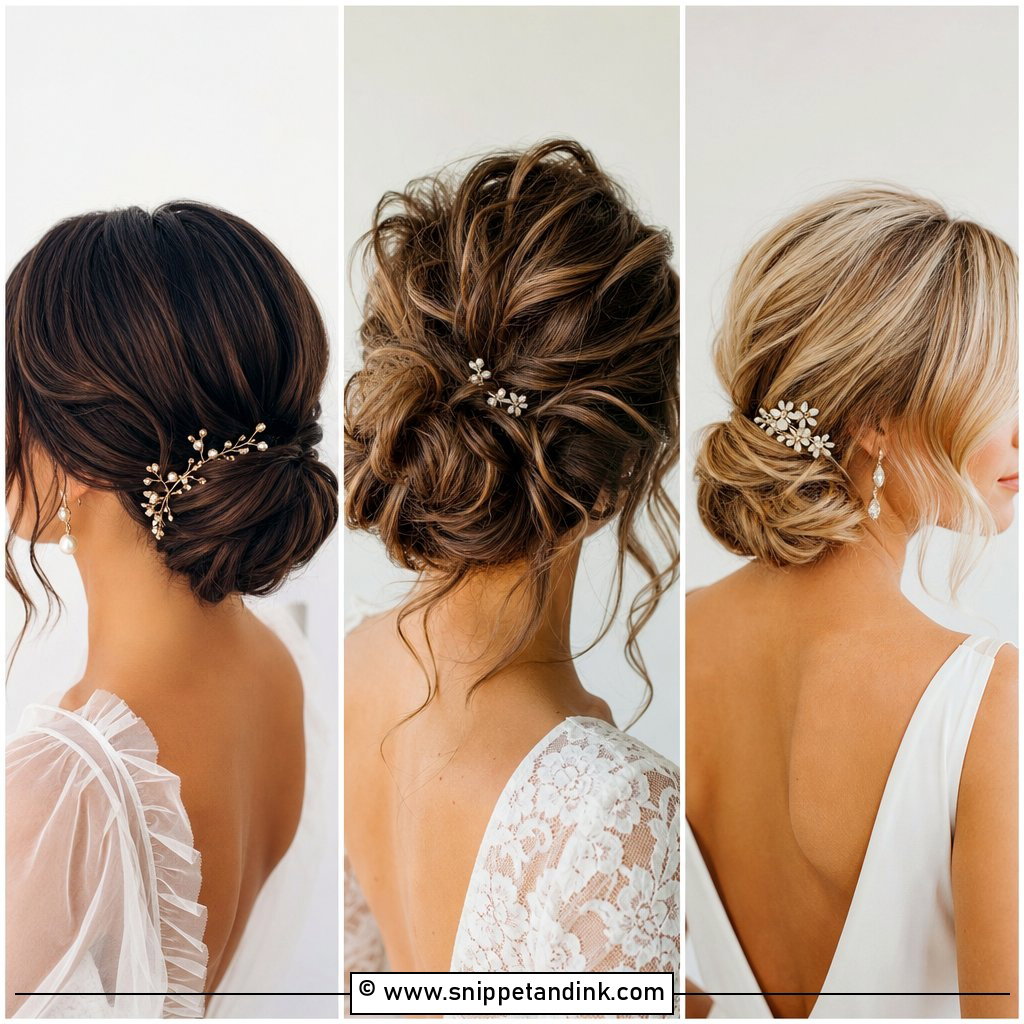
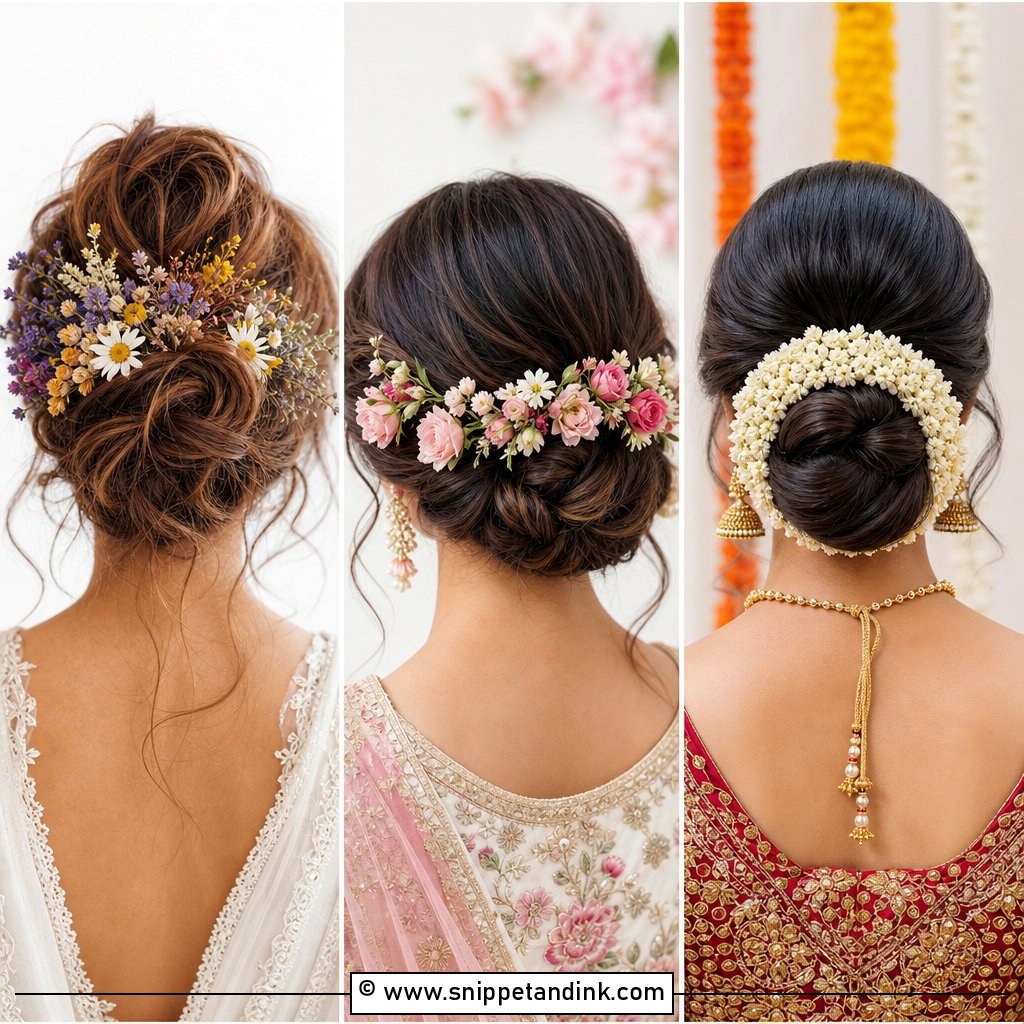
Flowers turn a soft chignon or twisted updo into something that clearly belongs to that season. Baby’s breath, spray roses and seasonal stems all work, but fragile petals brown fast against warm hair, so I ask for hardy blooms and keep the most delicate ones for the bouquet. Match one or two flowers to your bouquet and stop there. A few accents read as considered; covering the whole bun can look heavy in photos taken from behind.
10. Braided Crown Bun
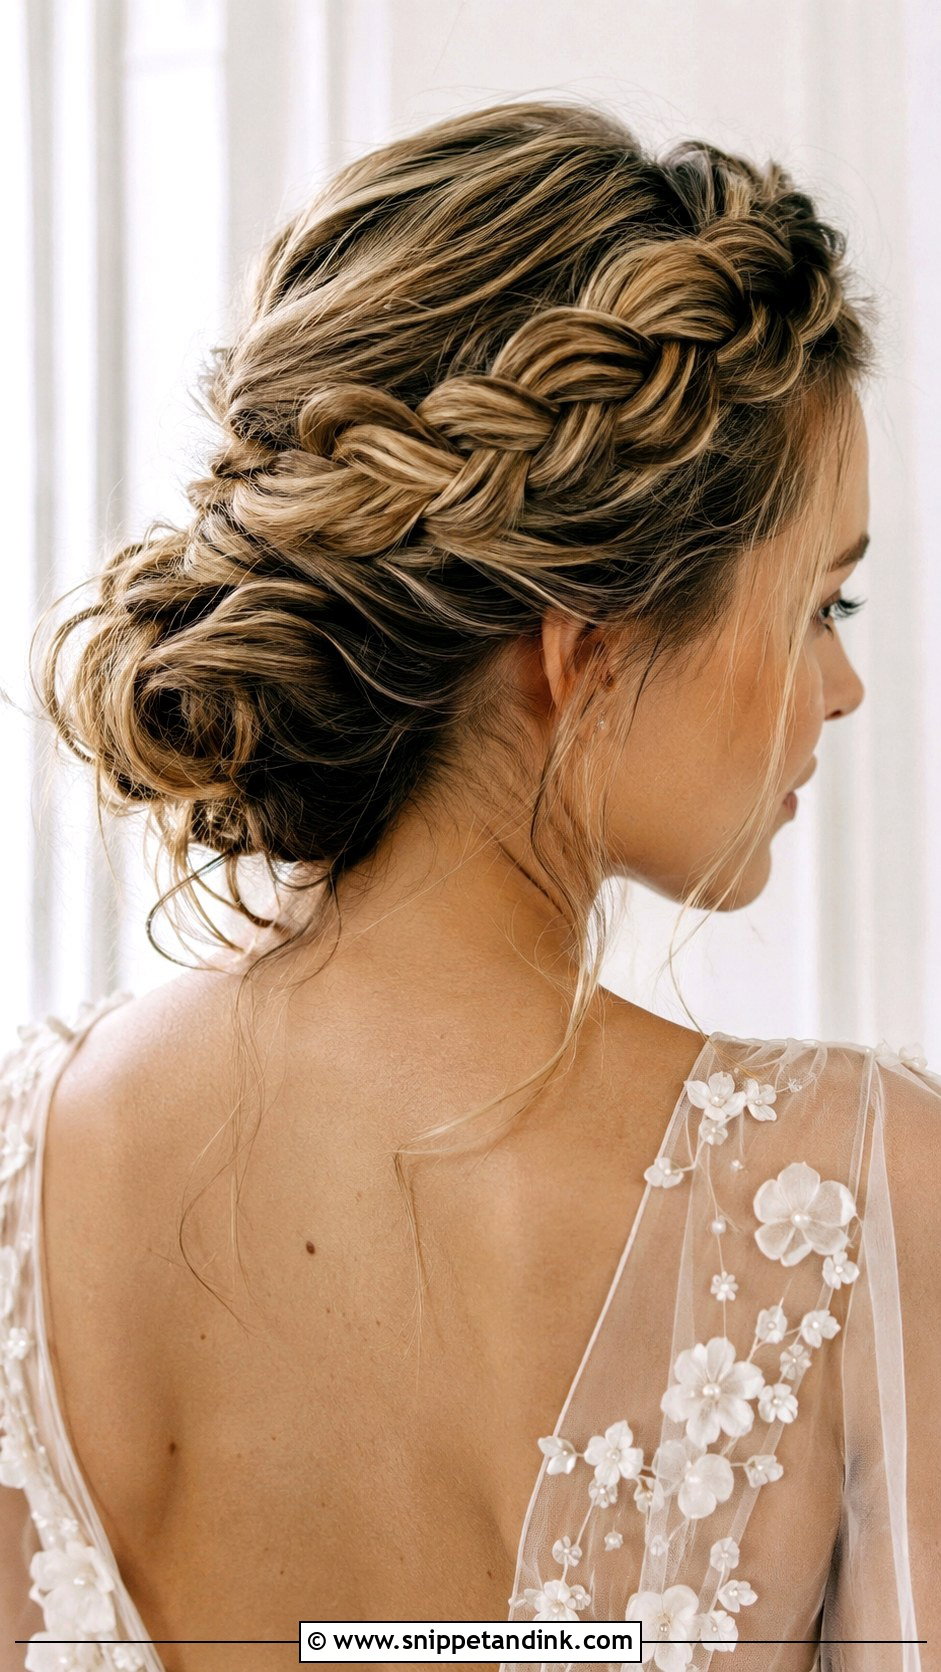
A braided crown circles the head like a halo before gathering into a soft bun at the back. It’s one of the more secure looks here, because the braid pins flat against the scalp all the way round. Long hair is usually needed to reach the full circle, though clip-ins can be added into the braid. Tiny flowers or delicate pins along the crown suit a garden wedding, and the back view is the best angle of all.
11. Volume Top Bun
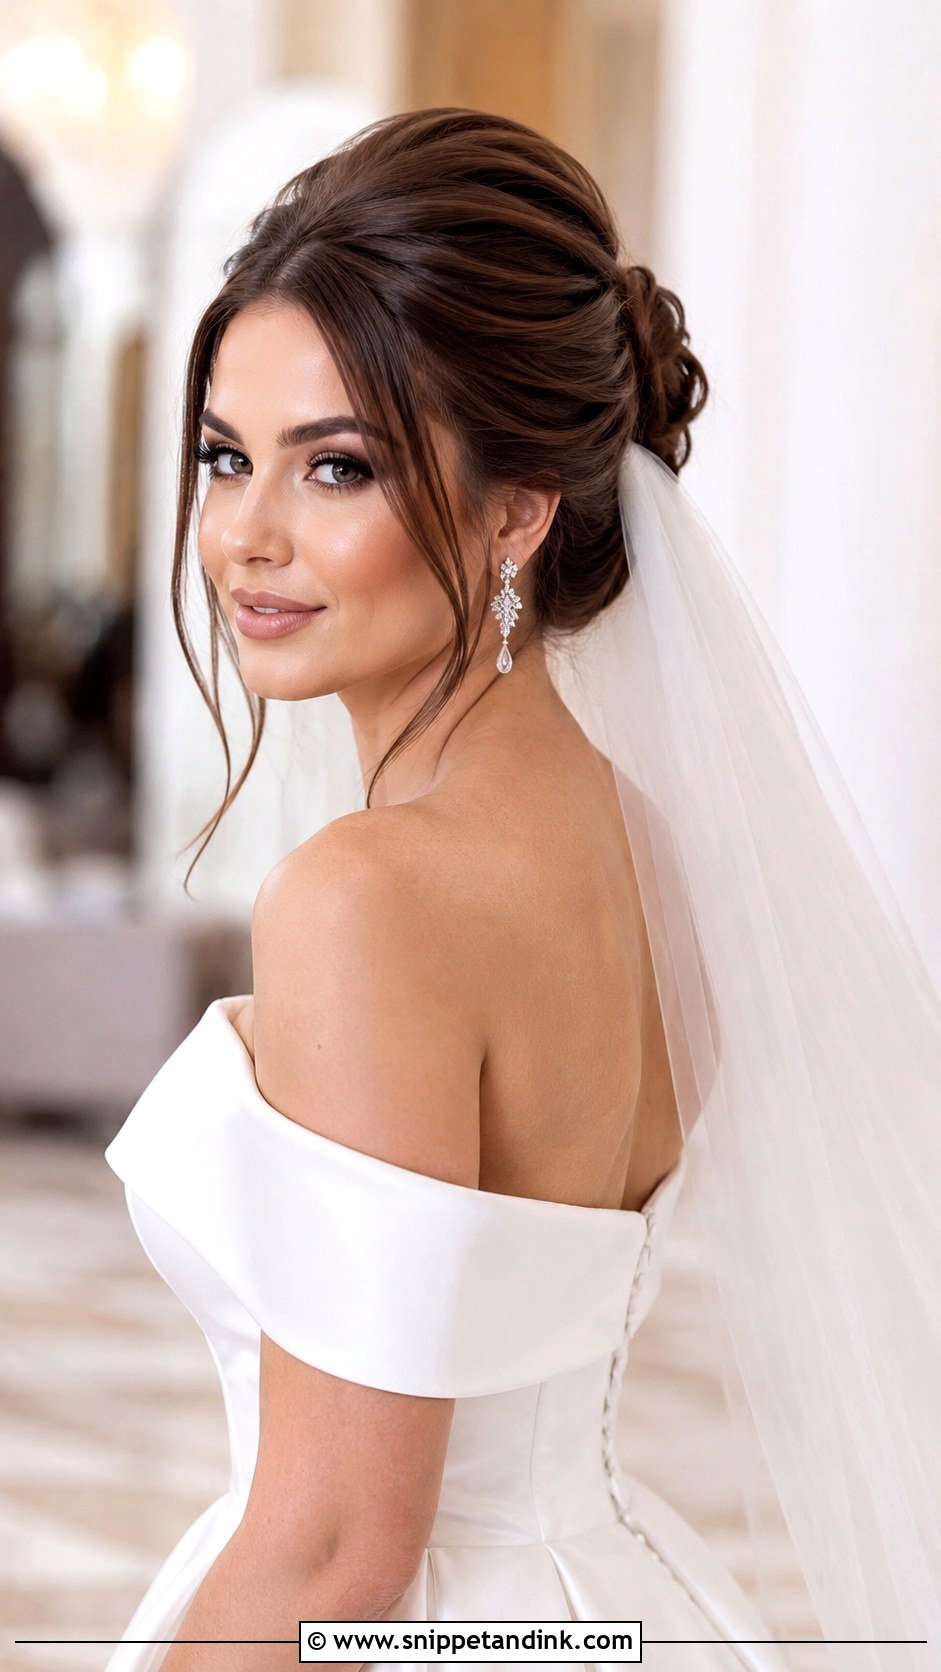
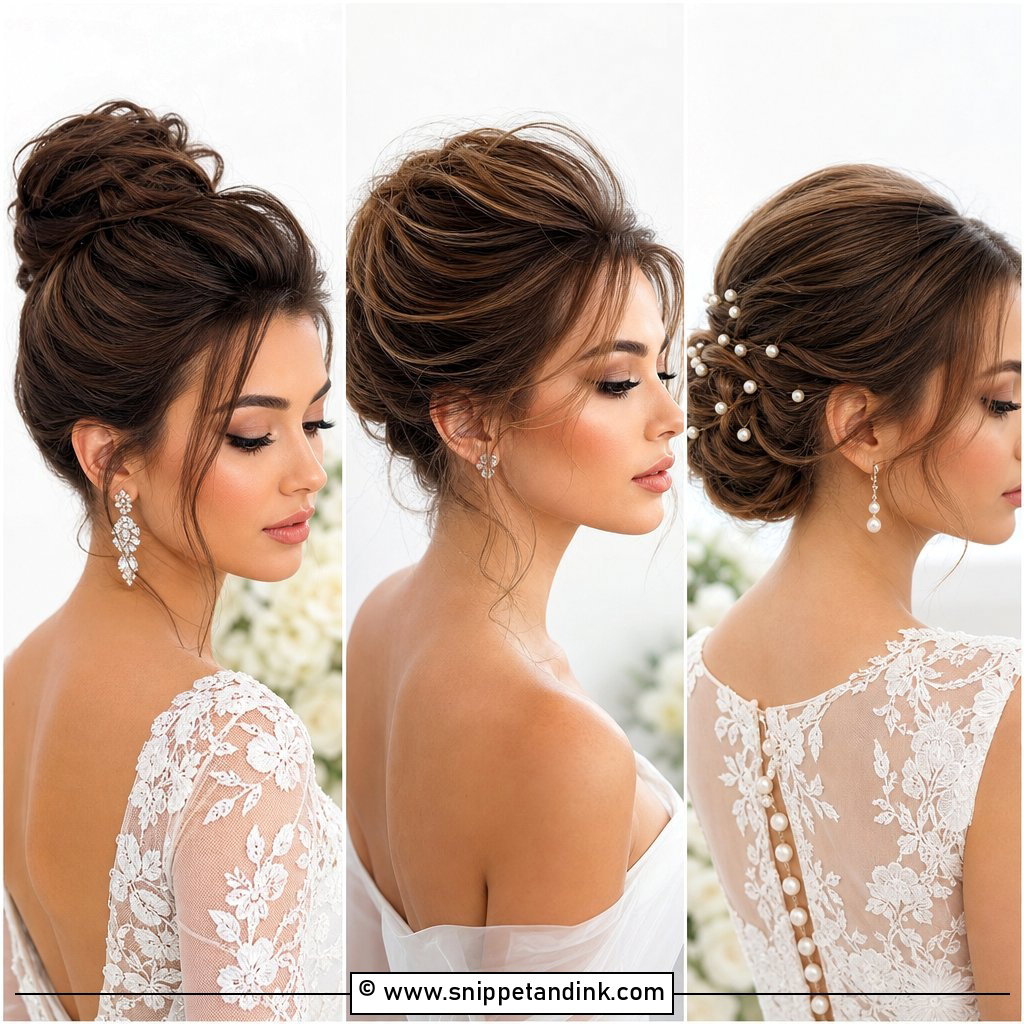
Height at the crown changes the proportions of the whole face. I tease in small sections at the roots, smooth the top layer over it, and sweep everything into a low or mid bun. With cathedral veils I place the comb below the volume rather than in it, otherwise the weight of the veil flattens the lift by mid-afternoon. It can make a round face look longer, but on a long face I’d keep the height modest.
12. Vintage Rolled Bun
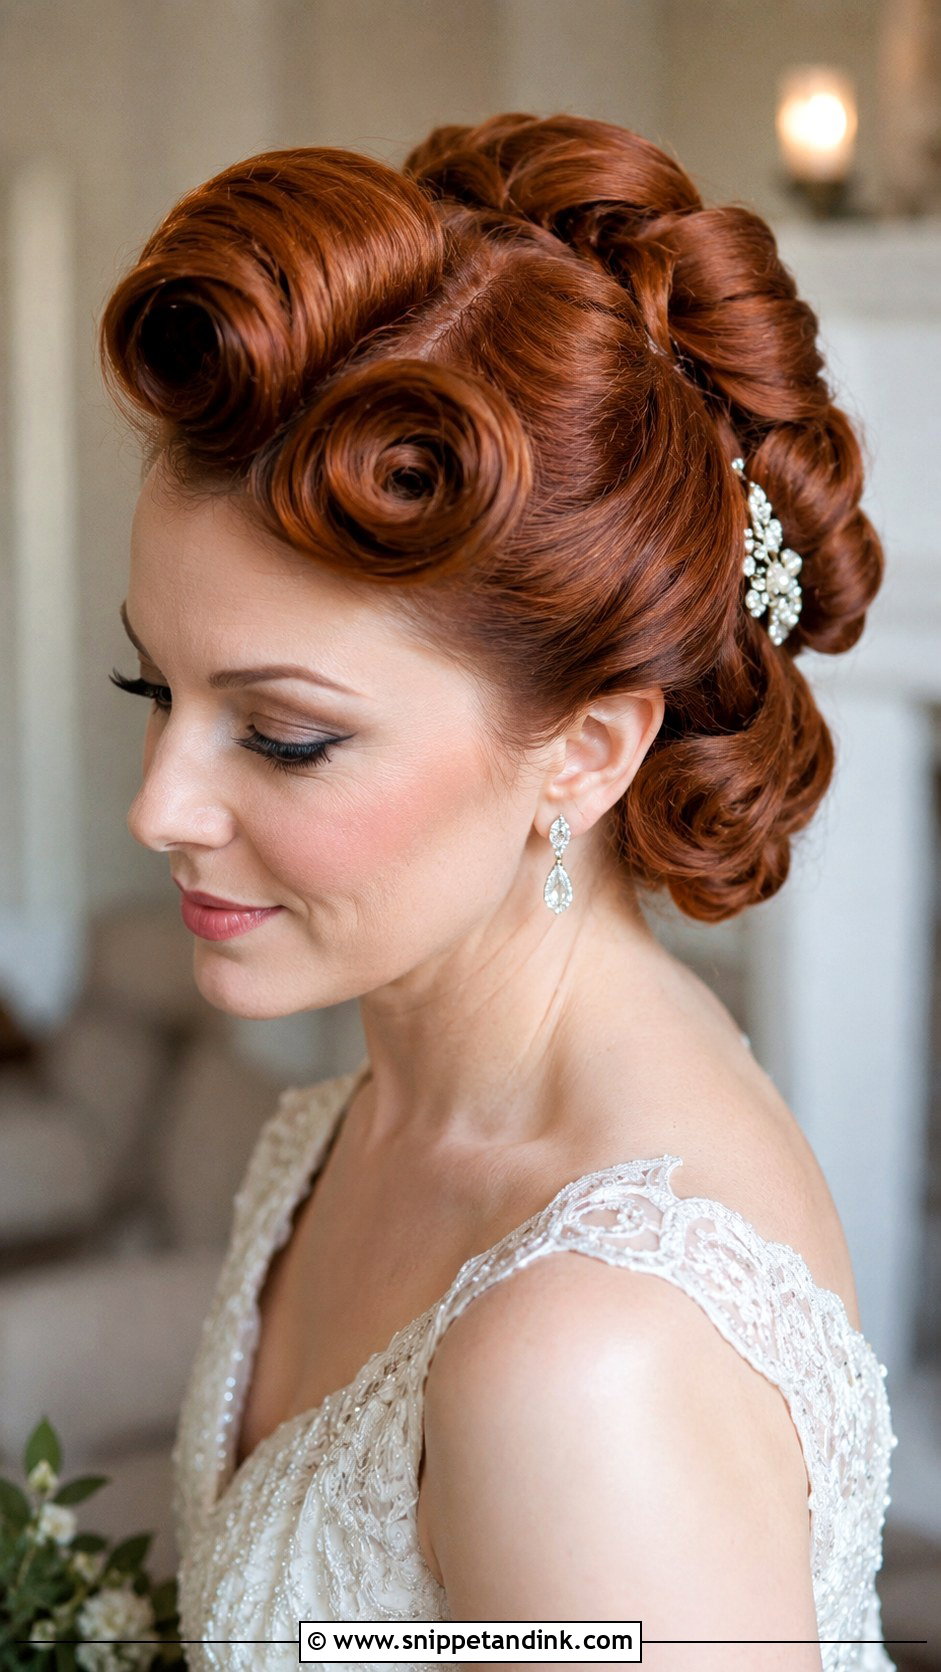
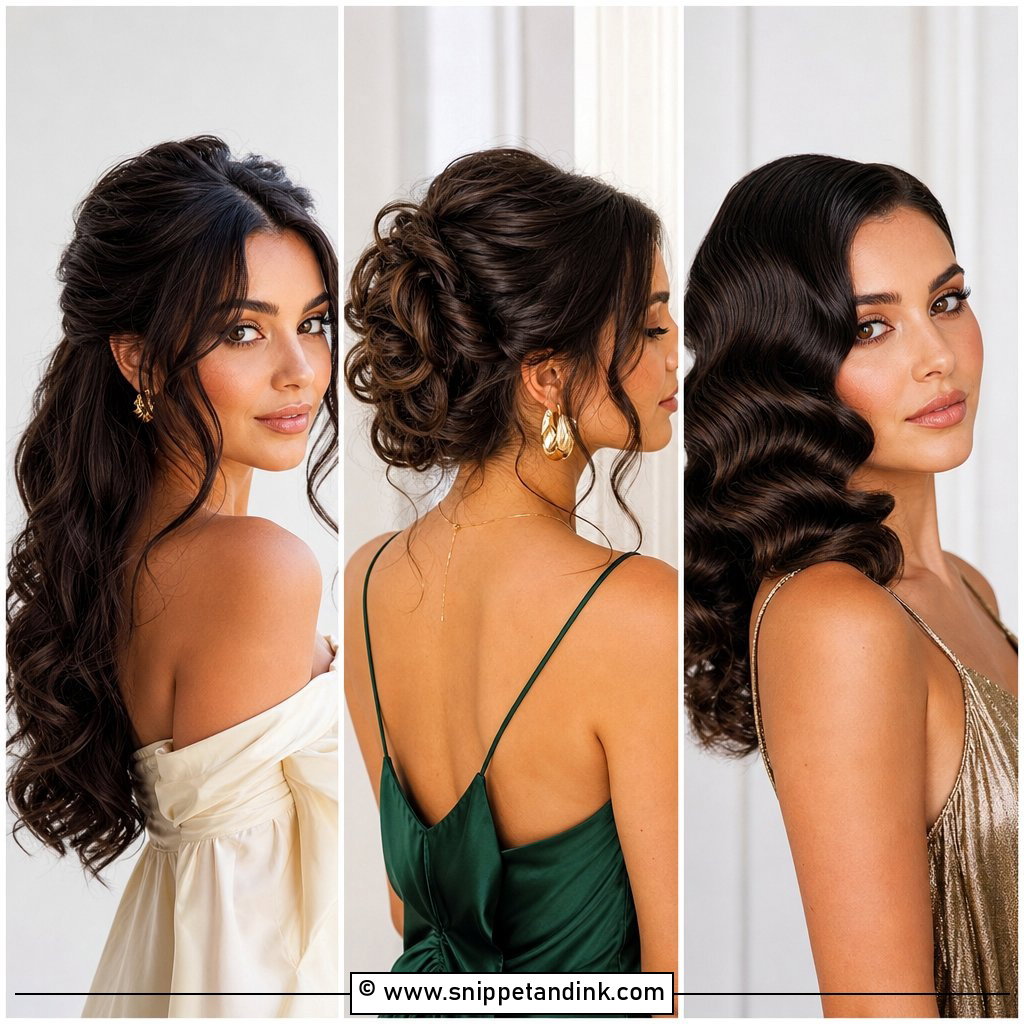
Pin curls and smooth rolls give the vintage rolled bun its sculpted shape. The set has to cool completely before brushing, so this style takes longer in the chair than most. It belongs with a vintage or classic gown and simple jewelry; next to a boho dress it looks like a costume. A decorative comb or a sparkling hairpin at the side is the traditional finish.
13. Bubble Bun
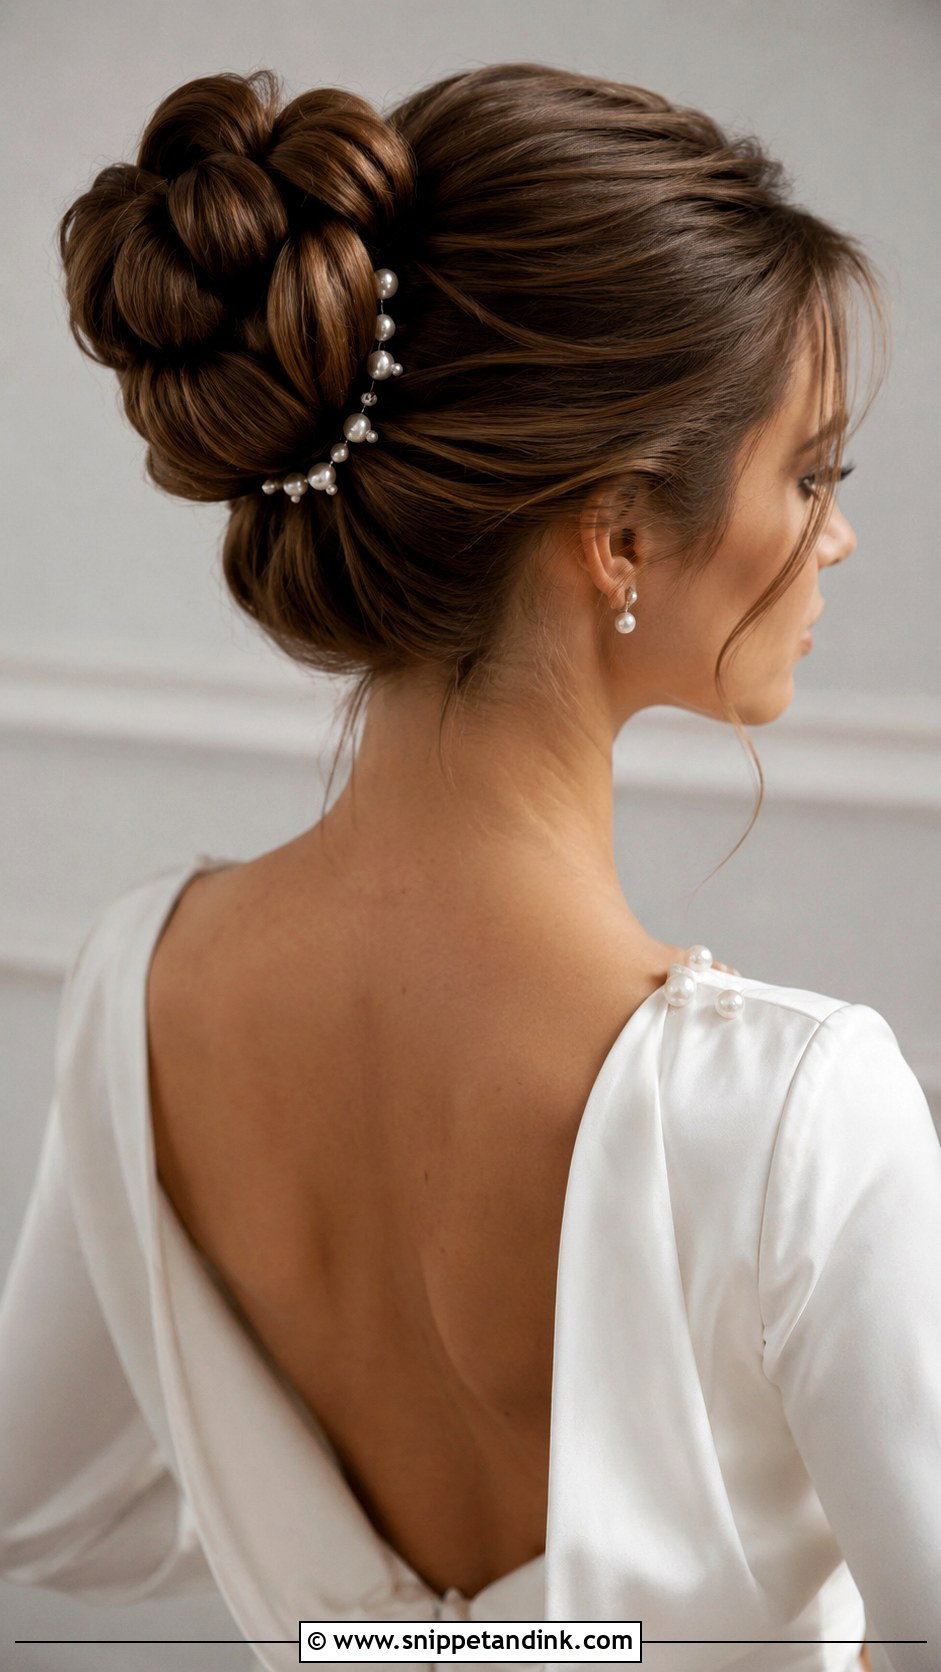
Bubble buns are made by securing a ponytail with small elastics at intervals, then gently pulling each section wider so it puffs out before the whole length is coiled. It’s playful and current, which also means it can date faster than the classics. I’d suggest it for a city wedding with a fashion-led dress. Tiny pearls set between the bubbles cover the elastics.
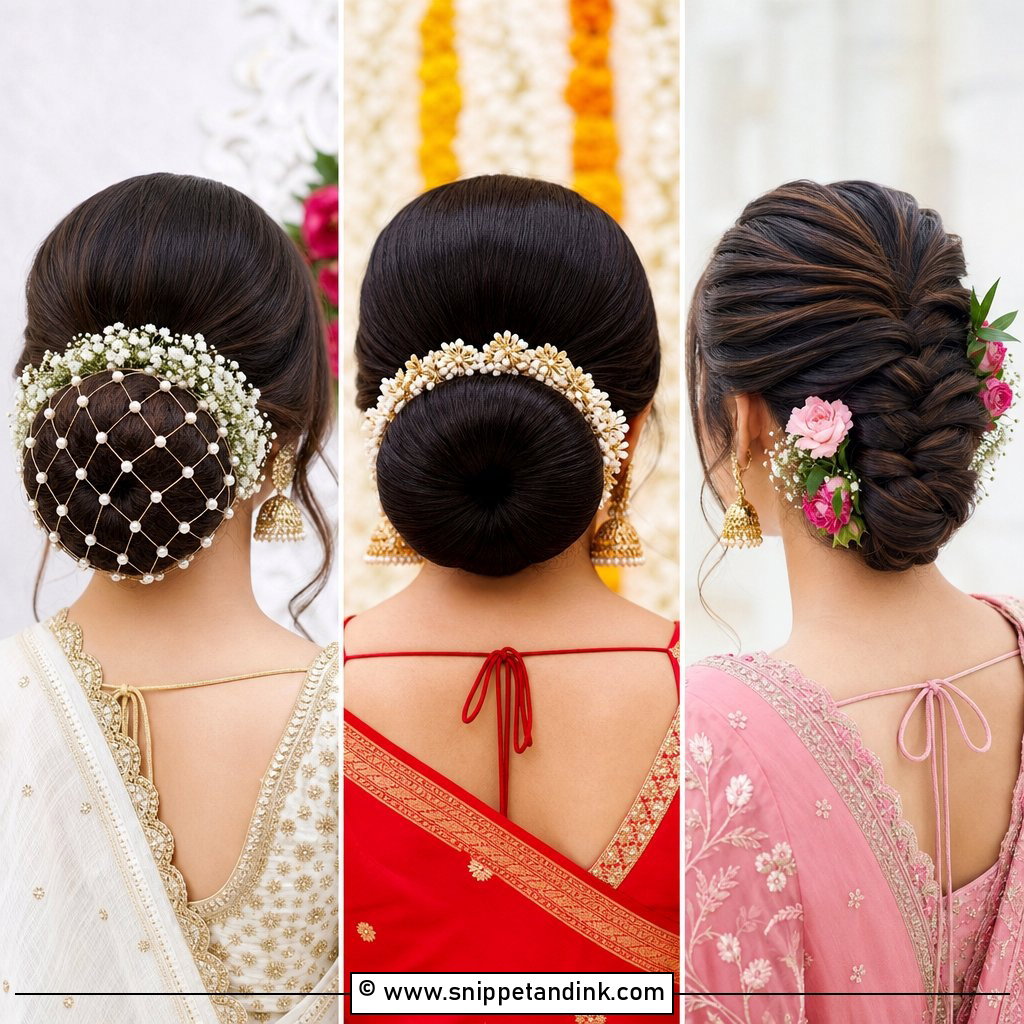
14. Pearl Accented Bun
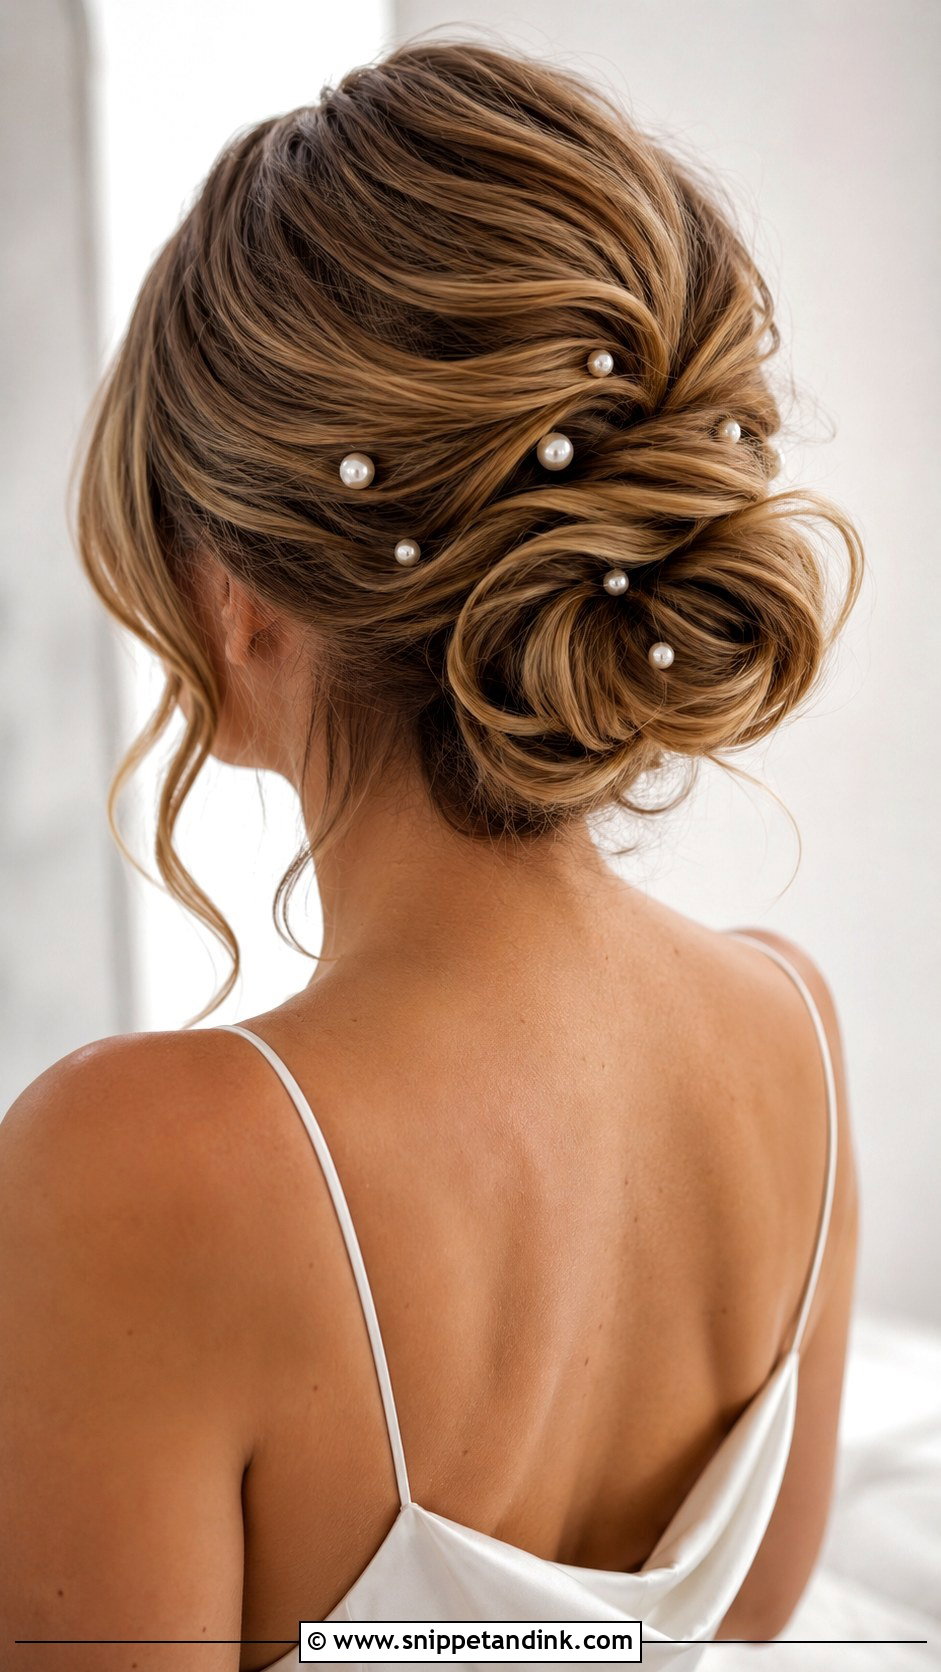
Pearl pins are a good answer if you’ve chosen not to wear a veil but still want detail in your hair. I set them after the style is sprayed and sit them where the light hits, usually along the top curve of the bun. A few dainty pearls look refined; larger clusters read from across the room. Check the color against your dress, because bright white pearls next to an ivory gown make the fabric look yellow.
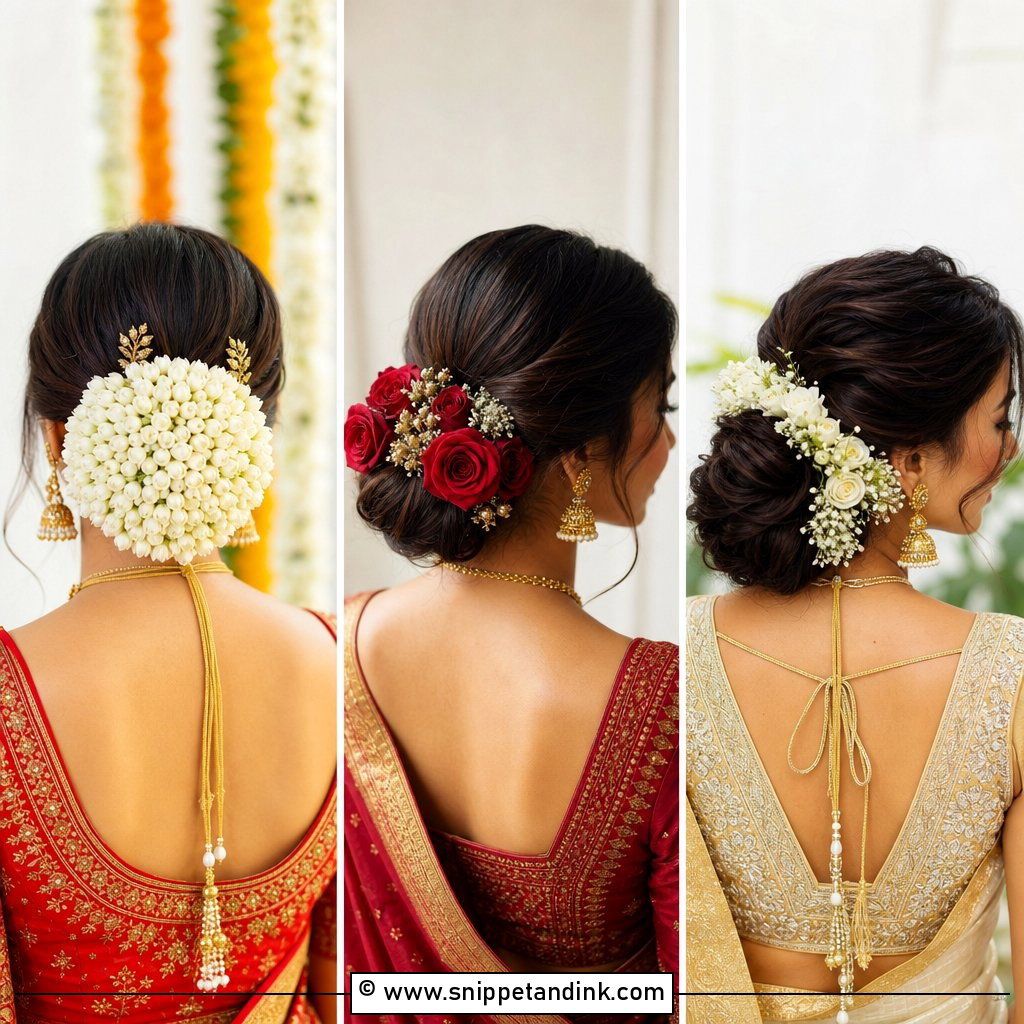
15. Curly Bun
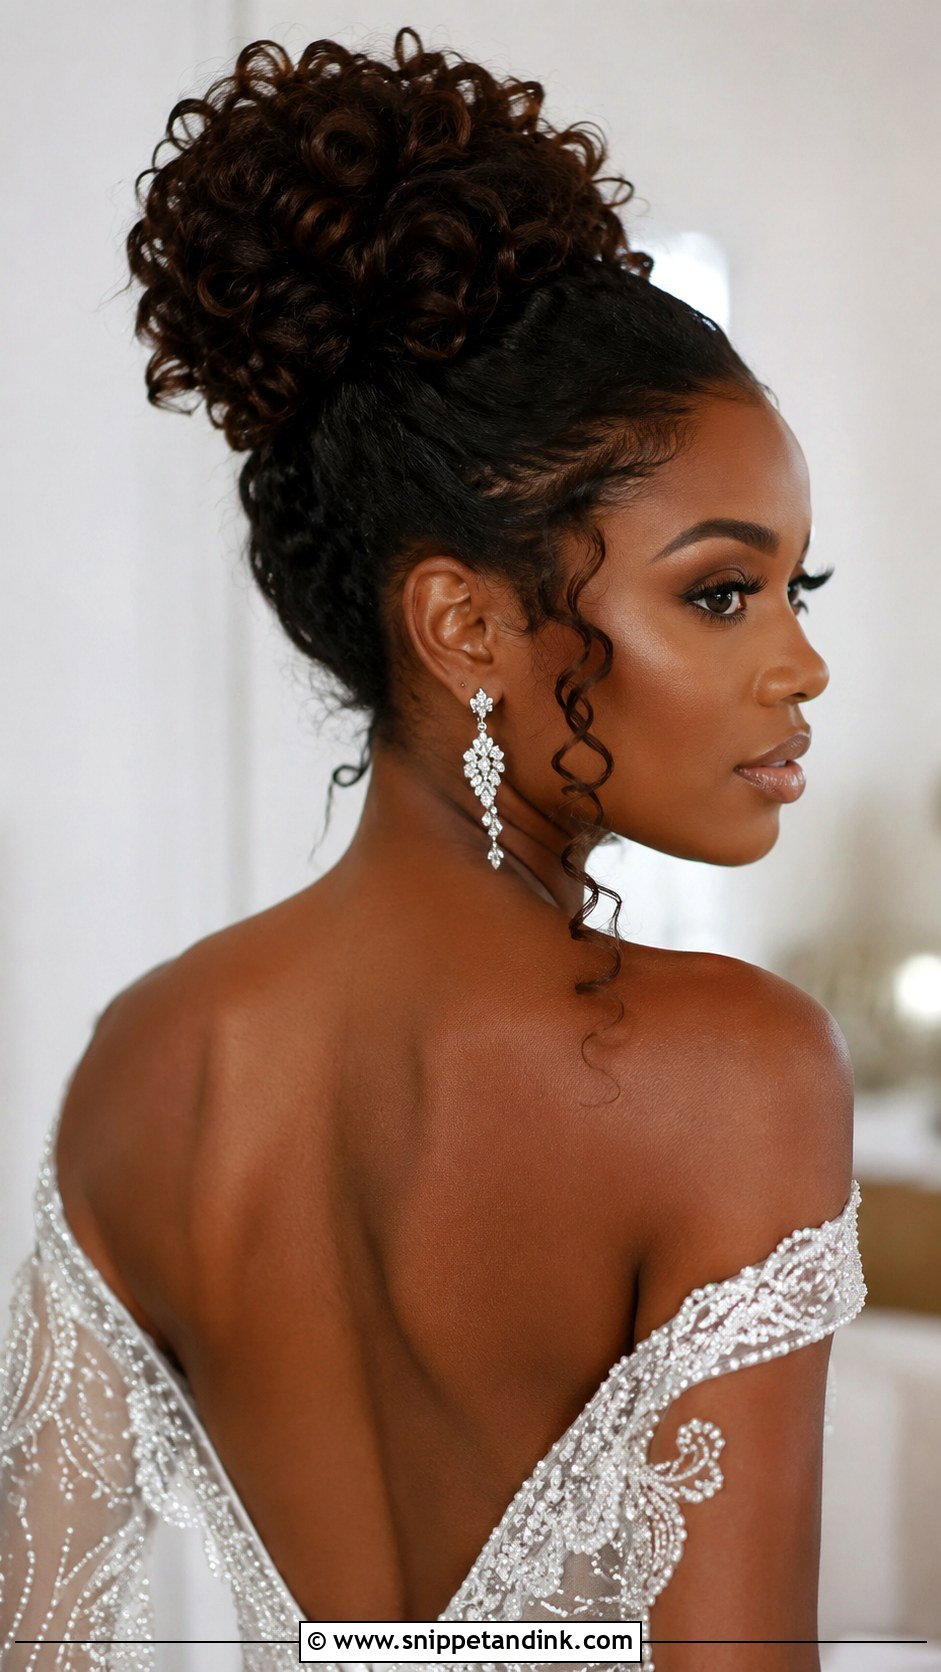
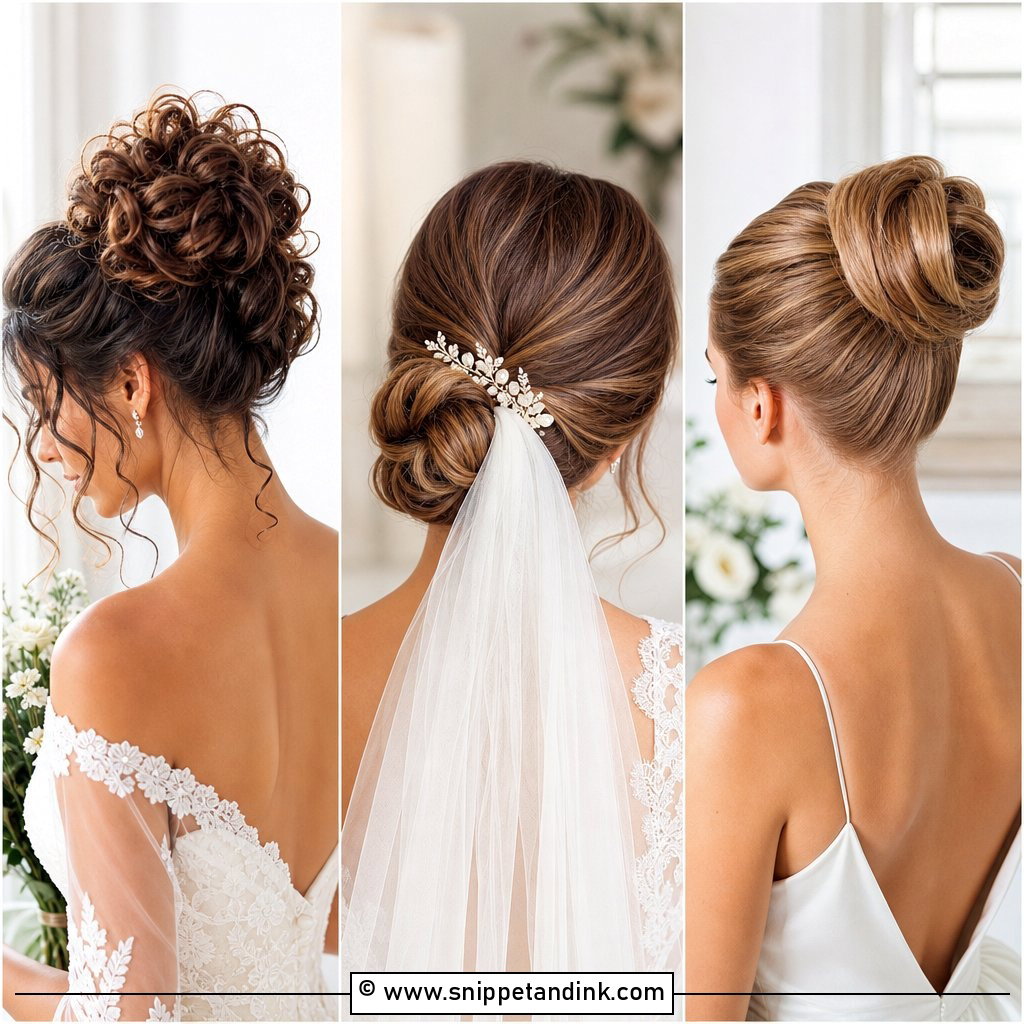
With naturally curly or coily hair, the most important step is not brushing out the curl. I gather it with fingers, keep the definition you came in with, and pin loosely so the bun keeps its shape and bounce. A few curls left free around the face frame it. Ask for a moisturizing cream rather than a strong spray, since a stiff hold makes curls look crunchy in close-ups.
16. Boho Knotted Bun
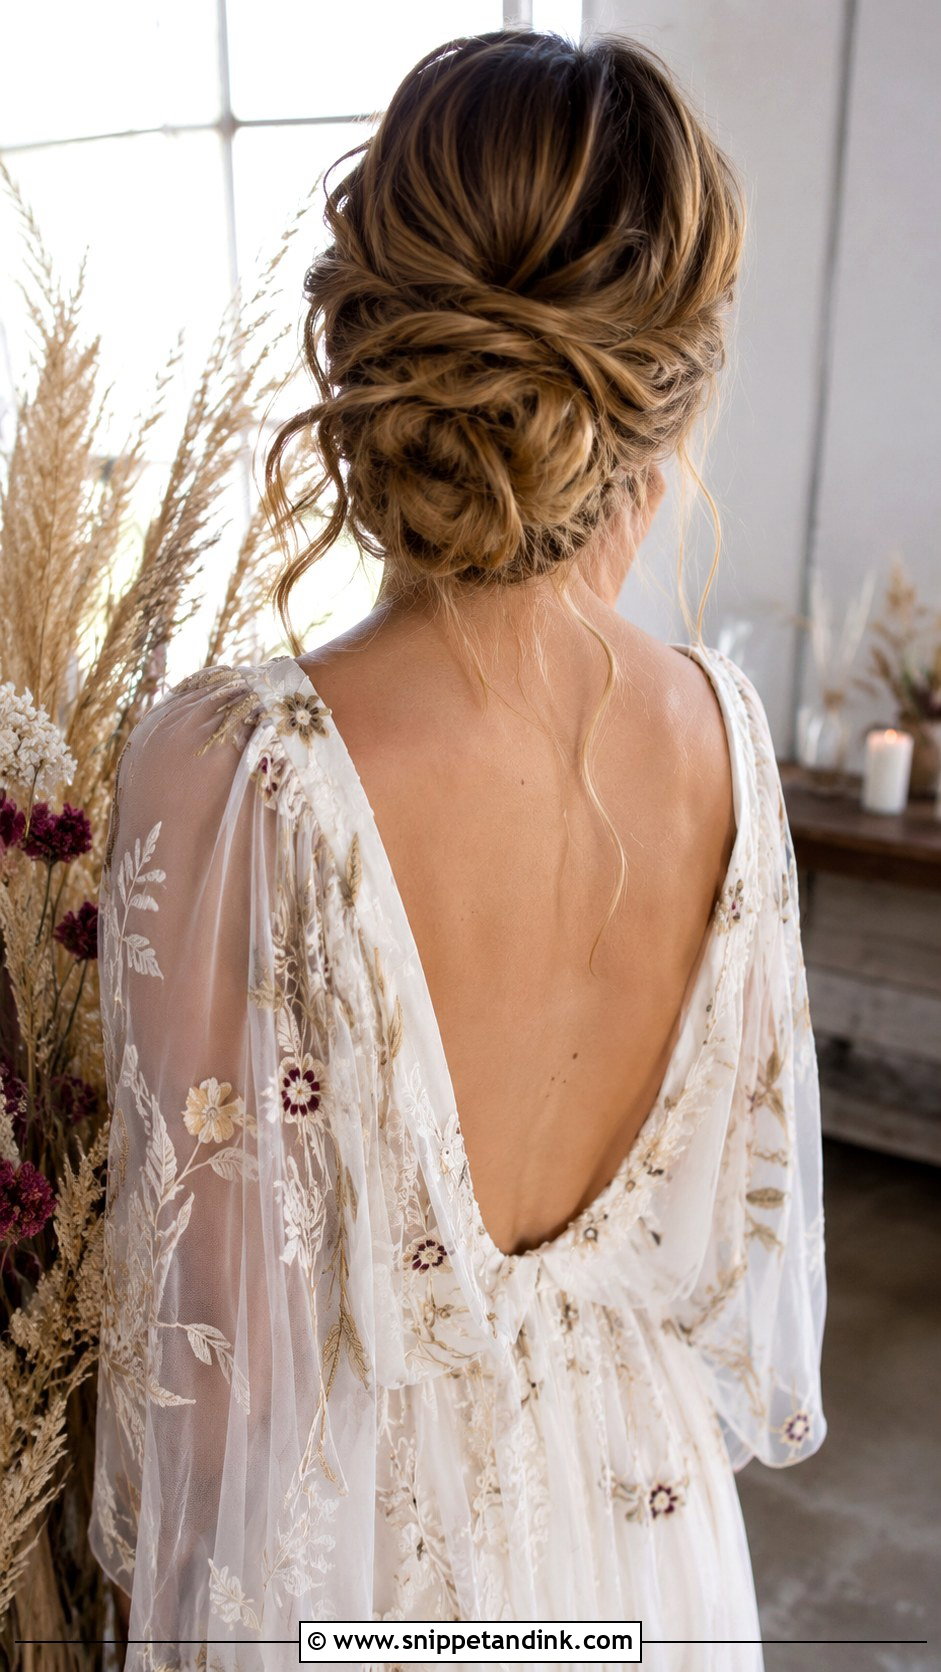
The boho knotted bun is built from loose knots and twists that look organic on purpose. It’s the most forgiving style on this list for a bride who will be outdoors, because some movement and a few escaped strands are part of the look. Dried flowers or a thin ribbon add to it, and dried stems have the advantage of not wilting in the heat. It sits naturally with flowing gowns, flower crowns and outdoor venues.
17. Sleek High Bun
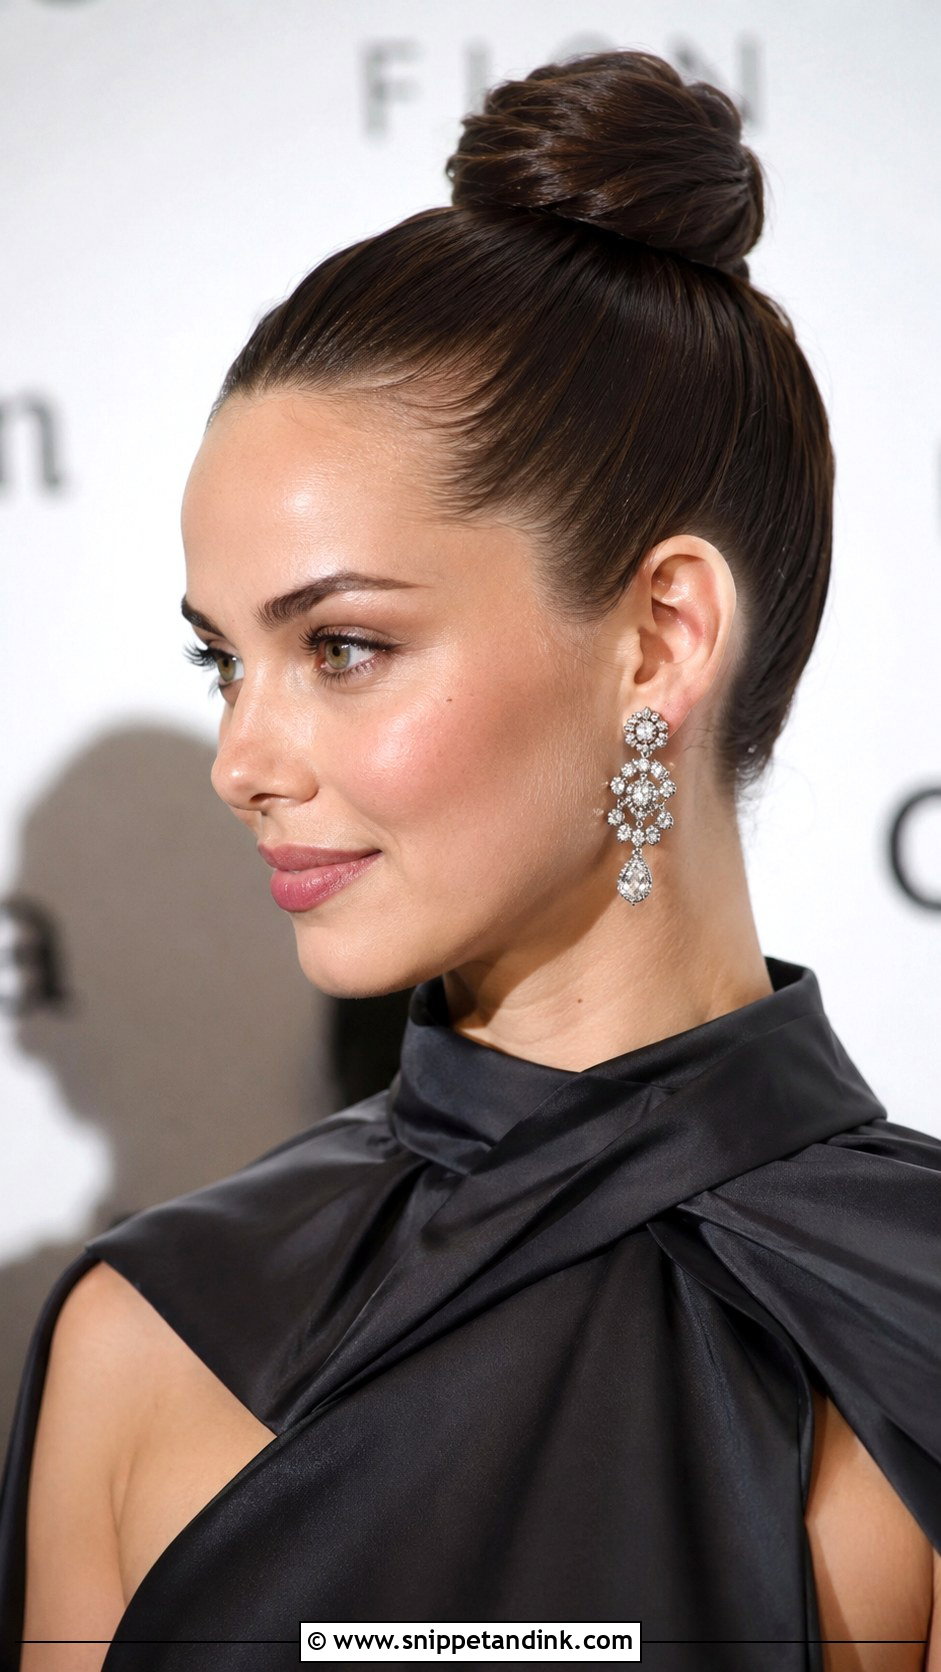
Pulled up tightly to the crown, the sleek high bun makes a dramatic, upright silhouette. It shows off a strong neckline and statement earrings better than anything else here. Comfort is the honest drawback: the tension at the crown is felt more as the hours pass, so I’d ask you to wear it for a whole afternoon after your trial. A touch of shine spray keeps the surface glossy.
18. Twisted Rope Bun
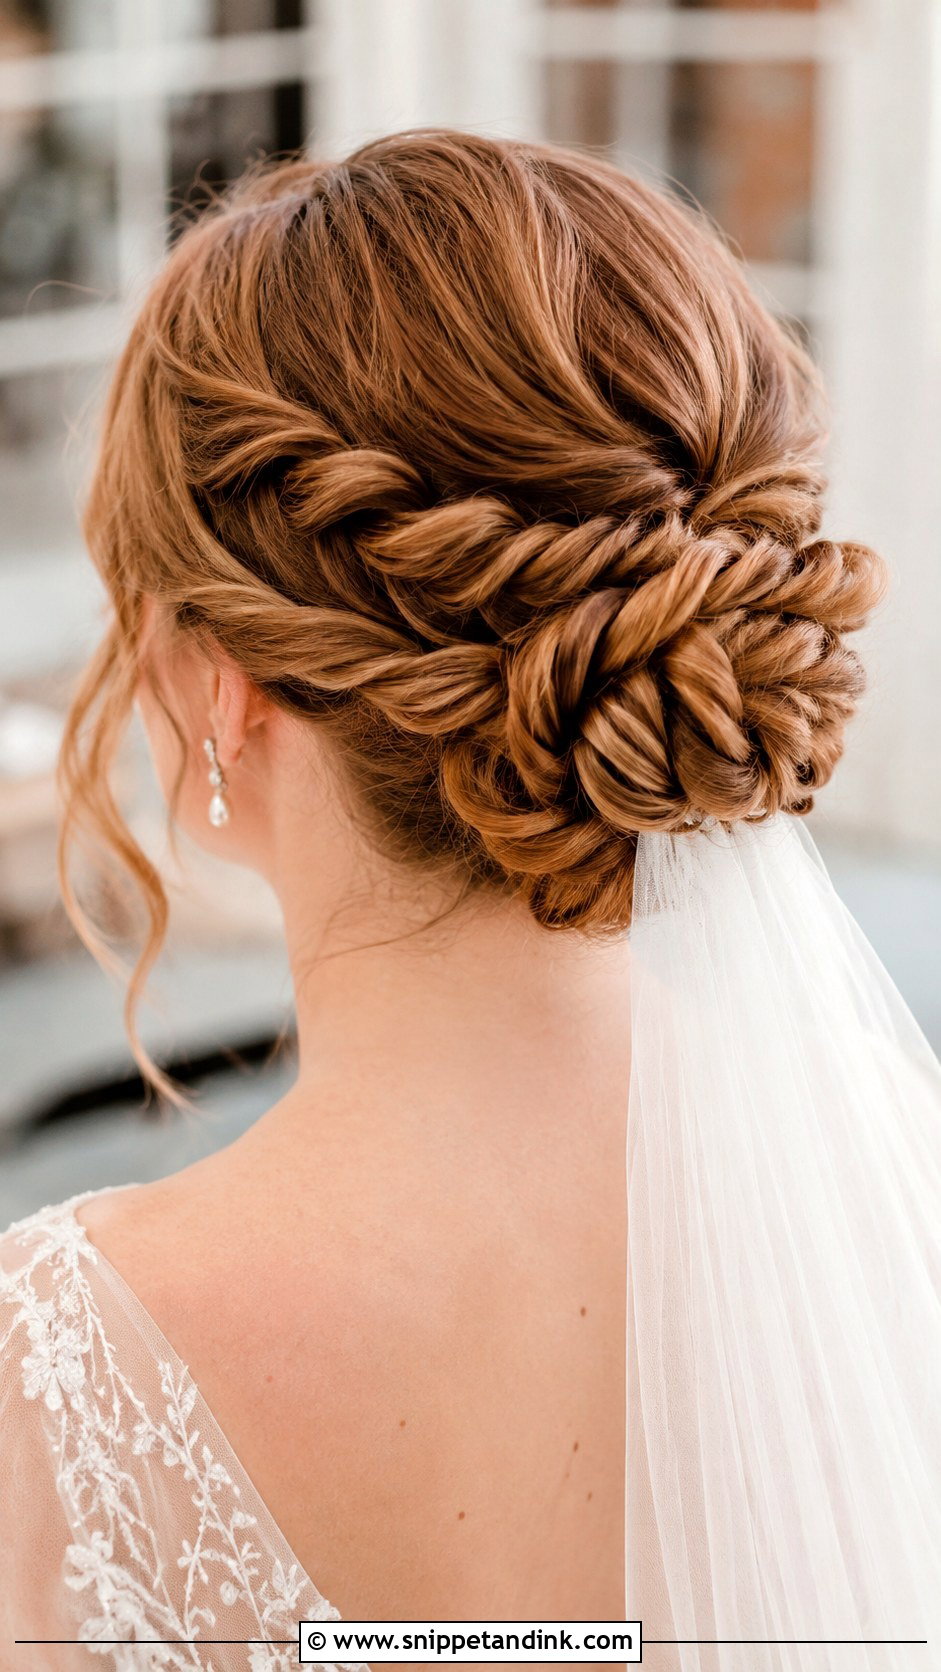
A rope twist is two sections twisted together like a rope and then coiled, and it looks more complicated than it is. The trick is twisting each section in the same direction before crossing them the opposite way; get that wrong and the rope unravels as it’s coiled. Keep the twists tight for a crisp pattern or loosen them by hand for something softer.
19. Low Bun With Veil
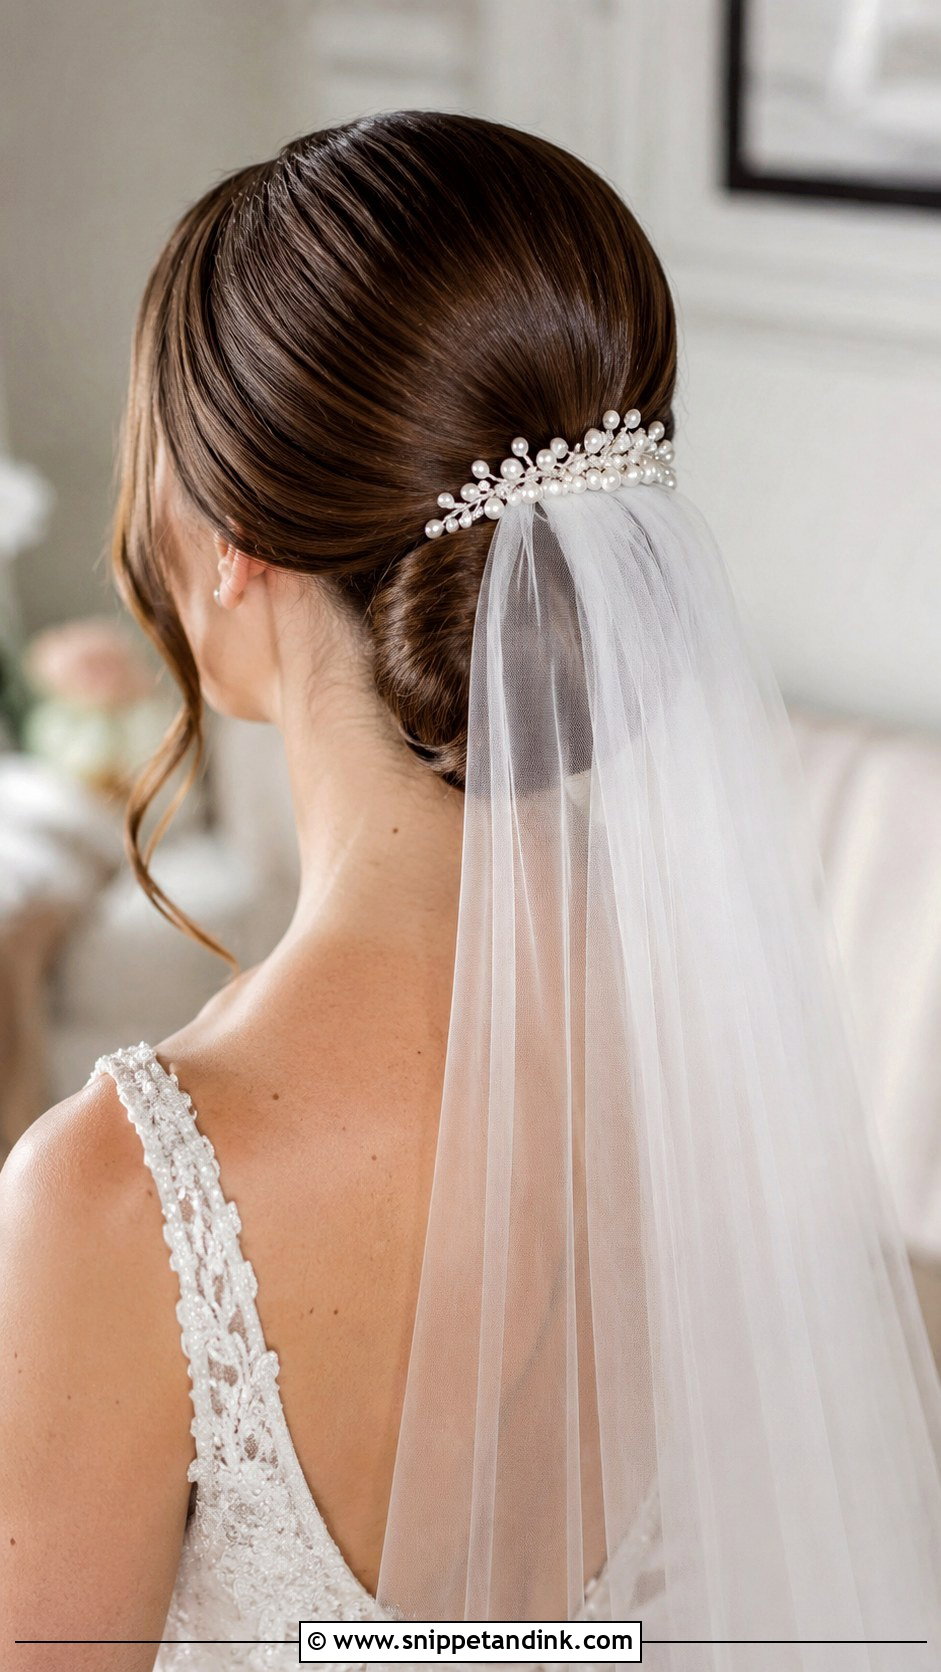
A low bun sits right where most veils need to anchor, which is why it remains the standard pairing. It holds fingertip and cathedral lengths, and a birdcage veil can pin to the front of the head while the knot keeps the rest neat. The real advantage shows up at the reception: once the veil comes out, the bun is still finished and needs no restyling. Pearls or a comb above the knot hide the gap the veil comb leaves.
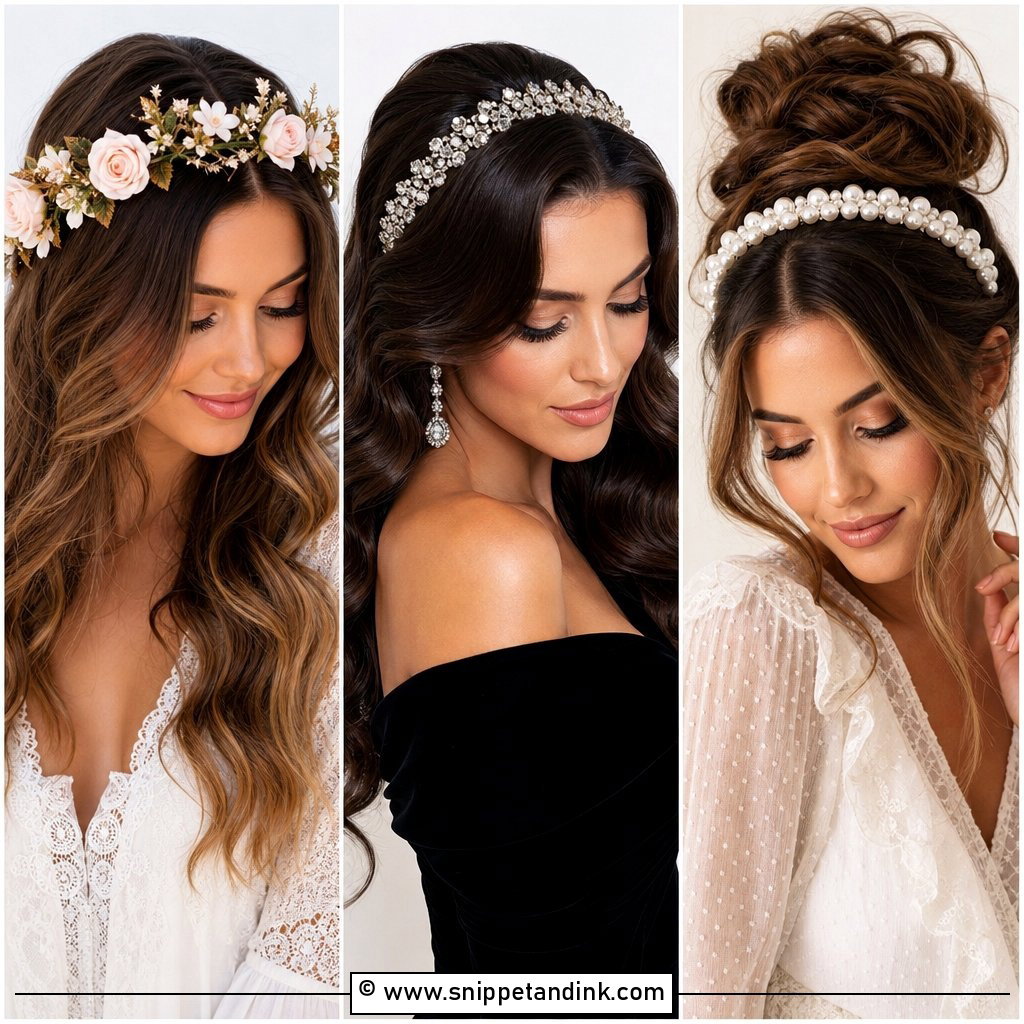
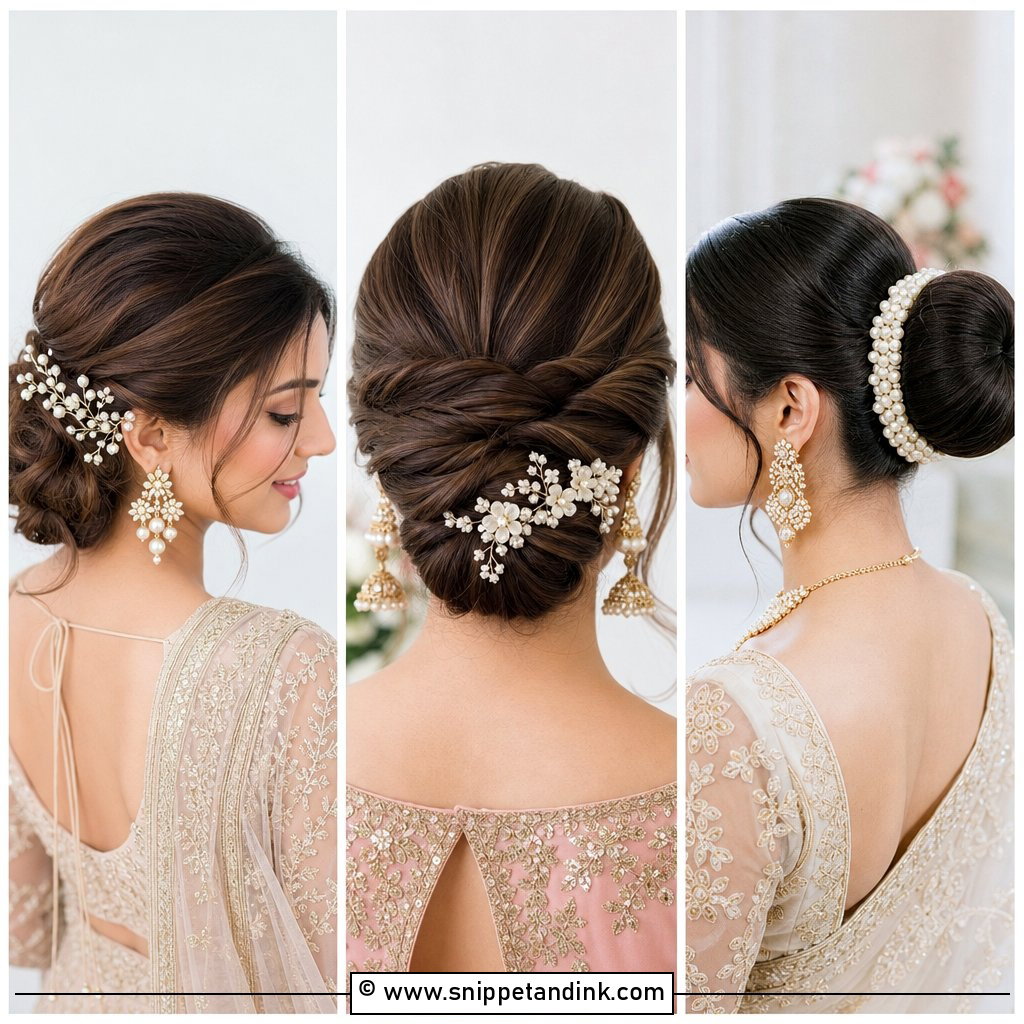
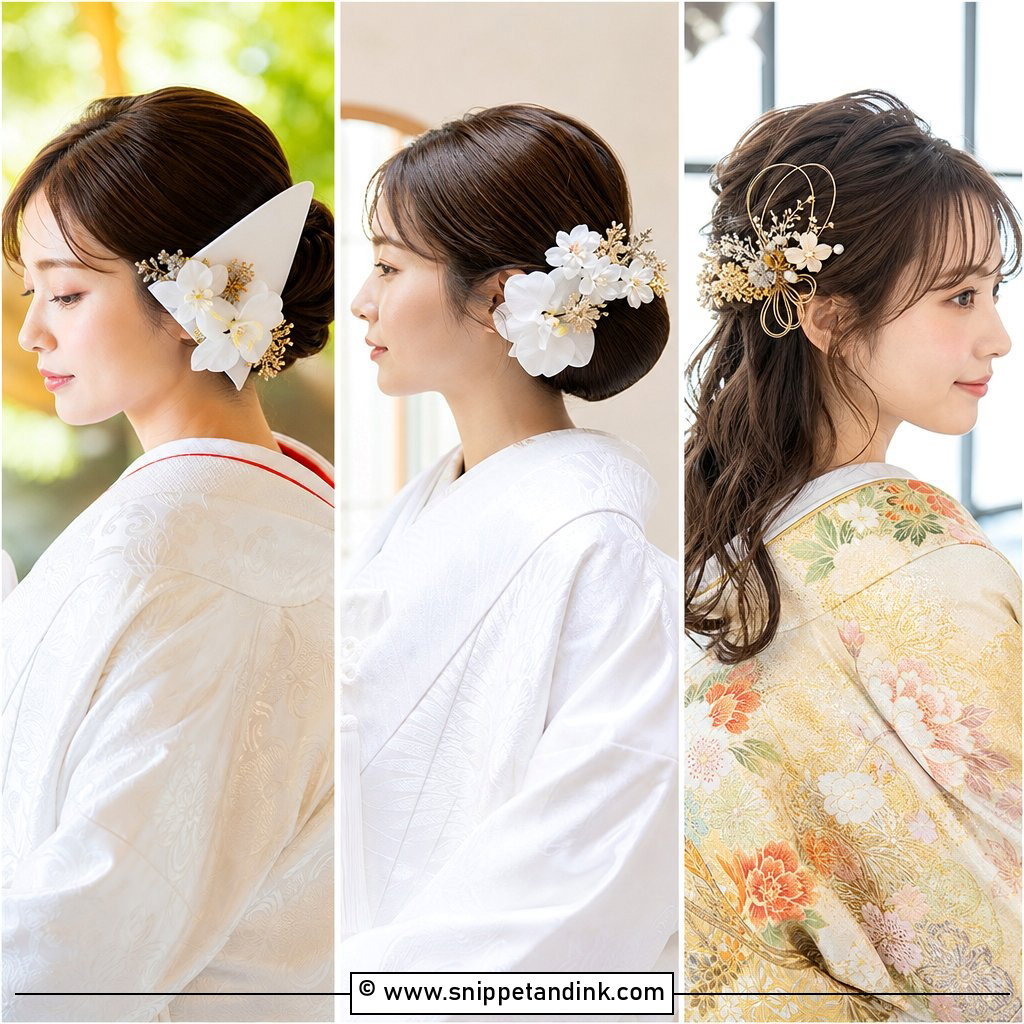
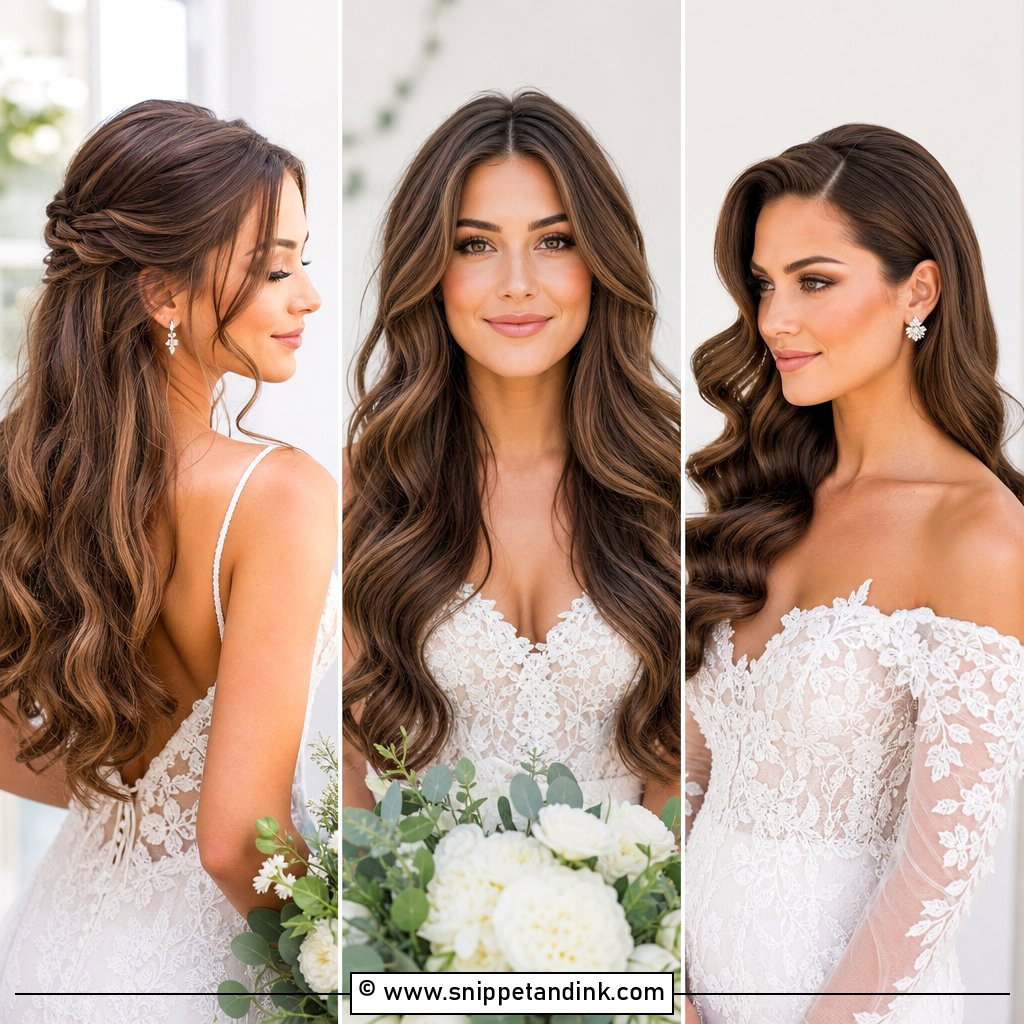
20. Braided Bun With Tendrils
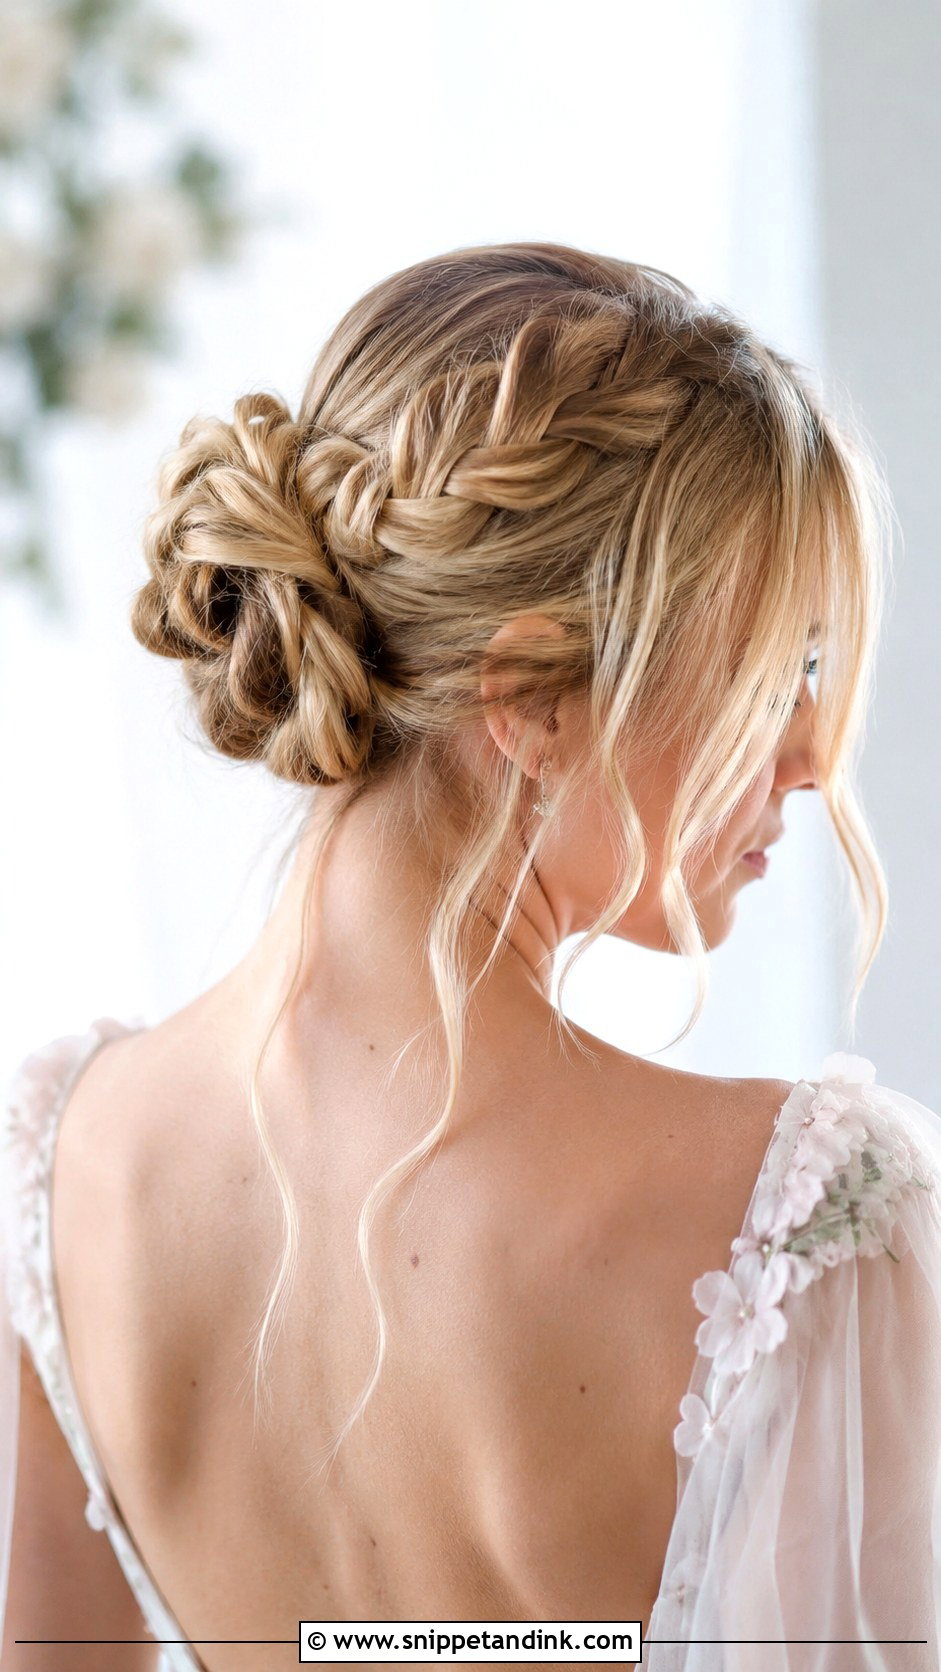
A braid wrapping into a textured bun with loose strands at the face gives structure and softness in one look. The tendrils are the part to plan: if your hair is straight, curl them last and set them so they keep their bend. Tiny flowers or pearls can be threaded into the braid. It suits an outdoor or garden wedding where some movement in the hair is welcome.
21. Glossy Ballerina Bun
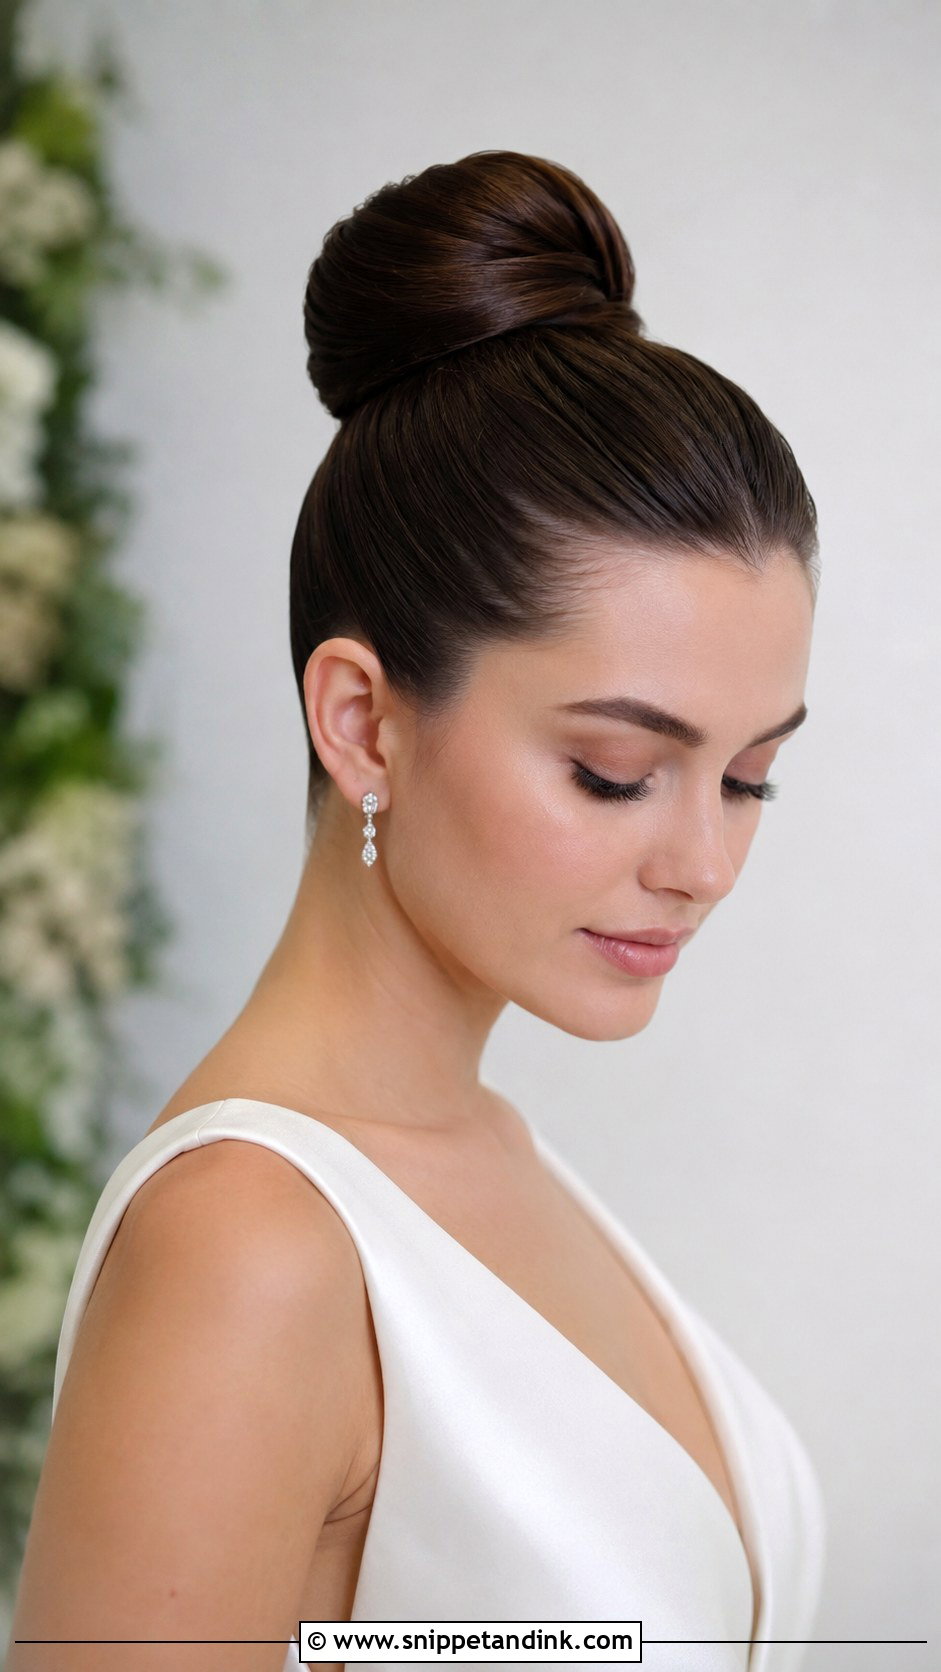
The ballerina bun takes a round, high knot and polishes it until it’s glassy. It’s minimal, and it puts every feature on show, so be sure you like seeing your face fully bare before booking it. A little gel at the hairline and shine spray over the surface create the look. It sits best with a sleek, contemporary gown and a clean neckline.
22. Wavy Textured Bun
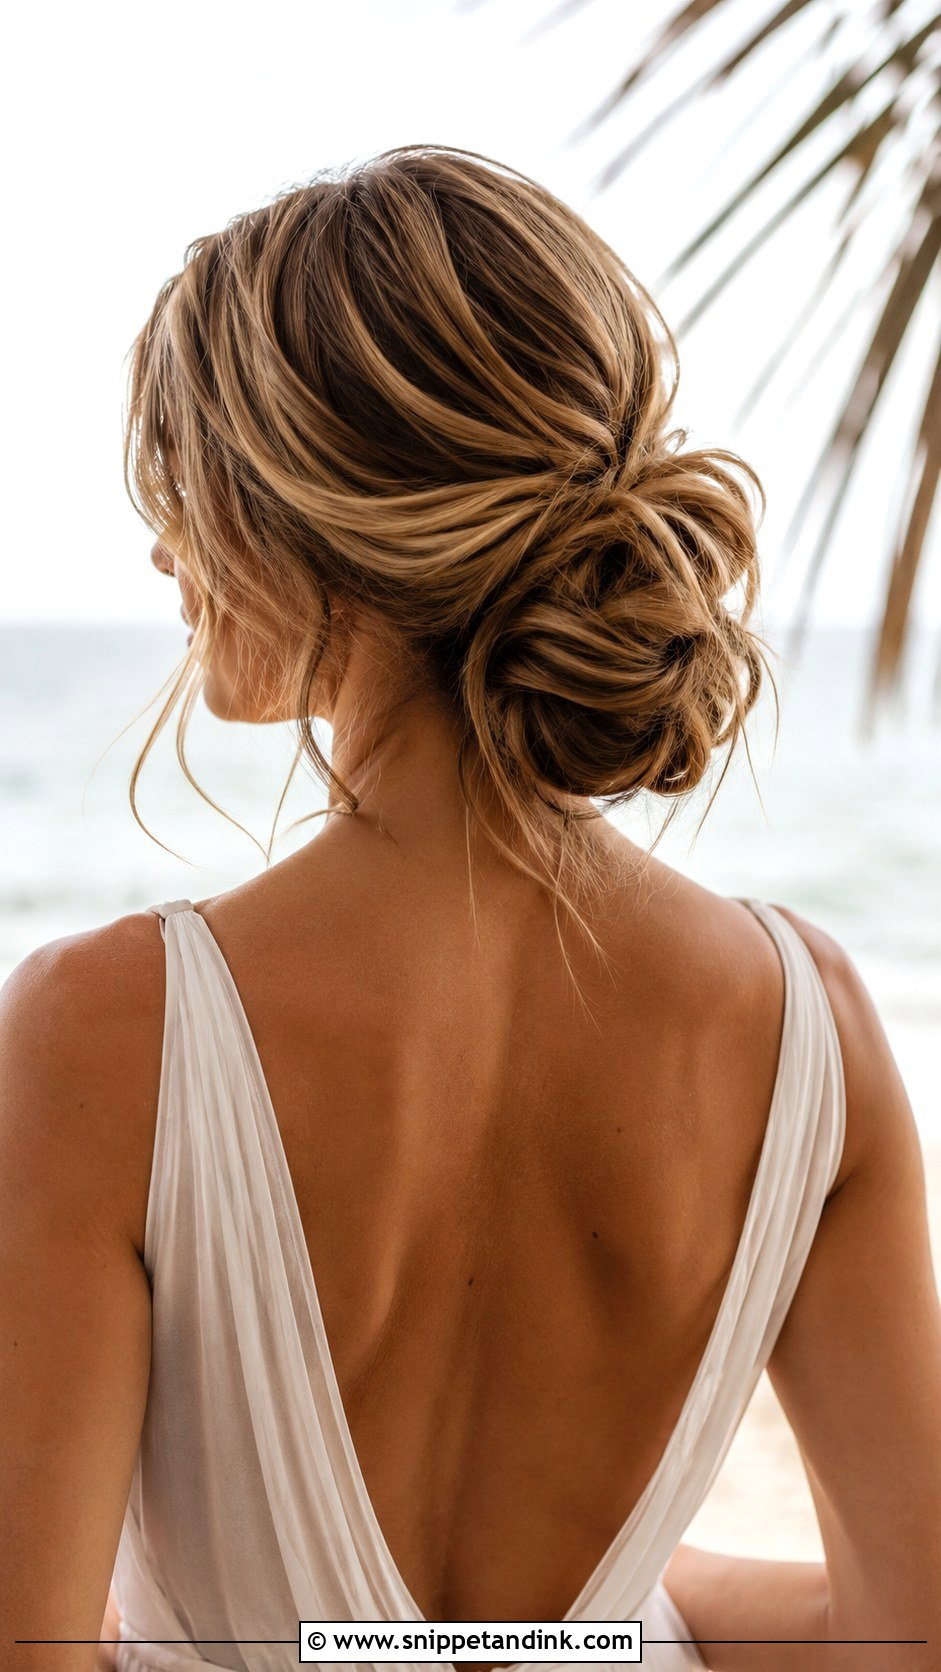
Loose waves gathered into a soft knot keep their texture rather than being smoothed away. I set the waves first with a medium barrel, let them cool, then brush through gently so they merge instead of separating into ringlets. It’s a good beach or garden choice, though sea air and humidity will relax the waves, so expect it to be softer by evening. A few wavy pieces at the face complete it.
23. Wrapped Bun With Hair
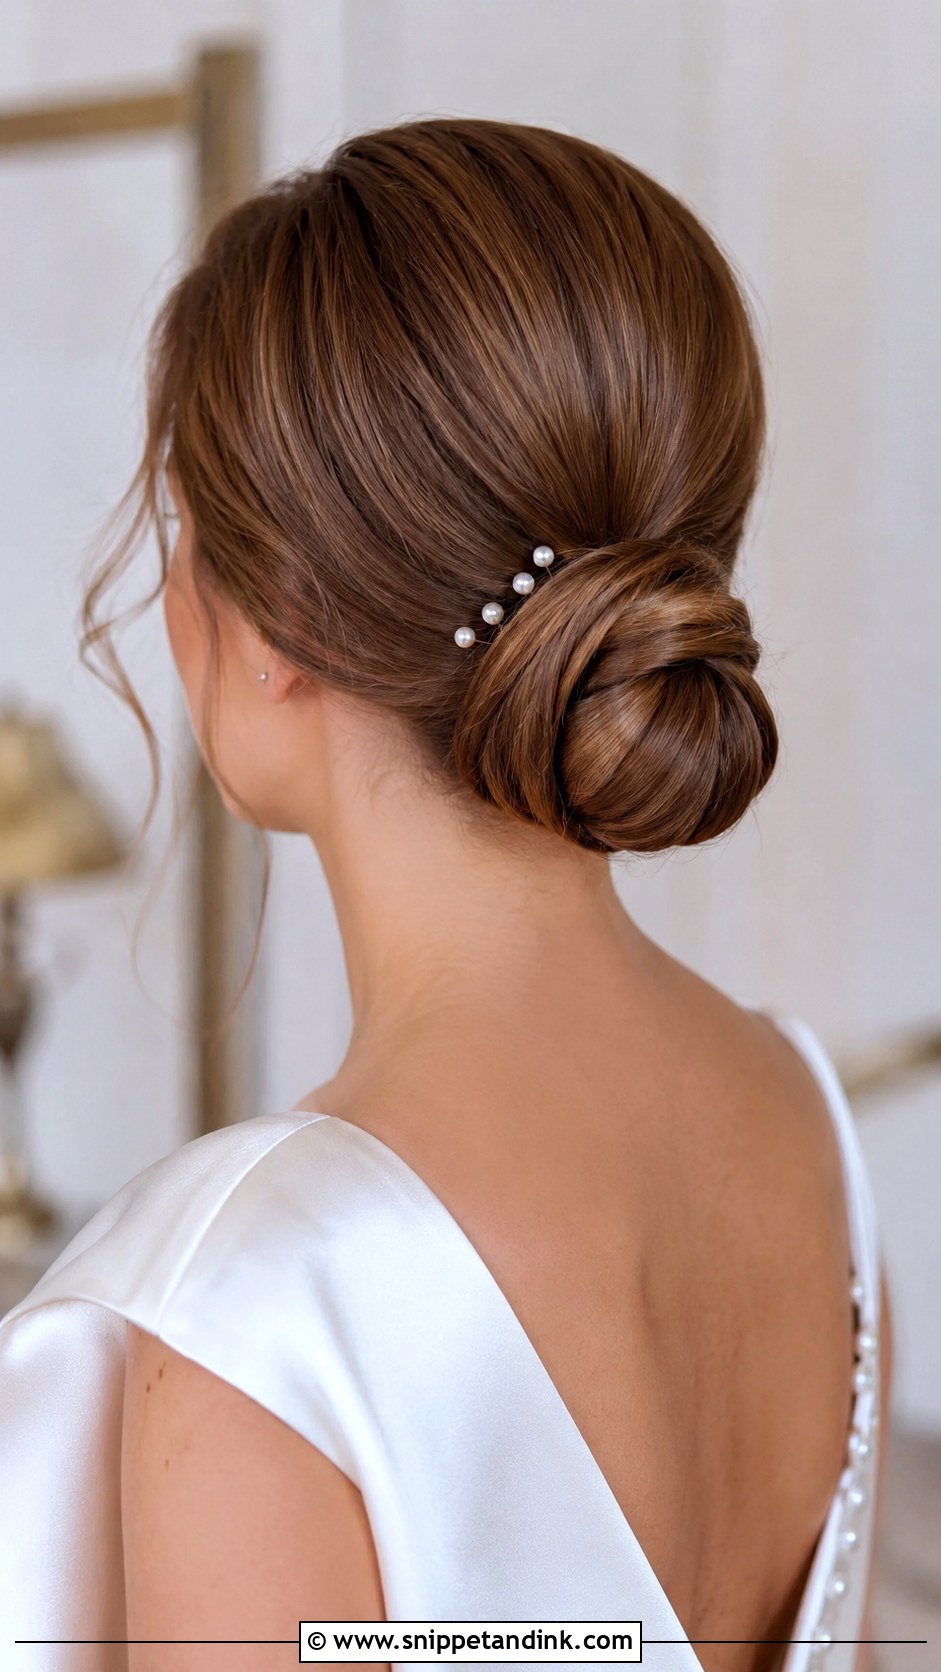
Wrapping a strand of hair around the base of a bun hides the elastic, and it’s a small finishing step that makes any bun look more expensive. I take a section from underneath the ponytail before it’s coiled, wrap it round, and pin the end under the knot. It suits brides who notice elegant, detail-oriented finishing touches. Pearls, a comb, or nothing at all all work around it.
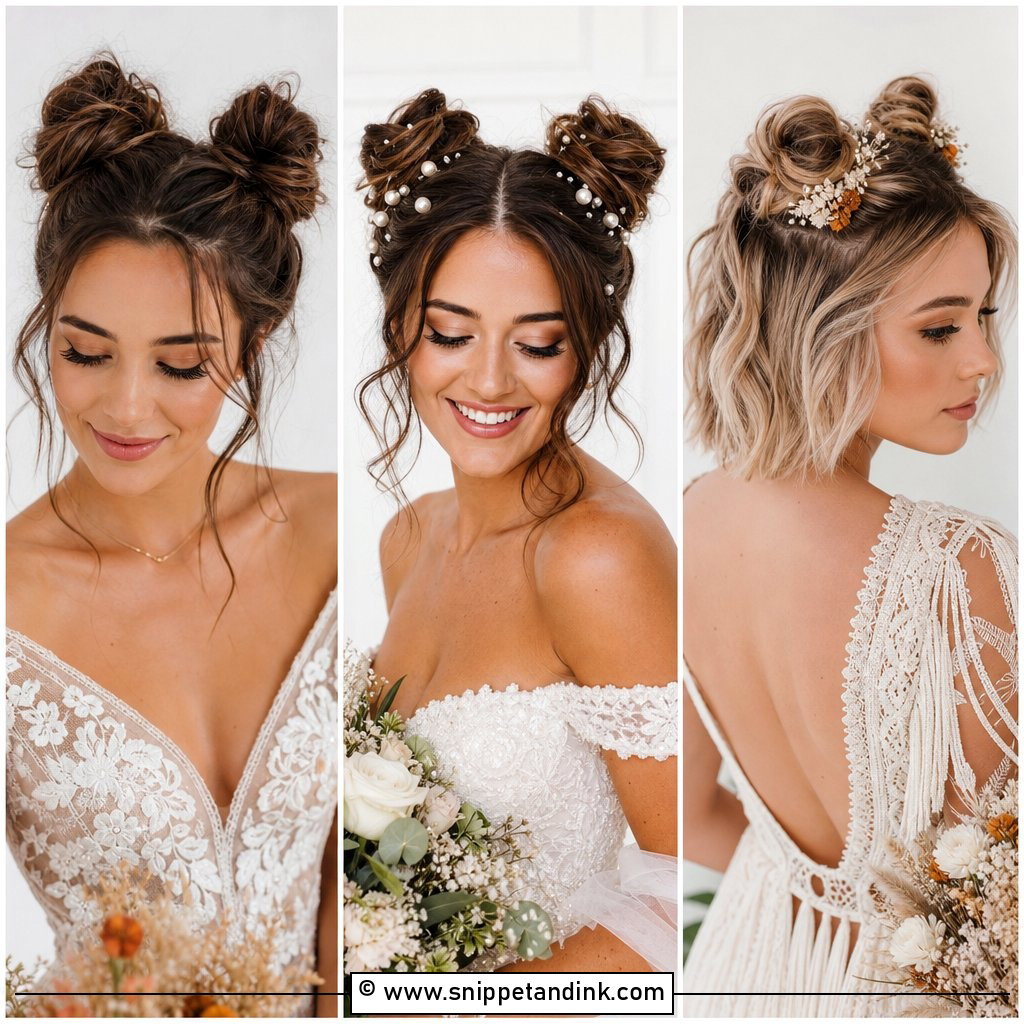
24. Double Bun Updo
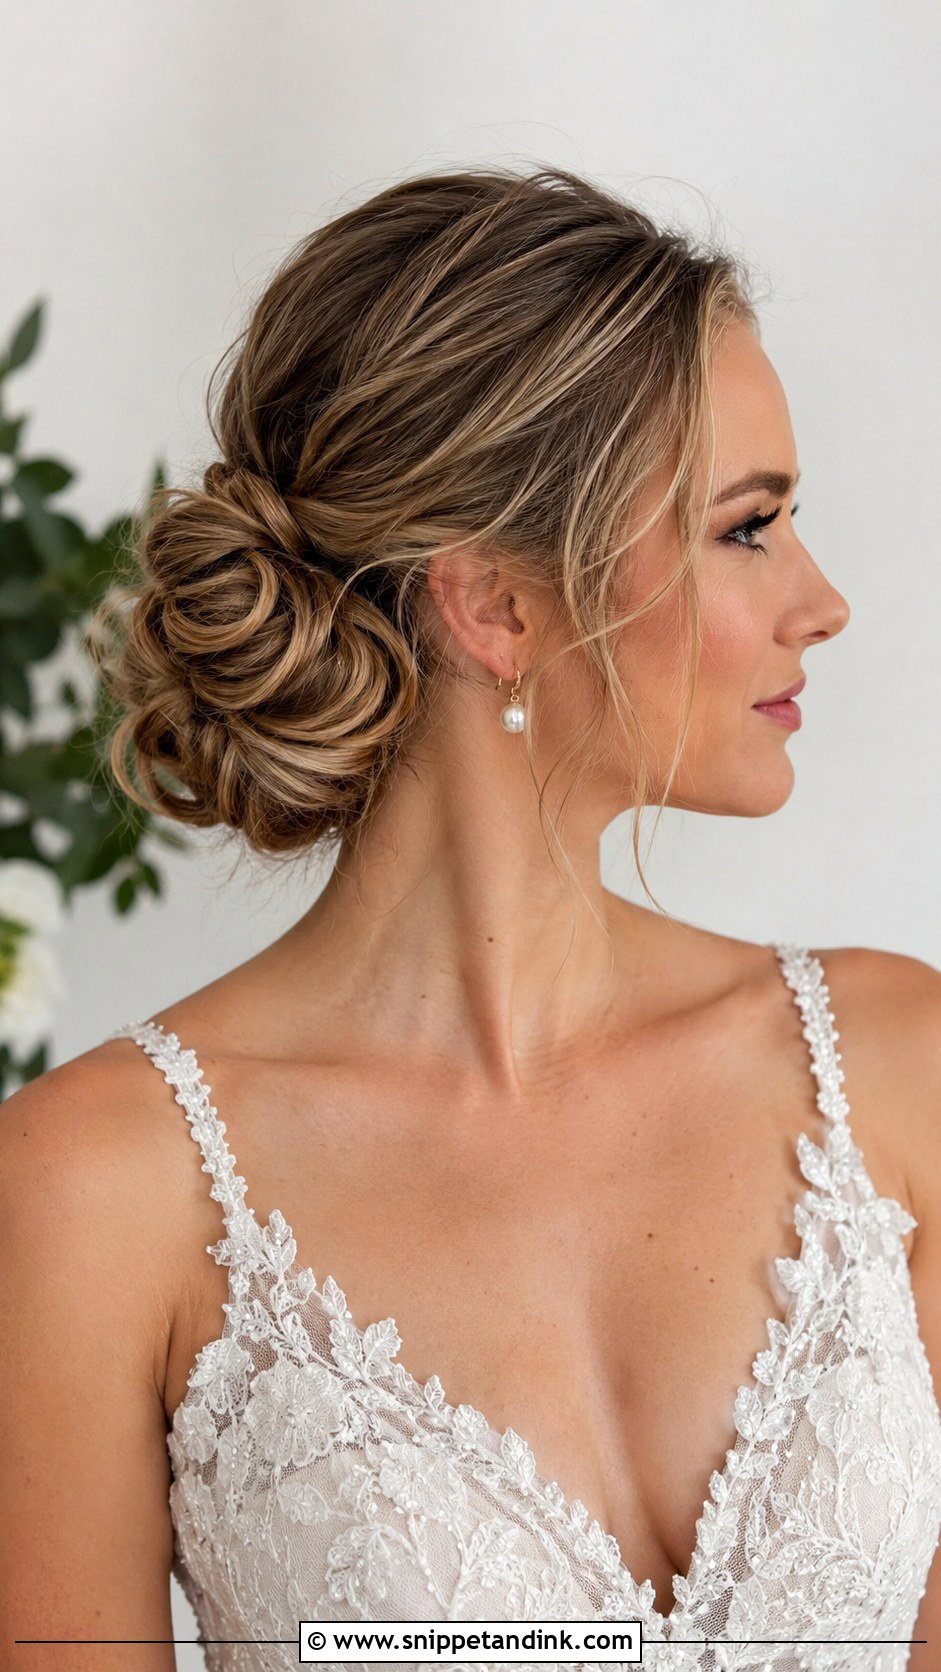
Two knots sitting close together at the back create fullness without the playfulness of space buns. They need to be placed precisely, and level, otherwise from behind it can look as though one bun has slipped. Splitting the hair this way also halves the weight on each anchor, which helps thick hair stay up. Delicate accessories or a flowing veil work with it.
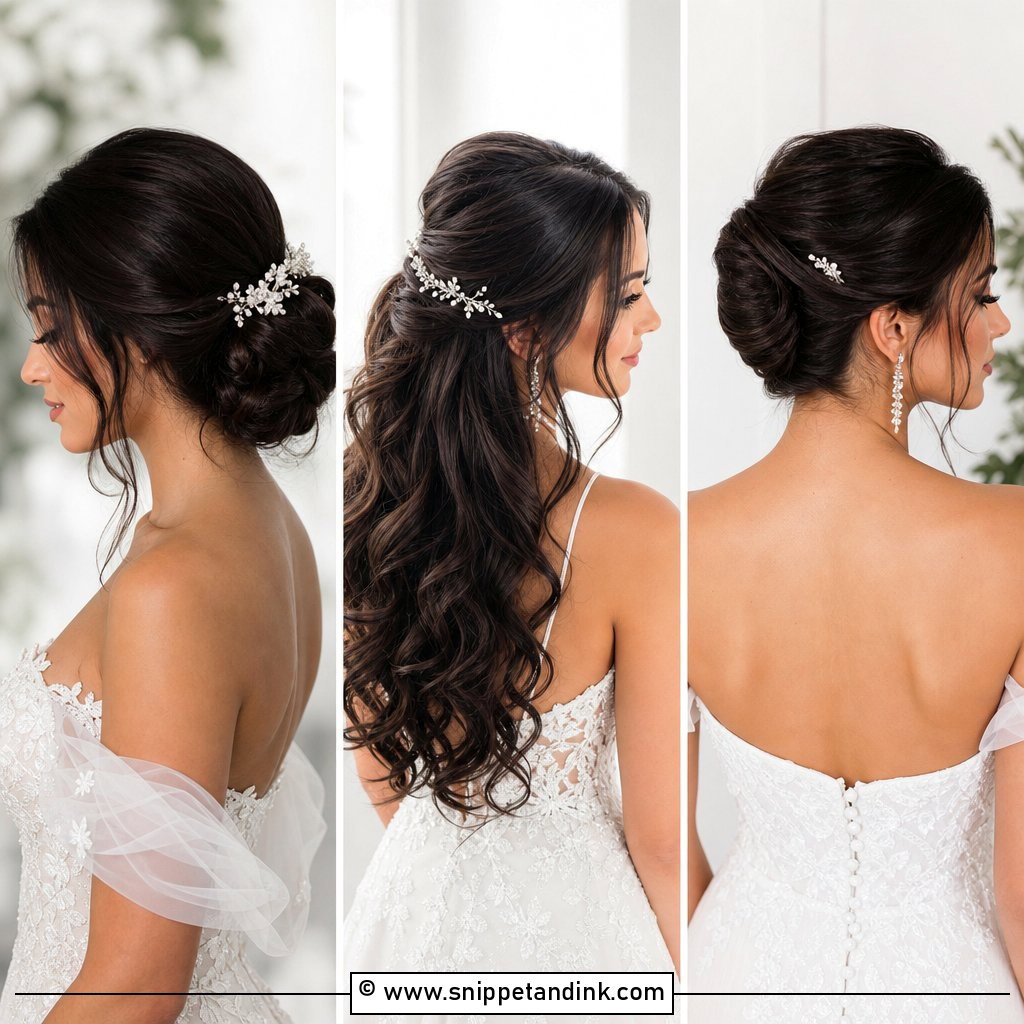
25. Knotted Chignon
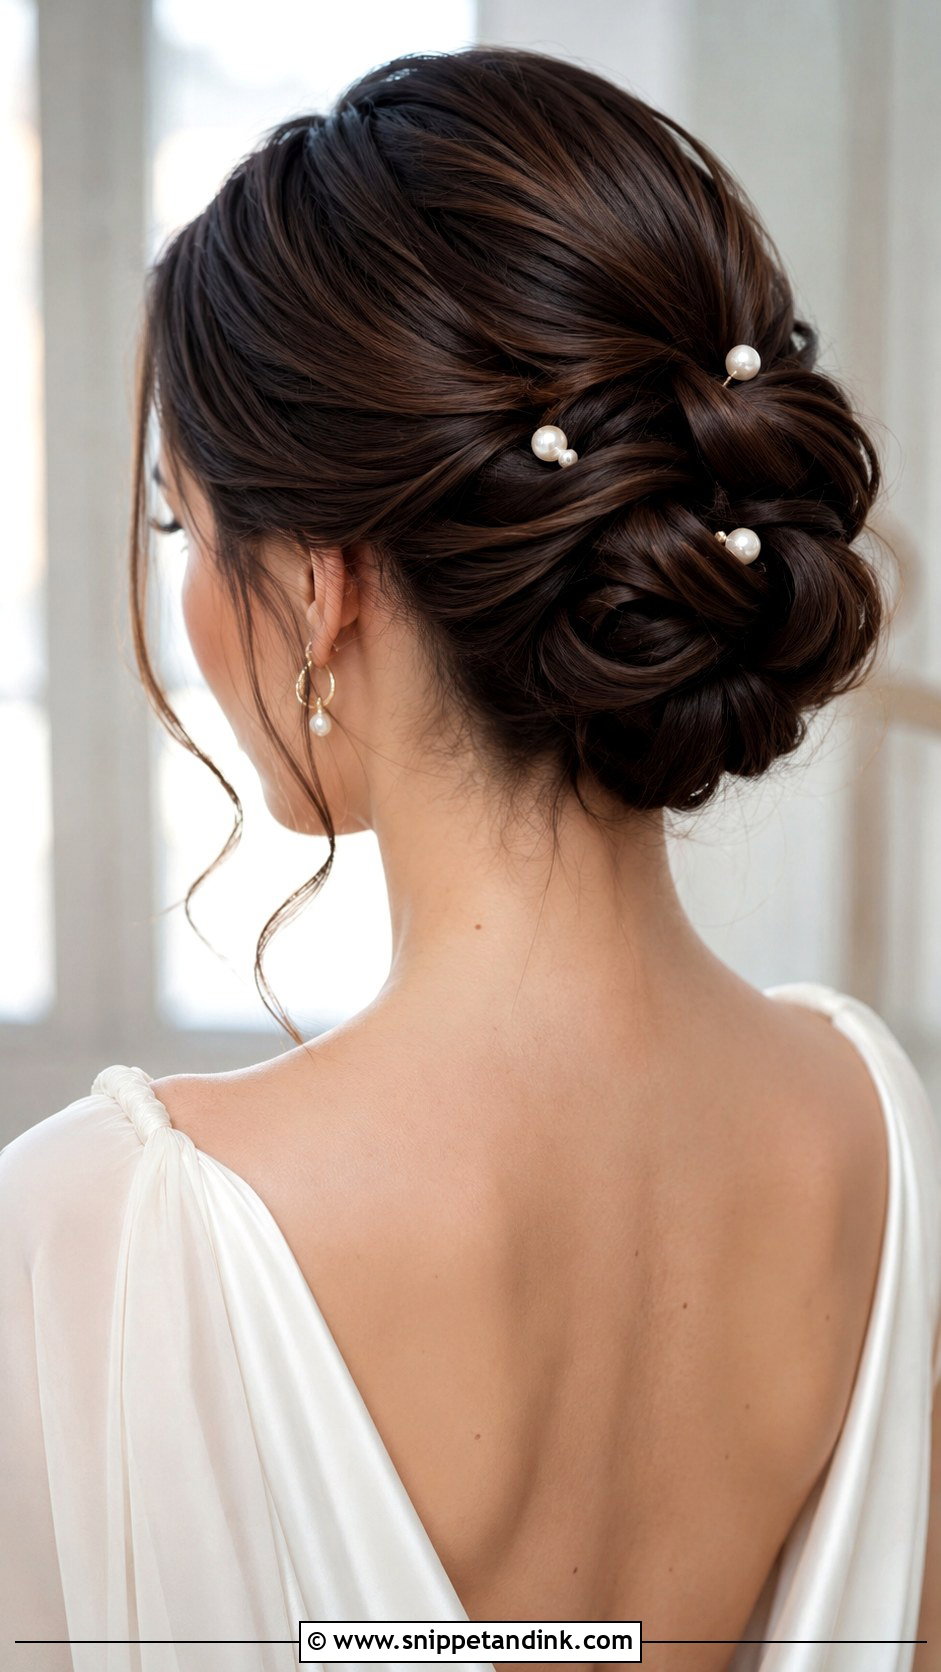
A knotted chignon is built by looping and knotting sections into a sculpted, textured bun. Because each knot holds itself, it needs fewer pins than a smooth chignon and stays firm on medium to long hair. I keep the sections larger on thick hair so the pattern stays readable. Pearls or small pins sit well in the gaps between the knots.
Taking the Veil Out Without Pulling the Bun Apart
Most brides remove the veil after the ceremony or after portraits, and this is the moment buns get damaged. A comb is usually held by bobby pins crossed through its teeth, so tugging it upward drags the bun with it. Ask your stylist to show a bridesmaid where those pins are at the trial. Then she can slide them out first, lift the comb gently backward along the teeth and smooth the spot with a fingertip of hairspray.
How a Bun Feels at Midnight, and Letting It Down
A well-built bun shouldn’t hurt. If you feel a pin digging in during the first hour, say so straight away; a pin pressing on the scalp gets worse, not better. When the night ends, resist pulling the elastic out first. Find and remove every pin, let the bun unwind, then work any backcombing out from the ends upward with your fingers and a little conditioner or oil.
Sleeping in it is tempting, and occasionally fine for a soft style, but tight buns left overnight strain the hairline. If you have an early start the next morning, a loose braid is kinder.
Matching a Bun to the Hair You Really Have
When you sit down with your stylist, bring photos of your dress, your veil and the back of the gown, not just pictures of buns you like. Mention whether you’ll be outdoors, and for how long. From sleek chignons to braided crowns and floral-adorned updos, nearly every style here can be adjusted to your hair, but only if she knows the conditions it has to survive. Add your own small touches, pearls or a sprig of flowers, once the shape is right.
You'll Like These Ideas:


Leave a Reply