
A bun is the updo I reach for most at bridal trials, and not only because it looks good. It sits under a veil comb without fighting it, it keeps hair off a lace back, and it survives the hugging that happens in the first hour after the ceremony. The 25 buns below run from sleek and polished to loose and boho. As you look through them, notice where each one sits on the head, because placement matters more than texture when you match a bun to your dress and veil.
Placement Comes Before Texture: Nape, Crown or One Side
When a bride shows me her saved photos, the first question I ask is not sleek or messy. It’s where the bun sits. Placement decides how your veil attaches, how the back of your dress reads, and how comfortable you’ll be at hour eight.
- Nape: the safest base for a long veil, high necklines and lace backs. The comb goes just above the knot and has something solid to bite into.
- Mid-back of the head: balances strapless and sweetheart necklines, and shows up well in profile photos.
- Crown: cool and comfortable in heat, but the veil has to sit underneath it, which some brides dislike from the side.
- One side: follows an asymmetric neckline. Put it on the side guests see during the ceremony.
Bring your veil or a photo of how it attaches to the trial. I’ve seen many lovely buns rebuilt on the morning because the veil comb only worked at a different height.
1. Sleek Low Bun for Wedding
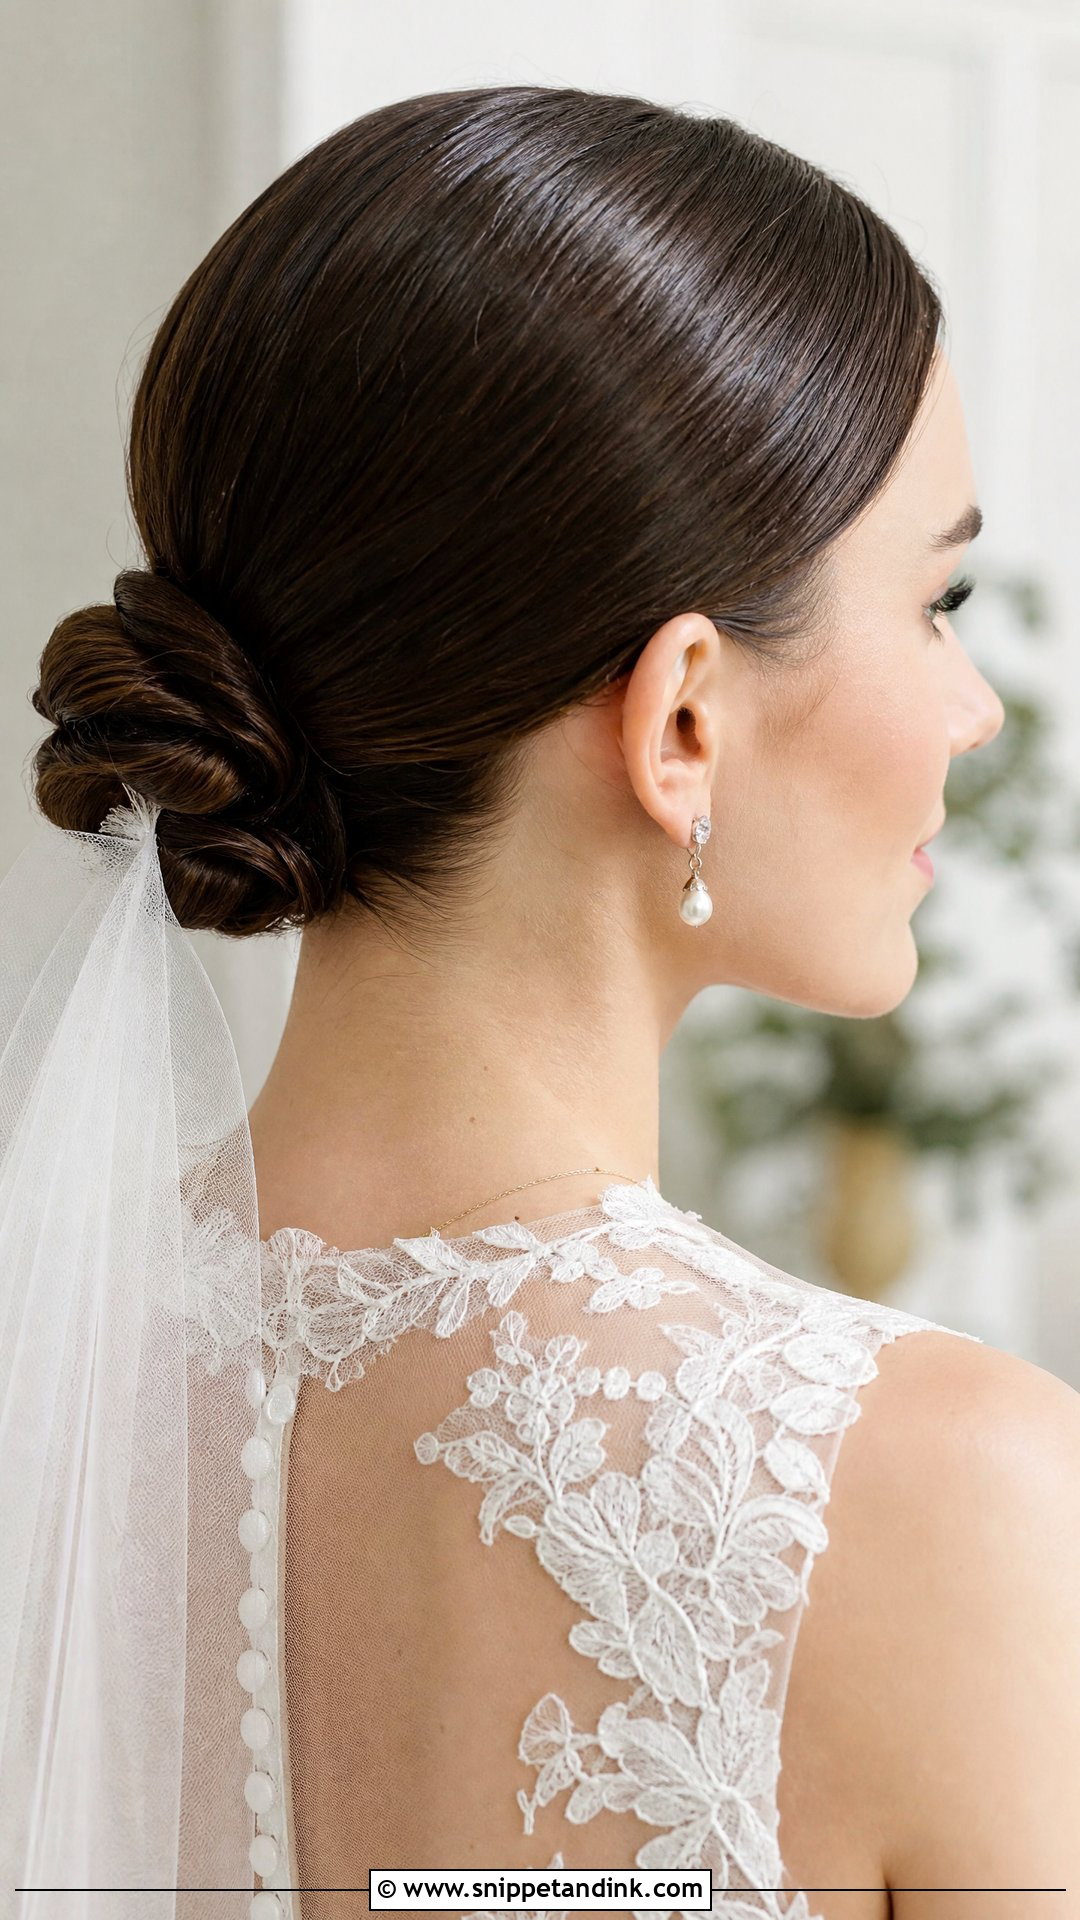
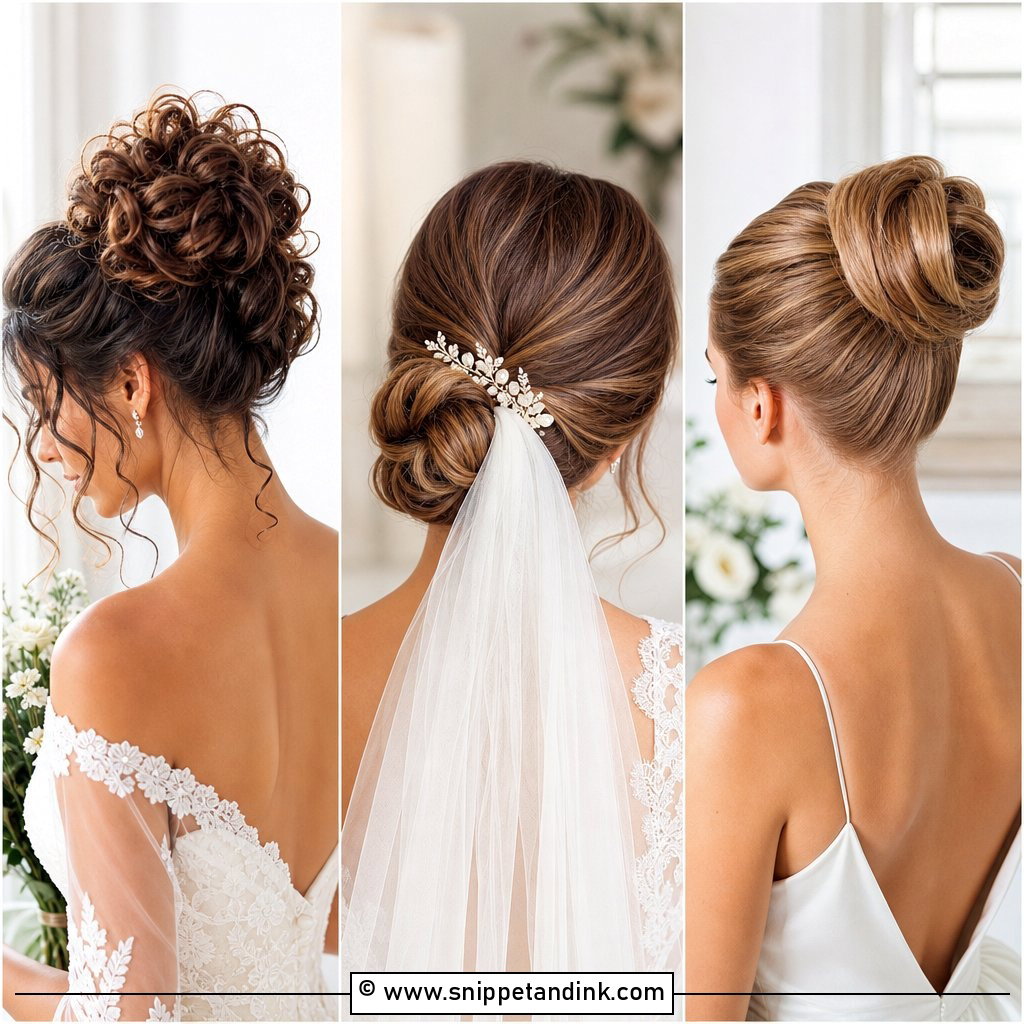
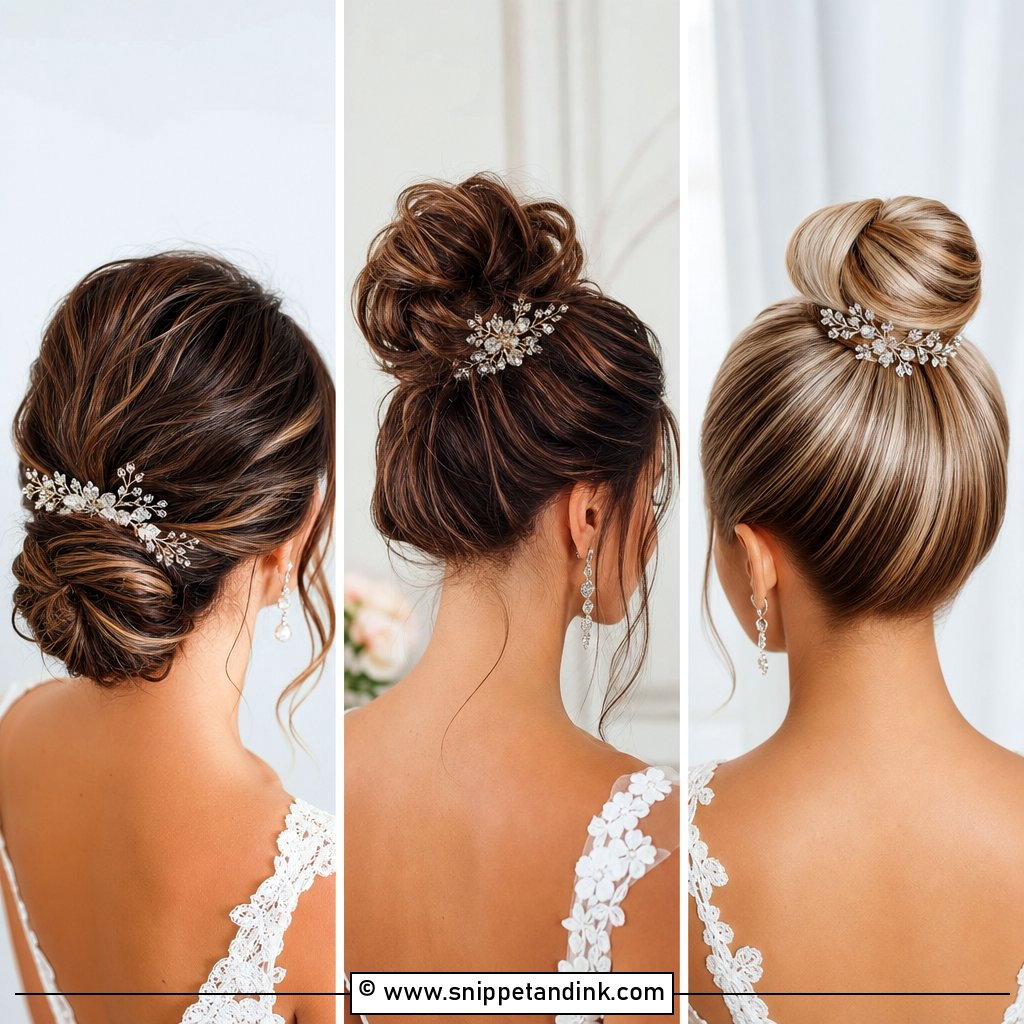
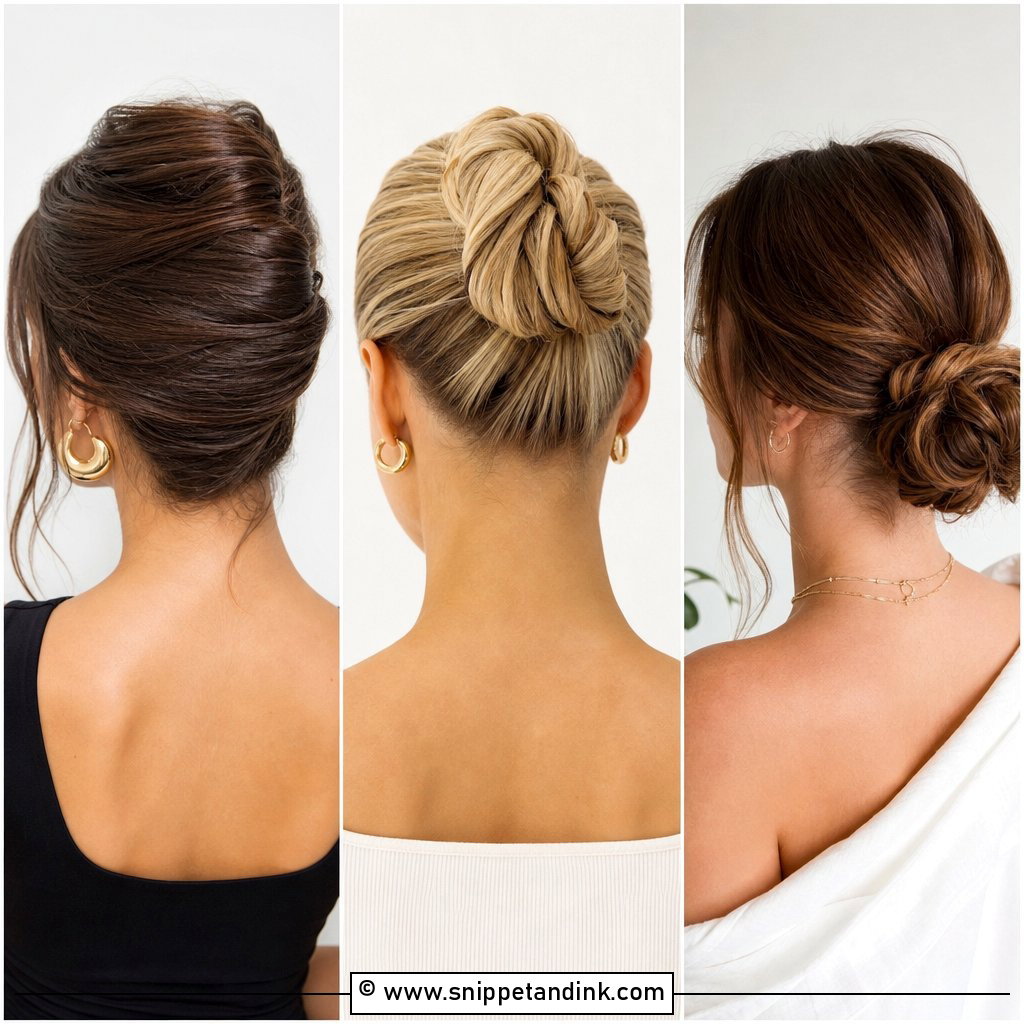
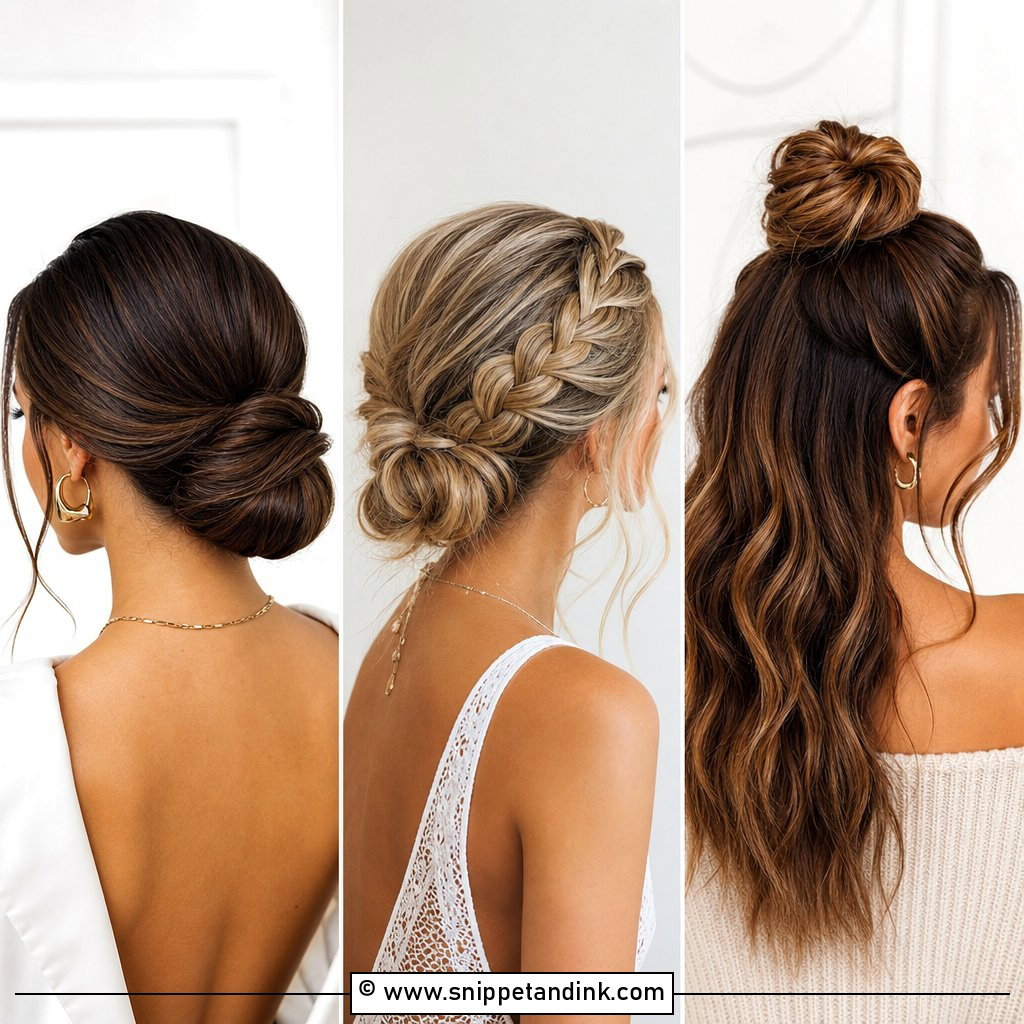
The sleek low bun looks simple, and that is exactly why it shows every mistake. I smooth the hair with a boar bristle brush while it is still slightly warm from the blow dry, then secure the ponytail with a hair elastic before wrapping, because pins alone let a sleek base slacken by the reception. A drop of serum on the palms, never straight on the roots, handles flyaways without leaving the crown greasy. It holds a cathedral veil well and leaves room for statement earrings. Its one weakness: a strong side part shows any dent from the elastic, so I usually set the part an hour before I tie anything.
2. Messy Bun for Wedding
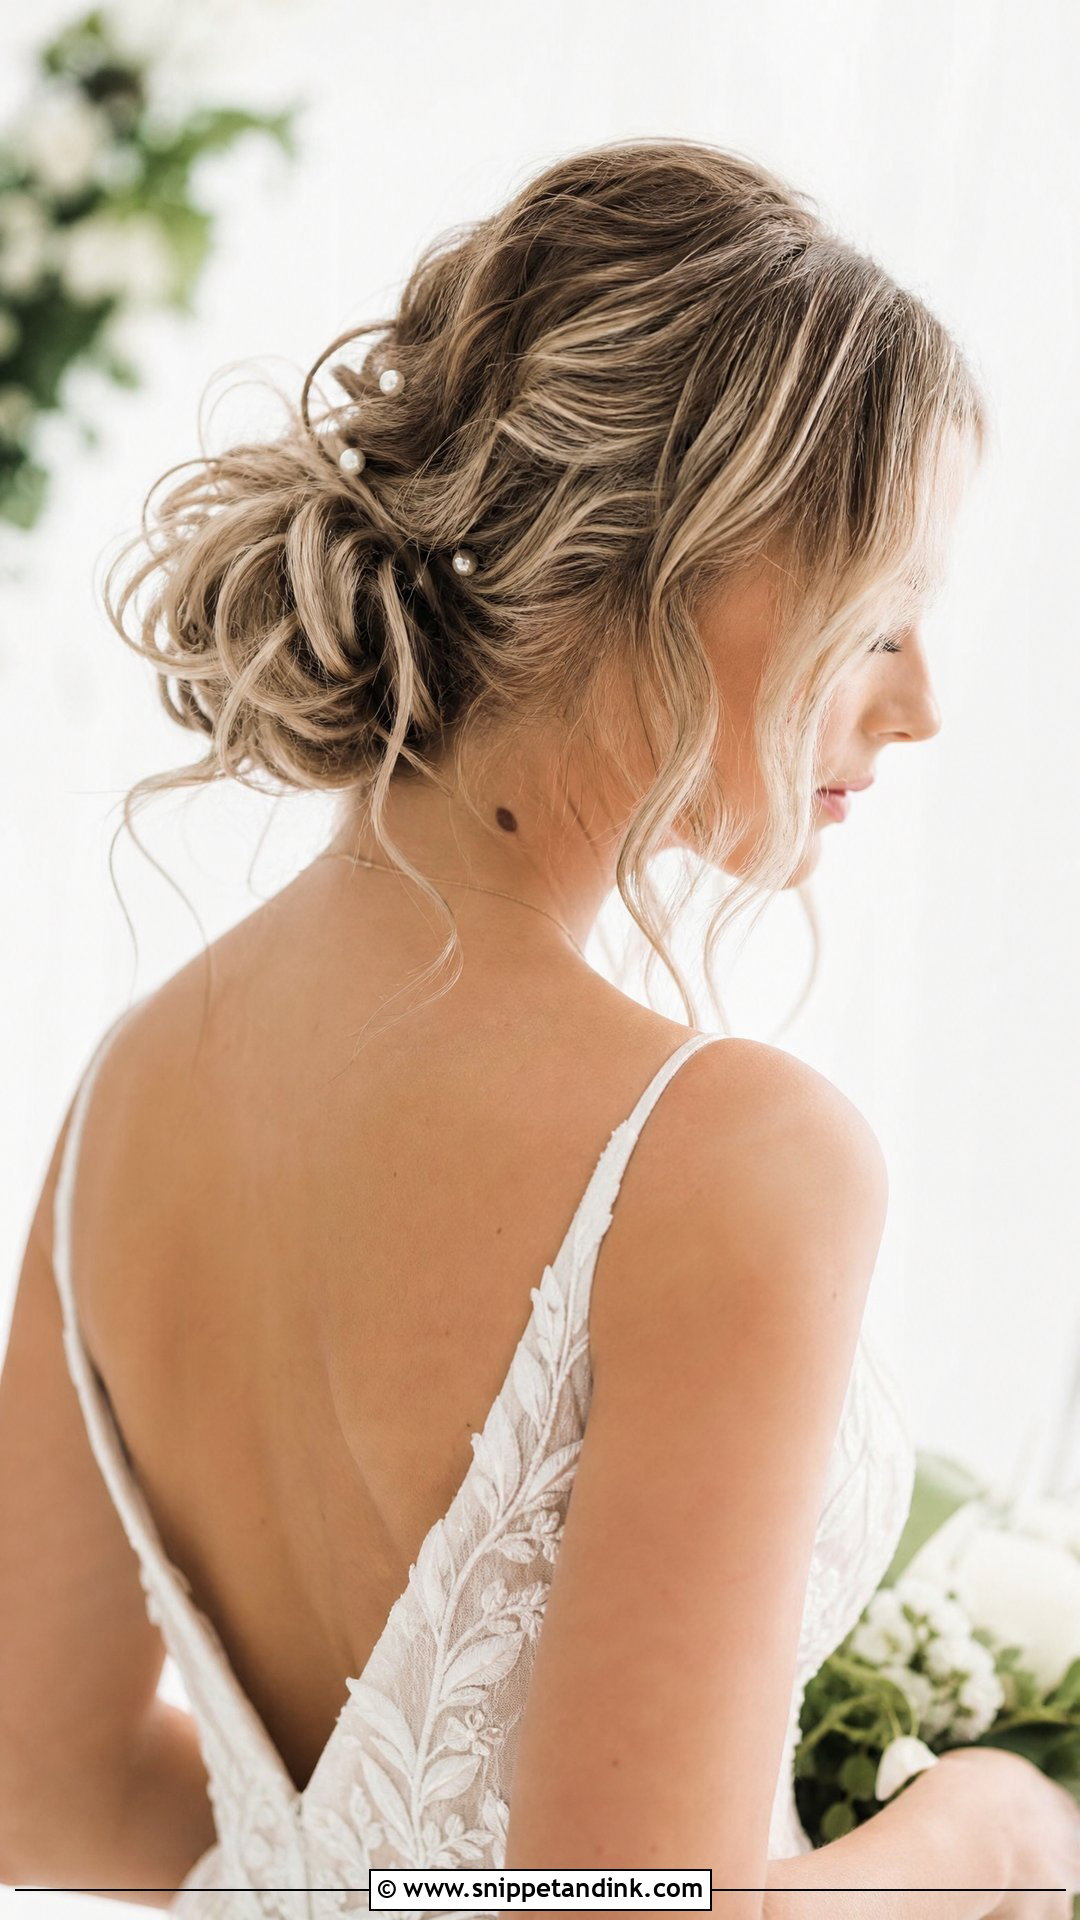
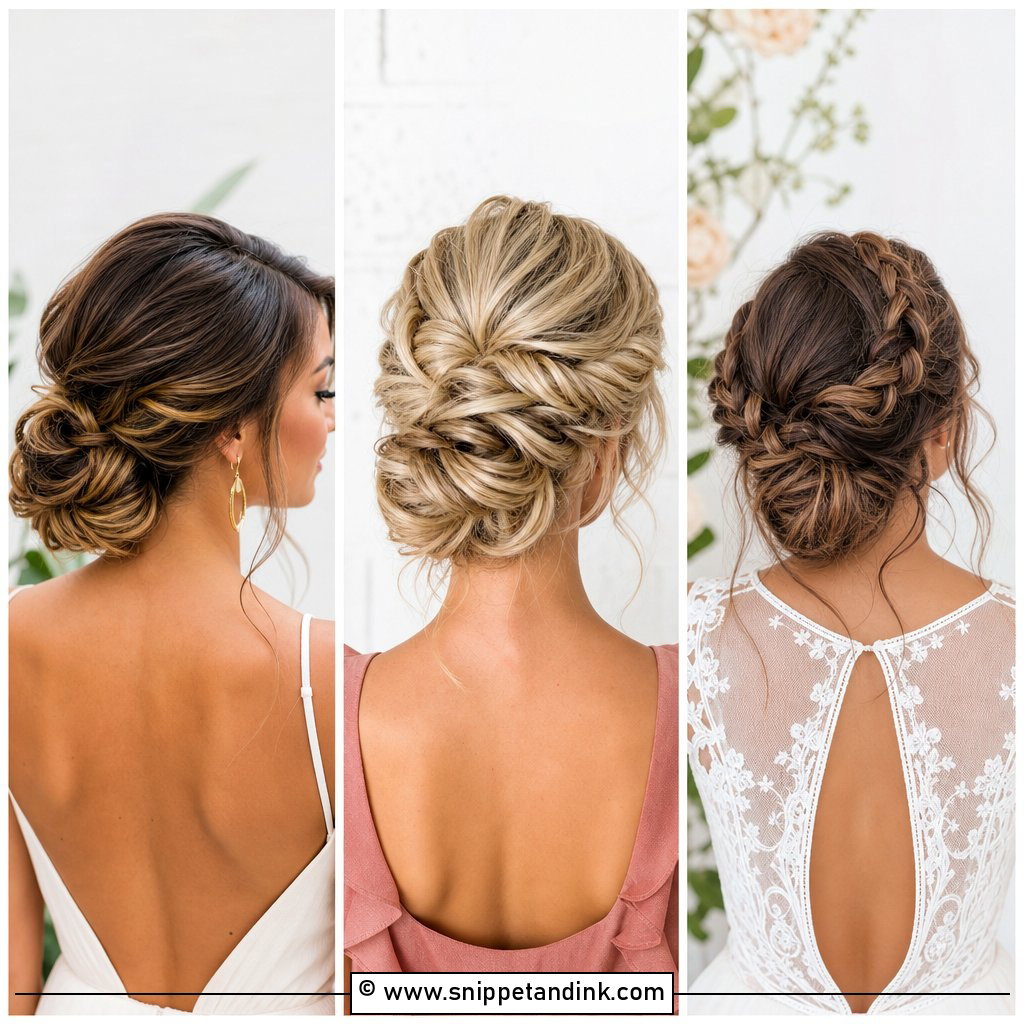
A good messy bun is planned, which surprises most brides. I curl everything first with a medium barrel, brush the curls out, then pin loose loops and twists so the mess has structure underneath. That’s what lets it last an outdoor ceremony with a breeze. The face-framing tendrils should be cut from the hairline last, not first, so they fall where your face actually needs them. Small pearl pins or a few florals sit nicely in the gaps. If your hair is very silky and freshly washed, give it a day or add texture spray, or the loops slide out by mid-afternoon.
3. Braided Bun for Wedding
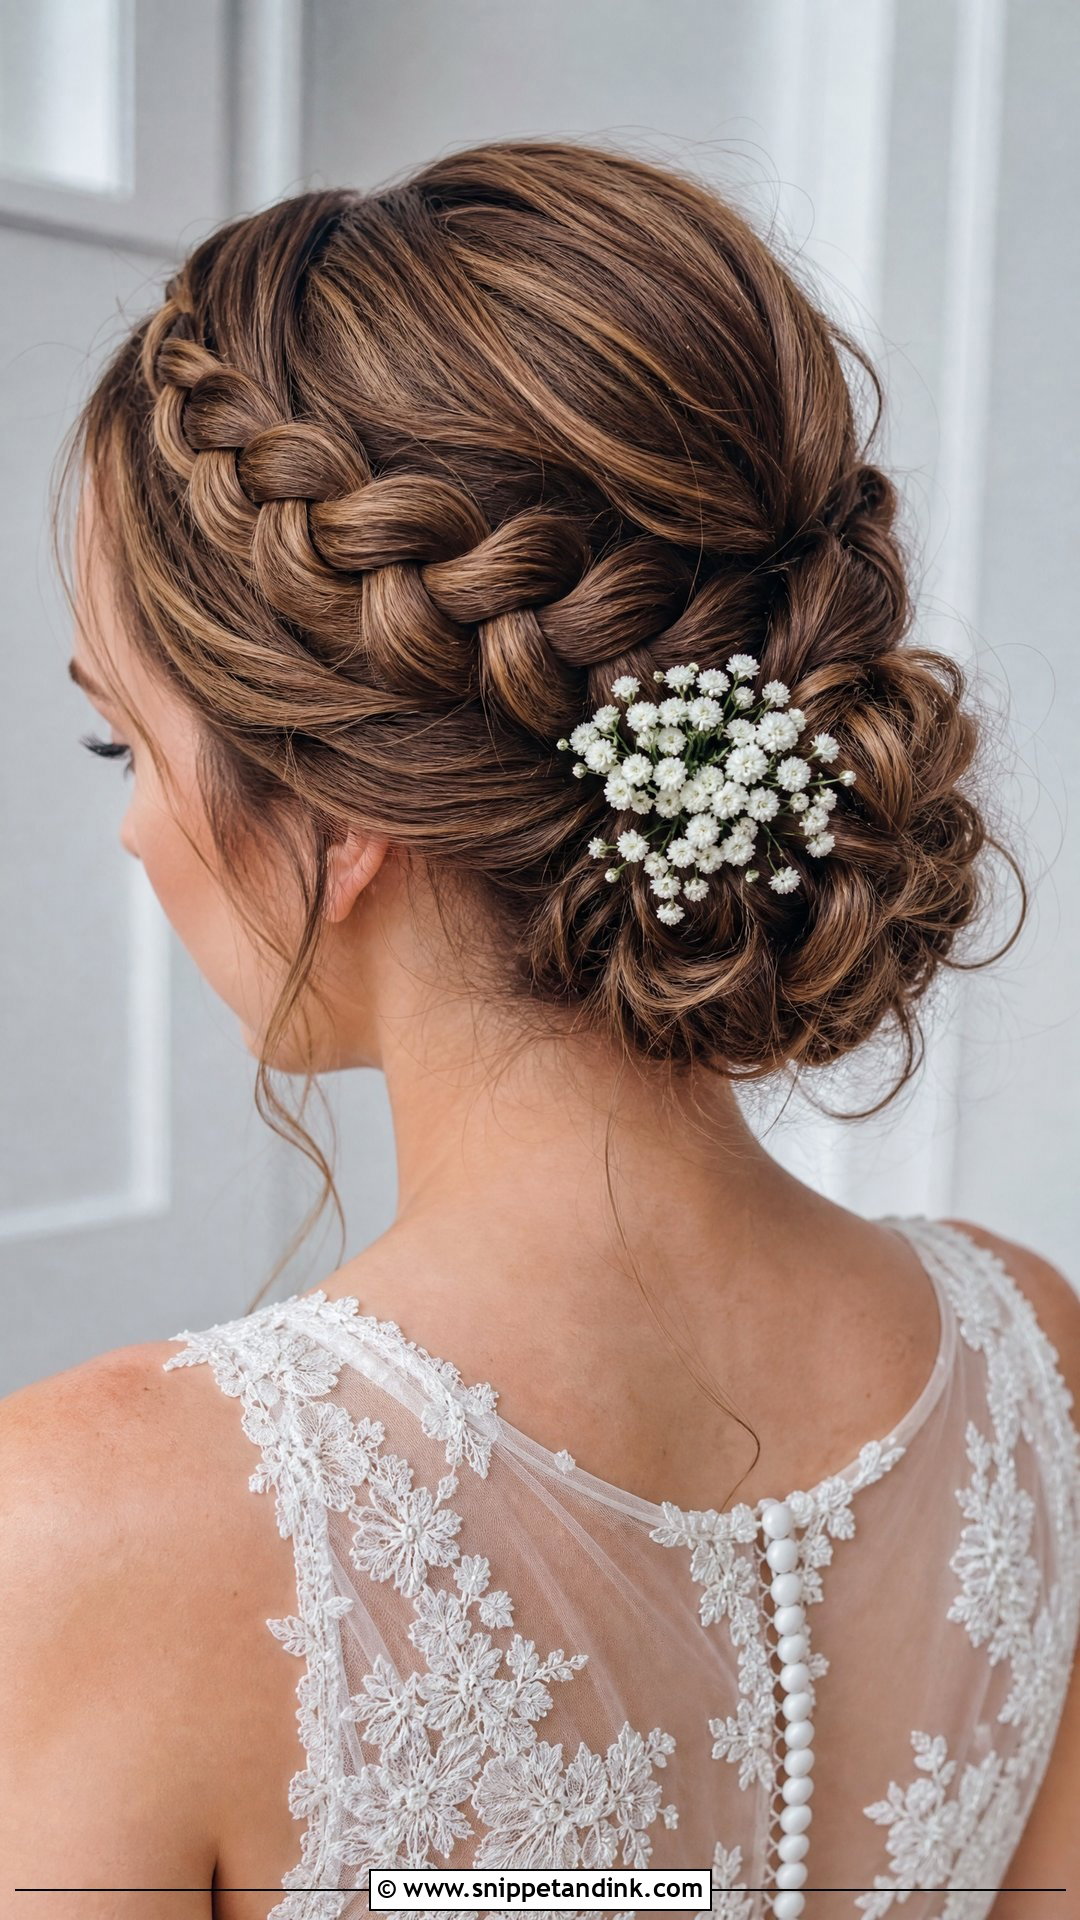
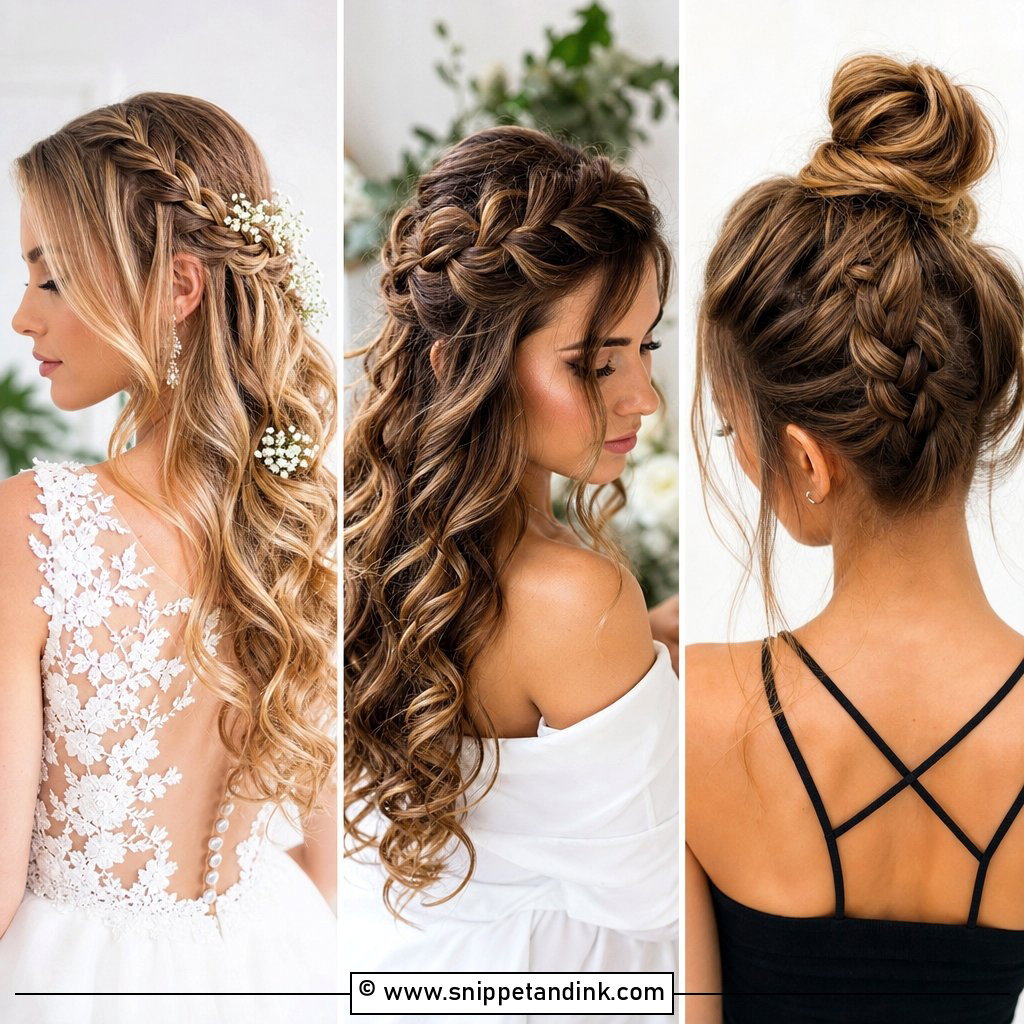
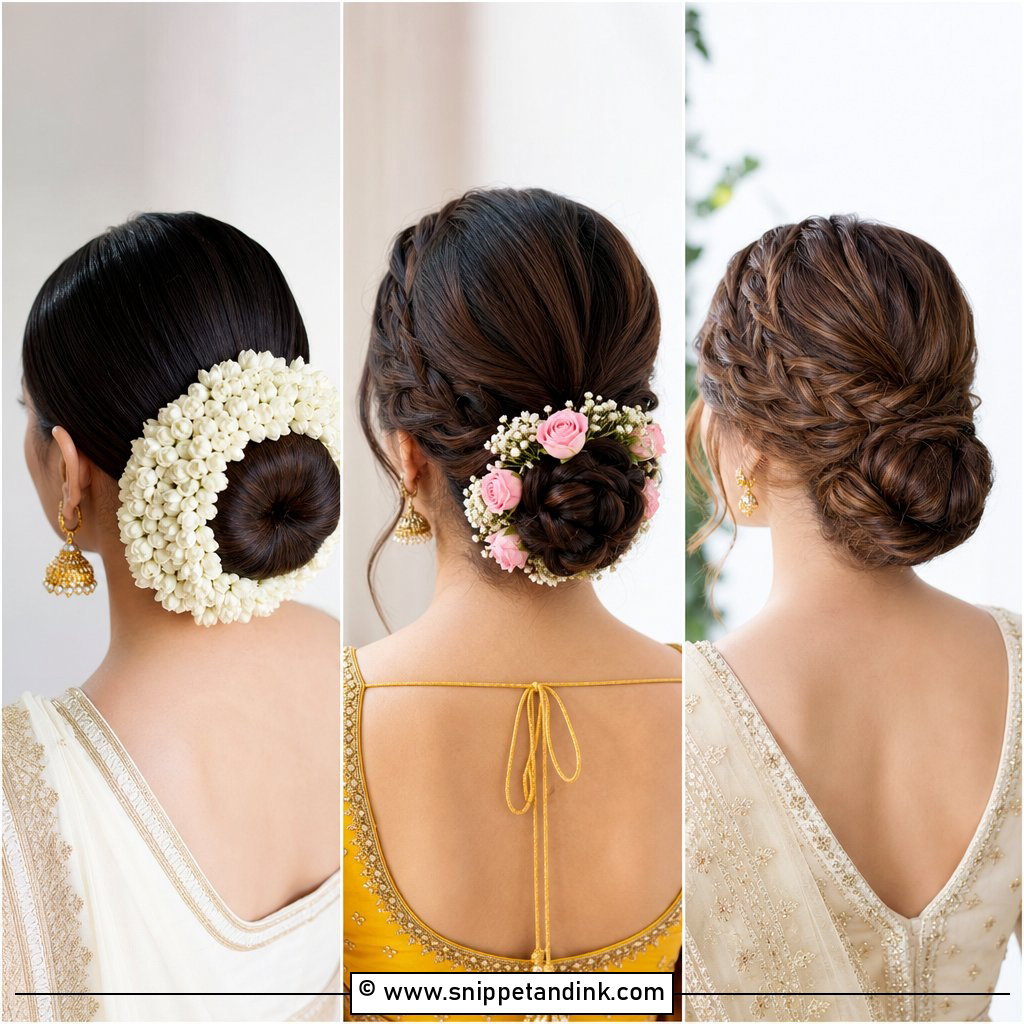
Wrapping a braid into the bun gives you detail and grip in one move. A Dutch braid sits on top of the hair and shows more texture, while a classic three-strand lies flatter and reads quieter in photos. I pancake the braid, pulling the outer loops wider, before it goes into the knot, otherwise it looks thin from the back. Braided buns are some of the most secure styles I do, which matters for a long day with dancing. Tiny jewels or baby’s breath tuck easily between the woven sections.
4. Twisted Low Bun for Wedding
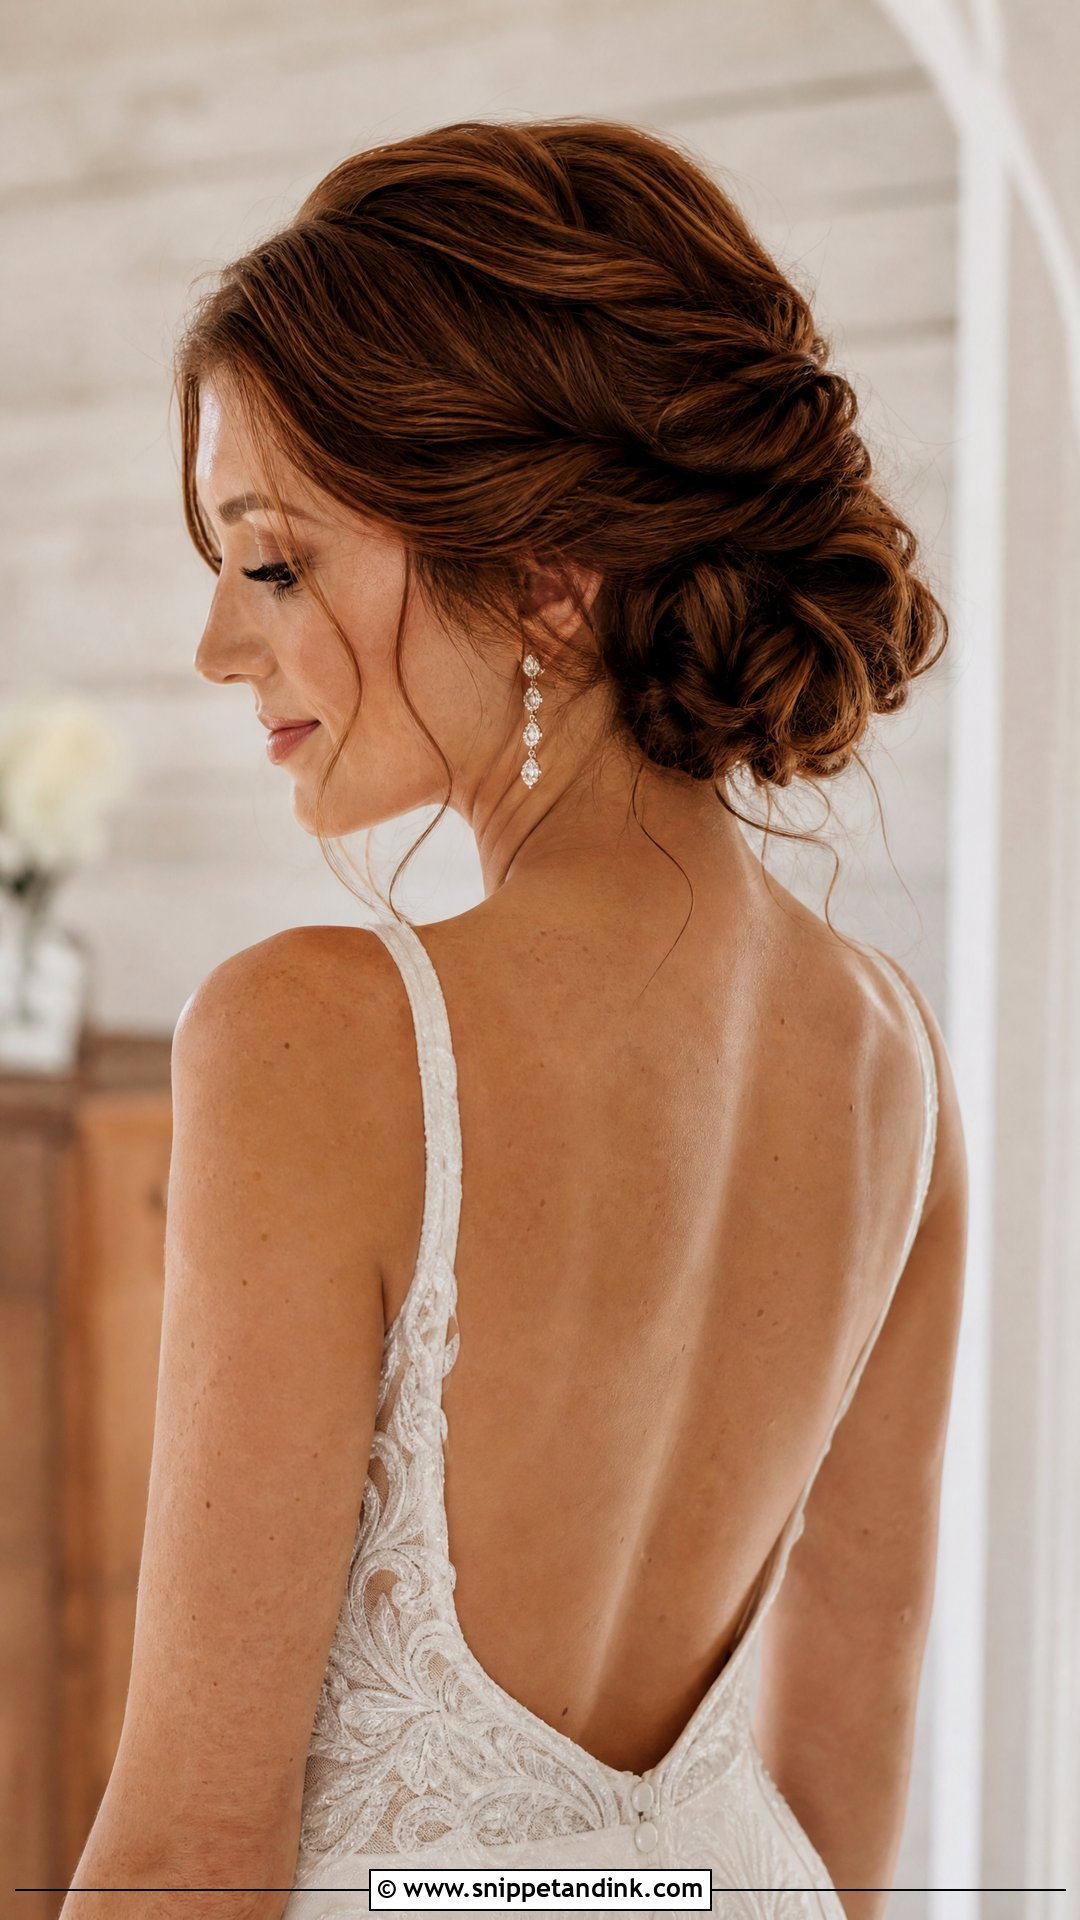
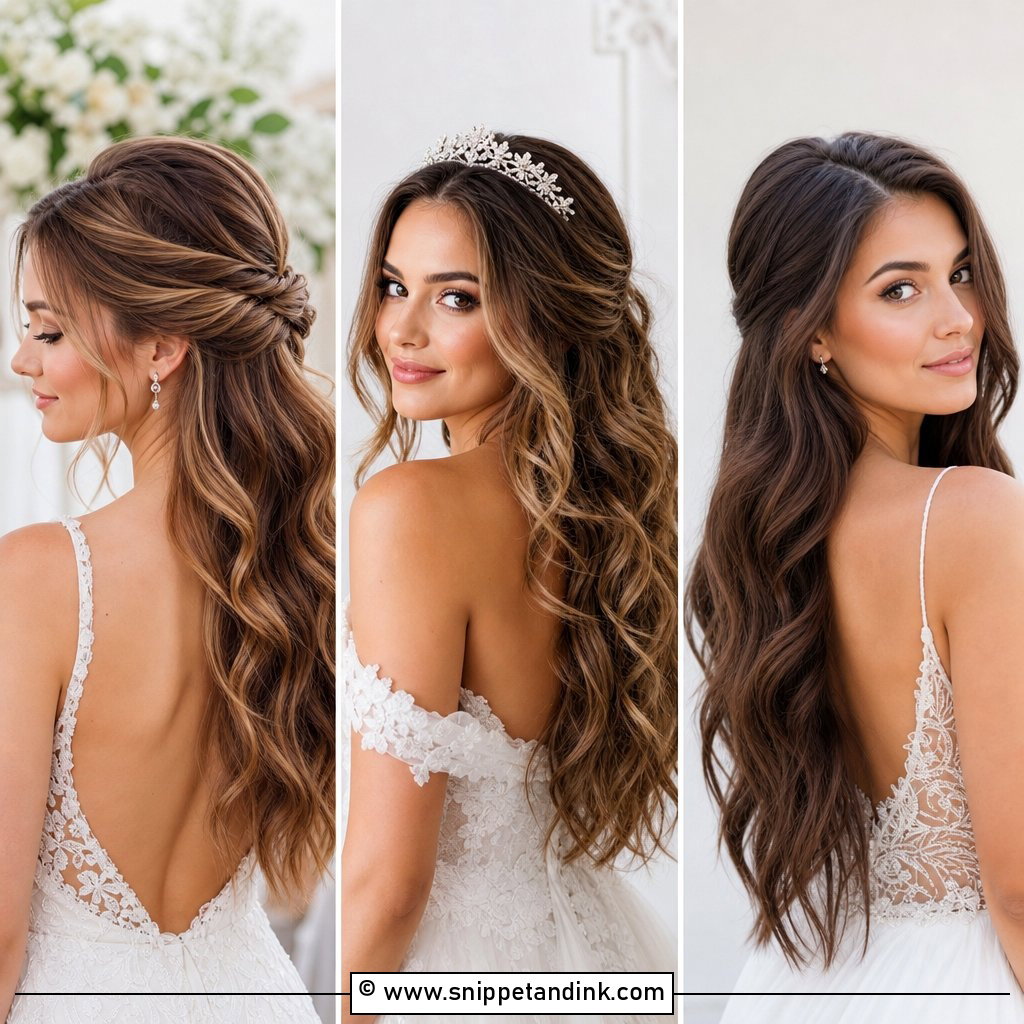
Twisting the sections before they meet at the nape adds dimension without the commitment of a full braid. I twist away from the face on both sides so the pattern mirrors, and I pin each twist with two crossed pins instead of one; single pins are where twisted styles start to sag. A few loose strands around the face keep it from looking severe. It pairs well with a backless dress, because the twist line leads the eye down the neck. Fine hair needs a light dusting of texture powder first or the twists collapse flat.
5. Chignon Bun for Wedding
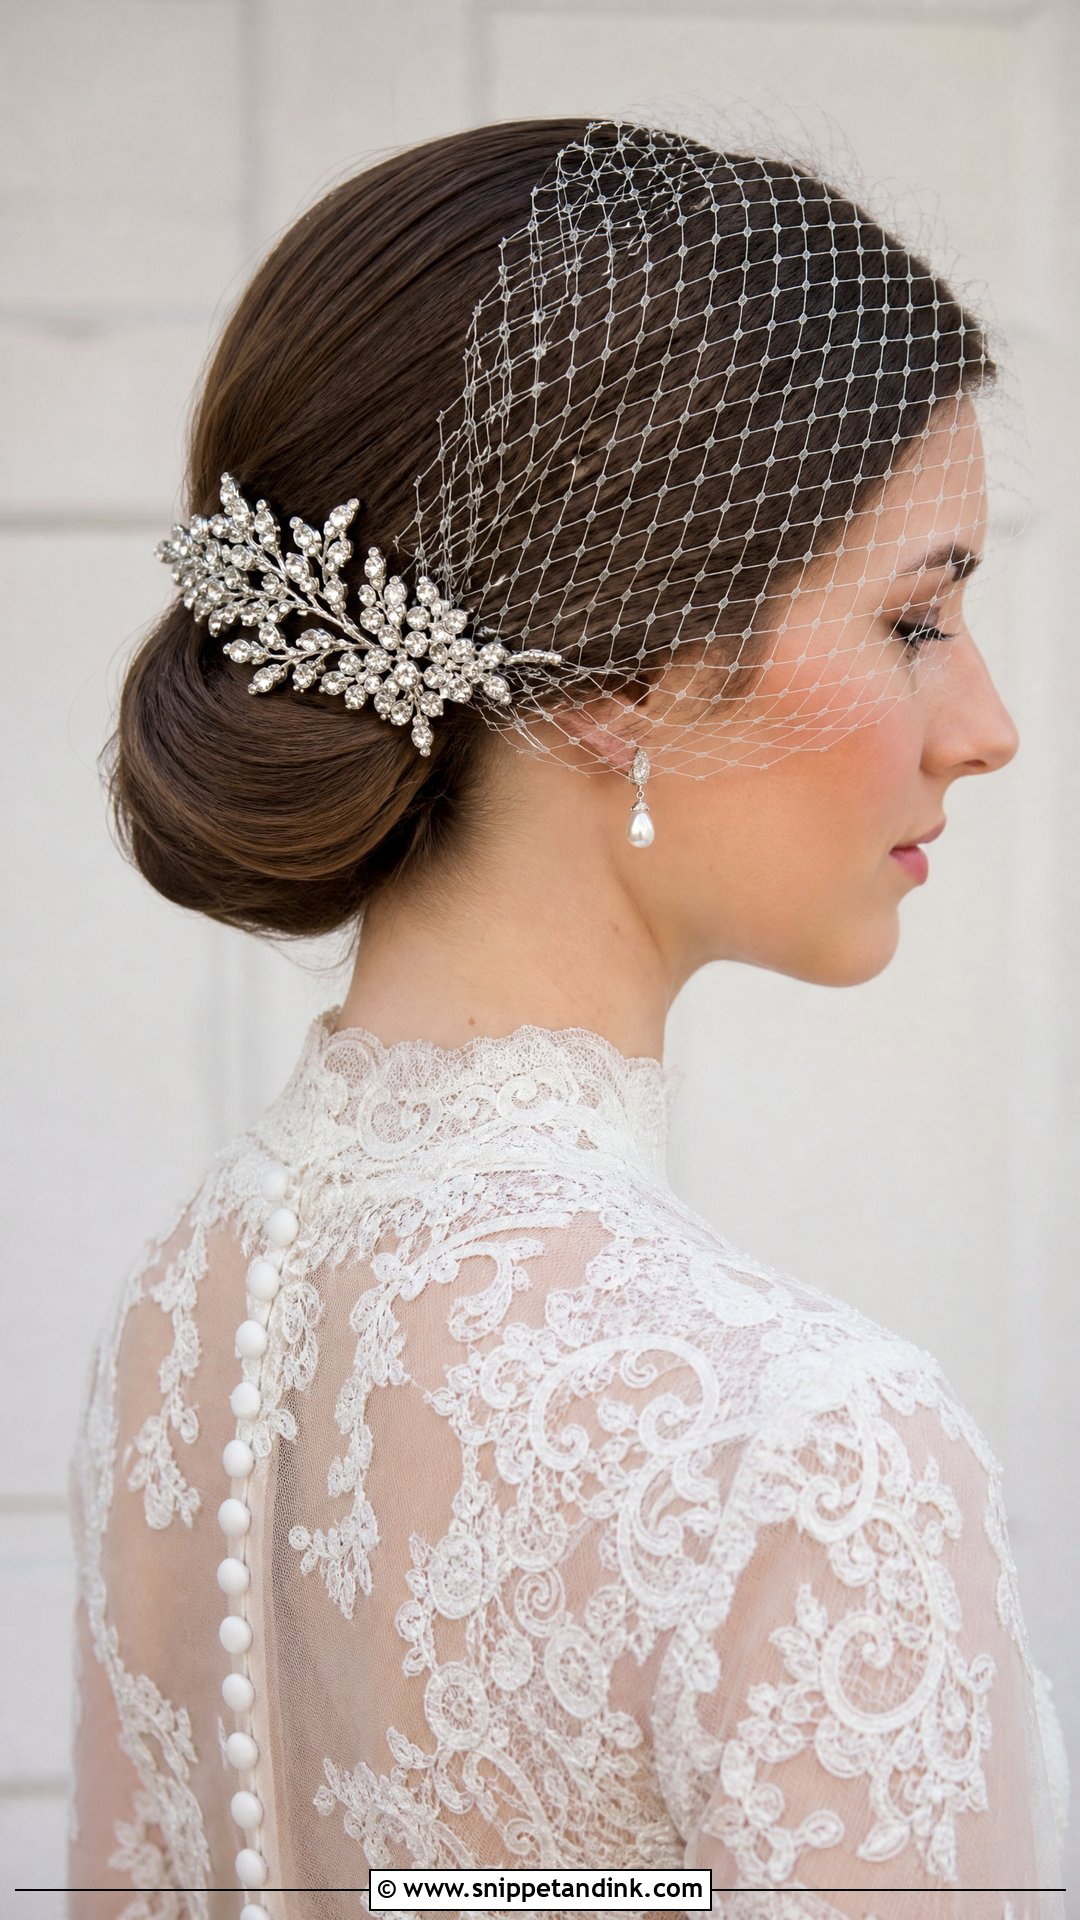
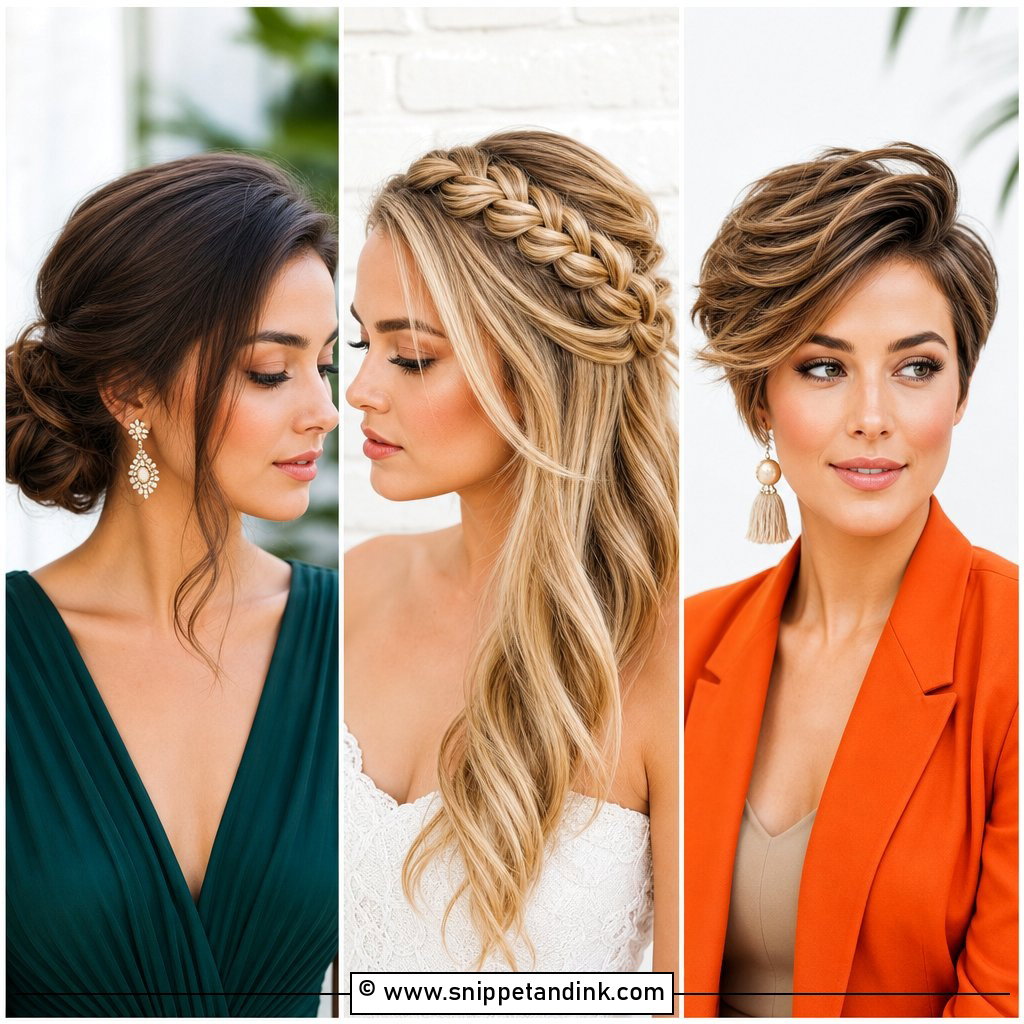
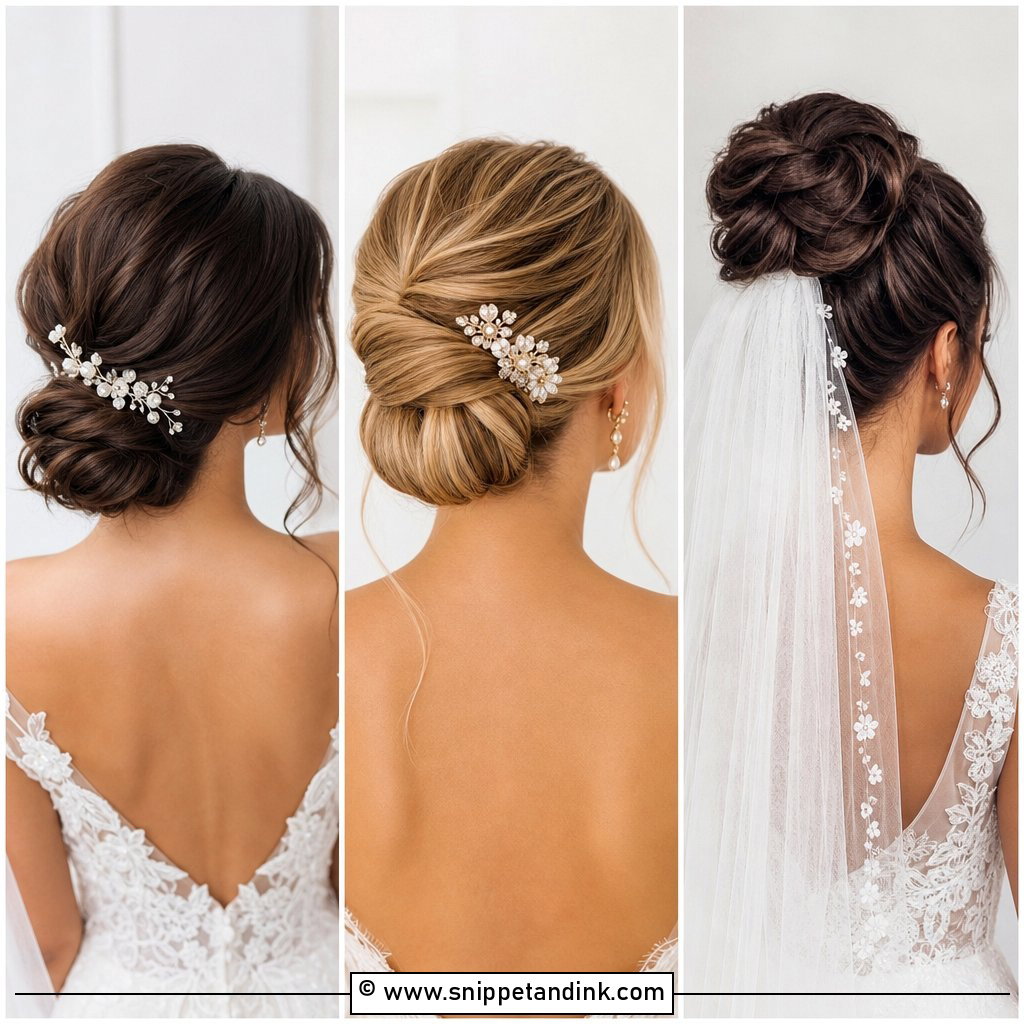
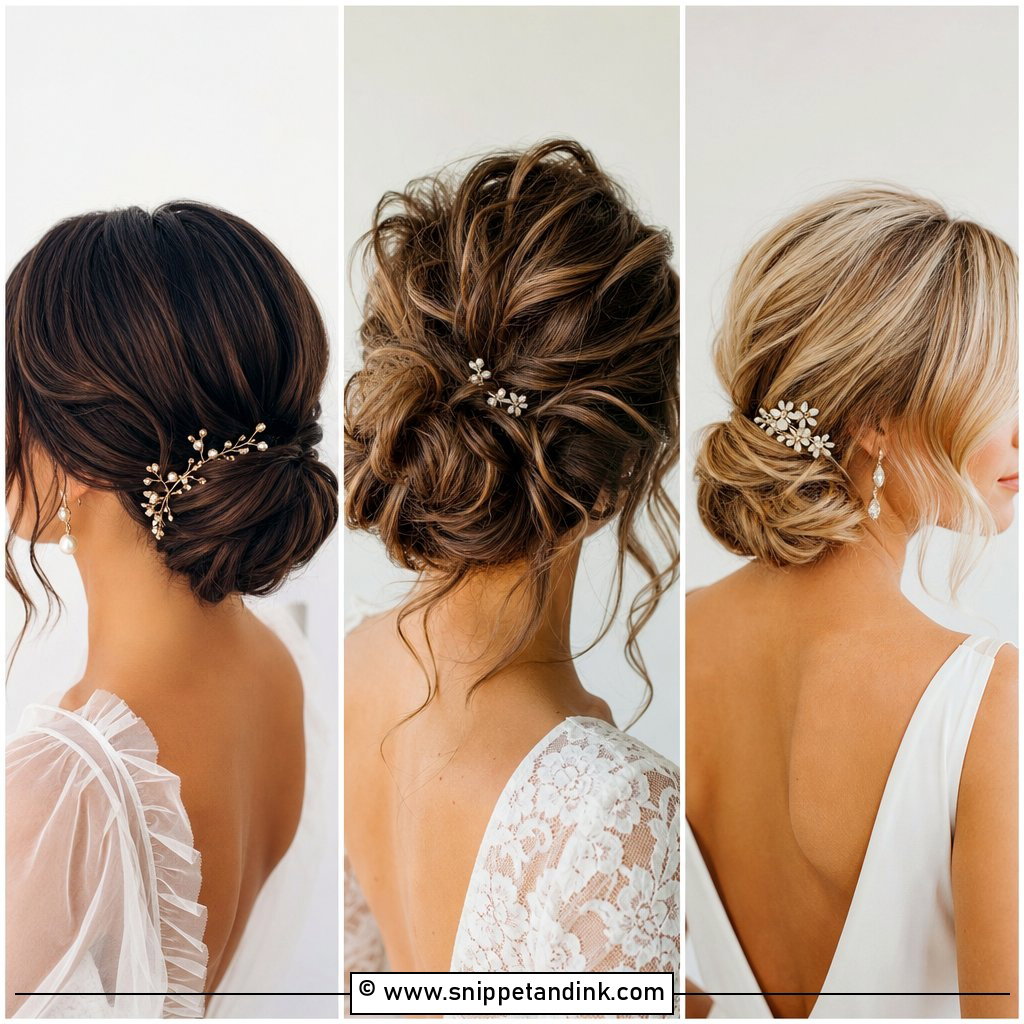
A chignon is a low, rolled bun with a smooth outer surface, and the roll is what gives it that vintage feel. It sits right at the nape, so it suits birdcage veils and higher necklines where a bigger bun would crowd the collar. I keep it sleek for formal ceremonies and soften it with brushed-out waves for a garden wedding. A jeweled comb usually goes on the side, slightly above the roll, so it’s visible in profile shots. If you have layers shorter than chin length, expect a few pieces to escape the roll; I pin those under rather than gel them flat.
6. Floral Bun for Wedding
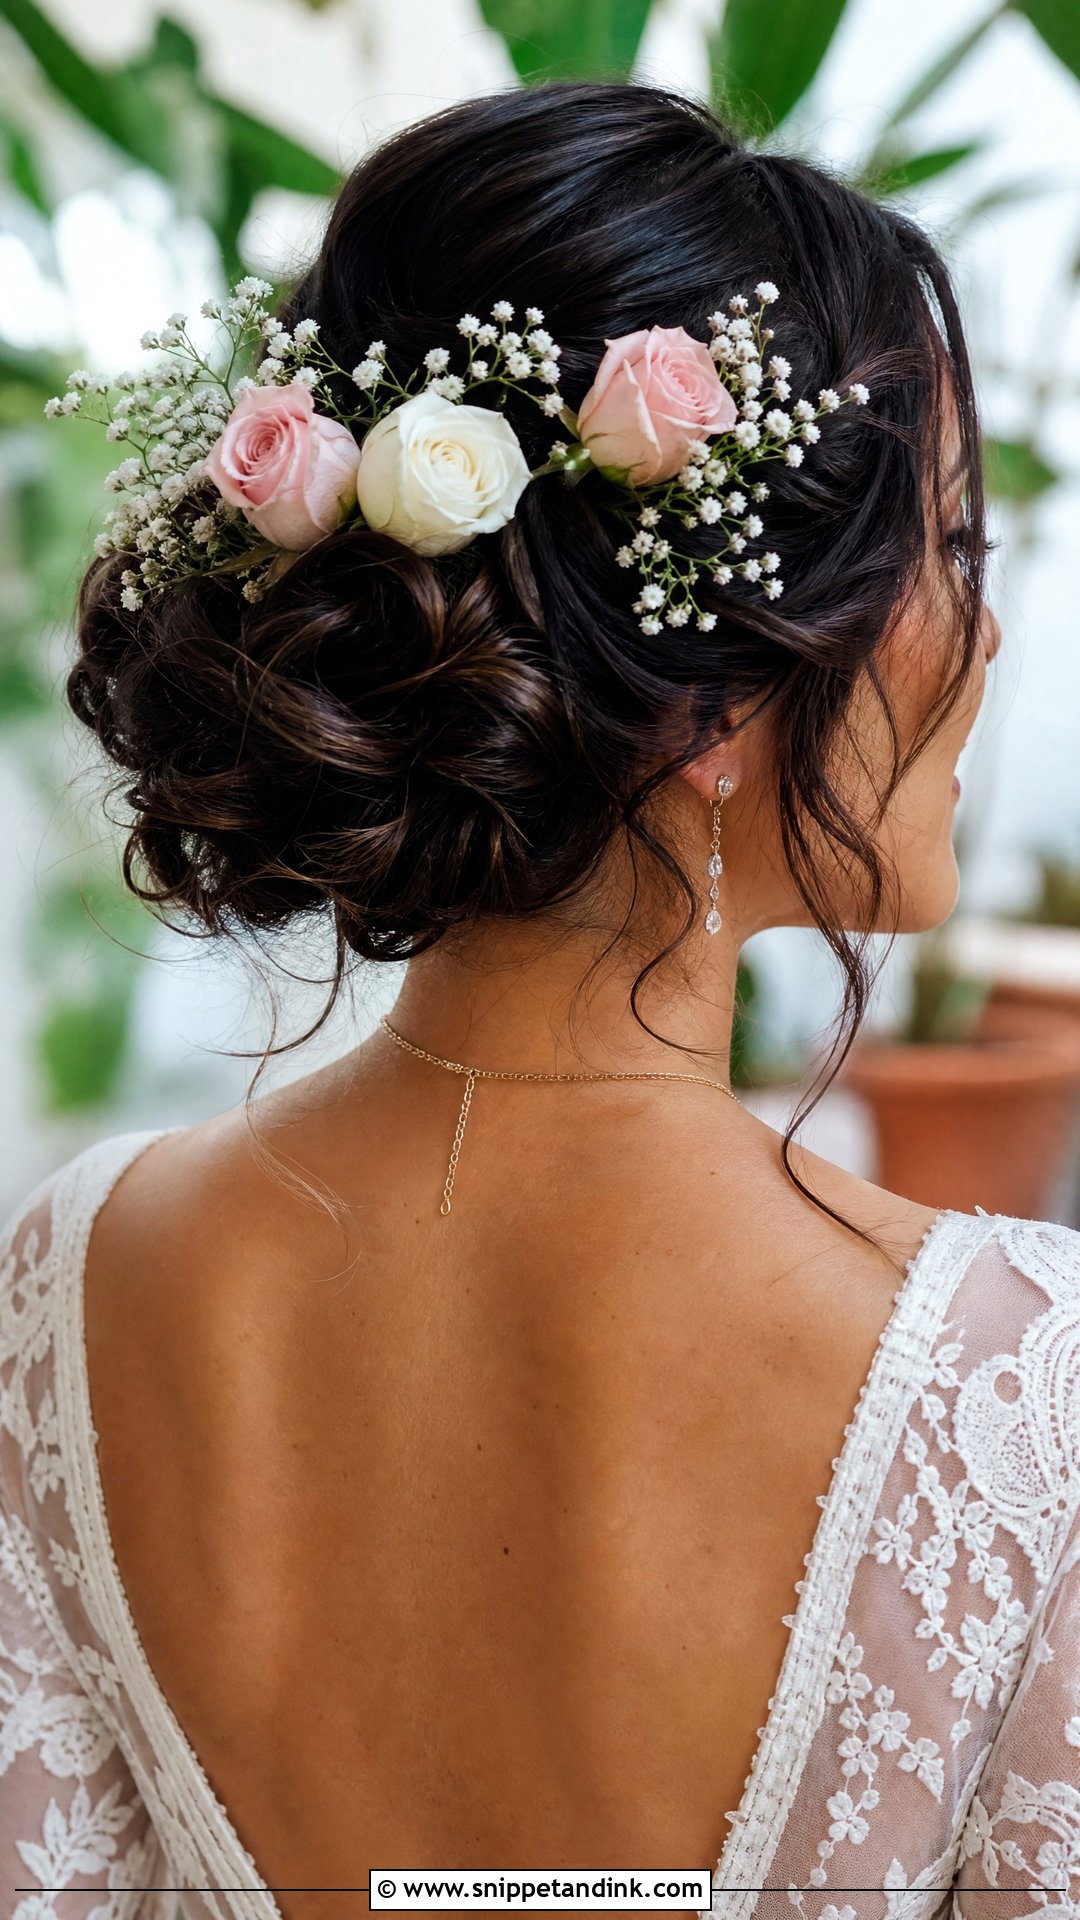
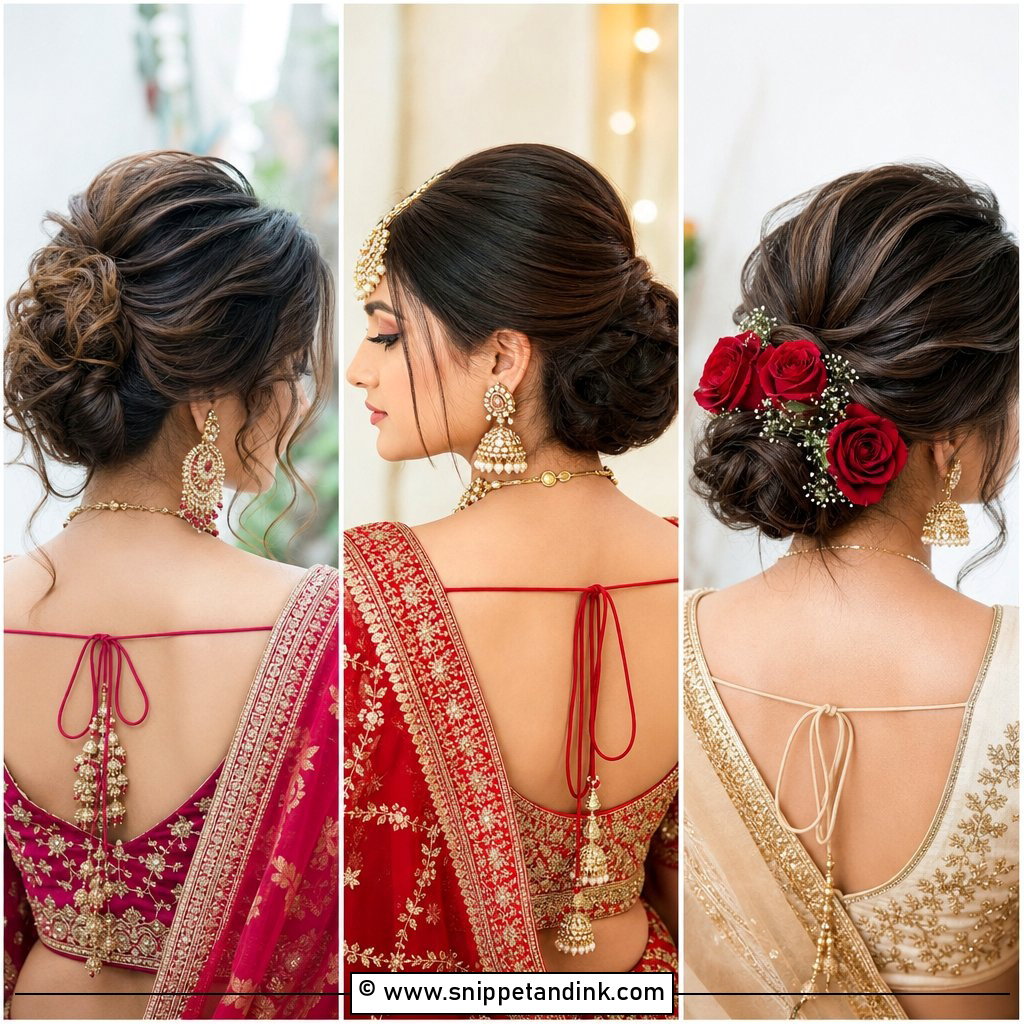
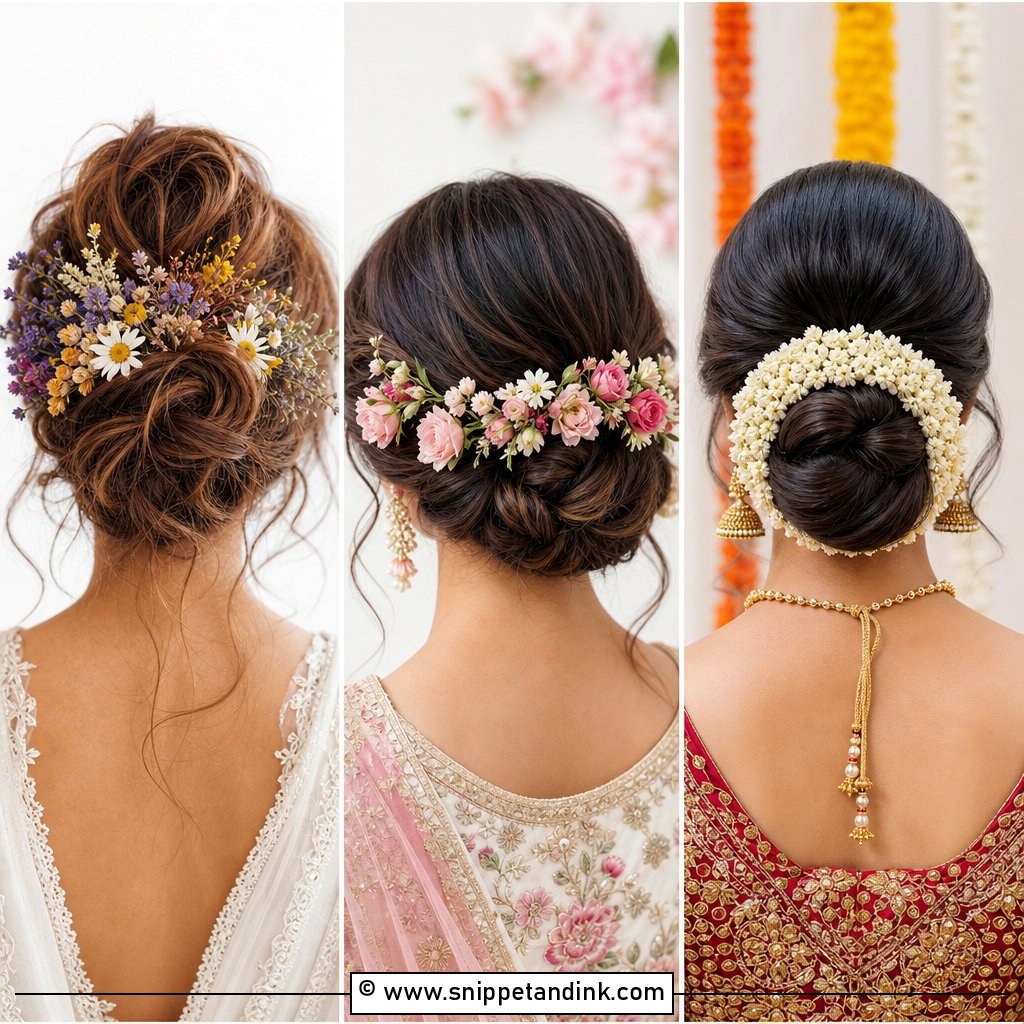
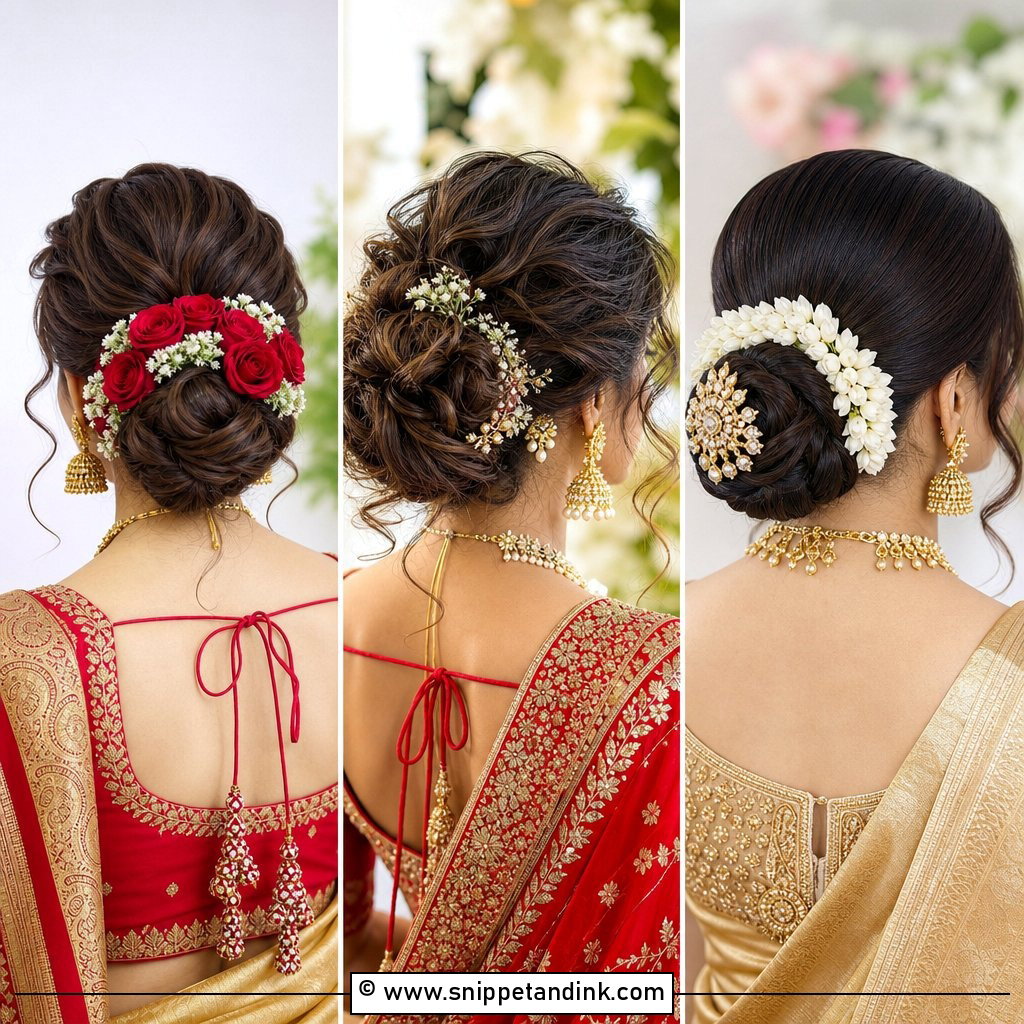
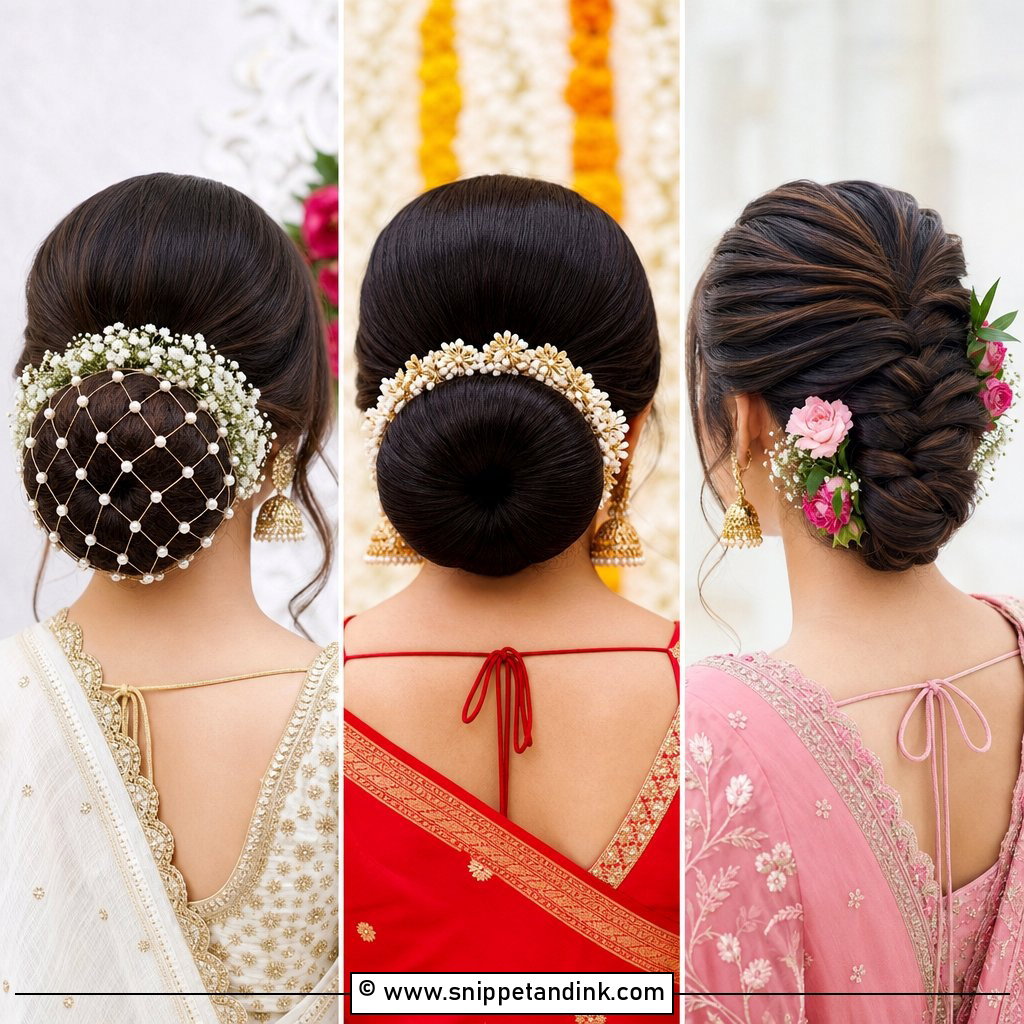
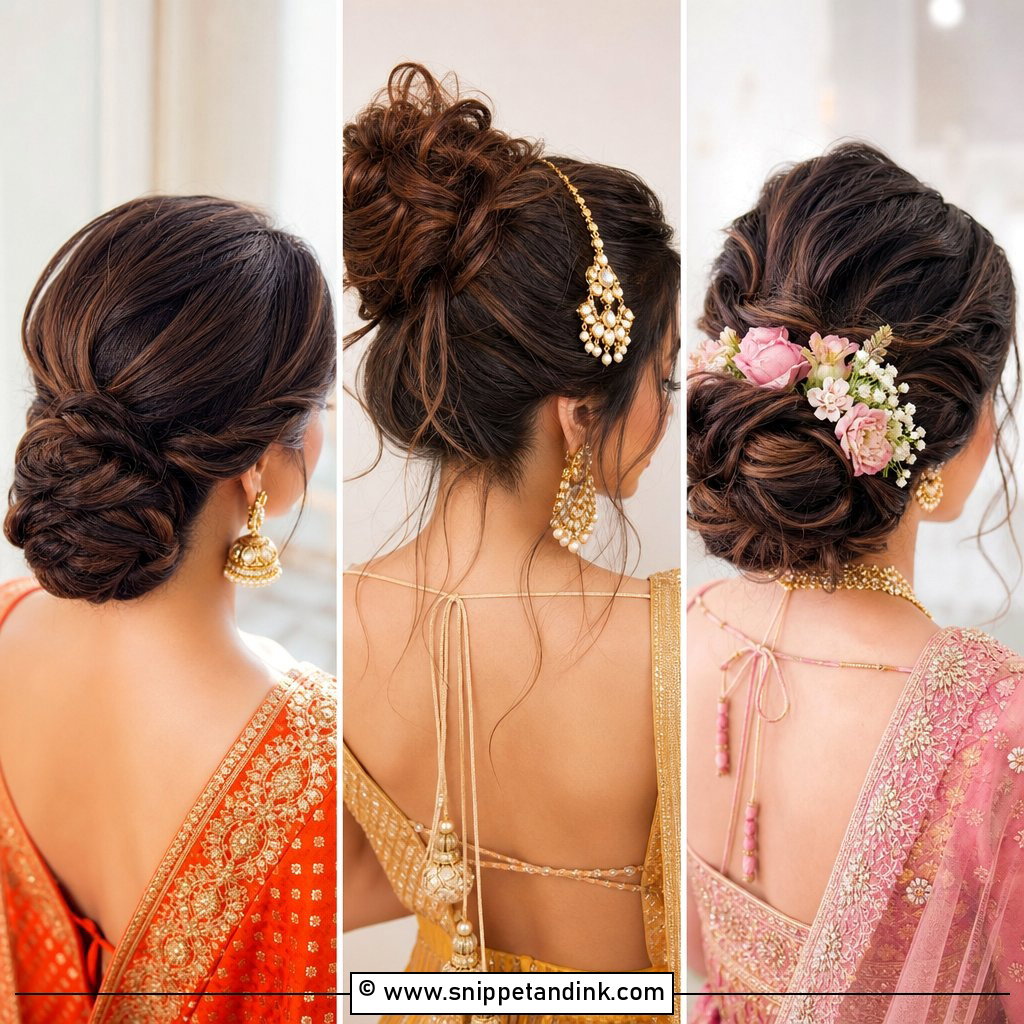
Fresh flowers in a bun need planning with your florist, not just your stylist. Delicate blooms like baby’s breath, roses, or wildflowers tucked into a soft updo give a garden feel, but they wilt at different speeds. Roses and spray roses hold up for hours out of water, while some wildflowers droop before the speeches. I ask florists to wire and tape the stems and keep them in a cool box until I place them, last thing before the dress goes on. Matching the blooms to your bouquet ties the look together, whether they’re scattered through a messy knot or clustered to one side.
7. Low Bun With Veil for Wedding
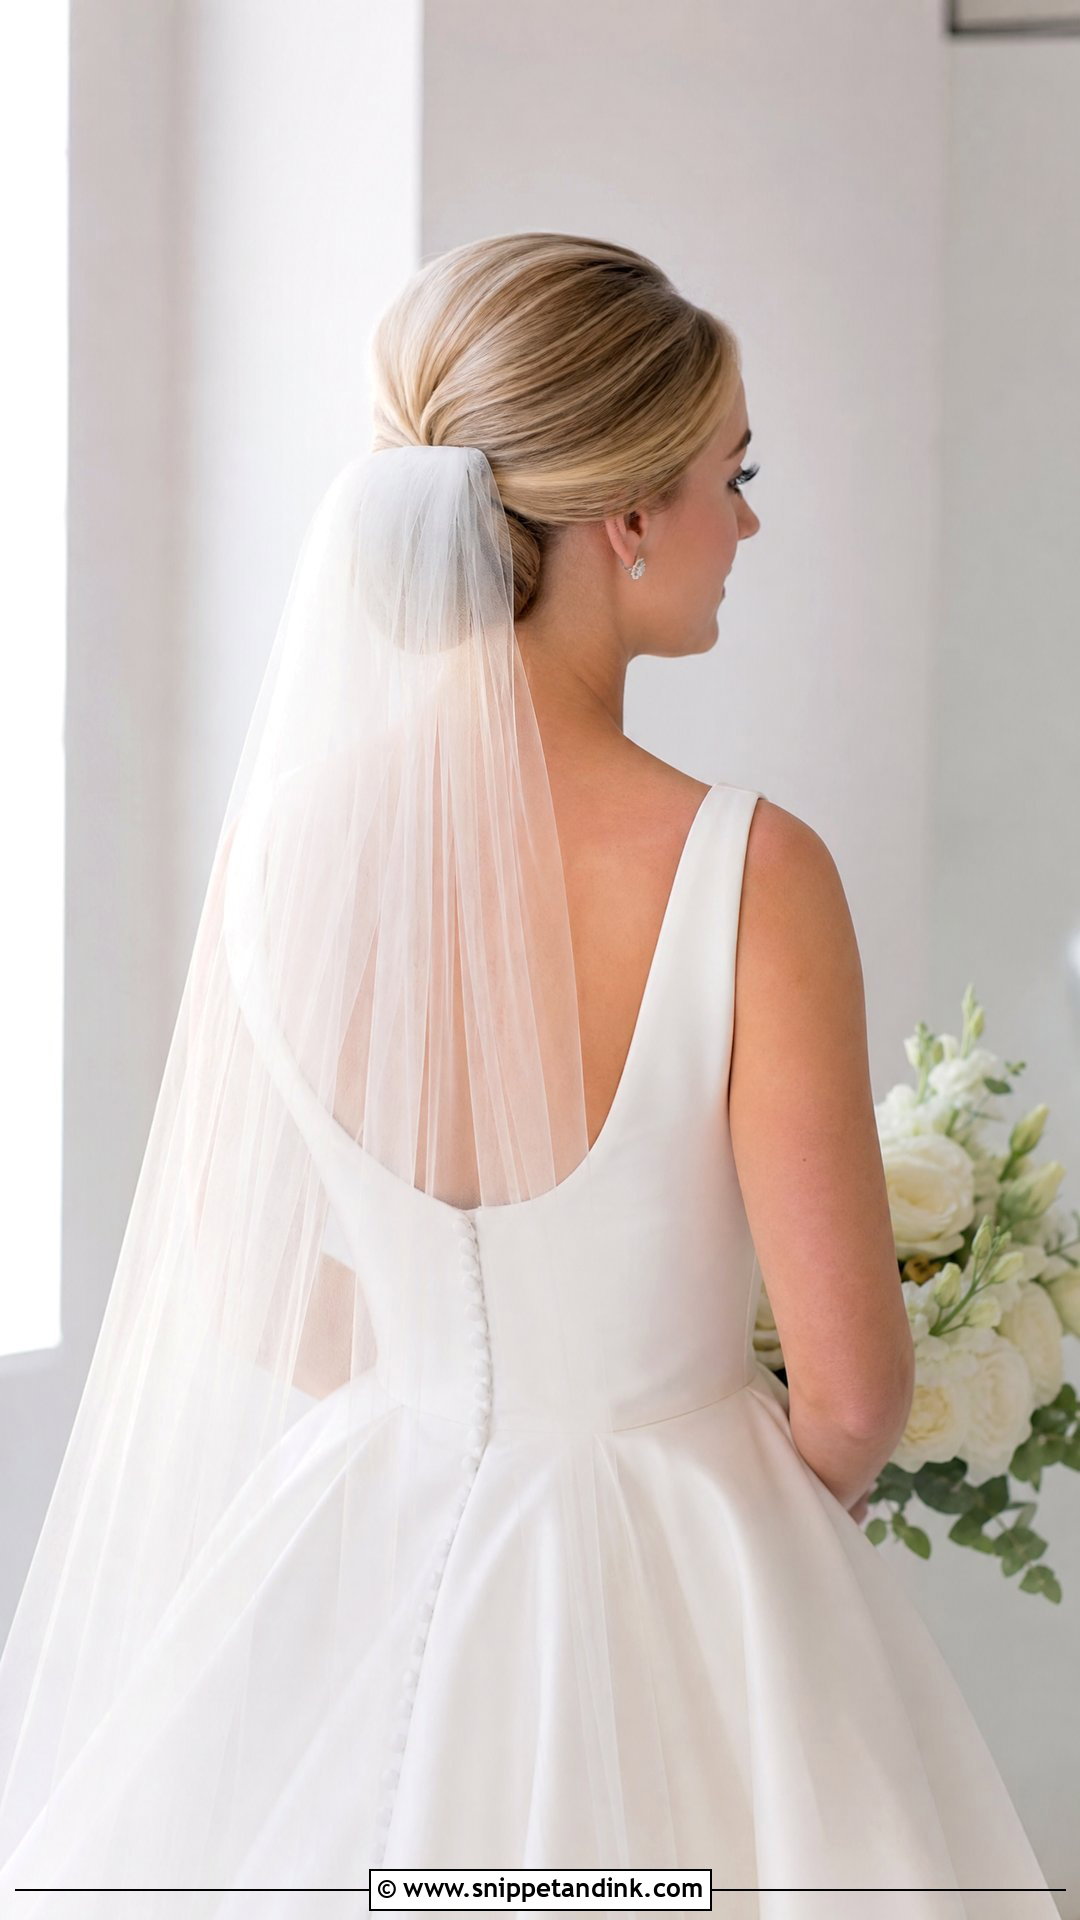
A low bun is my favorite base for a veil because it gives the comb something solid to grip. I slide the comb in above the bun, teeth facing down, then flip it and push it back into the base so it locks. A cathedral veil falls cleanly from here, and a shorter fingertip style sits softly over the knot. When the veil comes off after the ceremony, the bun underneath should still look finished, so I never let the comb carry the whole style. Ask your stylist to show you how to remove it without pulling pins with it.
8. Bun With Tendrils for Wedding
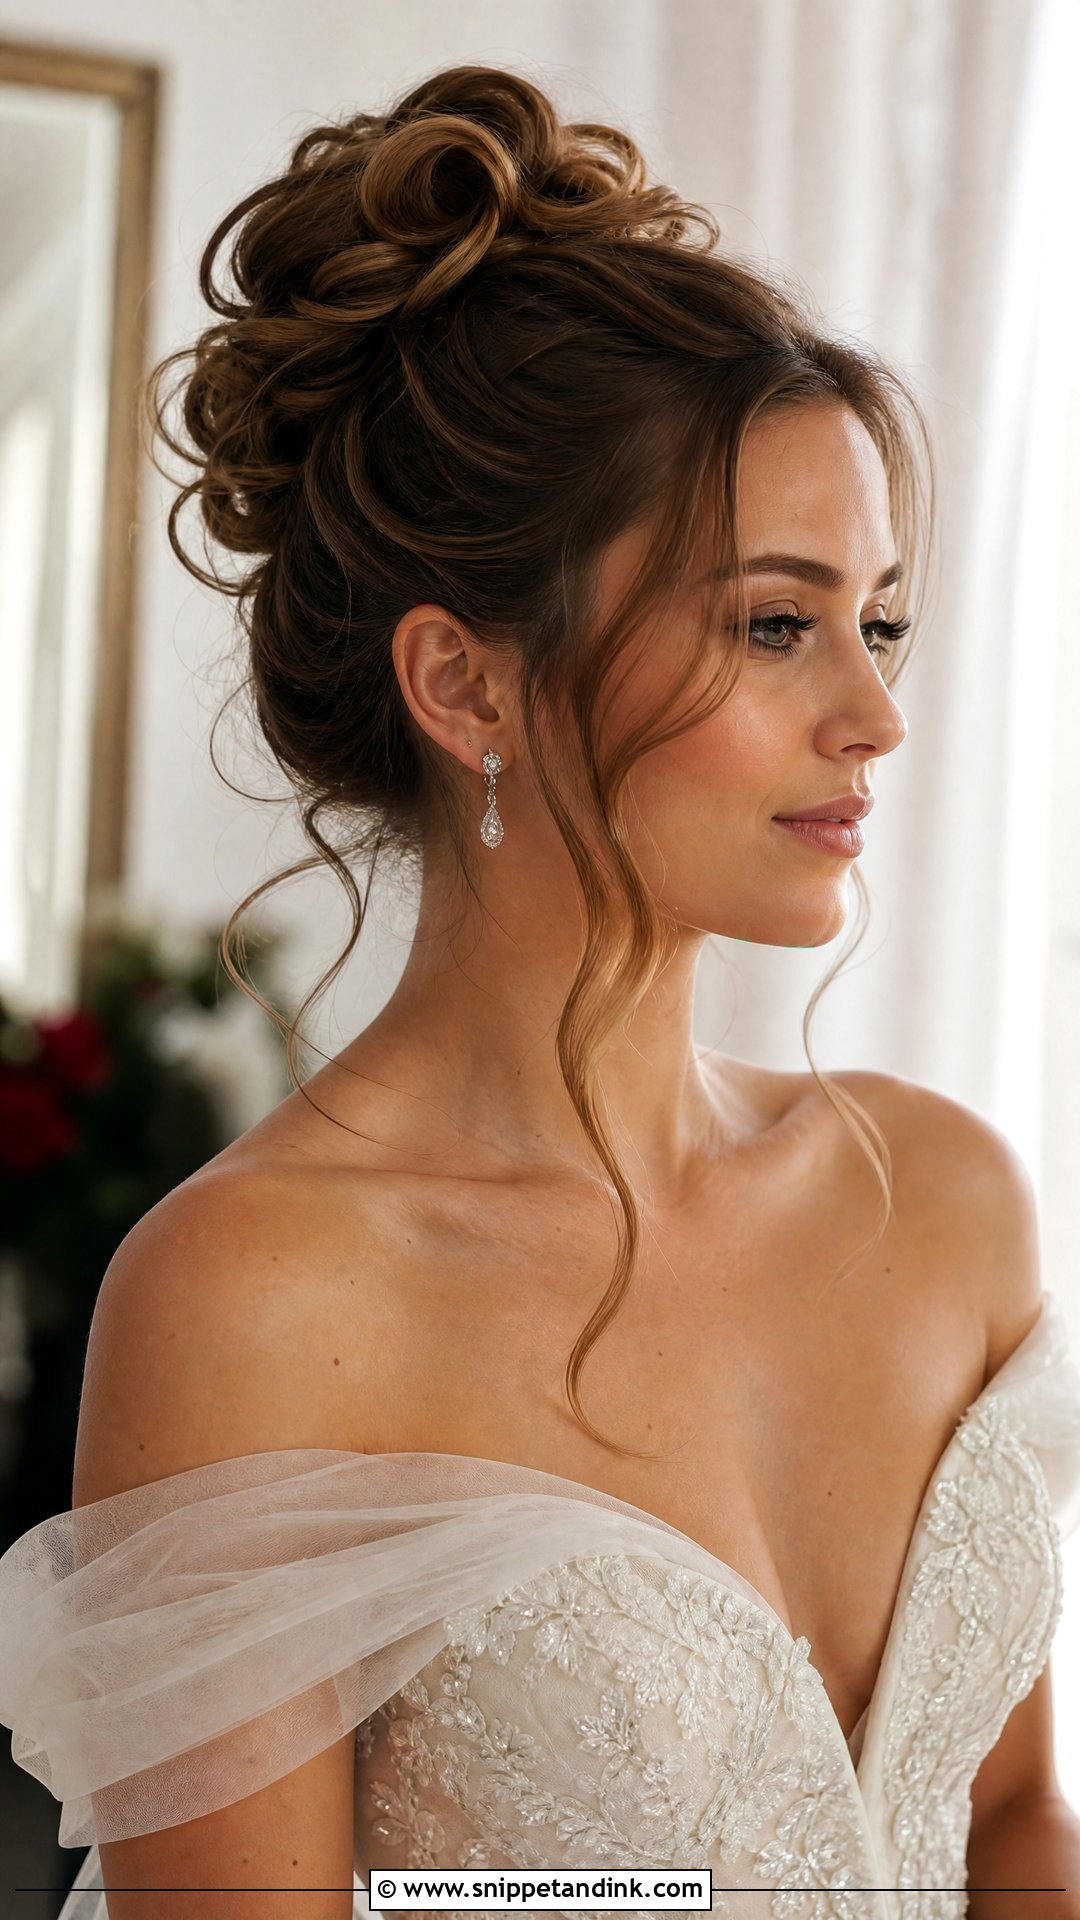
Tendrils are what keep a bun from looking strict, but they’re also the first thing to fall apart. I pull them out only after the updo is fully pinned, curl them with a small iron, and let them cool in the barrel shape before touching them. Two or three pieces is usually enough; more than that and it starts reading as hair that came loose. They soften a sleek or a messy bun equally well. On humid days I curl them a little tighter than you’d want, because they relax within an hour.
9. Curly Bun for Wedding
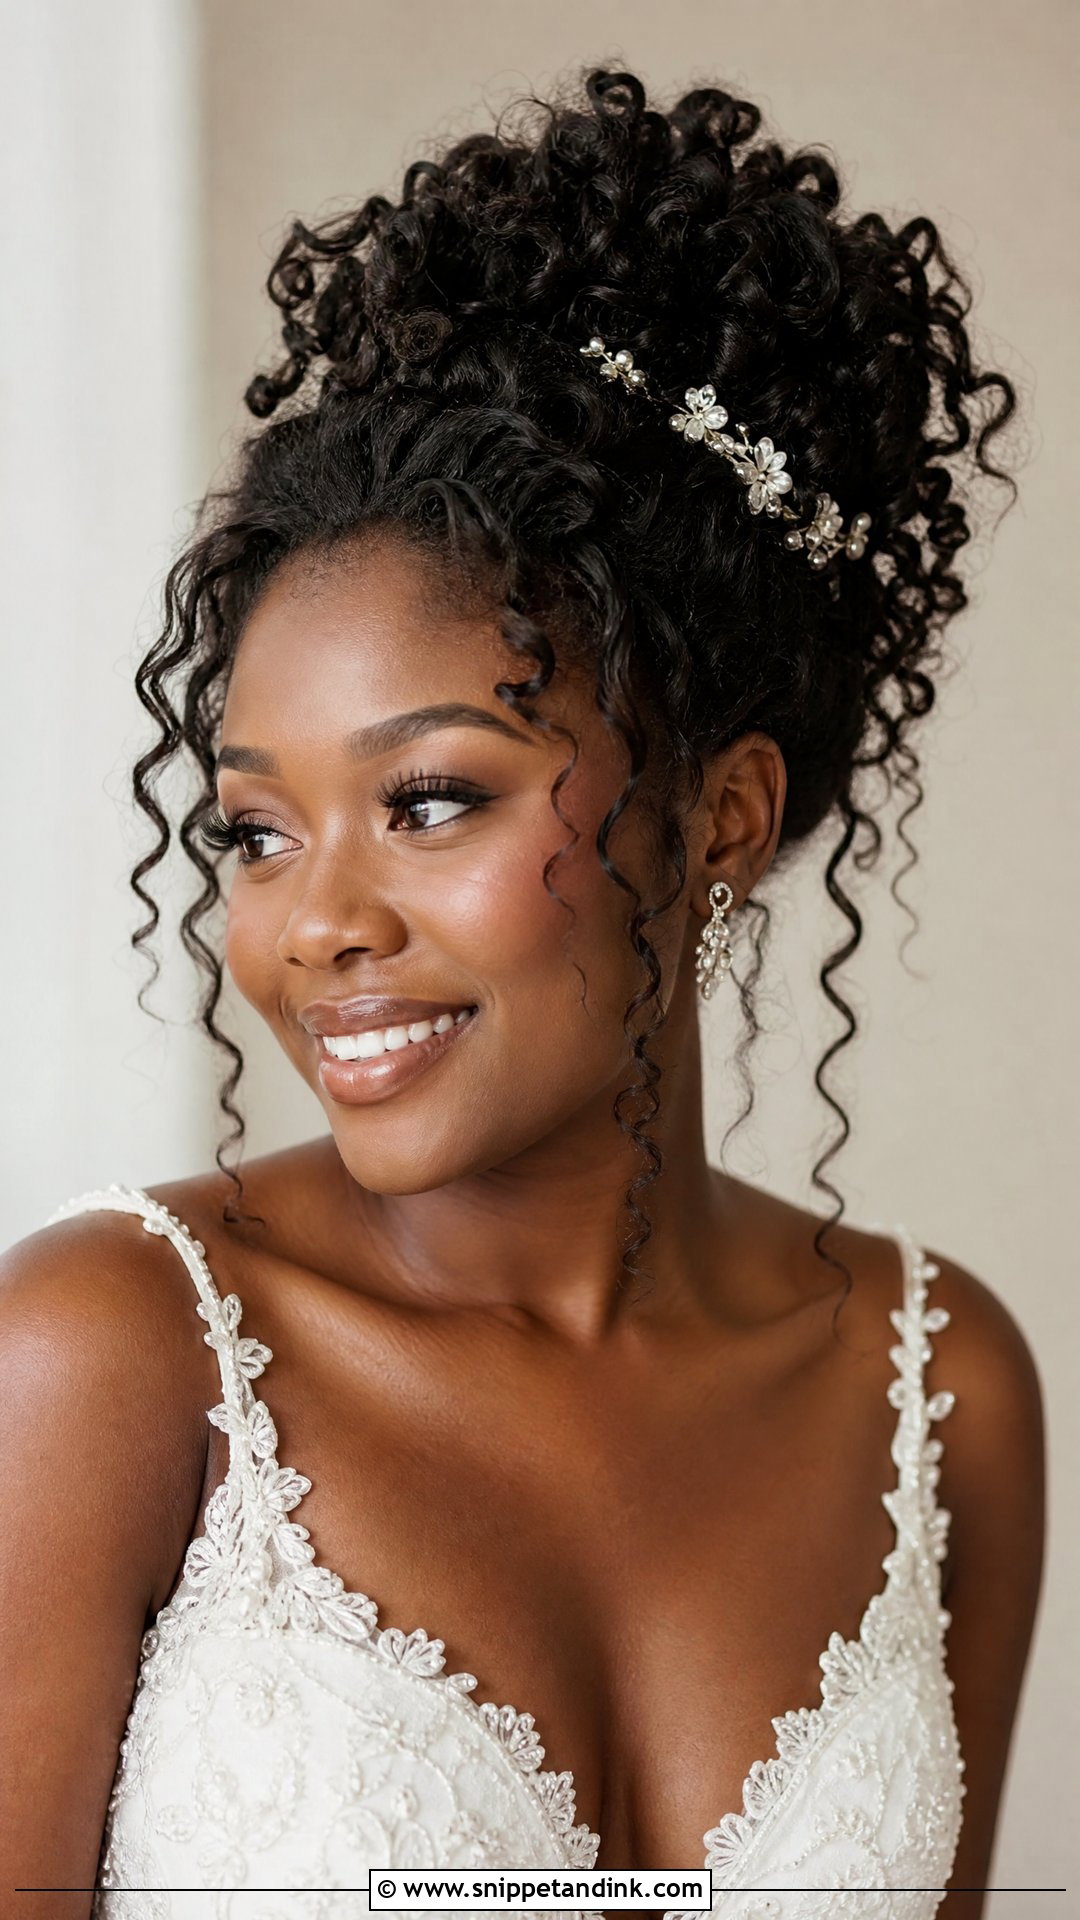
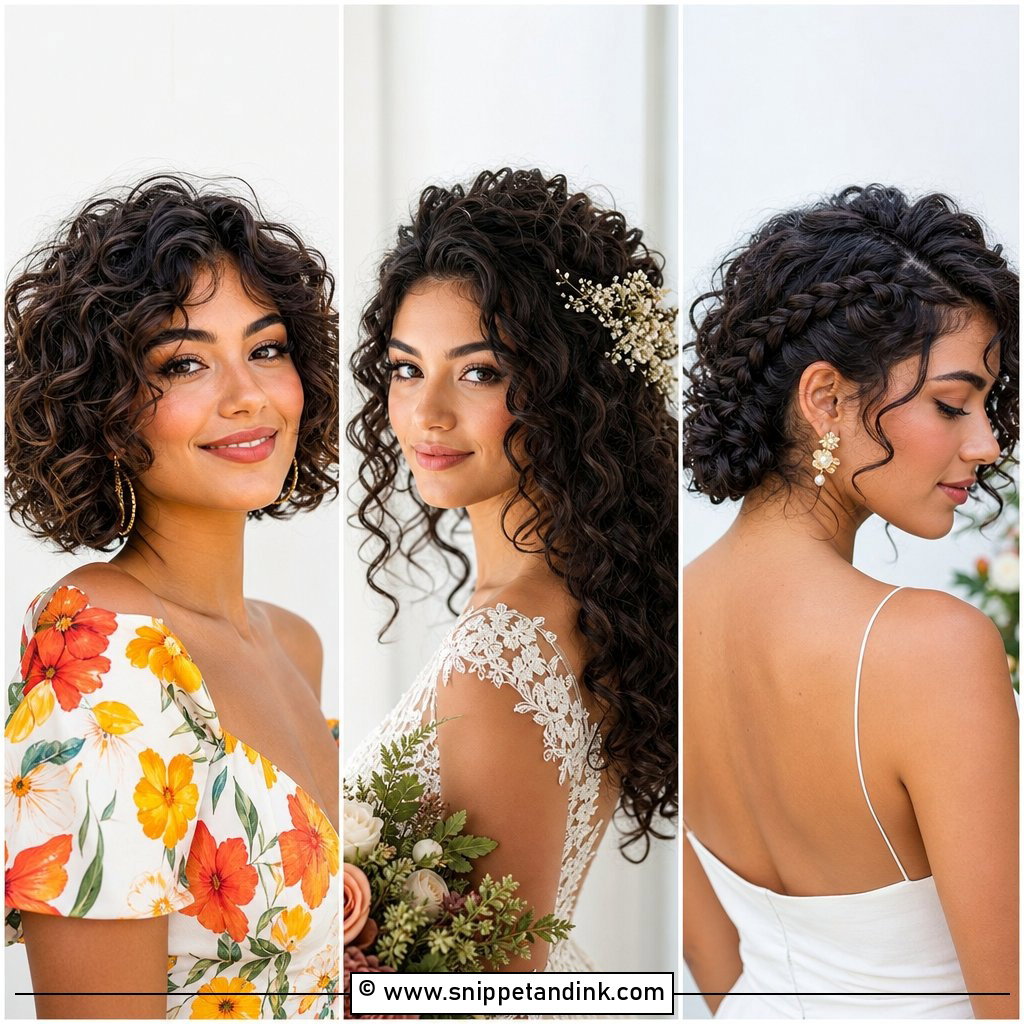
Curly and coily hair makes a fuller bun than almost any other texture, and I’d rather work with your curls than straighten them out. I gather the hair while it’s damp with a curl cream, then shape the bun loosely so the curl pattern stays visible on top. Stretching the hair first with a twist-out the night before gives more length for the wrap if your curls shrink a lot. Leave a few curls loose at the front for softness. Sparkly pins show up well against dark curls, and fresh flowers hold firmly in dense texture.
10. Side Bun for Wedding
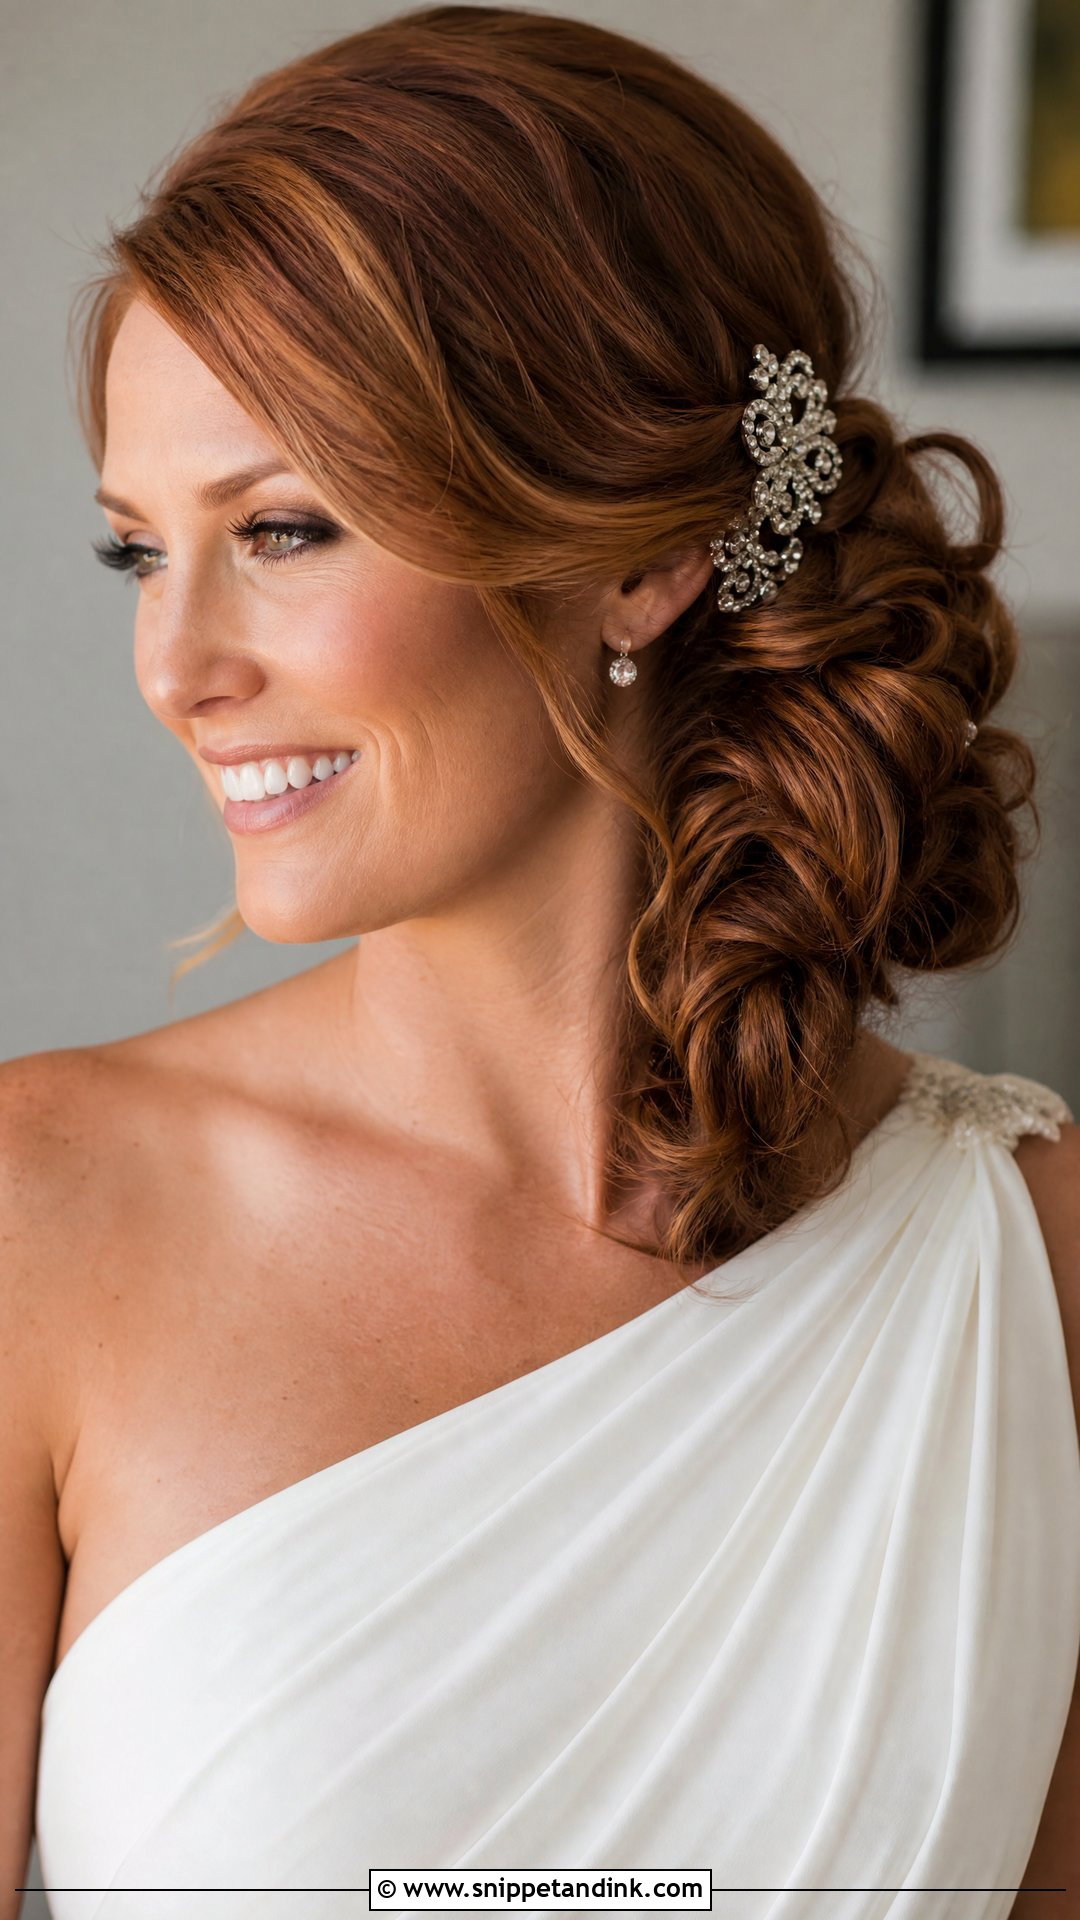
A side bun sits just behind one ear and pulls attention toward your neckline and earrings. It’s a natural match for off-shoulder and one-shoulder dresses, as long as the bun sits on the opposite side from the strap. I set waves on the long side first, then sweep them over, so the movement looks intentional rather than pushed aside. One thing to check at the trial: which side of you faces the guests during the ceremony. That’s the side I put the bun on. A jeweled clip or a few blooms finish it with an old Hollywood feel.
11. Fishtail Braided Bun for Wedding
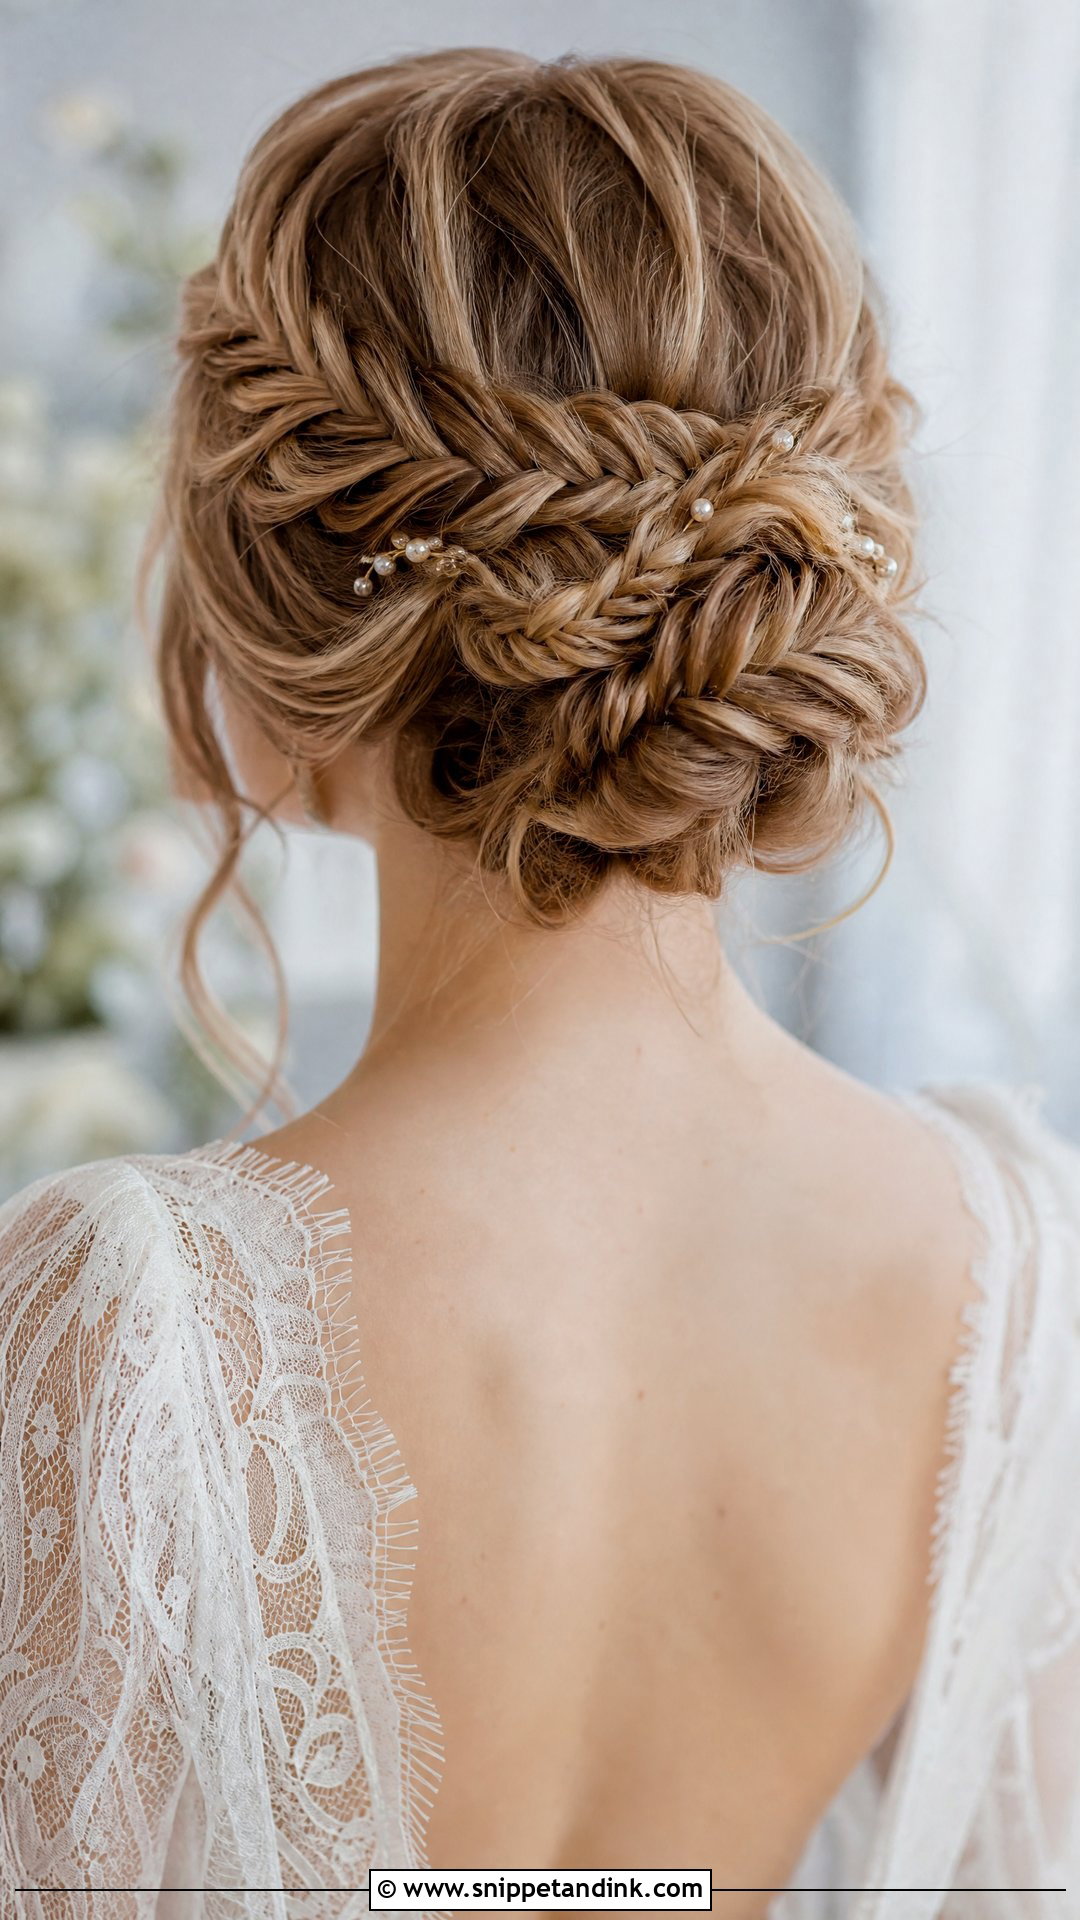
A fishtail braid has more, finer sections than a regular braid, so it reads intricate even from the back of the room. It can wrap around the bun or lead into it from one side, and both versions hold well over a long day. The catch is length: a fishtail eats up more hair than a three-strand, so with shoulder-length hair I often add a clip-in weft to finish the wrap. Pull the edges gently once it’s pinned for that softer, wider pattern. Hair vines or a few pearls fit neatly into the braid’s grooves.
12. Bun With Hair Accessories for Wedding
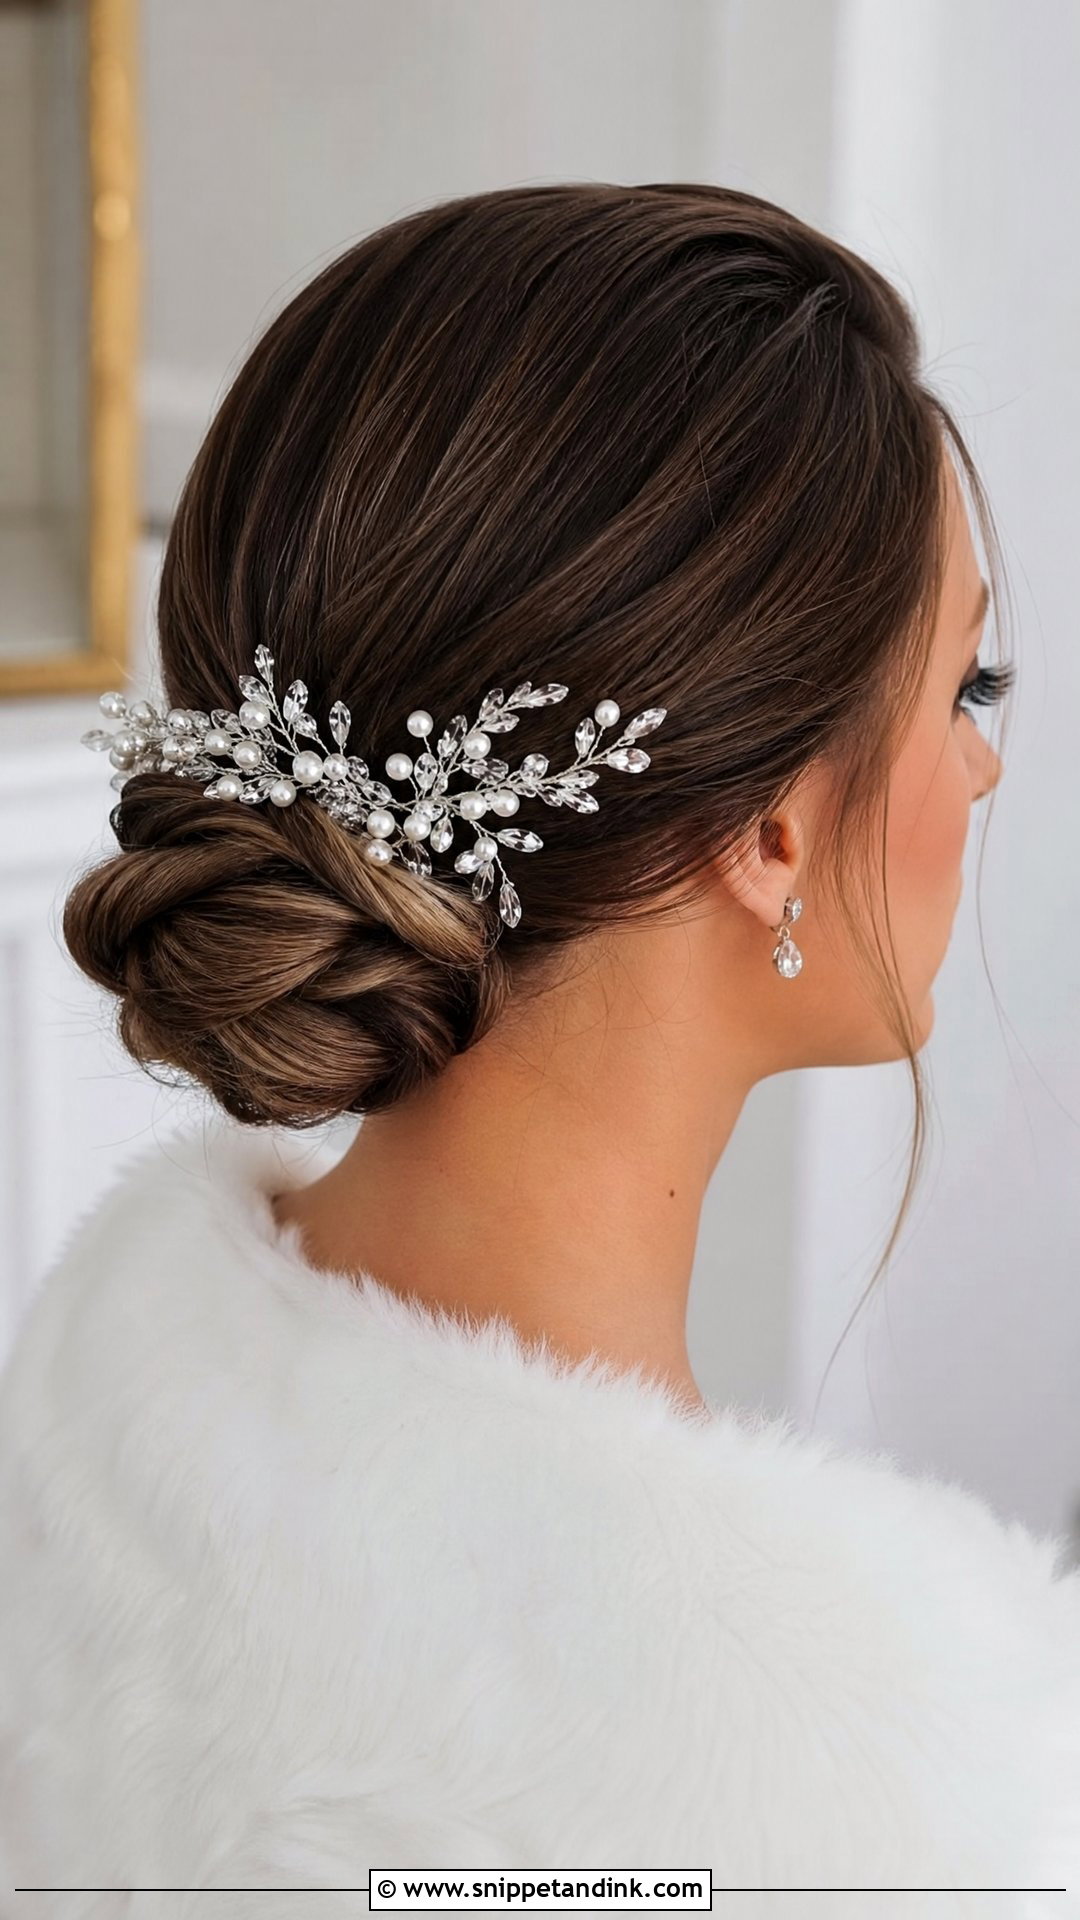
Accessories change a bun more than any other single choice. Jeweled combs, pearl pins, hair vines or a tiara each sit differently, so I always ask brides to bring the actual piece to their trial. A heavy crystal comb needs a sleek, tight base to anchor into, while scattered pearls look better in a messy knot where they can nest. Accessories can also hide a stray section or a visible pin. Choose metals that match your earrings, and try the piece on with your veil, because two combs fighting for the same spot is a common morning problem.
13. High Bun for Wedding
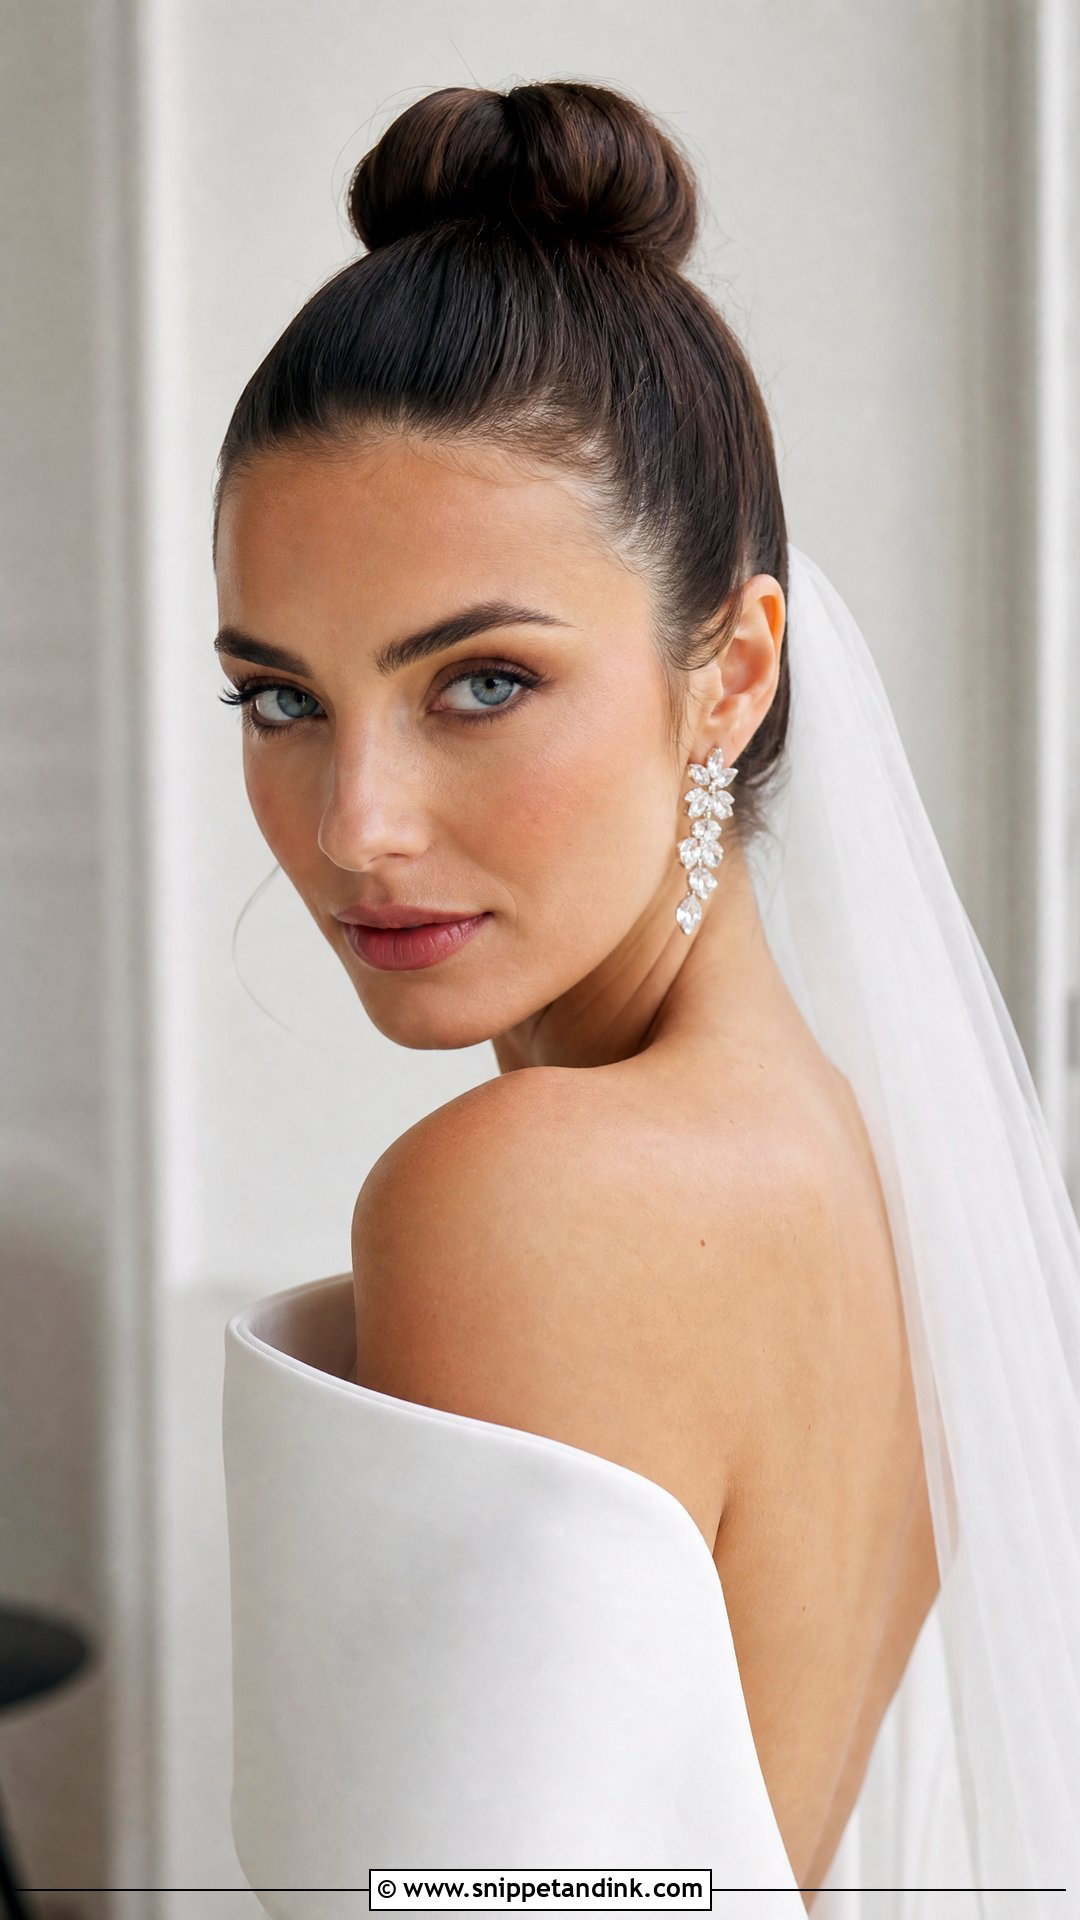
Positioned at the crown, a high bun lengthens the neck and keeps every strand off your face. It’s the most comfortable bun I do for hot outdoor weddings because nothing touches the shoulders. It does limit your veil options, though; a long veil has to sit underneath the bun, and some brides find that looks awkward from the side. Shorter veils and birdcage styles suit it best. I build a high bun on a tight ponytail with a small donut inside for size, so it doesn’t drop when you lean into photos. Sleek reads more dramatic, textured reads softer.
14. Pearl Embellished Bun for Wedding
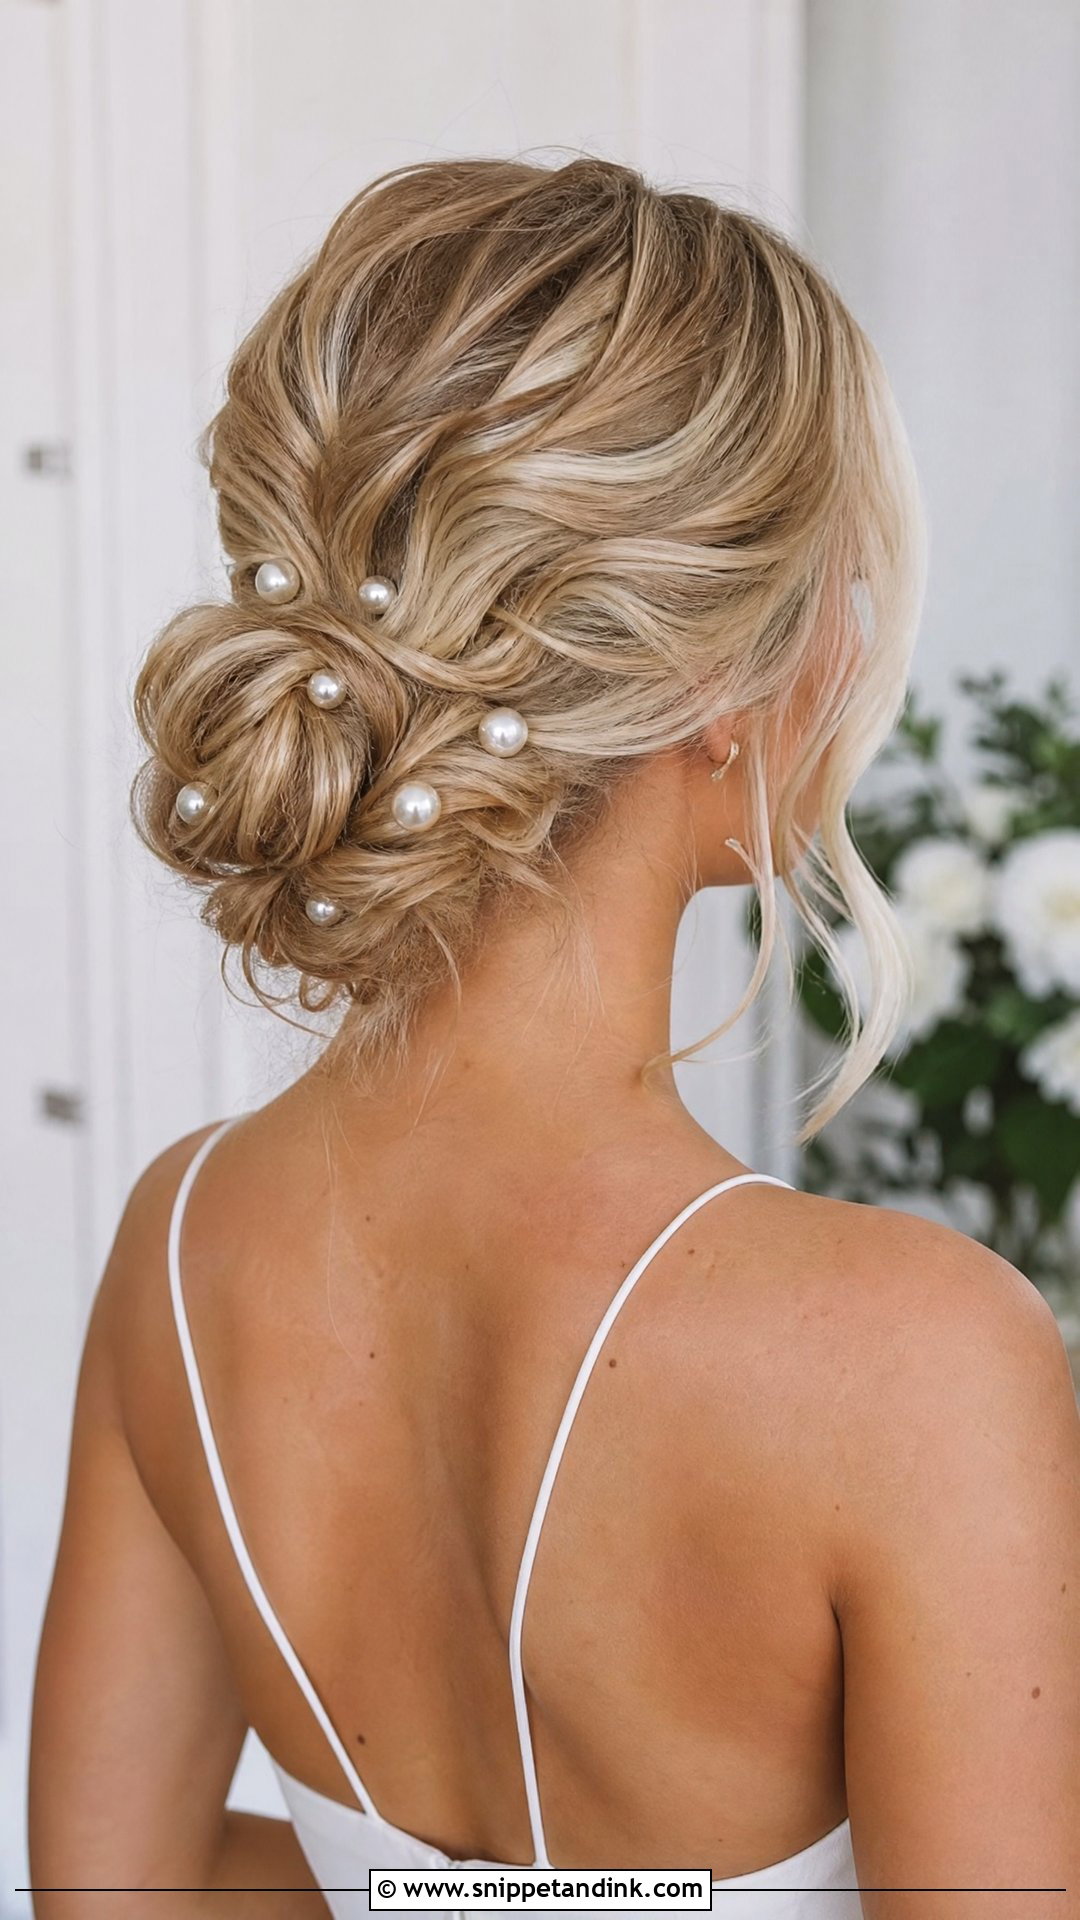
Pearls are forgiving, which is why I like them for brides nervous about sparkle. Scattered pins tucked through the knot give a soft glow rather than a shine, and they suit both sleek and messy bases. I place them last, angled into the bun so the pin shaft grips hair underneath; pearls only pushed into the surface will work their way out during the reception. Coordinate them with pearl earrings or a necklace, and keep it to one cluster or a light scatter, not both. Too many reads busy in close-up photos.
15. Rose Bun for Wedding
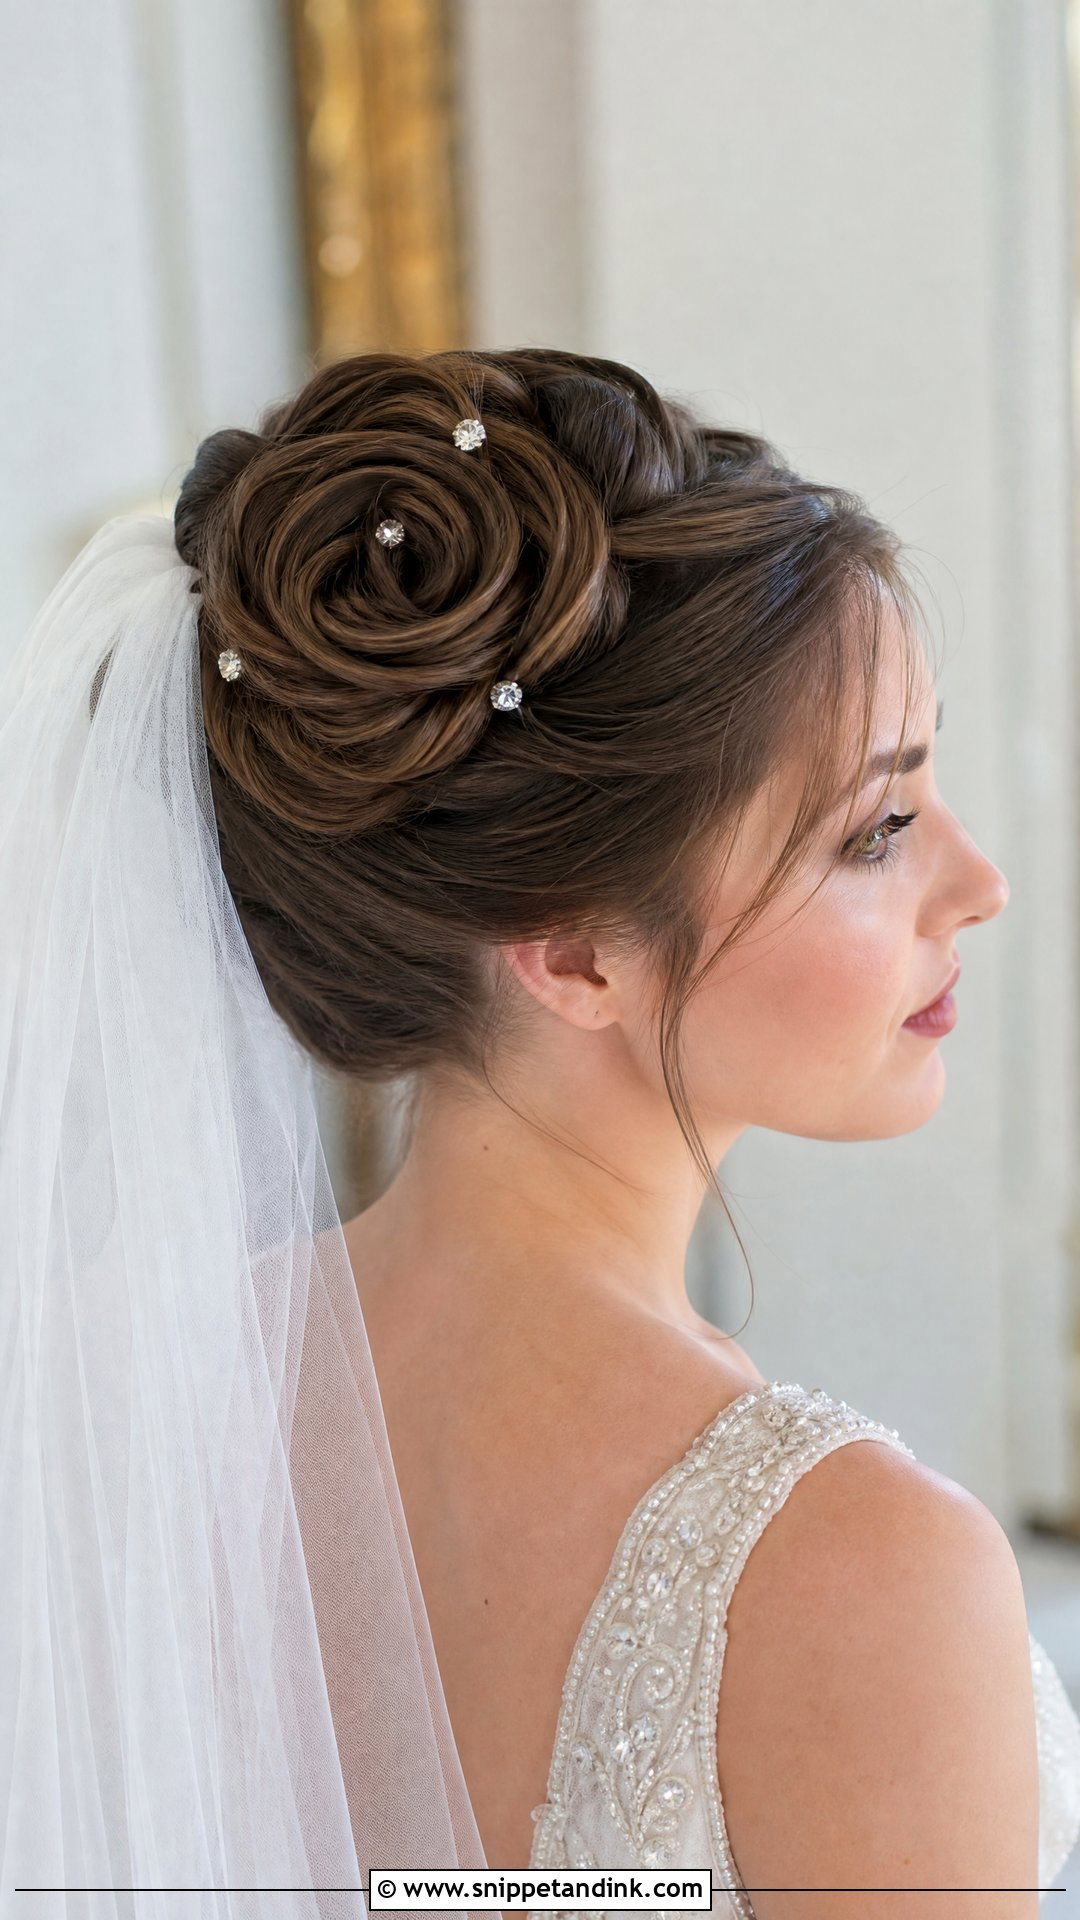
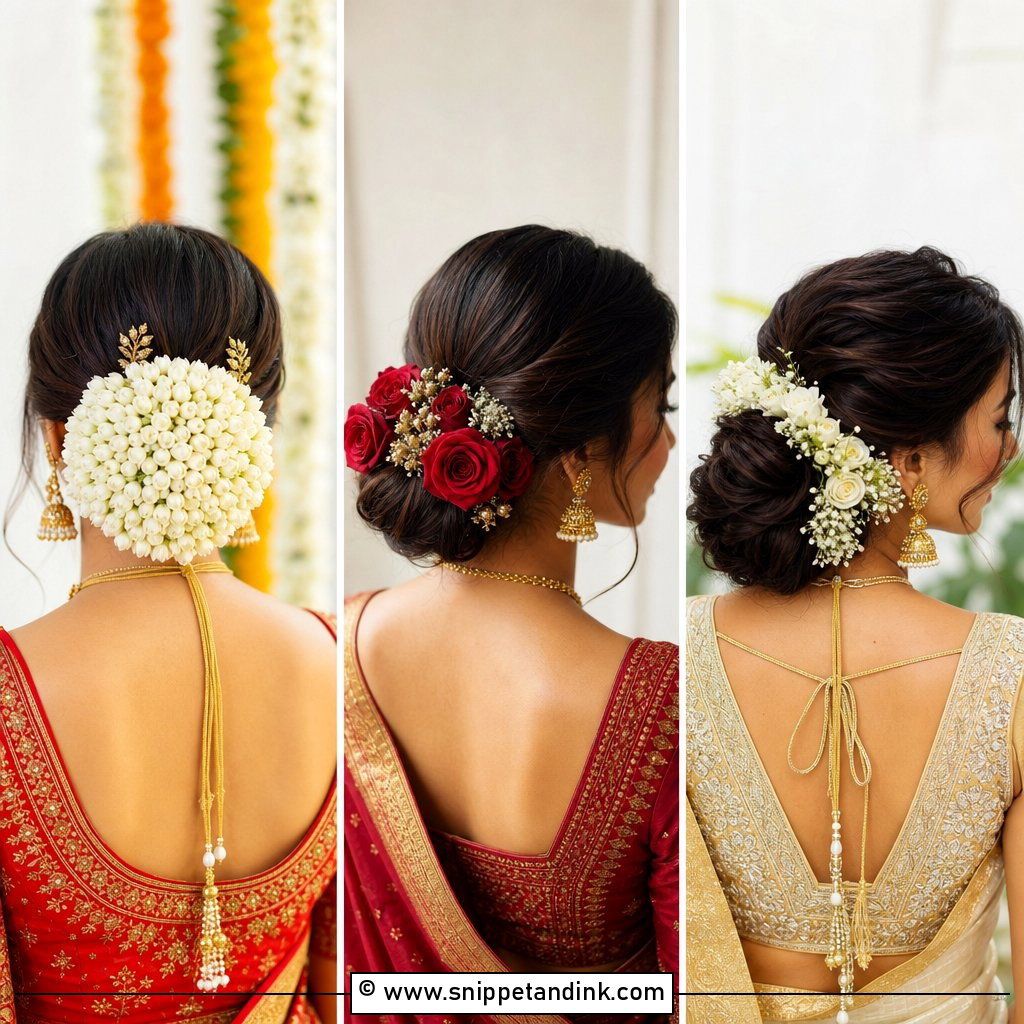
A rose bun takes hair coiled into petal-like layers and shapes it into a rosette at the back of the head. It’s slower to create than most buns on this list, and I’d budget extra time for it in the morning schedule. Each petal is a small section wrapped around two fingers and pinned flat, so the hair needs grip; day-old hair works better than freshly washed. It’s best shown off from behind, so a simple, sheer veil, or no veil at all, lets the design come through. Tiny pearls or crystals between the petals add a bit of light.
16. Bun With Bangs for Wedding
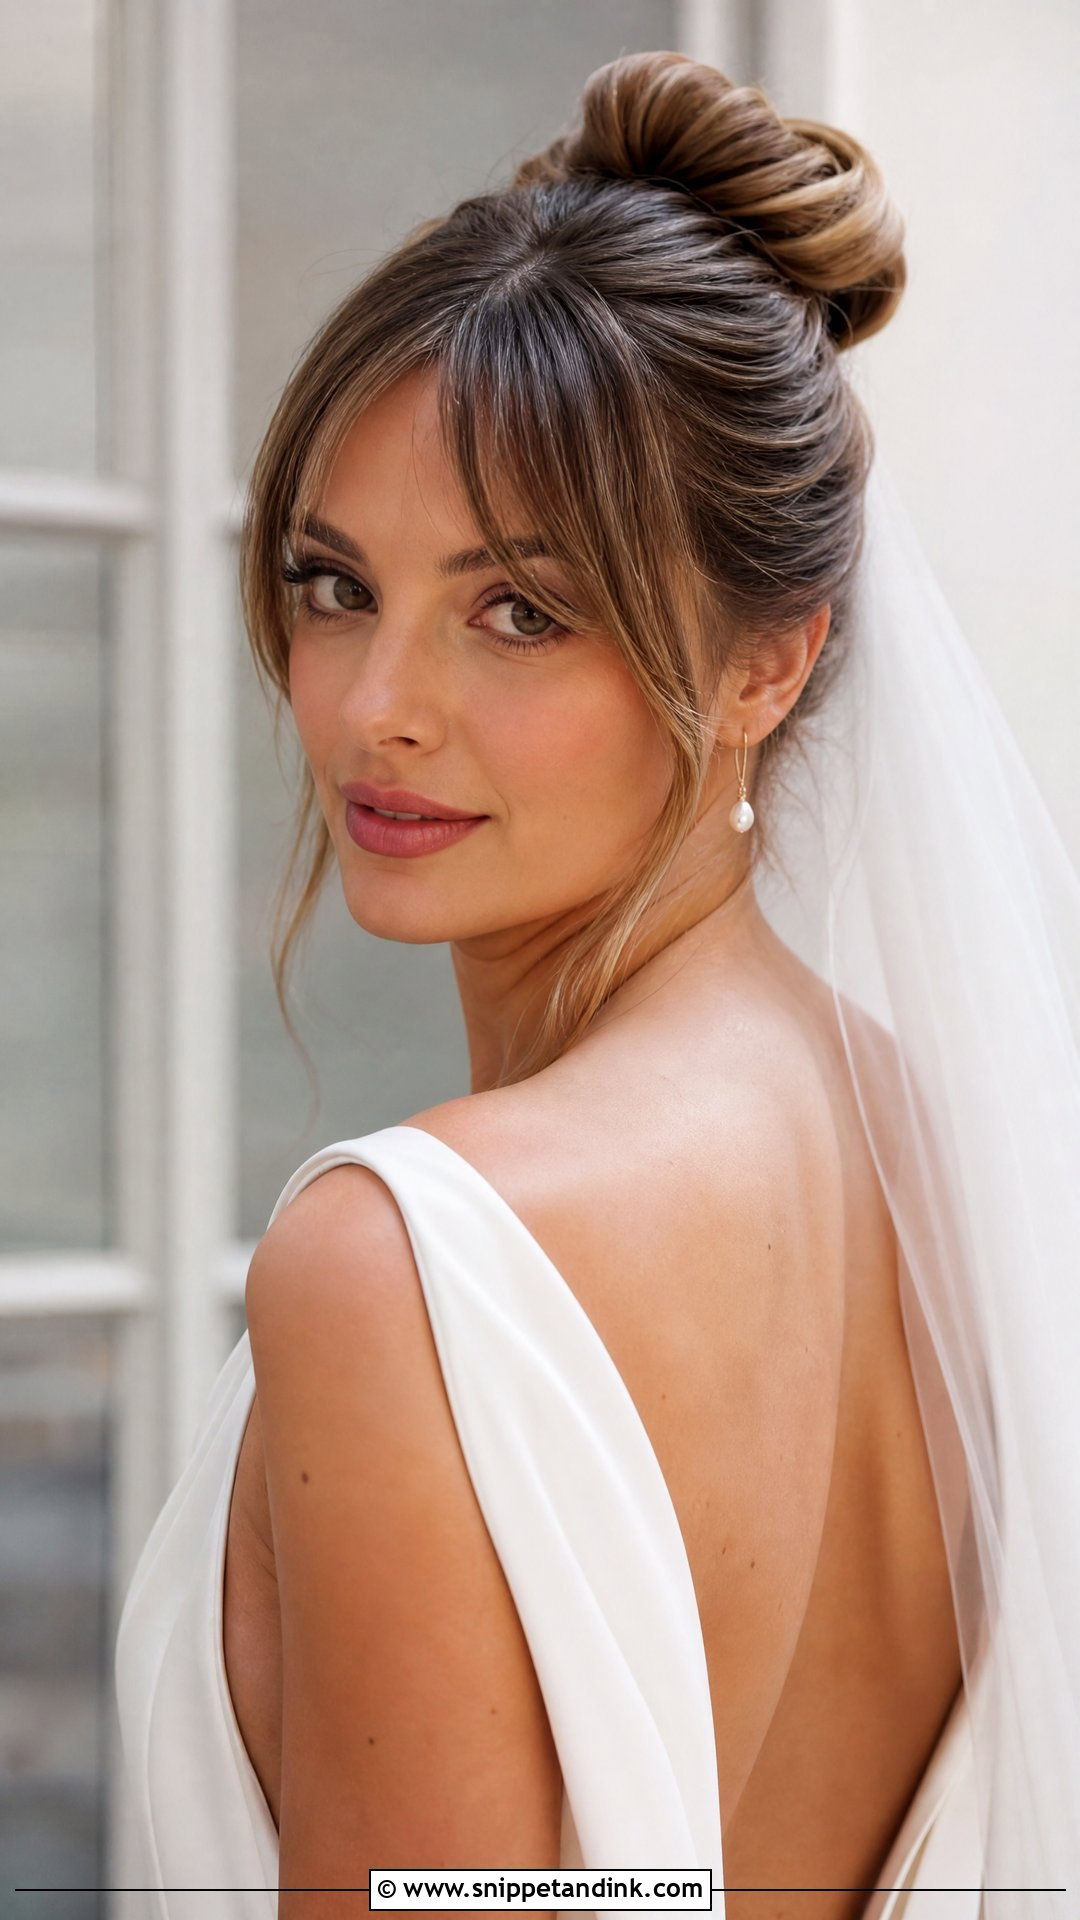
Bangs and a bun are a good pairing when you already wear your fringe. Whether you have wispy curtain bangs or a heavier fringe, I style them separately from the updo with a round brush so they keep their shape. Get your trim about a week before the wedding, not the day before, so the cut has time to settle. Curtain bangs blend into the sides of a bun more easily than blunt bangs. In humidity, bangs separate first, so I set them with a light spray and keep blotting papers in my kit for the forehead underneath.
17. Slicked Back Bun for Wedding
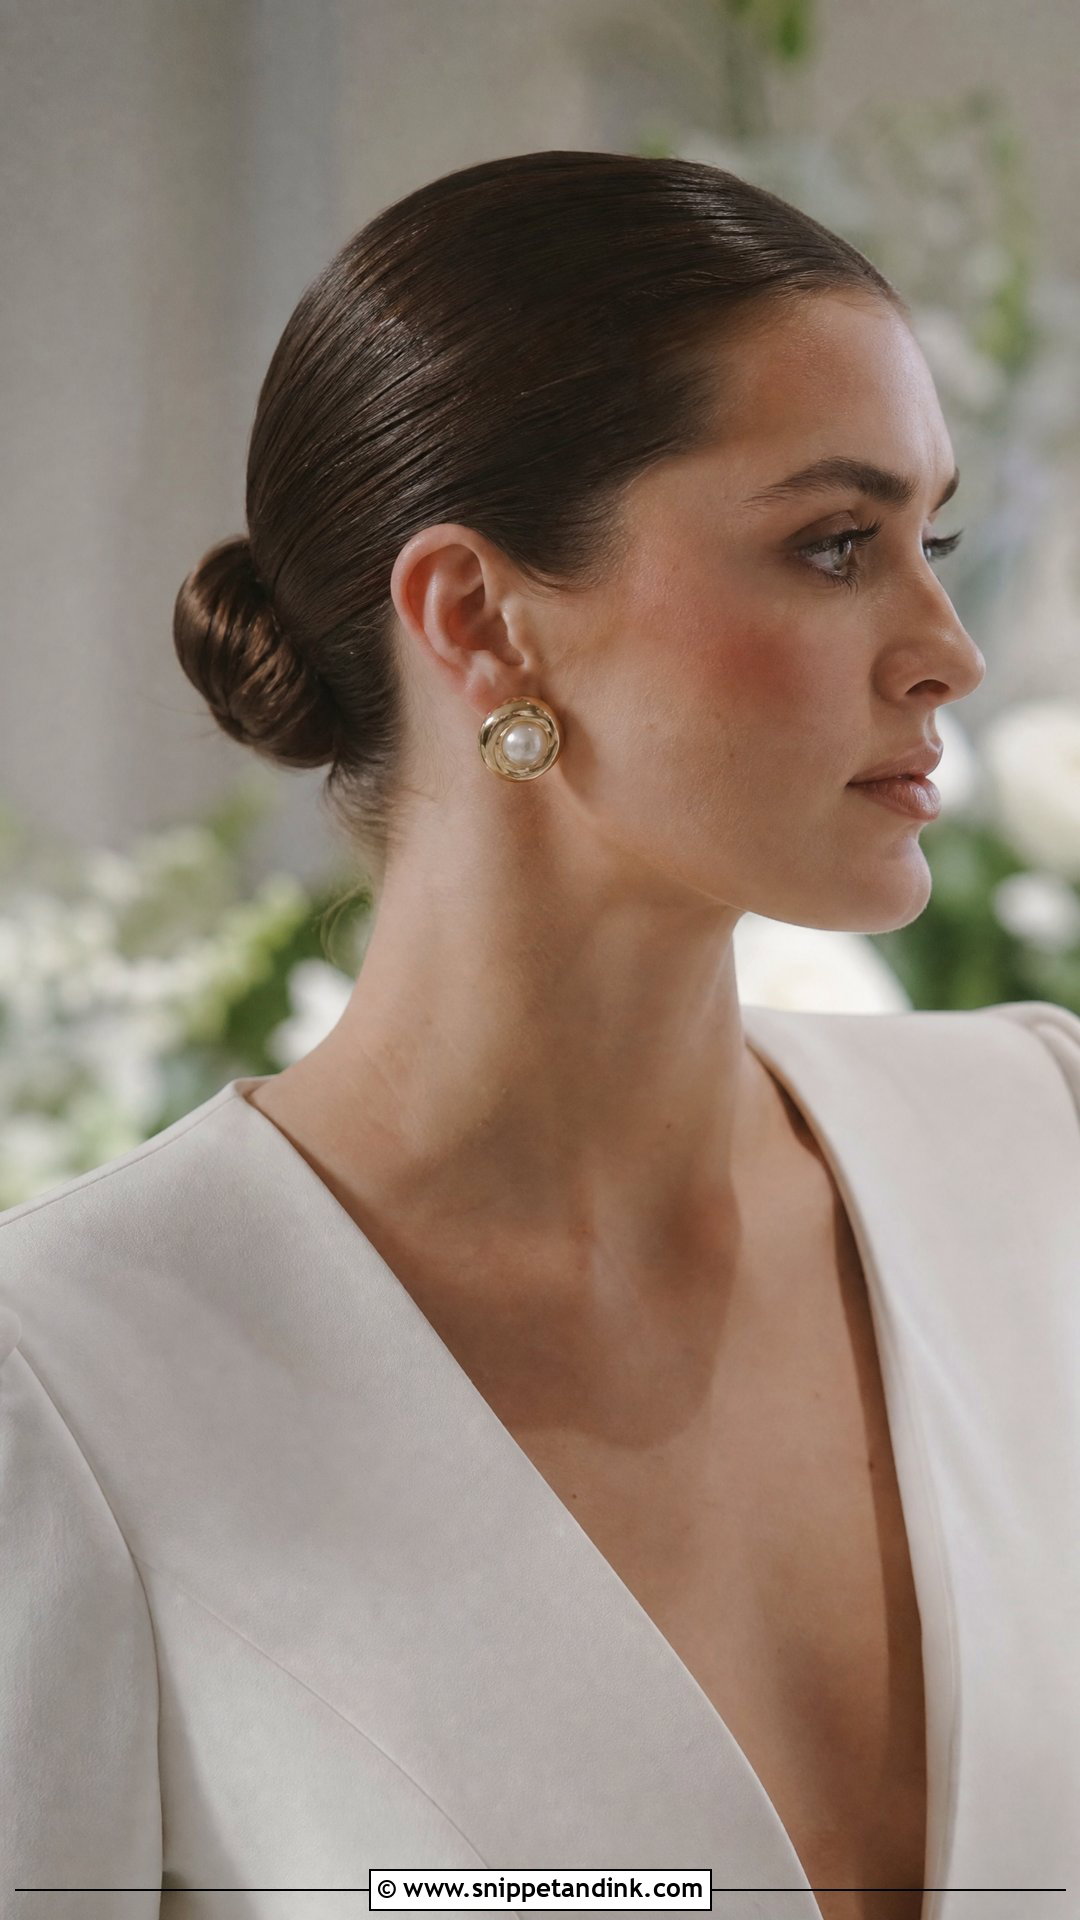
A slicked-back bun puts your face front and center, so I only suggest it to brides who are comfortable with their hairline fully visible. Hair is pulled back smooth and gathered into a sleek knot for a clean, editorial look. I use a strong-hold gel mixed with a little serum so it stays glossy without hardening into a crust. It suits structured dresses and bold earrings and shows off bone structure. Brush through in sections rather than all at once, otherwise you get ridges. If your hairline has baby hairs or cowlicks, tell your stylist at the trial so we can plan around them.
18. Knotted Bun for Wedding
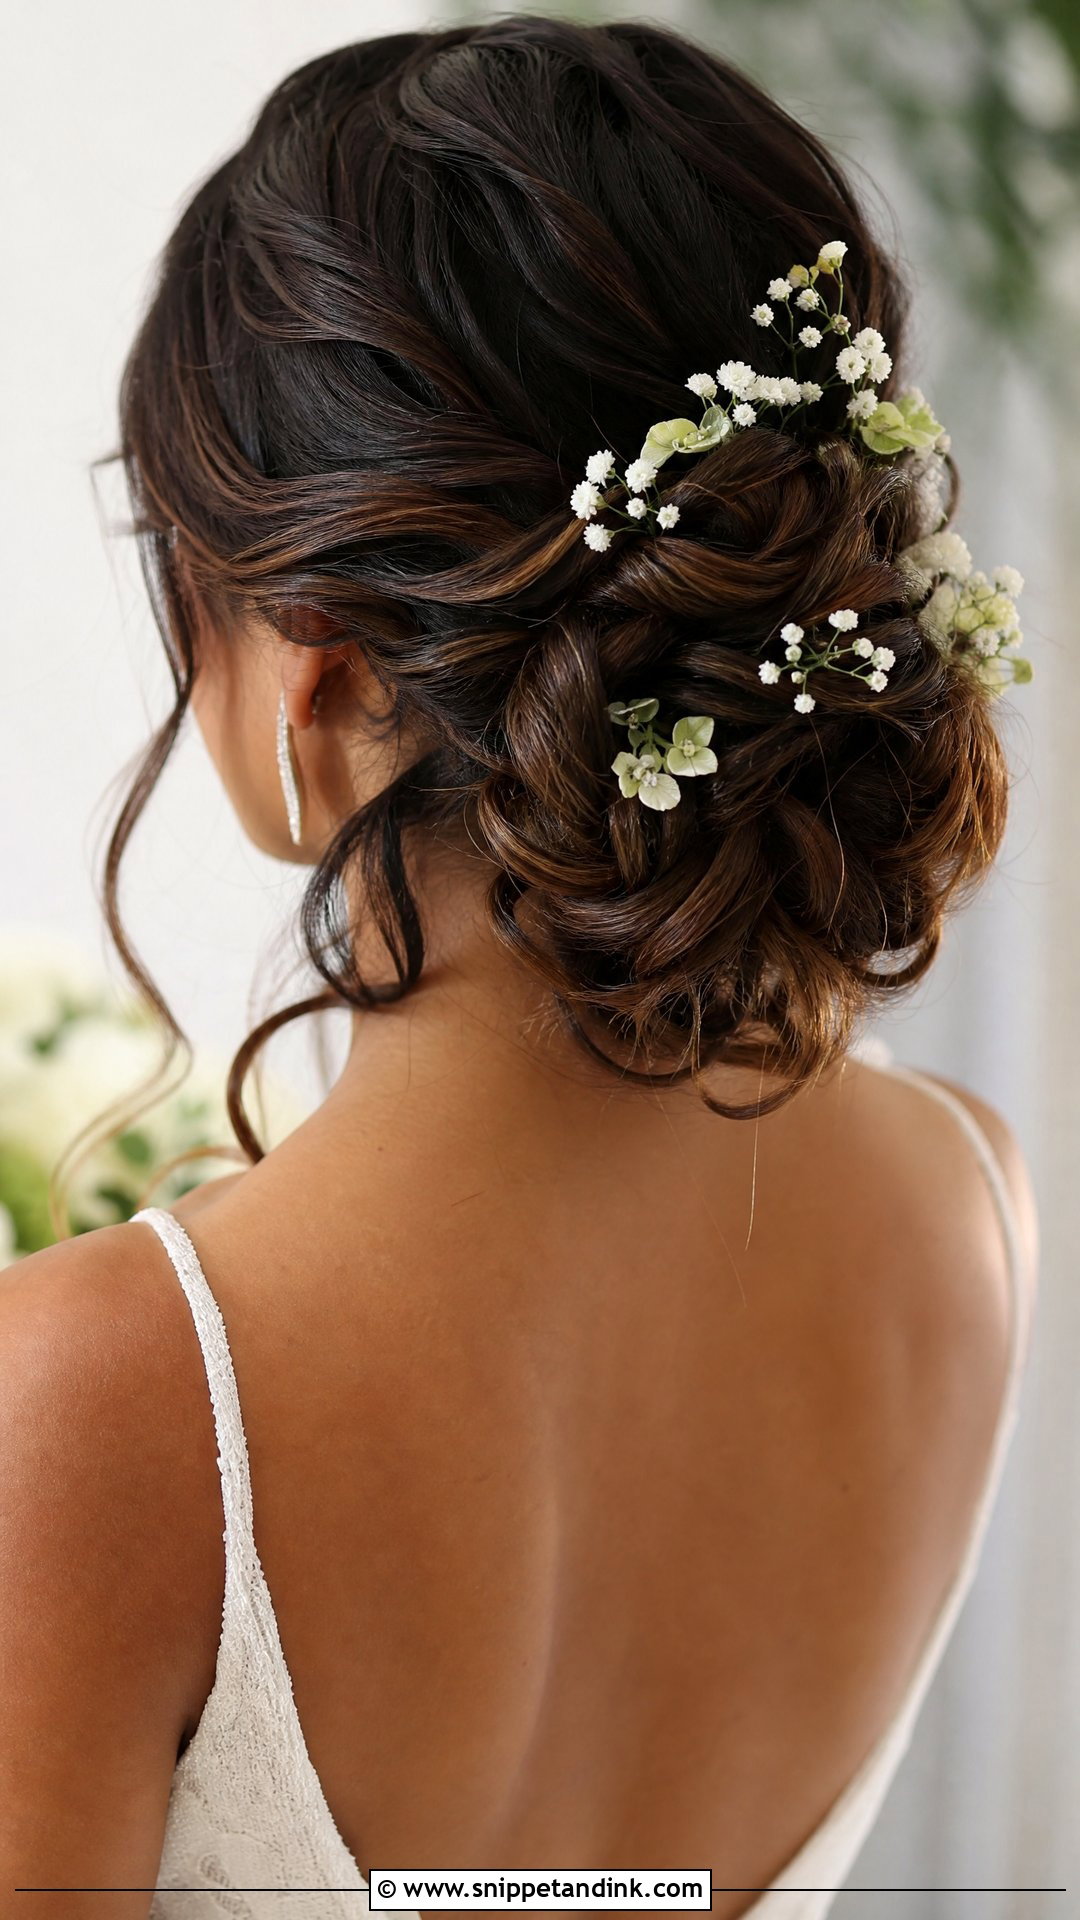
A knotted bun uses sections tied or looped into small knots, which gives texture without full braids. I tie each knot loosely, pin it at the base, and only then tighten the shape, because knots tied tight from the start look flat. It suits outdoor and garden weddings and holds well when tendrils are kept to the front. Flowers or pearl pins sit naturally in the loops. Very short layers are the main issue here; they poke out of knots, so I’d suggest it mostly for hair past the shoulders.
19. Vintage Bun for Wedding
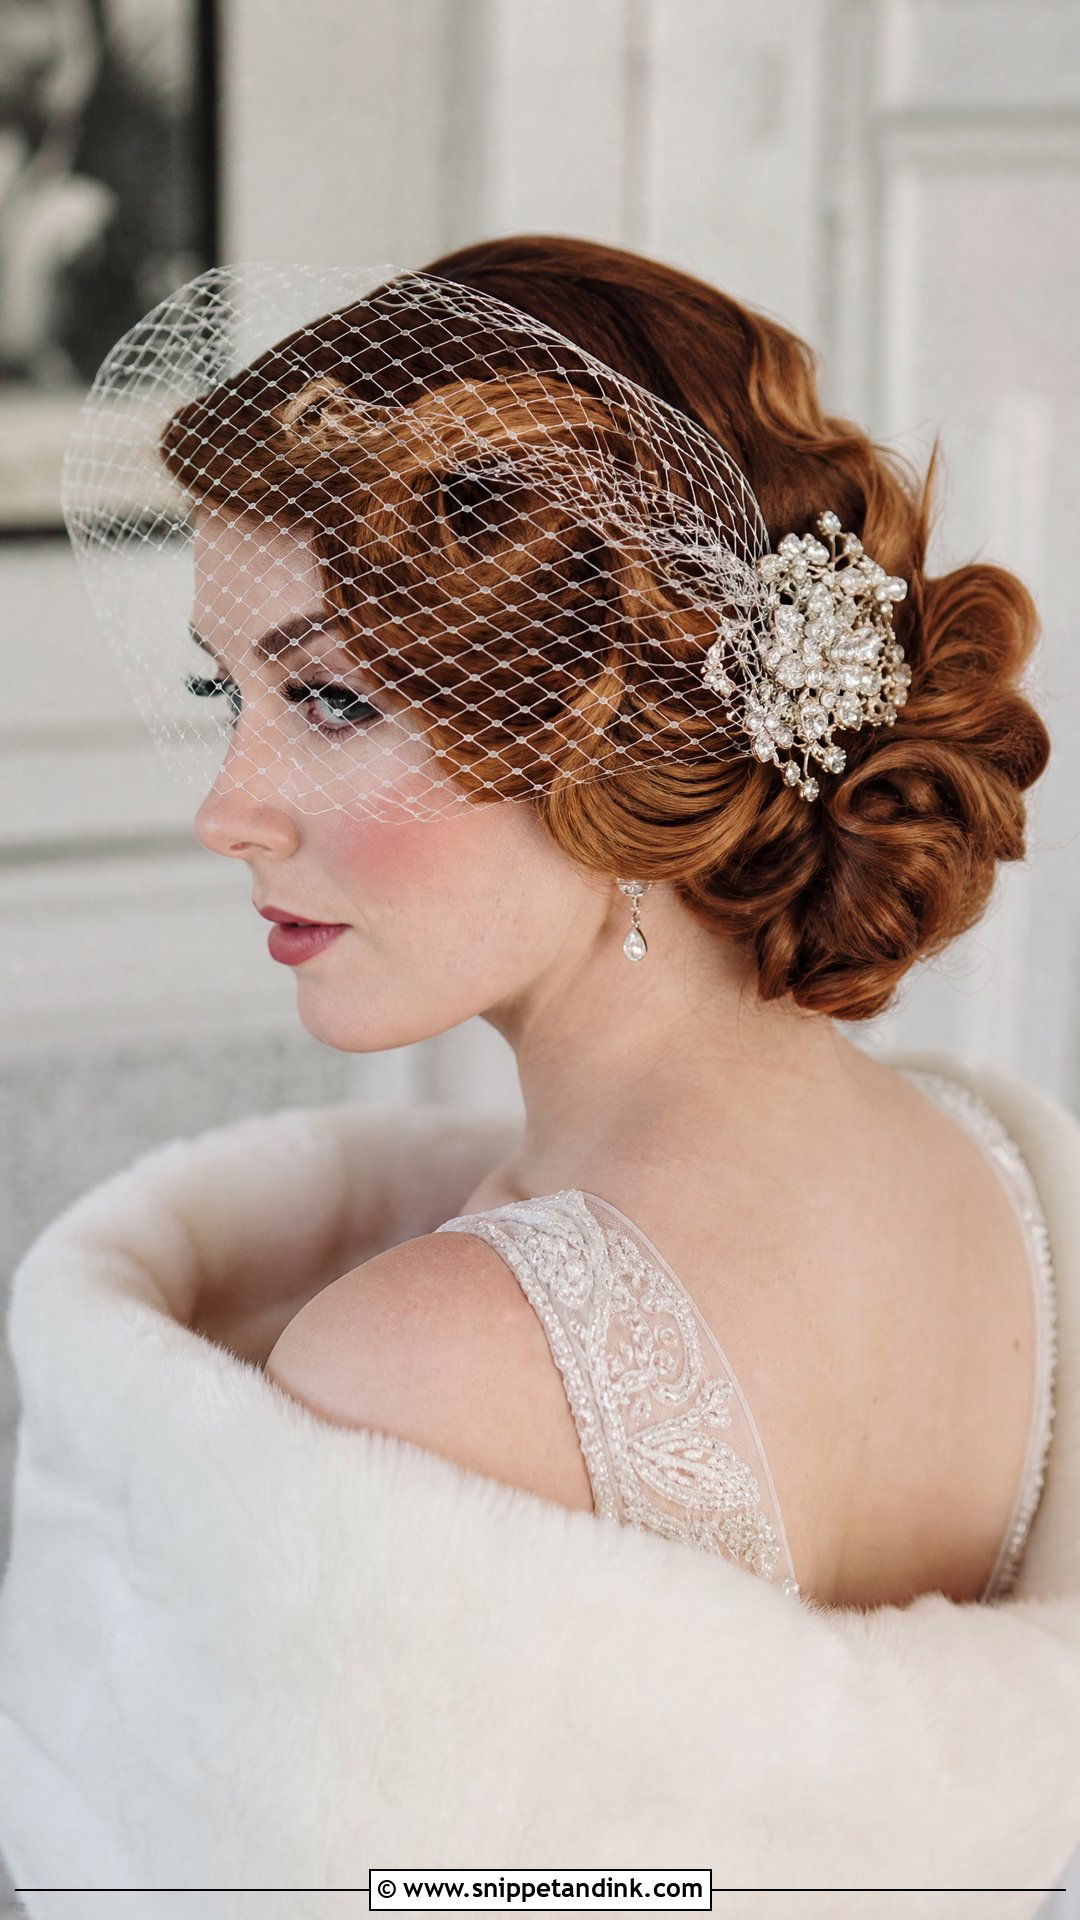
Vintage buns depend on set, not on product. Finger waves, rolls or a pin-curl chignon all need hair that’s been curled and left to cool in place, ideally pinned for twenty minutes or more before brushing out. That’s what gives the sculpted shape that lasts. These styles pair with birdcage veils, jeweled combs and vintage-inspired gowns. I’d allow a longer appointment for this one, because rushing the set is the main reason vintage waves drop by the evening.
20. Bun With Hair Vine for Wedding
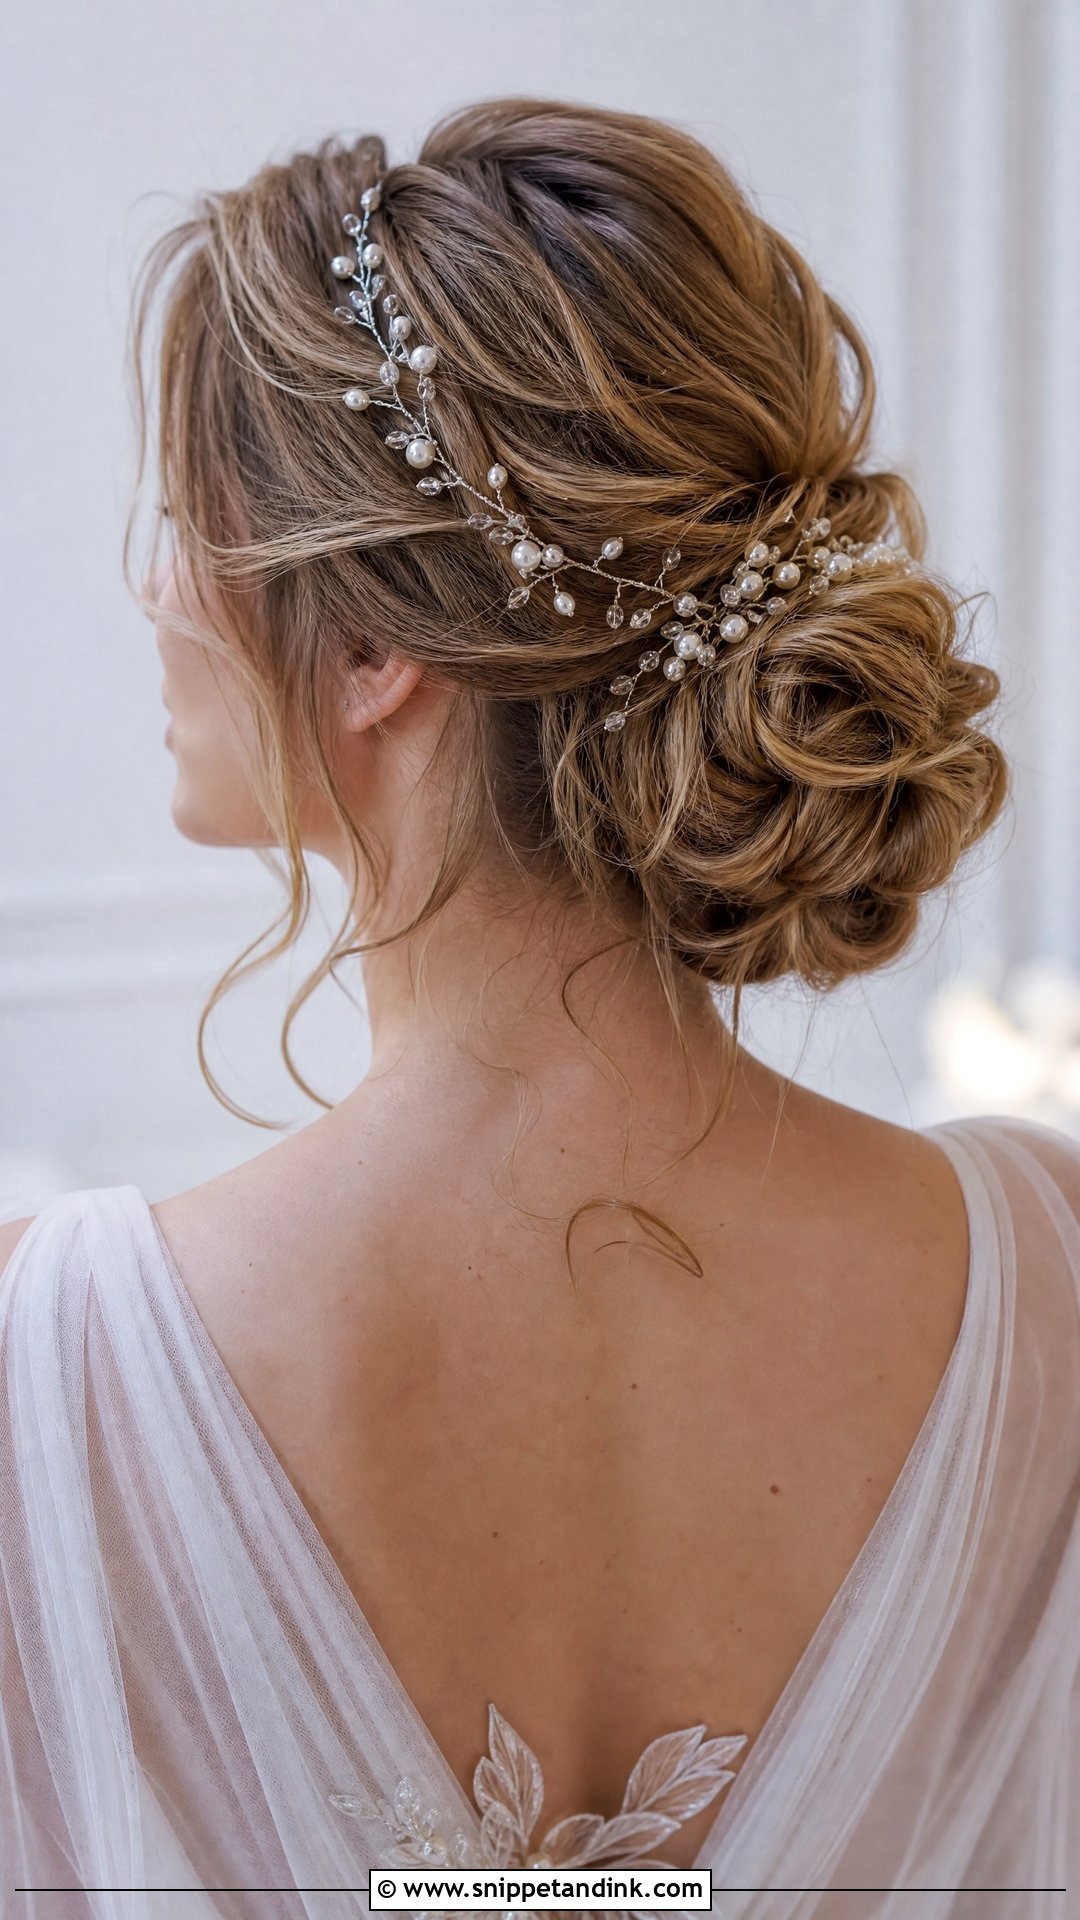
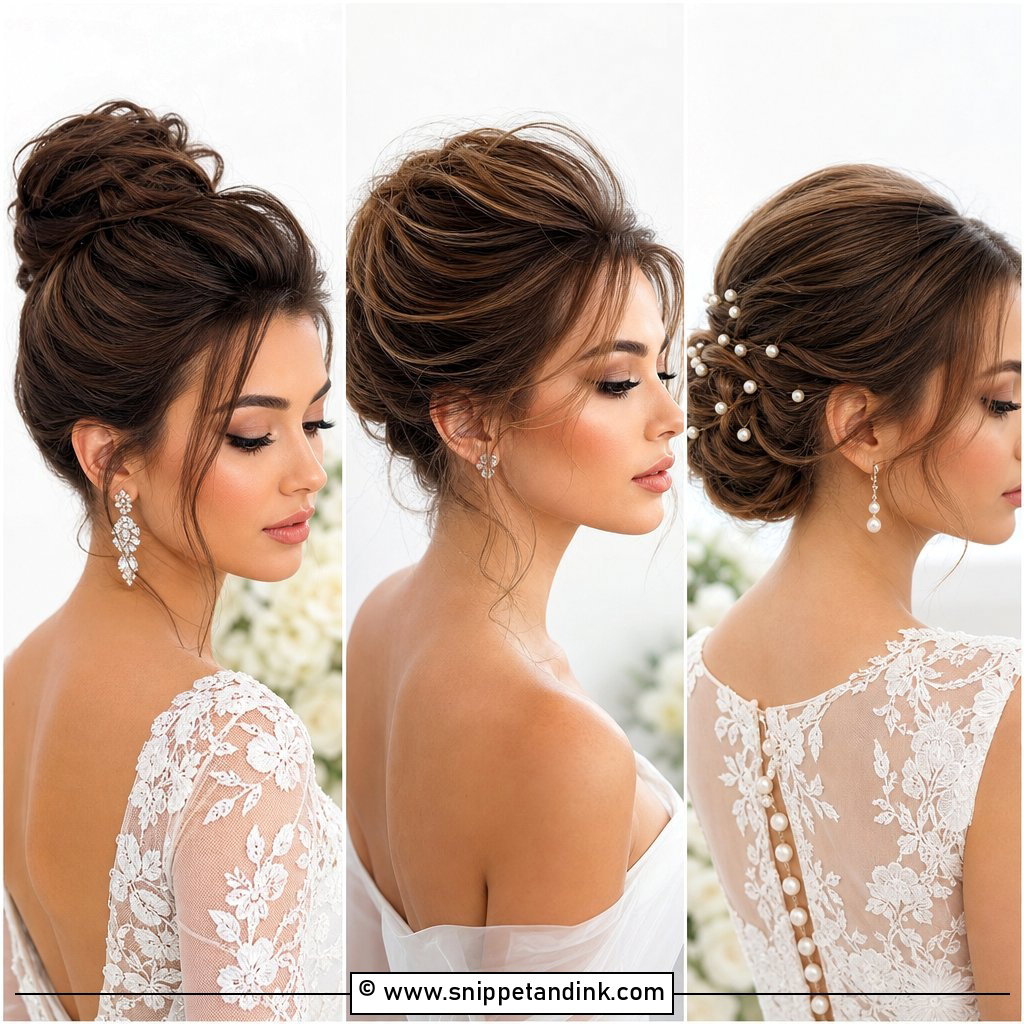
A hair vine woven through a bun is flexible, which makes it more forgiving than a rigid comb. I bend it into shape before placing it, then thread the wire through sections of the bun and secure the ends with small pins hidden underneath. Crystal vines catch the light, while pearl or leaf vines read softer. It works with sleek and textured buns. Match the vine’s metal to your jewelry, and keep it to the bun and sides; draping it too far toward the face makes it look like a headband that slipped.
21. Loose Bun for Wedding
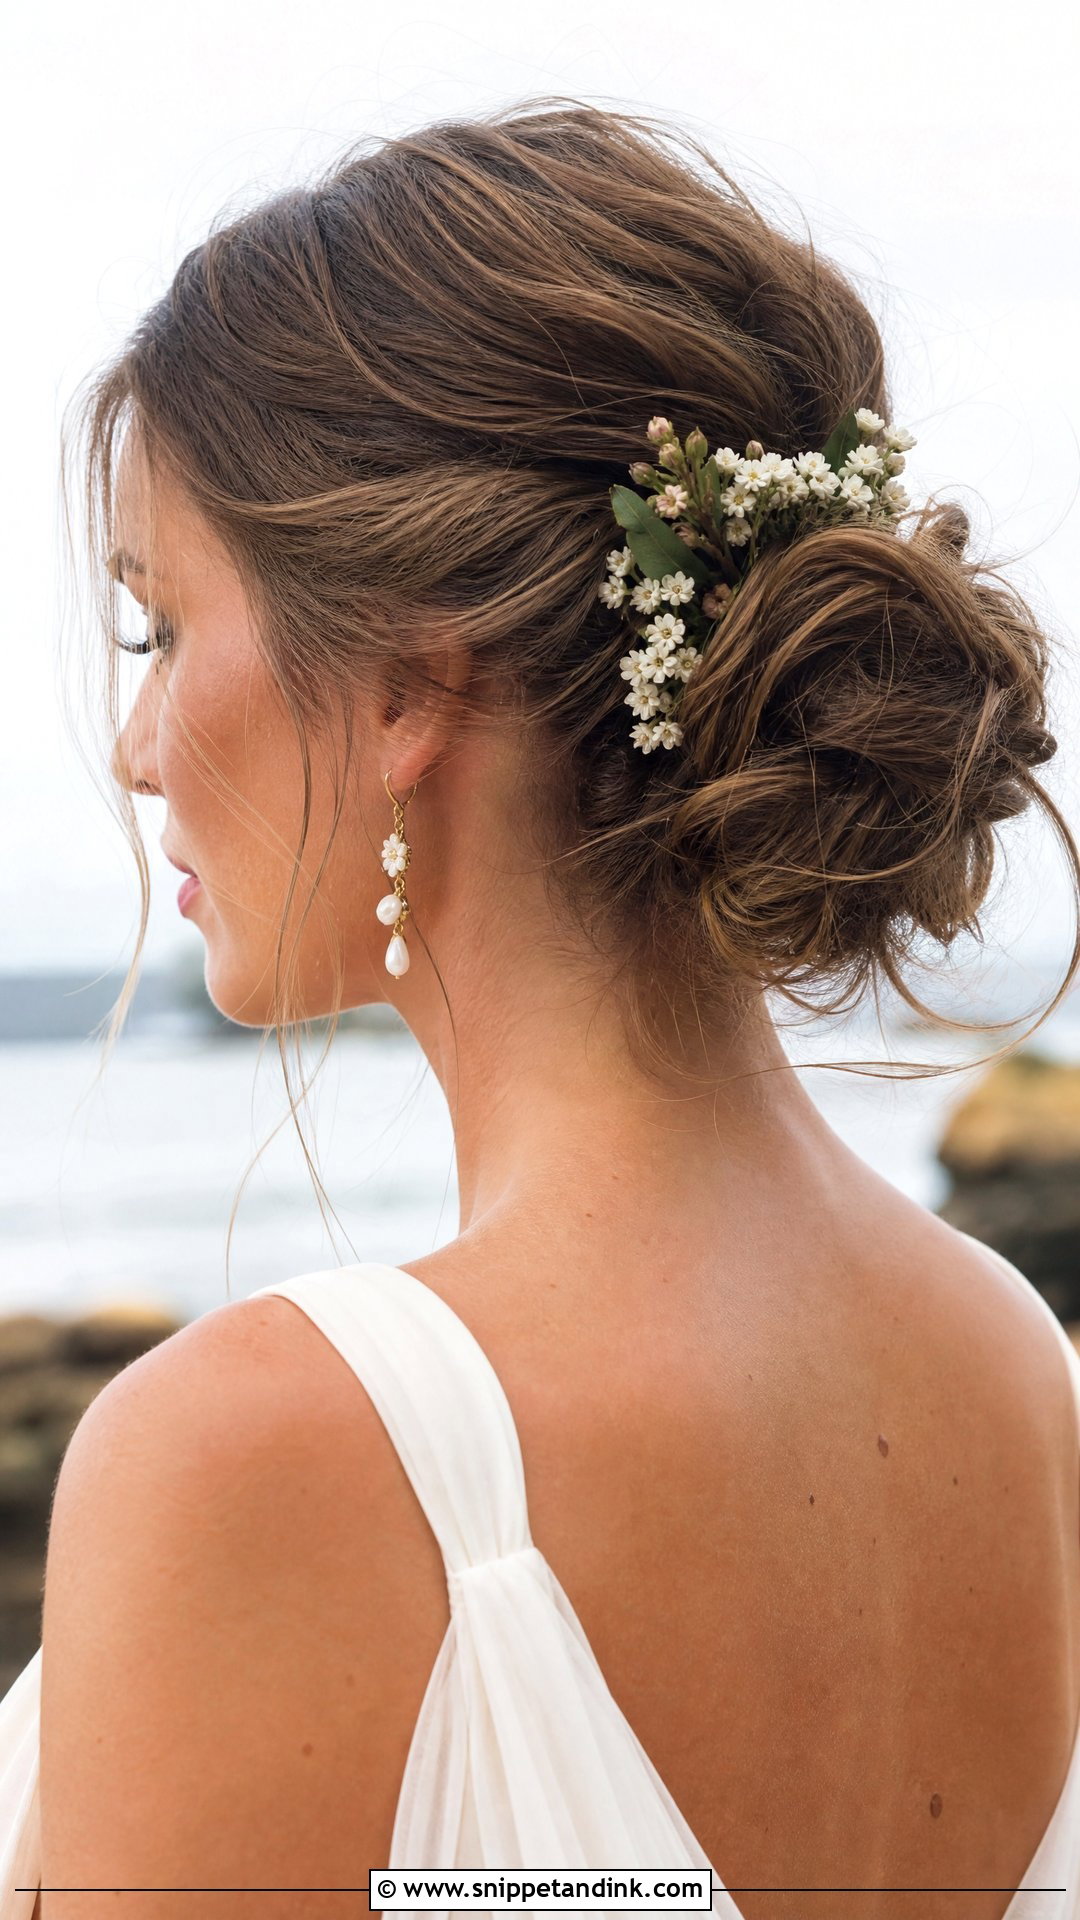
A loose bun looks easy to recreate, but it needs as much support as a tight one, just better hidden. I backcomb lightly at the crown and inside the bun so the soft surface has something to hold onto. It suits beach, outdoor and boho weddings, where a polished updo can look out of place. Face-framing pieces add movement. If you’ll be outside in wind, ask your stylist to pin it a little firmer than you’d like at the trial; it relaxes on its own as the day goes on.
22. Double Bun for Wedding
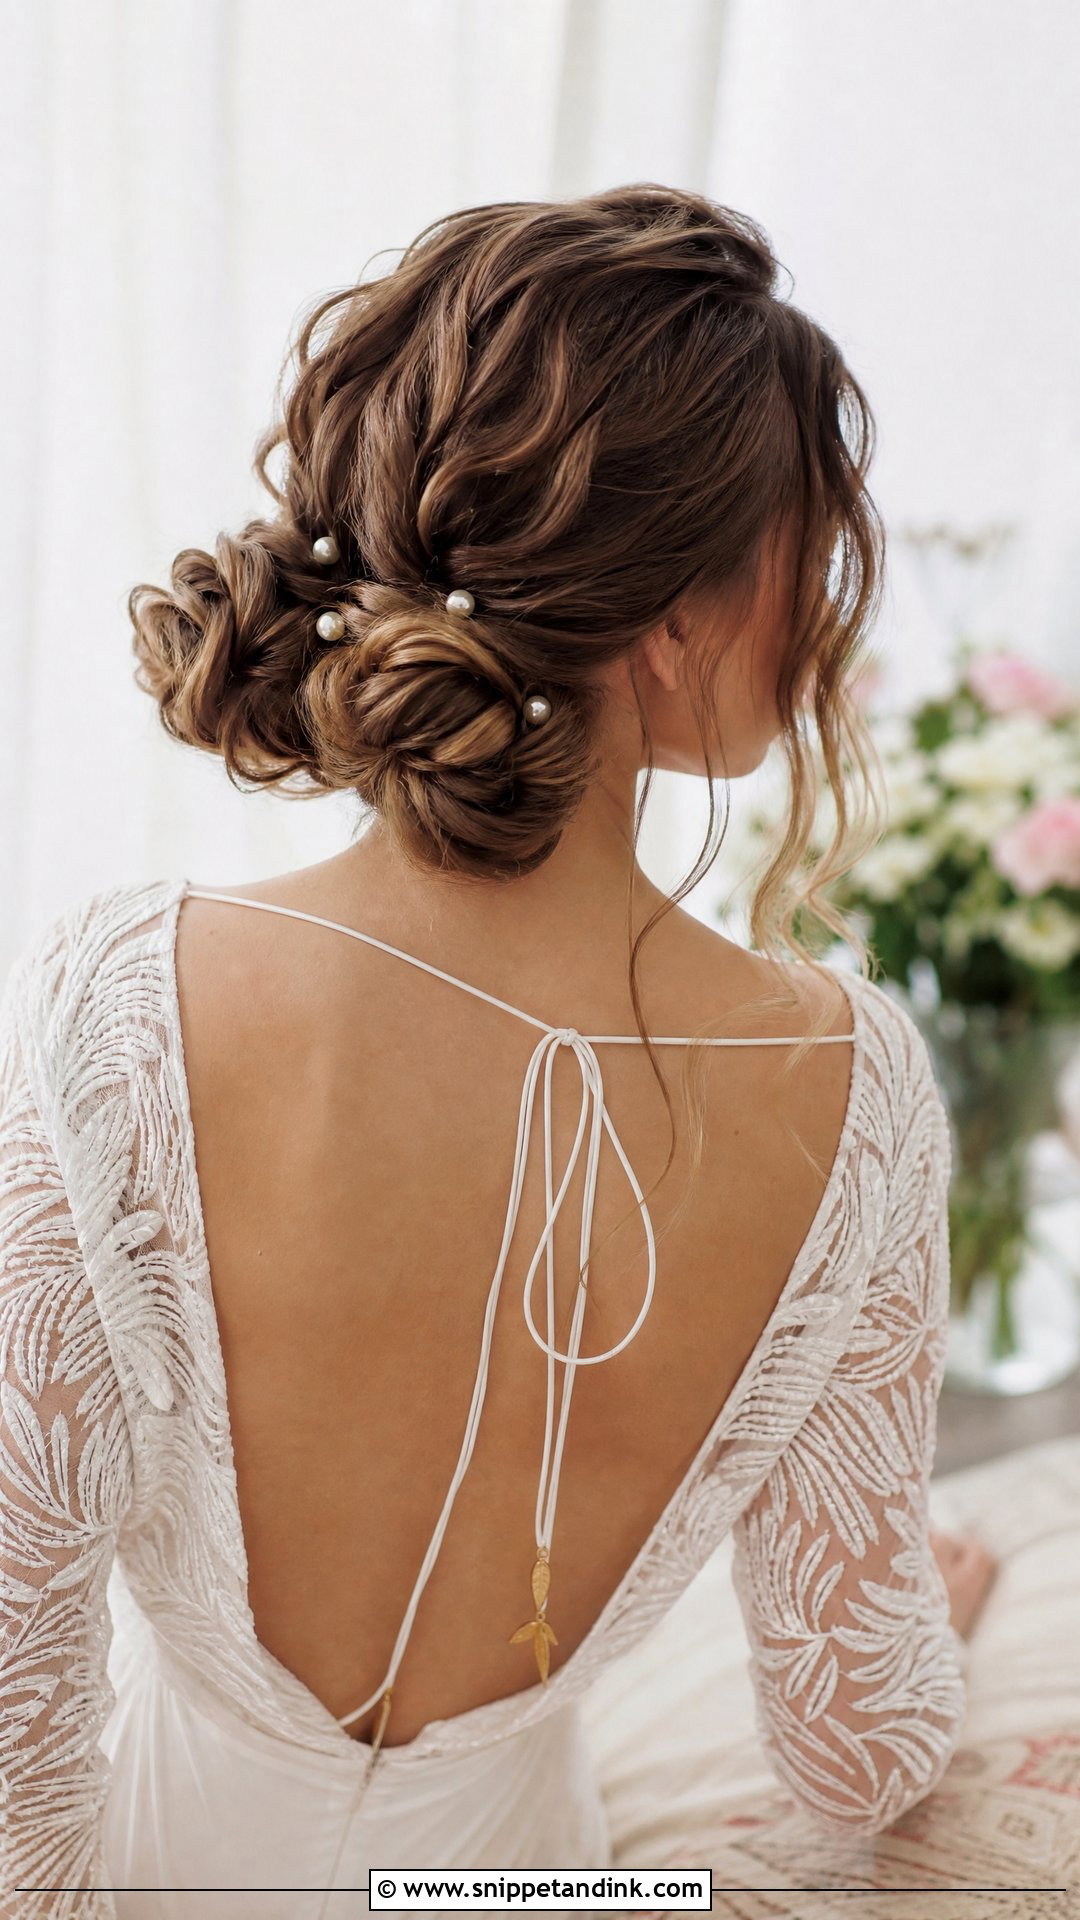
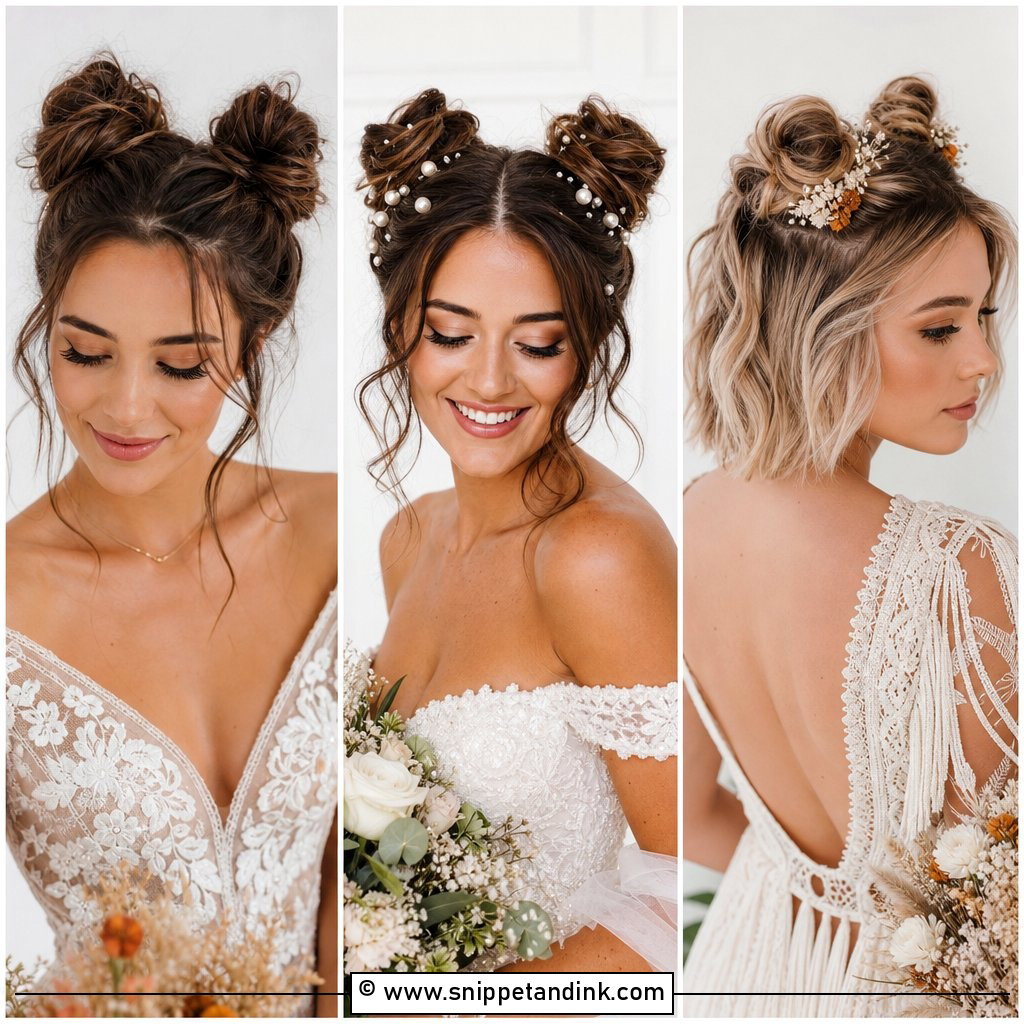
The double bun is playful, and I’d only suggest it if you’re sure you want something unusual. Two knots placed side by side need an even part down the middle, so I section with a tail comb and check symmetry in a mirror from behind. It can look softer with loose tendrils and texture. Flowers or pearls on each knot make it feel bridal rather than casual. Low placement reads more grown-up, high placement more youthful. It’s harder to fit a veil to, so many brides who wear it skip the veil or choose a short one.
23. Bun With Headband for Wedding
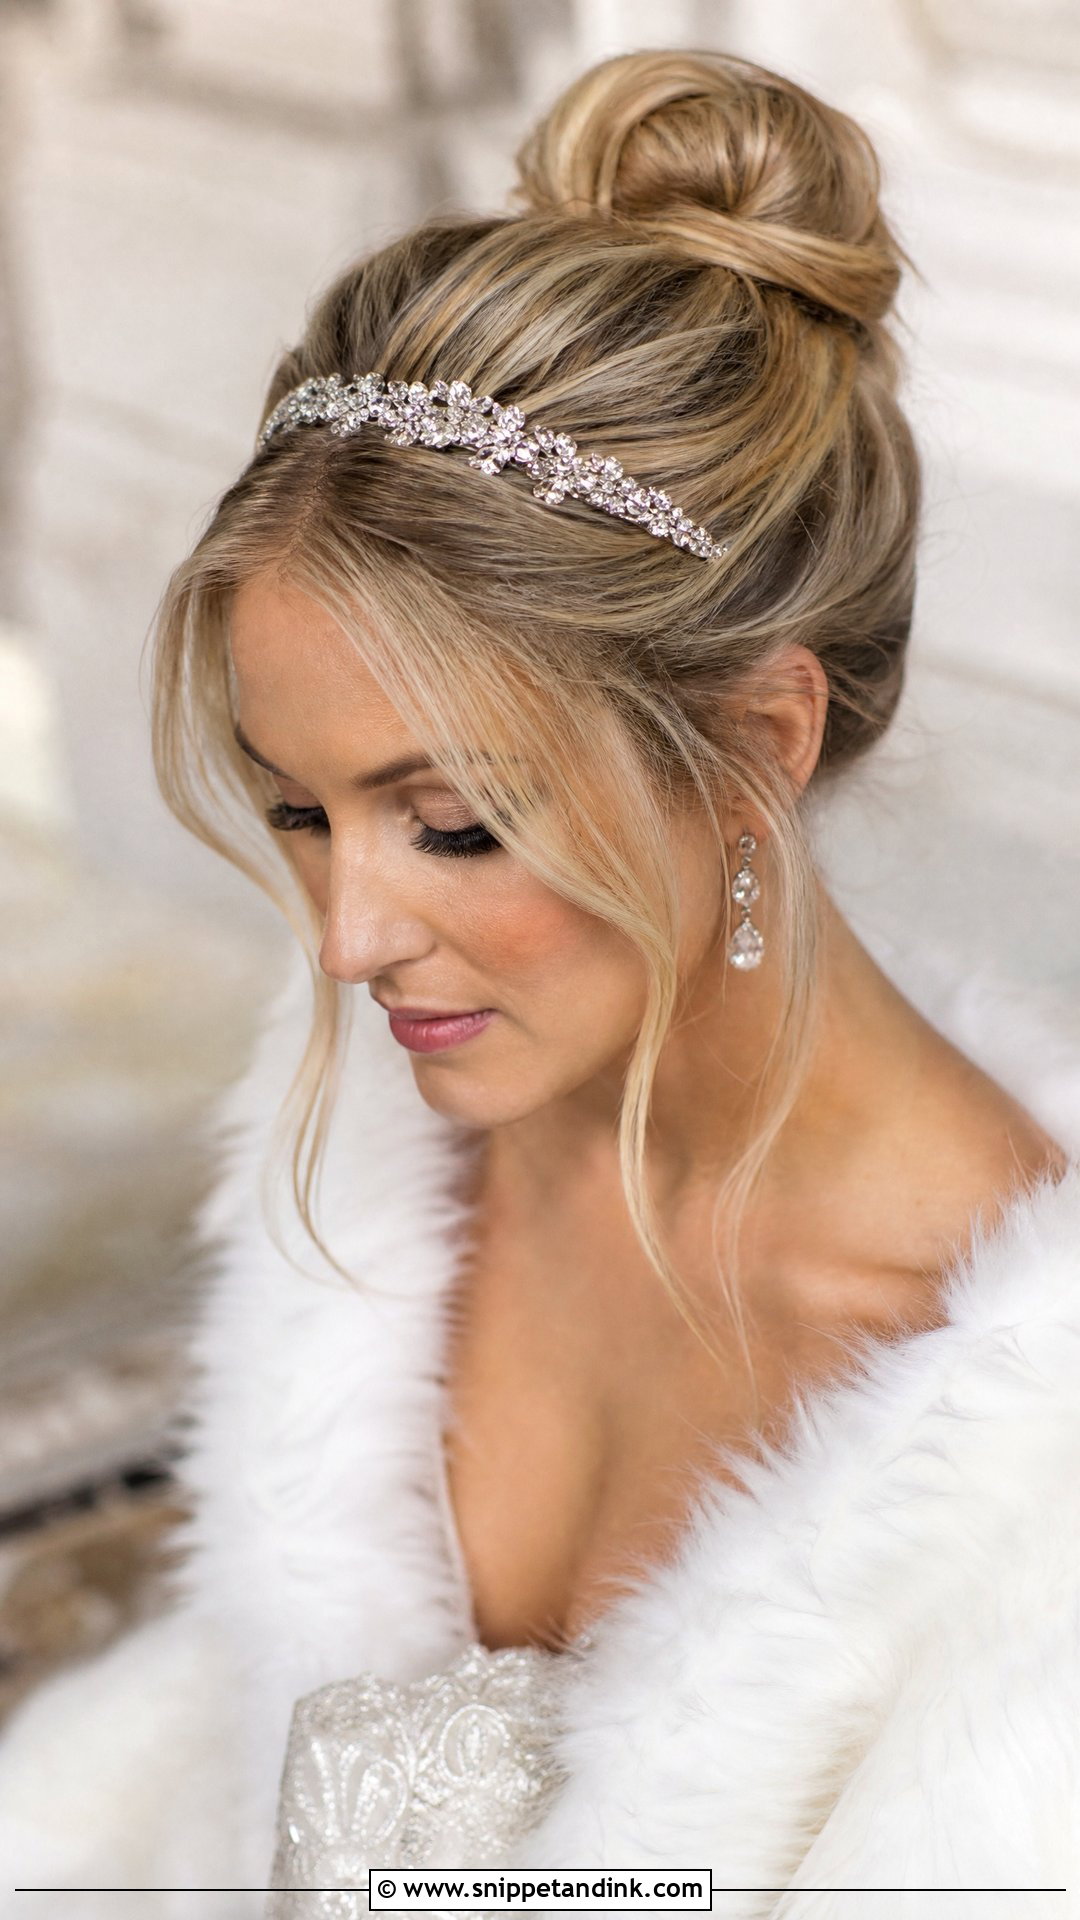
A headband paired with a bun gives a crown-like line without the weight of a tiara. Whether you choose a crystal band, a pearl-studded design or a soft floral crown, place it about an inch back from the hairline so it doesn’t slide forward. I tuck small pins under the band on both sides to keep it from slipping. It suits classic and boho weddings. If your band presses behind your ears, tell your stylist early; that ache is worse after hours of wear than it is at a quick trial.
24. Boho Bun for Wedding
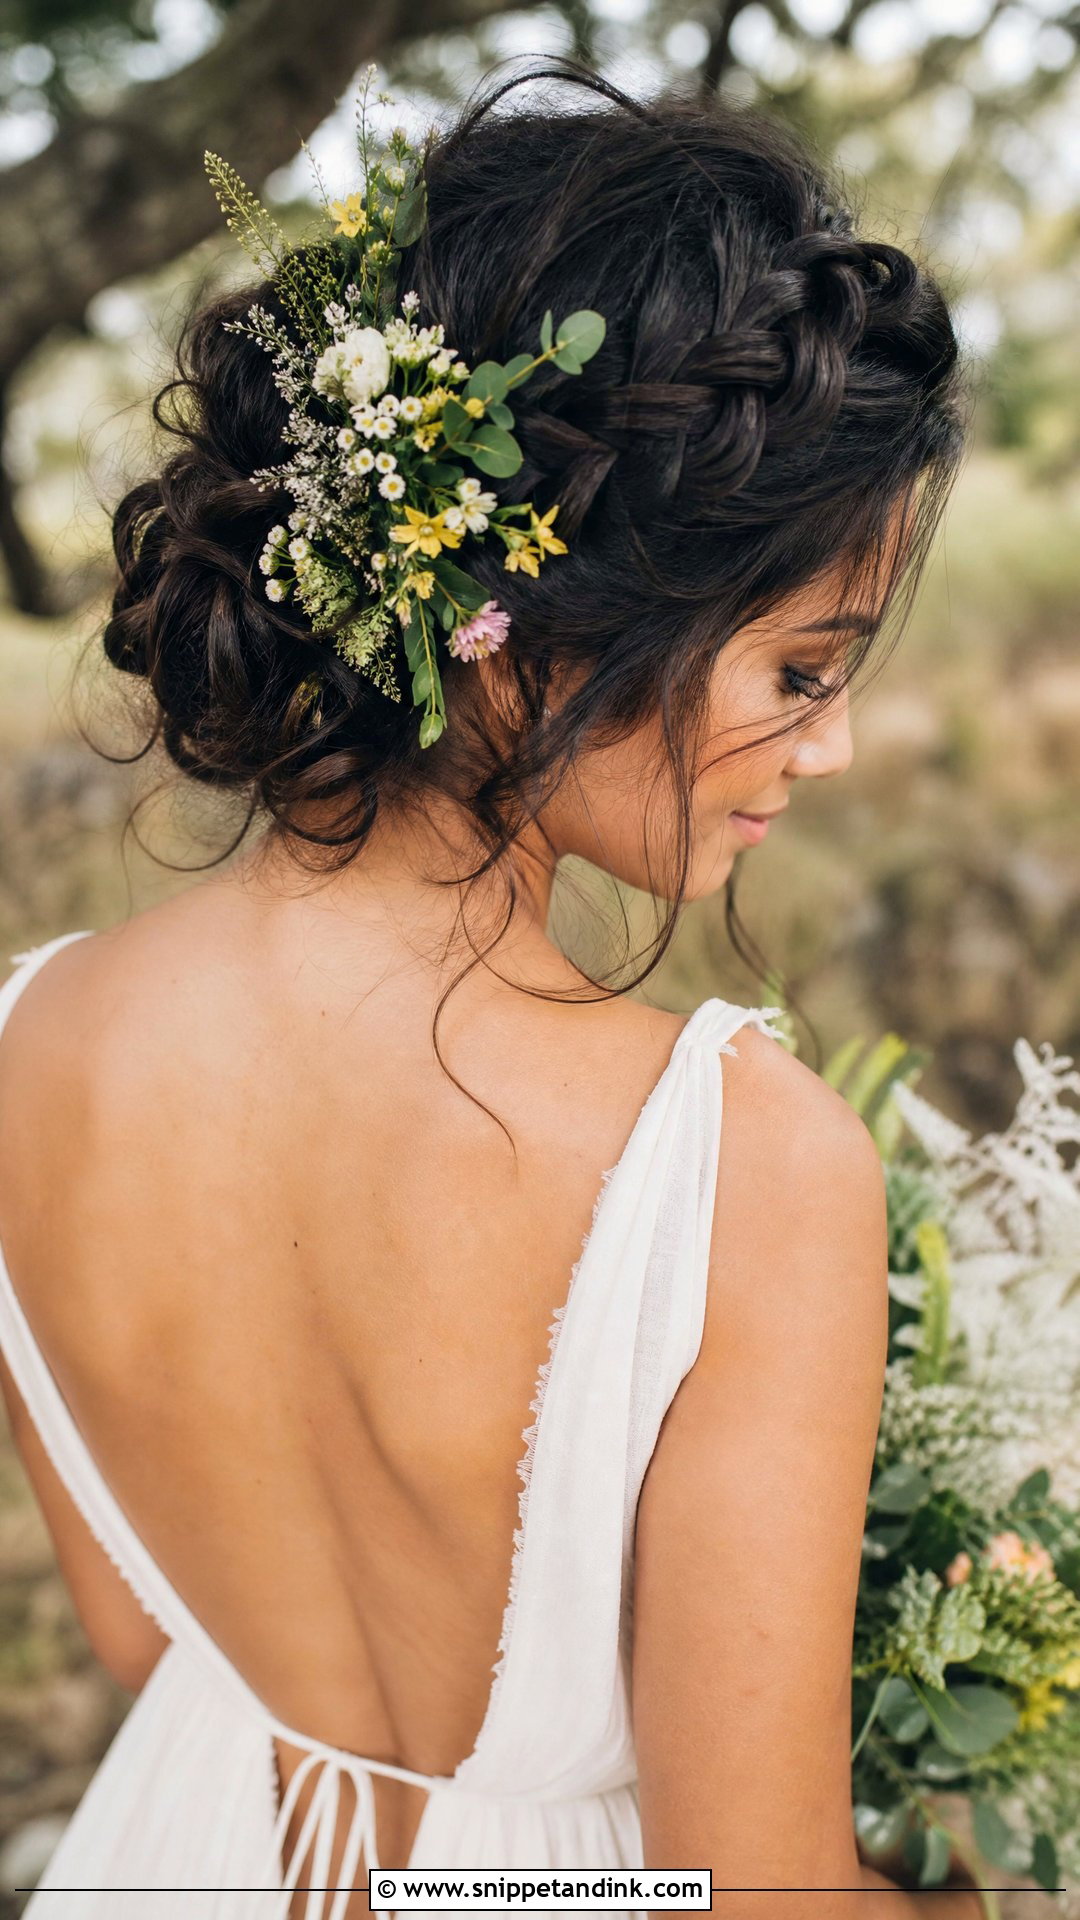
A boho bun is loose waves, braided accents and face-framing pieces, finished with wildflowers or greenery. Underneath, it’s still structured: I pin the base firmly and add the undone texture only at the surface. It suits outdoor, garden and beach weddings. Mixing a small braid with twists gives more variation than a single texture. Greenery holds up longer than delicate wildflowers in heat, so ask your florist which stems will last before you commit.
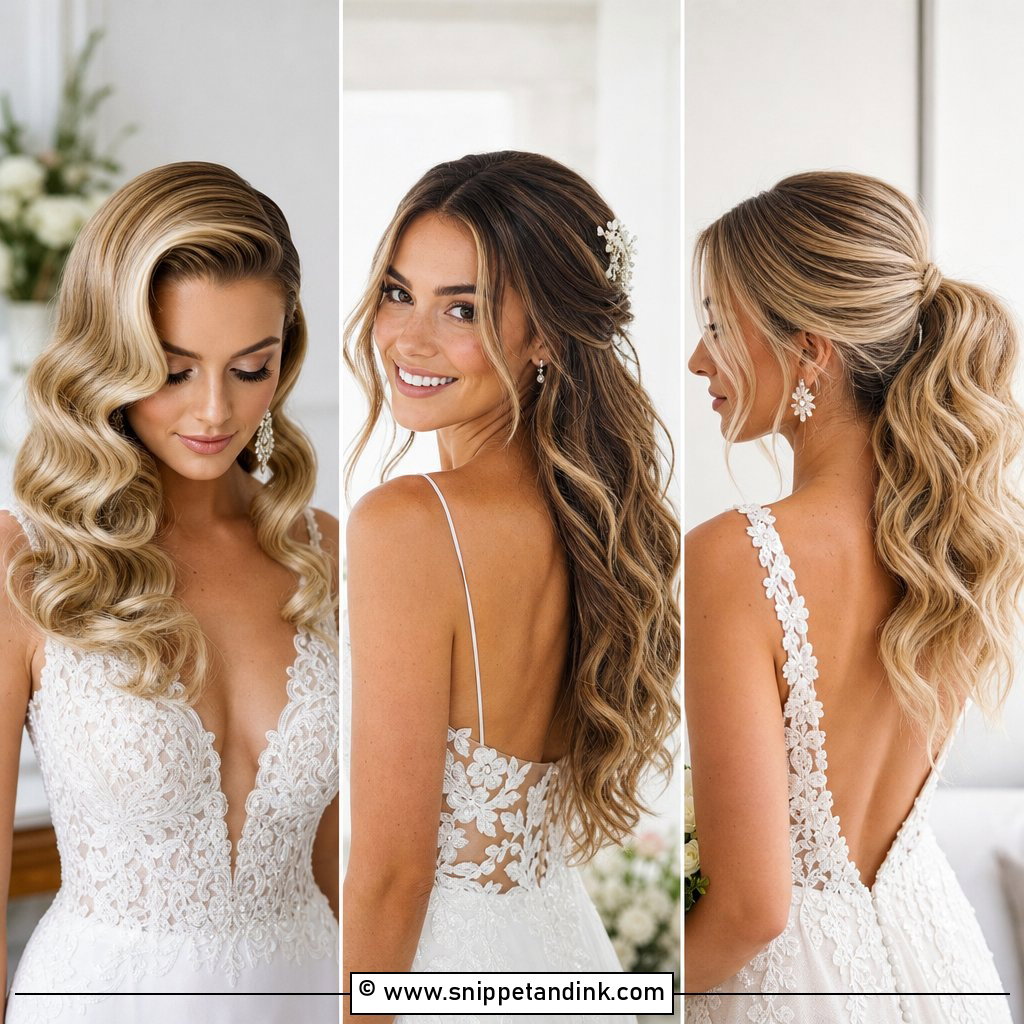
25. Bun With Side Braid for Wedding
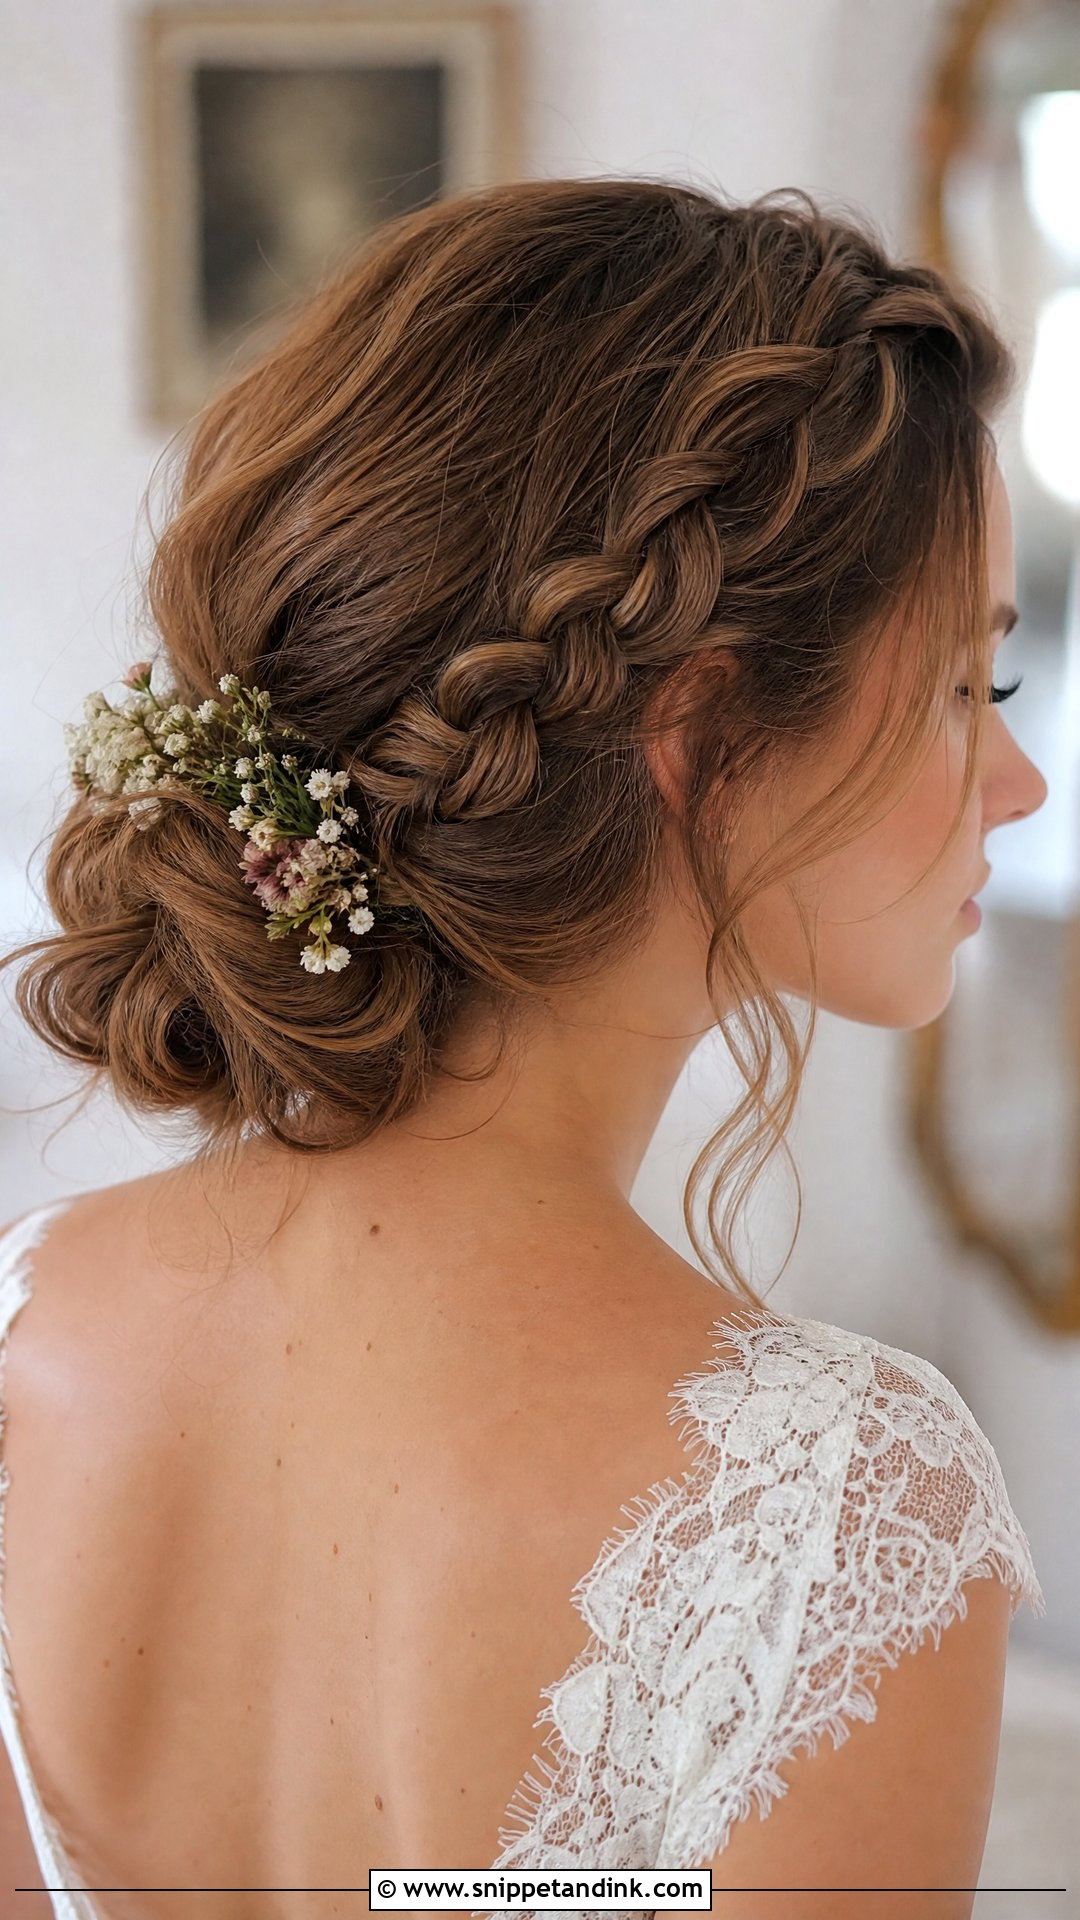
Pairing a bun with a side braid gives you detail on one side and simplicity at the back. The braid runs along one side of the head and leads into the knot, which also locks that side securely. It suits boho and romantic weddings. I build the braid toward the side you’ll face guests from, so the detail shows during the ceremony. Tiny flowers or pearls can be woven into the braid. Sleek braids look more formal, while a loose, pancaked braid leans relaxed.
Thin or Shoulder-Grazing Hair Can Still Make a Full Bun
Not every bun on this list needs waist-length hair, but some need more than you’d expect. A fishtail wrap or a rose bun uses up length fast, while a loose low bun can work with hair just past the shoulders.
For fine or shorter hair, I have three tools. A mesh bun filler or a small donut gives size without weight. A clip-in weft matched to your color adds length for the wrap and can be hidden inside the knot. And texture spray or dry shampoo at the roots gives fine strands grip so pins stay put. Tell your stylist at booking if you’ll want extensions, because color matching takes time and they need to be washed and styled before the trial.
Pins, Padding and Prep Underneath a Bun That Holds
Most buns that fall apart do so because of what’s underneath, not the style itself. Here’s what I do before anything is pinned.
- Wash the day before, not the morning of. Clean, silky hair slides out of pins faster than hair with a little grip.
- Curl and let it cool. Even for a sleek bun, a light set gives the hair body so the shape doesn’t flatten.
- Anchor with an elastic first. A ponytail or a few crossed bobby pins form a base the rest of the bun is pinned into.
- Cross the pins. Two bobby pins in an X lock far better than one pushed in straight.
- Spray in layers, from a distance, as you go, not one heavy coat at the end.
Ask your stylist for a few spare pins and a travel spray for your maid of honor. A quick tuck after the first dance usually saves the look for the rest of the night.
Take Two of These to Your Trial, Not Ten
The right bun fits your dress neckline, your veil and the weather at your venue more than any trend. Save two or three looks that sit at the placement you want, show your stylist the back and side views, and bring your actual veil and hair pieces to the trial. Everything else, from pearls to fresh flowers, can be adjusted on the morning itself.
You'll Like These Ideas:


Leave a Reply