
Long hair gives me more to work with in a bun than any other length, and also more to manage. There’s enough hair to build fullness without padding, to wrap a braid around the knot or to leave proper tendrils that still reach the jaw. There’s also a lot of weight, and that weight decides how a bun is built, how long it lasts and how comfortable you’ll be at dinner. This season the requests I hear most are low buns, textured chignons and glossy finishes with a single vintage detail. Below are twenty of them, with notes on how each one sits with veils, earrings and necklines from high collars to strapless gowns.
Long, Heavy Hair Needs a Hidden Anchor Inside the Bun
The most common reason a long-hair bun sags by the first dance is that it was pinned to itself rather than to something solid. Very long or thick hair is heavy, and bobby pins alone slide through it. Before I start any of the styles below, I build an anchor that the bun can hang from.
- A ponytail base with a strong elastic, the most secure option for high and mid buns.
- A small braided anchor at the nape, which grips pins far better than smooth hair and suits low buns.
- Crossed bobby pins in an X under the bun, locking it to the hair beneath.
The other part of the job is prep. Long hair that is freshly washed and silky is the hardest to pin. I ask brides to wash the evening before, use a light texturizing spray or dry shampoo at the roots on the morning, and skip conditioner on the lengths if the hair is already very fine. Fine long hair often looks thinner in a bun than it does worn down, so for some brides I’ll suggest clip-in extensions just at the back, matched to their color, to give the bun body without making it heavier on the scalp.
1. Low Wedding Bun For Long Hair
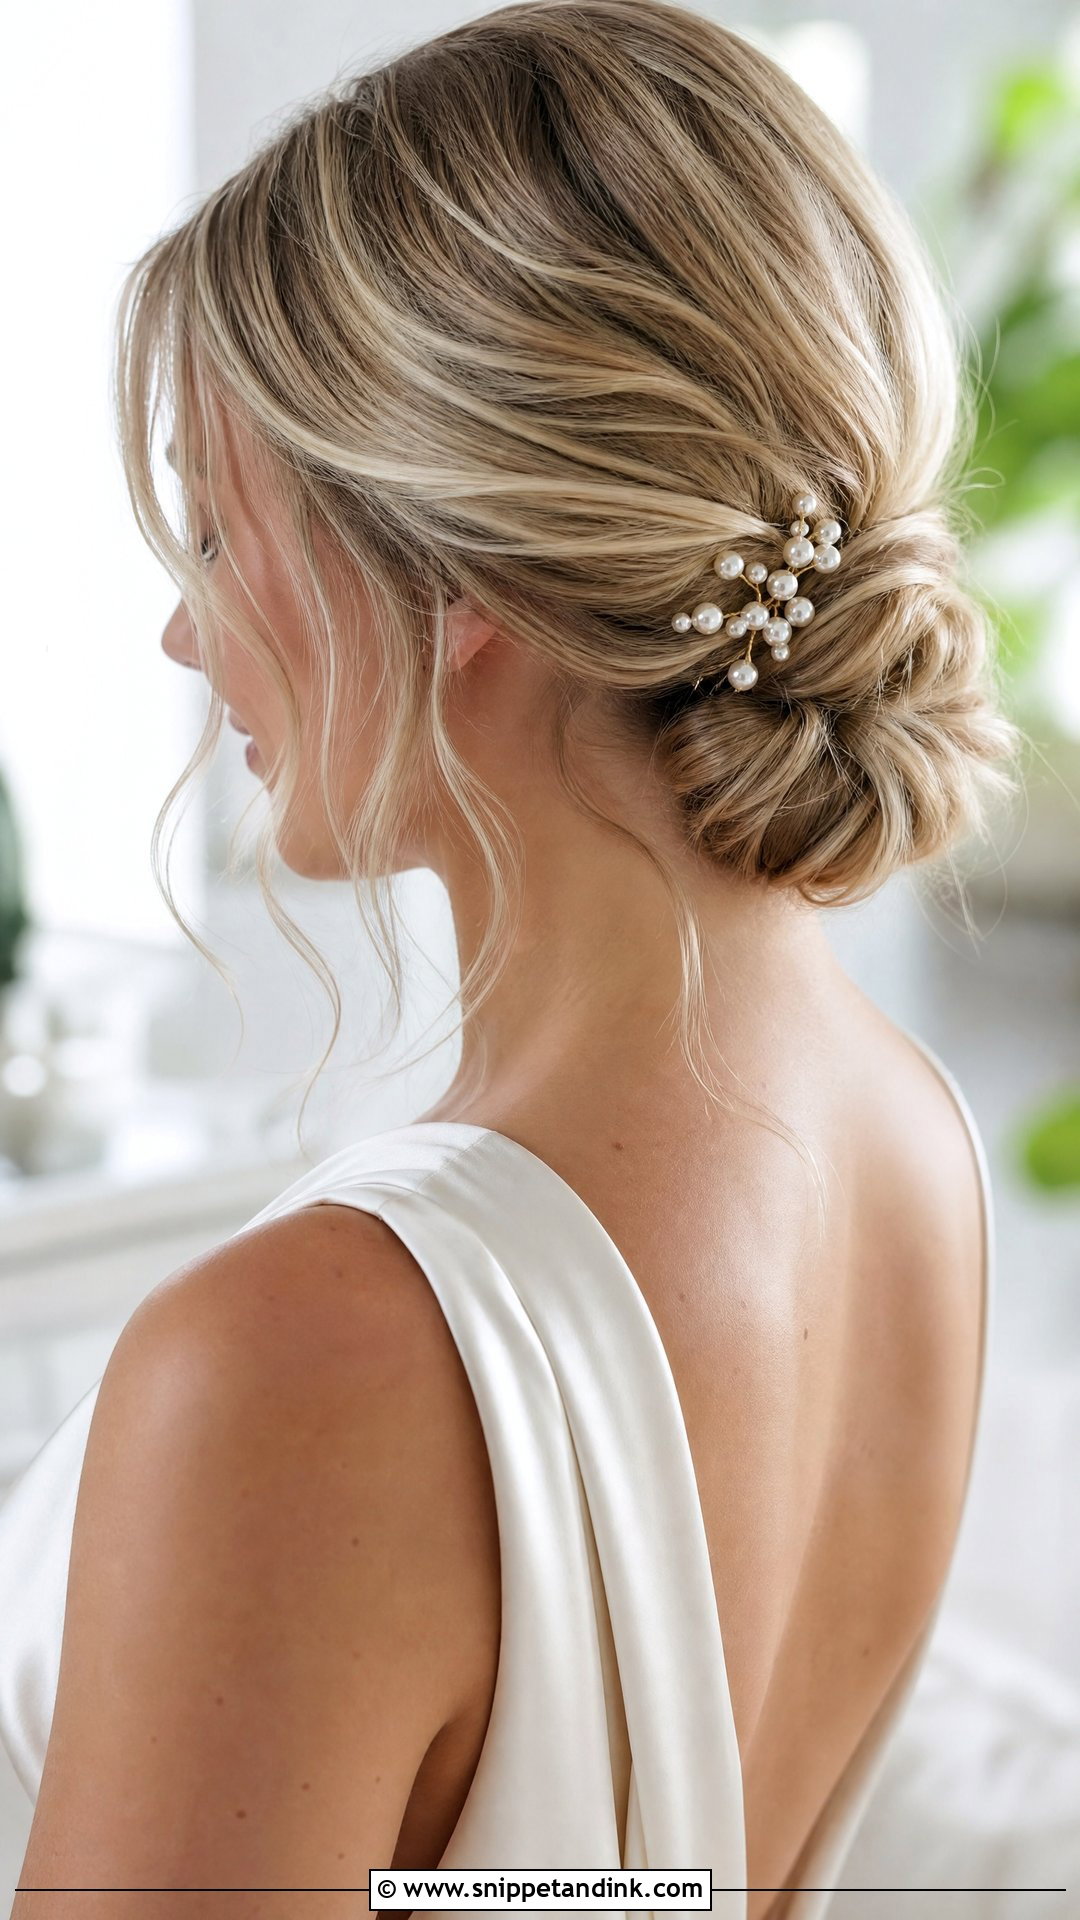
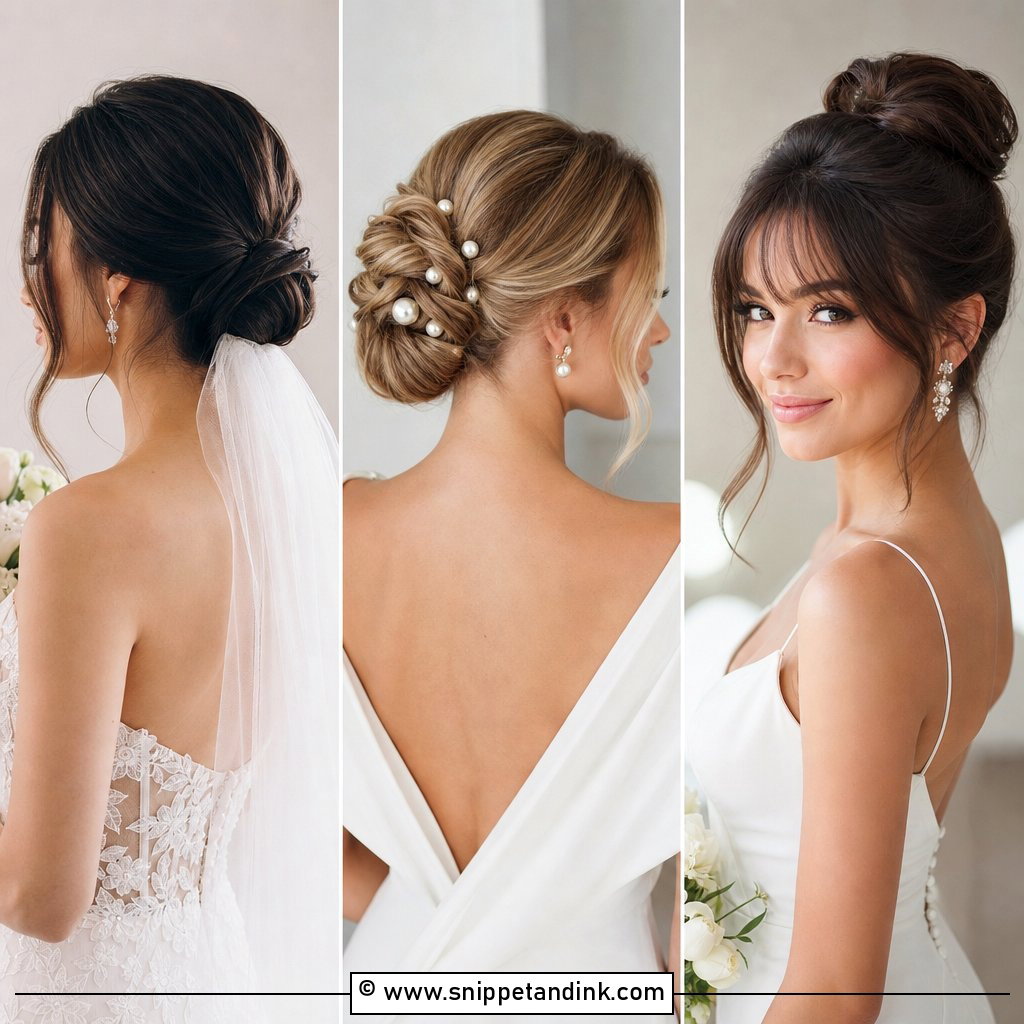
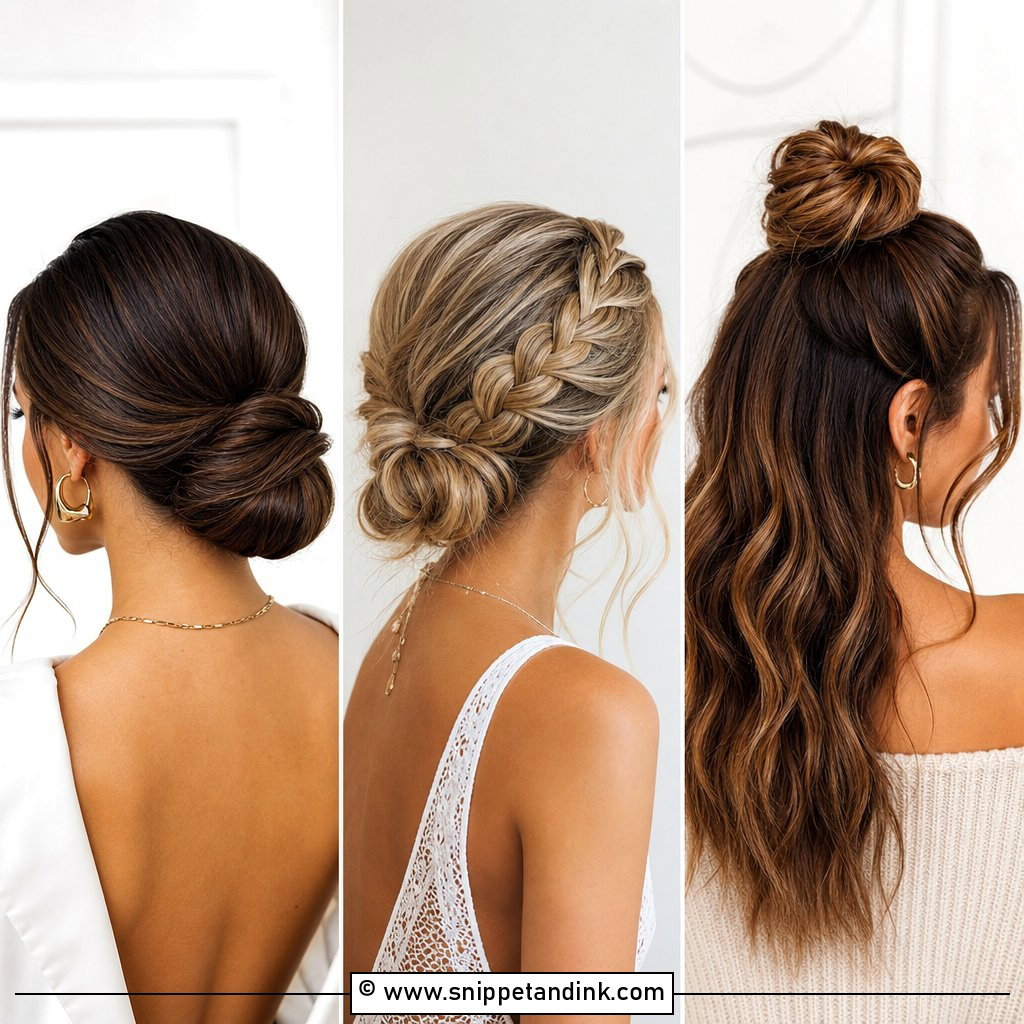
The low bun is where I start most long-hair consultations, because it’s the easiest shape to anchor and the most comfortable to wear for twelve hours. Sitting at the nape, it leaves the crown free for a veil comb and doesn’t press against a chair back. I add light lift at the crown and some texture through the lengths so it reads as bridal rather than office-sleek. On very thick hair I’ll thin out the bulk on the underside before wrapping, otherwise the bun ends up wider than your head from behind.
2. Sleek Wedding Bun For Long Hair
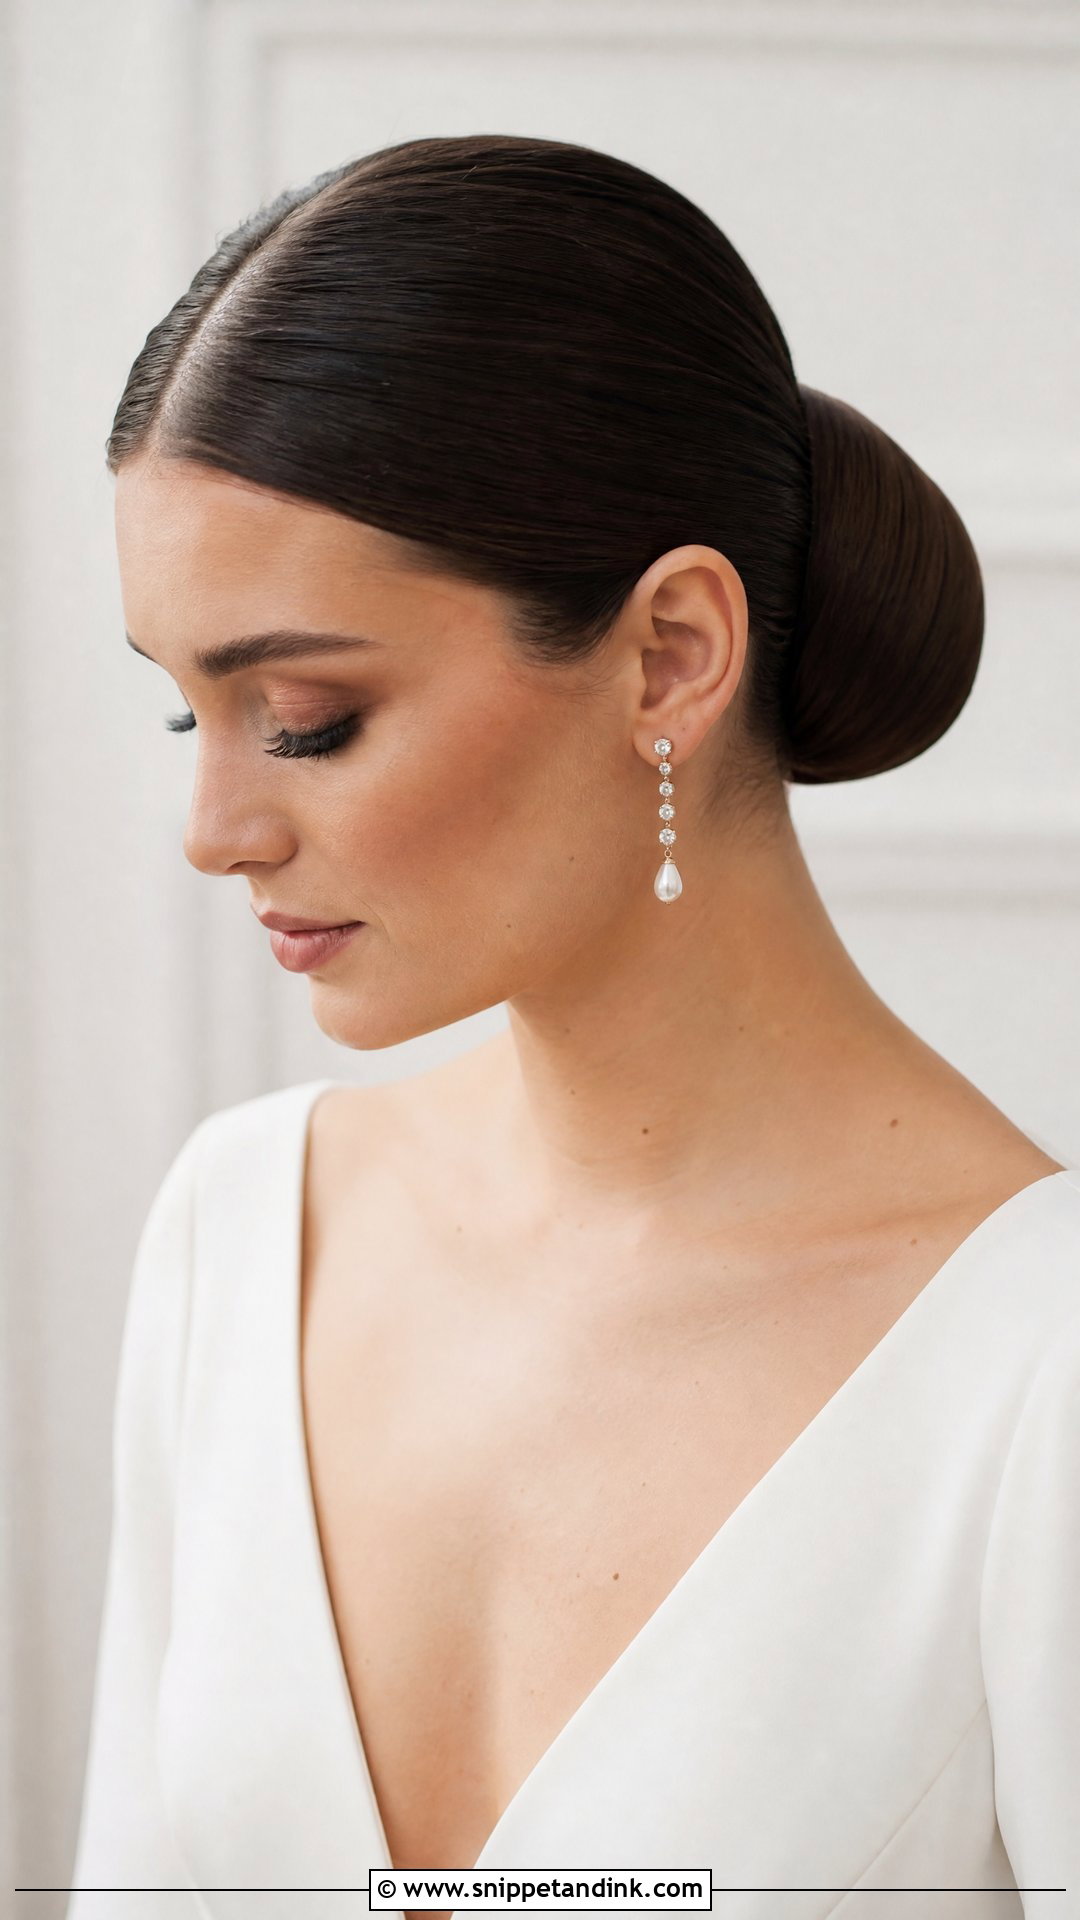
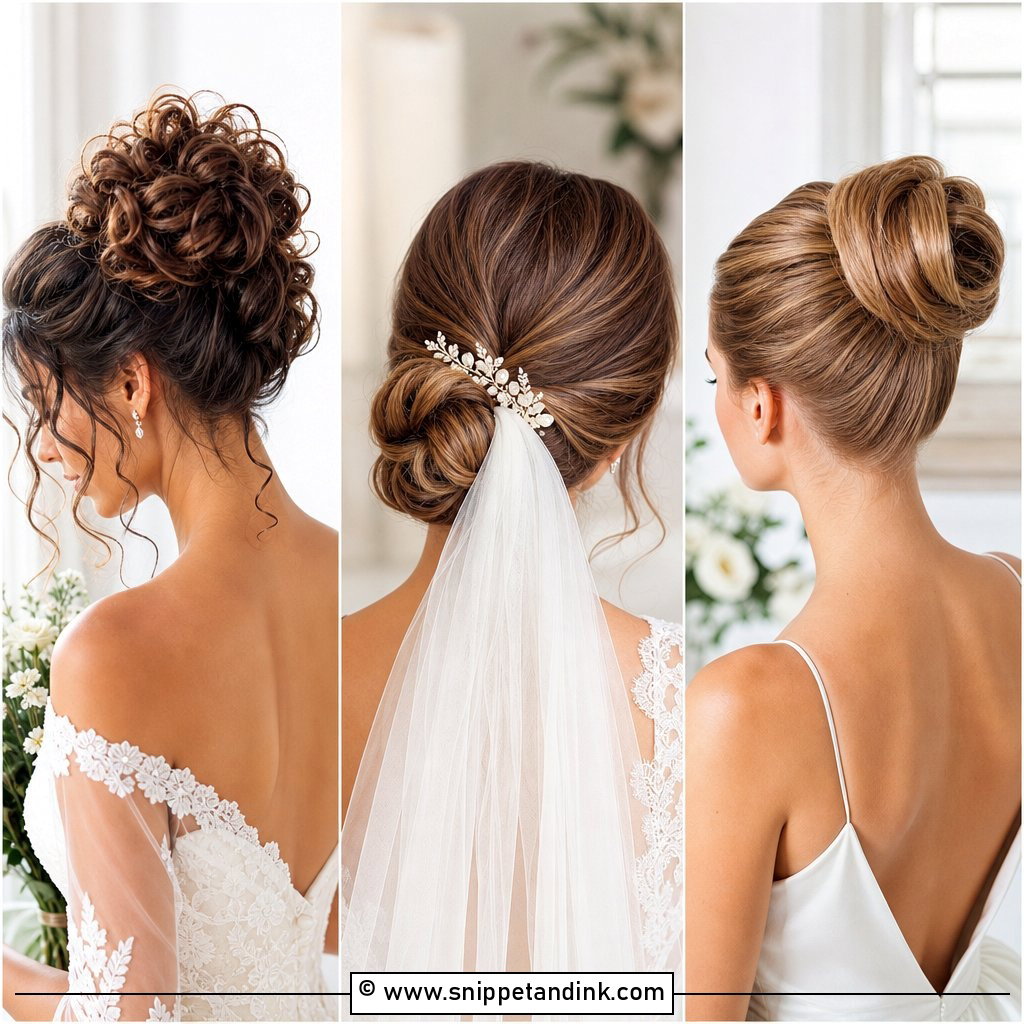
Sleek buns are unforgiving in close-ups. Every bump and flyaway shows, so I blow-dry the hair completely smooth first, then use a smoothing cream and a fine-tooth comb before it goes into a tight elastic. Long hair lets me wrap a coil big enough to look deliberate, which is the usual problem with sleek buns on shorter lengths. I’d pair it with a satin gown, long sleeves or bold earrings. It’s not the bun for humid outdoor ceremonies; frizz shows far more on a smooth surface than on a textured one.
3. Messy Wedding Bun For Long Hair
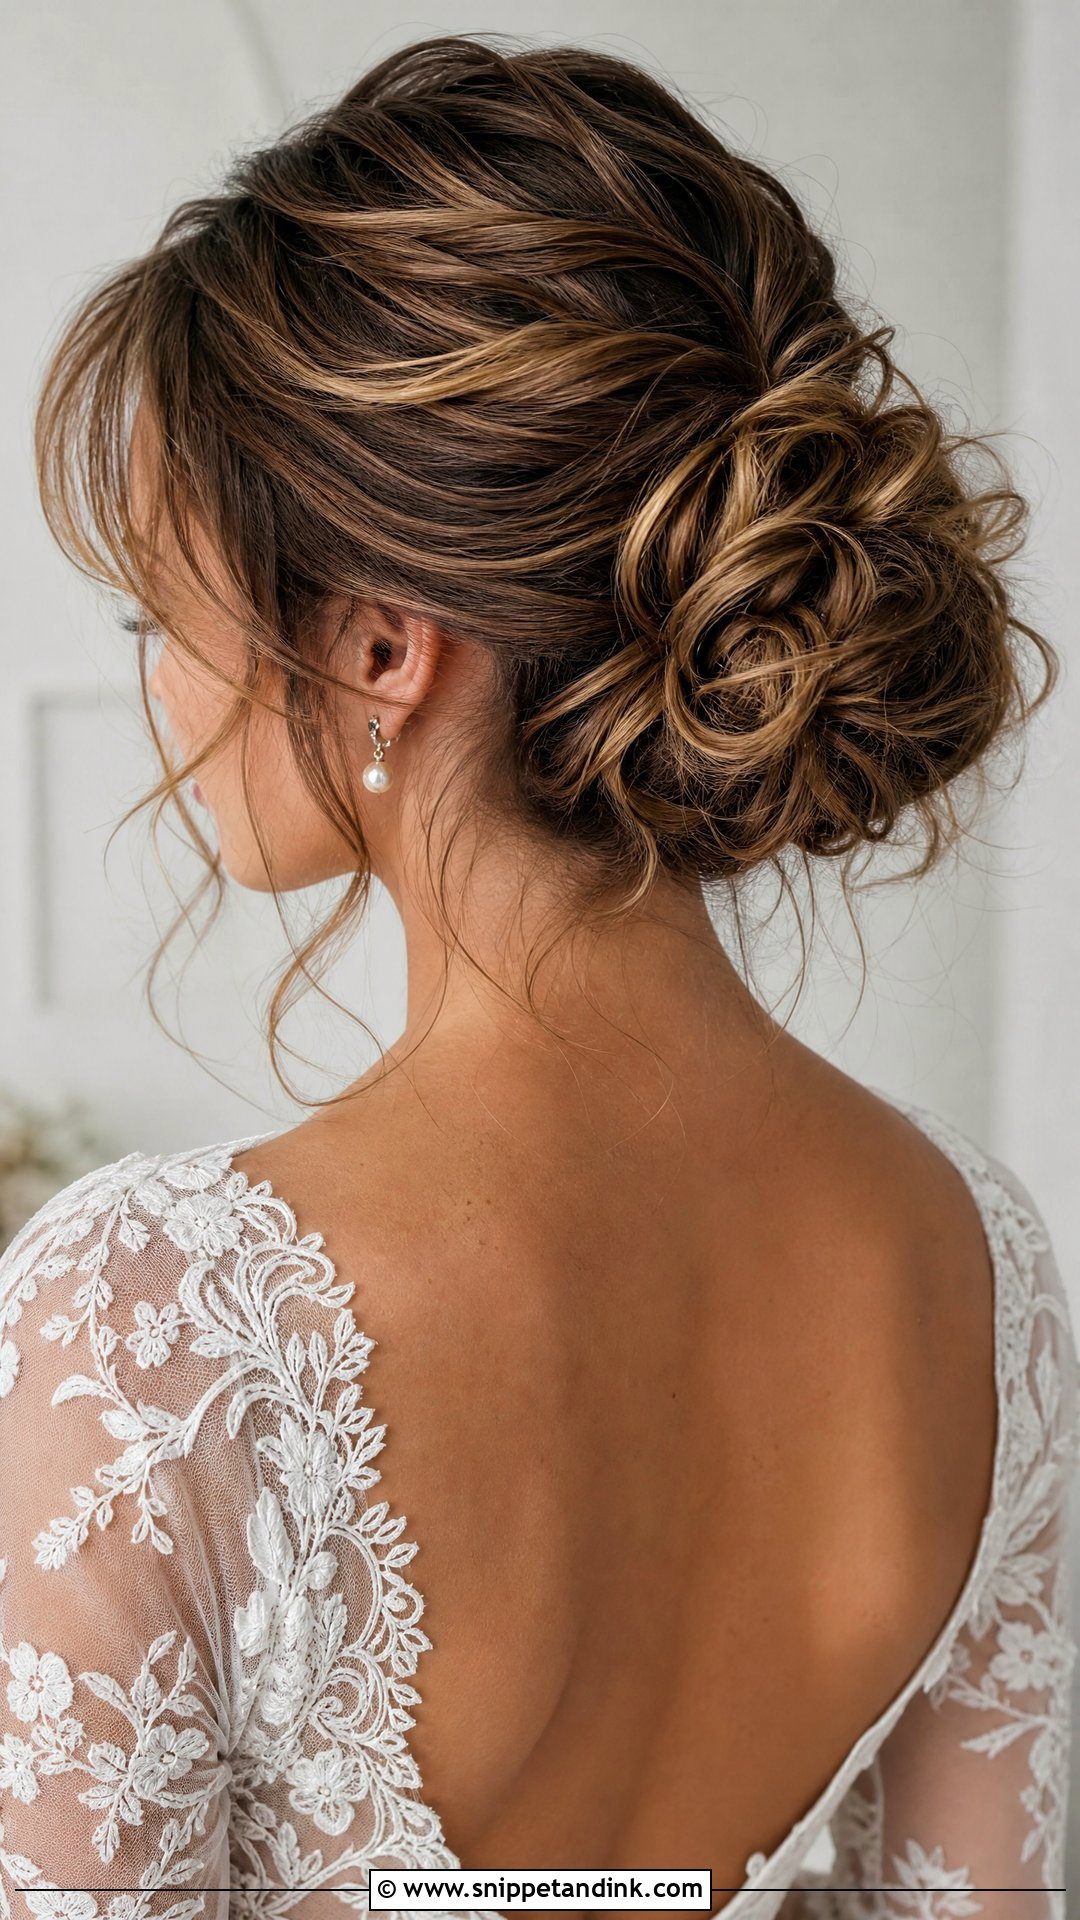
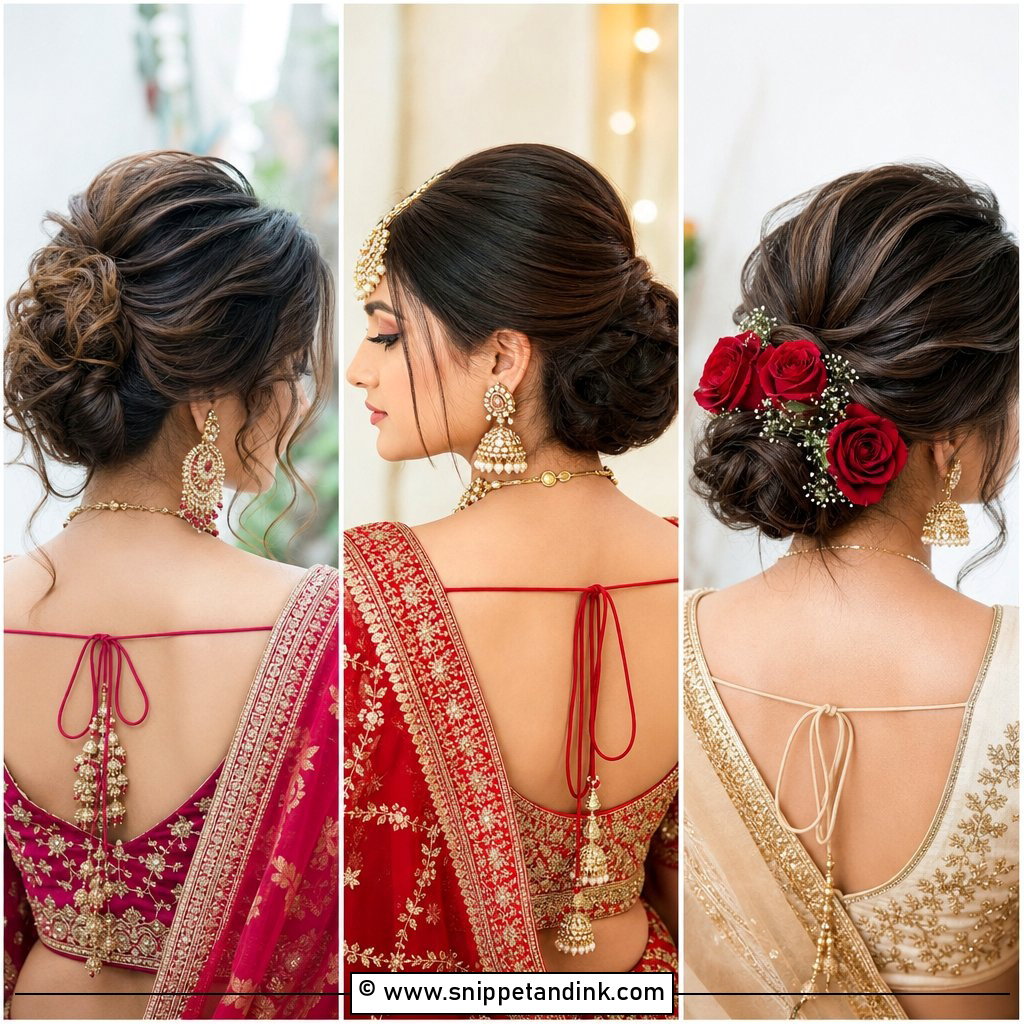
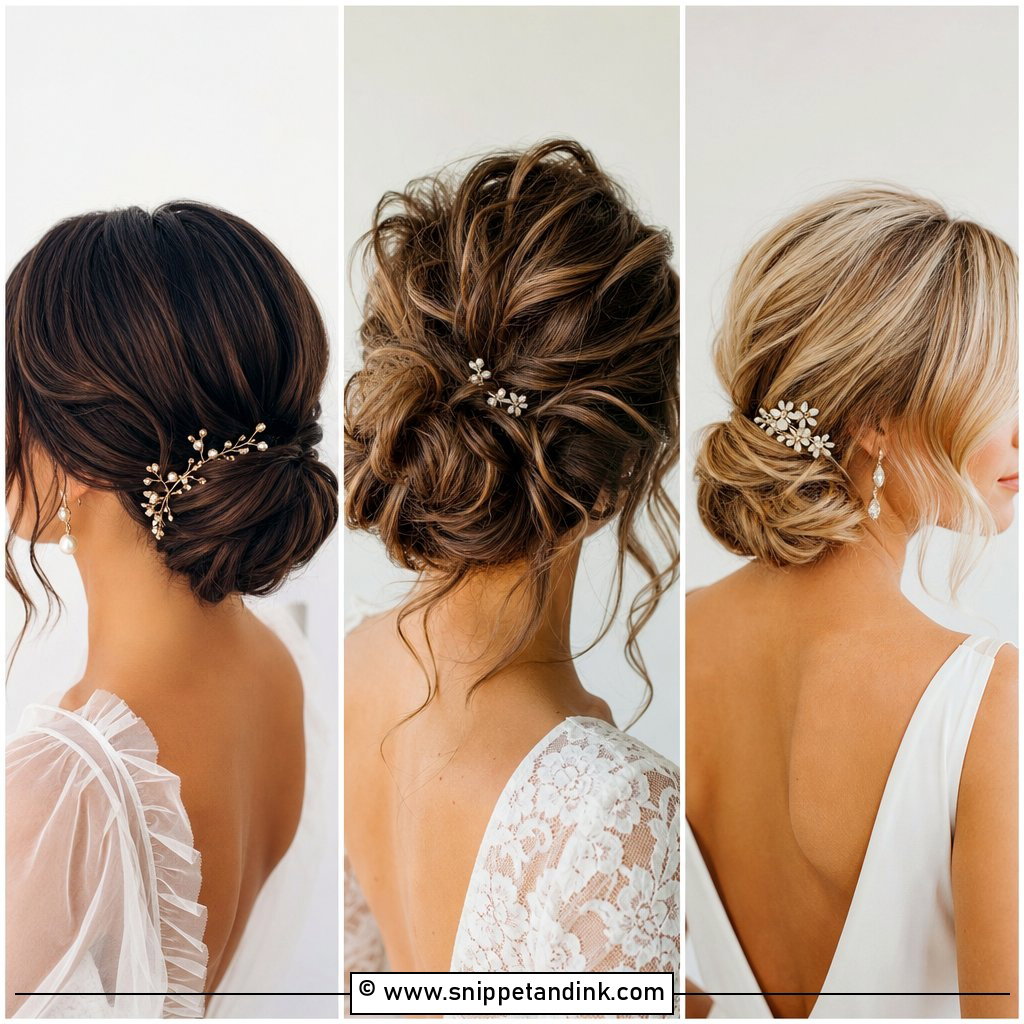
Nobody’s messy bun is actually messy. I curl the hair first, build a small secure knot as an anchor, then loop and pin the lengths over it, pulling a few pieces looser at the end. Long hair helps because every loop has enough length to curve rather than stick out. The tendrils at the face are the part I fuss over most, since a random strand looks like an accident and a chosen one looks intentional. It suits lace dresses and garden or beach venues, where wind moves it around in a way that only adds to it.
4. Textured Wedding Bun For Long Hair
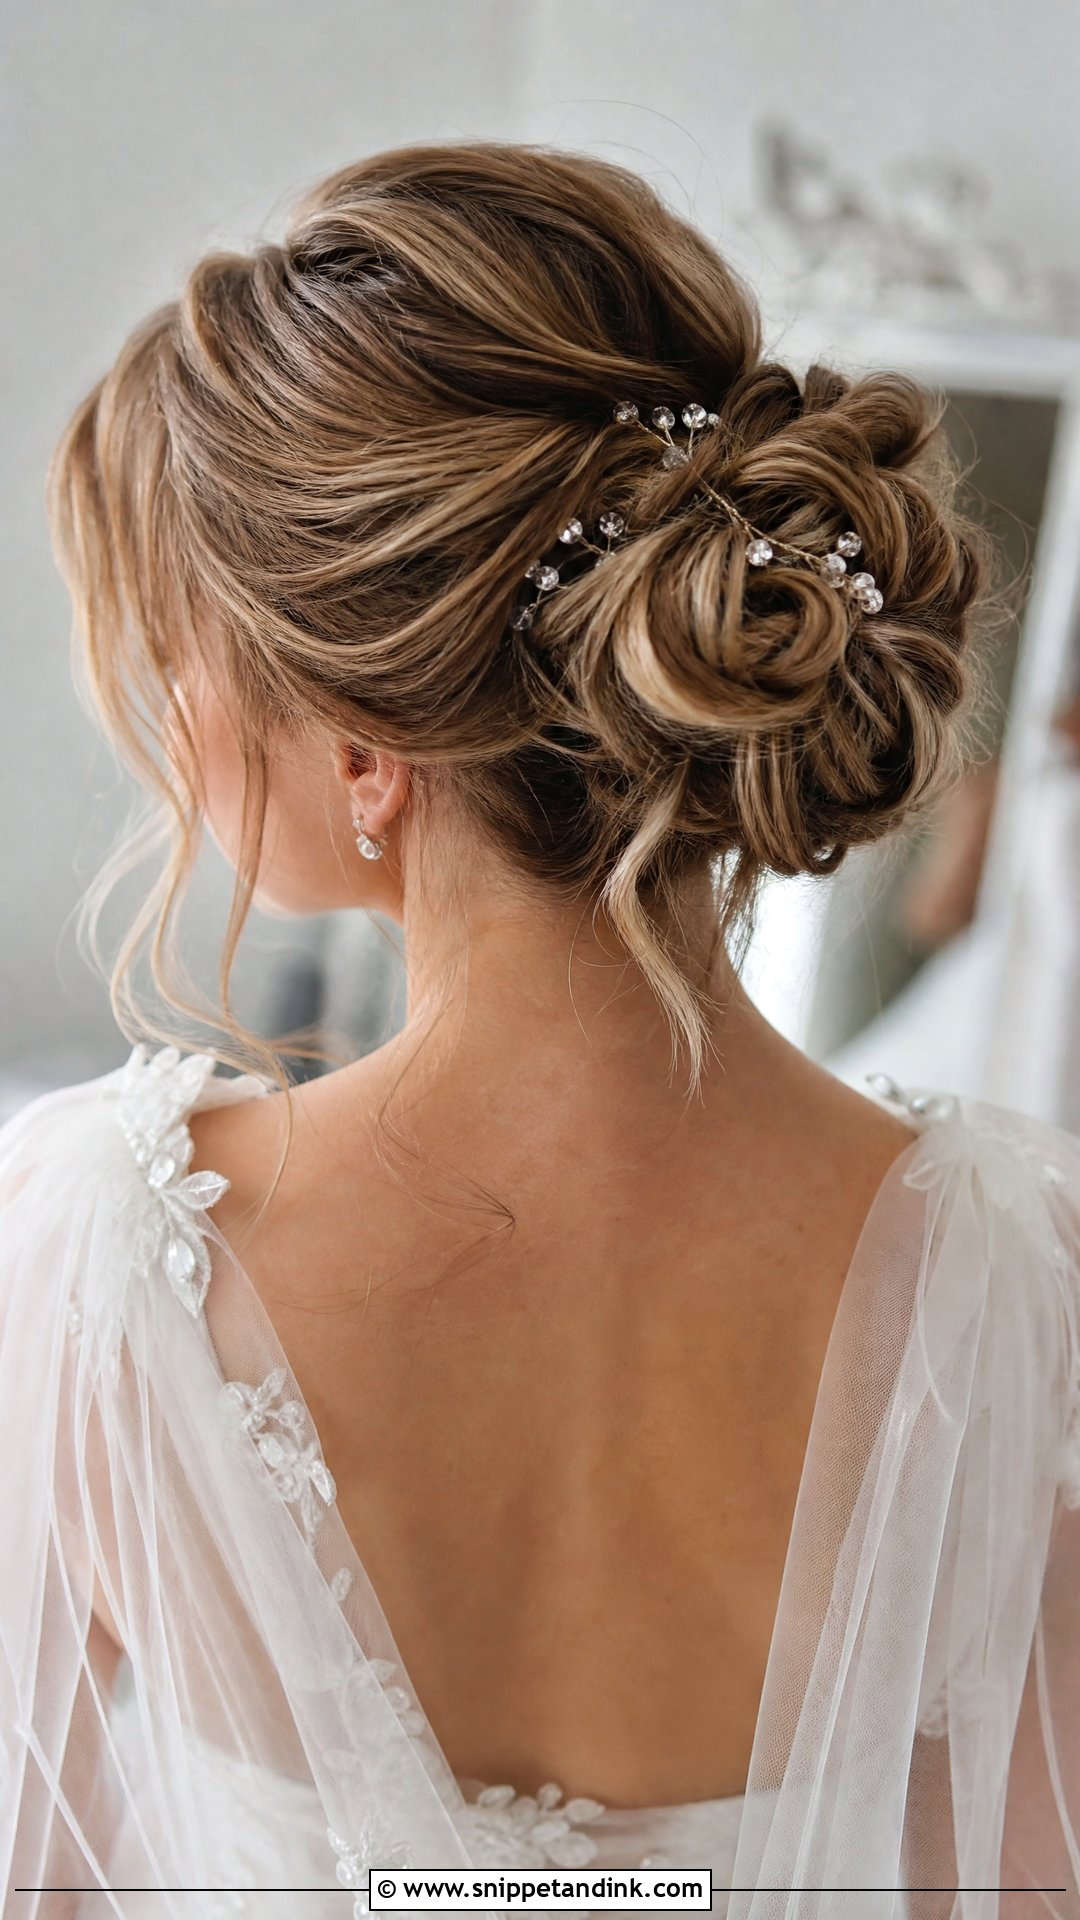
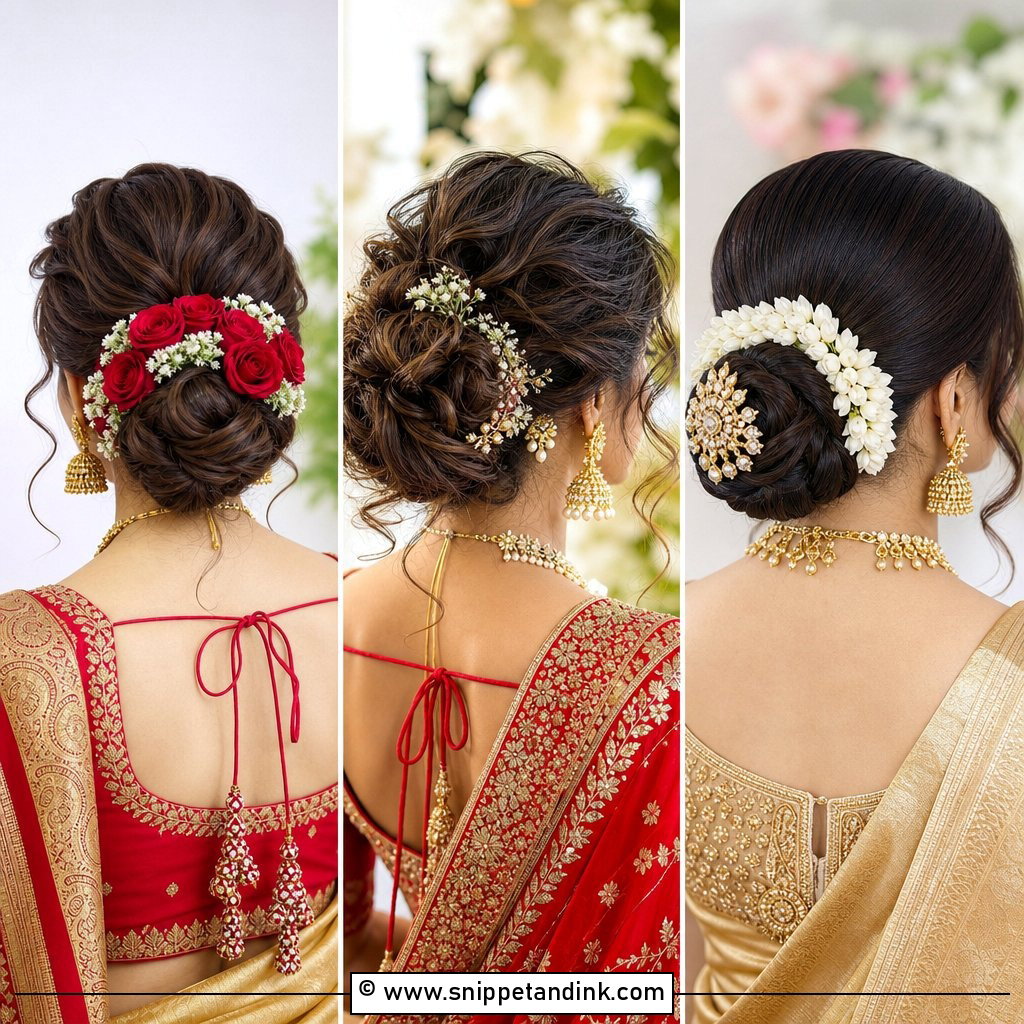
Texture is what makes a bun look full from the back in photos, and it’s built rather than found. I curl the hair in sections, let the curls cool completely, then pin each one into the shape, so the bun has visible dimension. Fine long hair needs a prep spray and light backcombing at the base to give the pins something to grip. Floral pins, pearl accents or a sheer veil above or below the bun all work. Ask for it to be photographed at your trial from behind, which is the angle most people forget about.
5. High Wedding Bun For Long Hair
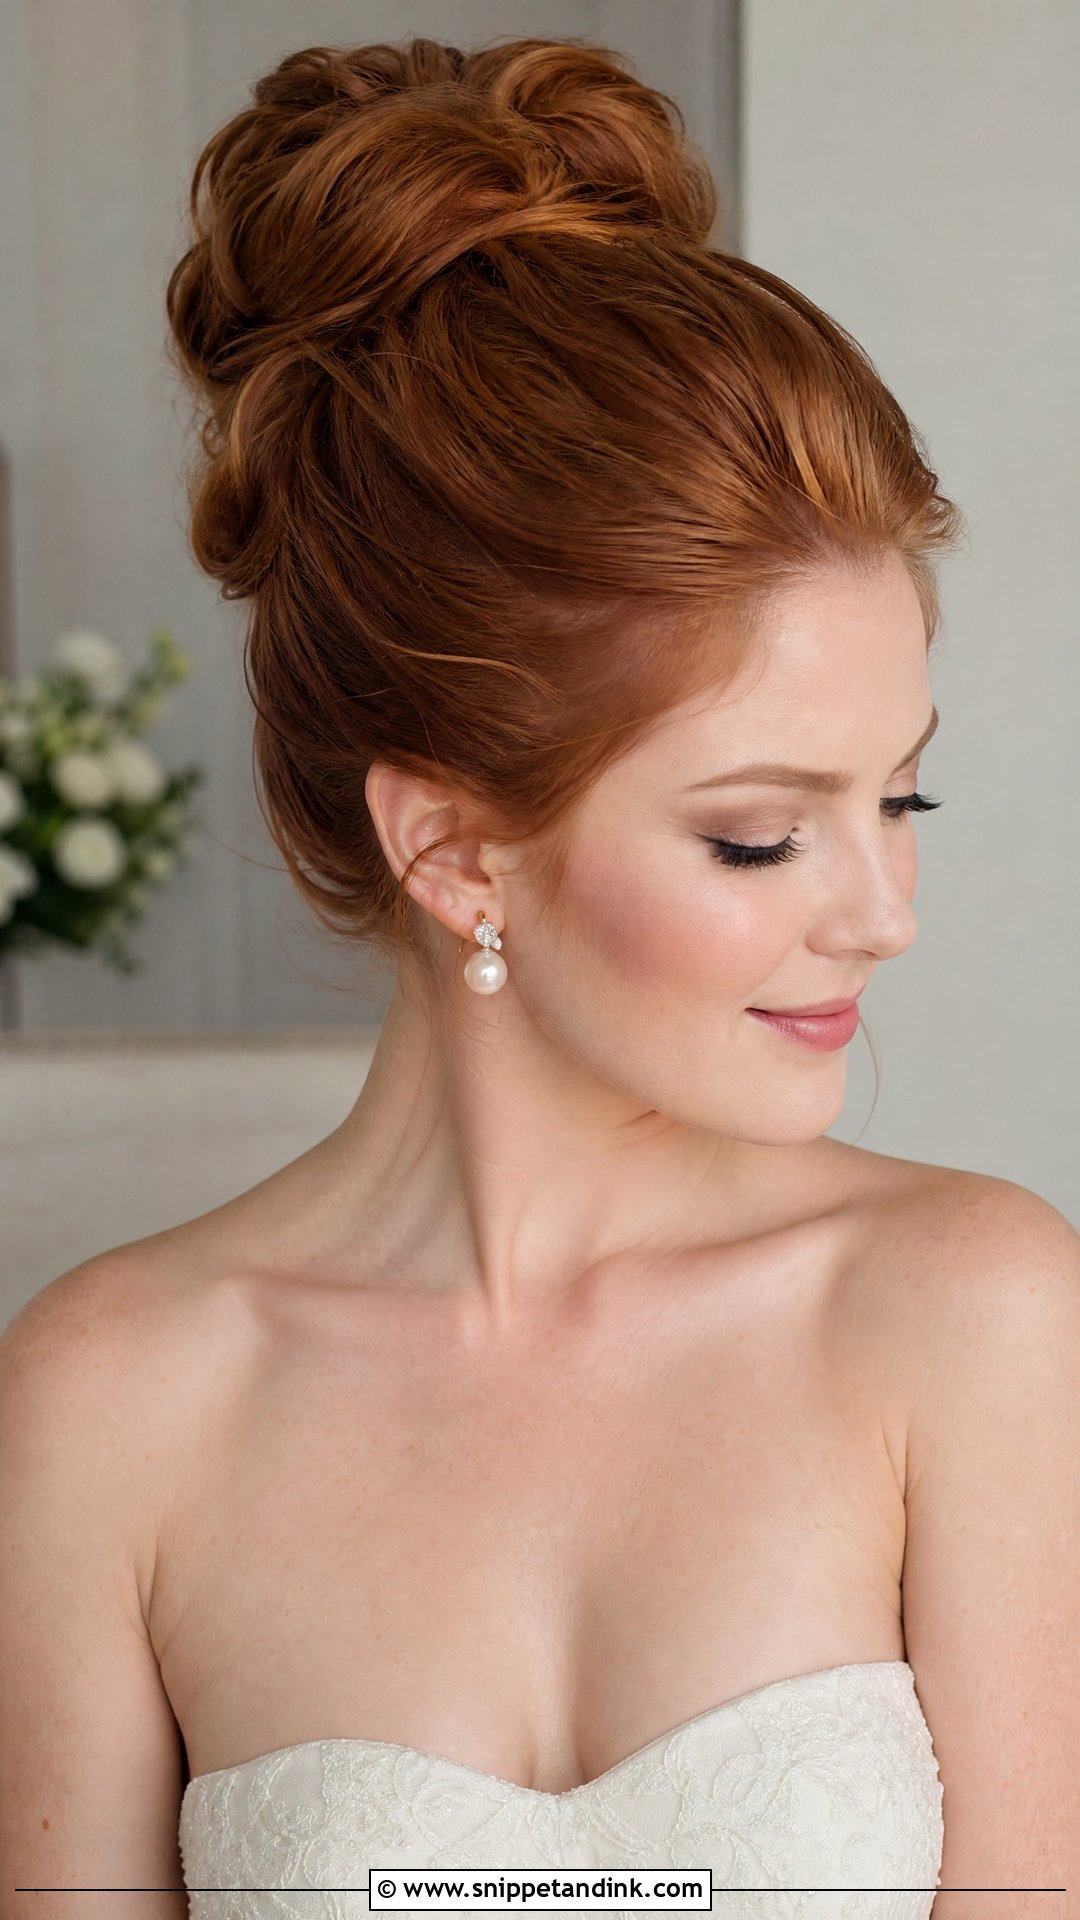
A high bun shows off the neck and shoulders, which is why I suggest it for strapless gowns, halter necklines and bodices with detail at the back. The trade-off with long hair is weight: a high bun on thick, waist-length hair pulls on the scalp and can feel heavy by evening. I secure a strong ponytail base first and distribute the hair around it rather than stacking it in one coil. It adds a bit of height, which petite brides often like. If you’re wearing a veil, it will usually need to go beneath the bun.
6. Braided Wedding Bun For Long Hair
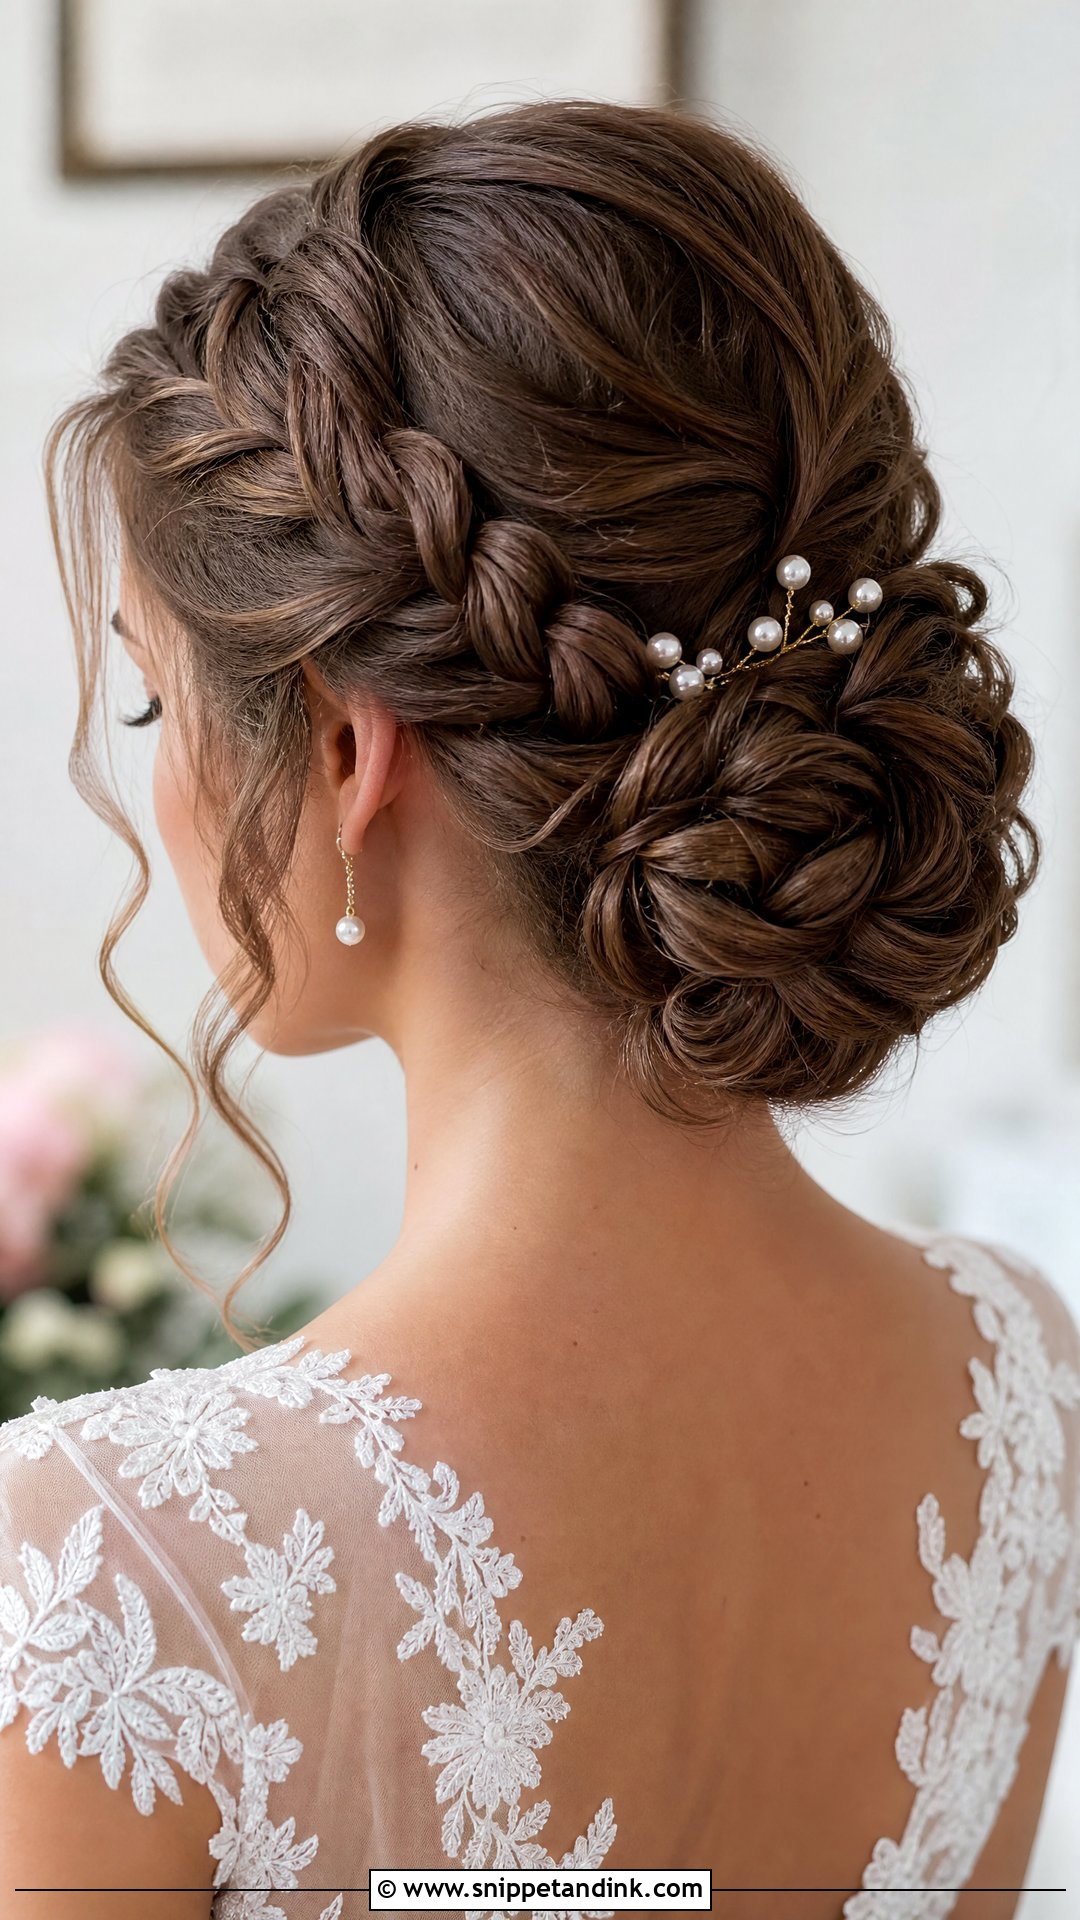
Braiding is my favorite way to manage very thick long hair, because it compresses the bulk into something I can place exactly. The braid can wrap around the bun, feed into it or cross the crown before everything is pinned together, and on long hair it’s long enough to read clearly. I loosen the braid slightly by pulling its edges, so it looks full rather than tight. Small pearls, baby’s breath or crystal pins tucked into the plaits catch the light in photos.
7. Side Wedding Bun For Long Hair
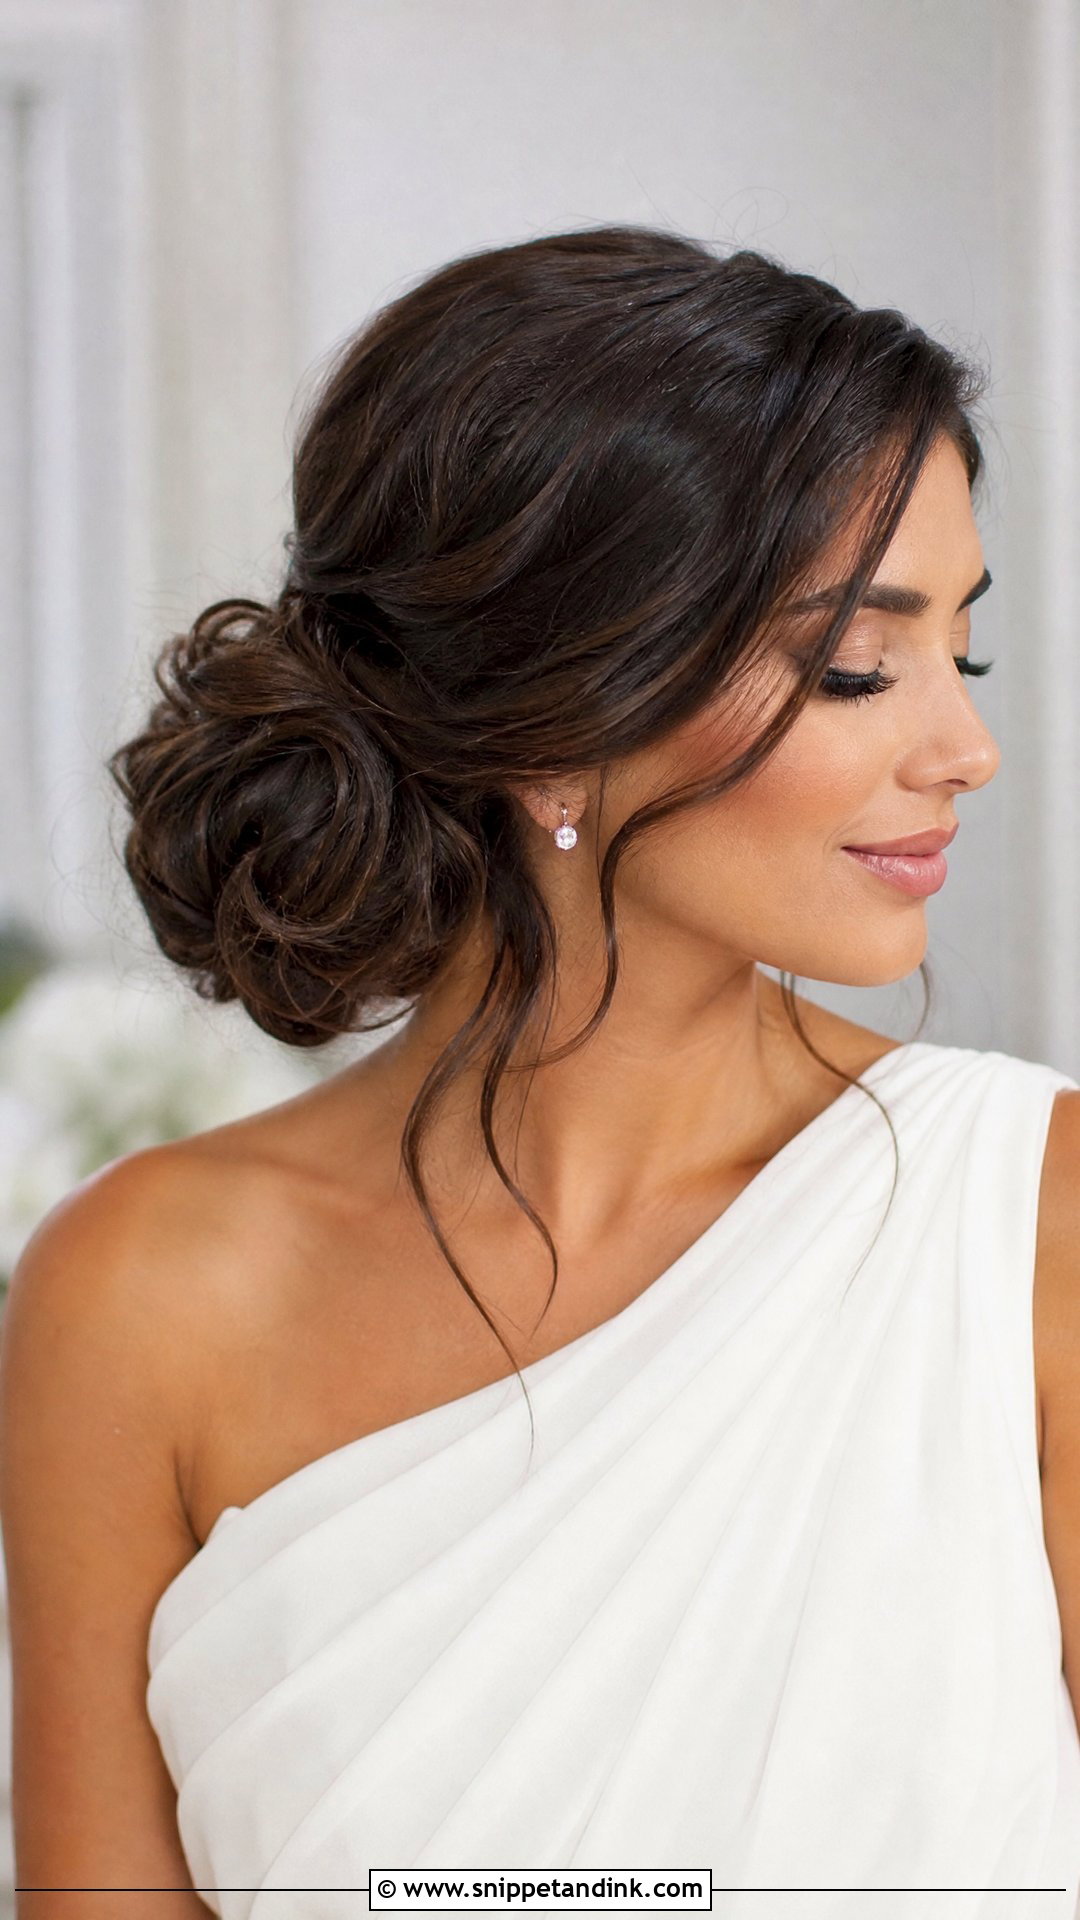
Placed low and to one side, this bun shows in front-facing photos, which a centered bun can’t do. That’s its main advantage. Long hair helps it look balanced rather than lopsided, but the heavier side needs extra anchoring because all the weight hangs to one side of the head; I use crossed bobby pins under the bun and pin it to the base, not just to itself. It’s a natural match for one-shoulder dresses, with the bun on the bare side, and for side-swept bangs or vintage gowns.
8. Curly Wedding Bun For Long Hair
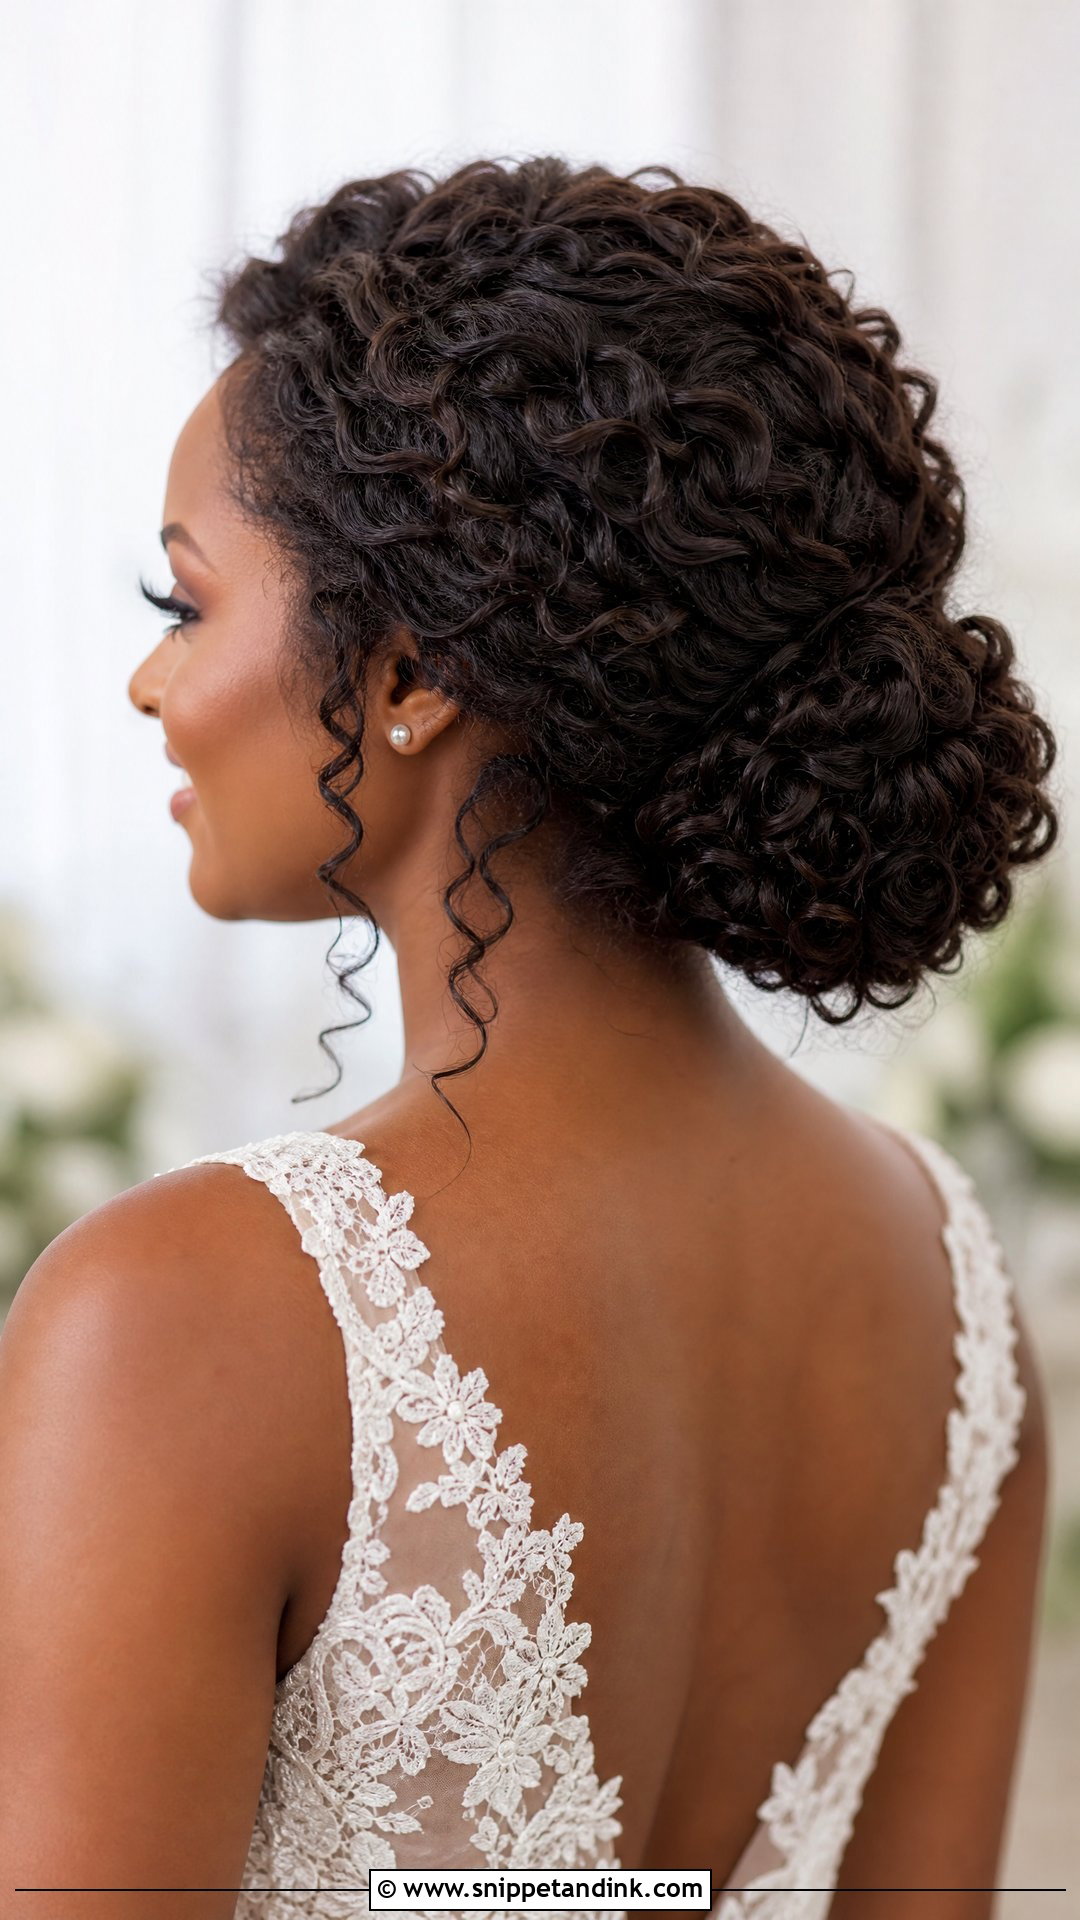
With naturally curly long hair, I’d keep the curl pattern you already have rather than reset it with a curling iron. Pin the curls loosely into a low or mid bun so their shape builds the volume, and leave a few around the face. Curl cream and a light gel keep definition, and a humidity-resistant spray stops frizz from blurring the pattern. Never brush curly hair before pinning; it turns definition into a cloud that won’t hold the shape.
9. Voluminous Wedding Bun For Long Hair
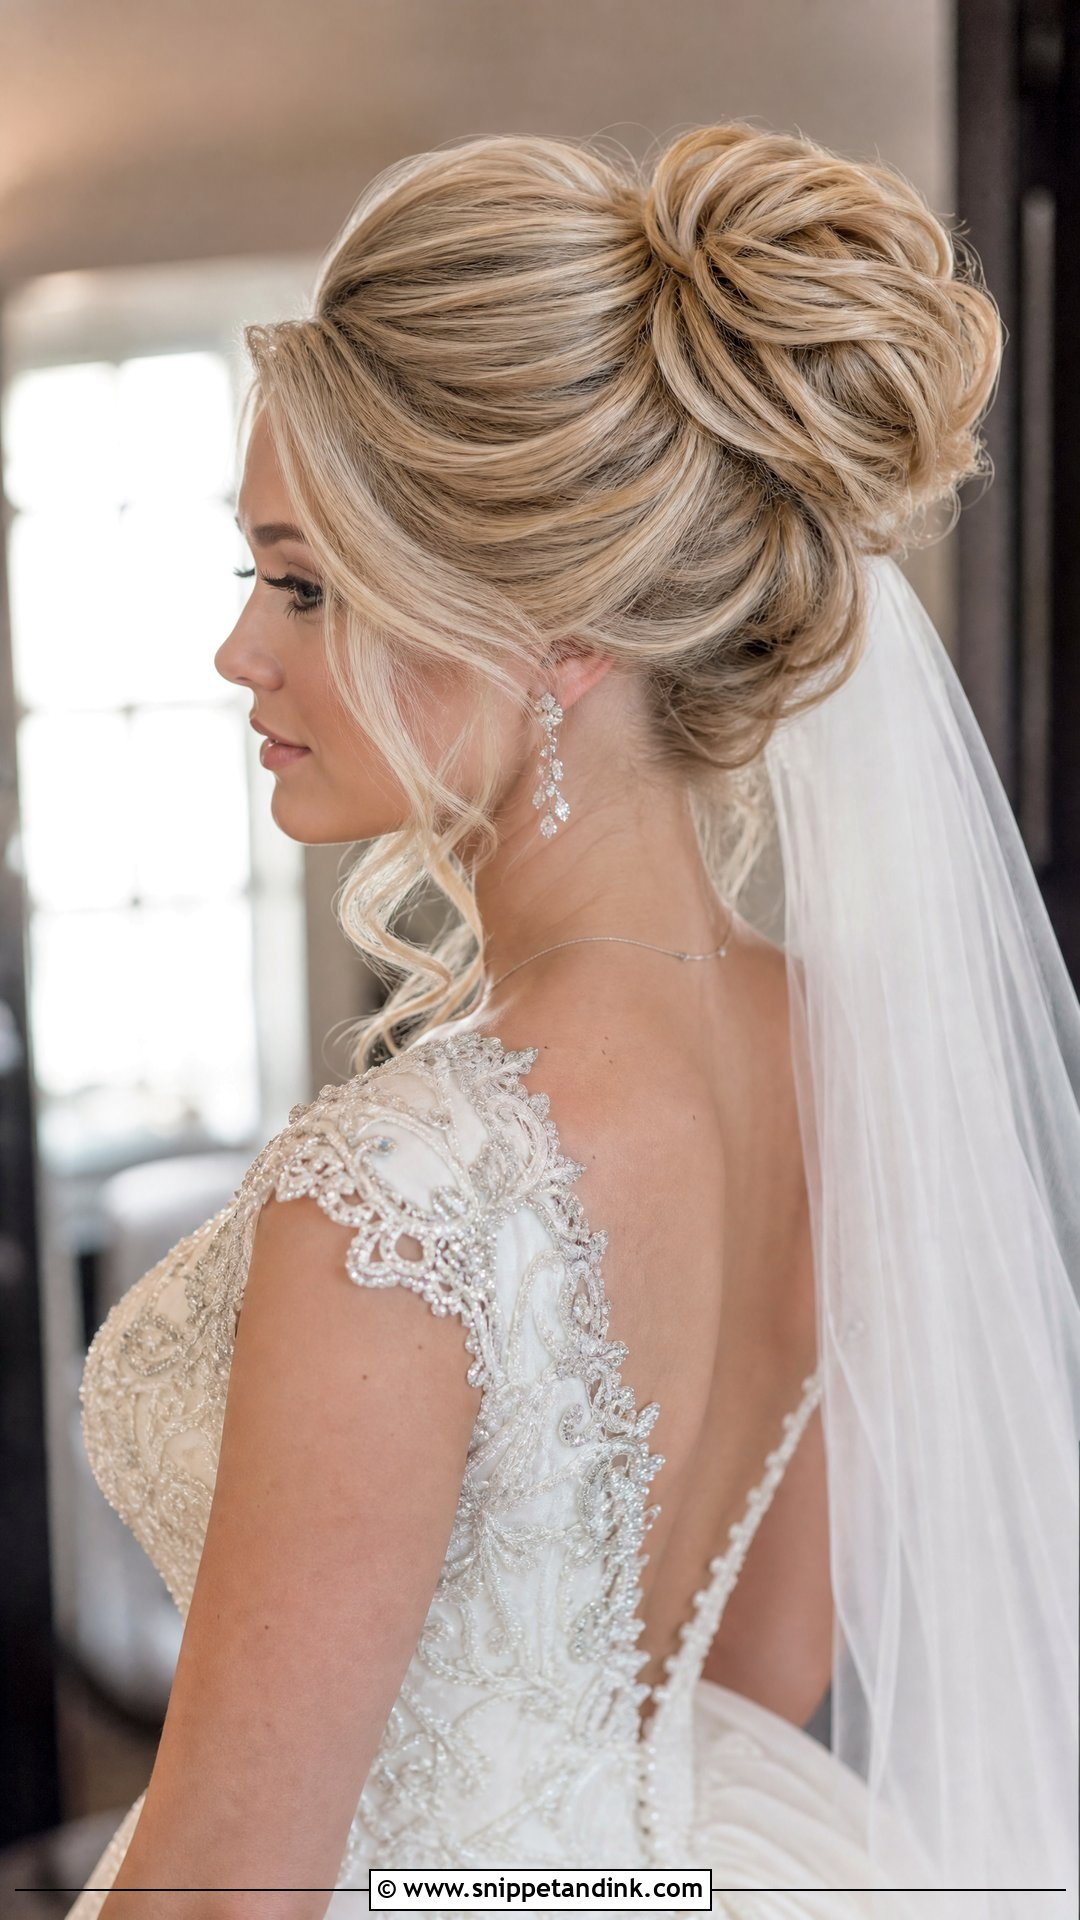
Volume on a bun is mostly built at the crown. I add lift with gentle backcombing at the roots, then pin wide sections around a large base so the bun spreads rather than stacks. Long hair supplies enough material to avoid padding, which matters because a hidden donut tends to show at the edges once the hair relaxes. This is the bun I’d pair with ball gowns, cathedral veils and formal venues, where a small bun would look out of scale with the skirt. Keep the front softer than the back so the volume doesn’t overwhelm your face.
10. Chignon Wedding Bun For Long Hair
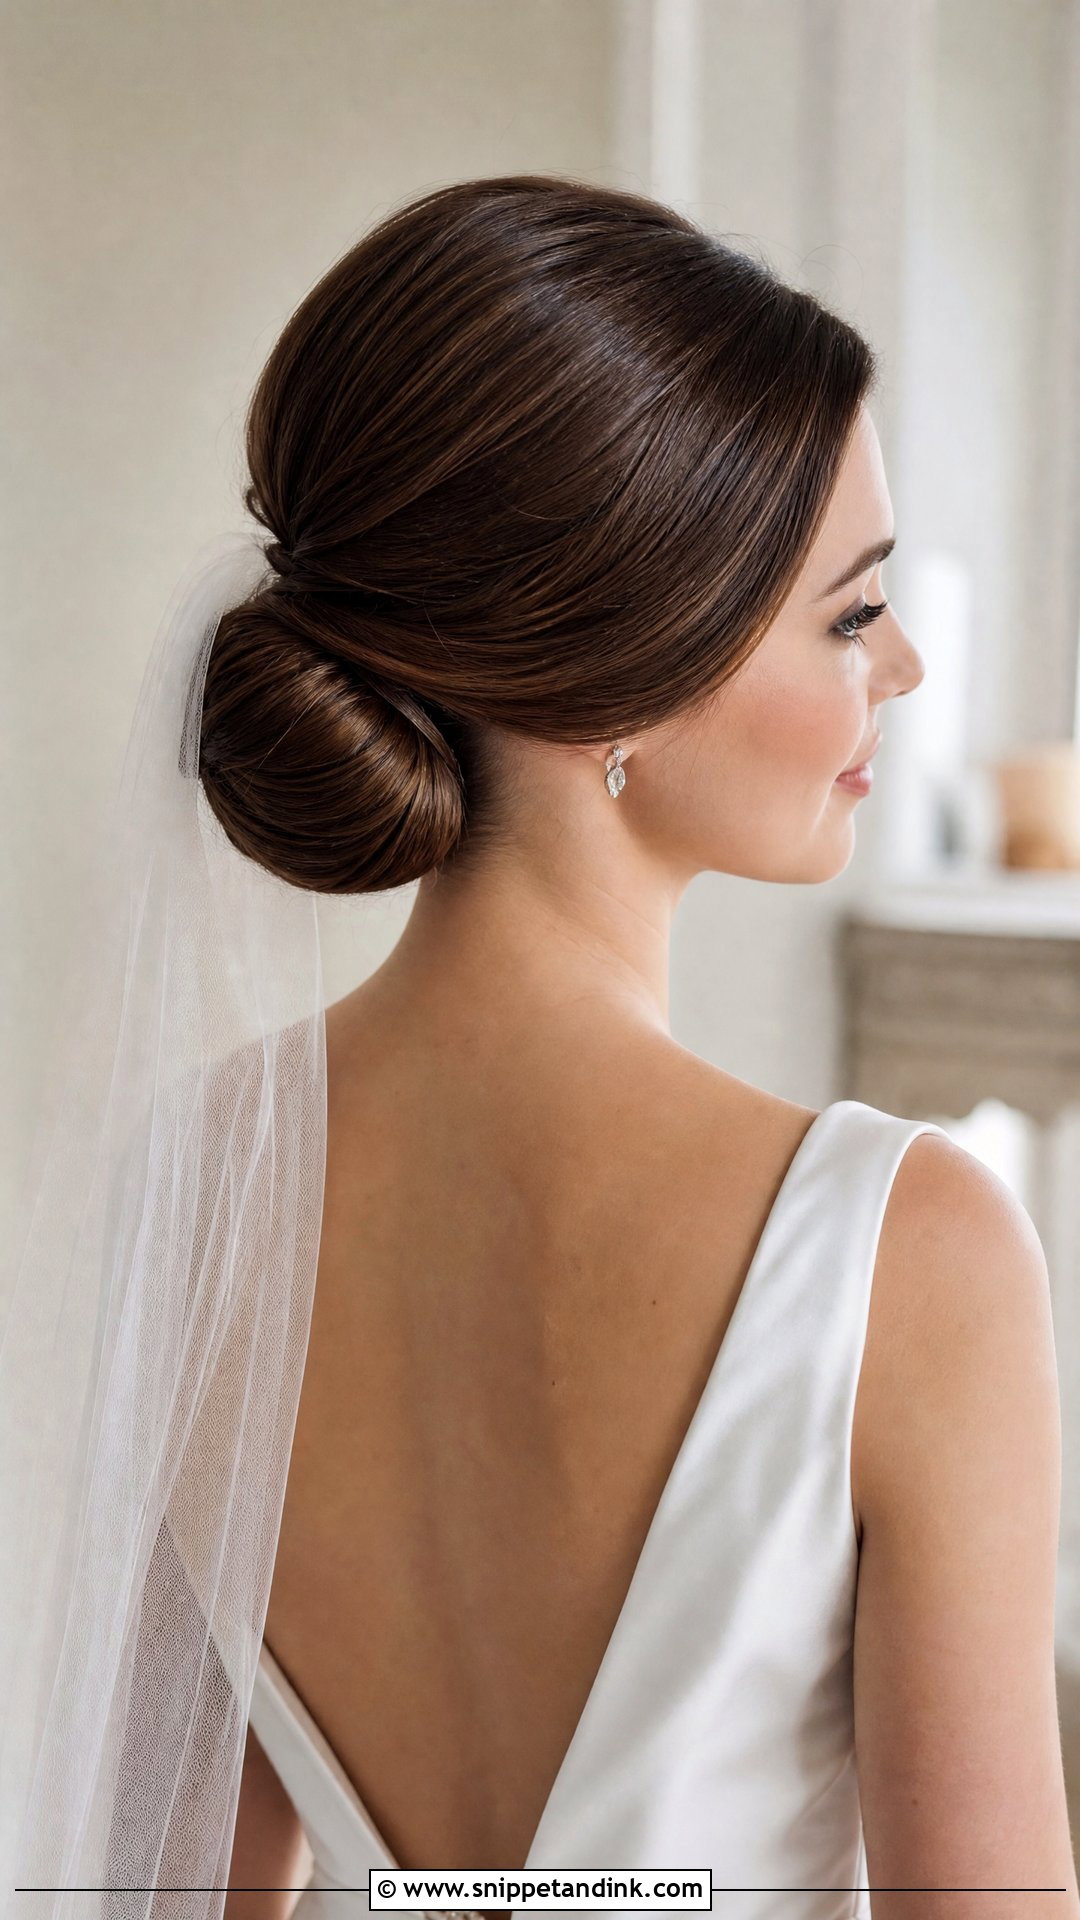
The chignon sits low at the nape with the ends folded under into a smooth roll. Long hair makes it look rich, because there’s enough length to fold over twice. I pin the roll from the underside so no pins show from behind, then give the hairline a little softness so it doesn’t read too severe. Church ceremonies, black-tie receptions and clean-lined gowns suit it, and it sits neatly under a veil placed above the bun.
11. Twisted Wedding Bun For Long Hair
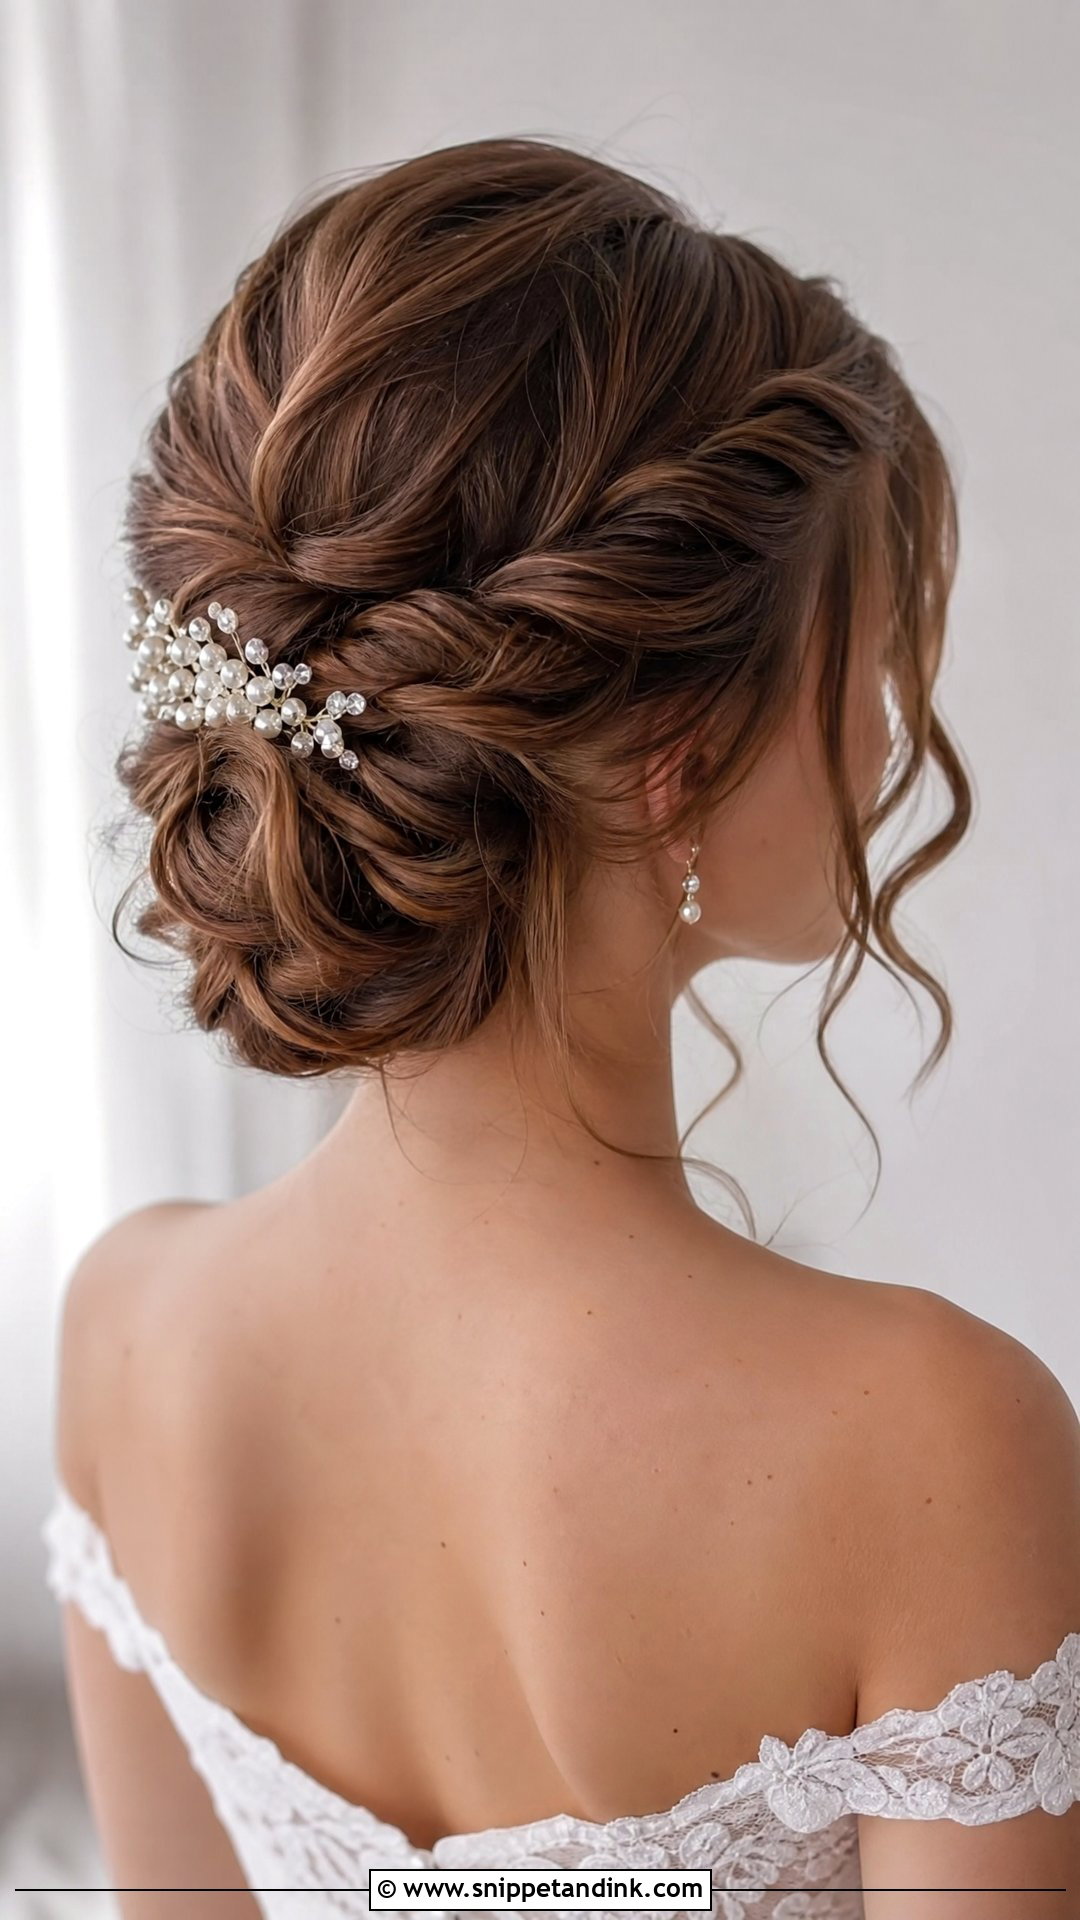
Twisting sections before pinning gives this bun movement that shows from the back and the side. On long hair the twists can be wider and fuller, which looks less fiddly than the narrow twists you’d need on shorter lengths. I set each twist with a little spray before pinning, which stops it unwinding once you start moving. It holds structure better than a loose bun, so I suggest it to brides who like a soft look but are nervous about it falling. Pearl pins or a floral comb sit well in the gaps, and keep the front simple.
12. Ballerina Wedding Bun For Long Hair
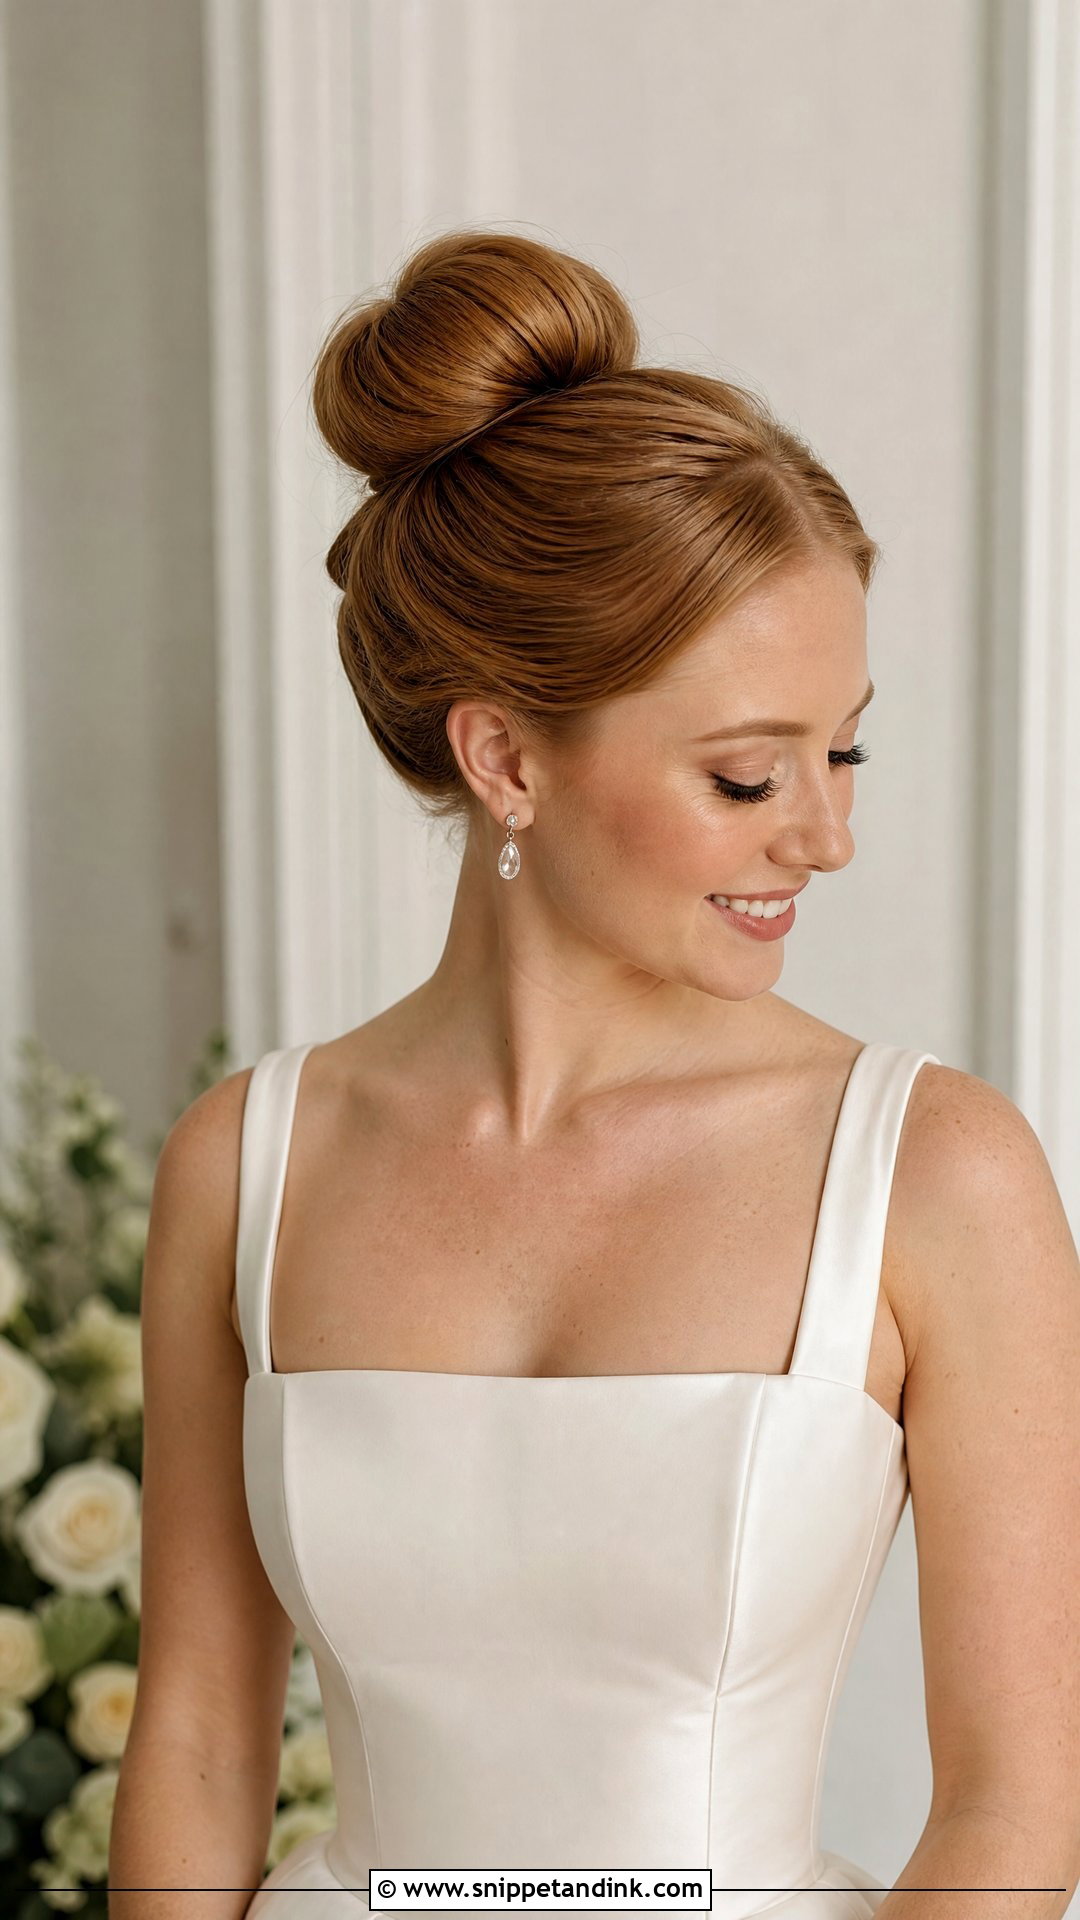
A ballerina bun sits high on the crown and wraps neatly into a round shape, so the neckline stays completely clear. Long hair gives it real size, which is what saves it from looking like a gym bun. I’d suggest it with square necklines and simple gowns, plus fine jewelry. Pulling the front slightly less tight, with one or two fine face-framing pieces, softens it a lot for photos. If you’re prone to tension headaches, test it for a full afternoon at the trial before you commit.
13. Loose Wedding Bun For Long Hair
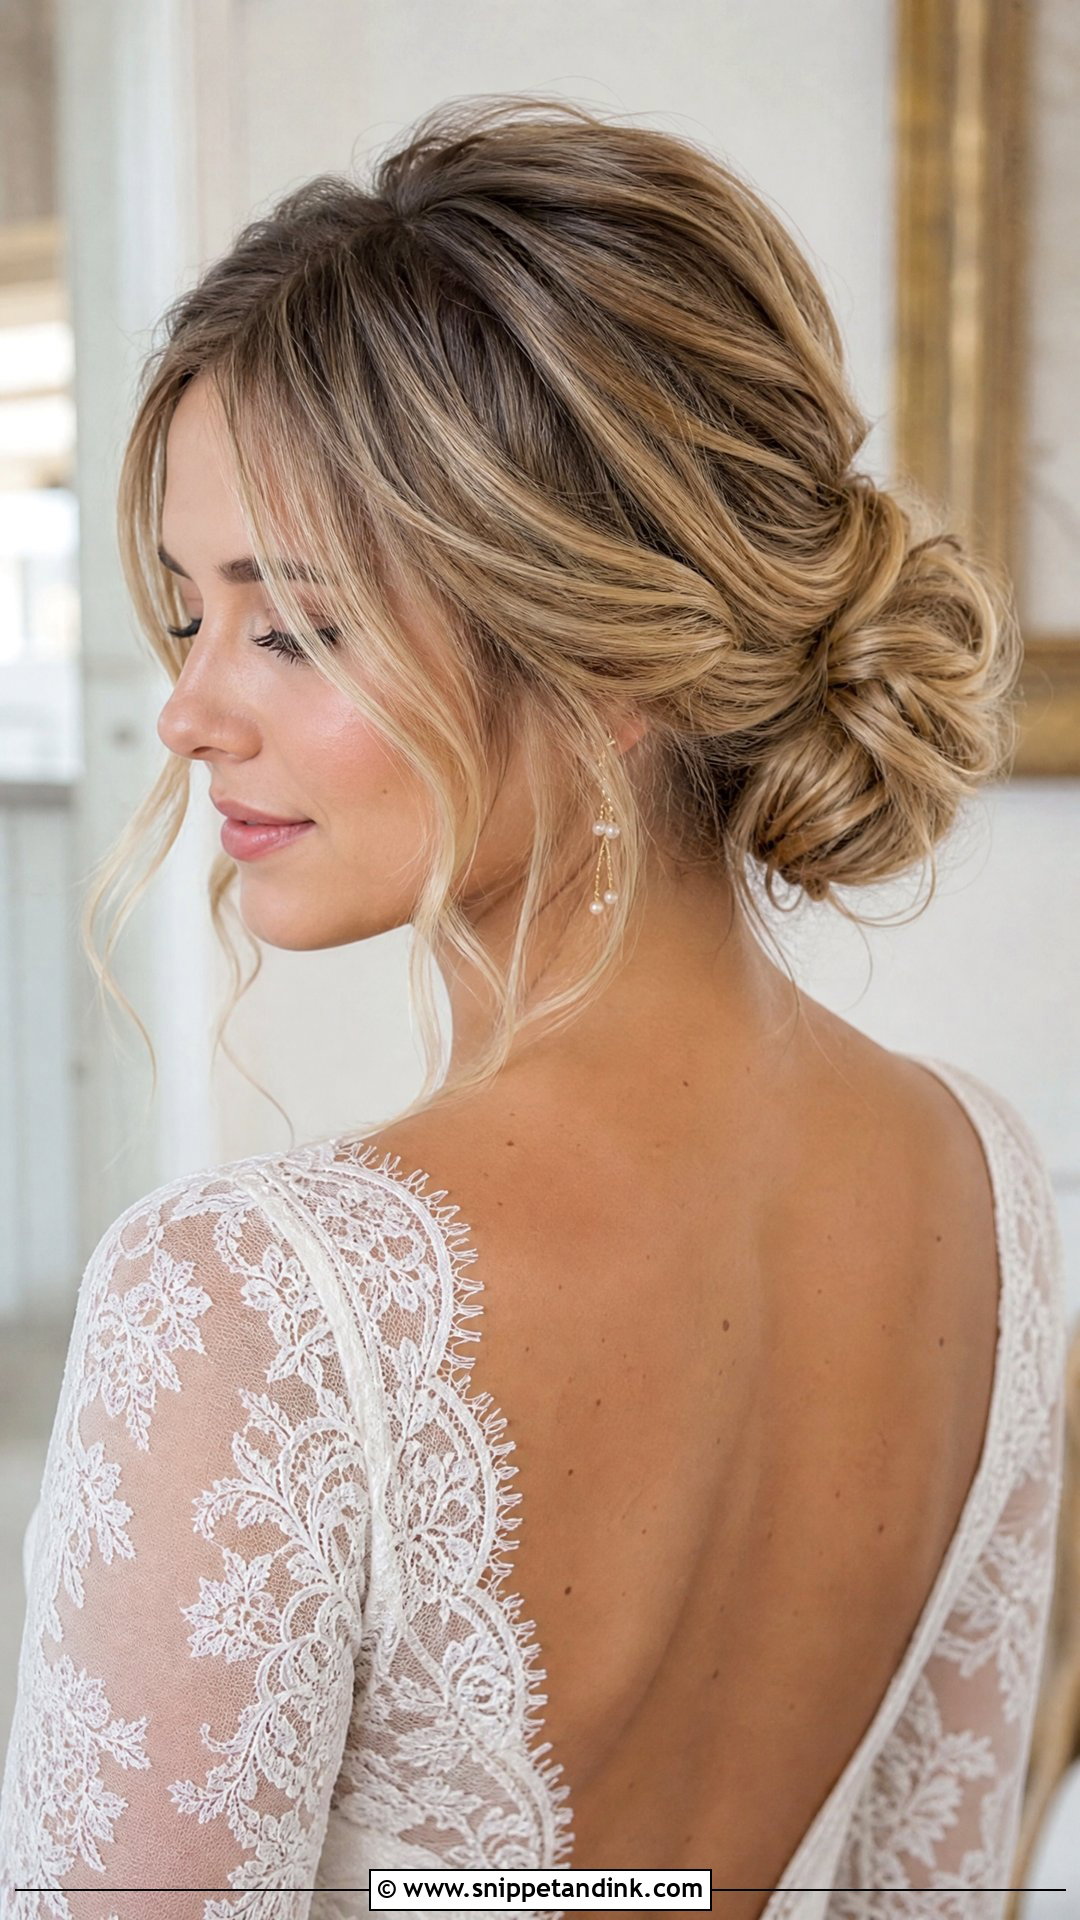
Loose buns look like they took no time, but they need the strongest foundation of anything here. I secure a tight inner structure first with a small ponytail or twist, then pin the outer sections with gaps between them so they look relaxed. Long hair loops well into those gaps. Outdoor venues, boho gowns and soft makeup are its natural setting. Expect a little drop by evening, which honestly looks right with this style.
14. Pearl Wedding Bun For Long Hair
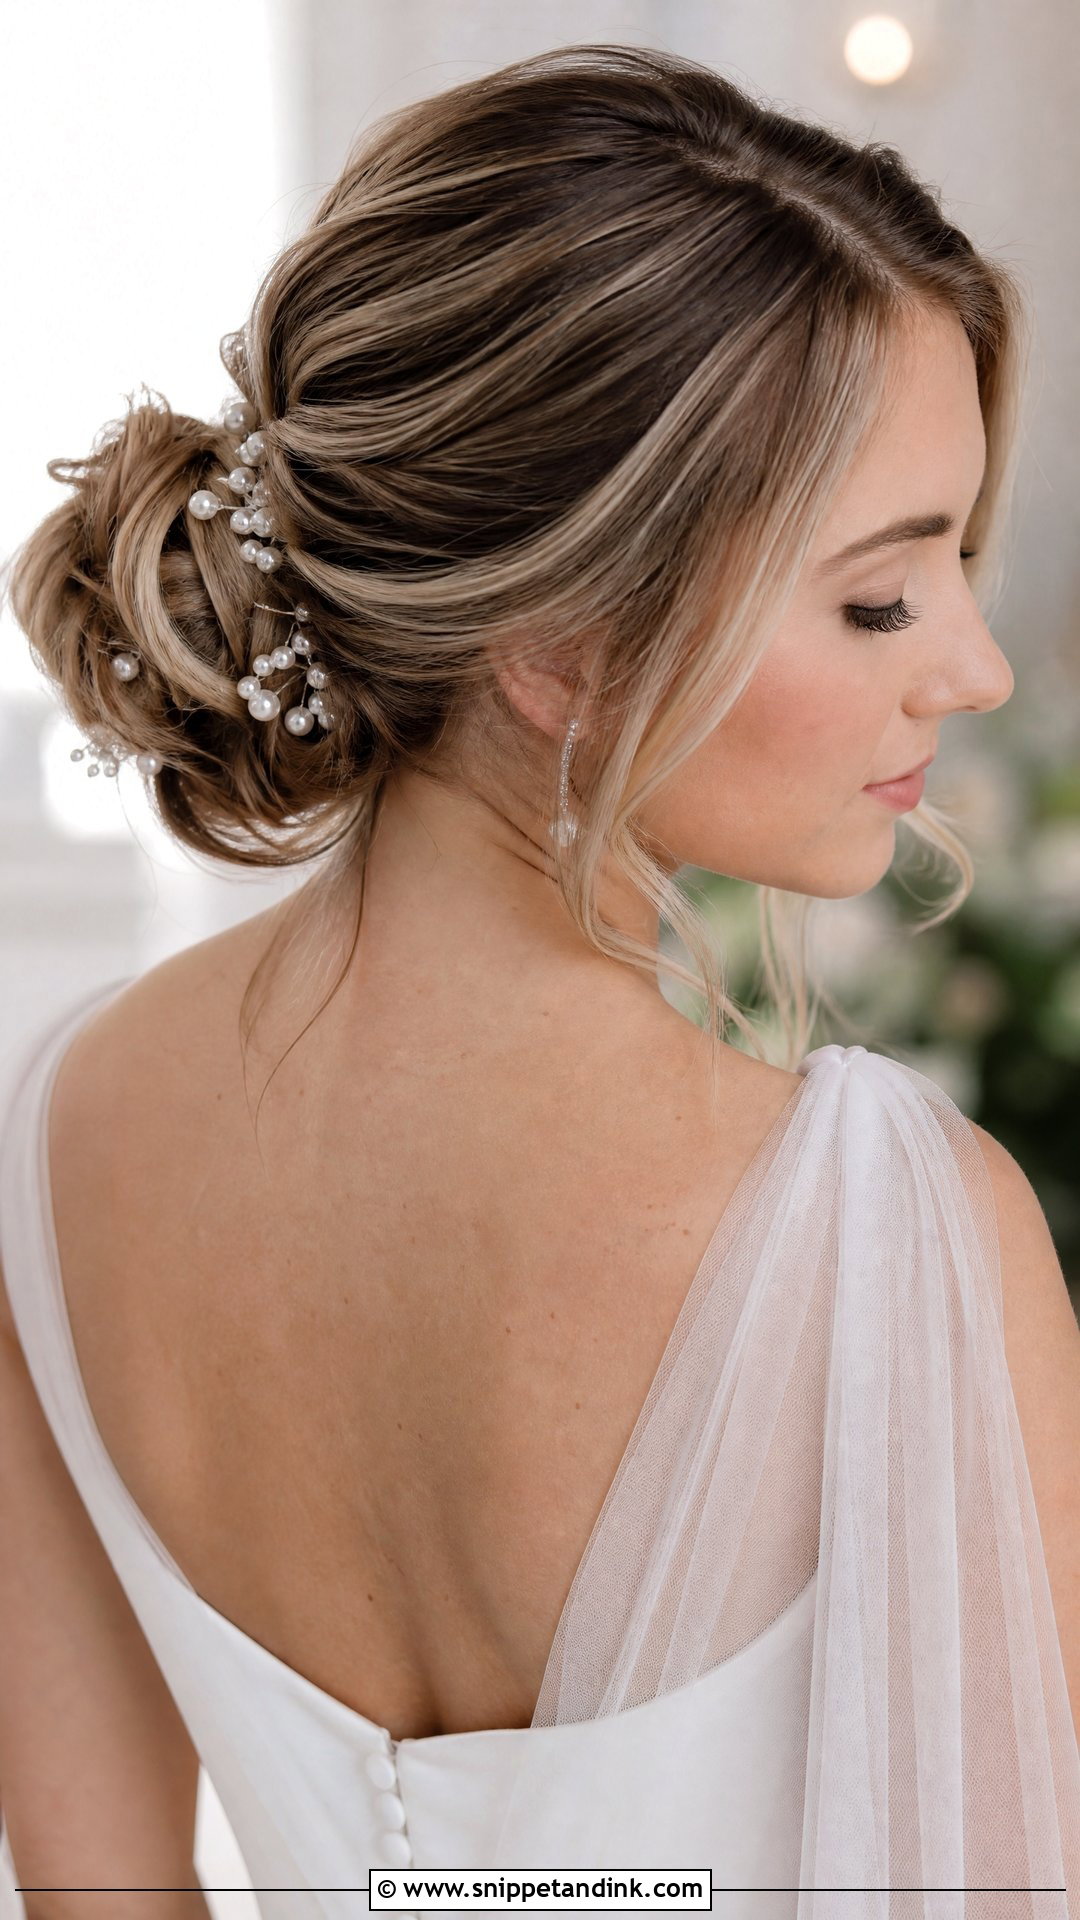
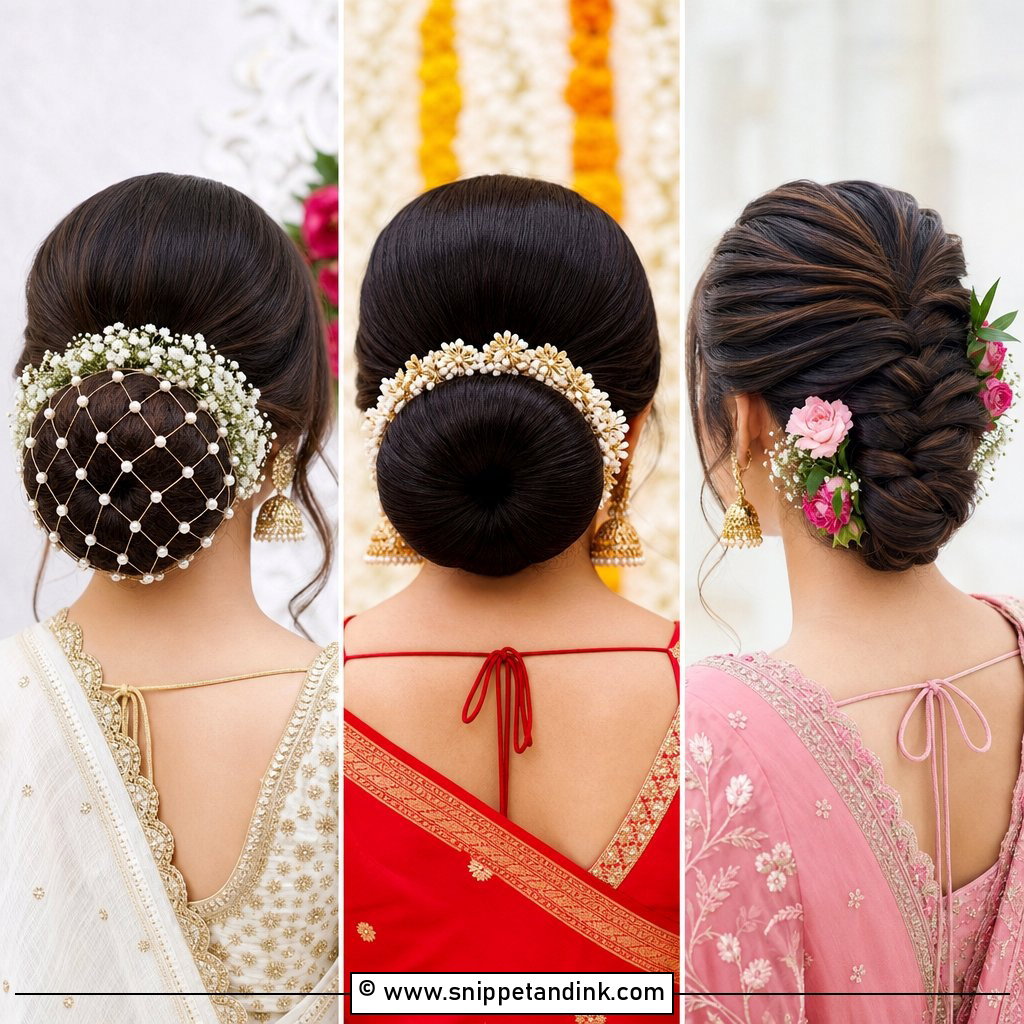
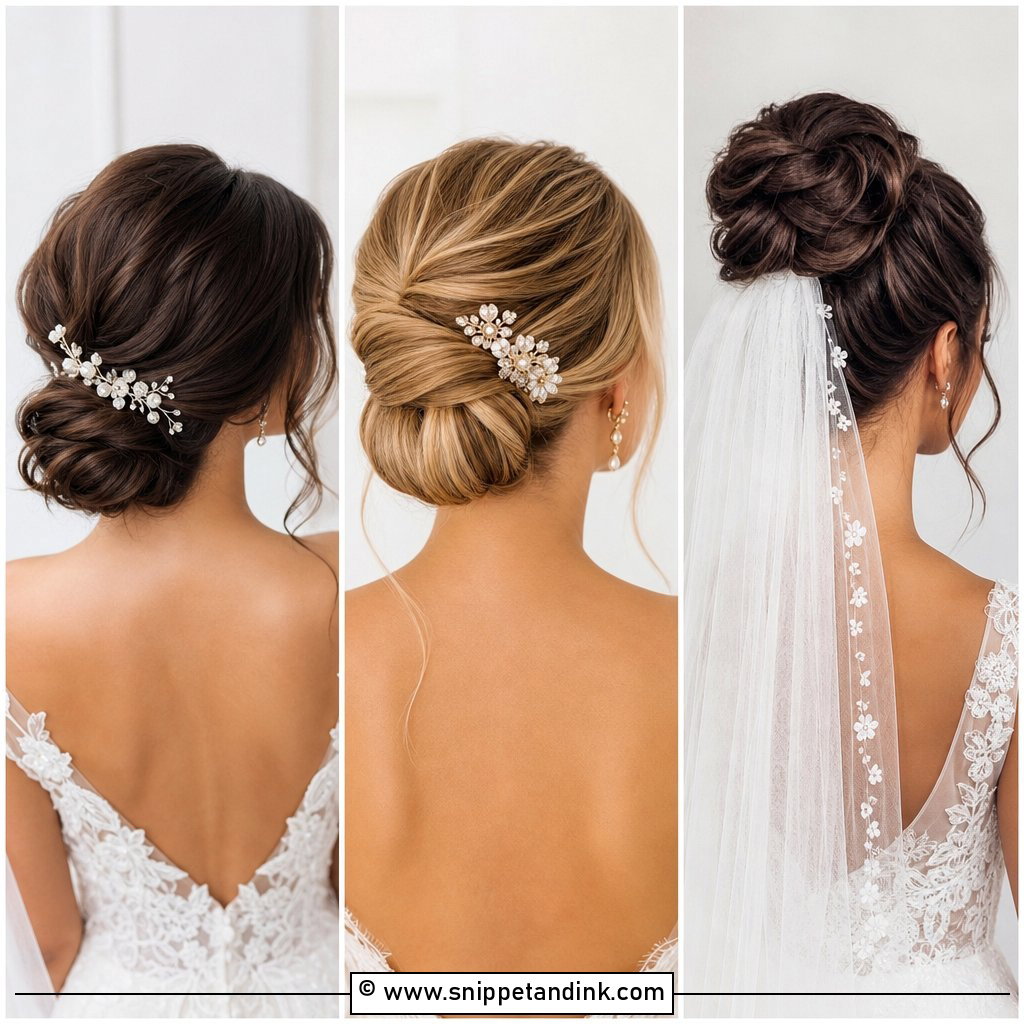
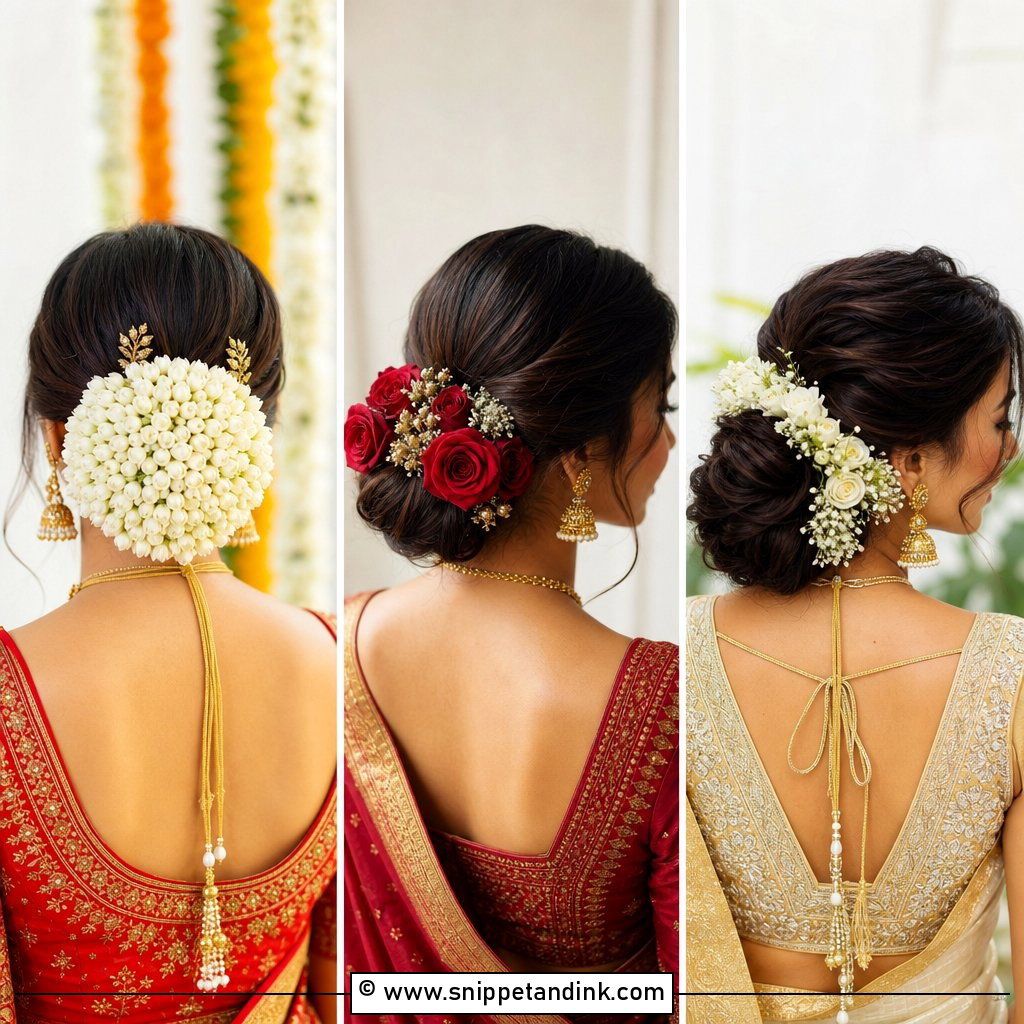
Pearls show beautifully on almost any bun in this list, whether low, sleek, textured or braided, and long hair gives enough body to hold several pins without crowding. They work especially well with satin, lace, tulle, and classic bridal gowns. Place them along the natural curve of the bun rather than scattering them, which looks deliberate in close-ups. I always check the pins at the trial; cheap pearl pins slip out of smooth hair, so I anchor them with a crossed bobby pin underneath.
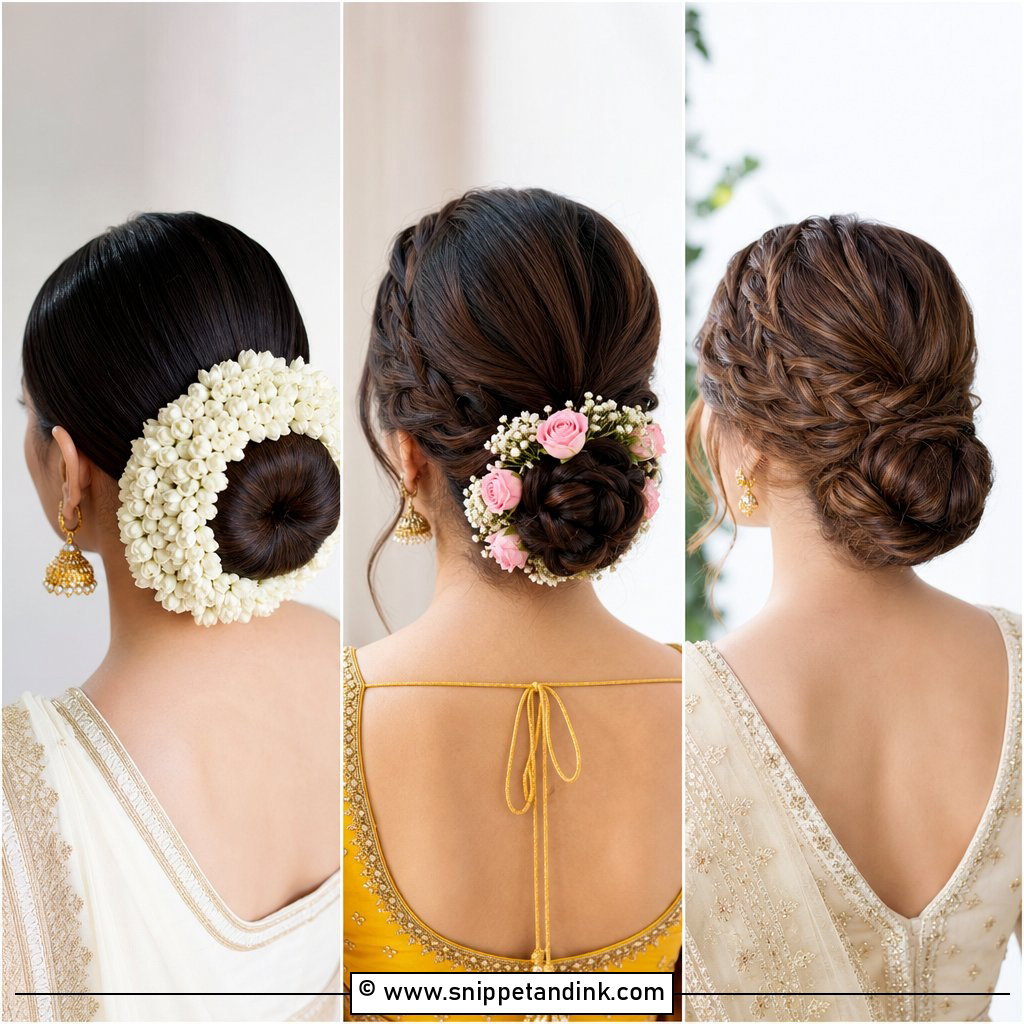
15. Floral Wedding Bun For Long Hair
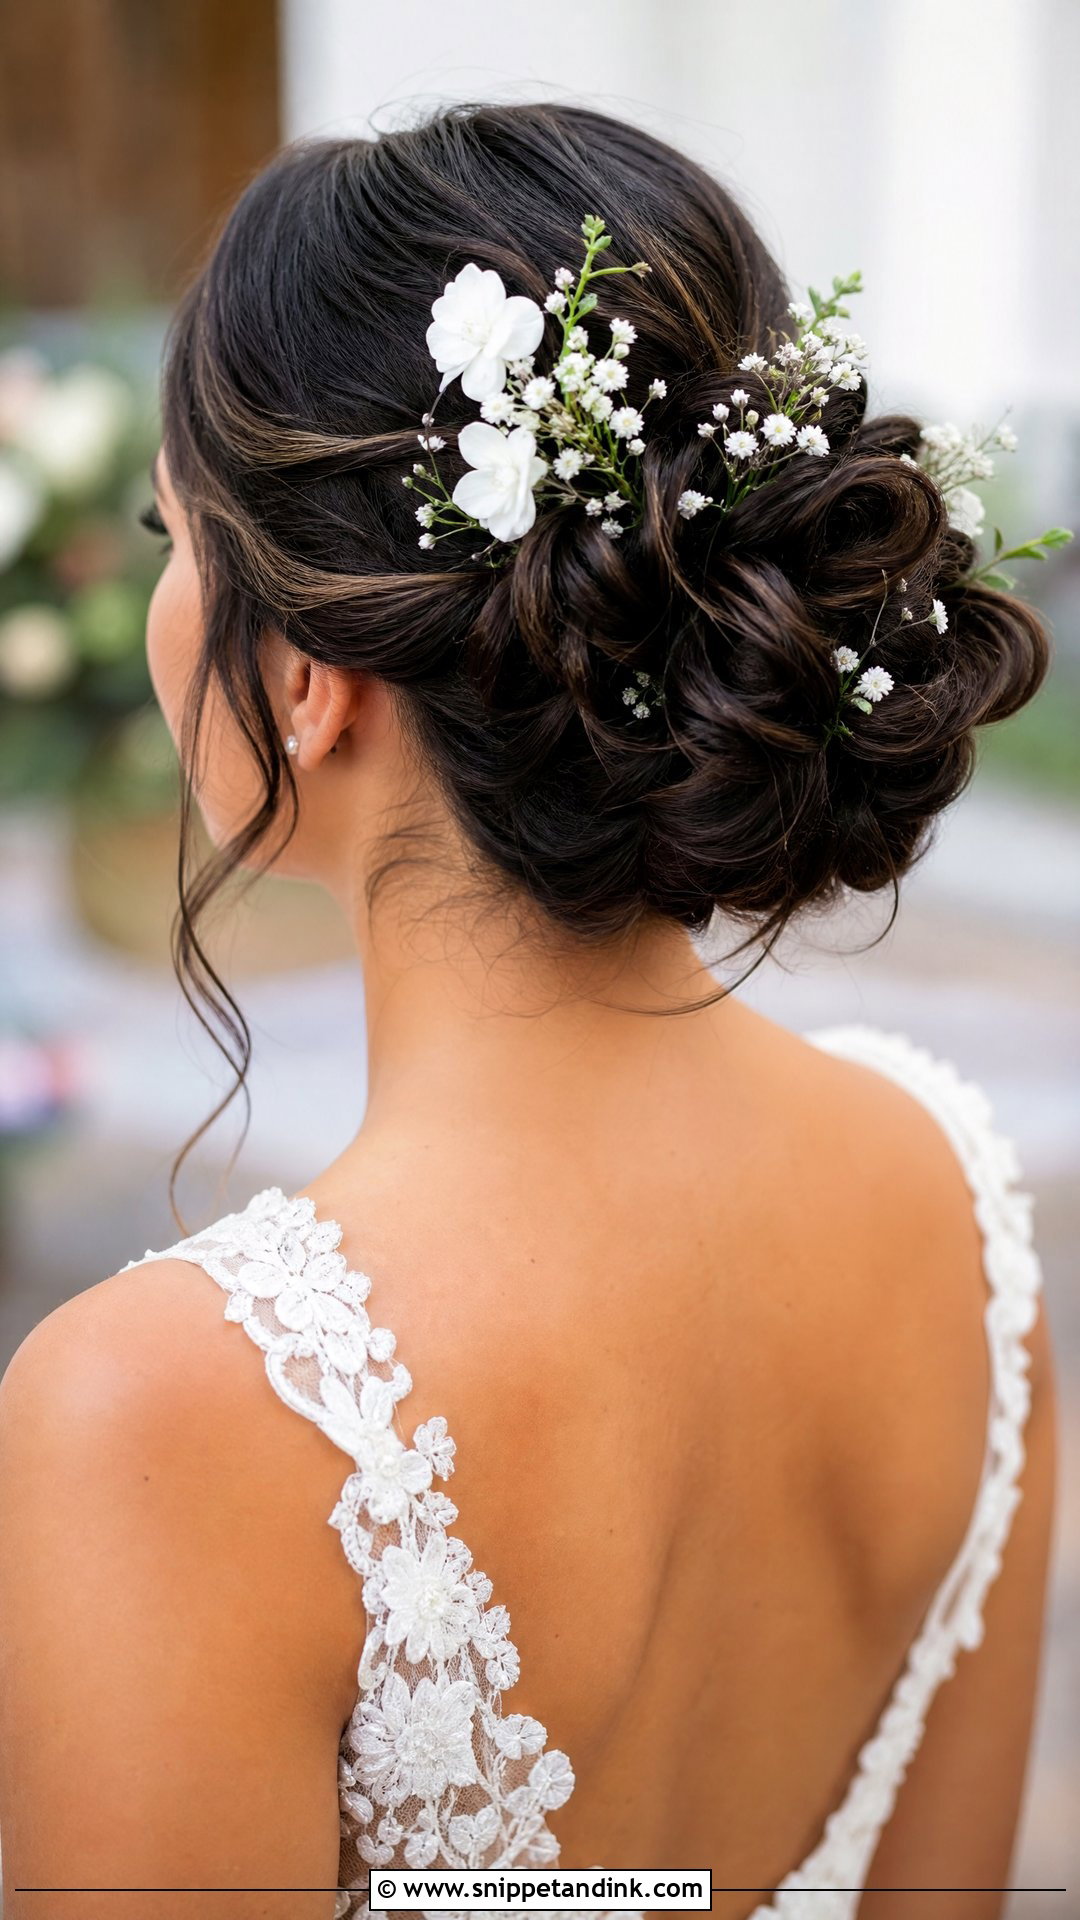
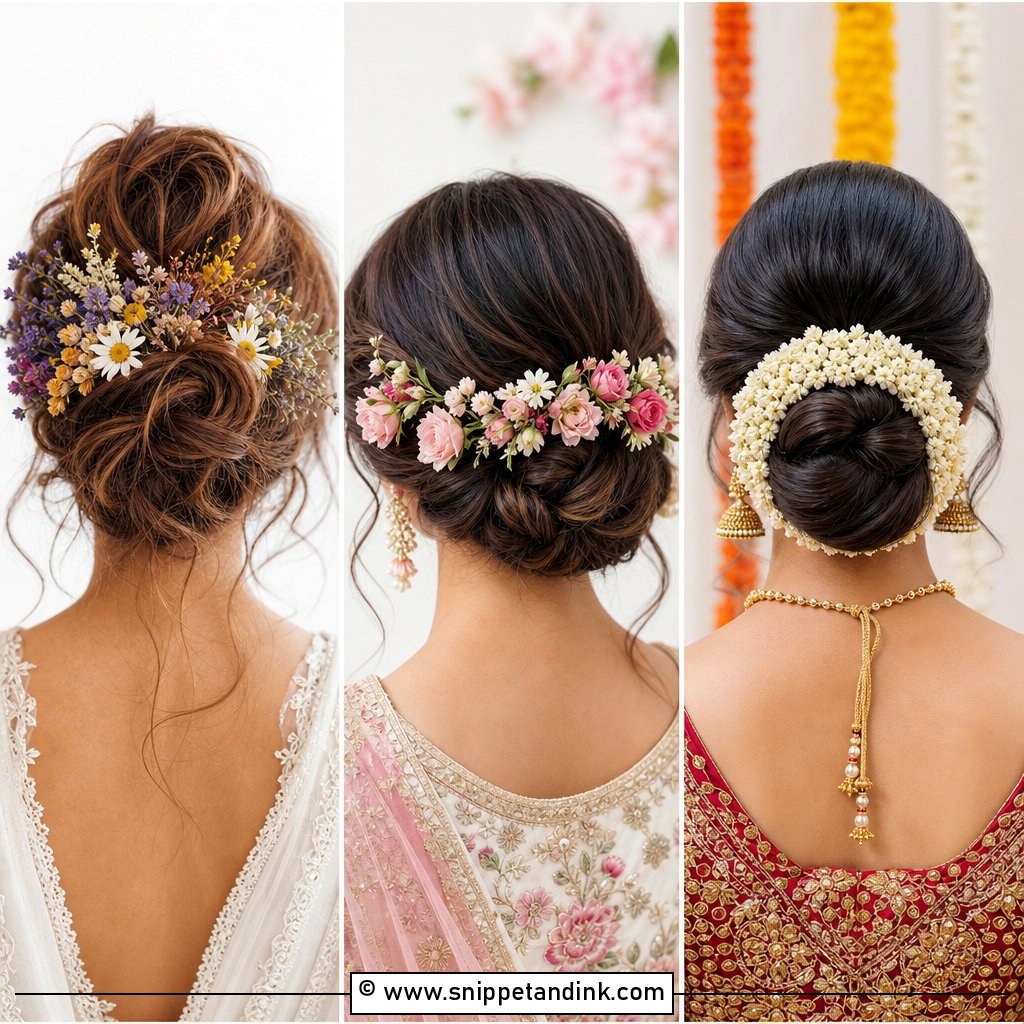
Fresh flowers in a bun are the accessory I’m most cautious about, purely because they wilt. Small blooms tucked around the bun last best, and larger ones should be placed so they don’t overpower the shape. Talk to your florist early: wired blooms or flowers chosen for heat tolerance hold up far better than delicate ones pulled from the bouquet. This bun can be low and textured, braided or loose with tendrils, and it suits garden weddings and lace dresses. Matching the flowers to your bouquet ties it together.
16. Veil Wedding Bun For Long Hair
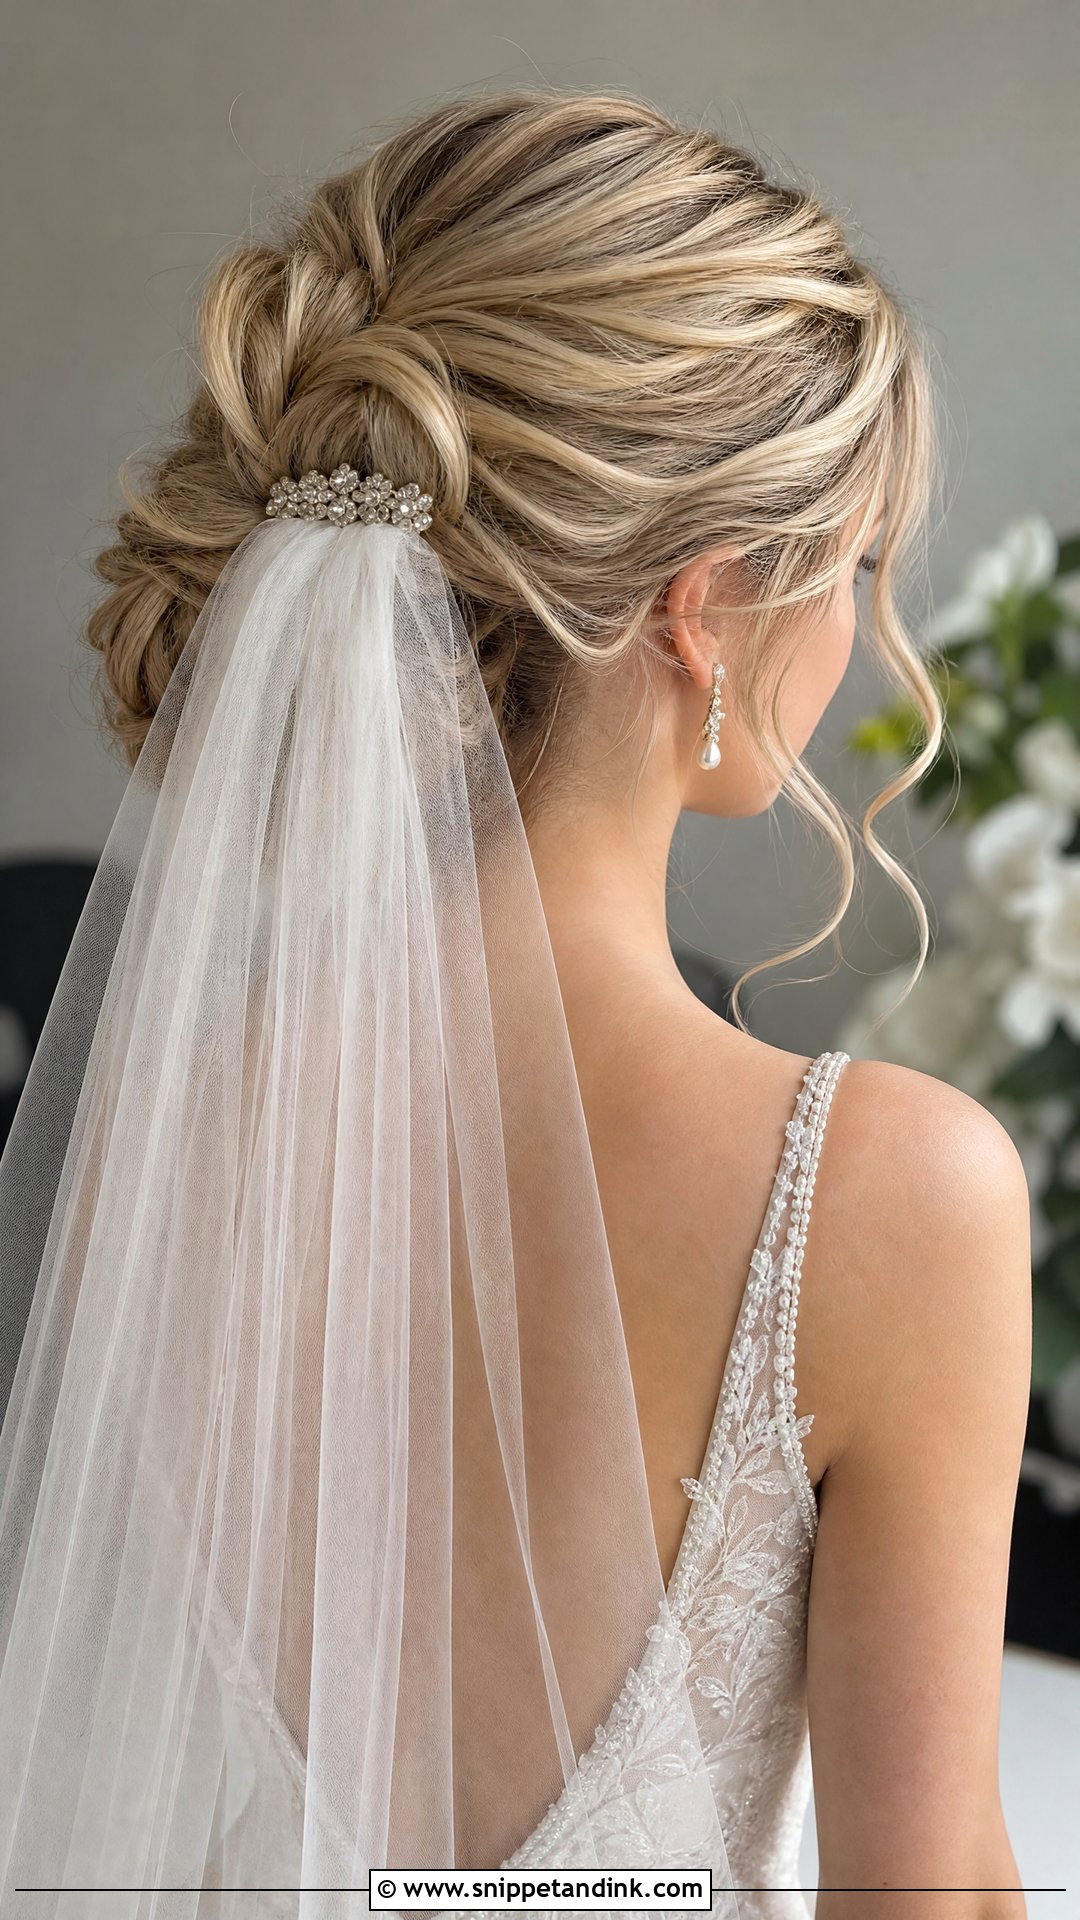
If your veil matters as much as your hair, plan the bun around it. A low bun takes a veil above or beneath it, while a mid-height bun gives the comb something firmer to grip. Long hair builds a strong base, which keeps the veil from sliding during the ceremony. Bring your veil to the trial so your stylist can place it and test how it comes out, since you’ll want the bun to look finished once it’s removed for the reception.
17. Vintage Wedding Bun For Long Hair
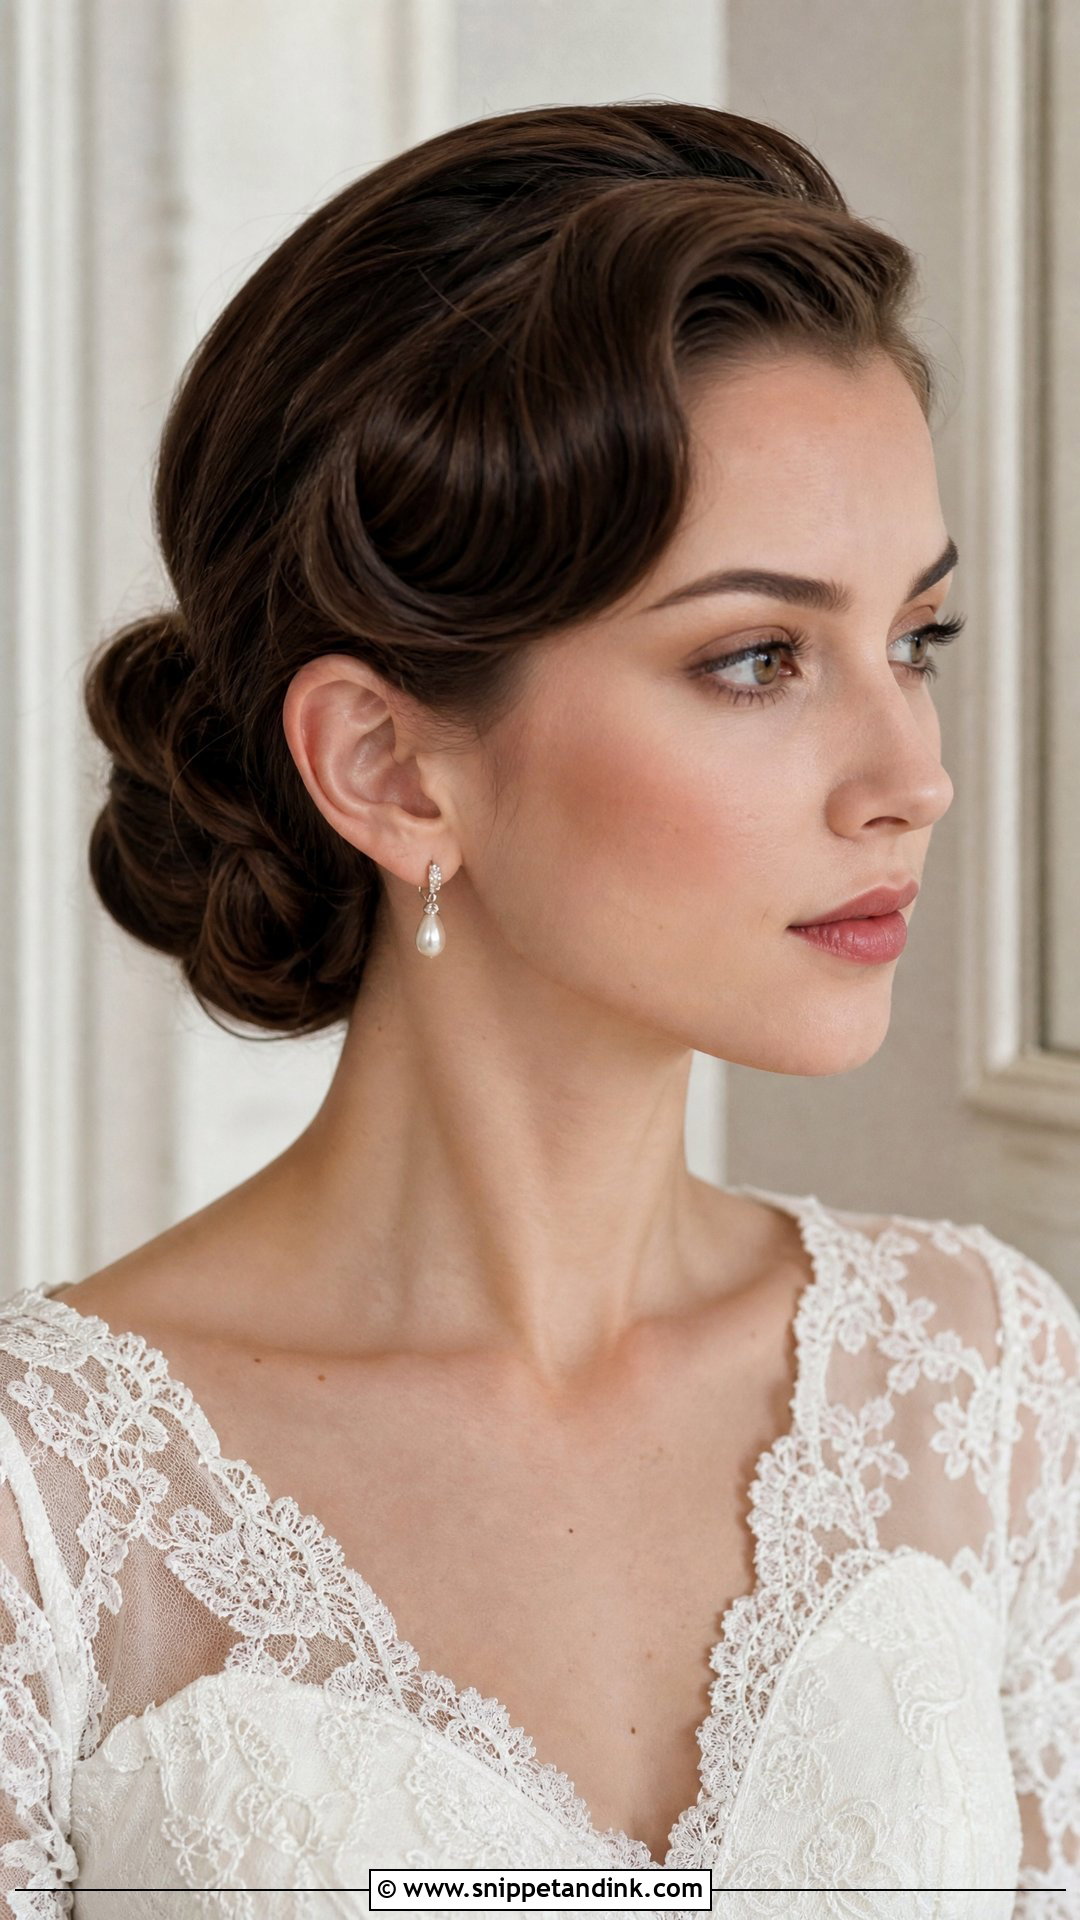
Vintage buns rely on a sculpted front wave, a side part and a rolled or tucked chignon at the nape. Long hair gives the fullness that vintage shapes need, but the finish should stay soft. I set the wave with clips while it cools, brush it out gently, then add shine. Ask for soft control rather than a hard helmet finish, otherwise it looks like a costume. It suits lace gowns, pearl earrings and a red lip.
18. Middle Part Wedding Bun For Long Hair
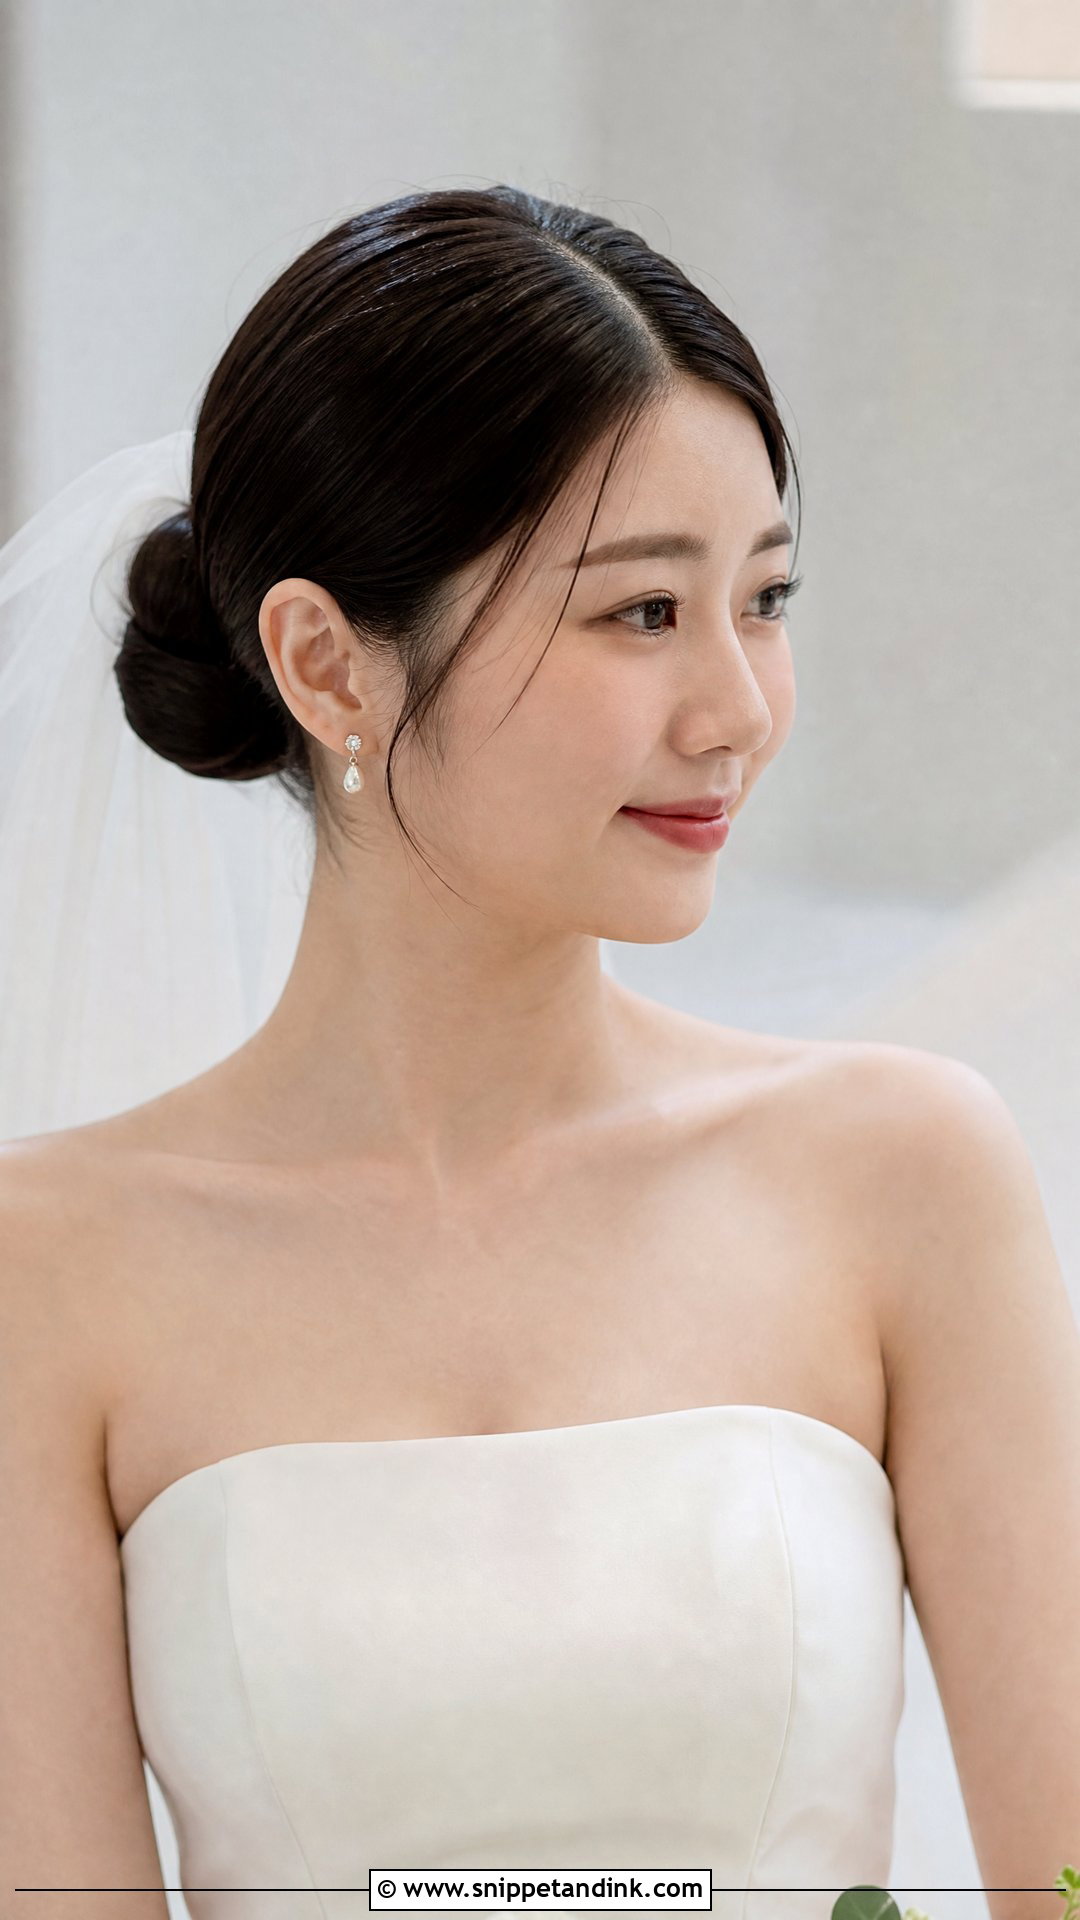
A middle part is honest: it shows any asymmetry in the face and in the bun, so I measure it carefully from the nose bridge before anything else. The bun usually sits low or mid-height, and long hair keeps it full enough that the look isn’t too plain from behind. Sleek is modern, softly waved is gentler. I’d pair it with statement earrings, high necklines and minimalist gowns, finishing with a light shine spray so the part stays crisp.
19. Face Framing Wedding Bun For Long Hair
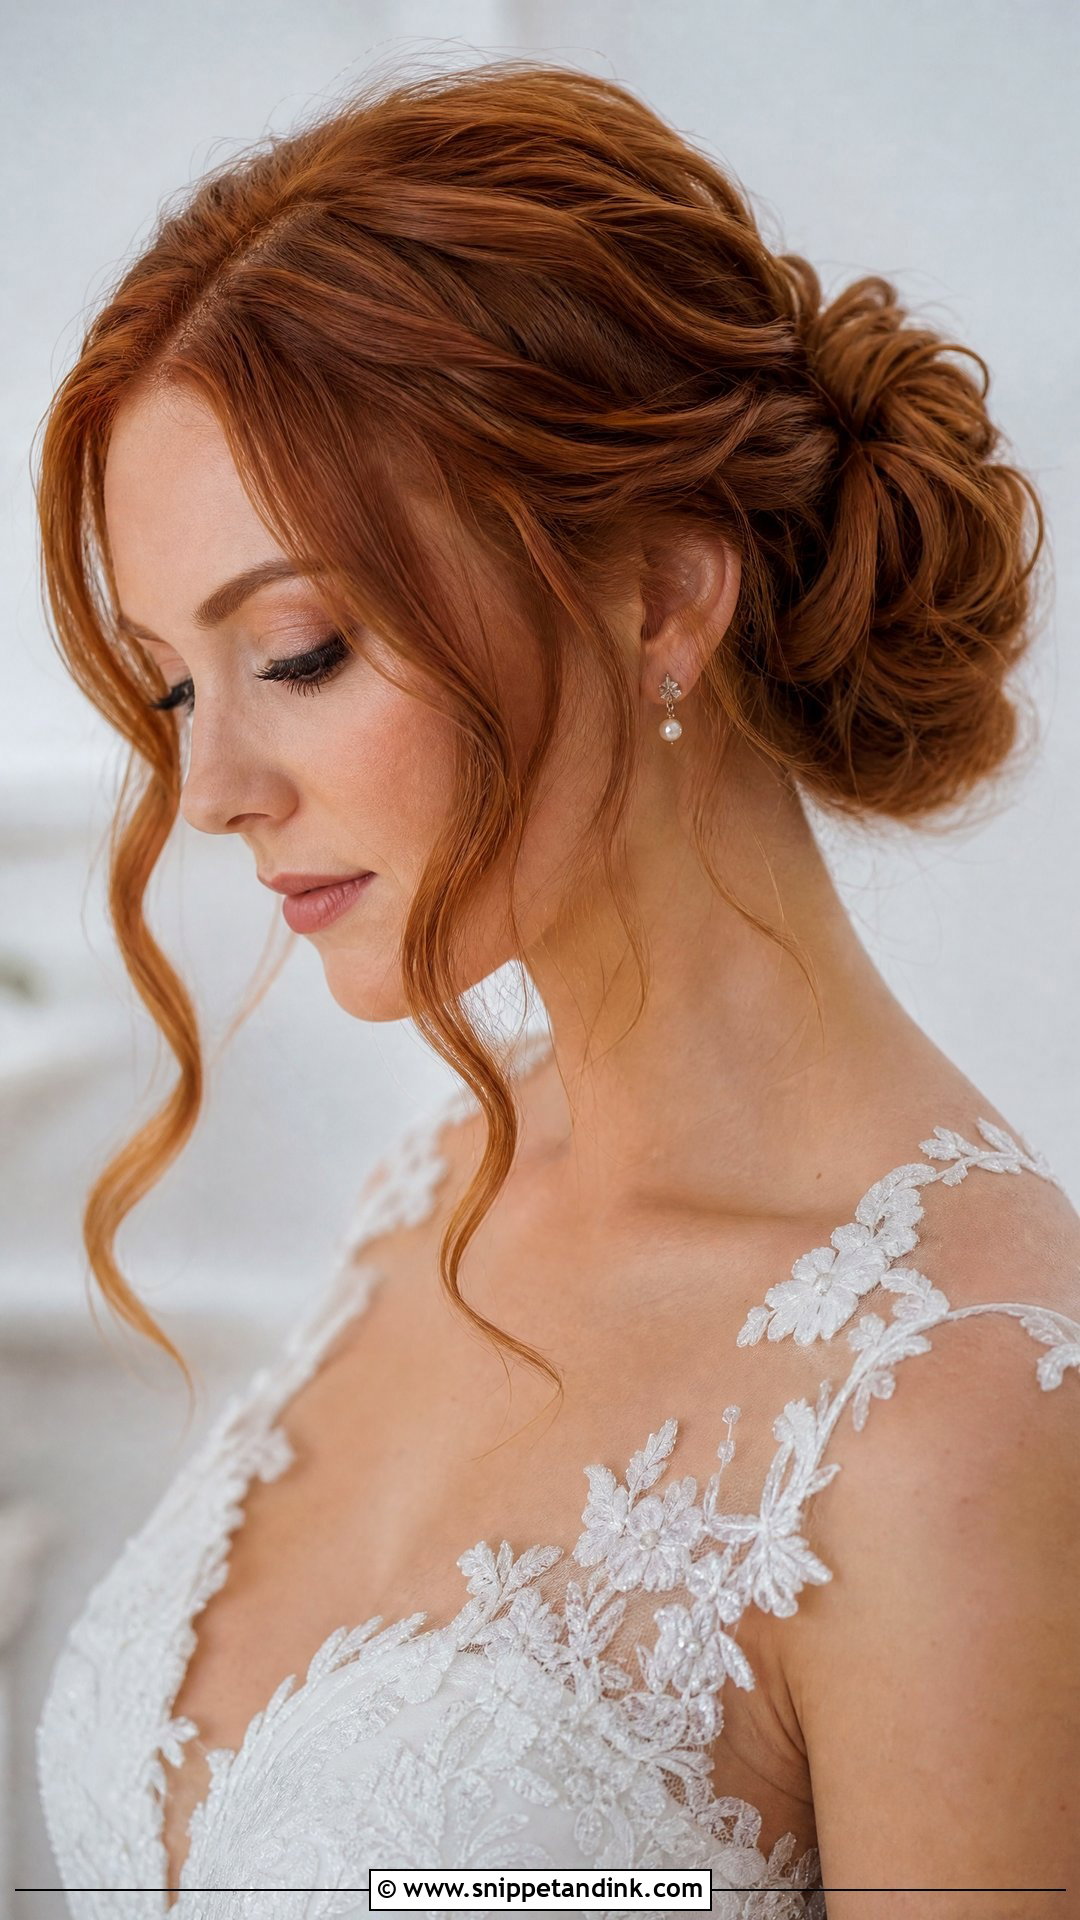
For brides who feel exposed with all their hair pulled back, face-framing pieces are what make an updo feel wearable. I choose them by looking at your jawline and cheekbones, then curl or wave them away from the face so they don’t stick to lipstick. Long hair leaves enough length for tendrils that actually curve. Keep them intentional, two to four pieces at most, because random wisps look like the style is falling apart.
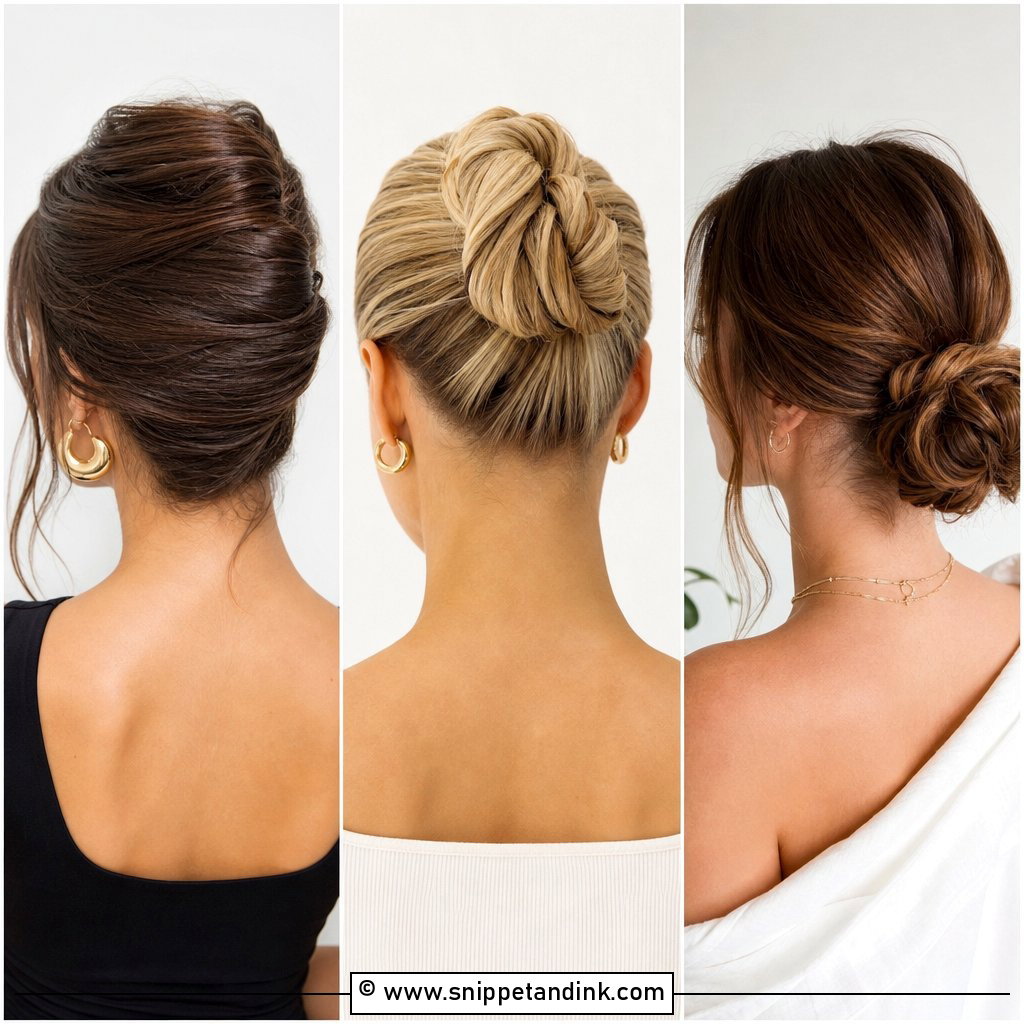
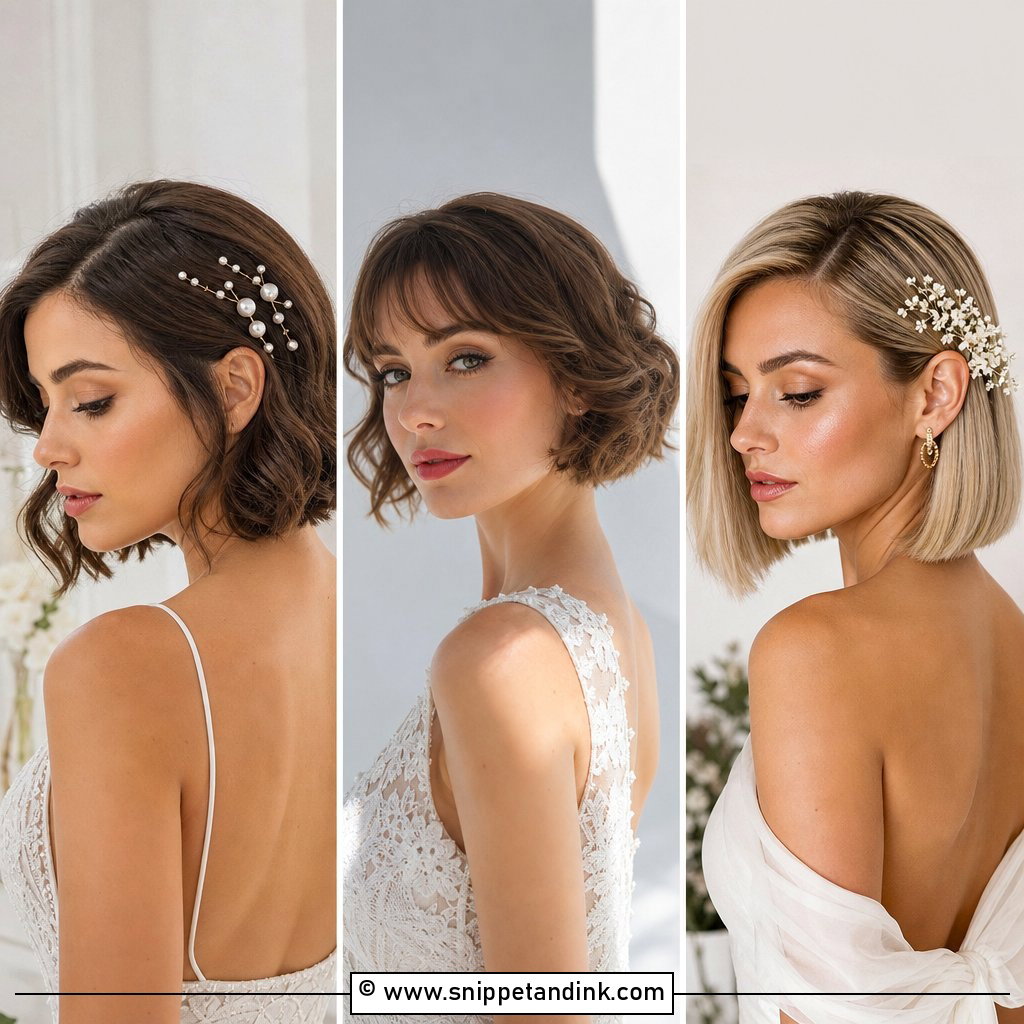
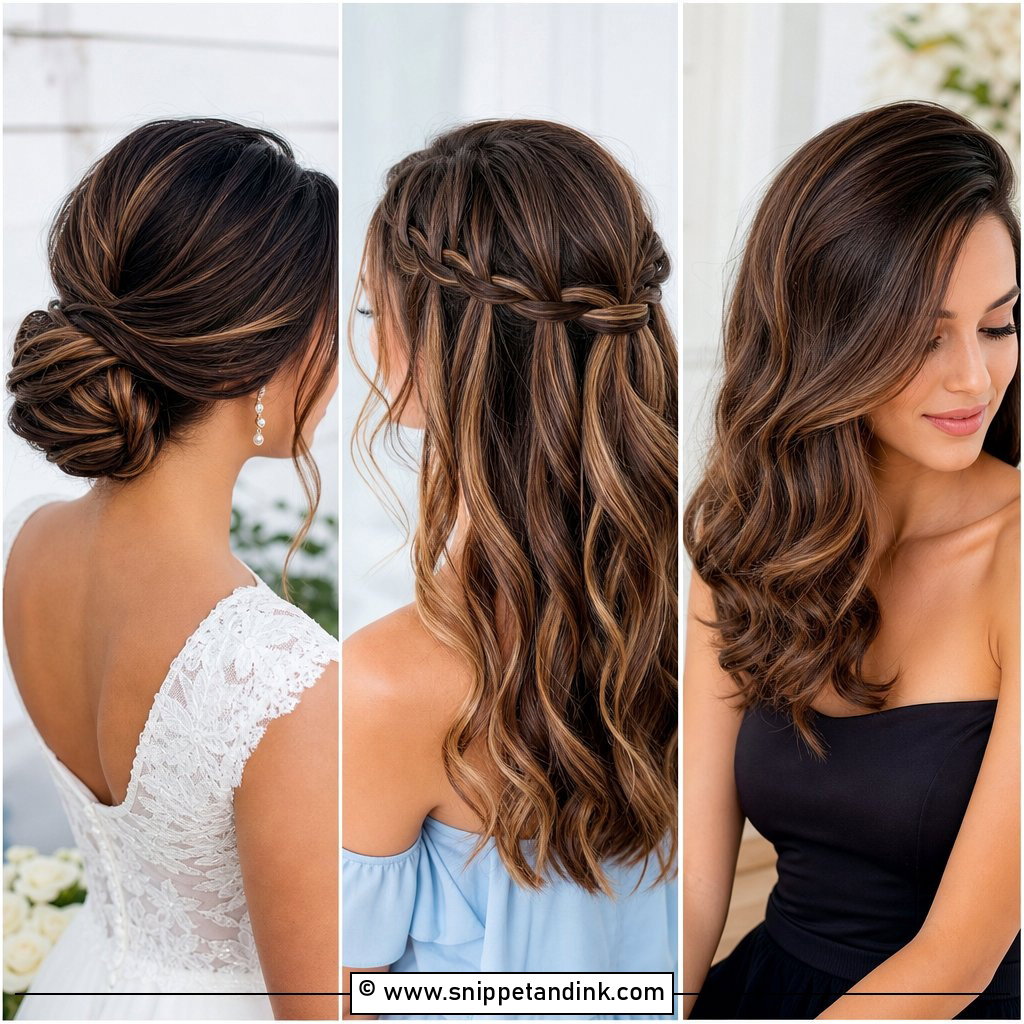
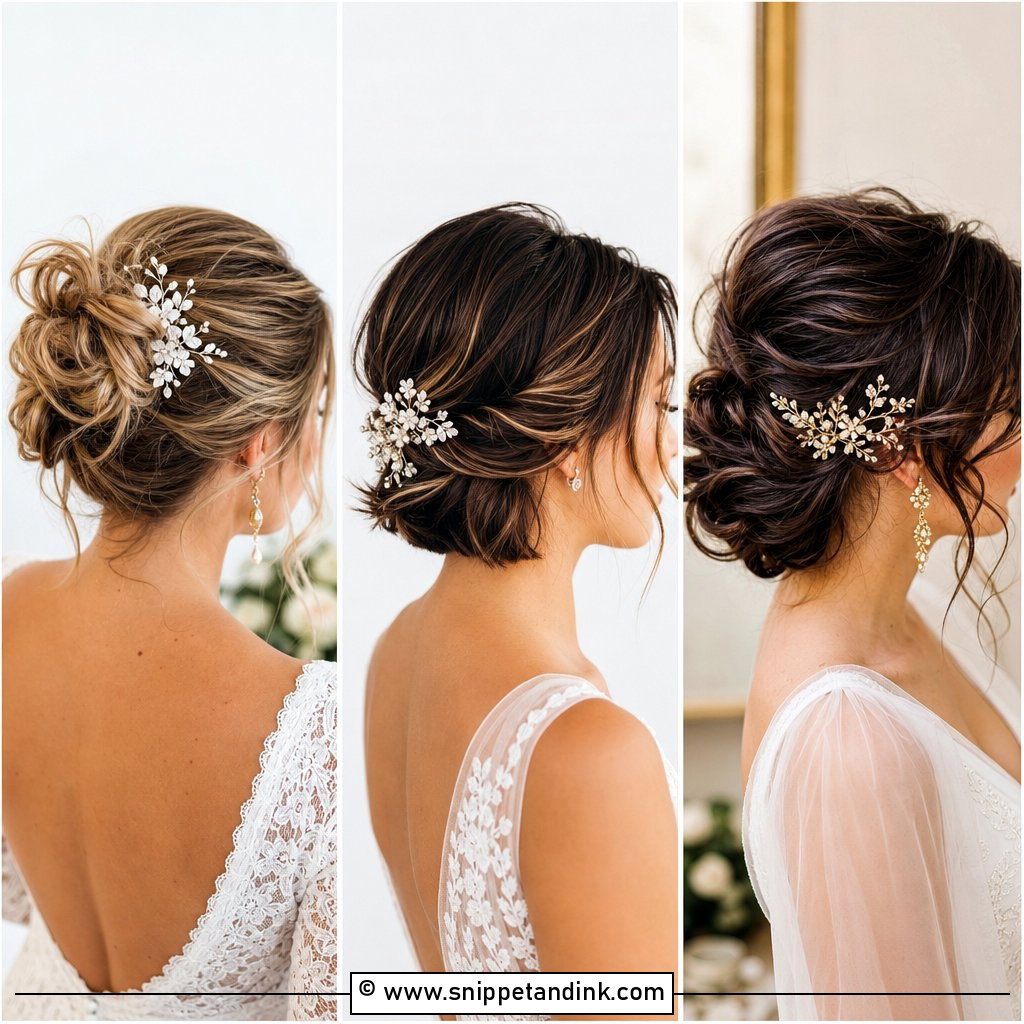
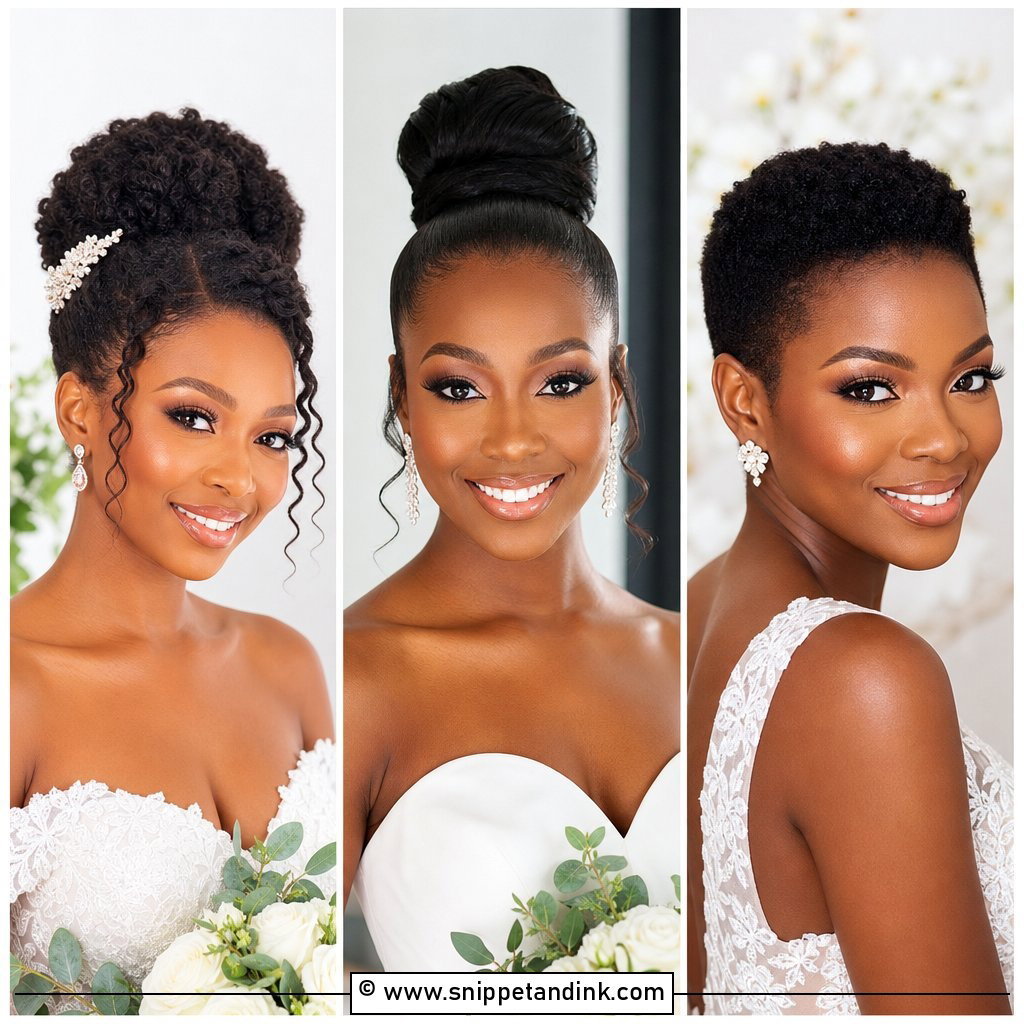
20. Double Wedding Bun For Long Hair
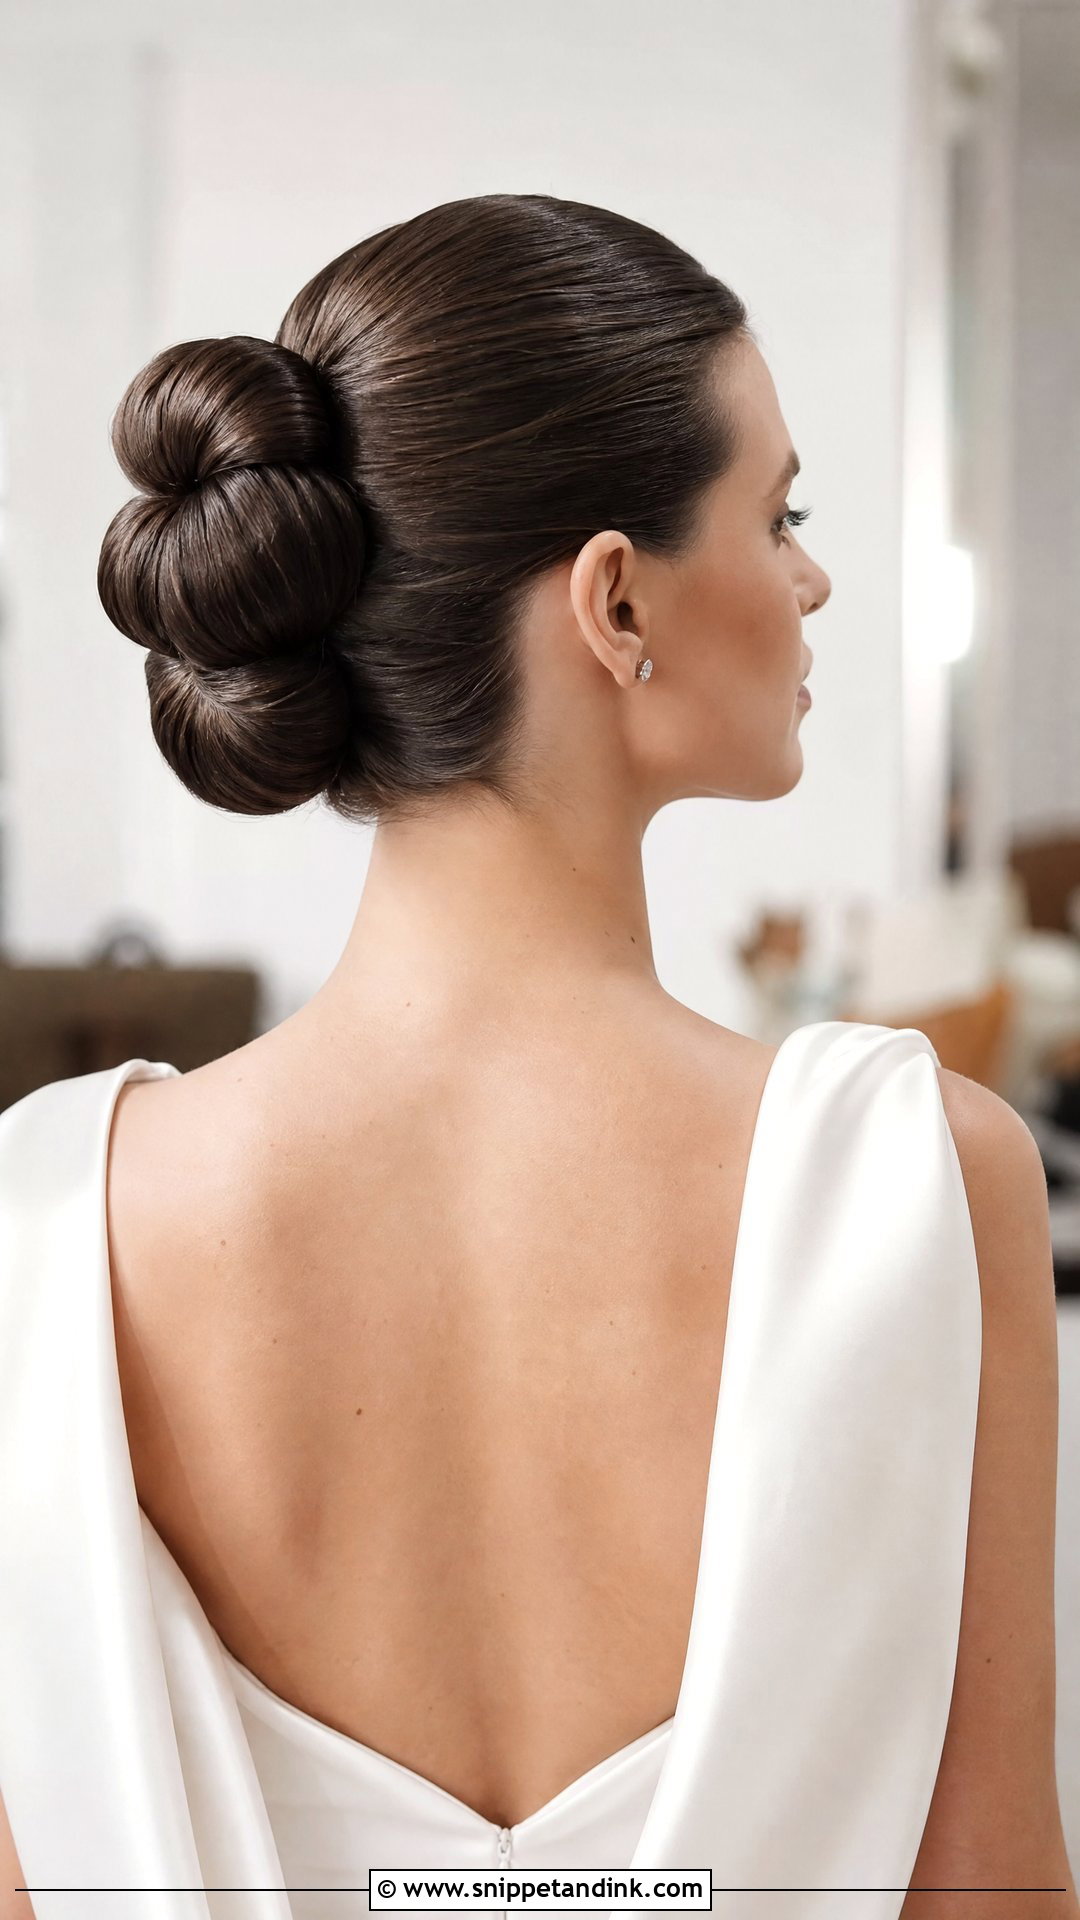
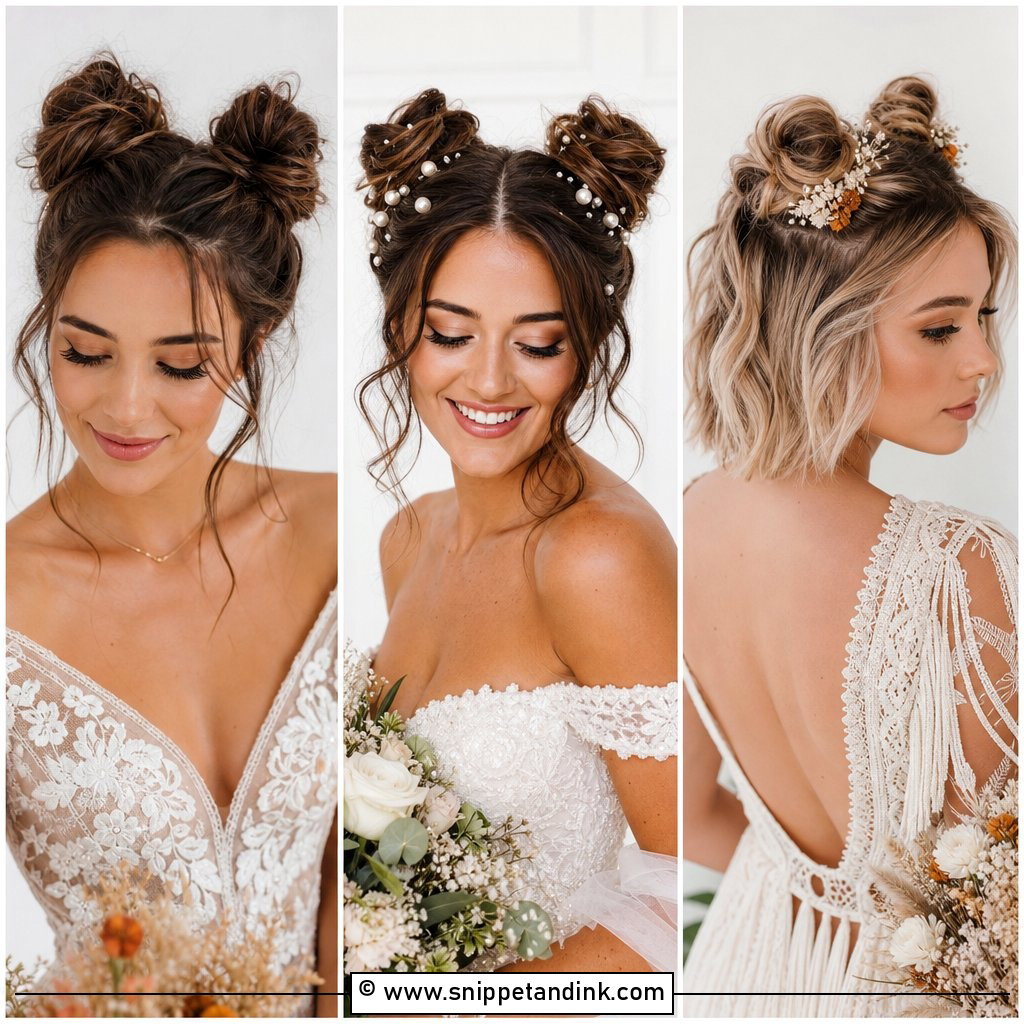
Two connected buns, stacked vertically or set close together at the back, give a fashion-forward look. You need long hair for this: each bun needs enough length to build a full shape on its own. I section cleanly before starting, since a messy split shows clearly in the finished style. Sleek or textured both work. Keep accessories minimal, as the structure is the detail, and know it’s a bold choice that won’t suit a traditional veil.
Does a Bun This Heavy Start Hurting by the Reception?
It can, and it’s one of the most common complaints I hear about long-hair updos. The pain usually comes from one spot: a pin pressing on the scalp, an elastic pulled too tight or a bun placed so high that its weight drags backward. The trial is where you find this out, but only if you wear the style long enough. I ask brides to keep their trial bun in for at least four or five hours and to notice where it aches.
Small fixes that make a big difference
A lower placement shifts weight onto the nape, which most people find more comfortable. Spiral pins and U-pins hold with less pressure than bobby pins pushed against the scalp. Ask your stylist to show your maid of honor which one or two pins can be loosened during the reception without dropping the style, and keep a few spare pins in her bag.
Taking the bun down at night
Remove every pin before anything else, counting them out if you can. Then loosen the elastic, let the hair fall and gently finger-comb from the ends upward, since setting spray and backcombing tangle long hair quickly. A conditioning rinse the next morning softens anything left behind.
The Back of Your Dress Decides the Bun Height
Every bun here works on long hair, but not every one works on yours. Think about how heavy your hair feels in a ponytail, how your scalp copes with tension and what the back of your dress looks like, since that’s the view guests see during the ceremony. Bring photos, your veil and accessories to the trial, and wear the style for a few hours before deciding. The right bun should feel secure and comfortable long after the photographer has gone home.
You'll Like These Ideas:


Leave a Reply