
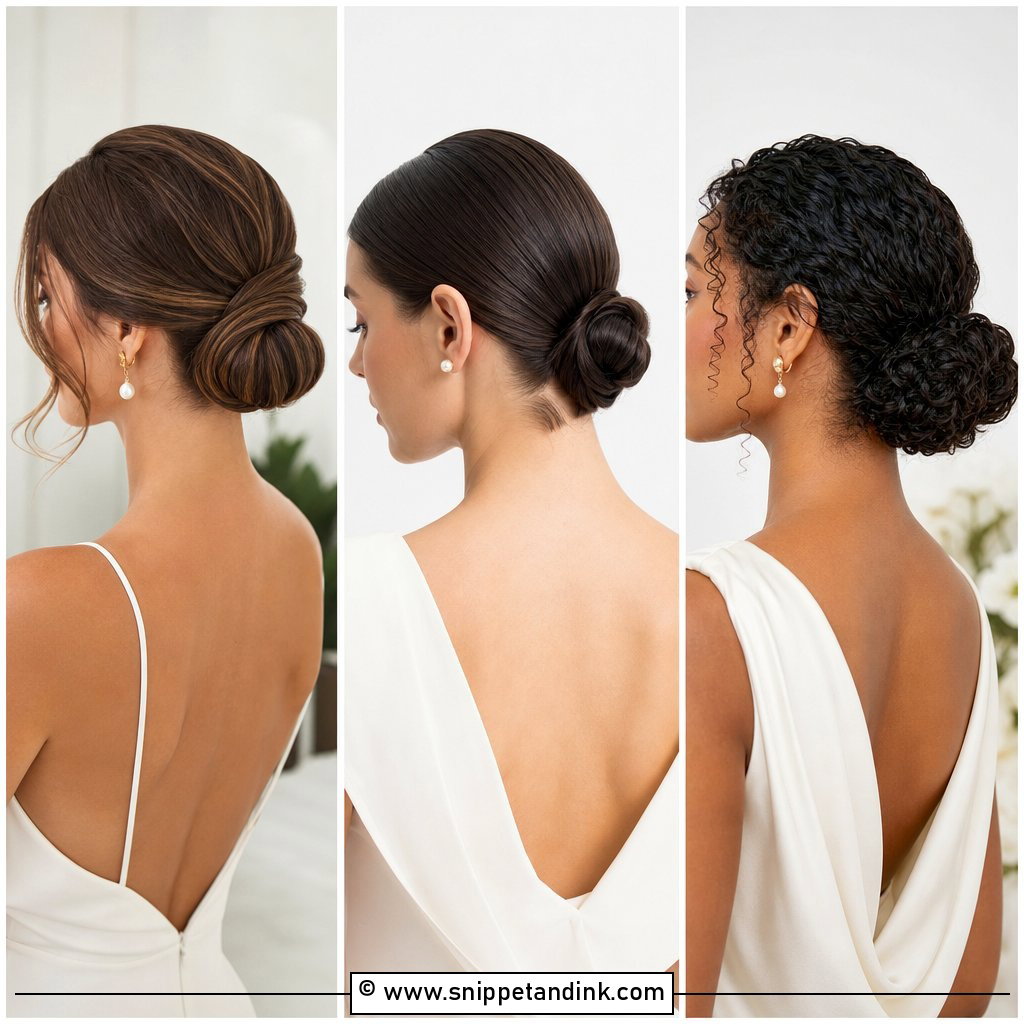
A clean low bun looks like the simplest style in my kit, and that’s exactly why it’s unforgiving. There’s nowhere for a wobbly part or a lumpy base to hide. When it’s done properly, though, it sits happily with a veil, pearl pins, a high neck or a strapless gown, and it looks finished from the front, the side and the back, which matters when a photographer is circling you for ten hours. It can be sleek, twisted, braided or rolled into a chignon. The versions below suit brides, bridesmaids, and mothers of the bride, so it’s worth passing around the whole party.
How Low Is Low? Matching Bun Height to Your Neckline
“Low bun” covers anything from just below the occipital bone to right on the collar, and an inch either way changes how it sits with your dress. I mark the spot with a single pin at the trial and have the bride sit, stand and turn her head before I build anything.
- High necks and collars: keep the bun a little higher, around the base of the skull, so it doesn’t rub the fabric every time you turn.
- Strapless and sweetheart: the true nape works well and leaves the shoulders bare.
- Low backs and keyholes: a slightly higher, compact bun lets the back detail be seen in full.
- Cathedral veil under the bun: sit the bun at the nape so the comb has room above it.
Wear the dress, or at least a top with the same neckline, to your trial. A bun that looks right in a salon cape can sit at the wrong height once the real collar is in place.
1. Sleek Center Part Low Bun Wedding Hair
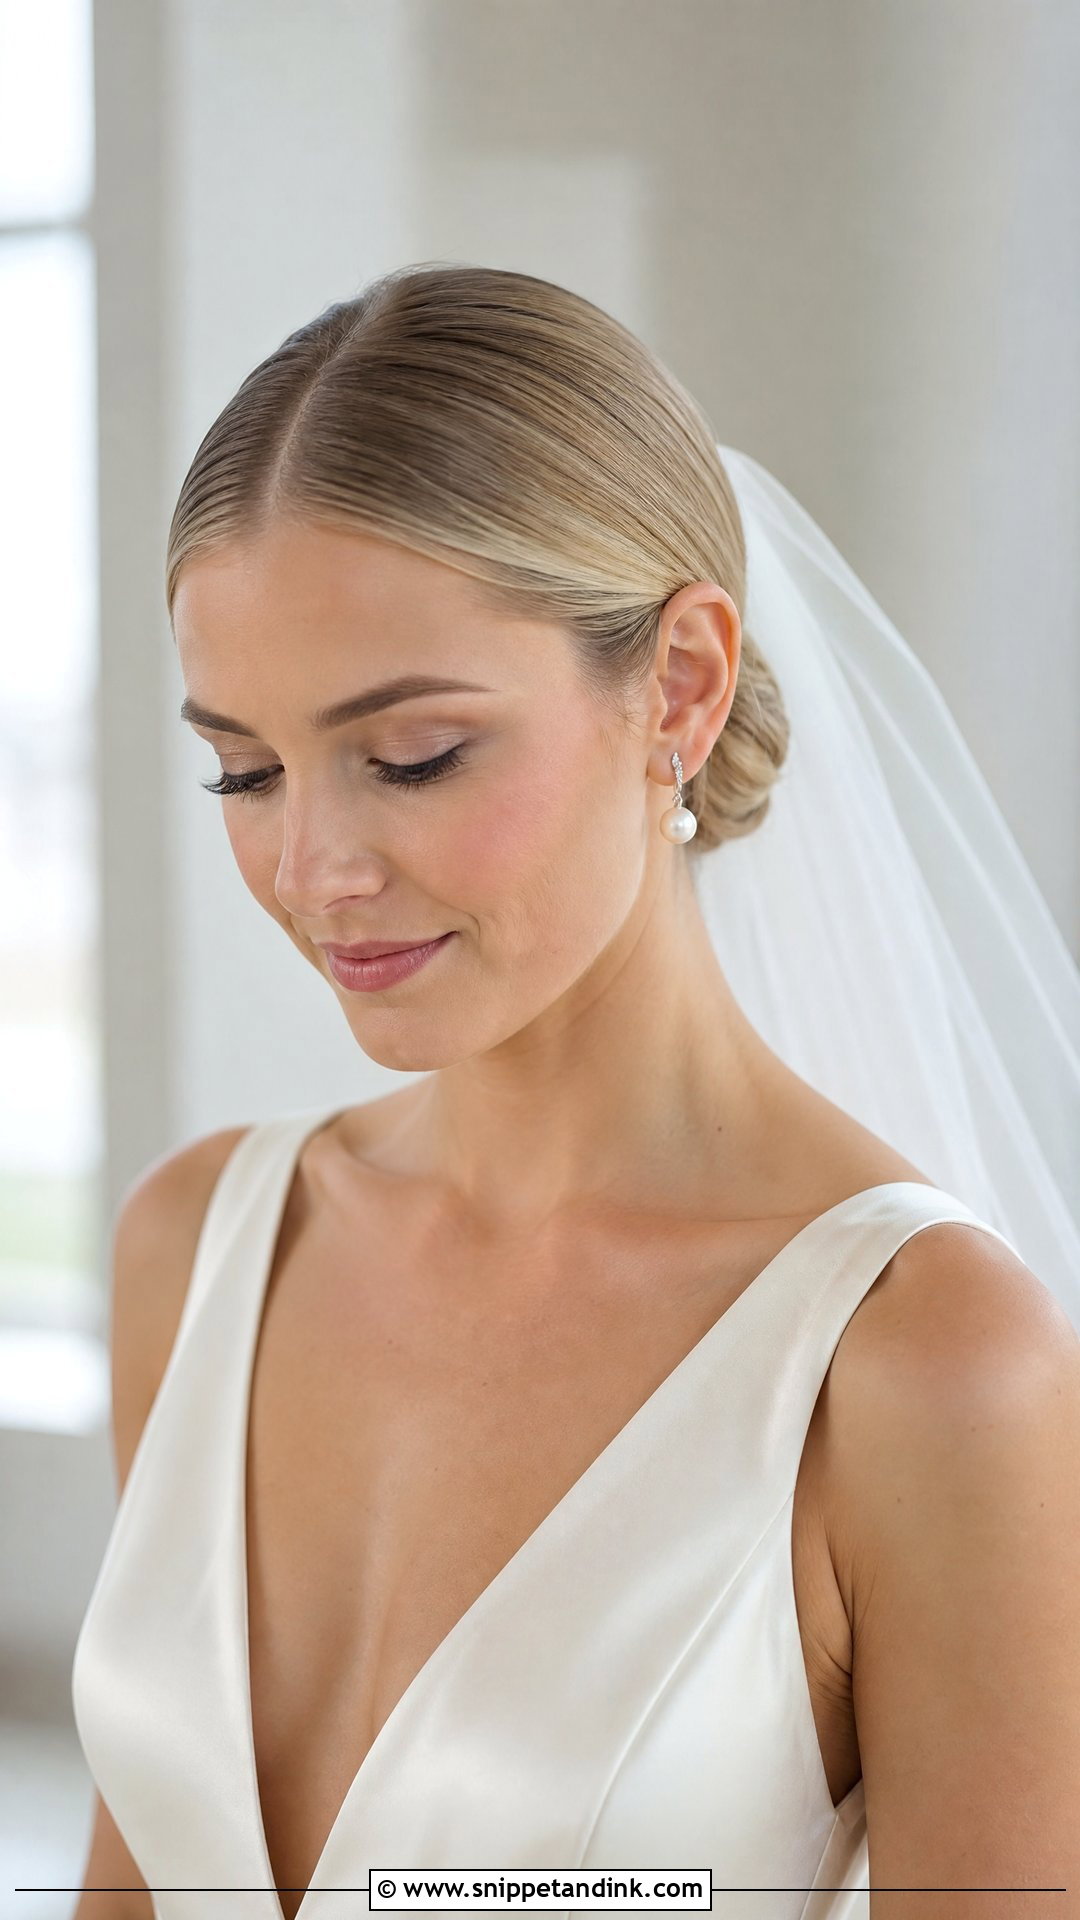
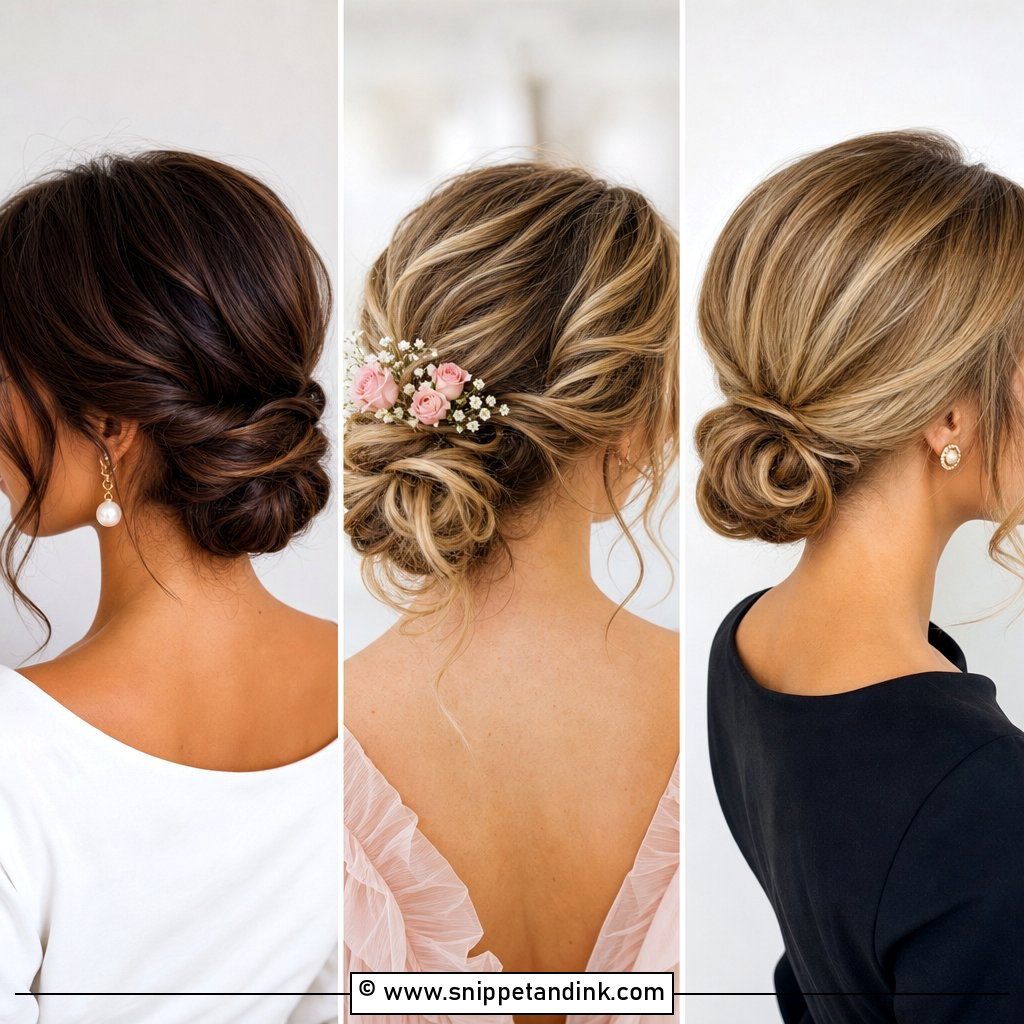
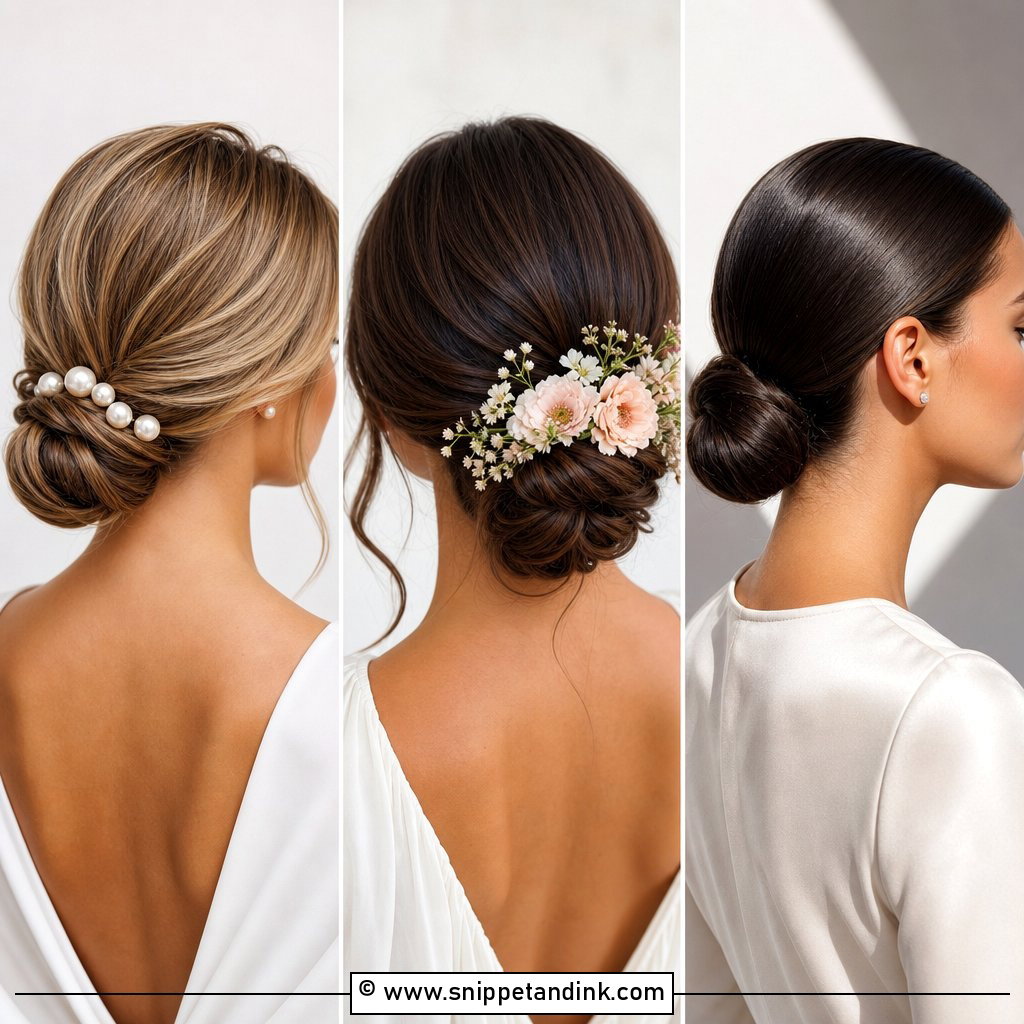
A centre part is the least forgiving part there is. If your face, brows or hairline are slightly uneven, a dead-straight line from forehead to crown will show it, so I always check where the hair naturally falls before committing. When it suits you, it’s clean and balanced, with the bun sitting at the nape. I smooth the crown with a boar-bristle brush and a light cream rather than gel, because gel goes crunchy and flakes by the evening. Pearl studs and a square neckline are all it needs.
2. Side Part Low Bun Wedding Hair
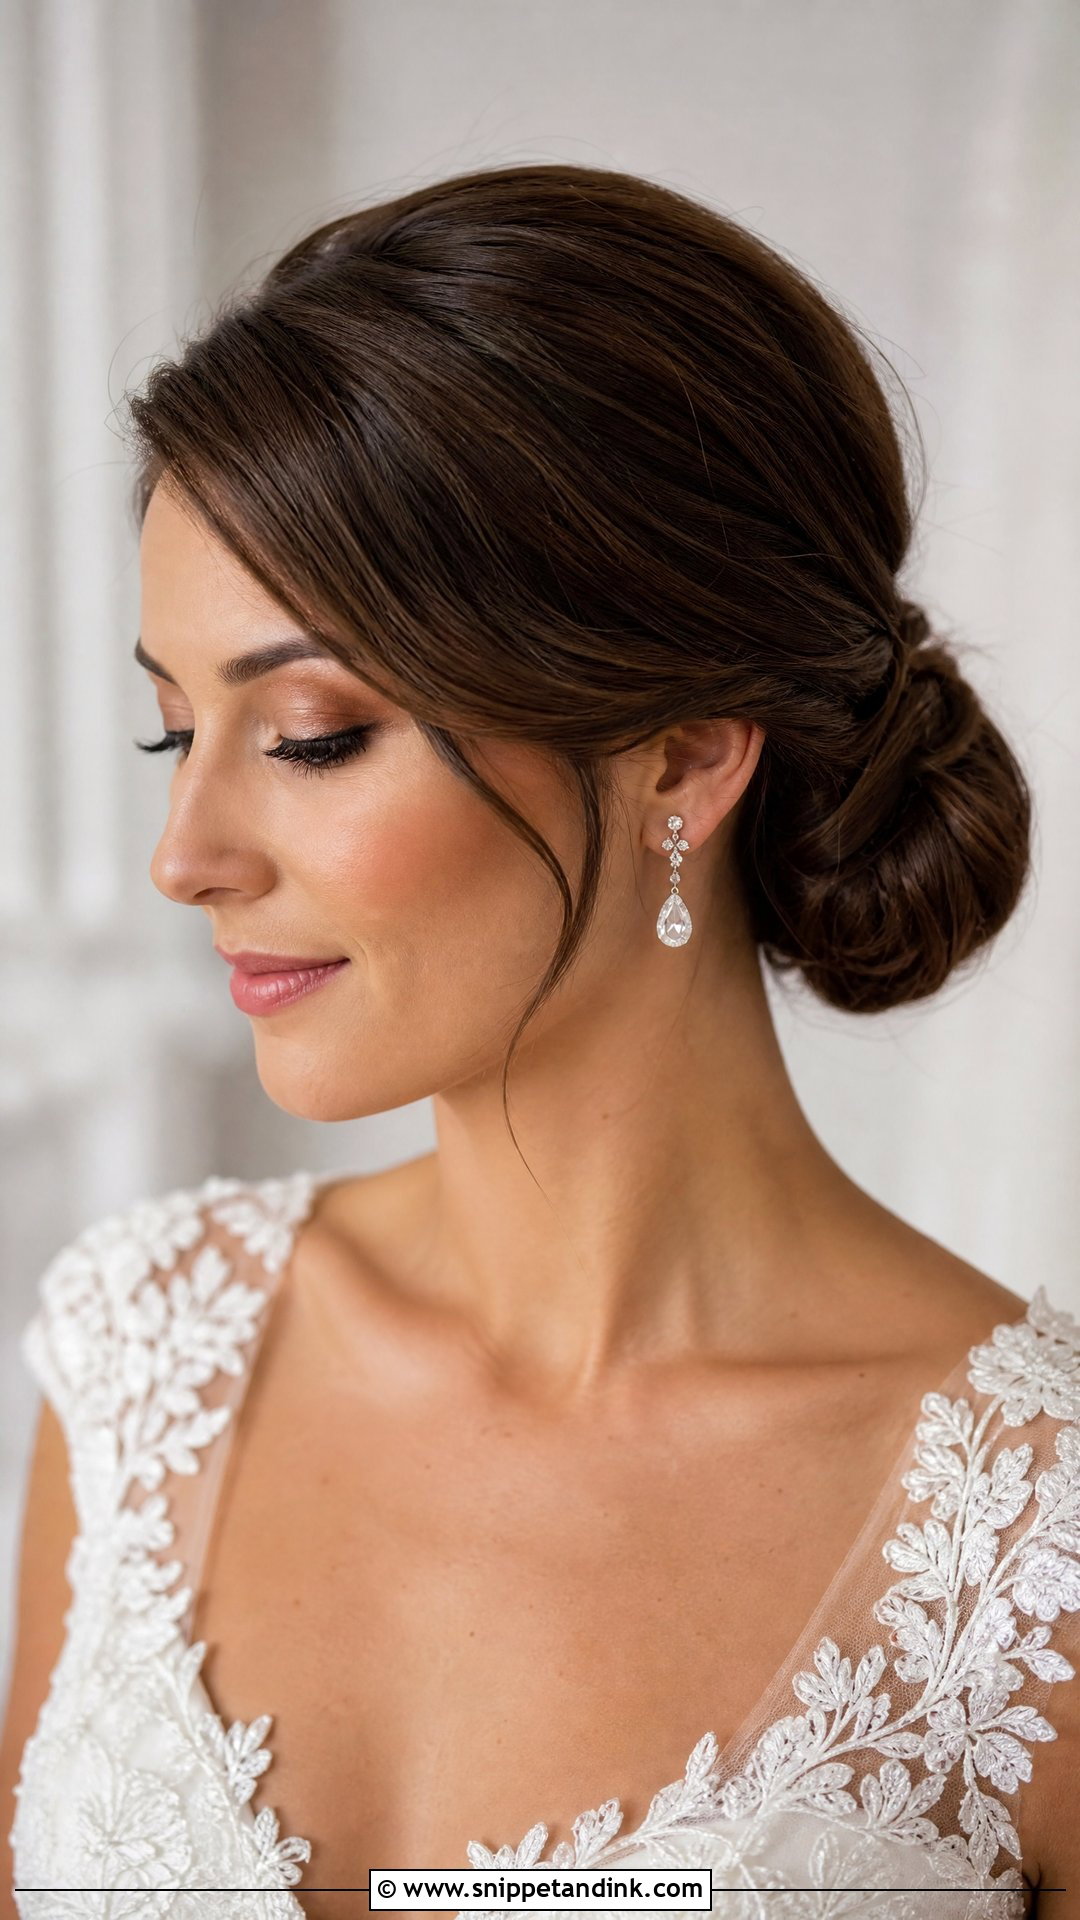
Most people have a natural side part, and working with it gives you a softer frame straight away. I like tucking the shorter side neatly behind the ear and letting the longer side sweep slightly over the temple before it’s drawn into a low, centred bun. It suits medium to long hair, finished smooth or with a brushed texture. A veil, a comb or a small floral pin can sit on the heavier side to balance the part.
3. Low Chignon Wedding Hair
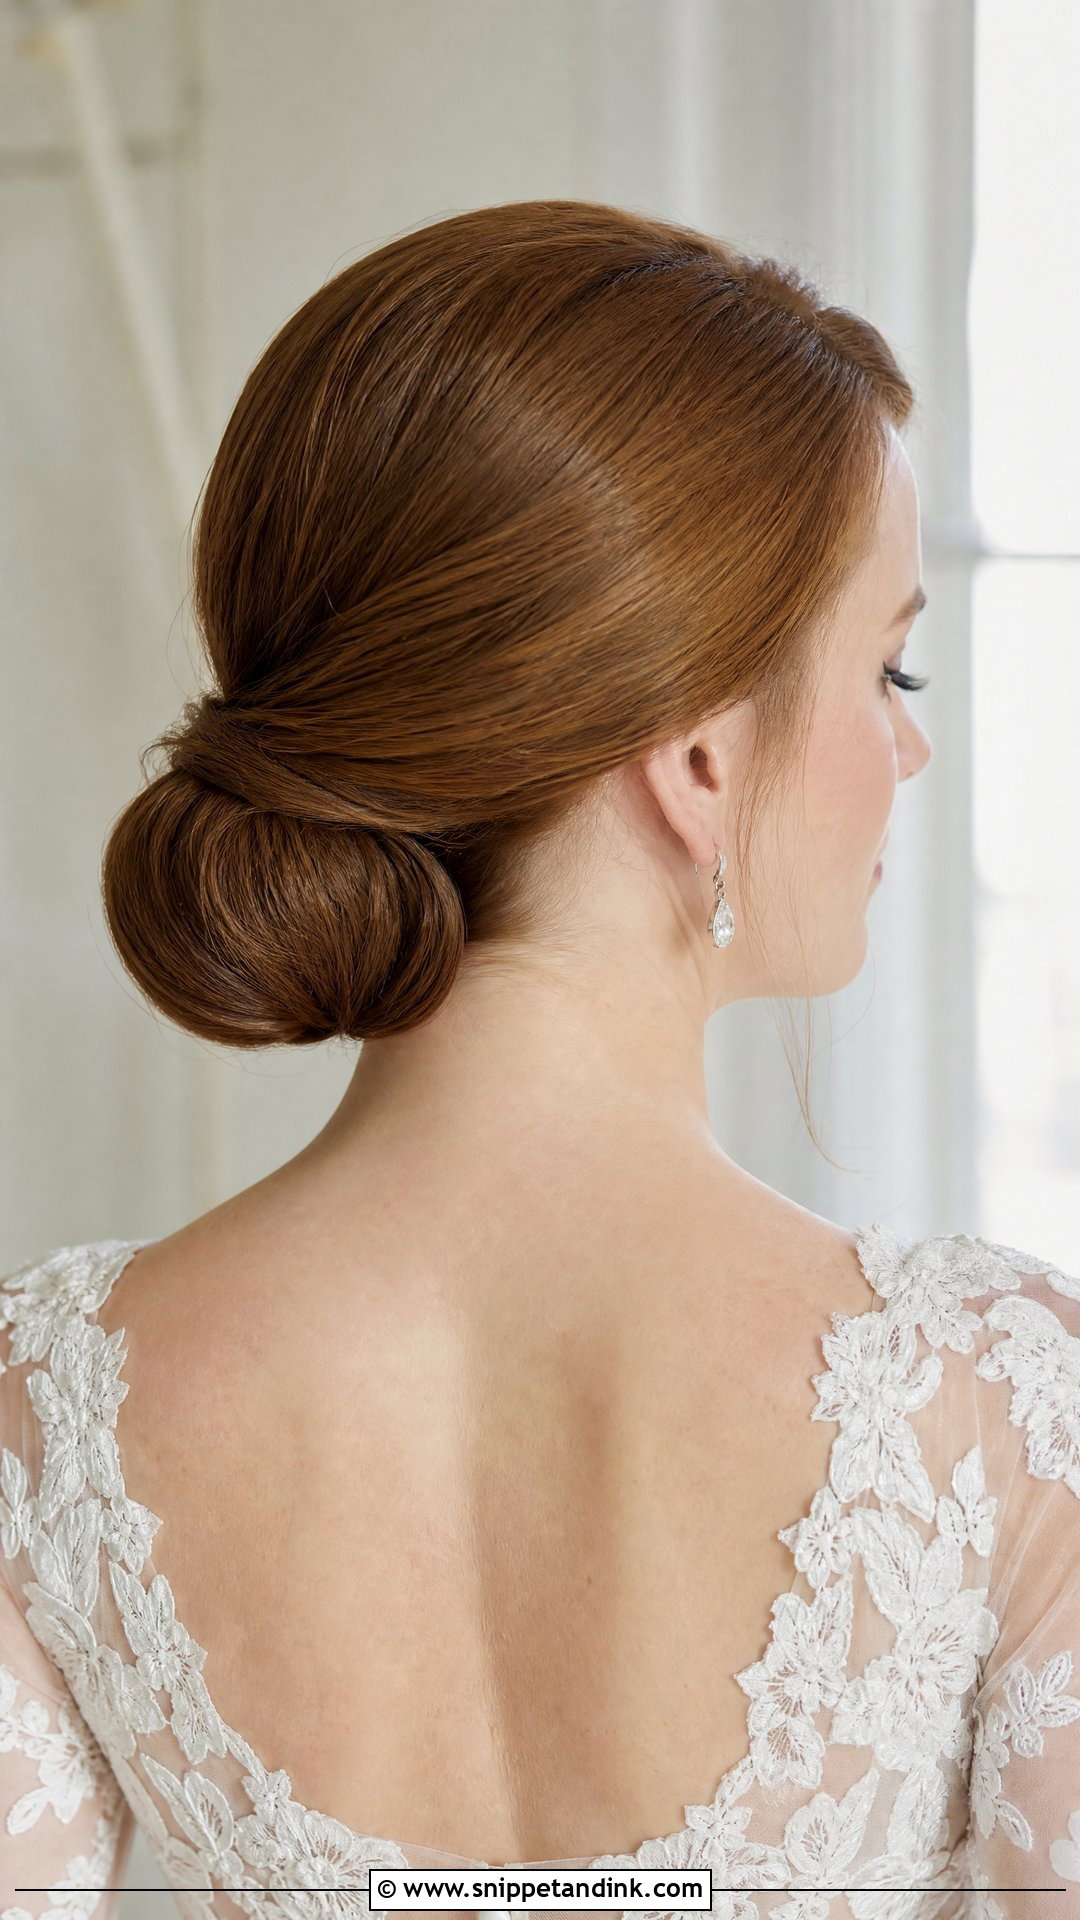
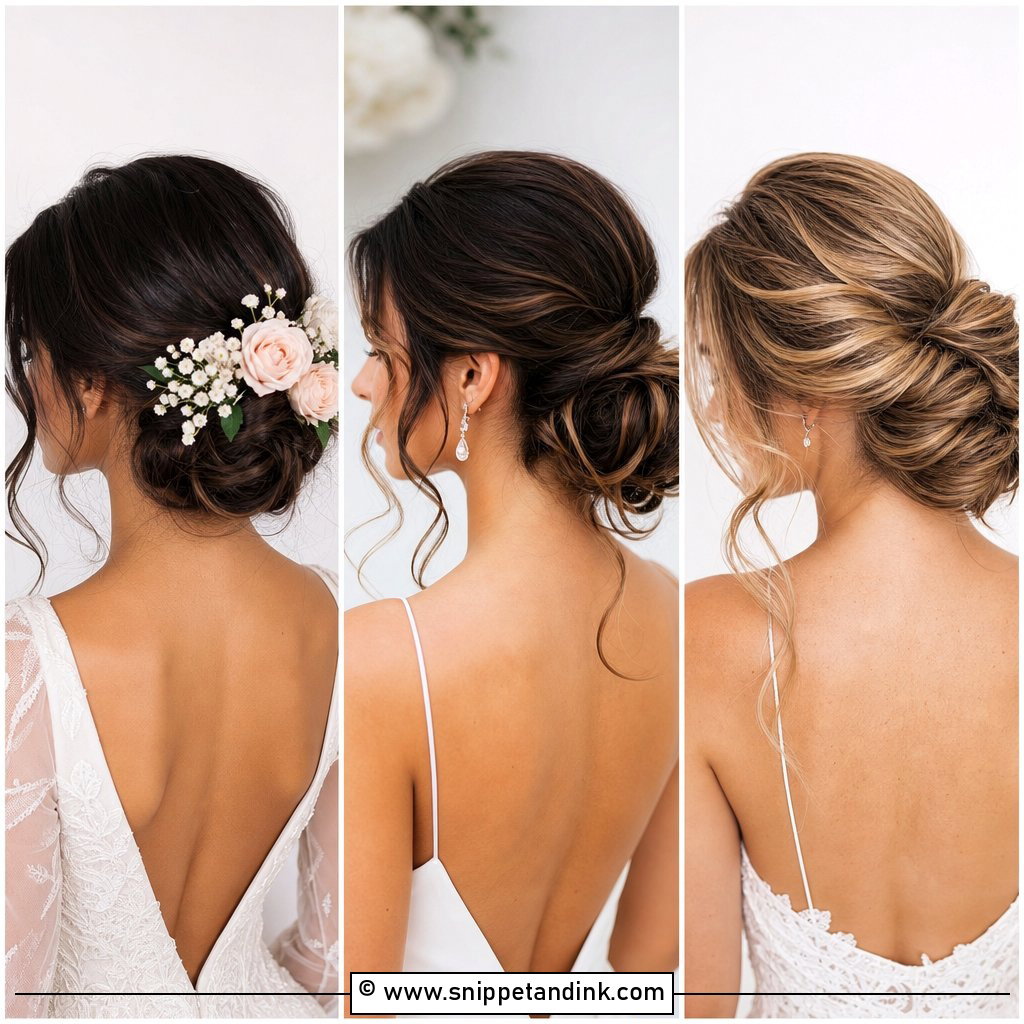
The chignon is a rolled, tucked shape pinned close to the nape, and it’s the one I suggest when the gown has a lot going on. Lace, beading or a sculpted crepe bodice doesn’t need hair competing with it. I shape the roll to follow the curve of the head rather than sitting it on top like a doughnut, which is what makes it look sculpted instead of stuck on. Ask for hidden pins and a soft shine finish, not a lacquered one.
4. Smooth Twisted Low Bun Wedding Hair
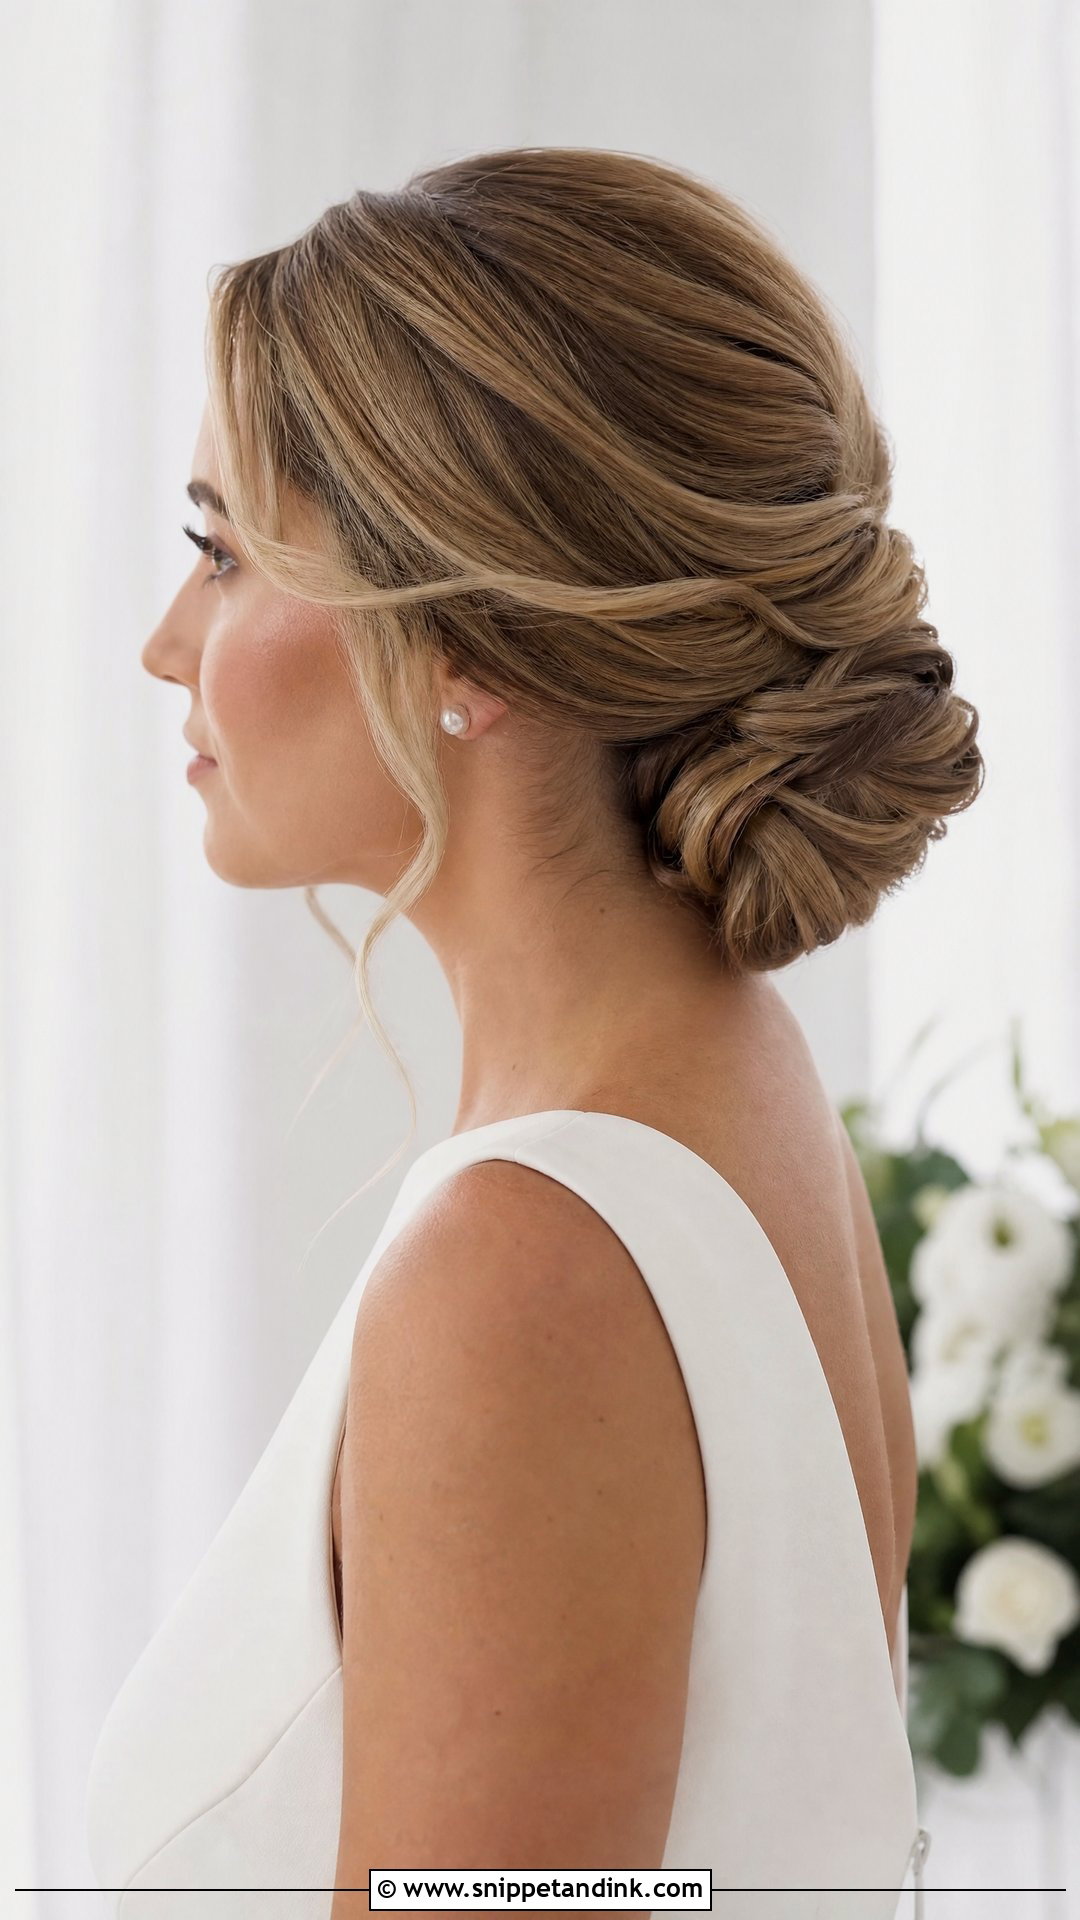
If your dress is plain from behind, the back of your hair is going to get looked at during the whole ceremony. A twisted bun gives that view something to see without adding fuss at the front. The twist can be tight and polished or slightly relaxed, and highlighted or balayaged hair shows its dimension really well in each turn. I cross-pin along each twist rather than only at the end; twists unwind slowly over the day if they’re only anchored once.
5. Clean Low Bun With Face Framing Pieces
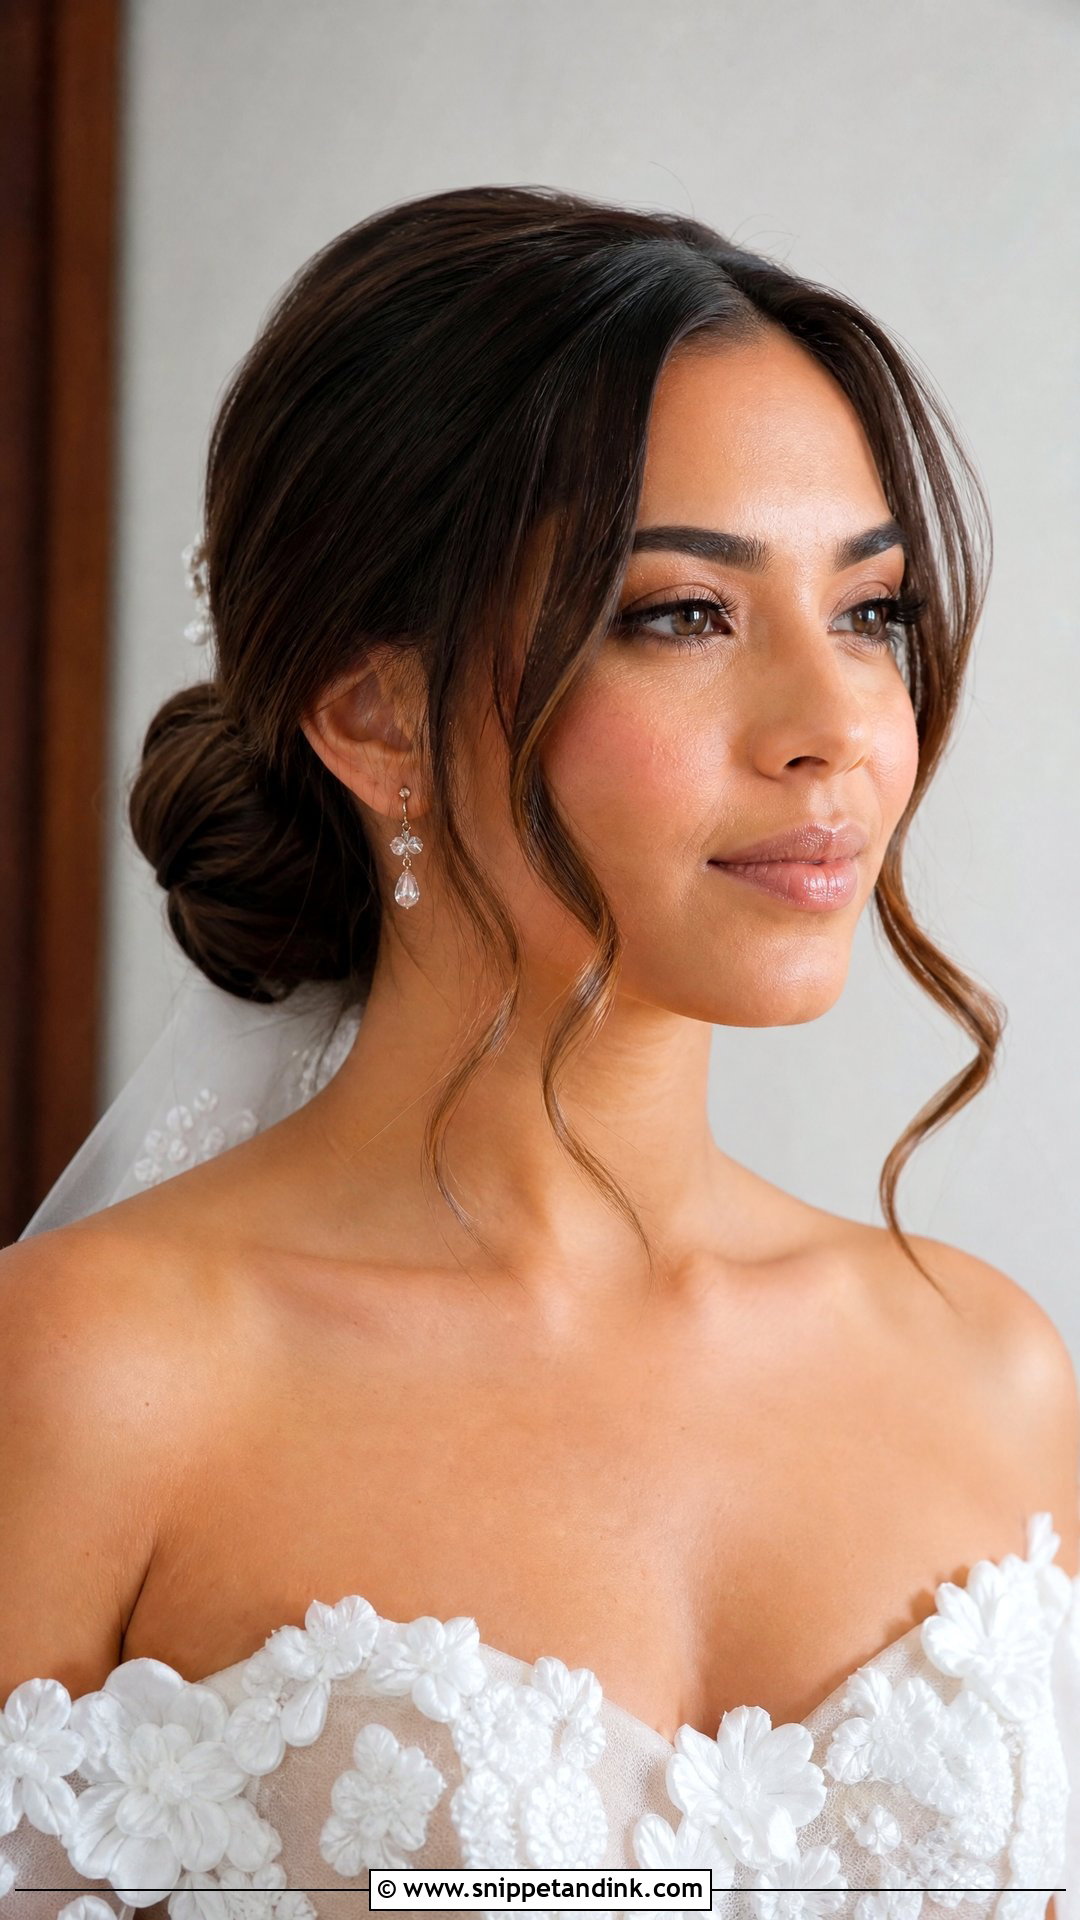
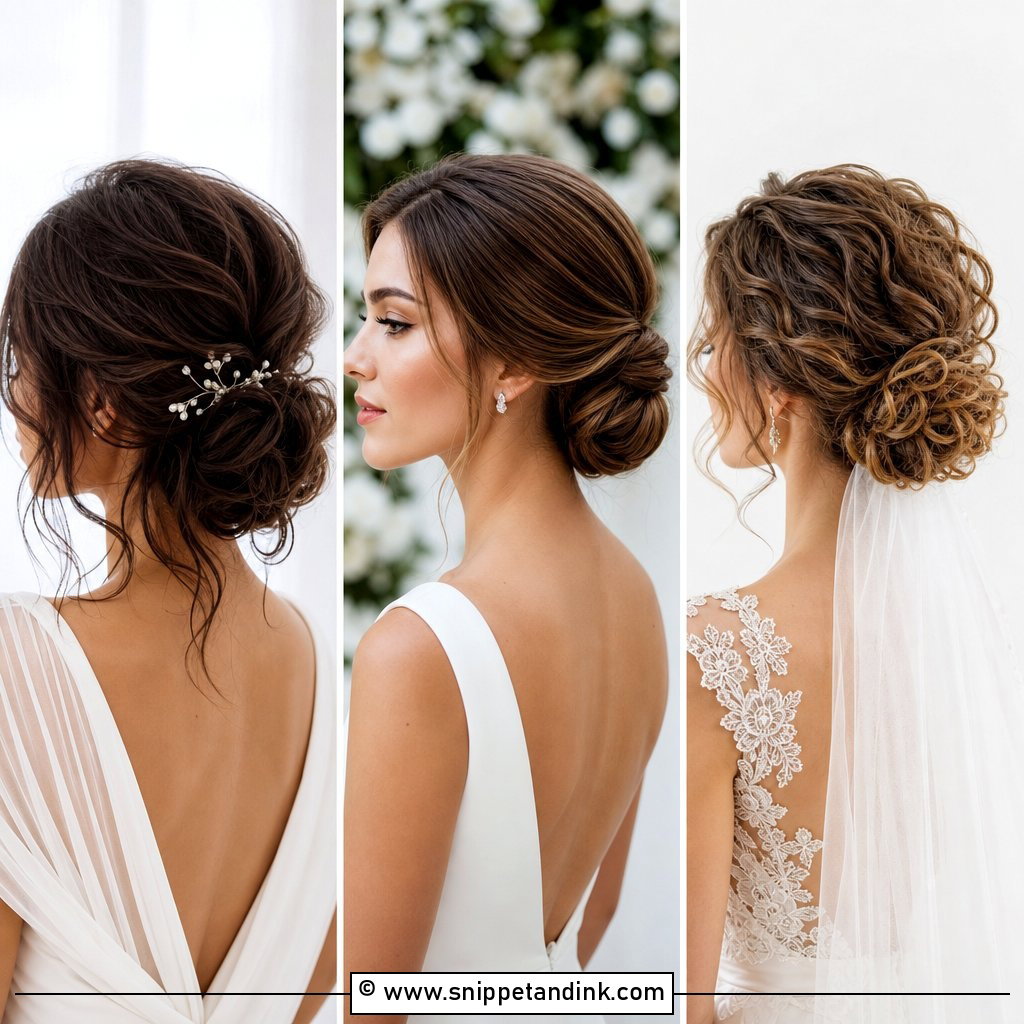
Loose pieces at the face are the compromise I suggest most to brides who never wear their hair back. The bun stays neat and low, and two or three strands near the temples and jaw stop it feeling strict. What separates good tendrils from messy ones is that they’re cut from the hairline deliberately, curled separately and then brushed out. Leave them too long and they’ll stick to lip gloss all day. This keeps the neckline open for strapless and off-the-shoulder gowns.
6. Low Bun Wedding Hair With Pearls
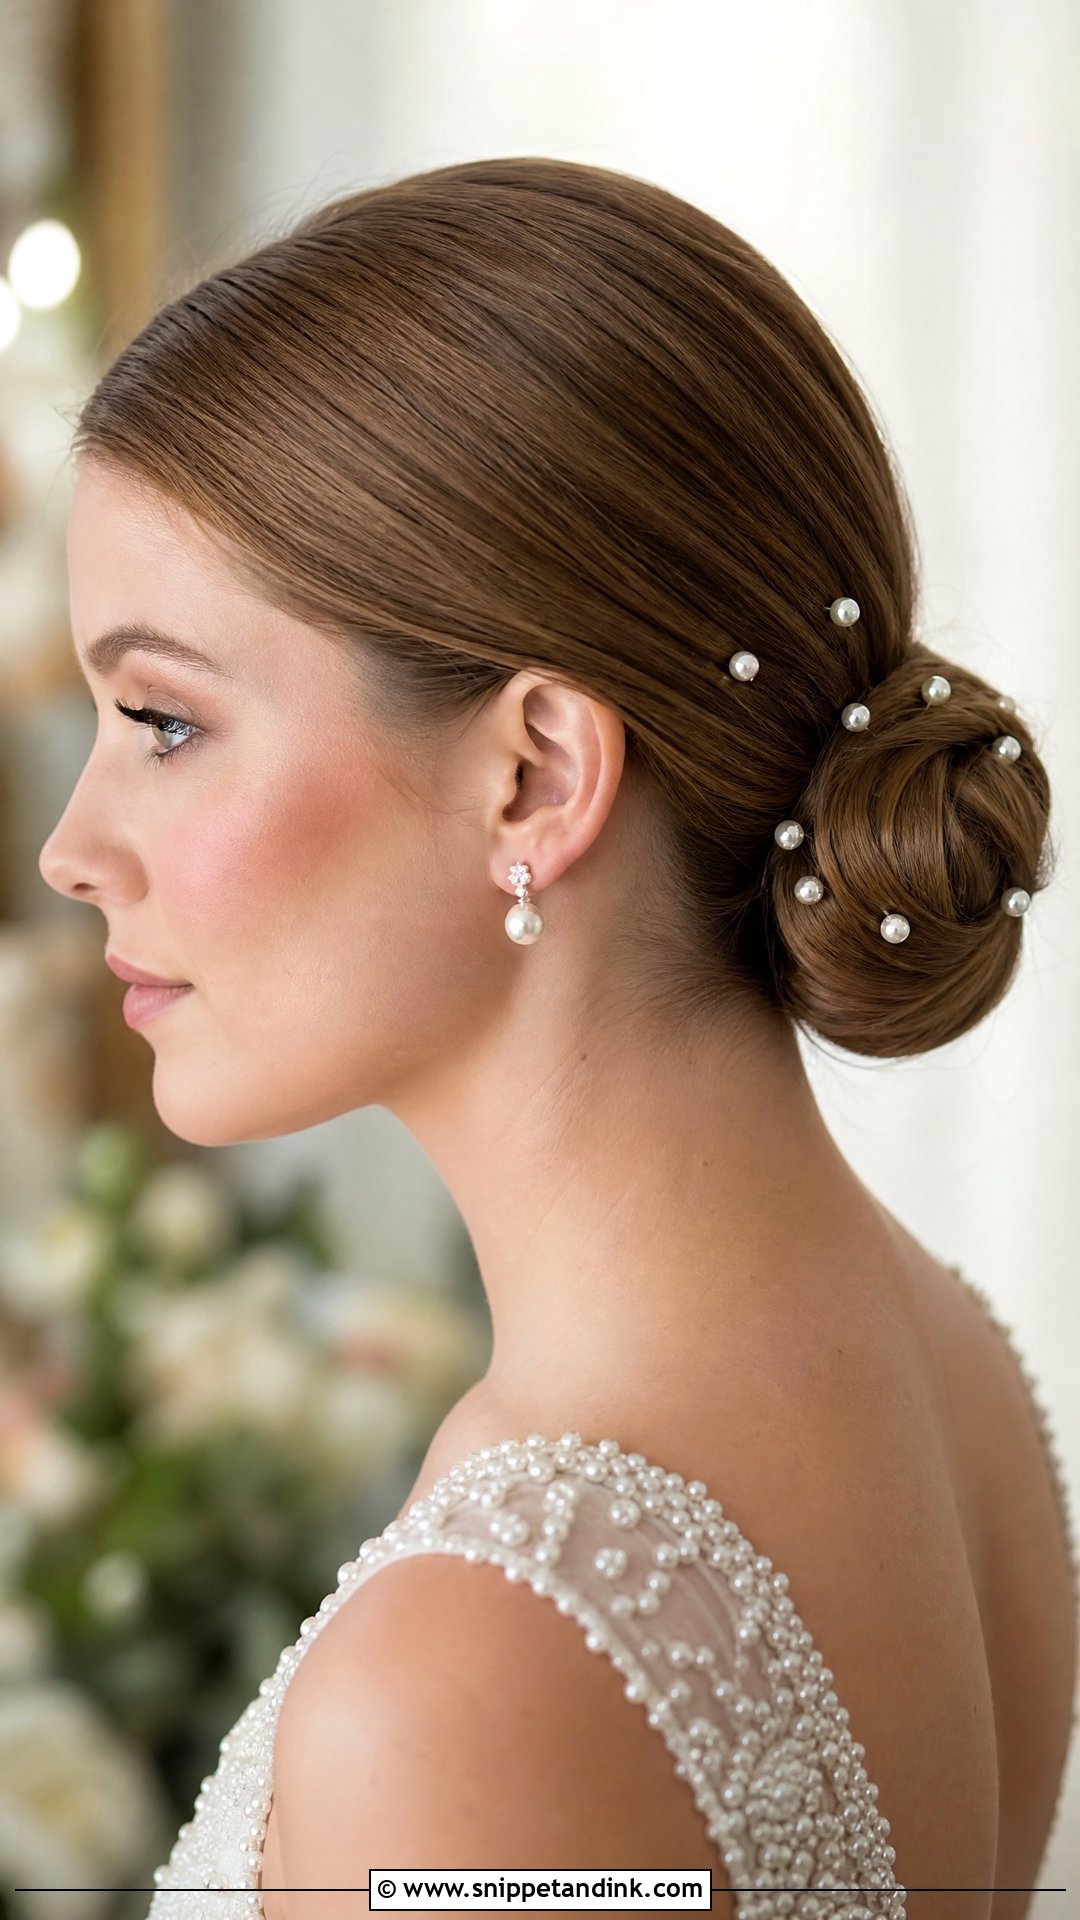
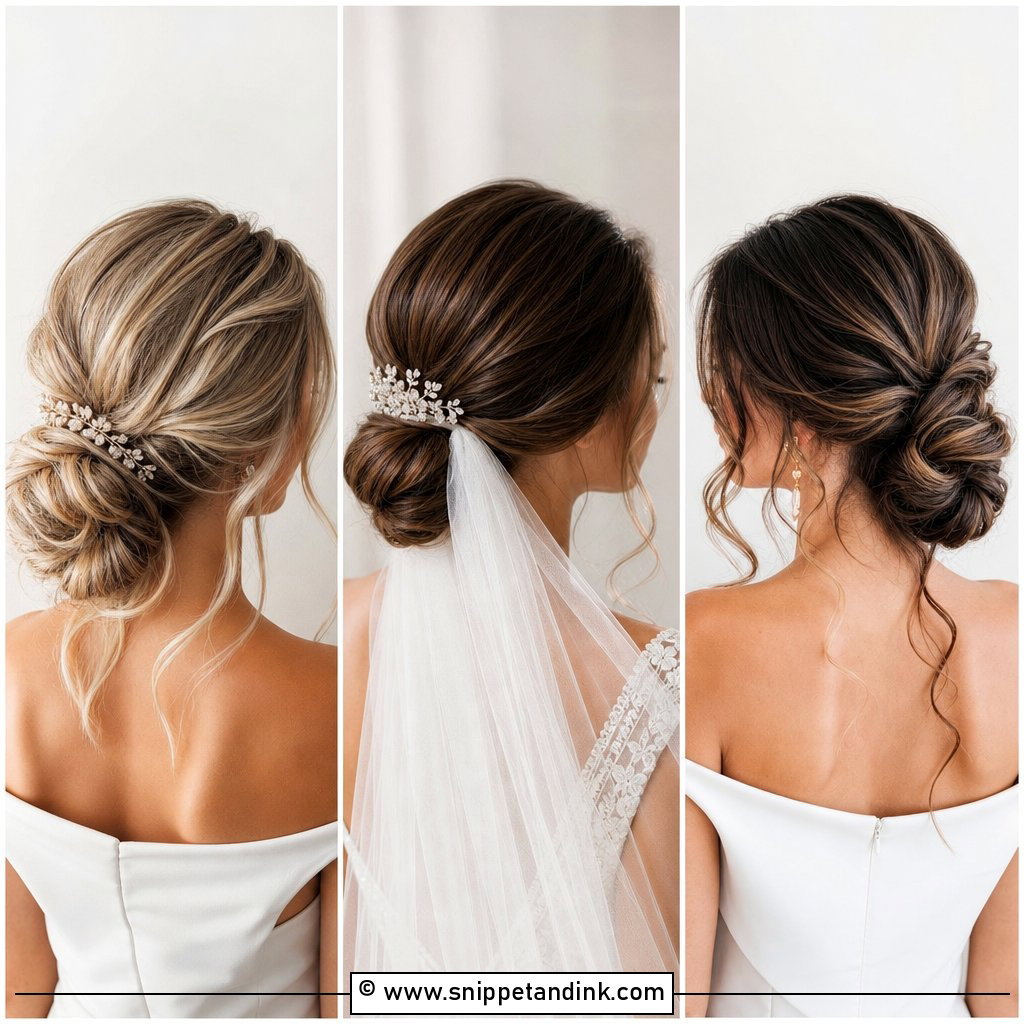
Pearl pins look best on the smoothest version of a bun, because the shine of the pearl reads against sleek hair and gets lost in heavy texture. You can ring them around the bun, line them down one side or tuck them into a twist. If your dress has pearl beading, this ties the two together without buying a separate headpiece. I’d stop at five to seven pins on a low bun; past that it starts to look like decoration for its own sake. Garden and chapel ceremonies suit it especially well.
7. Low Bun Wedding Hair With Veil
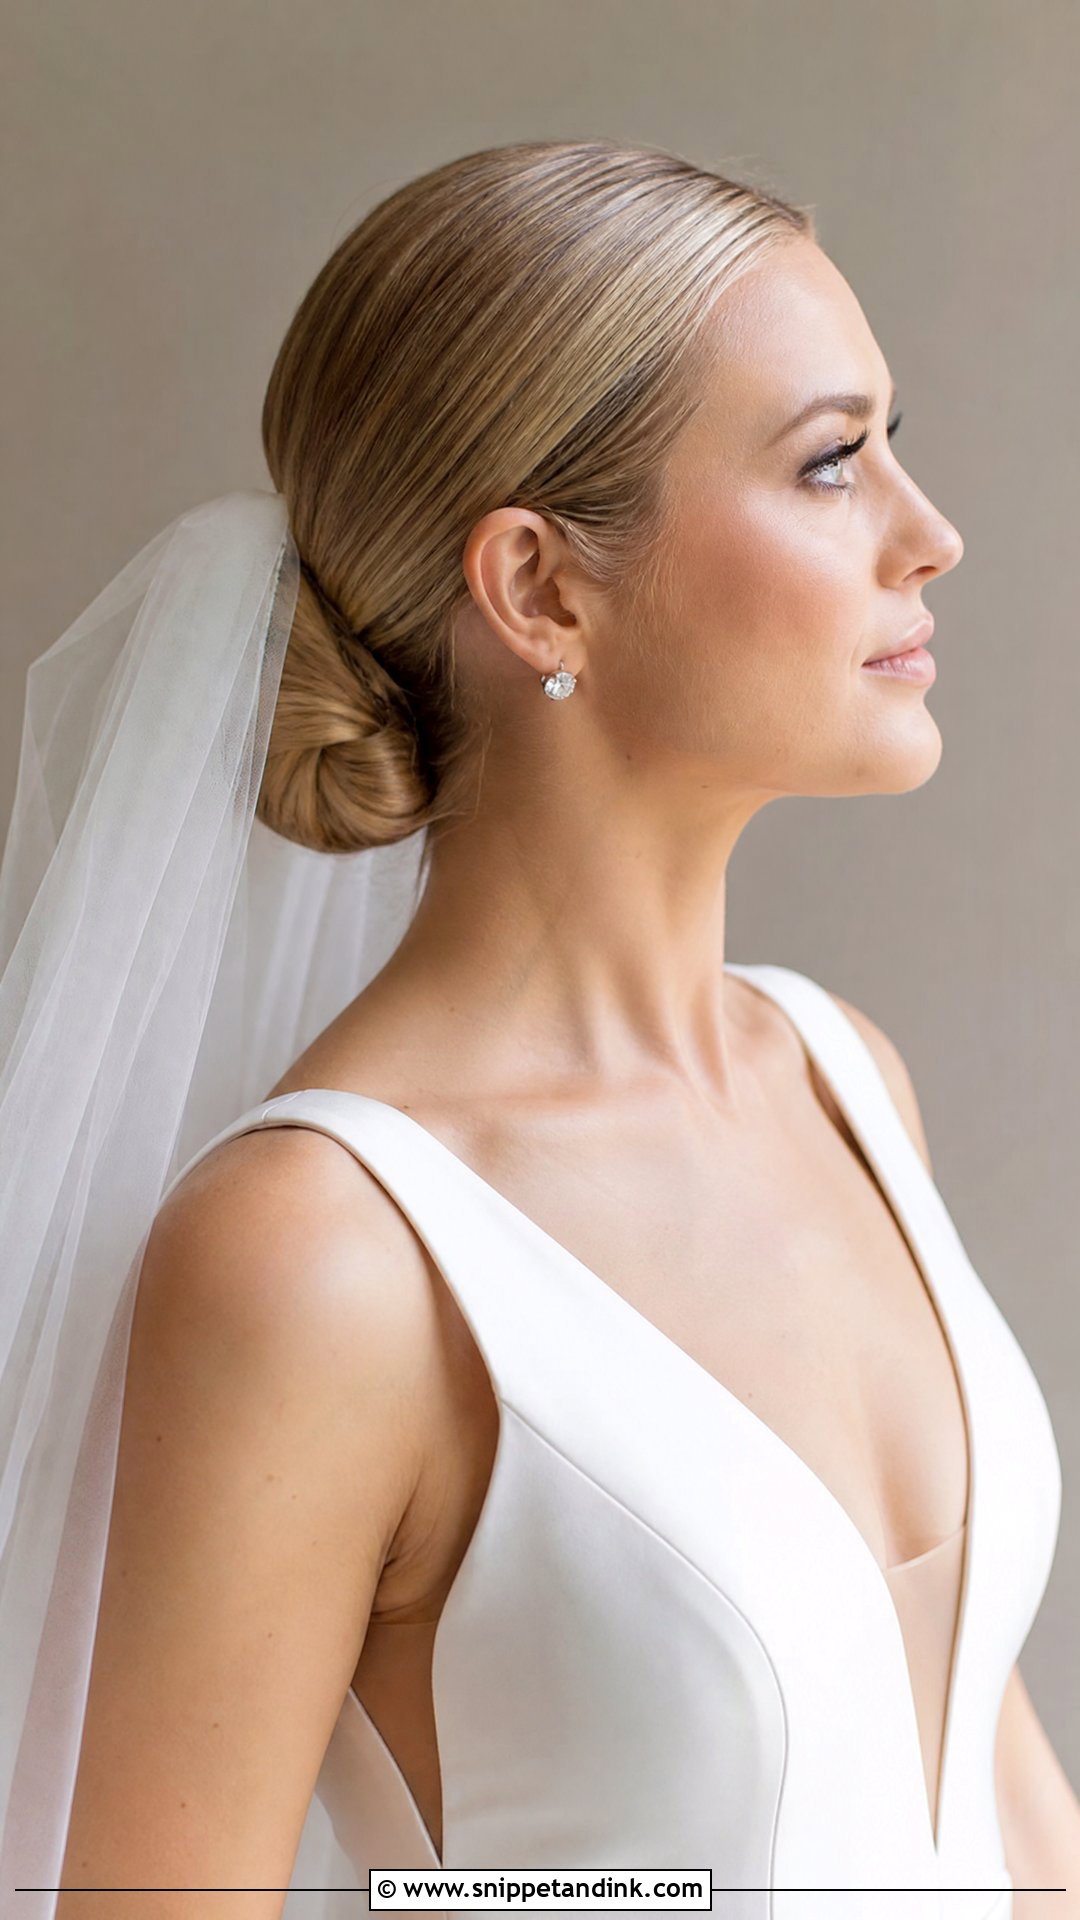
This is the bun I’d recommend to almost anyone wearing a veil, because it gives the comb a firm base to grip. Above the bun reads more traditional; slid in underneath, the veil falls softer and lets the hair show. The hairstyle itself should stay smooth so the tulle drapes without catching. It works with cathedral veils, fingertip veils and plain single-tier tulle, and the bun barely needs a touch-up once the veil comes out for the reception. Long veils get stood on, so I always pin the comb into a teased anchor, not just loose hair.
8. Low Bun Wedding Hair With Hair Comb
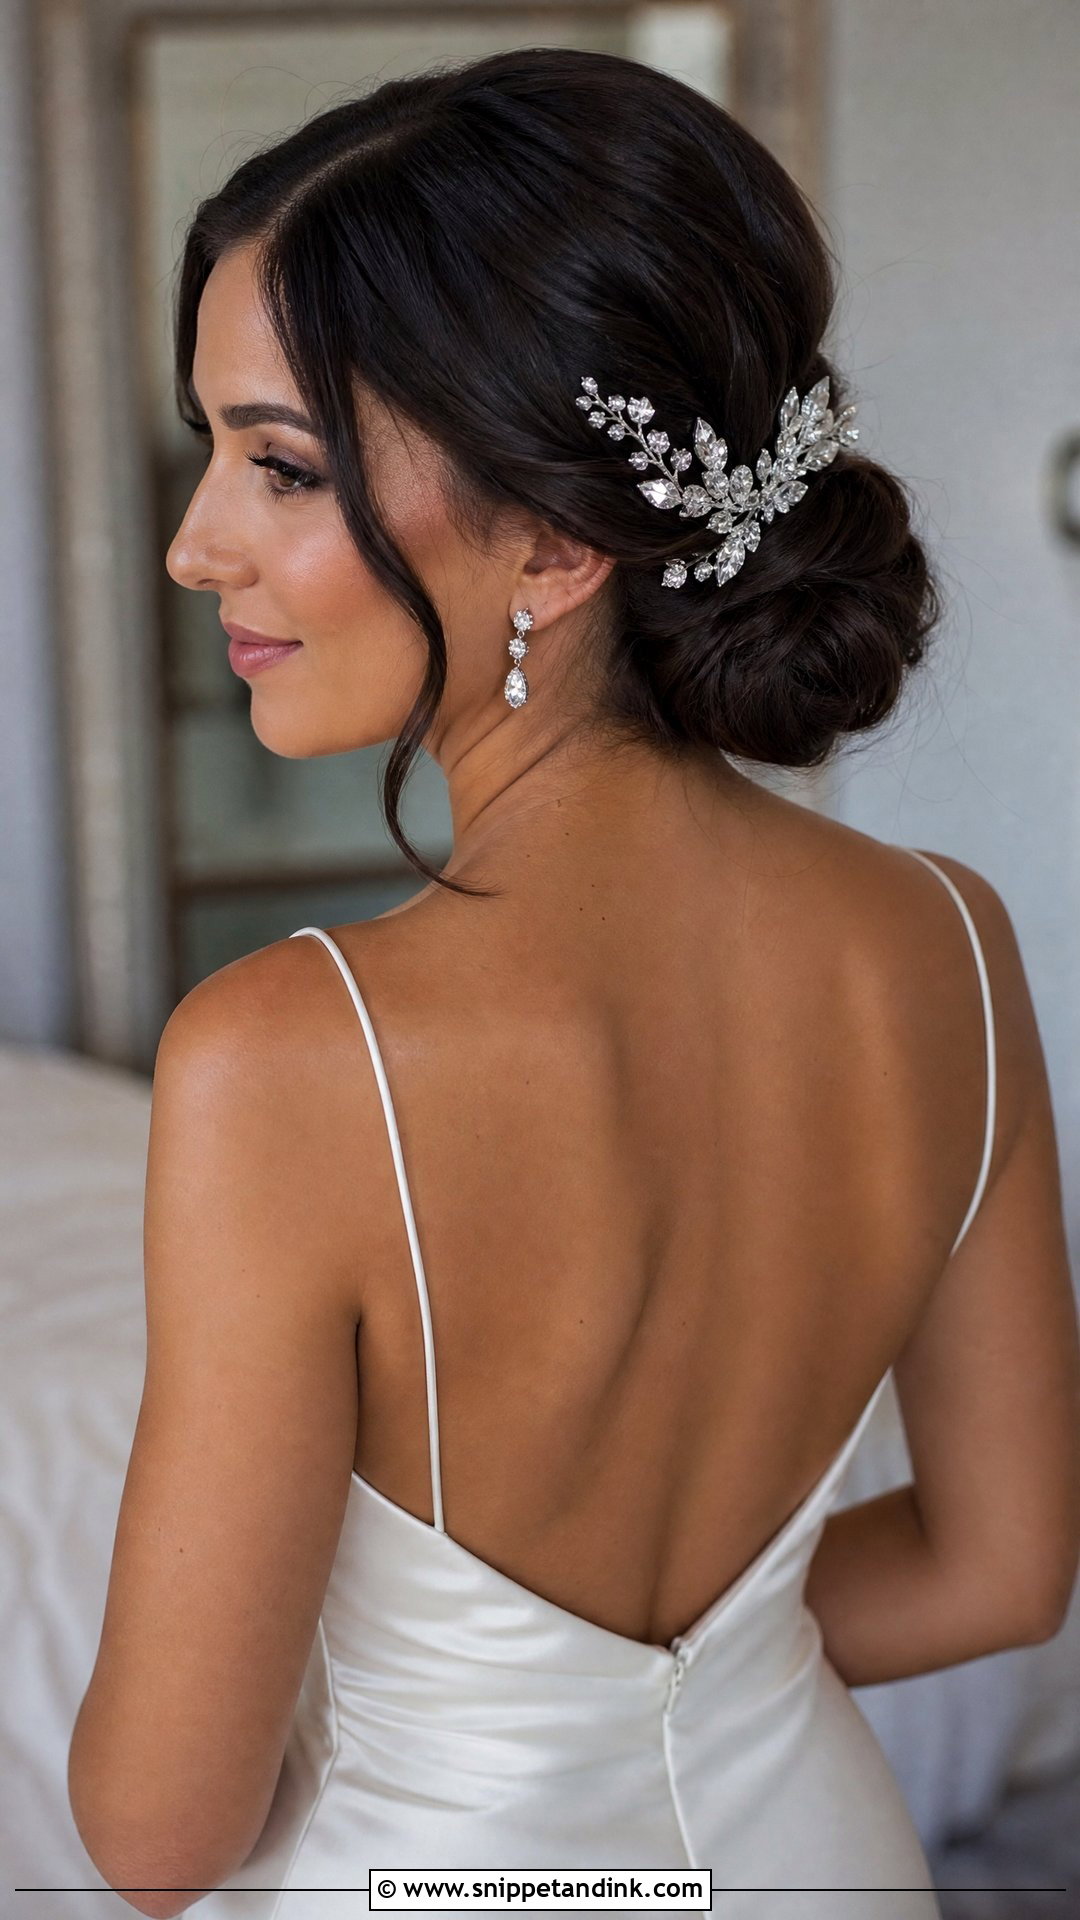
A clean bun is the best possible backdrop for one statement comb, because nothing textured competes with it. The comb can sit above the bun, along one side or curved into the chignon. Match its metal and stones to your dress details, pearls, crystals, gold leaves or silver, and the whole look feels planned. One practical check at the trial: heavy combs can slide on slippery hair, so I usually lock them in with two crossed bobby pins hidden under the teeth. Keep the front plain so the comb stays the focus.
9. Low Bun Wedding Hair With Middle Part
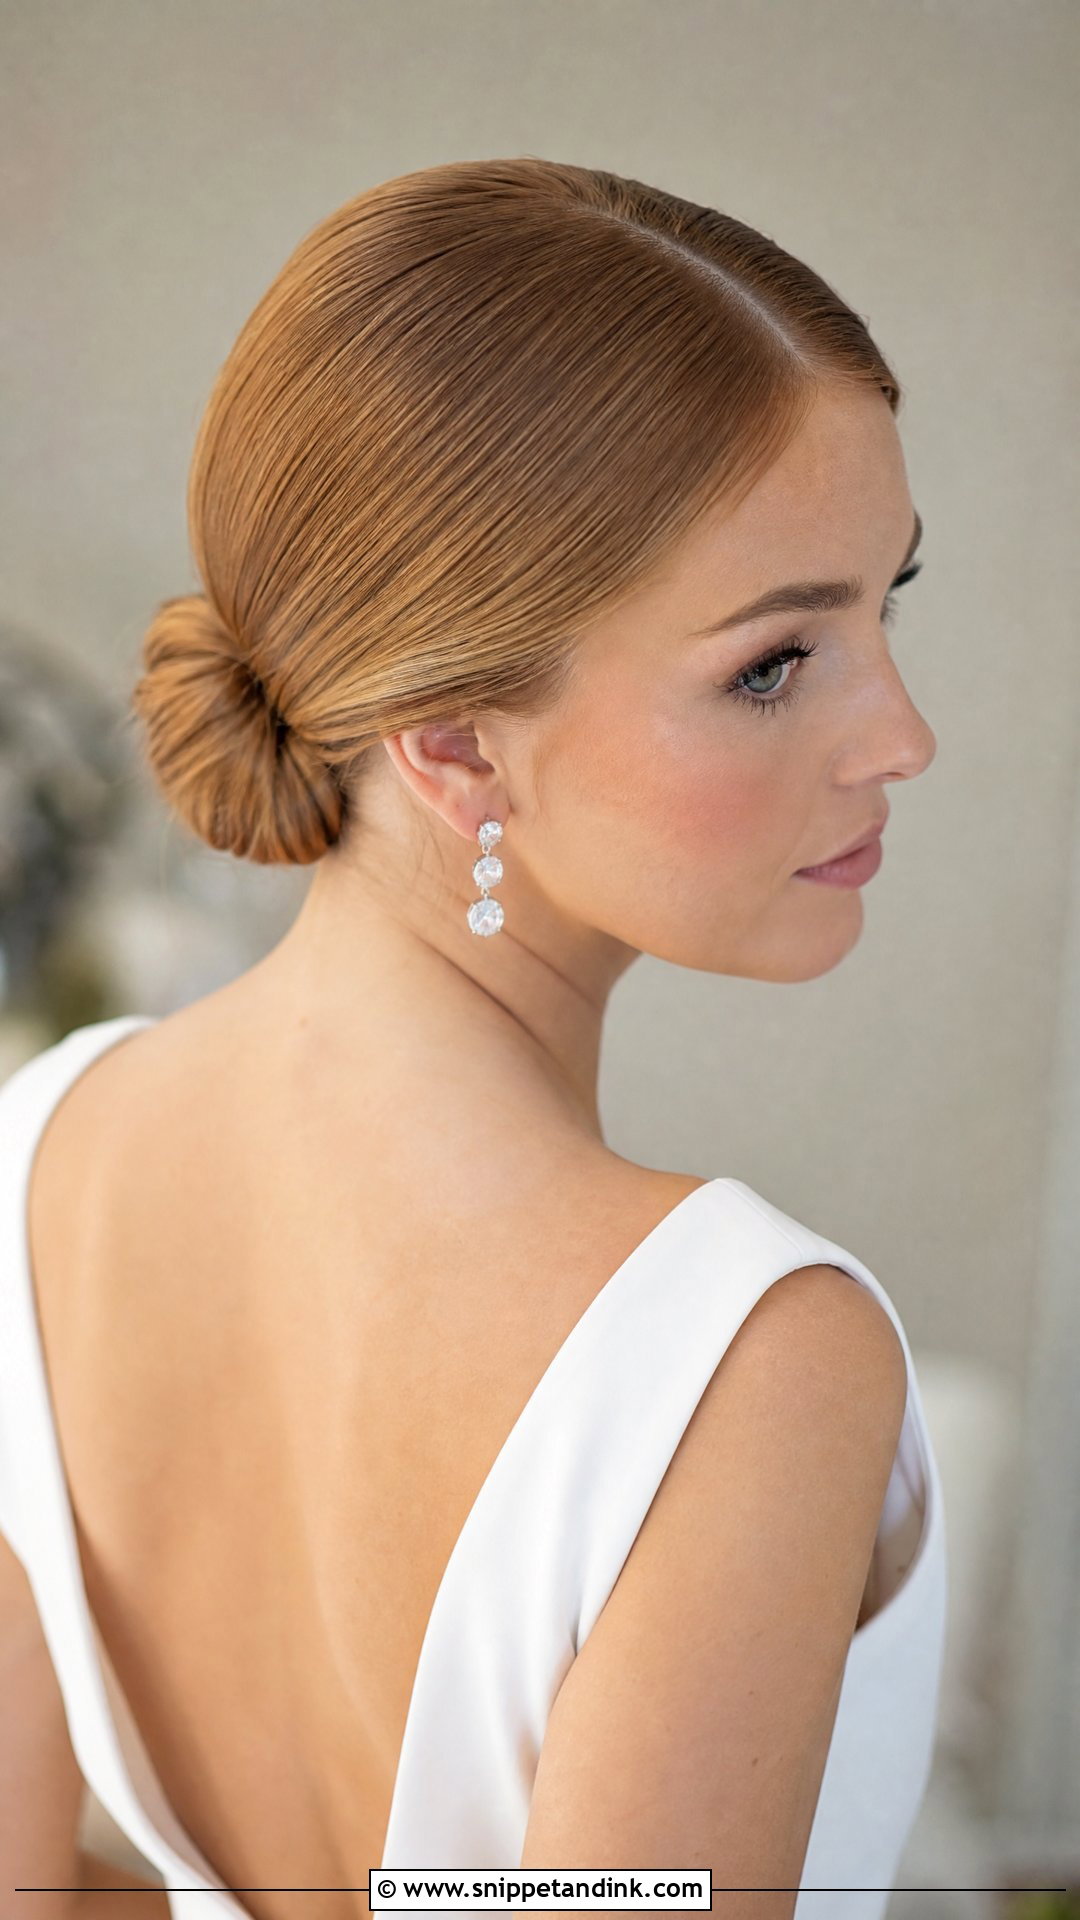
Paired with a middle part, the low bun becomes the most adaptable look on this list. It can go sleek for a modern venue or softly brushed for a garden. Big earrings shine with it because the hair is completely out of the way. If you want the cleanest finish, keep volume at the crown minimal; a lifted crown with a centre part tends to make the top of the head look pointed in side photos. A shine spray on the part and bun helps under camera flash.
10. Low Bun Wedding Hair With Side Sweep
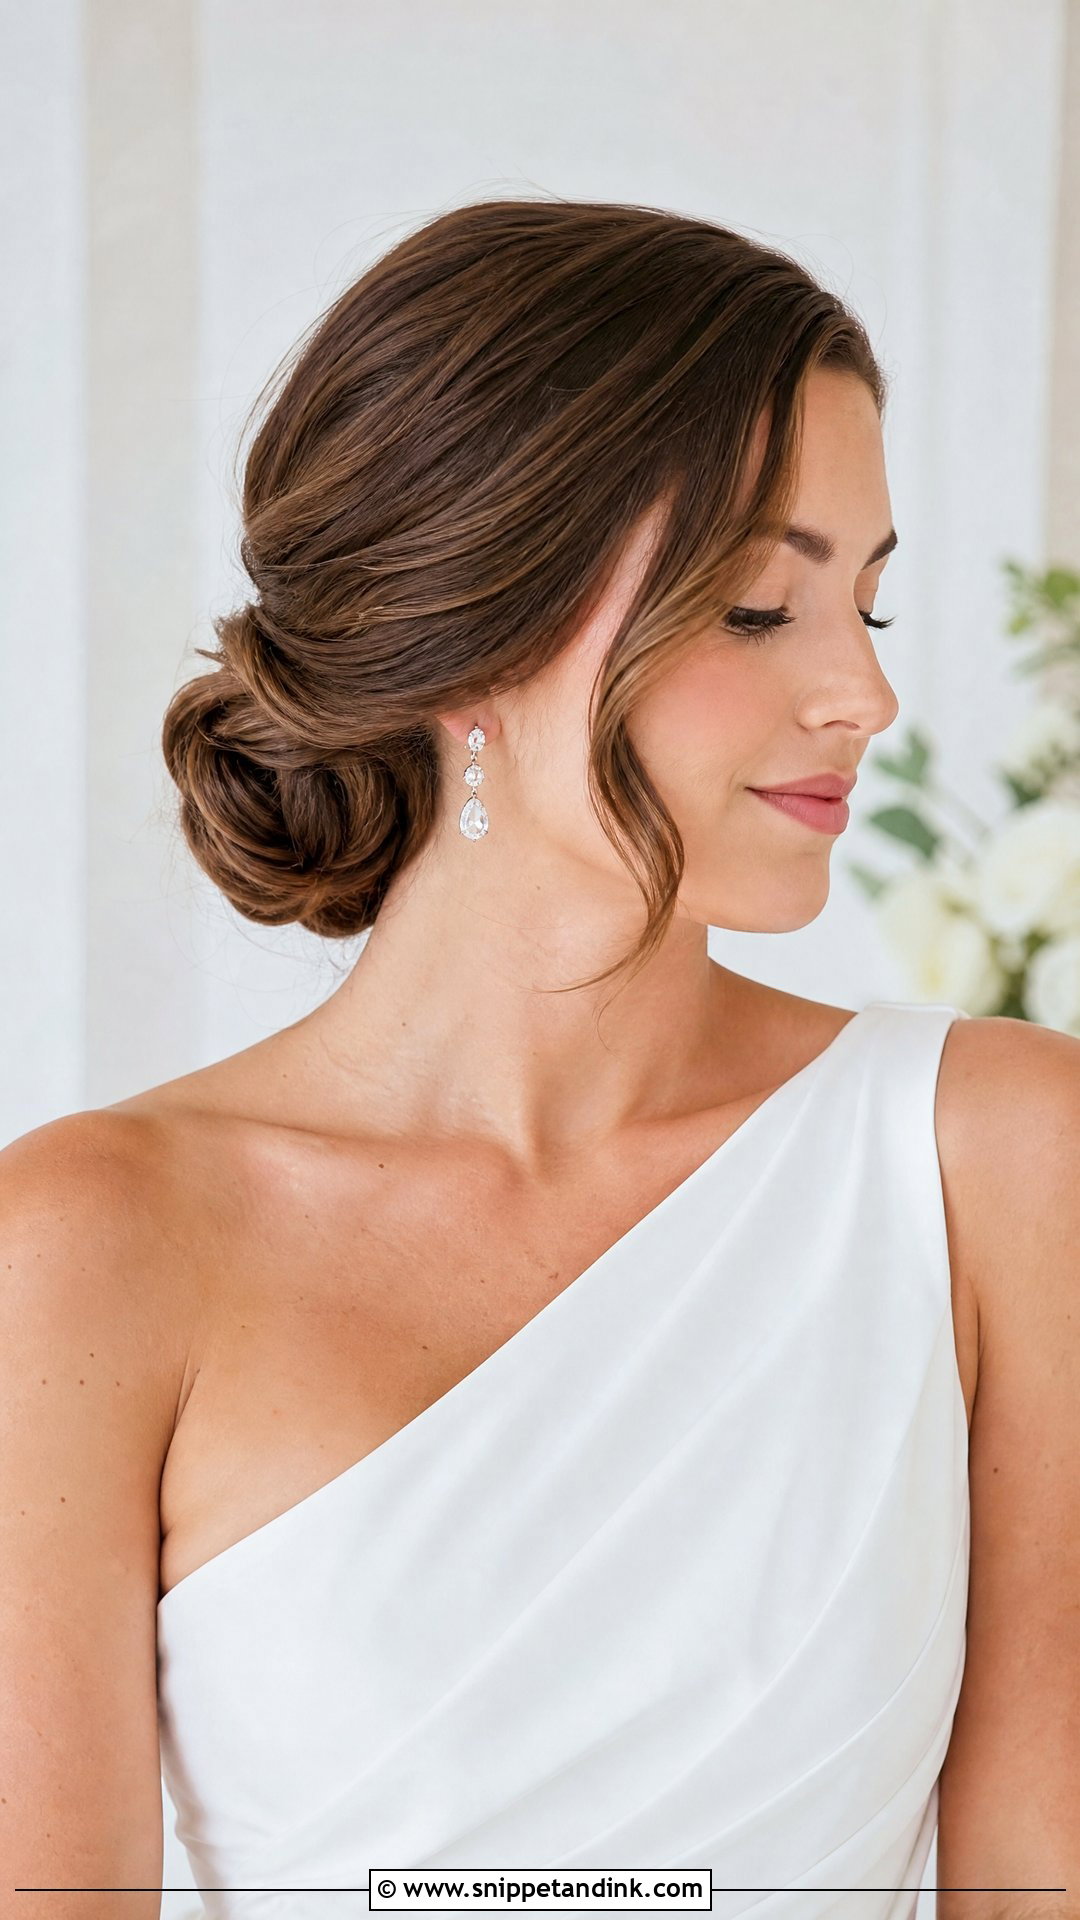
Some brides hate seeing a sharp part line in photos, and a side sweep solves that by brushing the front across the forehead or temple before guiding it back. It gives movement at the face and keeps the bun itself low and neat. The sweep needs to be set with a round brush or a large barrel so it holds its curve; brushed flat, it falls into the eyes within the hour. Drop earrings and a one-shoulder gown go naturally with it.
11. Low Bun Wedding Hair For Thin Hair
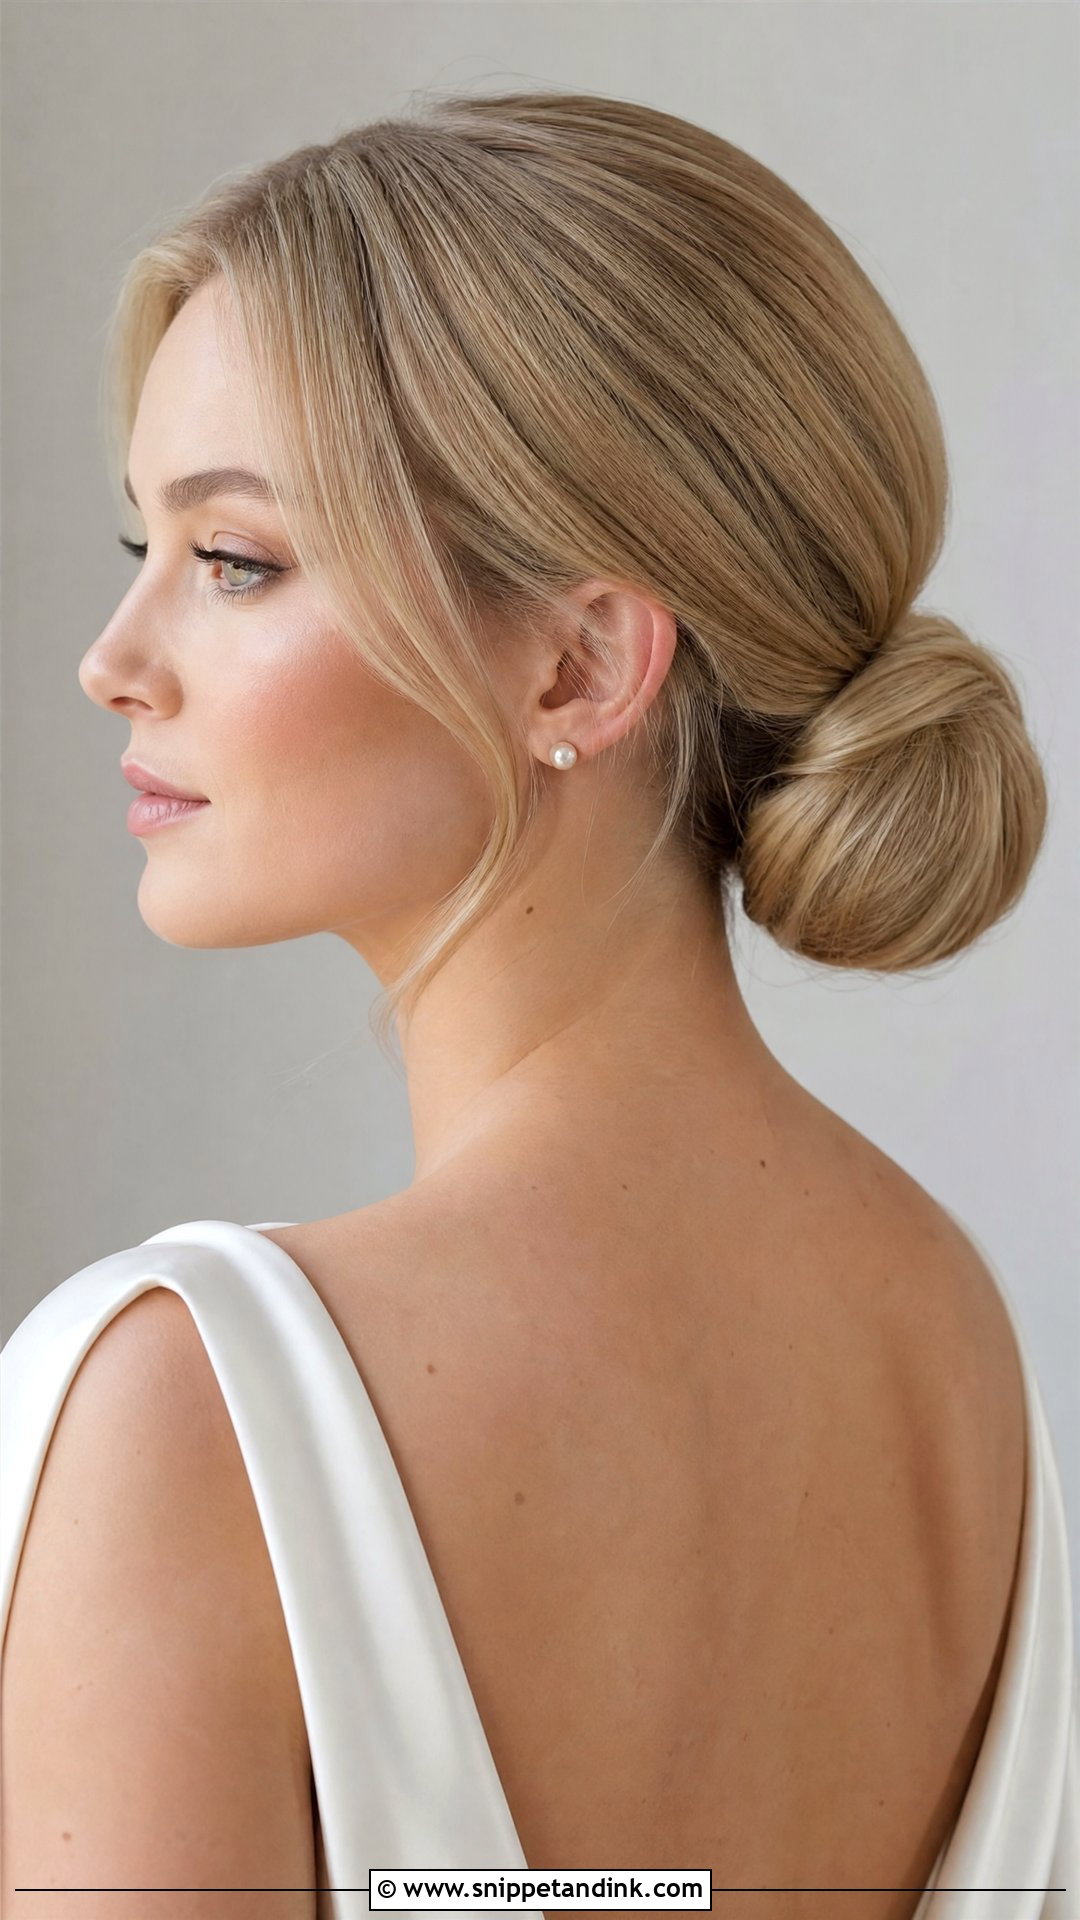
Thin hair can carry a low bun well, but it needs help underneath. I’ll use a small padding in a shade close to the hair, or gentle backcombing at the base, so the bun reads round and full without looking like a bulky add-on. A neat chignon or tucked bun suits fine hair better than a big messy one, because sparse texture just looks thin. Texture spray before styling gives the hair grip, and pins should be pushed in along the scalp so they don’t show through.
12. Low Bun Wedding Hair For Long Hair
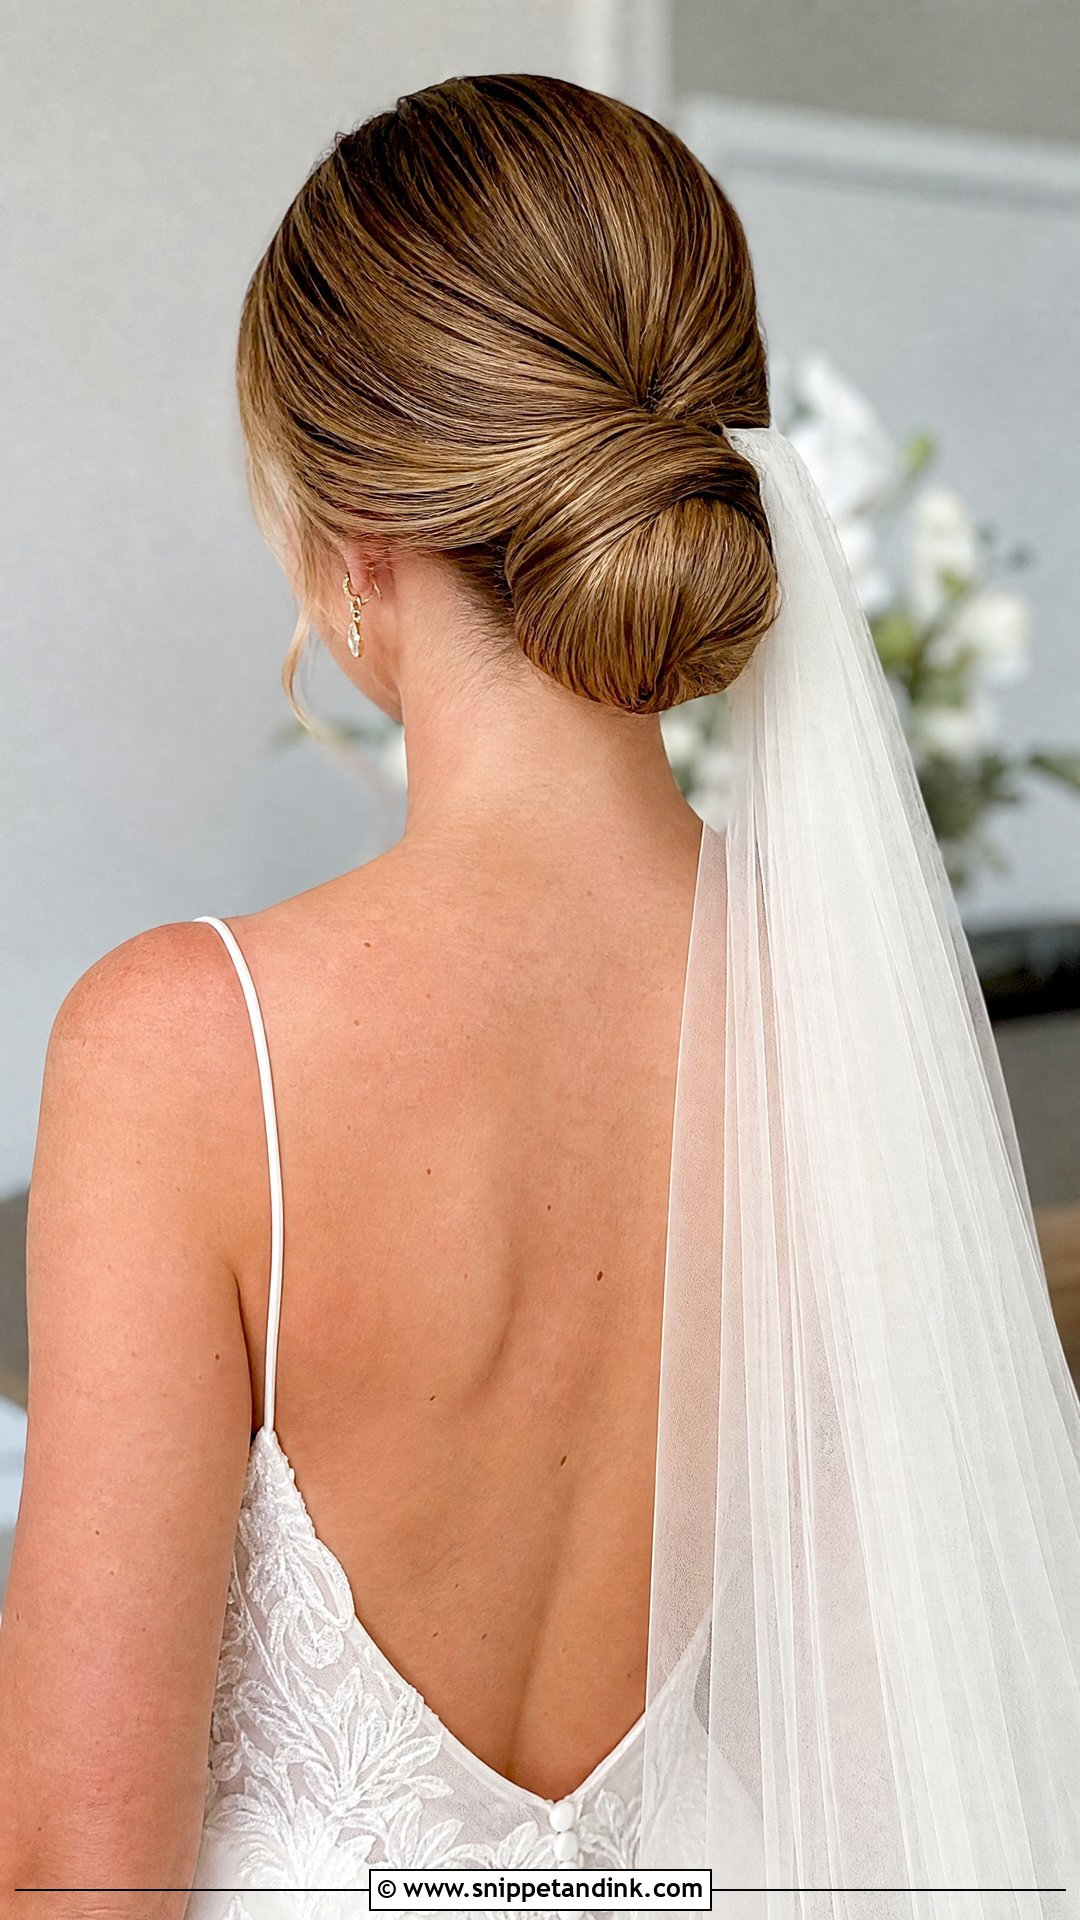
Long hair gives you a fuller bun almost automatically, but it’s also heavy. Very long, thick hair pinned into one big knot can drag and give you a headache by mid-afternoon. I split long hair into two or three sections, secure each into the base separately, then smooth the outer layer over them, which spreads the weight across more pins. Keep the bun at the nape so it balances on the neck. Dramatic veils and open-back gowns suit it very well.
13. Low Bun Wedding Hair For Curly Hair
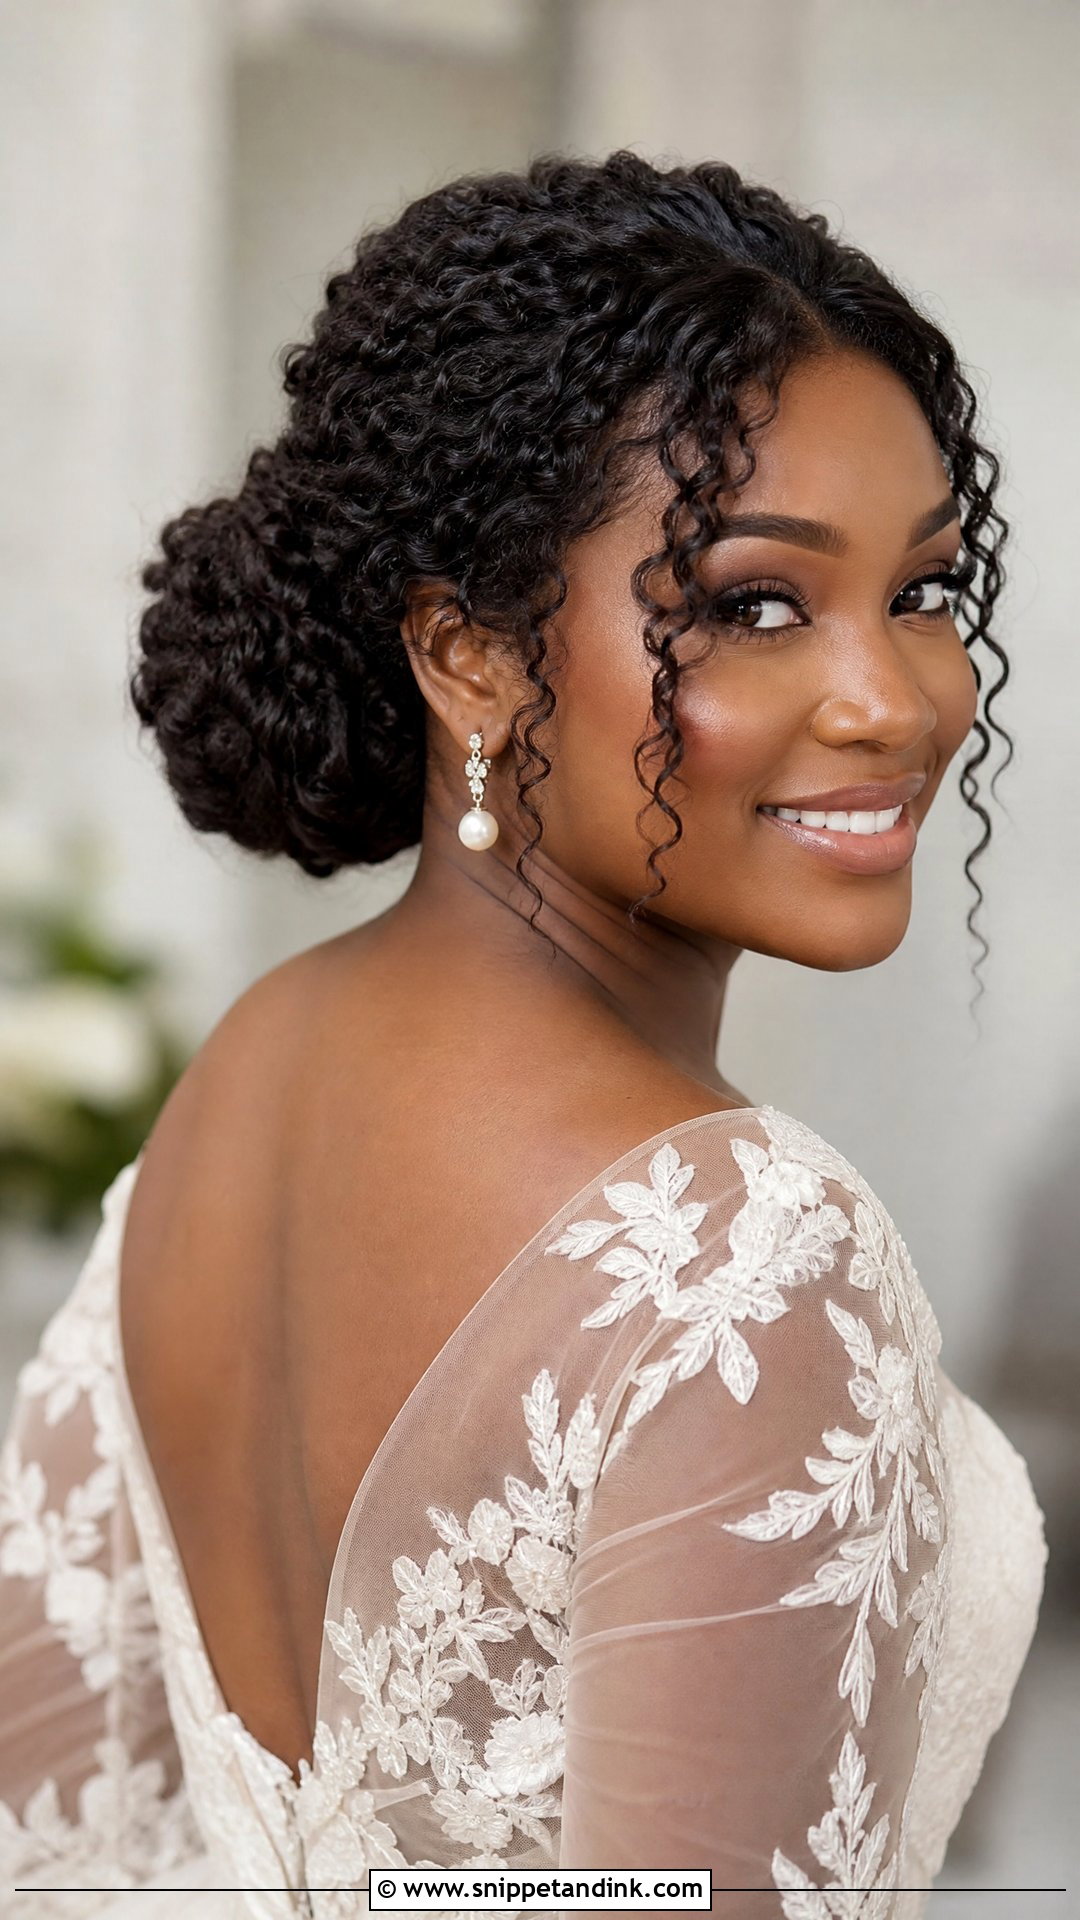
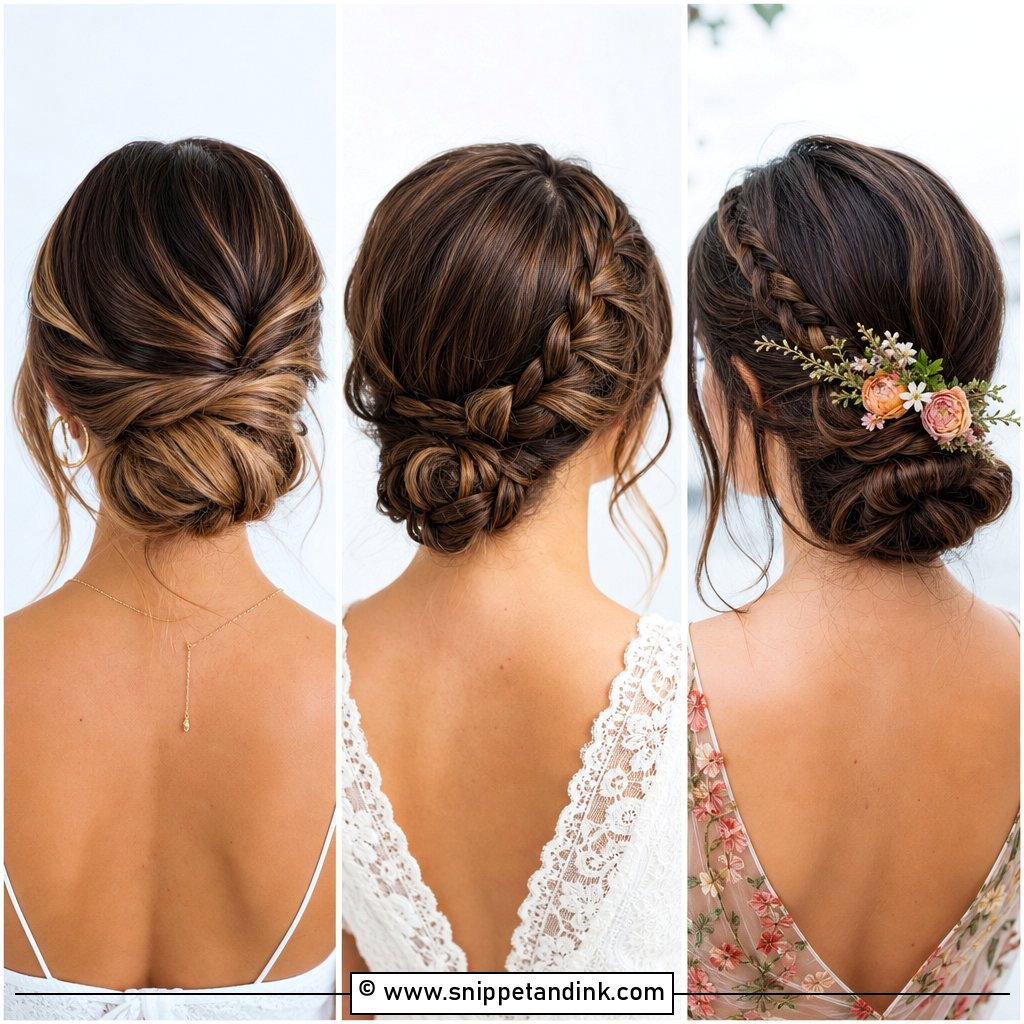
With curls, I’d never brush everything flat. I smooth the crown lightly with a gel or cream suited to the curl type, then shape the bun out of defined curl groups so it stays recognisably yours. A couple of controlled curls near the face soften it. The thing that makes or breaks this look is moisture: well-hydrated curls hold their clumps all day, while dry ones turn frizzy as soon as the room warms up, so a curl-friendly anti-frizz routine in the week before matters as much as the styling.
14. Low Bun Wedding Hair For Short Hair
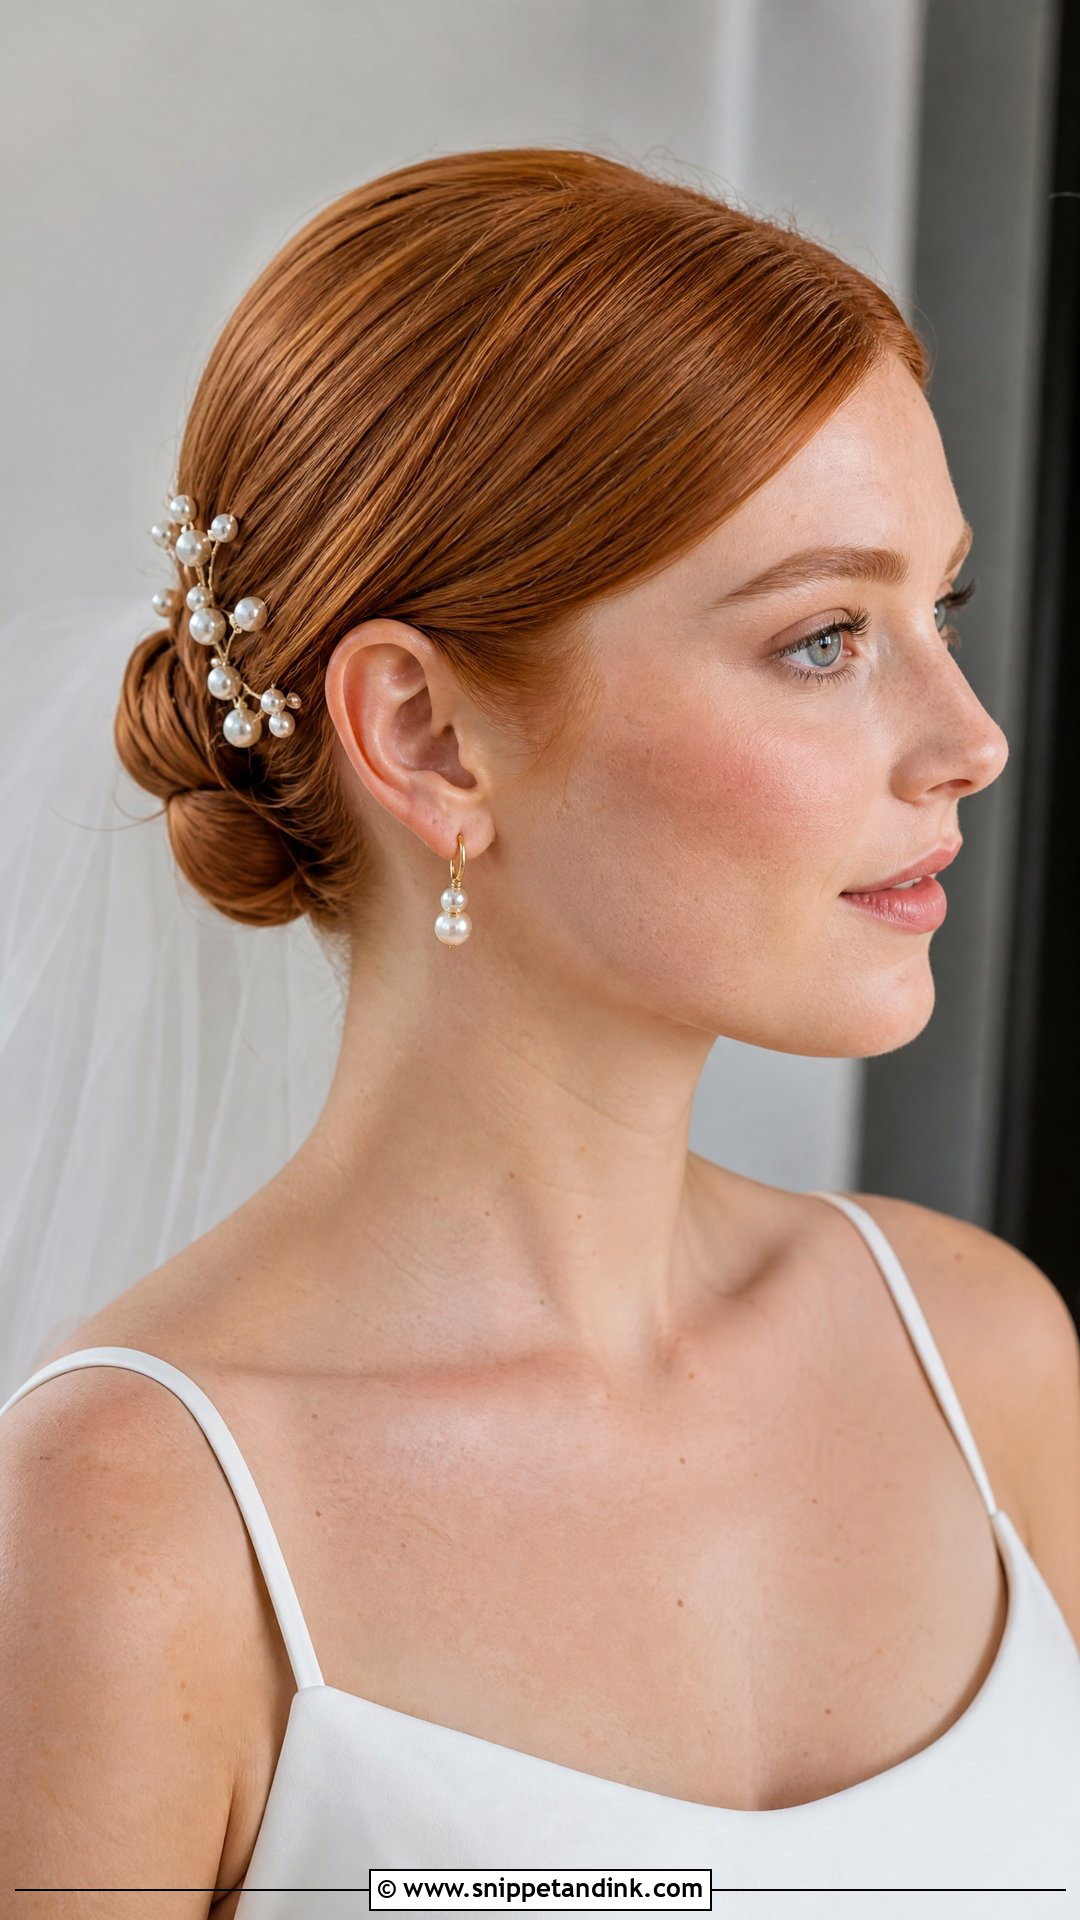
Short hair can go up into a mini chignon if it’s bob length or slightly longer. I curl it first so the ends have a bend to tuck with, then twist and pin it low. The result reads polished from the front, and a clean side or centre part makes it look complete. Small pins, a delicate comb or pearl accents help hold the shorter pieces at the nape, which will always want to slip out. Expect a small bun, not a big one; anything larger needs extensions.
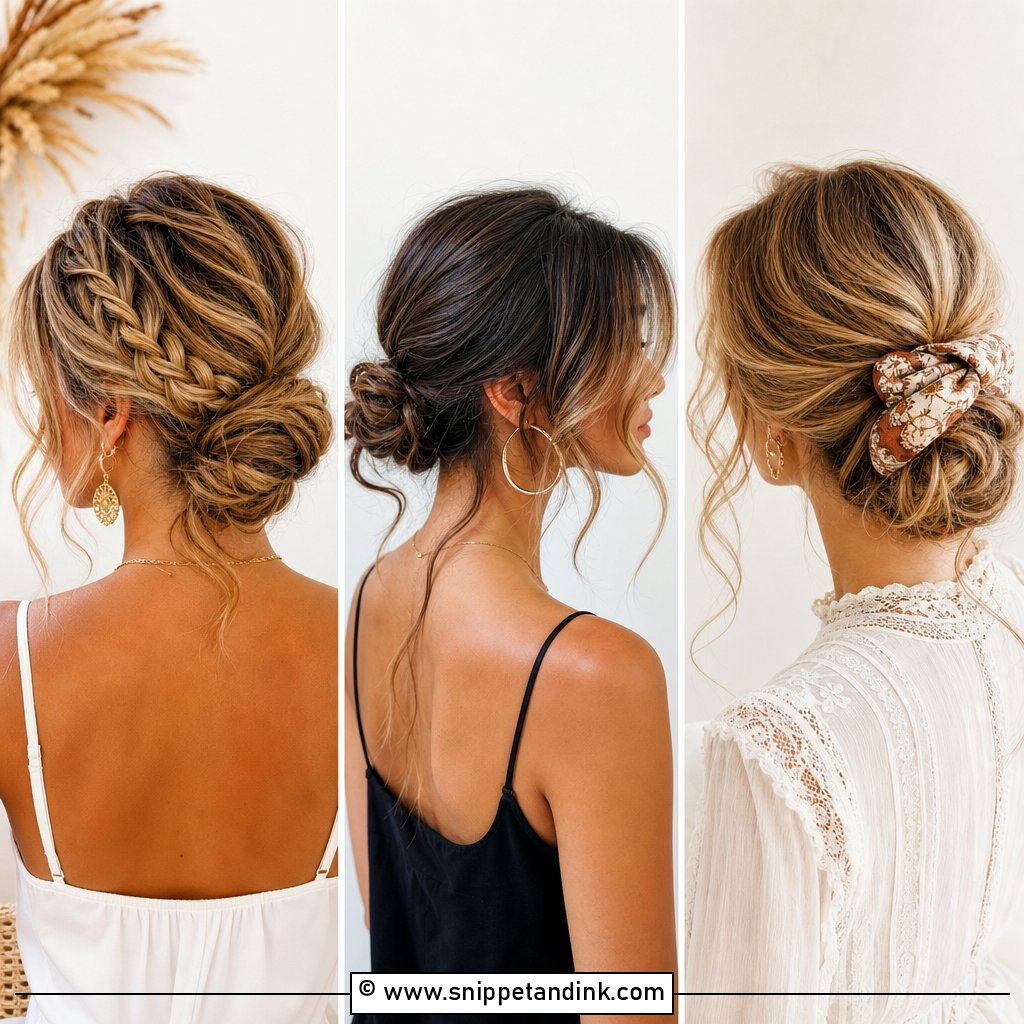
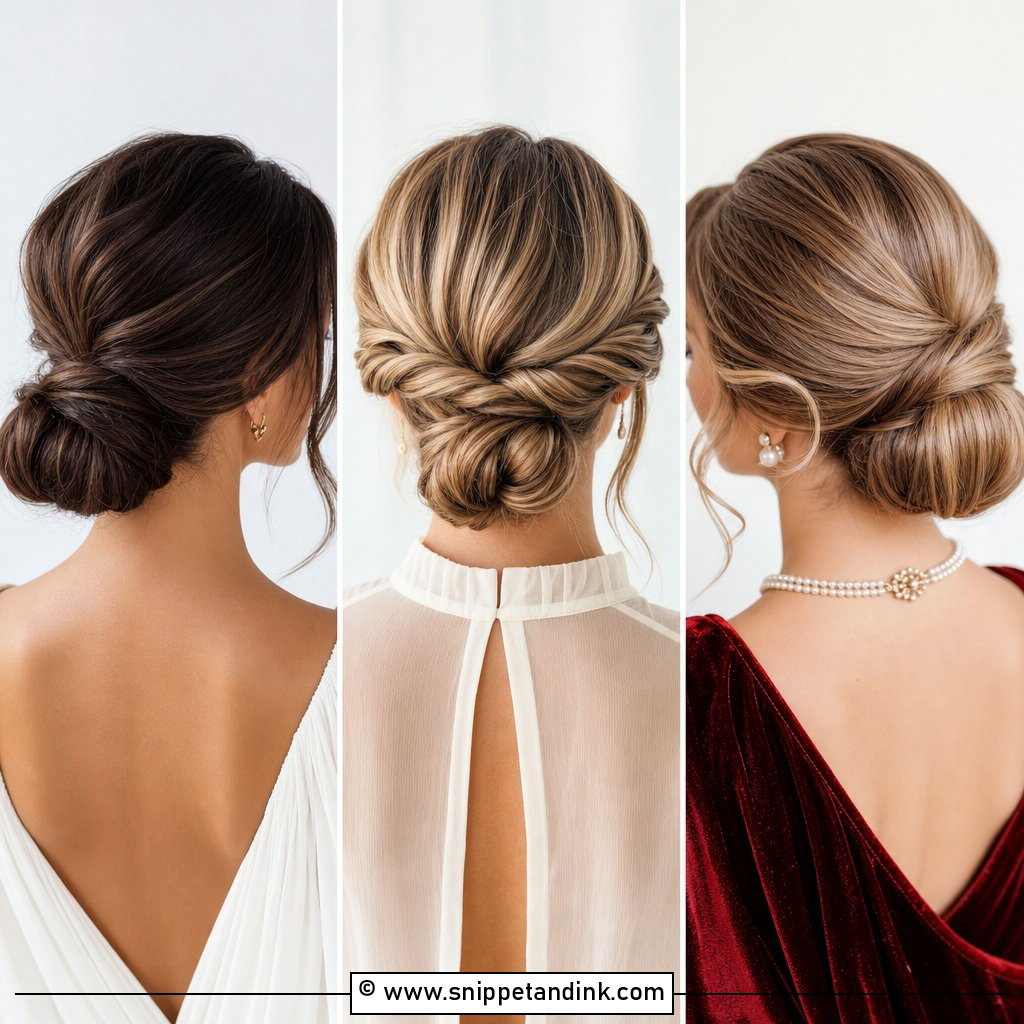
15. Braided Low Bun Wedding Hair
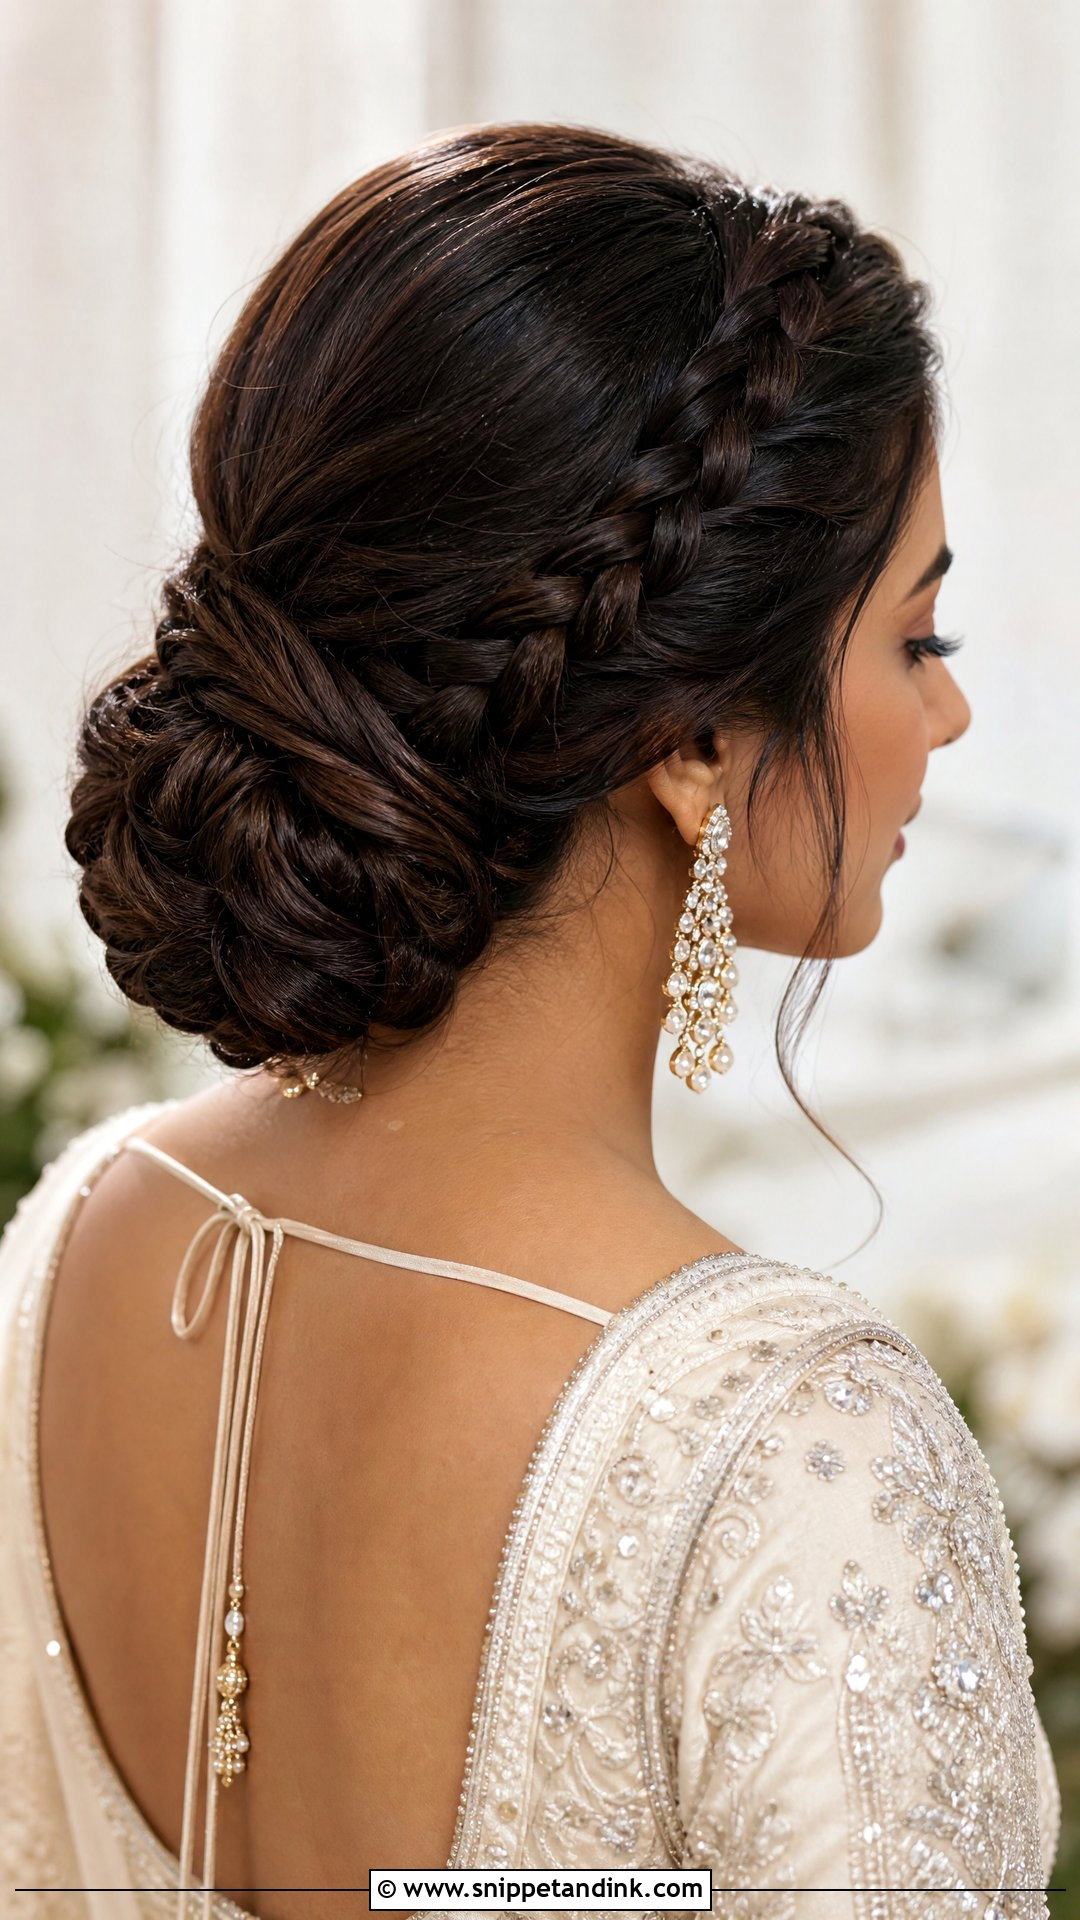
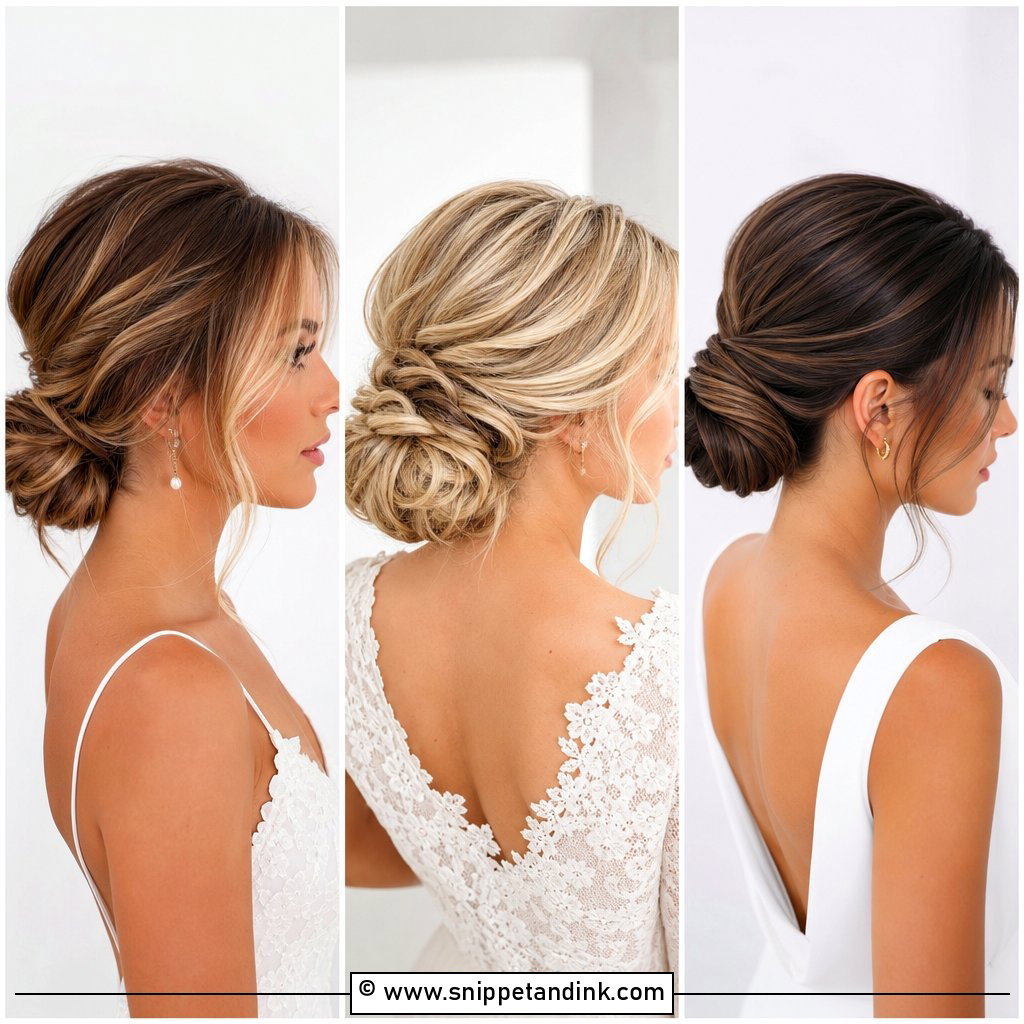
A braid gives a clean bun just enough texture to be interesting while staying tidy. It can wrap into the bun, run along one side or weave across the back before everything is pinned low. For this list’s polished look I keep the braid tight and only lightly pulled out. It shows off highlighted hair nicely because the plait catches light on every crossover. Braids also hold slippery or layered hair far better than a smooth bun, which makes this a practical pick for outdoor weddings.
What a Sleek Bun Looks Like by Hour Eight
Smooth styles show wear faster than textured ones, because one raised strand stands out on a glossy surface. That isn’t a reason to avoid them, just to plan for the afternoon.
Where it starts to give
The first thing to go is usually the hairline at the temples, where baby hairs lift as you warm up. Humid outdoor venues speed that up, and so do repeated hugs that brush the side of the head. The bun itself rarely moves if it was anchored properly; it’s the smooth surface that loses its polish.
A small kit that fixes almost everything
- A travel-size anti-frizz or smoothing balm, applied with the fingertips to the hairline only.
- A clean spoolie or toothbrush to lay flyaways down without disturbing the bun.
- Six to eight bobby pins in your hair colour.
- A mini flexible hairspray, sprayed onto the spoolie rather than straight at the head.
Hand the kit to one bridesmaid and ask her to check your hairline before portraits and again before the first dance. Two minutes of smoothing at those points keeps the clean finish clean.
Guests See the Front of This Bun All Day
The appeal of a clean low bun is how little it asks of you once it’s in. It stays put, it suits most dresses and veils, and a centre part, side sweep, pearls, a chignon or a braid each give it a different personality. Choose the version that matches the rest of your look rather than the one with the most saves, find a nape height that feels comfortable, and bring your real accessories to the trial. Then check the front view in the mirror as carefully as the back, because that’s the side everyone faces during the vows.
You'll Like These Ideas:


Leave a Reply