
Aisle shots, first looks and close portraits all catch your face before anything else, so the front of your hair carries more of the photos than the back ever will. Frontal wedding hairstyles are where I spend most of a trial: how the front softens the forehead, balances the veil and leaves the earrings visible. The current mood is soft texture, glossy buns and curled face-framing pieces rather than stiff sets. Each idea below is judged on how it looks in person and how it holds from the front, the side and the slightly raised angle most photographers shoot from.
Find Your Natural Part Before the Trial
Every front view on this list starts with a part, and the one your hair already falls into is usually the one that behaves longest. I have watched a deep side part forced against a strong cowlick look perfect at 10am and spring back by the speeches.
To find yours, comb damp hair straight back from the forehead, then push it gently forward with your palm. Wherever it splits on its own is your natural part. Take a photo of that and bring it to me.
- A centre part shows symmetry, so it’s flattering on balanced features and less kind if your brows or eyes sit a little unevenly.
- A soft side part adds lift at the root and is the easiest way to soften a strong forehead or a longer face.
- If you’re torn, ask your stylist to do one side of the trial each way and photograph both. Seeing them side by side on your phone settles it quickly.
1. Frontal Wedding Low Bun With Face Framing Curls
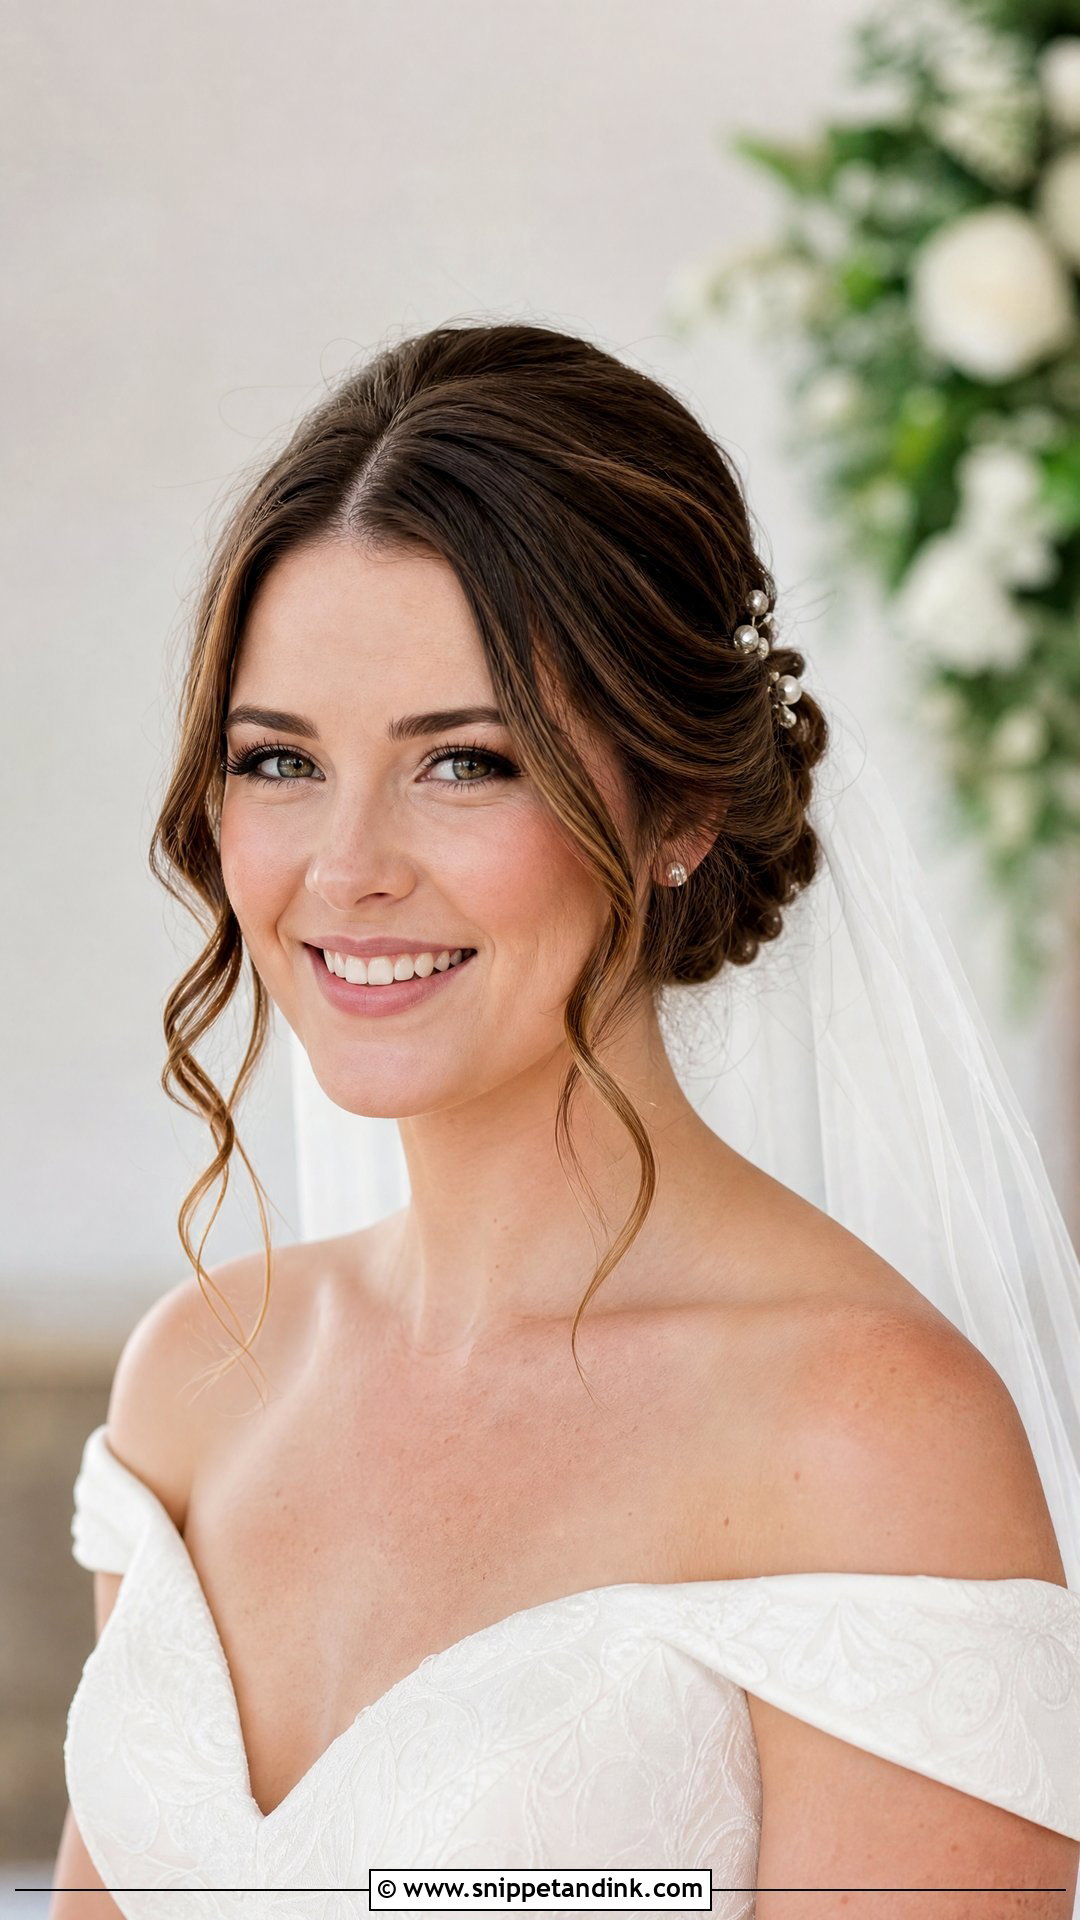
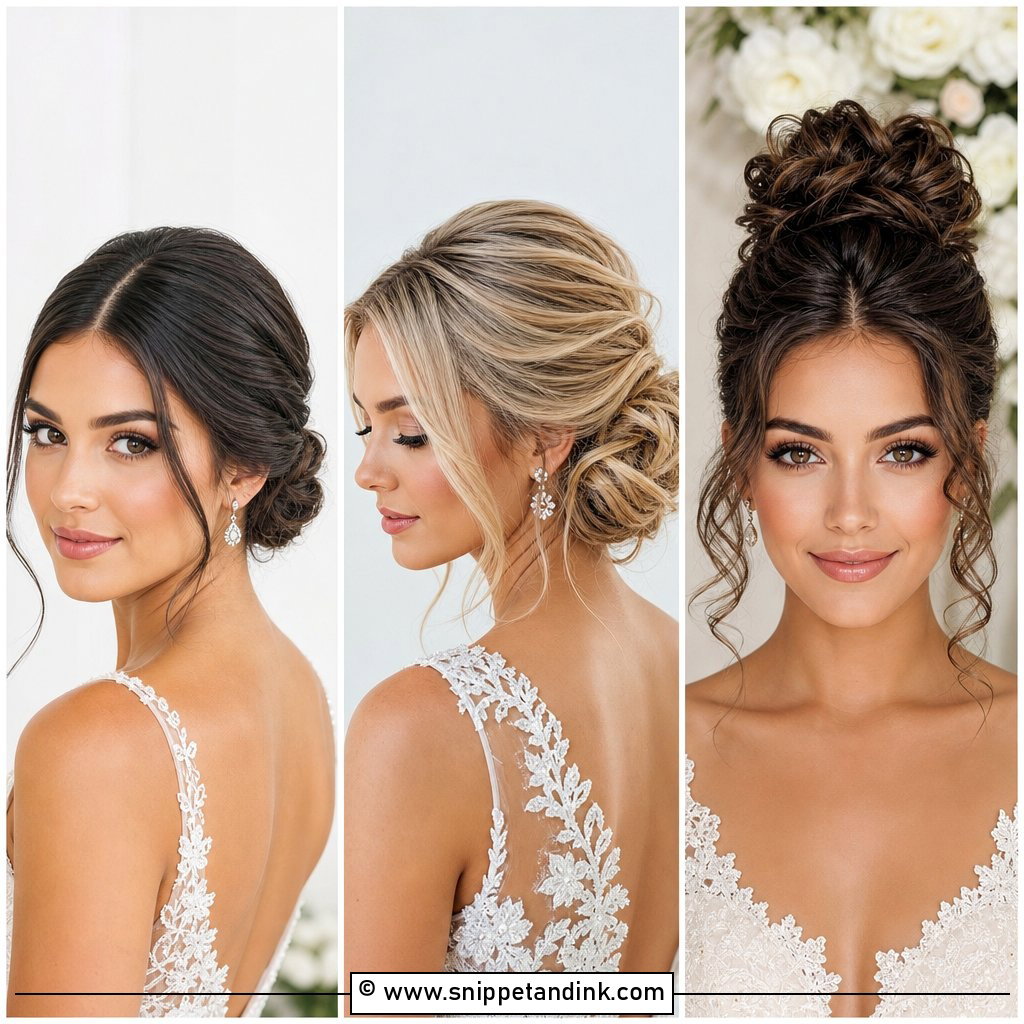
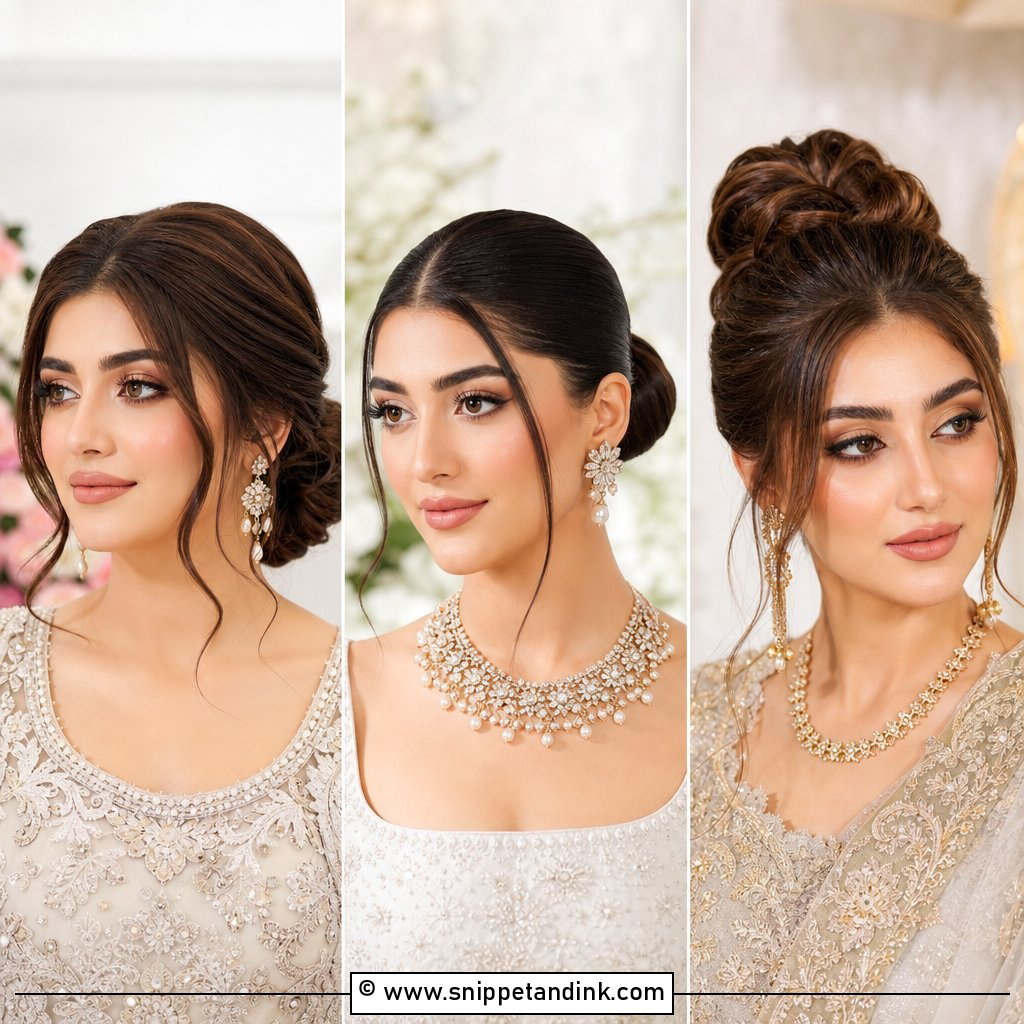
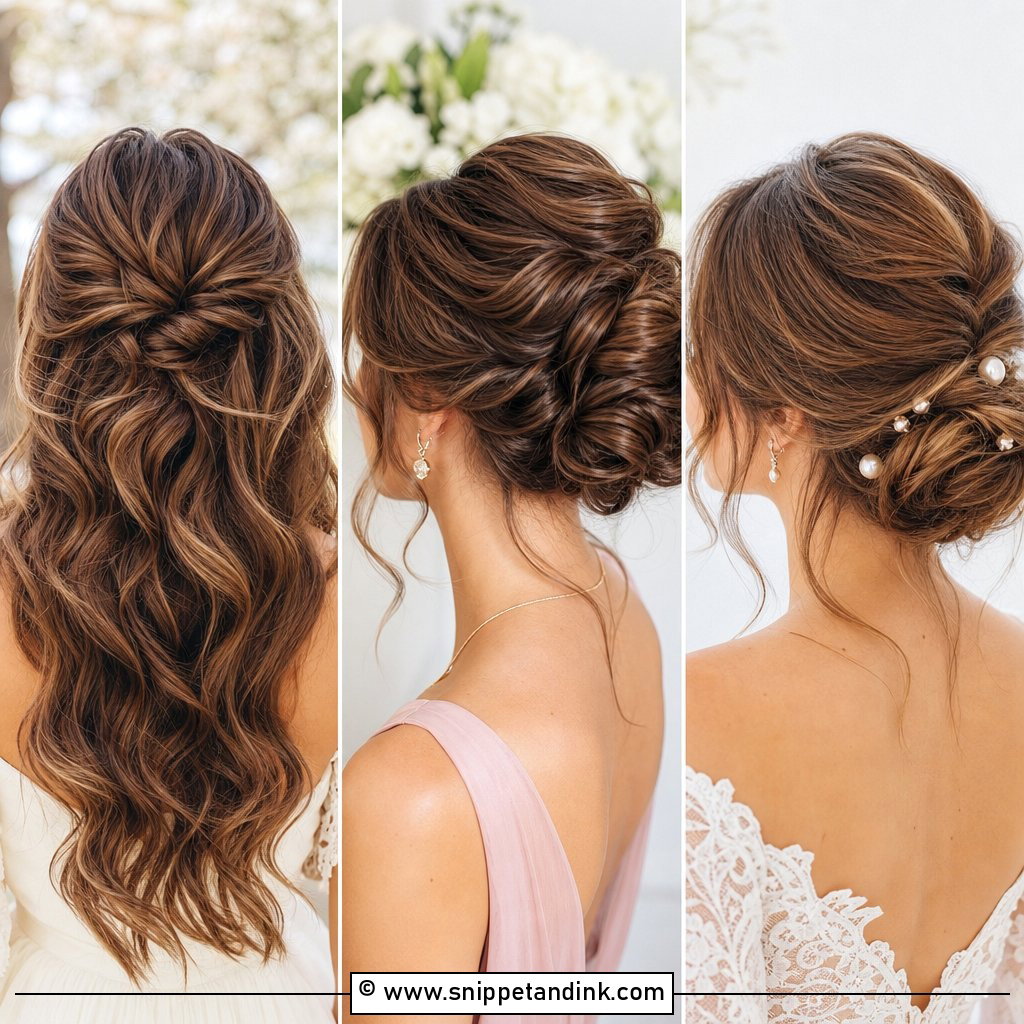
Low bun, curls at the face: it is the one I suggest when a bride cannot decide, because it is controlled without being tight. The bun sits at the nape, and two or three curled pieces fall to the cheekbone or jaw. A veil comb slides in above the bun easily. The detail that makes it read as bridal rather than casual is a little height at the crown, which I build with backcombing underneath so the surface stays smooth.
2. Frontal Wedding Half Up Half Down Hair
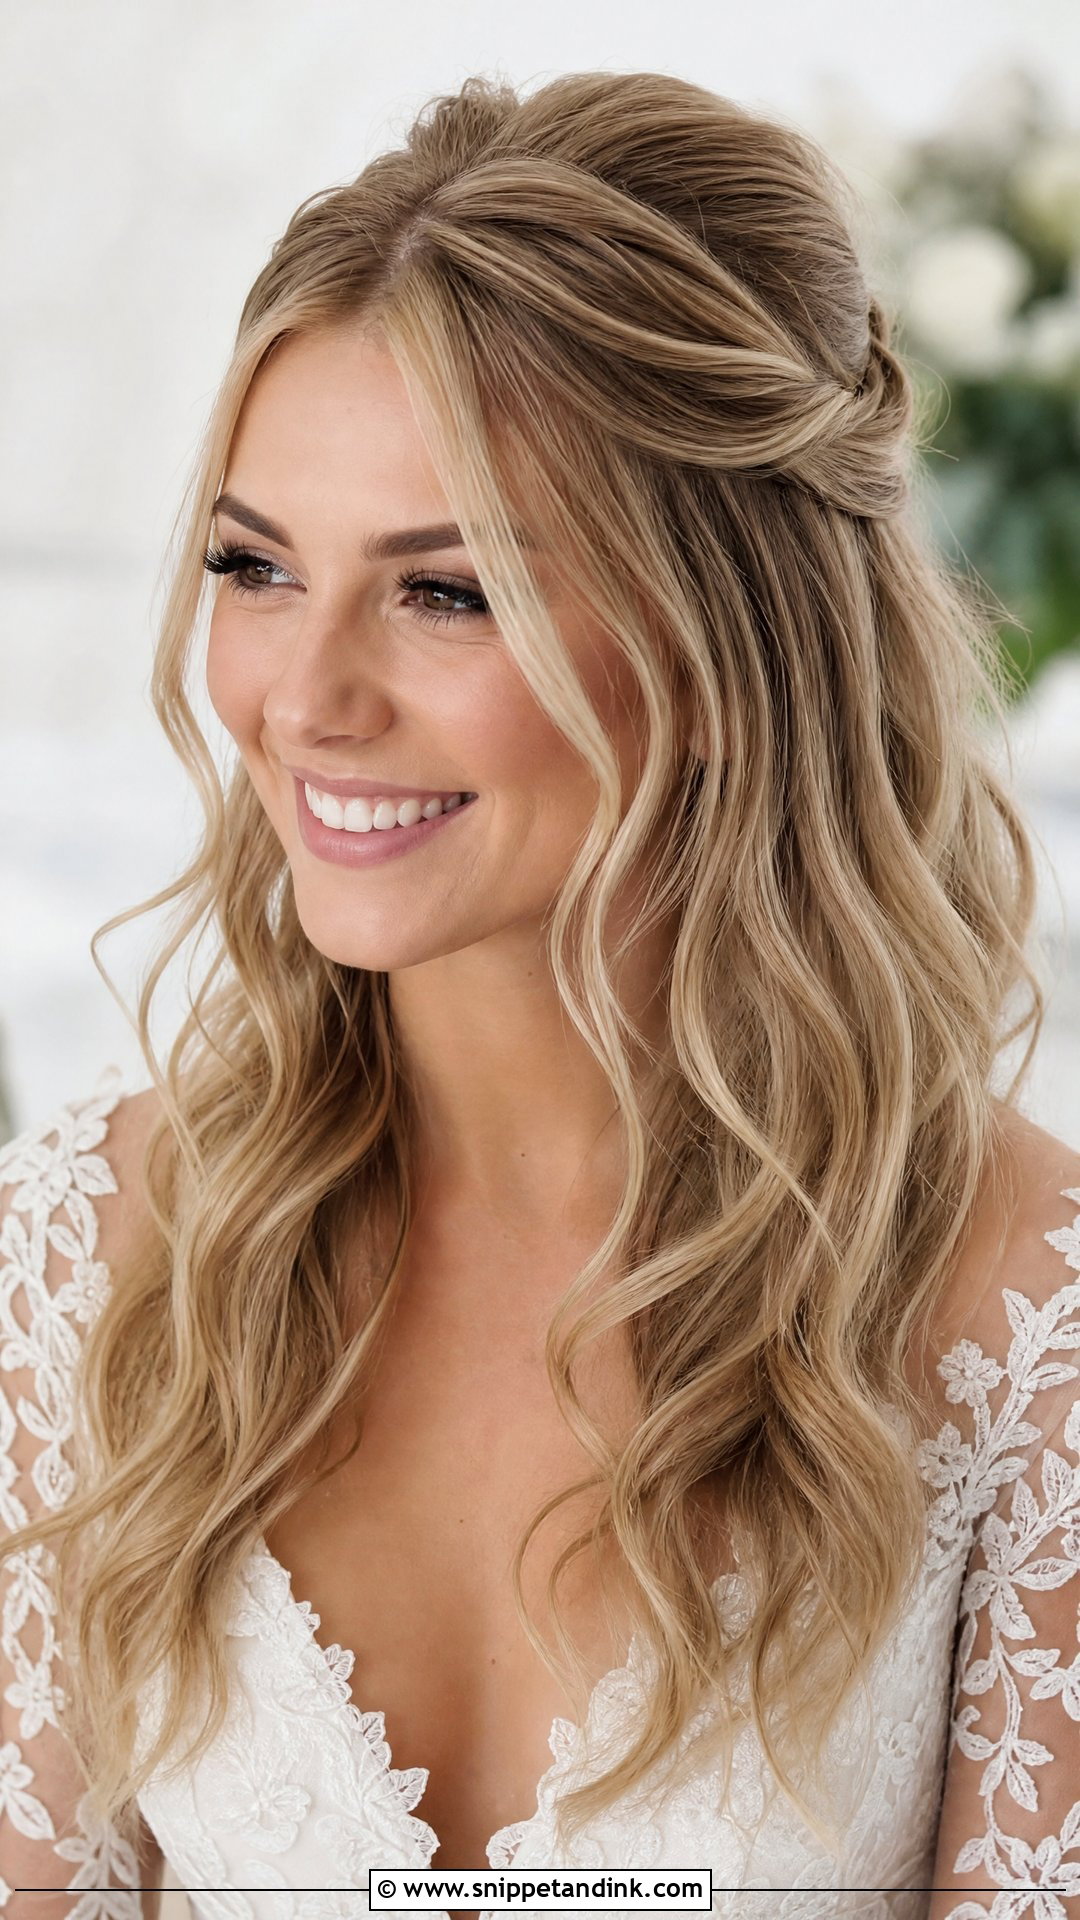
Half up hair lifts the front away from your face while the waves stay on your shoulders. I twist, braid or lightly backcomb the top section, and the veil goes either under it, which hides the comb, or over it, which shows the detail. It needs medium to long hair to look finished. On very heavy, straight hair the lower lengths drop flat by the evening, so I would set the curls in sections and pin them up until you are dressed.
3. Frontal Wedding Sleek Middle Part Bun
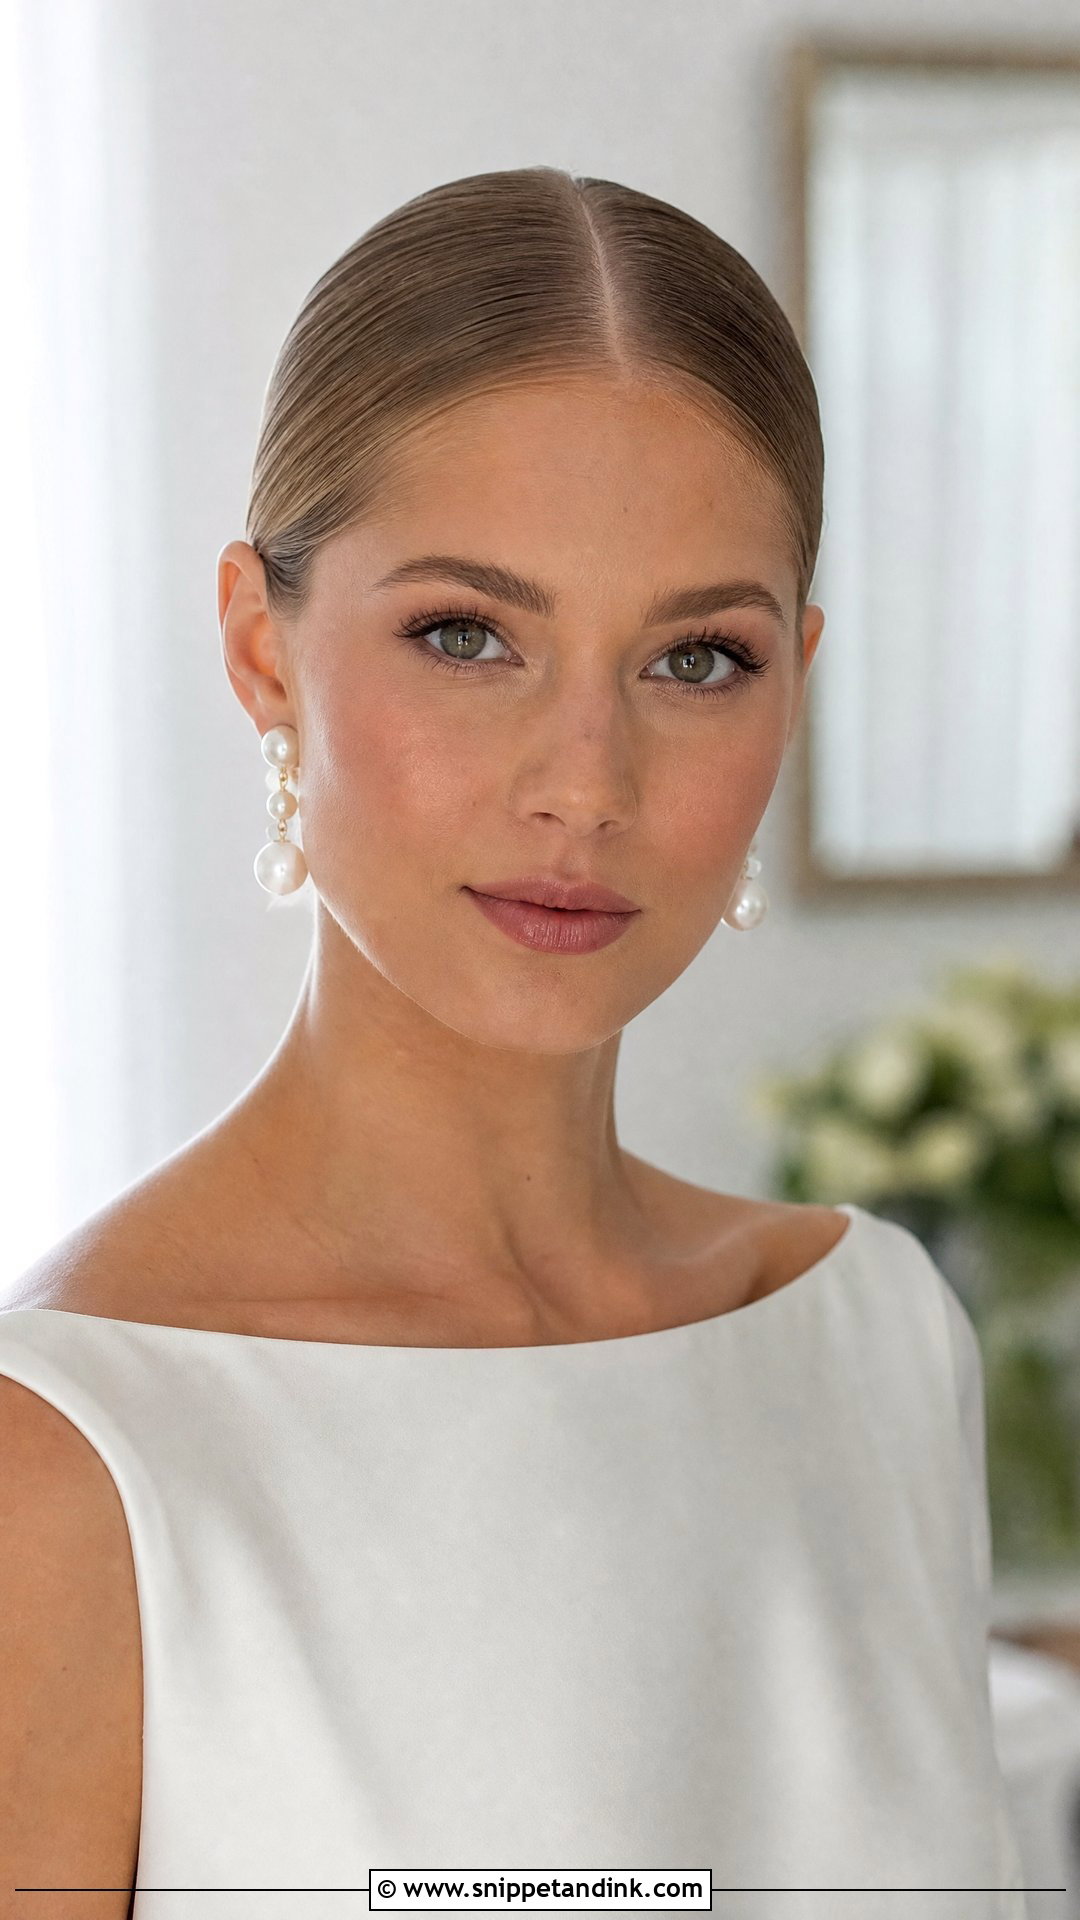
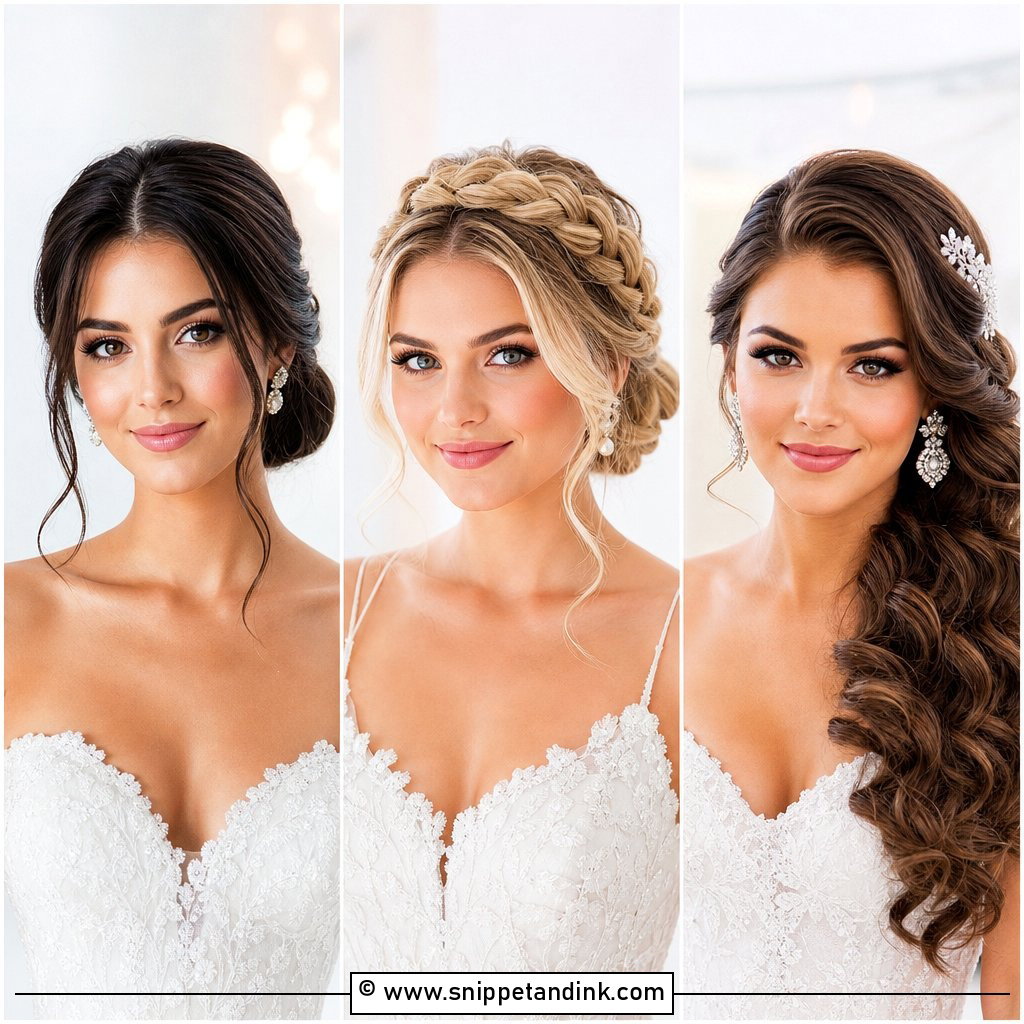
A centre part with a sleek bun gives a clean, symmetrical elegant front view that puts cheekbones, eyes and neckline on show. It is the most fashion-led look here and the least forgiving. Uneven brows or a cowlick at the hairline show immediately, so I check those first. Shine spray and a flexible hold keep flyaways down; heavy gel makes the hair look wet in flash. The bun can sit low, mid or high to suit the neckline. I like it with high-neck gowns and sculptural earrings.
4. Frontal Wedding Side Part Waves
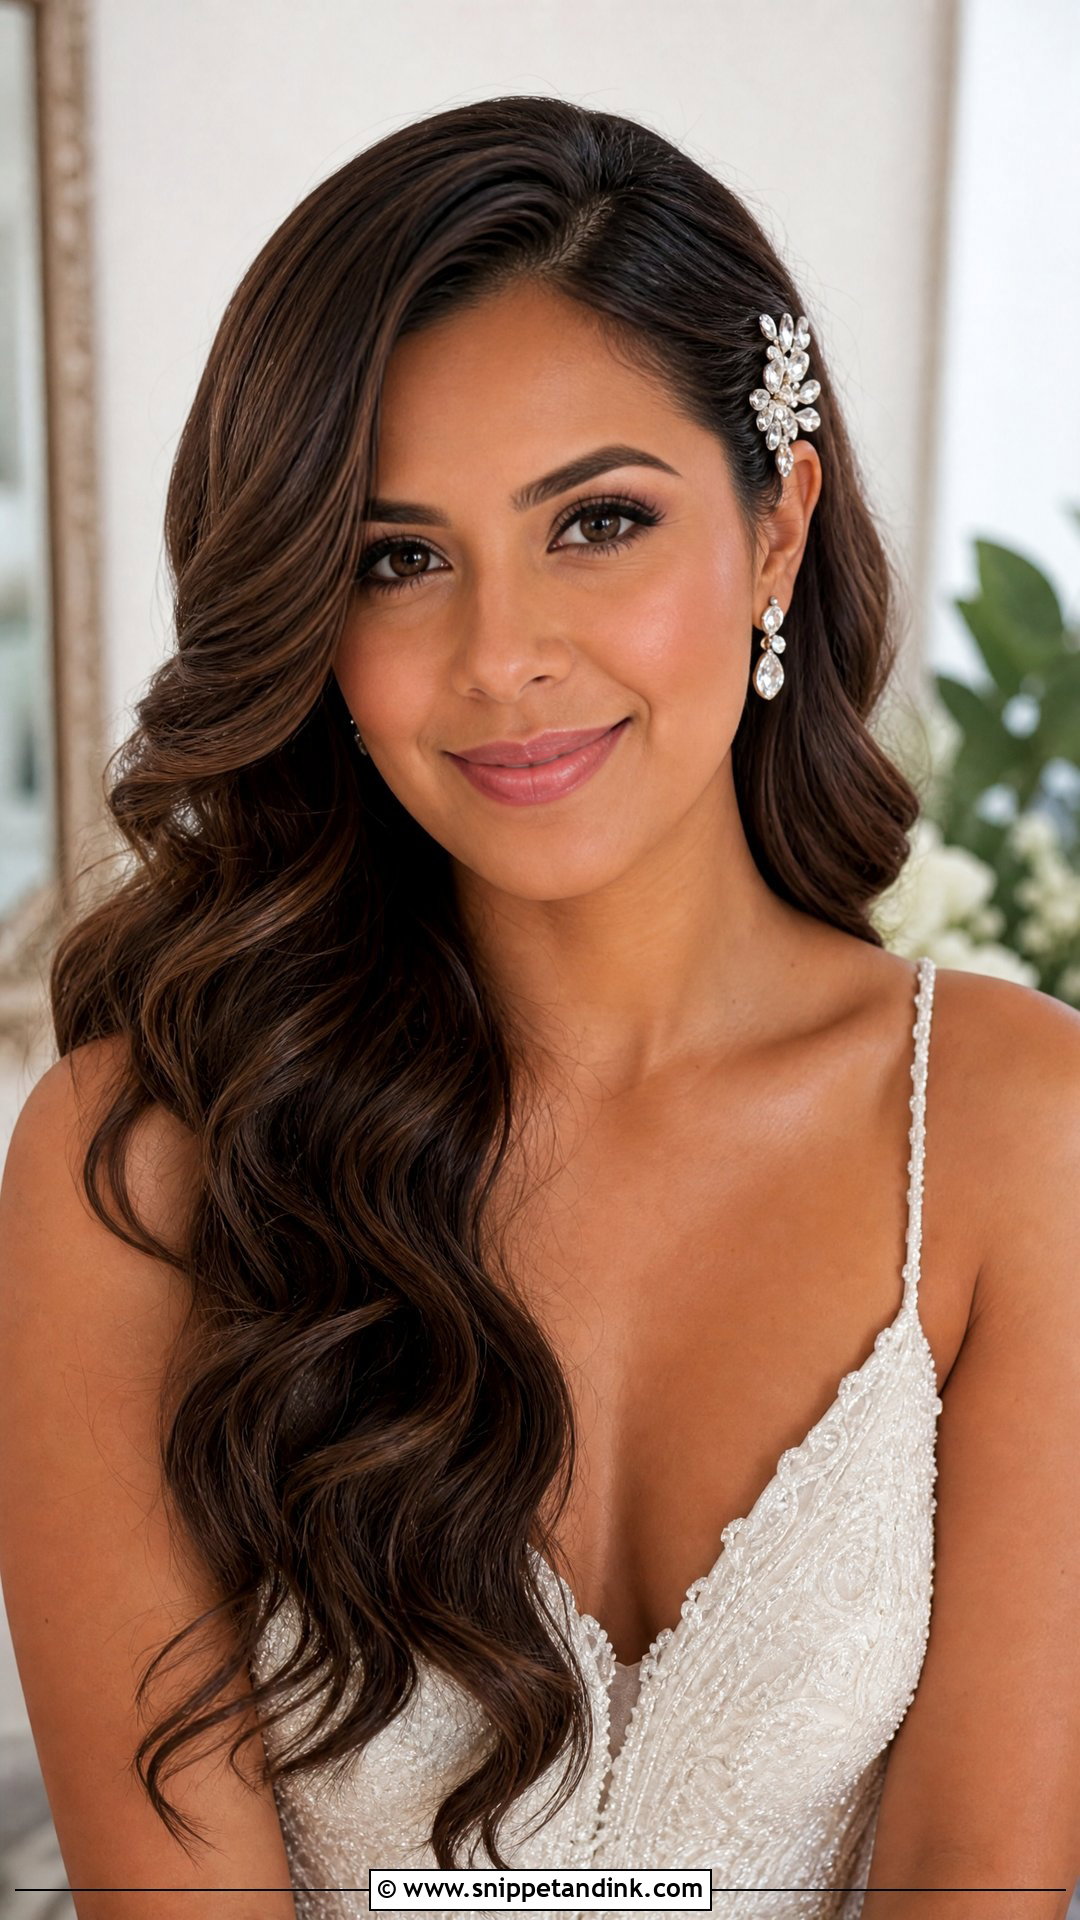
Side part waves add lift at the root on one side and sweep across the face on the other. I place the part where your hair naturally breaks, not where a reference photo says, because a forced part springs back within hours. Shoulder-length hair can carry it, and extensions help if you want more fullness. Tucking the lighter side behind the ear shows the earring and keeps the waves from sitting on the makeup all day.
5. Frontal Wedding High Bun With Soft Tendrils
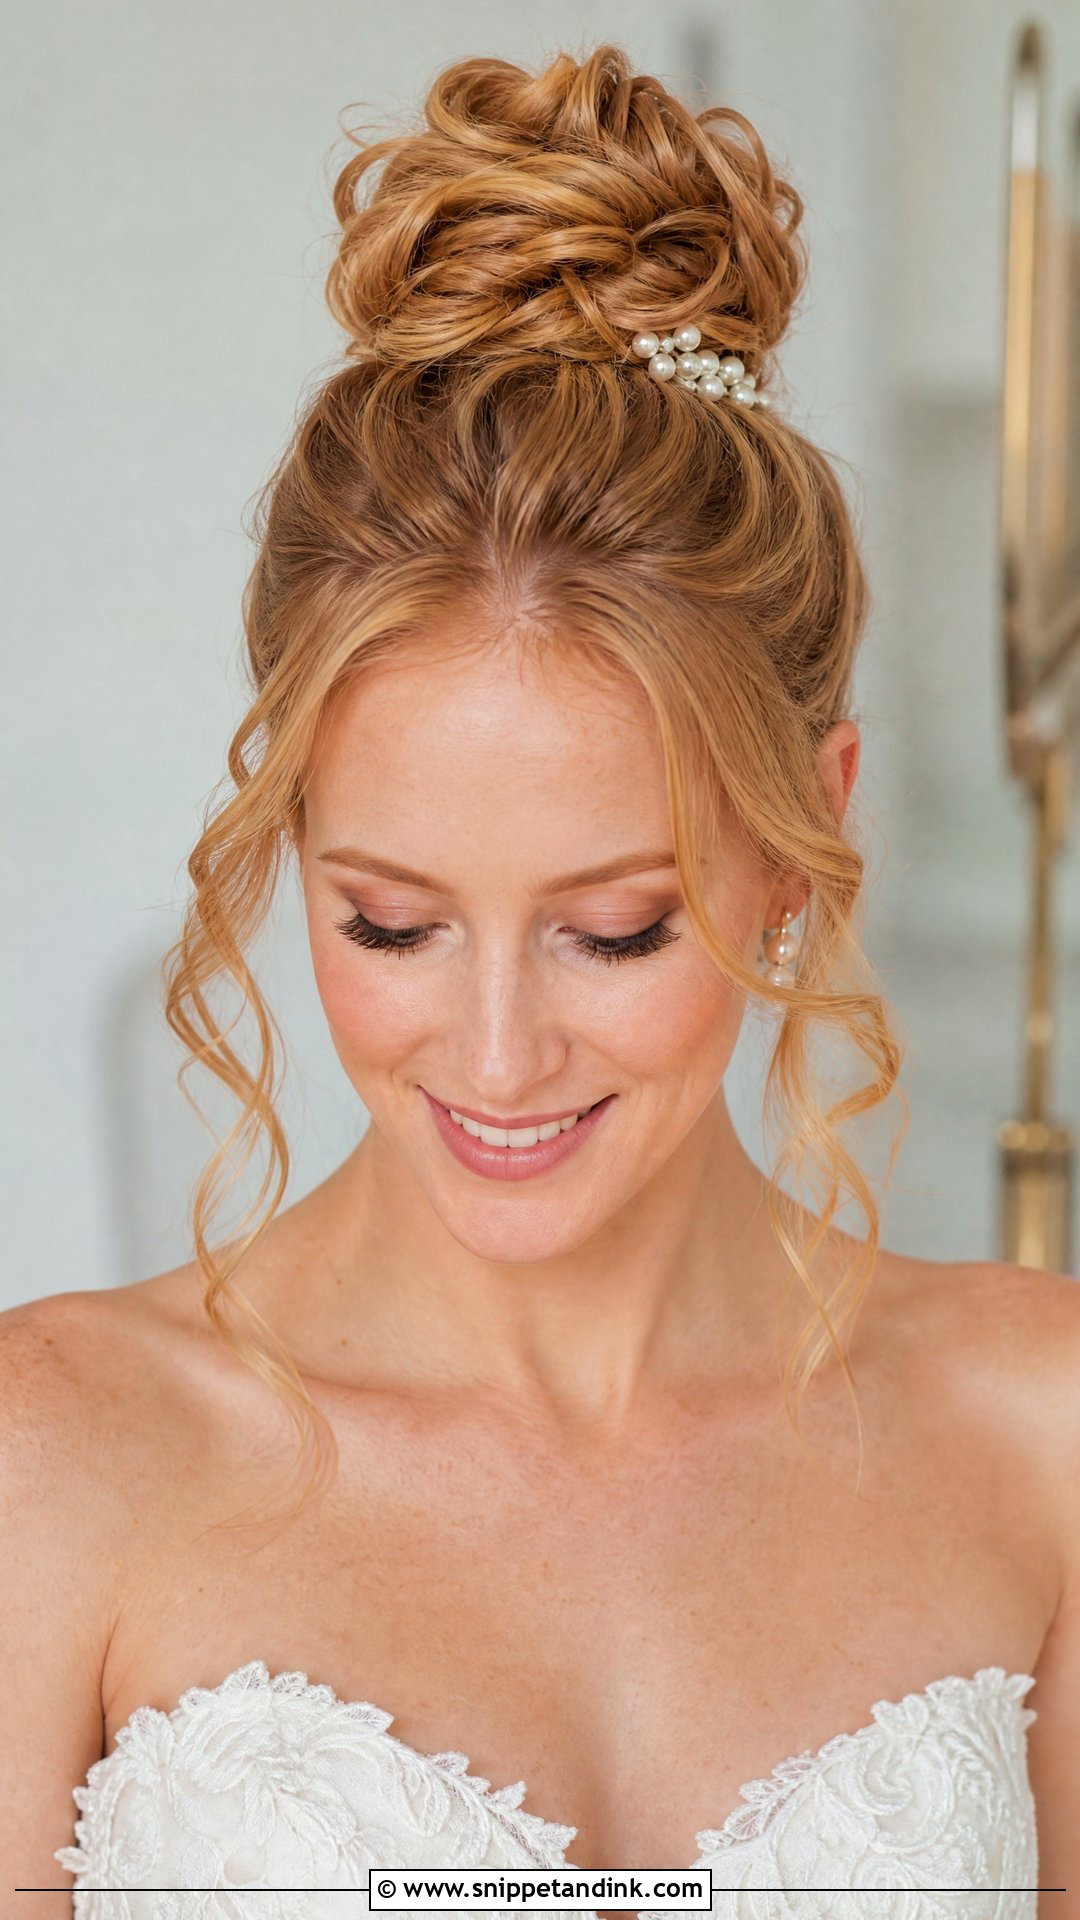
A high bun lifts the whole face, which suits strapless, square and halter necklines. The tendrils are what keep it from looking severe; I leave them at the temples and in front of the ears. Hair off the shoulders also means a cooler neck during a long day. The thing I warn about is size. A big high bun makes a petite bride look top-heavy in full-length photos, so I keep it full but in proportion, with a veil tucked underneath.
6. Frontal Wedding Braided Crown Updo
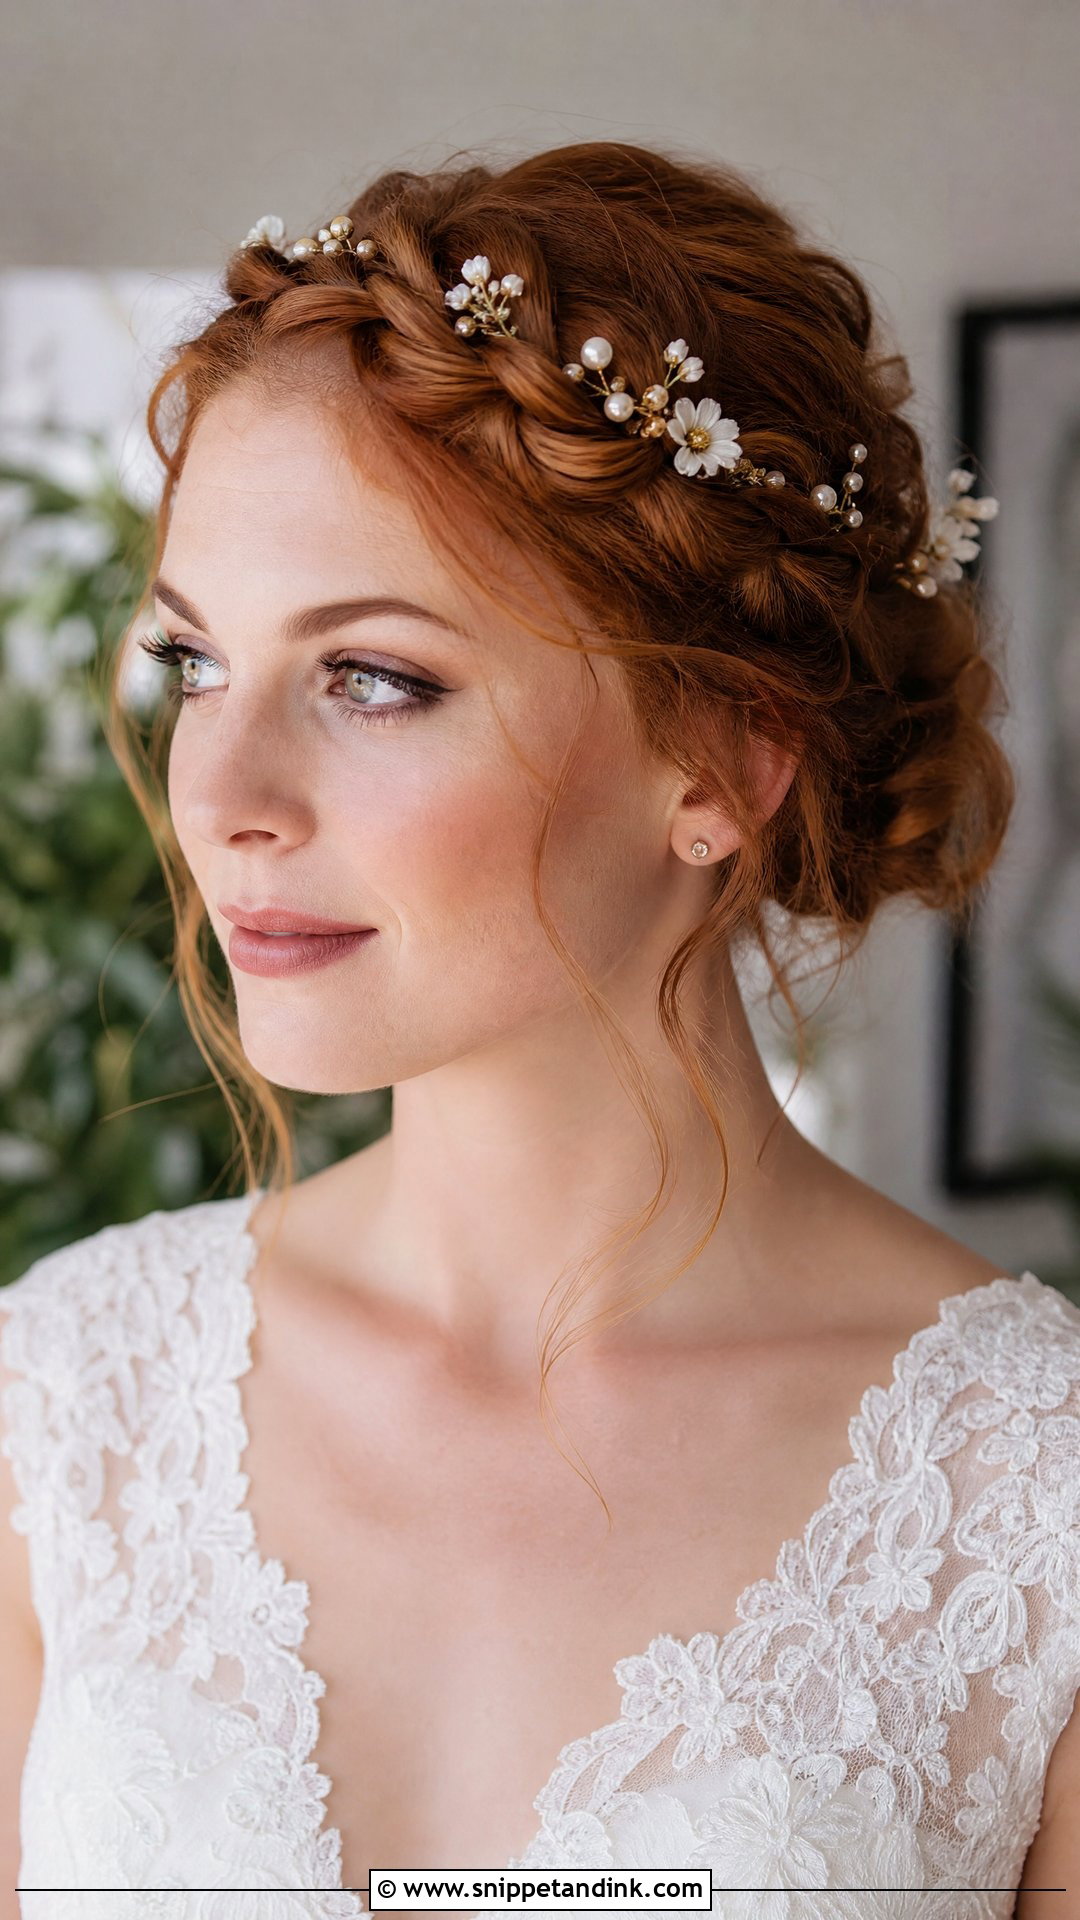
A braided crown gives the hairline texture and pattern without needing accessories. The braid can cross the top of the head or run from one side into a low bun. It sits especially well on wavy, curly, or textured hair, which grips the braid and holds it far longer than silky hair does. I loosen the braid by hand after pinning so it reads soft from the front. Tight braids look thin and childlike in photos.
7. Frontal Wedding Loose Waves With Curtain Bangs
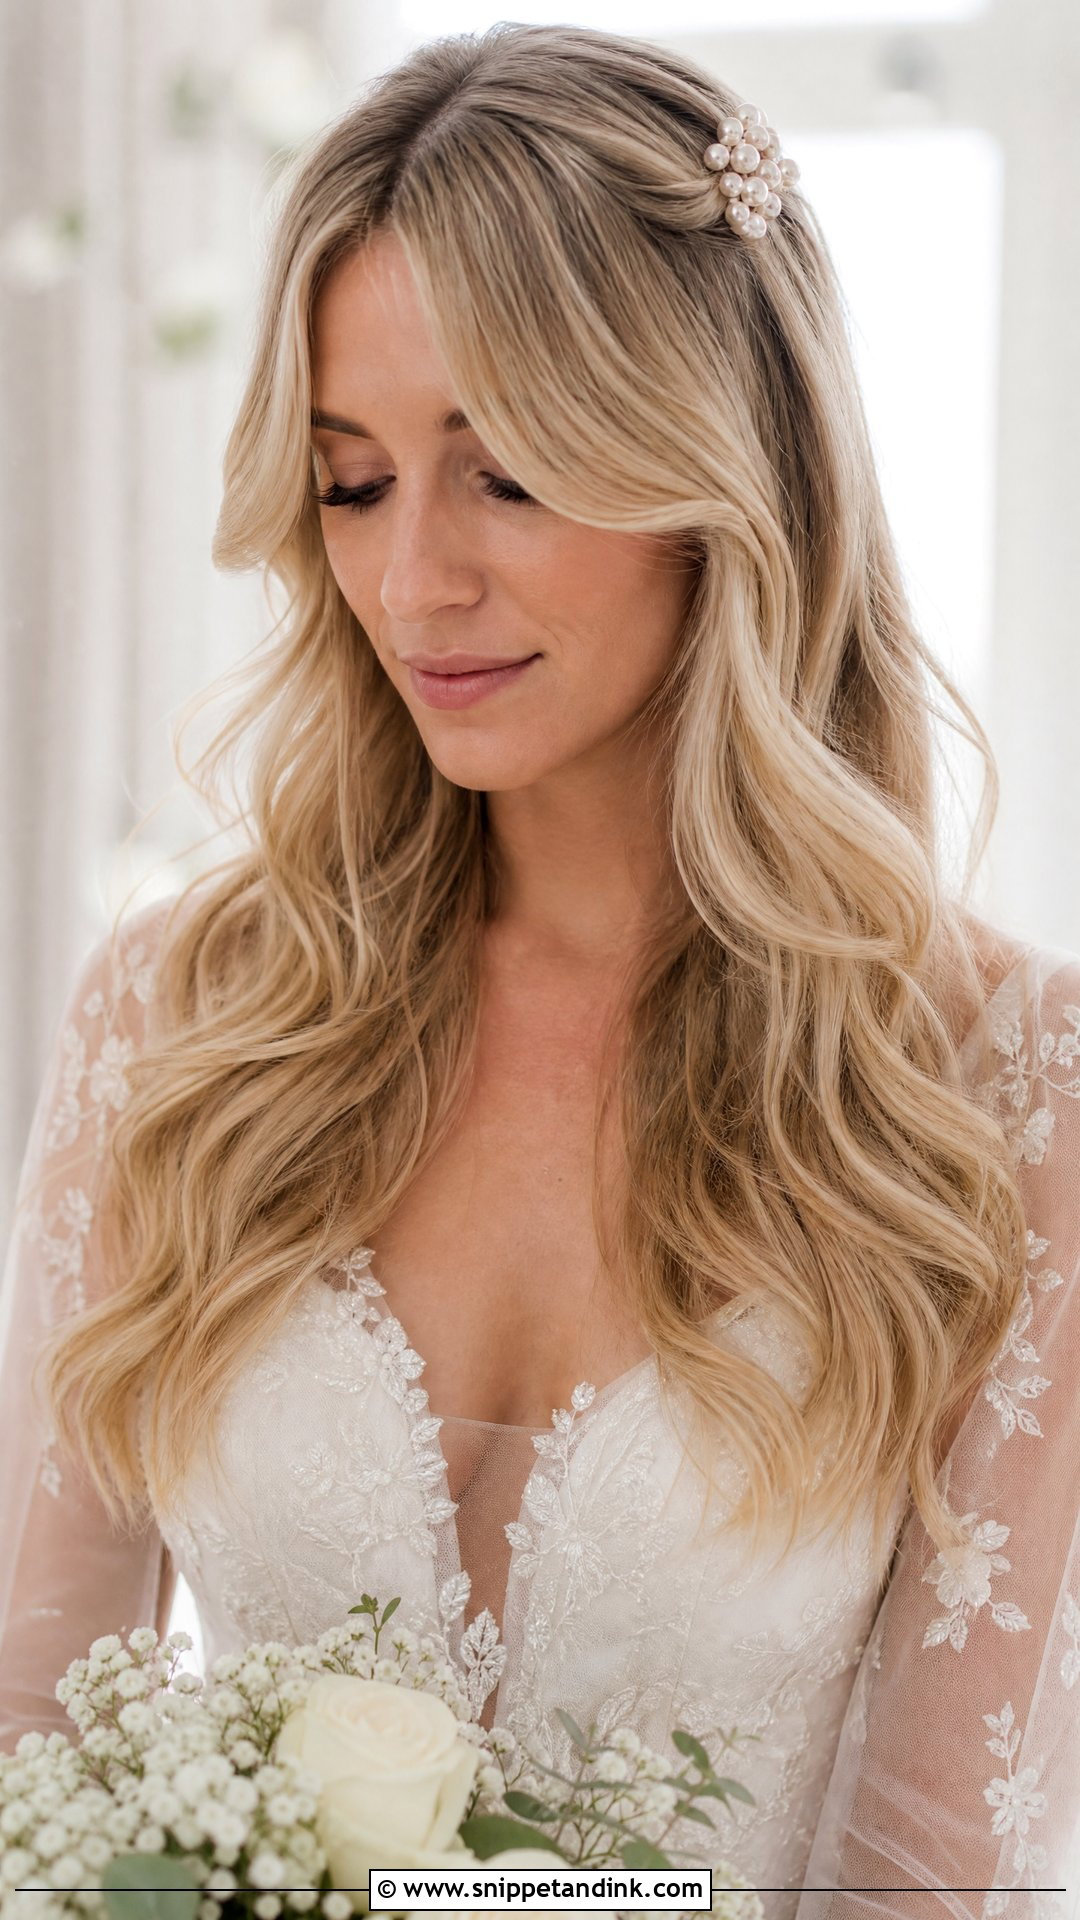
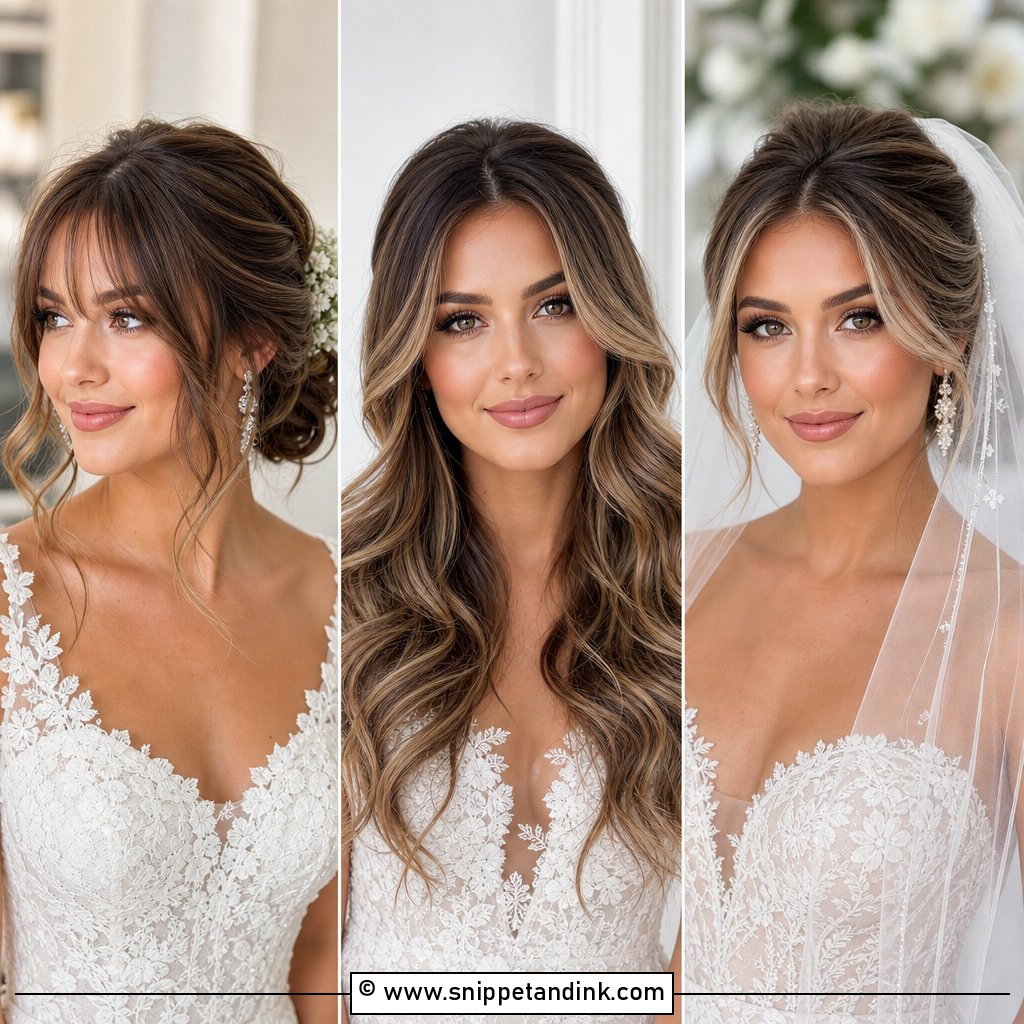
Loose waves with curtain bangs need planning. Have the bangs cut a week or two beforehand, not the day before, so they have settled and you can see how they fall. I blow-dry them over a round brush away from the face so they open into the waves instead of hanging straight. Bangs pick up oil from the forehead, so a little dry shampoo at the root before the ceremony keeps them from separating.
8. Frontal Wedding Chignon With Side Swept Bangs
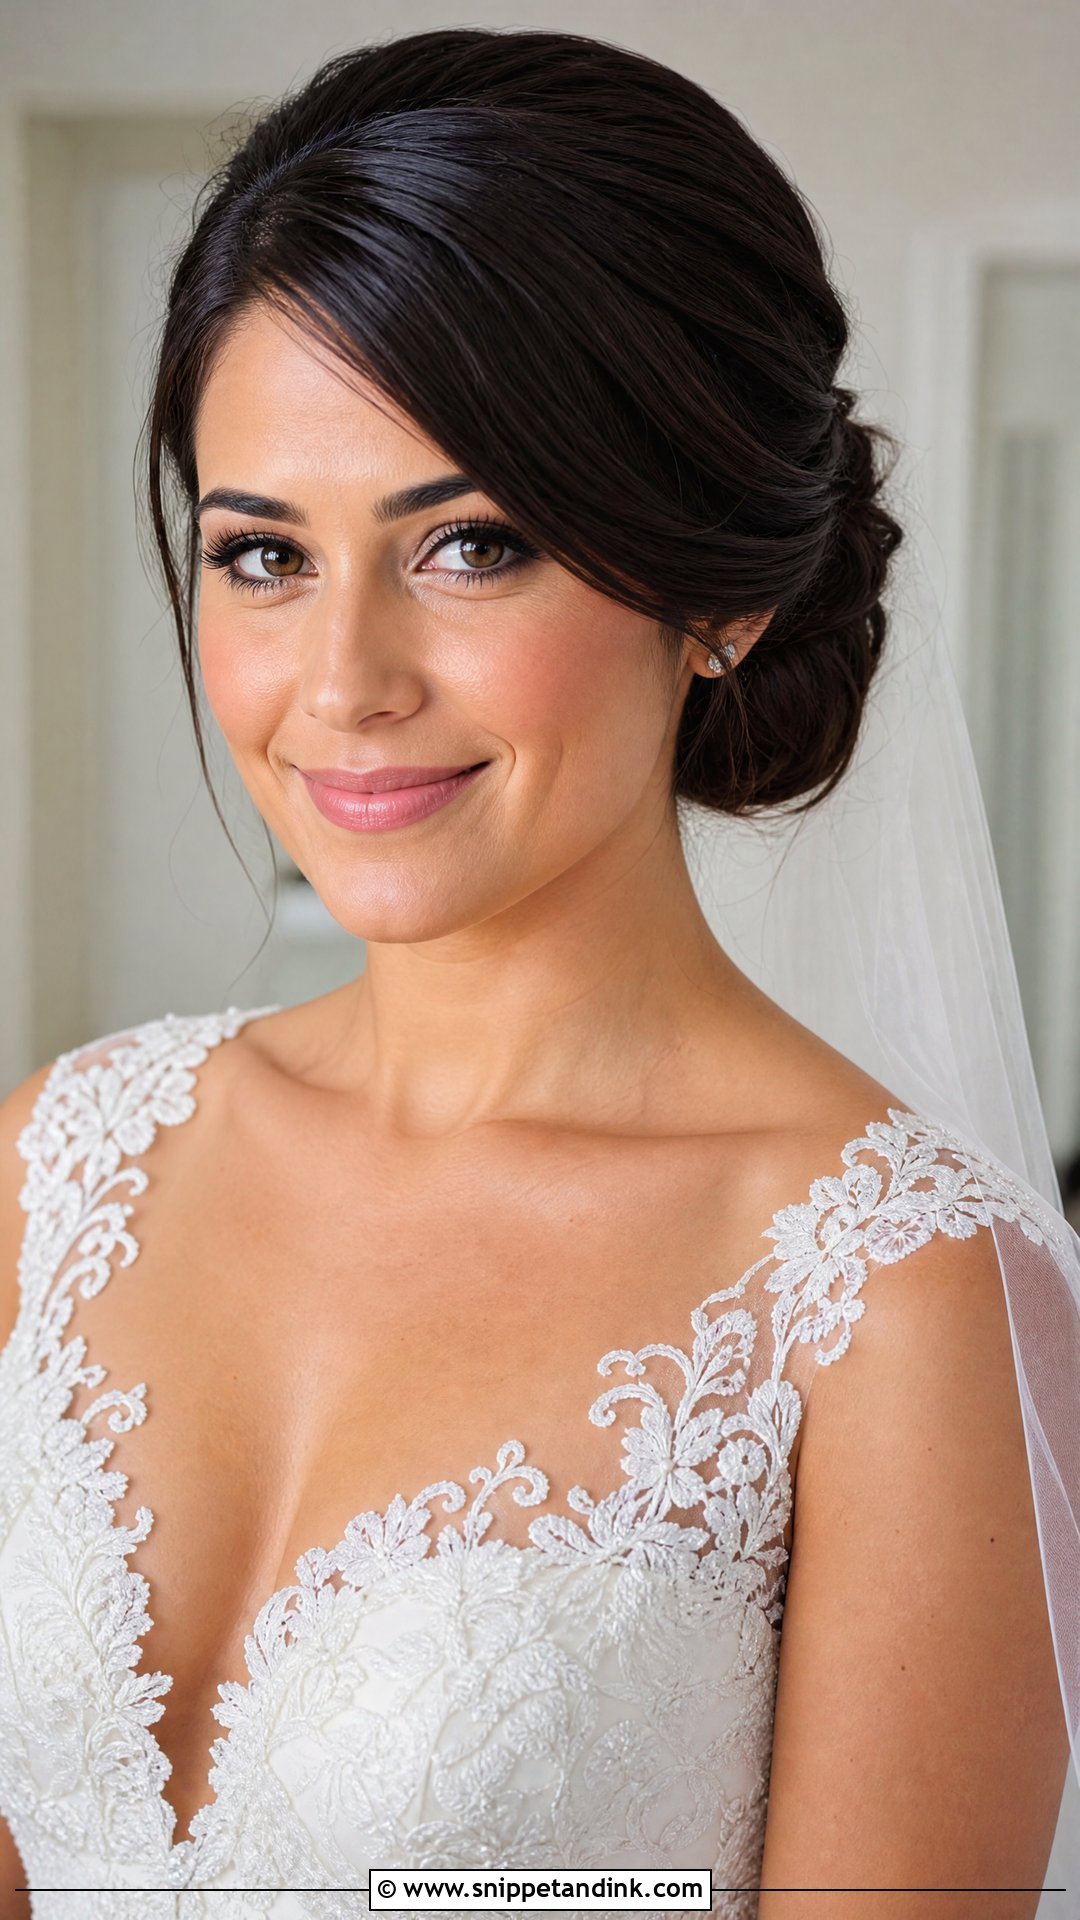
A low chignon with a side-swept front softens a strong part or a long face and avoids the fully slicked-back look some brides dislike. The swept piece can be smooth, curled or loosely pinned. I anchor it with a pin hidden behind the ear so it holds its curve through the vows. It suits lace gowns, drop earrings and traditional veils, and it is one of the few updos that still looks right if a few strands come loose by evening.
9. Frontal Wedding Ponytail With Face Framing Pieces
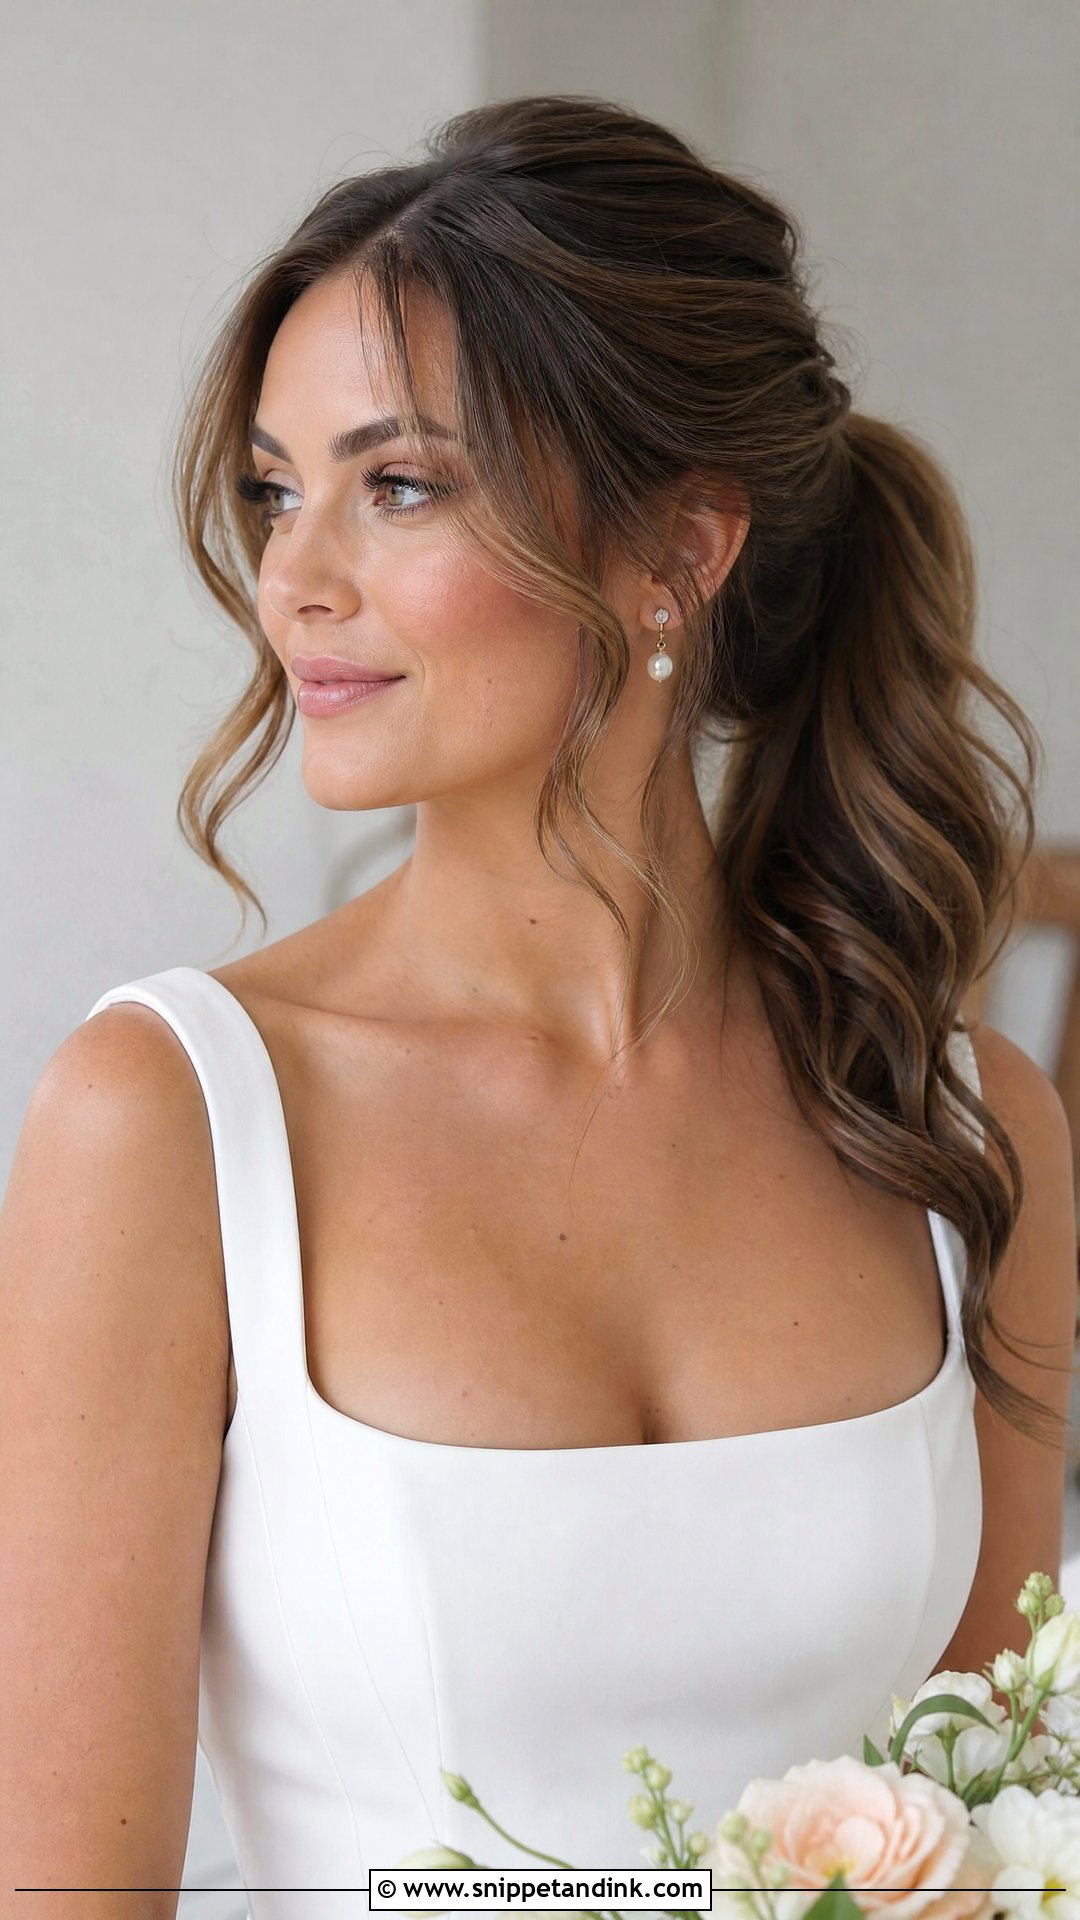
A ponytail can be as formal as a bun if the front is done properly: a lifted crown, smooth sides and curled pieces at the face. High reads glamorous, low reads soft. Waves through the length make it look fuller from the side. I wrap a strip of hair round the elastic and pin it underneath. The weak point is sag; by late evening a high ponytail drops, so I support it with two crossed pins pushed up into the base.
10. Frontal Wedding Hollywood Waves
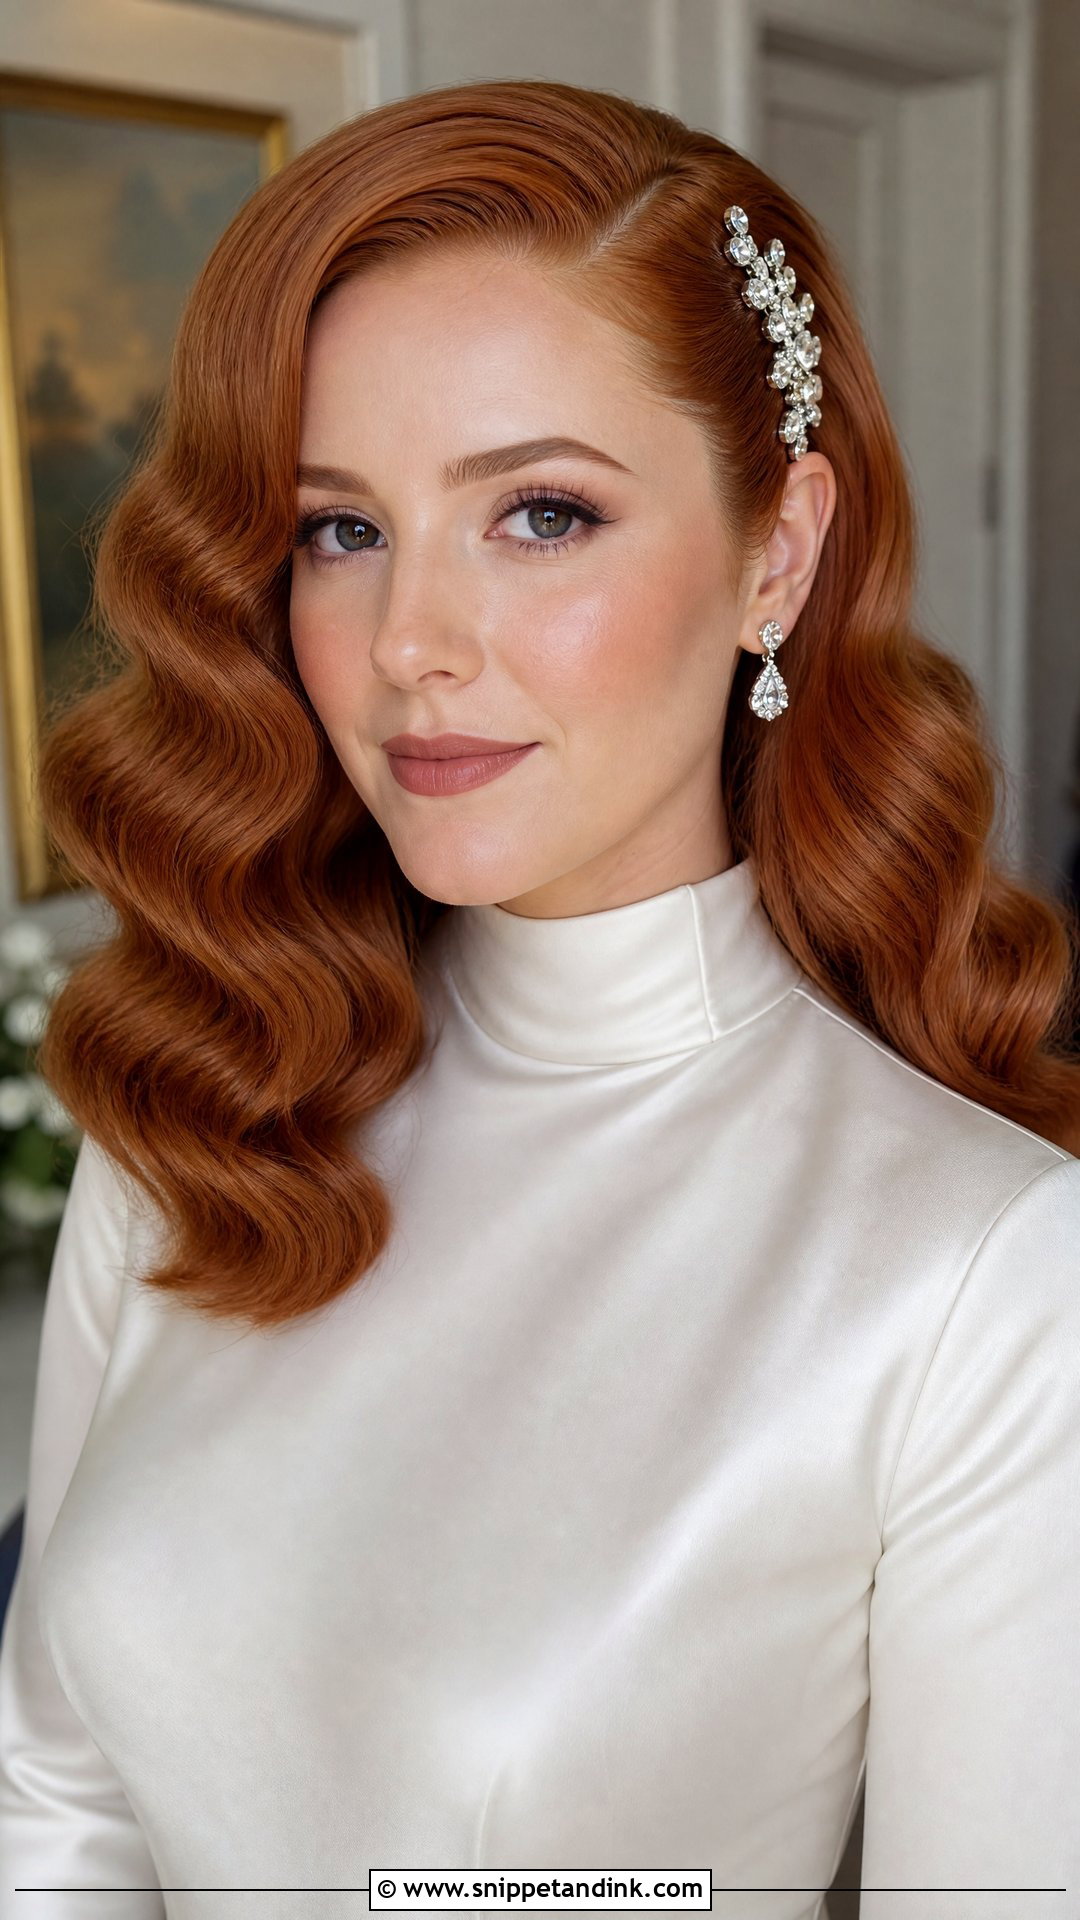
Hollywood waves fall in one direction from a deep side part, polished into soft ridges. I set the waves, brush them out with a boar bristle brush until they join into one shape, then clip the ridges while a flexible spray dries. It suits satin gowns, vintage dresses and bold earrings. The swept-back side can be pinned behind the ear with a comb or clip for security. Damp heat is its enemy; on an outdoor summer day I would choose a different style.
11. Frontal Wedding Messy Bun With Loose Curls
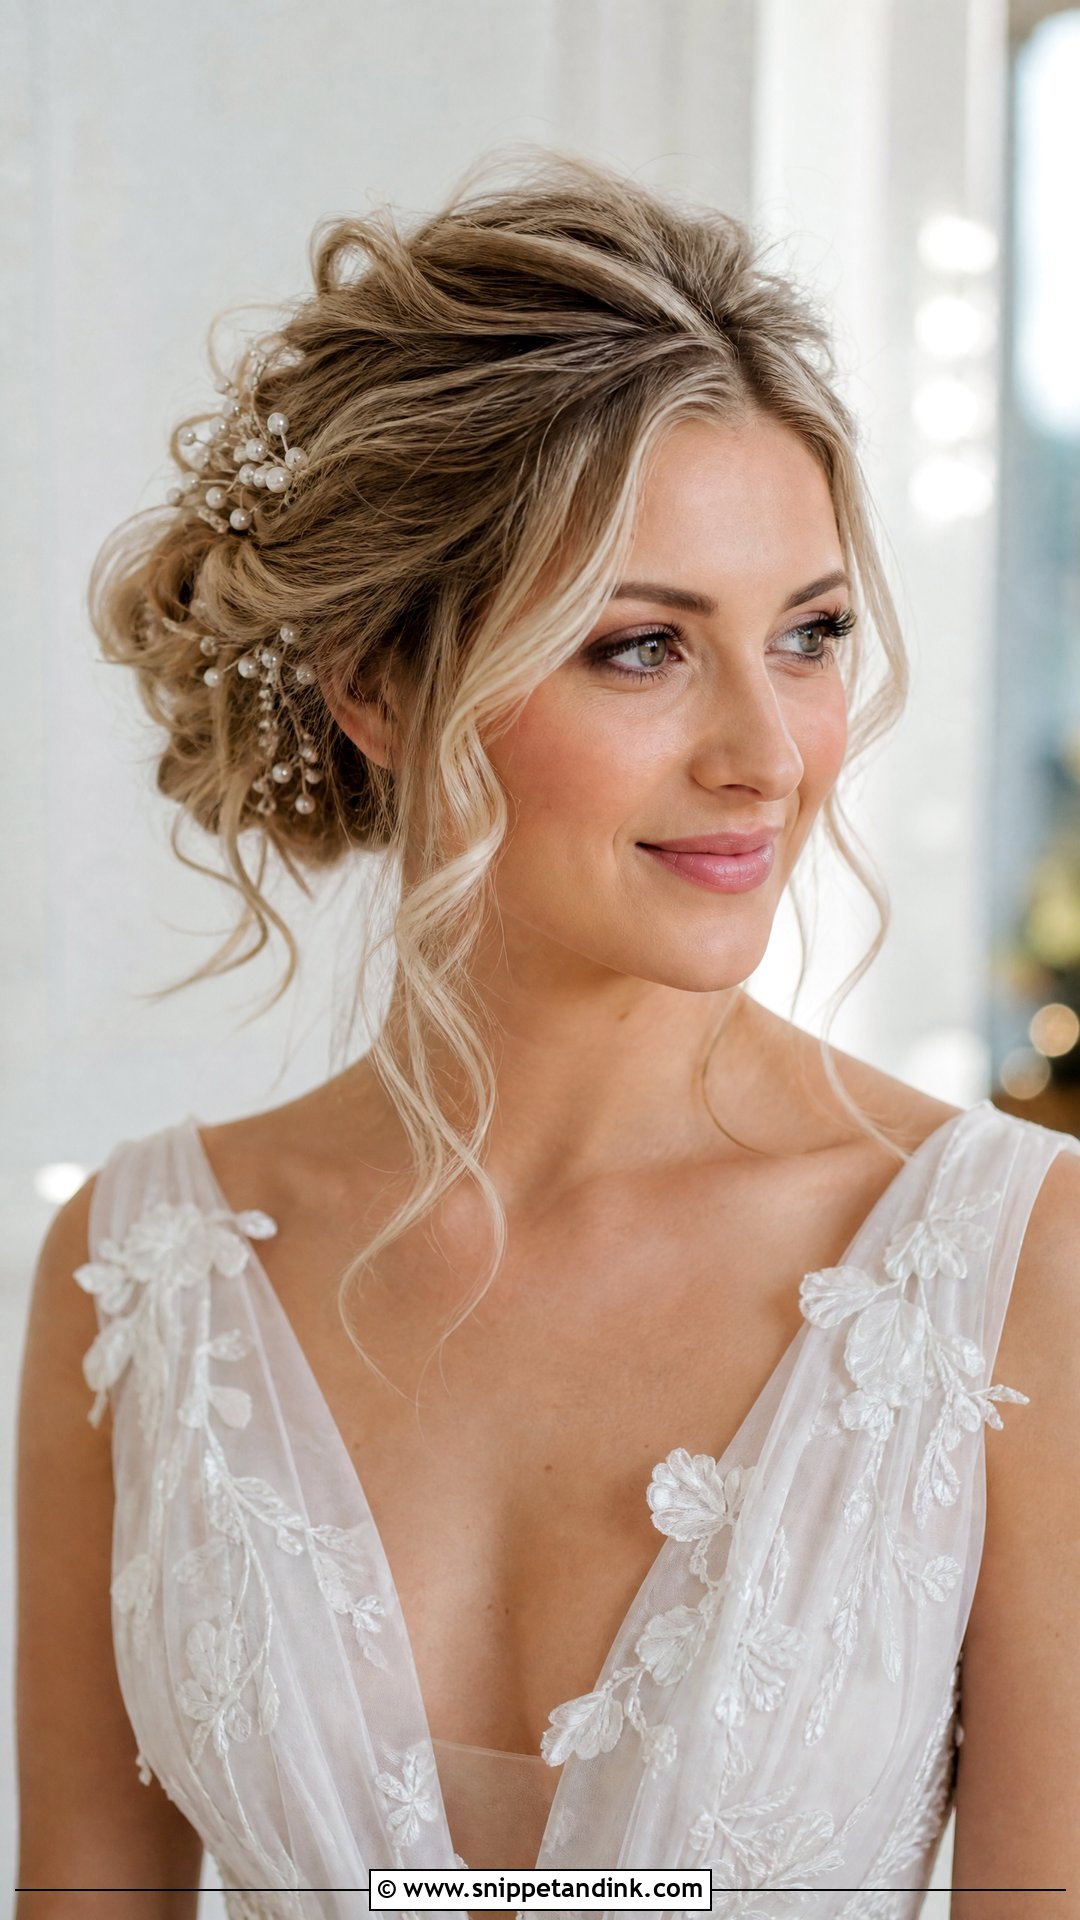
A messy bun only works if the front pieces are chosen, not left over. I pull them out deliberately, curl them, and place them where they flatter the face, then add texture through the crown and pin the bun low or mid. It suits garden weddings and relaxed venues. Pearl pins, small flowers or a delicate comb all tuck in easily. On very fine hair, the messy look can turn thin quickly, so I would add a little volume powder at the roots first.
12. Frontal Wedding Twisted Updo
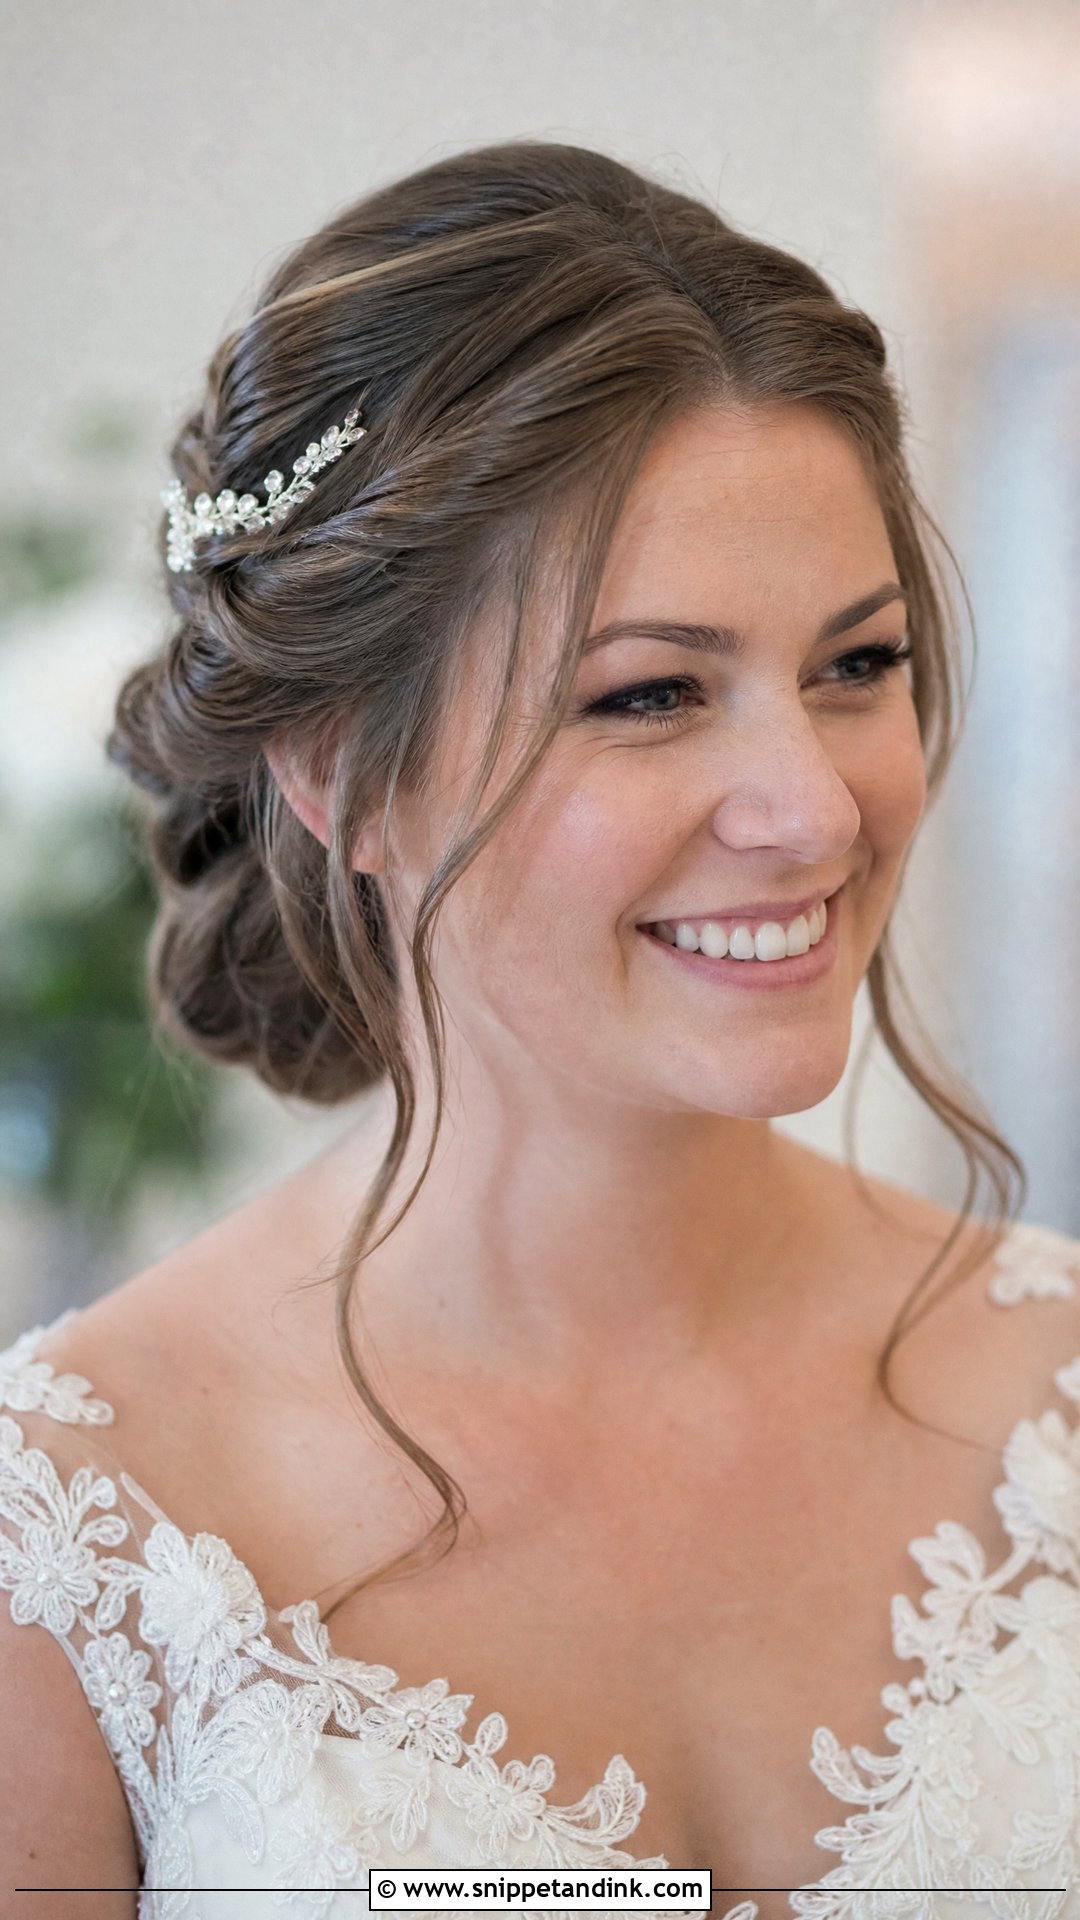
Twists give texture at the temples without the busier pattern of a braid. I twist each section back from the face and lock it with two bobby pins crossed against each other, then gather everything into a low or mid updo. It adapts to fine, thick, straight or wavy hair, which braids do not always. Leave a few pieces loose for softness. It holds a veil comb and simple earrings well and stays comfortable all day.
13. Frontal Wedding Curly Updo
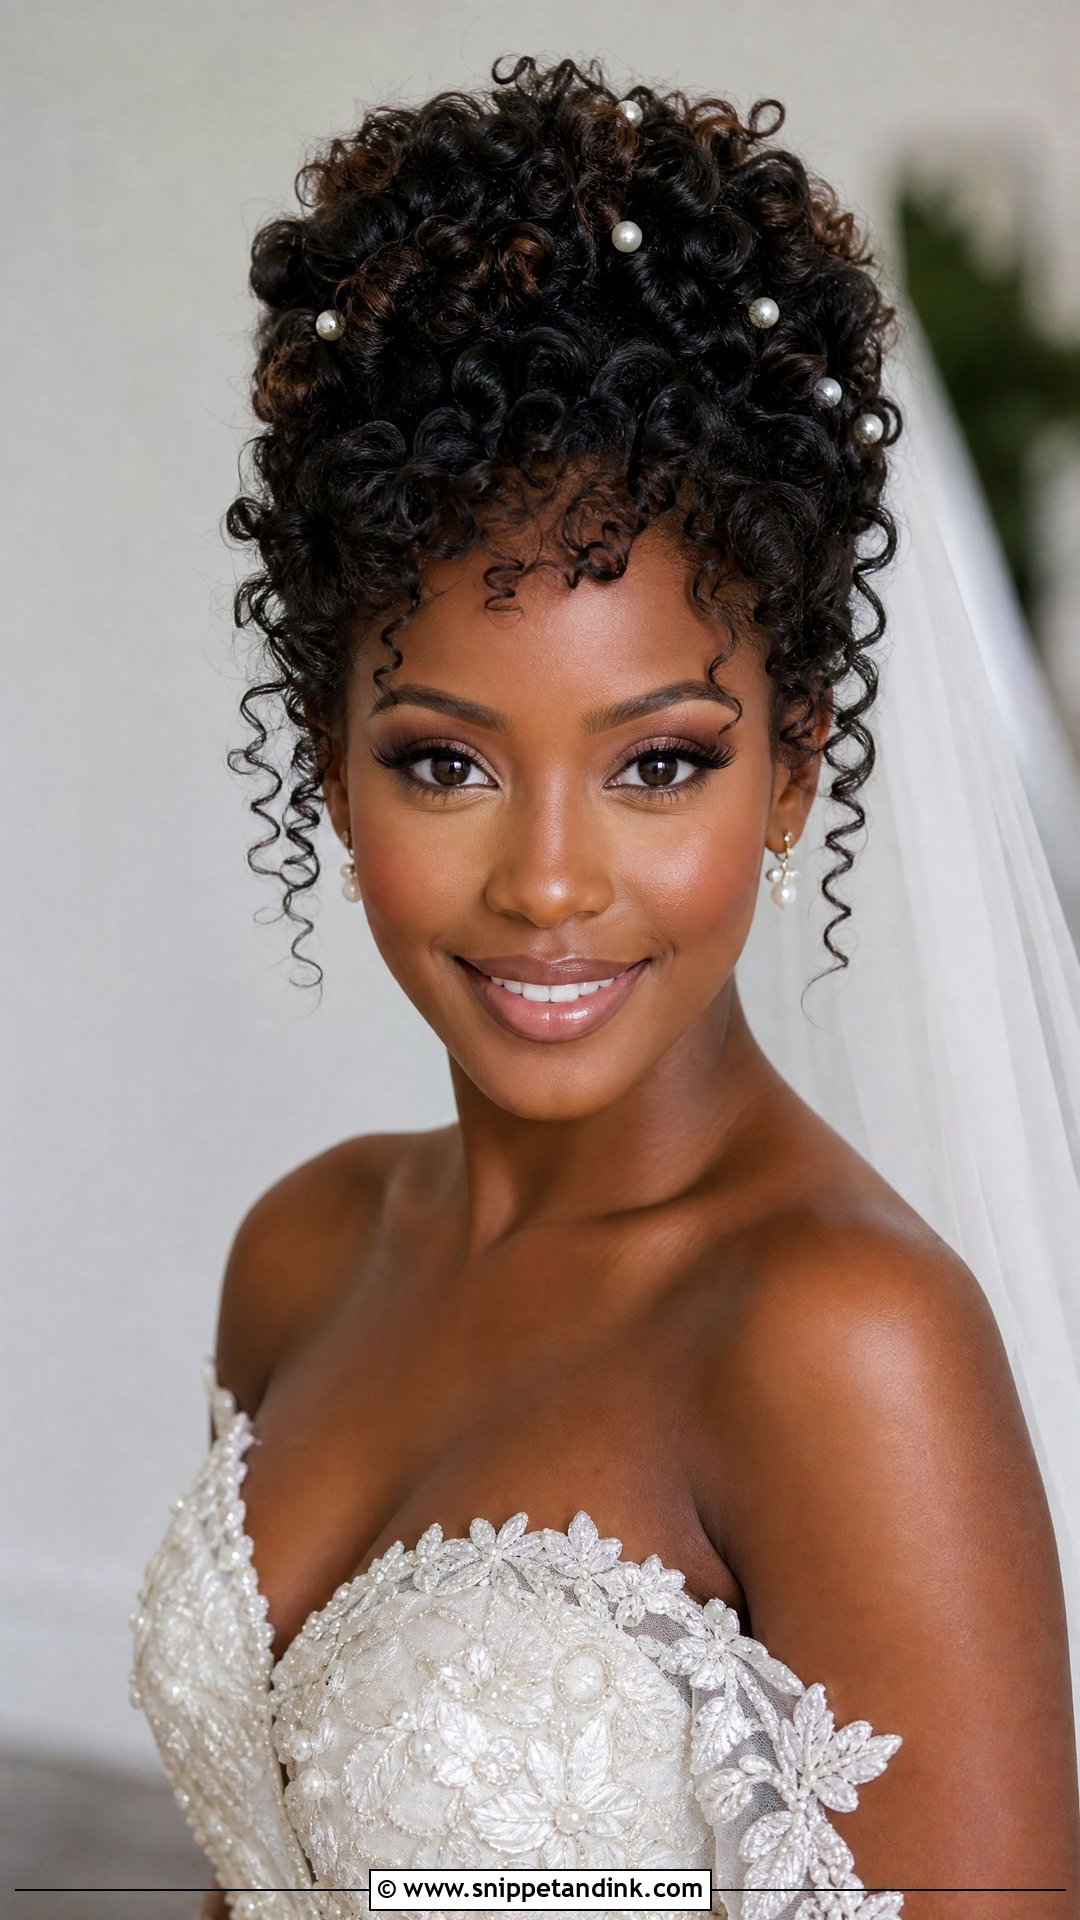
Curly hair should look like your curls, not like a different texture forced into shape. I define the curls with a cream or gel while damp, let them dry without touching, and pin them up with purpose, leaving a few to frame the forehead or cheekbones. Brushing curly hair dry turns it to frizz, so I separate curls with fingers only. A curly updo holds a veil, floral pins or jeweled clips, and it stays lifted through a long celebration.
14. Frontal Wedding Bun With Middle Part And Veil
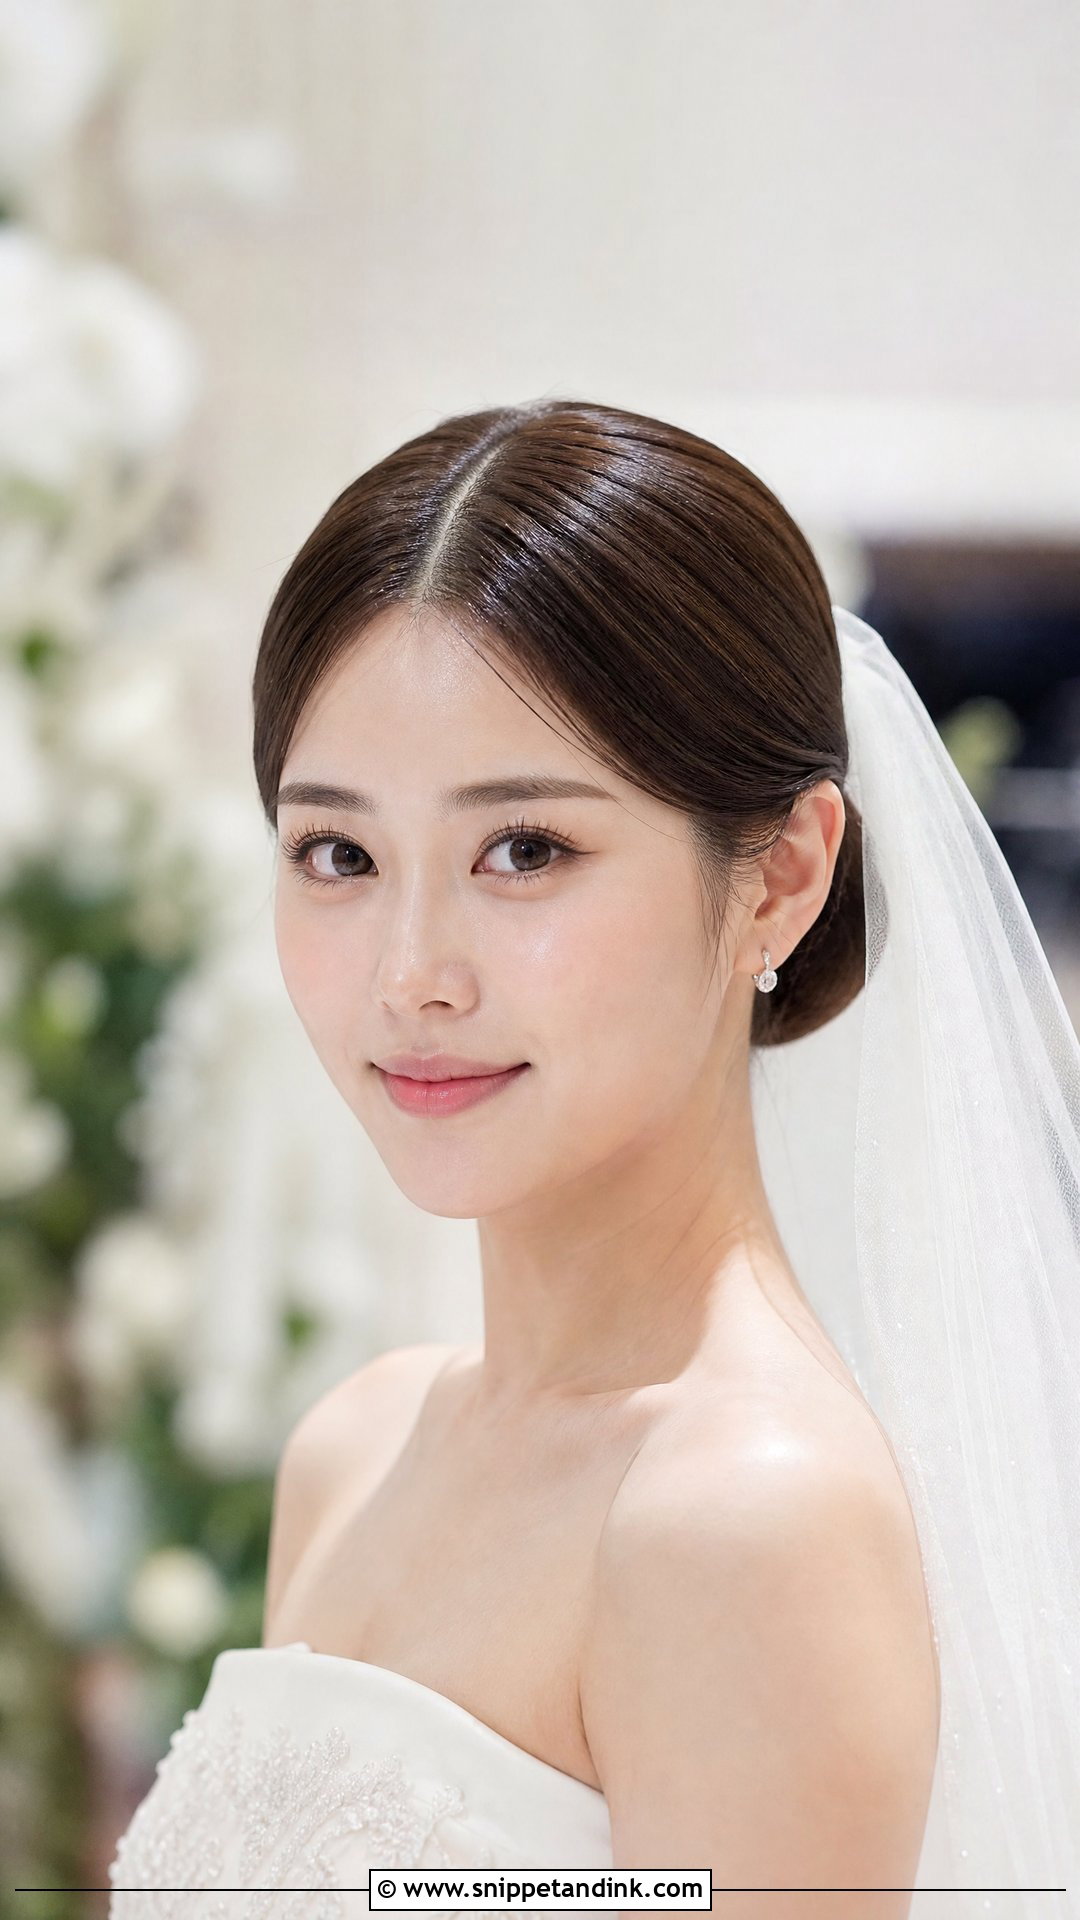
A middle part bun with a veil keeps the attention on the face and the dress. The bun gives the veil comb a firm base, which matters with a heavy cathedral length. I place the comb just above the bun, angled down into it, so the weight is carried by the bun and not by the hair at your crown. Keep the part clean and use a light shine product. Detailed sleeves, lace, beading or a dramatic neckline all benefit from hair this quiet.
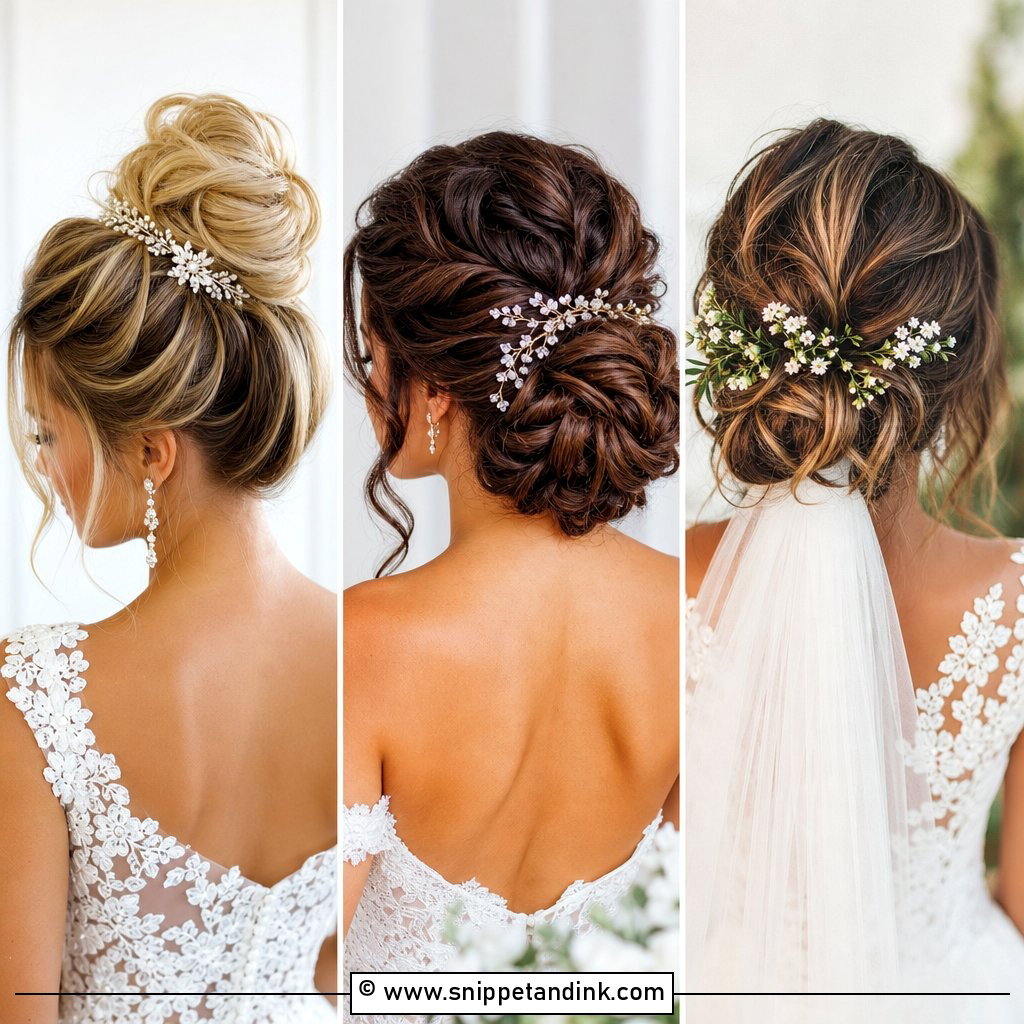
15. Frontal Wedding Side Braid With Loose Waves
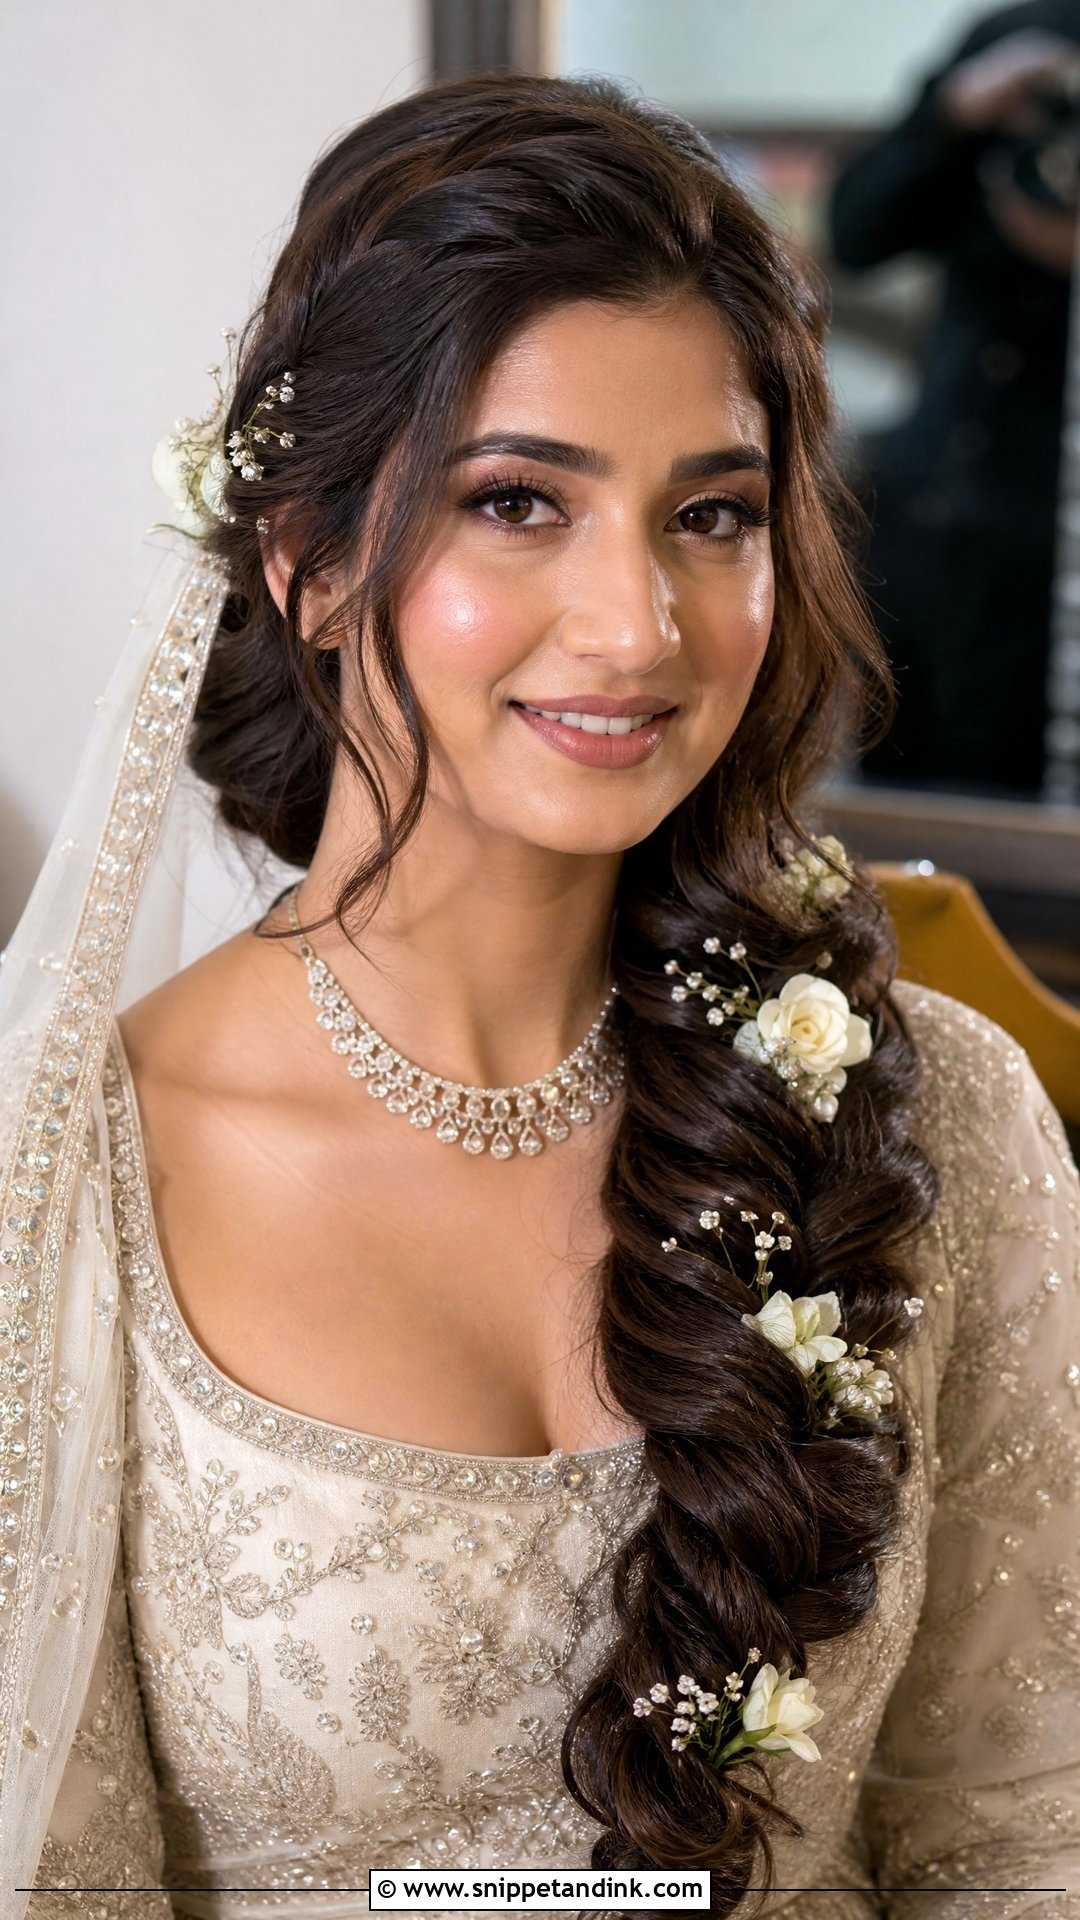
A side braid running from the front hairline across one side into loose waves or a low pinned section gives texture without heavy accessories. It suits outdoor weddings and boho gowns. I braid it slightly loose and then pancake the edges so it does not grip the scalp tightly. Wind is the reason I like it outside: the braid keeps the front in place even when the waves move.
Face-Framing Pieces Have a Short Life
Almost every style above relies on a few loose pieces around the face, and they are the first thing to change during the day. Curls relax, fine hair sticks to lip gloss, and in humid air the strands nearest your skin frizz before anything else.
- Keep them few. Two or three pieces each side look deliberate; more starts to look like the updo is falling down.
- Mind the length. Pieces that end at the cheekbone or jaw frame the face, while ones that hit the corner of your mouth will spend the day stuck in lipstick.
- Ask for them to be curled last and left pinned up until you put on the dress, so they’re at their freshest walking in.
- Give a bridesmaid a small curling wand or a clip-in roller for a quick refresh before couple portraits.
If you wear glasses, bring them to the trial. Tendrils tangle around the arms of the frames, so I often tuck the front pieces behind the ears and curl them forward from there.
The Guests Mostly See the Back
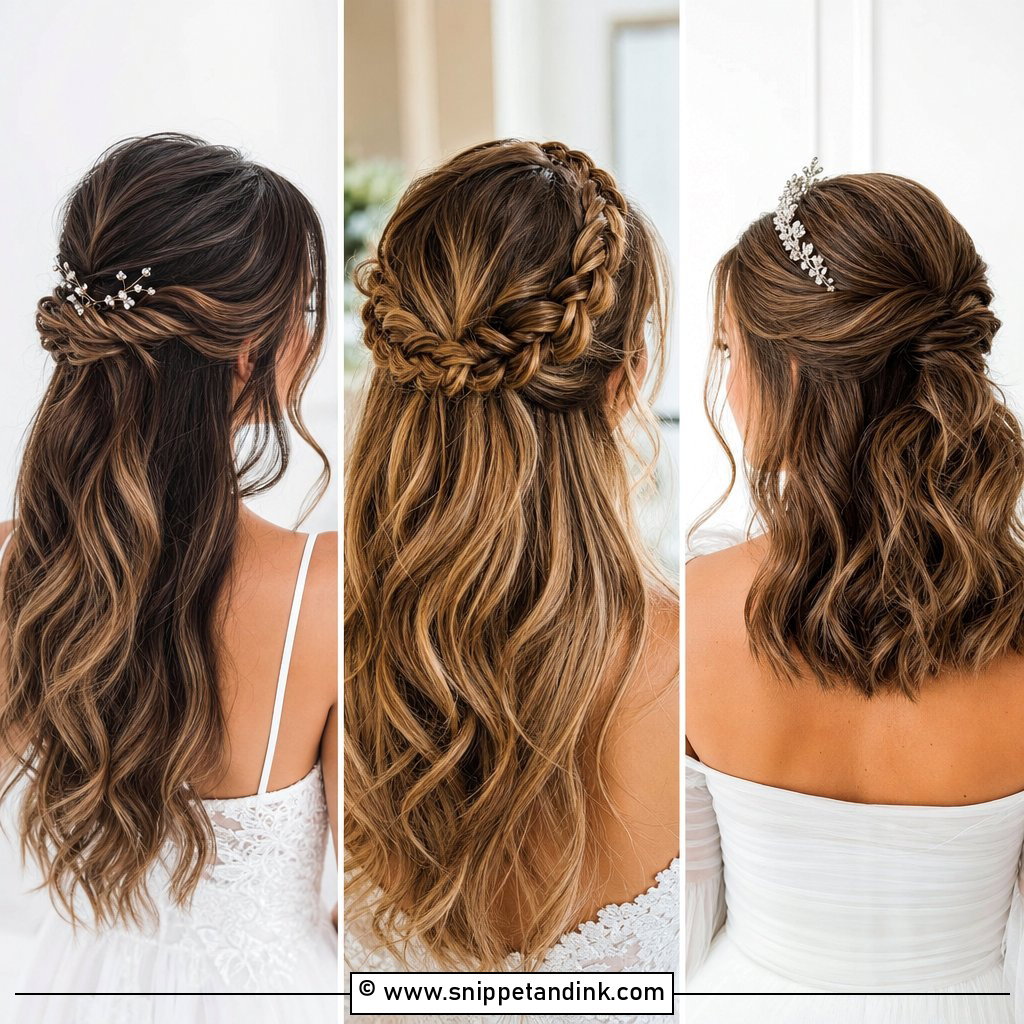
During the ceremony, most of your guests are looking at the back of your head; the photographer is the one at the front. So while the front sells the photos, the back still has to look intentional, especially where the veil comb sits and how the bun or waves fall below it. I hand you a mirror at the trial so you can check the view from the third row.
Three Angles to Photograph at Your Trial
The front view you go with should tie your face, dress, veil and style together. Think about how the hair looks from the aisle, during the vows, in close portraits and after hours of dancing. Soft curls, sleek buns, half up hair, braids, Hollywood waves and textured updos each solve a different problem. At the trial I photograph the front, both sides and the back with the veil in, because a front that looks right in the mirror can look different in the photos you will keep.
You'll Like These Ideas:


Leave a Reply