
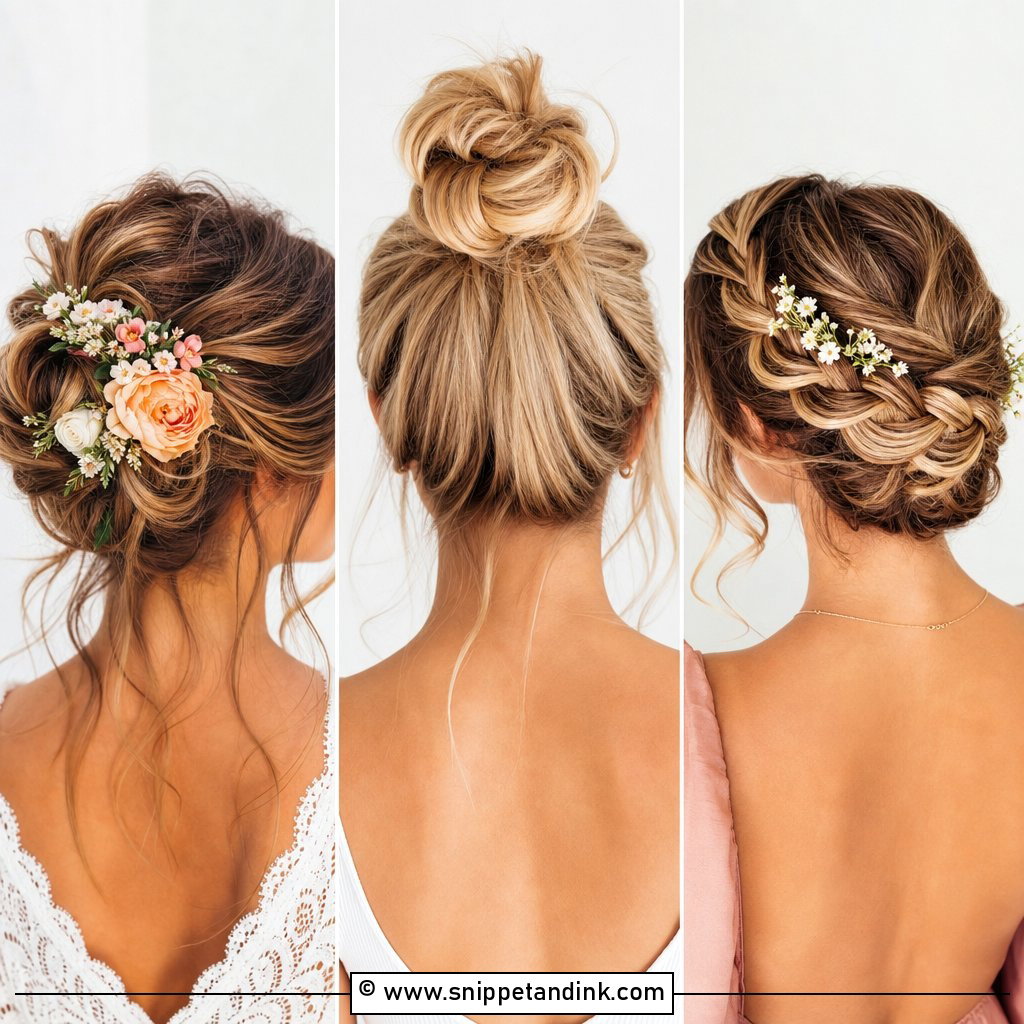
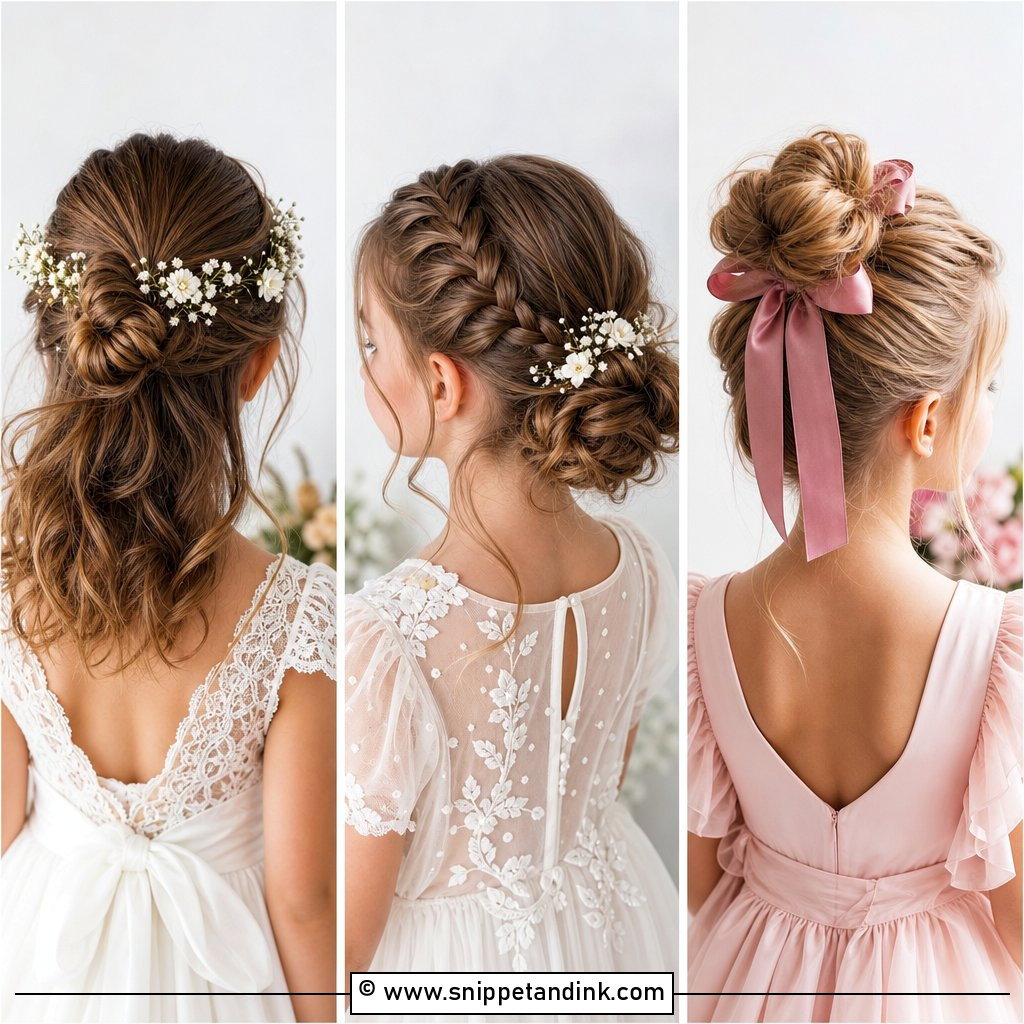
The back of a bridal style gets admired once, during the walk down the aisle. The front is in every portrait, every close-up and every candid across the table, which is why I spend more time on the first two inches of the hairline than anywhere else. How the hair sits around your face changes the whole mood, from soft and romantic to sleek or loose and boho. From cascading tendrils to braided crowns and twists, front styling can open up your eyes and cheekbones and work with your dress, veil and earrings. Long, short, curly or straight, there’s a version here that will suit you. These are the 20 front styles I’m asked for most, with what each one needs from your hair.
Cowlicks, Widow’s Peaks and the Part Your Hair Already Has
Before I look at your inspiration photos, I look at your hairline. Where your hair grows from decides which front styles will sit flat and which will fight me all day. Most of the problems I see at trials come from choosing a style built for someone else’s hairline.
- A cowlick at the front can be blow-dried into submission for a few hours, but it springs back by evening. Styles that work with it, like a side part going the same way, last longer.
- A widow’s peak looks sharp with a slicked-back front and softer with a side part that breaks the point.
- Thinning or very fine temples show through sleek styles. Face-framing pieces and soft volume hide them far better.
- Baby hairs along the edge either get smoothed with a small brush and gel, or left soft. Decide at the trial, because both looks are valid.
If you want face-framing layers or a fringe for the wedding, get them cut four to six weeks before, not the week of. A fresh cut needs time to show how it falls, and if it goes wrong there’s still time to grow it out or work around it.
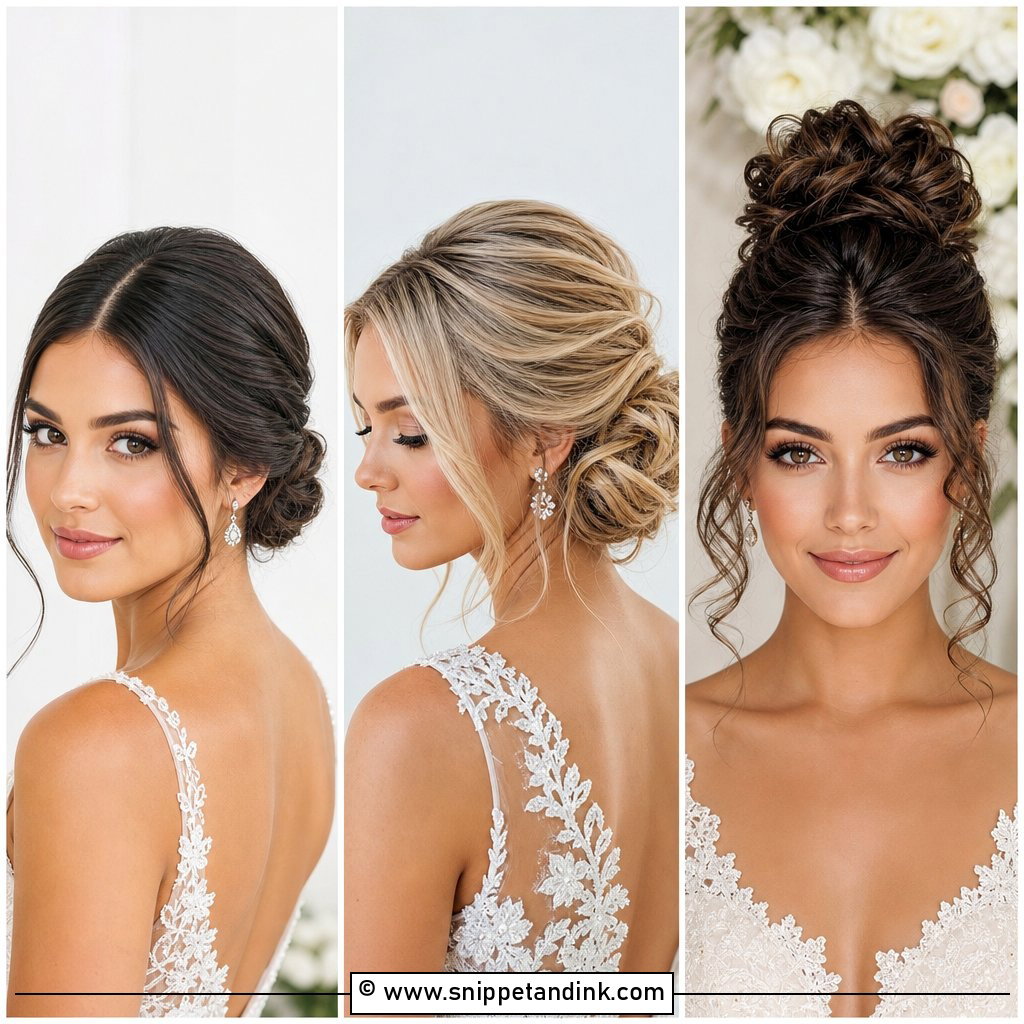
1. Face-Framing Tendrils With Updo
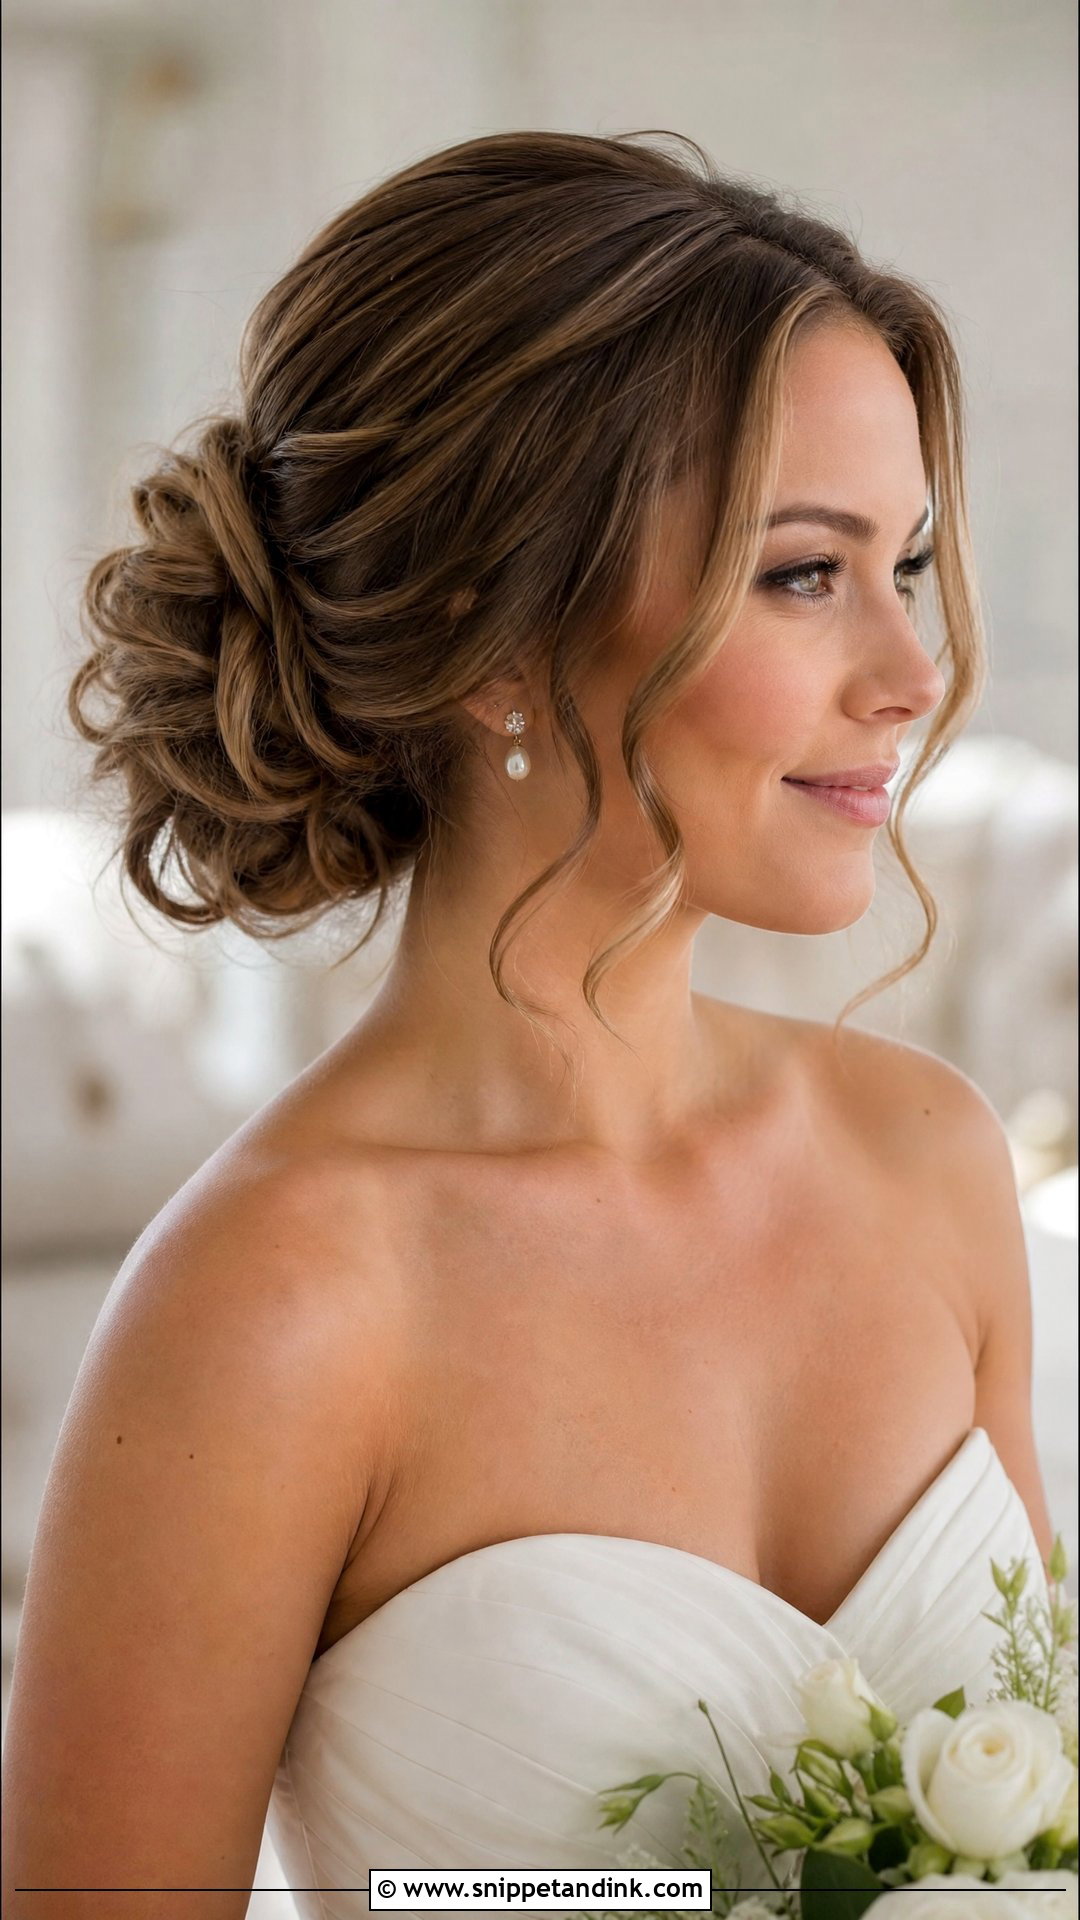
An updo with tendrils is the most requested style in my chair, and the tendrils are what make or break it. I pull a few strands from the front hairline, never too thick, and curl them so they sit around the cheekbones rather than the mouth, where they catch lipstick. A thin wand gives spiral definition; a larger one leaves a looser wave. It softens the face while the rest stays neatly pinned, works with veils and statement earrings, and suits nearly every face shape at a ballroom or an outdoor ceremony. If your hair is very fine, the tendrils will drop by the evening, so we cut fewer and set them harder.
2. Sleek Middle Part With Low Bun
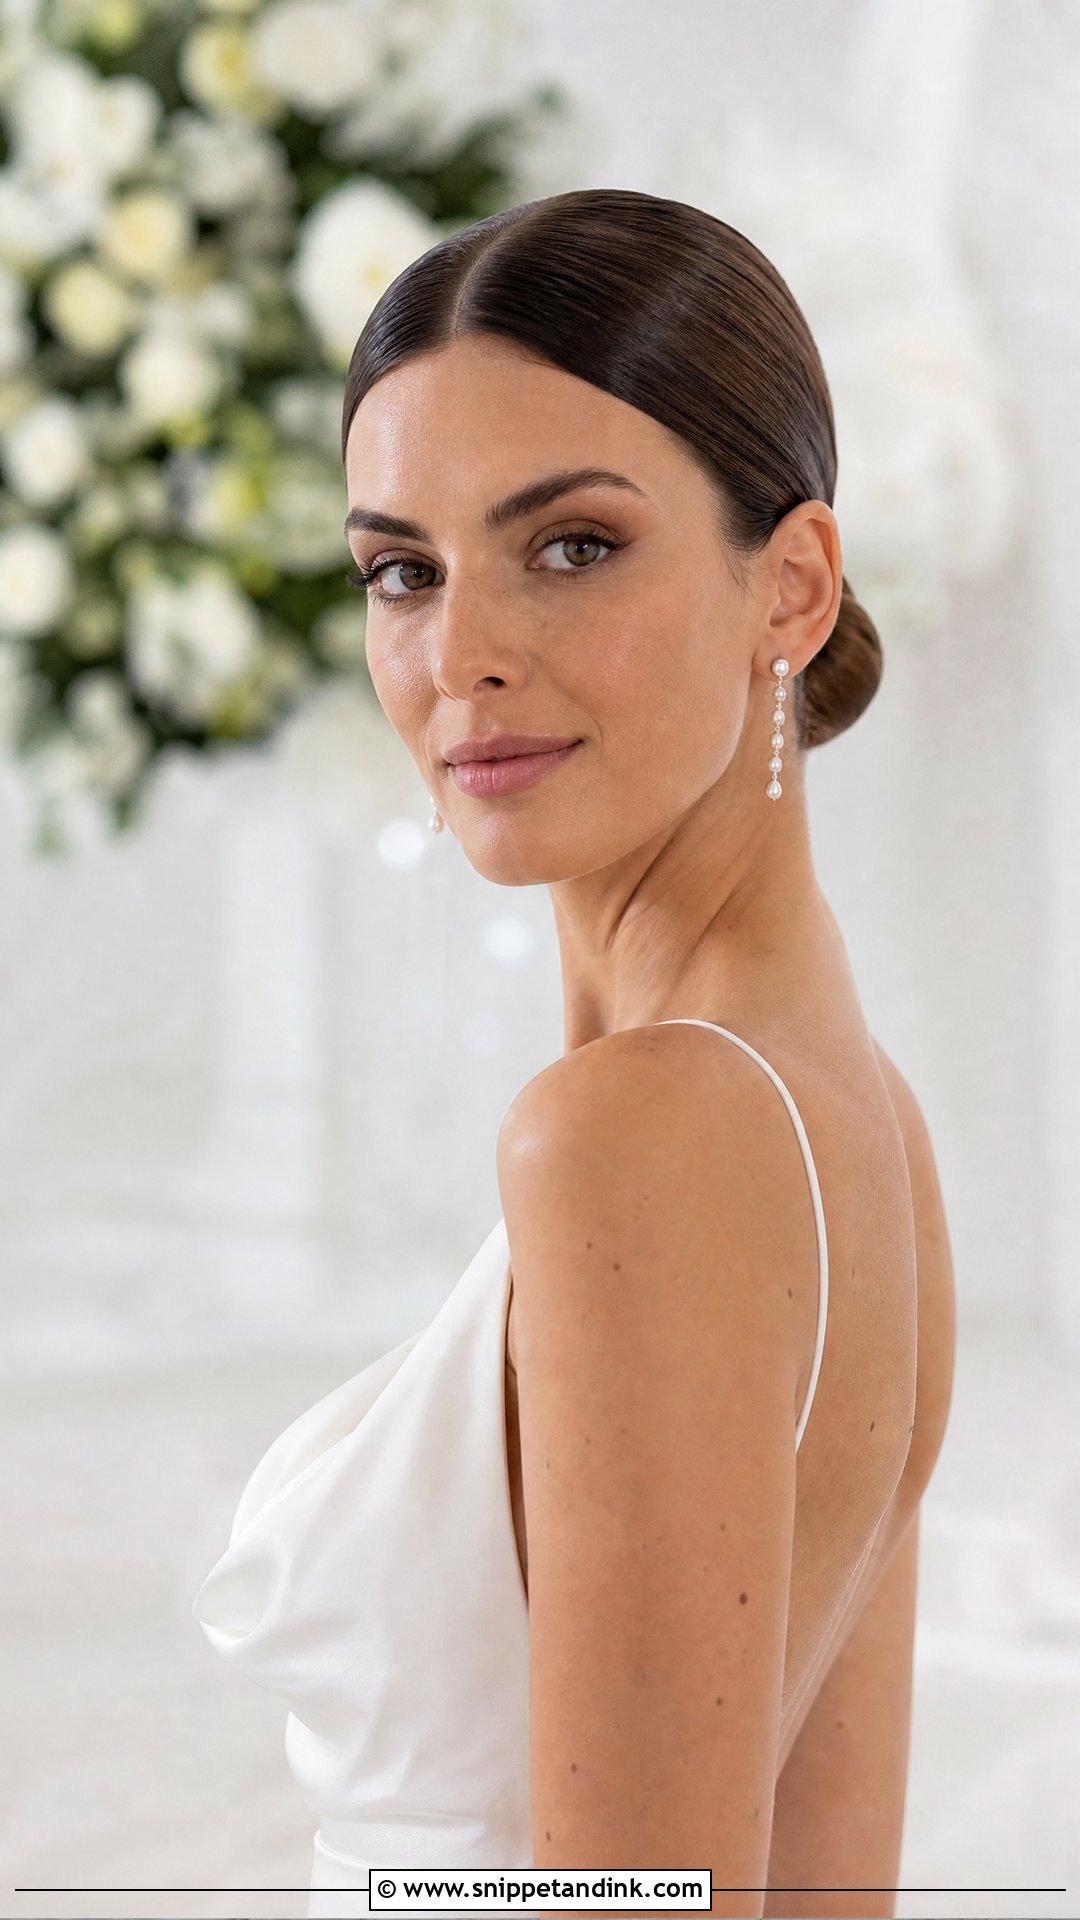
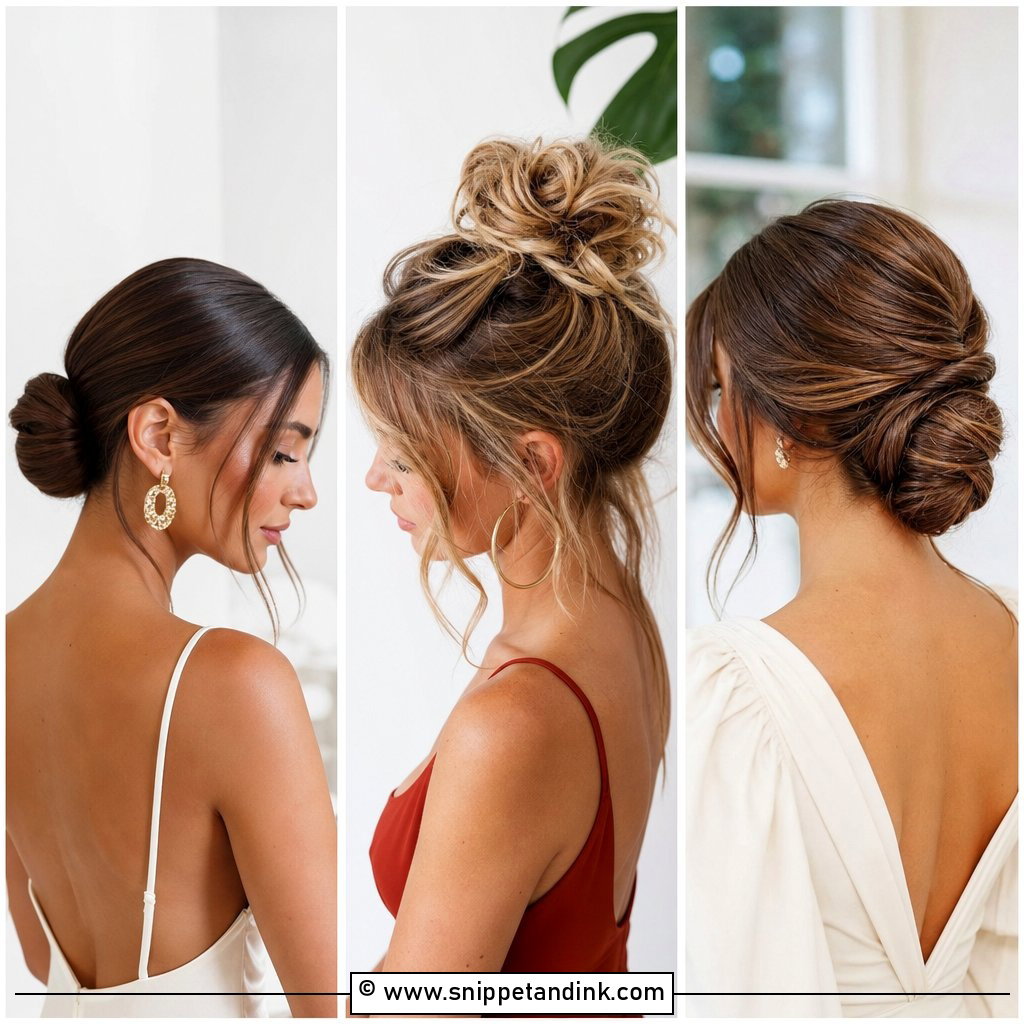
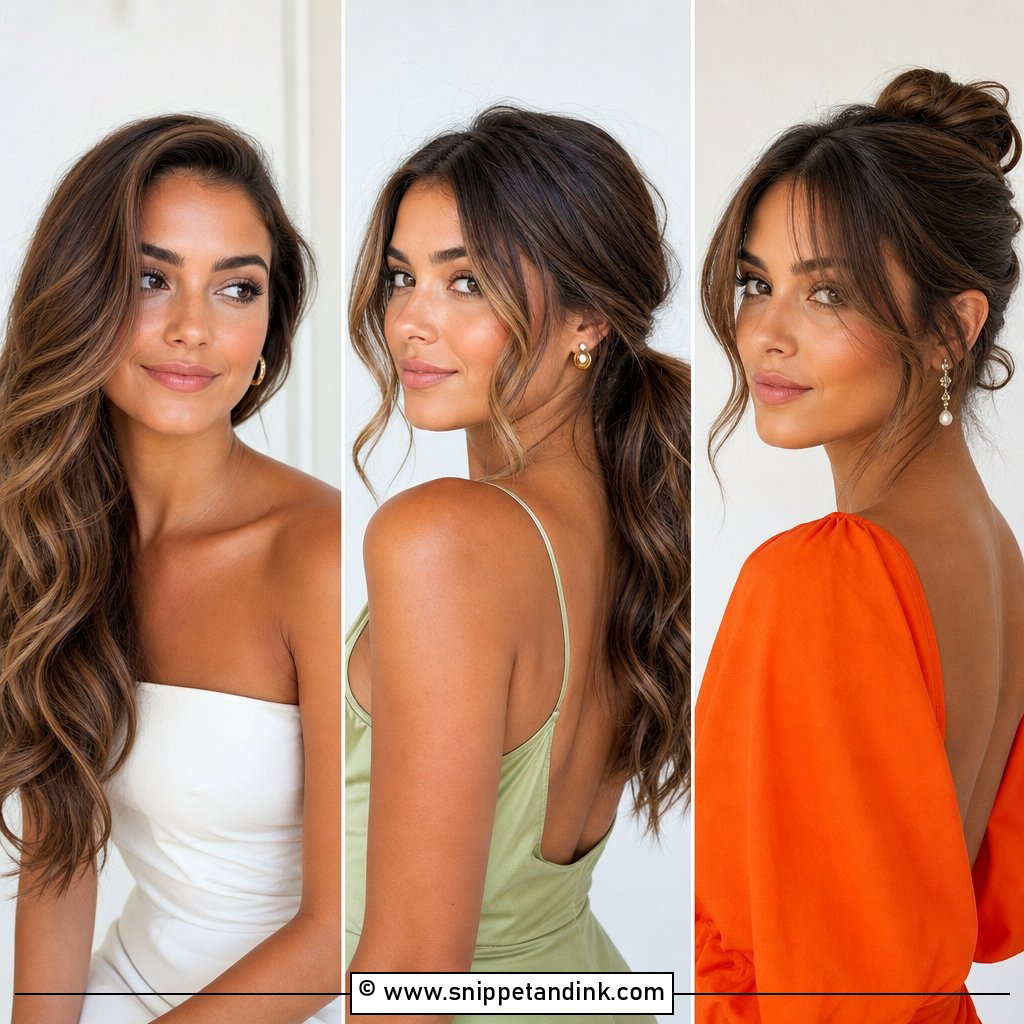
A sleek middle part into a low bun is all about symmetry, and that’s the hard part. Very few people have a dead-center part that sits flat; most hair wants to fall slightly to one side. I blow-dry the front against its natural direction first so it lies flat on the new line, then smooth with a little serum. The finish should be glossy without looking wet. The low bun balances the sleek front and leaves room for bold earrings or a fine veil. It suits minimalist gowns and city weddings, and it shows off your features completely, so it’s honest about your hairline too.
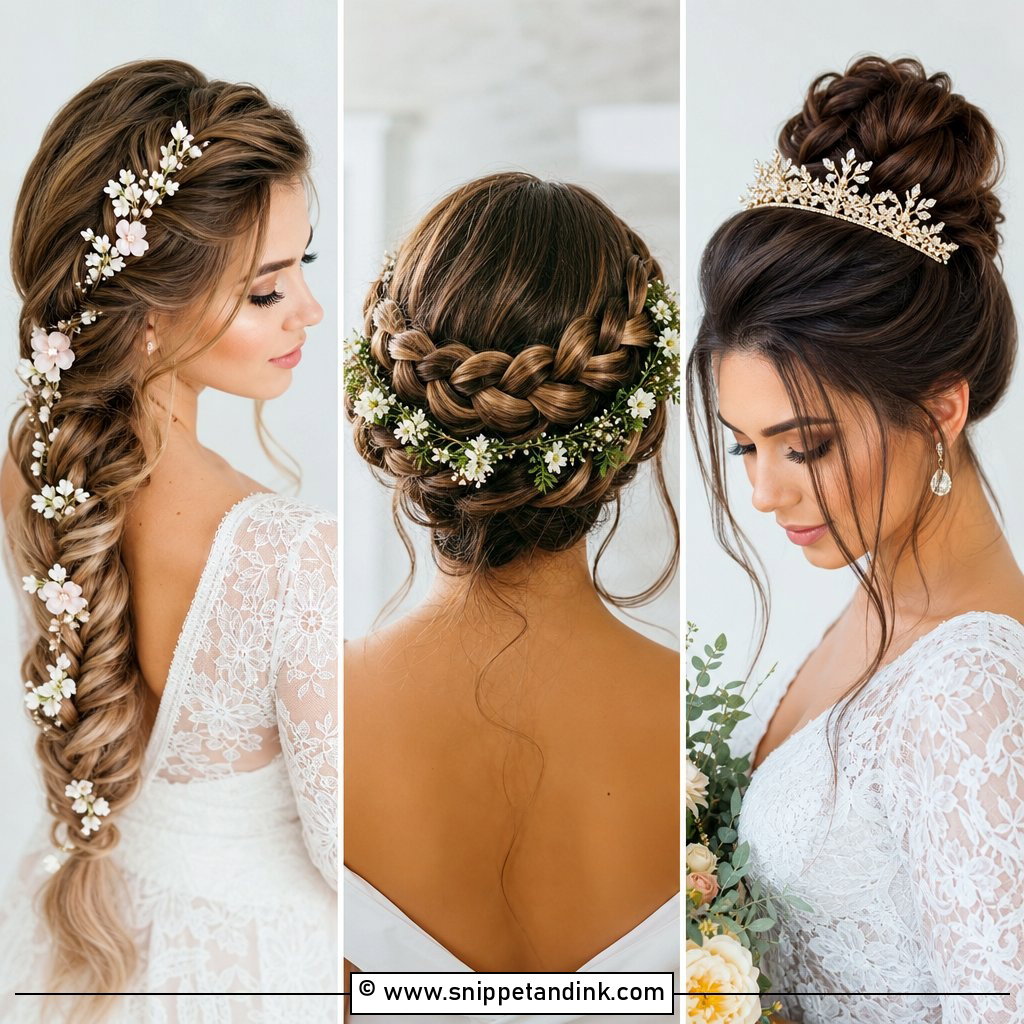
3. Braided Crown With Loose Front Strands
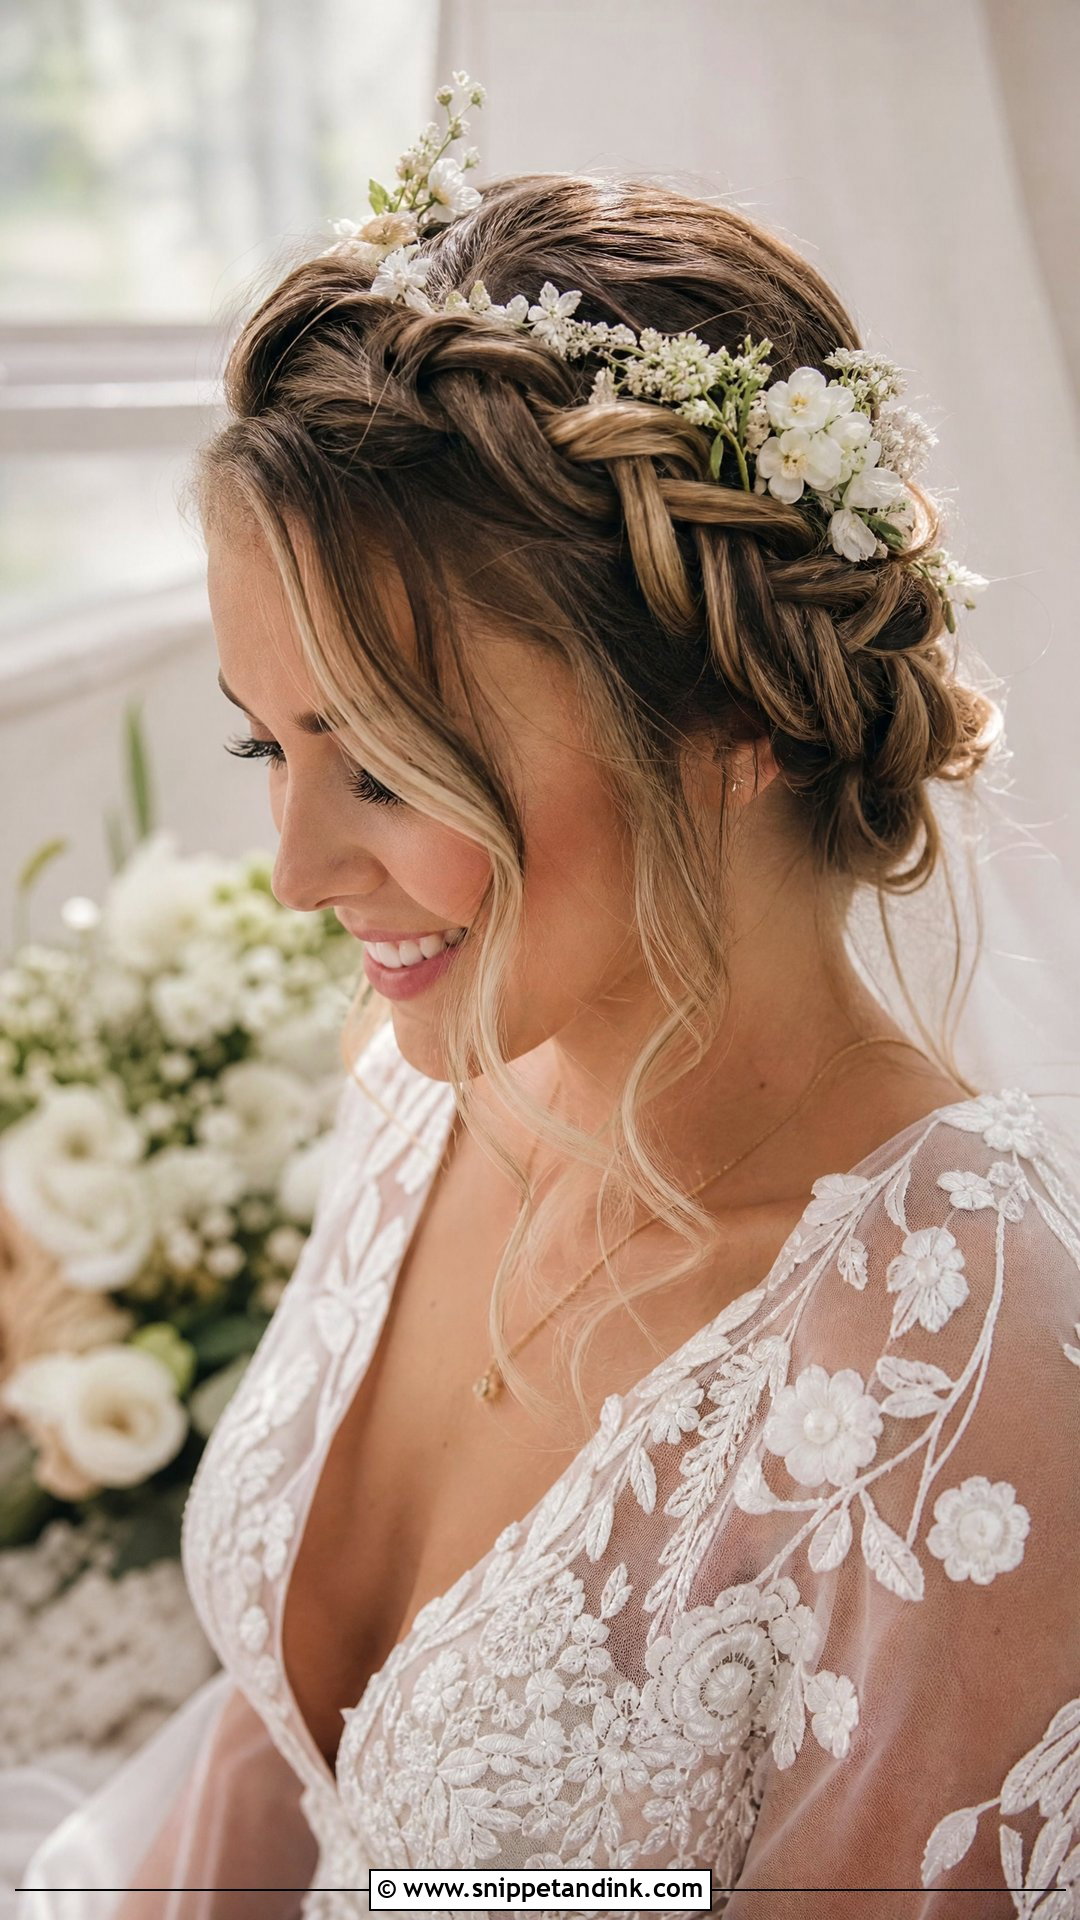
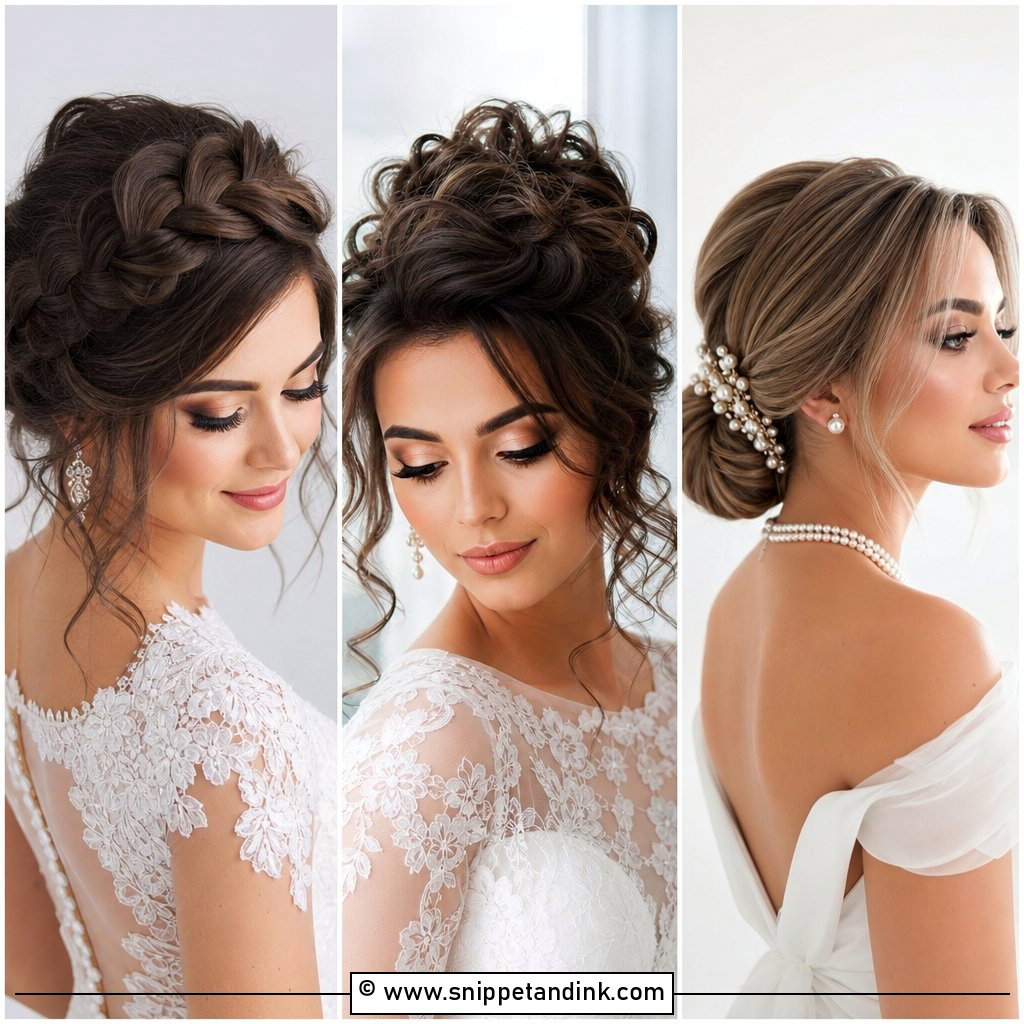
A braided crown wraps around the head like a halo, keeping hair off your face for garden and destination weddings. I let a few loose strands fall at the front so it doesn’t look tight or severe. Fresh flowers can be tucked into the braid. It works on most lengths, but shoulder-length hair may not reach all the way around, in which case I braid two sides and join them at the back with pins hidden under the plait. Layered hair needs a texture spray first, or the short pieces poke out of the braid within an hour.
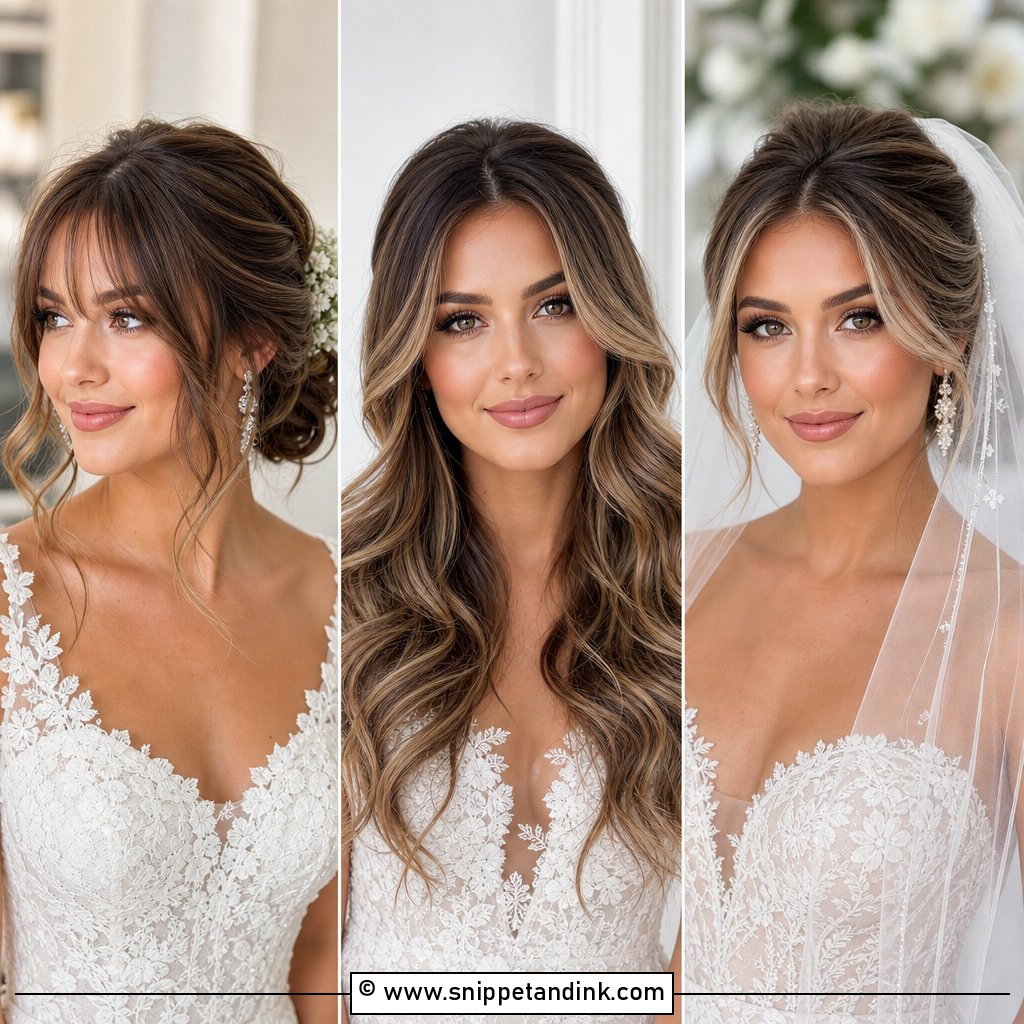
4. Curtain Bangs With Soft Waves
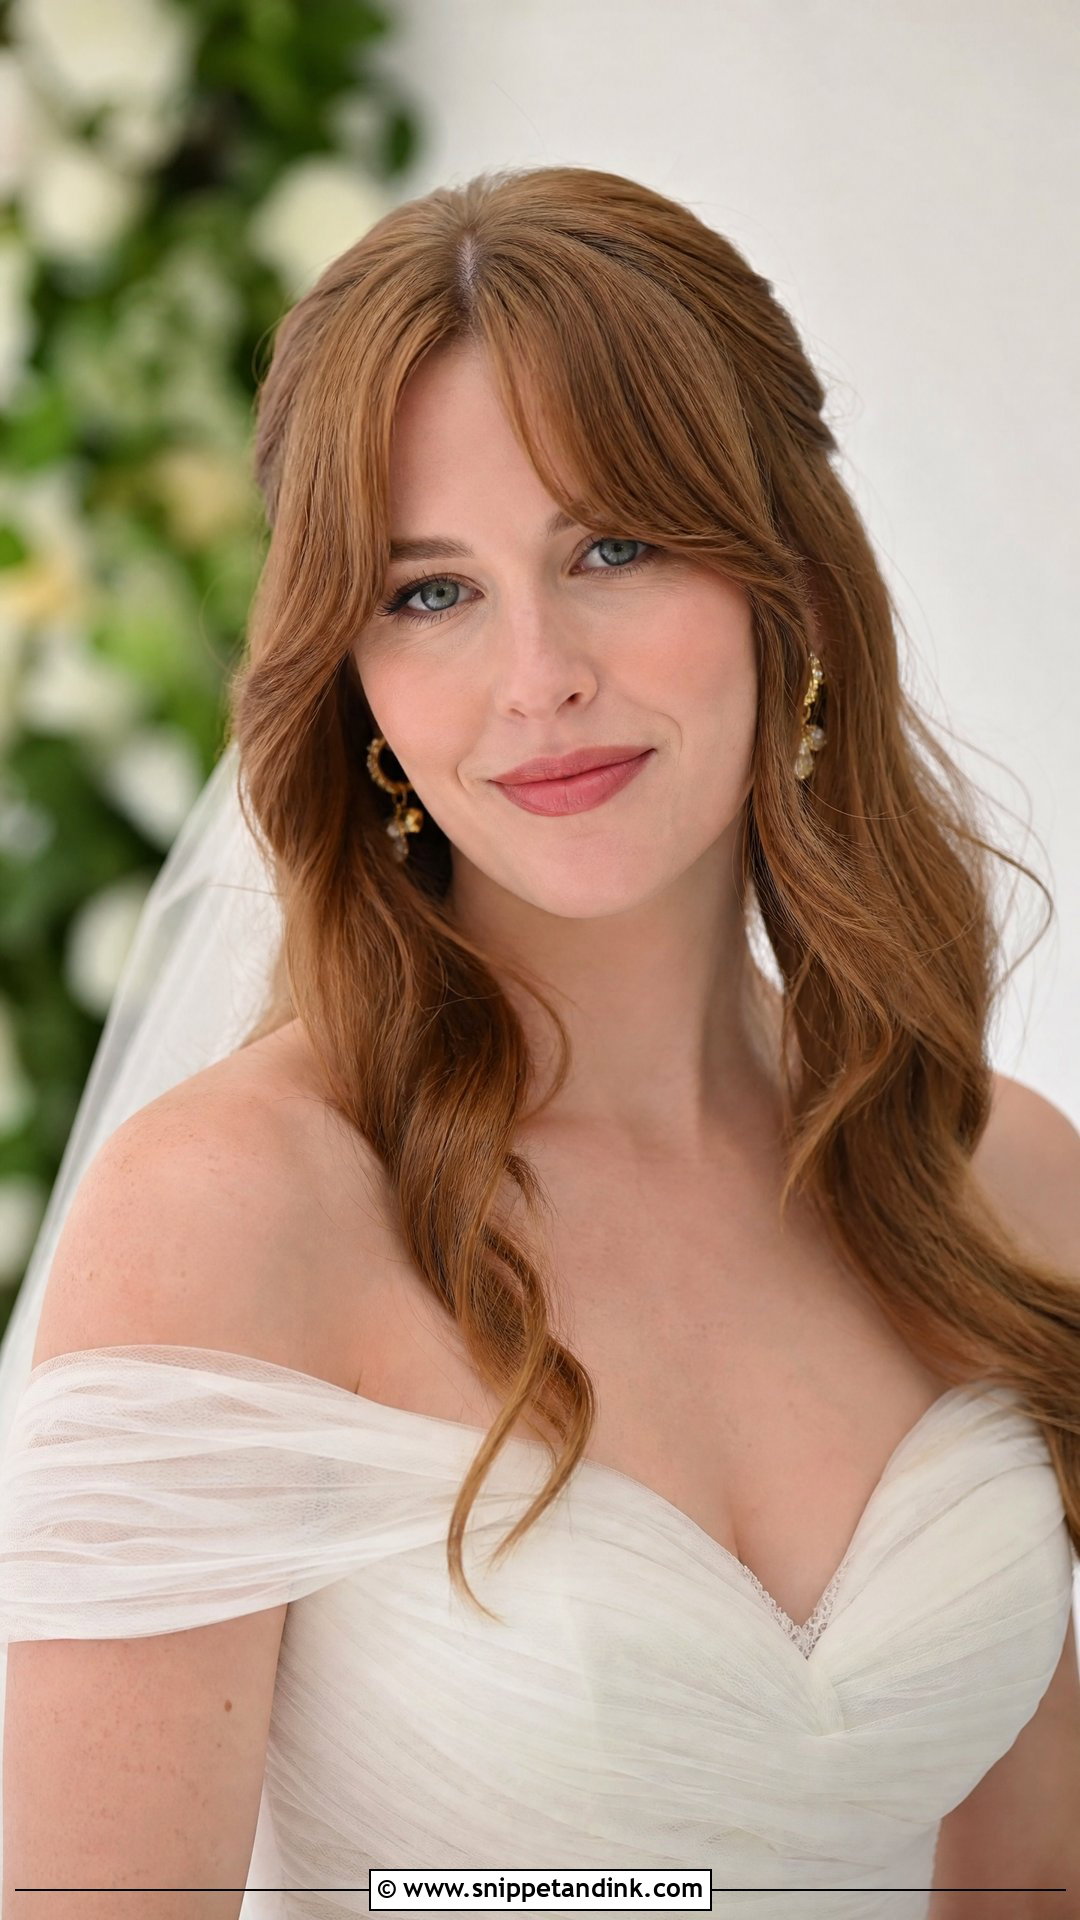
A fringe that parts in the middle and sweeps toward the cheeks is the easiest way to soften a face without an updo. Curtain bangs paired with loose waves through the rest of the hair feel fresh and modern, and they draw attention to the eyes and cheekbones. They blend into longer layers, and they suit both half-up and down styles. My one firm rule: don’t cut them for the first time the week of the wedding. Get them cut four to six weeks before, so you know how they behave and they’ve had a chance to settle.
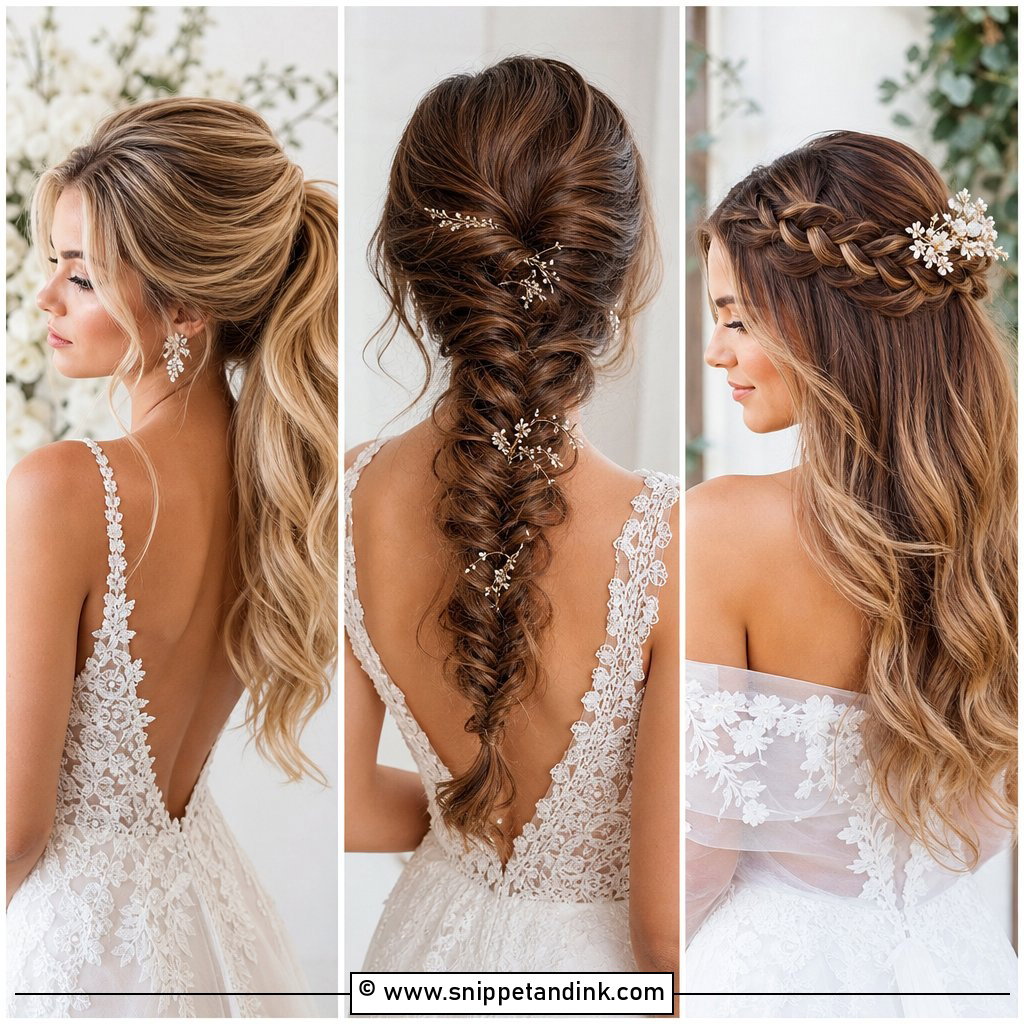
5. Half-Up Half-Down With Front Twists
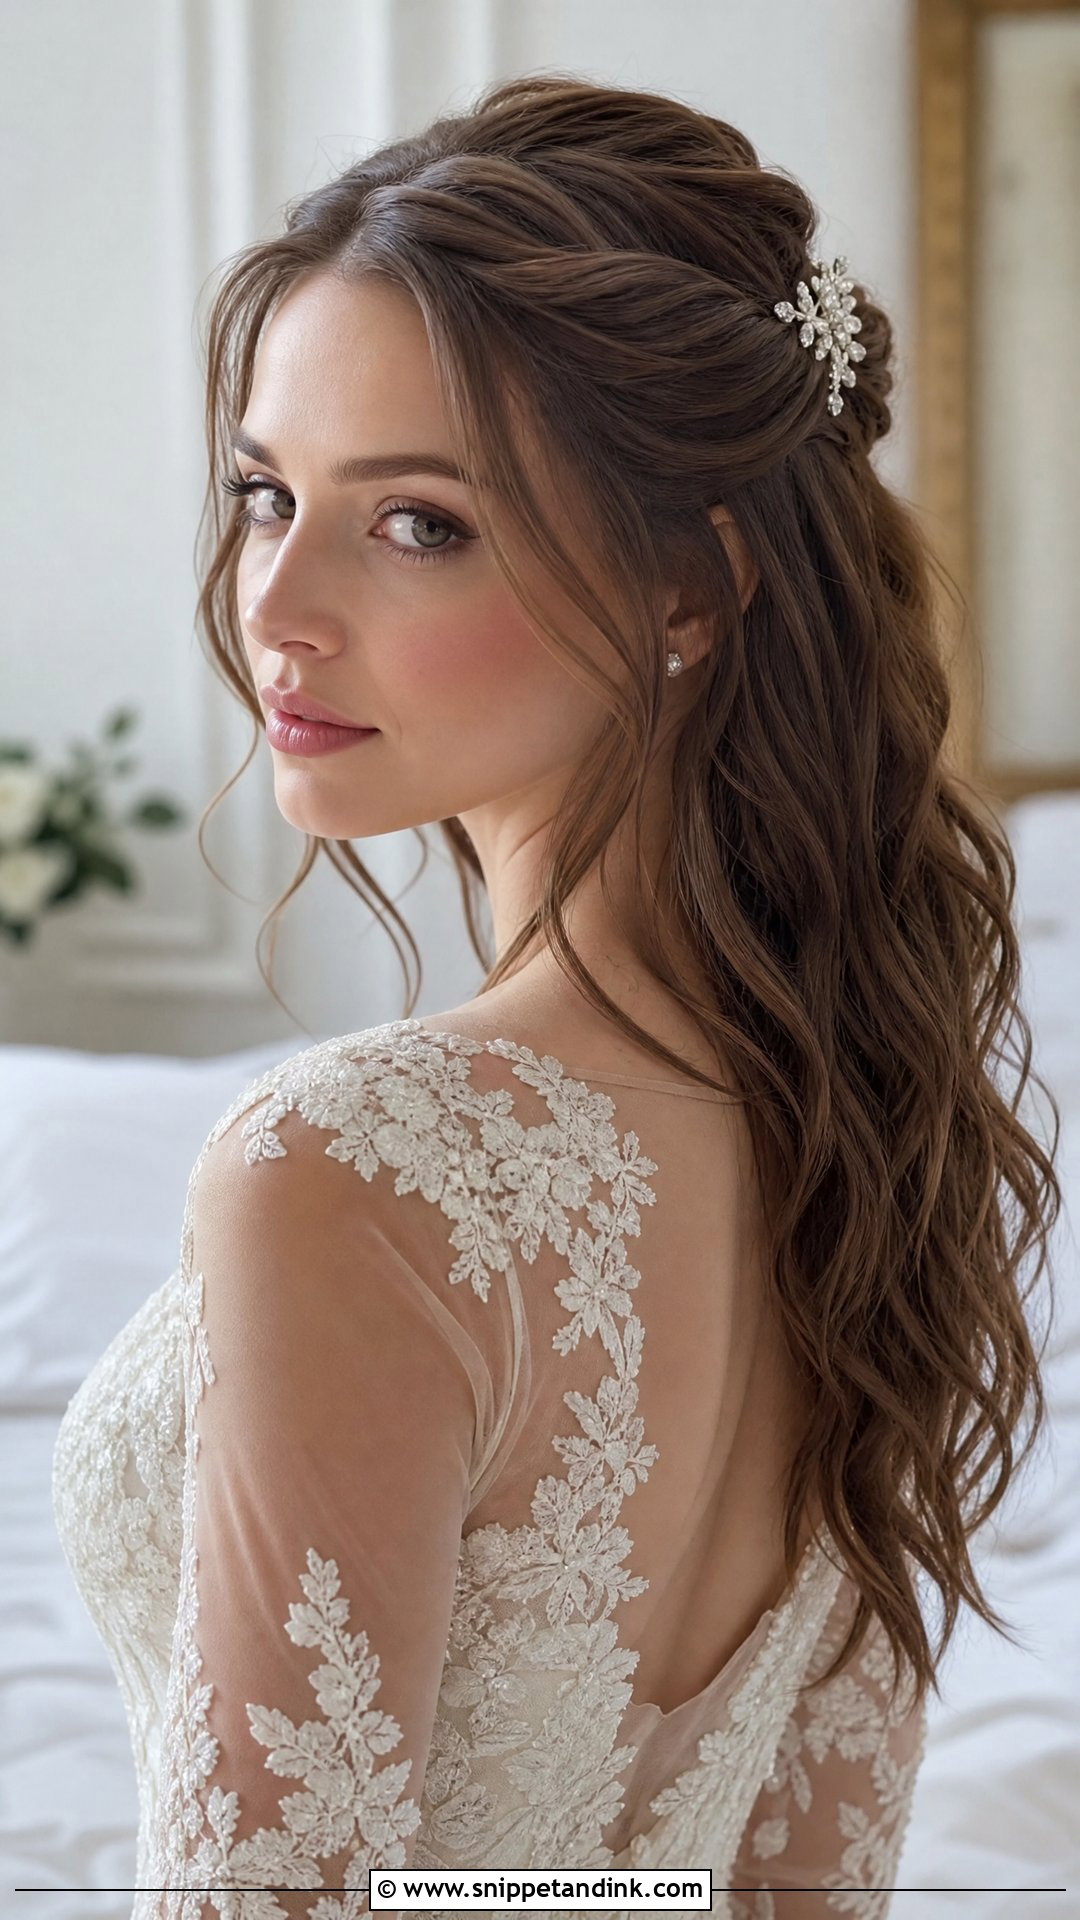
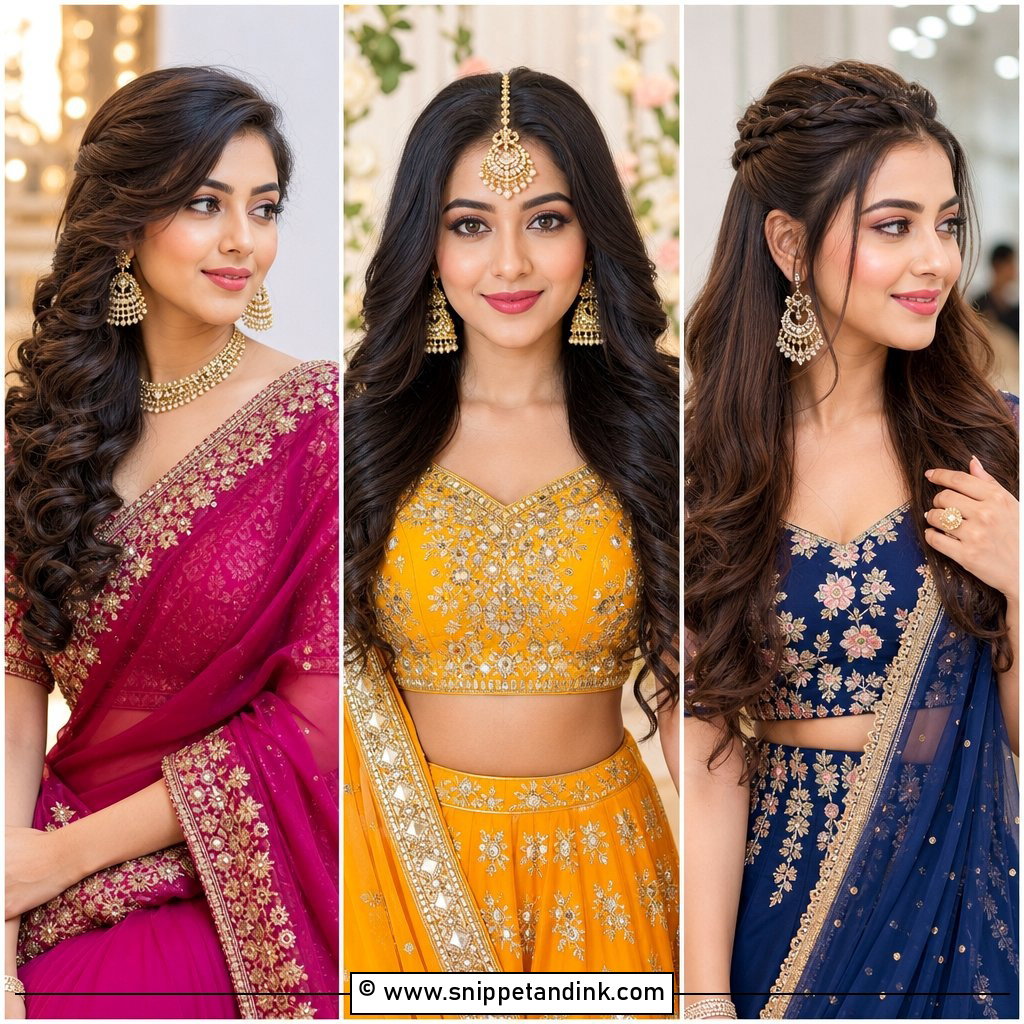
Front twists pulled back into a half-up style give you the length of down hair and a face kept clear. I twist the front sections back on each side and pin them at the crown, then let the rest fall. A few wispy pieces left loose at the front soften it. It works with curls, waves or straight hair, and a sparkly clip or small flowers can cover the point where the twists meet. The twists lose tension through the day, so I anchor each one with two crossed pins rather than one, and spray the twist itself, not just the surface.
6. Sleek Slicked-Back Bridal Look
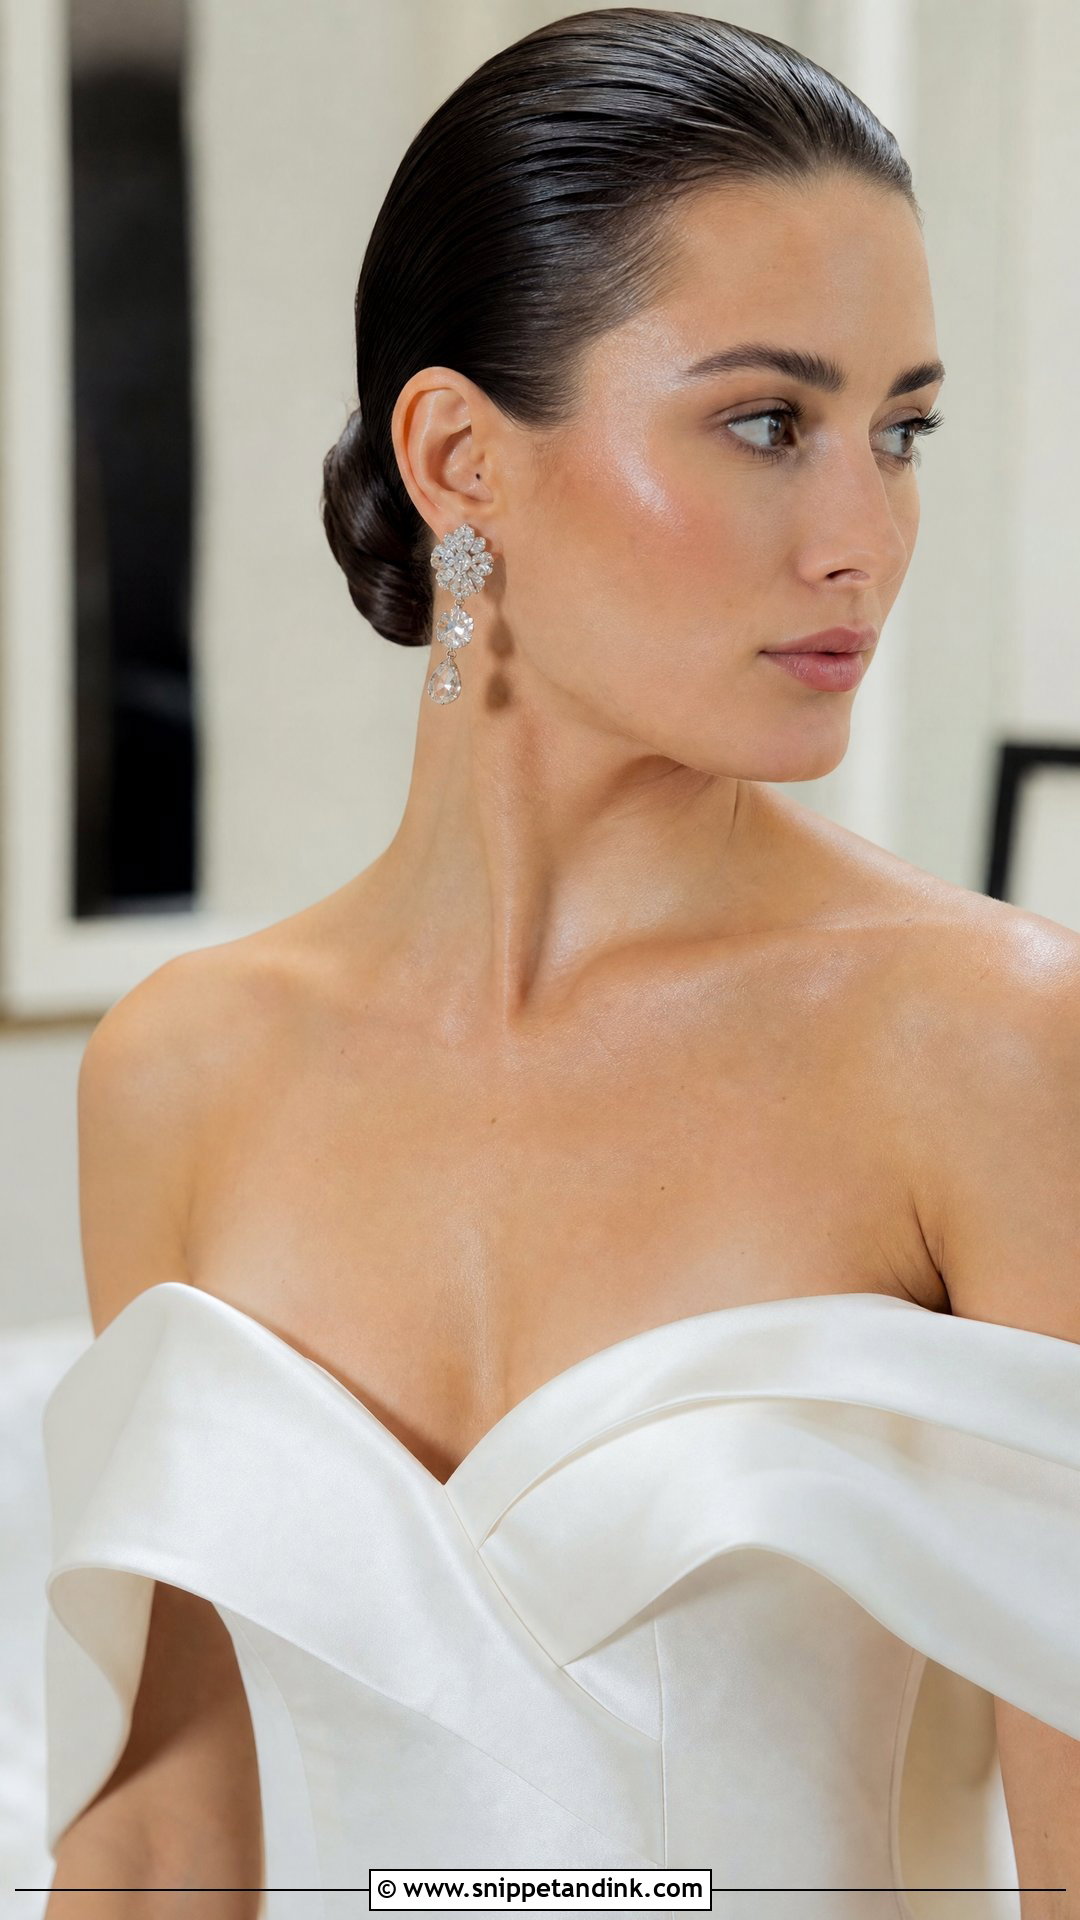
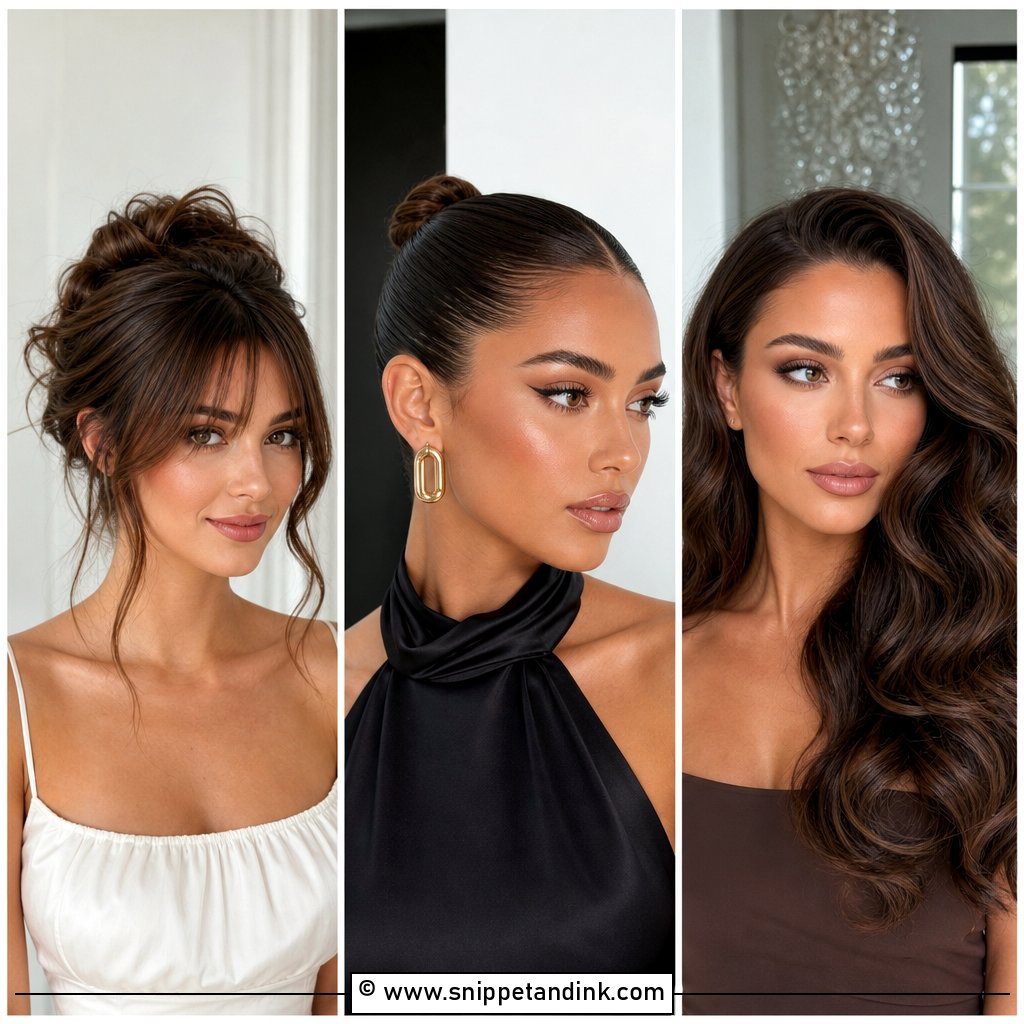
Slicking the front back is bold and editorial. Everything is pulled smoothly away from the face with gel or pomade for a wet-look shine, finishing in a low bun or a tight ponytail. It puts your features front and center, with nothing to hide behind, so it suits strong bone structure, dramatic earrings and a sleek gown. I’d steer you away from it if your hairline is thinning at the temples or you have a strong cowlick at the front, because slicked hair exposes both. Brush with a fine-toothed comb, then smooth with your palm so the comb lines don’t show in close-ups.
7. Side-Swept Waves Over One Shoulder
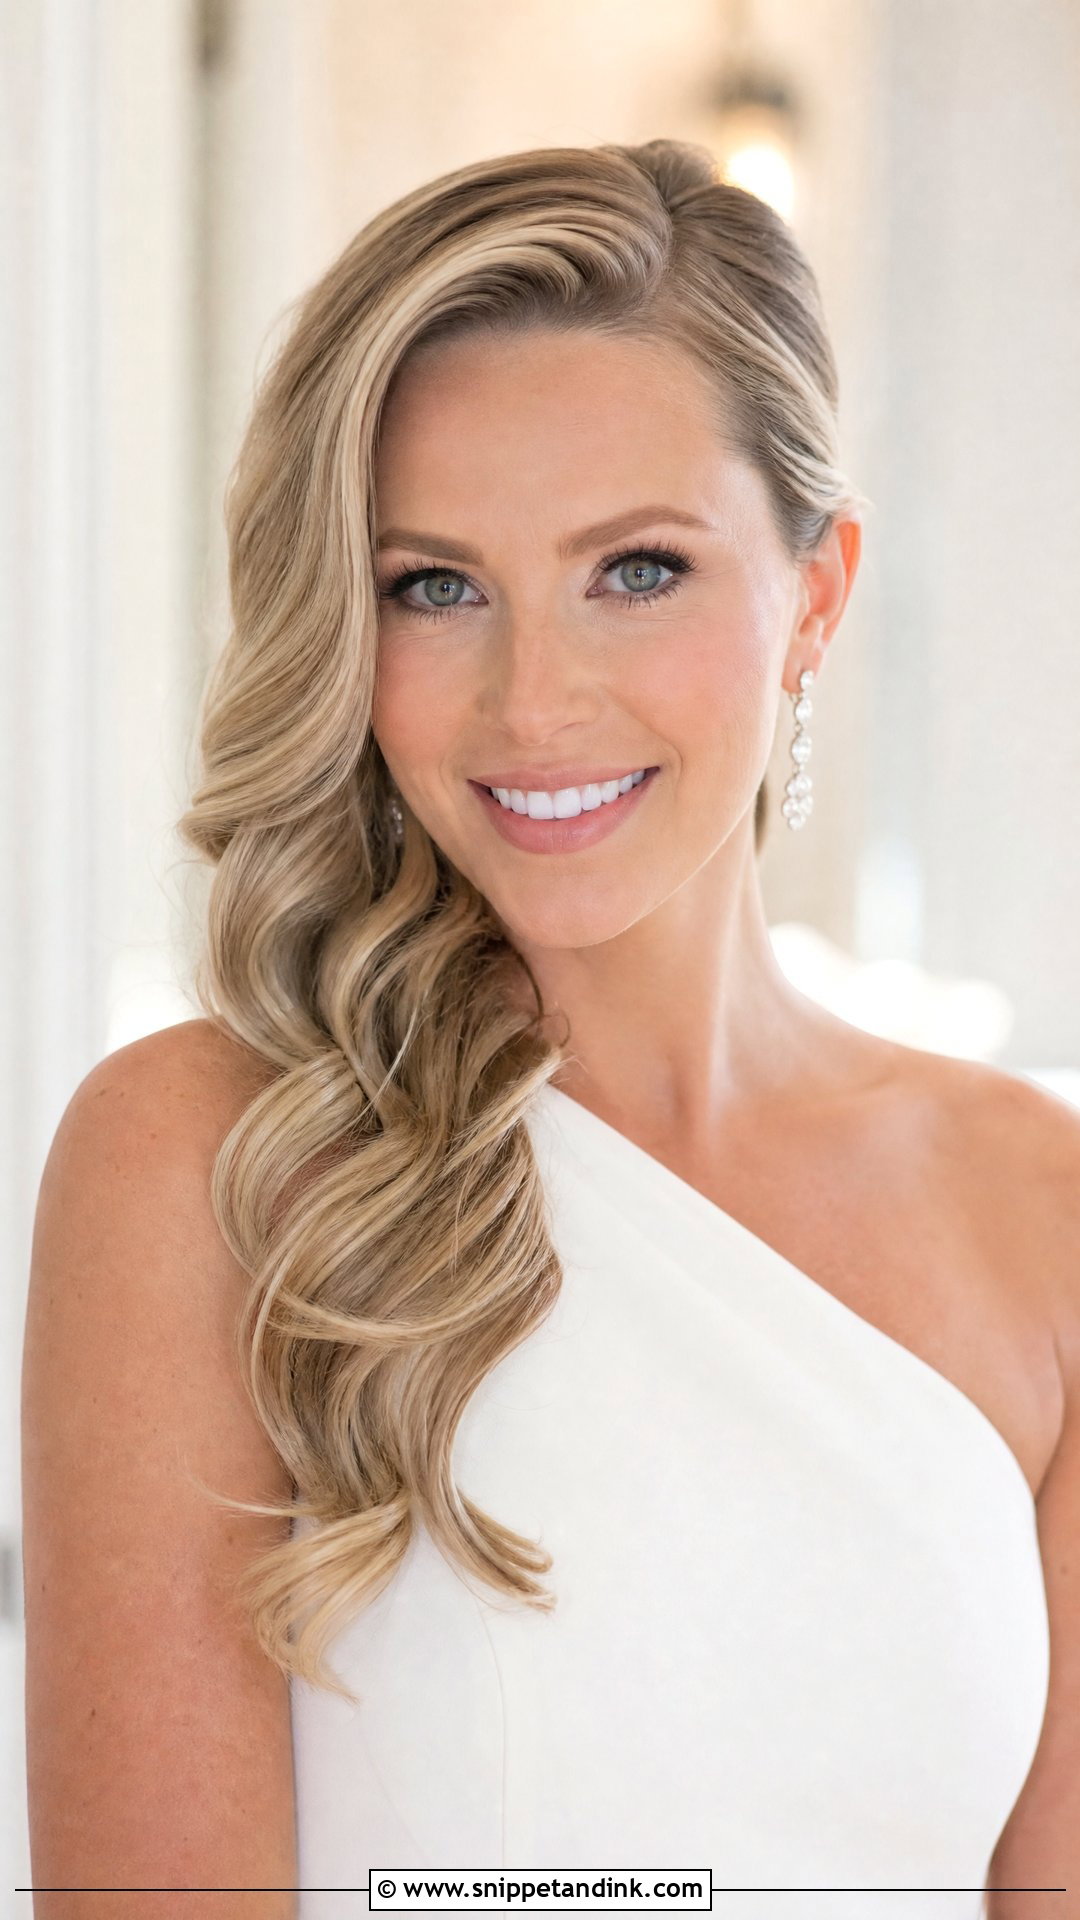
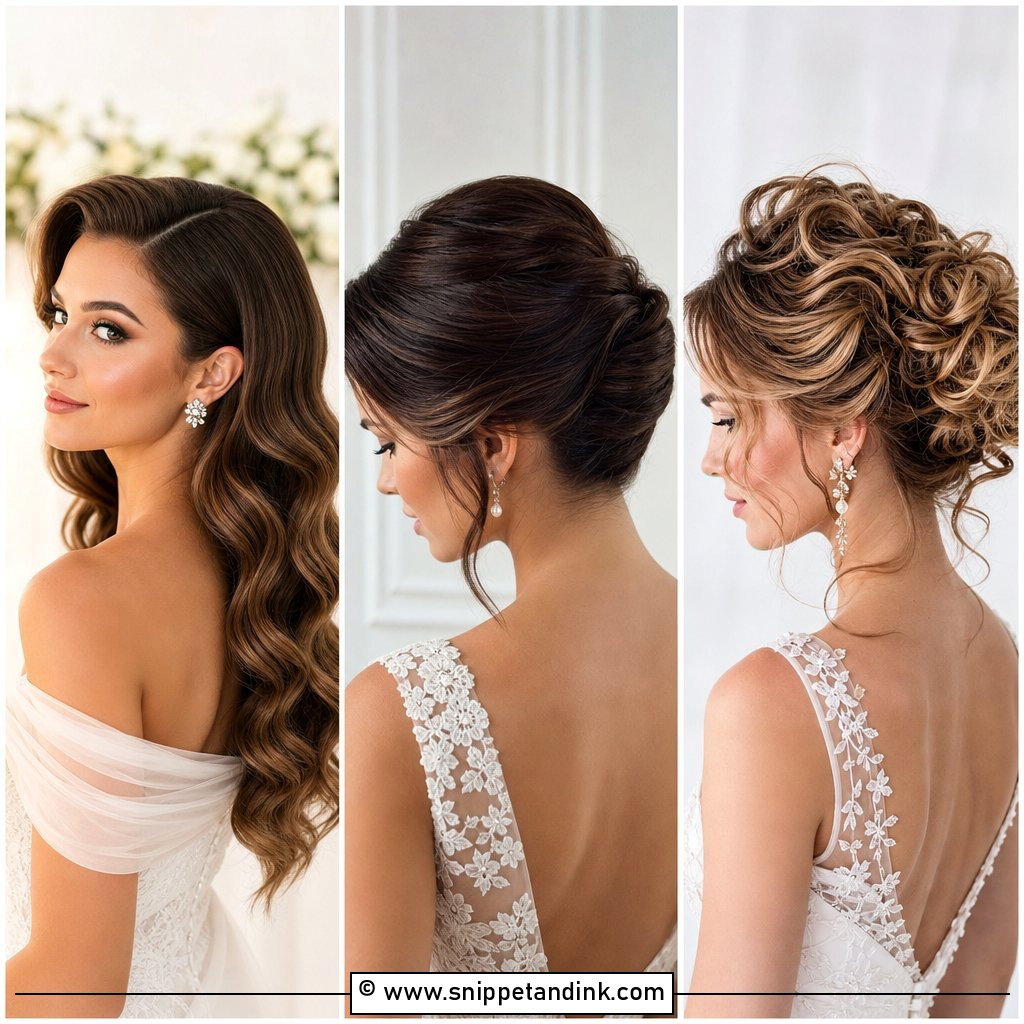
Side-swept waves gather the hair over one shoulder, with a deep side part that frames the face asymmetrically. It’s red-carpet styling, and the waves draw the eye down and lengthen the neck. It works especially well with off-shoulder and one-shoulder gowns, and the opposite side tucked behind the ear shows off a pin or an earring. The weight all sits on one side, so I build in hidden pins behind the ear on the bare side, otherwise the hair slowly slides back to center as you move.
8. Front Braid Into Low Bun
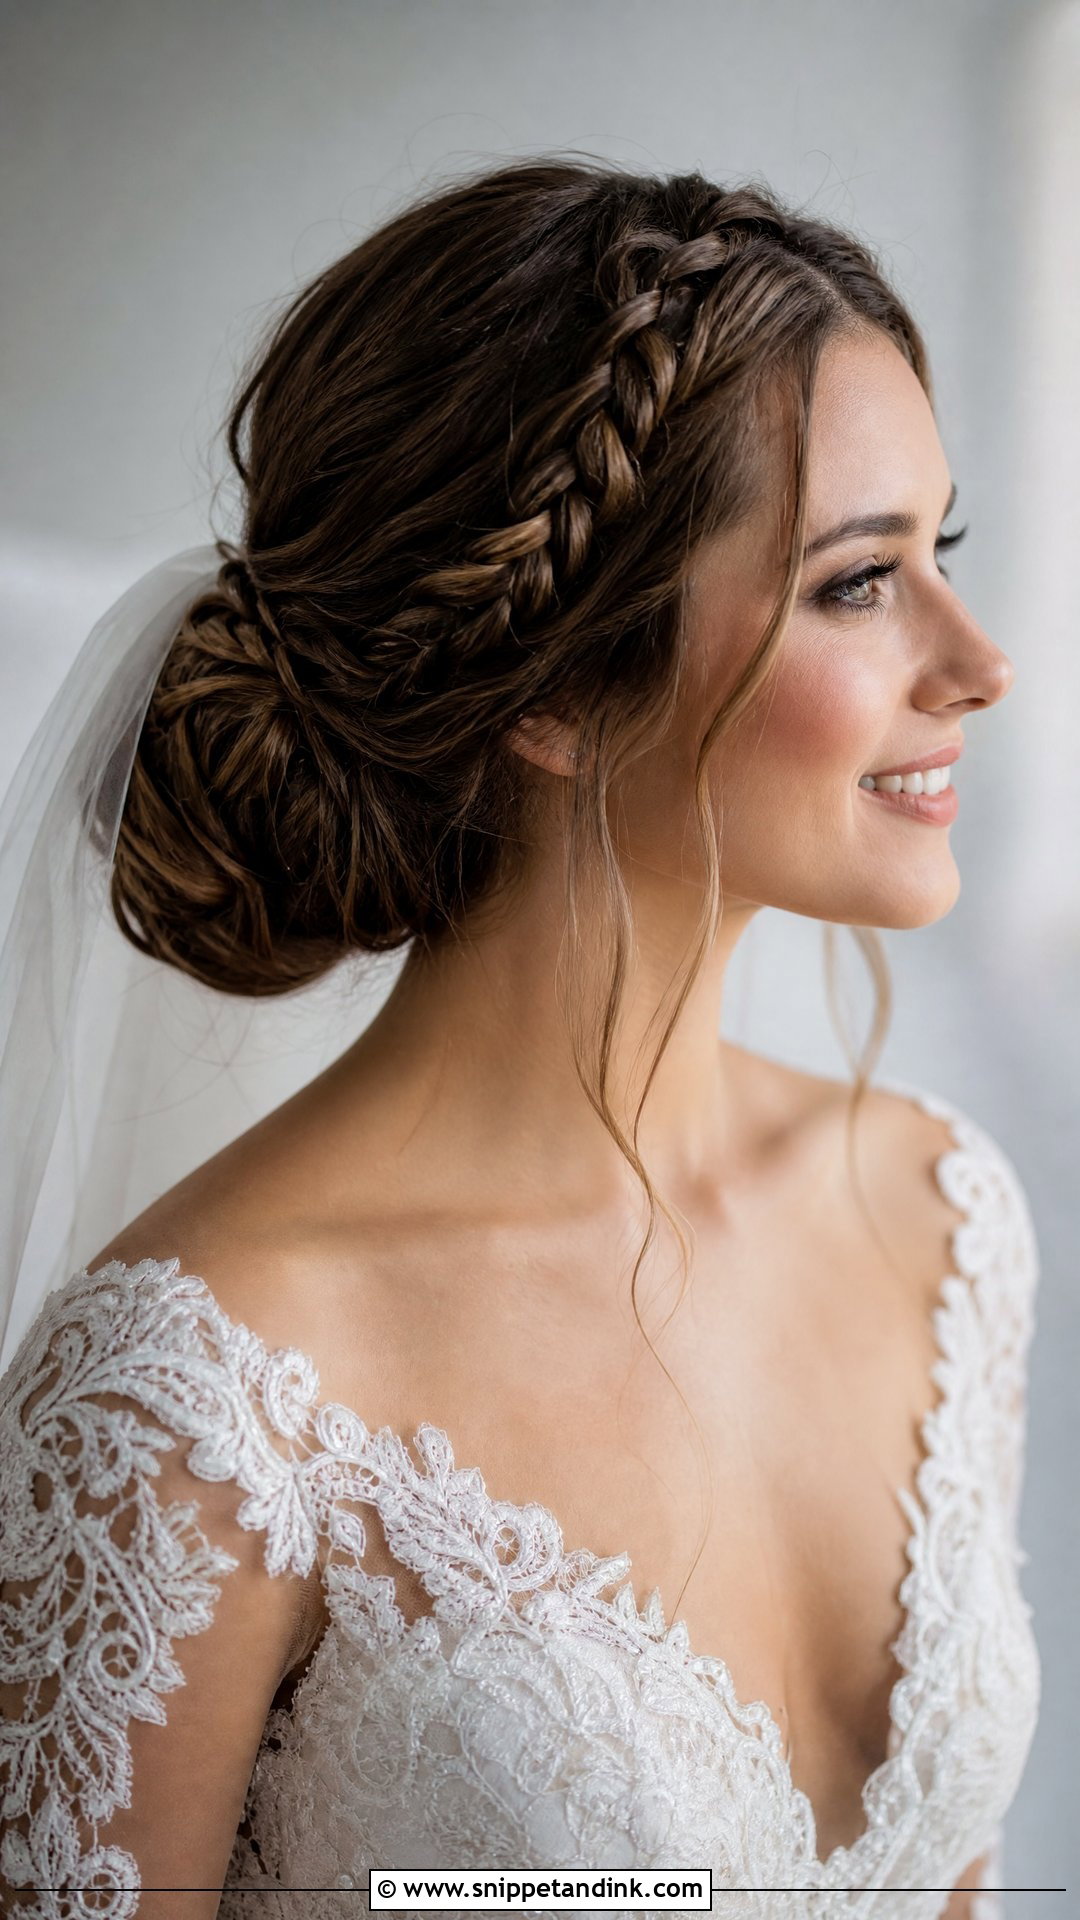
A braid that starts at the hairline and runs back along one side into a low bun puts detail right where the camera looks. I gather everything into a soft bun at the nape and loosen the braid a little by pulling the edges, for a softer finish. It reads polished and bohemian at once, and it holds well through a long celebration and under a veil. If your hair is slippery and freshly washed, I braid it second-day or add a grip spray, because a clean front braid can loosen and slide by evening.
9. Voluminous Half-Up With Teased Crown
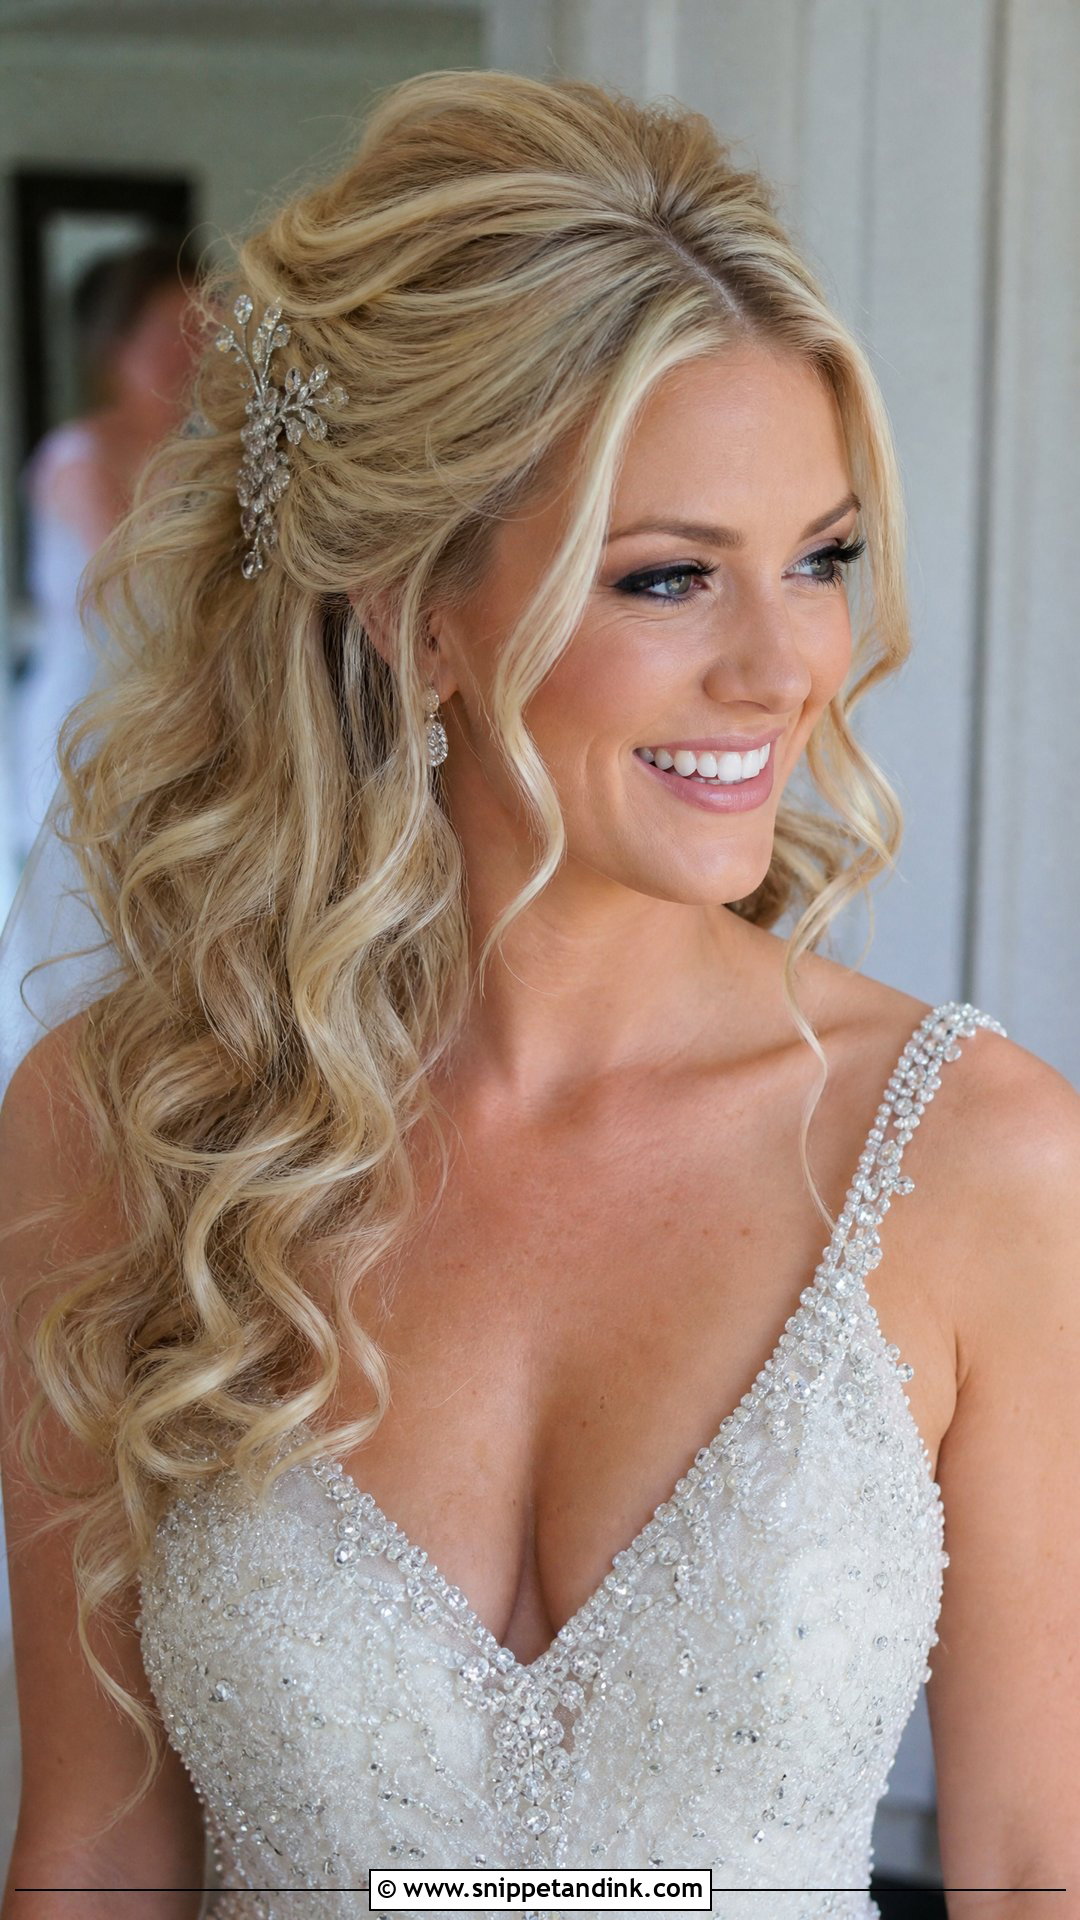
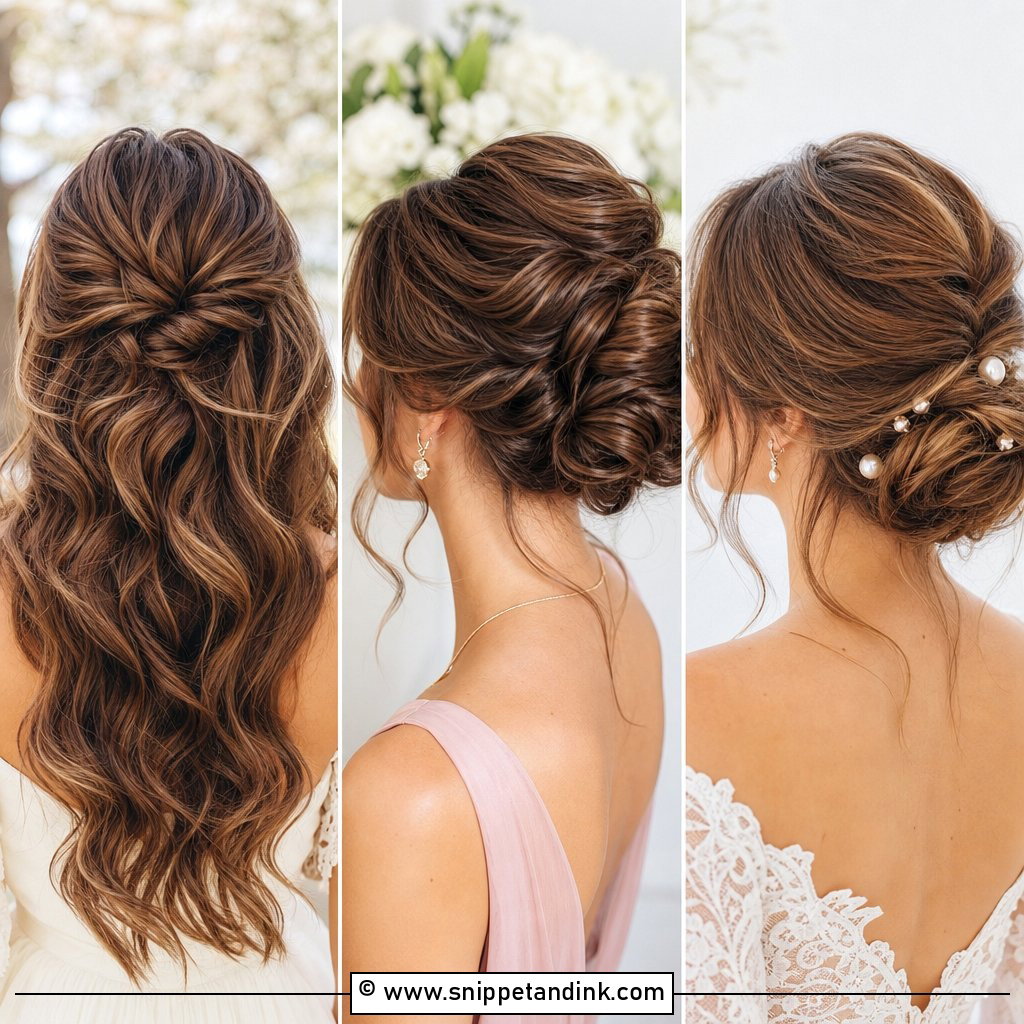
Volume at the crown gives height and a regal silhouette. For this voluminous half-up I gently backcomb the roots at the crown, smooth the top layer over it, then pull the top section back and secure it, with the rest in cascading curls. The front stays off your face but a few loose pieces still frame it. It pairs with sparkly accessories and a flowing veil. On fine hair, backcombing collapses within a few hours unless it’s set with a root powder or a firm-hold spray underneath the smooth layer, which is the step I never skip.
10. Soft Curls With Deep Side Part
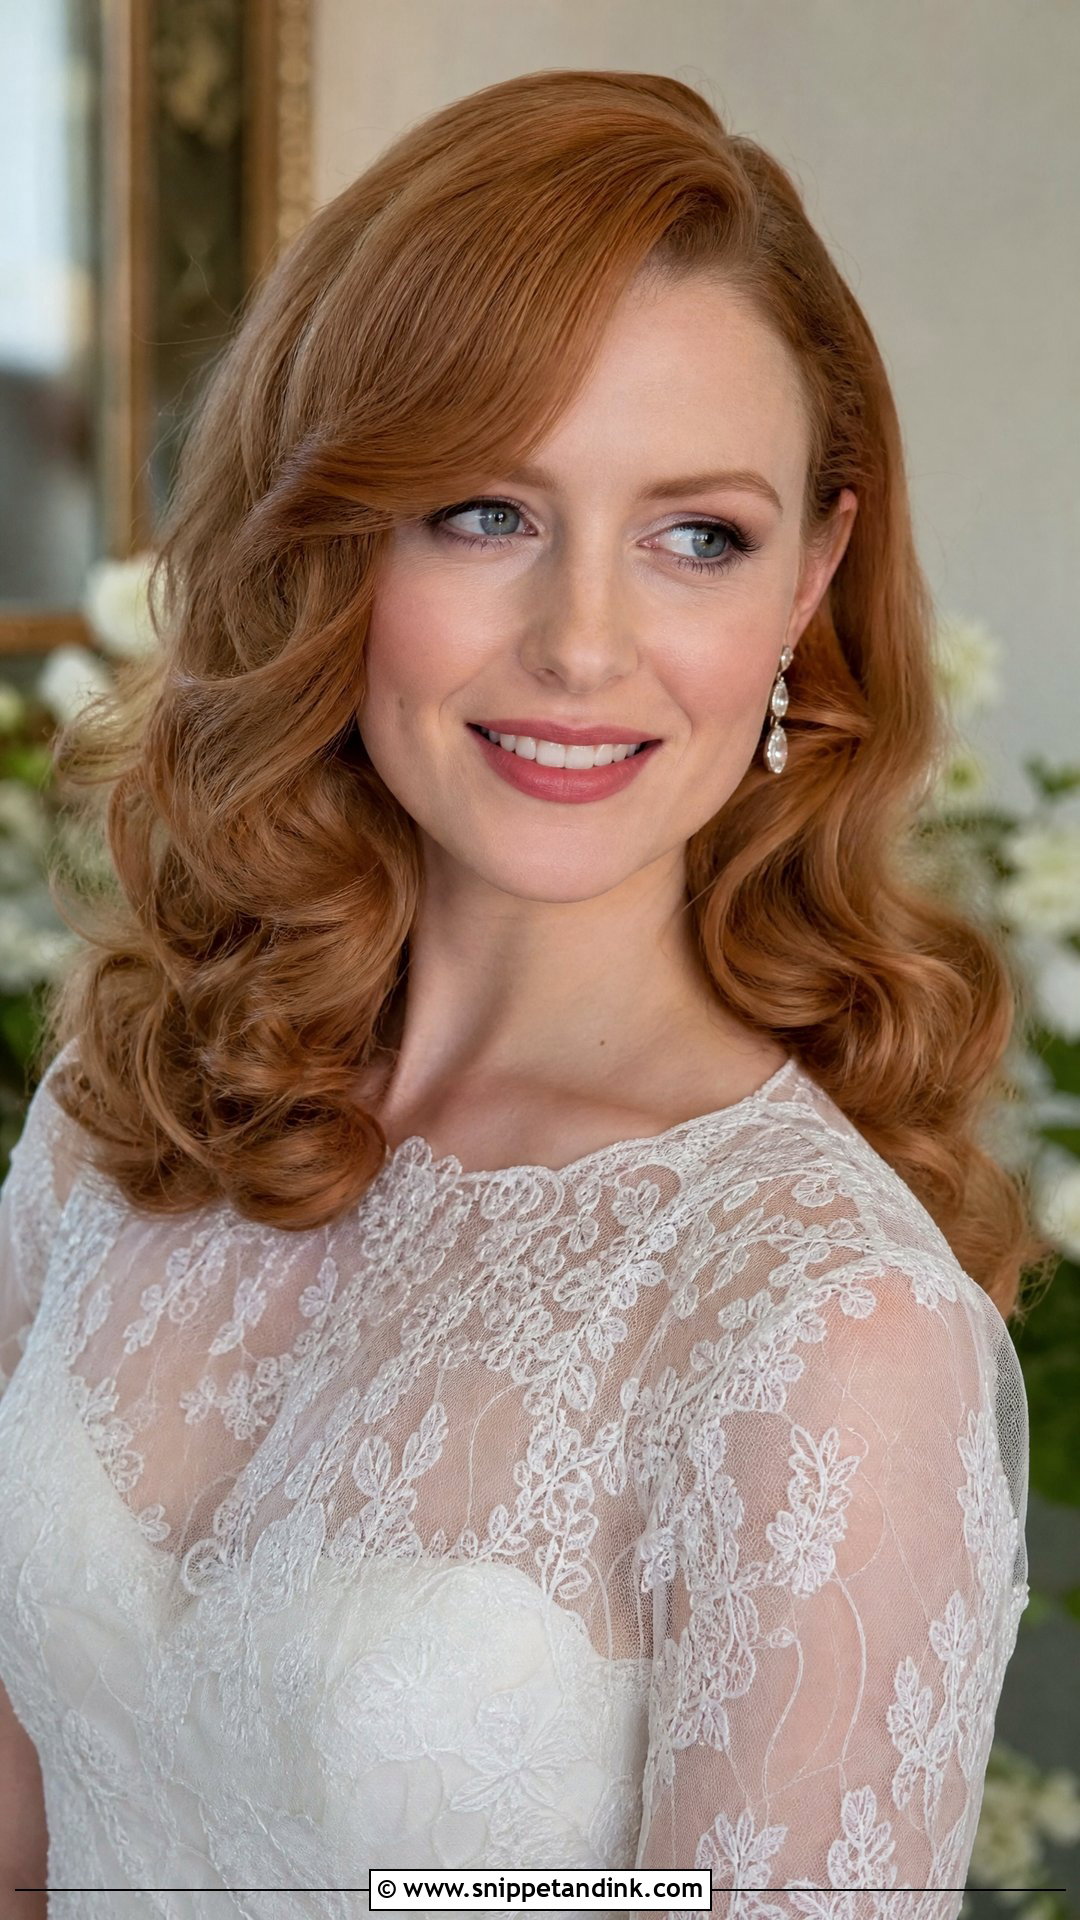
Soft curls from a deep side part have that vintage glamour, with volume falling around the face and plenty of movement. It works down or pulled into a loose updo. I use a large-barrel iron and then brush the curls out so they merge into soft waves. The deep part flatters most face shapes. Here’s the catch: a deep part makes one side of the hair fall over the eye, and that’s the side guests see in candids, so I pin that section just behind the ear where nobody notices the pin.
11. Floral Accented Front Updo
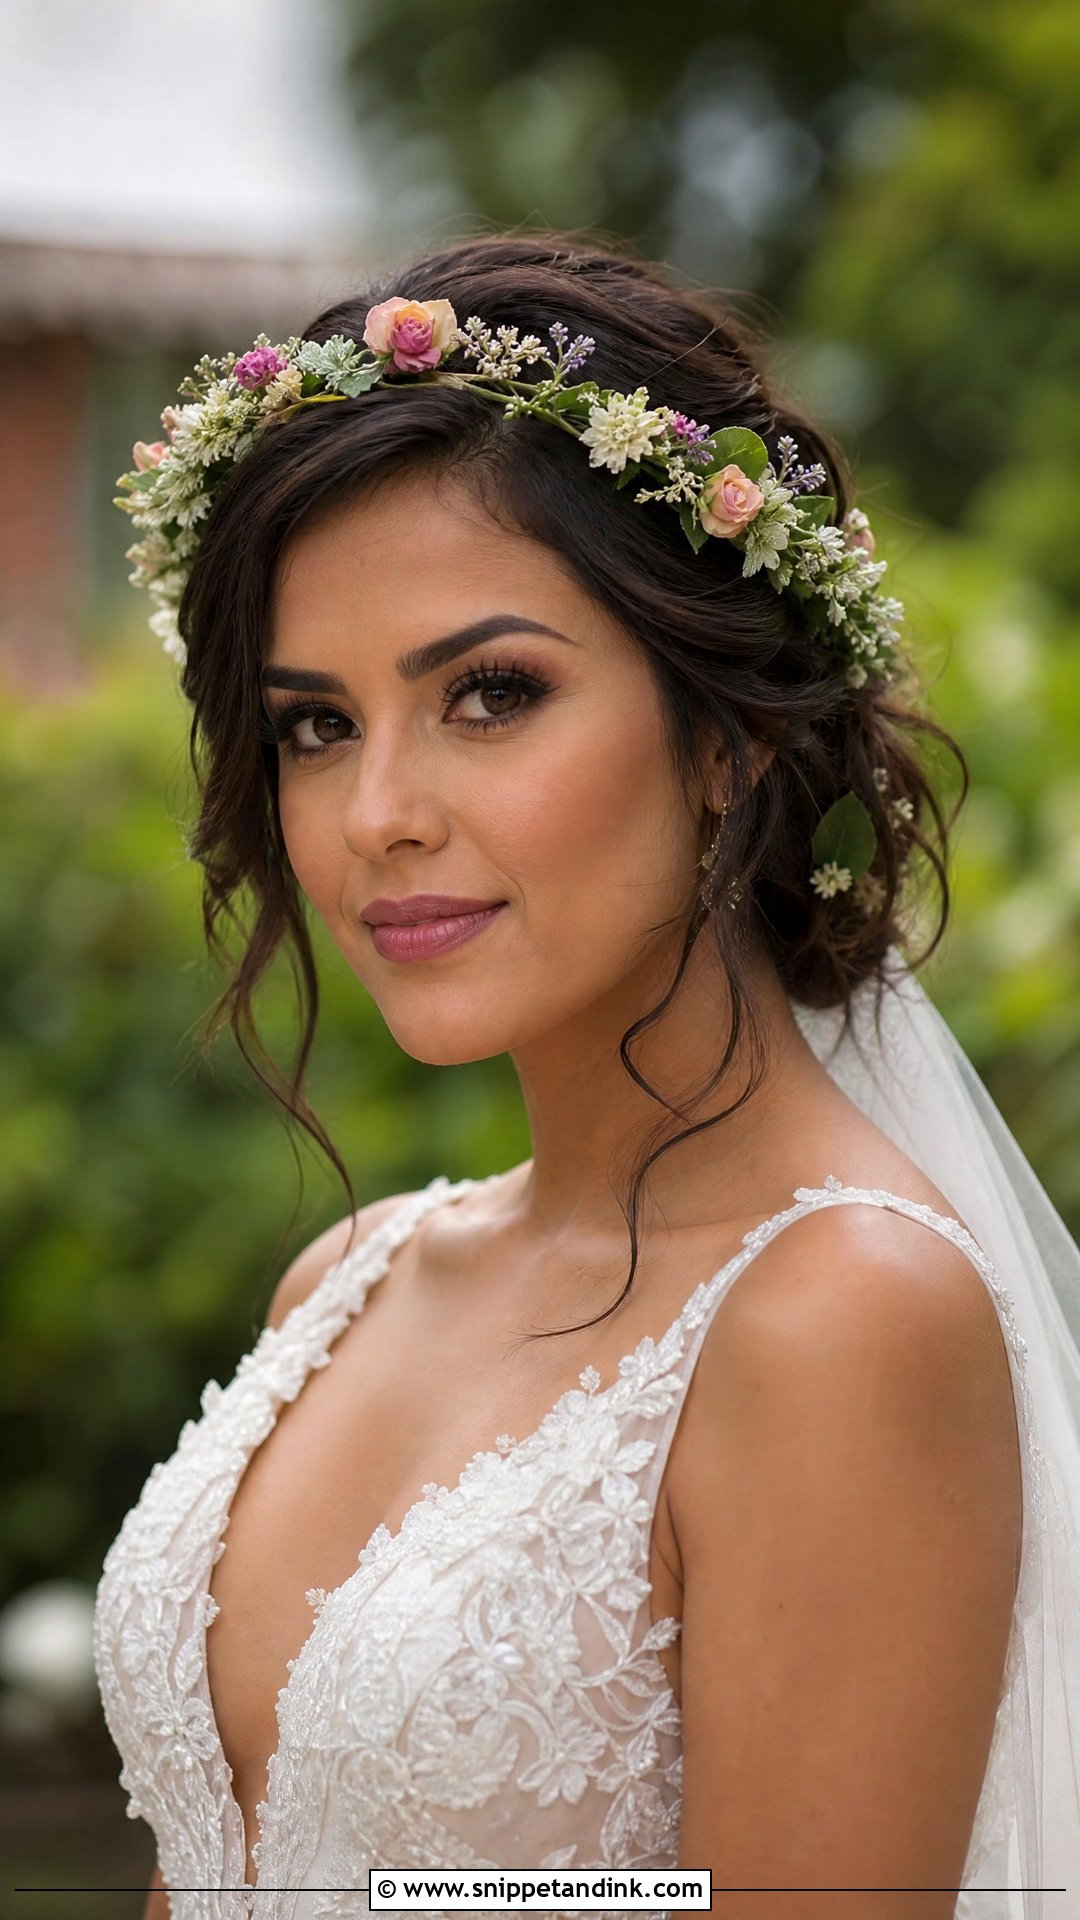
Flowers worked into the front of an updo give a garden look for spring and summer. I place the blooms along the hairline or where the front sections meet the updo, and I match them to the bouquet so the whole look ties together. Fresh flowers wilt against the warmth of the scalp, so I ask the florist for hardy varieties and add them last. Tiny baby’s breath holds up well; large roses can droop and get heavy by evening. Silk blooms are the safer bet for a long outdoor day, especially for a boho bride.
12. Wispy Bangs With Updo
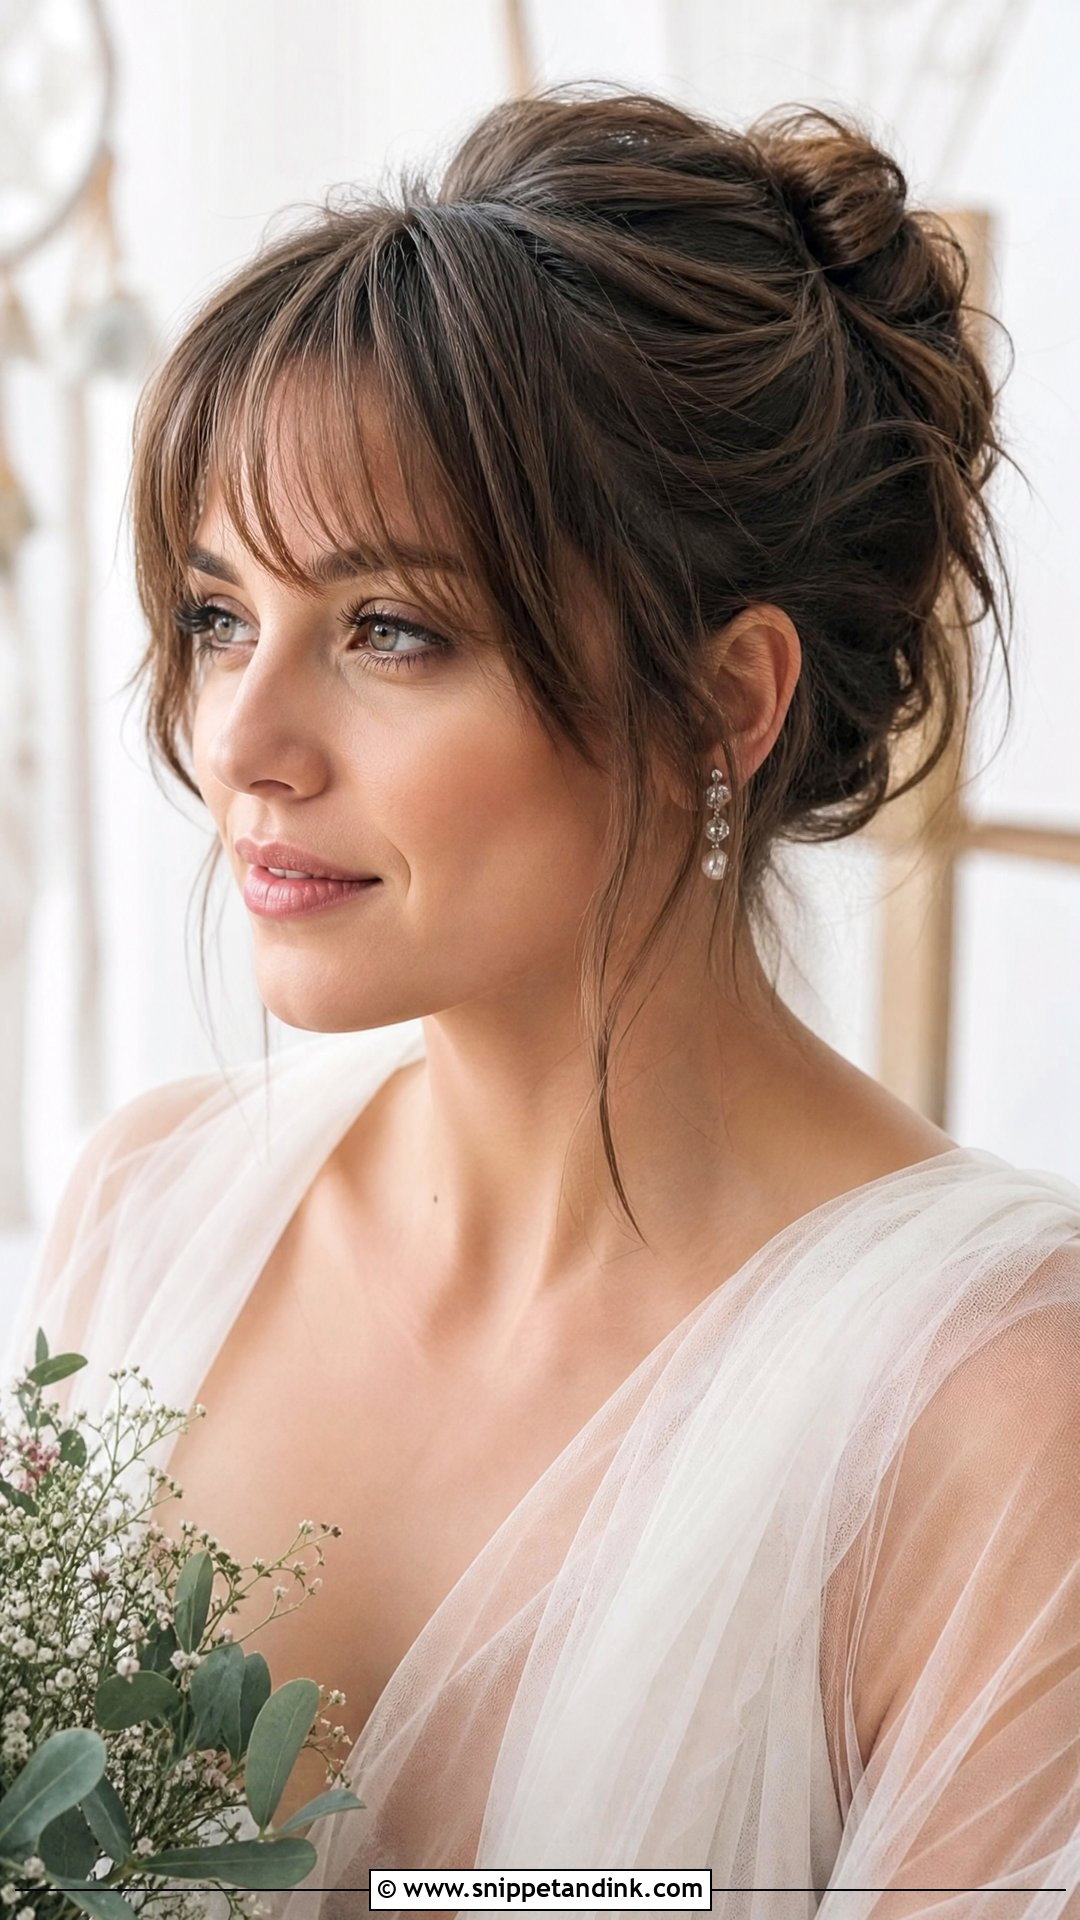
Light, feathery wispy bangs add charm to any bridal updo, falling across the forehead without the weight of a blunt fringe. With a sleek or textured updo they make a sweet, slightly playful balance, framing the eyes. They work on both curly and straight hair, and a few extra strands near the face tie them in. Wispy fringes separate and go oily as the day goes on, because they sit right on your skin; I set them with dry shampoo rather than spray and pack a tiny comb for the reception.
13. Twisted Front With Flowing Waves
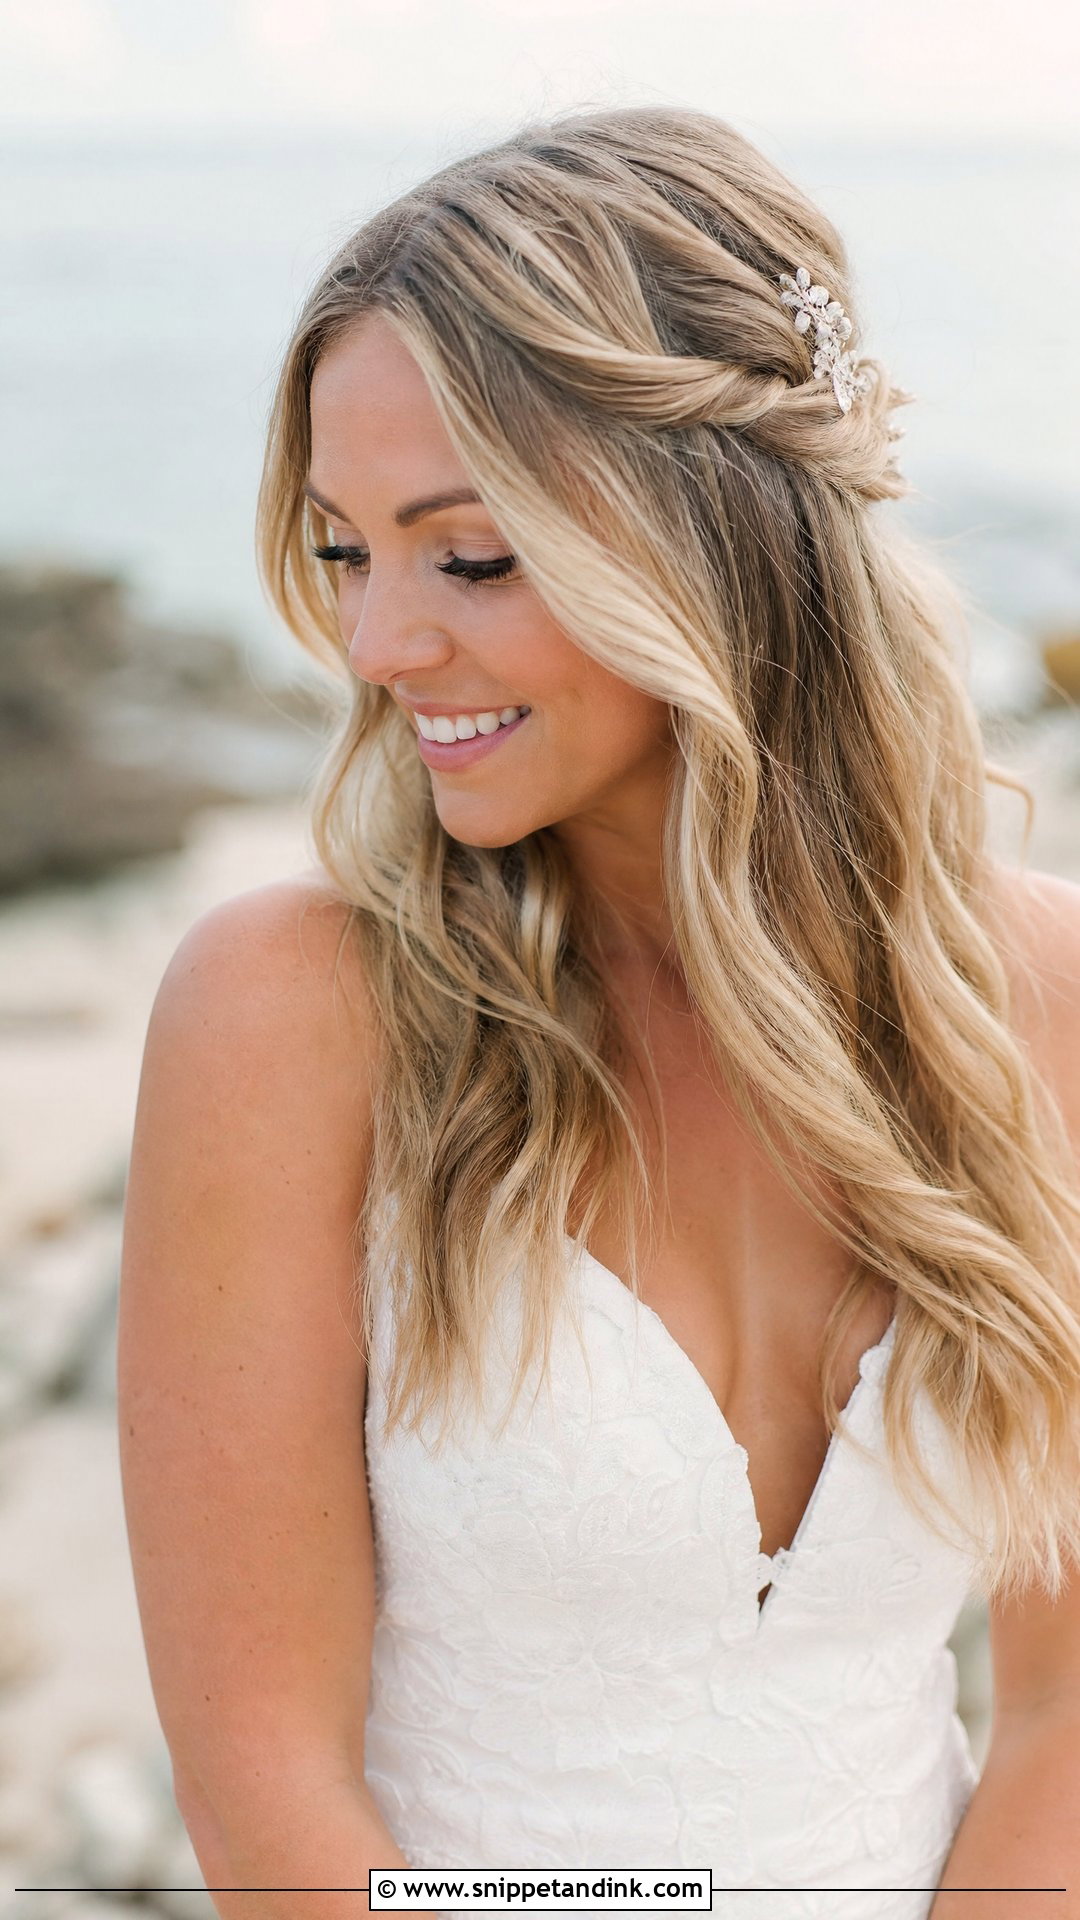
Small twists from each side of the hairline taken back toward the crown keep hair off your face while the waves stay down. You get front structure without the commitment of a full updo, which is why it suits beach and outdoor ceremonies. Loosen the twists gently for a softer, undone feel, and add delicate pins or small flowers. Wind is the risk here. Loose waves blow across the face, so at the beach I keep the twists tighter at the start and let them relax naturally through the day.
14. Classic Chignon With Face Framing
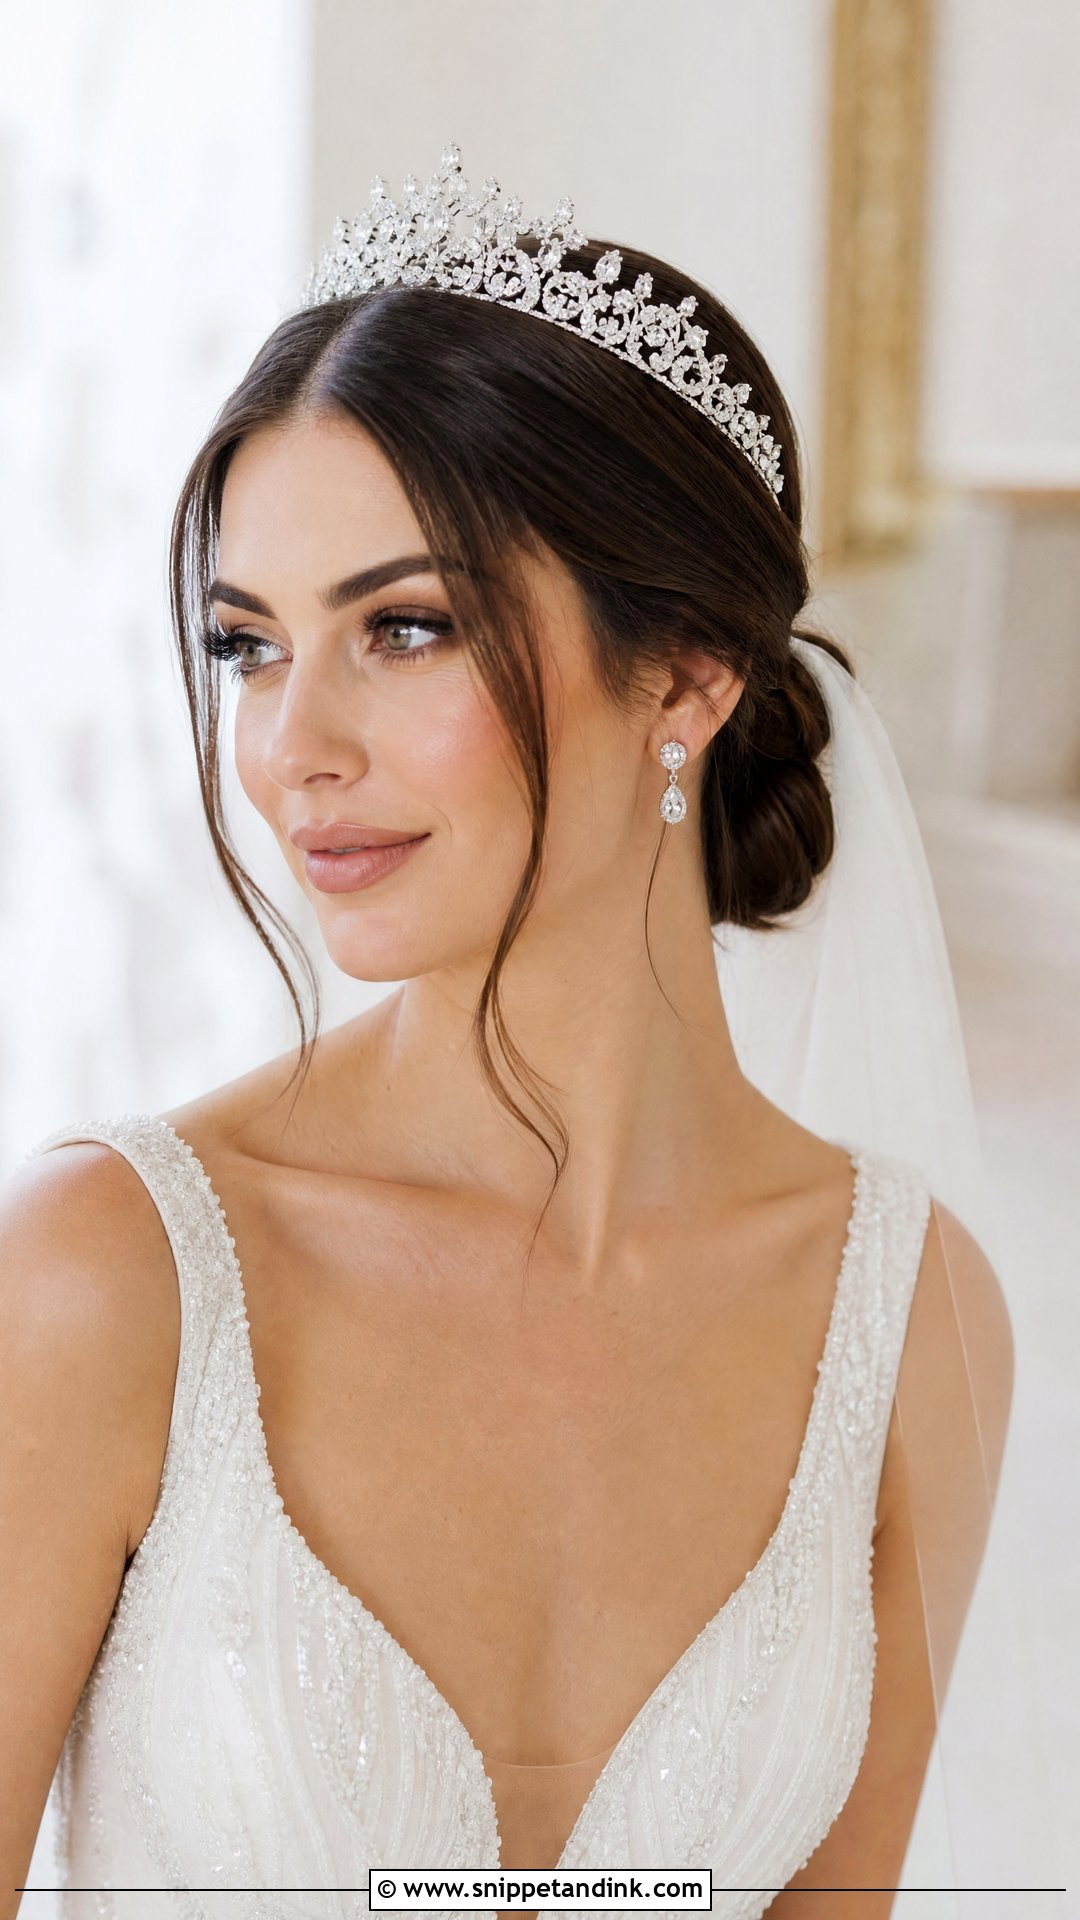
The chignon is a low bun at the nape, and it’s a bridal staple because it’s secure enough to dance in. Soft face-framing pieces at the front stop it looking severe. It pairs with veils, tiaras and statement earrings and suits modern and traditional weddings. The placement is what I spend time on: a chignon sitting too low catches on a high collar, and one sitting too high blocks the veil comb. I check it with the dress on at the trial, ideally with you seated, because the neckline moves.
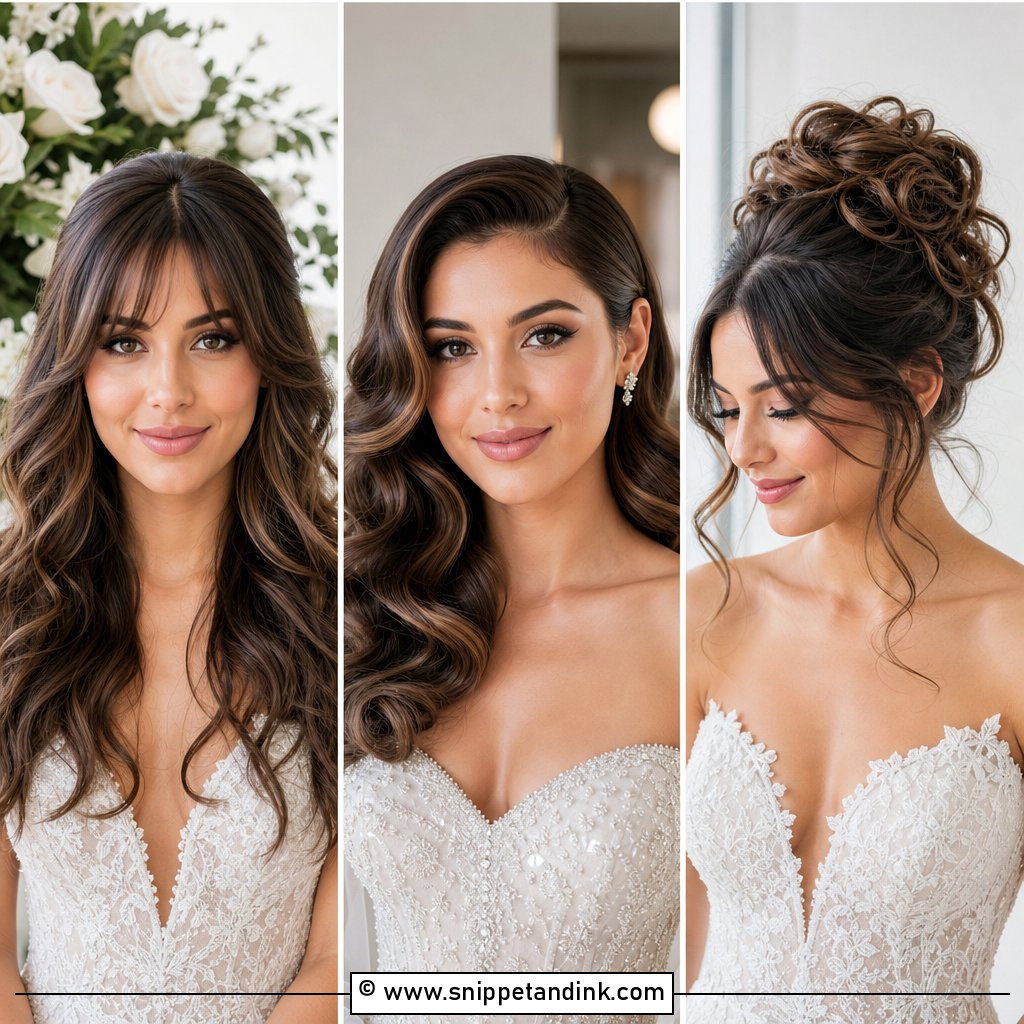
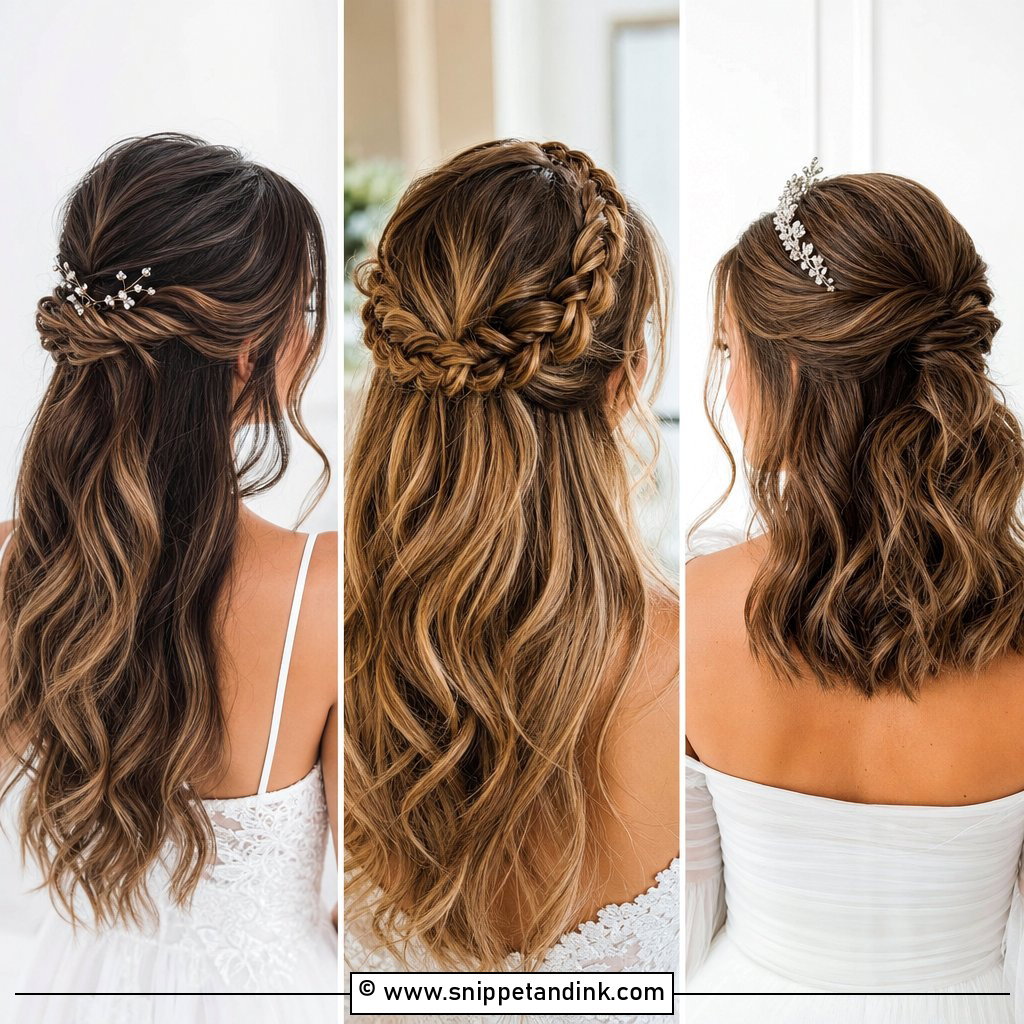
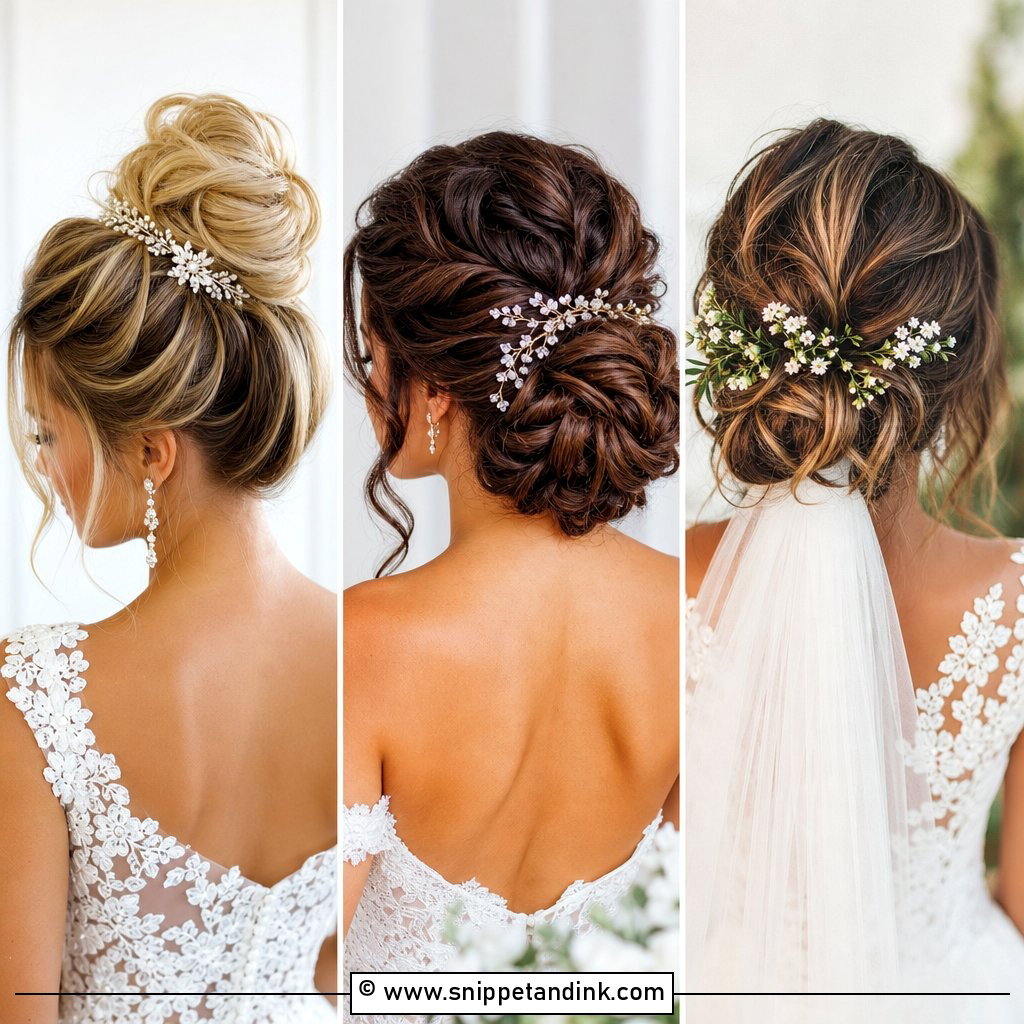
15. Boho Waves With Center Part
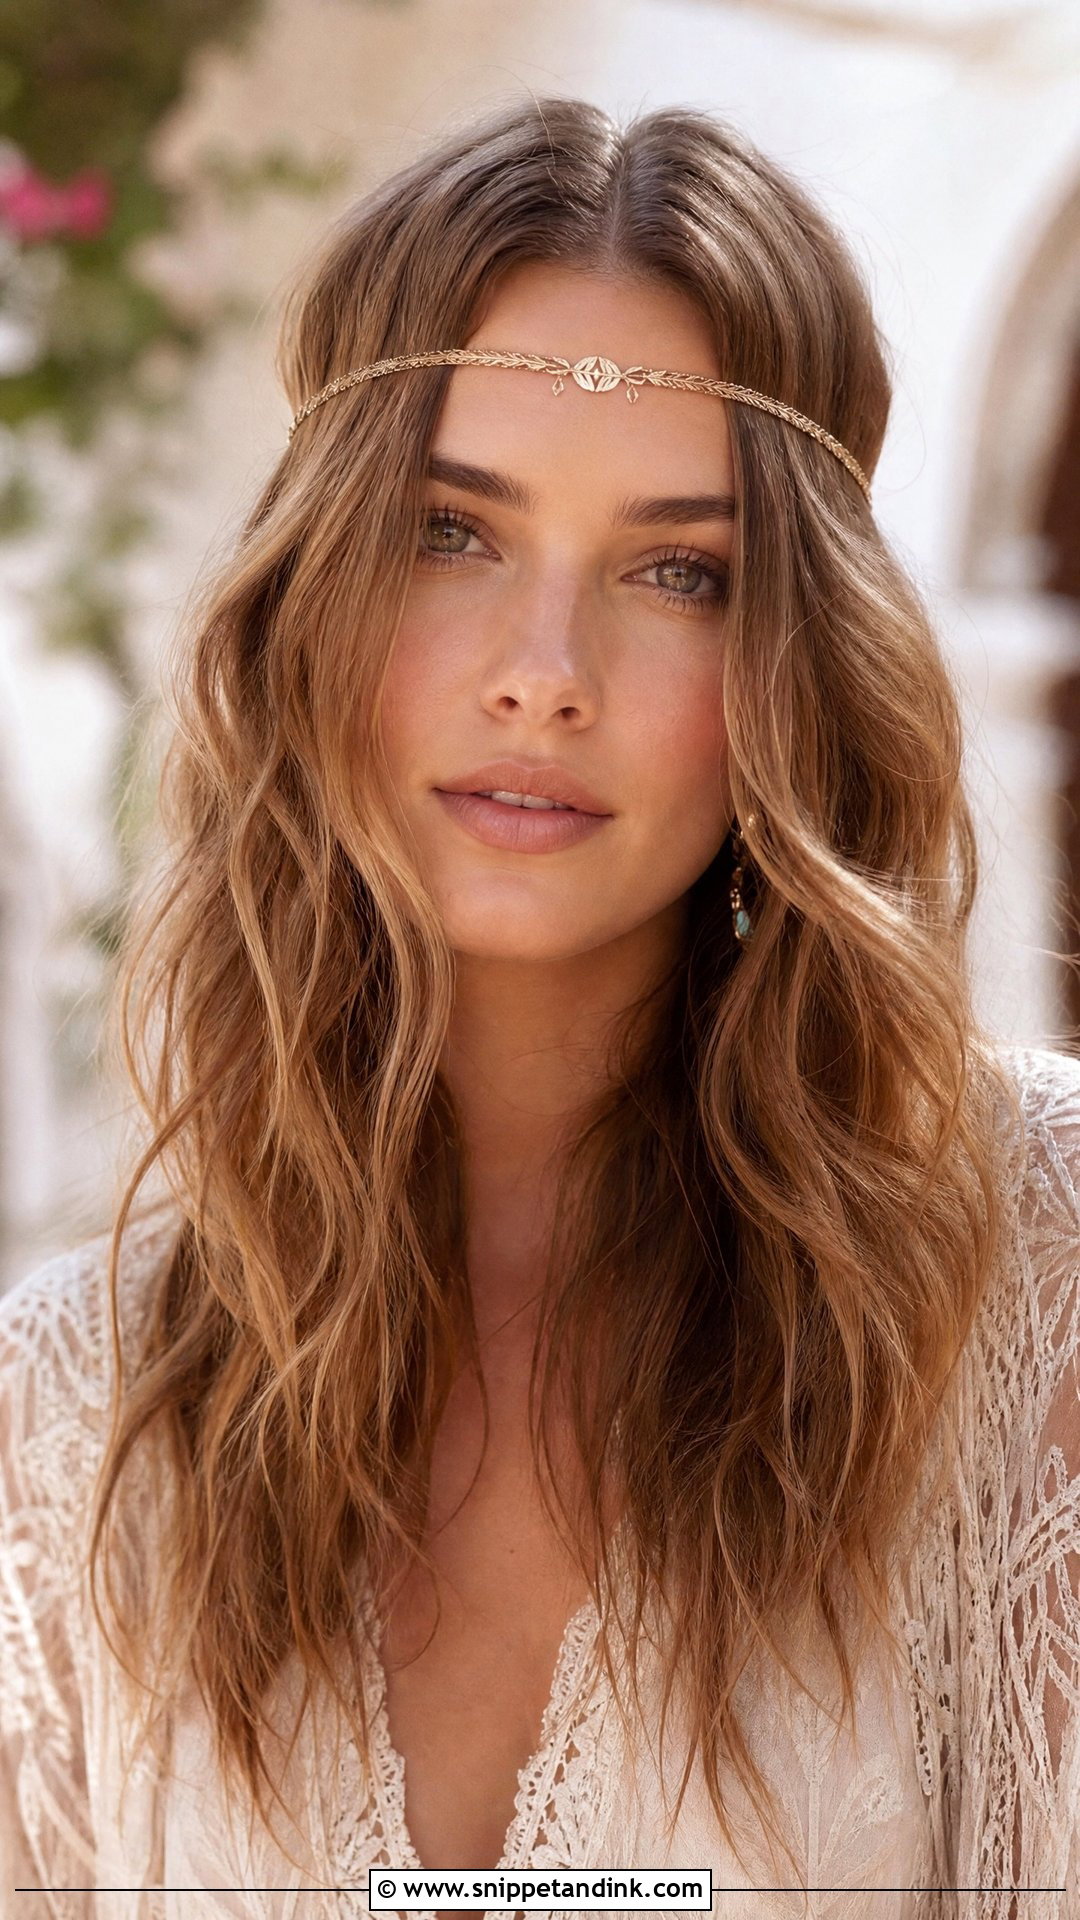
A center part with loose, tousled waves is the relaxed boho option, organic and soft around the face. A delicate headband or a few flowers finishes it for outdoor, beach or bohemian weddings, and the waves fall freely over the shoulders with flowing, ethereal gowns. Down styles are the hardest to keep through a long day. I curl it in smaller sections than the final wave I want, let it cool completely, and only then break it up with my fingers, so the wave lasts into the evening.
16. Front Pouf With Half-Up Style
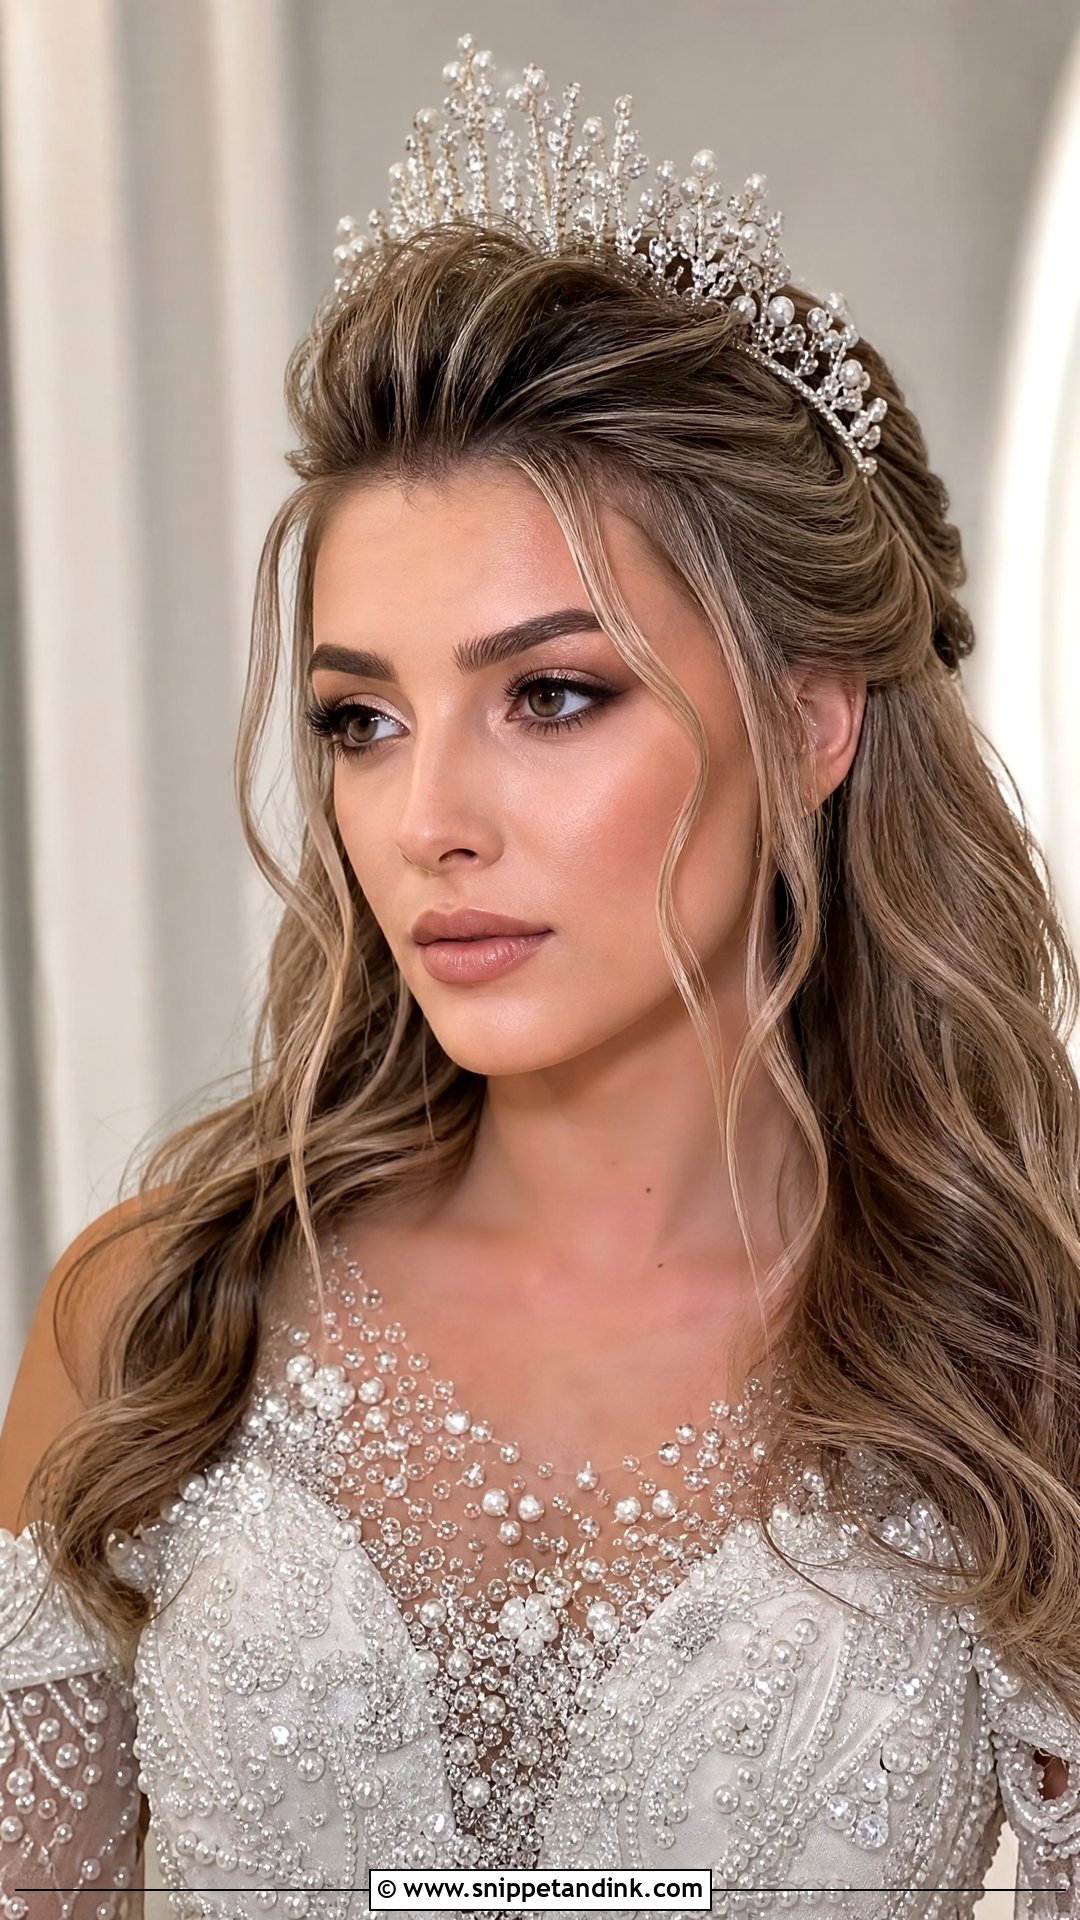
A front pouf lifts the top section into soft height, which lengthens the face and creates a strong profile. Combined with half-up styling, it keeps hair off your face and leaves curls flowing below. I tease the front gently and pin it back, smoothing the surface so no backcombing shows. It works with tiaras and crowns, and it can balance a round face or a short forehead. It is not my pick for a very high forehead, where extra height makes the face look longer, or under a heavy cathedral veil, which flattens it.
17. Sleek Low Ponytail With Center Part
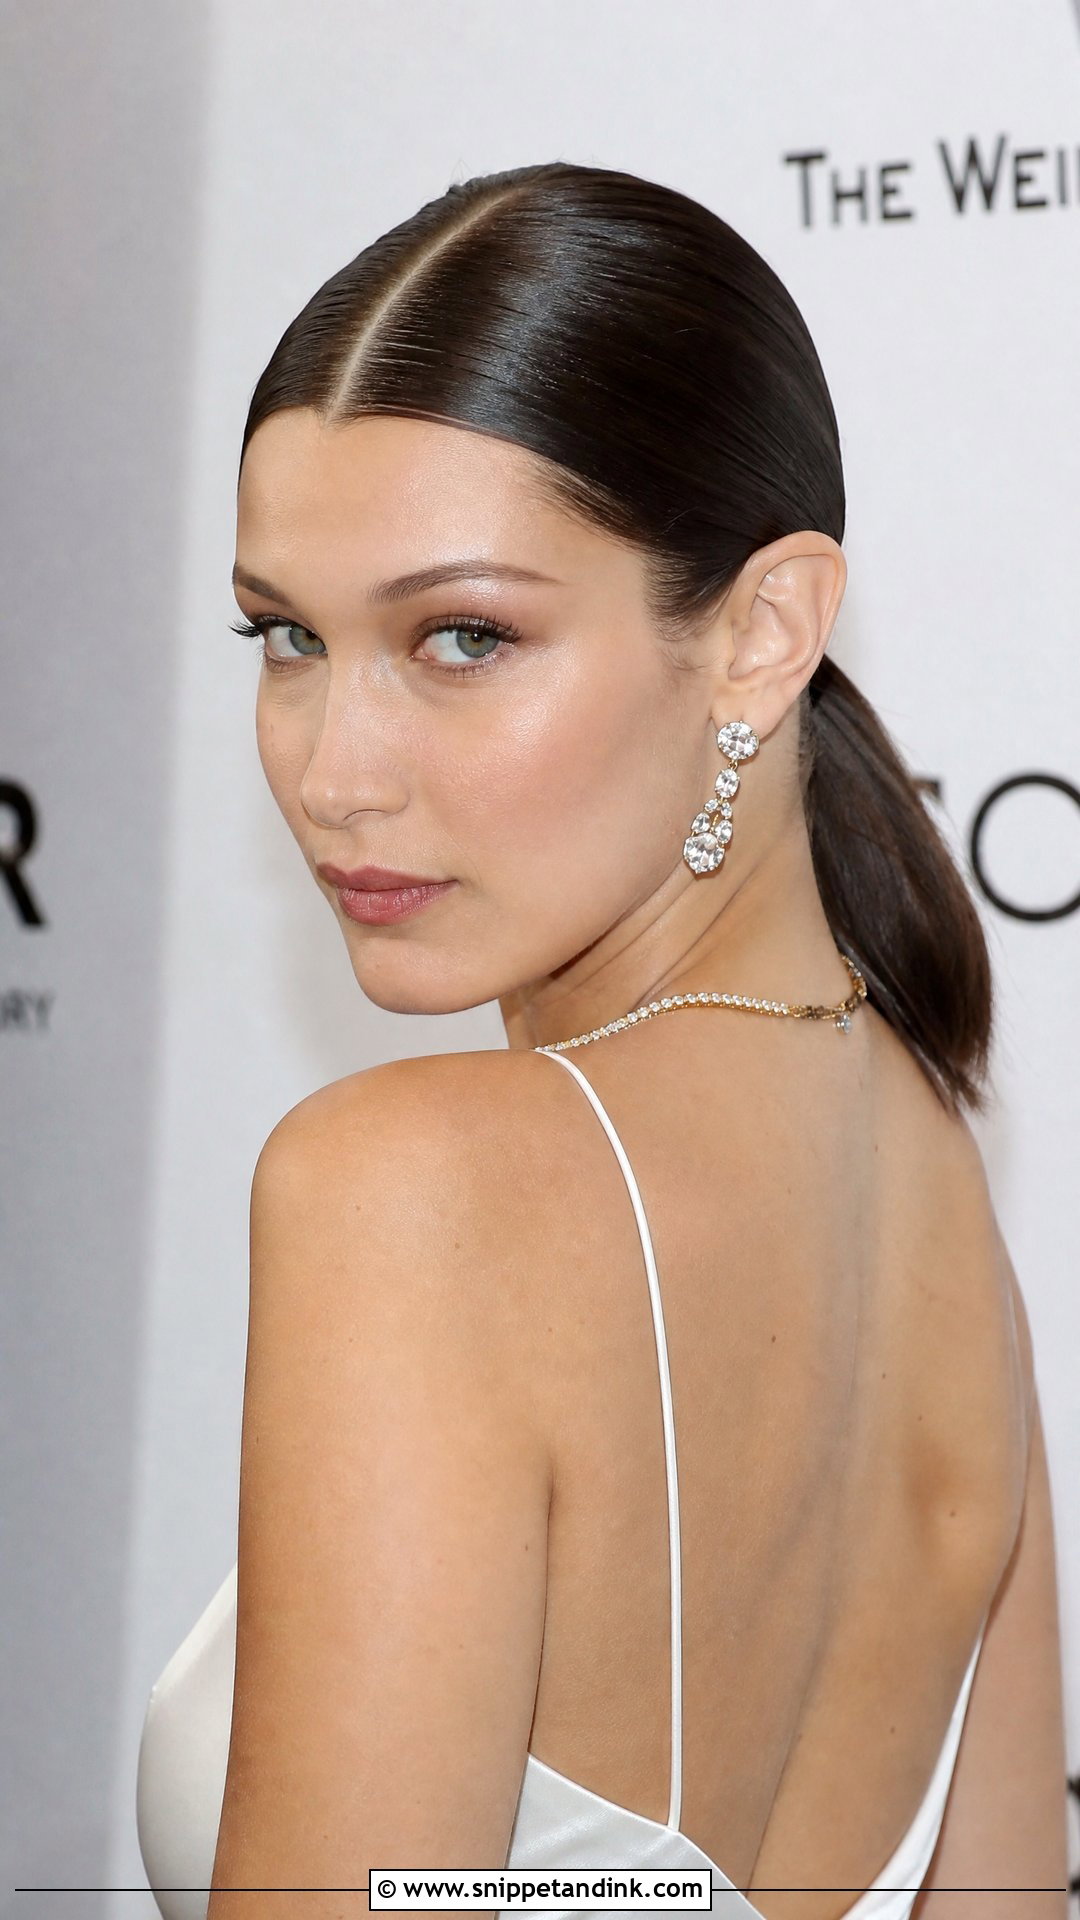
The sleek low ponytail is a modern favorite: a smooth center part, the front lying flat and glossy, and everything gathered at the nape. I wrap a section of hair around the band to hide the elastic. It’s fuss-free and secure all day, and the slicked front shows off your features and bold accessories at minimalist or fashion-forward weddings. One technical note. A heavy ponytail pulls on the front over hours and can give you a headache, so I secure it with two elastics and a few pins underneath to share the weight.
18. Romantic Updo With Loose Tendrils
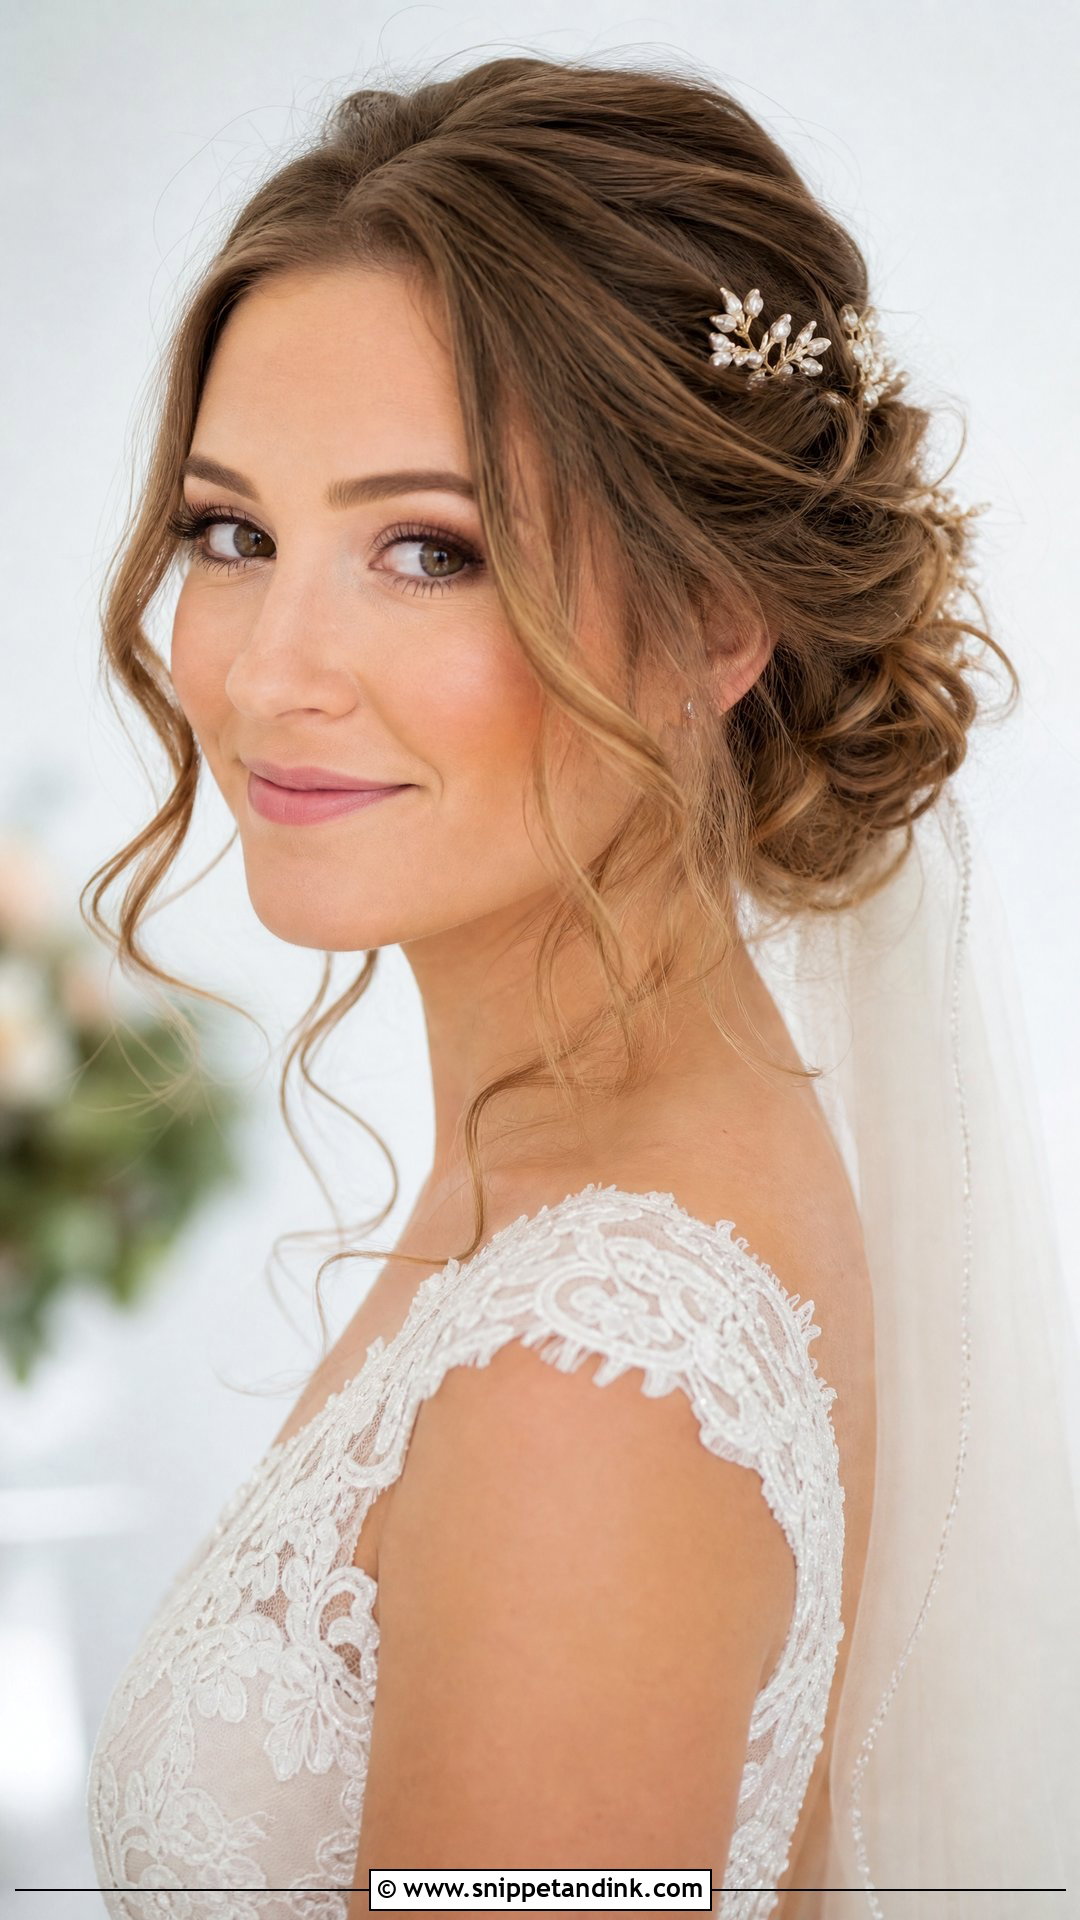
A loose, textured updo at the back with several strands pulled free around the face reads relaxed and soft. The tendrils add movement and frame your features, and I curl them gently for definition. It pairs with delicate pins, veils and flowers, and the mix of structured back and loose front gives it balance. The ‘undone’ part has to be planned. I build the updo properly first, then pull pieces out deliberately, because a style that’s genuinely loose will fall apart before the first dance.
19. Side Braid With Front Volume
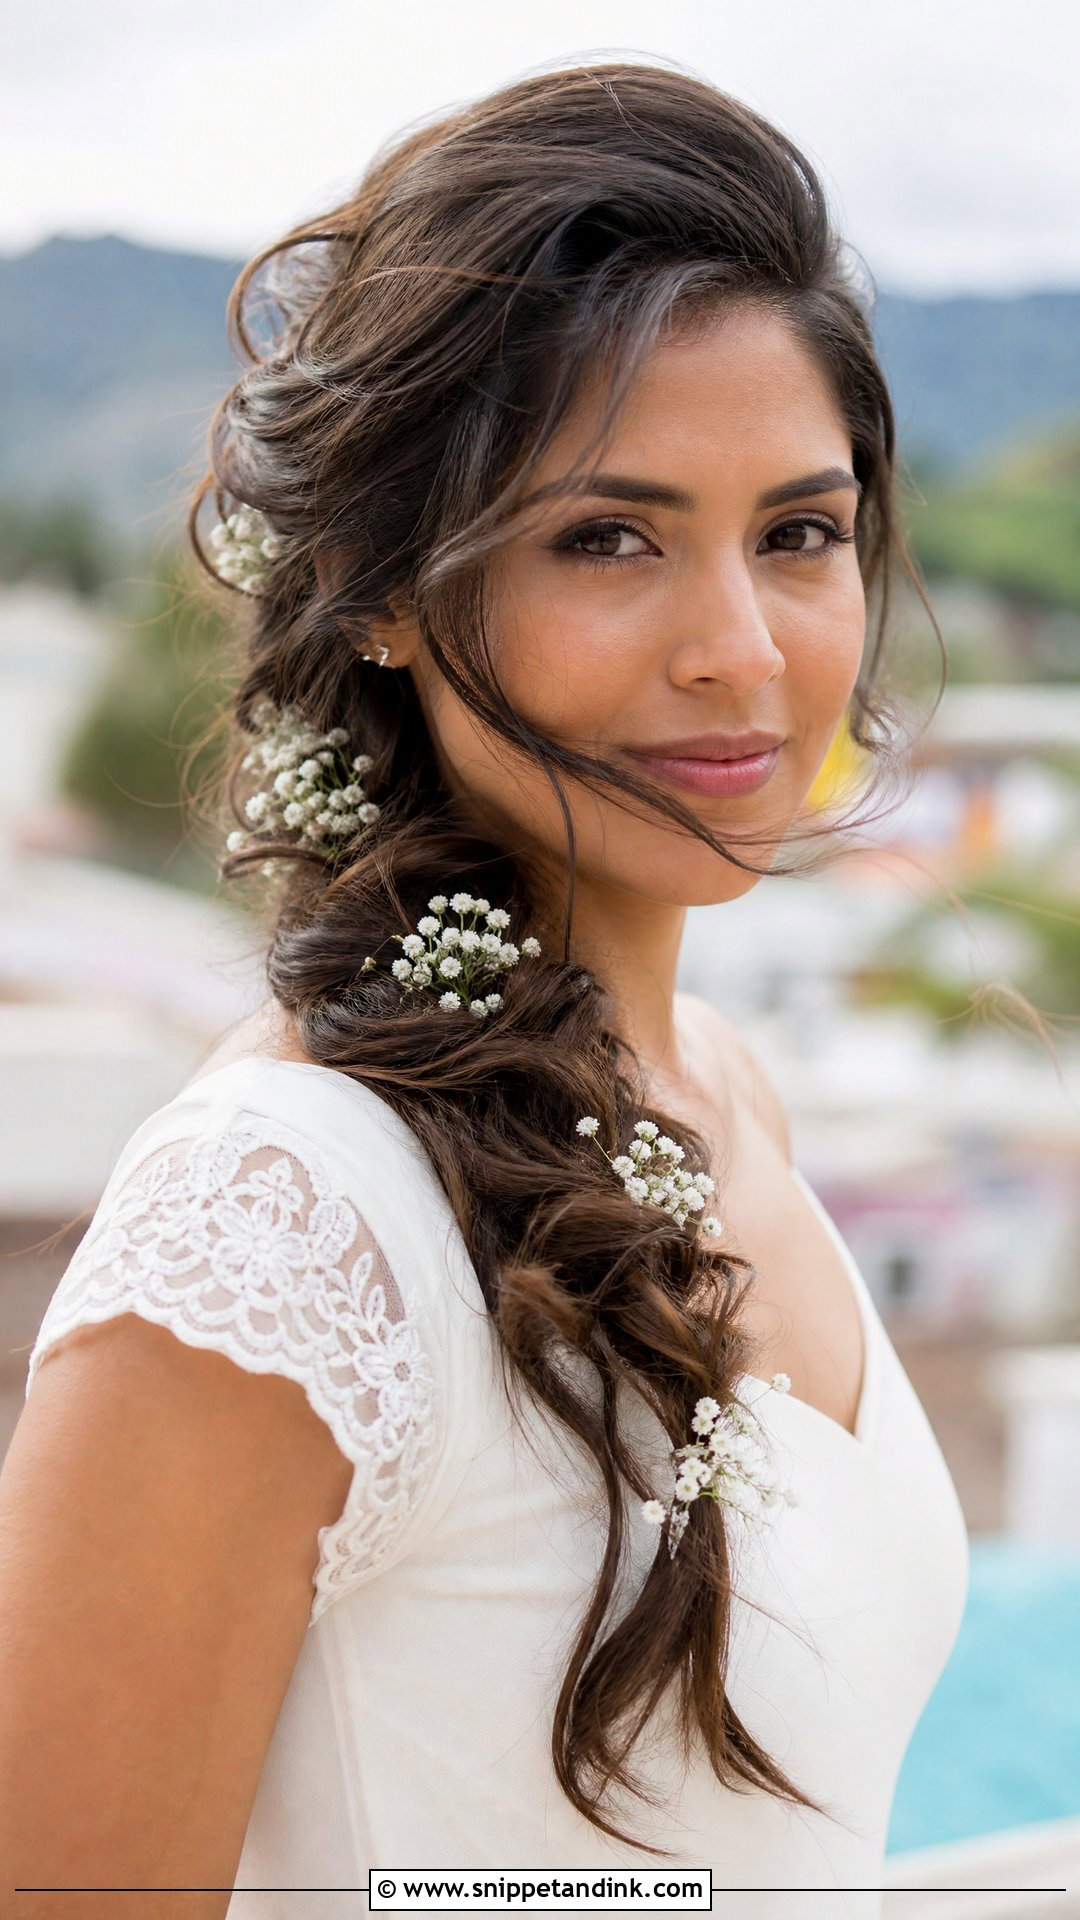
A loose side braid draped over the shoulder gives texture and a relaxed feel. I add volume at the front by gently teasing the crown, which balances the braid and keeps it from looking flat. Then I pull the braid’s edges apart for a fuller effect and tuck small flowers into it. It suits boho and outdoor weddings. Long, thick hair works best; on hair above the collarbone, a side braid ends too high to drape, so I’d suggest the twisted front style instead.
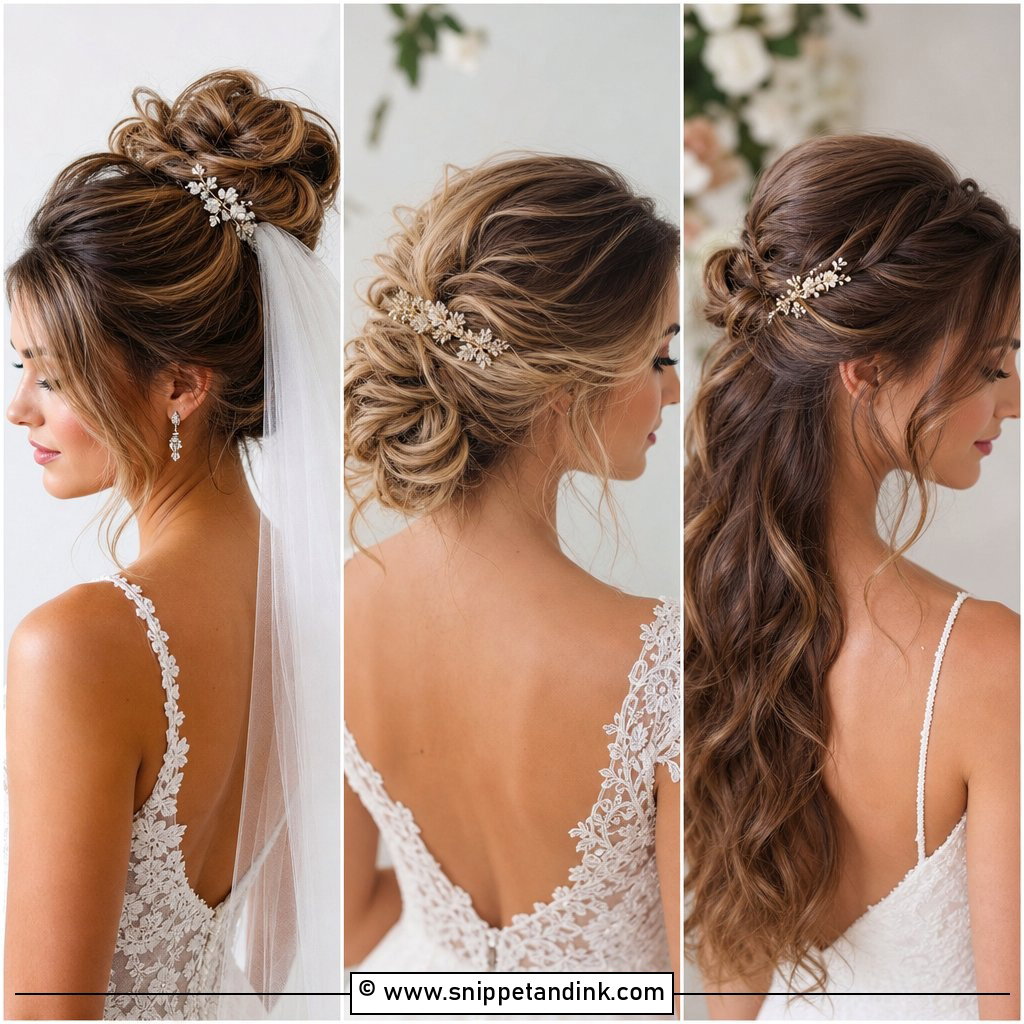
20. Hollywood Glam Waves With Side Part
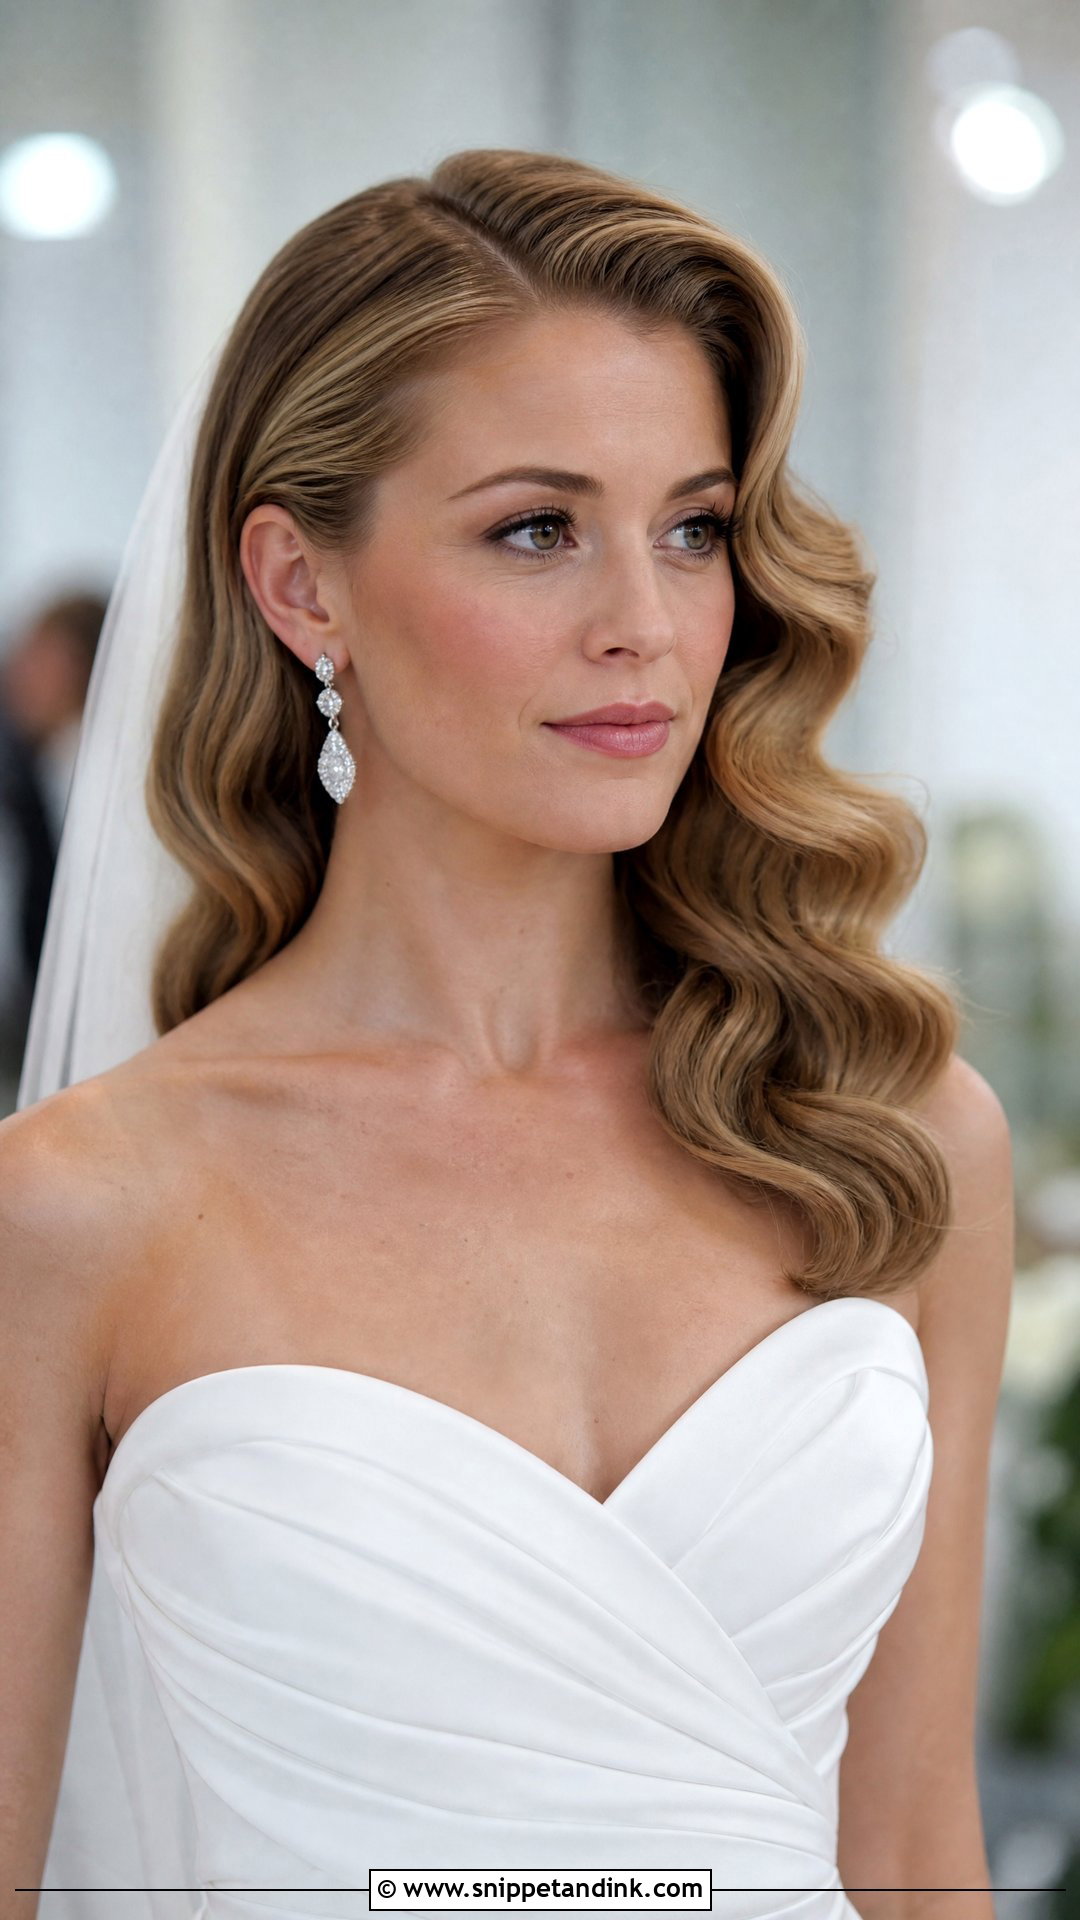
Hollywood waves are sculpted, glossy and uniform, flowing from a defined side part and hugging the face. I curl every section in the same direction, pin each curl to set, then brush the whole thing out into one smooth wave and shape the ridges with clips while the spray dries. It’s precise work and takes longer than most brides expect. It suits glamorous, formal weddings, statement earrings and a sleek gown. Humid days are its weakness; for a summer outdoor wedding I’d consider pinning the waves into a low roll at the reception.
Front Pieces Fall First. Here’s How I Stop It
The strands around your face take more punishment than the rest of the style: warmth from your skin, hands brushing them back, kisses, tears, and humidity. By the reception, tendrils are usually the first thing to drop or frizz. A few things make a real difference:
- I curl front pieces tighter than the final look, because they relax in the first hour.
- Each curl is pinned in place to cool before it’s released. Hair sets as it cools, not as it heats.
- A flexible spray goes on the tendrils, not a stiff one, so they move without separating.
- You don’t touch them. Tucking them behind your ear all day flattens them more than anything else.
A small kit for the reception
Give someone a few matching bobby pins, a travel spray and a small wand or straightener if the venue allows. Ten minutes before the first dance is the right time for a quick refresh around the face.
Bring a Photo of Your Hairline, Not Just the Hairstyle
Whether you lean toward sleek and modern, soft waves or boho braids, the front of your hair frames your face in every photo, so it should suit your features and your gown. Mix elements if you want, add flowers or sparkly pins, and bring inspiration pictures to your trial. But also take a clear photo of your own hairline, parted the way it naturally falls, and show your stylist both. The best front style is the one built around the hair you actually have.
You'll Like These Ideas:


Leave a Reply