
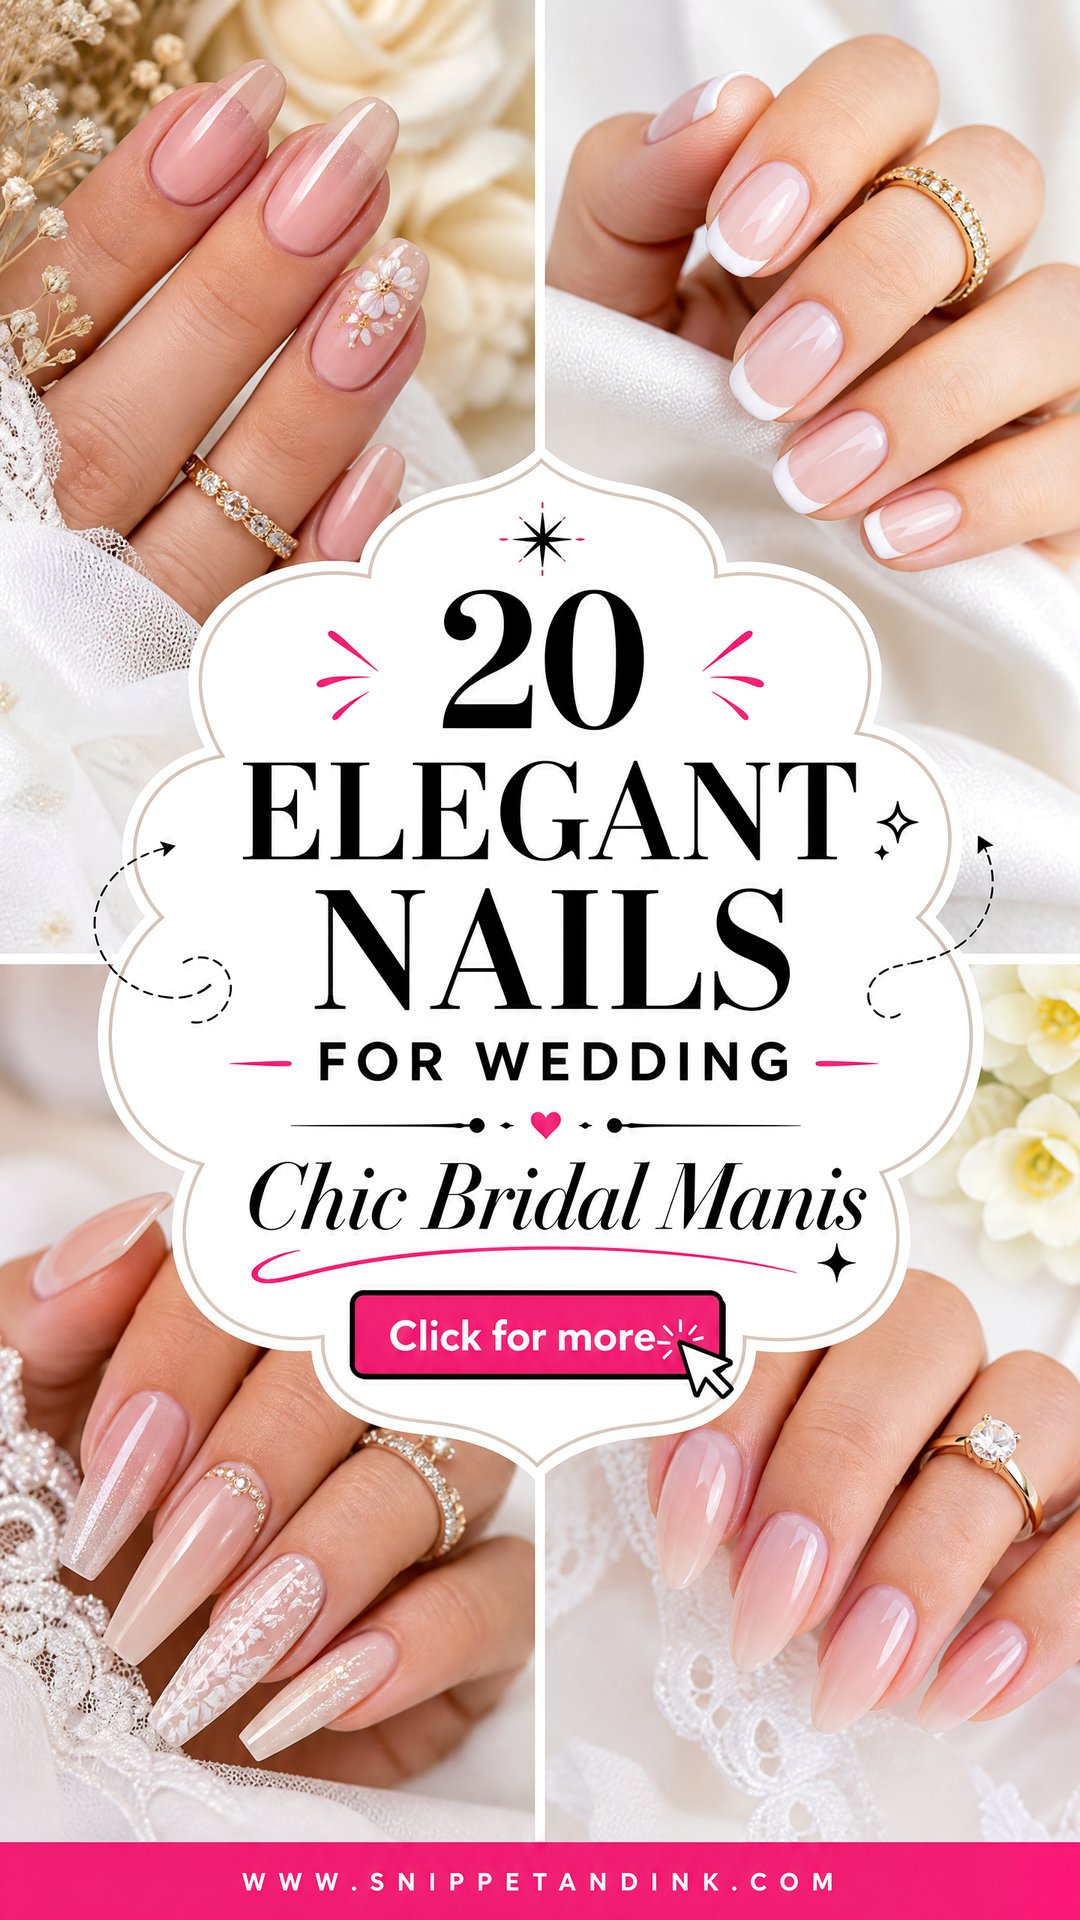
Wedding manicures have settled into a quiet mood for 2026: sheer pinks, milky whites, slim French tips, a little pearl, a soft chrome glaze. That restraint suits the job, because your hands end up in more close-up photos than any other part of you apart from your face. Rings, bouquet, a hand on a shoulder: every one of those frames shows your cuticles and the shape of your nails. Below are twenty designs I do for brides, bridesmaids, mothers and guests, with what I watch for on each one, from which nail shapes carry it to how it holds up across a long day.
What Your Natural Nails Tell Me Before Any Colour Goes On
The soft, sheer designs that suit weddings are the least forgiving ones. A milky or jelly base shows ridges, yellow staining and uneven free edges that an opaque red would hide. So at a consultation I look at the nails before I look at the inspiration photos.
- Thin or peeling nails: I add a thin builder gel layer for strength, which also gives sheer colours a smooth surface.
- Staining from dark polish: a soft buff and a ridge-filling base help, but very sheer pinks may still show it, so I lean toward milky white instead.
- Bitten or very short nails: short squoval or round with a slim French tip looks deliberate. I’d rather do that than add long tips you have never worn.
- Oily nail plates: gel lifts on these, so the prep is longer and I check the cuticle edge closely after curing.
Bring a photo of your rings and dress fabric. The metal decides gold or silver accents, and the fabric decides whether lace or pearl detail will echo something or just add noise.
1. Milky White Wedding Nails
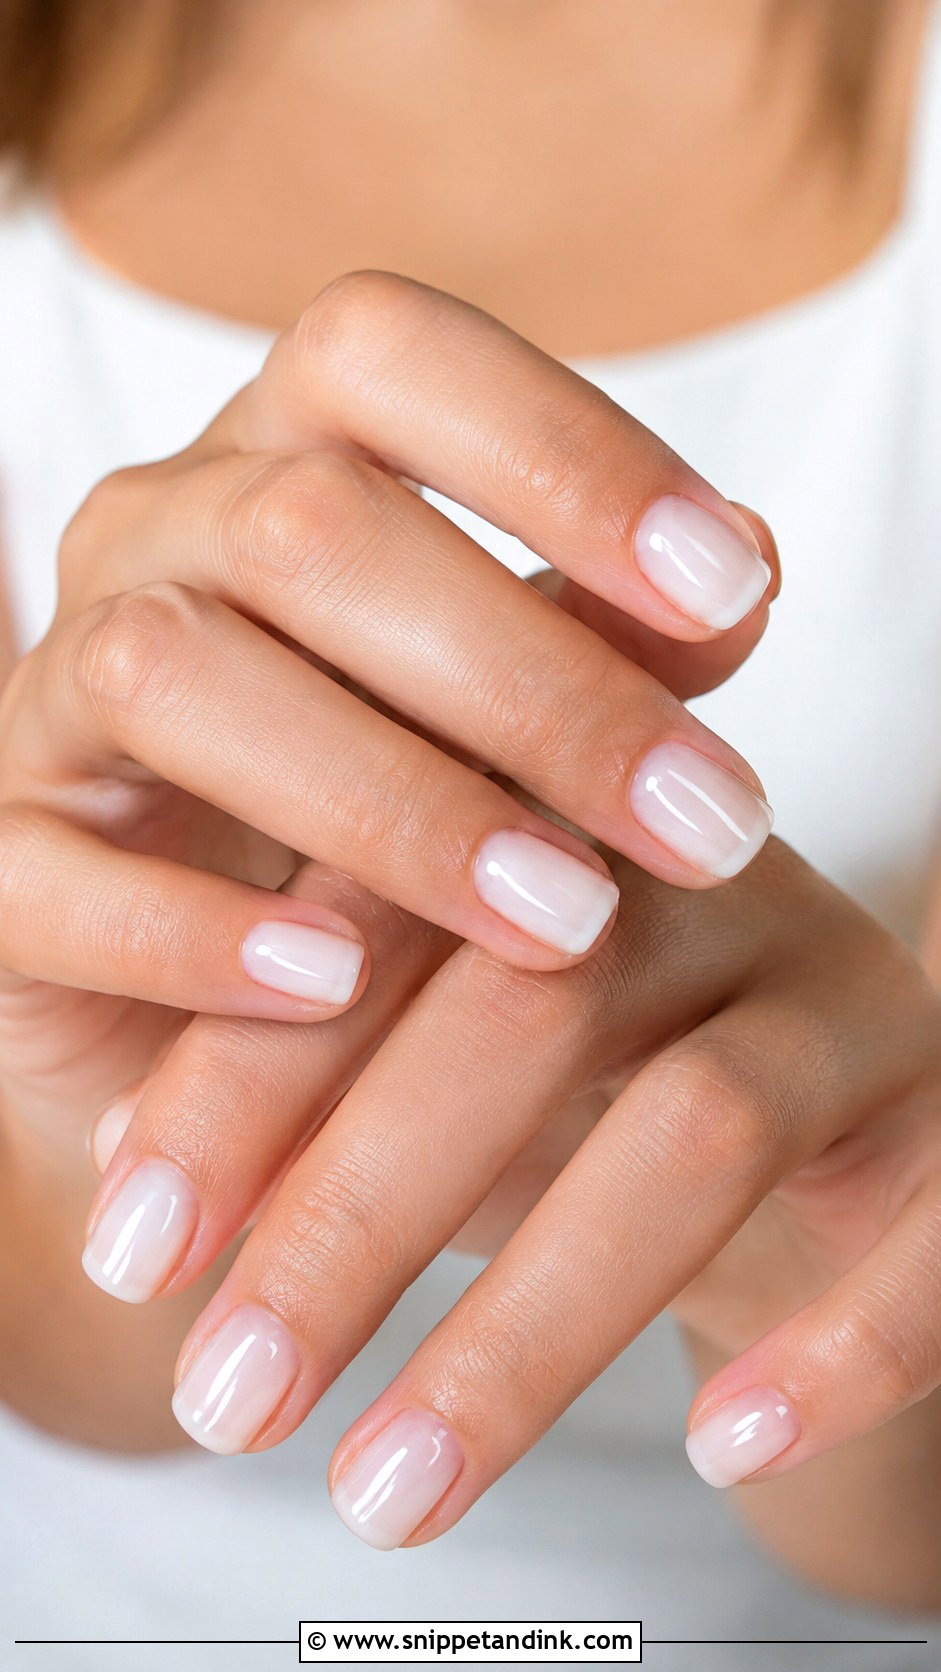
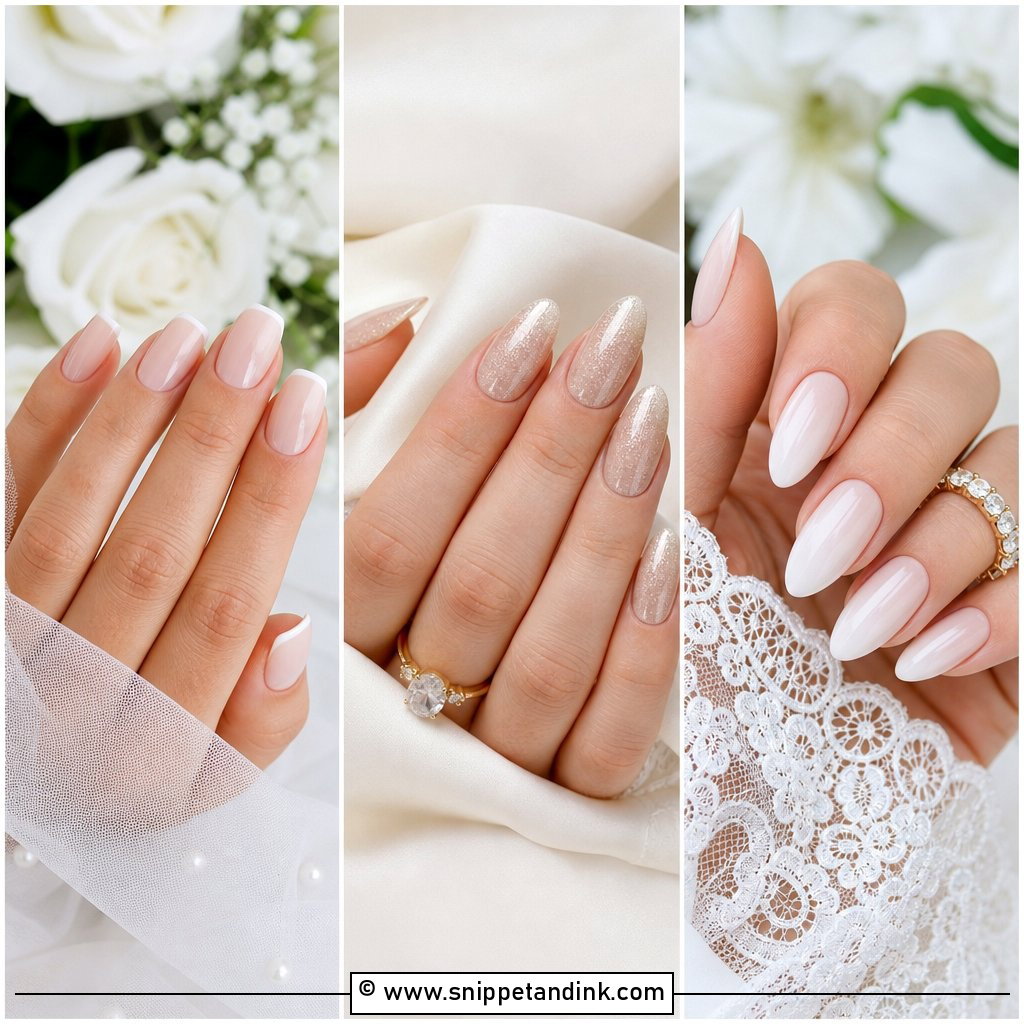
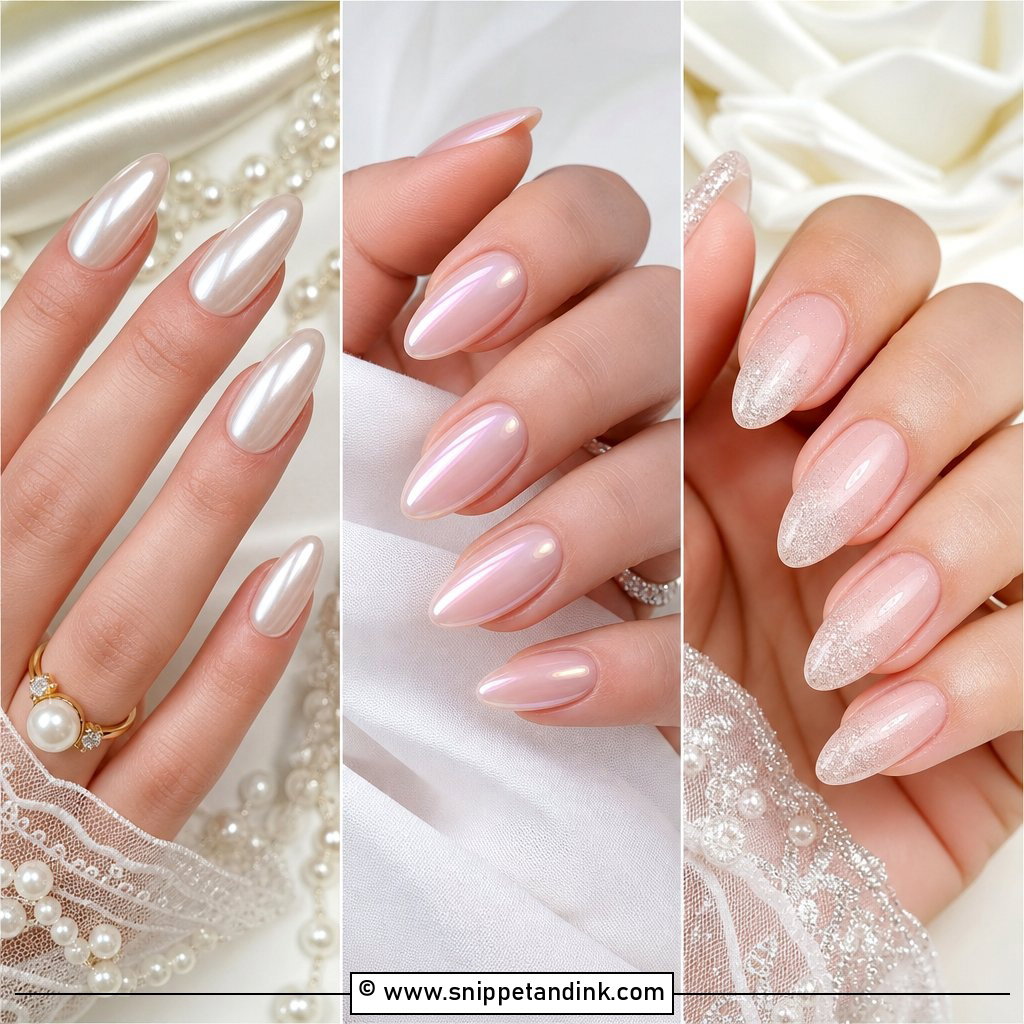
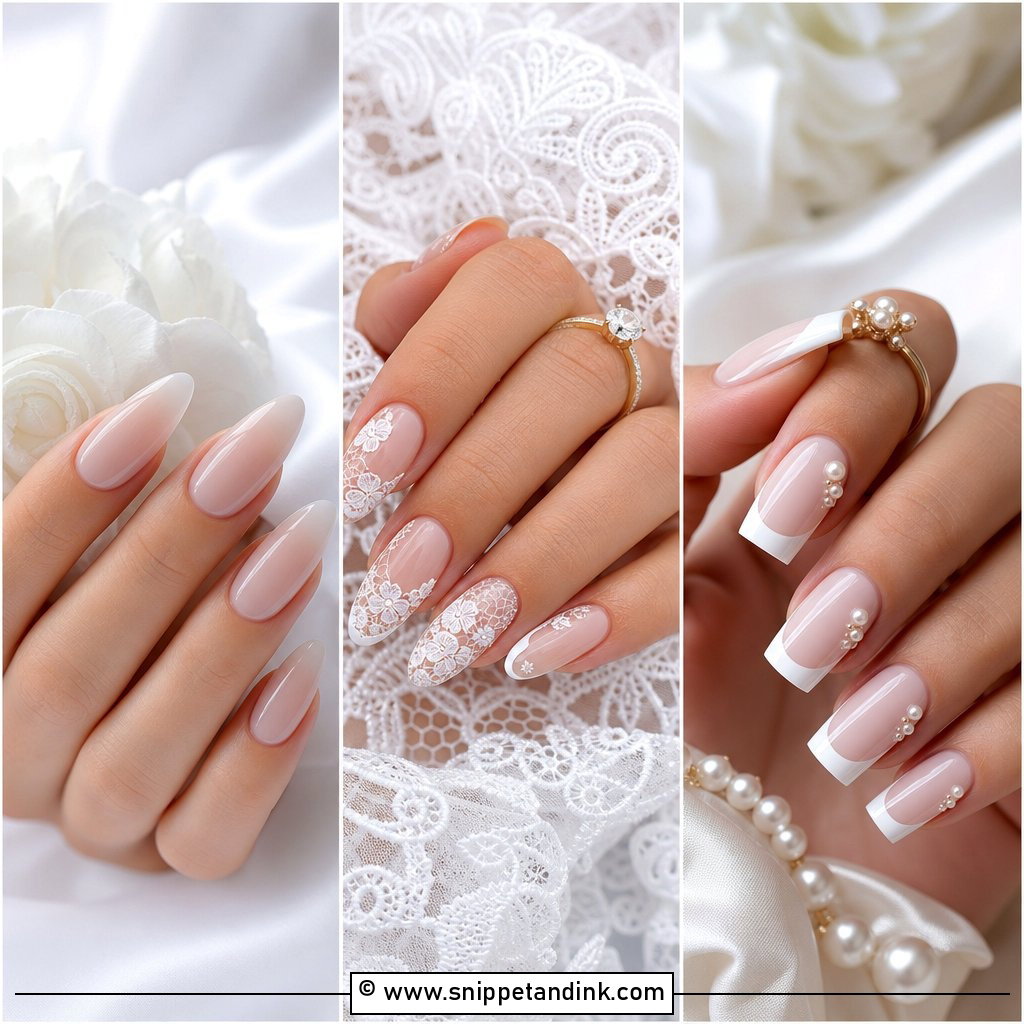
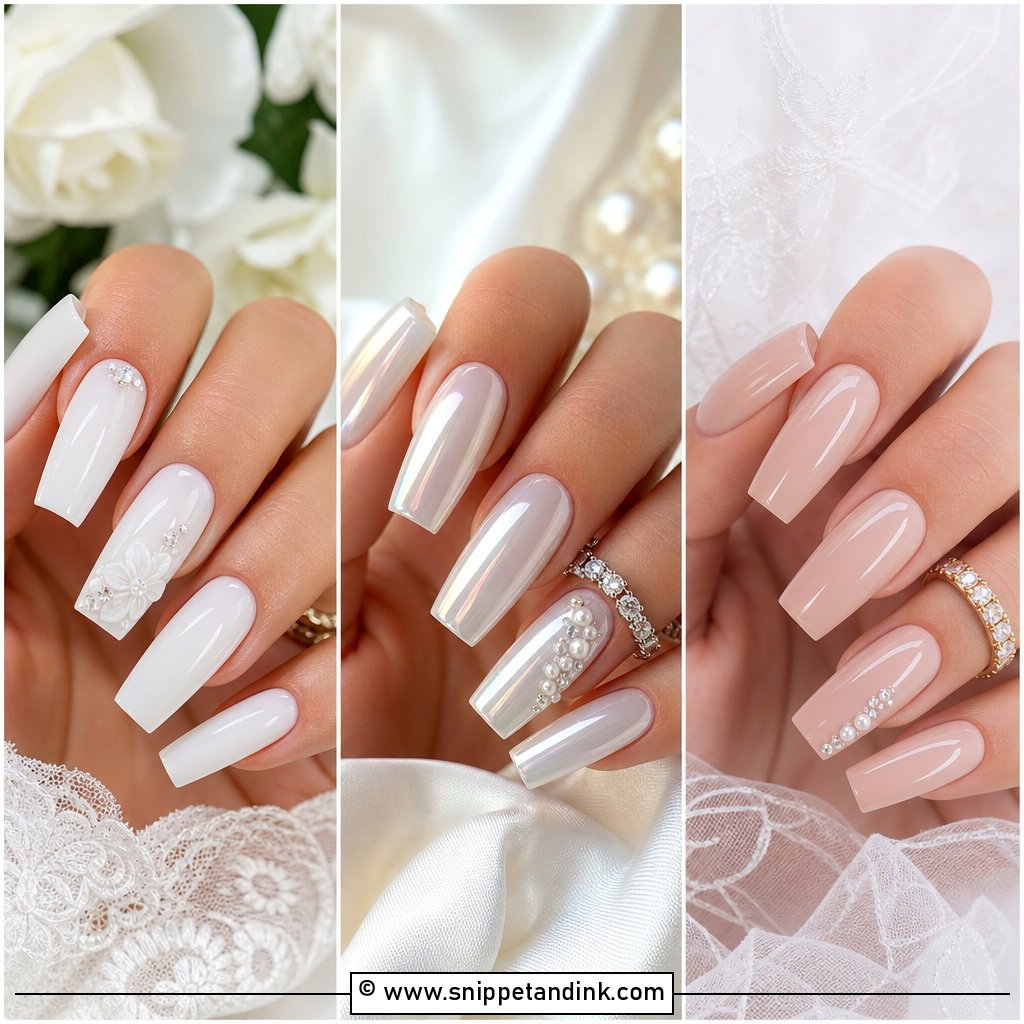
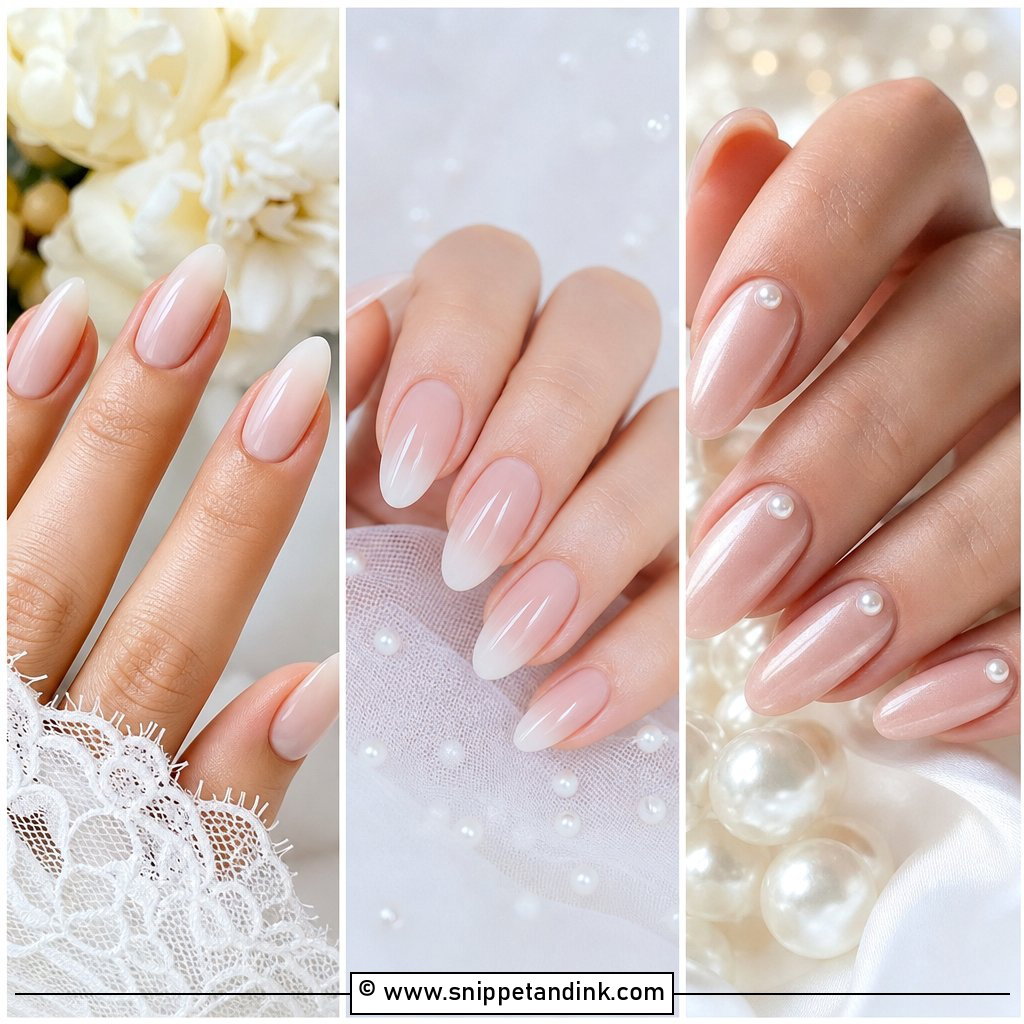
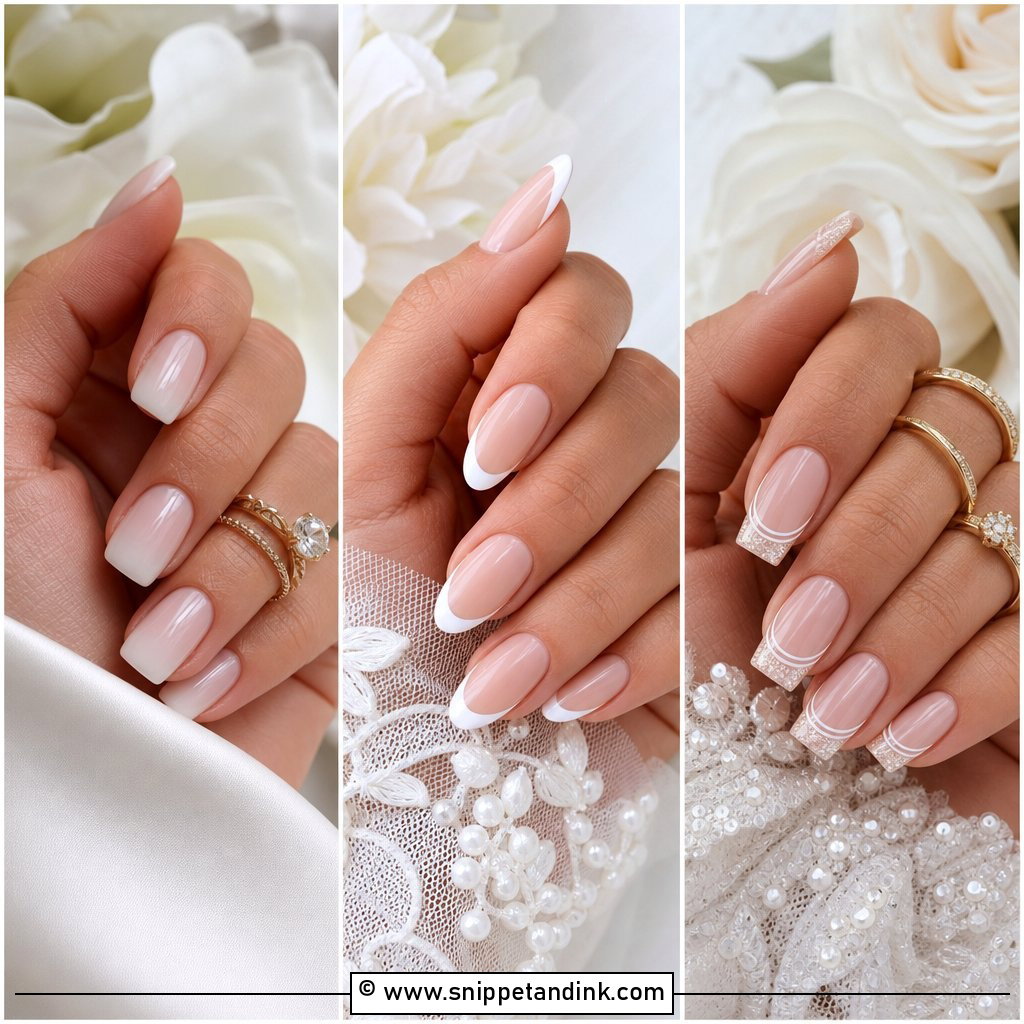
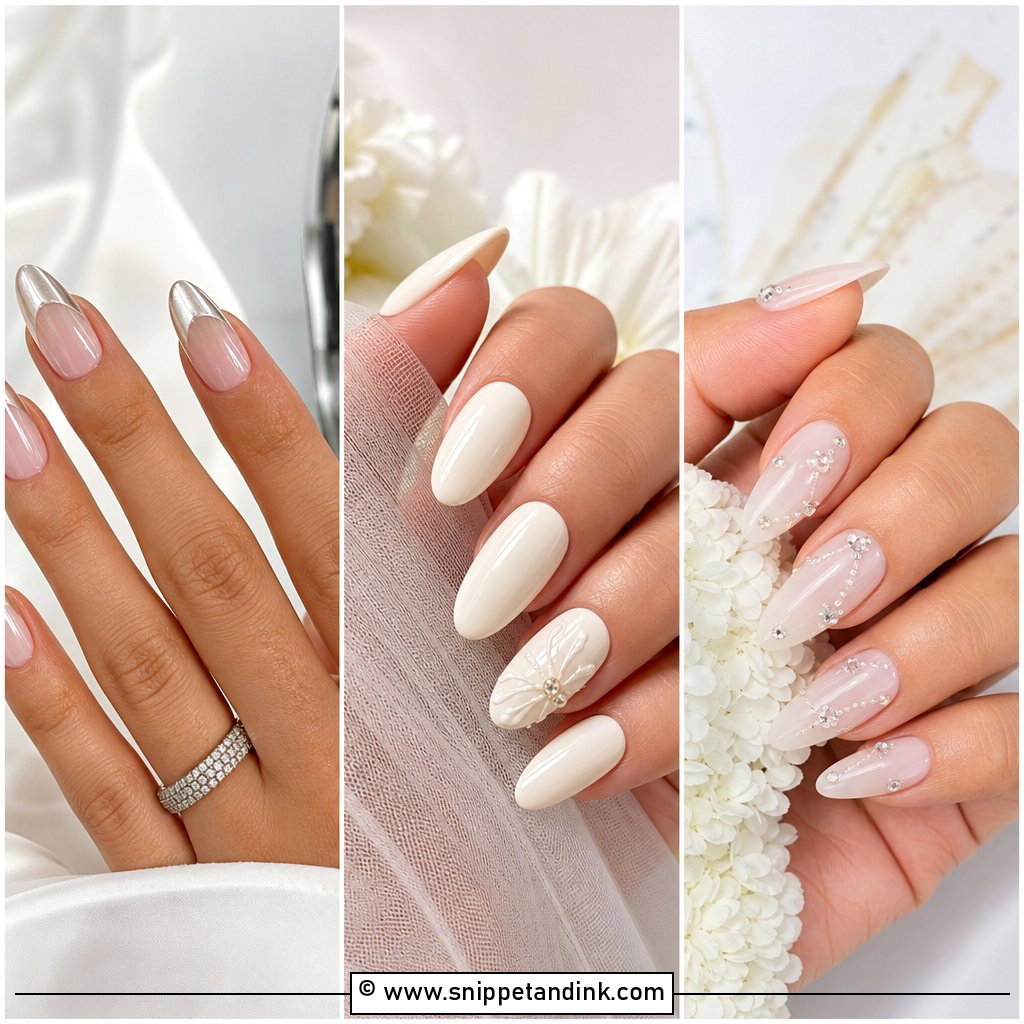
Milky white is the design I’m booked for most, and it is harder to get right than it looks. The gel is semi-opaque, so if I lay it on thick it streaks and pools at the sides, which is why I build it in two thin coats and cure each one fully. The finish should look cloudy, like skimmed milk, not like correction fluid. It sits well on short square, medium almond and natural round nails, and it goes with silver, pearl, white gold and diamond. A high-gloss top coat is what makes it look expensive.
2. Soft Pink French Wedding Nails
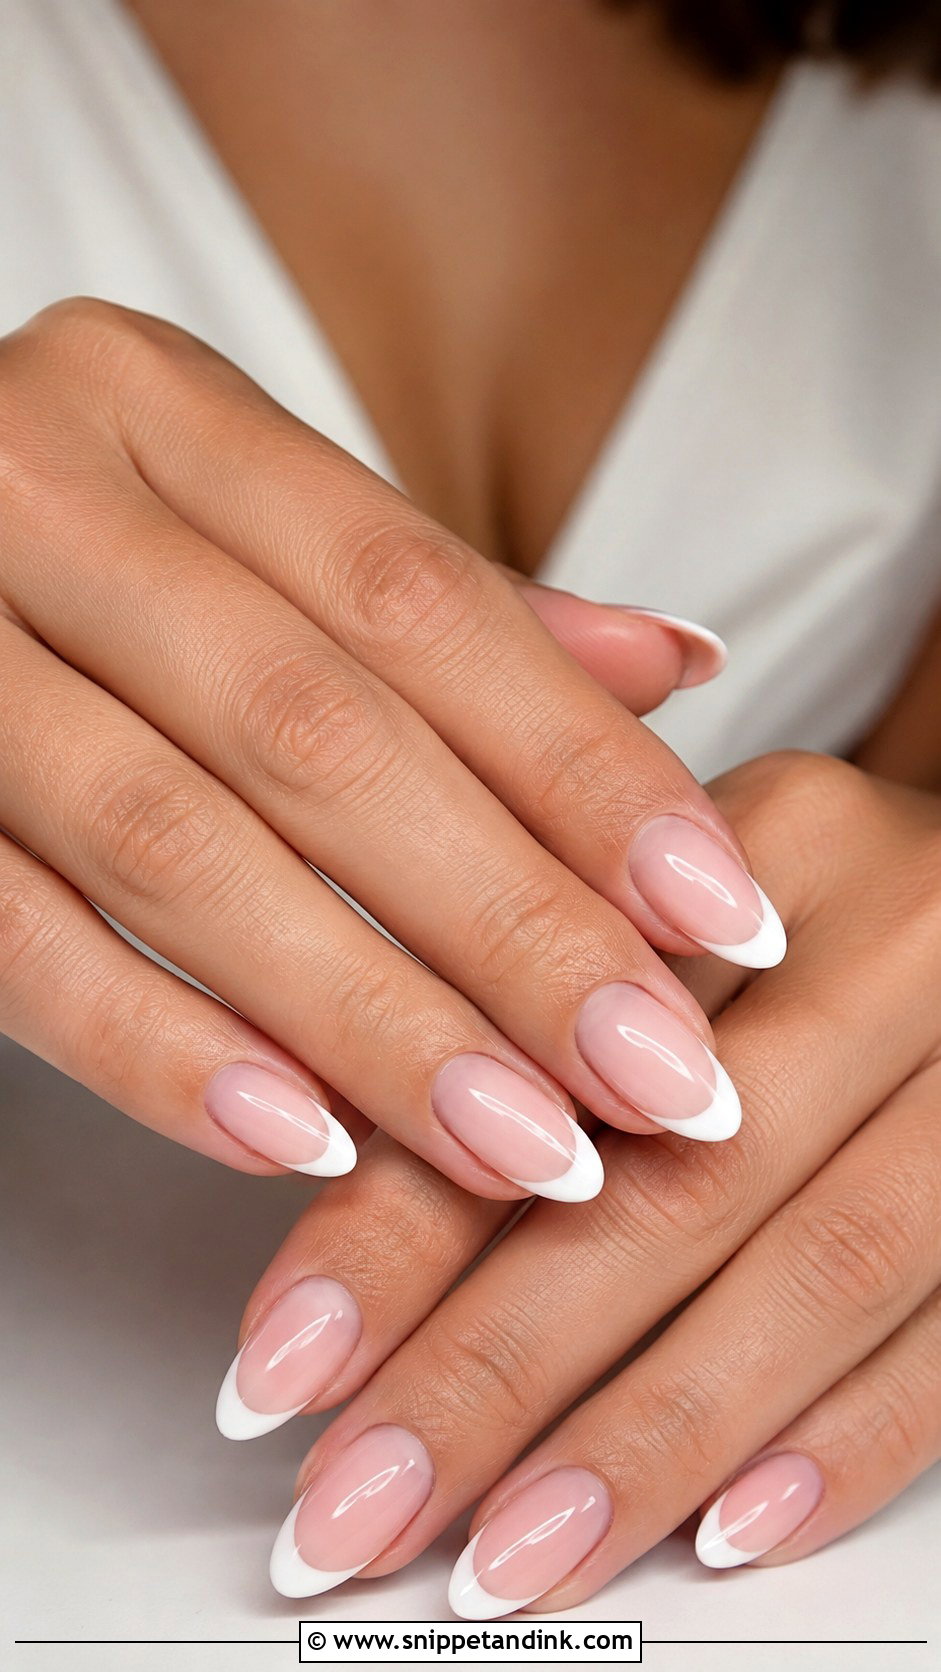
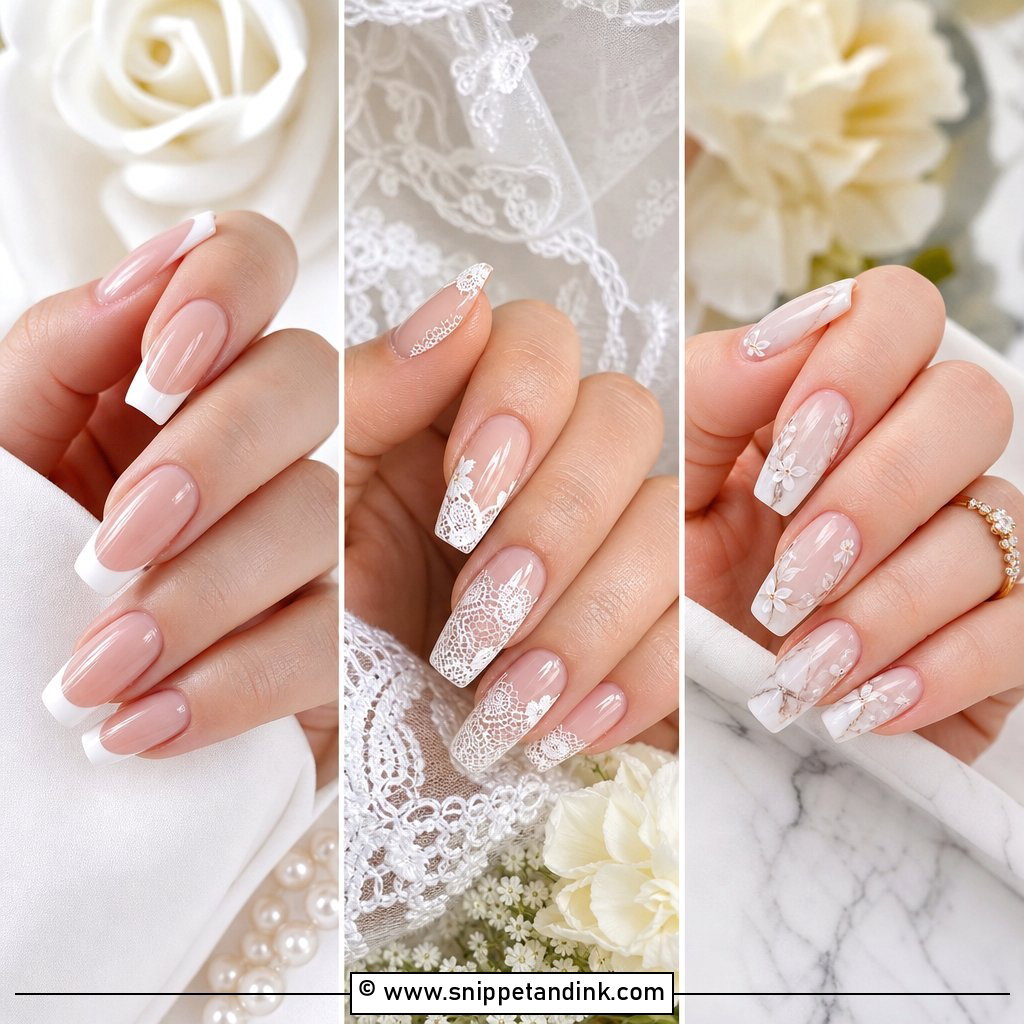
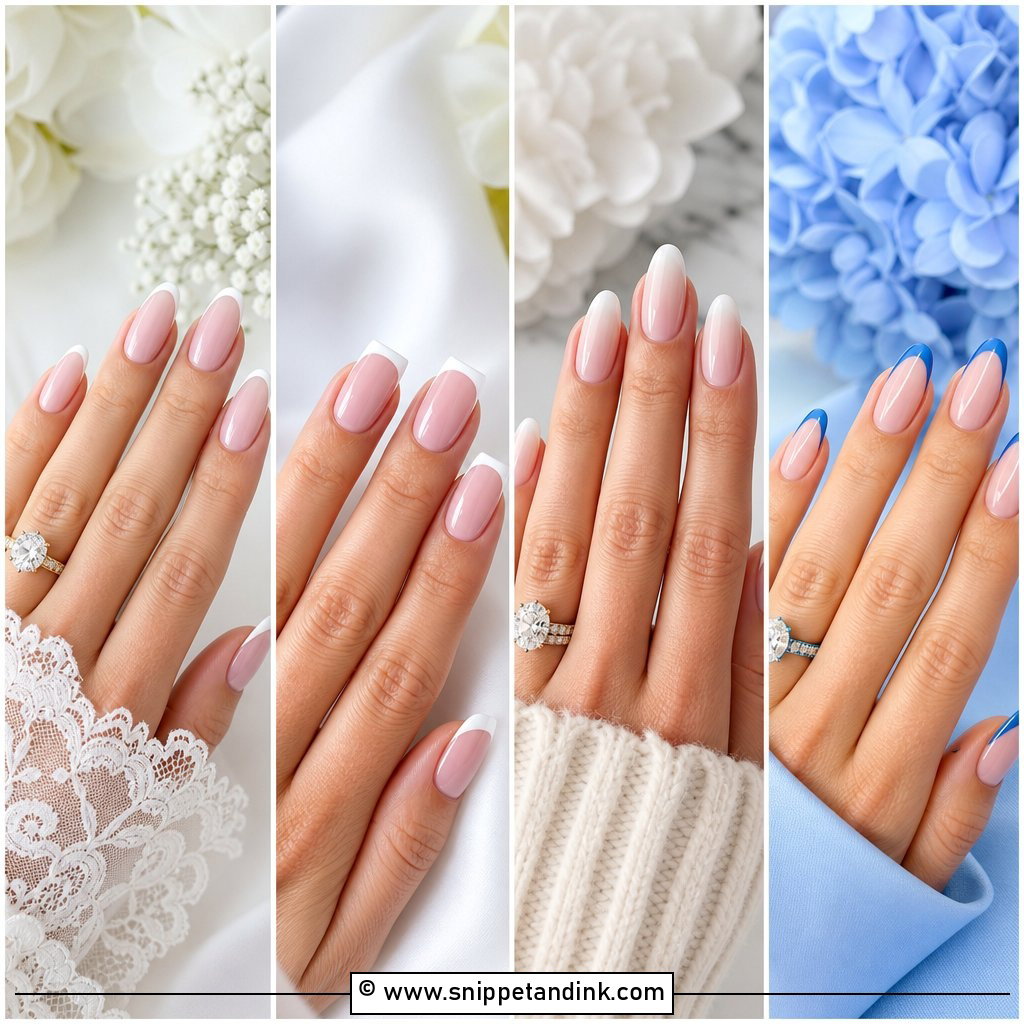
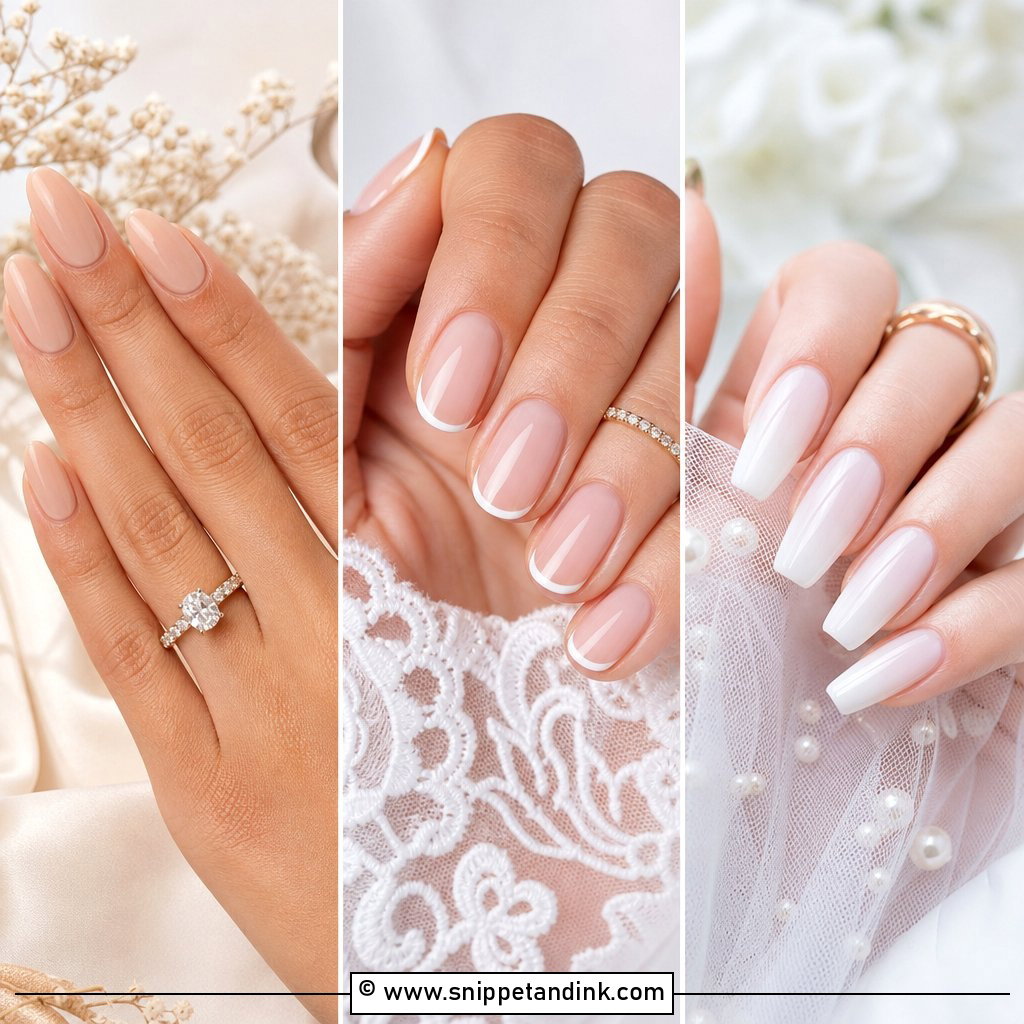
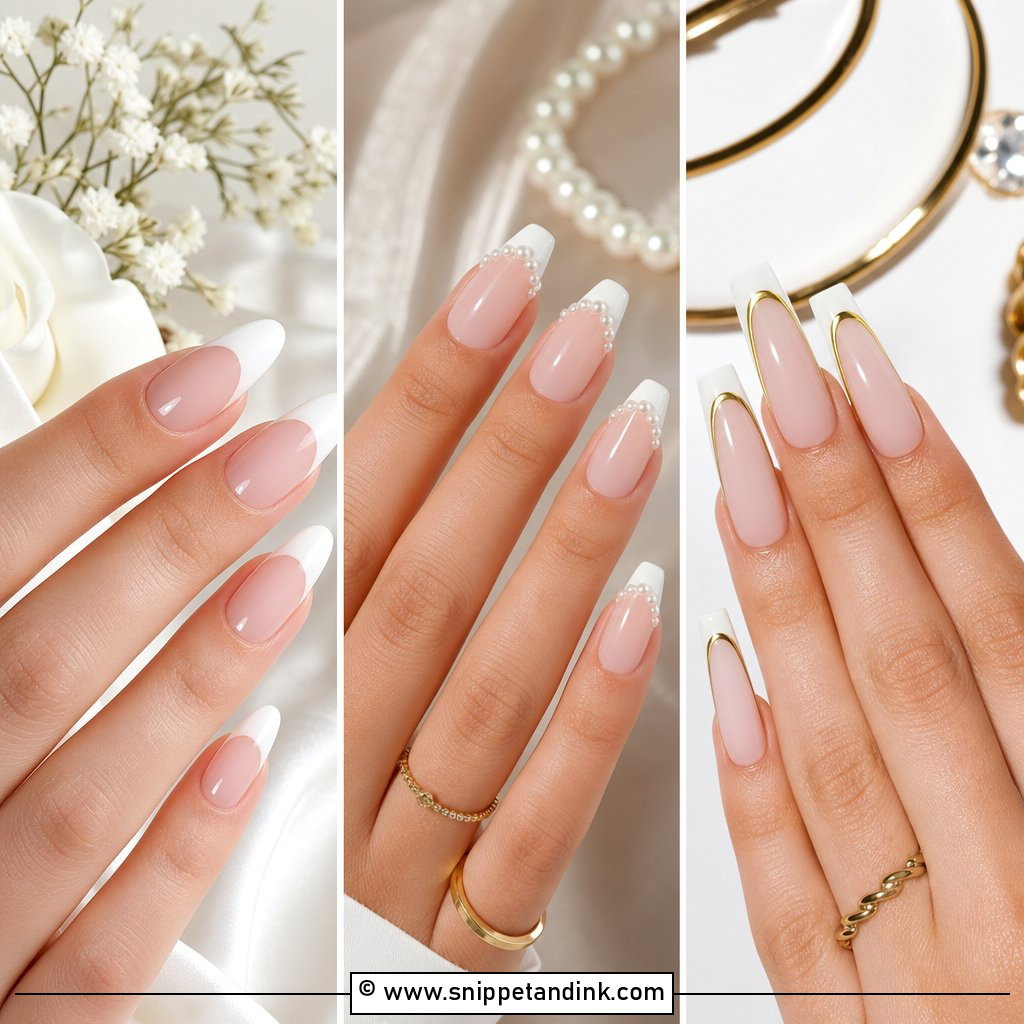
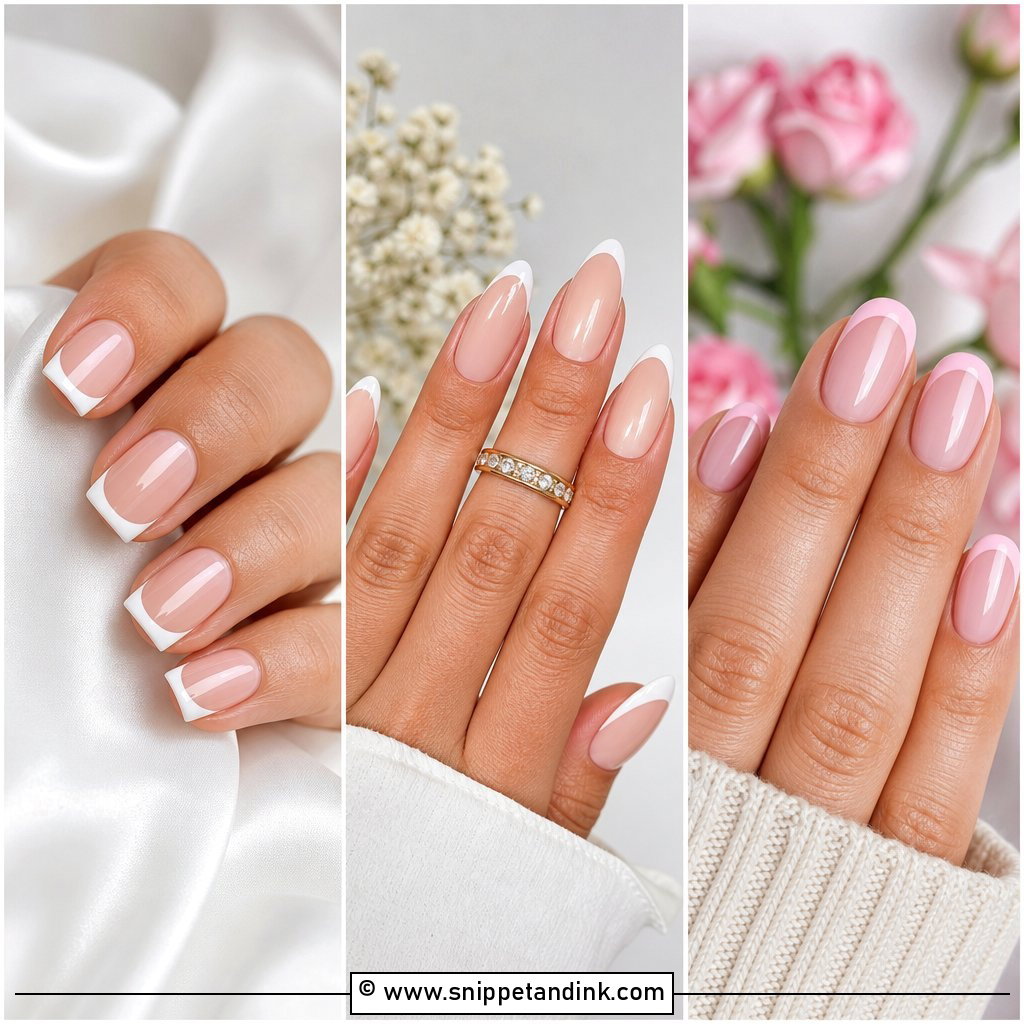
A soft pink French swaps the stark white tip for a softer white that blends into a sheer blush or pink-nude base. I keep the smile line thin and slightly diffused, so from a metre away the nail just looks healthy and finished. Almond and oval shapes make the tip look longer. Short square gives a more classic salon result. It is my usual suggestion for bridesmaids too, since it reads polished without competing with the bride’s hands in the group shots.
3. Pearl Wedding Nails
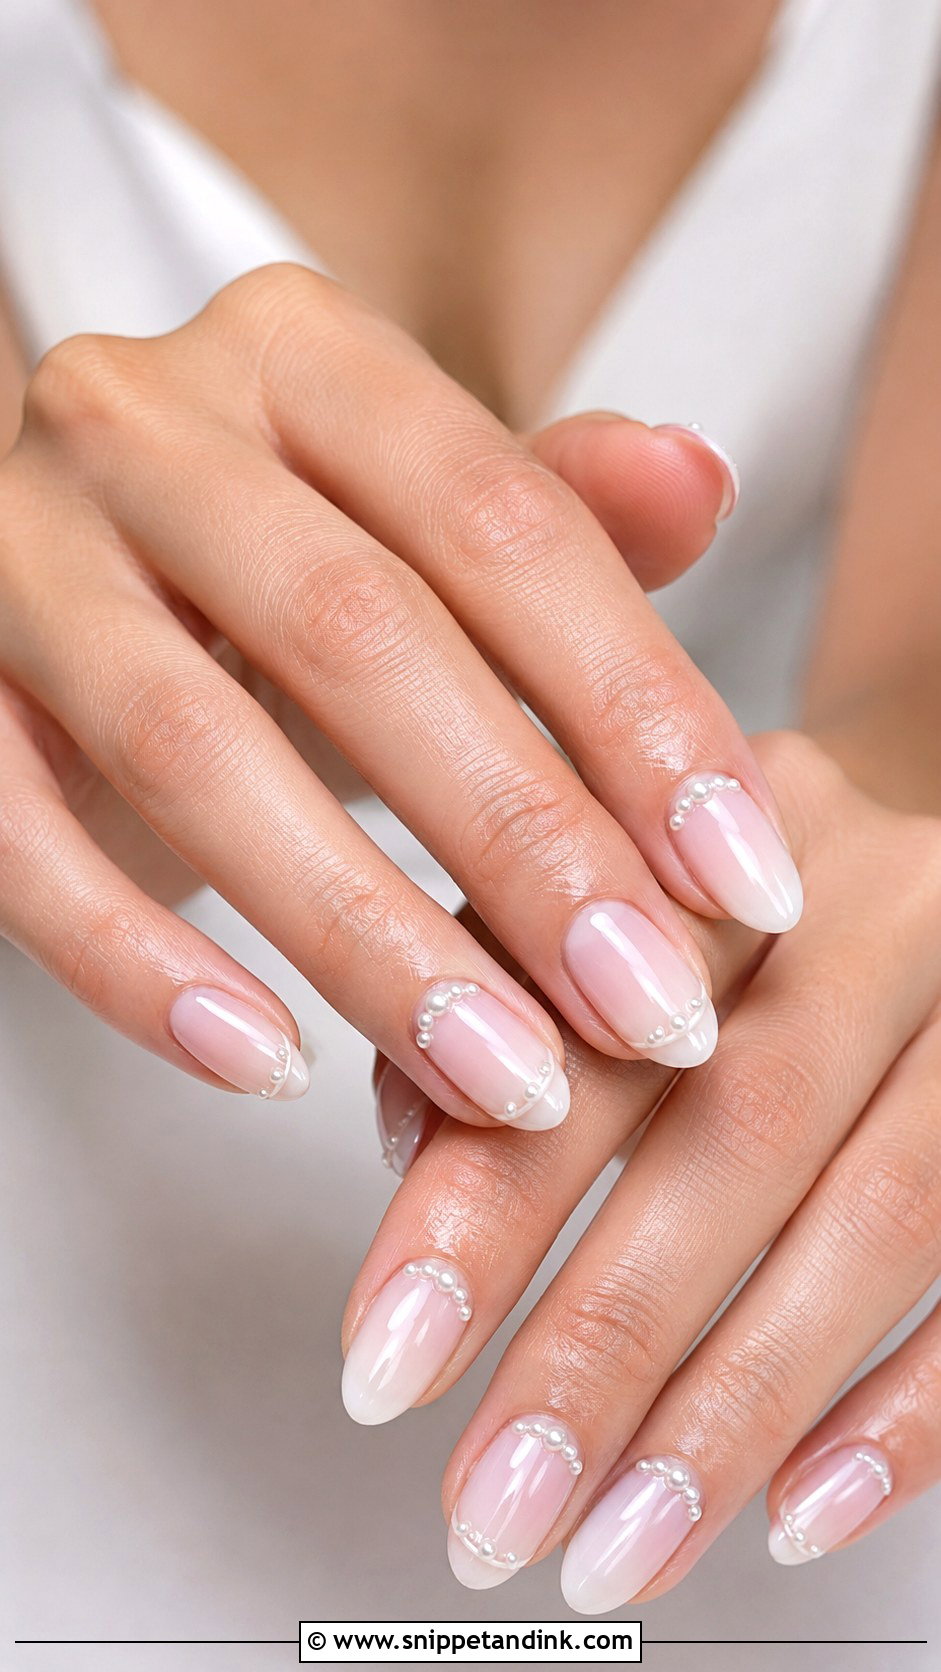
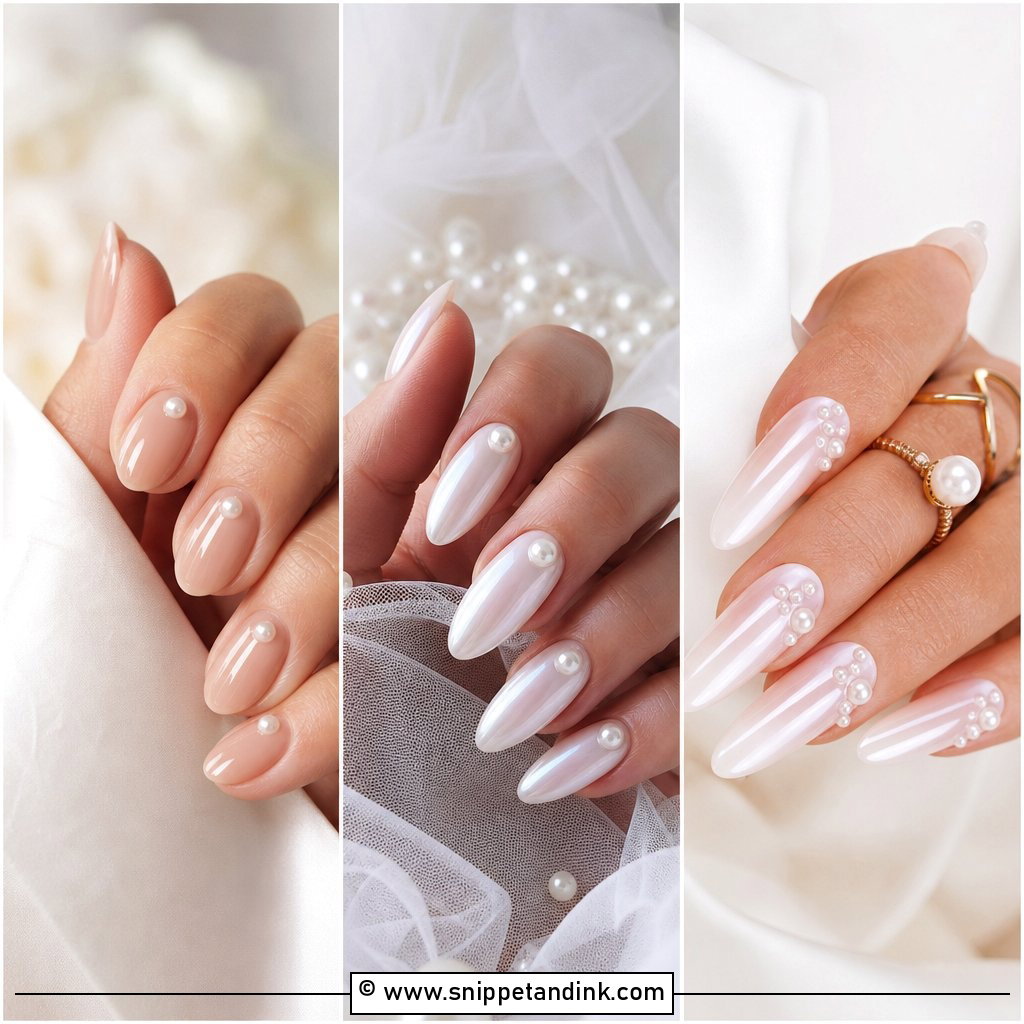
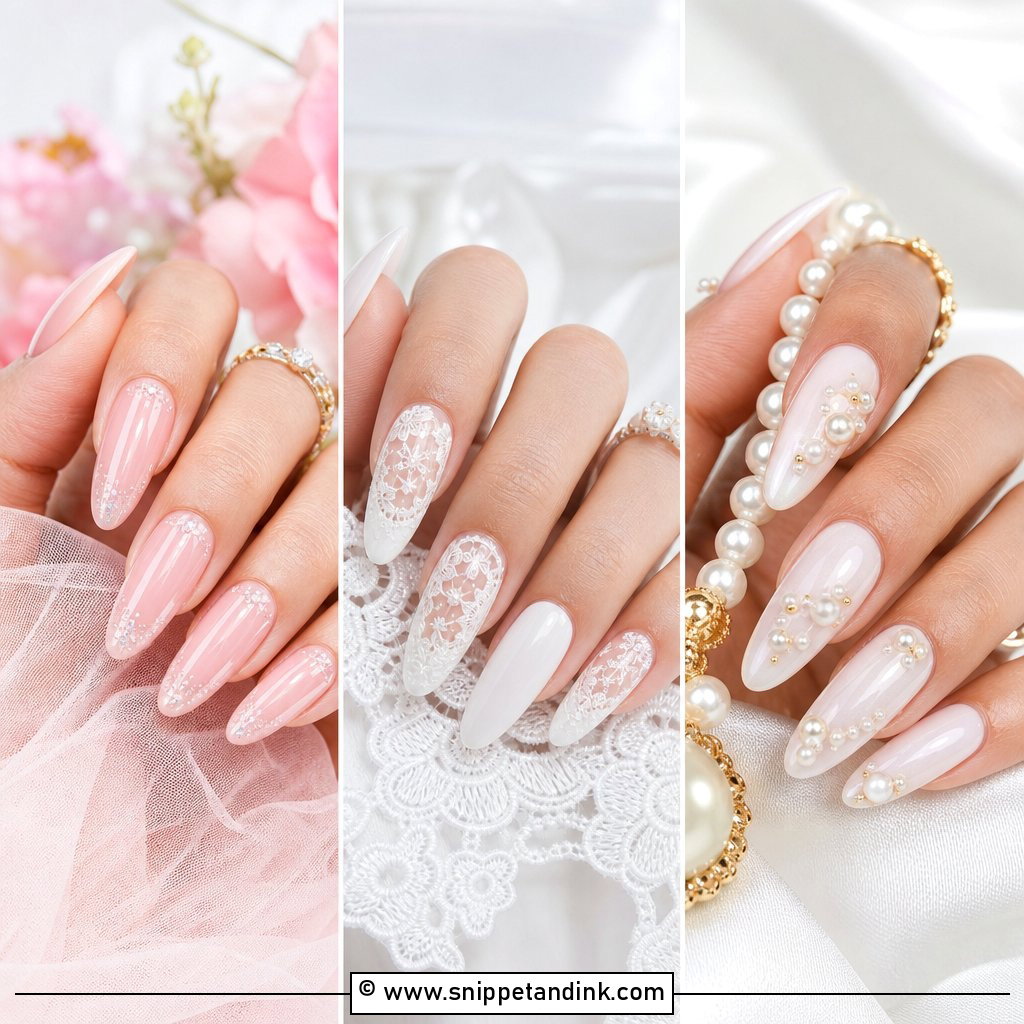
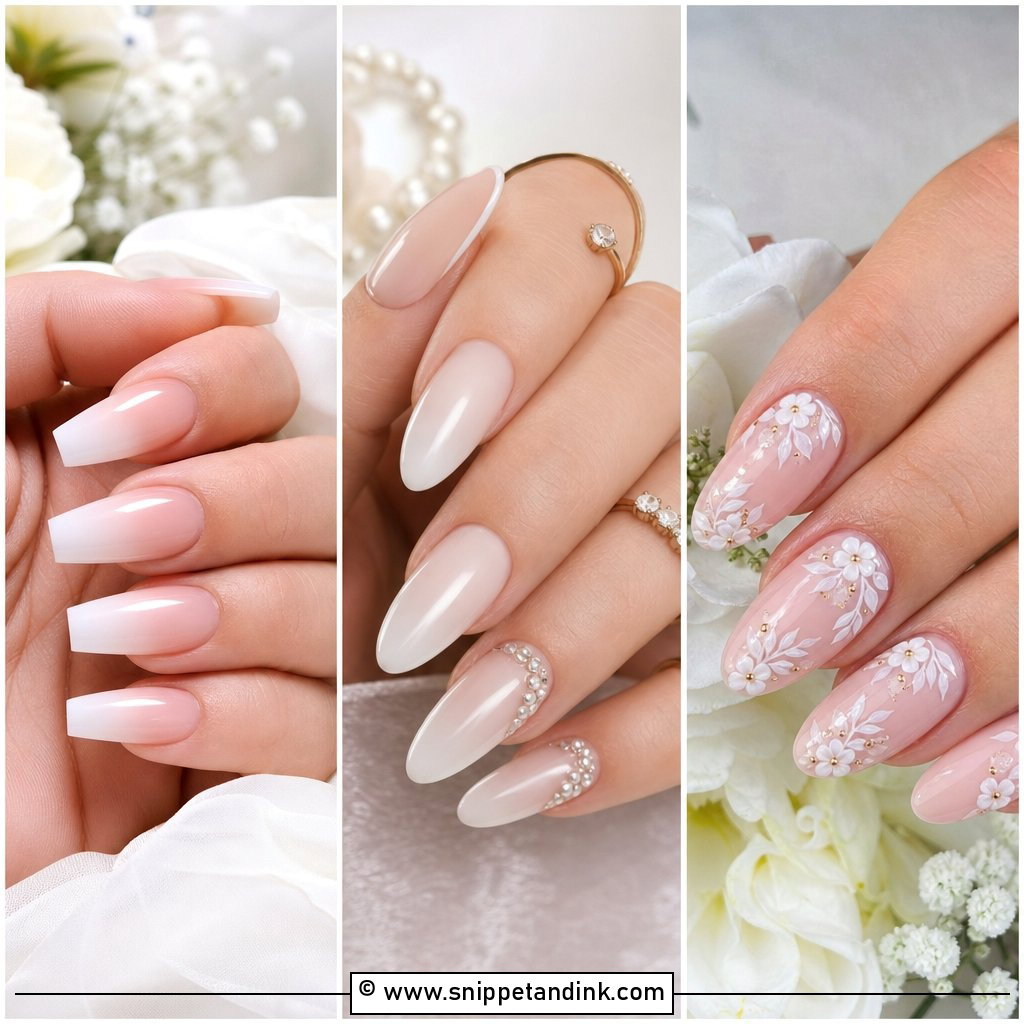
Pearl nails usually start with a sheer pink, nude or milky white base, with tiny pearls set near the cuticle, along a French line or on one or two accent nails. I embed each pearl in builder gel and cap it with top coat, otherwise they snag on tights, lace and hair and pop off by the reception. Restraint is the whole trick: two or three small pearls look delicate, ten look like costume. They suit pearl earrings, satin gowns and a pearl-edged veil.
4. Chrome Wedding Nails
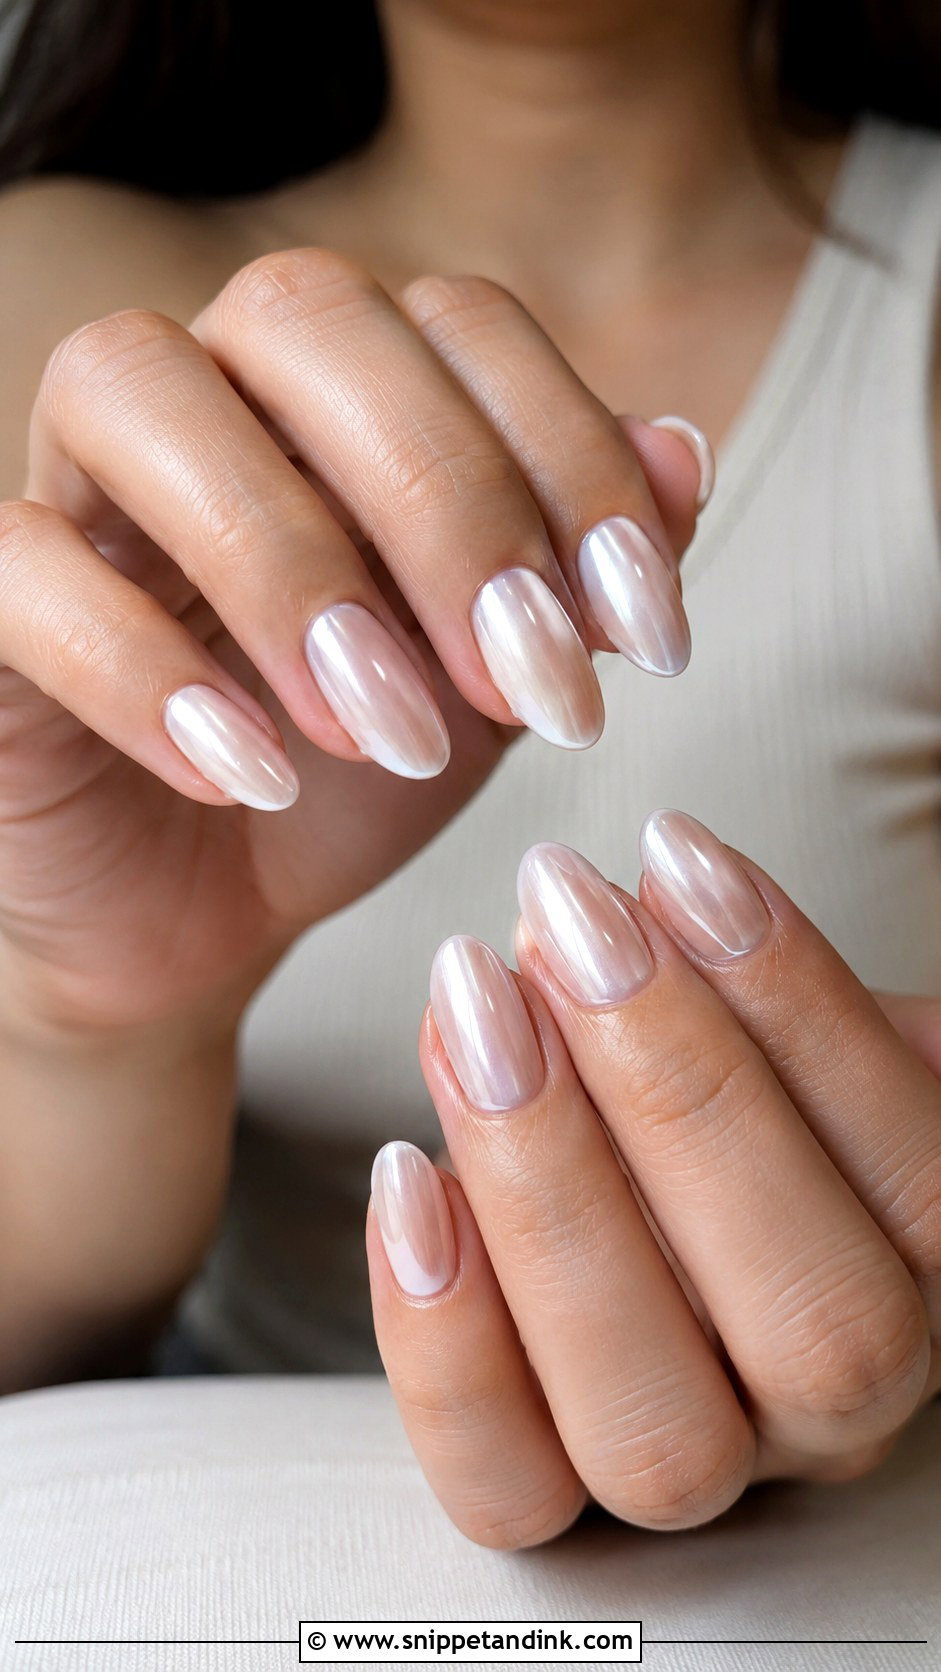
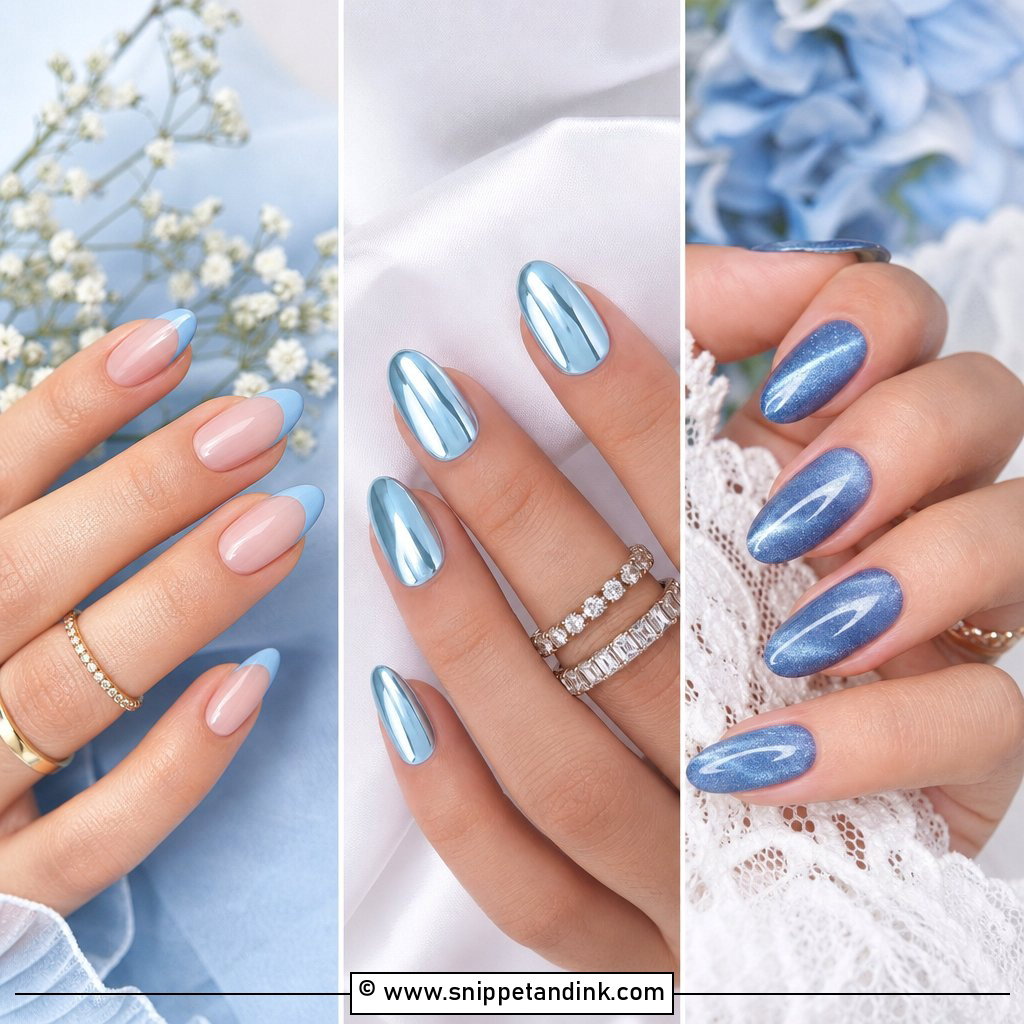
For a wedding I steer chrome toward pearl, glazed white, champagne, blush or pale nude rather than full mirror silver. The powder goes over a sheer base and a cured no-wipe top coat, and I buff it in lightly, which gives a soft glaze instead of a metallic sheet. One thing to know: chrome shows scratches, and an engagement ring rubbing the next finger can scuff it, so I seal the edges carefully. Almond shapes elongate the glow. Short round nails make it wearable for anyone not used to shine.
5. Nude Wedding Nails
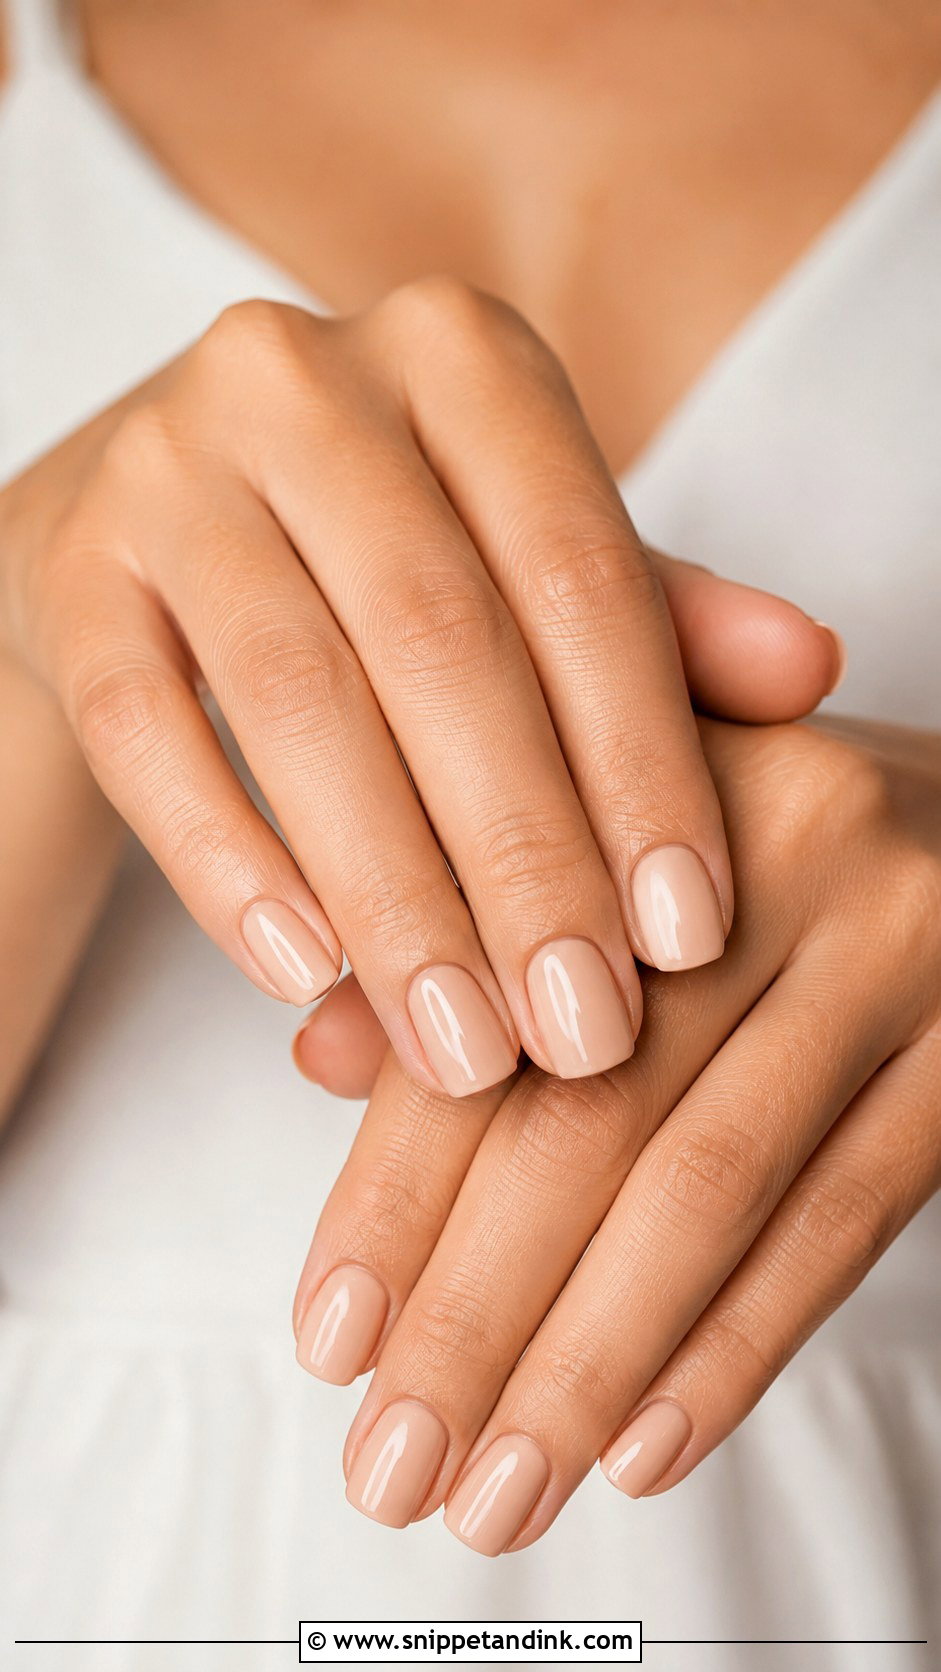
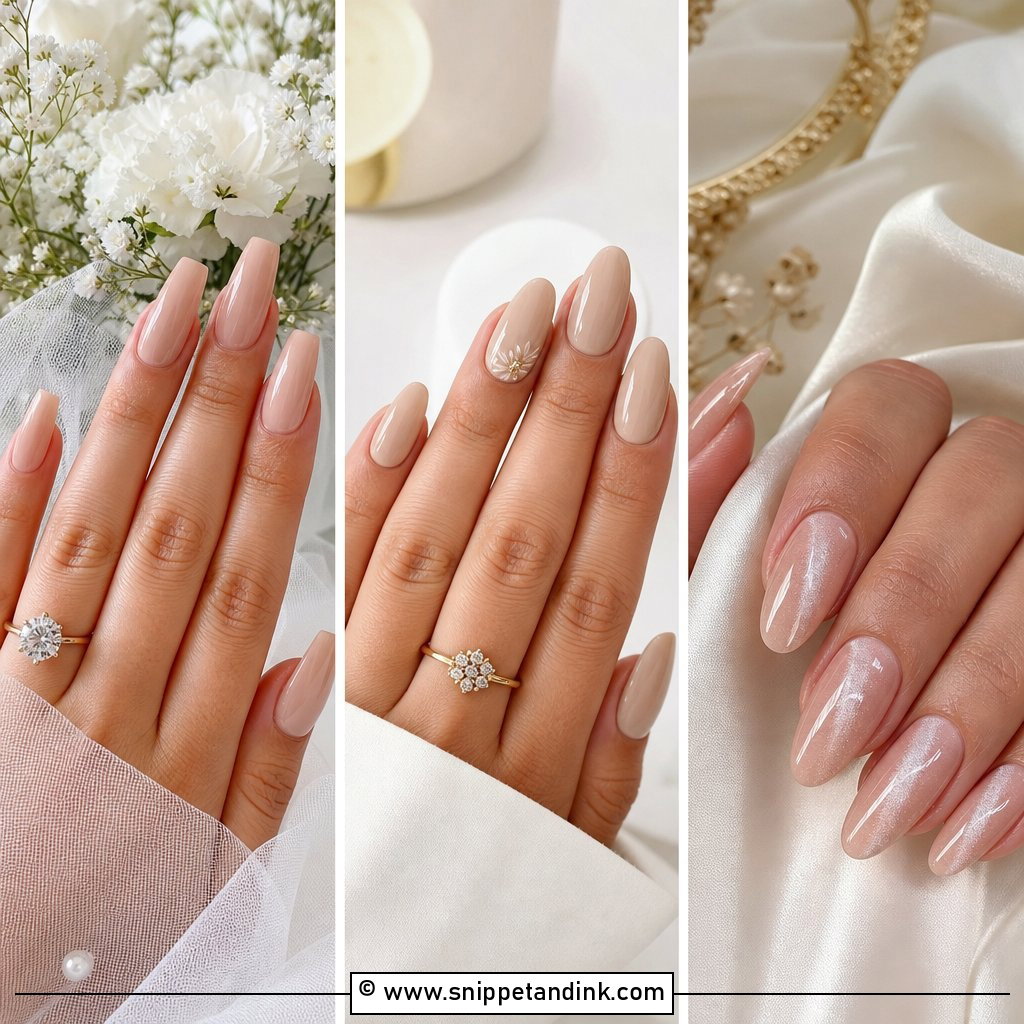
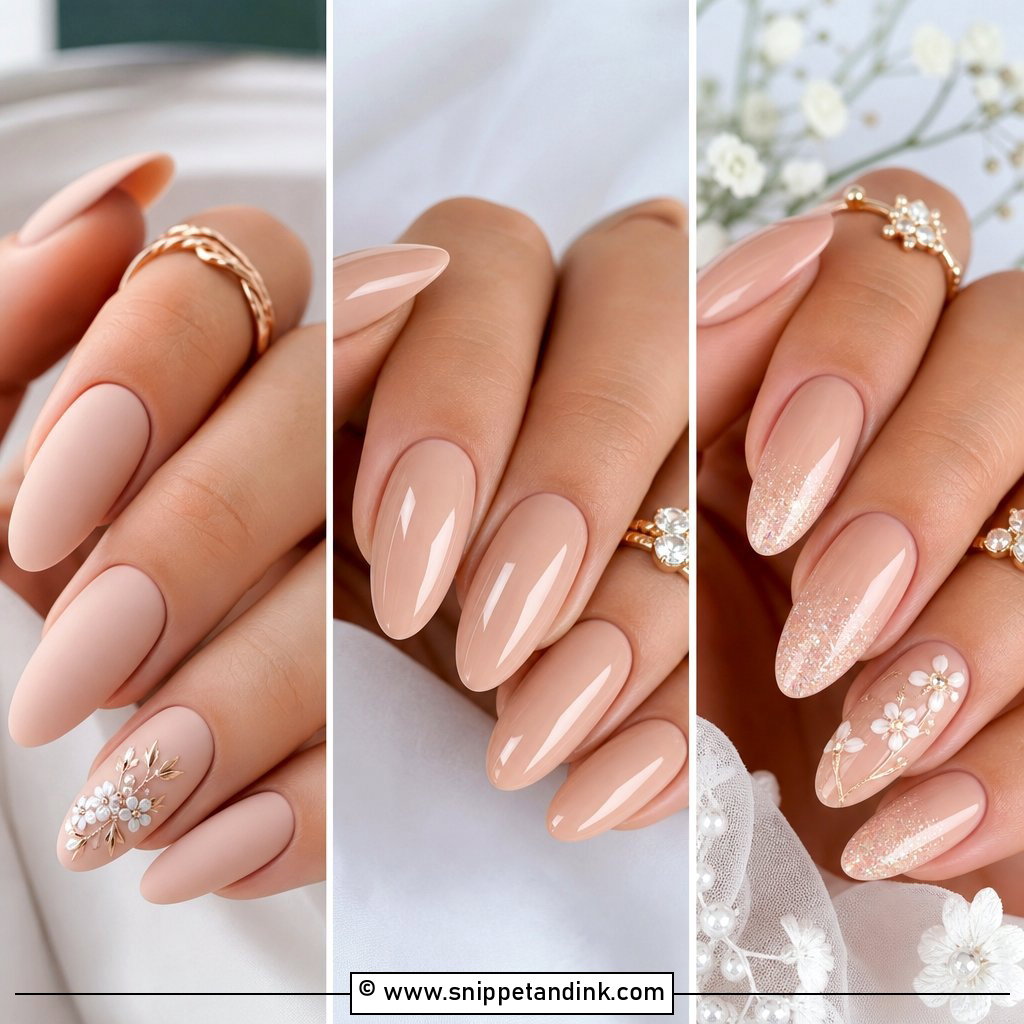
Most nude manicures that look wrong are simply the wrong undertone. Before choosing a bottle, I hold a few swatches against the back of the hand, not the nail. Fair skin often suits soft beige, pale pink or creamy ivory. Medium tones tend to suit peachy nude, warm beige or rosy tan, and deep skin tones look richest in caramel, cocoa, mocha and brown-nude. A nude too pale for your skin makes fingers look grey in photos. Glossy finish, soft almond or squoval shape, and nothing will pull attention from the rings.
6. Blush Pink Wedding Nails
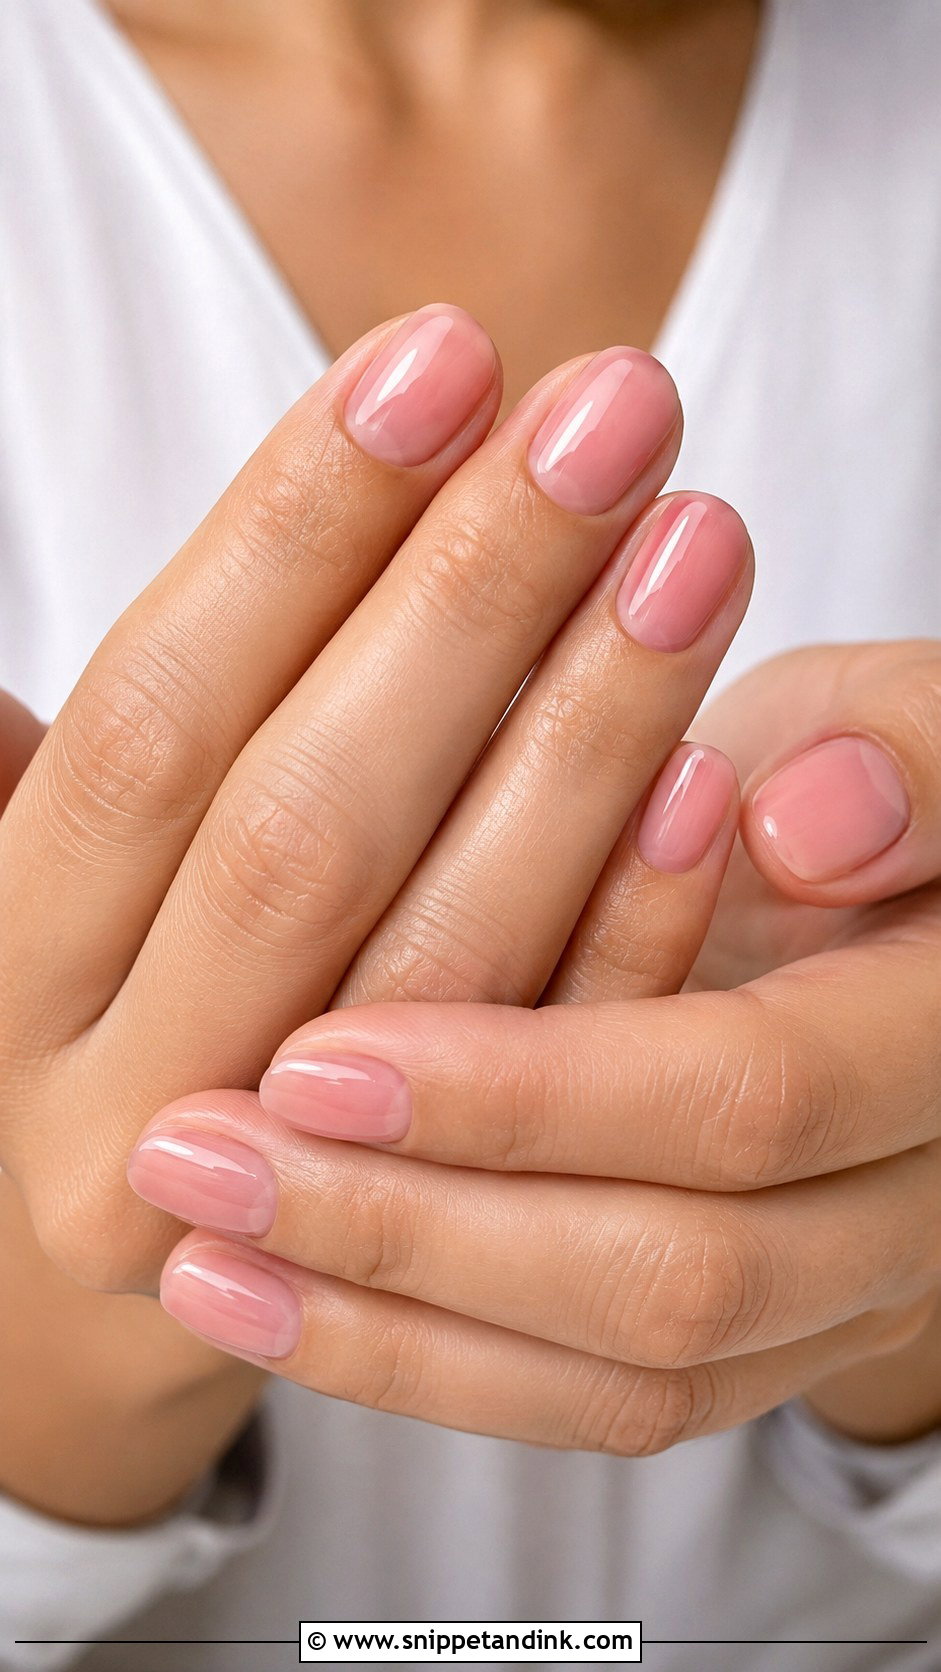
Blush pink in a jelly or sheer formula lets a little of the natural nail show through, which is what gives it that healthy glow. It is also the kindest option for grow-out: two weeks after the wedding, the gap at the cuticle barely shows. The catch is that sheer colour shows everything underneath, so any staining or ridges need buffing and a ridge-filling base first. Oval, almond or short square shapes all work, finished with high-gloss top coat. Rose gold jewellery and floral lace sit naturally beside it.
7. Ombre Wedding Nails
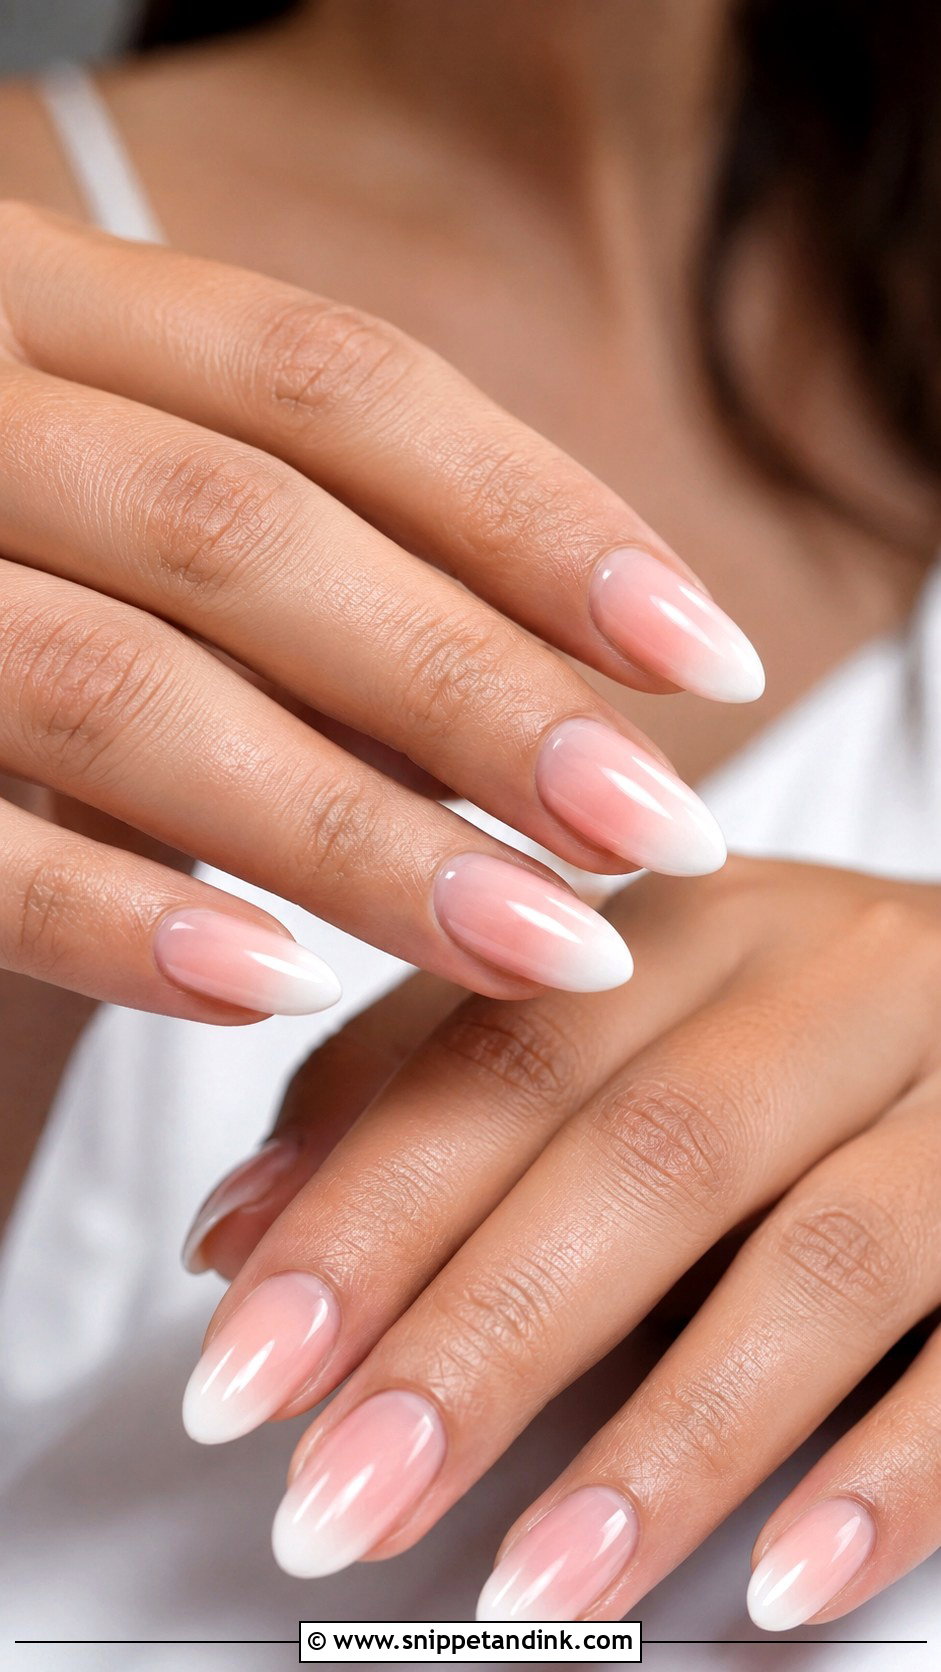
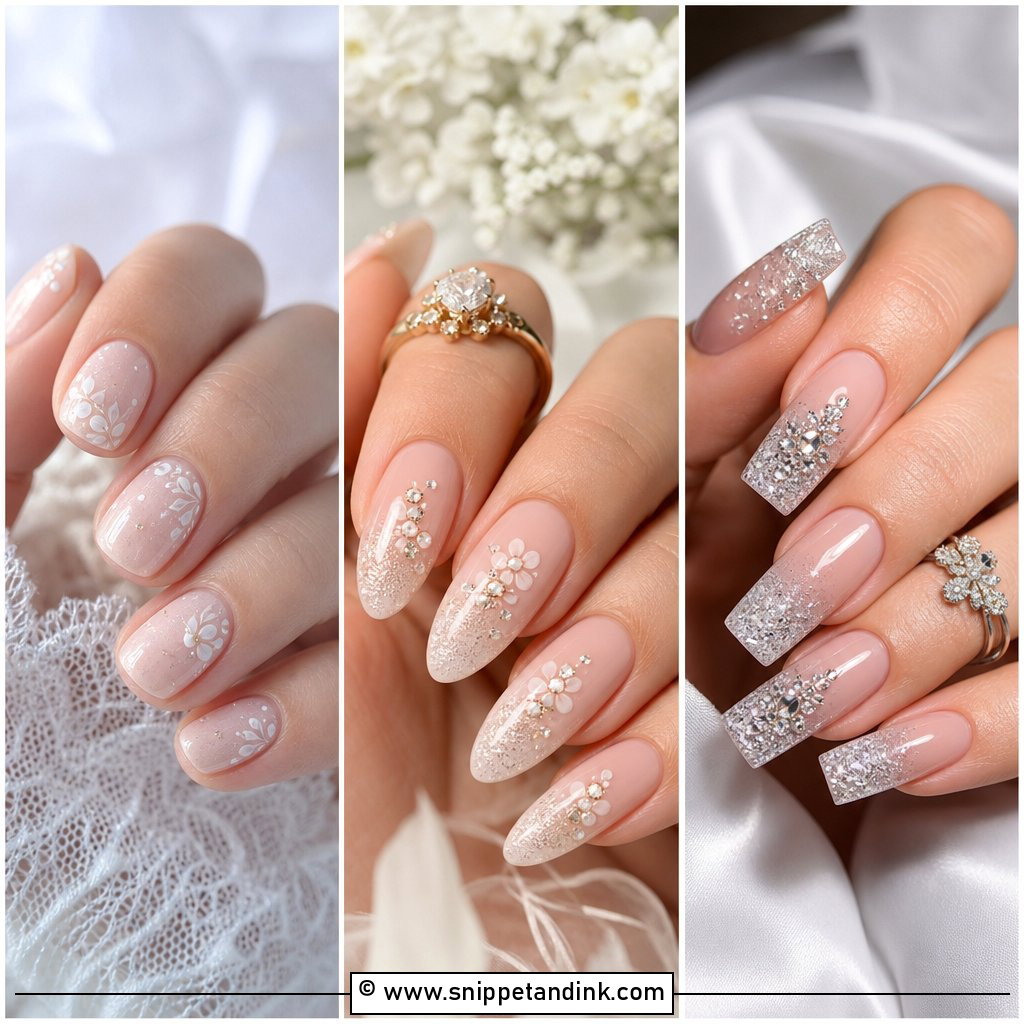
Ombre wedding nails fade from a nude or pink base into a creamy white tip with no hard line, so the effect is a French manicure seen through a soft-focus lens. I sponge or brush the gradient in thin layers, and the more layers it takes, the thicker the nail can get, so I keep the base coat lean. The fade follows the length of the nail, which is why almond, coffin and oval shapes carry it best. Sheer colours give the most delicate blend and look natural next to a ring.
8. Lace Wedding Nails
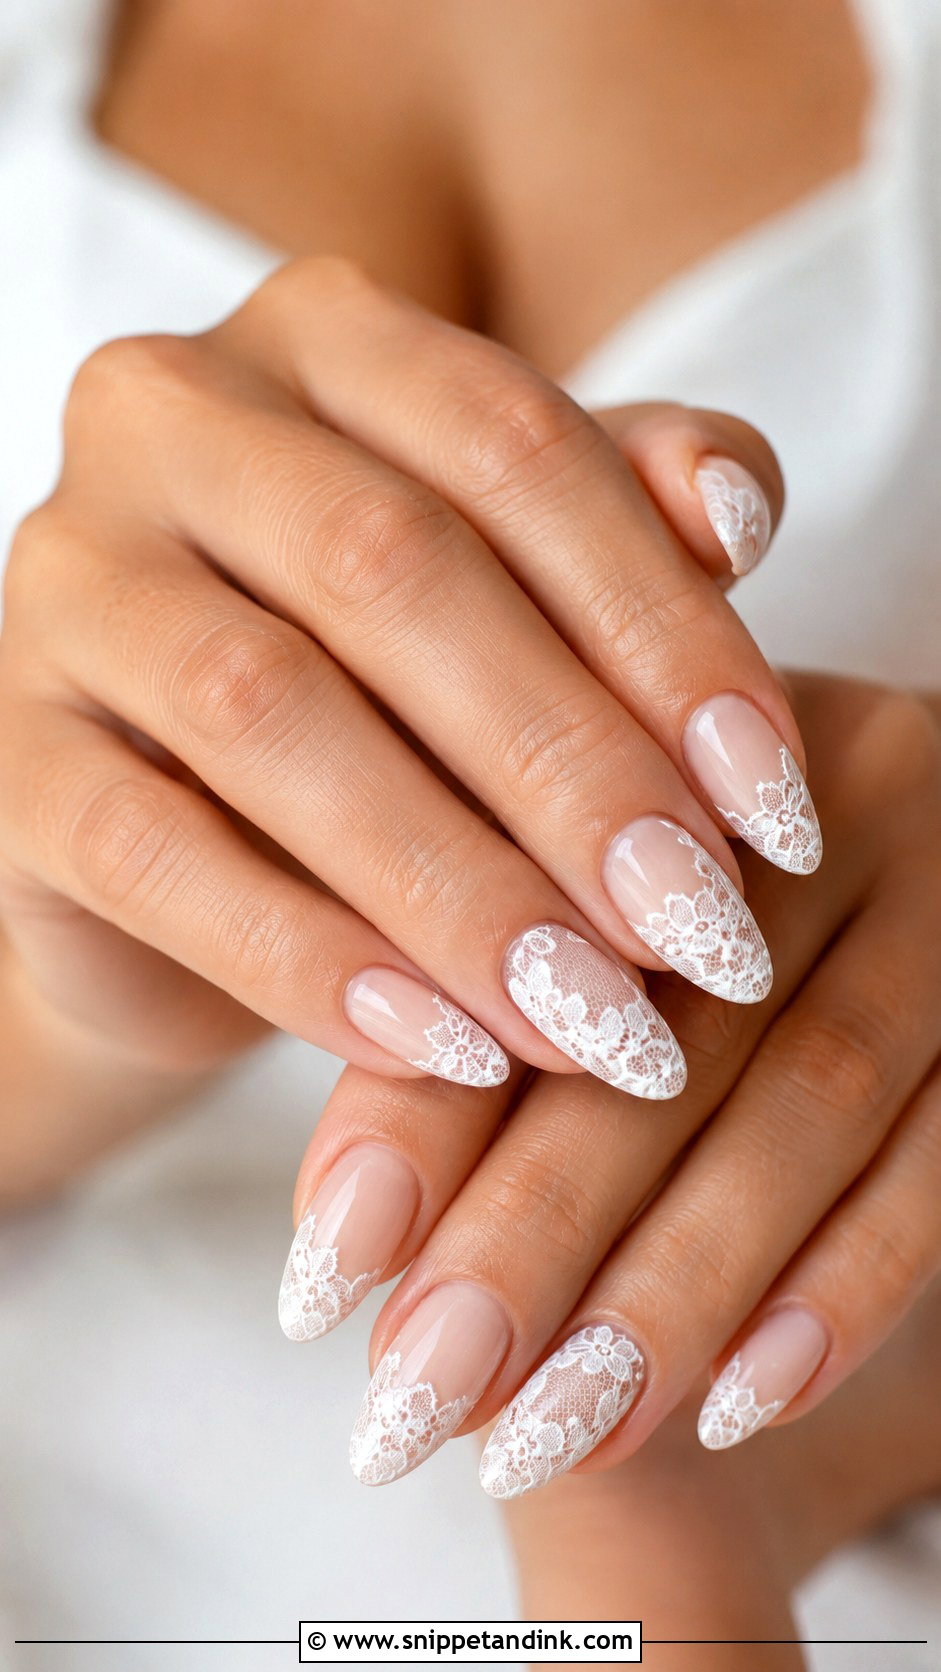
Lace nails are hand-painted with a fine liner brush: tiny floral lines, loops and sheer white patterns over a nude, blush or milky base. I like to work from a photo of the actual dress lace, so the motif echoes the gown instead of being generic. Keep it to one or two accent nails. A full set of lace looks heavy and takes a long time to paint, which matters on a busy wedding week. Almond and oval shapes suit the romantic detail, with a glossy or satin top coat.
9. Floral Wedding Nails
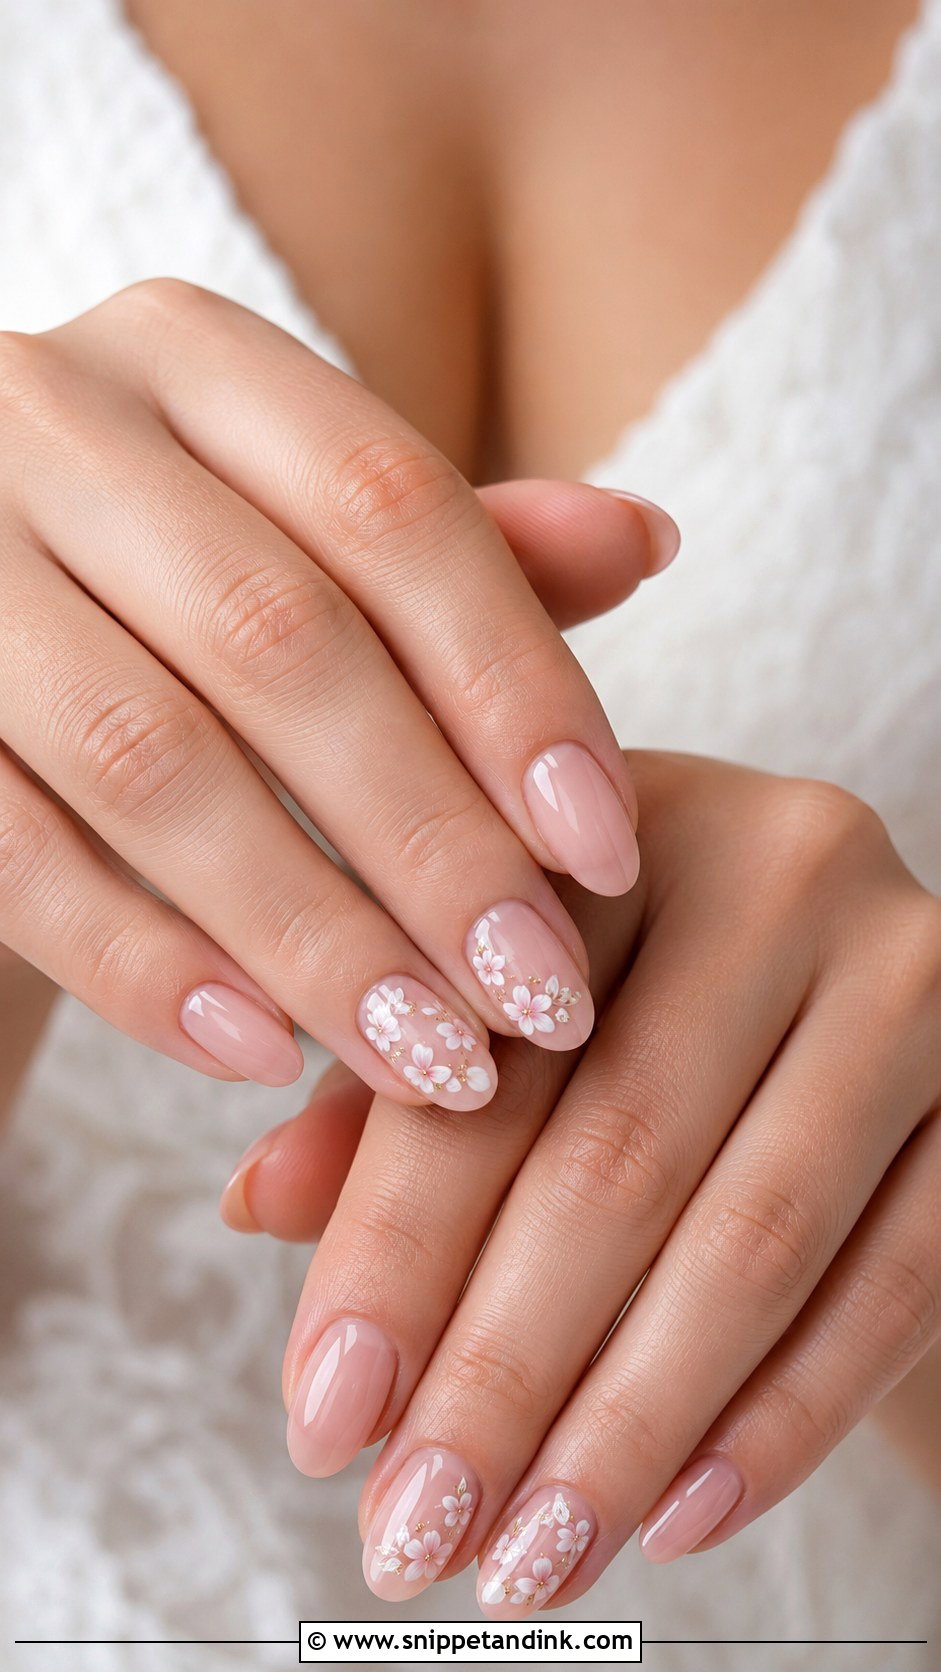
The floral nails I’m happiest with are small: tiny white flowers, a few soft petals or a pressed-flower look on a sheer pink or nude base. Real dried flowers can be set into gel, but they need fully sealing at the edges or they lift and catch. Keep the blooms spaced and place them near the cuticle, along one side or on accent nails only. Medium almond gives the most room, though short round nails work too. White, ivory, pale pink or champagne art keeps it gentle enough for a spring or garden wedding.
10. Micro French Wedding Nails
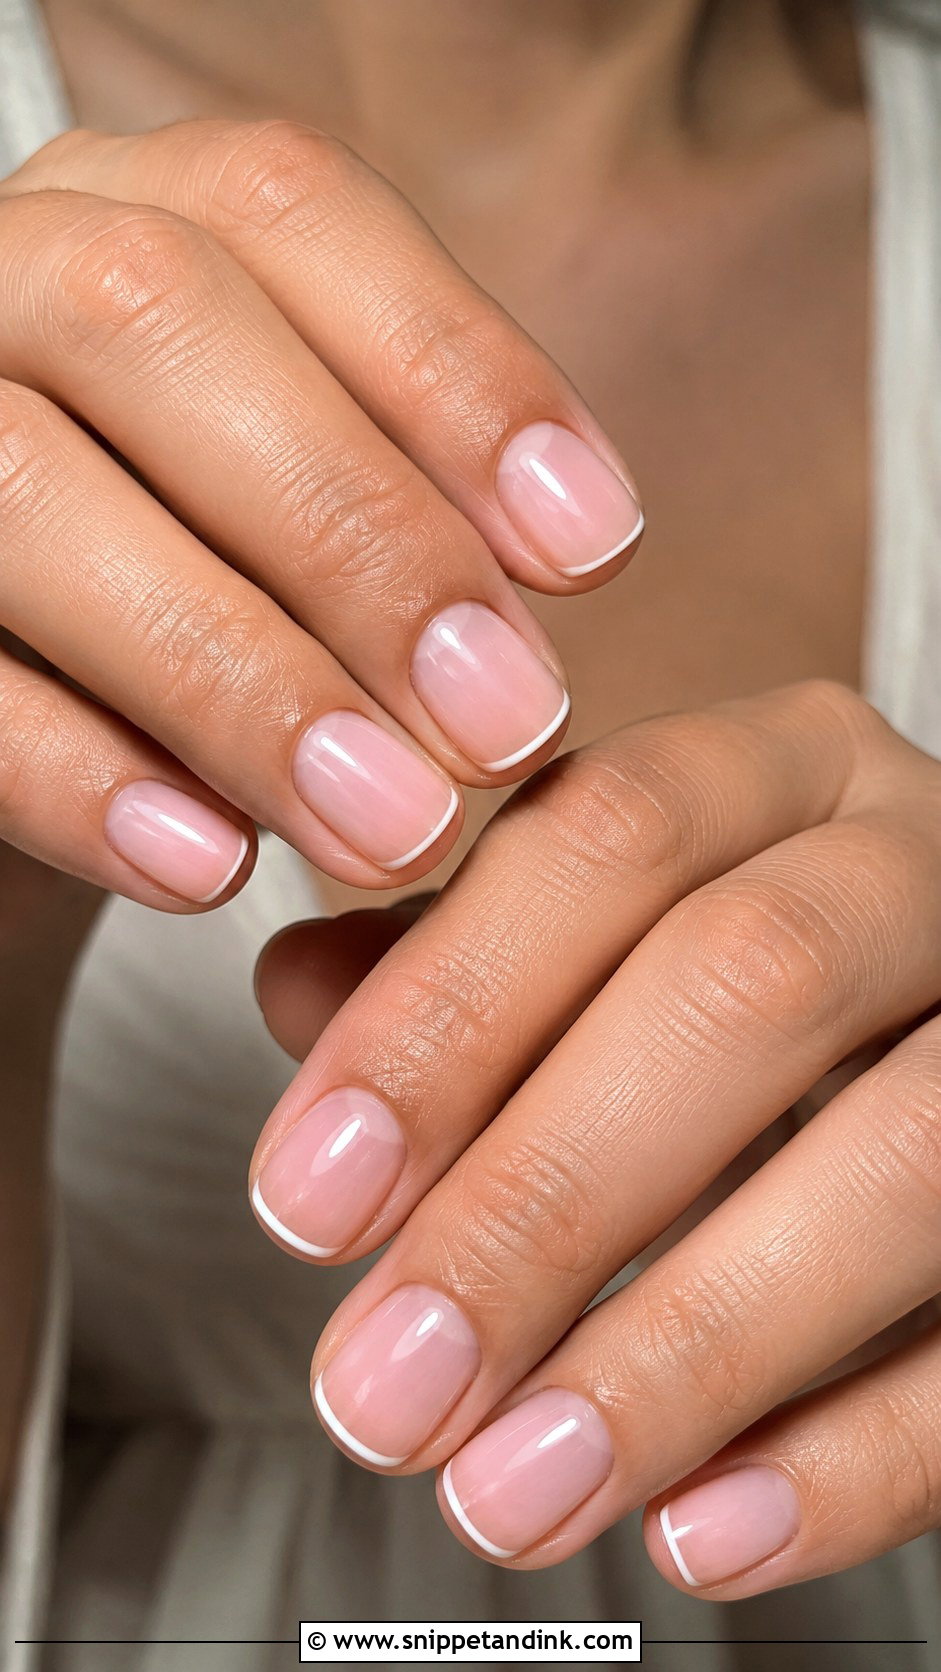
A micro French tip is so thin that any wobble shows, so I paint it with a long striper brush and clean the line with a fine brush dipped in cleanser before curing. On short nails the slim tip adds shape without needing length, and on almond nails it looks sleek. It goes with almost any outfit, from a plain satin gown to a detailed bridesmaid dress. It is also one of the easiest designs to keep looking fresh, since a slight chip at the edge hardly shows.
11. Gold French Wedding Nails
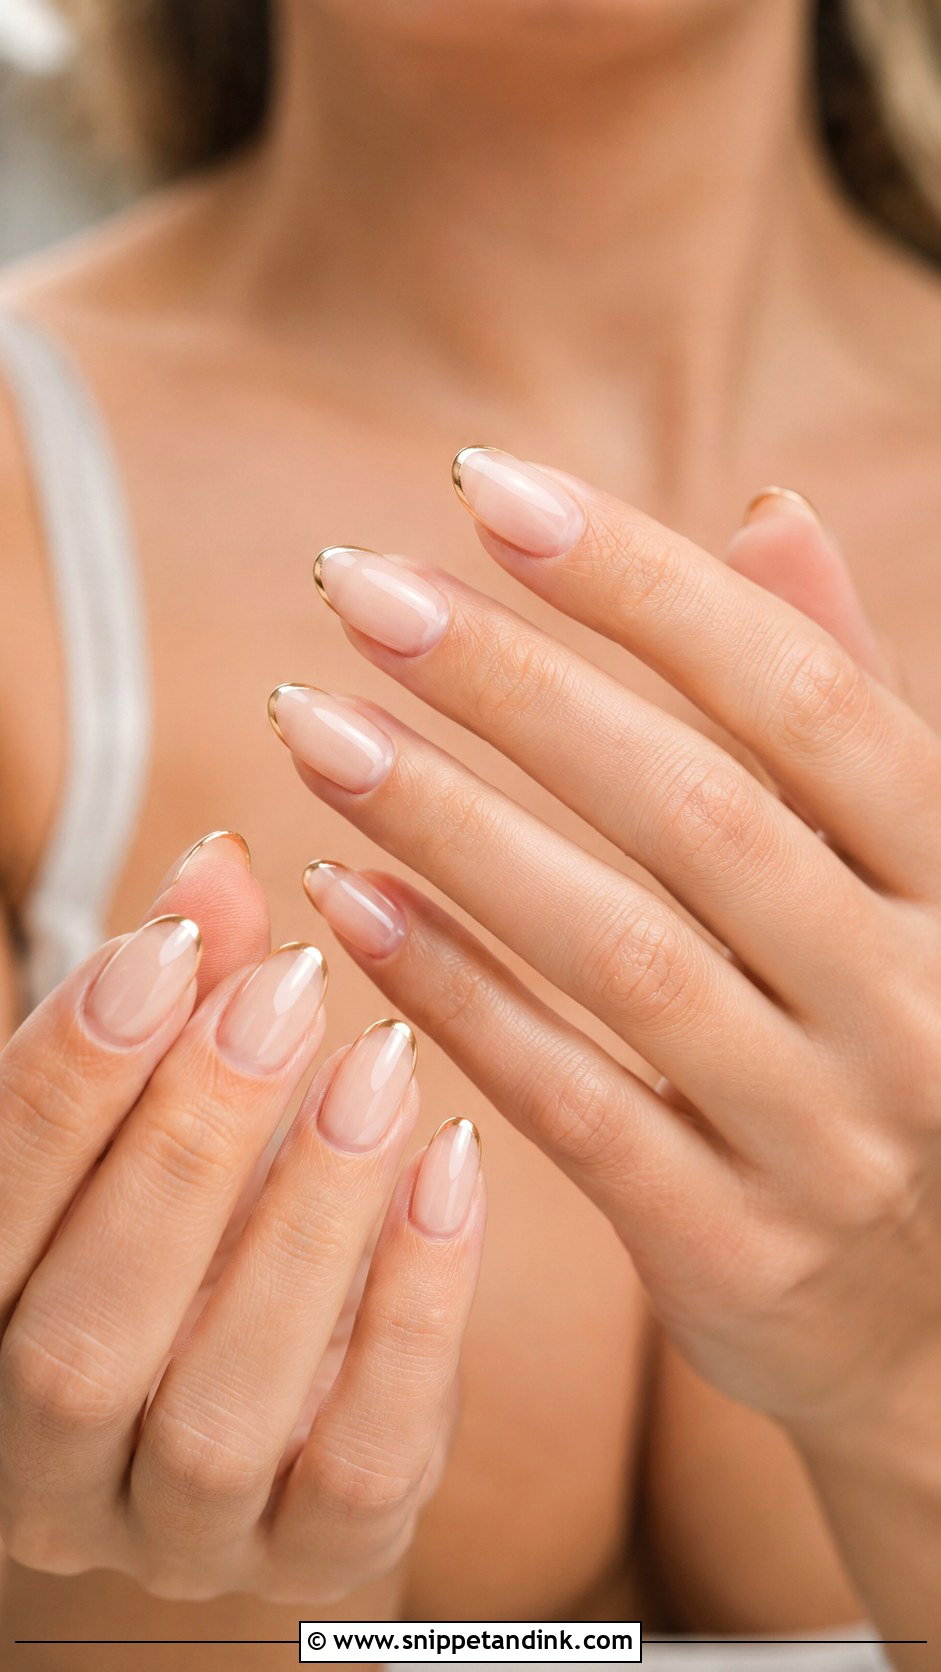
Gold French nails replace the white tip with a thin metallic line over a nude, blush or milky base. I match the gold to the jewellery the bride will wear: pale yellow gold, soft champagne or a brushed finish all read differently against skin. Keep the line fine, because a thick gold tip looks heavy in close-up ring photos. Almond and oval soften it, square makes it crisp. A good top coat over the metallic stops it dulling by the evening.
12. Silver French Wedding Nails
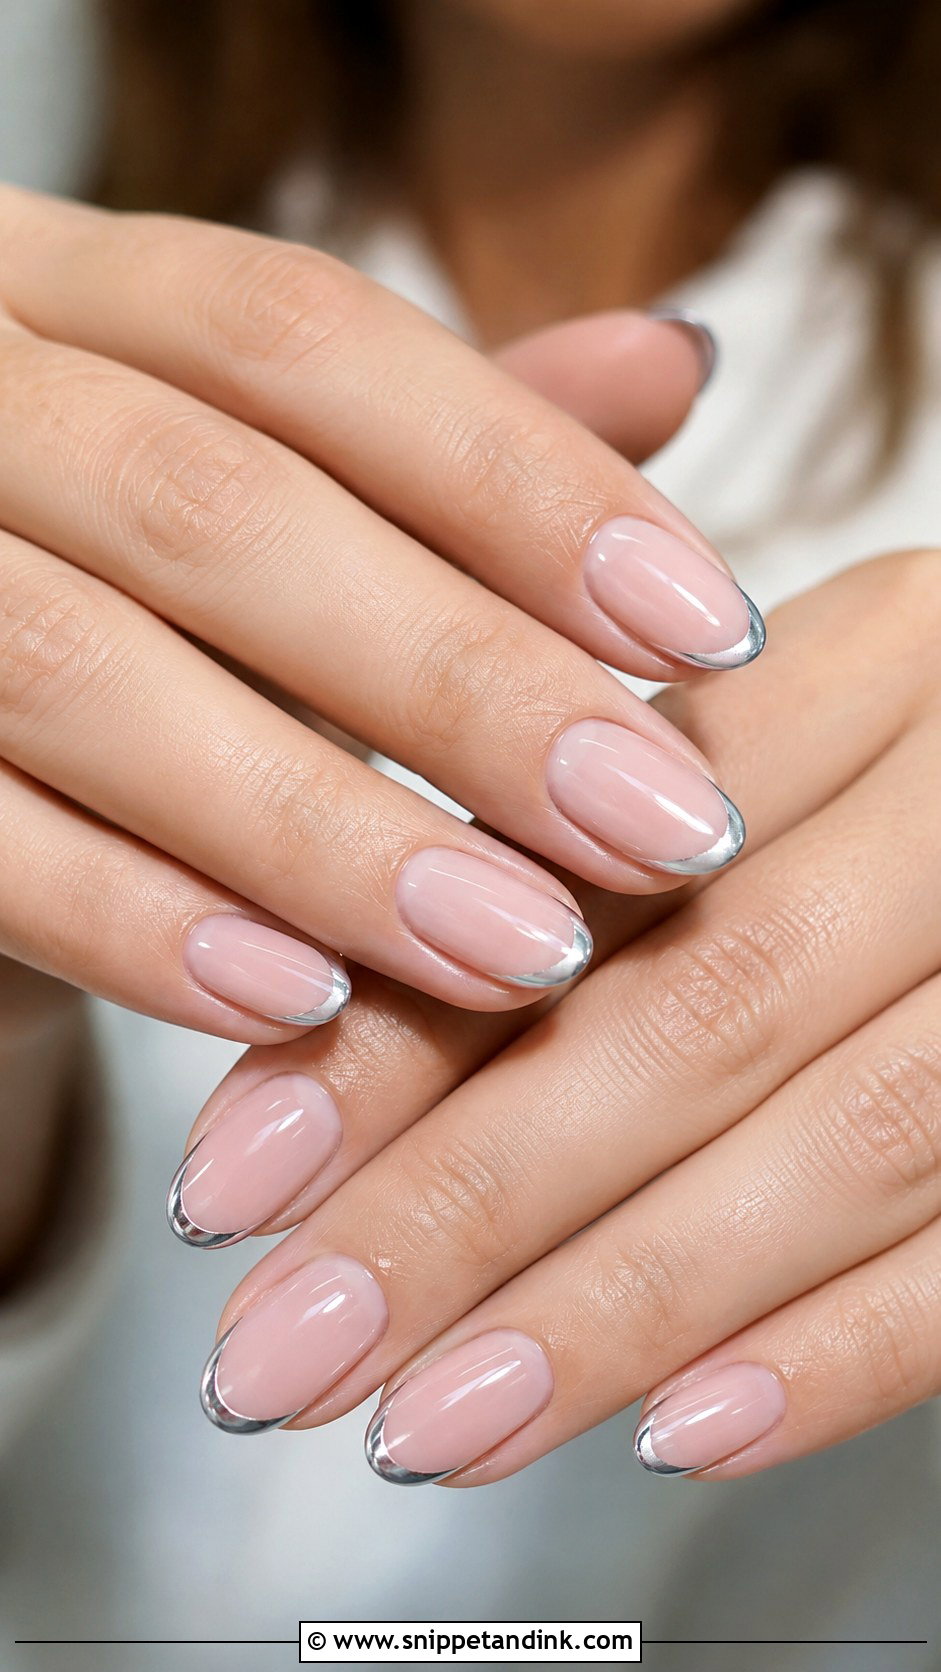
Silver French tips are the cooler sister of the gold version and the one I suggest when the rings are platinum, white gold or diamond. The base stays soft and sheer, with a thin silver tip or a fine outline, or a chrome silver edge for a little more light. Cool pink, milky white or translucent nude bases keep it from looking icy. It works on almond, oval and short square shapes and suits winter weddings and formal evening receptions.
13. Champagne Wedding Nails
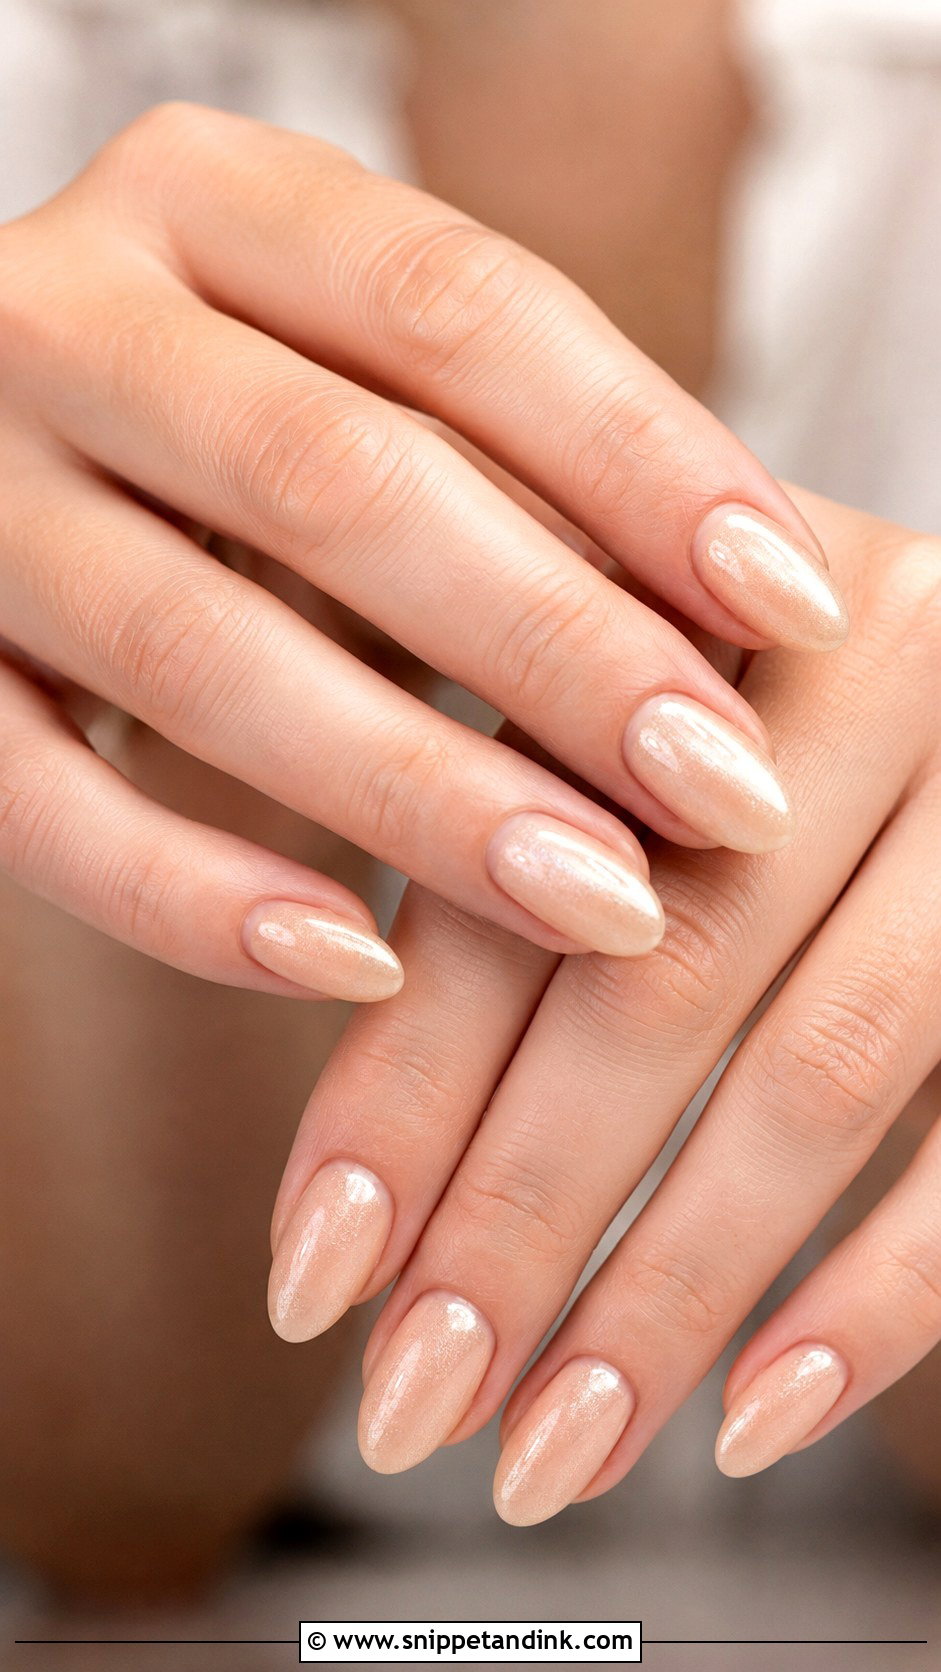
Champagne nails sit somewhere between nude and shimmer. The base is warm beige, pale gold or nude, with a fine pearly sheen on top. I avoid chunky glitter here because it looks gritty up close and is miserable to remove, so I use a shimmer polish, a fine glitter top layer or a light champagne chrome, depending on how much glow the bride wants. It suits many skin tones and pairs well with ivory, cream, taupe and gold. Under evening candlelight the sheen really comes alive.
14. White French Tip Wedding Nails
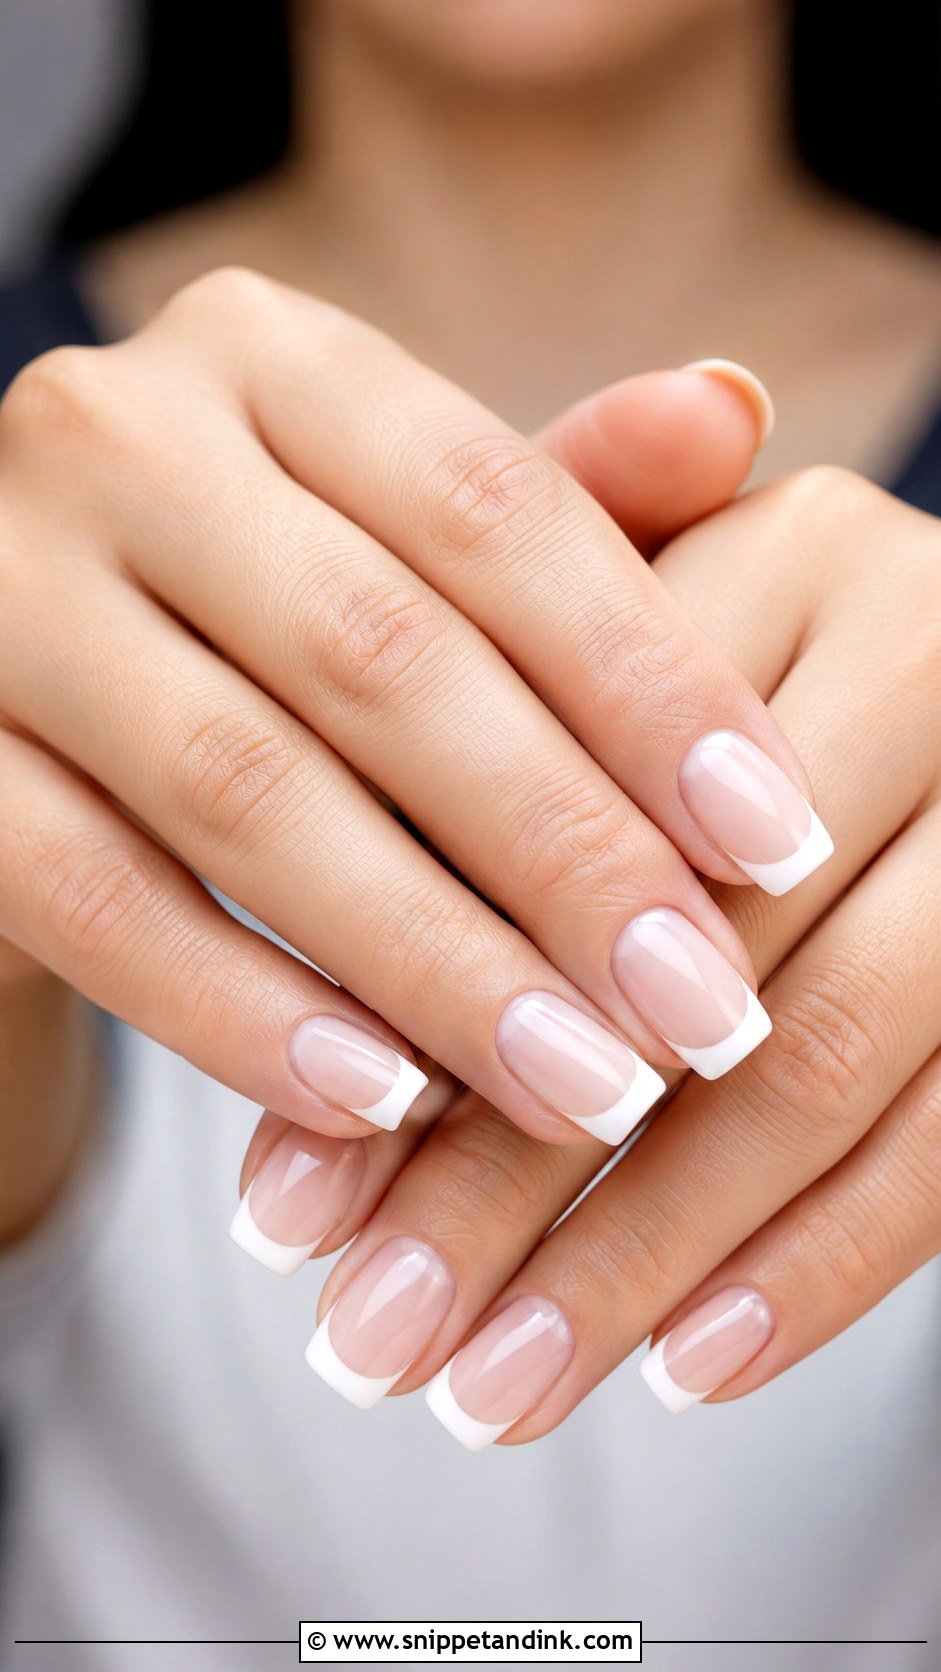
White French tip wedding nails are still the design most brides picture first. To keep them current I use an off-white tip over a sheer pink or nude base, rather than a bright opaque band, which can look harsh in flash photography. The smile line should follow the natural free edge so the nail looks longer. It works on square, almond, oval and coffin shapes, and a single small pearl is all the extra detail it needs. Mothers of the bride often ask for this one.
15. Short Wedding Nails
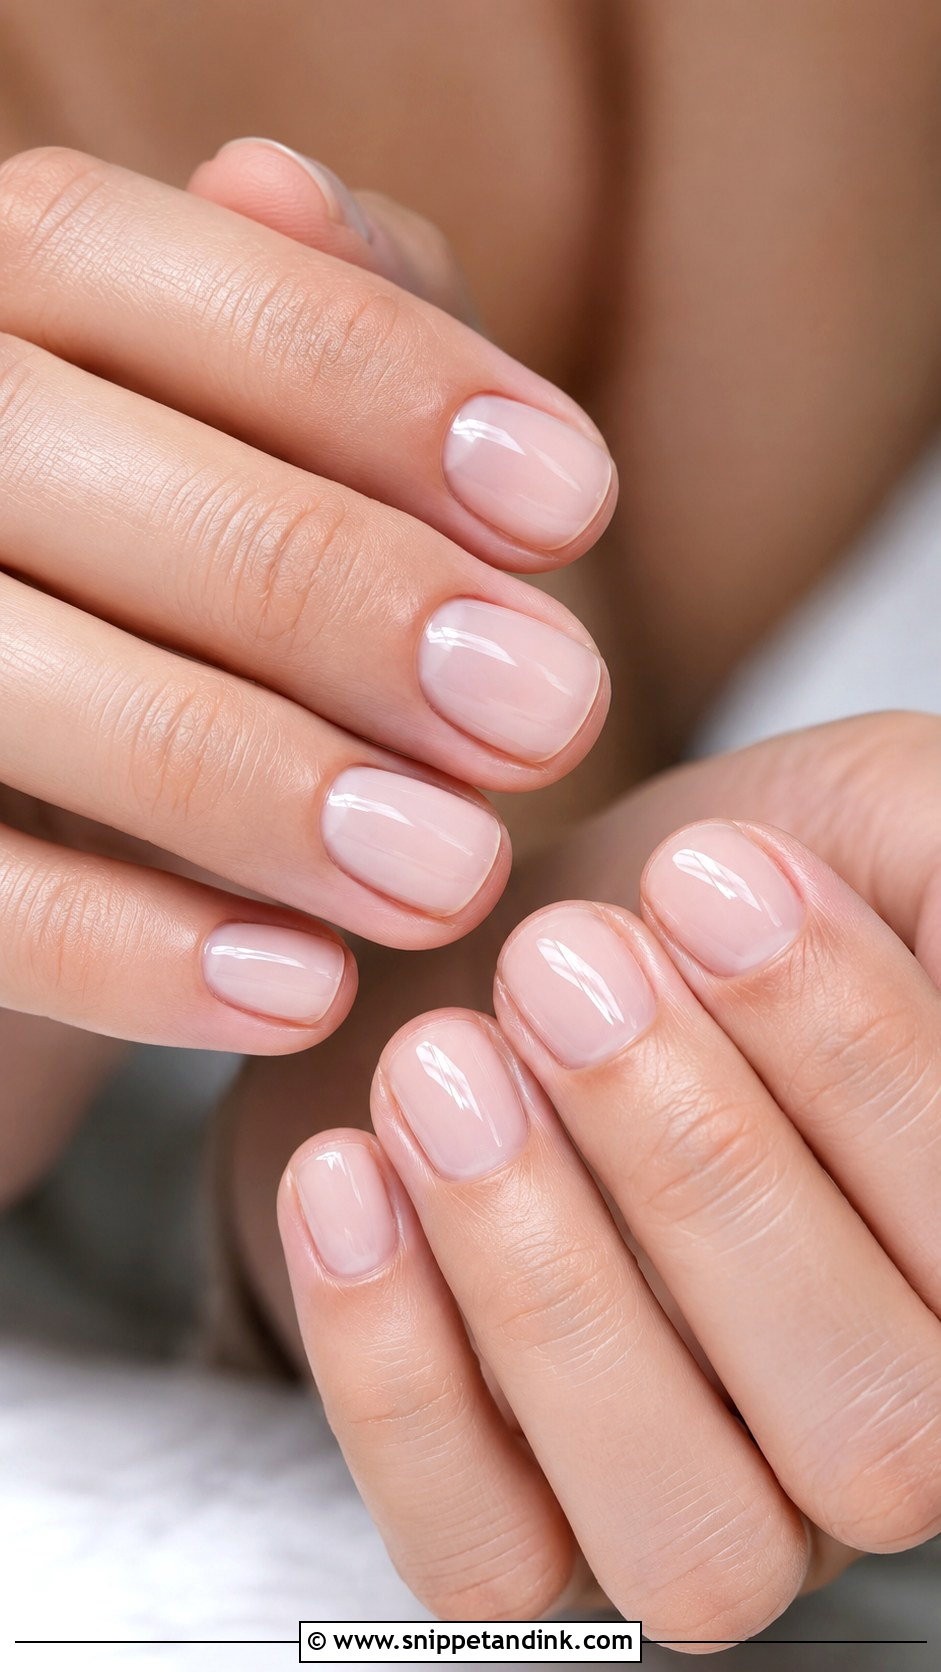
Short nails look elegant when the shape is even across all ten fingers, and that is where I spend most of my time. Soft square, round and squoval shapes suit short lengths best. Milky white, sheer pink, nude, micro French and blush chrome all carry well. Short is also the practical choice if you have never worn extensions, since long new nails can make fiddly things like buttons, earrings and contact lenses awkward on the morning. Neat cuticles and a glossy top coat make the biggest difference.
16. Almond Wedding Nails
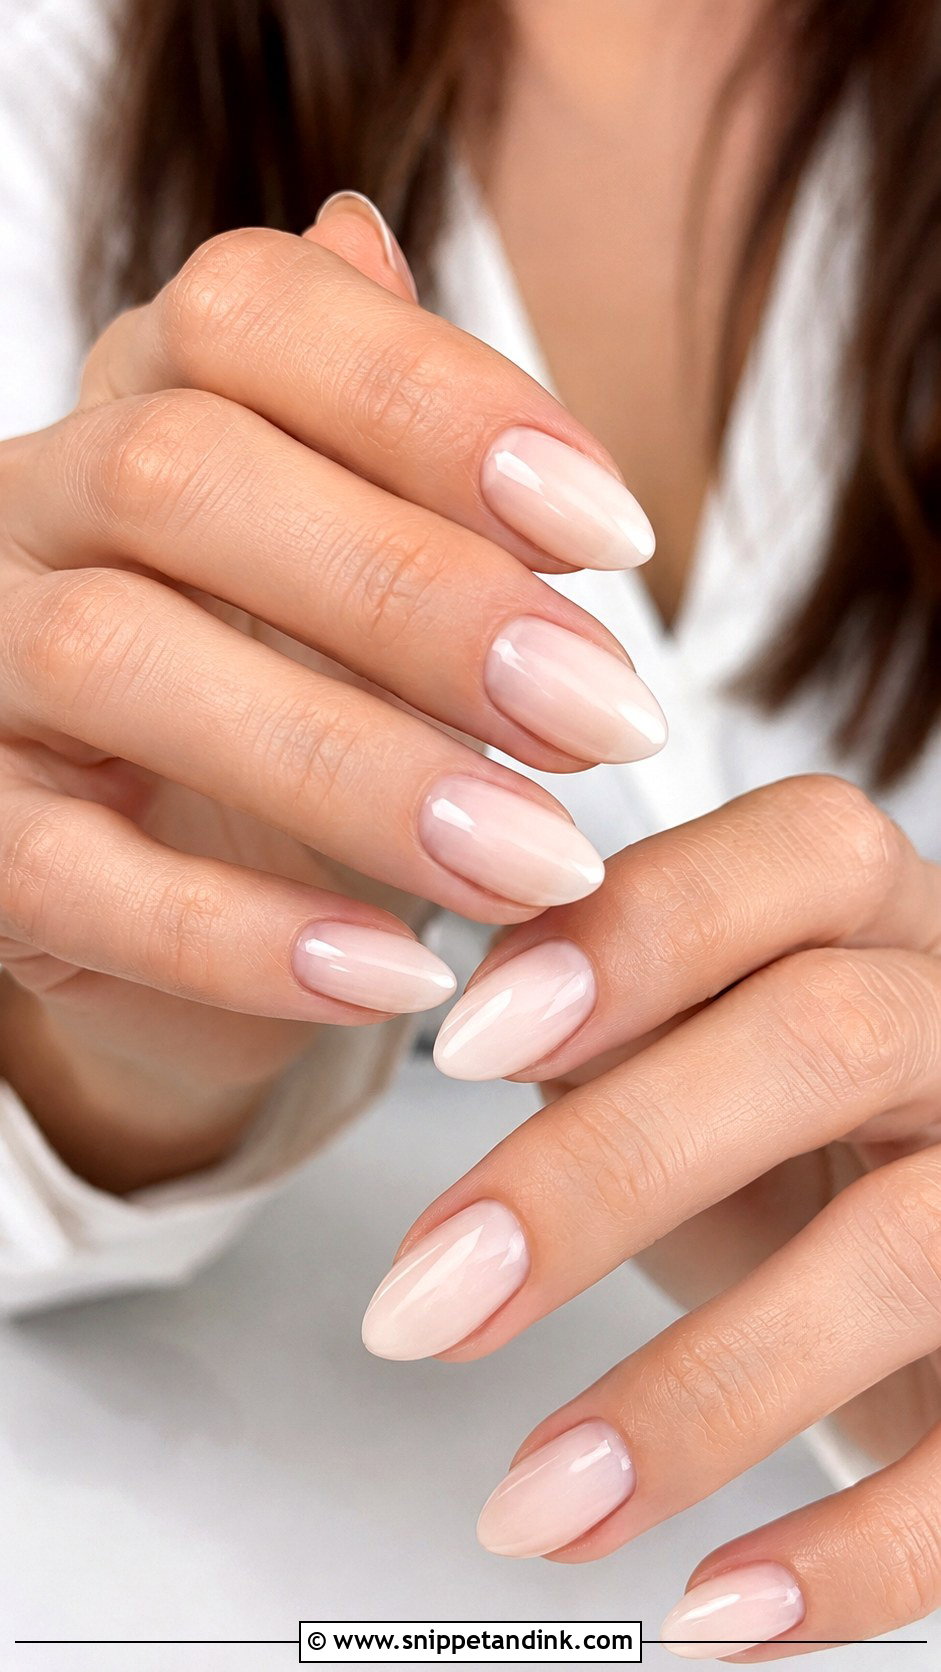
Almond wedding nails slim the fingers because the sides taper toward a rounded tip. Almost every design in this list sits well on the shape: French tips, milky polish, chrome, pearls, ombre and florals. I usually recommend a medium length, long enough for detail but short enough that you can still do up a clasp. The thing to watch is the side walls: if they’re filed too thin, the tip weakens and can crack. Soft colours like blush, ivory, nude or champagne keep it refined.
17. Square Wedding Nails
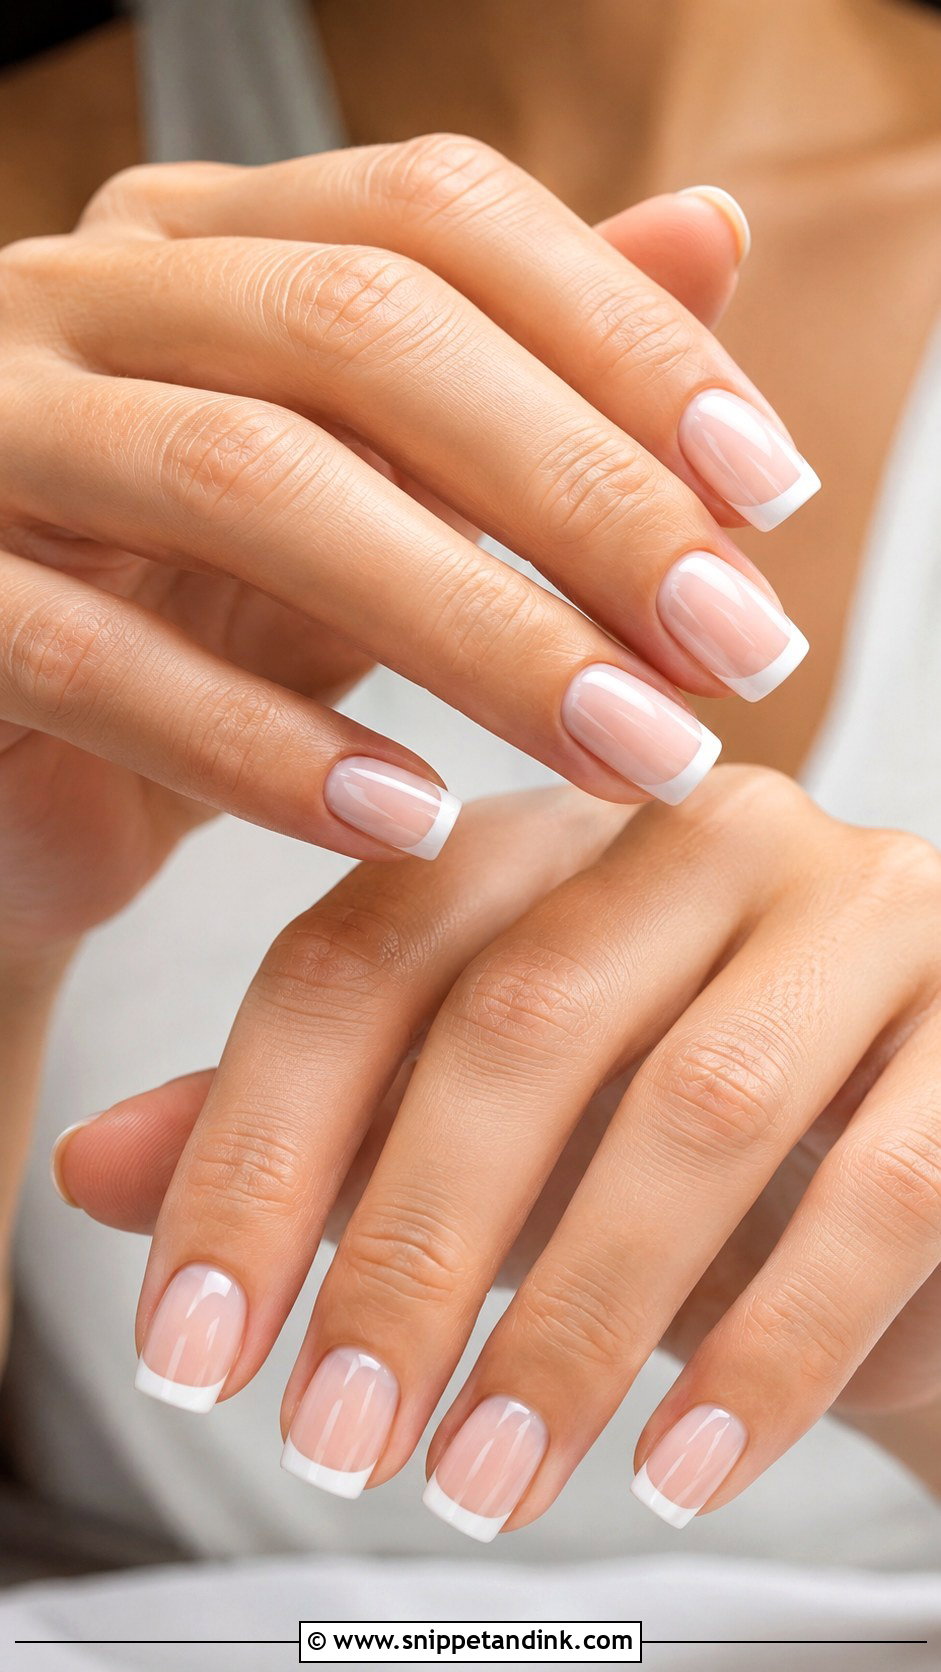
Square nails give a neat, structured edge that suits French tips, nude polish, milky white and micro tips. I almost always soften the corners slightly, because sharp square corners catch on lace and fine knits and chip faster. Short or medium length keeps it practical. The straight edge balances a hand well in ring photos. Avoid very thick white tips or strong contrast on this shape. A sheer base with a softened white tip and a glossy finish is the version that ages best.
18. Coffin Wedding Nails
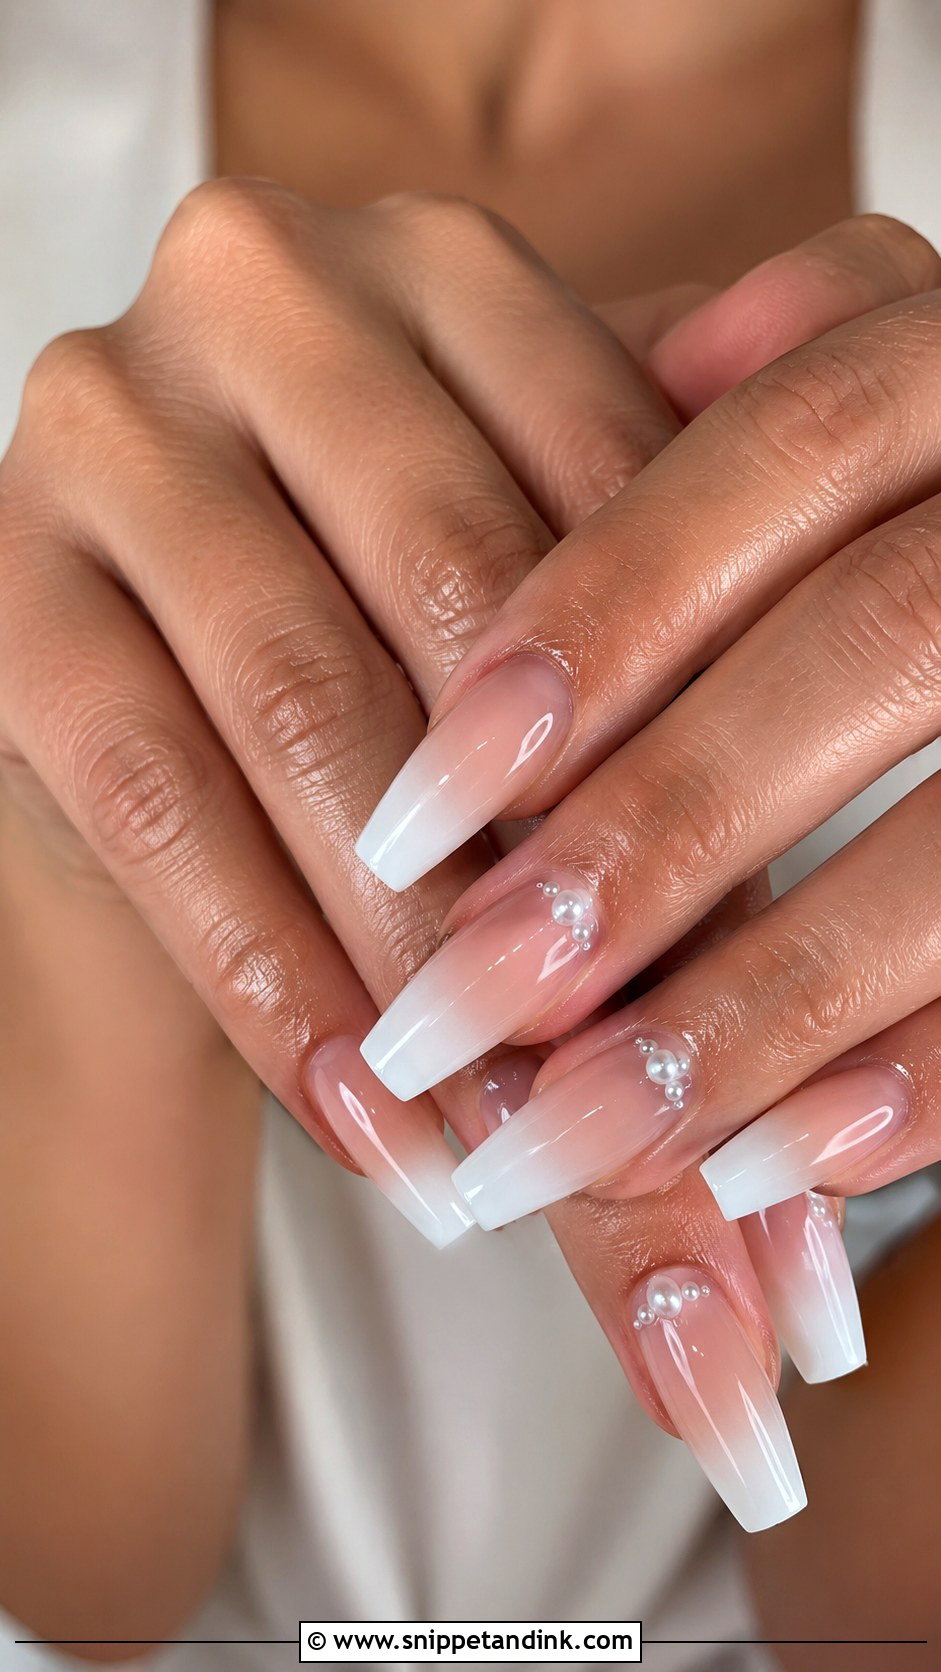
Coffin nails have tapered sides and a flat tip, which is already a strong shape, so I keep the design on top soft: milky white, nude ombre, blush chrome, pearl French or champagne shimmer. Medium length is far easier to live with on the day than very long coffins, which can make holding a bouquet or pinning a veil clumsy. If you add embellishments, keep them minimal, like tiny pearls or a thin metallic line. It sits well with sleek modern gowns and larger statement rings.
19. Sheer Pink Wedding Nails
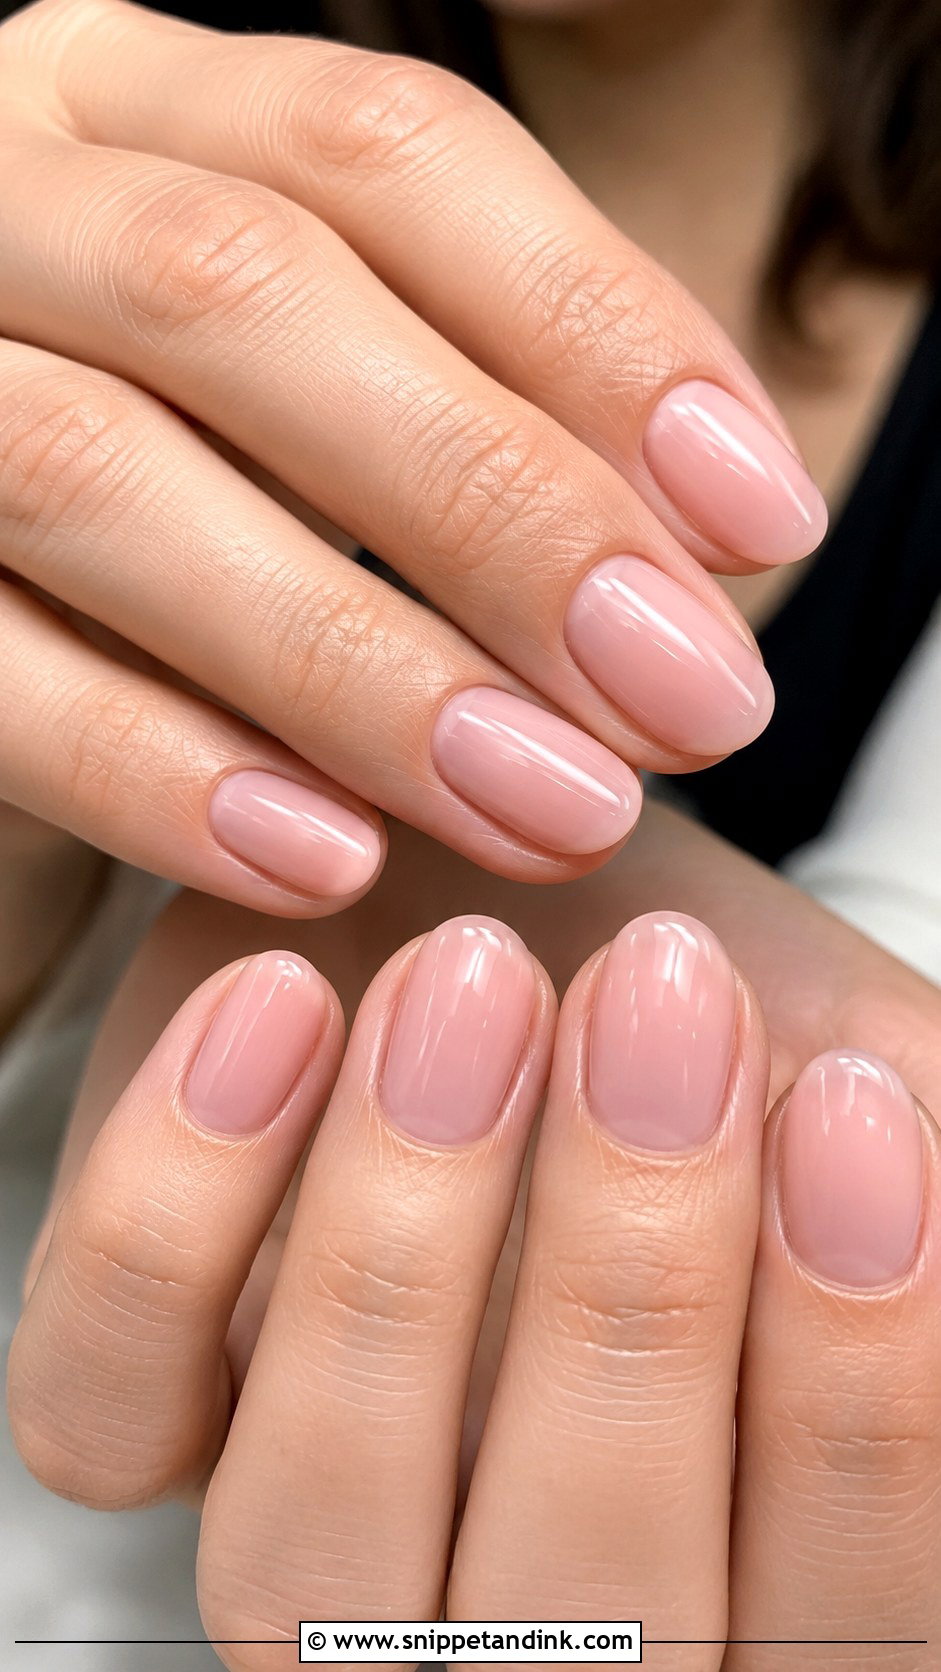
Sheer pink suits brides who rarely wear colour and don’t want their hands to feel unfamiliar. It enhances the natural nail rather than covering it, which also means I need a clean, smooth plate underneath, so prep takes longer than the colour. The shade can run from pale baby pink to rosy nude depending on your skin. Rounded or oval shapes suit it, and a thin French tip or one tiny pearl adds a wedding note. It grows out well, so it’s an easy one to keep for the honeymoon.
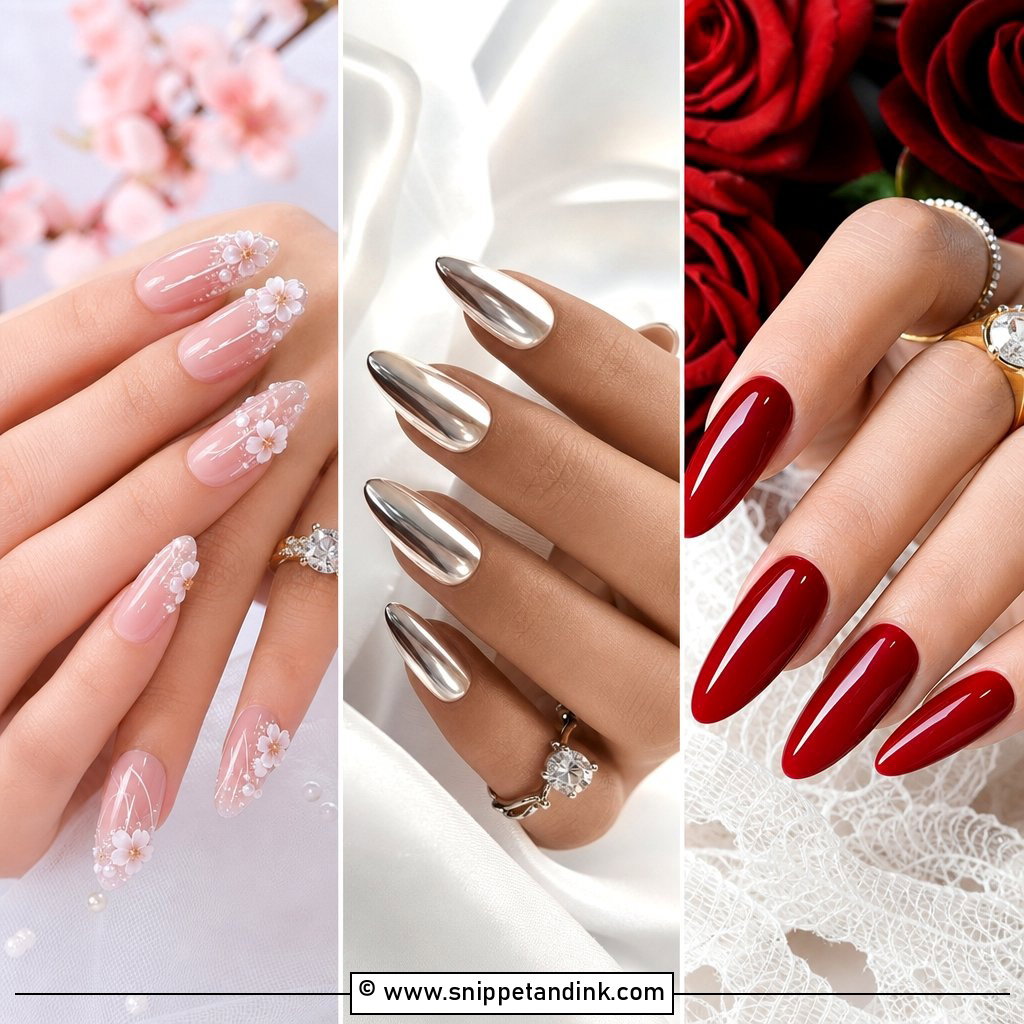
20. White Chrome Wedding Nails
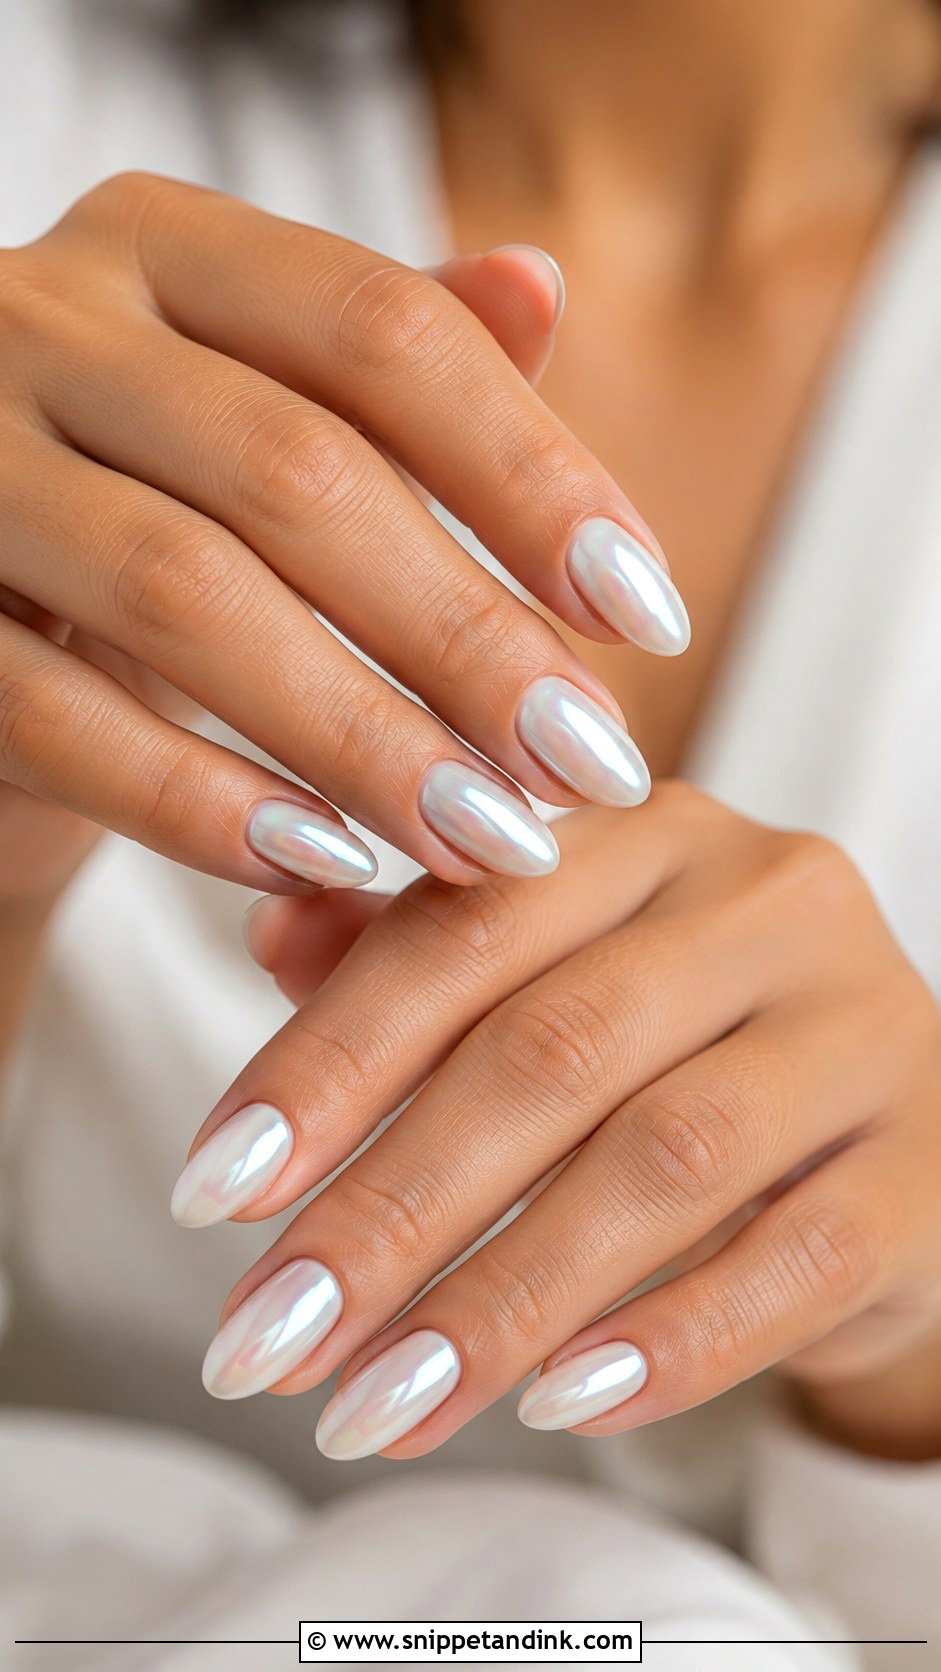
White chrome wedding nails start from milky white or sheer ivory, with a fine chrome powder over the top for a pearl-like glow. It is a step up from plain milky nails for a bride who wants her hands noticed. The finish should look pearlescent, not icy or mirror-bright, so I use a soft white chrome and keep the pressure light. Almond, oval and coffin shapes show the glaze best. It goes with satin gowns, pearl accessories, silver jewellery and minimal makeup.
Counting Back From the Wedding Day: When to Book Each Appointment
Timing is where many wedding manicures go wrong. Gel looks its best in the first few days, so I aim for the final set one to three days before the wedding. That leaves time to fix a lifted corner, but not so much time that regrowth shows at the cuticle in ring close-ups.
- Four to six weeks out: a trial of your chosen shape and colour, worn for a full week.
- Two weeks out: stop picking at cuticles and start using cuticle oil daily, so the skin is soft on the day.
- One to three days out: the final manicure. I push cuticles back rather than cutting them hard, as nipped skin can look red in photos.
- The morning: a drop of oil, then wipe it off well before anyone photographs the rings.
A small kit for the day
I tell brides to give a bridesmaid a nail file, a clear top coat and a few nail glue dots. A snagged edge can be filed and sealed in a minute. After the wedding, have gel soaked off professionally. Peeling it off pulls away layers of the nail and leaves it thin and sore for weeks.
The Shape and Finish Matter More Than the Art
If I could give one piece of advice, it would be to trial your design once before the wedding. Wearing a shape and colour for a week tells you whether long almond nails get in the way, whether milky white suits your skin in daylight, and whether chrome feels like you. Most of the designs above come down to a clean shape, healthy cuticles and a glossy finish, with one small detail on top. Get those right and your hands will look like yours in every photo.
You'll Like These Ideas:


Leave a Reply