
A middle part with glam waves is the hairstyle I get asked for most by brides who want to look polished without wearing an updo, partly because it reads as camera-ready from every angle. The part frames the face evenly and the waves do the softening. It is also less forgiving than people expect. A centre part shows any unevenness in the face, the hairline or the curl pattern, so the prep matters more than the iron. Below are twenty versions I’d actually build, with notes on what each one needs from your hair, your dress and your timeline.
Your Natural Part Is Rarely Dead Centre
Before I curl anything, I find where your hair actually wants to split. Most people have a cowlick or a slight growth pattern at the front hairline that pushes the part a few millimetres to one side. If I force a ruler-straight centre part against that, it springs open by the reception and one side of the wave sits higher than the other.
So the first step at a trial is wetting the front, letting the hair fall, and blow-drying the part in place with a flat brush from both sides. Then I check your face, not the mirror line. Very few faces are perfectly symmetrical, and a part that lines up with the bridge of your nose usually looks more centred in photos than one measured from the hairline.
What a centre part asks of your hair
- Even density on both sides. If one side is noticeably thinner, I add a hidden clip-in weft on that side only.
- A smooth root. Regrowth or a different colour at the scalp is more visible in a centre part than in a side part, so time your colour appointment two to three weeks out.
- Hair trained a little in advance. Wearing your part in the middle for a week or two before the wedding helps it lie flat on the day.
1. Middle Part Hollywood Waves Wedding Hair
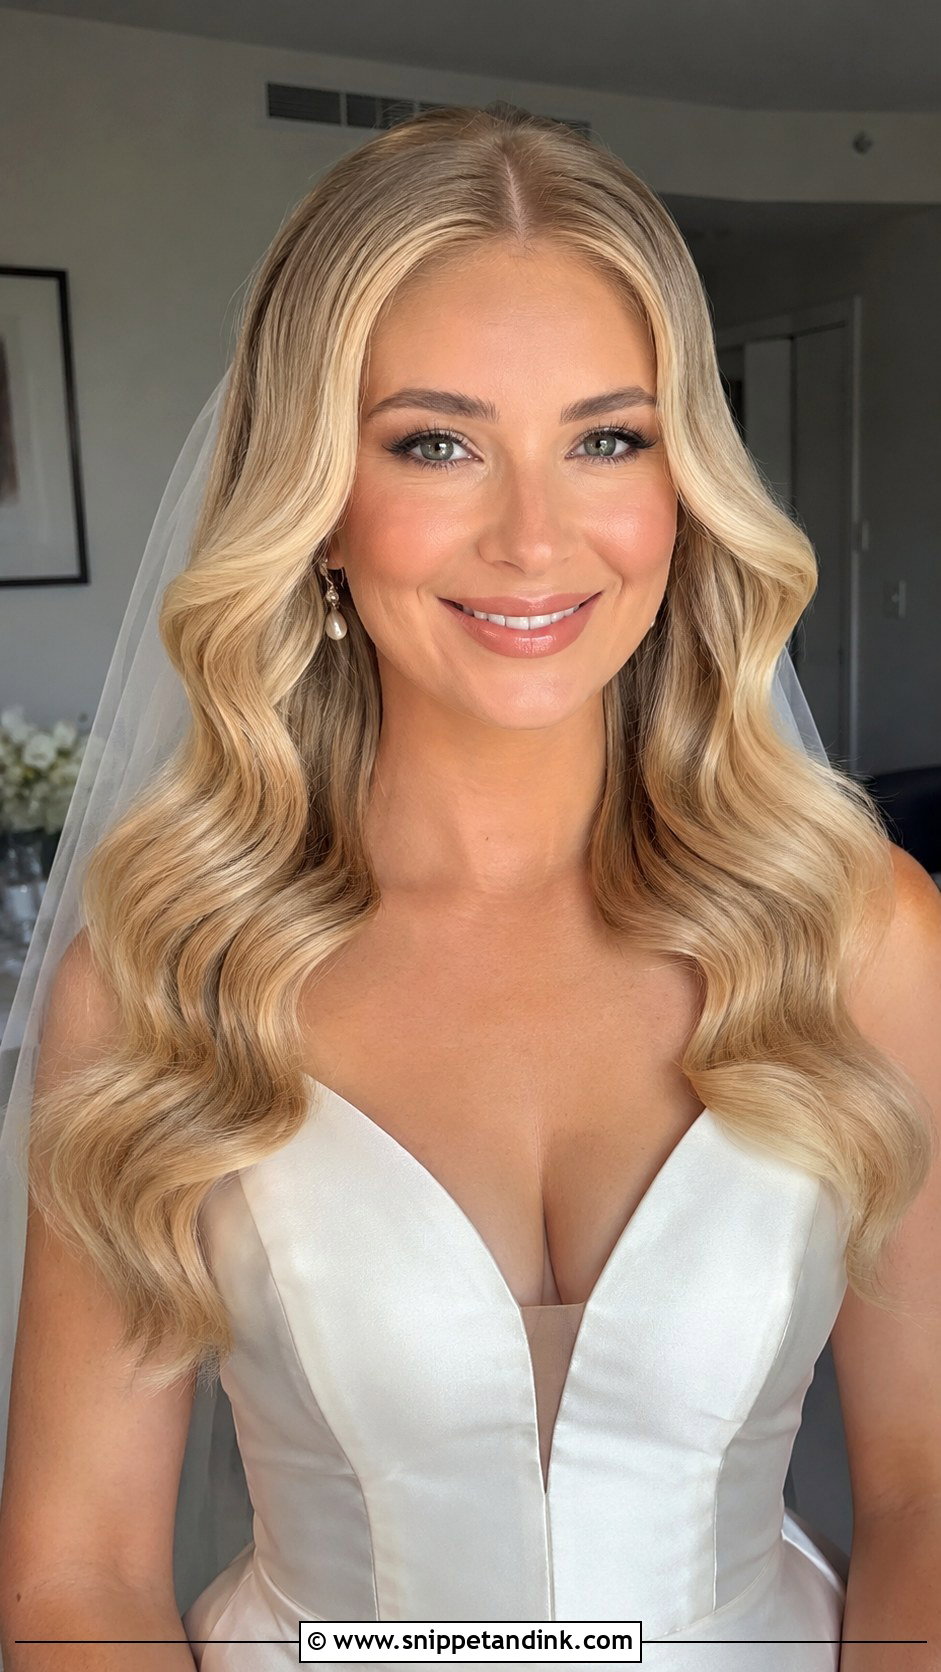
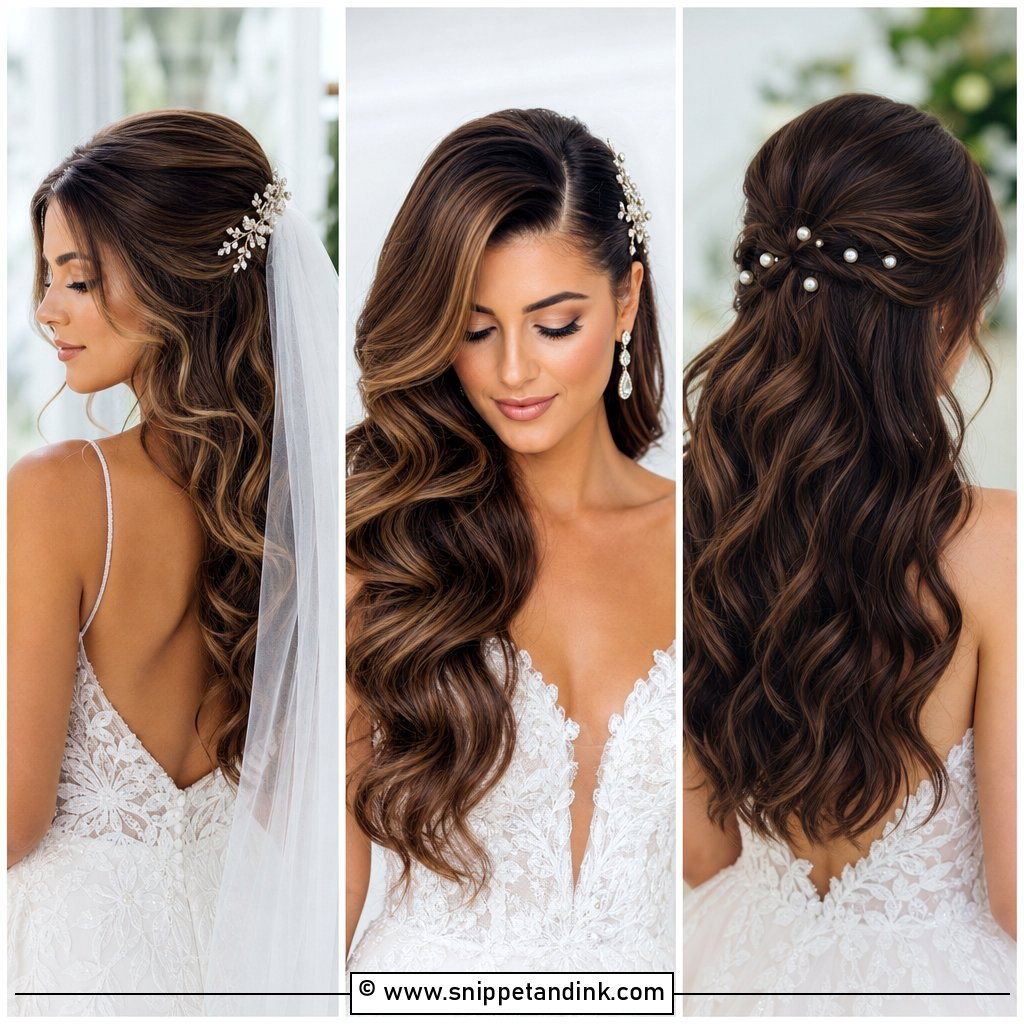
The classic Hollywood set is sculpted rather than loose: every section curled in the same direction, brushed out once the curls have cooled, then shaped into one continuous S. The brushing is where it either works or turns into frizz. I curl, pin each curl flat to cool, and only brush when the hair is completely cold, otherwise the wave relaxes before the ceremony. Symmetrical makeup and a single pair of statement earrings suit it best, because the hair already does a lot of visual work.
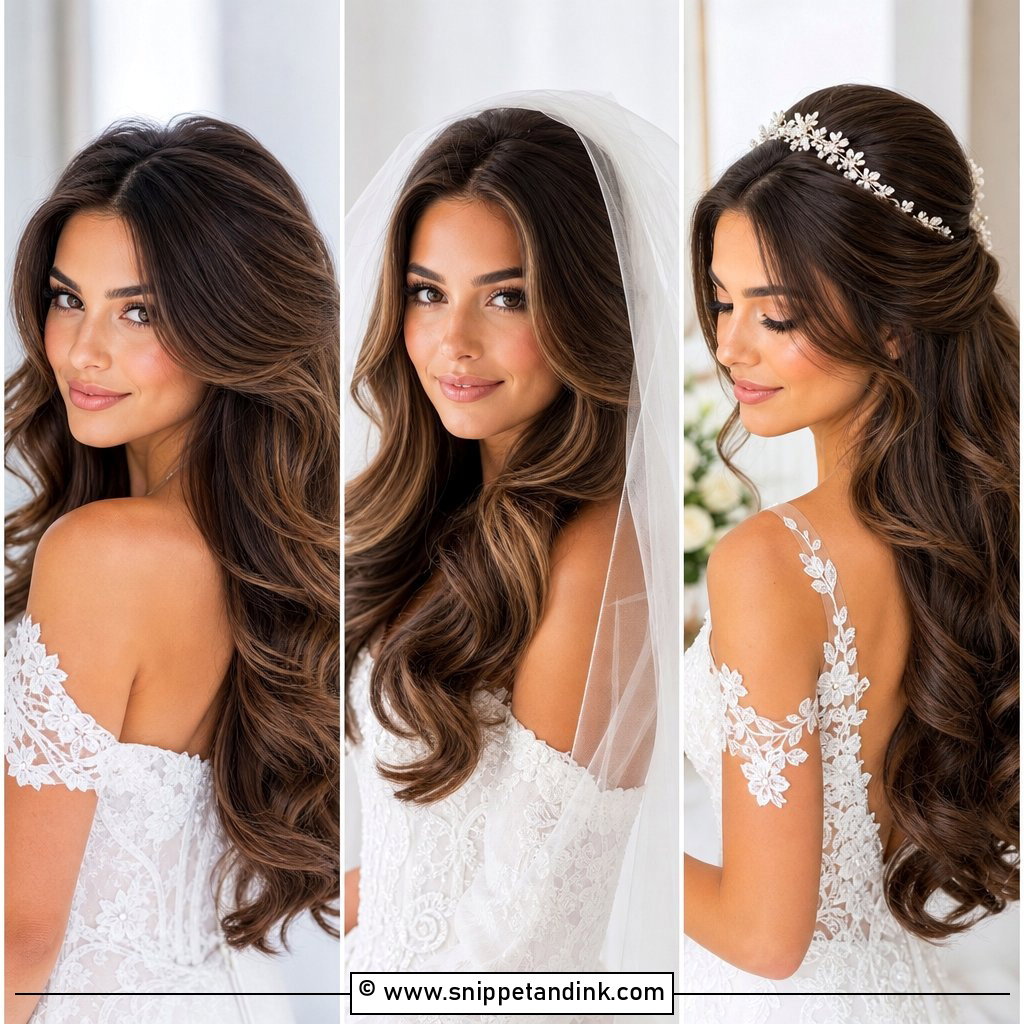
2. Middle Part Glam Waves With Veil
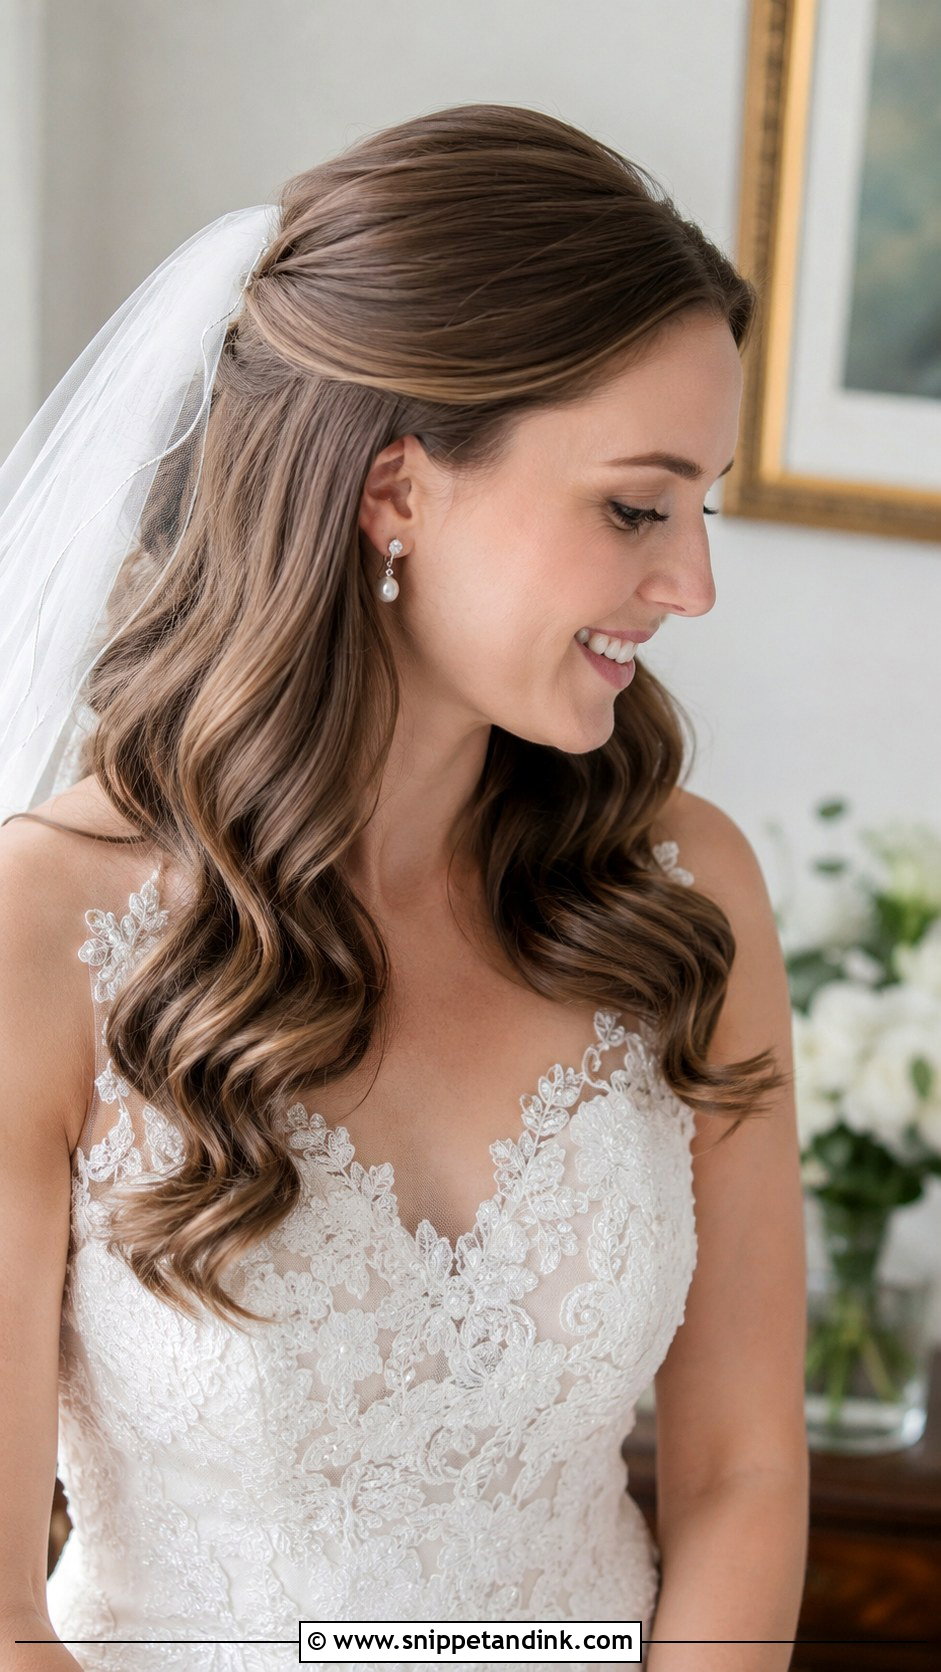
Veils and waves get along if the crown stays smooth. I place the comb either at the crown or just under it, and I build a small anchor first: two crossed bobby pins or a tiny hidden braid that the comb teeth slide into. Without that, a heavy cathedral veil drags backward on clean, silky hair and pulls the part open. Sheer or pearl-edged veils let the wave pattern show through, so they are the easier match. Lift the top section gently when securing it, because pressing it flat kills the shape around the face.
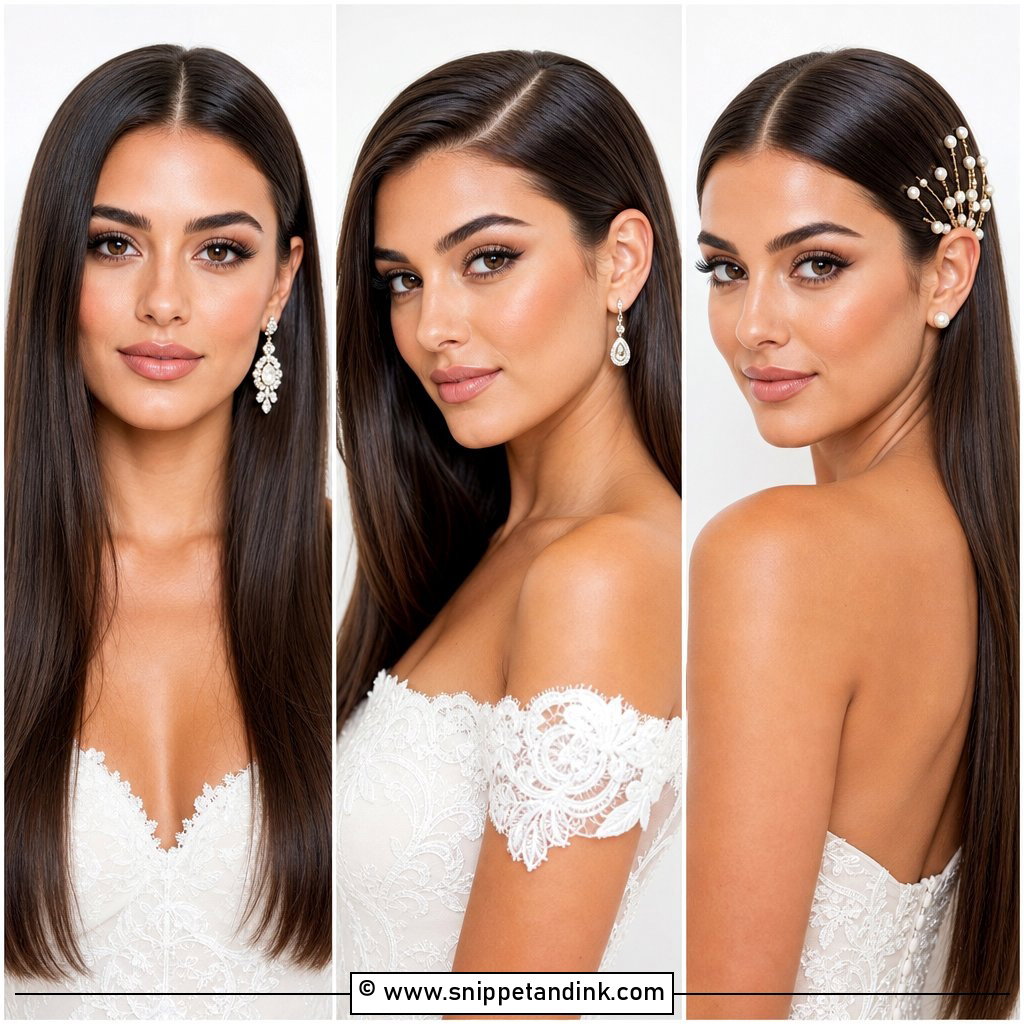
3. Middle Part Glam Waves With Pearl Pins
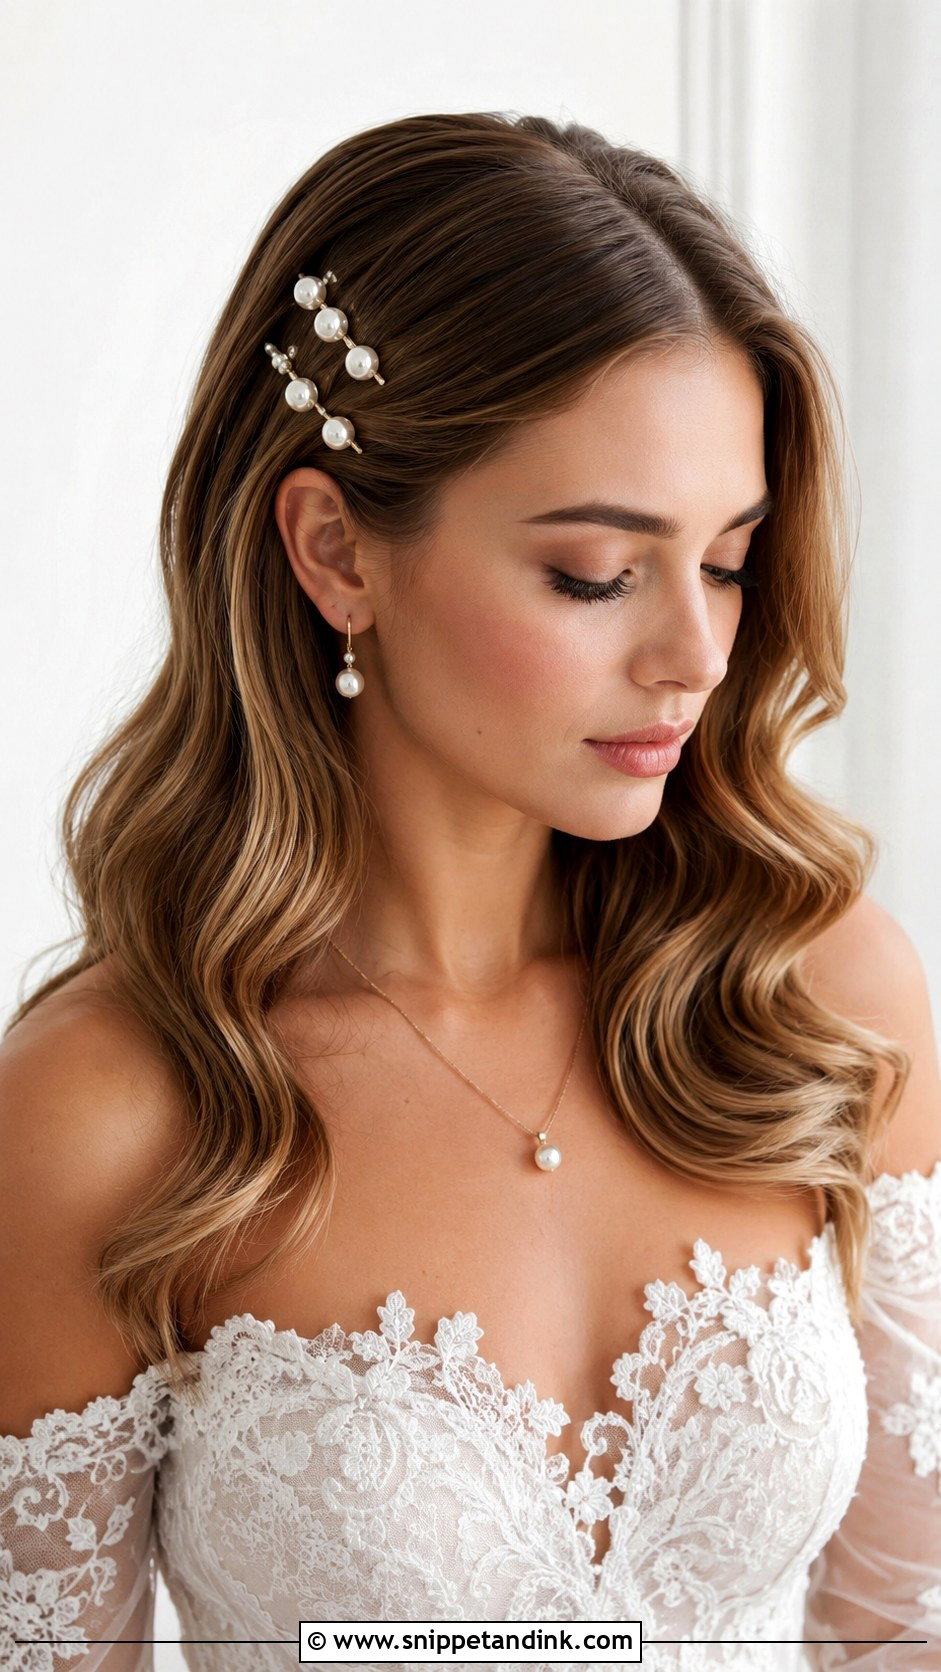
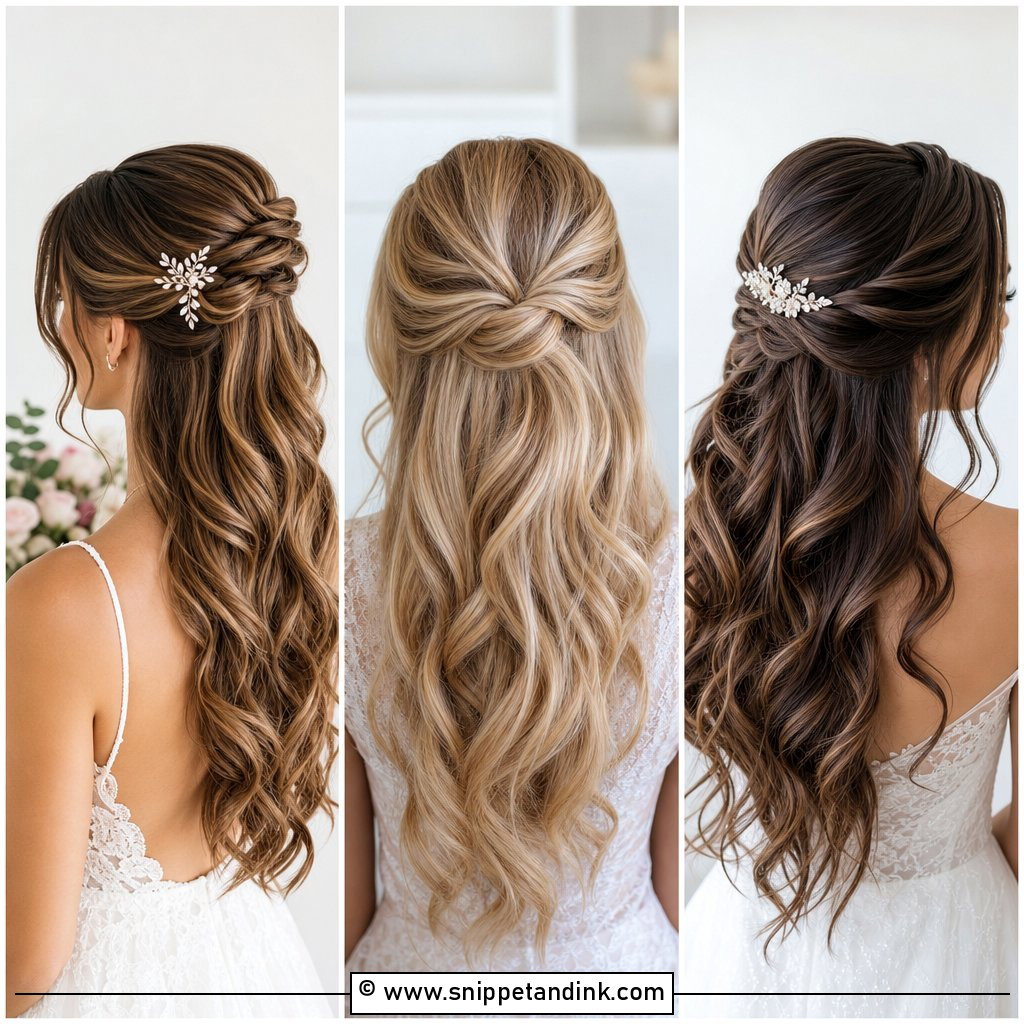
Pearl pins look best when they follow the wave rather than sit randomly. I usually set them where a wave curves back toward the face, so each pearl sits in a hollow and catches light. Three to five pins along one side is plenty; once you pass that, the hair starts to look decorated instead of styled. On very slippery hair, slide the pin in against the curl direction so it grips. Satin or lace gowns and plain pearl studs keep the whole thing calm.
4. Middle Part Glam Waves With Crystal Comb
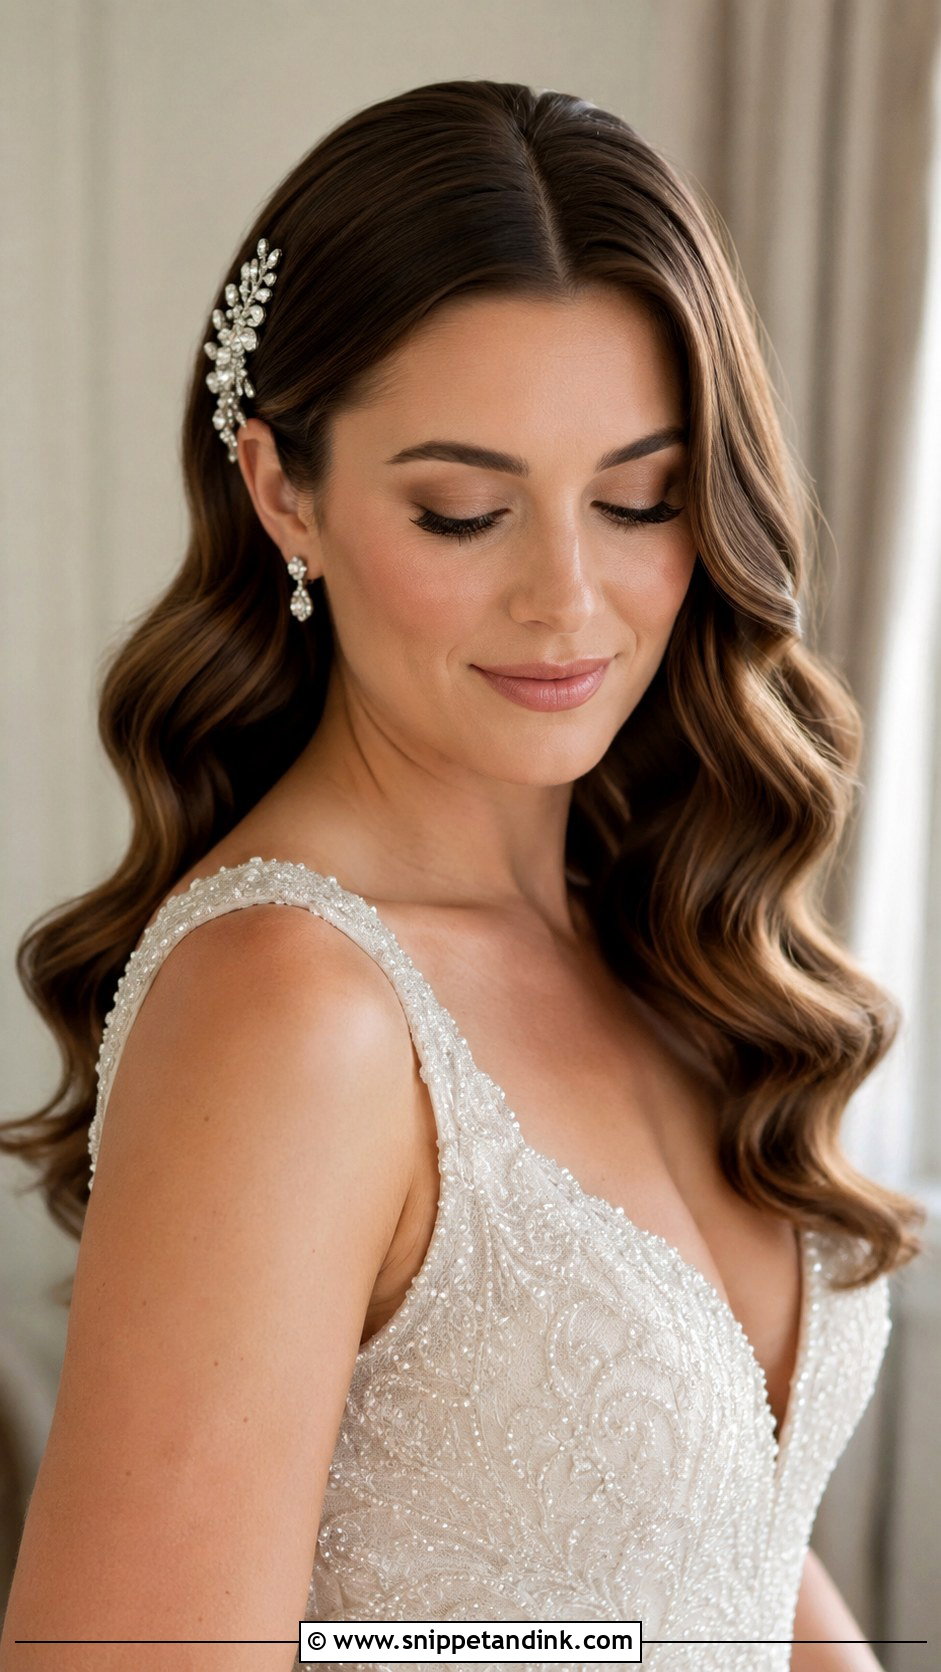
A crystal comb makes waves more formal without changing the haircut at all. Behind one ear, or slightly off-centre at the back above the veil, is where it catches the most light during the processional. The comb needs a firm base: I tuck it into a small pinned twist, because combs slide straight out of freshly curled hair. Frizz around the comb looks obvious next to crystals, so this is a style where smoothing serum on the mid-lengths is worth the extra minute. Ballroom venues, evening ceremonies and beaded bodices are the natural home for it.
5. Middle Part Glam Waves For Long Hair
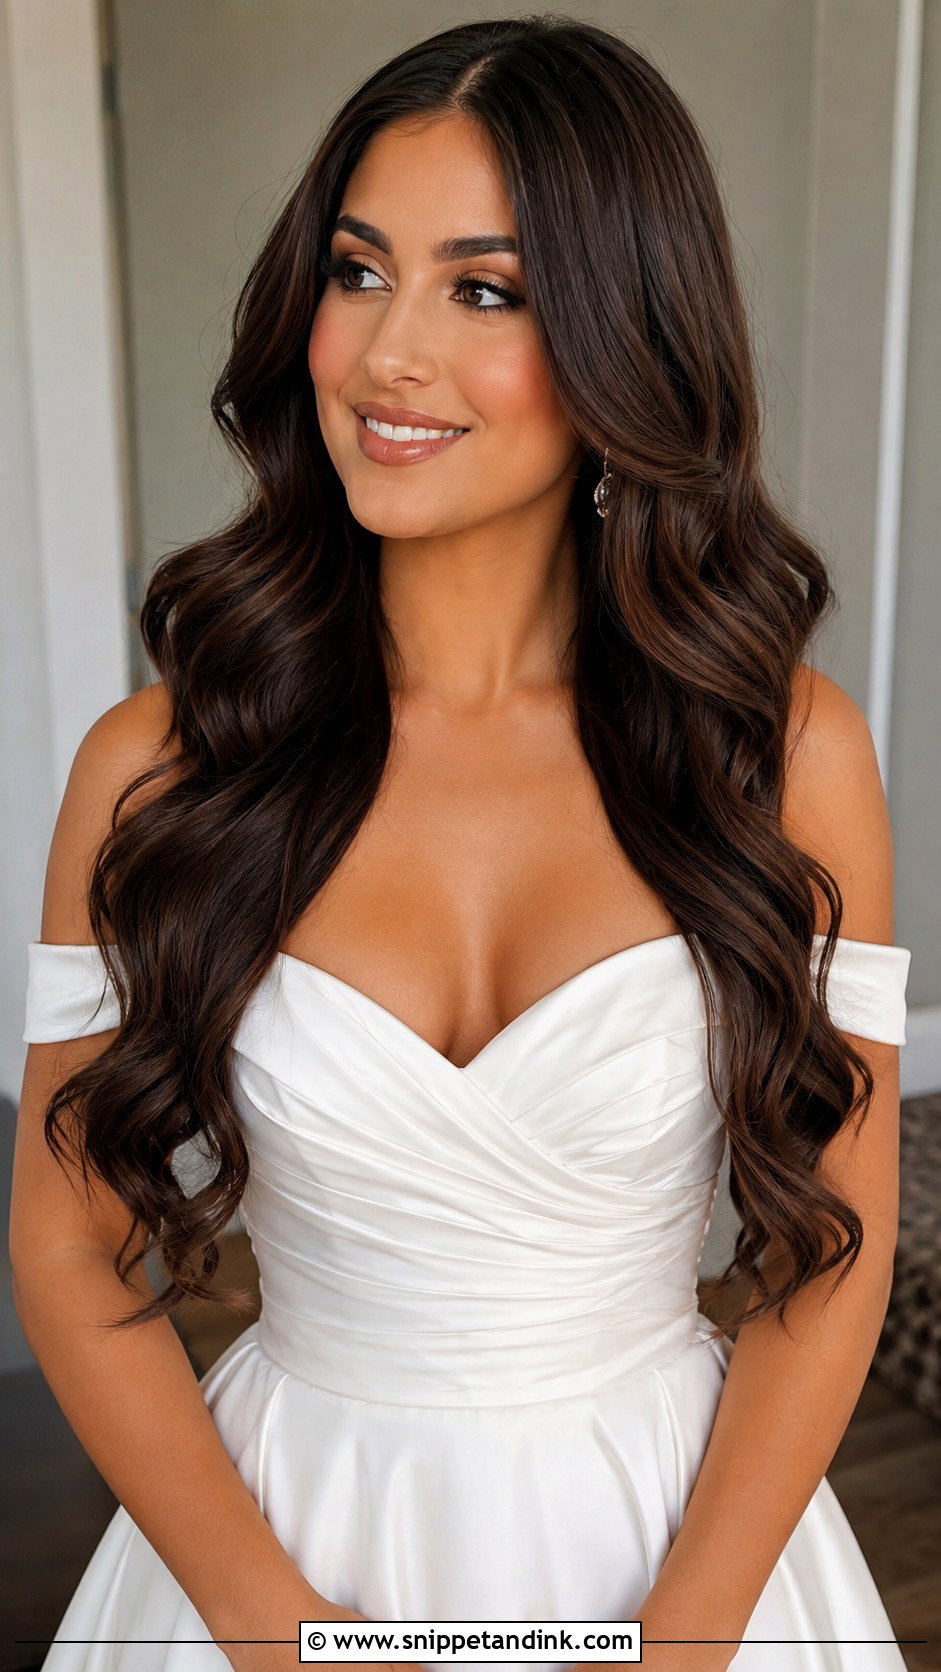
Very long hair gives the most dramatic wave, but it also fights you. The weight stretches the curl out over a few hours, so the pattern you leave the chair with is not the one in the evening photos. I use a smaller barrel than the finished wave needs and pin-curl every section to cool. Long layers around the face help, otherwise the front sits heavy and flat. If your hair is long but thin at the ends, extensions add fullness where you actually need it, not more length. Off-the-shoulder and fitted gowns show the length off well.
6. Middle Part Glam Waves For Medium Hair
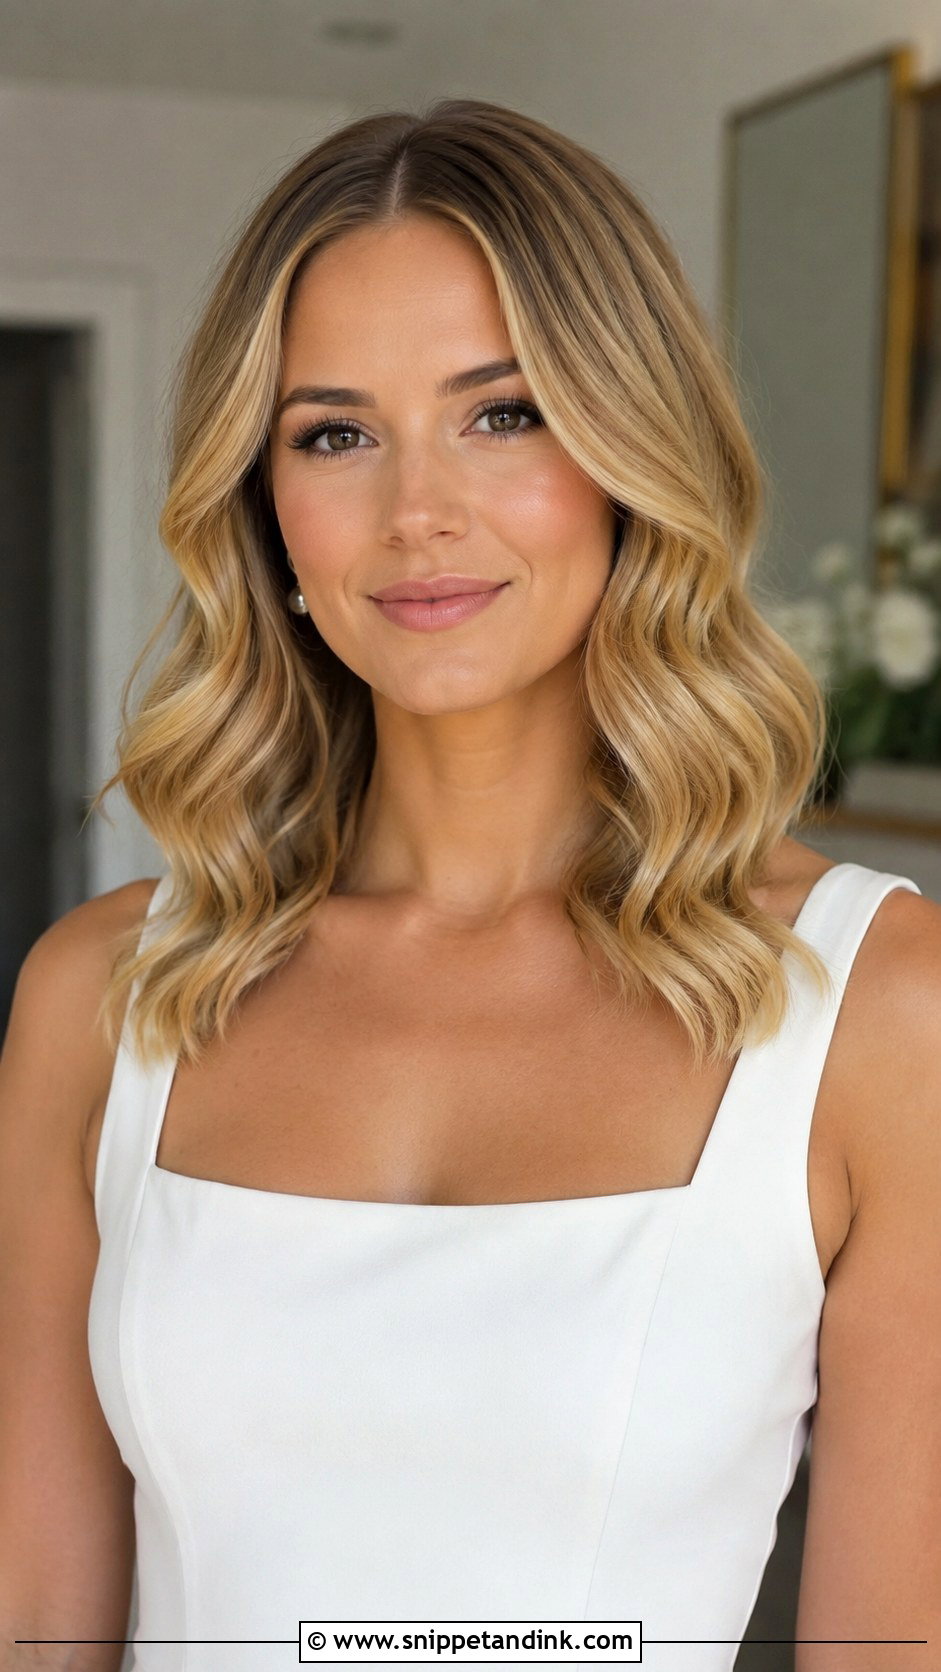
Collarbone to chest length is the easiest length to wave, honestly. There is enough hair to show a proper S-shape and not so much weight that it drops by dinner. Medium hair also sits well over strapless, square and minimalist necklines without hiding them. I keep the waves slightly tighter at this length because they open up quickly once you start hugging people. If you’re nervous about curls lasting, this is the length that will give you the least trouble.
7. Middle Part Glam Waves For Short Hair
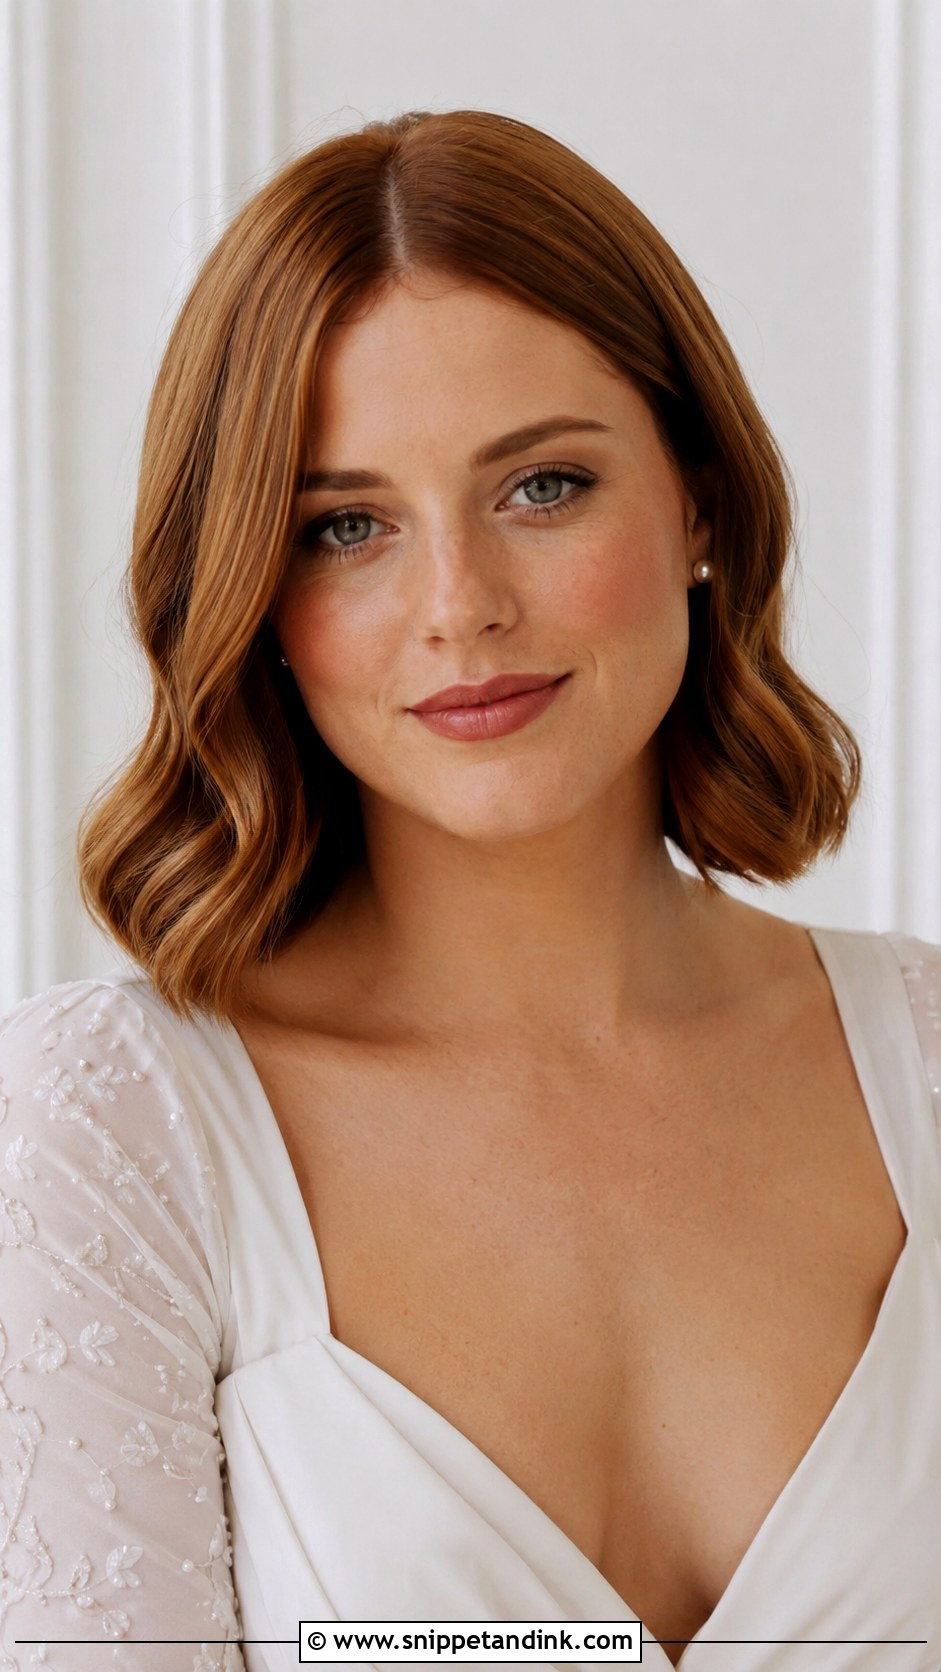
Short hair can absolutely carry glam waves, especially a bob, lob, or shoulder-length cut. The trick is fewer, larger bends: one wave that curves around the cheekbone and finishes cleanly at the jaw or collarbone. Too many small curls on a bob look like a set from the salon dryer. I use a flat iron rather than a curling wand on short lengths because it gives a flatter, sharper bend. A small comb or a veil tucked at the back finishes it, and you skip extensions entirely.
8. Middle Part Glam Waves With Hair Extensions
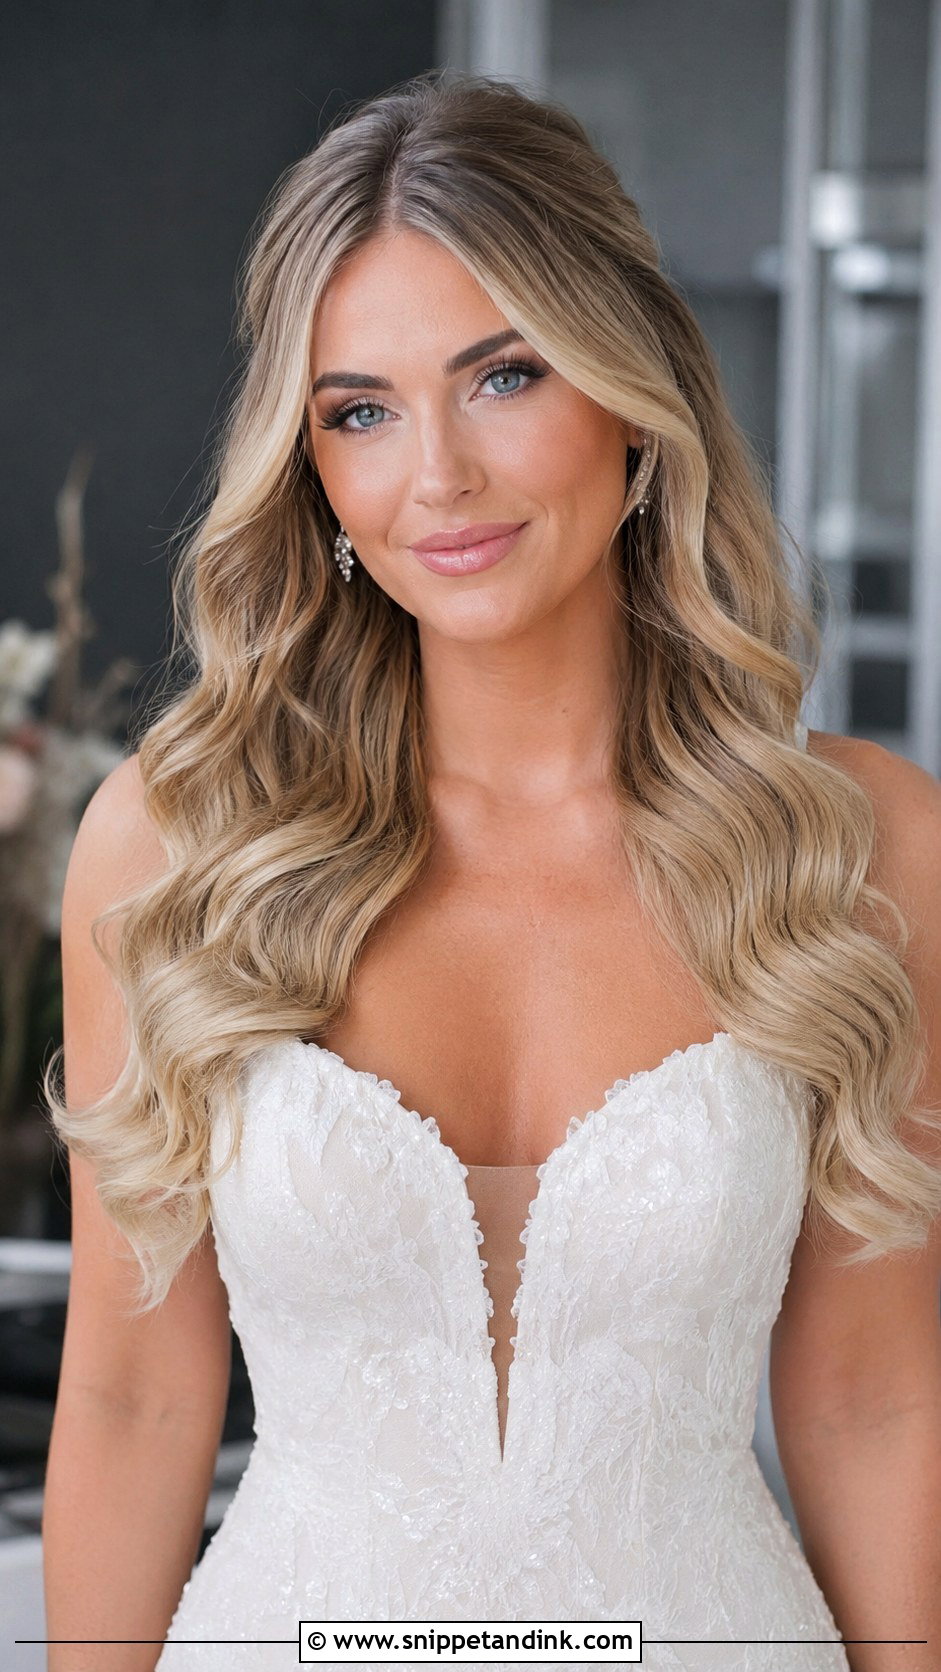
Extensions are mostly about density, not length. Natural hair thins toward the ends, and glam waves show that, because the bottom of each wave looks see-through. Clip-ins or tape-ins that are colour-matched and cut into your own hair before styling solve it. Have them blended at the trial, not on the morning. With a middle part, any track placed too high will show through the parting, so I keep the top row well below the crown and leave the front few inches of your own hair to cover it.
9. Middle Part Glam Waves With Face Framing Layers
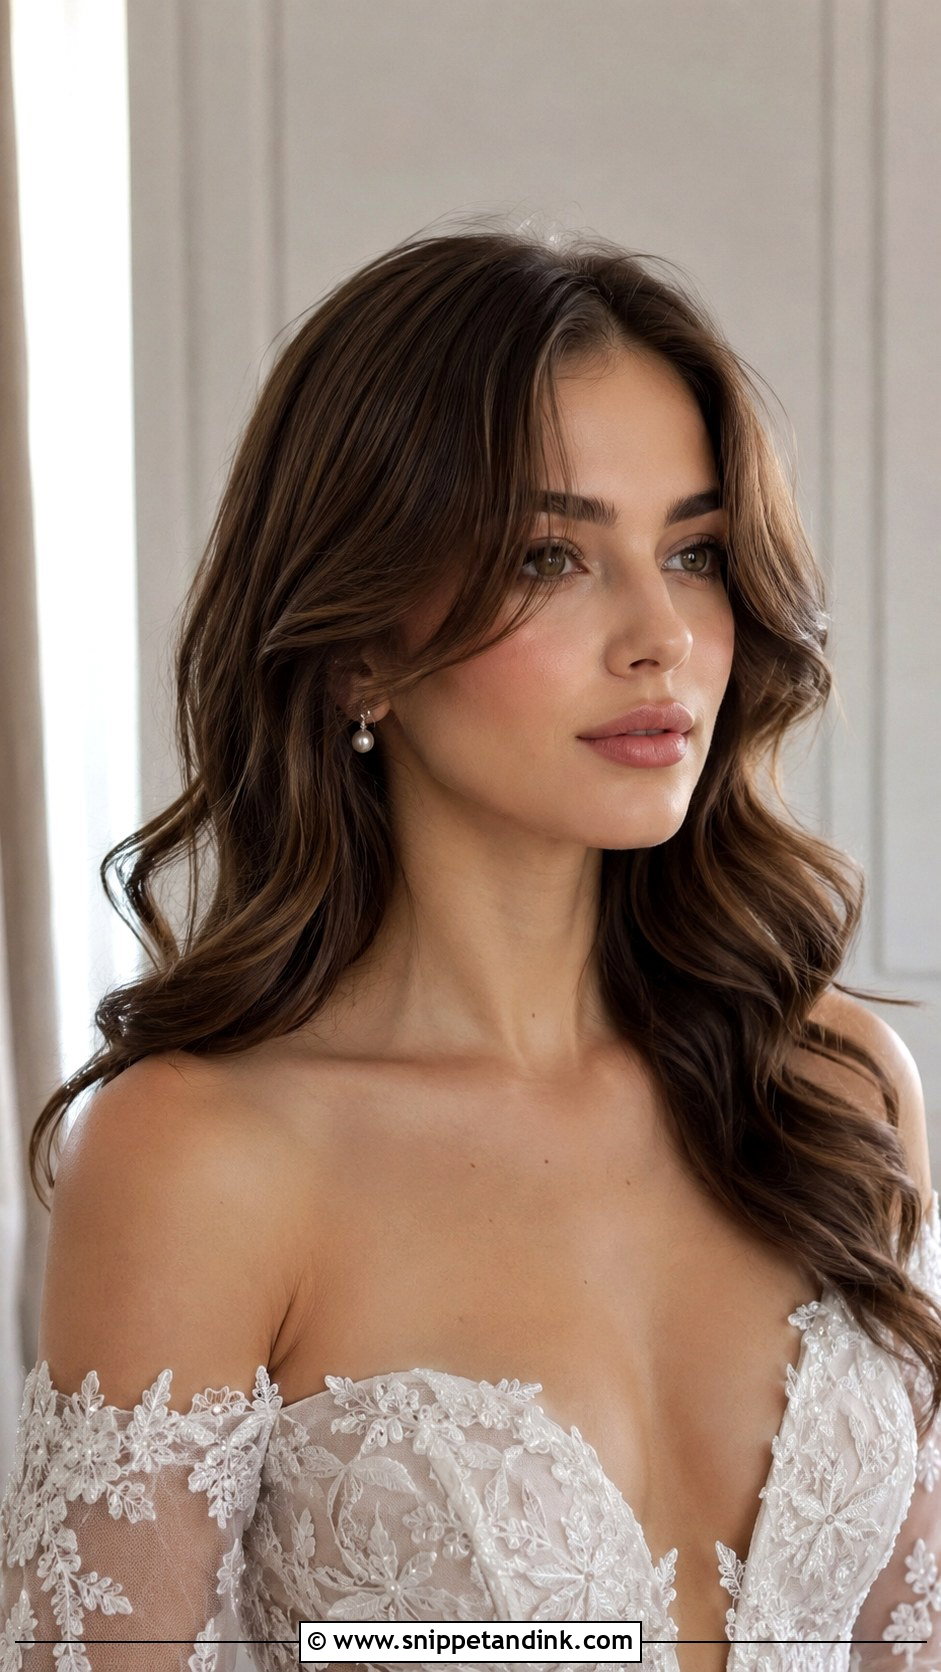
Face-framing layers stop a centre part from looking severe. Where they start depends on your face and neckline: cheekbone-length layers lift a round face, while collarbone layers suit a long face better. I curl the front pieces away from the face, every time, because curling them toward you closes the face off in photos and they fall into your eyes by the vows. If your layers are freshly cut, give them two or three weeks to settle before the wedding.
10. Middle Part Glam Waves With Curtain Bangs
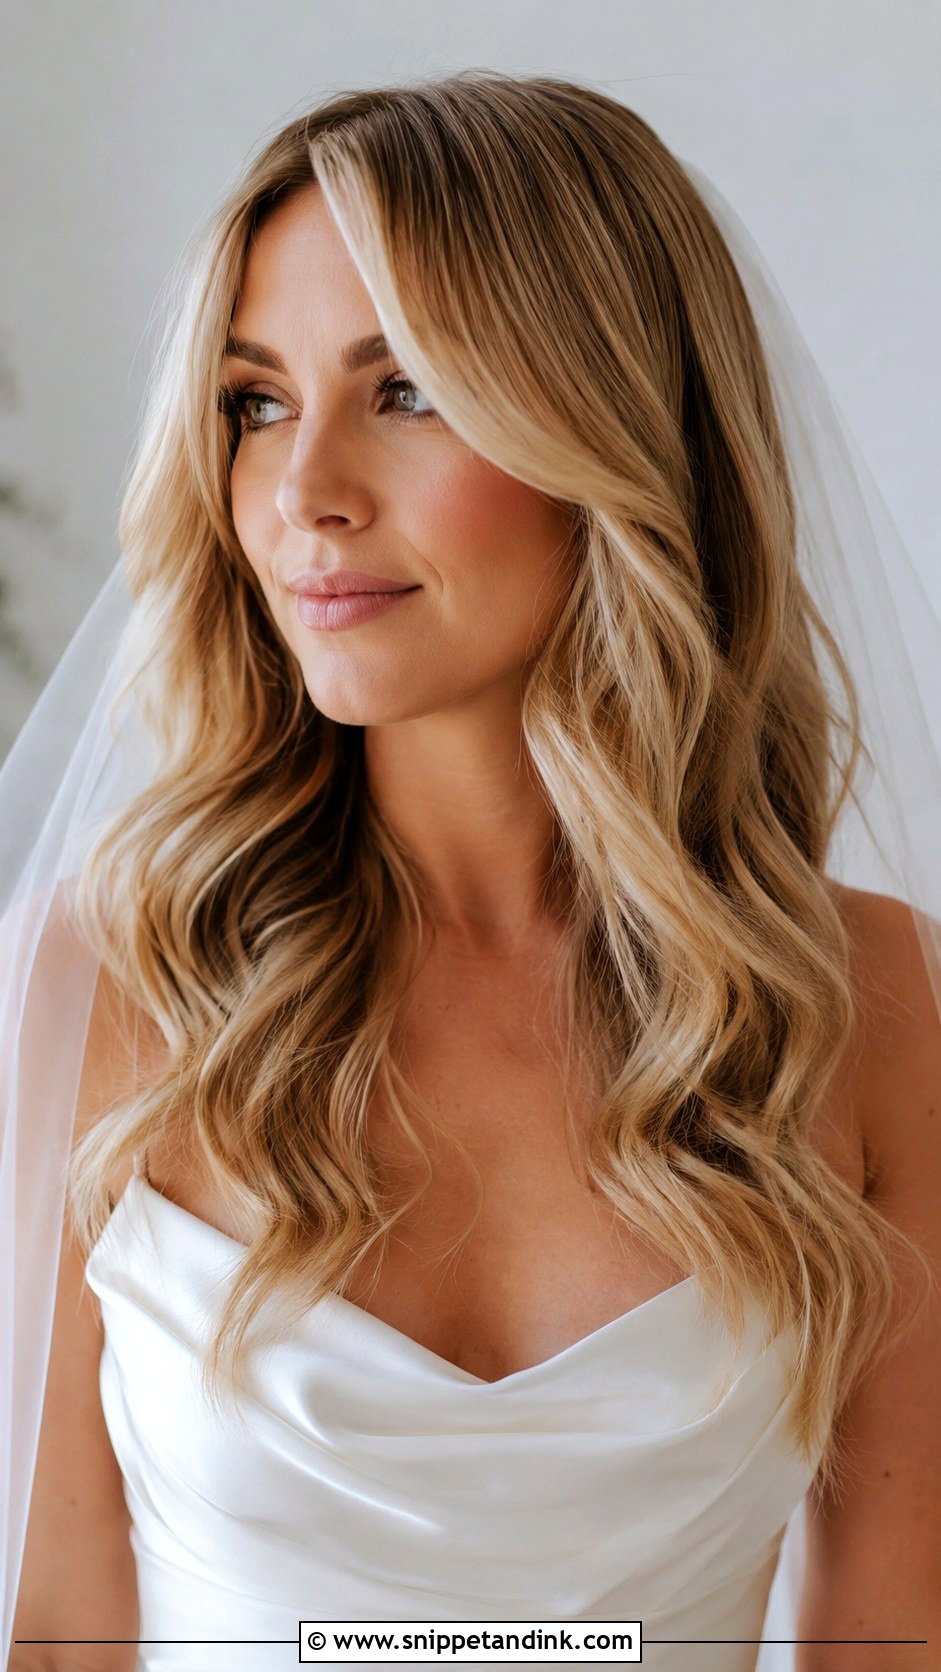
Curtain bangs only work in a glam set if they join the wave instead of sitting on their own. I curl the fringe with the same direction as the first wave beneath it, so it reads as one shape. Curtain bangs also soften a high forehead and break up very long hair. Keep spray light at the front. Bangs touch your face all day and stiff product shows up as separated strands by mid-afternoon. A simple veil pairs better than a heavy embellished one, which can compete with a fringe.
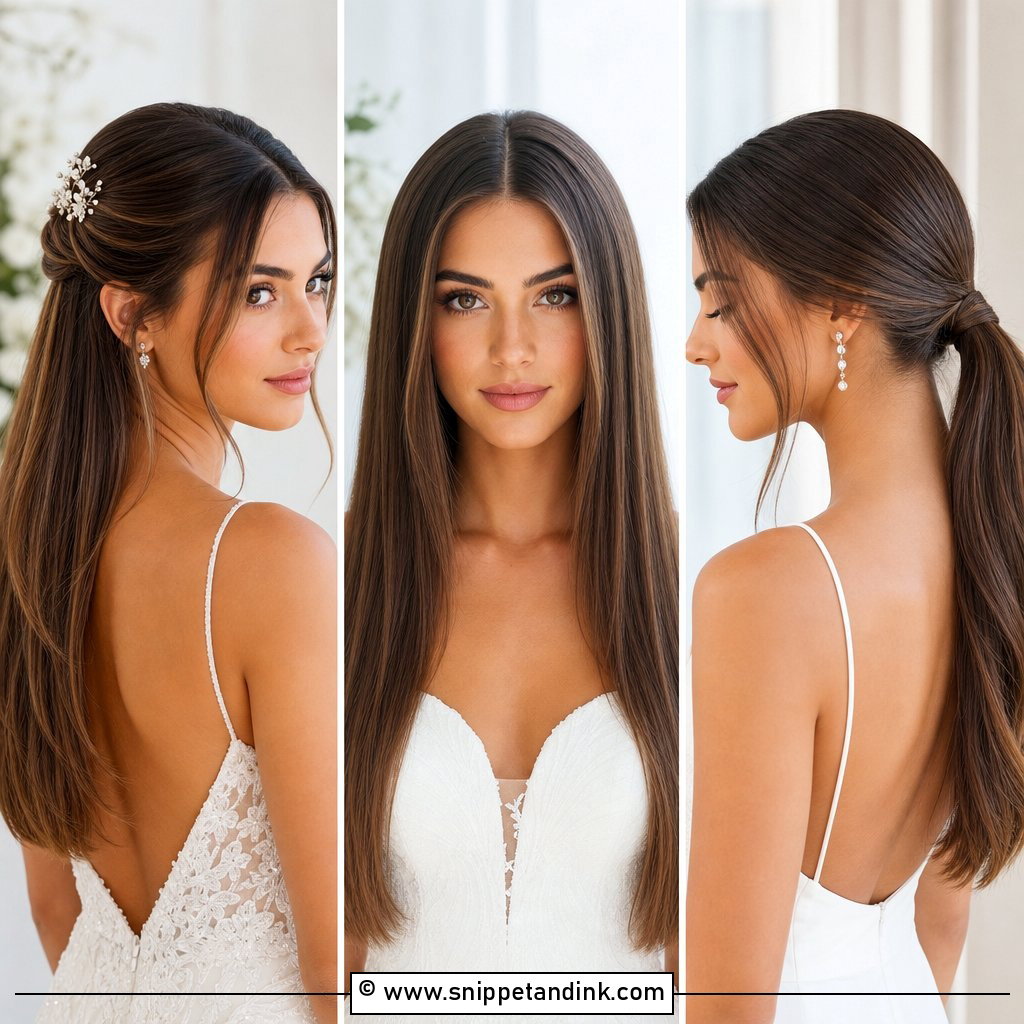
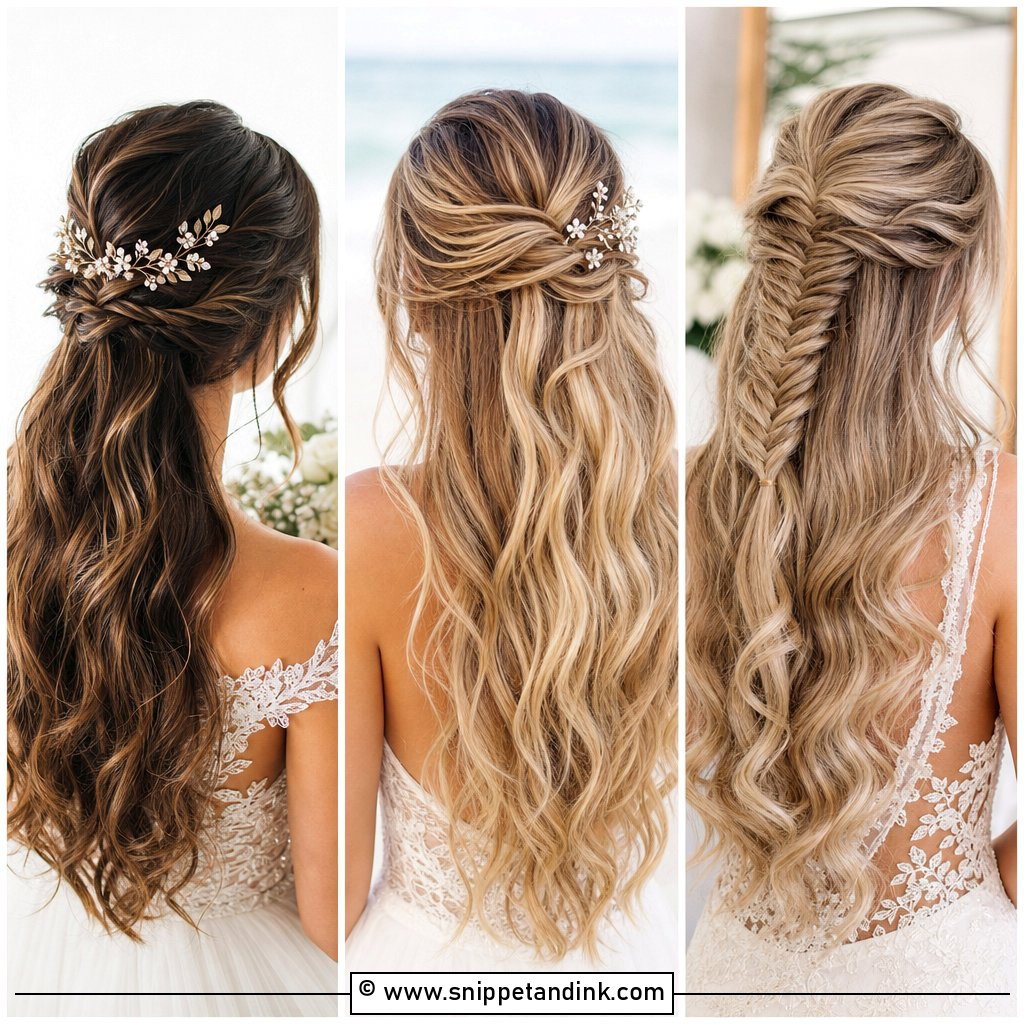
11. Middle Part Glam Waves Half Up
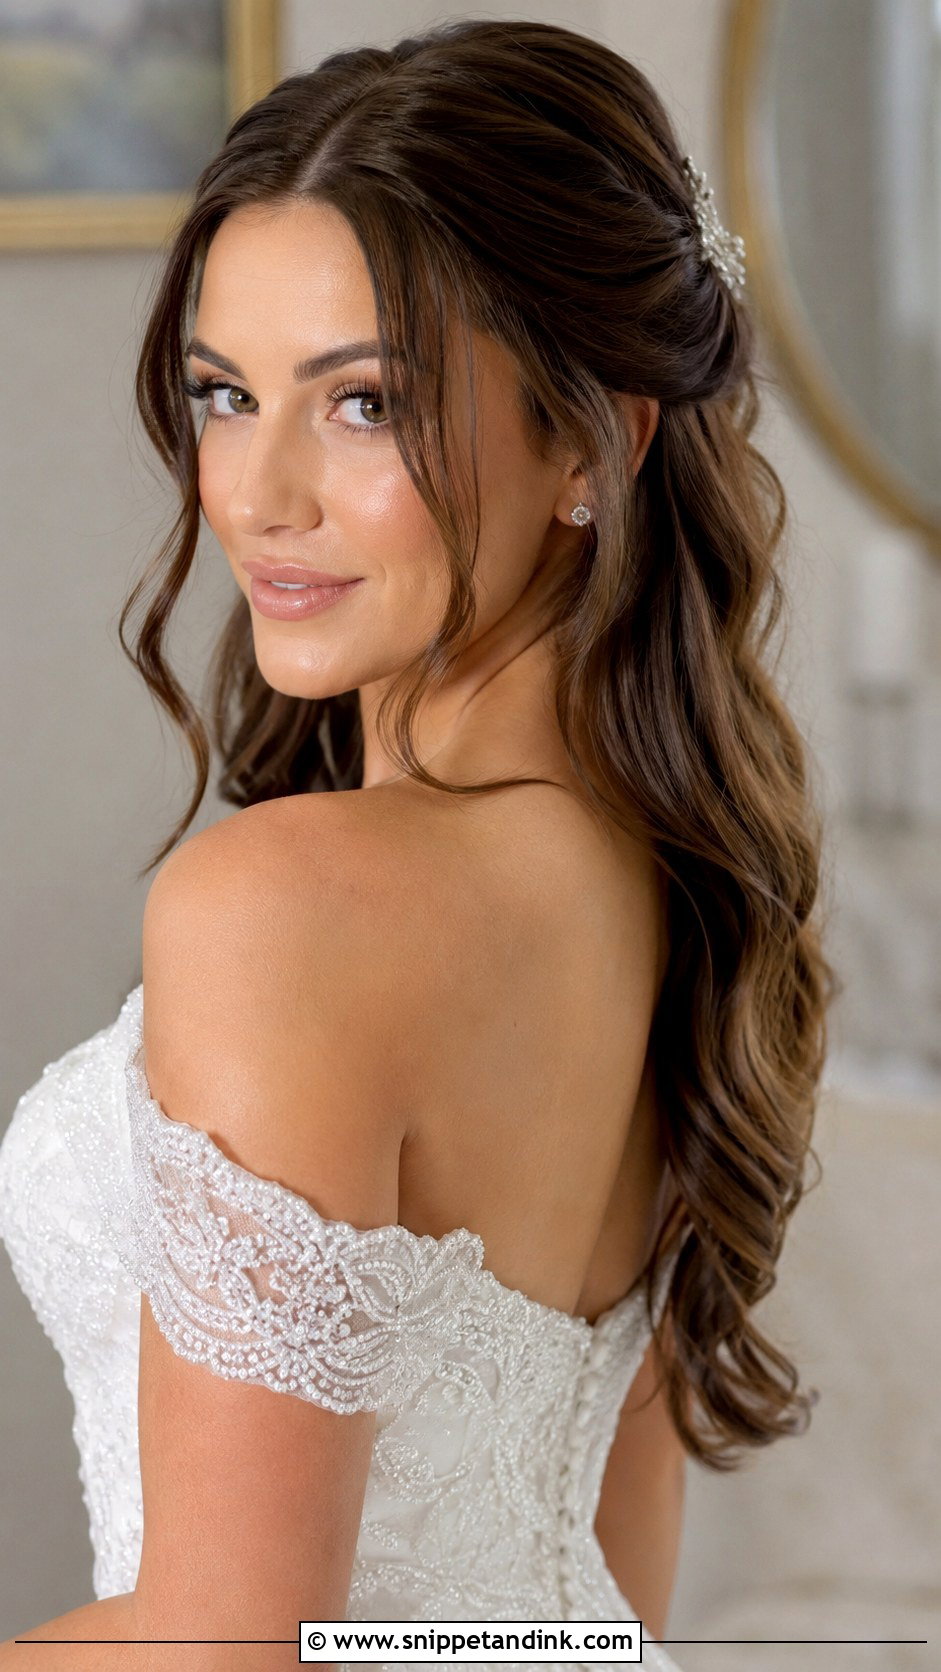
Half up is my usual suggestion for outdoor weddings and long timelines. Pinning back the top sections keeps the hair out of your face in wind, gives the veil a stable base and still shows the waves at the back. I secure the half-up section with a small elastic hidden under a twist, then pin over that, because pins alone loosen when the waves below pull on them. It also lets you take a comb out after the ceremony without the style falling apart.
12. Middle Part Glam Waves With Tucked Sides
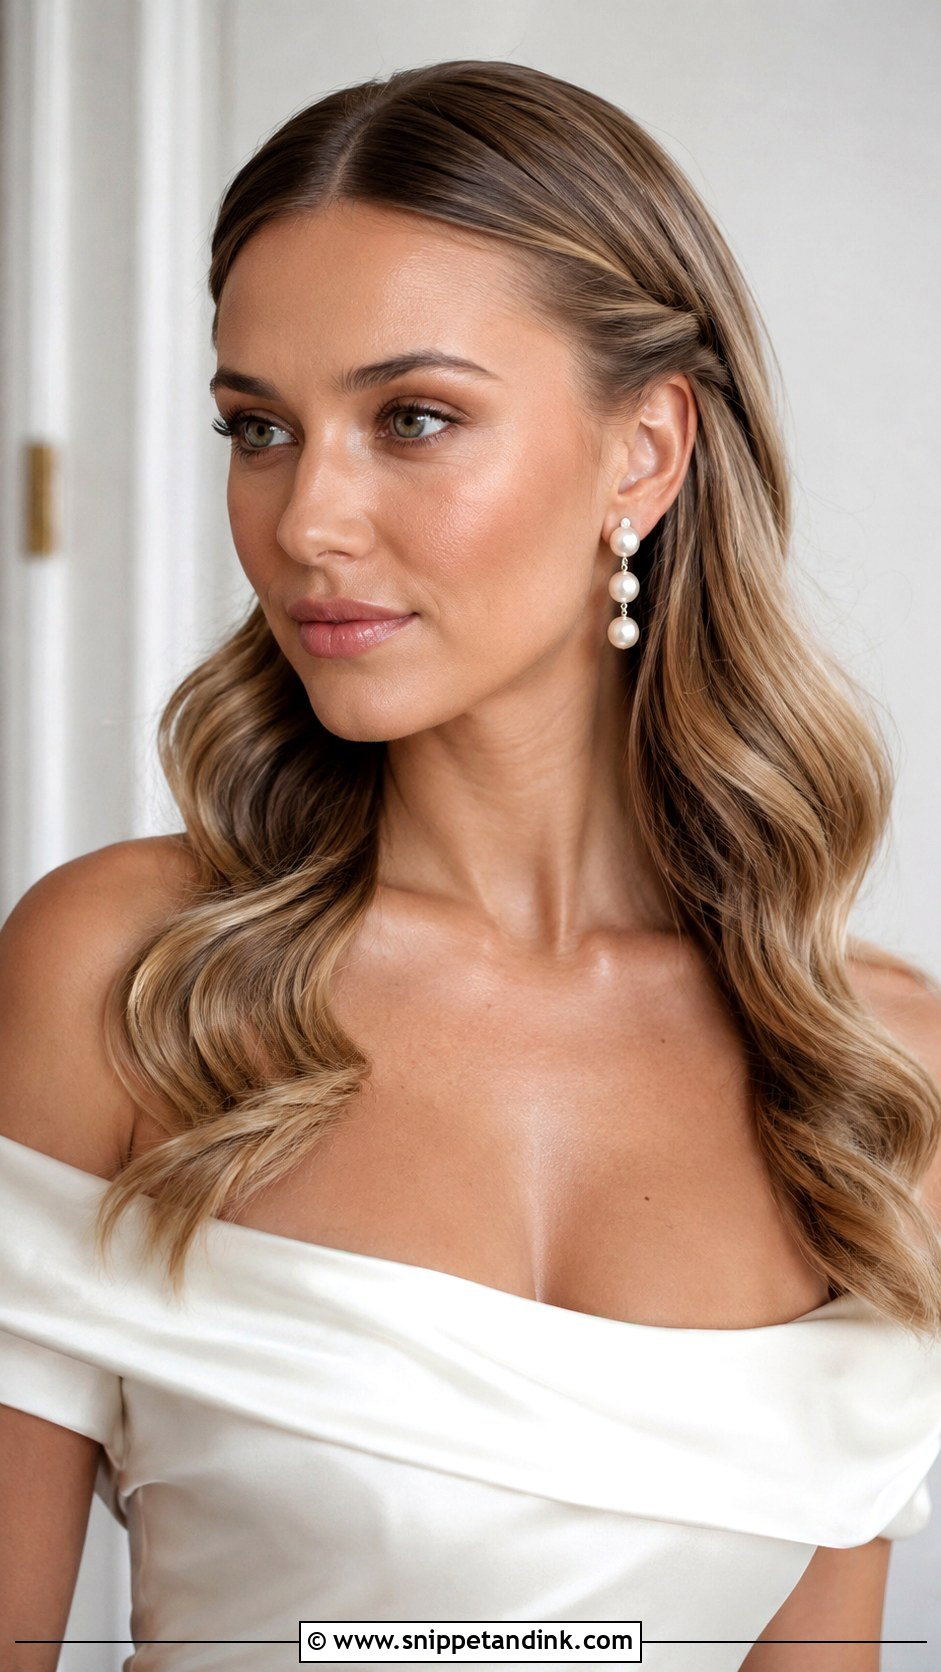
Tucking the sides keeps the face open and shows earrings and neckline detail, which matters if you’ve spent money on either. I pin the tuck just above the ear rather than directly behind it; behind the ear, the hair slides out every time you turn your head. Leave a slight bend near the cheekbone so it doesn’t look scraped back. Brides who love hair down but hate it touching their face are usually happiest here.
13. Middle Part Glam Waves With Crown Volume
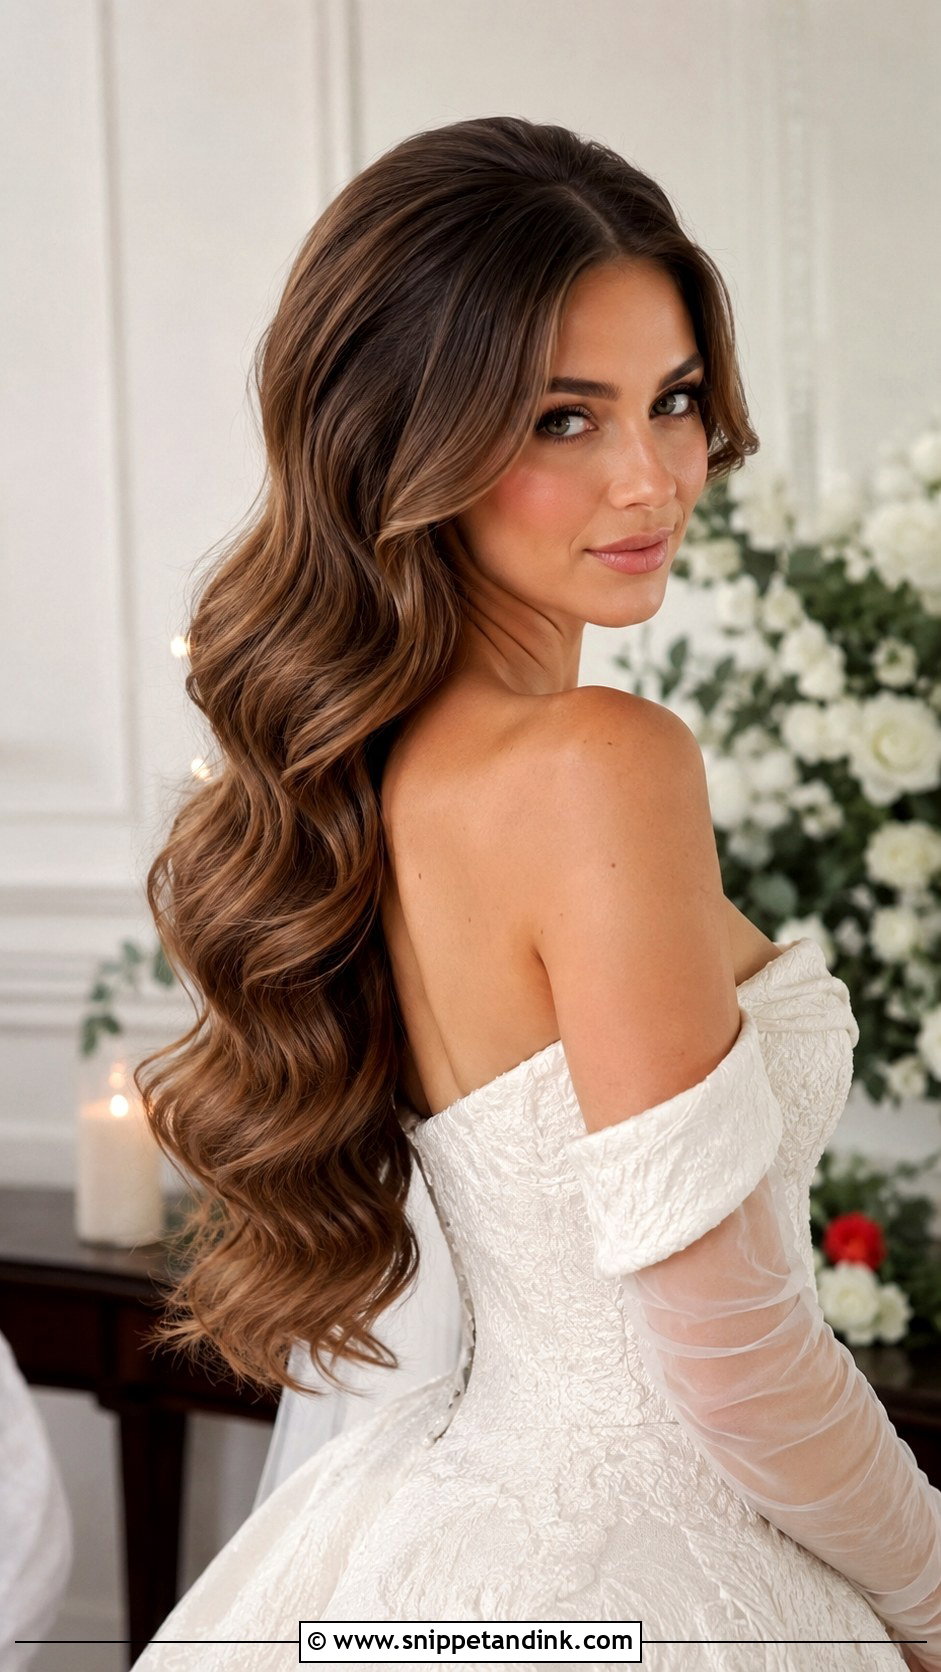
Crown volume is a fine line. A little height balances long hair and a veil; too much and the look turns pageant. I start with root powder on the crown sections, then a small amount of backcombing underneath only, so the smooth top layer covers it. The front by the part stays flat and smooth, with lift building gradually toward the back. Fine or flat hair gains the most from this, because without it the head shape looks small next to a full skirt.
14. Middle Part Glam Waves With Side Clip
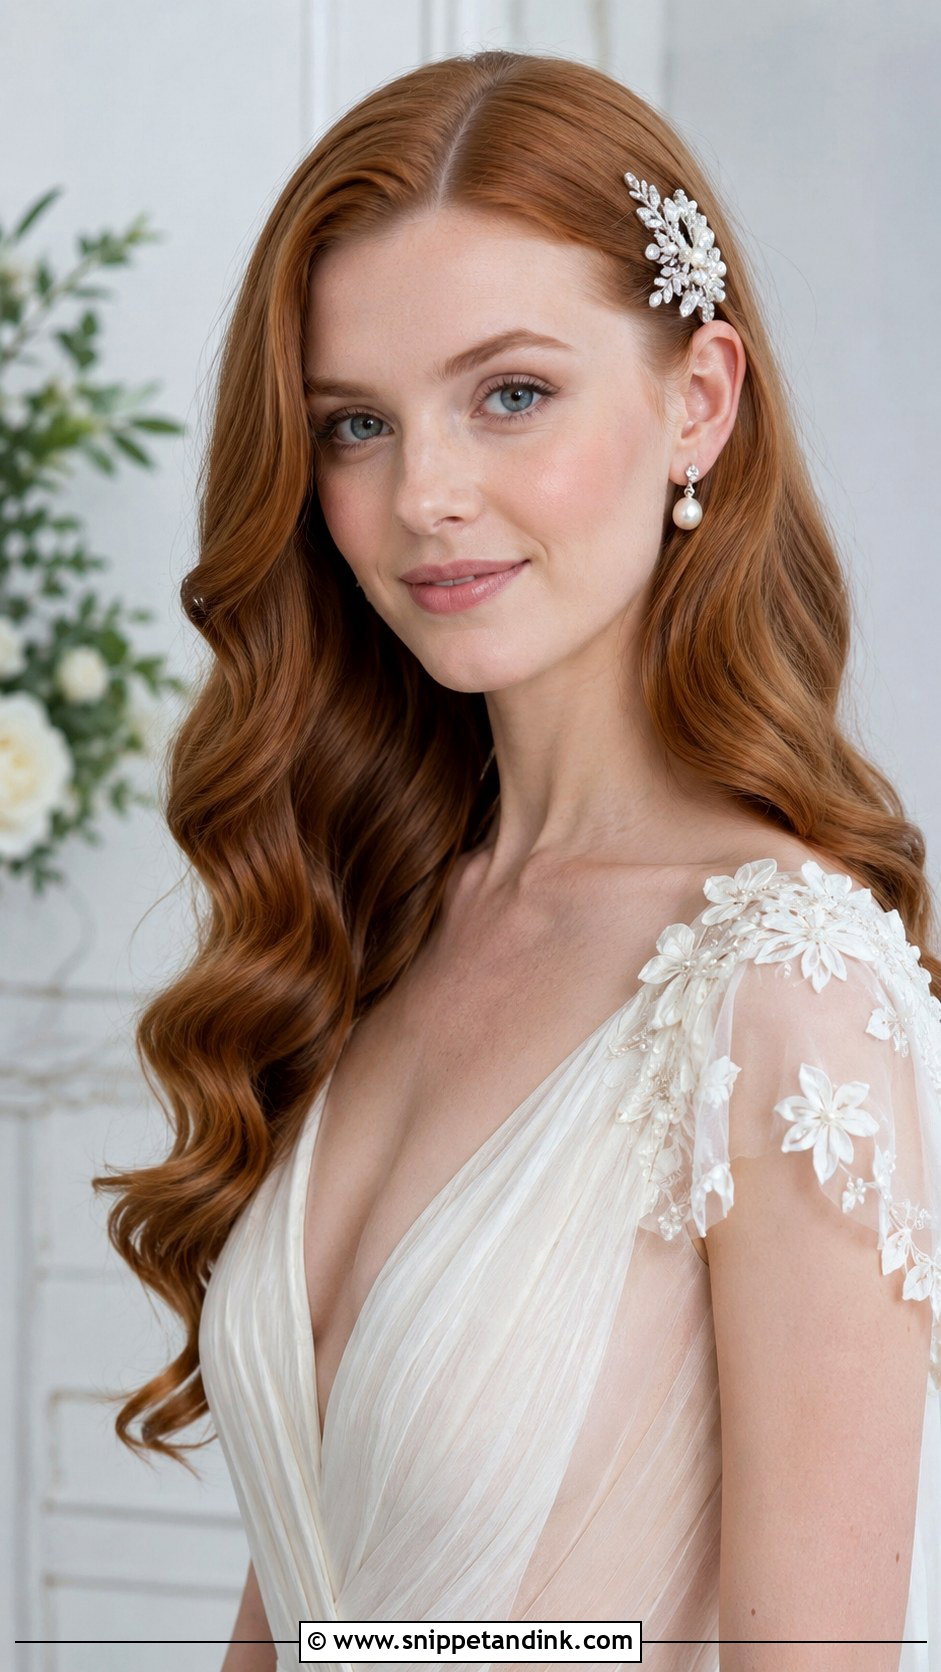
A single side clip keeps the hairstyle mostly down while adding one point of detail. I place it near the temple or just above the ear, at the spot where the first wave turns. Because the part is centred, an asymmetric clip doesn’t make the head look lopsided. It’s also the easiest accessory to remove after the ceremony. Choose a clip with a strong spring or a grip strip on the back, since smooth curled hair lets lightweight barrettes slide.
15. Middle Part Glam Waves For Blonde Hair
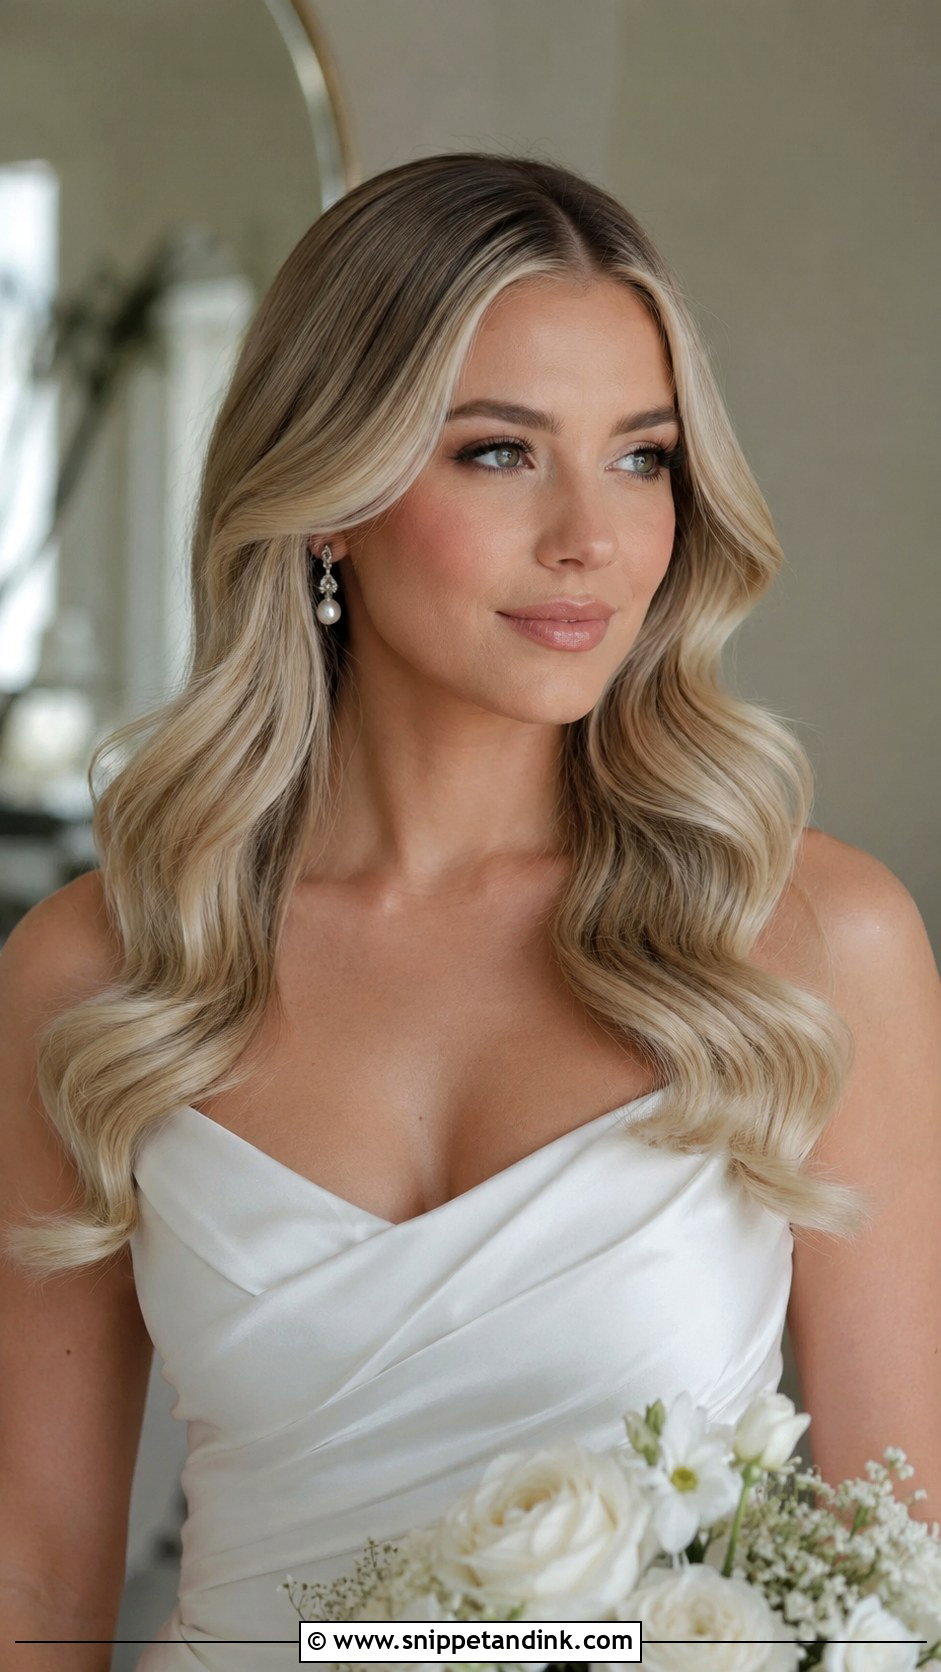
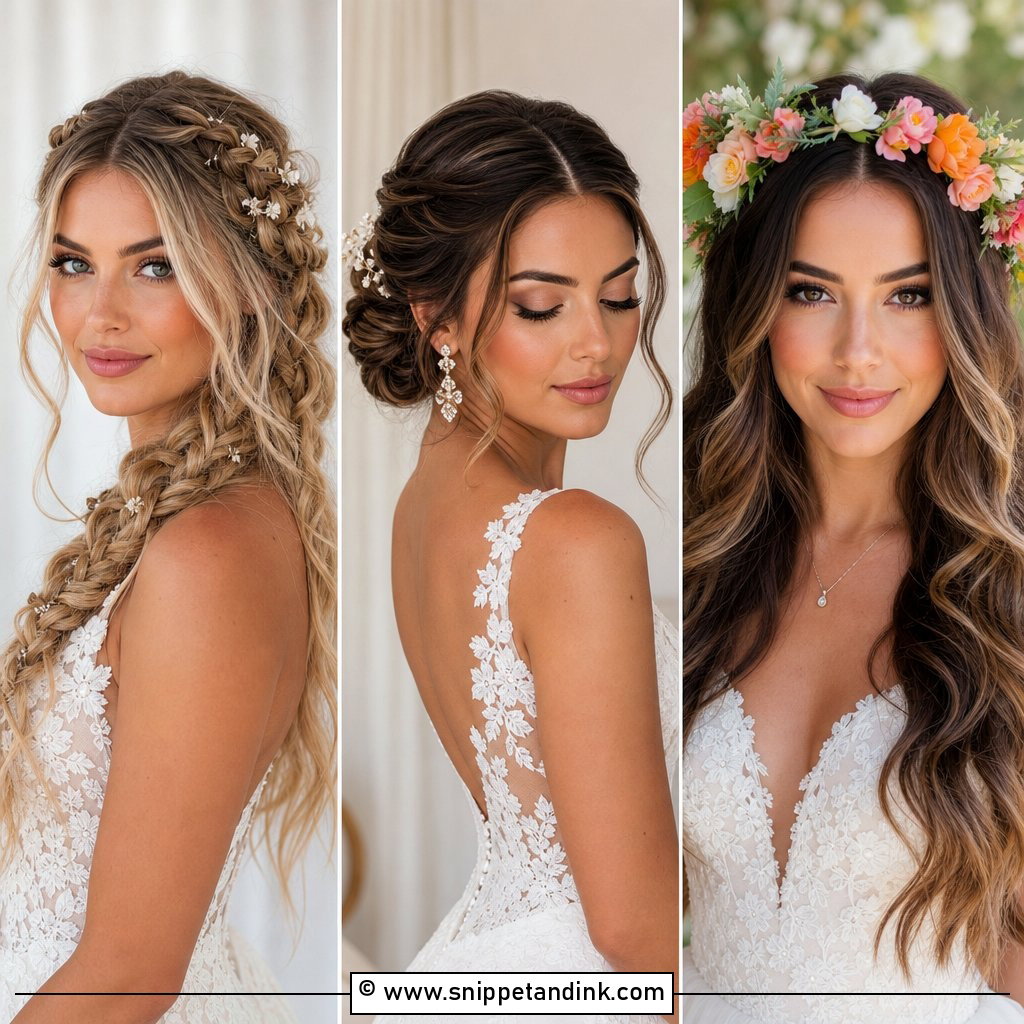
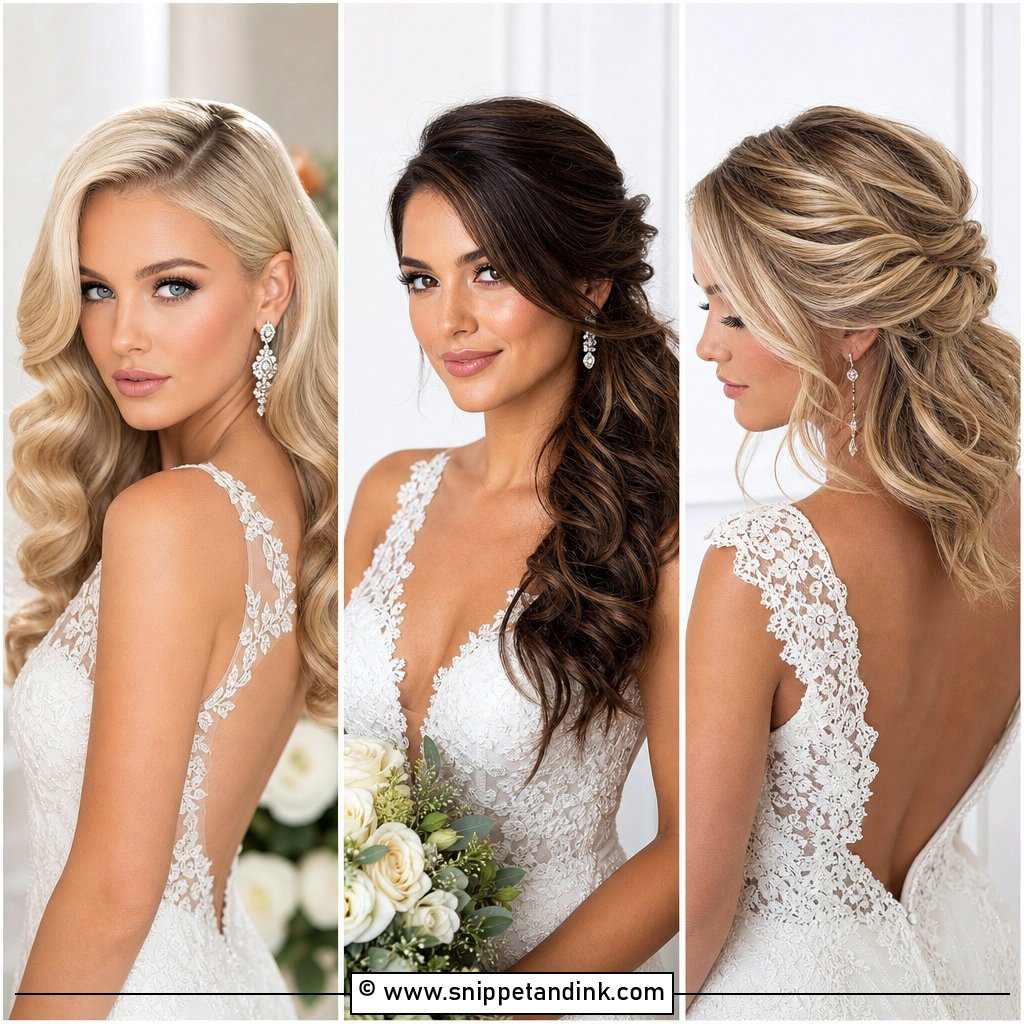
Blonde hair shows every bend because light bounces off the curve, so highlights or balayage make each wave look sculpted in photos. The downside is that blonde shows product residue. I go lighter with hairspray and avoid dry shampoo on the lengths, which leaves a grey film on pale hair in flash photos. A gloss a week or so before the wedding brightens the colour. Getting blonde waves to look luminous is mostly about shine, not hold.
16. Middle Part Glam Waves For Brunette Hair
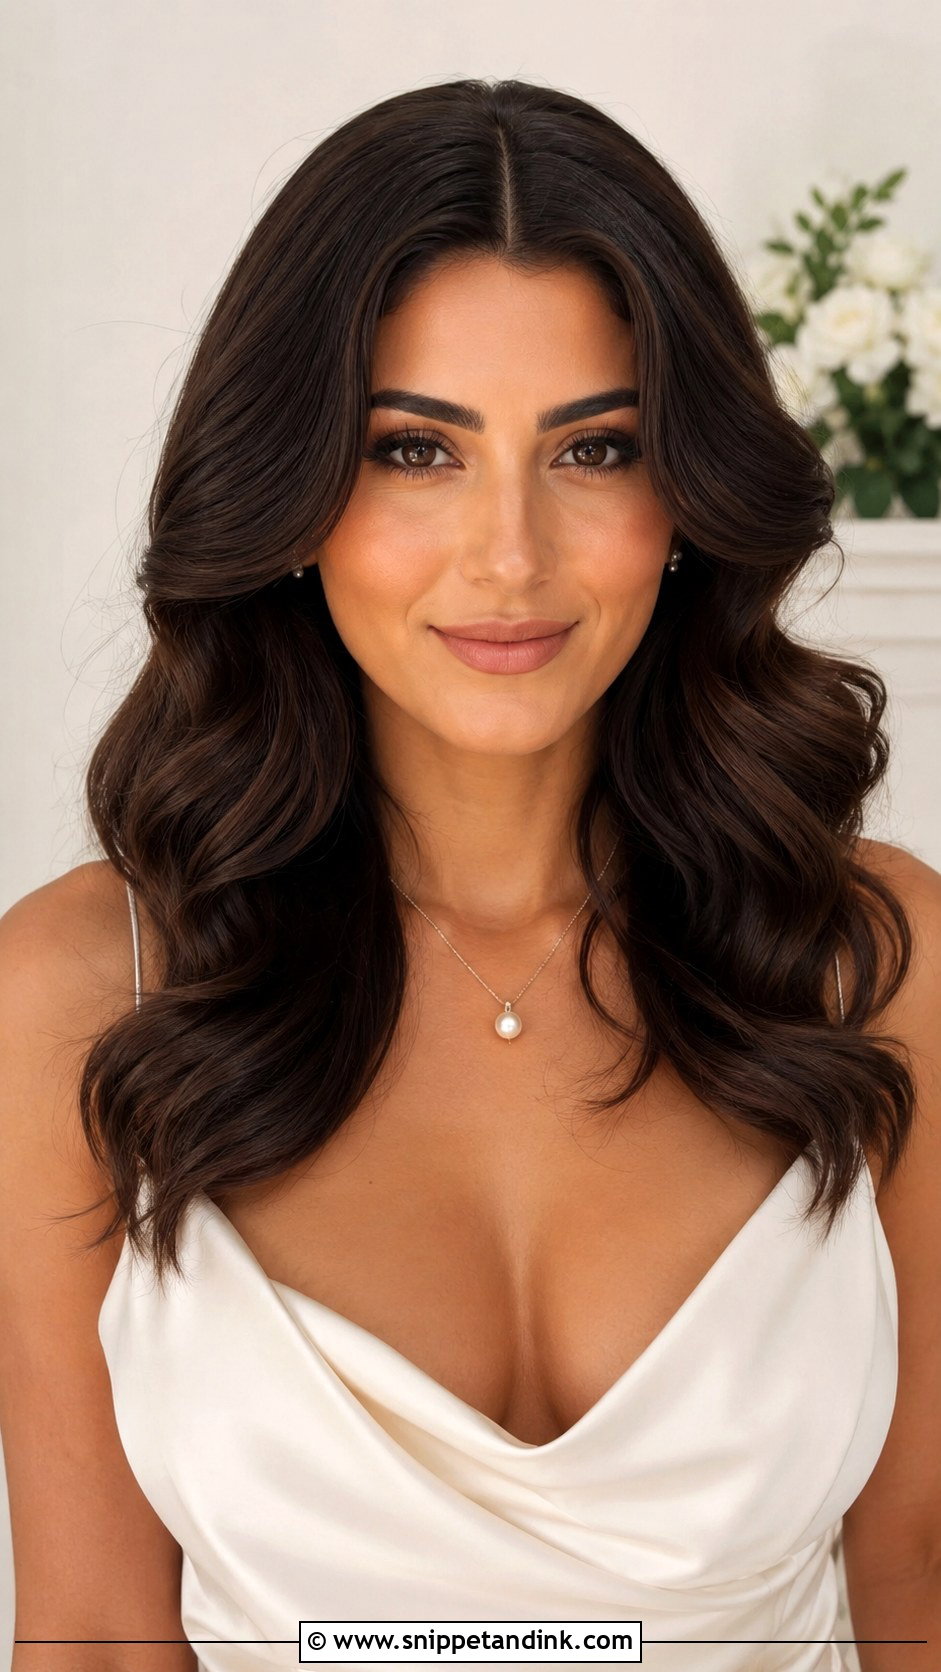
Brunette middle part glam waves look bold because dark hair makes the wave outline crisp against the light. The risk is the opposite of blonde: very dark, one-tone hair can photograph as a flat block with no visible curve. A few soft highlights or a glaze before the wedding gives the camera something to catch. I also lean on shine spray more with brunettes. Pearl earrings and satin balance the depth of colour without adding clutter.
17. Middle Part Glam Waves For Red Hair
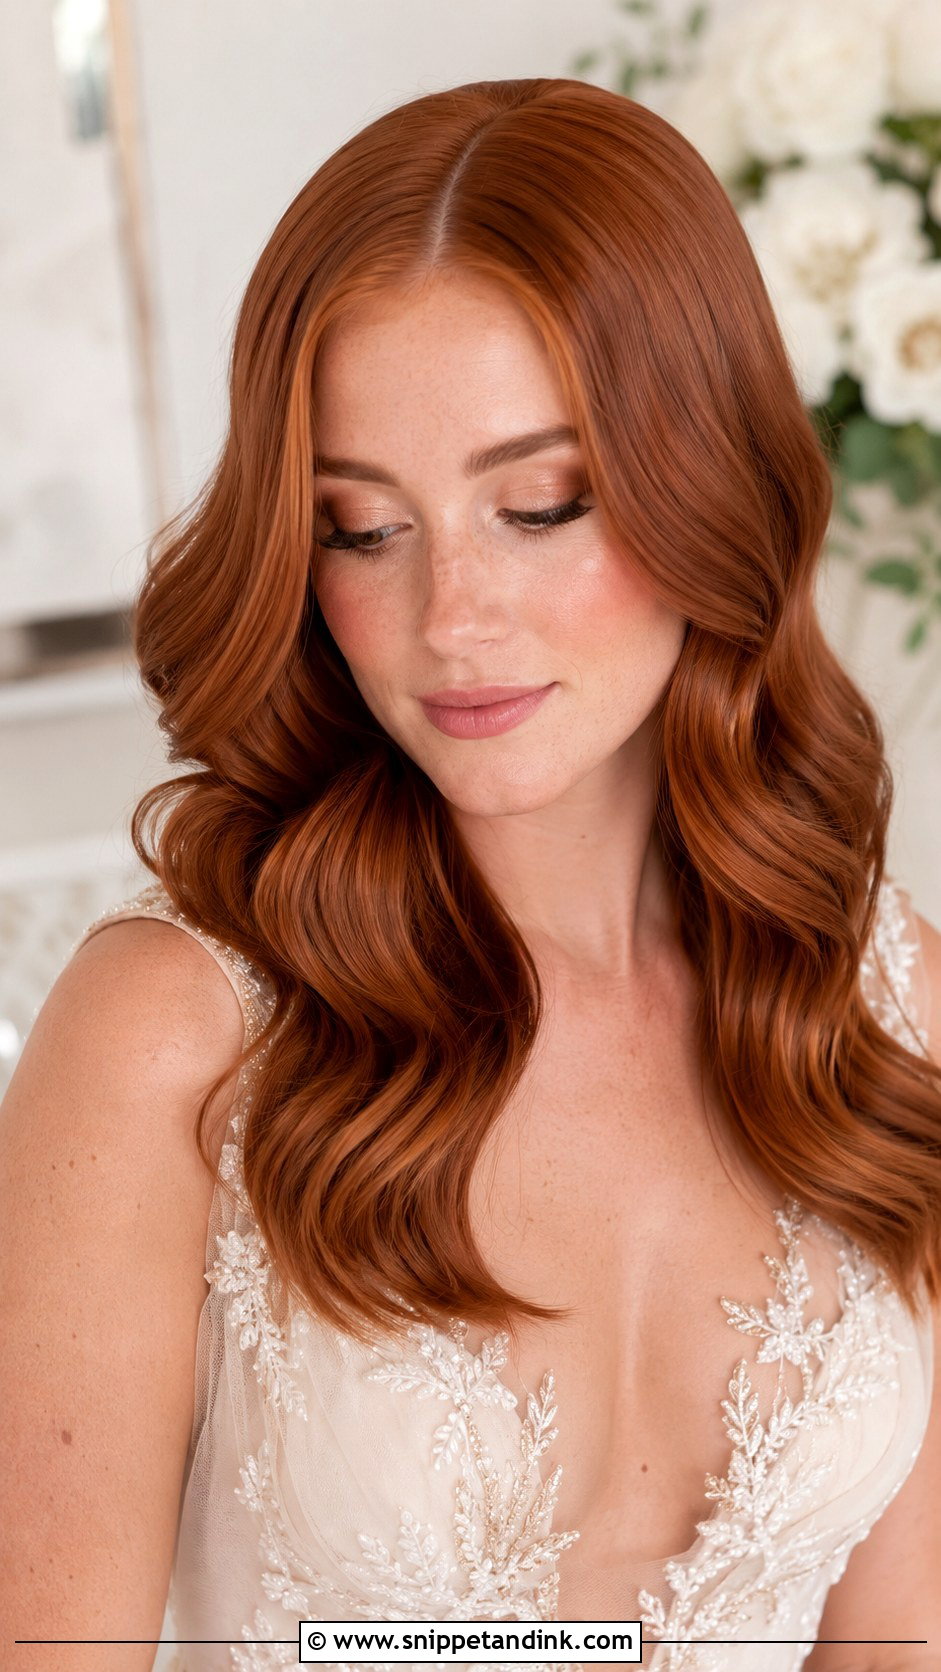
Red hair carries this style without needing a single accessory. Copper and auburn shift colour across each wave, which is the whole appeal. Red pigment fades faster than most shades, so book a gloss or toner a week or two before the wedding rather than the day before, when it can still look slightly too bright. Ivory gowns and warm peach makeup suit it. I keep the finish polished, since messy texture on red hair can look sun-damaged in photos.
18. Middle Part Glam Waves For Thick Hair
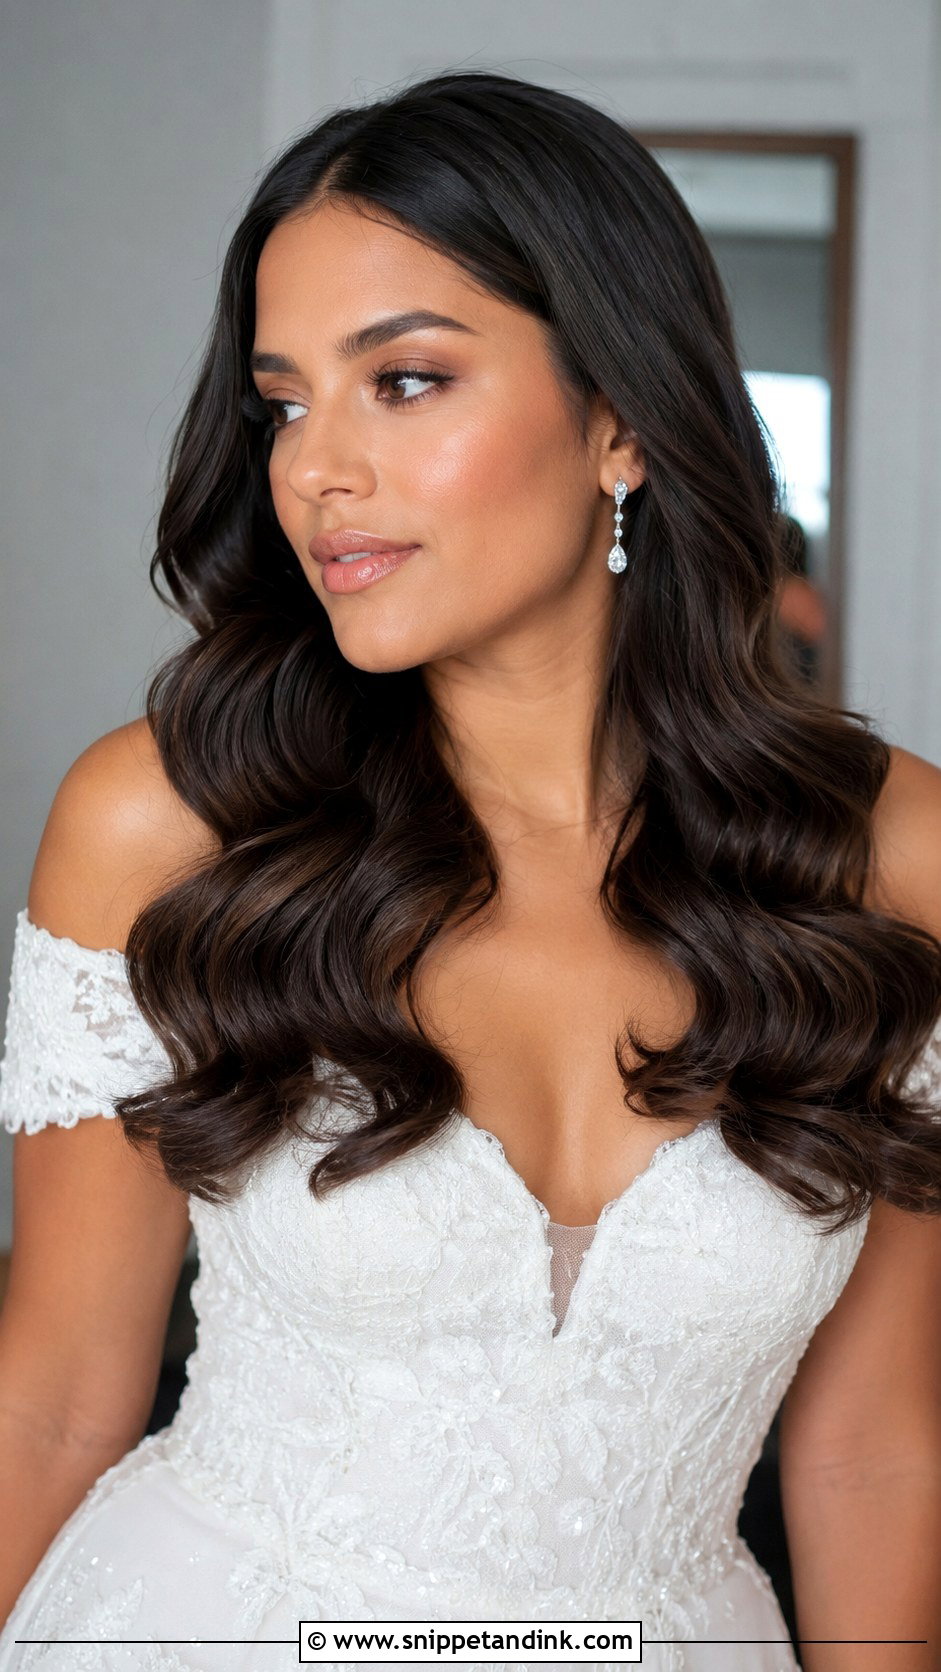
Thick hair holds glam waves well but takes longer, so I book more time for it. The blowout matters most: if the roots are still damp or frizzy, the waves expand into a triangle by evening. I section small, curl every piece with the same direction and brush out slowly. Some bulk can come out through the interior with internal layering a few weeks ahead, but I avoid thinning the ends, which makes the wave look stringy. Done patiently, thick hair gives you the fullest version of this look.
19. Middle Part Glam Waves For Fine Hair
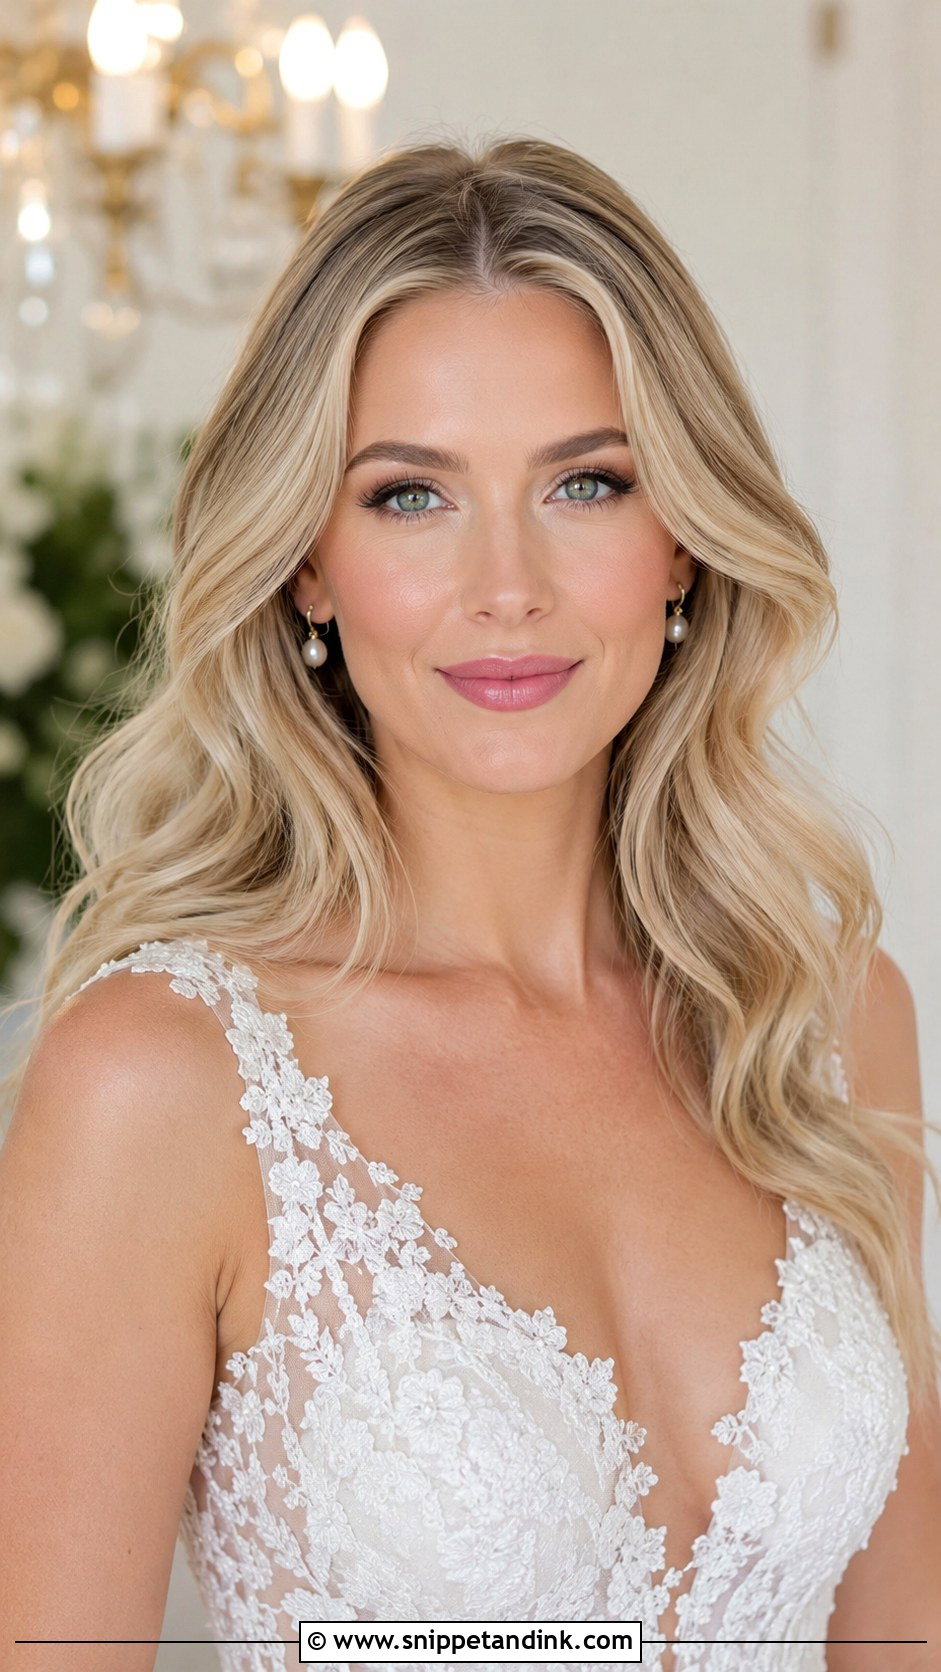
Fine hair needs support before it ever sees an iron. Volumizing mousse at the roots, a full blow-dry, and slightly smaller waves than you’d choose for thick hair, because smaller bends create more visual density. Lift the roots on either side of the part or it lies flat against the scalp and shows skin. A blunt cut, or extensions for the ends, keeps the hem from looking wispy. I’d suggest skipping very oversized waves here; they fall flat within an hour on fine strands.
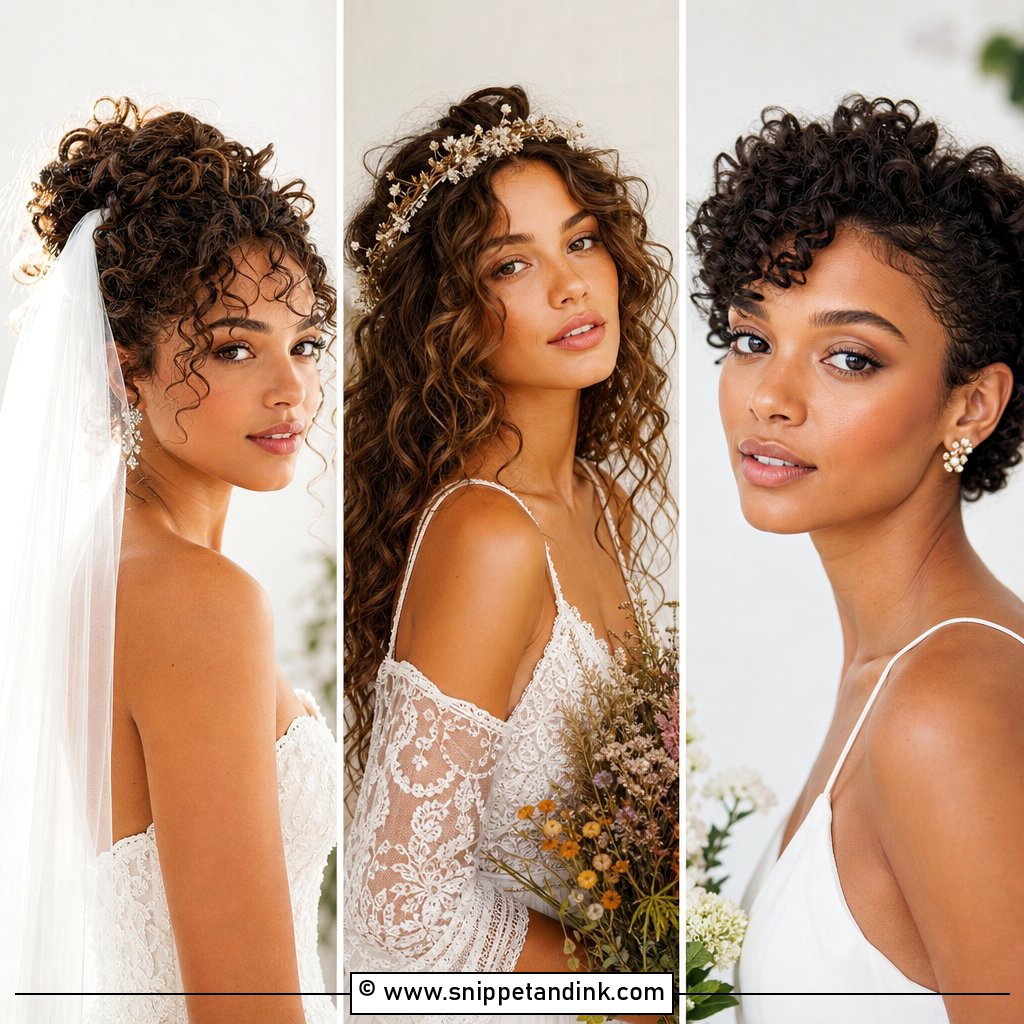
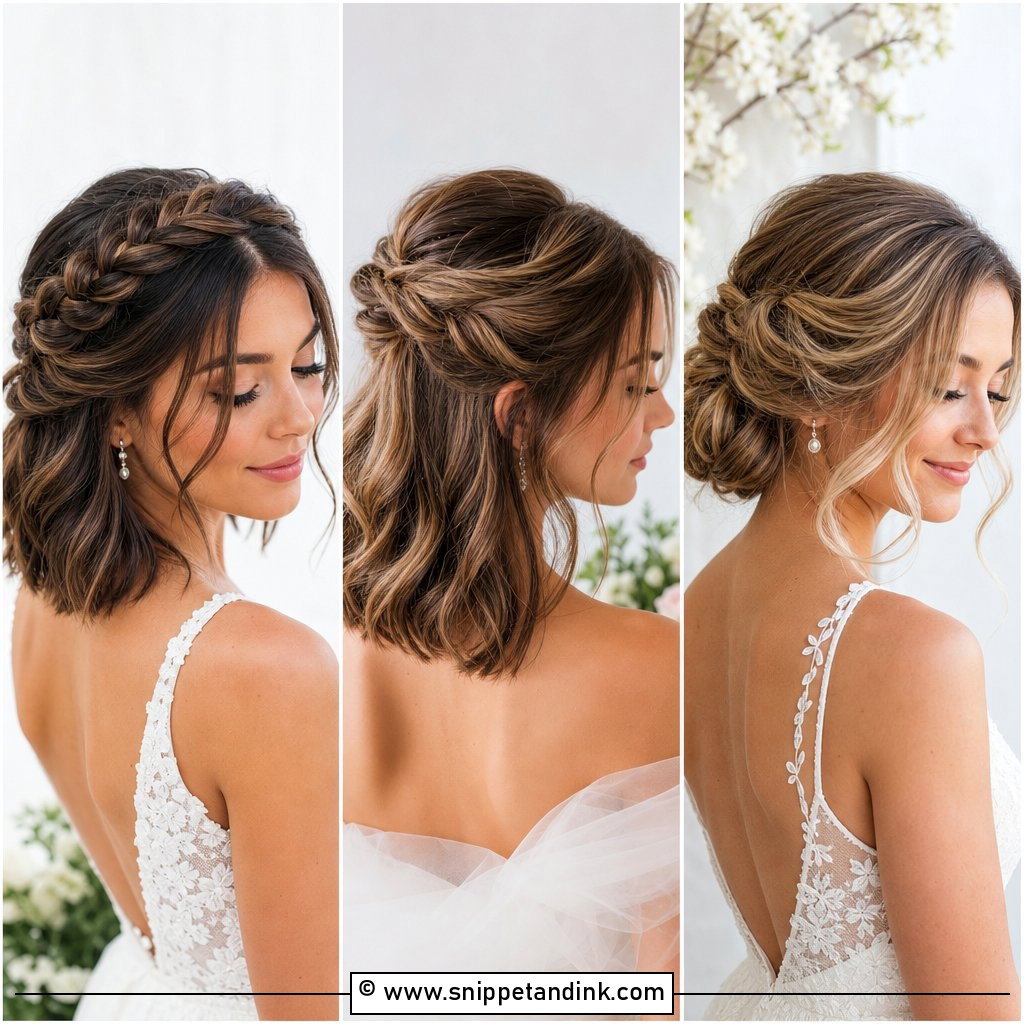
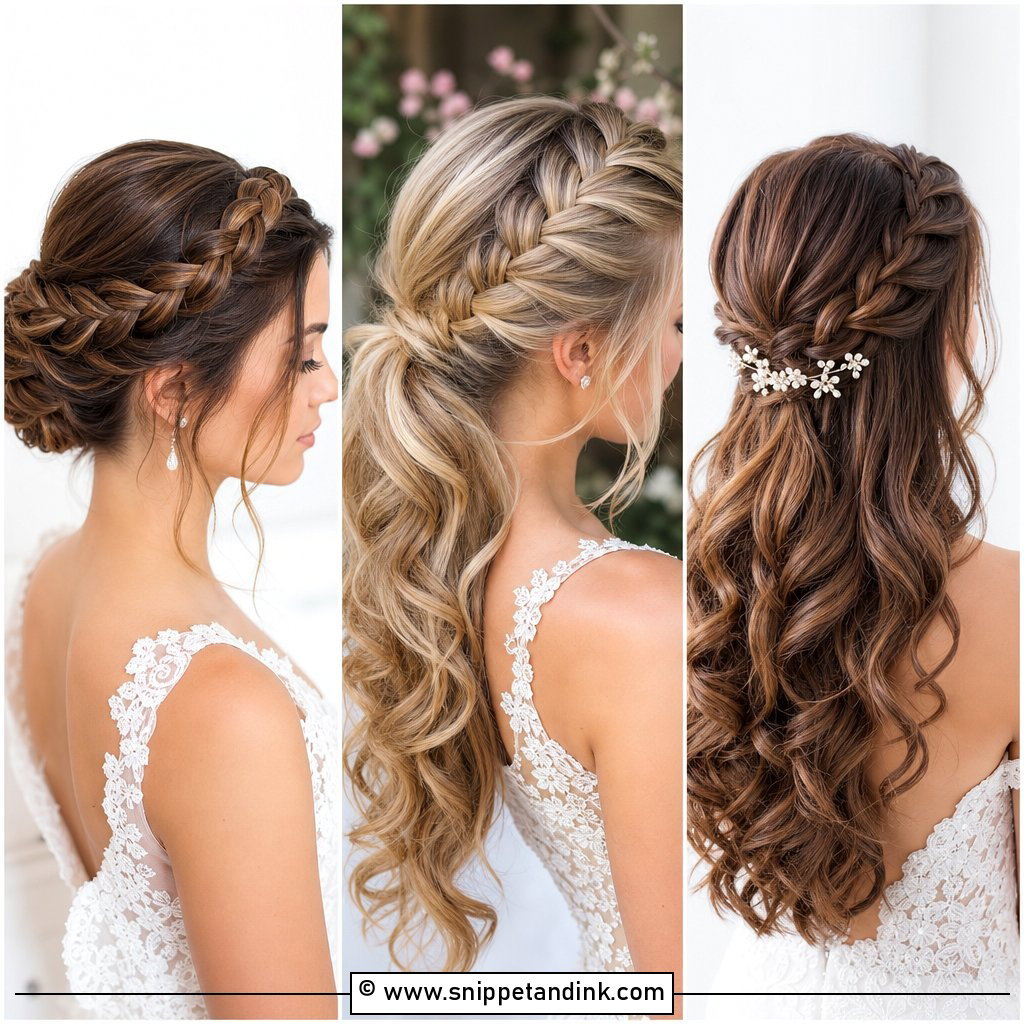
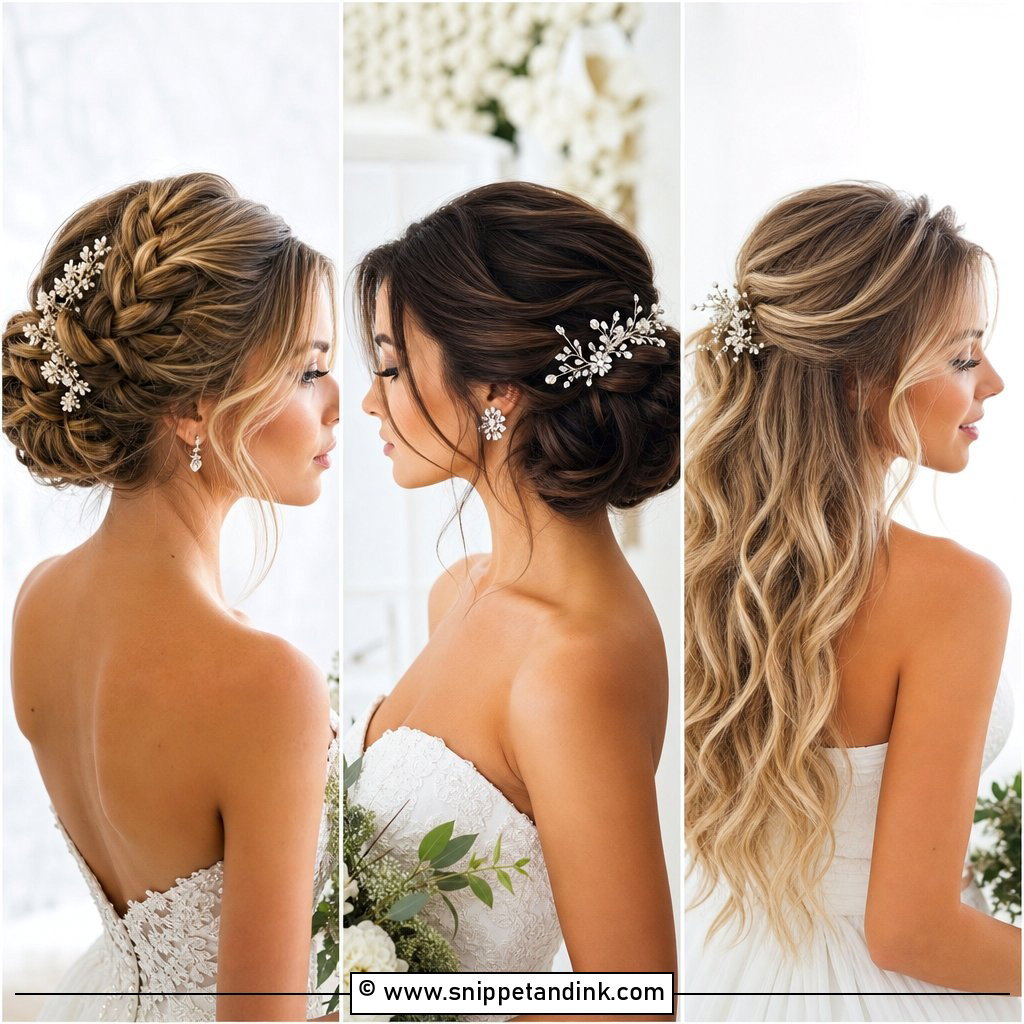
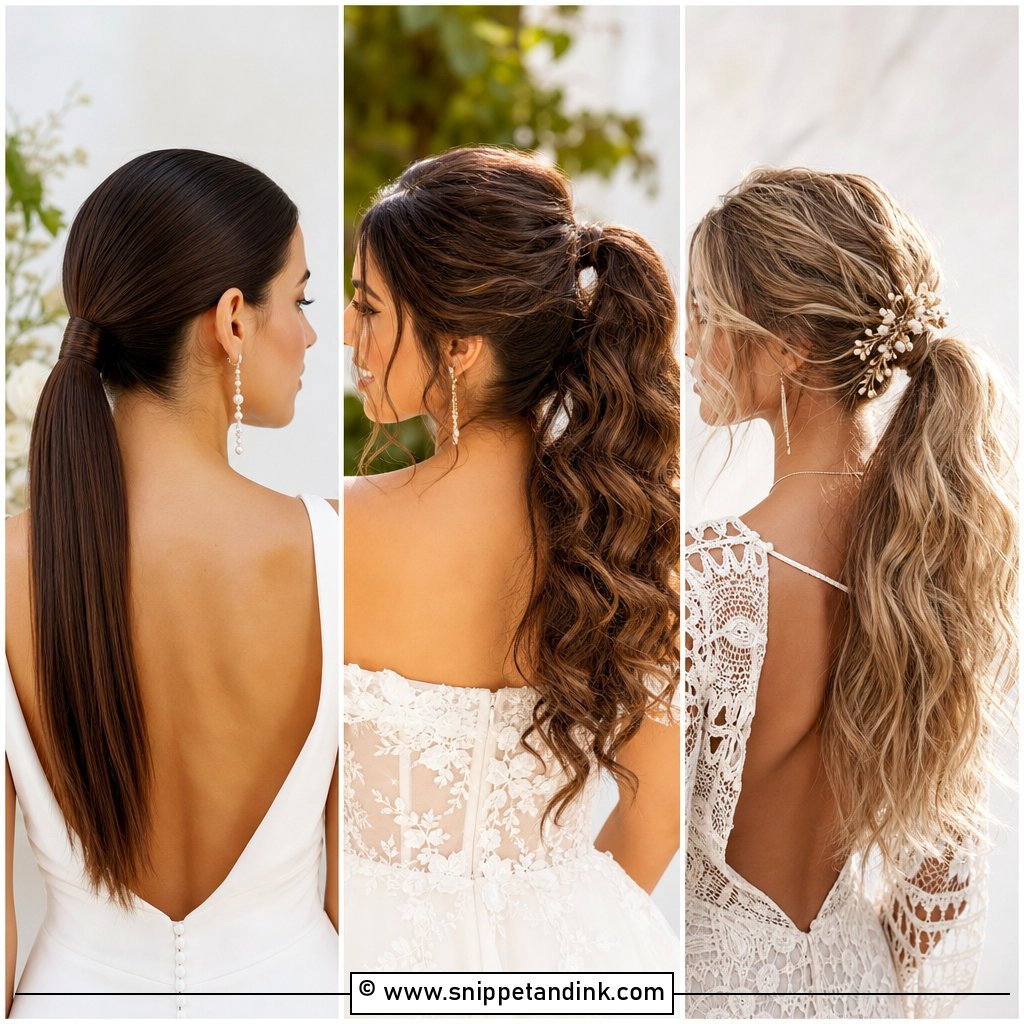
20. Middle Part Soft Glam Waves Wedding Hair
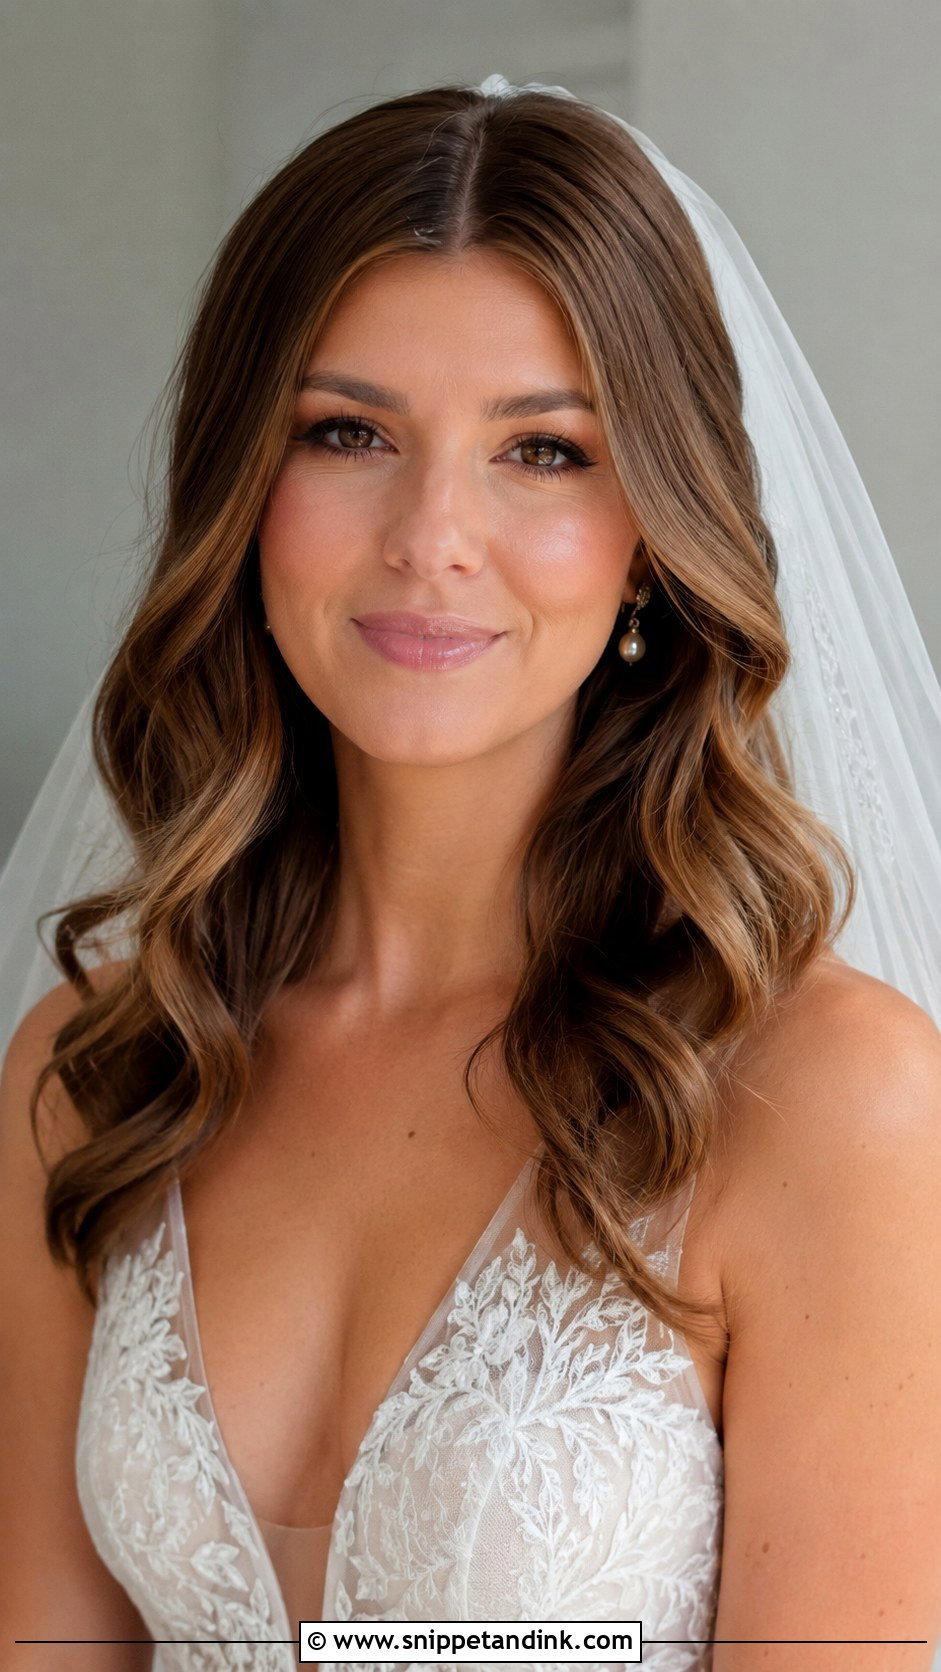
Soft glam is the looser cousin of the Hollywood set: still smooth and intentional, but brushed less so the waves stay separate. Garden ceremonies, beach weddings and modern venues suit it. I use flexible-hold spray and a little texturising spray rather than strong hairspray, so the waves move when you walk. It’s more forgiving in humidity than a sculpted wave, because a slightly relaxed curl looks deliberate anyway.
Why Waves Drop Before the First Dance, and What I Do About It
Curls fall for three reasons: weight, moisture and heat. Long hair pulls its own wave out. Humid air swells the hair strand and lets the curl relax. Body heat, hugging and a veil rubbing at the back loosen things further. None of this means the stylist got it wrong, but it does explain why a wave that looks a little too tight in the morning is usually the right wave.
I set the hair with a heat protectant that has some hold, curl in small sections, and pin each curl flat against the head until it is completely cool. That cooling step is where the curl locks in. If the wedding is outdoors in summer, I’ll often curl tighter than the reference photo on purpose, and tell the bride it will relax into the right shape by the portraits.
A small rescue kit for your maid of honour
Hand her a travel hairspray, a few bobby pins in your hair colour, a wide-tooth comb and some blotting papers. If one wave drops badly, she can wrap it around two fingers, pin the coil flat for ten minutes during dinner, then release it. Brushing a dropped wave only makes it frizz, so leave the brush at home.
Is Your Hair Ready to Hold a Glam Wave All Day?
Middle part waves balance structure and softness, and almost every variation above comes down to the same three things: proper prep, curls cooled before brushing, and an anchor for any accessory. Your length, texture, colour and dress decide which version suits you. Book a trial, since this look depends on getting product and setting time right for your specific hair. Bring photos from the front, side and back so your stylist sees the whole shape, and take your own photos at the end of the trial day to see how it held.
You'll Like These Ideas:


Leave a Reply