
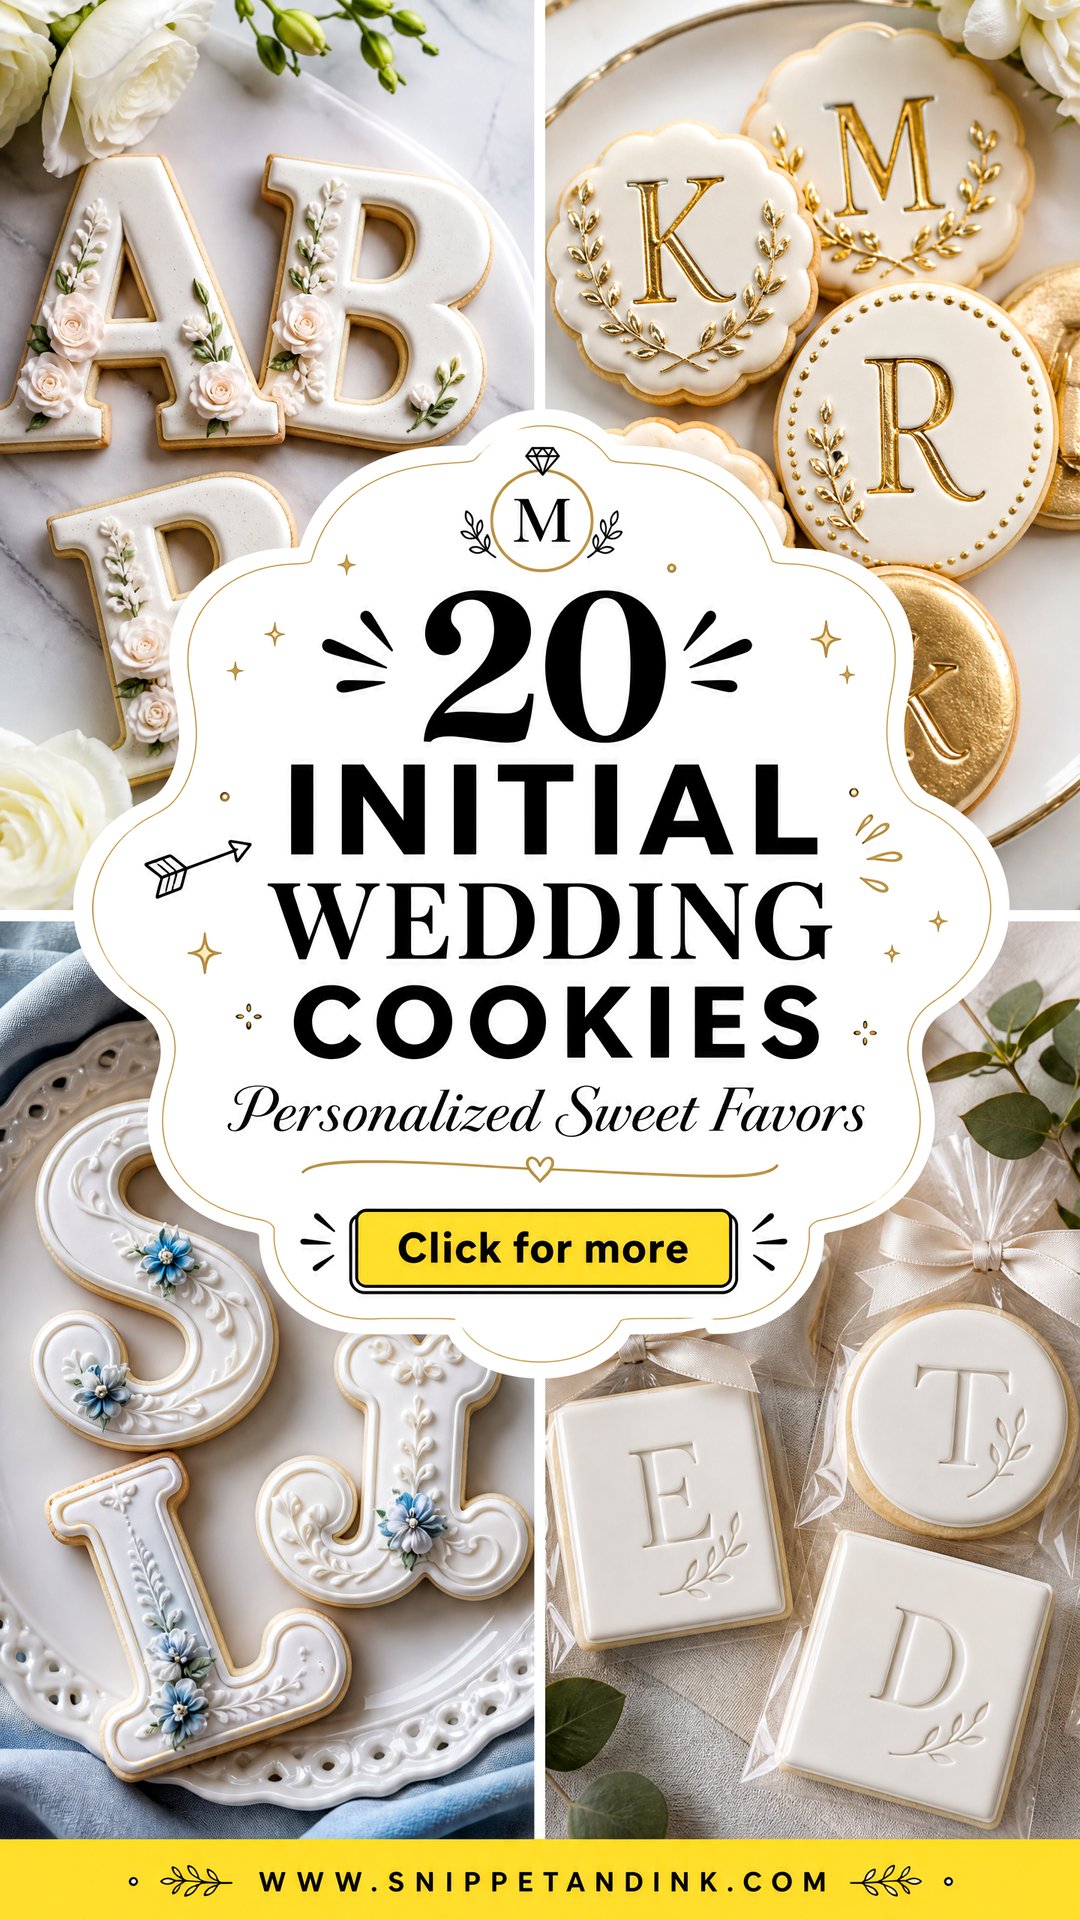
A cookie with your initials on it is one of the few favors guests actually eat, and it can double as an escort card, a dessert table accent, a shower treat or one of your welcome bag sweets. In my kitchen these start with a dough that holds its shape in the oven, usually a no-spread sugar cookie or shortbread, because a letter that puffs at the edges never looks crisp again however neat the icing is. On top go royal icing, fondant, edible paint or a pressed stamp. Below are 20 designs I make or would happily quote for, with notes on how each one behaves once it leaves the bakery.
What Your Baker Needs for a Monogram Order
When a couple asks me to quote for initial cookies, I need a few things before I can give a realistic price and date. Having these ready saves a lot of back and forth.
- Exact count, plus spares: I bake around ten percent extra because a few always crack or smudge.
- The letters and font: send the monogram file from your stationer if you have one. I can match it with a stencil.
- Colour samples: a swatch, ribbon or invitation card is far better than a colour name. My blush might not be yours.
- Packaging: individual bags, boxes or loose on a tray. Packaging changes the time and the price.
- Allergies: nut-free, gluten-free or egg-free versions need to be asked for upfront. Royal icing is traditionally made with egg white.
Decorated cookie makers book up in wedding season, so contact your baker well ahead, often a couple of months. Lead times vary a lot by baker and order size.
1. Monogram Wedding Cookies
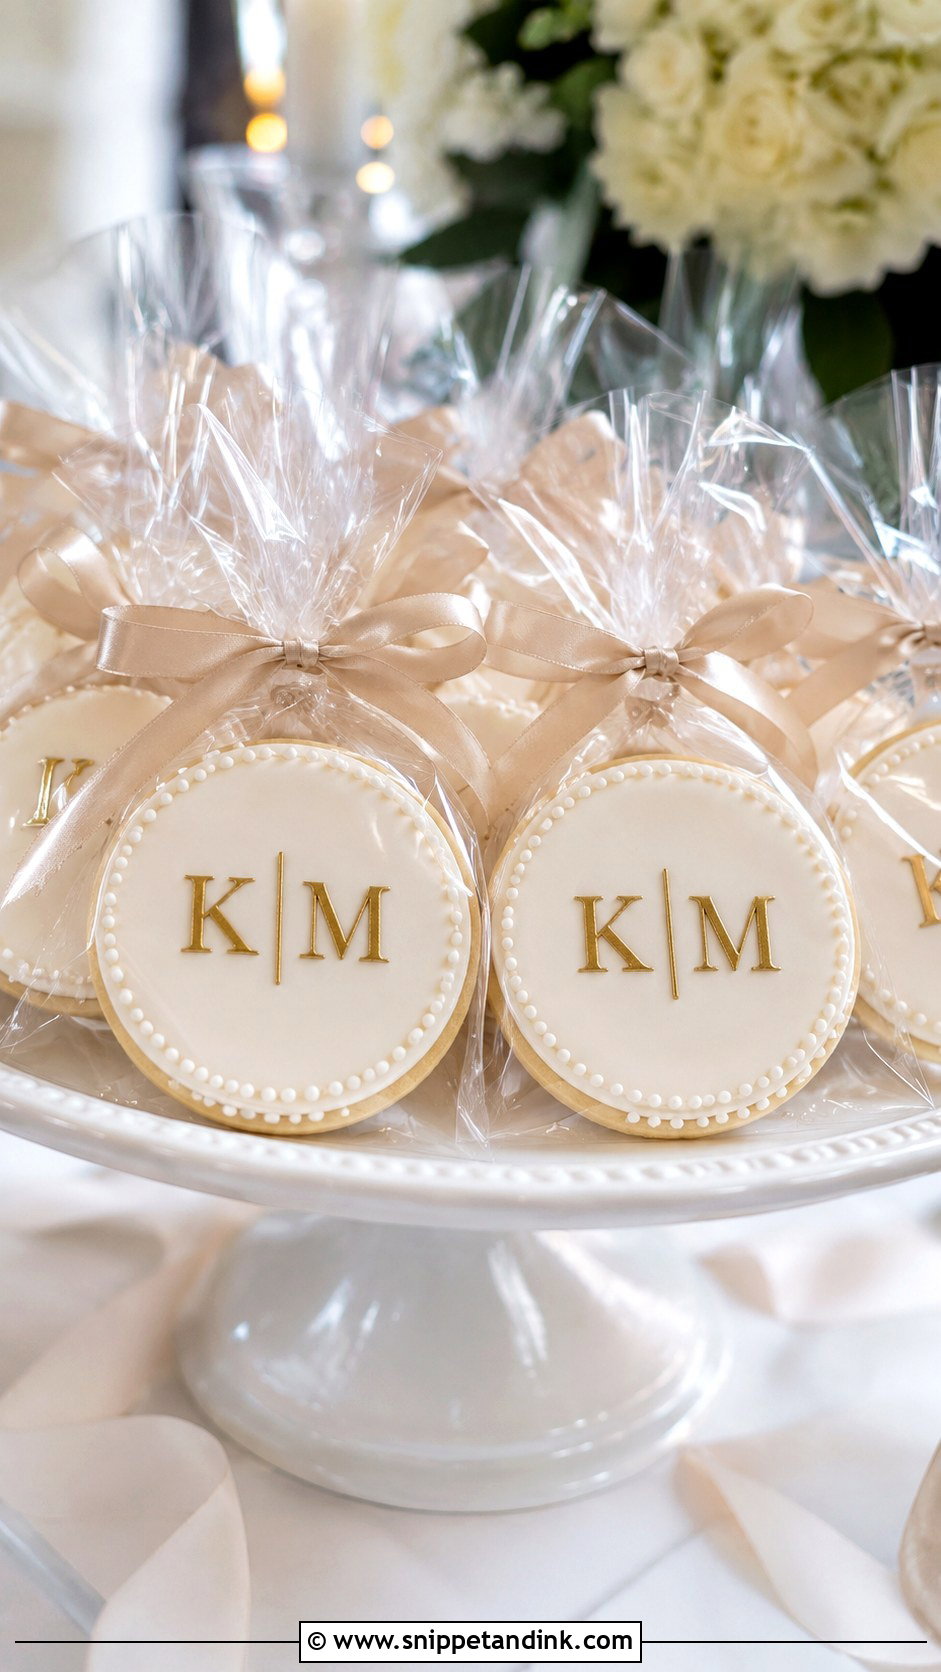
A monogram is the classic, and the cookie shape matters more than people expect. Round, square and scalloped cookies give the letters a clear frame; anything with a narrow waist squeezes the lettering. I usually suggest one large shared initial, or a three-letter layout with the surname letter centred and slightly bigger. Ivory icing reads traditional, while blush, sage or dusty blue can pick up your palette. A fine border finishes it, and the flat surface slips easily into a clear bag with ribbon.
2. Initial Sugar Cookies
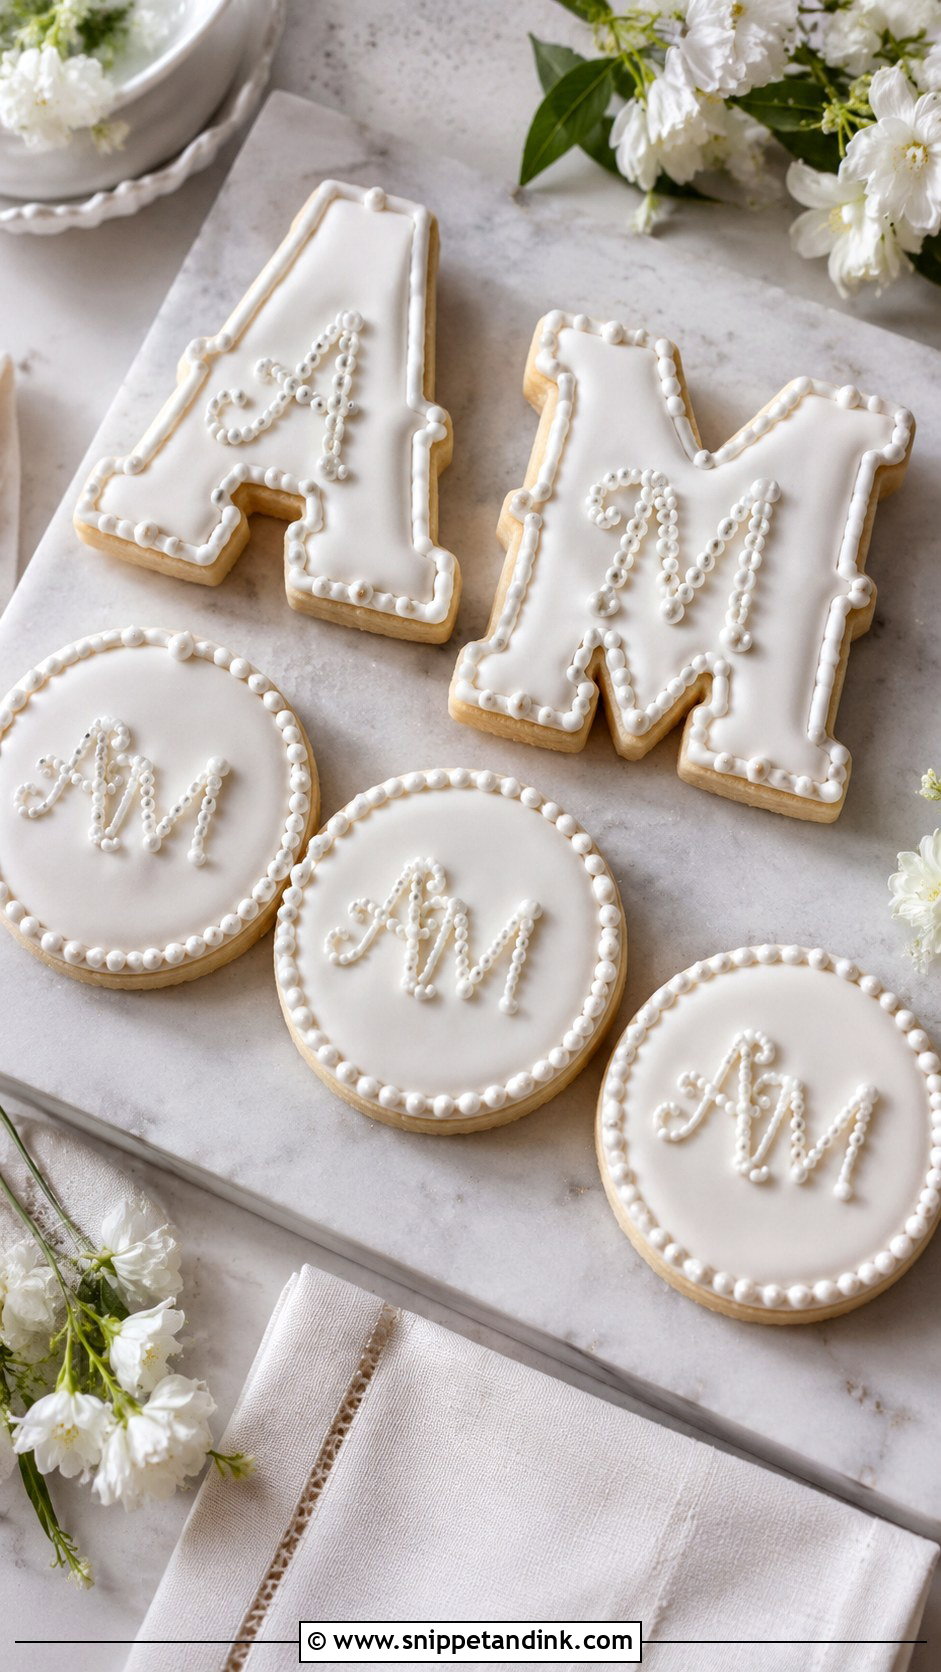
There are two ways to do this: cut the cookie itself in the shape of the letter, or pipe the letter onto a plain iced round. Letter-shaped cookies are more playful but fragile, since thin legs on an A or a K snap in transit. For large weddings I’d usually pipe onto a round. White icing with a raised initial in pearl, gold or soft grey keeps it refined, and it works as a place setting because the guest sees the detail straight away.
3. Gold Initial Wedding Cookies
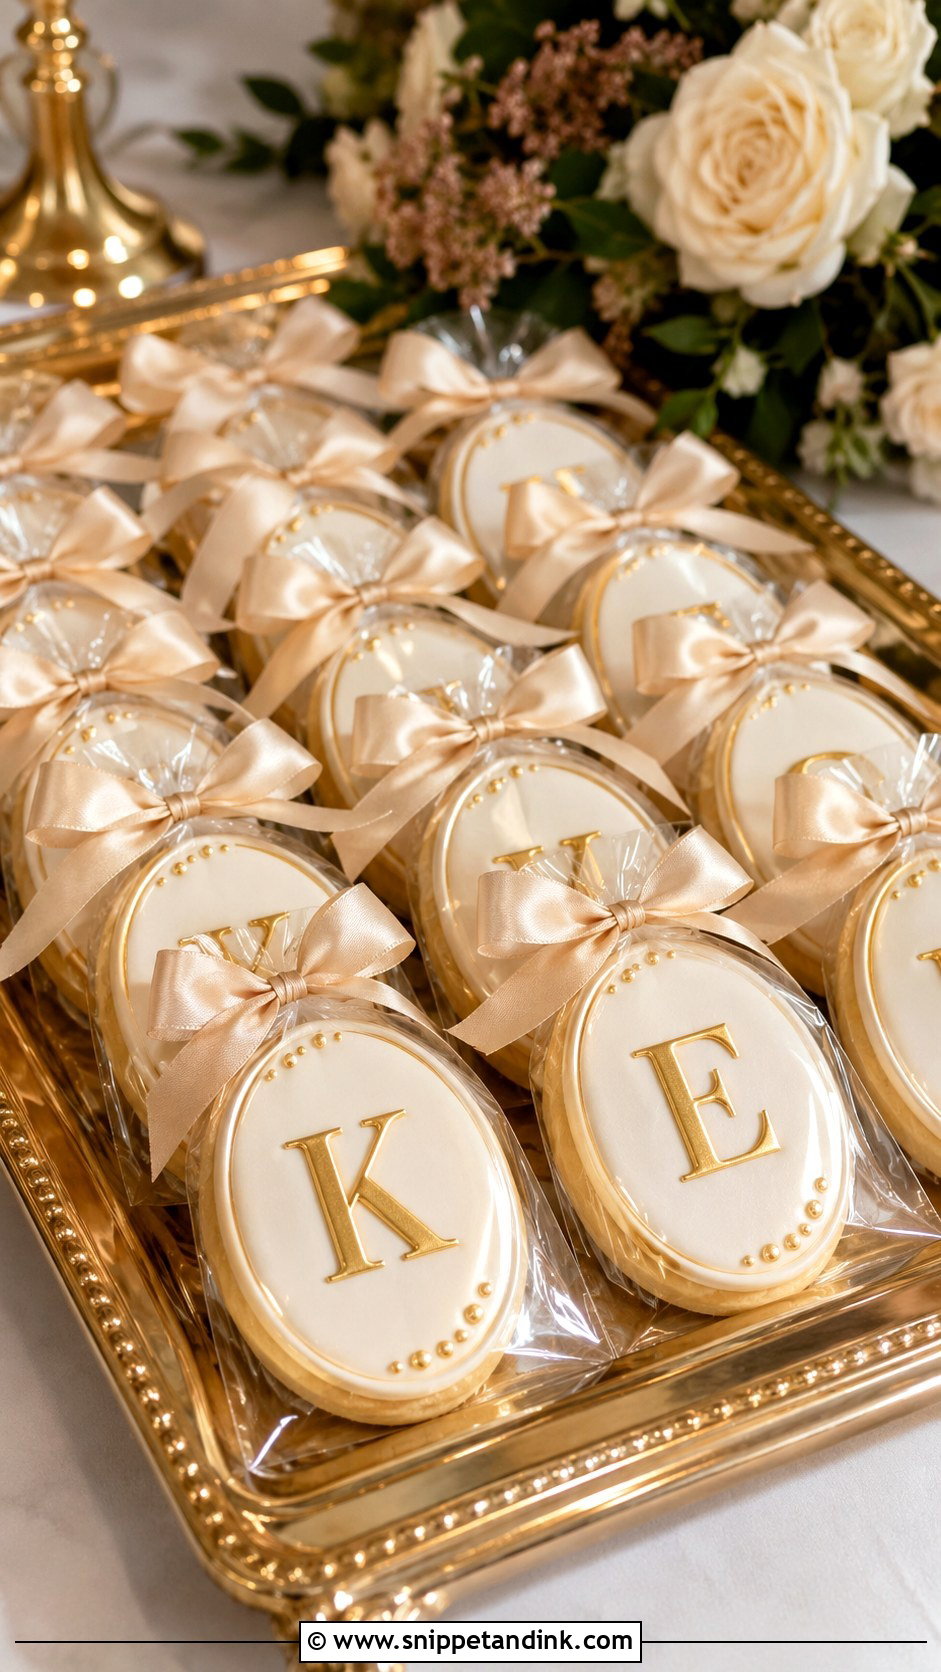
Gold works best as an accent. I paint it over a piped initial once the icing has fully dried, or I use it on a thin border or a few gold dragées. Check that the gold is labelled edible, not just non-toxic; some craft lustres are meant for decoration only and shouldn’t go on a favor guests will eat. Metallics look different in daylight, flash and candlelight, so ask your baker for a sample cookie and photograph it in your venue’s light if you can. It pairs well with black, cream, blush, emerald or navy.
4. White Initial Wedding Cookies
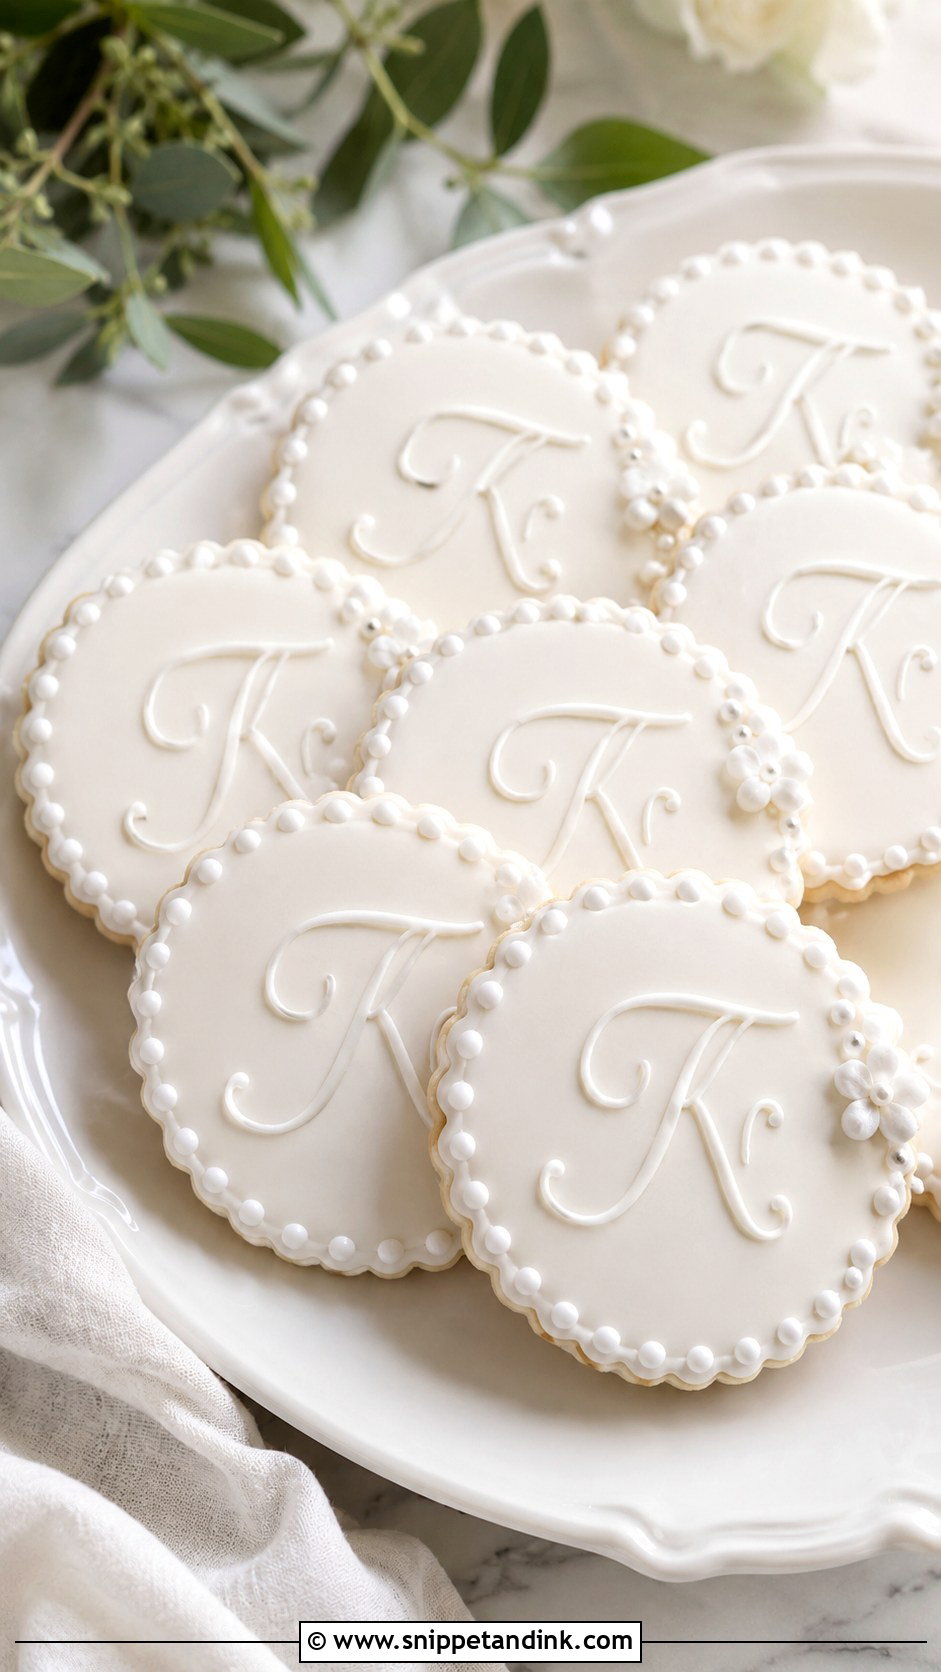
An all-white cookie lives or dies on texture. Flat white icing with a flat white letter looks like a blank card, so I raise the letter with a thicker piping consistency or add pearl piping, lace-style detail or a scalloped edge. A small cluster of edible pearls breaks it up without adding colour. These sit well in clear-lid favor boxes and match almost any other dessert on the table.
5. Floral Initial Wedding Cookies
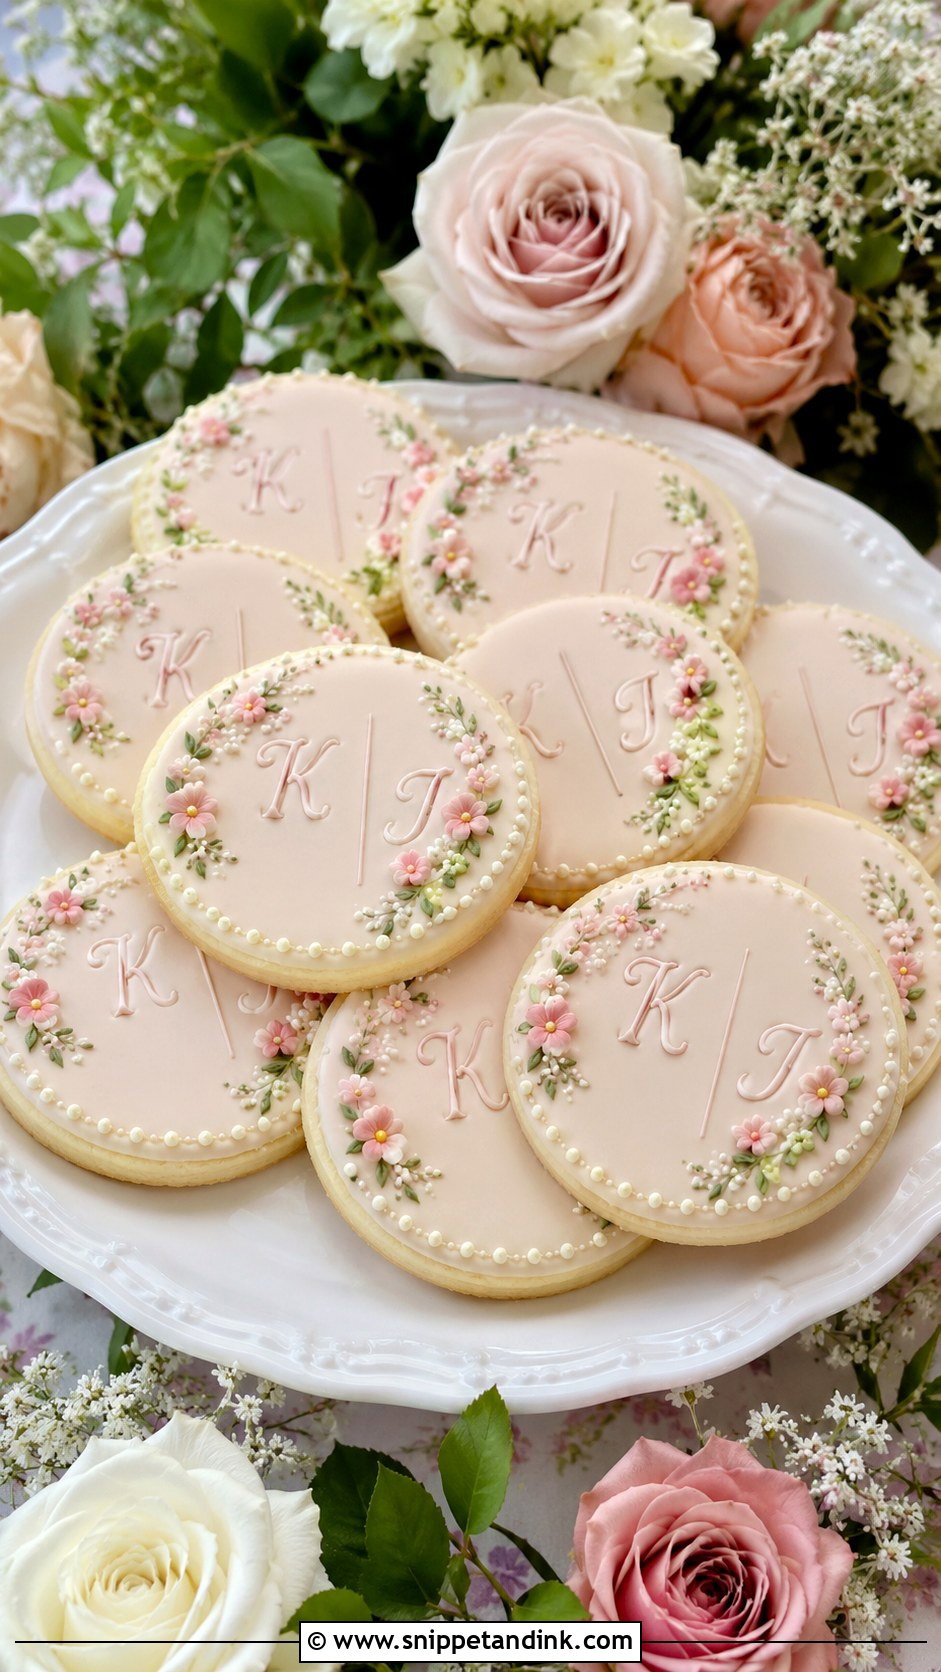
The initial sits in the centre and tiny piped blossoms frame it, or the flowers climb along the letter itself. The trap is letting the flowers take over: I keep each bloom smaller than the letter’s stroke width so the monogram still reads from across a table. Blush, lavender, sage and butter yellow all work. I like a vanilla cookie with a hint of lemon in the icing for spring and summer weddings. They also make sweet favors for bridal showers.
6. Heart Initial Wedding Cookies
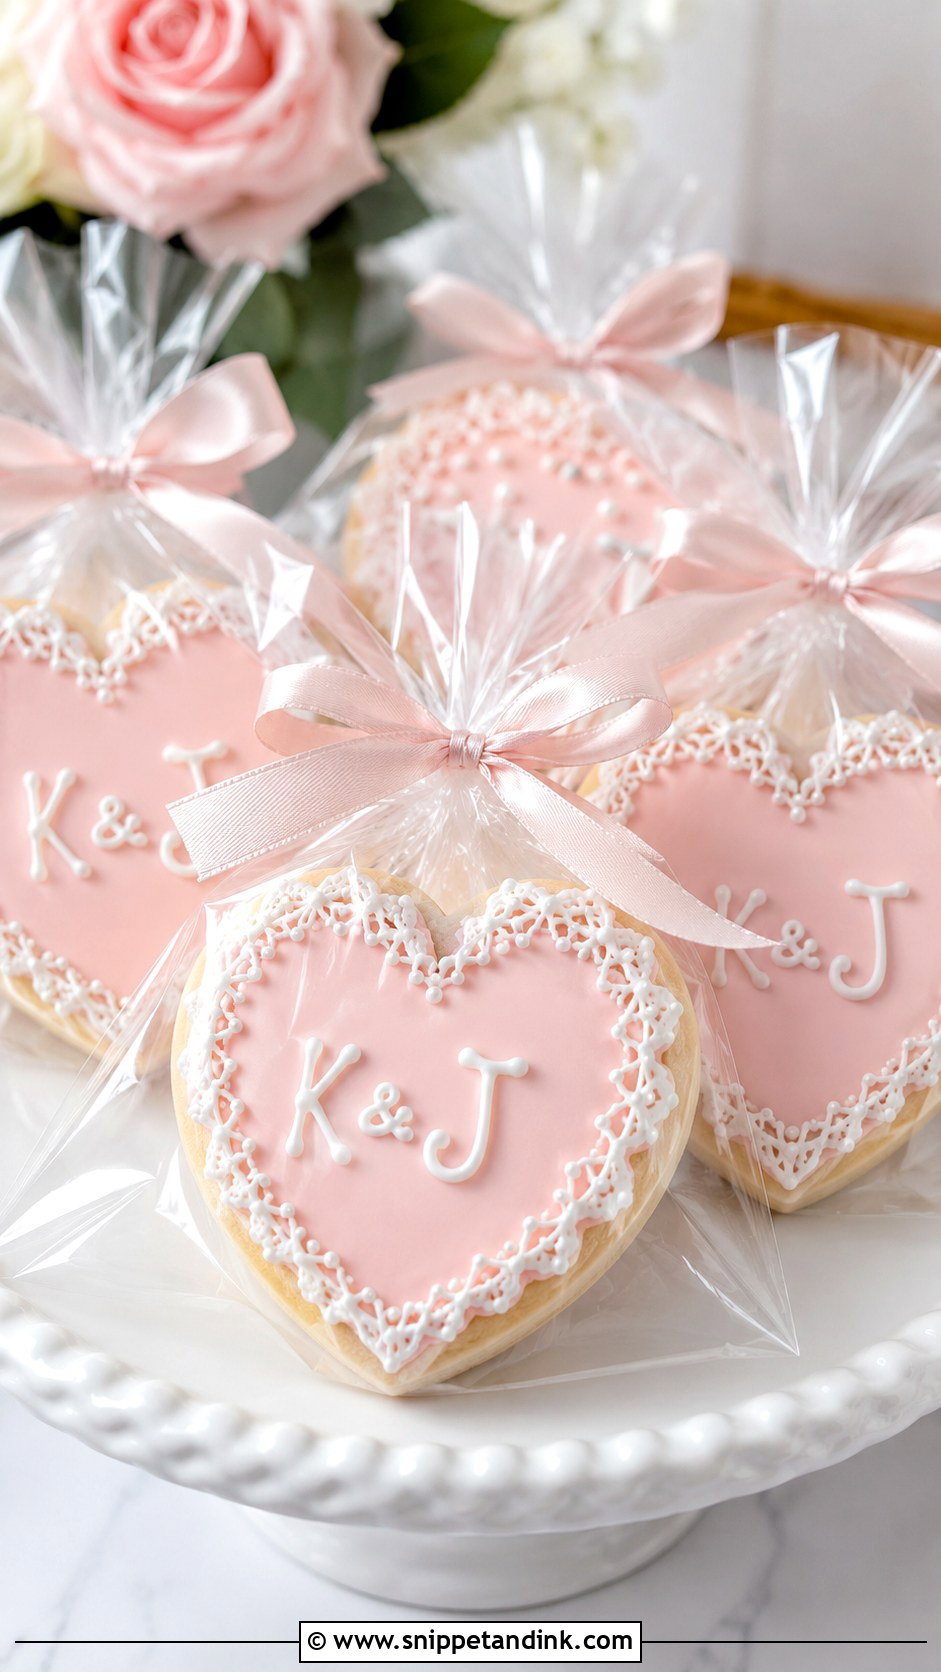
A heart-shaped sugar cookie carries the sentiment for you, so the lettering can stay simple: two initials side by side, stacked, or one central letter with the date beneath. Heart cutters have a deep notch at the top that is easy to overflood, so I outline first and let that edge crust before filling. Soft red is lovely but stains if the icing touches white; I keep a narrow gap between colours until each has dried.
7. Initial Wedding Favor Cookies
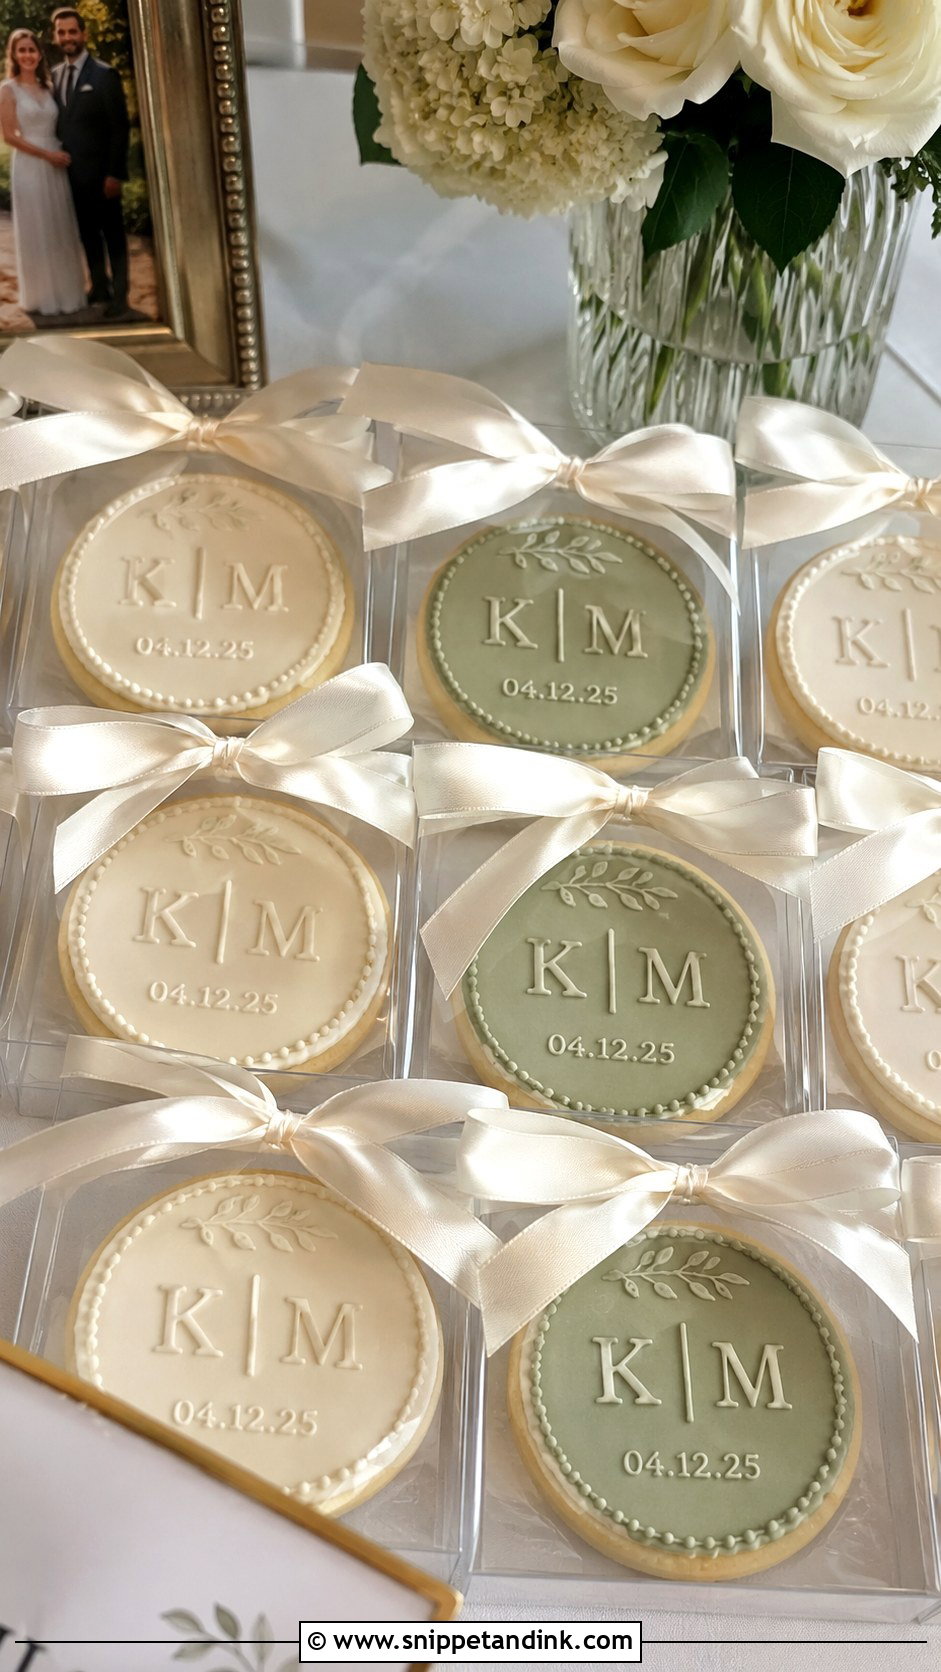
Favor cookies need to survive bags, boxes and car journeys. I recommend a medium round or plaque shape that fits a standard sleeve, decorations kept flat, and nothing tall like a sugar flower that could snap off. Match the icing colours to your stationery so the favor feels part of the design. If guests are taking them home, freshness matters as much as looks: ask your baker how long the cookies dry before bagging and whether the bags are heat-sealed.
8. Royal Icing Initial Cookies
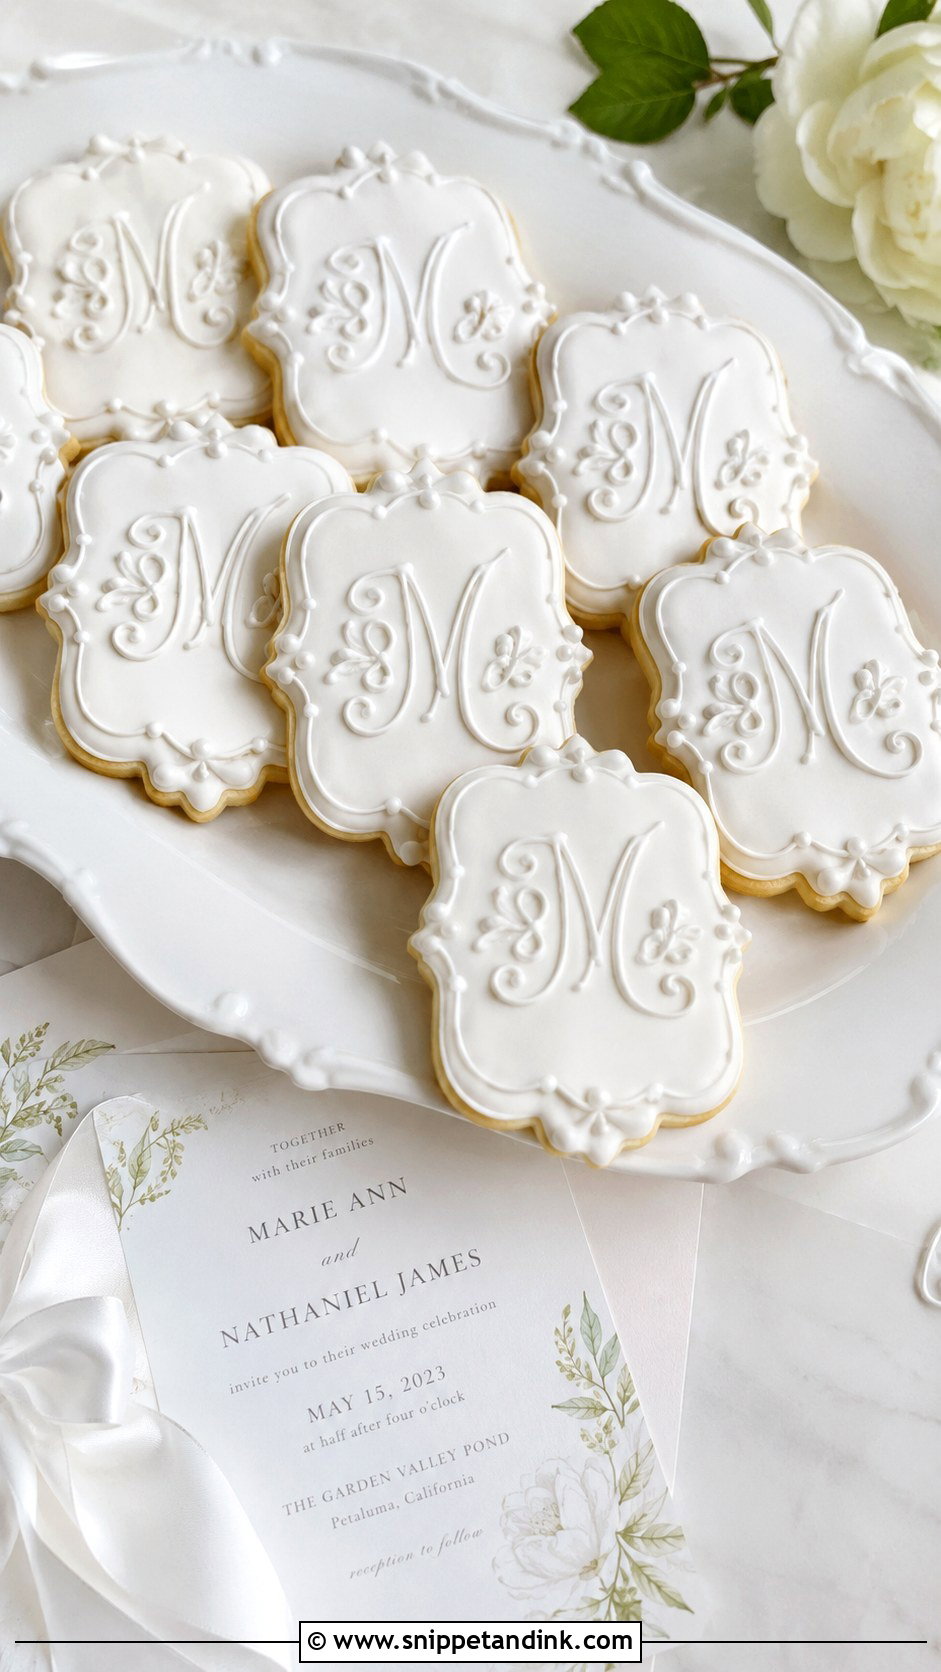
Royal icing gives the sharpest finish of any cookie decoration. I flood the base first and let it dry overnight before piping the letters, which stops the colours bleeding into each other and keeps the letter edges crisp. Layering flood icing and raised piping gives the letter depth. It’s also the most consistent medium when you need hundreds of identical favors. The trade-off is time; a detailed royal icing cookie takes more hours than most couples expect, which is reflected in the price.
9. Stamped Initial Wedding Cookies
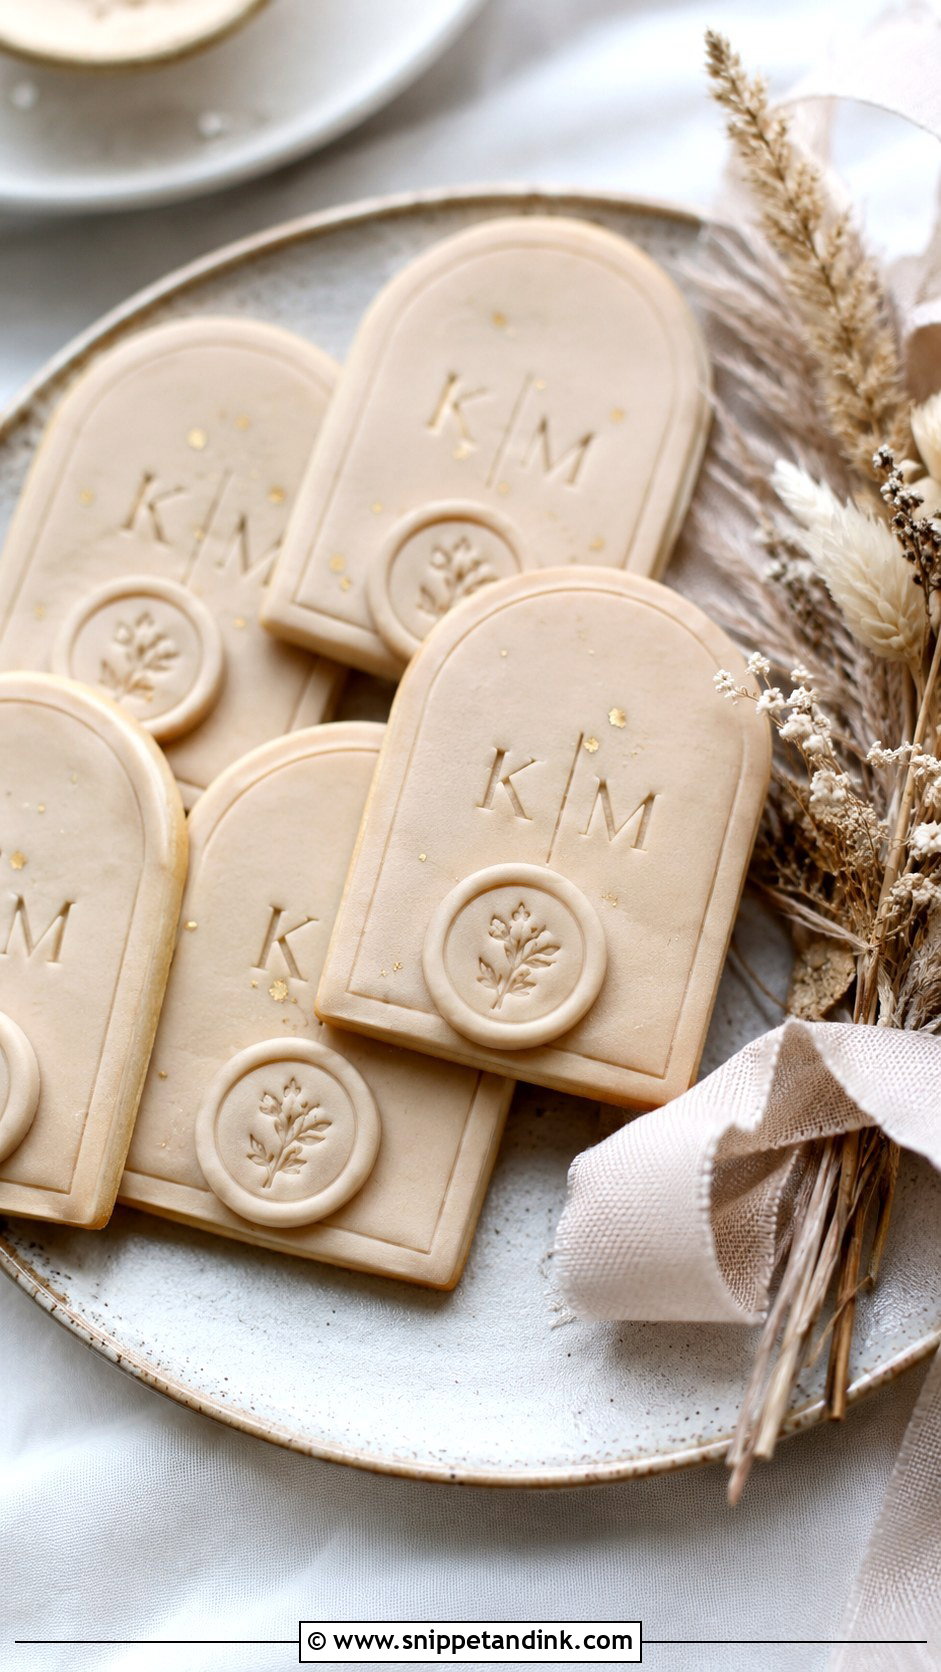
Stamping has a quiet, handmade look. The initial can be pressed into fondant, embossed into dough before baking, or stamped onto dry icing with edible ink. Embossing into raw dough gives softer edges after baking, so I use a simple sans-serif or a bold script; hairline fonts blur. Ivory with a pressed monogram or beige fondant with a wax-seal effect suits a minimalist wedding and stacks well in favor boxes.
10. Round Initial Wedding Cookies
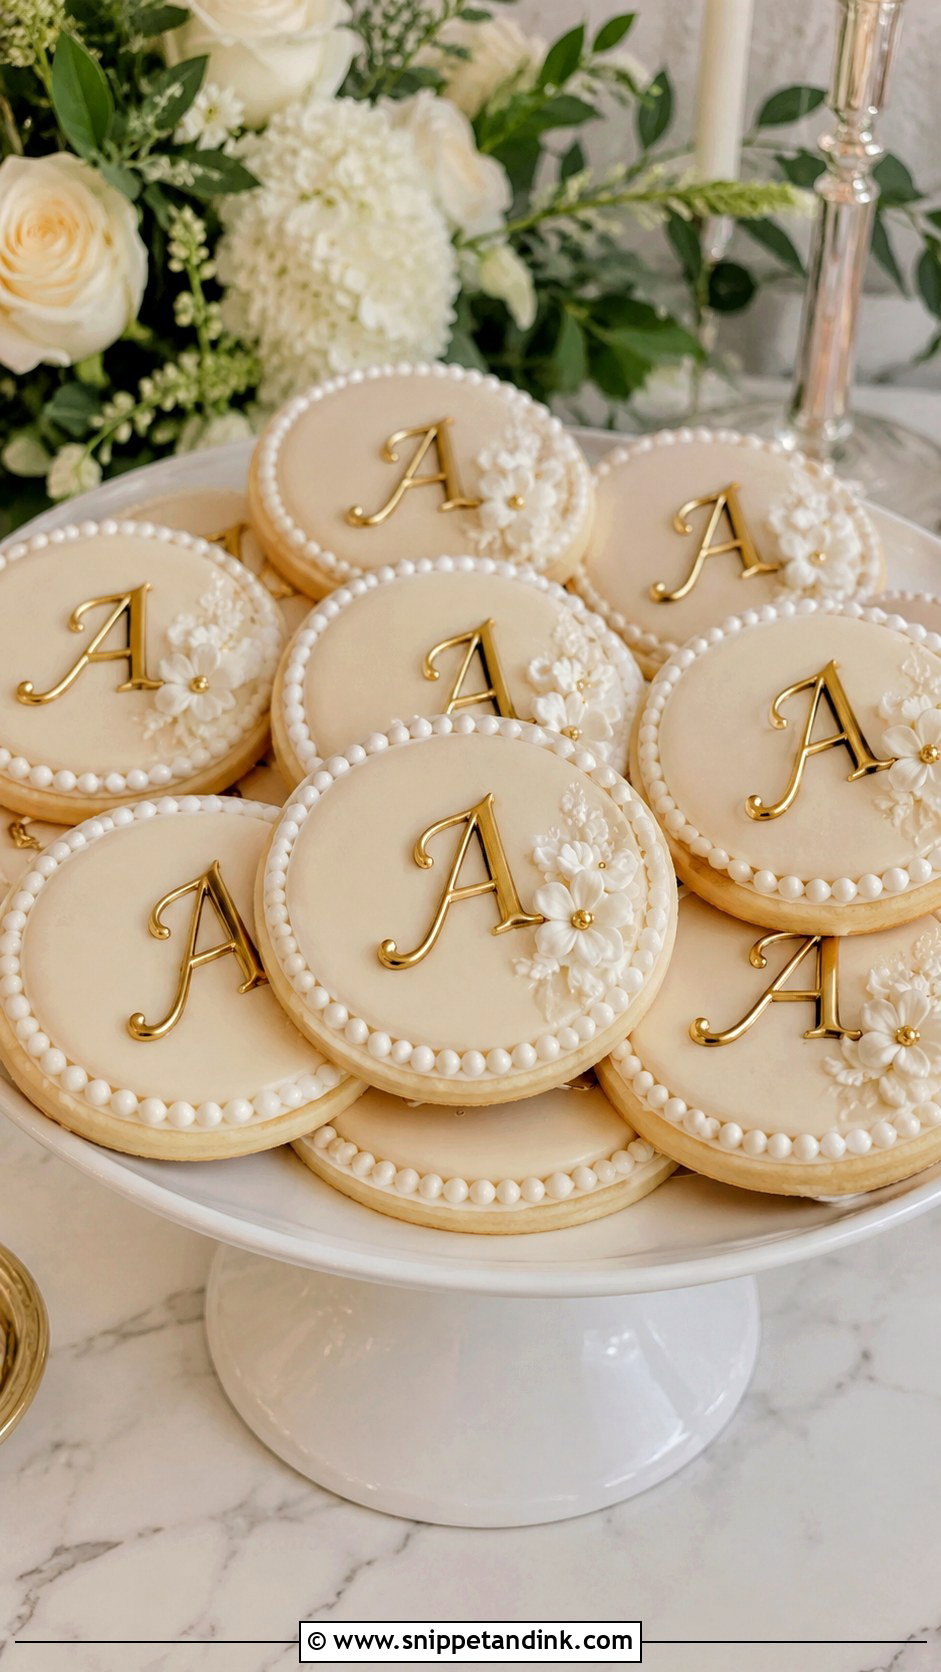
Round cookies are the easiest to bake evenly, so the batch looks consistent. Formal versions get a thin piped border, pearl dots and gold initials; relaxed ones can use pastel icing or pressed edible flowers. They slip into standard favor bags and boxes and line up neatly on trays. If you’re unsure which shape to choose, this is the one I’d default to.
11. Square Initial Wedding Cookies
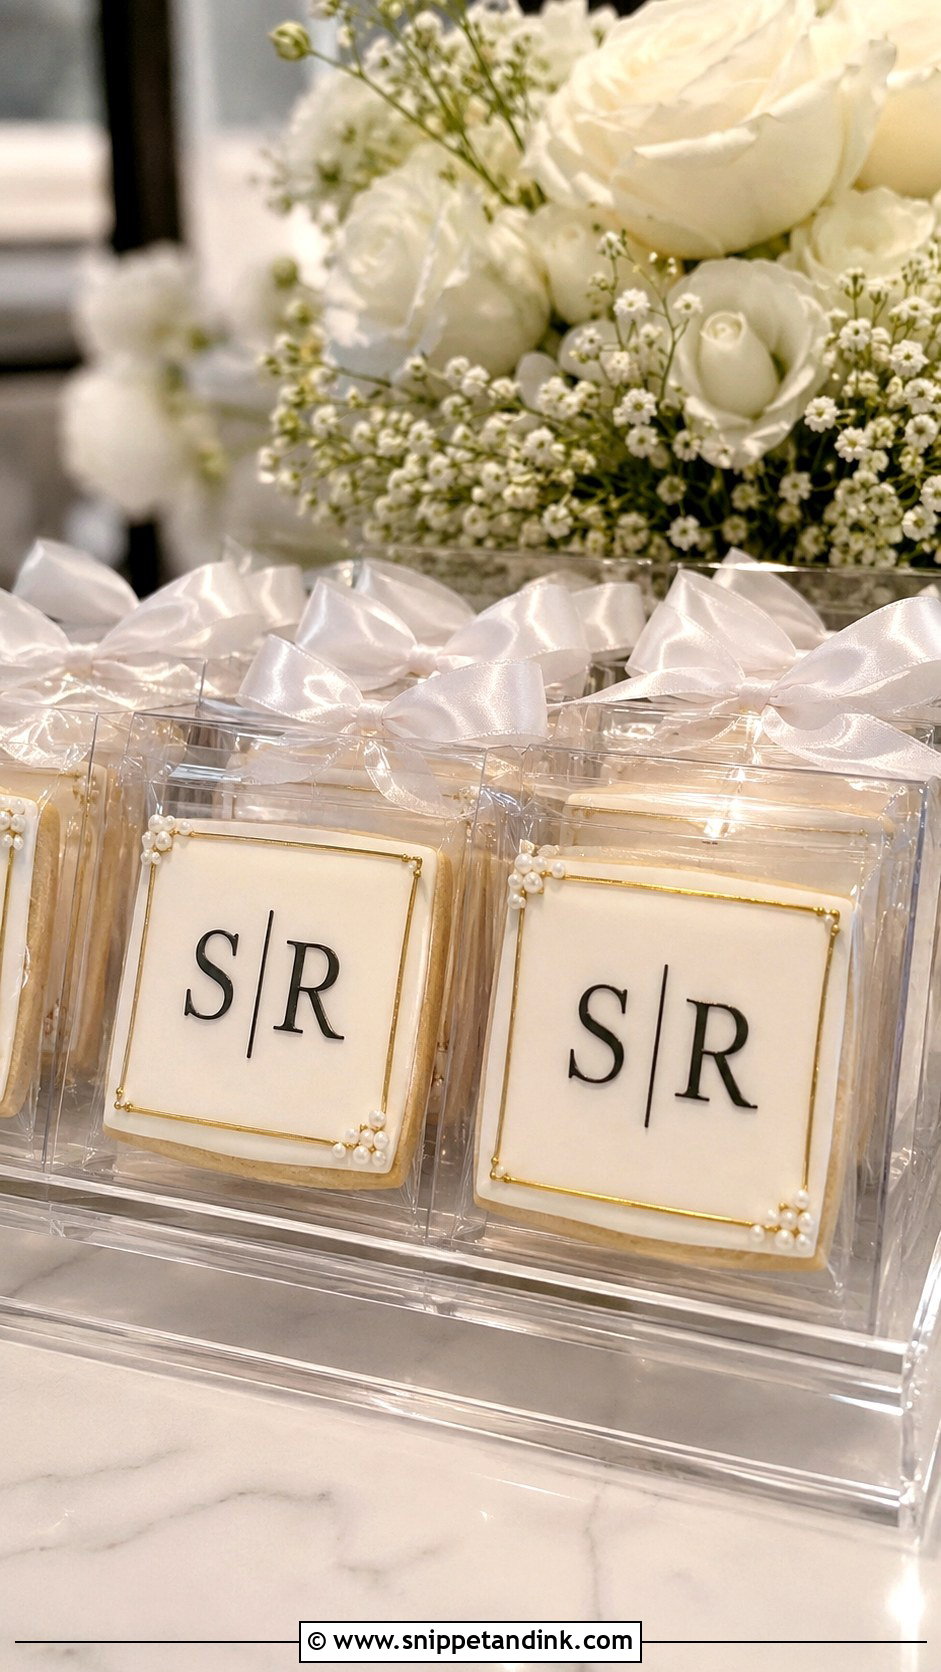
Square cookies have crisp edges that suit contemporary weddings. They can hold a single large initial, a two-letter monogram or a small logo taken from your invitation. Black letters on white feel sleek; gold on ivory feels formal. Corners are the weak point: they bake thinner and brown first, so I rotate trays and pull them a little early. In clear boxes they sit flat and show the whole design, which suits clean, editorial styling.
12. Arch Initial Wedding Cookies
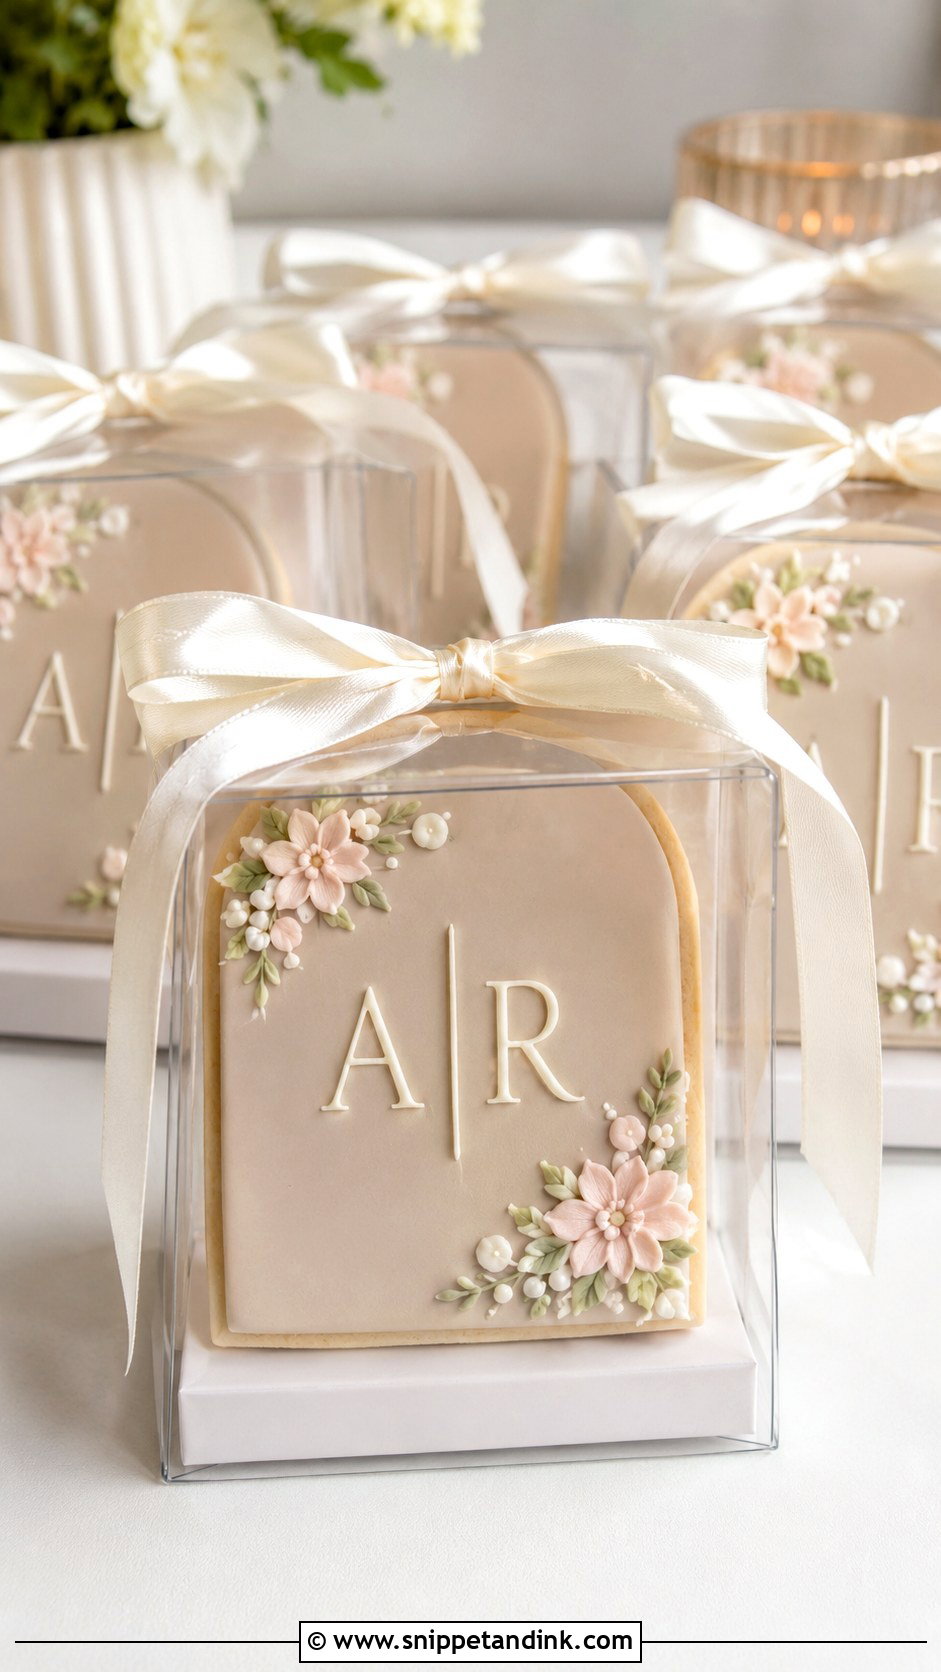
The arch shape is popular because it echoes doorways and modern signage. The flat bottom lets it stand upright in a box or lean against a place setting. I keep the initials in the lower centre where the cookie is widest and frame the curve with tiny florals or pearl dots. Soft neutrals like ivory, taupe and clay suit it best. A thin arch top can crack if it’s packed tightly, so leave a little room in the box.
13. Minimalist Initial Wedding Cookies
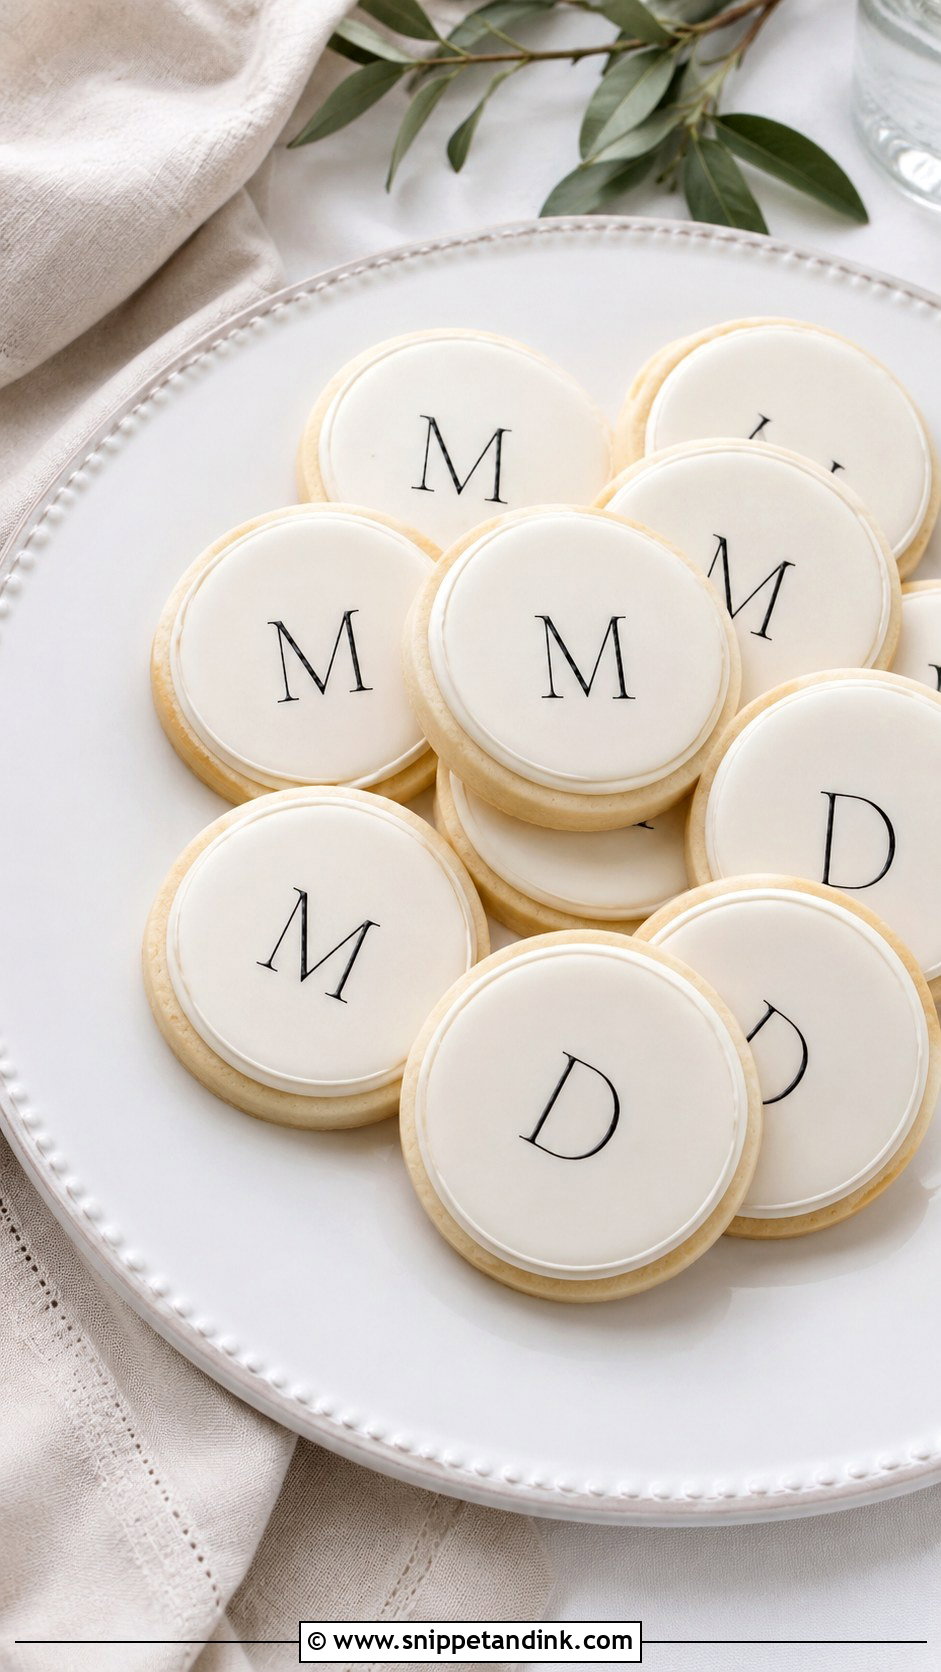
Minimal cookies rely on spacing. One letter, carefully placed, on a smooth base in white, ivory or soft grey. With nothing else to look at, every flaw shows, so the flood has to be perfectly level and the letter sharp. I often use a stencil or a projector to centre the letter on every cookie. It matches modern stationery and neutral florals.
14. Vintage Initial Wedding Cookies
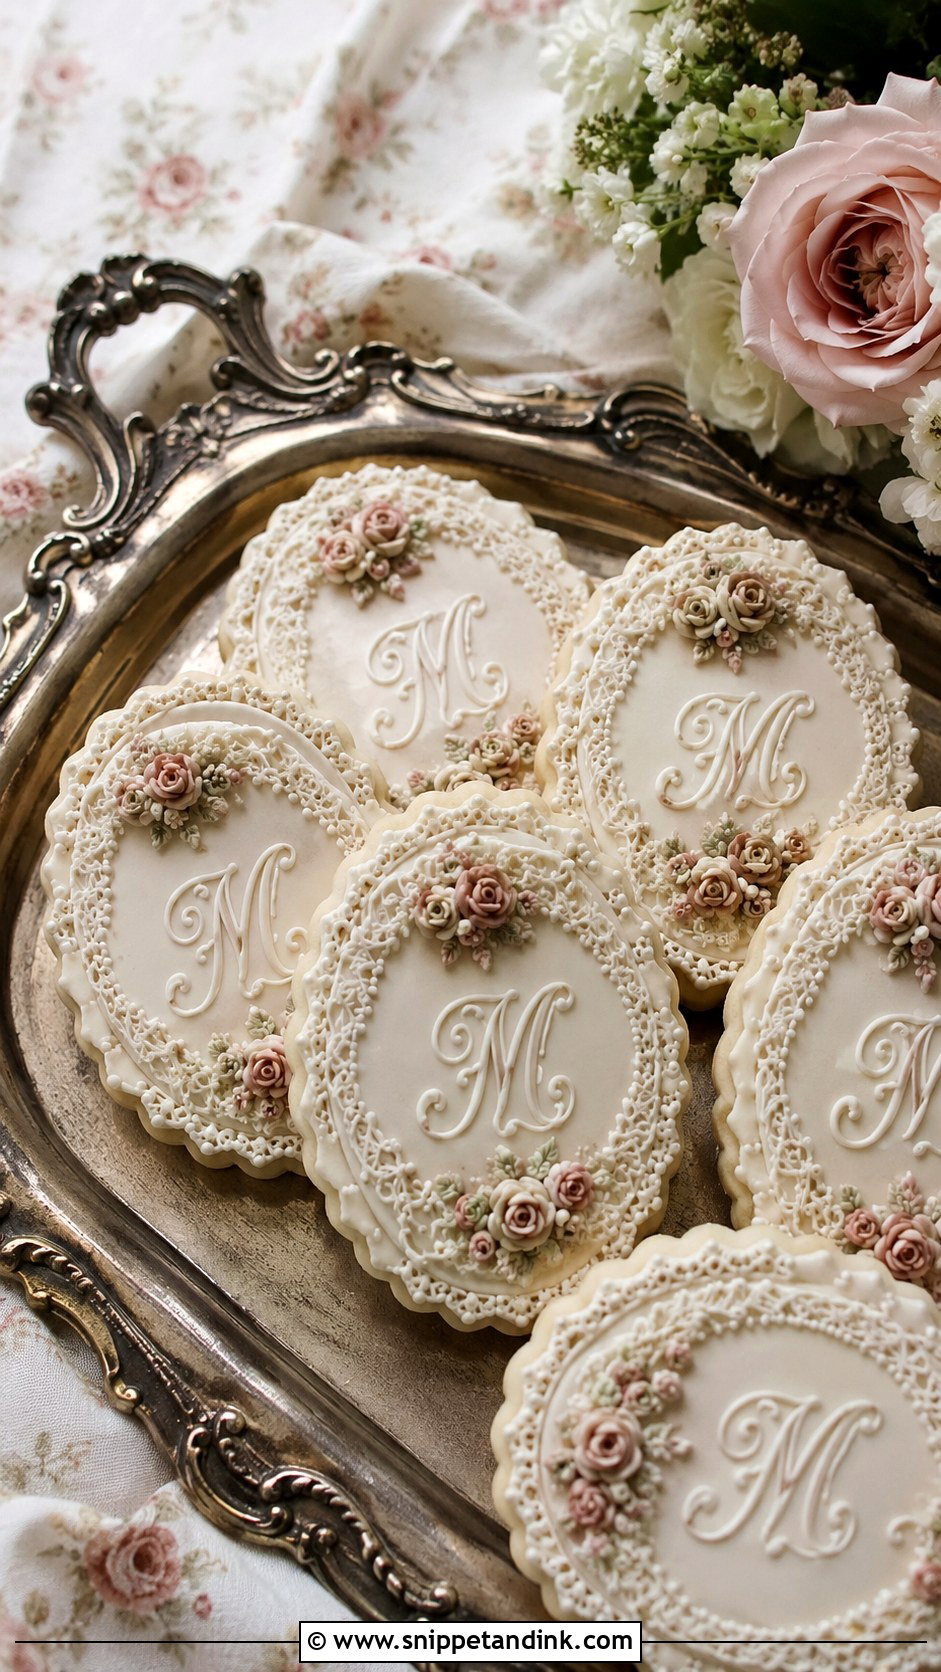
Vintage designs borrow from old invitations: oval or plaque shapes, piped lace, pearl borders and a raised script initial. I’d keep the palette to cream, antique white, dusty rose and muted gold. Lace piping takes a steady hand and a lot of time, so it’s often priced higher than a plain monogram. These suit historic venues and estate weddings, and they work well at vintage-themed bridal showers too.
15. Modern Initial Wedding Cookies
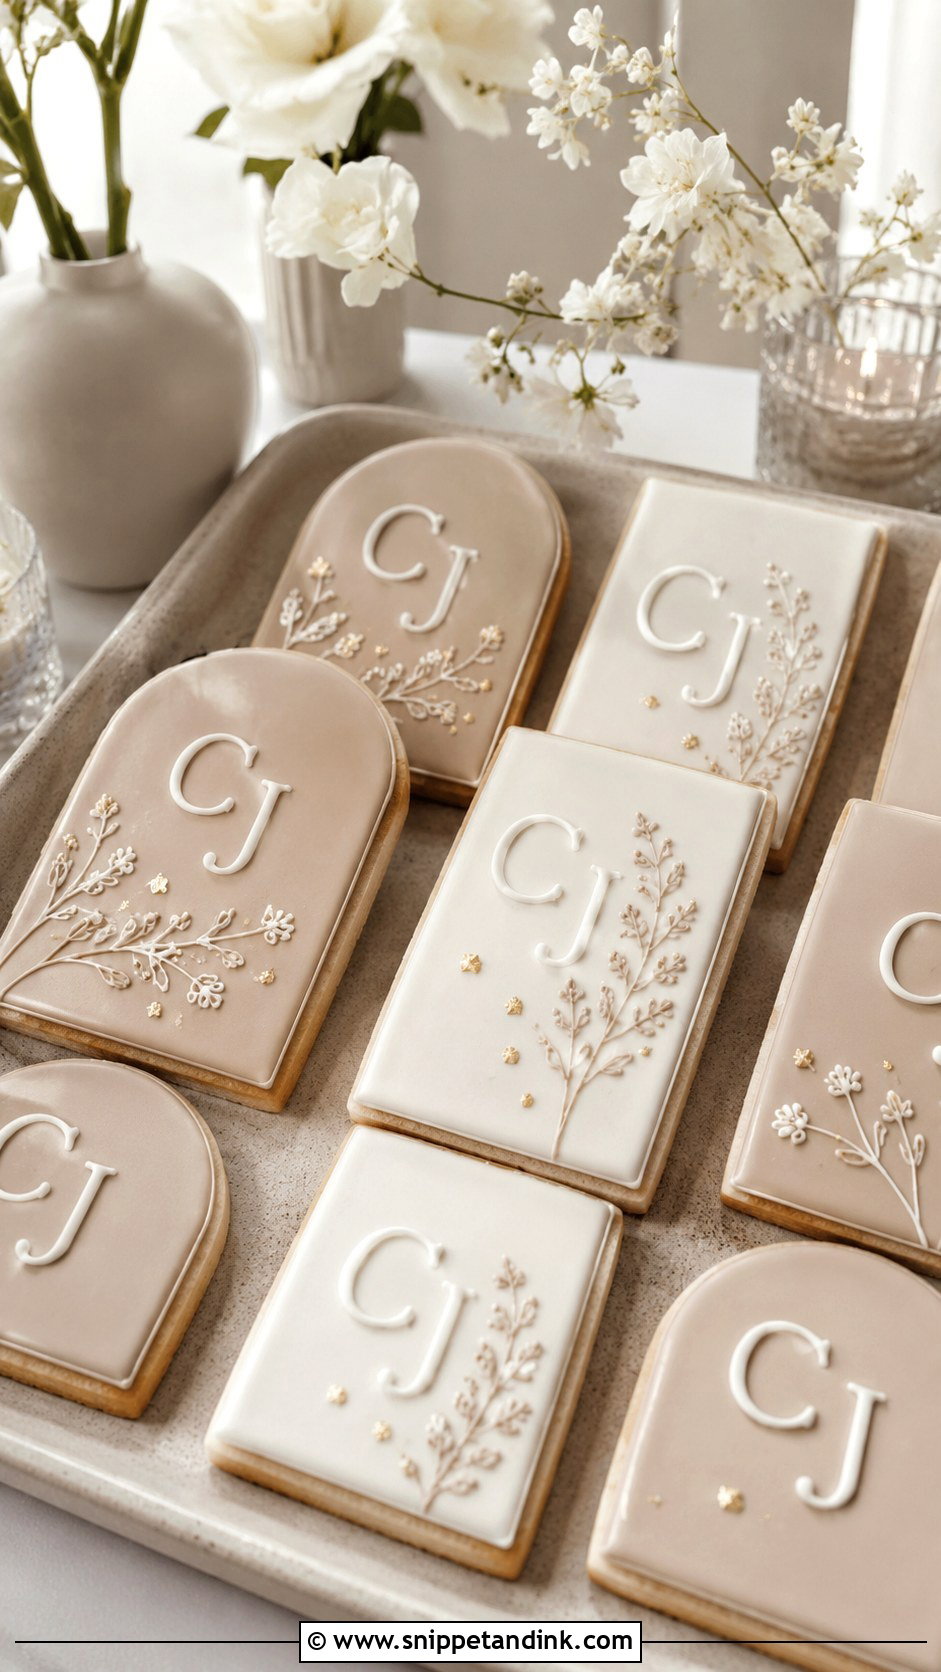
Modern cookies come from shape and contrast more than decoration. Hexagons, tall rectangles or soft organic shapes with bold initials, using white with black, beige with raised cream, or a muted terracotta with simple line art. I keep borders off entirely and let the negative space do the work. These match acrylic signs and sleek reception tables.
16. Black And White Initial Wedding Cookies
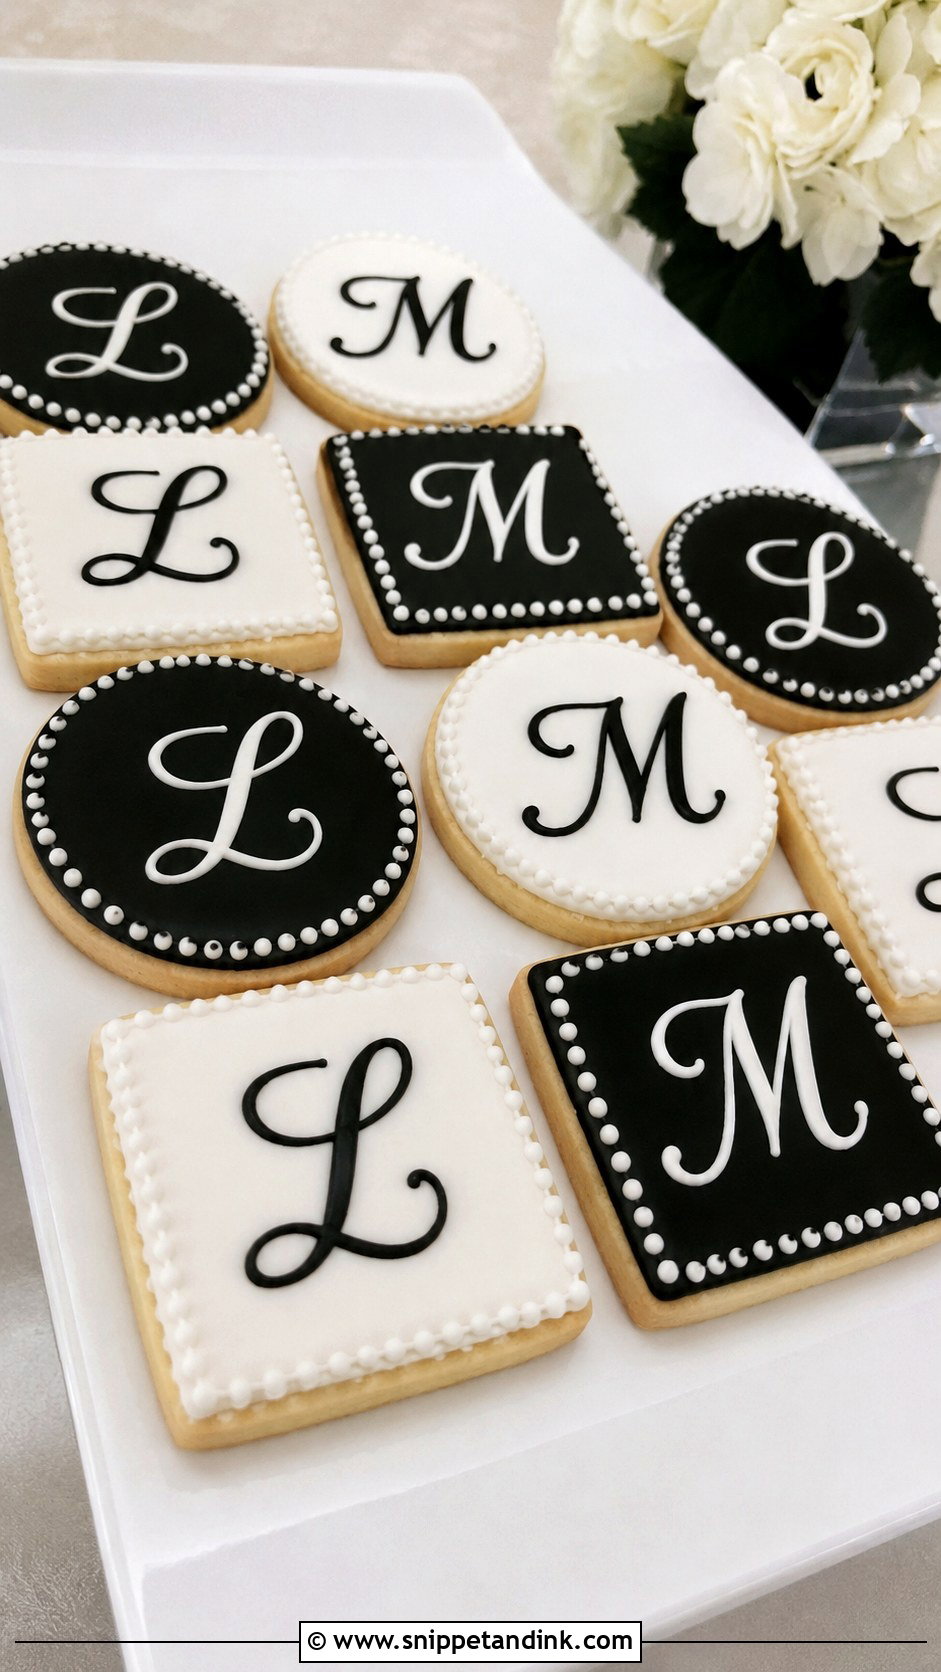
Black and white is classic and easy to match with formal decor. Black icing is harder than it looks: it needs a lot of colouring, which can taste bitter and stain lips, so I start from a cocoa-darkened icing to cut down on dye. Black also bleeds into white if it isn’t fully dry, so I let each colour set before the next touches it. Keep the shapes simple and the letters large enough to read.
17. Blue Initial Wedding Cookies
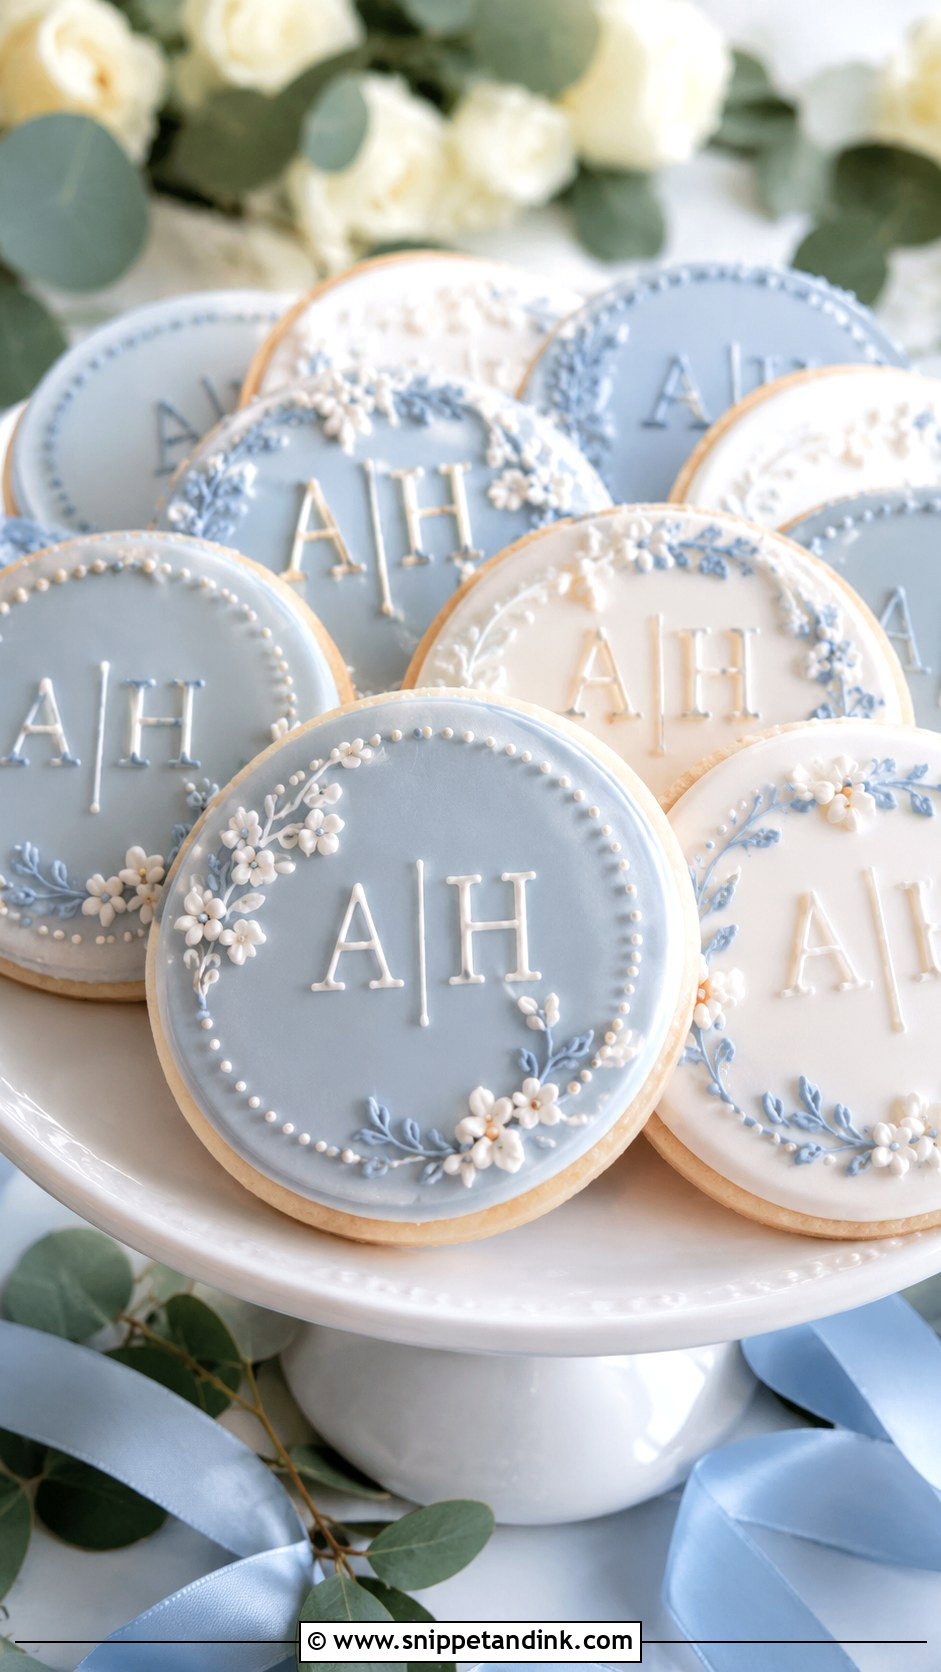
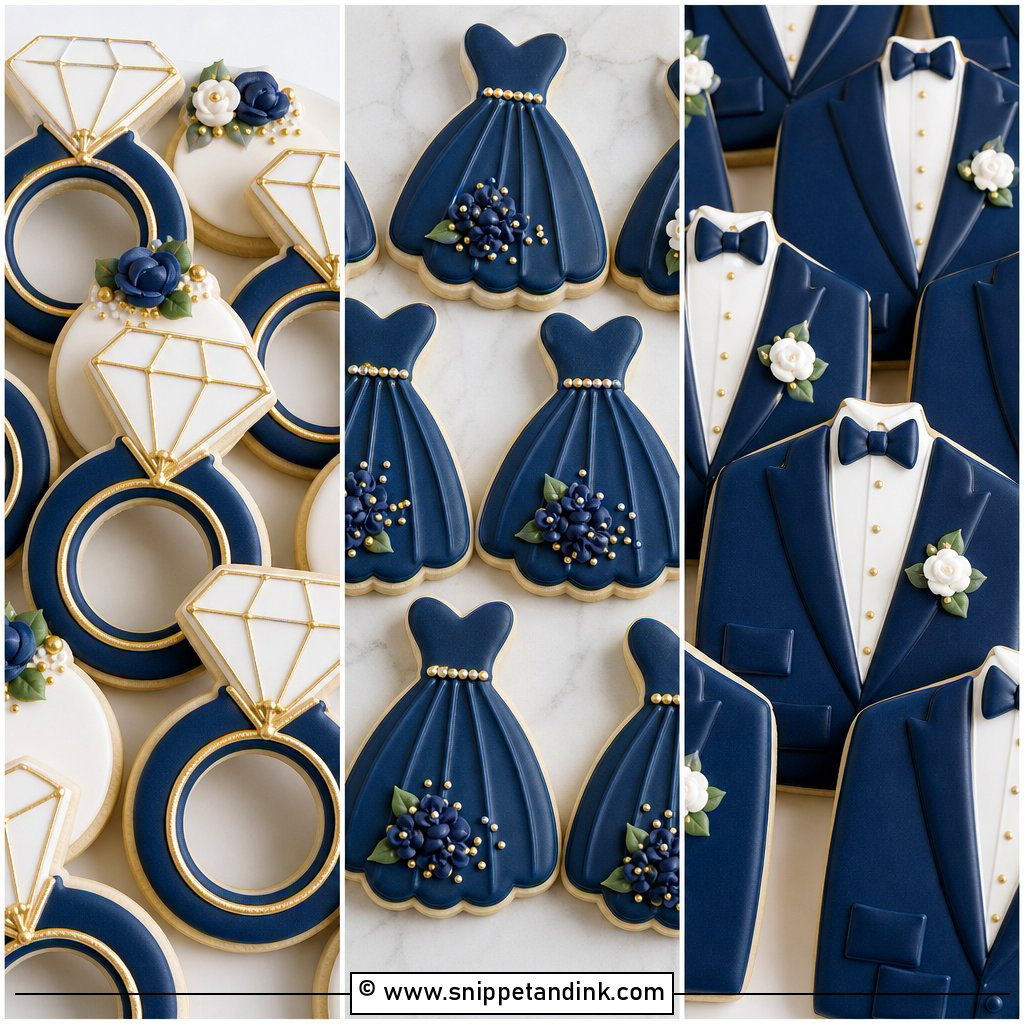
Blue covers a lot of moods: dusty blue reads romantic, navy reads formal, pale blue reads fresh. Navy, like black, needs a lot of colour and dries darker than it looks wet, so I mix it a shade lighter the day before. White or gold lettering sits well on it. If you use several blues across the set, keep the initials the same colour so the cookies look related.
18. Pink Initial Wedding Cookies
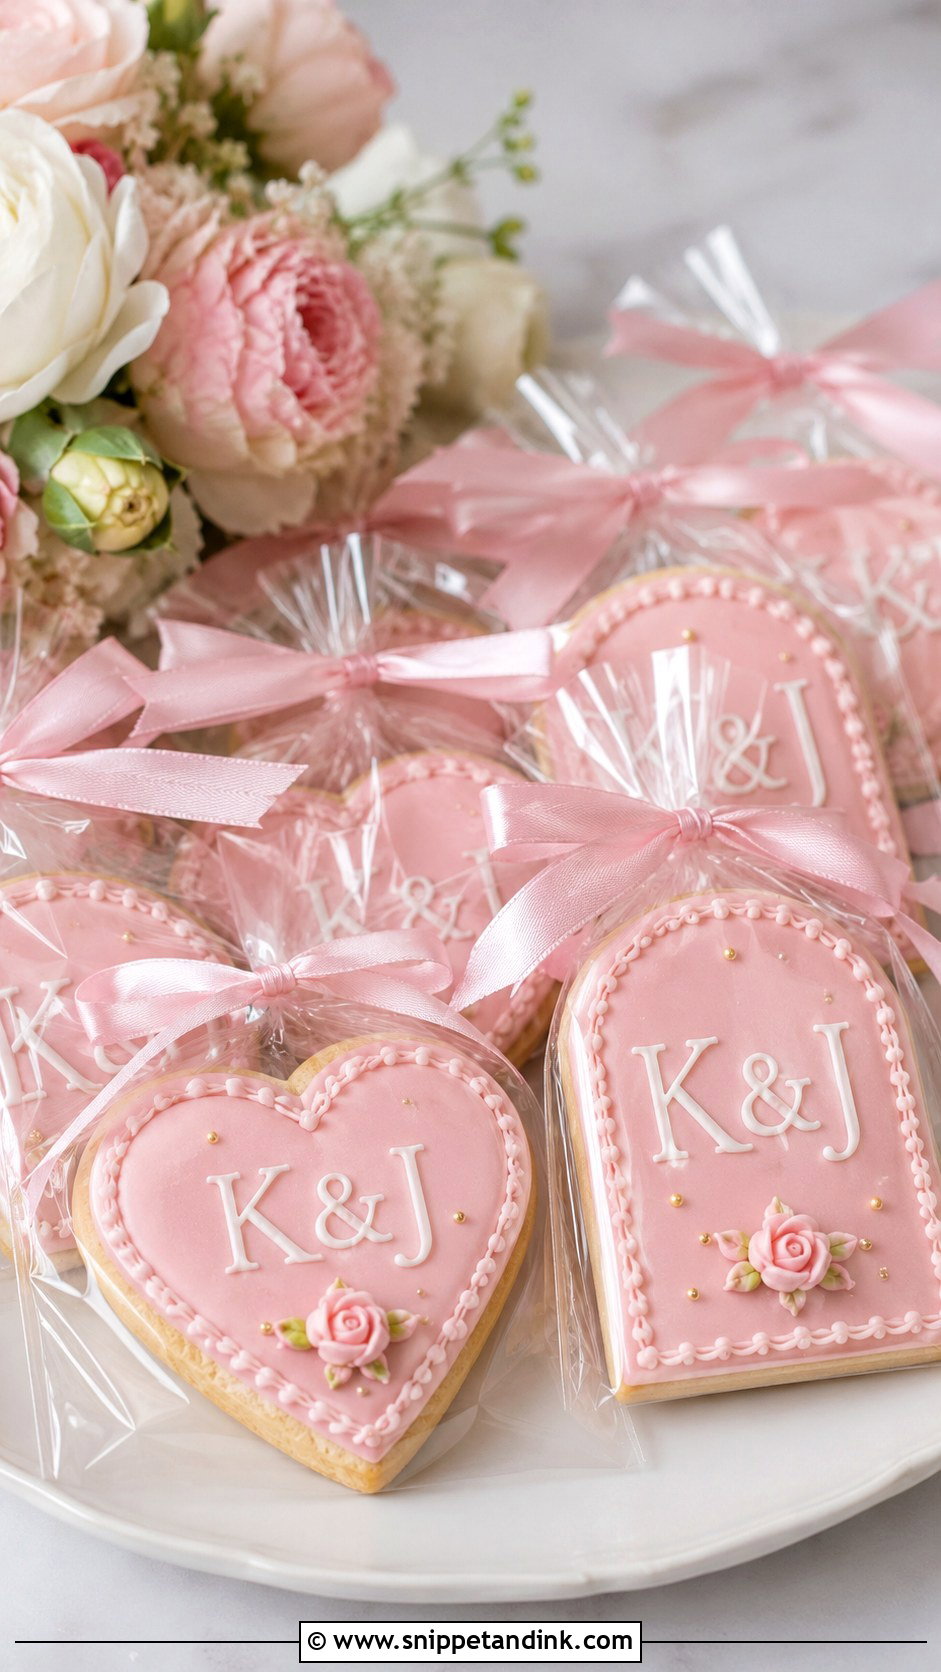
Blush, rose and mauve are the easiest pinks to style. Pink icing can fade in bright sunlight, which surprises couples who display cookies on an outdoor table for hours; keep them shaded until guests take them. White raised initials or gold accents look good on pink. A heart, oval or scalloped round suits the colour.
19. Green Initial Wedding Cookies
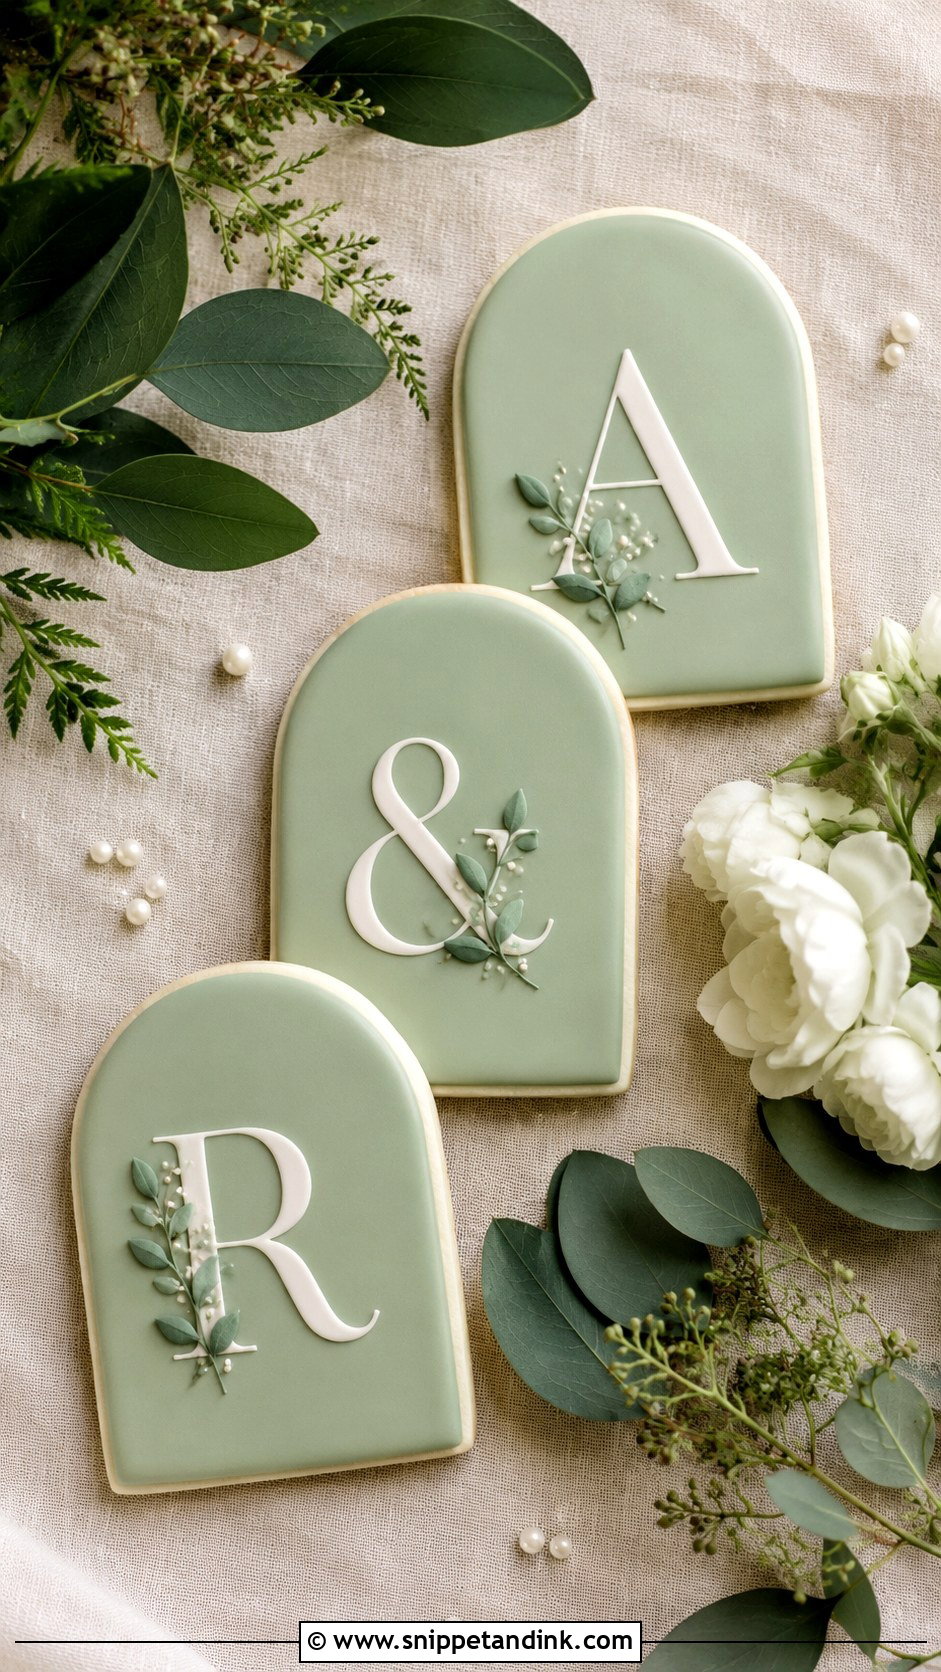
Sage is the most requested green because it’s soft and pairs with eucalyptus and linen. Olive and forest green work for autumn. I pair green with ivory initials and a small leaf border. Greens made from mixing yellow and blue sometimes shift slightly as they dry, so I approve the colour on a dried test cookie, not wet icing in the bowl.
20. Place Card Initial Wedding Cookies
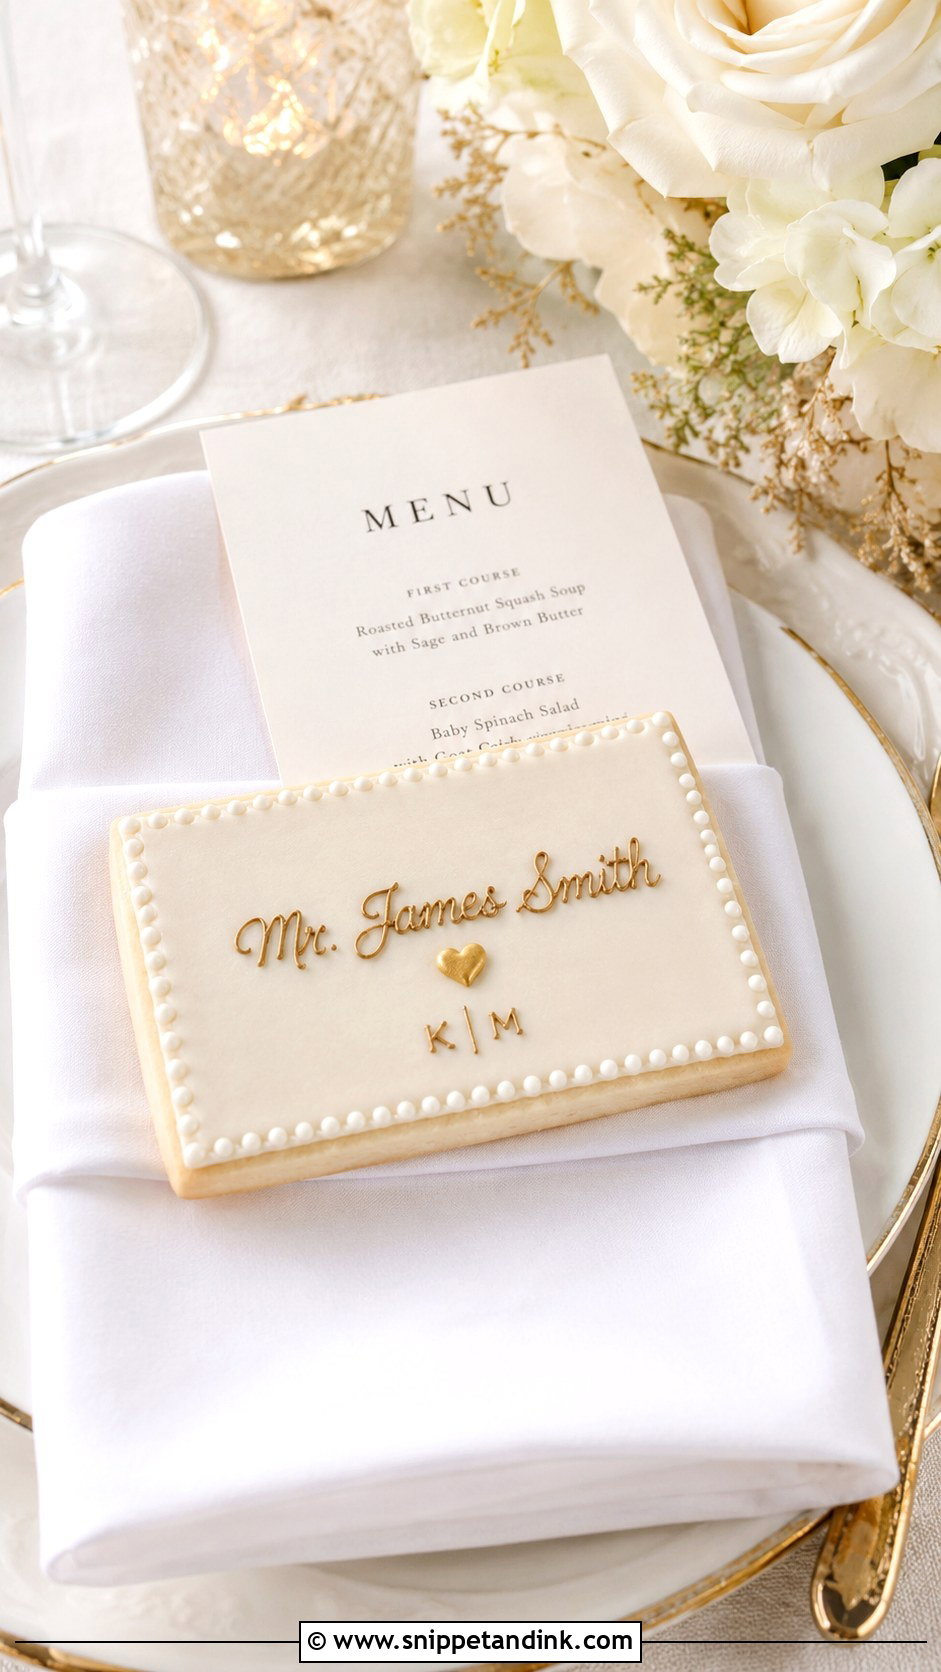
Place card cookies guide guests to their seats and double as a favor. A rectangular, arch or plaque shape fits both the guest’s name and the couple’s initials. Names are the risk: every one must be spelled correctly, so I ask for a typed list in the exact seating order and check it twice before piping. Use clear, readable lettering and set each cookie on the napkin or in a clear sleeve.
How Iced Cookies Hold Up Between the Oven and a Guest’s Kitchen
Decorated cookies are made several days before the wedding, not the morning of, because royal icing needs time to dry hard. Here is what affects how they look and taste on the day.
- Drying time: flooded cookies need to dry overnight or longer before they can be bagged. Rushed cookies dent and smear.
- Humidity: on a damp day icing stays tacky and can develop dull spots. I run a dehumidifier or a fan in the kitchen.
- Sealing: heat-sealed bags keep cookies fresh much longer than a tied ribbon alone, often a week or two at room temperature.
- Heat and sun: keep them away from direct sunlight and warm marquees. Butter in the cookie softens and colours fade.
- Never refrigerate: condensation forms when they come back out, and the icing spots and runs.
Making them at home
If you’re decorating your own, start with a small test batch weeks before the wedding. You can bake and freeze plain cookies in advance, then decorate a few days before. Expect decorating to take far longer than baking, especially with lettering.
Lettering, Colour and Shape Should Agree With Each Other
Small as they are, these cookies pull a wedding together when the lettering, colours and shape agree with each other and with your stationery. The venue, the packaging and how formal the table is will narrow down the options. Keep the letters readable, the colours consistent across the set, and decorations flat enough to travel. If you want more than favors, a full custom cookie display can carry the same monogram across the whole dessert table.
You'll Like These Ideas:


Leave a Reply