
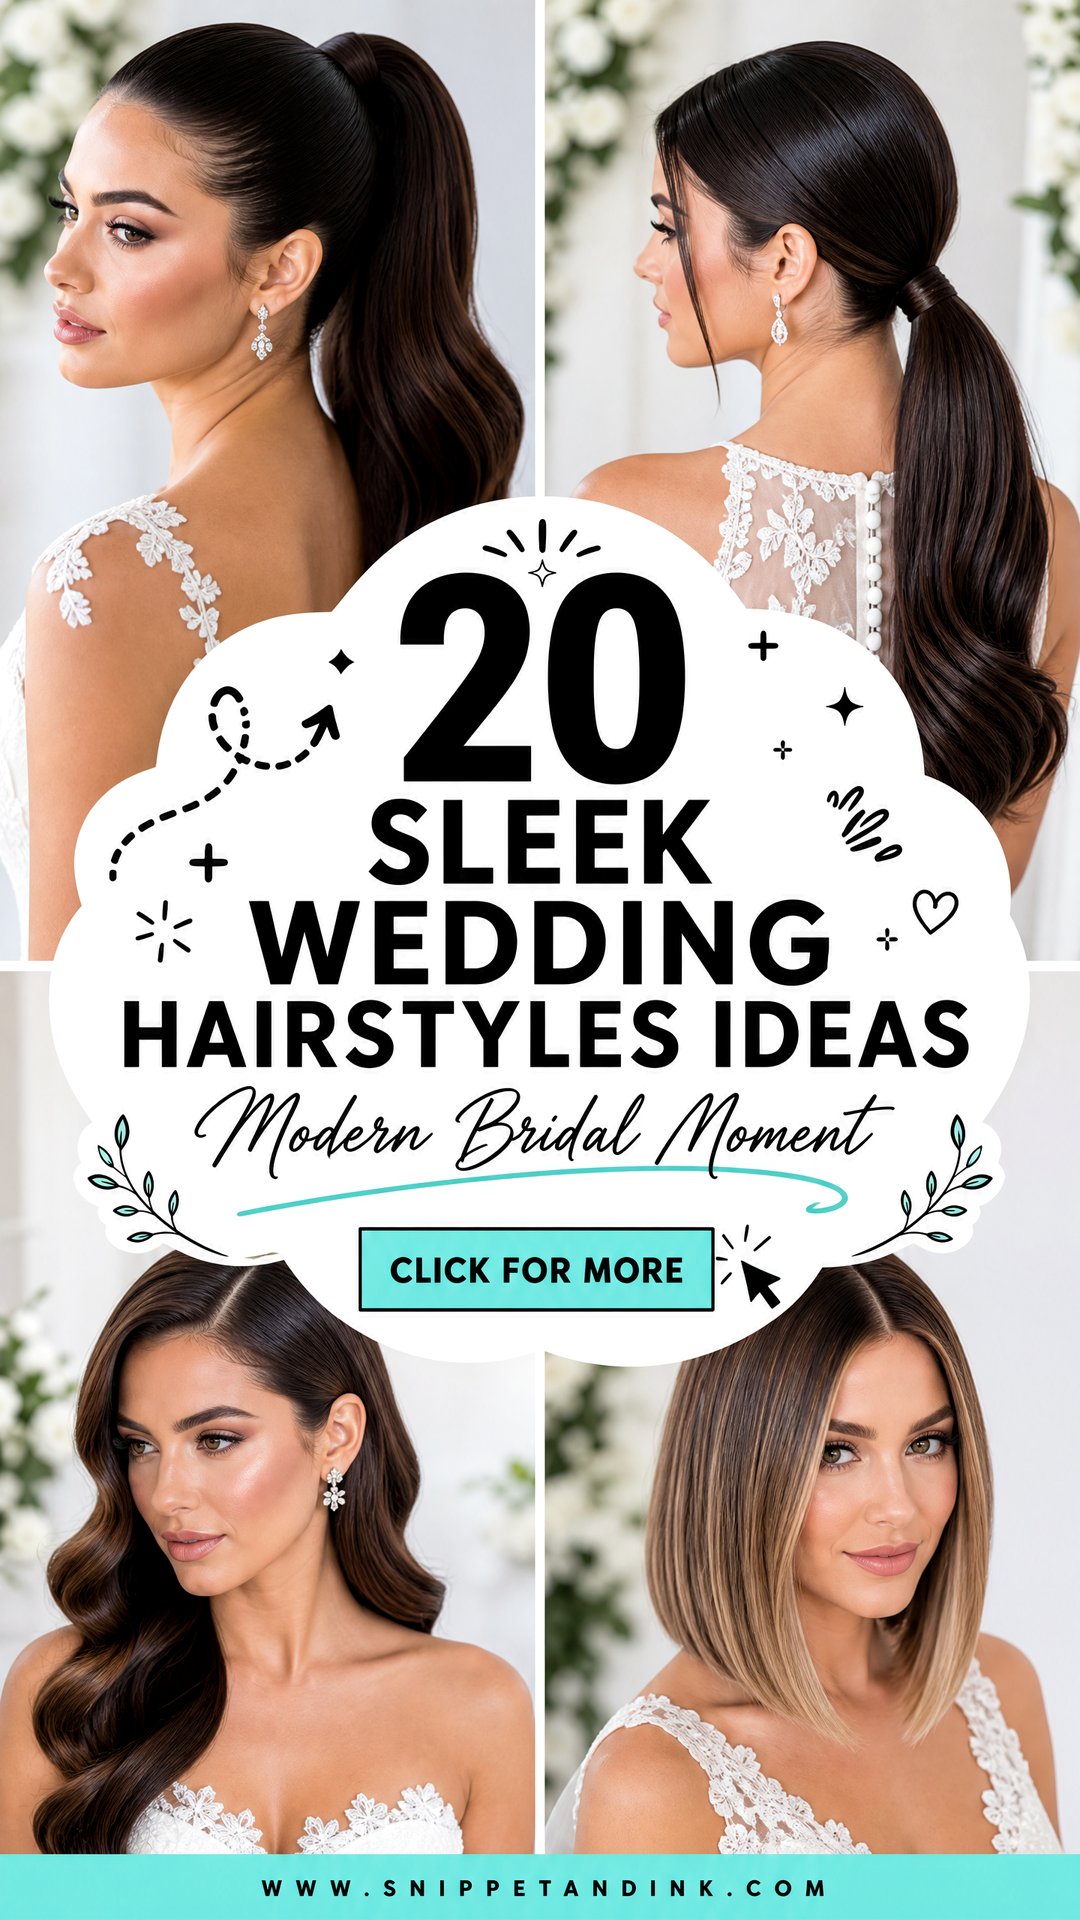
Sleek hair is the least forgiving style I do, and that is exactly why it looks so sharp when it works. There is nowhere for a frizzy strand or a dented section to hide, so the finish depends on prep, product amounts and how firmly everything is anchored, not on how many curls I add. In return you get a shape that reads clearly from the back of the aisle and usually outlasts loose waves. Below are 20 smooth styles, from low buns and glossy waves to a wet-look knot, with notes on what each one needs from your hair and when I would point you toward something else.
Getting Your Texture Ready for a Mirror-Smooth Finish
Sleek styles start weeks before the wedding. I like ends trimmed four to six weeks out, so there is time to lose the fresh-cut look but split ends will not show at the knot. Color is best done about two weeks ahead, and adding a gloss at that appointment helps the surface reflect light evenly in photos.
Curly and coily hair
For naturally curly or coily hair, a sleek look usually means a blowout or silk press, and timing matters. Pressed hair can revert in humidity or rain, so for an outdoor summer wedding I lean toward a smooth bun or ponytail, where gel holds the surface flat, over pressed hair worn down. Ask your stylist about heat protection and how much heat your curls can tolerate; the trial shows you whether your pattern springs back fully afterward.
Fine or slippery hair
Very silky hair is the hardest to pin. Wash it the day before rather than the morning of, and keep conditioner off the roots. I mist a little texture spray or dry shampoo underneath, where the pins will go, then smooth the top layer over it so the grip stays hidden.
Thick, coarse hair has the opposite problem. It holds pins well but puffs at the hairline once the day warms up, so I blow it out smooth the day before and only touch up the surface on the morning itself.
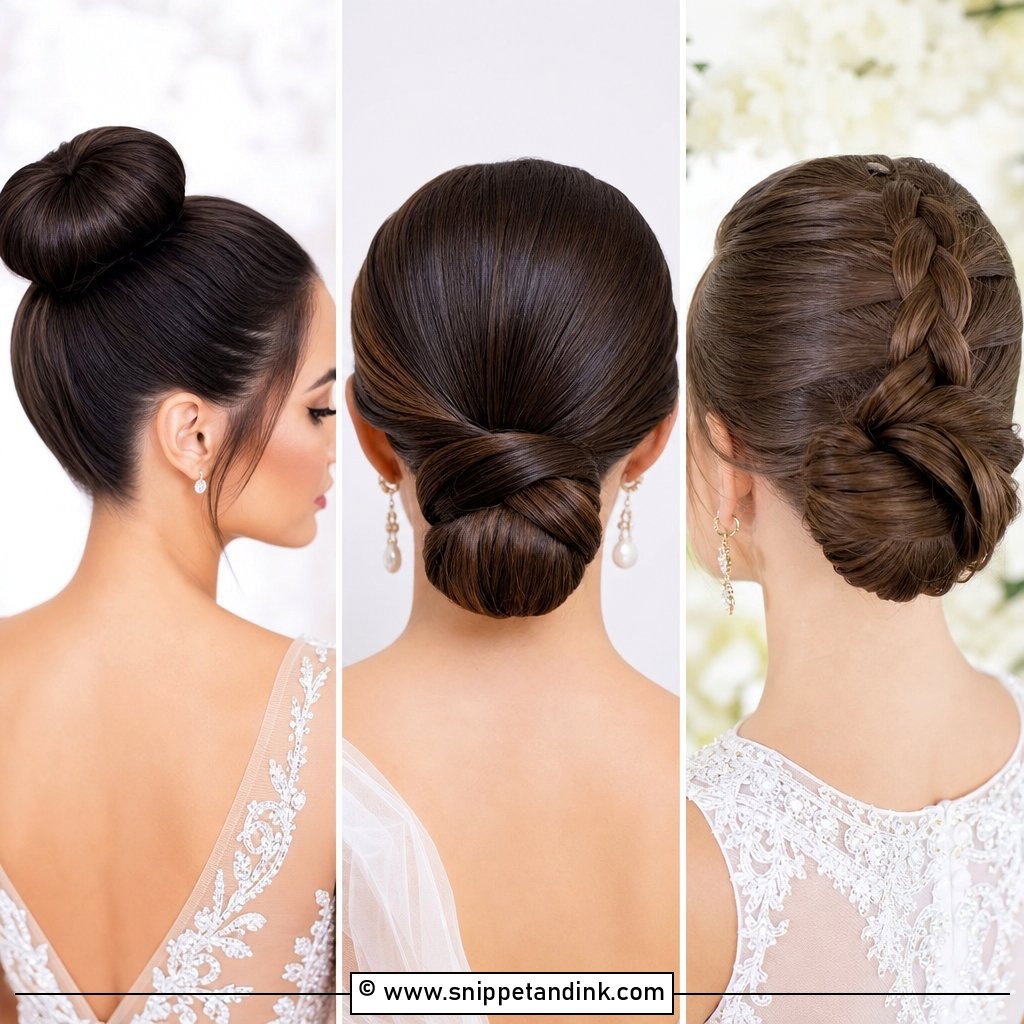
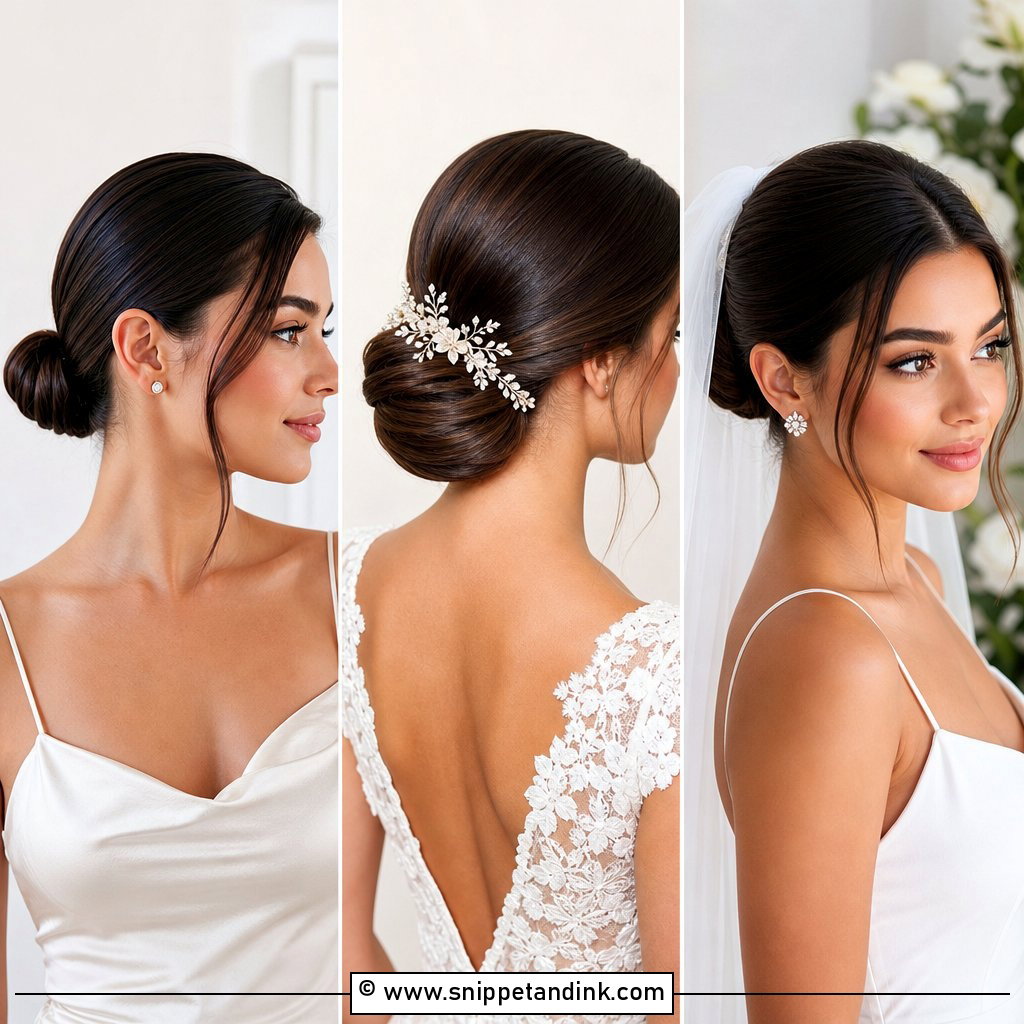
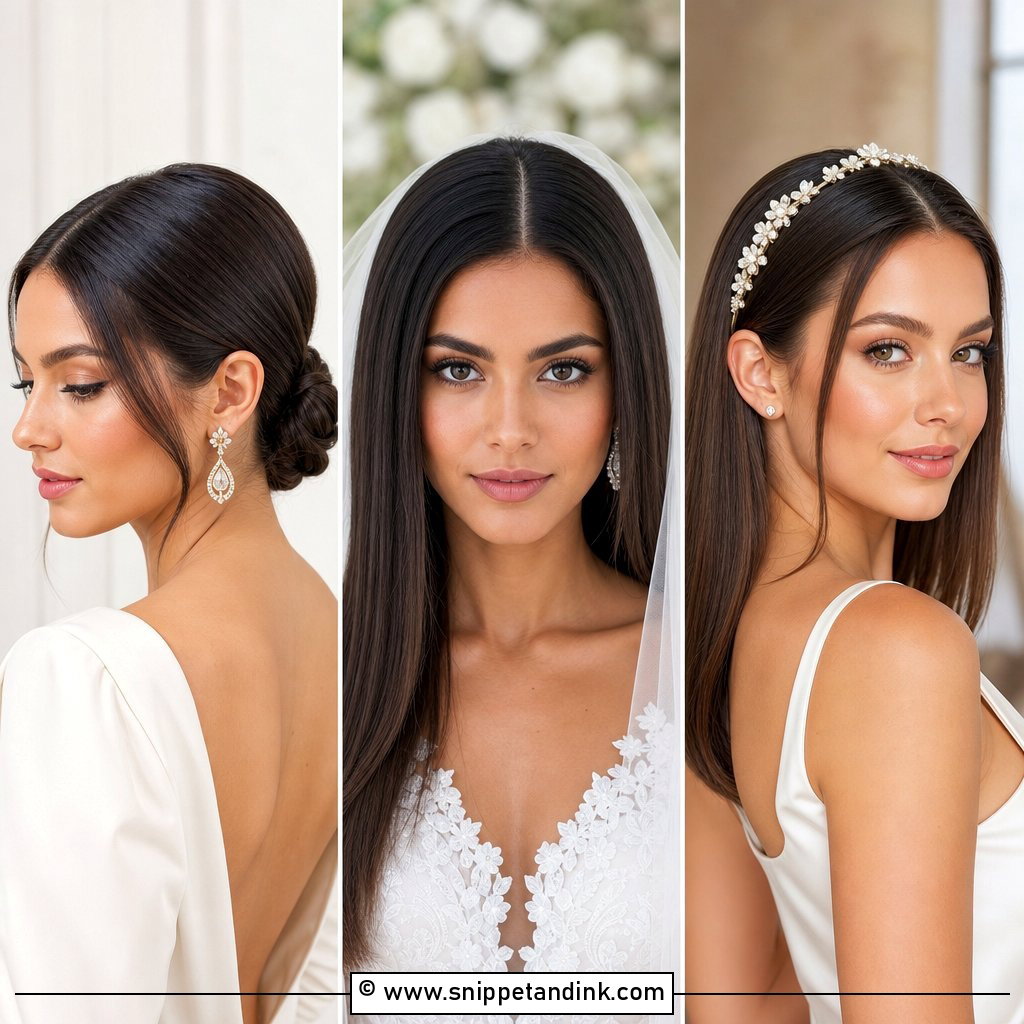
1. Sleek Low Bun With Center Part
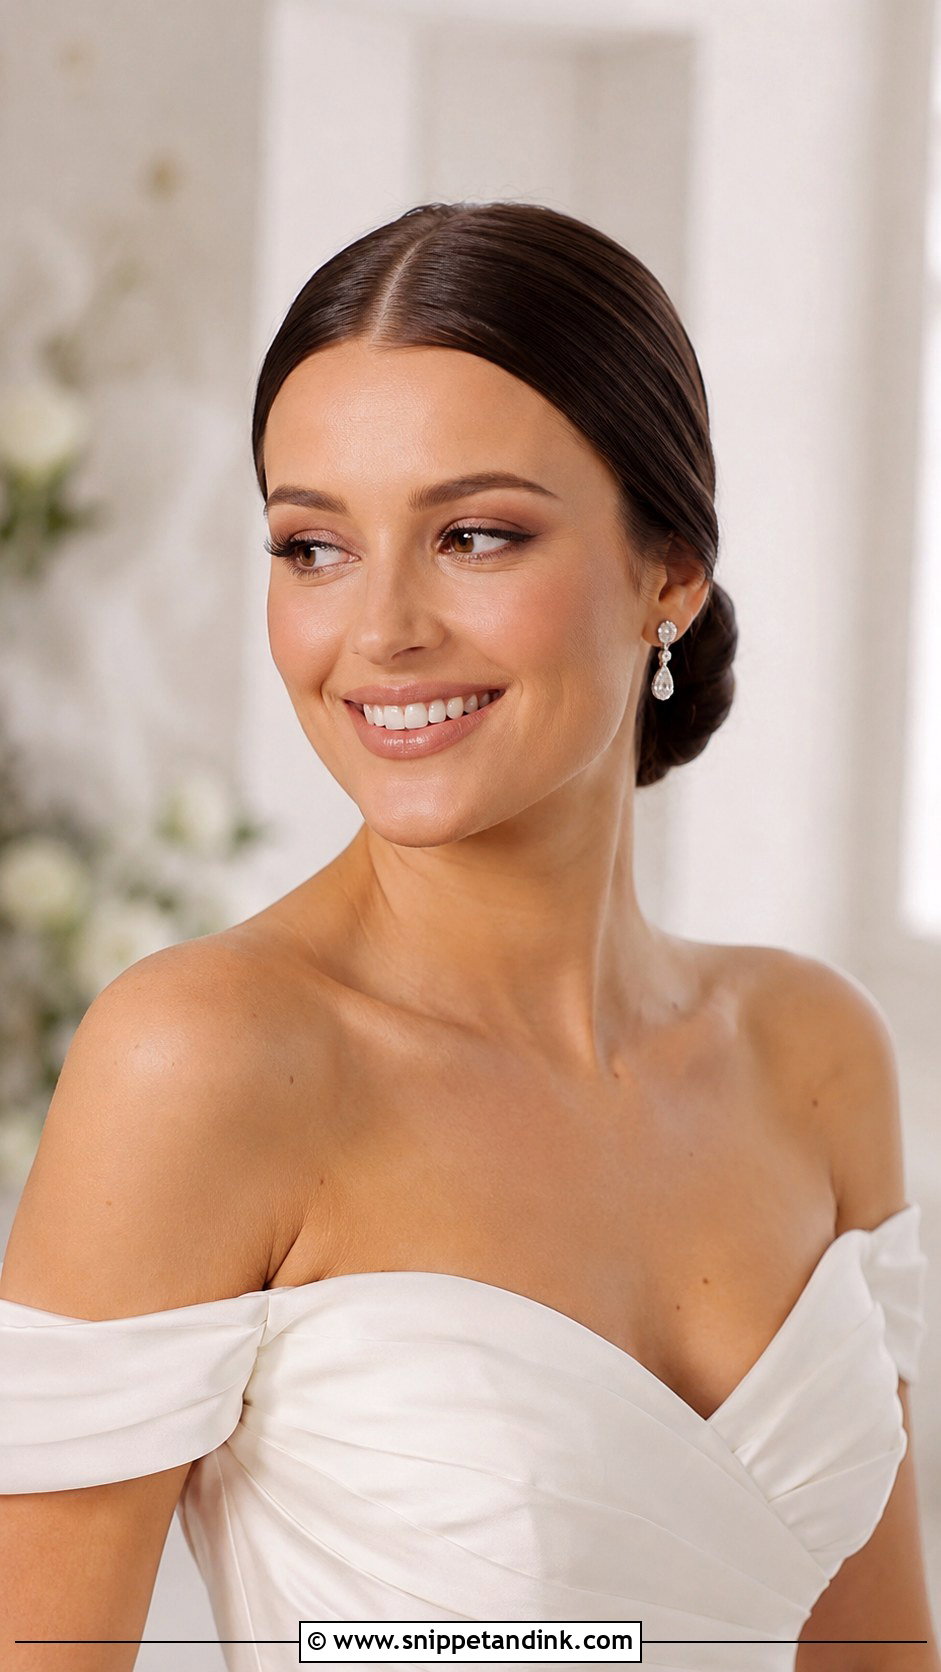
A center part is honest. If your face is slightly asymmetrical or your hair naturally parts off-center, it shows, so I check where the part wants to fall at the trial before committing; a cowlick forced into the middle fights back by the reception. Pulled straight back to a knot at the nape, this bun sits well with structured gowns, and a clean veil tucks in right above it. I secure the elastic first, then pin the bun into that base so its weight never drags on loose hair. Drop earrings are all it needs.
2. Sleek Ballerina Bun
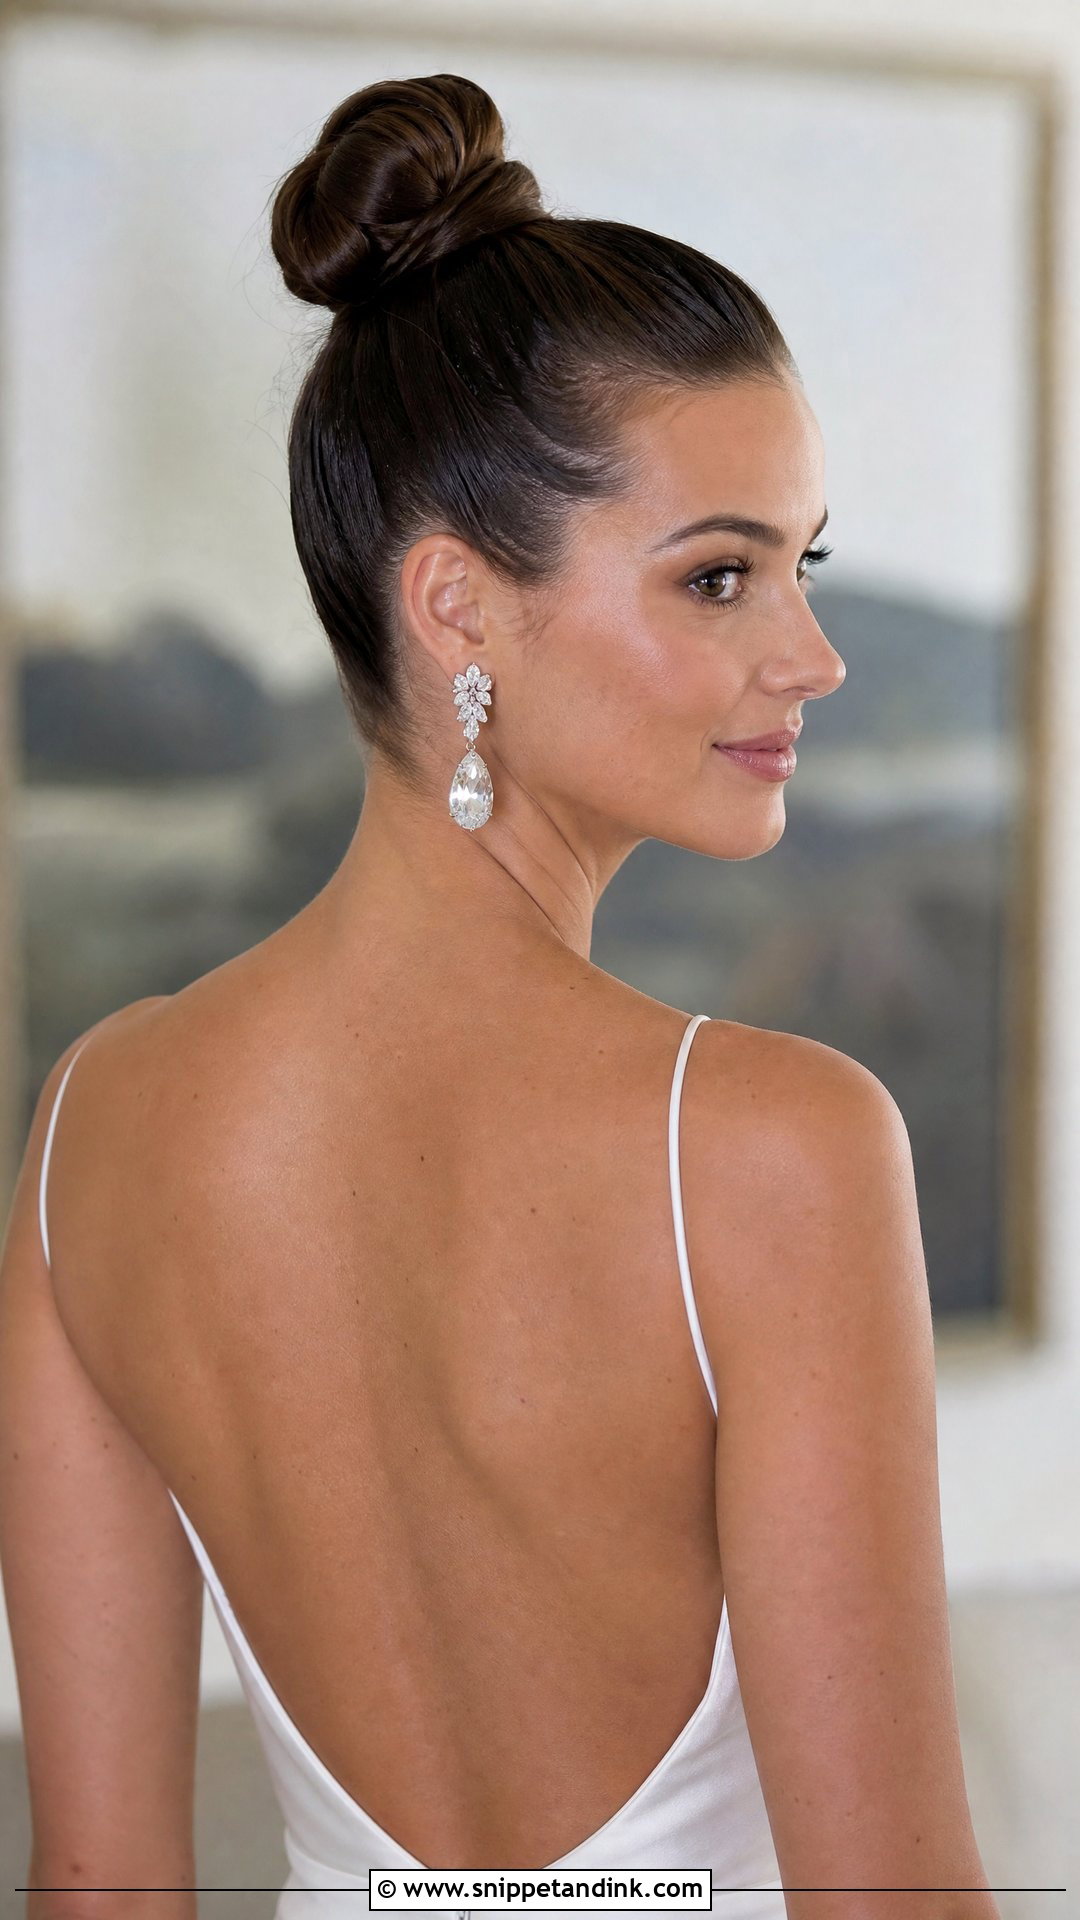
Height changes everything here. The sleek ballerina bun sits high on the crown, which lengthens the neck and clears a sweetheart or off-shoulder neckline completely. The catch is weight. Very long, thick hair makes a big bun that pulls at the scalp after a few hours, so I sometimes wrap it around a smaller donut than you would expect. Smoothing serum goes on before brushing, never after, or the comb drags it into streaks.
3. Sleek Hollywood Waves
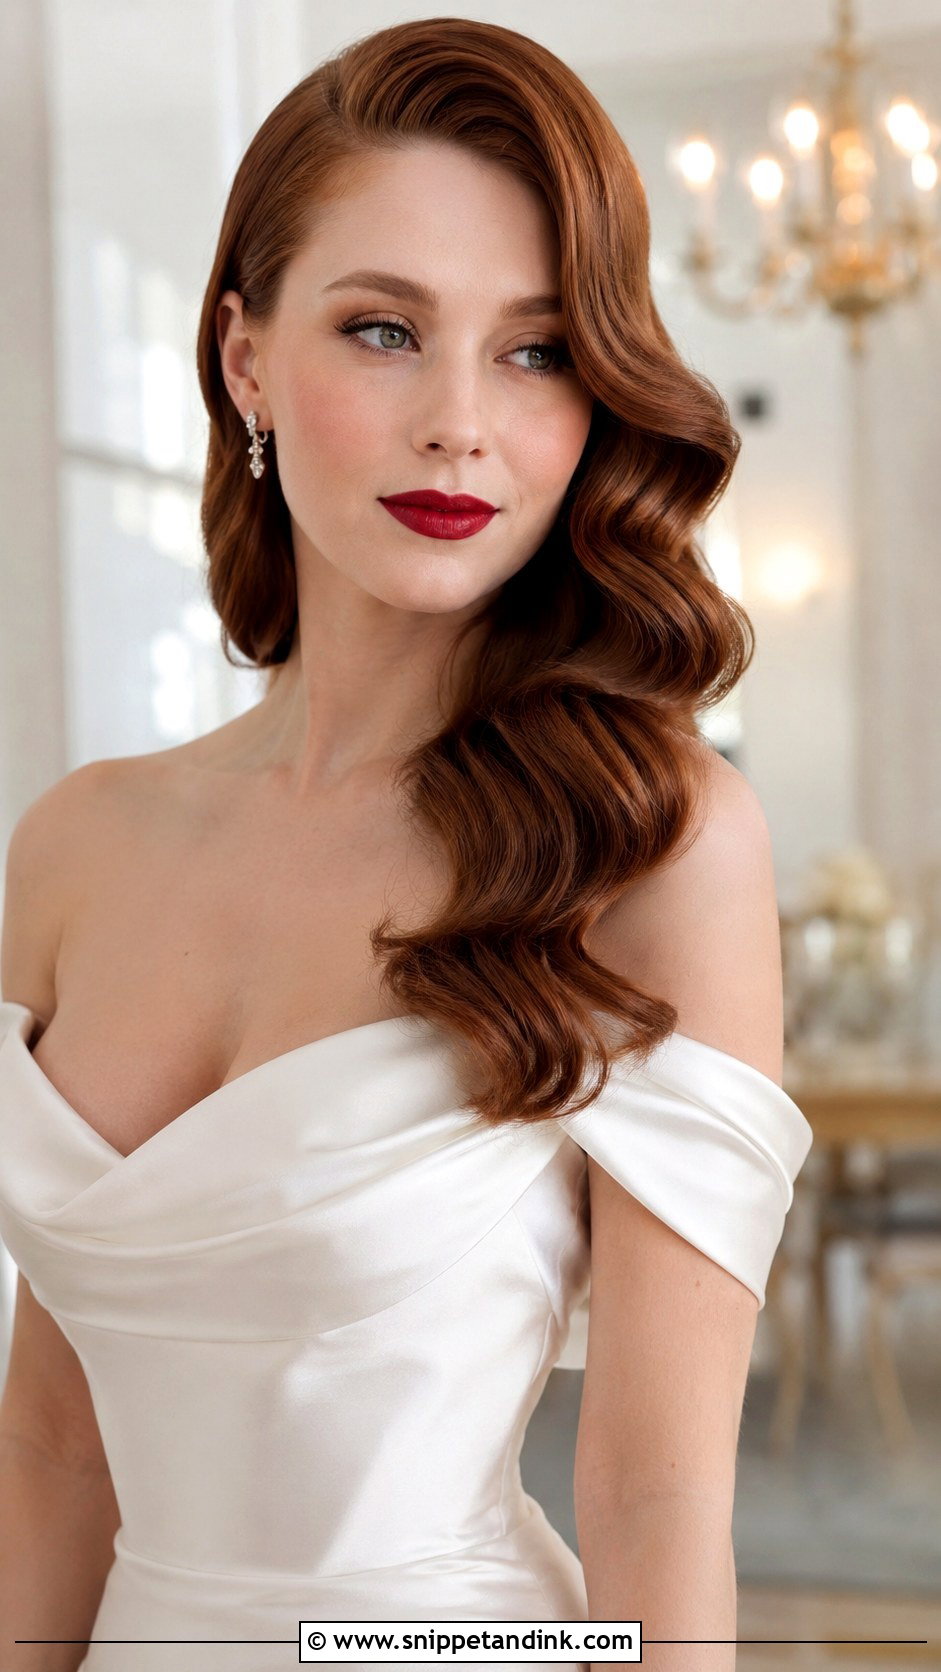
These waves are sculpted, not just curled. I set each section in pin curls, let them cool completely, brush them out into one continuous S, then press the ridges with clips while the hairspray sets. Skip the cooling and they fall within the hour. The deep side part carries a lot of the drama, so this suits satin and a bold mouth more than lace and bare skin. Below the collarbone the pattern has room to repeat, which is where the old-film look comes from; medium hair gets one or two ridges instead. A light shine spray held at arm’s length finishes it.
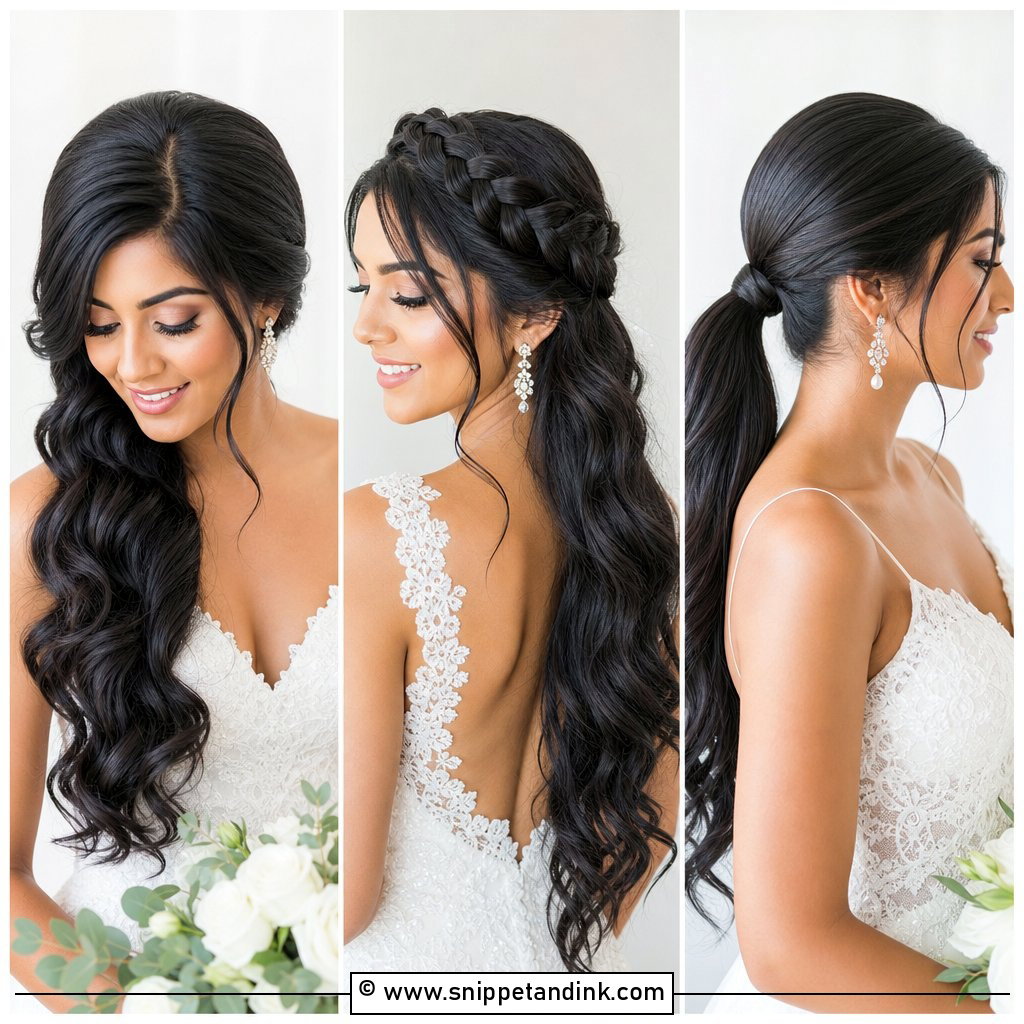
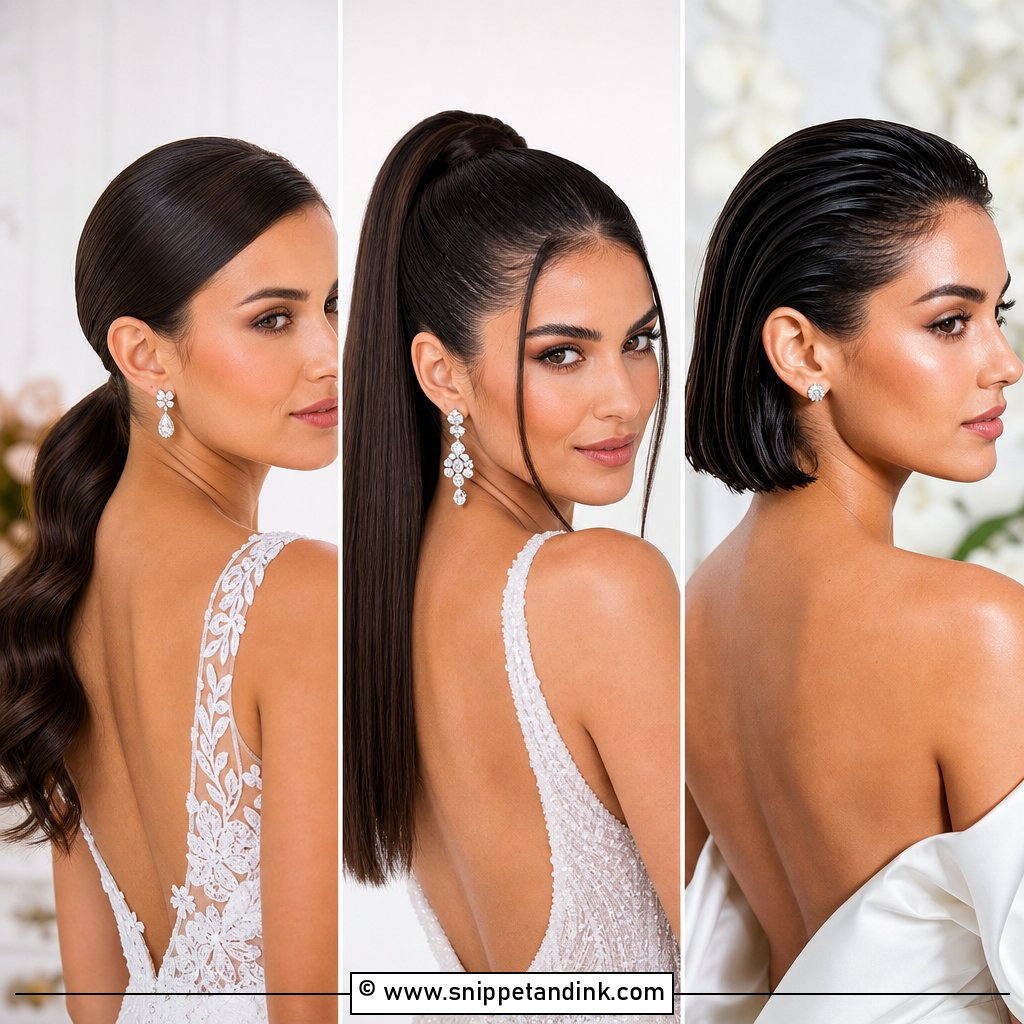
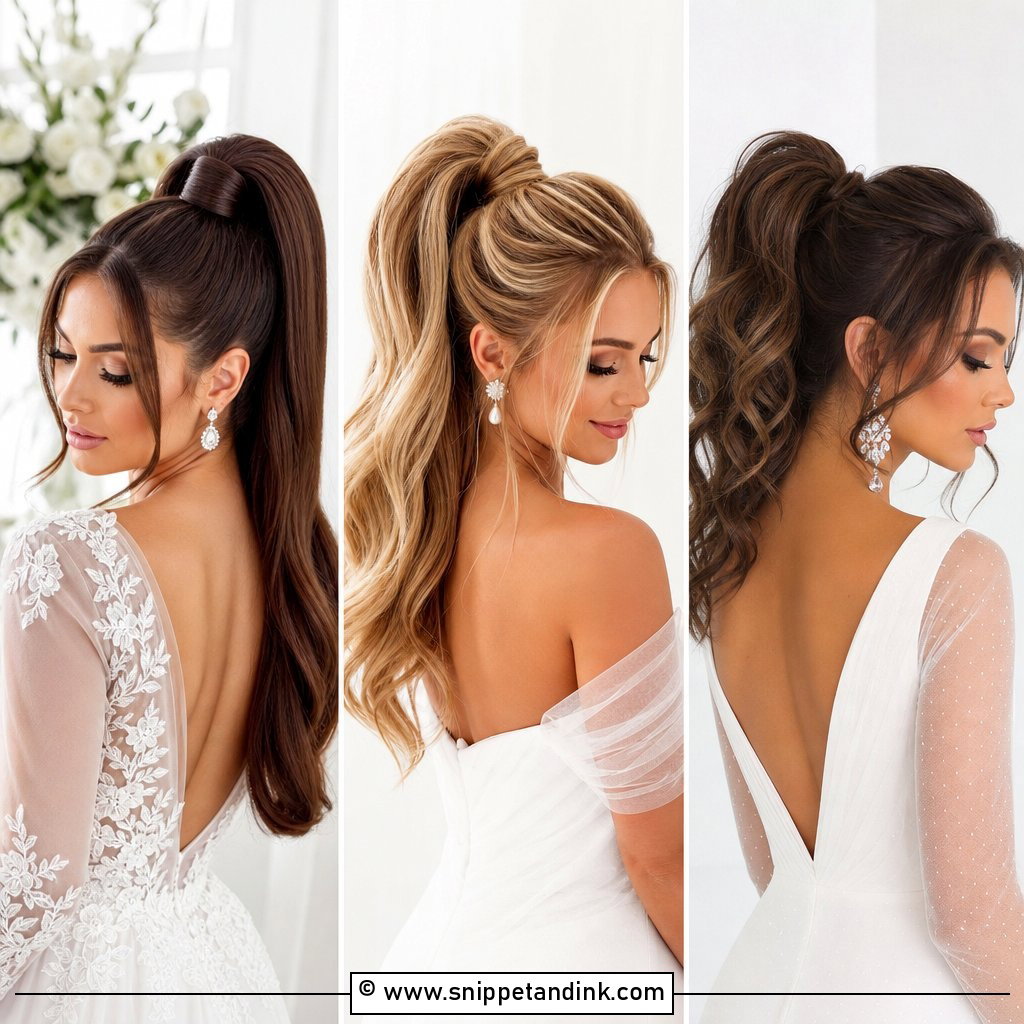
4. Sleek High Ponytail
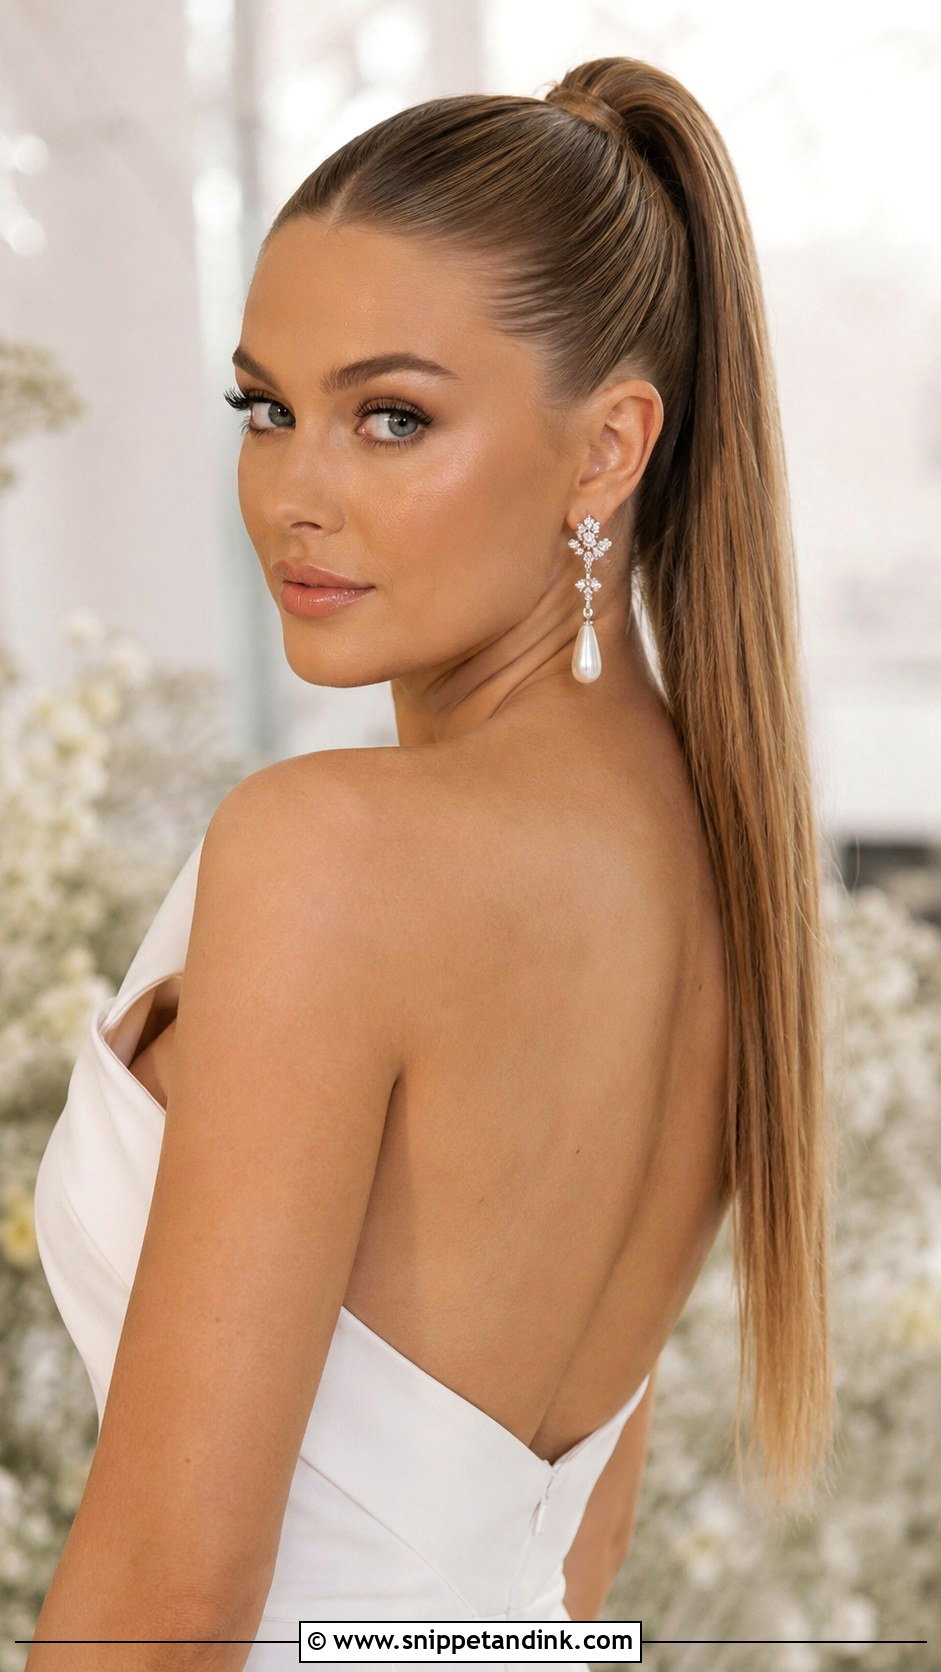
I only book a high ponytail for someone who has worn one for a full day before. Tension at the crown is what sends brides looking for painkillers at eight in the evening. I build it with two bungee elastics instead of one tight band, which spreads the pull and lets me place the height exactly. It moves well on the dance floor and lifts the face. A strand wrapped around the base hides the elastic, and I pin it underneath rather than gluing it so it can be fixed if it slips.
5. Sleek French Twist
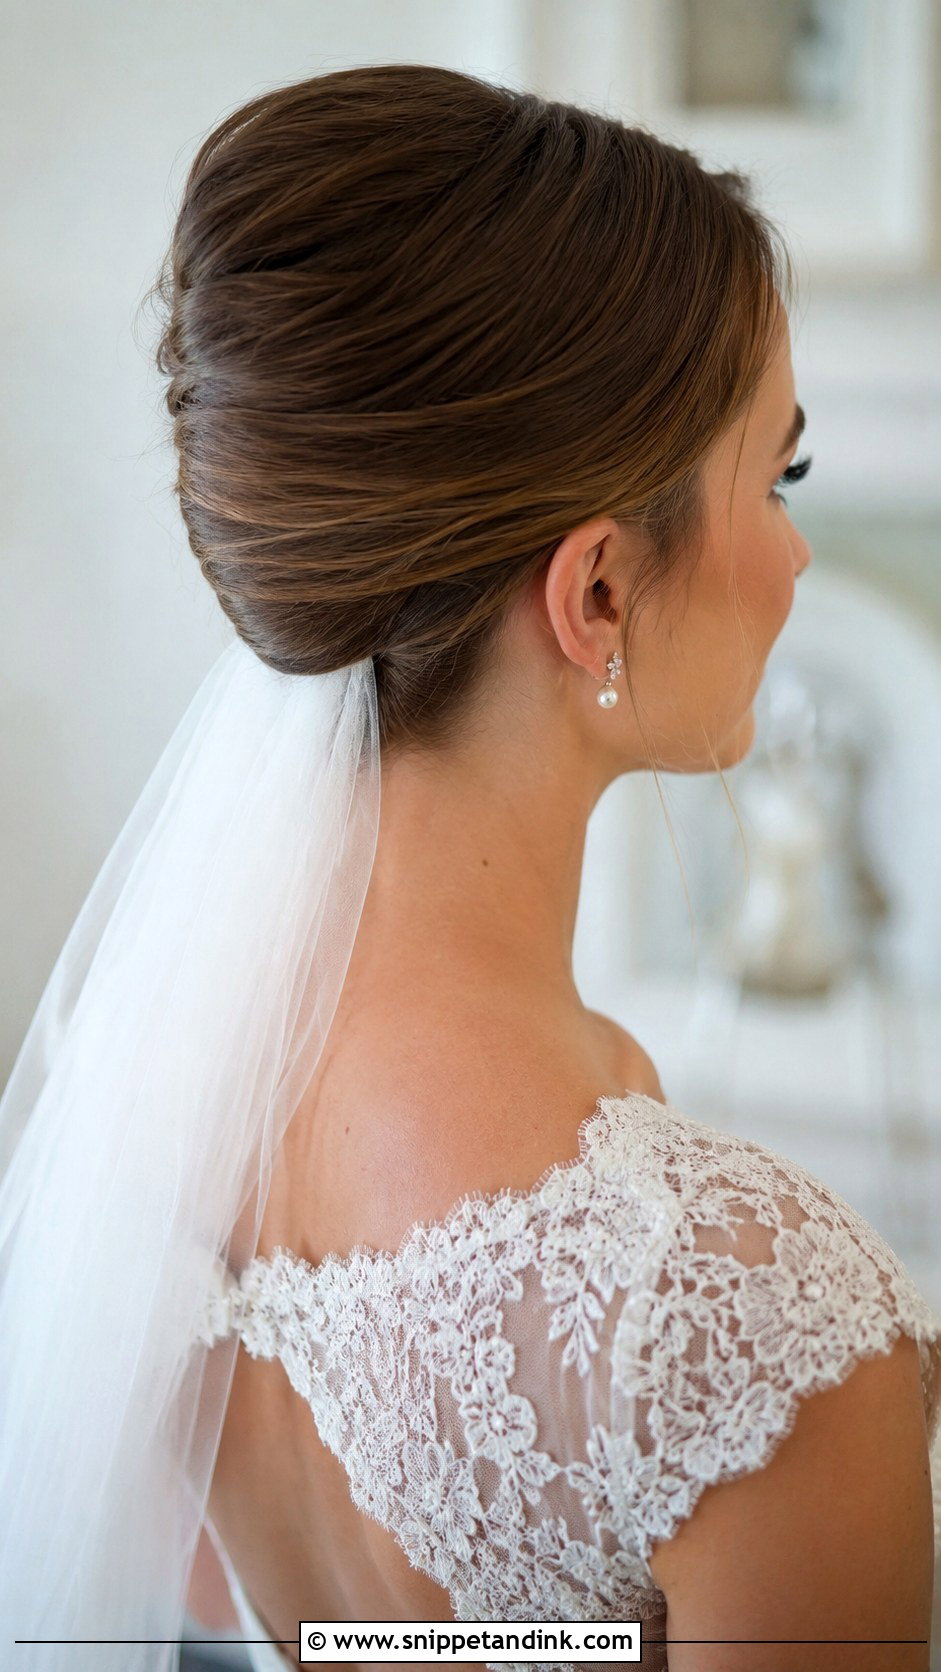
A vertical roll pinned up the back of the head keeps the neck clear and shows off the back of a gown. Medium to long hair works best. Shoulder-length hair can manage it, but the ends tend to poke out at the top and need extra pins. My trick is a light backcomb at the roots on the side you roll toward, so the pins have something to grip, then smoothing the surface over it. On very fine, slippery hair I would not attempt a French twist without texture spray first.
6. Sleek Side-Swept Low Bun
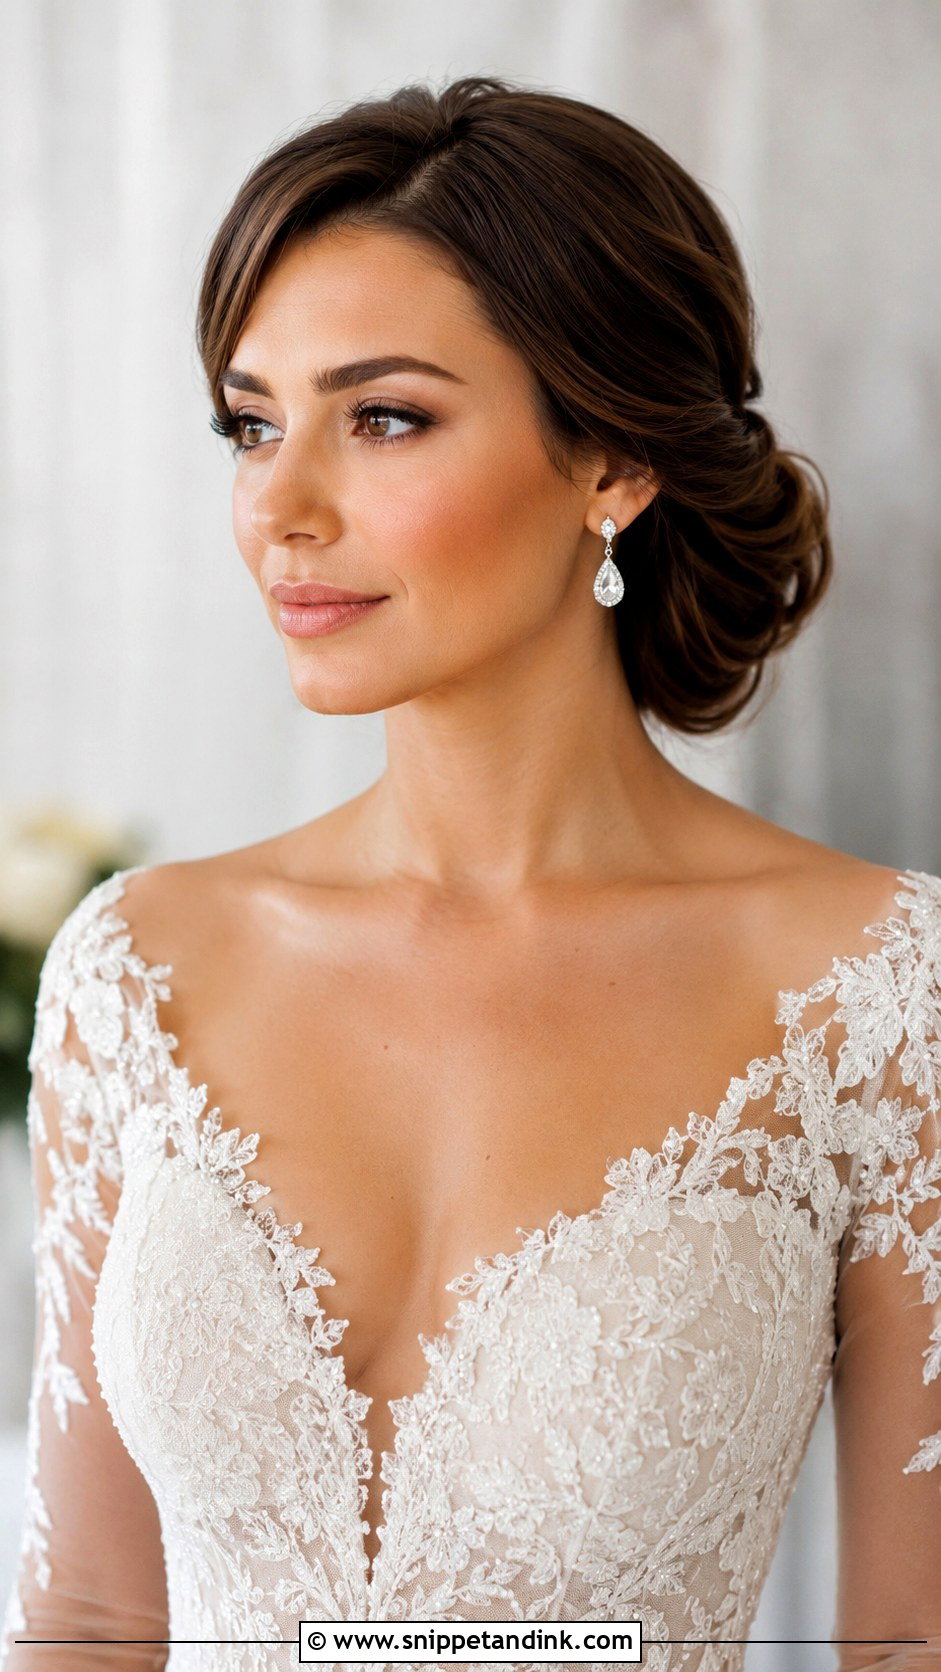
Moving the bun a few inches off center softens a smooth style without loosening it. The hair parts to one side and gathers at the nape behind one ear, which turns that profile into the focus of your photos. Ask your photographer which side of you they will shoot during the vows and put the bun there. It sits comfortably with lace or satin. Keep the earrings delicate, since the bun already adds weight to one side.
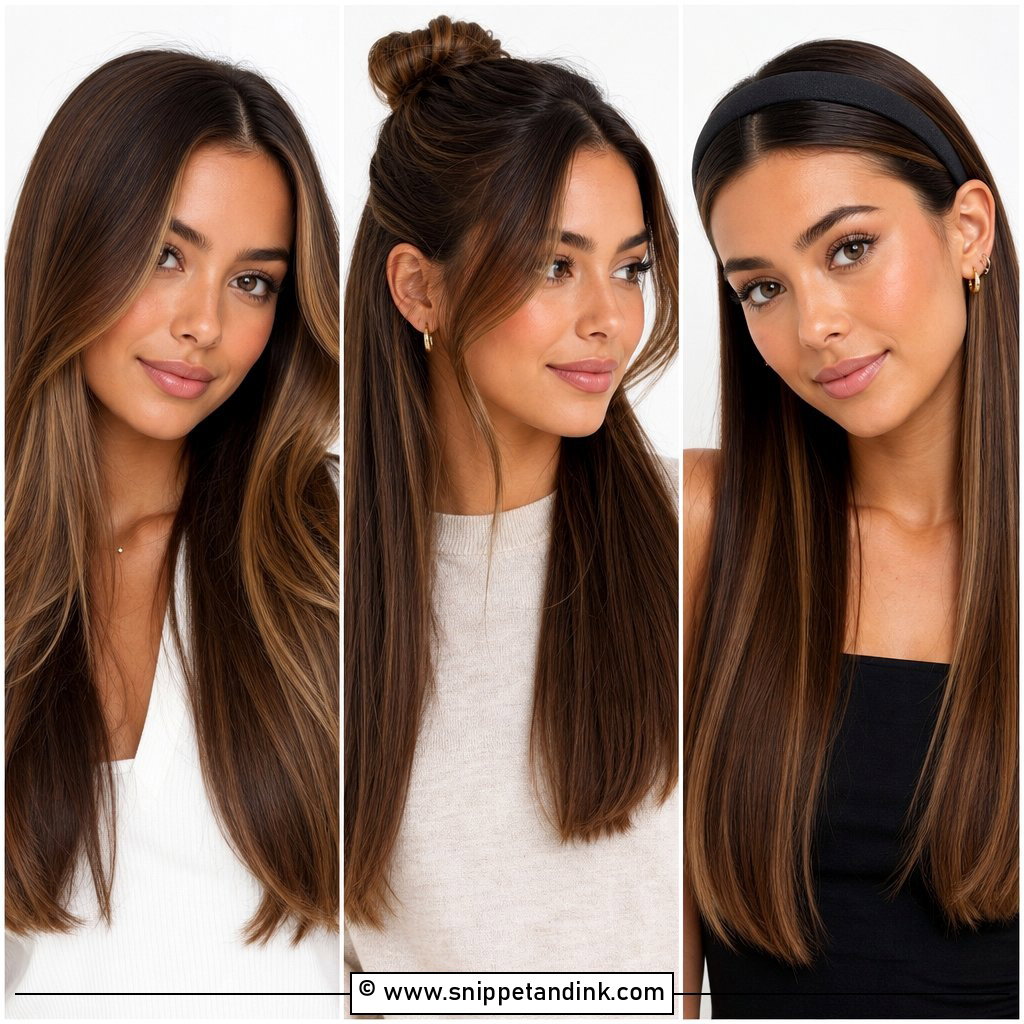
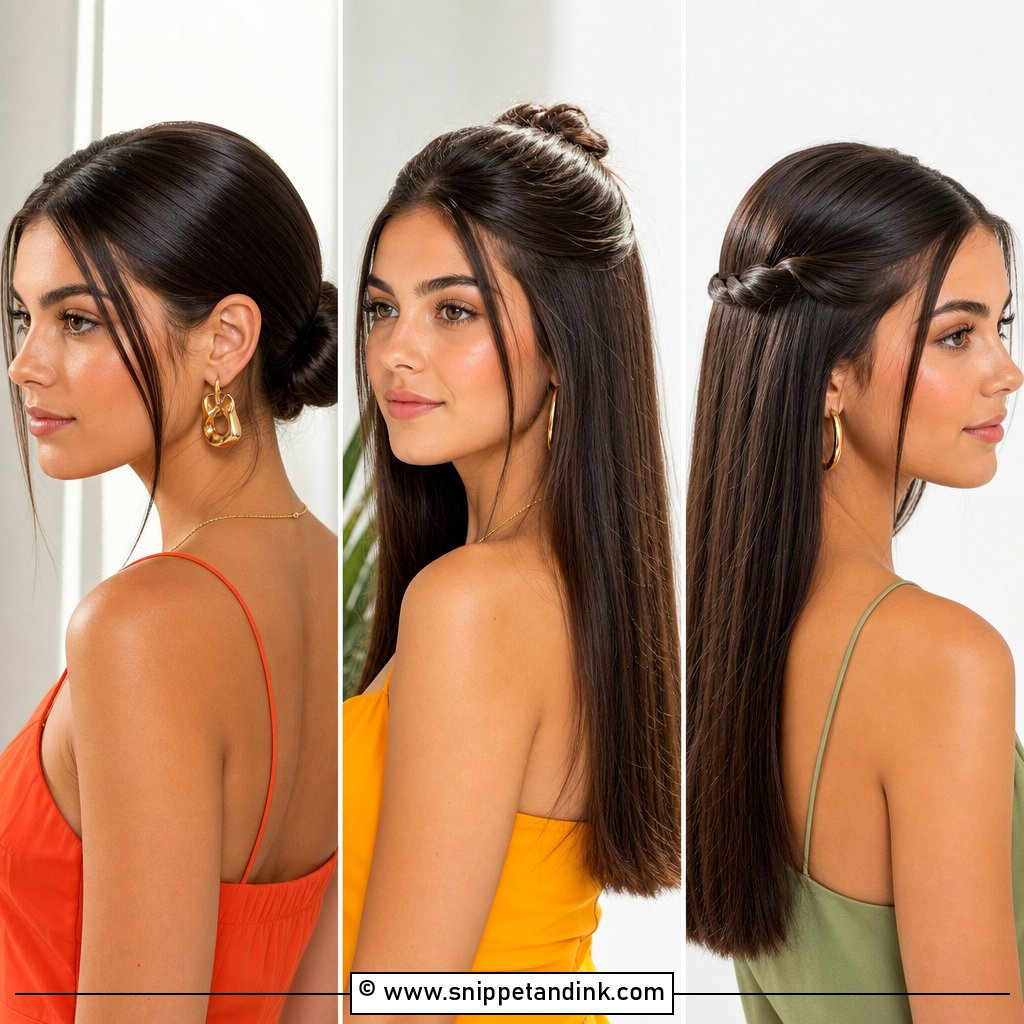
7. Sleek Half-Up Half-Down
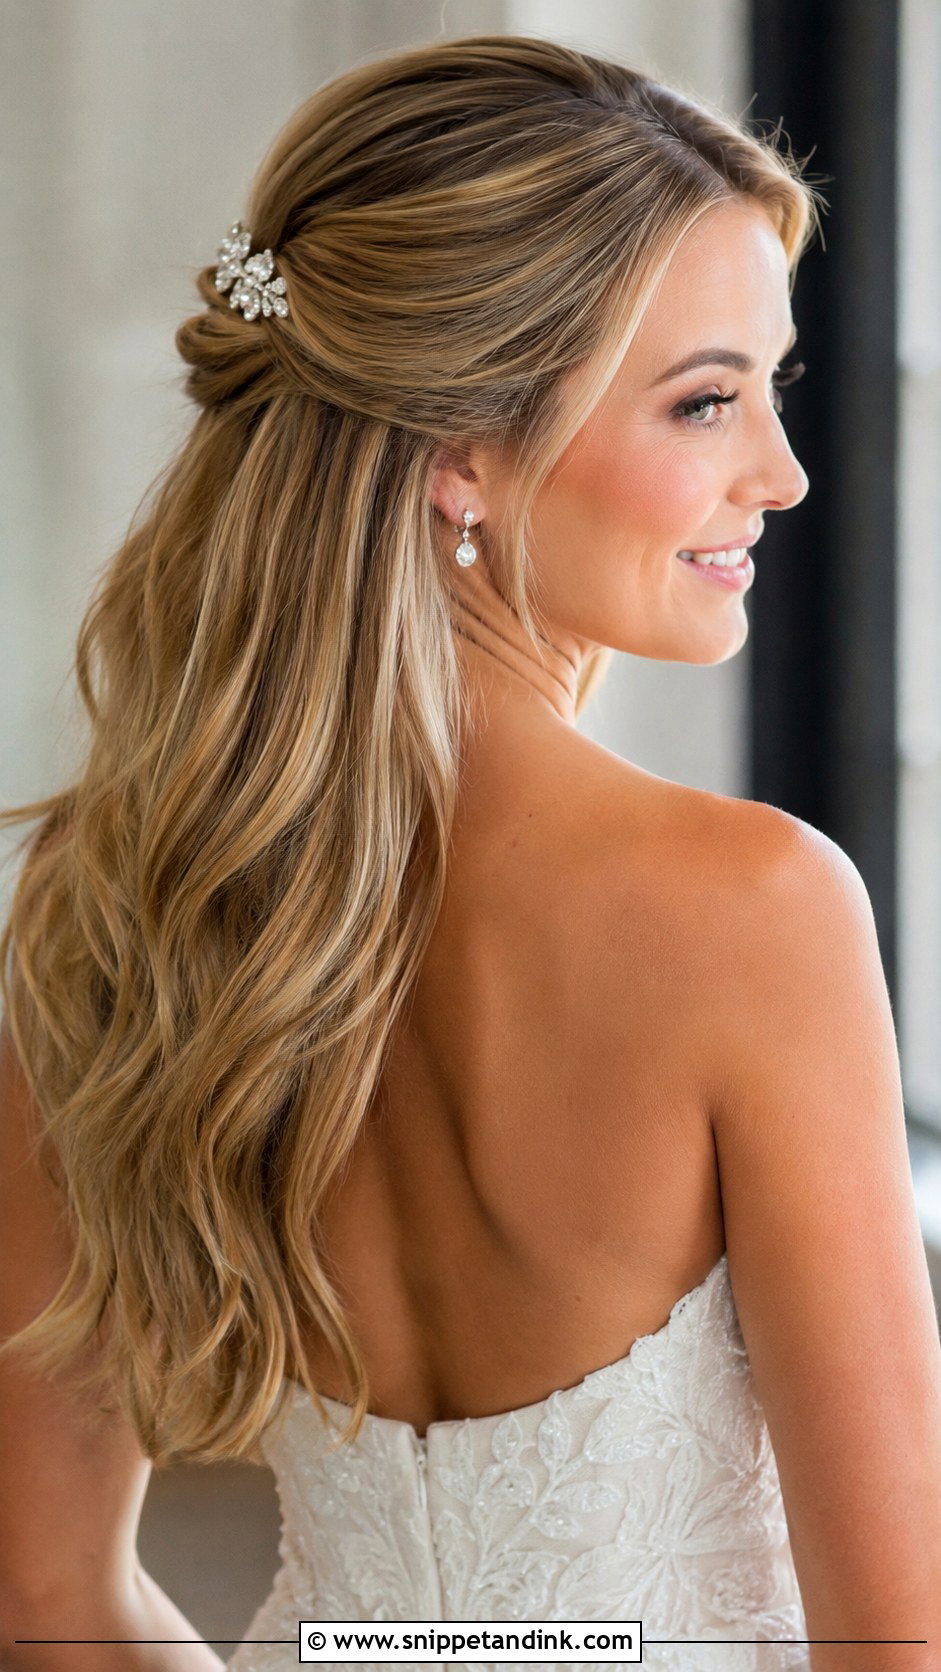
Half-up is the sleek style I adjust most at trials, because smooth straight lengths go flat faster than people expect. Pulling the front sections back keeps hair off your face and out of your lip color, while the rest hangs glossy down your back. On fine hair I add a slight bend at the ends so the length still has life during the speeches. On thick, heavy hair I secure the top with a small clear elastic before pinning, or the weight slides it down over the evening. A small clip covers the join.
8. Sleek Chignon
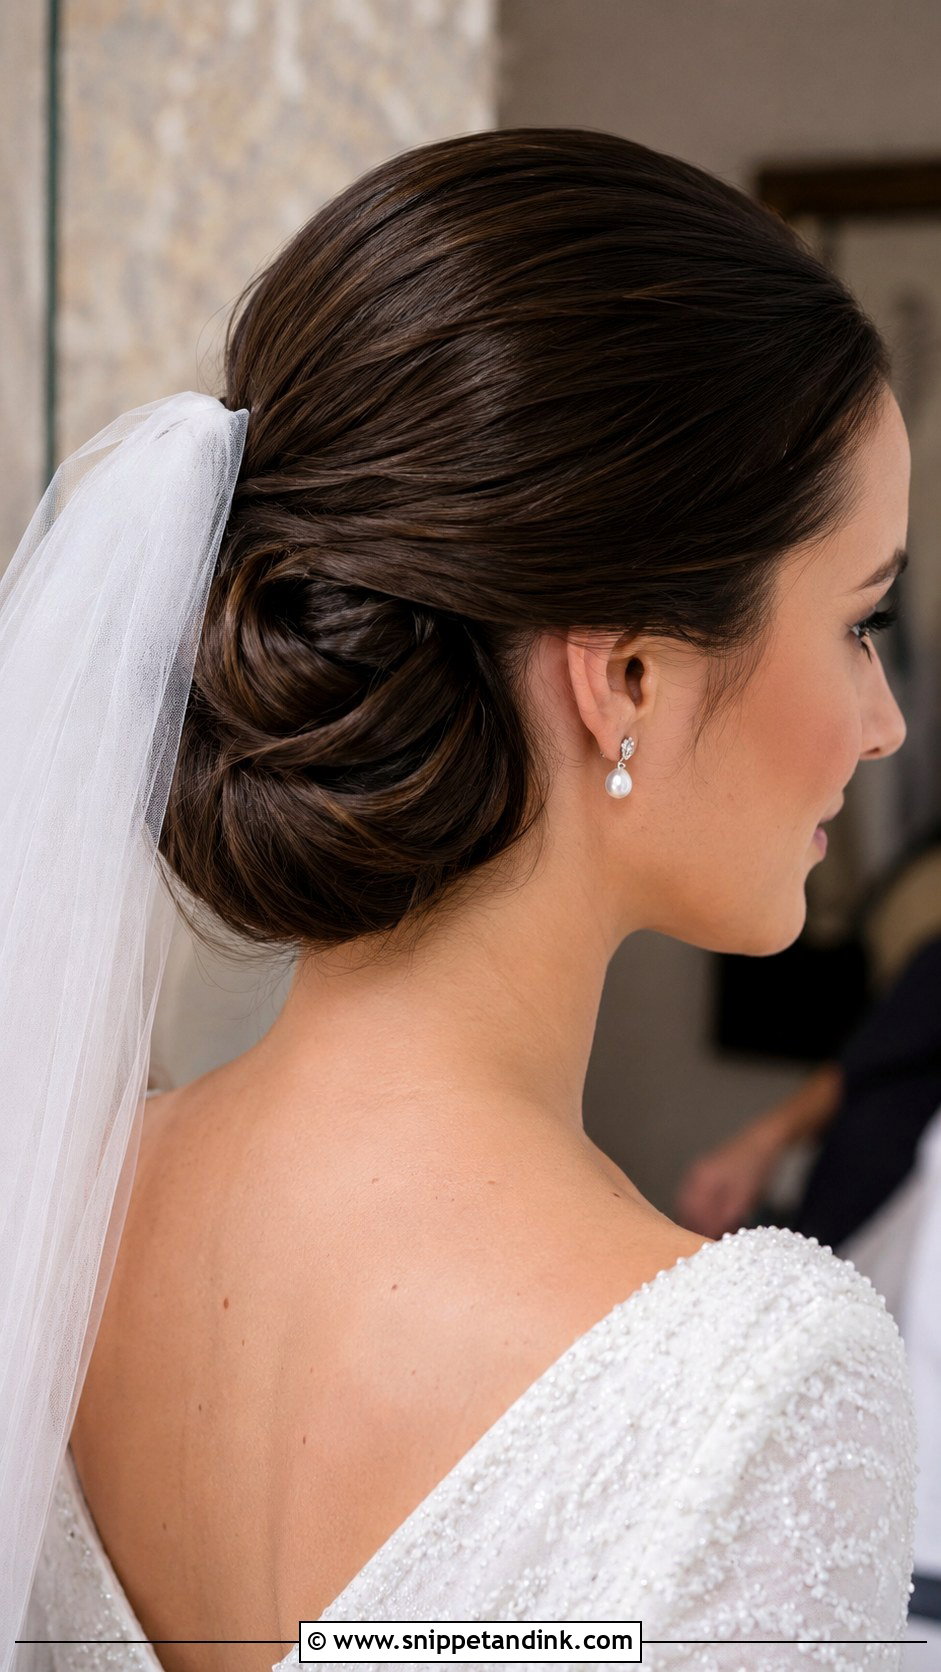
I build a chignon by twisting and looping the hair into a low knot, then pinning it so it sits close to the head. Being low, it leaves room for a veil comb above or a hairpiece below, and it keeps the neckline and jewelry in clear view. It is my default for a formal ceremony followed by a long day, because the weight rests right over the nape and does not drag. Smoothing cream worked through before twisting stops the loops from looking fluffy by evening. Very short layers are the only thing that really fights it.
9. Sleek Bun With Middle Part Baby Hairs
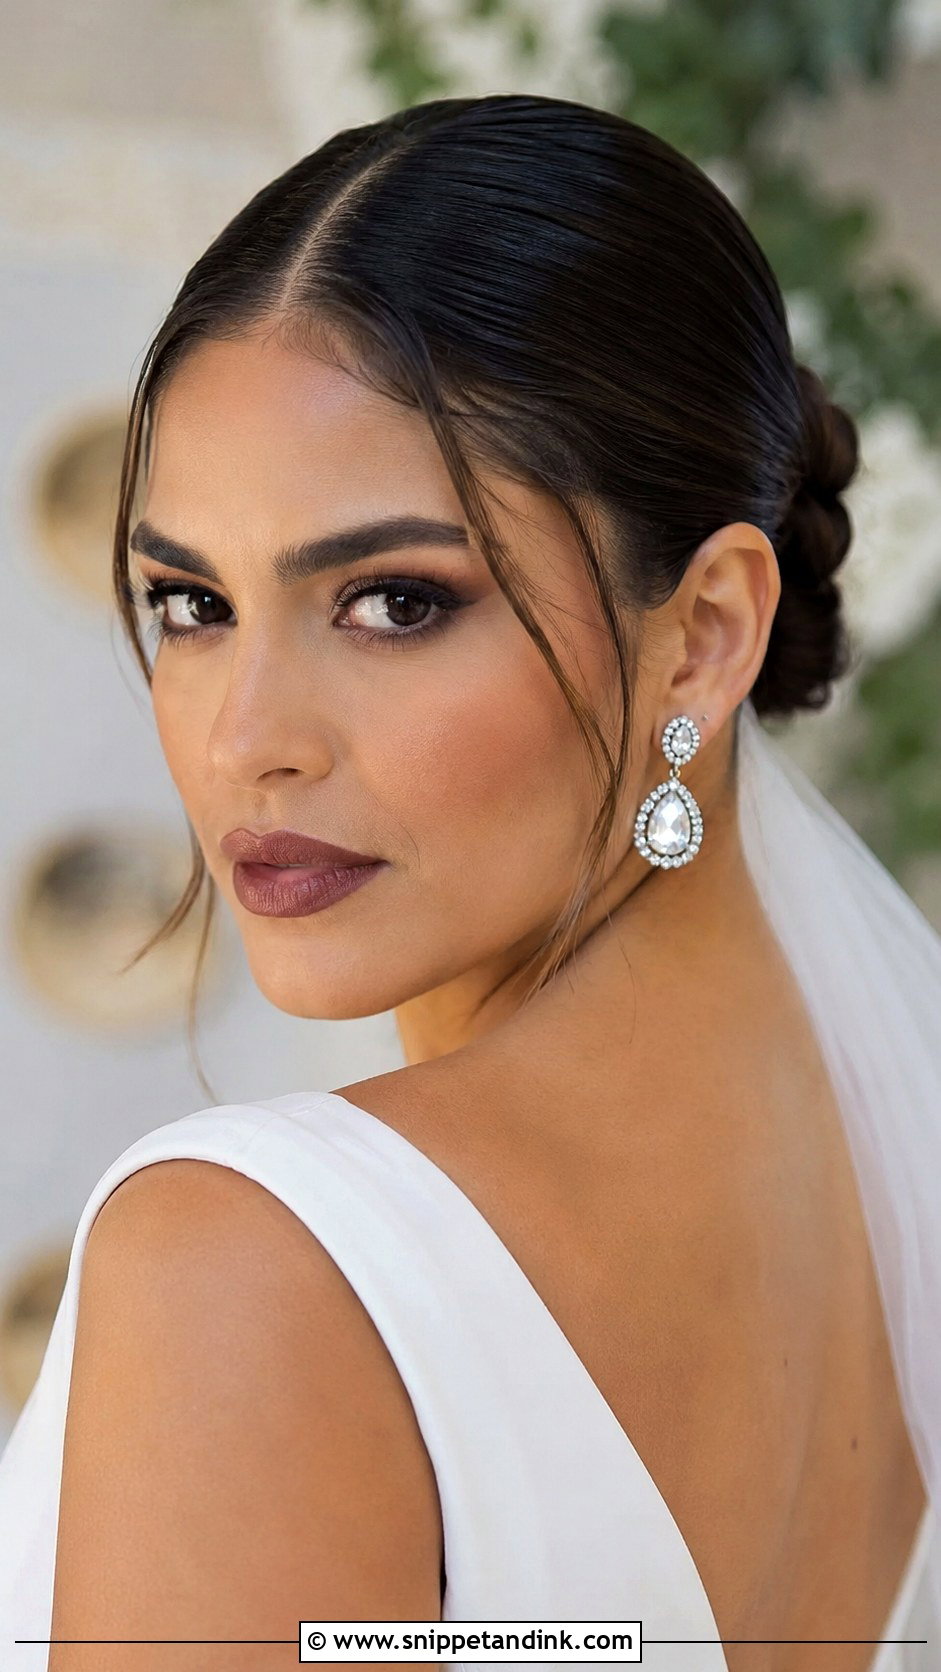
The bun itself is classic: a defined center part slicked into a smooth knot. What makes it feel current are the softly styled baby hairs along the hairline. I lay them with a small brush and a little edge control, keeping the shapes small so they frame your face instead of drawing on your forehead. They soften what could look severe. I do them after makeup so foundation does not lift them, and a spare edge brush belongs in your touch-up bag.
10. Sleek Wet-Look Bun
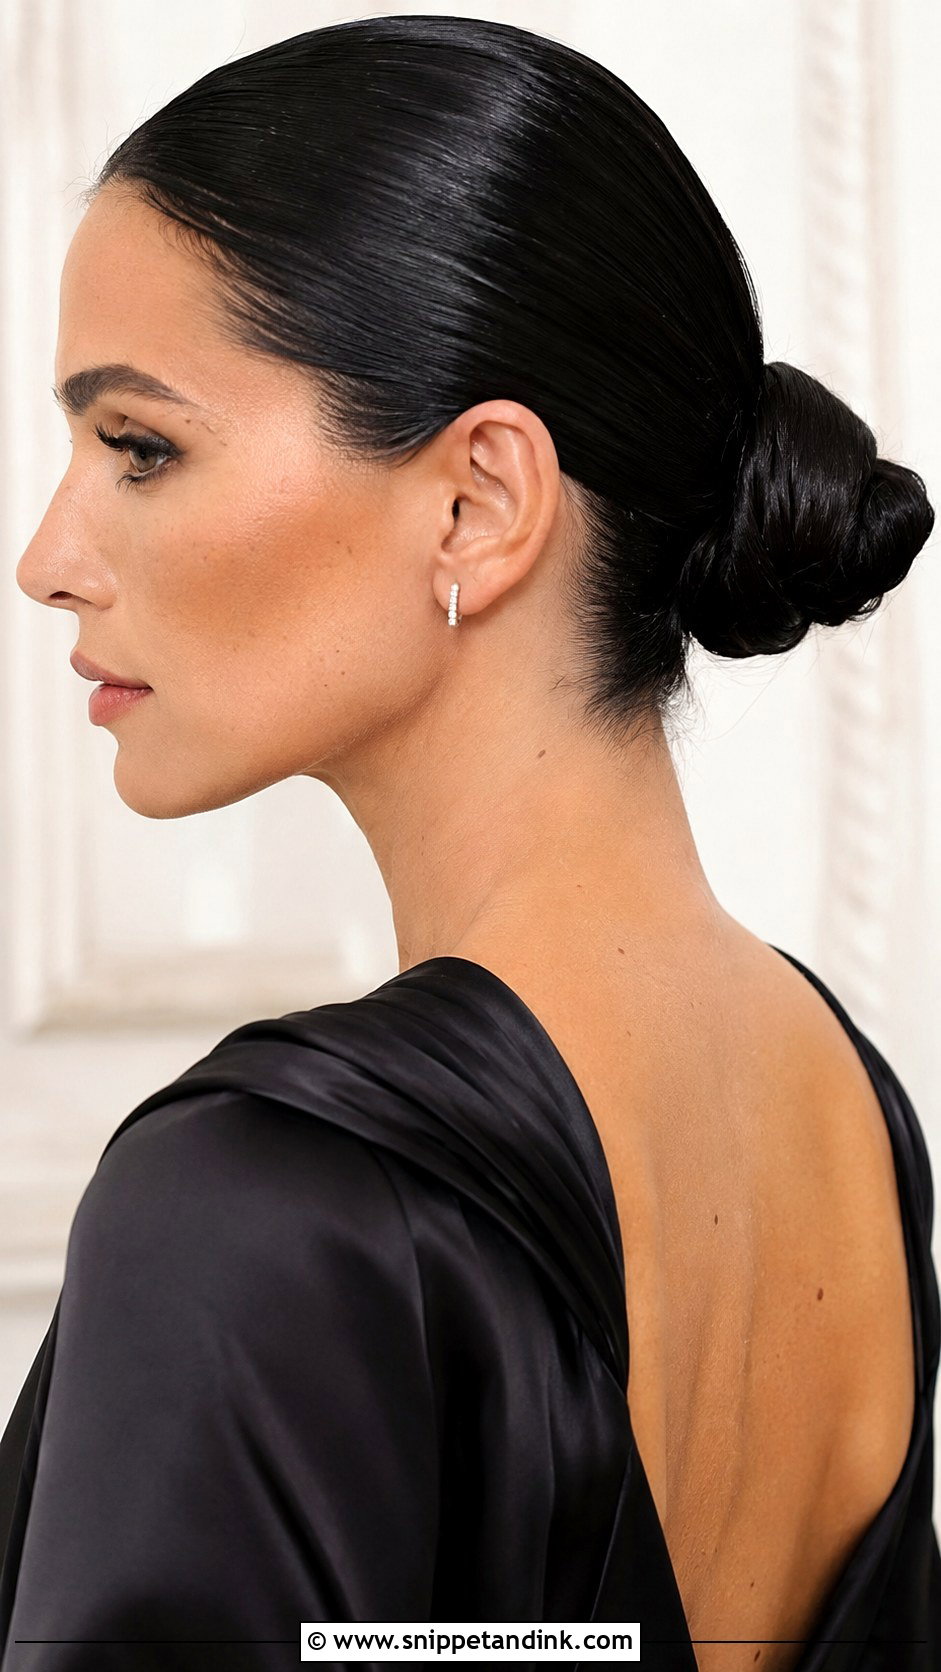
This is the most daring style on the list, and it is not for everyone. A strong gel creates that signature wet finish, combed through damp hair so it sets in clean lines. The risk is that very glossy hair can read as greasy under flash instead of editorial, so I always take a few flash photos at the trial. It pairs best with structured gowns, minimal jewelry and city venues. Strong gel can also flake if it is brushed once dry, so after it sets, hands off.
11. Sleek Low Ponytail
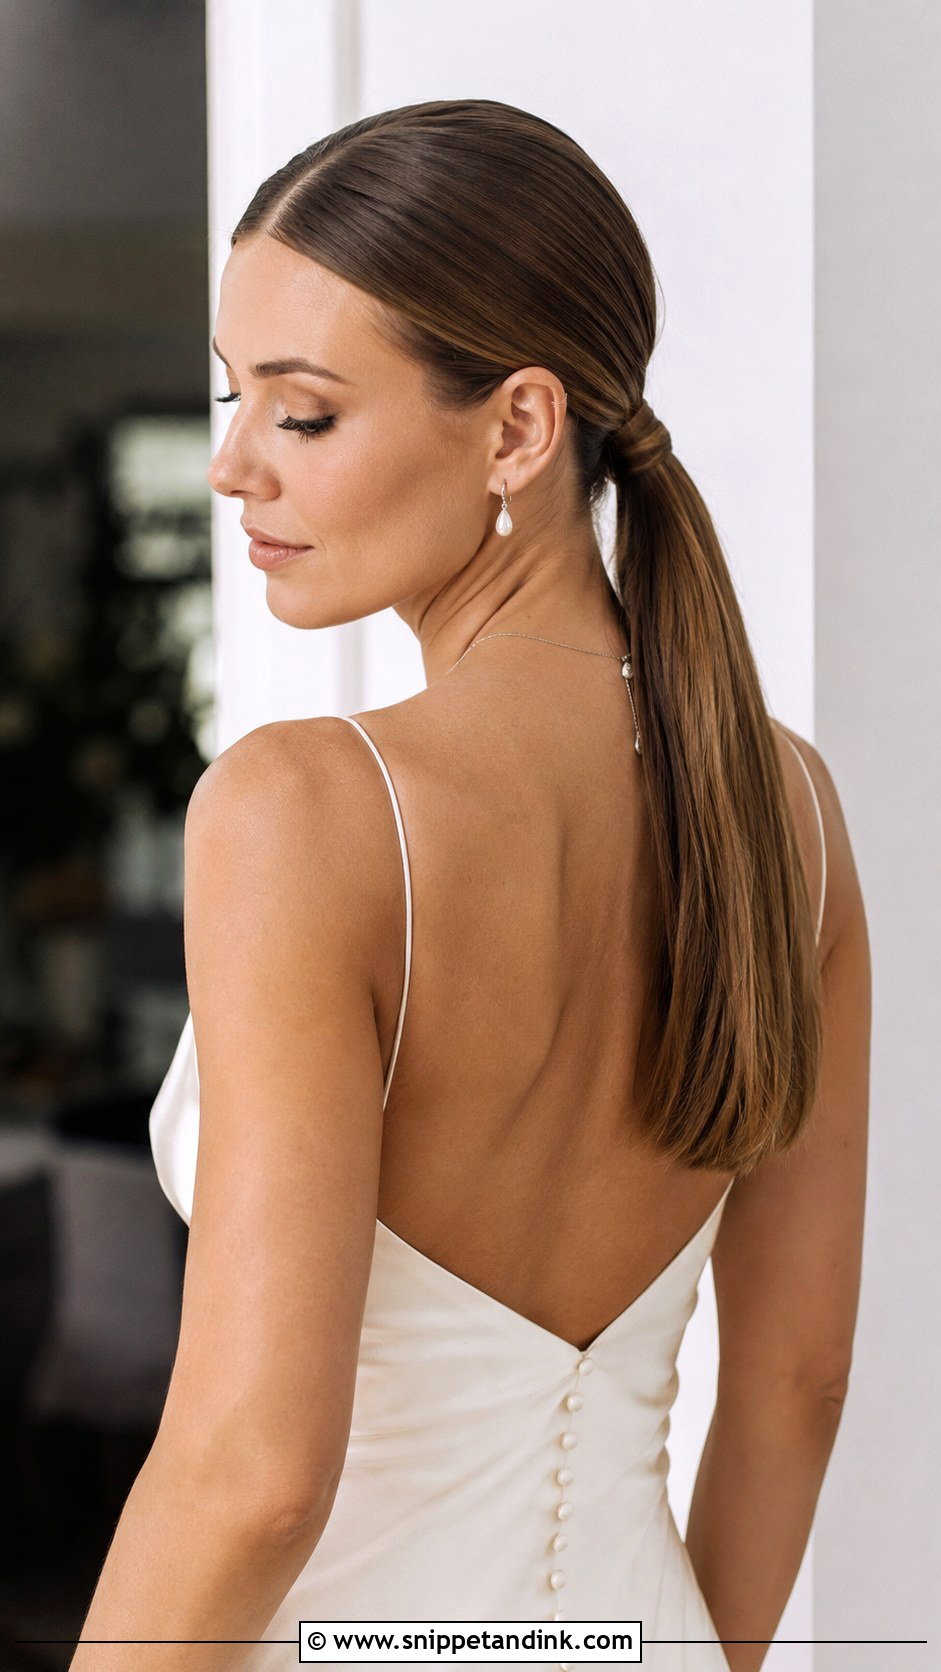
Gathered at the nape and left long, this is about as quiet as bridal hair gets. Because it is so simple, the condition of your lengths is everything; split ends and uneven color show here before anywhere else. I wrap a strand around the base, pin it underneath and keep the part in the center. It sits against nearly any neckline and suits a slip dress especially well. The low base never pulls, so it is one of the easiest styles to wear from the ceremony to the last song.
12. Sleek Bridal Bob
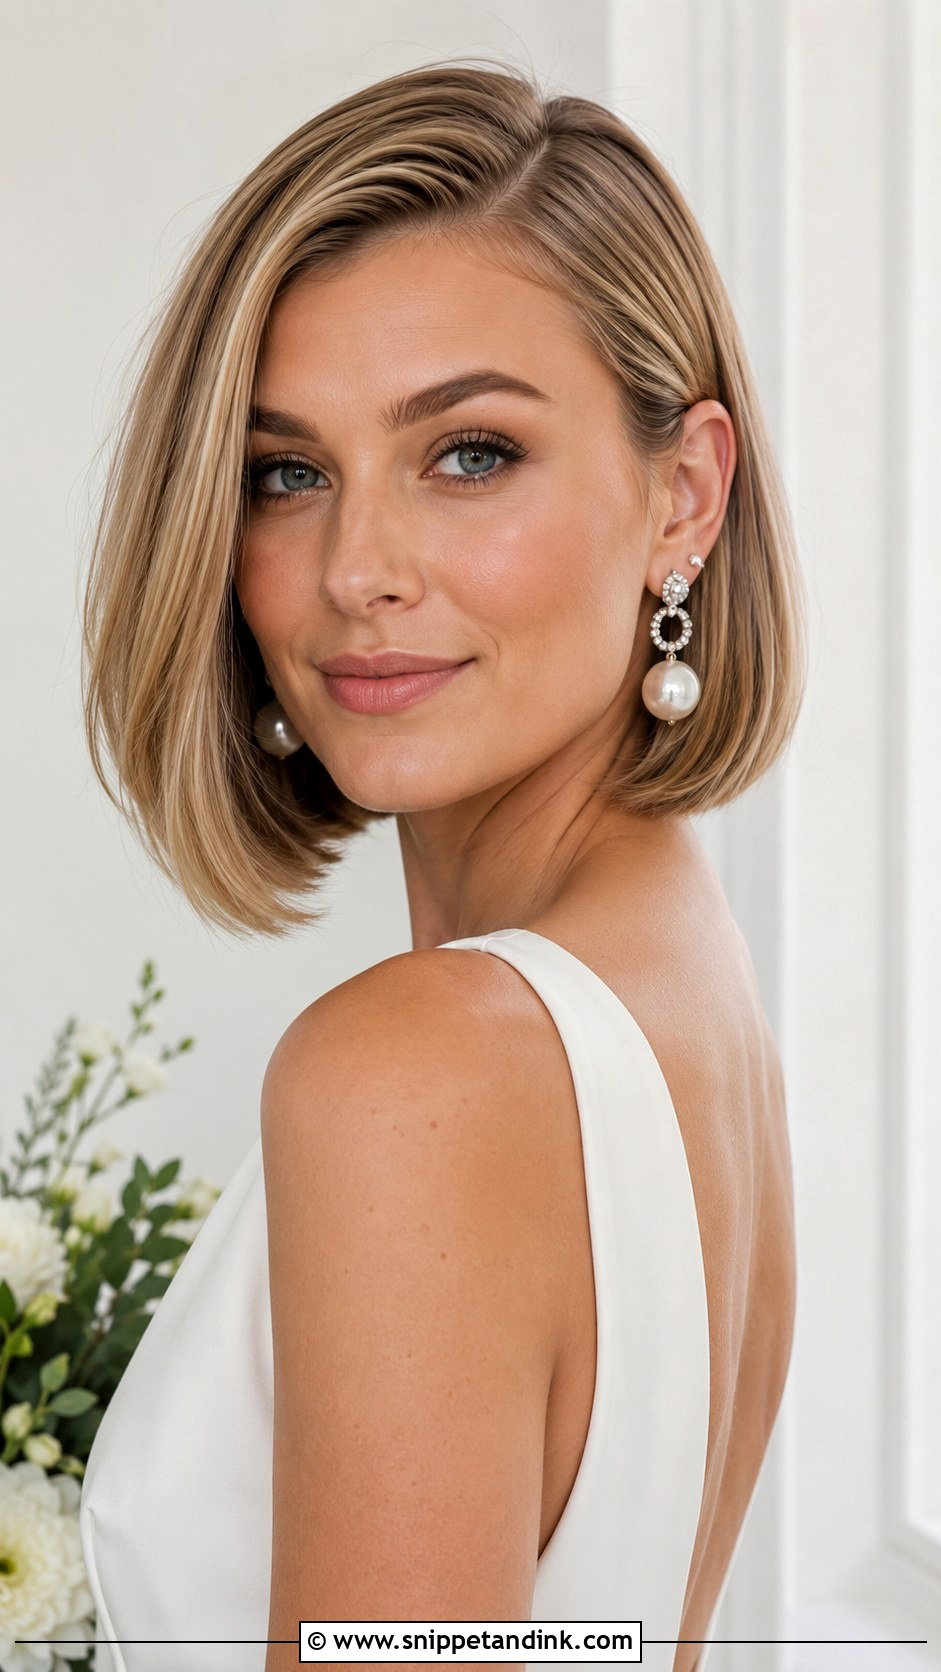
Short hair can be the sleekest of all, since there is less length to frizz. I flat iron a chin or shoulder-length bob in small sections and bend the ends slightly under, so the line stays crisp instead of flipping out. Have it trimmed about two weeks before the wedding: long enough to lose the just-cut look, recent enough to keep the edge sharp. Center or side part comes down to your face shape and your better side. Tucking one side behind your ear cleans up the jawline and gives a statement earring somewhere to show.
13. Sleek Straight Hair Down
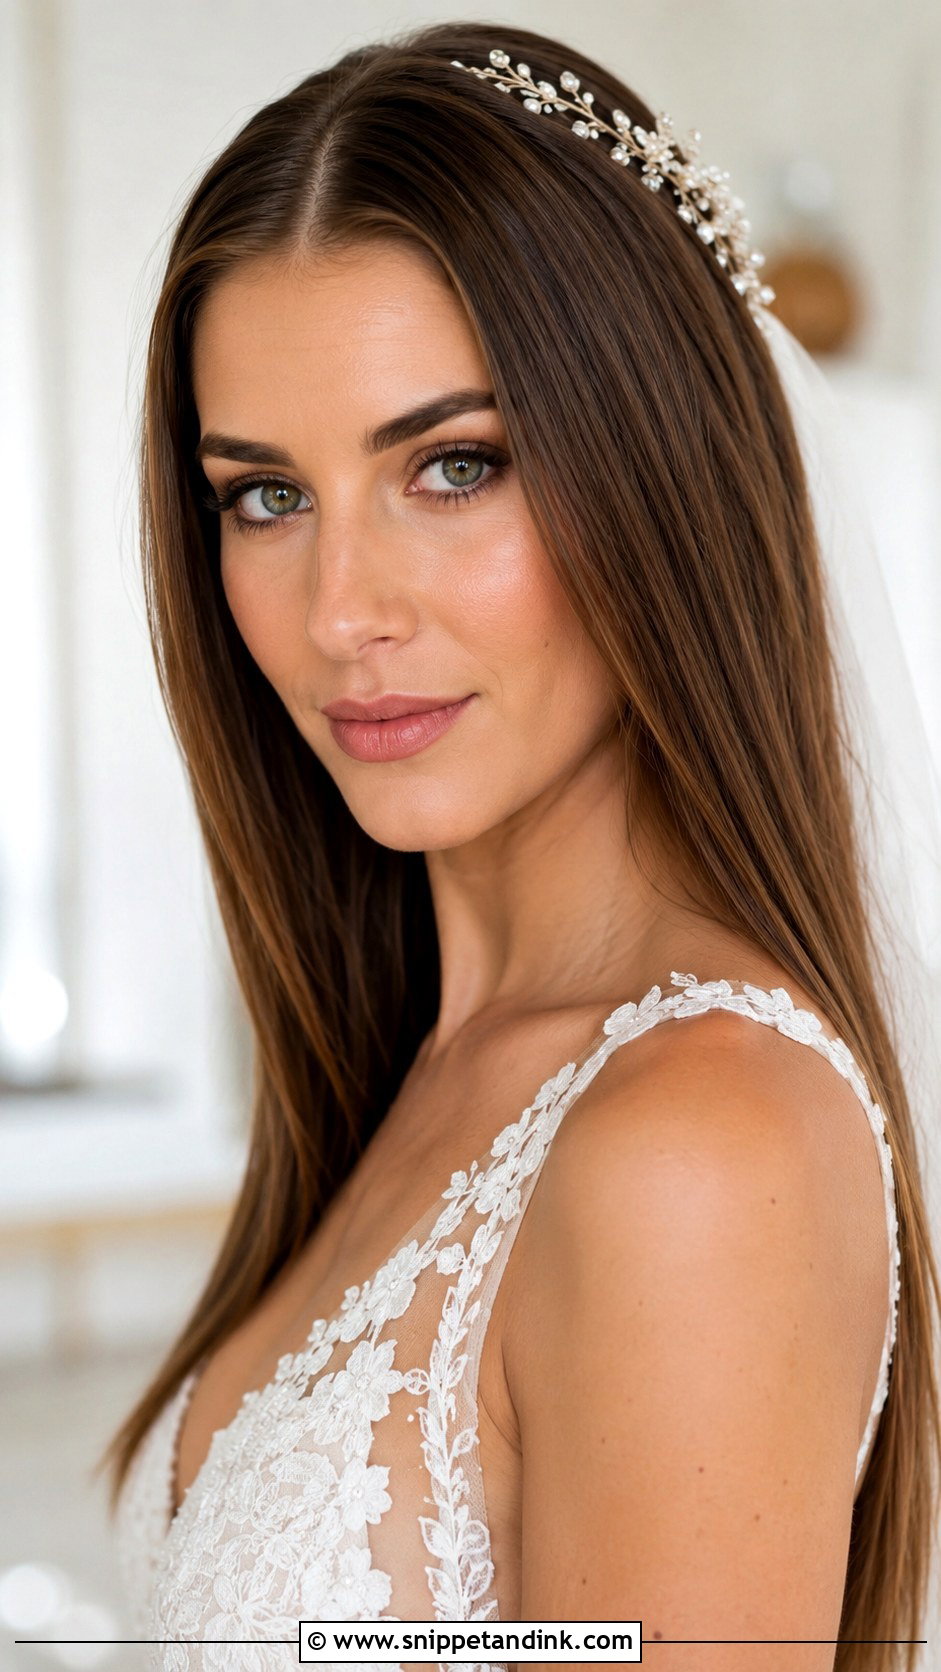
Straight and down looks simple and takes more care than almost anything else here. I flat iron thin sections at the lowest heat that works for your hair, then put a pea-sized amount of serum on the ends only, because product near the roots drops volume fast. A center part keeps it symmetrical. Straight hair is also the first to frizz in humidity, so for an outdoor summer wedding I plan a veil or hairpiece that can disguise the crown if the weather turns. It suits a modern or relaxed gown, as long as you accept it needs a backup plan.
14. Sleek Twisted Updo
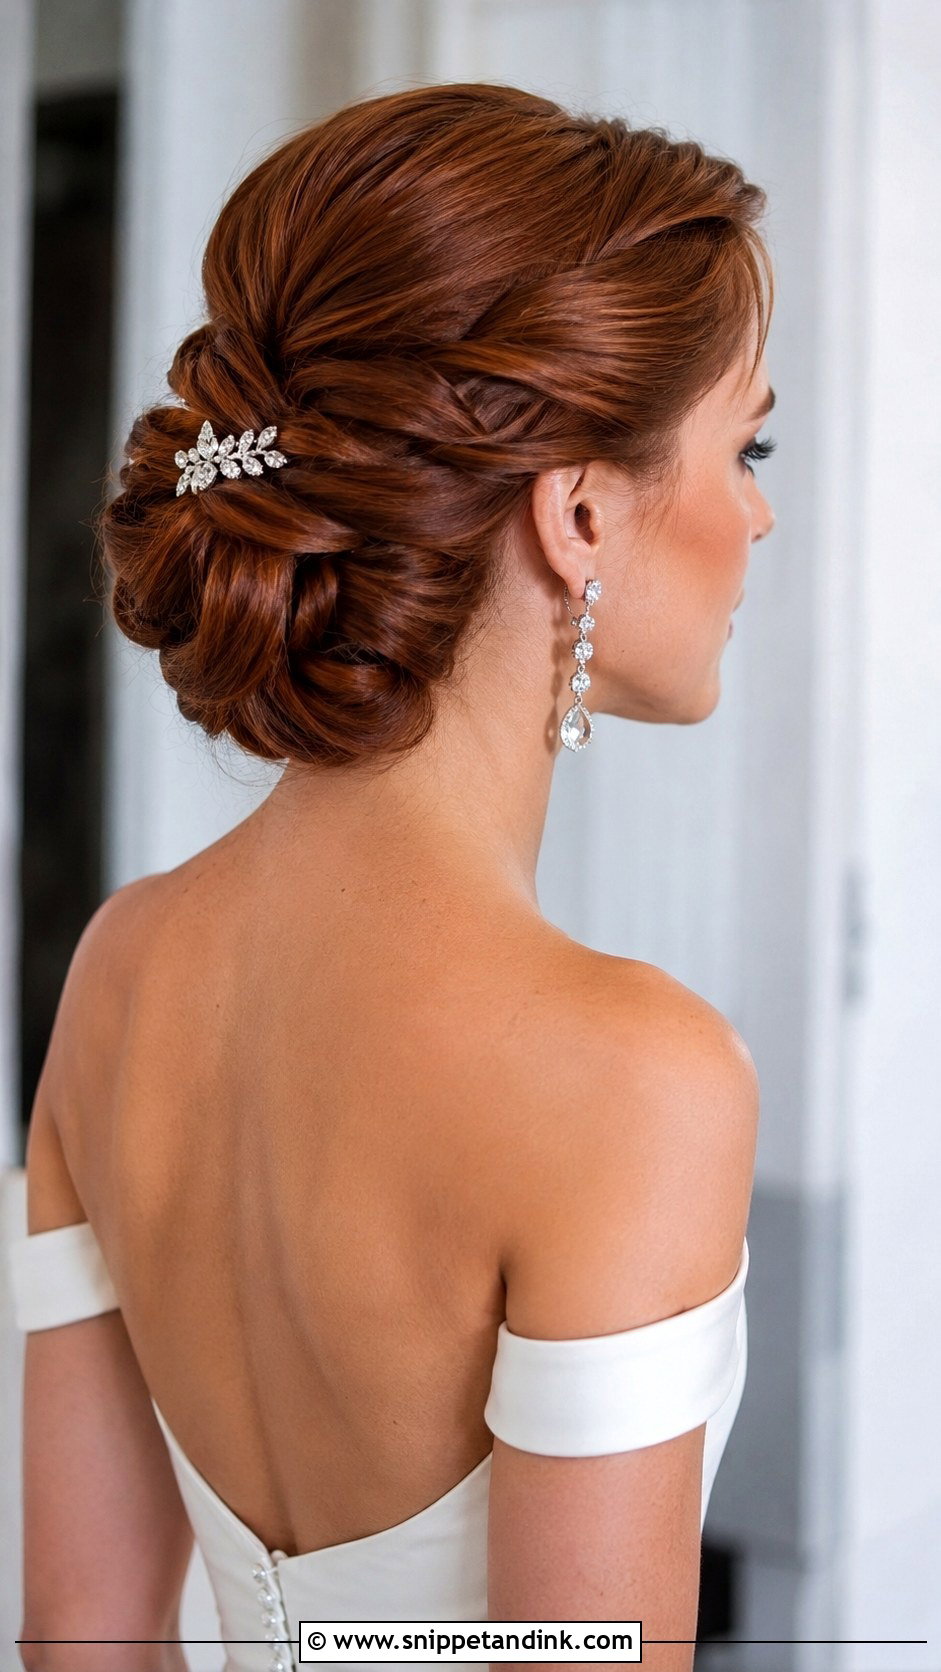
Smooth sections are twisted and pinned into a shape with more detail than a plain bun. I like it most on thick hair, because twisting spreads the weight across many anchor points, and each twist gets its own pair of pins crossed in an X. That is why it holds through a long reception. It looks especially good from behind, which matters during the ceremony. On very fine hair the twists can look thin, so I prep with texture spray before starting.
15. Sleek Bun With Veil
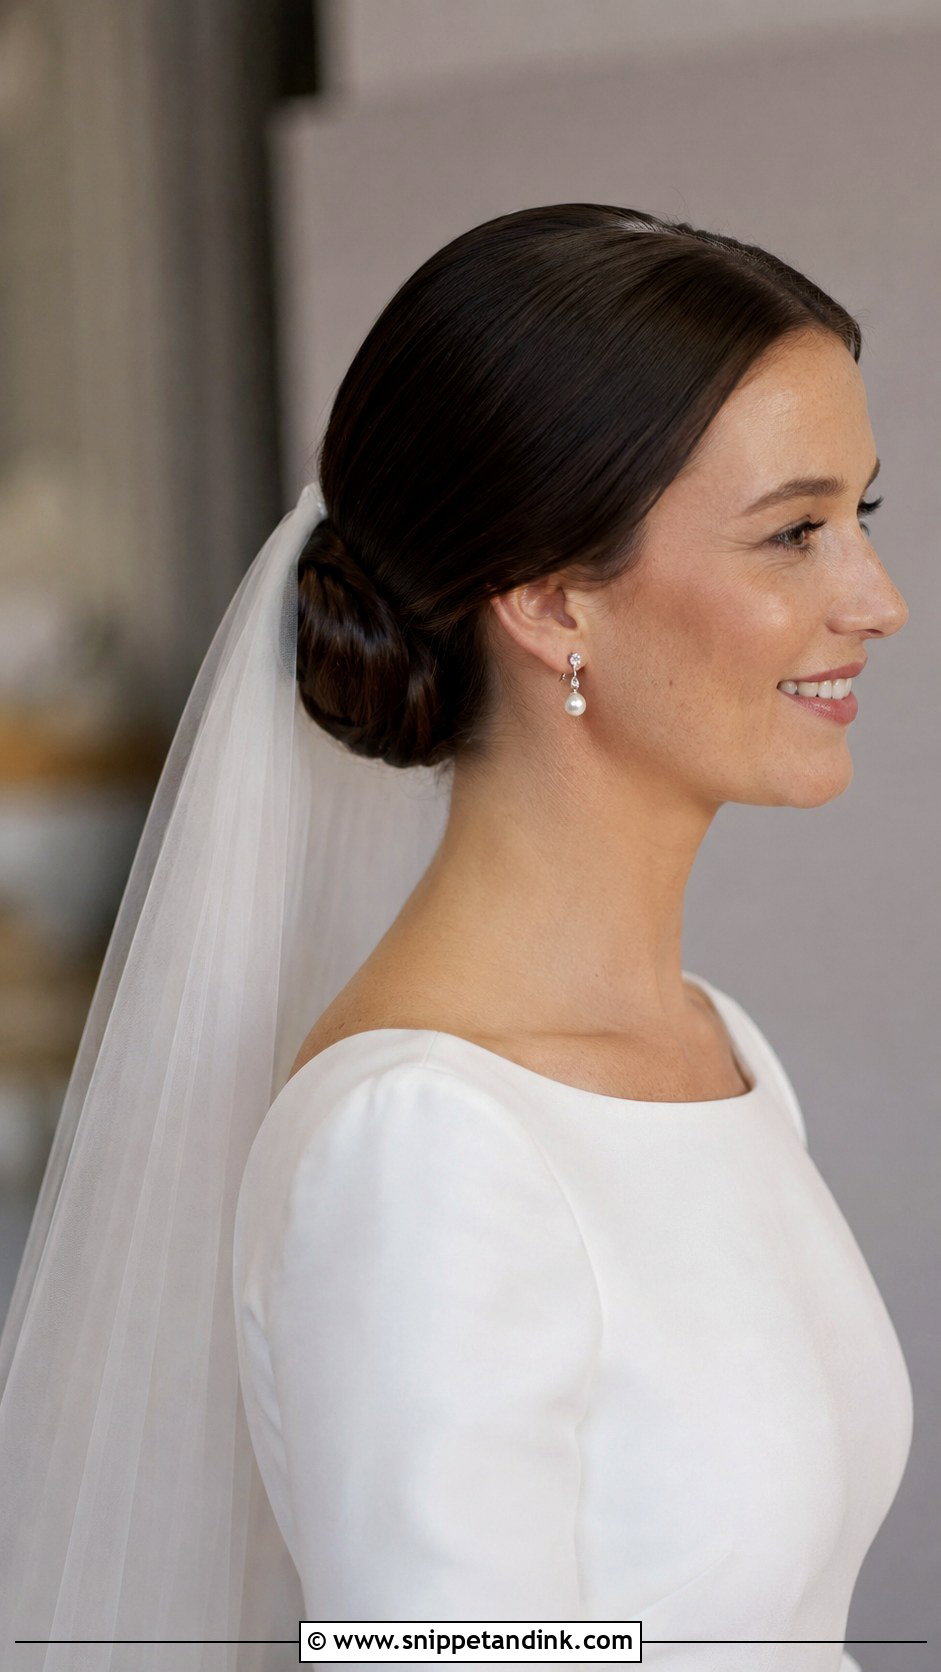
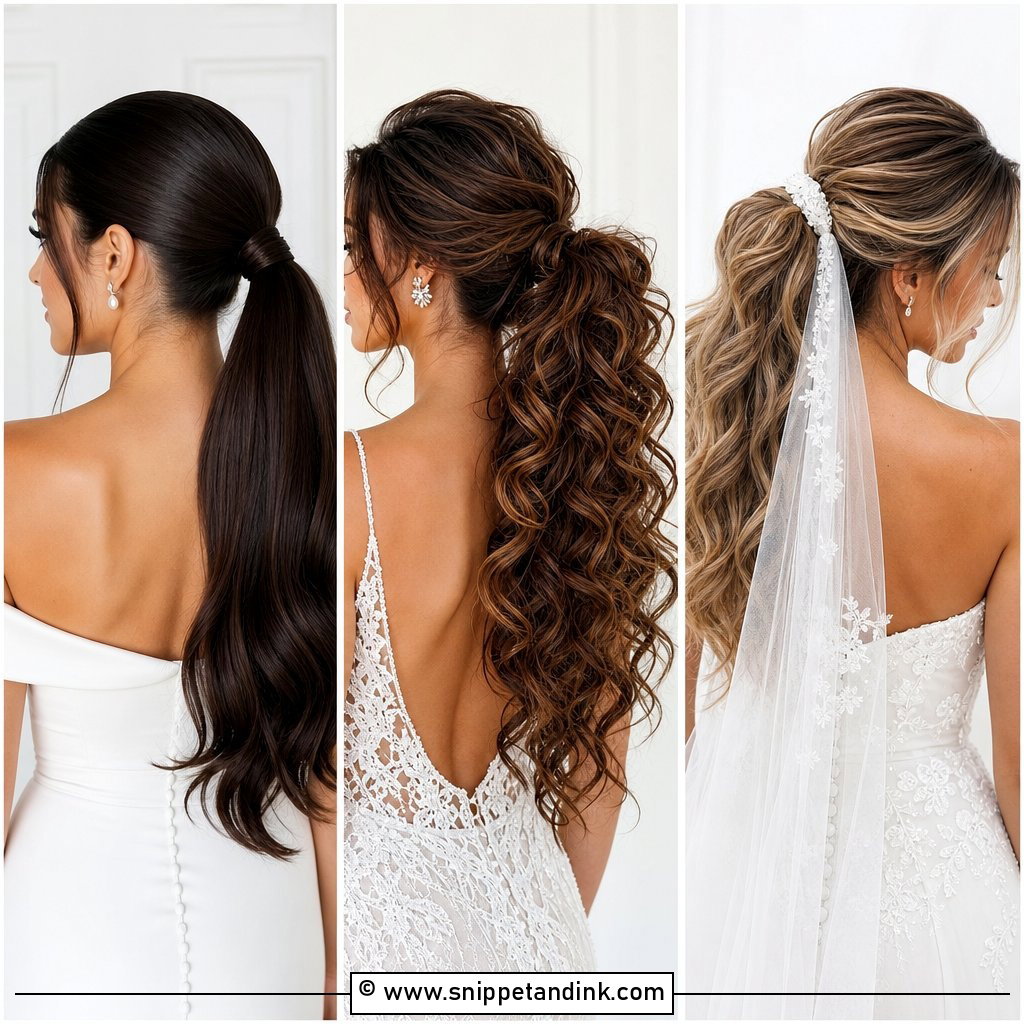
This is the pairing I am asked for most at traditional ceremonies, and there is a practical reason behind it. A veil comb needs something solid to grip, or it slides back during the processional. A smooth bun gives it that anchor. I slide the comb under the top edge of the bun with the teeth facing in, then pin through the comb into the bun itself. Low or high placement changes where the veil falls, so bring the veil to your trial. When it comes off after the ceremony, the bun stays exactly where it was for the reception.
16. Sleek Deep Side Part Waves
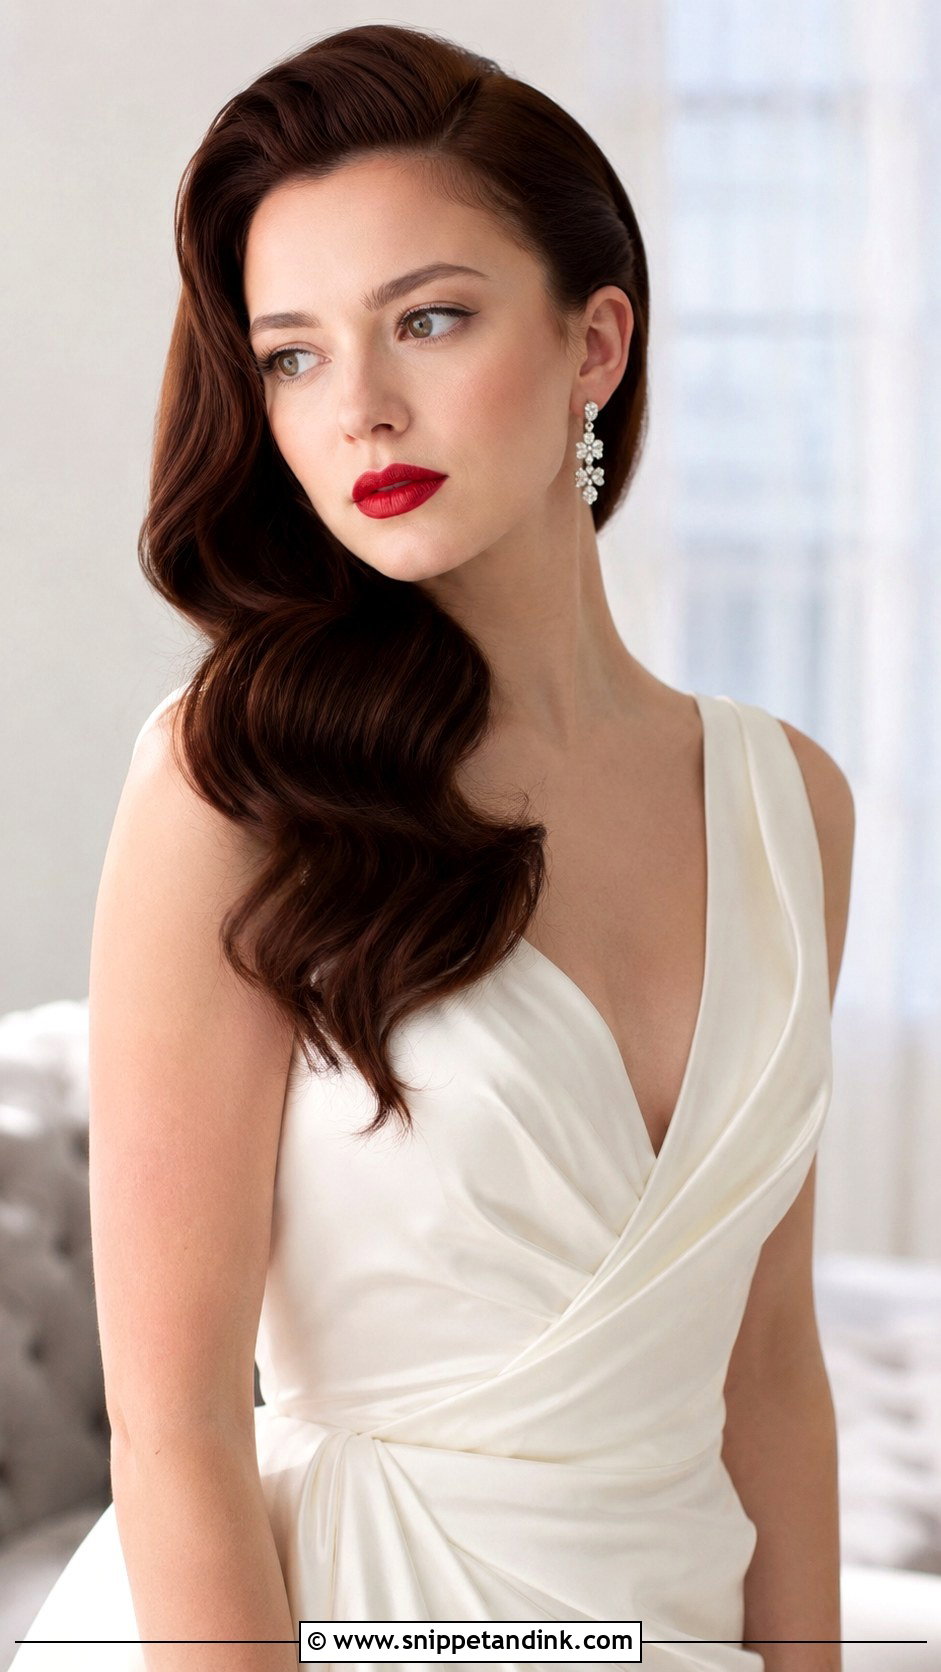
A deep side part shifts volume to the crown and sends glossy waves over one shoulder. It is close to the Hollywood waves above, only less set, with more movement and softer ridges. The asymmetry lengthens a round face and leaves the open side for a statement earring. During makeup I pin the heavy side behind your ear so the waves stay clear of foundation, then release them last. Go easy on the shine spray; under flash a little goes a long way.
17. Sleek Bun With Hair Accessory
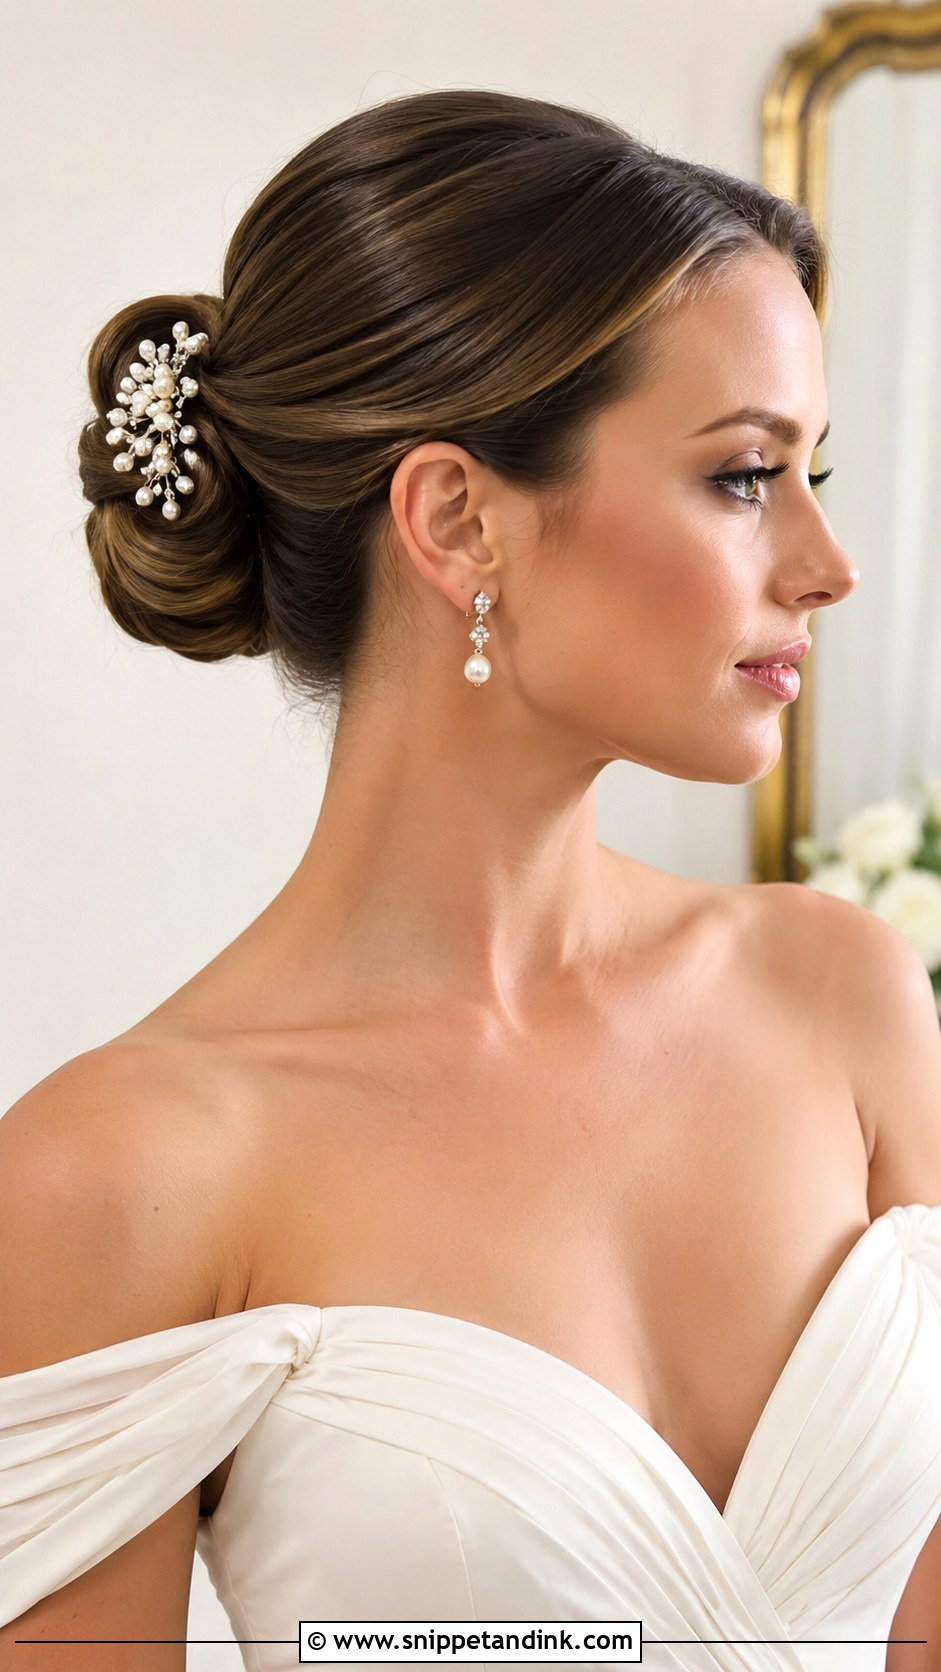
A smooth bun is a calm base for a hair accessory, because nothing on the surface competes with it. Crystal pins, a pearl comb or a slim headband all stand out clearly. Bring the piece to your trial, since its weight decides the placement: heavy combs need to sit into the bun, while light pins can go beside it. I usually set it slightly off center, which looks intentional in profile shots. If the accessory is large, keep your jewelry simpler.
18. Sleek Bridal Lob
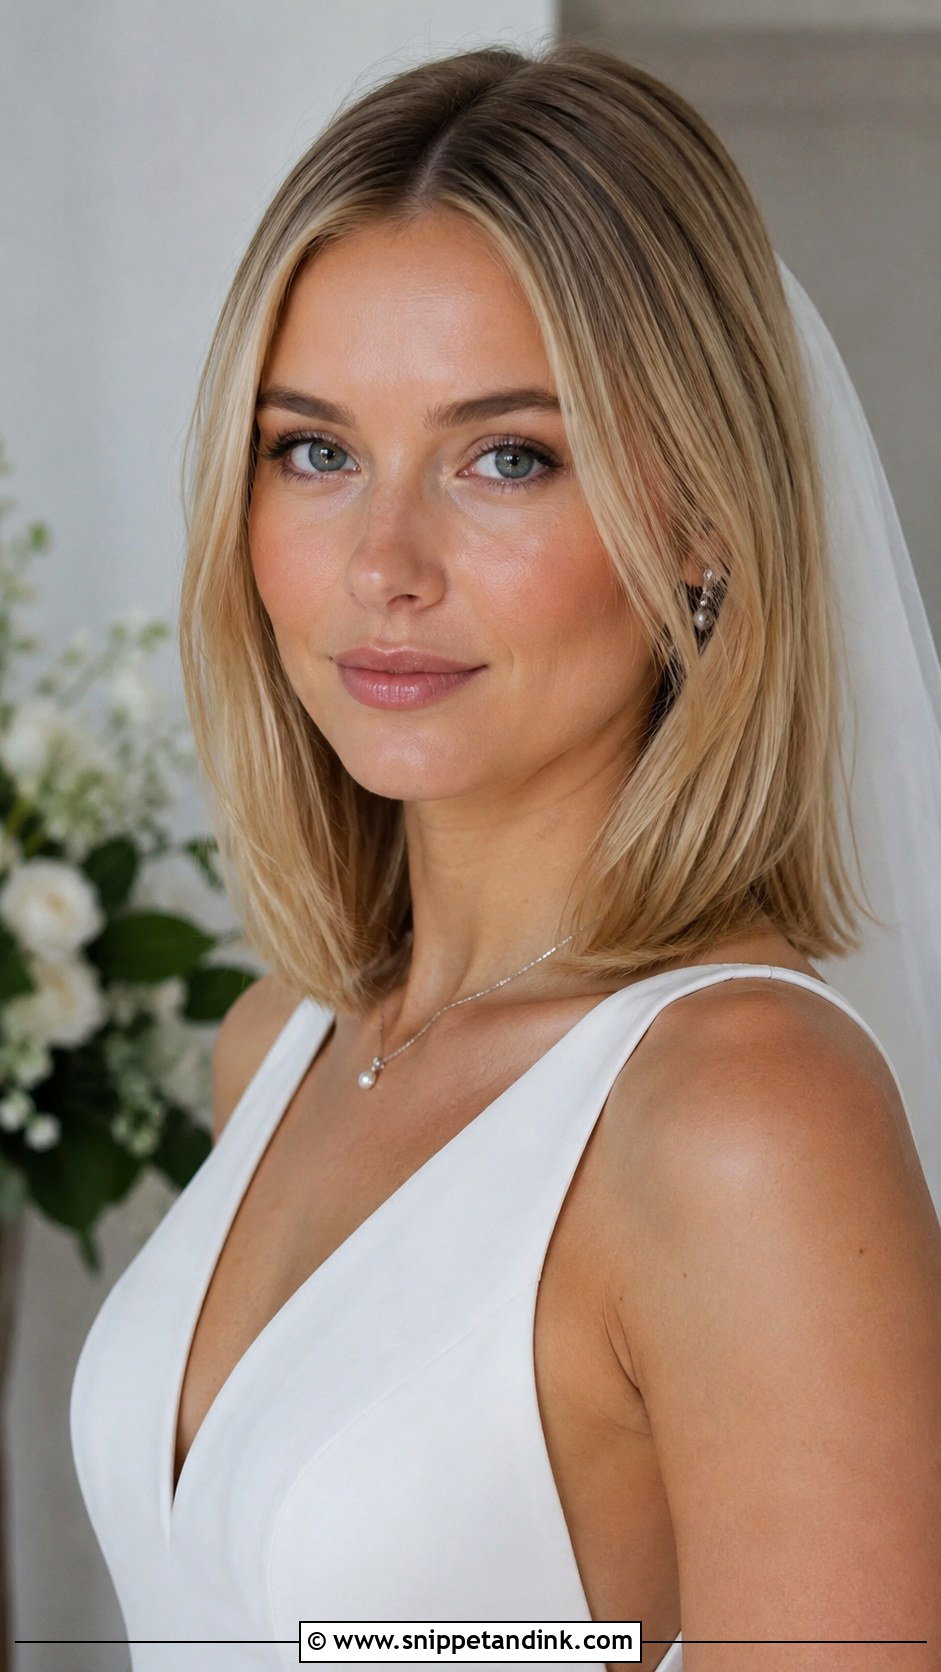
A lob sits around the shoulders, and a smooth flat-iron finish gives it a crisp shape. The trouble with this length is collar contact. Hair resting on a shoulder or a high neckline flips outward as you move, so I bend the ends slightly under and set them with a light spray. You can wear it down or tucked behind the ears, which is the better choice if your earrings matter to you. A center part and a drop of serum finish it, and it looks every bit as bridal as long hair.
19. Sleek Braided Low Bun
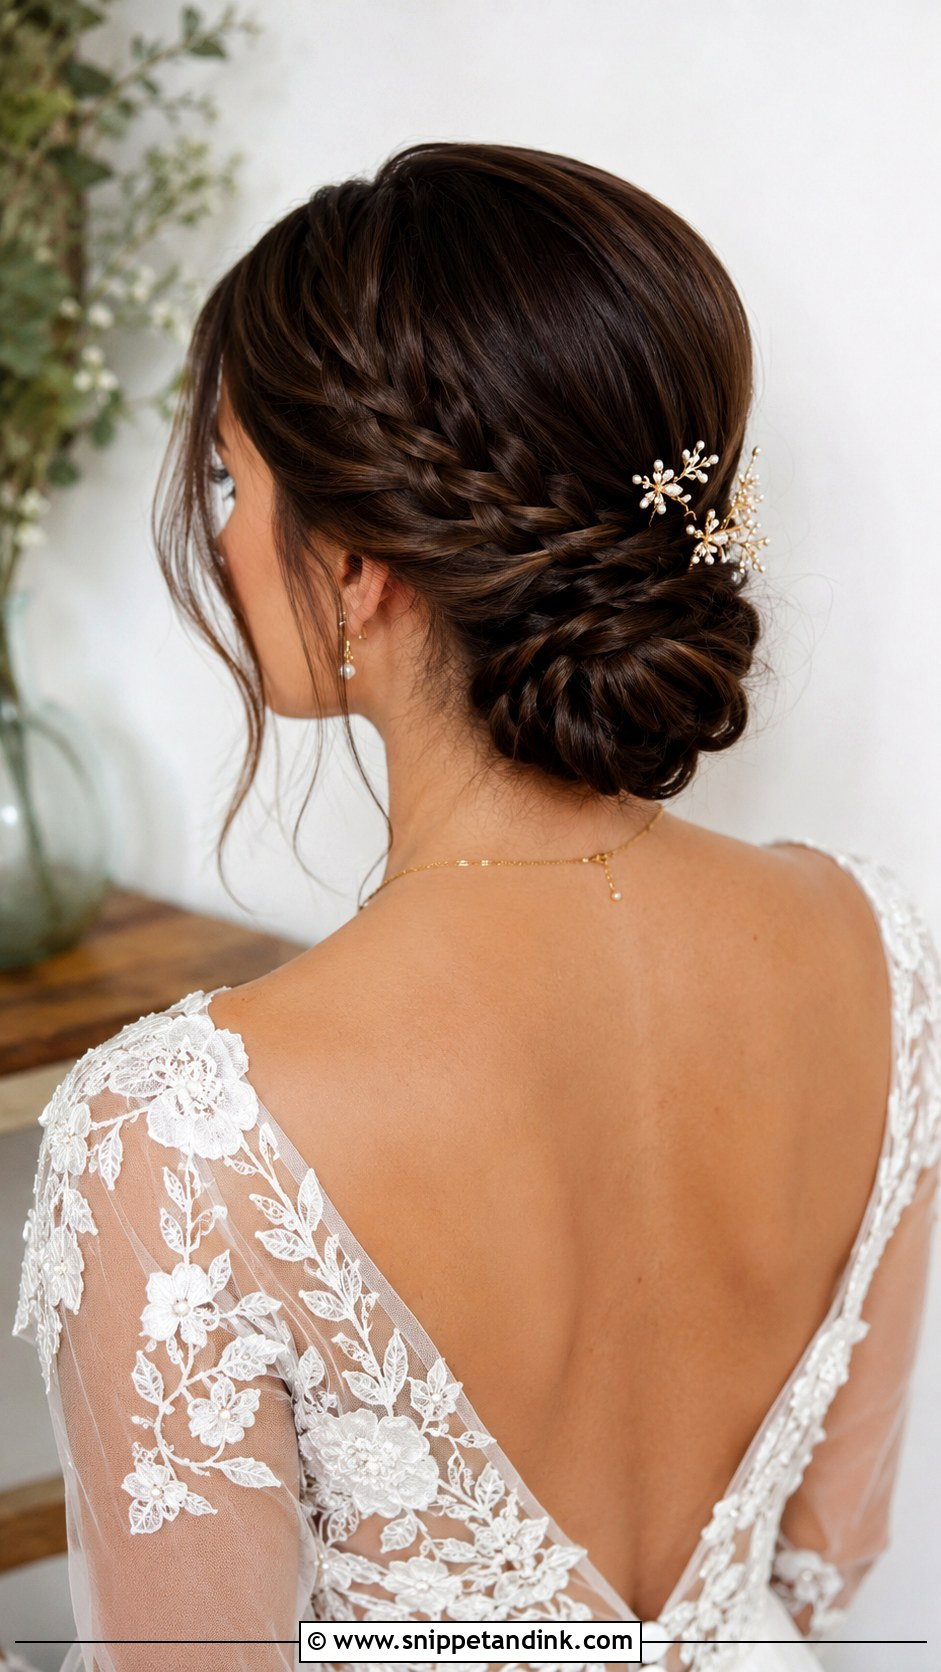
Hair is smoothed back, braided and wrapped into a low bun at the nape. The braid adds pattern without breaking the polished surface, and it actually improves the hold, since a braid grips pins better than a twist. I pull the braid out slightly before wrapping so it looks fuller, but only along the outer edge; pull too much and you lose the clean finish. It takes a veil or pins without trouble and lasts through long celebrations.
20. Sleek Slicked-Back Updo
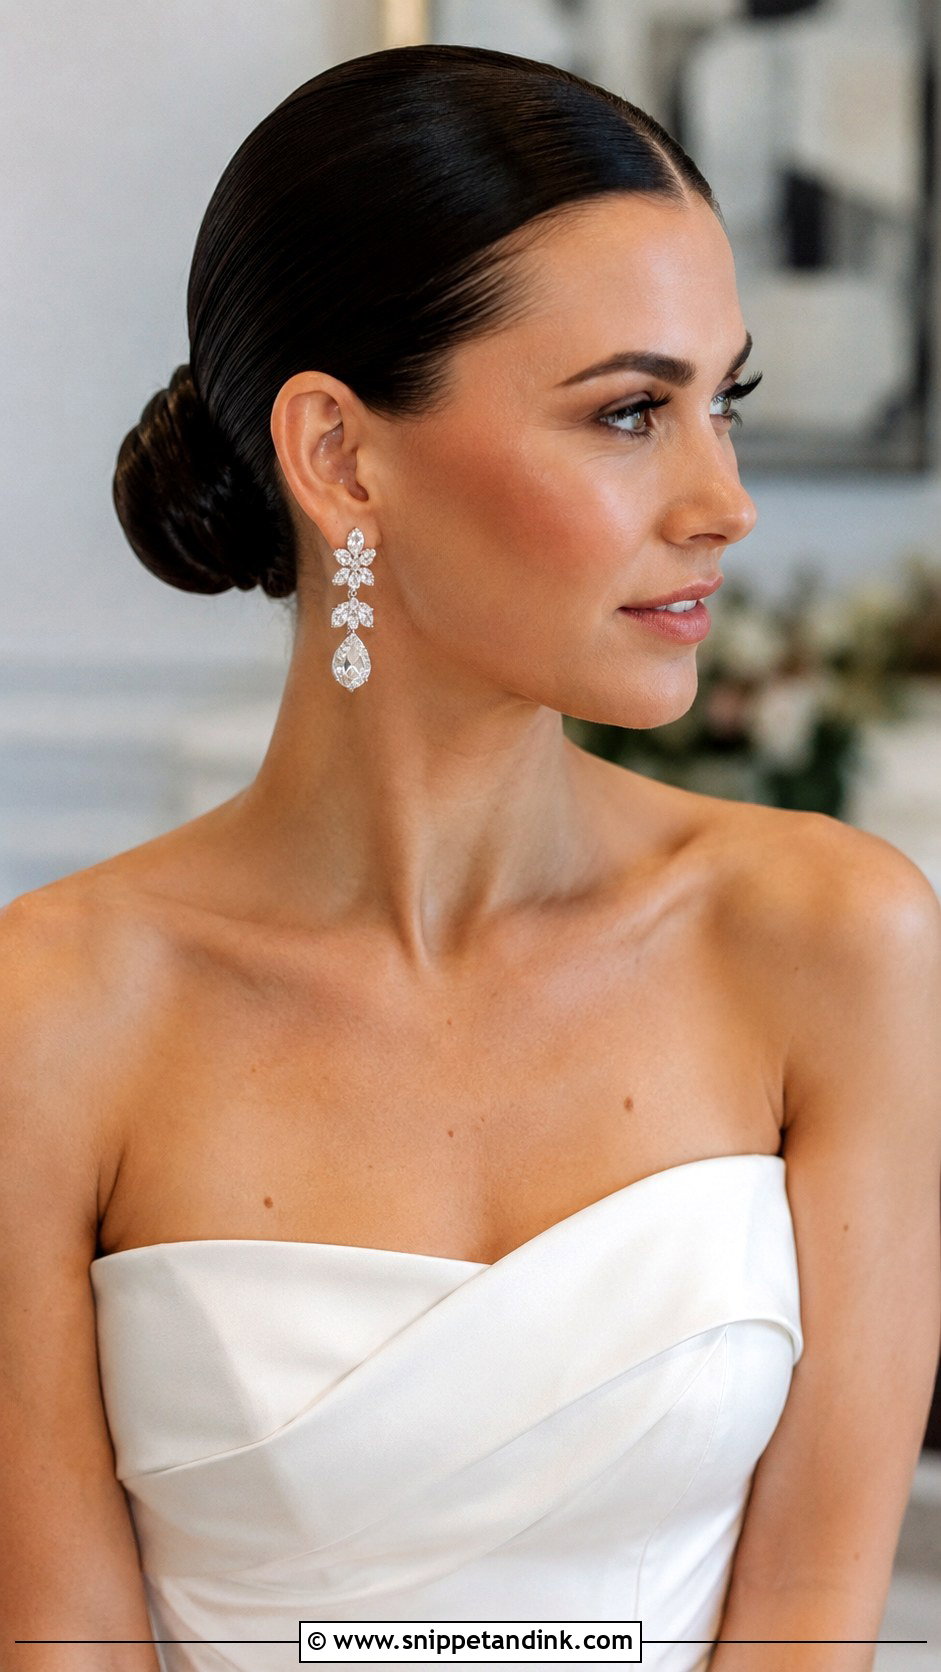
No part and no face-framing pieces: everything is brushed straight back into a clean polished bun or knot. Nothing shows your features and gown more, so I recommend it to brides who already wear their hair off the face and like what they see. I brush a strong-hold cream or gel through in layers so it dries evenly without a crunchy top coat. Structured dresses and statement earrings suit it. Every flyaway shows here, so I leave a little product and a clean toothbrush with someone in the bridal party.
Hour Eight: Headaches, Flash Glare and Flyaways
Smooth styles rarely fall apart. What goes wrong is comfort and shine. Tight ponytails and slicked buns pull on the scalp all day, and some brides take their hair down early just to stop the ache. Ask for the base to be snug, not tight, and keep the trial style in for several hours before you judge it.
When gloss starts looking greasy
Shine under camera flash can turn into a slick, oily look, especially on dark hair next to a white gown. I finish with less product than looks right in the mirror, then check a flash photo on a phone before calling it done.
Humidity is the other enemy. Smooth hair swells as moist air gets in, and frizz shows at the hairline first. An anti-humidity spray finishes every sleek style I do for an outdoor wedding, and if rain is forecast, I would move from hair worn down to an updo.
A small fix kit for the bridal party
- A travel-size hairspray and a clean toothbrush or edge brush for flyaways
- Four or five bobby pins that match your hair color
- Blotting papers, which also lift oil off the hairline
- A spare clear elastic for ponytails and half-up styles
Smooth Hair Rewards Healthy Ends and Good Anchors
All twenty of these rely on the same three things: healthy lengths, prep that suits your texture, and restraint with product. Take two or three favorites to your trial, then wear the winner for most of a day. Notice how your scalp feels after six hours, how the shine looks in a flash photo, and whether your veil stays put. If it passes all three, that is your wedding hair.
You'll Like These Ideas:


Leave a Reply