
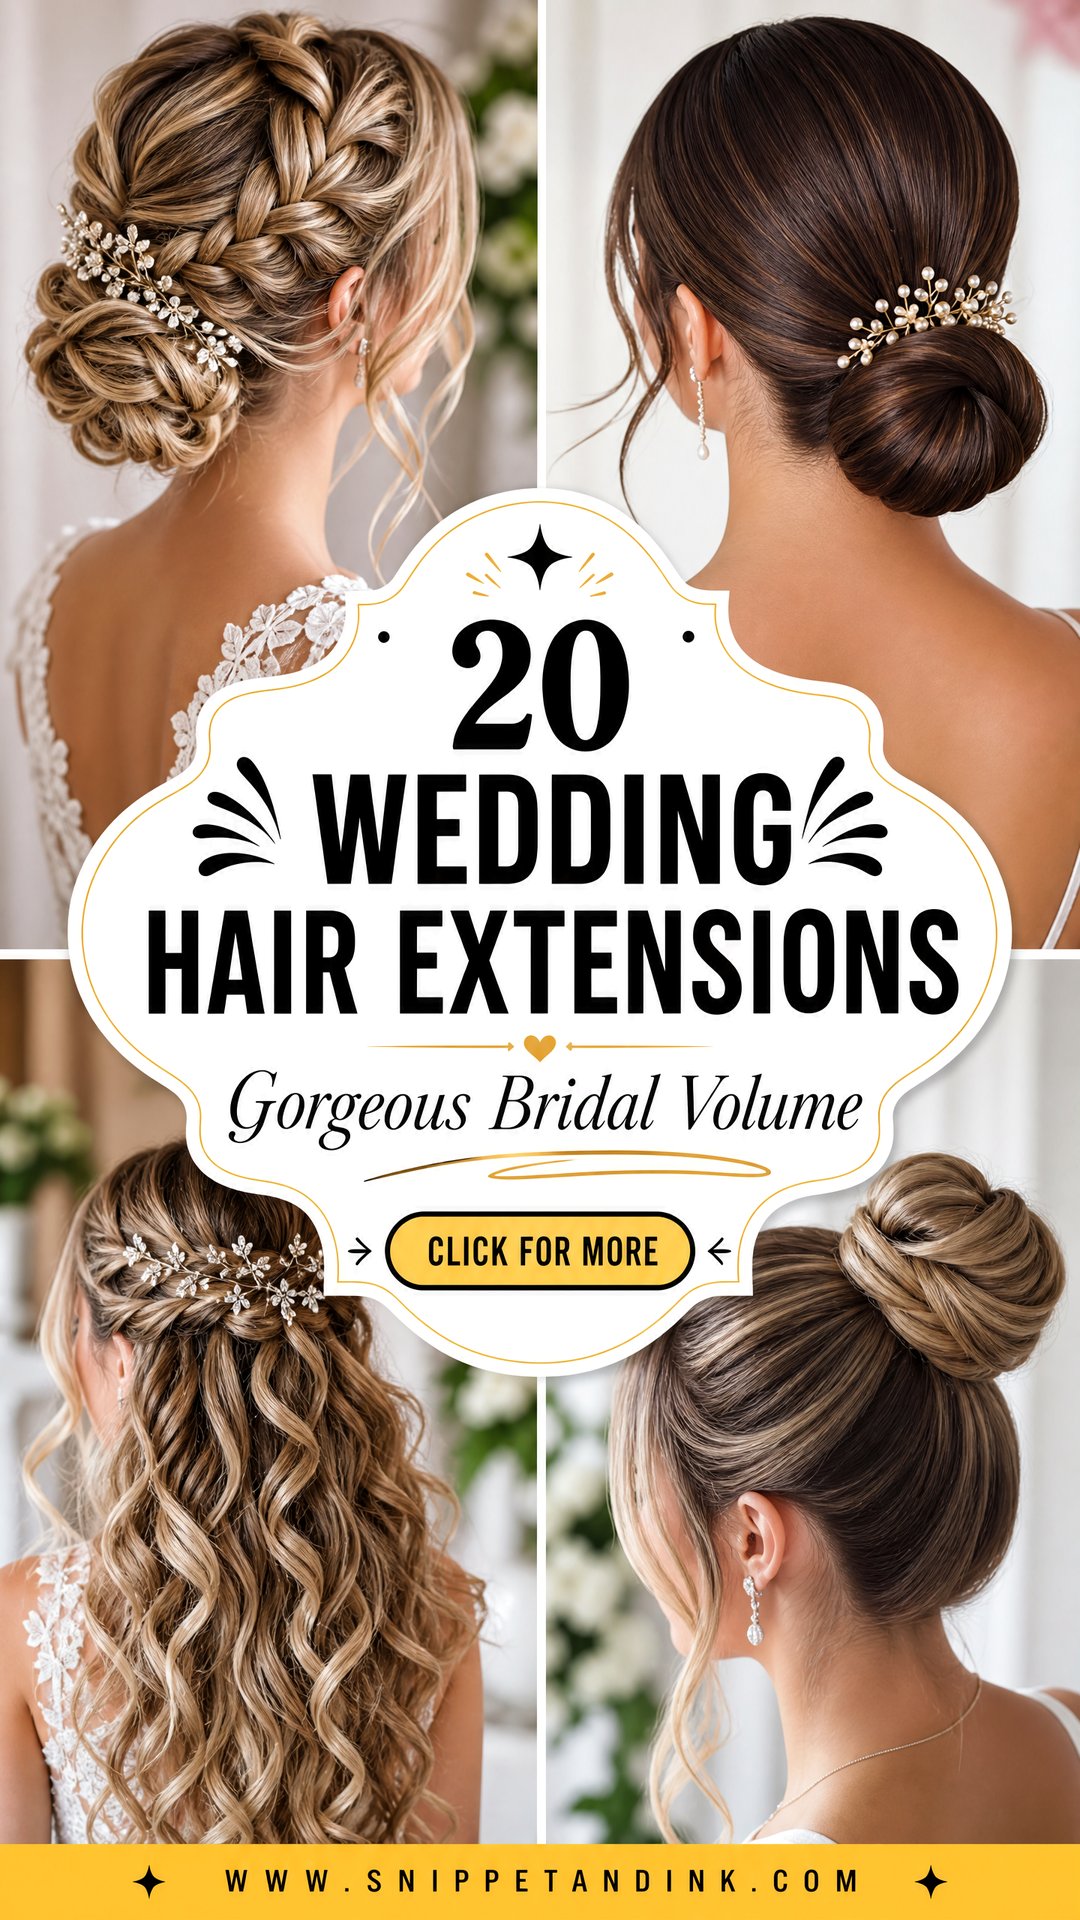
Hair extensions are the quiet reason so many wedding styles look fuller in photos than they would on the bride’s own hair. Most brides who sit in my chair don’t need length as much as density: enough hair to curl without the curl collapsing, and enough to pin without the pins showing. Below are 20 looks I’d actually build with extensions, spread across four methods (clip-ins, tape-ins, hand-tied wefts and halos), with notes on which method suits which style and where each one tends to cause trouble.
Which Extension Method Suits Your Hair and Your Calendar
The four methods in these looks behave very differently, and the right one depends on how fine your hair is, which style you want and how many weeks you have before the wedding.
- Clip-ins: no commitment, in and out the same day. Best for down styles, waves and braids. You need enough of your own hair to cover the clips, so very fine or short hair can show them.
- Tape-ins: thin, flat wefts bonded to small sections of your hair. Good under updos and braids. A stylist fits them, ideally one to two weeks before the wedding so they settle, and if you keep them they usually need moving up every six to eight weeks.
- Hand-tied wefts: sewn onto a row of small beads. Very flat and natural, the most work to install and the longest commitment. Worth it if you wanted extensions beyond the wedding anyway.
- Halo: one weft on a clear wire with no attachment at all. Excellent for half-up styles and ponytails, the hardest to use in a full updo, and the gentlest option if your hair is breaking.
Getting the color right
I match extensions in daylight against your mid-lengths and ends, because that’s where extension hair actually shows. Most brides need two shades blended rather than one. If you’re coloring your hair before the wedding, do that first and match the extensions afterward, never the other way around.
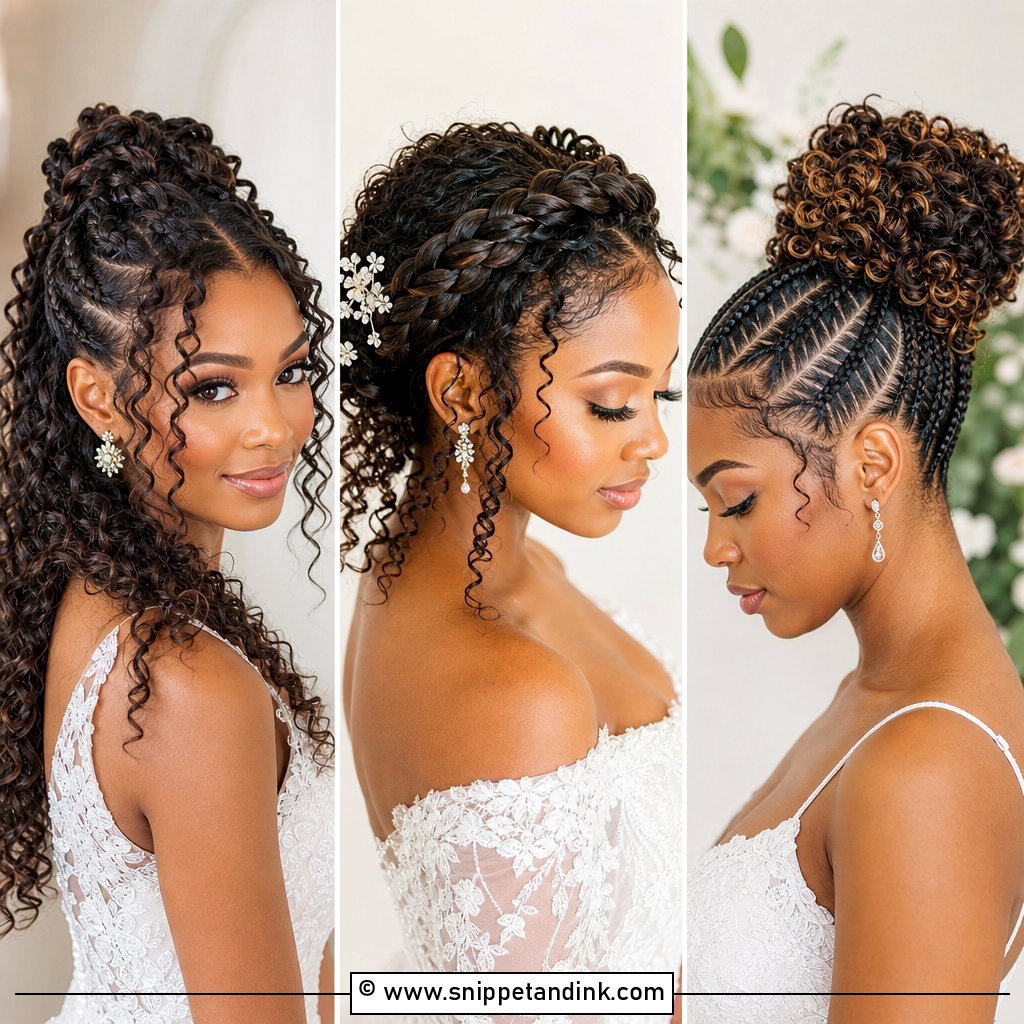
1. Long Cascading Curls With Clip-In Extensions
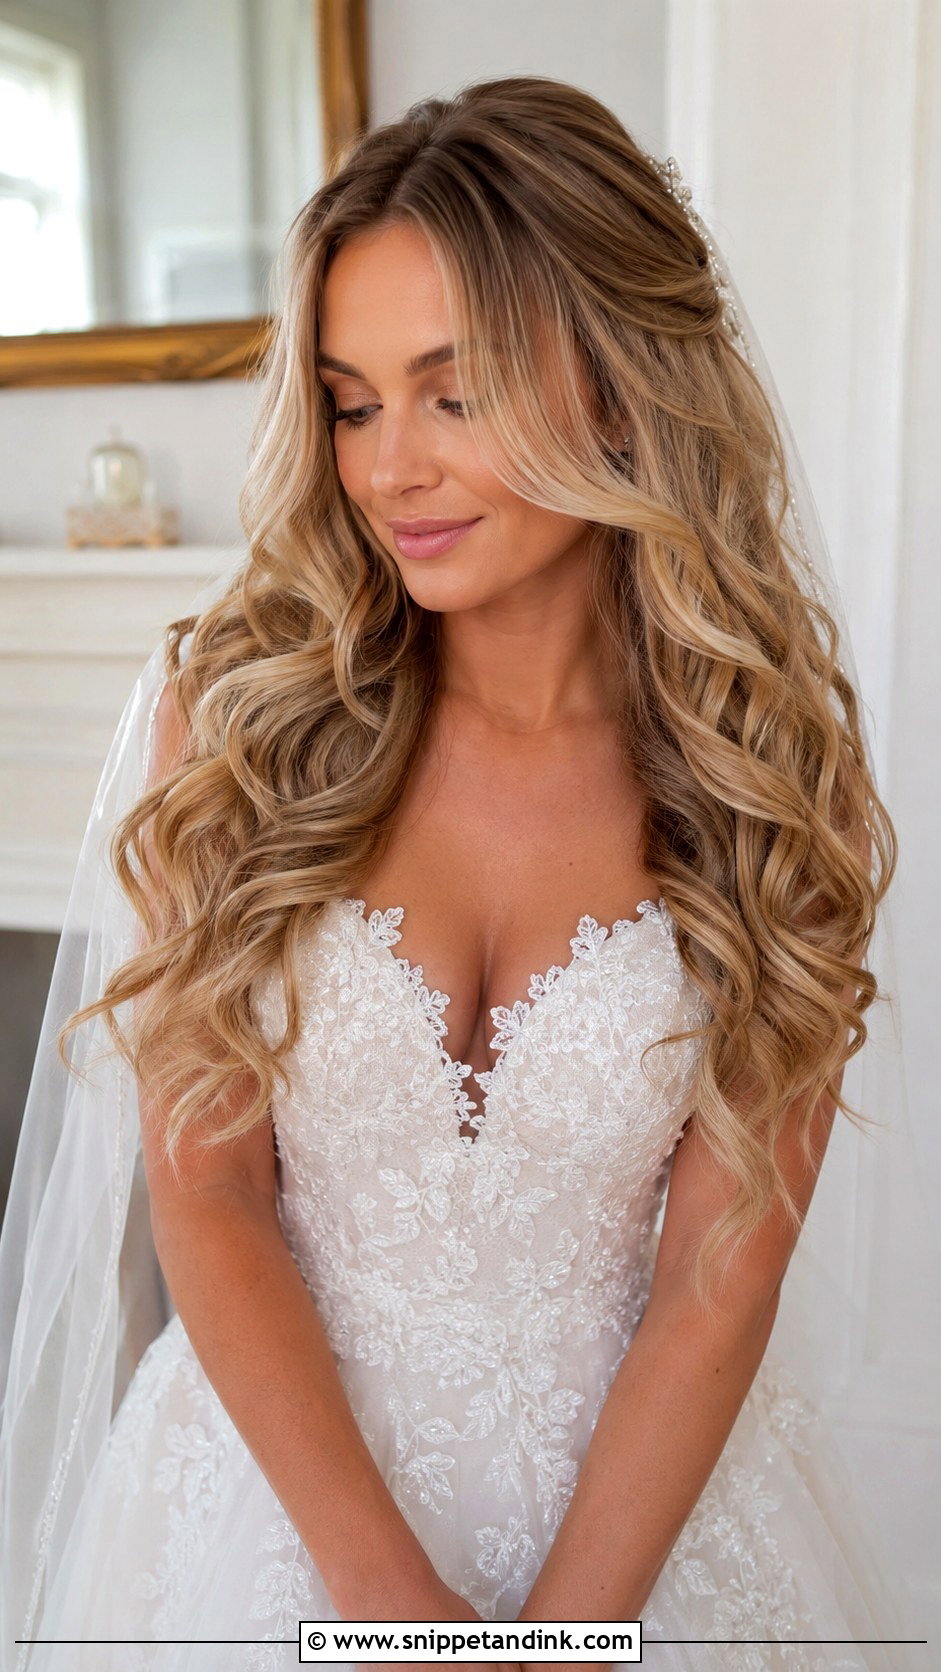
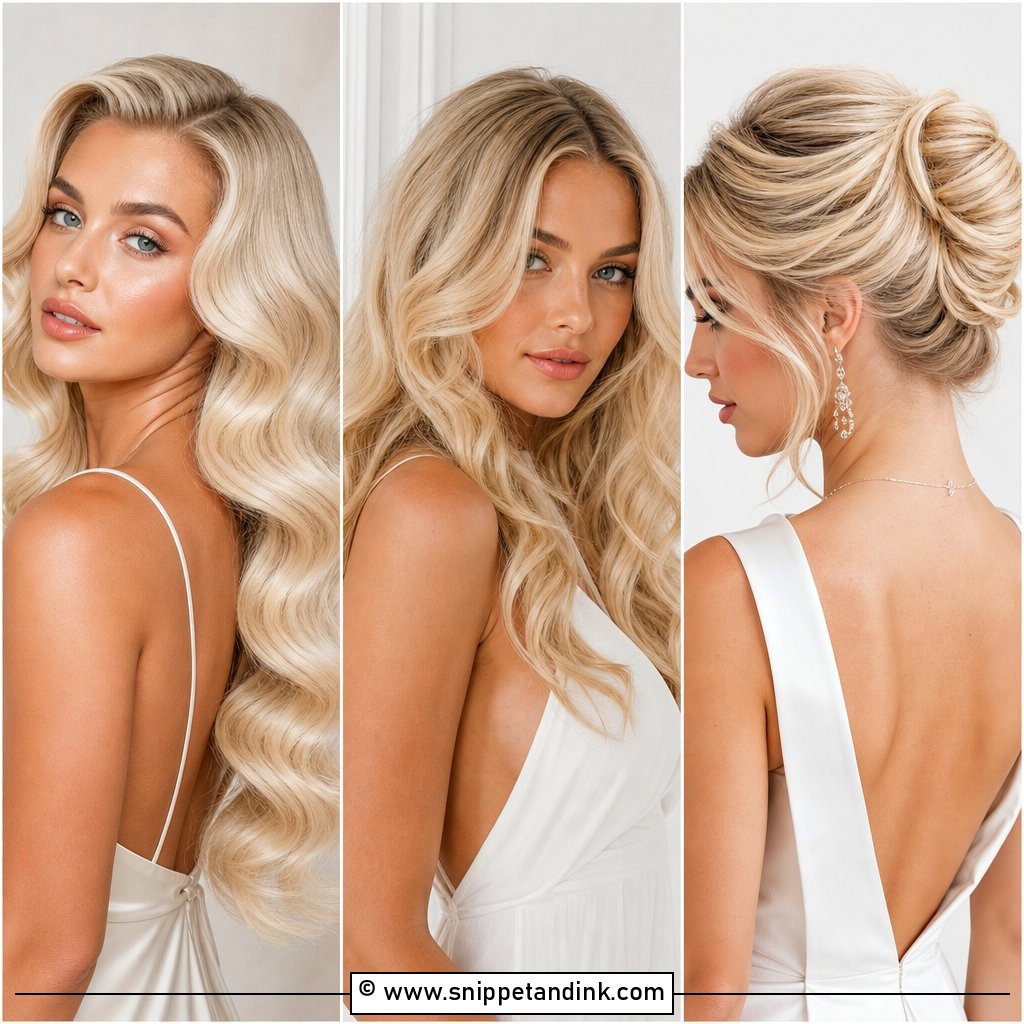
Clip-ins are my first suggestion for brides who’ve never worn extensions, because nothing is bonded and they come out the same night. For long curls I place the wefts in rows from the nape up, stopping about a finger’s width below the part so the clips stay hidden when the hair moves. Human hair matters here. It takes a curling iron at the same heat as your own hair, so the curl matches from root to end. Most synthetic clip-ins can’t take that heat, and by evening their curls look different from yours.
2. Romantic Braided Updo With Tape-In Extensions
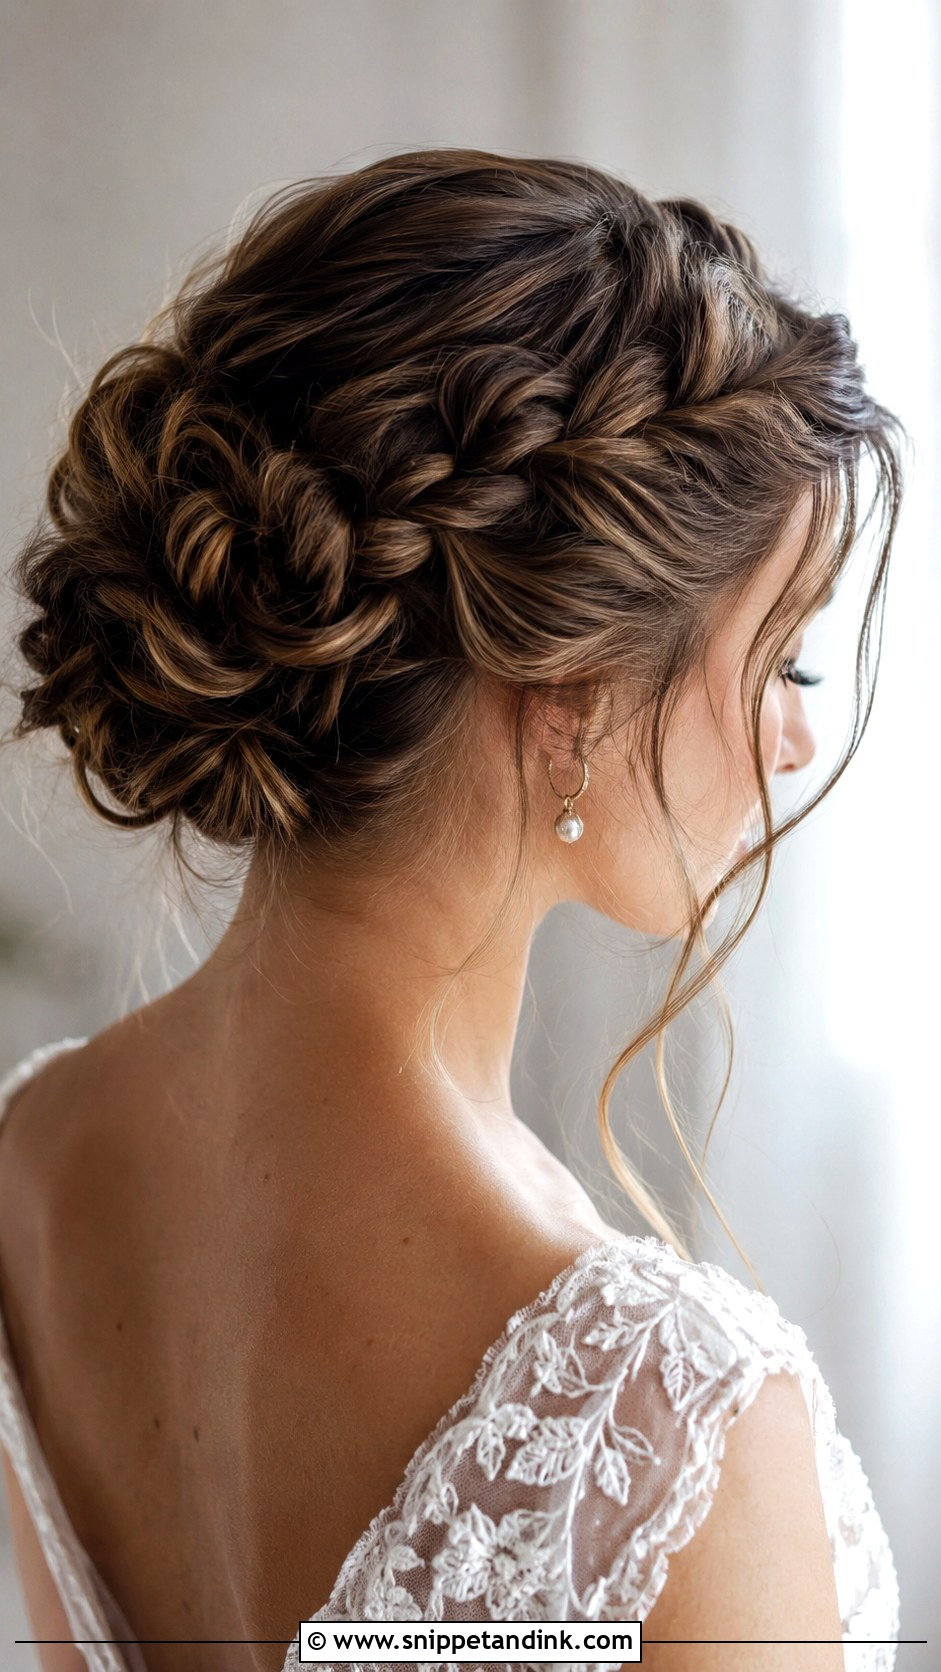
Braids eat length. Every crossover uses up hair, so a braid that looks thick where it starts can thin out badly by the end. Tape-in extensions solve that because they lie flat to the scalp and can sit higher on the head than a clip, which would leave a ridge. Before I braid over tape-ins I check where the tabs sit. If a row runs close to the line where the hair gets lifted, I change the braid’s path rather than expose the tape.
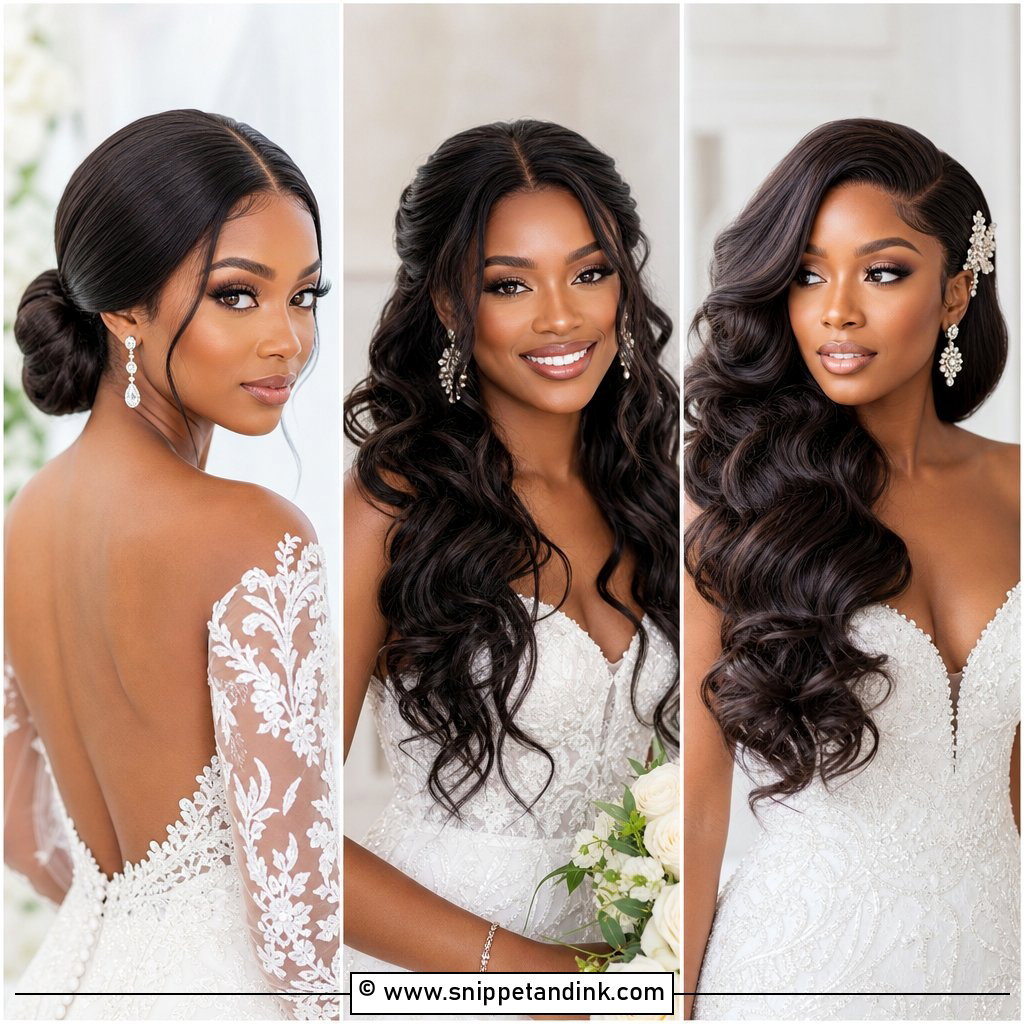
3. Hollywood Waves With Hand-Tied Extensions
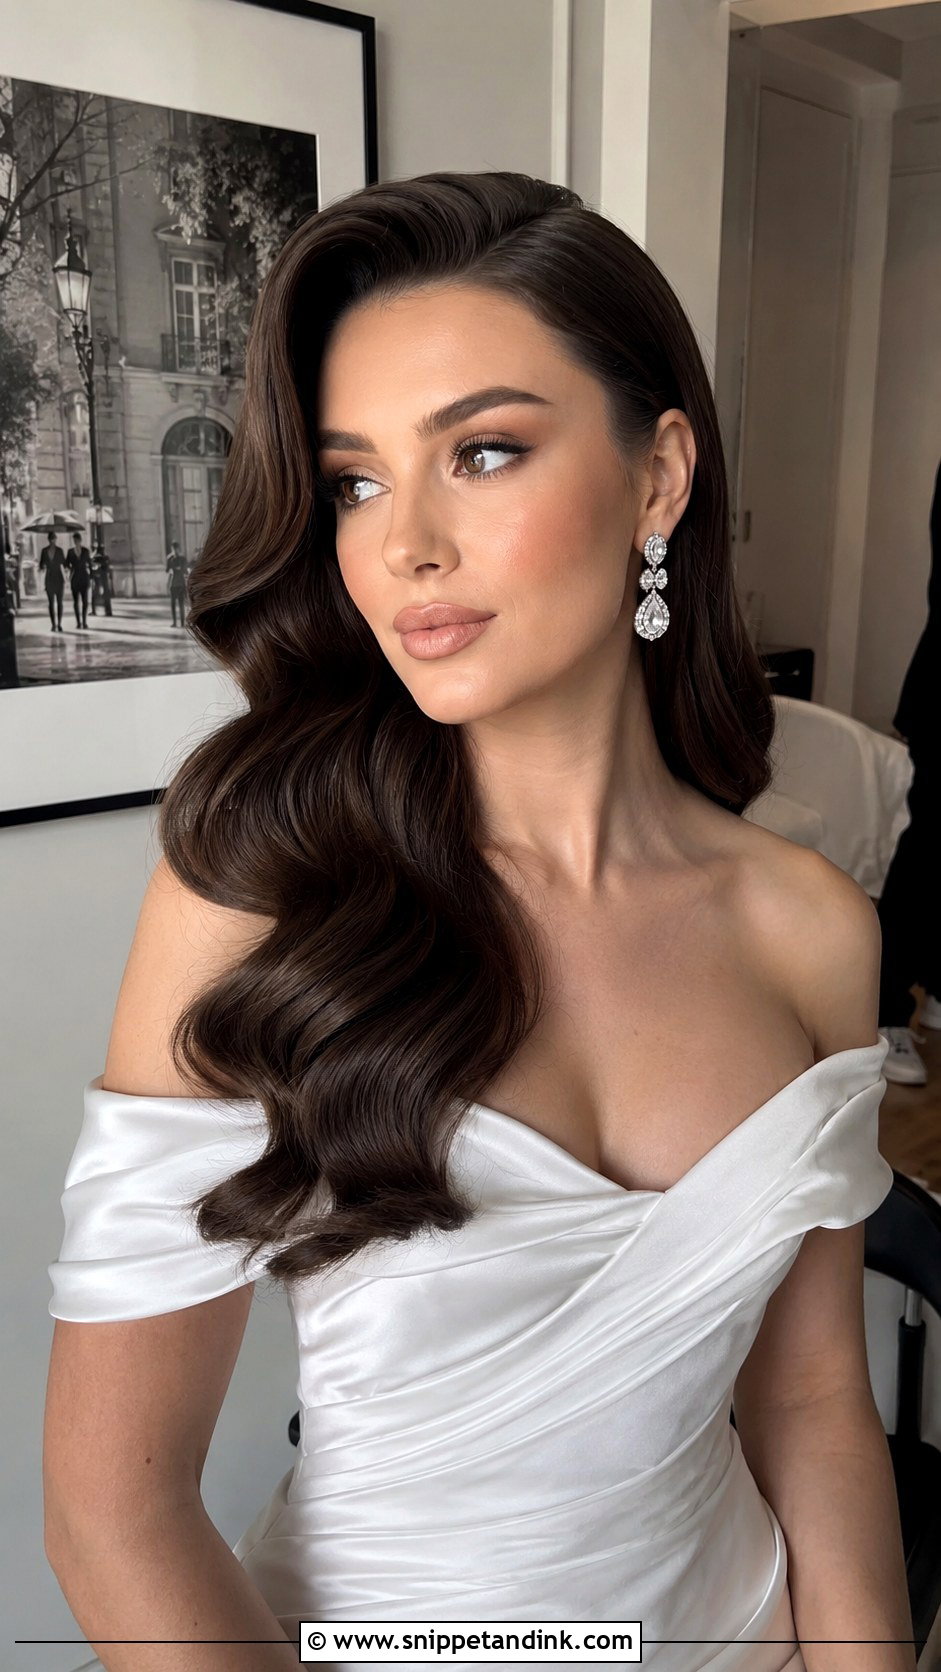
Hollywood waves need weight to keep their S-shape, and fine hair rarely has enough of it. A row or two of hand-tied wefts, sewn onto a line of small beads, gives that weight without the bulk of stacked clips. I set the hair in large-barrel curls, brush them out into one wave, then hold each trough with a duckbill clip while the hair cools. That’s where the extra hair earns its place: the shape stays sharp for hours longer. A deep side part and a single statement earring are all it needs; a busy headpiece breaks the wave line.
4. Half-Up Half-Down With Halo Extensions
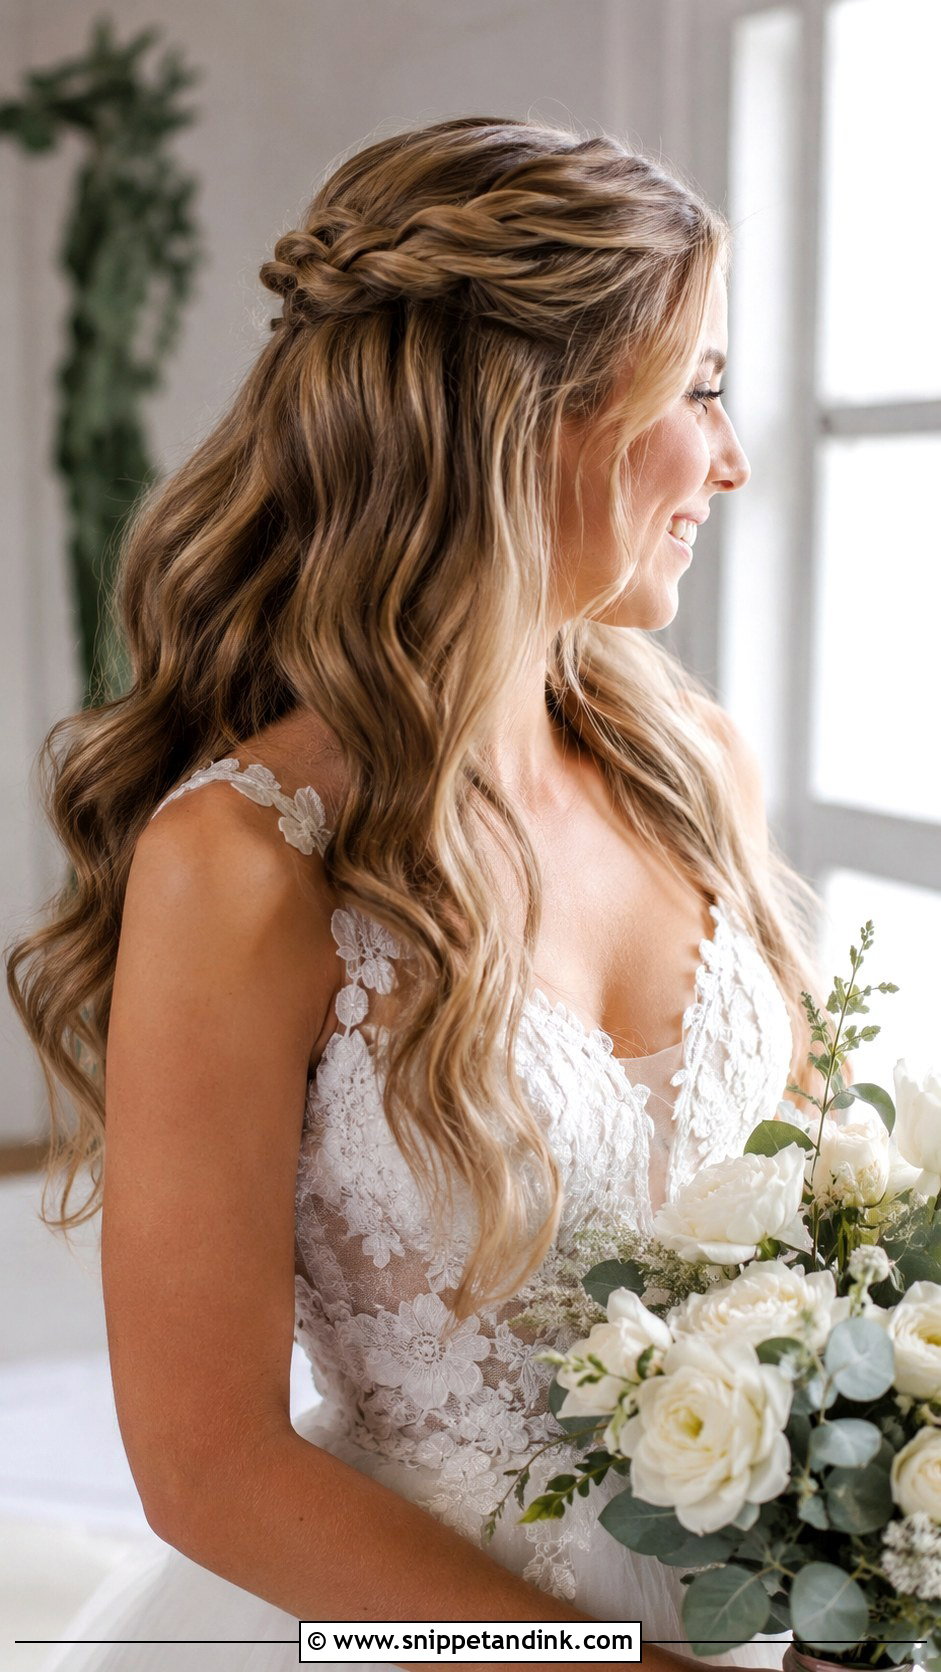
A halo is one long weft on a fine clear wire that rests around the crown, and it’s the easiest method for half-up styles because the section you pull back covers the wire completely. I always fit the wire with the bride seated and then standing, since it rides up if it’s sized loose. No clips means no tension at the root, which is why I suggest it to brides whose own hair is fragile or shedding.
5. Boho Braid With Clip-In Extensions
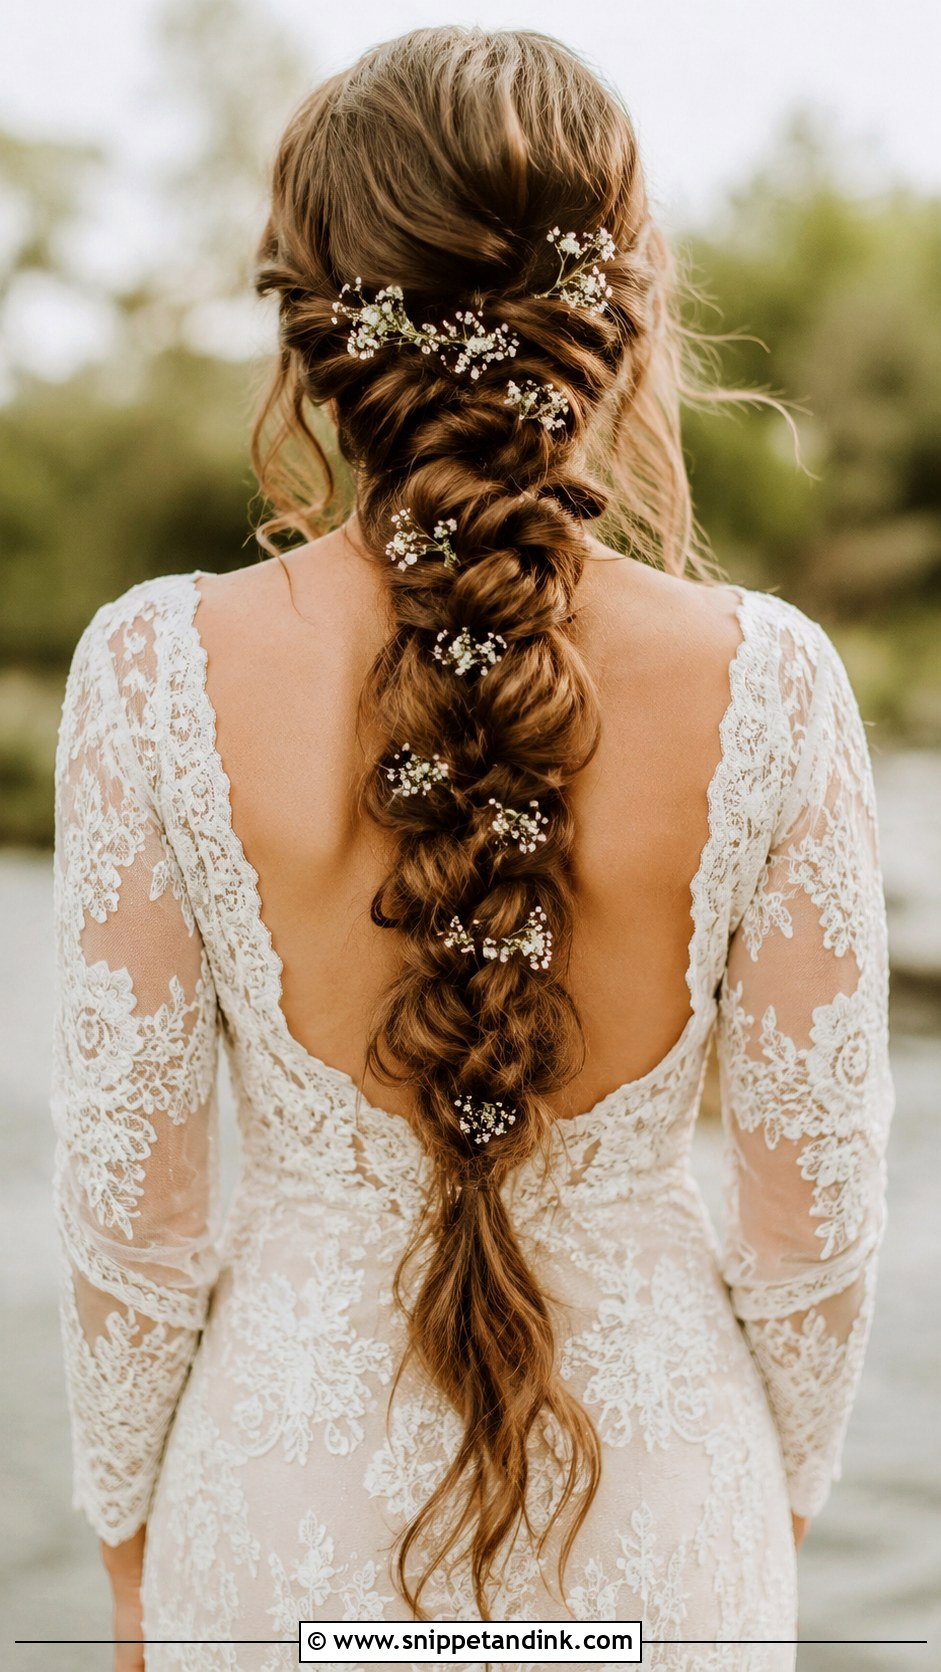
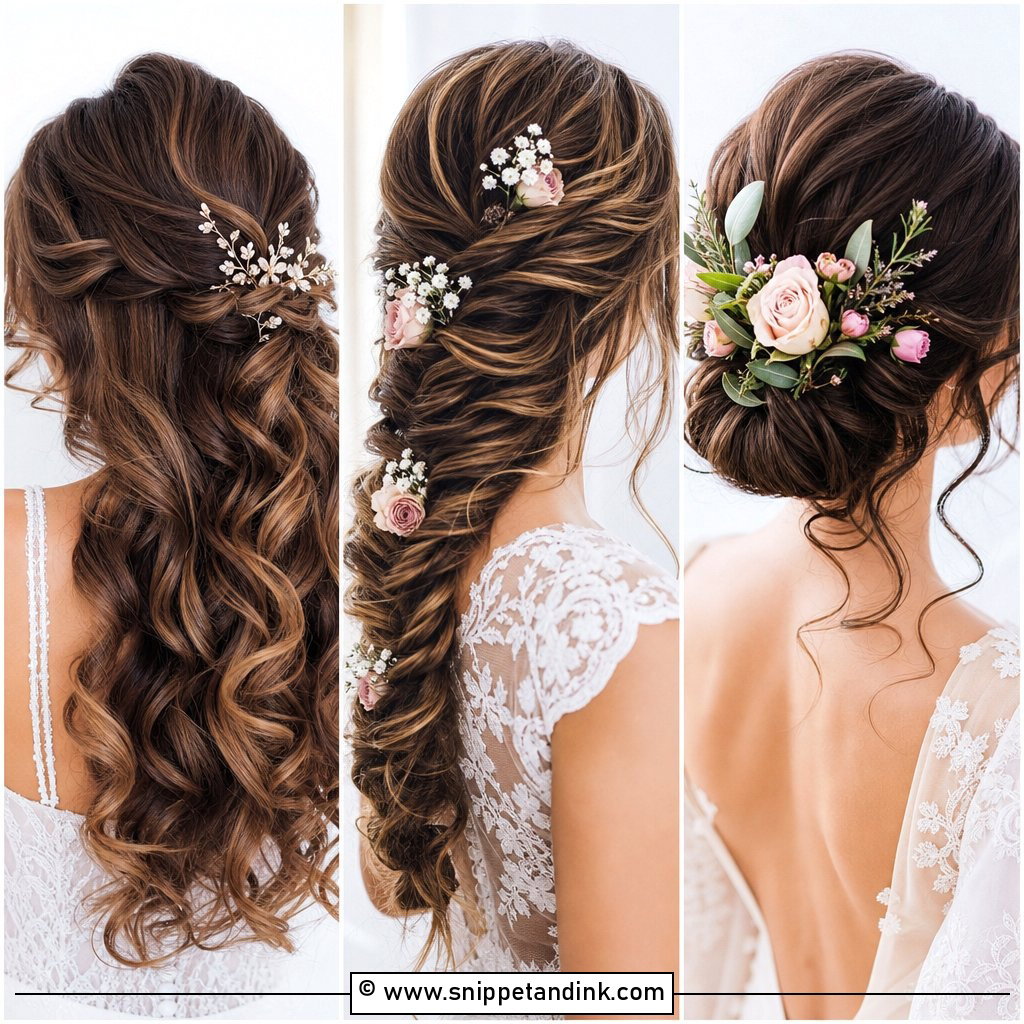
An oversized braid only looks oversized if a lot of hair goes into it, and most natural hair gives a braid about half as wide as the photos brides bring me. I’d add two or three extra clip-in wefts here, placed low enough that the braid itself covers them. Gently pulling the loops wider is what gives the soft texture, but it also exposes whatever is underneath. So I braid first, check from every side, and only then pull it apart.
6. Sleek Low Bun With Hand-Tied Extensions
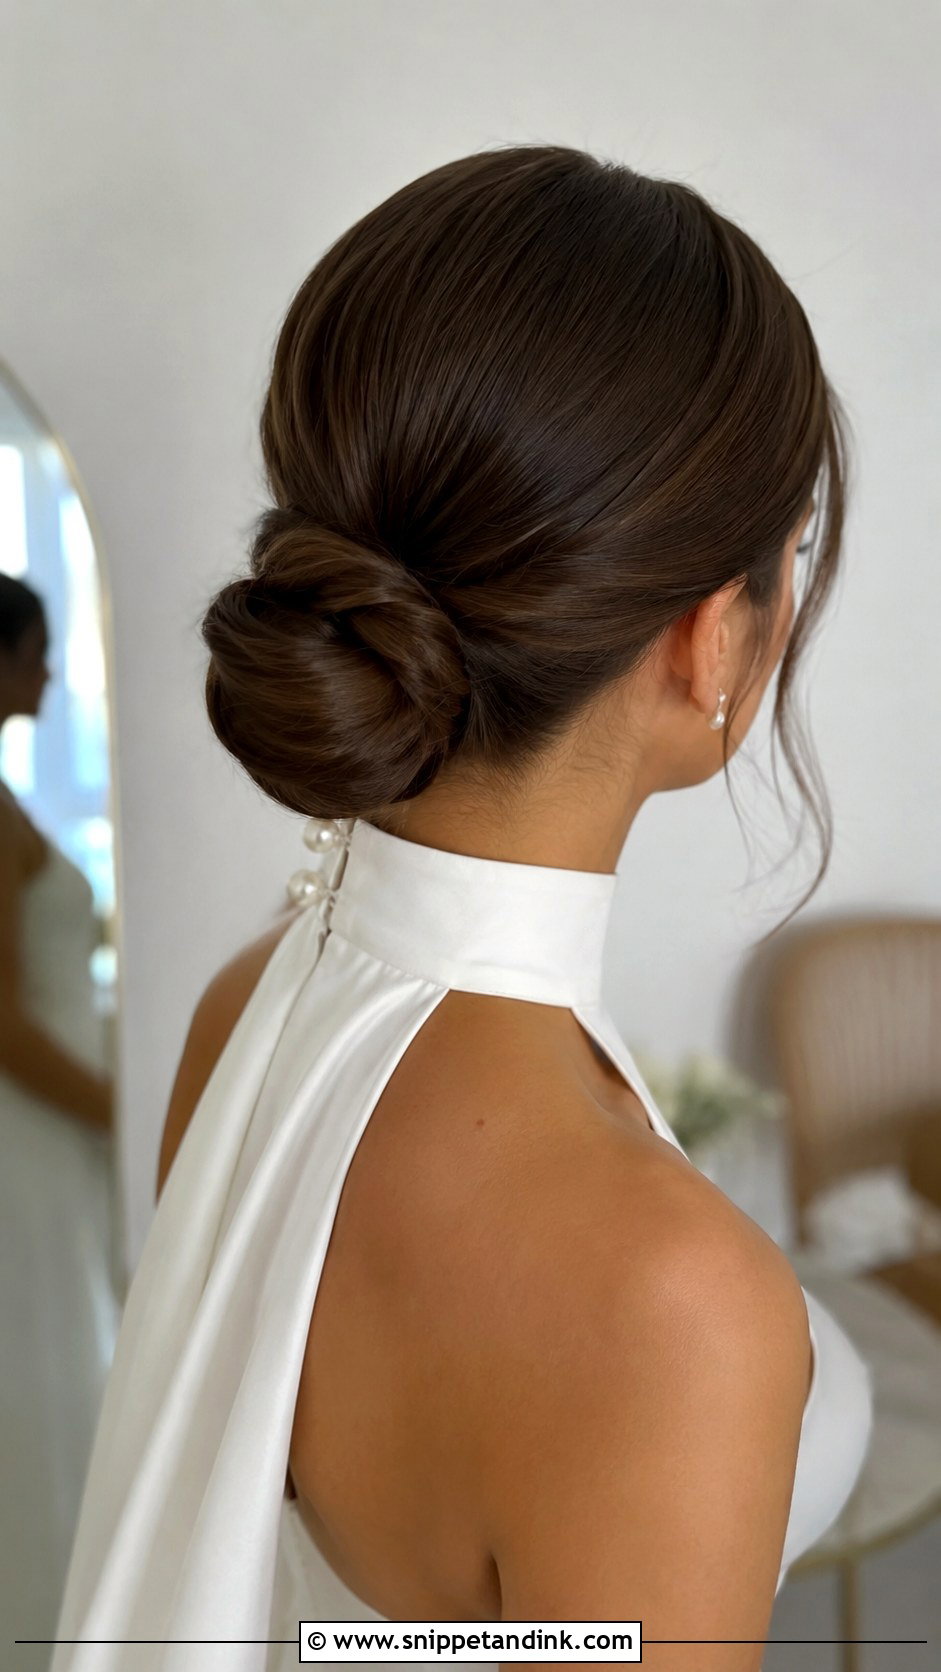
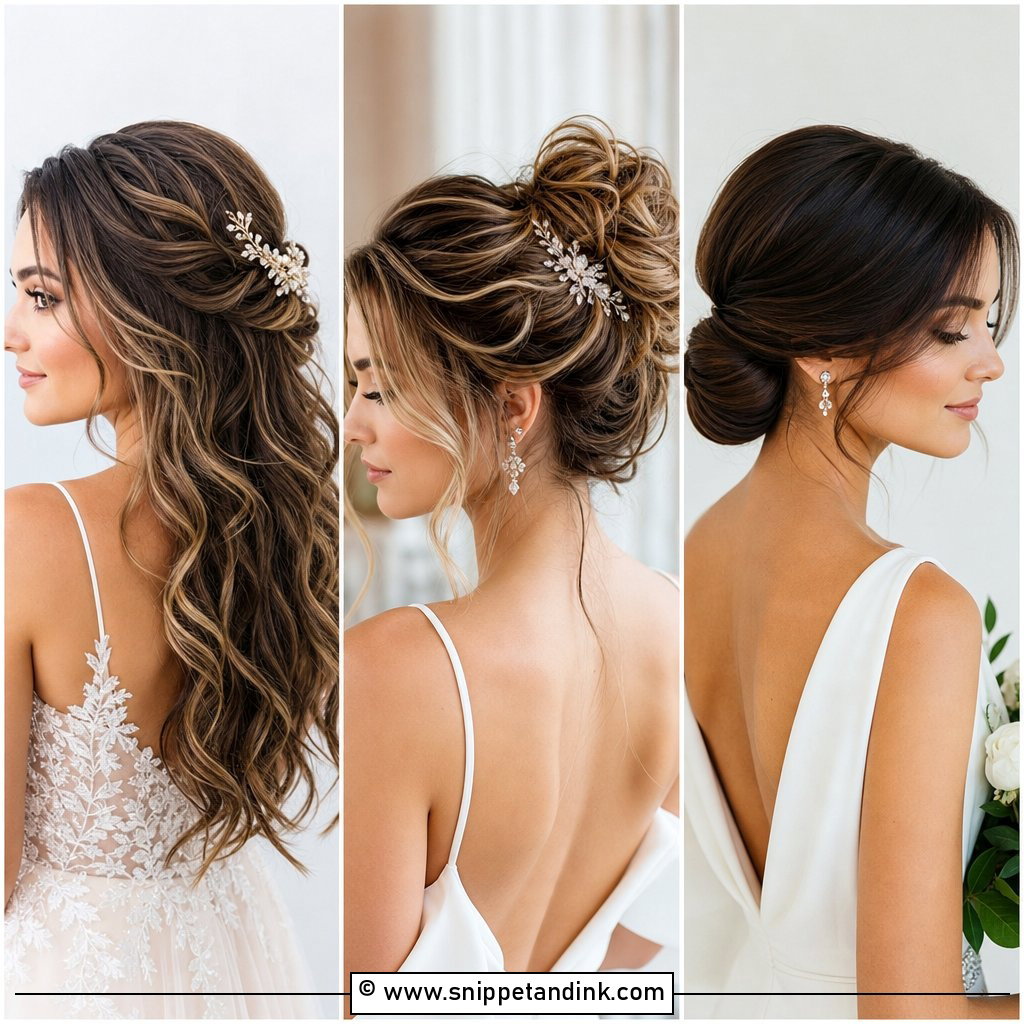
A sleek bun is unforgiving. Every bump shows, so the extension rows have to sit under a smooth top layer of your own hair before anything is gathered. Hand-tied wefts work because they’re thin and flat at the seam. I brush the length back to the nape, secure it with a hidden elastic, then wrap and pin the bun so the weft ends disappear inside it. Wear one pearl pin or nothing at all; with a high-neck gown, the clean line at the nape does the work.
7. Voluminous Curly Updo With Tape-In Extensions
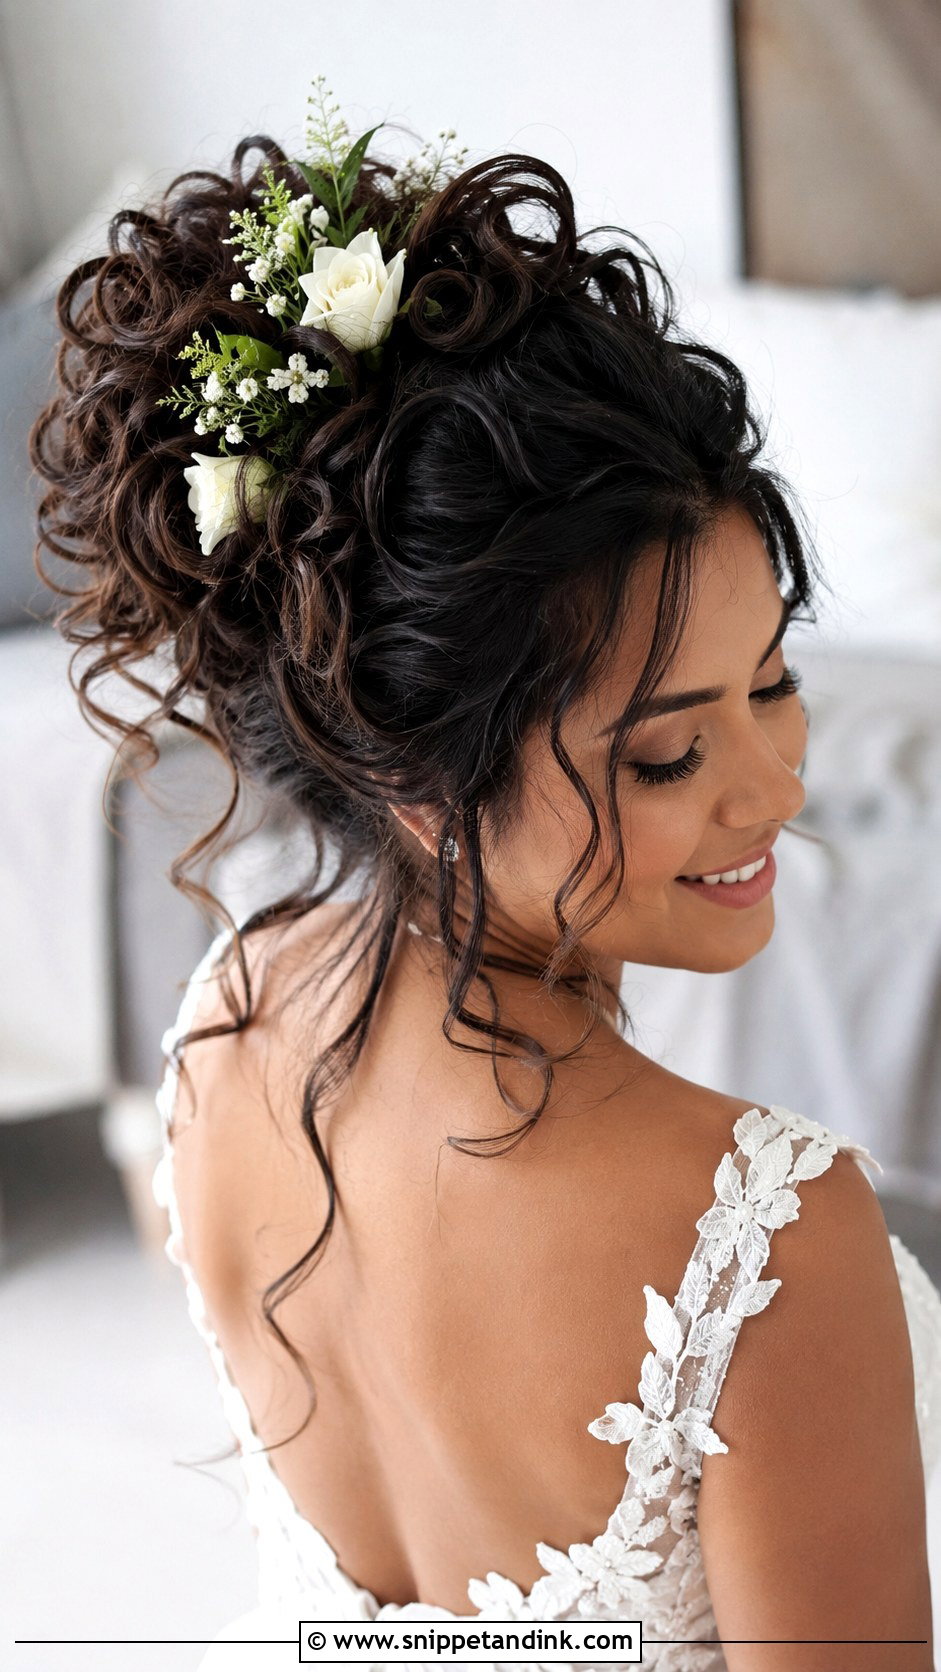
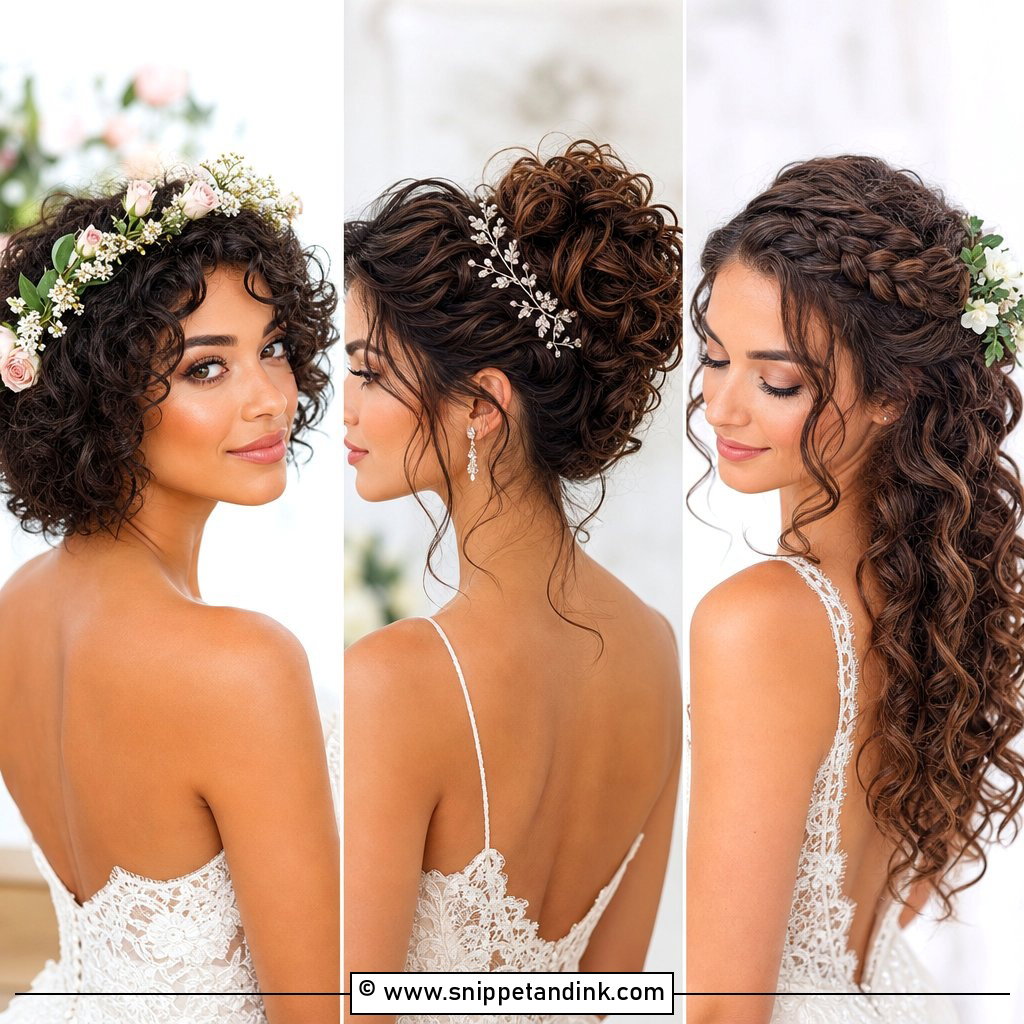
Curly updos need hair with some grip, and extension hair processed very smooth can slide out of pins. For brides with natural curls I look for tape-ins in a texture close to their own, so I’m not fighting two curl patterns. If the extension hair is straighter, I set everything on the same iron so the whole head reads as one texture. Then I pin the curls in loose loops rather than tight barrels, which gives the updo depth and keeps the tape tabs buried underneath.
8. Long Straight Sleek Hair With Clip-In Extensions
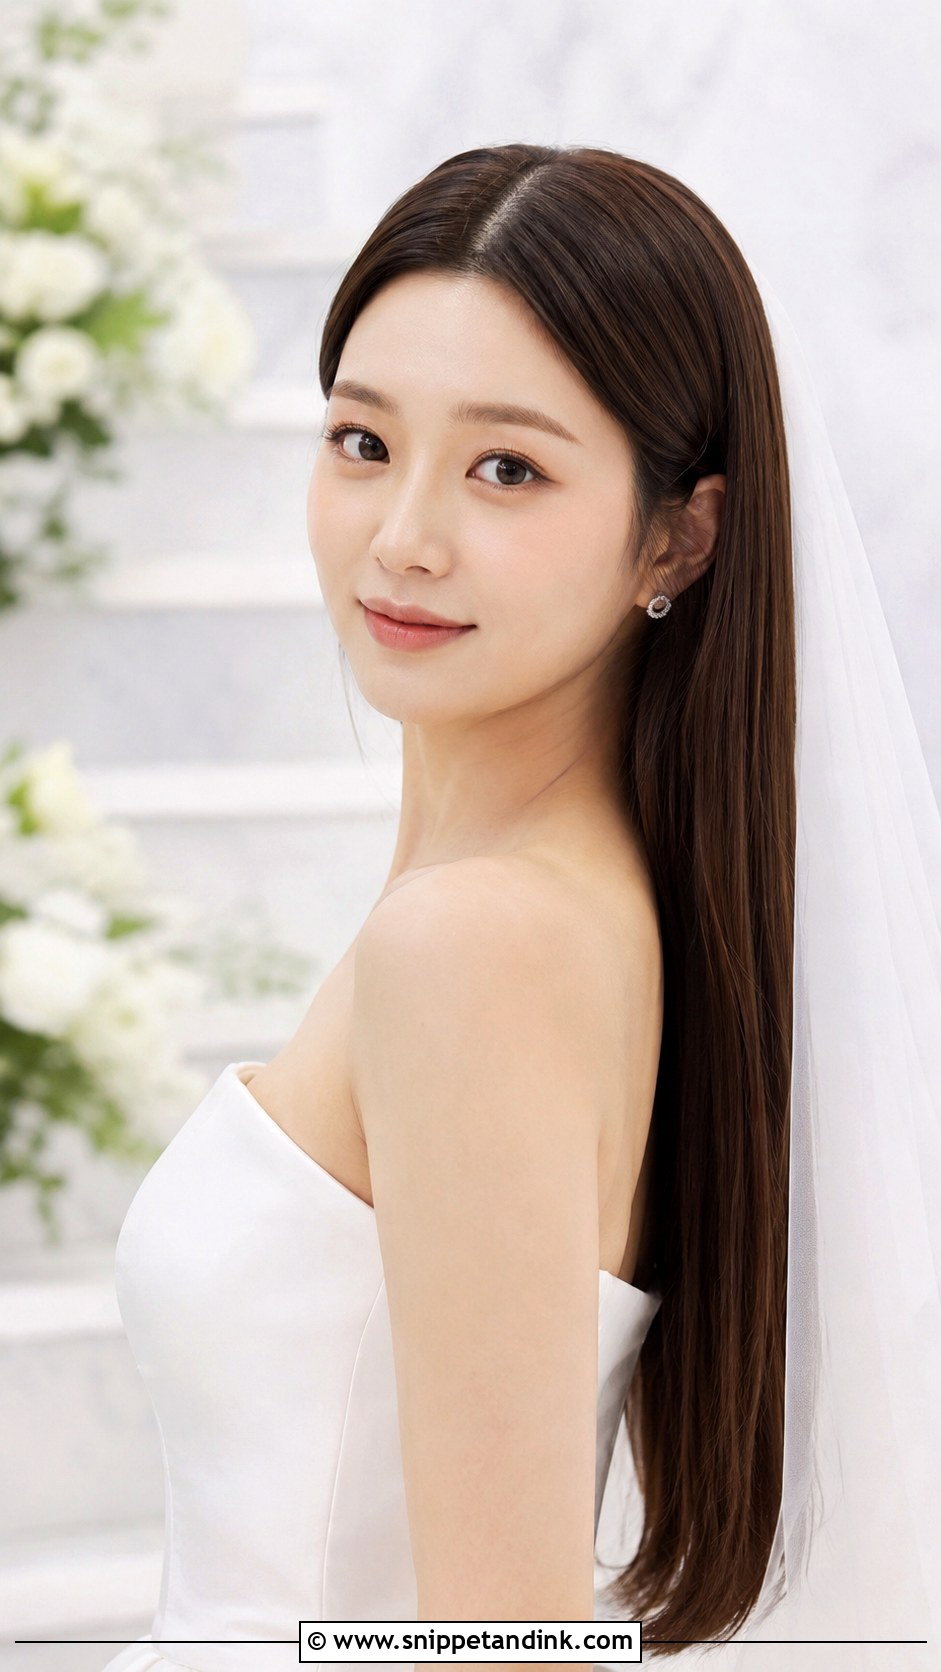
Straight hair is where cheap extensions get caught out. Waves hide a slight mismatch in color or thickness; poker-straight hair shows every step between your ends and the weft. I trim the extension ends while they’re in, so the length falls as one line, and I match color in daylight against your mid-lengths rather than your roots. A center part looks modern but reveals clips more easily when you turn your head, so with clip-ins a gentle side part is the safer bet.
9. Fishtail Braid With Tape-In Extensions
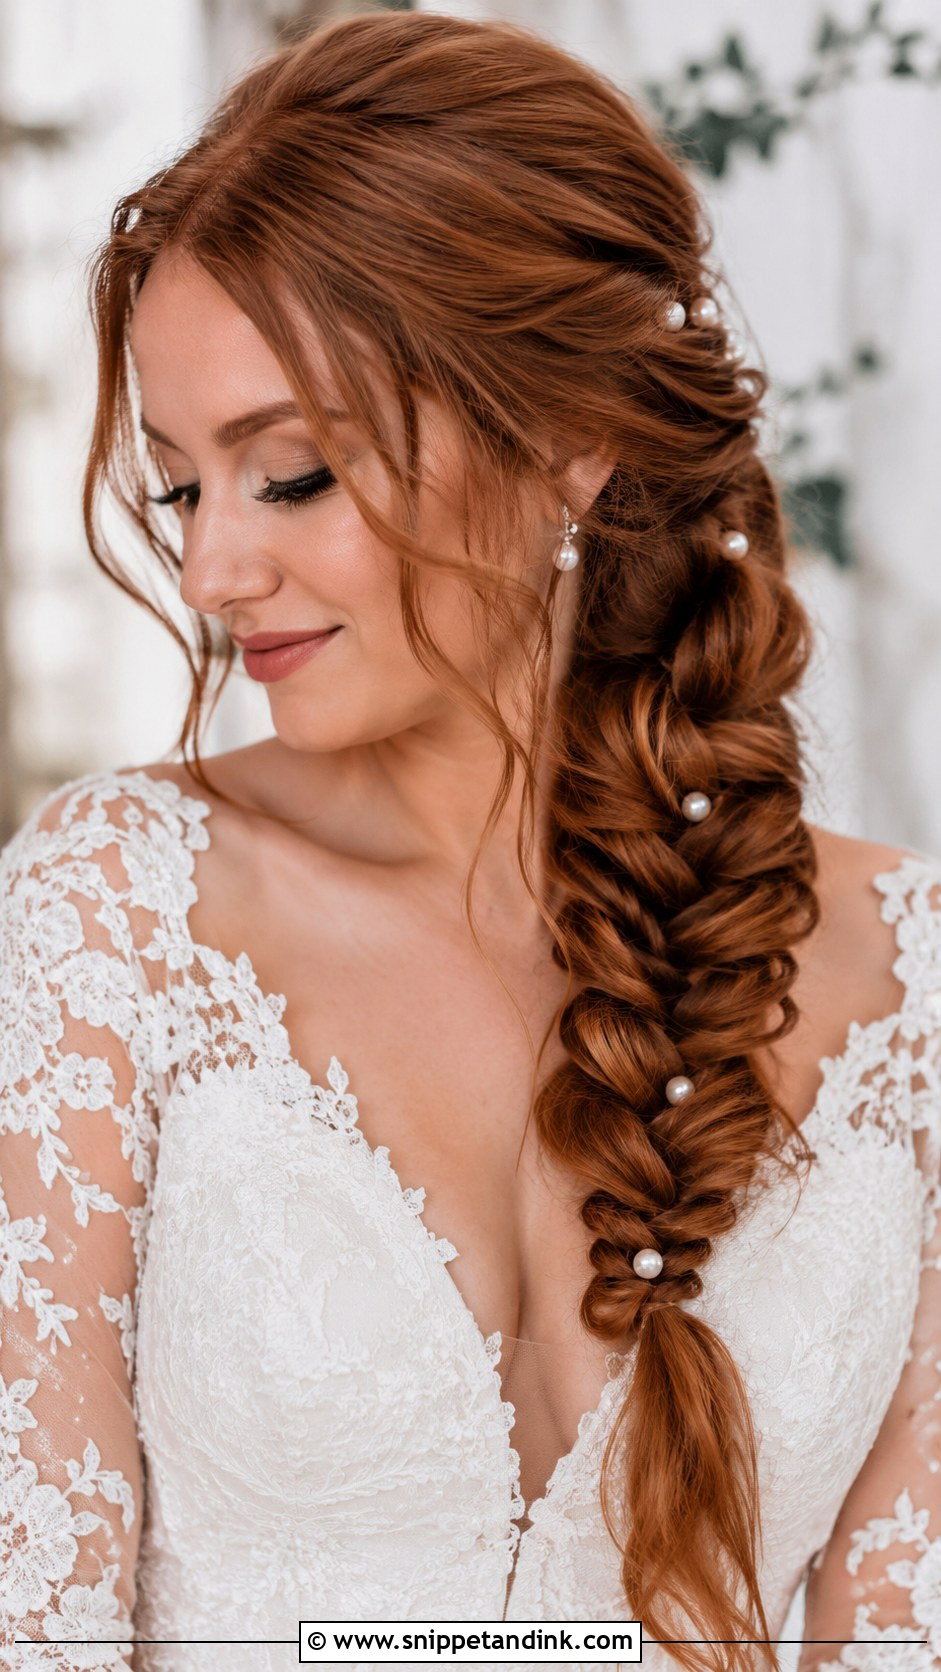
Fishtails use very thin strands crossed over many times, so they magnify any lack of density. With your own hair alone the braid can look stringy by mid-back; tape-ins give me enough to keep it even the whole way down. I tie it off with a small clear elastic and wrap a strand of hair around that. Over one shoulder it suits most necklines, though with a one-shoulder gown I’d lay it on the bare side.
10. Textured Low Ponytail With Halo Extensions
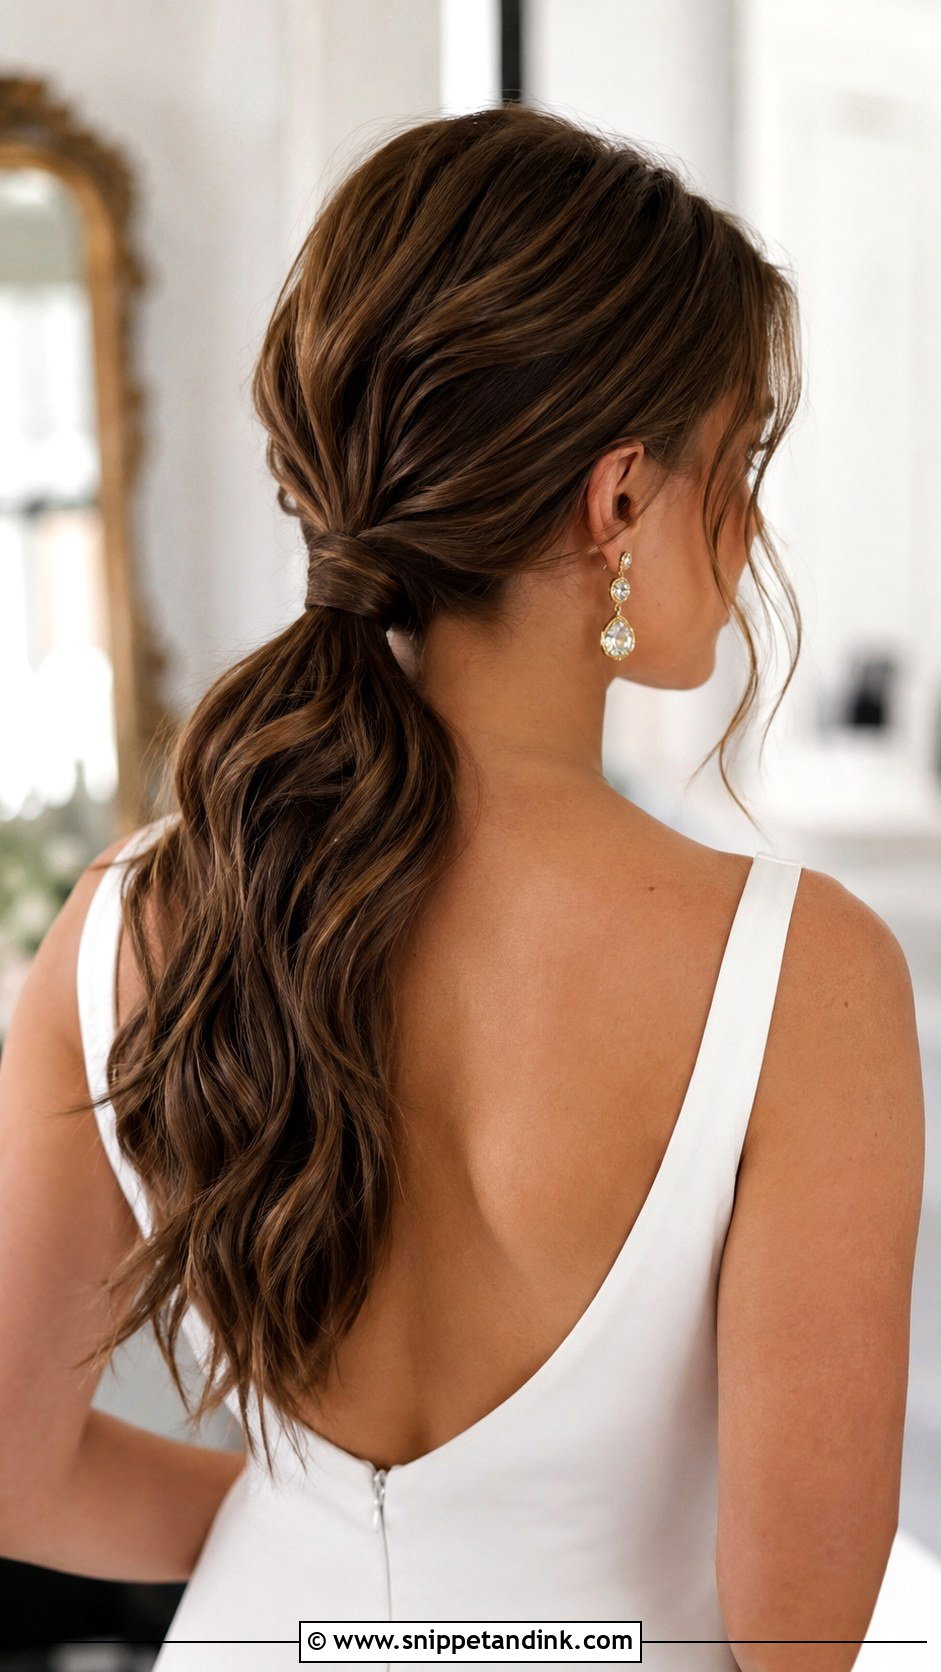
Halos and low ponytails get along well. The wire sits under the top layer, the hair is brushed back over it, and the length gathers at the nape where nothing pulls. I wrap a section of your own hair around the elastic and pin it underneath. The weak spot is the front: pull the ponytail too tight and the wire can lift at the temples, so I keep the hairline soft and slightly loosened.
11. Crown Braid With Hand-Tied Extensions
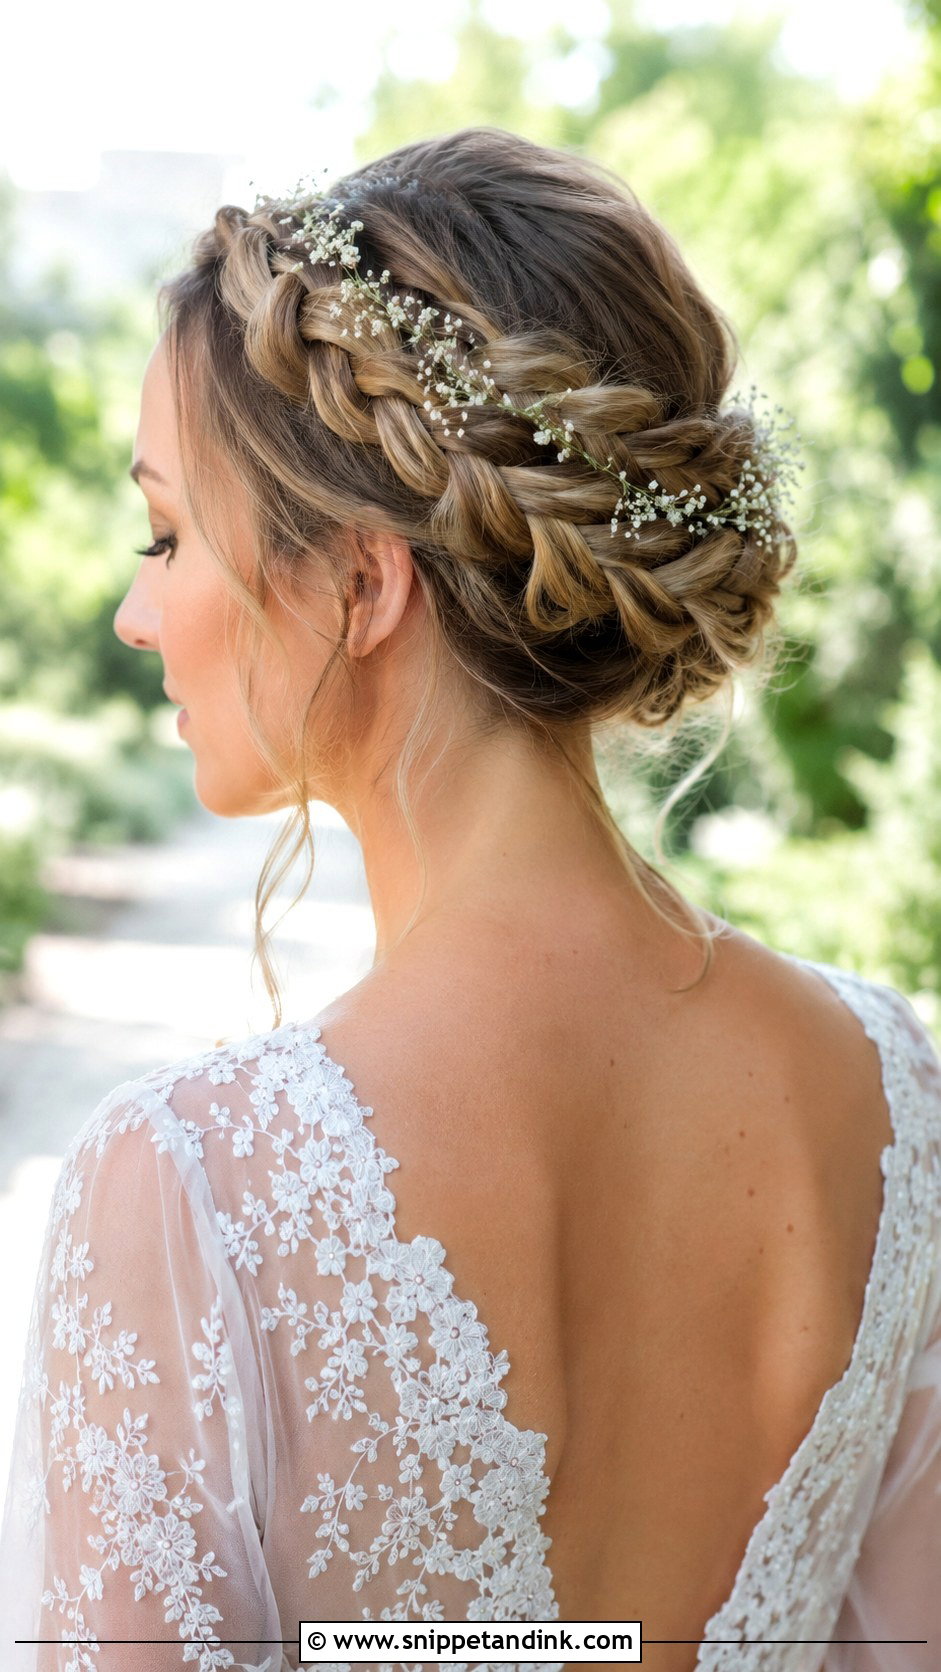
A crown braid wraps around the head like a natural halo, and it needs a long, even braid to complete the circle. Hand-tied wefts give me that length without bulk at the nape, where the braid begins. I start behind one ear and pin every inch or so with U-pins pushed toward the scalp, not across it. If you’re wearing a veil, tell me at the trial. The comb has to slide under the braid, not on top of it, or its weight drags the braid down.
12. Loose Beachy Waves With Clip-In Extensions
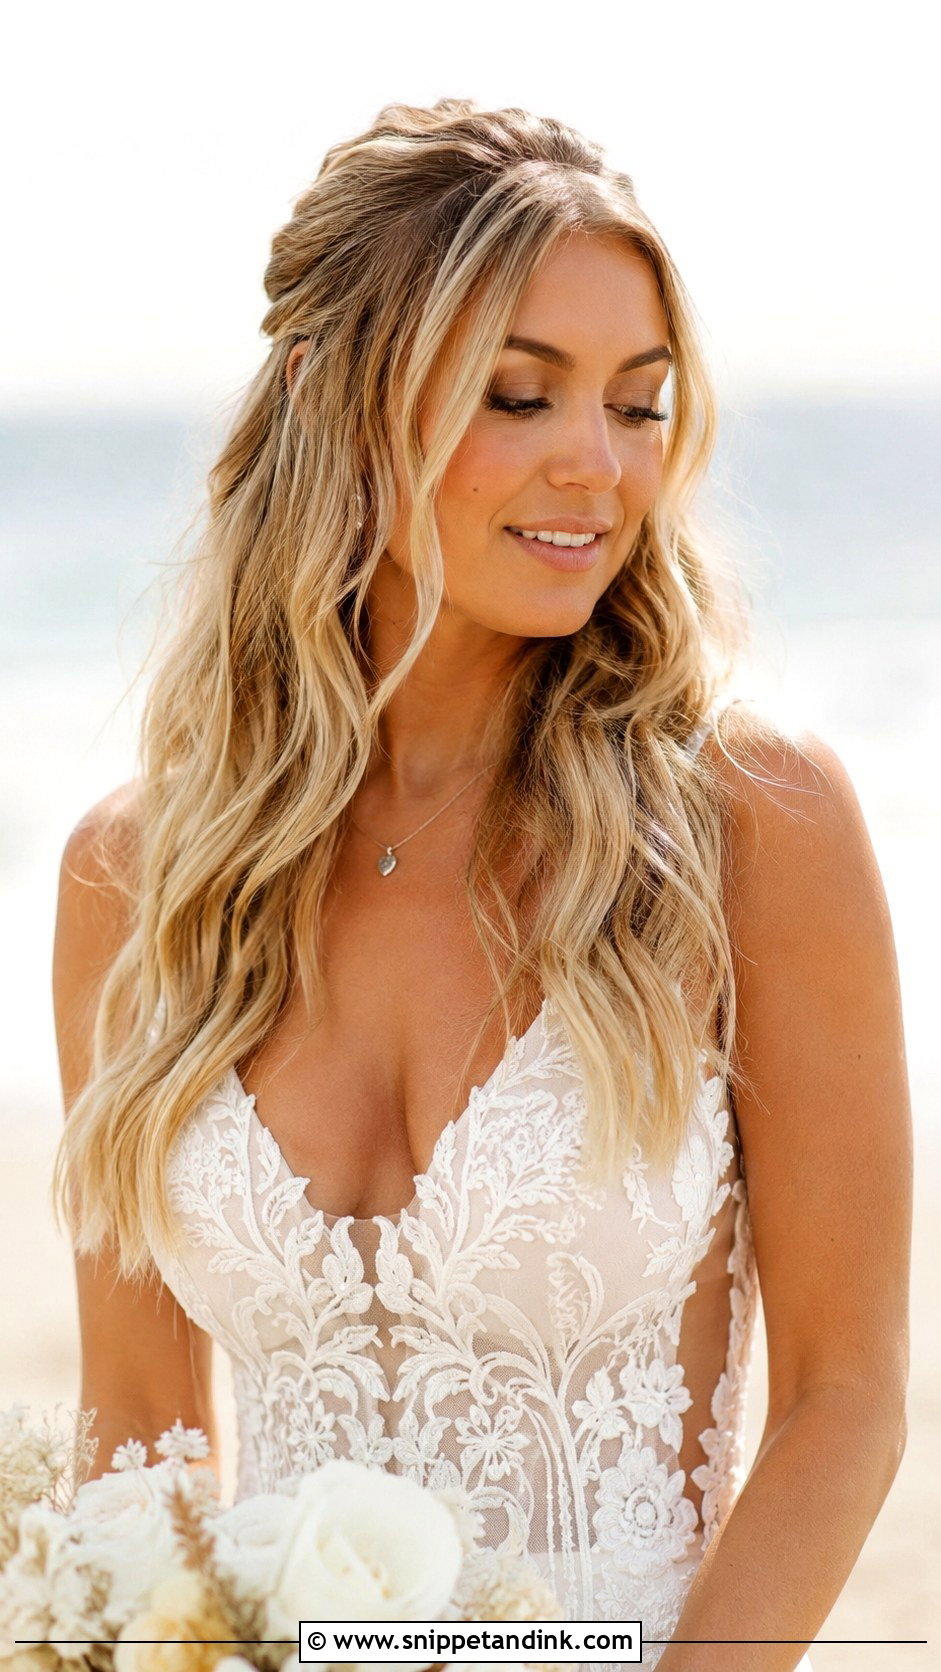
Beach waves are the one style where I’d use fewer extensions than you expect. Two or three clip-in wefts add enough body for the bends to look full, and leaving the last few inches straight keeps the wave relaxed instead of set. Wind is the real issue at the coast. Loose hair lifts and shows clips, so I place the top row a little lower than usual and pin the side sections lightly behind the ears.
13. Twisted Chignon With Tape-In Extensions
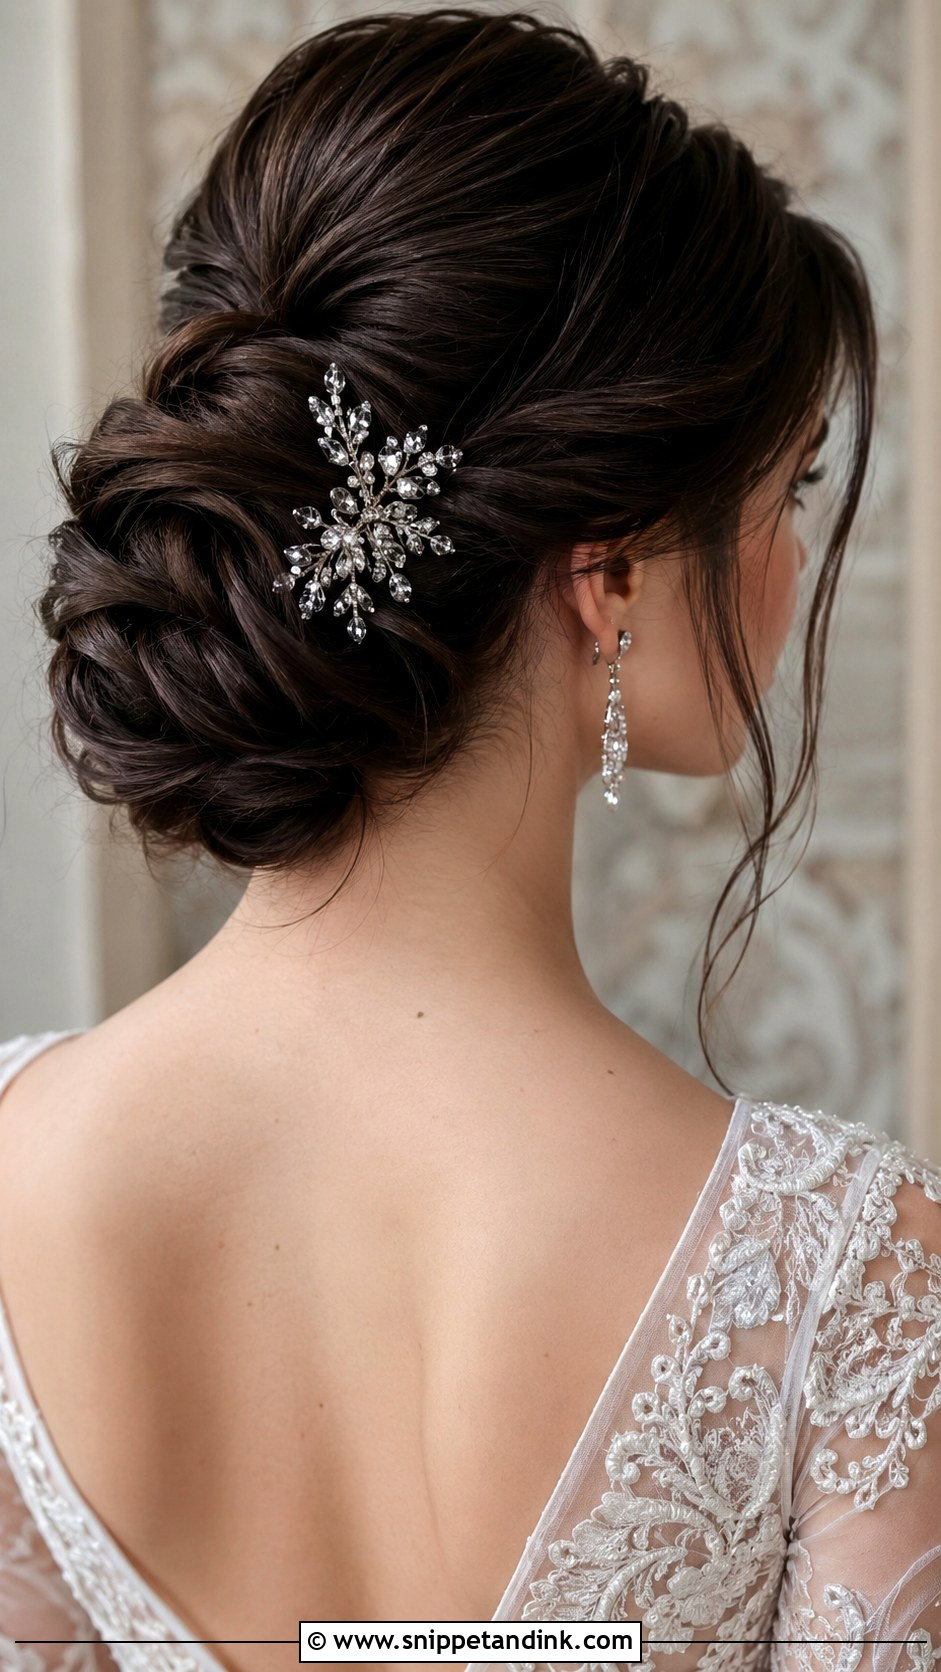
The chignon is where tape-ins prove their worth for brides with shoulder-length hair. Without extra hair the twist ends up small and tight at the nape; with tapes the knot can sit larger and softer. I twist each section toward the center and pin into the twist itself, so the pins catch hair rather than tape. Because a chignon exposes the back of the neck, ask your stylist to check the bottom row of tapes with a hand mirror before anything gets sprayed.
14. Curly Half-Up Style With Halo Extensions
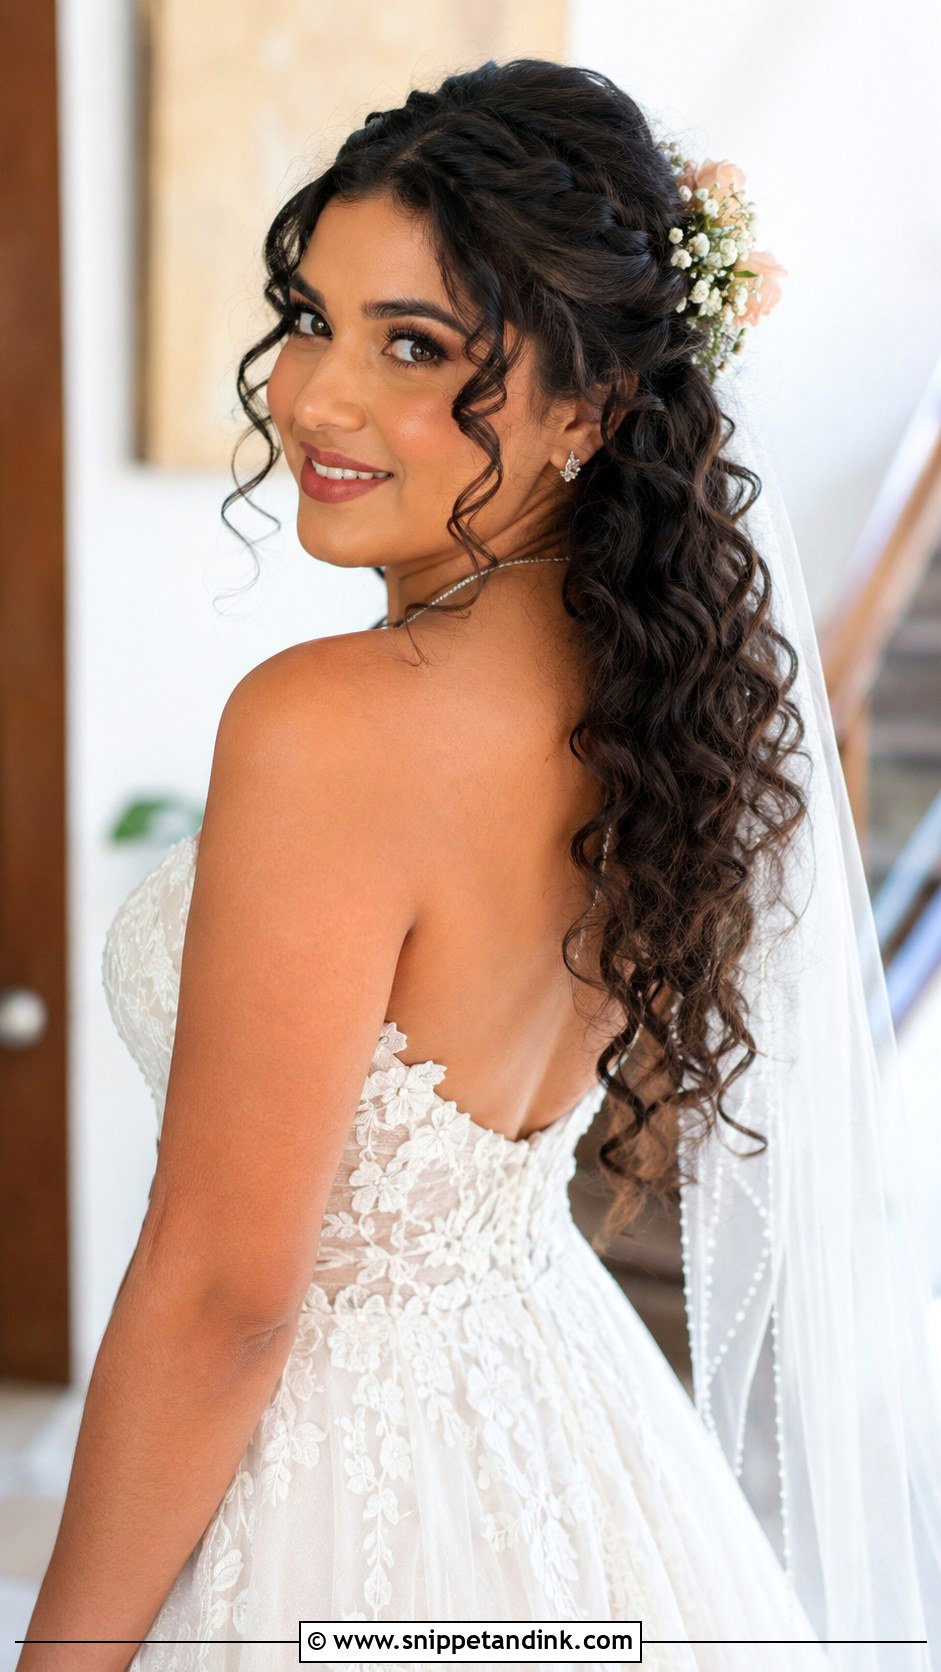
Curls and halos can be awkward together. Tight curls on top of a smooth wire sometimes lift it and reveal the line. I curl the top section on a slightly larger barrel so it lies heavier, then pull it back into a small twist that sits directly over the wire. The halo hair underneath adds the length, and the loose curls hang without needing pins of their own.
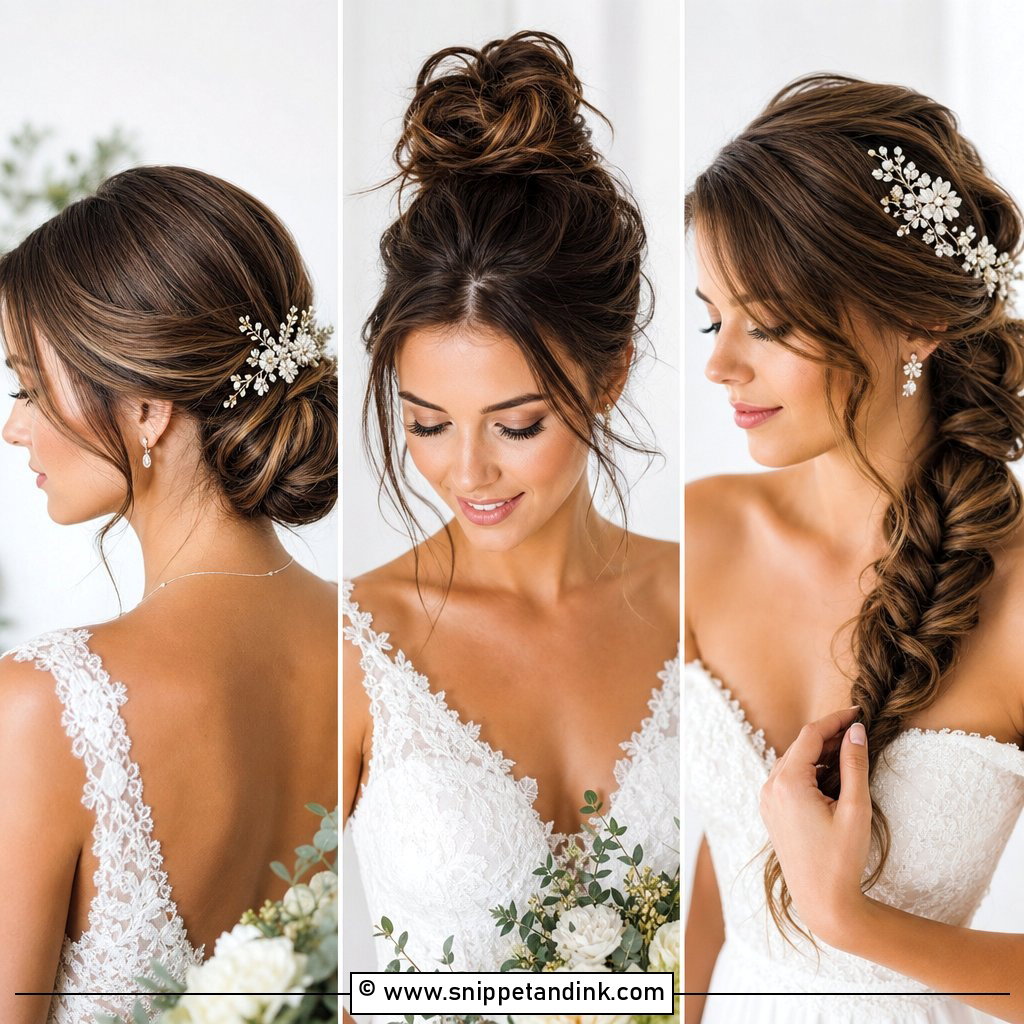
15. Vintage French Twist With Hand-Tied Extensions
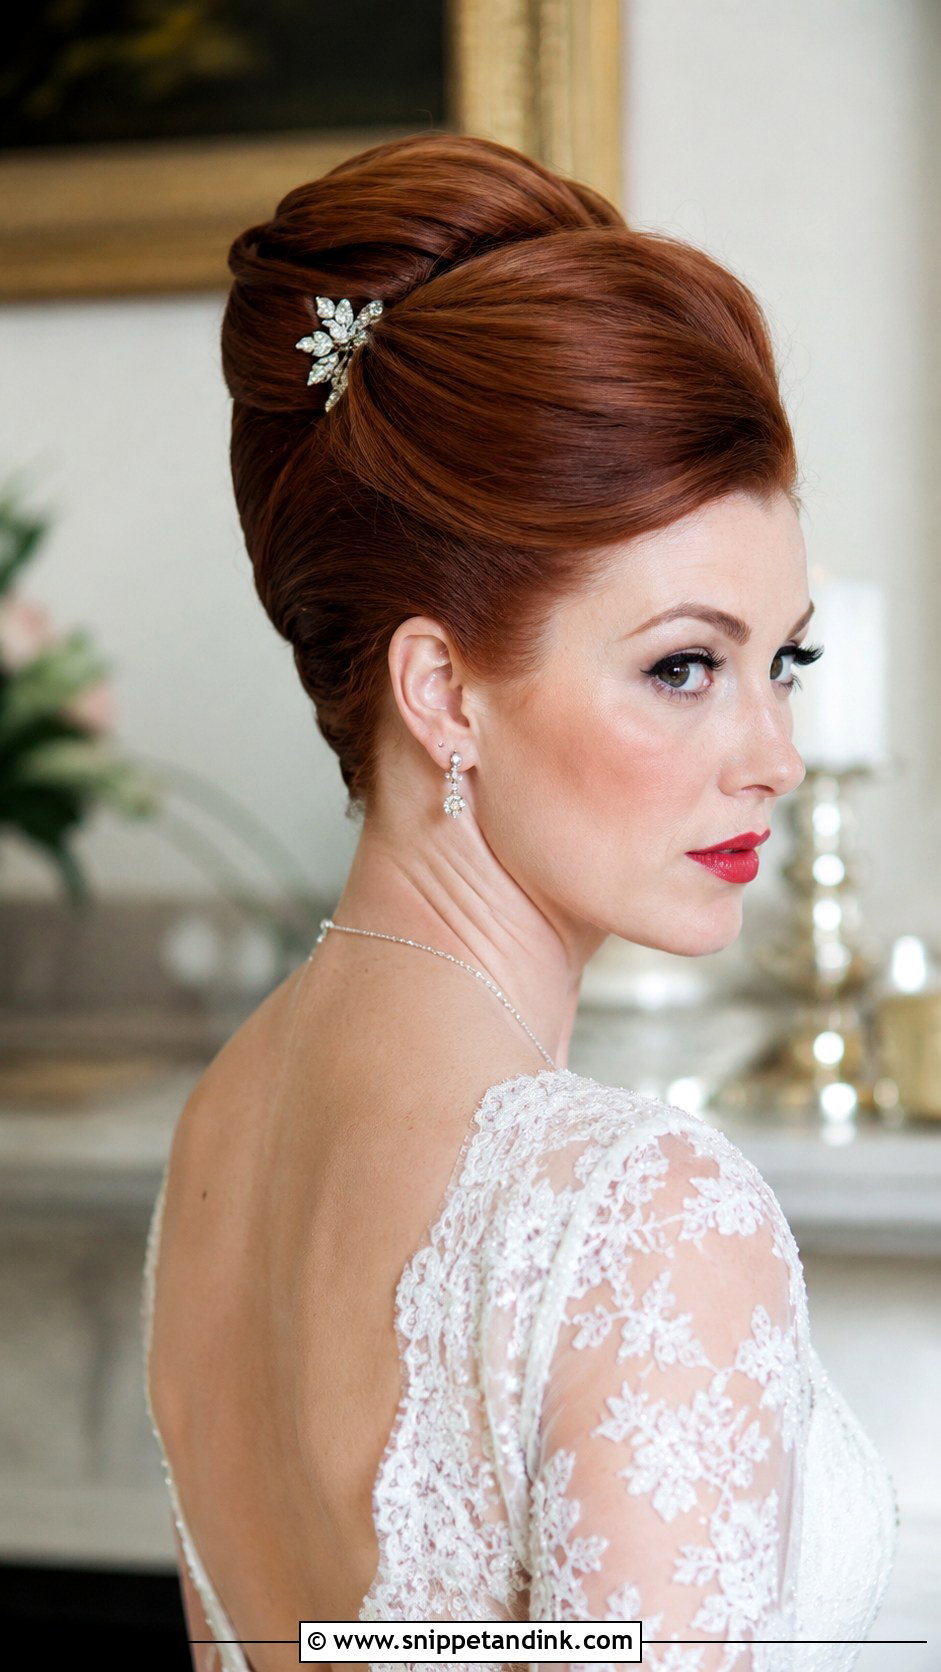
The French twist began as a big rolled shape, and most modern hair simply doesn’t fill it. Hand-tied wefts give me fullness at the crown and the body to make the vertical roll look round instead of flat. I backcomb lightly at the crown, smooth your own top layer over it, then fold and pin with long hairpins along the seam. It suits a formal room and keeps the neck cool. I wouldn’t choose it if you plan to take your hair down halfway through the night, though; unpinning a twist built over extensions takes a while.
16. Long Layered Waves With Clip-In Extensions
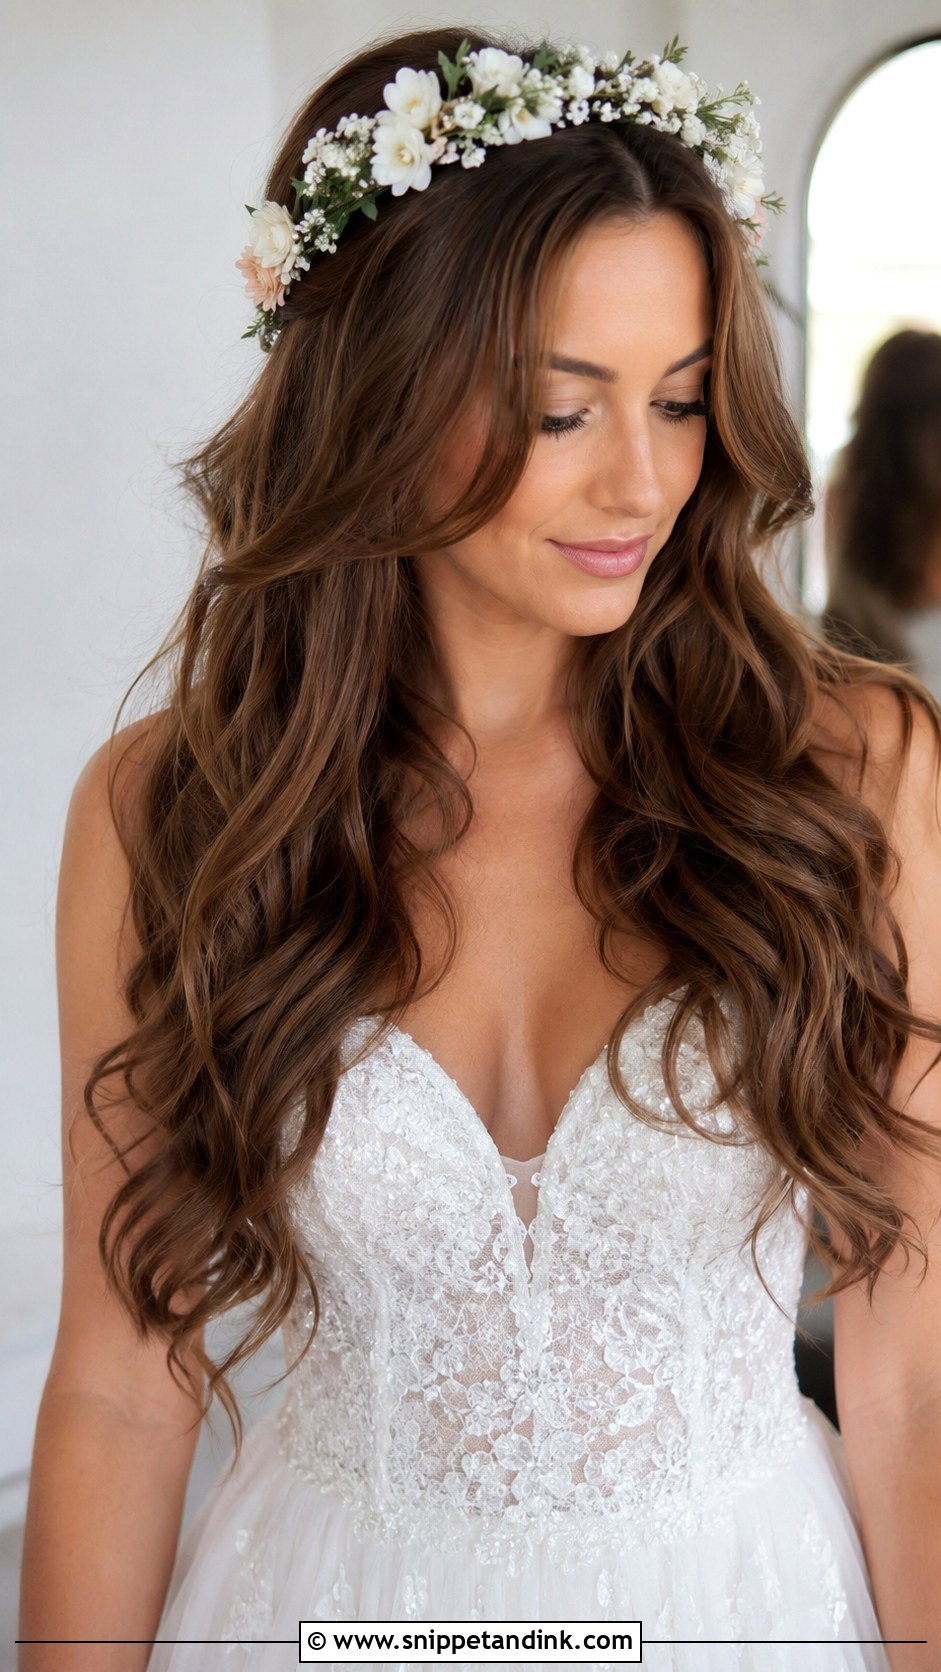
Layered waves rely on shorter pieces around the face blending into the length below, and that blend is exactly where extensions can look like two separate haircuts. I place the clip-in wefts so they finish below your shortest layer, then curl everything in alternating directions so no single row shows as a shelf. If your own hair is cut in heavy layers, a stylist will often trim the extension ends to match.
17. Dutch Braid Updo With Tape-In Extensions
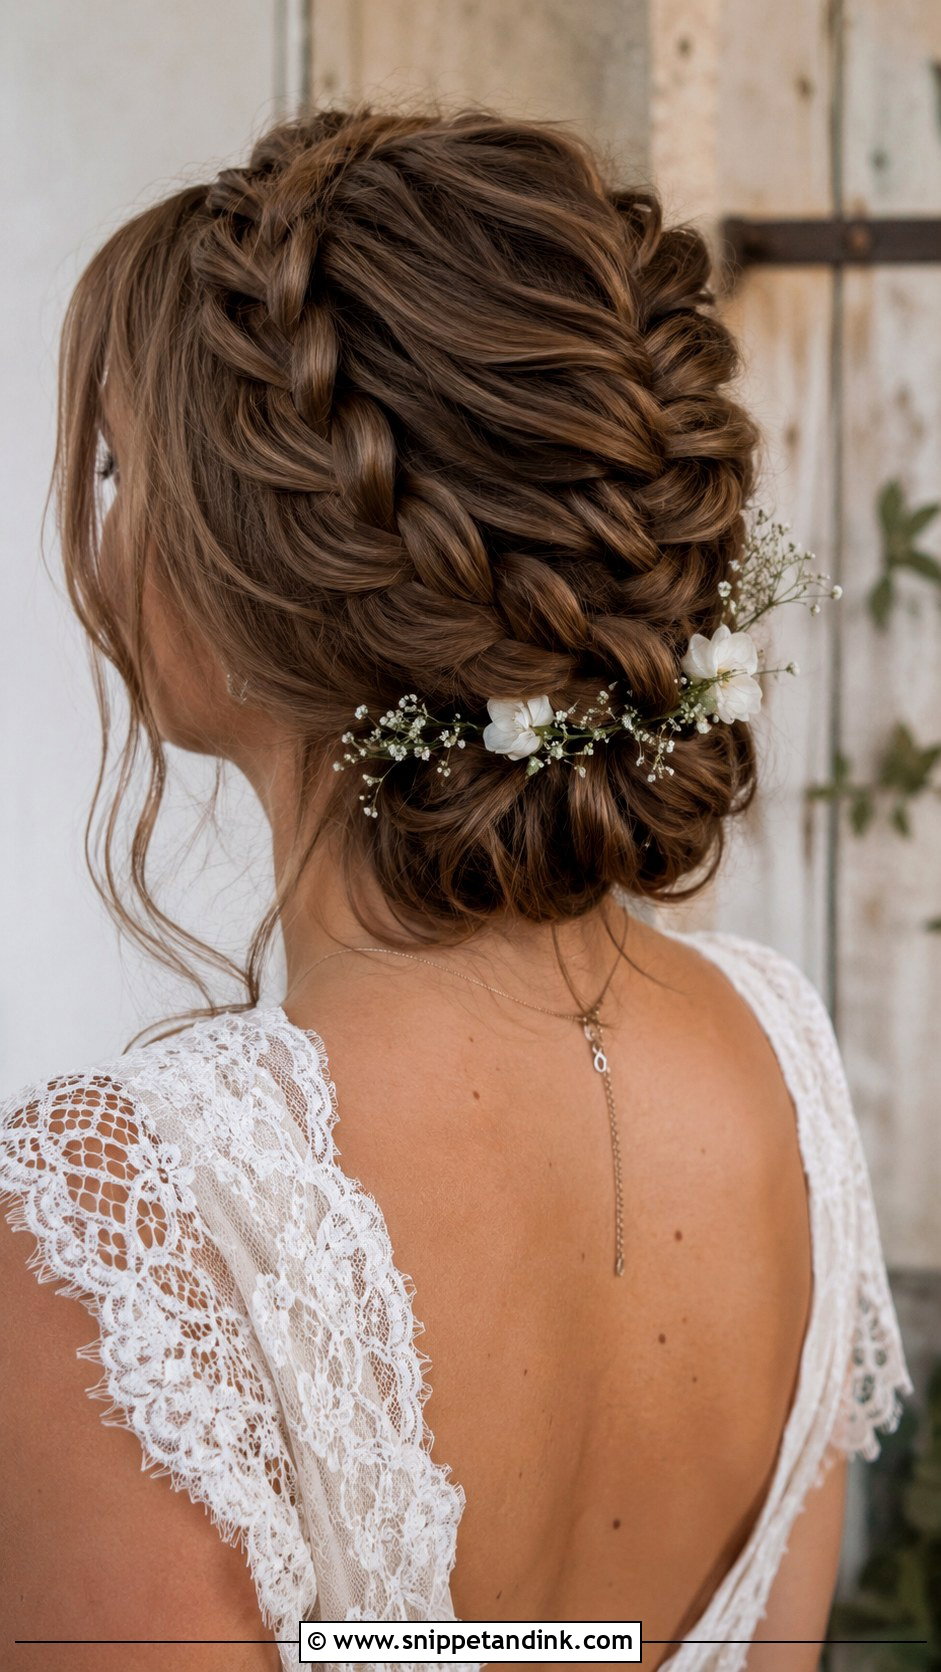
Dutch braids sit raised on the head because the strands cross under rather than over, and that effect needs plenty of hair at every crossing. Tape-ins near the scalp feed the braid evenly. I work the braids close to the head, finish them into a low bun, and loosen the outer loops only after everything is pinned. Small flowers tucked into the loops look good if you keep them few and in one area; scattered all over, they read as clutter.
18. Sleek High Bun With Hand-Tied Extensions
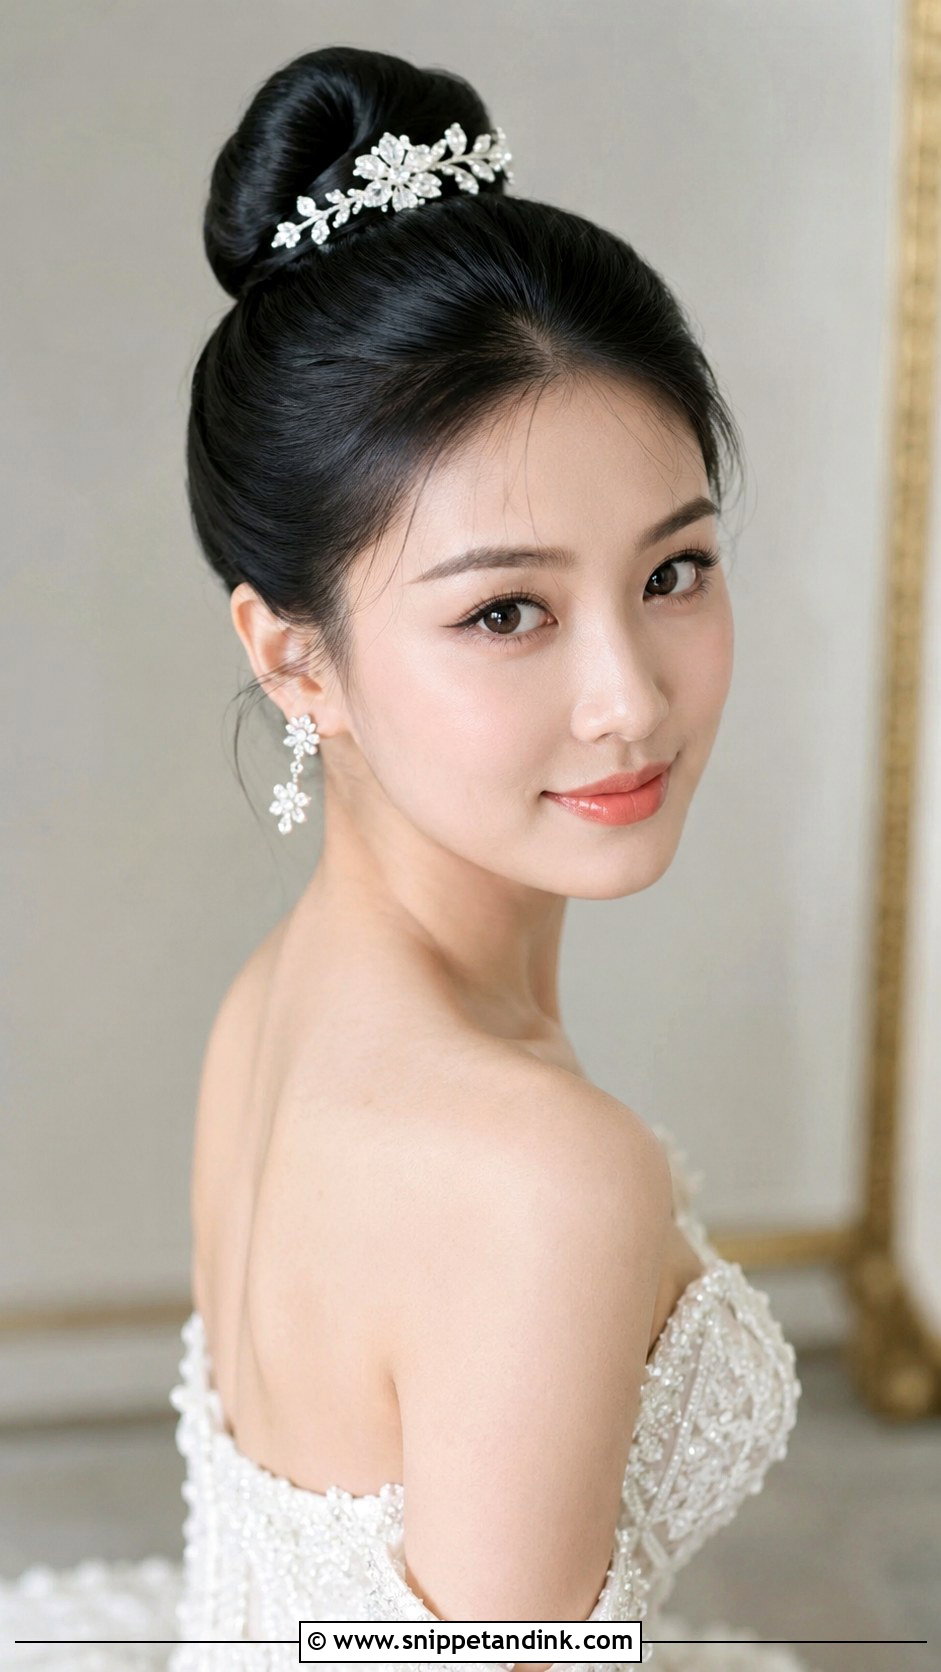
On fine hair, a high bun often ends up the size of a walnut. Hand-tied extensions let me build a full, substantial knot at the crown without padding. The risk is weight: a large bun up high pulls on the hairline over a long day, so I anchor it with crossed pins into the base elastic and have the bride turn her head fully at the trial before we call it done. It’s comfortable in hot weather with a fitted modern gown, less so if a heavy cathedral veil hangs from the same spot.
19. Soft Romantic Updo With Halo Extensions
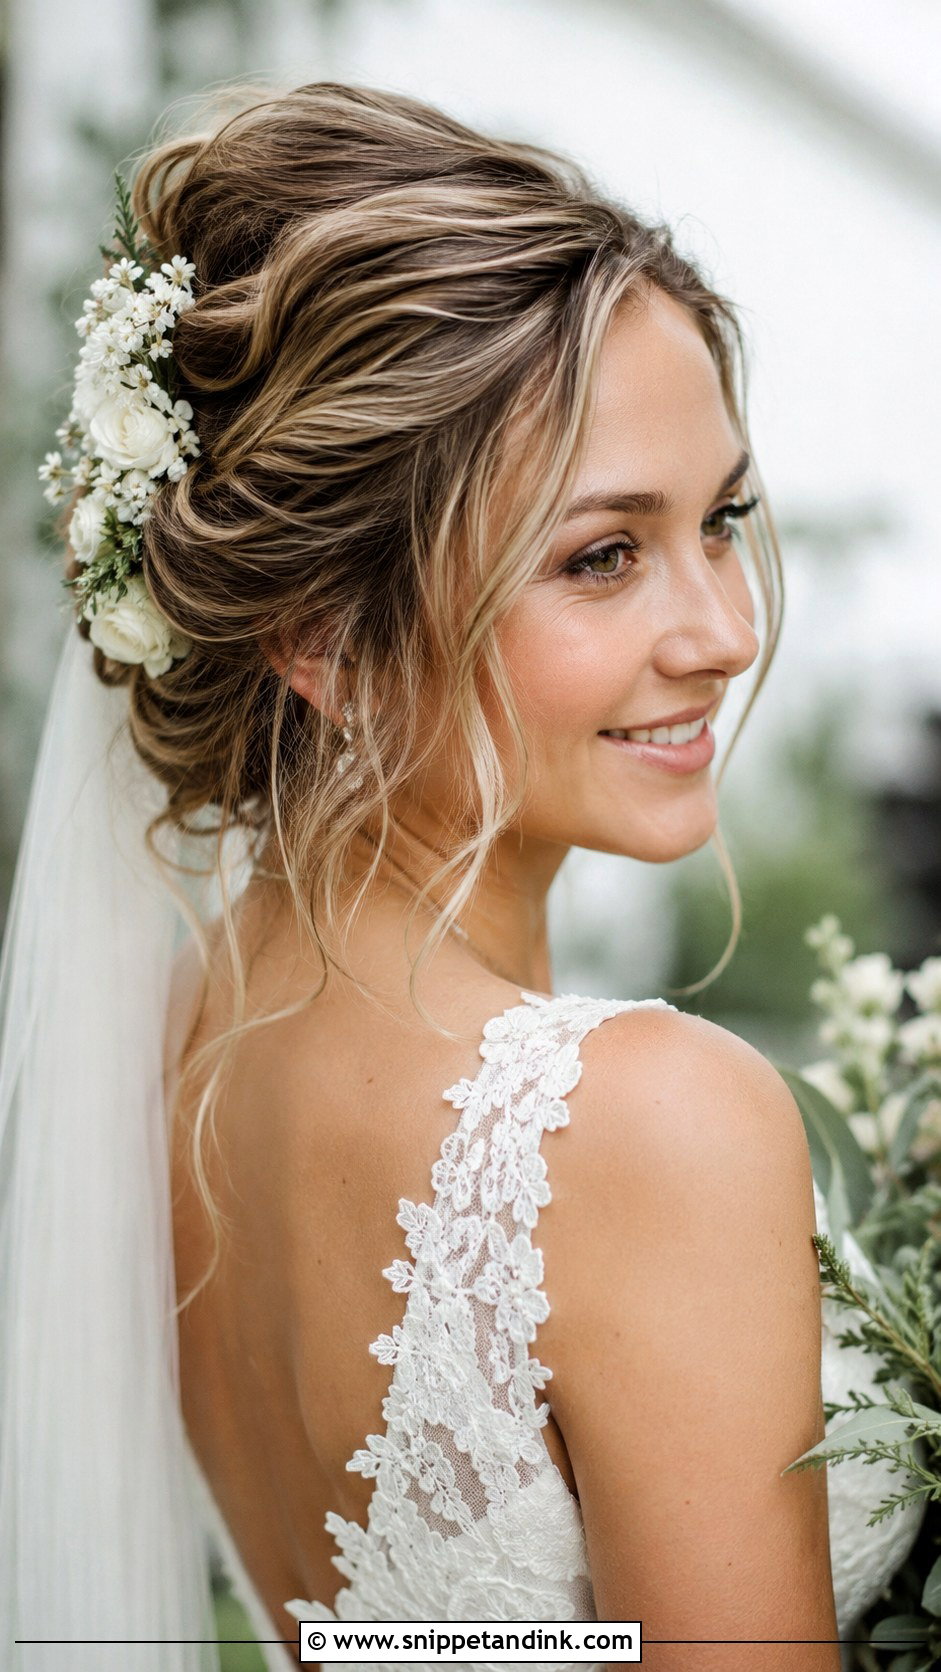
A soft updo captures fairytale bridal beauty best when it looks slightly undone, but halos weren’t really designed for full updos. When a bride wants this style with a halo, I pin the wire flat with a few crossed bobby pins, lift the top section over it, and build the loose twists from the lower length. It works. It just takes more pinning than the same style over tape-ins, so do a trial before you commit.
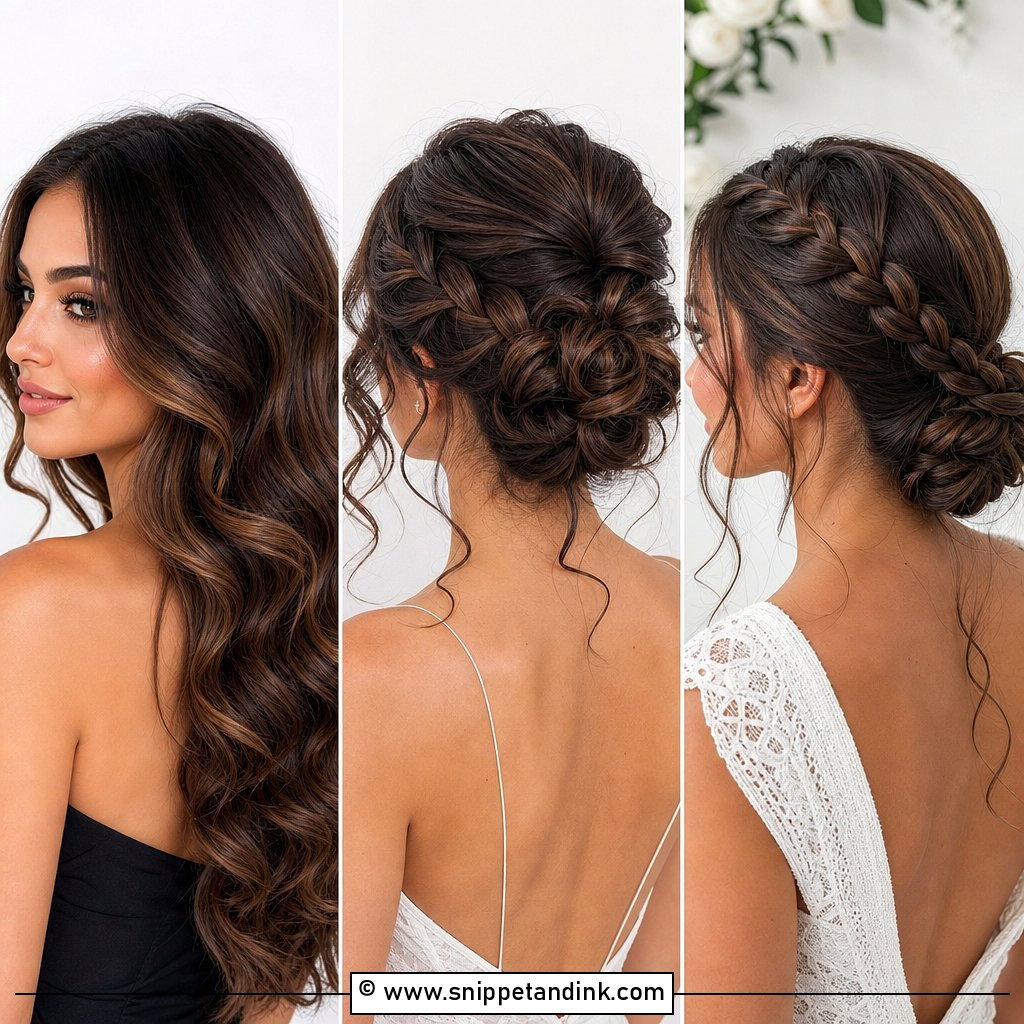
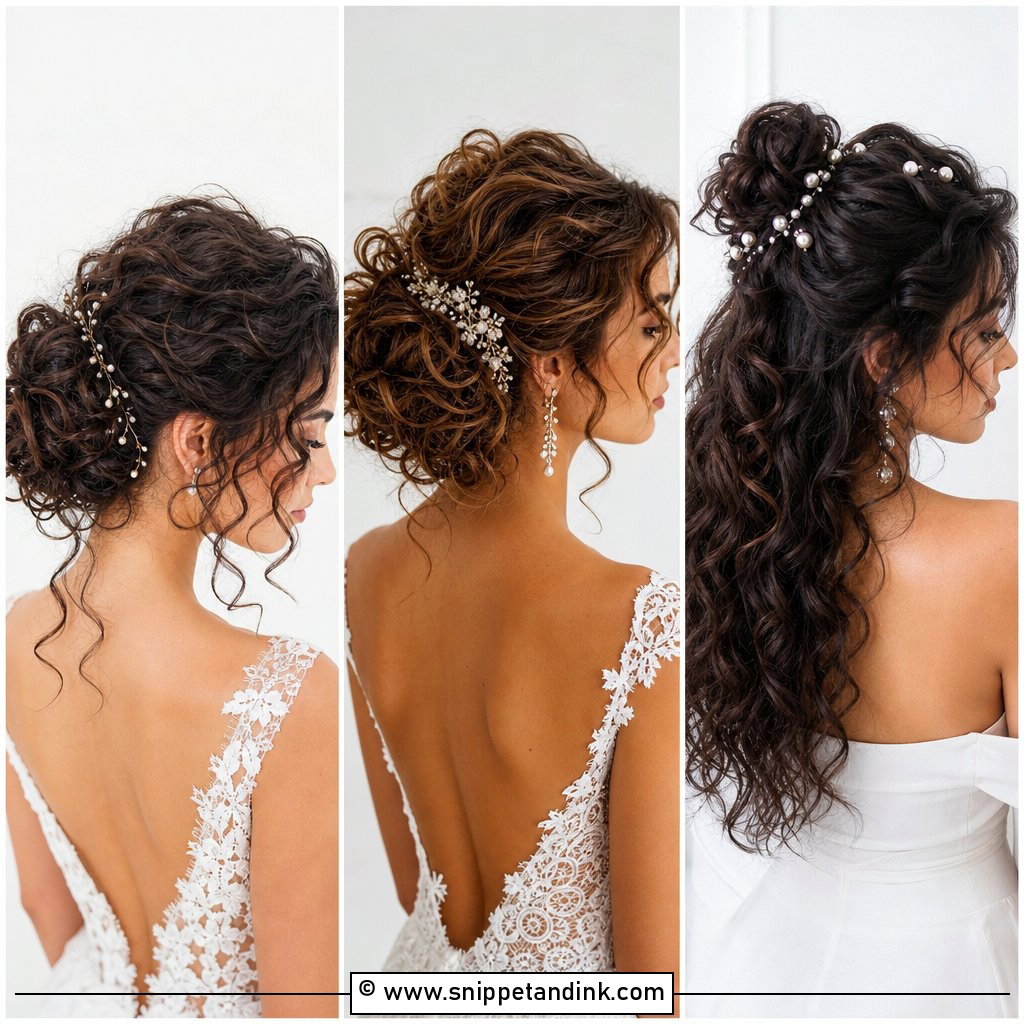
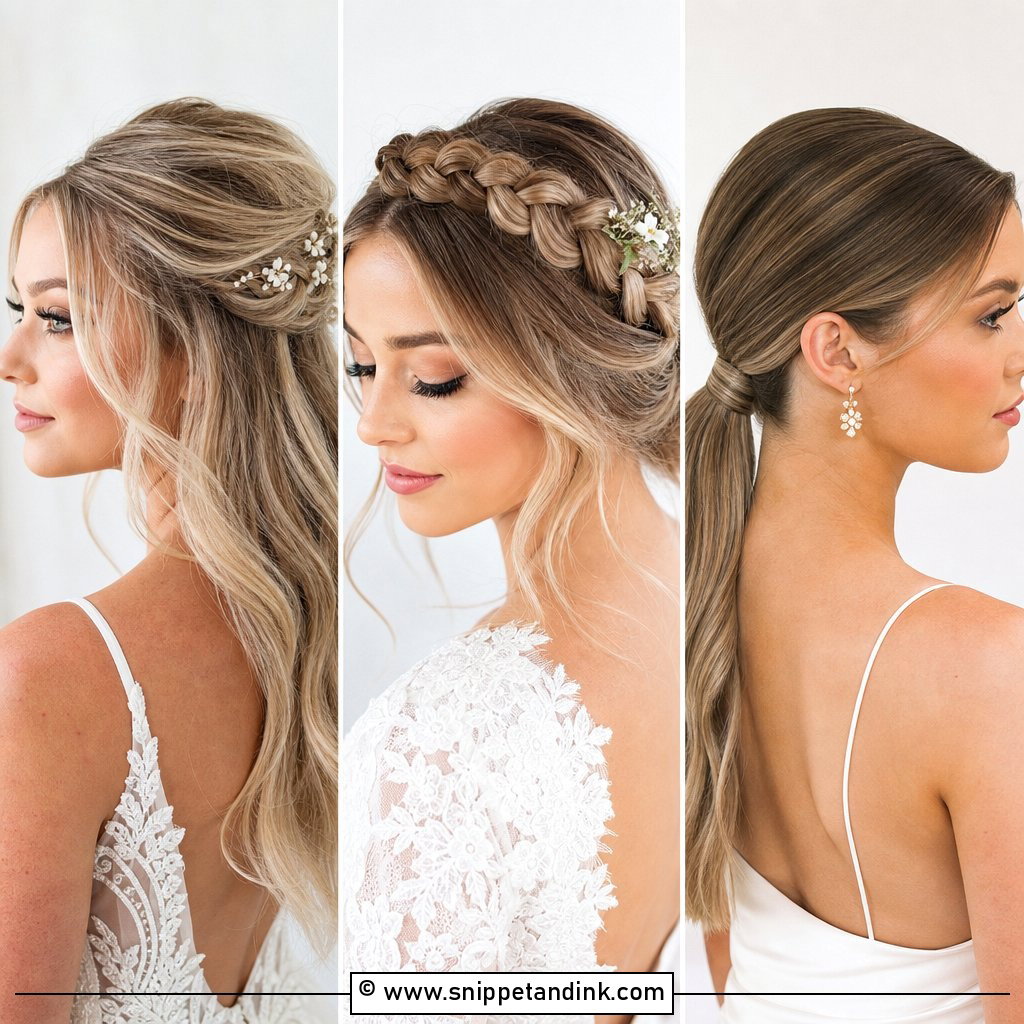
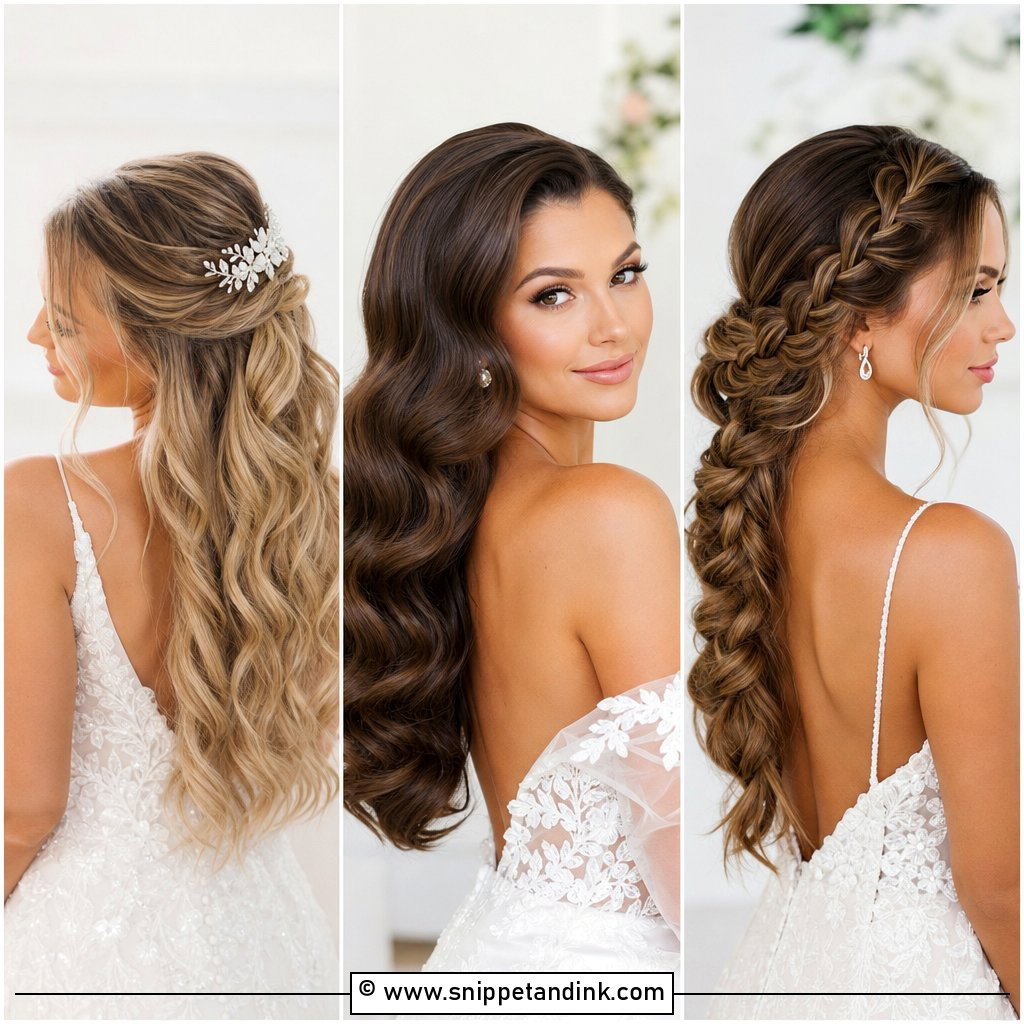
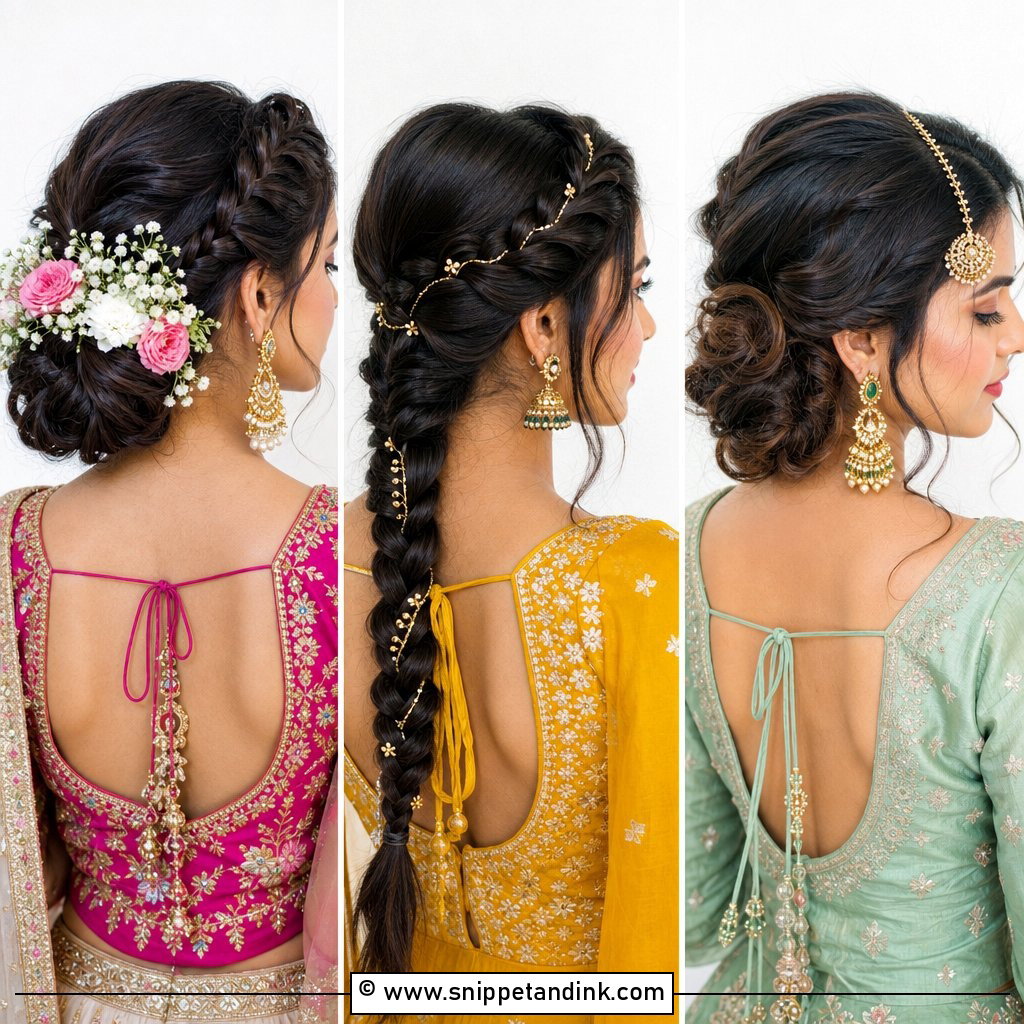
20. Long Bohemian Waves With Clip-In Extensions
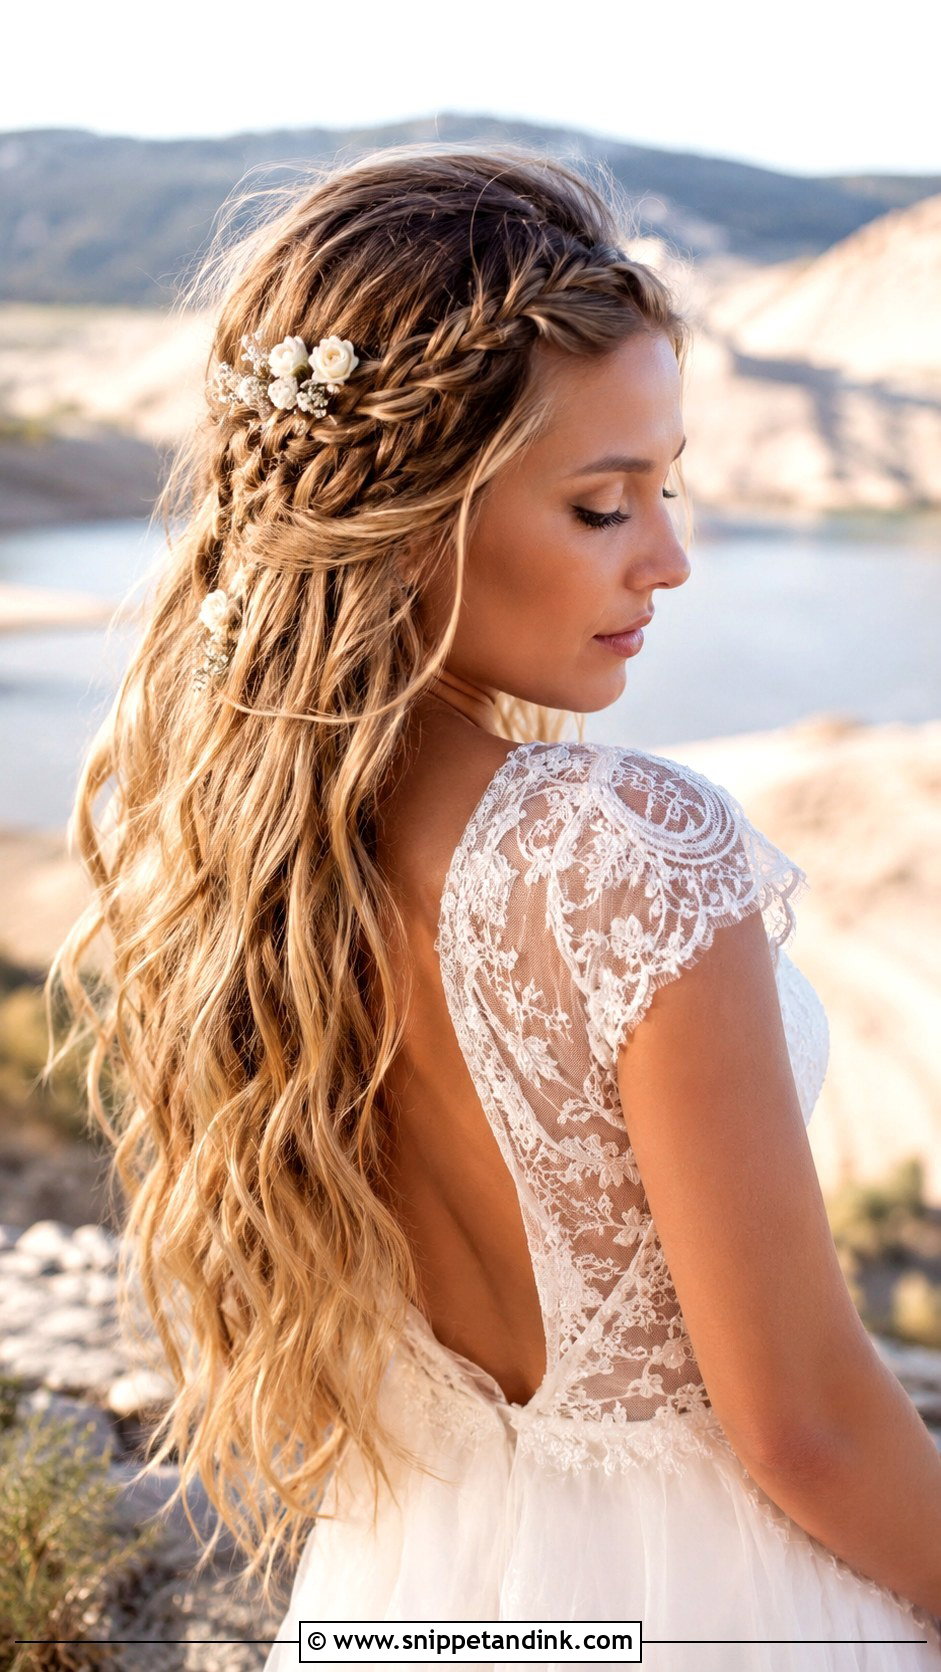
Long, loose boho waves are the most forgiving style here for a first-time extension wearer. The tousled texture hides small color differences, and clip-ins come out in seconds if you change for the reception. I like a few thin braids or twists through one side for texture. The only real enemy is a long veil caught in a breeze, which drags on the top clips, so a short veil or a flower comb usually sits better with this one.
Where Wefts Hide in an Updo, and Where They Don’t
Down styles hide extensions by default. Updos expose the back and sides of the head, which is exactly where wefts live, so they need more planning.
- The nape: the bottom row of any method sits here. For a low bun or chignon I keep that row a little higher than usual, or leave it out.
- Behind the ears: lifted side sections are the most common place to spot a clip or a bead. A thin layer of your own hair combed over before pinning covers it.
- The crown: a high bun or crown braid pulls everything upward, so a row placed high can show once the hair is lifted.
Bring photos of the style from the back and both sides to your trial, not only the front. That’s where I make placement decisions, and it’s the view your guests have for the whole ceremony.
After the Last Song
Take clip-ins and halos out before you sleep, brush them gently from the ends upward, and store them flat or hanging so they don’t tangle. Tape-ins and hand-tied rows stay in, so sleep with your hair in a loose braid or a silk scrunchie and wash out the hairspray within a day or two; heavy product sitting near the bonds can loosen tapes. If you aren’t keeping semi-permanent extensions after the honeymoon, have a stylist remove them. Pulling tapes off at home without remover takes your own hair with them.
Your Extensions Should Feel Forgotten by the First Dance
Extensions are a tool, not a style. From cascading curls and romantic braids to sleek buns and waves, every look above depends on a method chosen for your hair and for how you’ll wear it on the day. Have your trial with the extensions already in, keep them in for a few hours afterward, and notice what pulls or slips. That afternoon will tell you more than any photo.
You'll Like These Ideas:


Leave a Reply