
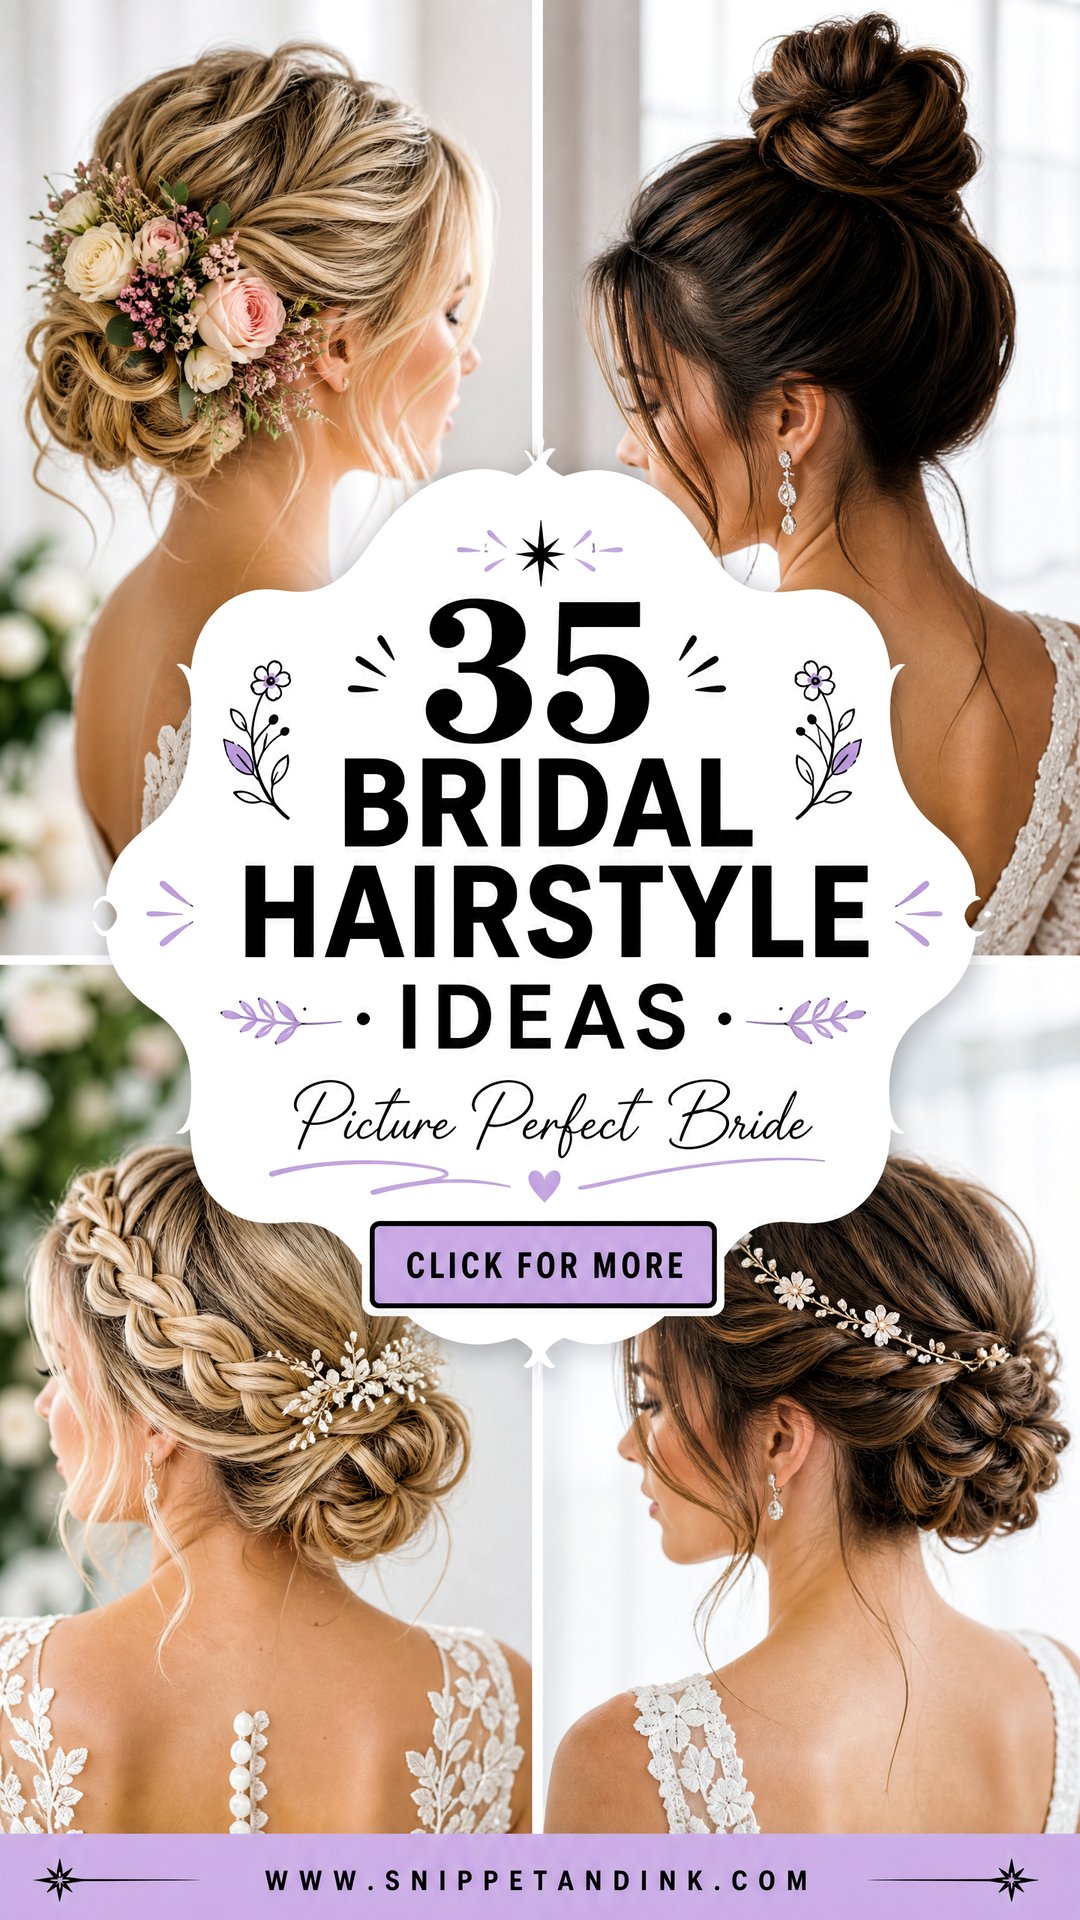
Your hair is in nearly every photo of the day, and most of those photos are taken from the side or from behind: walking up the aisle, standing at the altar, the first dance. That changes how I design a wedding style. A sleek ballerina bun has to look as good from the back as the front; a half-up has to hold its shape through hugs. The thirty-five ideas below cover buns, braids, waves, short hair and natural texture, each with notes on how I build it and what it asks of your hair, so you can take the right ones to your trial.
What a Lens Picks Up That Your Mirror Hides
Mirrors show you the front. Photographers shoot from every angle, often close, often with flash. A few things I check for every bride because of that:
- The back: I hold a hand mirror behind you at the trial. Bumps, visible pins and gaps show most in ceremony photos taken from the guest seats.
- Flyaways: flash catches every frizzy strand. A small amount of smoothing balm on a toothbrush flattens them at the hairline.
- Shine: too much serum or spray looks greasy under flash. A light finish photographs better than a glossy one.
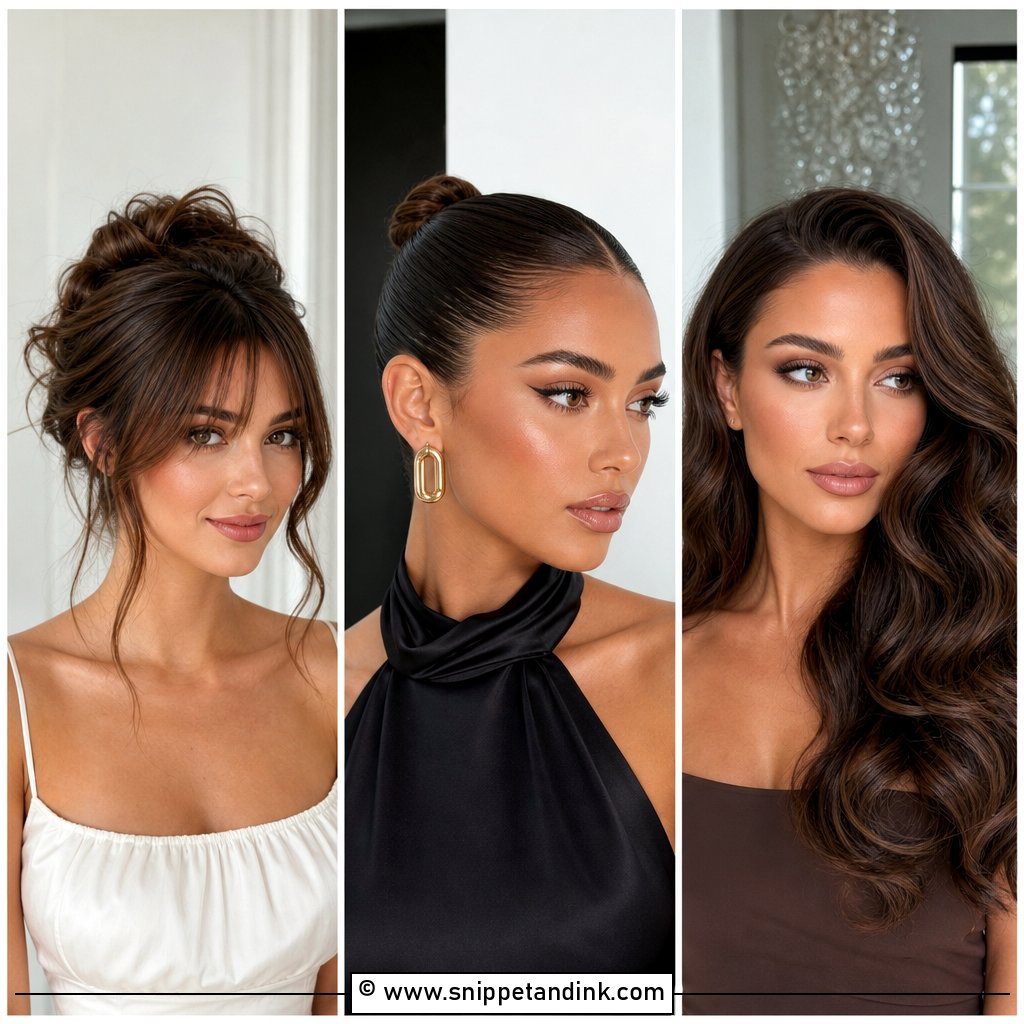
- Pins: I use pins that match your hair color and hide them under the hair. A single shiny pin can show in close-ups.
It’s worth asking your photographer for a few shots of your trial hair from the side and back. They’ll see things you won’t.
1. Classic Low Chignon
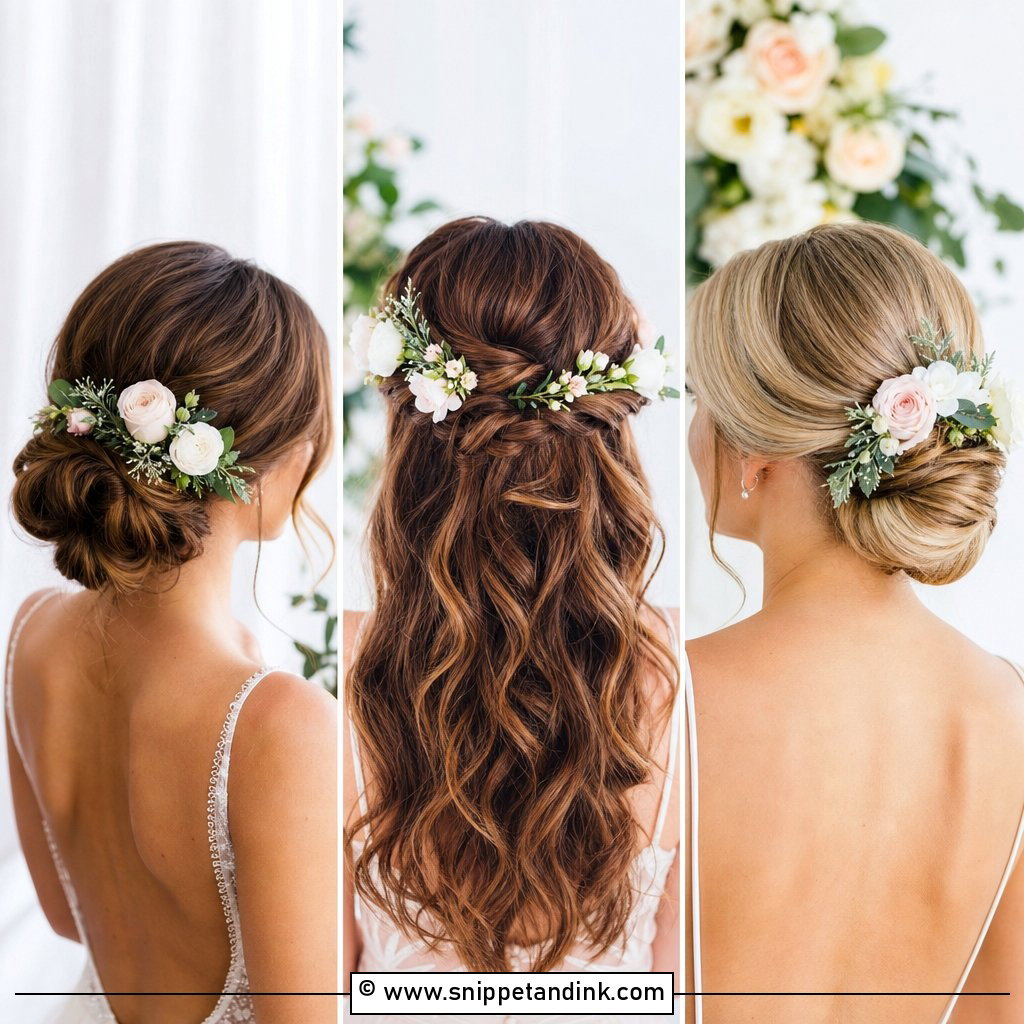
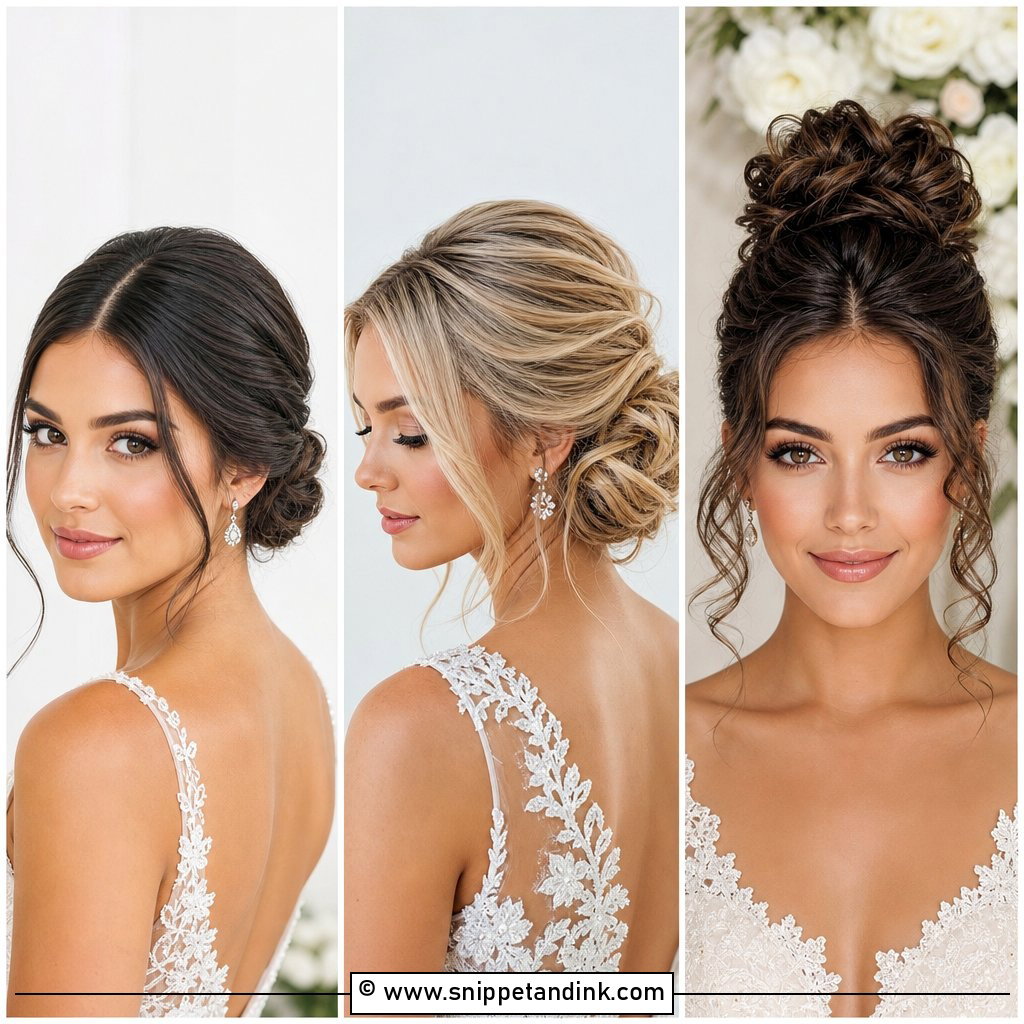
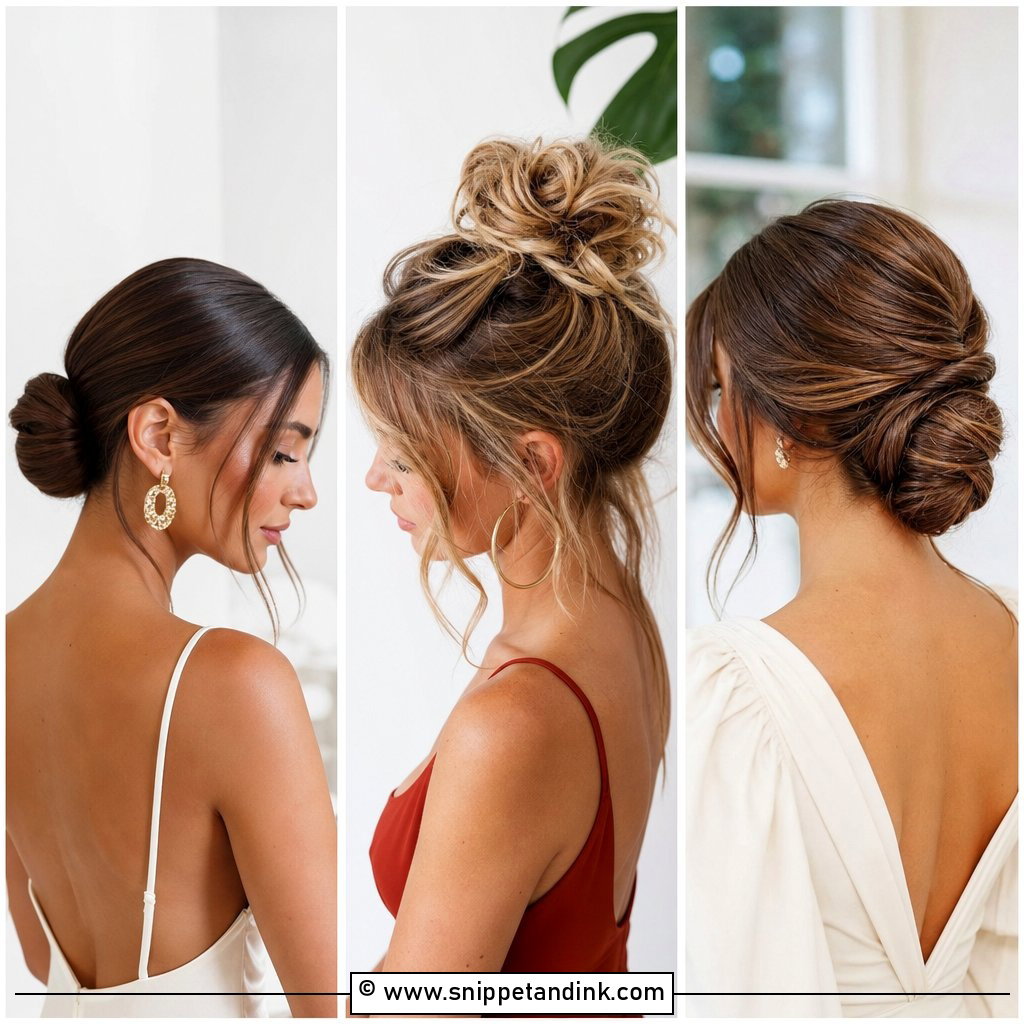
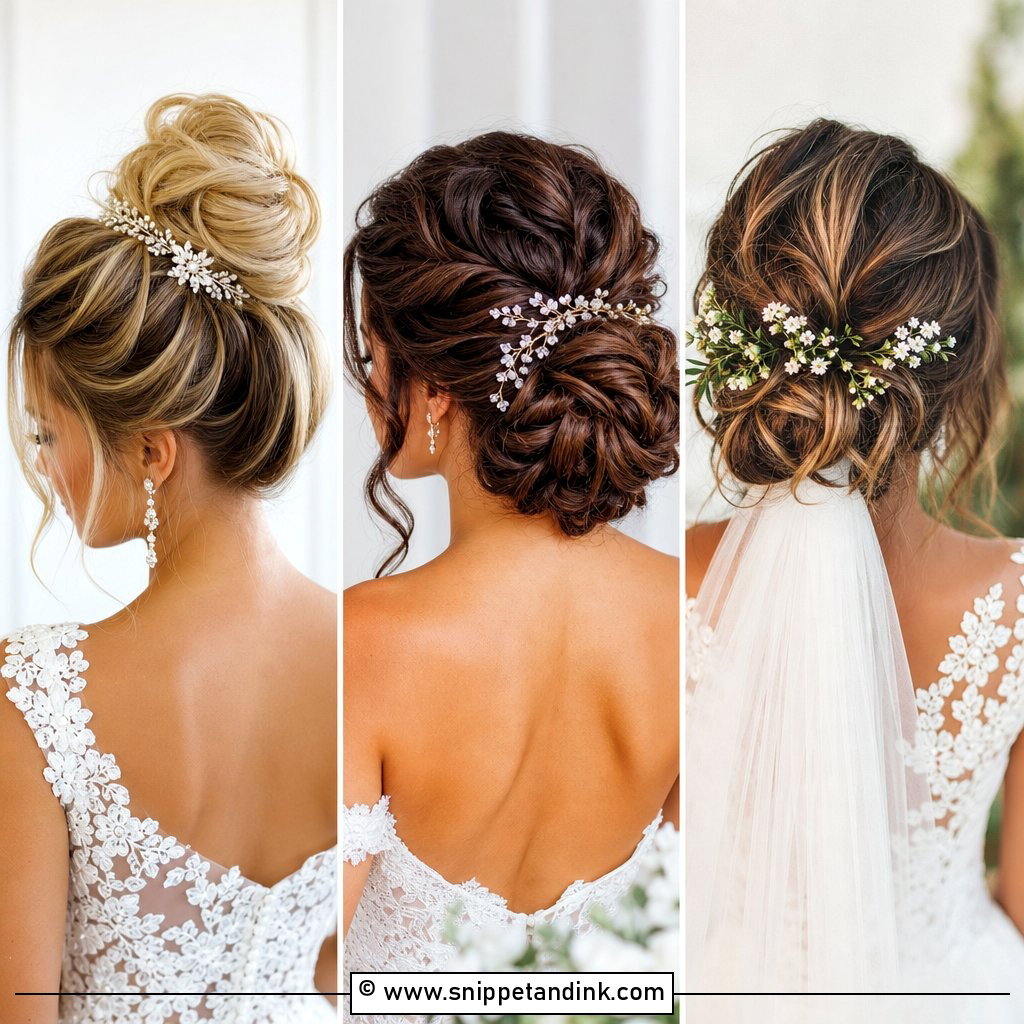
If I had to name the style that copes best with a long day, it would be the low chignon. It sits at the nape, which keeps the weight low and the pins comfortable, and it gives cathedral veils a solid base above or below the knot. I twist the hair before coiling it so the shape stays round. A few curled tendrils at the temple soften it; leave them out if you have very fine baby hairs that frizz.
2. Sleek Ballerina Bun
The ballerina bun is pulled tight and high, so I check scalp comfort before anything else. I smooth with a firm gel and a boar bristle brush, tie it at the crown with a strong elastic, then wrap and pin the bun flat. A center part makes it graphic. It’s a natural match for statement earrings and a clean neckline. On brides prone to tension headaches, I’d move the knot a little lower.
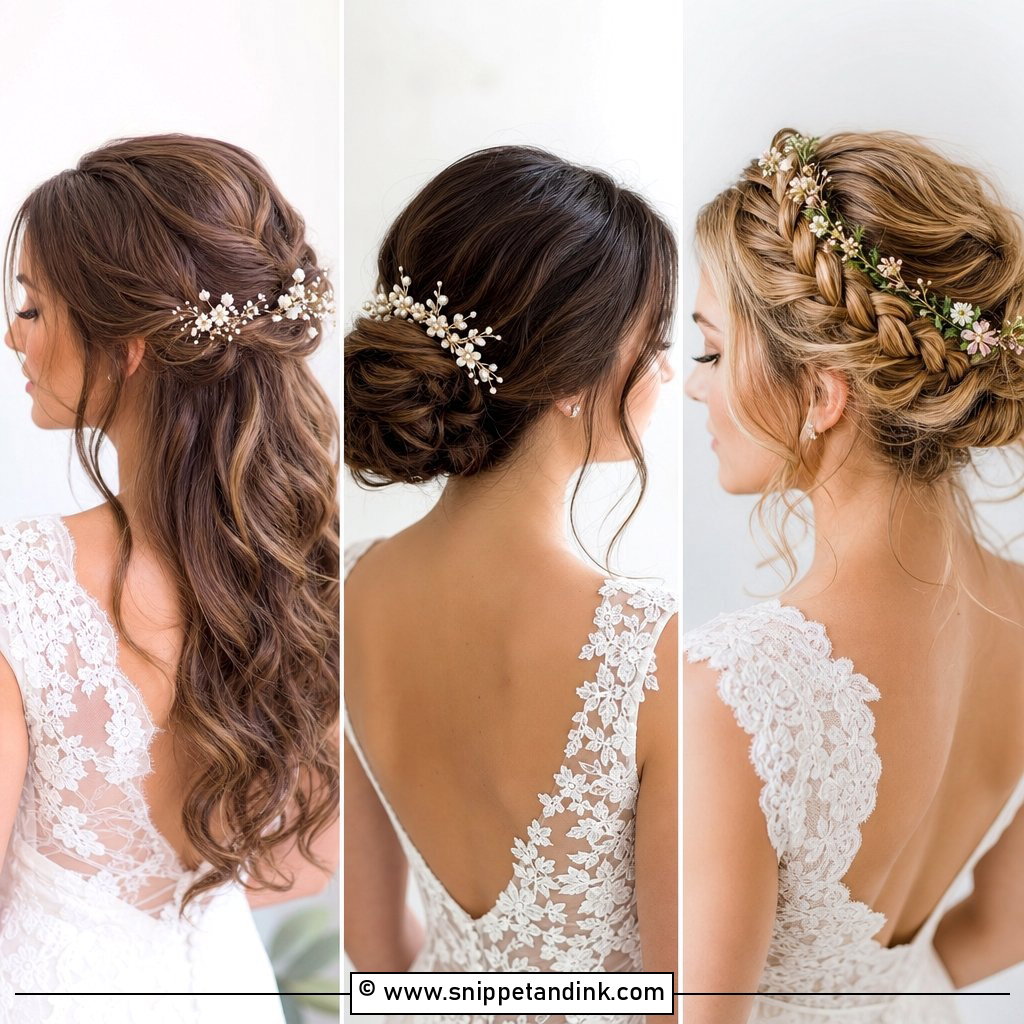
3. Romantic Half-Up Half-Down
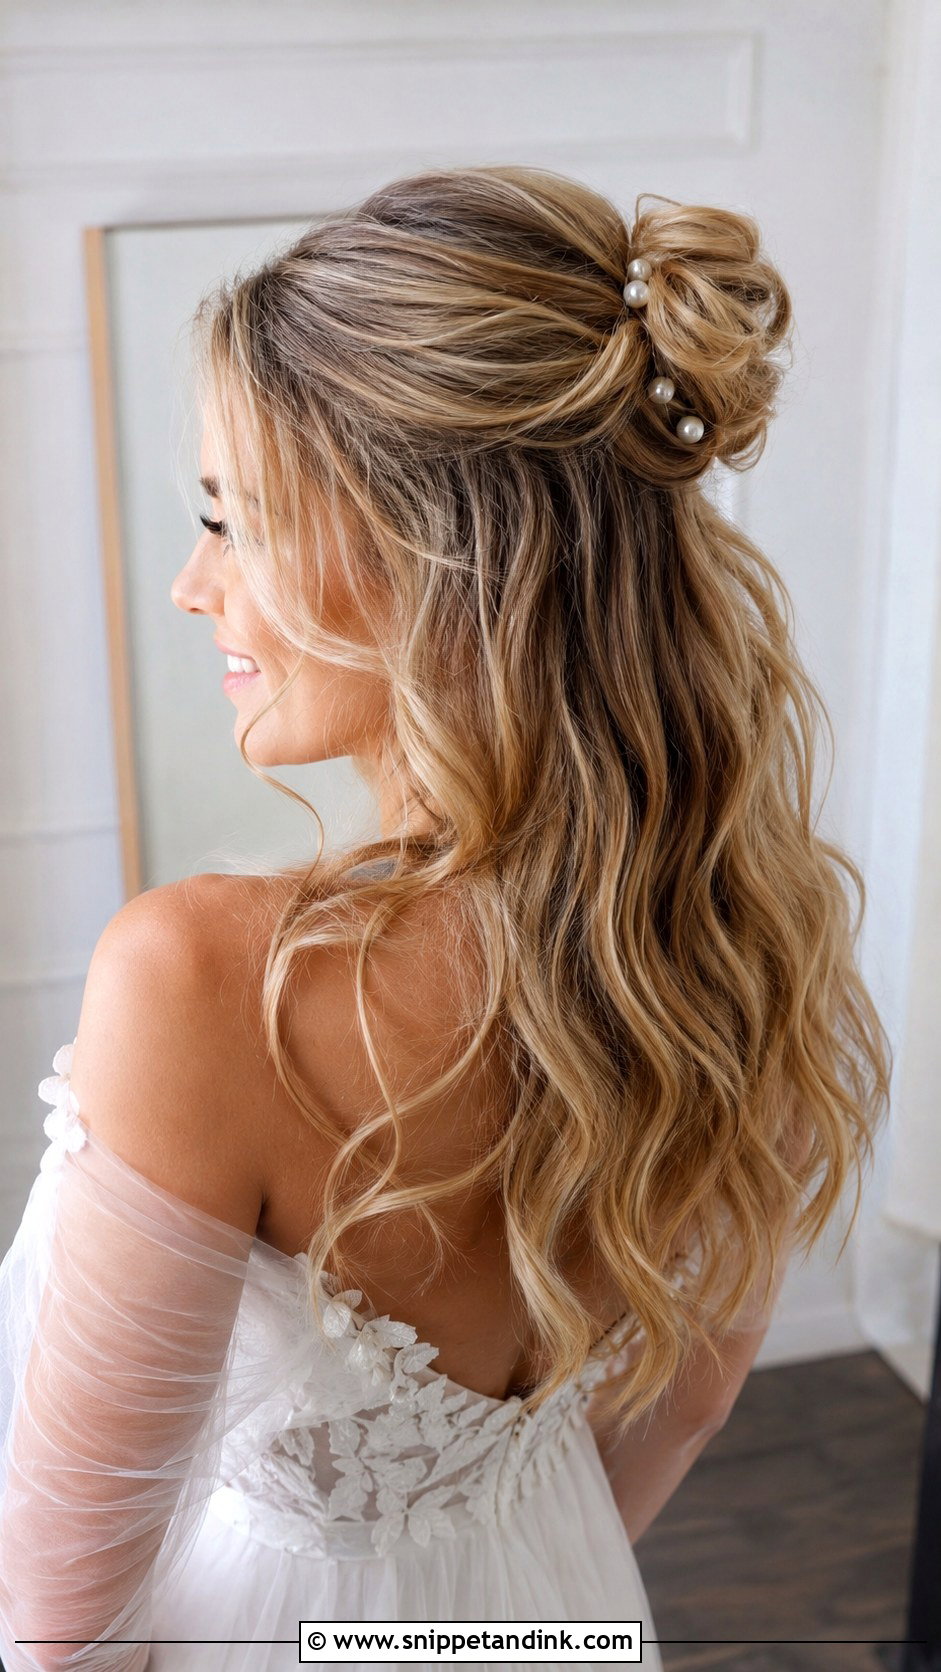
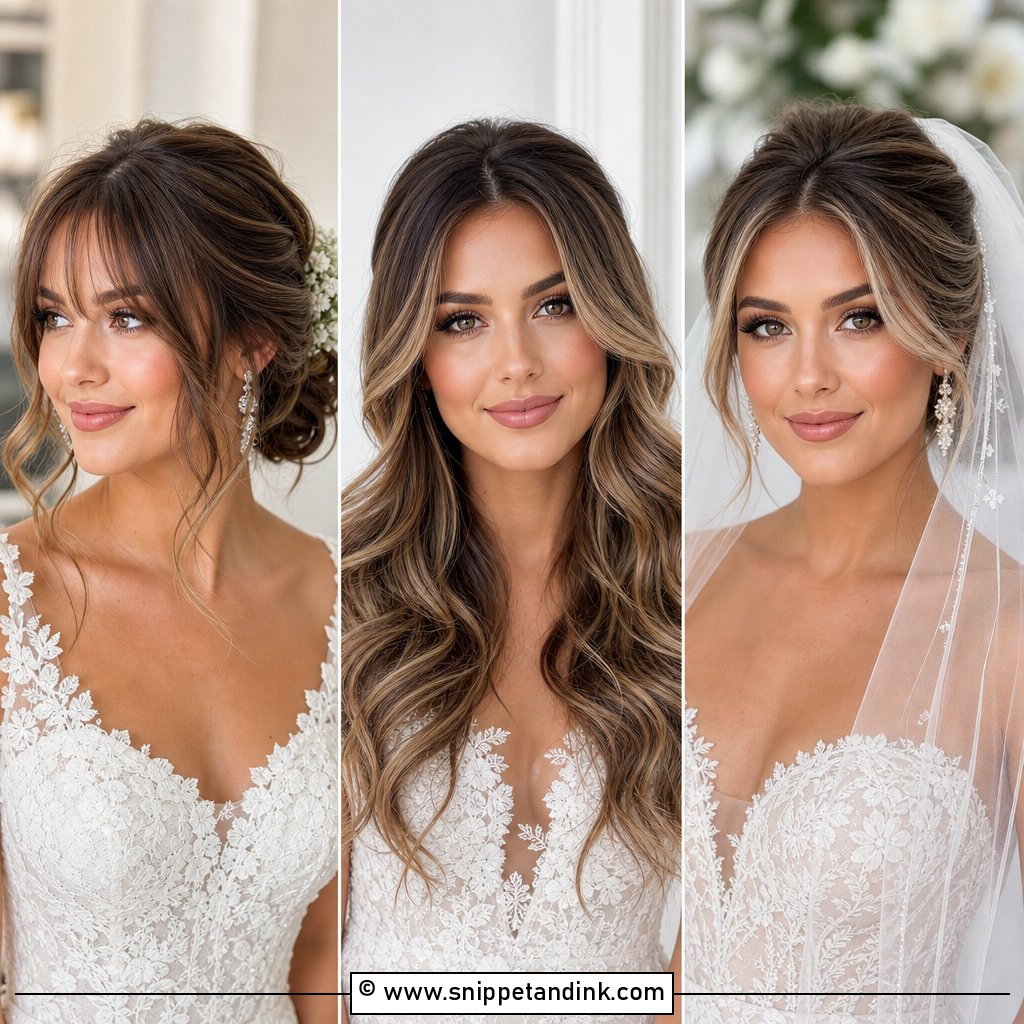
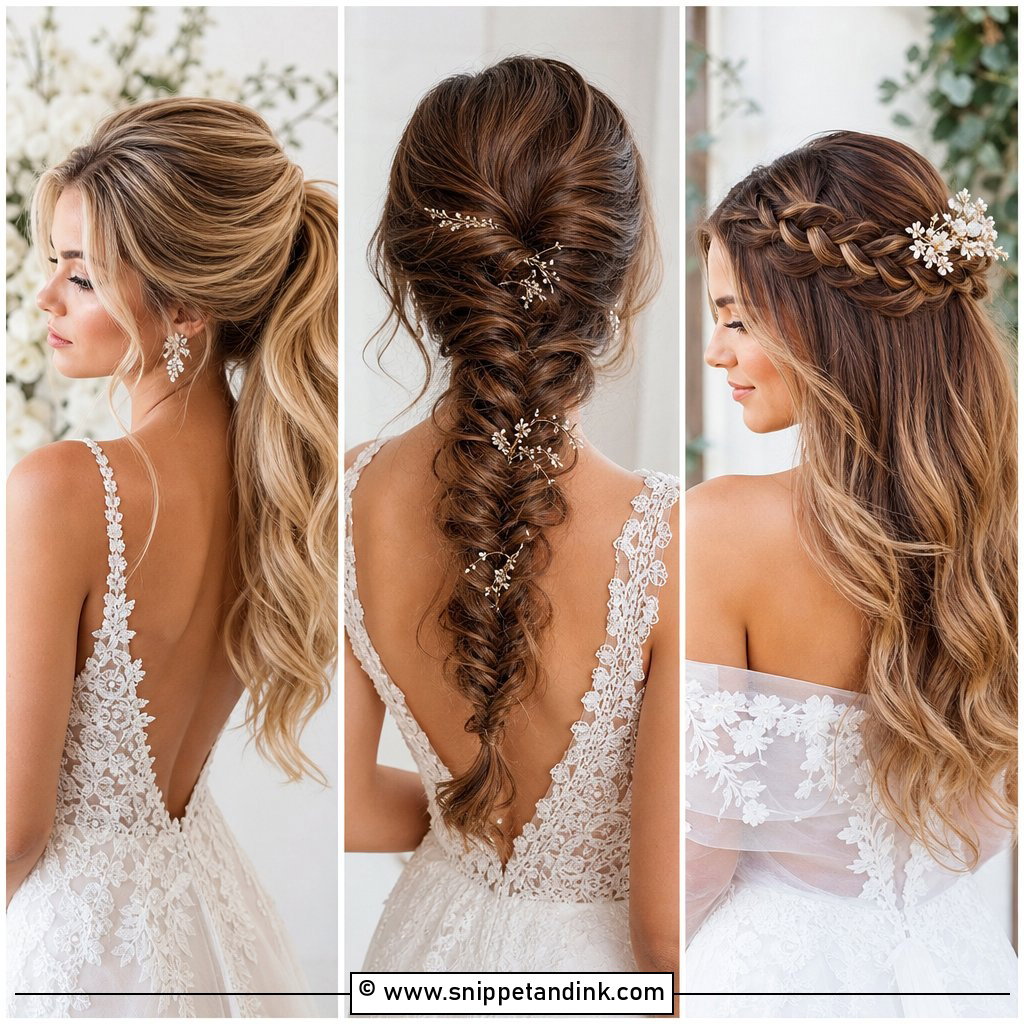
Half-up, half-down is the most requested style I do. I pull the top section back and lock it with two crossed pins under a small twist, which becomes the anchor for a veil, tiara or flowers. Below it, I curl the lengths and pin each curl to cool before brushing out. On fine or slippery hair a roller set holds better than an iron, and that’s the difference between waves at the speeches and a bend.
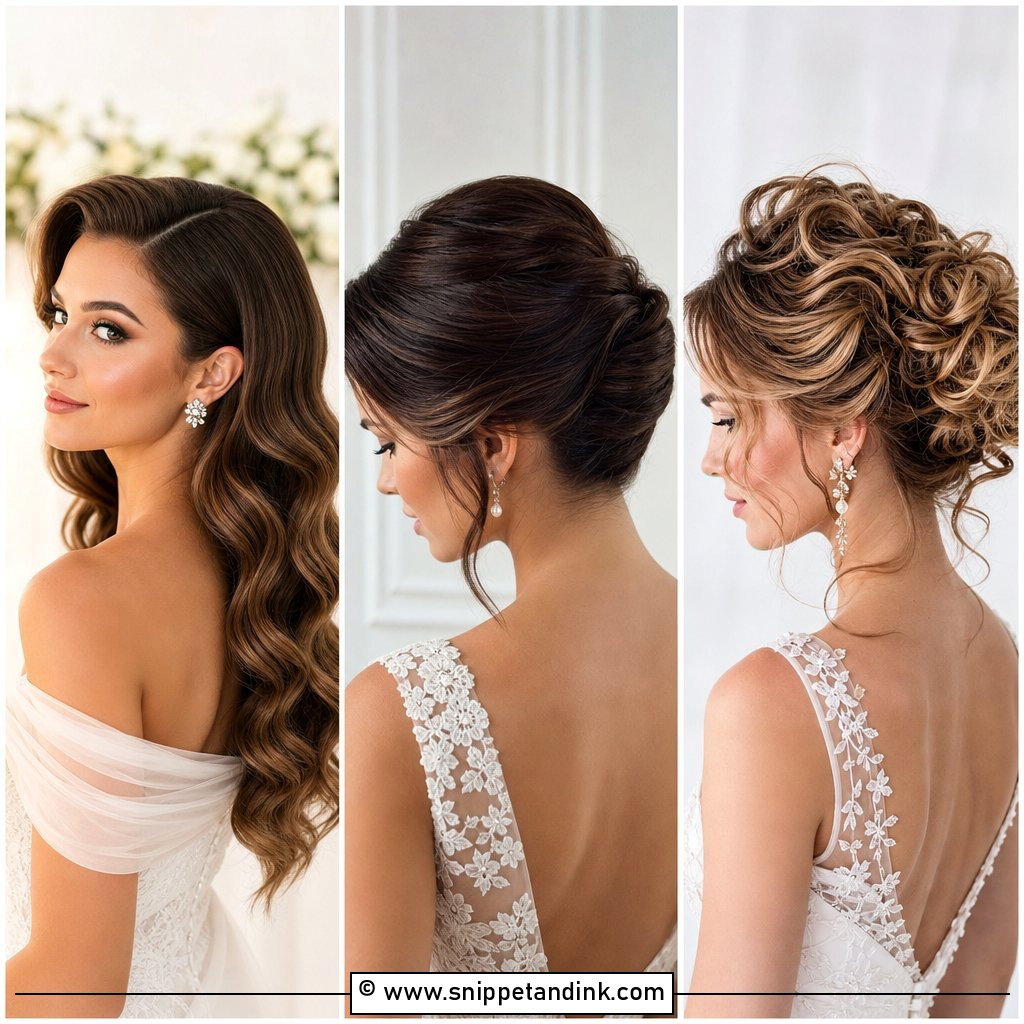
4. Loose Hollywood Waves
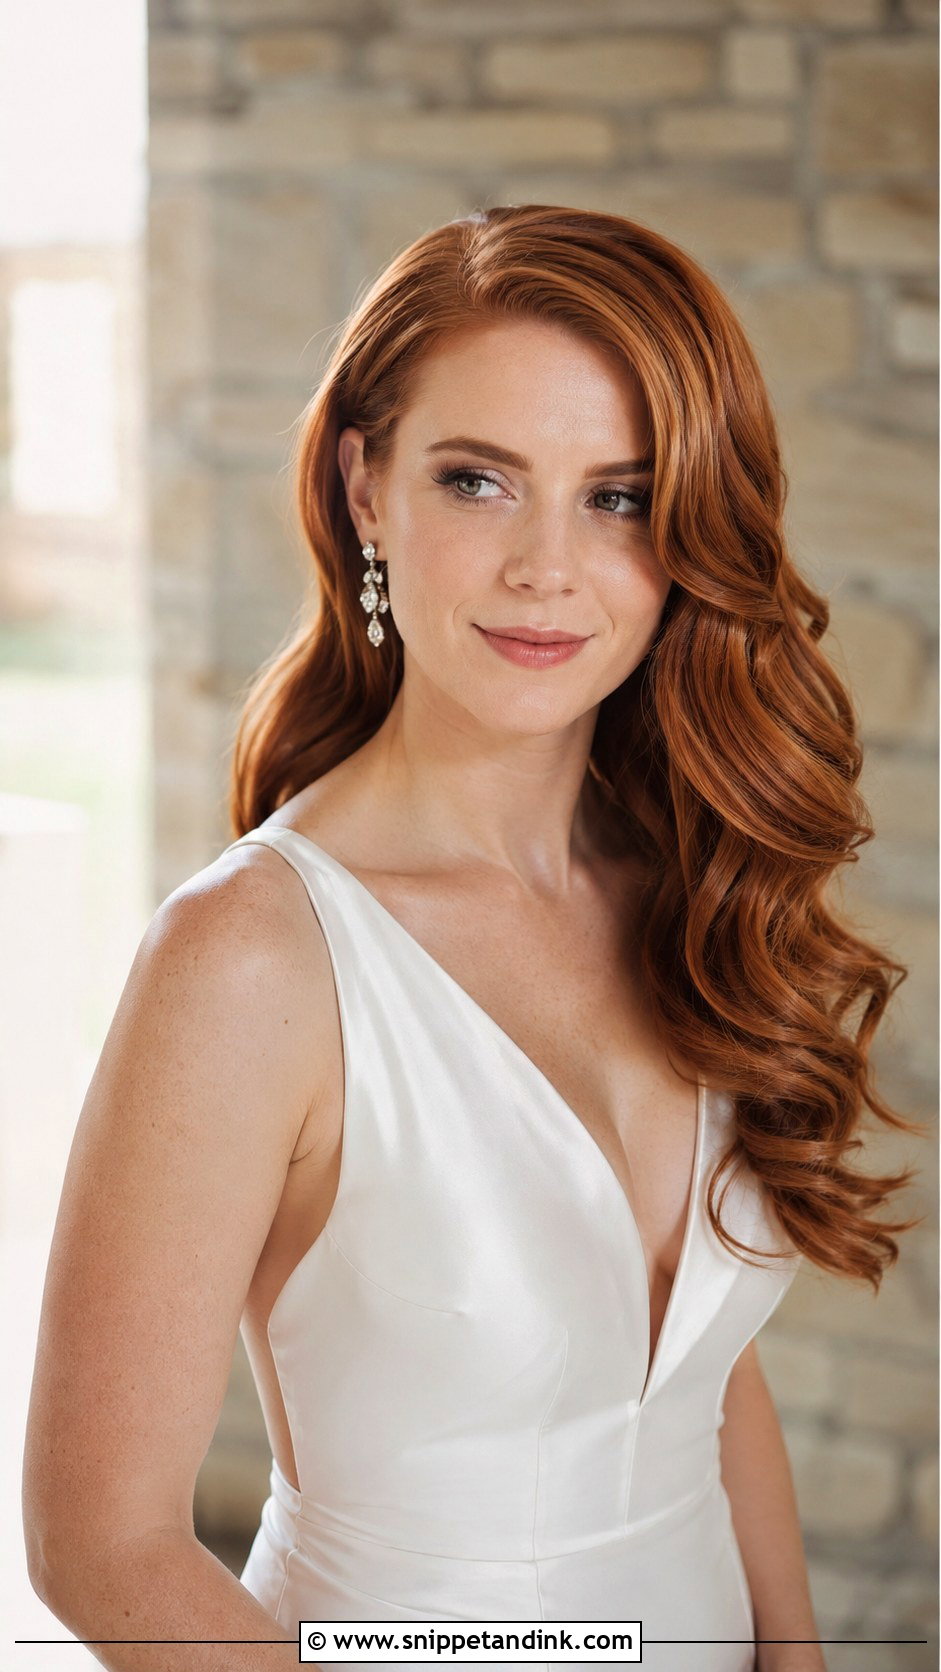
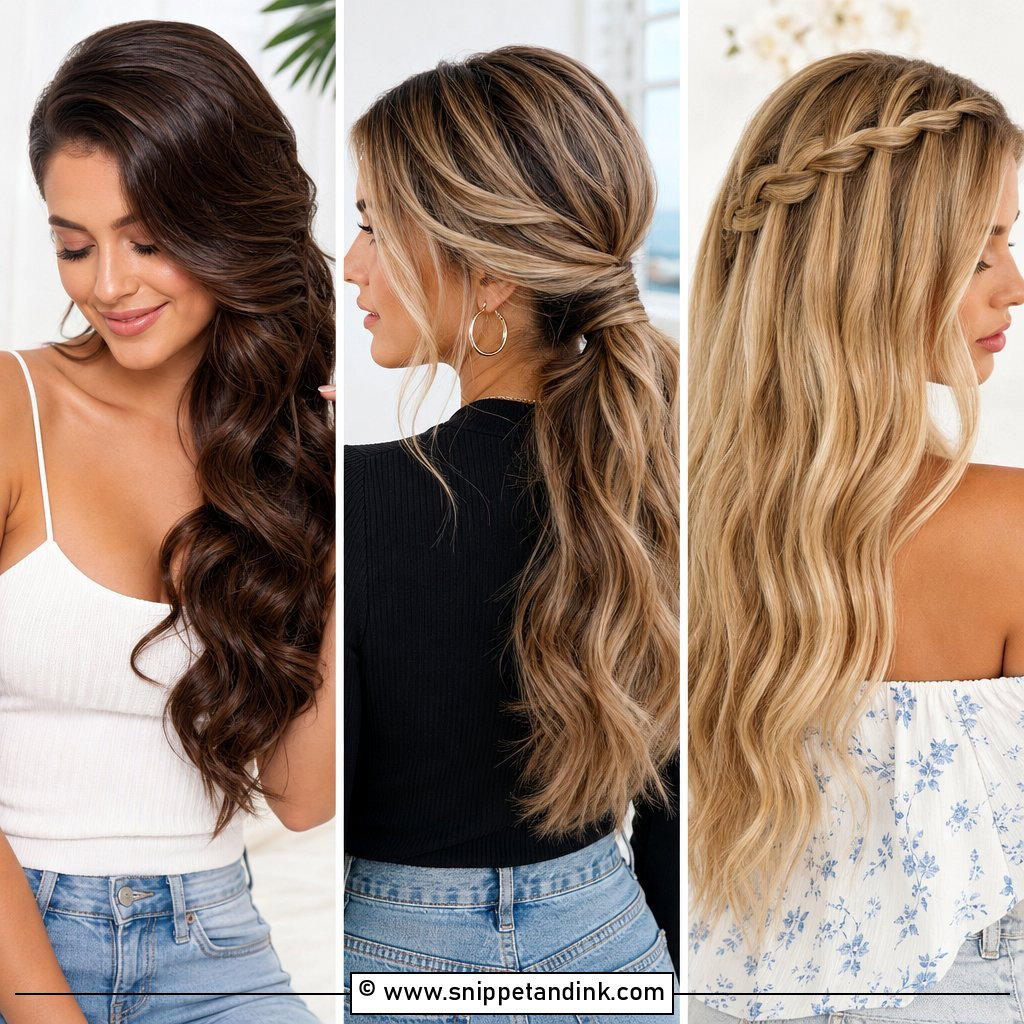
Polished Hollywood waves fall over one shoulder in glossy ridges, and they’re always a roller set first. I set hot rollers all turning the same direction, cool them completely, then brush out with a boar bristle brush until the curls join into one ribbon. A deep side part adds the drama. It needs medium to long hair with a healthy shine; it’s unforgiving on dry ends. Simple drop earrings let the hair carry the look.
5. Boho Braided Crown
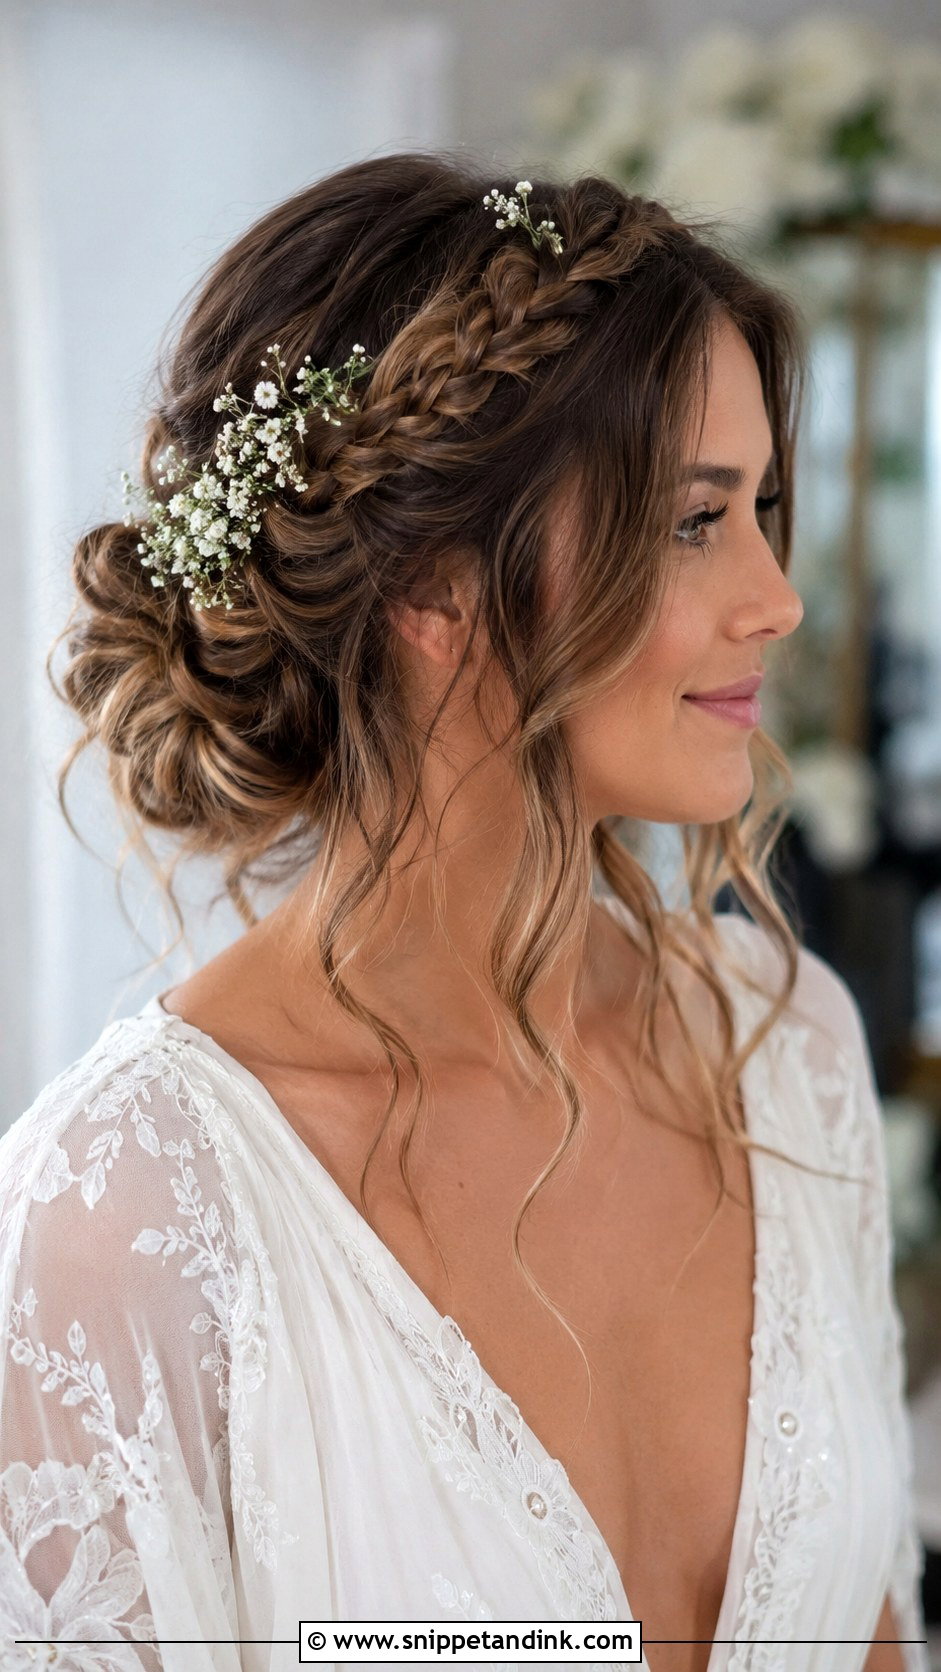
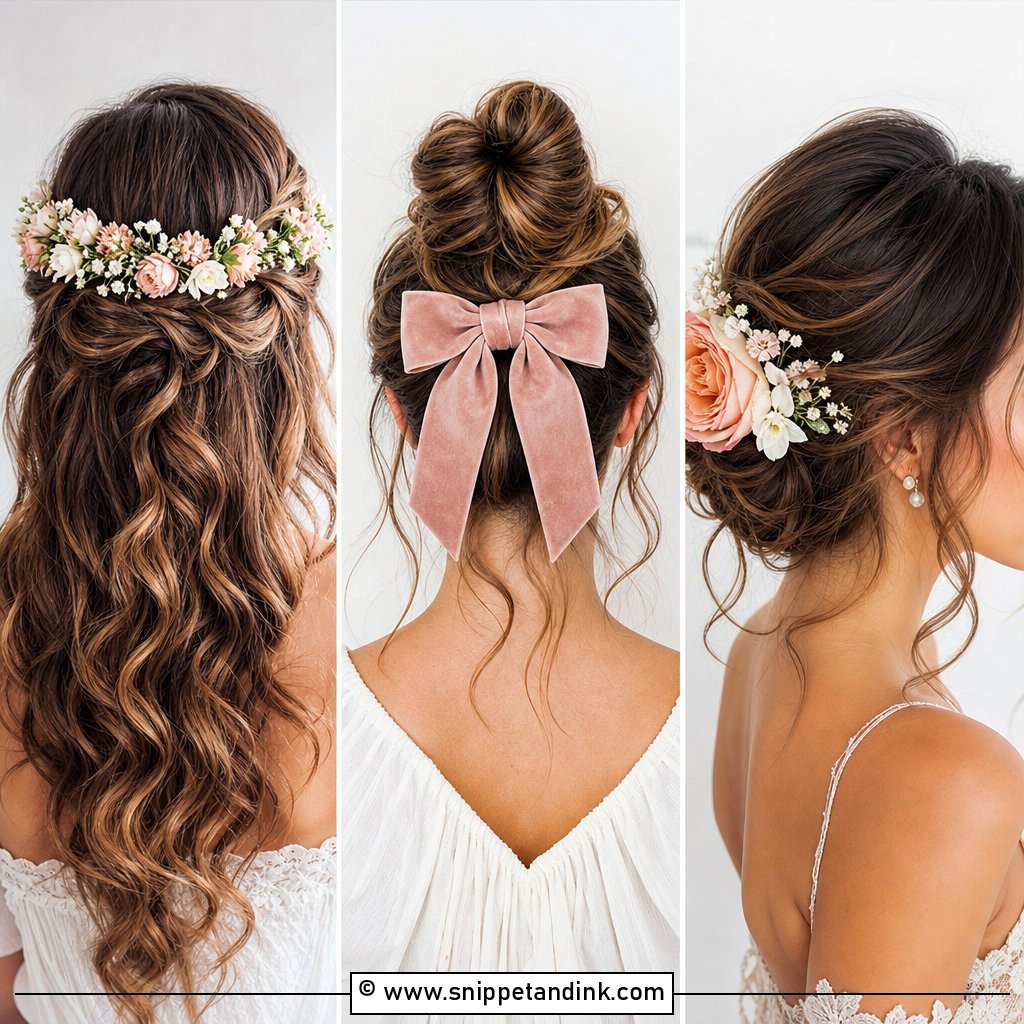
A braided crown wraps around the head like a natural halo, and it’s the style I trust most for windy outdoor ceremonies. I pin the braid along its full length so the weight is spread evenly. Baby’s breath and small wildflowers tuck neatly between the loops; ask your florist to wire them into short picks. It works with or without a veil, and the loose tendrils at the front keep it from looking severe.
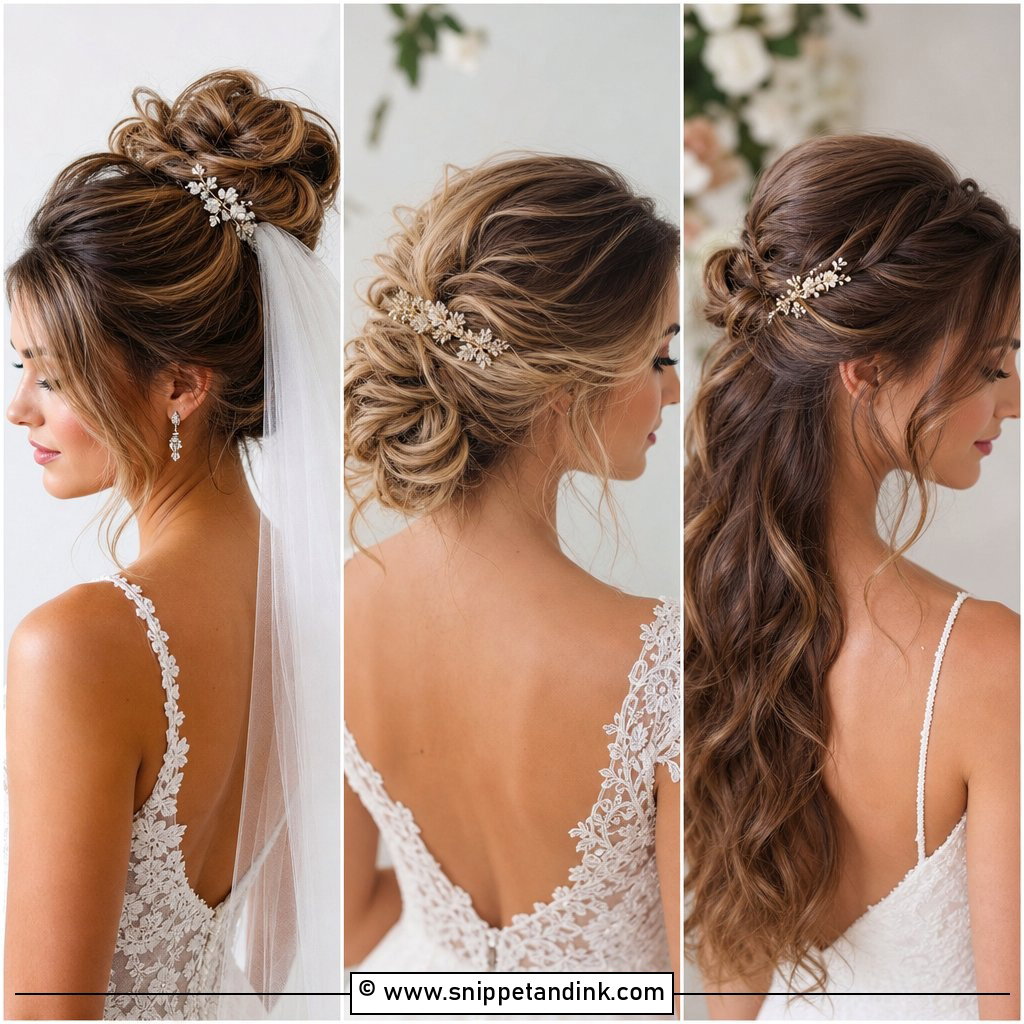
6. Messy High Bun
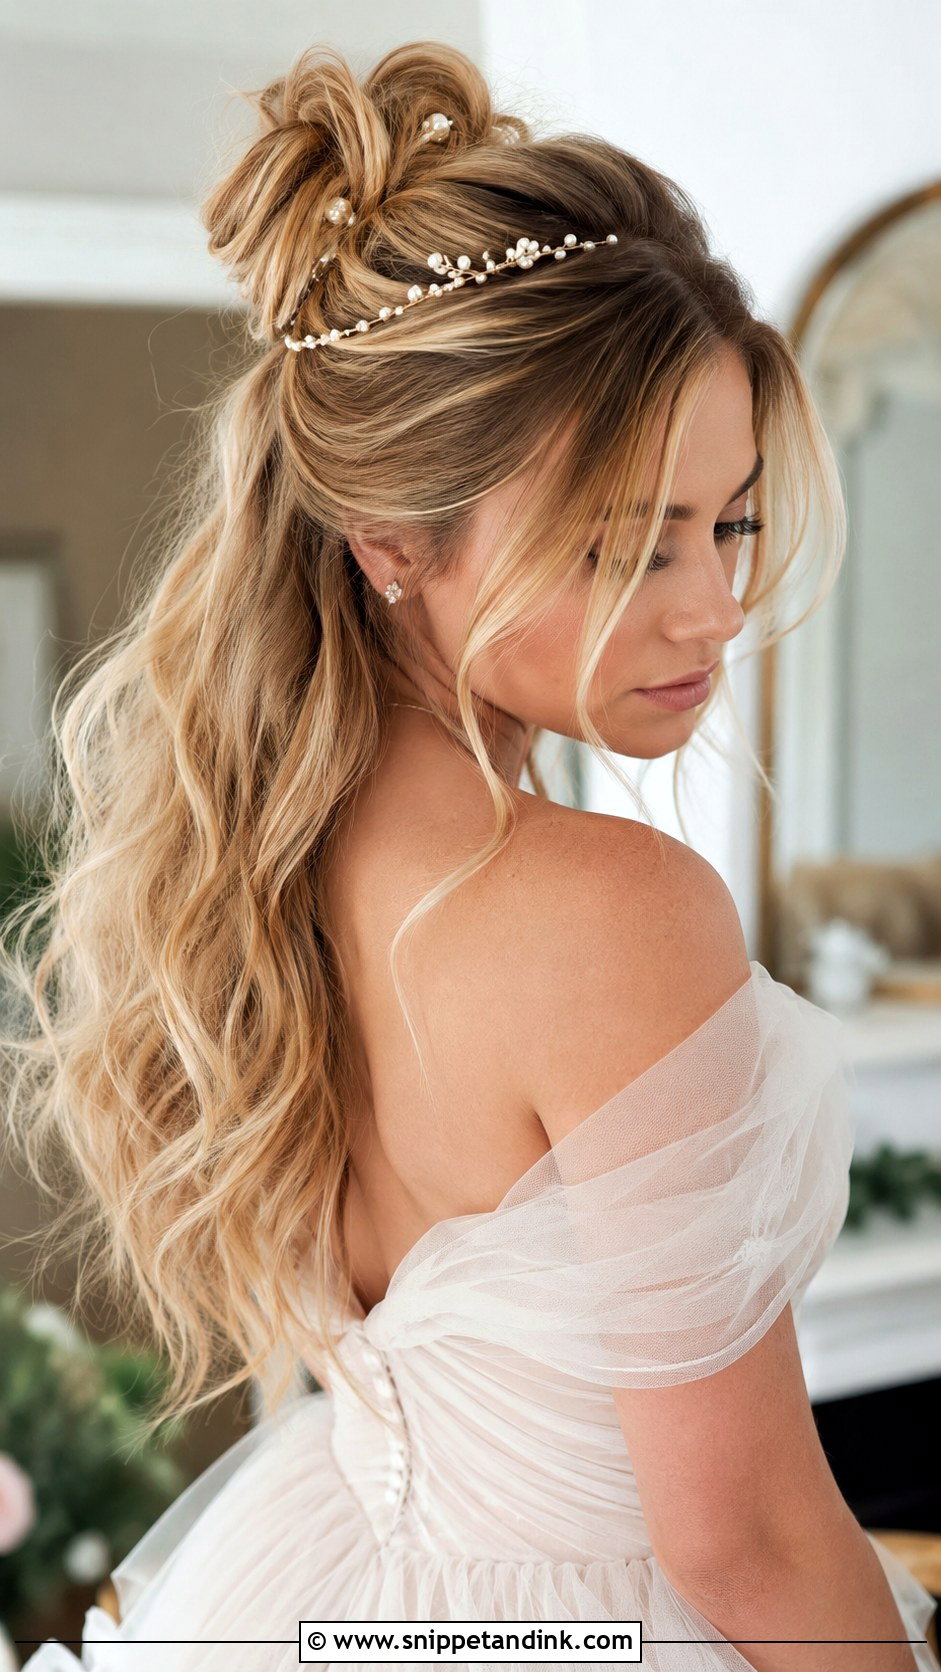
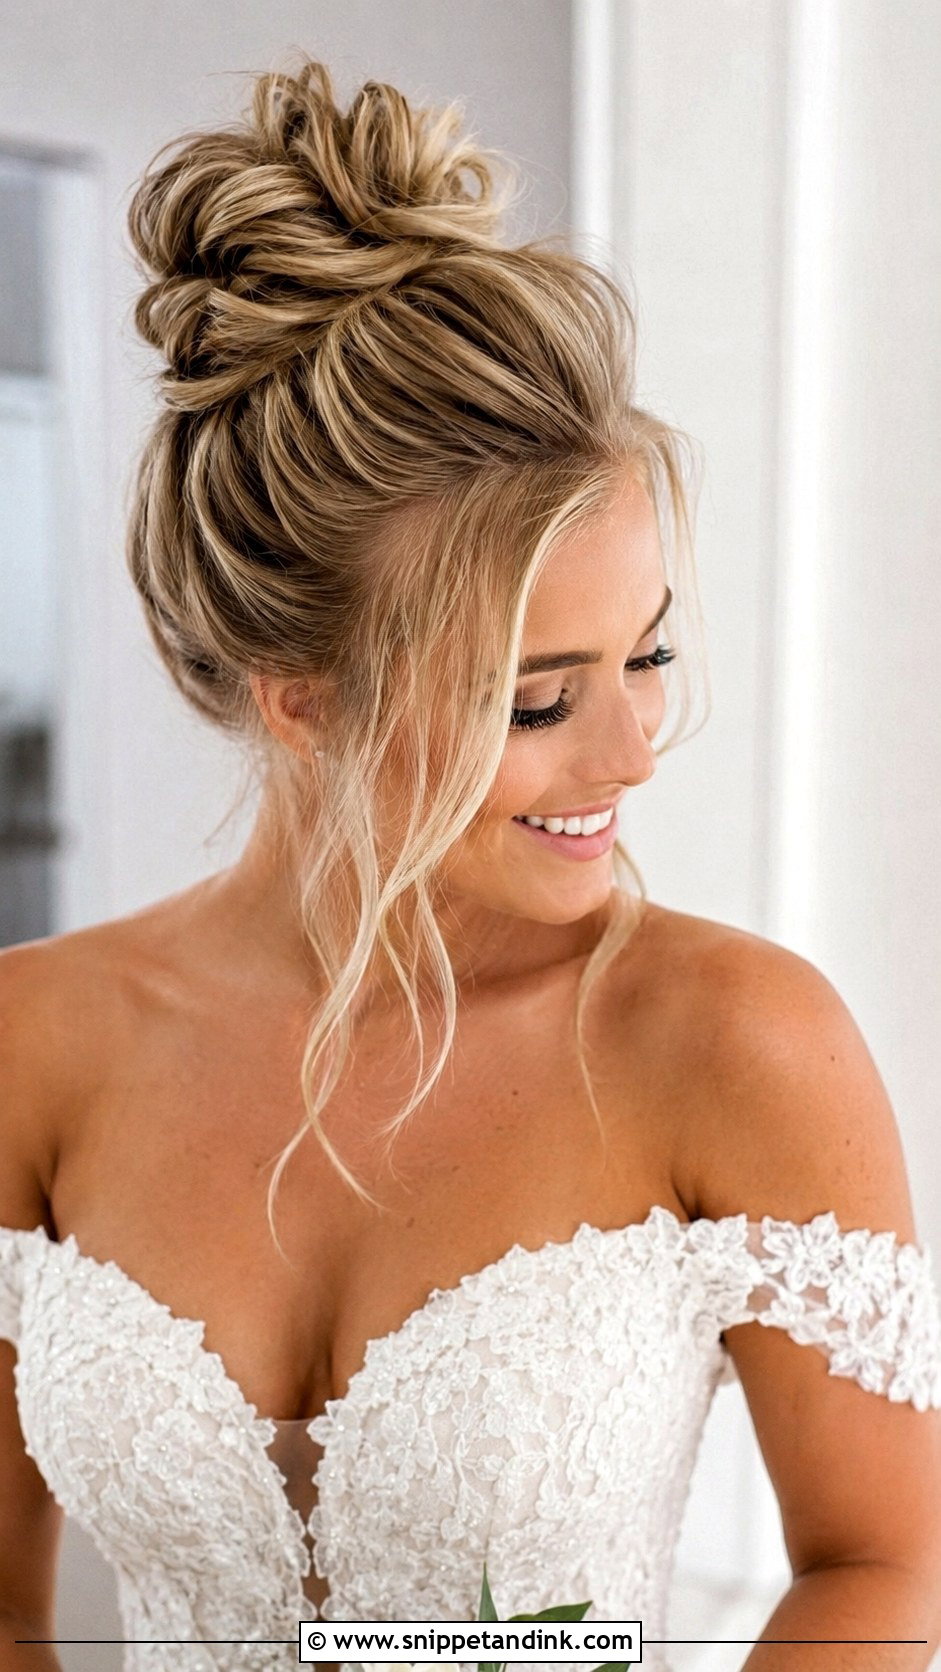
The messy high bun only looks messy. I tie a secure high ponytail first, wrap it loosely and pin it, then pull tendrils out last, choosing where they fall. On fine hair I hide a bun donut or a small weft inside for fullness. The height shows off earrings and the neck. One caution: a long cathedral veil sits awkwardly under a high bun, so it pairs better with a short veil or none.
7. French Twist Updo
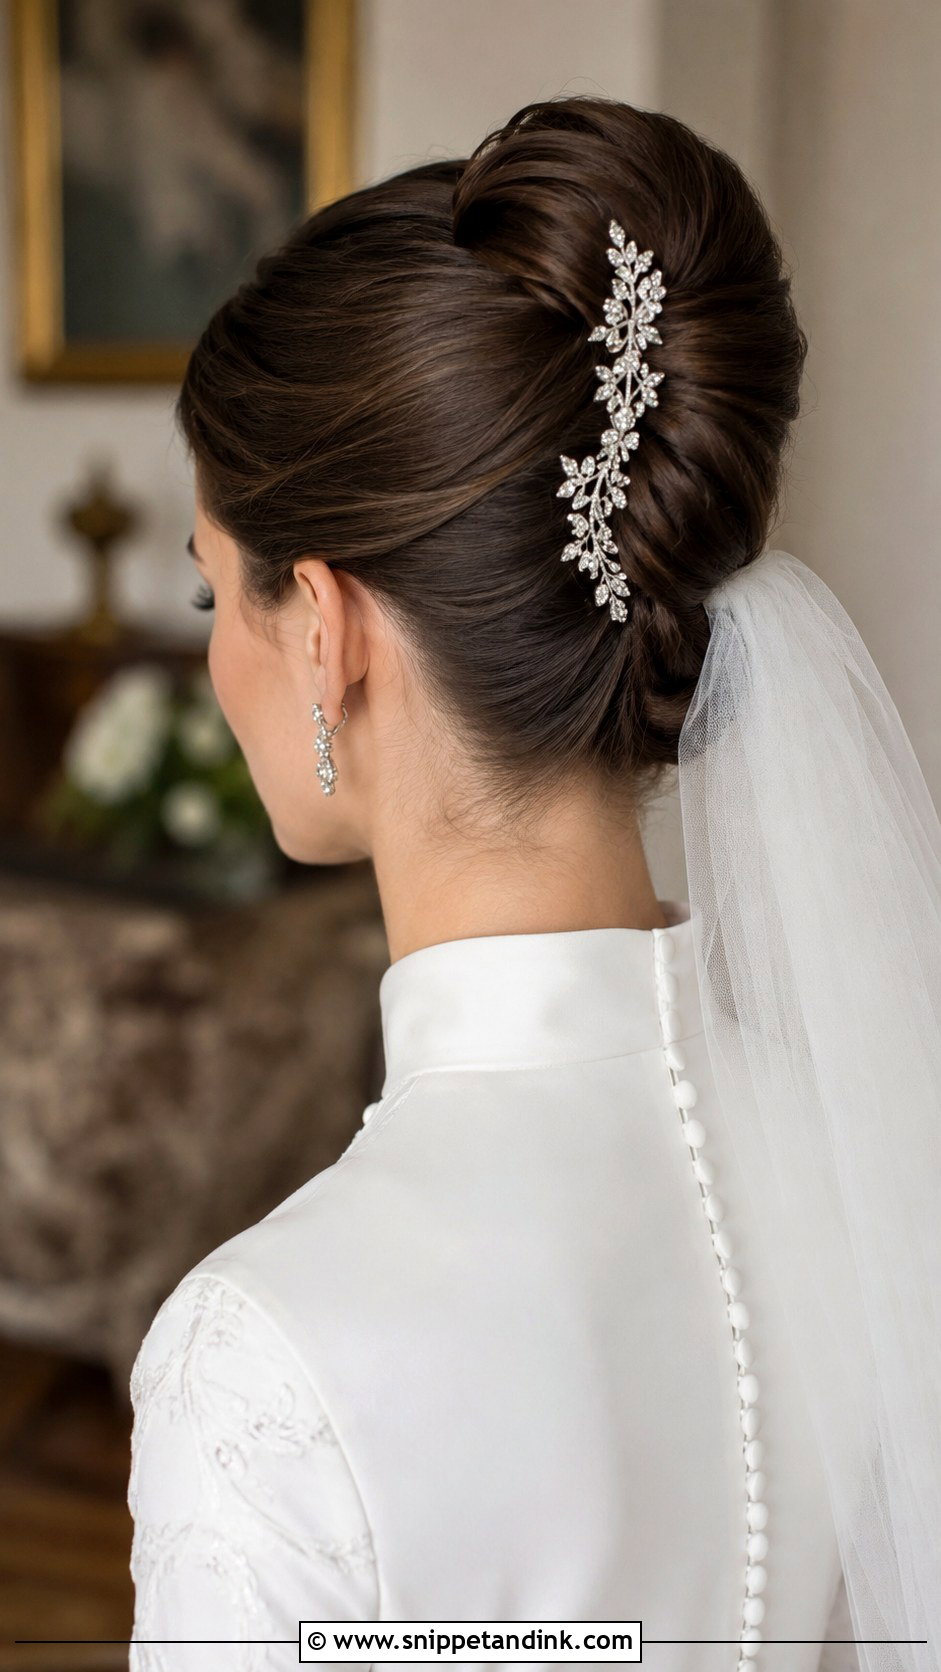
For a formal wedding, the French twist is my go-to classic. I put a hidden row of crossed pins down the center of the head first, then sweep the hair to one side over them and roll it back, so the fold has something to lock onto. A slight backcomb at the crown gives the height in older photos of this style. A comb tucked into the fold is the classic finish. Very thick hair needs thinning underneath, or the roll bulks out.
8. Fishtail Braid
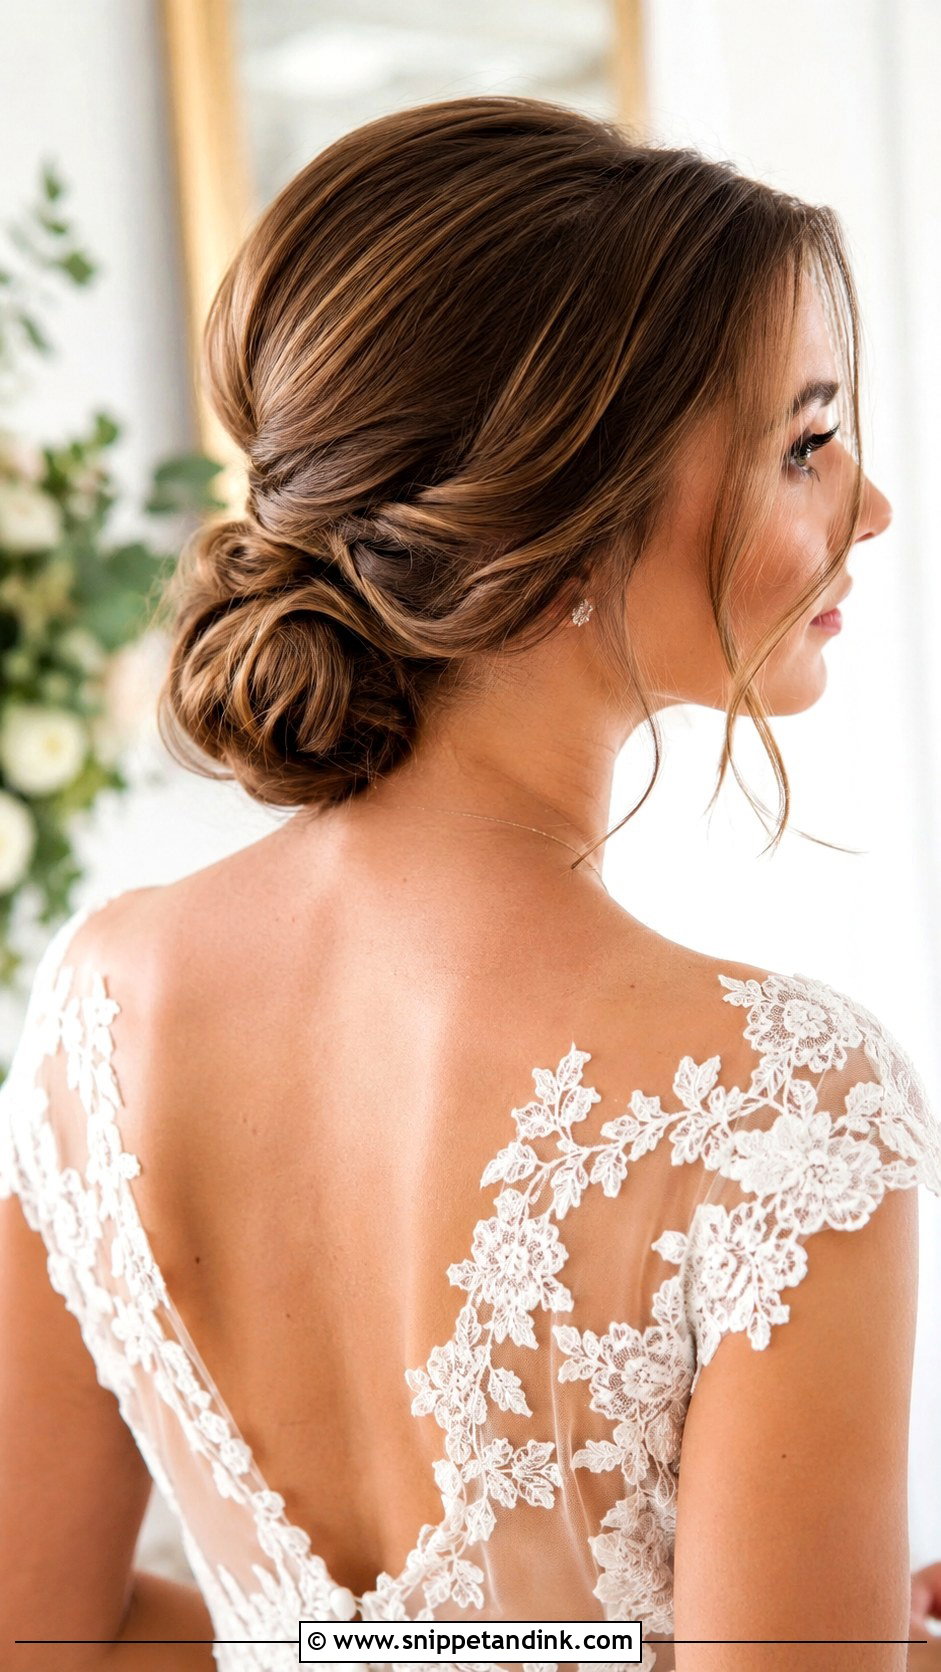
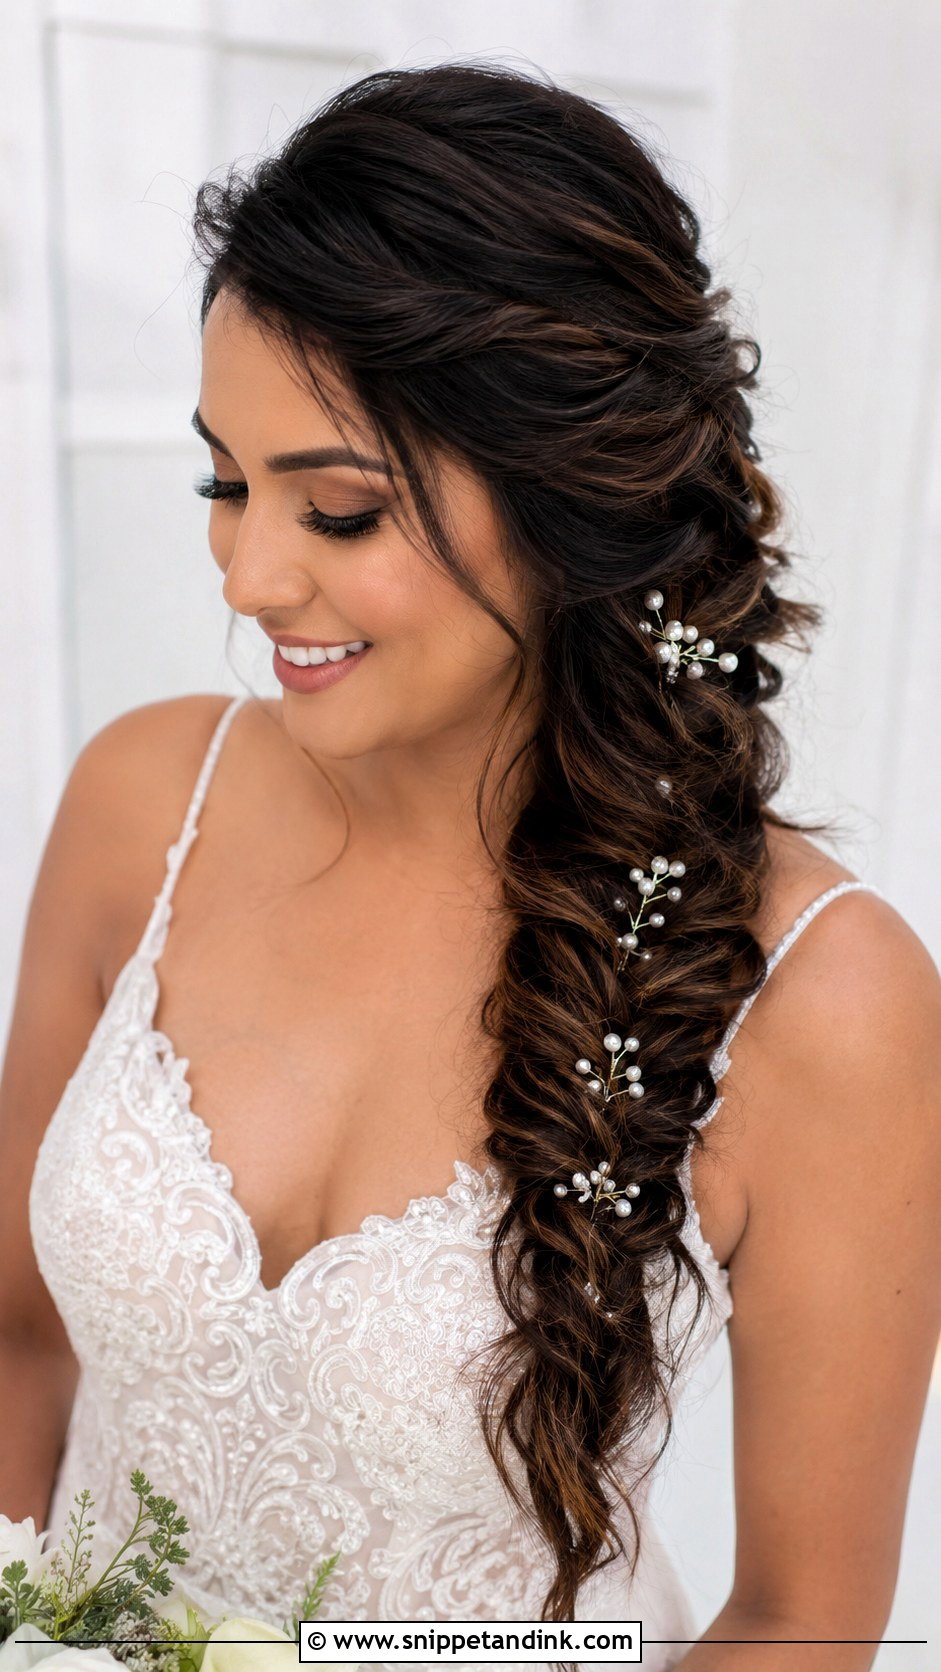
A fishtail braid looks complicated and takes me only a few minutes; what takes the time is loosening it evenly. I braid it tight, secure the end, then pull the edges of each section outward for that full herringbone. It sits down the back or to the side, and suits outdoor and rustic weddings. Medium to long hair is needed for the pattern to show; short layers tend to poke out of the weave.
9. Low Twisted Bun
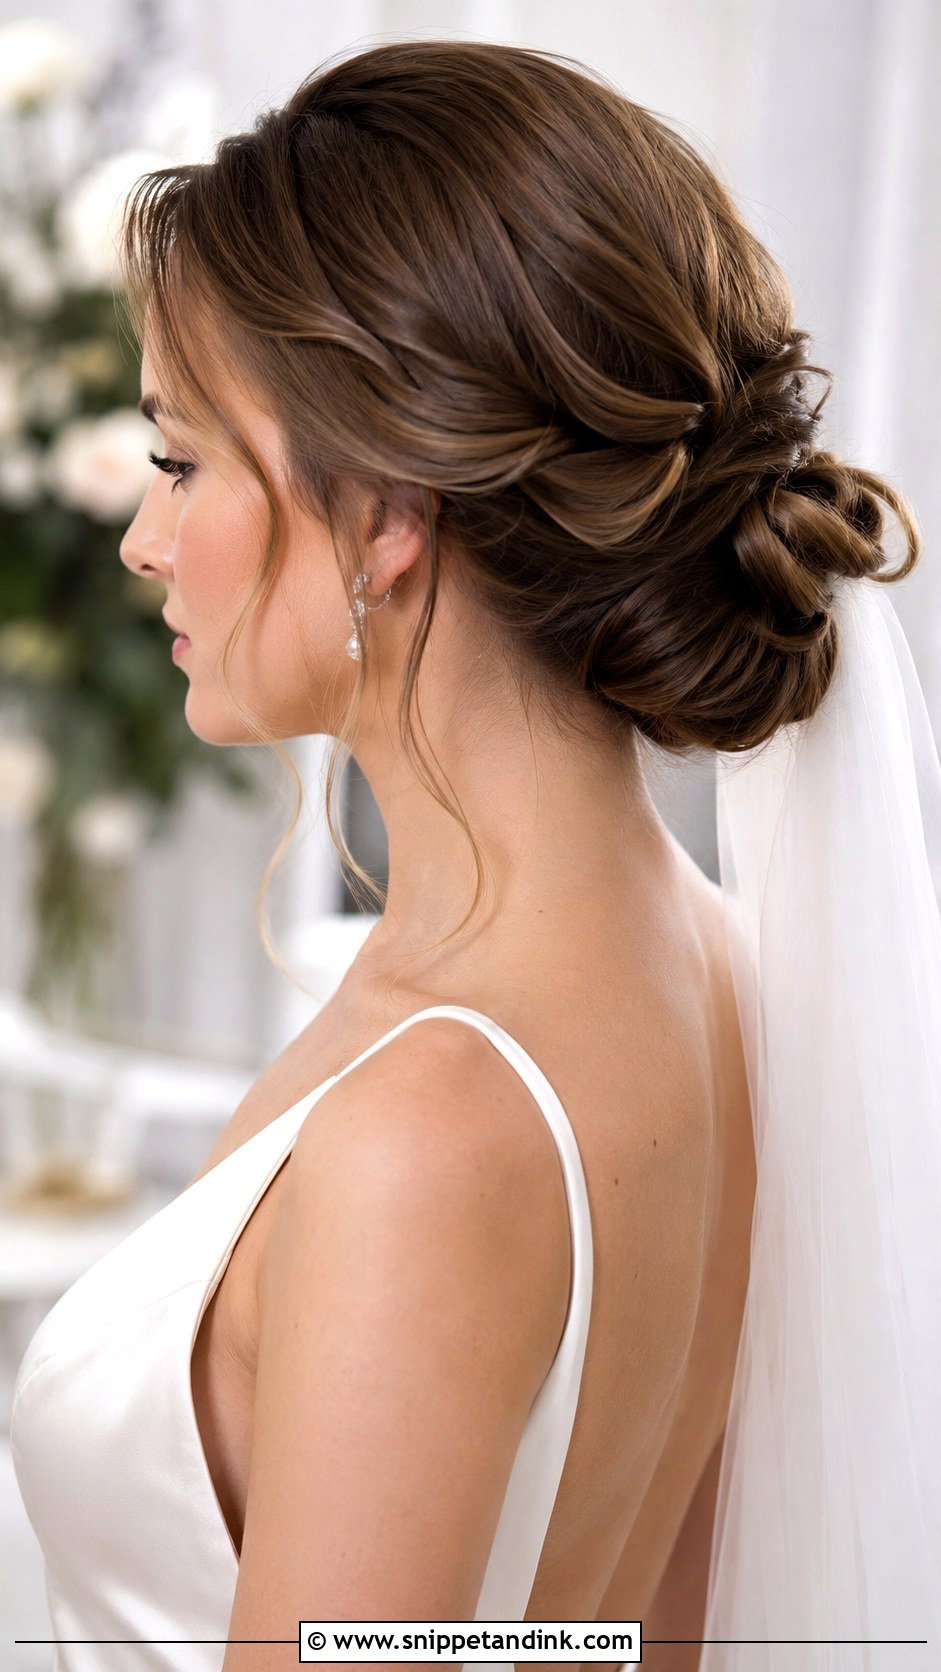
Twisting the hair before forming a low bun adds texture without the work of braids. I twist two or three sections and coil them together at the nape, pinning each as I go. It holds a veil comb easily above the twist. A few wispy strands at the face finish it. It’s comfortable for a long day because the weight sits low.
10. Half-Up Bun
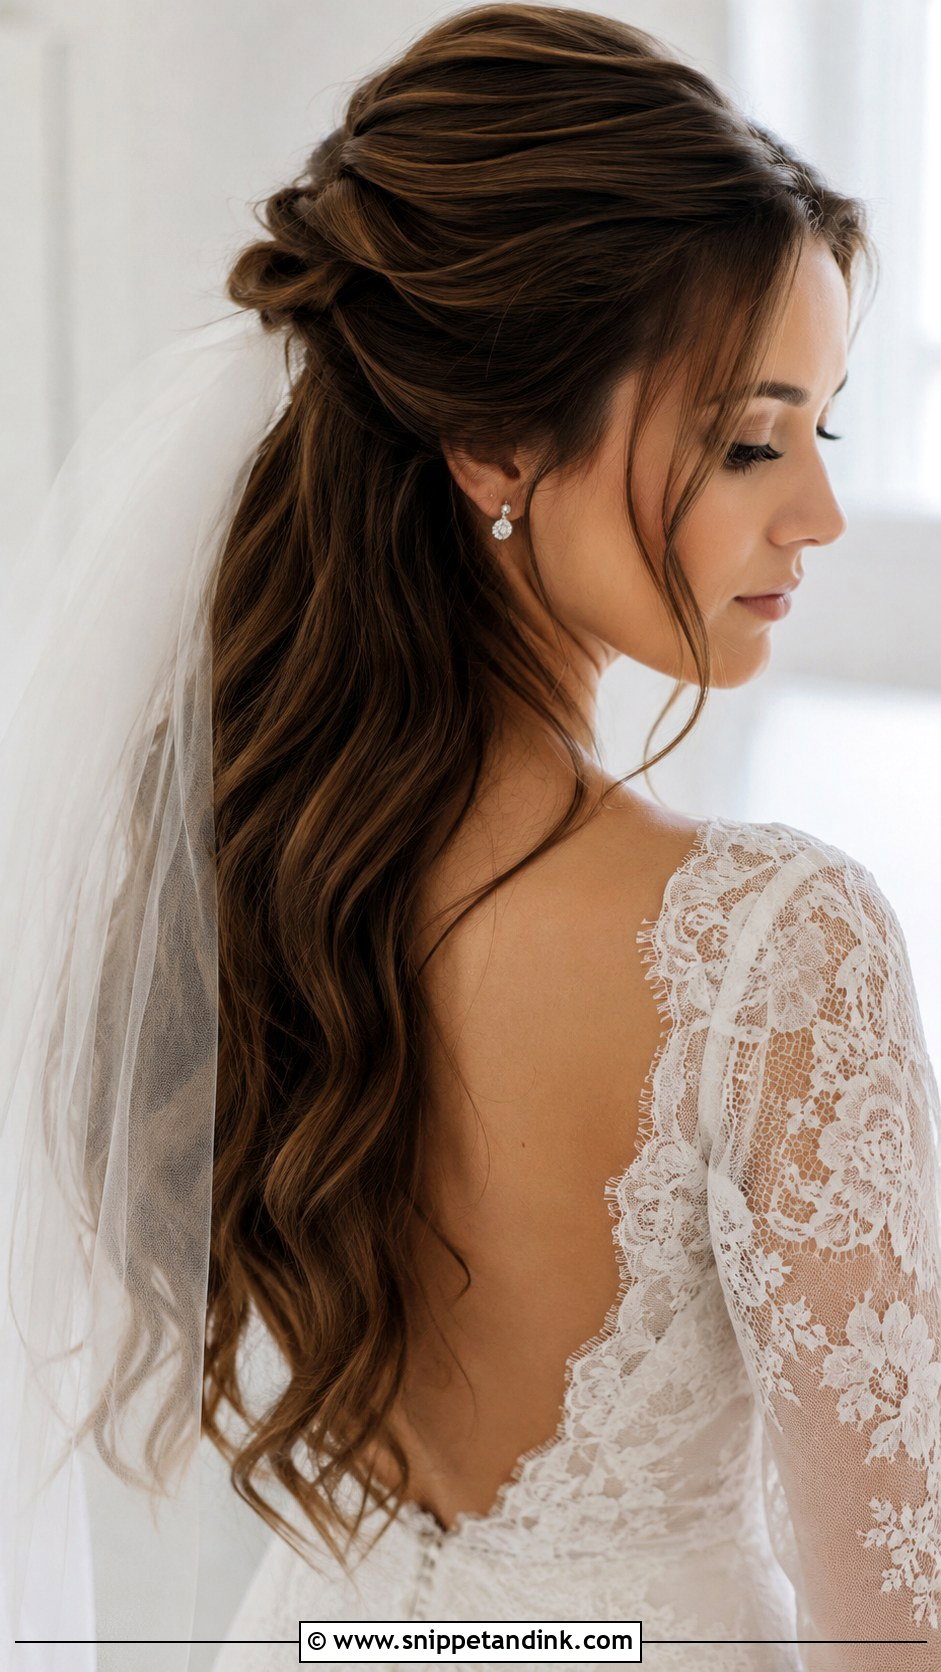
A half-up bun is a small knot at the crown with length left loose. I’d recommend it to brides who want something playful but still tidy. I tie the top section into a small ponytail, twist it into a bun and pin it flat. Loose waves below complete it. Flowers, pearls or a small hairpiece can sit around the bun, and a short veil attaches neatly beneath it.
11. Side Swept Curls
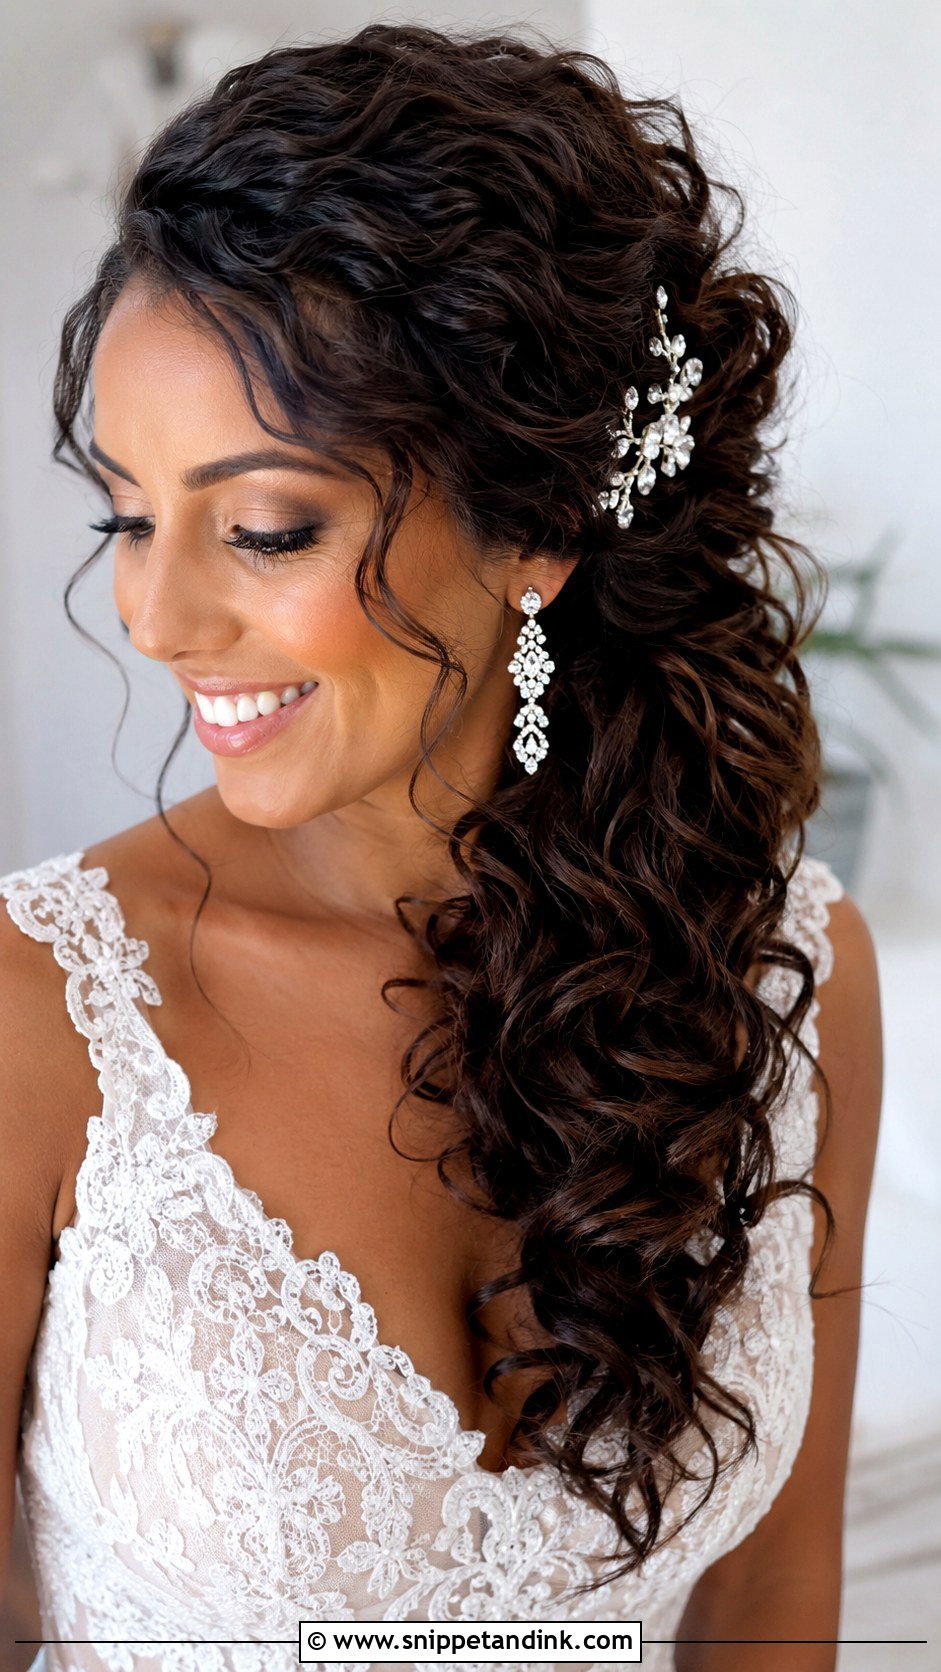
Swept to one side, soft curls frame the face and show off the open neckline. The weight stays put only if there’s an anchor: I pin a hidden row of crossed pins behind one ear before I bring the curls over. A sparkling earring on the exposed side does most of the decorating. A comb or a few blooms at the gathering point finish it, indoors or out.
12. Sleek Low Ponytail
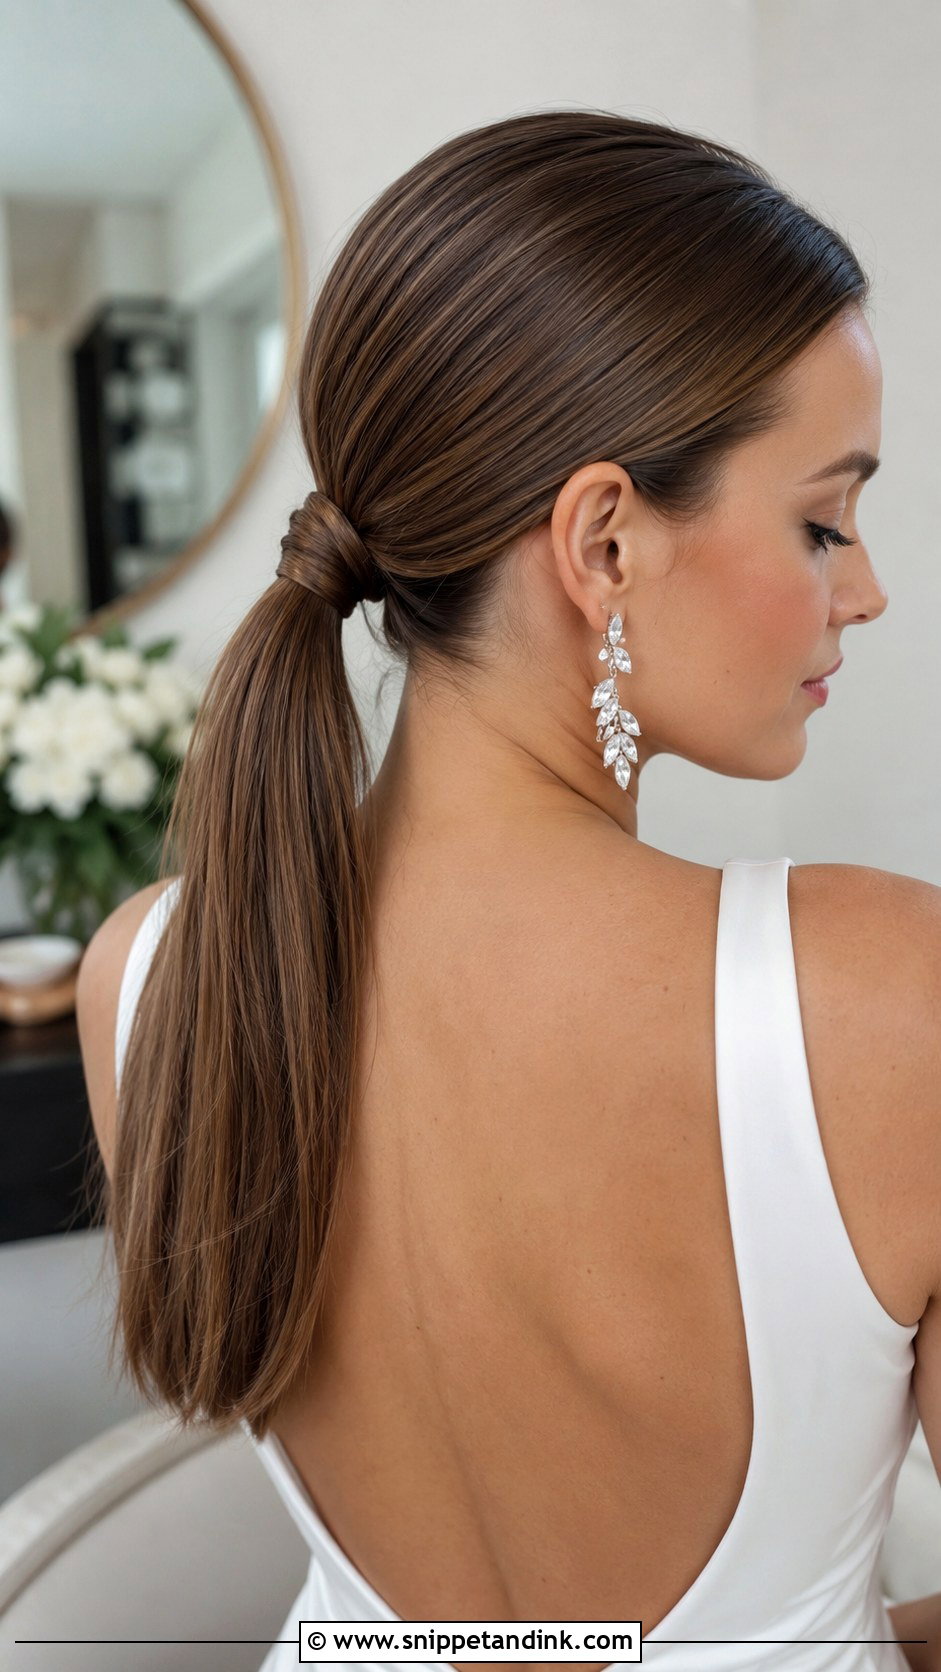
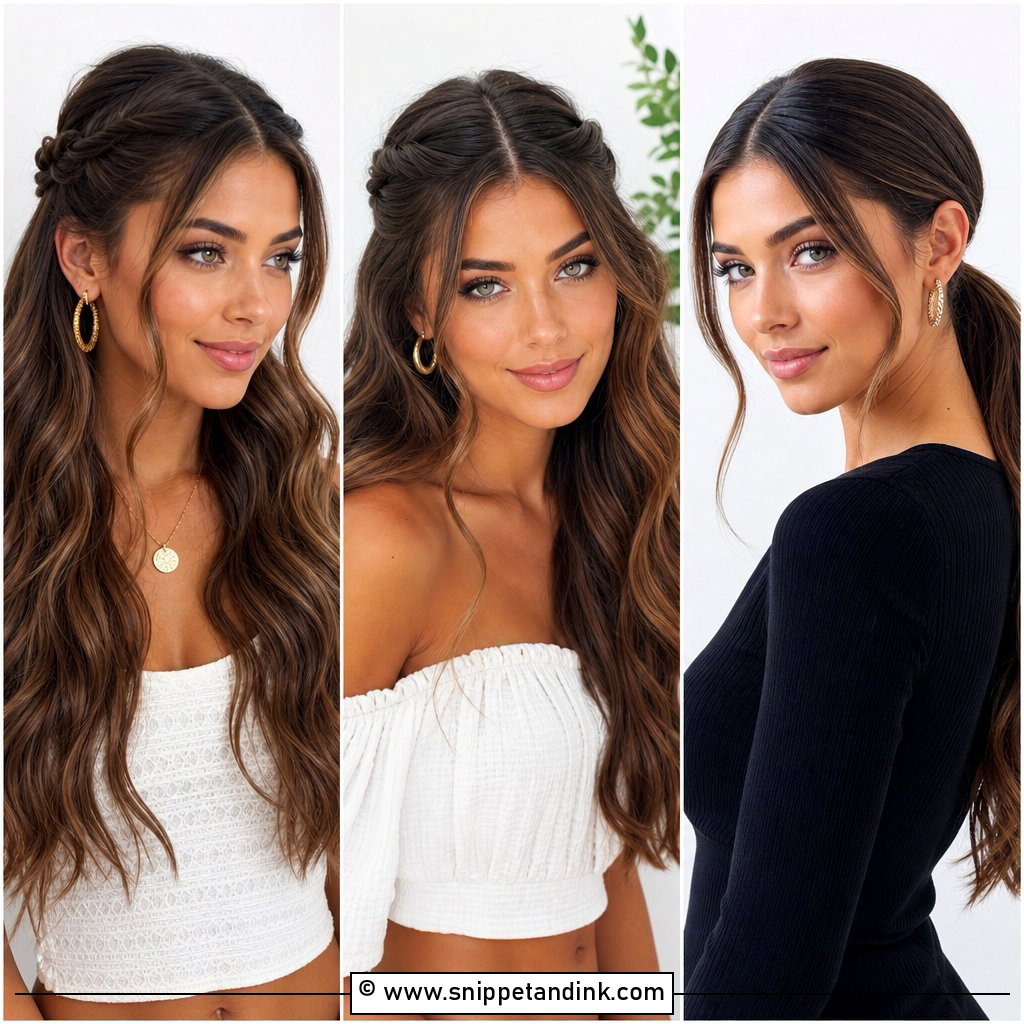
A sleek low ponytail is quick to style and slow to get right, because every bump shows. I brush it smooth with gel, tie it at the nape, and wrap a strand around the elastic, pinning it underneath. Shine spray finishes the gloss. It puts statement earrings and the face front and center, and sits well with sleek gowns and modern venues. If your hair is shorter than your shoulders, a clip-in ponytail gives the length.
13. Floral Updo
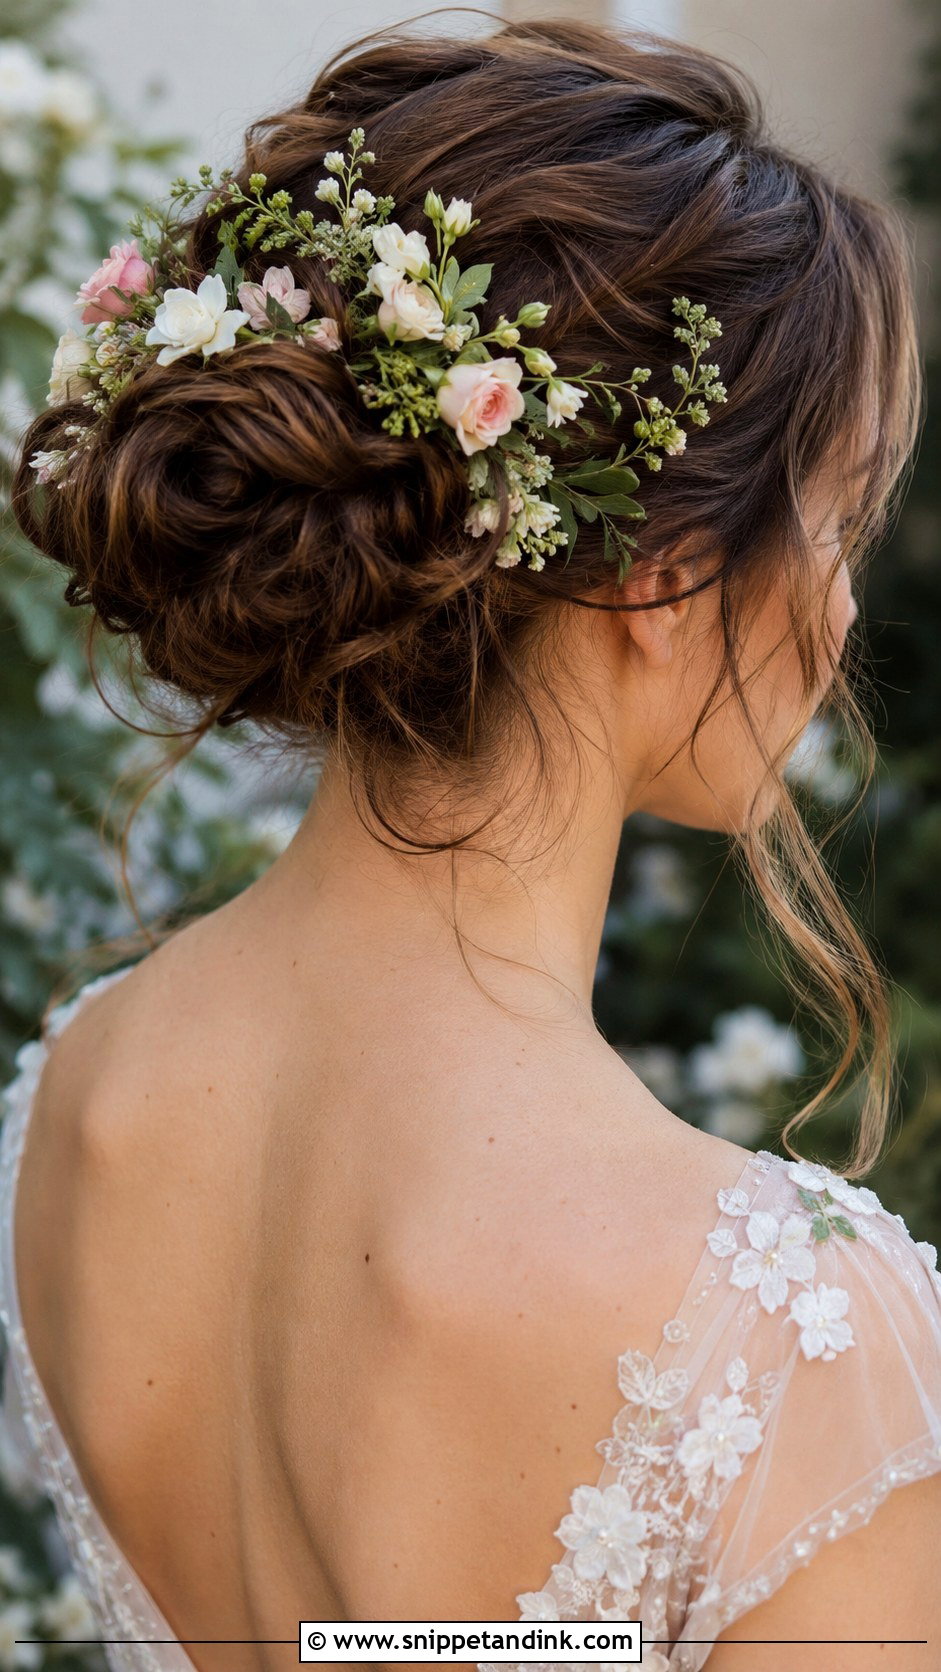
Fresh flowers in an updo need the florist and the stylist talking to each other. I ask for small blooms wired and taped into picks, which I can push into the updo without crushing them. Hardy flowers like spray roses or orchids last in a warm room; soft petals wilt within hours. Matching a few to the bouquet ties the look together, and a few loose tendrils keep it soft.
14. Vintage Finger Waves
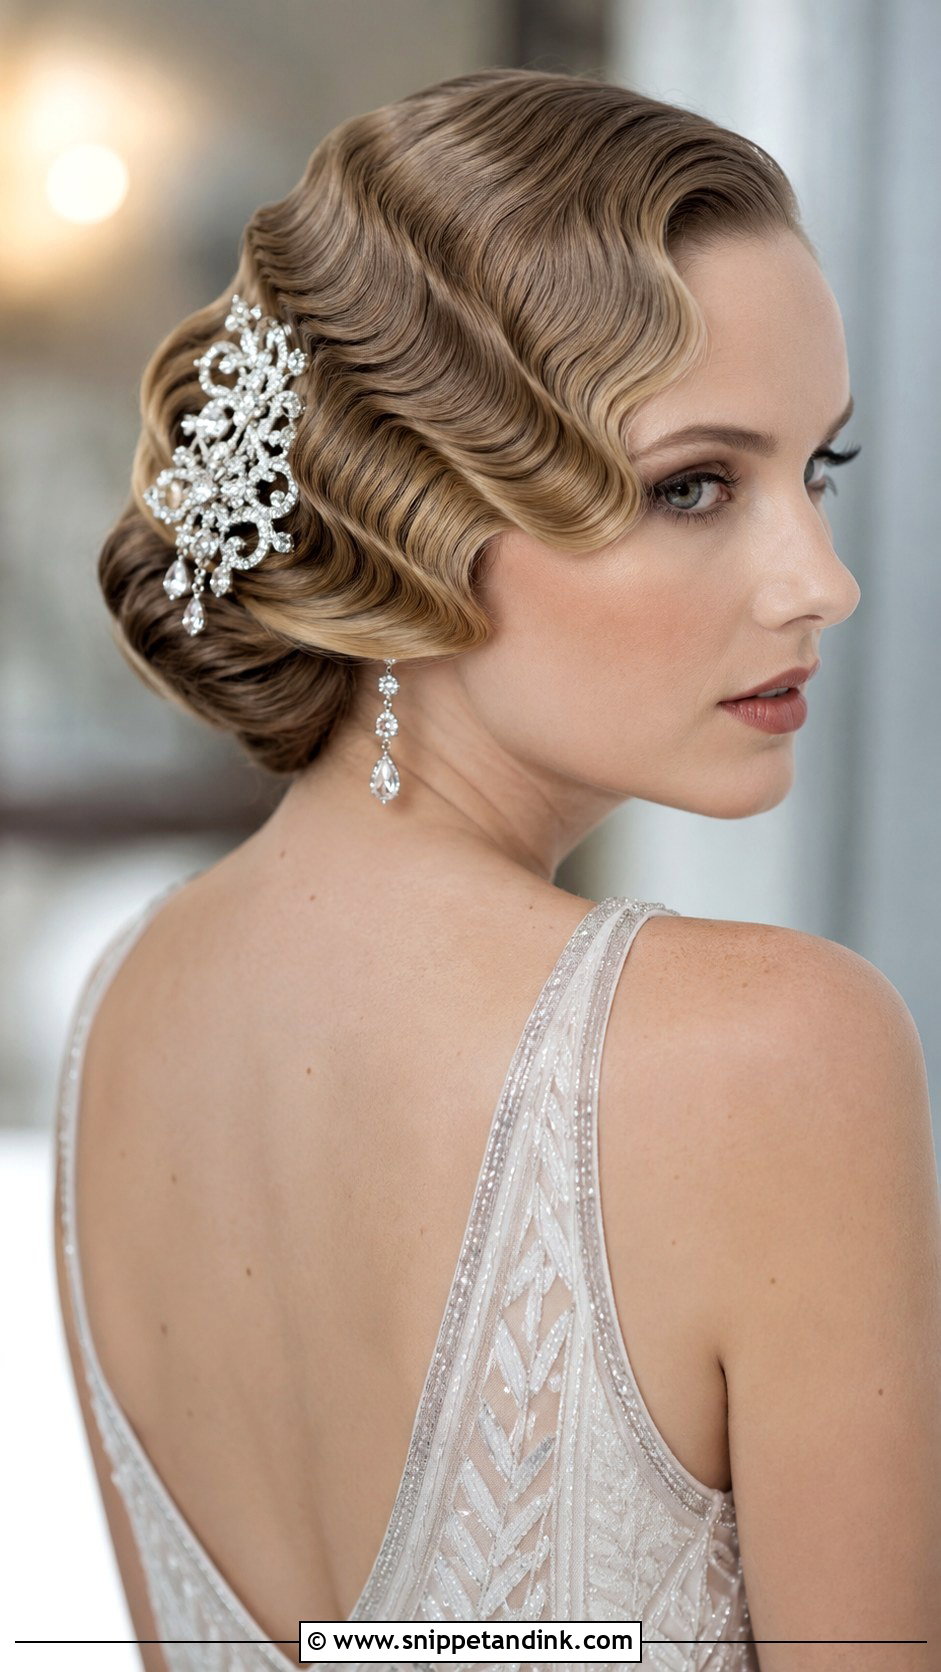
Finger waves are sculpted with setting lotion or gel into damp hair, each S-shaped ridge pressed in by hand and clipped while it dries. They need short to medium hair, ideally a sleek bob, to look authentic. On longer hair I sculpt them at the front only and curl the rest. A jeweled clip gives a 1920s finish. Plan extra time on the morning; the drying can’t be rushed.
15. Loose Boho Waves
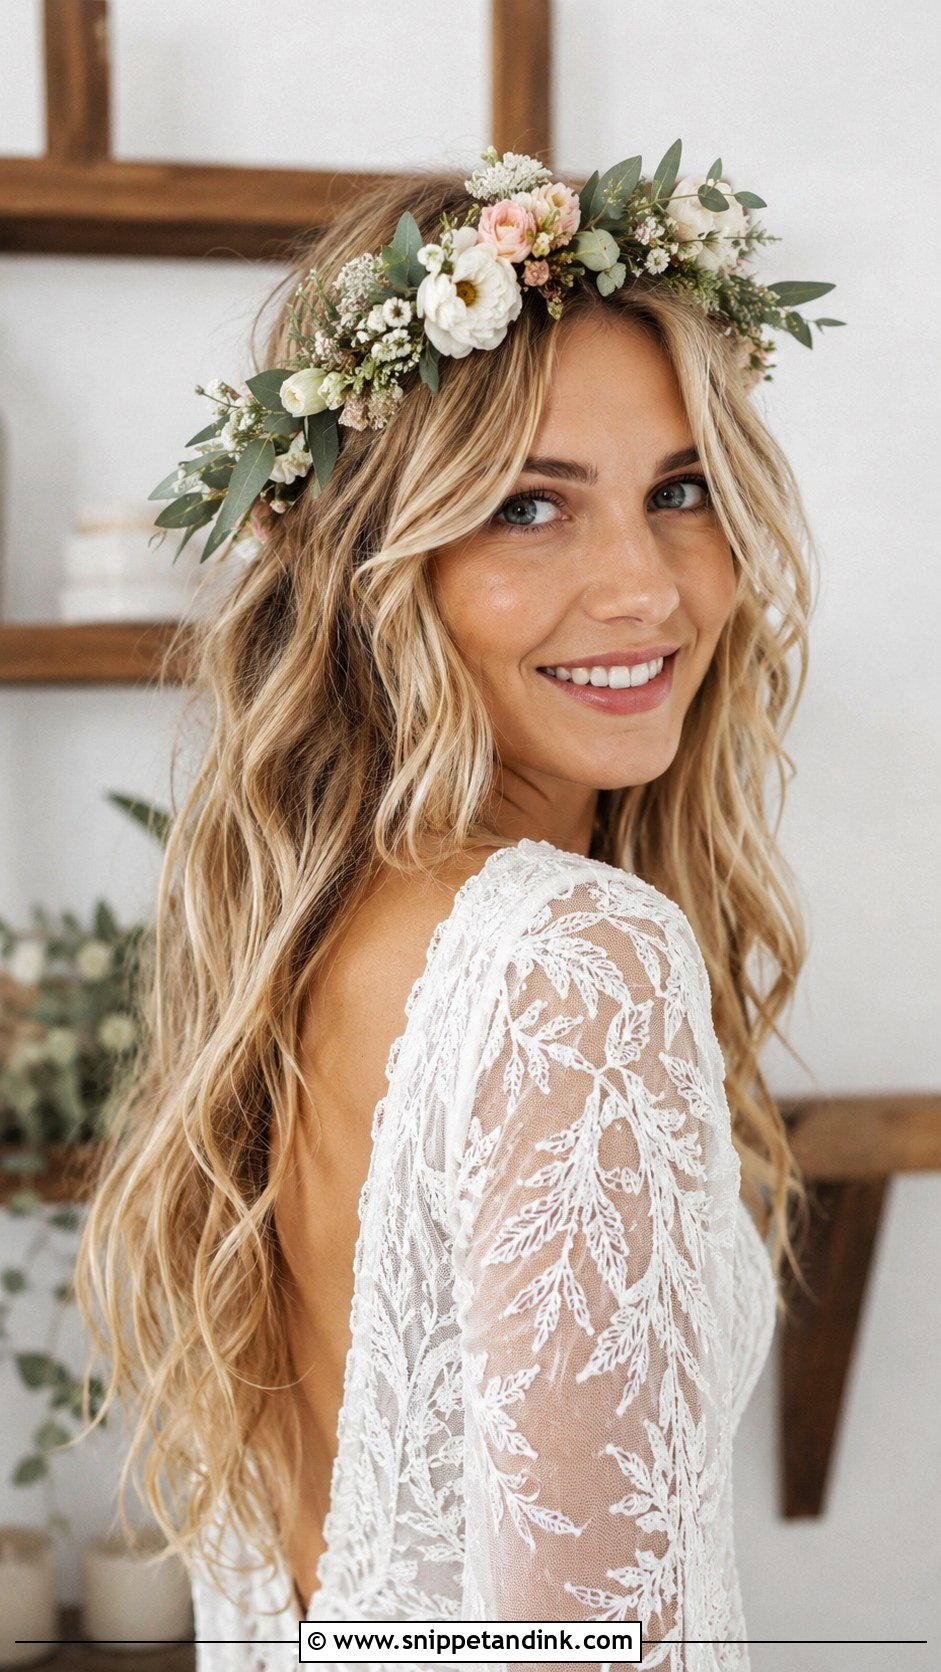
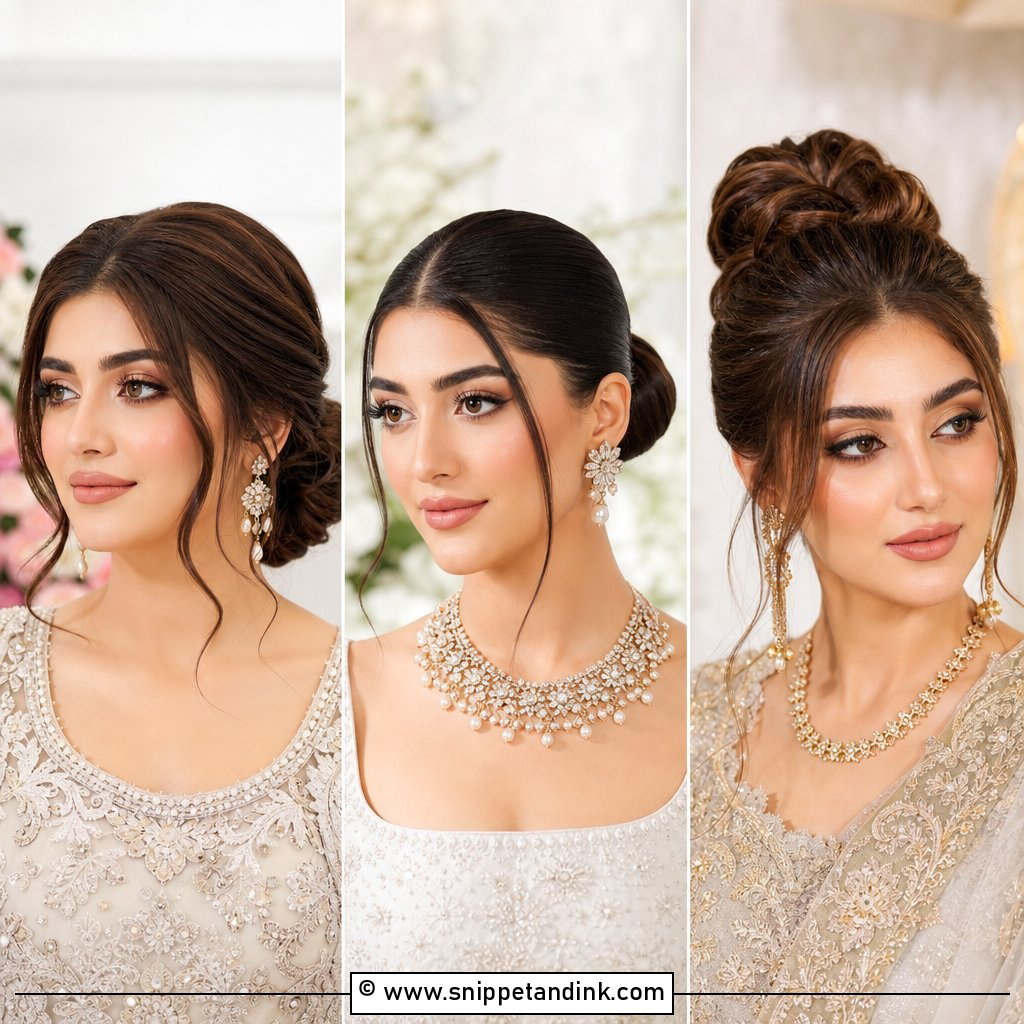
Boho waves worn down should look like your hair on a perfect beach day. This style features soft, tousled waves, which I make with a flat iron twisted through the lengths, leaving the ends straight. A texture spray once cool gives the airy finish. A headband, flower crown or pearl pins can be added. Center or side part depends on your face; I test both at the trial.
16. Braided Updo
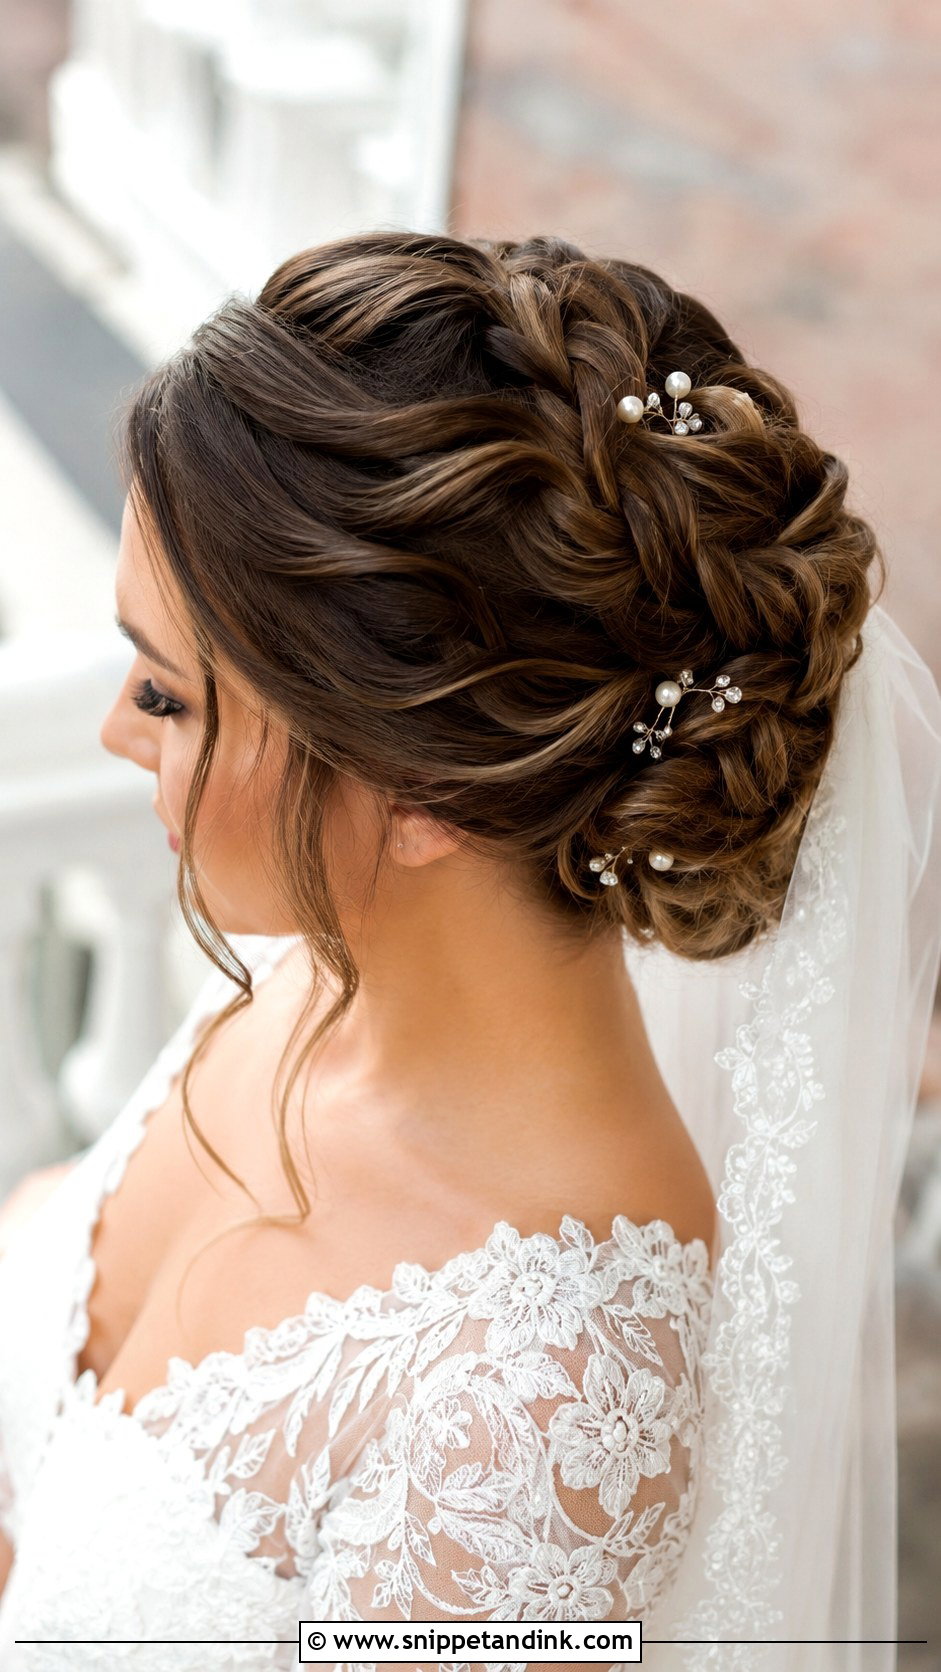
Braids woven through a bun add detail that photographs especially well from behind. I braid sections first, then wrap them into the bun, pinning each braid along its length. Tight braids read formal; loosened braids read boho. Small flowers or pearls tucked into the braids are an easy finish, and the updo holds a veil securely all day.
17. Half-Up Crown Braid
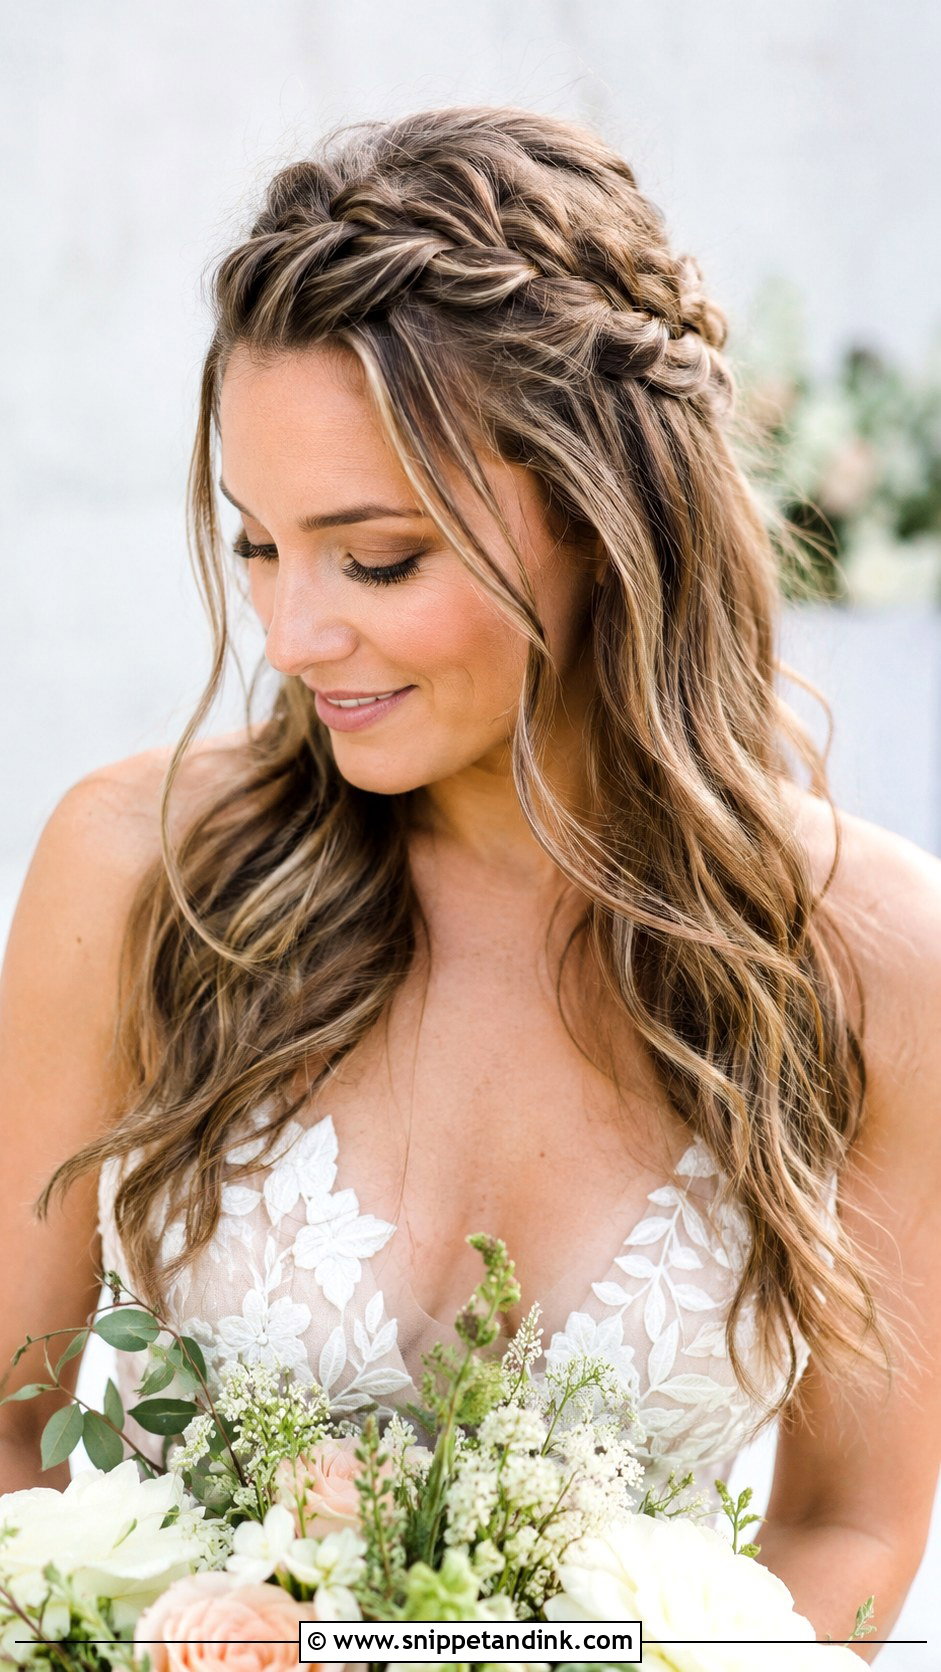
A half-up crown braid crosses the top of the head like a headband. I braid from one temple across to the other, pin along the braid, and curl the hair underneath. It keeps hair out of your eyes, which matters at an outdoor ceremony in a breeze. Fresh flowers or a single pin can sit along the braid.
18. Pinned-Back Waves
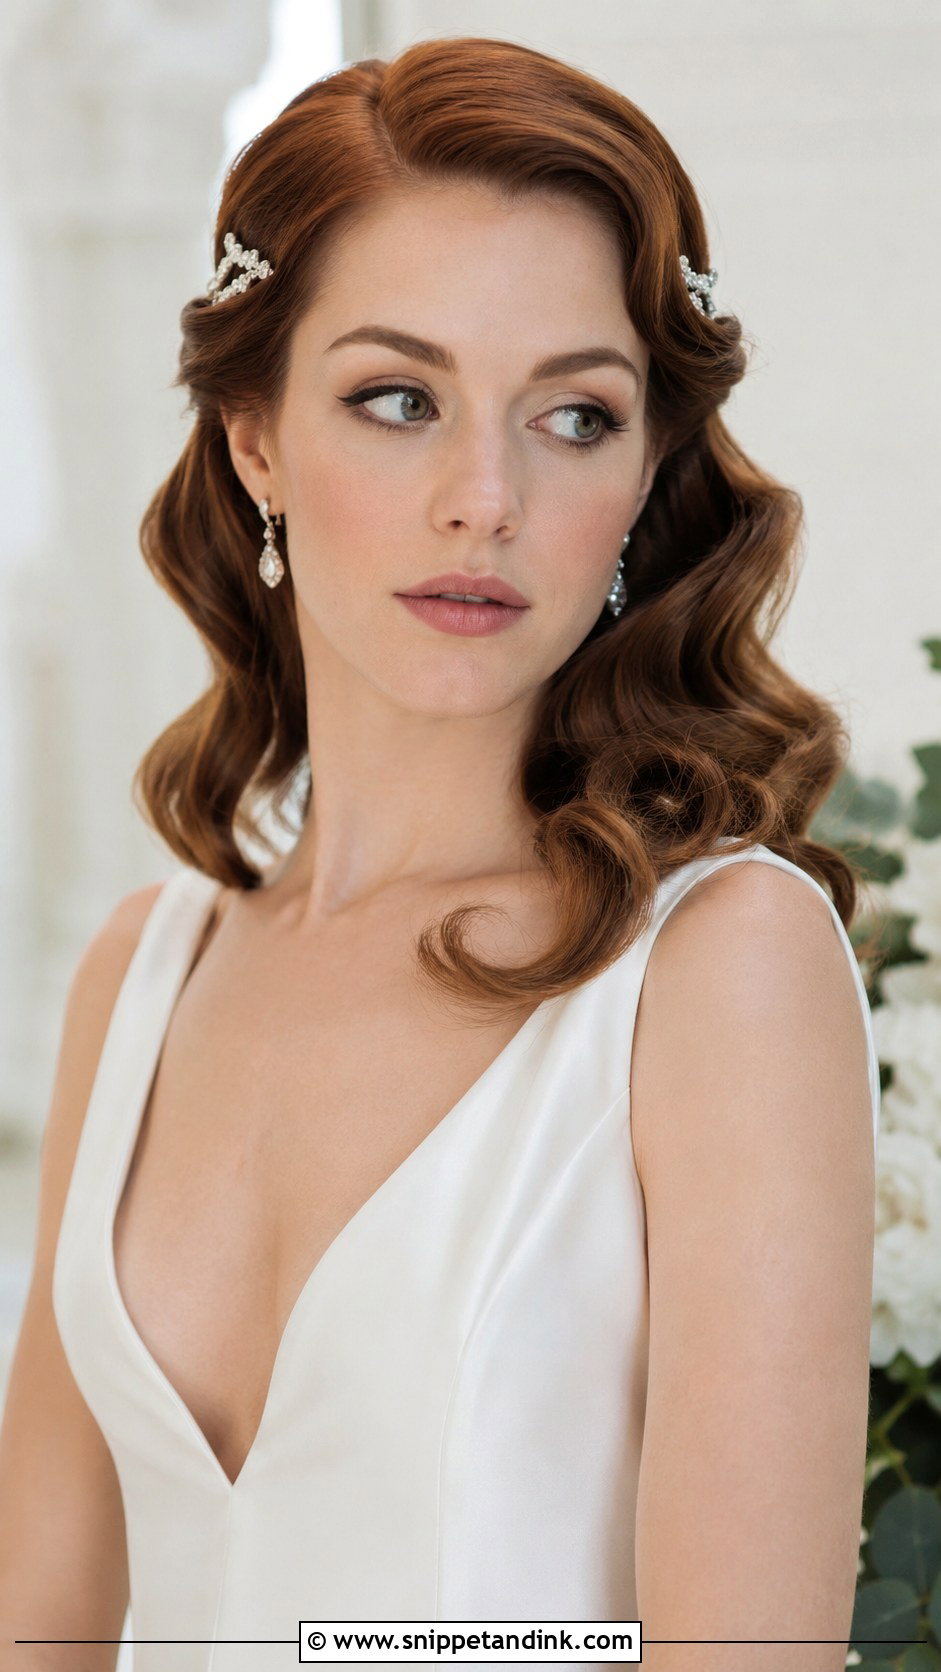
Pinned-back waves are what I suggest to brides who love their hair down but find it falls in their face. I curl everything, then take a section at each temple, twist it back and secure it behind the ears with crossed pins hidden under decorative clips. The rest stays loose. It suits nearly any wedding style, and shine spray gives it a polished finish.
19. Top Knot Bun
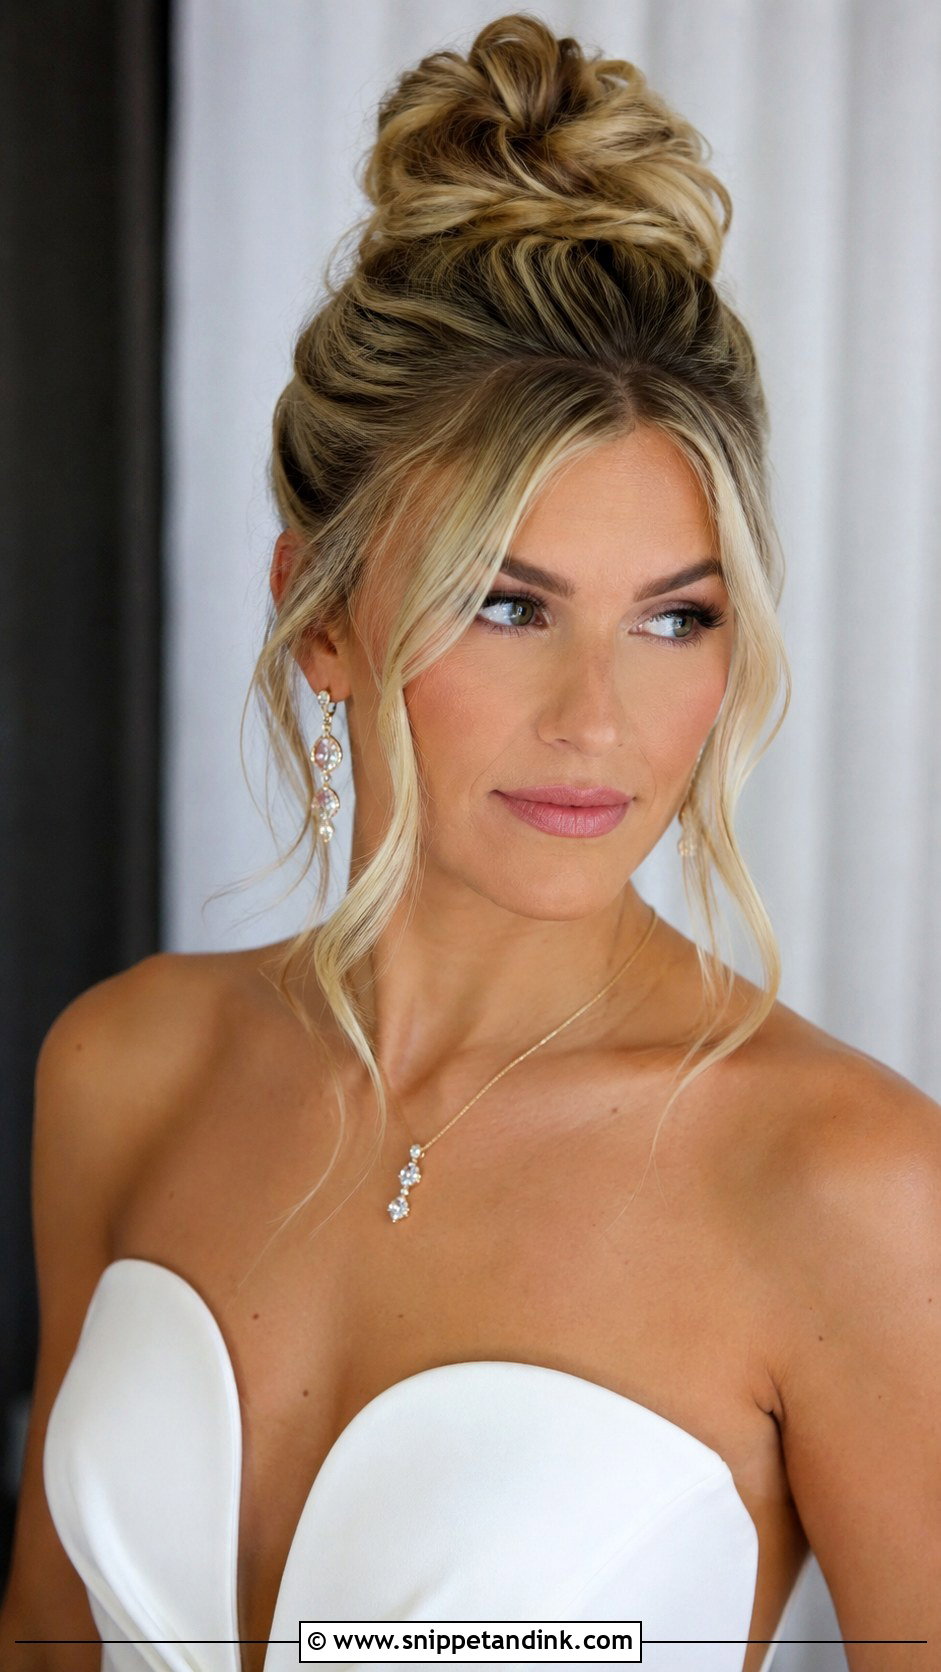
A top knot sits at the crown, which makes the neck look longer and keeps earrings in full view. I tie a high ponytail, wrap it into a knot and pin it flat to the head. Sleek reads editorial; textured reads relaxed. It pairs best with clean necklines. A few face-framing pieces soften it, but keep them thin.
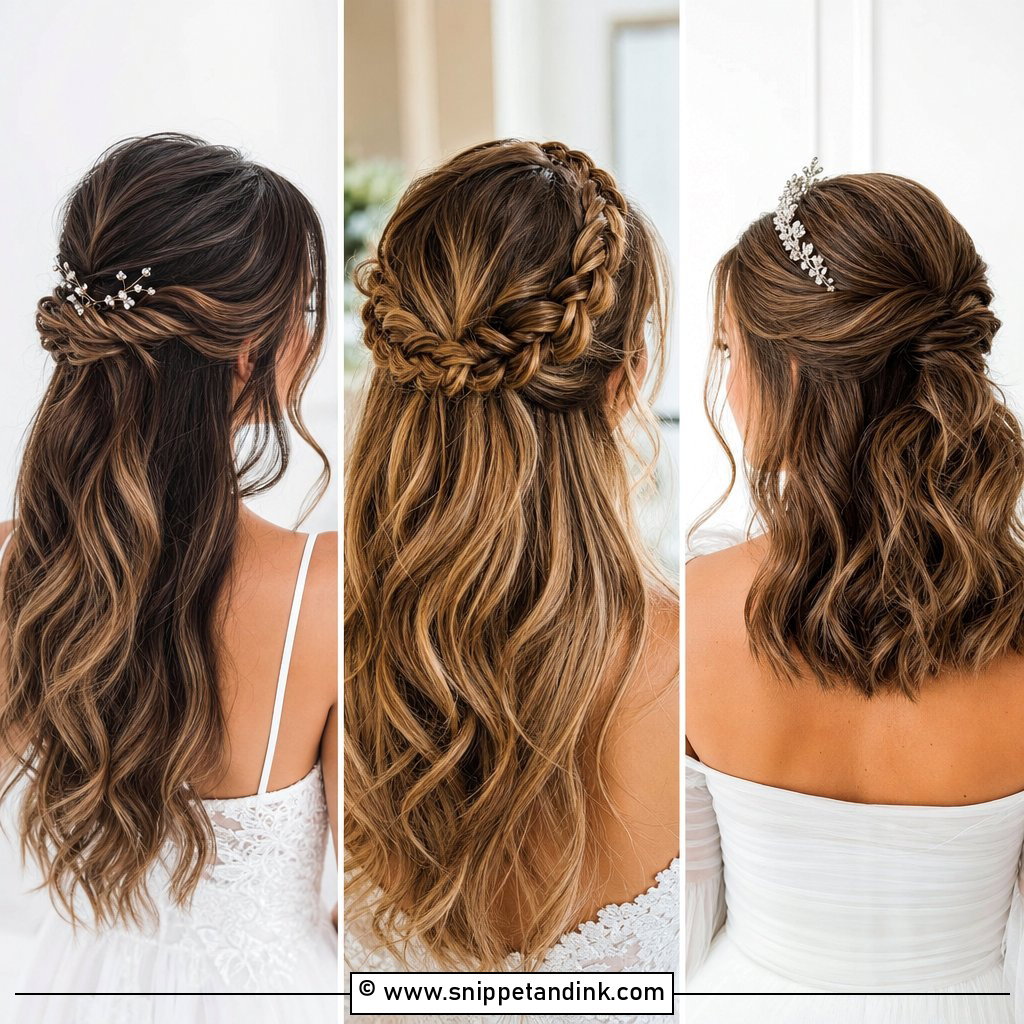
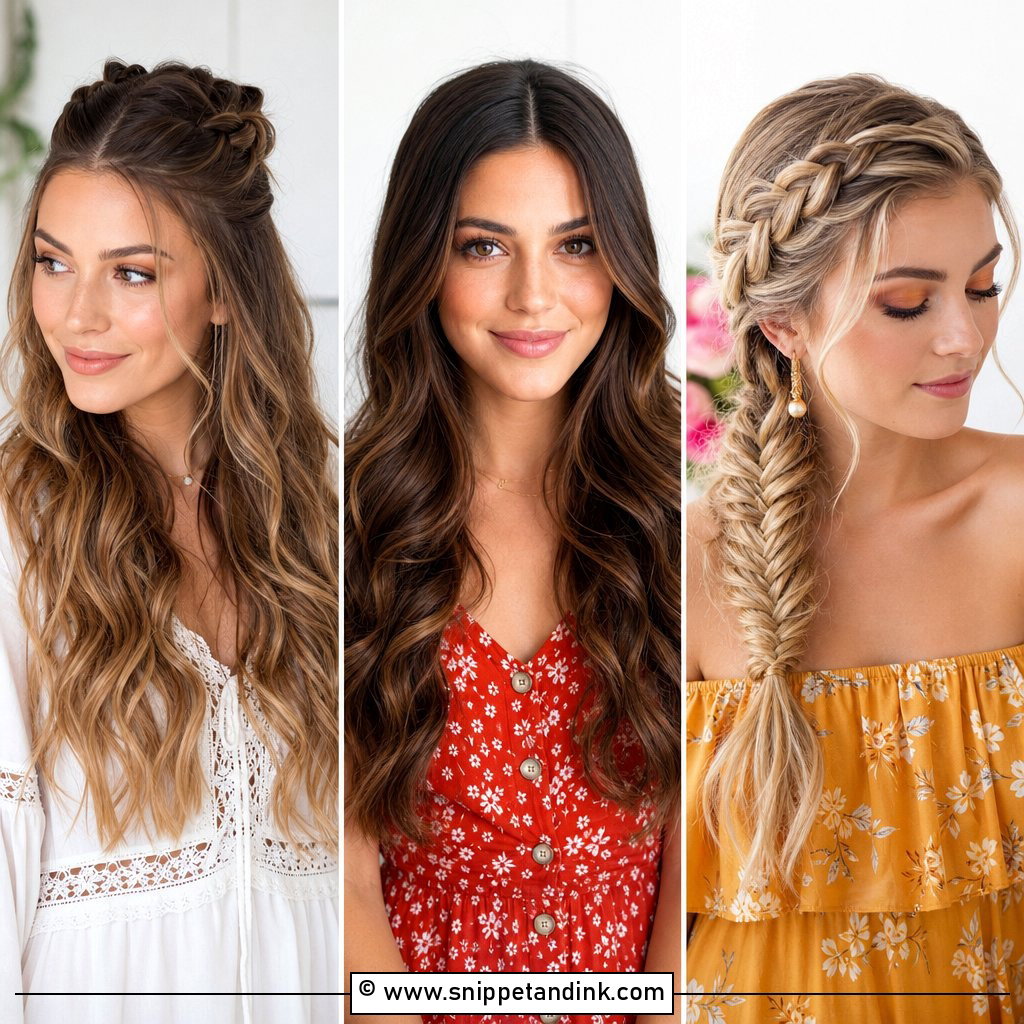
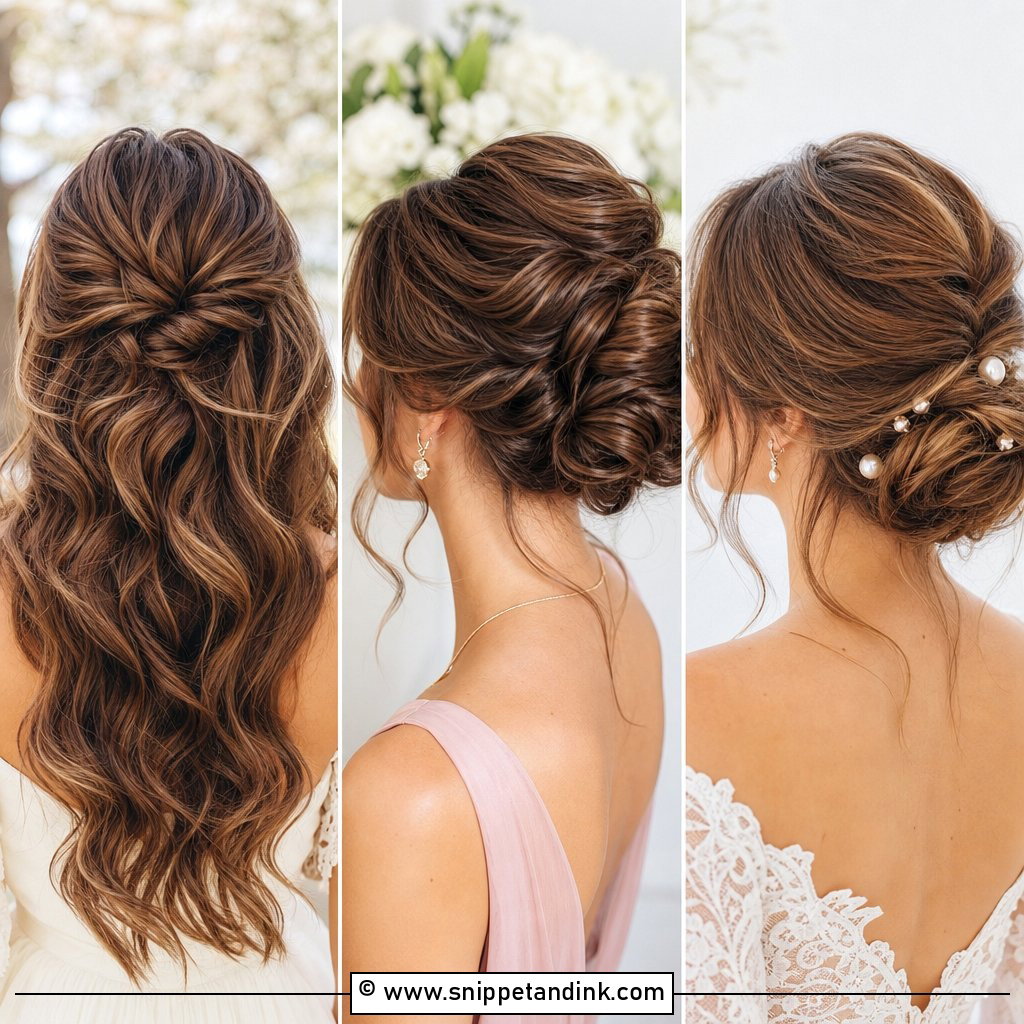
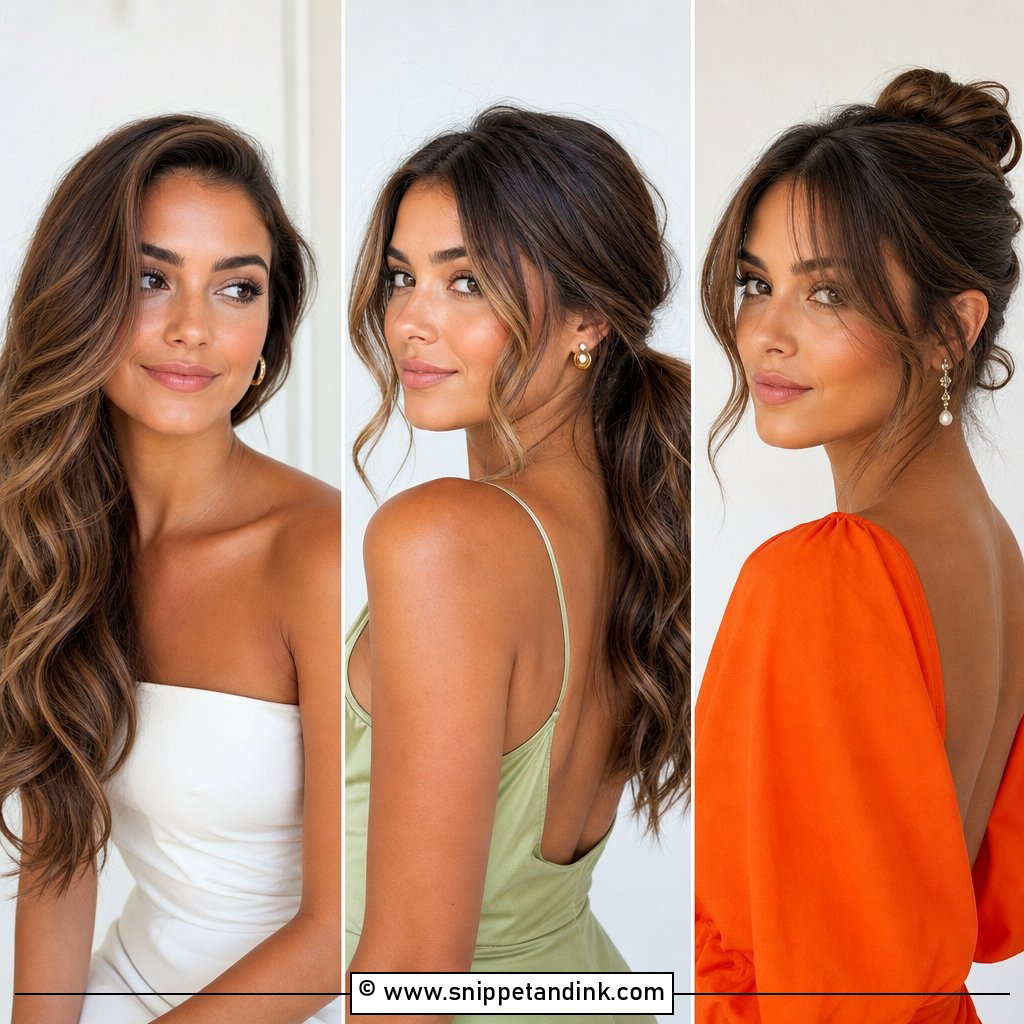
20. Curly Half-Up
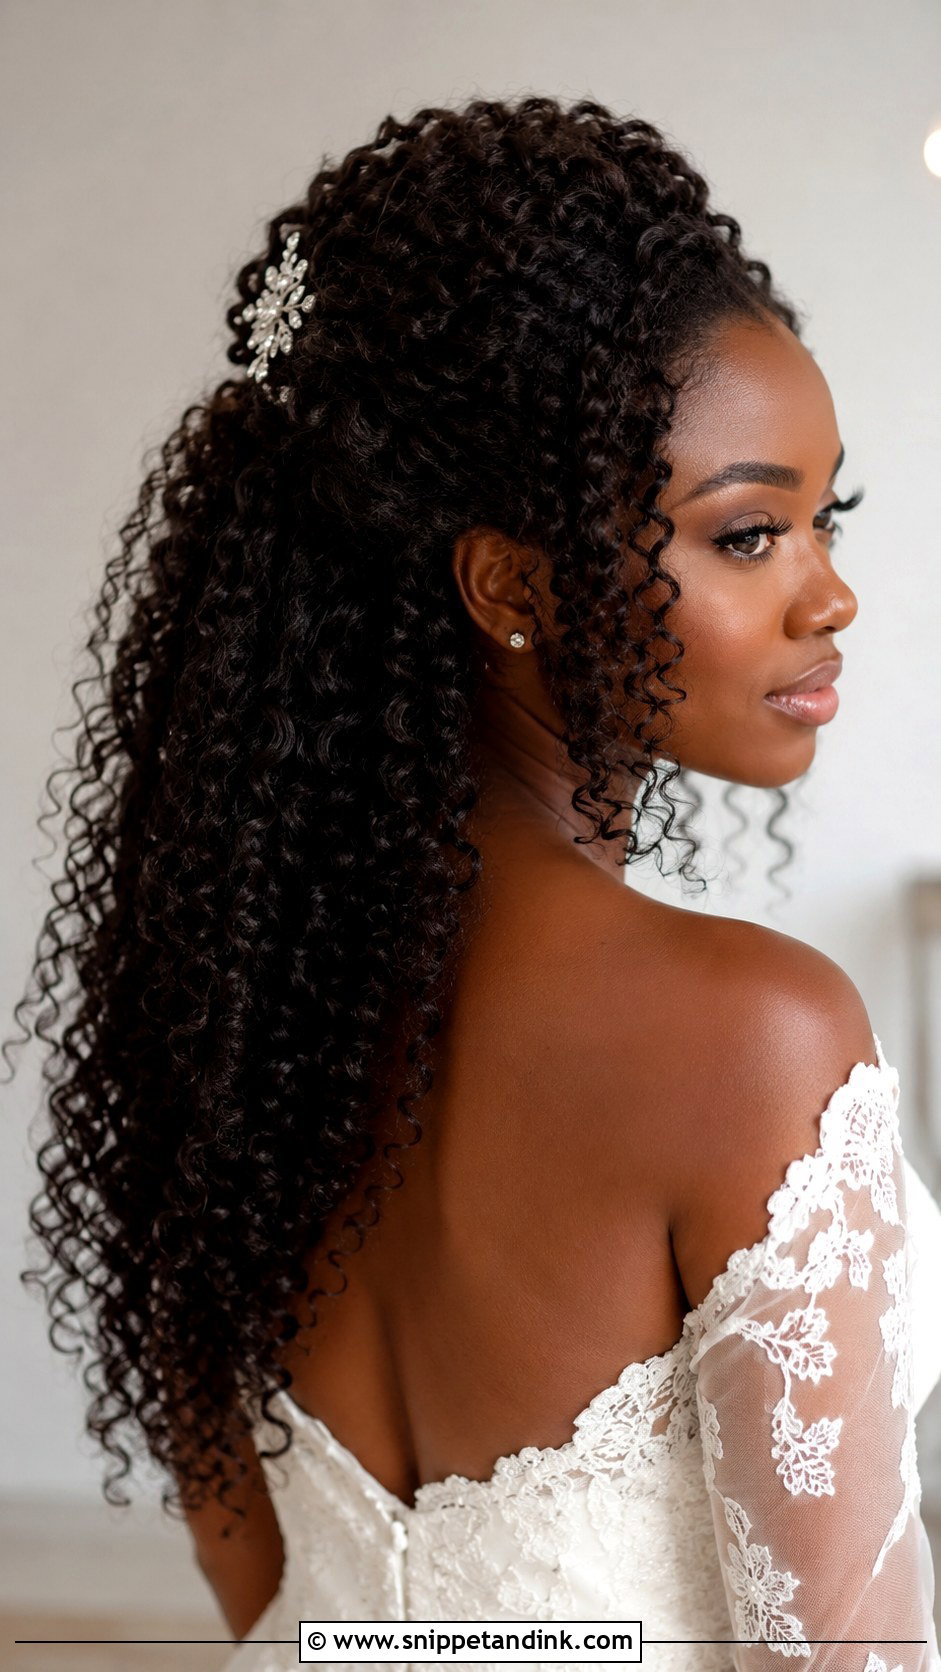
Natural curls half-up need gentle handling. I gather the top section with a soft scrunchie or pins and never brush the curls dry; I shape them with fingers and a pick instead. I always work with your usual curl routine and avoid new products at the trial. A clip, flowers or pearls can sit at the gathering point. It suits everything from boho to glam, and you look like yourself.
21. Side Braid
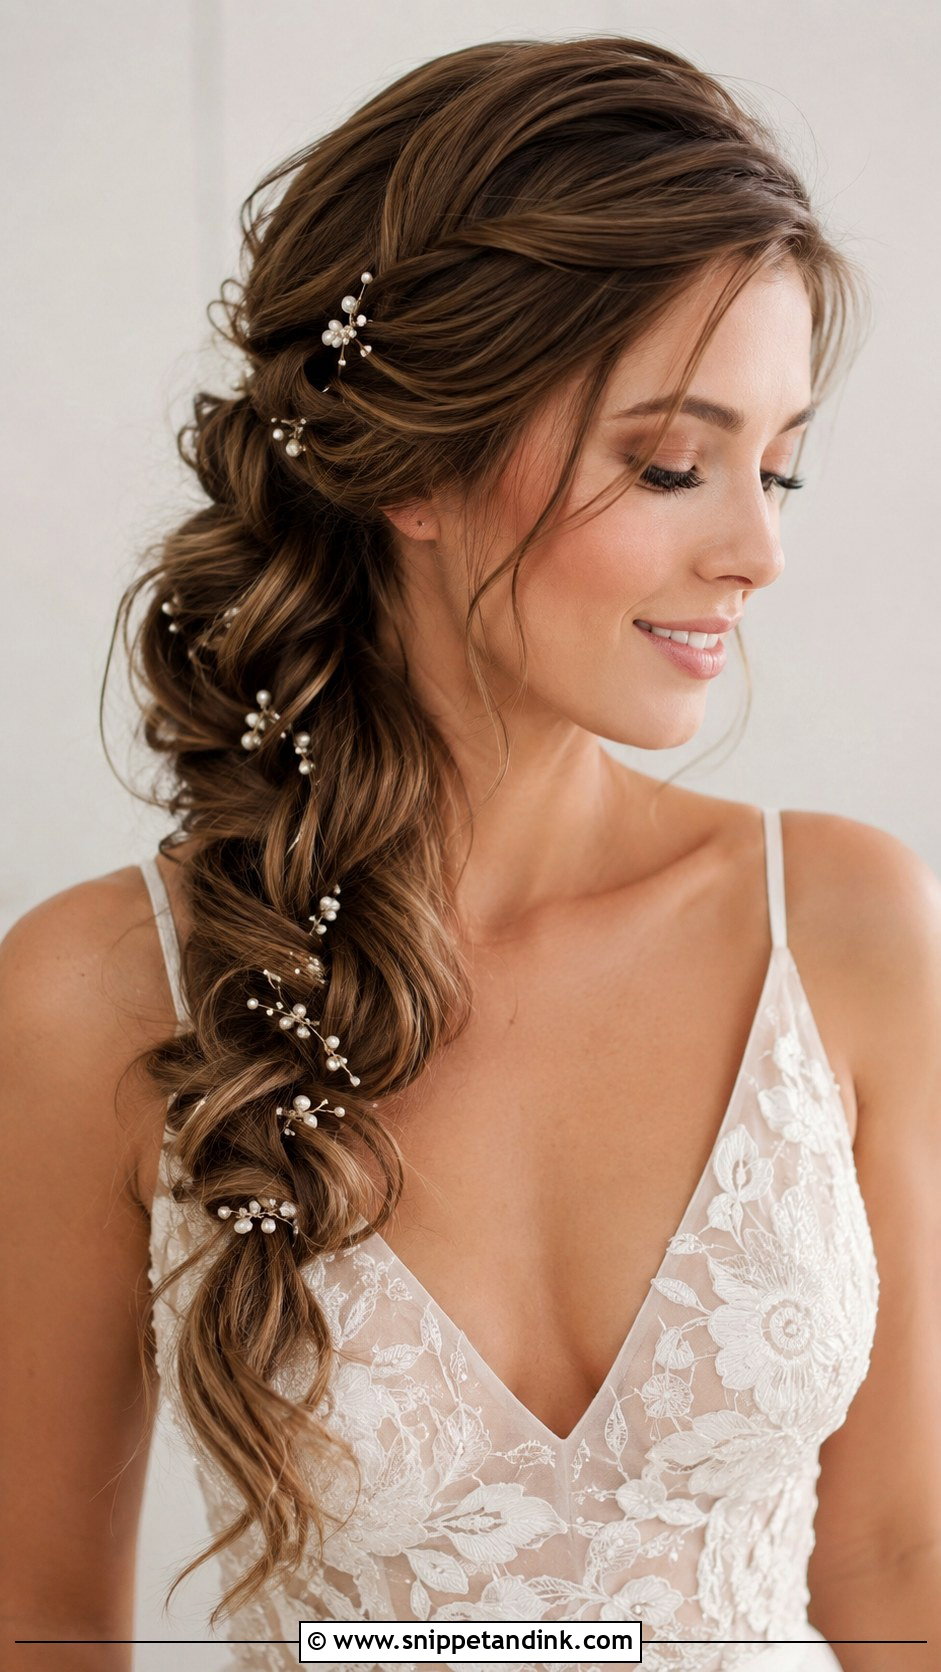
A single side braid over one shoulder is the most relaxed style on this list, and among the most practical. I braid from behind one ear, secure the end with a small elastic and wrap a strand around it. Pulling the braid wider makes it look full. It handles wind well, so it’s a sensible pick for beach and outdoor weddings. Long hair is best; layered hair needs texture spray to keep pieces in.
22. Glamorous Voluminous Curls
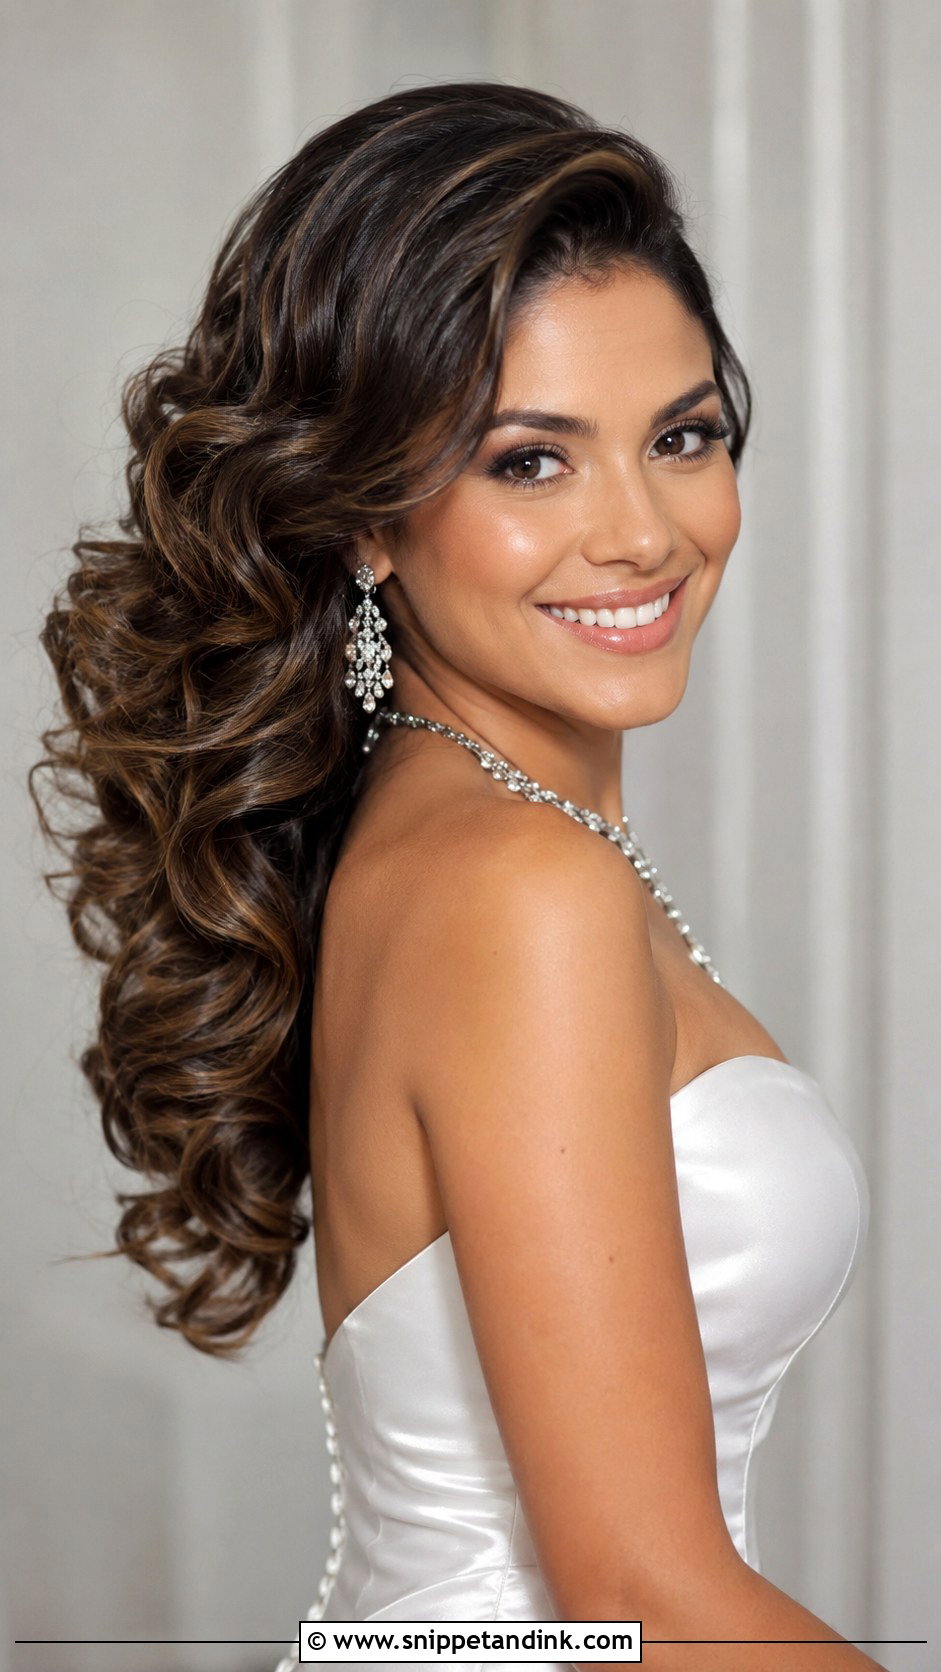
Big bouncy curls take rollers and patience. I set them in large rollers, cool them completely, then shake them out by hand. They need medium to long hair with some density; fine hair can look sparse once the curls separate, so I add wefts. A deep side part adds drama, and a setting spray helps them hold until the last dance. Formal ballroom weddings suit them best.
23. Low Bun With Braid
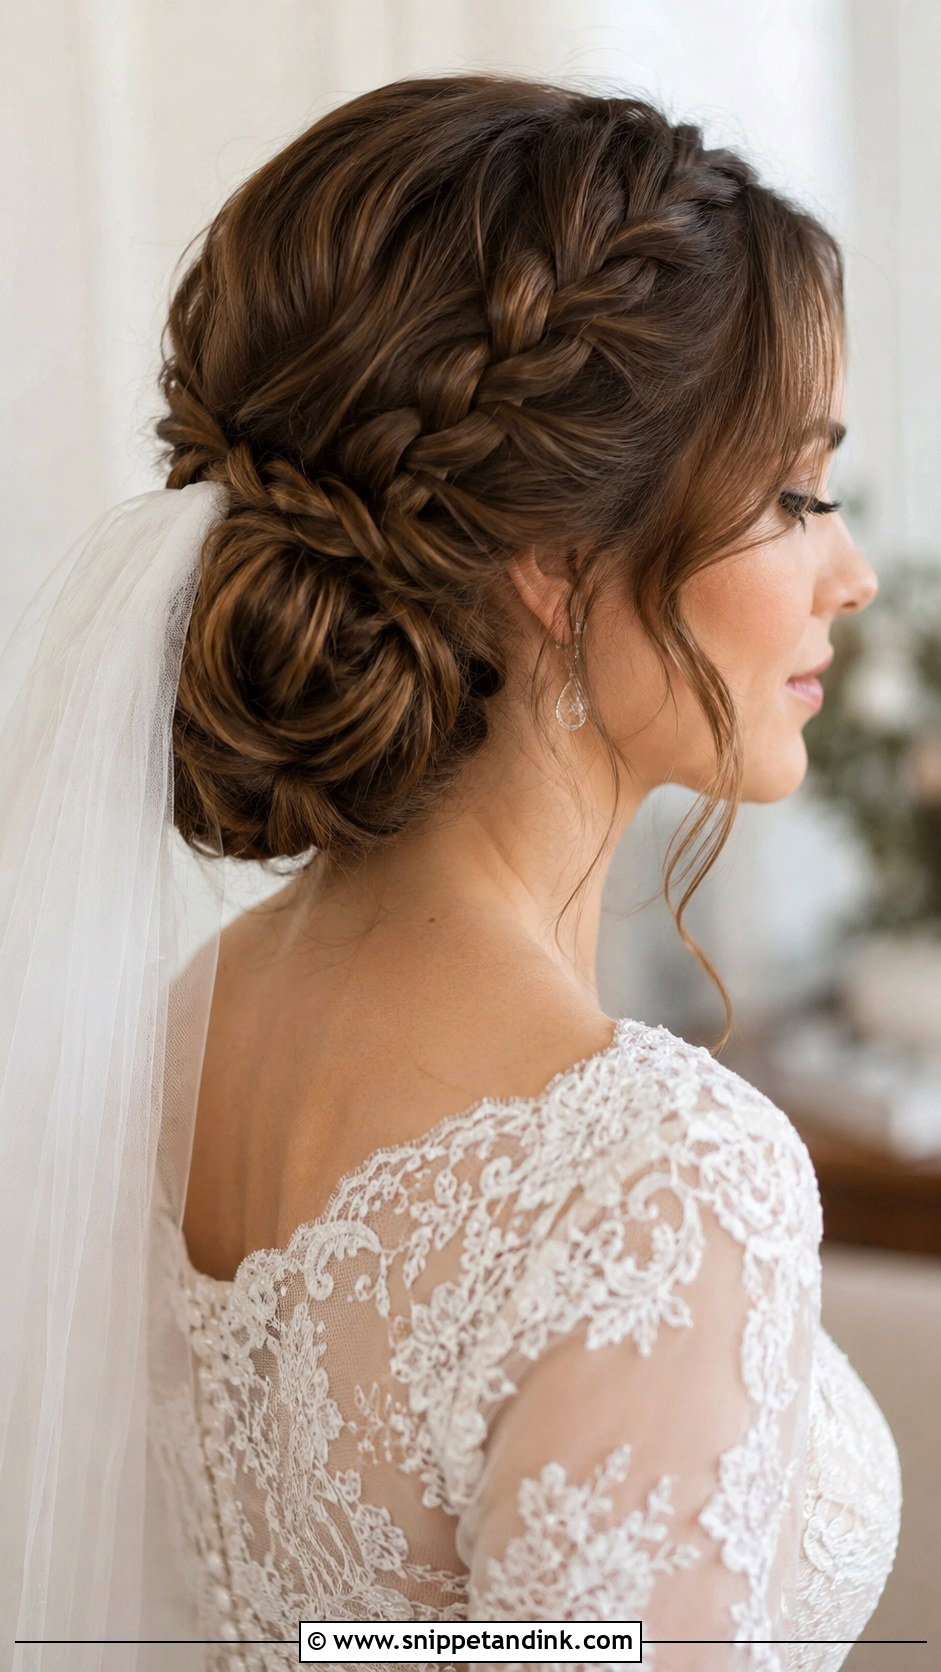
A low bun with a braid gives the back of the head real detail, which is what most ceremony photos show. I braid one section first, then wrap it around or into the bun. It sits securely at the nape and holds a veil above or below the bun. Loose tendrils soften the front; keep them thin and curled.
24. Slicked-Back Bridal Look
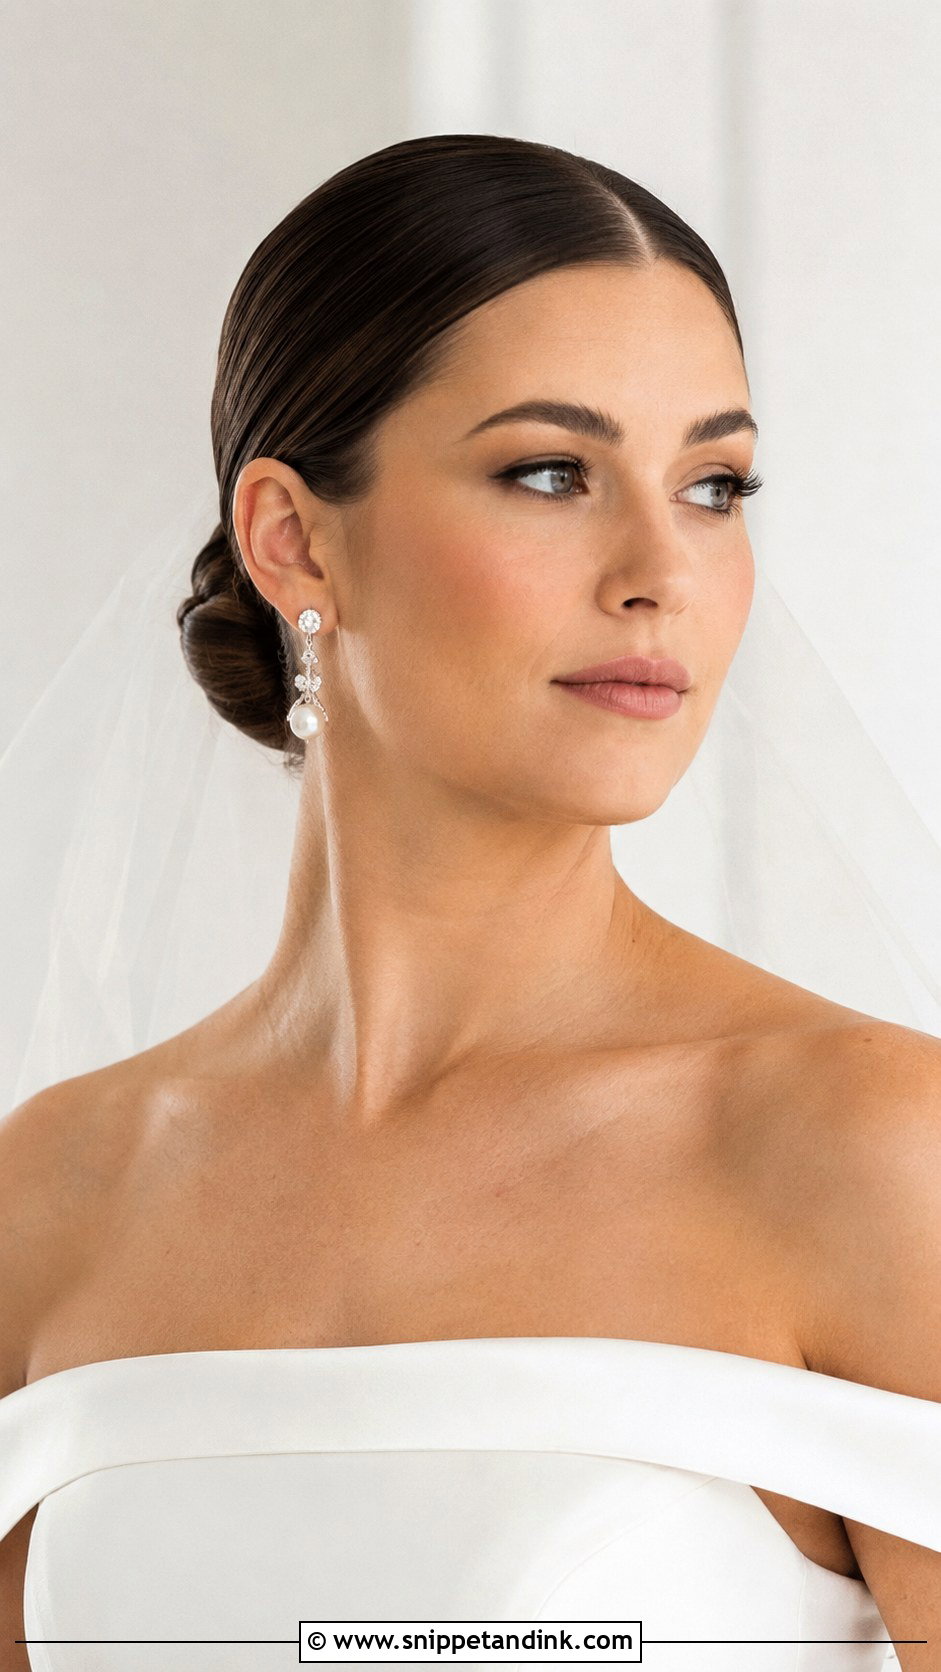
Slicked-back hair is about the face and the jewelry. I smooth everything back with gel or pomade into a low bun or ponytail, using a fine brush for clean lines. Too much product looks wet and greasy under flash, so I build it in layers. It suits modern venues, sleek gowns and statement earrings. It’s also the most weatherproof style there is.
25. Tousled Updo With Tendrils
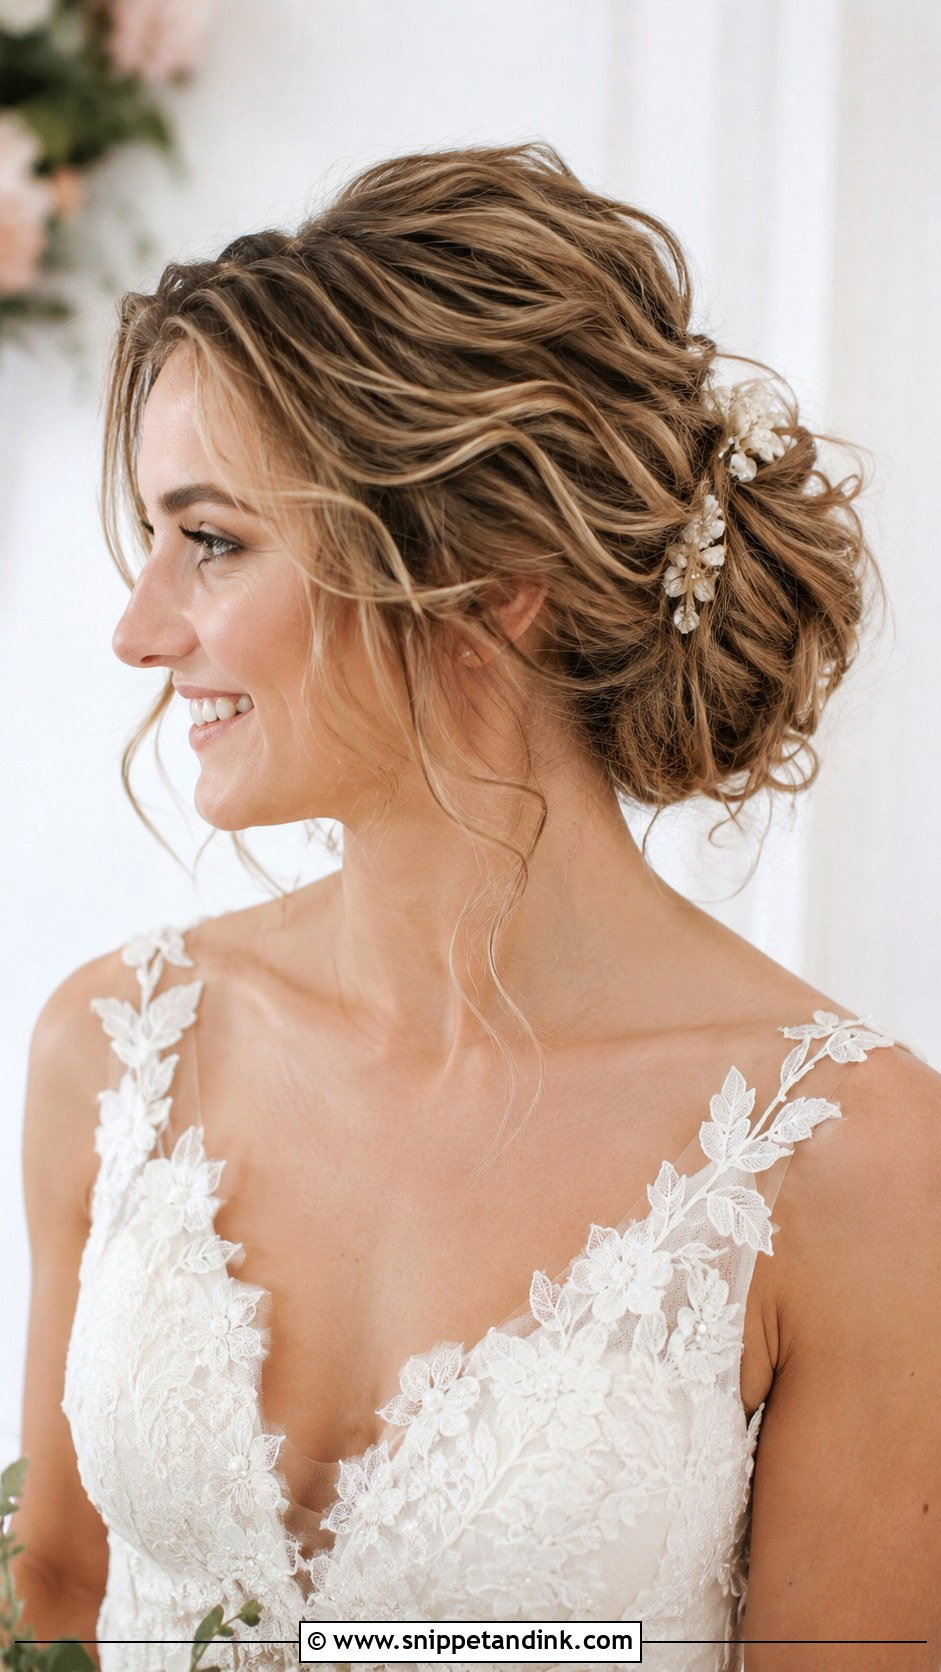
A tousled updo with face-framing tendrils should look relaxed but be secure underneath. I curl the hair first, gather it loosely, and pin the shape with crossed pins so it can’t sag. Tendrils go last; I curl them away from the face. Small flowers or pearl pins add charm. It suits boho, garden and rustic weddings, and it’s forgiving if a piece falls out.
26. Pearl-Adorned Hairstyle
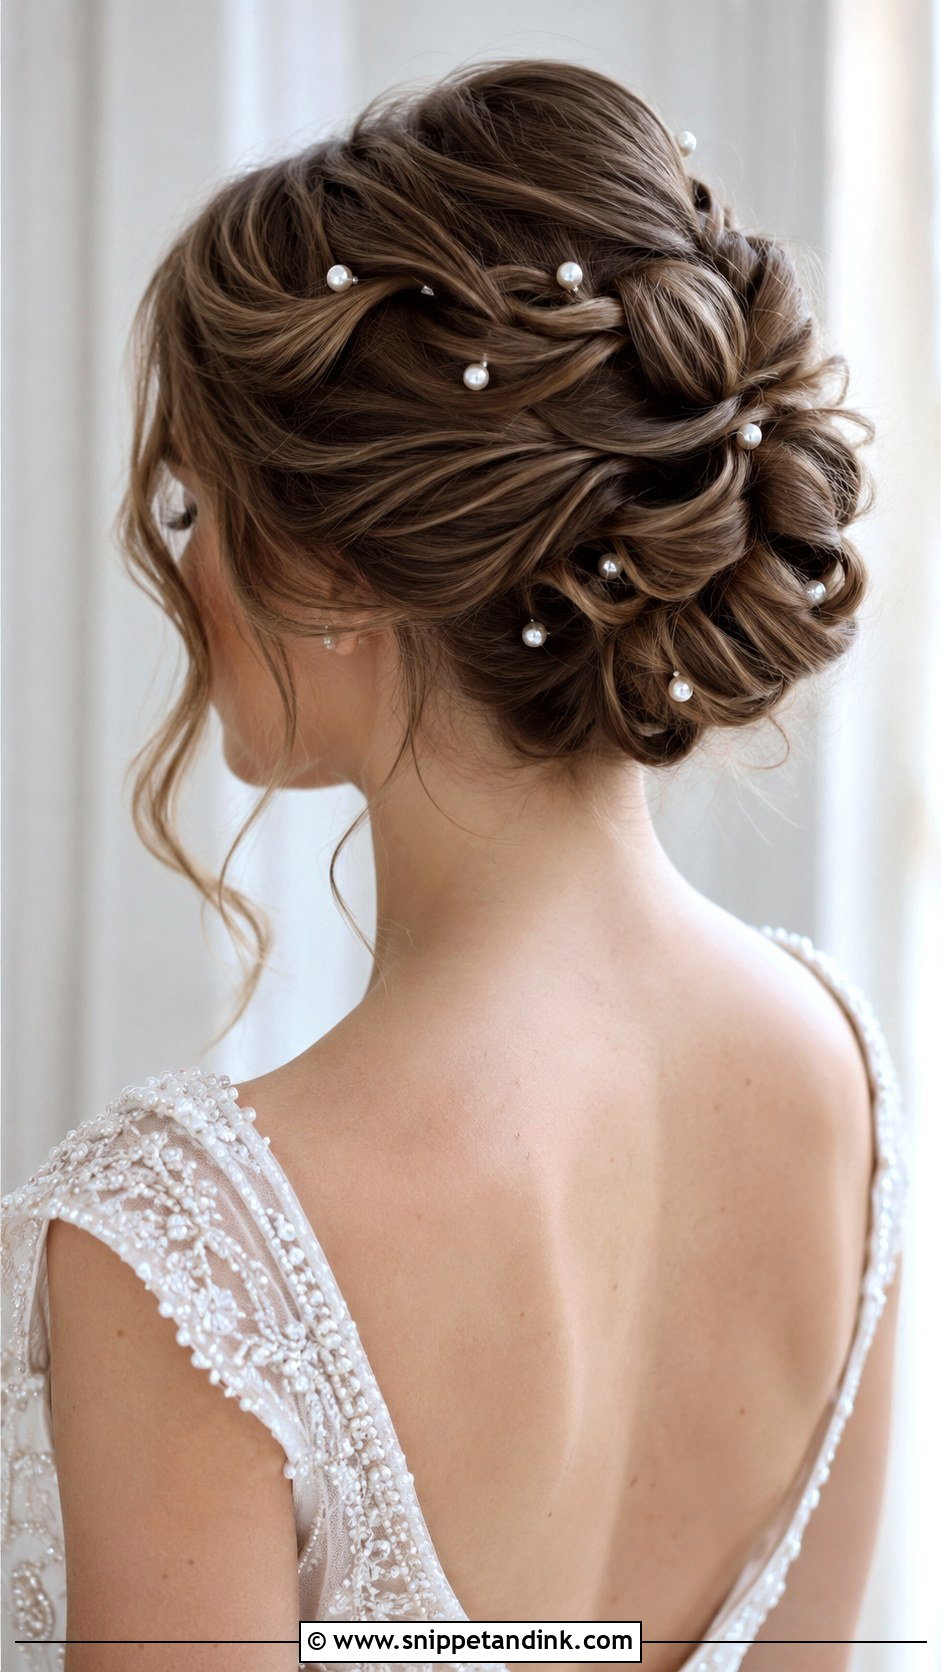
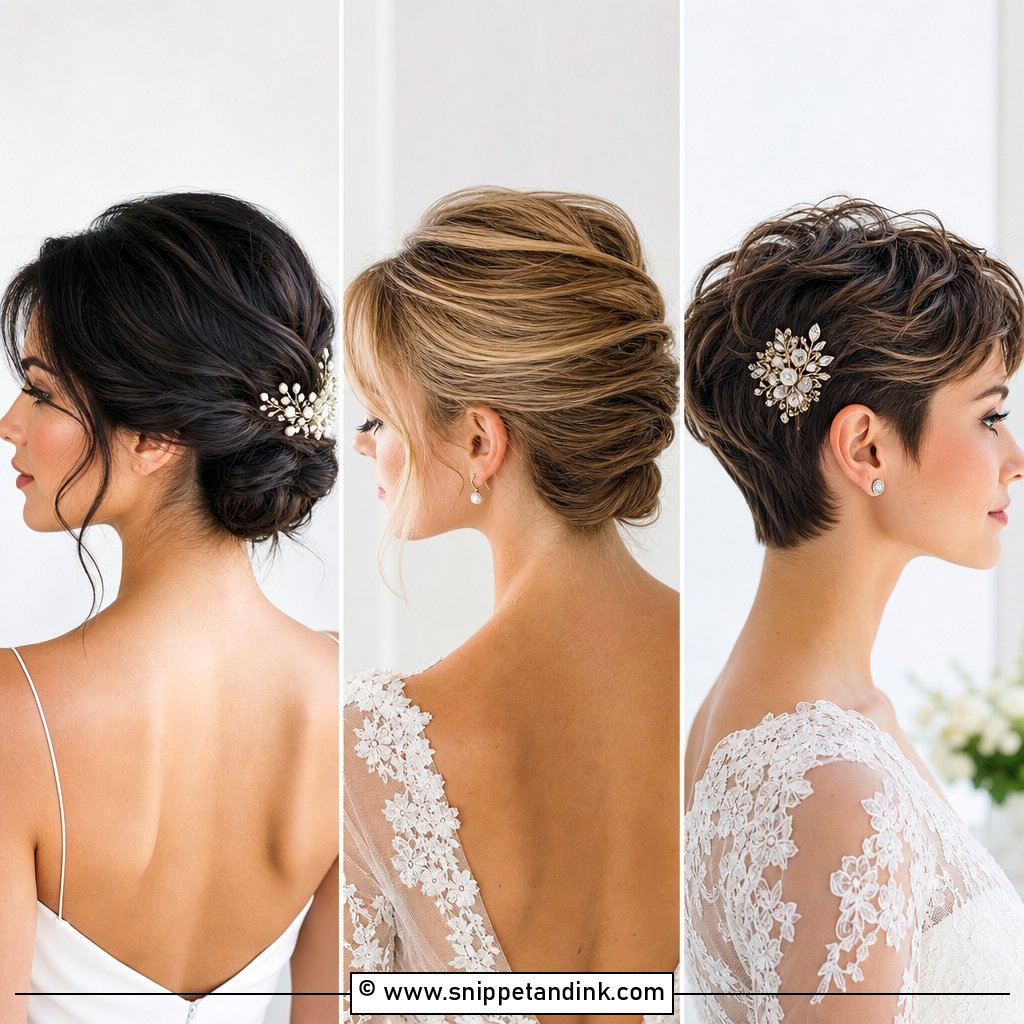
Pearls through the hair add detail without weight. I slide pearl pins into twists or braids at an angle so they grip, and on silky hair I mist a grippy spray first. Lining them along a braid looks structured; scattering them looks softer. They suit nearly every hair color, though on very pale blonde they can almost disappear, so I place them against darker sections.
27. Dutch Braid Updo
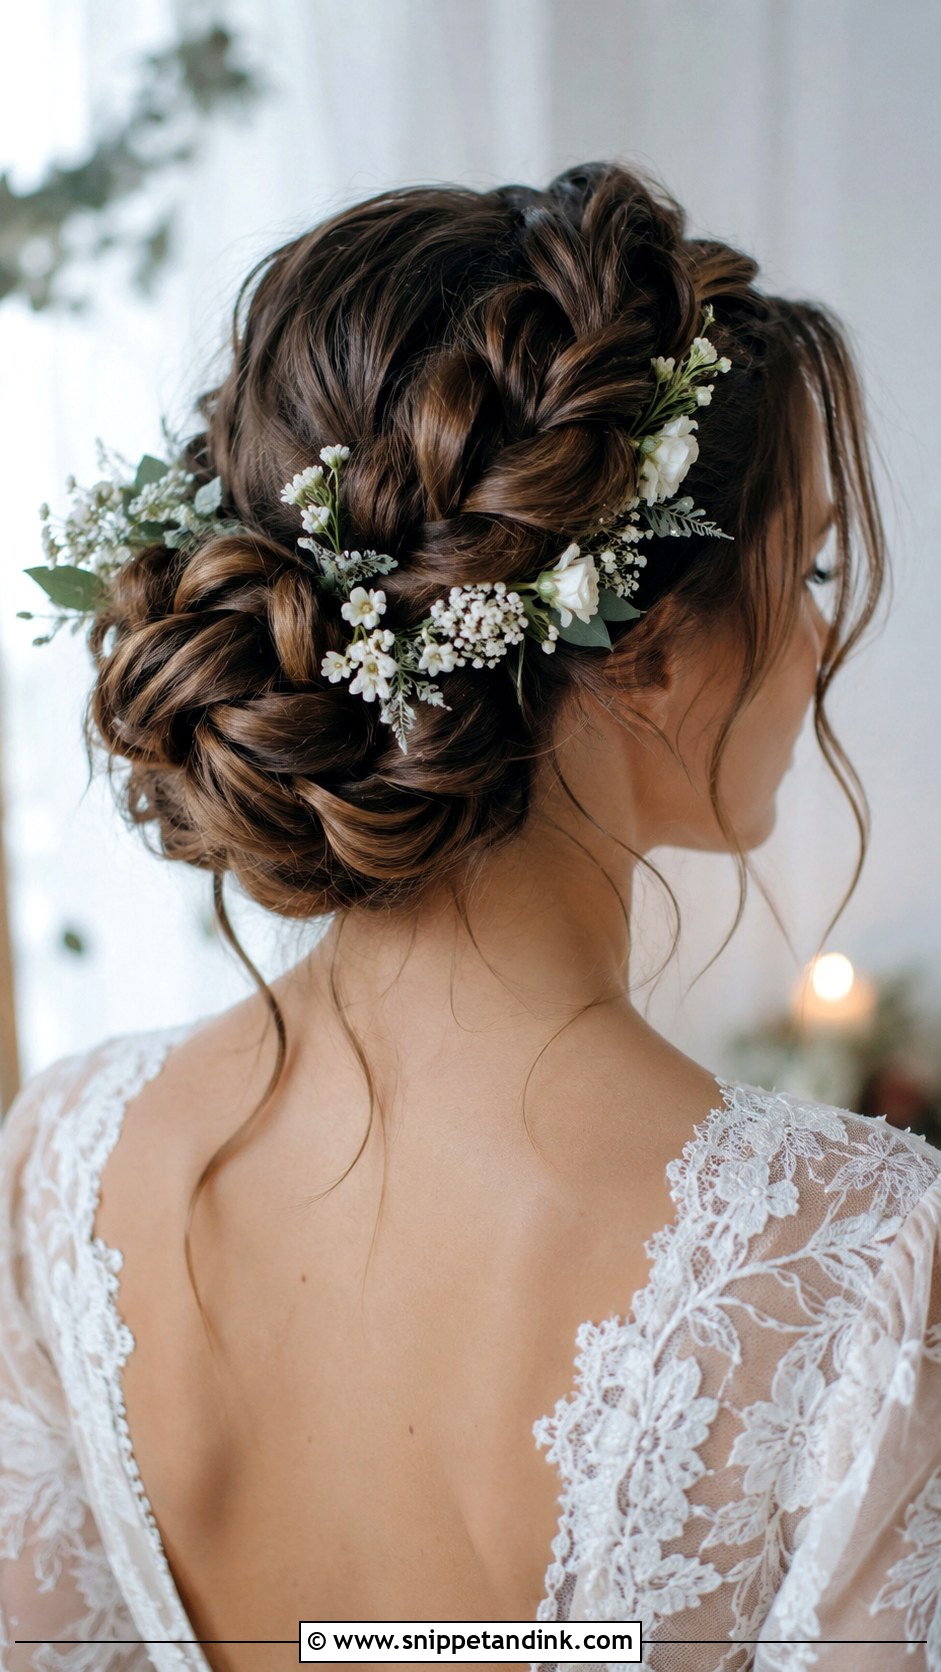
A Dutch braid is braided underhand, so it sits on top of the hair instead of lying flat. I braid it tightly, wrap it into a bun or crown, and then loosen it for a fuller look. It holds all day and photographs well from behind. Flowers or pearls woven into the braid add charm. Outdoor and rustic weddings suit its texture.
28. Soft Waves With Veil
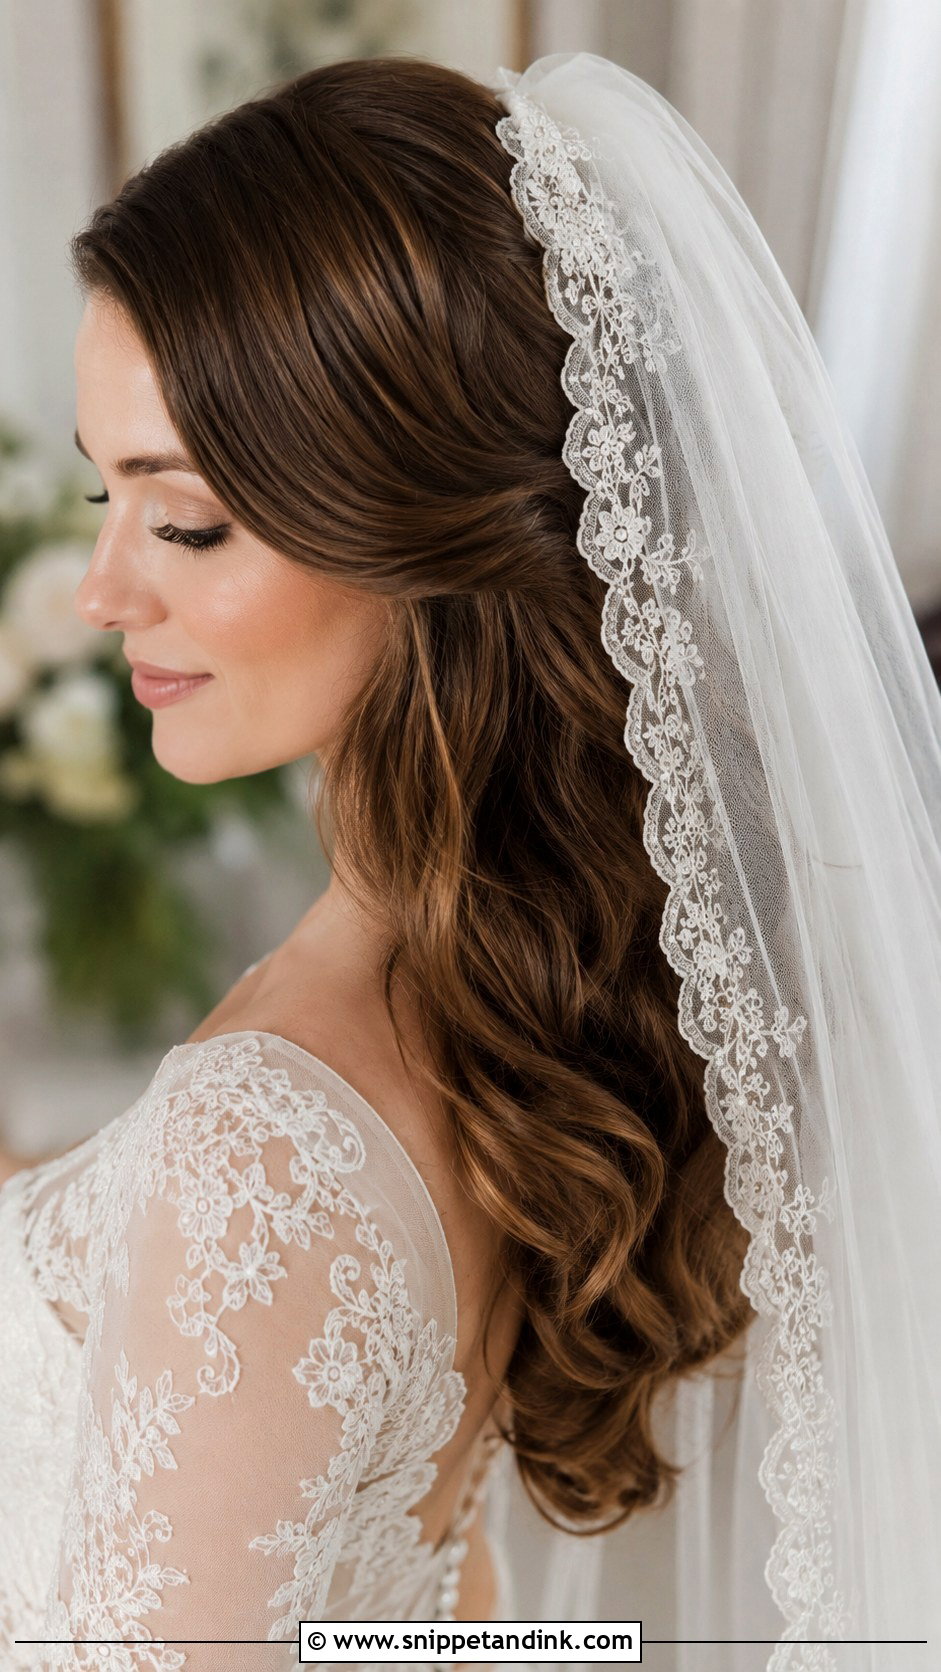
Waves with a veil is the classic bridal picture, and the veil needs somewhere to grip. Loose waves don’t hold a comb, so I pin a small twist at the crown and insert the comb into that. Center or side part depends on your features. You can remove the veil after the ceremony and the waves underneath look fresh, because the veil protected them.
29. Twisted Halo Updo
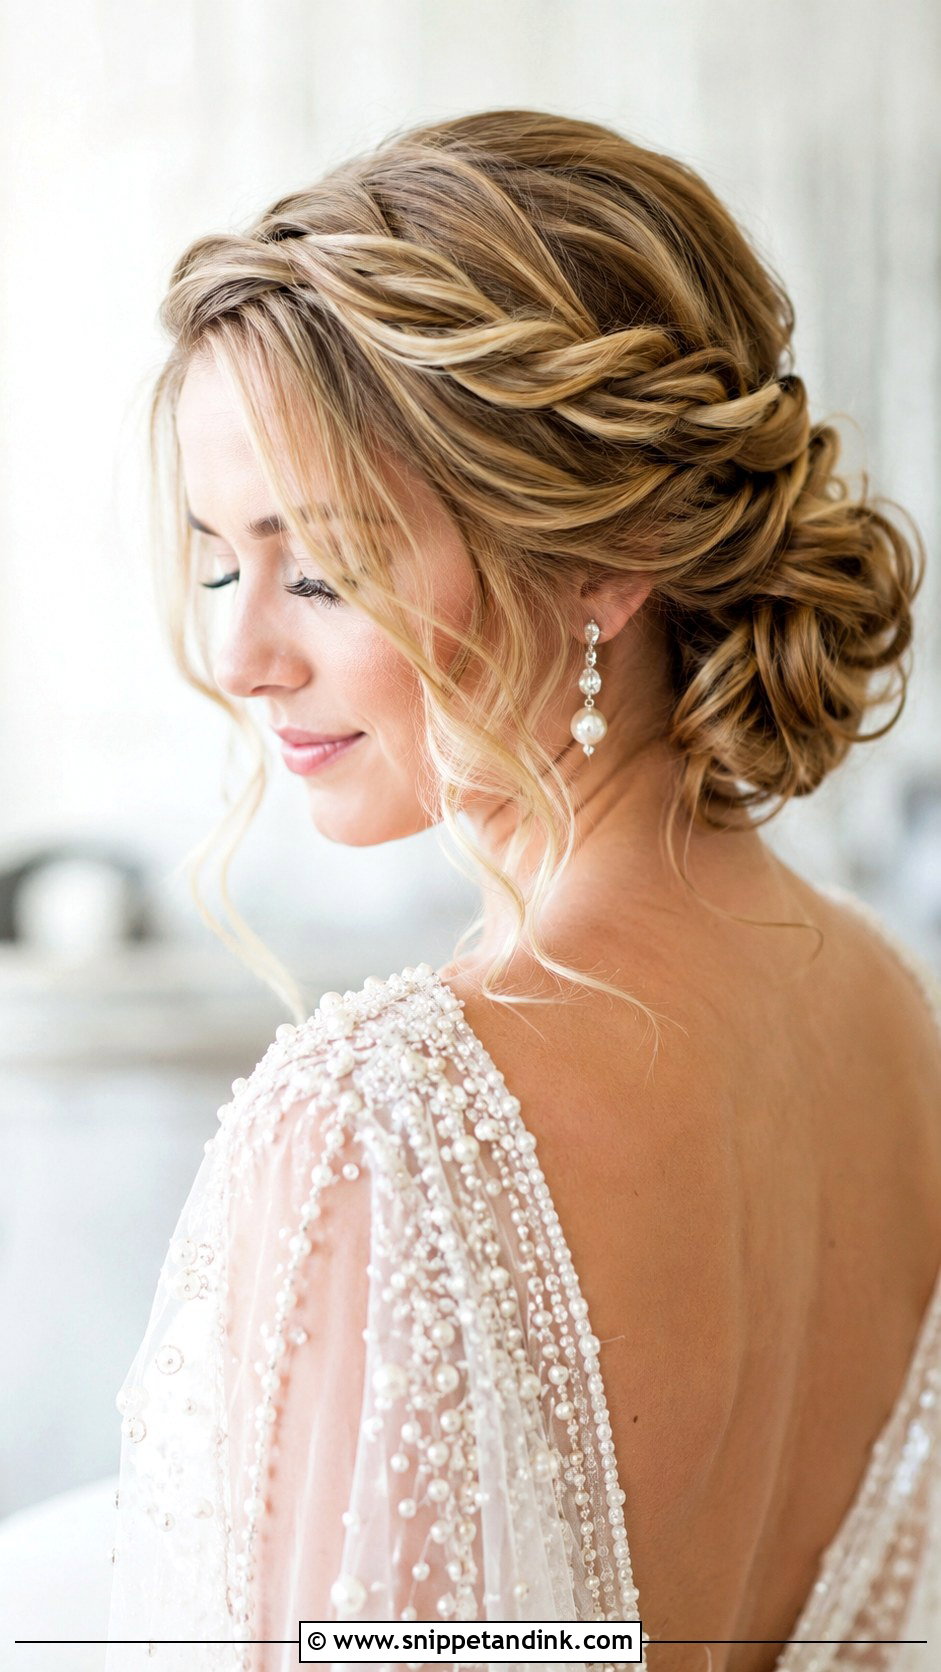
A twisted halo frames the head with soft twists that end in a low or mid bun. I twist from each temple back to the bun and pin them along the way. Twists are softer than braids but can loosen, so I set each with spray before pinning. Flowers, pearls or a comb can sit in the twists. Soft tendrils at the face complete it.
30. Bob Wedding Hairstyle
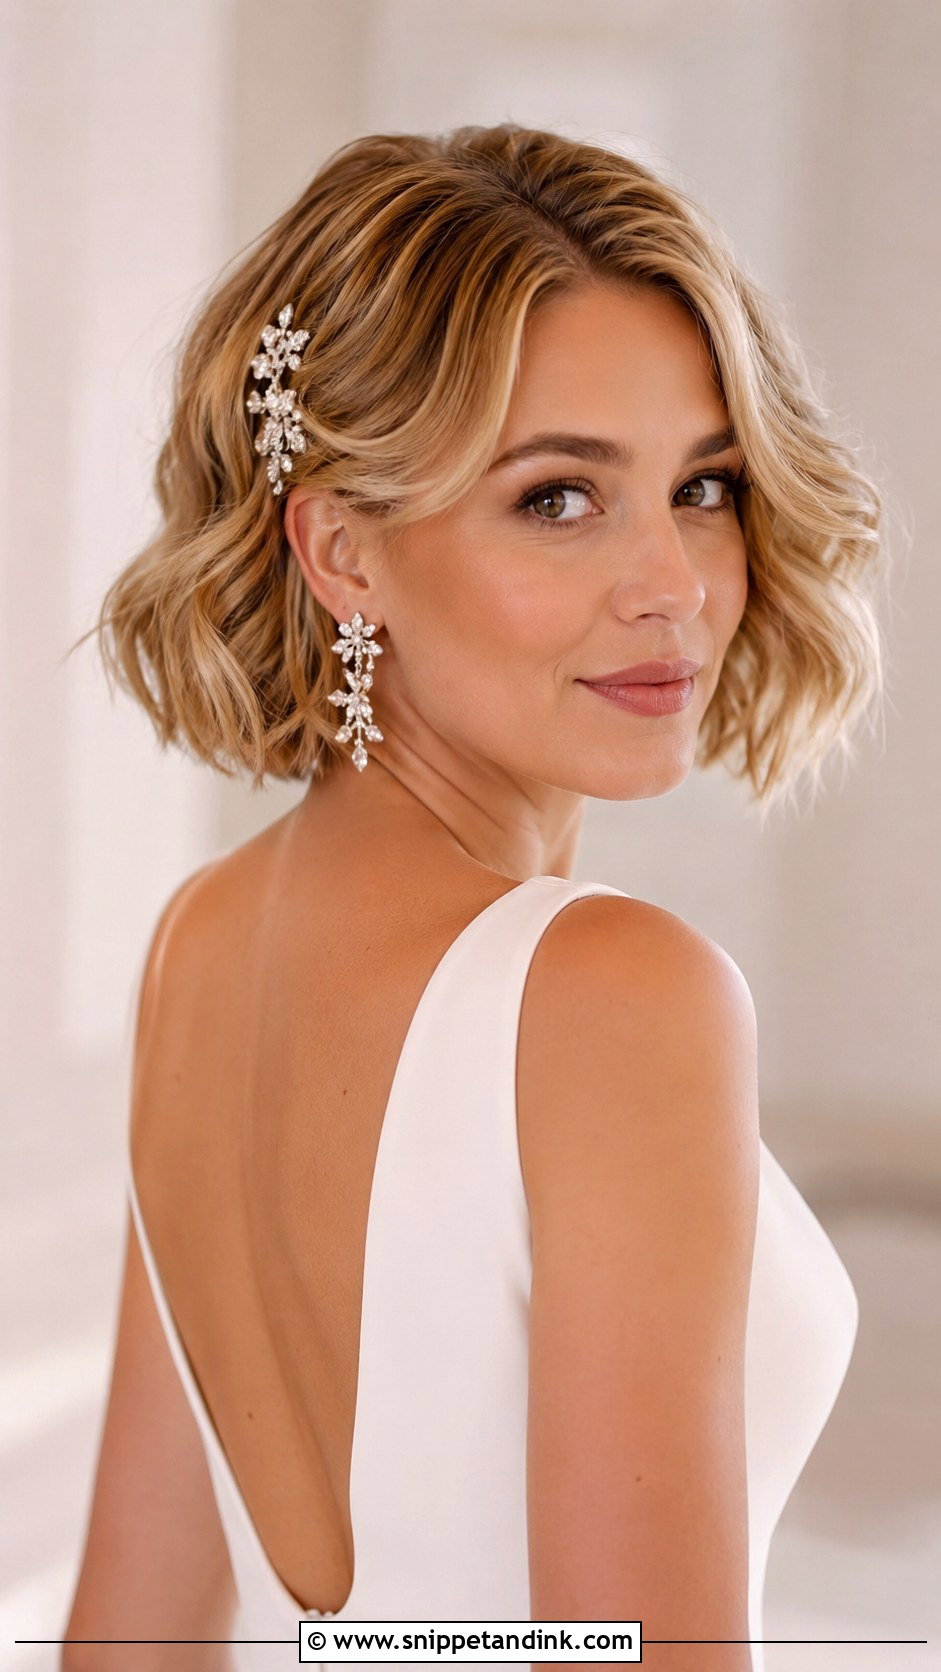
Short hair makes a confident bridal look, and I style bobs in two ways. Sleek, with a smooth blowout and the ends beveled under, it looks modern. Softly waved from a side part, it looks romantic. A clip, flowers or a small headpiece on the side adds a focal point. A trim two to three weeks before keeps the line crisp.
31. Accessorized Half-Up
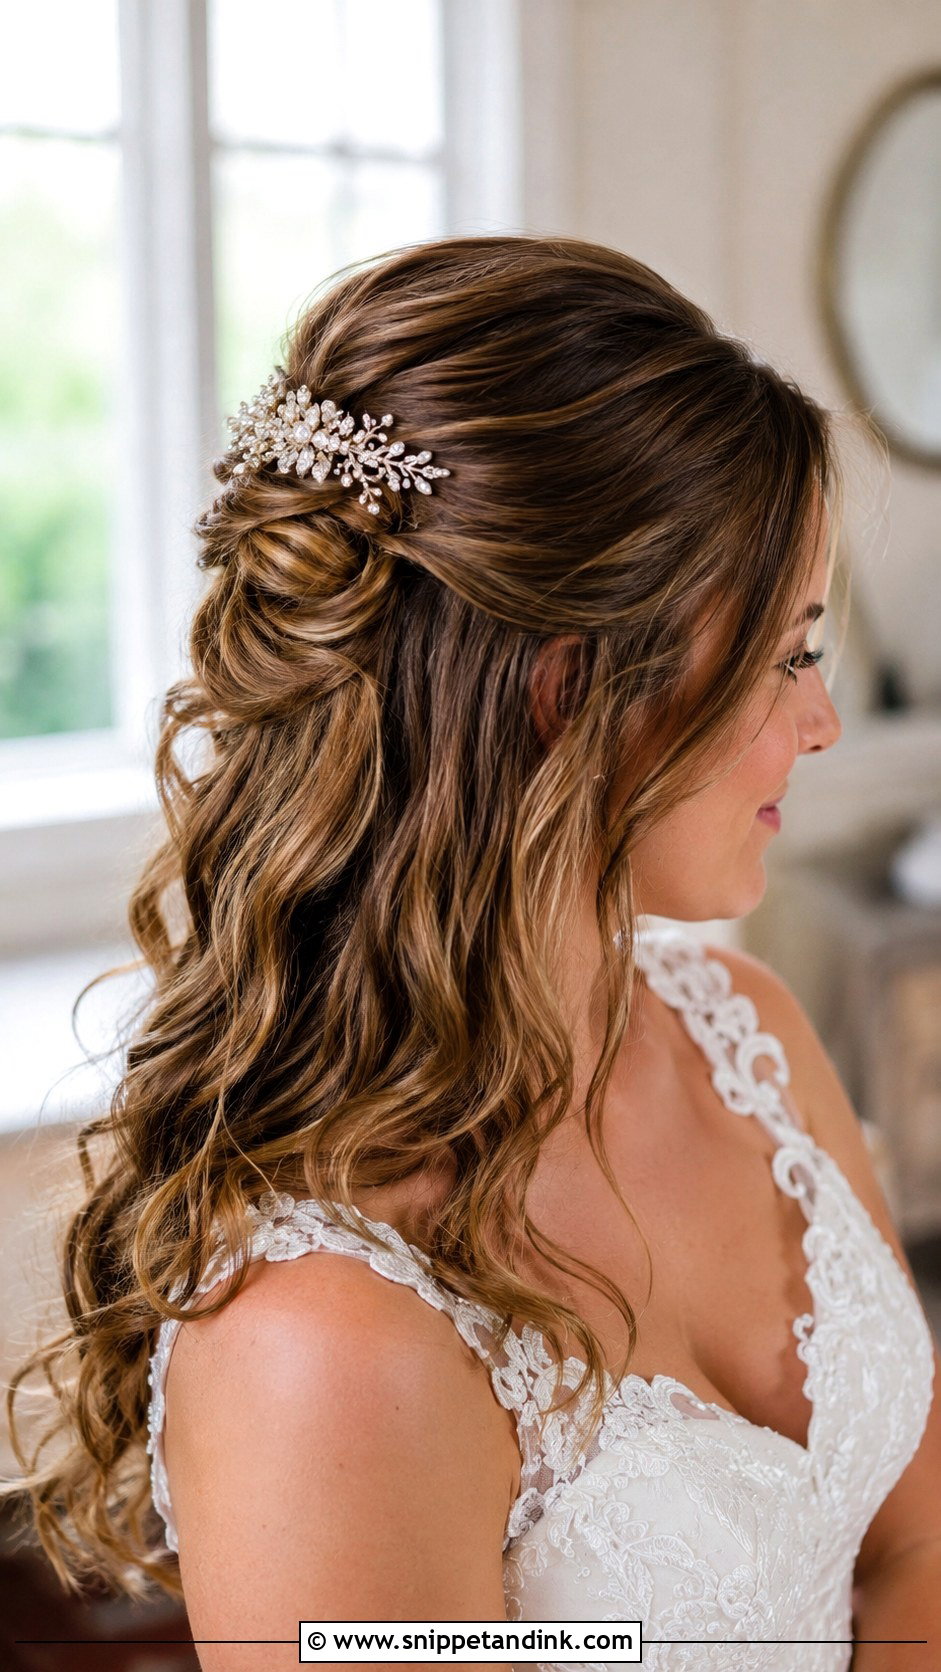
This half-up relies on its accessories. I secure the top section with crossed pins under a jeweled clip, comb or pearl pins, so the decoration also hides the anchor. Match the metal to your jewelry; mixing gold and silver close together is the clash I see most often. Soft waves below finish it.
32. Braided Ponytail
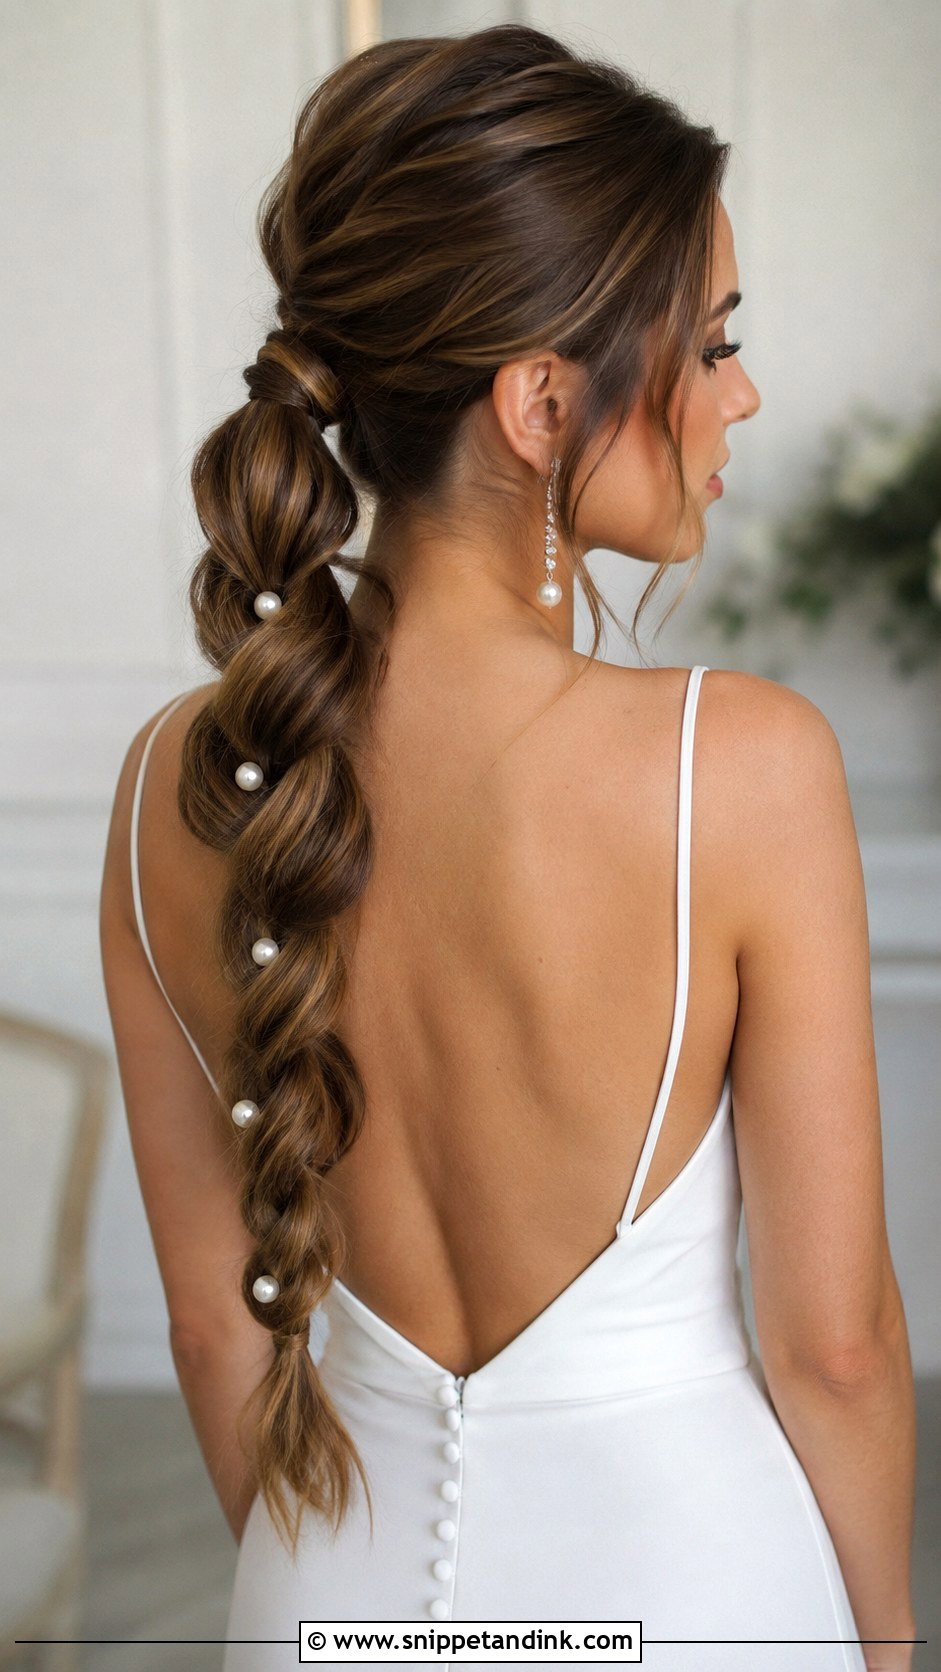
A braided ponytail is a modern, practical style: nothing can fall out. I tie the ponytail, braid it, then loosen the braid evenly for fullness. Sleek reads editorial; loose reads boho. Flowers or pearl pins along the braid add detail. If your hair is short, a clip-in ponytail braided in gives length.
33. Wispy Low Updo
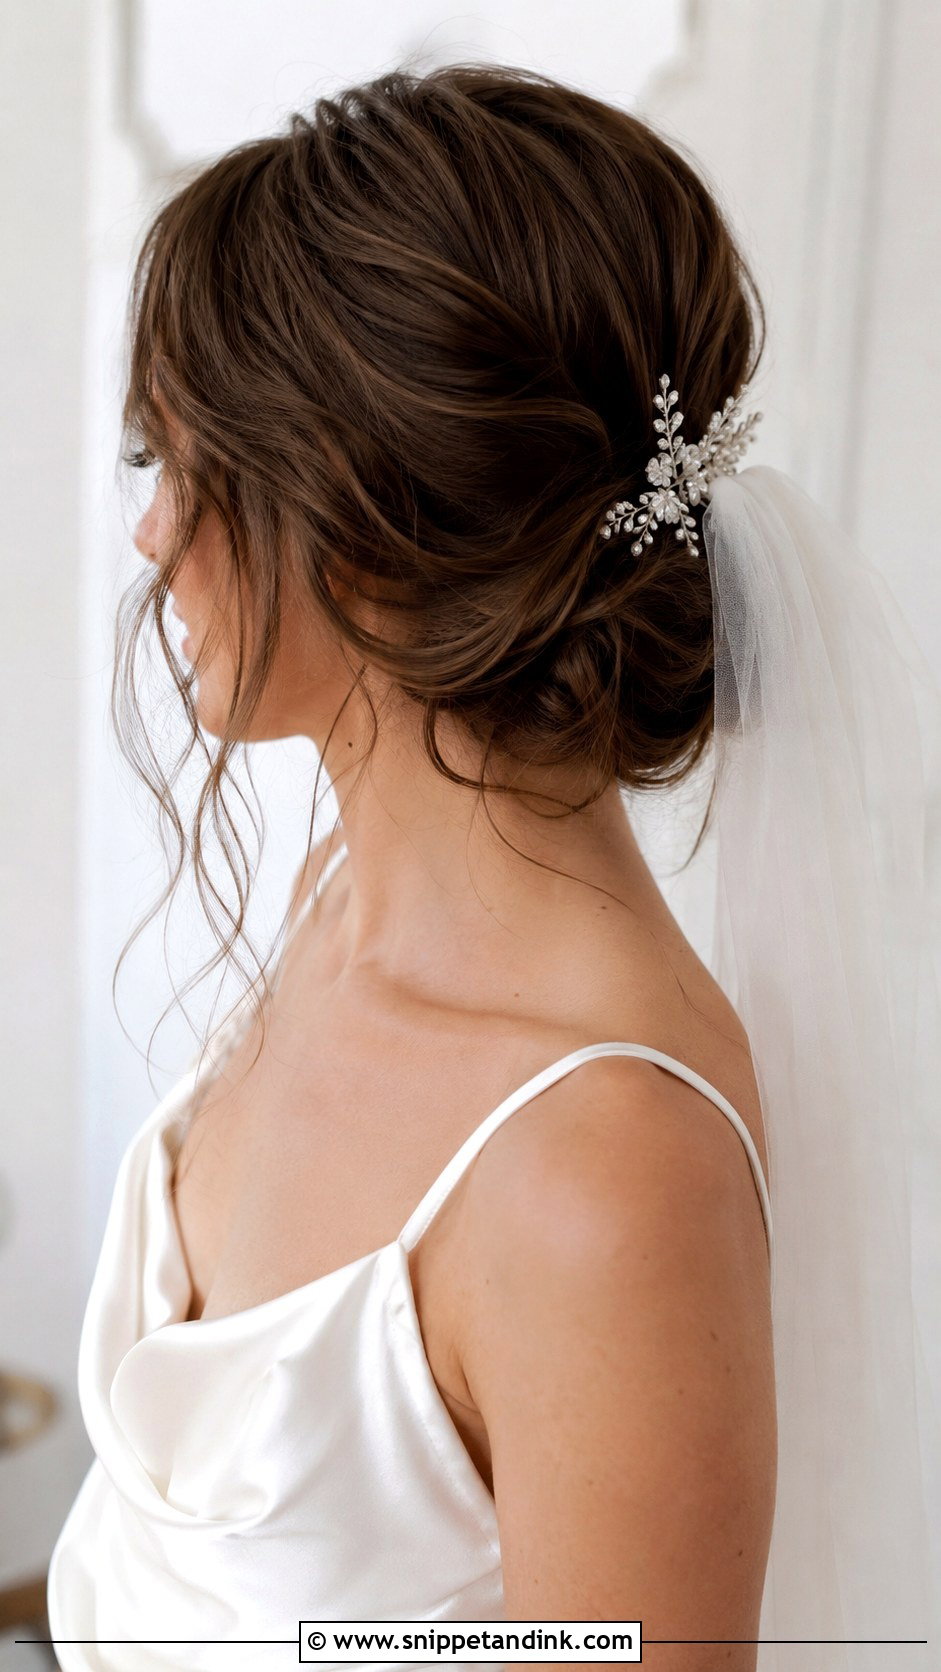
A wispy low updo is gathered loosely at the nape with fine pieces left out. I curl the hair first, then gather and pin it with crossed pins, so it looks soft but stays secure. Thin wisps look intentional; thick ones look like they’ve fallen. It pairs with veils and small accessories, and suits formal and boho weddings alike.
34. Center-Part Sleek Updo
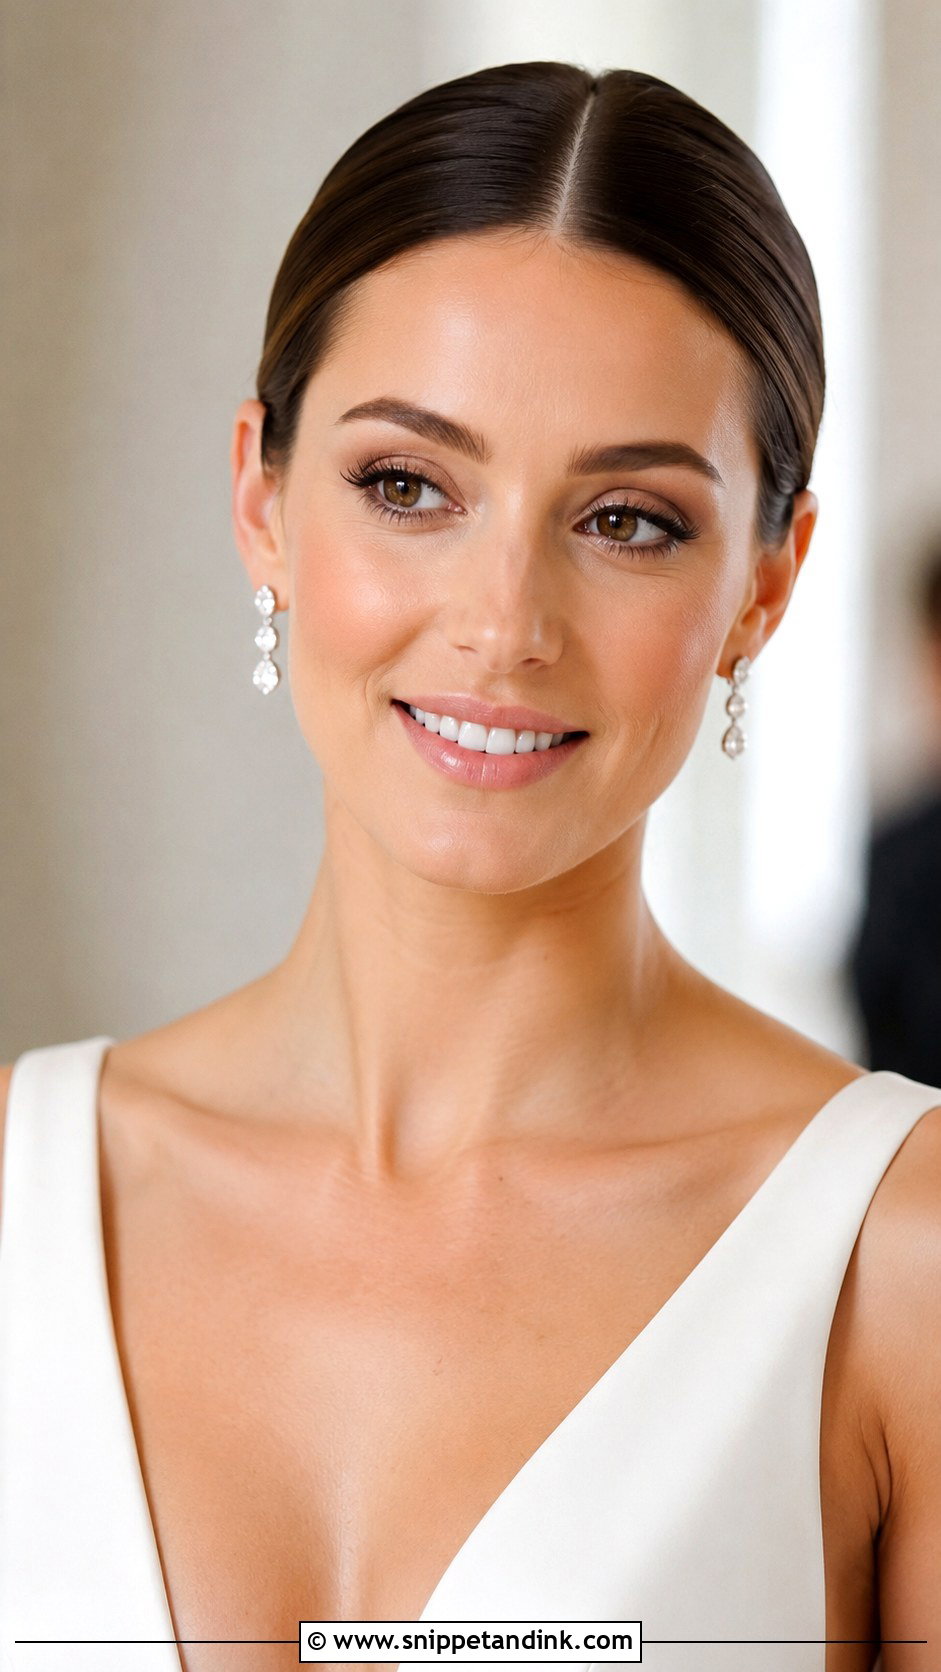
A center part shows symmetry, so I look at your face and hairline under daylight before committing. I smooth the hair back into a bun or knot with gel and a fine brush, keeping the part sharp. Shine spray adds gloss. It suits sleek gowns and modern venues, and puts your face and jewelry first.
35. Flower Crown With Loose Hair
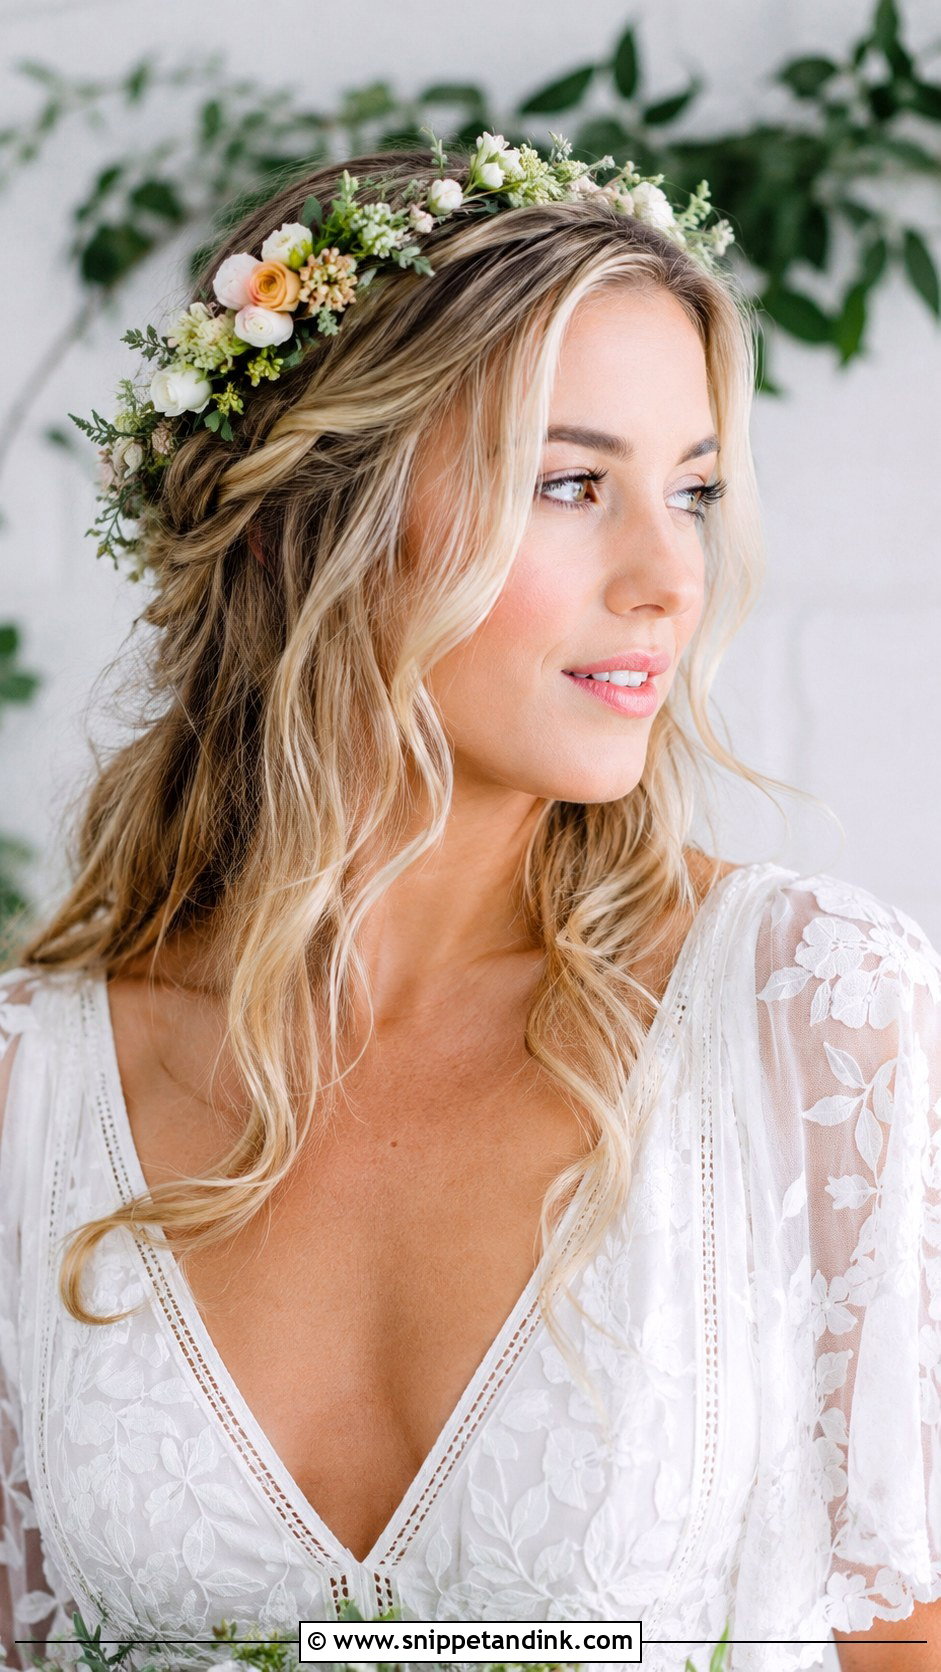
A flower crown with loose waves is pure bohemian romance, and it needs a hidden grip. Loose curls give a crown nothing to hold, so I braid a thin band underneath and pin the crown to that. Fresh or dried flowers both work; dried ones won’t wilt in summer heat. It suits outdoor and festival-style weddings, and a few curled tendrils soften the face.
Chair Time on the Morning, Style by Style
Every style here takes a different amount of time, and the schedule needs to reflect that. These are rough ranges for the bride’s own hair, not counting the bridal party, and they vary with hair length and density.
- Sleek ponytails, slicked-back buns and blowouts: around 45 minutes to an hour.
- Waves, curls and half-up styles: an hour to an hour and a half, including cooling time.
- Braided updos, rose updos and finger waves: an hour and a half or more.
I always ask to do the bride’s hair in the middle of the schedule, not first, so it’s still fresh for photos, and not last, so there’s a buffer if anything runs late. Make sure your veil is in by the time the photographer arrives for the getting-ready shots.
Switching to a Second Look for the Reception
Some brides want a different look once the veil comes off. The easy switches go from more structure to less: a half-up let down into loose waves, or a low bun turned into a side-swept ponytail. Going the other way, from loose waves into a full updo, takes longer and usually needs your stylist to stay.
If I’m planning a change, I build the first style so it comes apart cleanly: fewer pins, all placed where they can be found, and curls set firmly enough to survive being let down. Give yourself fifteen to twenty minutes between the ceremony photos and the reception entrance, and keep a brush, pins and a small hairspray in the bridal suite for it.
Show Your Stylist the Back of the Dress Too
Hair is a decision you’ll wear for many hours and see in photos for the rest of your life, so give it time. From sleek ballerina buns to flower crowns, the styles above suit very different brides. Bring your dress photos, front and back, your veil and accessories to the trial. Wear the trial style all afternoon. If you still like it in the evening mirror, you’ll still like it when you say “I do.”
You'll Like These Ideas:


Leave a Reply