
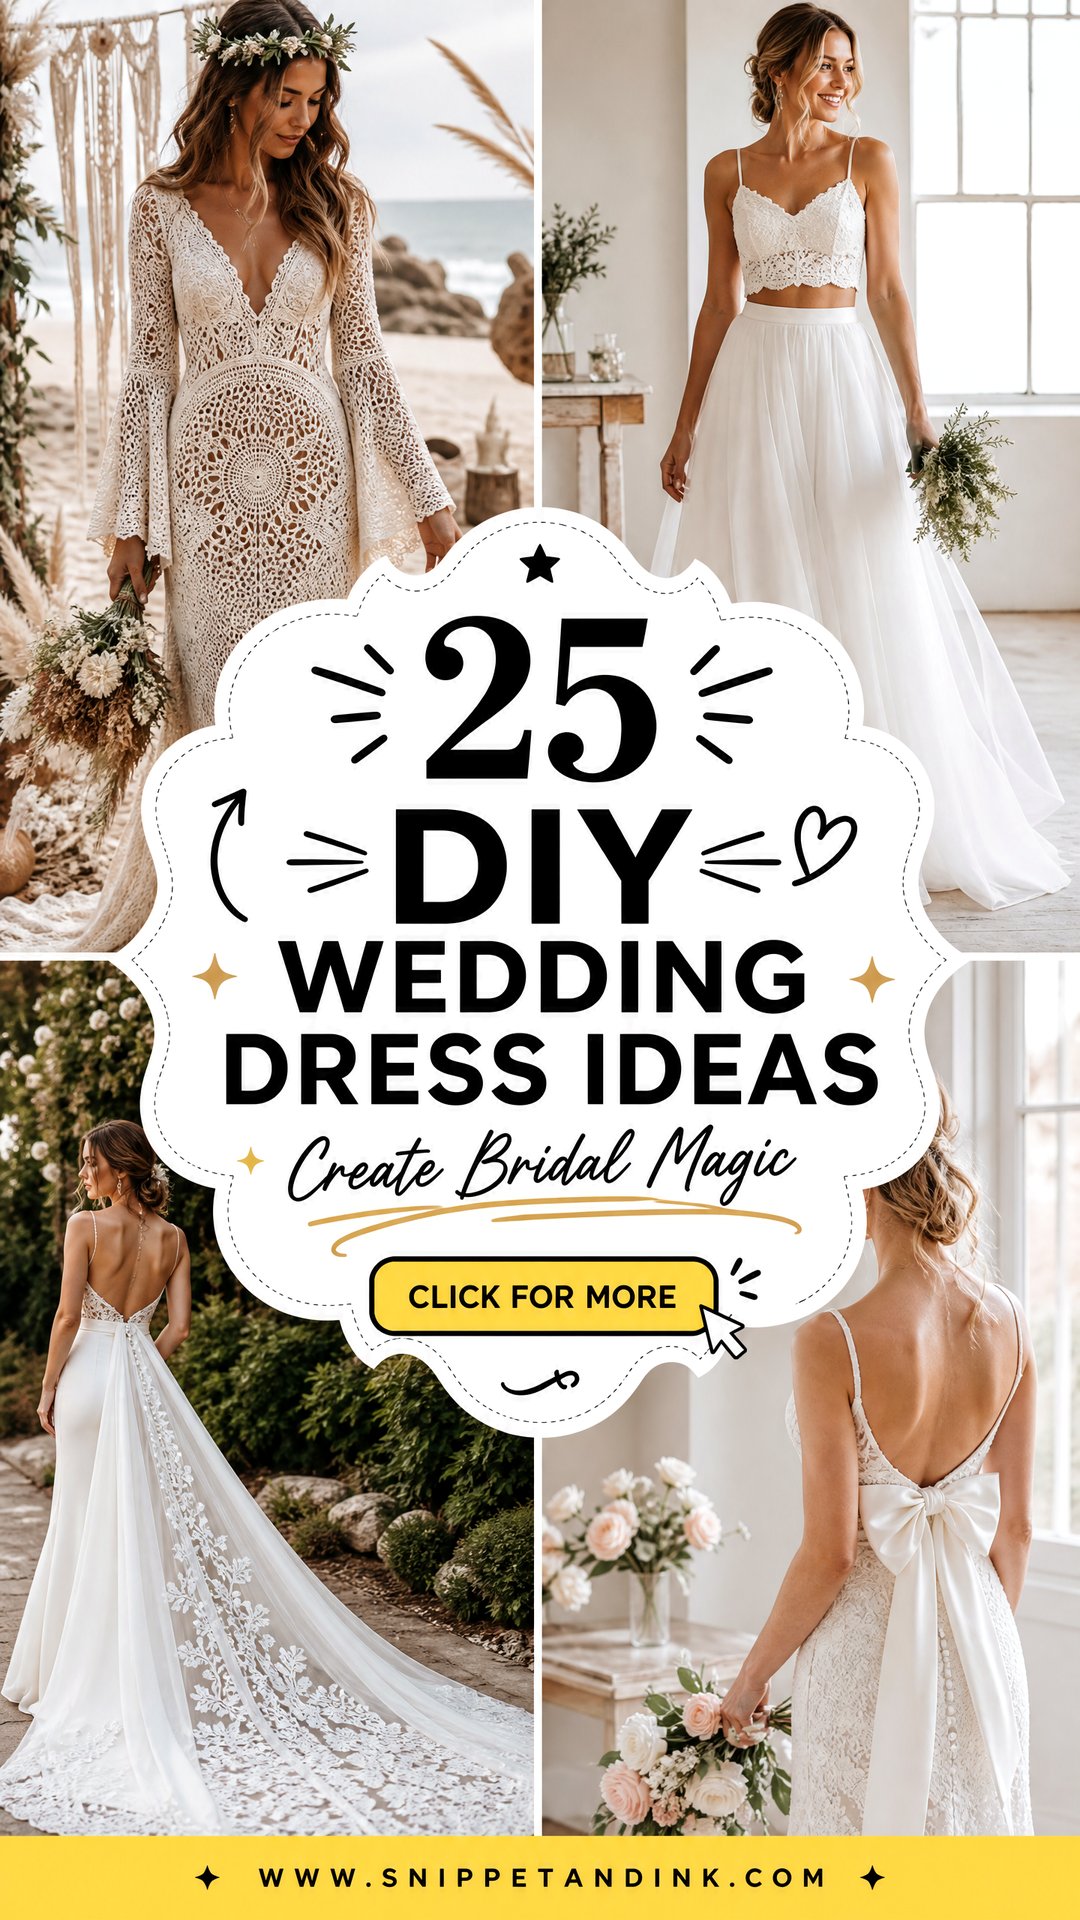
Making your own wedding dress doesn’t have to mean drafting a gown from nothing. Most of the handmade bridal looks I help with start from something that already exists: a thrifted gown, a plain slip, a family dress, or a set of separates that get a lace overlay, a detachable train or a new neckline. That’s the smart way in, because the hardest parts of dressmaking, fit through the bodice and a clean hem, are often already done. Below are 25 projects, roughly from easiest to most involved, with what I’d watch for on each so the finished dress looks made, not homemade.
A DIY Dress Timeline With Room for Mistakes
The biggest risk in a handmade wedding dress isn’t skill. It’s time. I’d work backward from the wedding like this:
- Six months or more out: choose the design, buy the pattern and sew a toile, a test version in cheap cotton muslin. Fit problems show up here, where they cost almost nothing.
- Four to five months out: buy the real fabric, plus extra for mistakes and matching. Pre-wash anything washable, like cotton and linen.
- Three months out: cut and sew the main dress, leaving hems and closures until later.
- Six to eight weeks out: final fitting in your wedding shoes and undergarments, then hem and add closures.
- Two weeks out: press, finish any hand detail and pack a repair kit.
If you’re altering a dress rather than sewing from scratch, you can roughly halve this. But keep a buffer anyway, because last-minute fixes always take longer than planned.
Buy all the white at once
Bridal whites vary a lot: bright white, soft white, ivory, diamond white and candlelight can all sit side by side and look mismatched. Buy the base fabric, lace, lining and thread from the same place at the same time, and hold swatches together in daylight before you commit. A slightly warmer white is usually kinder to most skin in photos than optical bright white.
1. DIY Lace Overlay Wedding Dress
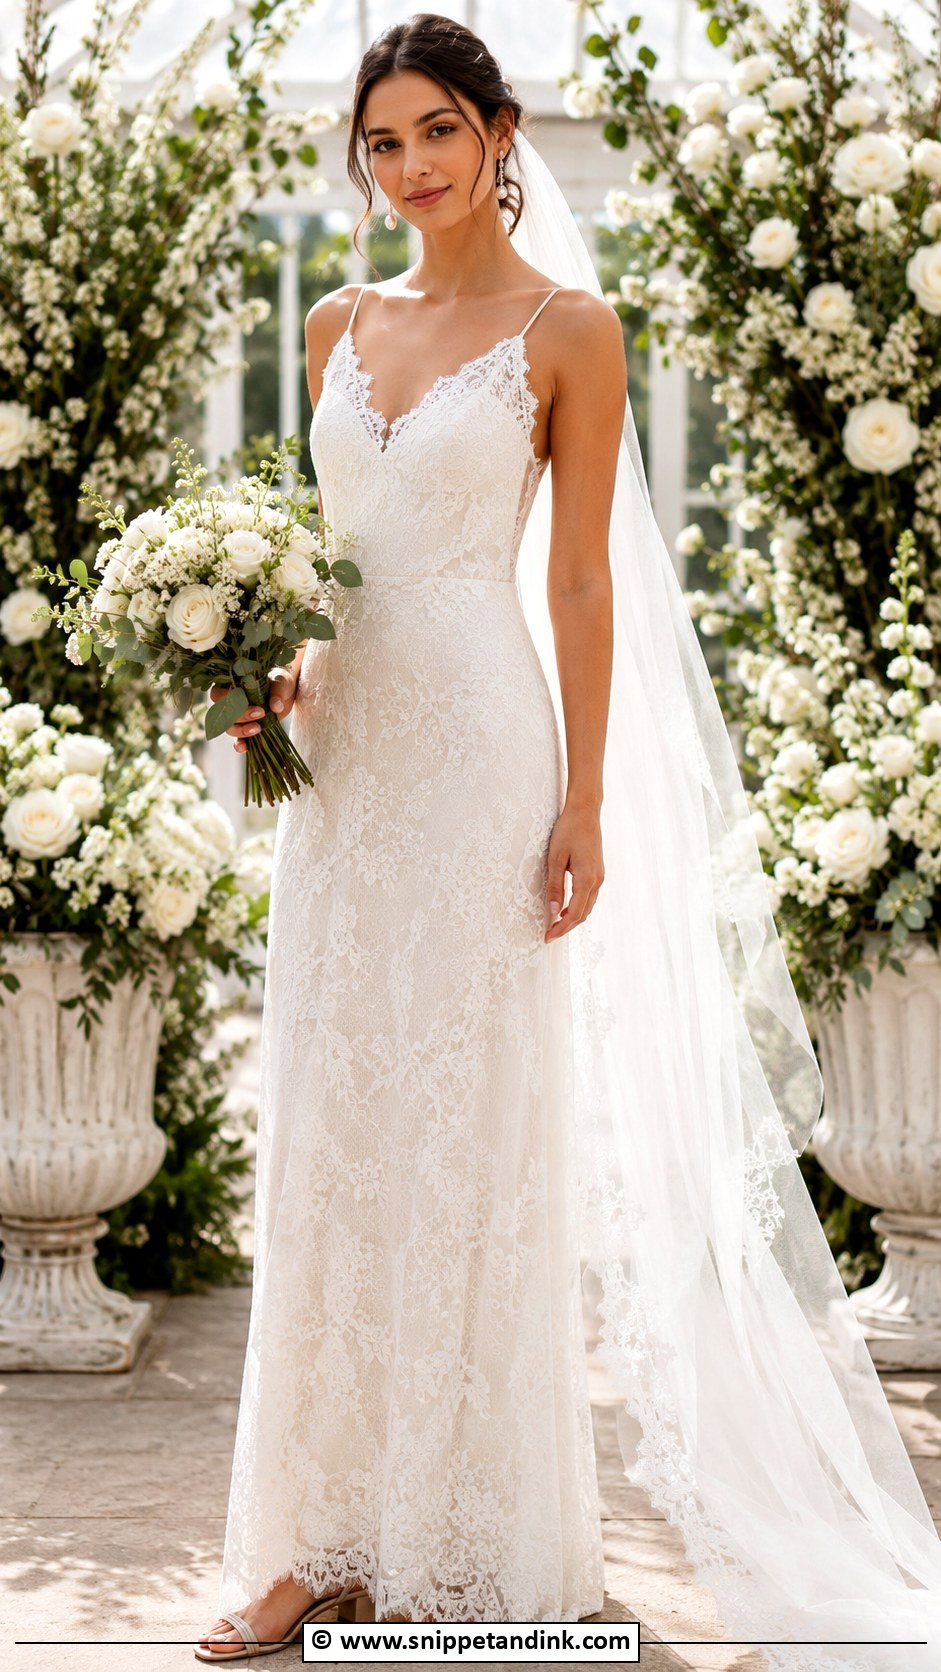
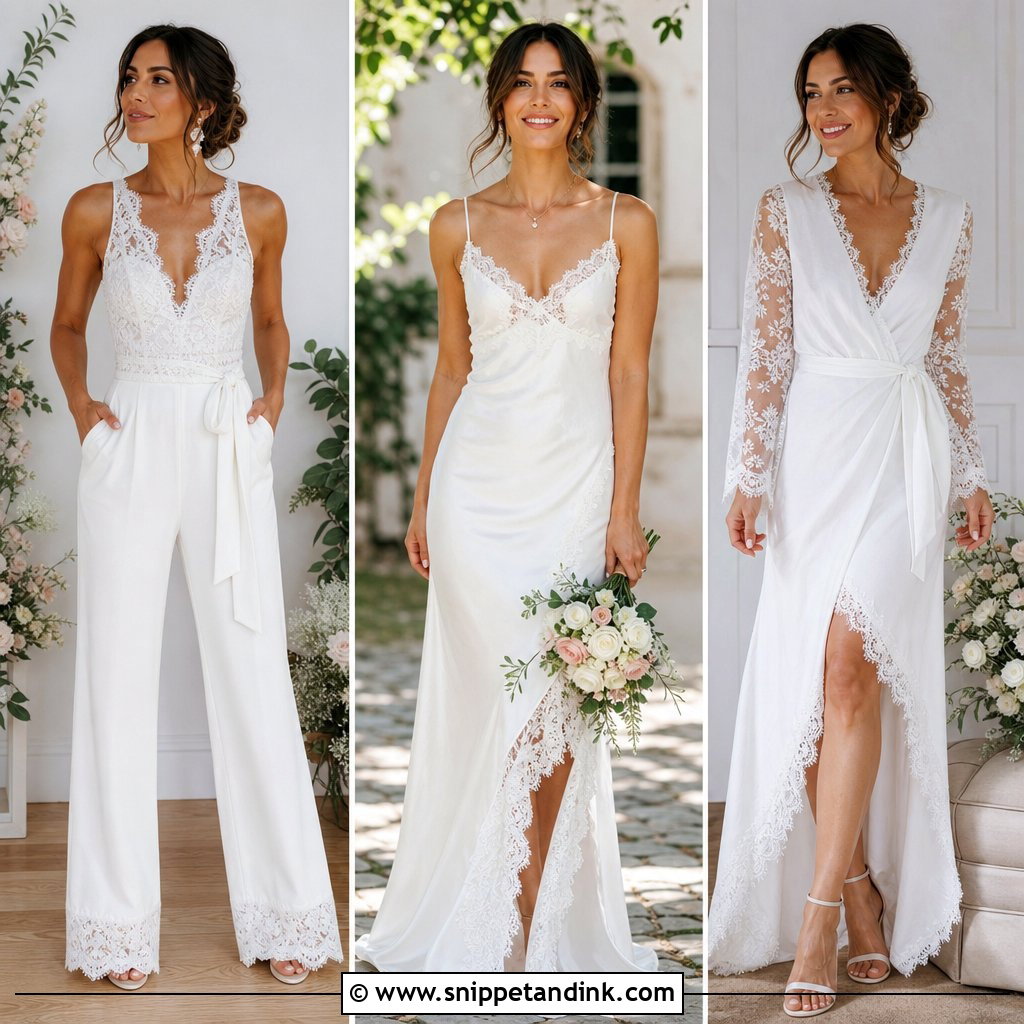
Start here if you’re nervous. A lace overlay goes over a slip, satin gown or plain white maxi and does most of the bridal work without any real construction. Stretch lace is far easier to fit because it gives over curves; scalloped lace looks more finished at the hem and neckline because the edge is already done. The trick I’d pass on is to baste the lace to the base dress at the side seams and neckline, so it moves with you instead of shifting. Pearl earrings and low block heels complete it.
2. DIY Corset Top Wedding Dress
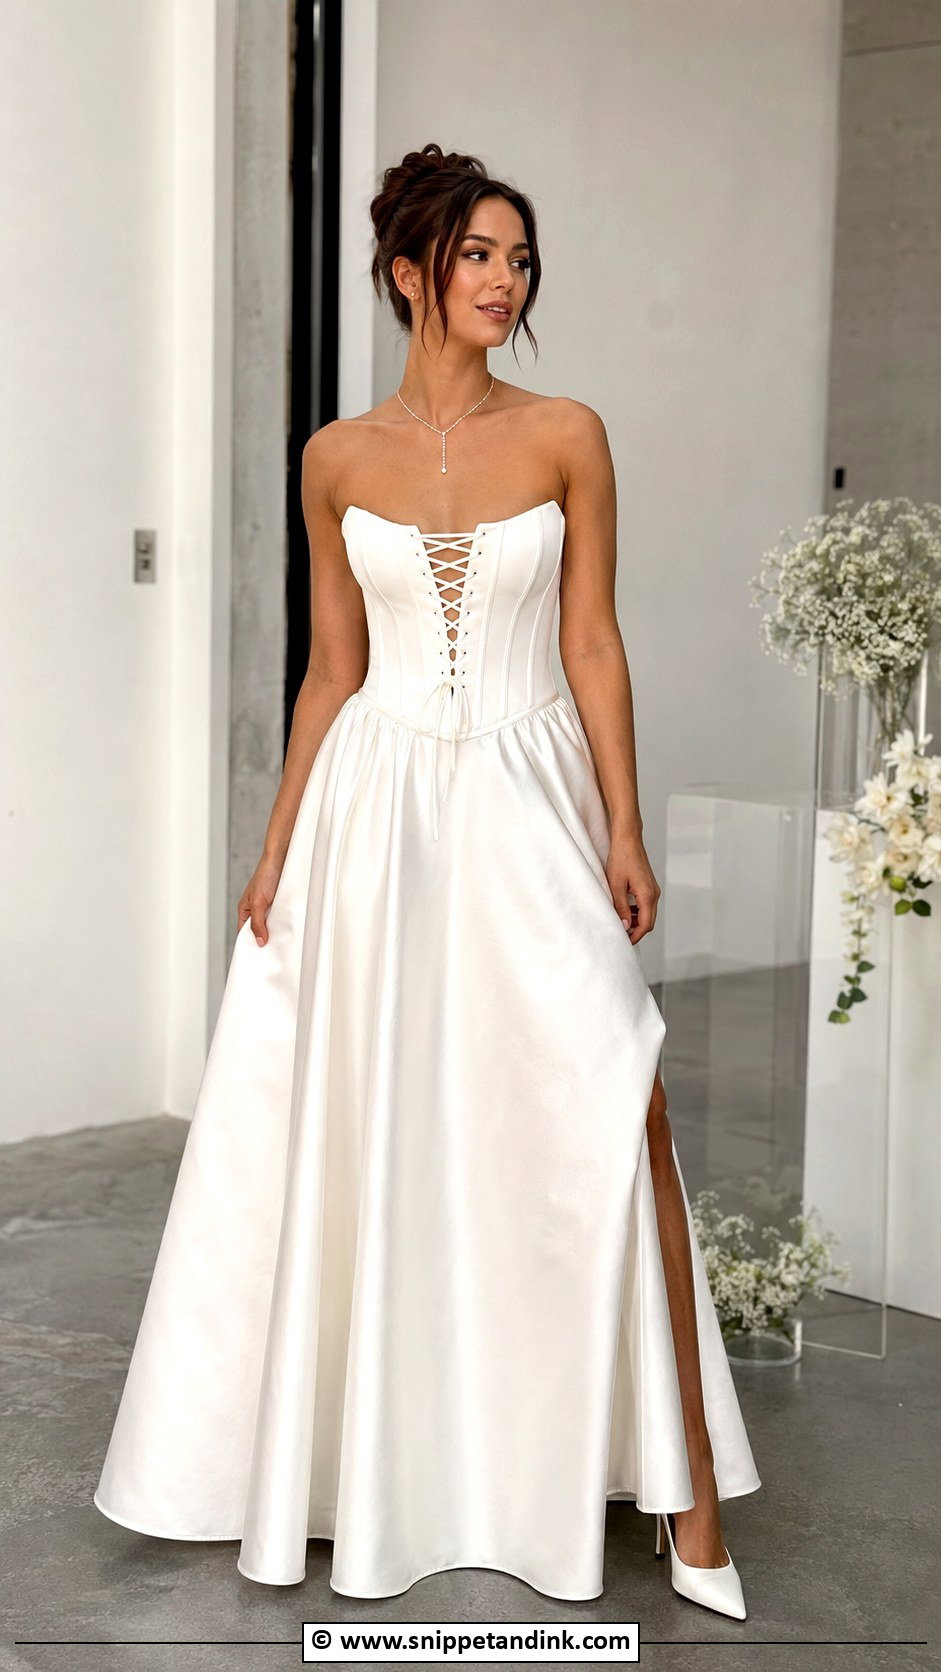
Corsetry punishes shortcuts, so make a practice bodice in cheap cotton before cutting bridal fabric. Use a reliable pattern, steel or quality synthetic boning in channels, and a sturdy lining; those are what keep the top from wrinkling across the ribs. Lacing at the back gives you some adjustment through the day. Pair the bodice with a full tulle, satin A-line or column skirt, and keep the styling simple: pointed heels, a fine necklace and a clean updo.
3. DIY Tulle Skirt Wedding Dress
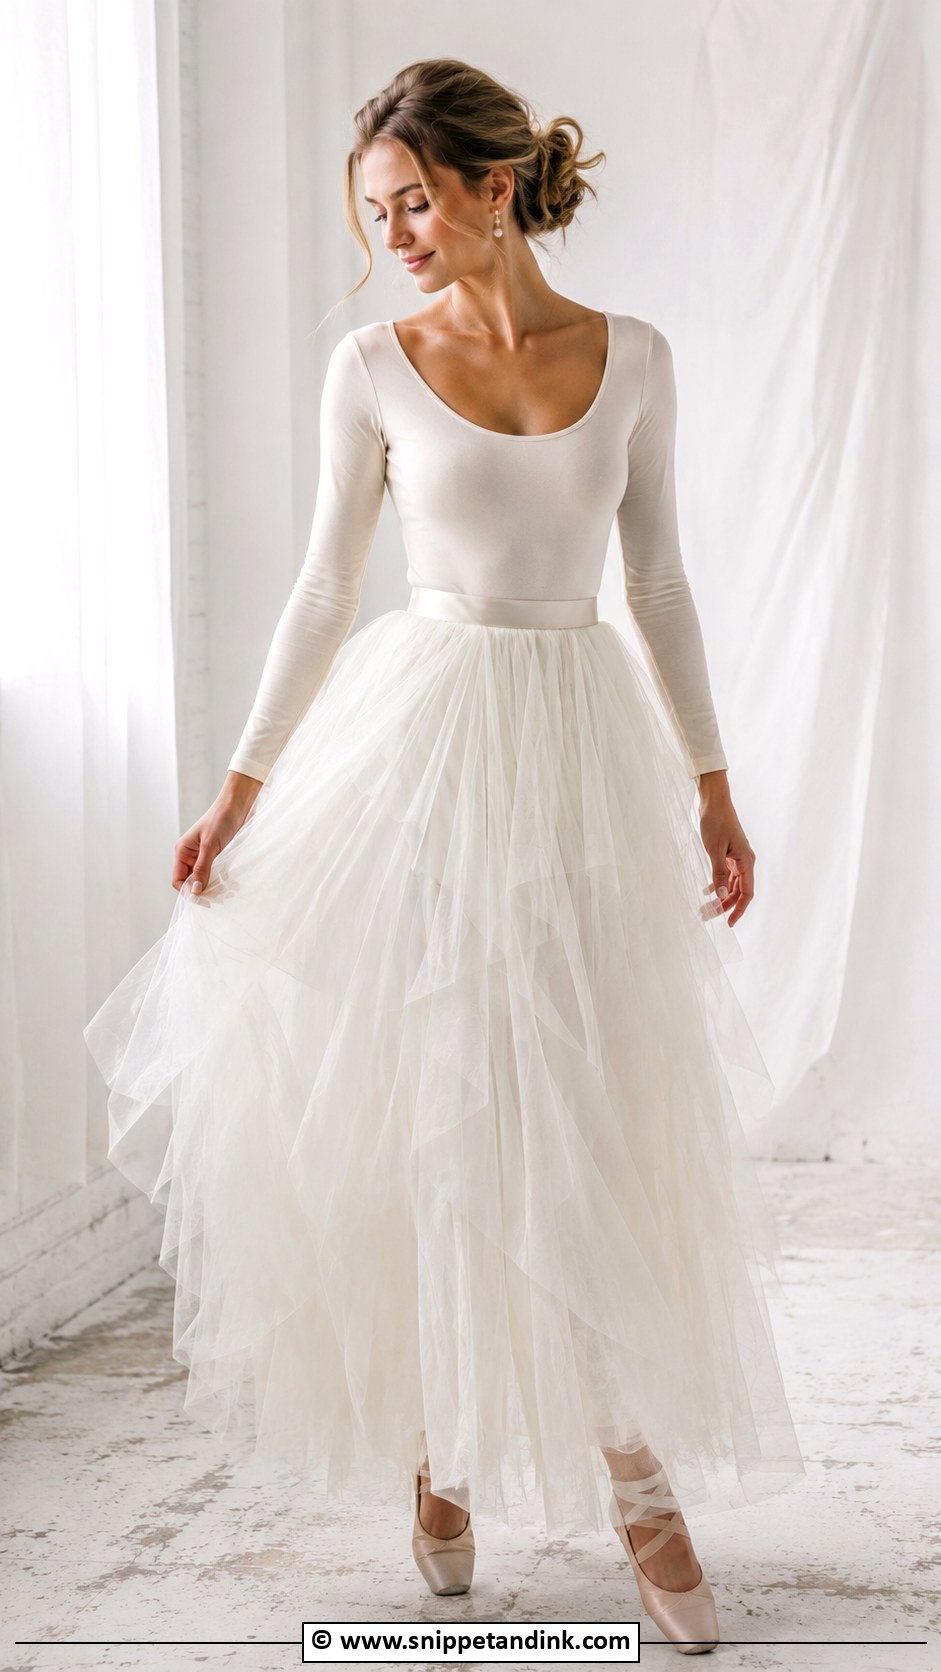
A gathered tulle skirt turns a bodysuit, camisole or fitted top into a full wedding look, and it’s one of the most forgiving projects here. You’ll need a lot of tulle, often many meters for real volume, plus a lining underneath so the skirt isn’t see-through. An elastic or hidden waistband keeps it simple. Tulle frays very little, so the hem can be left raw, which saves hours. Add a satin ribbon belt at the waist and wear flats or block heels.
4. DIY Satin Slip Wedding Dress
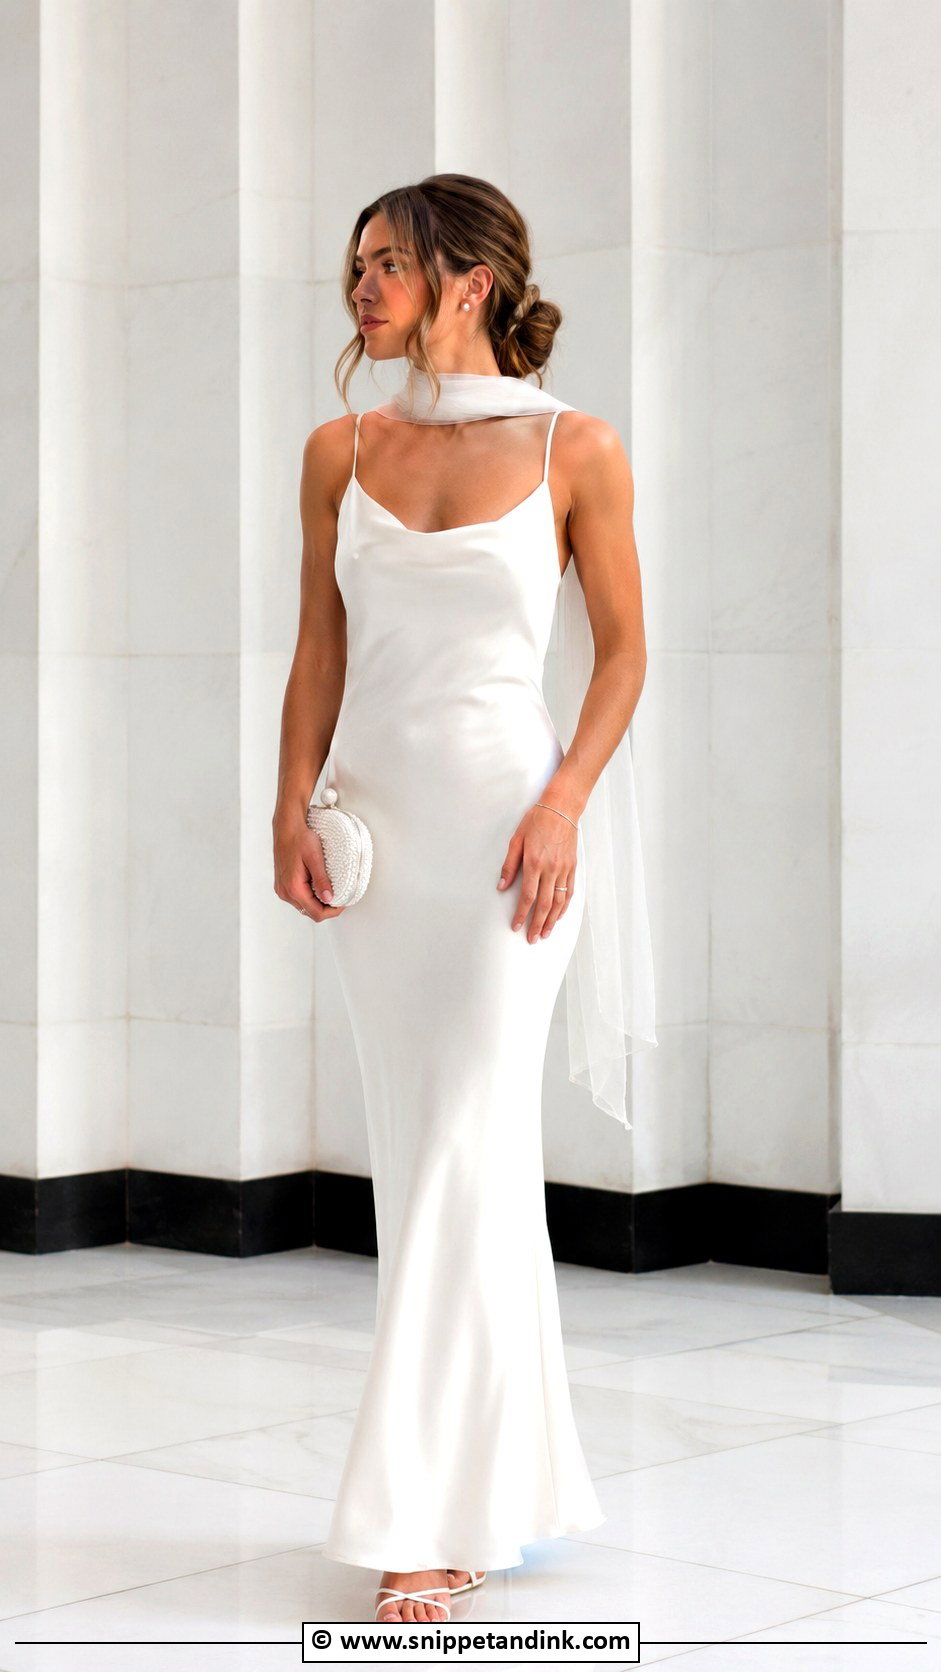
A DIY satin slip wedding dress looks simple, but satin is one of the trickiest fabrics for a beginner. It slides while you cut, shows every pin hole, and a bias cut stretches as you sew. Use plenty of fine pins inside the seam allowance and a fresh, sharp needle. Charmeuse or crepe-back satin drapes best. Keep the design minimal, thin straps and a midi or floor hem, and add a sheer scarf and strappy heels. You’ll wear it again, which makes the effort worth it.
5. DIY Boho Crochet Wedding Dress
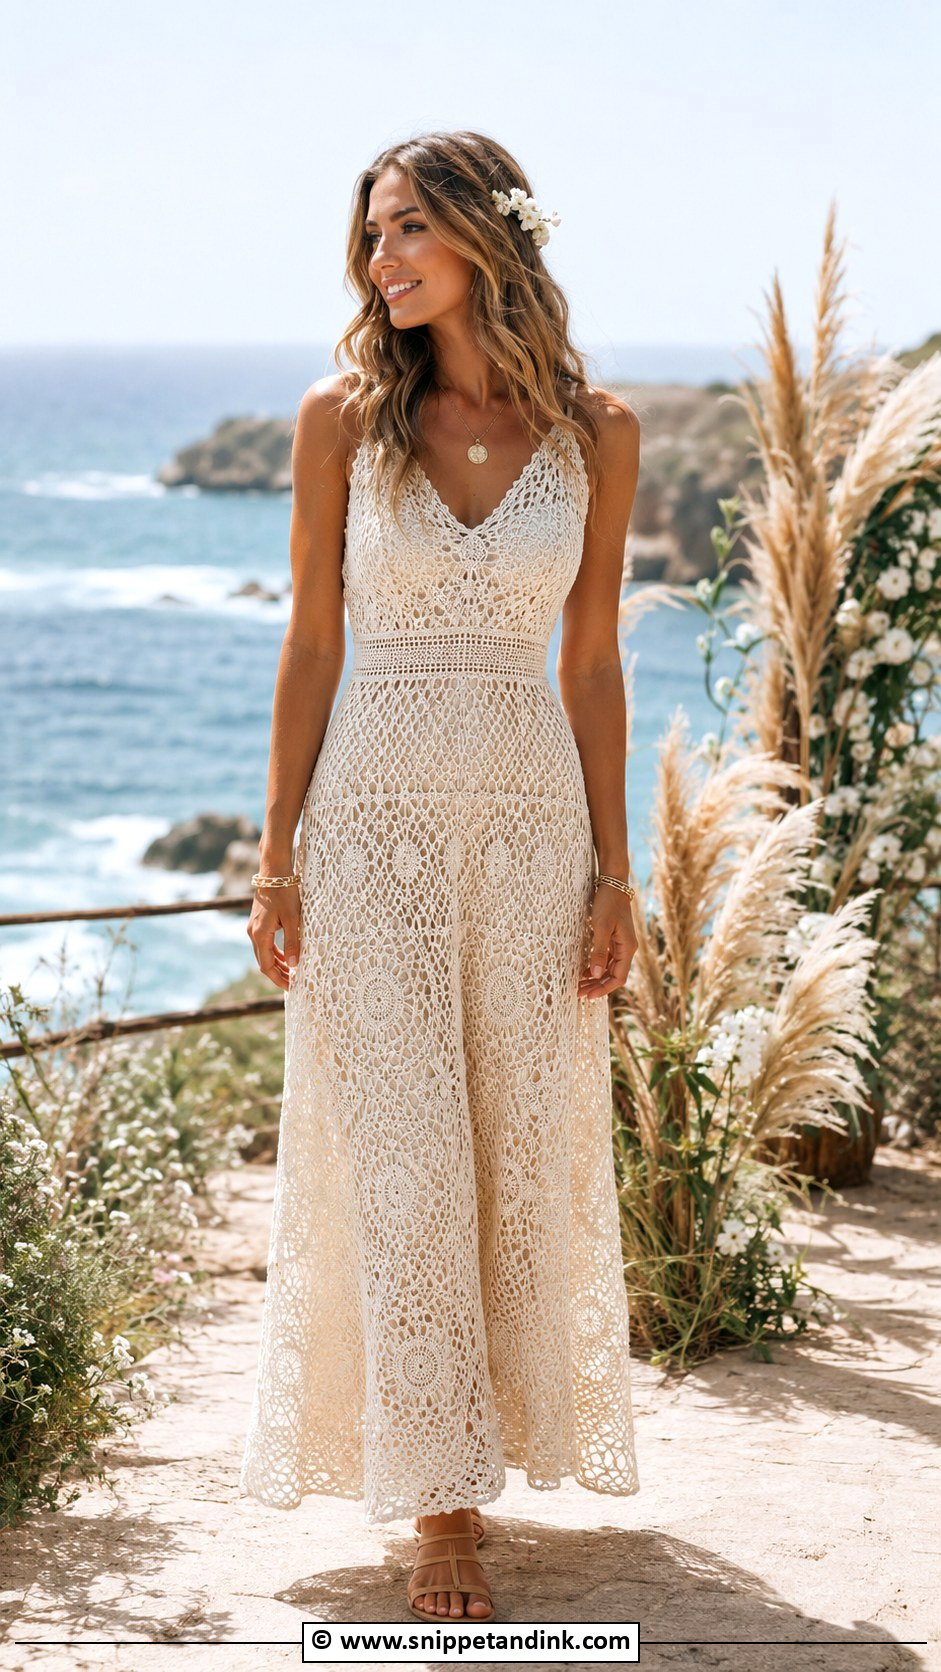
Crochet gives a relaxed, textured dress, best worn over a smooth slip so the pattern shows without being see-through. A full crocheted gown is a big time investment, so most makers settle for panels on the bodice, sleeves or hem. Cotton or cotton-blend yarn is cooler and holds shape better than acrylic, which can stretch and sag when warm. Block each panel before joining it. Flat sandals, loose waves and a flower clip suit beach and backyard weddings.
6. DIY Vintage Wedding Dress Flip
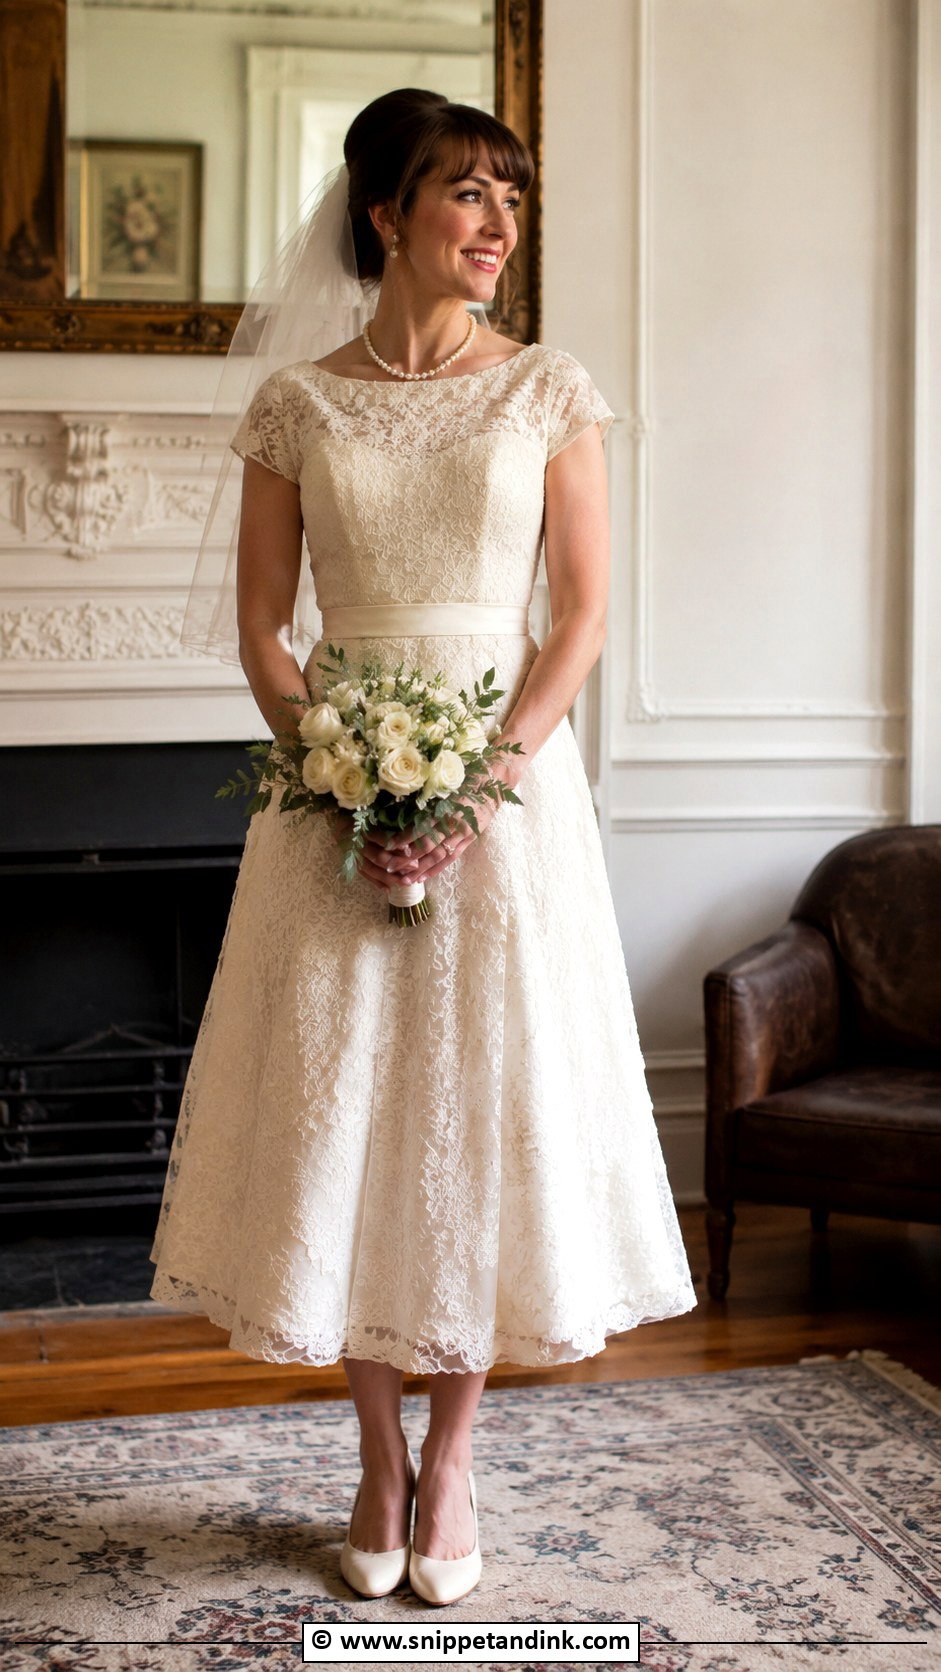
Giving an older gown a second life is one of the most rewarding projects, and often the cheapest. Thrifted gowns, family dresses and secondhand bridal pieces can lose big sleeves, gain a simpler neckline, a shorter train or a slit, and swap dated trim. I always tell brides to keep the best original details, the lace, covered buttons or embroidery, because that’s where the history lives. Check the gown for yellowing and weak seams before you start cutting. Vintage-style pumps and a short veil complete it.
7. DIY Short Wedding Dress
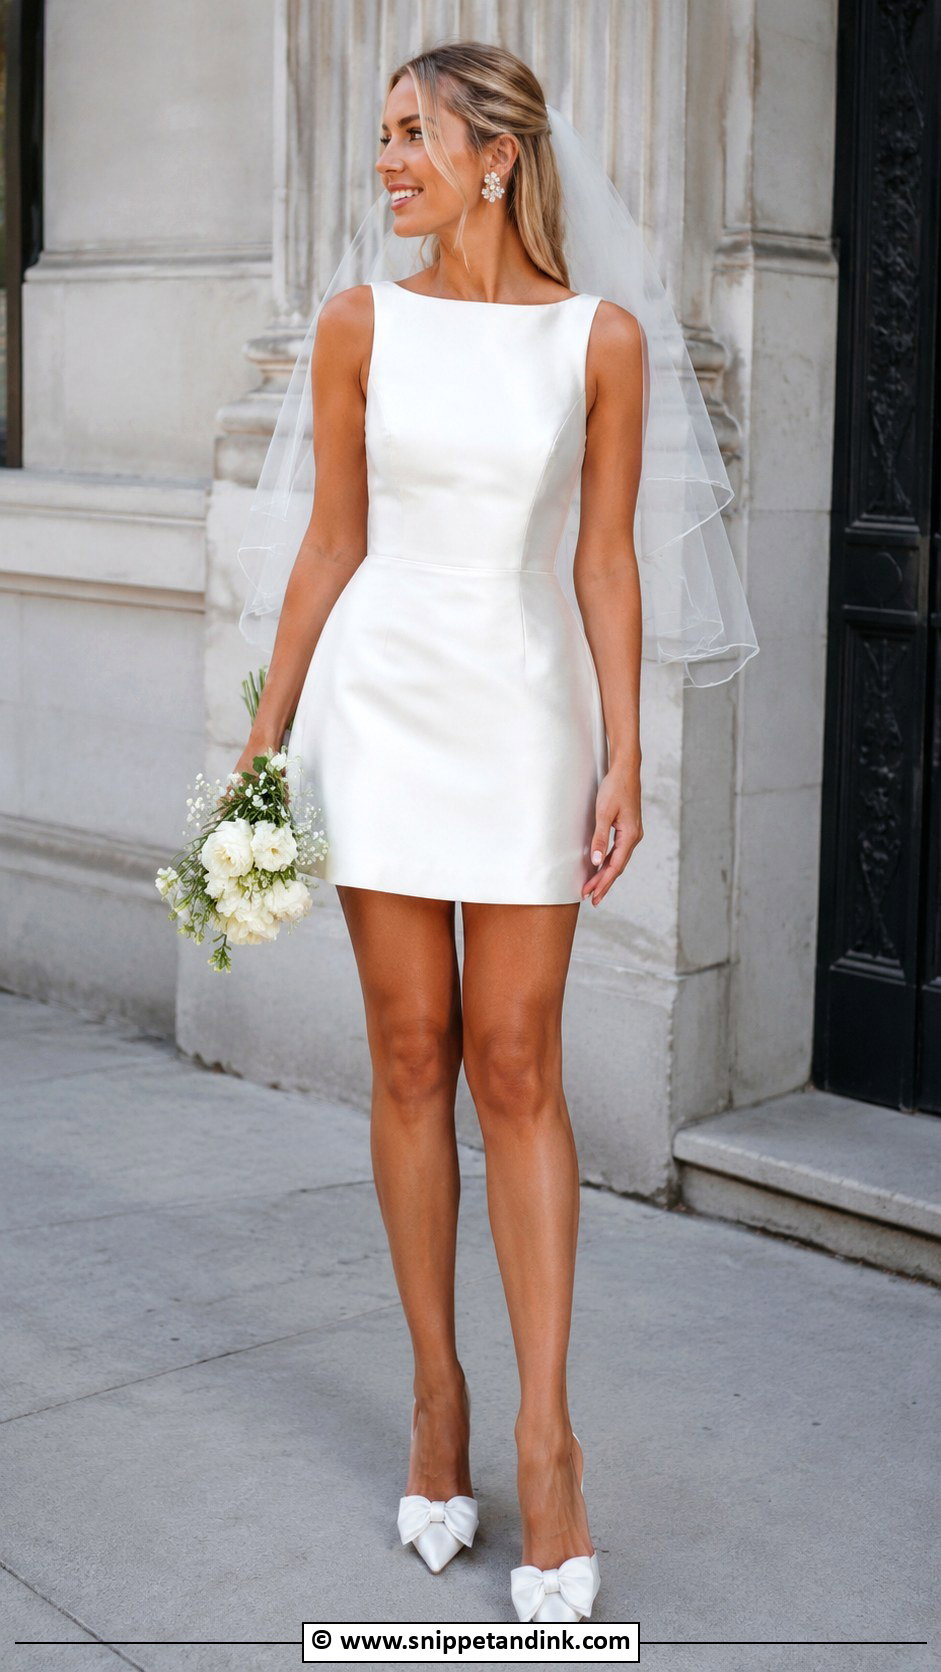
Shortening a long dress is easier than sewing a new one, and it’s a good first alteration. Measure the new hem from the floor in your wedding shoes, and leave extra length until you’ve tried it on once. Satin, lace, brocade and structured cotton all work. With a short hem your shoes show, so think about pearl heels or bow pumps. A cropped veil and statement earrings keep it bridal for a courthouse wedding or after-party change.
8. DIY Two Piece Wedding Dress
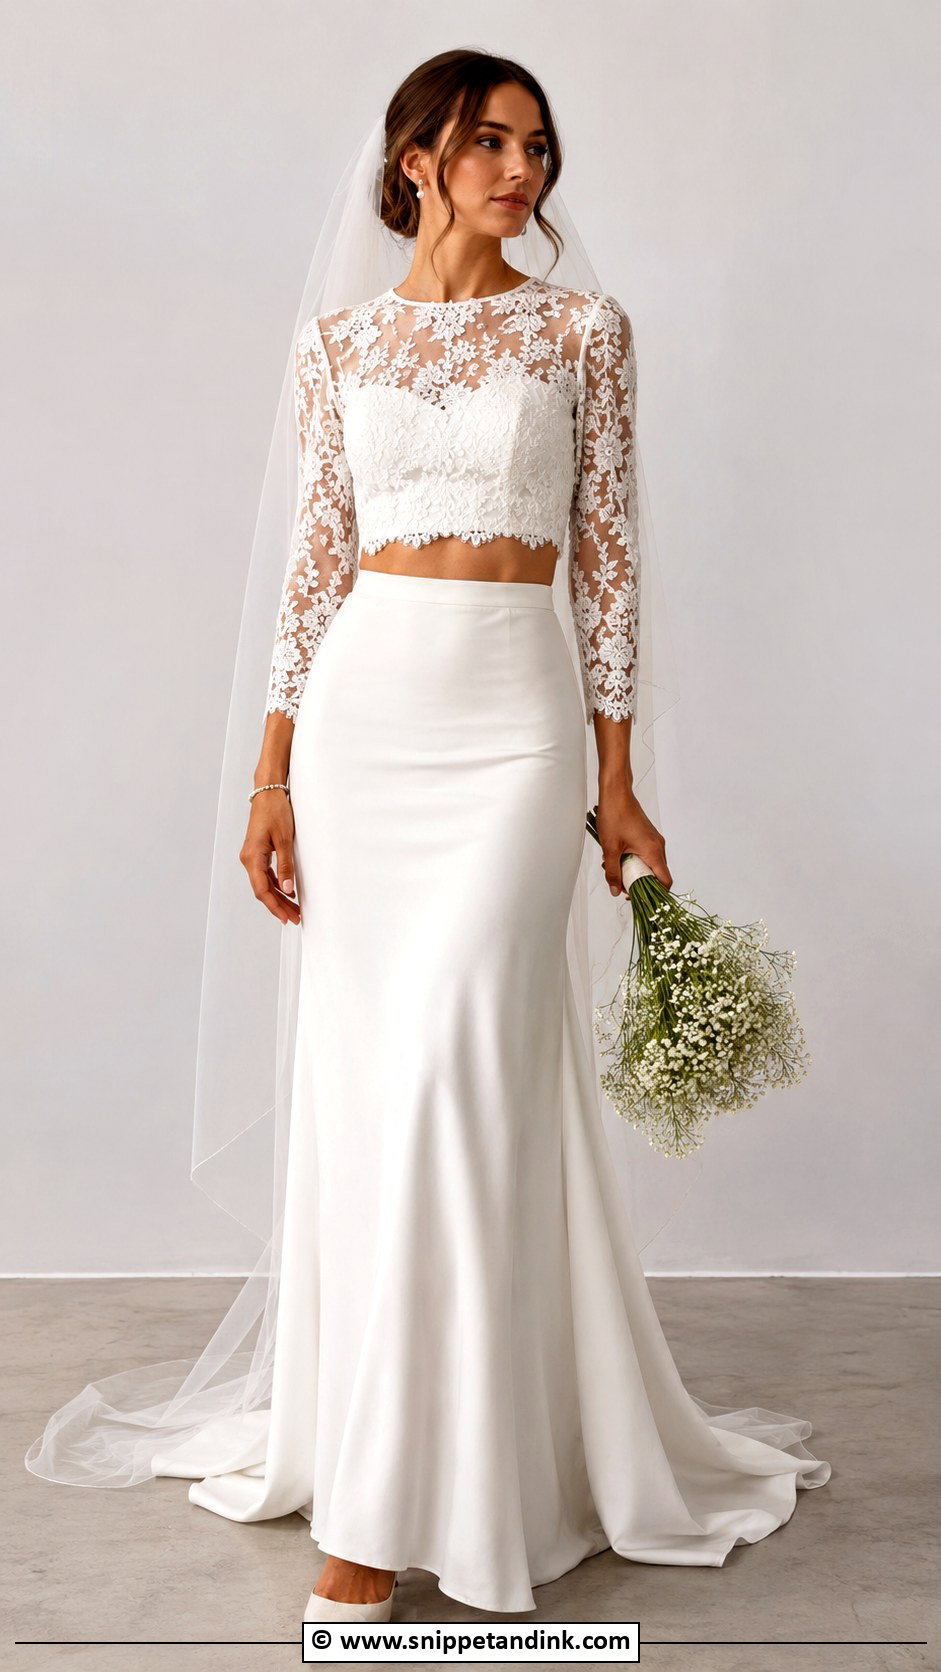
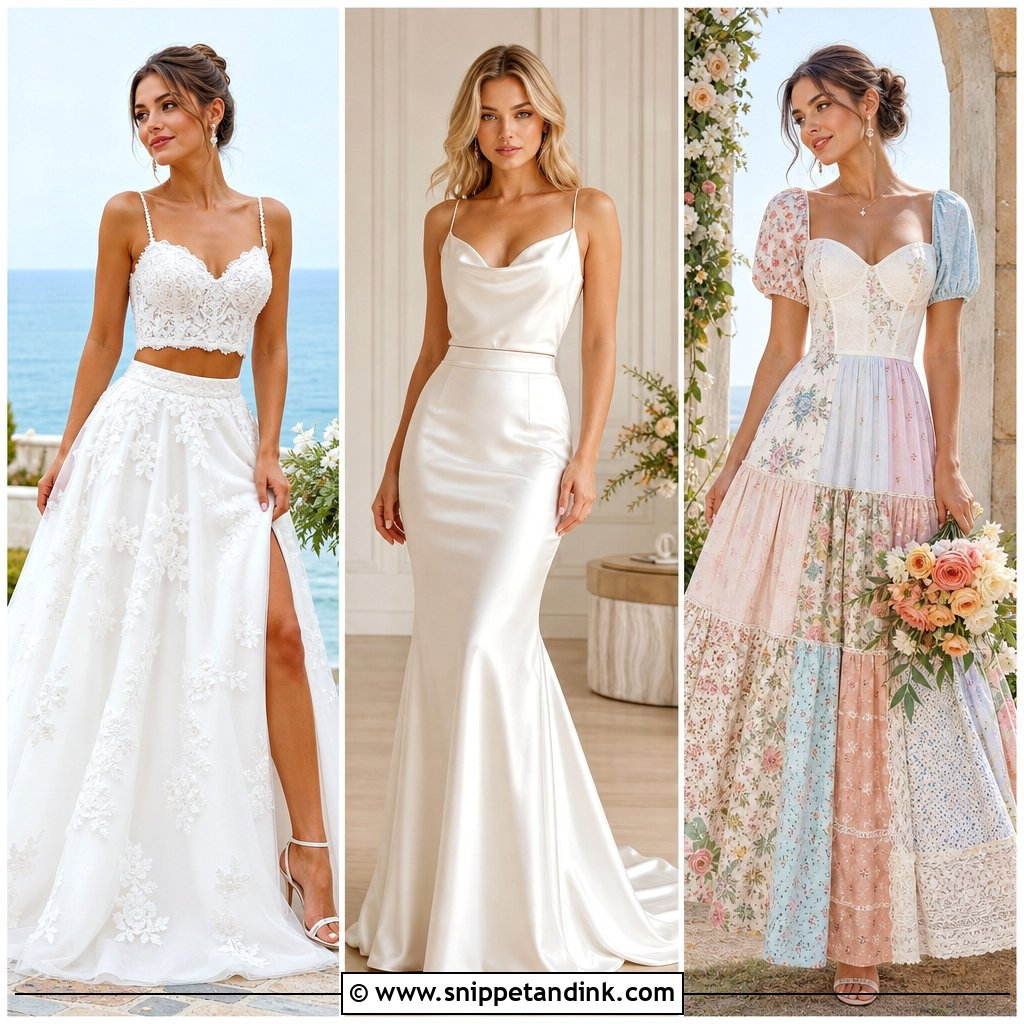
A DIY two piece wedding dress is easier to fit than one gown, because the top and skirt are sized separately. Try a lace crop top with a high-waisted skirt, a satin camisole with tulle, or a structured bodice with a column skirt. Decide early whether you want a small gap at the waist or none, since that changes the pattern lengths. You can wear each piece again afterward.
9. DIY Detachable Train Wedding Dress
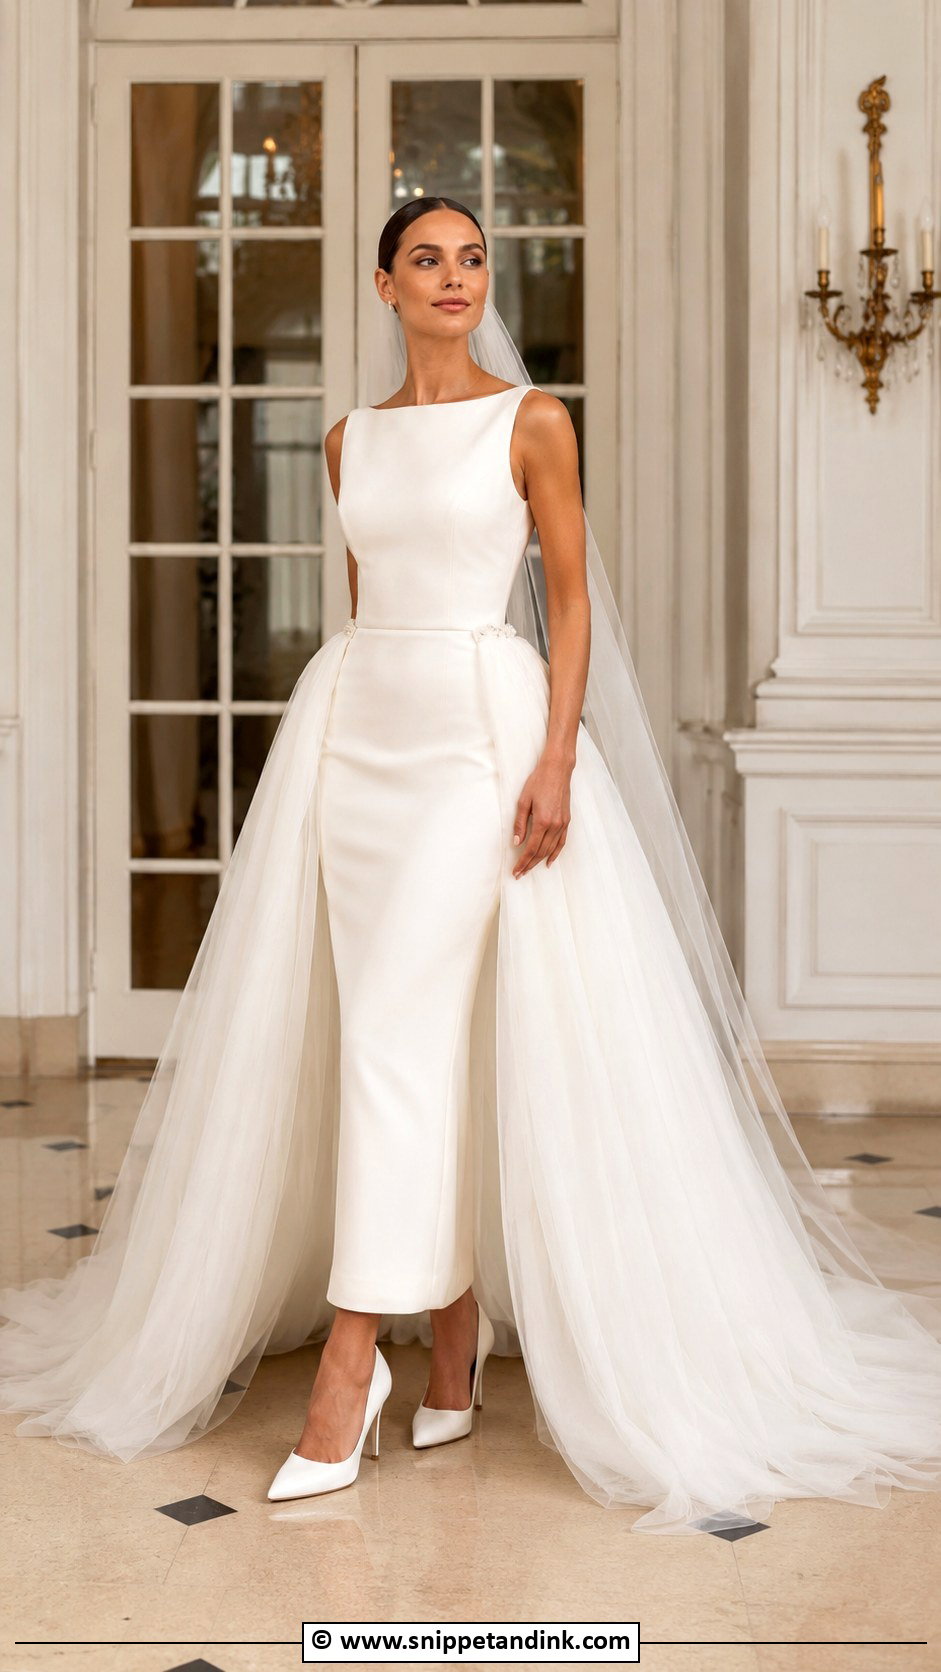
A detachable train is a manageable project that changes your look between ceremony and reception. It can attach with hooks, snaps, buttons or a hidden belt. Hooks hold best under weight; snaps can pop open when someone steps on the train. Tulle, organza, satin or lace all work, but match the color carefully to the base dress, as whites vary more than people expect. Keep the main dress simple so the train has impact.
10. DIY Puff Sleeve Wedding Dress
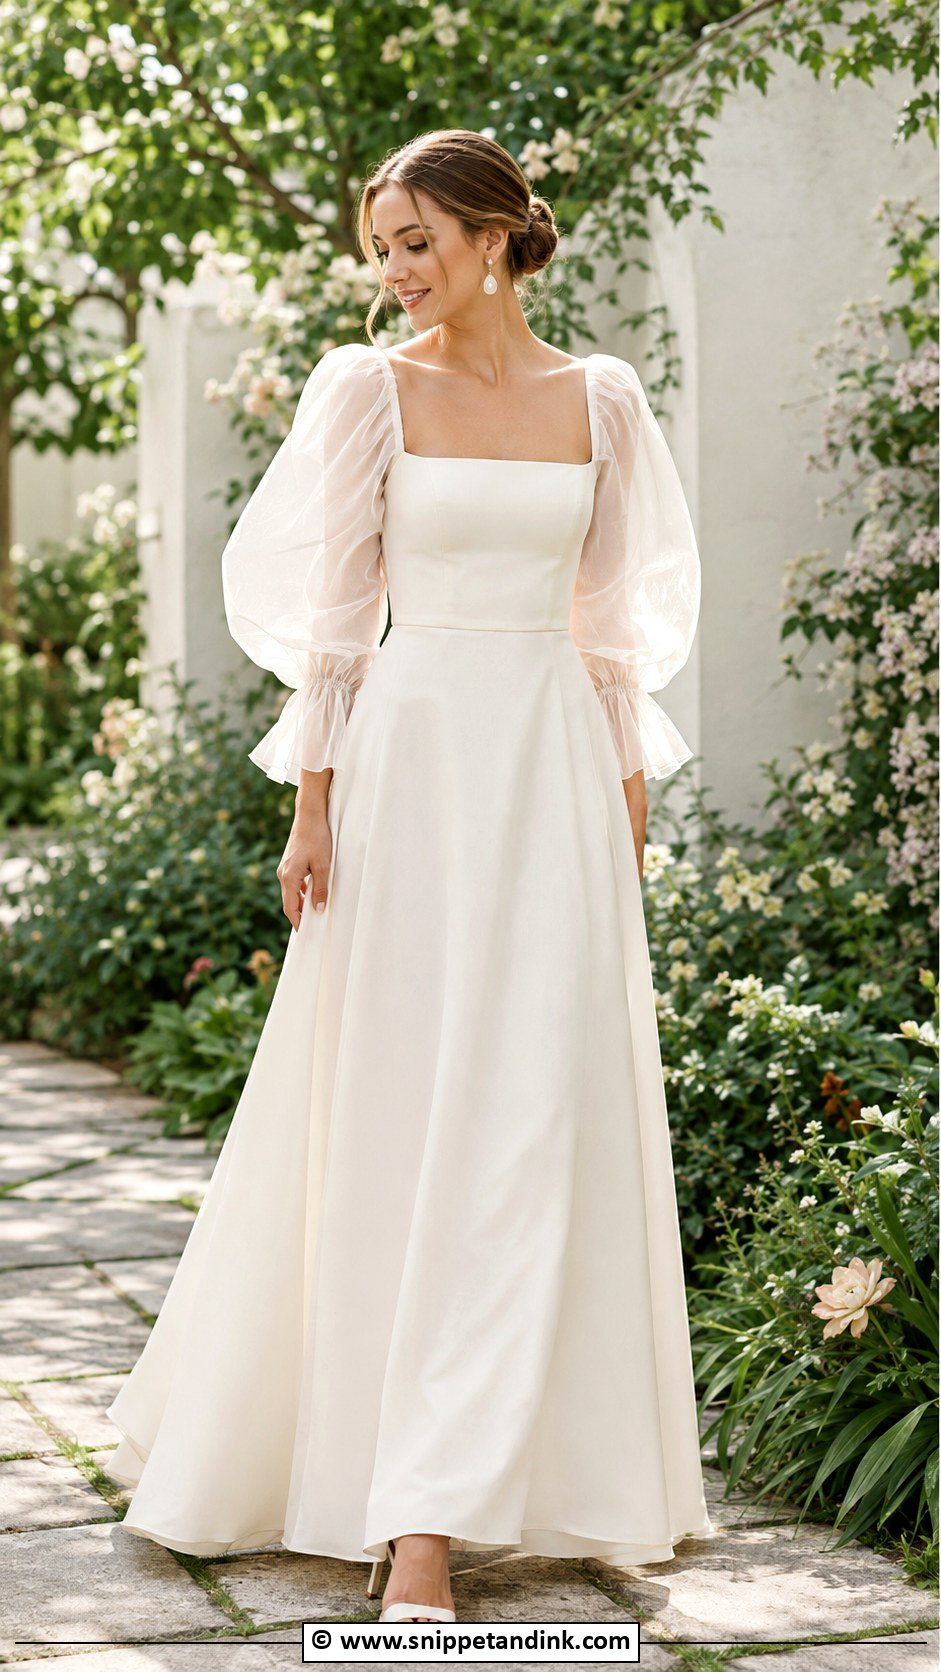
A DIY puff sleeve wedding dress can start with detachable sleeves added to a strapless gown, which is the easier route. Organza gives a light, cloud-like sleeve; satin or cotton holds a firmer shape. For sleeves to stay puffed all day, I’d add a layer of tulle inside as a lining. Keep the skirt simple if the sleeves are large. Pearl drops and a clean bun finish it for garden and vintage-style ceremonies.
11. DIY Beaded Bodice Wedding Dress
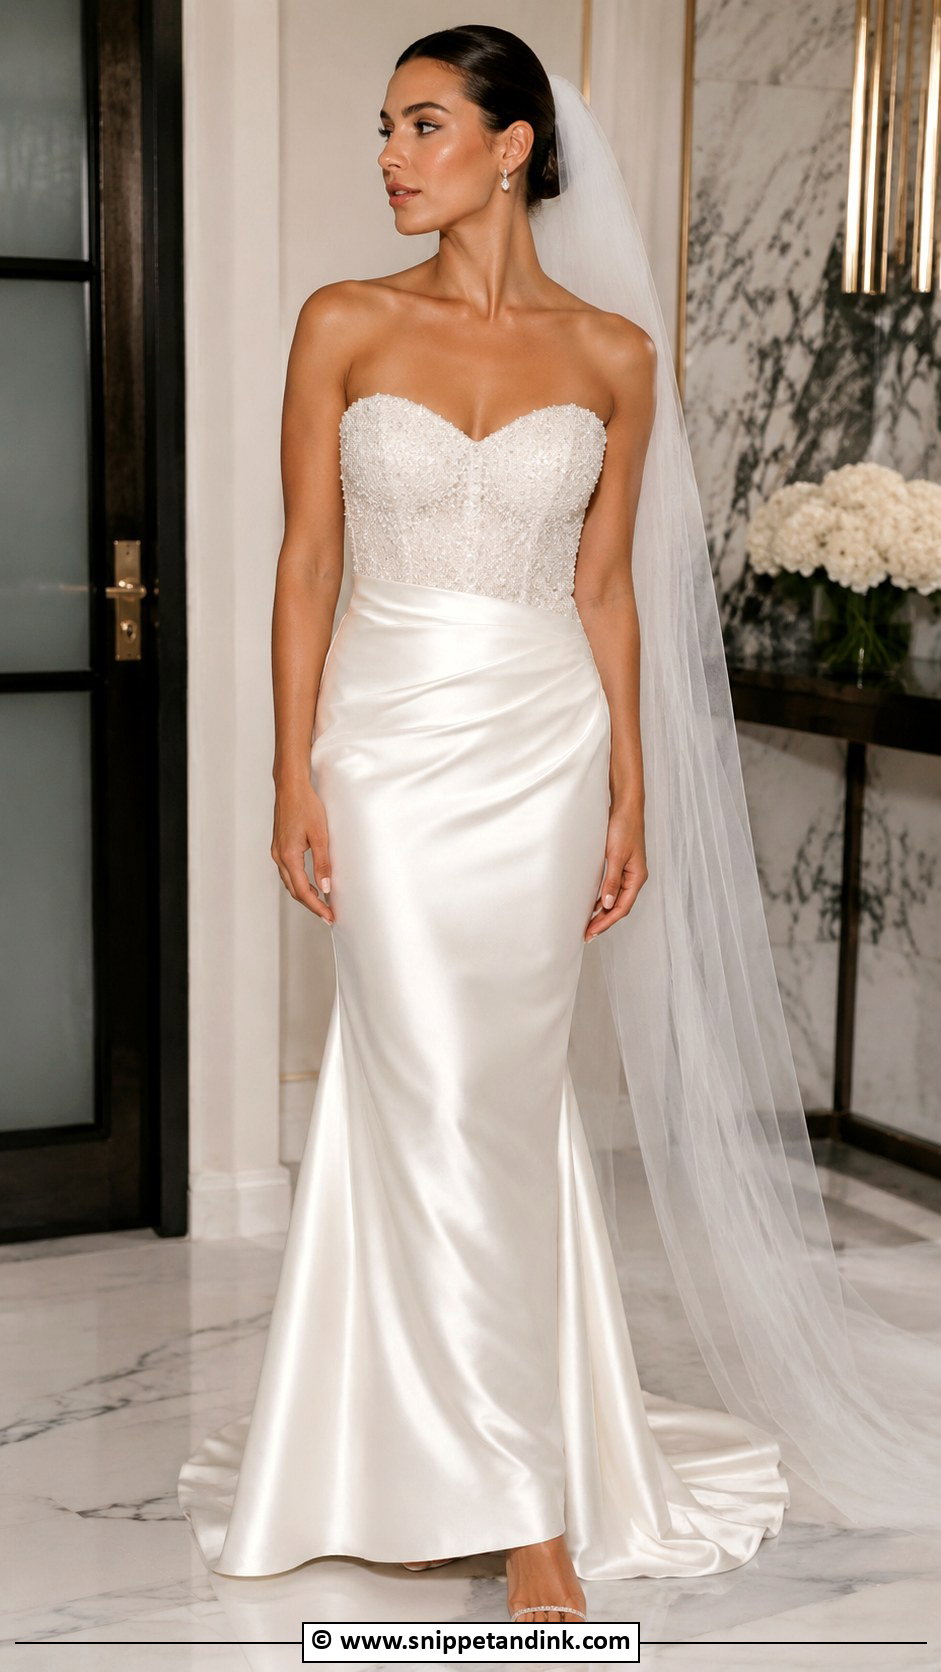
Hand-beading a plain bodice adds sparkle in a controlled way. Use pearls, seed beads, crystals or sequins along the neckline, straps, waist or front panel. Plan the layout first by chalking it onto the fabric or pinning beads in place, because random sparkle looks messy. Beading takes far longer than people estimate; start well ahead. Pair the bodice with a smooth satin or chiffon skirt and keep jewelry minimal.
12. DIY Floral Embroidered Wedding Dress
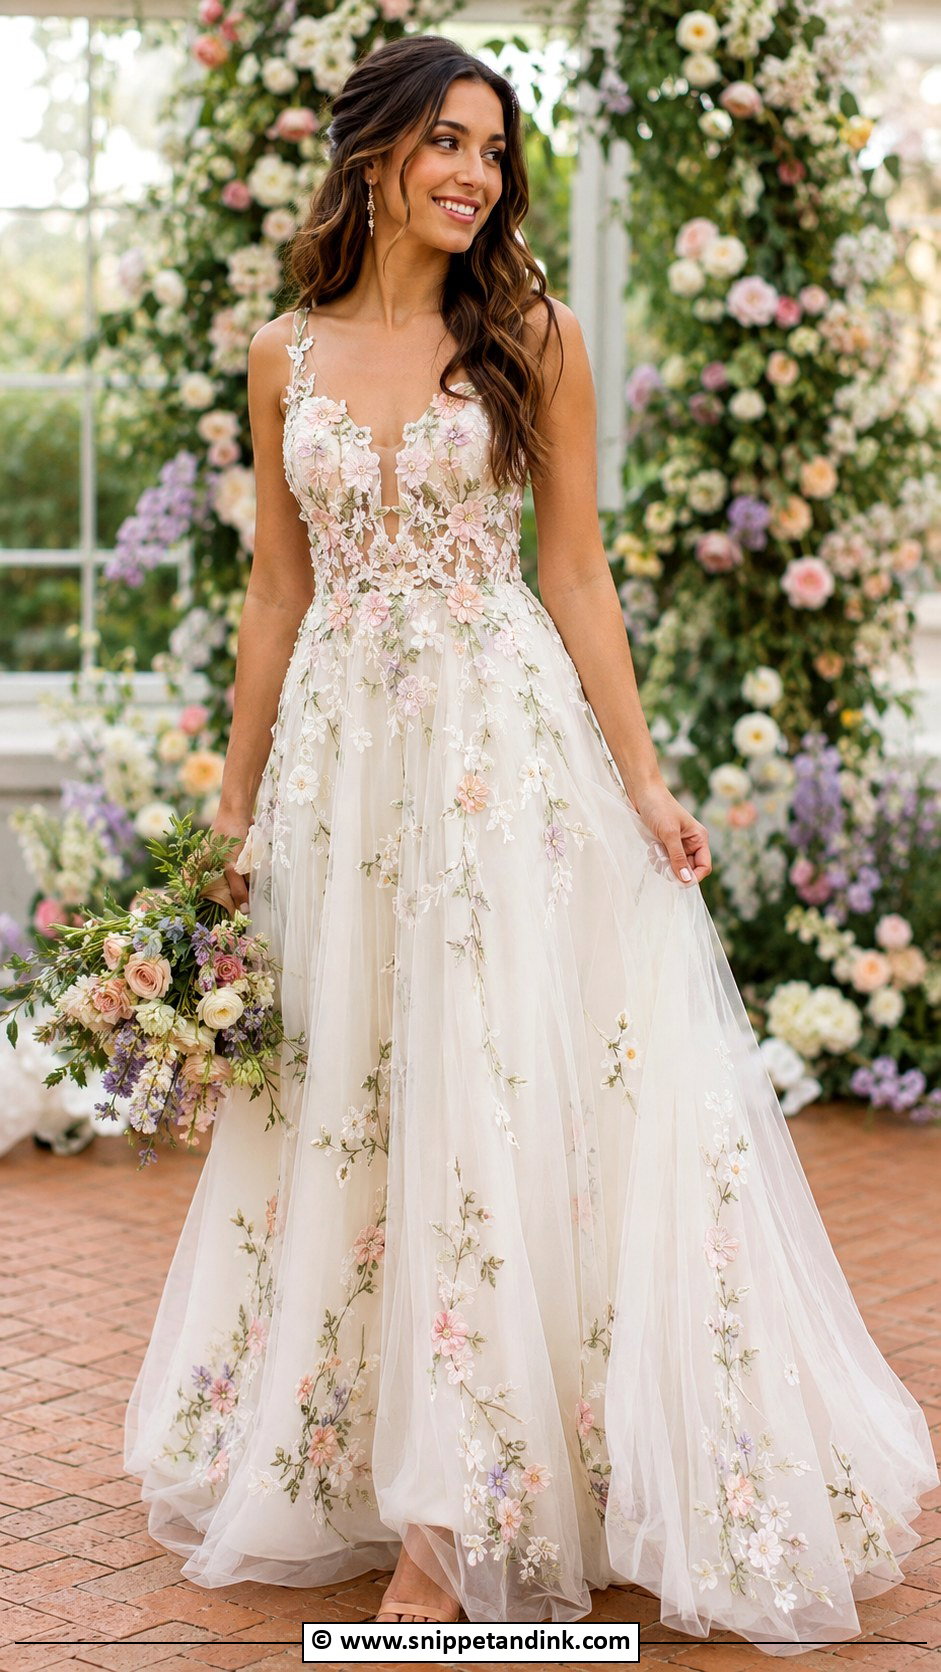
Embroidery can go on a veil, bodice, sleeves, hem or overskirt. If hand embroidery feels too slow, ready-made embroidered appliqués stitched on by hand give the same effect in a fraction of the time. Pastel flowers, ivory thread or tone-on-tone white all read bridal. Space the flowers so they climb naturally up the dress rather than covering it evenly. Use a hoop on fine fabric, or it’ll pucker. Ivory heels and a loose style suit spring and garden venues.
13. DIY Pearl Wedding Dress
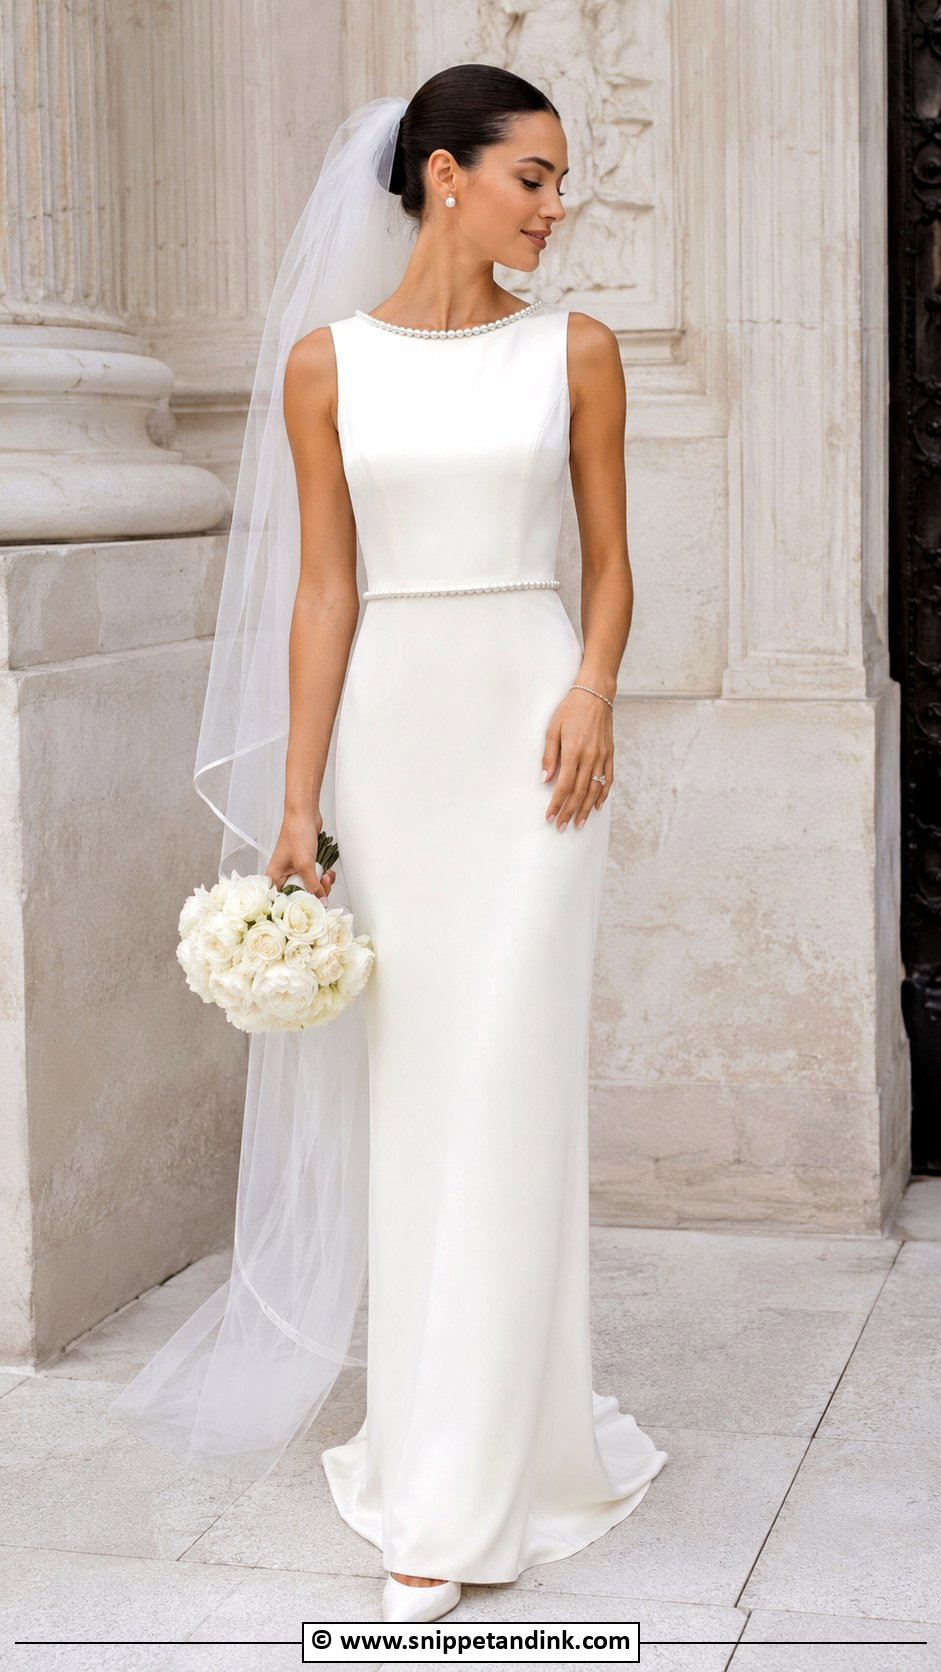
Pearls look classic on a plain crepe, satin or mikado base. You can sew pearl beads, add pearl trim or use flat-backs. My strong preference is sewing over glue: fabric adhesive can stain through thin satin and pearls pop off during a hug. If you do use glue, test it on a scrap first. Neckline, straps, waist, cuffs and hem are the easiest places to start. Keep the rest polished with pearl earrings and pointed pumps.
14. DIY Ruffle Wedding Dress
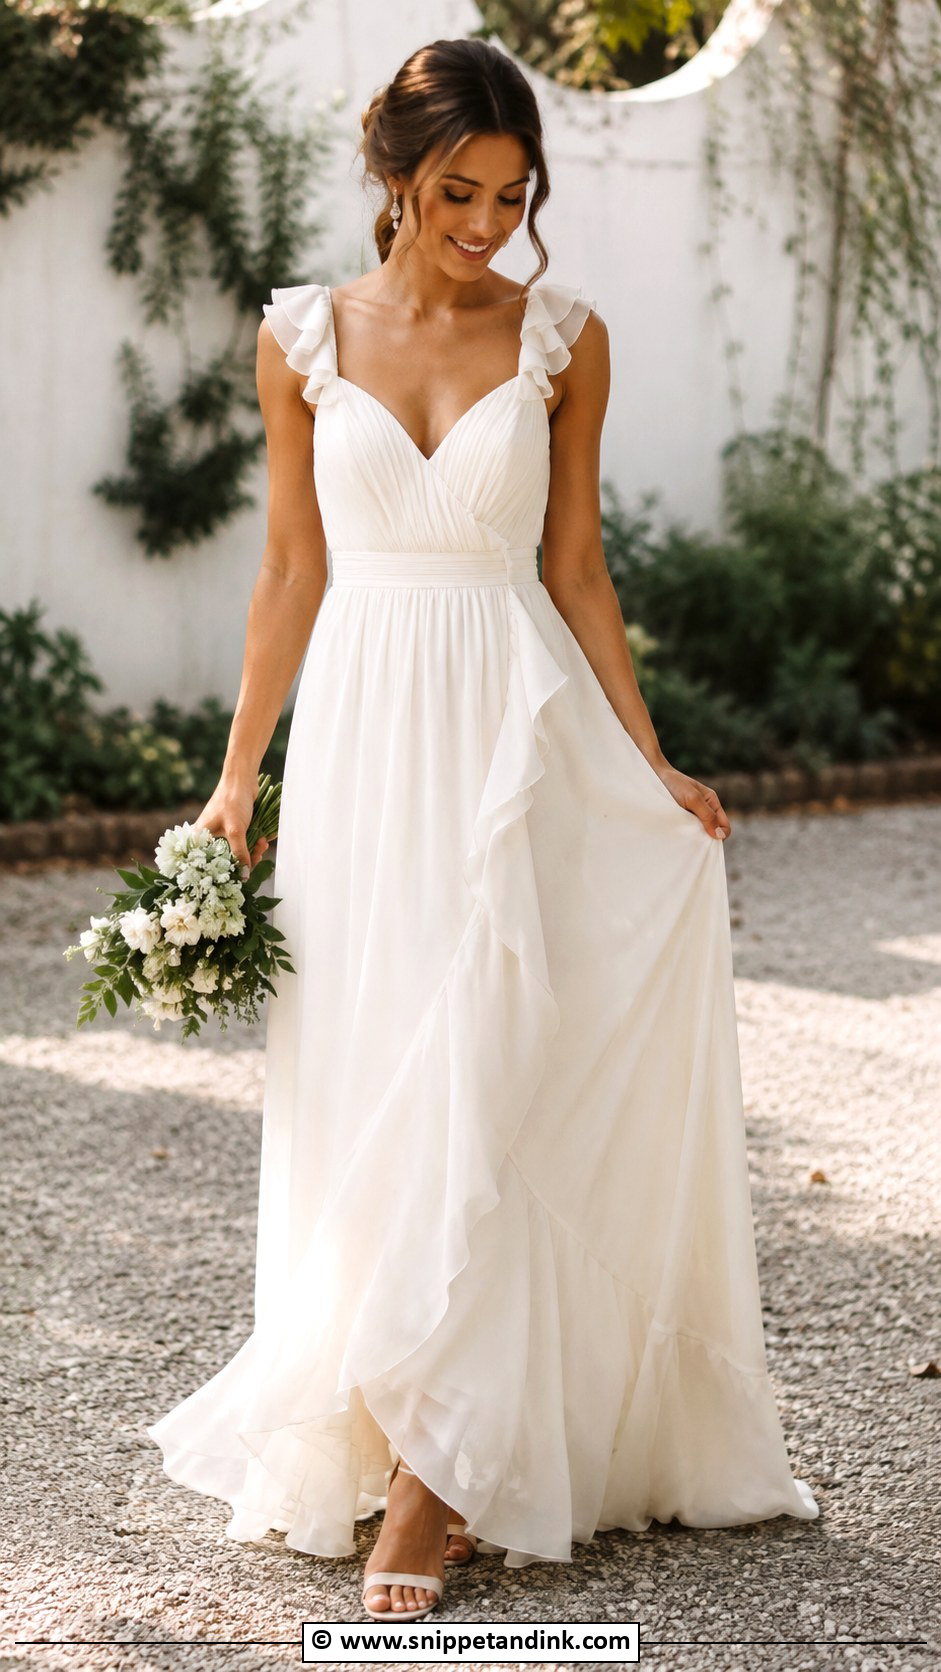
Ruffles add movement and a playful mood. They can go on the hem, neckline, straps, sleeves or skirt tiers. Chiffon, organza and soft tulle make light ruffles; satin makes stiffer ones. A rolled hem on the ruffle edge looks far more professional than a folded one. Pick one ruffle zone instead of adding volume everywhere. Simple heels and small earrings balance it.
15. DIY High Low Wedding Dress
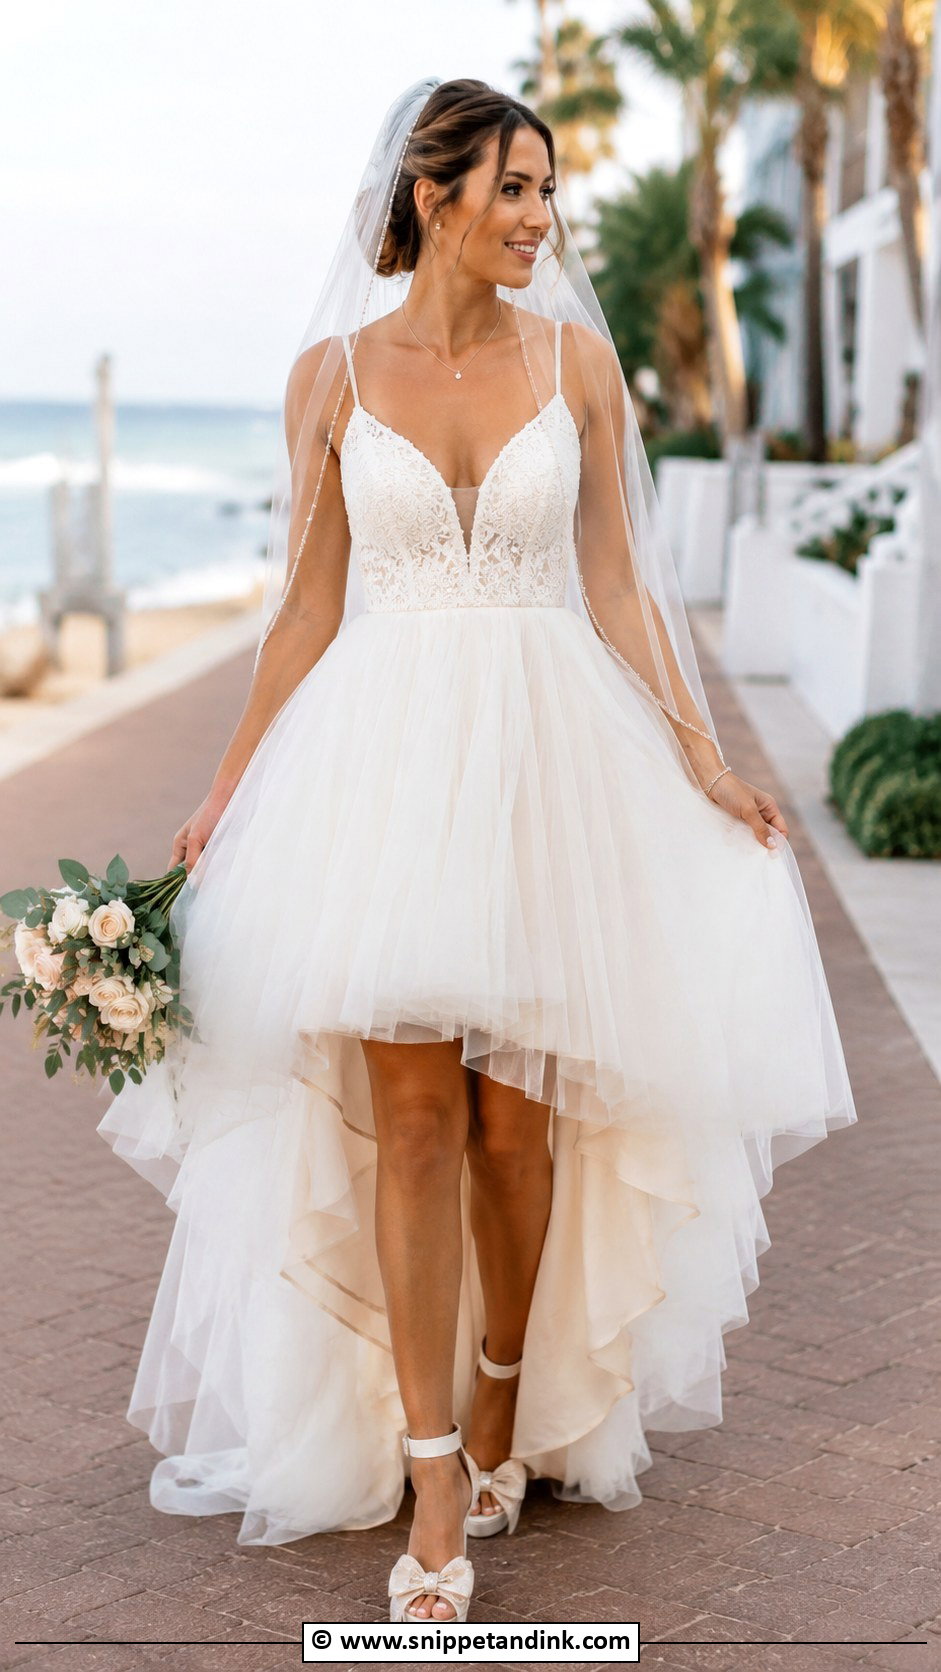
A high-low hem shows your shoes and keeps the front off the ground. You can reshape an existing skirt or sew a high-low overskirt to go over a fitted base. Lightweight tulle, chiffon and organza flow best. Getting the curve smooth is the hard part: mark it with a long ruler on the floor and cut it in one pass. The front usually sits best just above or below the knee. A fingertip veil and statement heels complete it.
16. DIY Wrap Wedding Dress
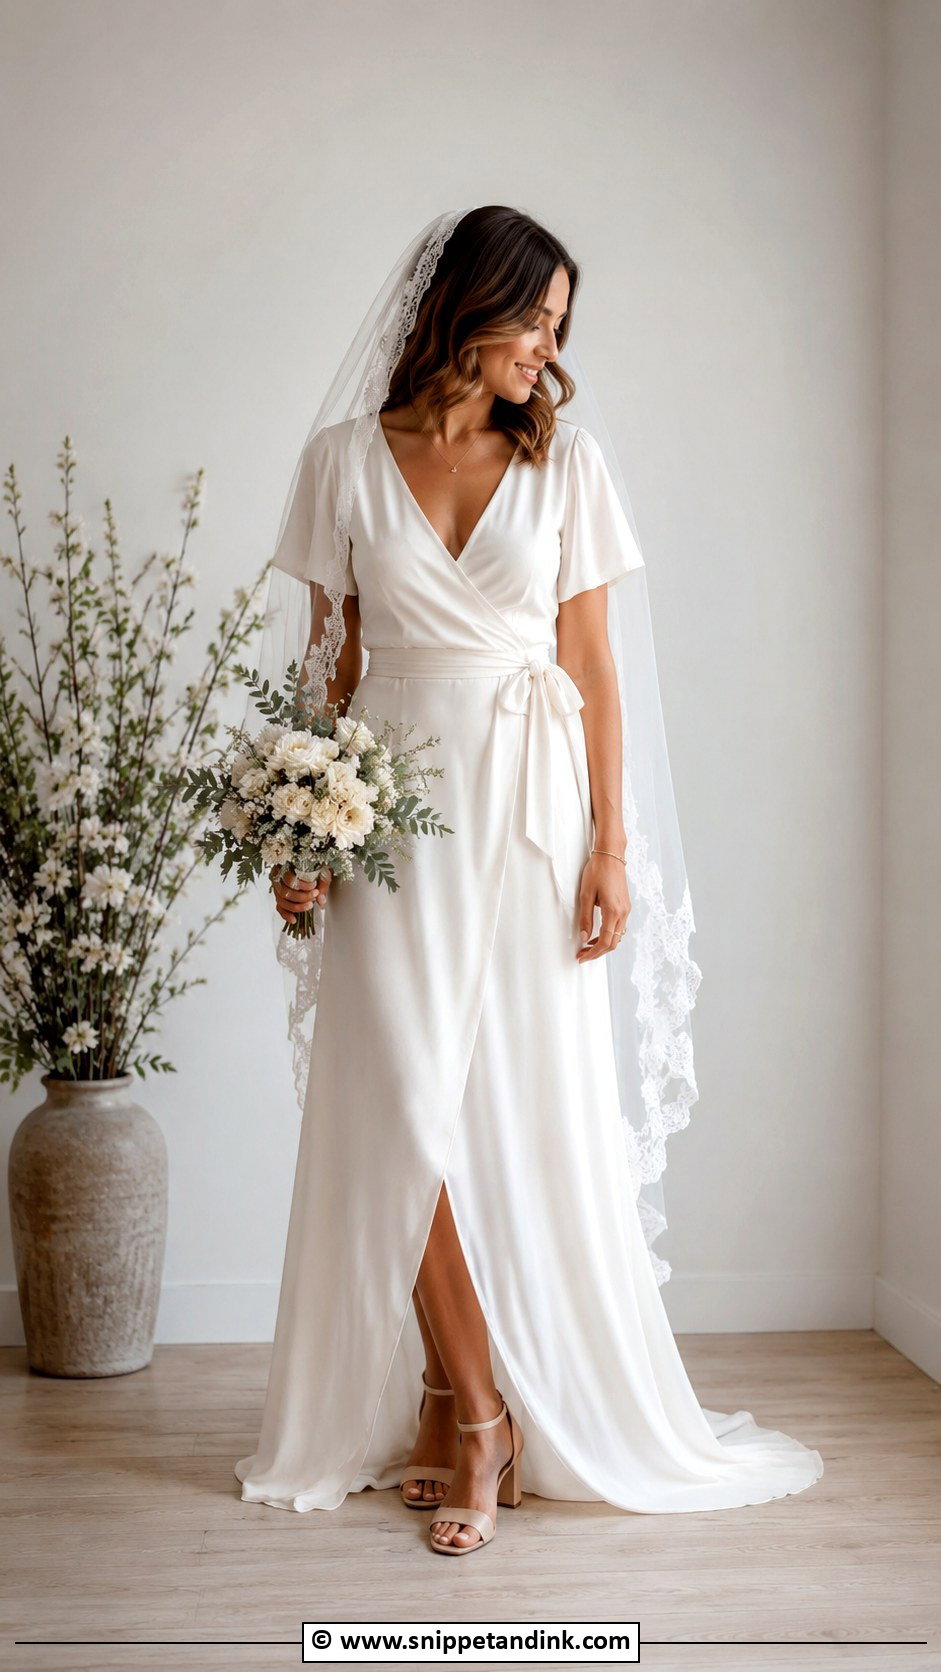
A wrap dress is forgiving to fit because you adjust it by how tightly you tie it. It works in satin, crepe, chiffon or jersey. A V-neck, tied waist and flowing skirt make a soft bridal shape without boning. Hidden snaps or a few stitches at the cross-over stop it gaping when you sit or bend. A lace-edged veil and block heels finish it.
17. DIY Off Shoulder Wedding Dress
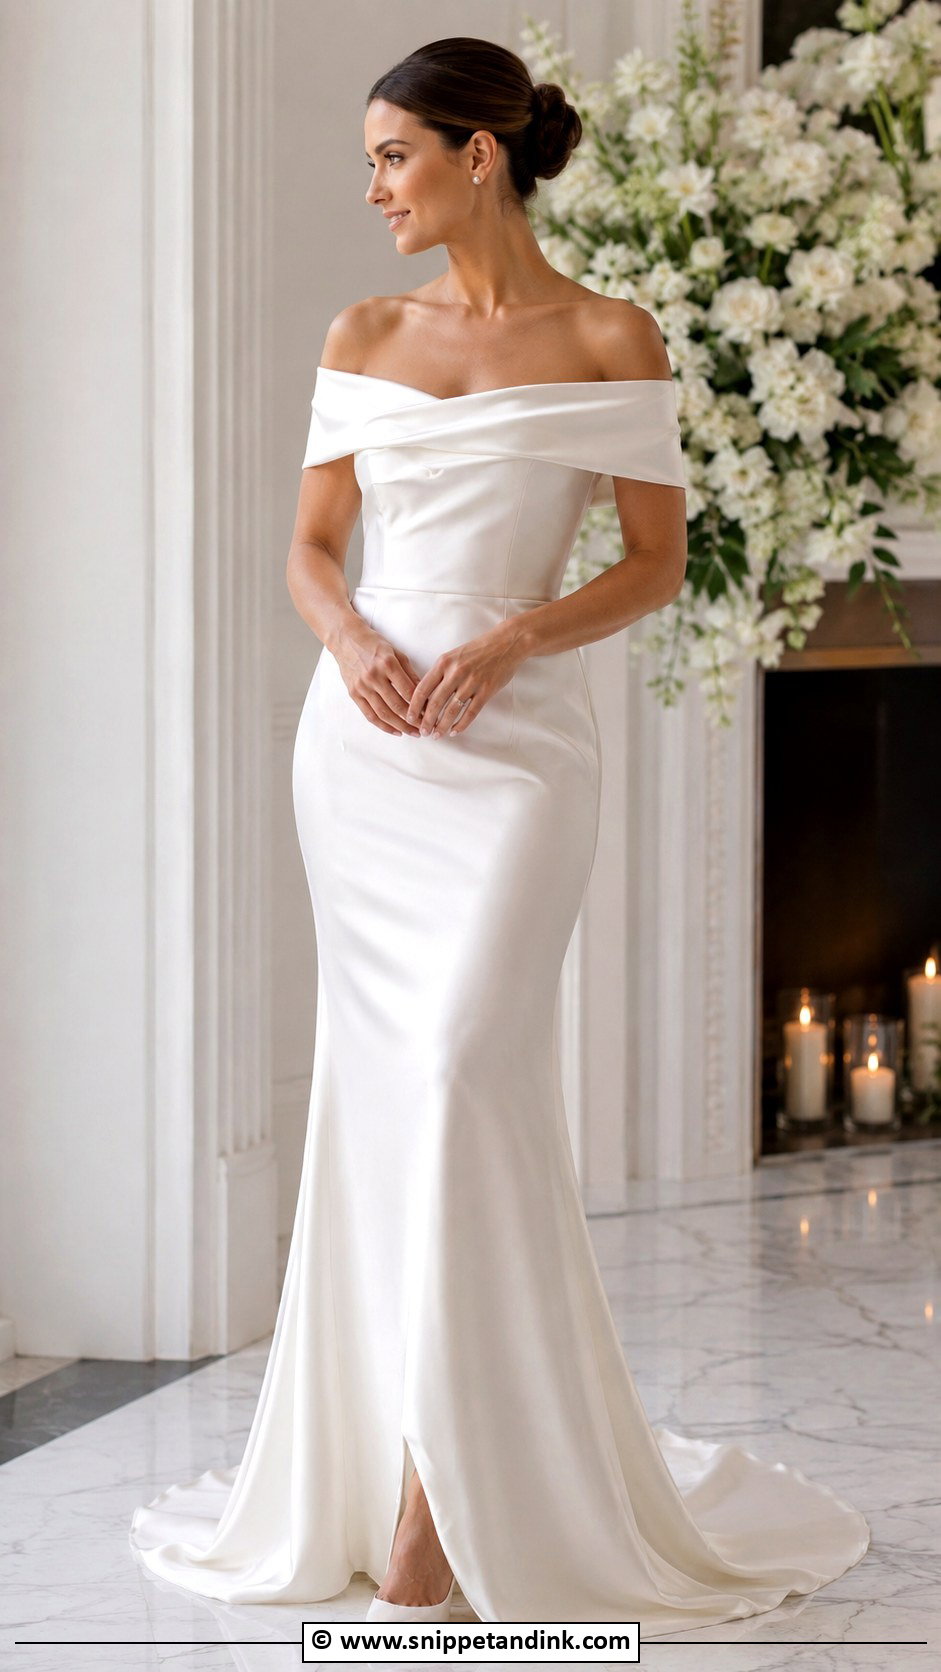
You can turn a strapless dress into an off-shoulder one by adding a band, or sew a fold-over neckline from the start. Stretch crepe, satin, lace and mikado hold the shape. The band needs to let you lift your arms to hug and dance, so cut it with a little ease and add elastic or silicone tape on the inside to keep it in place. Studs or a short pendant, pointed heels and a low bun suit it.
18. DIY Square Neck Wedding Dress
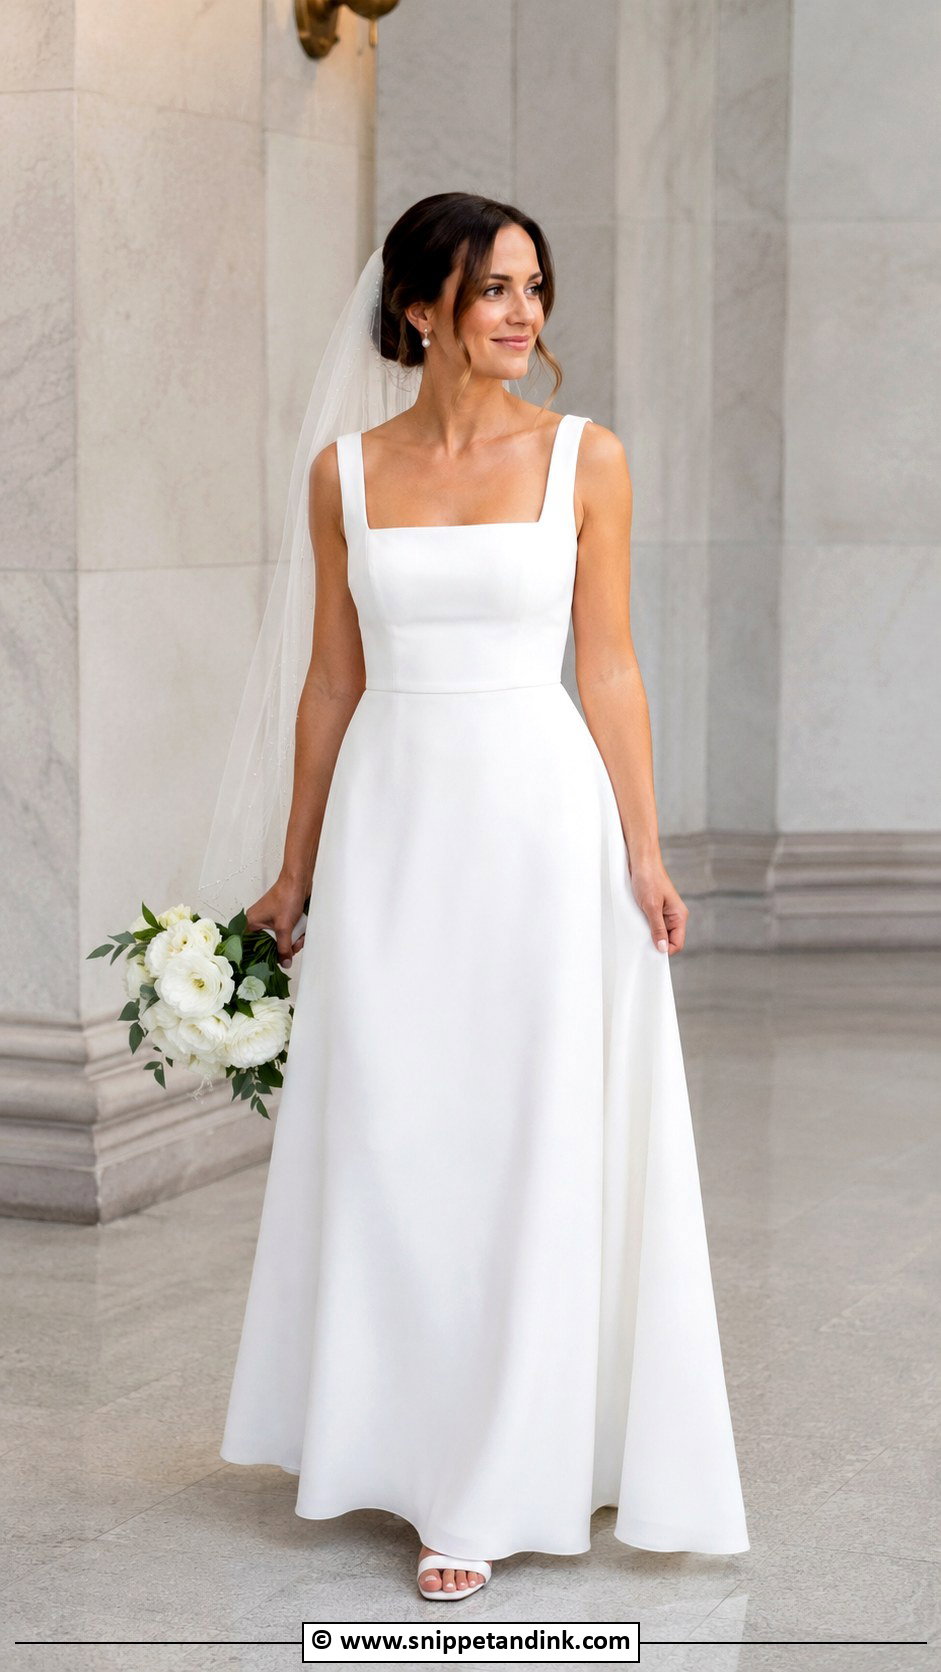
A square neck gives structure to simple fabric and suits fitted, A-line and empire shapes. Reshaping an existing neckline is possible with a stable facing, but corners are where beginners go wrong: clip right into the corner and press firmly, or it won’t lie flat. Wide straps support a fuller bust; slim straps are lighter. Pearl studs, a soft veil and low heels finish the look.
19. DIY Open Back Wedding Dress
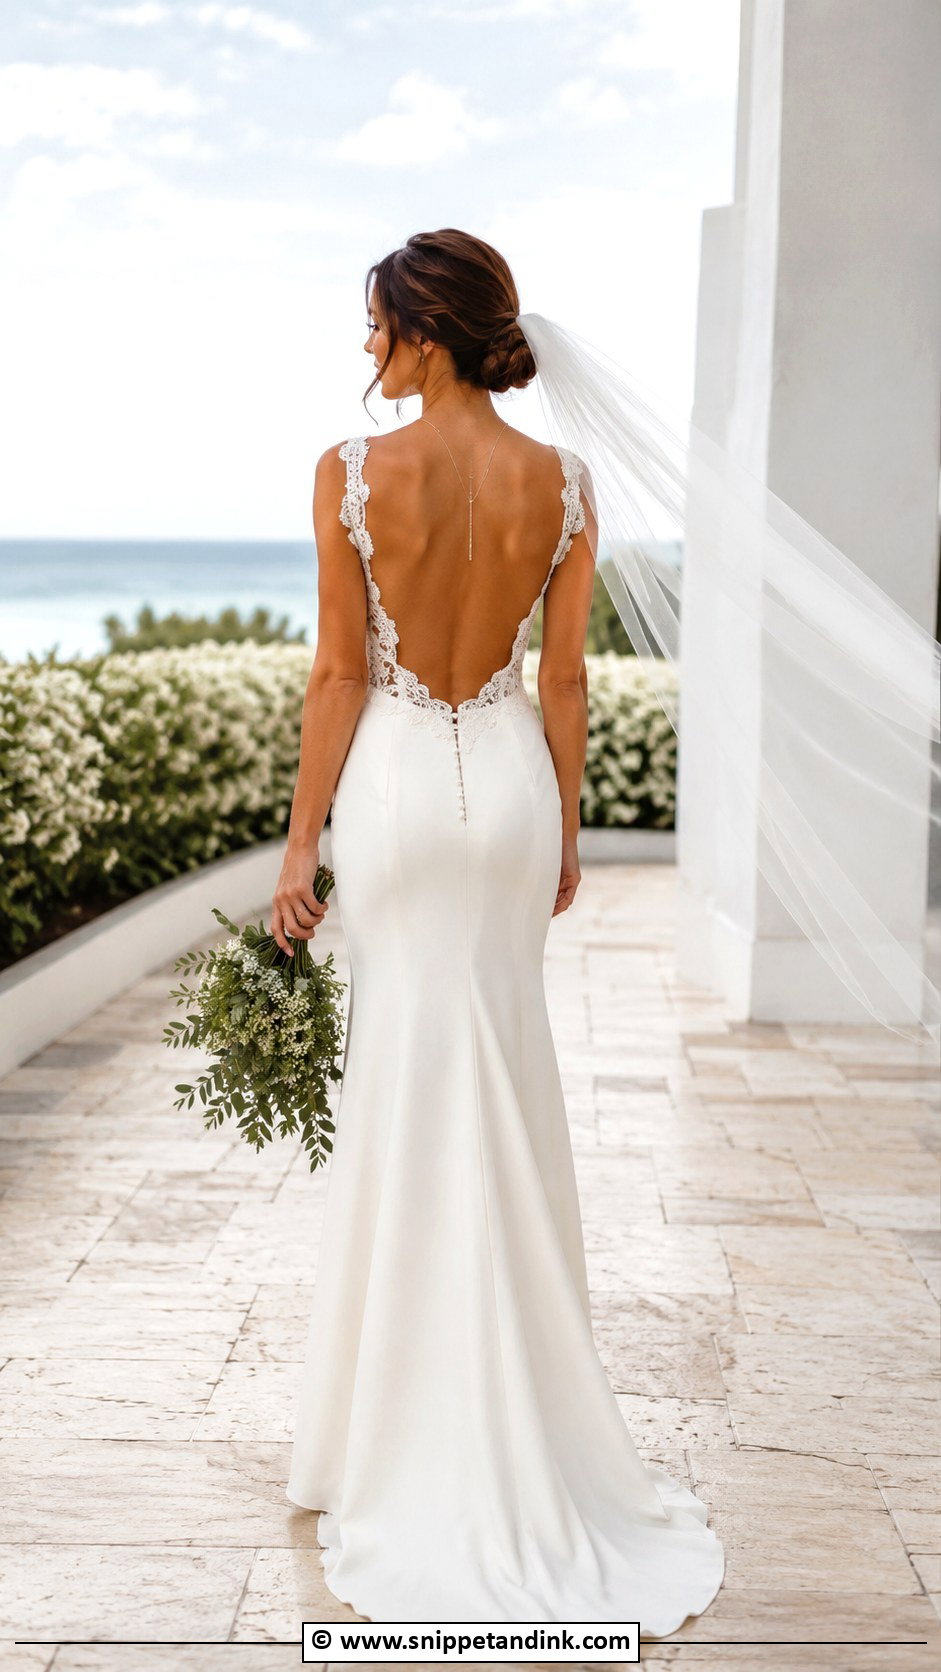
Cutting an open back into a dress removes support, so plan before you cut. A hidden elastic, waist stay or secure bodice keeps it from falling forward. You can add lace edging or make a keyhole with buttons at the neck. Bind the raw edge with bias tape or a facing, since the back is the focal point and messy finishing shows. A low bun and a light veil that doesn’t hide the detail suit warm-weather ceremonies.
20. DIY Bow Back Wedding Dress
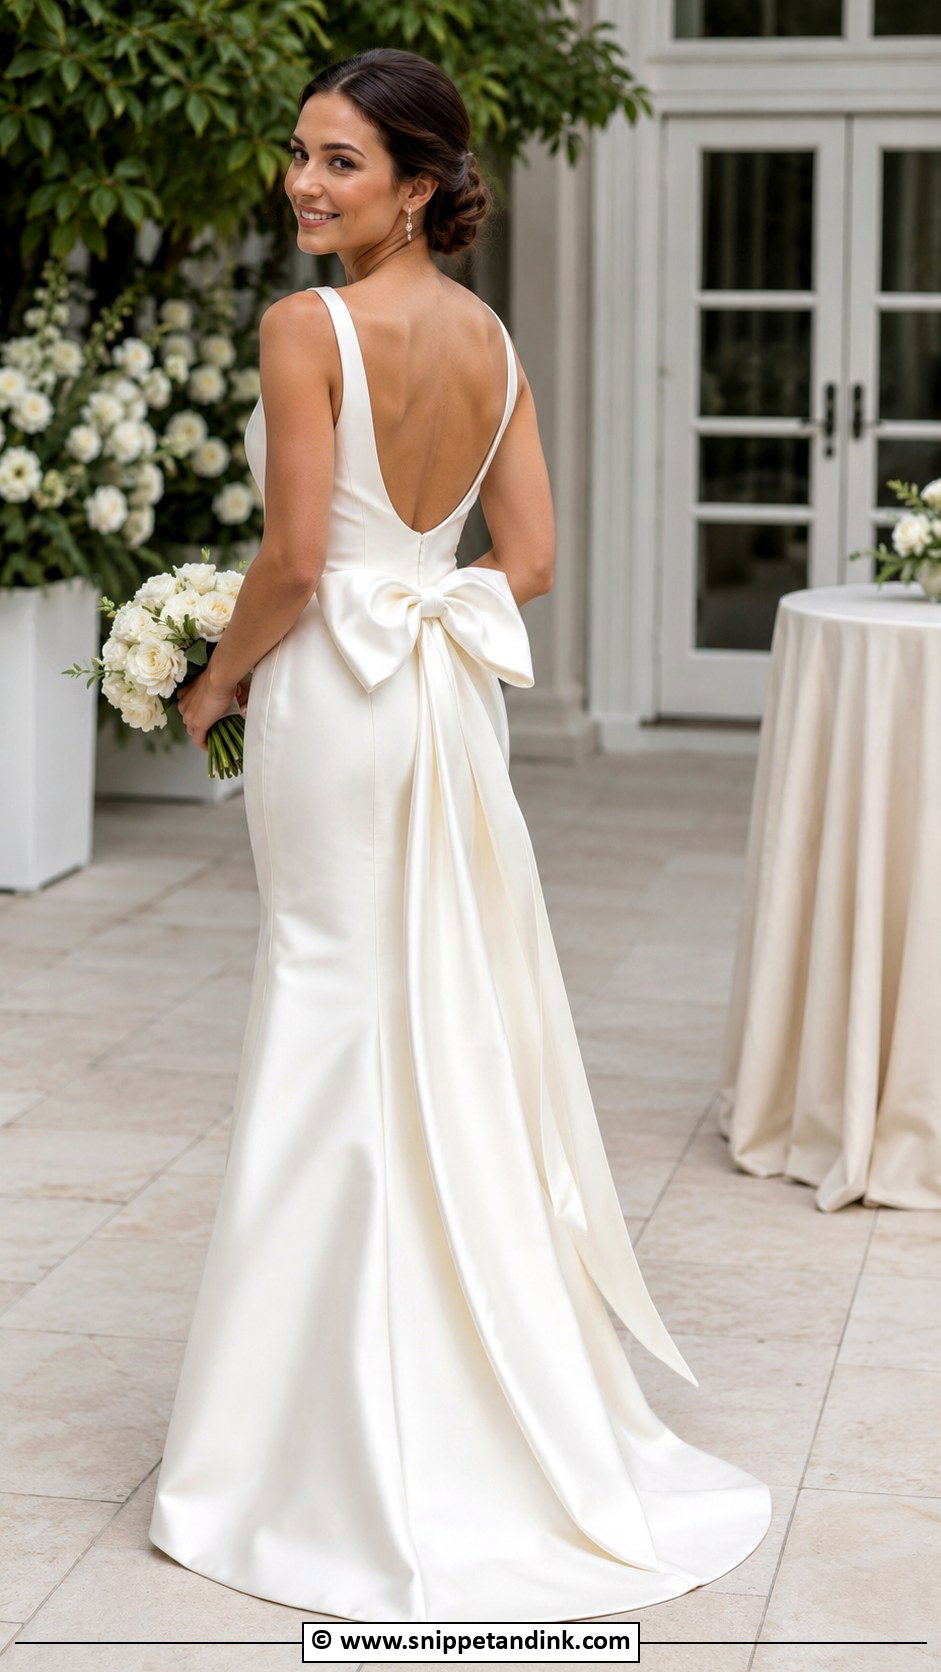
A large satin bow at the waist, a soft organza bow at the neckline or a long trailing bow at the back becomes the whole statement on a plain satin, crepe or mikado dress. Interface the bow so it doesn’t flop by the reception. Making it removable, with hooks or snaps, gives you a cleaner look later and makes the dress easier to wear again. Small earrings and classic heels keep the front simple.
21. DIY Cape Wedding Dress
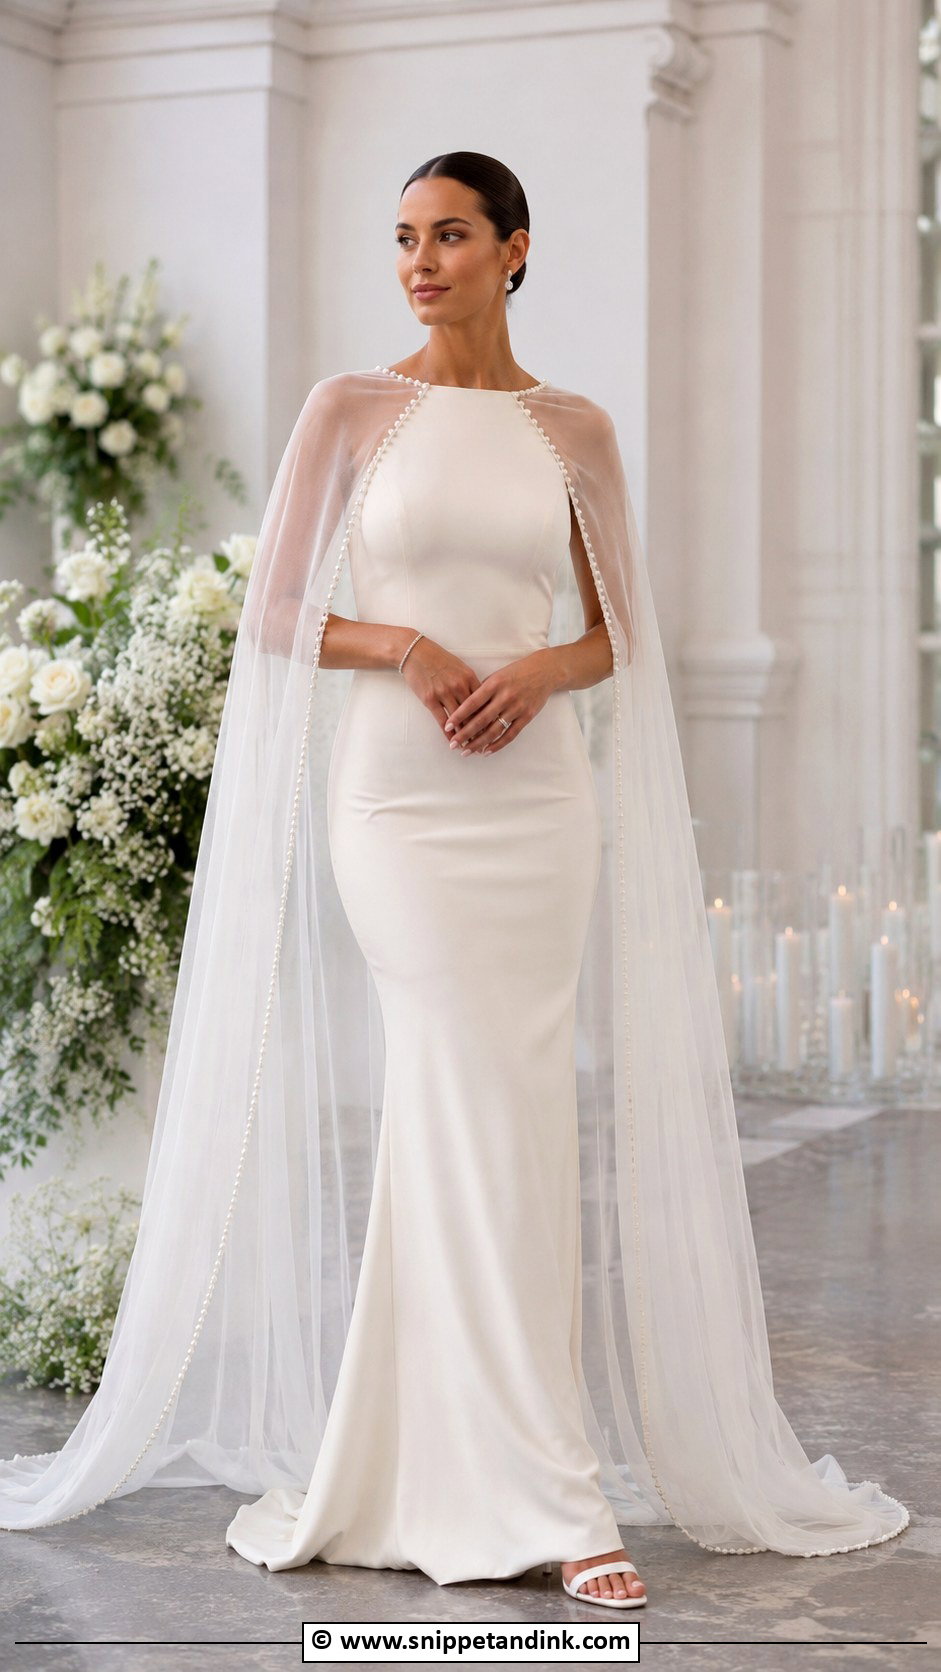
A sheer cape is an easy alternative to a veil. It can attach at the shoulders, neckline or back, and tulle, chiffon, organza or lace all work. Edges are where the time goes: a narrow rolled hem or lace trim keeps it neat. Add pearls or embroidery to the edges if you want detail. A detachable cape is practical for photos and dancing. Pair it with a fitted dress and minimal jewelry.
22. DIY Linen Wedding Dress
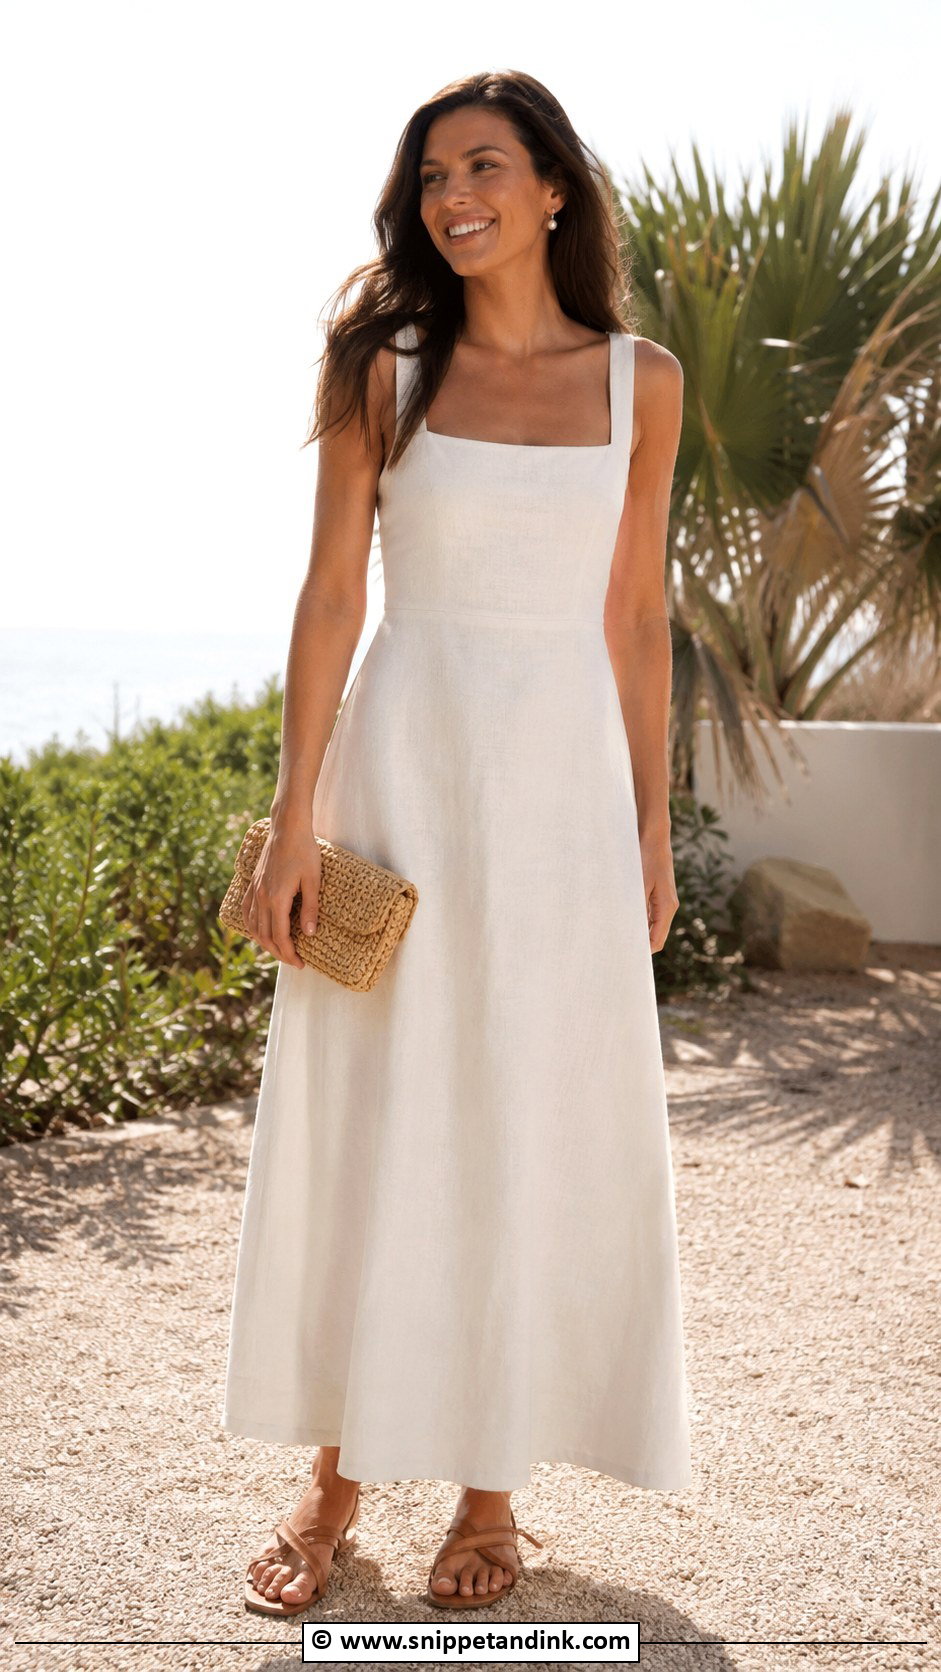
Linen is breathable and relaxed, ideal for warm weather. Pick a white, ivory or natural linen with enough weight that it doesn’t look casual, and add a lining if it’s sheer. Pre-wash the fabric before cutting, because linen shrinks. A simple A-line, wrap, square-neck or button-front works best. It will wrinkle; that’s part of its charm, but press it well before the ceremony. Flat sandals and pearl studs suit beach and backyard weddings.
23. DIY Tea Length Wedding Dress
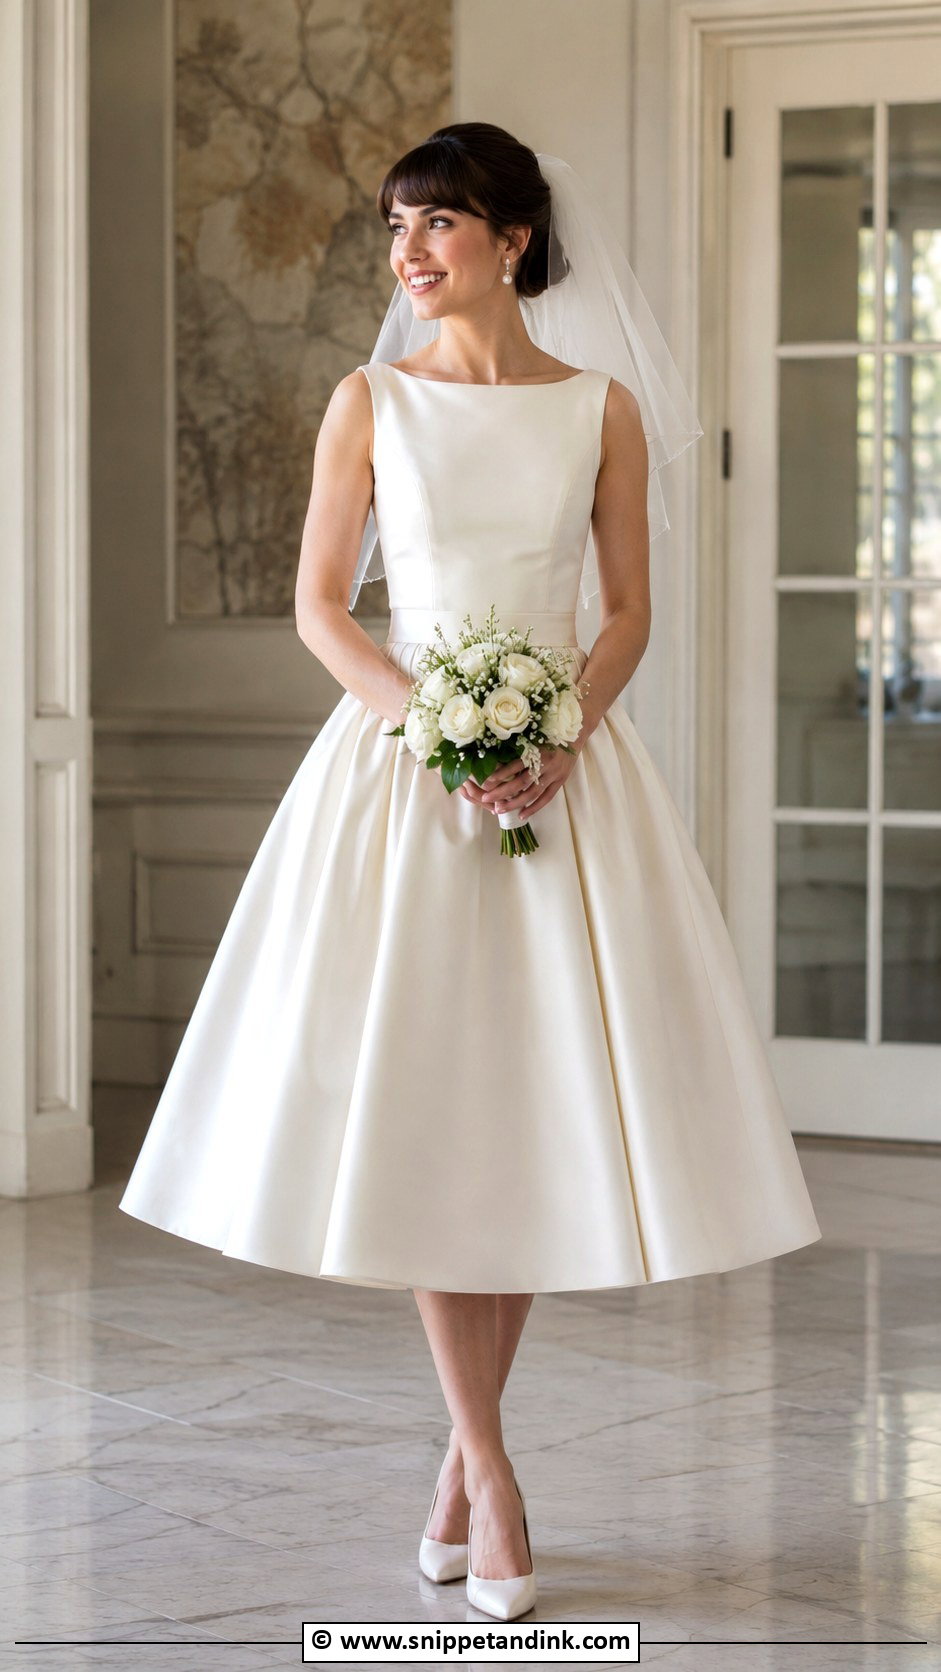
A DIY tea length wedding dress is easier to manage than floor-length because there’s less fabric to handle and no train. The hem falls between knee and ankle, so it must be perfectly even; mark it from the floor with a hem marker or a helper. Tulle, satin, lace, cotton sateen and organza all suit it. A fitted bodice with a fuller skirt looks classic. Pointed pumps and a short veil complete it.
24. DIY Colored Wedding Dress
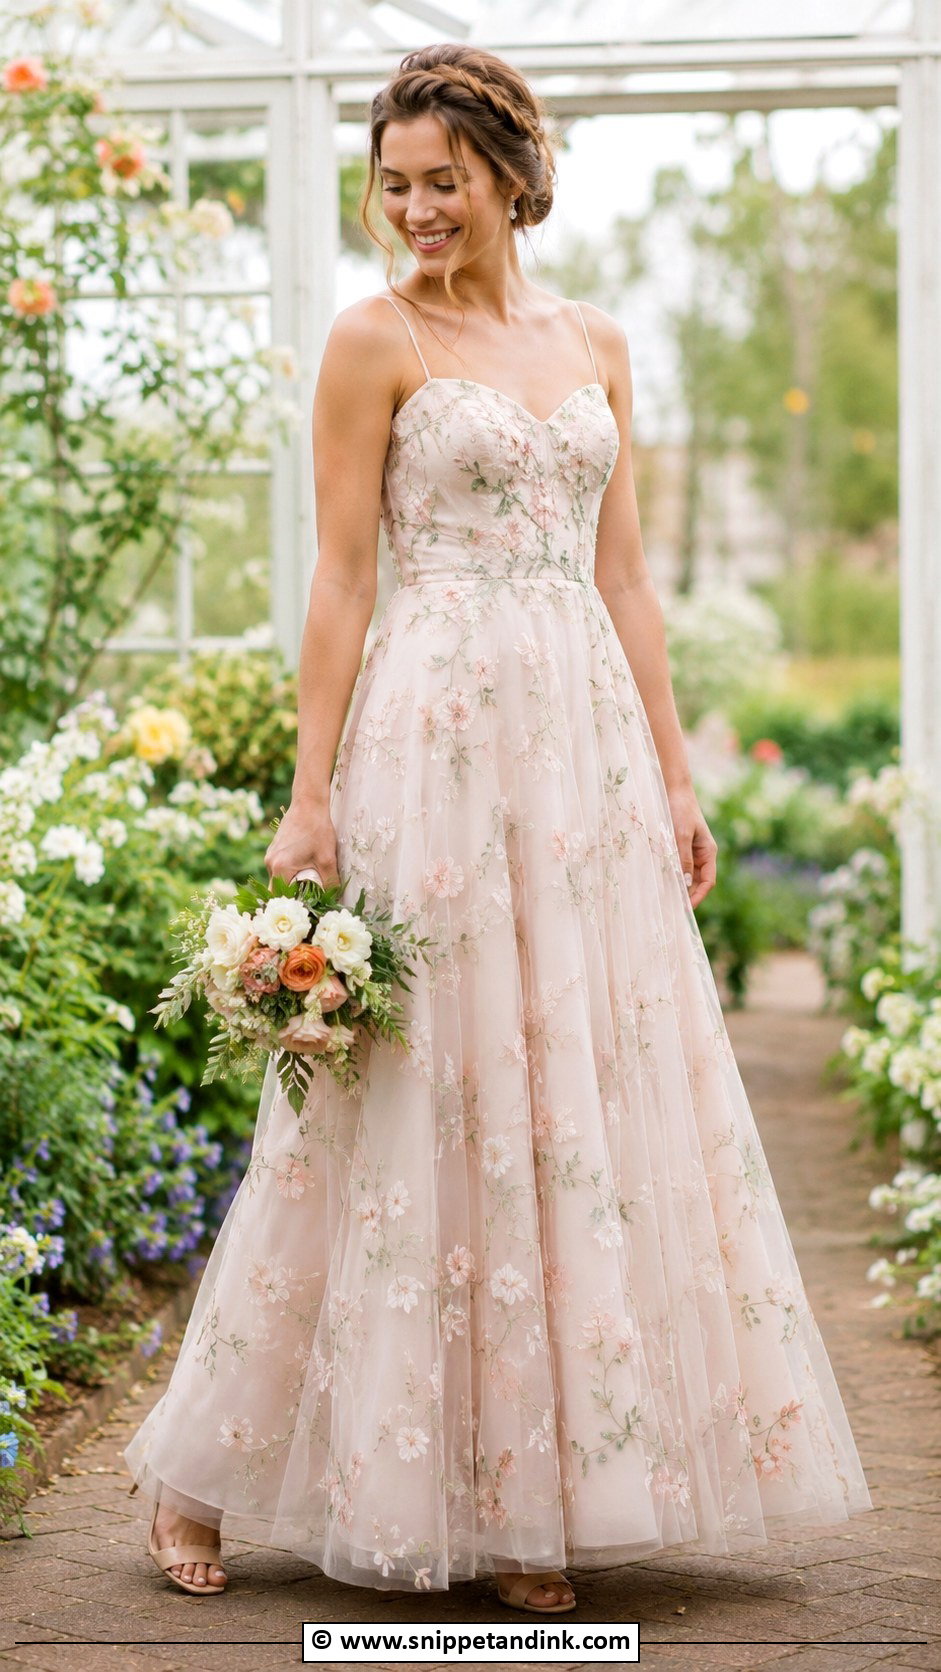
If white doesn’t feel like you, blush, champagne, pale blue, buttercream, lavender or florals can still feel bridal. You can dye a white dress, sew with colored fabric or add a colored overskirt, sash or embroidery. Fiber content matters most: cotton, linen and silk take ordinary fabric dyes, but polyester needs a special dye for synthetics and often still comes out paler. Lace, lining and thread may all dye differently, so test on scraps. Nude heels and a simple bouquet keep it gentle.
25. DIY Reception Wedding Dress
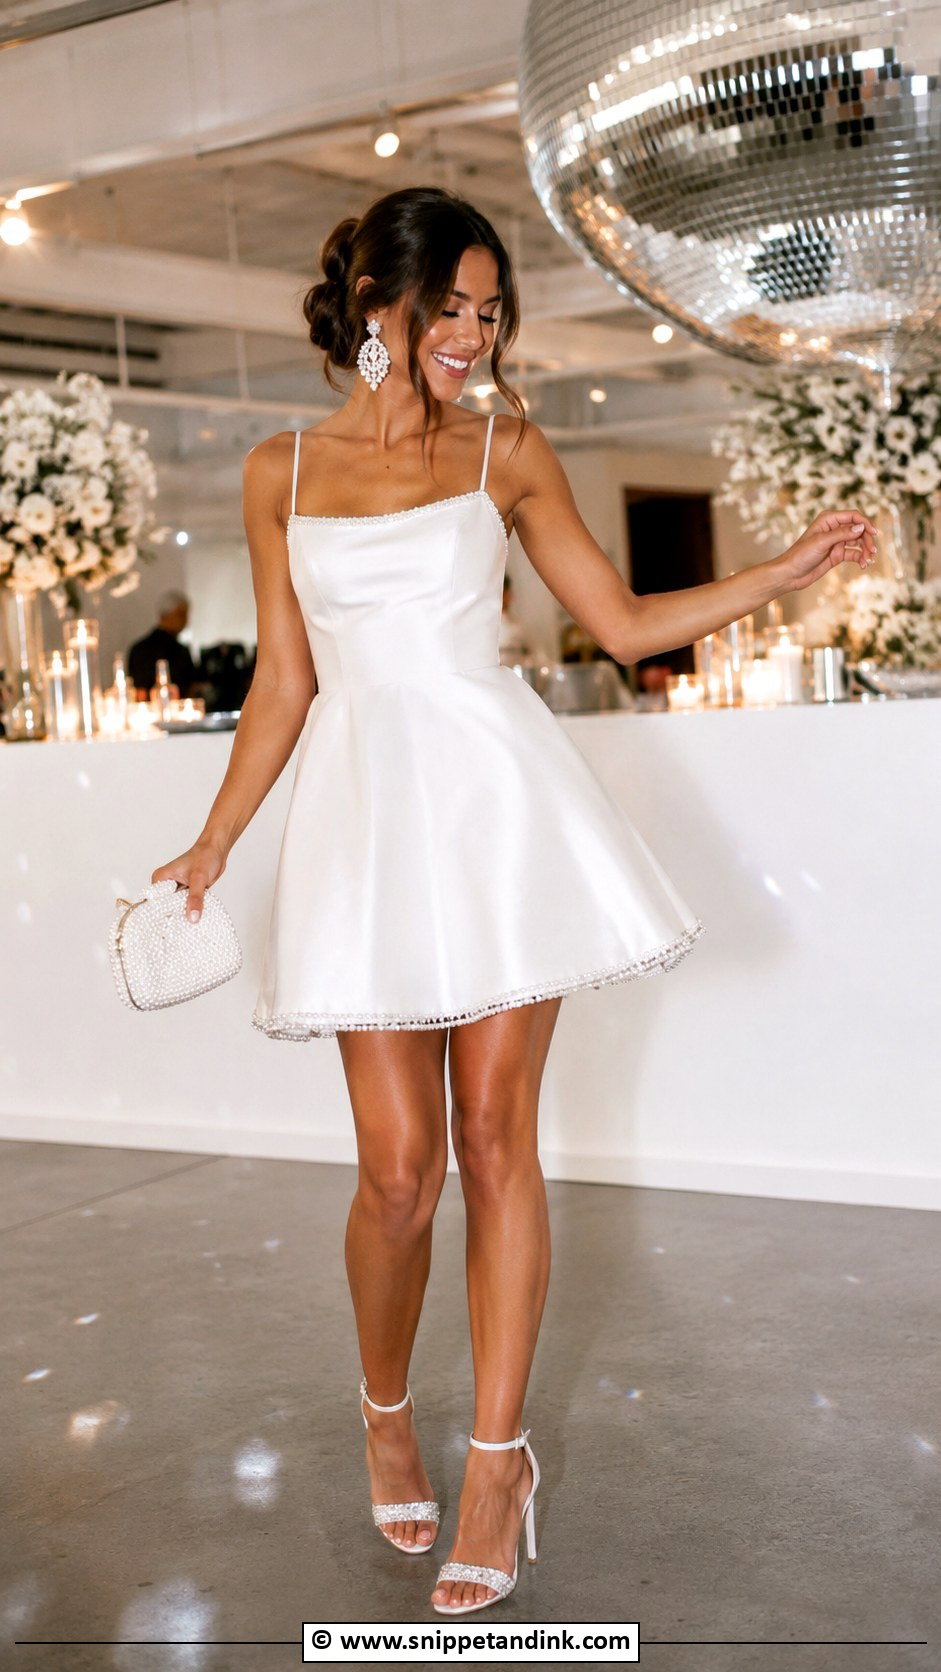
A reception dress needs to move. A short dress, slip dress, feather-trimmed hem, bow-back mini or simple satin midi all qualify. You can use leftover ceremony fabric, shorten a thrifted gown or add sparkle to a plain white dress. Feathers shed, so stitch them in by hand along a tape rather than gluing. Keep it linked to your ceremony look, but let it be lighter. Comfortable heels and statement earrings finish it.
Jobs Worth Handing to a Seamstress
Doing most of it yourself doesn’t mean doing all of it. Paying a professional for a few specific steps can save the whole project. These are the ones I’d consider:
- Fitting the toile. A seamstress spots fit problems on your body that are hard to see in a mirror.
- An invisible zip or a row of loops and buttons, which show every wobble.
- The final hem on a long or bias-cut skirt, especially in satin.
- A bustle, since it needs to be pinned with you wearing the dress.
Have a backup
It sounds pessimistic, but I’d always keep a backup plan: a simple white dress you could wear, or a deadline by which the dress must be wearable. Knowing it’s there takes the pressure off the final weeks and makes it much more likely you’ll finish.
Start With a Toile, Finish With a Dress You Made
Handmade bridal style gives you a dress with a story. Sew one from the beginning, update a thrifted gown, add your own details or build a look from separates. The best project is the one that fits your skill, timeline, venue and comfort. Start early, make a practice version where it matters, and leave room for final alterations. Small handmade touches, lace, pearls, bows, sleeves or a detachable layer, can turn a simple dress into yours.
You'll Like These Ideas:


Leave a Reply