
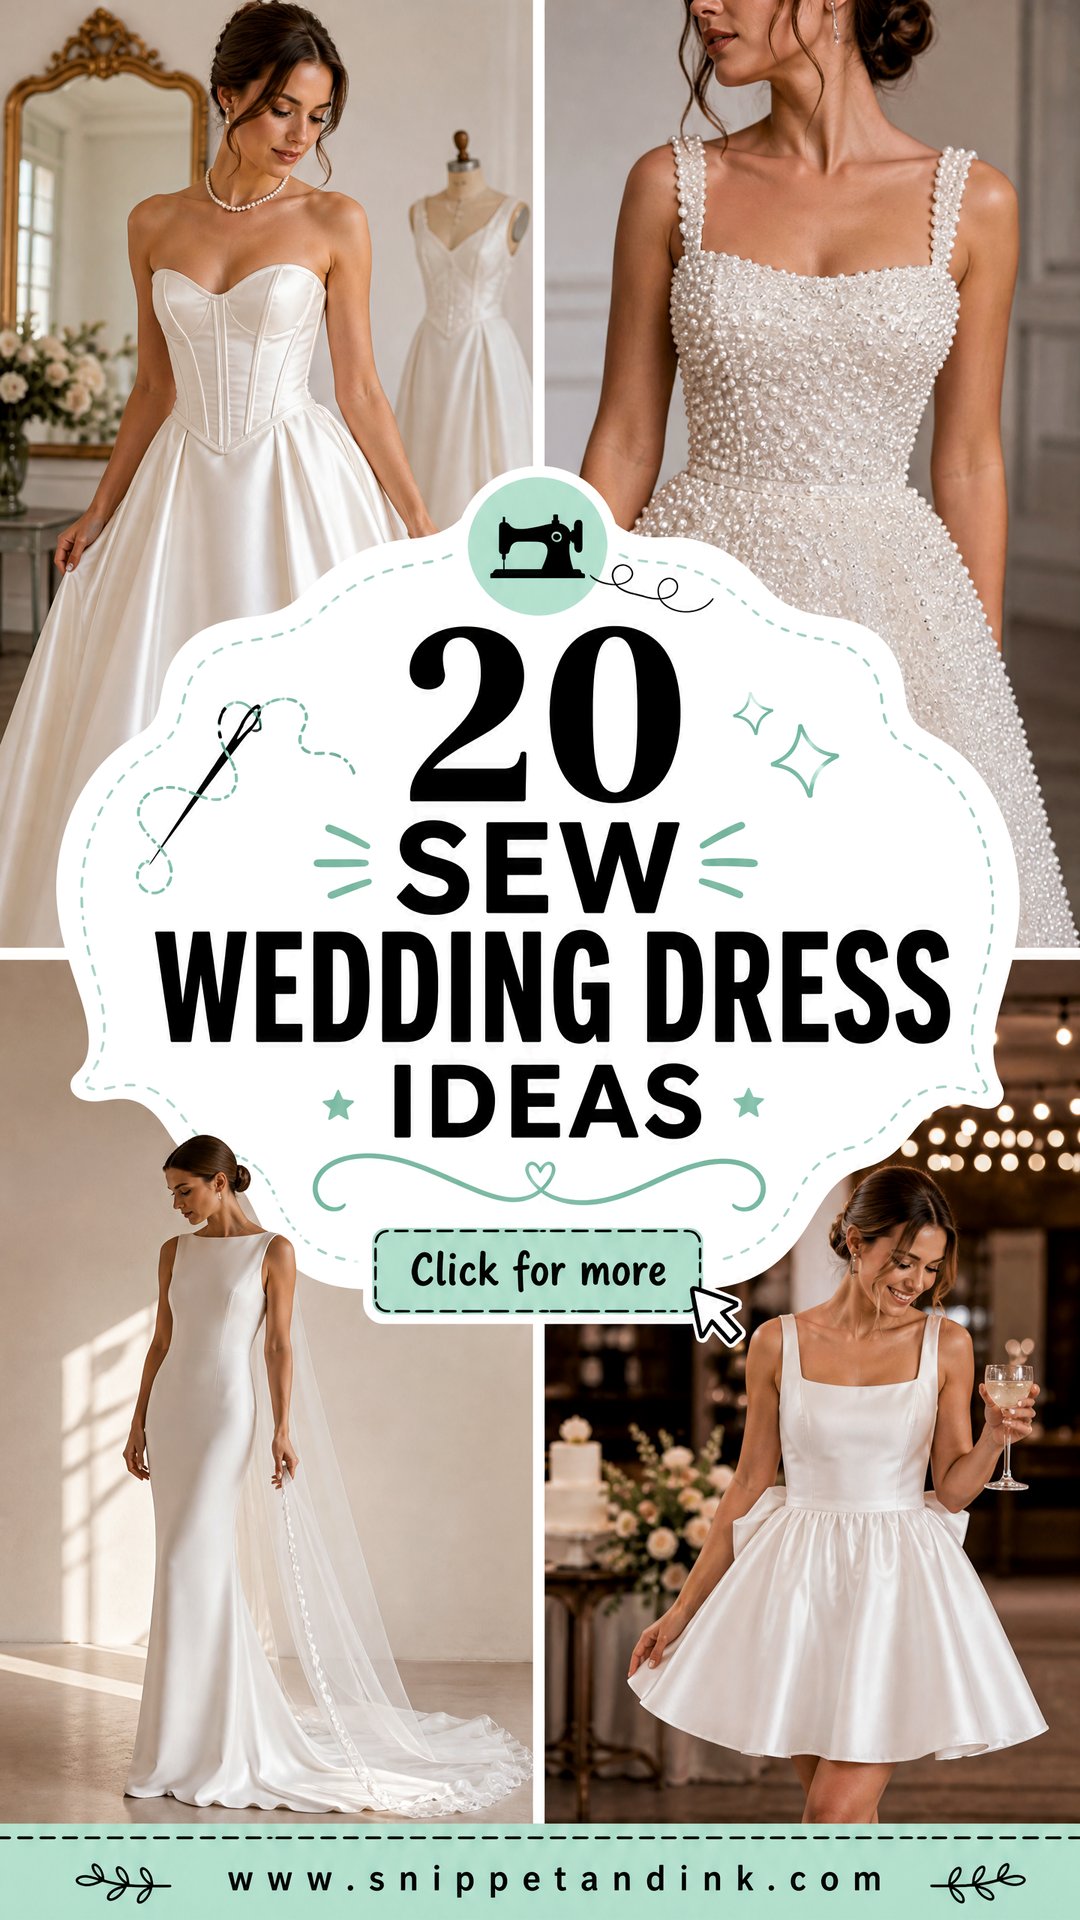
Sewing your own bridal gown puts every decision in your hands: fabric, fit, shape and finish. It also means the dress carries your own hours of work, which no shop gown can. The ideas below run from simple first-project shapes to structured gowns, modest designs and short reception dresses. Bridal right now leans toward lace, draped fabric, basque and drop waists, detachable layers, floral appliqué and shorter hemlines. One rule I hold to for every one of them: make a full test dress in cheap fabric before you cut silk or lace. Practice anything new on scraps, and give yourself more fitting time than seems necessary.
A Sewing Schedule With Room for Mistakes
Home-sewn gowns rarely fail on skill. They fail on time. Working backward from the date gives you breathing room for the parts that always take longer than planned.
- Six to nine months out: settle the design and pattern, and make the first muslin.
- Five to six months: second muslin with fit corrections; order fabric, lining and lace together so the whites match.
- Three to four months: cut and sew the real dress; start any hand beading or appliqué only after the main fitting.
- Six to eight weeks: final fittings in the wedding shoes and underwear, then hem.
- Two to four weeks: finished, pressed and hung. Any later and stress makes small errors.
Buying fabric
Buy roughly half a meter more than the pattern says, more if you’re matching lace motifs or cutting on the bias. Order every white fabric at the same time and compare them side by side in daylight; ivory from two different mills rarely matches.
1. A-Line Satin Wedding Dress
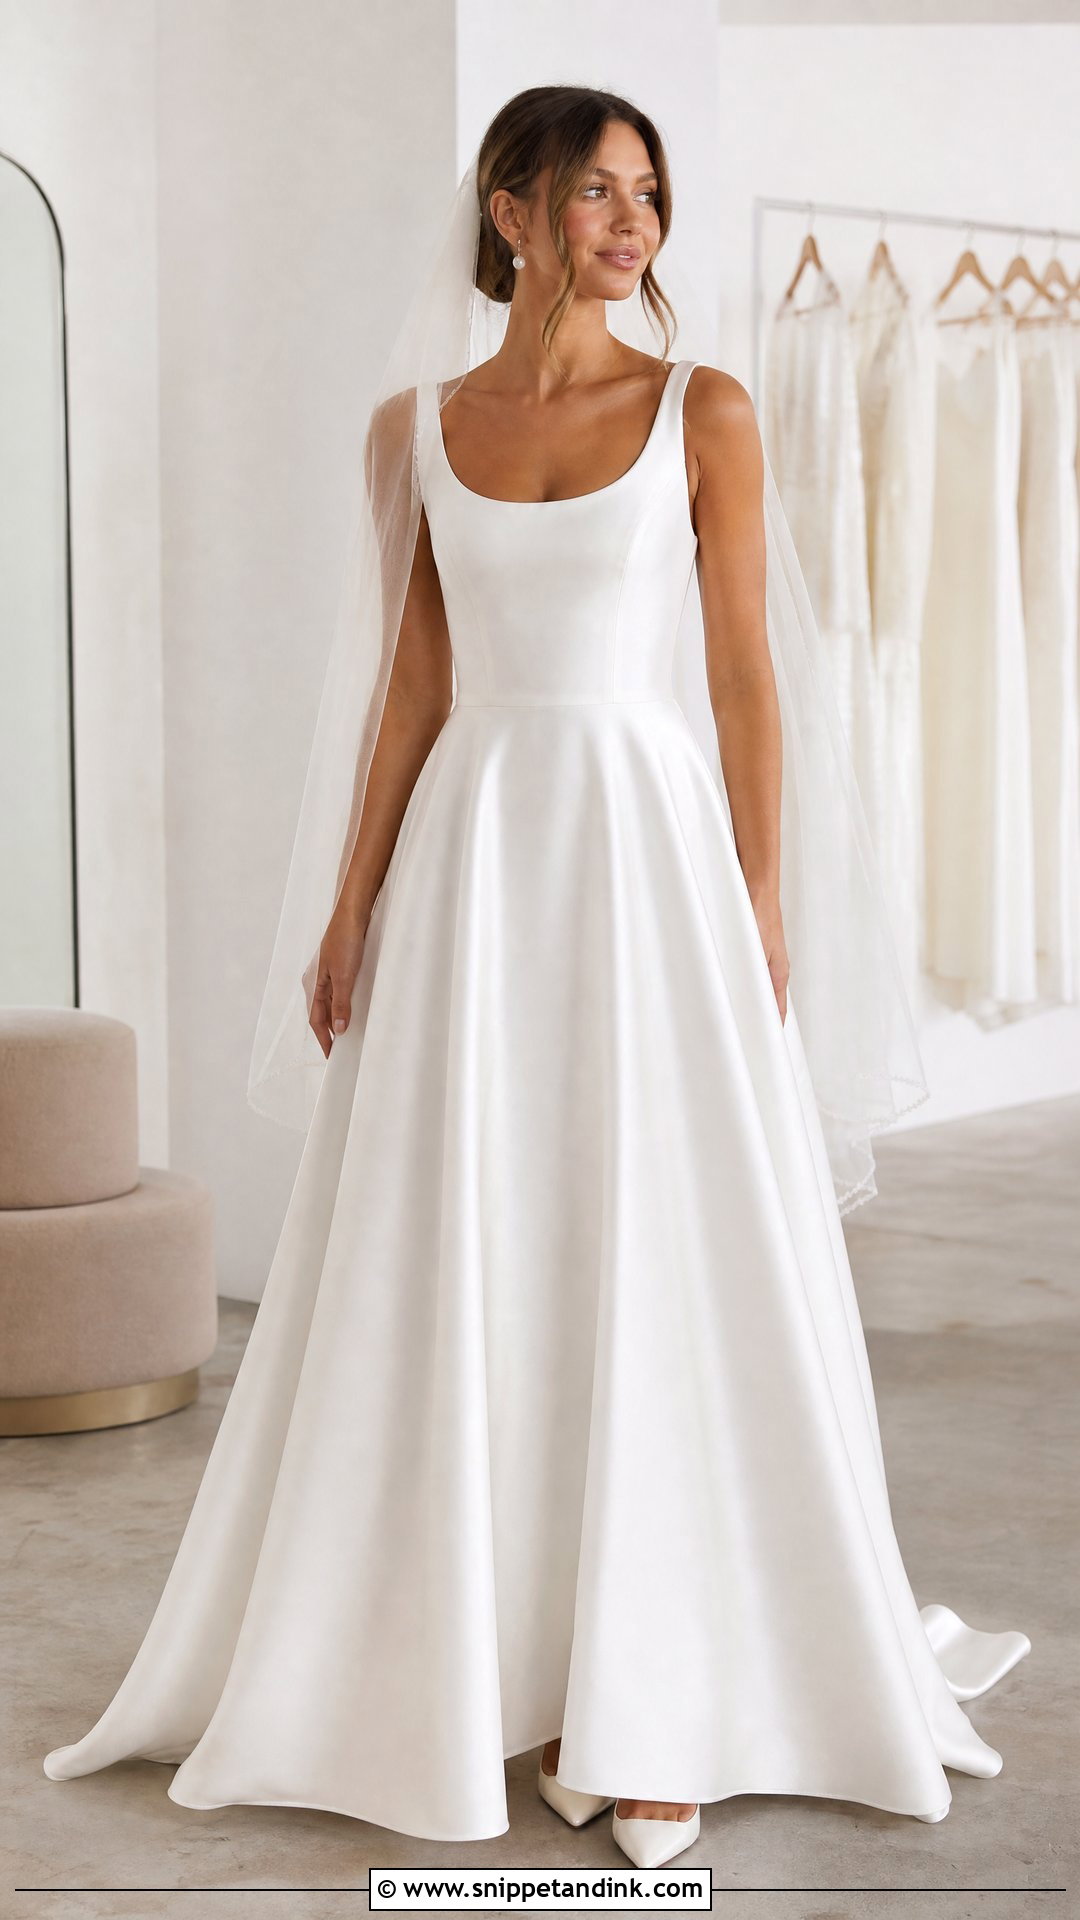
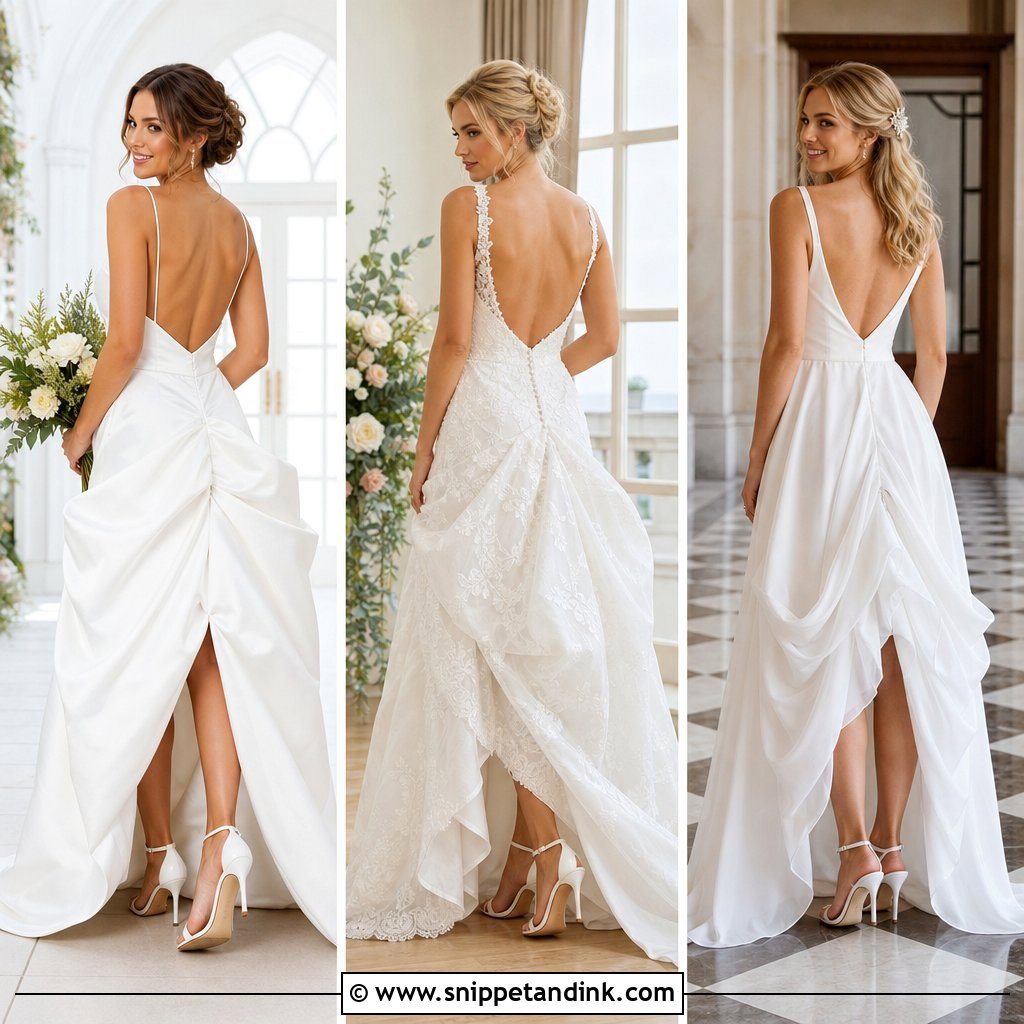
For a first wedding dress, I’d start here. An A-line has a fitted bodice and a skirt that opens gently, with none of the internal scaffolding a ball gown needs. Medium-weight bridal satin, duchess satin or mikado holds the shape well. Satin shows every pin hole, so pin only inside the seam allowance. Add a lining and a light grosgrain waist stay so the bodice sits where it should all day. A scoop or V neck and covered buttons down the back keep it classic. Style it with ivory pointed pumps, pearl earrings and a fingertip veil. On the muslin, check bust darts, waist placement, shoulders and hem before the satin comes out.
2. Lace Sleeve Wedding Dress
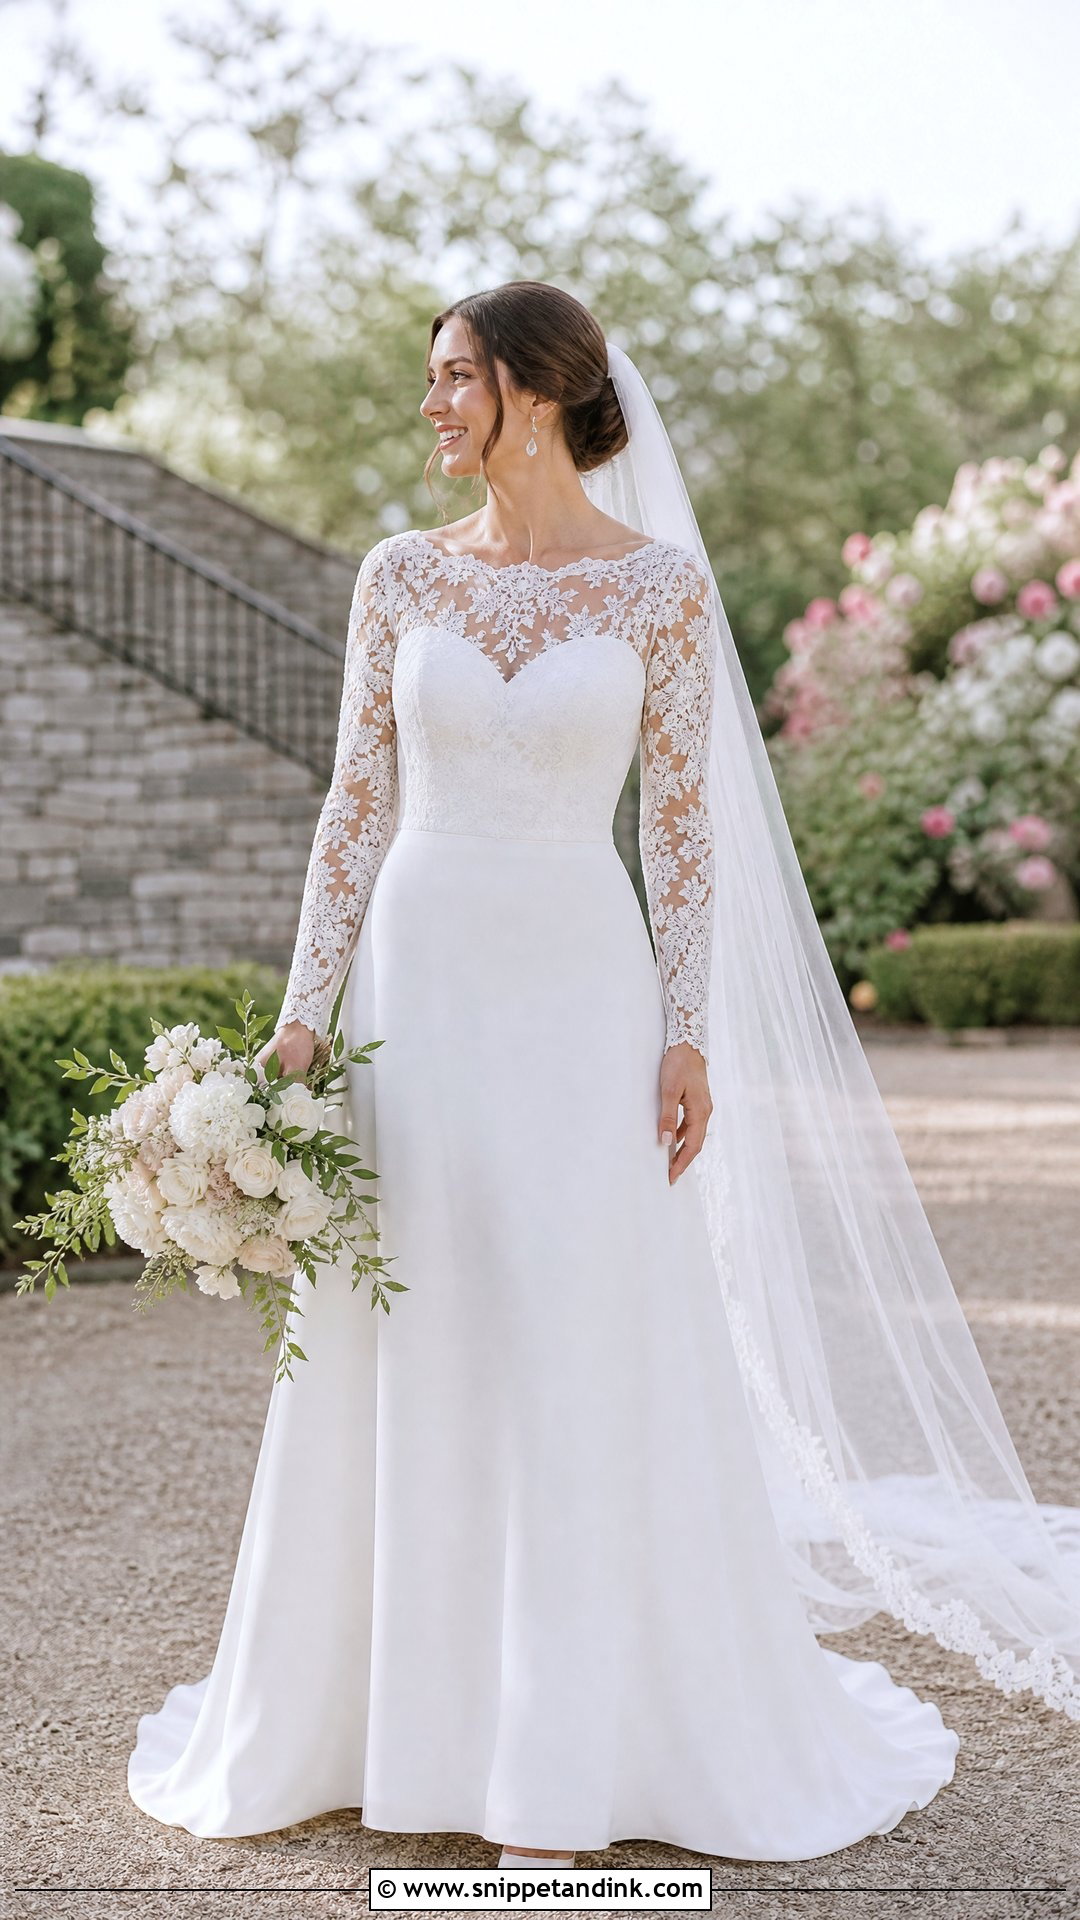
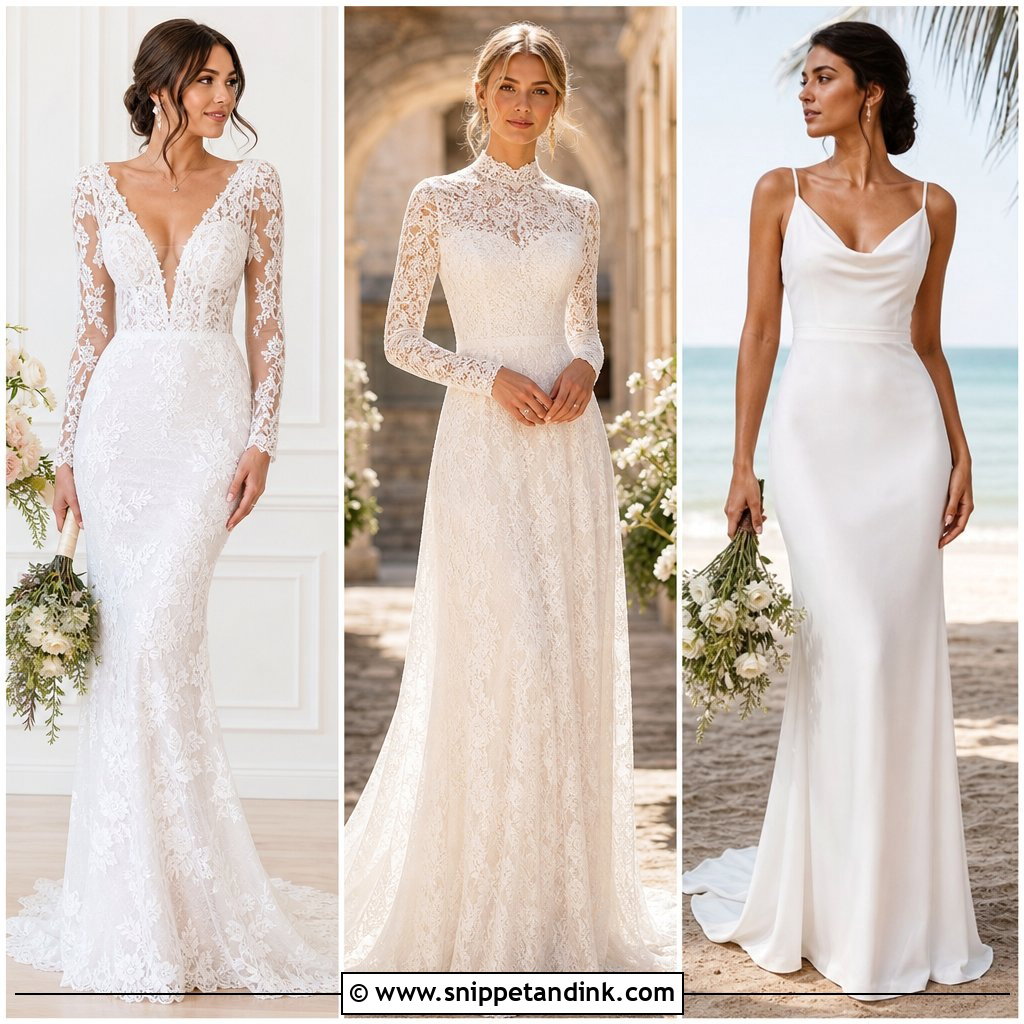
Lace sleeves add romance without a heavy skirt or a long train. Build a lined A-line or softly fitted crepe base, then cut the sleeves and upper neckline from matching bridal lace. Lace rewards planning. I lay the biggest motifs at the cuffs, shoulders and neckline before you cut, and where you can, lap seams along the motif edges instead of sewing straight lines across the pattern. French seams or narrow binding keep the sheer insides tidy, and tiny covered buttons at the wrist finish it. Low satin heels, a simple comb and small drops go with it. A chapel-length veil works well, as long as the lace stays the feature. Sleeves that look fine straight often bind when you bend the elbow, so test that.
3. Square Neck Crepe Wedding Dress
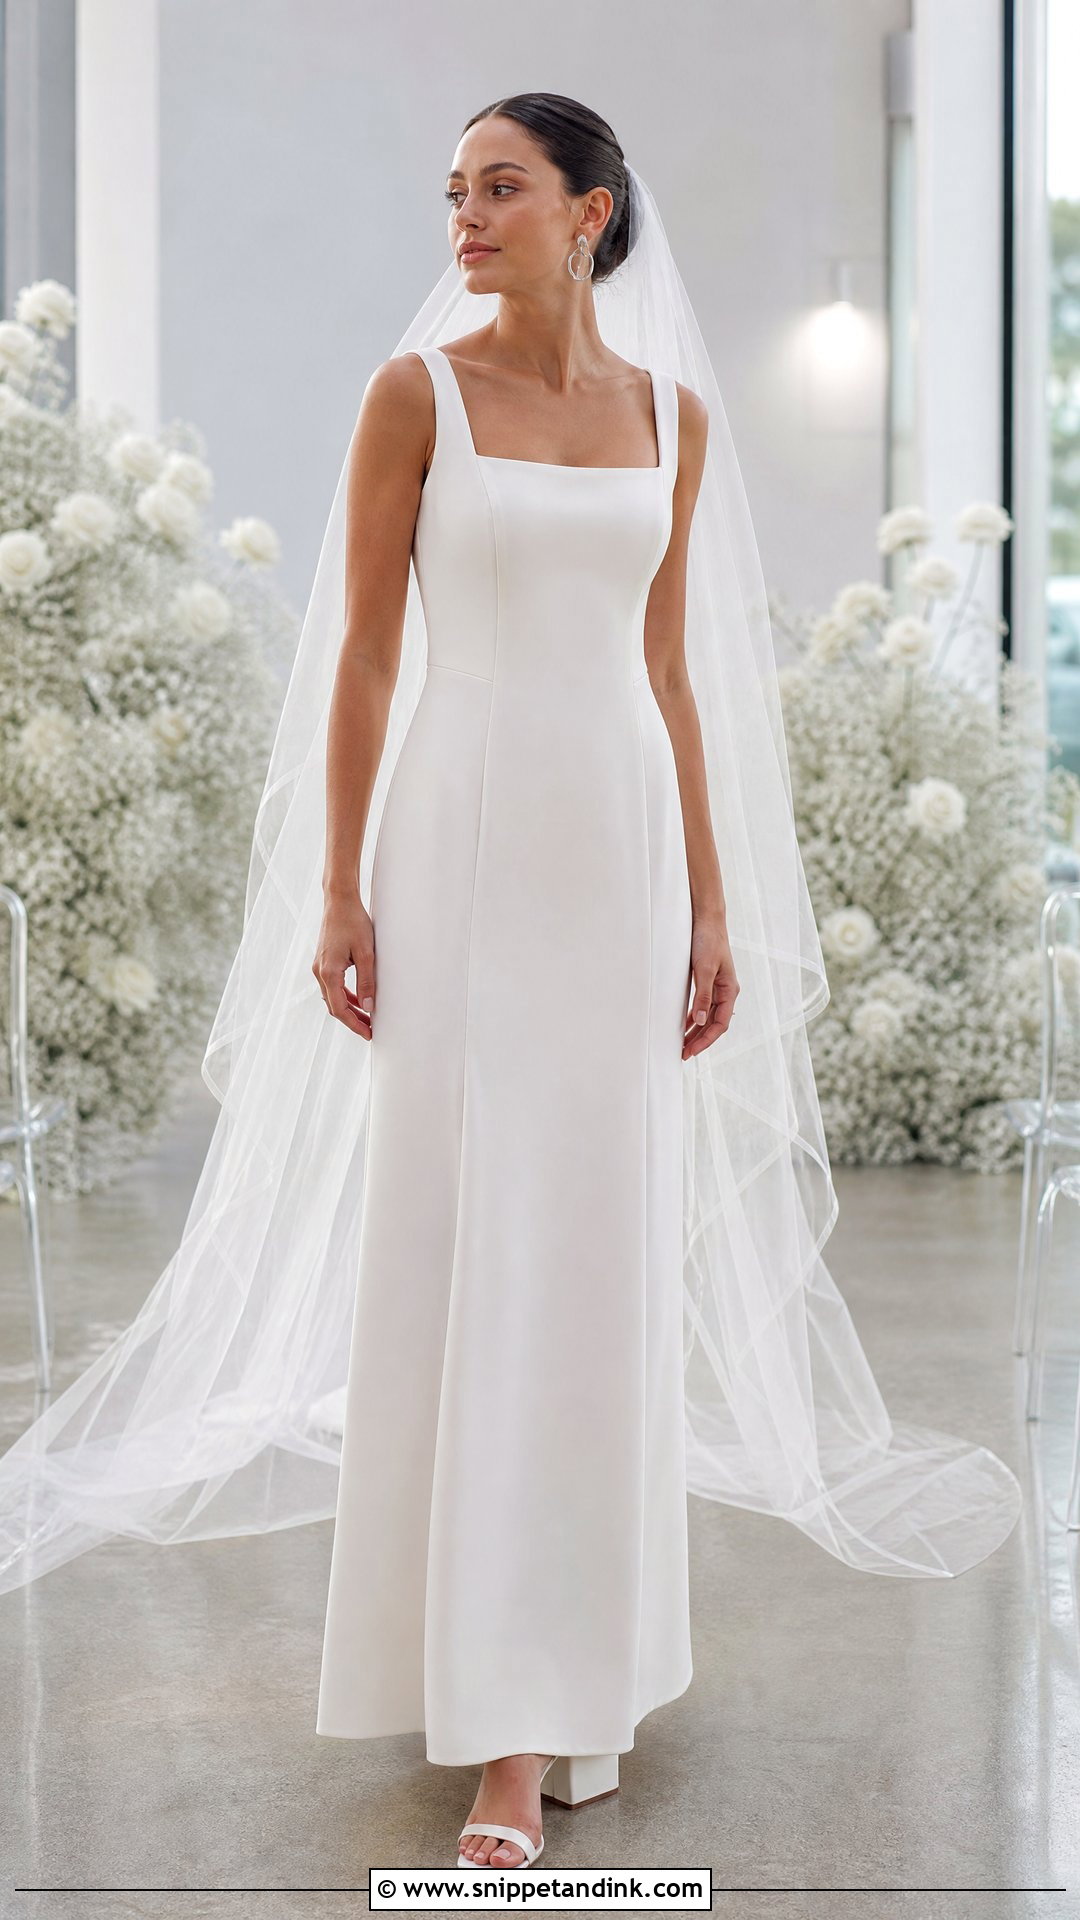
Square necks look clean and modern in crepe. Use a medium weight with enough body to skim rather than cling. Wide straps hold up the bodice and hide a normal bra, which matters over a long day. A princess-seamed bodice gives precise shaping, joined to an A-line or column skirt. I always understitch the neckline facing; skip it and the edge rolls outward by the first hour. A low square back can echo the front, but a higher back is easier to fit and gives more support for a first attempt. Block-heel sandals, sculptural earrings and a low bun complete it. A sheer cathedral veil adds ceremony weight without cluttering the line.
4. Corset Ball Gown Wedding Dress
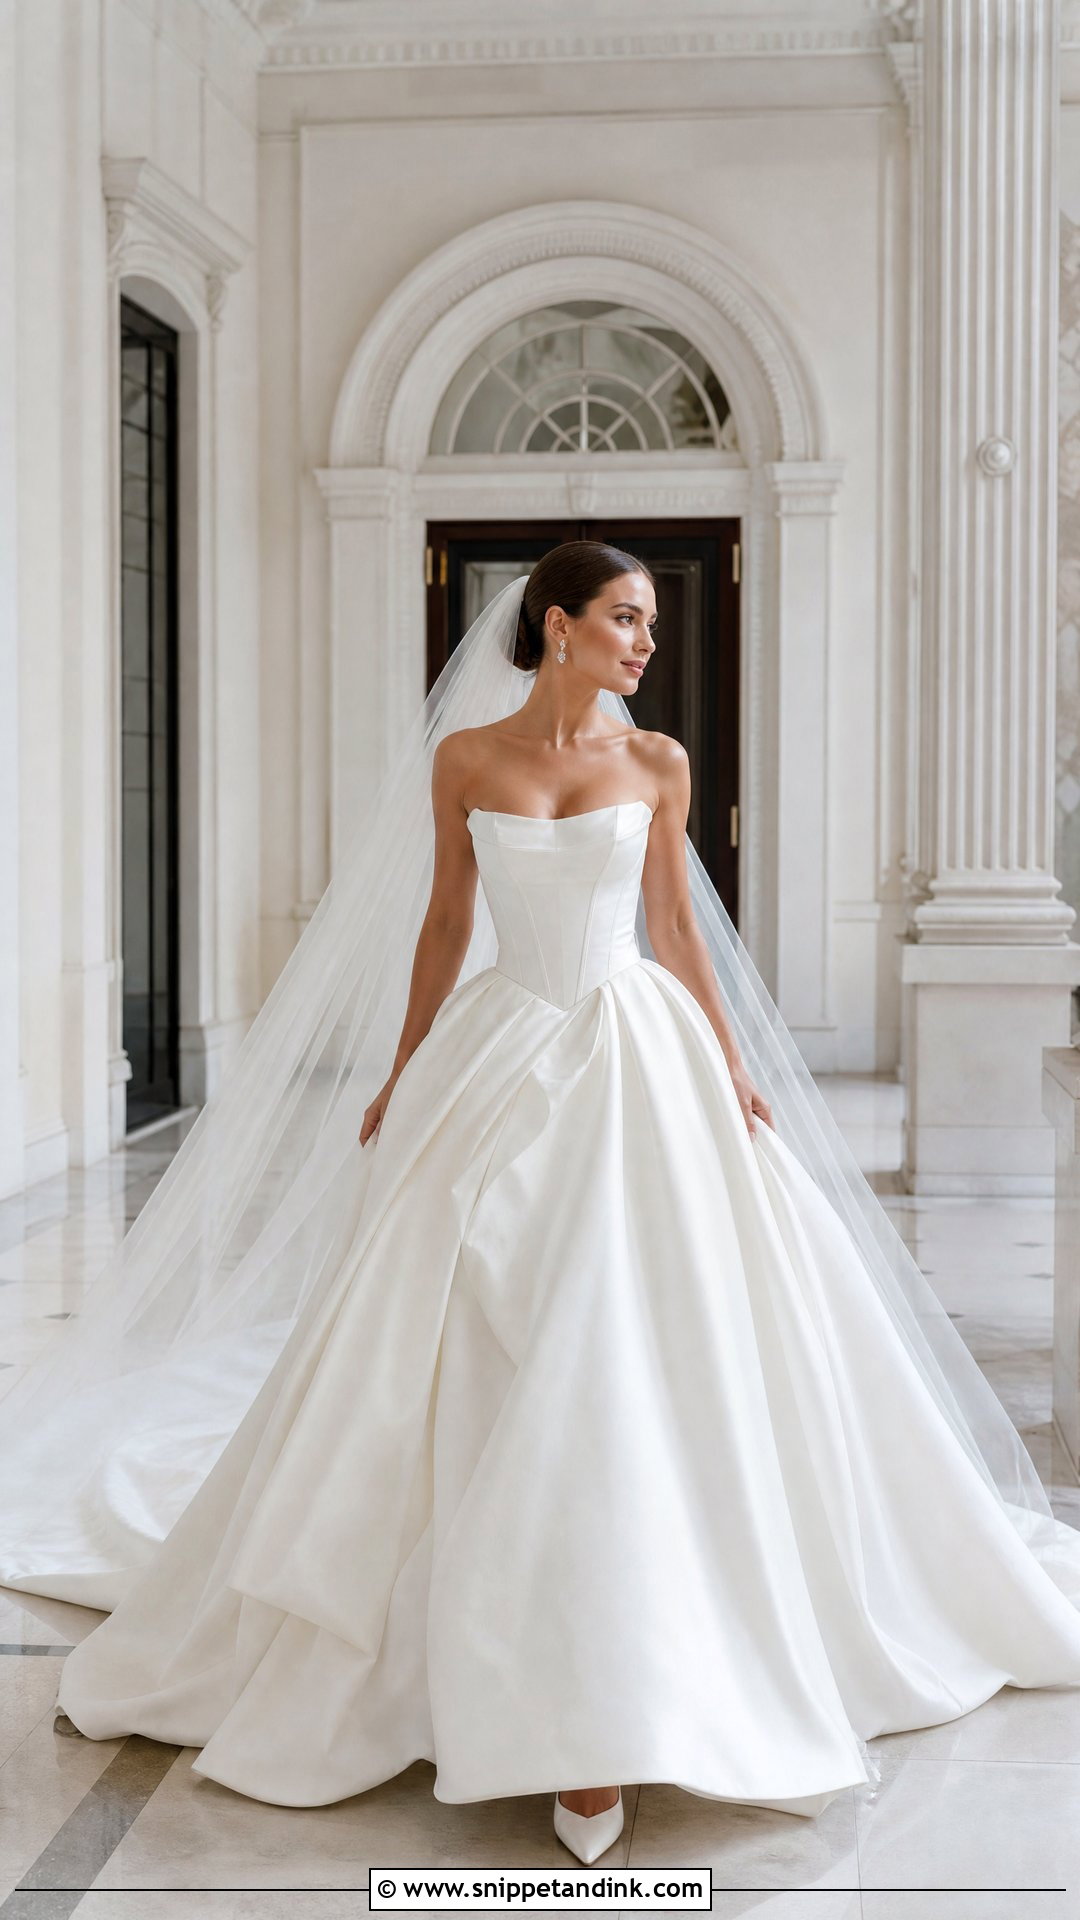
This is the ambitious one. A corset ball gown pairs a structured bodice with a sweeping skirt, and the bodice needs a strong interlining, carefully placed boning, a waist stay and secure back closure. Practice the corsetry on a test bodice before you touch bridal satin or mikado. Volume should come from gathered tulle and a separate petticoat; that keeps the outer skirt light enough to hang well. A lace-up back is forgiving if your size might shift; covered buttons over a hidden zip look cleaner. Classic pumps, a cathedral veil and a restrained necklace. Plan several fittings just for support, movement, skirt weight and hem.
5. Bias Cut Silk Wedding Dress
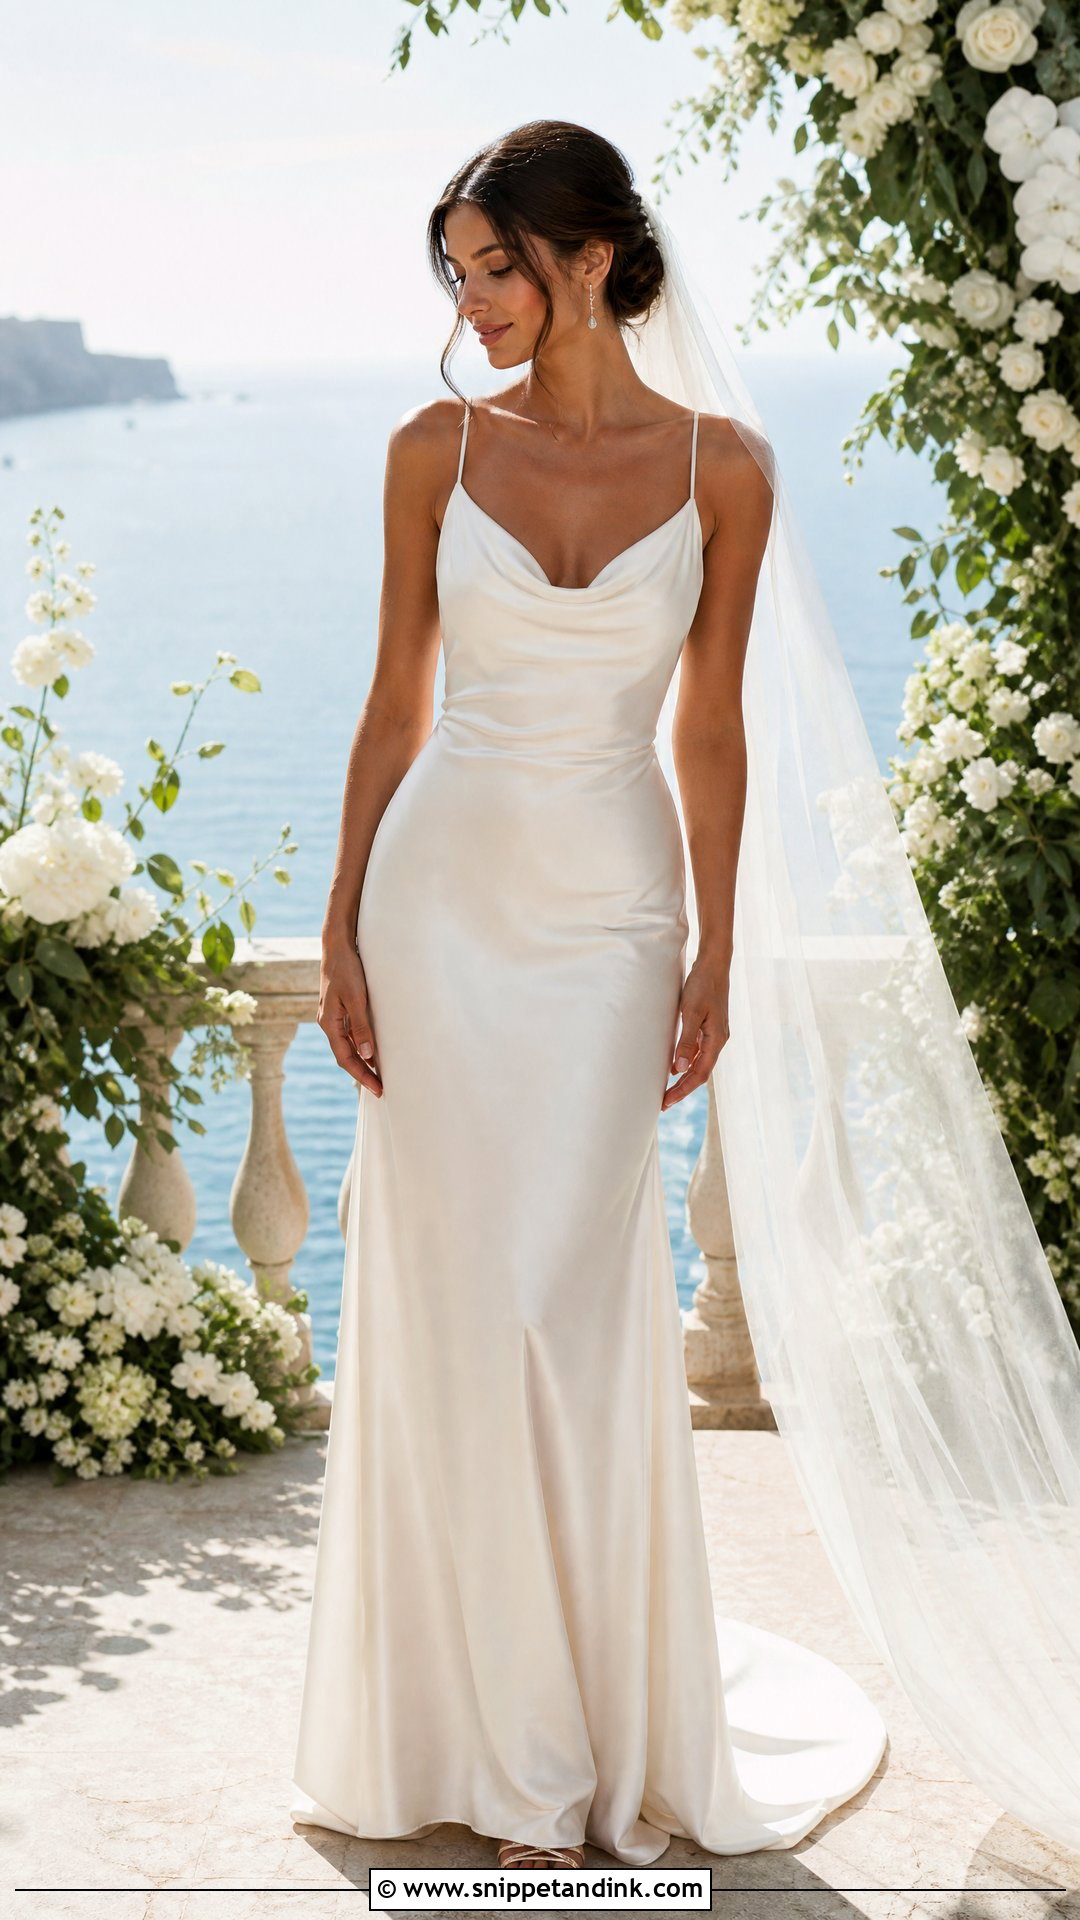
Bias cut means the grain runs diagonally across the body, so the fabric stretches and drapes into the figure. Silk charmeuse or satin is the classic choice, and both slither while you cut. Lay the fabric in a single layer on paper, use pattern weights and a rotary cutter. Then hang the unfinished dress for at least a day before leveling the hem, because bias seams drop unevenly and the hem will wave if you skip this. A cowl or soft V suits it. Slim metallic sandals, delicate earrings and a light shoulder veil. Bias-cut silk shows everything beneath it, so plan the underwear before the final fitting.
6. Tea Length Wedding Dress
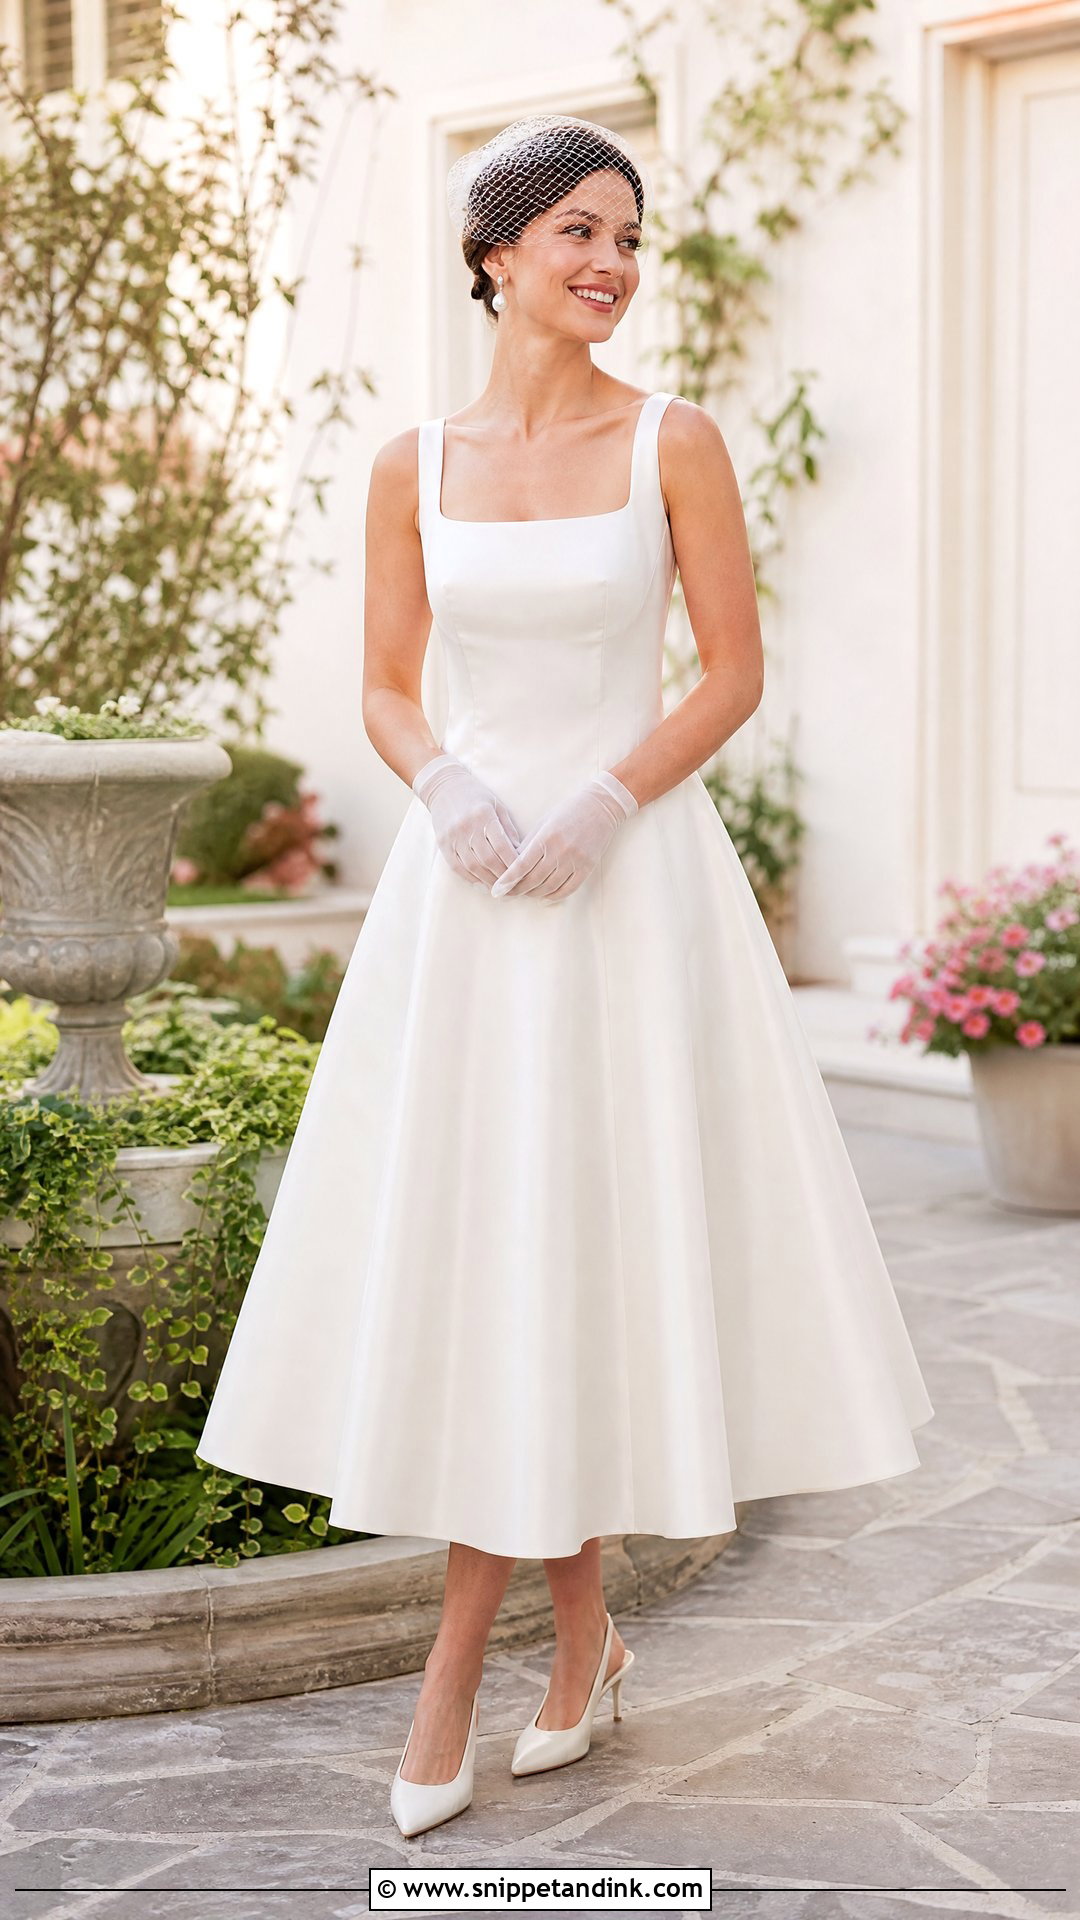
Tea length is cheerful and practical, a great courthouse, garden or daytime dress. Aim for a hem between lower calf and ankle so the shoes become part of the outfit. Cotton sateen, silk faille or a light mikado hold a crisp shape. A fitted princess-seam bodice over a circle or pleated skirt is the vintage pairing. Pockets in the side seams are possible if the fabric is firm enough not to pull. Slingbacks, short gloves, pearl studs and a birdcage veil or bow finish it. Mark the hem on the bride wearing the shoes; an inch too long or too short visibly cuts the leg line. A narrow petticoat adds swing.
7. Basque Waist Wedding Dress
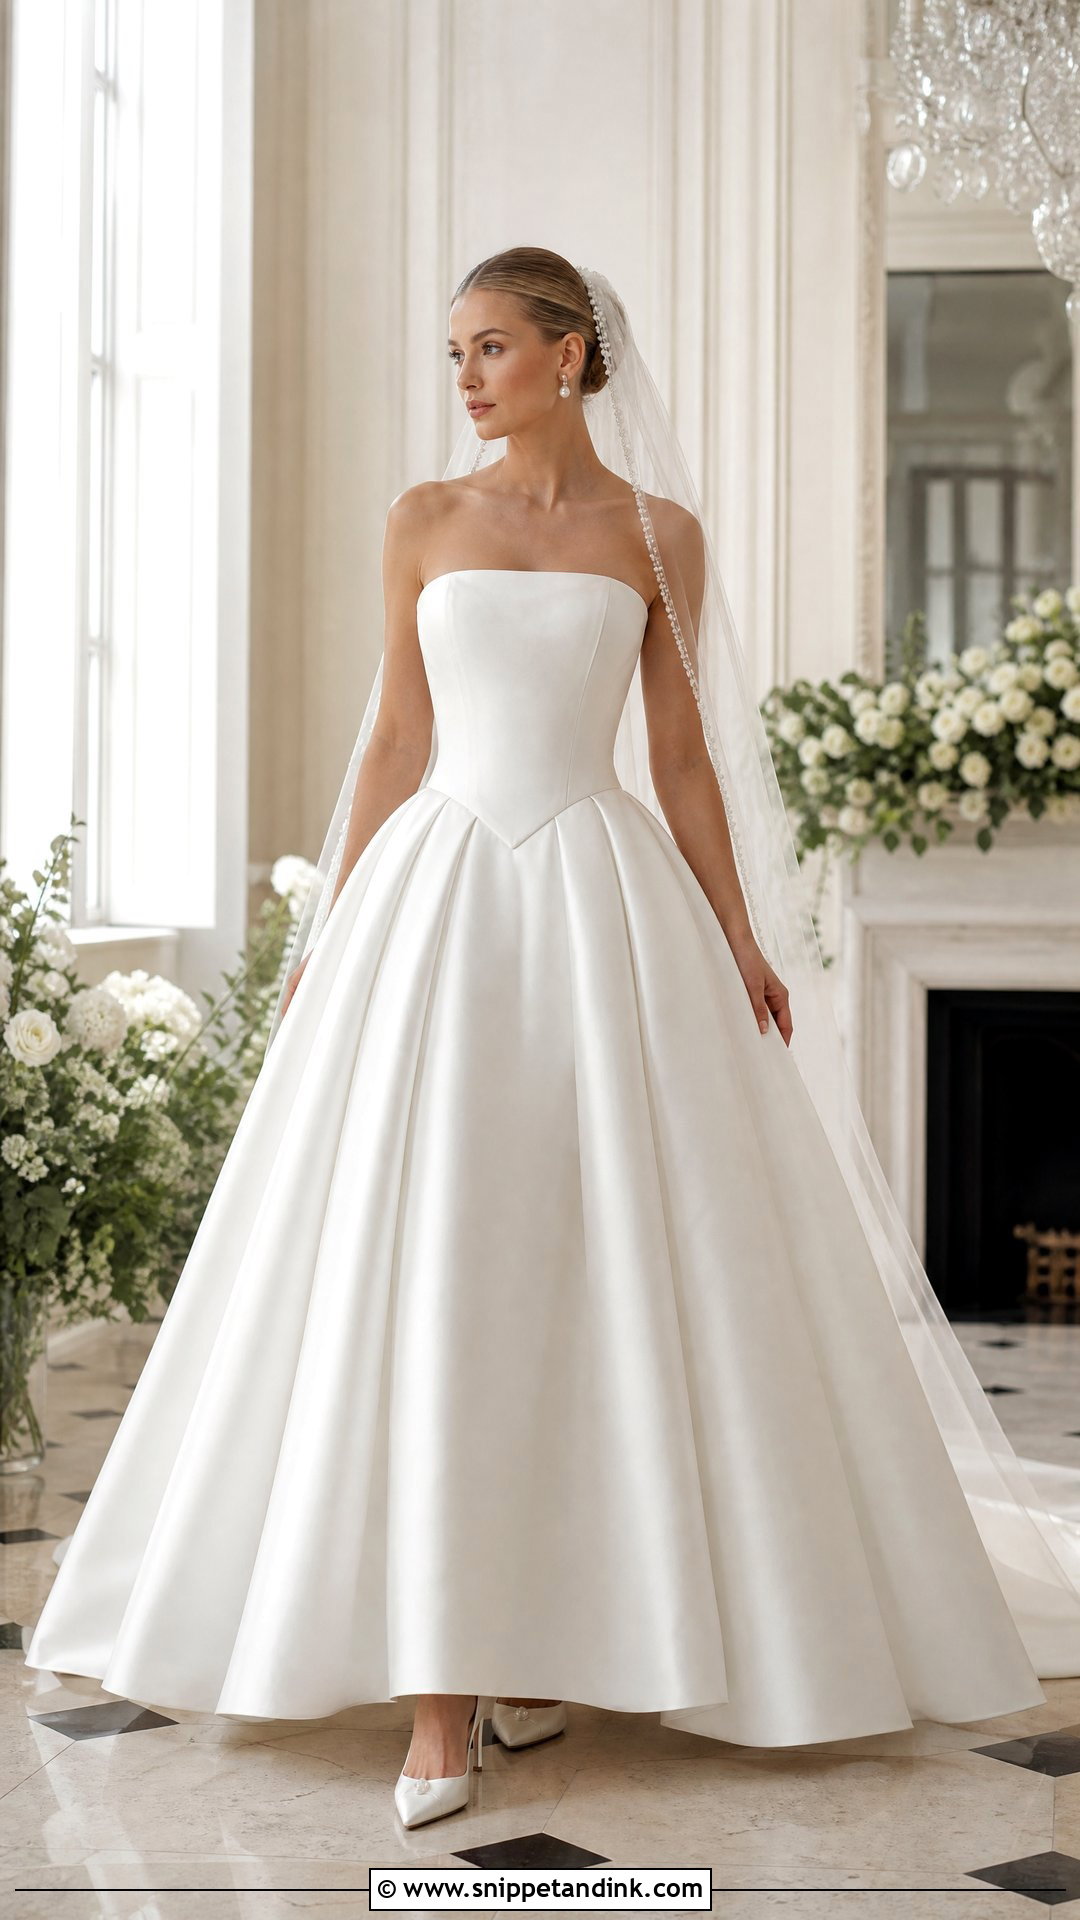
A basque waist wedding dress has a bodice that dips to a point below the natural waist, giving a long torso and a sculpted base for a full skirt. Under structured satin or mikado, use cotton coutil, boning and a firm waist stay. That point is the part I check first at a fitting. If it isn’t supported by a bone or a stiff interfacing, it folds up when you sit, so test it seated. Attach a gathered, pleated or paneled skirt depending on how much volume you want. Strapless shows the shape best; straps make it easier to wear. Satin heels, a pearl-edged veil and a small structured bouquet, with very little jewelry.
8. Drop Waist Wedding Dress
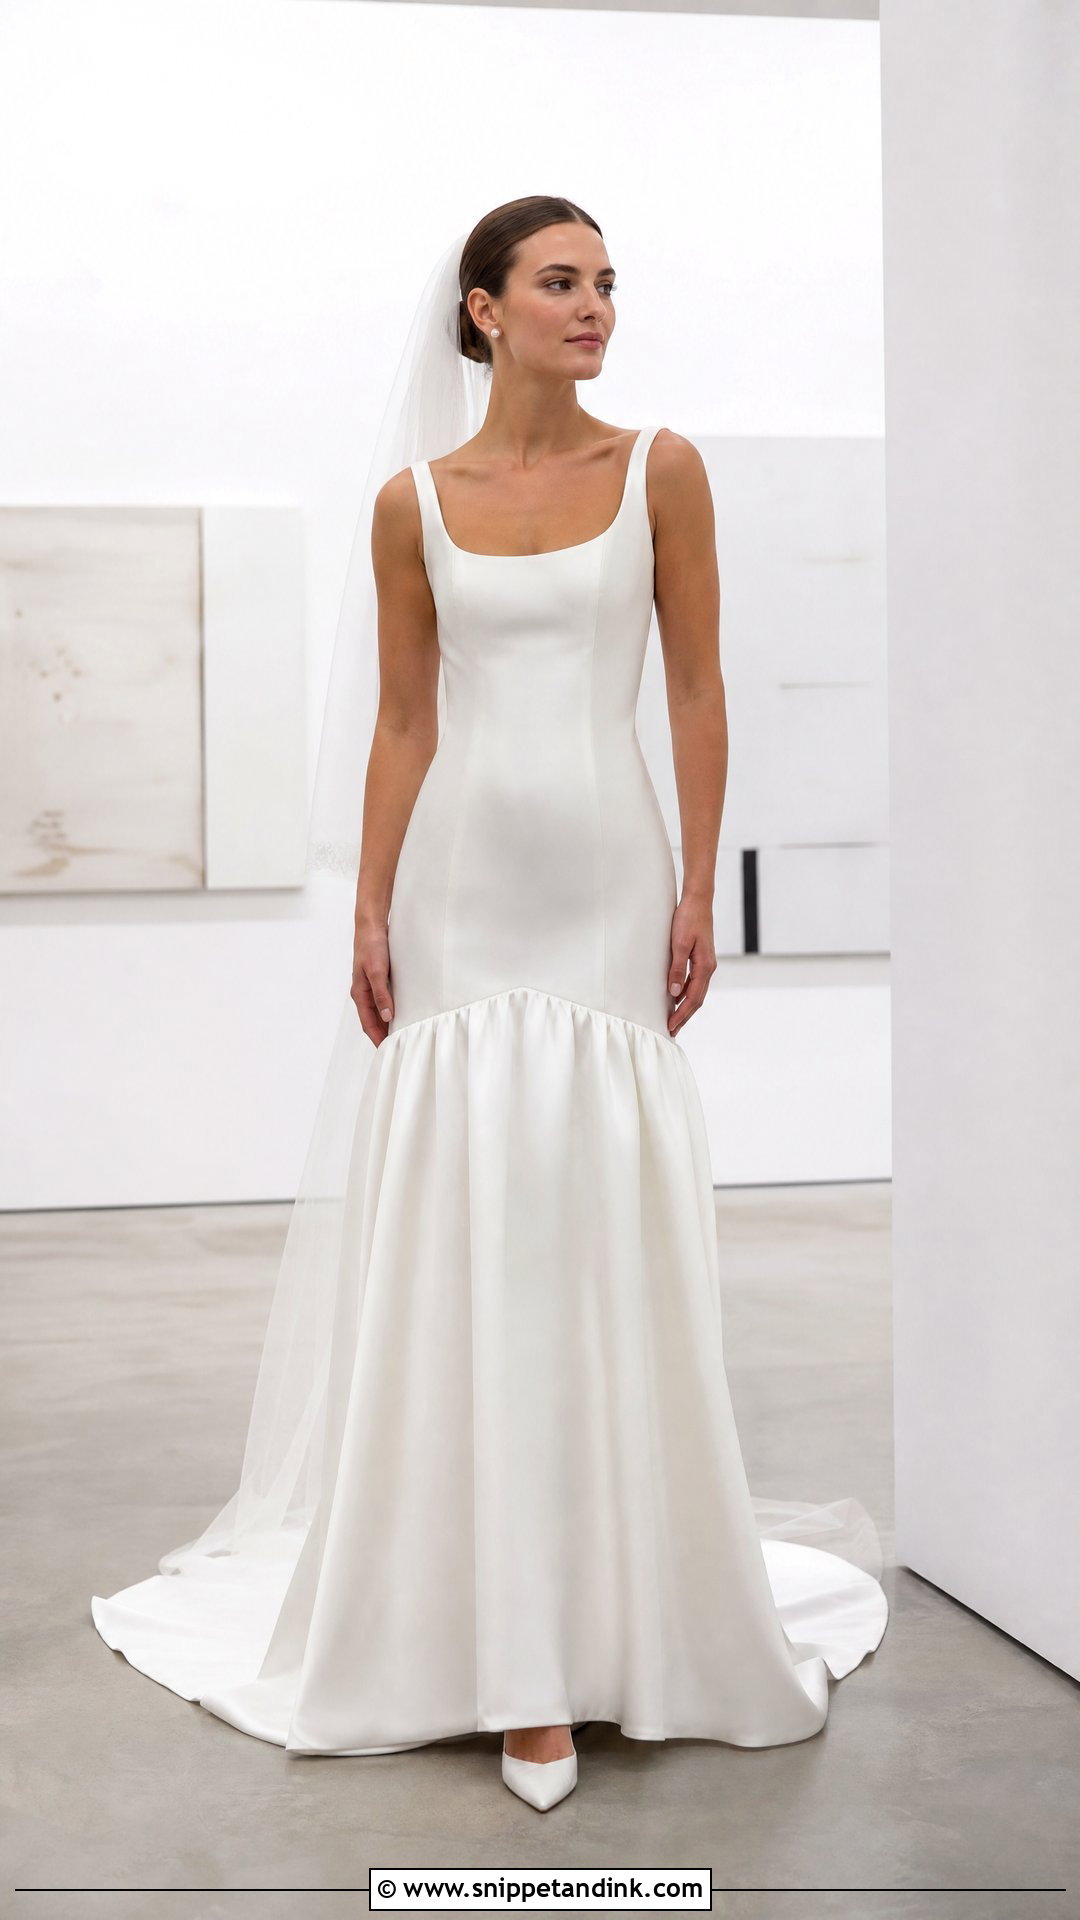
Want something sleek that still moves? A drop waist carries the fitted bodice down to the hips before the skirt opens out. Smooth satin, crepe-backed satin or mikado shows off the long seams. Make your muslin long enough to cover the hips, since that’s where sitting and walking either work or don’t. Curved panel seams shape without bulky gathers at the join. A softly flared skirt with a short train finishes it, styled with pointed pumps, a narrow veil and simple studs. Keep accessories few. The long bodice and the low seam line are the design, and anything busy pulls the eye away from them.
9. Halter Neck Wedding Dress
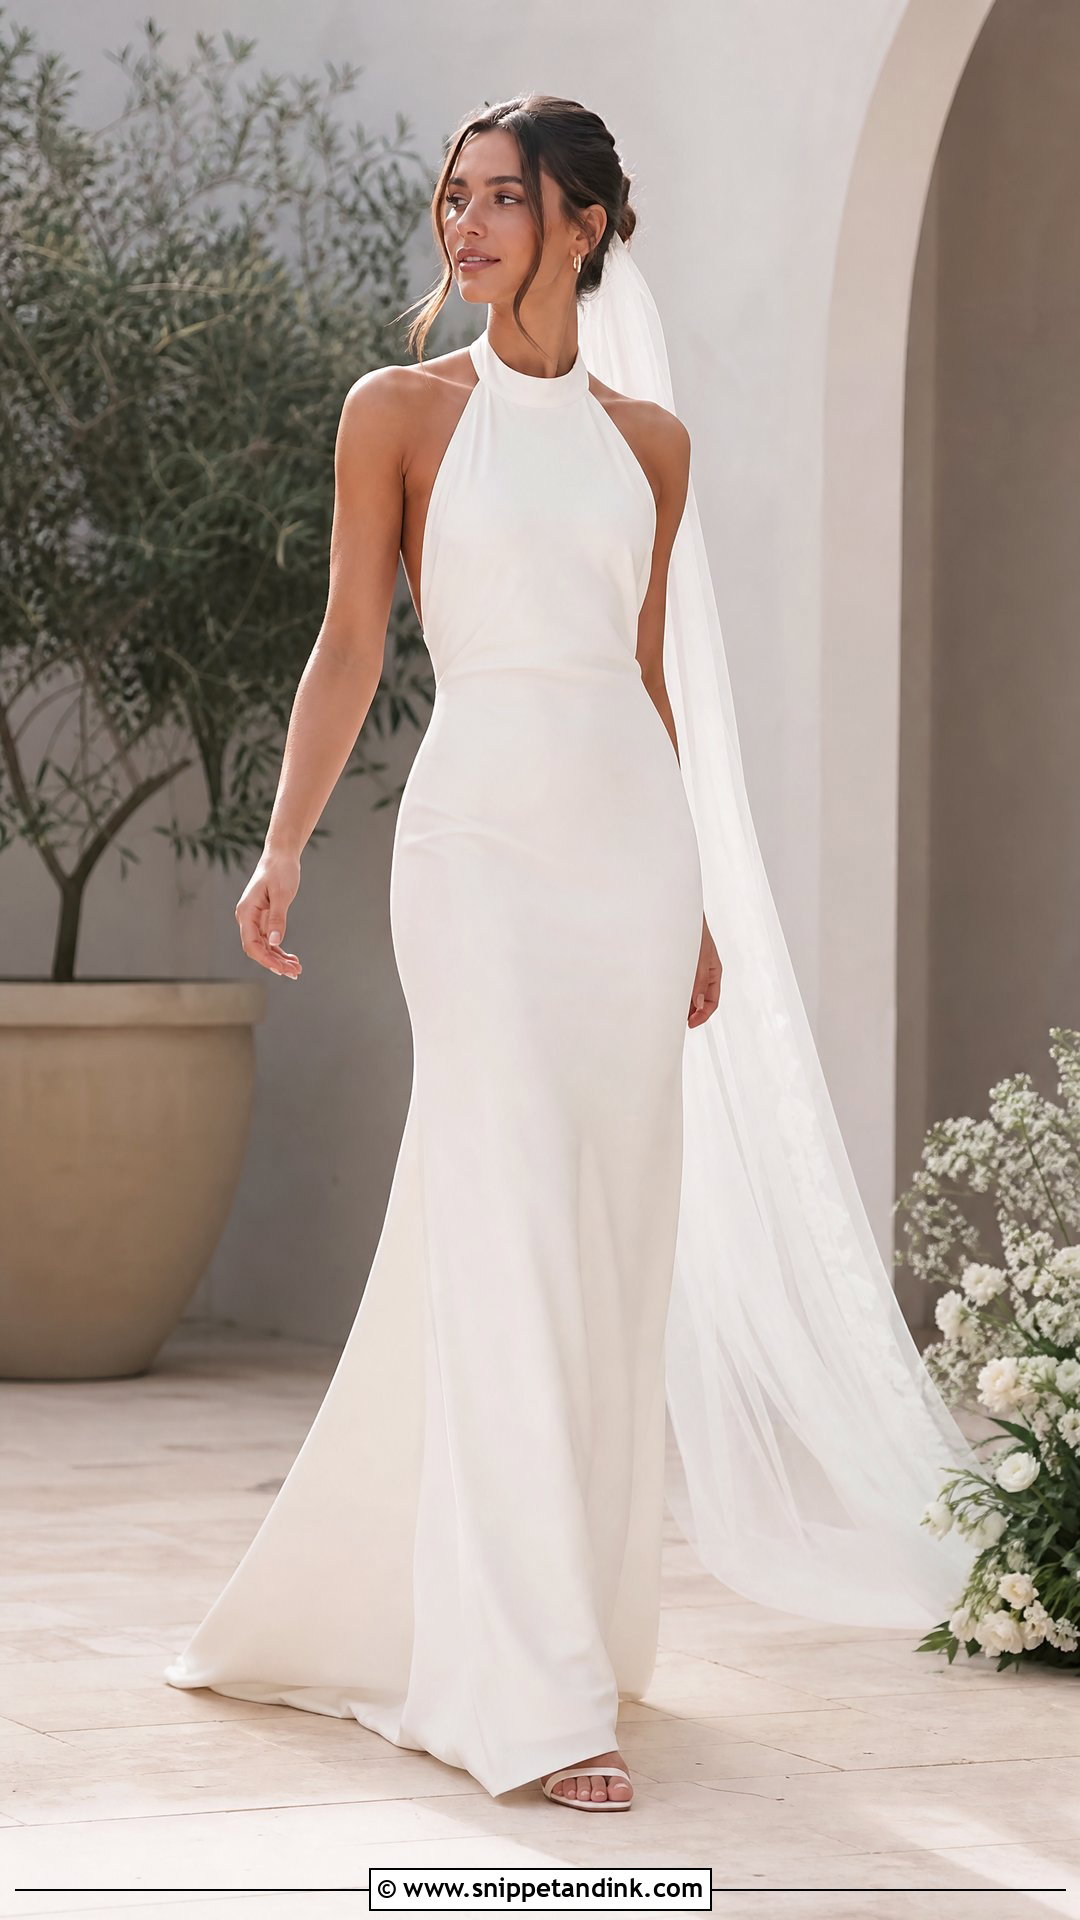
A halter frames the shoulders and looks confident with an A-line, column or soft flare. Crepe moves fluidly; satin gives more structure. Stabilize the neckline with stay tape before you sew anything else, since halter edges stretch while you work and gape afterwards. A full lining and a closure at the neck that you’ve worn for an hour at home will tell you about pressure points. An open back needs internal support and a plan for underwear. Sleek sandals, small hoops and a low ponytail or bun complete it, with a long veil pinned below the hair. Check shoulder comfort and upper-bodice balance on the muslin.
10. Off Shoulder Wedding Dress
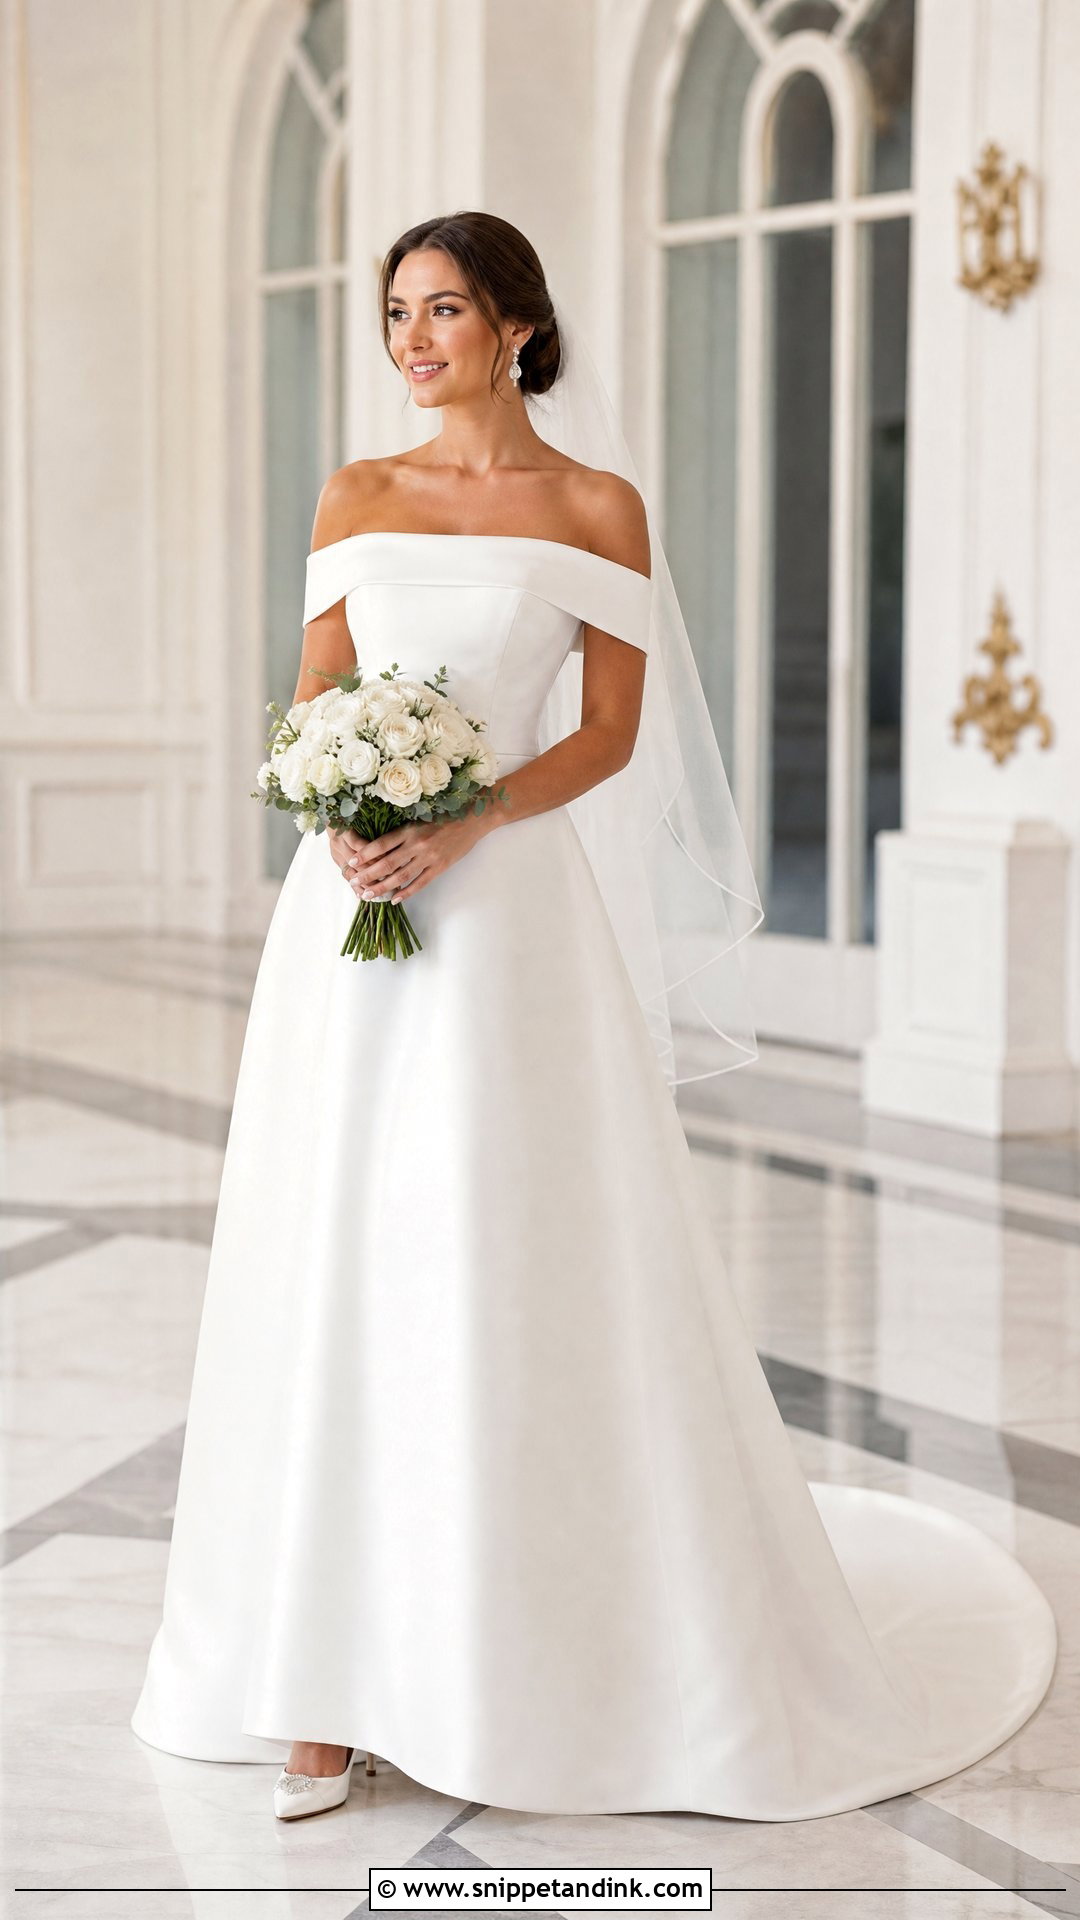
Off the shoulder looks graceful, but it’s a construction trap for home sewers. The bodice has to hold itself up around the bust and waist; the sleeves or fold are decoration, not support. Silk faille, mikado or duchess satin give a defined shape, crepe a softer one. Add an A-line skirt and a row of covered buttons down the back. Drop earrings, closed-toe heels and a sheer veil set behind the shoulders finish it. At every fitting I have the bride raise both arms above her head. Hidden elastic in the band, careful interfacing and a couple of small internal anchors keep the neckline in place without restricting you.
11. High Neck Lace Wedding Dress
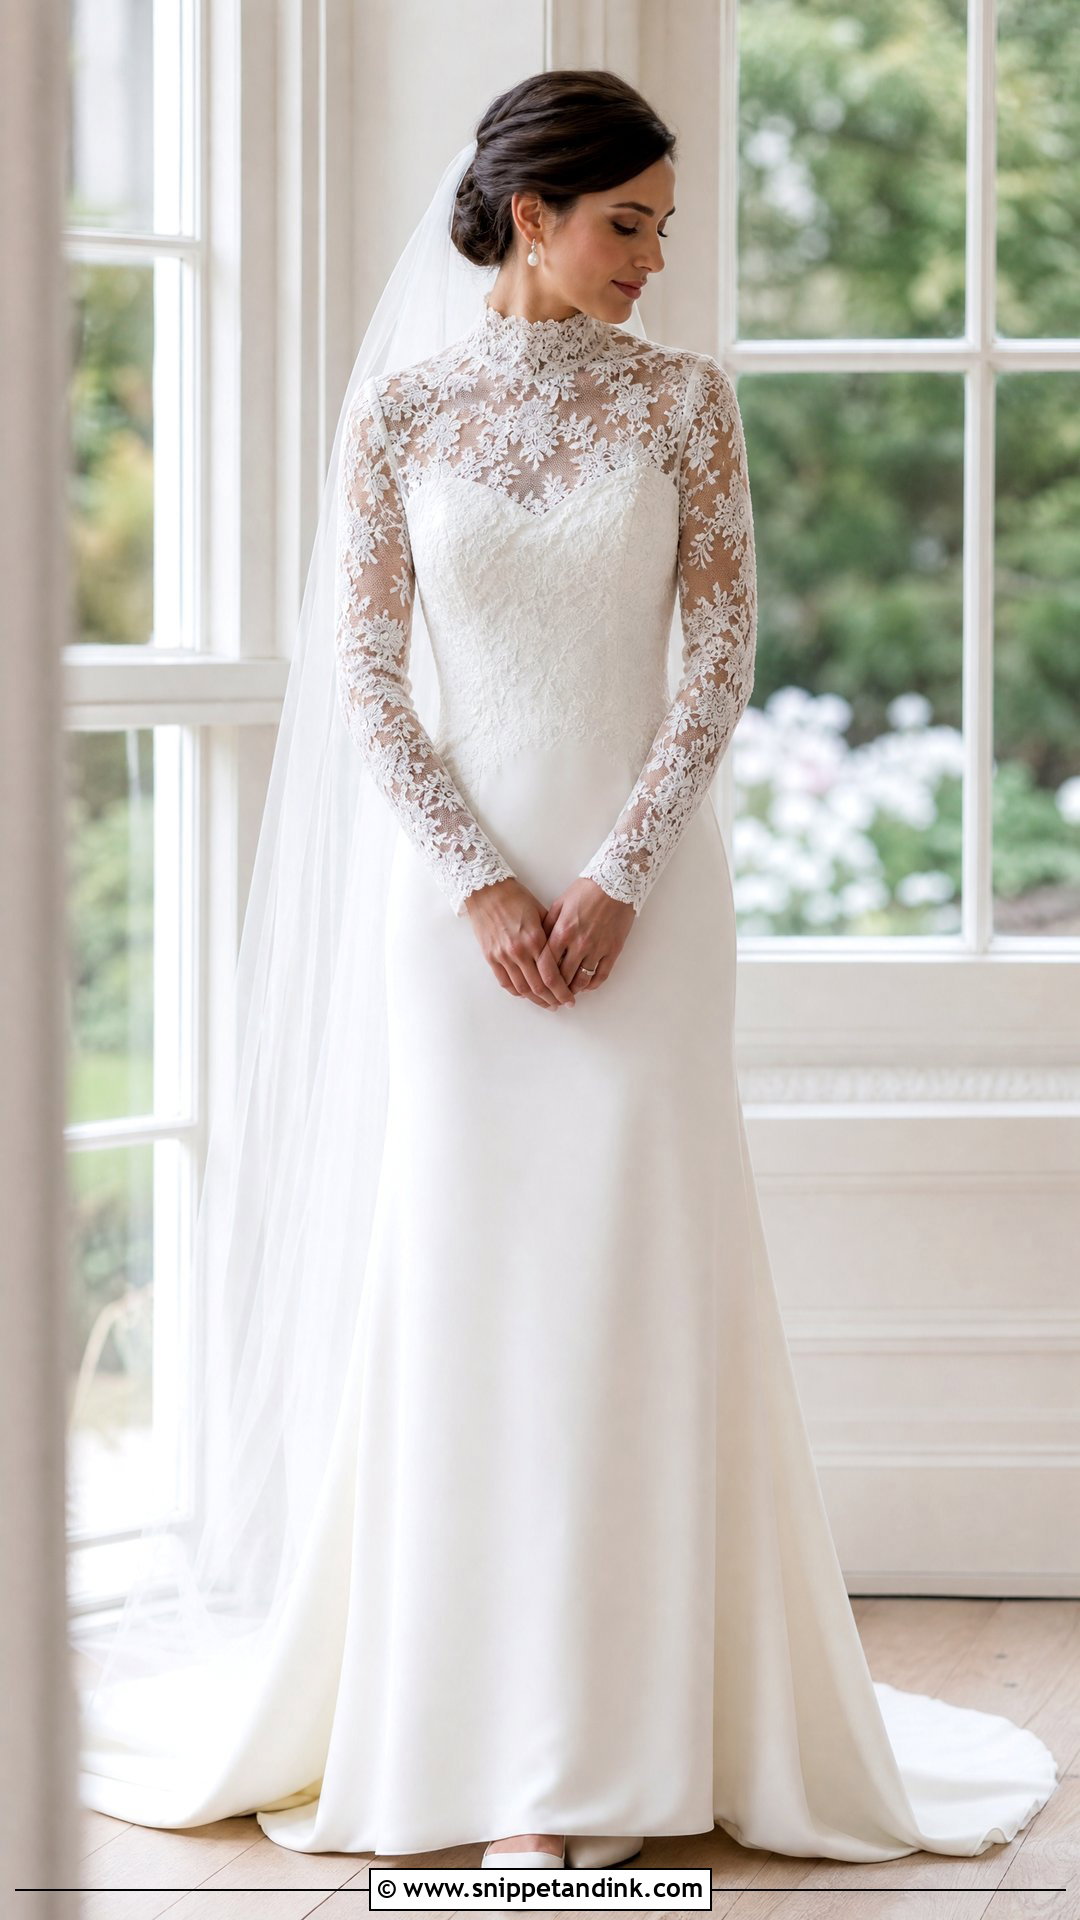
Lace and a high neck give lovely coverage. Sew a fitted lining dress in crepe or satin first, then lay sheer lace over the bodice and sleeves. A soft mock neck, scalloped collar or narrow stand completes the top. Center the lace motifs on the front and match them at both cuffs; a lopsided pattern is what makes handmade look homemade. Keep the skirt simple, perhaps an A-line crepe with a narrow train, so the bodice isn’t crowded. Pearl earrings, low pumps and a neat updo. Choose a plain veil without lace edging, or skip it for a small comb behind the hair.
12. Cape Sleeve Wedding Dress
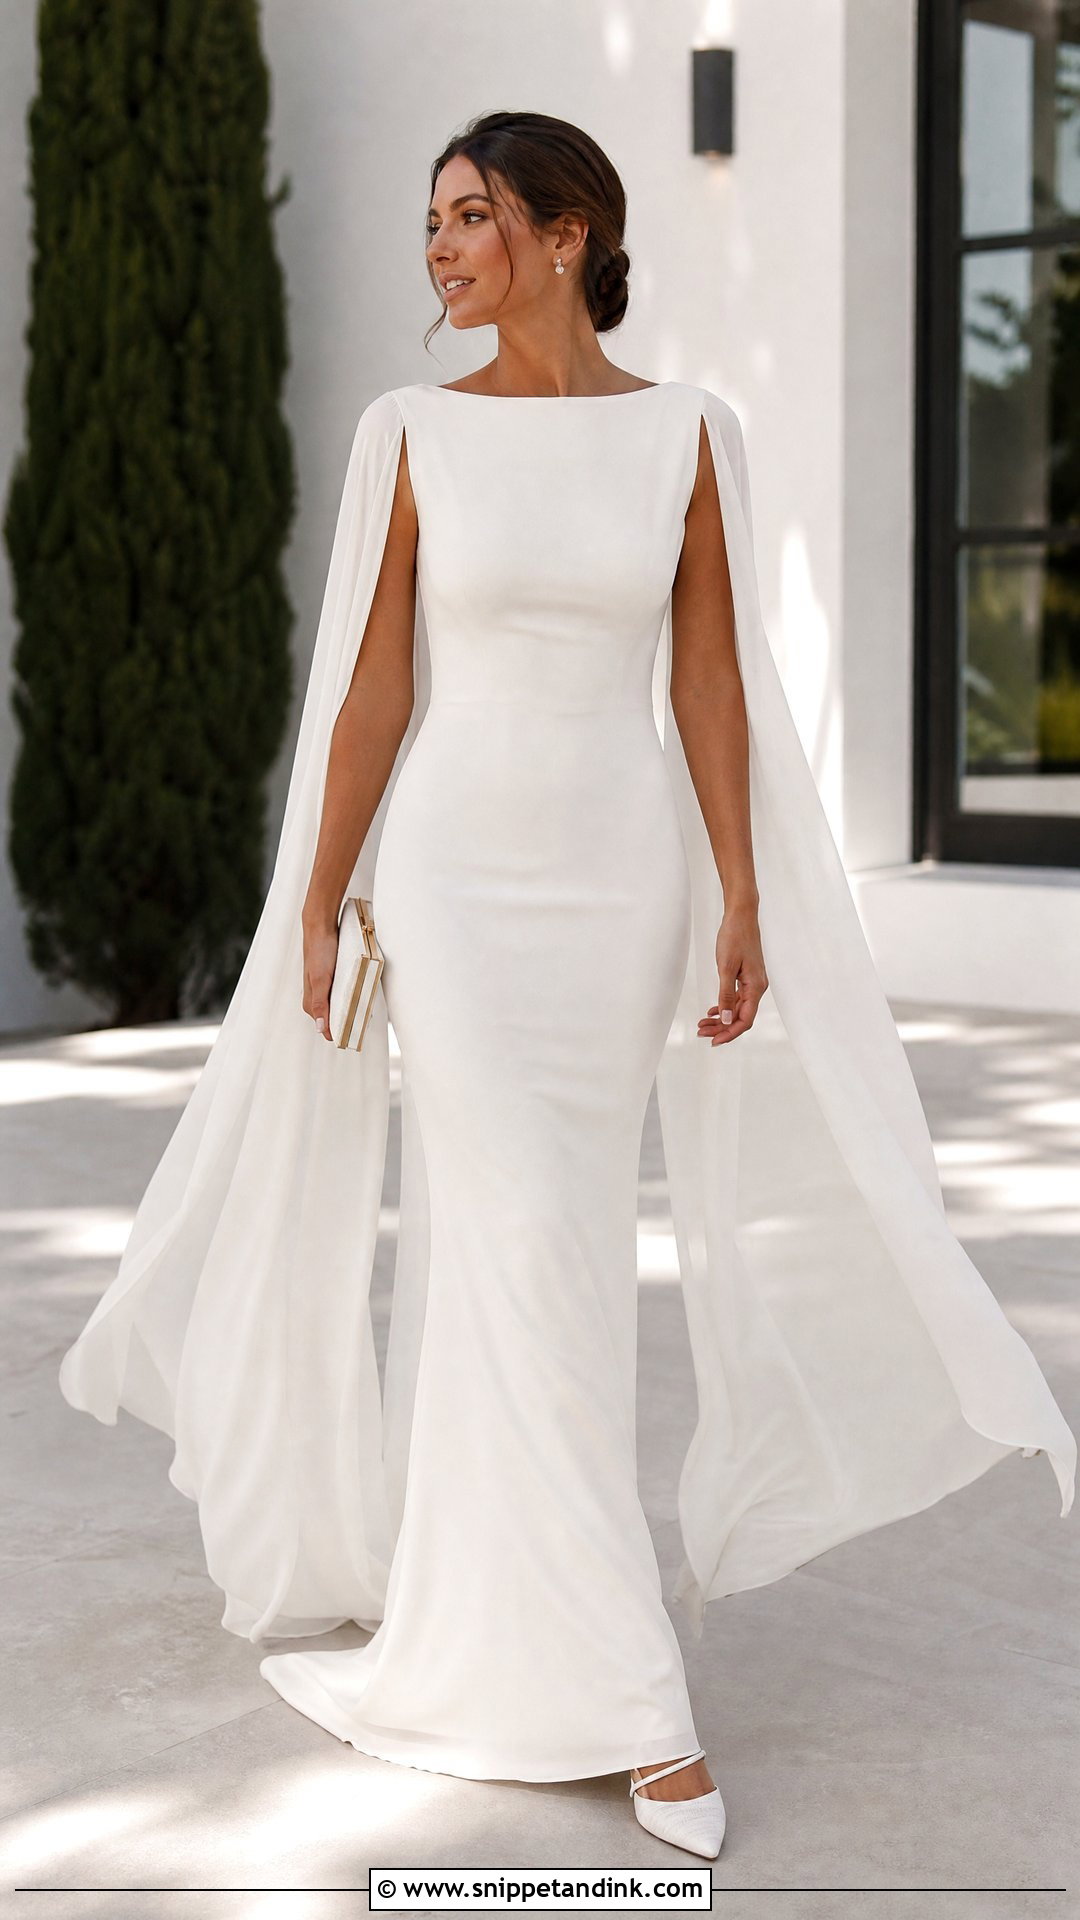
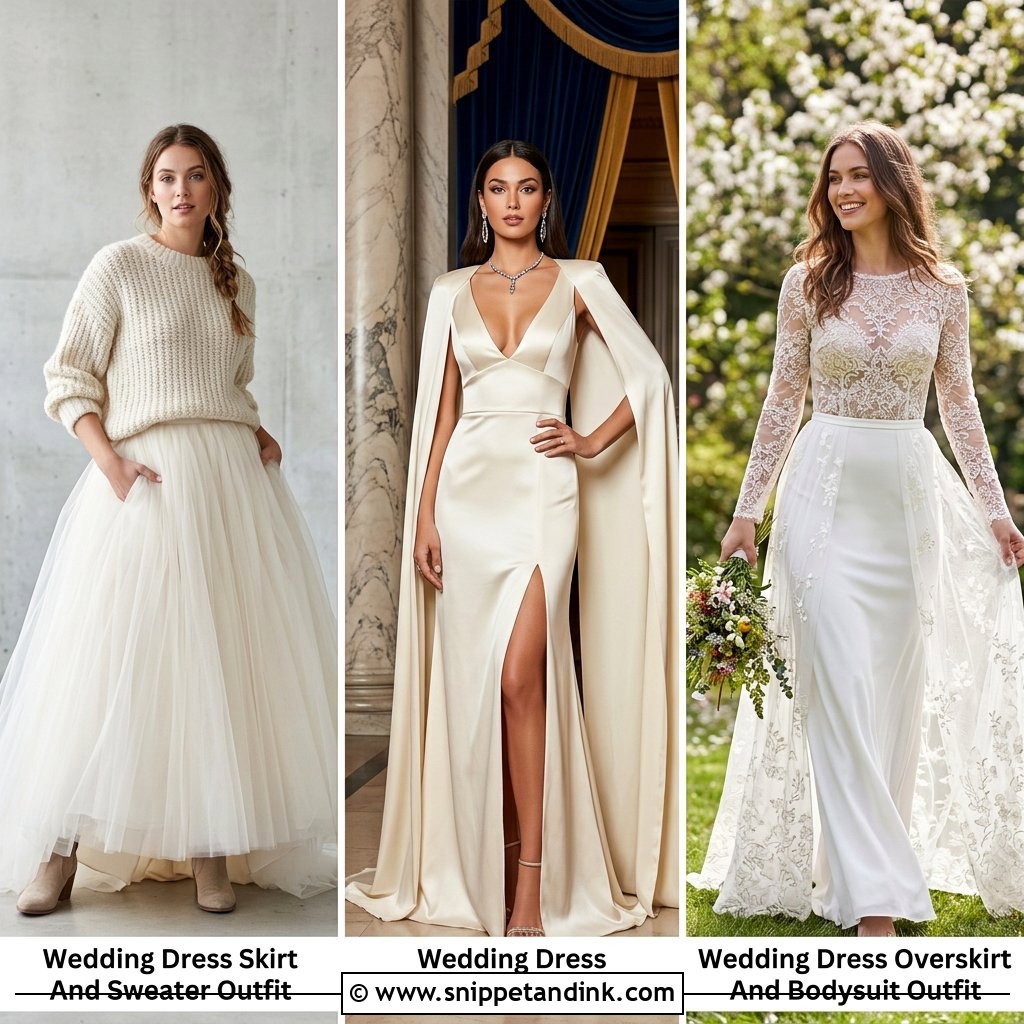
Cape sleeves add movement and light coverage over the arms. Make a simple fitted dress in crepe, satin or matte silk, then attach chiffon or georgette panels at the shoulders or neckline to fall toward the floor. The cape can replace the veil. Finish the long edges with a rolled hem; anything heavier stops the fabric floating. A straight or lightly flared skirt keeps balance. Pointed heels, small earrings and a structured clutch. Take the finished dress outside on a breezy day before the wedding. Long panels catch wind, snag on décor and get stepped on in tight spaces, and it’s better to find that out at home.
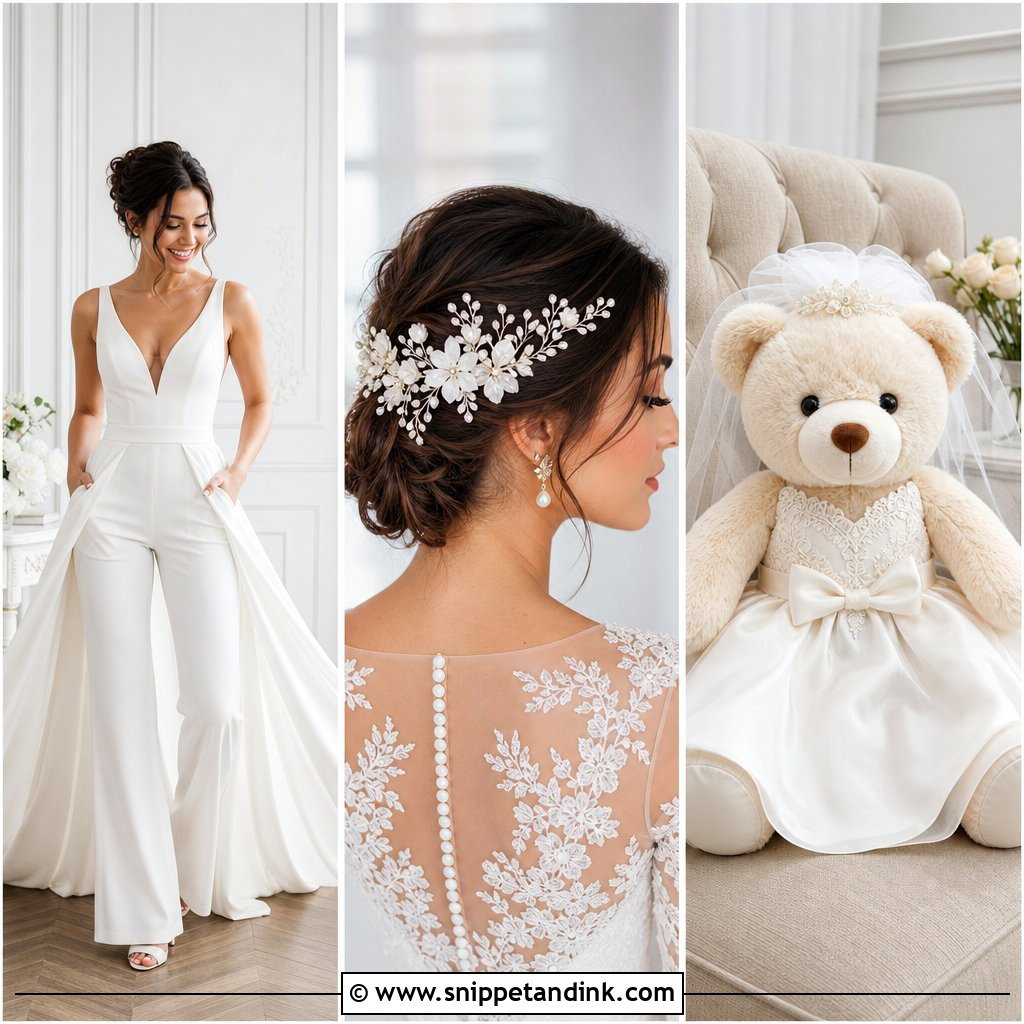
13. Detachable Overskirt Wedding Dress
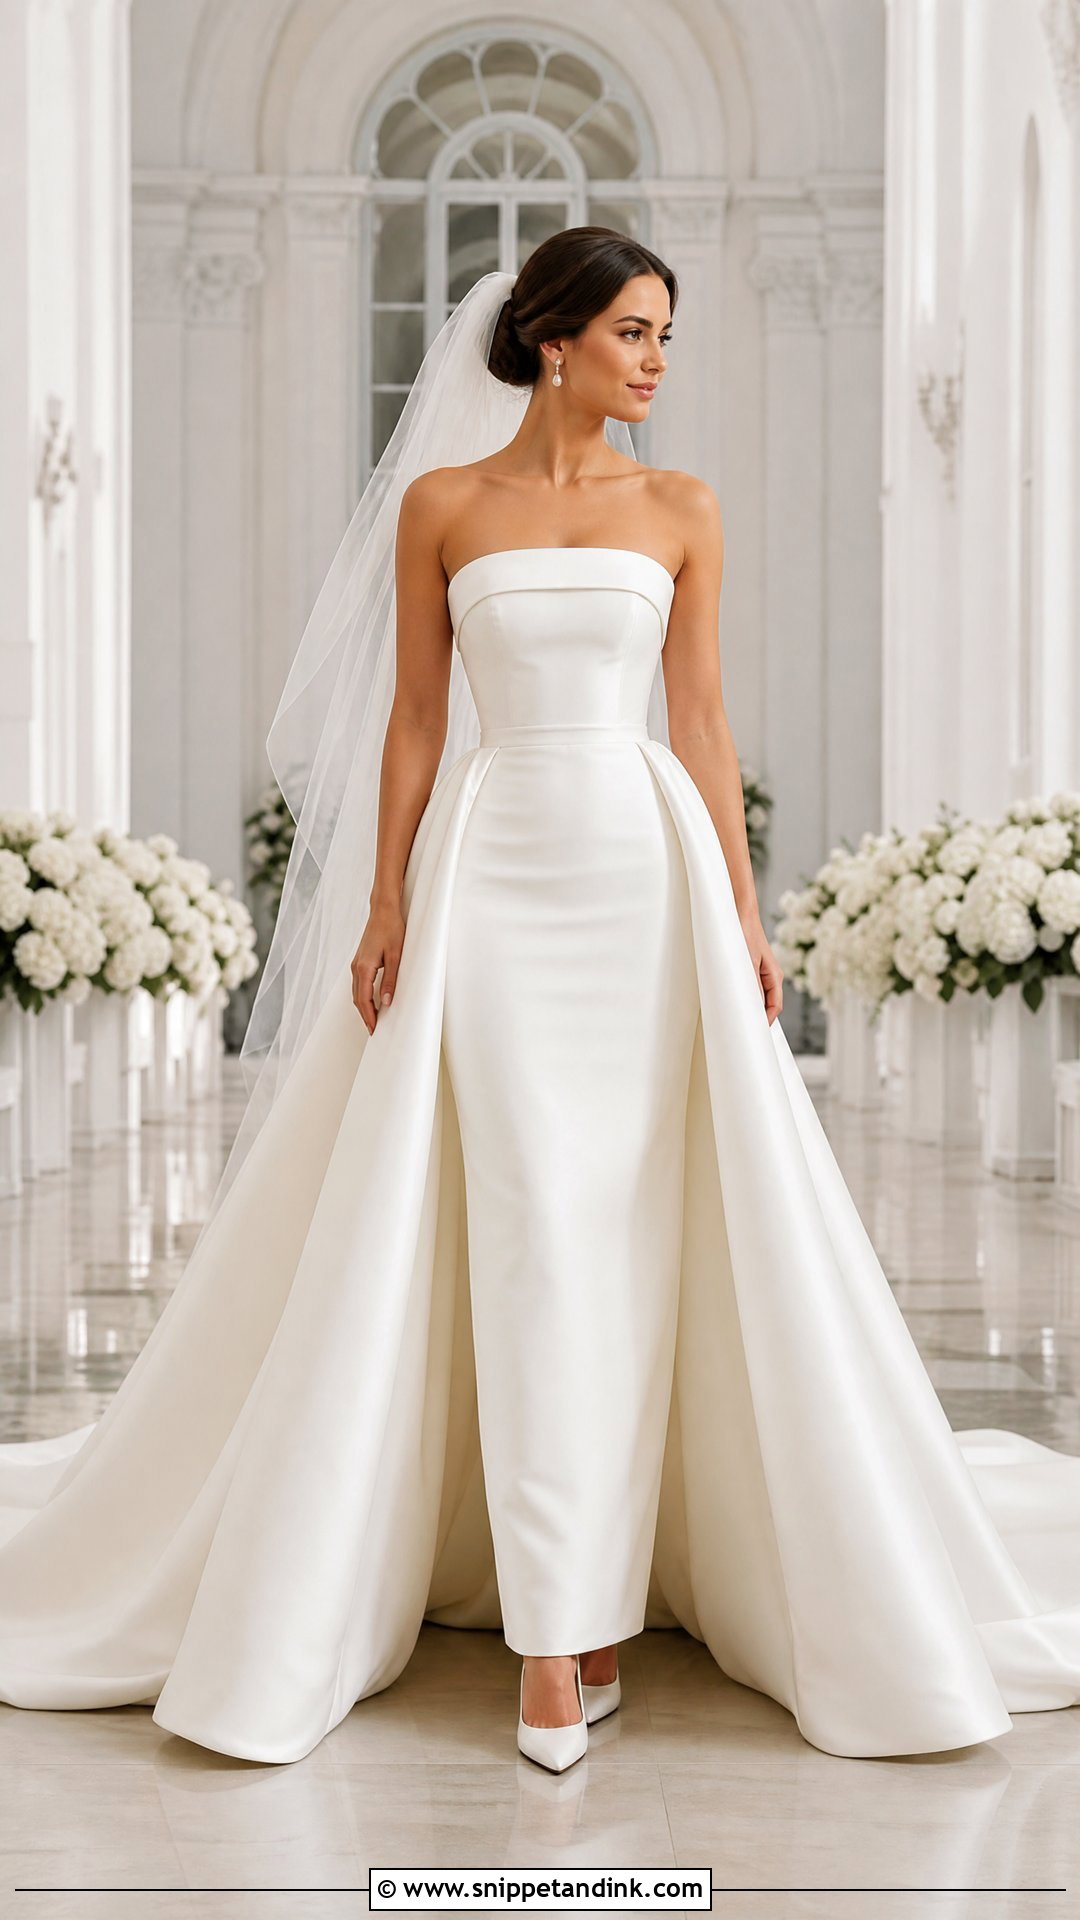
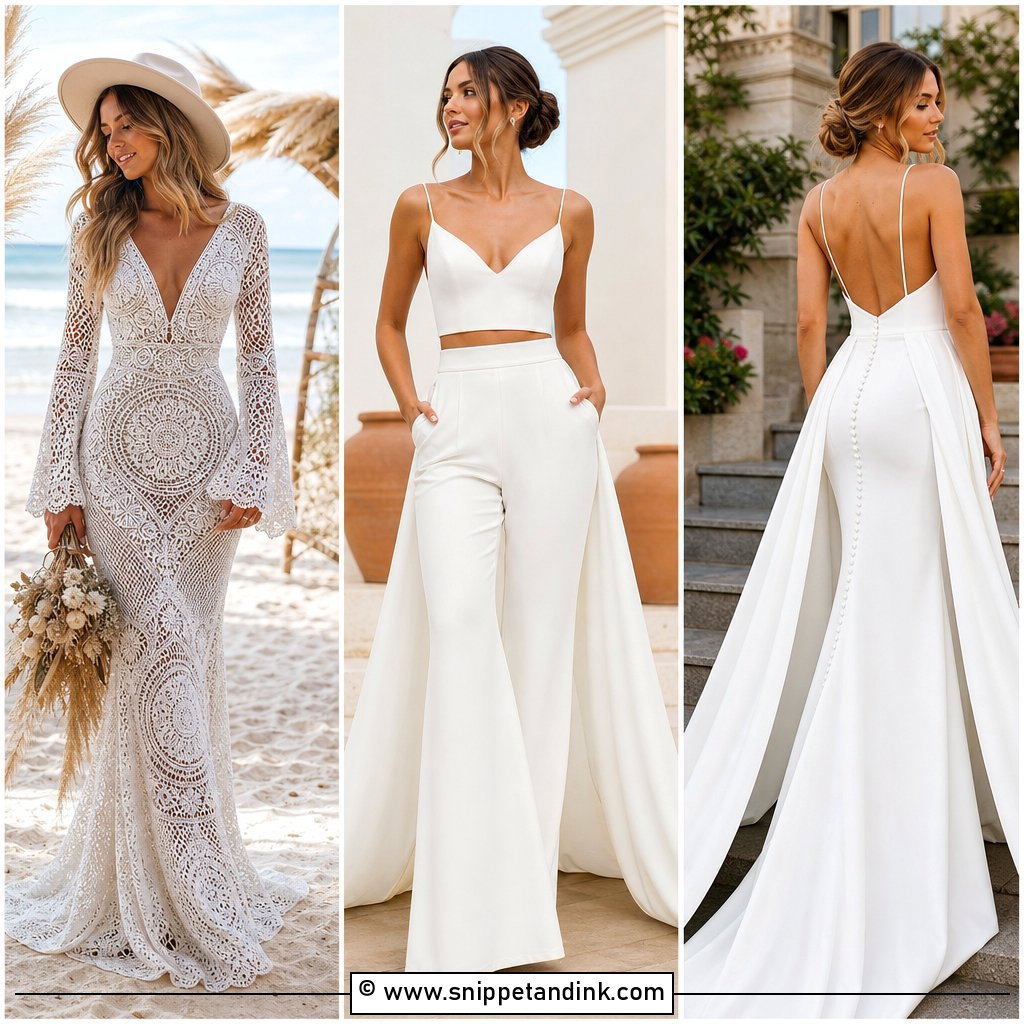
An overskirt gives one handmade dress two looks. Sew a fitted column, sheath or short dress as the base, then make a full skirt in satin, organza or tulle layers that closes at the natural waist with hidden hooks, snaps or a slim waistband. Give it a chapel train for the ceremony and remove it for the party. Pair the full version with a long veil and classic pumps; afterward, add statement earrings or embellished flats. I’d put on and remove the skirt twenty times before the wedding. Hooks pull at the base fabric with repeated use, so back each one with a small square of interfacing.
14. Tiered Tulle Wedding Dress
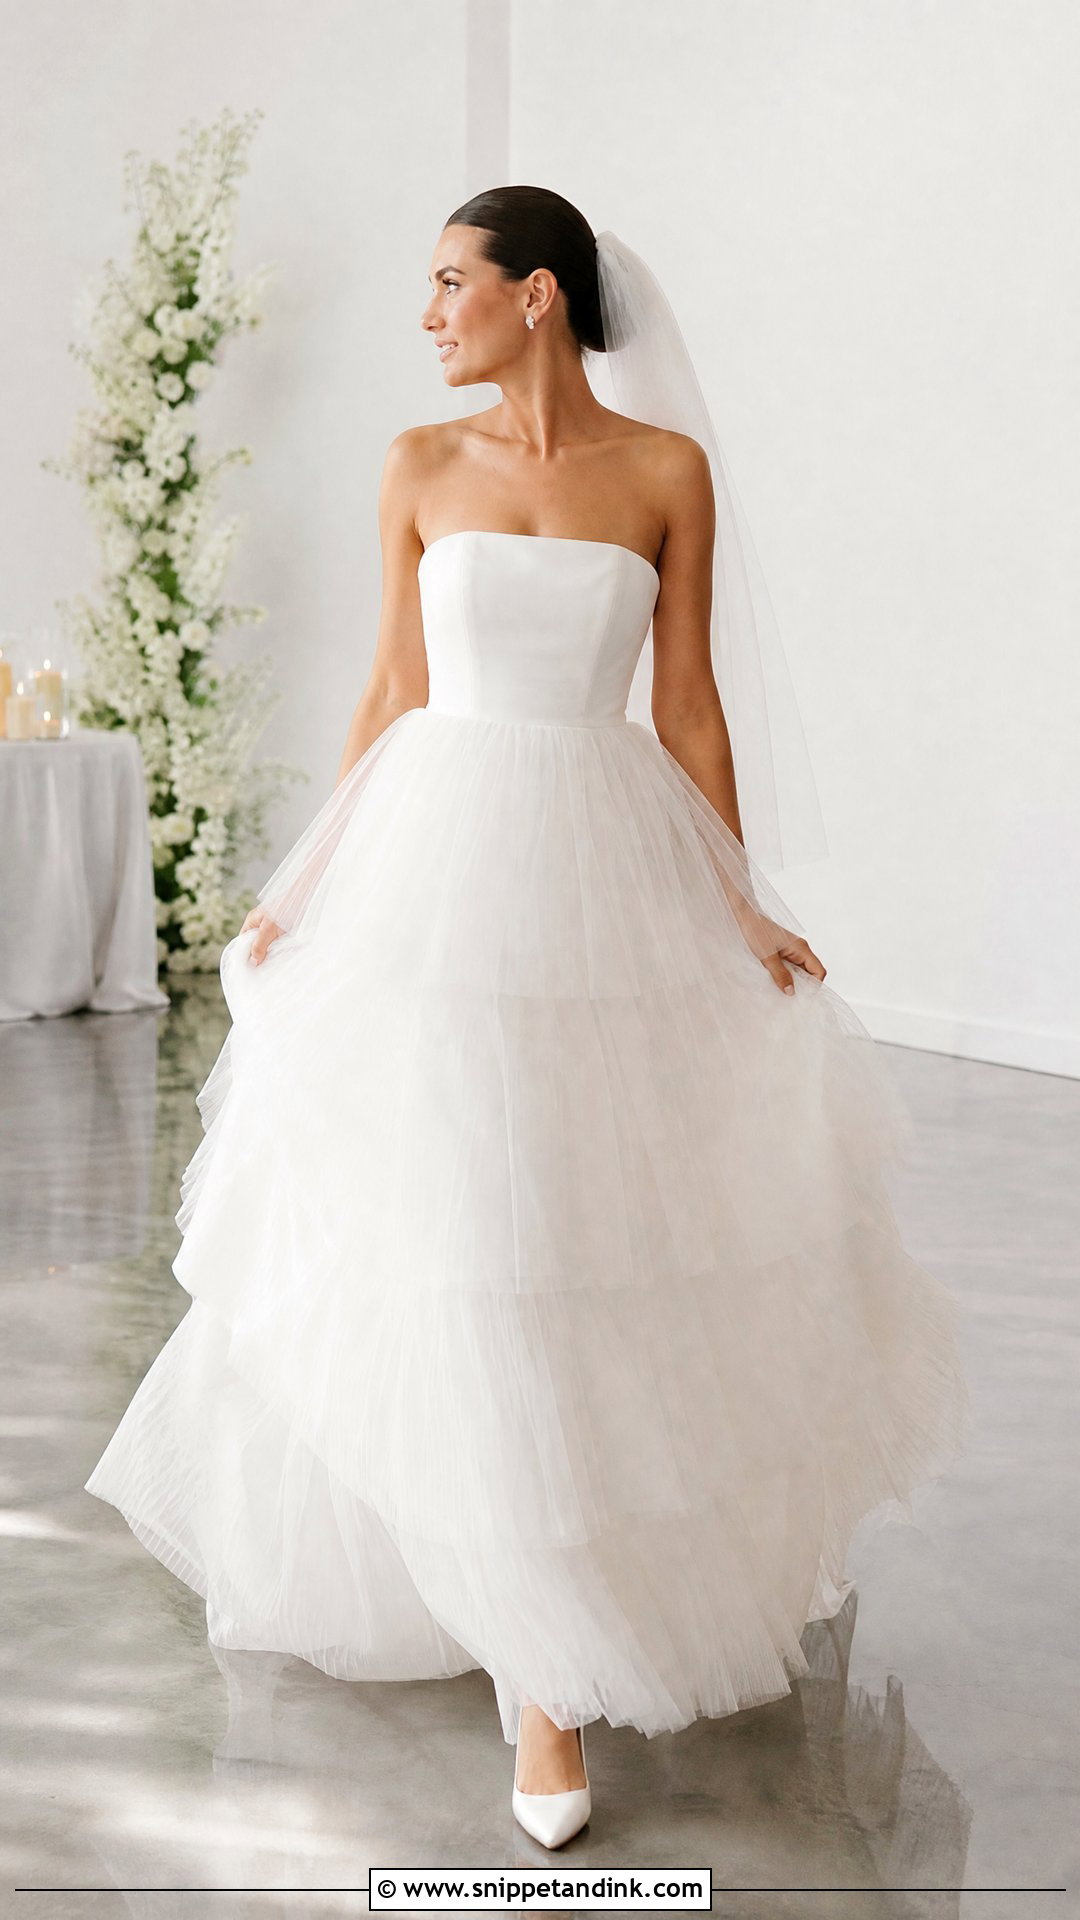
Tiered tulle gives soft volume and movement. Balance it with a structured fitted bodice. Bridal tulle, soft English net or fine mesh gathers well in graduated layers over an opaque lining. Cut every tier accurately and overlap them enough to hide the joins. Narrow horsehair braid on a few hems adds definition without making the skirt stiff. A plain strapless or sleeveless bodice keeps it calm. Satin pumps, crystal studs and a plain fingertip veil. Tulle catches on heels, so walk up and down stairs and across carpet before the final hem; you’ll learn which layer needs to come up a little.
15. Floral Applique Wedding Dress
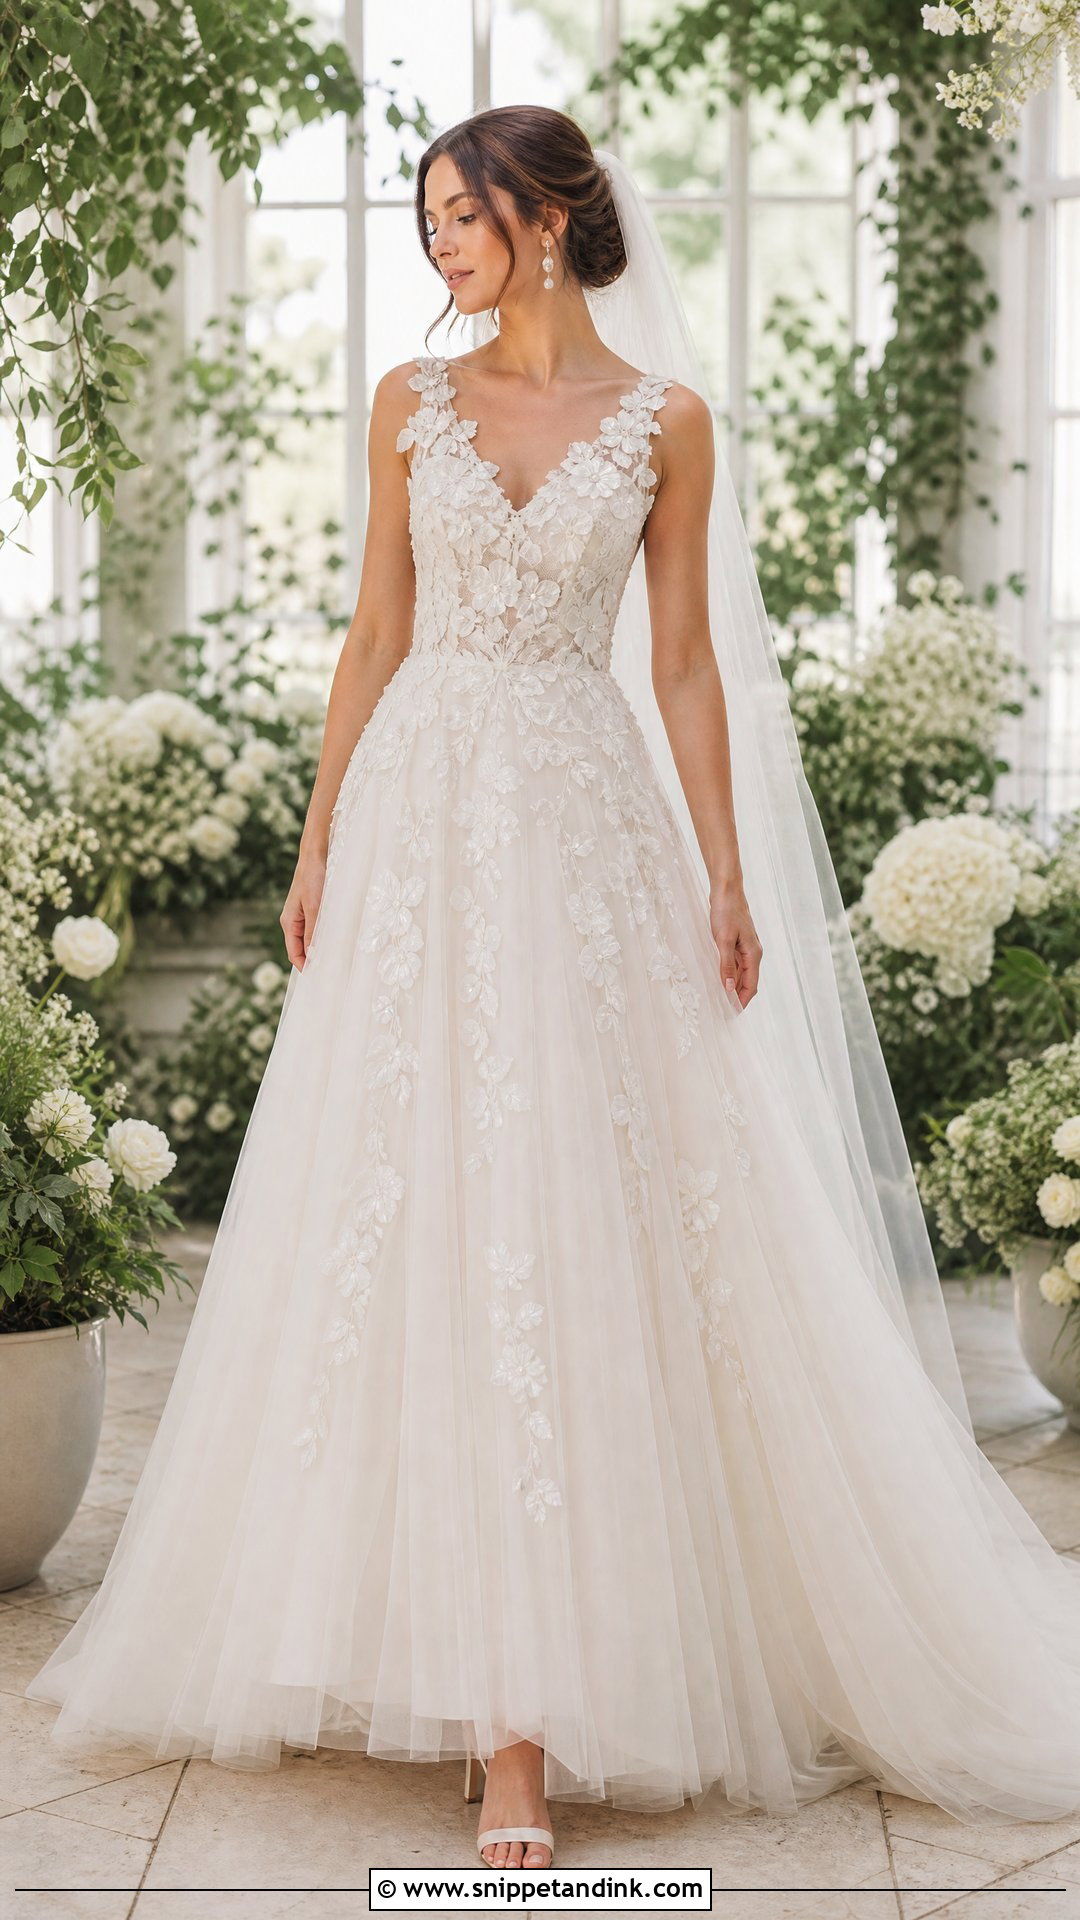
Appliqué turns a plain base into something with real dimension. Start with a smooth satin, crepe or tulle gown. Arrange lace flowers or fabric petals over the bodice, spreading them out toward the skirt. Pin the whole layout on a dress form and photograph it before you sew a single piece by hand, so the pattern doesn’t drift as you work. A fitted bodice and A-line skirt is a good canvas. Simple heels, small pearls and a plain veil keep accessories quiet. Tack raised petals at their centers and at one or two tips, or they’ll catch on the veil all day.
16. Pearl Beaded Wedding Dress
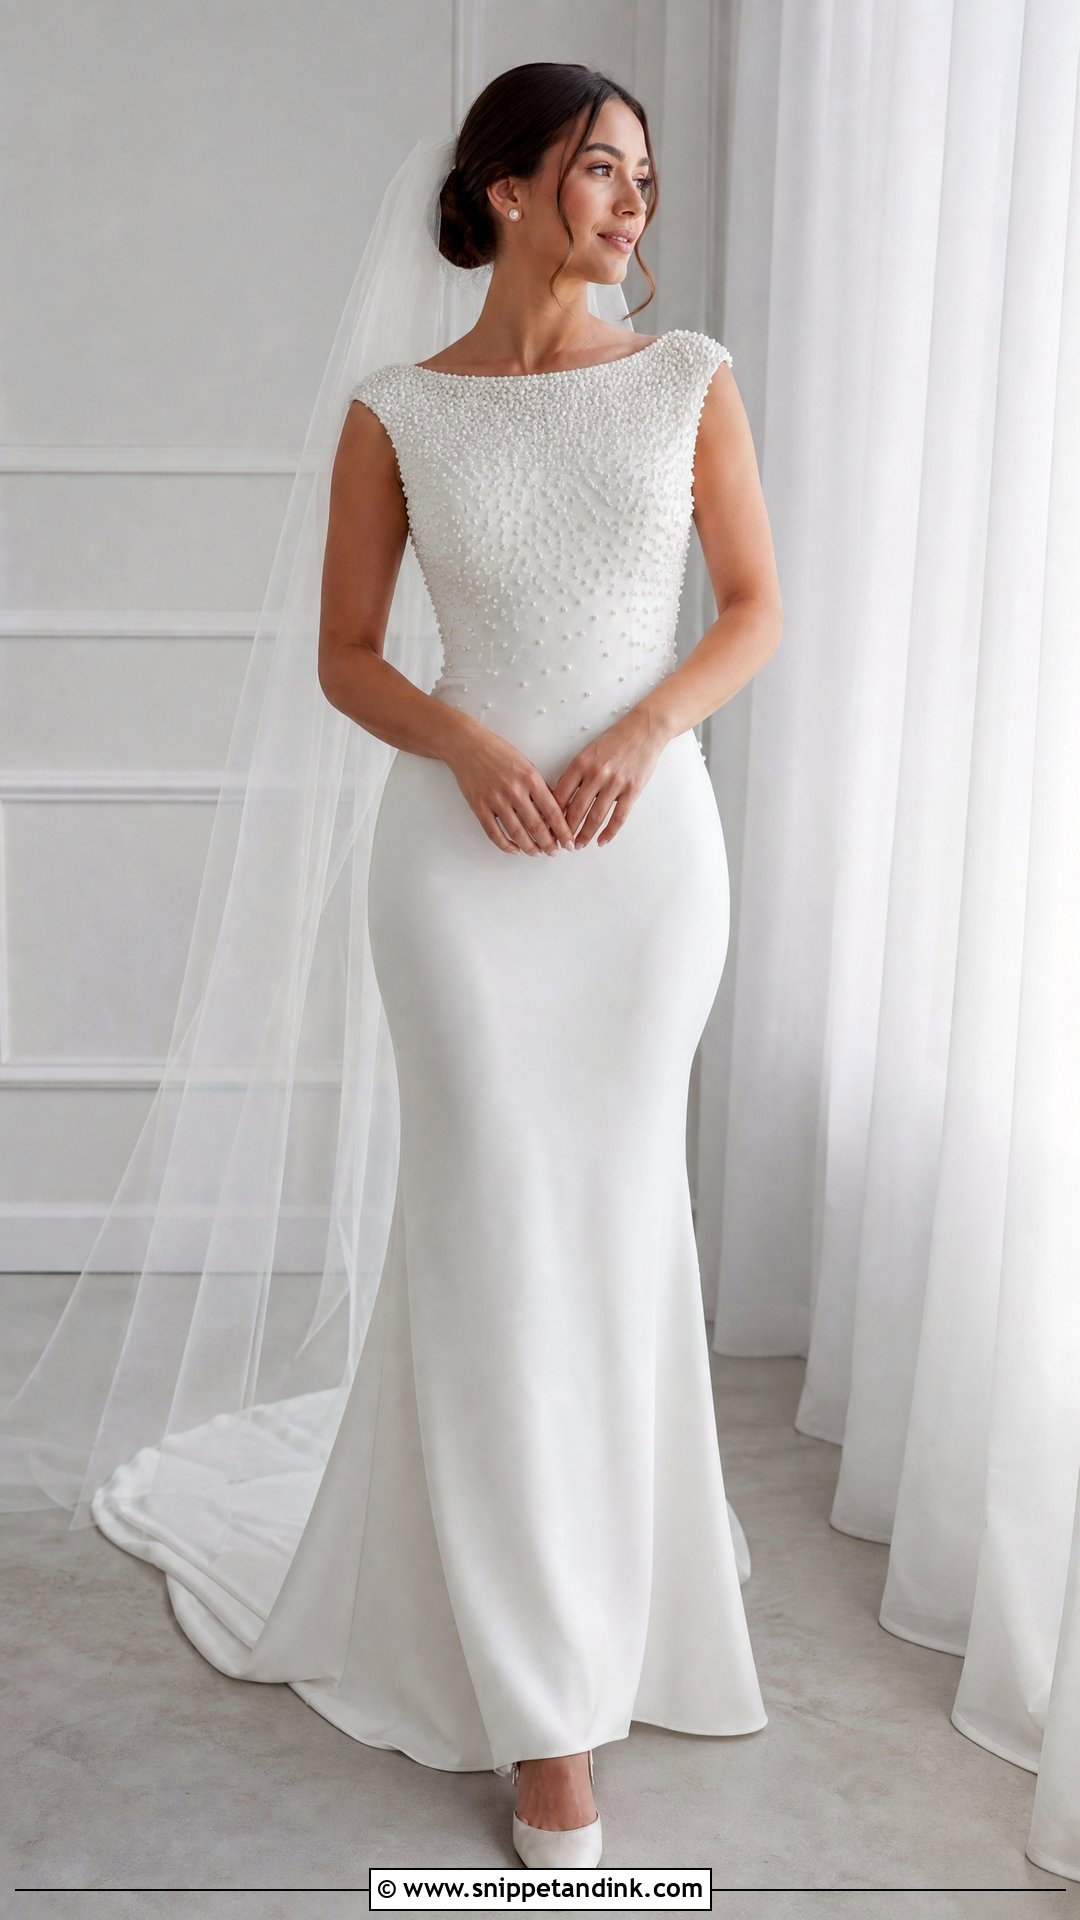
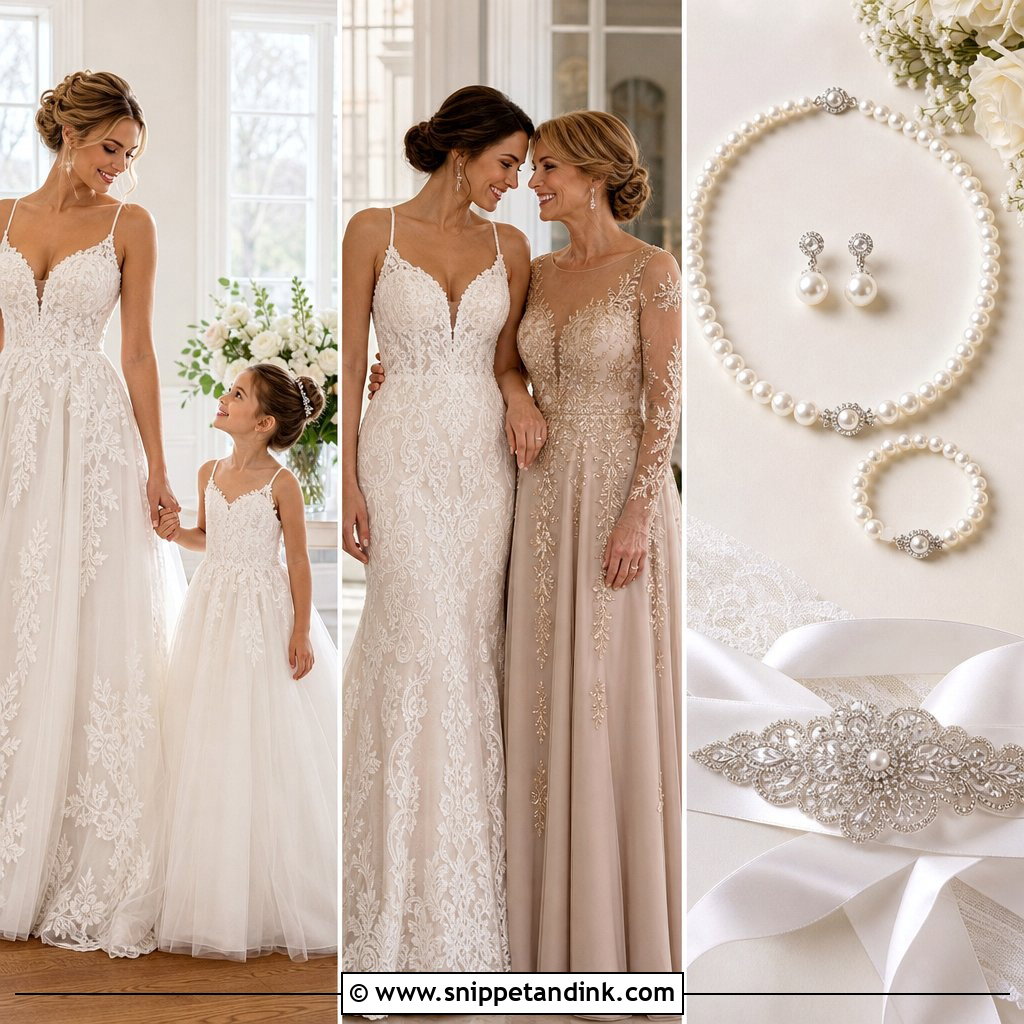
Small pearls lift a clean dress into something special. Build the gown, finish the main fittings, and only then do most of the hand beading; beading before fitting means unpicking it. A simple crepe sheath, satin A-line or tulle overlay supports surface work best. Scatter pearls lightly at the neckline and thicken them over the bodice, or sew even rows for a graphic look. Back the fabric with a little organza where larger beads go. Hide stitching under the lining so nothing scratches. Pearl studs, satin slingbacks and a plain veil. Match bead color to fabric: bright white pearls on ivory look grey.
17. Boho Chiffon Wedding Dress
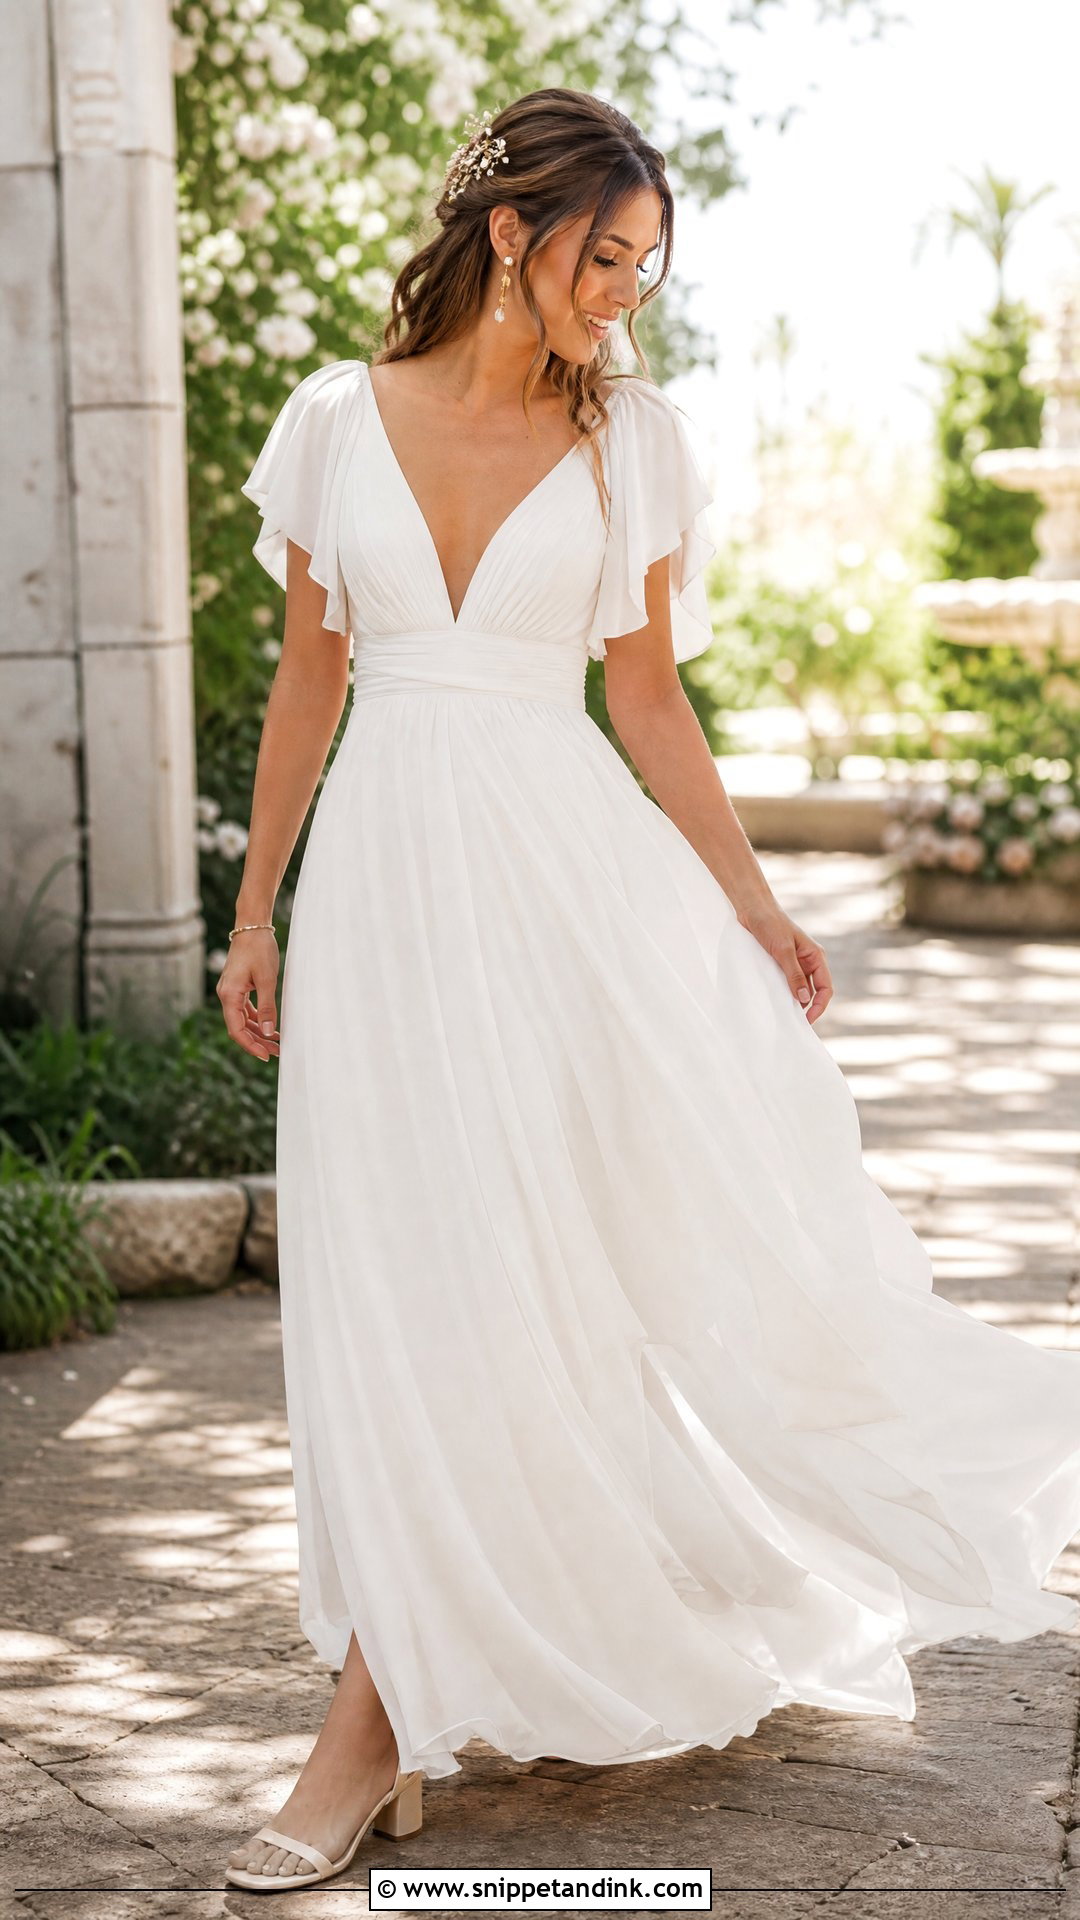
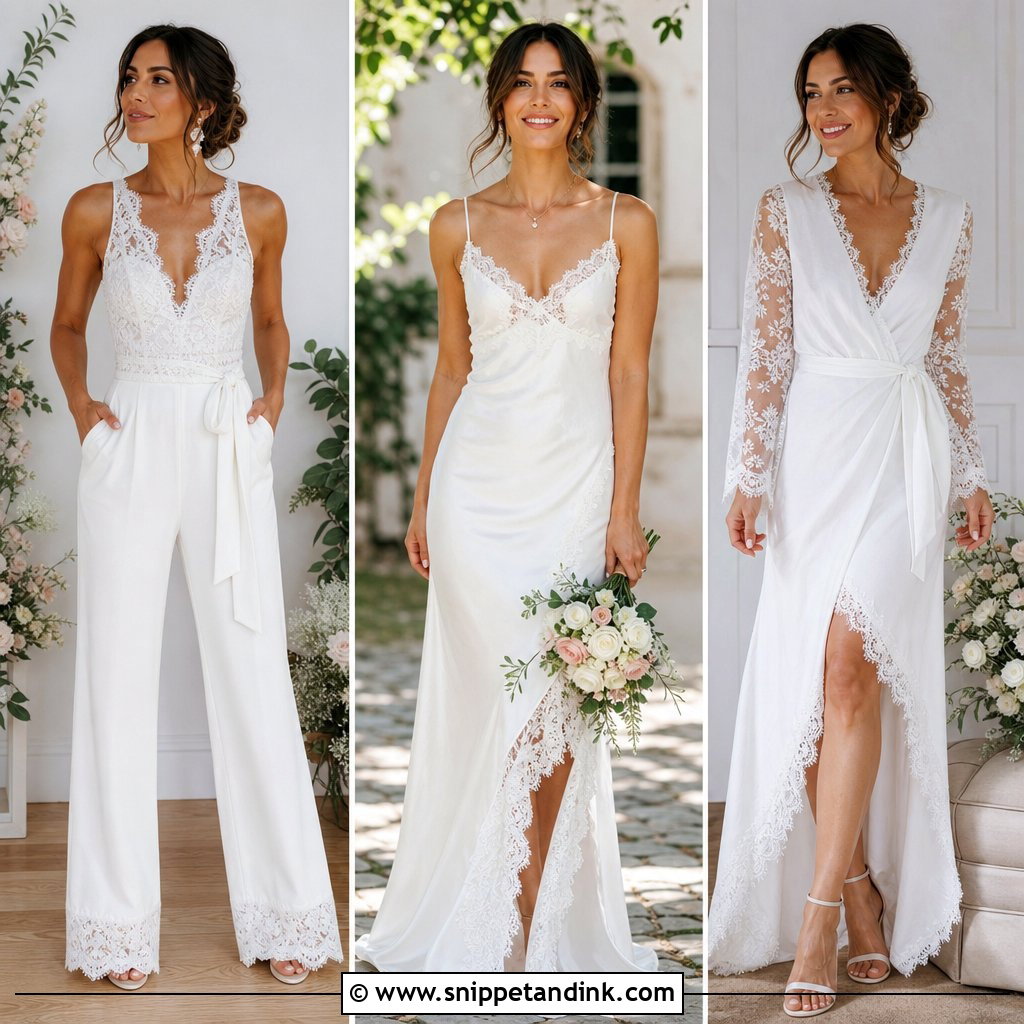
Chiffon belongs outdoors: beach, garden, anywhere relaxed. Choose a good chiffon and layer it over a light lining for opacity. A V-neck wrap bodice, gathered waist and flowing A-line make an easy shape, with flutter or sheer bishop sleeves for coverage. Use French seams, because chiffon insides show through. Low block-heel sandals, delicate earrings and a small floral comb suit it, with a short train for grass and sand. Chiffon shifts and frays, so cut it single layer on tissue paper, stay-stitch key seams and practice rolled hems on scraps before you finish the skirt and sleeves.
18. Minimal Column Wedding Dress
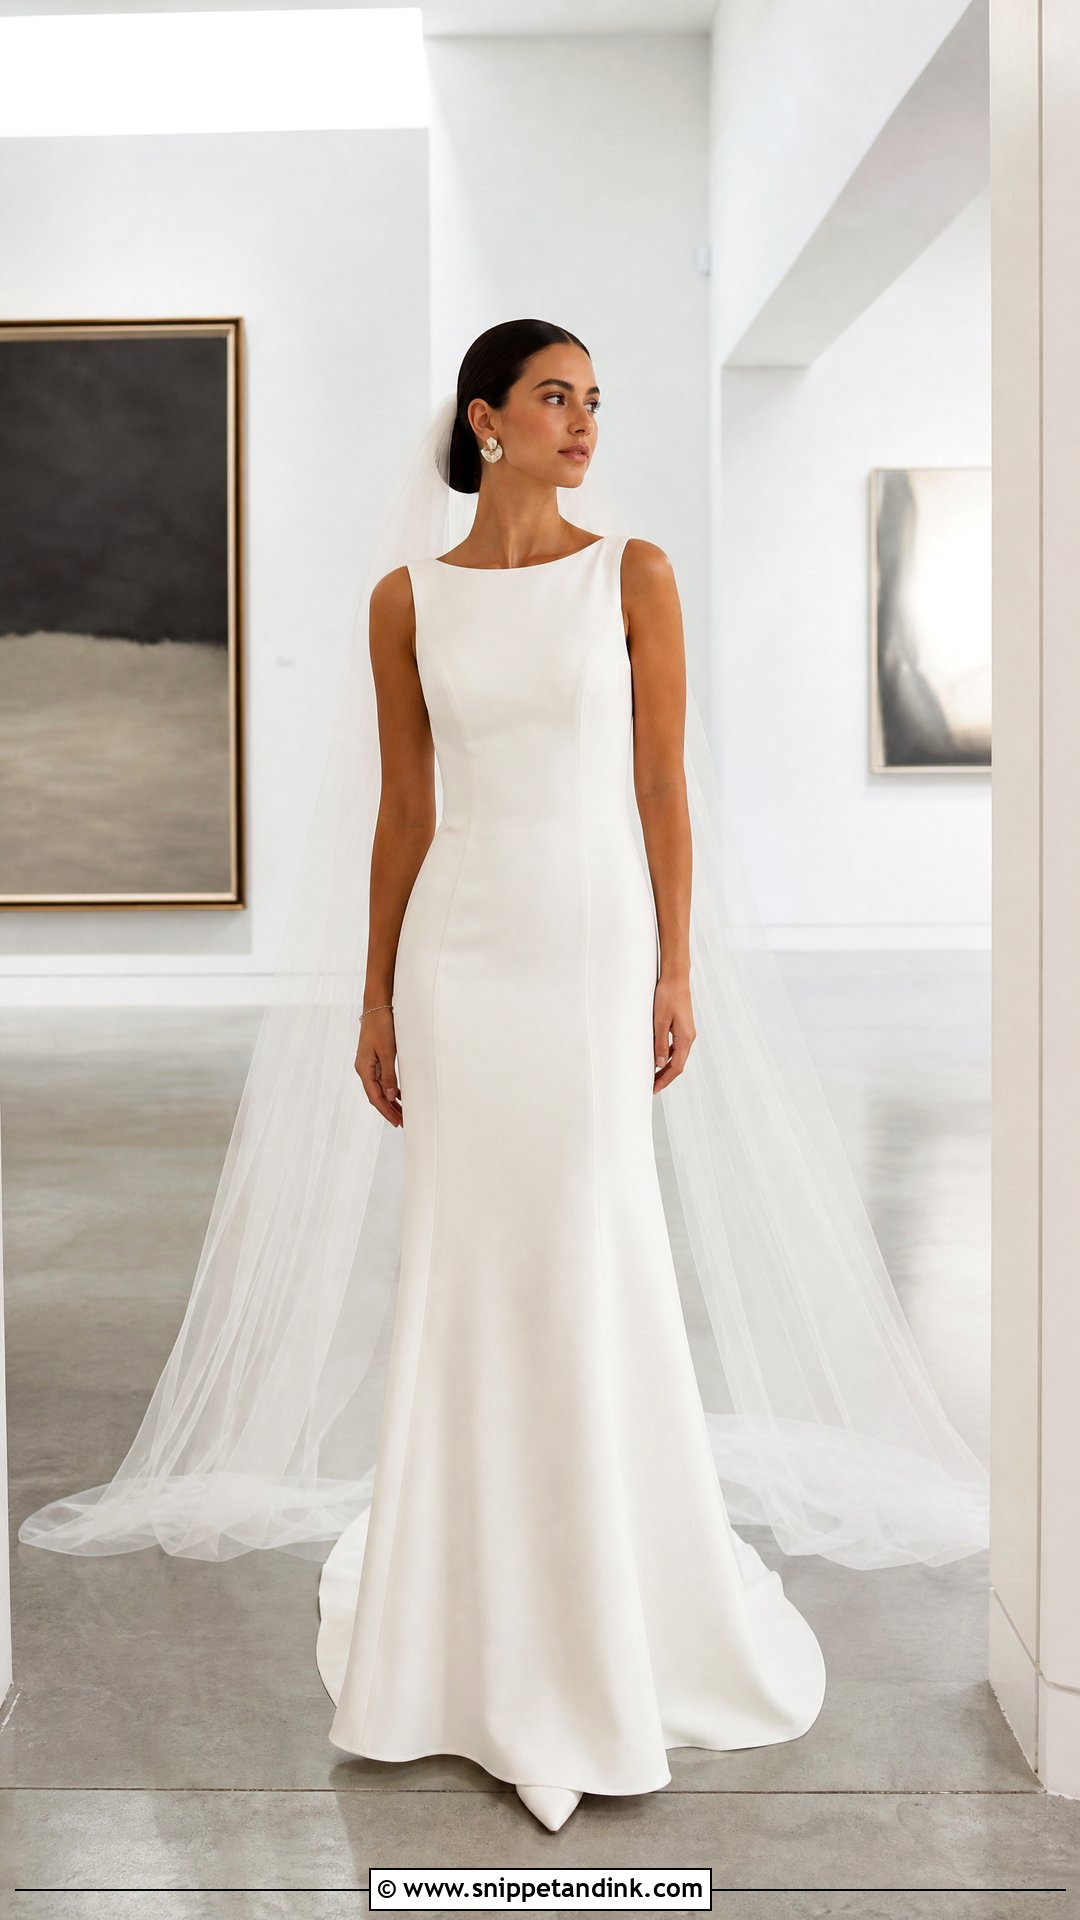
In my experience the simplest dress is the hardest to sew well. A column has nothing to hide behind, so it depends on accurate fitting, straight seams and well-handled fabric. Silk crepe, matte satin or a medium-weight fabric with drape works best. Princess seams shape the bust, waist and hips quietly. Add a back vent or a slight flare so you can walk. A boat neck, scoop or straight strapless keeps it uncluttered. Sculptural earrings, pointed shoes and a sheer cathedral veil complete it. Press every seam with a silk organza press cloth, and test heat on scraps first; some silks water-spot and satin shines under a hot iron.
19. Two Piece Wedding Dress
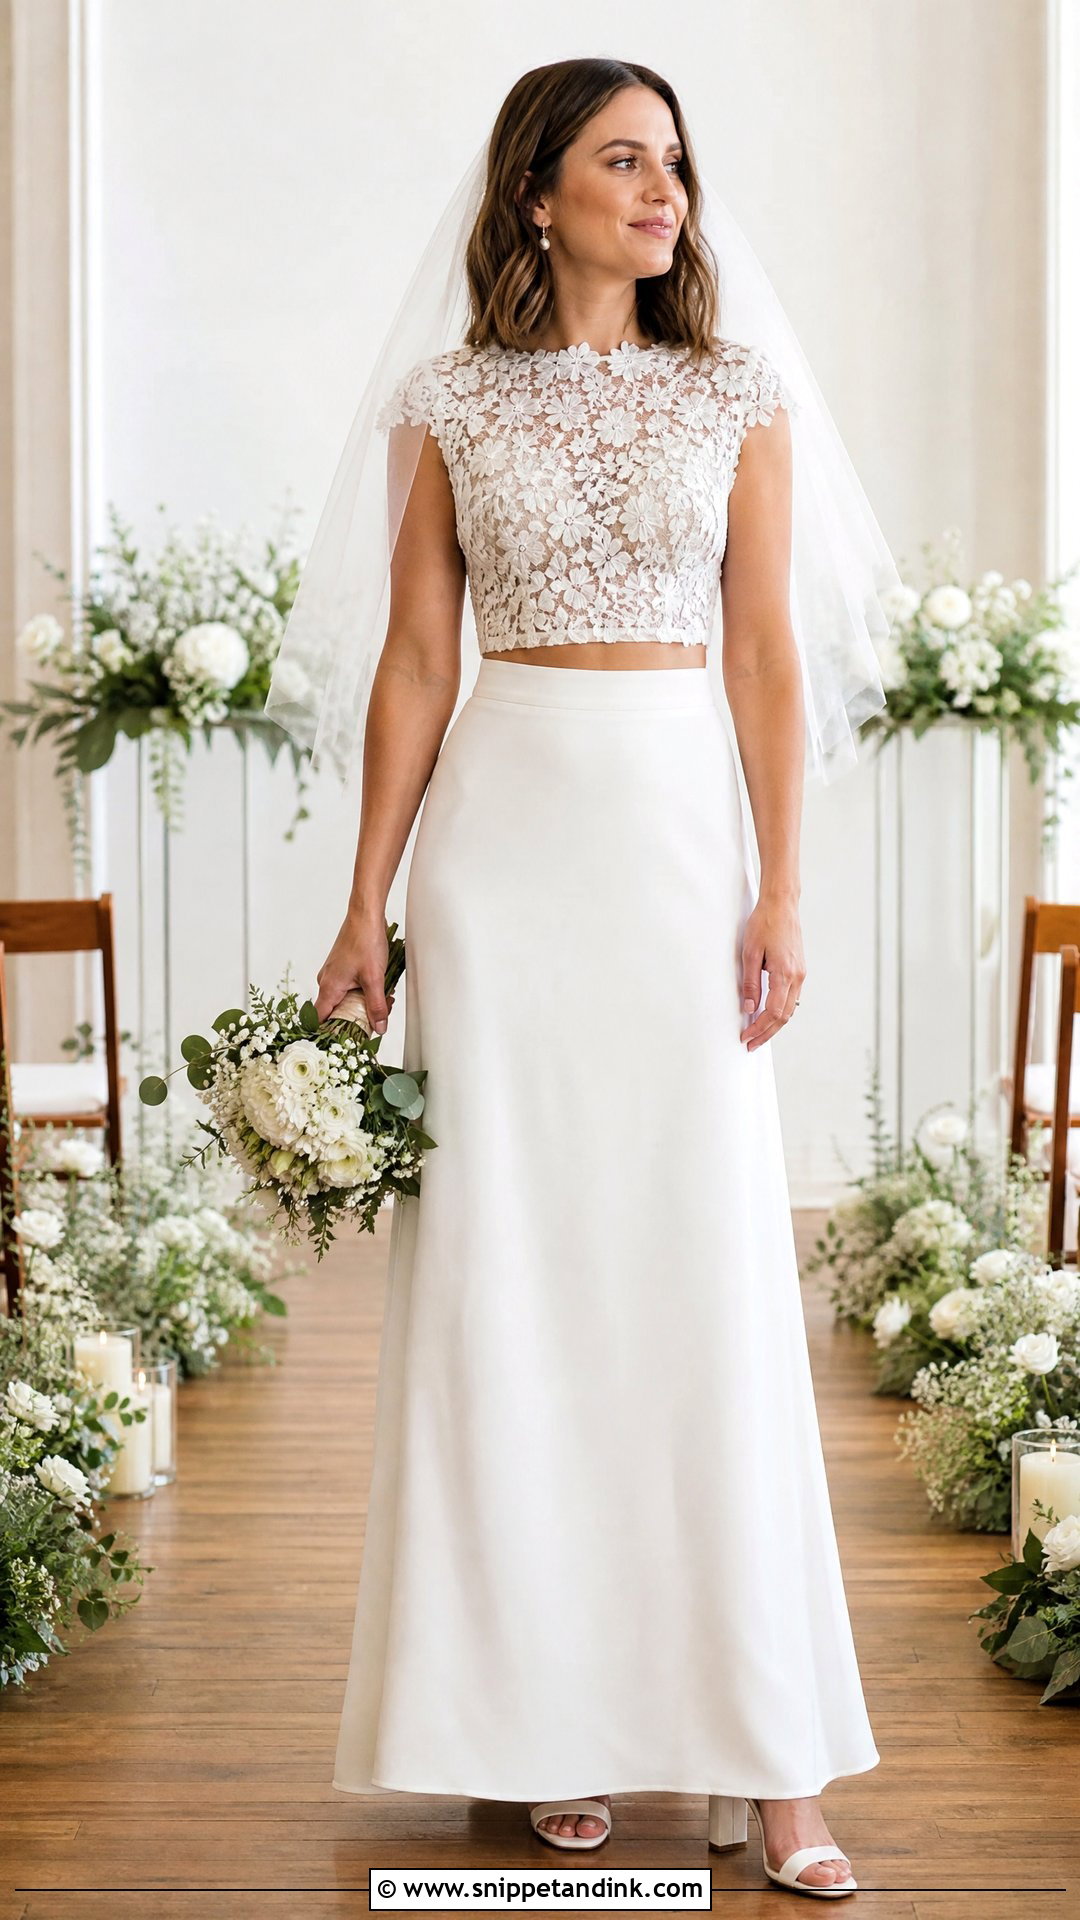
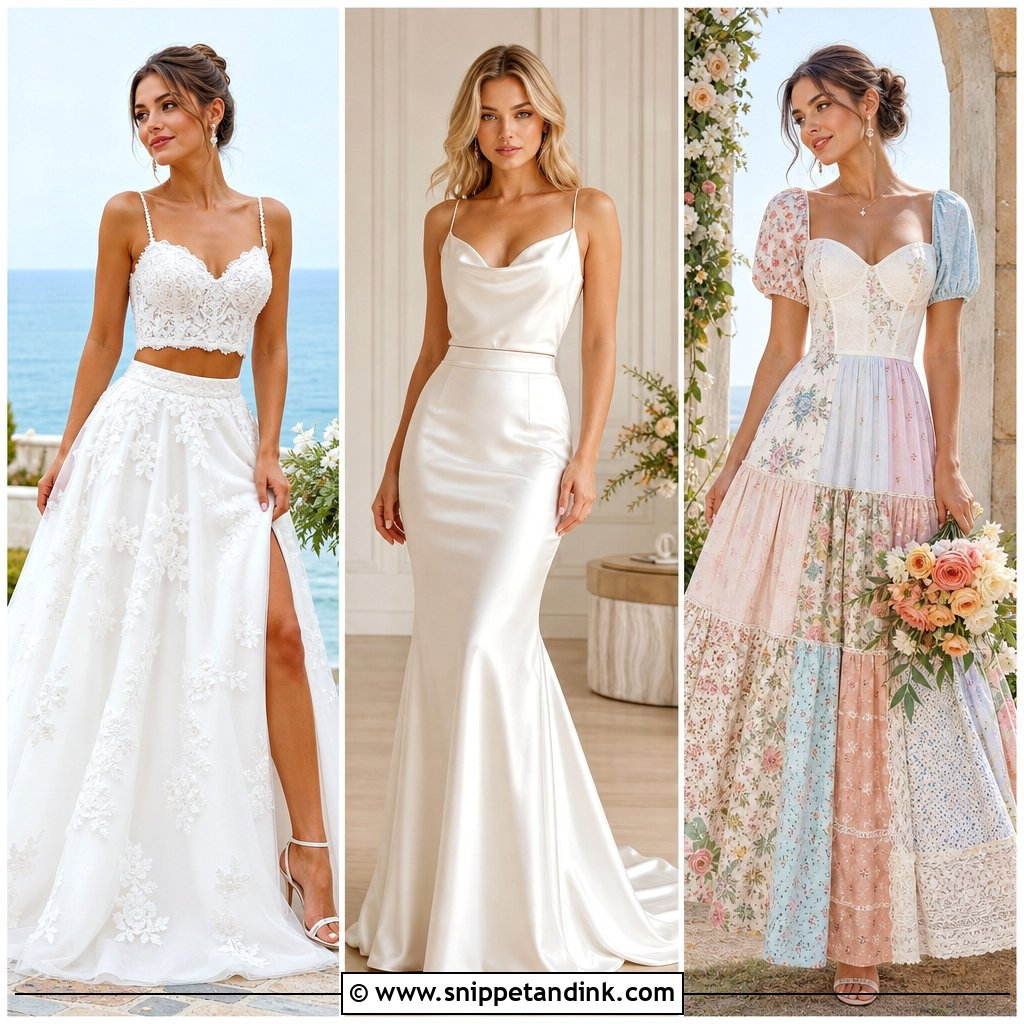
Separates are flexible and still look ceremonial. Make a fitted cropped bodice that meets a high-waisted skirt, with no gap unless you want one. Lace over plain crepe gives contrast; matching satin looks streamlined. A few internal snaps between top and waistband stop the top creeping up. An A-line skirt forgives; a fitted skirt needs precise hip shaping and a walking vent. Block heels, a shoulder-length veil and simple earrings. The pieces can be worn apart later. Sit, bend and lift both arms in the finished set and check the coverage at each movement.
20. Short Reception Wedding Dress
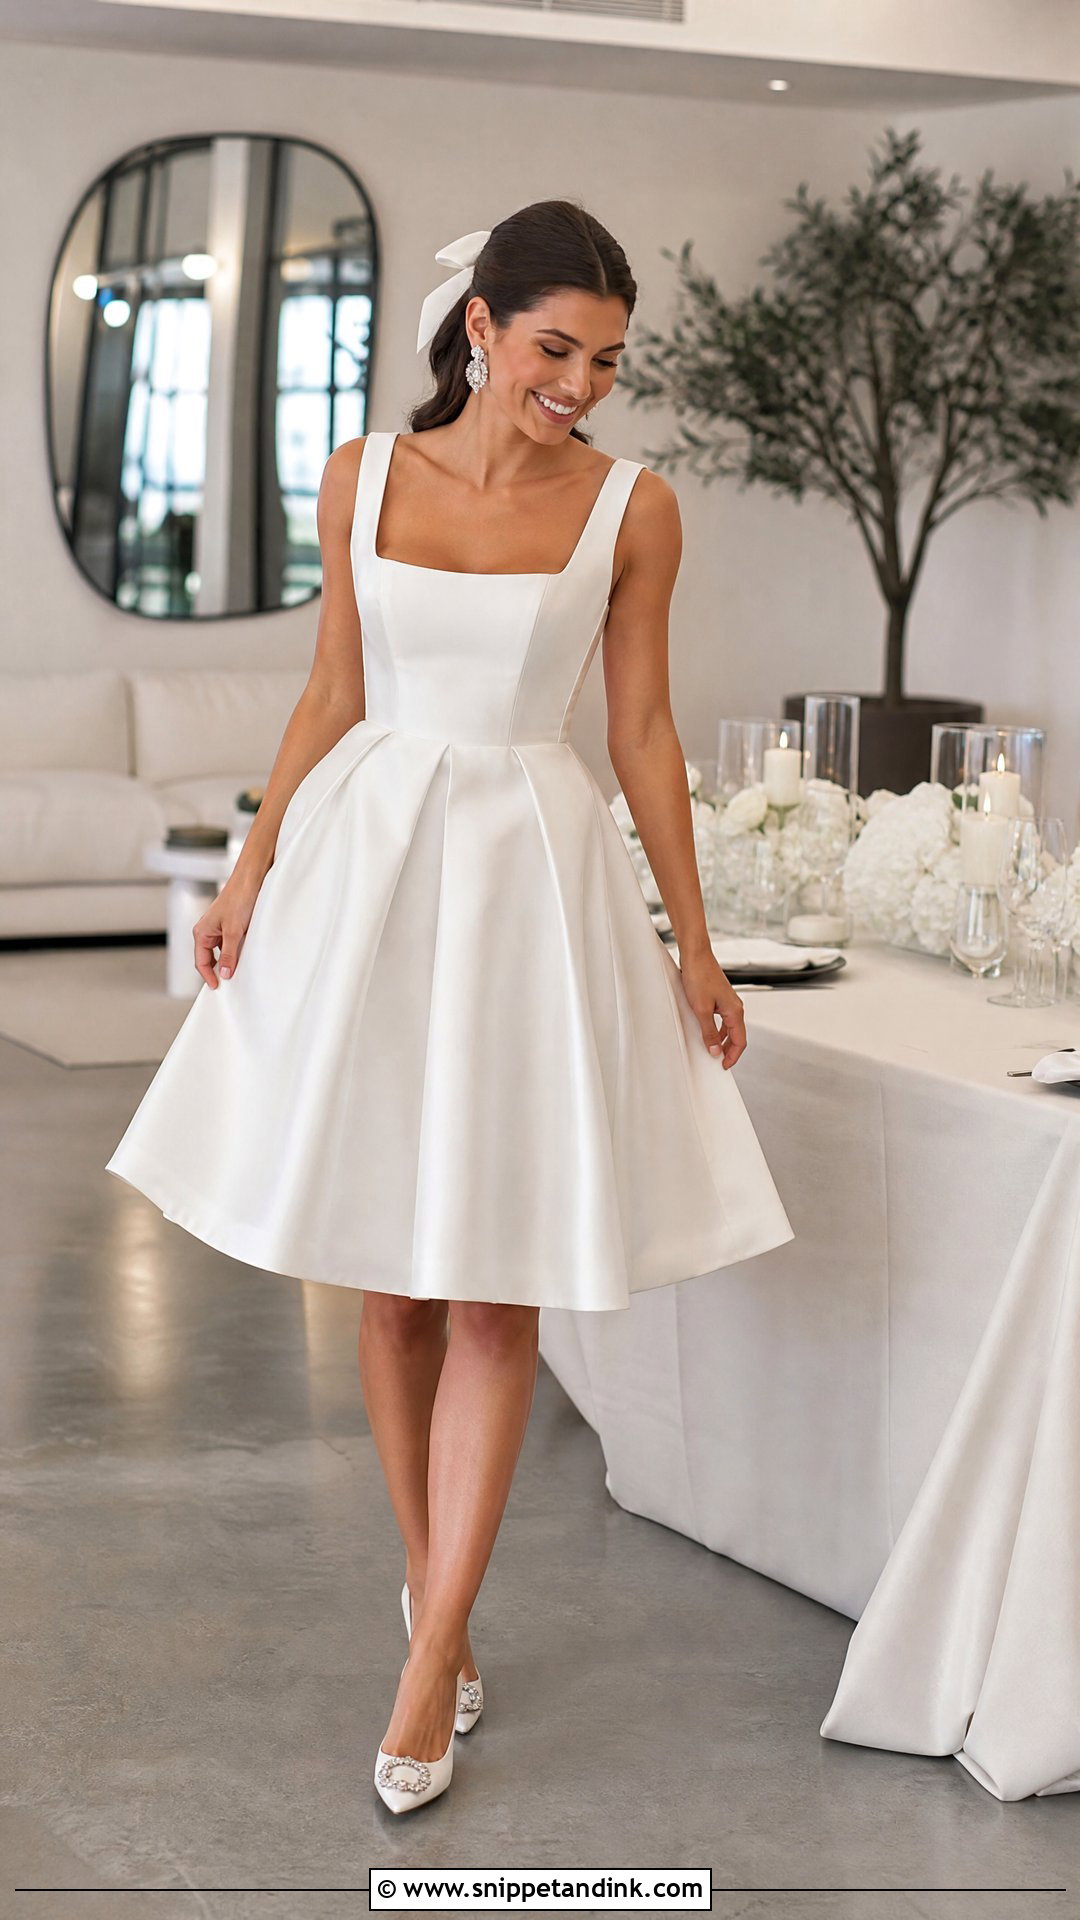
A short reception dress is a satisfying second project and a relief on the dance floor. Mini or knee length, with enough ease to move. Structured satin suits a fitted shift or flared skater dress, and organza layers make a playful full skirt. Line it properly, and add built-in shorts if it’s very short or full. A scoop, square or soft halter keeps it polished. Embellished flats or low heels, statement earrings and a small bow or comb. You don’t need feathers; fabric texture, pearls or a detachable bow do the job. Check the hem from every side in a long mirror before final stitching.
Jobs Worth Handing to a Professional
Making your own gown doesn’t mean doing every step alone. Some tasks are hard to do on your own body, and a few hours of a bridal seamstress’s time can save weeks of frustration.
- Fitting your own back. You can’t pin a center back seam or a bodice you’re standing in, so book a friend who sews or a seamstress for the key fittings.
- The bustle. Choosing bustle points needs someone to lift and pin the train while you stand still.
- Leveling a long hem, especially a bias cut or a full tulle skirt.
- Final pressing of silk or heavy satin, which marks easily and is unforgiving of water drops.
Keep a small kit for the day too: a needle threaded in your dress color, a few hooks and eyes, safety pins and a white chalk for surface marks. You’re the one person who knows exactly how the dress was built, so you’ll be the fastest to fix it.
What the Last Fitting Should Tell You
Making a wedding dress takes patience, planning and several fittings, and the result means more than anything off a rail. The ideas here range from simple shapes to structured gowns and flexible reception dresses. Pick the design that matches the skills you have now, not only the one you love the look of. Make a muslin, test every technique and buy extra fabric for samples and mistakes. Good lining, secure closures, careful pressing and comfortable support count as much as what shows. And try on the whole outfit with your real shoes and accessories, so you can adjust the hem, train, proportions and movement in time.
You'll Like These Ideas:


Leave a Reply