
If I had to name the bridal style that fails least often over a long day, it would be the low bun. Weight sits at the strongest point of the head, so it survives vows, hugs, dinner and dancing with very few touch-ups, and it gives a veil comb a solid base. It also changes character easily: smooth and sculpted, loose and undone, or dressed with braids, pearls or flowers. The fifteen versions below suit brides, bridesmaids, and wedding guests, and for each I’ve noted the hair it suits and the detail that makes it hold.
Setting the Bun’s Position by the Neckline
Low is a range, not one spot. Where the bun sits between the nape and the base of the skull changes how it frames the dress, and I decide it with the gown in mind, not out of habit.
High Necks and Collars
With a high neck, bateau or lace collar, I move the bun a finger or two higher. Sitting right at the nape, it rubs on the fabric every time you turn your head and slowly flattens and loosens.
Open Backs and Strapless Gowns
An open back or a strapless bodice can take the bun right at the nape, where it draws the eye down toward the dress. Make sure no pins point downward; a sharp end against bare skin will bother you all day.
Long Veils and Car Rides
A heavy veil needs a bun with a bit of height so the comb has somewhere to grip. And if you’ll sit in a car with a headrest, a bun placed too far back gets crushed on the journey; I check this by asking brides to lean back in a chair at the trial.
1. Sleek Low Bun Wedding Hair
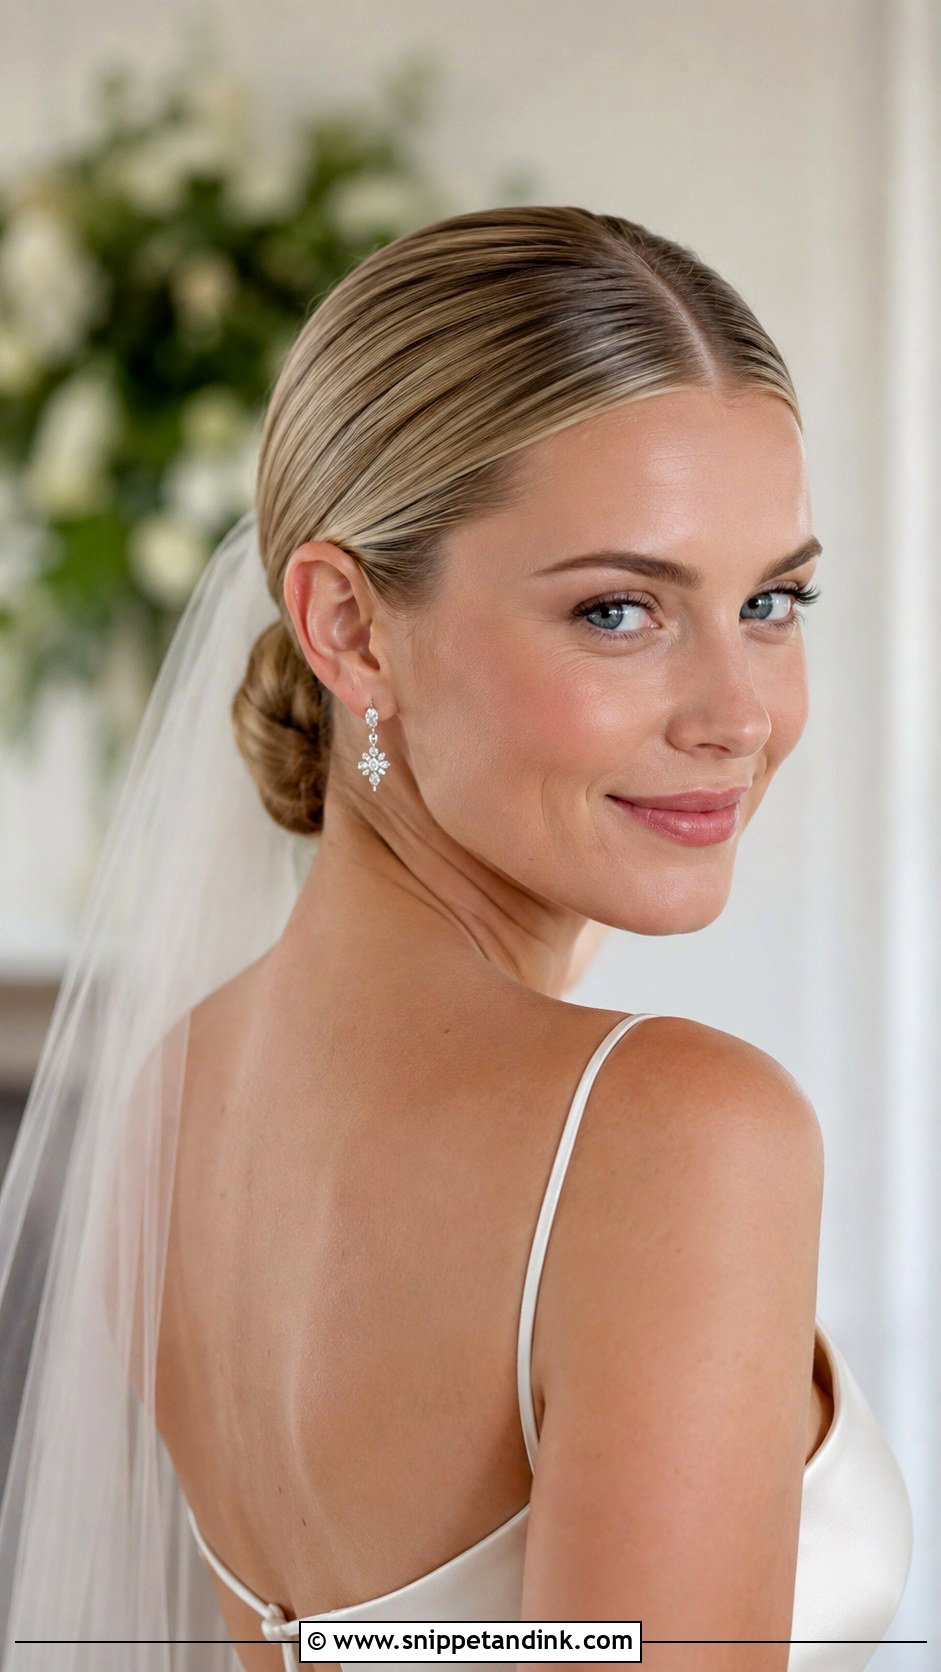
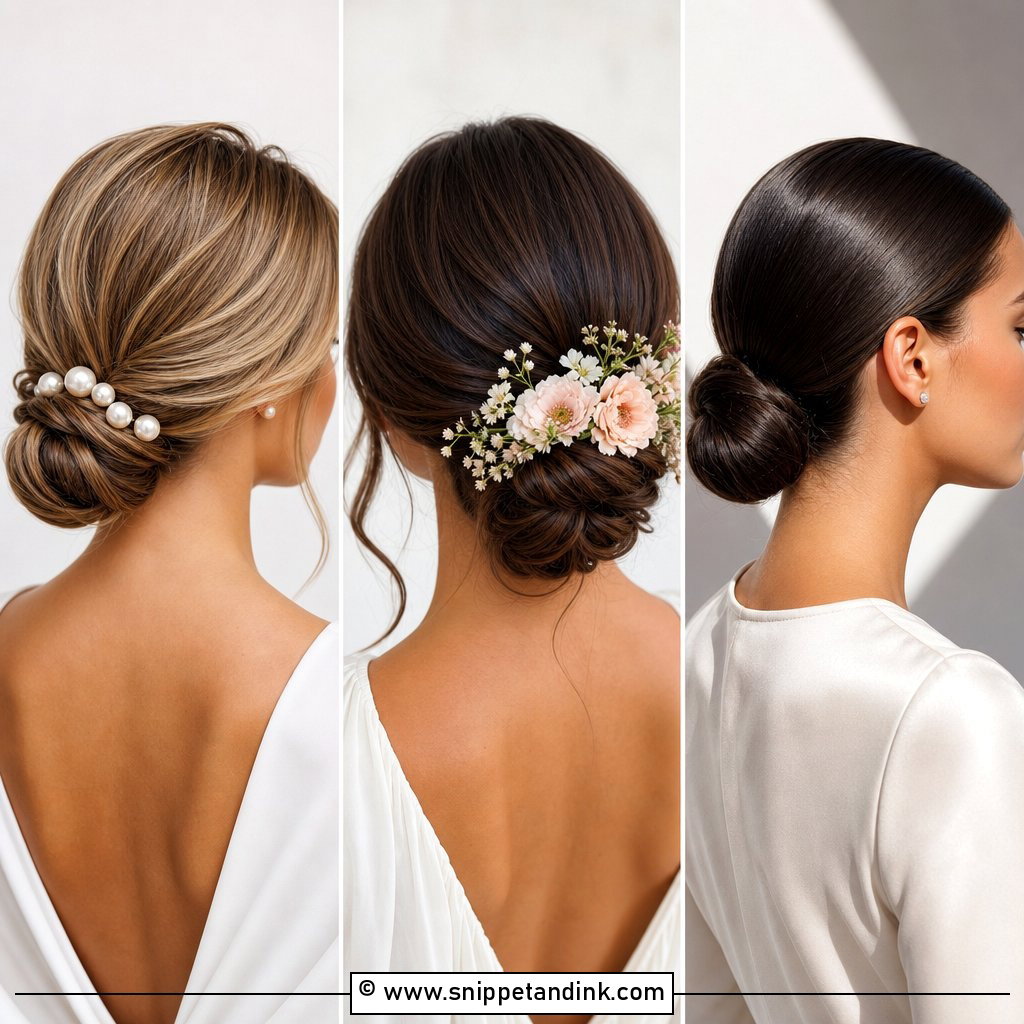
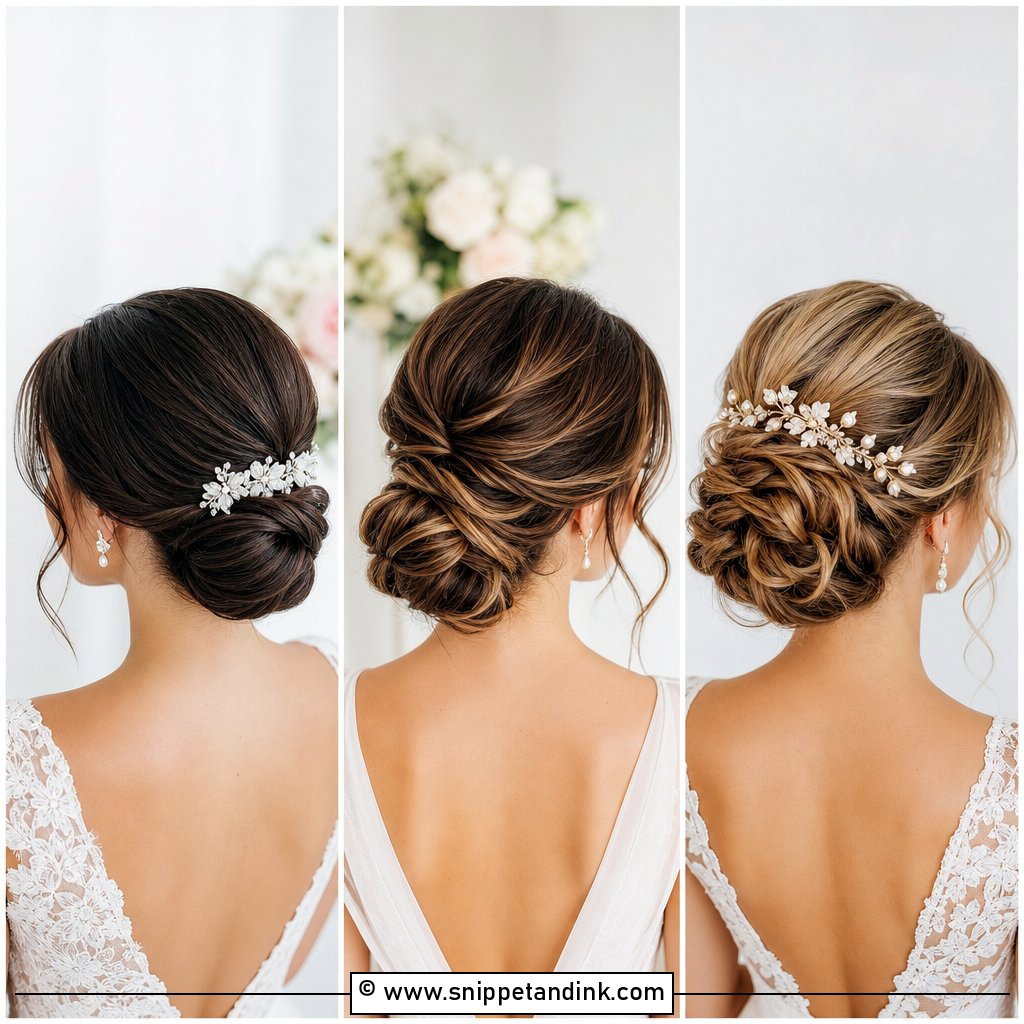
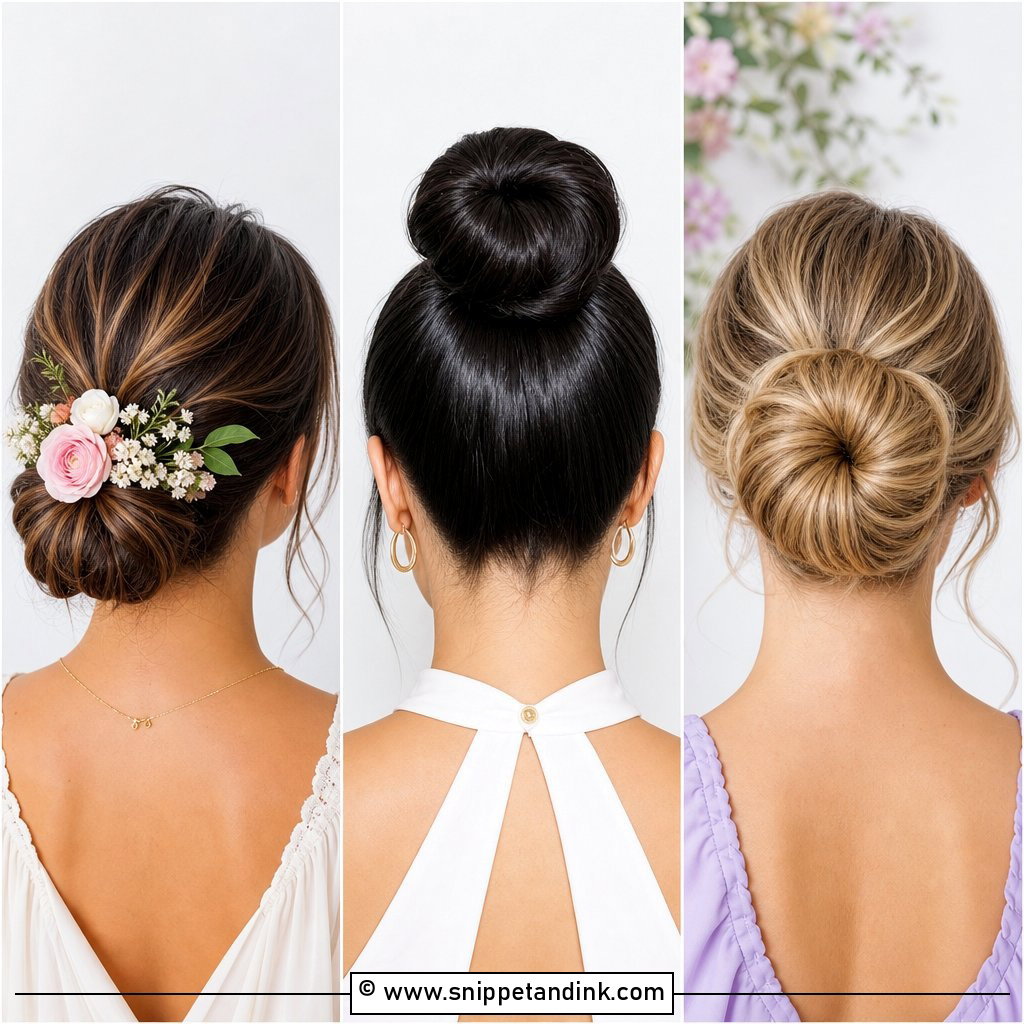
The sleek bun lives or dies on the blow-dry. I dry the hair straight back with a paddle brush so it already lies flat before I tie it, then wrap it into a neat knot at the nape. A centre or soft side part both work. I finish with a shine spray rather than a wet-look gel, which can look greasy by the reception and harden into a shell. Minimalist and satin gowns, square necklines and big earrings all suit it.
2. Textured Low Bun Wedding Hair
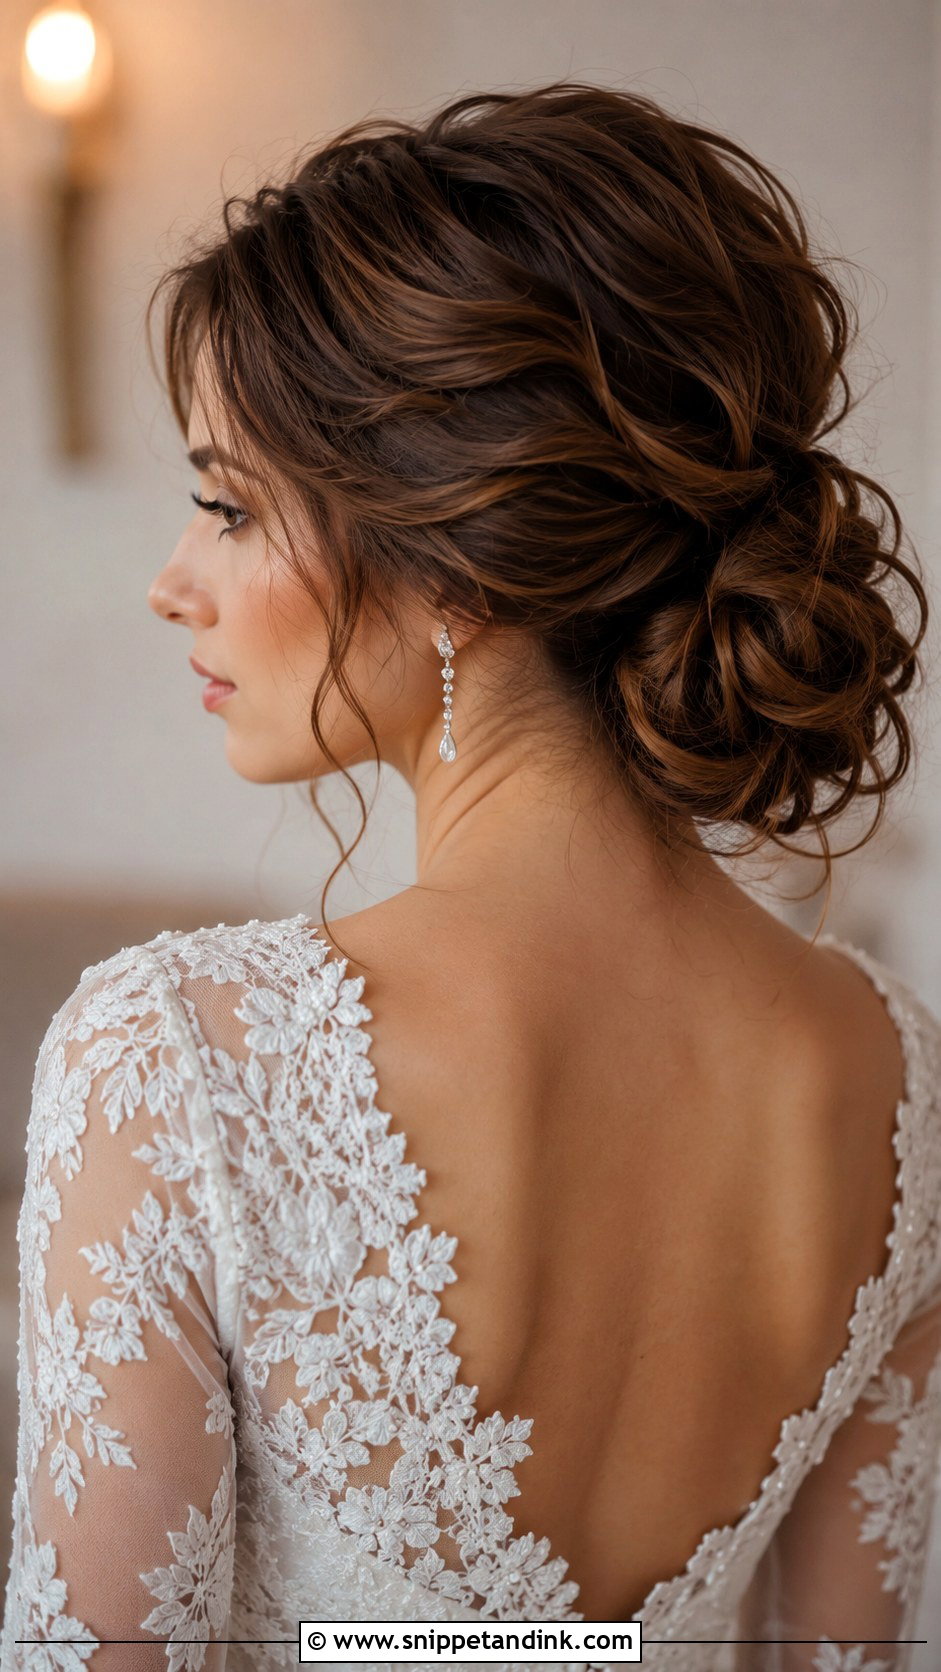
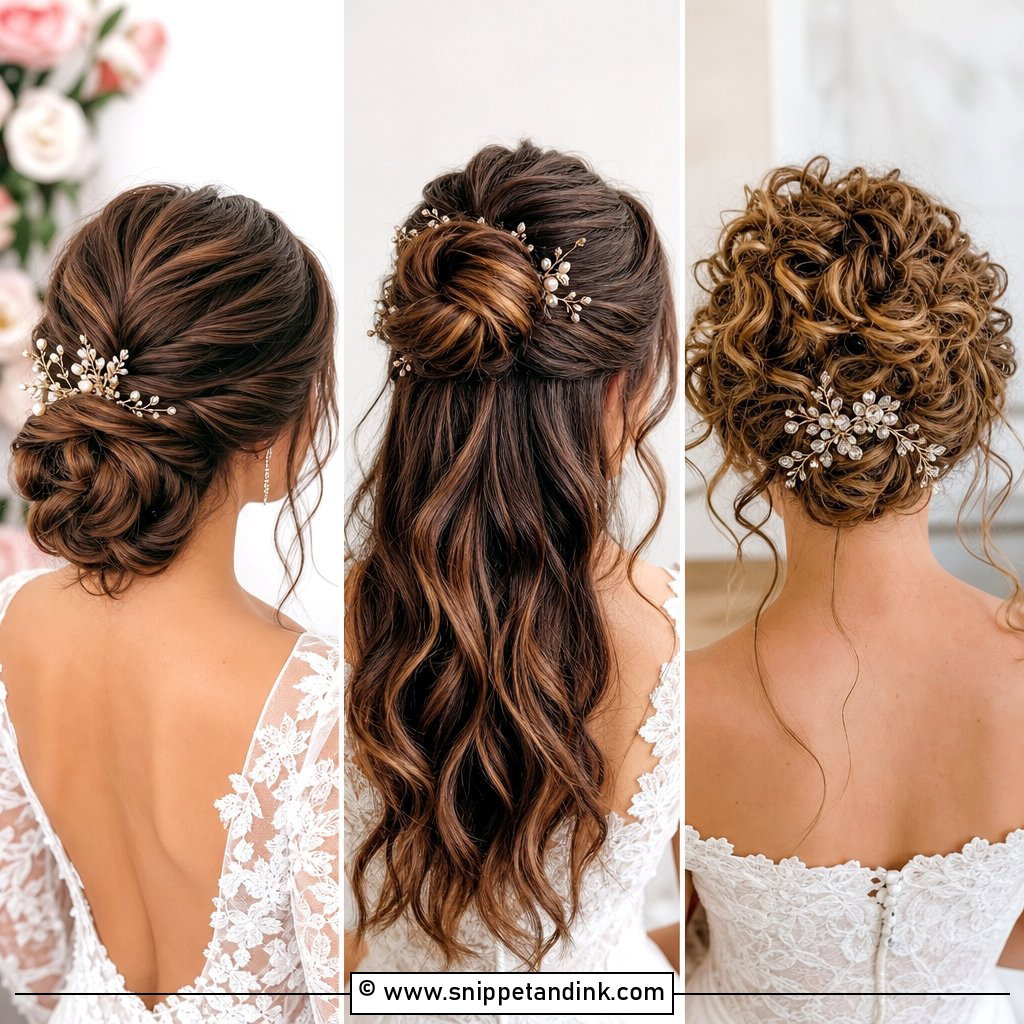
Instead of brushing everything flat, I build waves and lift at the roots before pinning, so the bun has some movement to it. Texture catches light at different angles, which gives photos more depth than a flat surface. On fine hair, a texture spray and a little backcombing at the crown make it look fuller. On thick hair, the separation stops the bun looking like one heavy lump. Garden and barn weddings suit it.
3. Low Chignon Wedding Hair
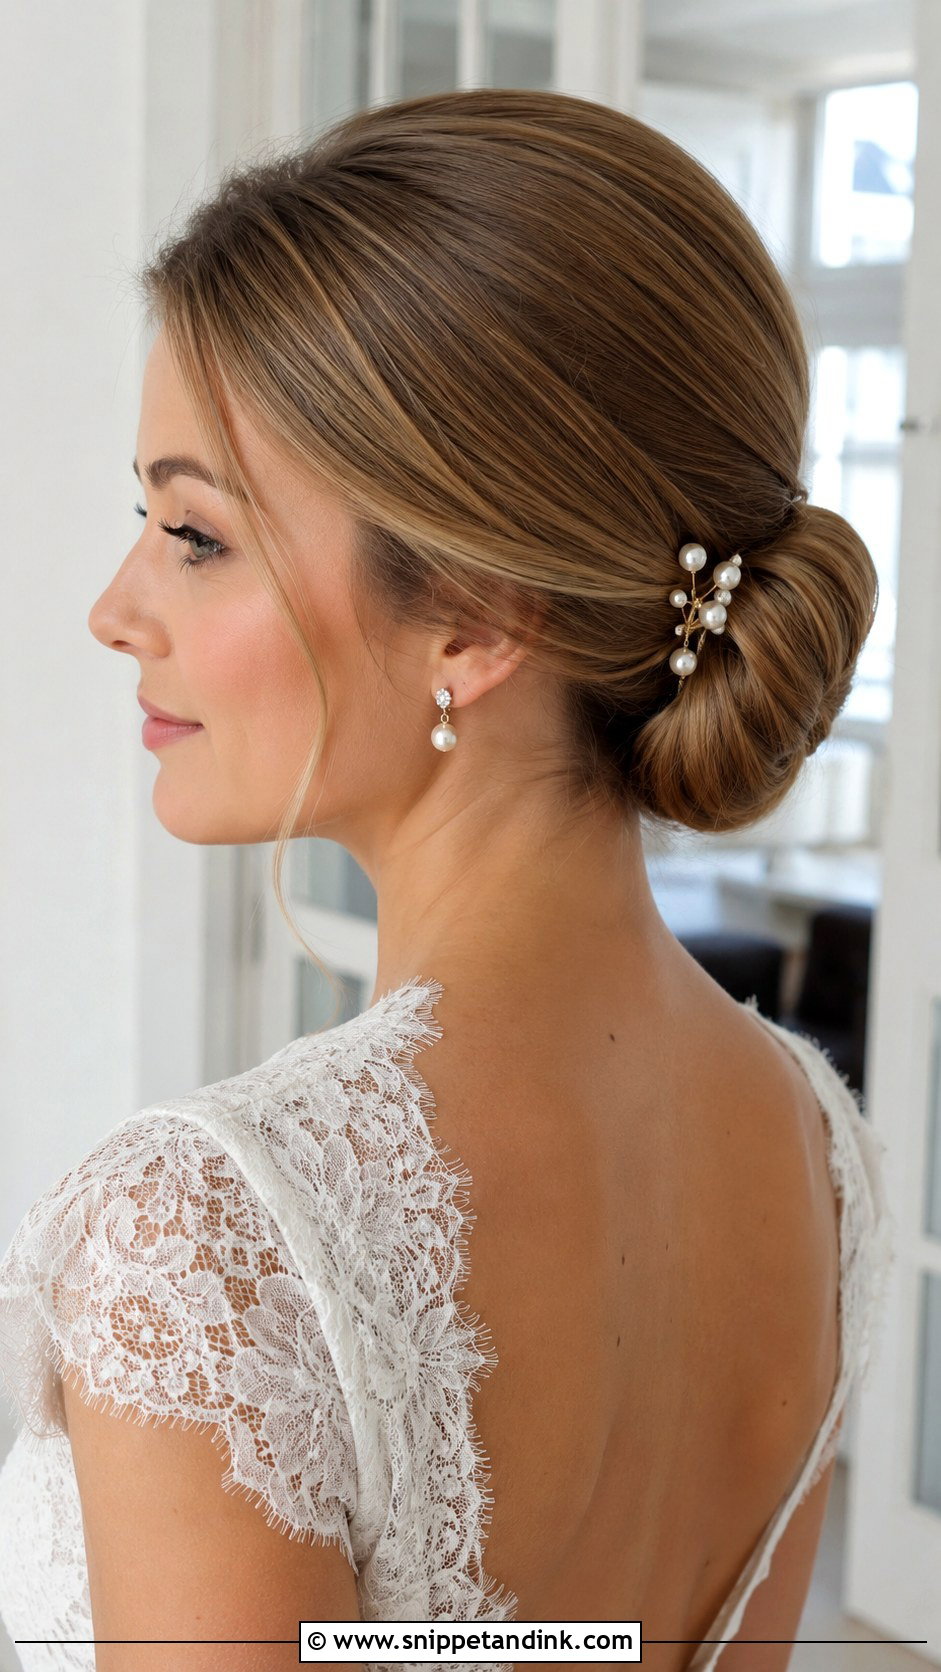
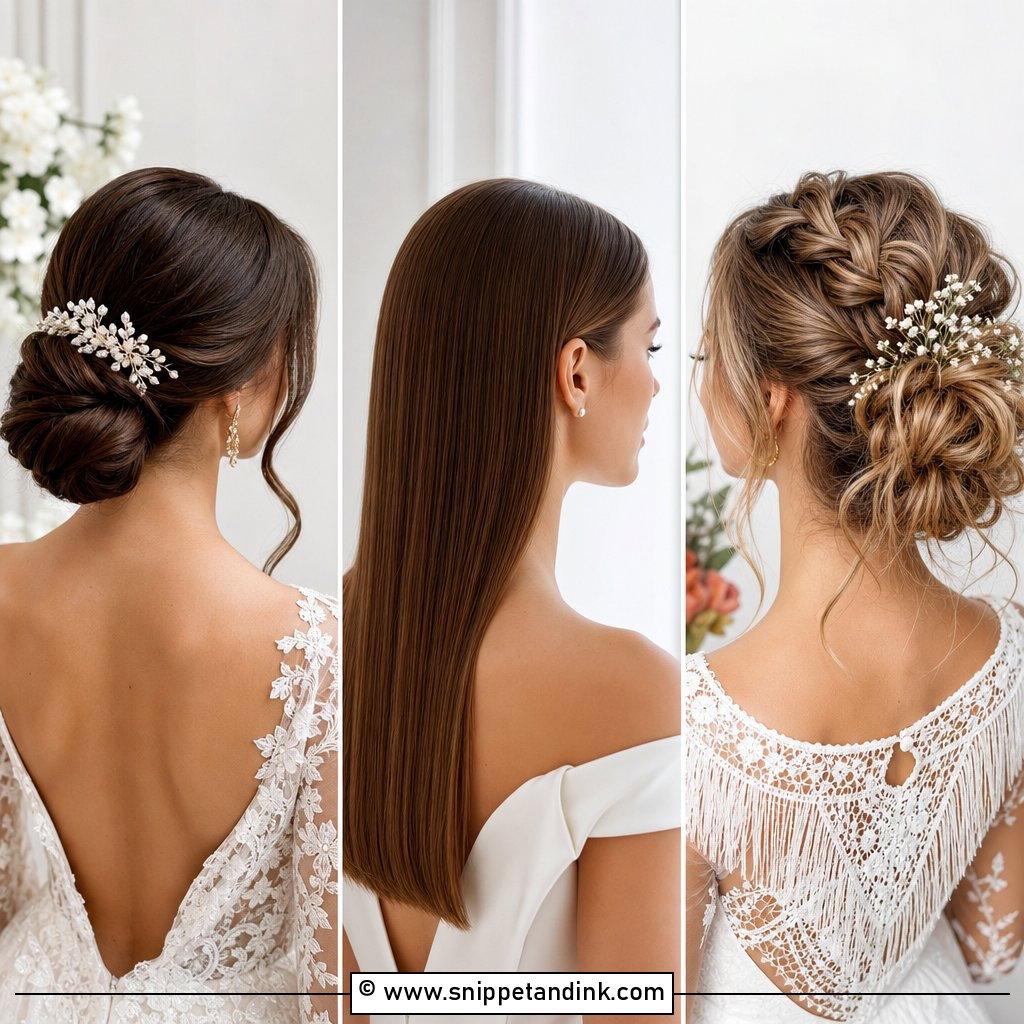
A chignon tucks the ends under instead of wrapping them around, which gives that smooth rolled shape at the neck. I rate it highly for veils and lace, because the roll sits flat and the comb slides in neatly above it. It can be sleek, softly rolled or a little undone at the edges. For a softer frame, I curl two thin pieces at the front and let them fall just past the cheekbone.
4. Messy Low Bun Wedding Hair
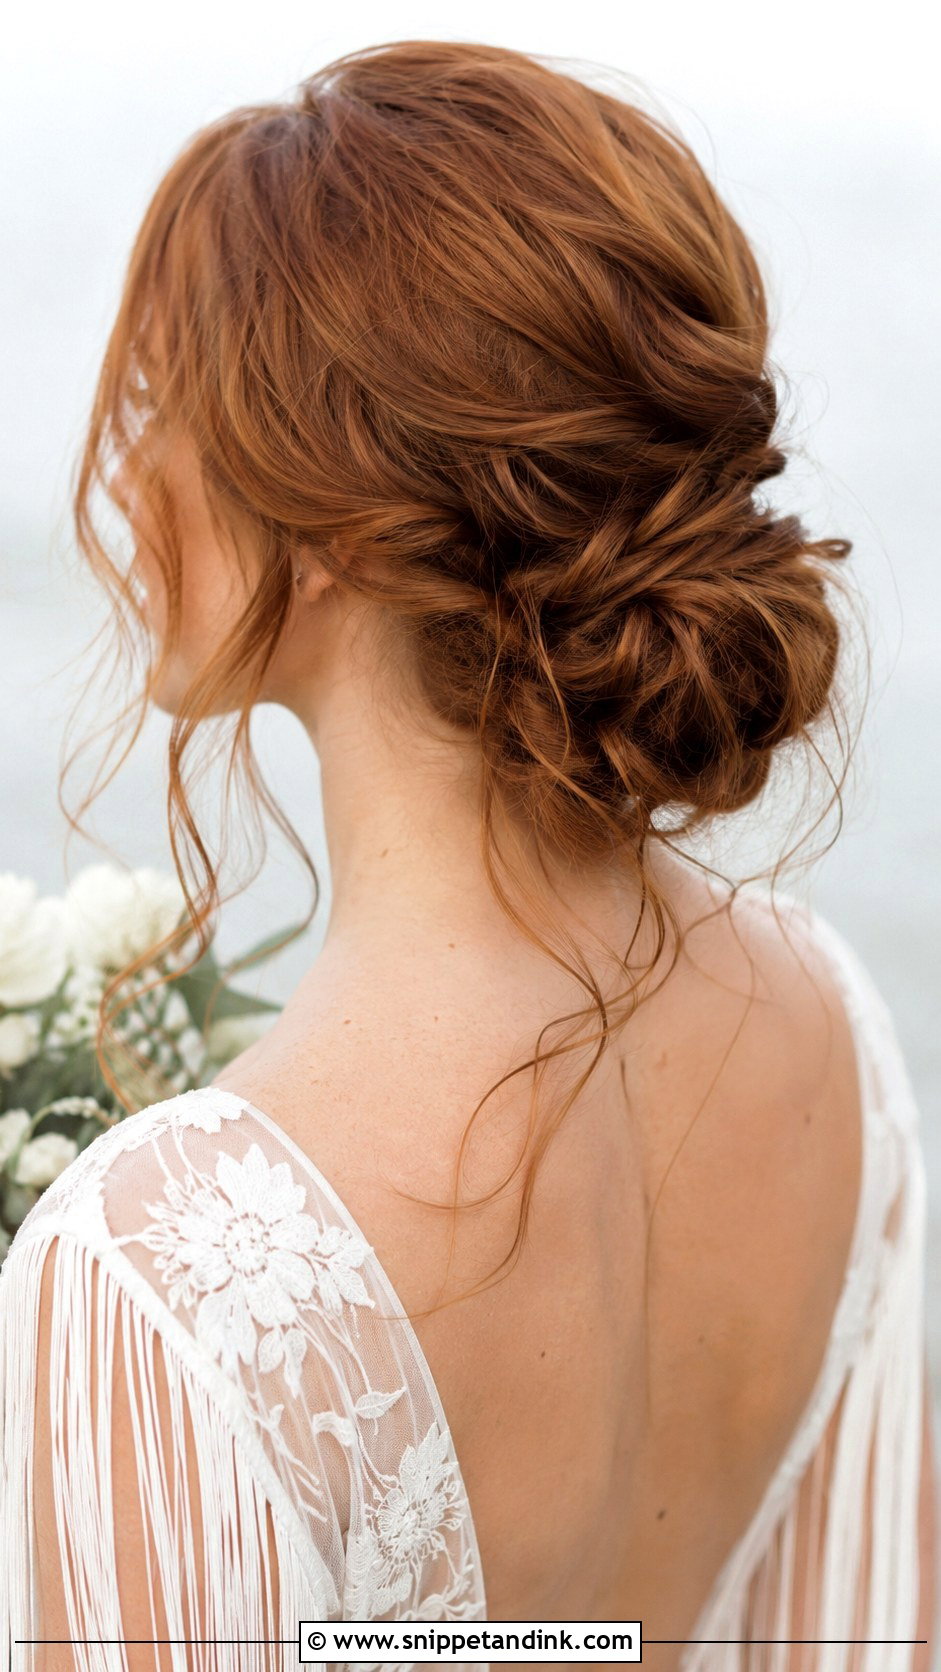
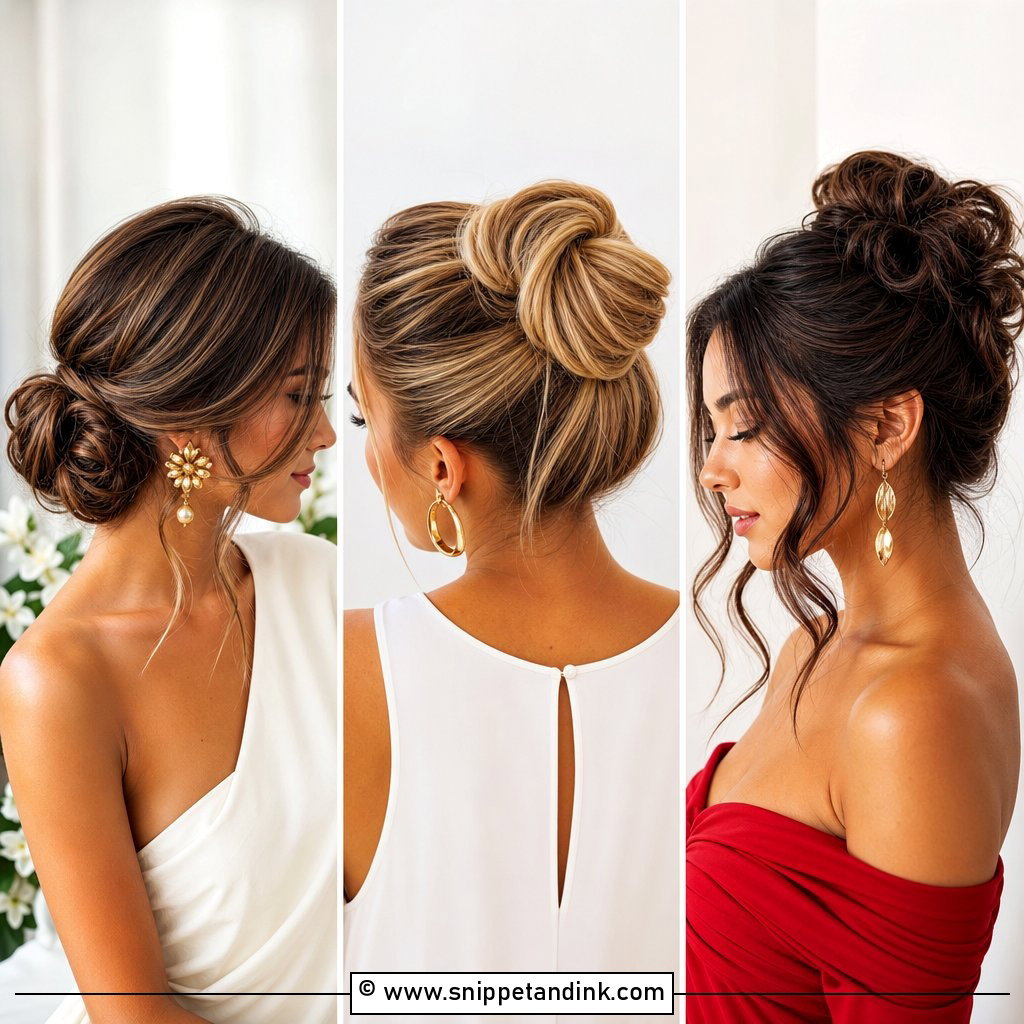
Messy here means planned looseness, not leftovers. I curl the hair, pin it in small sections so each one holds its own weight, then pull a few pieces free at the end. Naturally wavy hair is the easiest to work with, since the bend gives the bun shape before I do anything. Boho gowns and beach weddings suit it. The risk is under-pinning: a loose surface needs a secure base underneath, or it slides by the first dance.
5. Braided Low Bun Wedding Hair
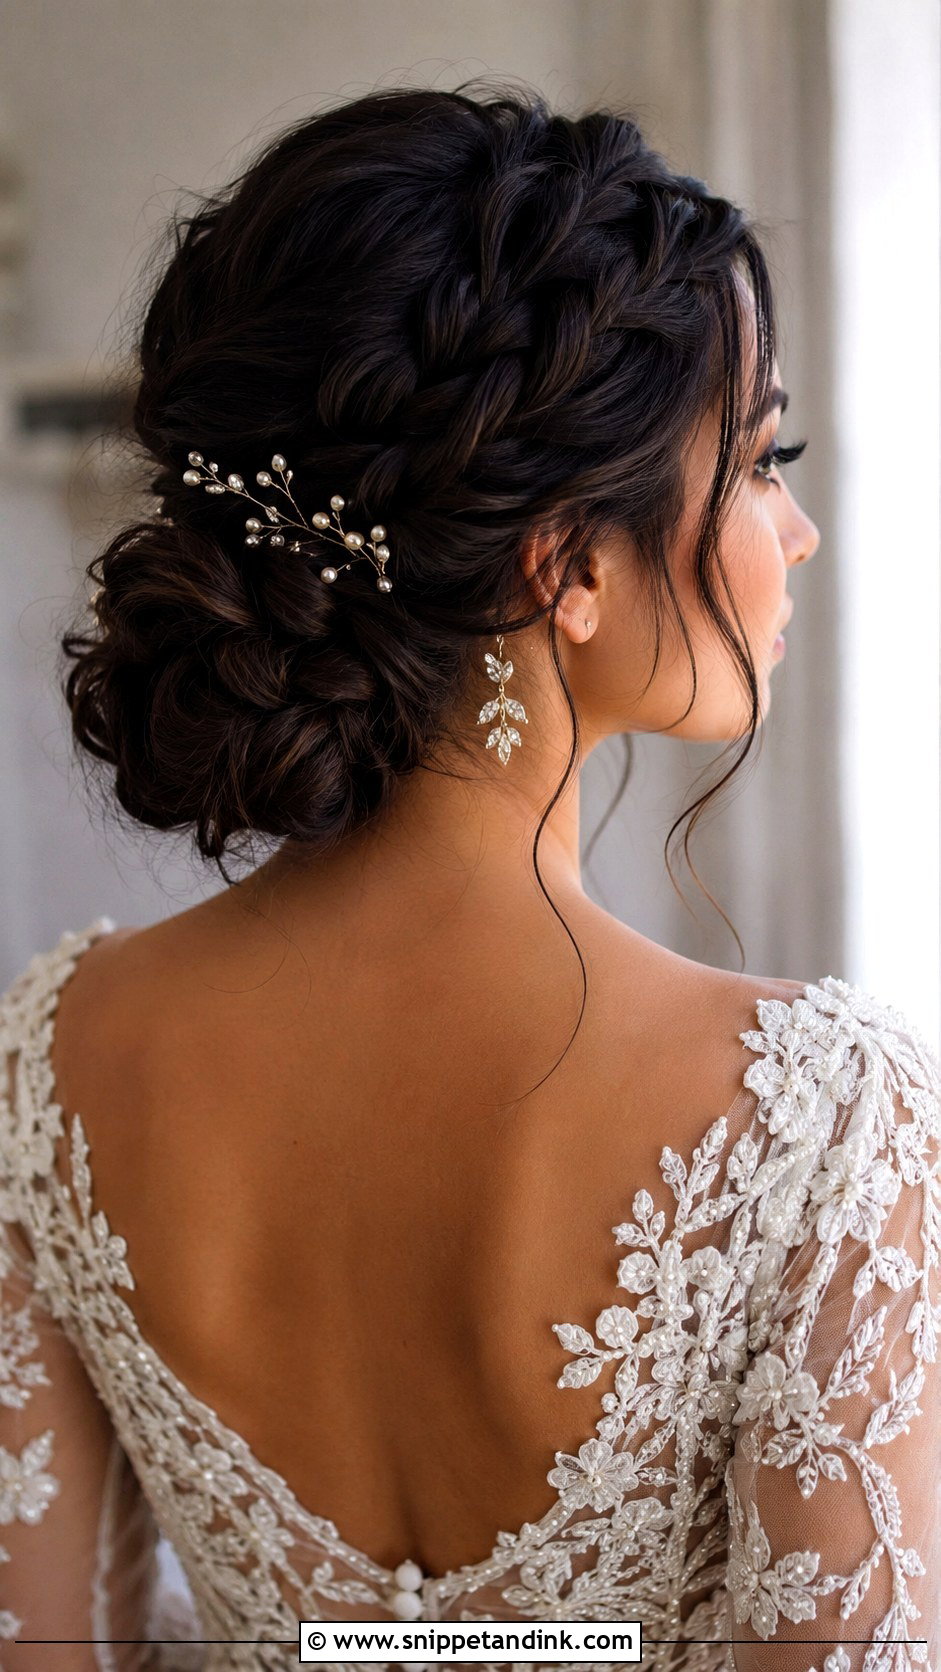
A braid is the best tool I have for short front layers that won’t reach the bun. It can wrap around the bun, start near the crown or run along one side and blend in at the nape. Pulled apart, it looks soft and romantic; kept tight, it looks crisp and polished. I’d go tight only on very thick hair, because a tight braid on fine hair shows the scalp between the plaits. A few small pearl pins along the braid finish it.
6. Low Bun Wedding Hair With Veil
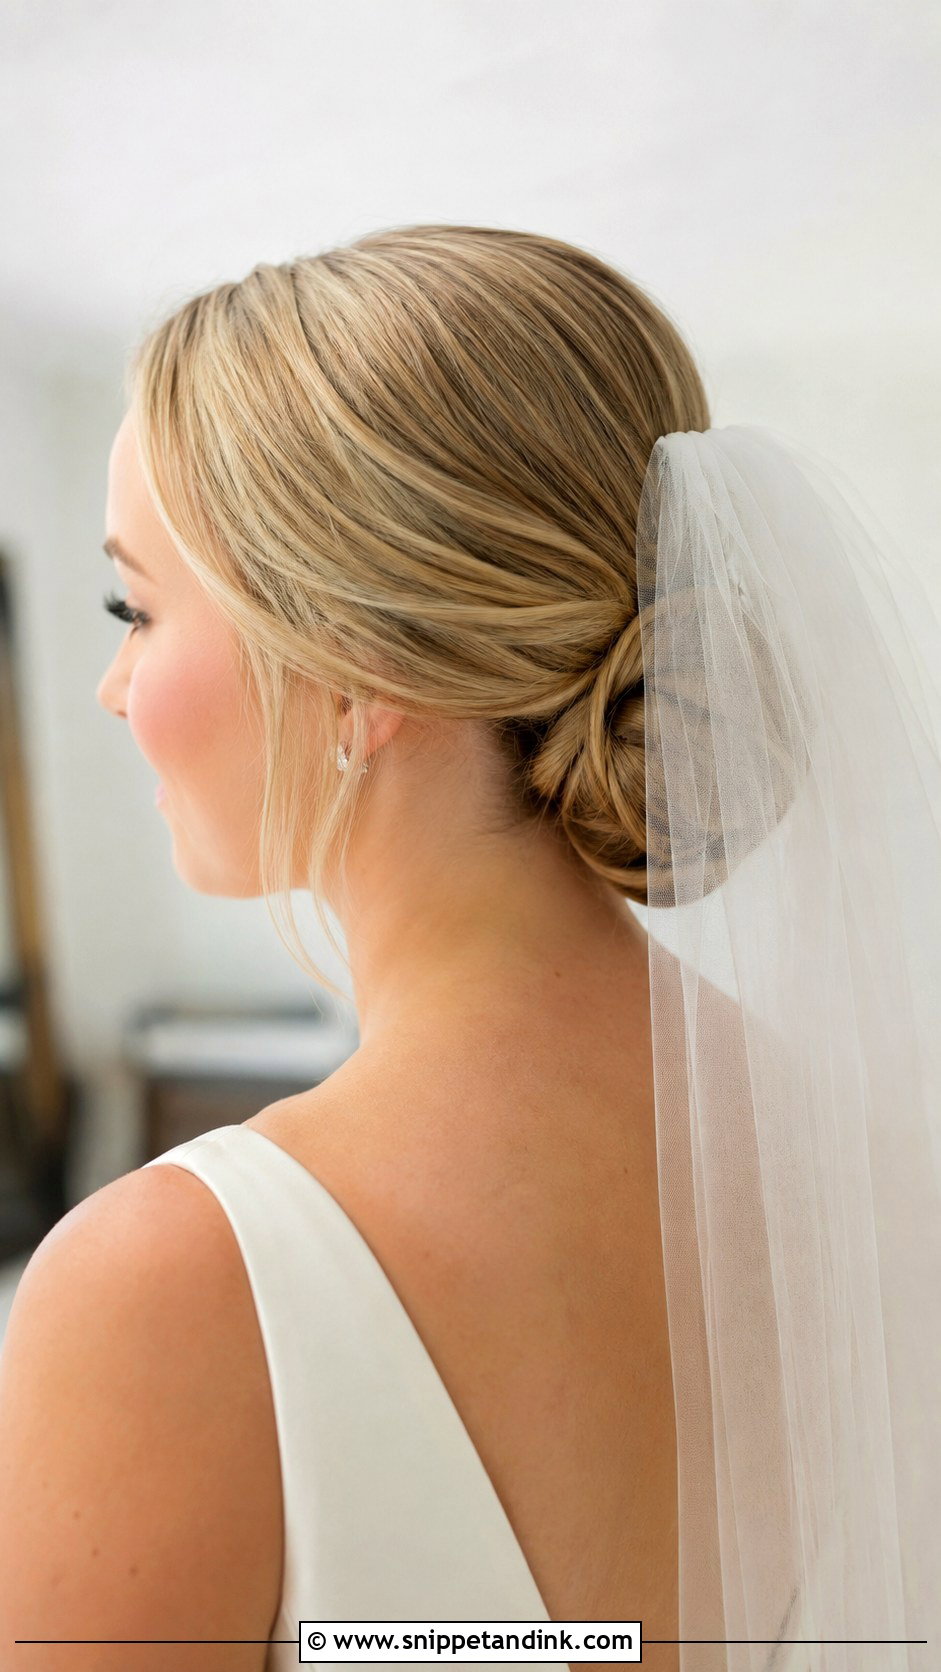
Above the bun gives a classic shape where the veil frames the hair; below the bun gives a softer, more modern line with the whole bun visible. Which is right depends on the dress, veil length and how much of the style you want seen. Cathedral, fingertip and simple tulle veils all sit well on a low bun. Wear your real veil at the trial. A heavy veil can drag the bun down or flatten it, and that’s an easy fix weeks ahead and a stressful one on the morning.
7. Low Bun Wedding Hair With Pearls
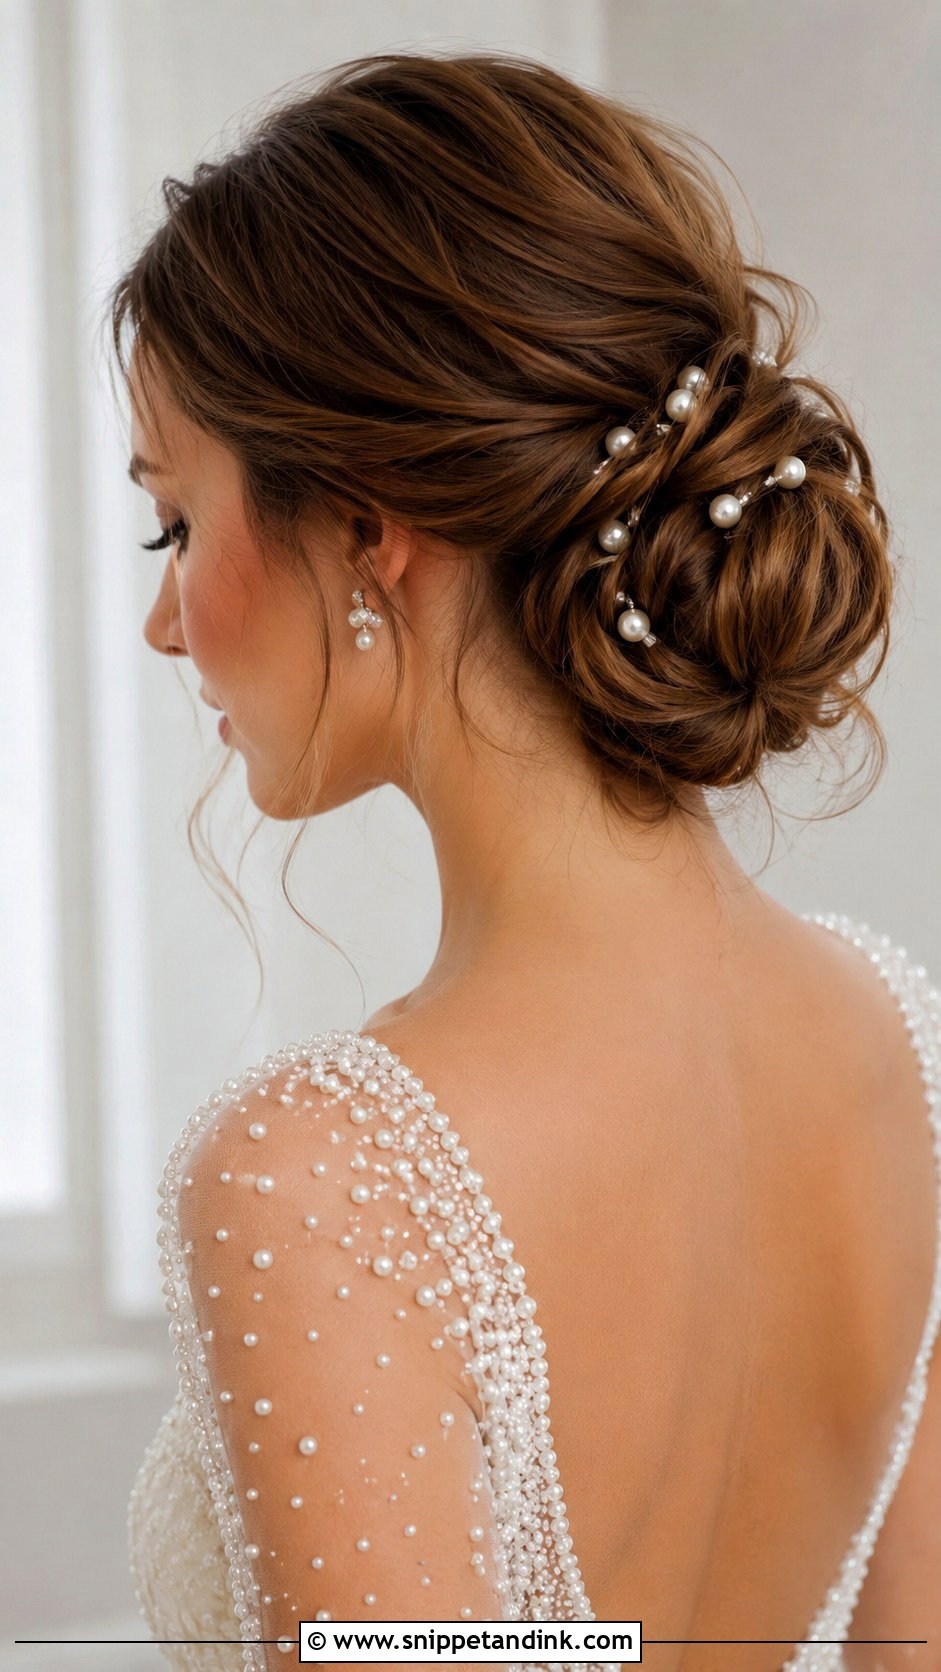
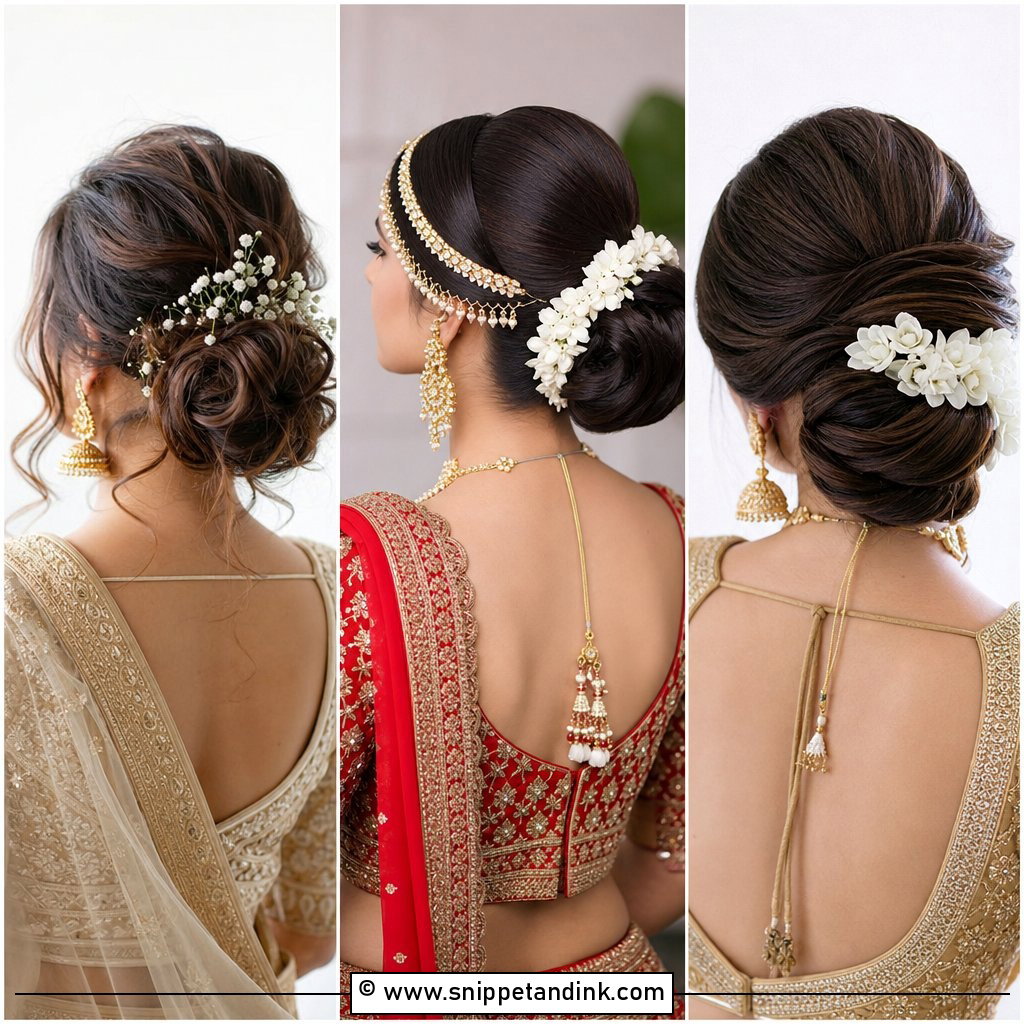
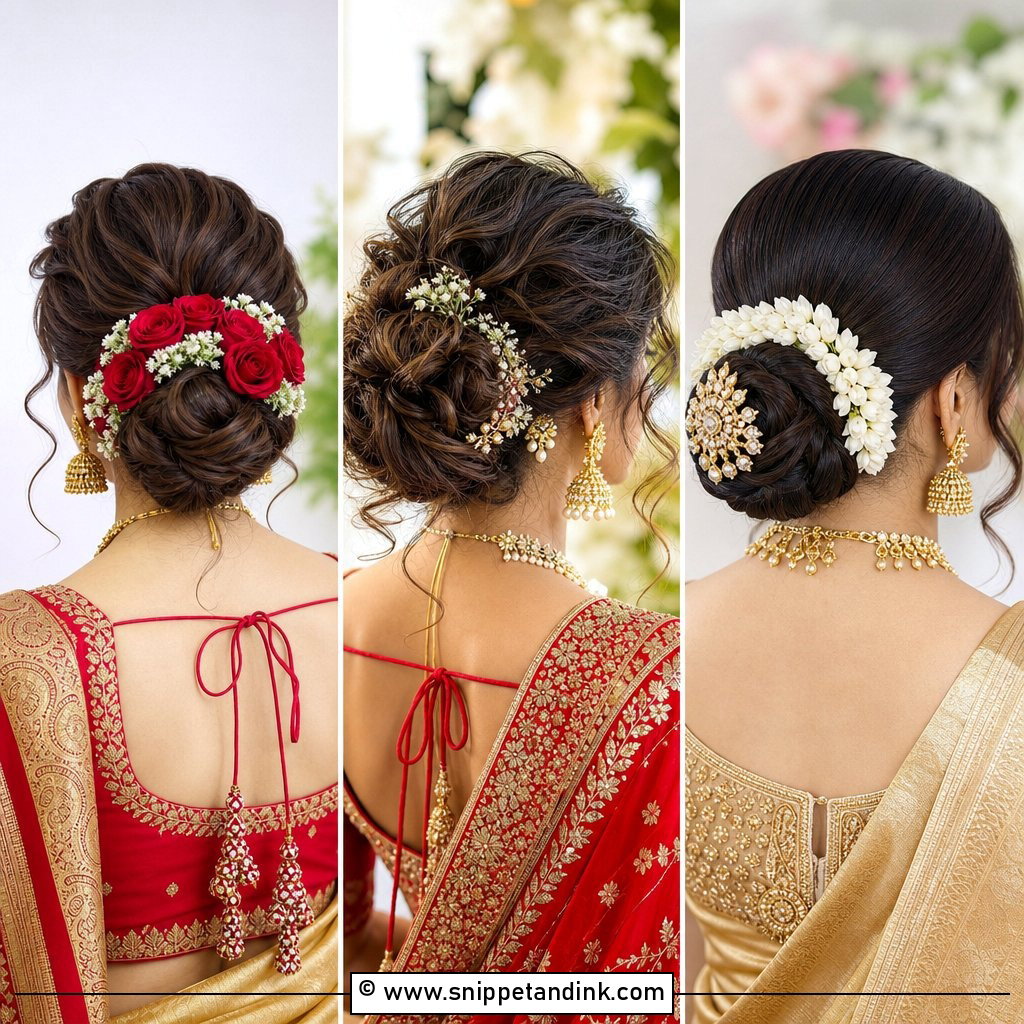
Pearls are a gentle way to make a plain bun read as bridal. I scatter them through the bun, line them along one side or tuck them into a twist. They suit sleek, textured and braided buns alike, and satin, lace, tulle and crepe gowns. The one rule I stick to is spacing: a handful of pearls placed with gaps between them looks expensive, while a crowded cluster looks like a costume piece.
8. Low Bun Wedding Hair With Flowers
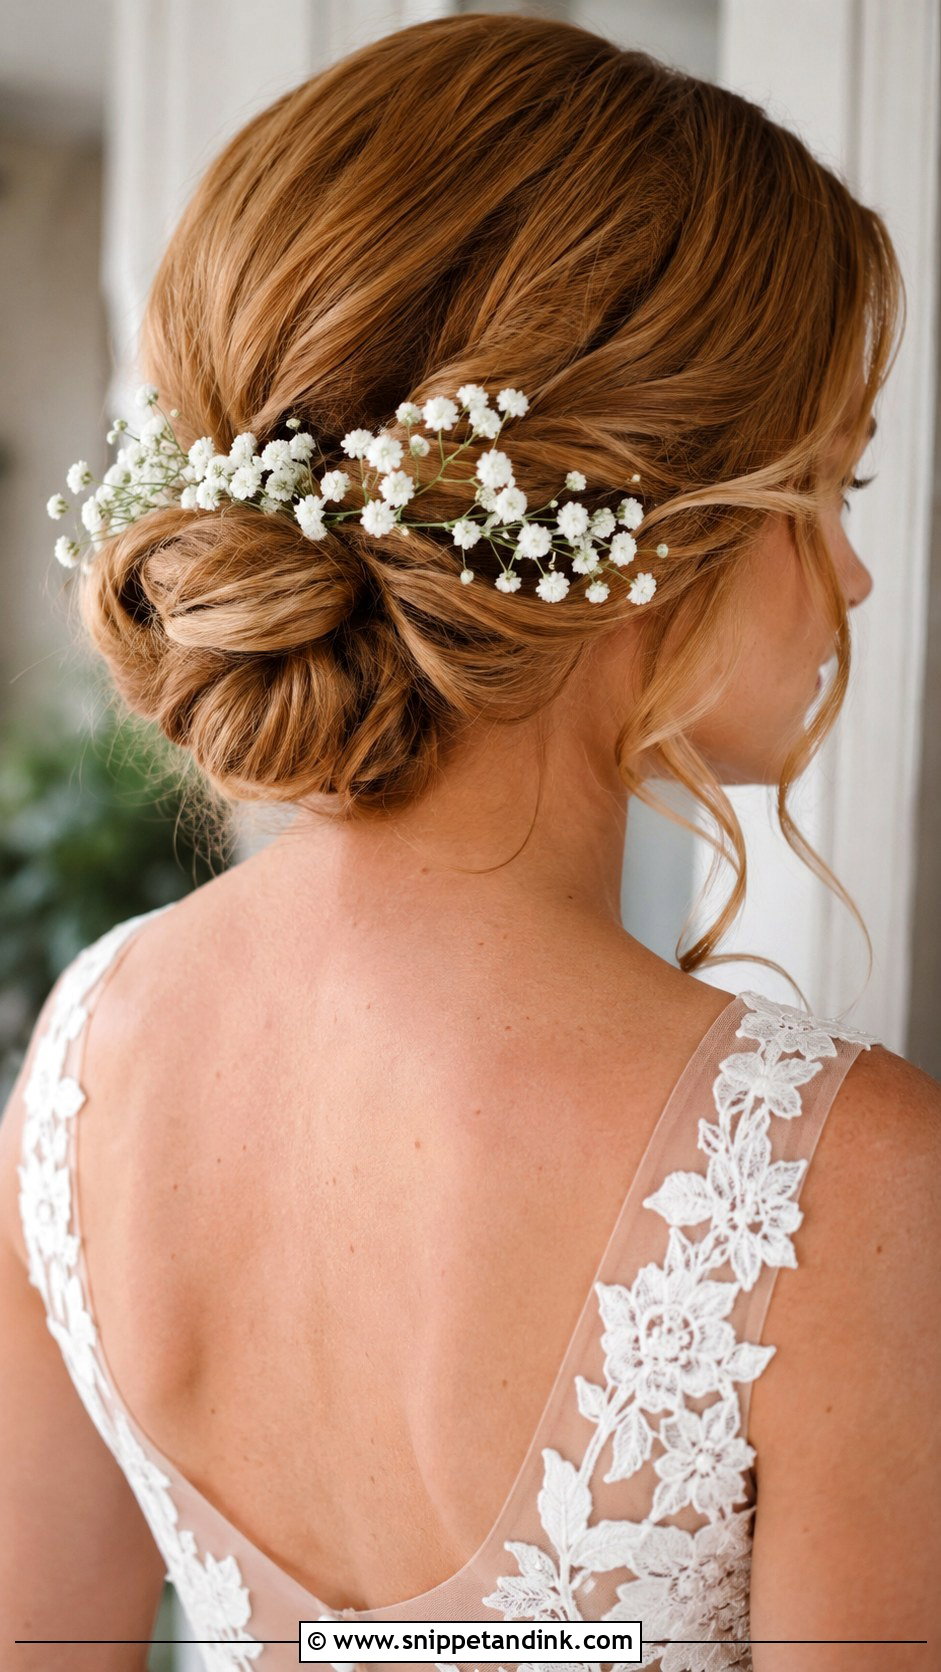
Scale decides whether flowers in a bun look soft or editorial. Small blooms such as baby’s breath, spray roses and little orchids suit garden weddings, spring ceremonies, tropical venues and boho looks; one oversized flower is a bolder statement. Fresh flowers out of water wilt within a few hours in heat, so ask your florist to wire and tape them for hair and keep them cool until I place them, which is always the last step.
9. Low Bun Wedding Hair With Side Part
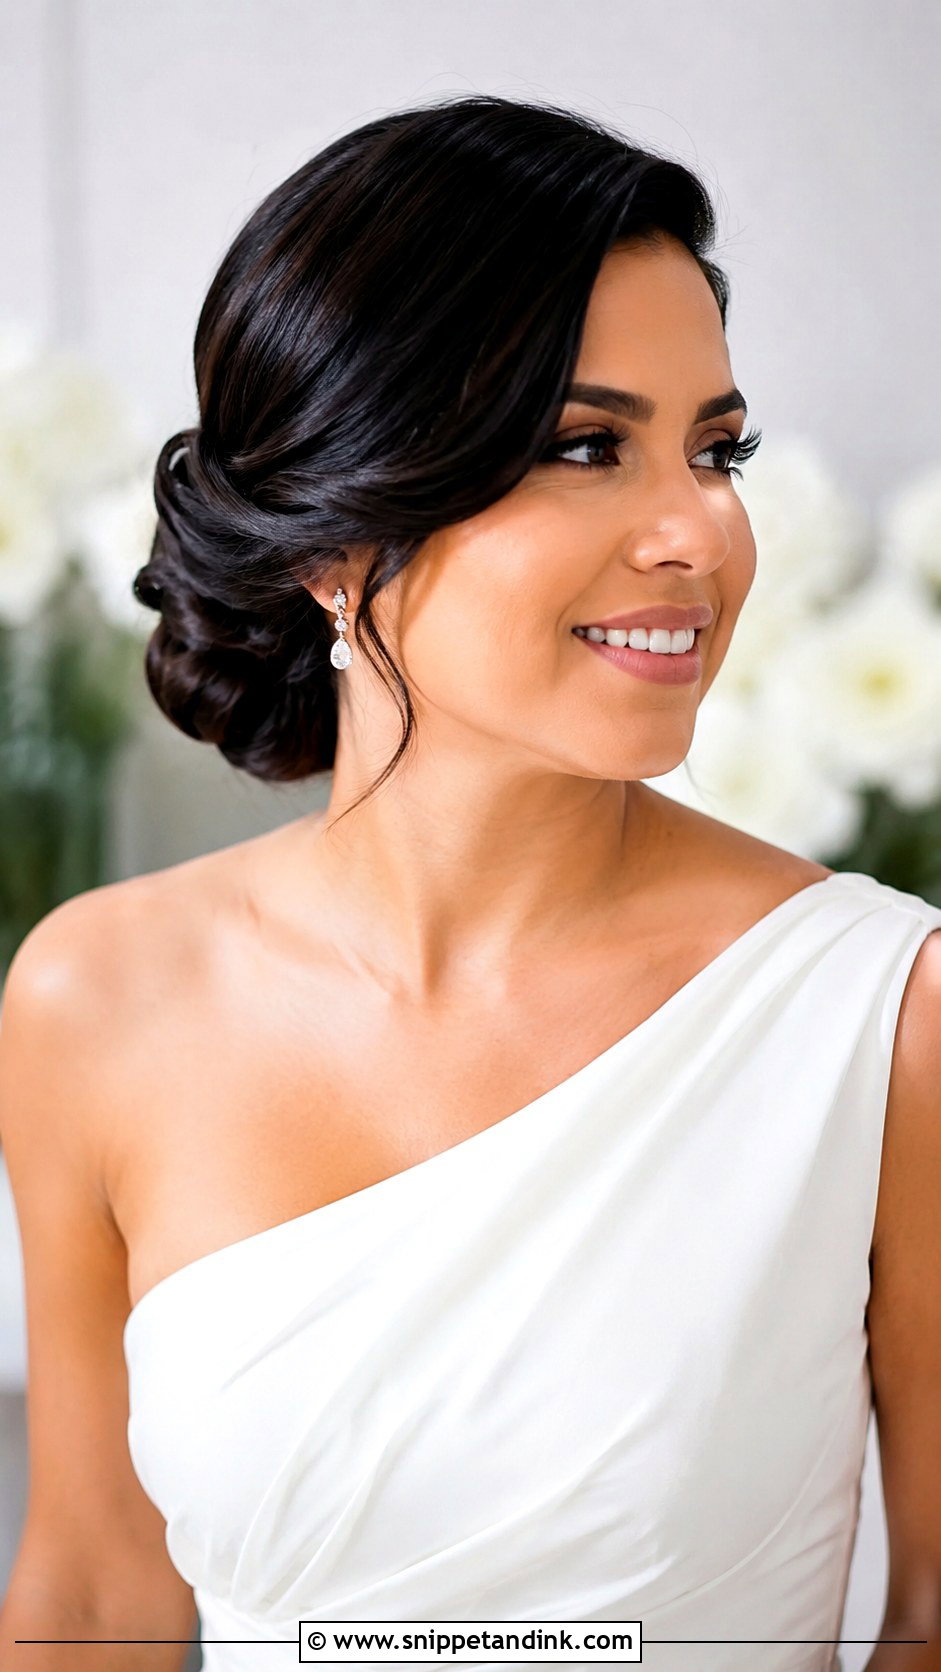
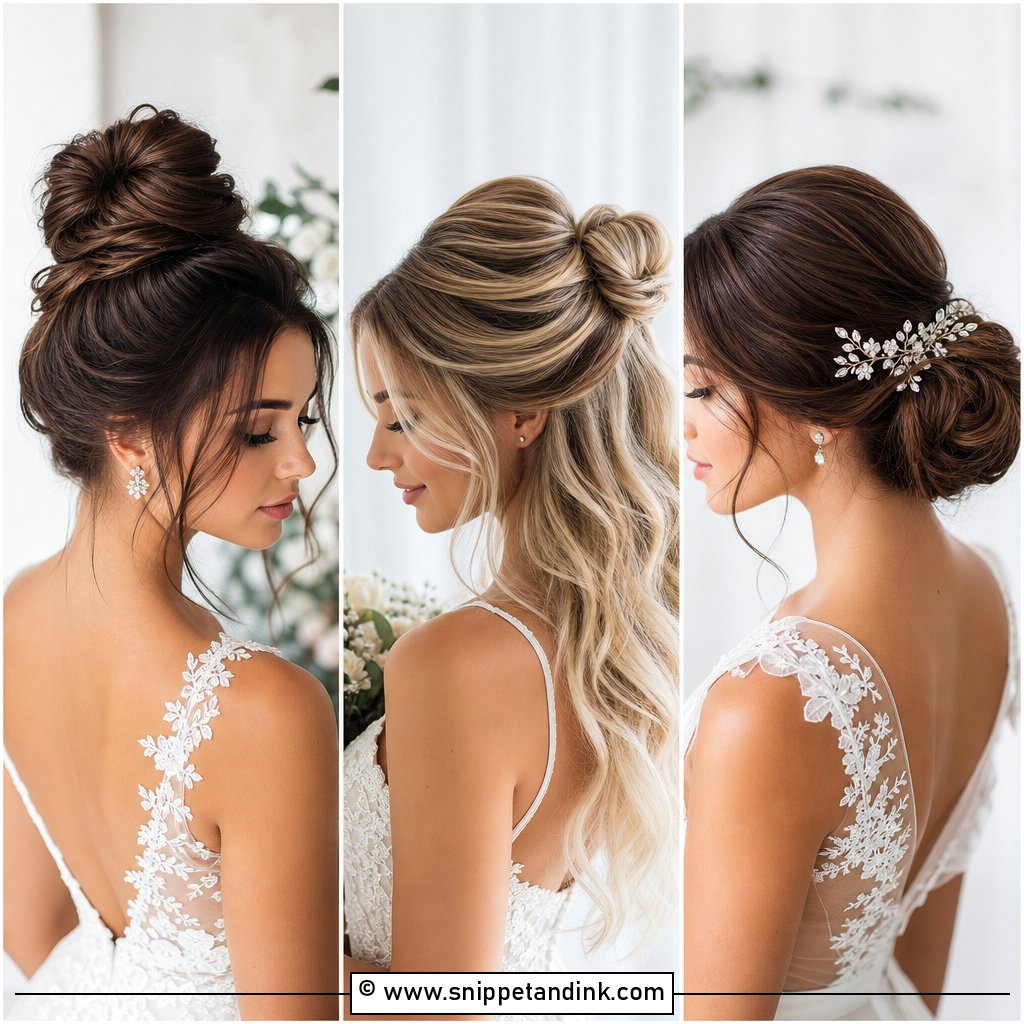
A side part gives the face shape and can soften strong features or balance a rounder face. Deep reads glamorous; shallow reads natural. It goes with sleek buns, textured buns and chignons alike. I usually set the front section into a soft wave before pinning it into the bun, which suits vintage-inspired dresses and one-shoulder gowns. I’ll pin the wave invisibly at the temple so it doesn’t drop over the eye after a few hours.
10. Low Bun Wedding Hair With Middle Part
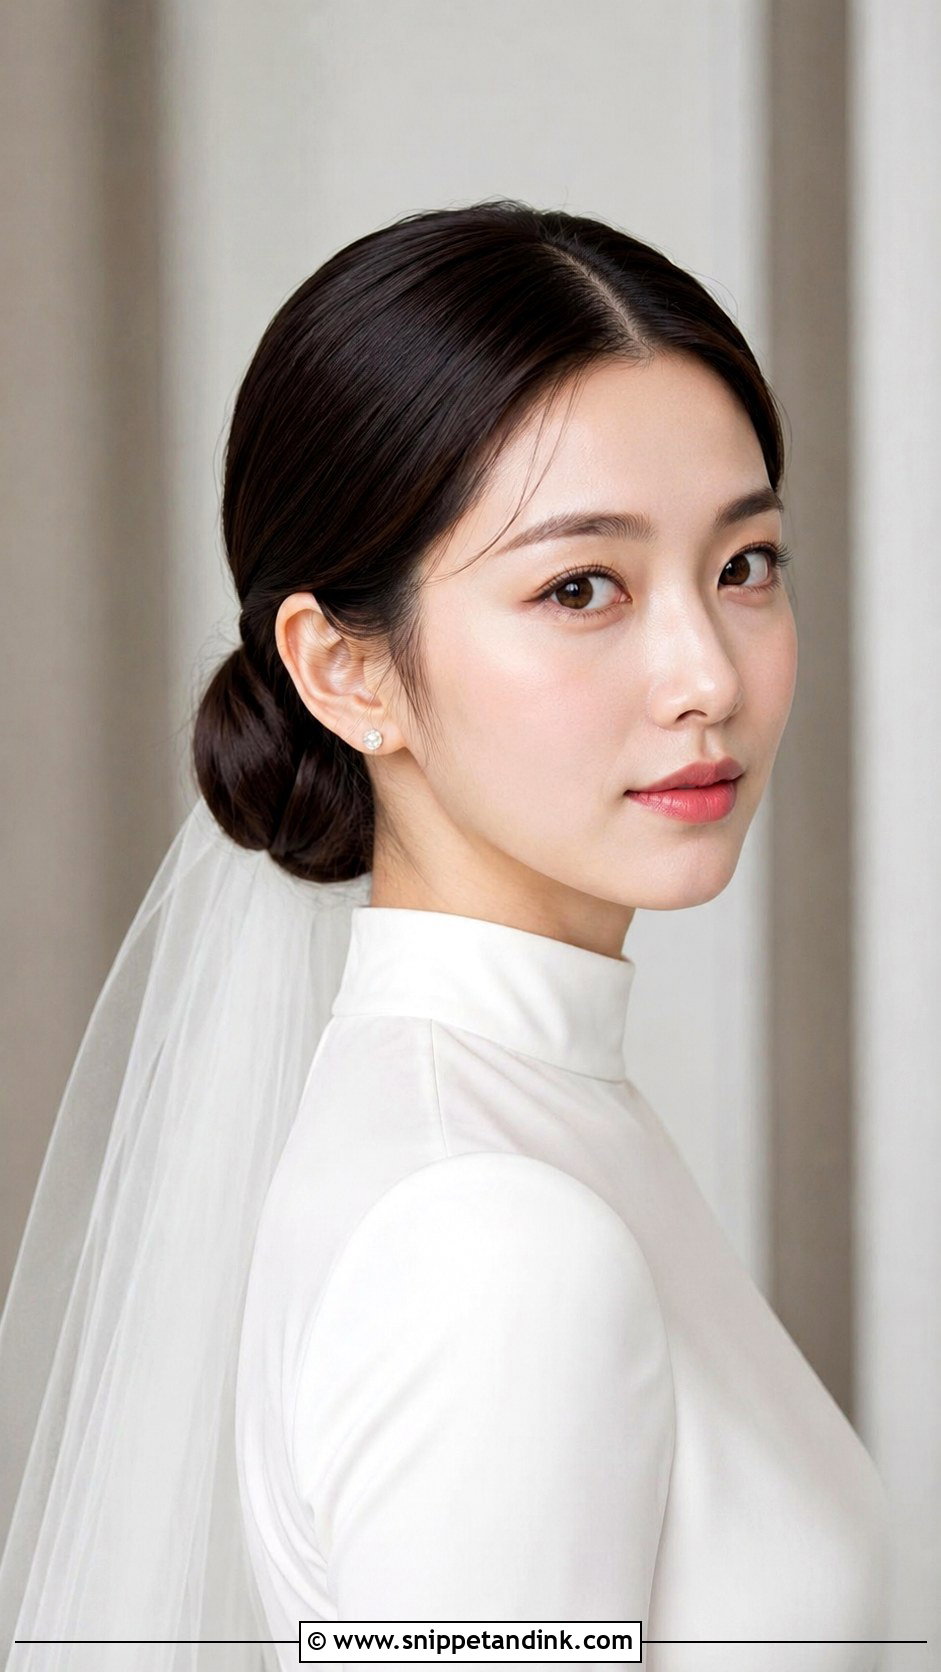
The centre part is the most balanced option and frames the face evenly. It suits oval, heart and long faces especially well, and it lets makeup, earrings and the neckline take the attention. If you’re worried it looks strict, I add a little volume at the crown and leave two fine strands out at the front. That small change takes the severity out without losing the clean line.
11. Low Bun Wedding Hair With Face Framing Pieces
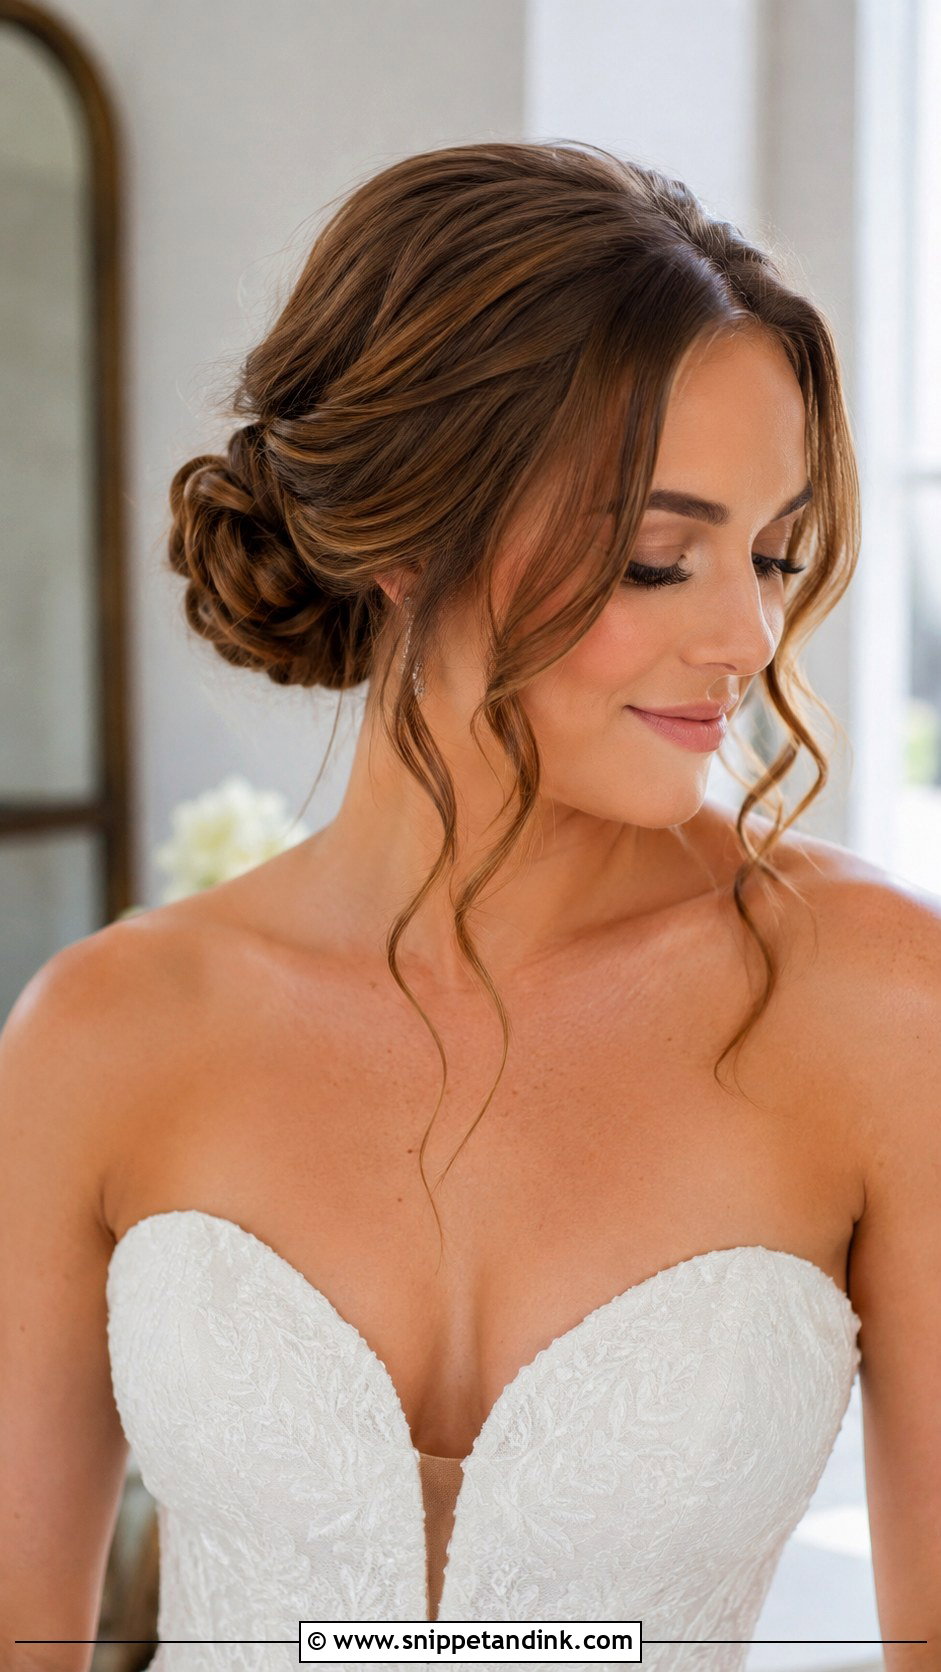
Brides who rarely wear their hair up often feel unlike themselves in a fully pulled-back style, and front pieces solve that. I curl or wave them, or simply leave their natural bend, depending on the hair. Keep them light; a thick section covers the makeup and goes limp first. A flexible spray keeps them airy instead of crisp.
12. Low Bun Wedding Hair For Thin Hair
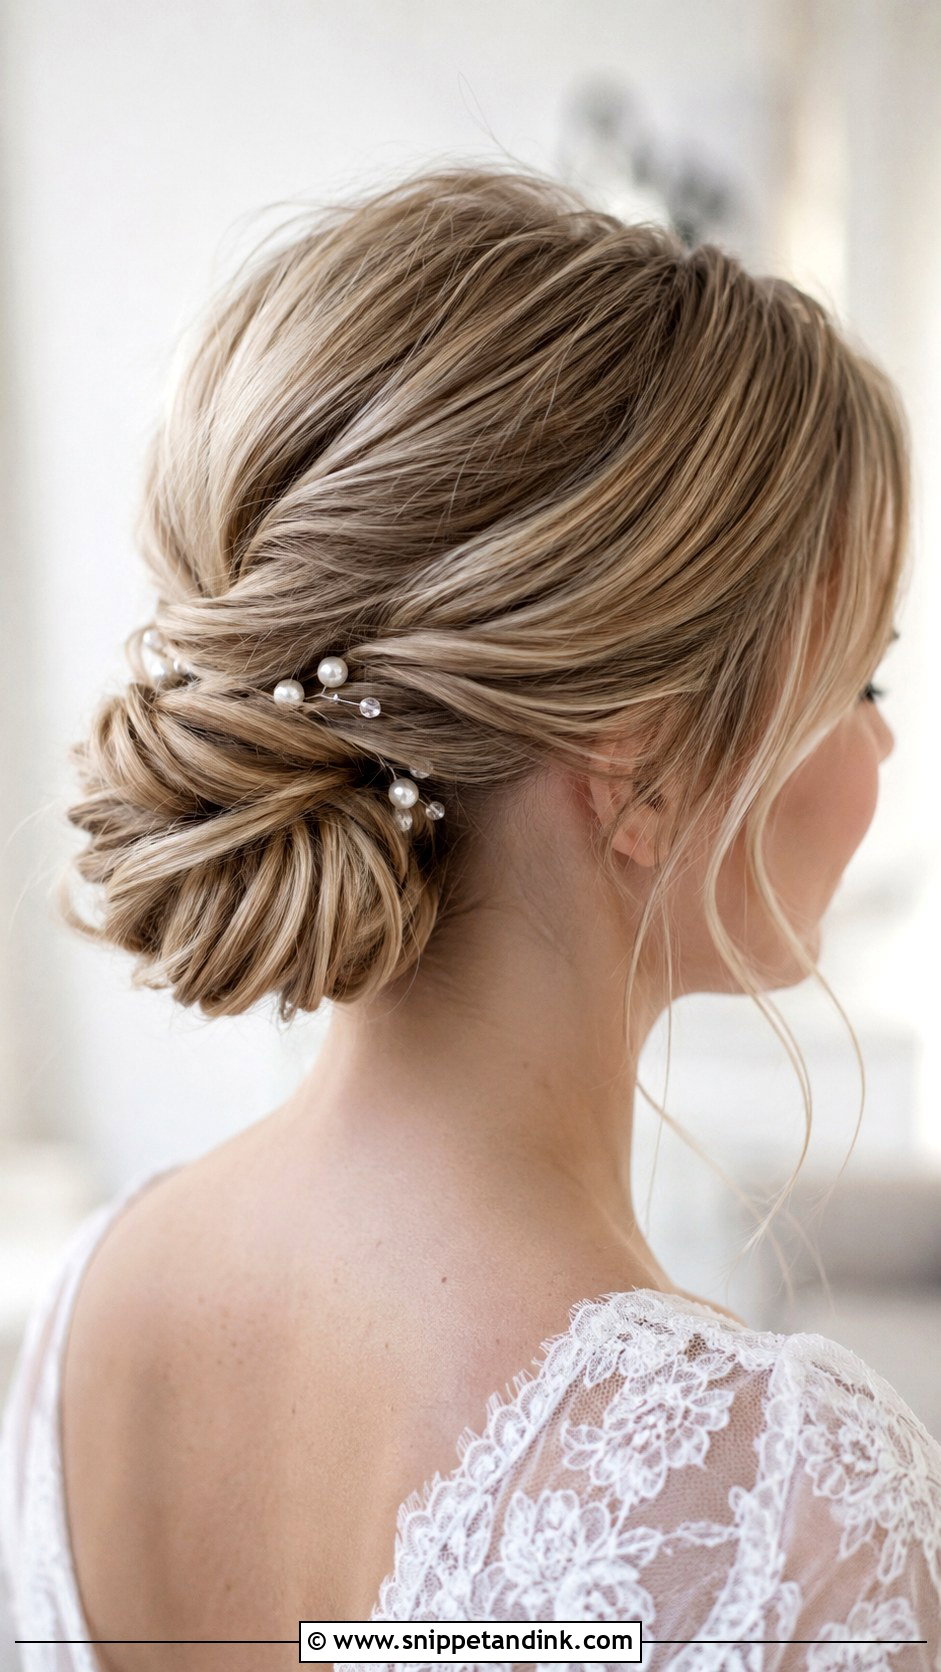
Thin hair can carry a full bun with the right prep. Mousse at the roots, texture spray, light backcombing, a hidden pad or a few small extensions all add bulk, and I usually combine two of those. A textured bun hides more than a sleek one, and a soft chignon roll makes fine hair look thicker. Skip oils and heavy creams that morning; they flatten fine hair and make pins slip.
13. Low Bun Wedding Hair For Curly Hair
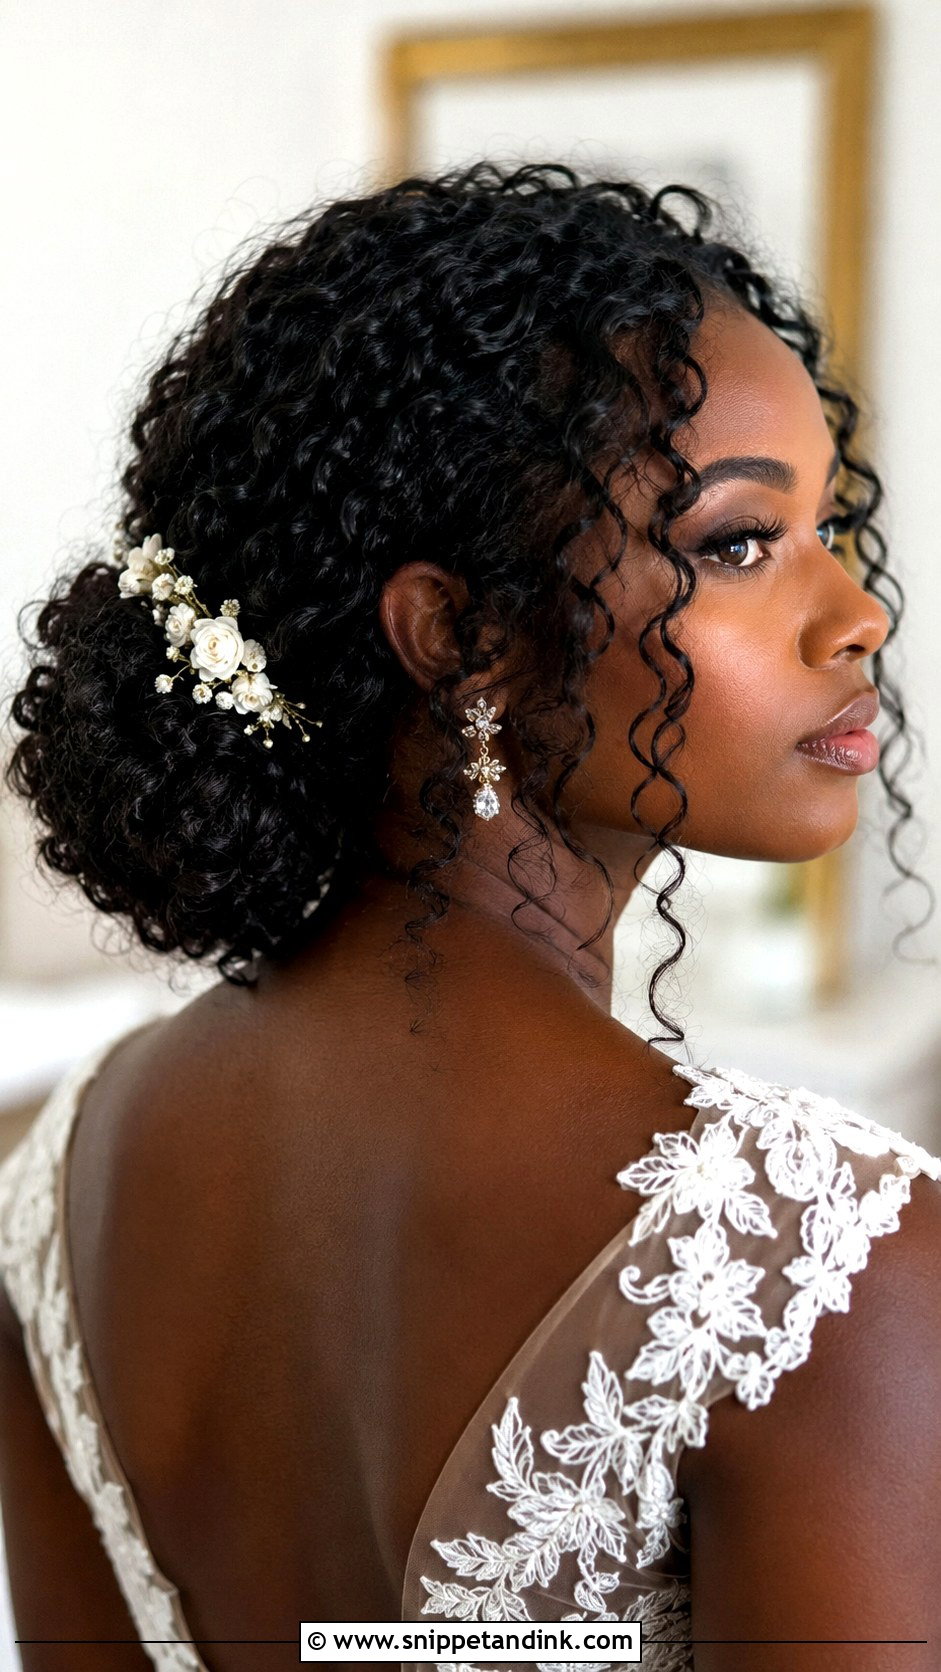
Curls give a bun volume for free, so the shape doesn’t need to be complicated. I define them first, then pin them low so the curl pattern stays visible on the surface. A couple of curls near the face or nape keep it soft. Moisture is what makes the difference here: hydrated curls clump and hold, dry curls frizz. Use your usual leave-in the night before rather than trying something new.
14. Low Bun Wedding Hair For Long Hair
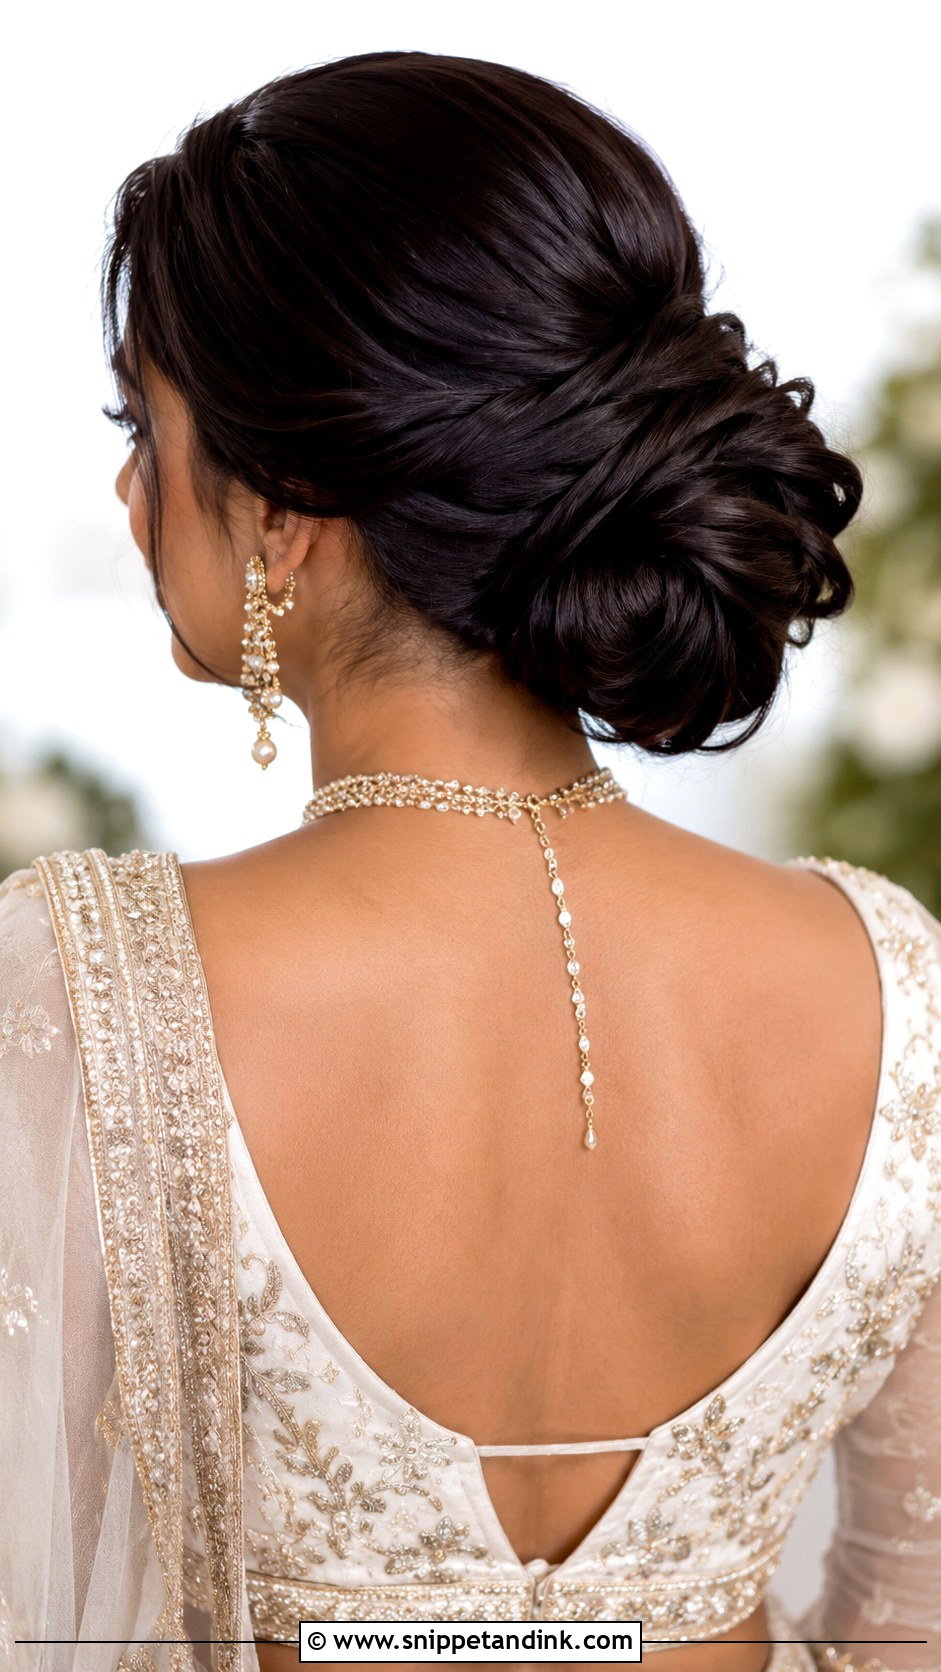
Long hair gives room for wraps, folds and braids, and it can make a rich, layered bun at the nape. The catch is weight. One big knot pulls on the scalp, and by dinner many brides with long hair get a headache. I divide the hair, pin a small core first and wrap the rest around it to spread the load. Ask for a trial that tests comfort as well as looks: sit, turn your head, hug someone, and see what pulls.
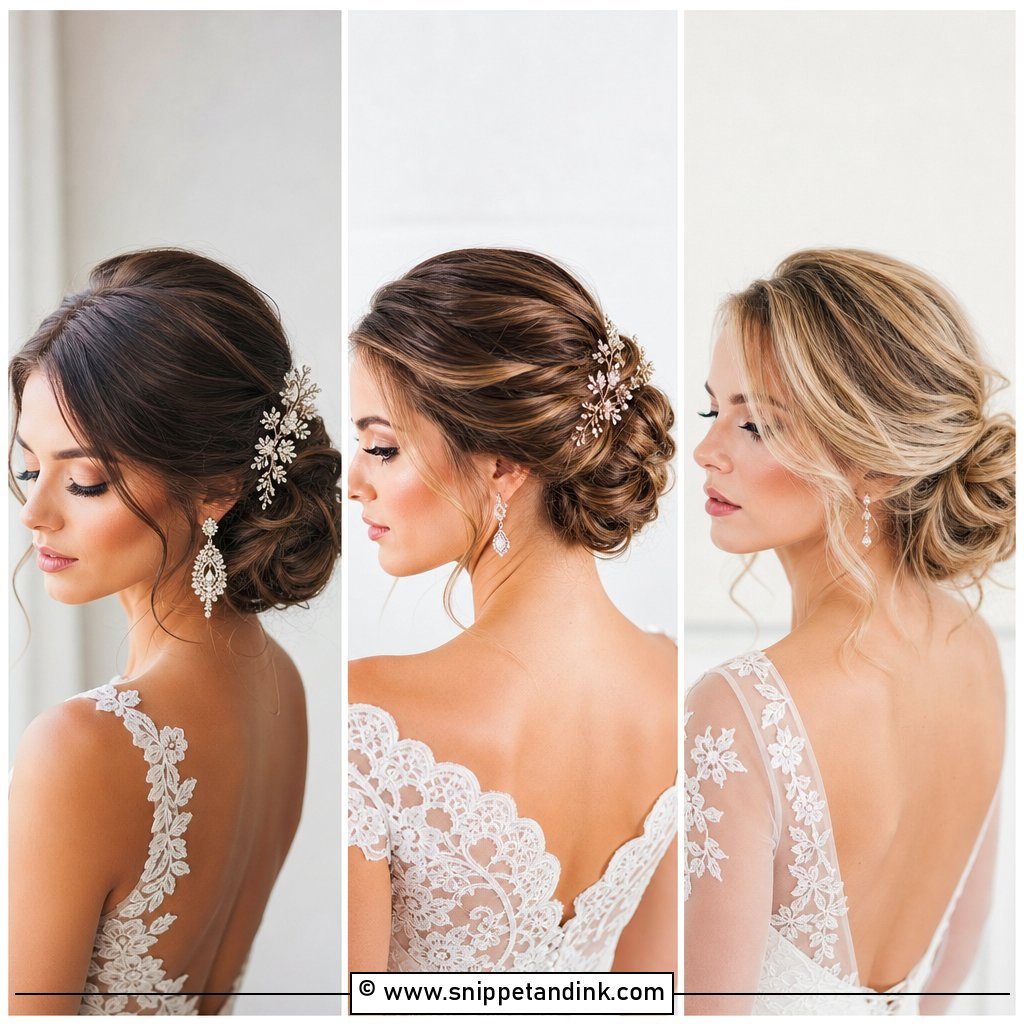
15. Low Bun Wedding Hair For Bridesmaids
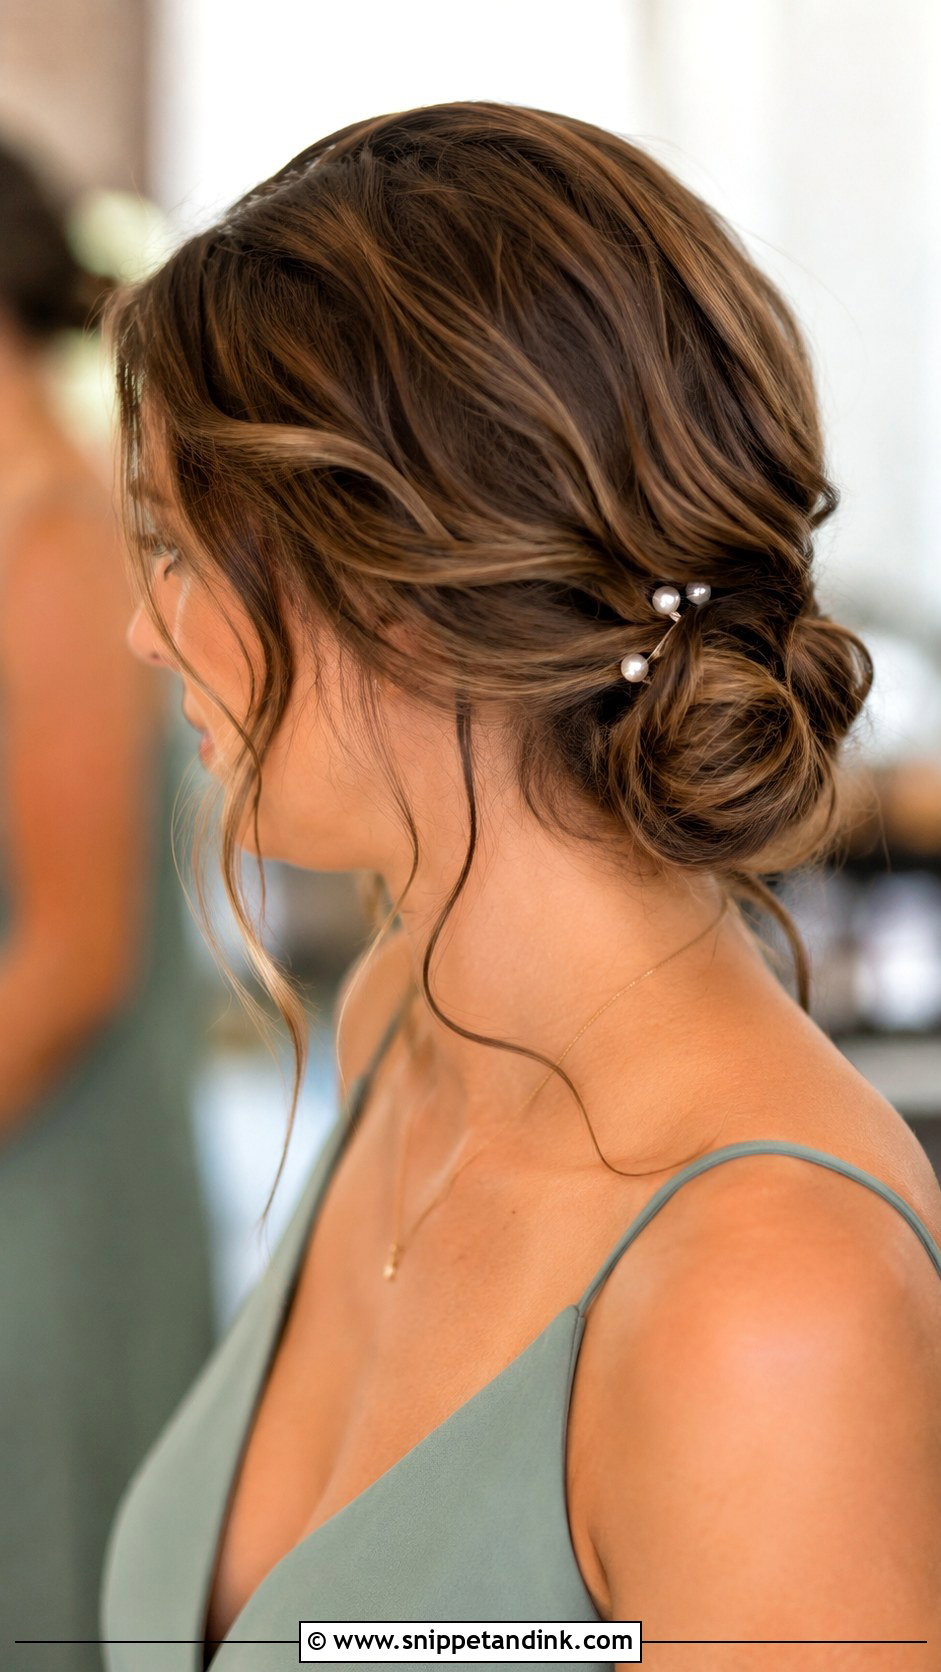
Low bun wedding hair for bridesmaids keeps the party coordinated without making everyone identical. I give each bridesmaid the same basic shape and adjust the part, texture or front pieces to her face and hair. Matching the accessory (the same pearl pins, small combs or a ribbon colour) ties it together more than matching the exact style. It’s practical too, since a low bun keeps hair off the neck through a long day.
A Trial Checklist for the Back of Your Head
You can’t see a low bun without a second mirror, which is why so many brides first notice a problem in their photos. At the trial, I go through a short list with every bride before she leaves the chair.
- Wear a top with a neckline close to your dress, so the bun position can be judged properly.
- Have someone photograph the back and both sides, and look at those photos on a large screen later.
- Leave the style in for the rest of the day and note where it pulls, sags or loosens.
- Bring the veil, comb or pins you plan to wear, not similar ones.
- Ask how many pins went in and whether they can be removed in a hurry for an outfit change.
Book the trial roughly six to eight weeks out, after any colour appointment, so the hair you test on is the hair you’ll wear.
Your Bun Faces the Guests Through the Whole Ceremony
The low bun keeps its popularity because it solves several problems at once: it’s secure, comfortable and easy to make personal. Keep it sleek, add texture, tuck in pearls, set a veil, braid it or let curls shape it. Choose by dress, venue, hair texture and face shape, then test the whole thing at a trial with your accessories. Planned carefully, it looks as good in person as it does in the album.
You'll Like These Ideas:


Leave a Reply