
A bride’s bun has a harder job than any other updo I do. It has to carry a veil comb for the ceremony, hold its shape through hours of hugs, and still look right in the back view that guests stare at during the vows. That’s why I build bridal buns differently from everyday ones, with a firmer base and more pins than you’d ever see. The finish on top can be anything from glossy and modern to soft, vintage or textured, and there’s a version for fine, thick, curly and straight hair. Here are twenty, with notes from the chair on what each one asks of your hair.
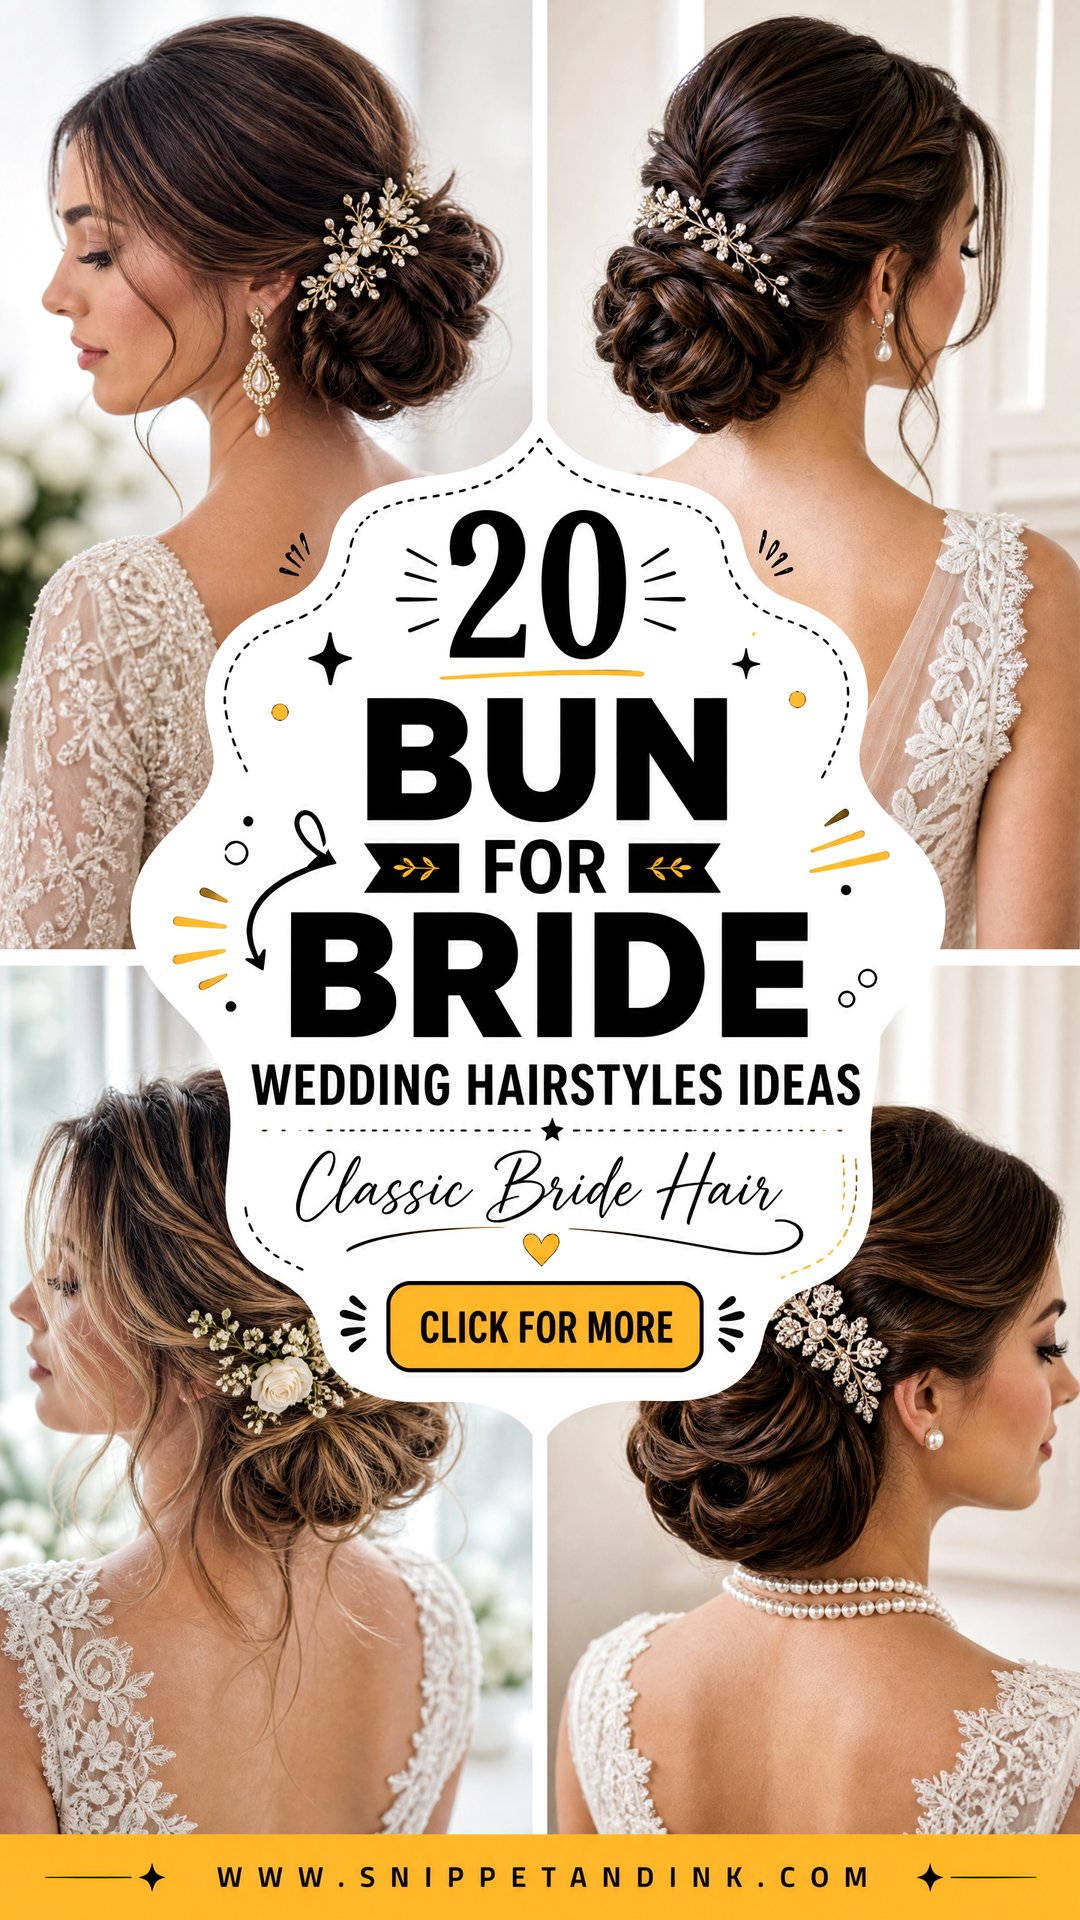
Bun Height Starts With the Gown, Not the Pinterest Photo
Most brides arrive with a photo of a bun they love, and most of the time the height of that bun is wrong for their dress. I decide height before style. Here’s how I think about it.
- High neckline or collar: go mid or high. A low bun crowds the collar and gets crushed against it when you turn your head.
- Open back or detailed back: a mid or high bun keeps the hair out of the way so the back shows in the ceremony photos.
- Strapless or sweetheart: any height works; a low bun softens bare shoulders.
- Cathedral veil: low or mid, so the comb sits above the bun and the veil falls cleanly down the back.
- Short neck: a higher bun gives the look of more length. Long neck: a low bun balances it.
Once height is fixed, you can choose the finish freely. A sleek, braided or textured bun at the nape all look right with the same dress. Choose the finish second and you’ll avoid falling for a look that fights your gown.
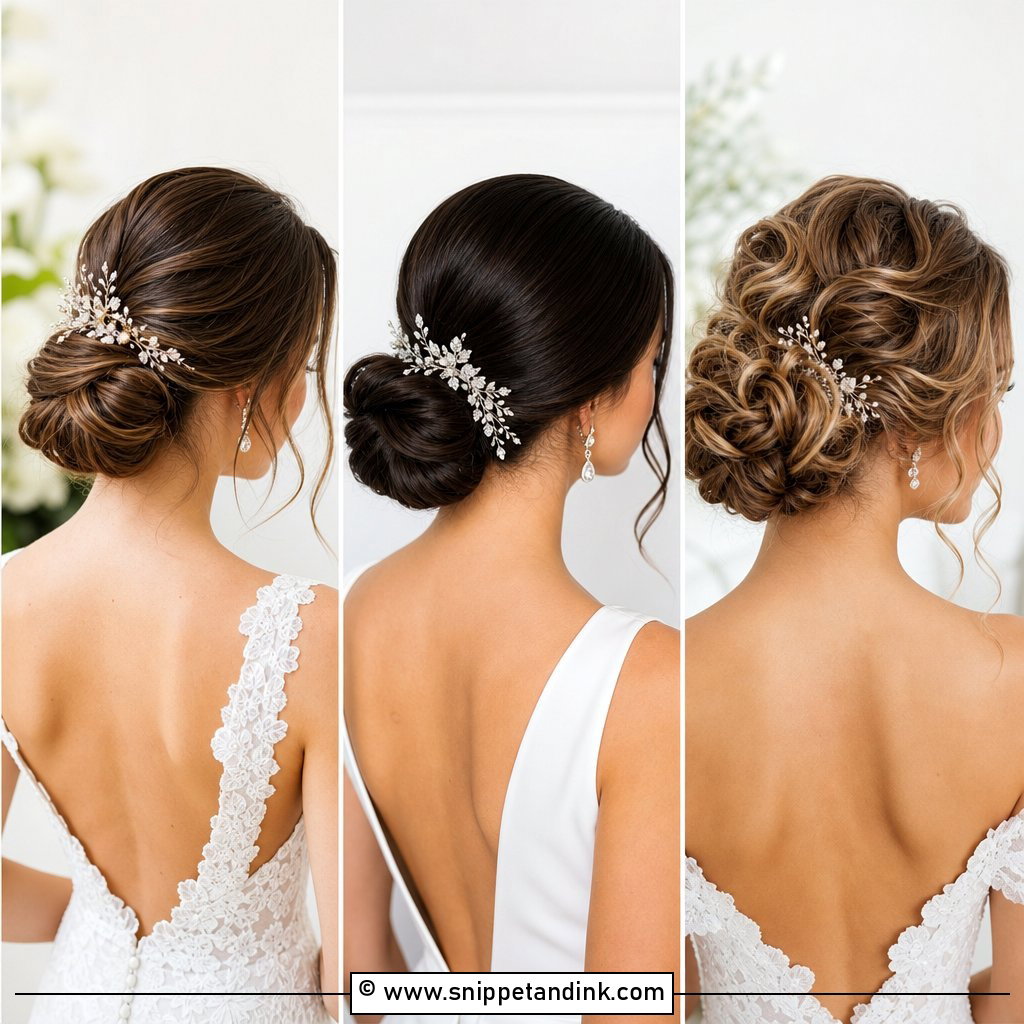
1. Low Bun For Bride Wedding Hairstyle
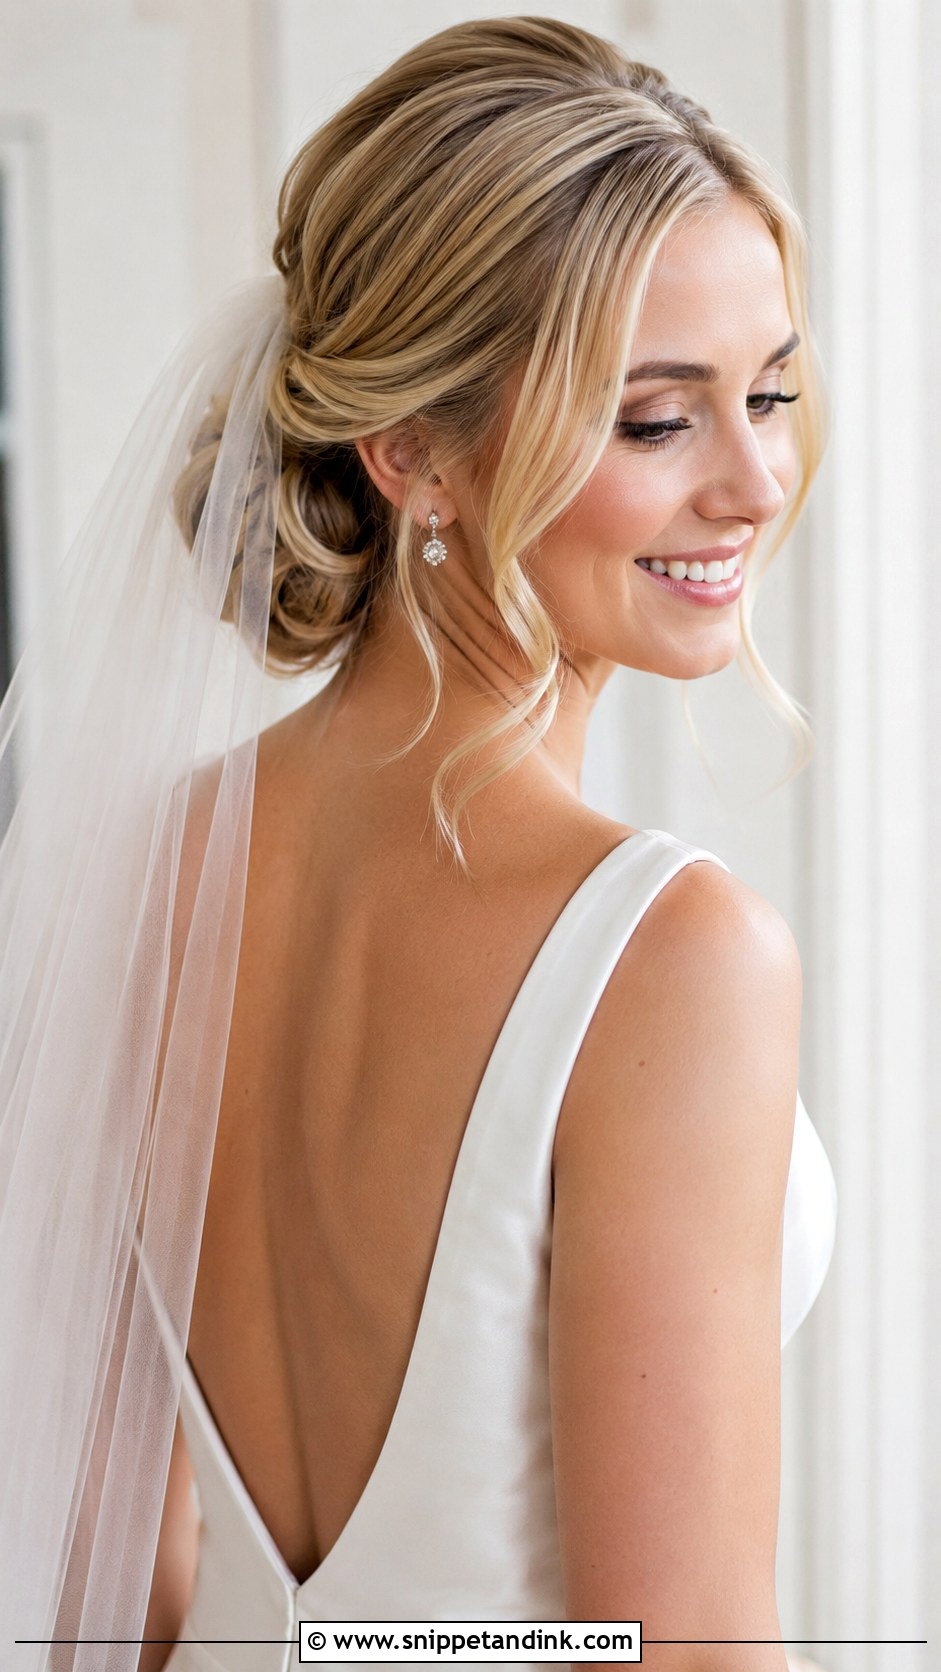
My default bridal bun sits at the nape, and it’s popular because it leaves room above it for almost any veil comb. I add lift at the crown, then pin the bun in two halves so the weight is shared. A center part reads modern; soft volume and a side part read romantic. It goes with strapless, high-neck and lace-sleeved gowns alike, and a couple of loose pieces at the front keep it from feeling severe.
2. Sleek Low Bun For Bride
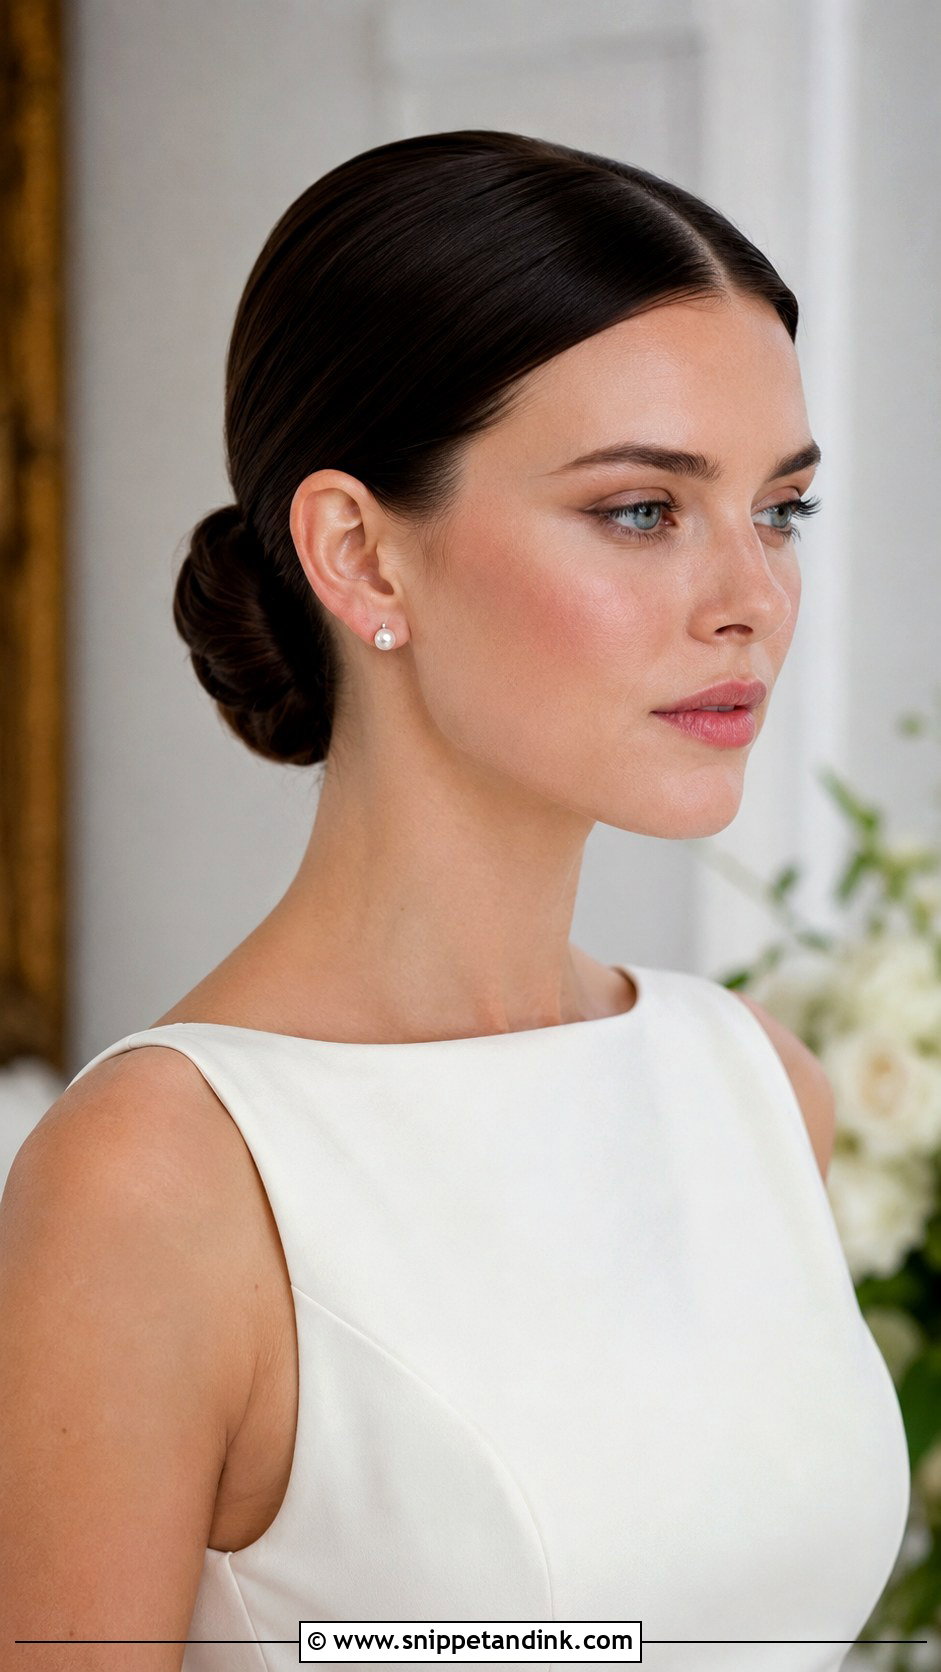
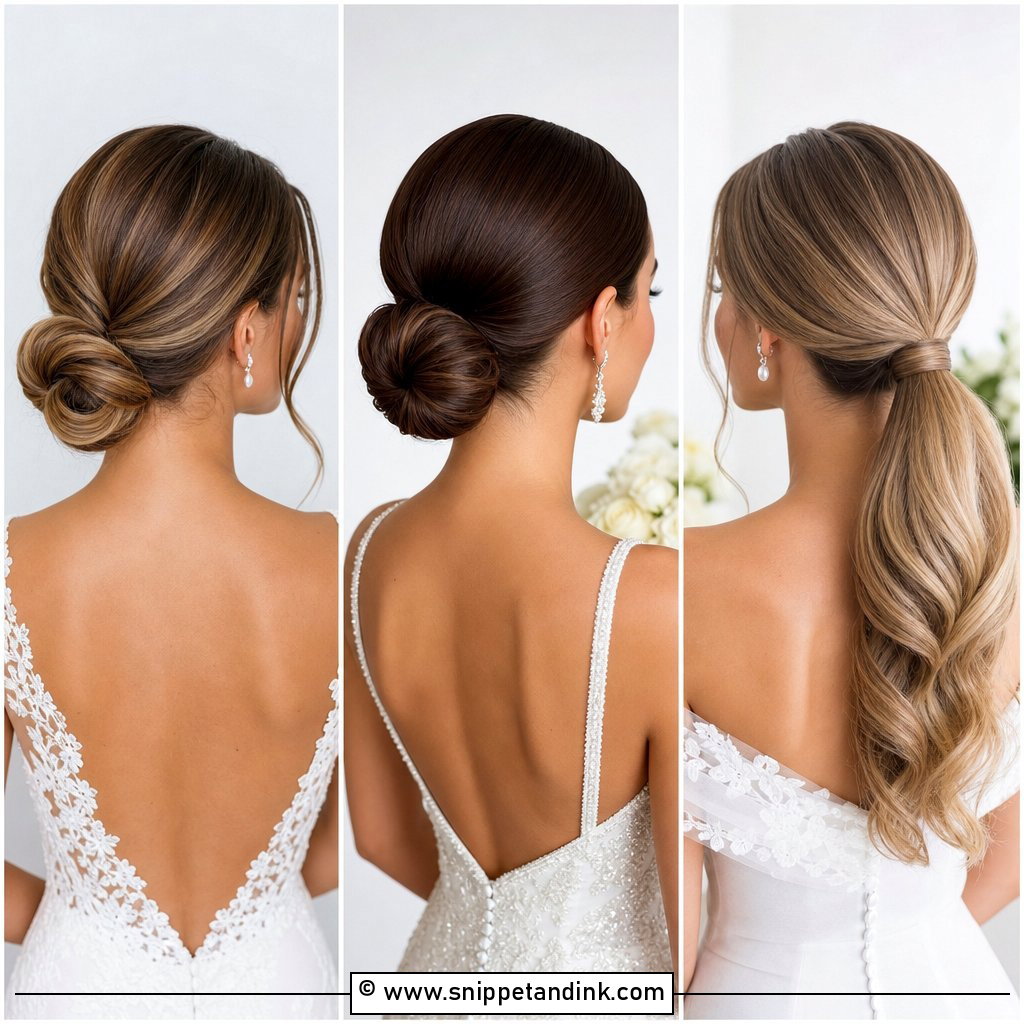
Sleek low buns live or die on the prep. I blow-dry the hair completely straight with a paddle brush, apply a small amount of smoothing cream, and tie the ponytail with the hair still warm so it sets flat. Then I wrap and pin. Humidity is the enemy here, since one frizzy halo around the crown ruins the clean outline, so I finish with an anti-humidity spray. It pairs with minimalist and structured gowns, pearl earrings and dramatic veils. If you sweat easily at the hairline, I’d think twice; a sleek line shows damp edges by evening.
3. Messy Bun For Bride Wedding Hair
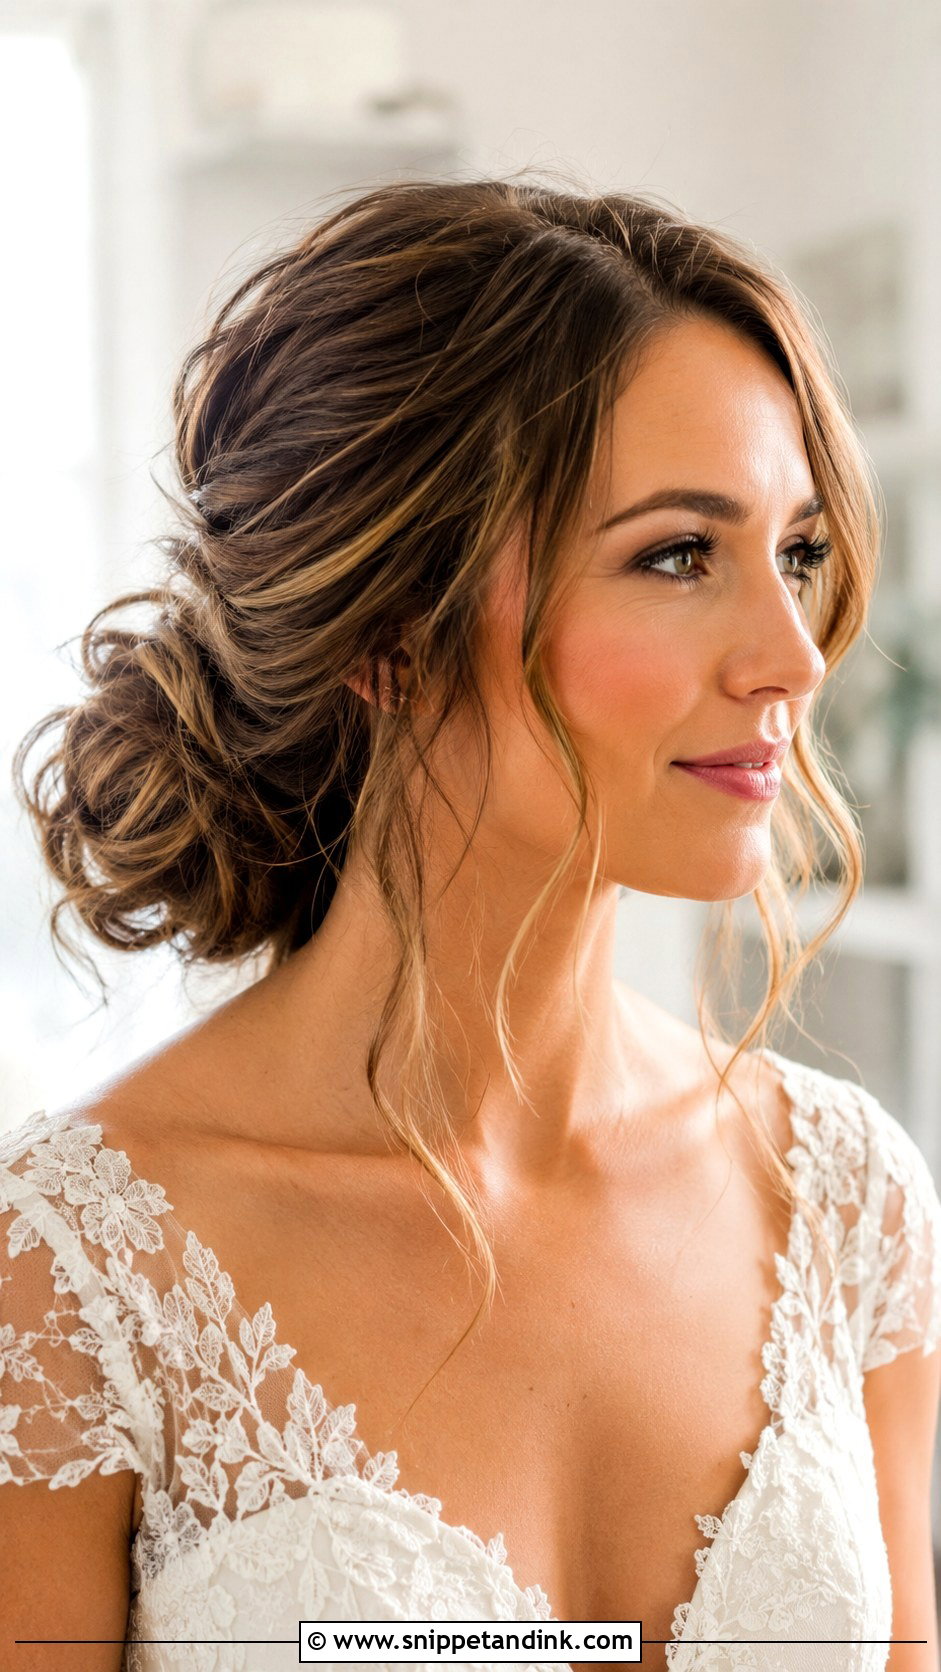
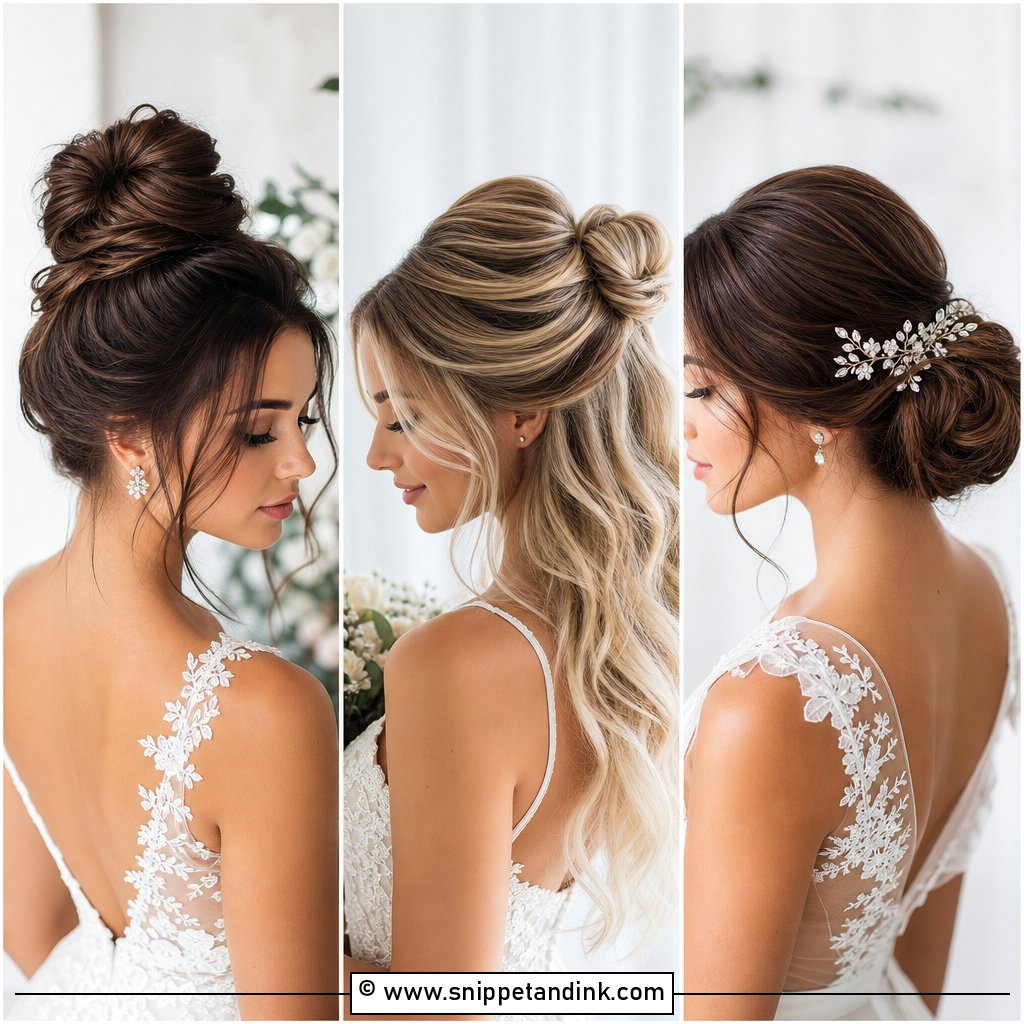
A messy bridal bun has more pins in it than a sleek one, not fewer. I build a secure base underneath, then pull out texture and soft pieces on the surface only. Waves first, then loose twists pinned into place, then I gently tug strands out at the crown and around the bun. Garden, barn and beach settings suit it. The finish should look relaxed, but if the base is relaxed too, it won’t survive the first hug.
4. Braided Bun For Bride
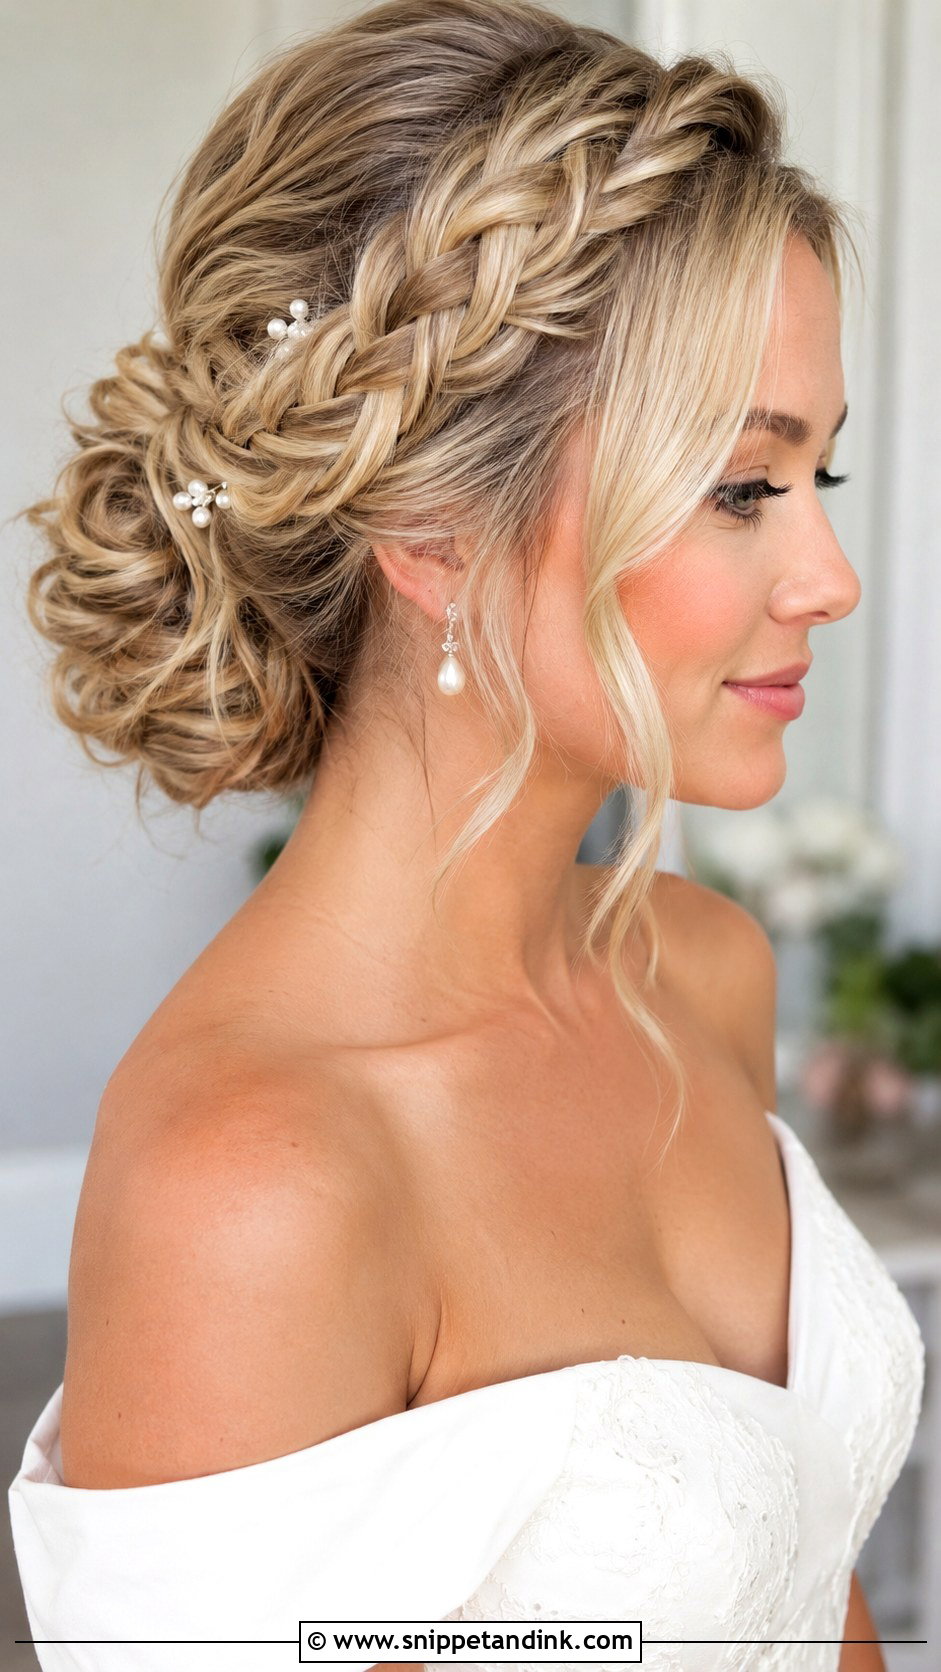
The braid adds structure and detail at once. I braid a section first, usually from one temple or the crown, and wrap it around the bun or pin it along one side. Thick hair gets tidier because the braid compresses bulk; fine hair looks fuller once the braid is pancaked out. A few pearl pins or a small comb along the braid make it stand out. I balance the front with a soft side sweep so the style works from the front as well as the back.
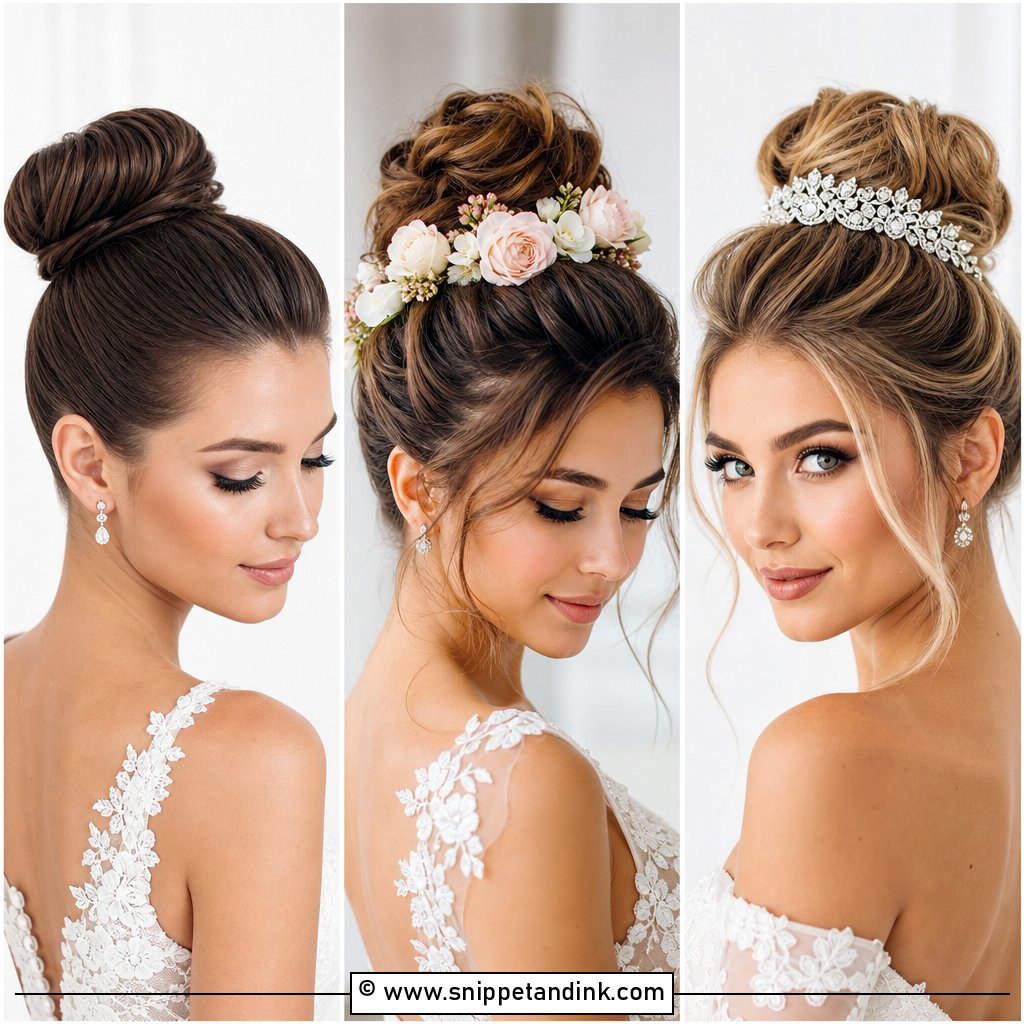
5. High Bun For Bride Wedding Hairstyle
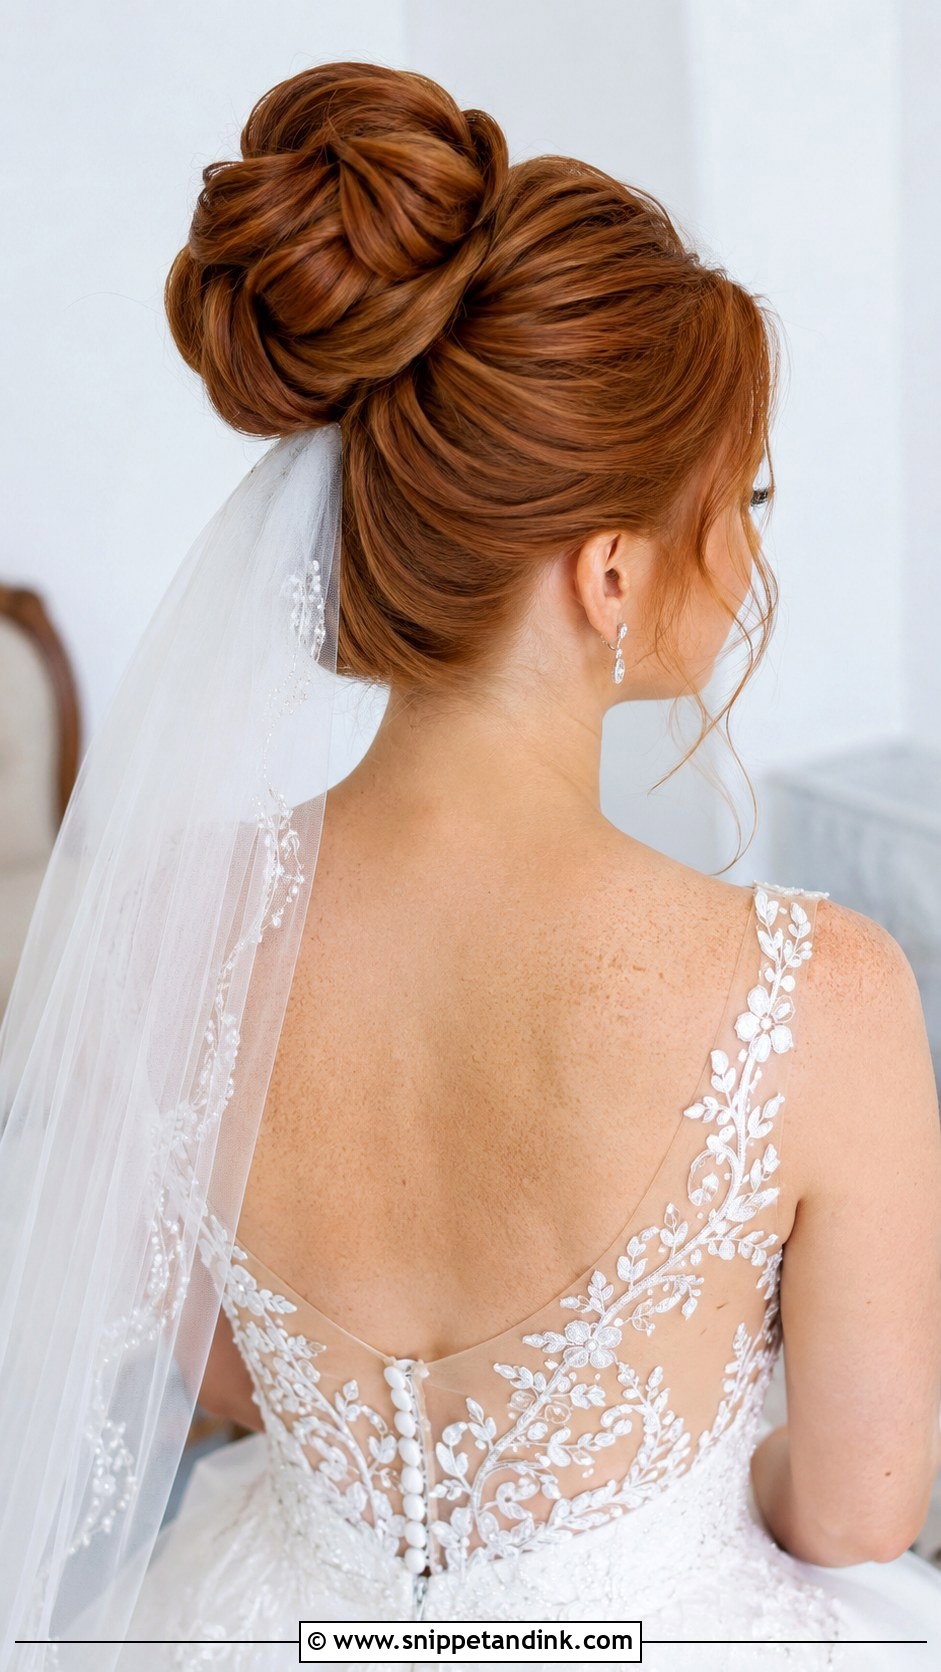
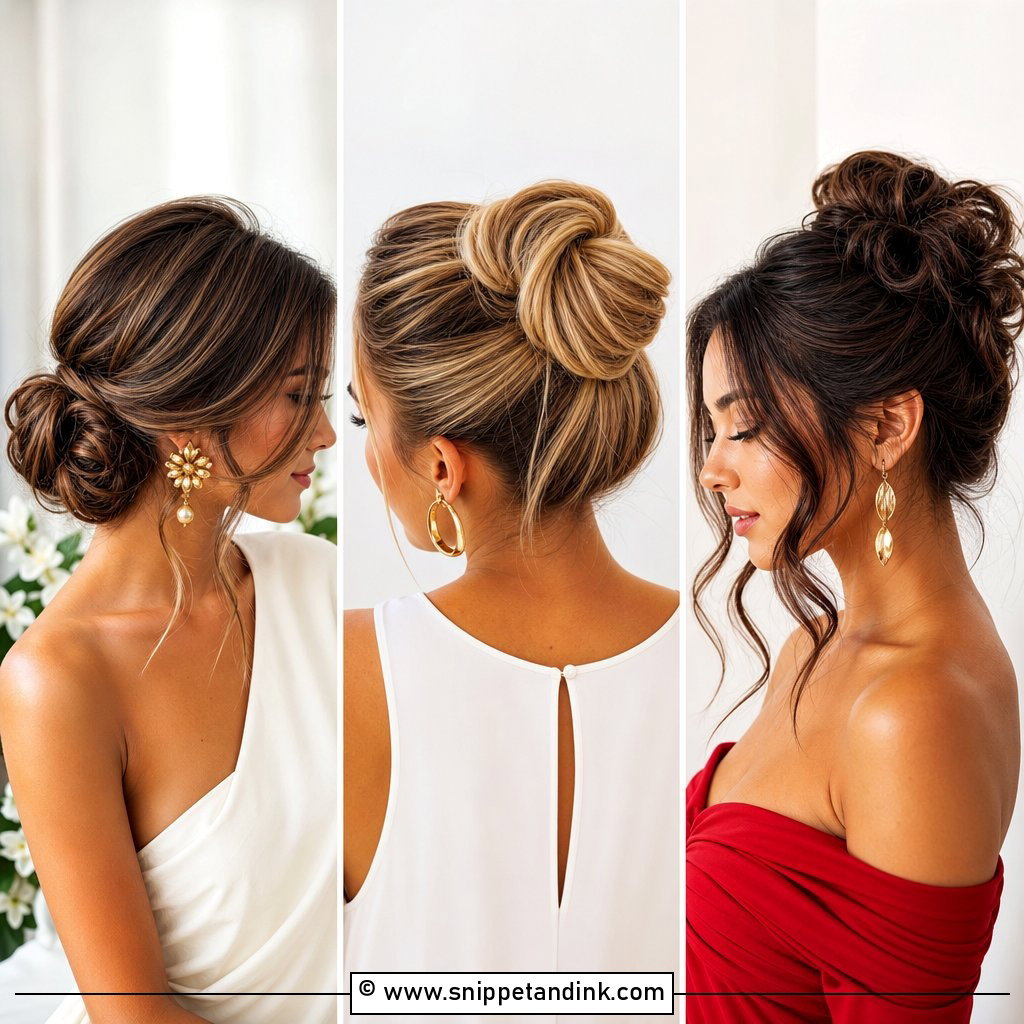
A high bun lifts everything off the neck and shoulders, so a detailed back or high collar stays visible. It can be as tight as a ballerina bun or softer with texture at the crown, and the height lengthens a round or petite face. Comfort is the thing I watch: high buns pull at the nape when they’re too tight, so I keep the elastic snug but not cranked. A veil goes under the bun; a tiara or comb can sit in front of it.
6. Ballerina Bun For Bride
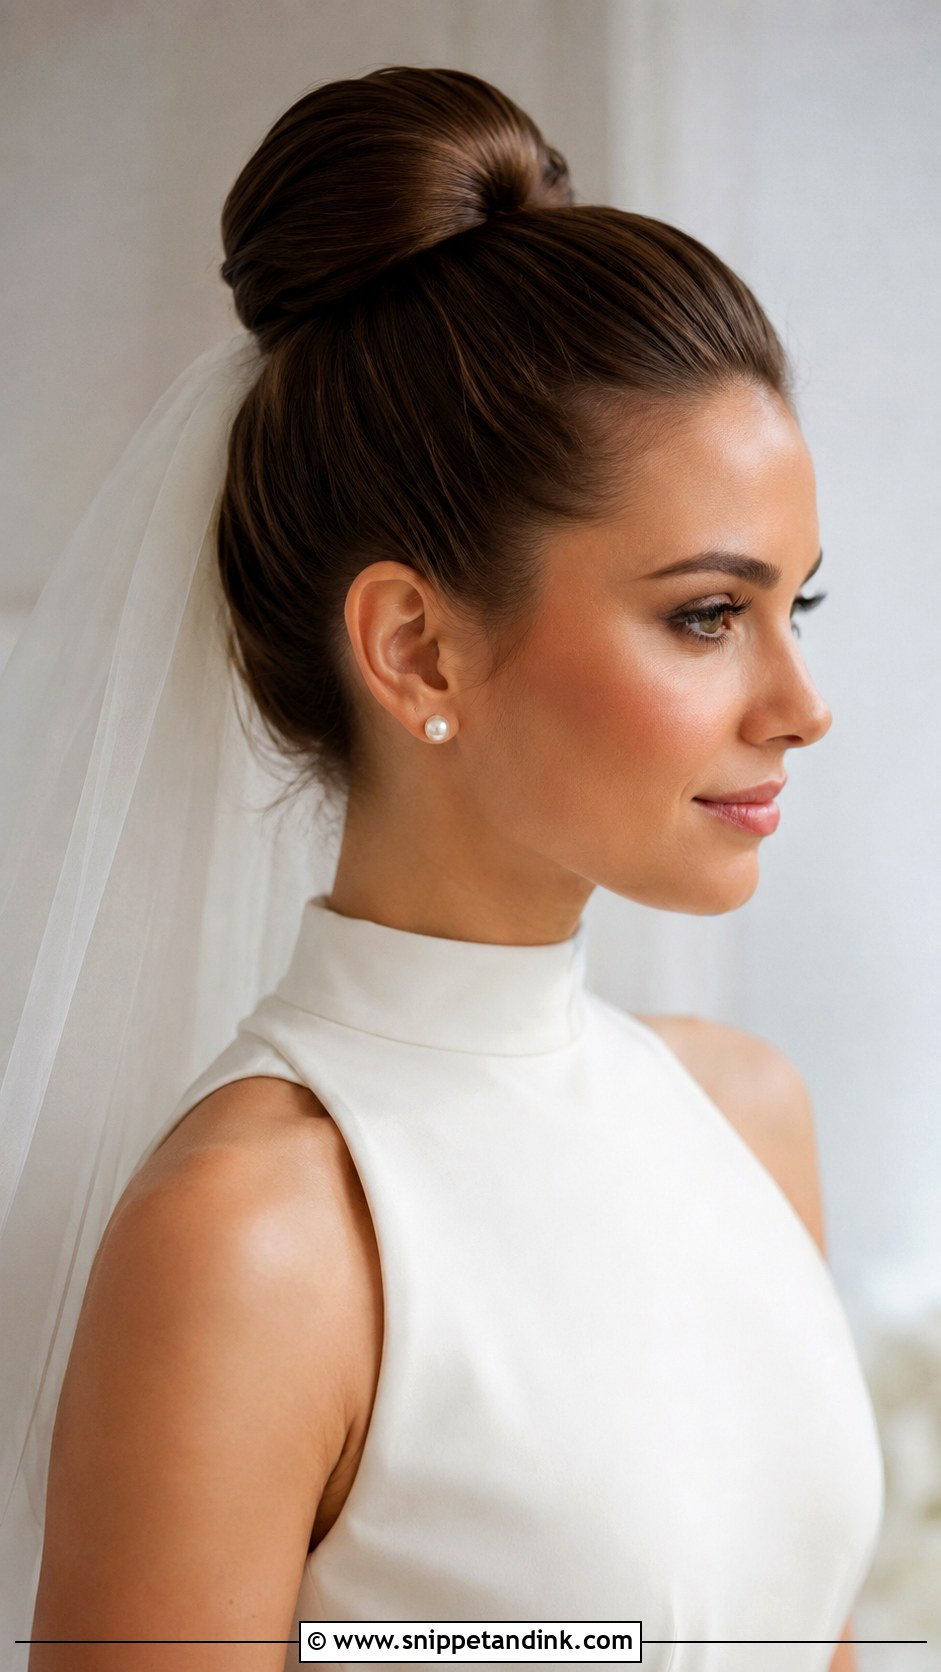
A ballerina bun is tight, round and perfectly smooth, and there’s nowhere to hide. Placement is personal: I try it at the crown and slightly lower during a trial and let the bride’s profile decide. It keeps the focus on earrings, neckline and veil. Fine hair needs a bun form or doughnut inside to get a full round shape. Thick hair needs dividing into sections before wrapping, or the bun ends up oversized and lumpy.
7. Chignon Bun For Bride
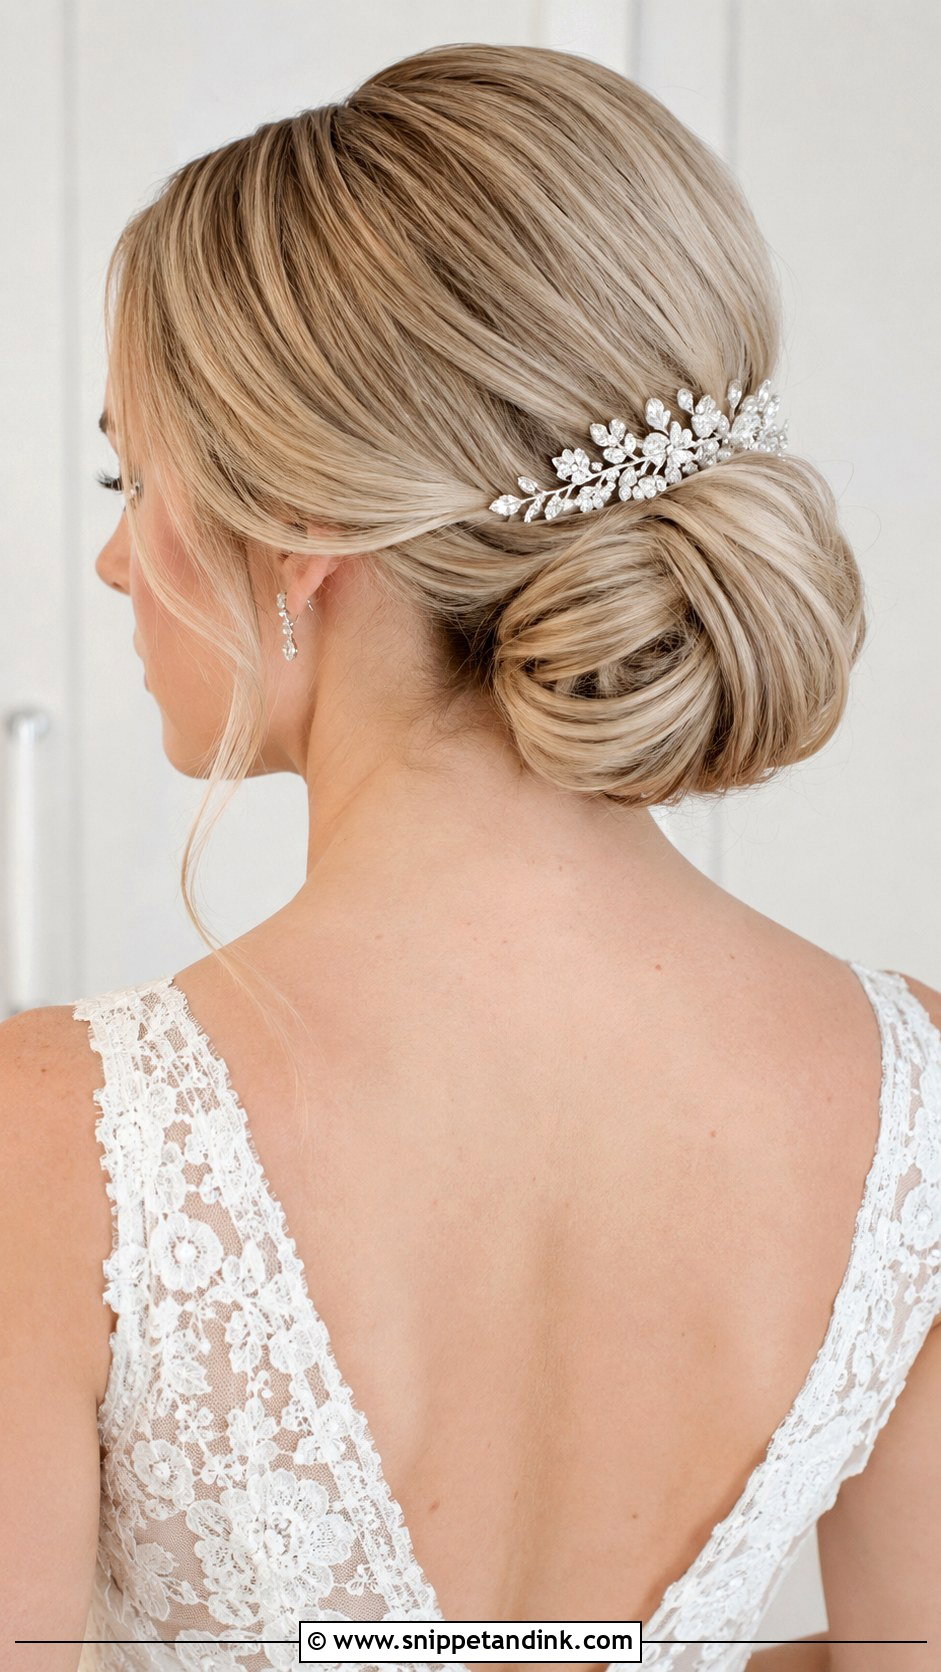
Chignons are rolled or folded, not wrapped, which is what gives them their soft, low shape. I tuck the hair inward into a roll at the nape and pin it from inside, so the pins don’t show. It adapts to almost every gown and veil, from vintage lace to modern crepe. A soft side part suits it well. It can be sleek, textured or slightly undone. If you want a hairstyle that won’t date your photos, a chignon is the one I’d point you to.
8. Side Bun For Bride Wedding Hair
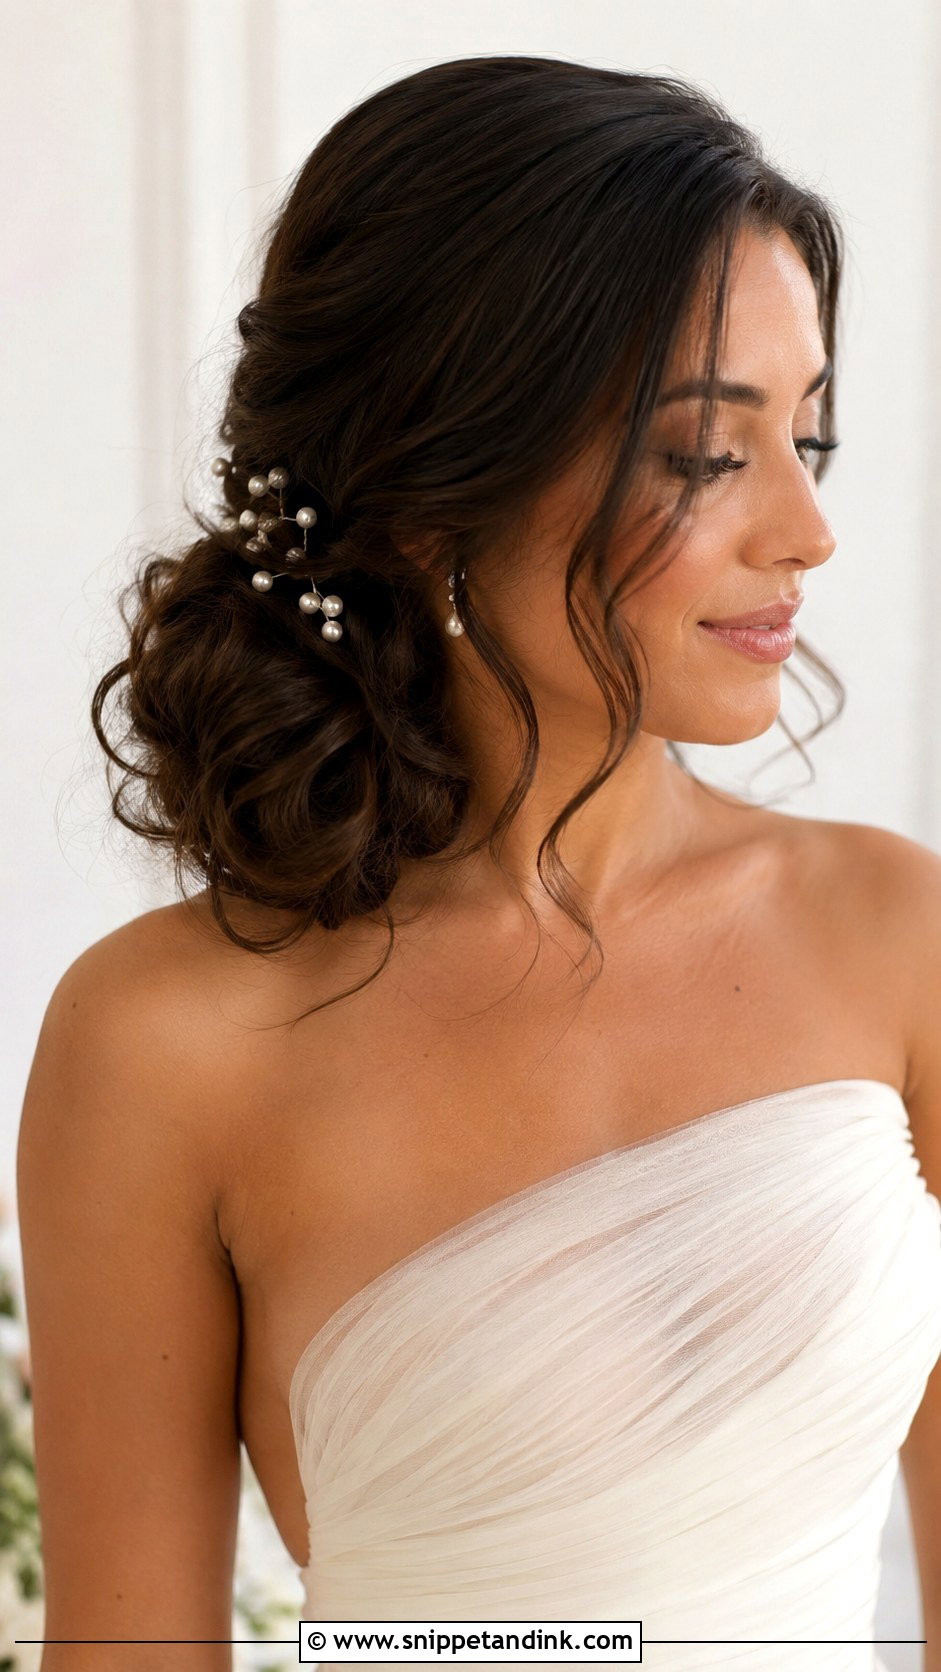
A side bun shows up in front-facing photos, which a nape bun can’t do. I pin it just behind one ear, usually on the side opposite your part, so the hair sweeps across and settles there. It suits a one-shoulder gown and statement earrings. One practical point: decide which side your partner will stand on at the ceremony and put the bun on the side facing guests, so it’s visible during the vows. Keep it low or it starts to look casual.
9. Curly Bun For Bride
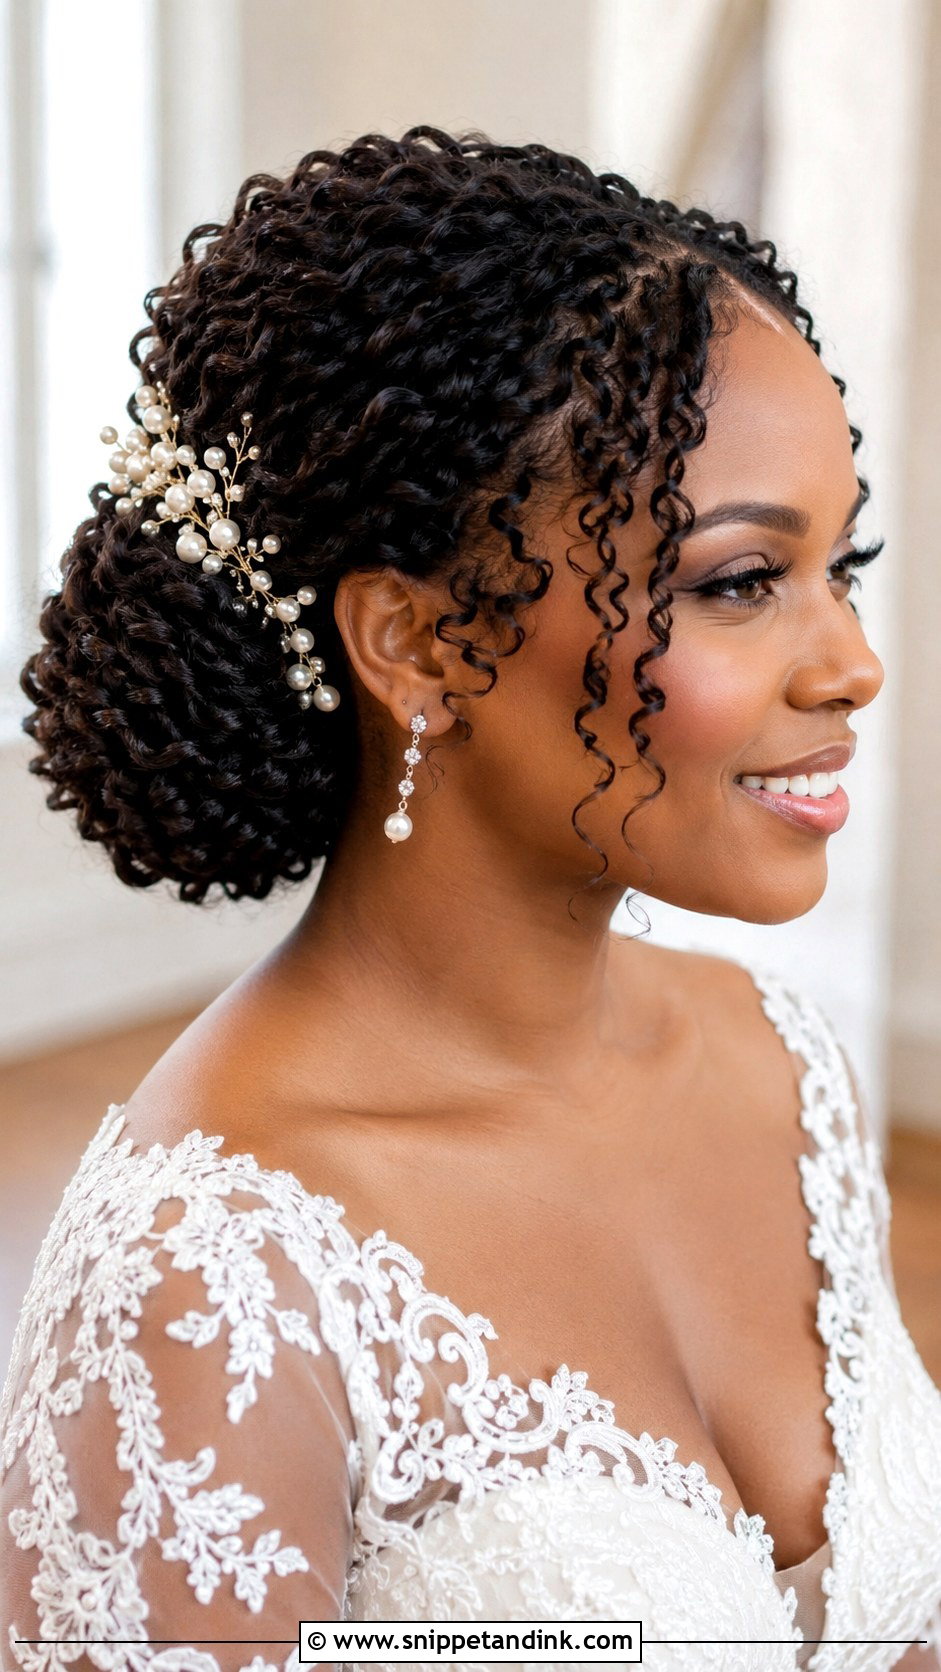
A curly bun starts days before the wedding. Hydrated curls hold their pattern much better, so I ask brides with curly hair to do a deep conditioning treatment in the days leading up and come in with curls defined from a wash-and-go. I gather the curls with my fingers, never a brush, and pin them in a way that keeps the spirals intact. Curly buns have built-in volume and look full in photos. Veils, vines, pearl pins and fresh flowers all sit well in them.
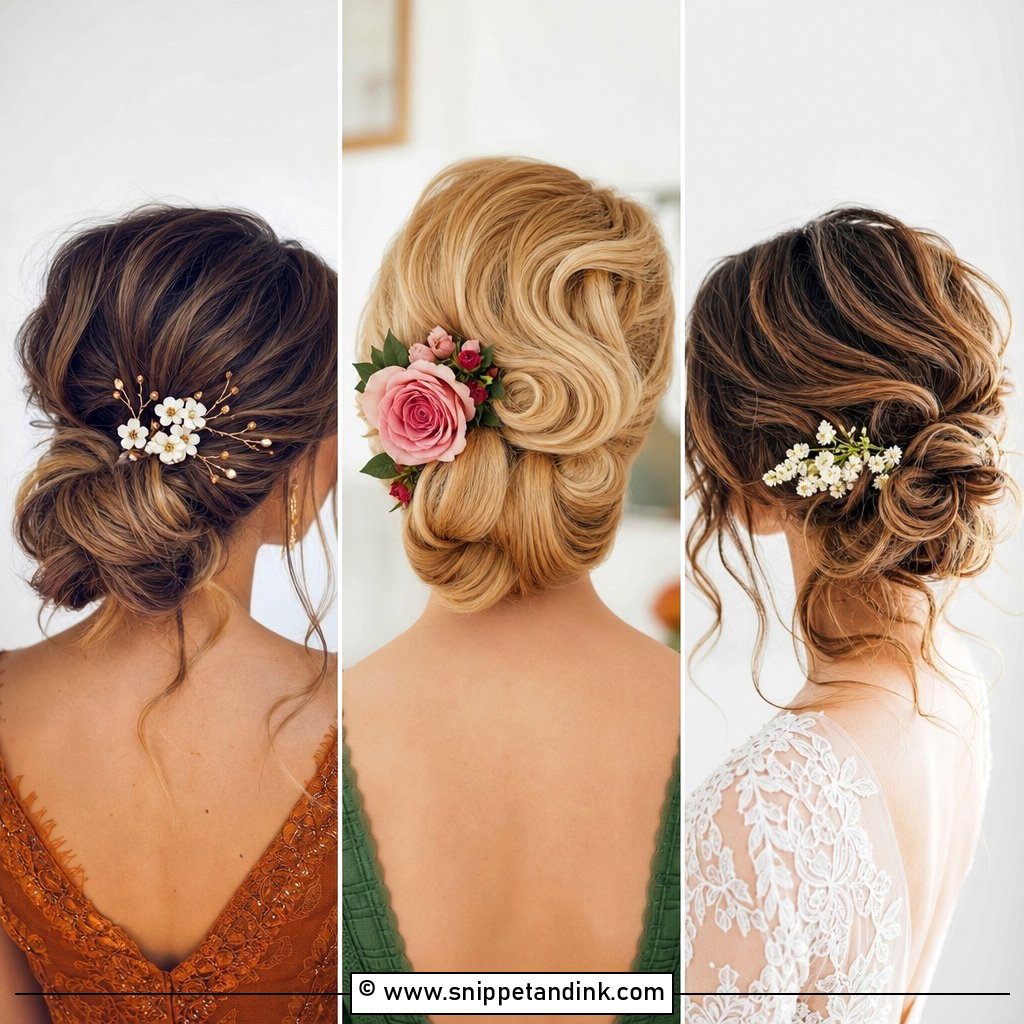
10. Textured Bun For Bride
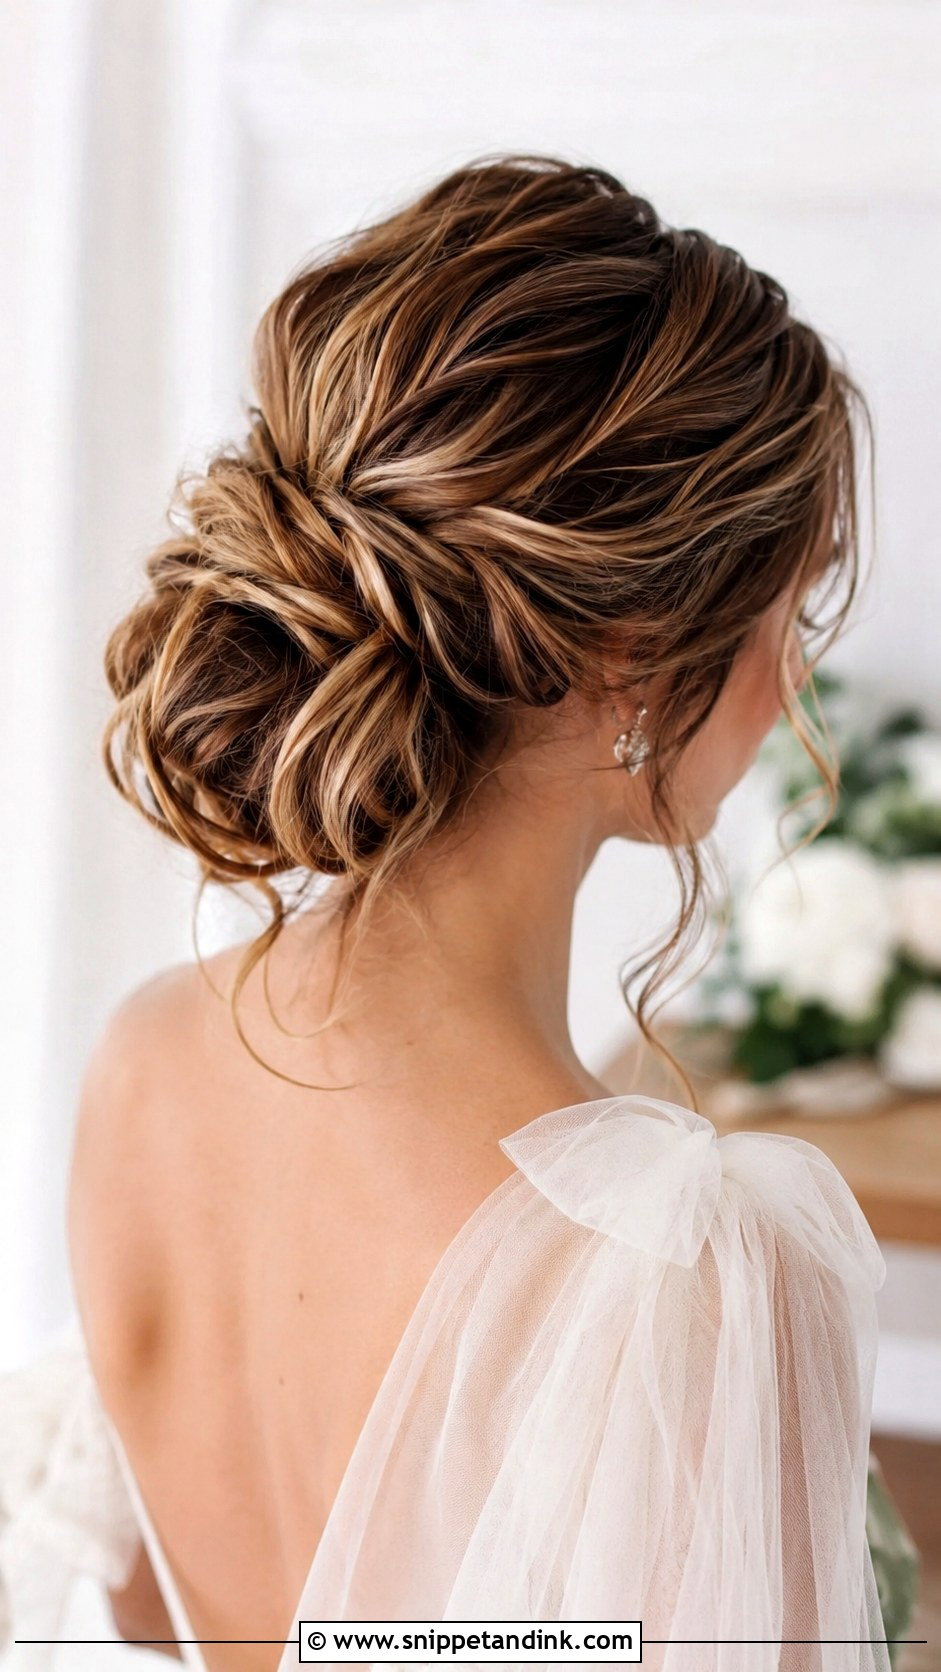
A textured bun sits between sleek and messy. I wave the hair first, tease the roots slightly at the crown, then pin it loosely so the movement shows. It’s especially kind to fine hair because the texture creates the look of more volume. Highlights and balayage also look better textured; the twists show off the lighter tones. It suits boho, garden and semi-formal weddings. A soft lift at the front keeps it looking bridal from the front.
11. Twisted Bun For Bride
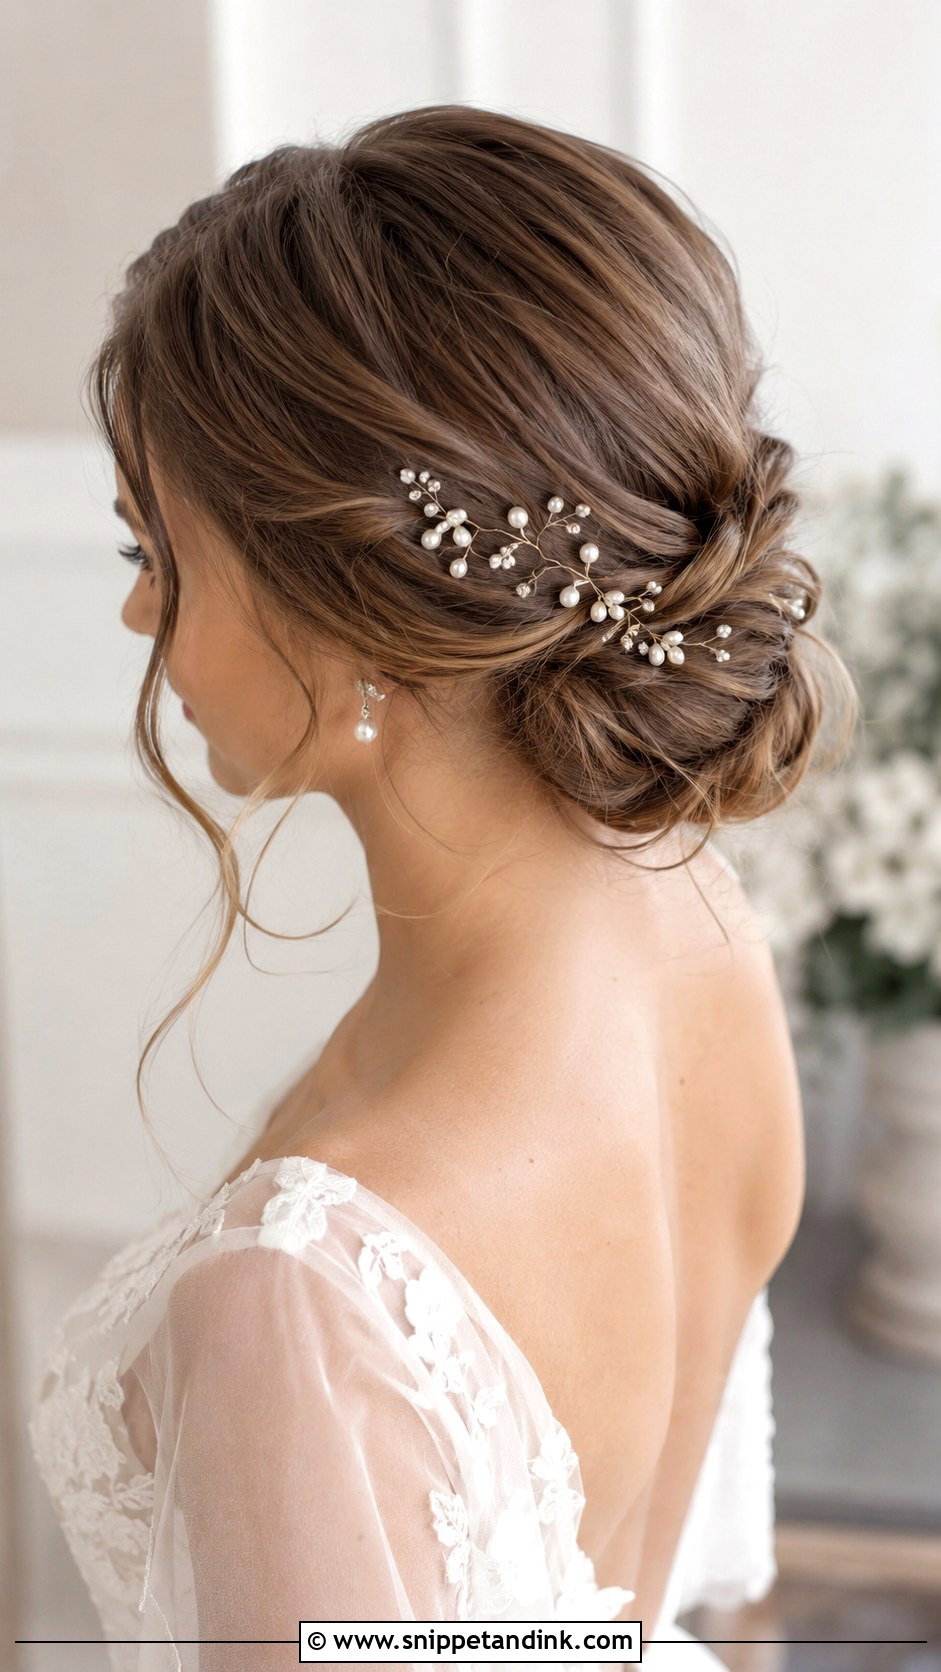
Twisted buns give the look of a braid with less time and less bulk. I twist sections back from the hairline and pin them toward the bun, which creates a soft rope effect along the sides. Medium to long hair is ideal. On fine hair I twist smaller sections so they look fuller once loosened; on thick hair, larger ones so the bun doesn’t get bulky. A slim comb or pearl pins add subtle sparkle.
12. Pearl Bun For Bride Wedding Hairstyle
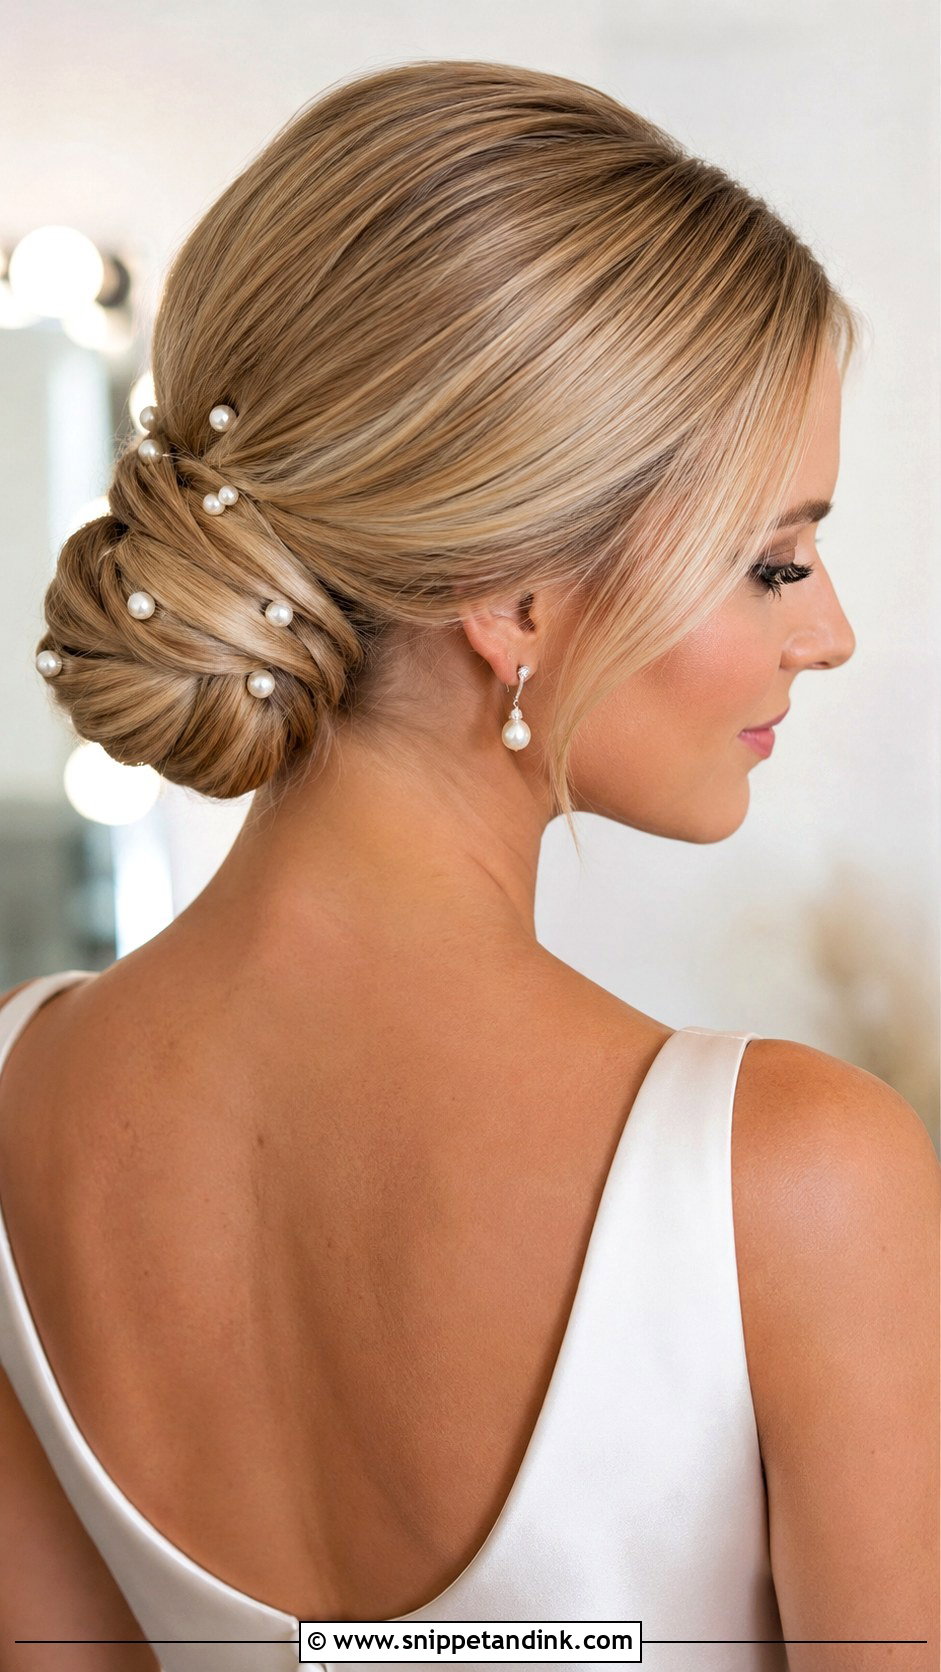
Pearls are the accessory I add most often to a bridal bun because they suit nearly every gown. They can be pins, a comb, a vine or tiny scattered accents. My rule is to look at the dress first. If the bodice is beaded, I use only a few pearls in the hair. If the dress is plain crepe or satin, a fuller arrangement of pearls brings detail up near the face. Keep the bun shape clean underneath so the pearls look placed, not scattered.
13. Floral Bun For Bride
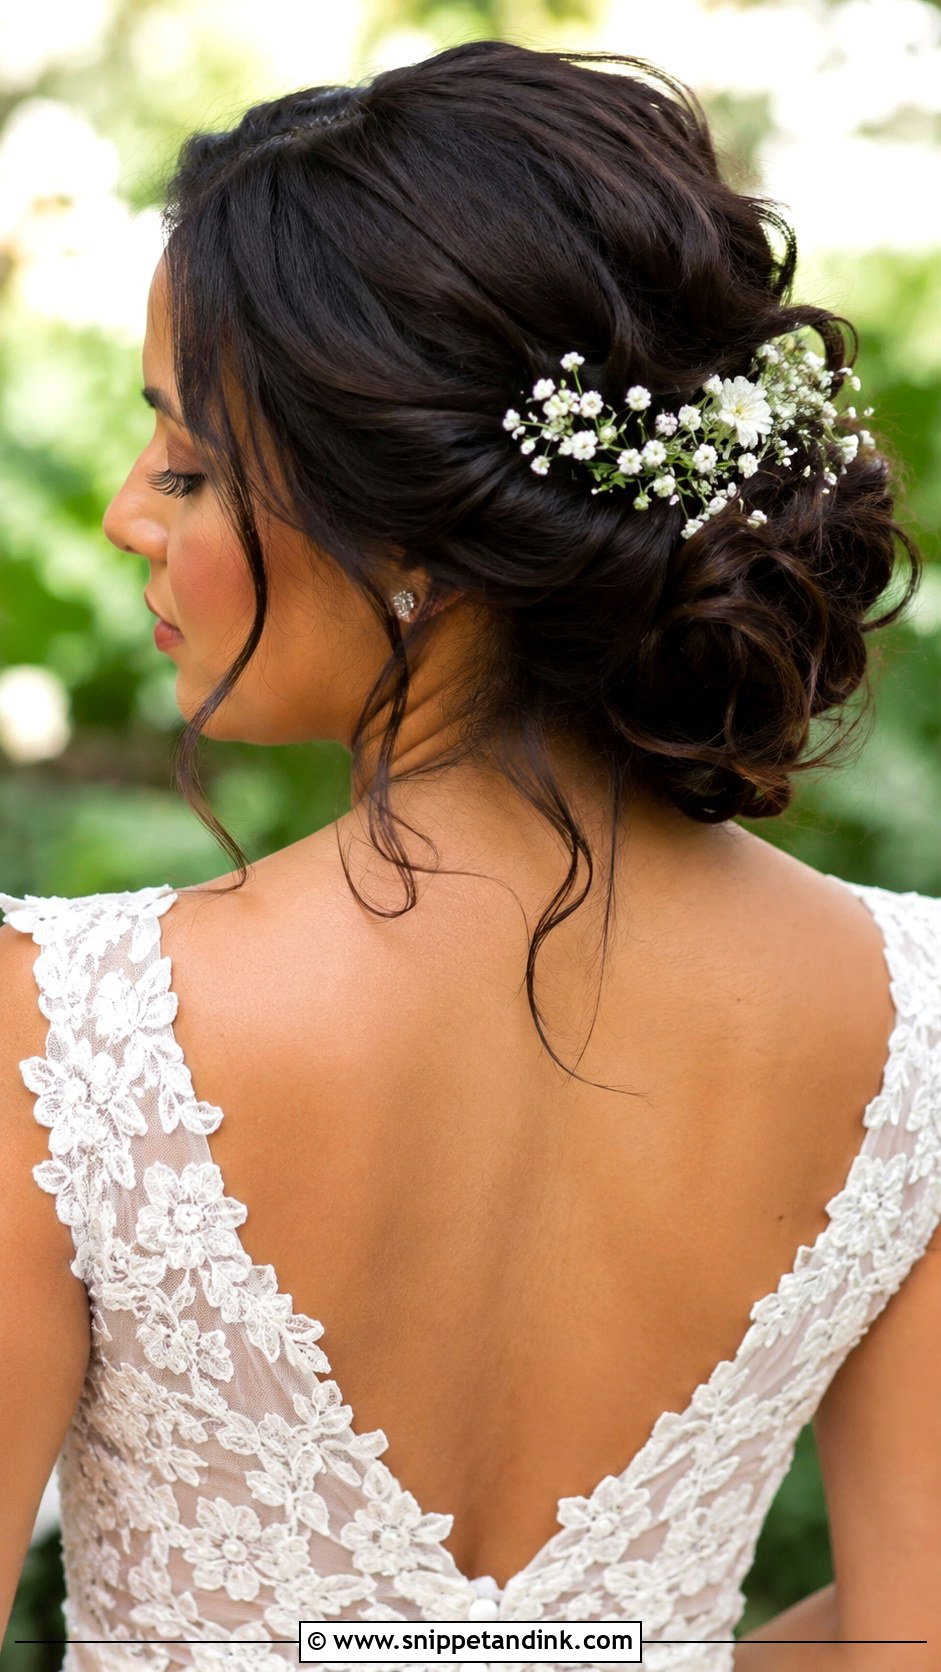
Flowers work best tucked into one side or around the base of a low textured bun. I always ask the florist to set aside hardy blooms for hair: spray roses, waxflower and small orchids hold up well, while gardenias and peonies bruise and droop fast. Dried flowers or realistic floral pins are a reliable alternative in hot weather. Keep the blooms small and match them to the bouquet. Garden, spring and beach weddings suit this best.
14. Bun For Bride With Veil
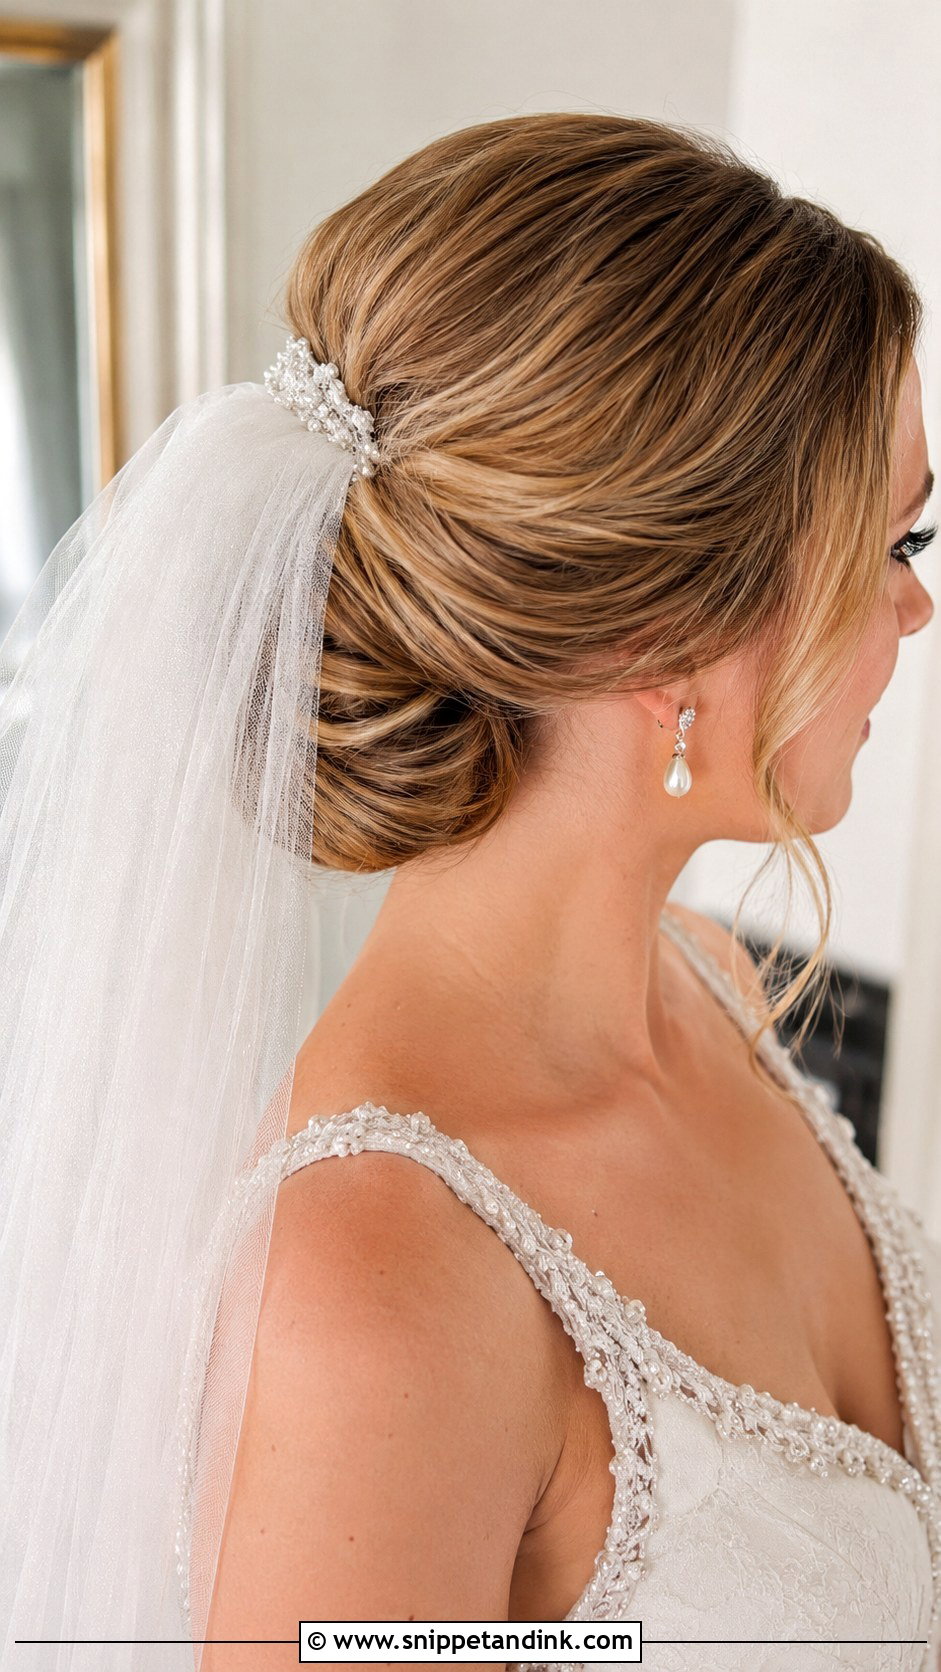
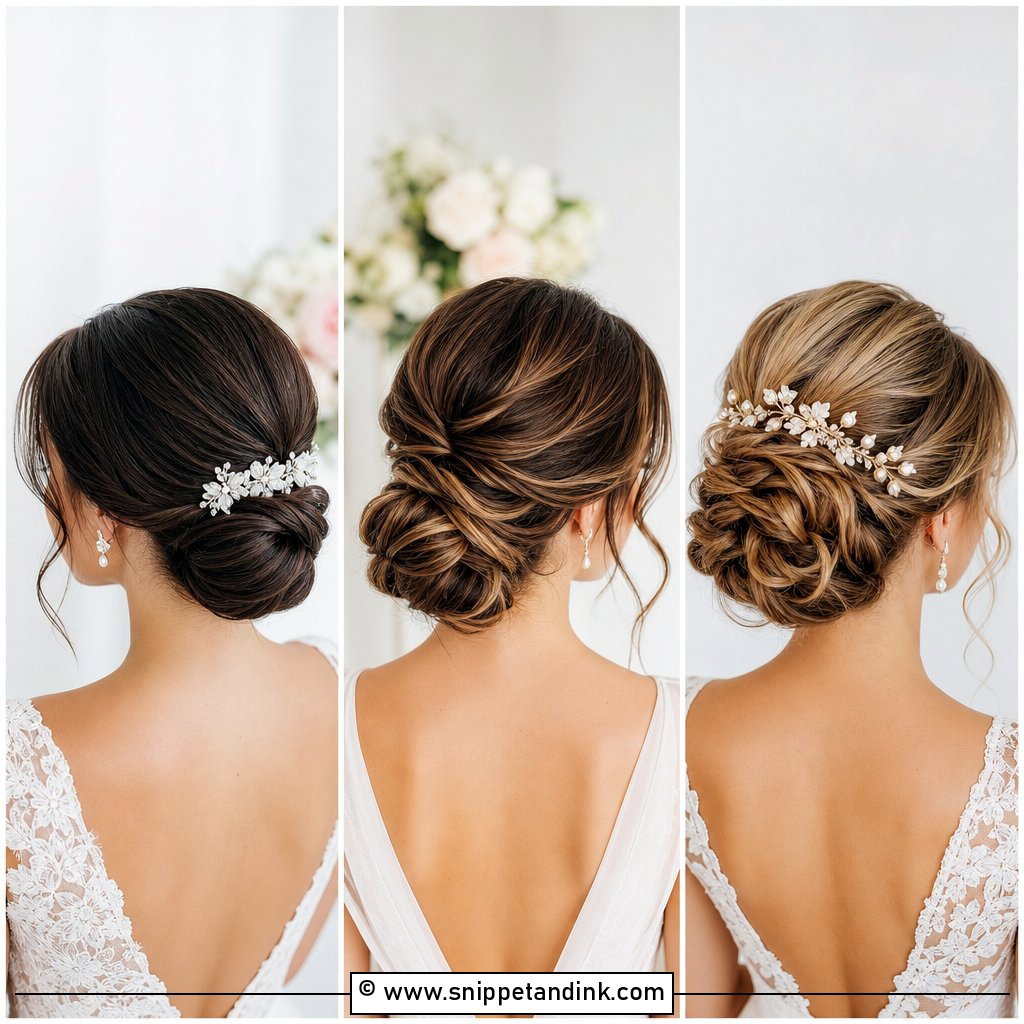
A veil needs a firm spot to grip, so the bun and veil have to be planned together. With a low bun, the veil comb can go above it for a classic look or below it for something lighter. With a high bun, it goes underneath. Always bring your actual veil to your trial. Combs vary a lot in weight and length, and I need to test where it holds without dragging the bun down. Plan for the veil coming off later too; the bun should look finished without it.
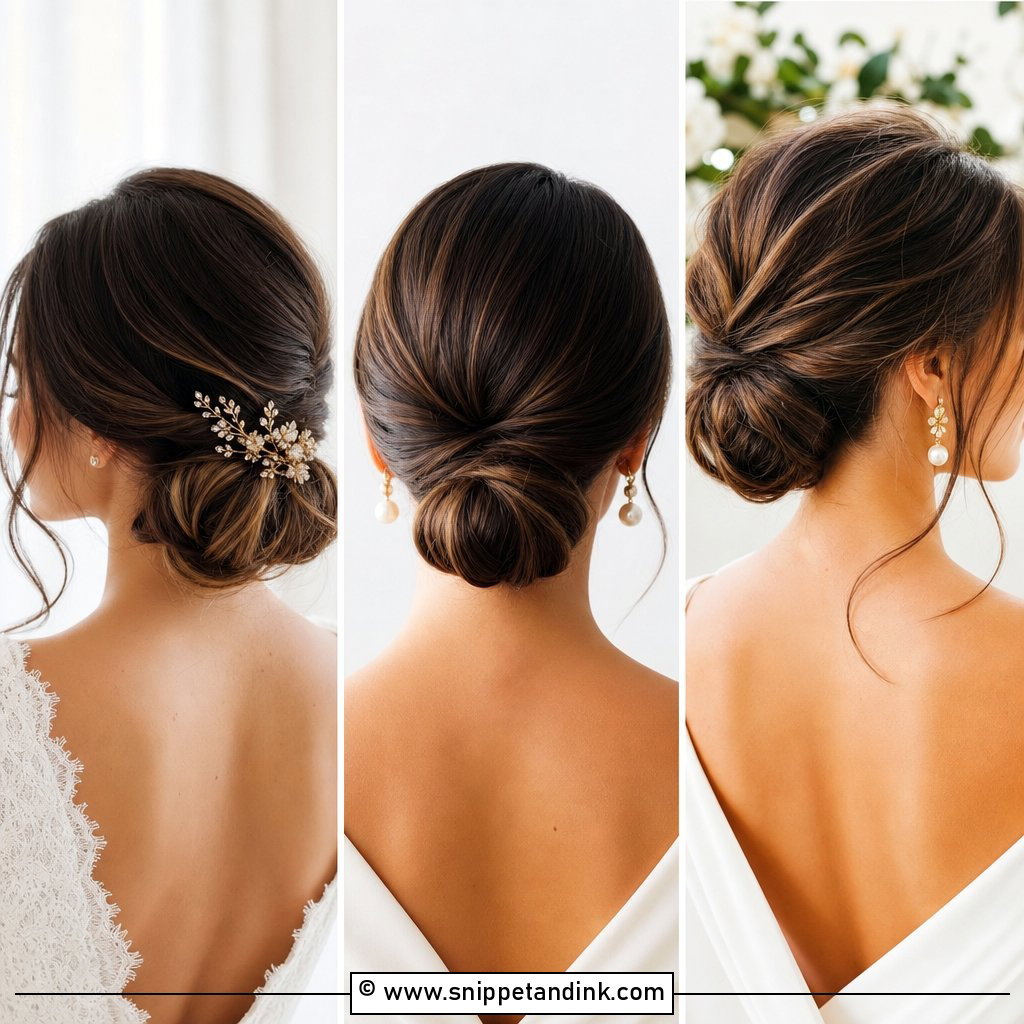
15. Bun For Bride With Tiara
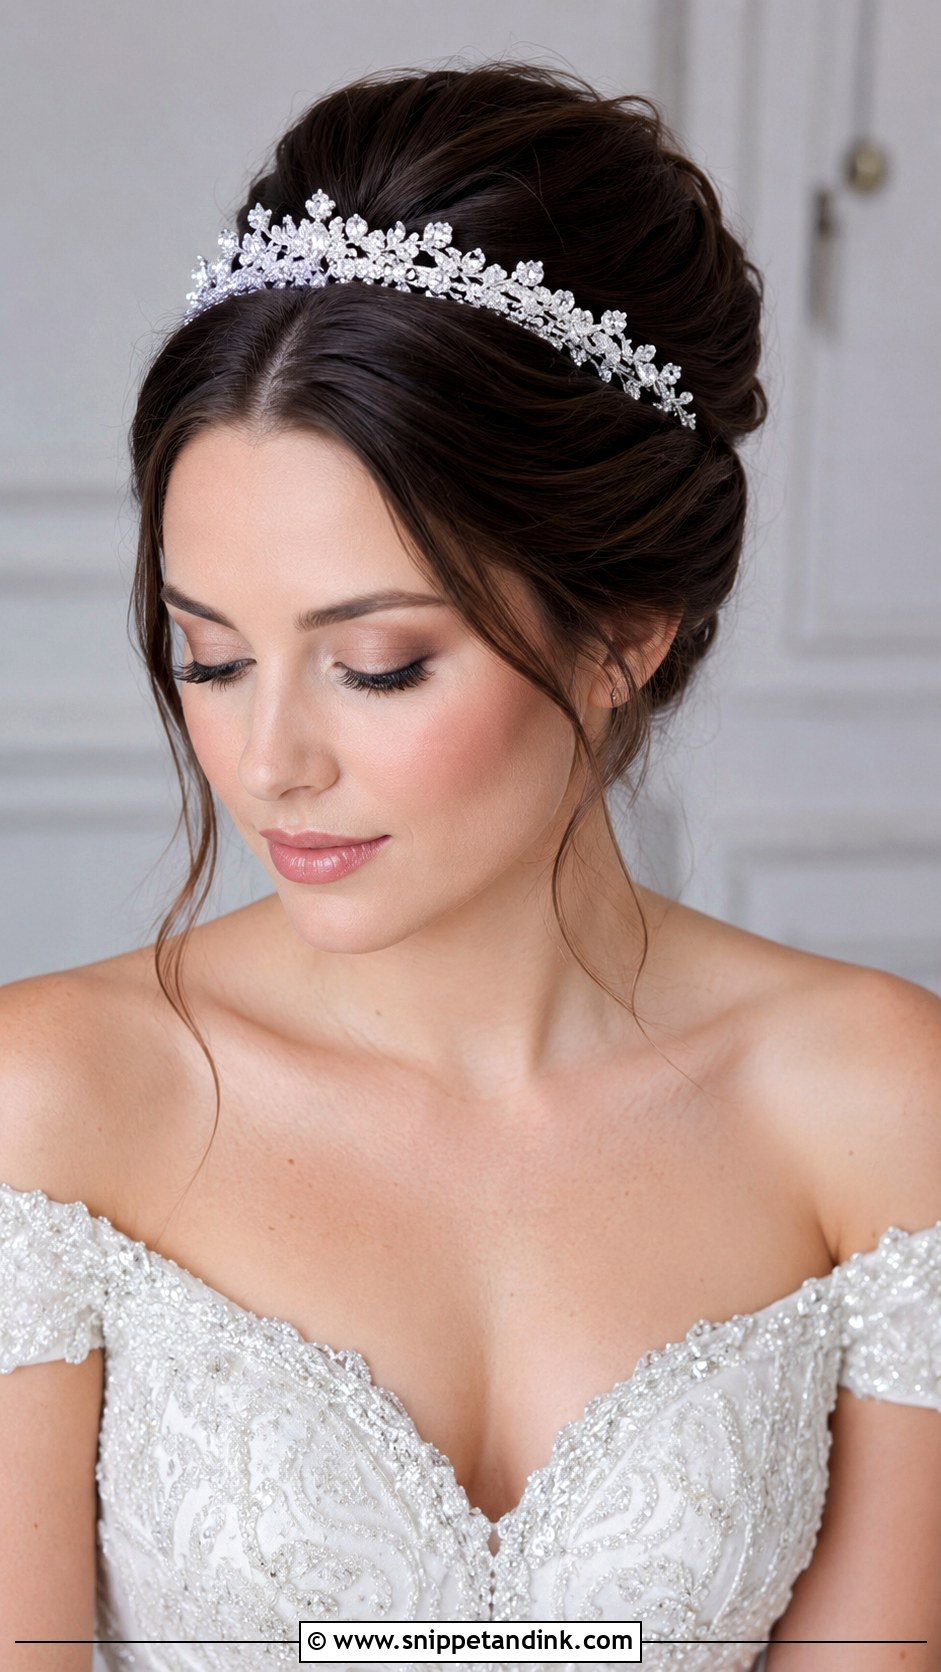
A tiara needs a smooth, slightly lifted front to rest on. I tease the crown a little and smooth the top over it, so the band sits into the hair rather than balancing on top. Then I pin through the band’s side loops. The bun behind can be low, mid or high. It suits ball gowns, cathedral veils and embellished bodices. A large tiara needs a plain bun; a delicate one can sit in front of a twisted or textured bun.
16. Bun For Bride With Bangs
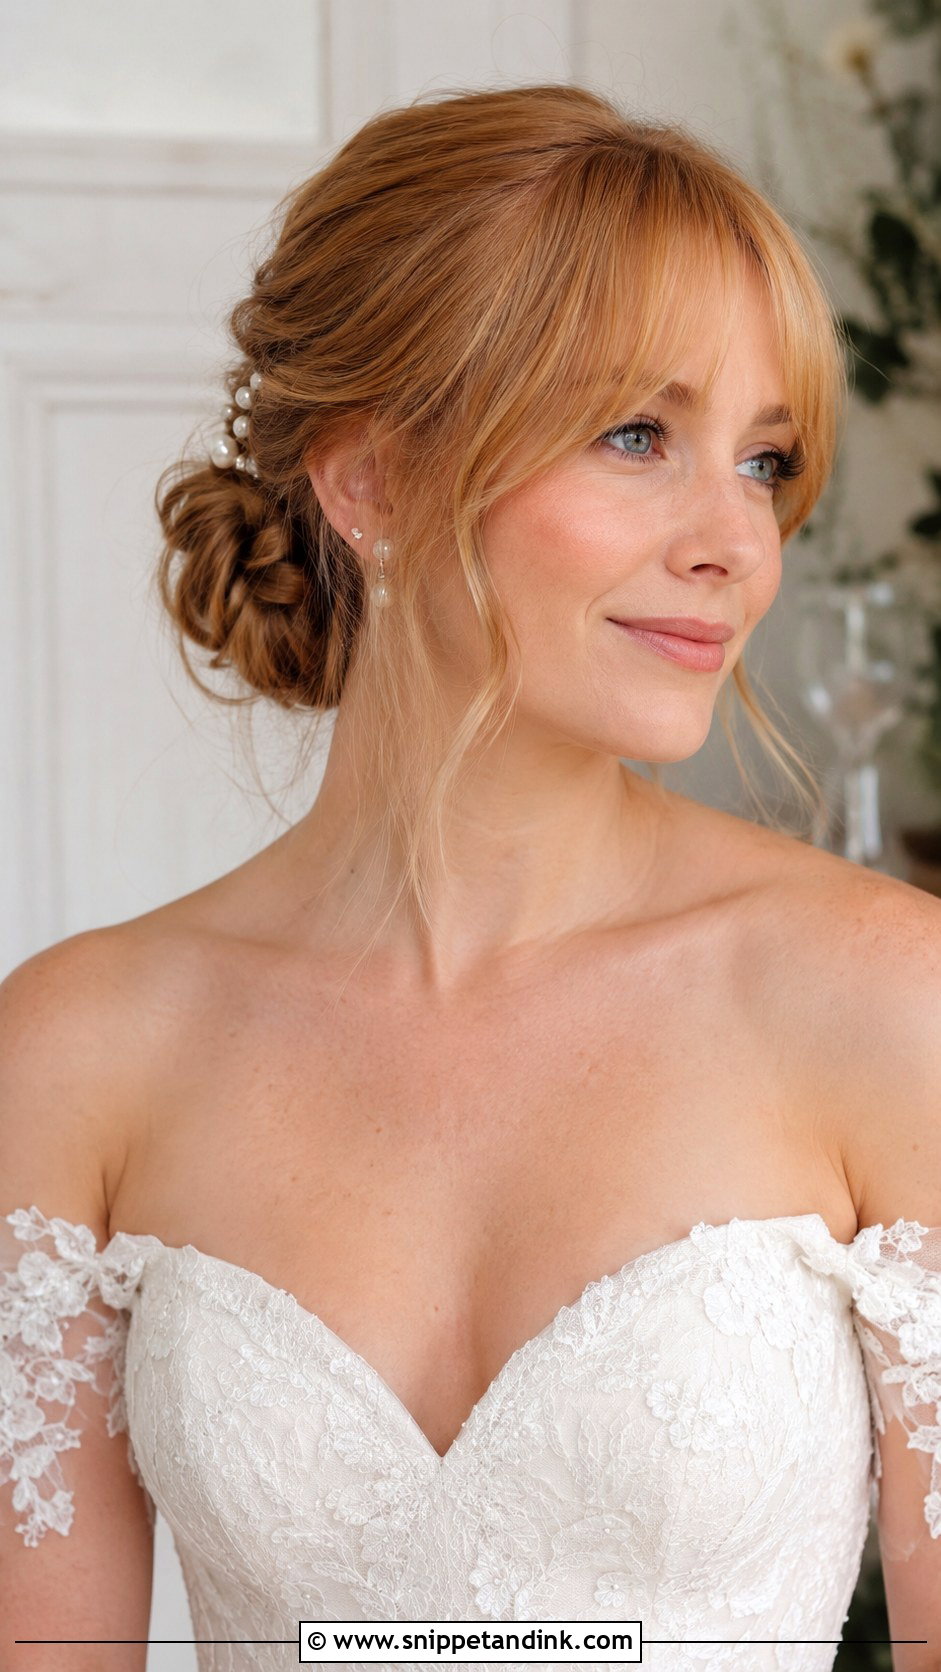
A bun for bride with bangs keeps the face framed while the rest of the hair is up. Curtain, side, wispy or blunt bangs all work. I’d get them trimmed about a week before the wedding, which gives them time to settle and soften. A fresh trim the day before often sits too straight and short. I style them with a round brush and a little cream, then pin the bun behind them. Low for romantic, high for more lift.
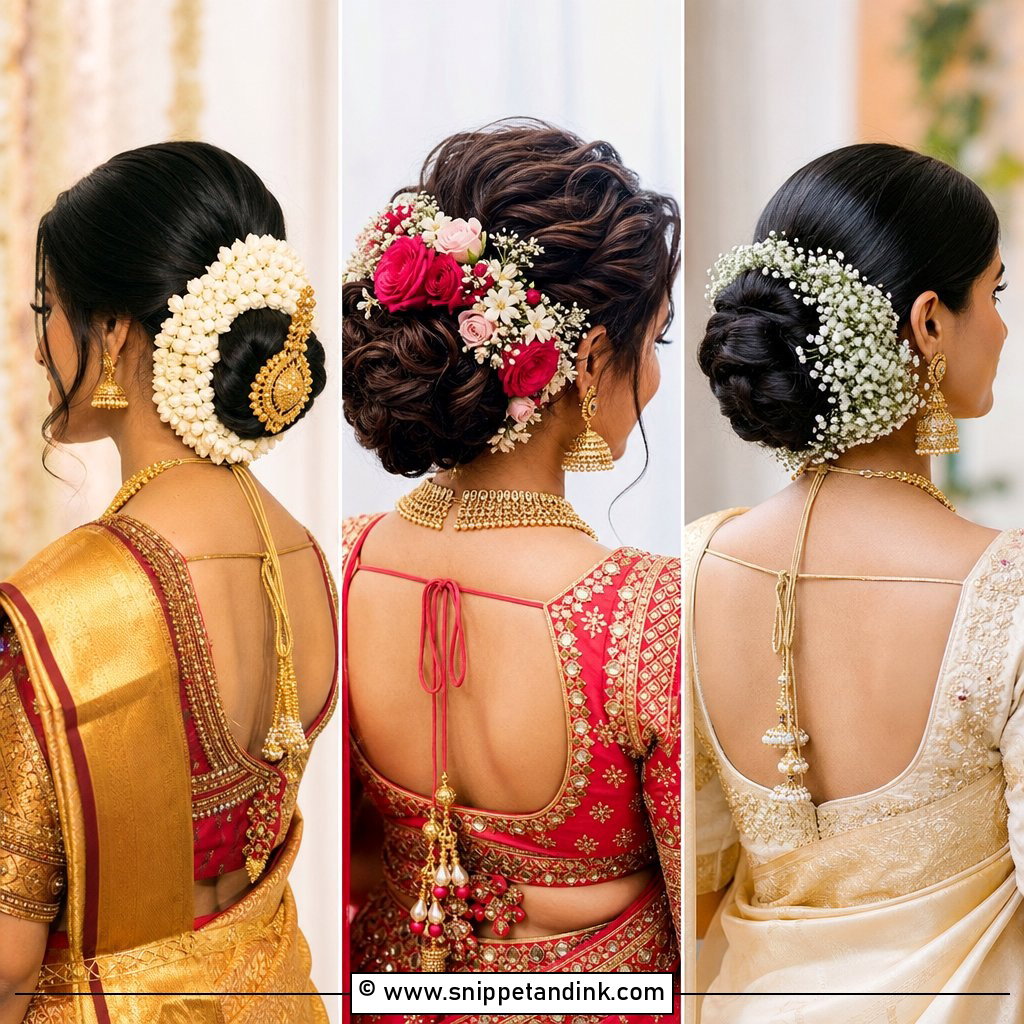
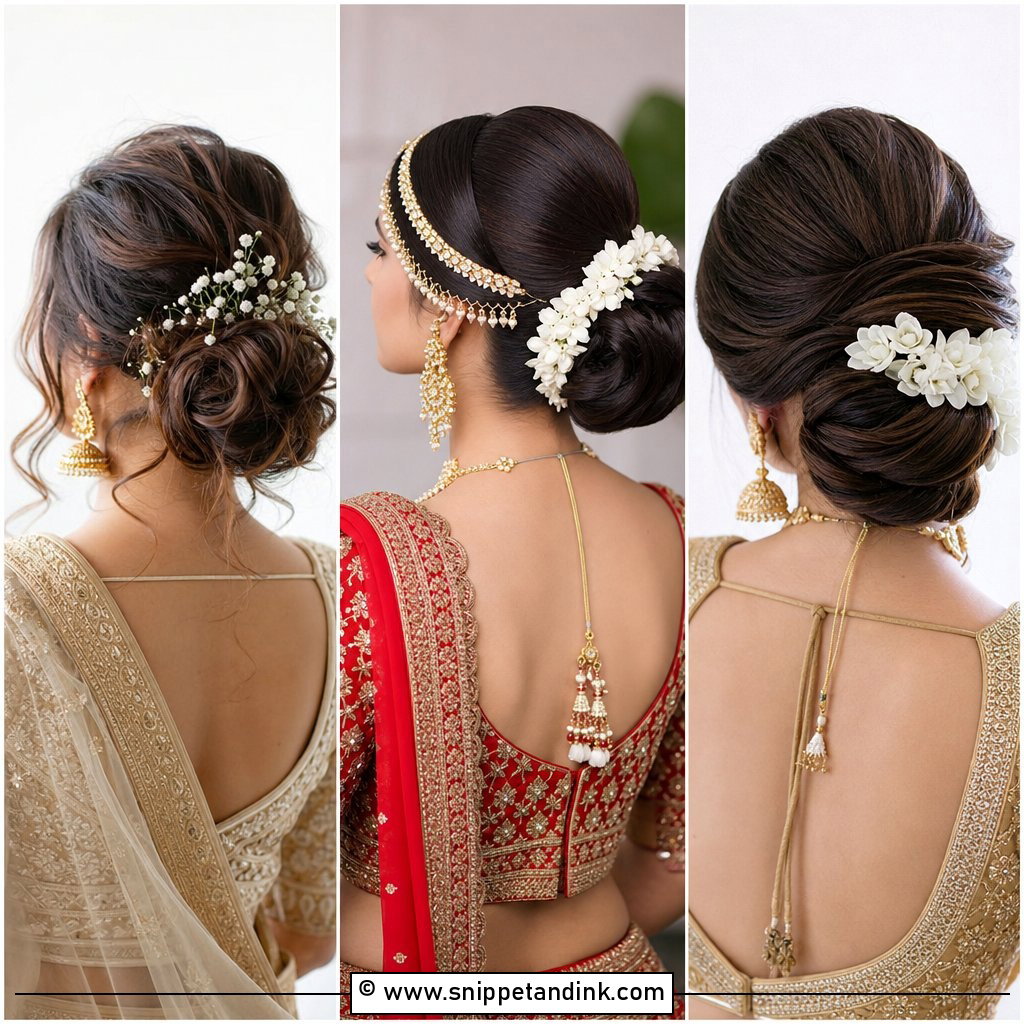
17. Indian Bridal Bun For Wedding
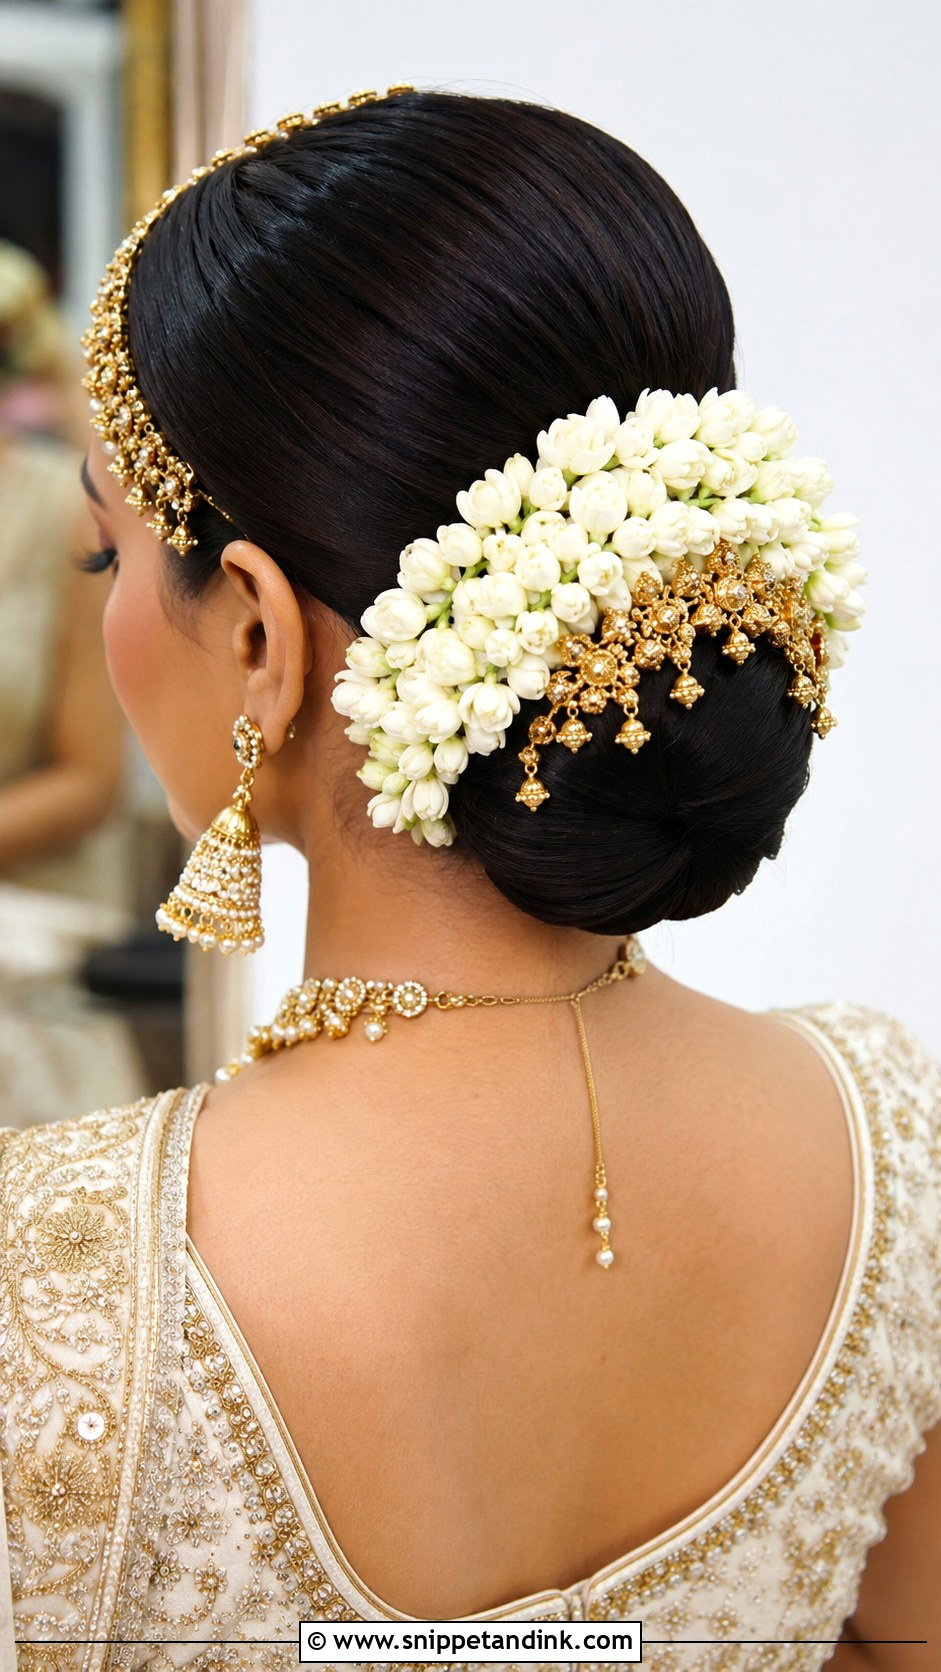
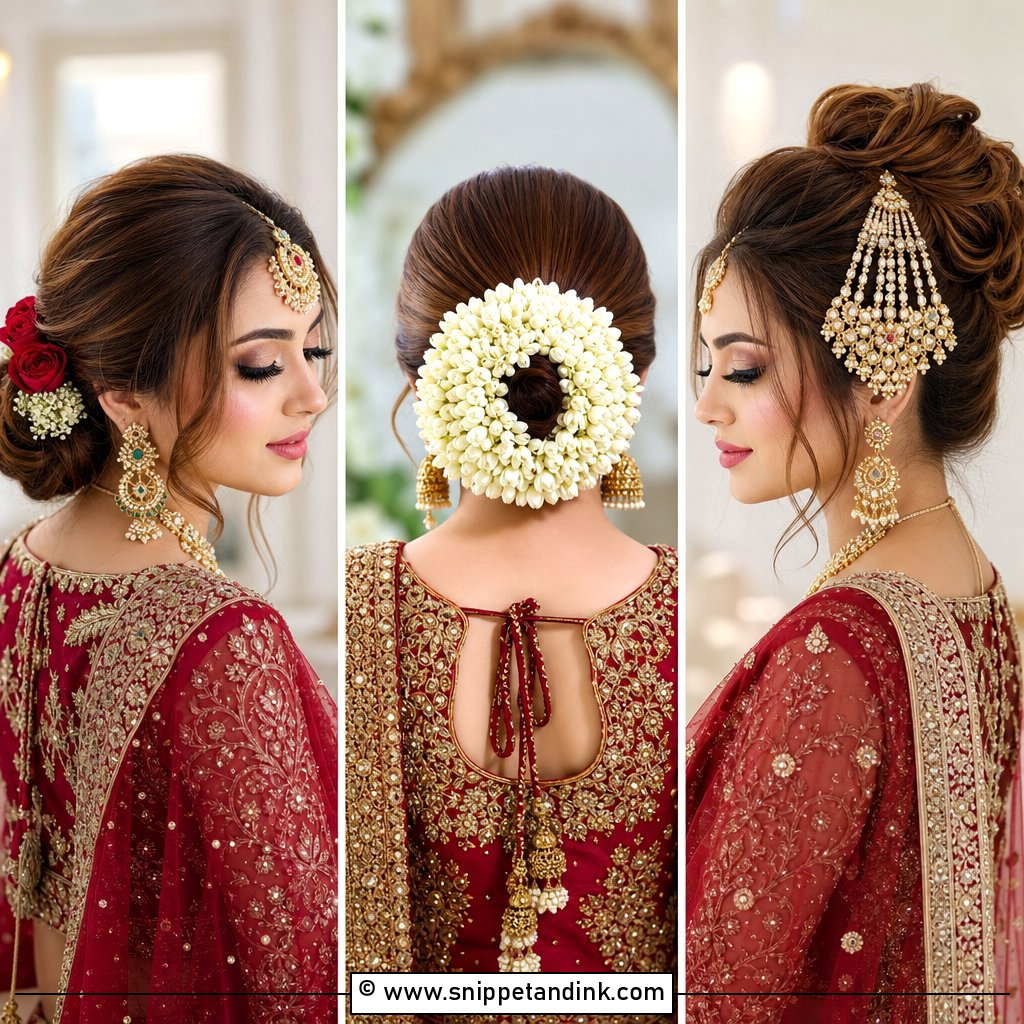
An Indian bridal bun is a working base as much as a hairstyle. It has to support a dupatta, a maang tikka, often a passa, and sometimes heavy flowers, for hours of ceremonies. I build it low or mid-height with a padding piece inside so pins have something solid to grip. The dupatta is usually pinned into the bun and the crown, so the bun has to be firm. Jasmine strings and gold pins are common finishing details. I always check with the bride where the jewelry will sit before I place the part. Heavy accessories pull on the scalp, so I spread the weight across many pins rather than a few.
18. Simple Bun For Bride
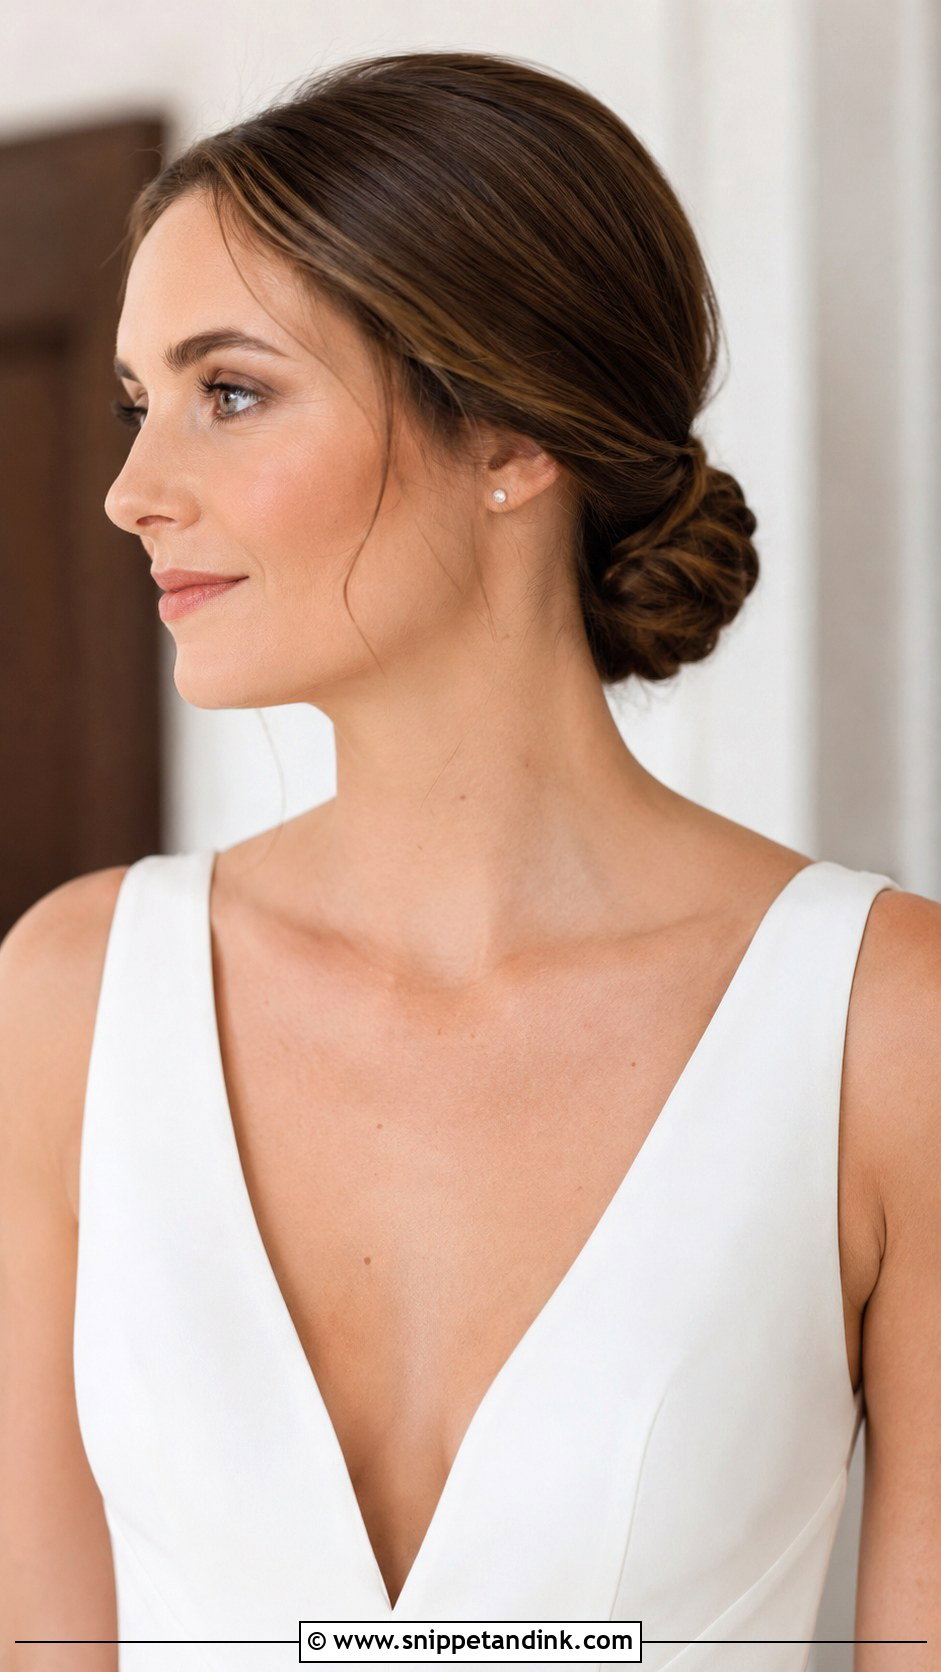
A simple bun puts the attention on the dress and face. It can be a clean low bun, a soft chignon or a neat mid-height bun with no accessories. I spend the extra time on smooth sections and an even shape, since simple styles show every bump. It suits a courthouse or intimate wedding. It’s also the easiest to refresh if you’re changing into a second outfit later.
19. Loose Bun For Bride Wedding Hair
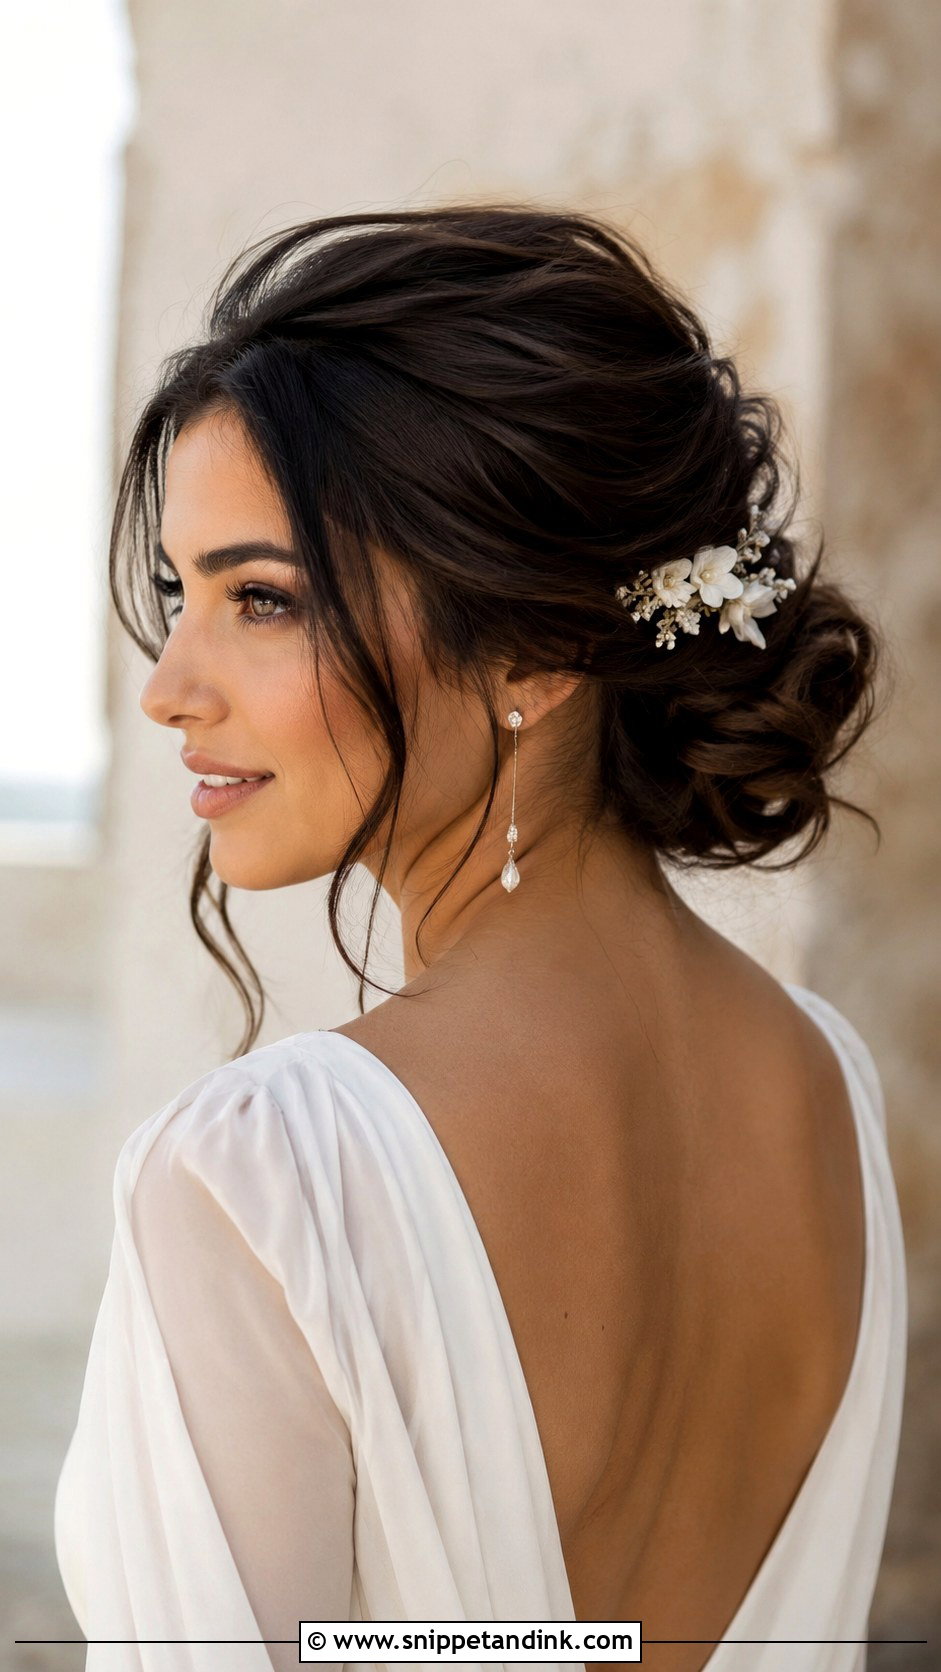
Loose buns are for brides who hate the feeling of hair pulled back hard. I wave the hair, lift the crown slightly, and pin the bun so it sits loose on the outside but anchored underneath. A few airy pieces around the face finish it. Outdoor venues and lace dresses suit it. It does soften over the day, so ask your stylist to give you two or three spare pins for the reception.
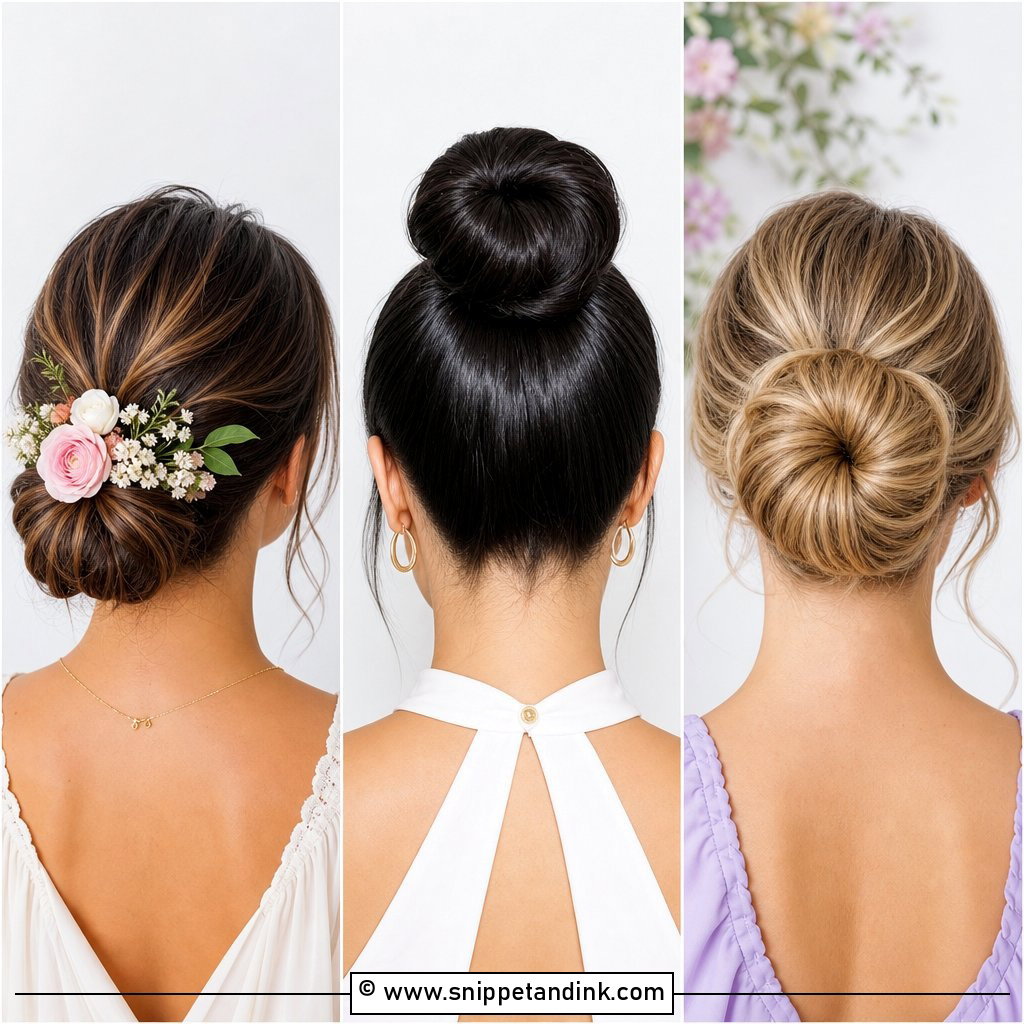
20. Vintage Bun For Bride
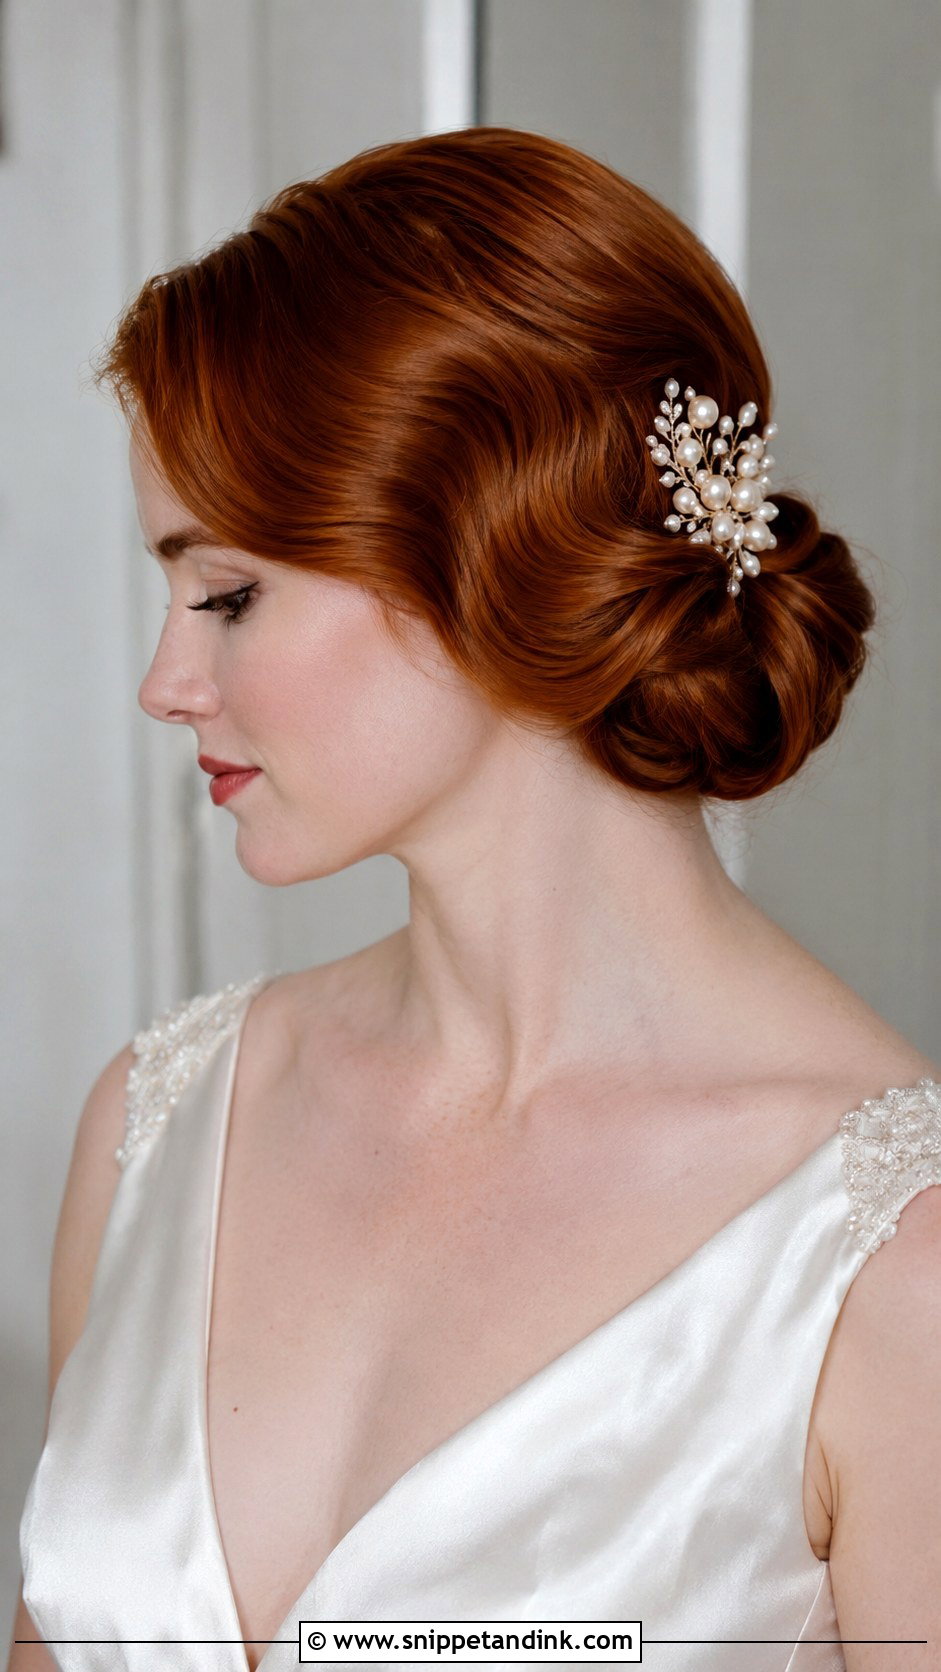
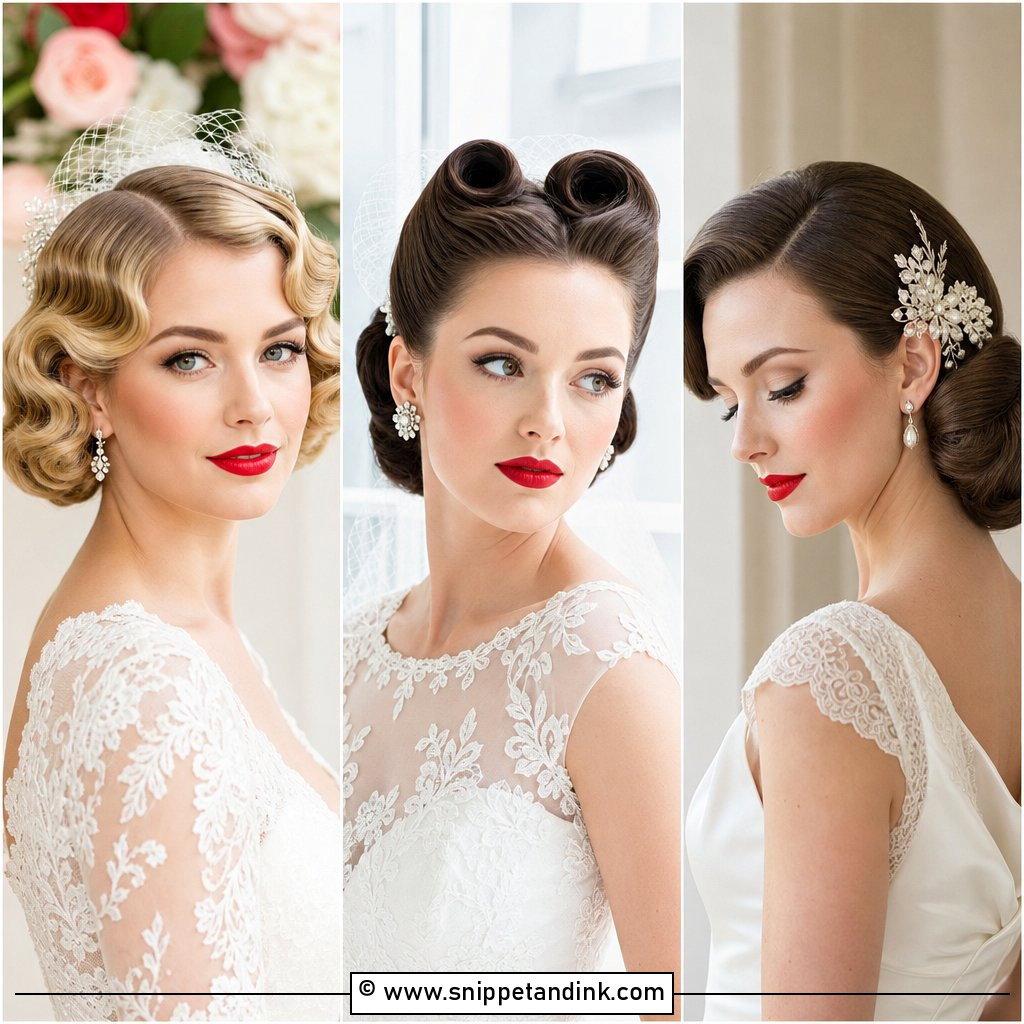
Vintage buns rely on smooth curves and structure. I start with a deep side part, set the front in sculpted waves, and roll the back into a low bun at the nape. Satin gowns, birdcage veils and pearl jewelry suit it. Every curve needs to look intentional, which takes setting time and some patience. Art deco and formal themes are a natural match.
The Hour Your Veil Comes Out
Most brides take the veil off after the ceremony or after formal portraits, and that’s when a bun can get pulled out of shape. Here’s how I’d have your maid of honor do it.
- Hold the base of the bun flat with one hand so nothing lifts.
- Slide the comb out in the same direction it went in, usually backward and up. Don’t pull it straight out.
- Wiggle gently if it catches. A stuck comb means it’s tangled in pins, and pulling harder will drag the bun with it.
- Smooth the gap the comb left with a finger and push any loose pins back in.
If you’re keeping a hair accessory for the reception, the comb gap is the place for it: a pearl pin, a small flower or a jeweled clip covers it neatly. For the same reason, ask your stylist for four or five spare pins in your bag. Face-framing pieces lose their curl by mid-evening, too; if you want them fresh for the evening photos, twist them around a finger and clip them flat during dinner, then release them before the first dance.
Why the Back View Deserves Most of Your Trial
During your ceremony, guests see the back of your head far more than your face. That’s worth remembering when you pick a bun. A sleek bun reads modern from behind, a braided or twisted one reads detailed, and a chignon keeps it classic. Book a trial, bring the veil or headpiece, and ask the stylist to photograph the front, both sides and the back. Then look at the back photo first.
You'll Like These Ideas:


Leave a Reply