
Updos have softened. Most brides I style now want hair that’s pinned and secure but still moves when they turn to look at their partner, not a lacquered helmet. That makes step-by-step instructions more useful, because a soft updo is mostly about how the hair is prepped and pinned, not about one magic shape. Before choosing, think about your neckline, where the veil will sit, how much hair you want around your face and how well your hair holds a curl. The 20 bridal updo tutorial looks below run from sleek to textured and include short-hair options, with the steps I’d actually follow.
Bobby Pins and U-Pins Do Different Jobs
Most failed updos I’m asked to fix weren’t badly designed. They were held together with the wrong pins. Bobby pins and U-pins look similar in a drugstore bag, but they work very differently, and every tutorial below uses both.
Bobby pins lock
A bobby pin is a closed clamp. It holds hair tightly against the scalp or against other hair, which is why it anchors a ponytail base, secures a veil comb and pins a braid flat. Two bobby pins crossed in an X hold far better than one. Choose pins that match your hair color and check the tips have their protective coating; bare metal tips scratch the scalp.
U-pins shape
A U-pin is open, so it holds hair in position without flattening it. That’s what keeps a bun full and soft. Slide it in, catch a little hair at the base, then turn it and push it in the opposite direction so the prongs grip. U-pins are what I use for buns, twists and French twists; bobby pins there would squash the shape.
- Elastics: clear or hair-matched, and a snag-free type so they don’t rip hair when taken out
- Bun form or padding for fine hair, in a matching shade
- Flexible hairspray for shaping, firmer hold only on the final layer
- A tail comb for clean partings and sectioning
1. Low Bridal Bun Tutorial
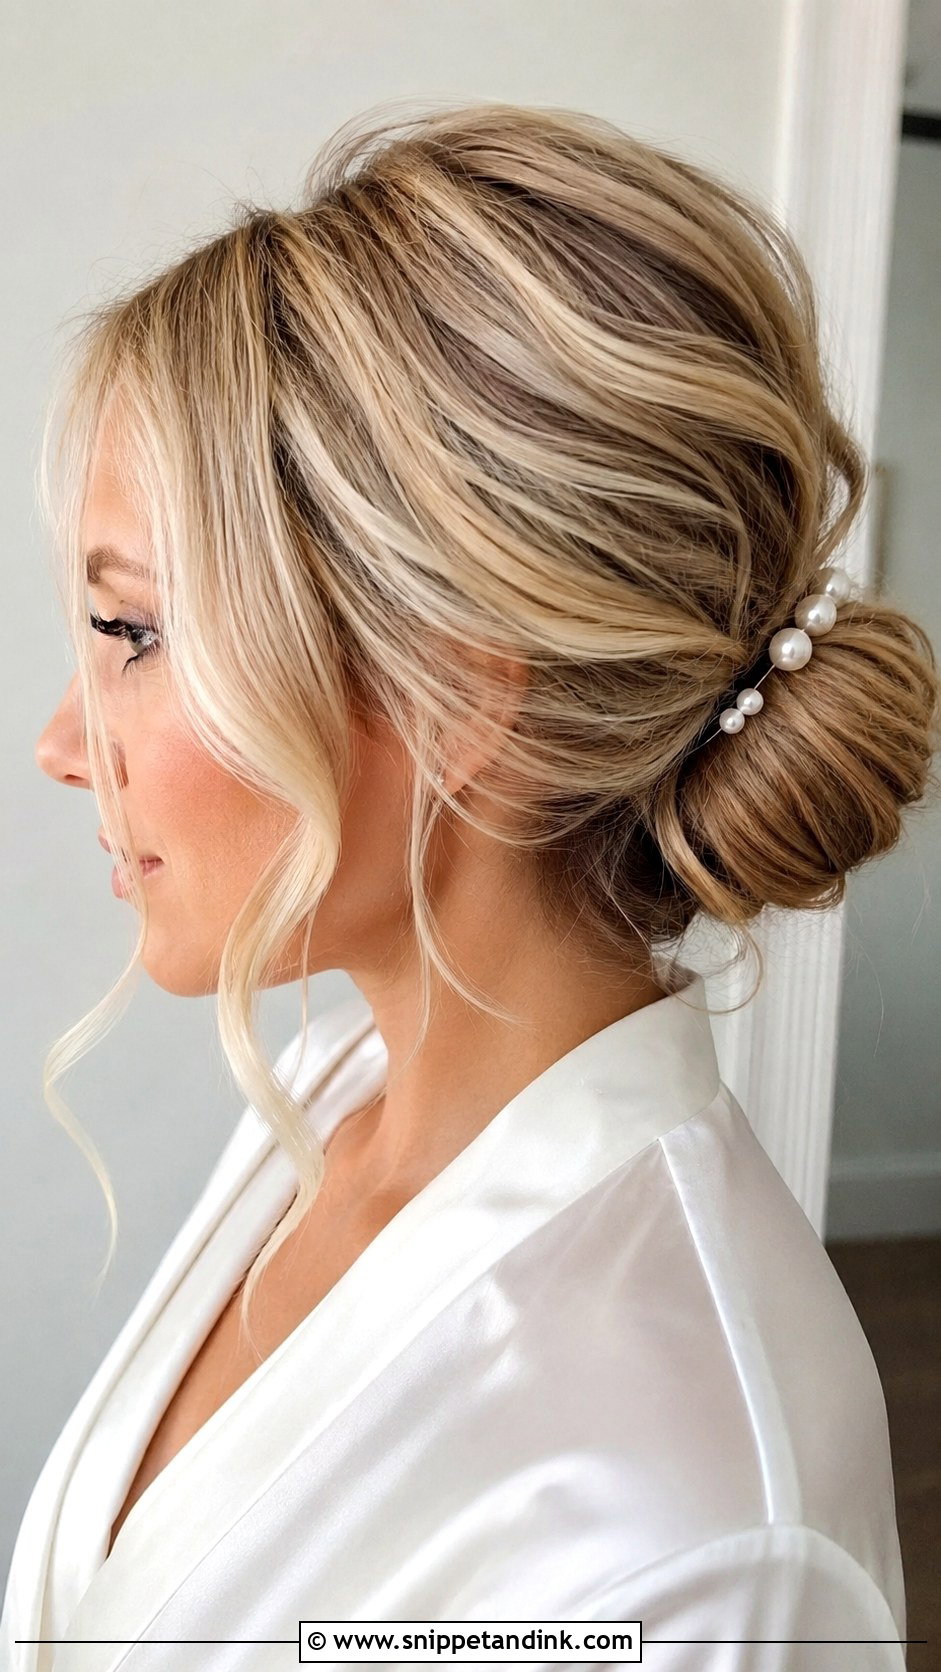
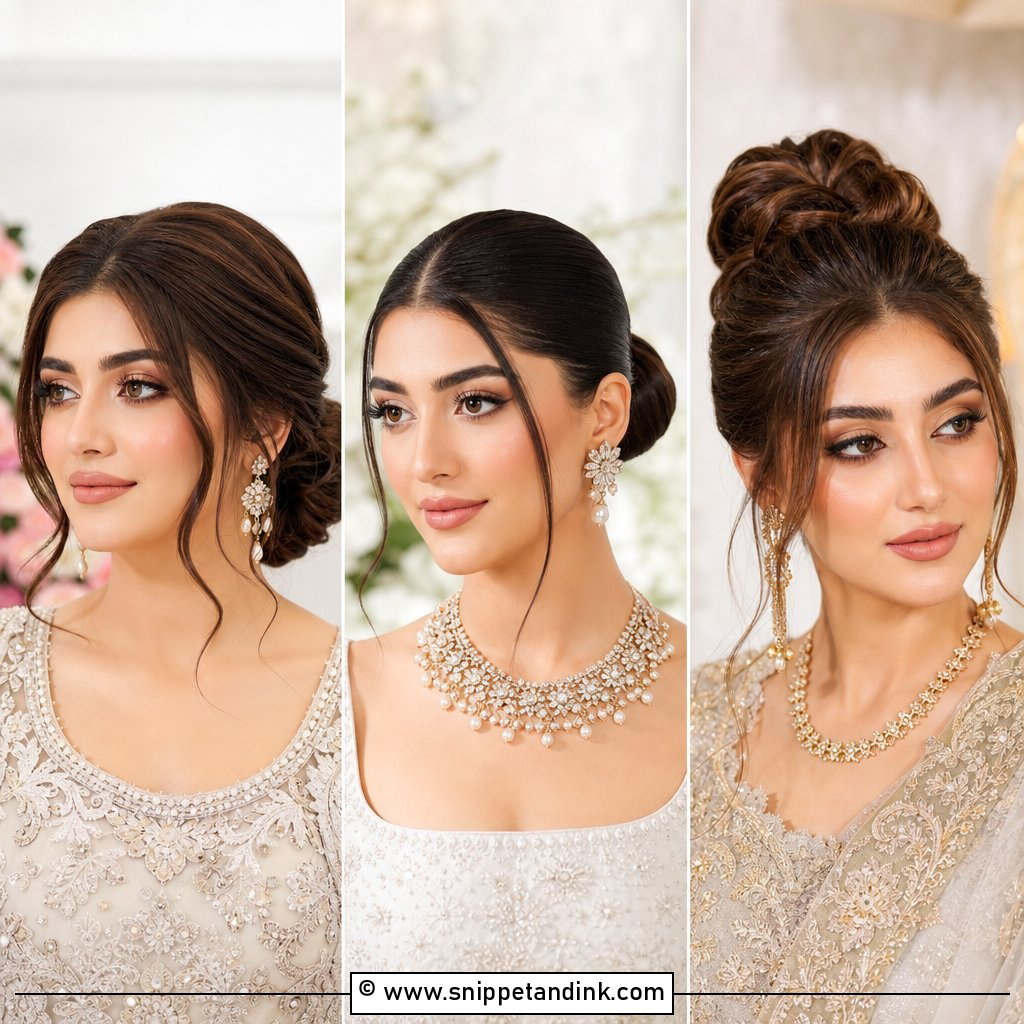
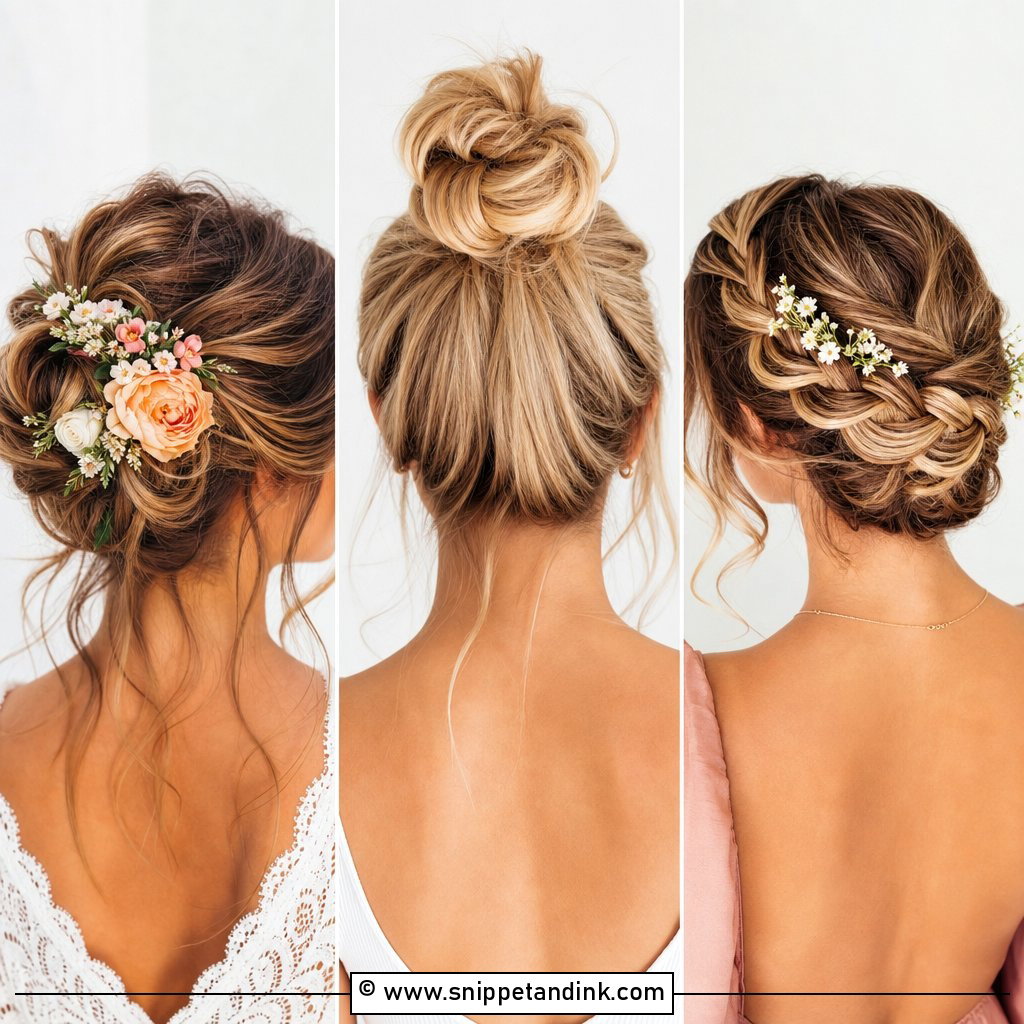
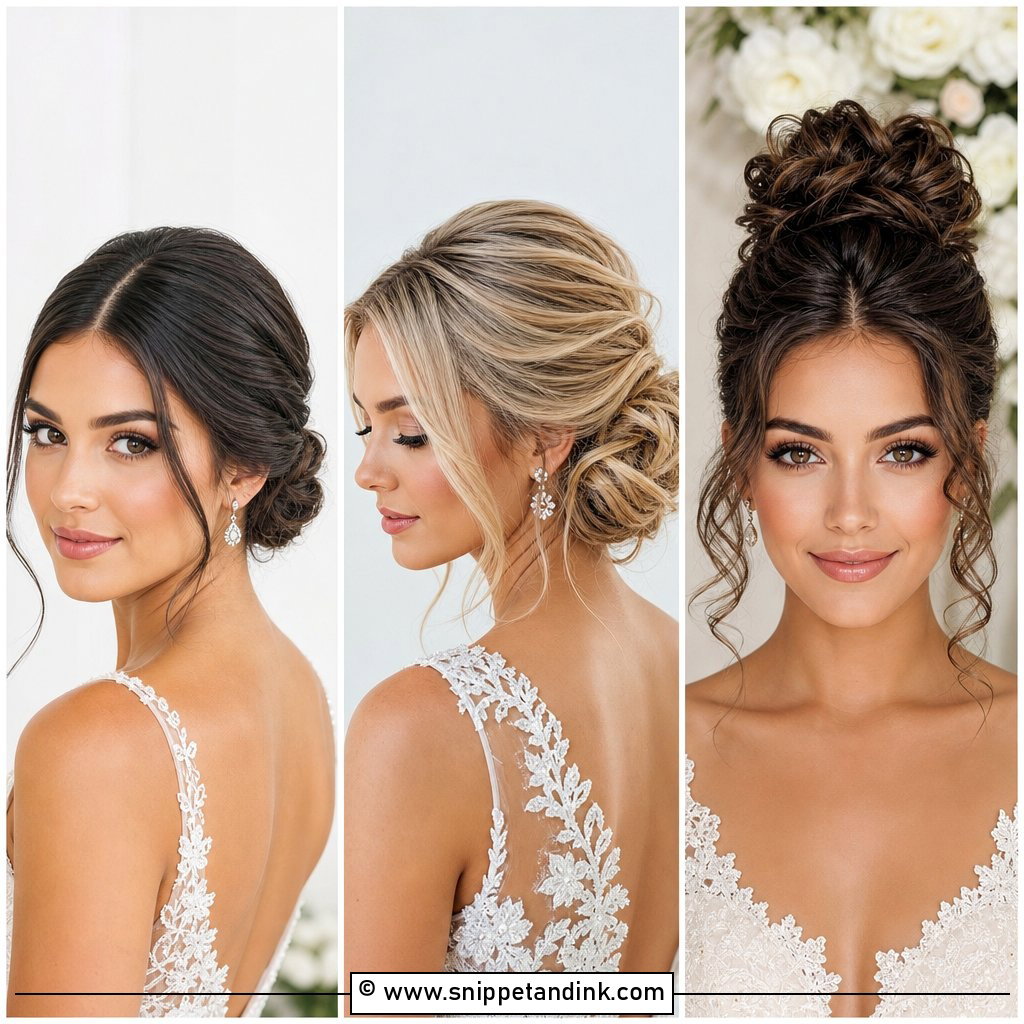
Low buns are the easiest to adapt, since a veil, a comb or pearl pins all sit comfortably above them. If your hair is straight, add loose waves first for grip; smooth hair slides out of pins. Gather the hair at the nape, twist it loosely and pin it in small sections rather than forcing one tight coil. Pinning in sections is what makes a low bridal bun look full instead of small. Pull out a few face-framing pieces and mist them with a flexible spray.
2. Messy Bridal Updo Tutorial
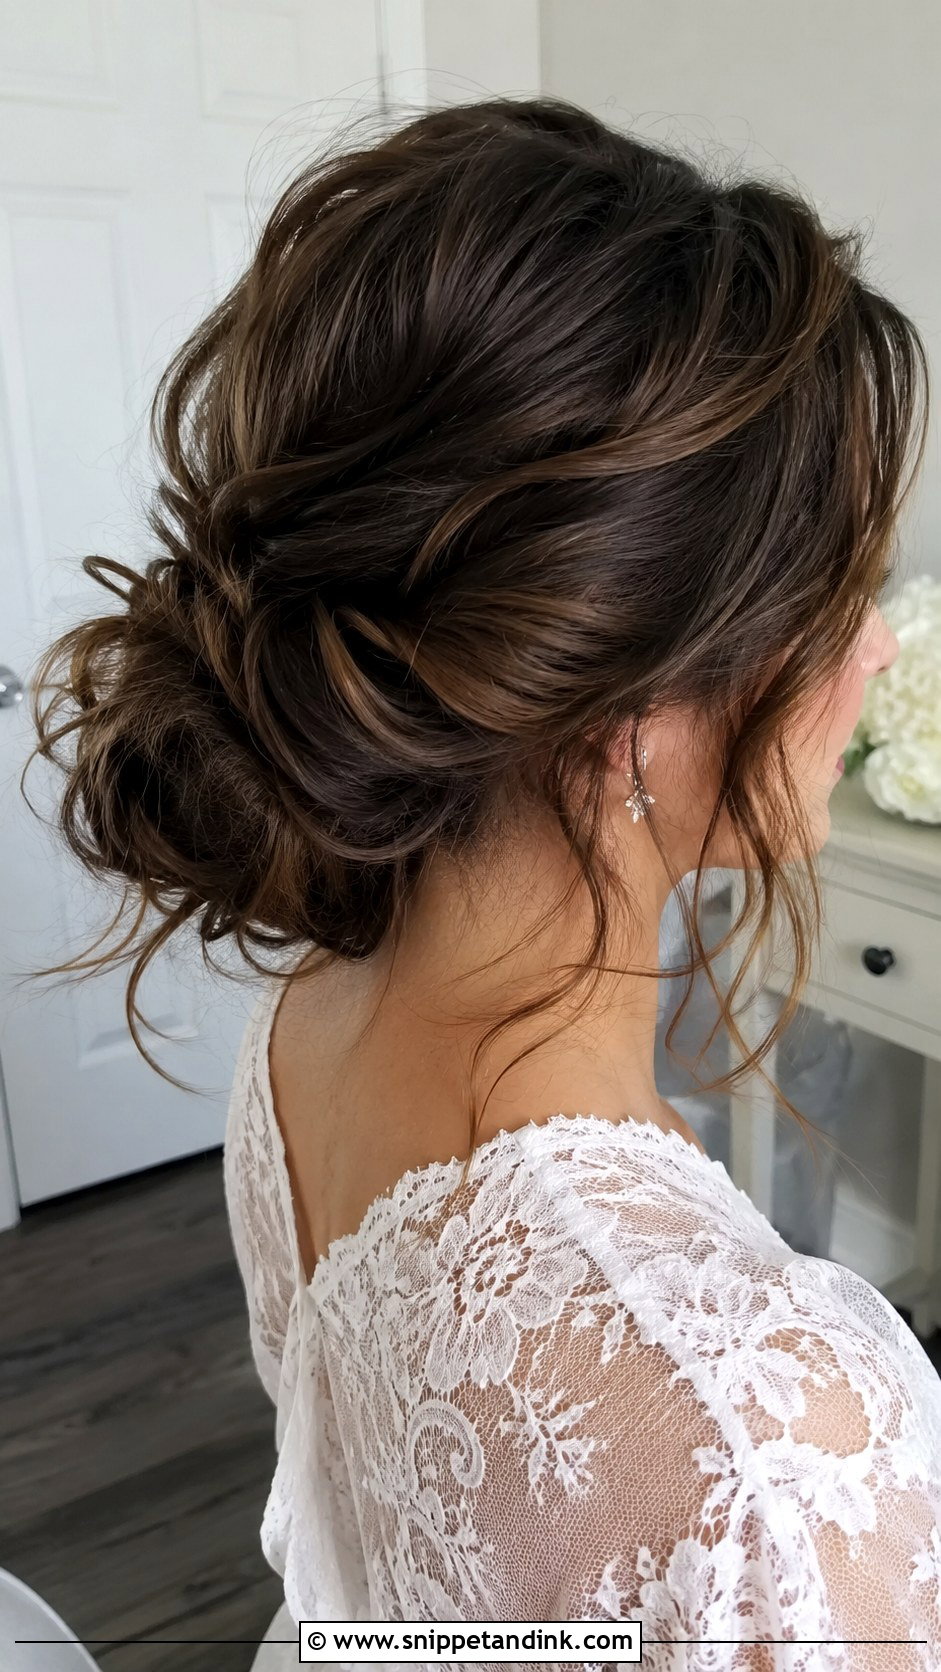
Messy only looks intentional when there’s texture underneath. Curl in alternating directions so the curls don’t clump into one wave, mist with texture spray and tease the crown lightly. Then make a loose low ponytail and pin curled pieces around its base until the outline looks balanced from behind. Tendrils at the cheekbones keep the front soft. What I watch for is flatness at the crown, which makes a messy updo look slept-in rather than styled.
3. Sleek Bridal Chignon Tutorial
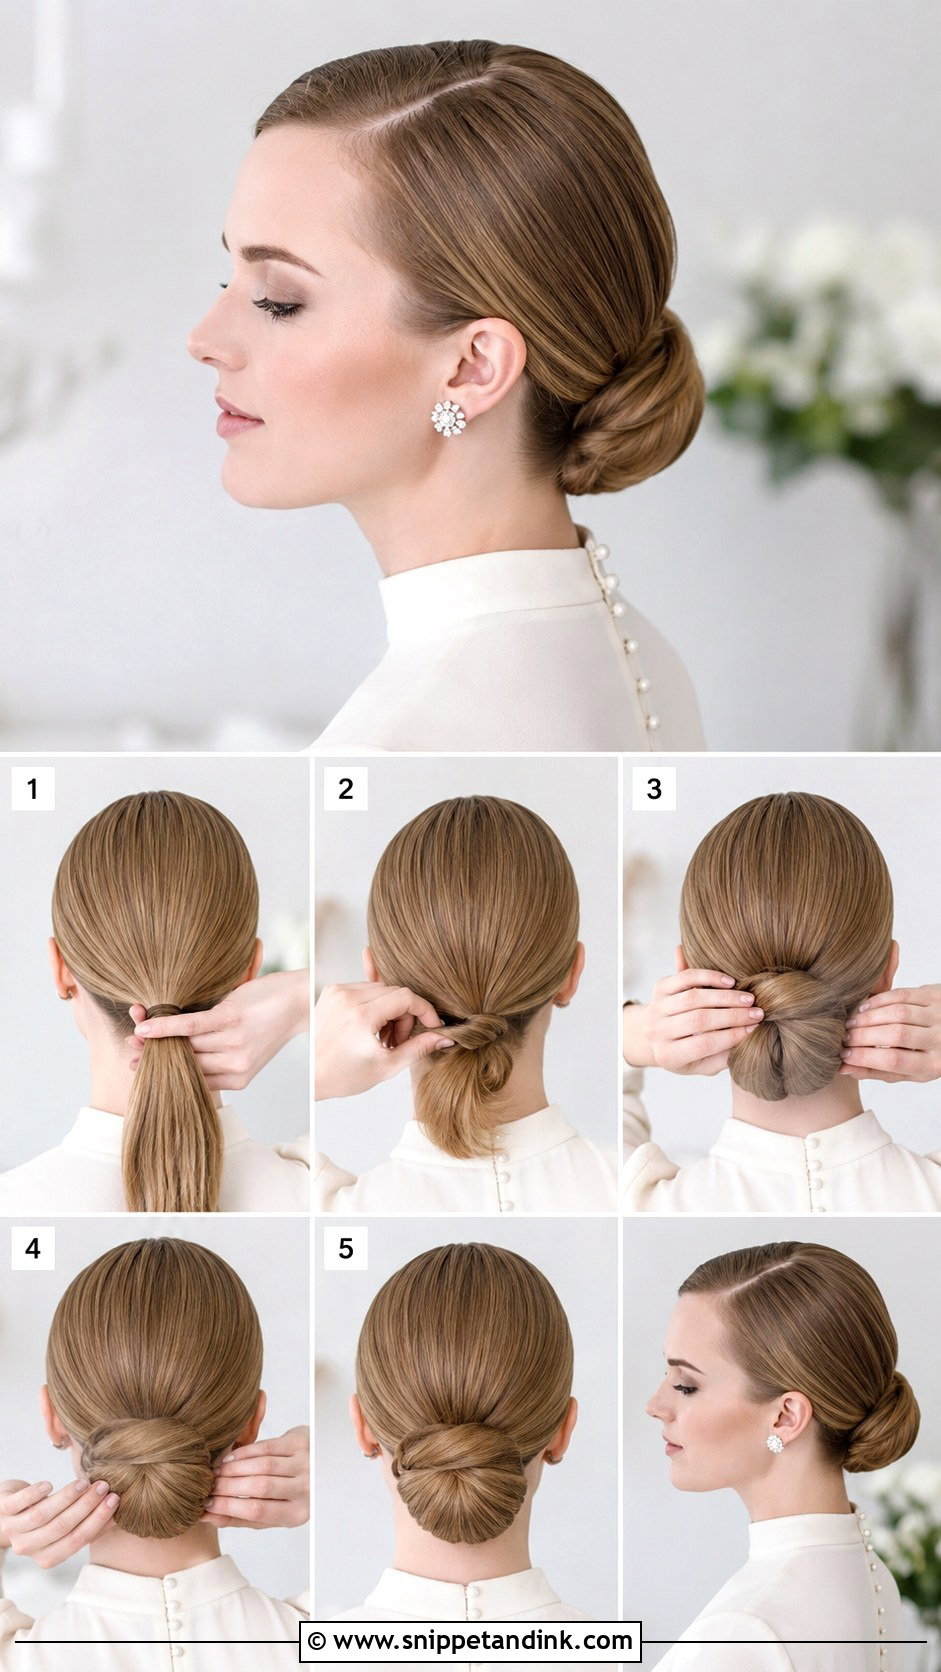
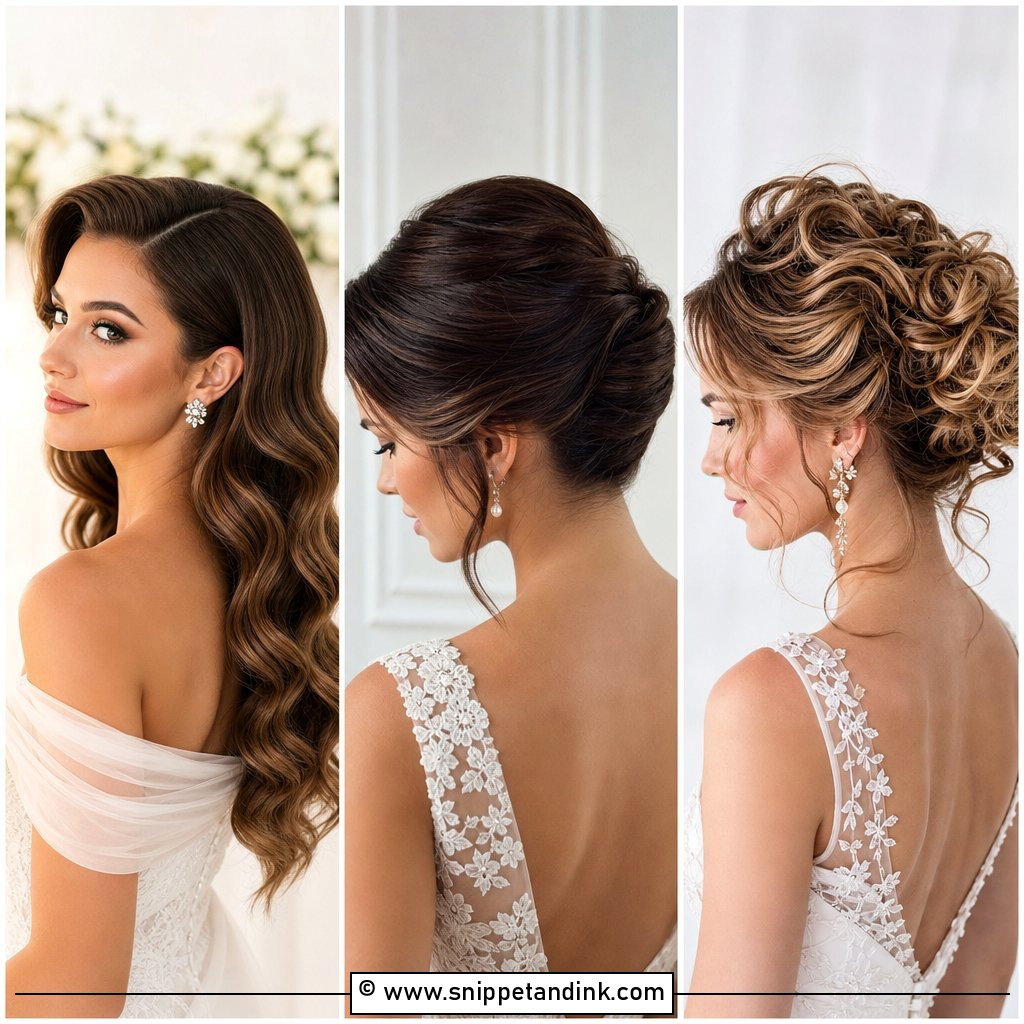
A sleek bridal chignon depends on the blow-dry. Start with smooth hair, work a small amount of styling cream through the lengths, make a sharp part and brush everything into a low ponytail secured tightly at the nape. Twist the ponytail into a coil, tuck the ends under and pin close to the scalp. A fine-tooth comb with a little hairspray catches flyaways. On very curly hair this needs a thorough smoothing first, and humidity can still undo it by evening.
4. Braided Bridal Updo Tutorial
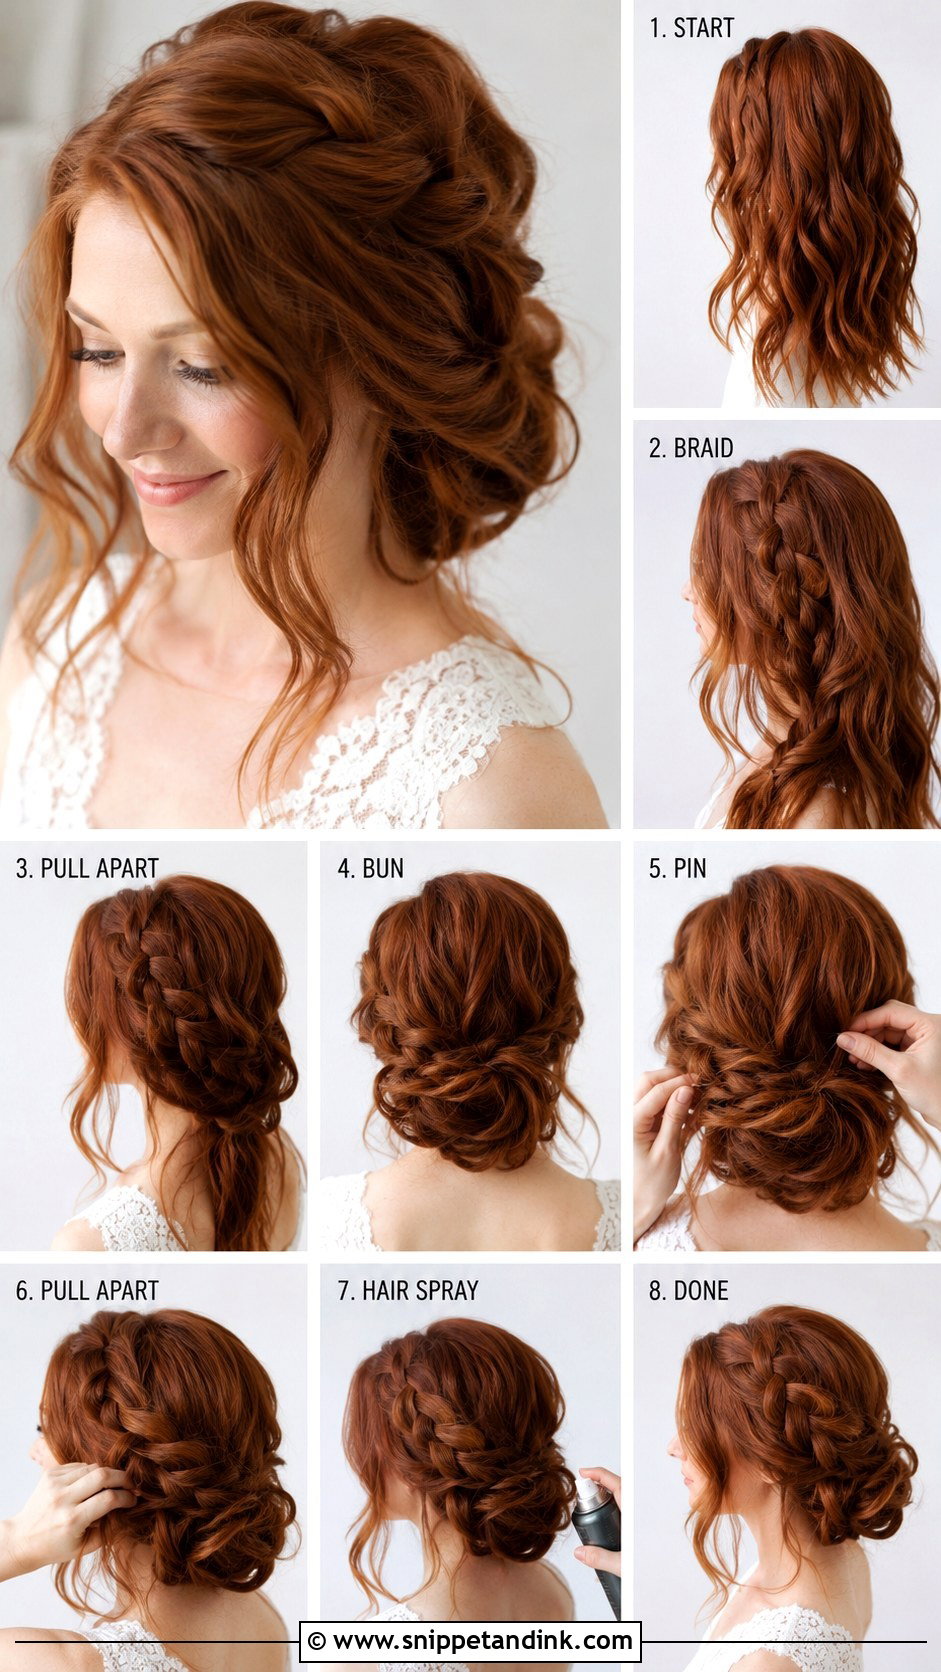
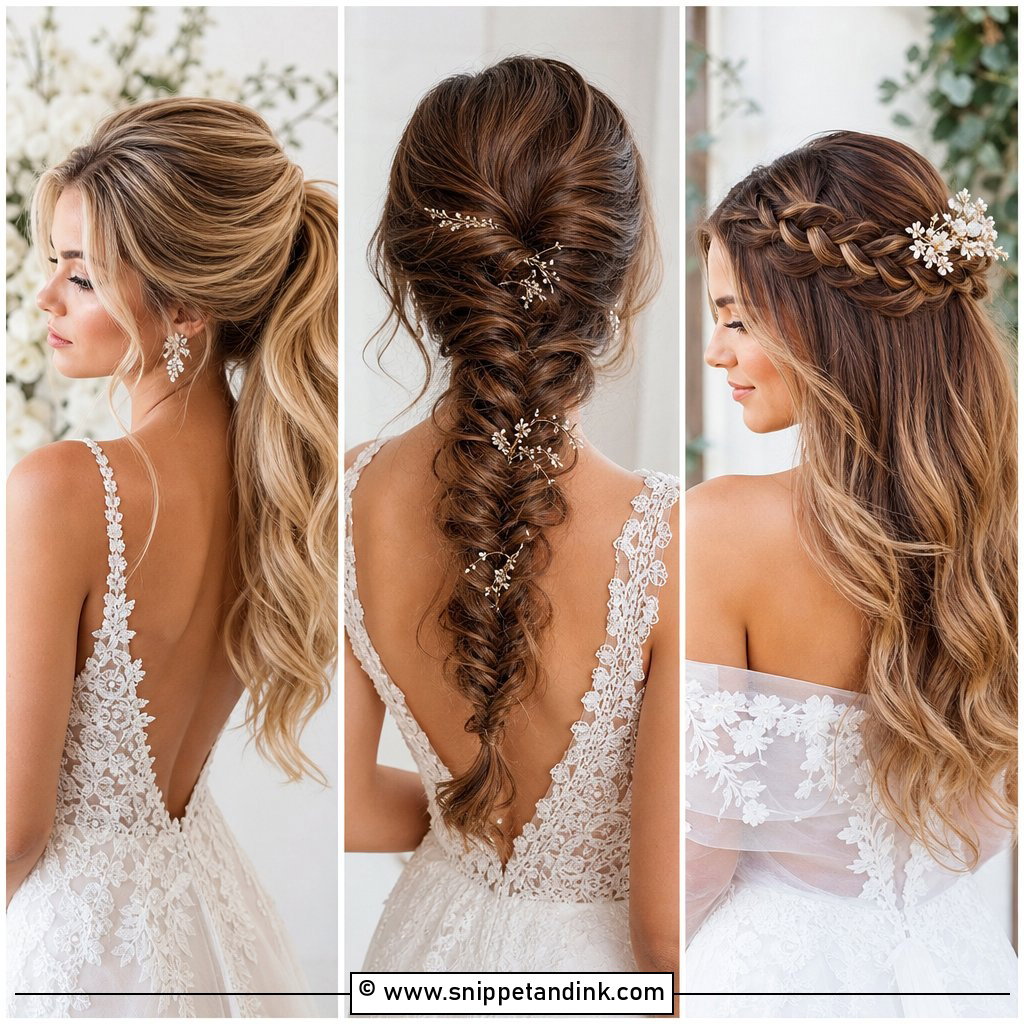
Braids add detail so you don’t need much in the way of accessories. Start with loose waves for volume, then make a side braid, a crown braid or a small braid from each temple. Bring the rest into a low bun and pin the braids across or around it so they blend into the shape. Pancake each braid by pulling its edges gently. A temple braid is also the neatest way I know to control short face layers that won’t reach the bun.
5. High Bridal Bun Tutorial
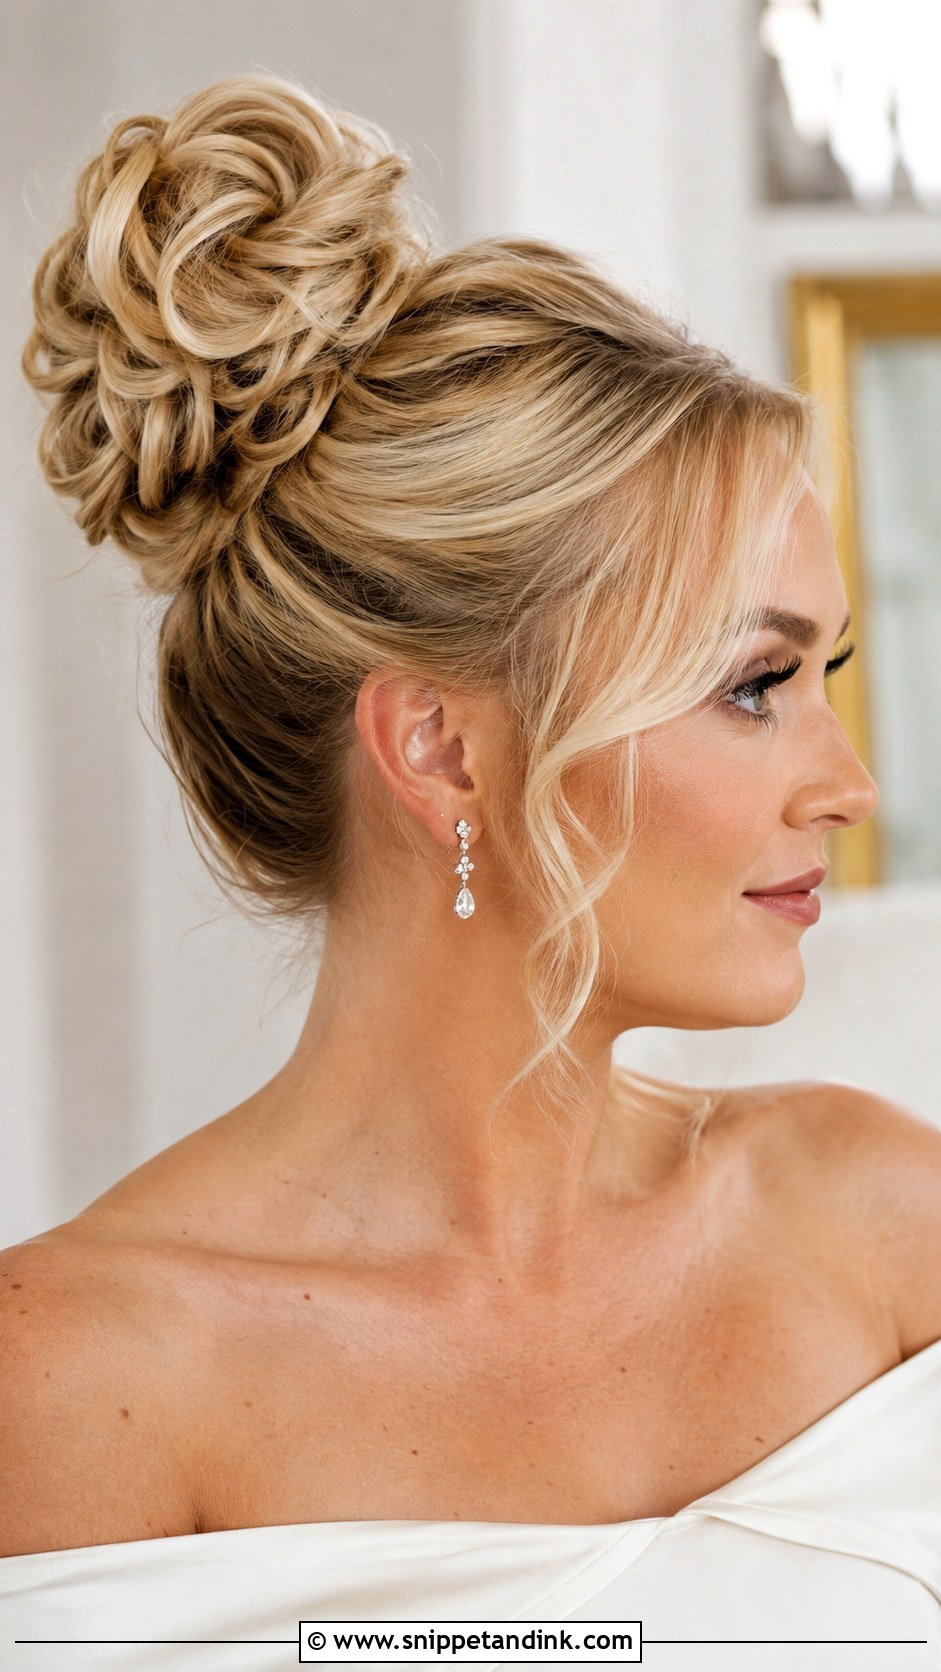
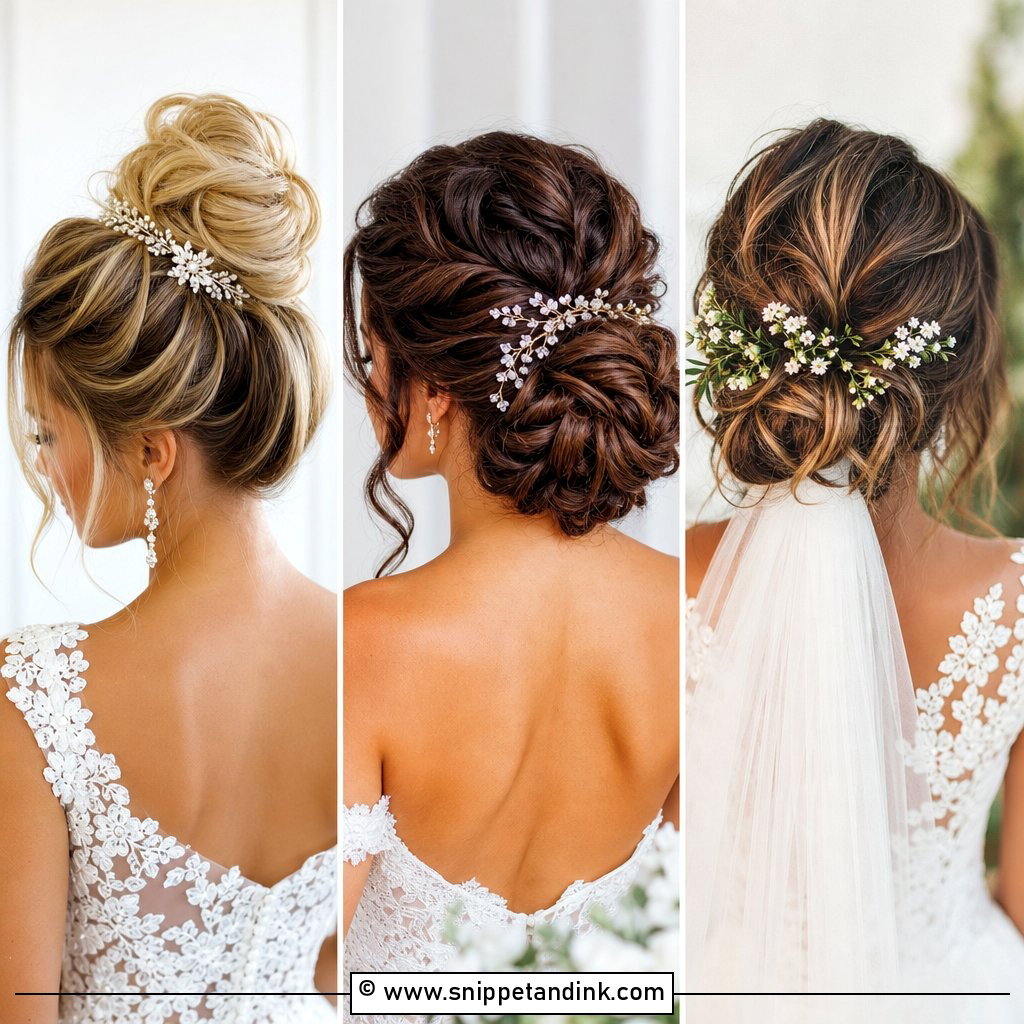
Height at the crown lifts the face and suits strapless, halter, or high-neck gowns. Prep with mousse or texture spray, brush the hair into a high ponytail and secure it tightly. For a bigger bun, tease the ponytail lightly or wrap it around a bun form that matches your hair color. Pin it evenly. A high bun does put weight on one point, so if your scalp is sensitive or your hair is very heavy, try it for a few hours at the trial; a headache at the reception is a real risk.
6. Soft Bridal Updo Tutorial
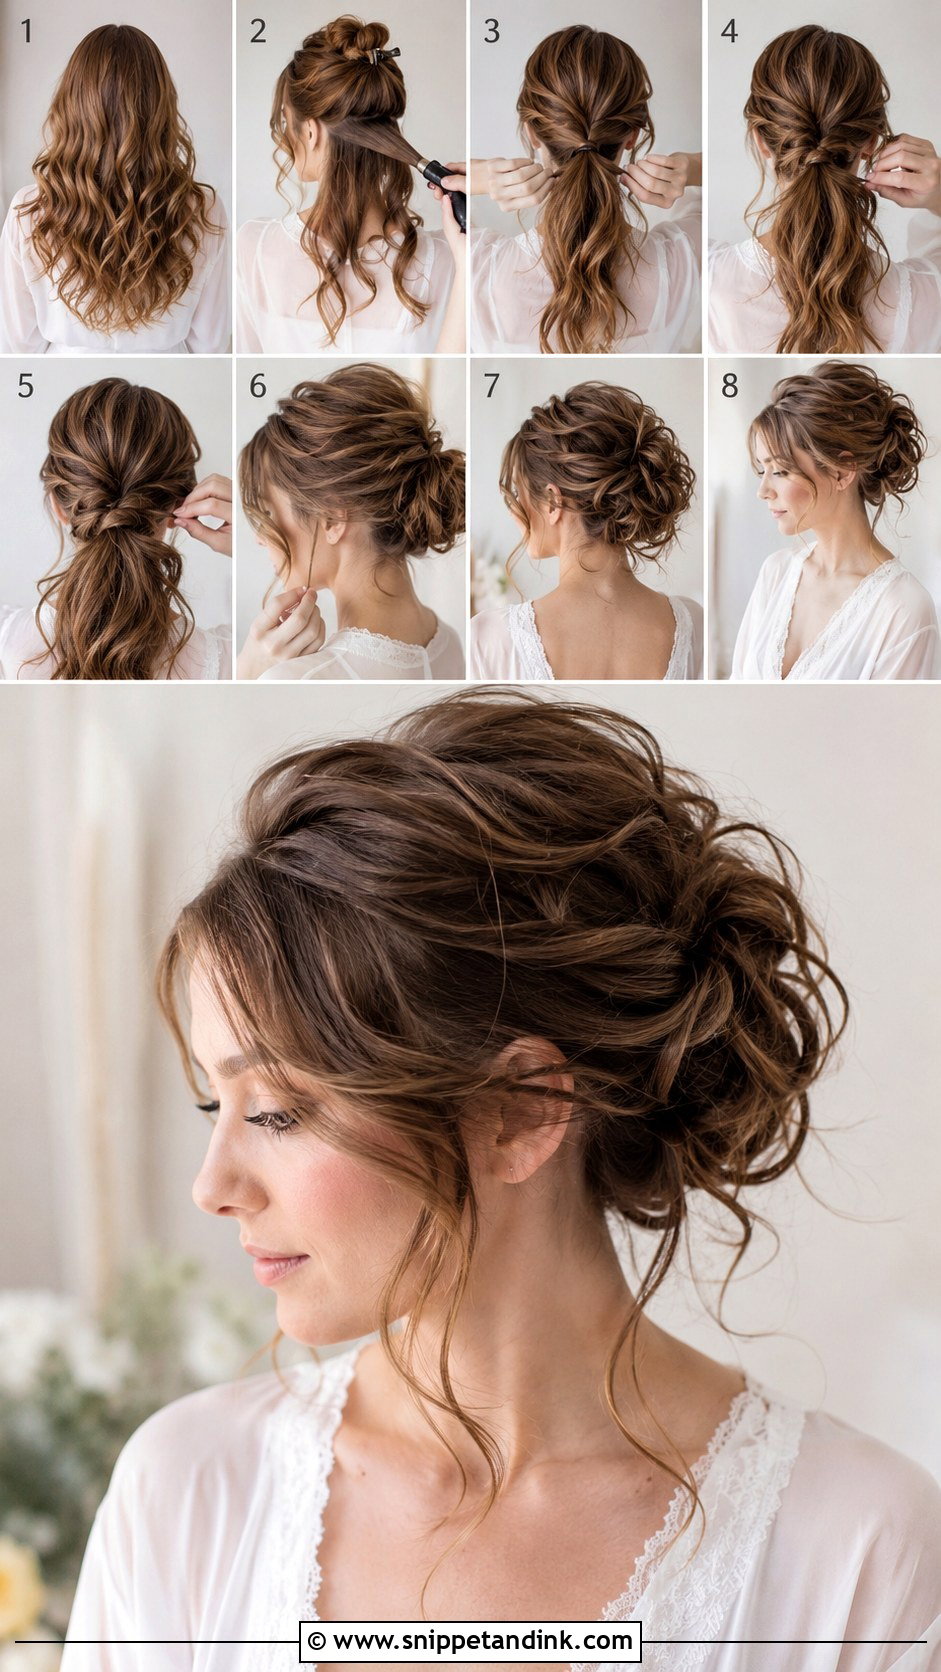
Large barrel curls brushed out with your fingers, never a brush, give this updo its loose, touchable shape. Build volume at the crown, gather the hair low and pin sections in a curve rather than a round bun. Leave soft pieces at the face and nape. Hold has to be flexible; heavy gel or strong spray makes a soft style look hard. Fine hair needs more prep here than thick hair, or the curls fall before the pins go in.
7. Curly Bridal Updo Tutorial
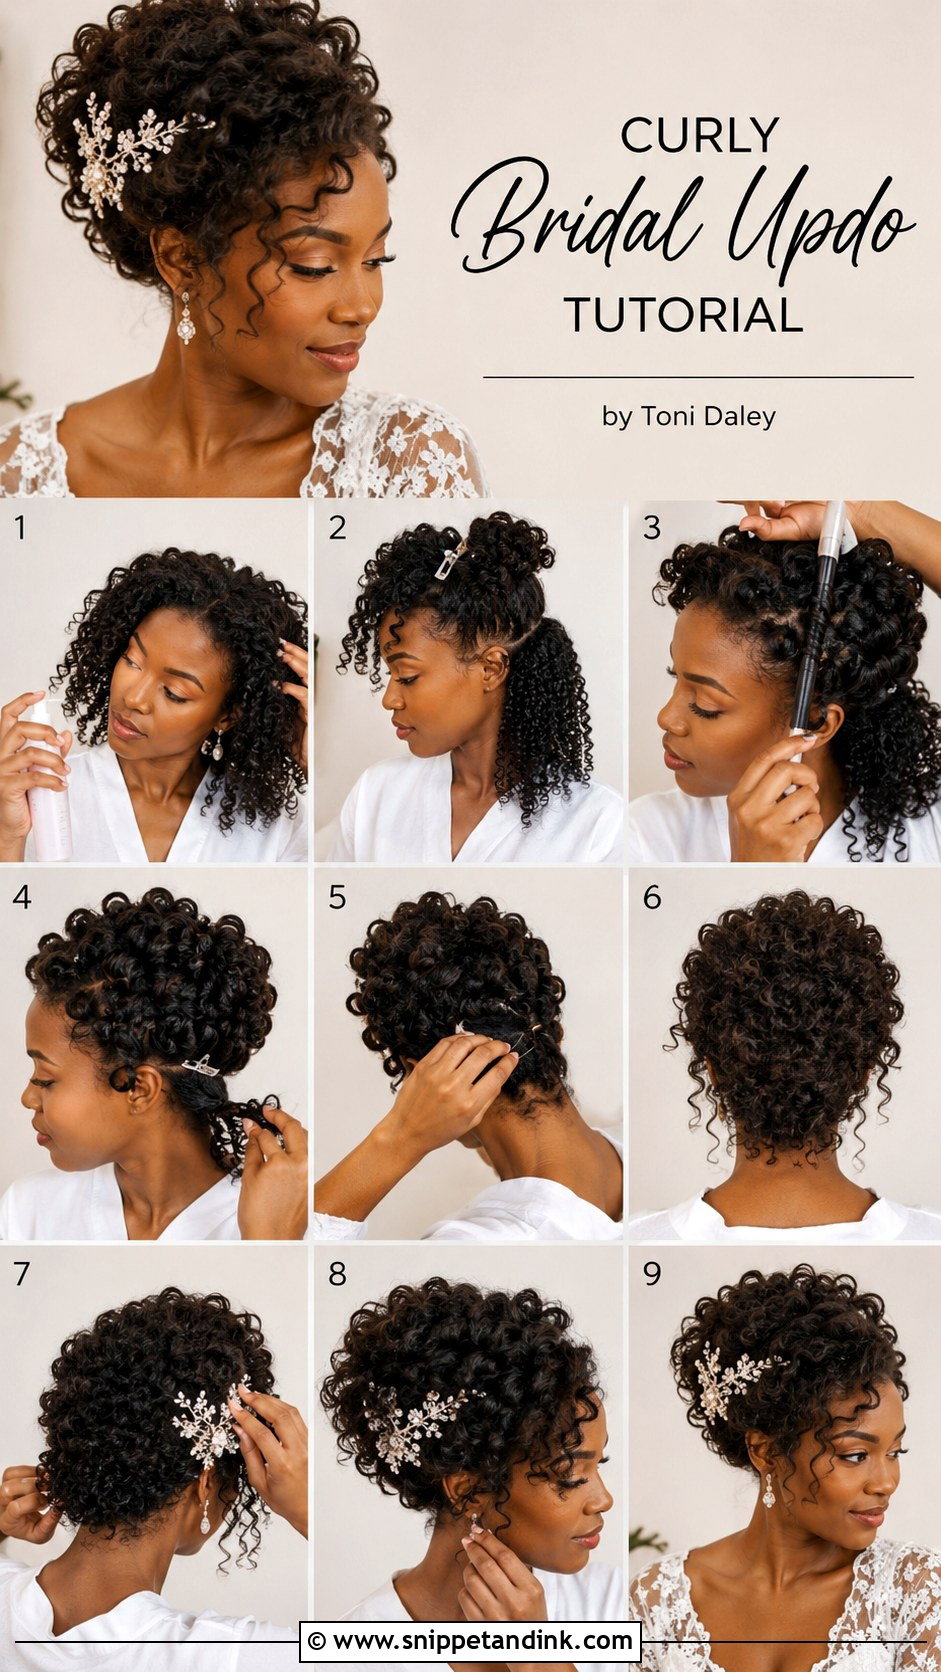
Natural curls should be shown off, not straightened into submission. Start with hydrated curls, define them with cream or gel and let them dry fully before touching them. Then gather loosely toward the crown for height or the nape for a softer shape, pinning curls in clusters so the pattern stays visible. Don’t brush through the curls at any point. A satin scrunchie is gentler than a standard elastic on textured hair, and a few curls left near the face finish it.
8. Bridal Updo With Veil Tutorial
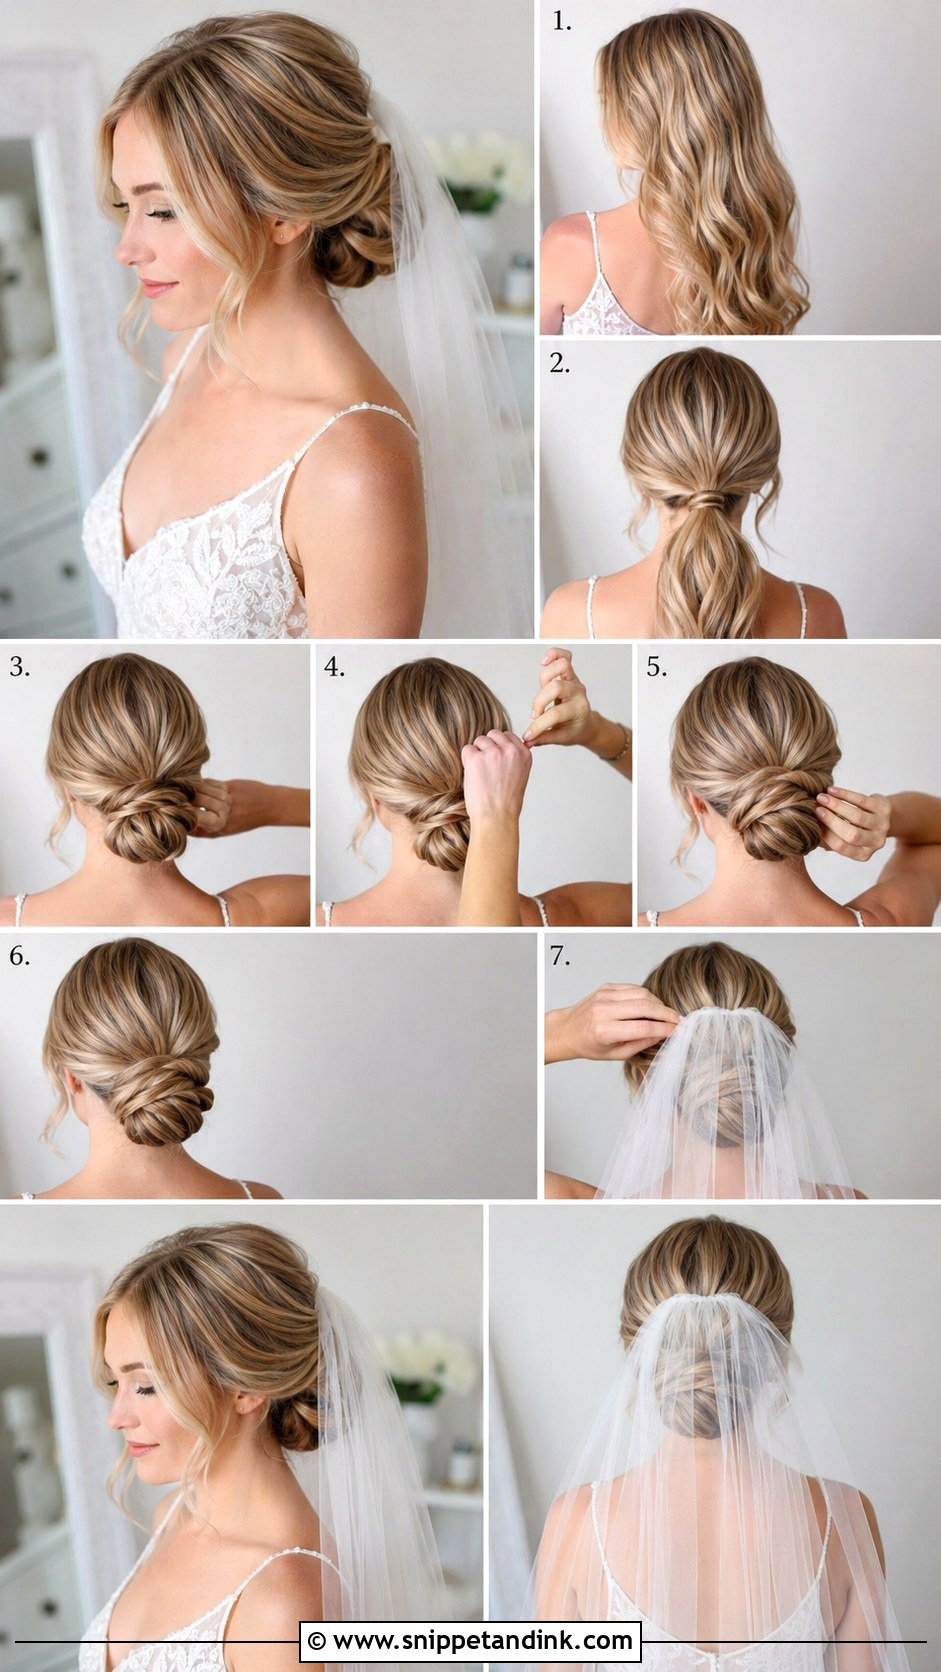
Plan the veil before you start pinning. Decide whether it sits above the bun, below it or at the crown, then build the updo with a firm section of hair at that spot for the comb. Low buns and chignons give the most solid base. For fine or slippery hair, I place two bobby pins in an X under where the comb will go and slide the comb through them. Keep the front balanced so the veil doesn’t cover the whole style from behind.
9. Bridal Updo With Pearl Pins Tutorial
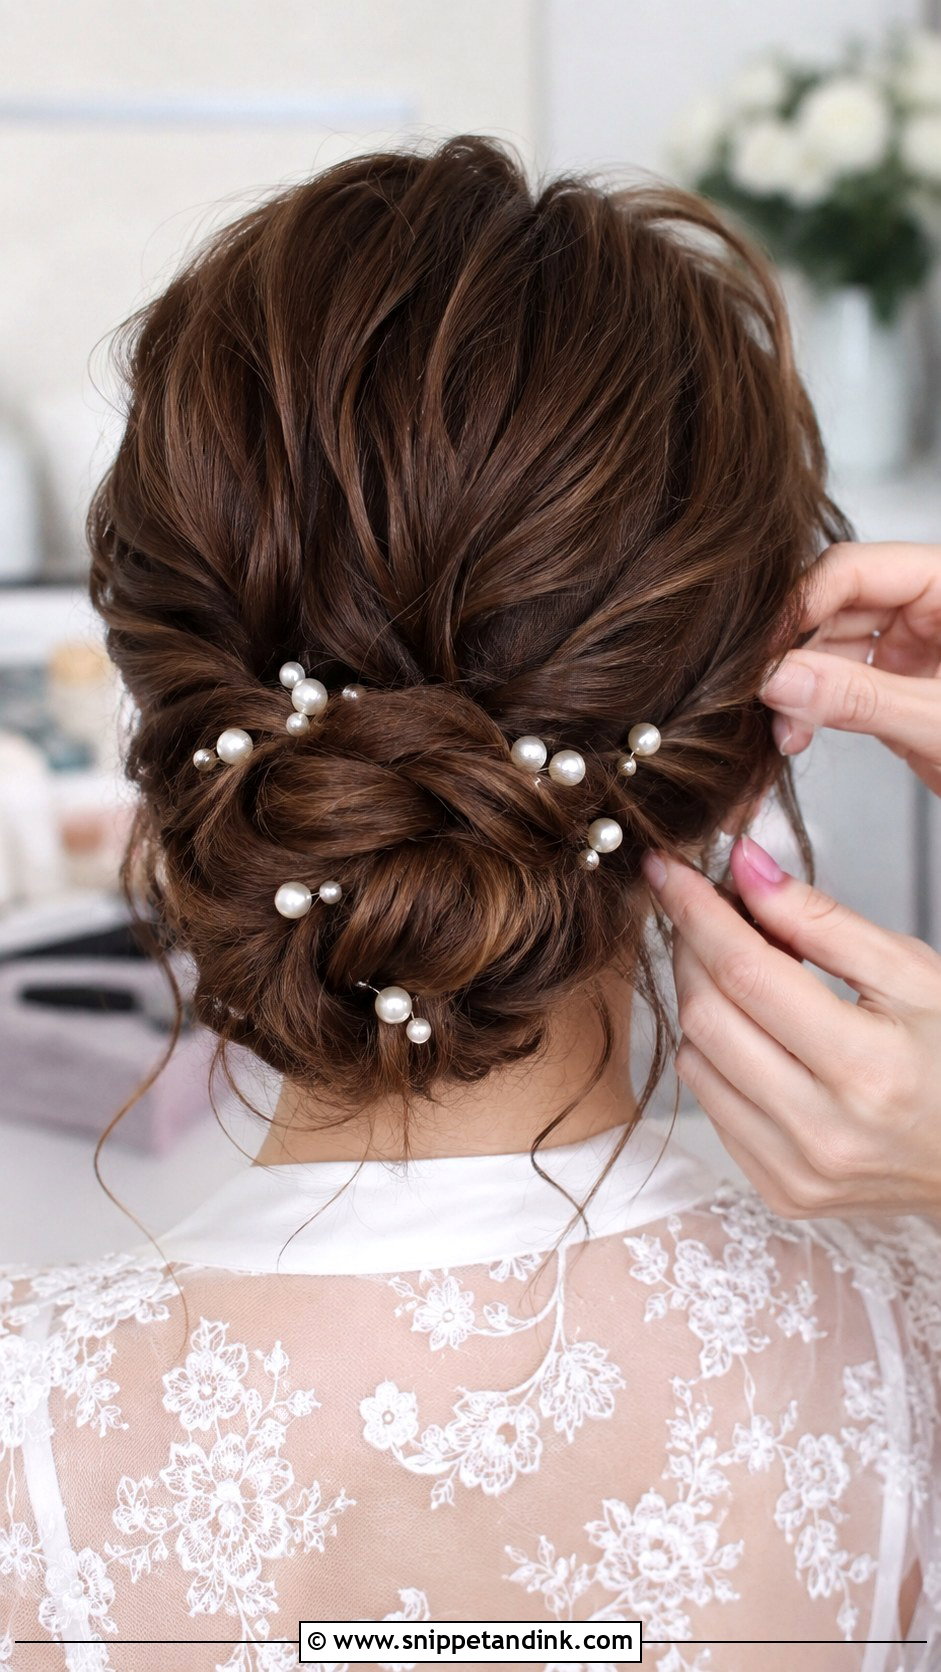
Pearl pins finish a simple updo quickly. Build a soft low bun, twisted chignon or textured base first and make sure it’s secure, since decorative pins aren’t strong enough to hold hair on their own. Place them in small clusters rather than evenly spaced lines, which can look mechanical. A few along the curve of the bun and one or two at the side is usually enough. Push them in at a shallow angle so the pearls sit on top instead of sinking into the hair.
10. Bridal Updo With Side Braid Tutorial
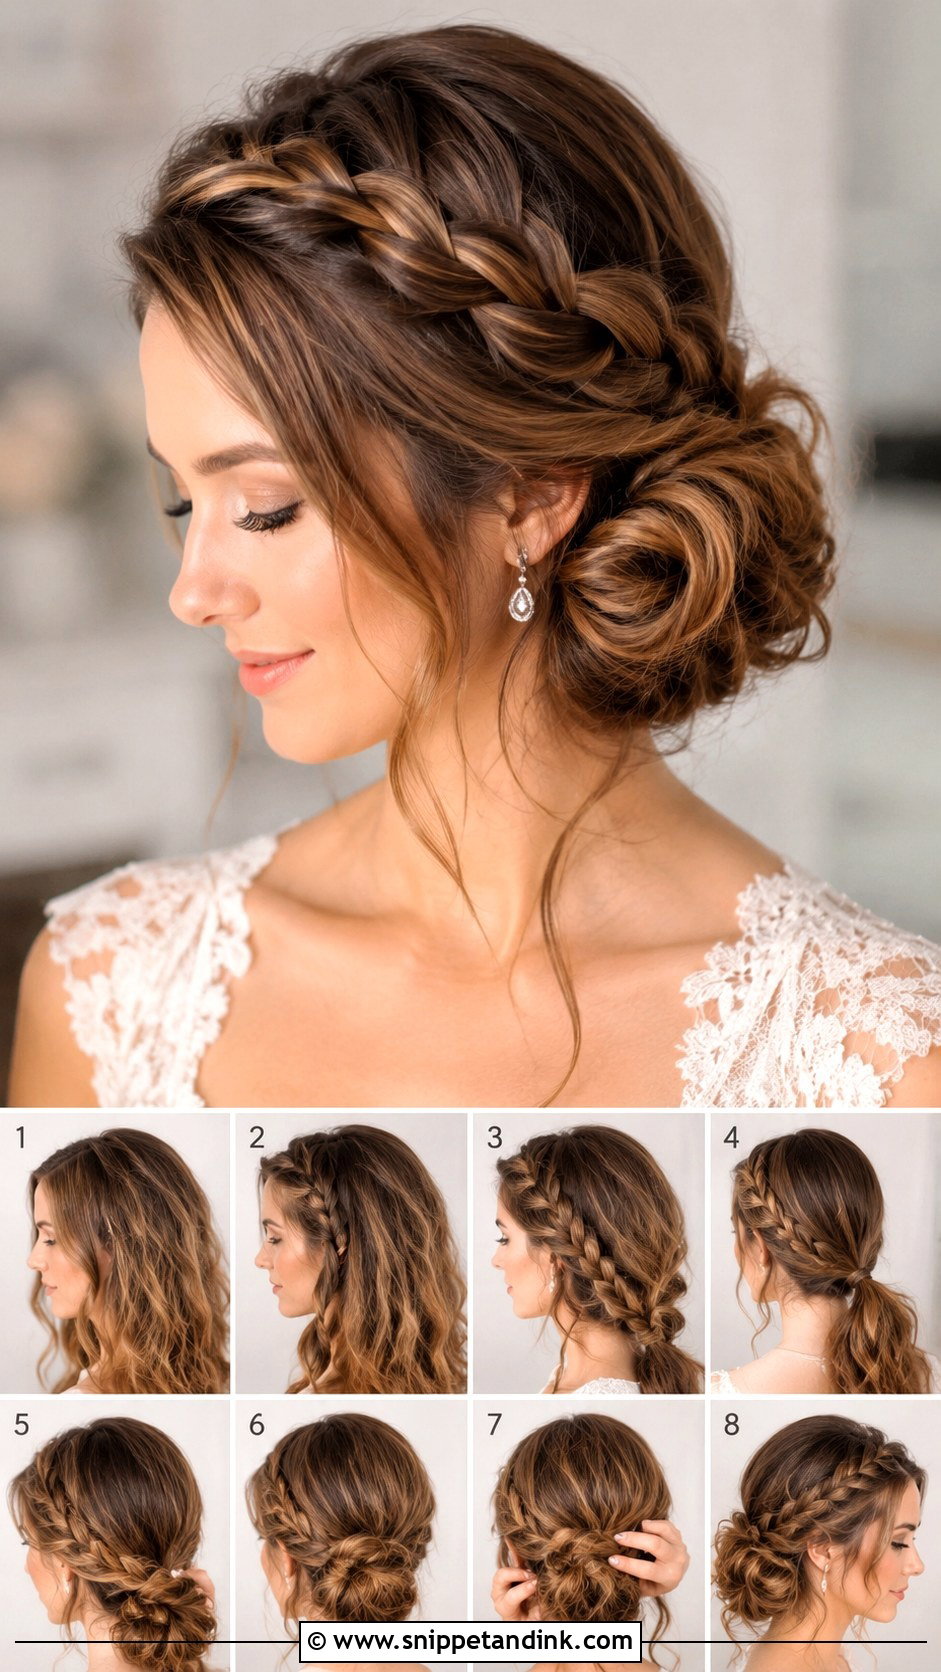
A loose braid on one side gives front-facing photos a detail while keeping the back clean. Part the hair on the side, braid the heavier side loosely from the hairline toward the ear and secure it with a small elastic. Blend it into a low bun or twist and pull it apart gently for fullness. Keep the opposite side smooth, or the whole style looks busy. This suits brides with a strong natural parting.
11. French Twist Bridal Updo Tutorial
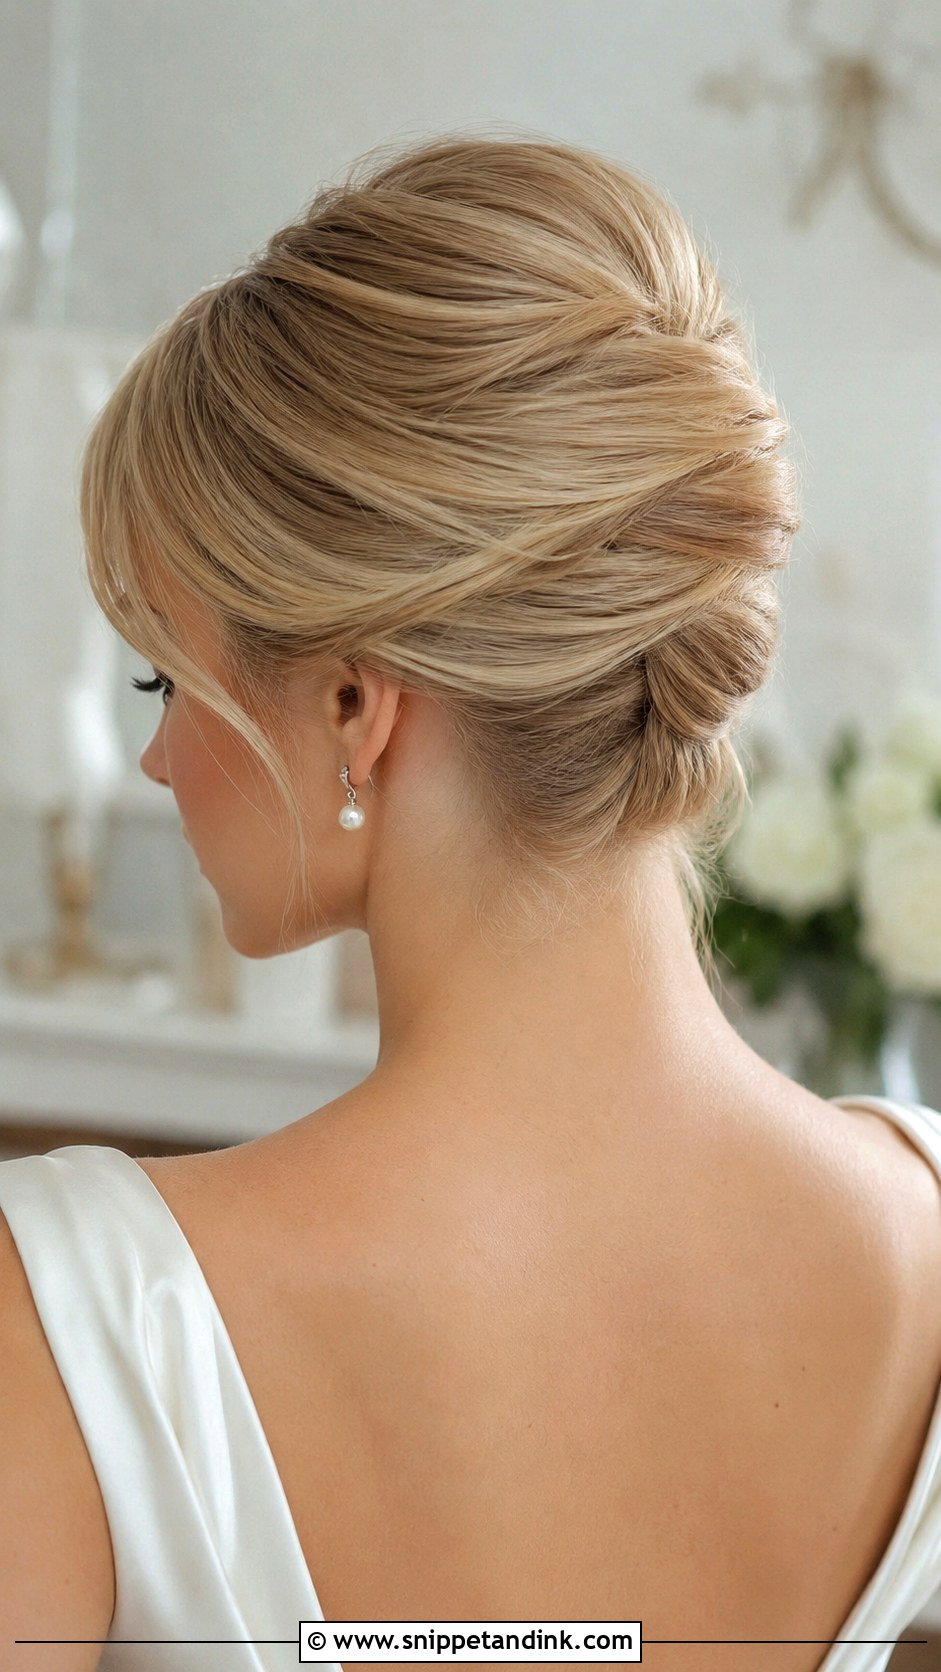
The French twist is a classic for good reason, though it’s the hardest updo in this list to do on yourself. Smooth the hair, tease the crown lightly, brush everything to one side and place a vertical row of crossed bobby pins down the center of the back. Then roll the hair back over those pins, tuck the ends inside and secure with U-pins. The hidden row of pins is what holds the twist; skip it and it unravels within hours. It sits beautifully with satin gowns and vintage dresses.
12. Textured Bridal Bun Tutorial
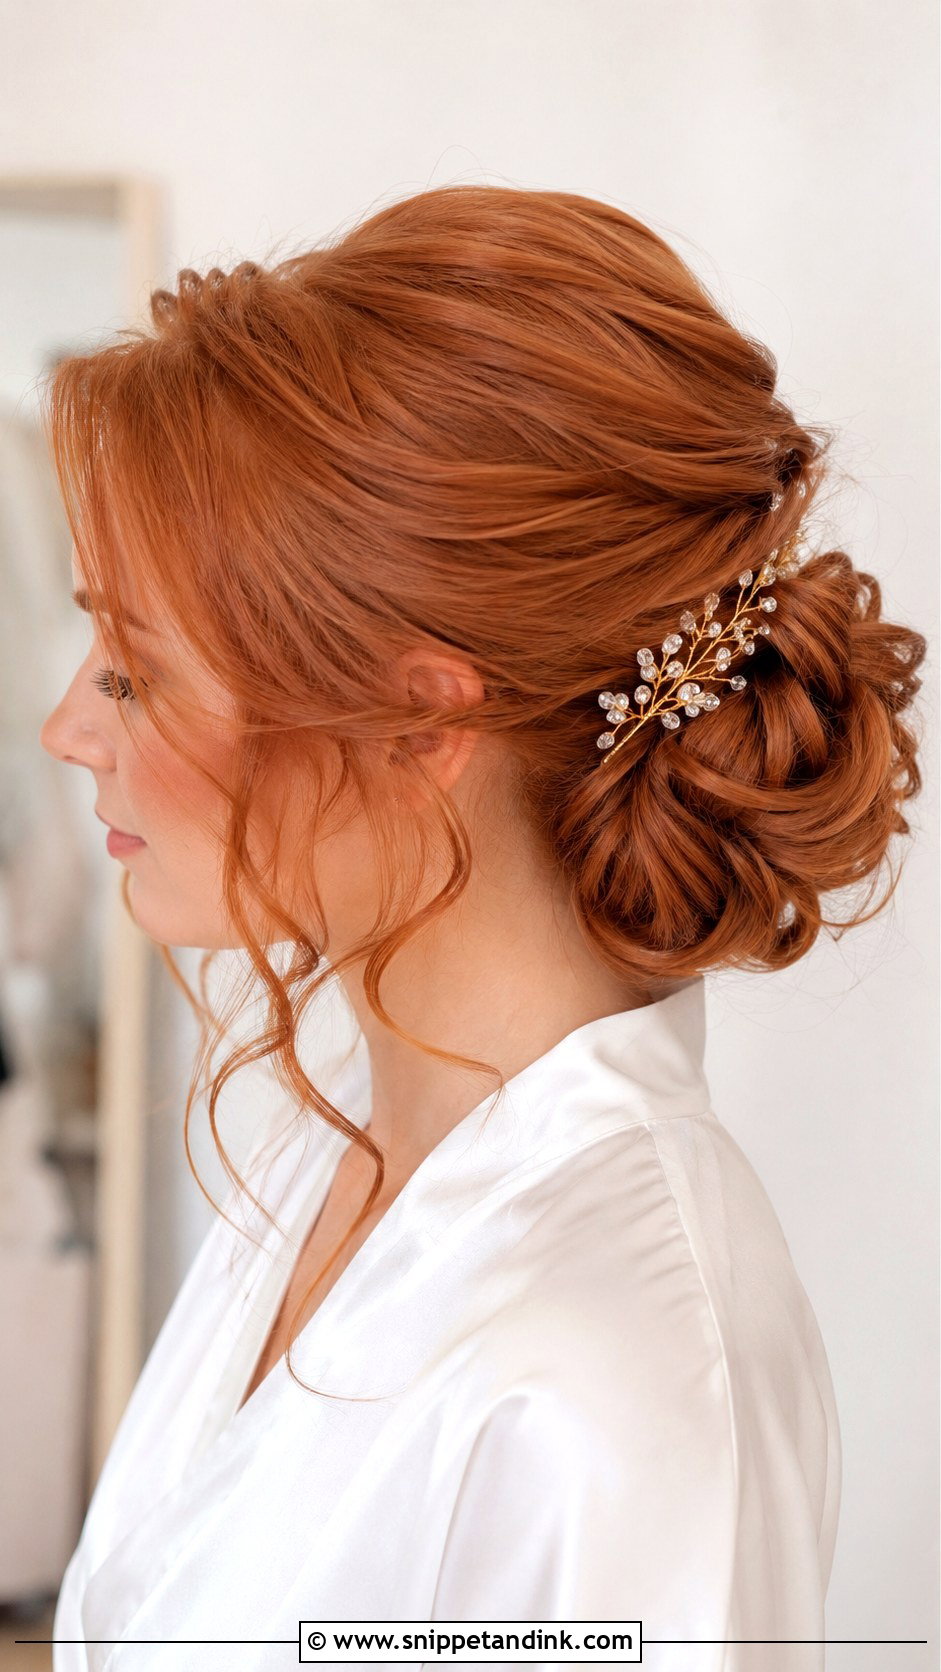
Texture is the best friend of fine and layered hair. Curl the whole head, spray with dry texture spray, gather a low ponytail and split it into sections, pinning each one around the base. Don’t smooth everything flat; the bends between sections make the bun look fuller than the hair really is. Lift the crown slightly and pull out a few soft pieces at the front. This is the updo I reach for when a bride worries her hair is too thin to go up.
13. Boho Bridal Updo Tutorial
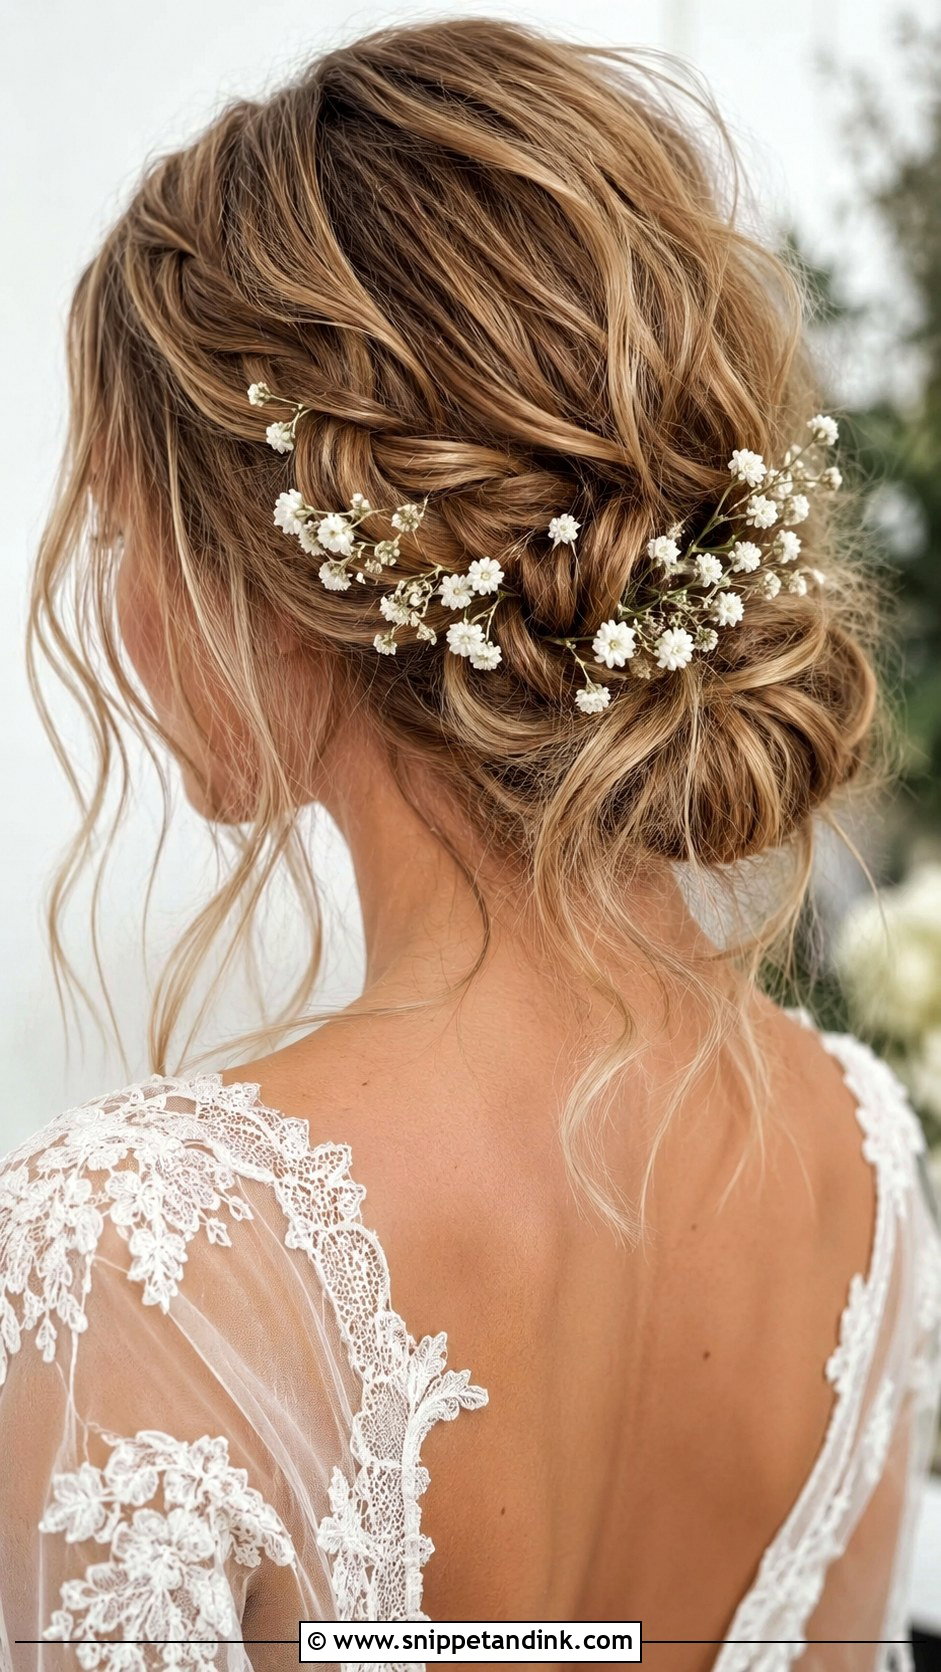
Loose and airy on the outside, a boho bridal updo still needs structure underneath. Start with undone waves and some root volume, add one or two small braids, then gather the hair into a low, relaxed bun pinned in uneven sections. Add small flowers or a soft comb only if they match the dress. Heavy tendrils pull the shape down, so keep them light. It’s made for outdoor ceremonies, barns and beaches, though sea air will relax any curl, so build in extra hold for the coast.
14. Short Hair Bridal Updo Tutorial
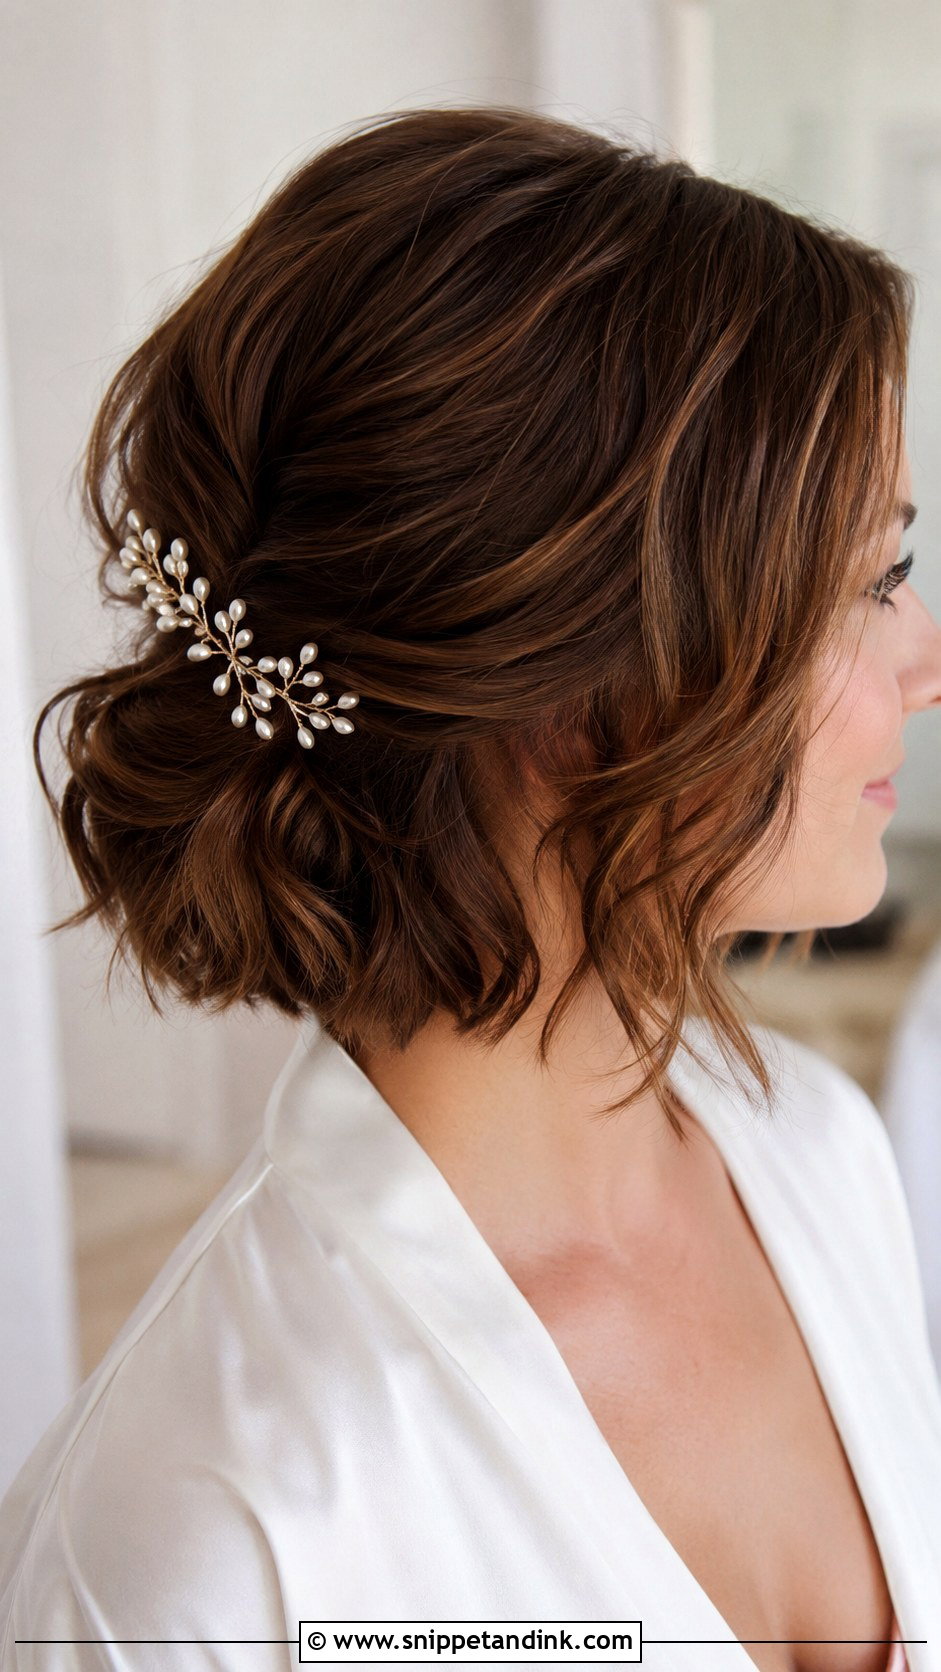
Short hair can go up; it just needs grip and small pins. Curl or wave everything first, pin the sides back, then tuck the lower sections under to create a small bun or rolled shape. Shorter front pieces become soft waves or a side sweep. Mini bobby pins matched to your hair color keep the structure invisible. A small comb or floral pin adds a bridal finish. Bobs and lobs work well; pixie cuts usually suit an accessory more than an updo.
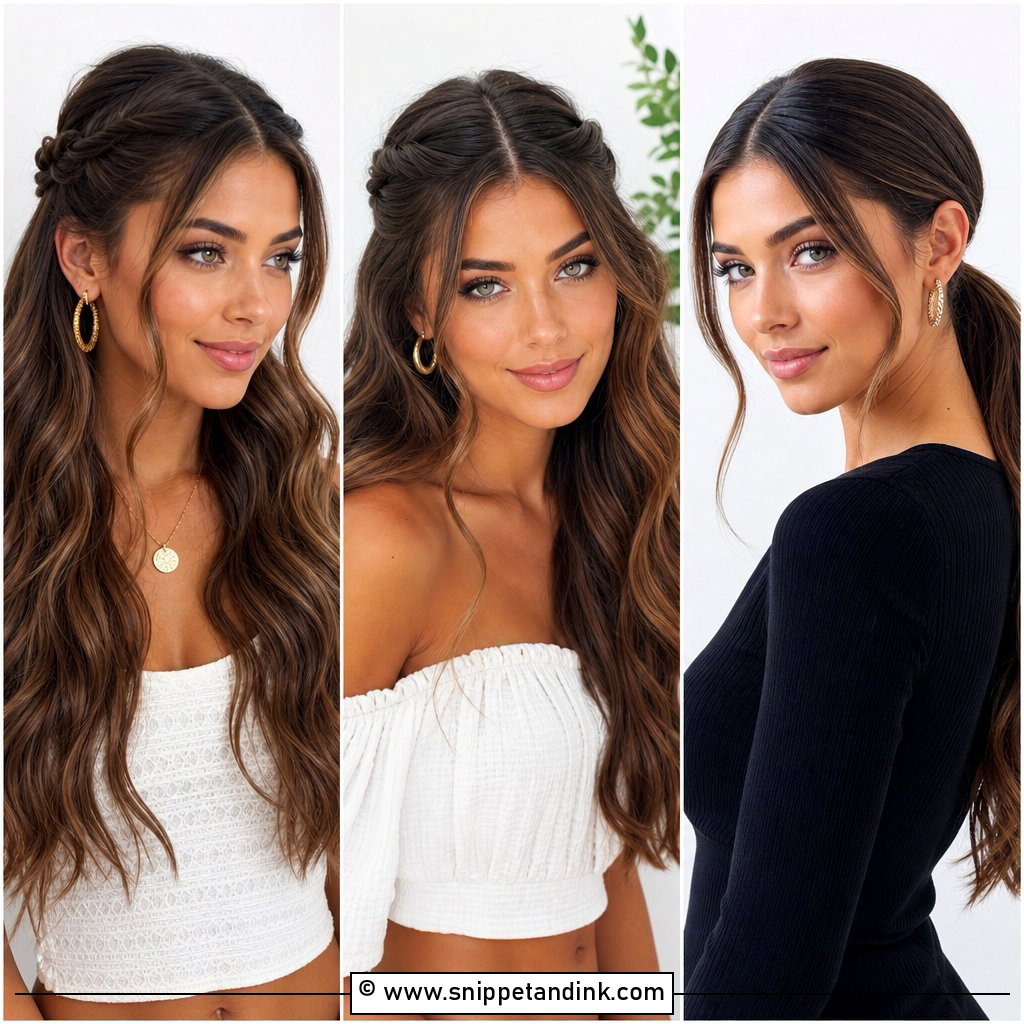
15. Half Up Bridal Updo Tutorial
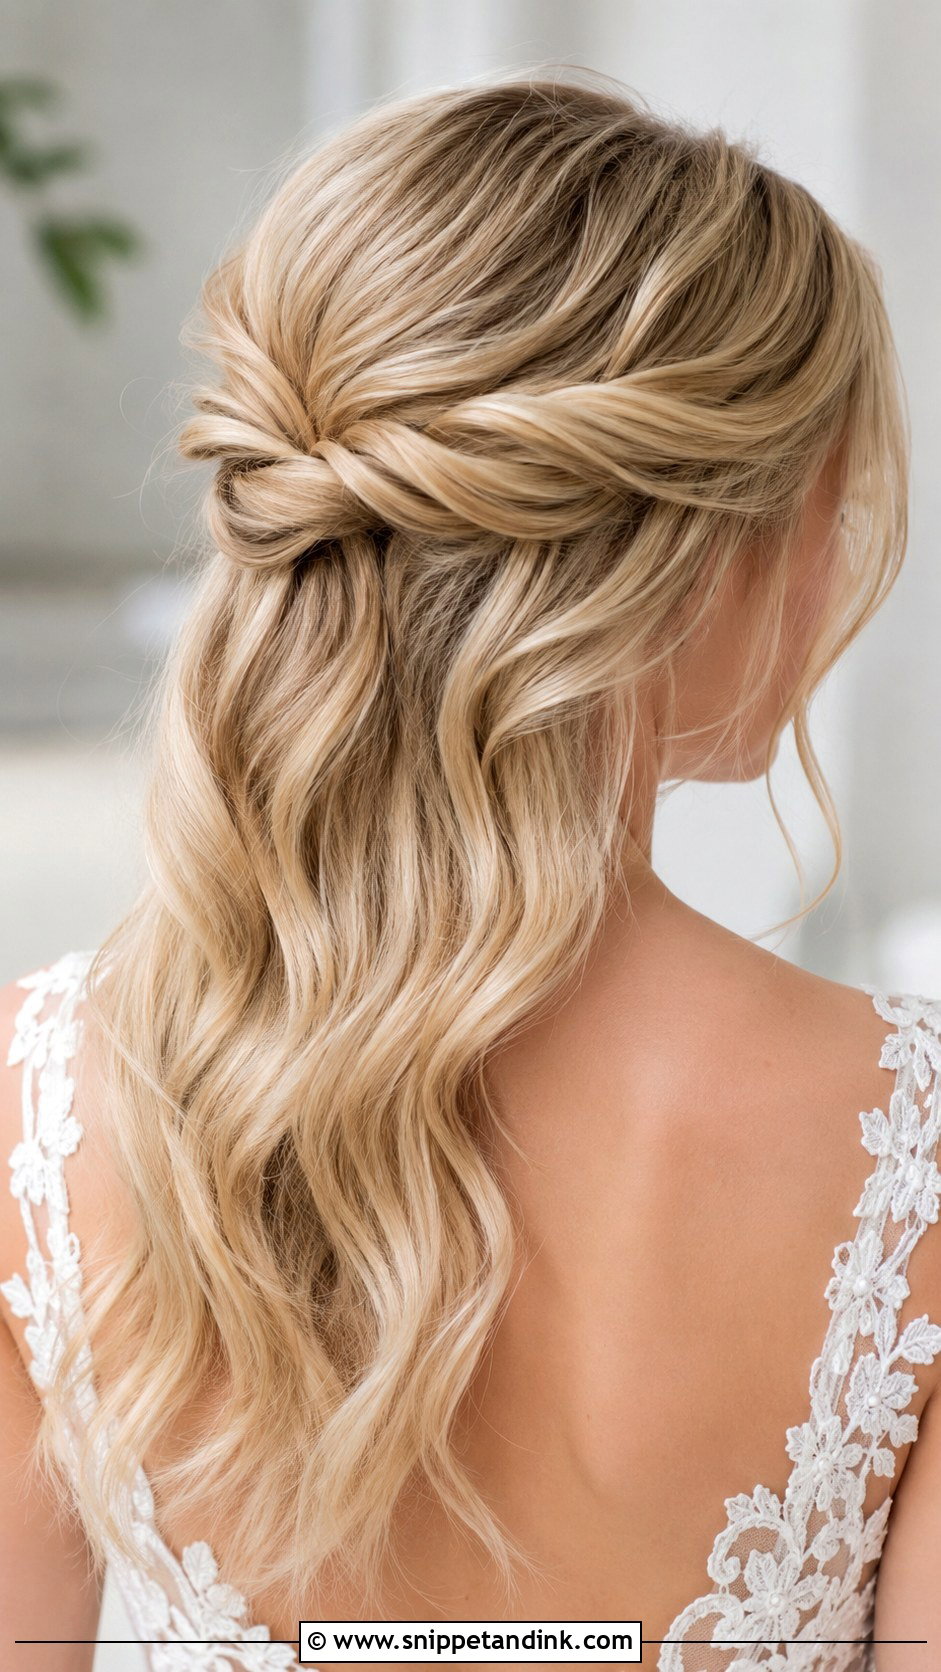
Half-up styling gives the softness of loose hair with the security of pins. Start with polished waves, tease the crown section for volume, then twist or braid the side pieces back and pin them together at the center. A small hidden bun under that join makes the back look like an updo. Let the lower hair fall in waves. Loose lengths will drop curl faster than pinned hair, so set those waves well.
16. Bridal Updo For Fine Hair Tutorial
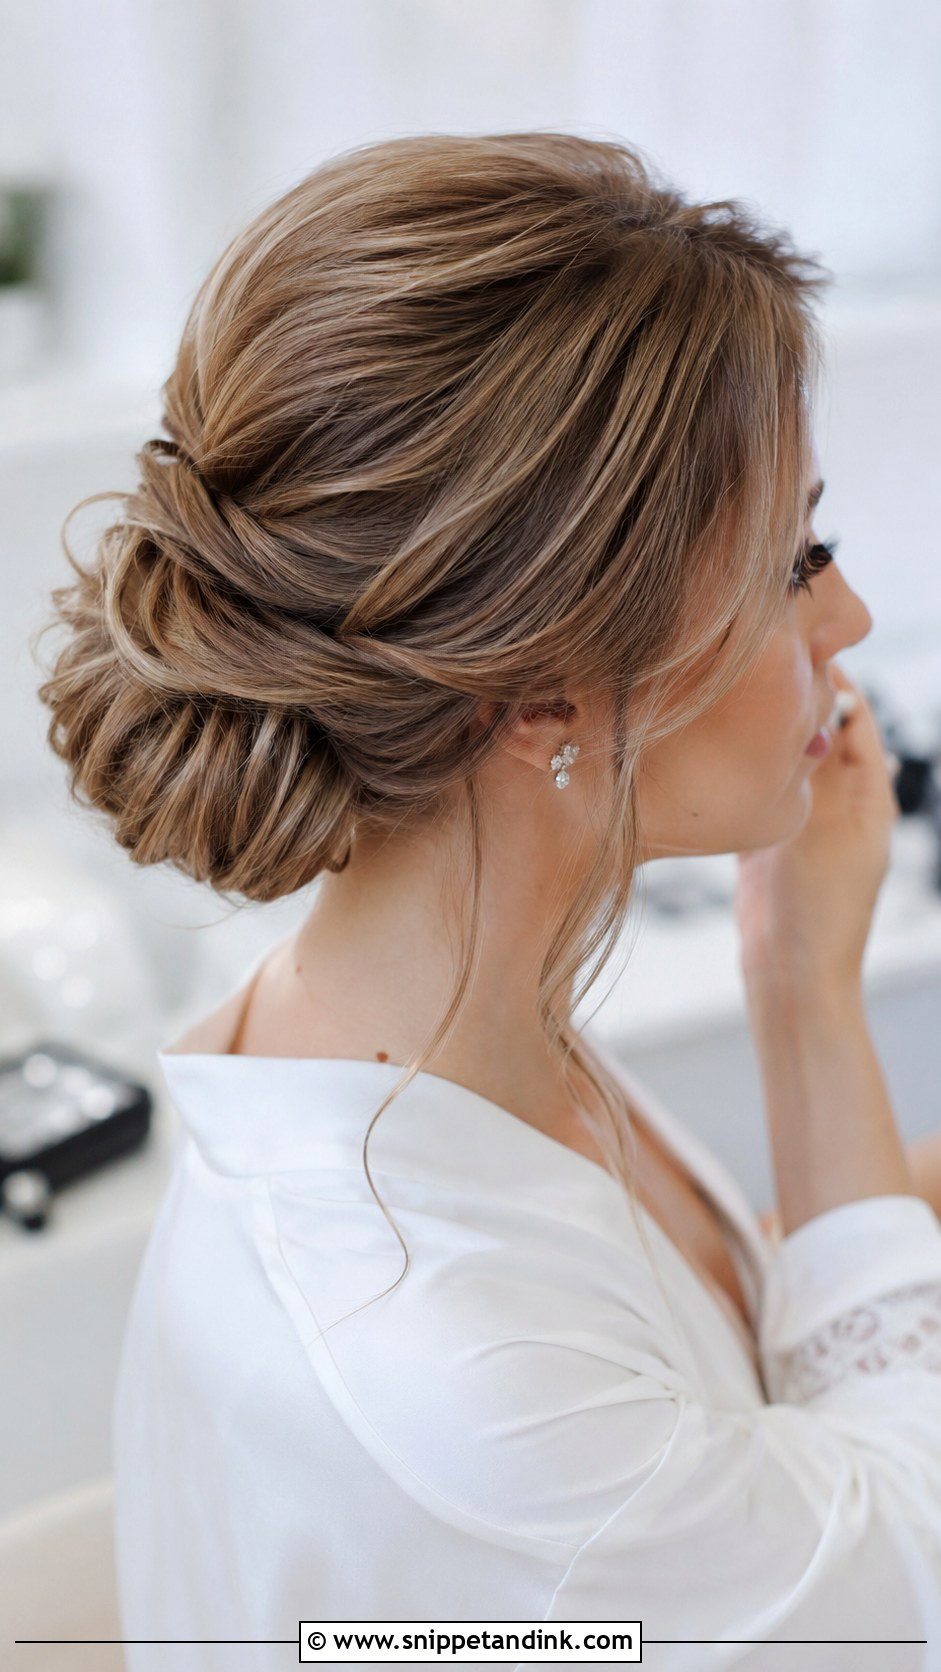
Fine hair needs more preparation and fewer pins than people think. Apply mousse to damp hair, blow-dry for volume, then curl and let each curl cool completely before touching it. Dry texture spray and a light tease at the crown and ponytail area give the pins something to grip. Low buns, twisted buns and soft chignons expand easily with pinned sections. Avoid shine serum, which flattens fine hair. A small padding piece hidden inside the bun adds bulk if needed.
17. Bridal Updo For Thick Hair Tutorial
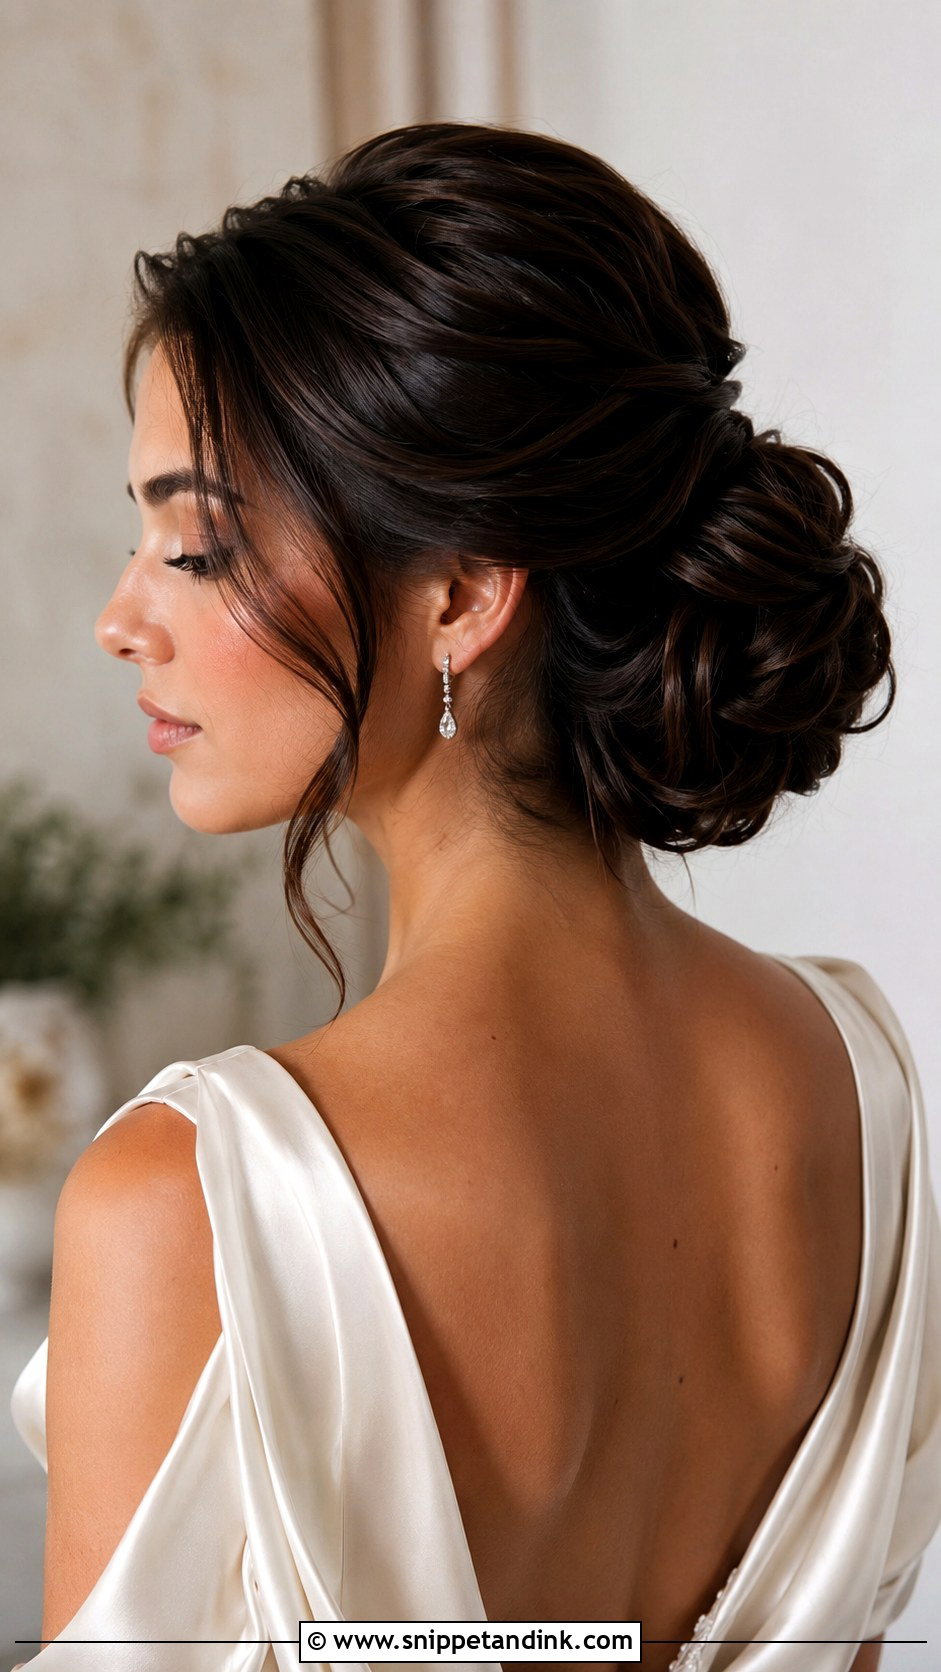
Thick hair is about managing weight. Divide it into sections instead of trying to pin everything at once, and only add waves where you want movement. Make a strong low ponytail as an anchor, then twist and pin smaller pieces around it with sturdy U-pins worked close to the scalp. Keep the bun a little wide so it doesn’t sit like a heavy ball. Thinning the bulk inside the bun, rather than piling it all on, prevents headaches and sagging by evening.
18. Bridal Updo With Curtain Bangs Tutorial
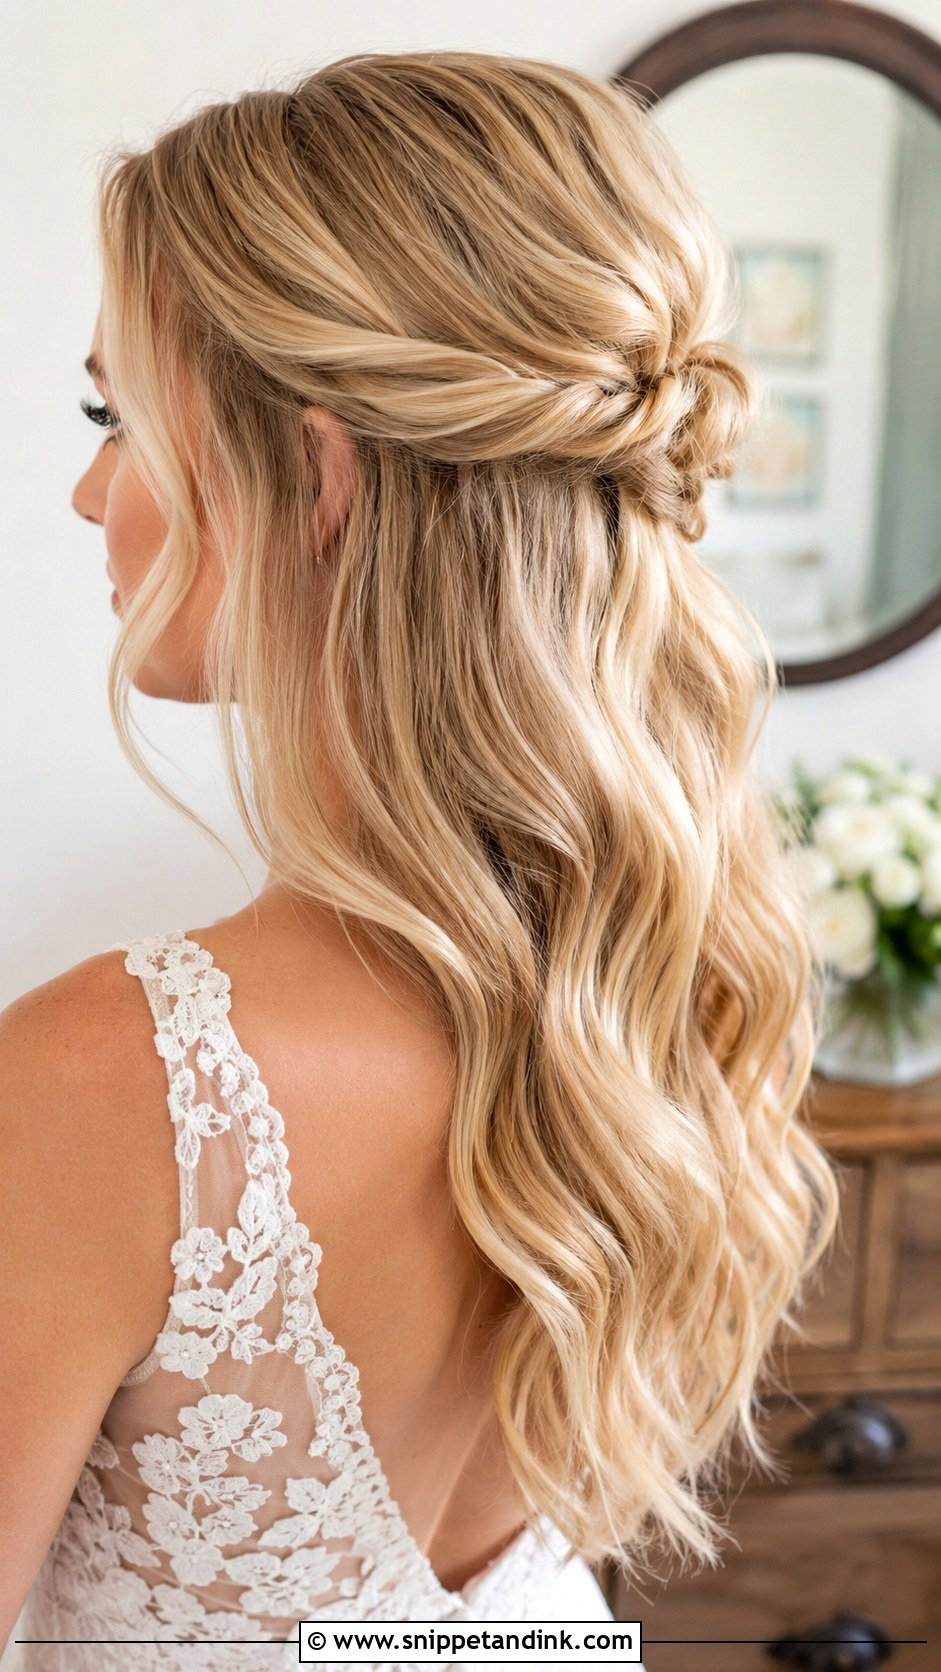
Separate the bangs before you style anything else. Blow-dry curtain bangs away from the face with a round brush so they curve at the cheekbones. Then create a low bun, textured chignon or relaxed twist at the back. Once the updo is pinned, refine the bangs with a curling iron and a light spray. Don’t over-pin them; their movement softens the whole look. If they tend to split in humidity, a tiny dab of cream on the ends helps.
19. Vintage Bridal Updo Tutorial
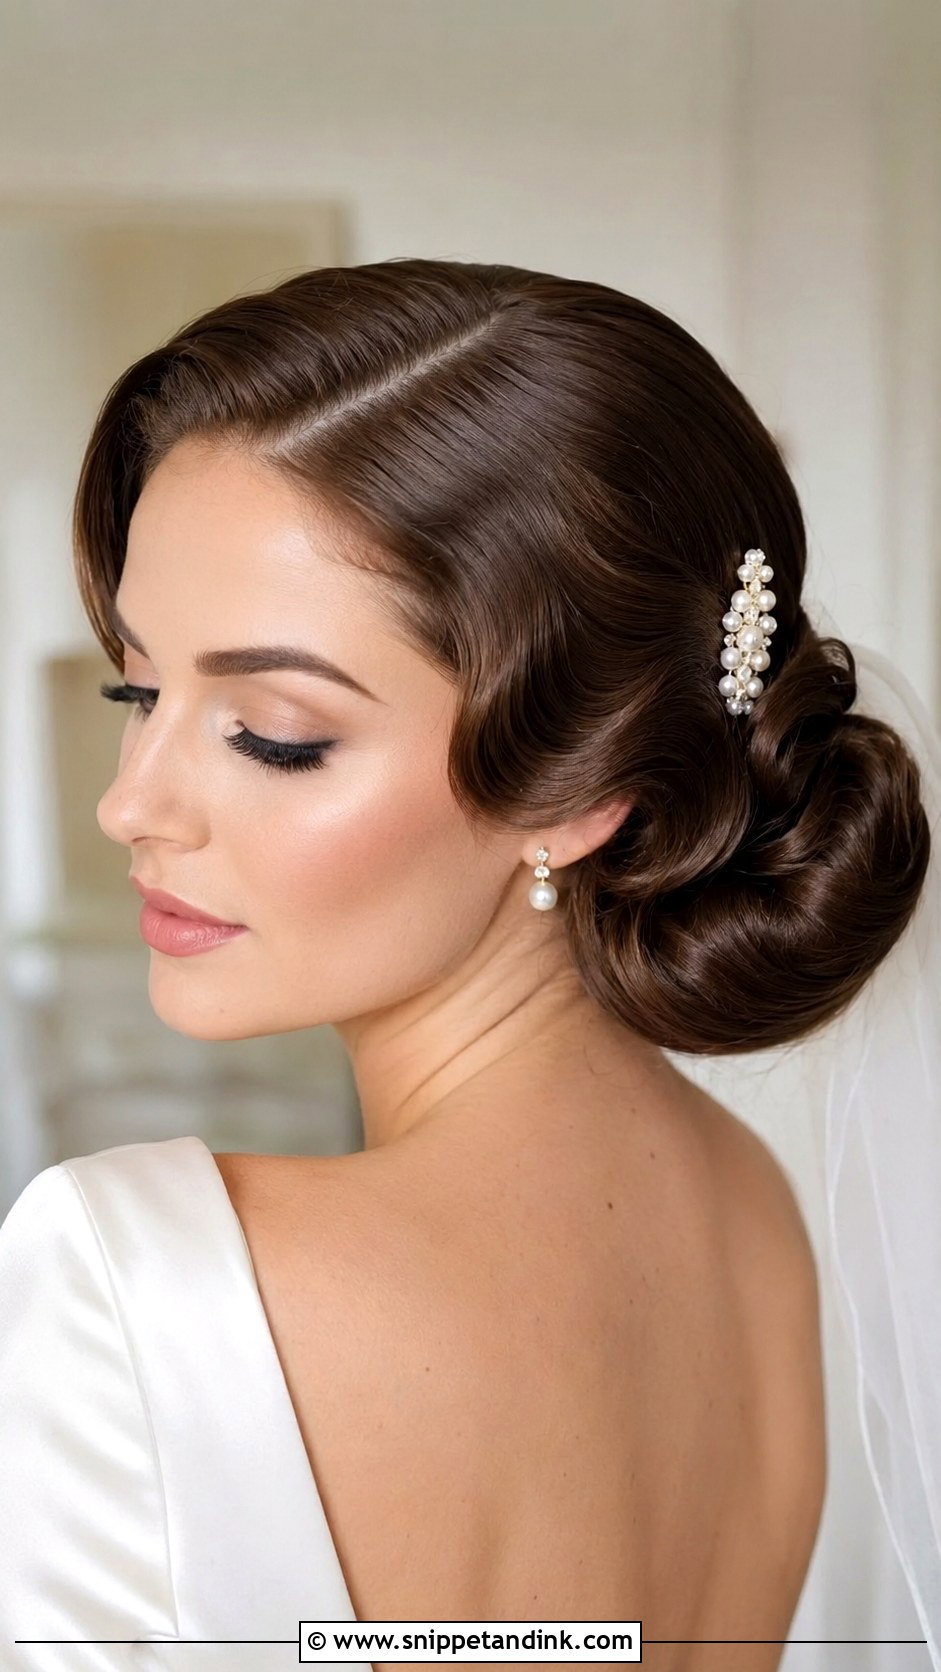
Old-Hollywood updos need a deep side part and smooth waves around the face. Roll or twist the back into a low chignon, a French twist or a pinned curl, and keep the finish polished rather than crunchy. One sculpted wave near the cheek or temple sets the era. A small comb, pearl clip or birdcage veil finishes it. Keep the rest of the look modern, and it reads as a reference rather than a costume. It’s suited to satin gowns and courthouse weddings.
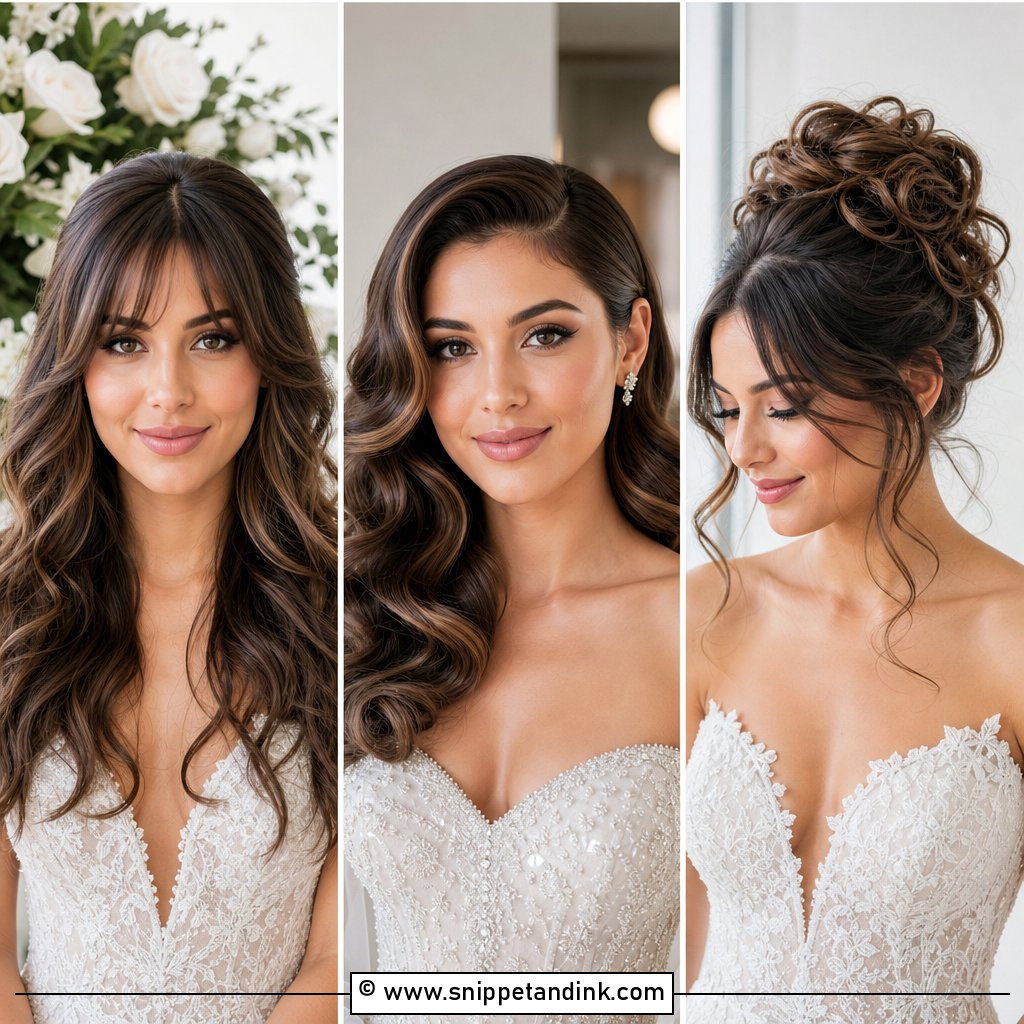
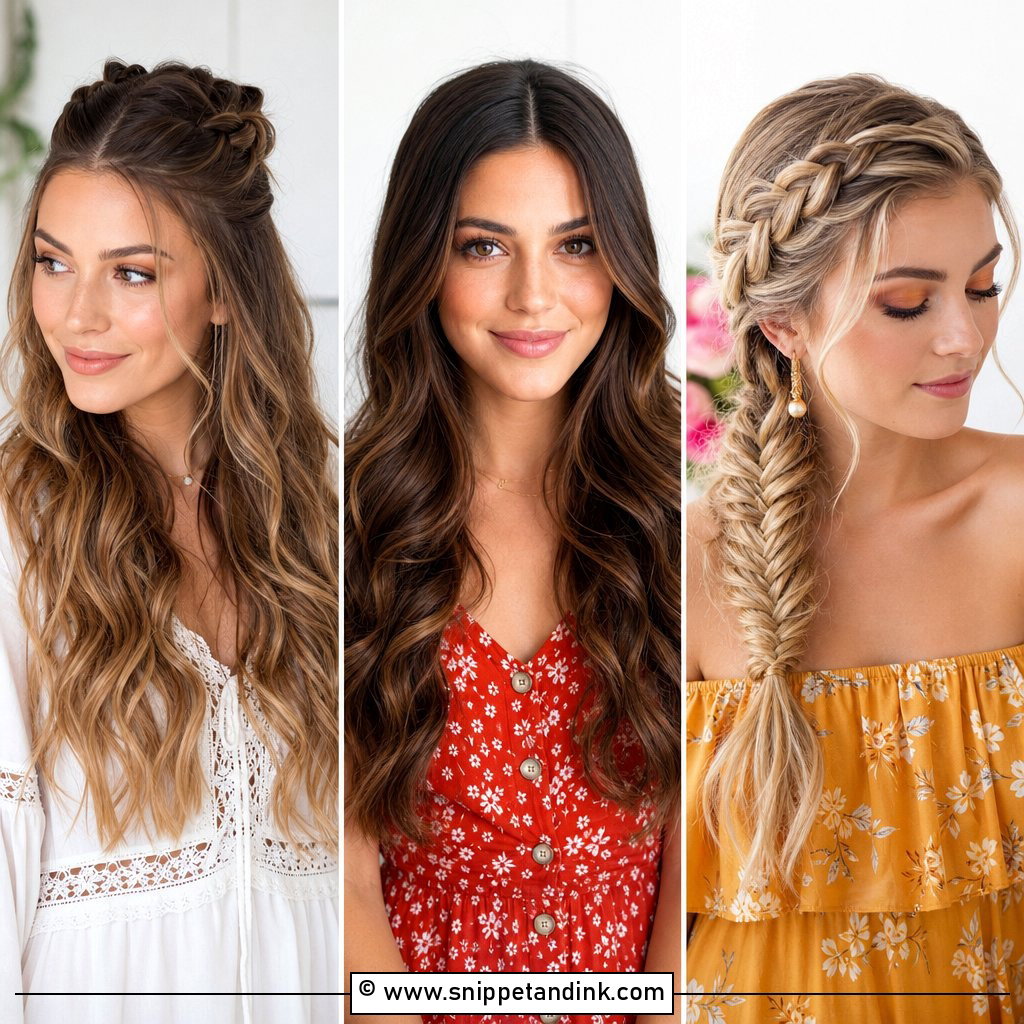
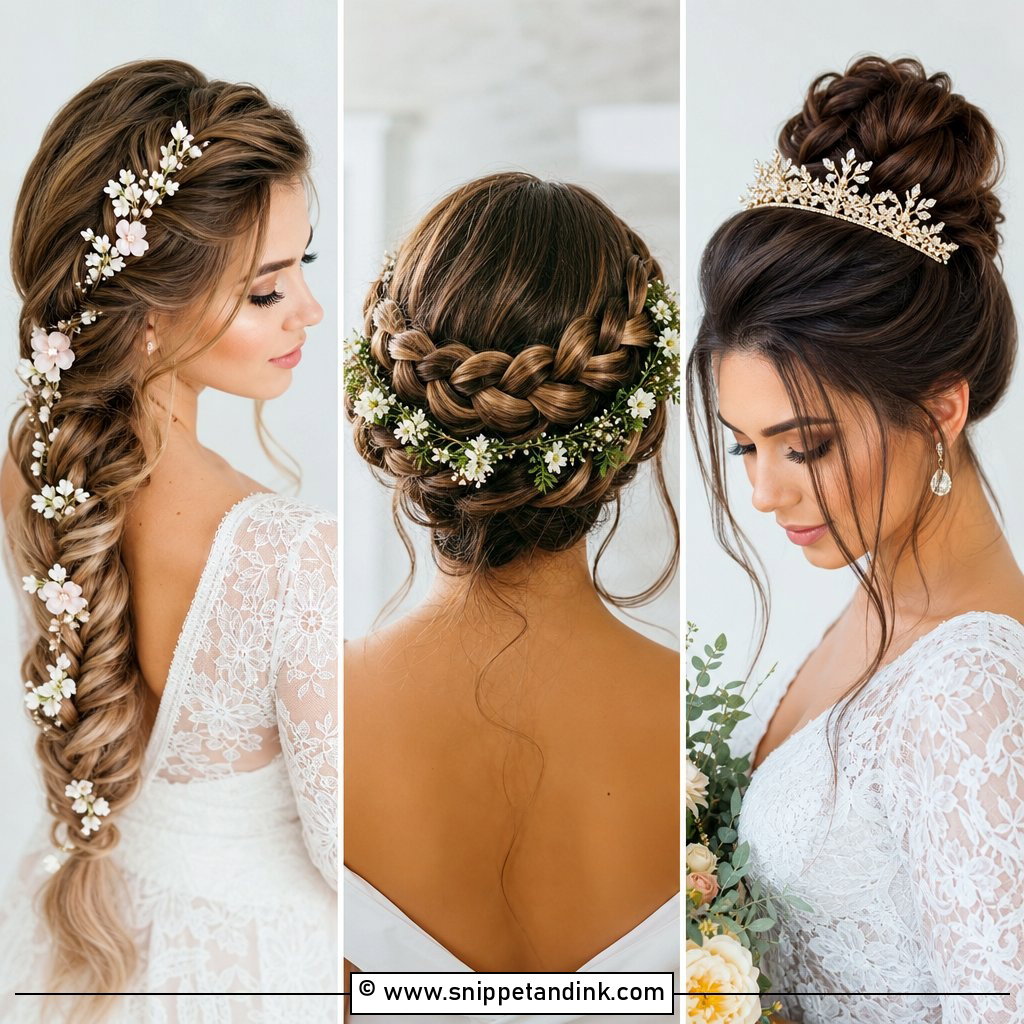
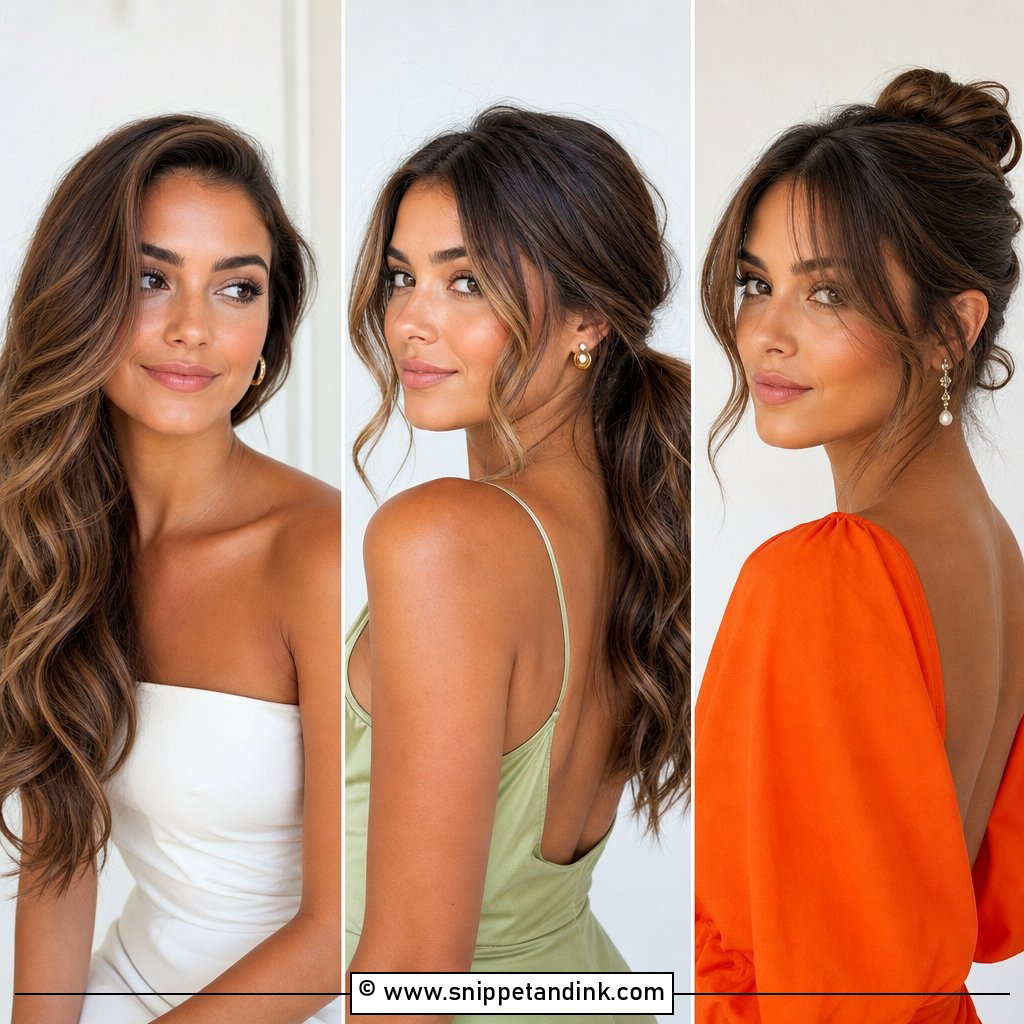
20. Low Twisted Bridal Updo Tutorial
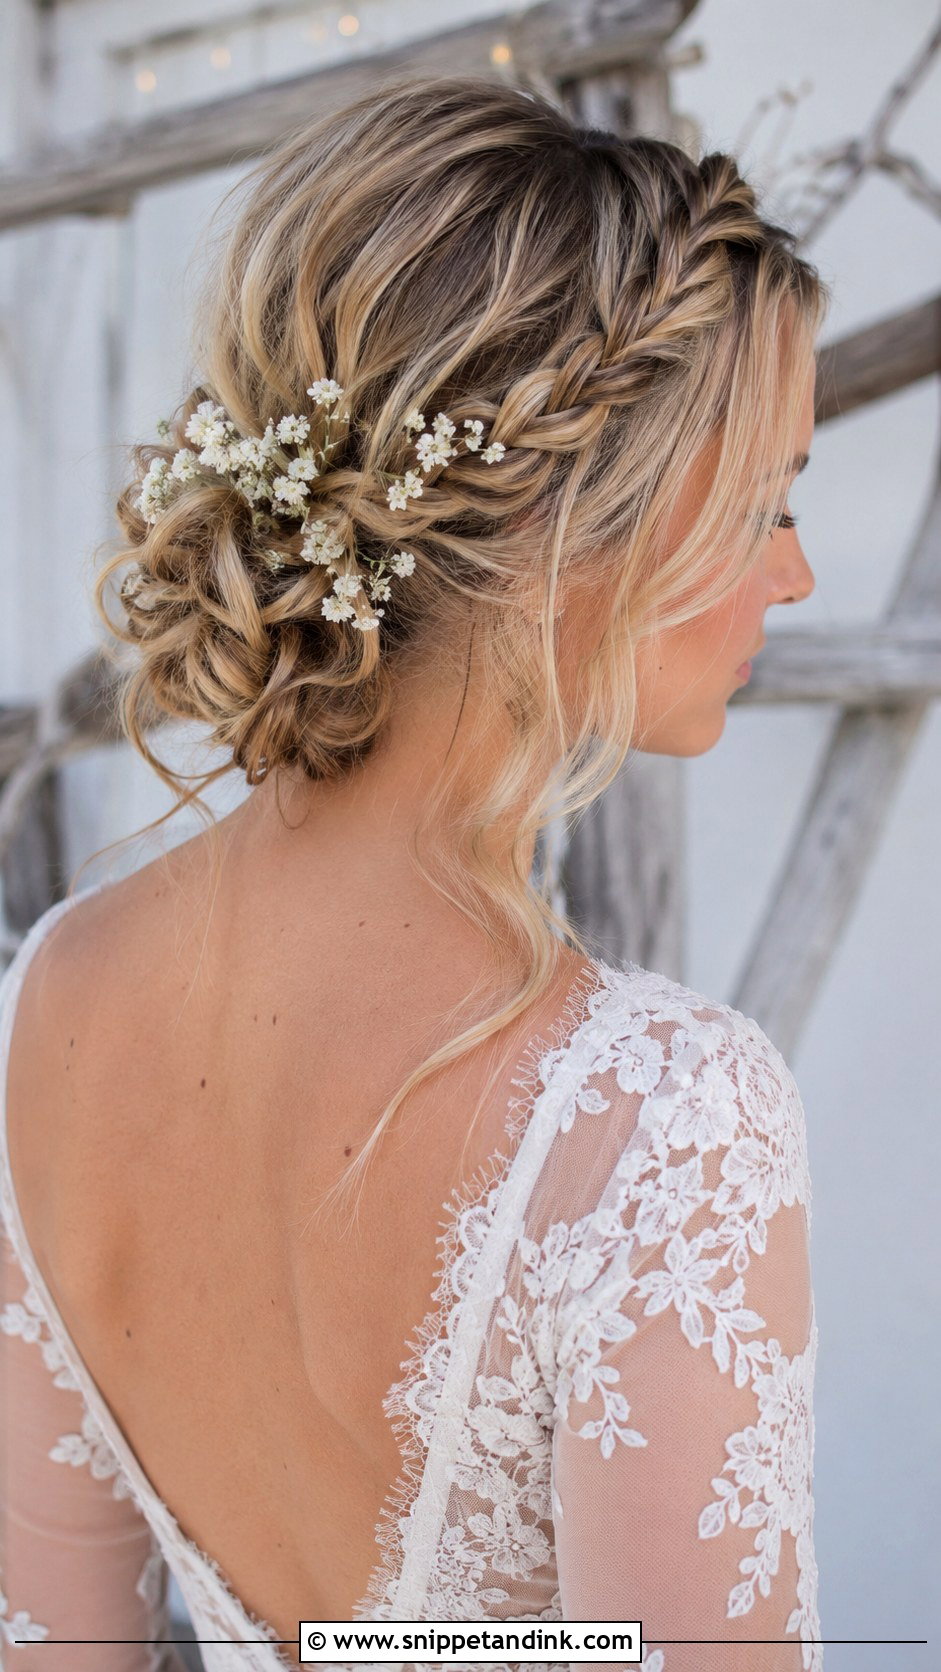
Twists are easier to learn than braids, which makes this the most practical tutorial for doing your own hair. Start with loose curls, split the hair into two or three sections, twist each side section away from the face and pin it at the nape. Gather the rest into a soft bun and wrap the twists around it. Pull gently at the twists to widen them. Medium to long hair works best, and hair vines and veils attach easily into the twisted sections.
Practice Runs When You Can’t See the Back of Your Head
Following a tutorial is very different from pinning the back of your own head. Your arms tire quickly, and you’re working on a mirror image. If you’re doing your own wedding hair, practice the full style at least a few times in the weeks before, not just once the night before the wedding.
Set up a second mirror behind you, or prop your phone up and record a video so you can check the back. Sit down to work, rest your elbows on a table, and take breaks. If a friend or bridesmaid is helping, have her practice the back pinning with you so she knows where the anchor points go.
Taking it down without losing hair
At the end of the night, resist the urge to pull the whole updo apart. Find the pins by feel and remove them one at a time, then gently release any elastics. Work a little conditioner or detangling spray through the hairsprayed sections and brush from the ends upward. Teased sections will knot badly if you rush. Washing the next morning removes the rest of the product.
An Updo Proves Itself at the Trial, Not in the Photo You Saved
Match the updo to your hair first, then your dress and the feel of your venue. A sleek chignon suits a structured modern gown; a messy bun or braided updo usually suits a garden. Whatever you choose, test it before the wedding: take photos from the front, side and back, turn your head, hug someone and sit down. Bring your veil, pins and accessories to the trial. If the style still feels comfortable after a few hours, it’s the right one.
You'll Like These Ideas:


Leave a Reply