
Sewing your own wedding dress means you decide every seam, and it also means you carry every fitting problem yourself. The ideas here run from beginner shapes to vintage, modern and creative options made with sewing, crochet or upcycling. Whatever you choose, make a muslin first, a test version in cheap cotton, and wear it while you sit, walk and lift your arms. That’s when gaping necklines and tight armholes show up, while fixing them still costs nothing. Fabric changes the result as much as the pattern: crepe reads smooth, satin holds shape, chiffon moves and tulle builds volume.
Counting Backward From the Wedding Date
Home-sewn wedding dresses almost always run short of time at the same stage: fittings and hand finishing. Cutting and machine sewing go faster than people fear; hems, closures and beading go slower. A rough plan, adjusted for your speed and how complex the design is:
- Six to nine months out: settle the design, buy the pattern, order fabric swatches and look at them in daylight.
- Five to six months out: make and fit the muslin, transfer changes to the paper pattern, then buy the real fabric with some extra for mistakes.
- Three to four months out: cut and construct the dress, leaving hems and trims unfinished.
- Six to eight weeks out: fittings in your wedding shoes and underwear, then beading, appliqué and closures.
- Two weeks out: level the hem, final press, and a full try-on with veil and jewelry.
If you’re short on time, cut the design rather than your fitting steps. In my experience a plain dress that fits will look better than an ornate one rushed at the end.
1. Simple A-Line Homemade Wedding Dress
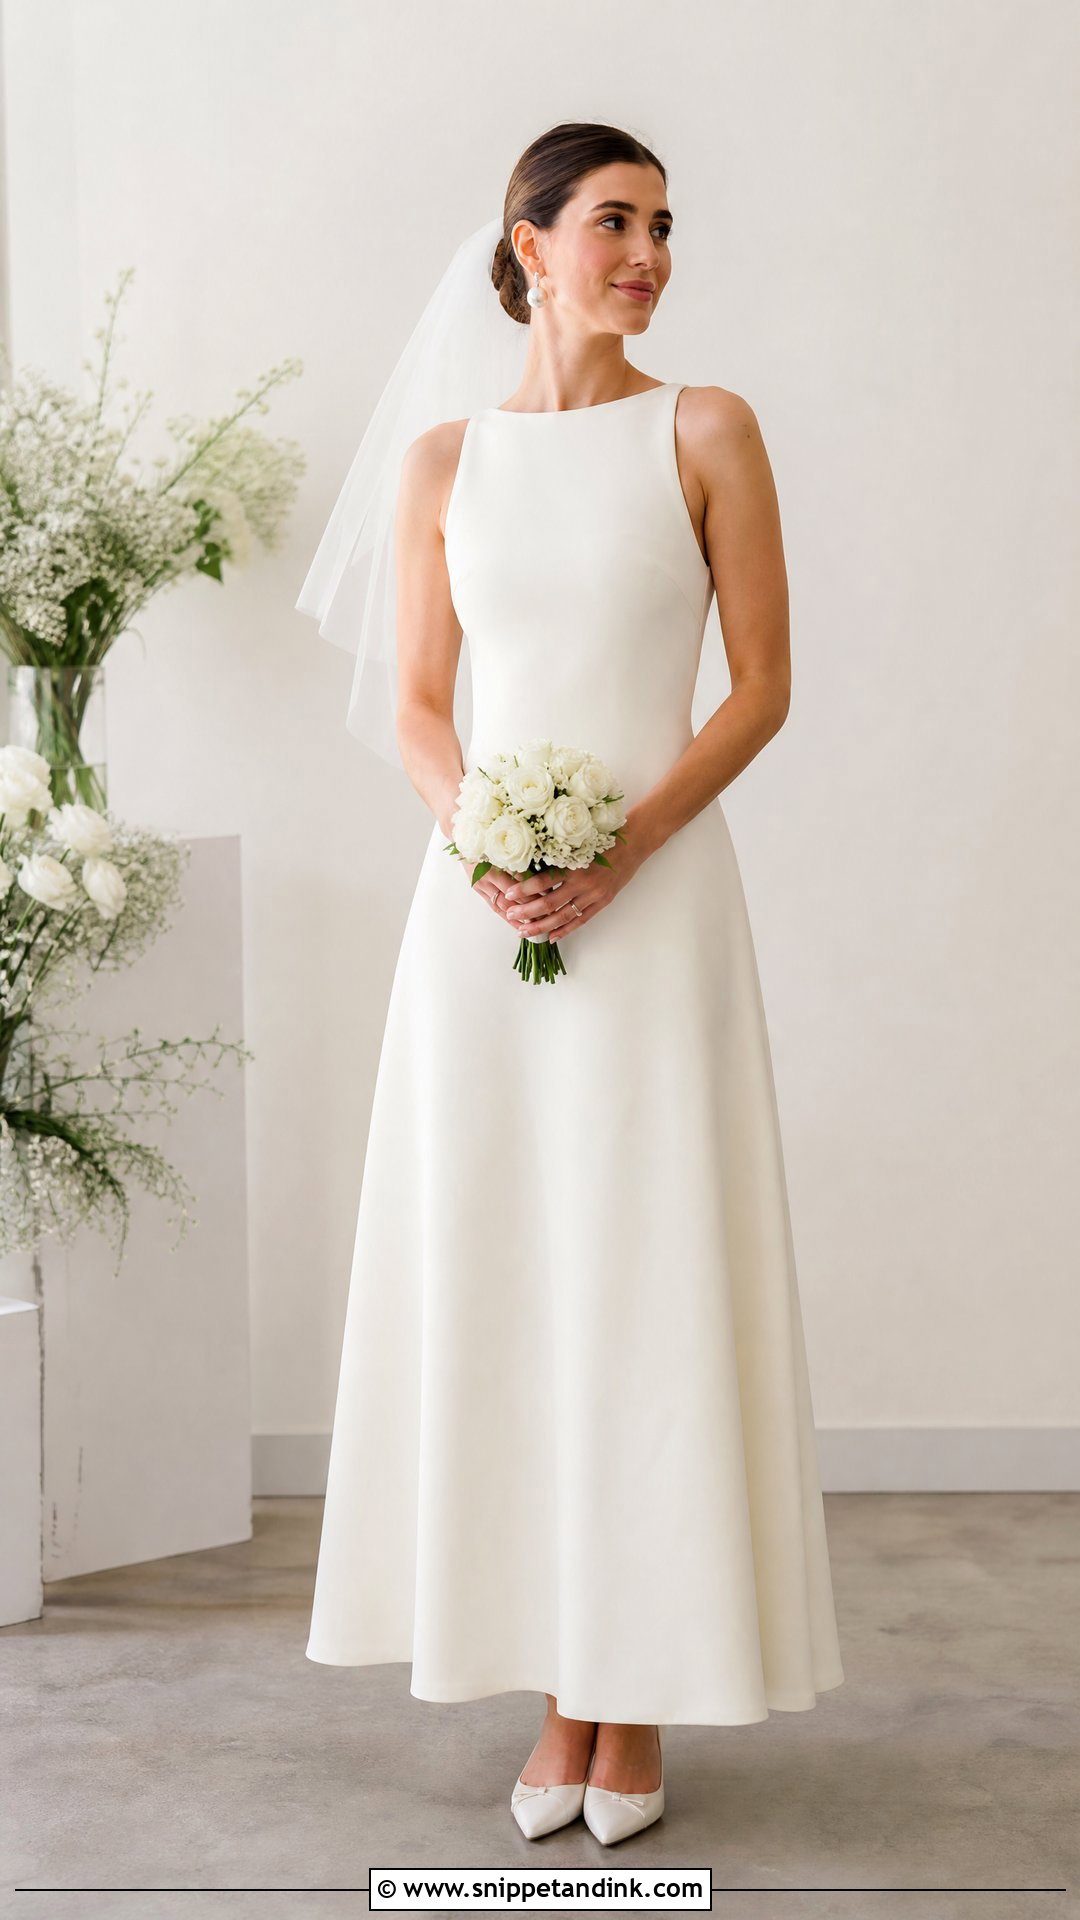
If this is your first bridal project, start here. A fitted sleeveless bodice over a skirt that widens gradually from the waist has few pieces and forgiving seams. Matte crepe, satin or cotton sateen give a clean finish without layers. Adjust the bust darts, waist seam, straps and hem on the muslin, then add an invisible back zipper and a light lining. Pointed flats or low block heels, pearl earrings and a short tulle veil keep it classic. The one place I see beginners struggle is the zipper on slippery fabric, so I’d baste it by hand before machine-stitching.
2. Lace Sleeve Homemade Wedding Dress
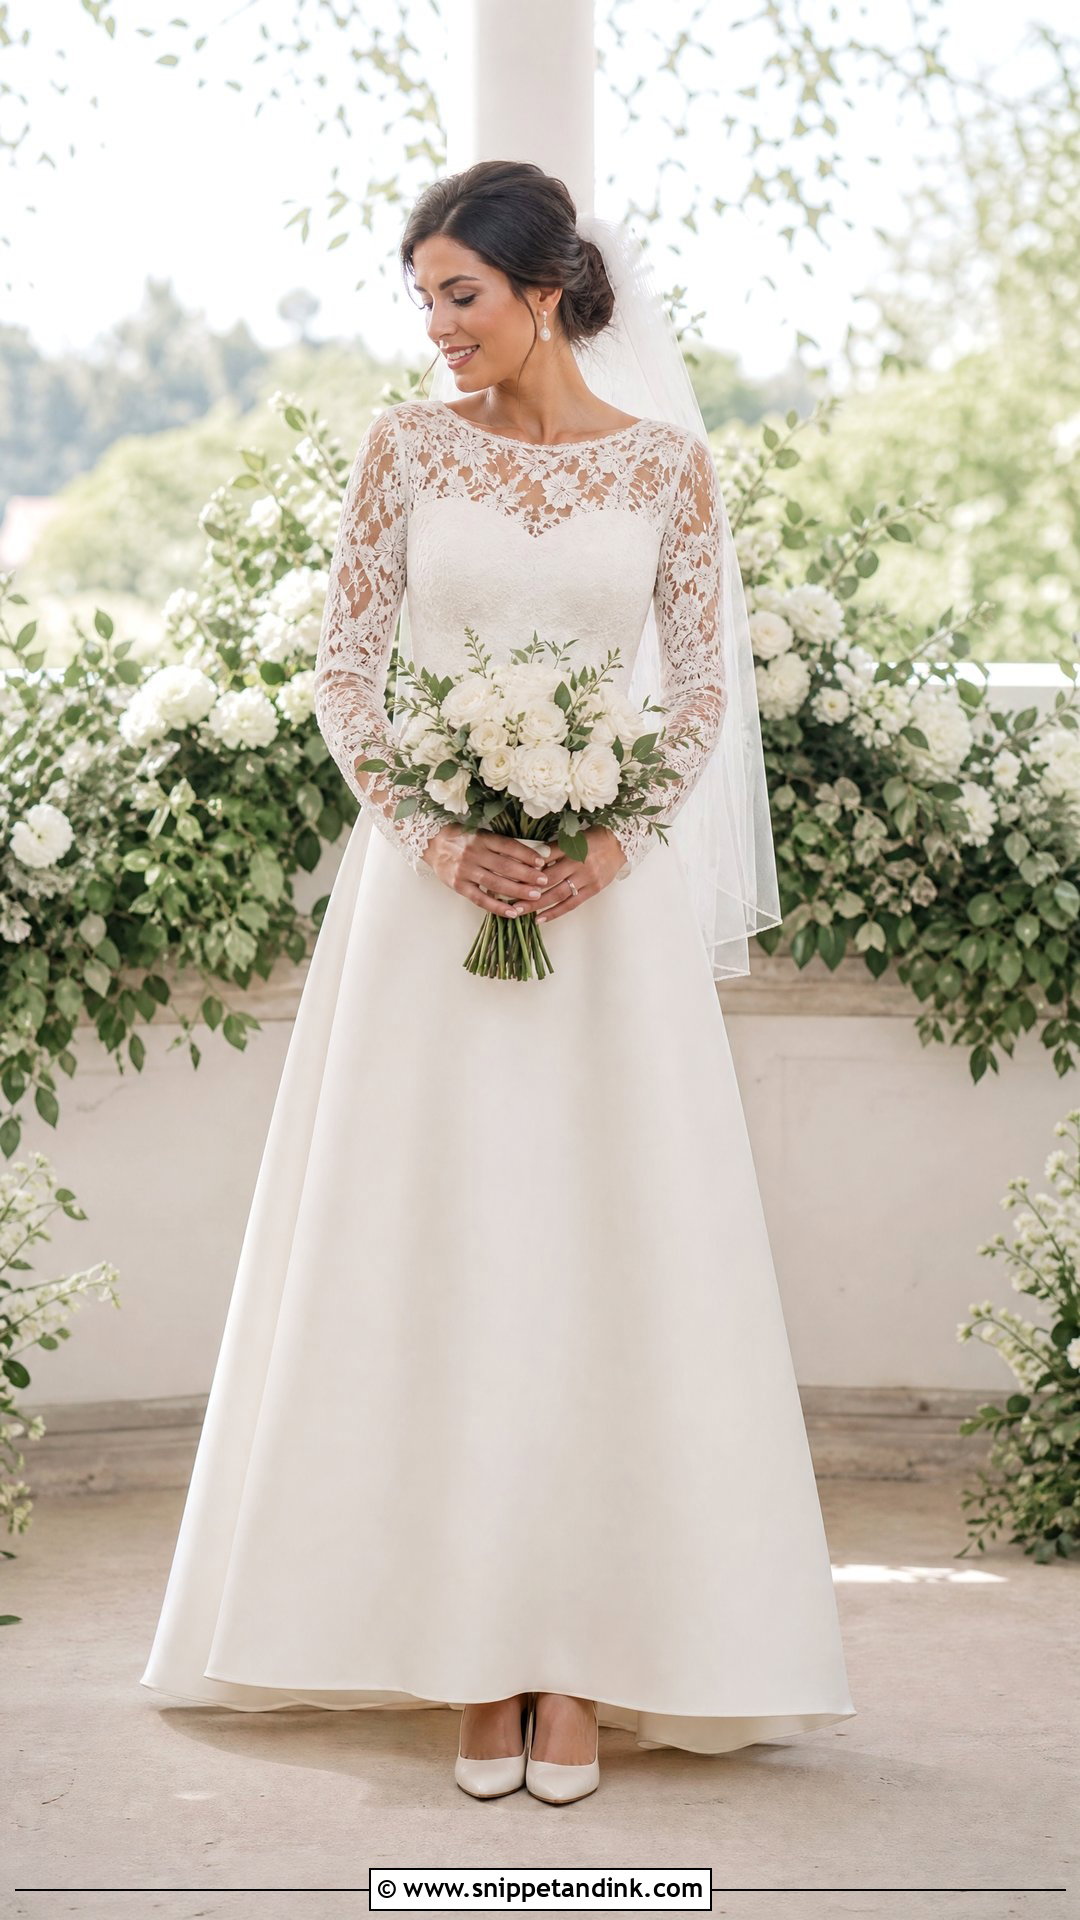
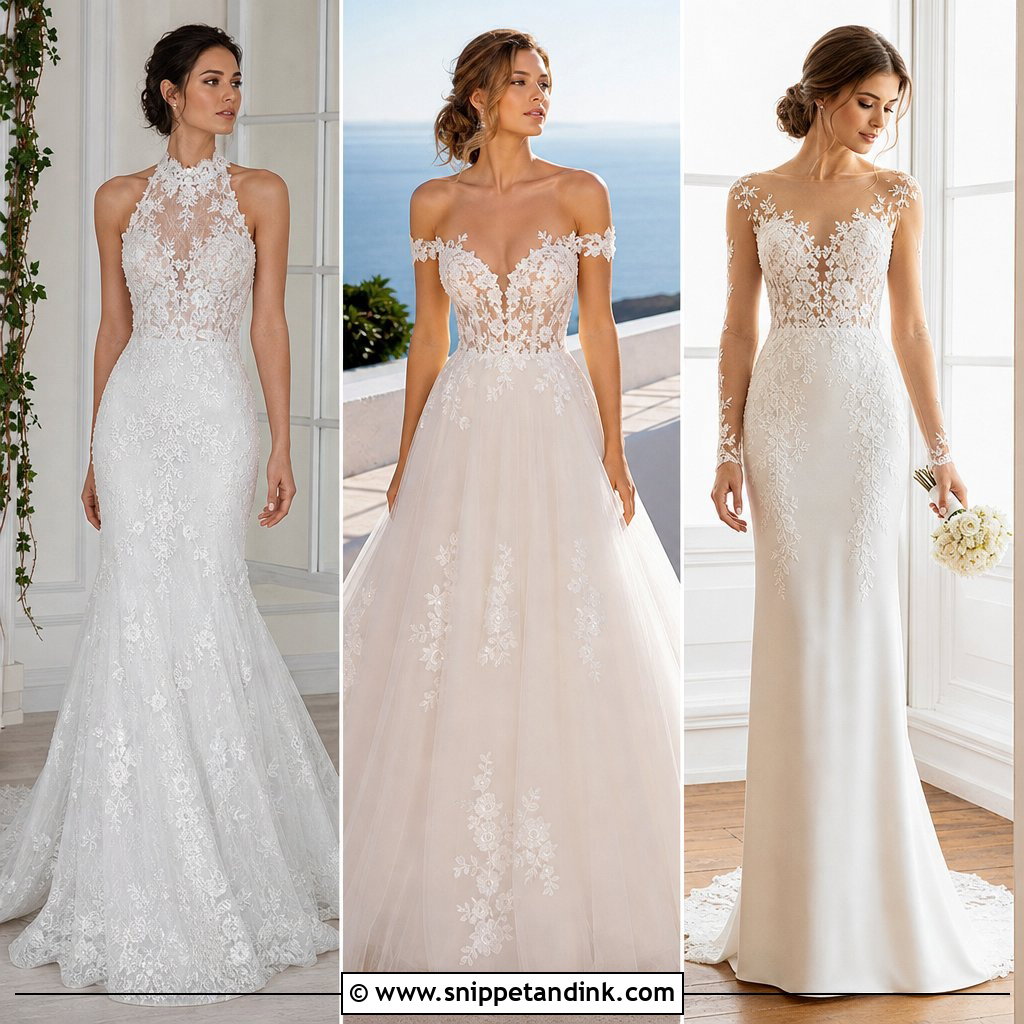
Lace sleeves are a smart way to add detail without beading a whole bodice. Over a smooth A-line or lightly gathered base, you can make fitted, flutter, or full-length sleeves from lace that feels soft on the skin. Lace stretches out at the shoulder and armhole, so I’d stabilize those seams with a narrow strip of lightweight stay tape. Use the scalloped edge as a ready-made cuff. Keep the bodice lined and the sleeves sheer, then add closed-toe pumps, a fingertip veil and pearl drops. Fitted lace sleeves need a full arm-lift test, since most bridal lace has very little give.
3. Satin Slip Homemade Wedding Dress
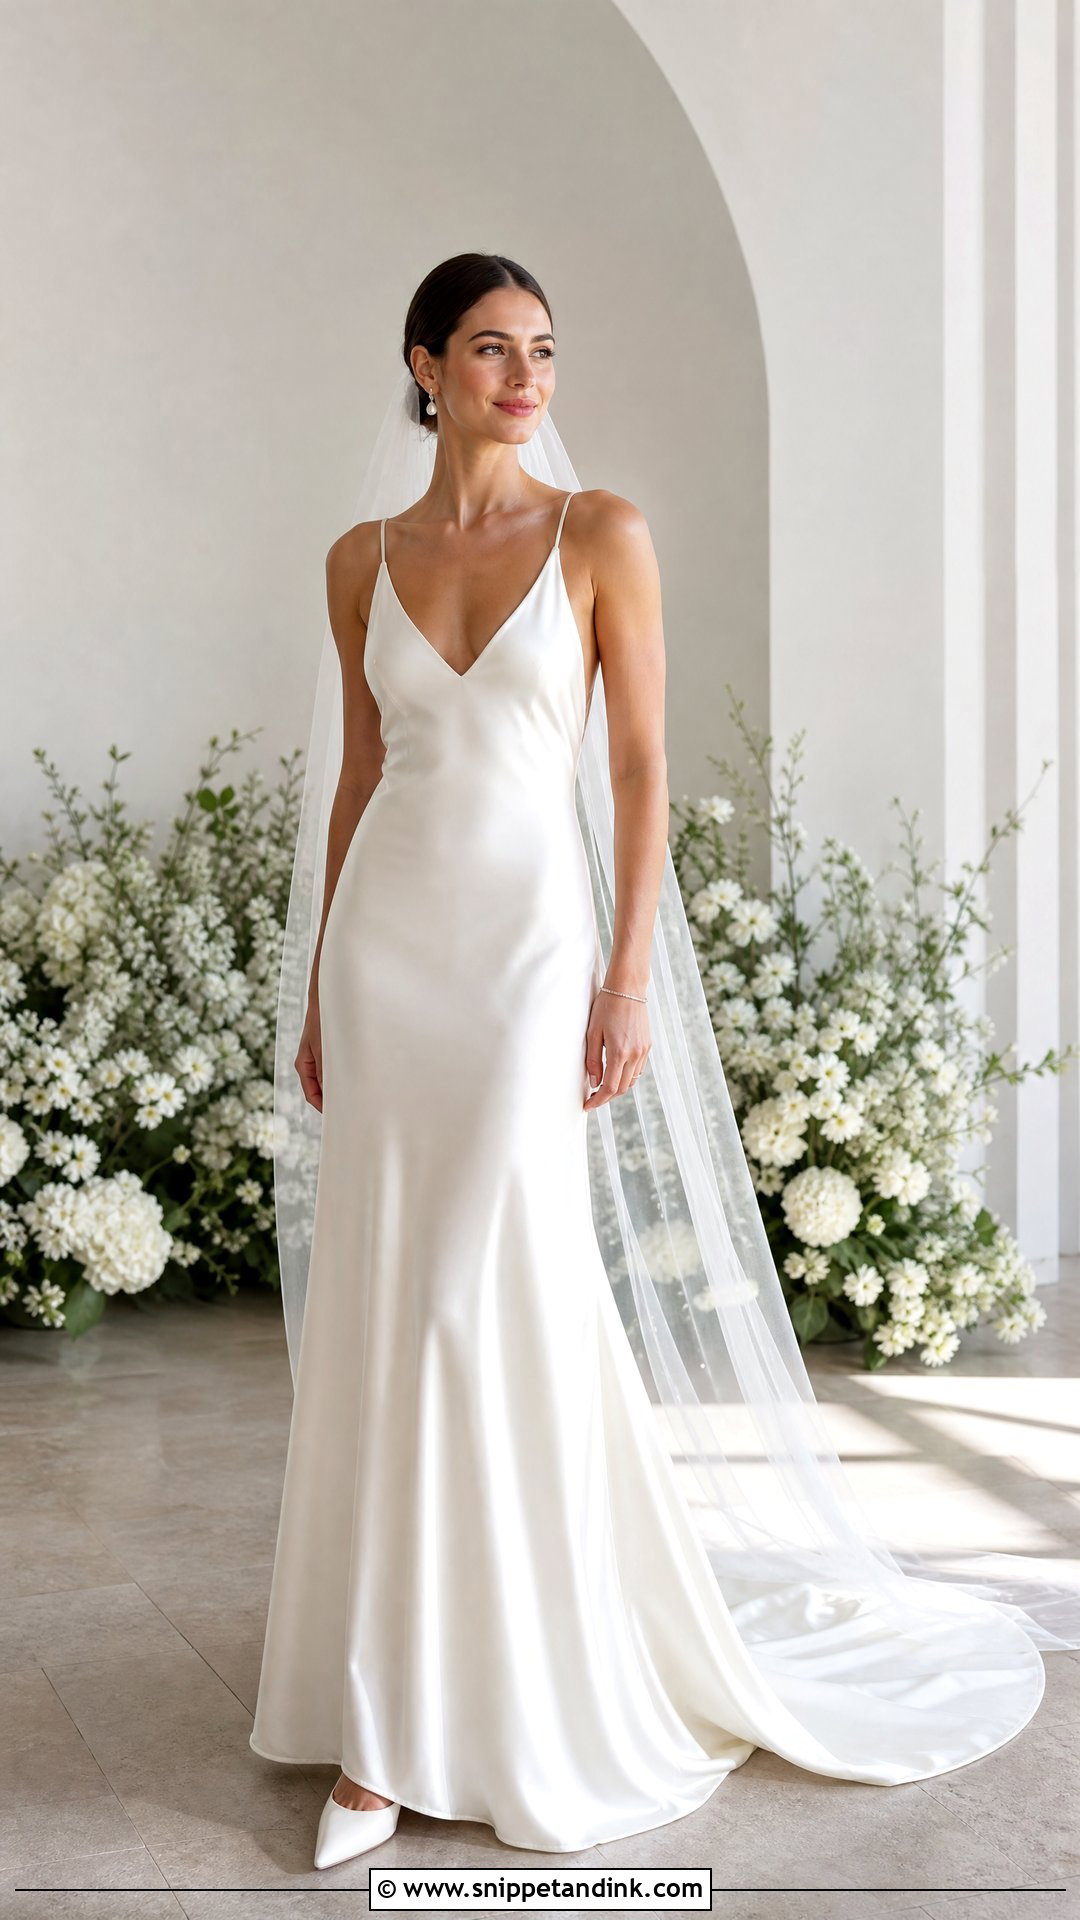
A slip dress has very few pattern pieces, which tempts people into thinking it’s easy. It isn’t, if you cut on the bias. Bias satin stretches as it hangs, so hang the unhemmed dress for at least a day before leveling the hem, or you’ll get a dipping edge. A straight-grain pattern is the safer route if you haven’t sewn bias before. French seams give a neat inside, and a light lining stops the satin showing everything underneath. I always practice on scraps first, because satin keeps needle holes and puckers wherever tension is off. Minimal sandals, a slim bracelet and a sheer cathedral veil finish it.
4. Tea-Length Homemade Wedding Dress
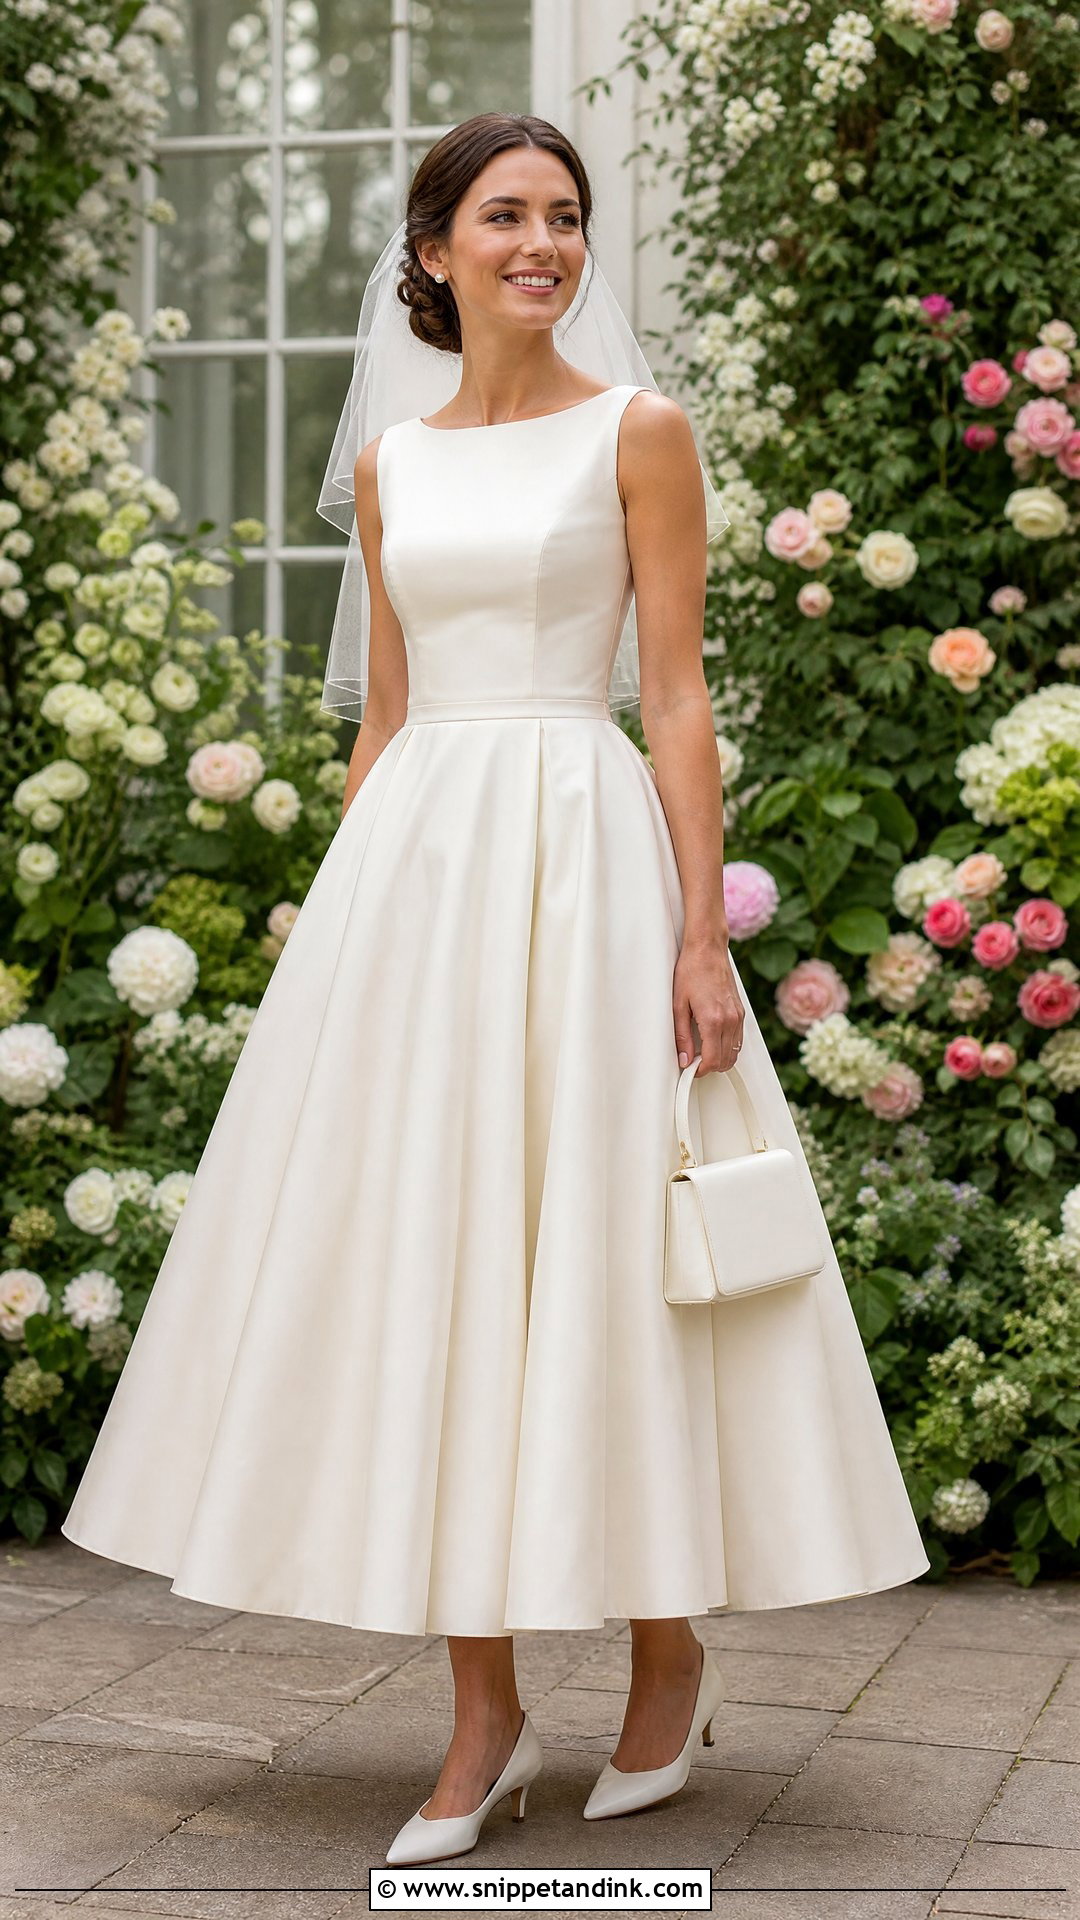
Tea length is kind to the home sewist: no train, no long hem to level over yards of fabric. Make a fitted bodice with a bateau, scoop or sweetheart neckline and attach a circle or box-pleated skirt that ends between knee and ankle. Cotton sateen, mikado or firm satin hold the skirt out; a soft petticoat adds more volume. Put pockets in the side seams. I level the hem with the bride wearing the actual shoes and petticoat, because both change where it falls. Low pumps, a short veil and pearl studs suit a courthouse or garden wedding.
5. Boho Crochet Homemade Wedding Dress
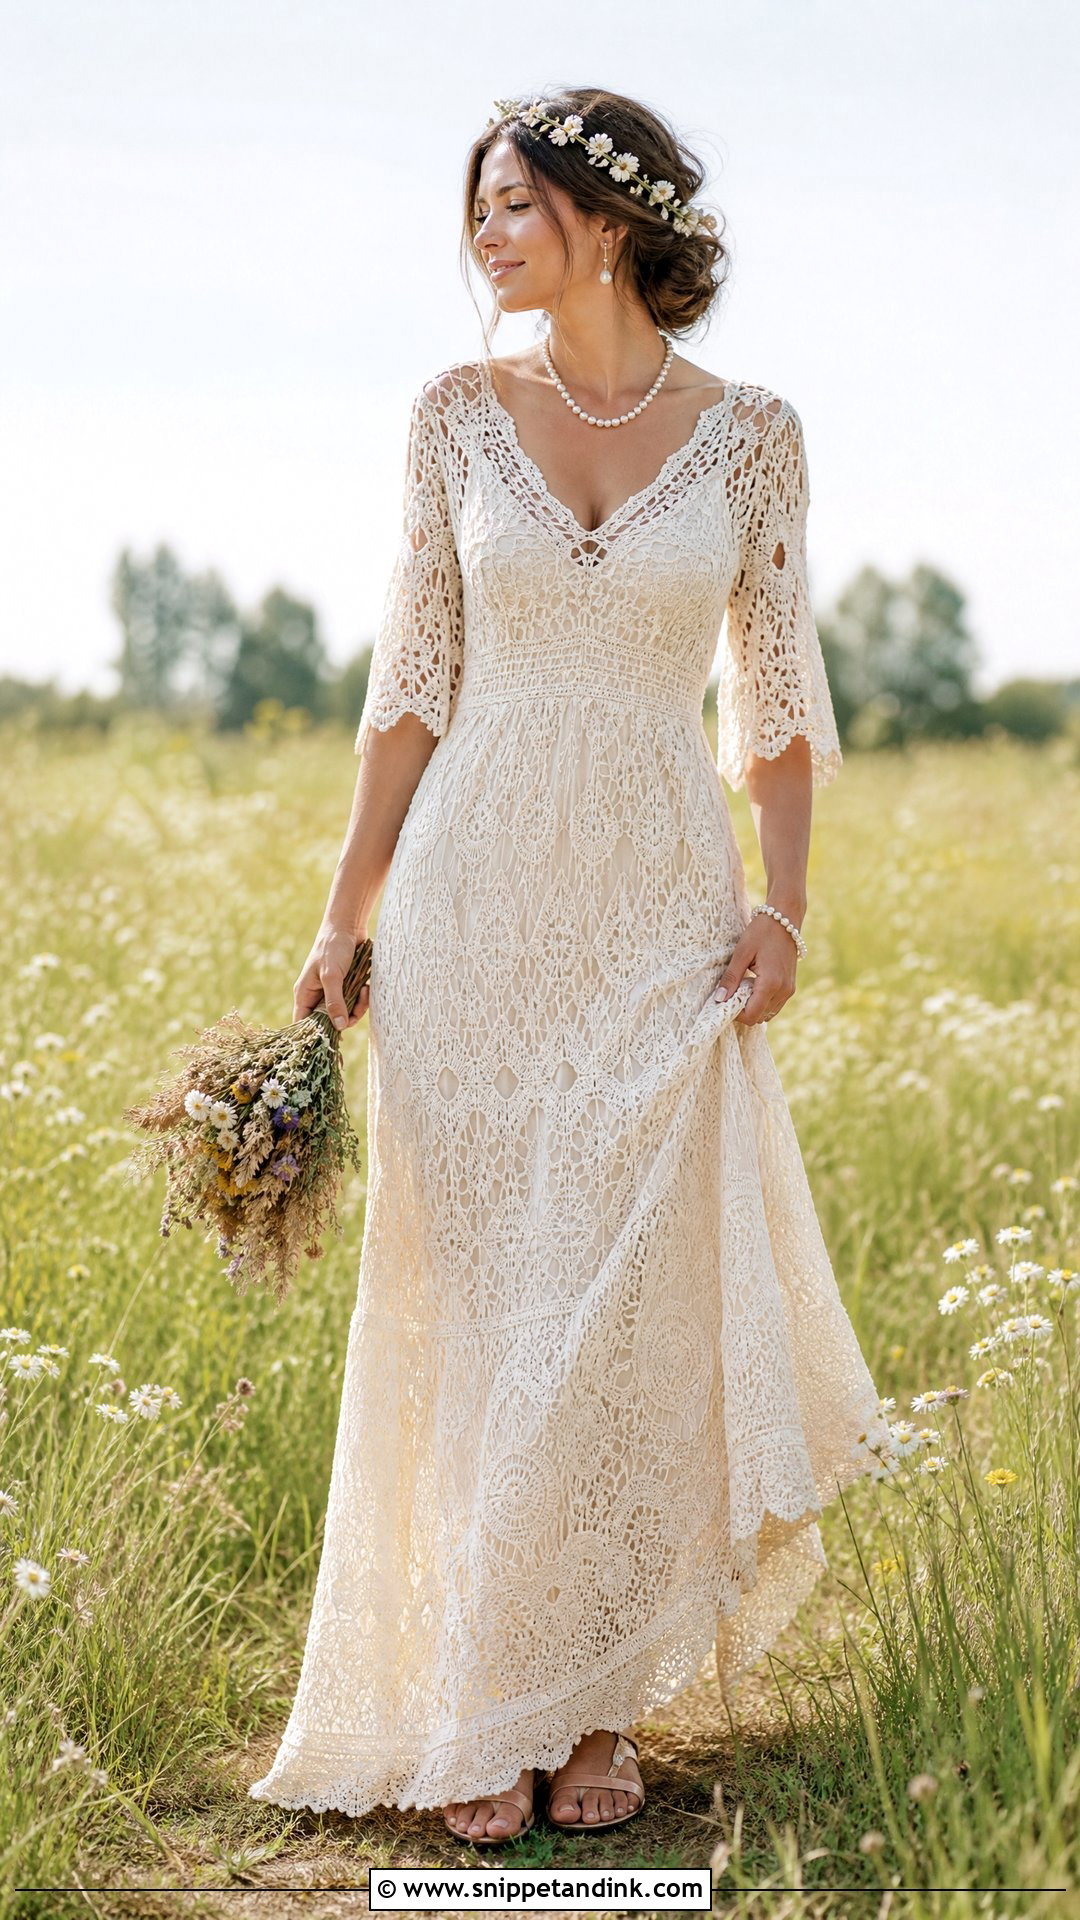
Crochet gowns grow. Cotton and bamboo yarns lengthen under their own weight once they hang, sometimes by several inches on a maxi skirt, so block a big swatch, hang it for a few days and measure again before you trust your gauge. Fine cotton or a breathable blend gives soft drape; heavy yarn makes a dress that sags. Build over a fitted slip for comfort and coverage, and work the gown in panels that are easier to adjust than one continuous piece. A V-neck, defined waist and gently flared skirt balance well. Neutral sandals and natural pearls keep the handwork in focus.
6. Tulle Skirt Homemade Wedding Dress
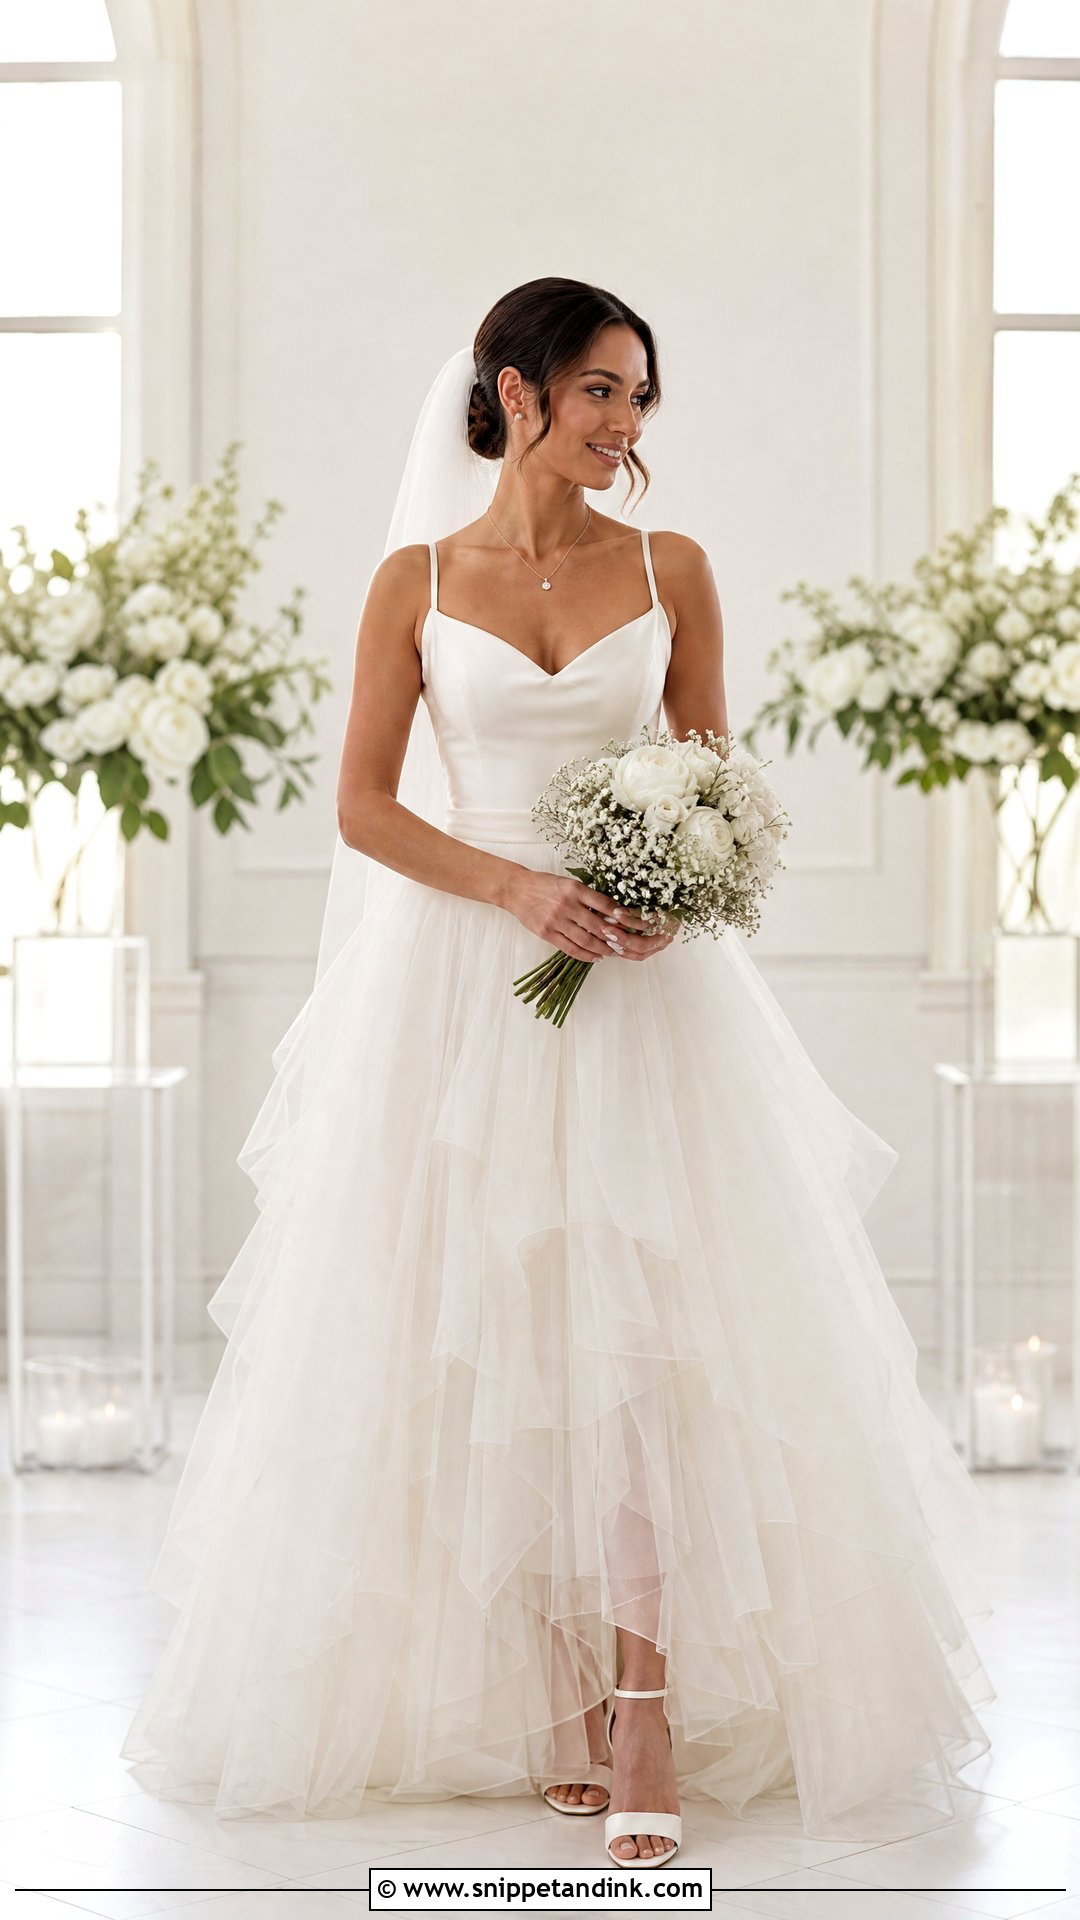
Tulle skirts look complex but are mostly patience. Start with a supportive lined bodice and a smooth underskirt, then gather several layers of soft bridal tulle into the waist seam. Tulle crushes if it lies on the floor while you work, so keep the skirt hanging. Staggered lengths give a floating edge, and a wide waistband hides gathering stitches. Tulle doesn’t fray, so trim the hem with sharp scissors after the final fitting rather than hemming each layer. Make sure the lining is wide enough to walk in. Satin block heels, a fine pendant and a comb veil complete it.
7. Off-Shoulder Homemade Wedding Dress
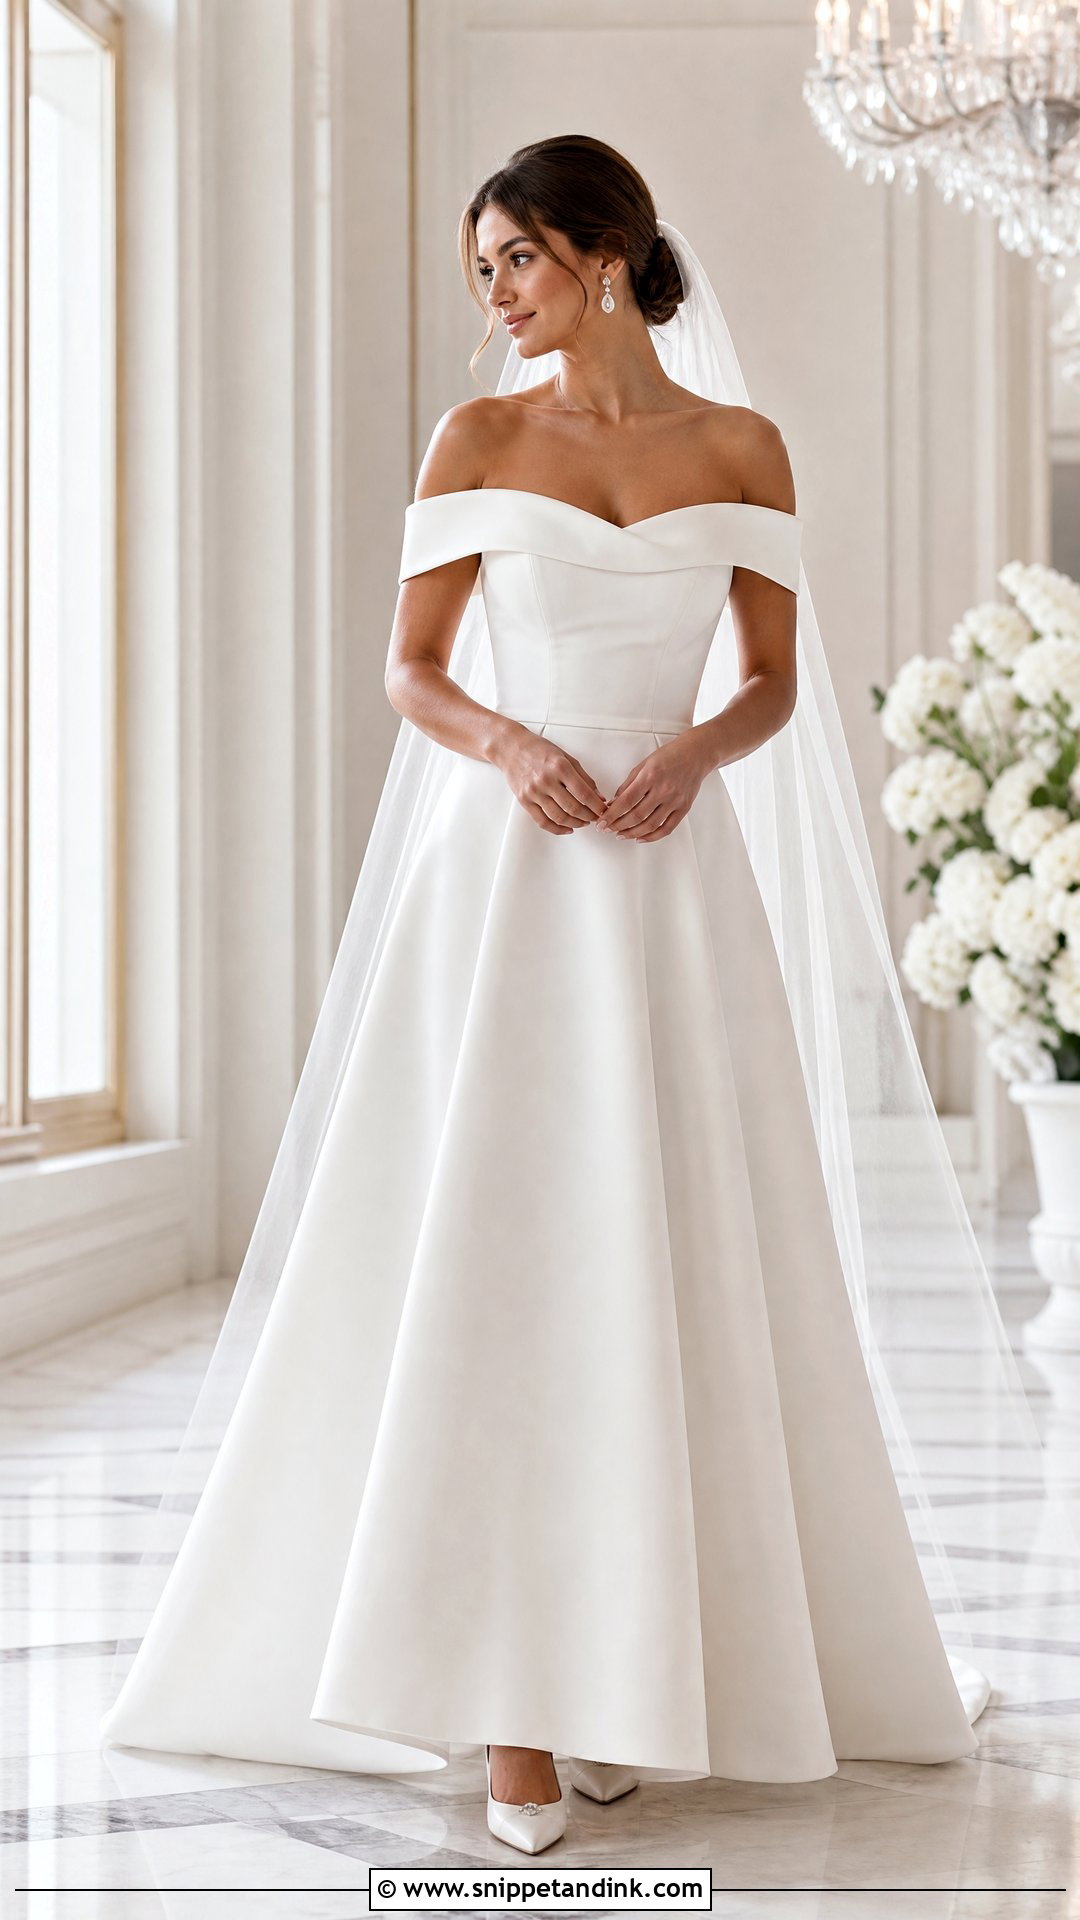
An off-shoulder neckline only works if the bodice holds itself up. Build it with boning or an internal waist stay, then add a folded satin band, gathered chiffon drape or lace around the shoulders. The arm opening is where homemade versions fail: too tight and the whole dress pulls up when you hug someone, too loose and the band slides. Wear your real undergarments to every fitting and move naturally. A flowing A-line skirt balances the fitted top, and drop earrings, a low bun and a veil pinned under the hair finish it.
8. Puff Sleeve Homemade Wedding Dress
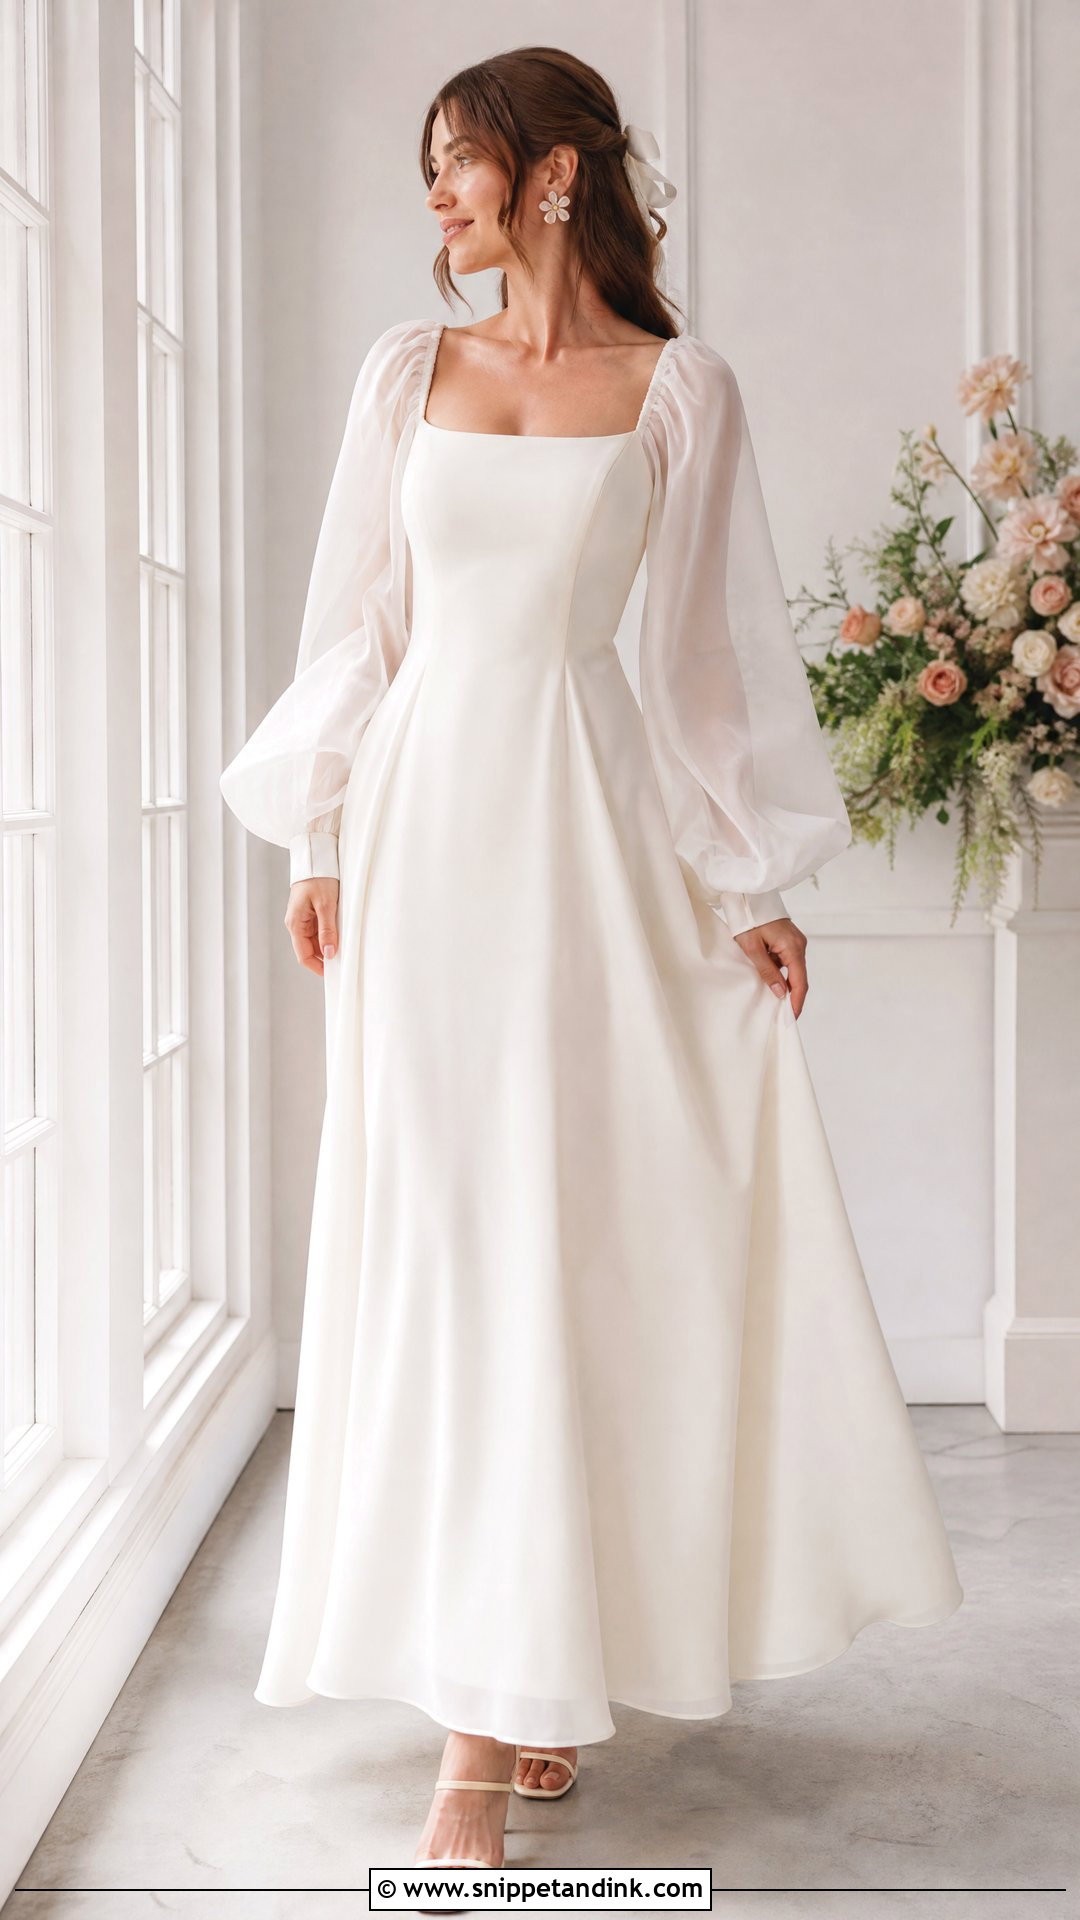
Puff sleeves are where I’d make a test sleeve before anything else. Fullness, cuff size and shoulder placement all change the look, and getting them wrong on organza wastes expensive fabric. A princess-seam or darted bodice is a good base. Gathered organza, dotted tulle, chiffon or light lace work for short sleeves; full-length bishop sleeves add coverage. Line around the armhole so the gathers don’t scratch. Keep the skirt clean, the veil plain, and the hair half-up with a narrow ribbon.
9. Square Neck Homemade Wedding Dress
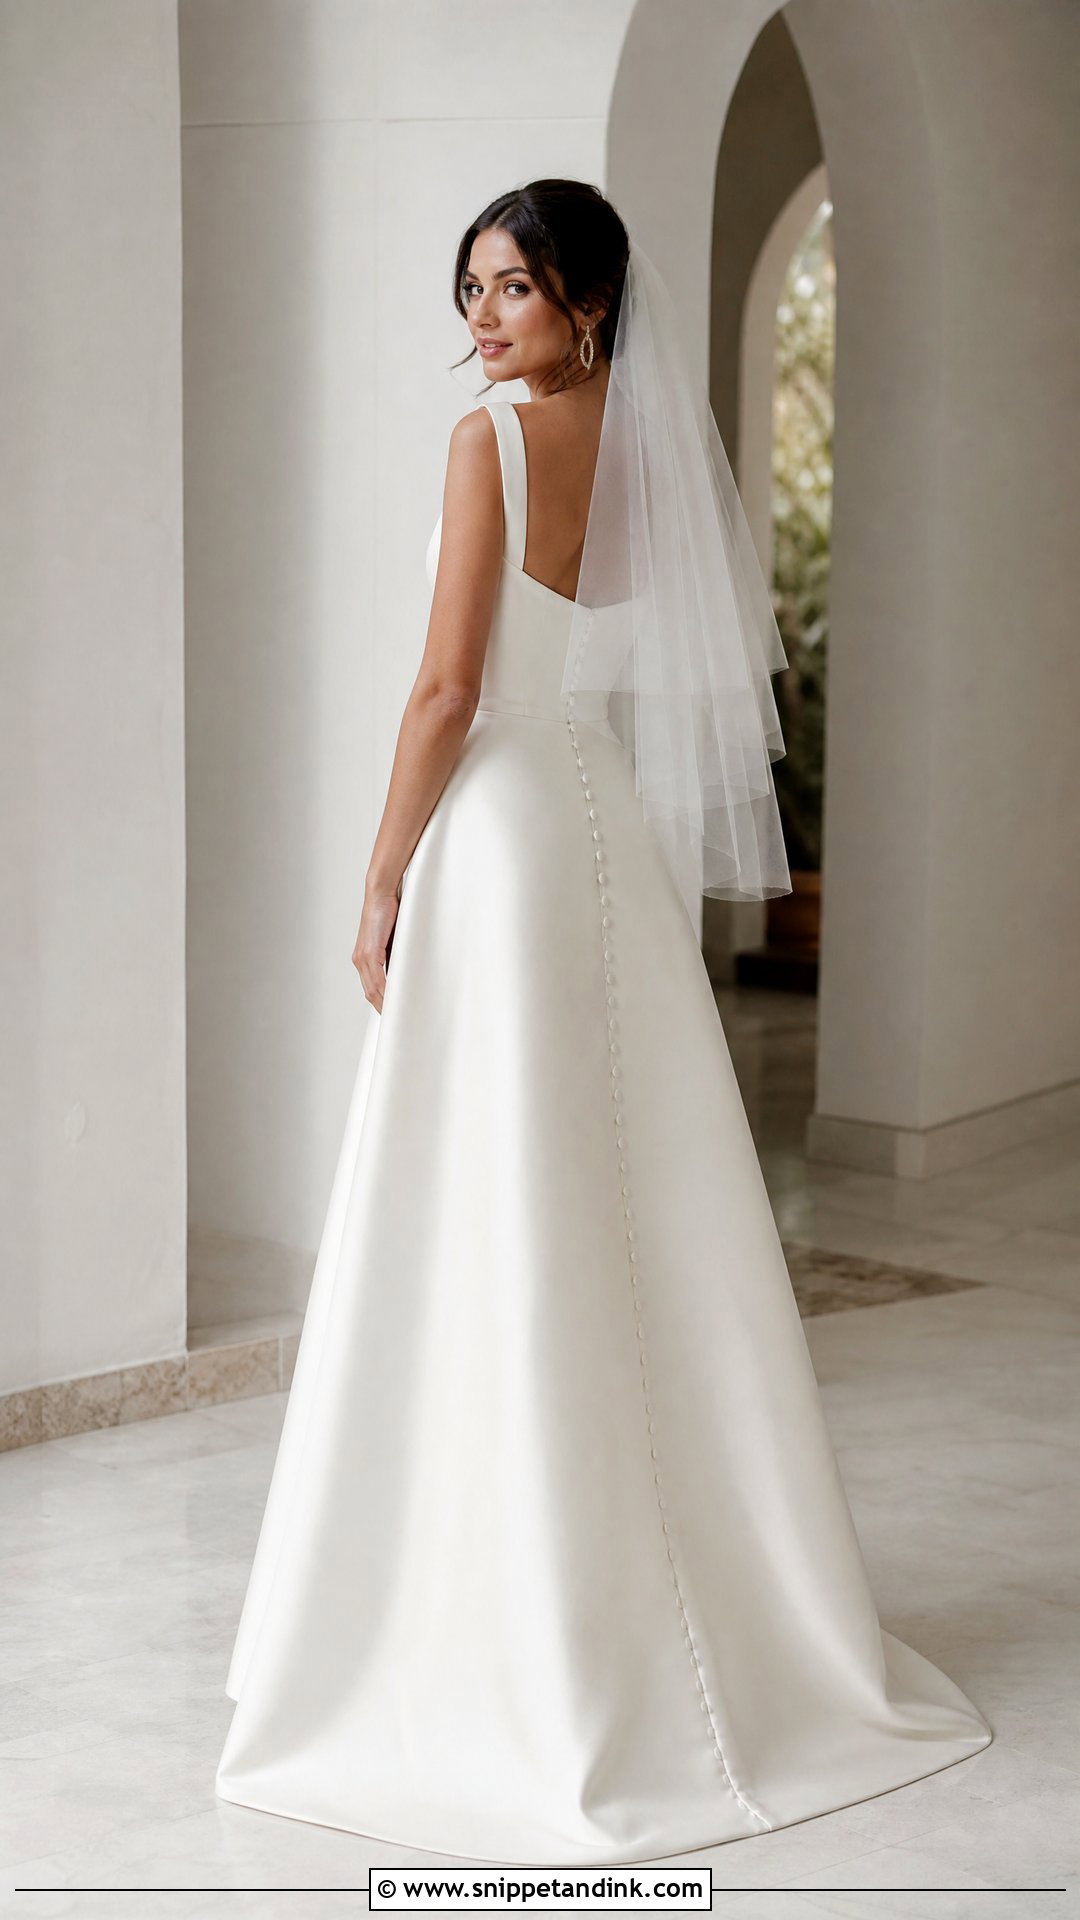
Square necklines show every cutting error, and they’re the first thing I check on a muslin. Stay-stitch the neckline right after cutting, because the bias corners stretch the moment you handle them, and check at the muslin stage for gaping at the corners. A princess-seam bodice with wide straps and a supportive lining makes fitting easier. A floor-length A-line in crepe, satin or light brocade suits it, and covered buttons down the back add a handmade detail on plain fabric. Pearl hoops, a low bun, block heels and a waist-length veil keep the lines crisp.
10. Floral Appliqué Homemade Wedding Dress
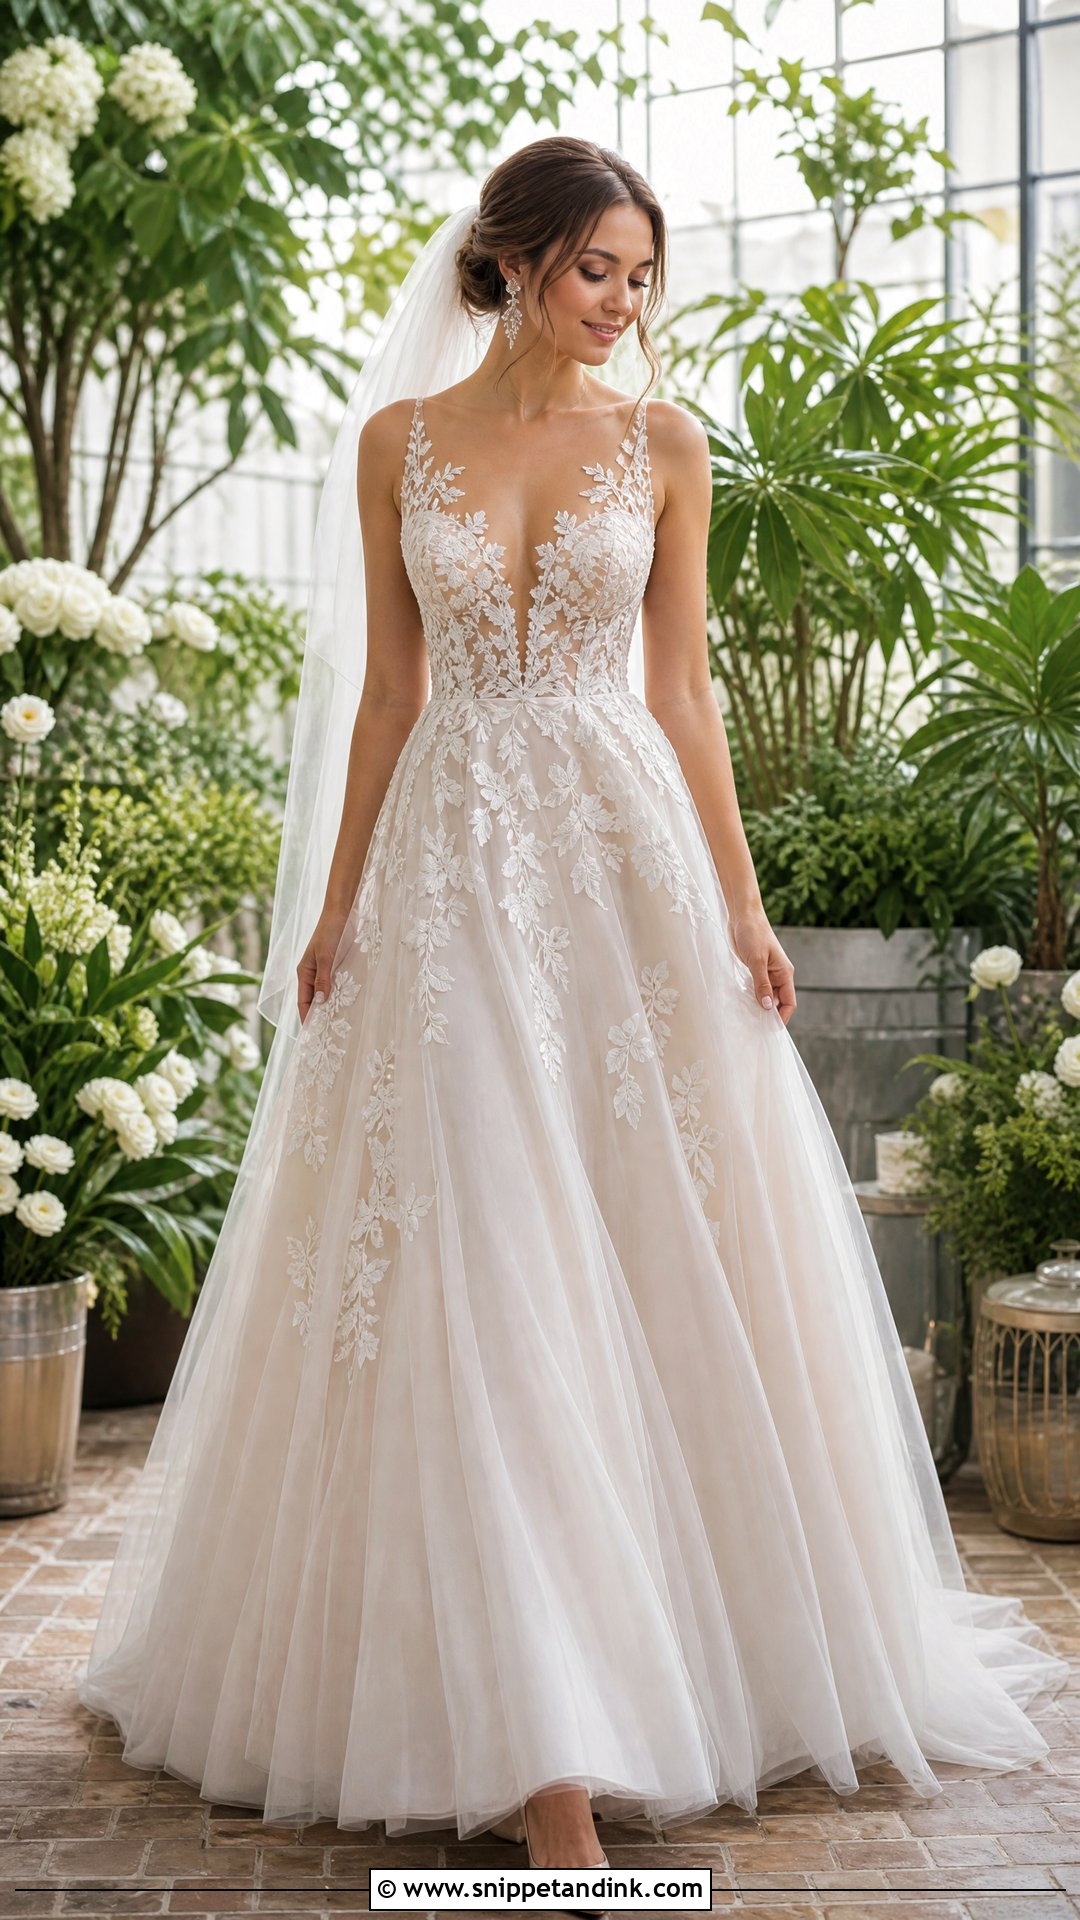
Appliqués let a simple base look custom. Finish the dress completely first, fit included, then place the lace motifs on a dress form so you see how they sit on a body shape. I’d keep the arrangement balanced but not mirrored, letting a few flowers cross seam lines. Hand-sew them with tiny matching stitches; adhesive alone peels at the edges once the dress flexes. Step back often while pinning, since clusters that look fine up close can look heavy from across a room. Understated pumps, a sheer veil and a bouquet echoing the motif shapes suit it.
11. Convertible Homemade Wedding Dress
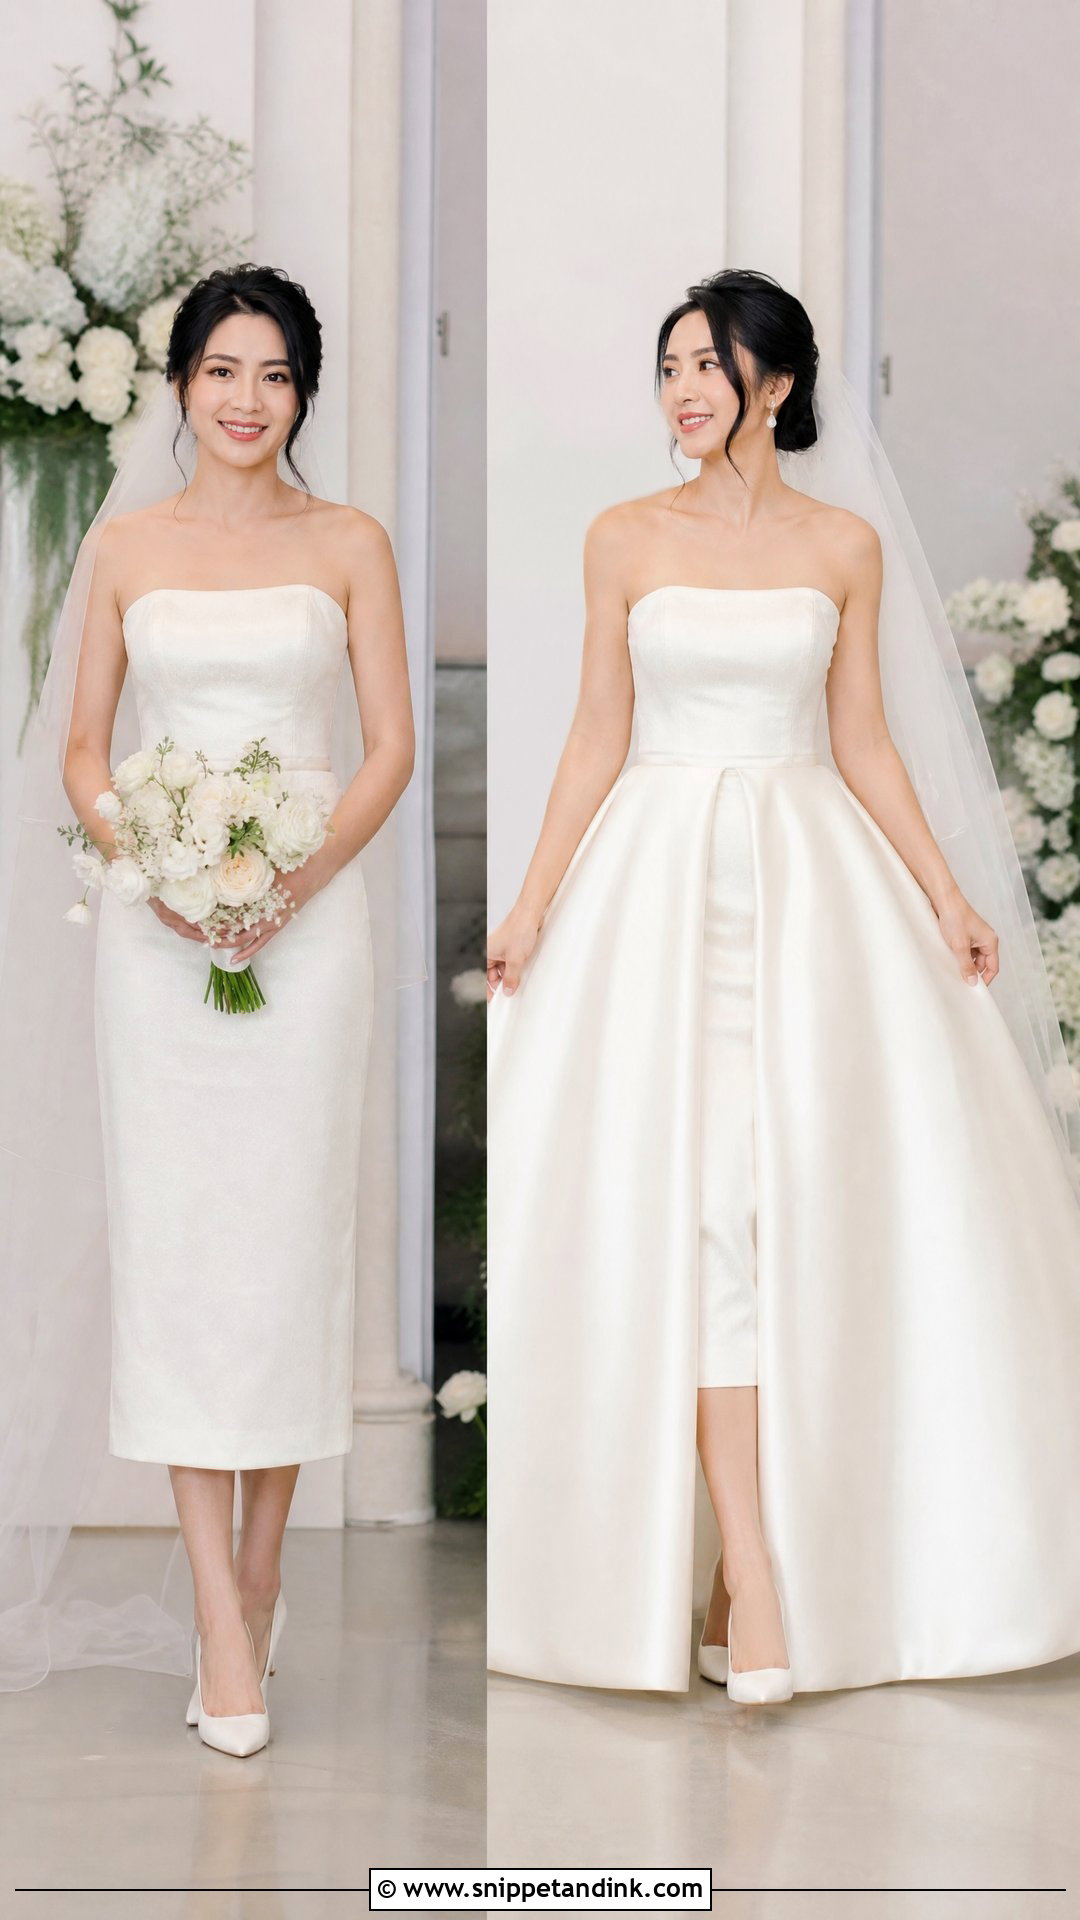
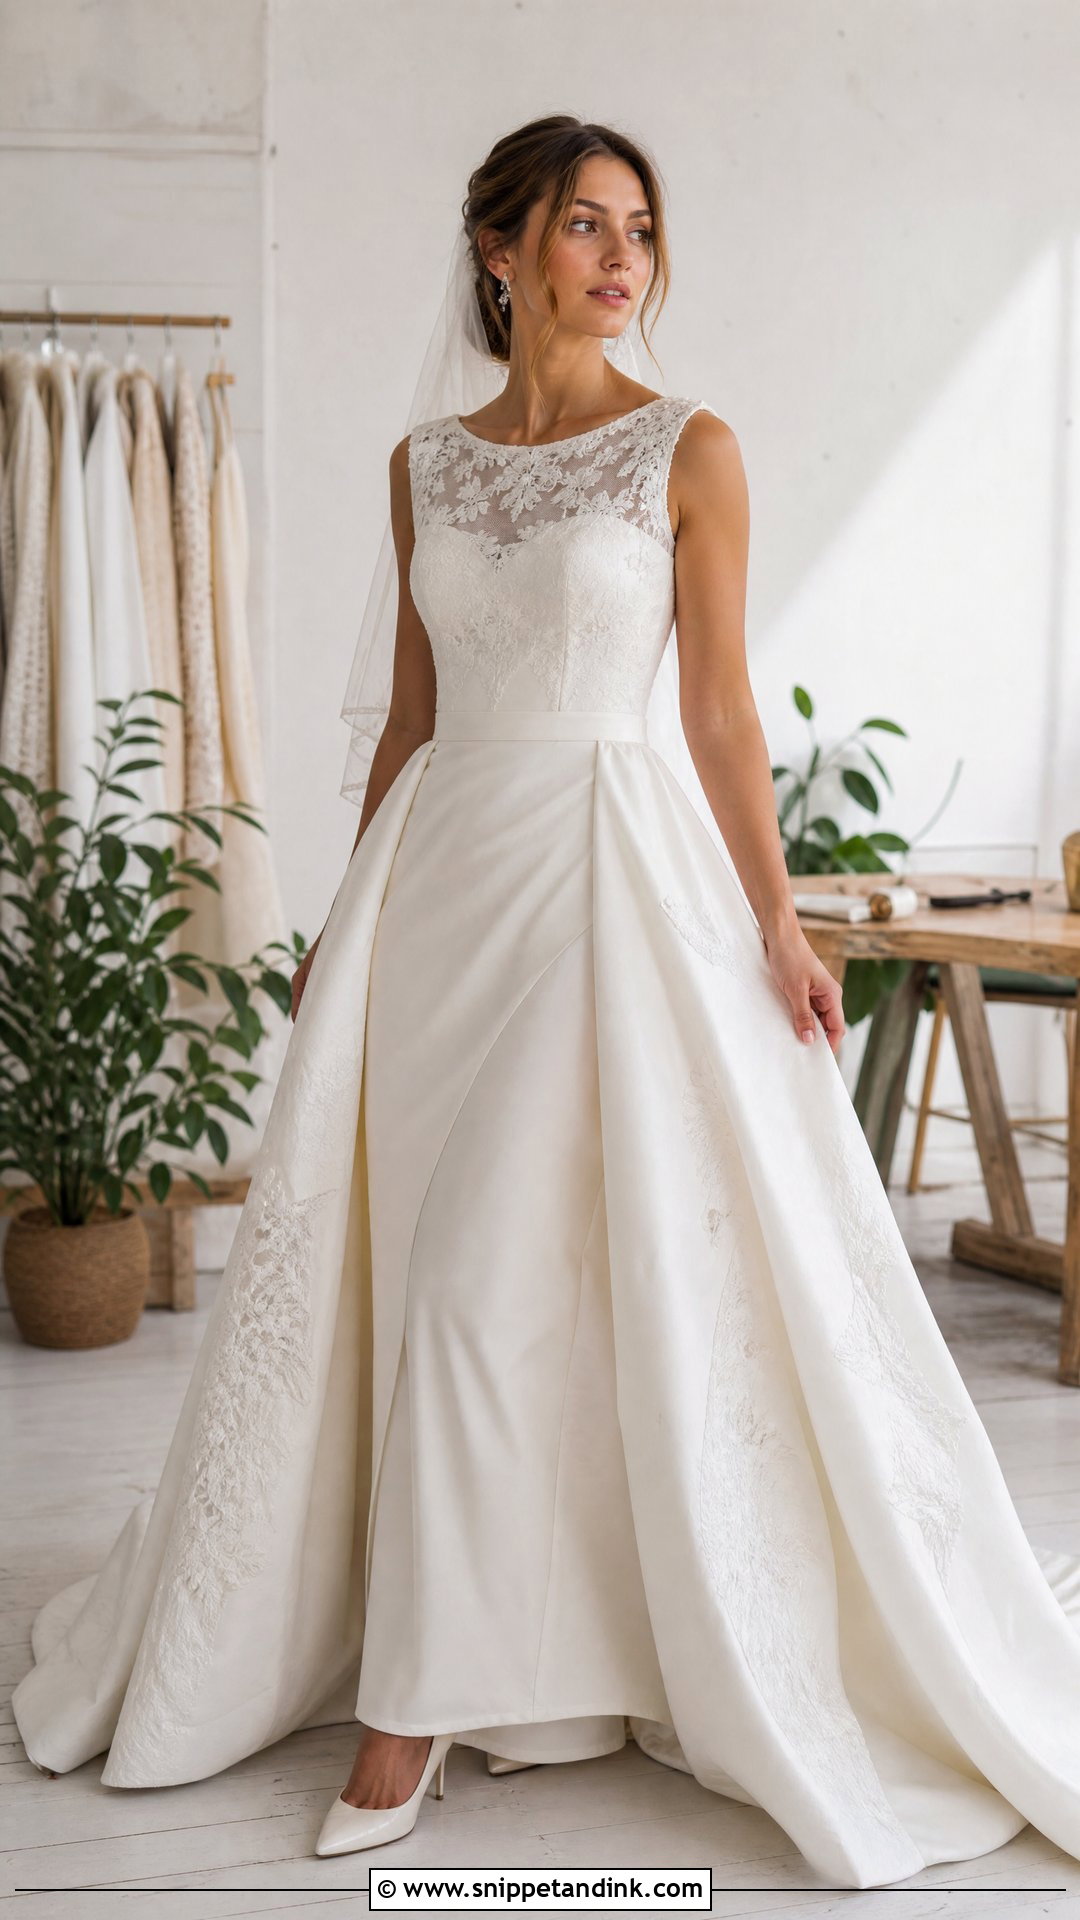
Two looks, one dress. Make a fitted mini, midi or slim floor-length base, then a detachable overskirt in satin, organza, tulle or lace that fastens at the waist. The fastening is the hard part: hooks and snaps hidden under decorative buttons or a ribbon tie need to hold through walking and sitting, then release quickly when someone helps you out of the overskirt. Test it repeatedly before the day. Wear the full version with a long veil and classic pumps for the ceremony, then switch to flats and statement earrings.
12. Vintage Lace Homemade Wedding Dress
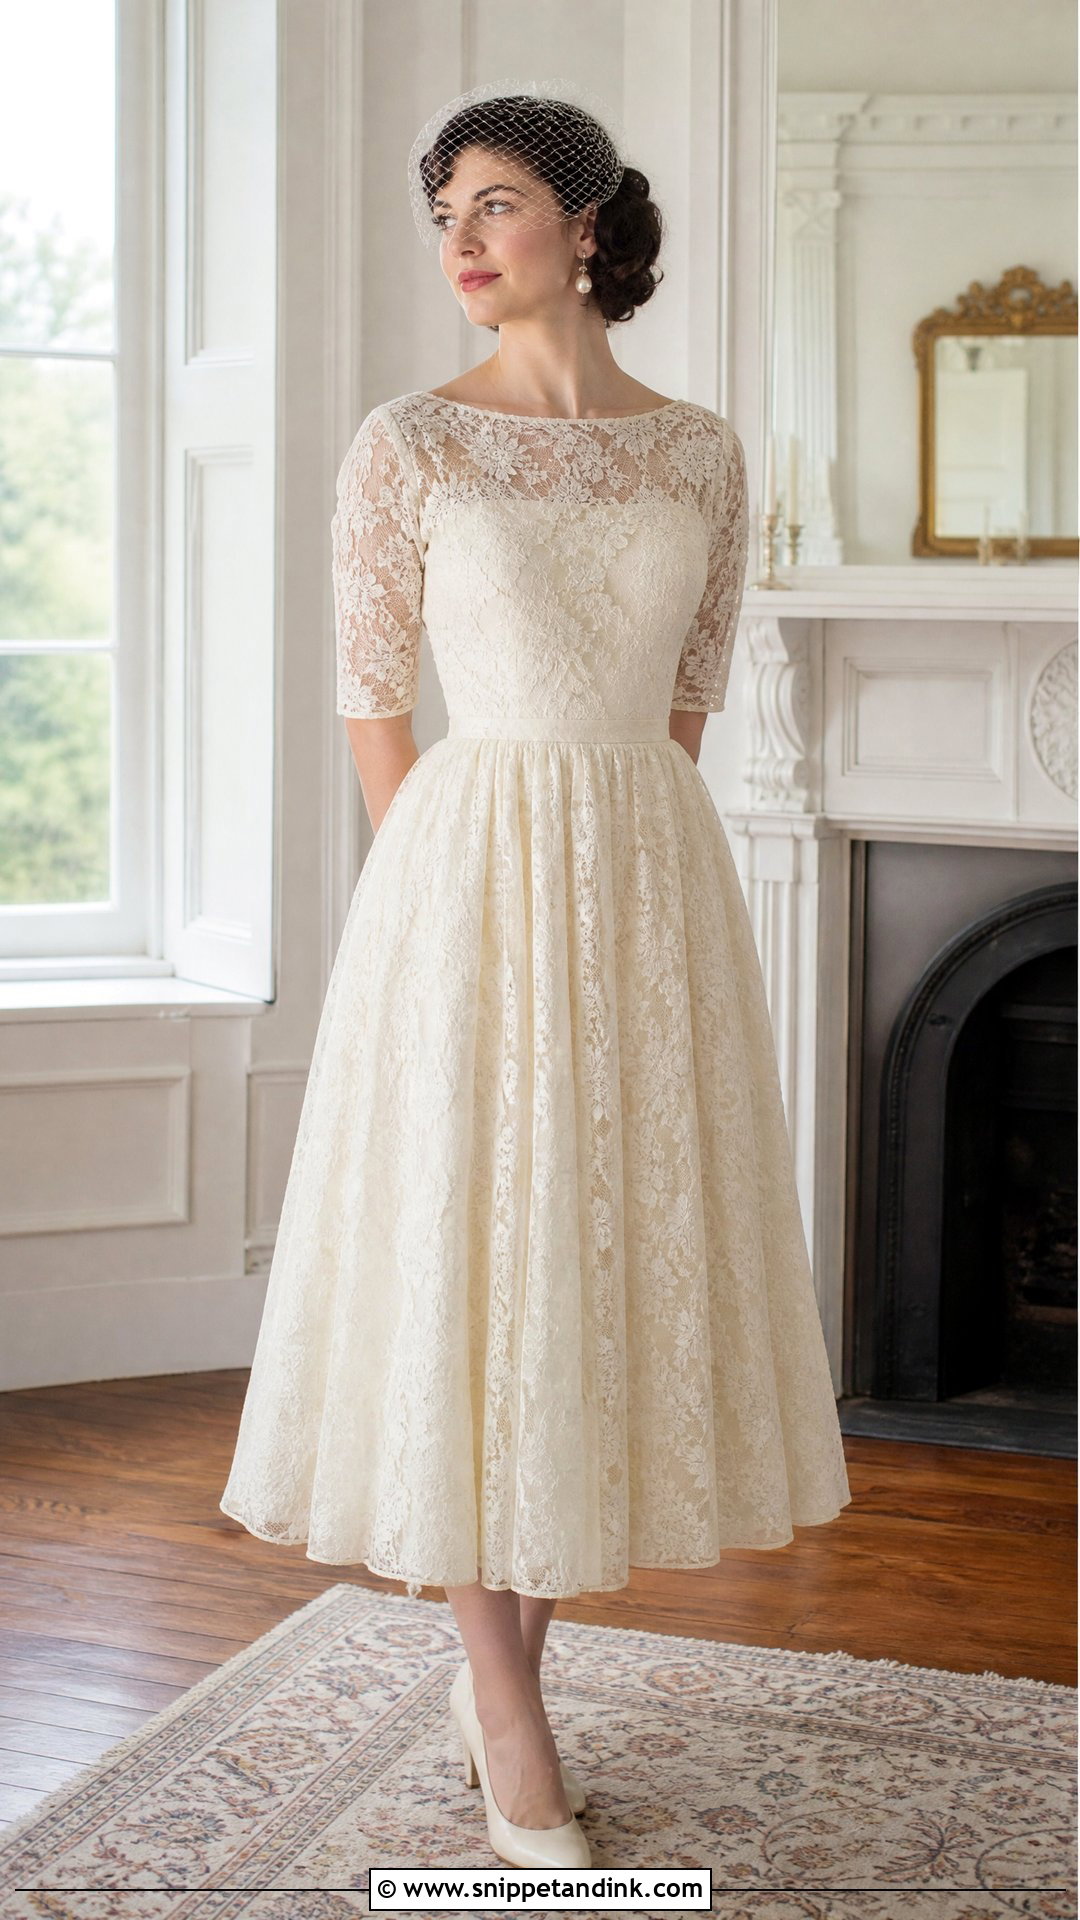
Inherited or thrifted lace makes the most meaningful dress, and it needs the most care. Check old lace in good light for stains, weak areas and uneven fading, and plan the strongest pieces for bodice and skirt, with borders for cuffs or hem. Never ask old lace to carry structure; build it over a new supportive lining. Test a hidden corner before washing, pressing or treating stains, since older fibers can shrink or yellow. A fitted waist, elbow sleeves and a softly gathered skirt suit vintage lace, with low pumps and a small birdcage veil.
13. Ruffle Homemade Wedding Dress
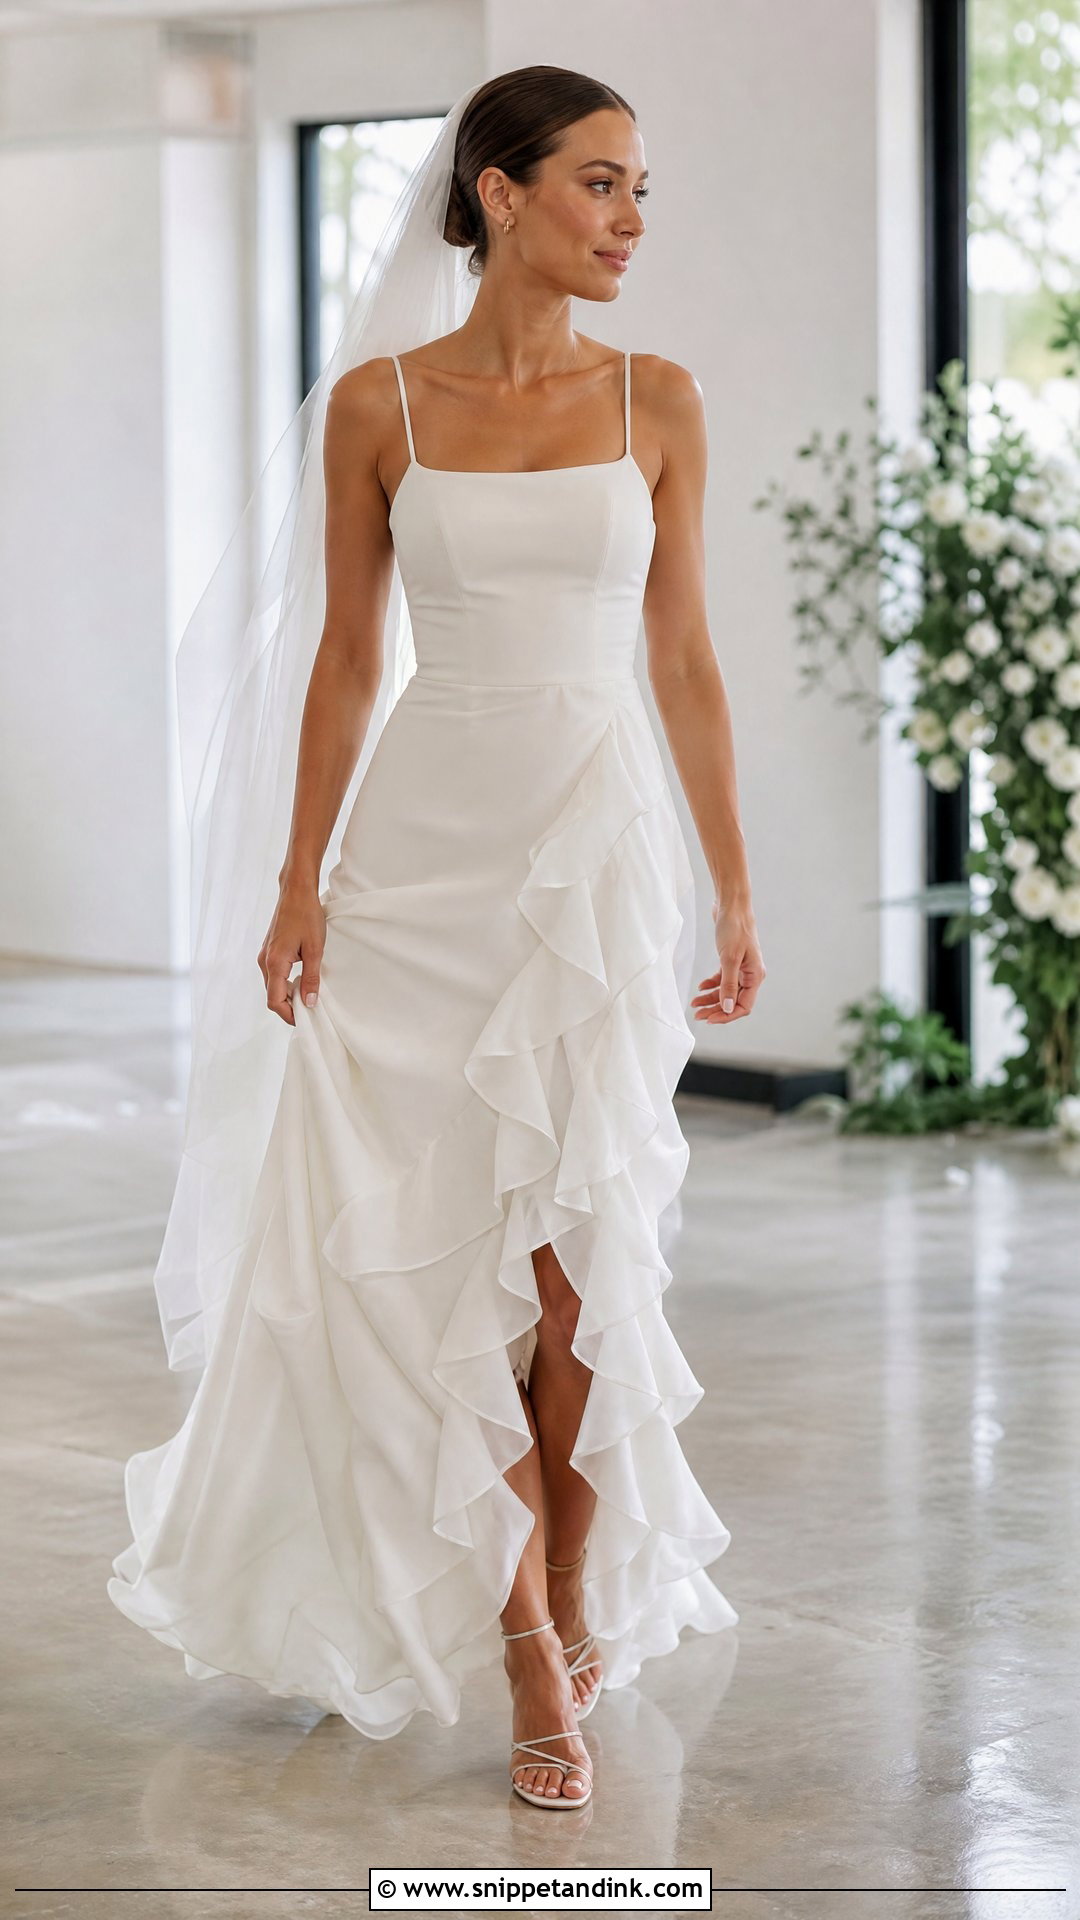
Ruffles hide a simple skirt underneath, which makes them a forgiving choice. Build a fitted bodice and smooth lining dress, then add chiffon, organza or soft tulle ruffles. Horizontal tiers add volume; diagonal or vertical ruffles look longer and suit shorter frames better. Pick one edge finish, rolled hem, narrow hem or clean-cut tulle, and use it everywhere. I make one full ruffle before cutting the rest. It tells you how much fabric you really need, which is usually far more than you’d guess.
14. High-Low Homemade Wedding Dress
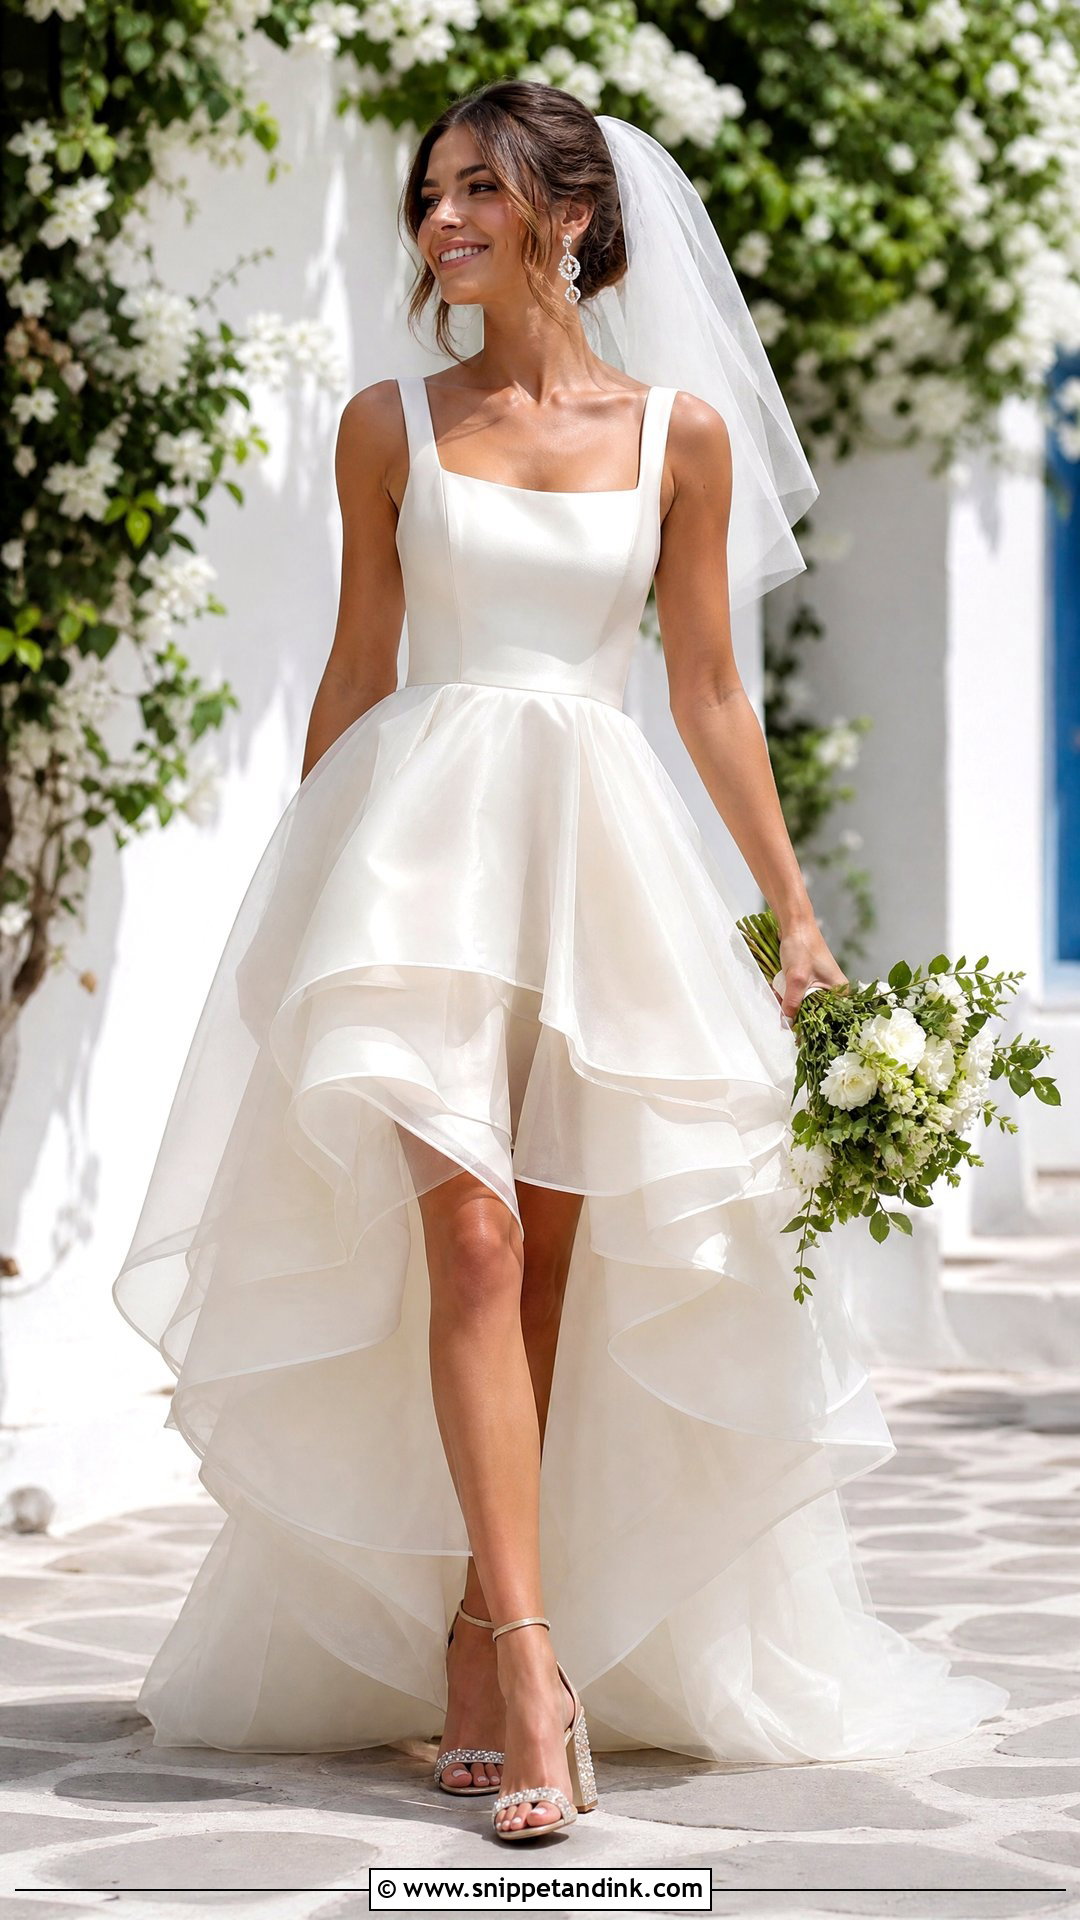
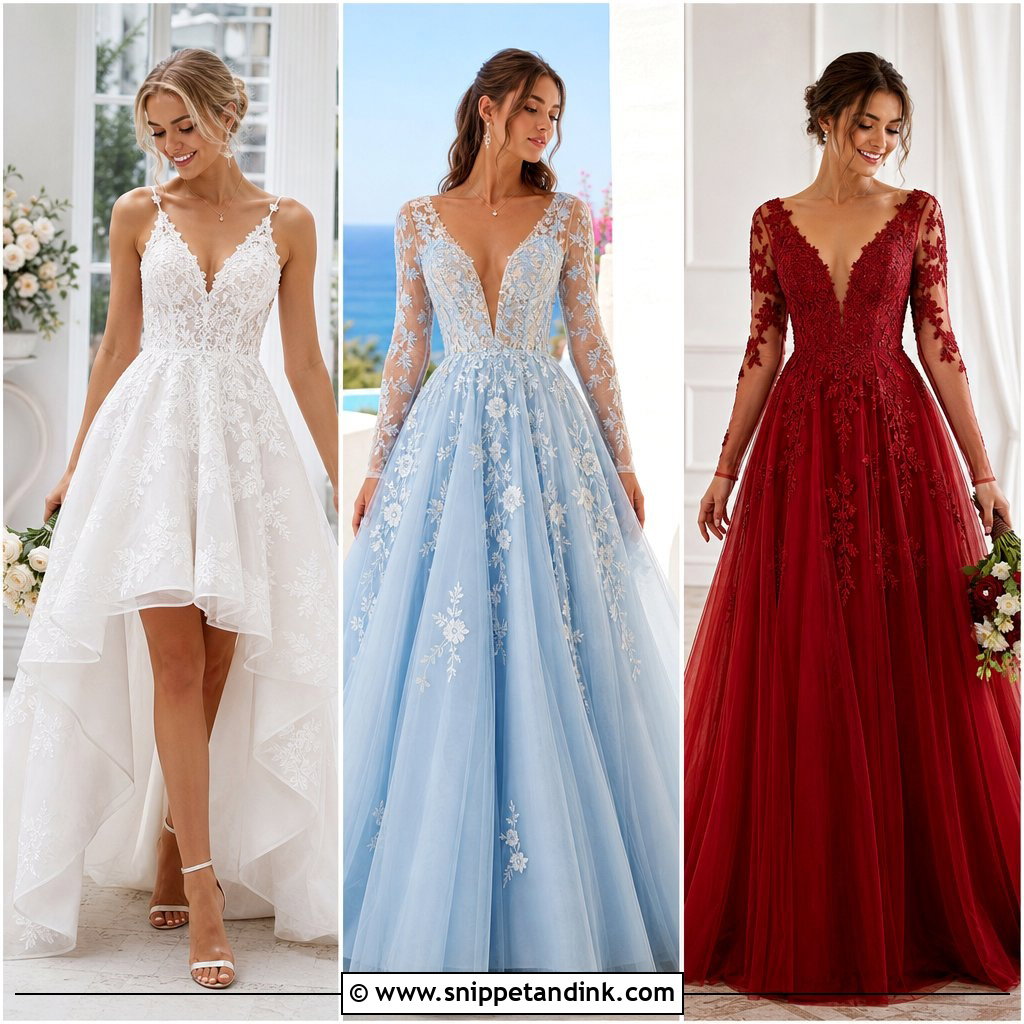
A high-low hem shows your shoes and keeps the front off the floor. Over a stable bodice, attach a circle skirt that rises at the front and drops toward the back, with a gradual curve so the side view looks smooth. Organza or mikado give a sculptural shape, chiffon a softer one. Cut the lining to the same curve, slightly shorter than the outer layer. Mark the hem on your body, in your shoes, turning slowly, rather than trusting the pattern line. Embellished block heels, a short veil and a compact bouquet finish it.
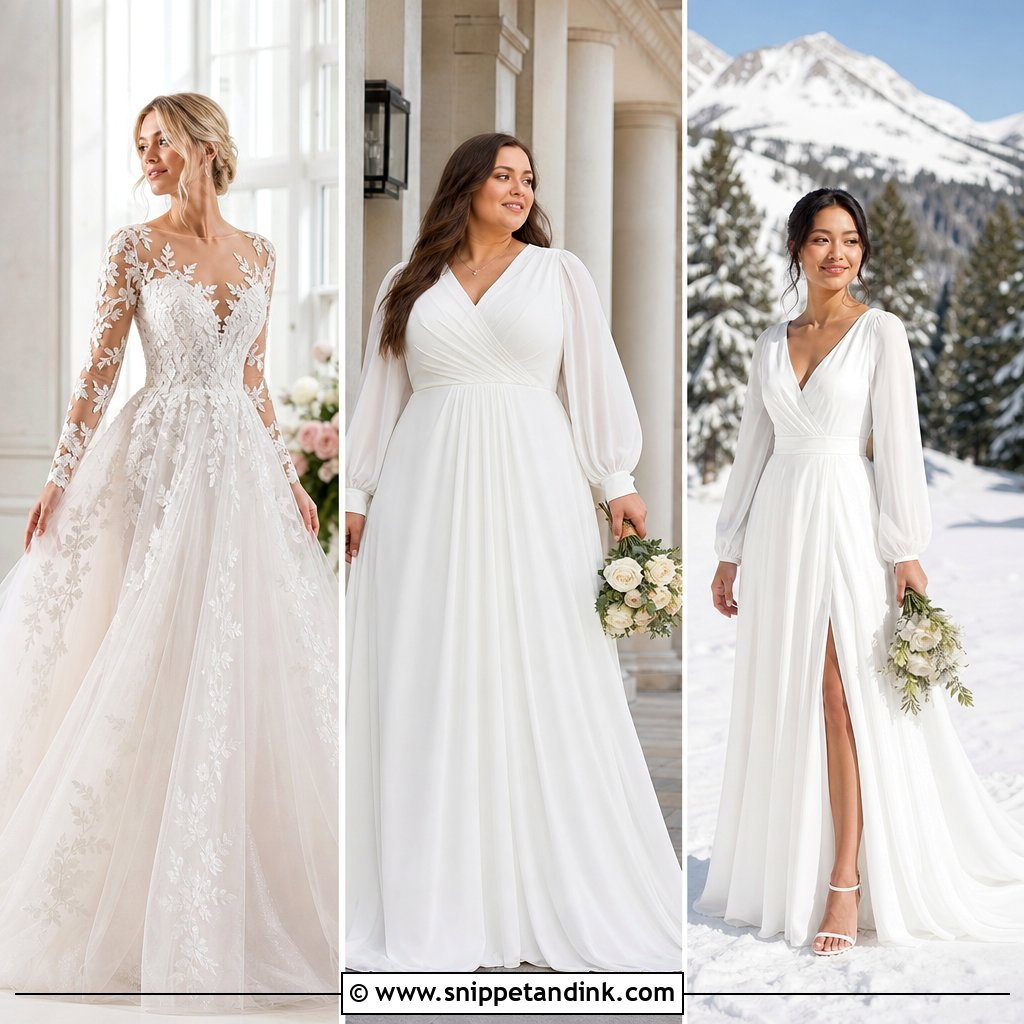
15. Long Sleeve Crepe Homemade Wedding Dress
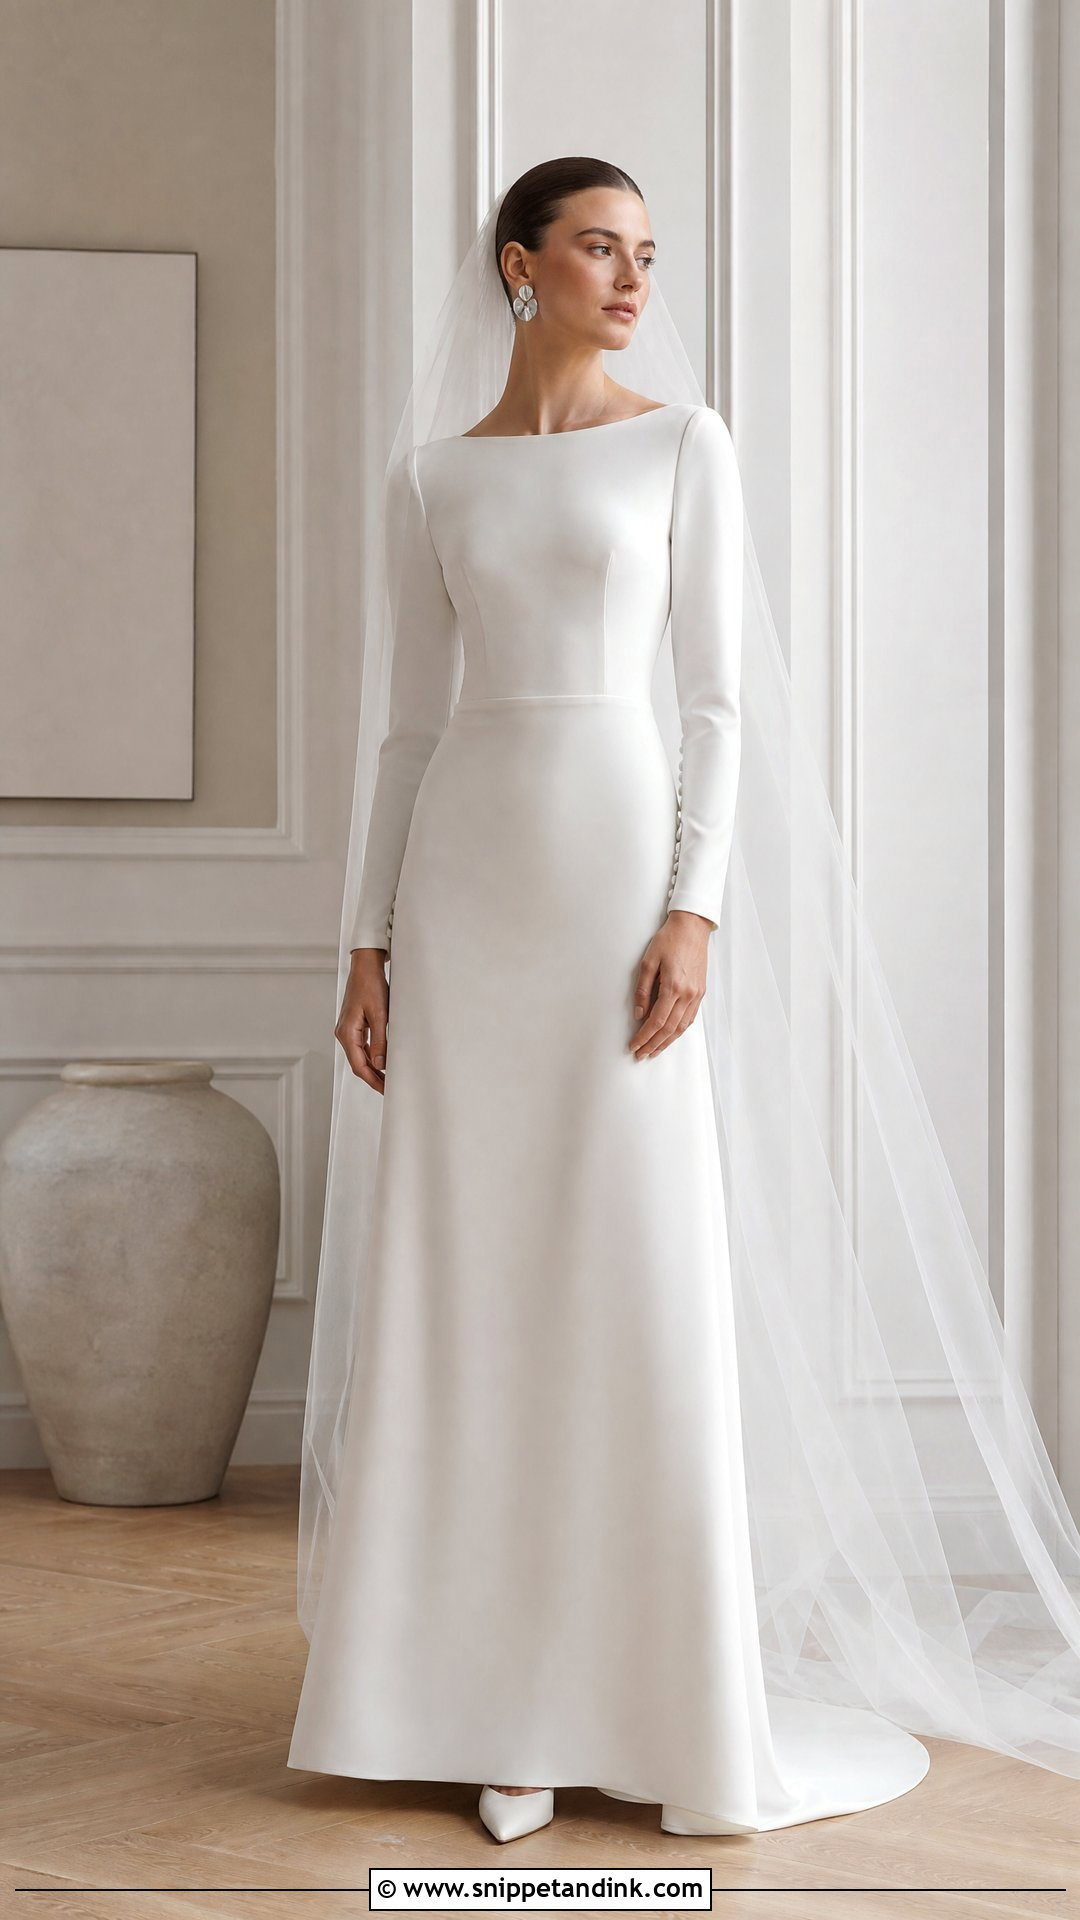
Stretch crepe is comfortable to wear and fussy to sew. Use a stretch needle, test tension on scraps, and press on low heat through a cloth, because crepe puckers and shines easily. A tested pattern with a fitted bodice and narrow A-line or column skirt keeps it sleek, and long sleeves should follow the arm without tightening at the elbow. Add a back slit or a little flare so you can walk. Covered buttons, a low back or a bateau neck look good on plain crepe, with pointed pumps, sculptural earrings and a long sheer veil.
16. Two-Piece Homemade Wedding Dress
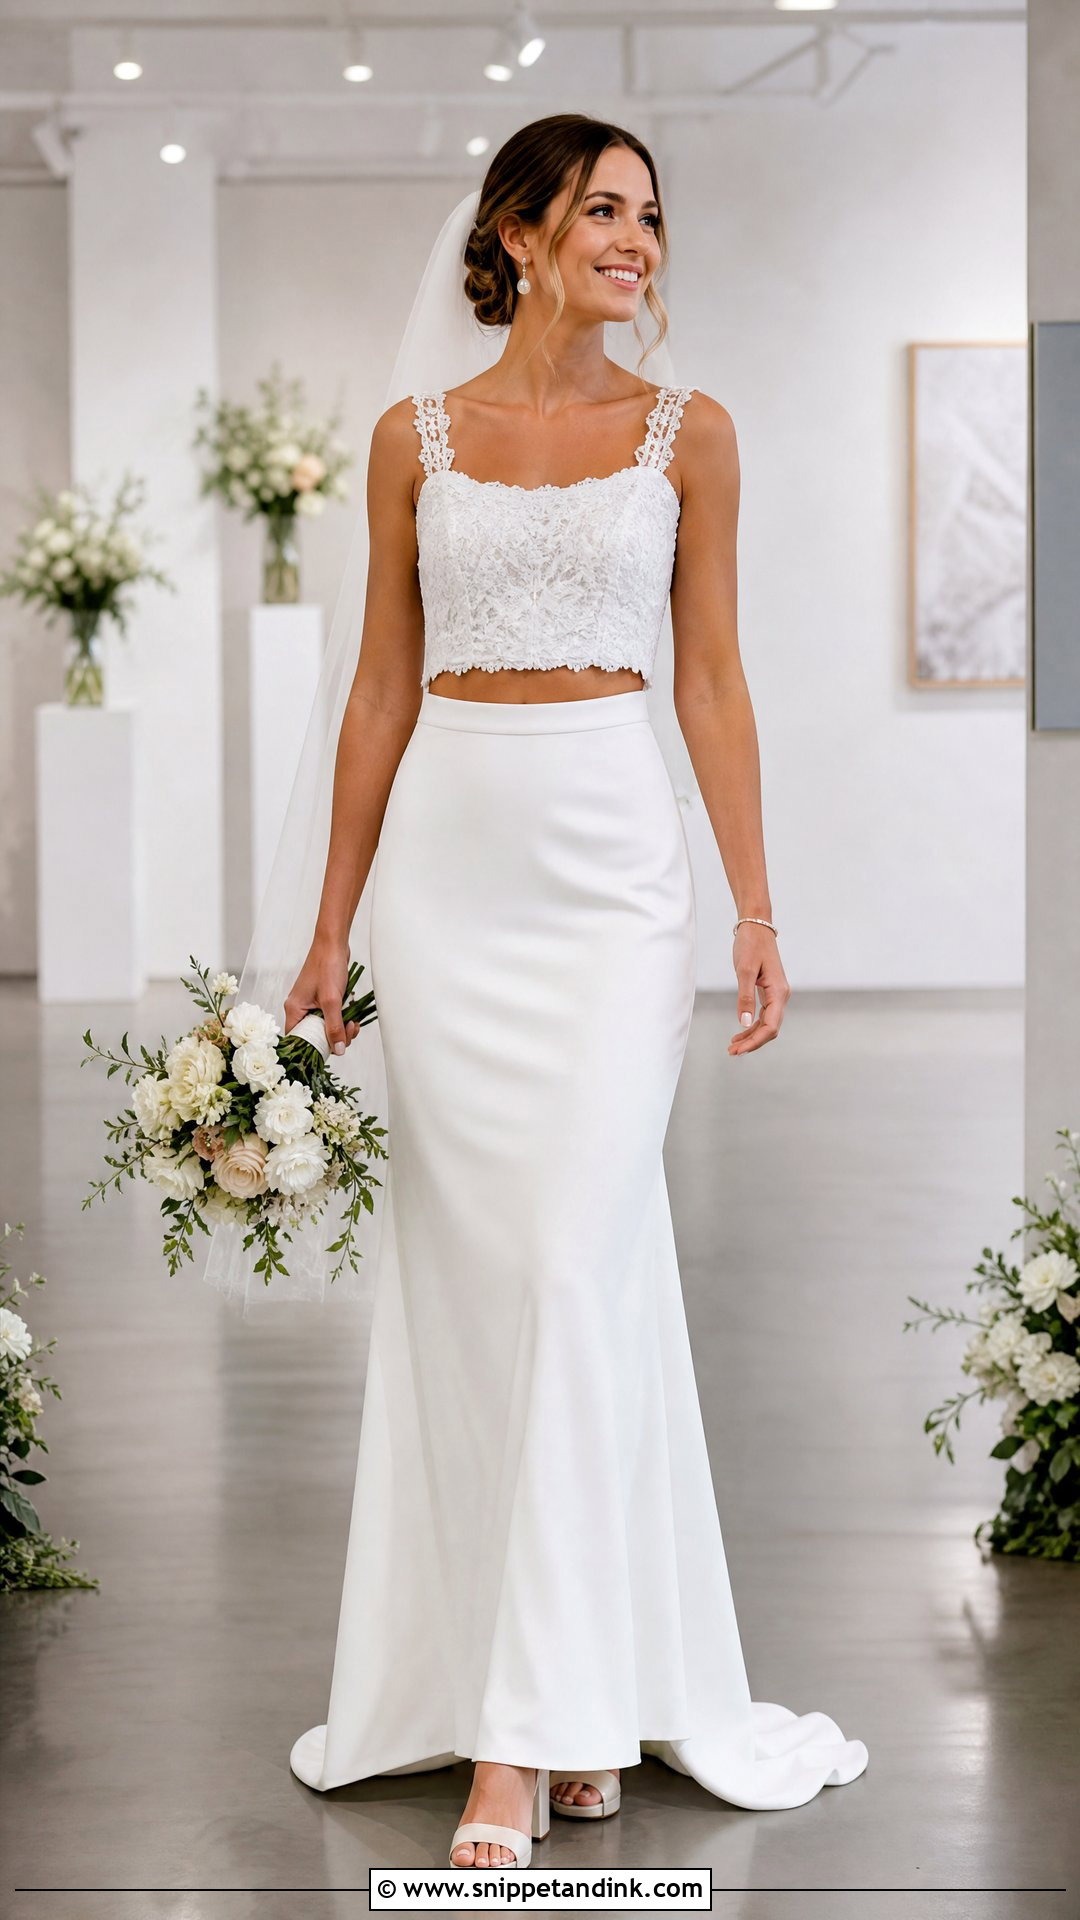
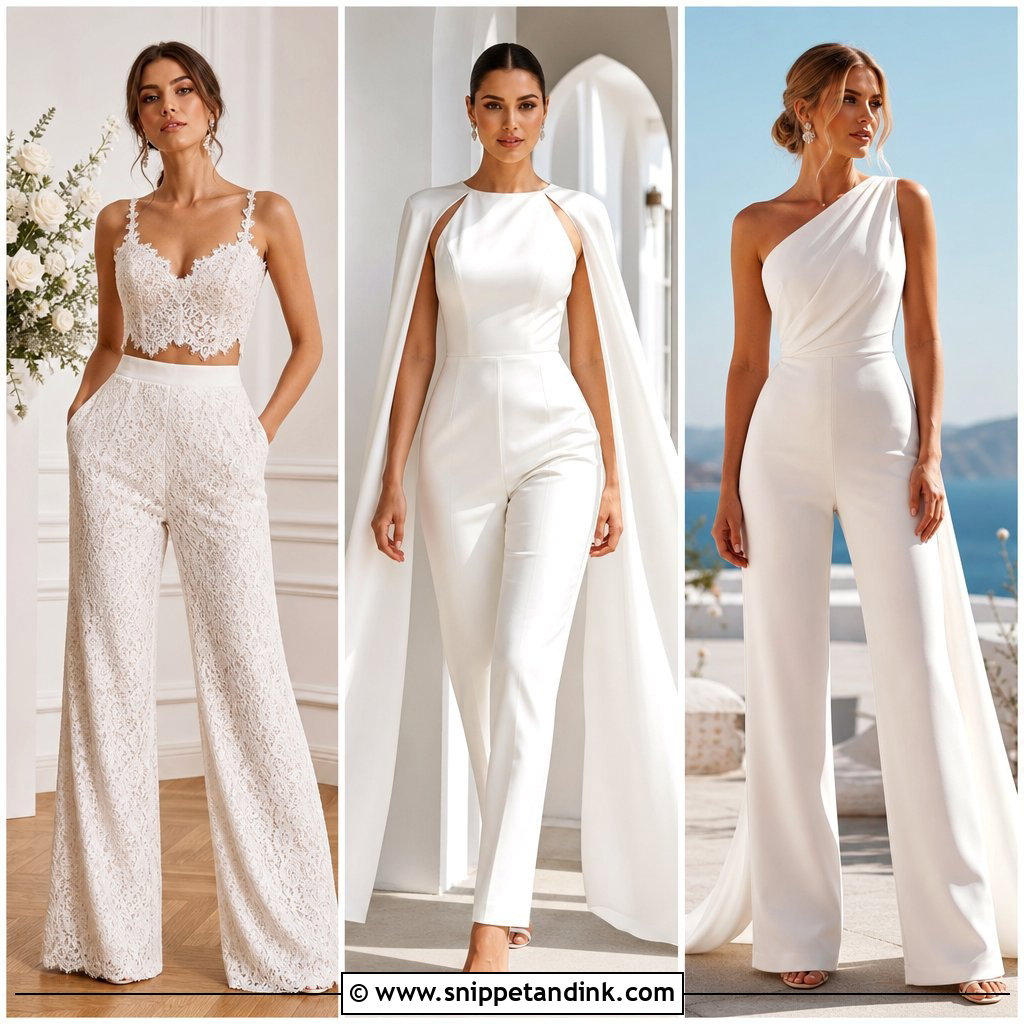
Separates are easier to fit because each piece only has to fit one part of you. Sew a lined crop top with wide straps, short sleeves or a bateau neck, and a high-waisted floor-length skirt. Keep any gap small, or close it completely for a traditional look. Matching satin or crepe reads as one gown; a lace top over a smooth skirt adds contrast. Interface the skirt waistband so it doesn’t roll when you sit, and close the top with an invisible zipper or covered buttons. Block heels, a simple veil and pearl earrings suit it.
17. Empire Waist Homemade Wedding Dress
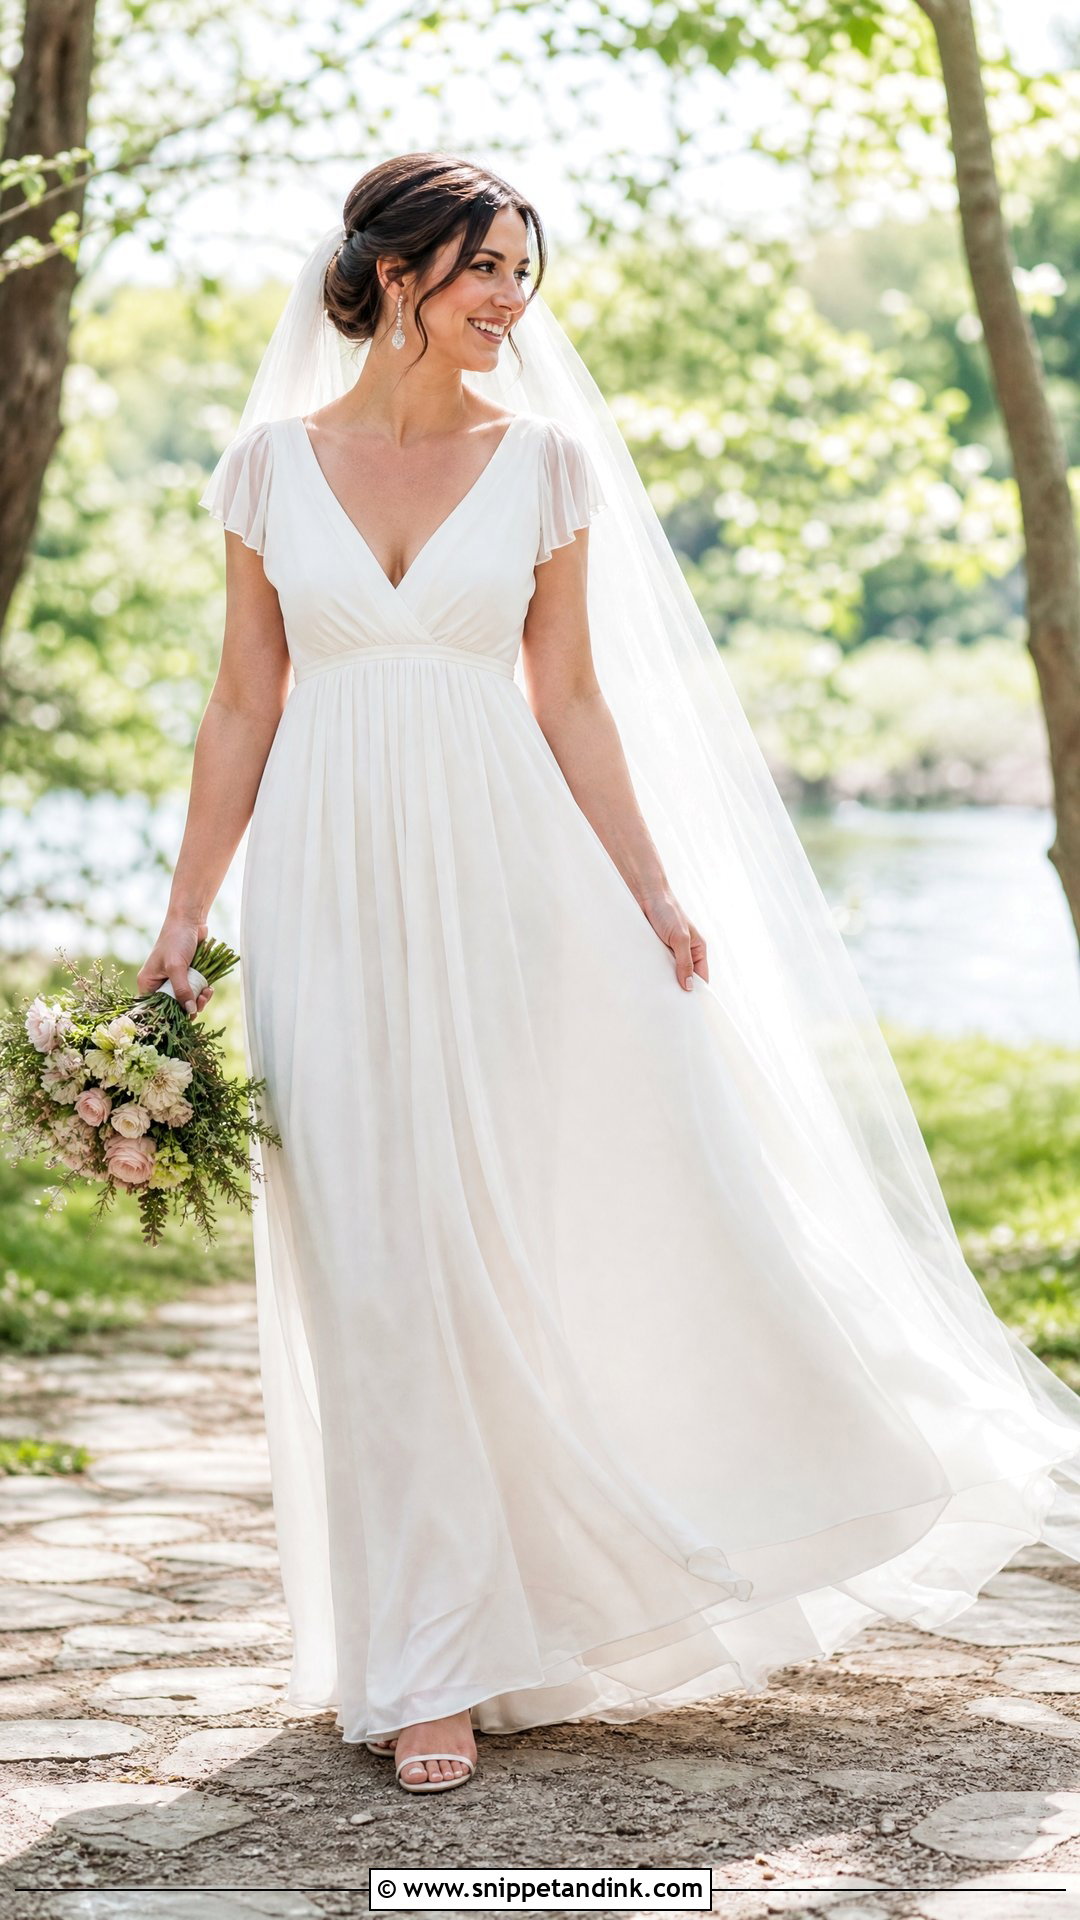
Empire waists float because the skirt drops from just under the bust, and that underbust seam is the thing to get right. It should sit level all the way round; if it rides up at the back, the bodice needs lengthening there. Gather chiffon, georgette or light crepe into a supportive bodice, and line the skirt to keep the gathers controlled. A V or curved neckline suits the raised seam, and narrow flutter sleeves add coverage. A discreet elastic or stay inside adds security. Low sandals, fine drops and a soft veil finish it.
18. Courthouse Mini Homemade Wedding Dress
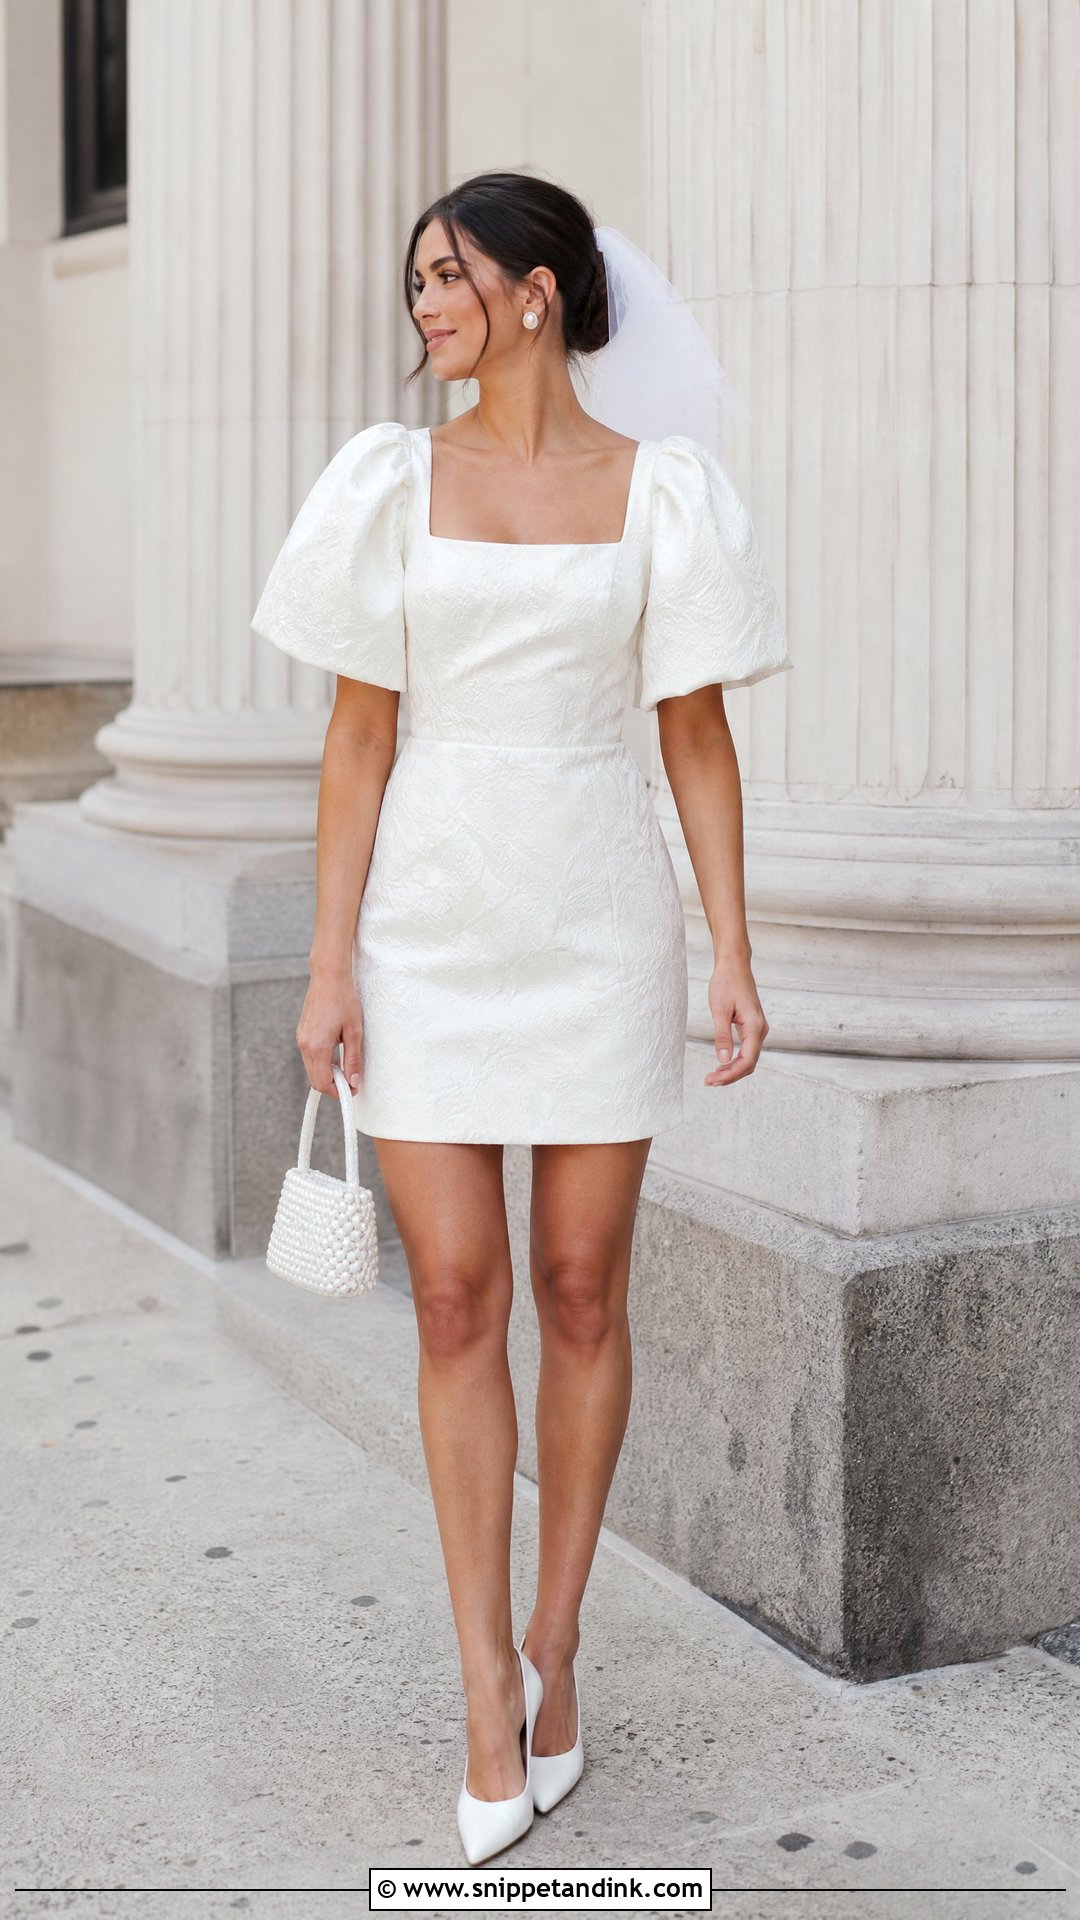
Short dresses are quick to make and unforgiving of sloppy fitting, since there’s no long skirt to distract the eye. Choose a structured shift, fit-and-flare or tailored sheath pattern in bridal satin, jacquard, crepe or textured white fabric. One detail is enough: a square neck, covered buttons, statement sleeves or a detachable bow. Fully line it and check the hem standing, sitting and climbing the courthouse steps. Pointed pumps or flats, a short veil and a top-handle bag suit it, with a light matching coat for cold weather.
19. Upcycled Homemade Wedding Dress
Upcycling a secondhand gown cuts the hardest construction out of the job. Pick a dress that already fits through its most structured part, usually the bodice, and keep its boning and closures if they’re sound. Photograph every seam and label each piece before you take anything apart, so you can see how the layers went together. Then remove dated sleeves, heavy trim or damaged layers, and rebuild around the best fabric: a new lace bodice, a changed neckline, a shorter train or a detachable overskirt. Classic heels, modern earrings and a simple veil bring it up to date.
20. Hand-Beaded Homemade Wedding Dress
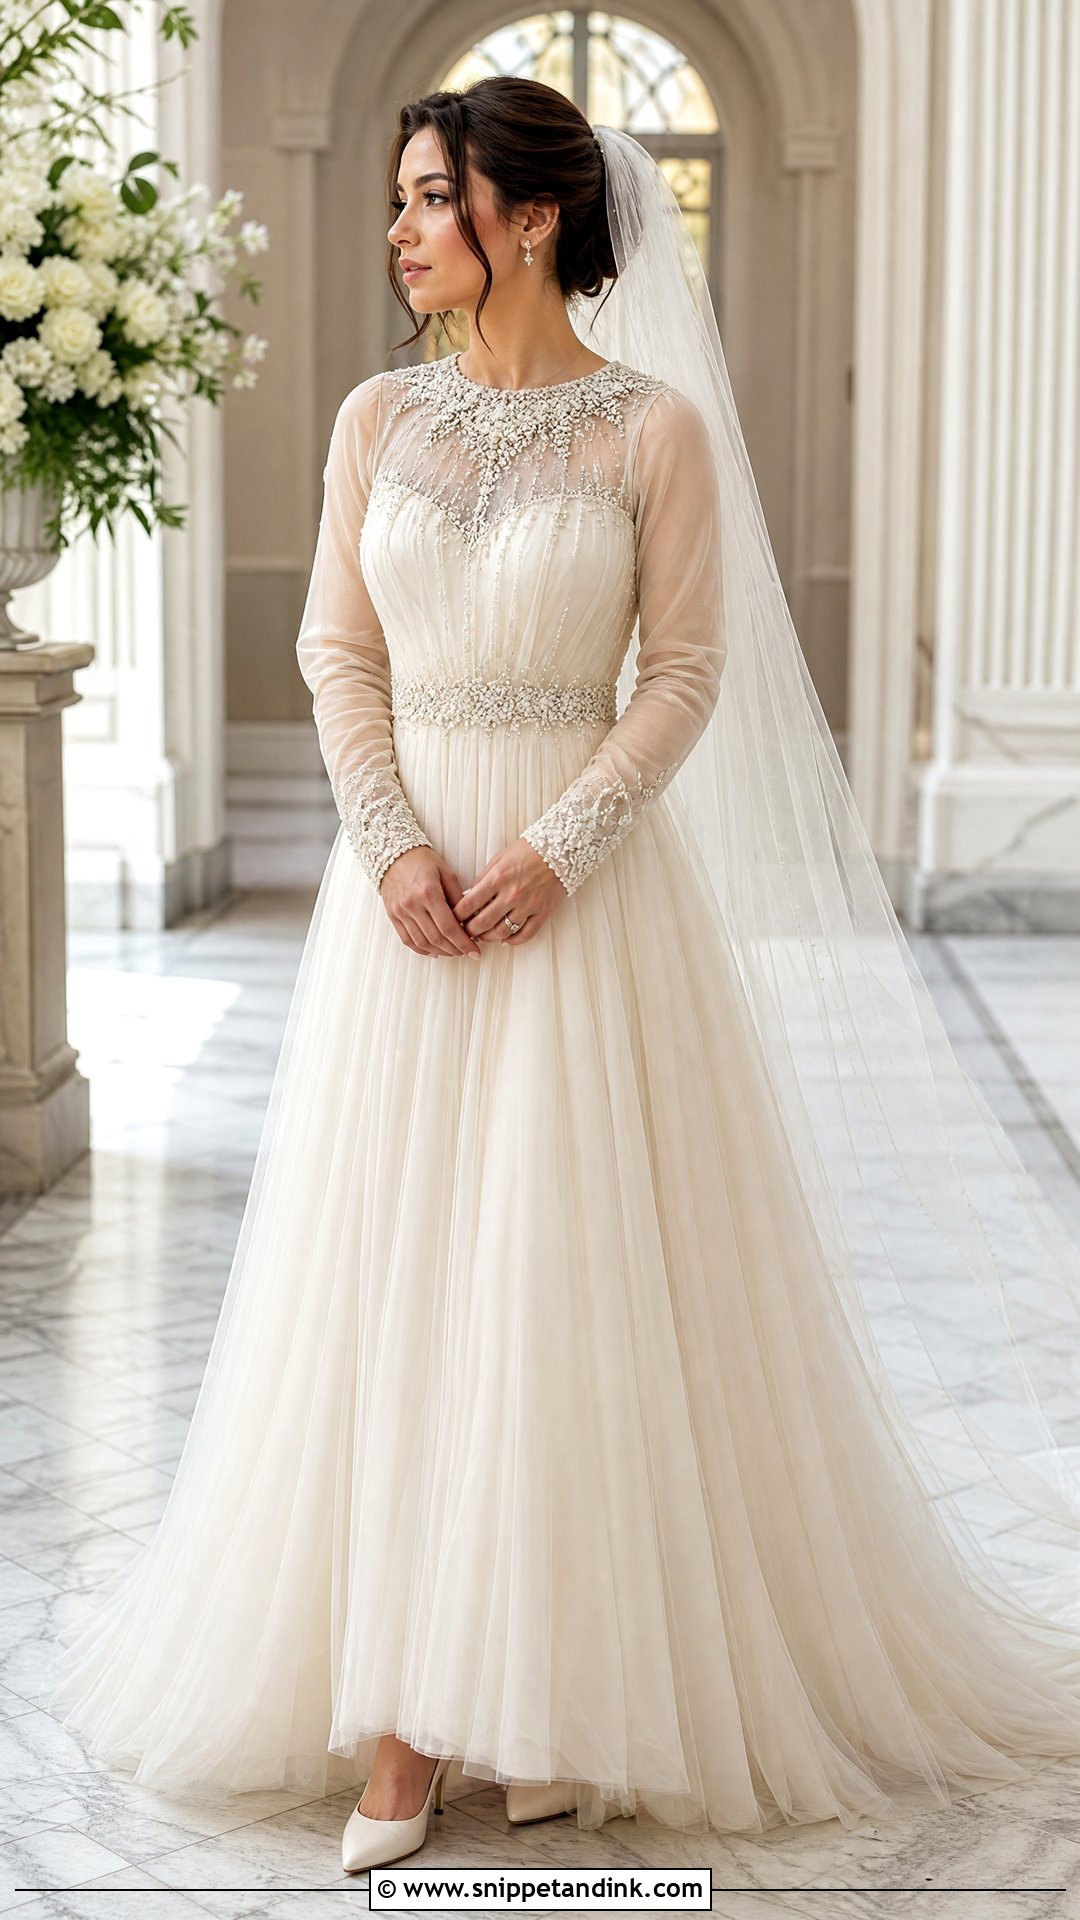
Hand beading takes far longer than most people plan for, so start it only on a finished dress that already fits. Mark the design lightly and work in small sections, tying off each group separately so one broken thread can’t release a whole row. Keep the beading to the neckline, waist, cuffs or upper skirt. Back dense sections with a soft lining to protect your skin. Store the finished gown flat or well supported, because heavy beading stretches delicate fabric and pulls fitted seams out of shape. Simple pumps and minimal jewelry let the work show.
Bridal Fabrics That Behave Badly Under the Needle
Slippery and sheer fabrics cause most of the frustration in a homemade gown. A few habits make them far easier to handle:
- Use a fine sharp needle for satin, chiffon and organza, and a stretch needle for stretch crepe. Change it at the start of the project, since a dull needle snags satin.
- Pin only inside seam allowances with fine silk pins, because satin keeps every hole.
- Lay tissue paper under chiffon when stitching so the feed dogs don’t chew it, then tear it away.
- Press through a cloth on low heat and test on a scrap; satin can shine or water-spot.
A Seamstress on Standby
Even confident sewists benefit from a backup. Find a local alterations seamstress a few months before the wedding and ask whether she’d take a last-minute hem or zipper job if your week runs away from you. Pack a small kit for the day too: needle and thread in your dress color, safety pins, clear nail polish for a snag, and a spare hook and eye.
Sew the Dress Your Calendar Can Carry
A homemade gown doesn’t need to be complicated to feel special. The right design matches your skill, your time, your venue and the way you want to move on the day. Start early, use a pattern you trust, and make the muslin before cutting good fabric. Fit in your real shoes and underwear, and test sitting, walking, turning and lifting your arms each time. Careful seams and one handmade detail you love will mean more than an ambitious dress finished at midnight the night before.
You'll Like These Ideas:




Leave a Reply