
Plenty of brides do their own wedding hair, and plenty of them do it well. The ones who succeed aren’t the most skilled; they’re the ones who picked a style that suits their hair and practiced it until their hands knew the steps. I’ve written these bridal hair tutorial ideas the way I’d teach them in a lesson: what to do, where people usually go wrong, and which styles are honestly harder than they look. Some are fine for a first-timer. A few, I’ll tell you plainly, are easier with a second pair of hands.
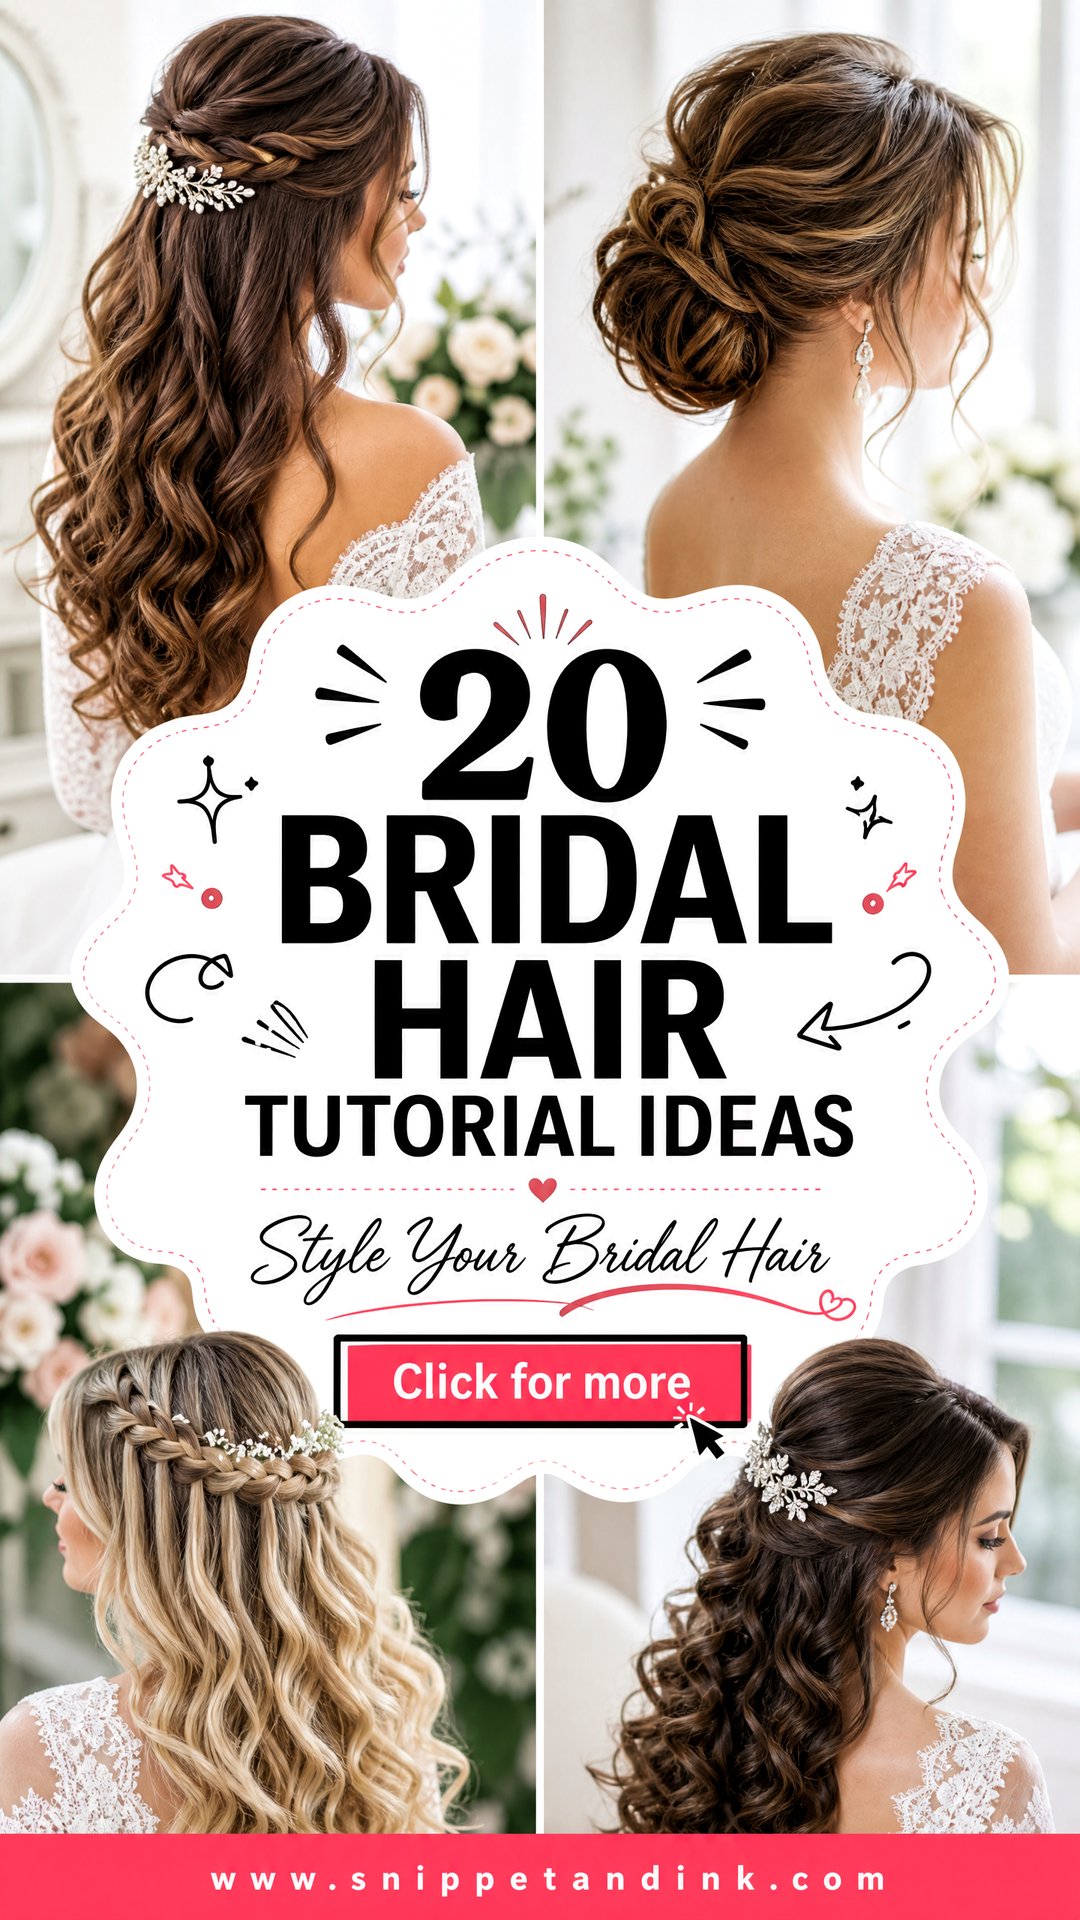
Rehearse the Style Three Times Before the Wedding Morning
The difference between a DIY style that holds and one that falls apart is almost always rehearsal. The first attempt shows you the steps. The second tells you how long it really takes, which is usually far longer than the tutorial suggests. By the third, you should be able to do it while chatting, which is what the wedding morning feels like.
Do at least one full run on the same type of hair day you’ll have at the wedding: same wash timing, same products, same tools. Then wear it for several hours. Go for a walk, sit in a car, hug someone. That tells you which pins loosen and where the curl drops. Take photos from the side and back with flash, because that’s what wedding photos see and the mirror doesn’t.
If you’re adding a veil or a heavy accessory, include it in at least one run. A veil comb changes how an updo sits, and it’s far better to find that out weeks ahead.
1. Soft Romantic Waves Tutorial
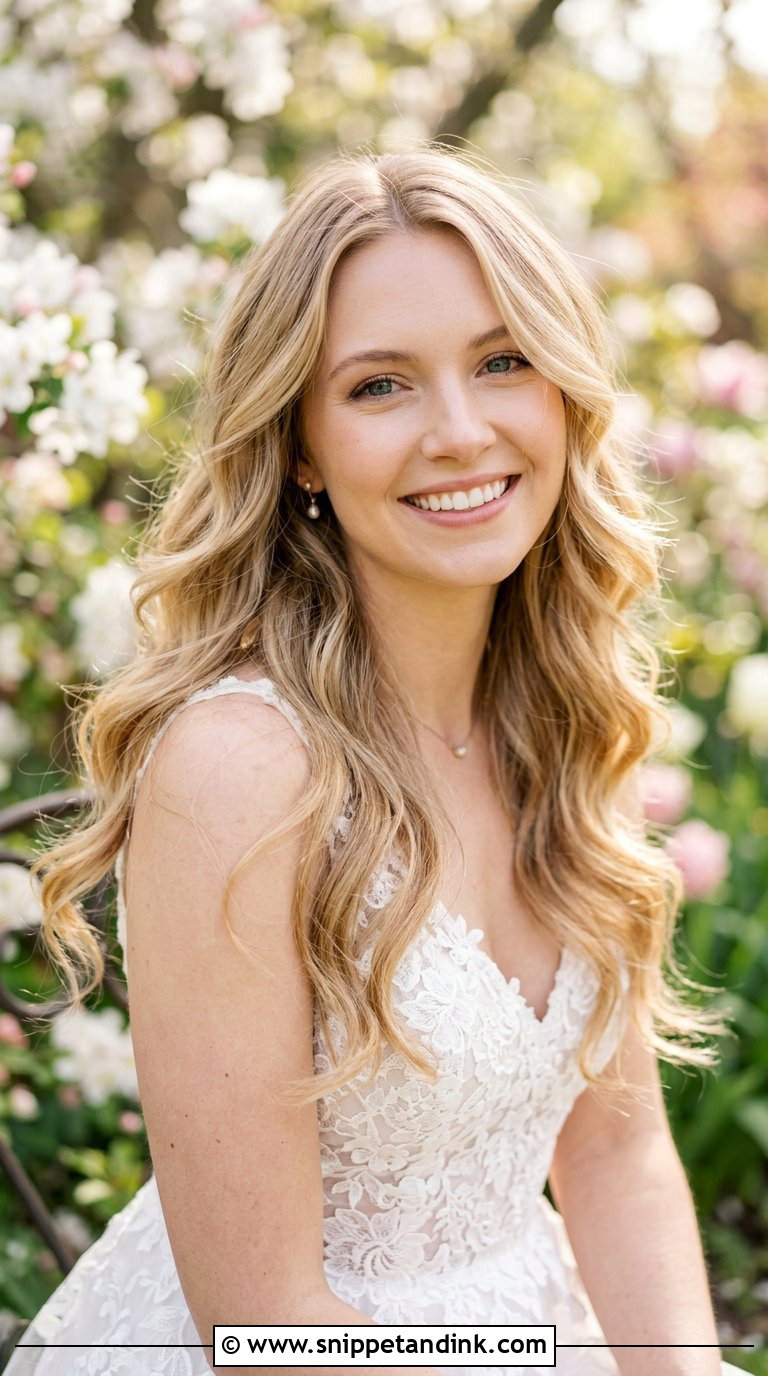
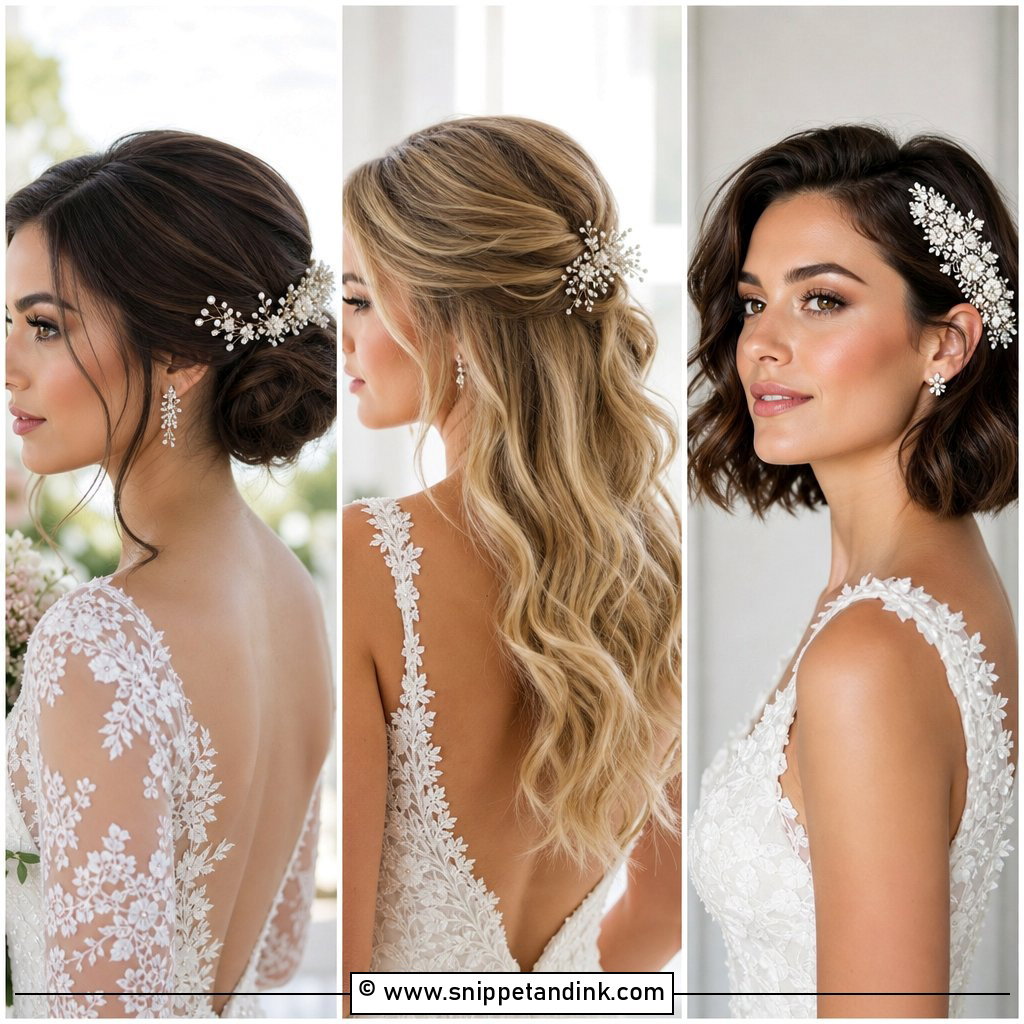
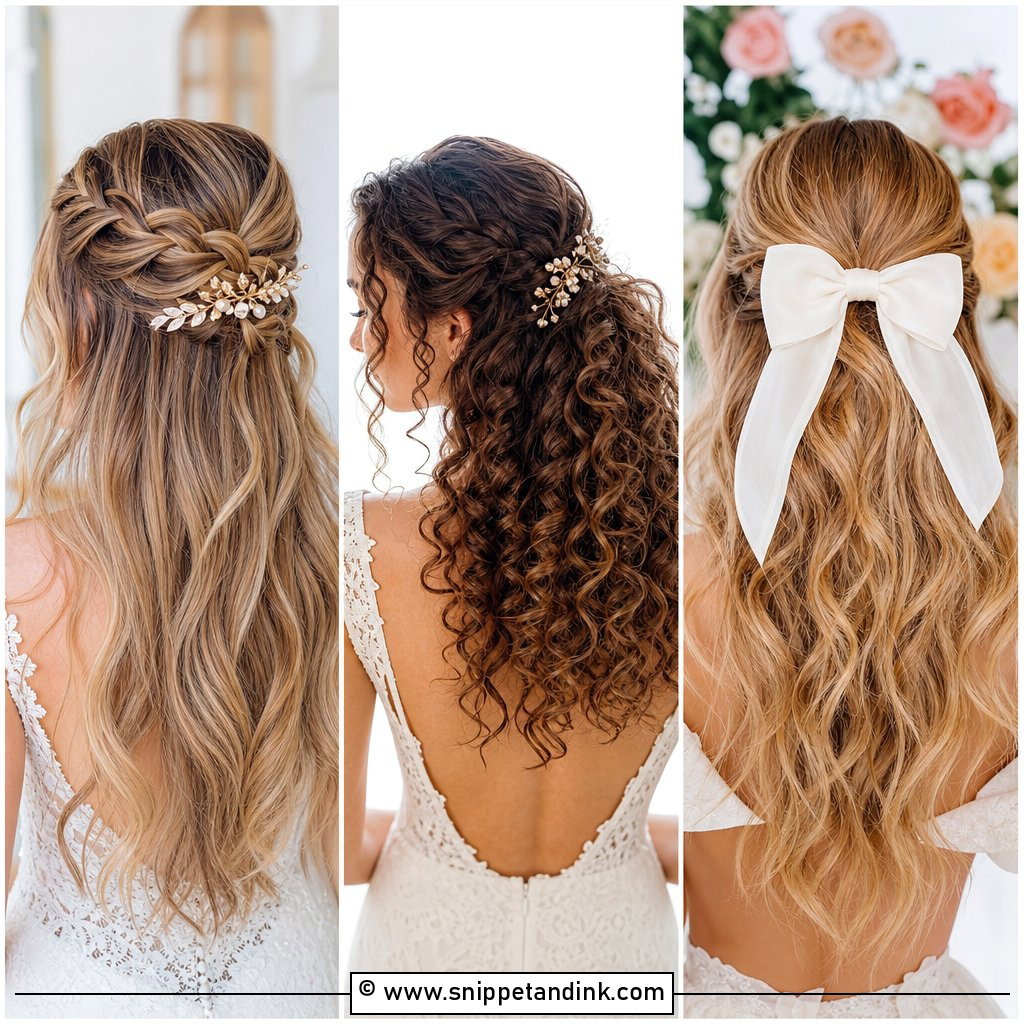
Soft waves are the best starting point if you’ve never curled your own hair for an event. Prep with heat protectant, wrap one-inch sections around the iron and alternate the direction of each curl so they don’t clump into one big ripple. The step people skip is cooling: leave each curl alone until it’s cold, or it drops within the hour. Then rake through with your fingers, not a brush, and finish with a light texture spray. Waves sit happily under a veil or a flower crown.
2. Half-Up Half-Down Tutorial
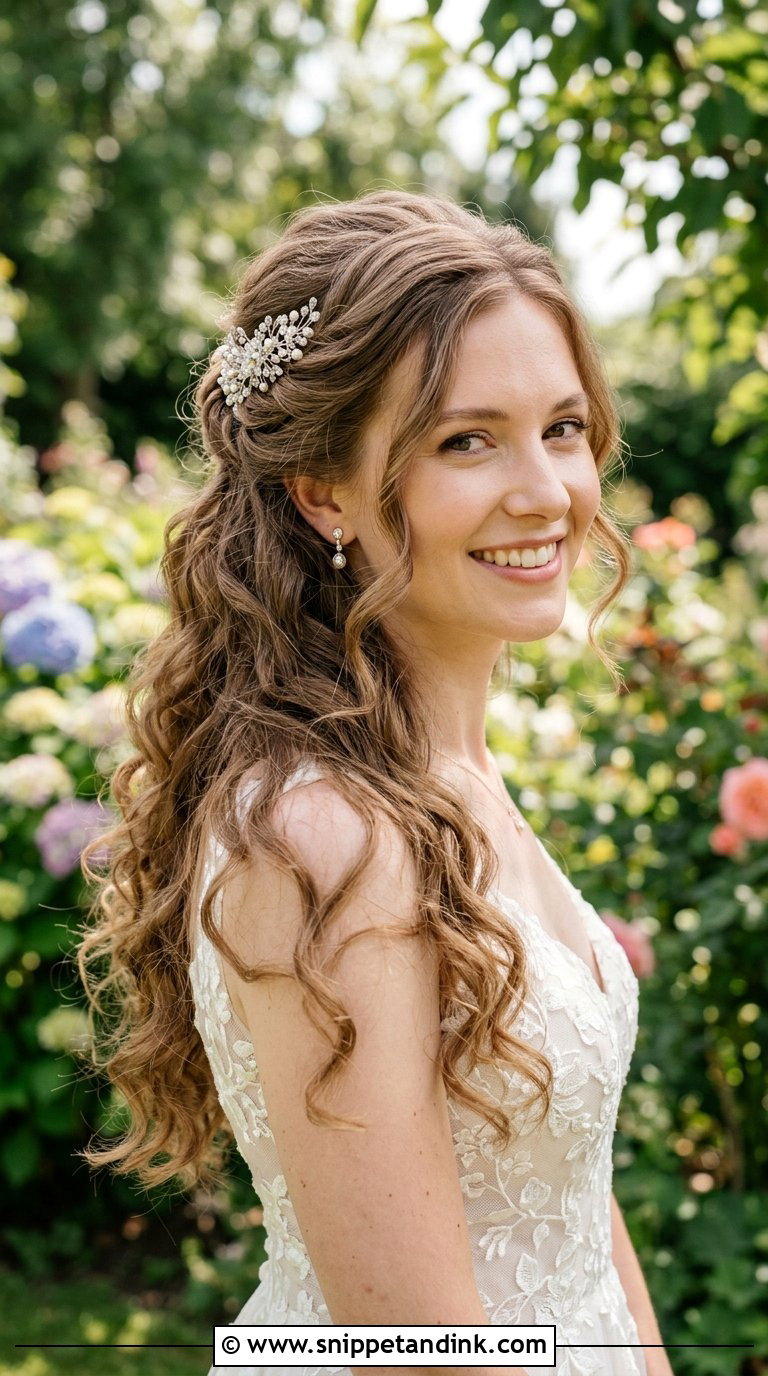
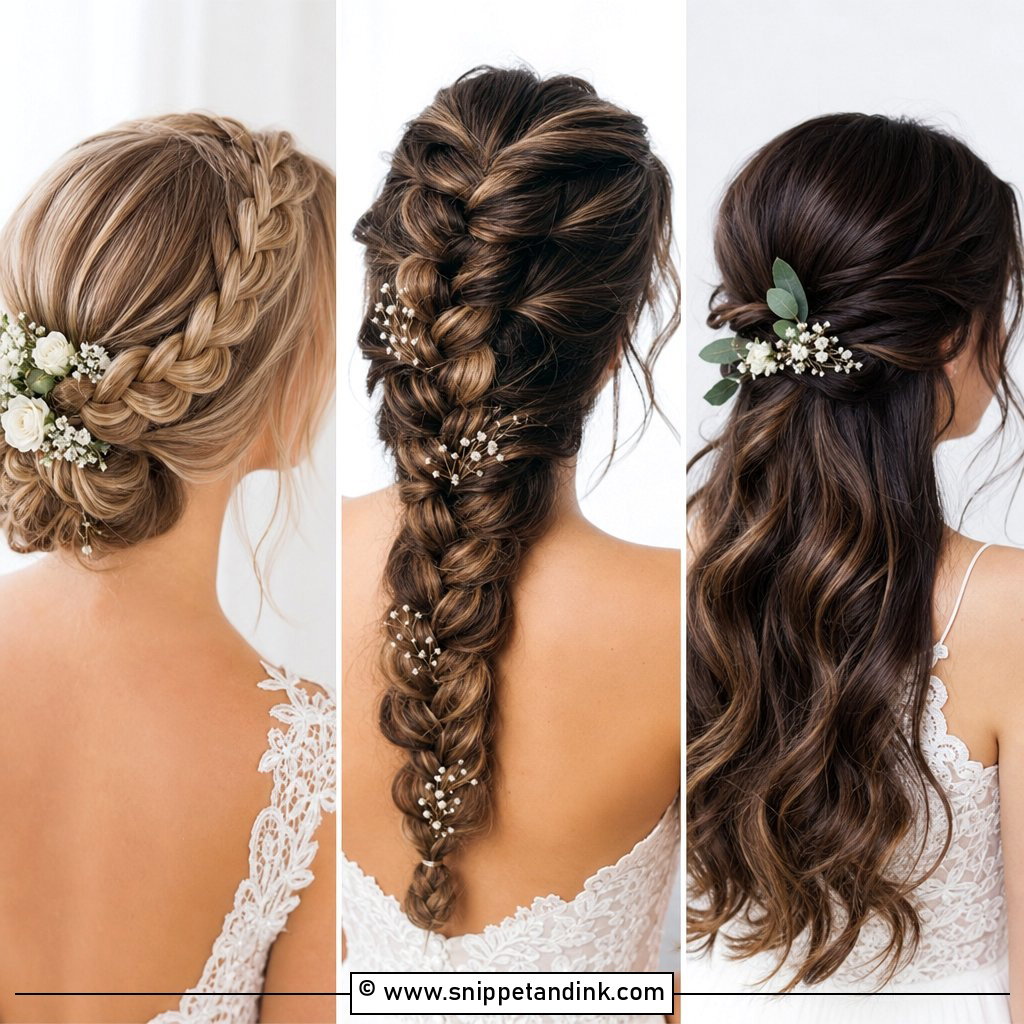
Curl everything first, because once the top is pinned you can’t reach those sections properly. Then take a section from each temple and bring them back toward the crown, pinning them in a cross so the pins lock each other. For height, lightly backcomb the crown before pinning and smooth the top layer over it. Medium and long hair both work. A sparkly clip or a couple of fresh stems placed where the sections meet hides the pins, which is useful when you can’t see the back yourself.
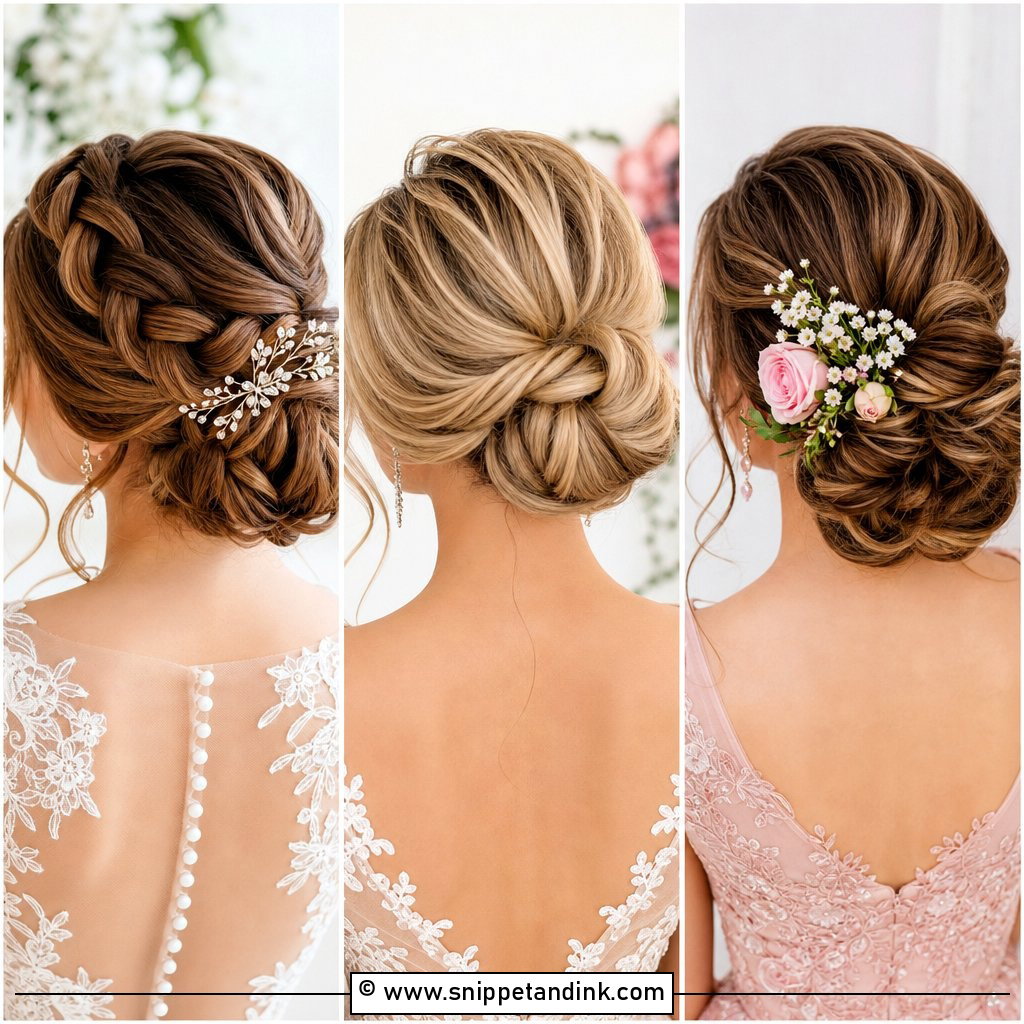
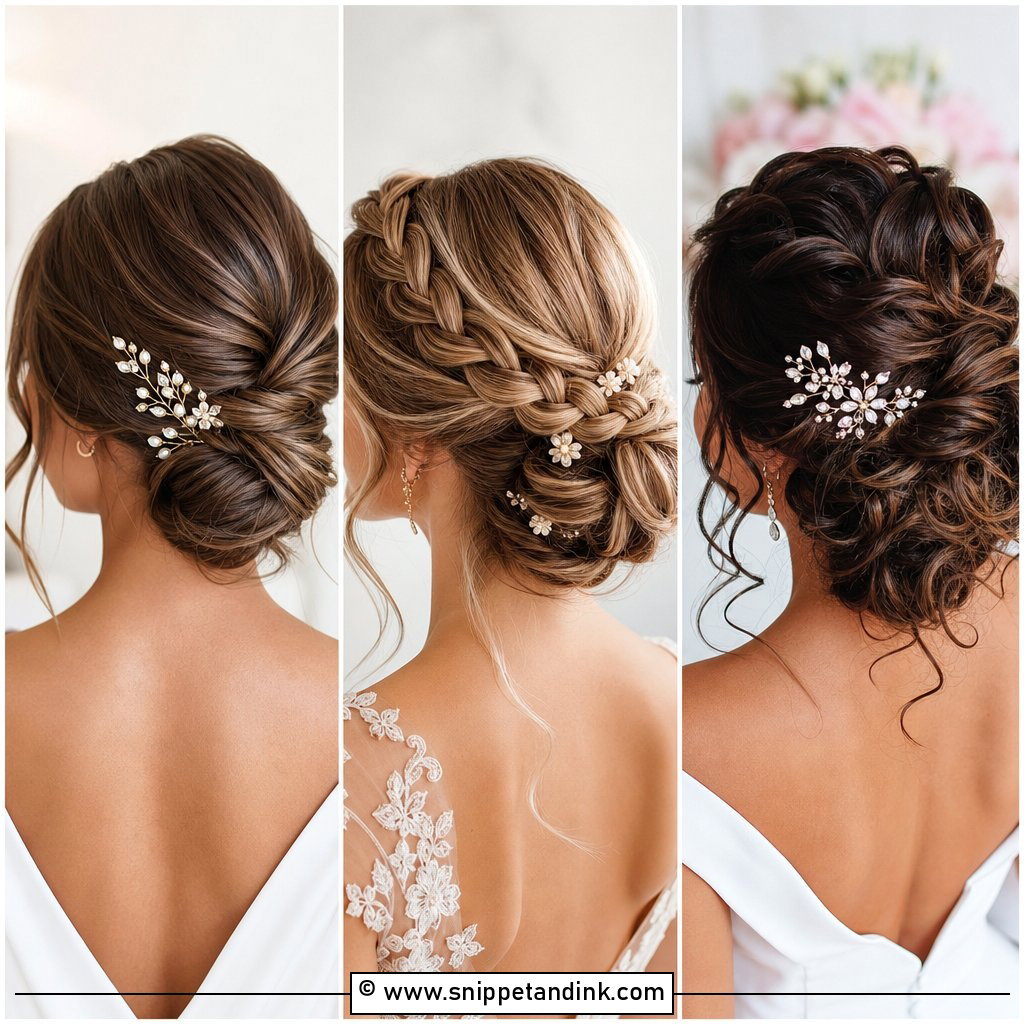
3. Low Bun Tutorial
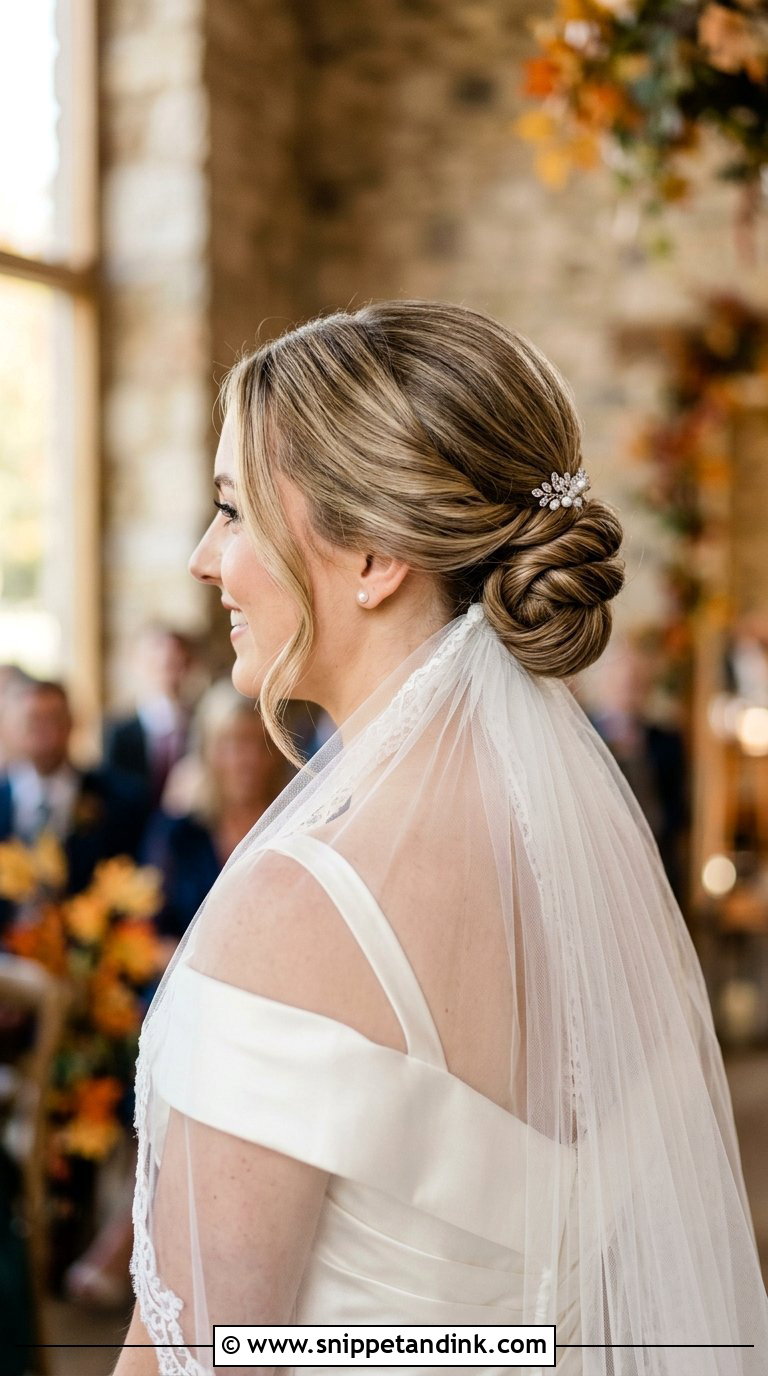
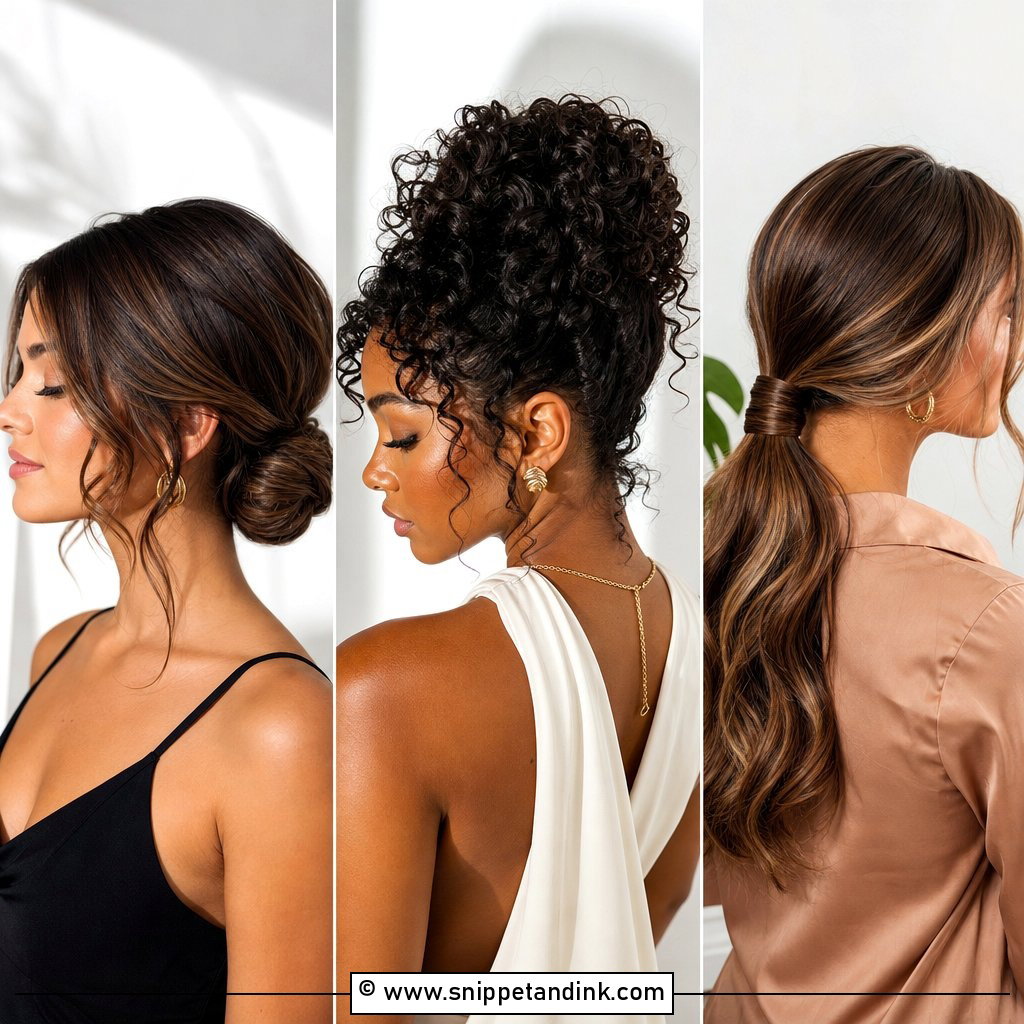
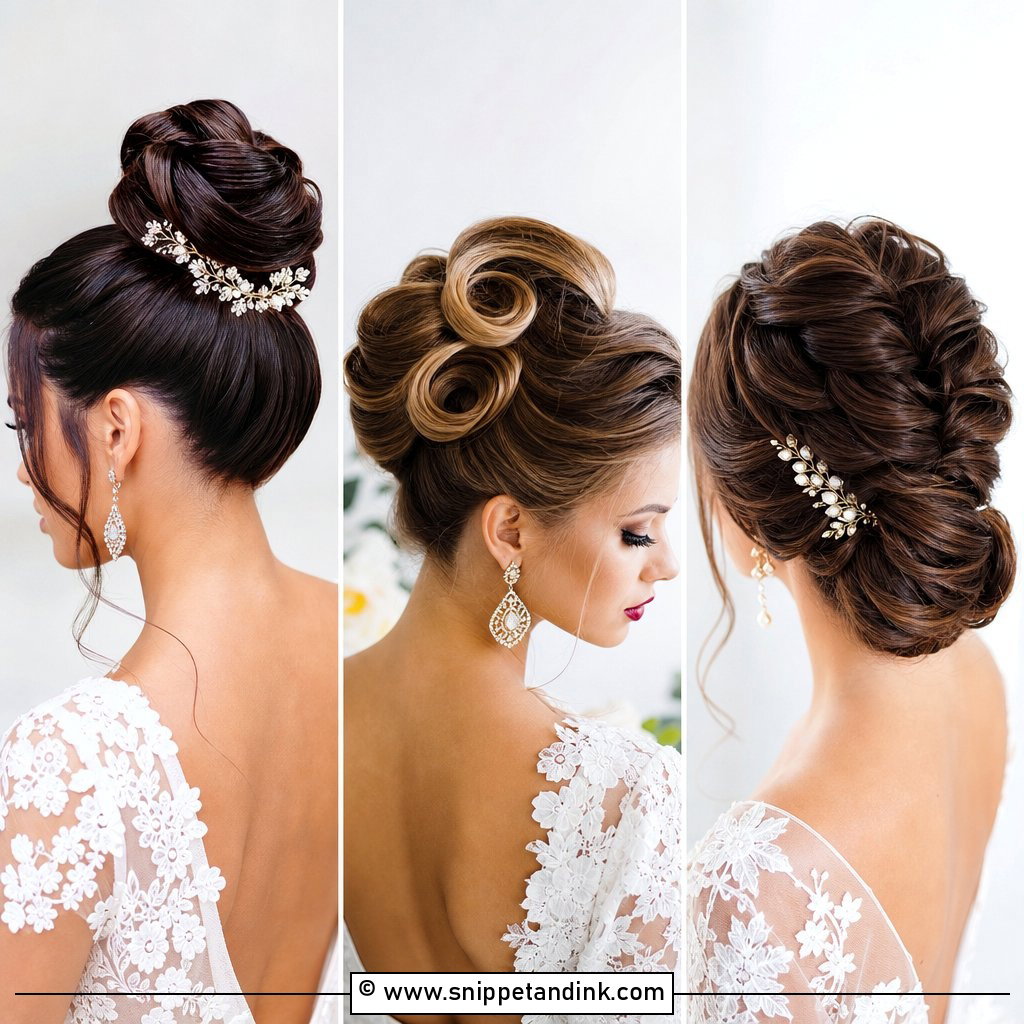
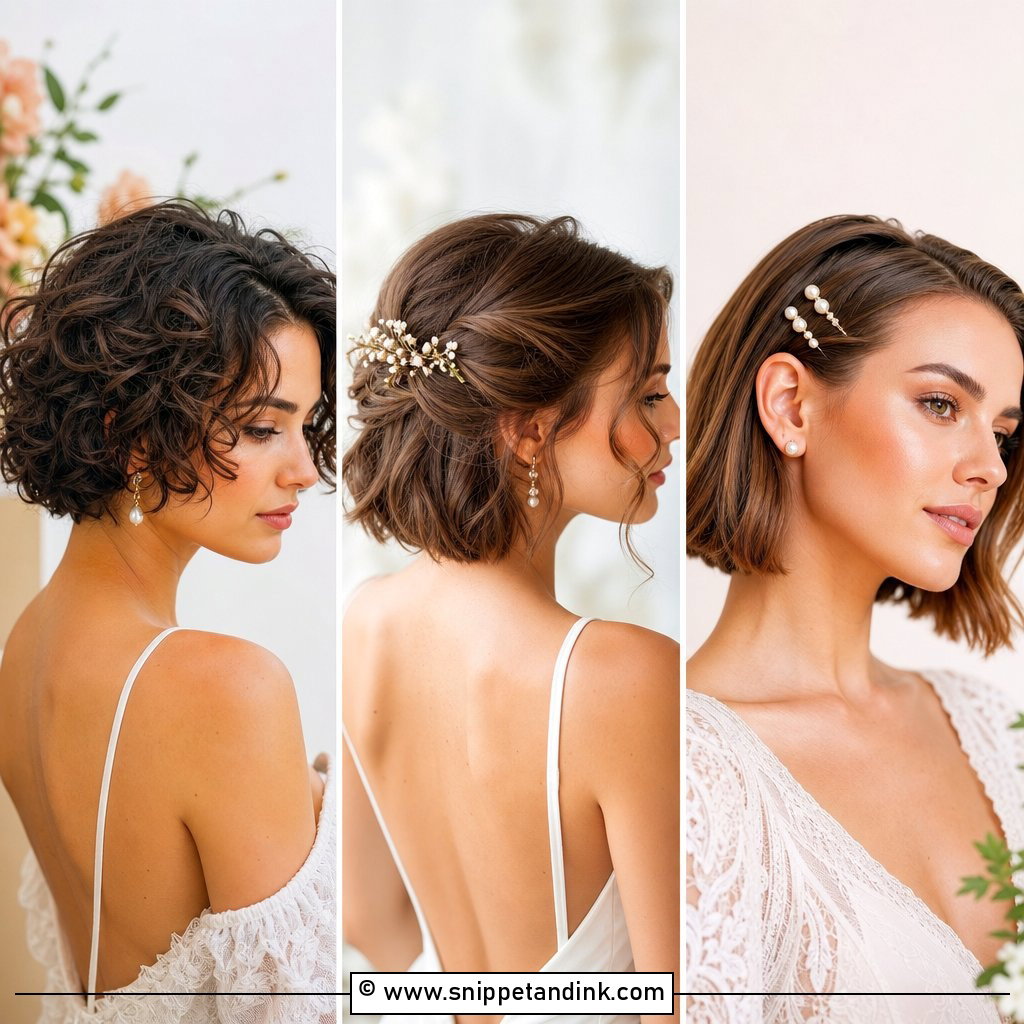
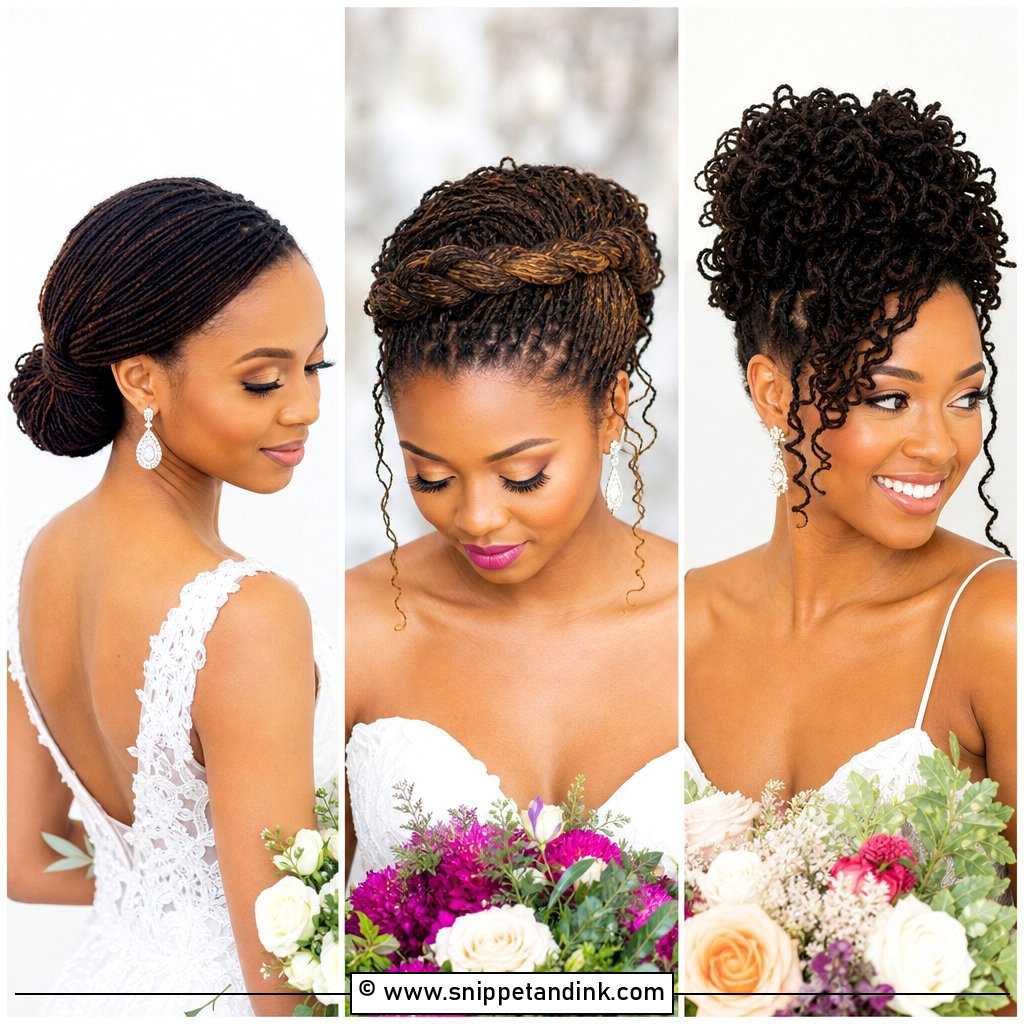
The low bun is the most forgiving updo to do on yourself, since the work happens at the nape where you can feel it. Smooth hair into a low ponytail, twist the length around the base, tuck the ends under and pin into the base, not just through the twist. If your hair is fine, backcomb the crown slightly first or the bun can look small against a veil. Pull a few strands loose at the front only after spraying, so they stay soft instead of frizzing.
4. Braided Crown Tutorial
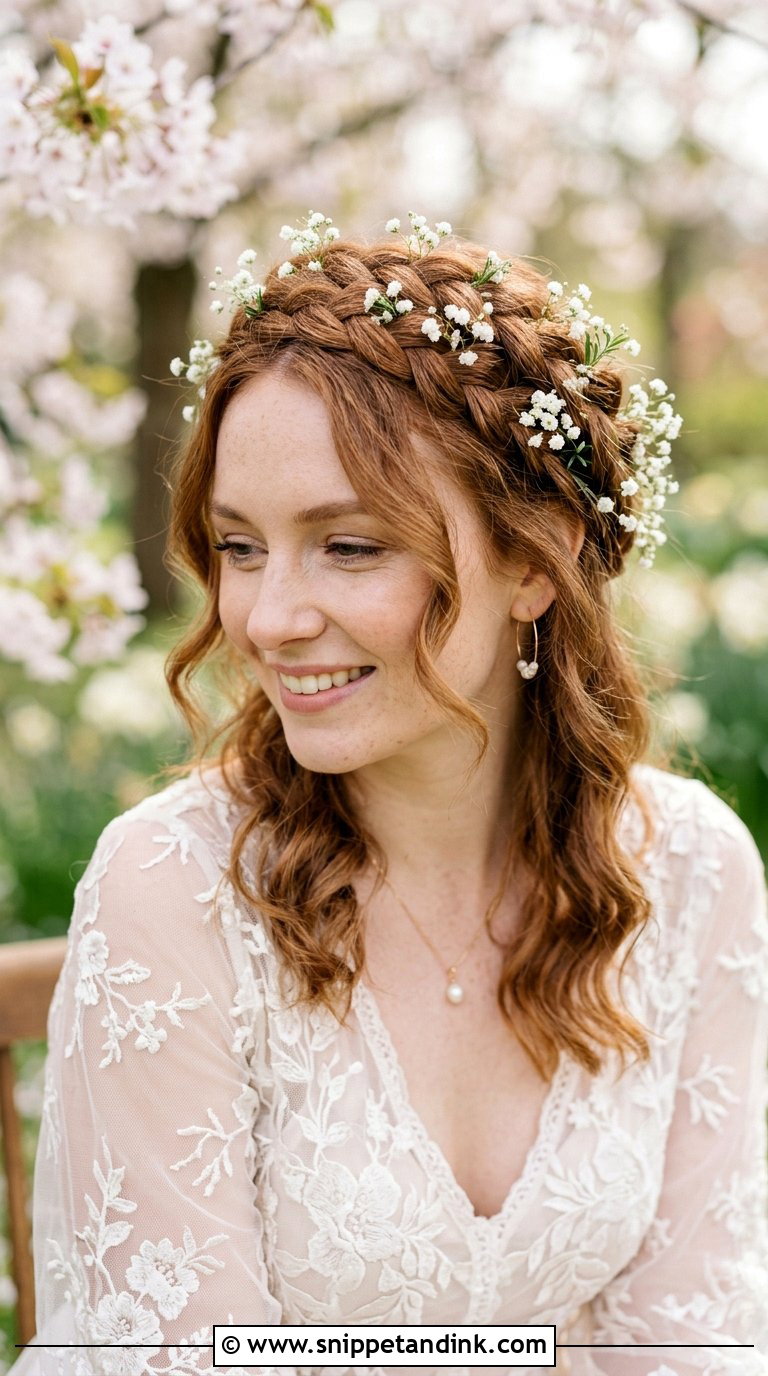
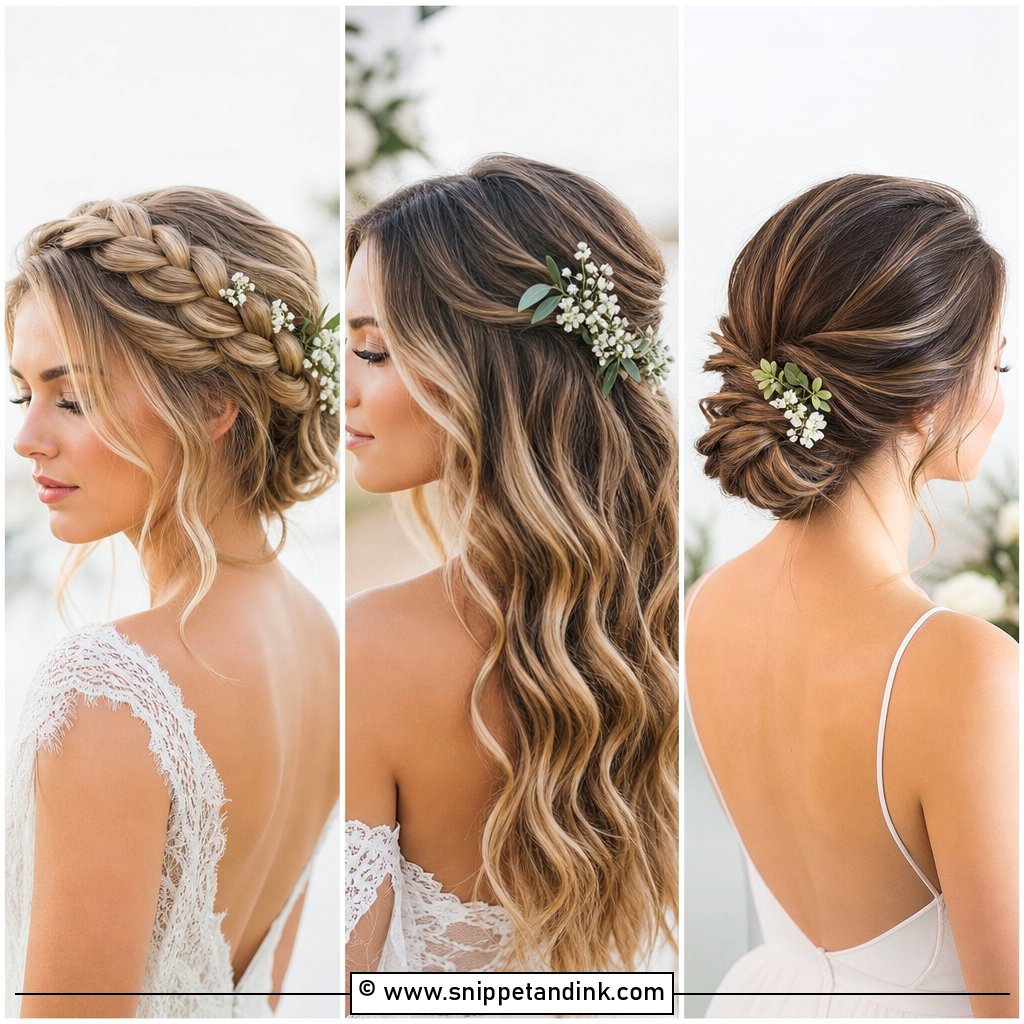
This one takes practice. Part down the middle and braid along each side, French or Dutch, then bring both braids to the back and pin them together into a crown-like halo. Braiding your own hair above your ears is tiring on the arms, so give yourself breaks during practice runs. Once pinned, tug the braid edges out gently to widen them. Tiny flowers or baby’s breath tucked into the plaits suit a flowy dress at an outdoor venue.
5. Messy Chignon Tutorial
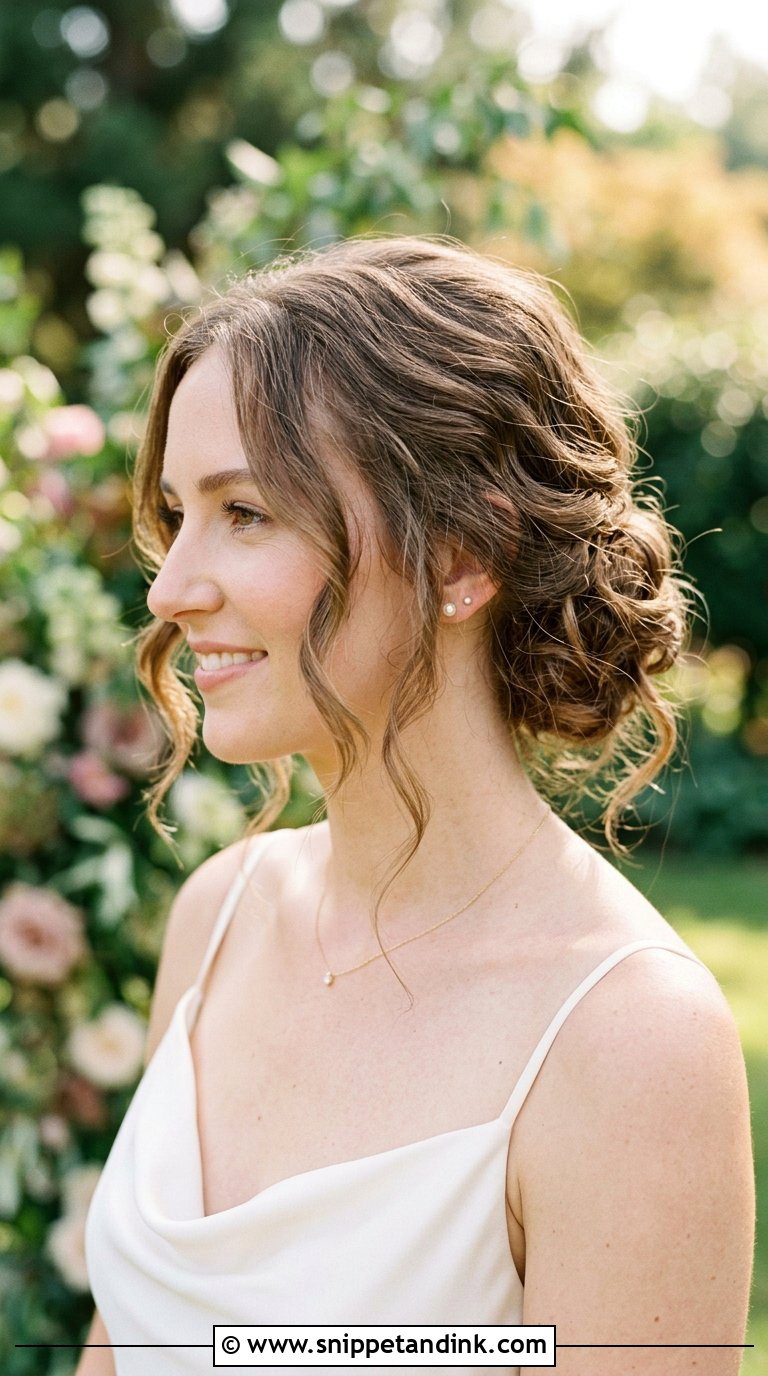
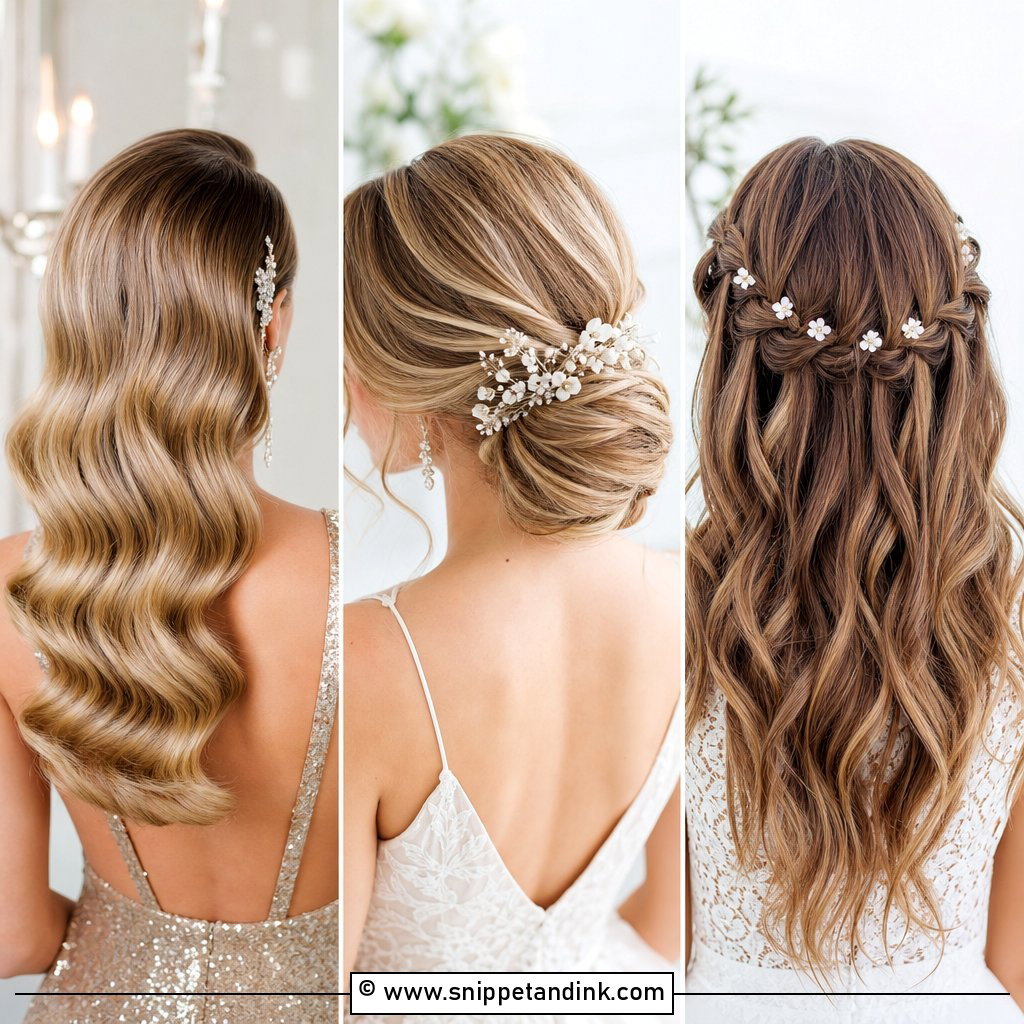
Freshly washed hair is too slippery for this. Use day-old hair or work in texture spray, gather a loose low ponytail, then twist and fold it into a knot at your nape. Pin it loosely and let a few pieces fall. The mistake I see most often in DIY chignons is over-pinning in a panic: dozens of pins make the knot look tight and lumpy. Four to six well-placed pins are usually enough. It suits minimalist dresses and smaller, relaxed ceremonies.
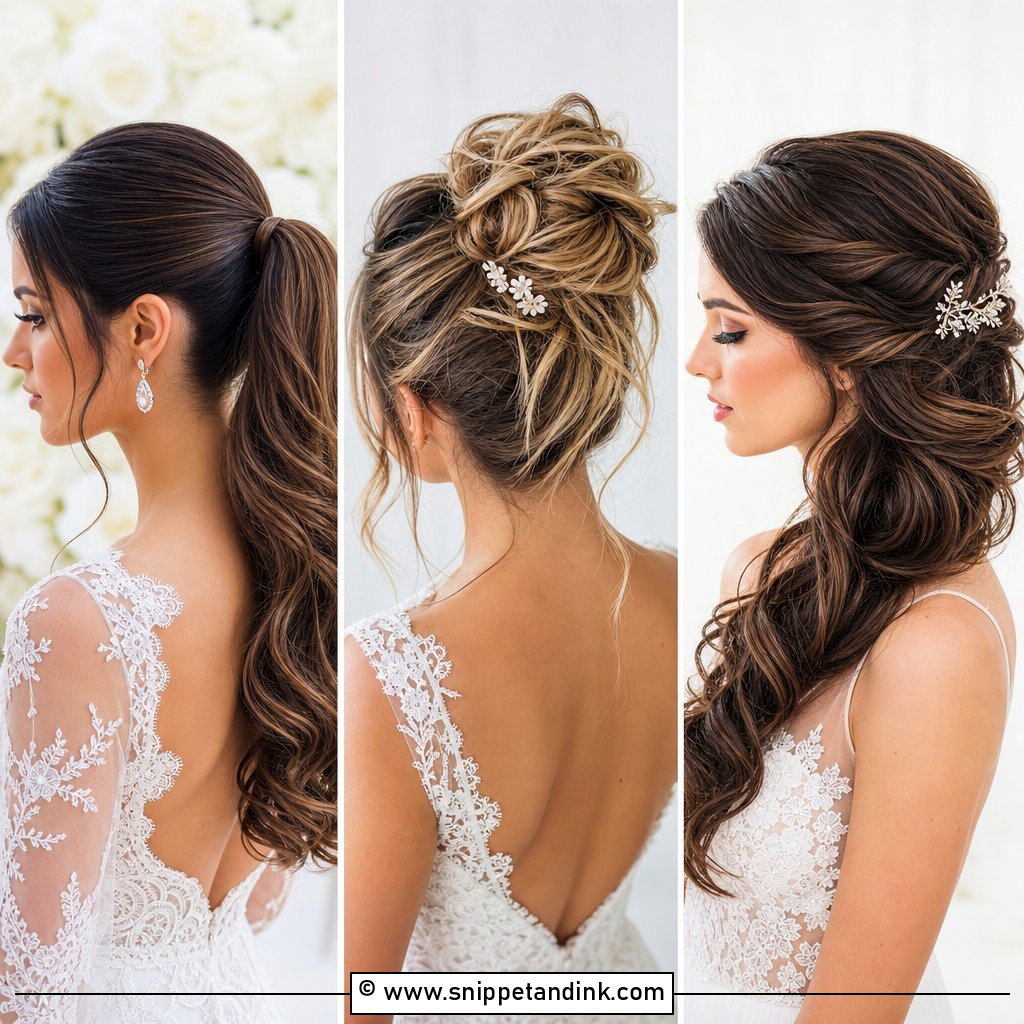
6. Sleek Low Ponytail Tutorial
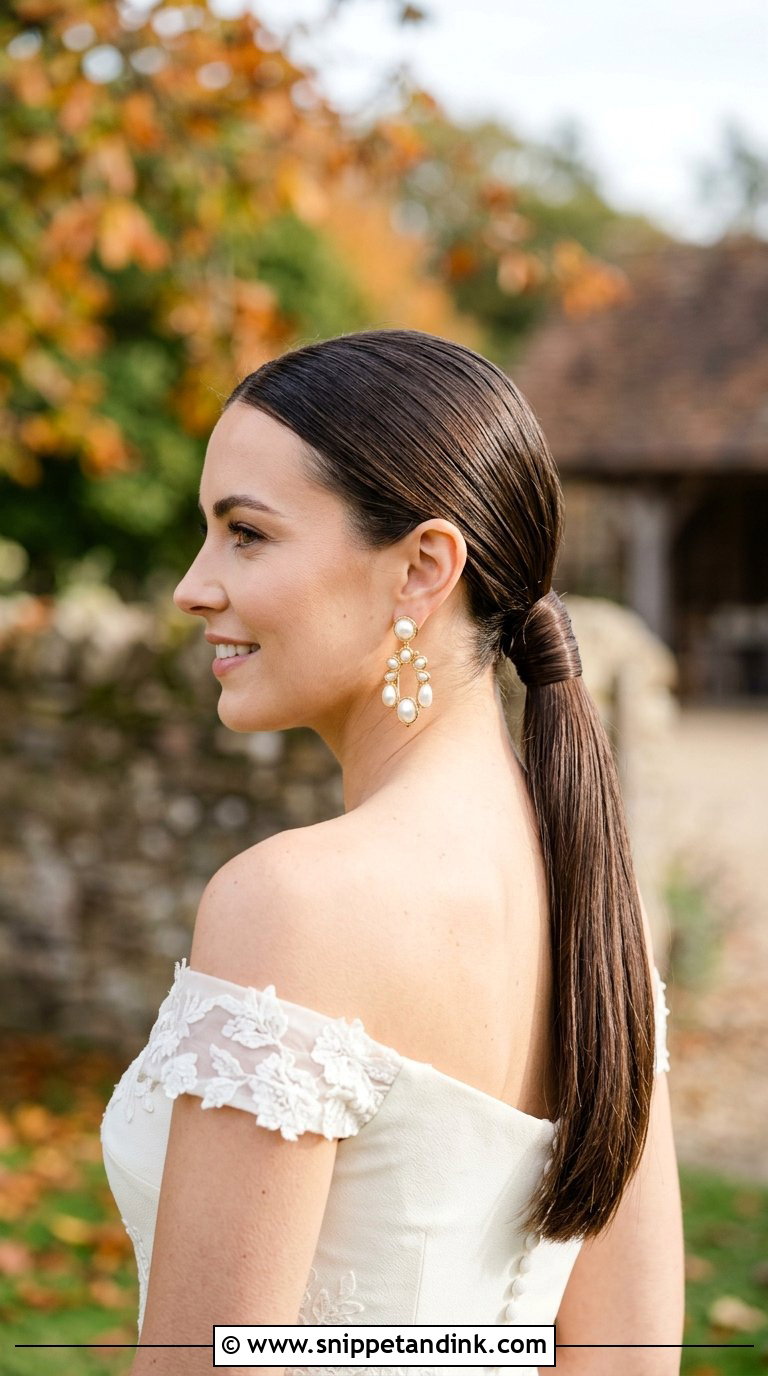
A sleek low ponytail is simple in theory and unforgiving in practice, because every bump shows. Blow-dry your hair straight first. Brush it back with a smoothing cream or a little gel, gather at the nape and secure with a clear elastic, then wrap a strand around the base and pin it underneath. Shine spray goes on last. If your hair is naturally curly or very fine, expect to practice this several times before it looks glossy rather than flat. Pair it with statement earrings and a clean modern gown.
7. Vintage Hollywood Waves Tutorial
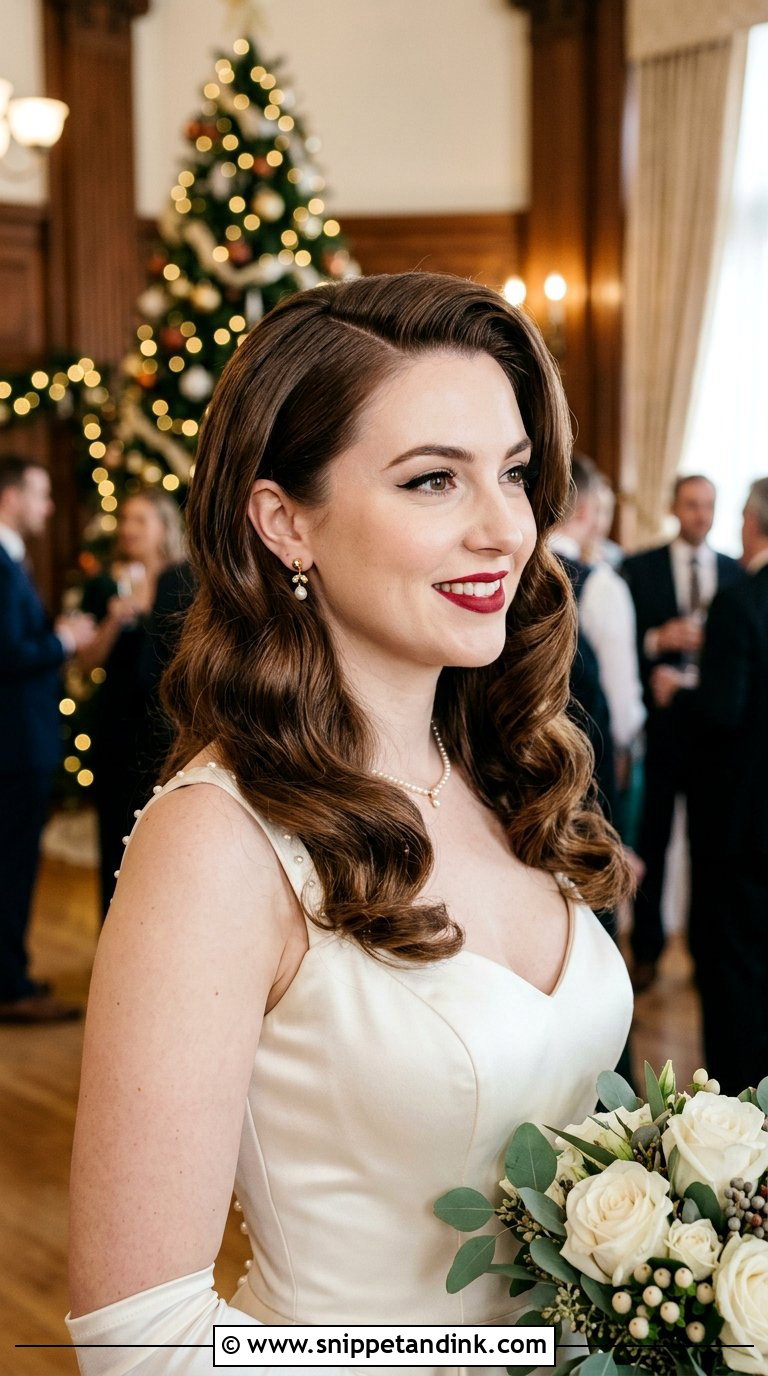
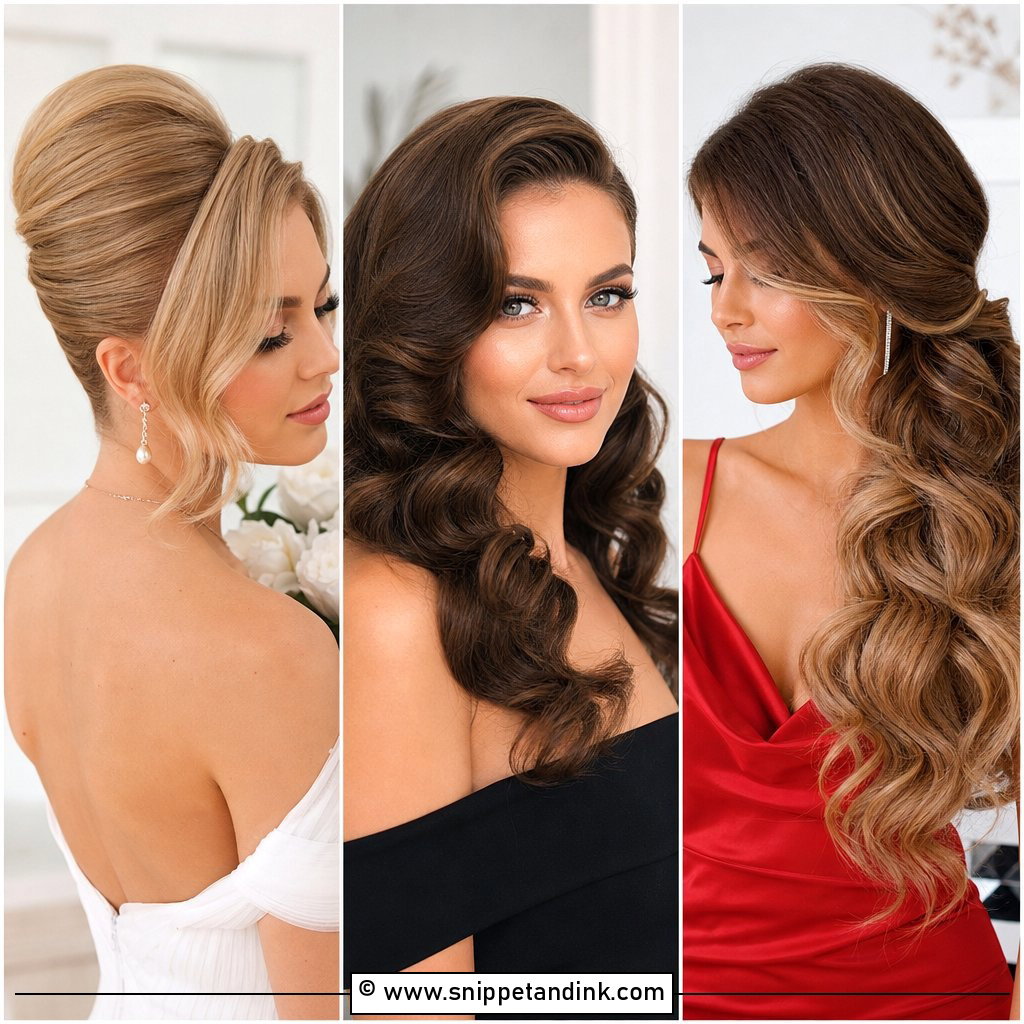
Vintage waves depend on consistency more than skill. Curl every section the same direction with a larger barrel, clip each curl while it cools completely, then brush everything out with a paddle brush until the curls merge into ridges. Set the waves with clips at the ridges for a few minutes and spray before releasing. A deep side part is part of the look. Honestly, this is a harder style to do on yourself because the back has to match the front; practice with a hand mirror held behind you. It’s lovely with a fitted satin gown and a red lip.
8. Fishtail Braid Tutorial
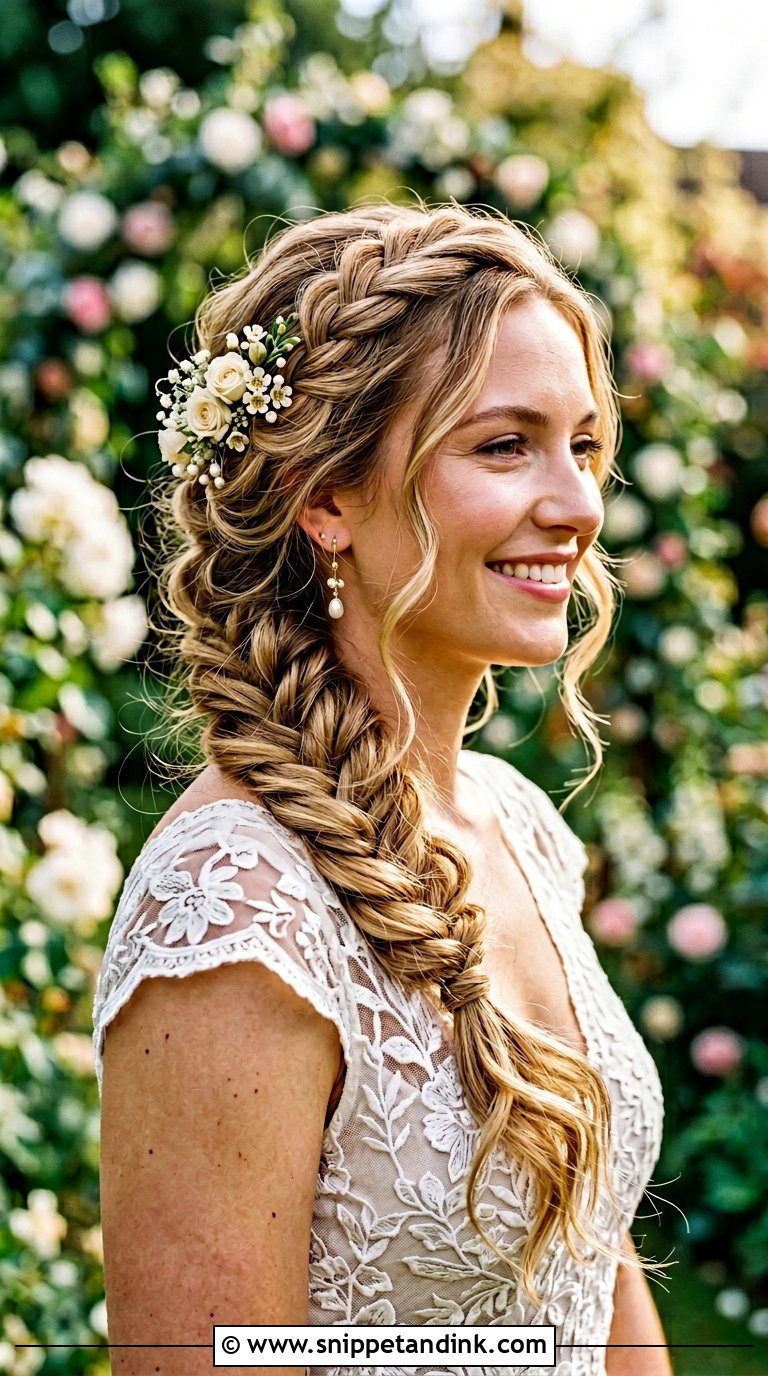
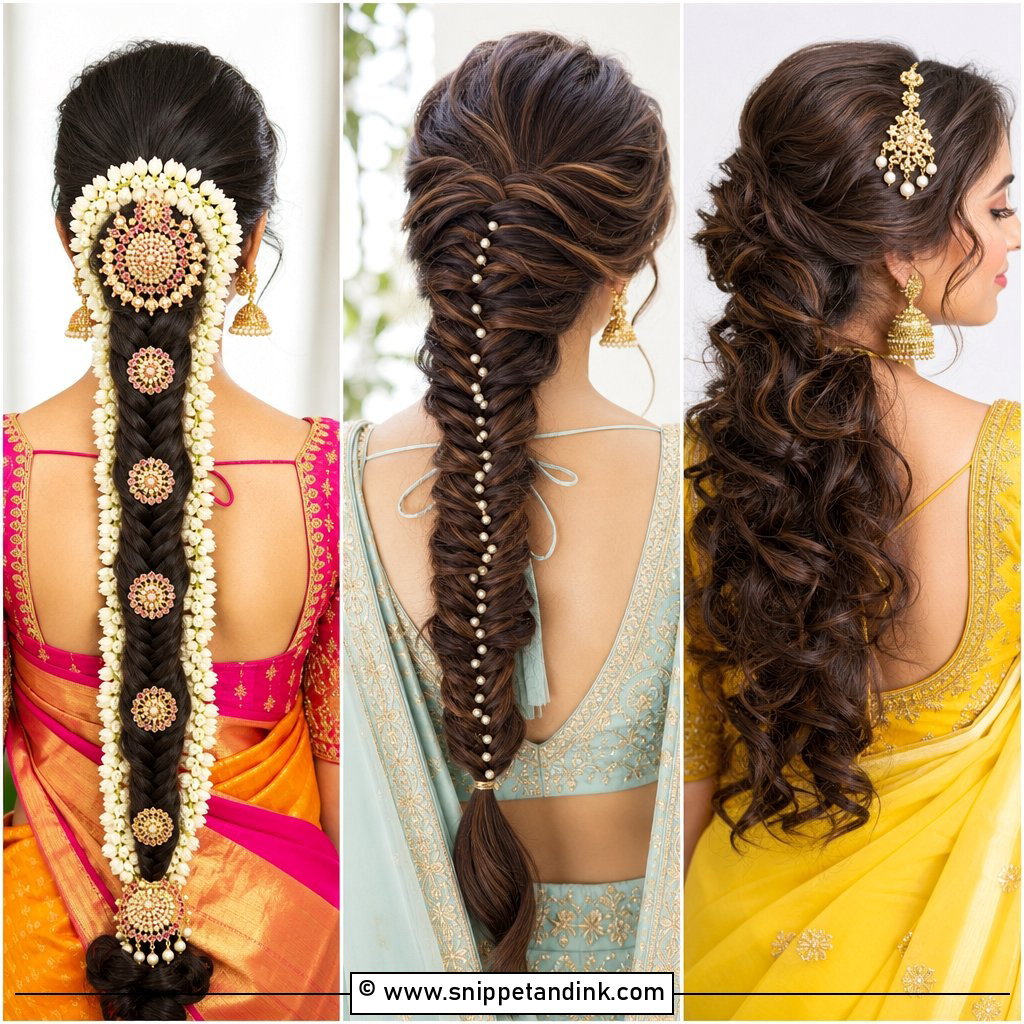
A fishtail looks complicated but it’s only two sections. Split the hair in half, take a thin strand from the outside of one half and cross it to the other, then repeat on alternating sides. Thinner strands give a finer pattern but take longer. Once tied, pull the edges apart to widen it. A side fishtail over one shoulder is the easiest version to do on yourself, because you can see every step in the mirror. It belongs at relaxed, outdoor weddings more than formal ballrooms.
9. Twisted Updo Tutorial
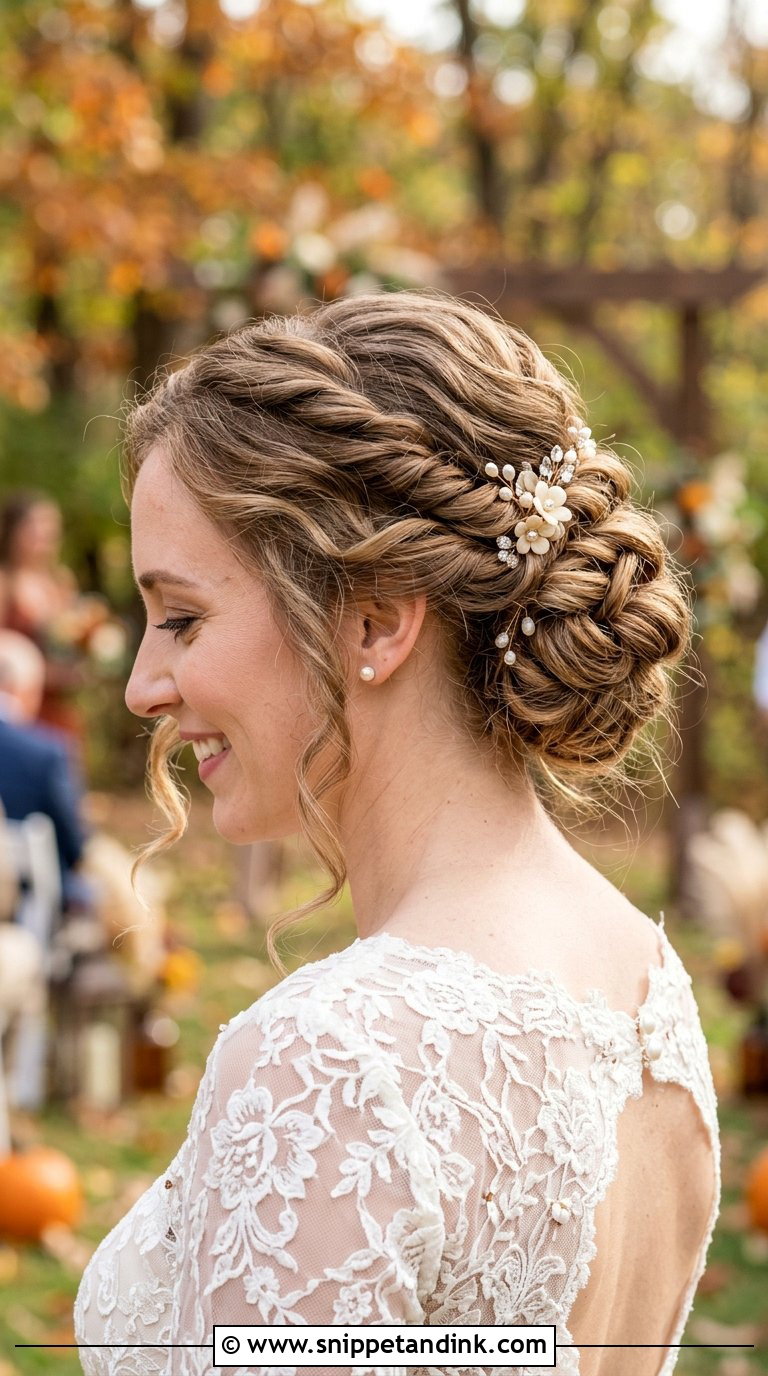
Twisted updos build volume from sections, which is why they help fine hair as much as thick. Divide your hair into several sections, twist each one, and pin it around the back of your head, layering as you go. Pin each twist where it crosses the one before it so they support each other. Leave a few soft tendrils at the face. The twists hold up through long receptions and accept delicate pins or a veil tucked in at the back.
10. Boho Loose Curls Tutorial
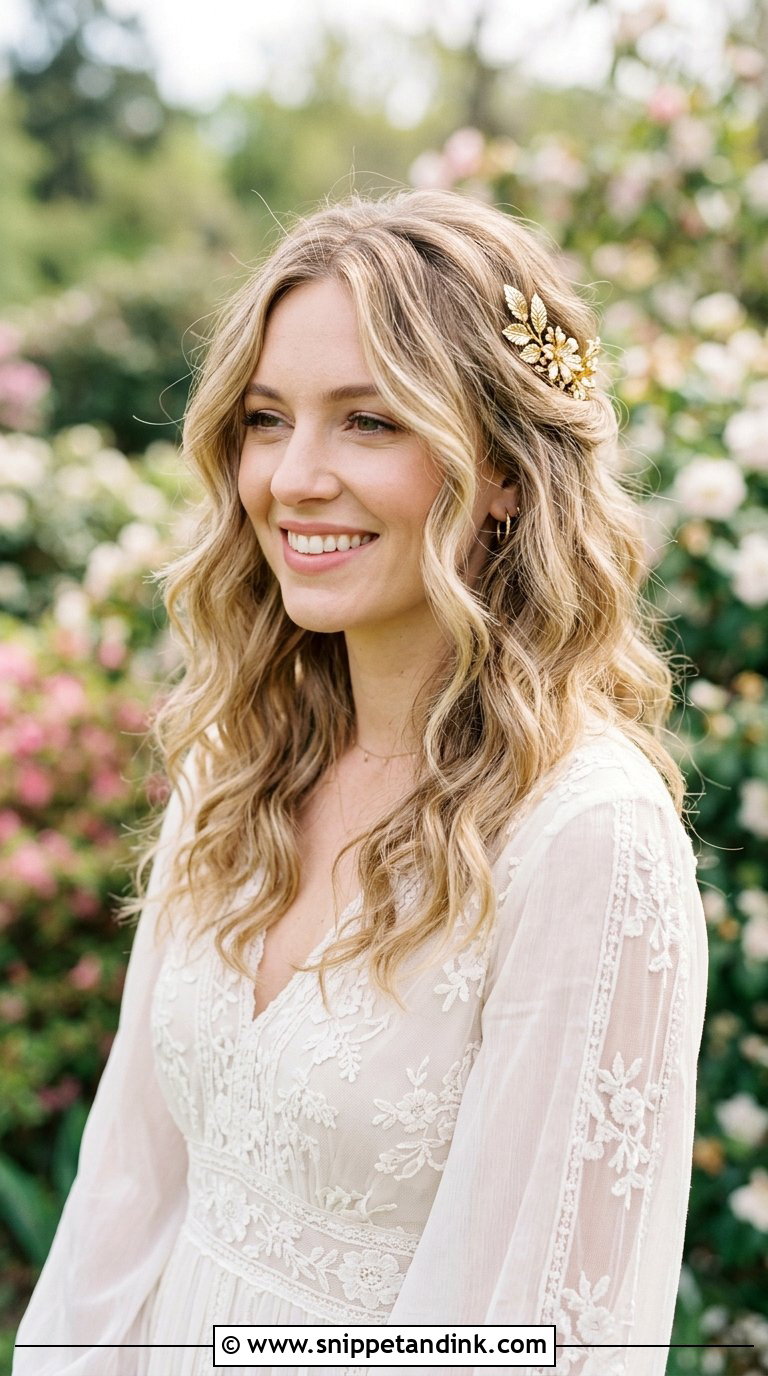
Boho curls are meant to look unfinished, so use a wand and leave the last inch or two of each section out of the curl. When they’ve cooled, break them apart with your fingers and add sea salt or texture spray. You want beachy waves, not ringlets. A caution: salt spray dries some hair out, so test it during practice and swap for a dry texture spray if your ends look frizzy. Wildflowers or a small gold accessory finish it.
11. French Twist Tutorial
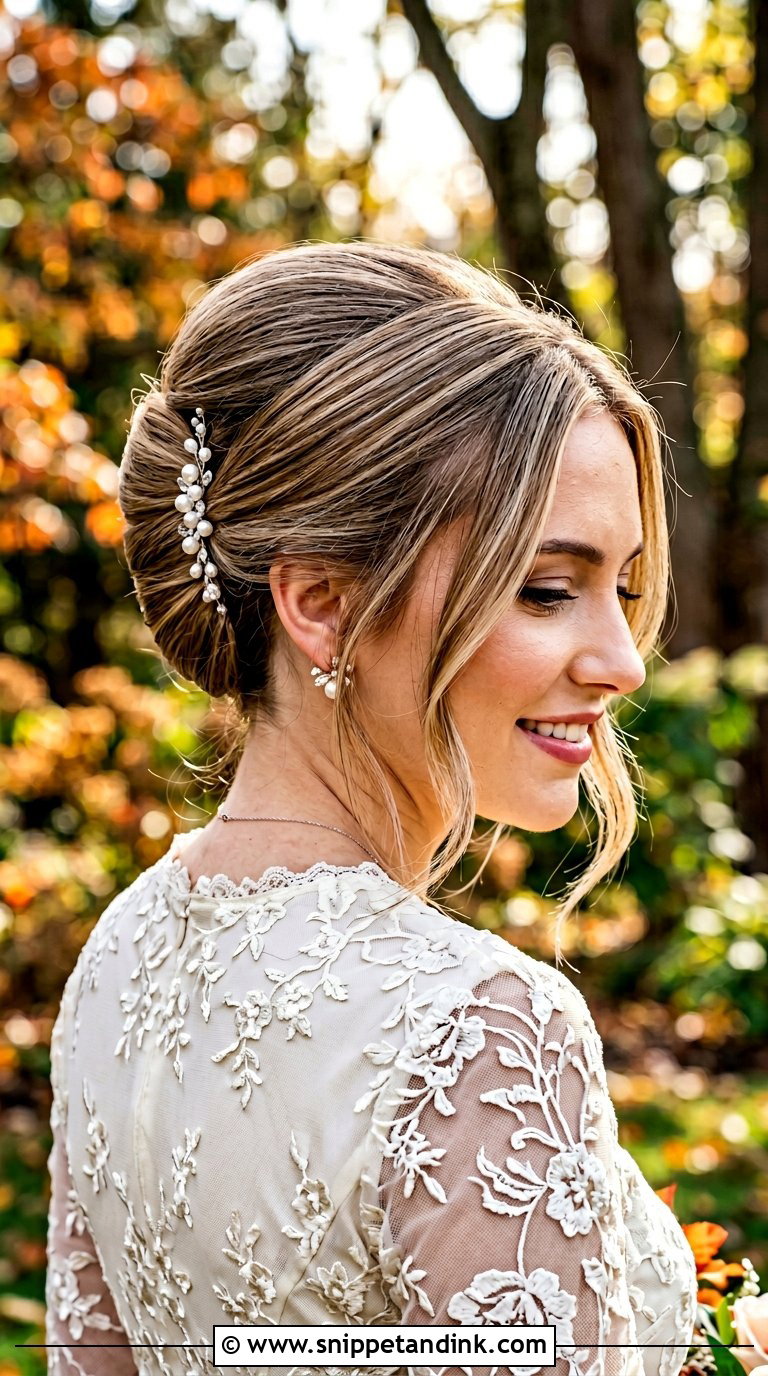
I’ll be straight with you: the French twist is one of the hardest styles to do on your own head, because the seam runs up the back where you can’t see it. Gather the hair to one side, twist it upward toward the center, tuck the ends into the twist and pin along the seam, sliding pins in against the direction of the twist so they grip. Leave a few face pieces out and loosen the crown slightly. If you can do it neatly by your third practice run, it’s yours. If not, choose a low bun instead.
12. Half-Up Braided Tutorial
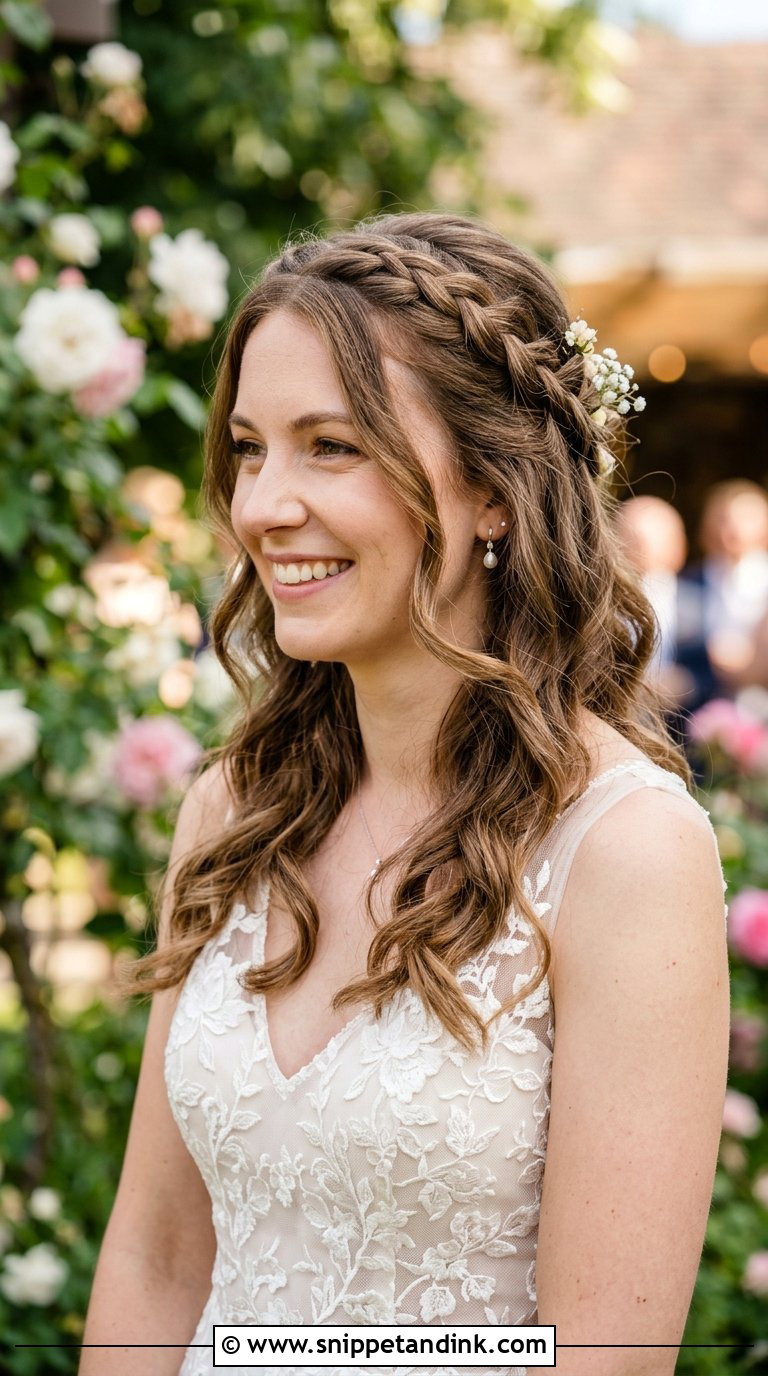
Two small braids from the front, brought back and pinned together at the crown, give a half-up style a bit more structure than plain twists. Braid them loosely so they can be pulled wider afterward. Let the rest of the hair fall in soft waves. It shows off your length while keeping hair out of your face, which you’ll appreciate in a warm-weather ceremony. Pin the braids into each other, then add one more pin through both into the hair underneath for extra hold.
13. Top Knot Tutorial
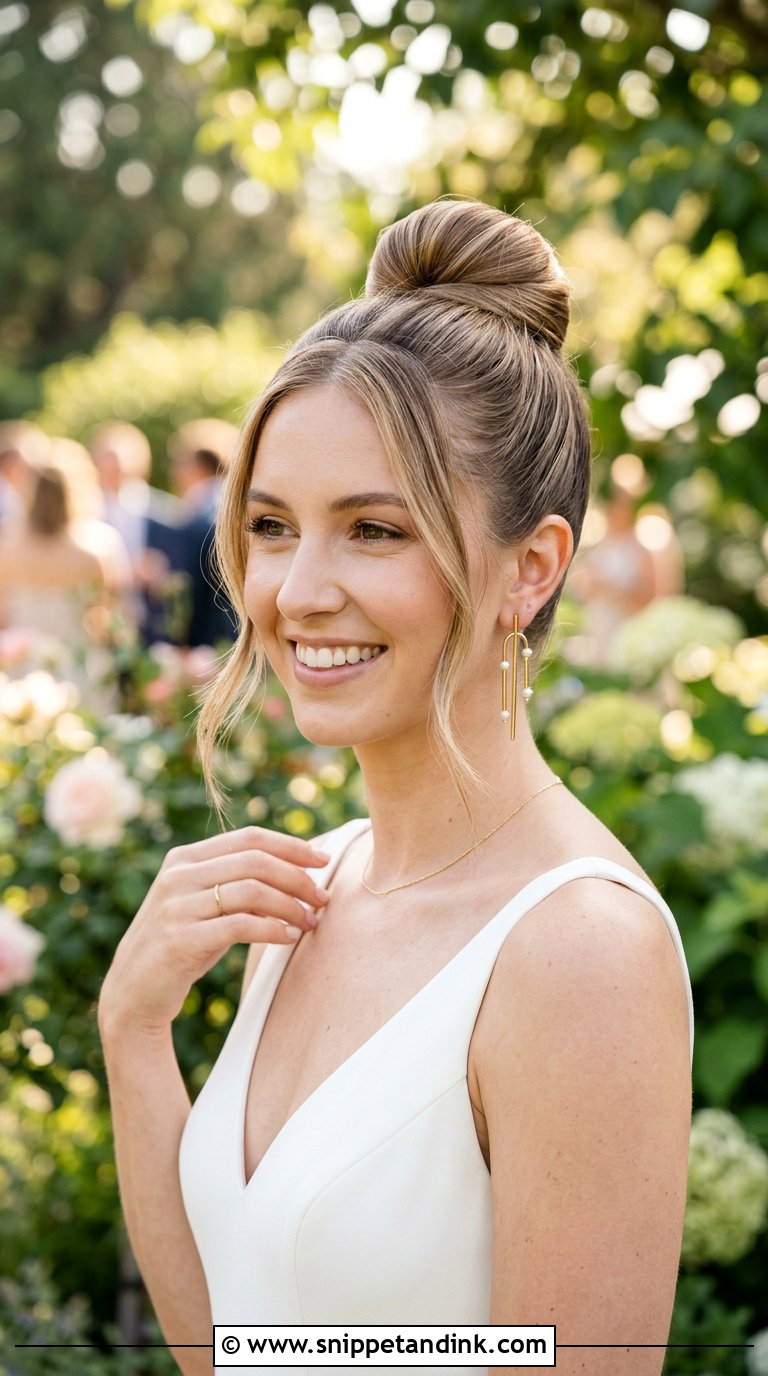
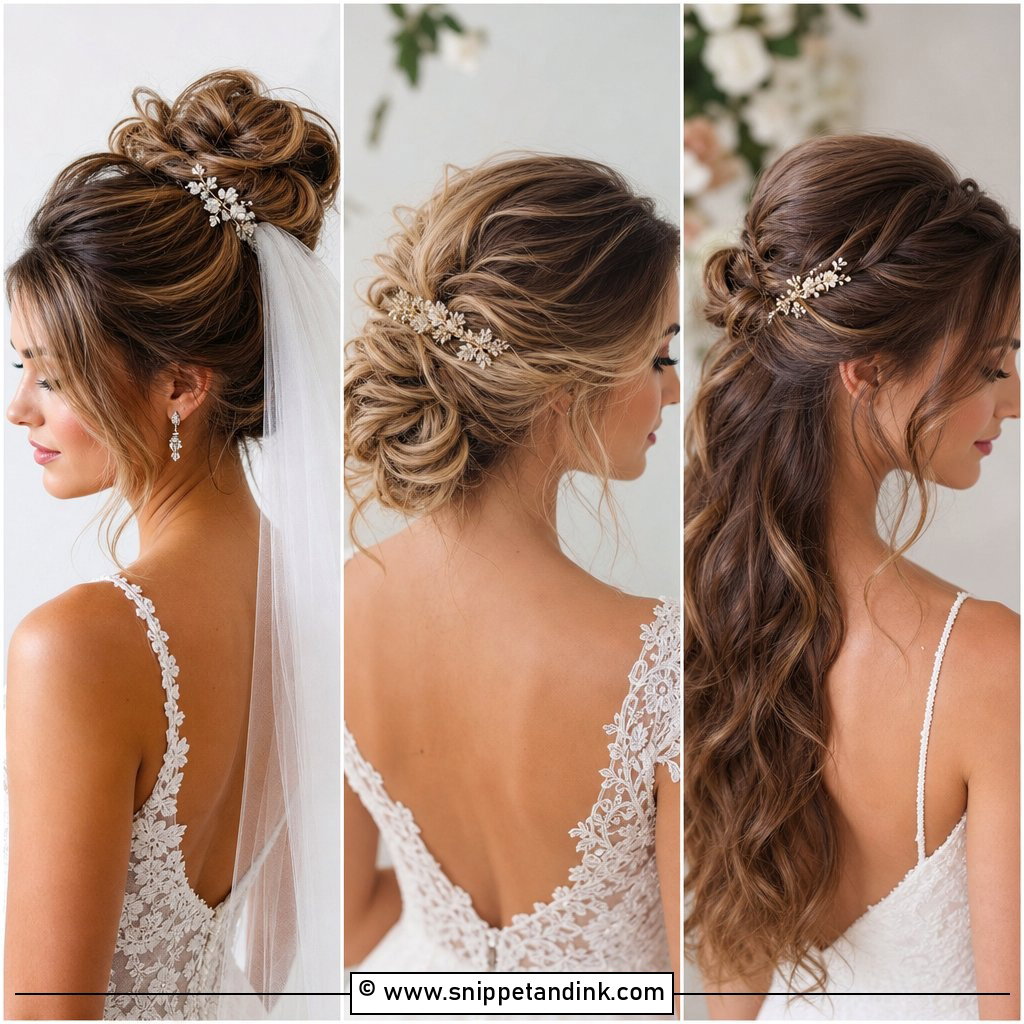
A top knot needs a perfectly smooth ponytail at the crown, so brush upward slowly with your head tipped back and check the sides in a mirror before securing. Twist the length around the base into a tight knot and pin it. Leave a few wisps at the hairline if you want it softer. The knot makes the neck look longer and shows off earrings, which suits both minimalist and structured gowns. Not for very short layers, though: they’ll fall out at the nape.
14. Side Swept Curls Tutorial
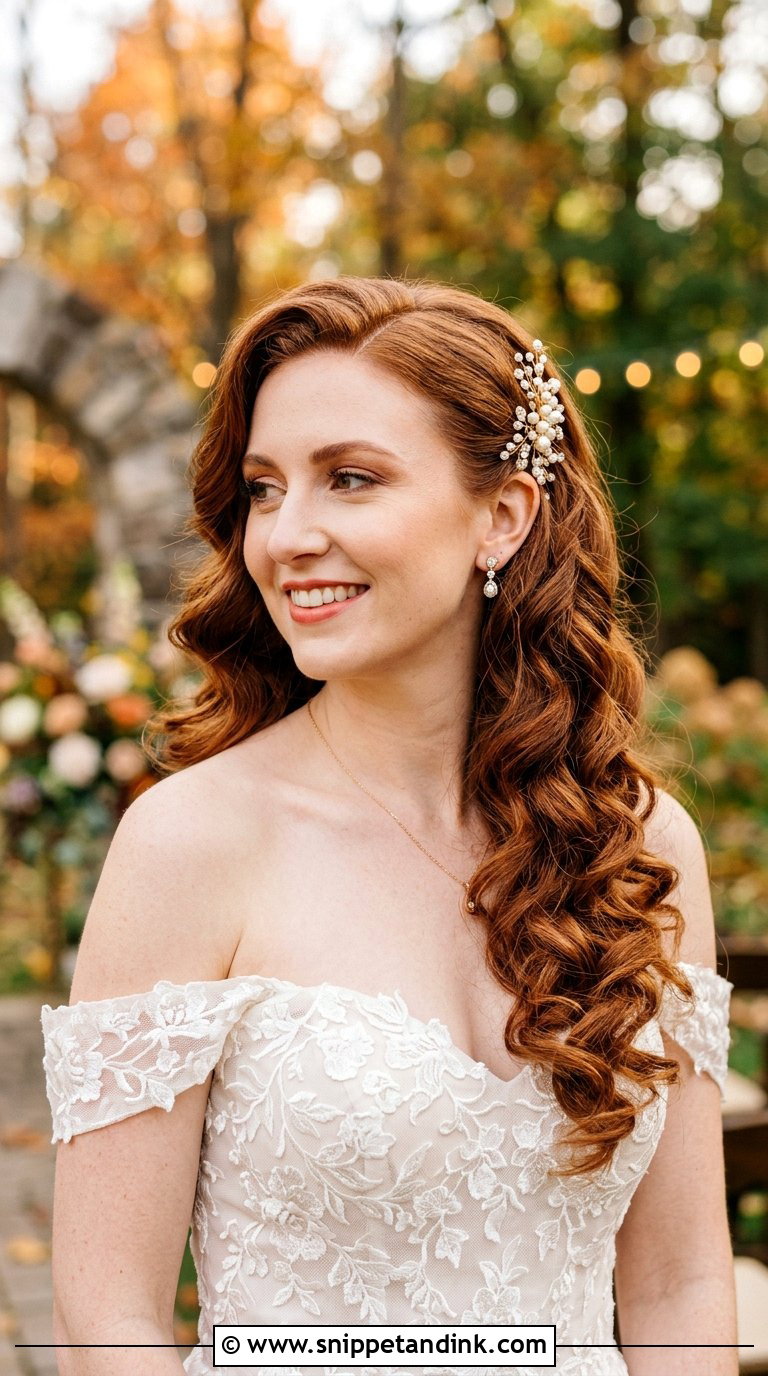
Make a deep side part and curl away from your face, so the curls fall back rather than into your eyes. Sweep everything to one shoulder and pin the opposite side behind the ear with crossed pins to hold the shape. Loosen the curls gently for a soft, cascading effect. It flatters one-shoulder and off-shoulder gowns. A decorative pin or comb at the pinned side covers the hardware and adds a little sparkle.
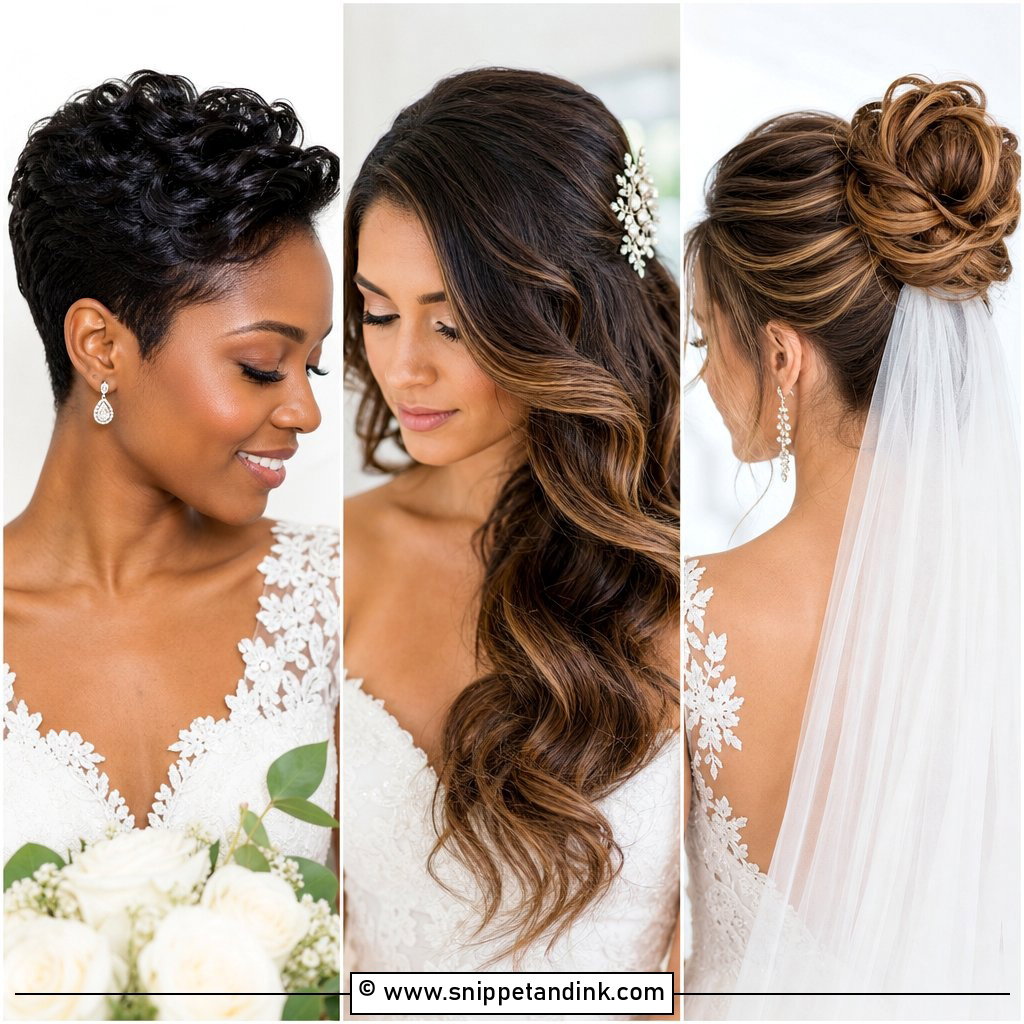
15. Floral Updo Tutorial
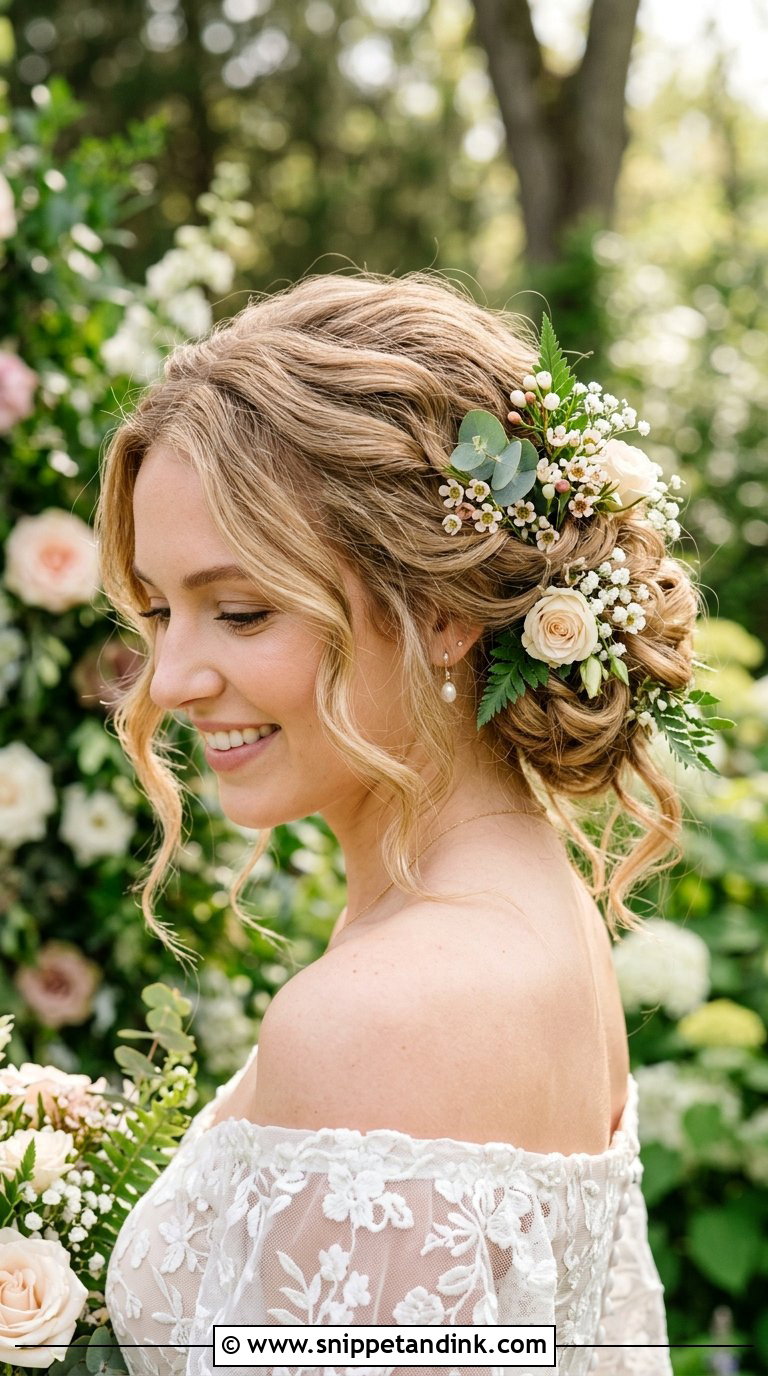
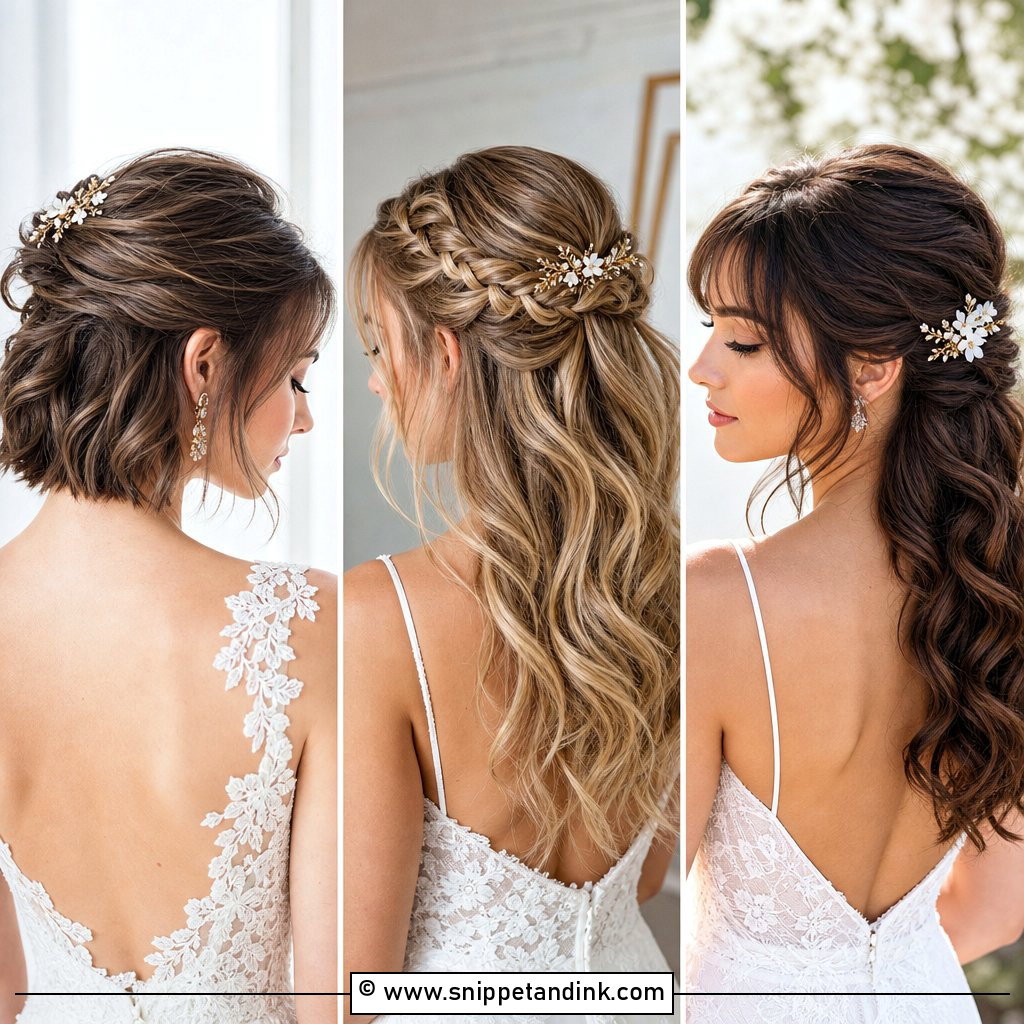
Fresh flowers in an updo look gorgeous for the first few hours and start to droop after that, so choose sturdy blooms. Build a loose bun or twisted updo first, keeping the texture soft. Then tuck in small flowers, greenery or baby’s breath, securing each stem with floral wire or a pin. Spread them out evenly rather than clustering on one side. Ask your florist for a few extra stems from your bouquet and keep them cool until the last moment; delicate petals bruise and brown quickly out of water.
16. Waterfall Braid Tutorial
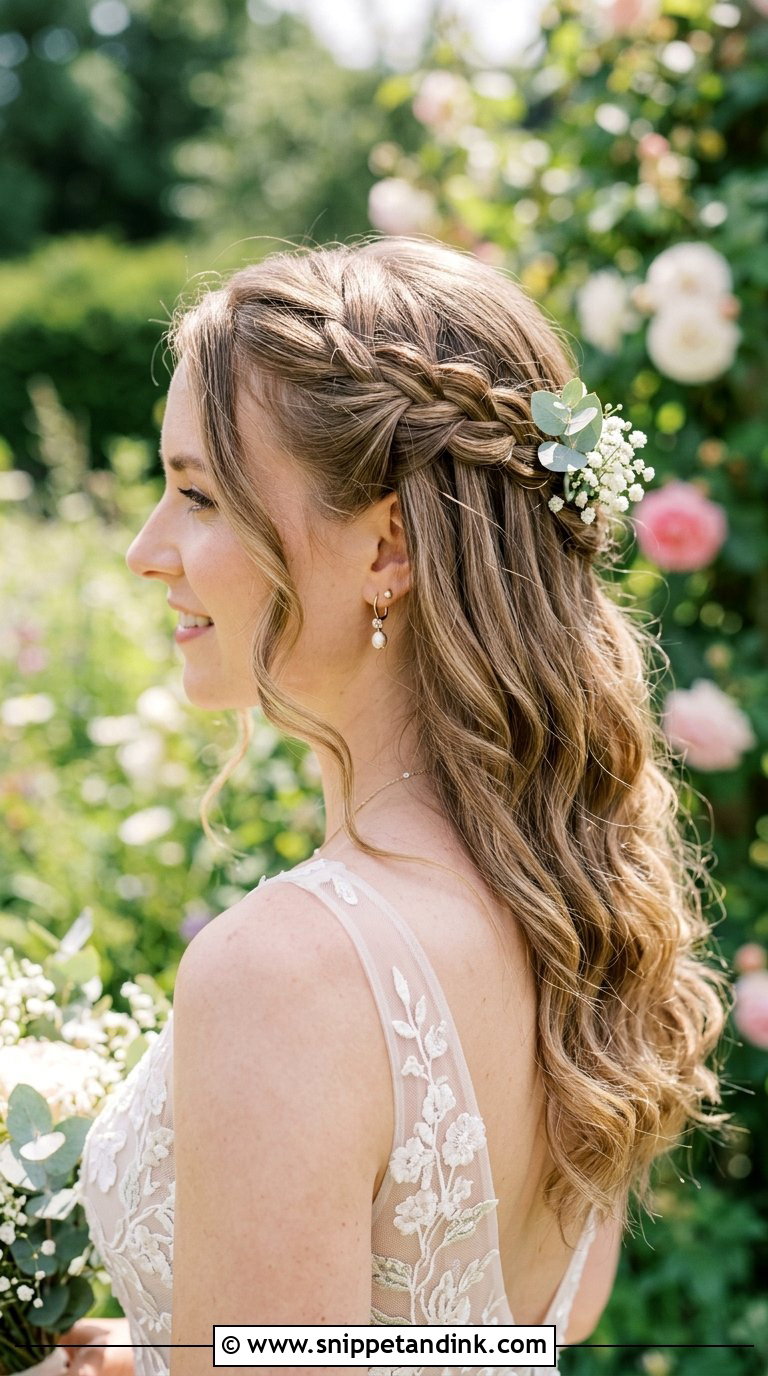
The waterfall braid gets its name from the strands that drop out of it. Start a regular braid at the temple, but each time you reach the bottom strand, let it fall and pick up a new piece from above instead. Carry it across the back of your head and pin the end. Doing it on yourself means working blind around the back, so I’d only attempt it if you already braid confidently. Loose waves underneath show off the dropped strands best.
17. Pinned Back Curls Tutorial
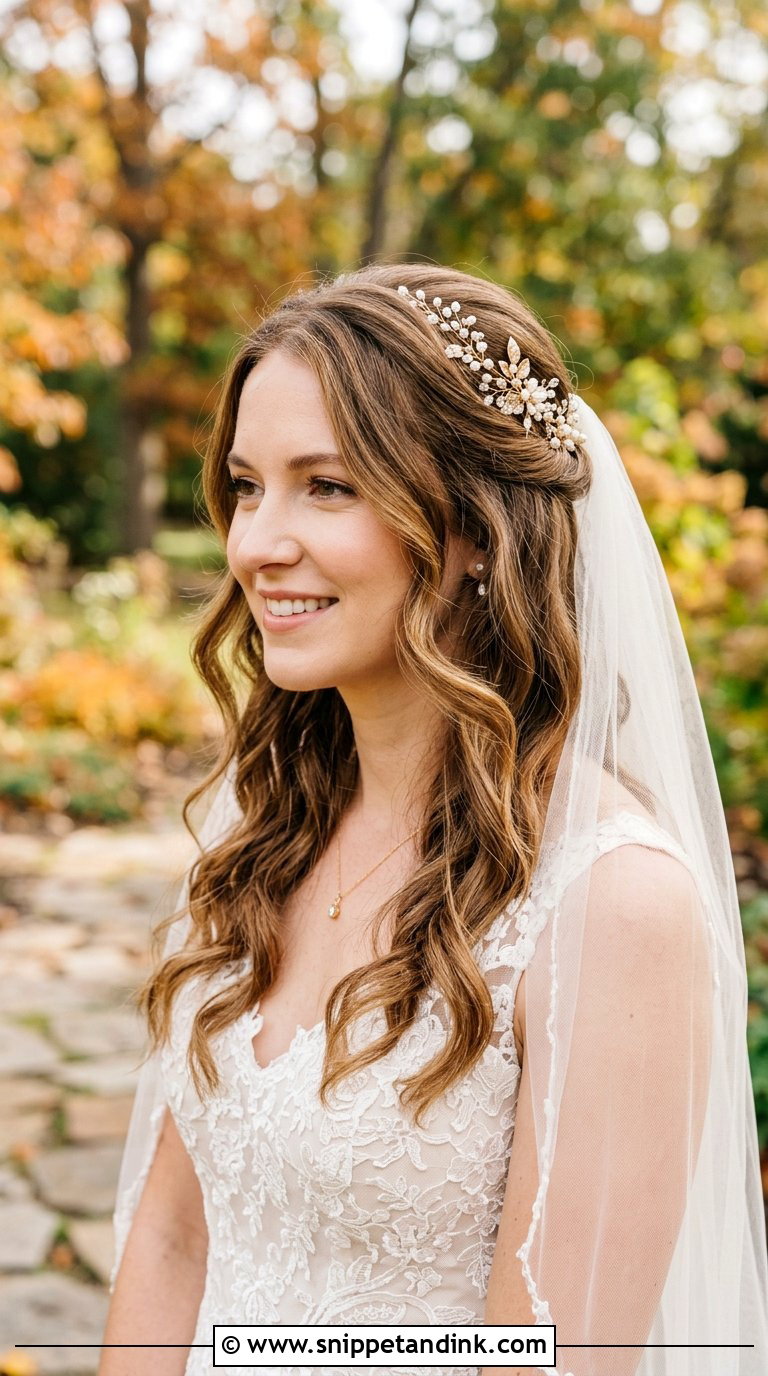
Pinned-back curls are one of the easiest looks here and one of the most reliable. Curl loosely, tease the crown slightly, then pin the front sections back behind your ears or up toward the crown. Leave the rest down. It works on almost any length and sits well under a veil. A hair vine or a few decorative pins along the pinned line is enough decoration, and it means a slightly uneven pin job won’t show.
18. Bubble Ponytail Tutorial
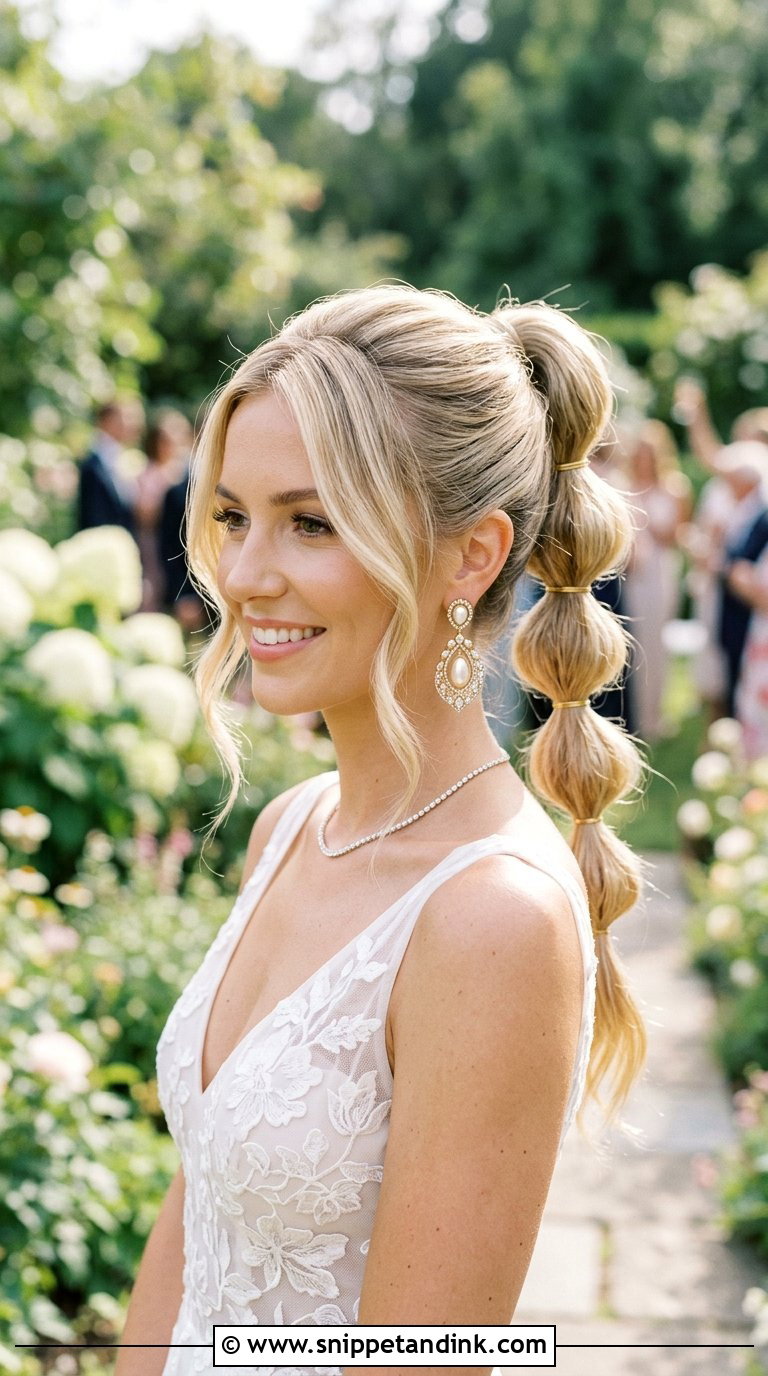
The bubble ponytail is the fun one. Make a sleek or slightly textured ponytail at the crown or nape, place small clear elastics at even intervals down the length, and gently tug each section to puff it out. Measure the gaps roughly with your fingers so the bubbles are even. It’s more of a reception look than a ceremony look for most brides. Pair it with statement earrings and a dress you plan to dance in.
19. Rope Braid Bun Tutorial
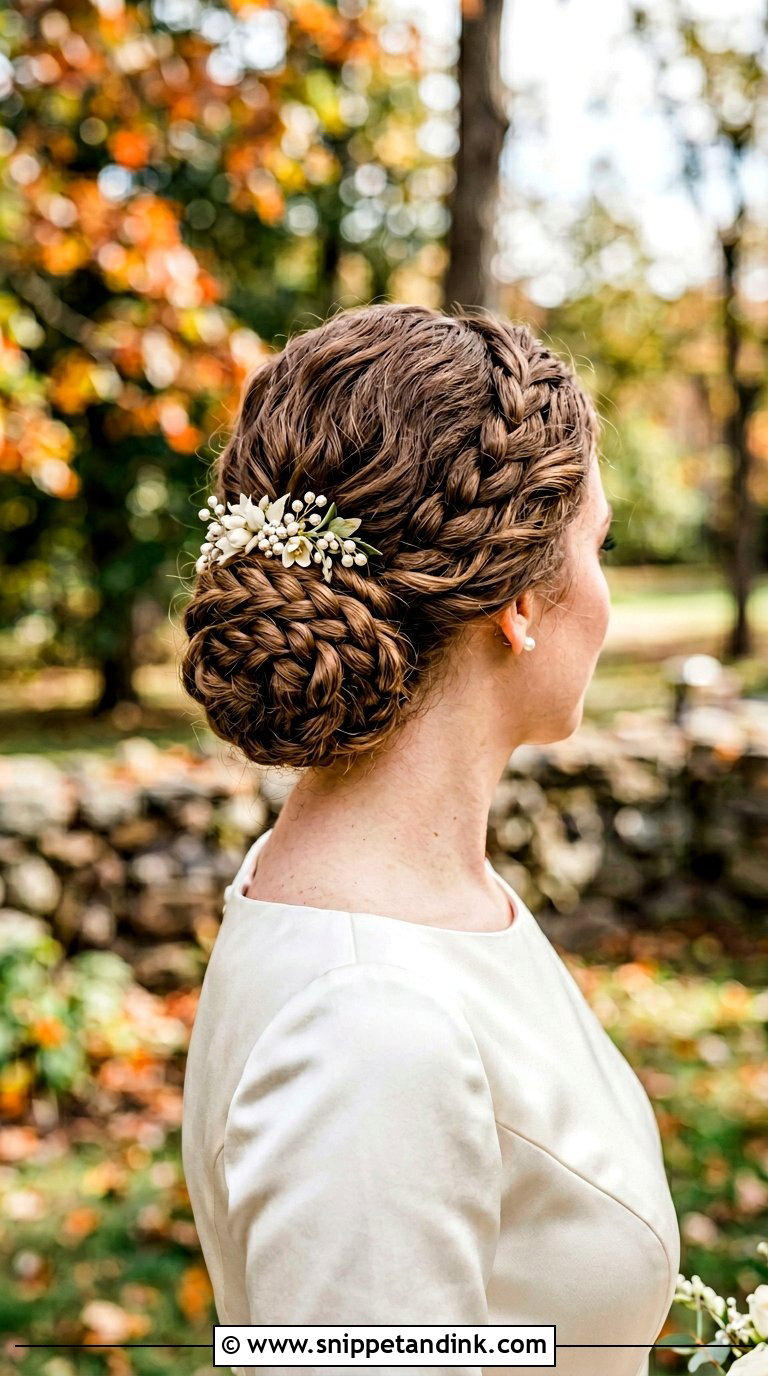
A rope braid bun is easier than it sounds. Gather a low or mid ponytail, split it in two, twist both halves in the same direction, then wrap them around each other the opposite way. That counter-twist is what keeps the rope from unravelling. Coil it around the base and pin it into a bun, then loosen it a little for volume. It holds well across textures and suits classic and modern gowns alike.
20. Accessorized Bun Tutorial
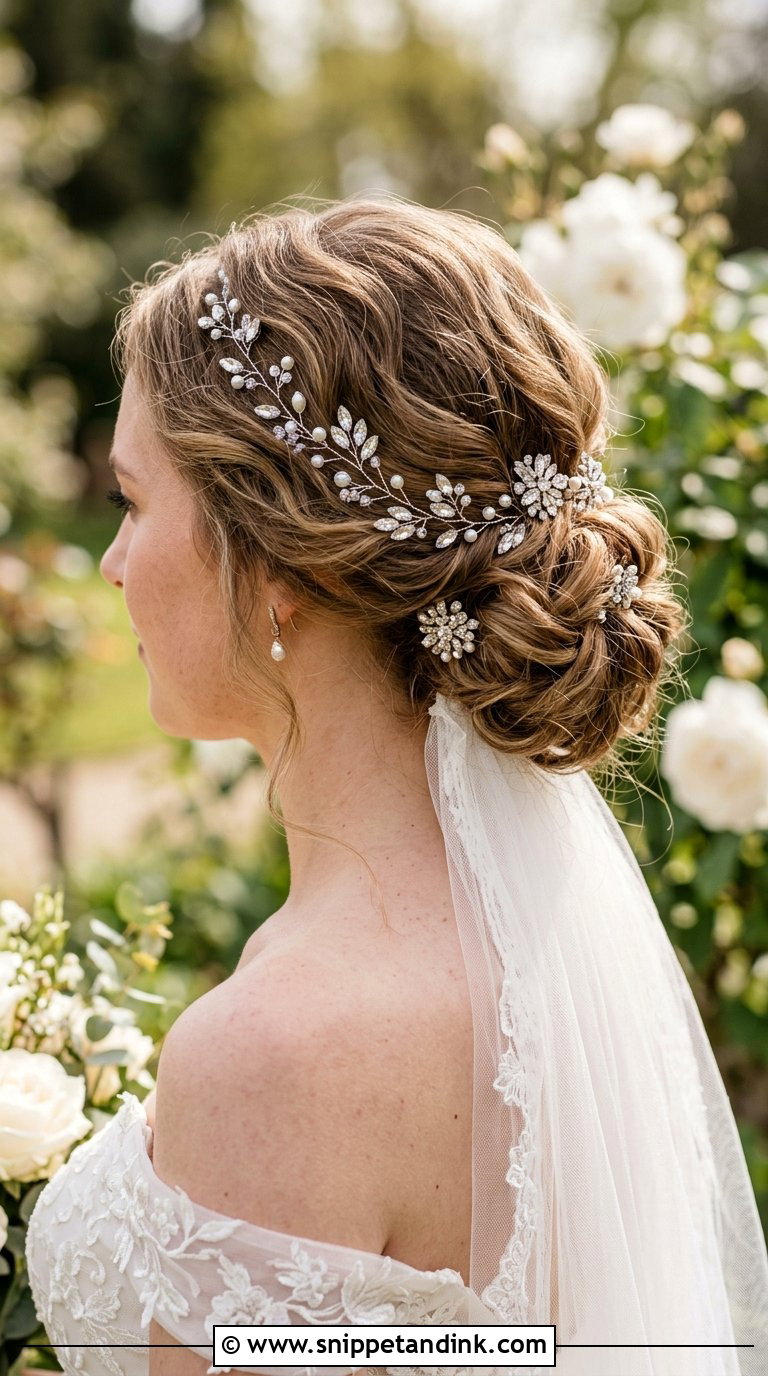
Sometimes a simple bun is all the base you need. Twist and pin a soft bun at low or mid height, keeping the texture relaxed, then add the decoration: a comb, jeweled pins, a vine or a small tiara. Place it where it won’t collide with your veil comb. Do this test with the real veil. The appeal for a DIY bride is obvious; the hair stays simple, and the accessory carries the glamour, so a slightly uneven bun is hidden by the piece you put in it.
Working on the Back of Your Own Head
Most DIY hair problems happen behind you, where you can’t see. These habits help:
- Set up two mirrors: one in front, and a hand mirror or second mirror angled behind you. Practice with both, because everything appears reversed in the back view and your hands need time to adjust.
- Work in good, even light. Window light in daytime or a bright bathroom bulb, never a dim bedroom.
- Use pins that match your hair color and slide them in against the direction the hair falls. They grip better and disappear.
- Let a friend do the final check from behind and the sides. Ask them to look for gaps, bumps and visible pins, and to fix one thing at a time.
A Small Bag for Later in the Day
Hand a bridesmaid a pouch with bobby pins, a mini hairspray, a few clear elastics and a comb. Most home styles loosen a bit by the reception, and a two-minute fix in the restroom saves the photos after dinner.
Styles a Beginner Can Honestly Pull Off at Home
The right style for you is one that suits your hair, your dress and the venue, and one your hands can do without thinking. Soft waves, pinned-back curls, a low bun and a side fishtail are the most forgiving for beginners. French twists and waterfall braids reward practice or a helper. Whichever you pick, rehearse it more than once, add a personal touch like a few fresh flowers or face-framing pieces, and keep spare pins nearby. Then trust what you practiced.
You'll Like These Ideas:


Leave a Reply