
A lot of brides ask me whether they can do their own hair, and half-up is the style where I usually say yes. Unlike a full updo, it doesn’t need the back of your head to be perfect, and most of the work happens at the sides, where you can see it in a mirror. These 25 wedding hair tutorial ideas are written as short how-tos, with the step people usually get wrong flagged in each. Some are genuinely beginner level; a few I’d leave to a stylist, and I’ve said which.
The Small Kit I’d Buy for Doing Your Own Half-Up
Most failed DIY wedding styles come down to the wrong tools rather than a lack of skill. Nothing here is expensive, and most of it you may already own.
- A one-inch curling iron or wand. It suits most lengths; very long hair may want a slightly larger barrel.
- Bobby pins in your hair colour, plus mini pins for short hair and U-pins for braids. Buy more than you think.
- Small clear elastics. They hold sections invisibly and give pins something to grip.
- A texture spray or dry shampoo. Clean, silky hair doesn’t hold pins; this gives it grip.
- A flexible-hold hairspray, not an extra-strong one, so the style still moves.
- A rat-tail comb for clean sections and a soft brush for smoothing.
- A handheld mirror, or your phone propped up on video, so you can see the back.
Seeing the back of your own head is the hardest part. Stand with your back to a large mirror and hold a small one in front of you, or film the back of your head on your phone and check the clip. The second option is easier, since it frees both hands.
1. Twisted Half-Up Wedding Hair
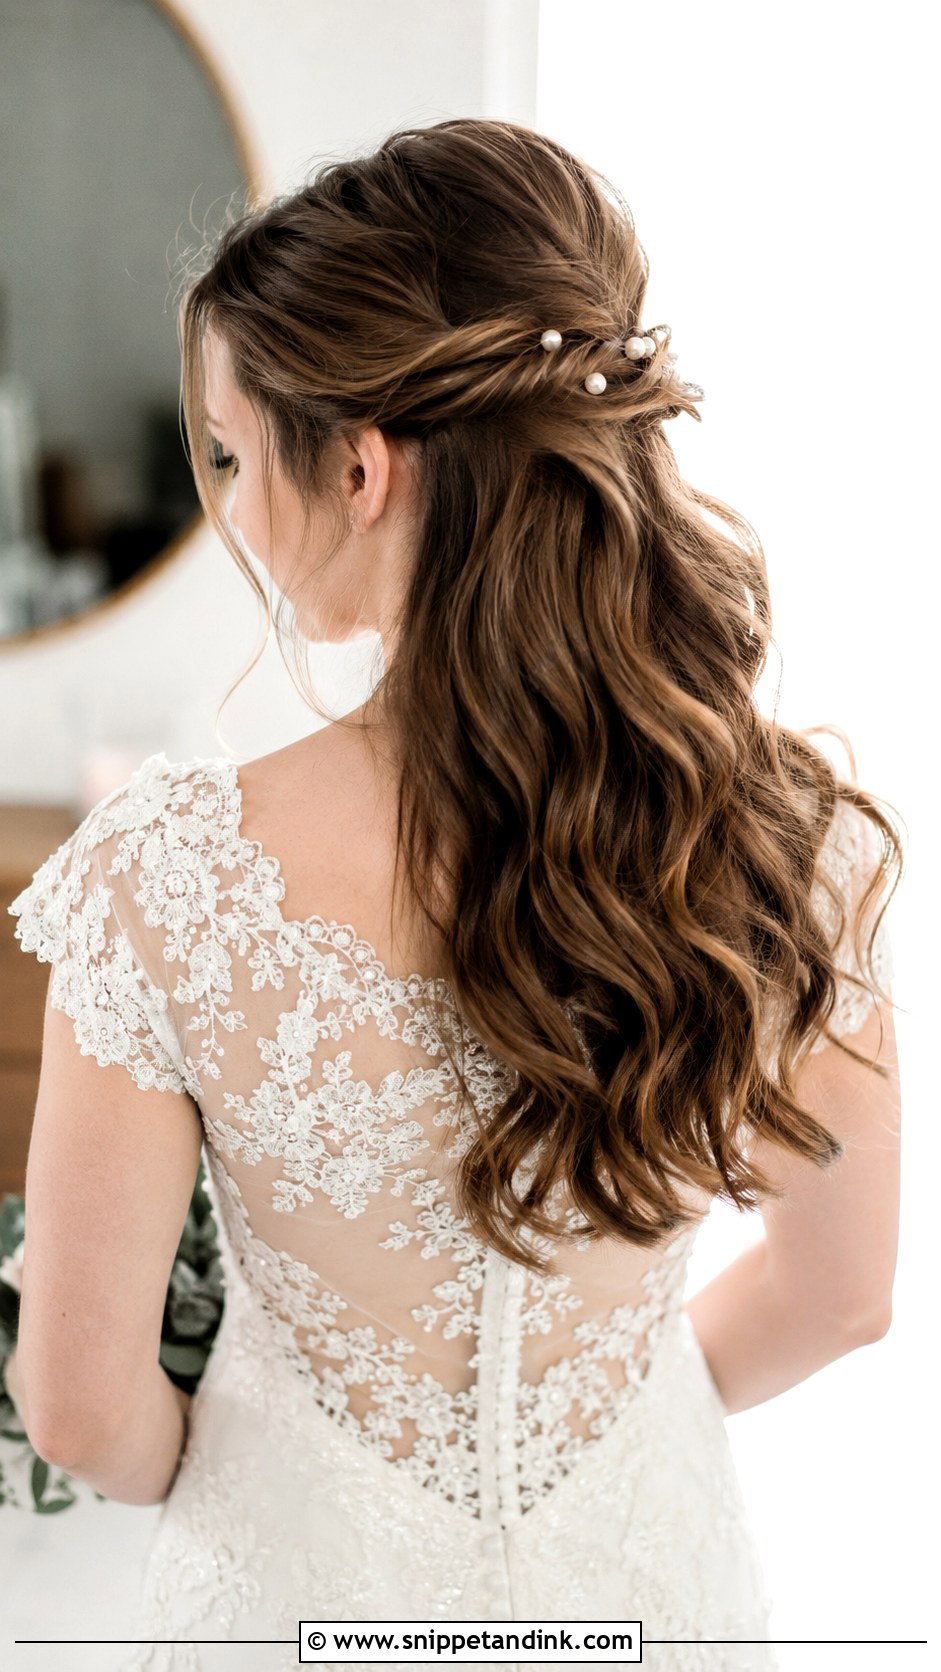
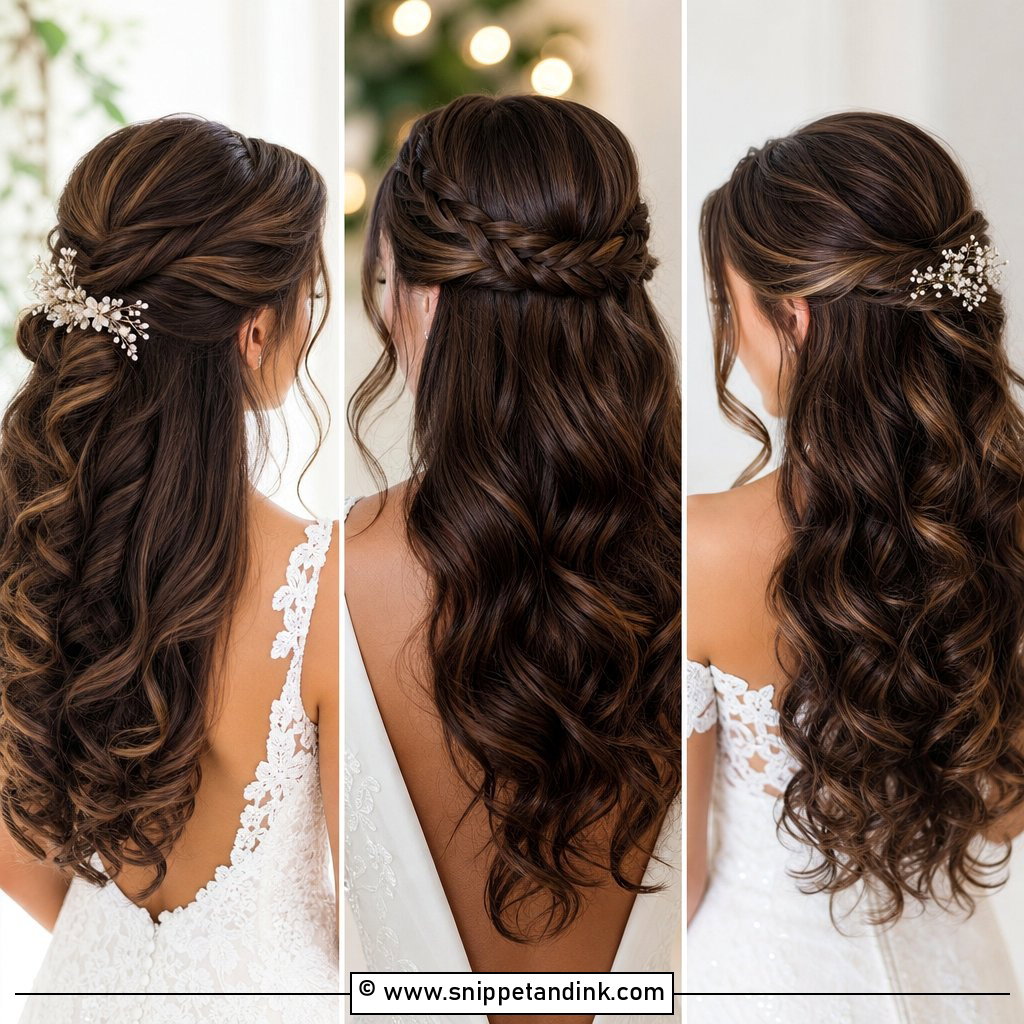
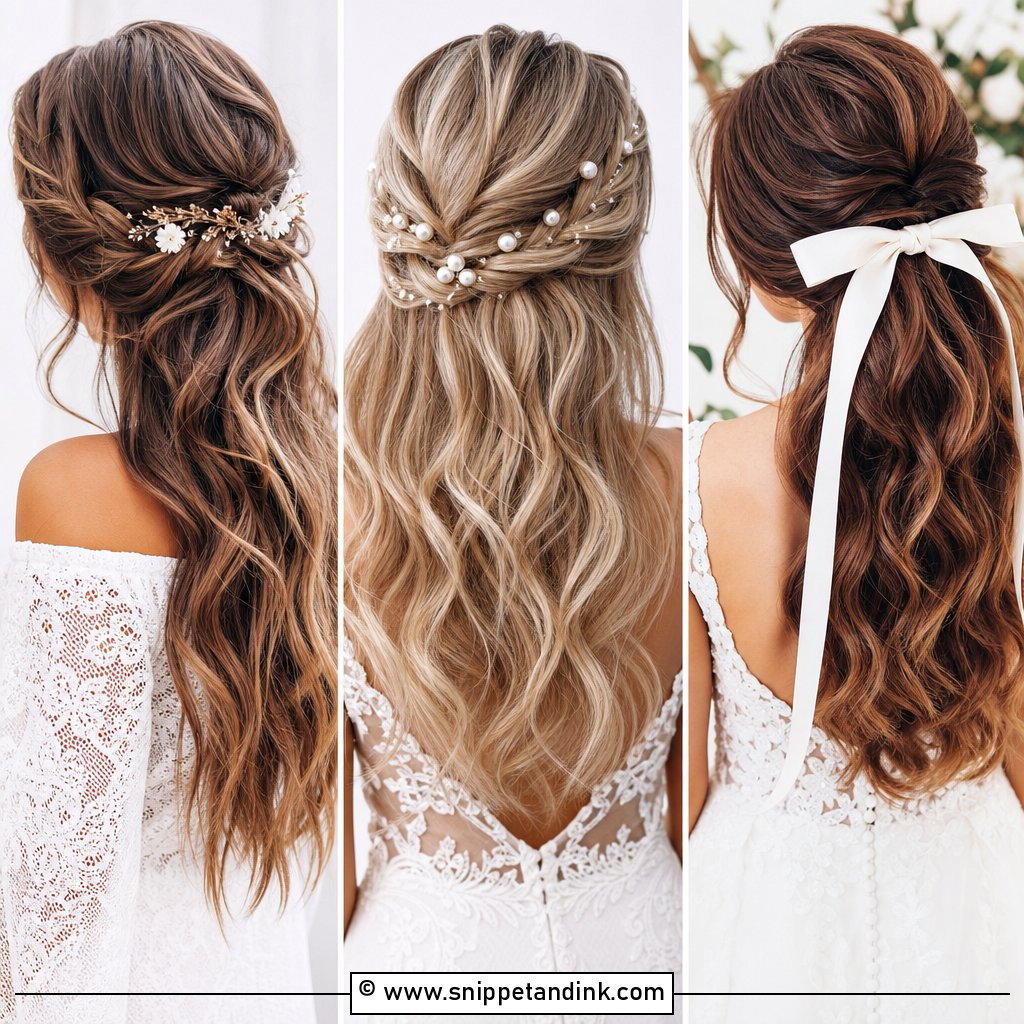
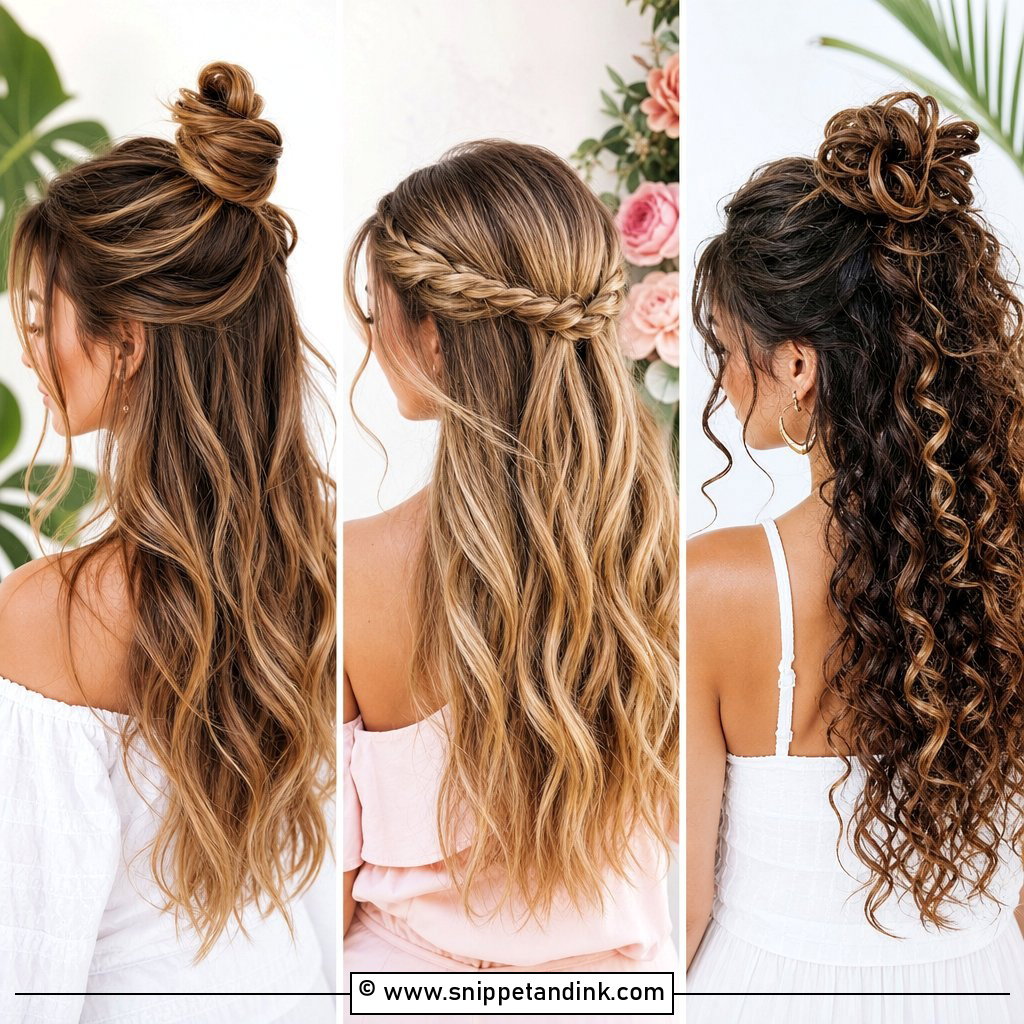
Start here if you’ve never done your own wedding hair. Curl first, then take a small section from each side of the face and twist it toward the back, always away from the face. Pin them together at the crown. The step people skip is crossing the pins: one pin pointing up and one pointing down through the join holds far better than two side by side. A few pearl pins hide the join. Long and medium hair both work.
2. Braided Crown Half-Up Bridal Hair
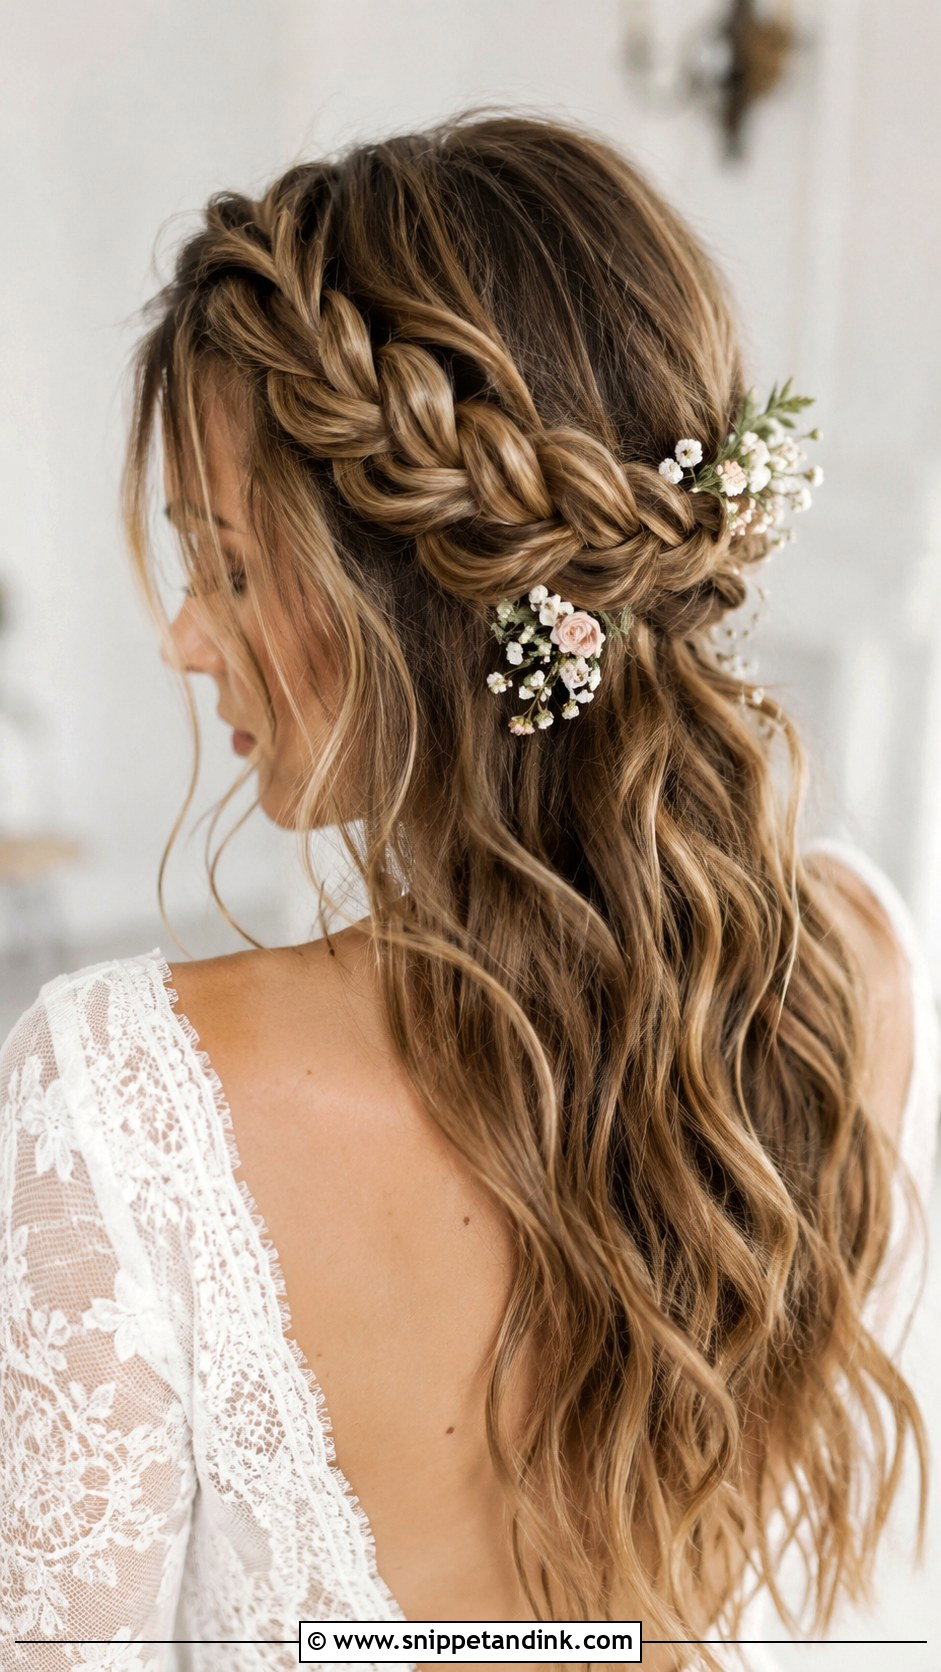
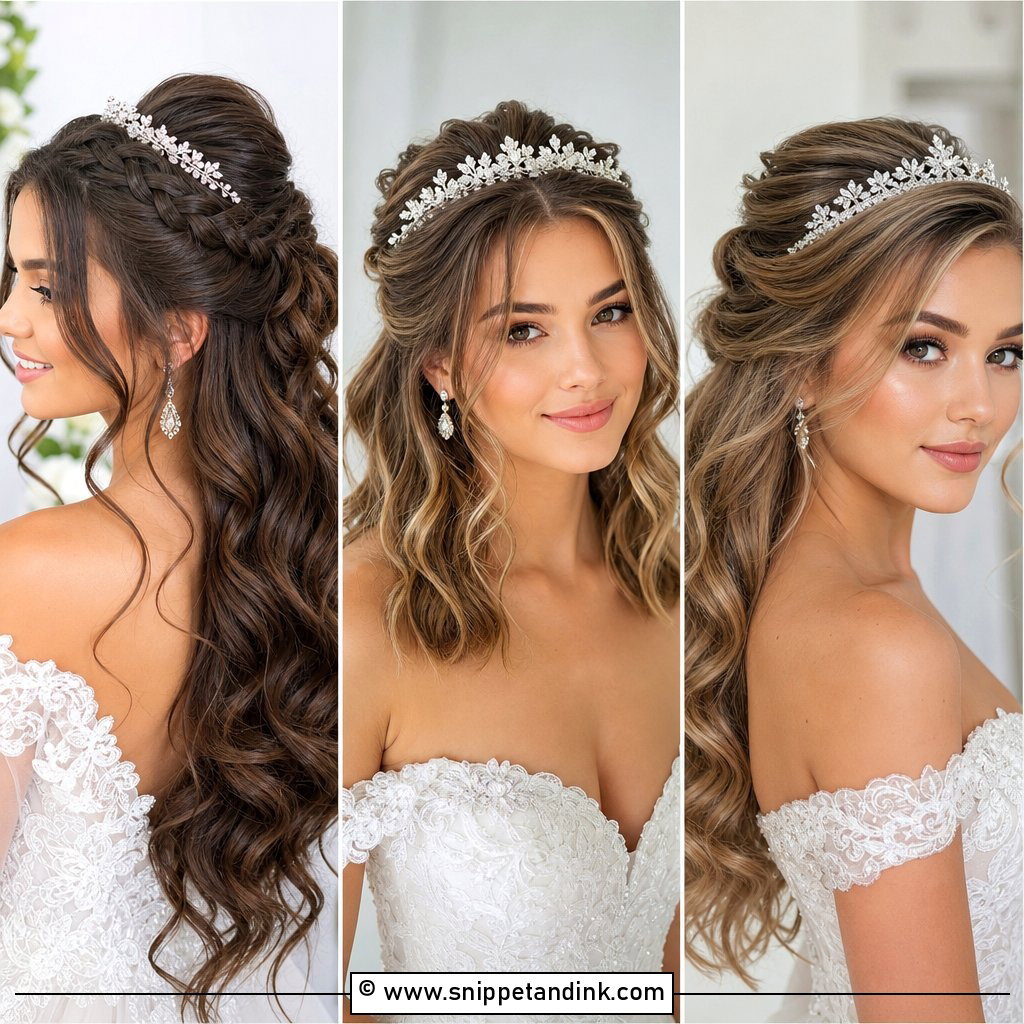
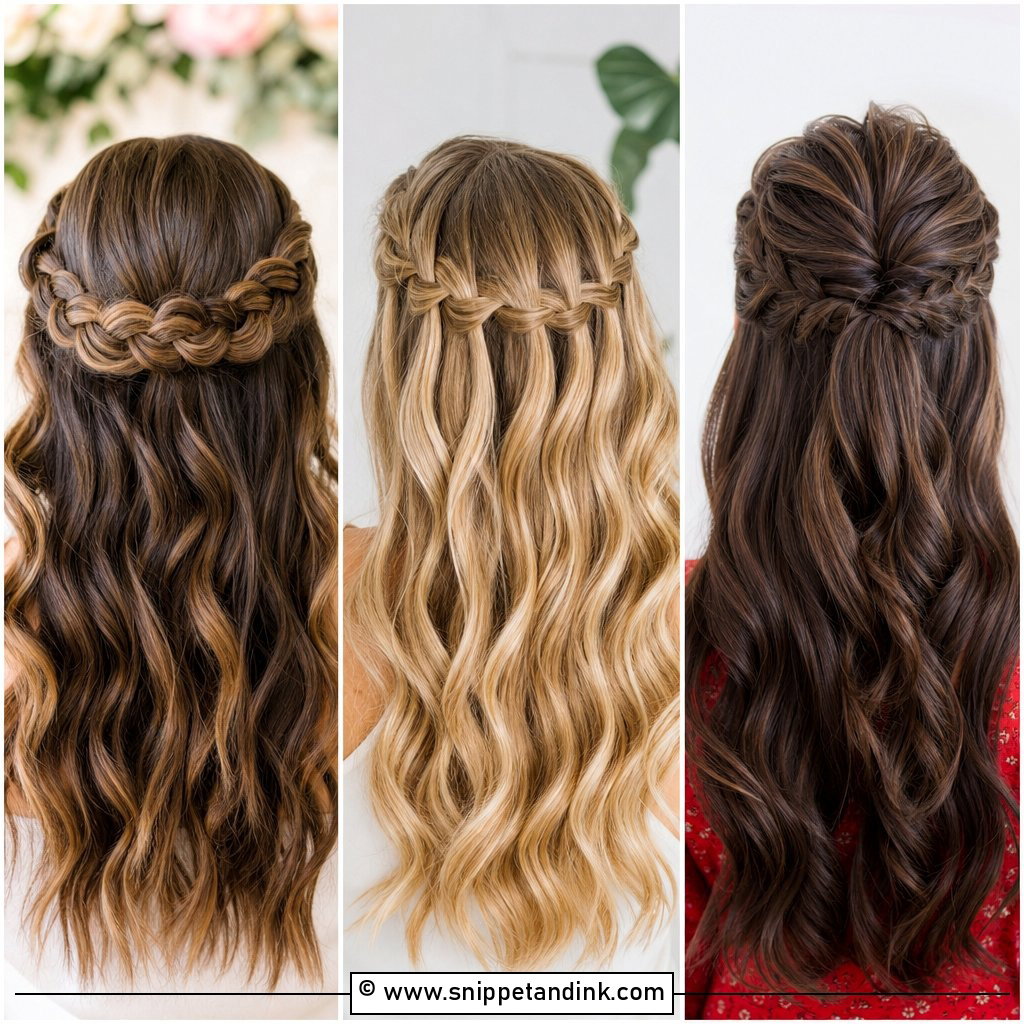
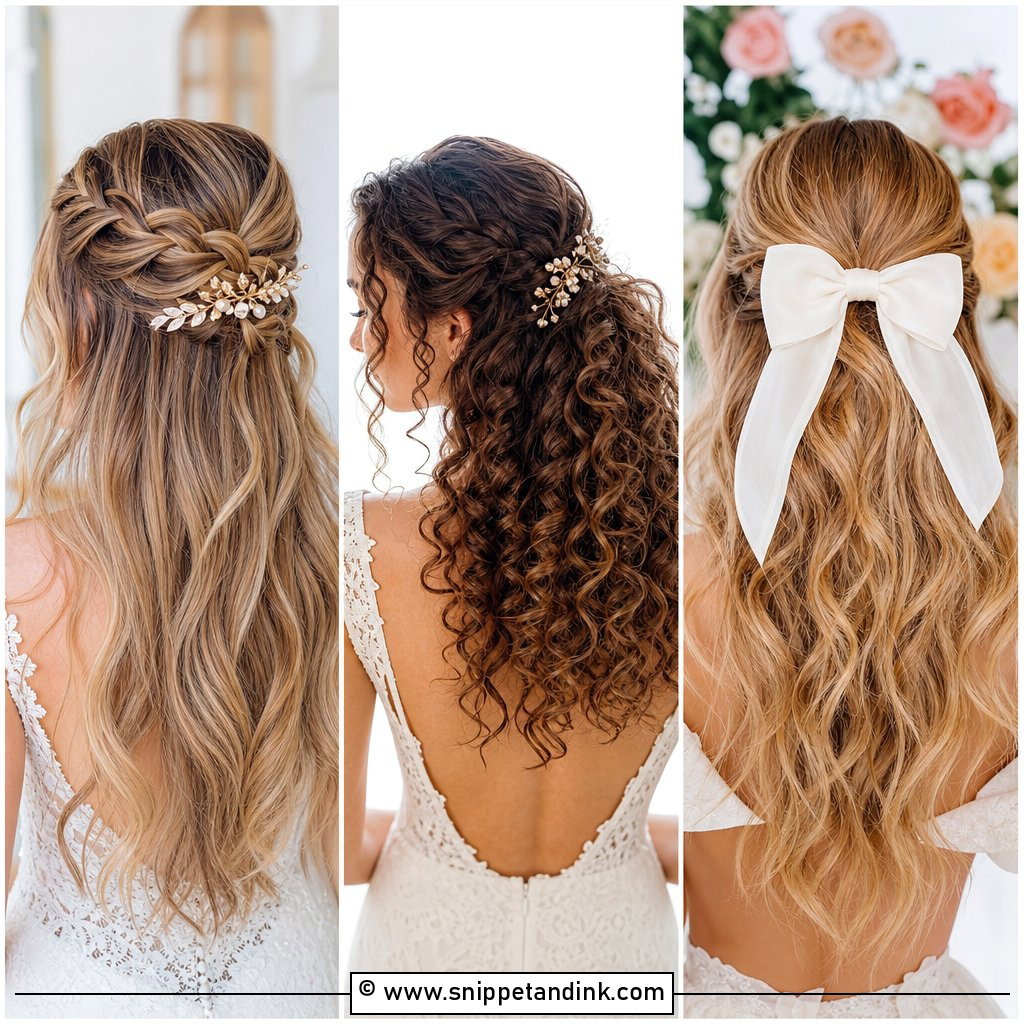
A braided crown is easier than it looks once you know the trick: braid each side separately as a plain three-strand braid, then lay them across the back of the head and pin them, rather than trying to braid around your own head. Start with loose waves. Wrap the first braid across like a halo and pin; repeat from the other side if you want more fullness. Tug the edges once it’s pinned, never before. Fresh blooms and a veil both sit well along it.
3. Half-Up Bridal Hair With Curls
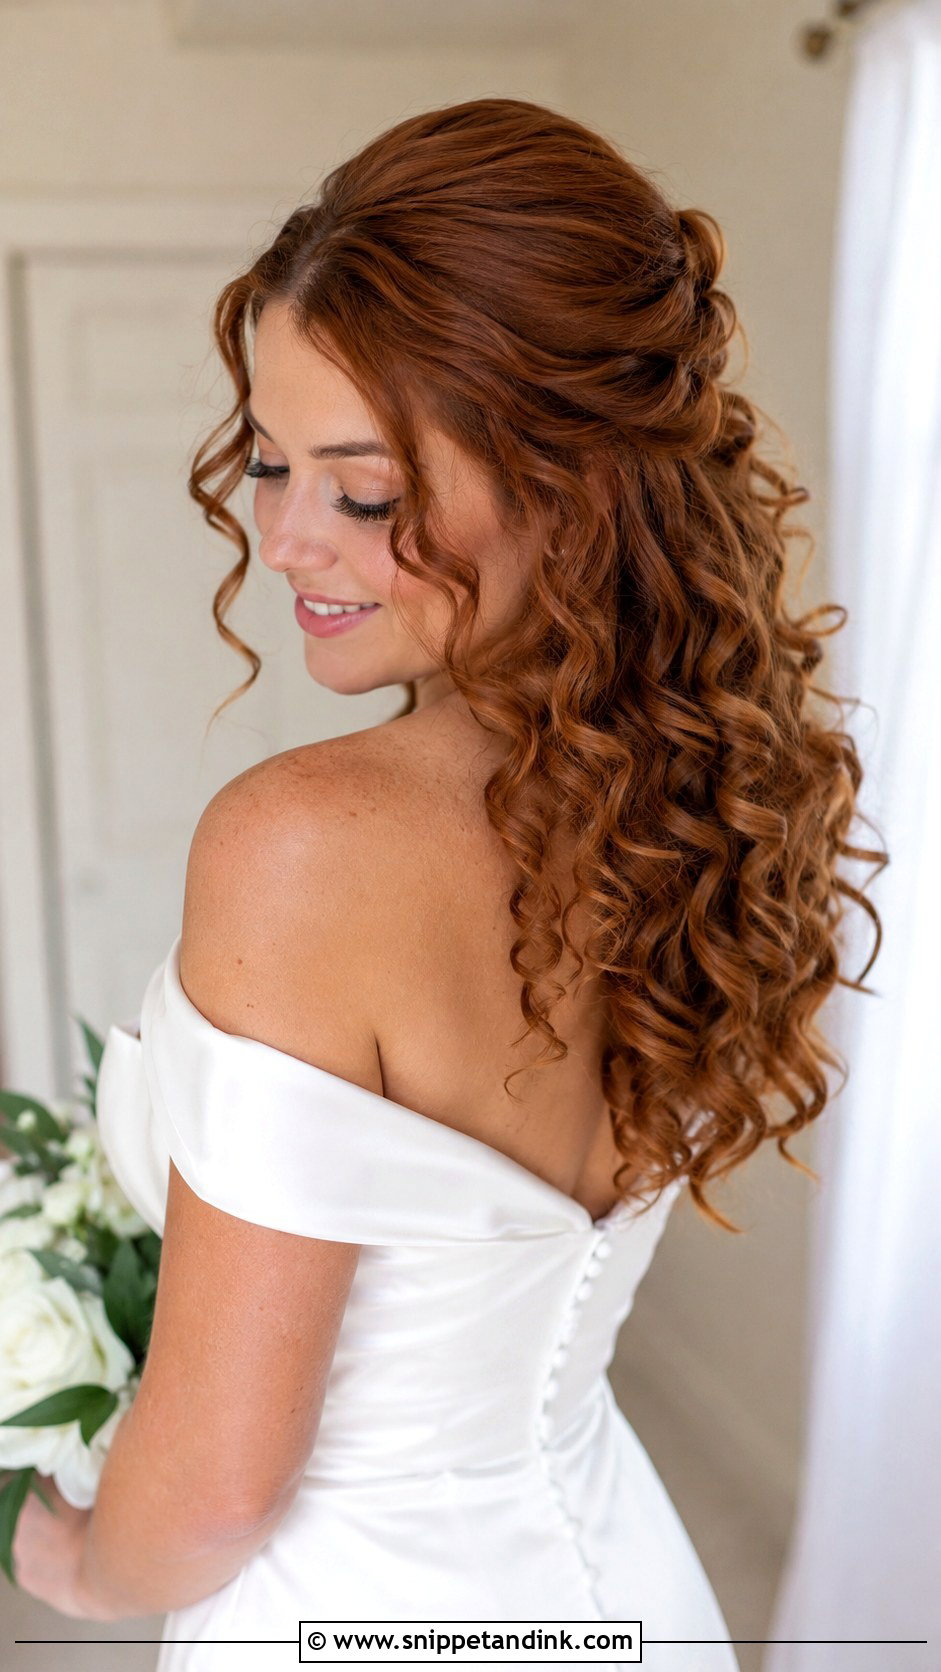
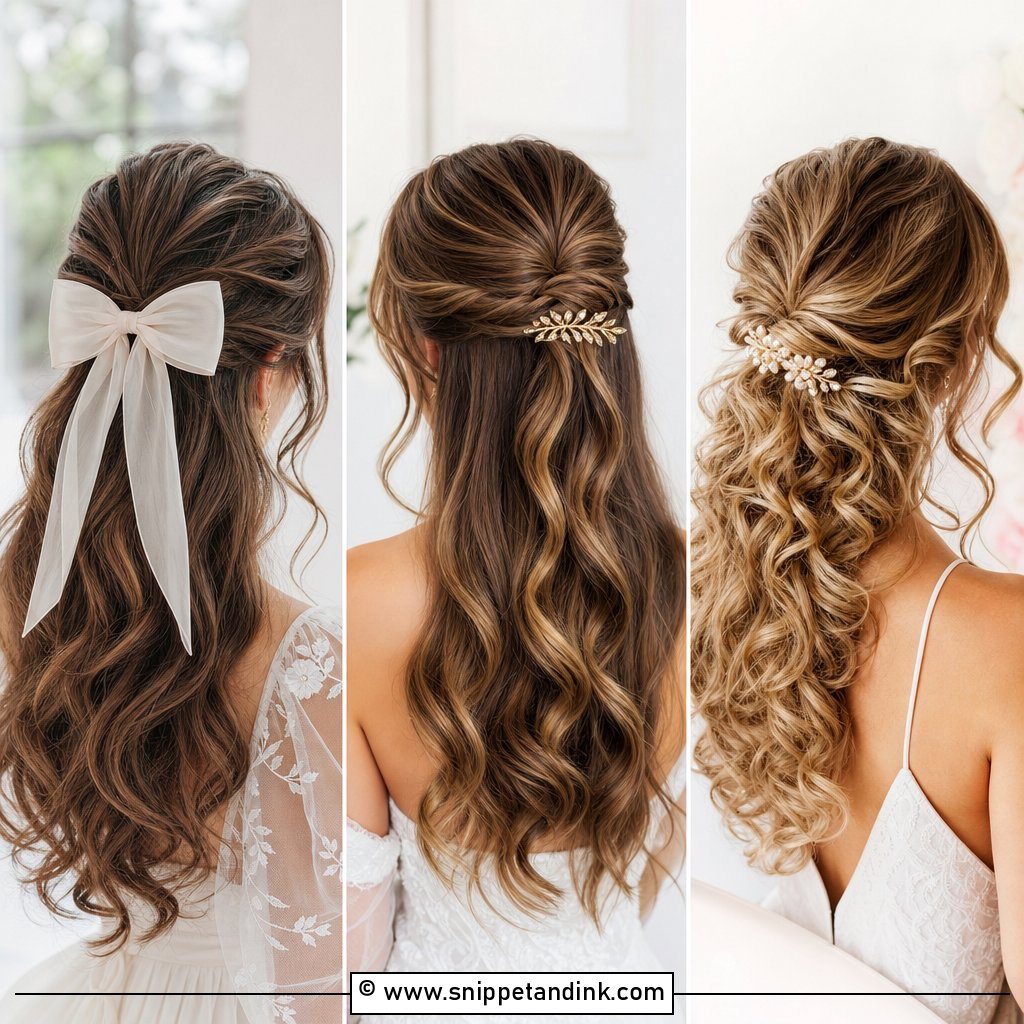
Curl everything with a one-inch barrel, curling away from the face on both sides. Take the top section from the temples and crown, and secure it at the back with a clear elastic before adding a decorative clip. The common mistake is curling after pinning, which loosens the top. Finish with a flexible spray rather than a stiff one, so the curls move. Round, oval and heart-shaped faces all suit the shape.
4. Boho Half-Up Half-Down Wedding Hair
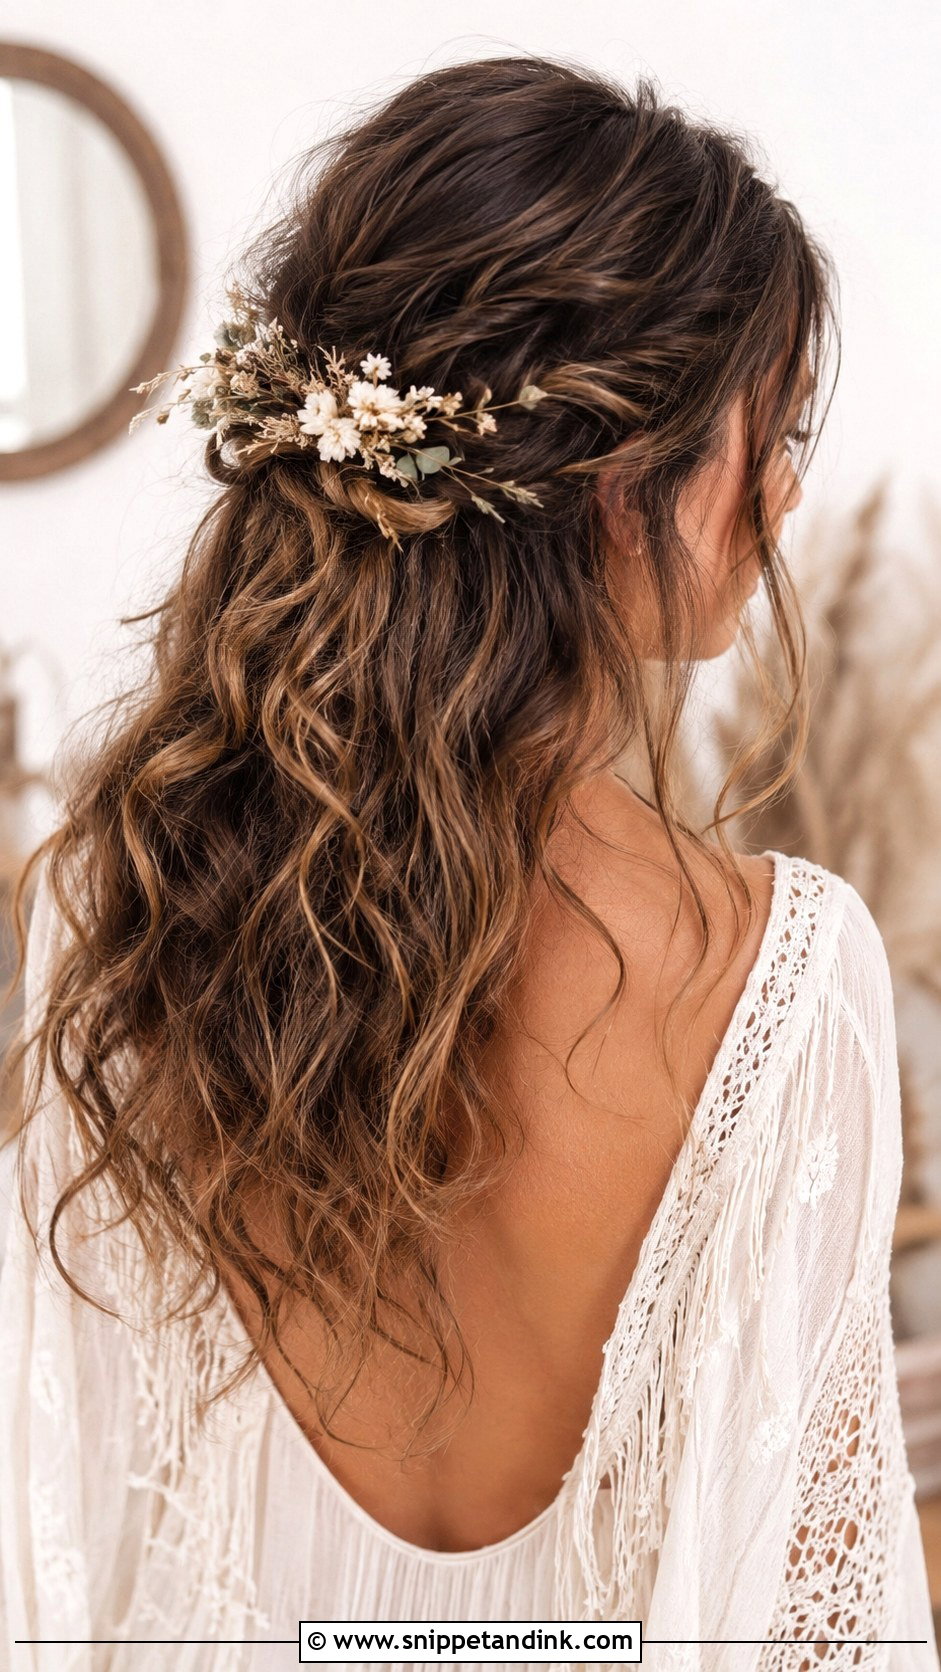
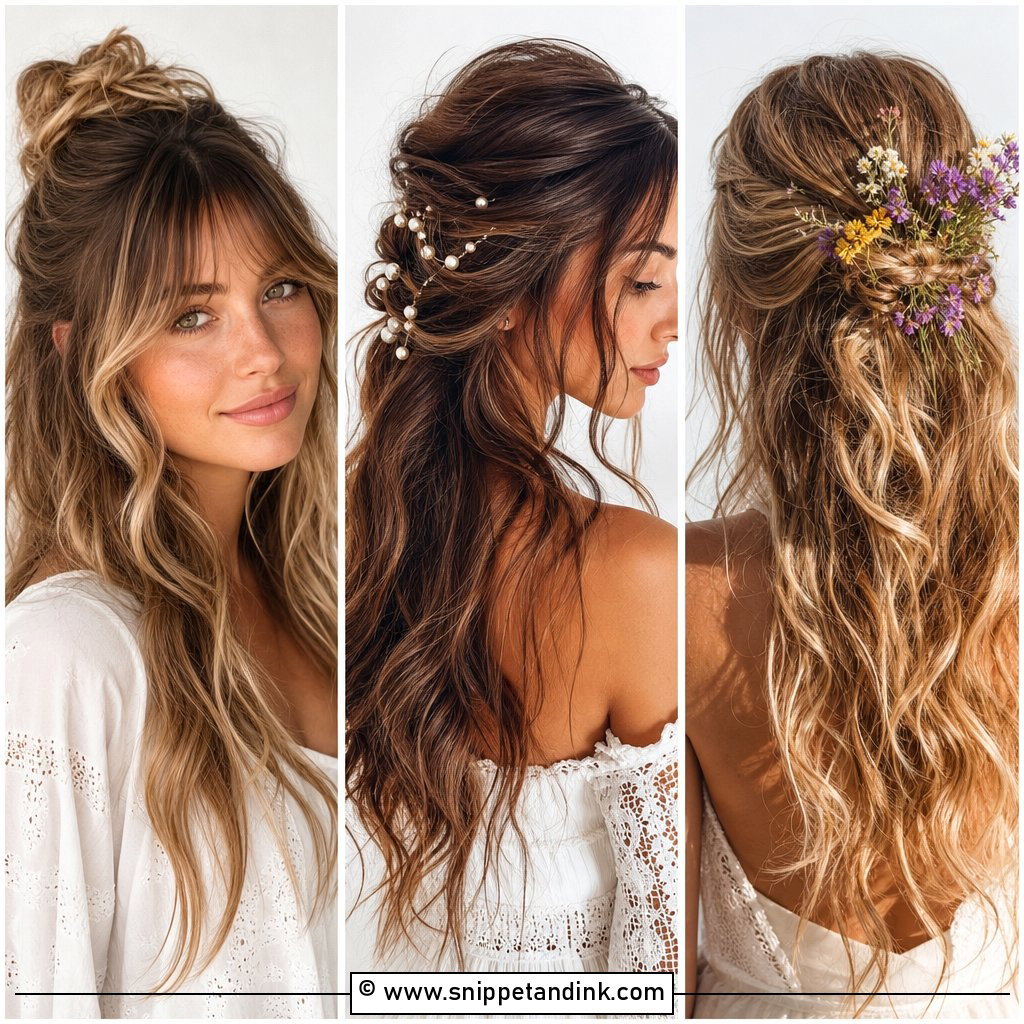
Boho half-up is forgiving, which is why I recommend it to nervous first-timers. Make loose waves with a flat iron, or twist damp hair and let it dry for a natural bend. Twist back loose pieces from each side and pin. Leave a few strands out at the face. Dried flowers, a hair vine or one or two thin braids finish it. It doesn’t have to be neat, and it suits outdoor, beach and woodland weddings.
5. Half-Up Wedding Hair With Veil
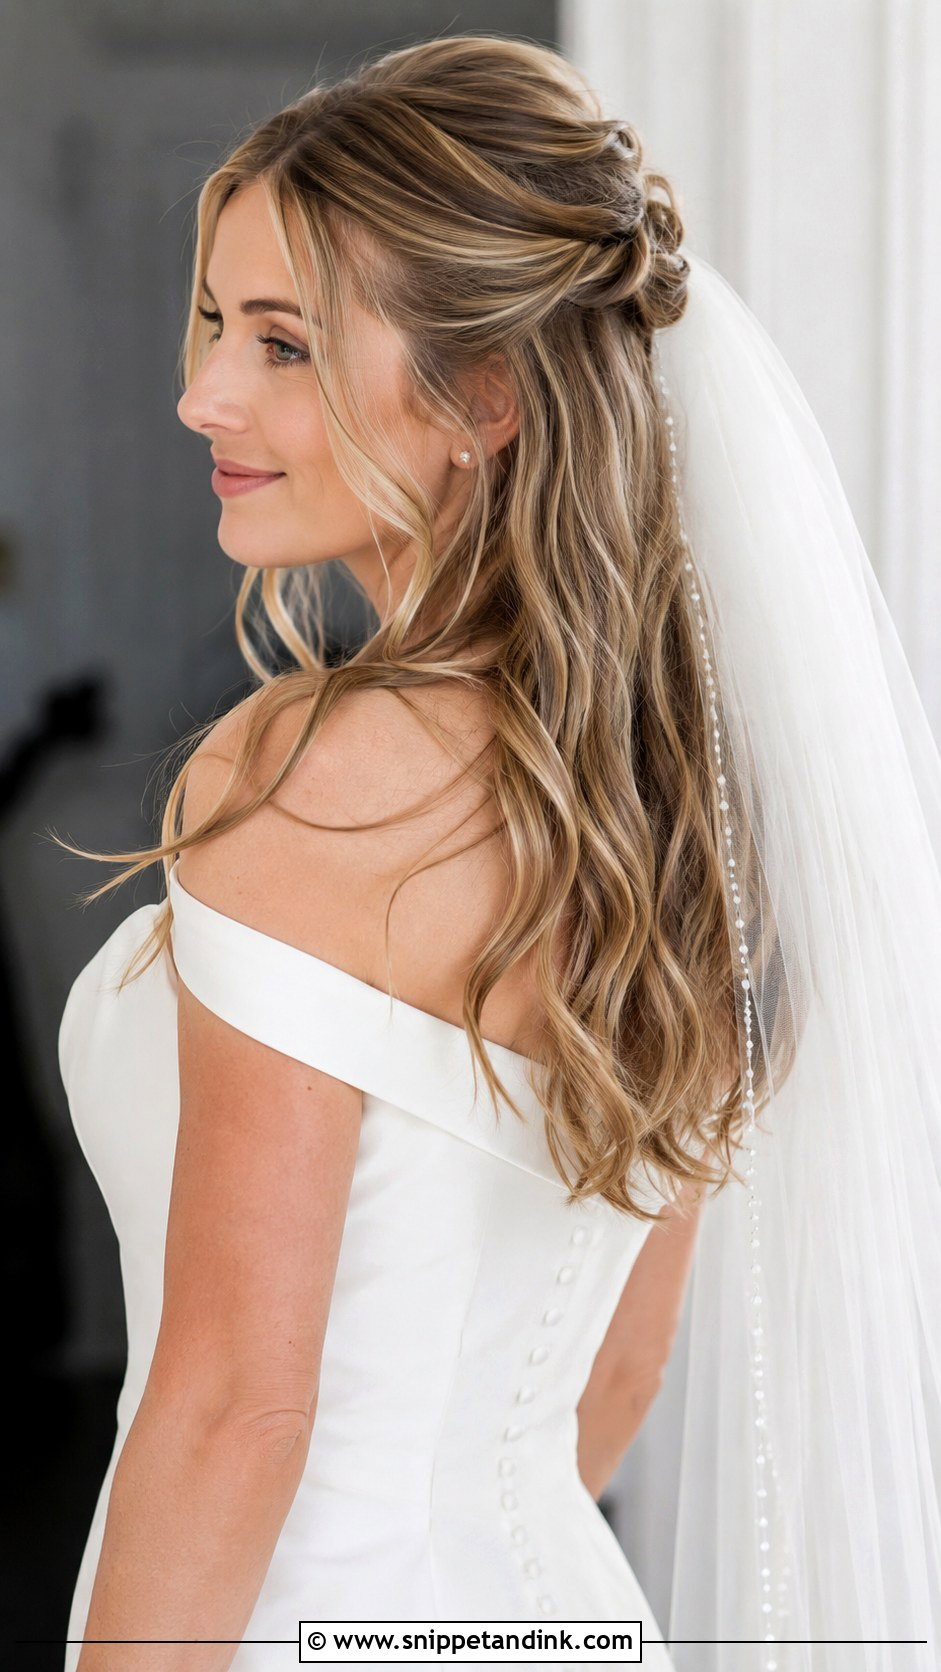
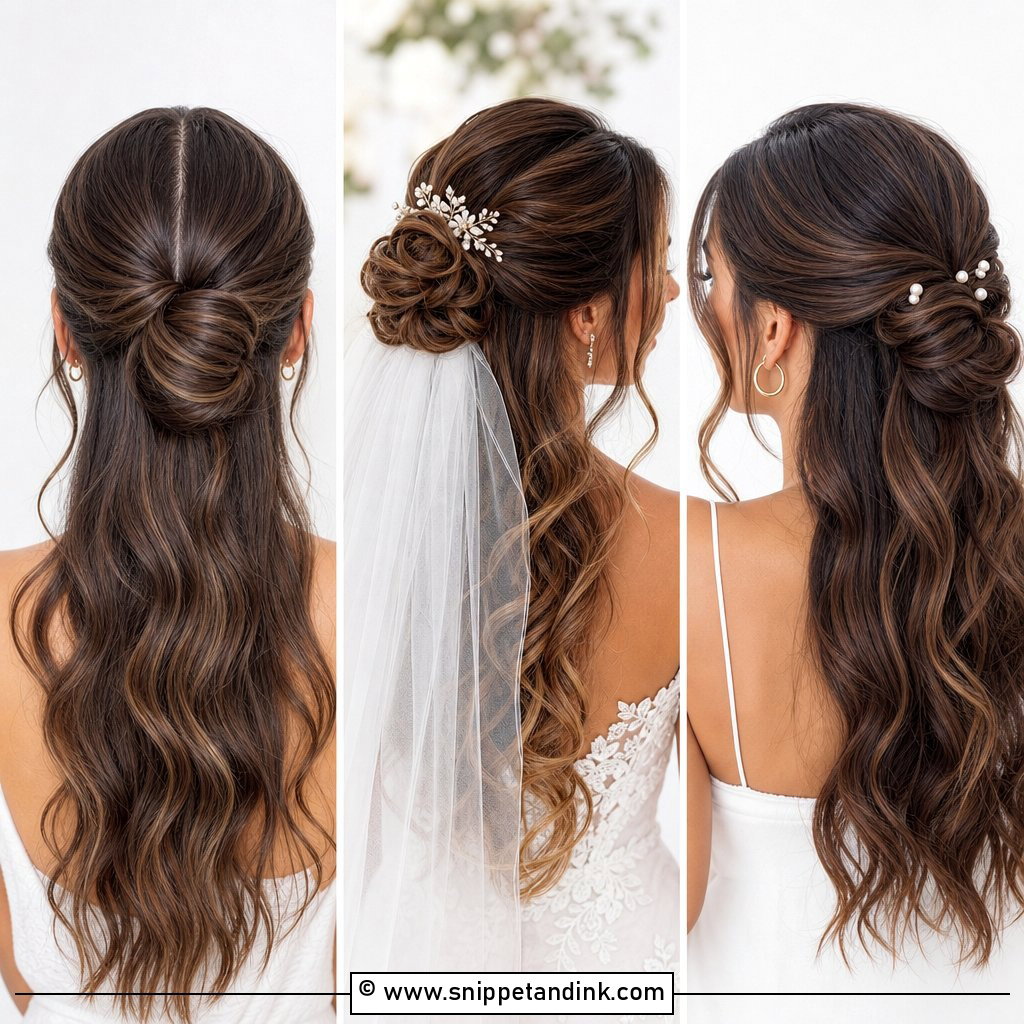
Pin the top section of waved hair at the crown first, then slide the veil comb in just beneath it, teeth facing up and into the pinned hair, before turning it down and pushing it in. That flip is what makes it grip. The pinned section hides the comb. When the veil comes out after the ceremony, the hair underneath still looks finished. A cathedral veil is heavy and needs a solid base; a fingertip veil is easier to wear all day.
6. Side-Swept Half-Up Bridal Hair
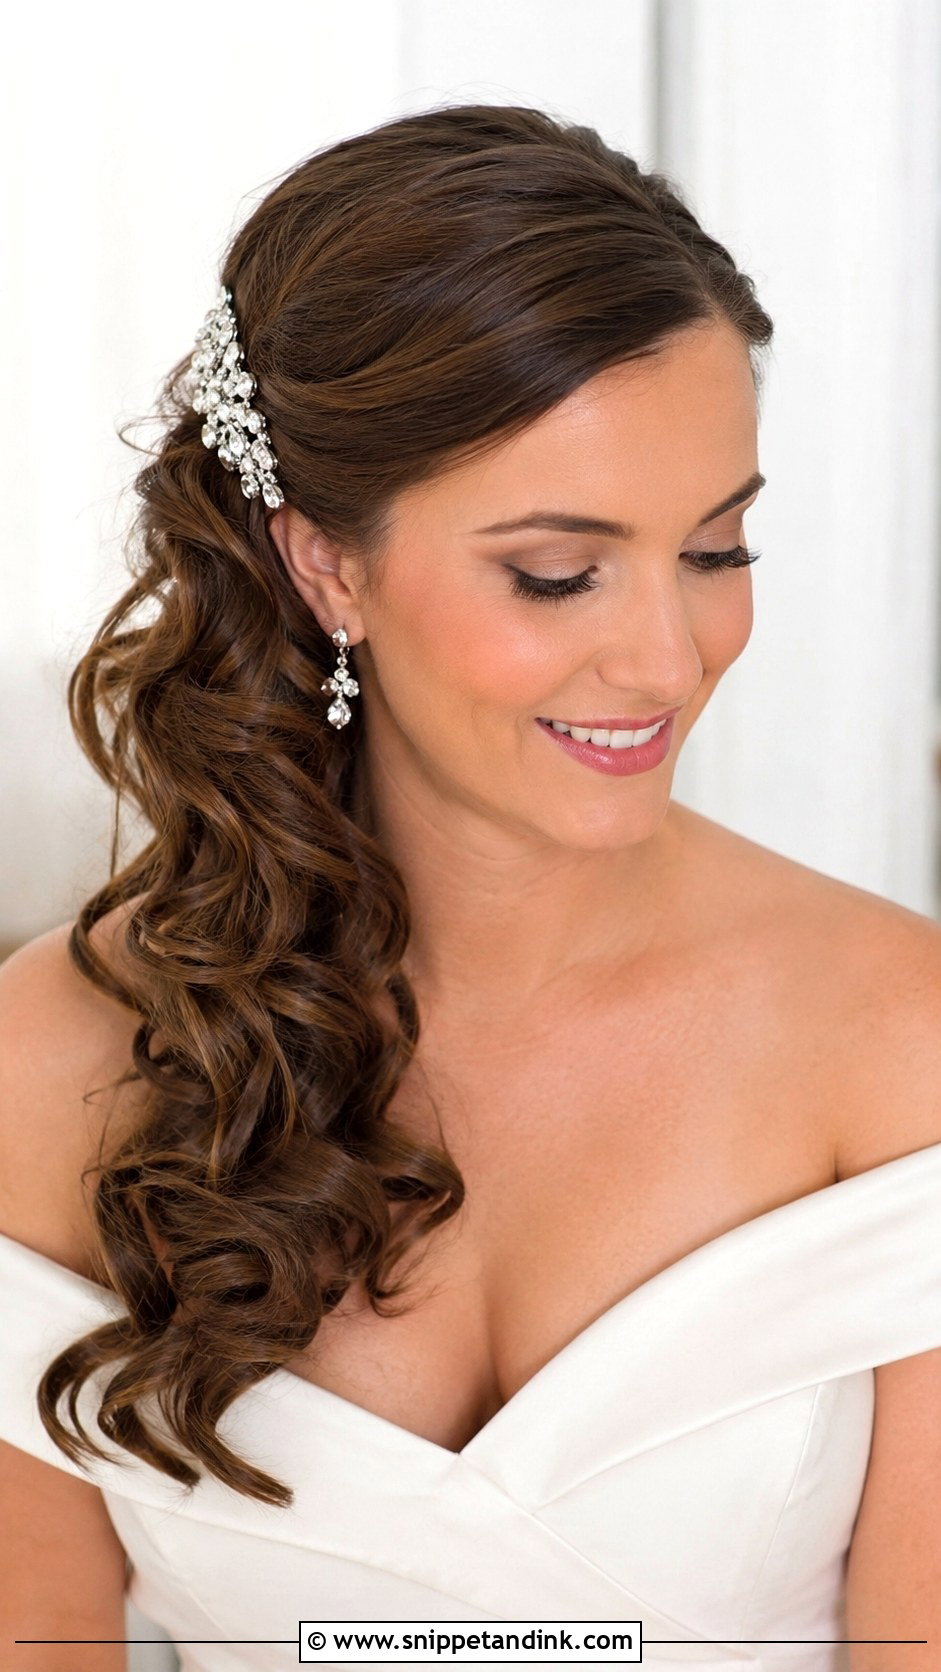
Side-swept styles need a deep side part and more pins than you’d think, because you’re fighting the hair’s natural fall. Curl everything, brush it gently to one side, and pin the top section behind one ear with pins hidden underneath the curls. The remaining curls drape over the opposite shoulder. A clip or flower at the pinned point covers the pins. It suits one-shoulder and off-shoulder gowns, and it shows off statement earrings on the bare side.
7. Half-Up Bridal Hair With Pearls
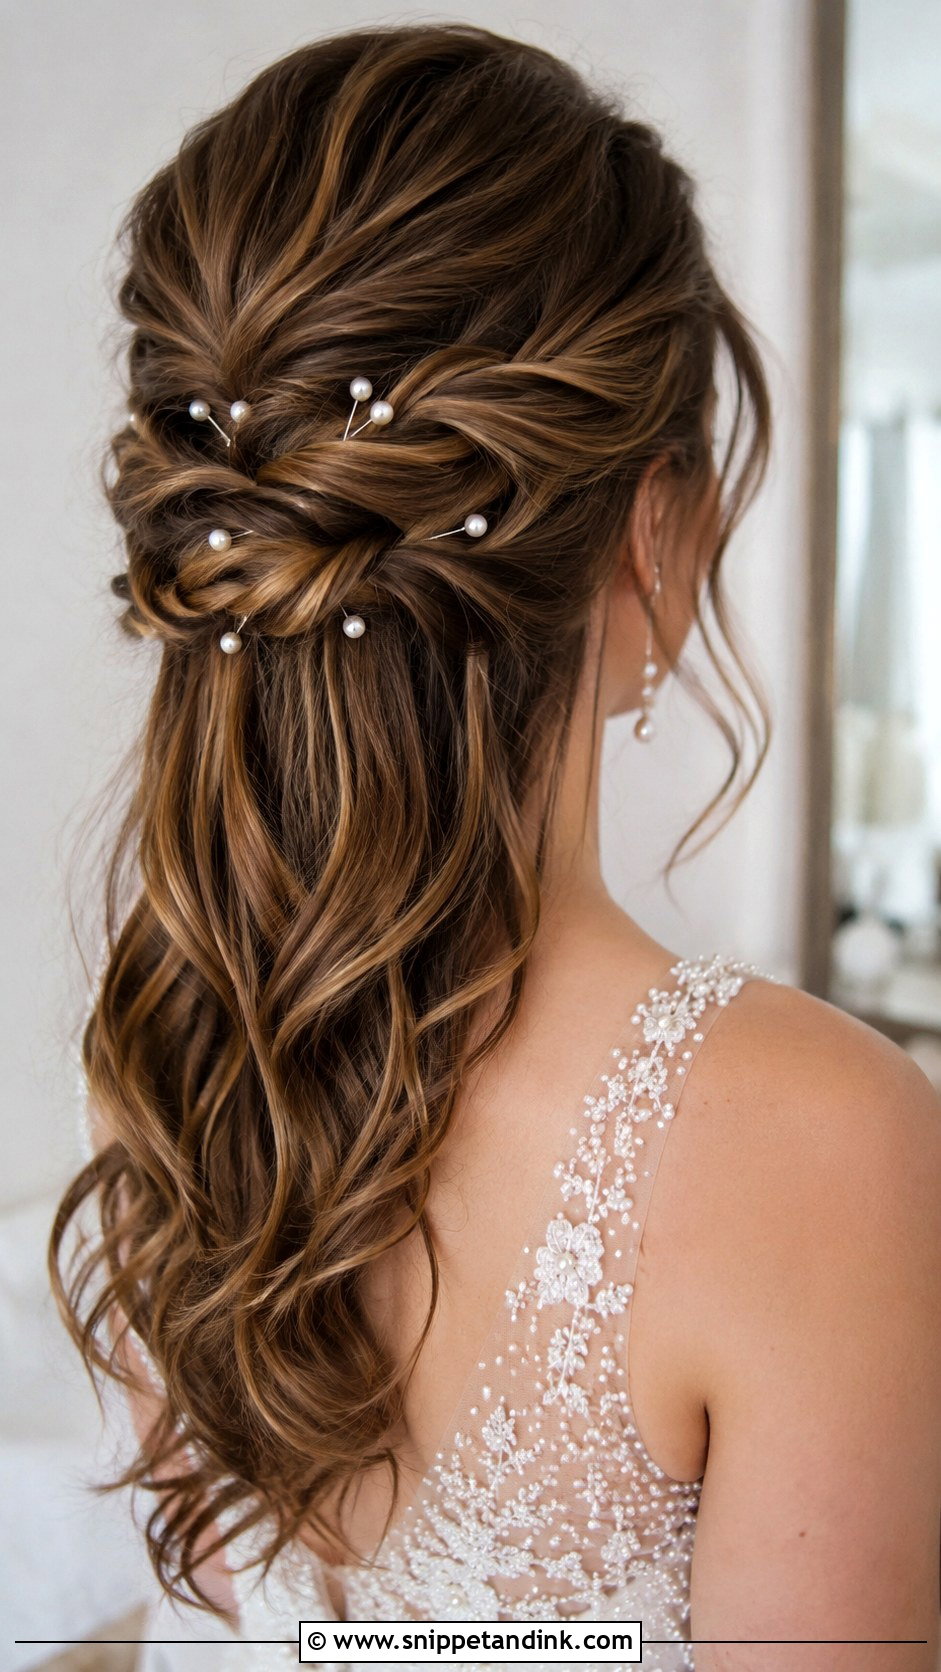
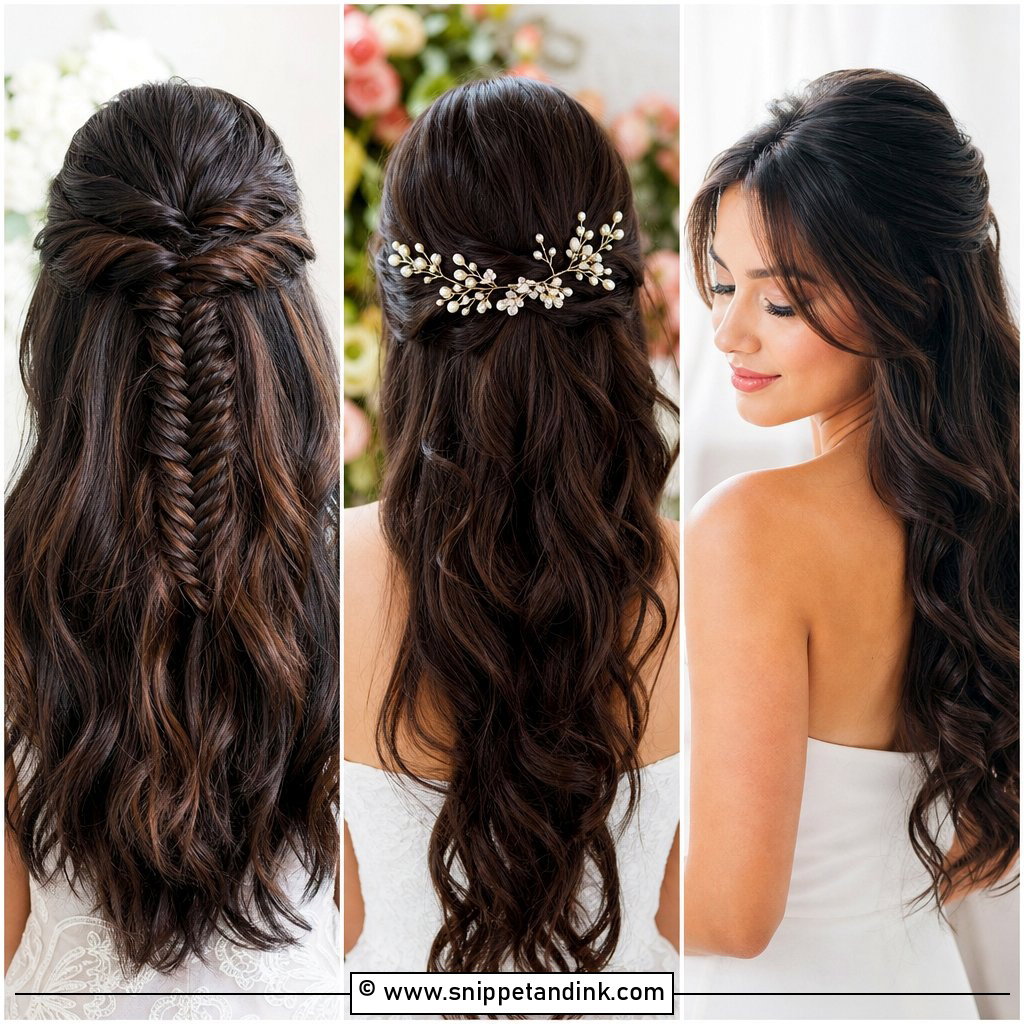
Make your half-up base first, twisted, braided or simply pinned, then add pearl-tipped pins along the twists and crown. Slide each pin in against the direction the hair falls so it catches; pins pushed in with the hair slide straight out. Cluster them for more impact or space them out. Pearls bring instant luxury for almost no extra effort. If you’re wearing pearl earrings too, keep the hair pearls smaller.
8. Messy Half-Up Wedding Hair
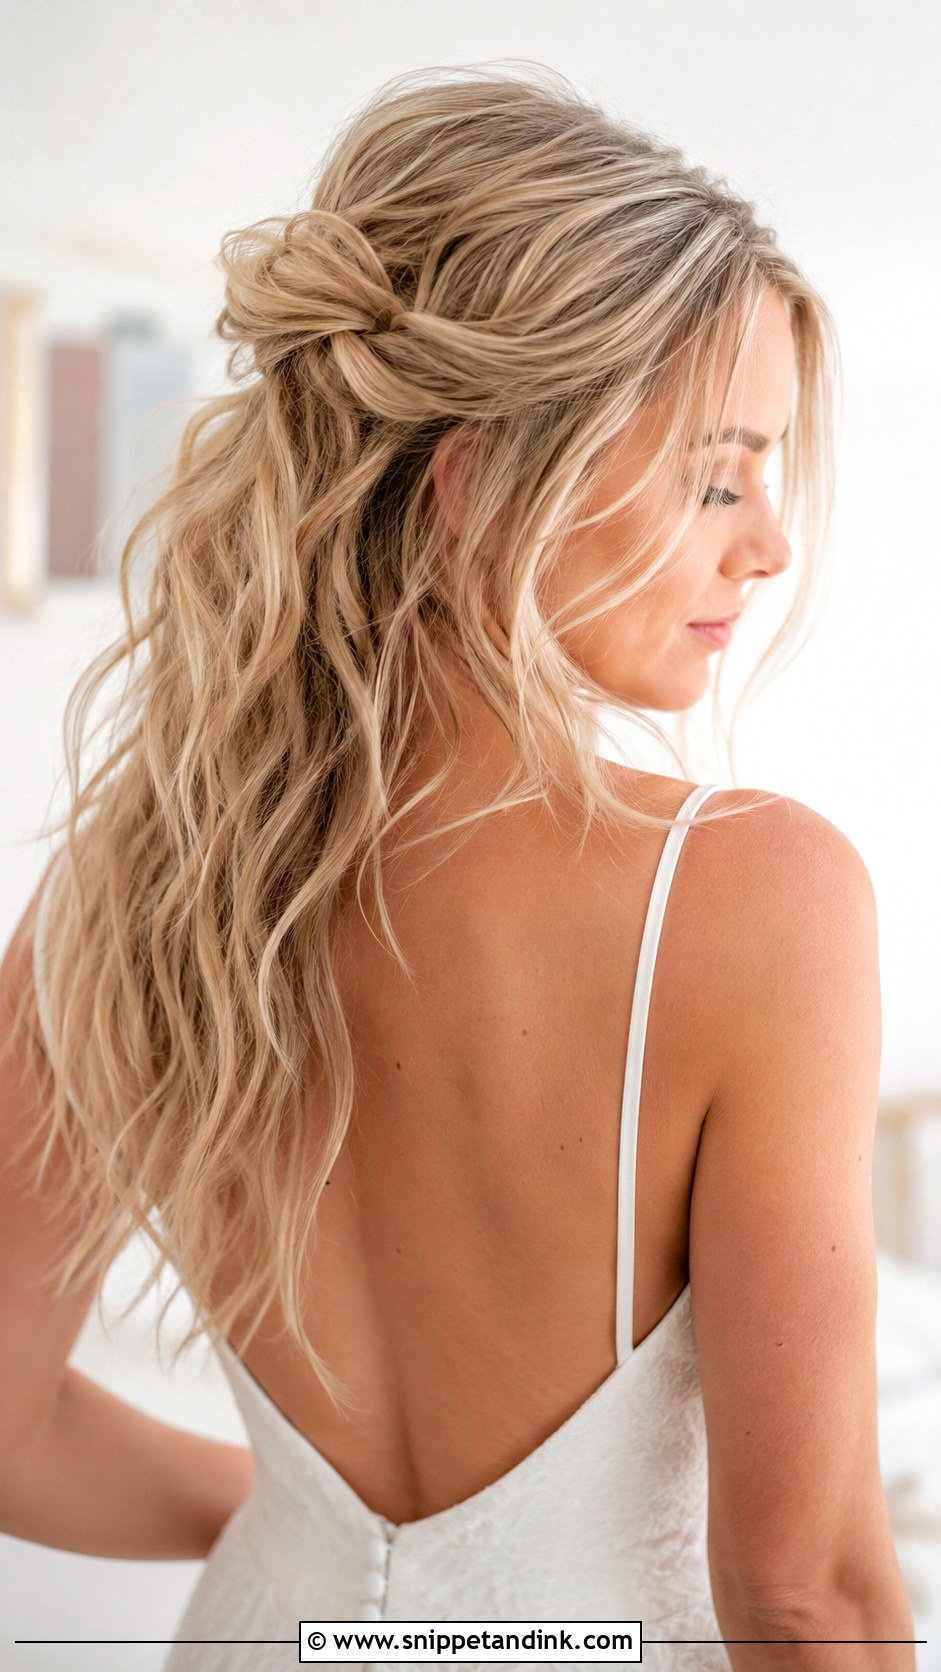
Messy half-up depends on texture, so spray texturizer on slightly tousled waves before you begin. Twist the top back loosely and secure it properly; the mess should only be on the surface. Then pull out a few face-framing strands. It holds through a long celebration because it’s meant to look lived-in. A single small clip adds a finishing detail. I’d suggest it for relaxed weddings rather than black tie.
9. Half-Up Half-Down Wedding Hair for Long Hair
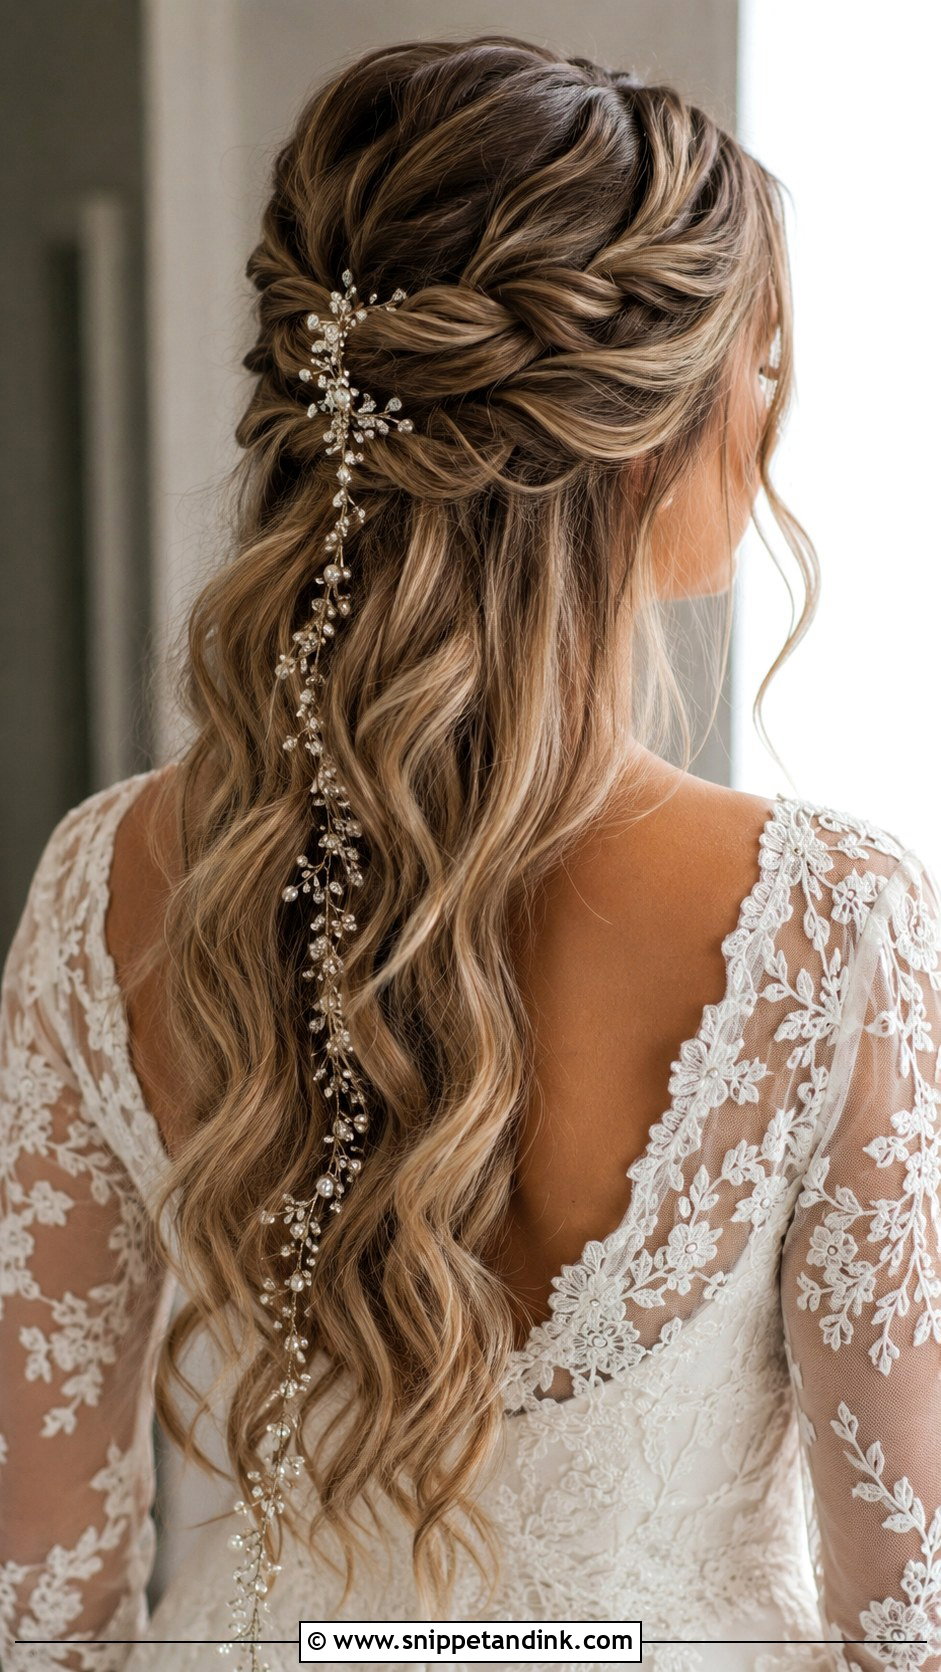
Long hair is heavy, and the top section has to support some of that weight, so I’d always back-comb the roots of the crown a little before pinning. Create a twisted or braided section at the crown and pin it into the teased base. The lengths below can be cascading waves past the shoulders. A hair vine trailing into the loose hair finishes it. Very long hair drops curl faster, so curl tighter than you want the final look to be.
10. Half-Up Bridal Hair for Short Hair
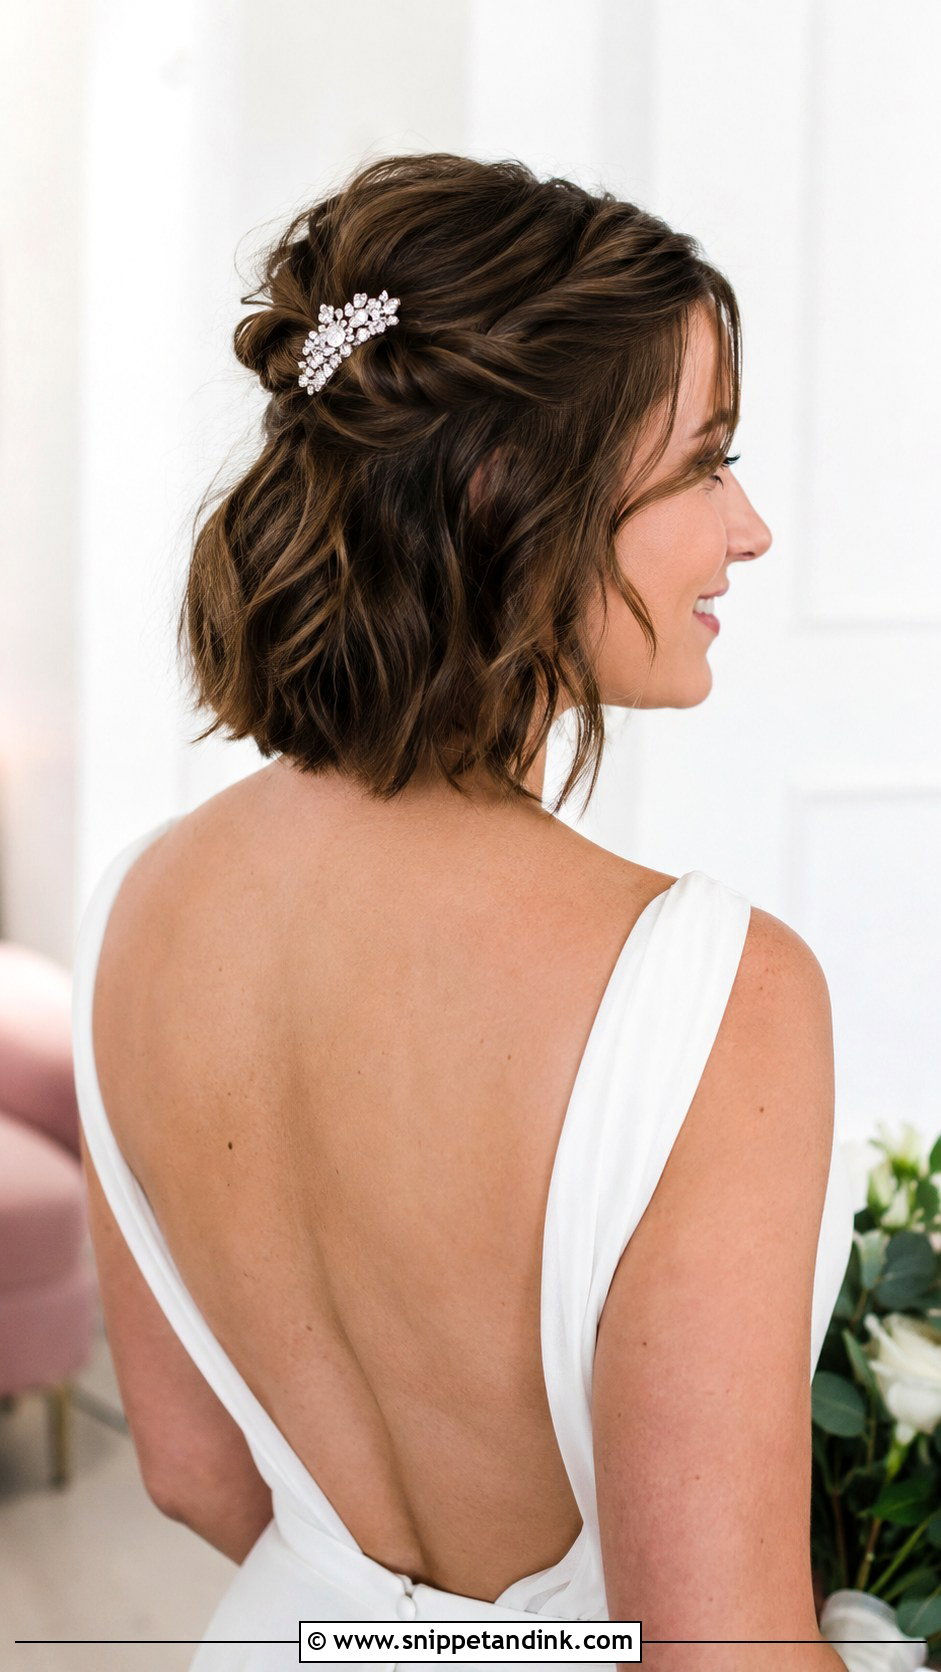
Short hair needs texture before anything, or the twists slip straight out. Add soft bends with a curling wand, then take small sections near the temples and twist them back. Pin them at the crown with mini bobby pins, which hold short pieces much better than standard ones. A sparkly clip or a few tiny flowers cover the pins. Bobs and lobs can wear this, and it keeps hair off your face all day.
11. Half-Up Wedding Hair With Flowers
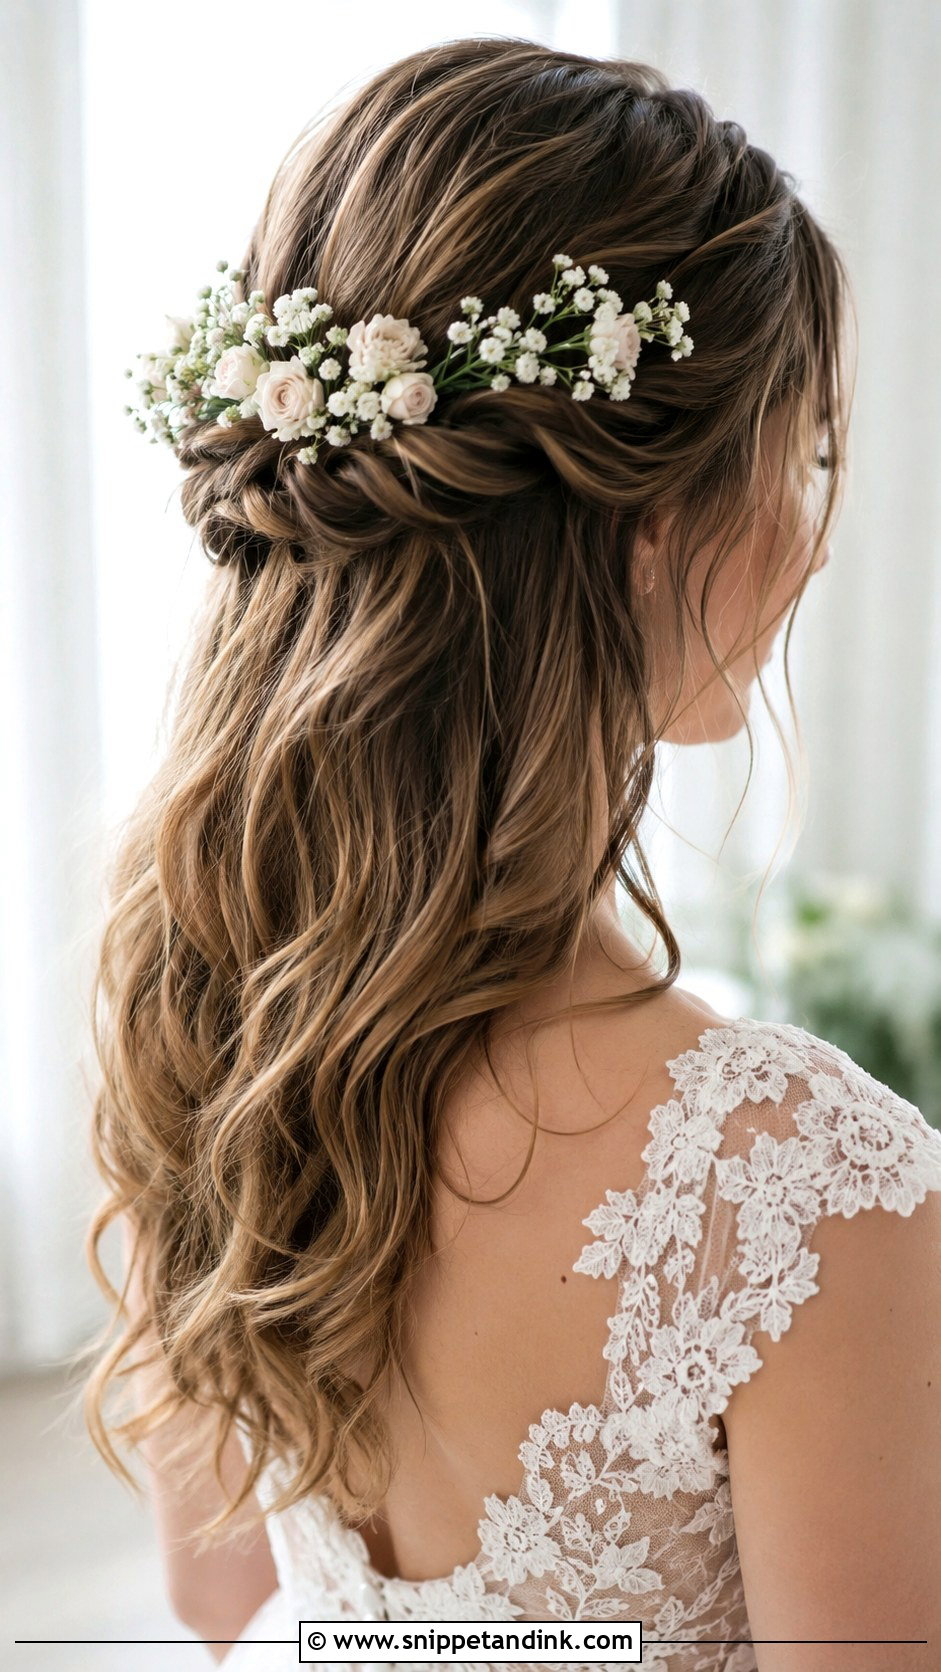
Use a base of twists or a braid, because flowers need something to be pinned into. Choose small, sturdy flowers like baby’s breath, ranunculus or spray roses. Wire each stem short and pin it alongside the twists and crown. Put the flowers in last, just before you leave, since they start wilting once they’re out of water. Clustered or scattered, both work. Spring and summer garden weddings suit it, and it ties your hair to your bouquet.
12. Half-Up Bridal Hair With Braids
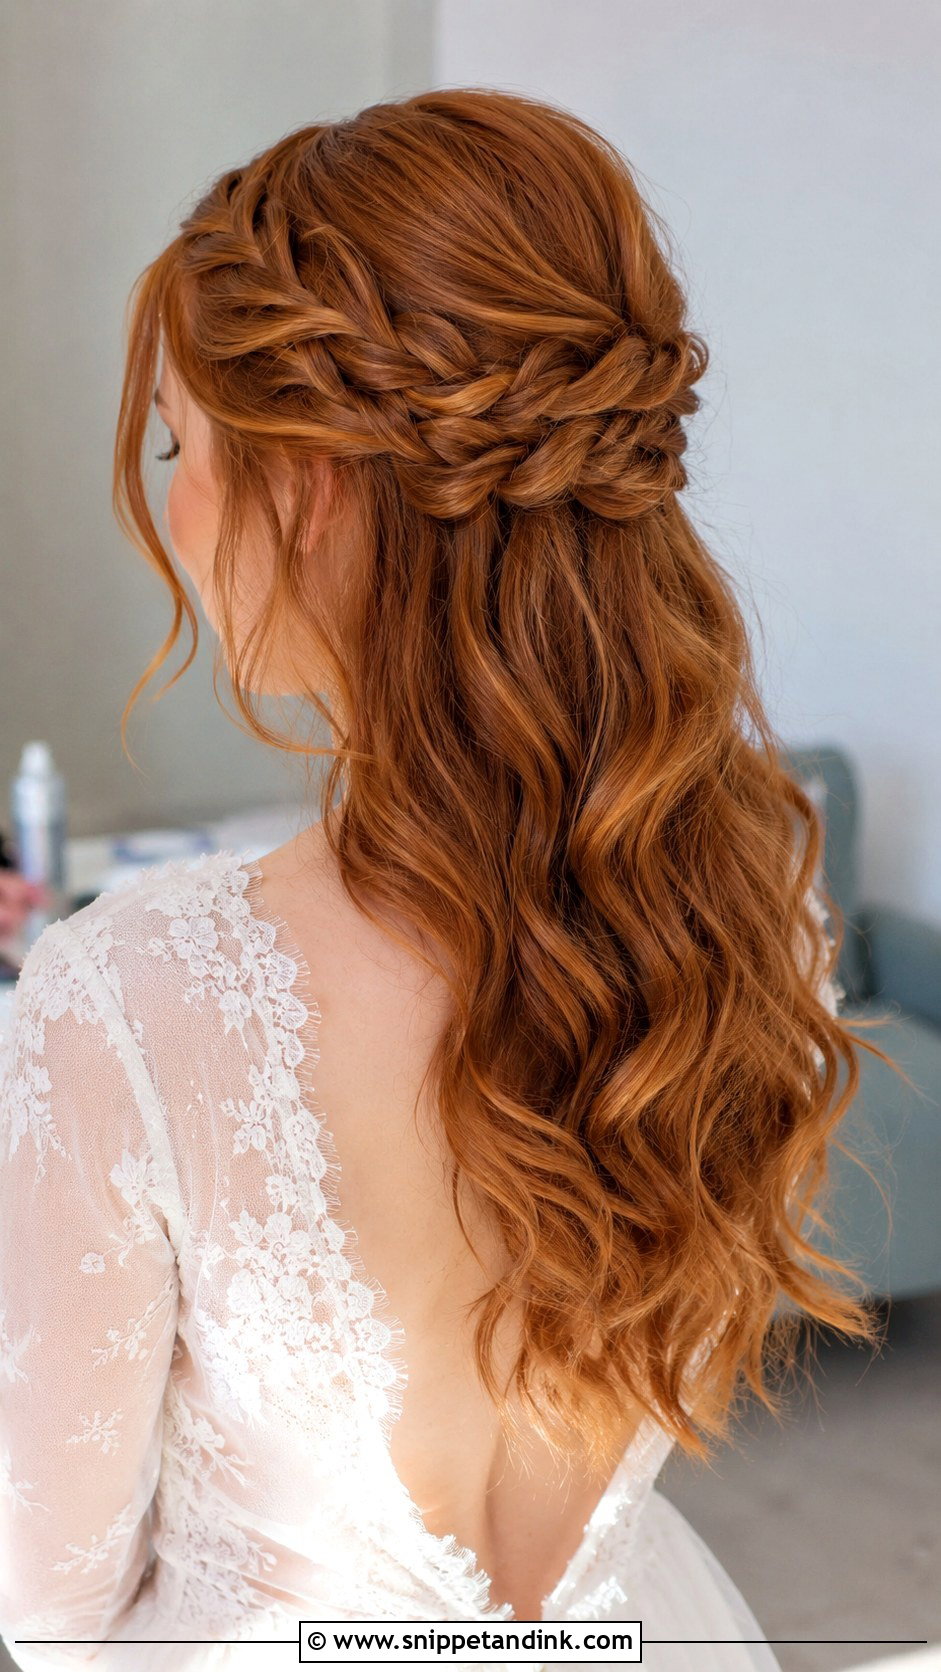
Braid a small section from each side; three-strand is easiest, fishtail and French take more practice. Bring both braids back and pin them where they meet, then leave the rest down in waves. Loosen the braids after pinning, not before. This suits boho and classic weddings and shows best from behind. If your arms tire quickly, braid each side over your shoulder to the front, then move it back to pin.
13. Half-Up Wedding Hair With Hair Vine
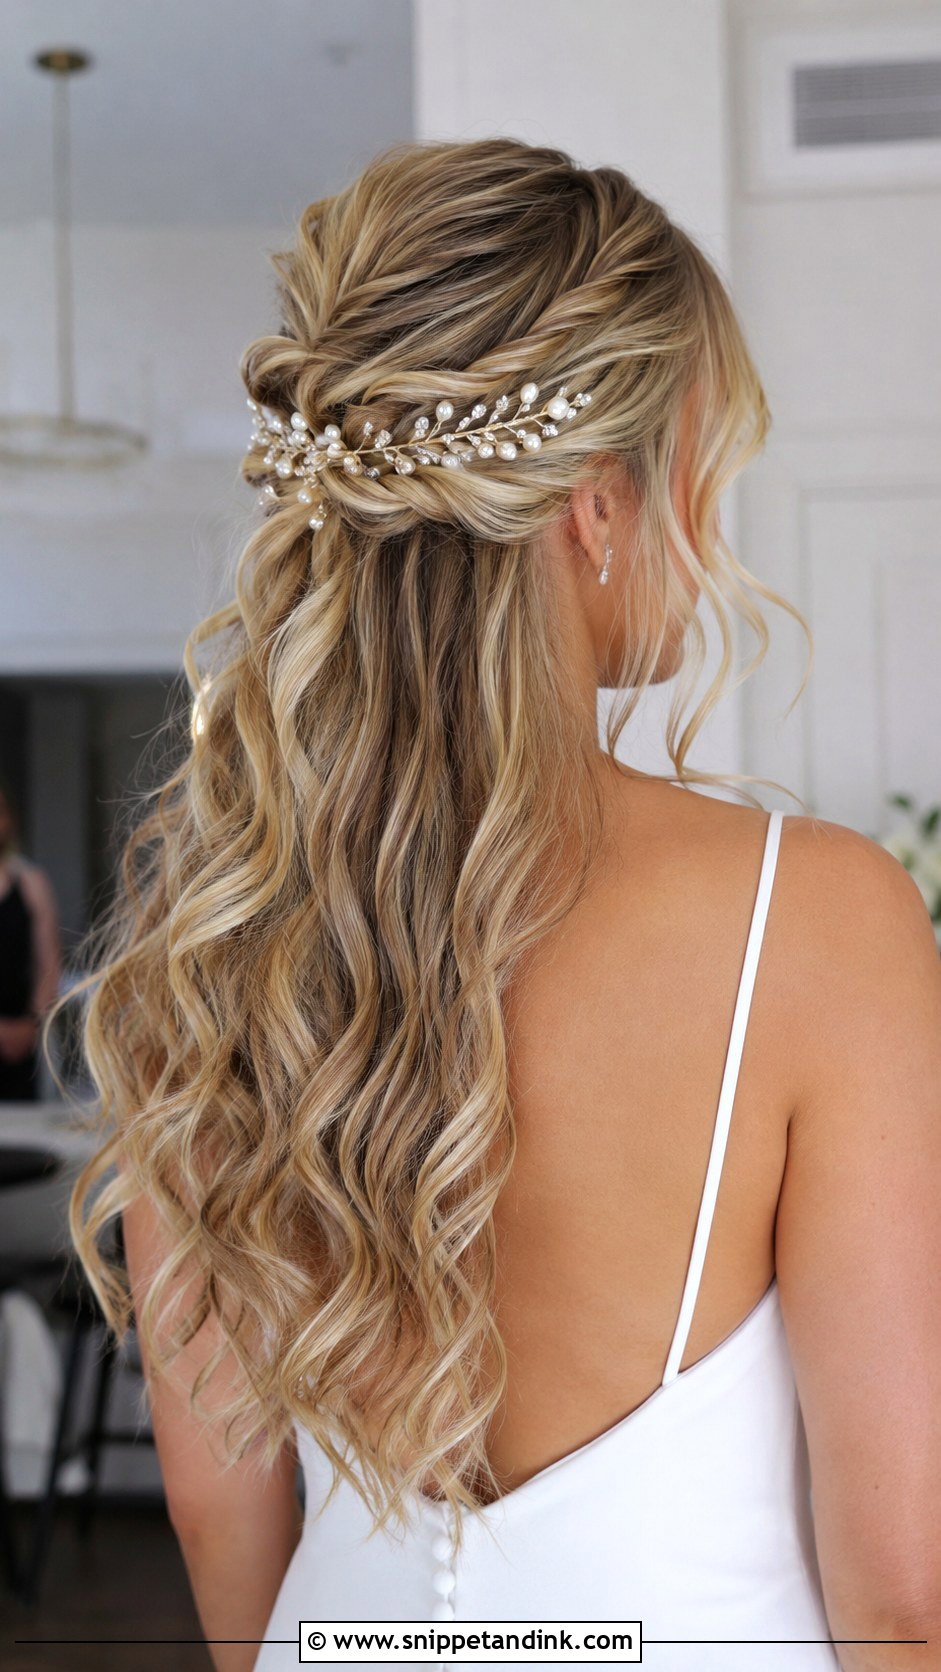
A hair vine is flexible wire with crystals, pearls or leaves, and it’s easier to place than people fear. Make your half-up first. Then lay the vine along the lines of your twists or braid, and weave the ends under the hair. Secure it with small pins every few inches; vines have loops for this. It works with a veil or alone, and the design decides whether it reads modern or vintage.
14. Sleek Half-Up Bridal Hair
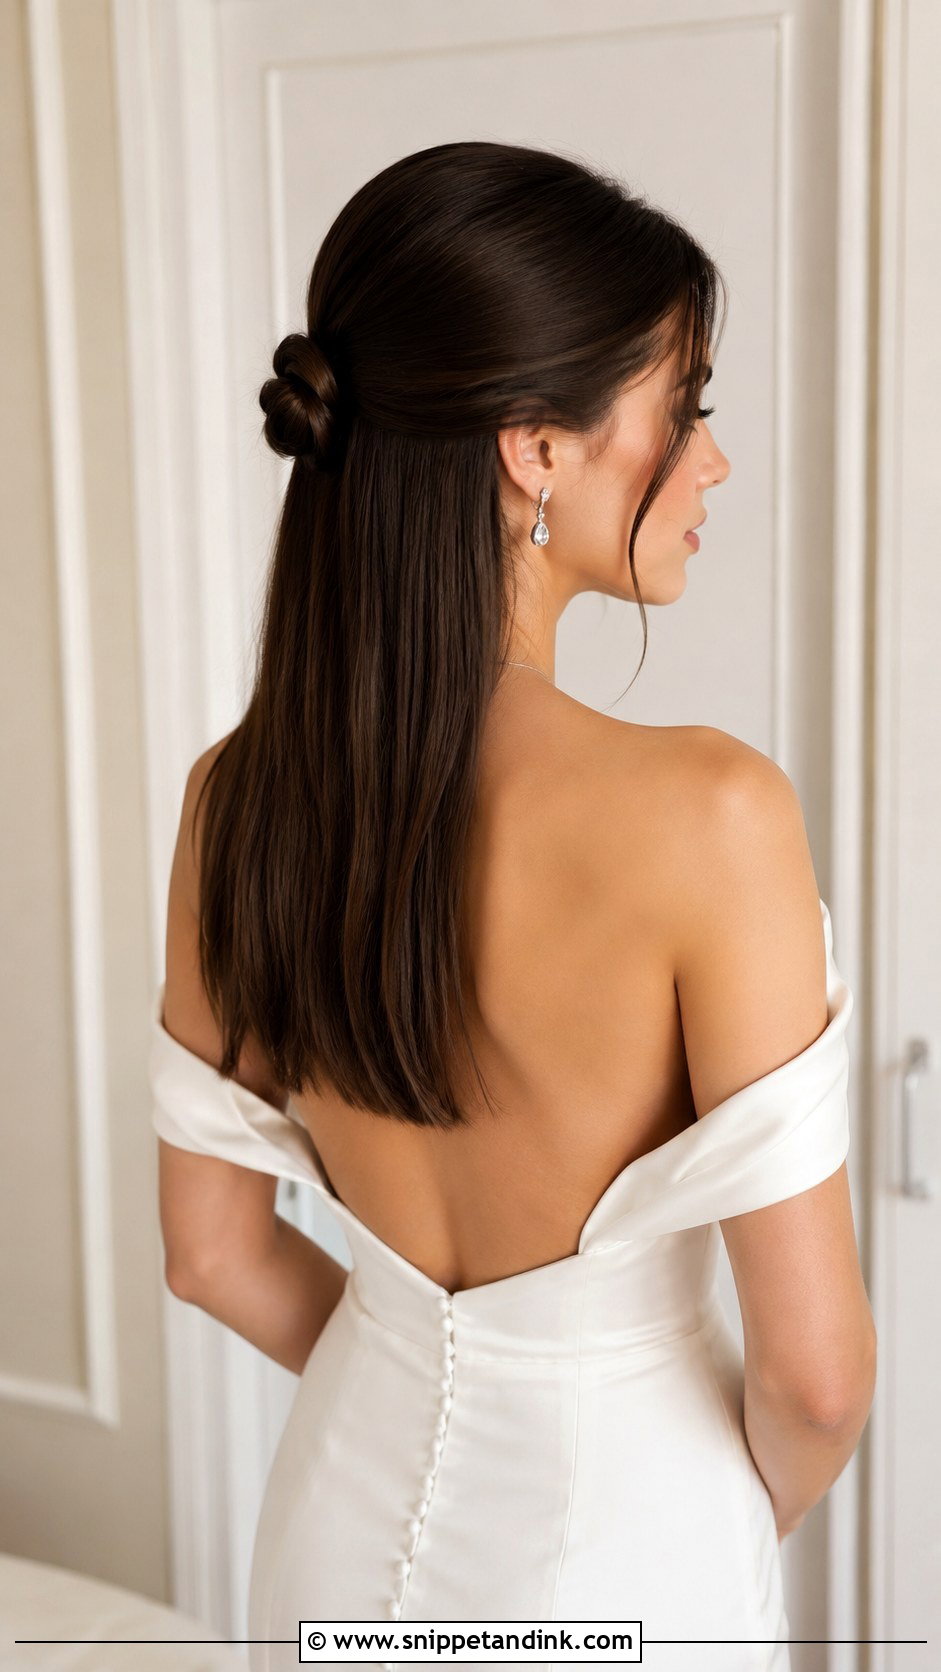
Sleek styles show every mistake, so this is the one that needs the most practice. Straighten in thin sections for a glossy finish. Brush the top section back with a boar-bristle brush to remove bumps, then make a small neat twist or low knot at the crown. A drop of shine serum on the ends and the palms keeps flyaways down. It suits contemporary gowns and bold jewellery. On humid days, it frizzes at the crown first.
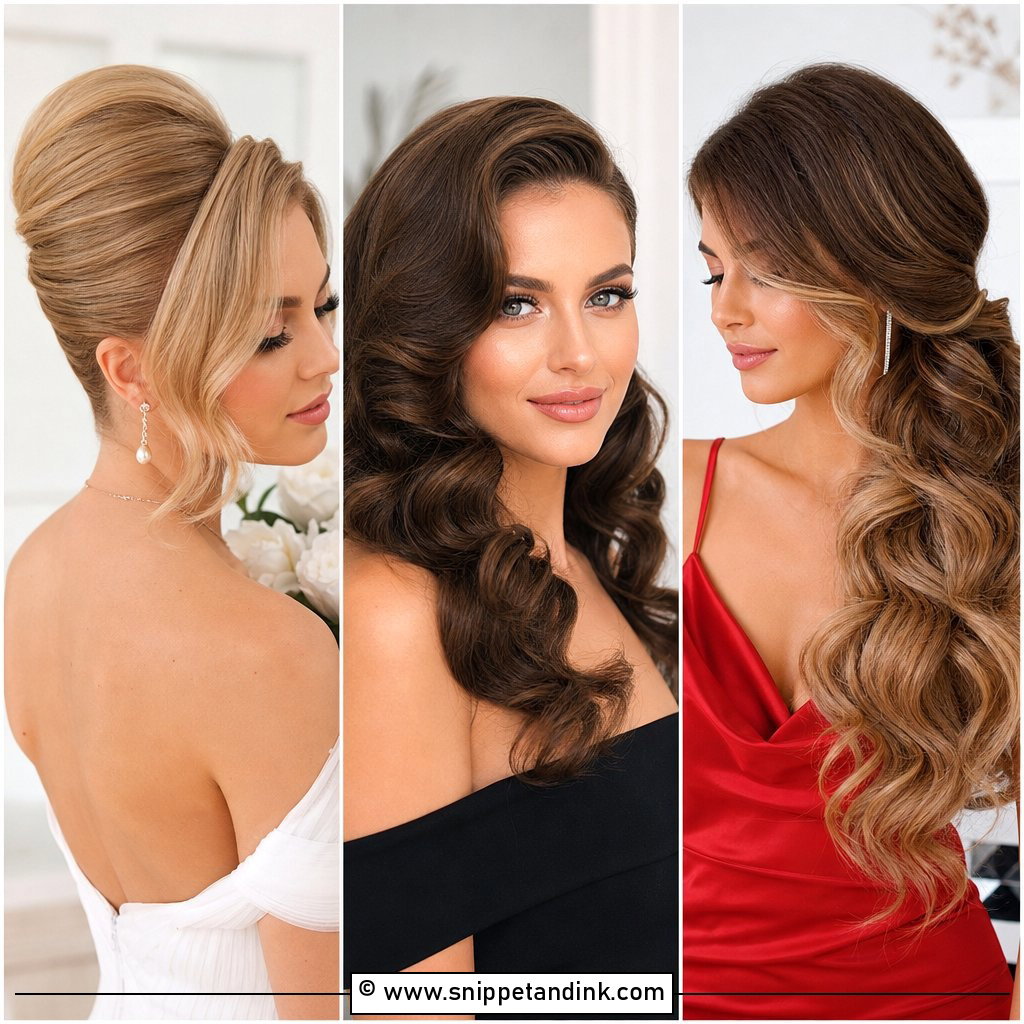
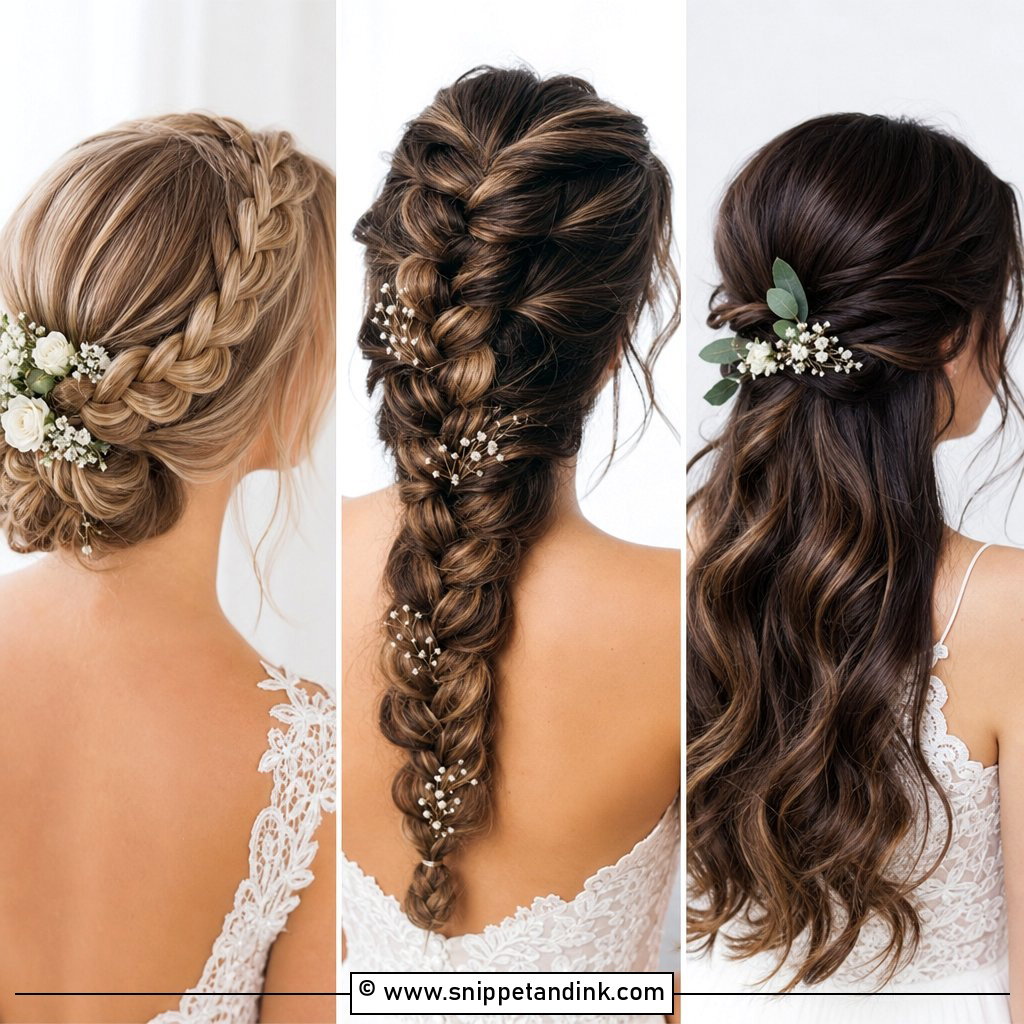
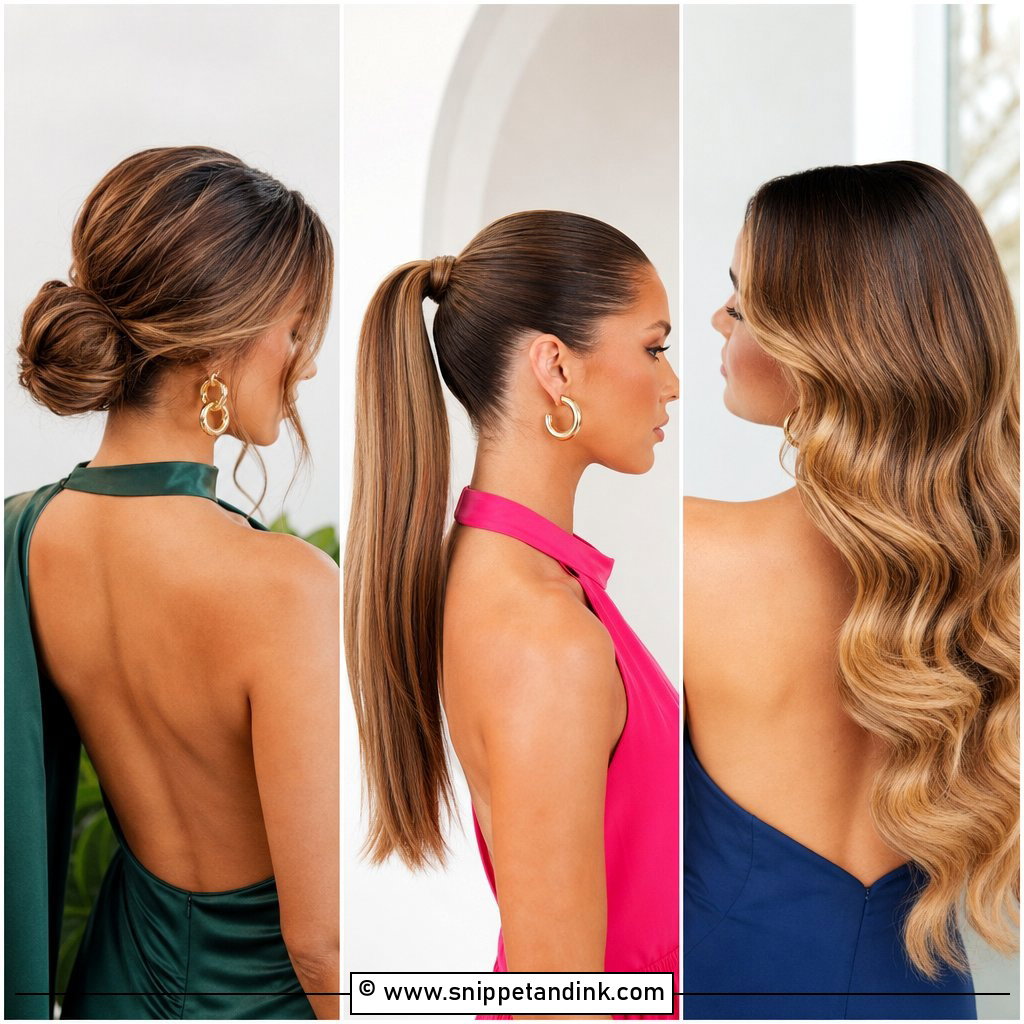
15. Half-Up Half-Down Wedding Hair With Bangs
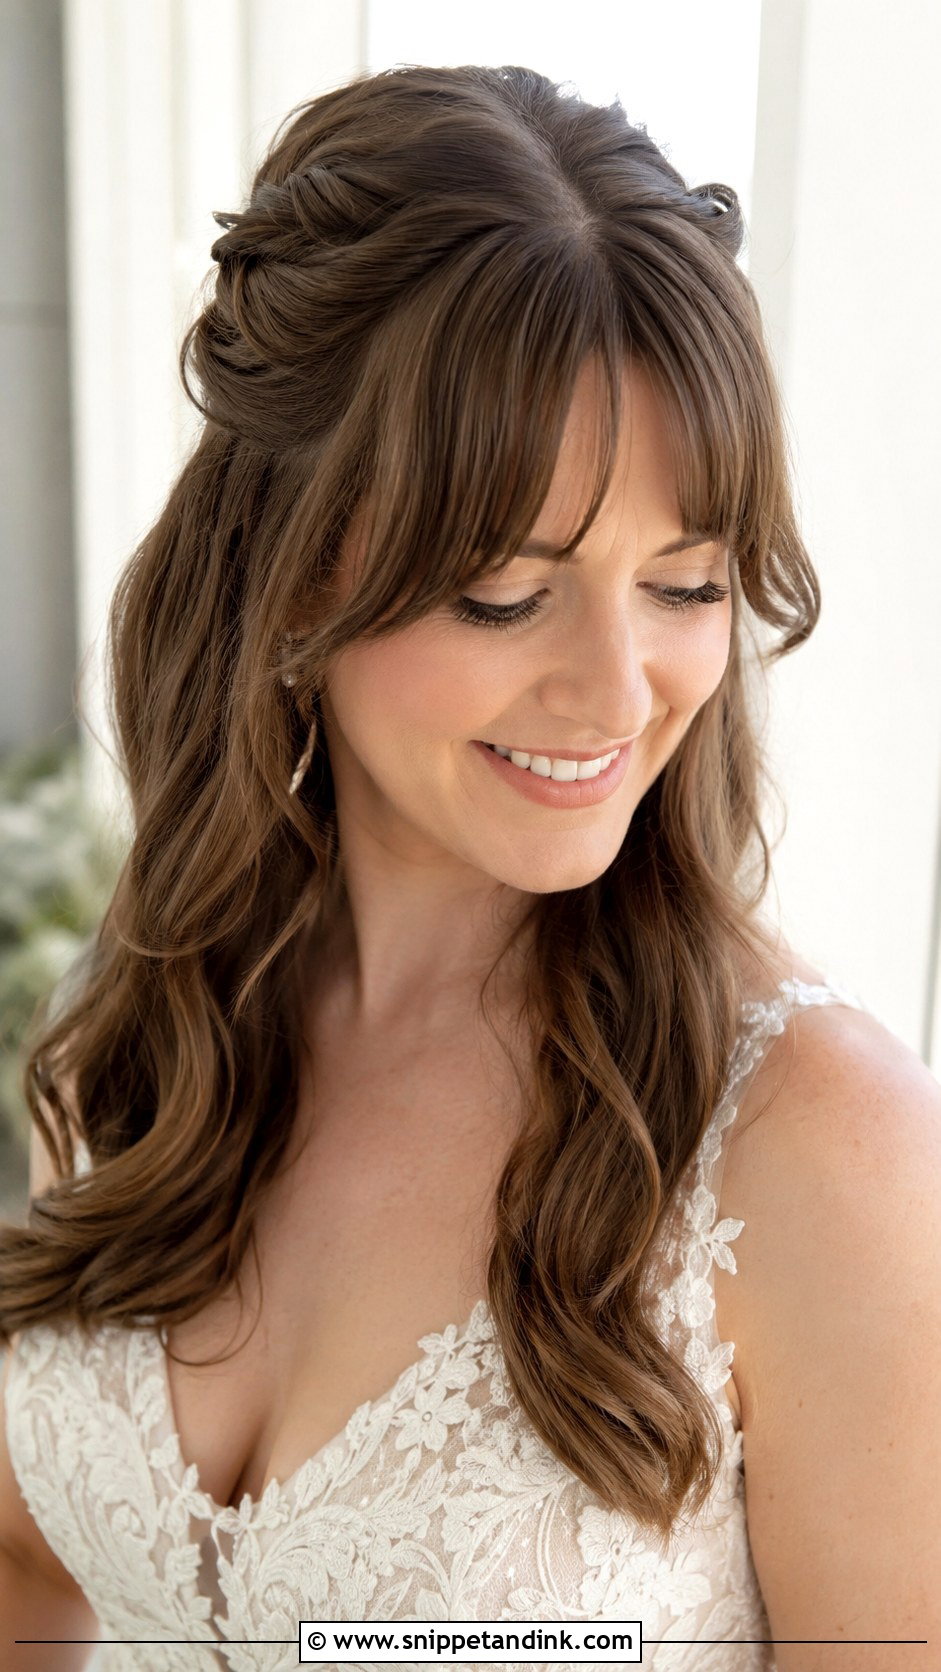
Style the fringe first, before touching the rest, so it dries in the right shape. Then curl the rest of your hair. Pull the top section back behind the bangs, twist and pin at the crown. Curtain bangs blend into the pinned sections well. Bangs can go limp against foundation, so a little dry shampoo at the roots helps them last. There’s no need to grow out your fringe for the wedding.
16. Half-Up Wedding Hair With Twisted Crown
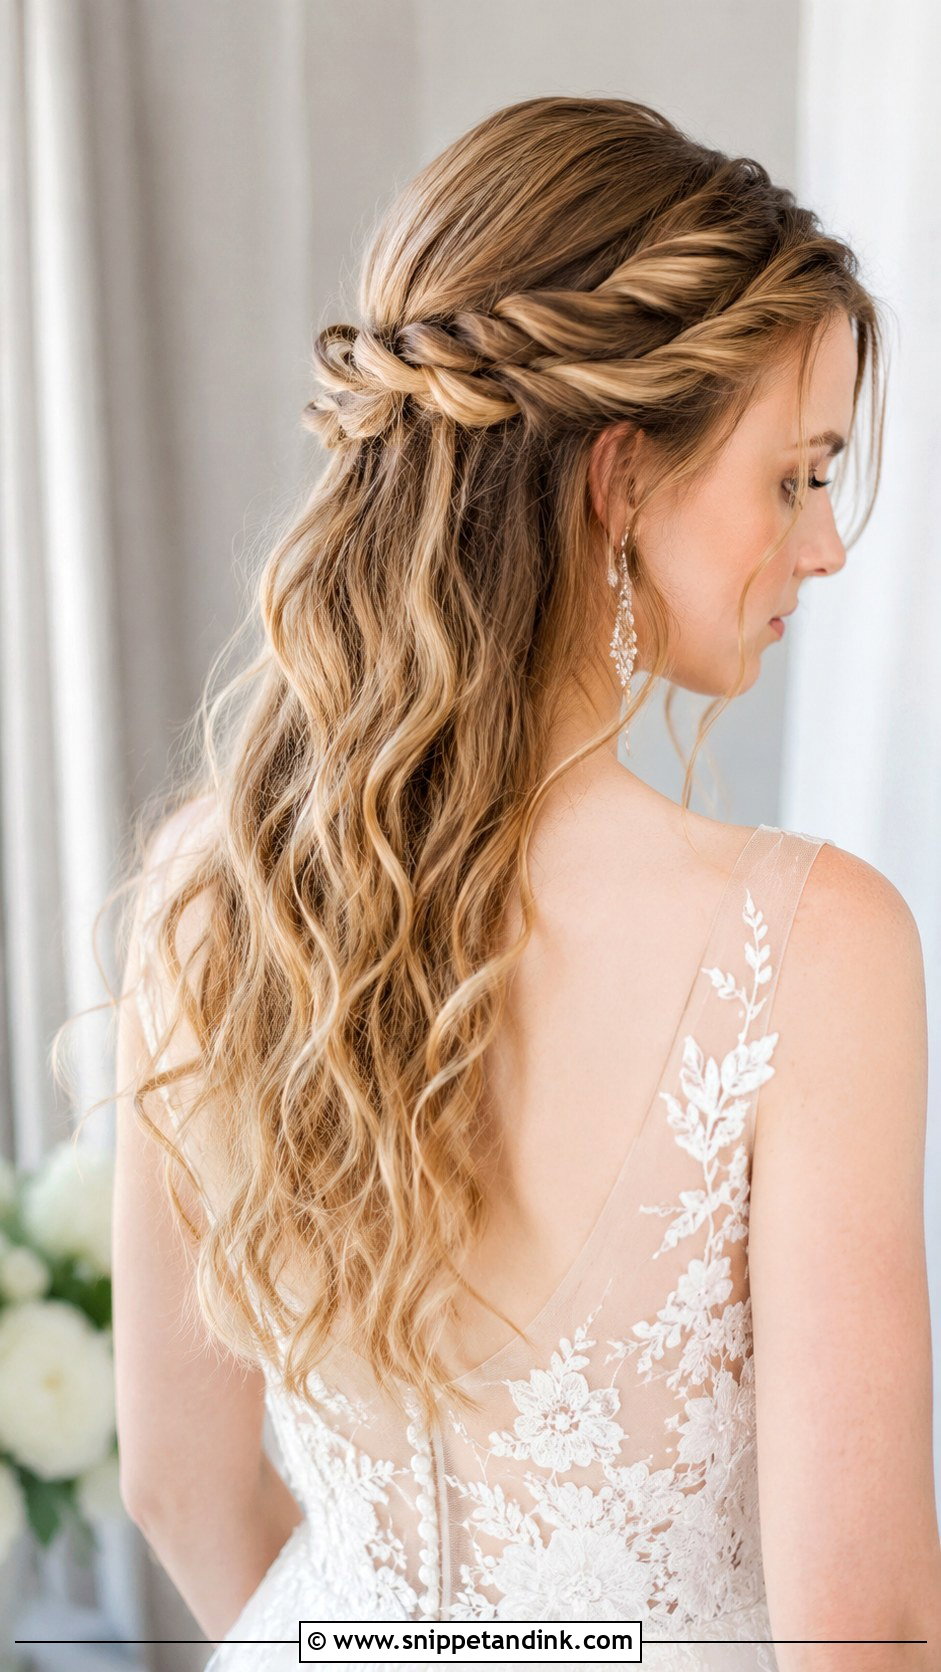
This is the twisted version of a crown braid. Start with loose waves. Take a section near the face, twist it, and add small pieces as you move toward the back. Repeat on the other side and join both twists at the crown. Pin, then pull gently to loosen. Twisting in the same direction throughout is the one rule; changing direction halfway unravels it. Veils and floral accents both suit it, and it’s simpler than braiding.
17. Half-Up Bridal Hair With Bouffant
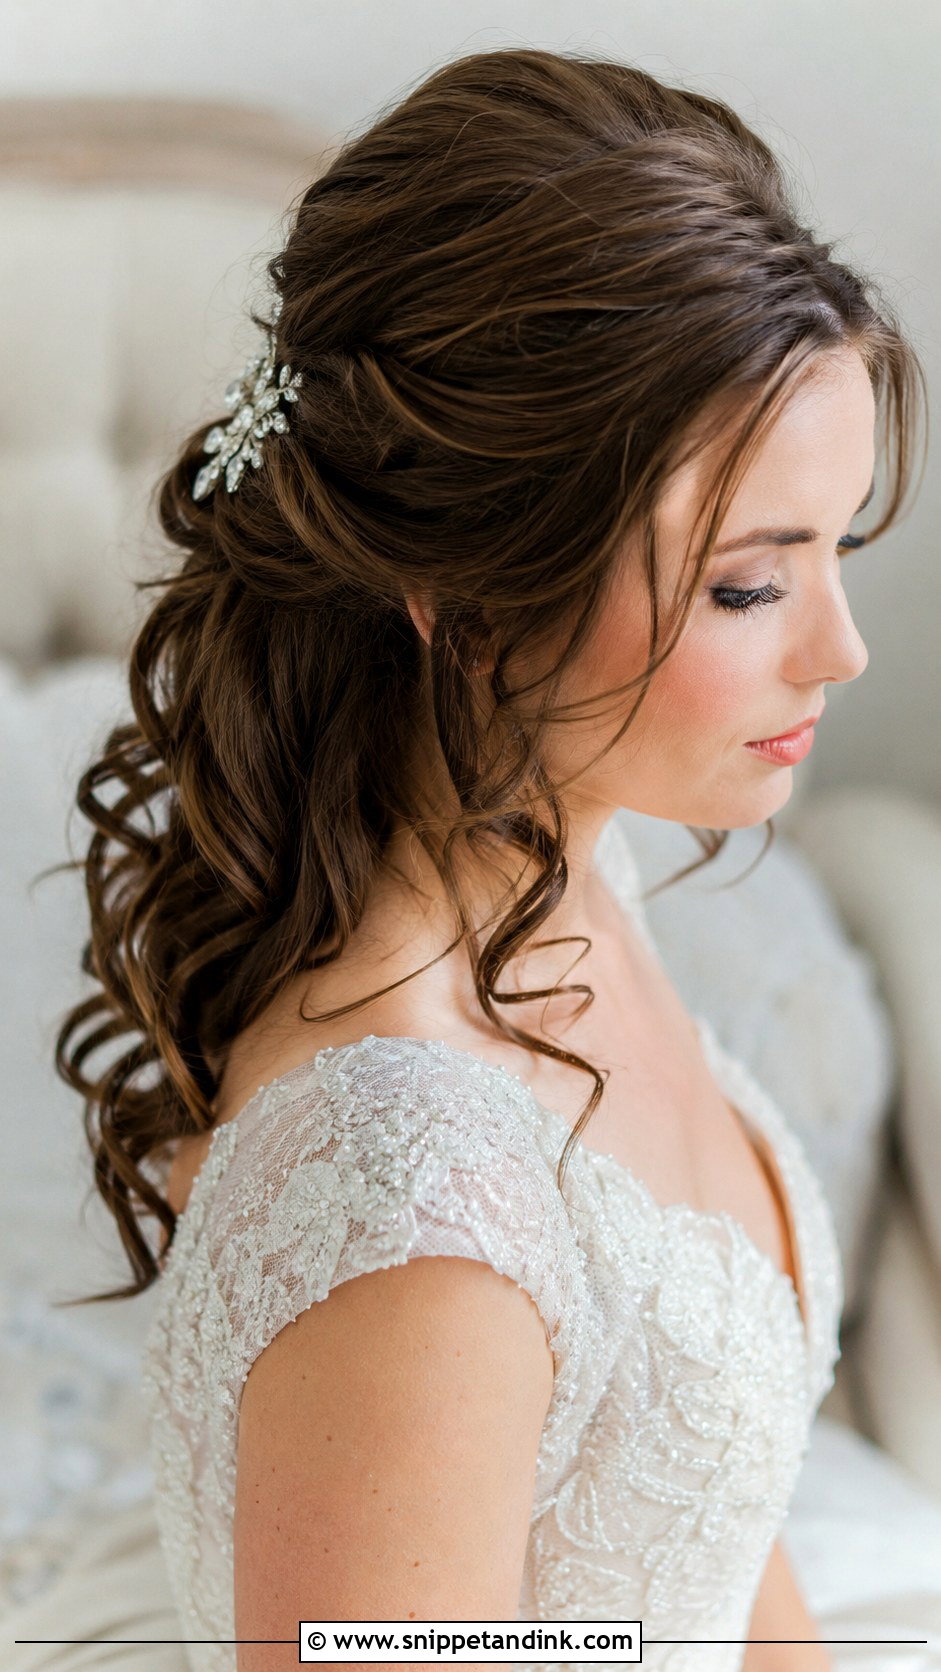
Tease the top section at the roots only, working on the underside of each piece. Smooth the surface with a soft brush and keep the lift underneath. Pin the teased section back. The rest of the hair falls in waves or curls. Fine hair gains the most from this, since it adds body. A tiara or jewelled clip pairs well. Teasing the ends just creates knots and takes a long time to brush out.
18. Half-Up Wedding Hair With Loose Waves
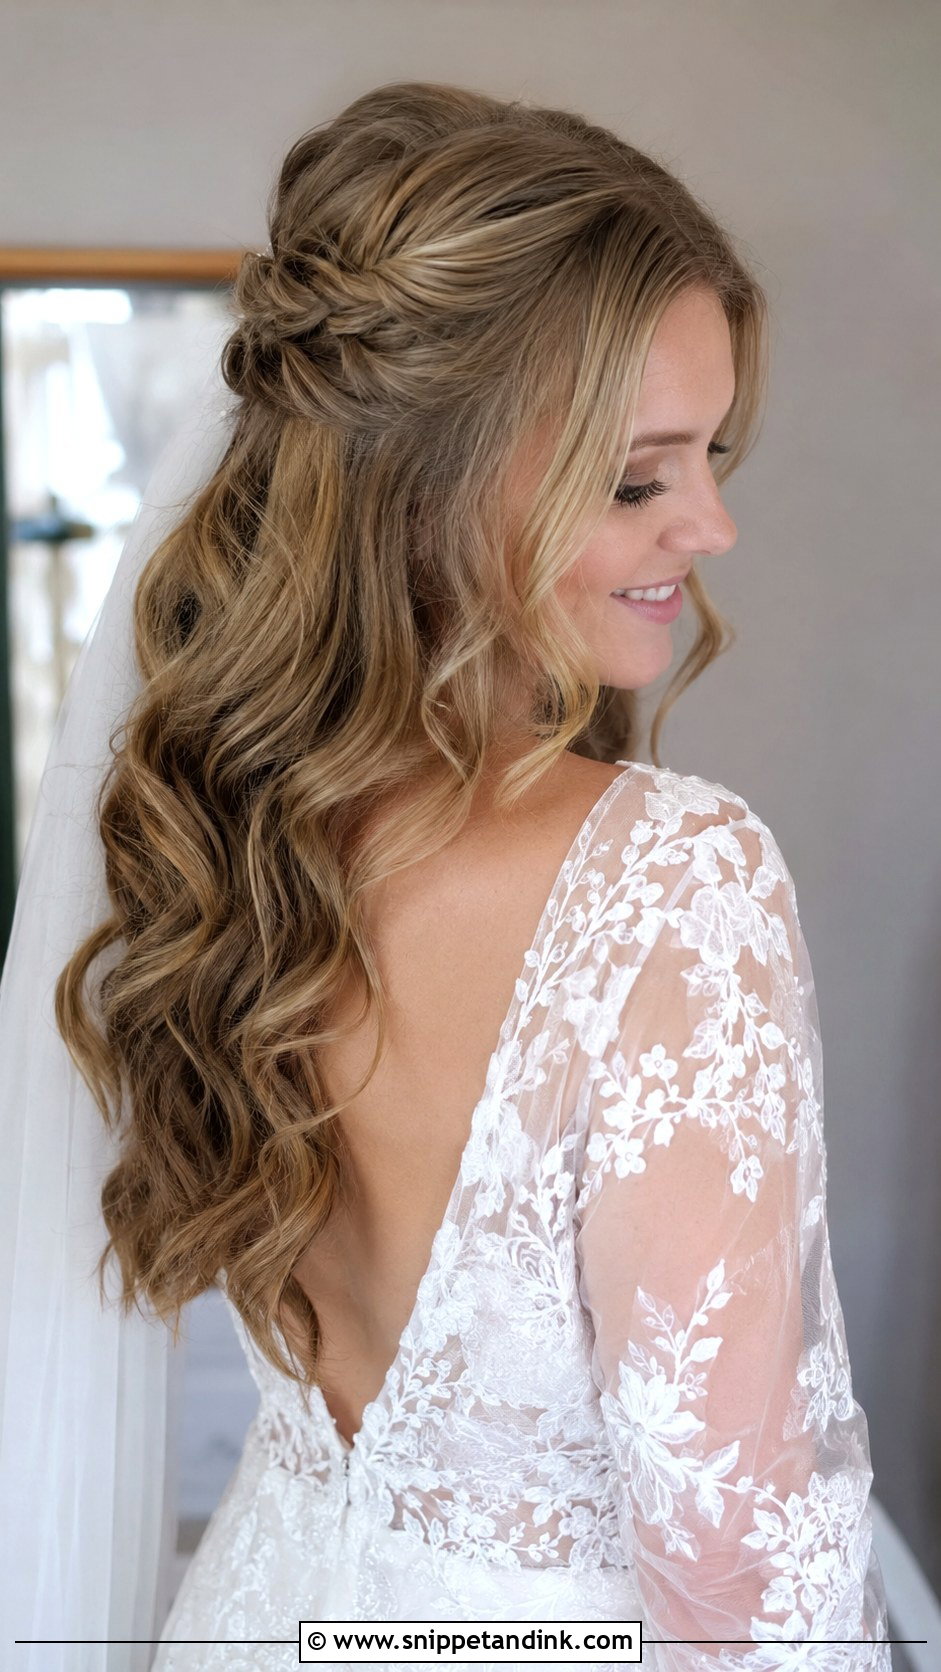
Curl with a large barrel, let the curls cool, then brush through gently for a looser wave. Gather the top half and secure it with a twist or clip. The waves below give movement. This is one of the simplest styles here, and it suits nearly every wedding theme. A small accessory or none at all. Waves look softest in natural light, which helps outdoor photos.
19. Half-Up Half-Down Wedding Hair for Curly Hair
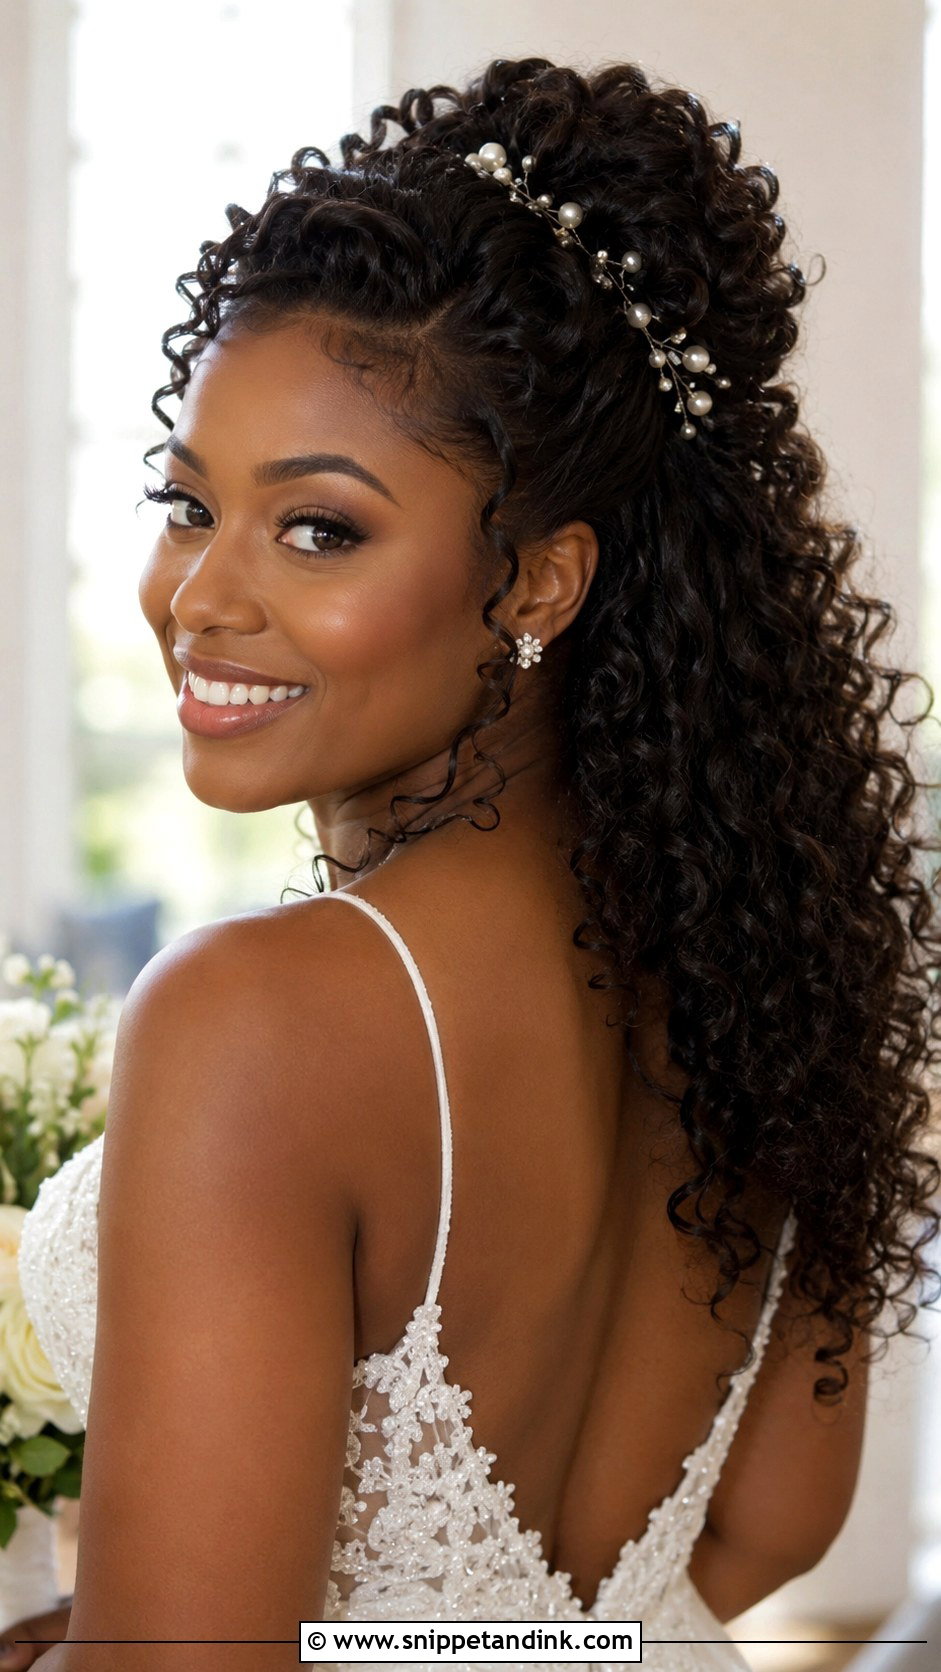
Curly hair is easiest to style on second-day curls, when they’re defined but not frizzy. Define them with a styling cream, gather the top section and pin it at the crown without brushing, so the volume stays. The rest falls freely. Tuck a few pearl pins or a flower along the pinned section. If your curls frizz in humidity, a light gel cast before pinning keeps the pattern clean through the day.
20. Half-Up Bridal Hair With Headband
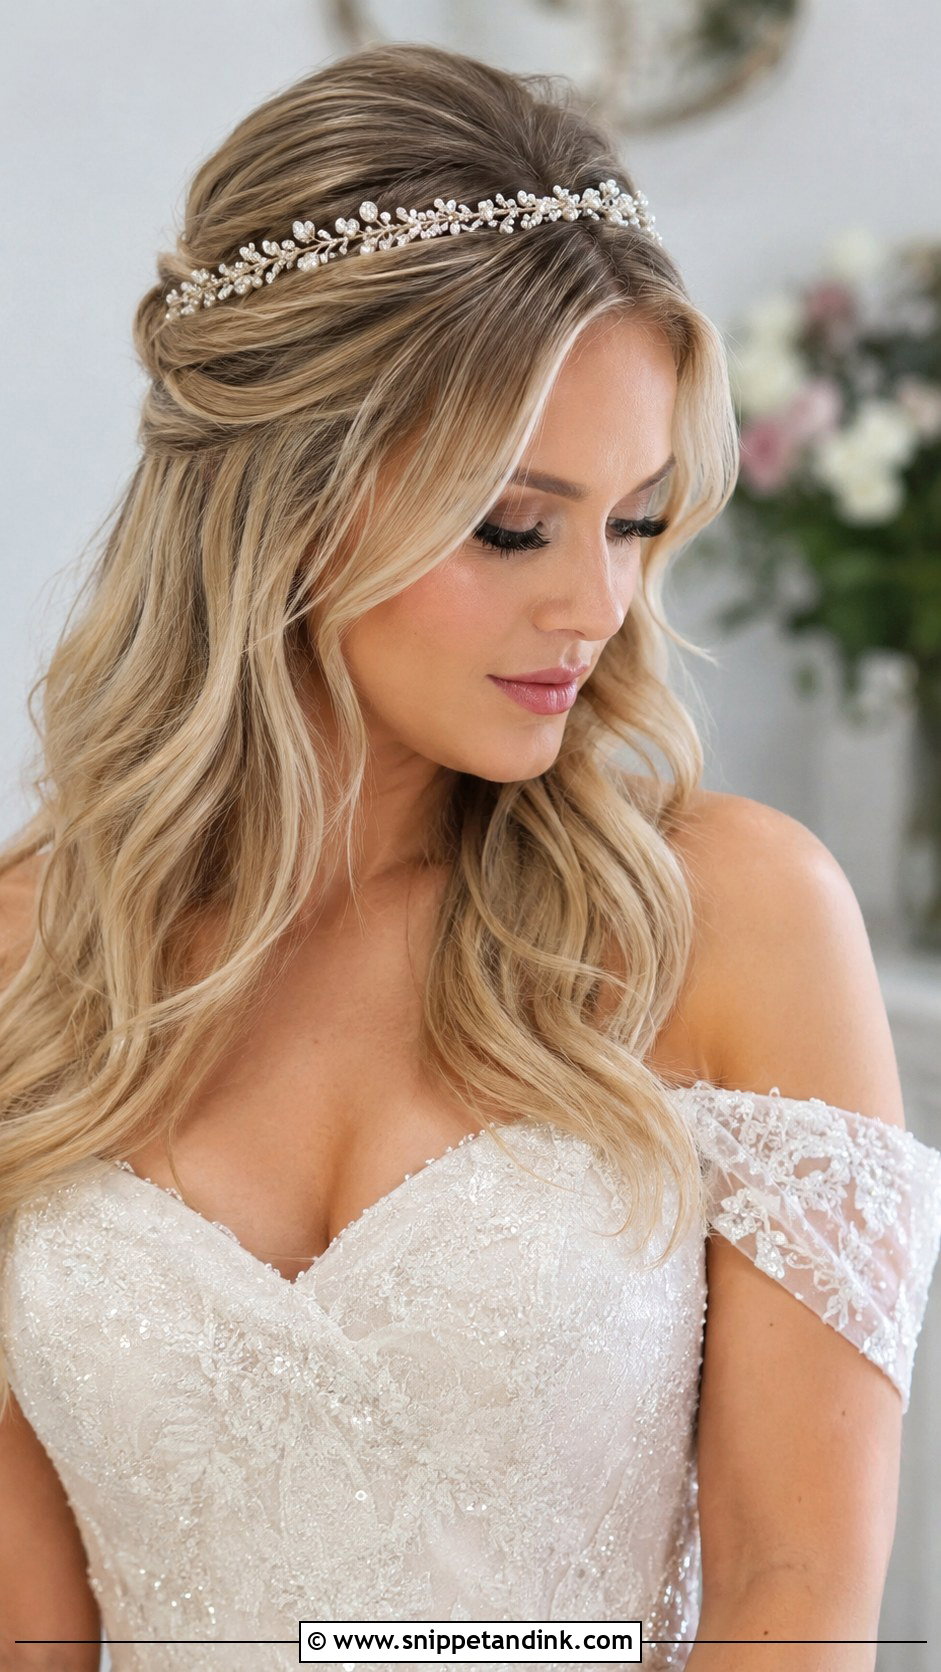
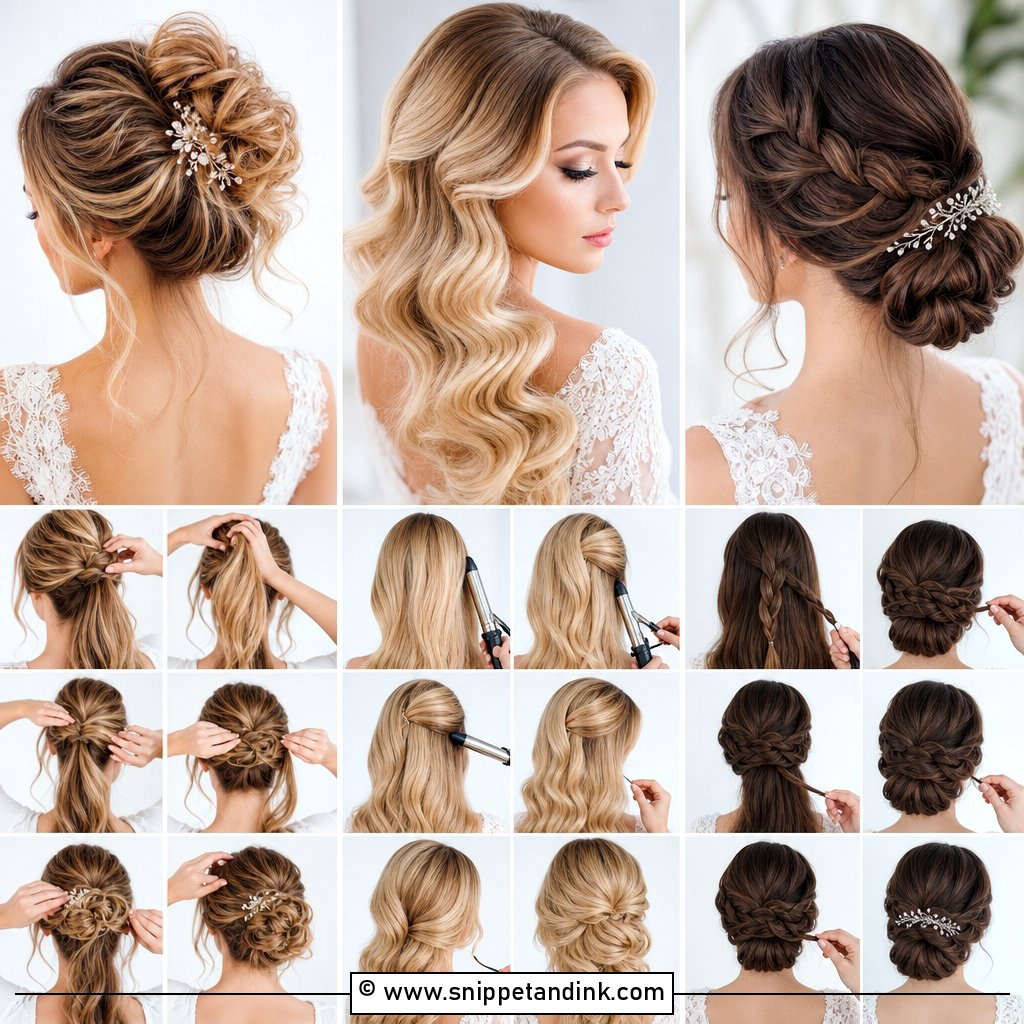
Style soft waves first, pin the top section back, then slide the headband into place a few inches behind the hairline. Set too far forward it pushes the hair flat; too far back and it slips. It also holds flyaways down. Crystal suits glamorous weddings, floral suits boho. Padded or flexible bands are more comfortable than rigid metal over a long day. This is the quickest style on the list.
21. Half-Up Wedding Hair With Fishtail Braid
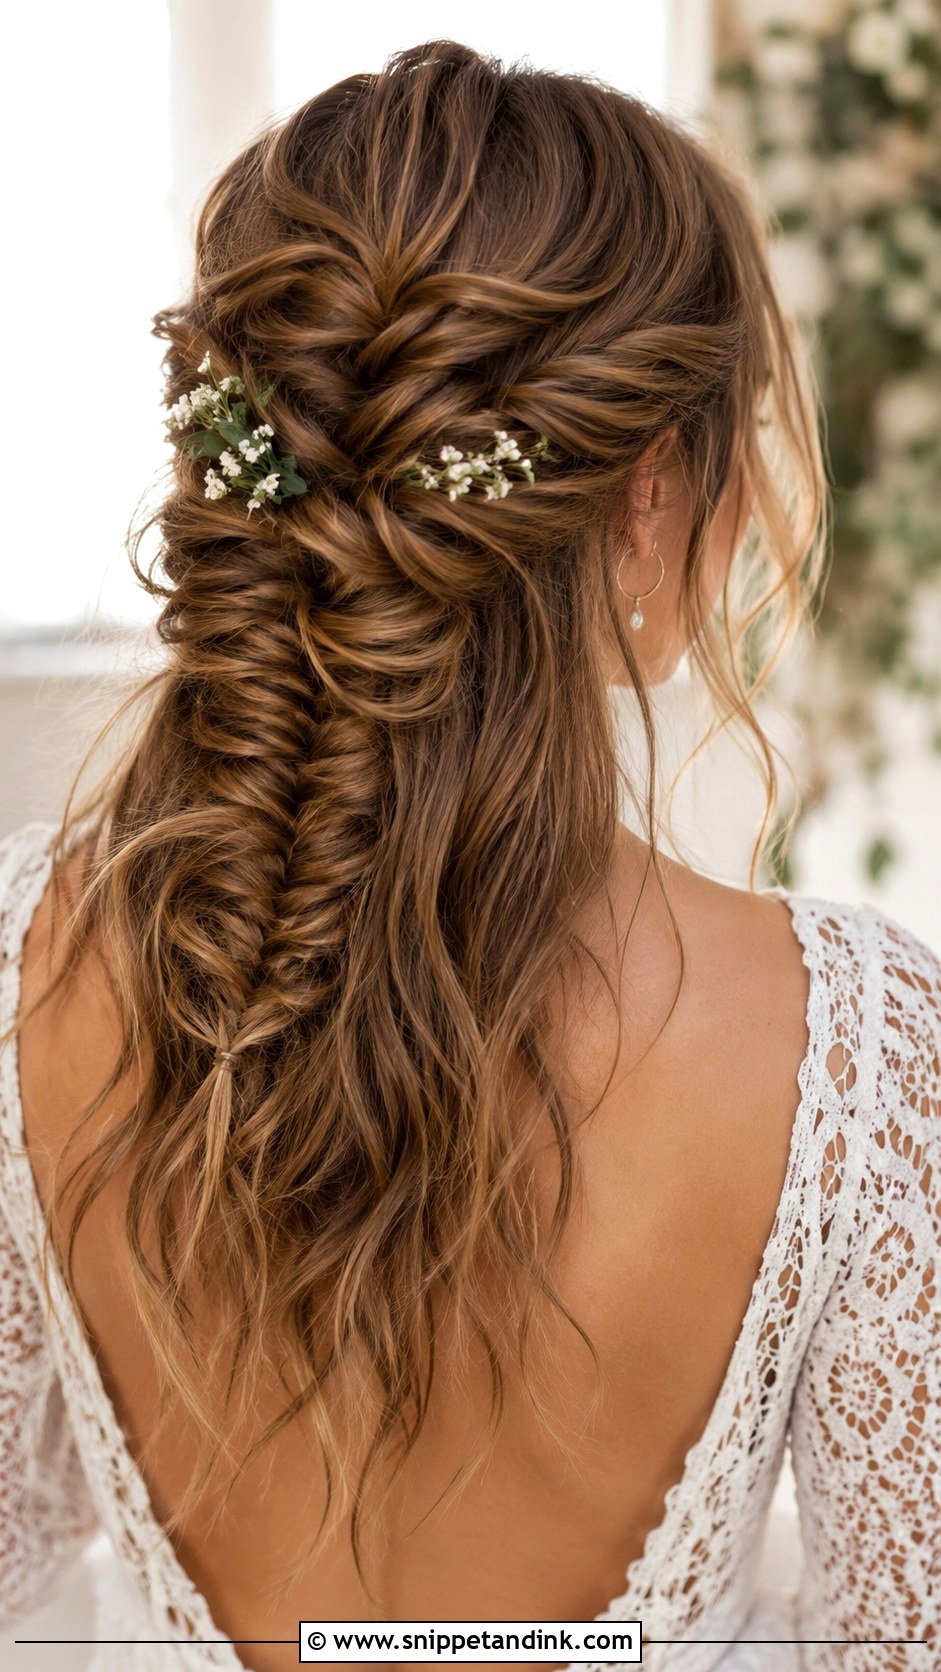
Pull the top half back and split it into two. Cross a thin piece from the outside of one side over to the other, then repeat on the other side. Keep the pieces small; thick pieces make it look like a regular braid. Continue a few inches down, secure with a clear elastic, and pull the edges to widen. The rest flows in waves. It shows well at boho and rustic weddings and is easier than it looks.
22. Half-Up Bridal Hair With Knotted Detail
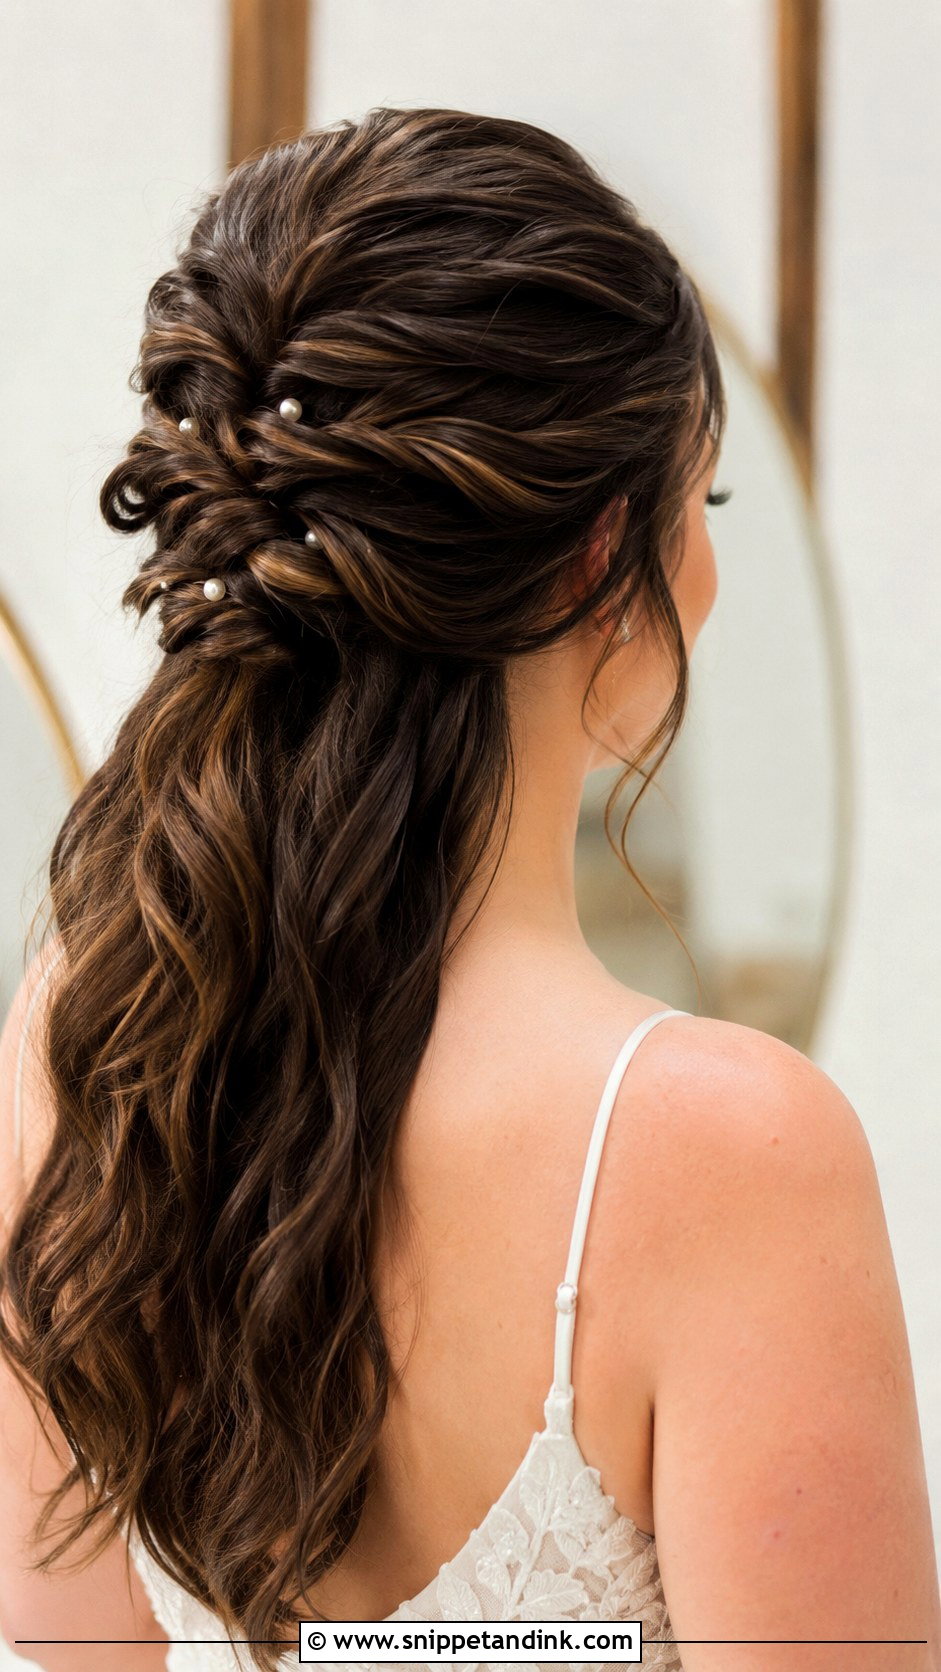
Knots are the most beginner-friendly detail here. Take a section from each side near the temples and tie them together once at the back, like the first step of tying a ribbon. Pin it firmly underneath. Repeat with another layer below for a cascading knotted effect. Leave the rest in soft waves. Small pearl pins between the knots finish it. Slippery hair needs texture spray first or the knots will loosen.
23. Half-Up Wedding Hair With Tiara
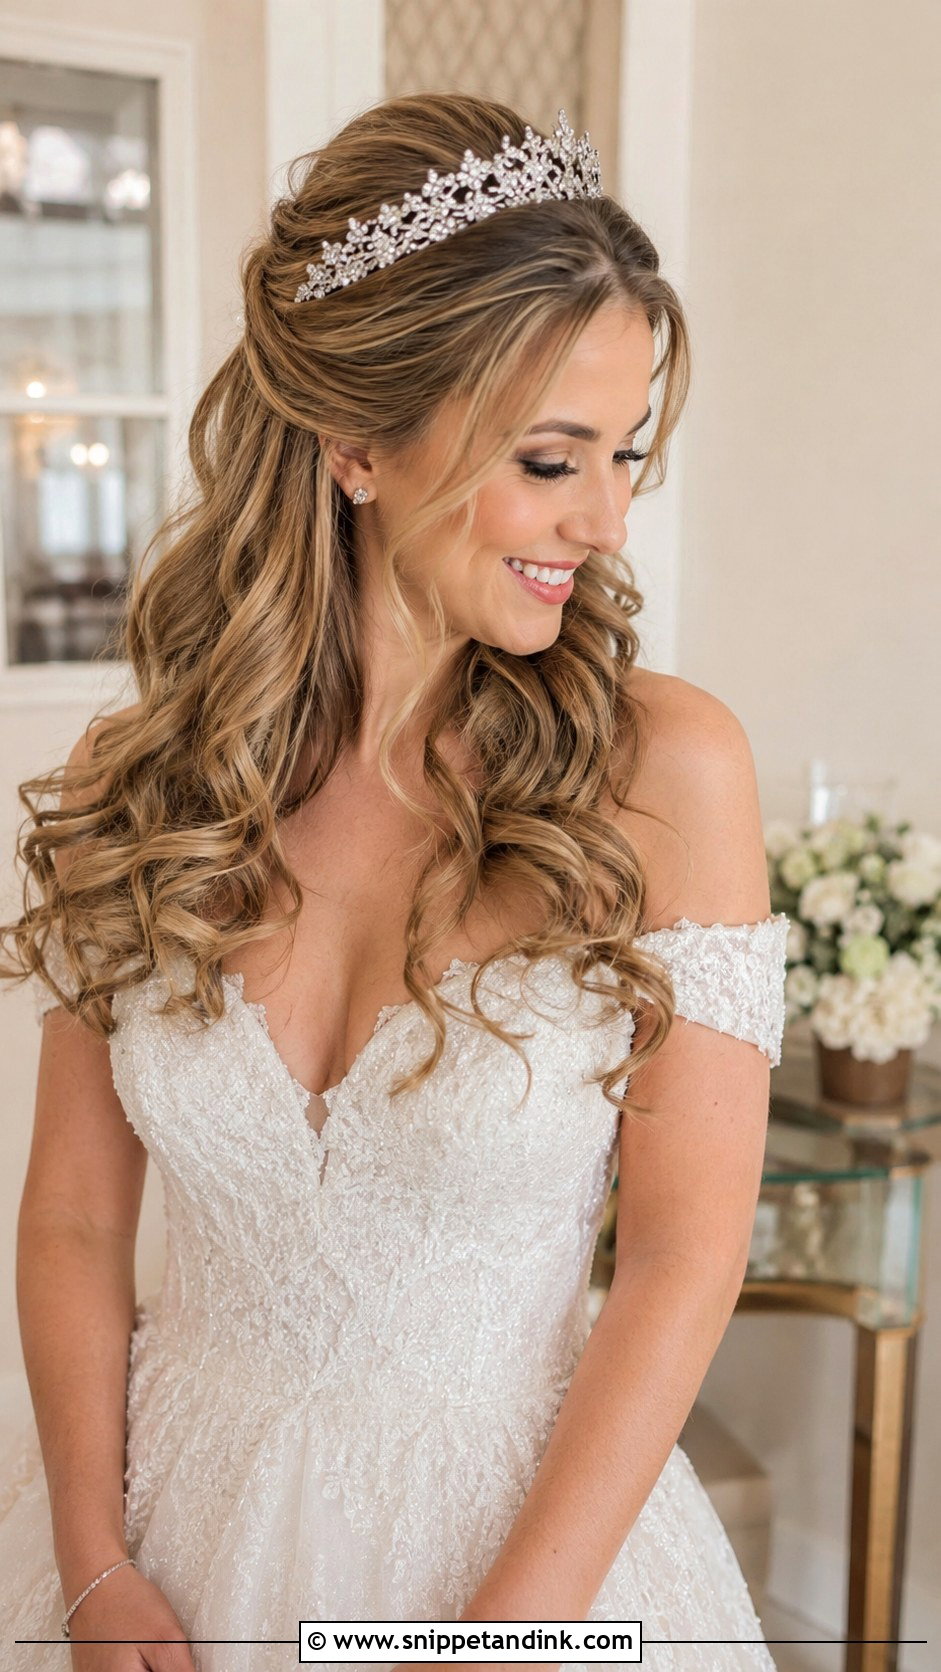
A tiara-topped half-up needs a teased base, since a tiara on flat hair slides. Tease the top section gently, pin it back, then set the tiara and anchor it with bobby pins through its side loops, crossed under the band. Waves or curls fall below. Check the tiara by tilting your head forward; if it moves, add another pin. It suits ballgowns and formal venues.
24. Half-Up Half-Down Wedding Hair With Twisted Ponytail
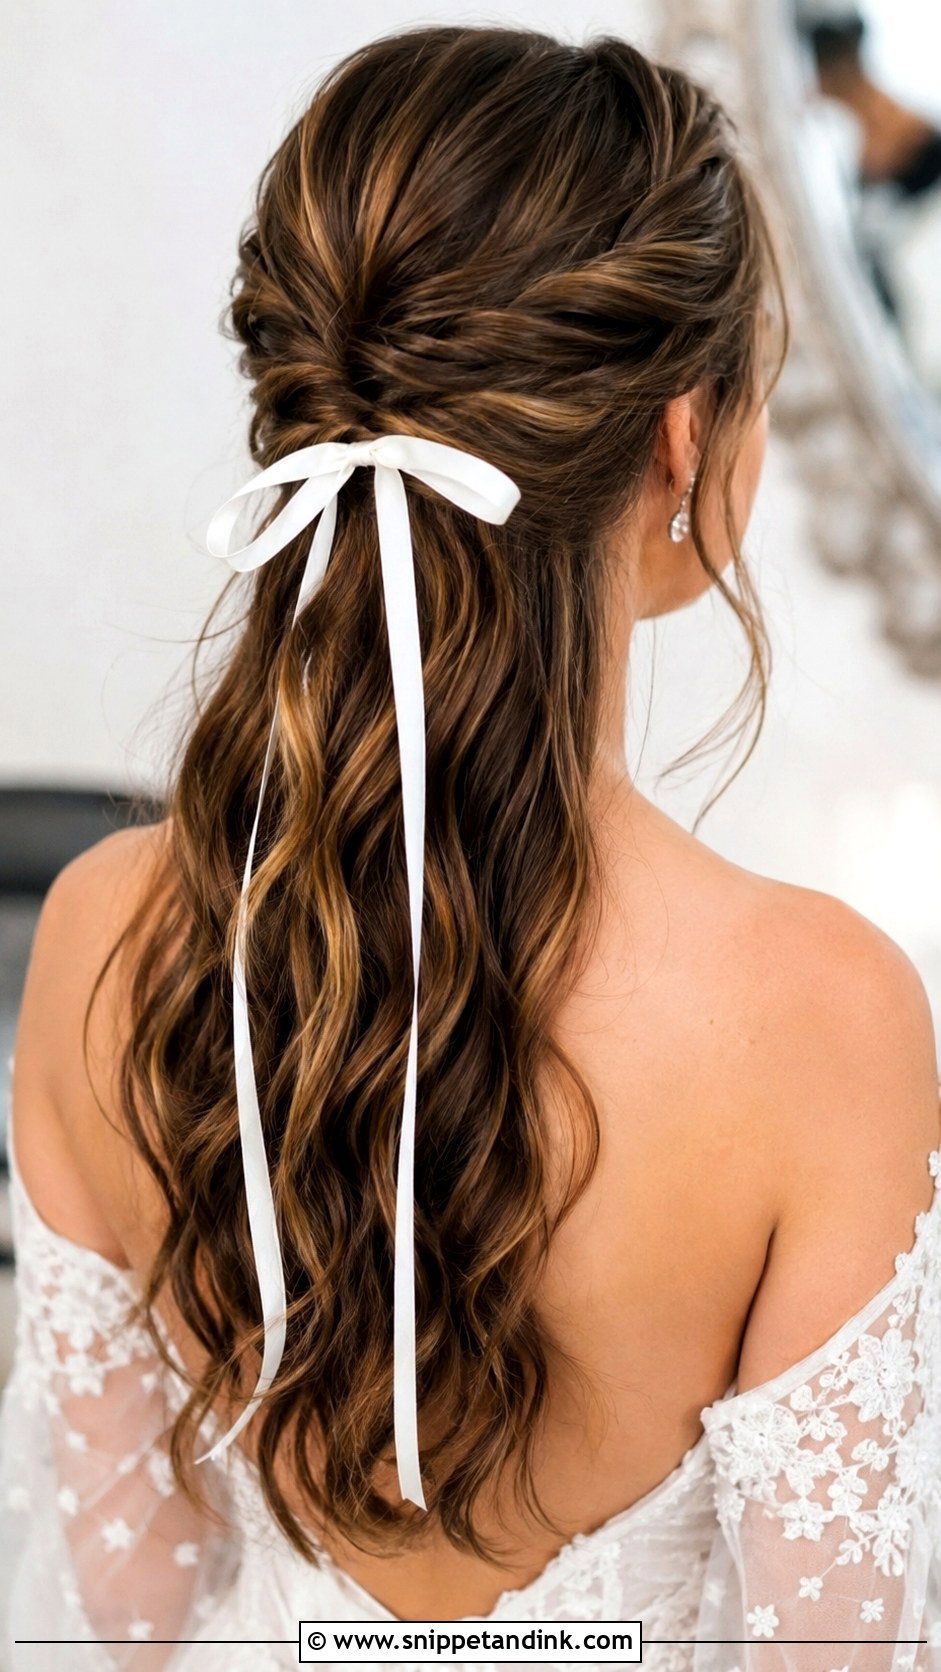
Gather the top section and make two small twists from each side. Bring them together into a half ponytail at the back of the crown. Wrap a small piece of hair around the elastic to hide it and pin the end underneath. The bottom half falls loose in waves. A ribbon bow adds a current touch. It’s secure for dancing and suits a younger or more relaxed bride.
25. Half-Up Bridal Hair With Cascading Curls
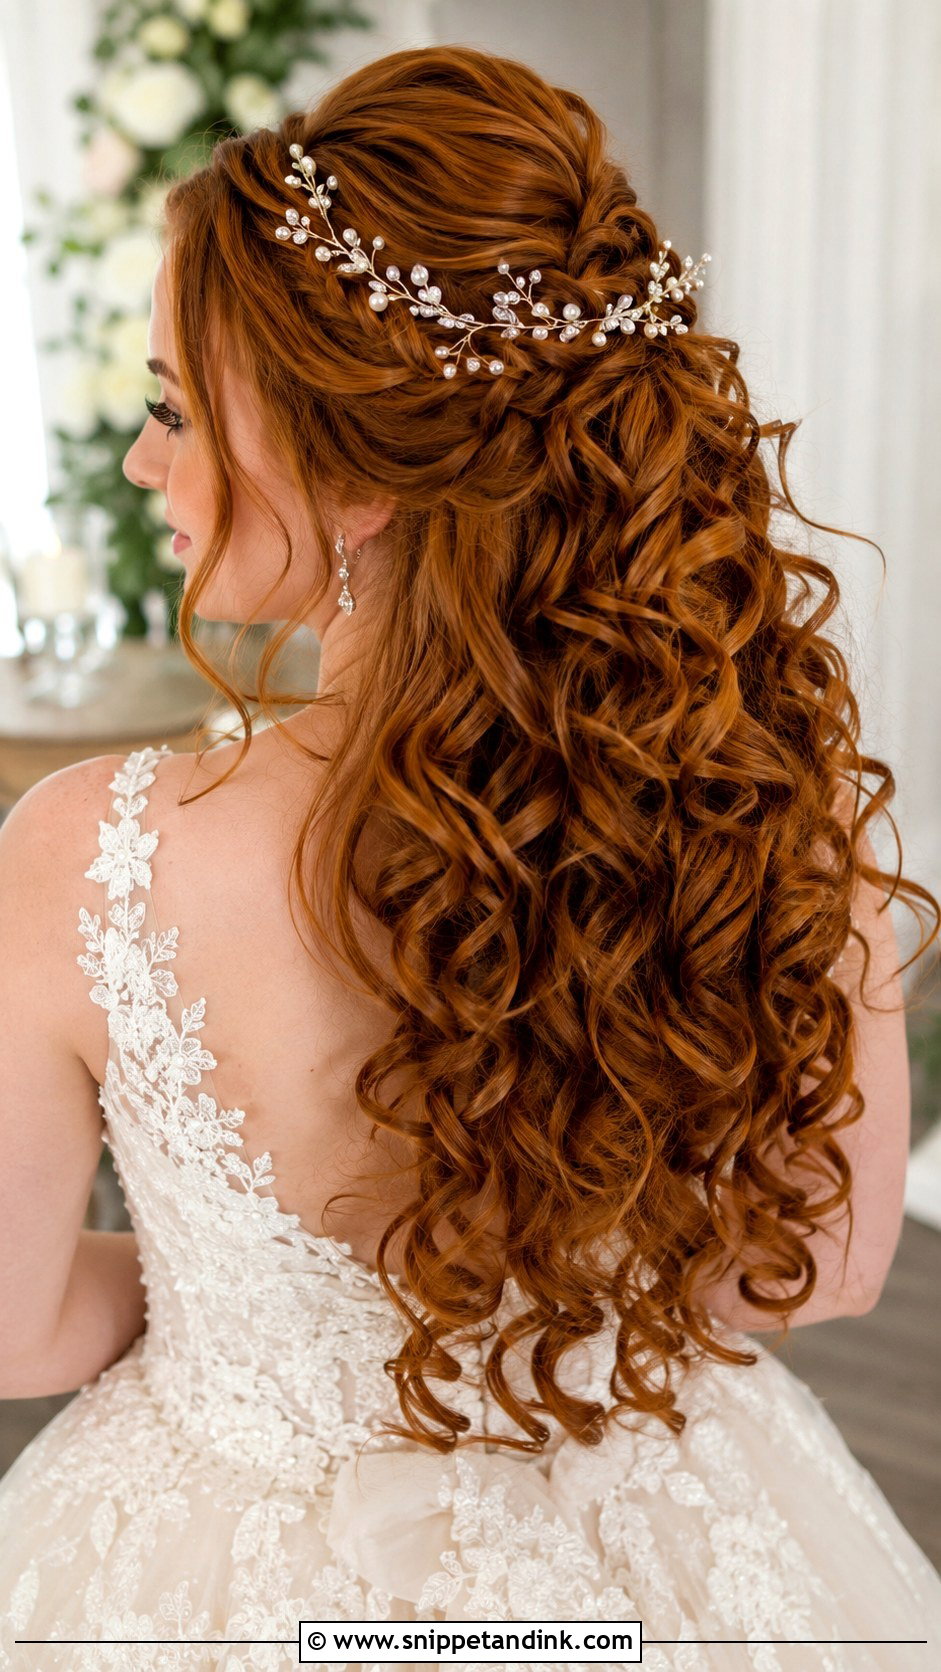
Full ringlets need a medium barrel and patience. Curl in small sections, pin each ringlet up to cool, and only release them when they’re cold. Gather just the top crown section and pin it softly, leaving plenty of volume. Let the curls fall without brushing, or separate them gently with your fingers. Delicate pins or a hair vine add sparkle. It suits grand, formal weddings, and takes the longest of any style here.
A Practice Schedule for the Weeks Before
Hair you’ve only done once will take twice as long on the morning. I’d plan for at least three practice runs, ideally with the hair in the same condition it will be on the day.
- About two months out: try three or four of these styles quickly, just to see what suits your hair and face. Take photos from the front and back.
- Six to eight weeks out: pick one style and do it fully, with the accessories. Time yourself.
- About four weeks out: get any haircut or colour done, then practise again on the new cut. Shorter layers may need changes.
- One to two weeks out: do a full dress rehearsal, wearing a top with a similar neckline, and wear the style for several hours to see what drops.
- The day before: wash your hair, so it has a little grip on the morning, and lay out the kit.
On the morning, allow your practice time plus half again. Ask a friend to be on hand for the back, and to hold the pins. If something goes wrong, a simpler version of the same style, like twists instead of braids, will look just as finished in photos.
Start With Twists, Leave Ringlets to a Pro
If you’re doing your own hair, start with the twisted half-up, the knots or the boho version, since they’re forgiving and quick. Move on to braids and pearls once you’re comfortable pinning. Leave the sleek style, the side sweep and the full ringlets for a stylist unless you’ve practised them several times. Keep your dress neckline and wedding theme in mind, and add flowers, pearls or a hair vine last. Most of all, practise in the outfit and shoes you’ll wear, so your arms know the moves.
You'll Like These Ideas:


Leave a Reply