
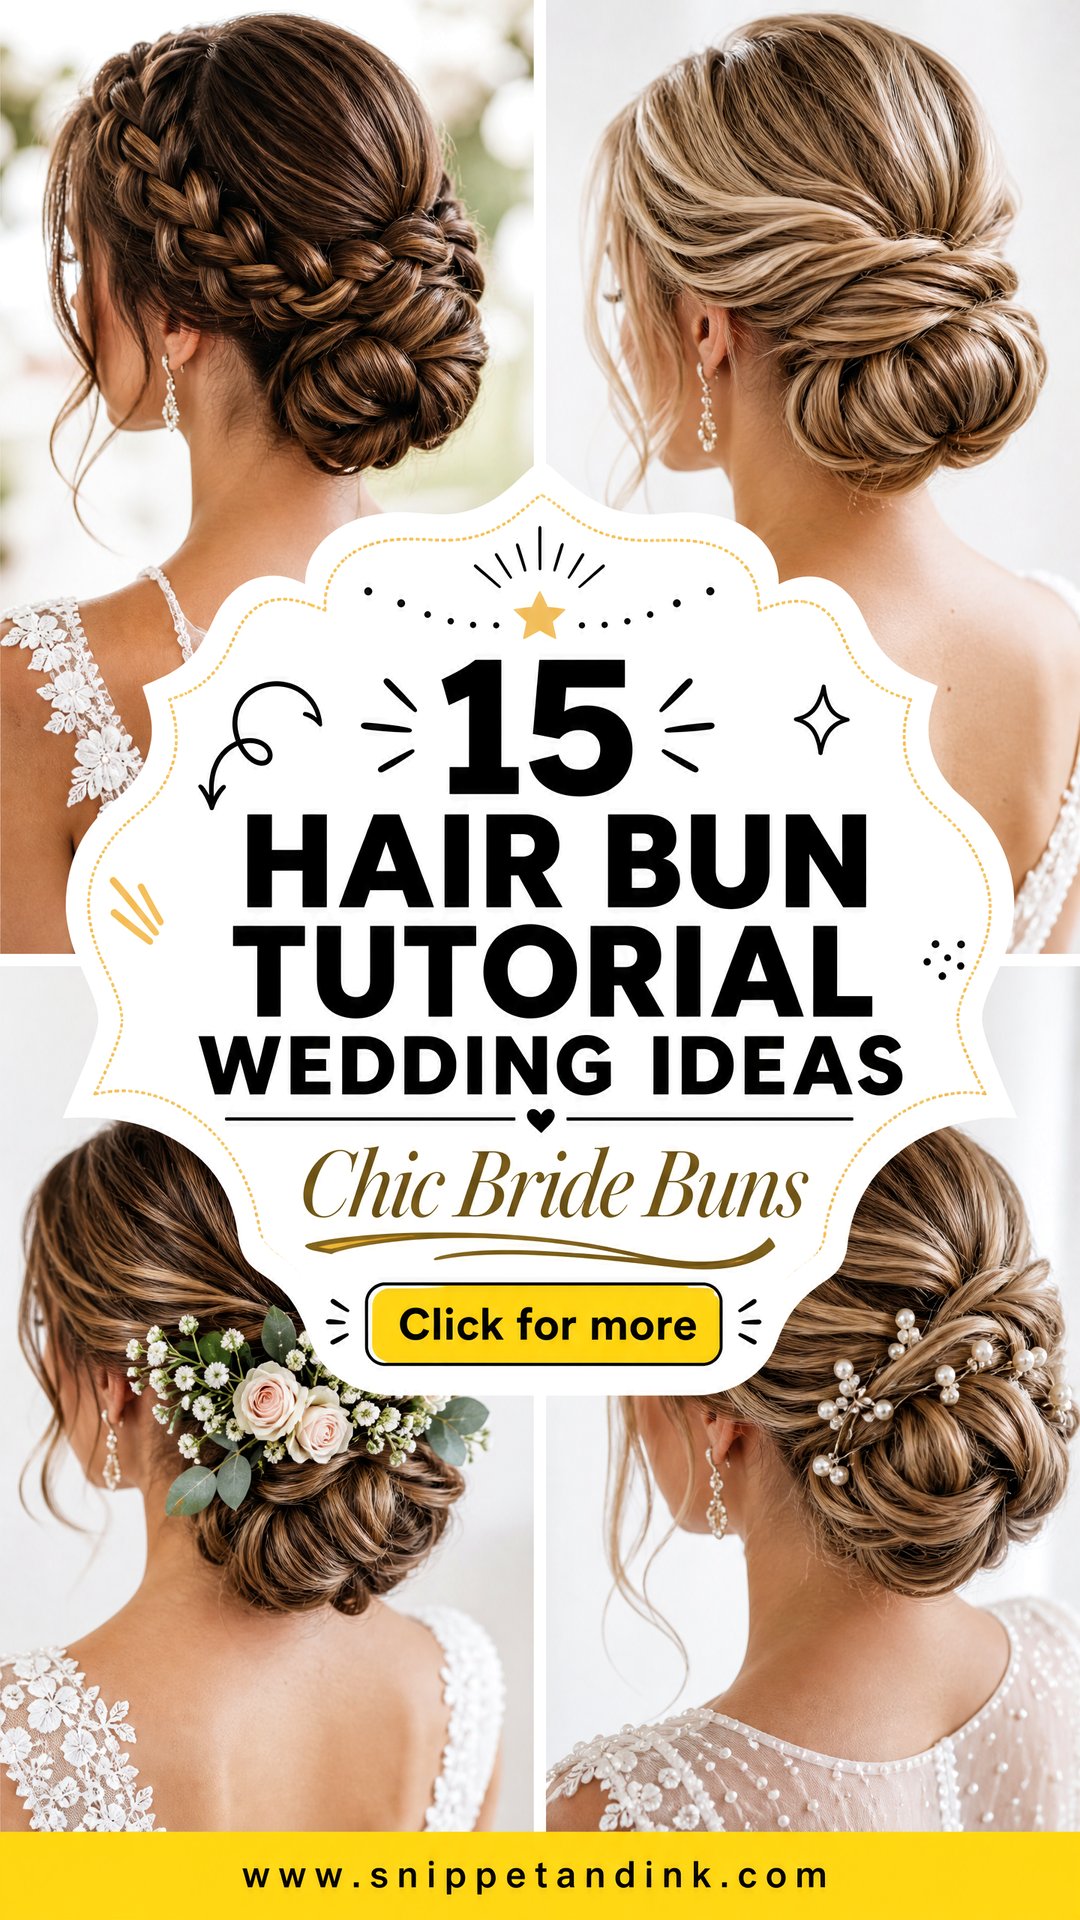
Wedding bun hairstyles are having a very pretty moment because they feel polished, secure, and photo-ready without looking stiff. The best part is that a bun can match almost any wedding mood, from a clean courthouse ceremony to a garden party, ballroom reception, or beach celebration. A good hair bun tutorial should do more than show the final look. It should help you understand where to place the bun, how much texture to add, and what details make it last through hugs, dancing, and photos. These wedding bun looks are easy to save, show your stylist, or practice before the big day.
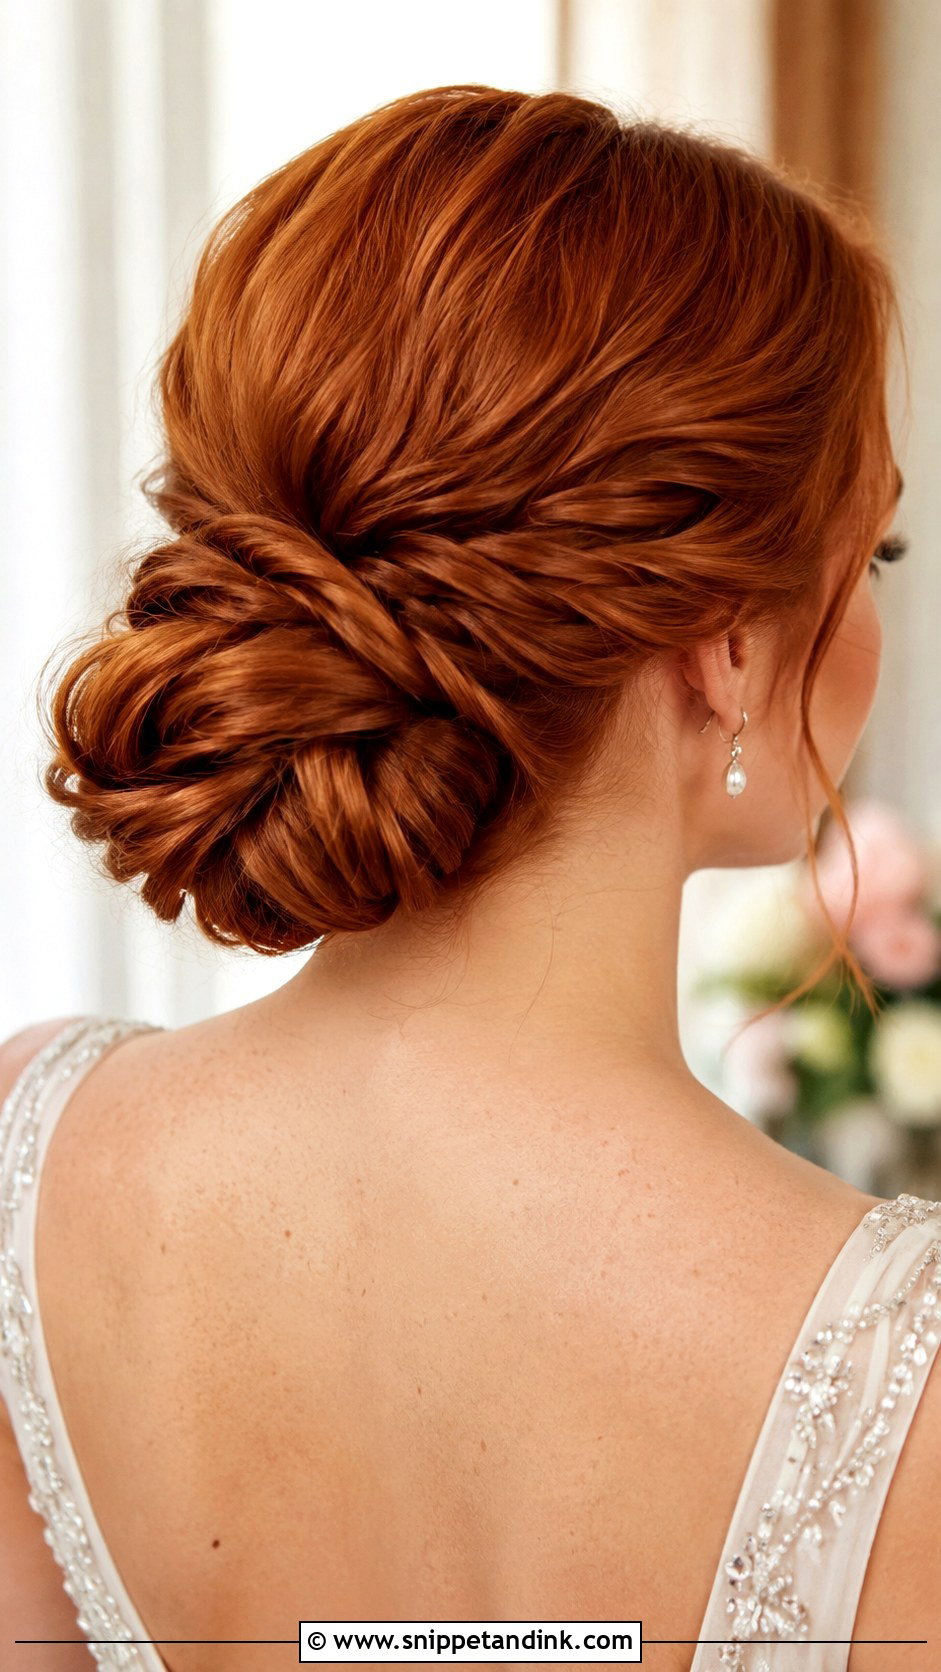
1. Low Bridal Bun Tutorial
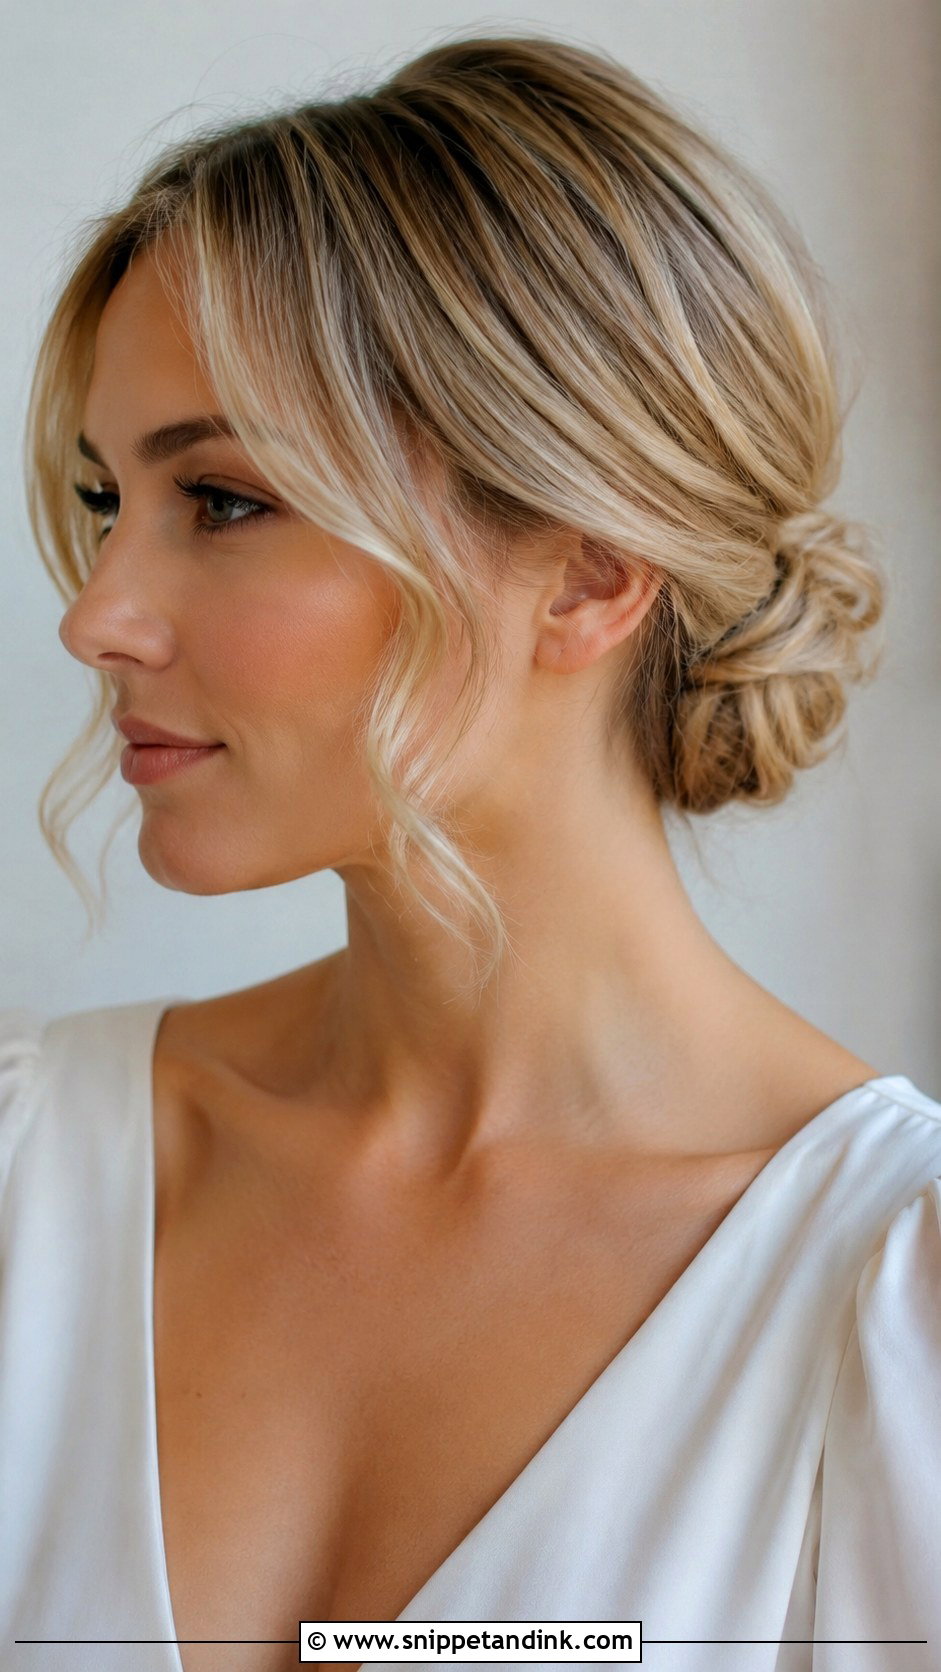
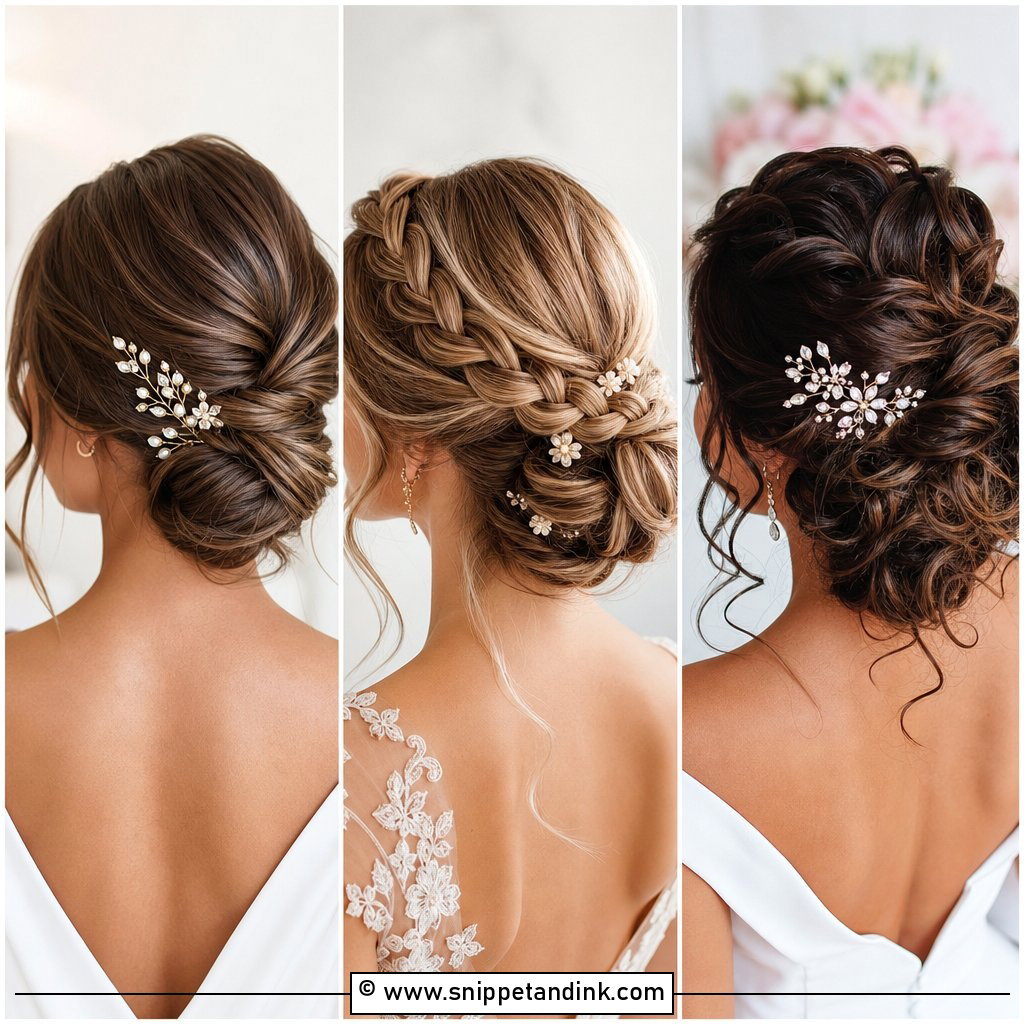
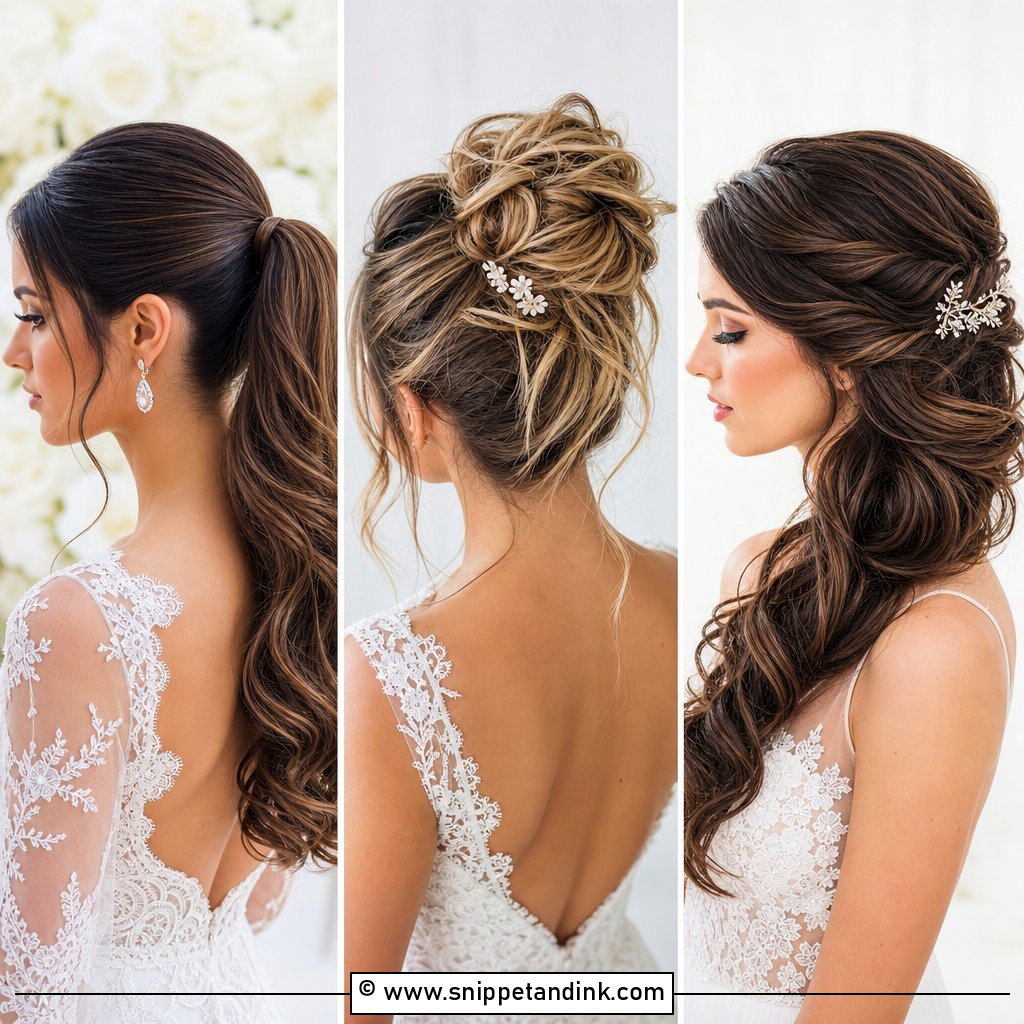
A low bridal bun is the classic choice for a reason. It sits softly at the nape, works beautifully with veils, and keeps the neckline open for earrings or a detailed dress. To create it, start with smooth brushed hair and a light styling cream to control flyaways. Make a low ponytail, twist the length loosely, then wrap it into a rounded bun and pin it close to the head. Pull out a few face-framing pieces if you want a softer finish. This bun is best for brides who want something timeless, neat, and romantic without feeling too trendy or overdone.
2. Messy Wedding Bun Tutorial

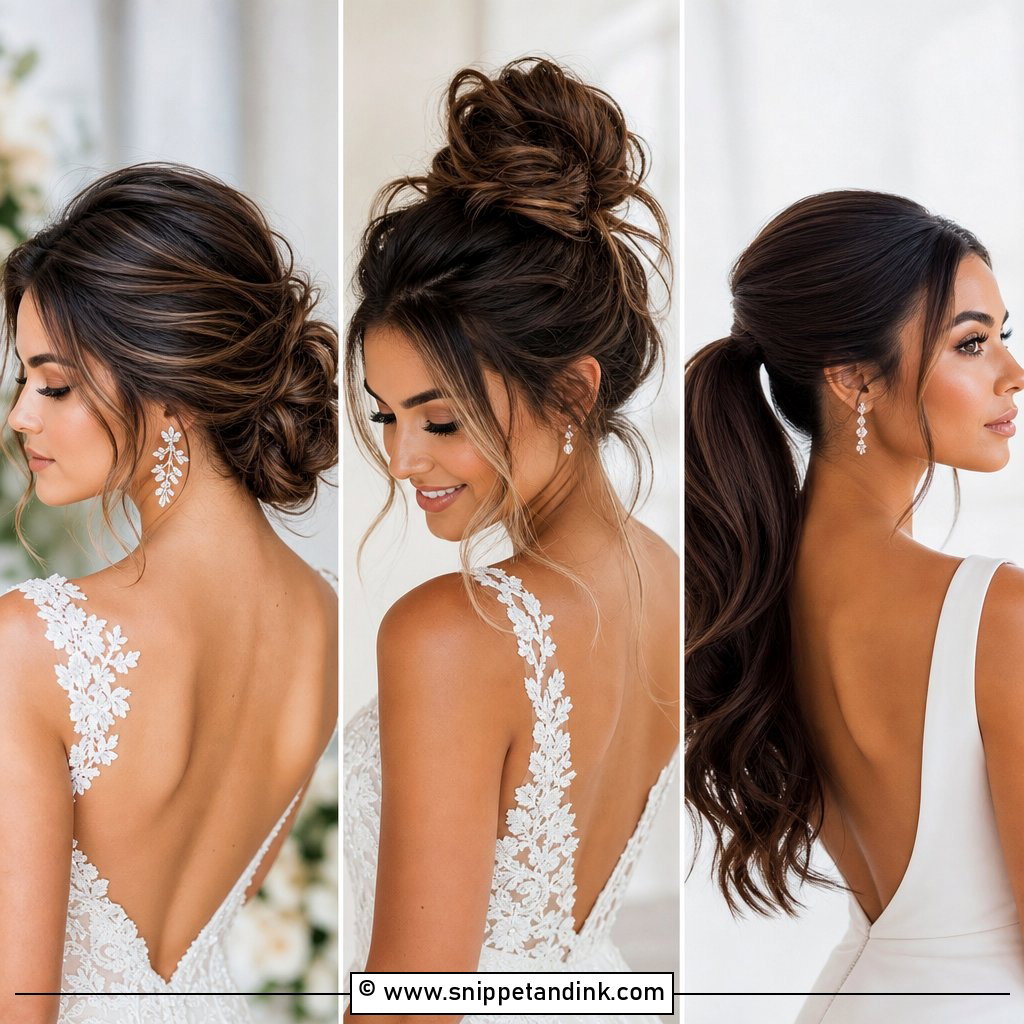
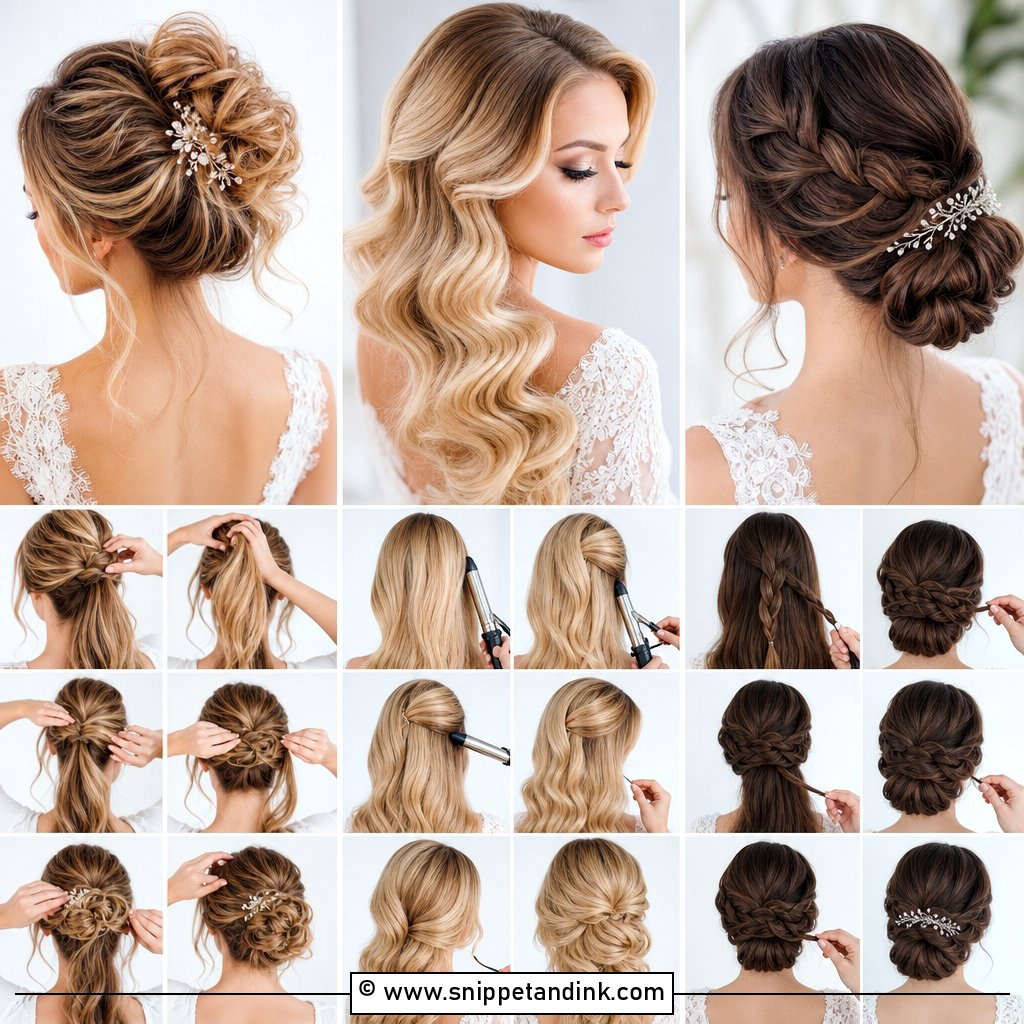
A messy wedding bun gives that soft, relaxed bridal look that still feels intentional. The key is controlled texture, not random pieces falling everywhere. Start by curling the hair in loose waves, then mist with texture spray for grip. Gather the hair into a low or mid ponytail, twist sections loosely, and pin them around the base until the bun looks full. Leave a few curled strands near the face and neckline for movement. This wedding bun works especially well with lace dresses, outdoor venues, and boho details because it looks effortless while still holding its shape in photos.
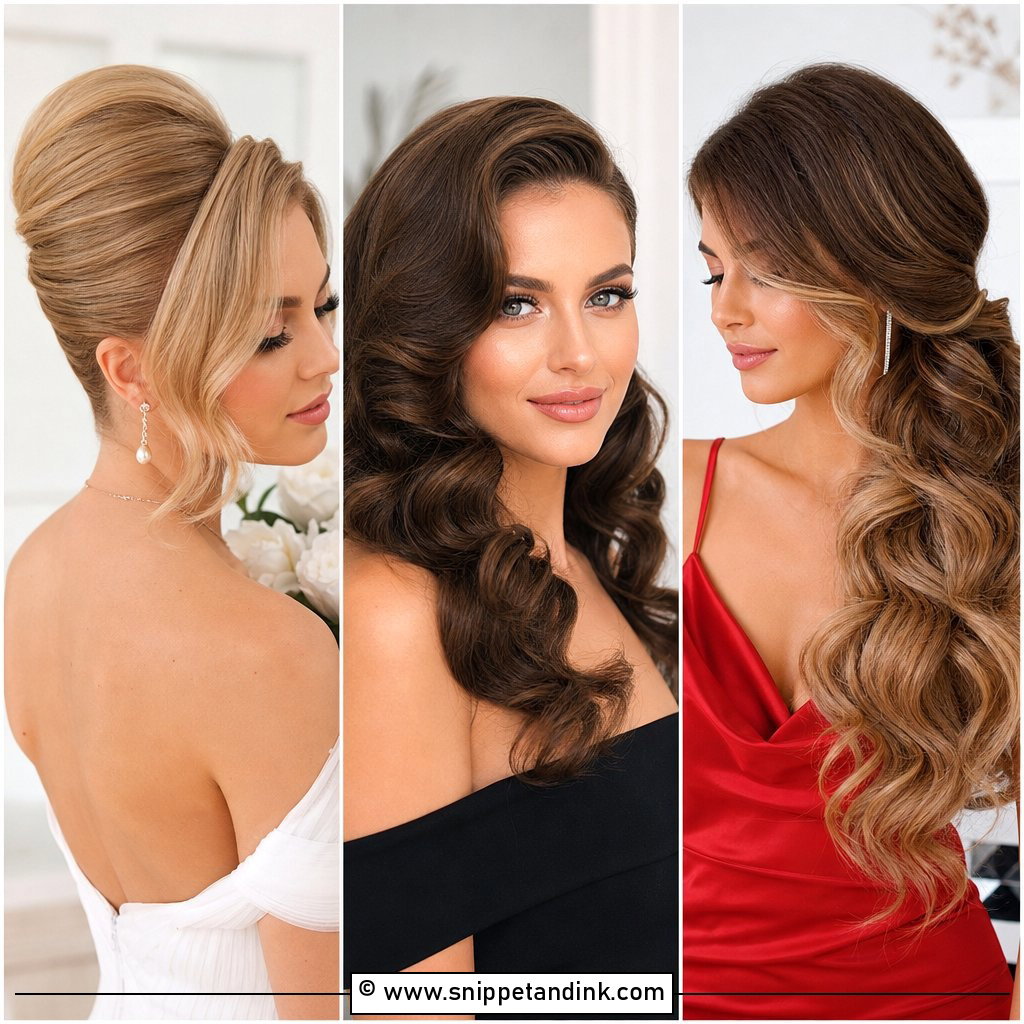
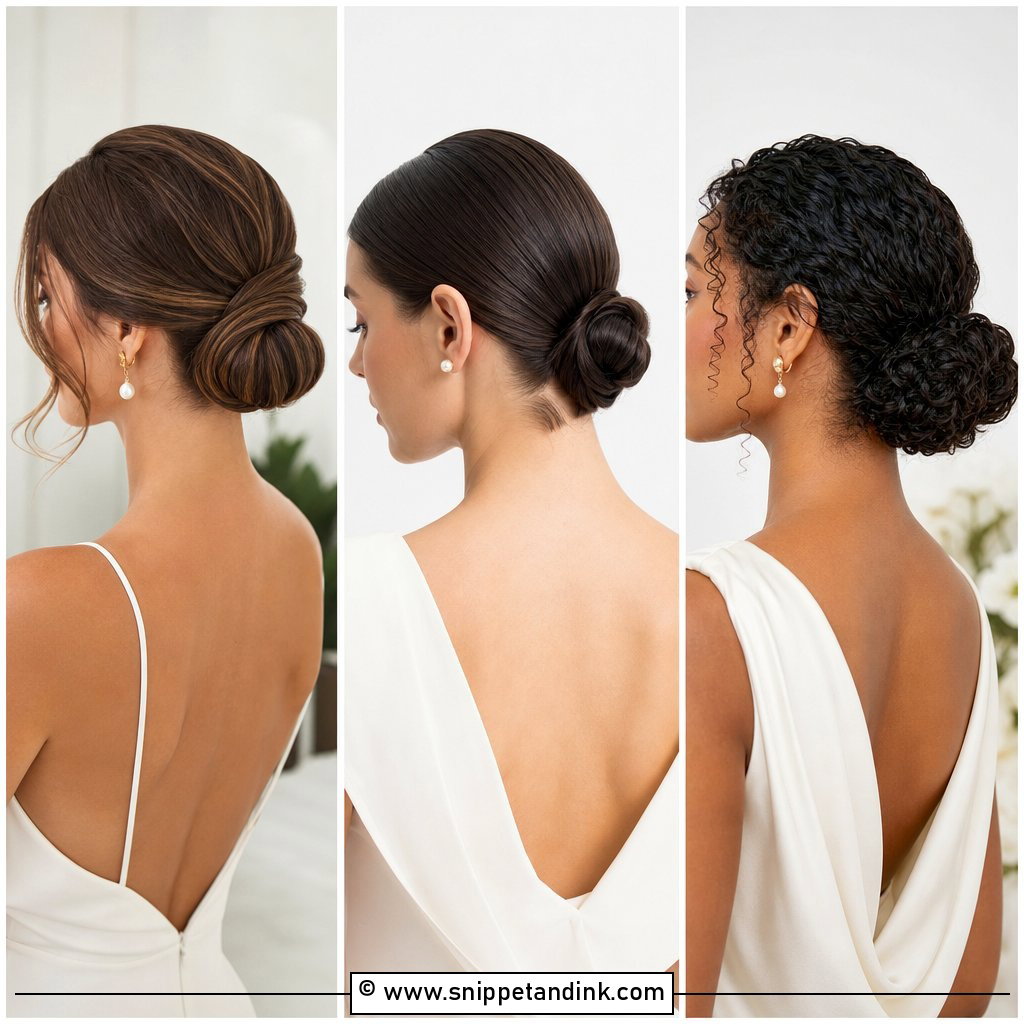
3. Sleek Wedding Bun Tutorial
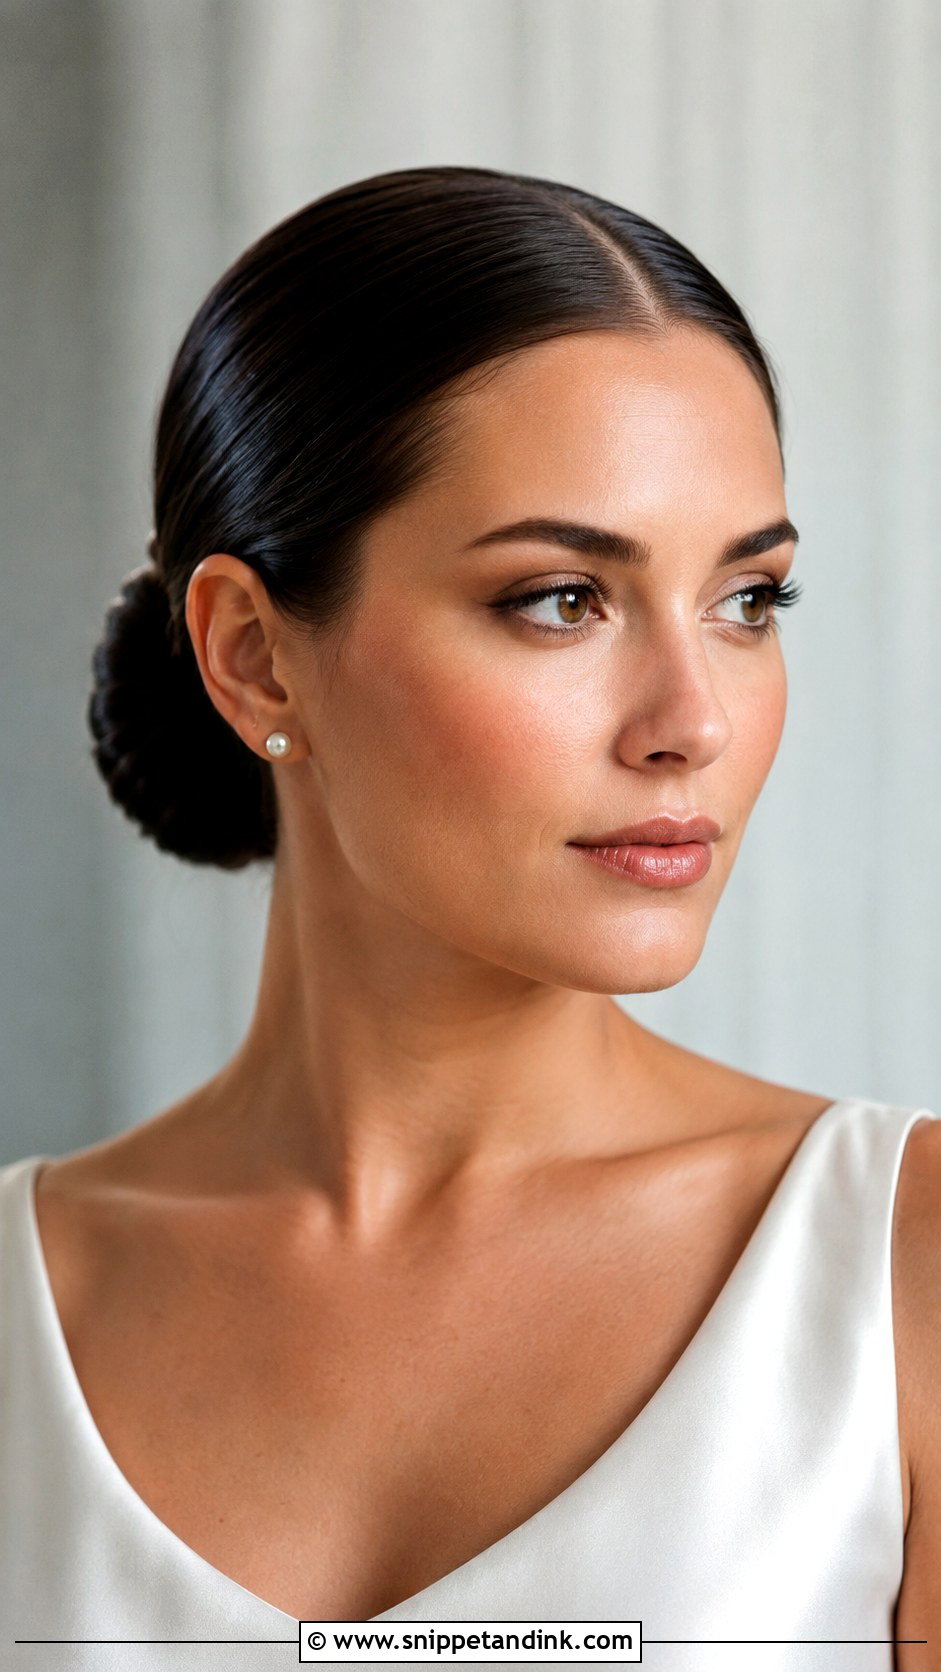
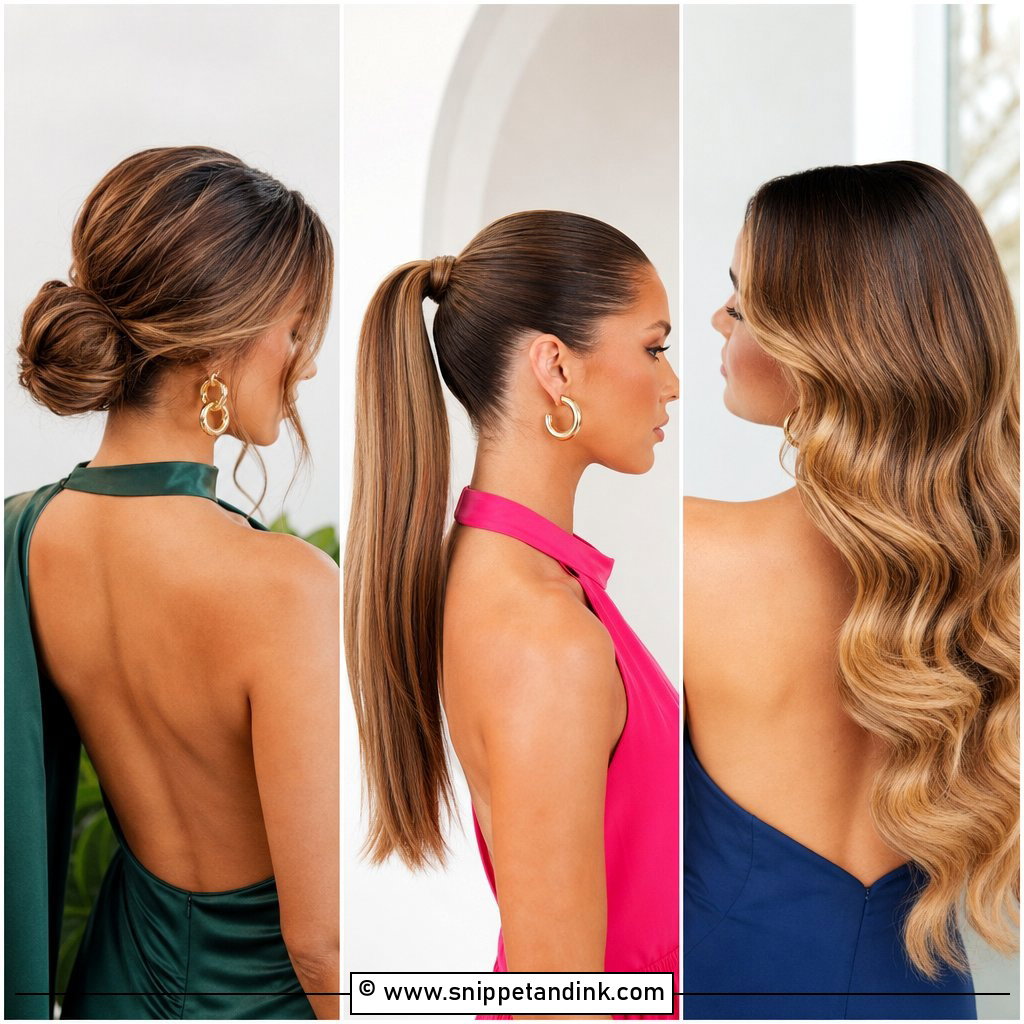
A sleek wedding bun is perfect if you love a clean, modern bridal look. It pairs well with satin dresses, minimalist gowns, statement earrings, and center parts. Start with straightened hair, then apply smoothing cream from the roots to the ends. Create a sharp middle or side part and brush everything into a low ponytail. Twist the ponytail tightly, wrap it into a compact bun, and secure it with pins. Finish with shine spray and a soft toothbrush for the hairline. This bun looks simple, but the polished finish makes it feel elegant, expensive, and very camera-friendly.
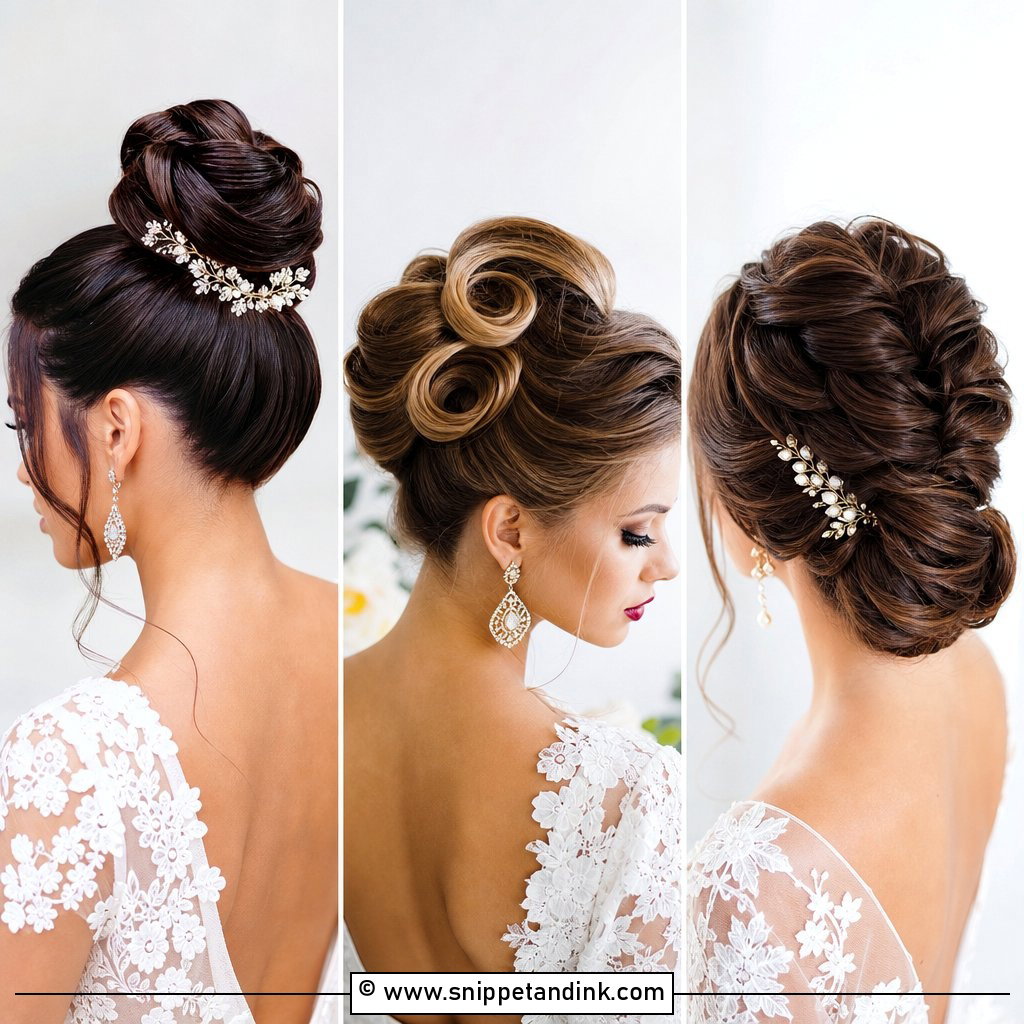
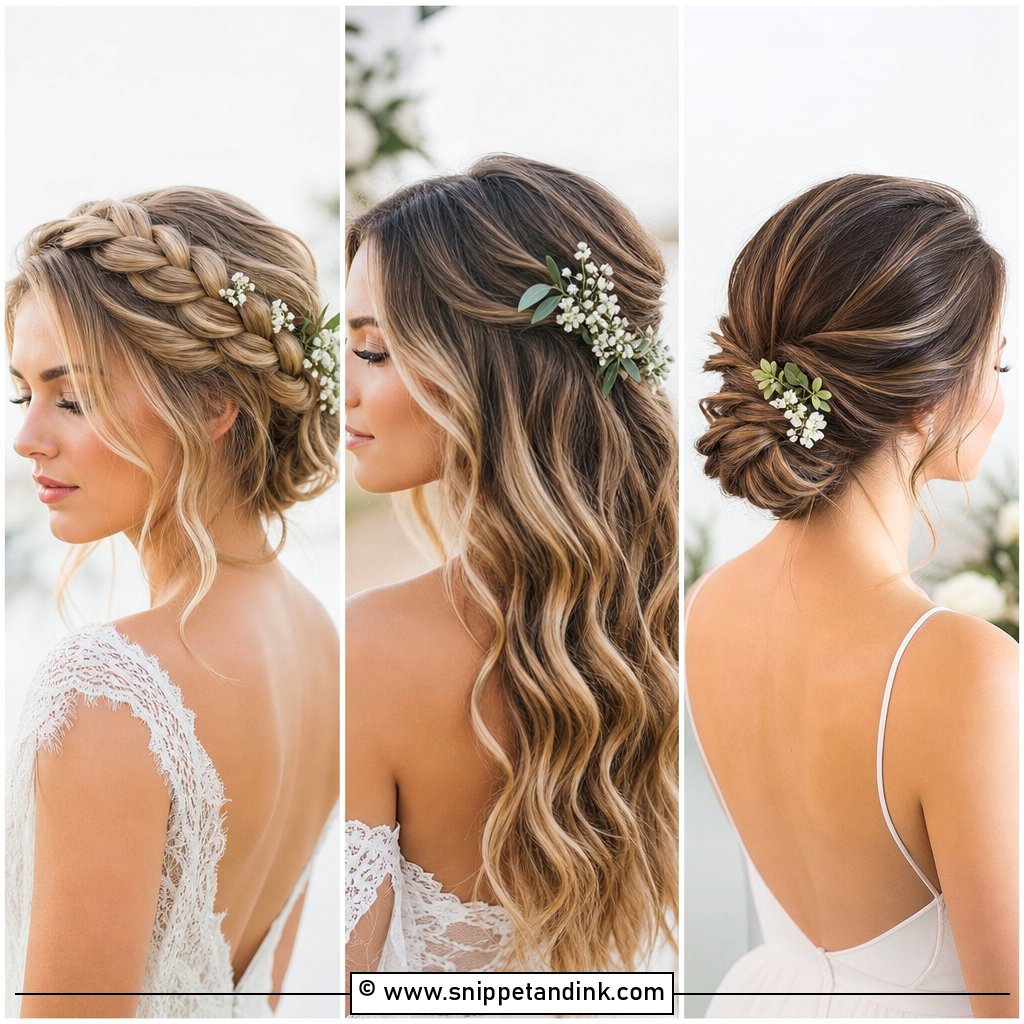
4. Braided Wedding Bun Tutorial
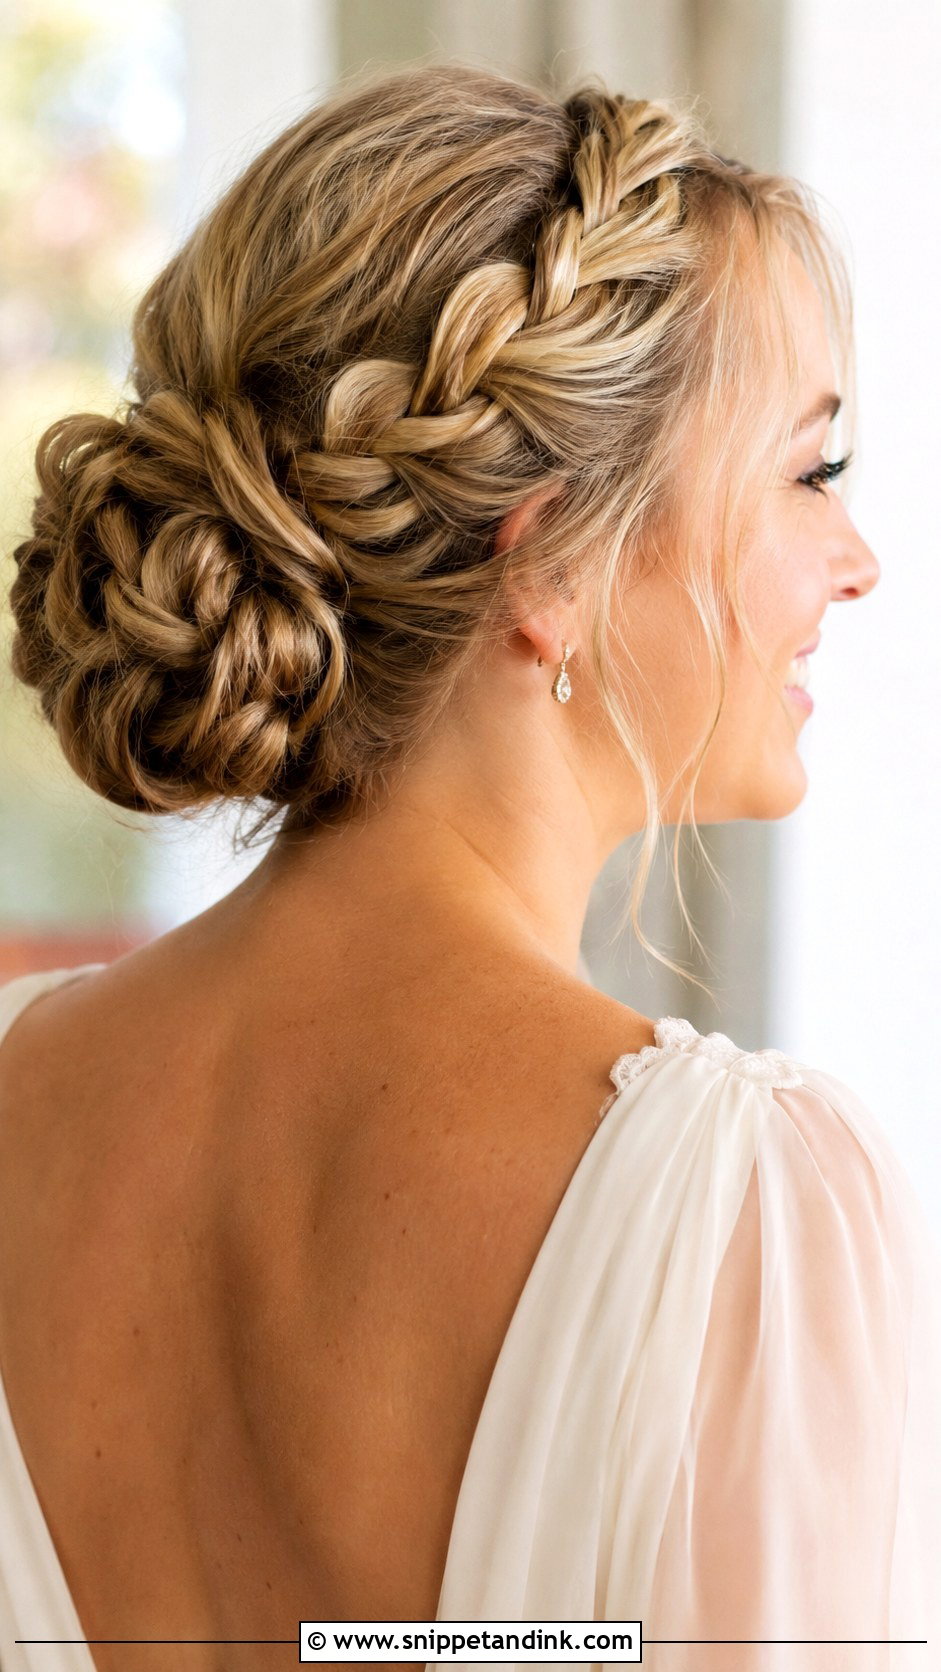
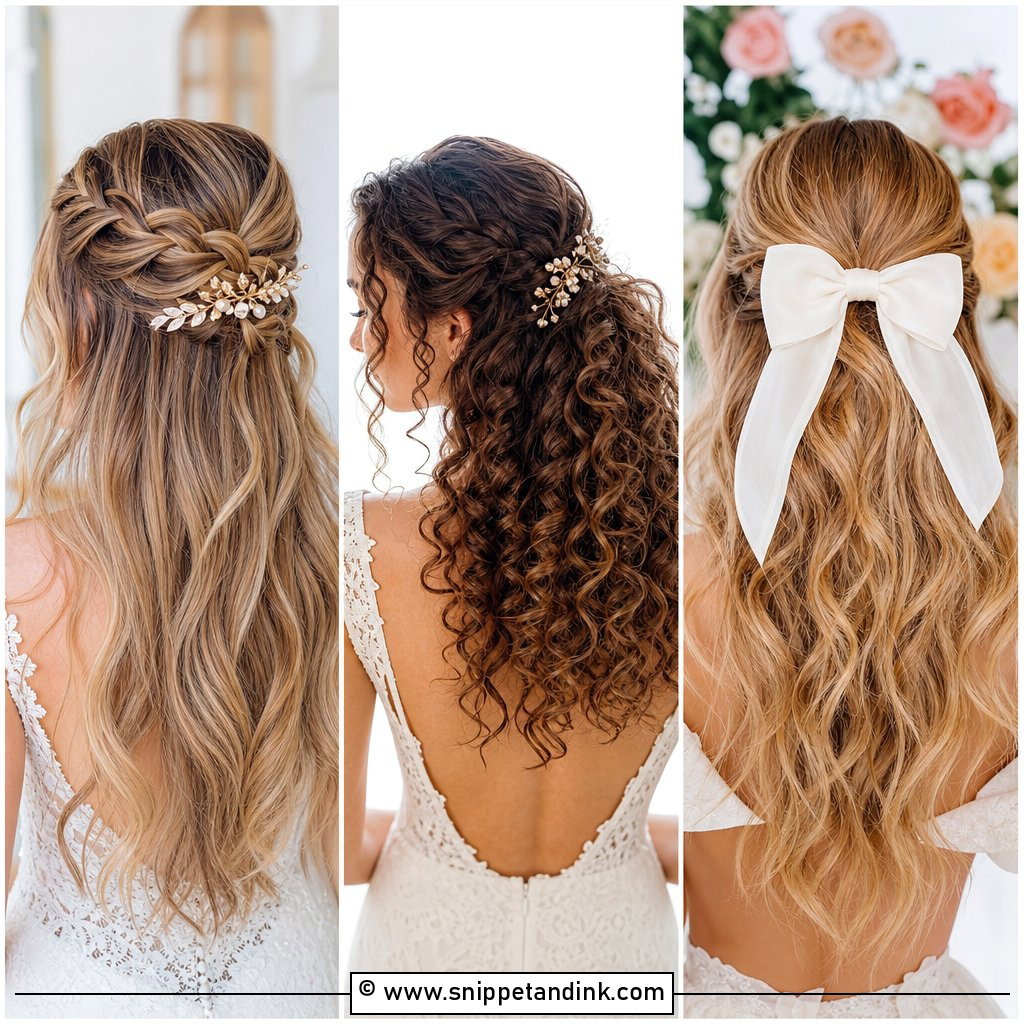
A braided wedding bun adds texture and detail without needing heavy accessories. It is a great choice if you want your bun to look beautiful from every angle. Start by creating one or two loose braids along the side or through the ponytail. Gather the rest of the hair into a low ponytail, then wrap the braid and loose hair together into a soft bun. Pin each section carefully so the braid stays visible. Pull the braid slightly apart for fullness. This look works well for medium to long hair and feels romantic, secure, and perfect for a full wedding day.
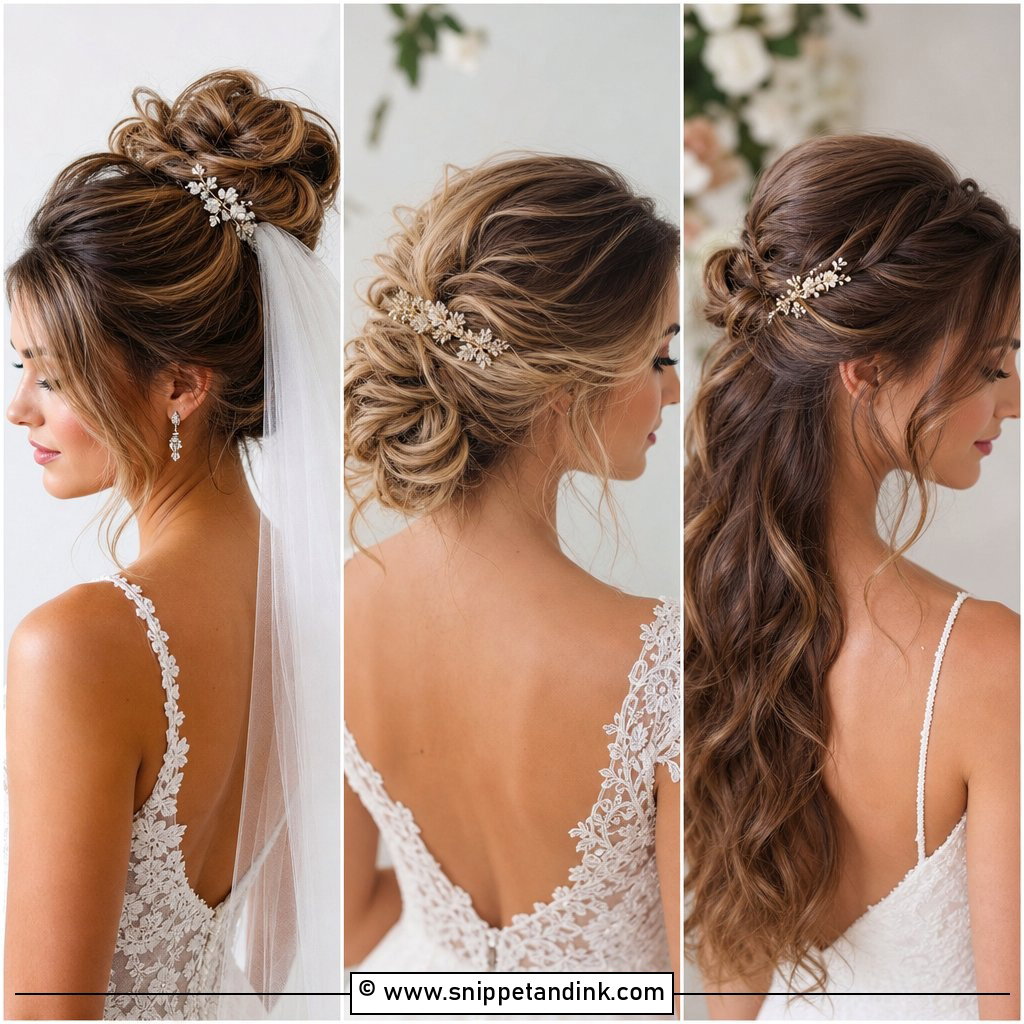
5. High Wedding Bun Tutorial
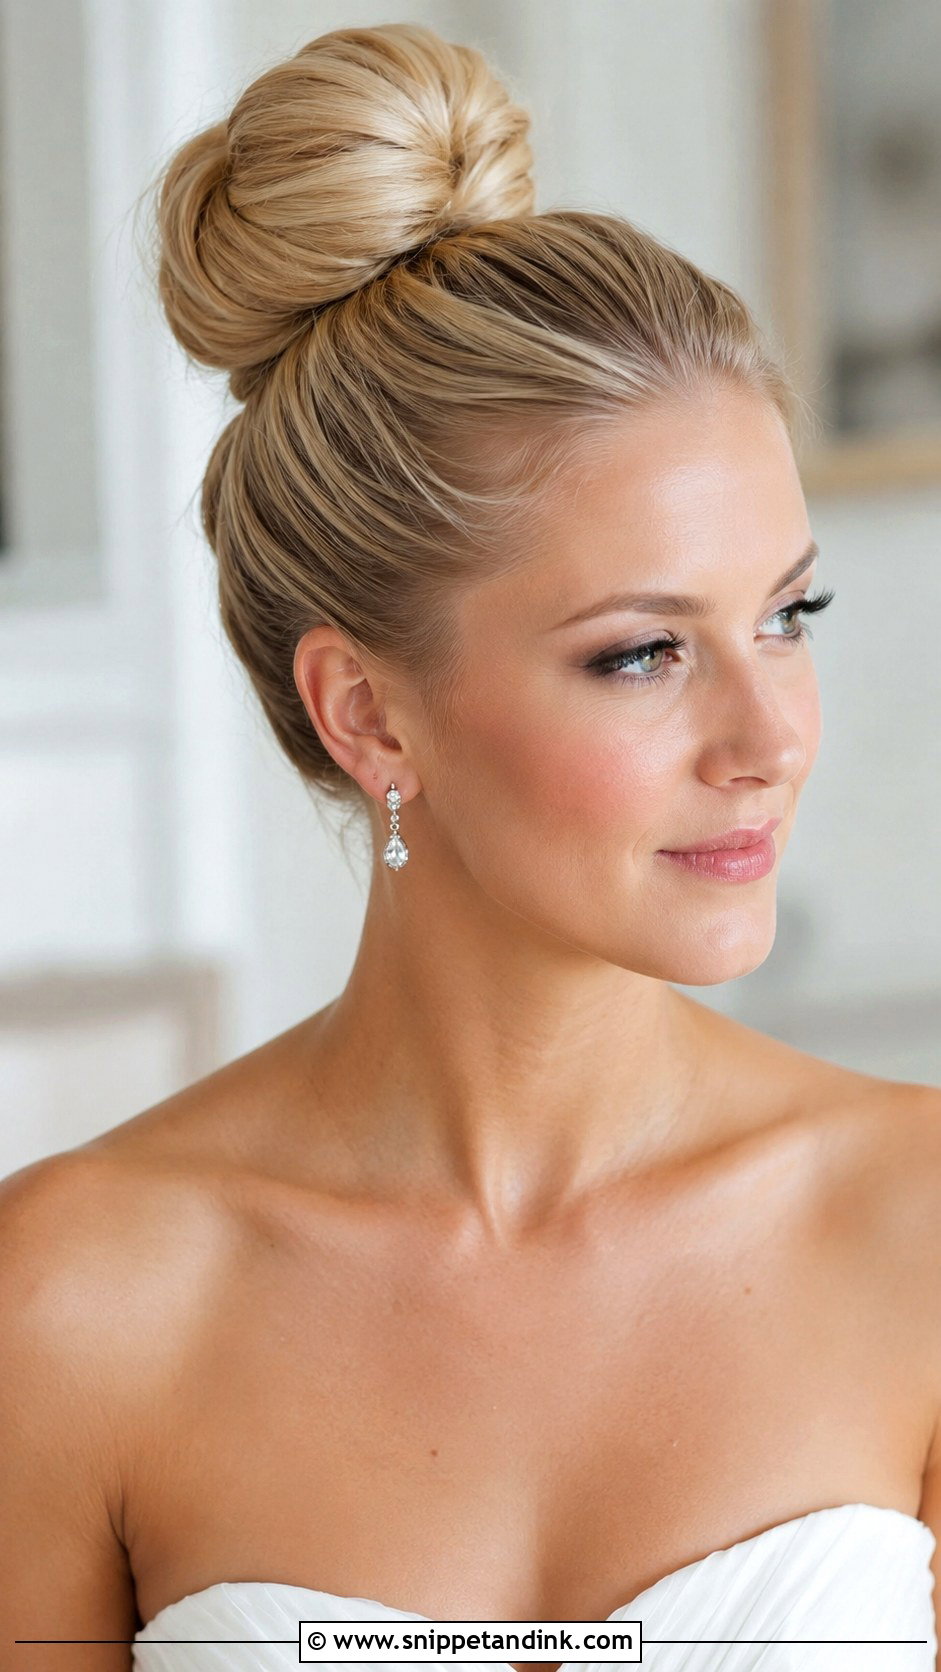
A high wedding bun gives instant lift and elegance. It draws attention to the cheekbones, neck, and shoulders, so it is lovely with strapless, halter, or high-neck dresses. Start by brushing hair into a high ponytail at the crown. Add a little texture spray if the hair is slippery. Twist the ponytail around the base, shape it into a full bun, and pin it evenly. For extra volume, use a small bun padding that matches your hair color. Keep the front smooth or leave soft pieces out. This bun feels graceful, confident, and perfect for a dramatic bridal silhouette.
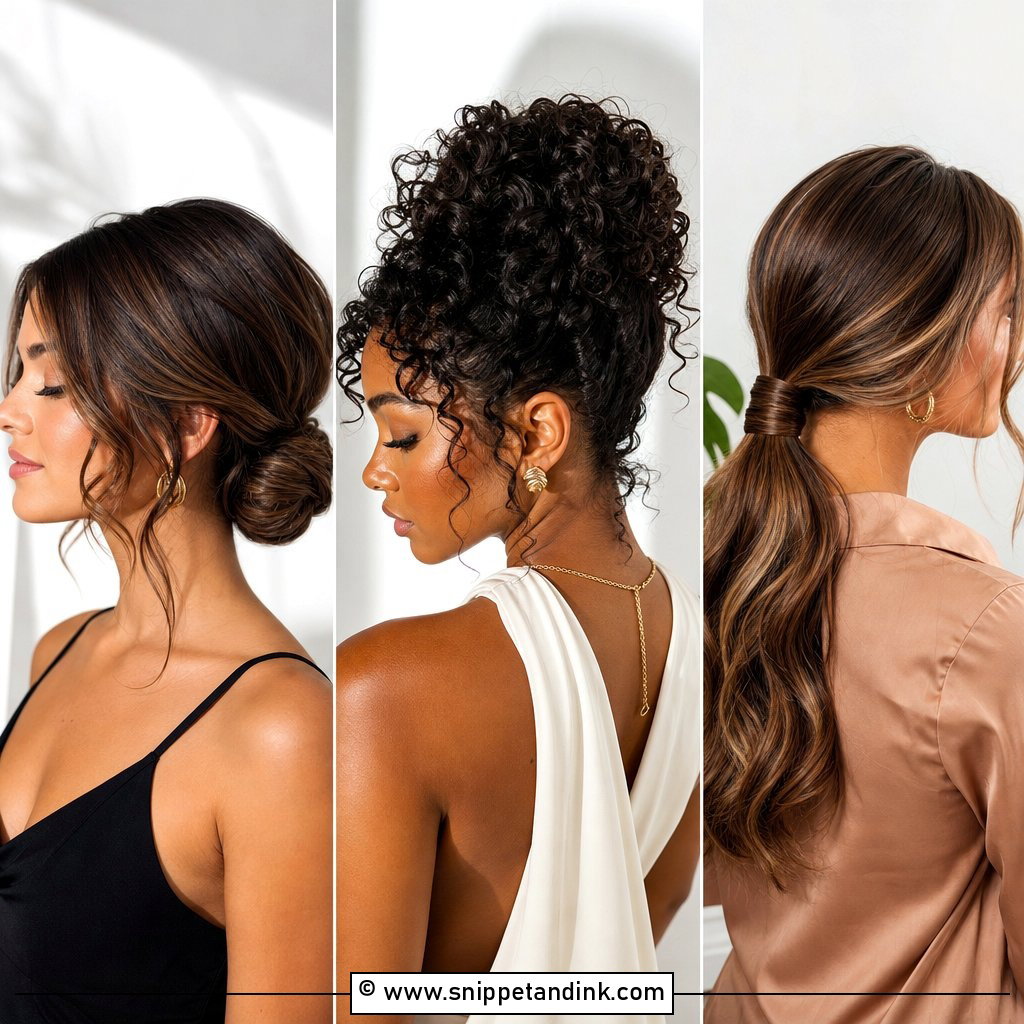
6. Chignon Wedding Bun Tutorial
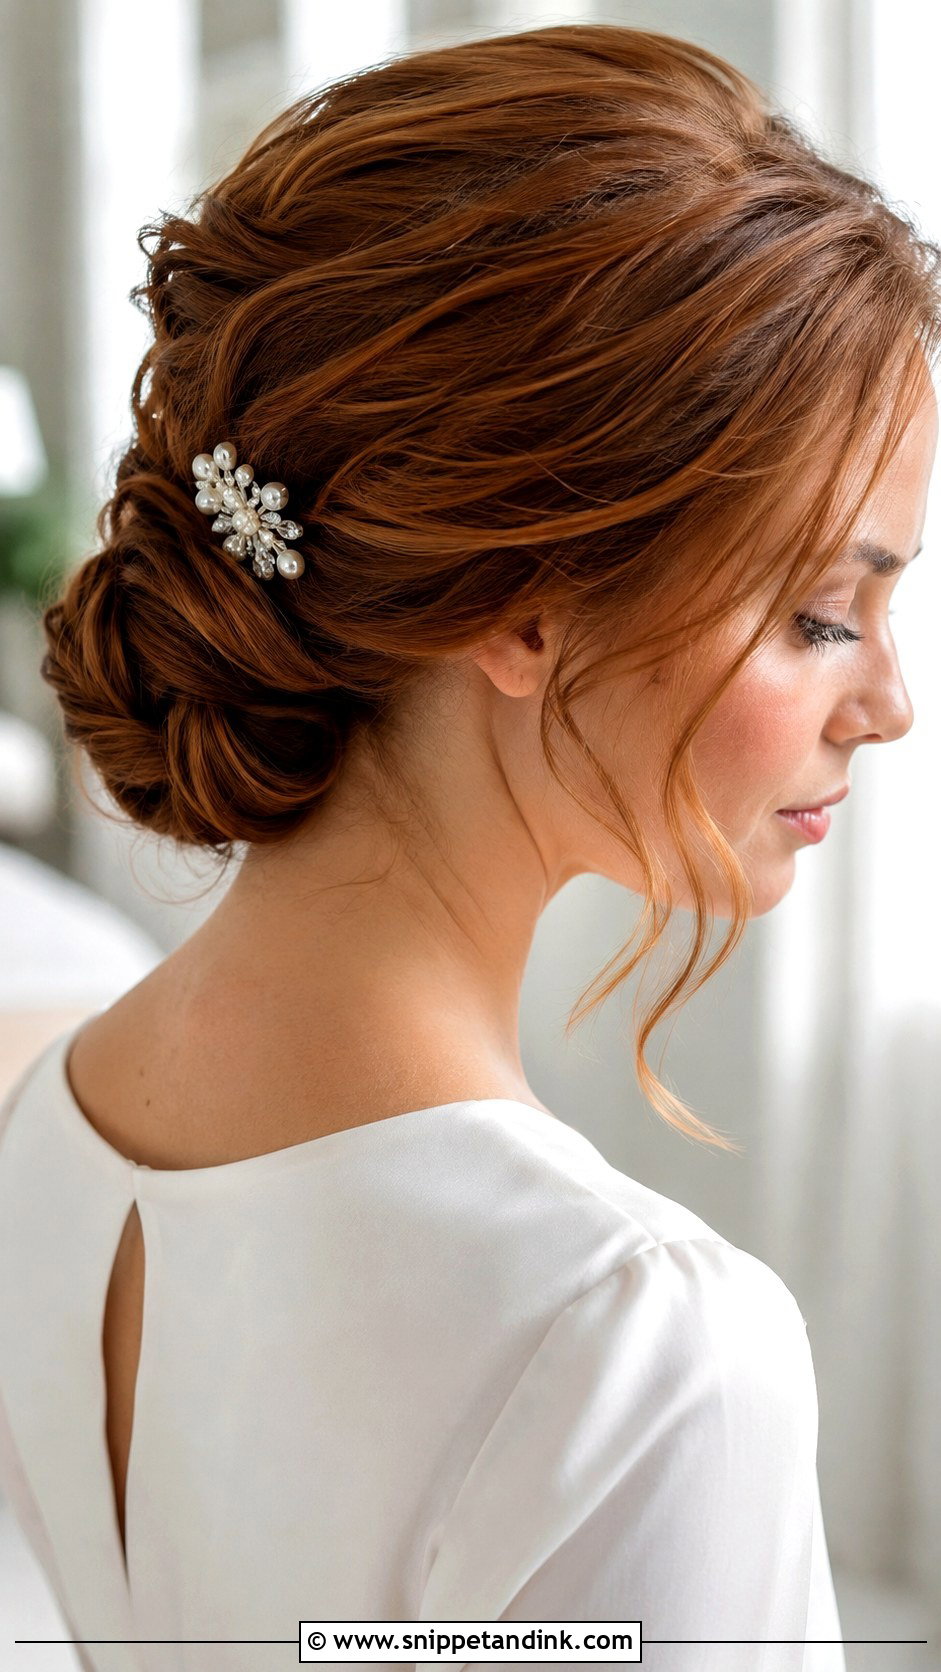
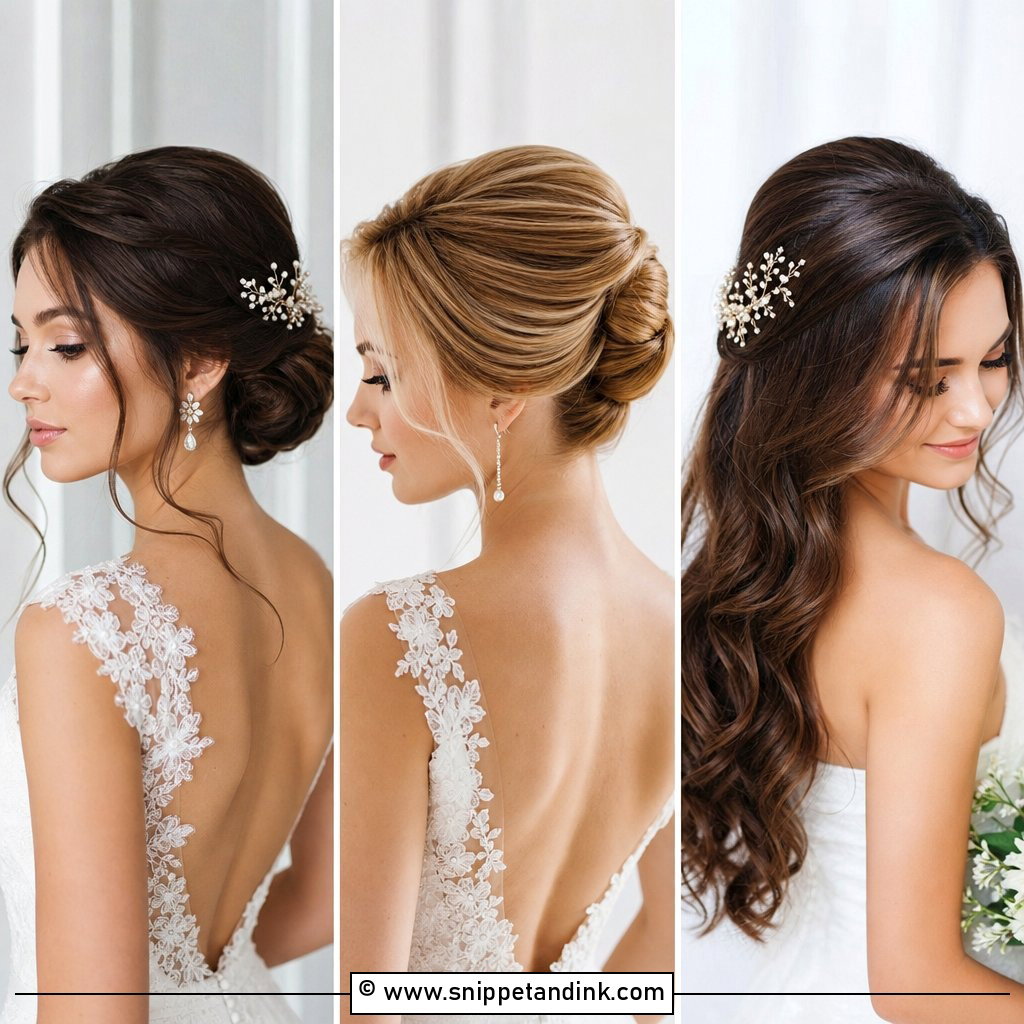
A chignon wedding bun is one of the most elegant bridal updos. It usually sits low and slightly tucked, giving a soft folded effect instead of a round bun. Start with a low ponytail and leave a little looseness at the crown. Roll the ponytail upward or sideways, then tuck the ends inside and pin them hidden. Smooth the outer shape with your fingers so it looks polished but not flat. A chignon is especially pretty with pearl pins, combs, or a veil placed above the bun. It suits classic brides who want a refined look with gentle softness.
7. Curly Wedding Bun Tutorial
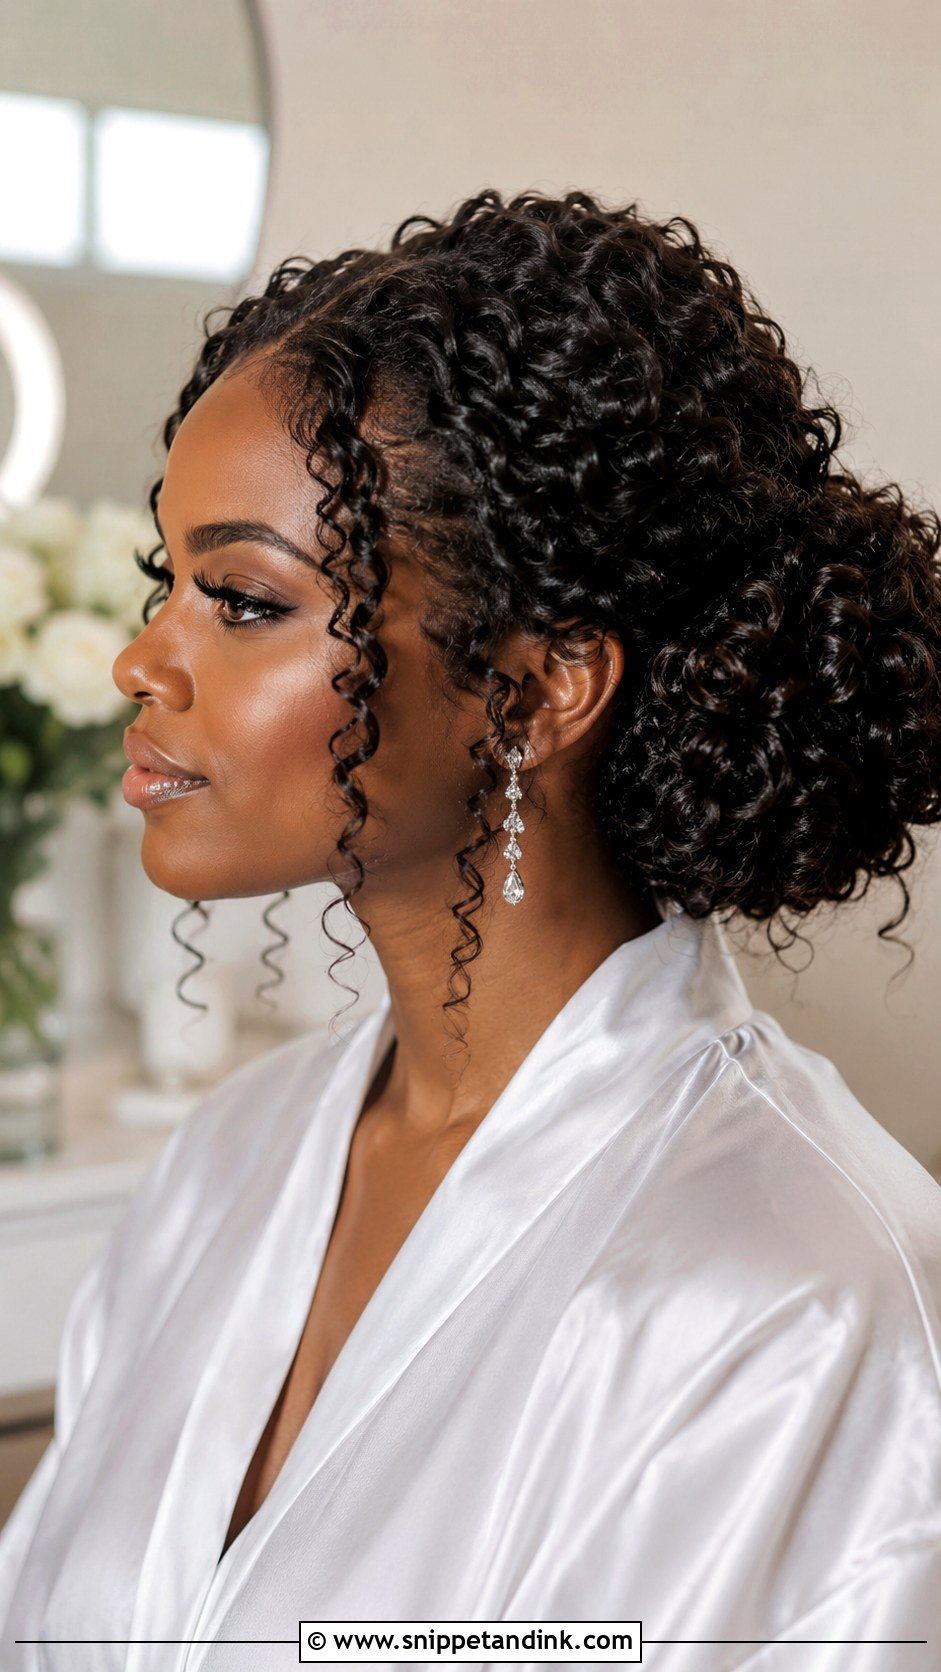
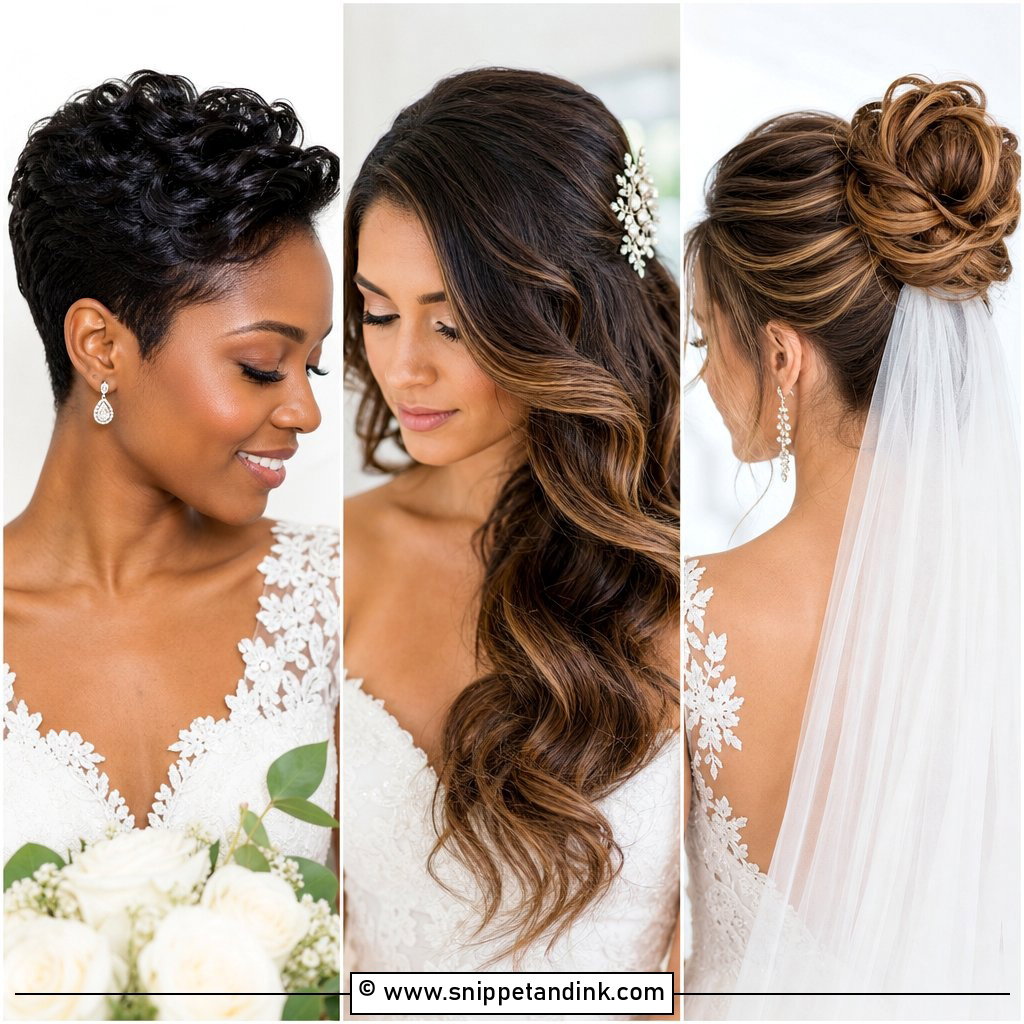
A curly wedding bun celebrates natural volume and shape while keeping hair secure. Start by defining curls with curl cream or gel, then let them dry fully before styling. Gather the curls into a low or mid ponytail without brushing them out. Pin curl clusters around the base one at a time, keeping the natural texture visible. Leave a few curls near the temples or neckline if you like a softer frame. This bun is beautiful because it does not hide the curl pattern. It turns texture into the main feature and gives the whole bridal look movement and personality.
8. Side Wedding Bun Tutorial
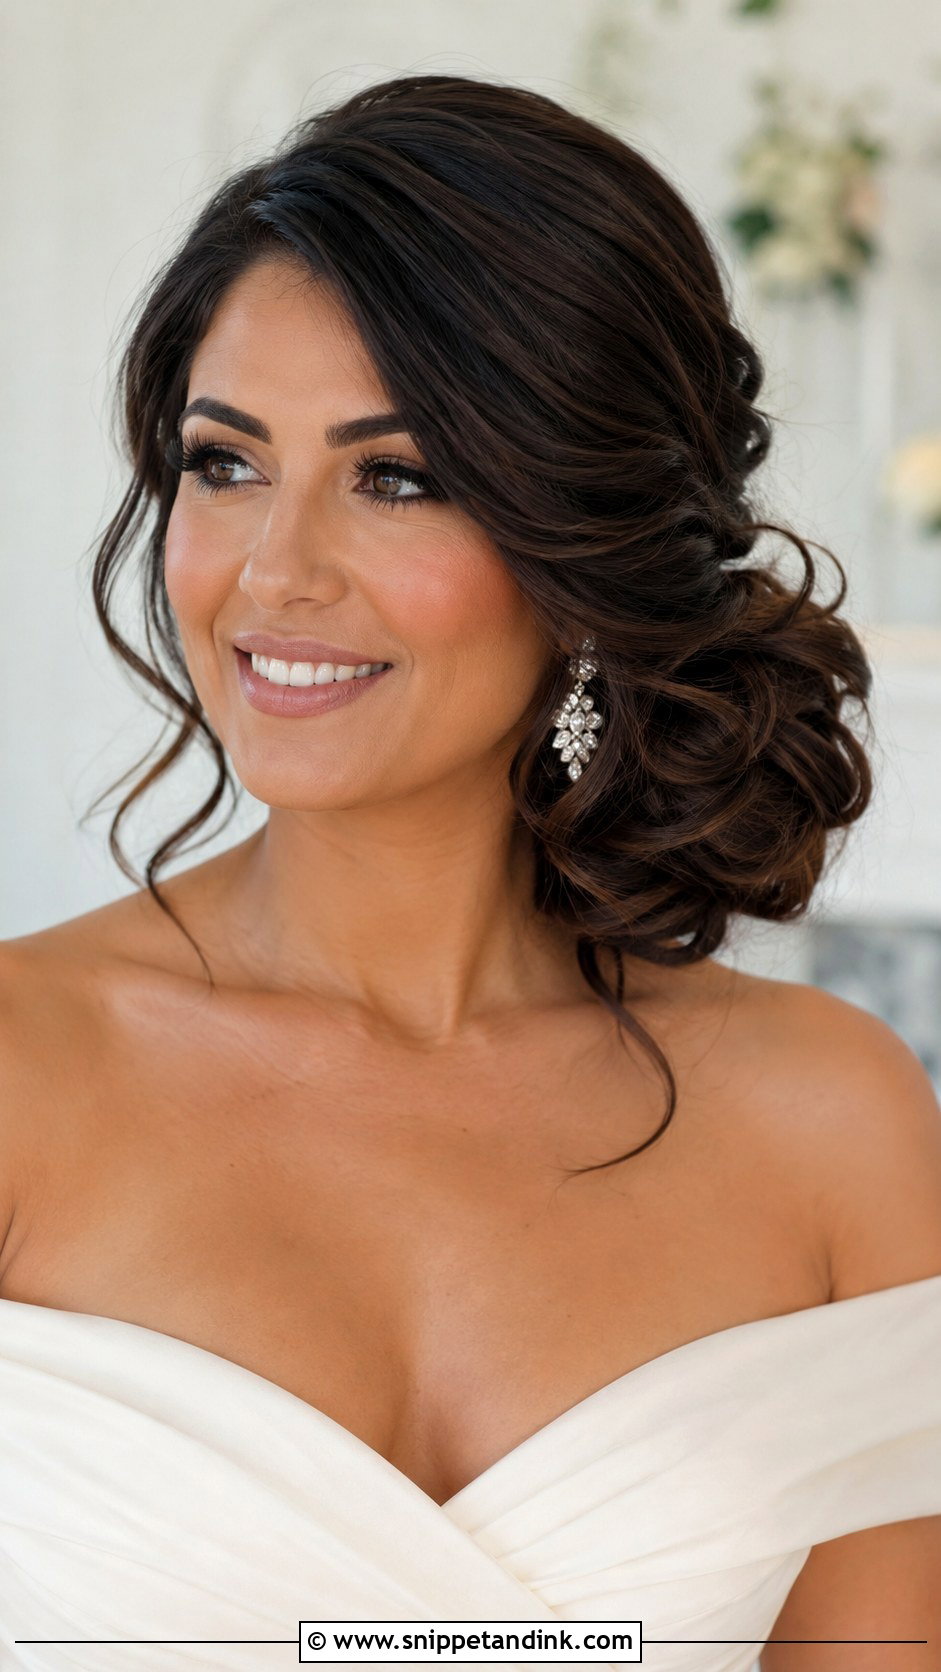
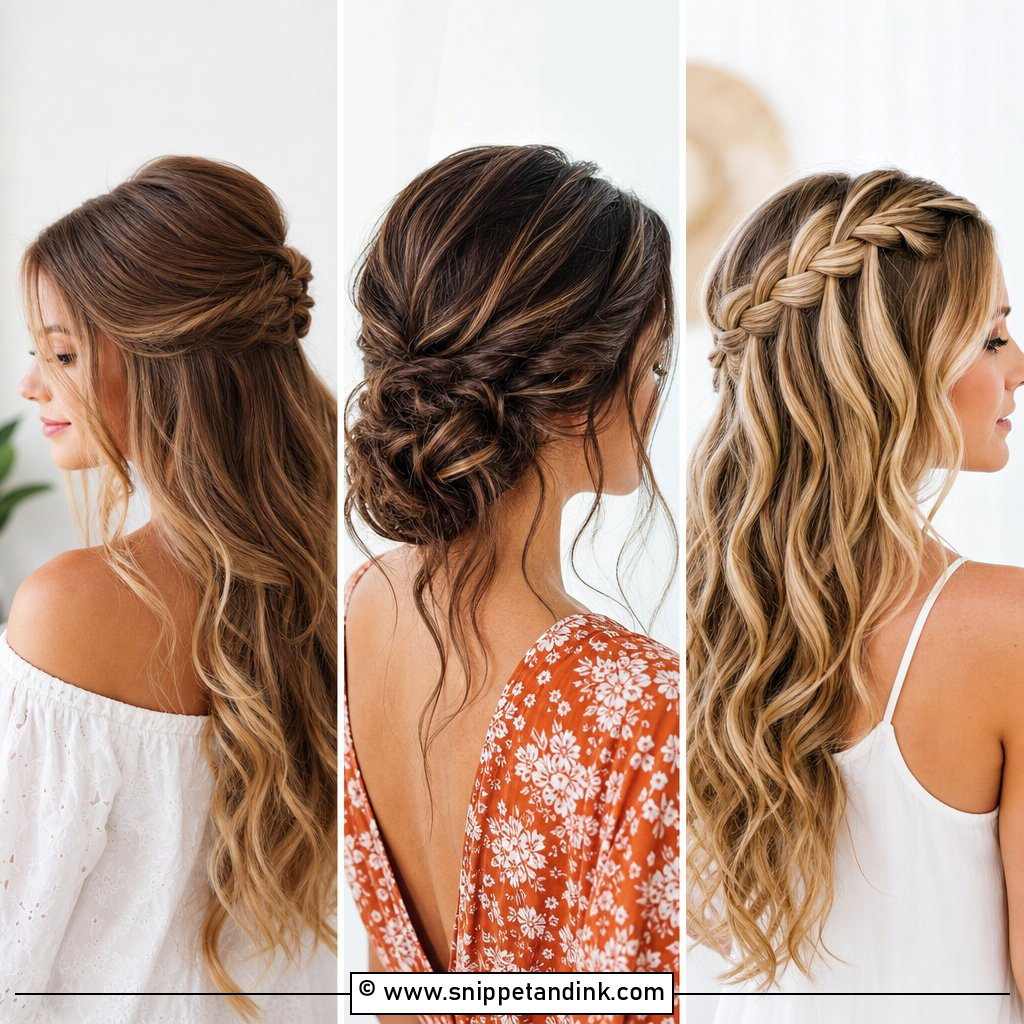
A side wedding bun feels romantic and a little vintage, especially when placed low near one shoulder. It photographs well because the bun is visible from the front, making it perfect for portraits. Begin with loose curls or waves, then create a deep side part. Sweep the hair toward one side and secure it in a low ponytail. Twist the ponytail into a bun, pinning it slightly off-center. Keep the opposite side smooth or softly draped. This bun works beautifully with one-shoulder dresses, floral pins, and soft makeup because the shape naturally adds charm and balance.
9. Twisted Wedding Bun Tutorial
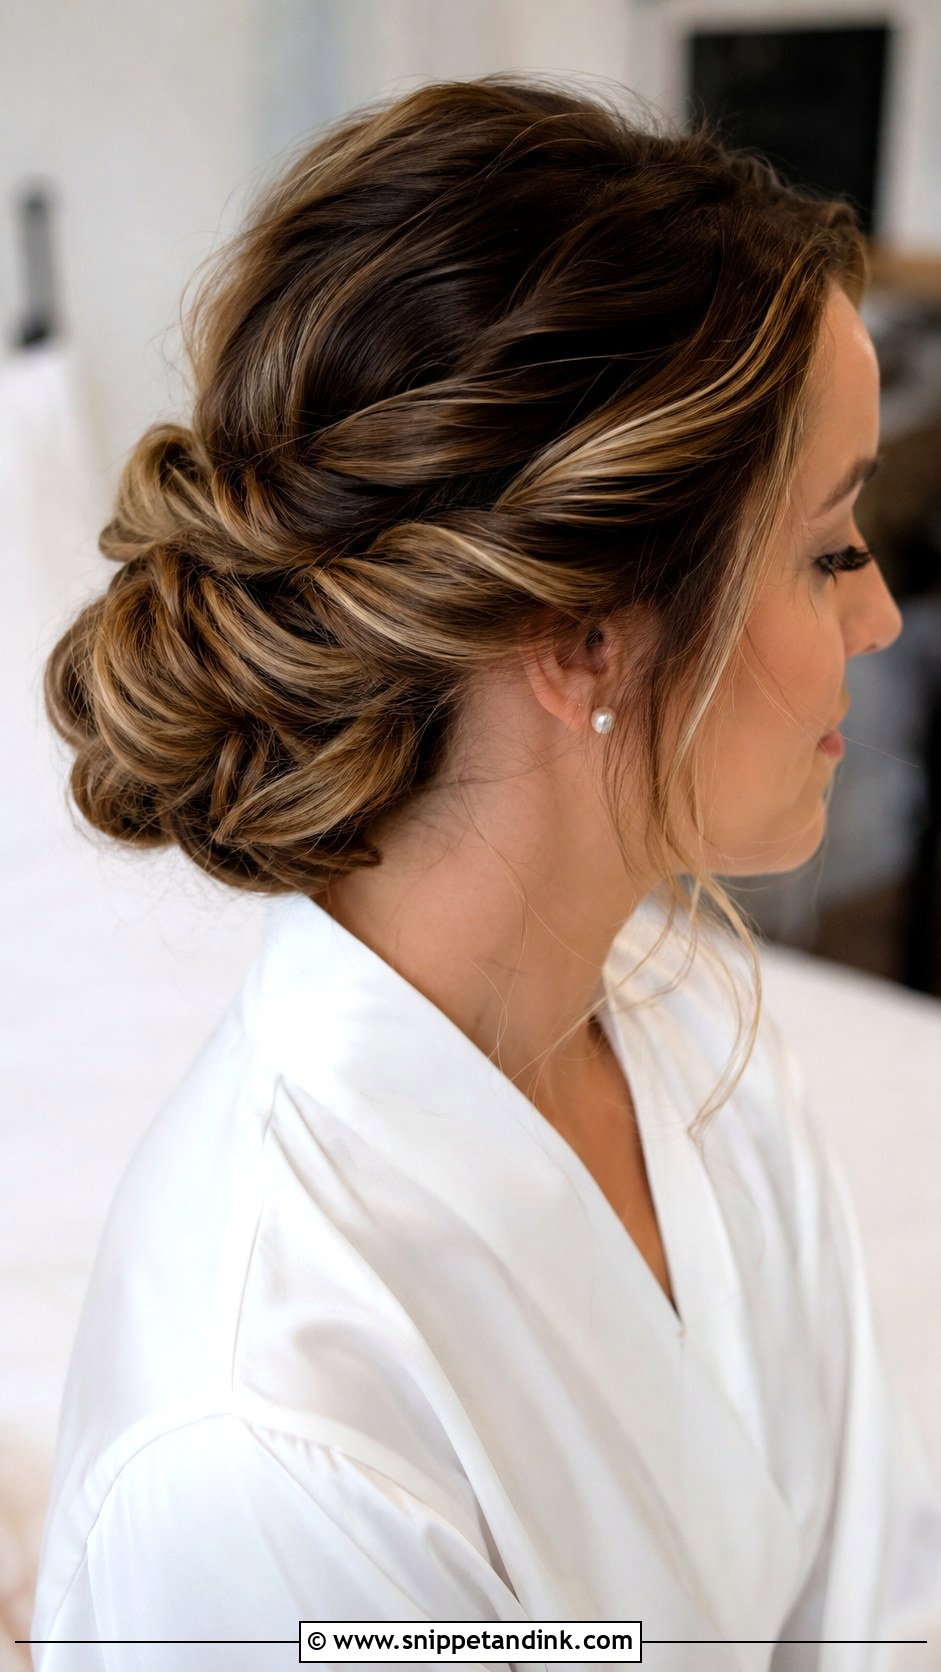
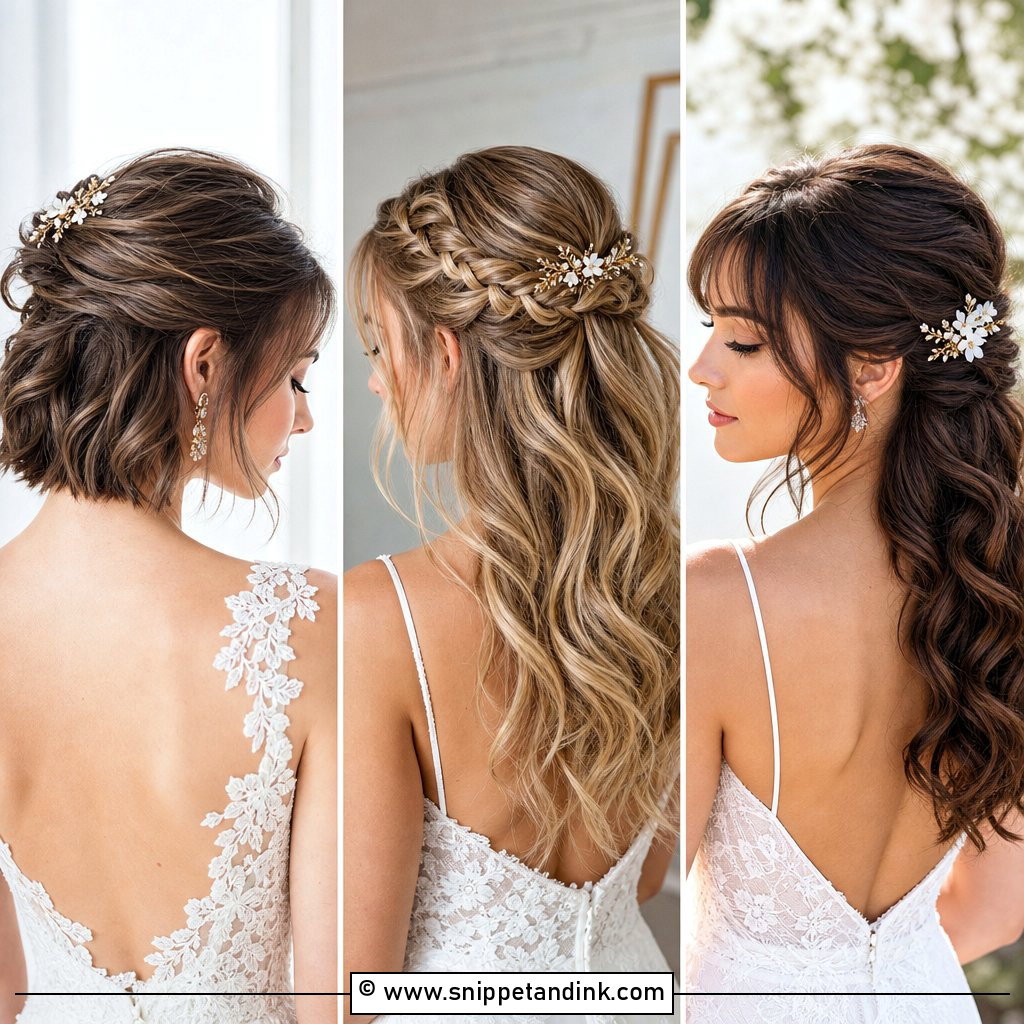
A twisted wedding bun is ideal if you want texture without braids. It looks detailed, but the steps are simple. Start by sectioning the hair into two or three parts. Twist each section away from the face, then bring them together at the back into a low ponytail. Wrap the twisted lengths around each other and pin them into a bun. Gently loosen the twists so they look fuller and softer. This bun is great for highlighted or balayage hair because the twists show off dimension. It feels romantic, neat, and a little more special than a basic bun.
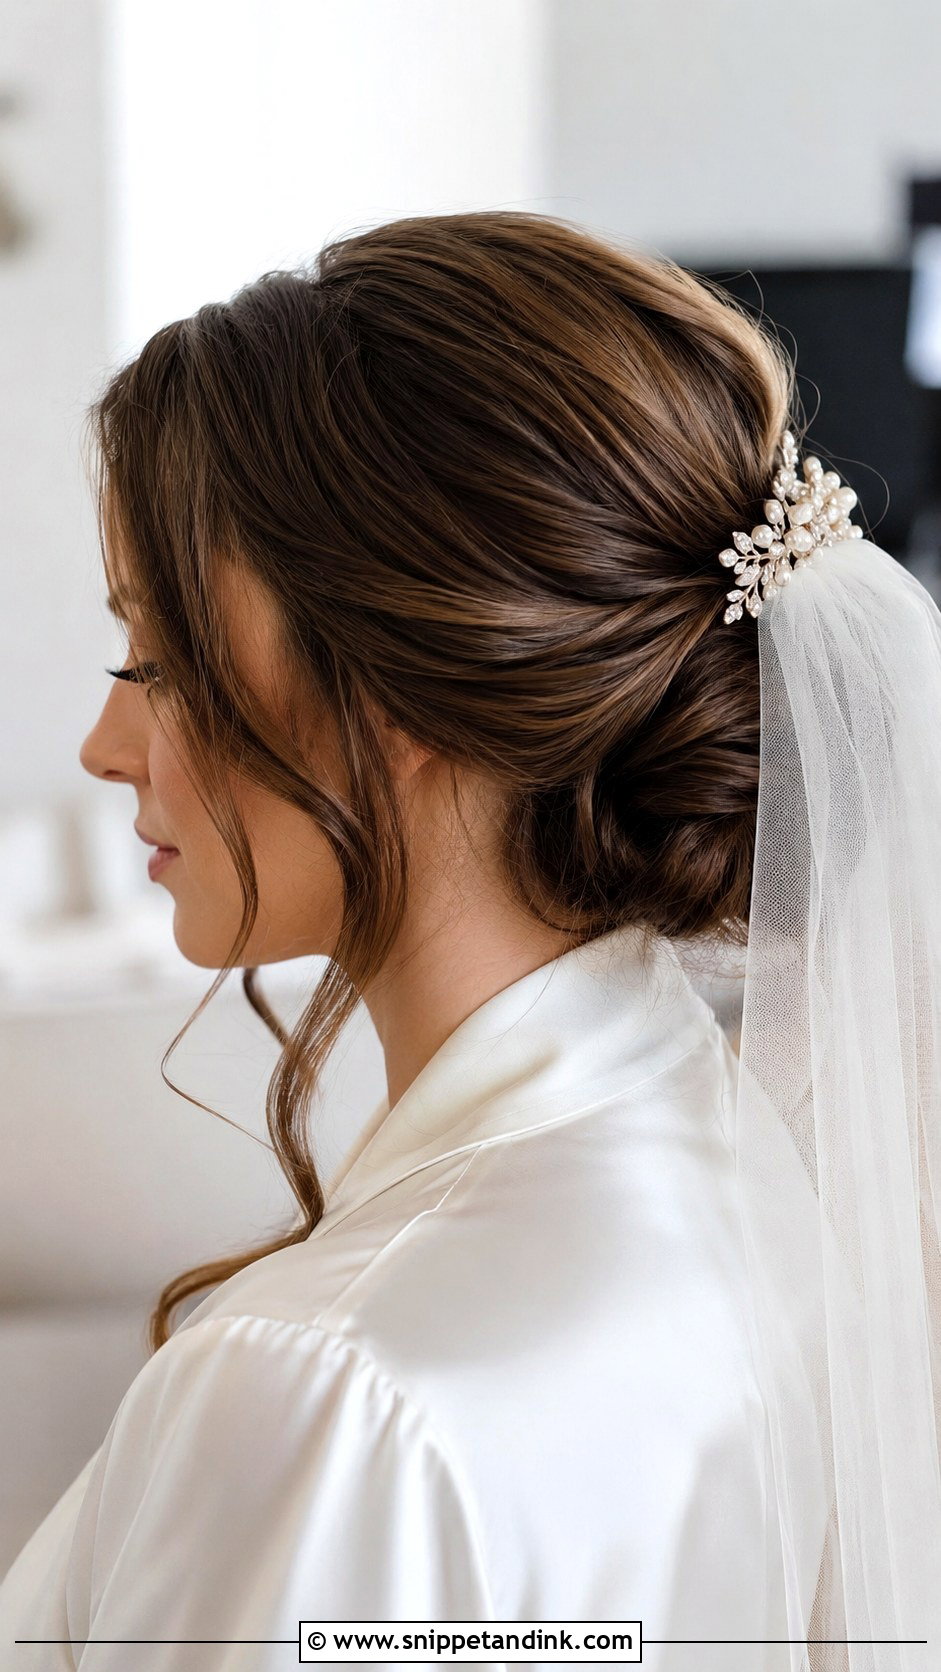
10. French Twist Bun Tutorial
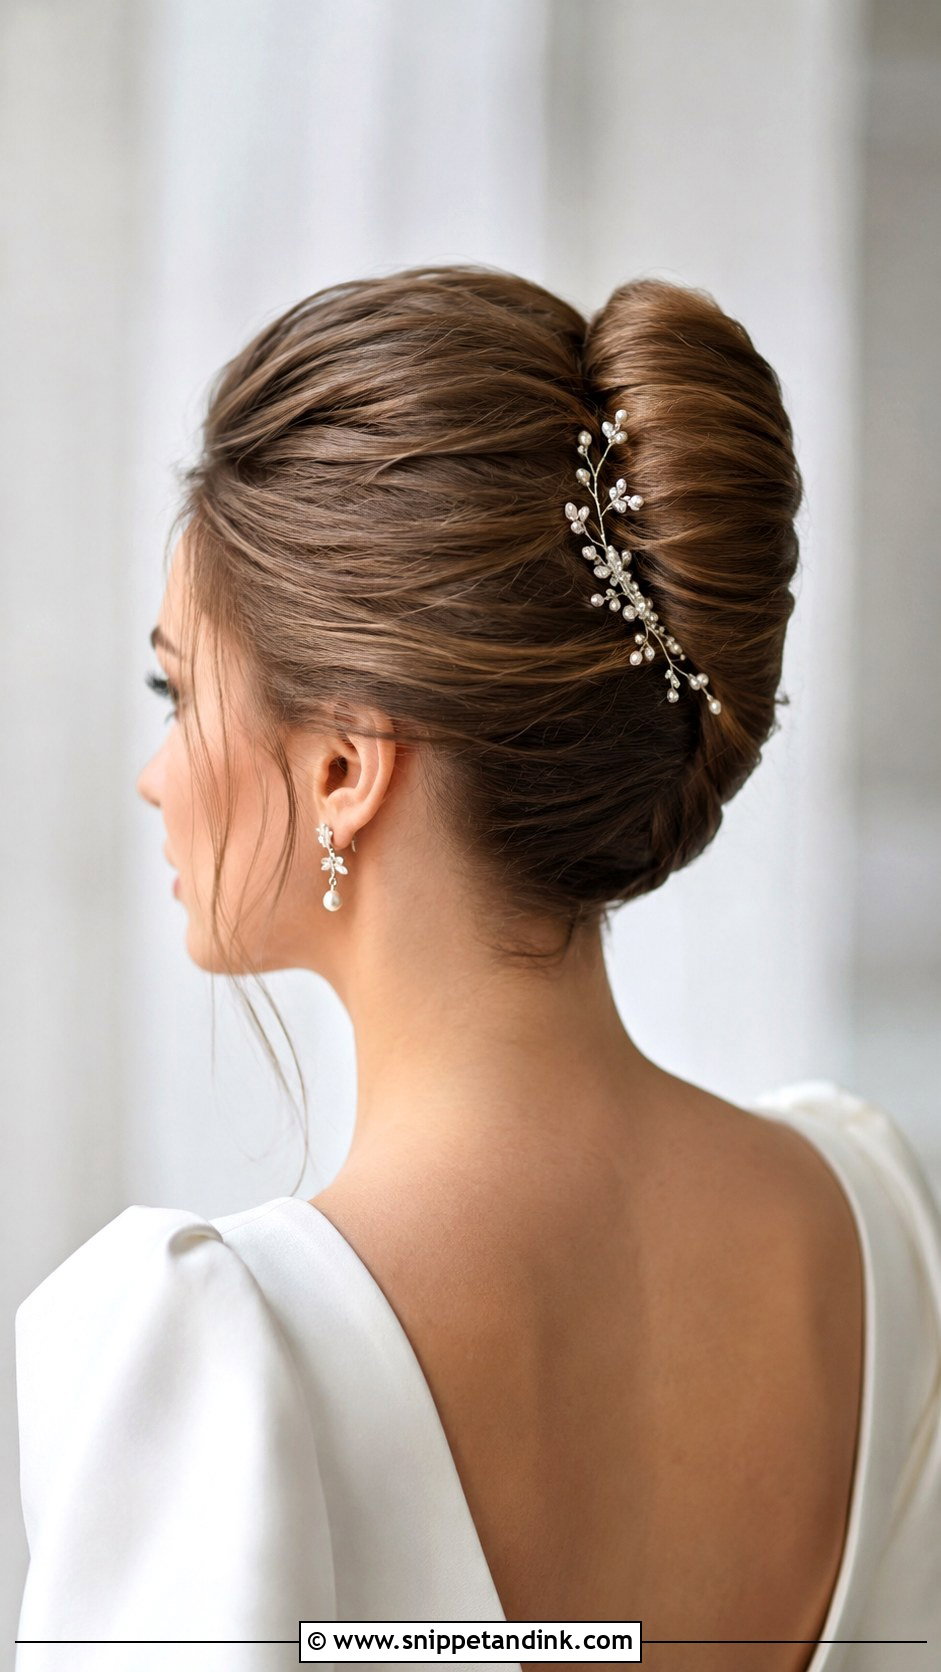
A French twist bun gives a polished wedding look with a graceful, elongated shape. It is perfect for brides who like vintage inspiration but still want something modern. Start by adding light texture spray for hold. Sweep the hair back as if making a low ponytail, then twist it upward against the head. Tuck the ends into the roll and secure with long pins. You can leave the top smooth or gently lifted for volume. This style works best on medium to long hair and looks beautiful with a veil, hair comb, or small pearl details tucked along the twist.
11. Bun With Veil Tutorial
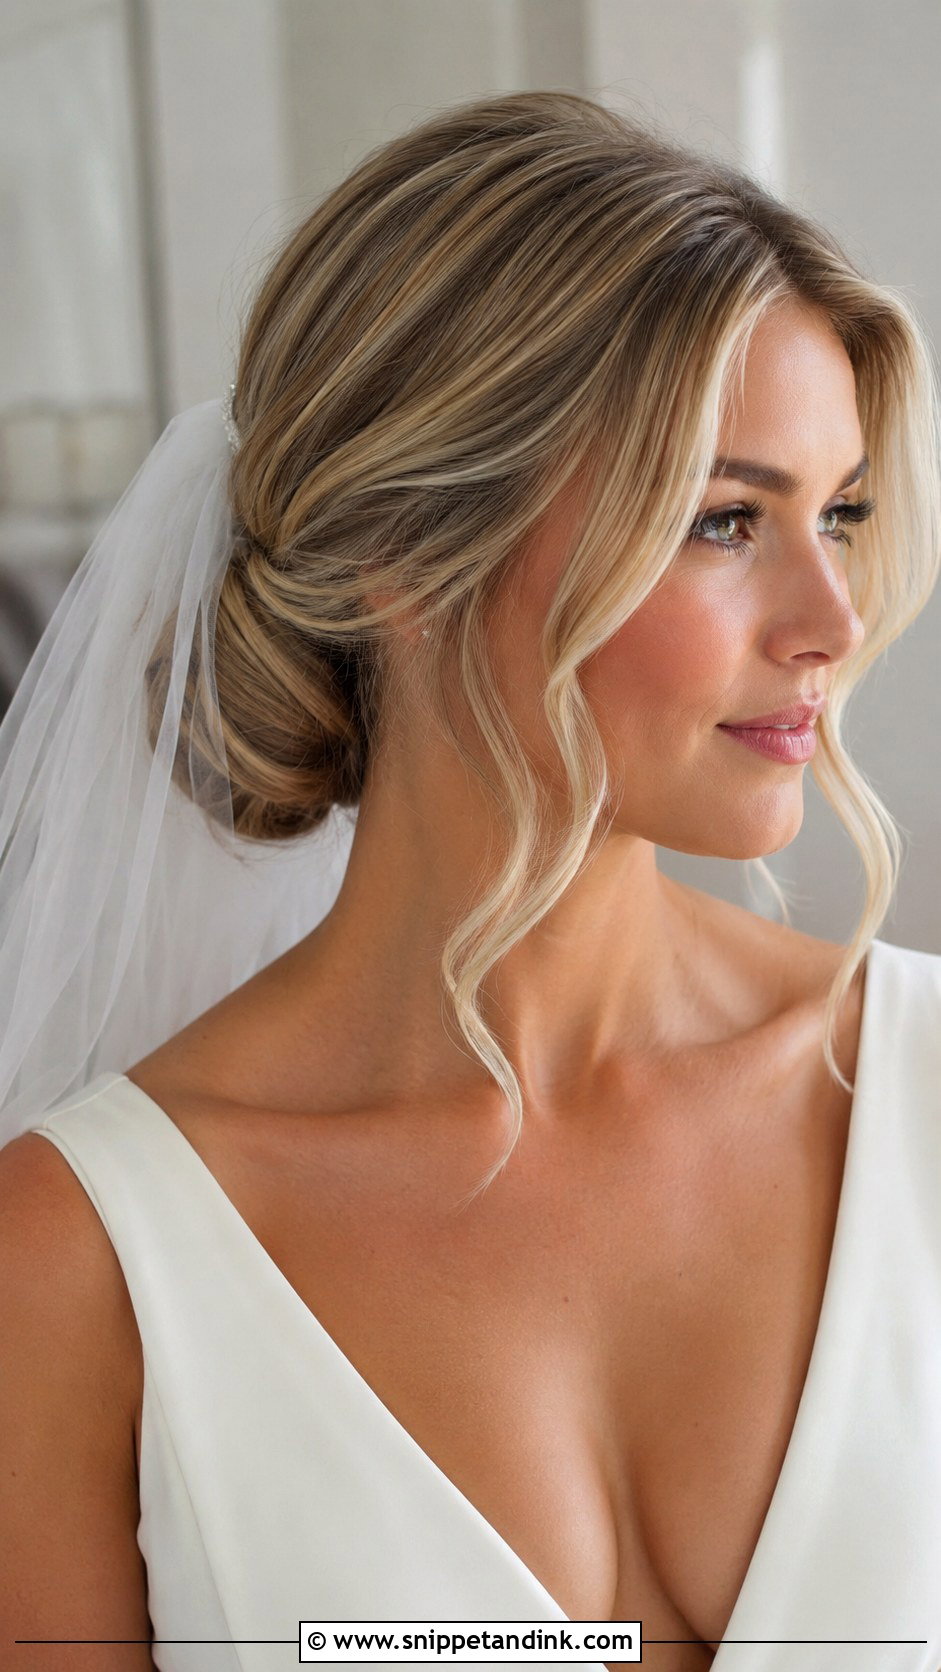
A bun with veil placement needs a little planning so the veil feels secure and the hairstyle still looks balanced. A low or mid bun usually works best because it gives the comb a strong base. Start by creating your chosen bun, then add extra pins under the top layer where the veil will sit. Slide the veil comb above or below the bun, depending on the look you want. Add a few hidden bobby pins for support. This style is practical and pretty because the bun anchors the veil while keeping the overall bridal look soft, polished, and comfortable.
12. Bun With Flowers Tutorial
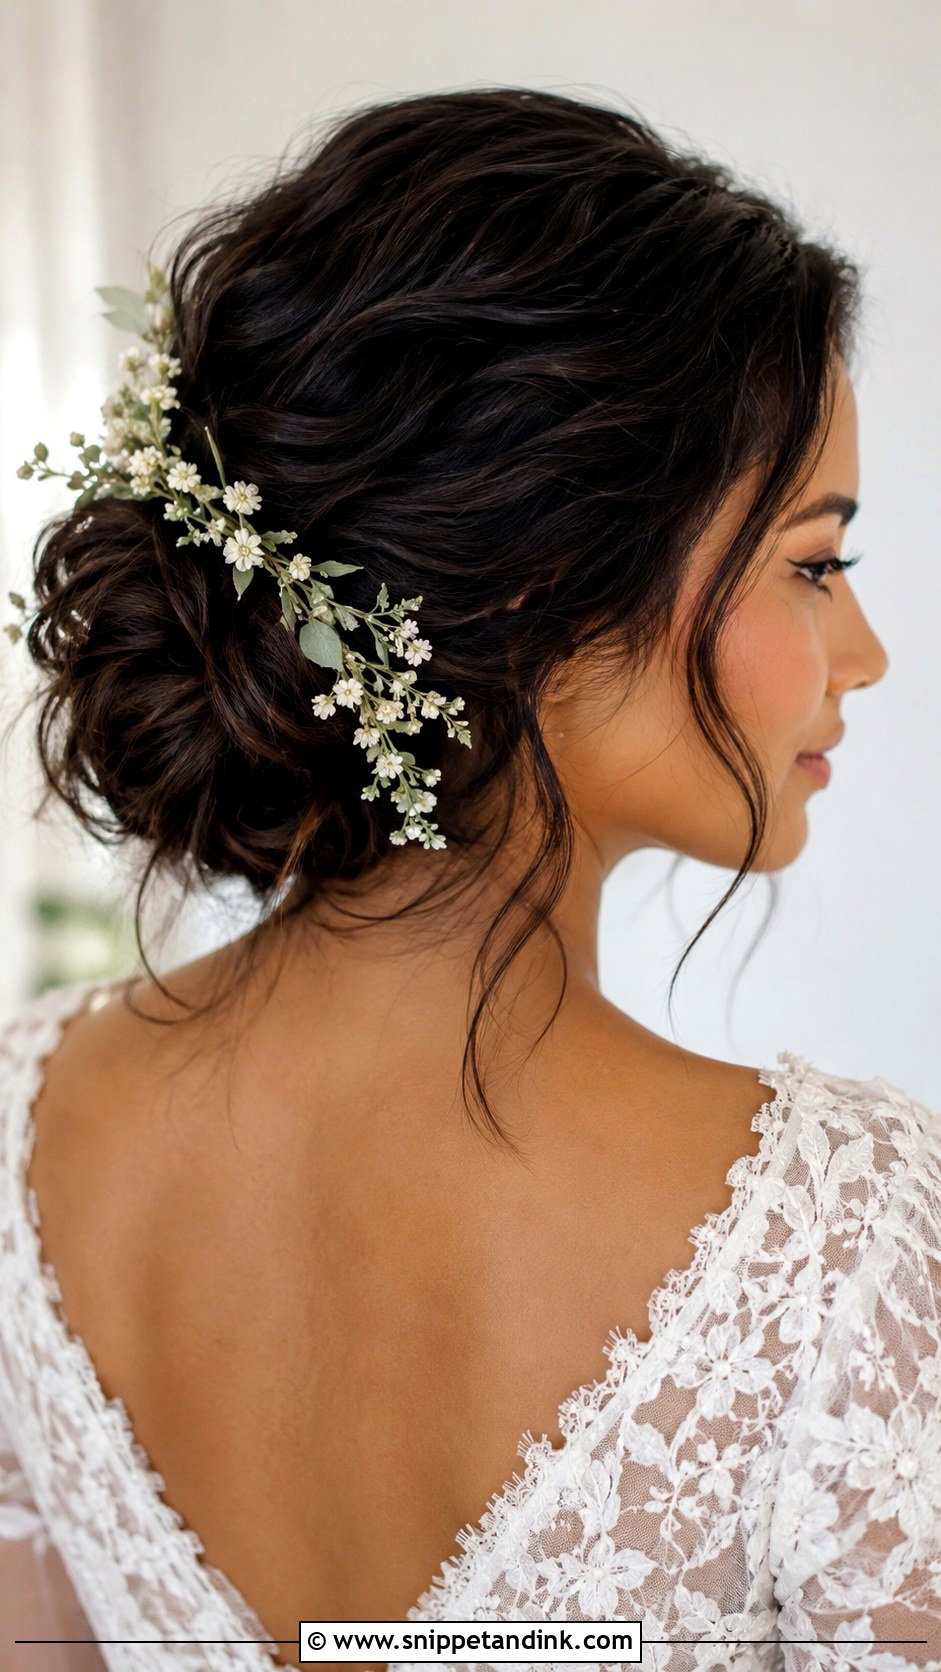
A bun with flowers is perfect for garden weddings, spring ceremonies, and soft romantic bridal looks. Start with a low textured bun, since a slightly loose shape helps flowers blend naturally. Curl the hair first, create the bun, and pin it securely before adding any floral pieces. Use small blooms, greenery, or delicate dried flowers instead of oversized pieces that can weigh the bun down. Place them around one side of the bun or along the top curve. This look feels fresh and feminine, but it still needs balance. The flowers should frame the bun, not hide the hairstyle.
13. Bun With Pearl Pins Tutorial
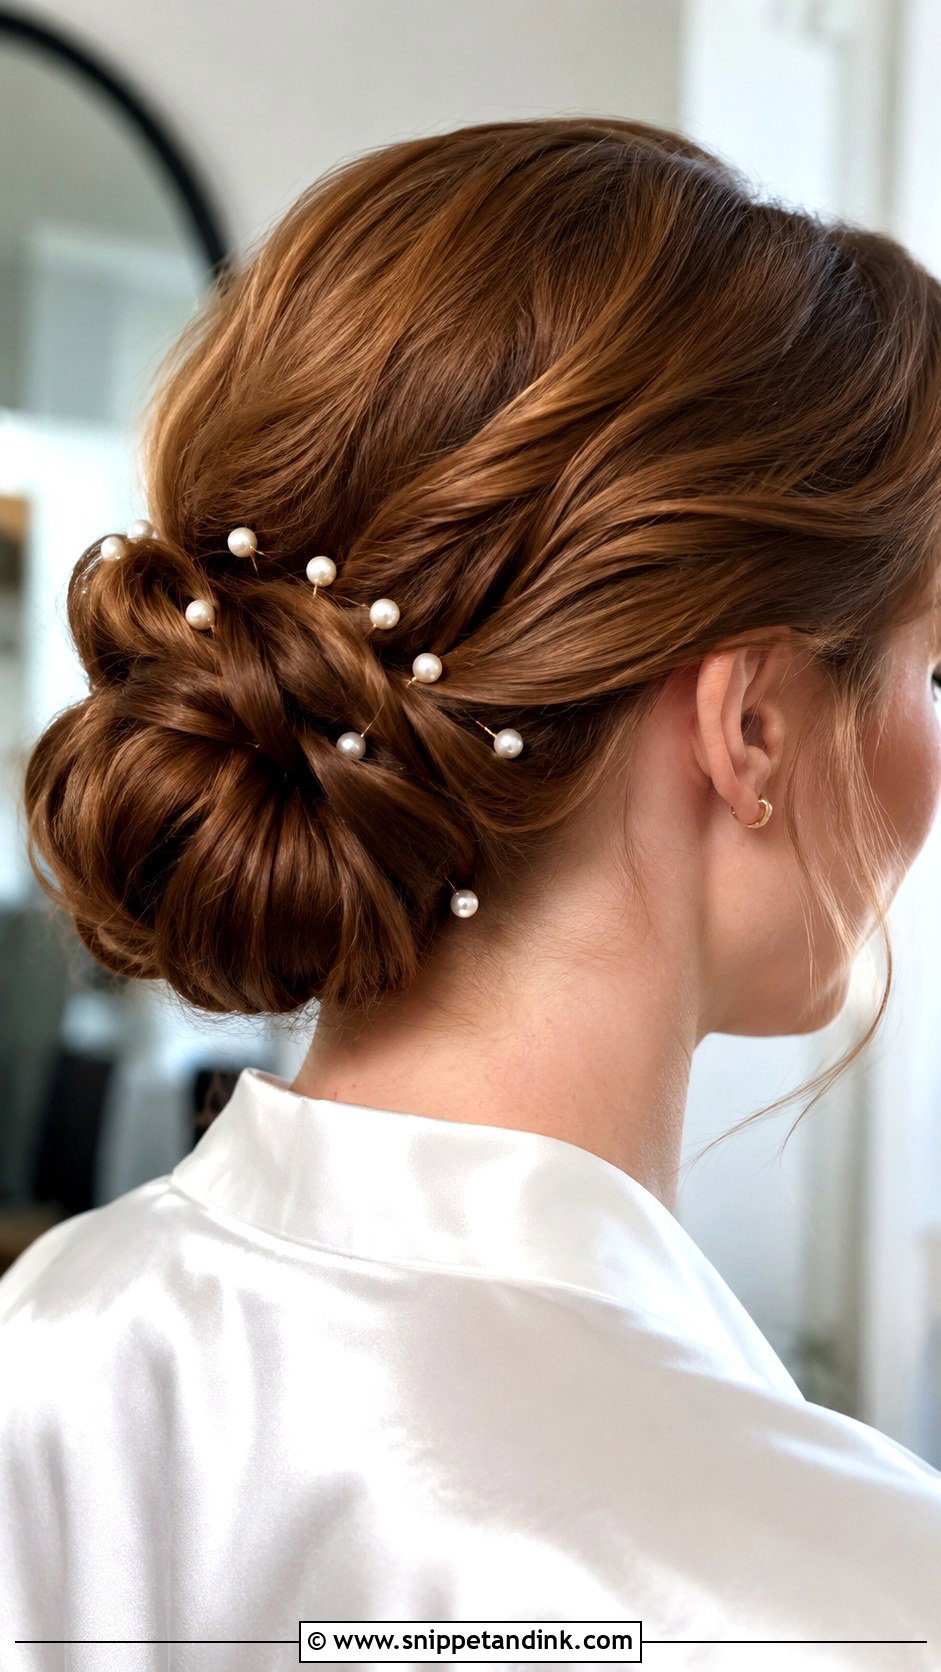
A bun with pearl pins adds bridal detail in a simple, elegant way. It works with sleek buns, messy buns, chignons, and braided buns, so it is very flexible. Start by finishing the bun completely before adding pearls. This helps you place each pin with intention instead of using too many. Add pearls along the outer curve, across a braid, or scattered lightly through the bun. Keep the front soft and clean so the pearls stand out. This wedding bun is a lovely choice if your dress has pearl beading, satin fabric, or classic details that need a polished hairstyle.
14. Bun For Short Hair Tutorial
A bun for short hair can still look full and bridal with the right prep. Start by curling the hair to create texture and volume. Gather as much hair as possible into a low ponytail, then tuck and pin the ends underneath to make a small bun shape. Use side sections to wrap around the base and hide pins. If needed, add a small matching hair padding or clip-in piece for fullness. Leave soft front pieces out to make the style feel intentional. This look is great for bob or lob lengths and proves short hair can still create a beautiful wedding updo.
15. Bun For Long Hair Tutorial
A bun for long hair can look stunning, but it needs smart pinning so it does not feel heavy. Start by curling or smoothing the hair, depending on the finish you want. Make a low or mid ponytail, then divide the length into two sections. Twist each section loosely and wrap them around the base in opposite directions. This spreads the weight and keeps the bun balanced. Use strong pins and finish with flexible hairspray. Long hair gives you room for a fuller bun, soft loops, or braided details, making this look perfect for brides who want a statement updo.
Conclusion:
A wedding bun is more than a quick updo. It is a full bridal hairstyle that can change the mood of your entire look. Sleek buns feel modern, chignons feel classic, messy buns feel romantic, and braided or twisted buns add beautiful detail. The best choice depends on your dress, veil, hair length, texture, and how much softness you want around your face. If you are practicing at home, take photos from the front, side, and back to check the shape. If you are working with a stylist, save your favorite bun tutorials so your vision is clear before the wedding day.
You'll Like These Ideas:

Leave a Reply