
Plenty of brides do their own wedding hair, and plenty of them do it well. The ones who succeed aren’t the most talented; they’re the ones who practised early and picked a style that suits both their hair and their arms. I’ve taught brides to pin their own buns, and the gap between a shaky first attempt and a confident fifth one is huge. Below are 25 wedding hair tutorial ideas, from simple ponytails to braided crowns, with my notes on which ones are realistic to do on yourself and which need a second pair of hands.
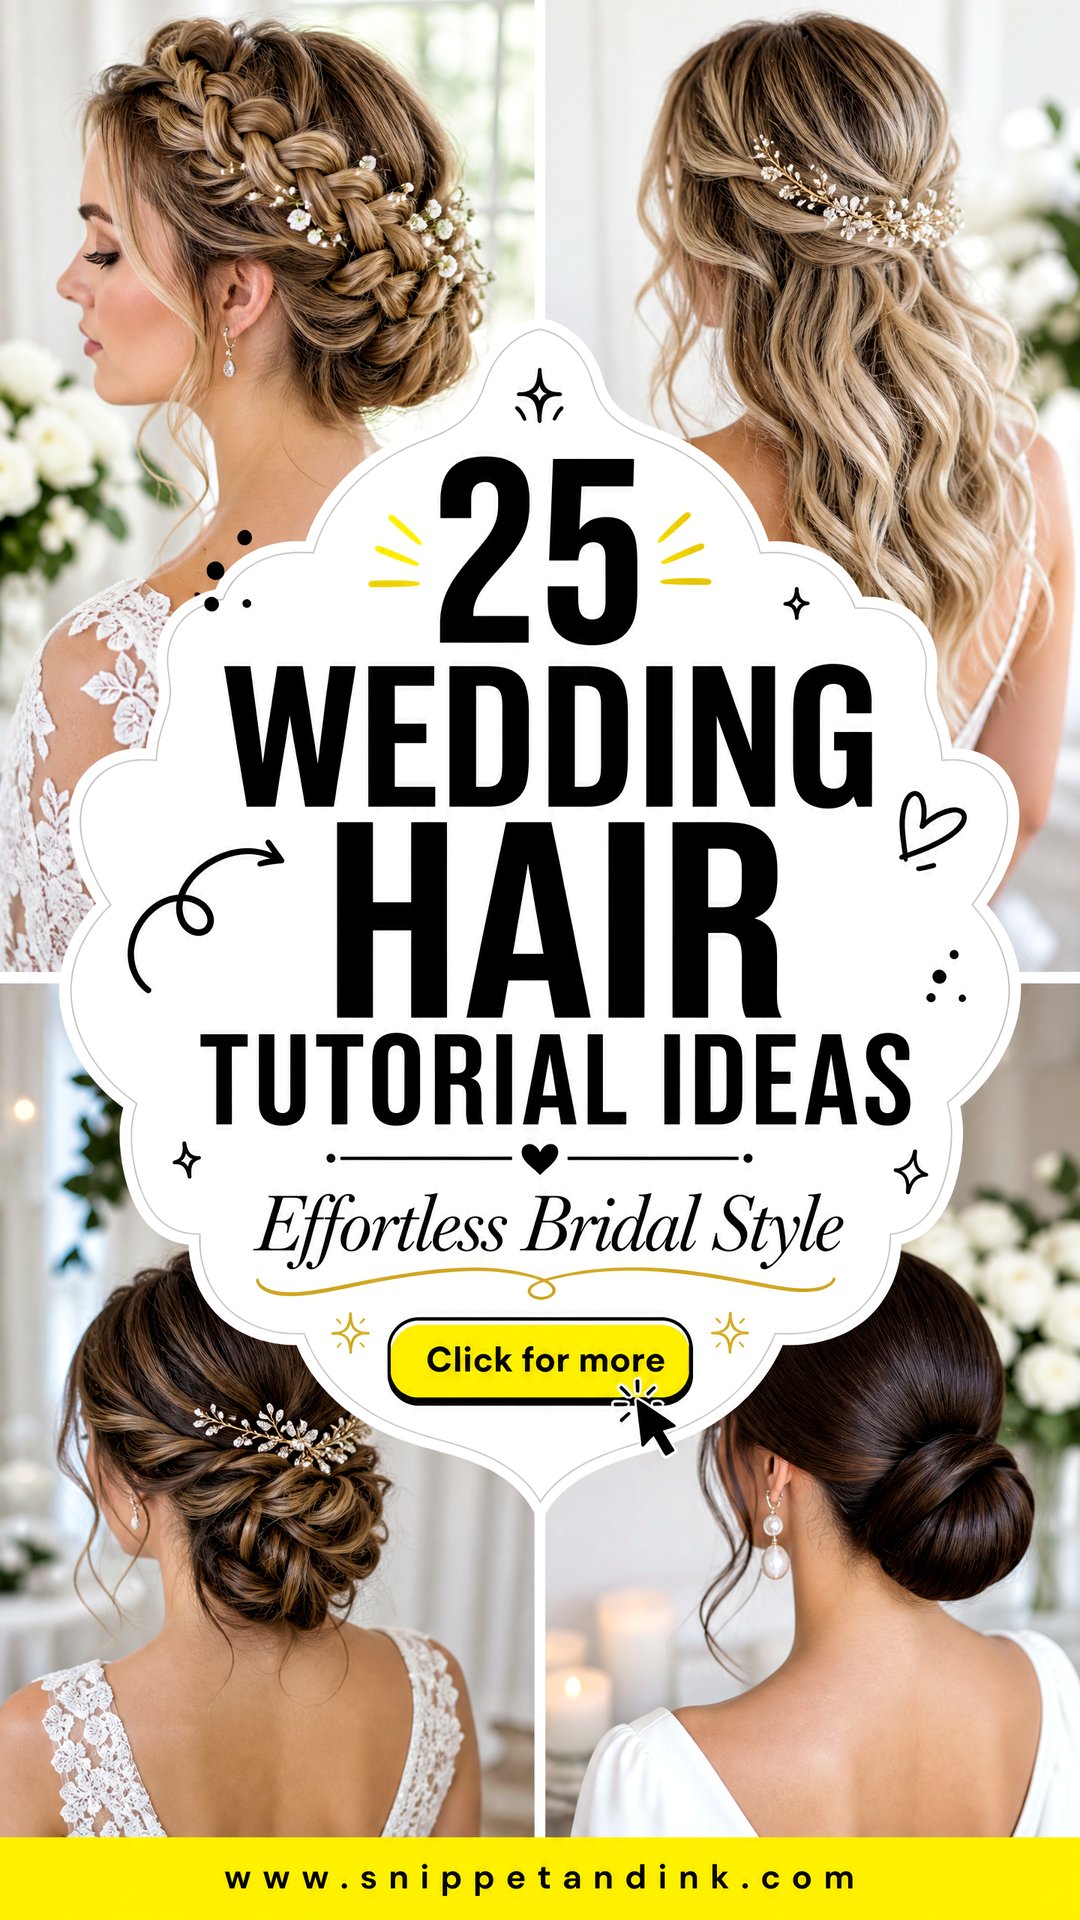
Sorting the Tutorials by What Happens Behind Your Head
Styling another person’s hair and styling your own are two different skills. On yourself, everything at the back is done by feel, your arms tire quickly above your head, and the mirror reverses every movement. So before you pick a favourite from the photos, sort the tutorials by how much of the work happens where you can’t see it.
- Easiest alone: sleek low ponytail, loose waves, side-swept curls, side bun, pinned-back half updo.
- Doable with practice: low twisted bun, chignon, messy bun, fishtail, half-up braids, curly updo.
- Better with a helper: braided crown, twisted halo, waterfall braid, Dutch braid on your own head.
- Leave to a professional unless you’re experienced: finger waves and a very sleek, flyaway-free bun.
Your hair type changes this too. Thick, heavy hair pulls pins loose and tires your arms faster, while very fine, silky hair won’t hold a twist without texture spray. Pick a style that works with your hair rather than one that works in the photo.
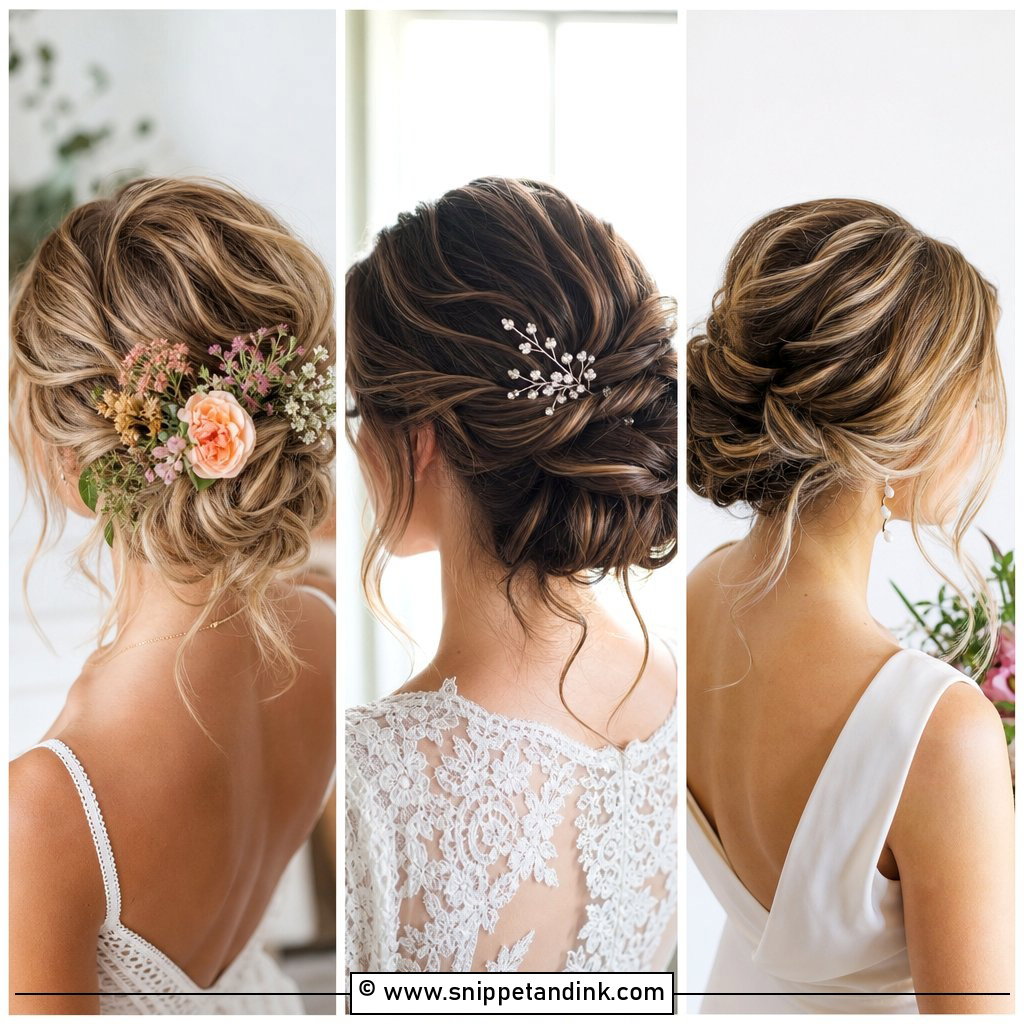
1. Low Twisted Bun Wedding Hair Tutorial
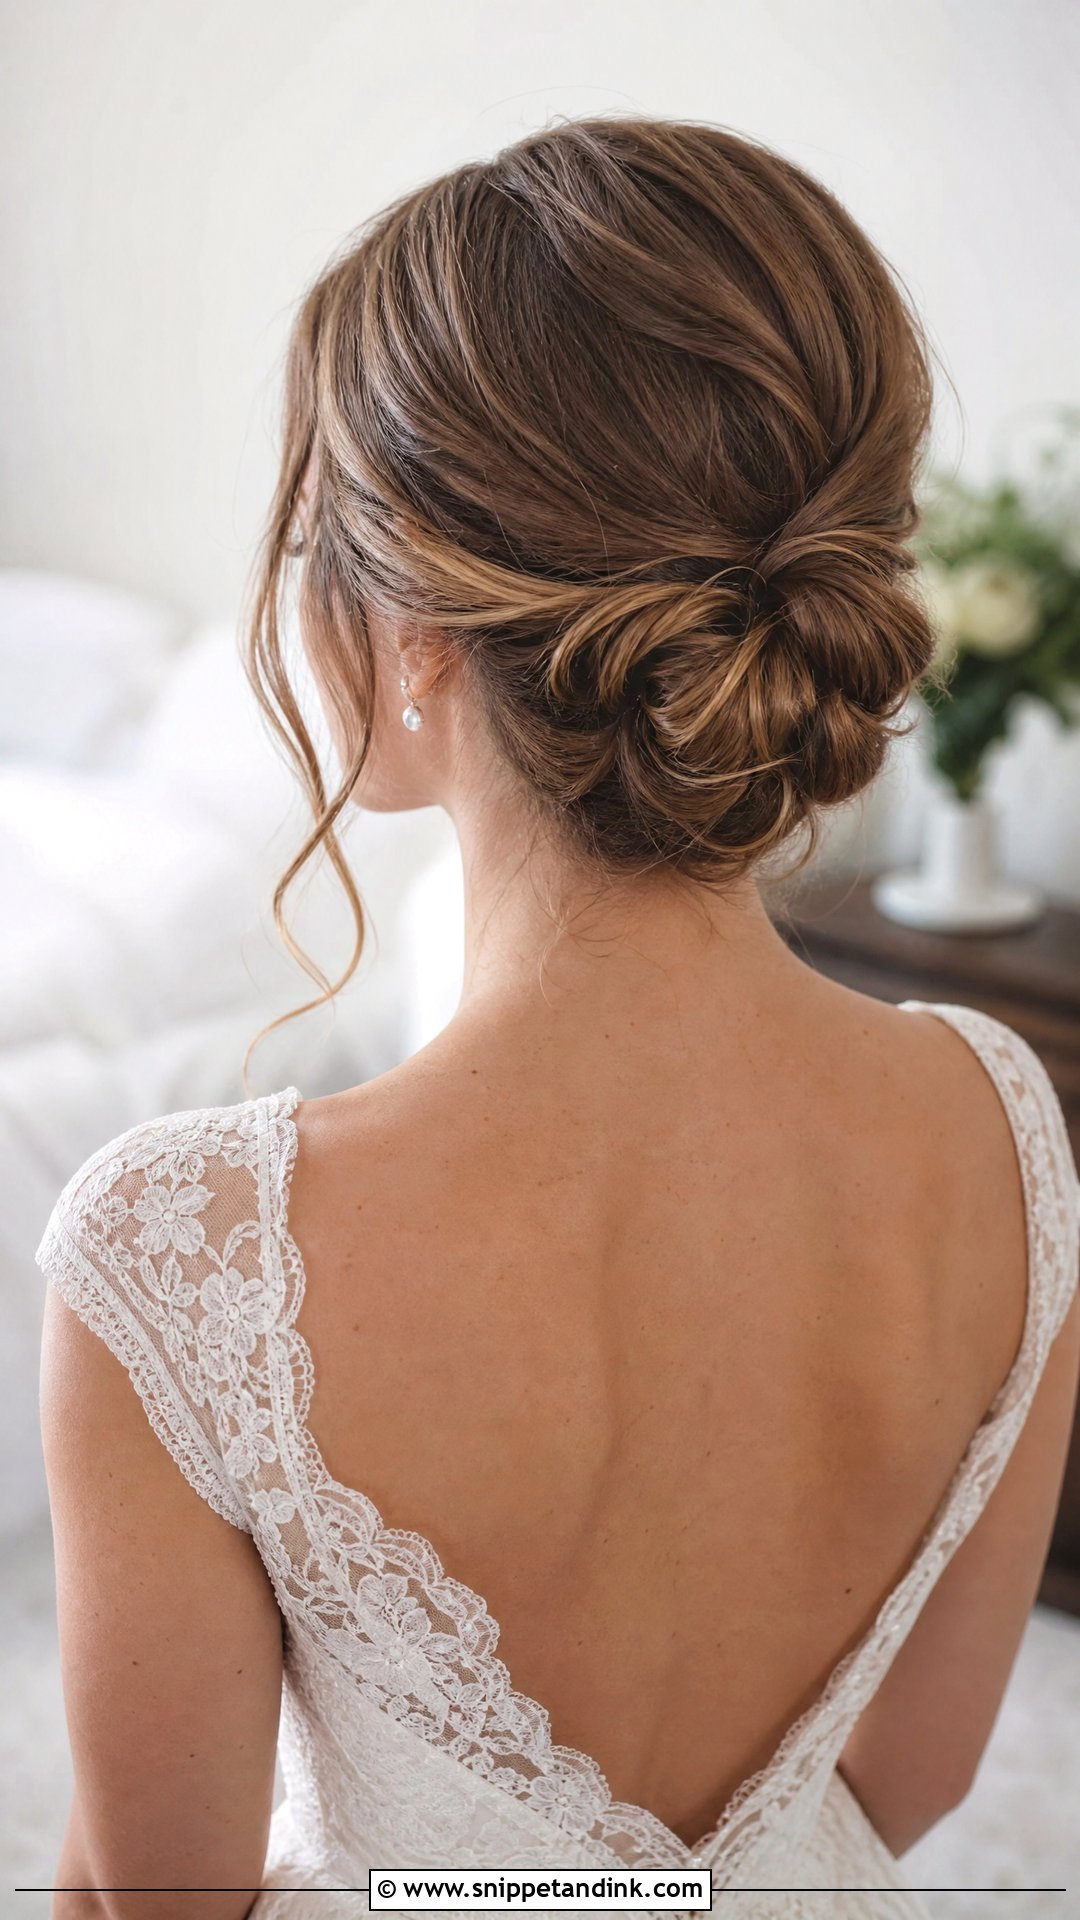
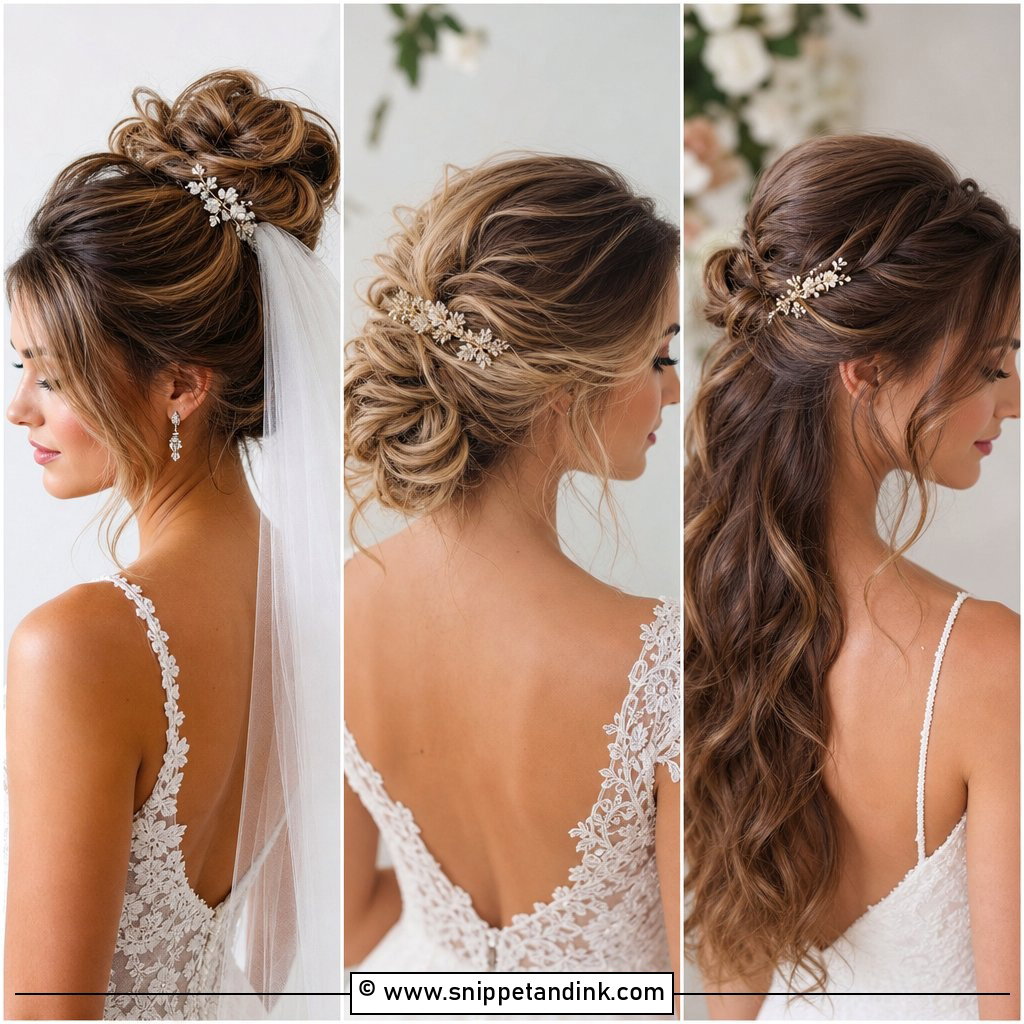
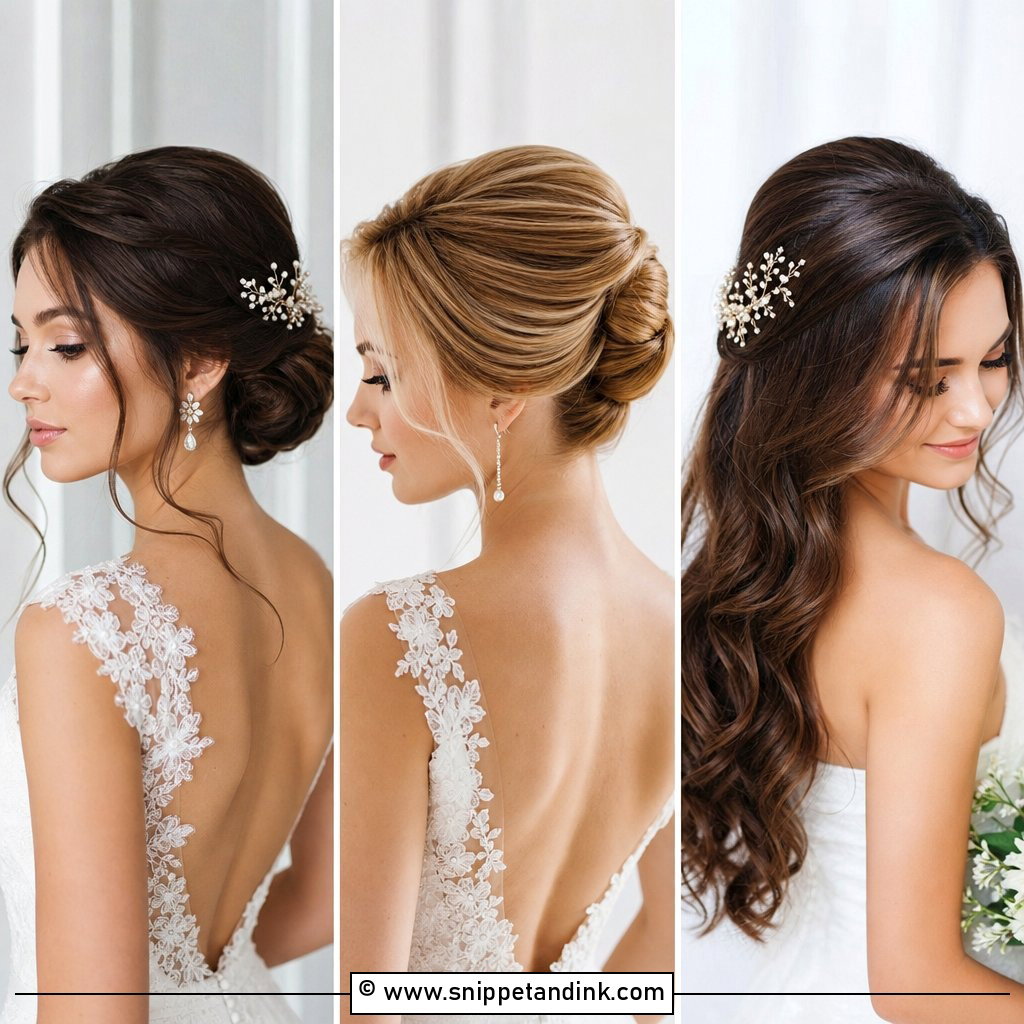
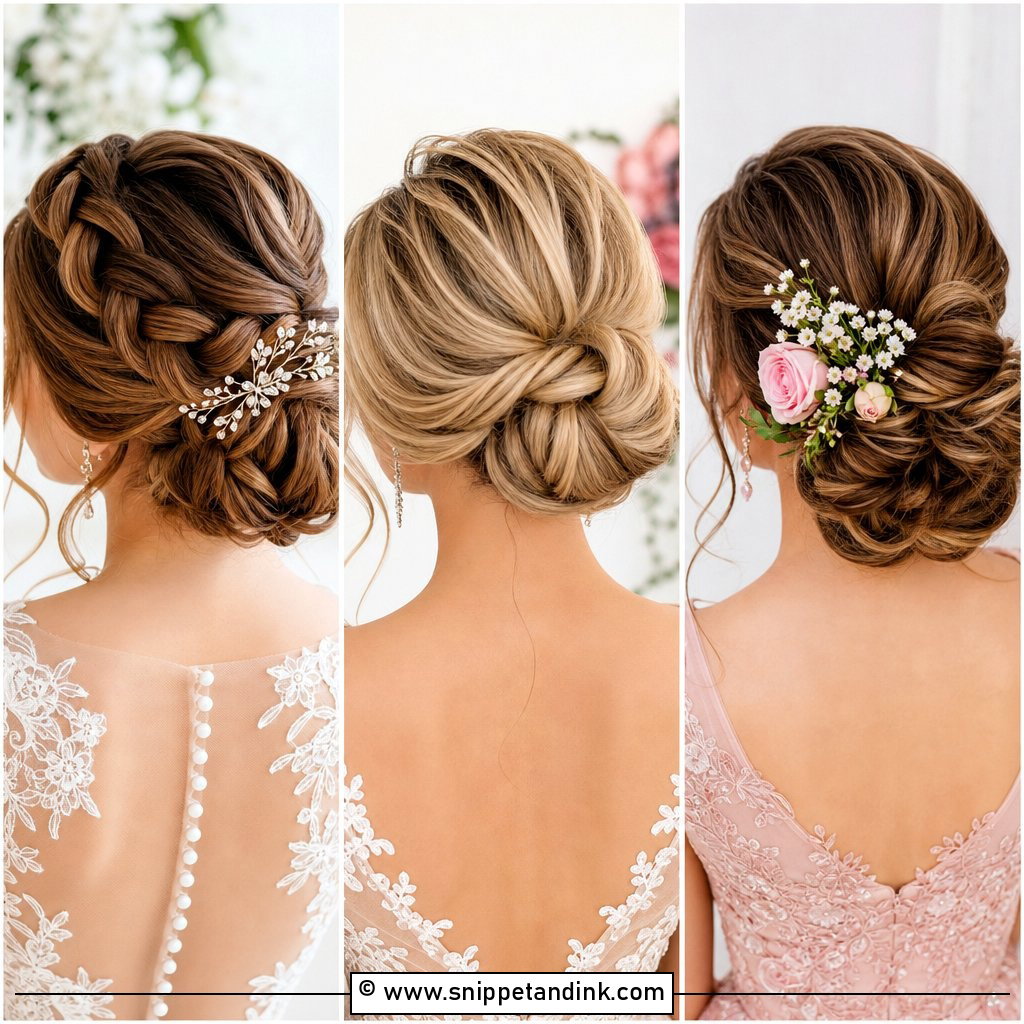
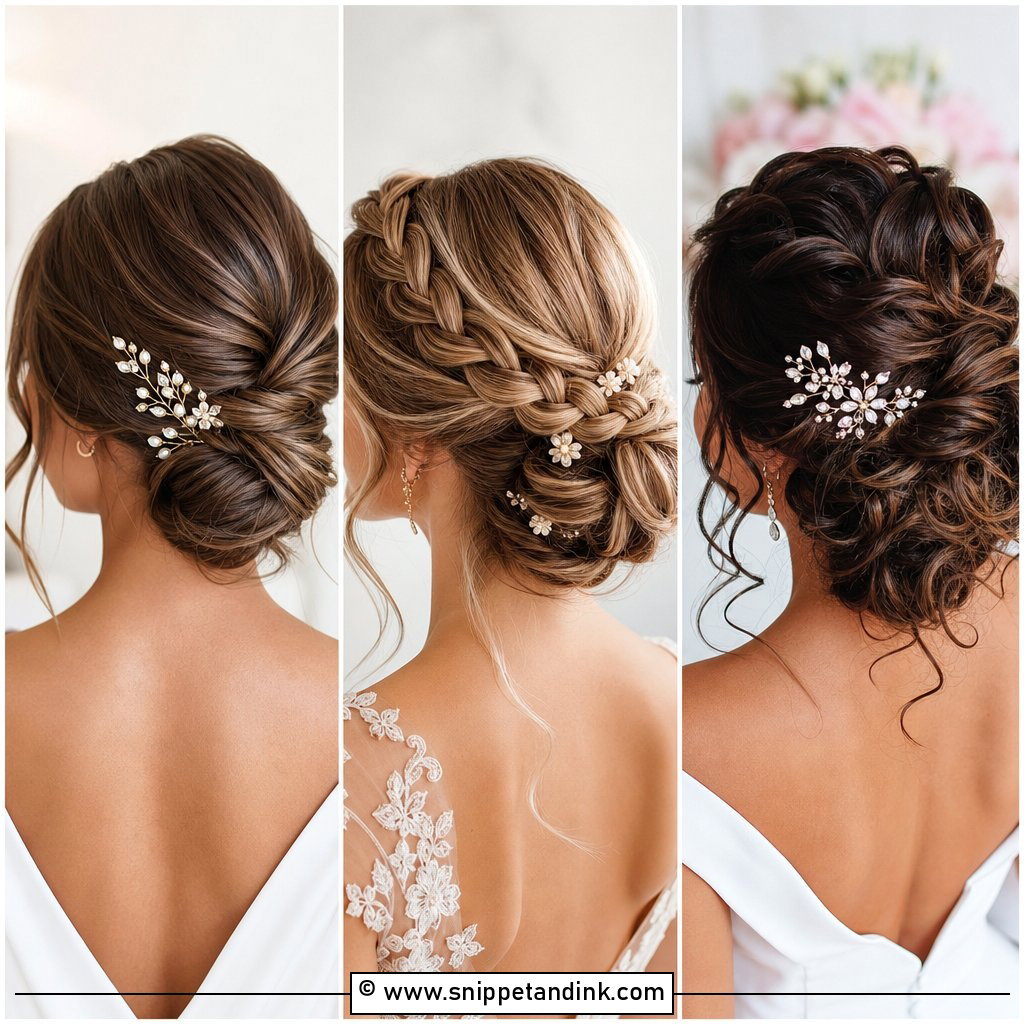
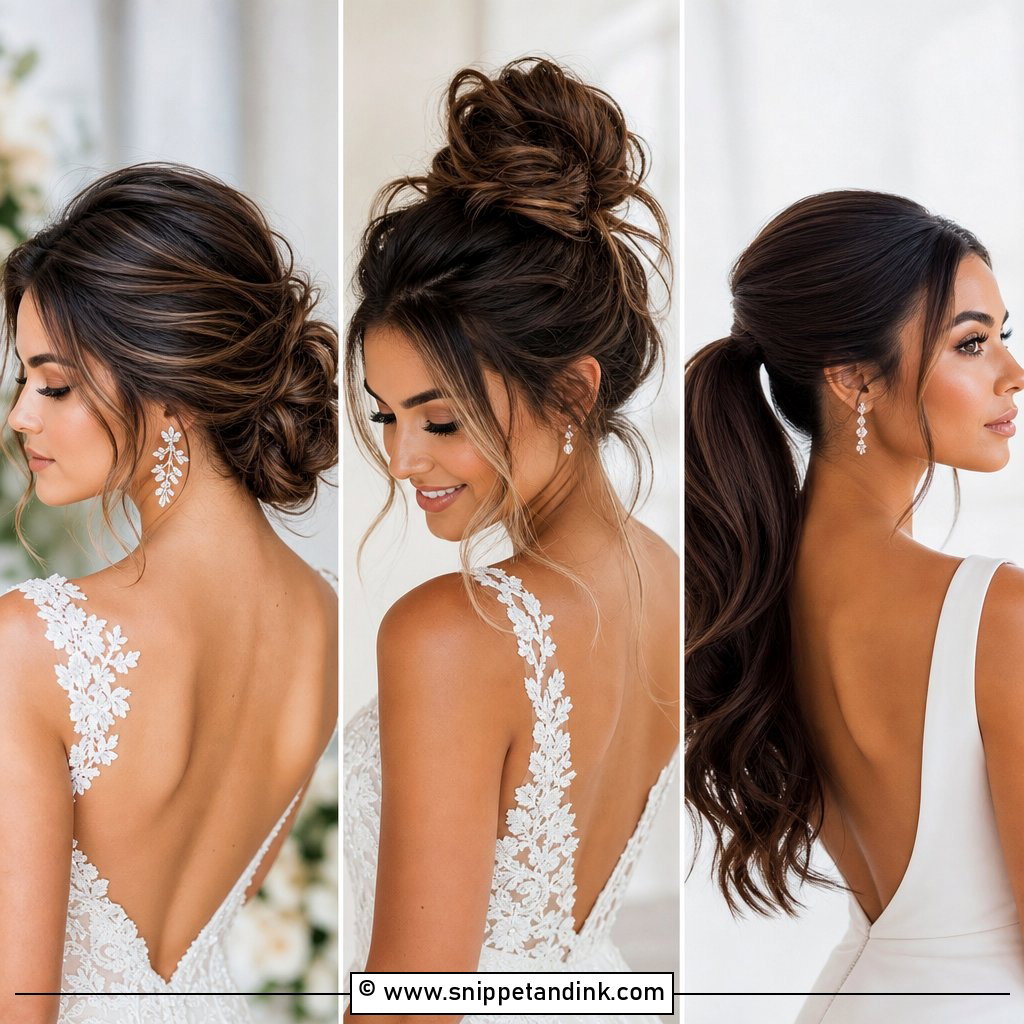
If you only learn one updo, make it this. Curl first, part where you normally do, then twist sections loosely toward the nape and pin each twist where it crosses the previous one, so the pins hide inside the bun. Ten minutes is realistic after a few practice runs, not the first time. It needs at least shoulder-length hair, and it takes a veil comb well, because the twists give the teeth something to grip.
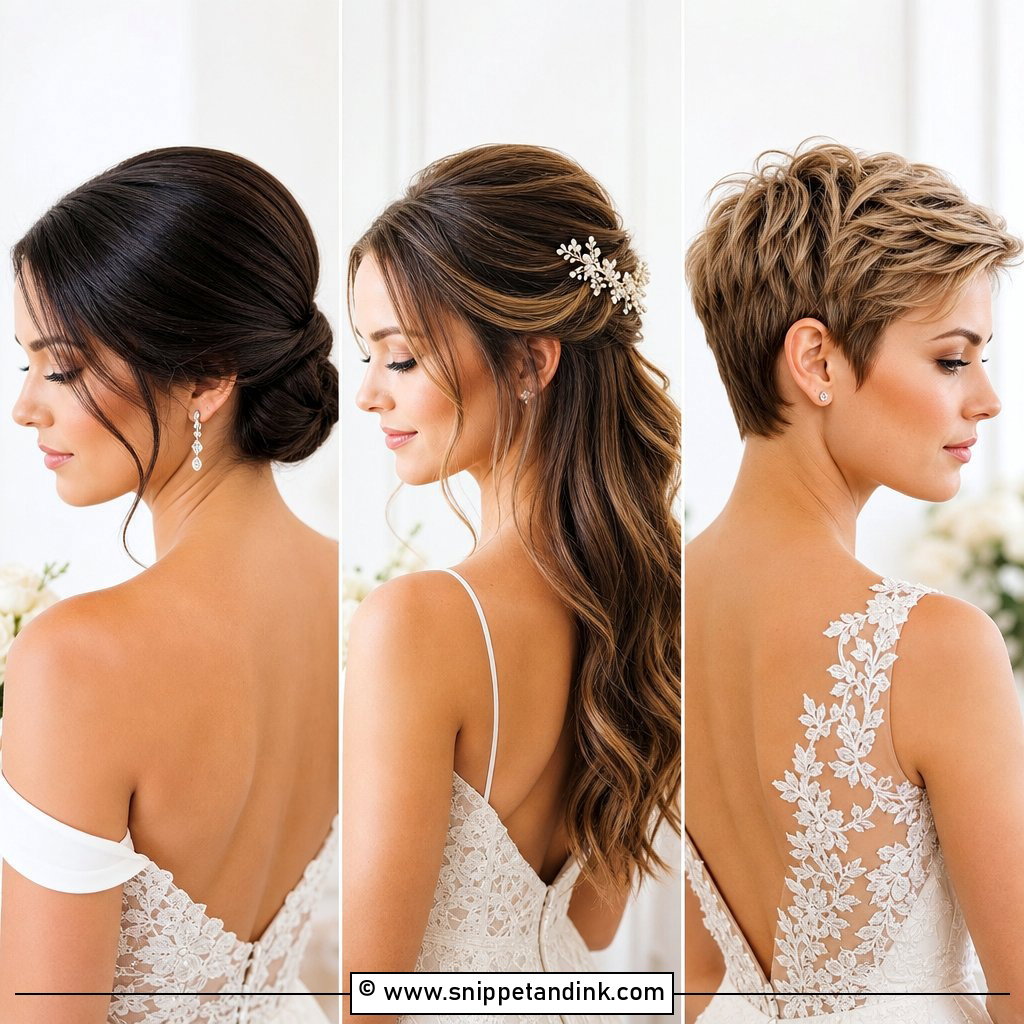
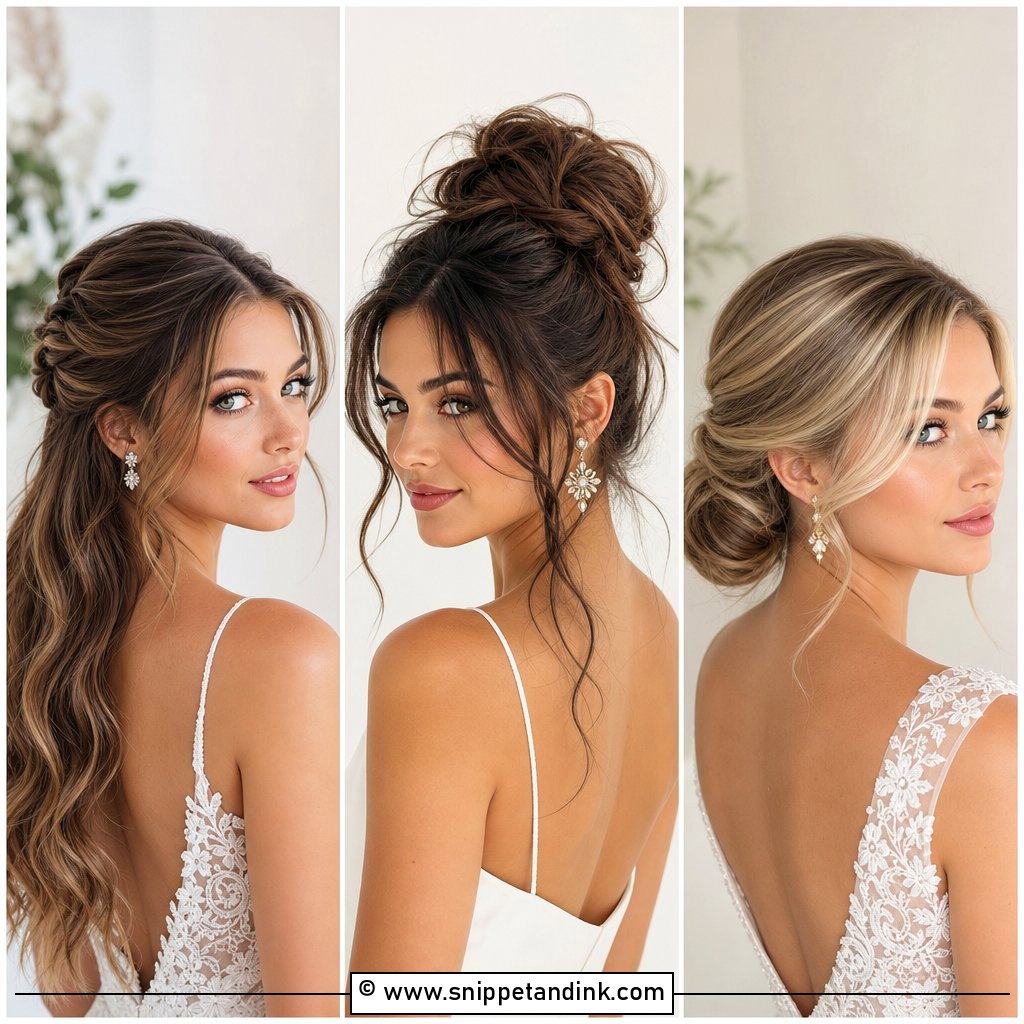
2. Half-Up Half-Down Bridal Hair Tutorial
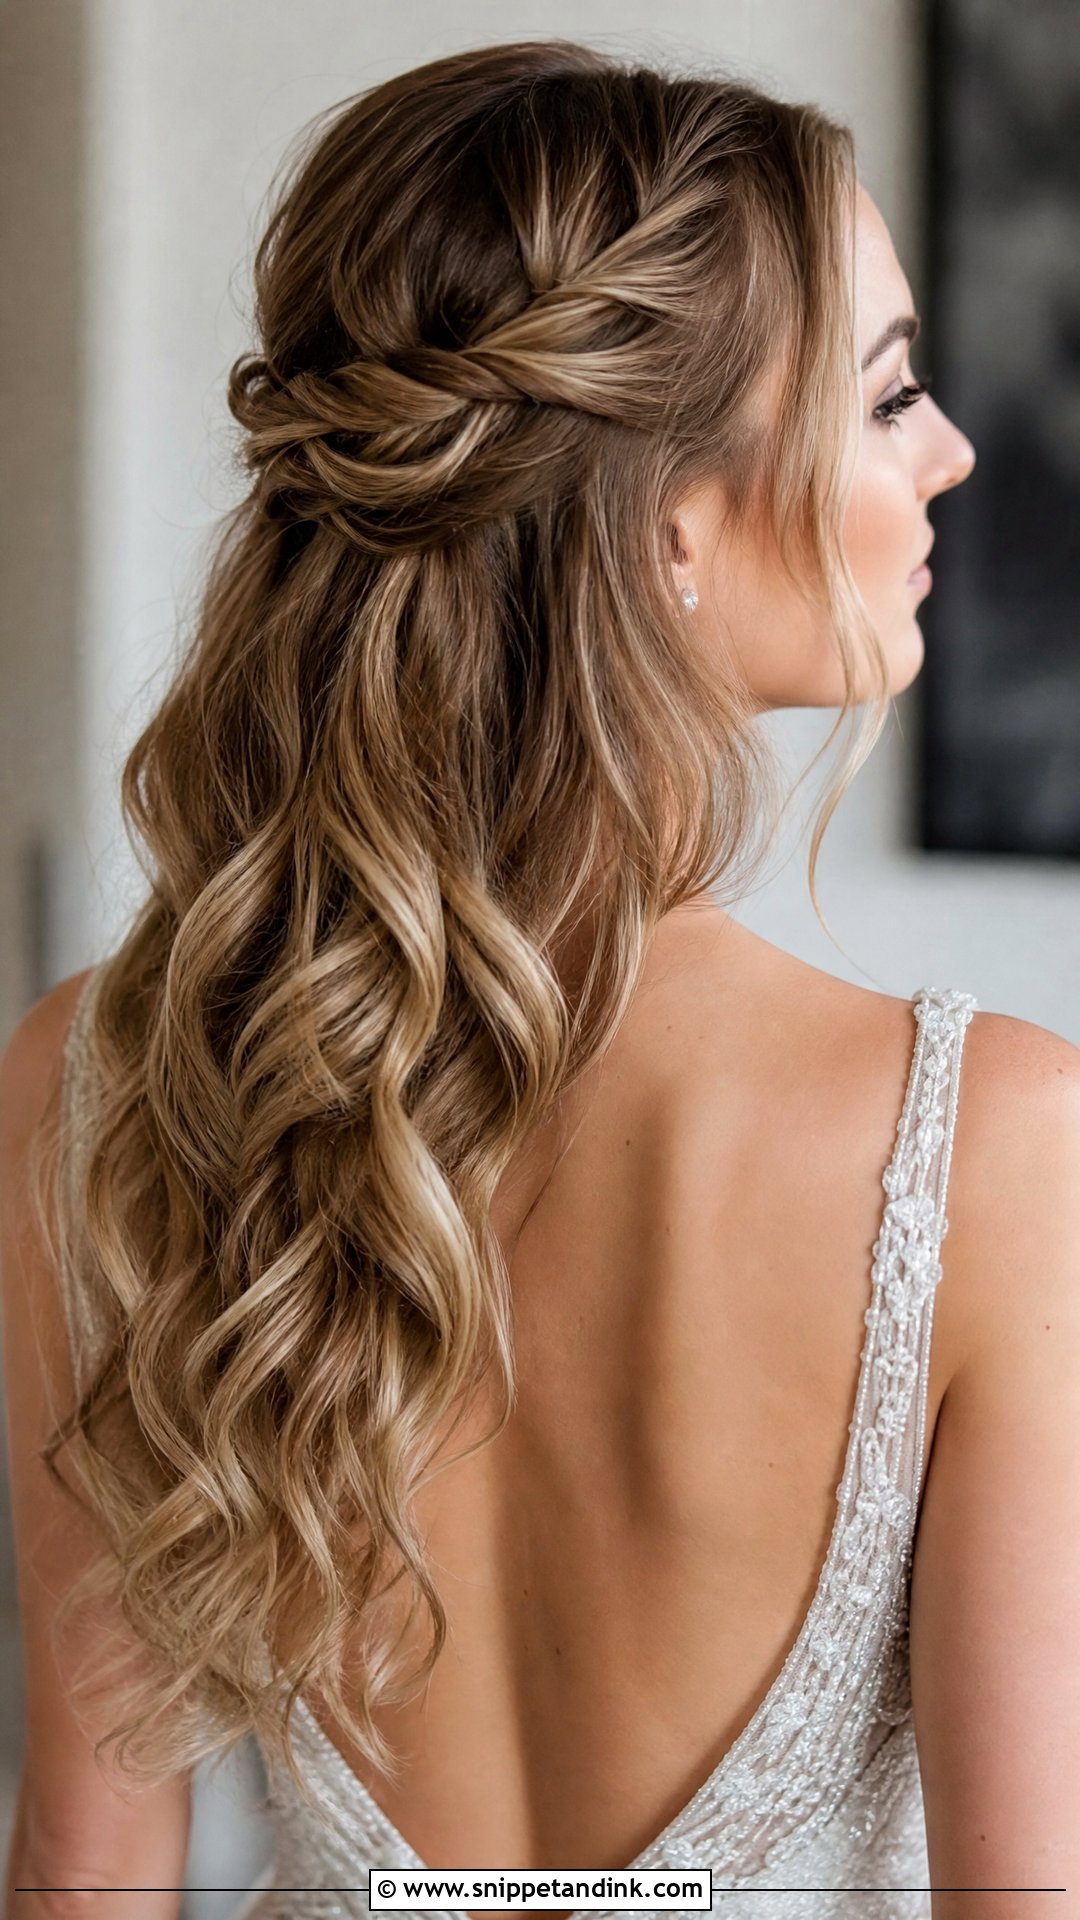
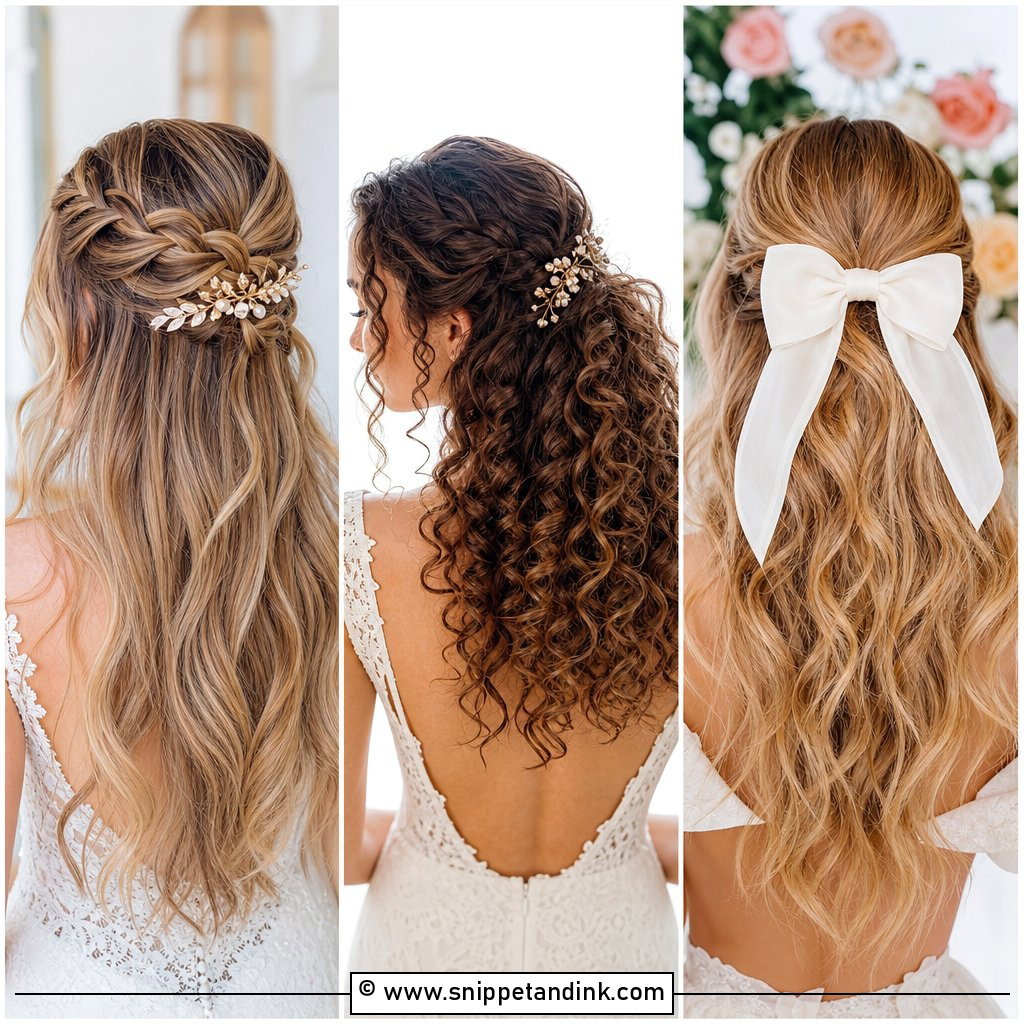
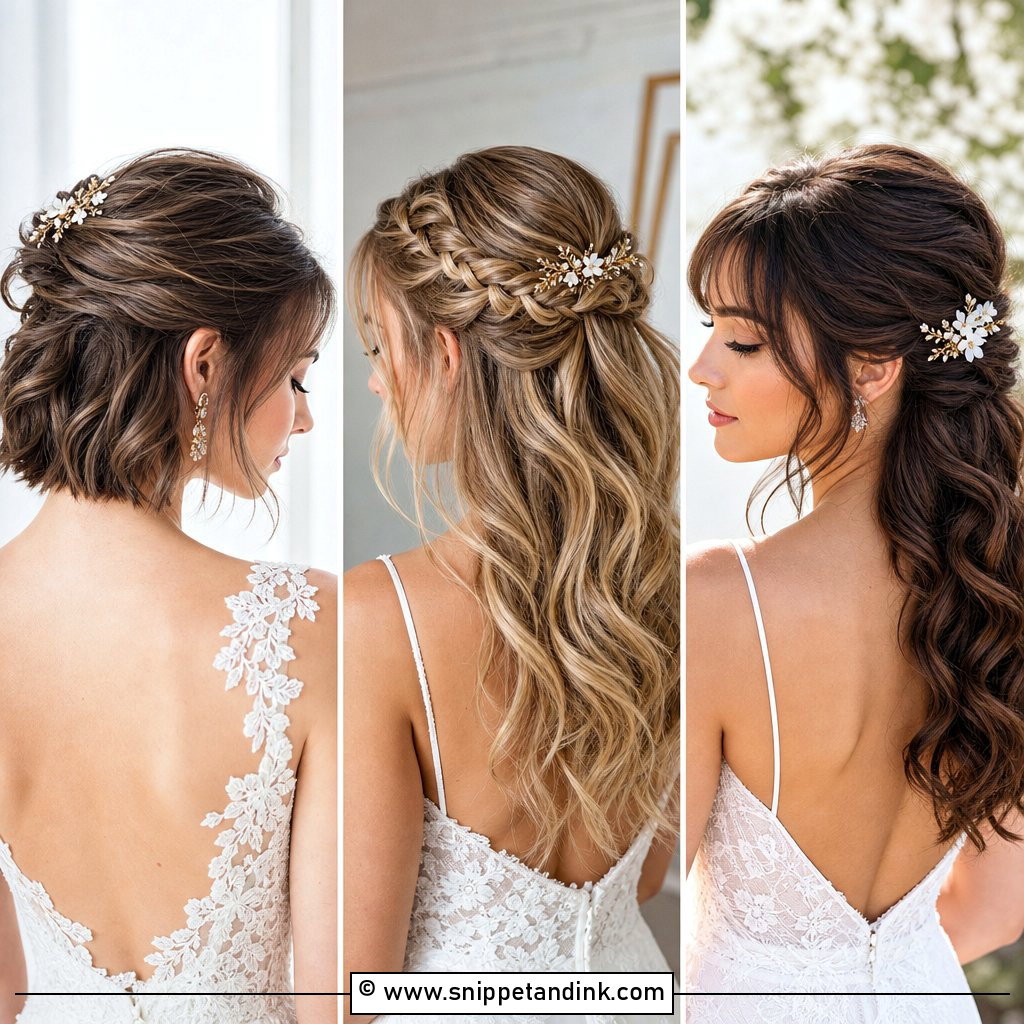
A half-up style is the one I recommend most to brides who want their hair down but don’t want to keep pushing it out of their face. Curl the lengths first, then take the top section back and twist or braid it, pinning at the crown. The usual DIY mistake is taking too big a top section, which leaves the lengths looking thin. Keep it to the hair above your temples, and set the waves with a light spray before you pin, not after.
3. Braided Crown Wedding Hair Tutorial
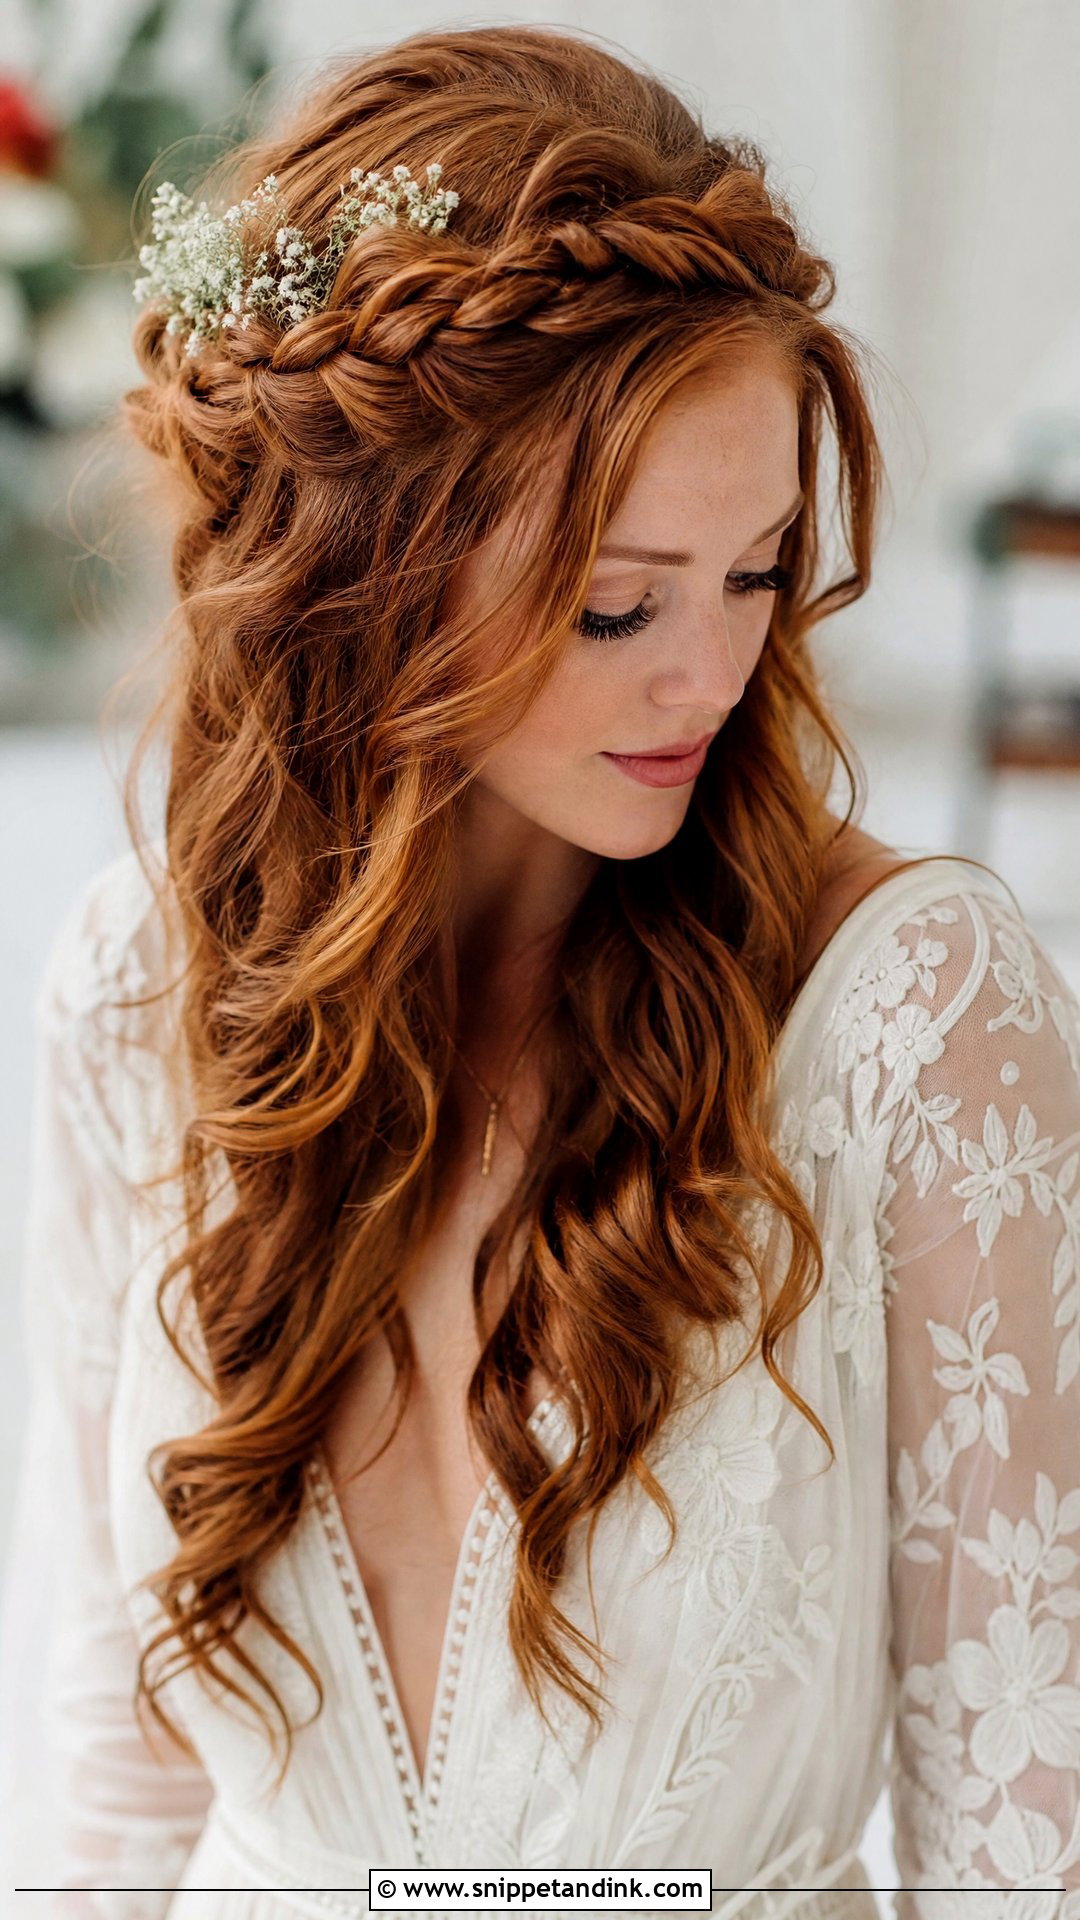
A braided crown is harder on yourself than it looks, mainly because your arms are working above your head for a long time. Make two small braids behind your ears, cross them over the top of your head and pin each end under the opposite braid. Leave the rest down in waves or gather it into a low bun. If your hair is layered, short pieces will poke out of the braids, so a little smoothing cream on your fingers while braiding helps a lot.
4. Sleek Low Ponytail Wedding Hair Tutorial
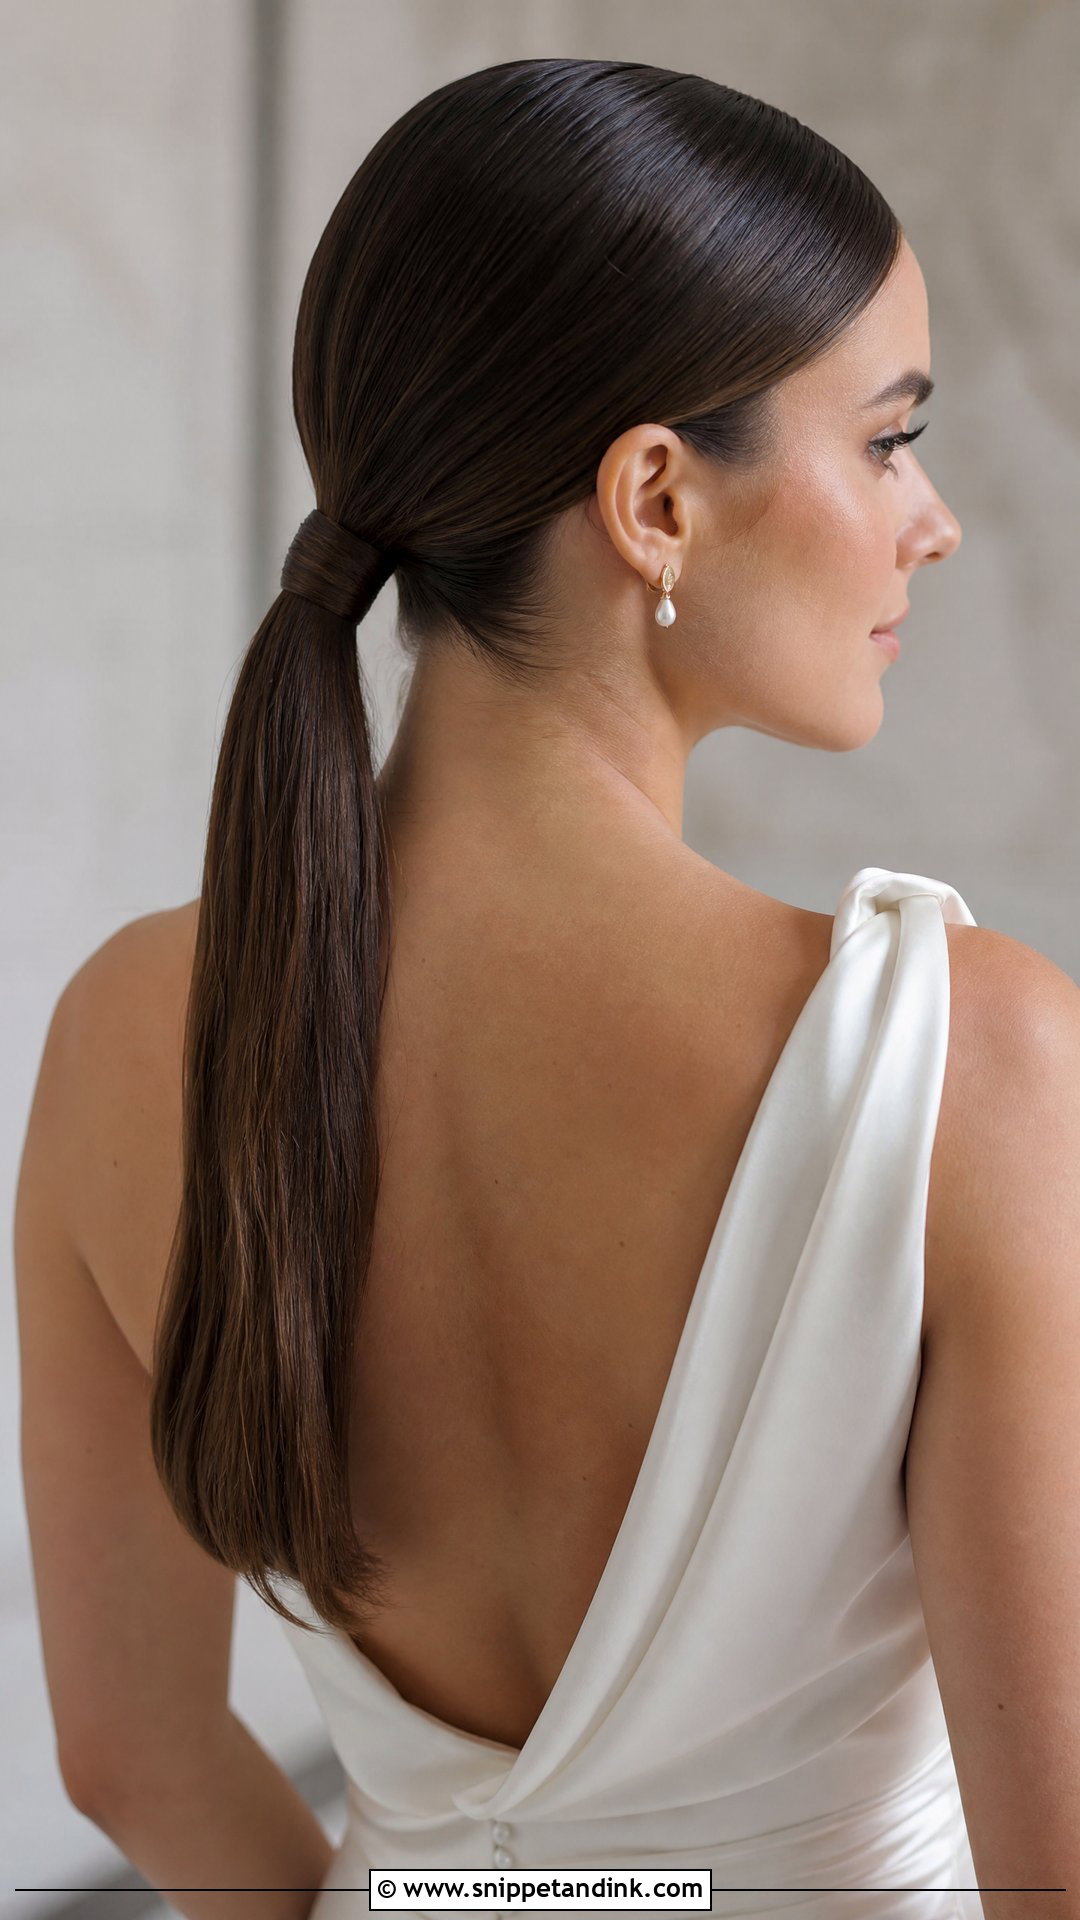
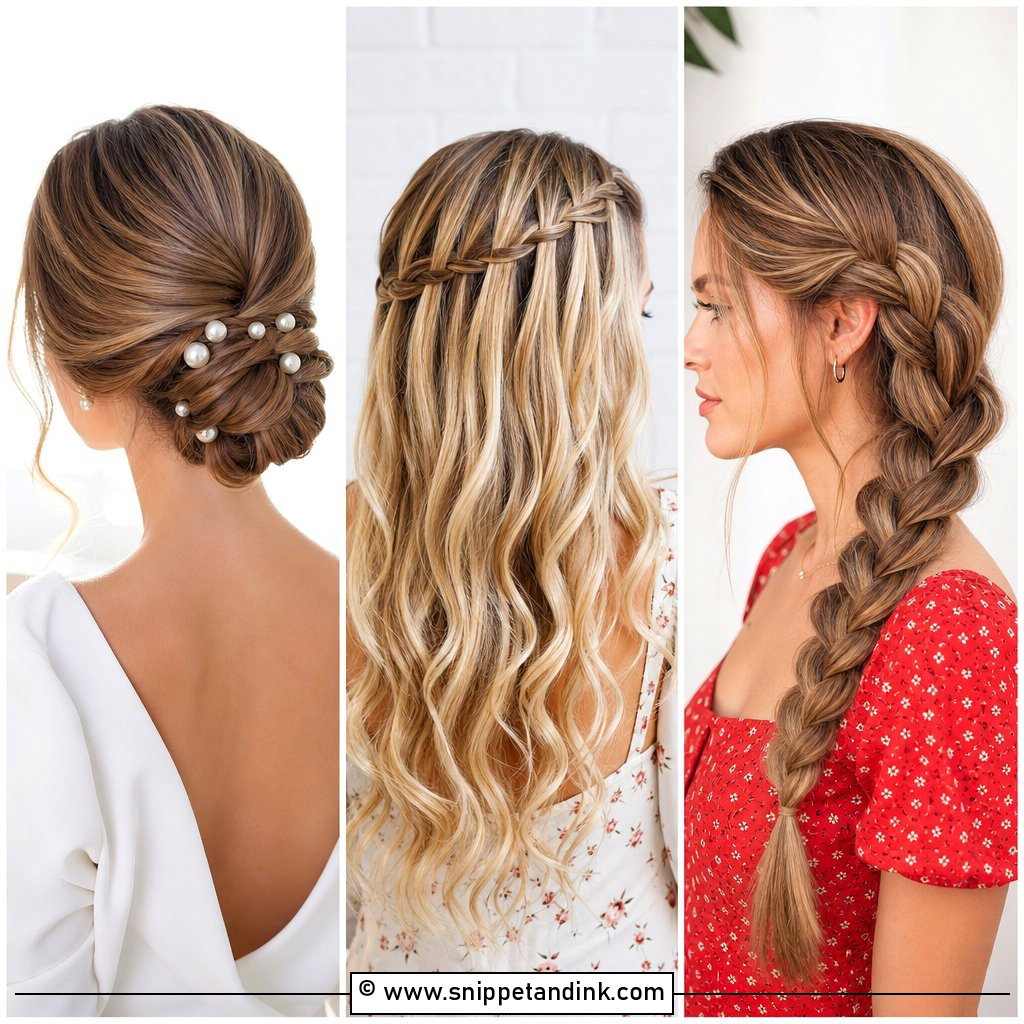
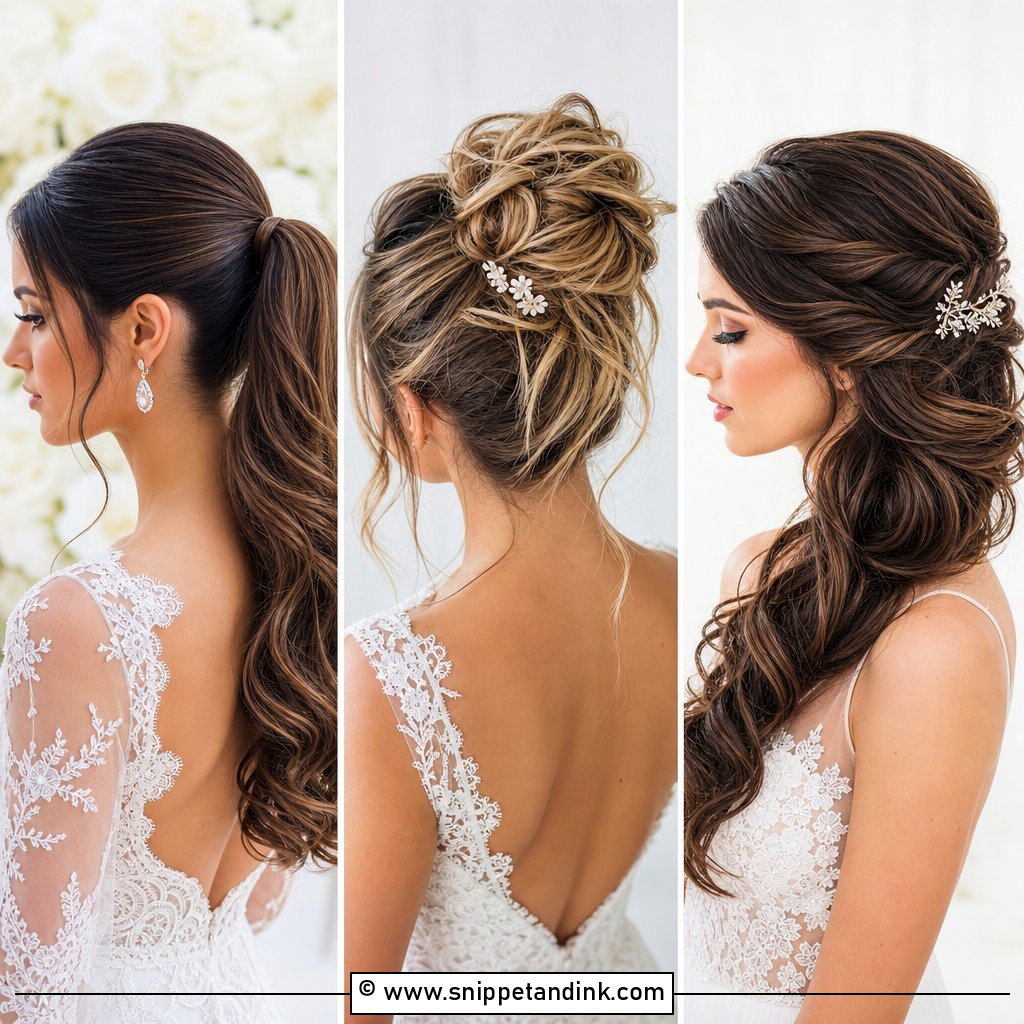
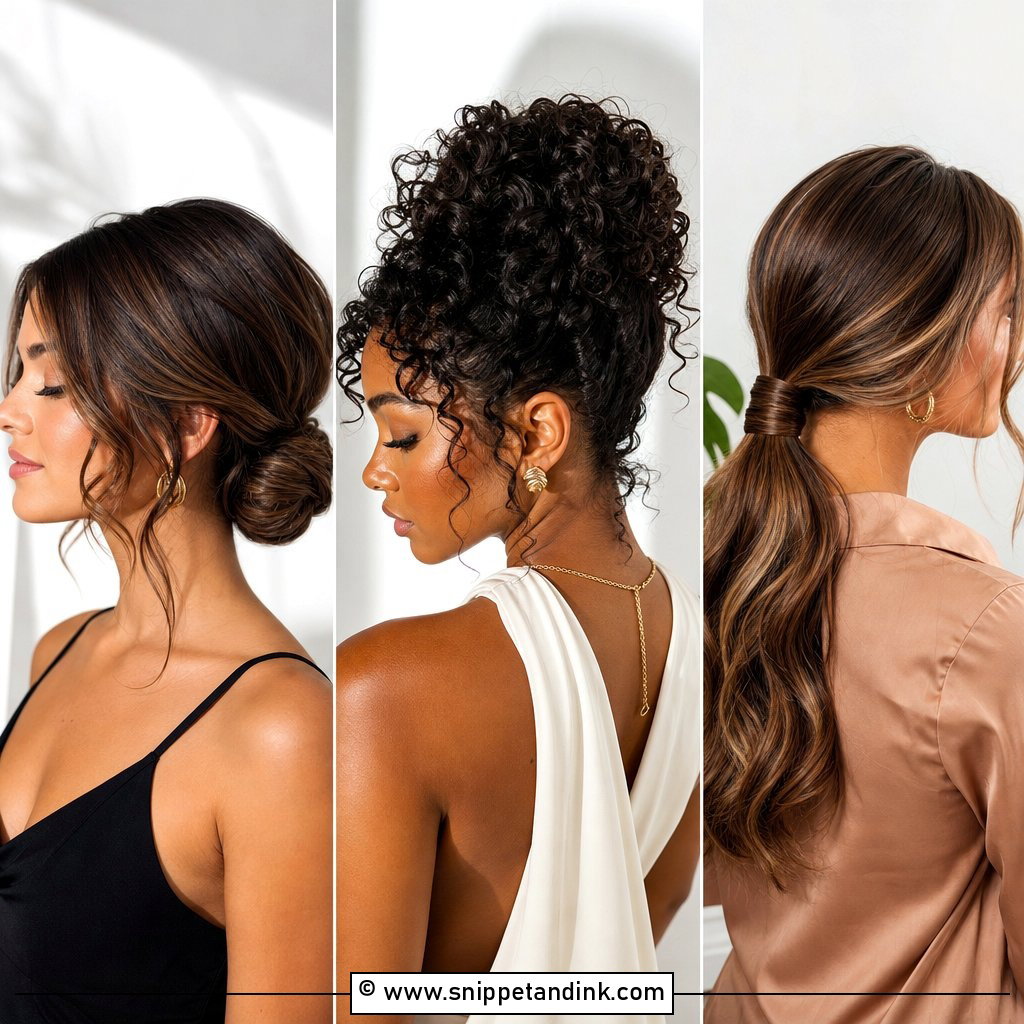
A sleek low ponytail is the most DIY-friendly style here, and it’s still smart enough for a modern wedding. Smooth your hair with a flat iron, apply a little serum, then brush everything back to the nape and secure it with a strong elastic. Wrap a thin section around the elastic and pin it underneath. It also suits hot weather because it keeps hair off your shoulders. One sparkly clip or a few pearl pins above the tie is all it needs.
5. Soft Chignon Wedding Hair Tutorial
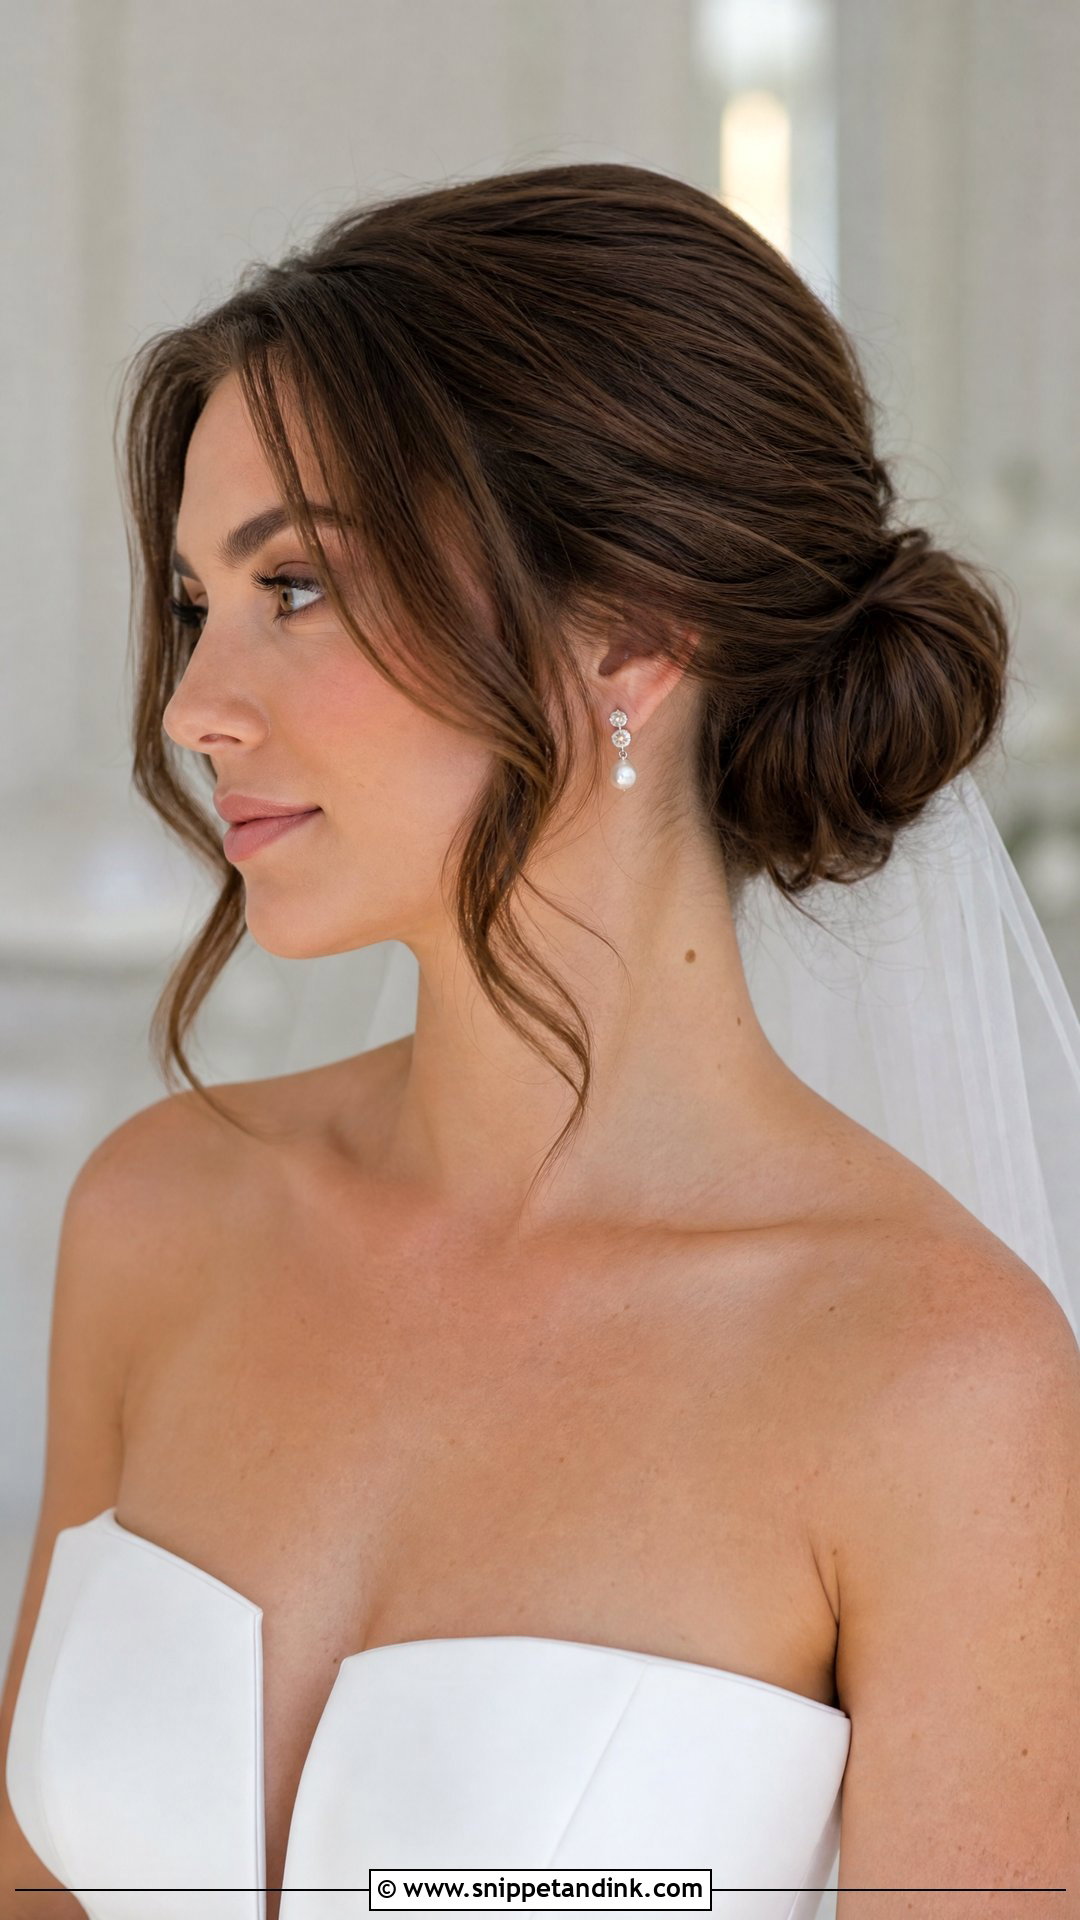
The chignon looks complicated but is mostly one motion: gather your hair low, twist it upward and tuck it under itself, then pin around the shape. Curling first gives the hair grip; very smooth or freshly washed hair slips out. For a softer version, pull a few pieces loose around your temples, or French braid the front sections back into the knot. It suits structured gowns and formal venues and holds through a long evening when it’s pinned properly.
6. Loose Boho Waves Wedding Hair Tutorial
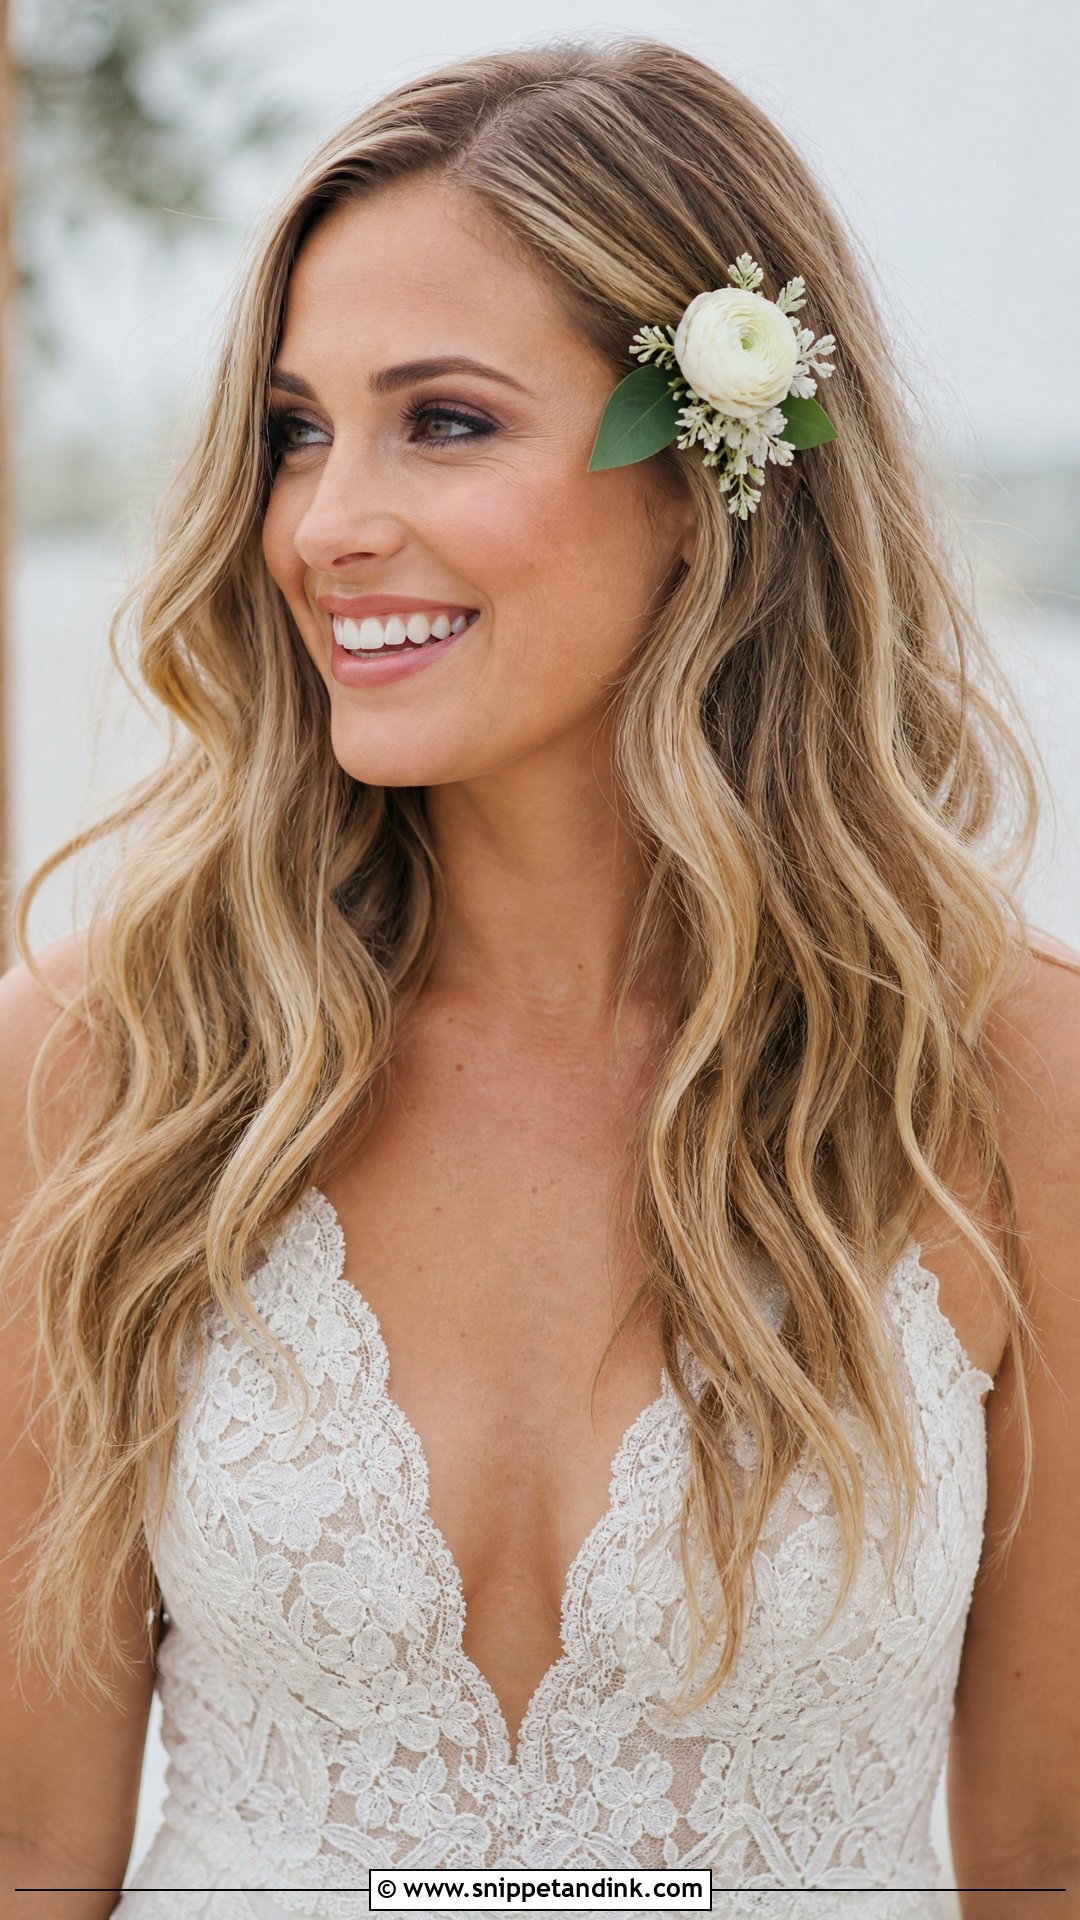
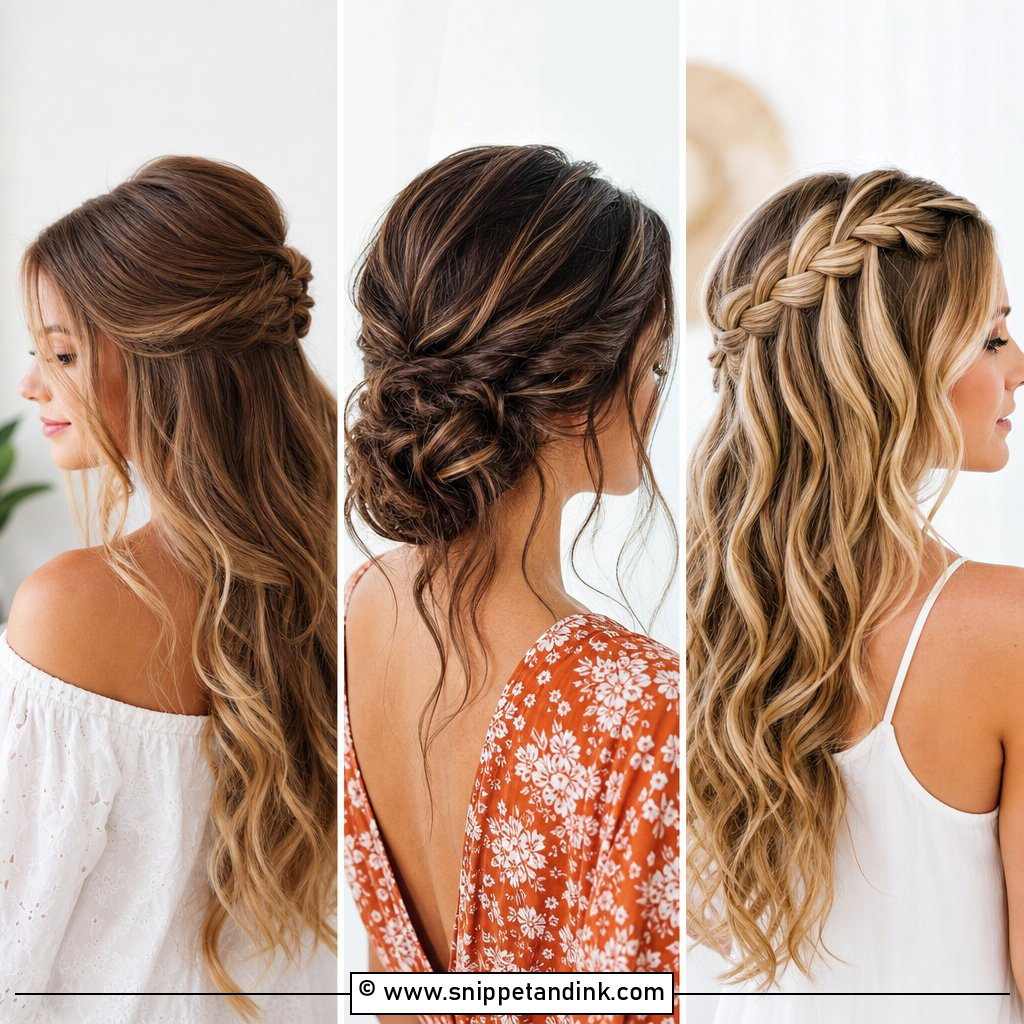
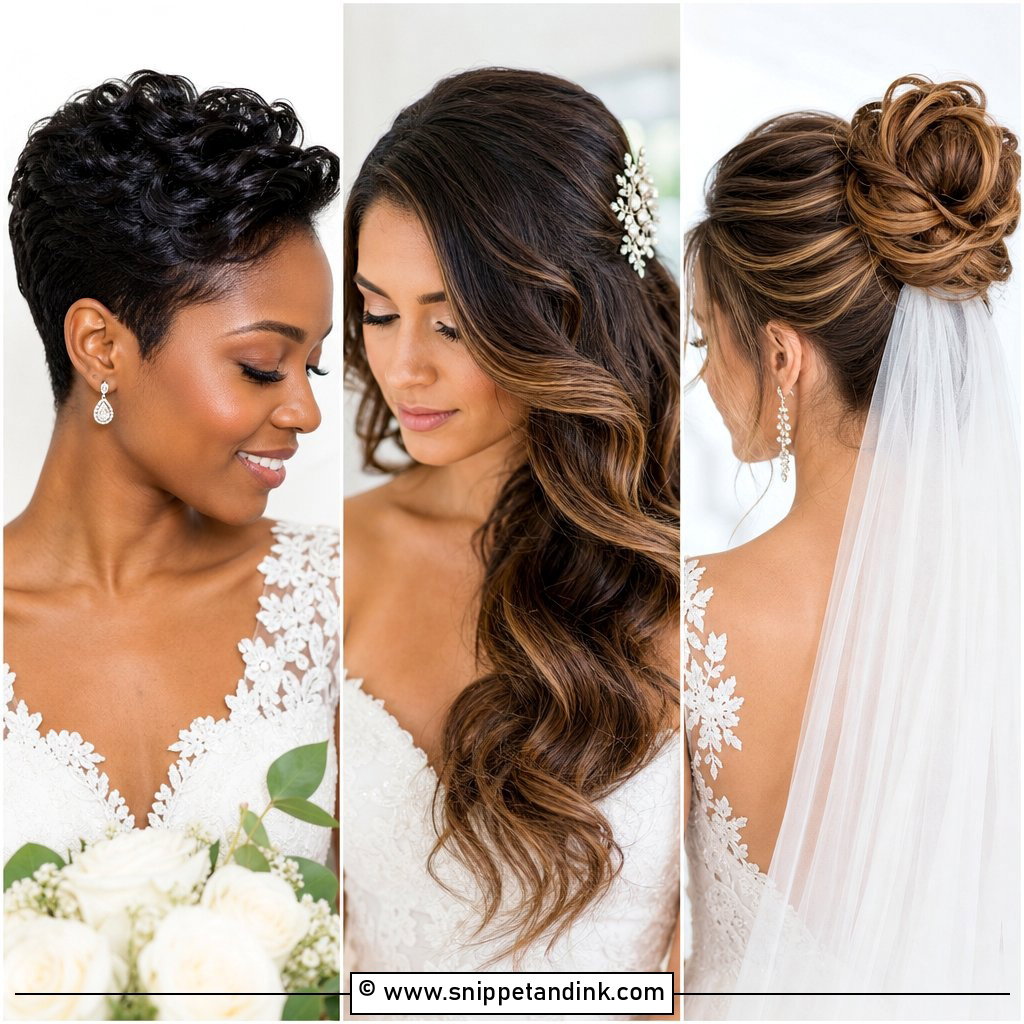
Boho waves are the most forgiving tutorial here, since they’re meant to look unplanned. Curl with a large barrel, alternating direction section by section, then break the waves up with your fingers and a texturizing spray once they’ve cooled. Hair worn down drops faster than hair pinned up, especially outdoors in humidity, so I’d hold it with a flexible spray before you leave. Tuck one side behind your ear with a decorative pin to keep it out of your face during vows.
7. Fishtail Braid Wedding Hair Tutorial
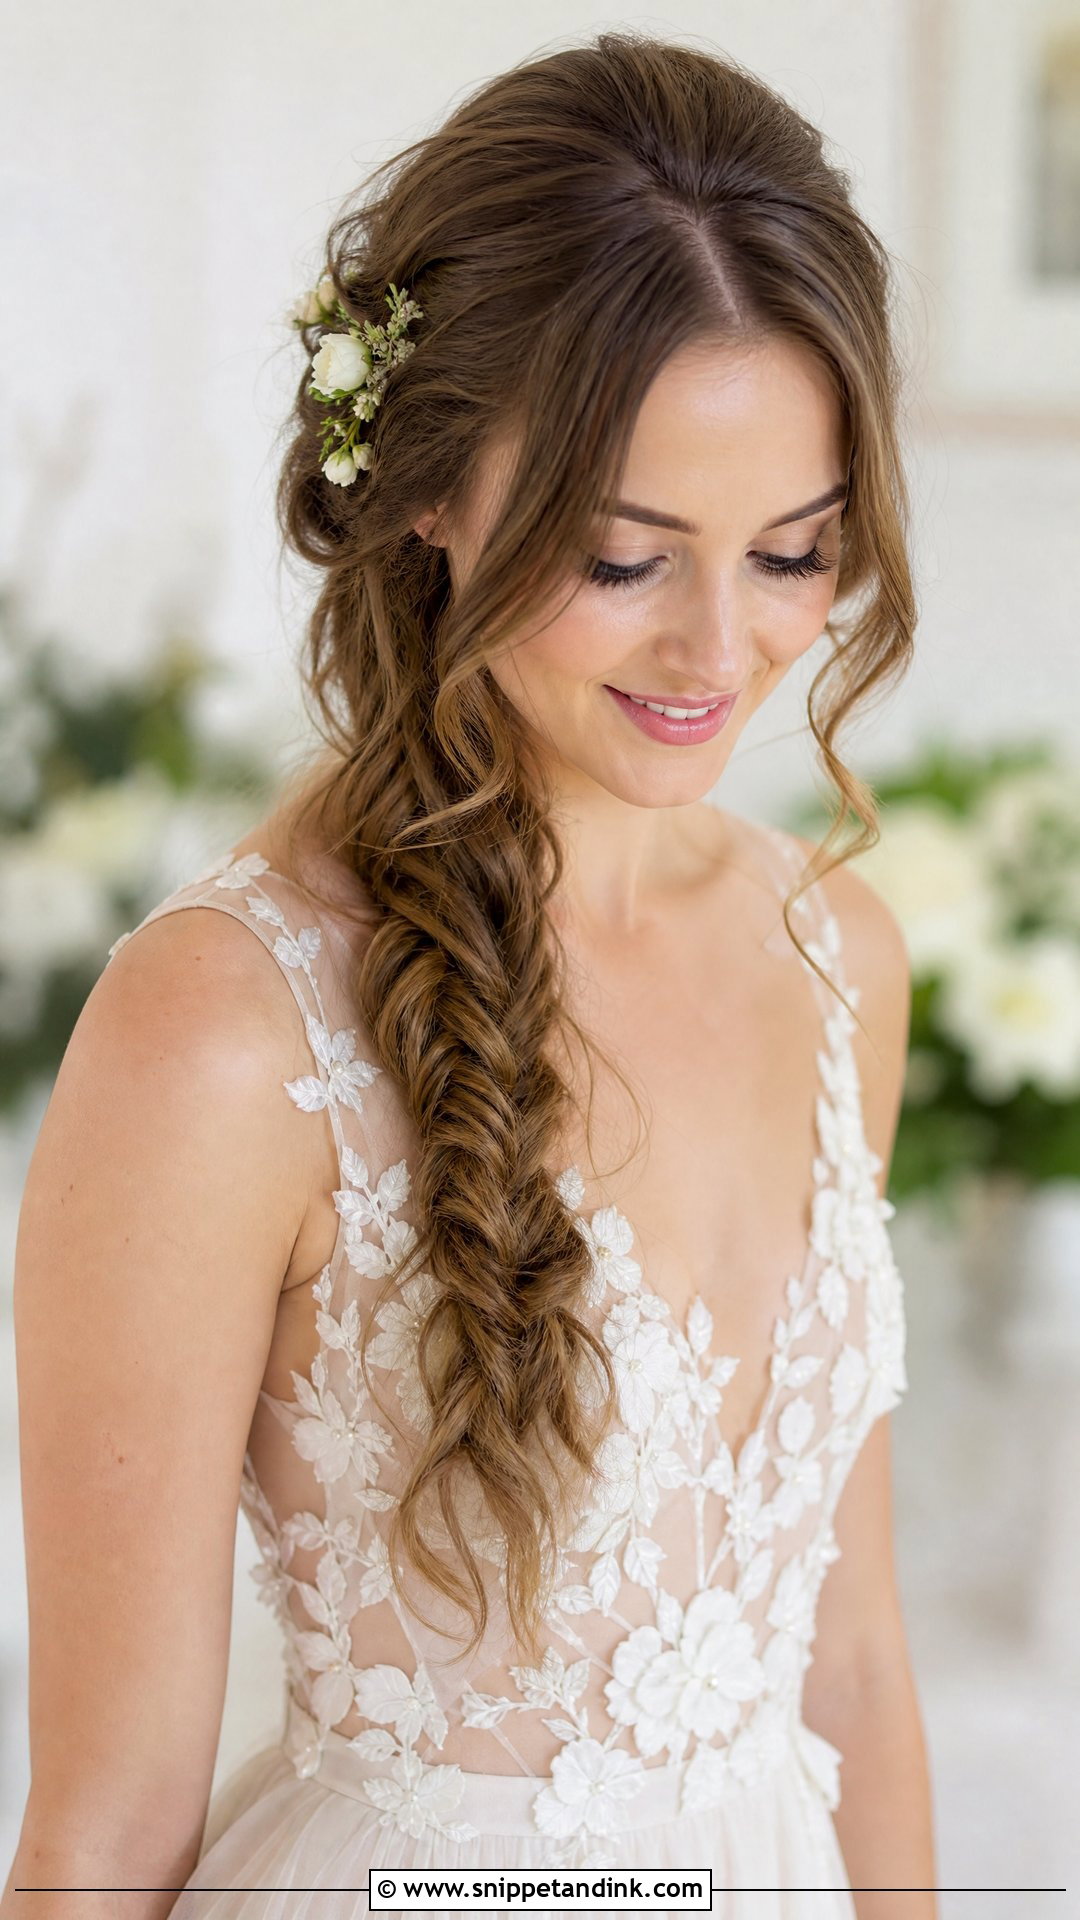
A fishtail braid is easier than a three-strand once you get the rhythm. Split your hair in two, cross a small piece from the outside of one side over to the other, then repeat on the opposite side, keeping the pieces equal in size. Gently tug the edges afterwards to loosen it. Wear it over one shoulder or as a half-up detail. Fine hair looks fuller if you add a texturizing spray before braiding.
8. Messy Bun Wedding Hair Tutorial
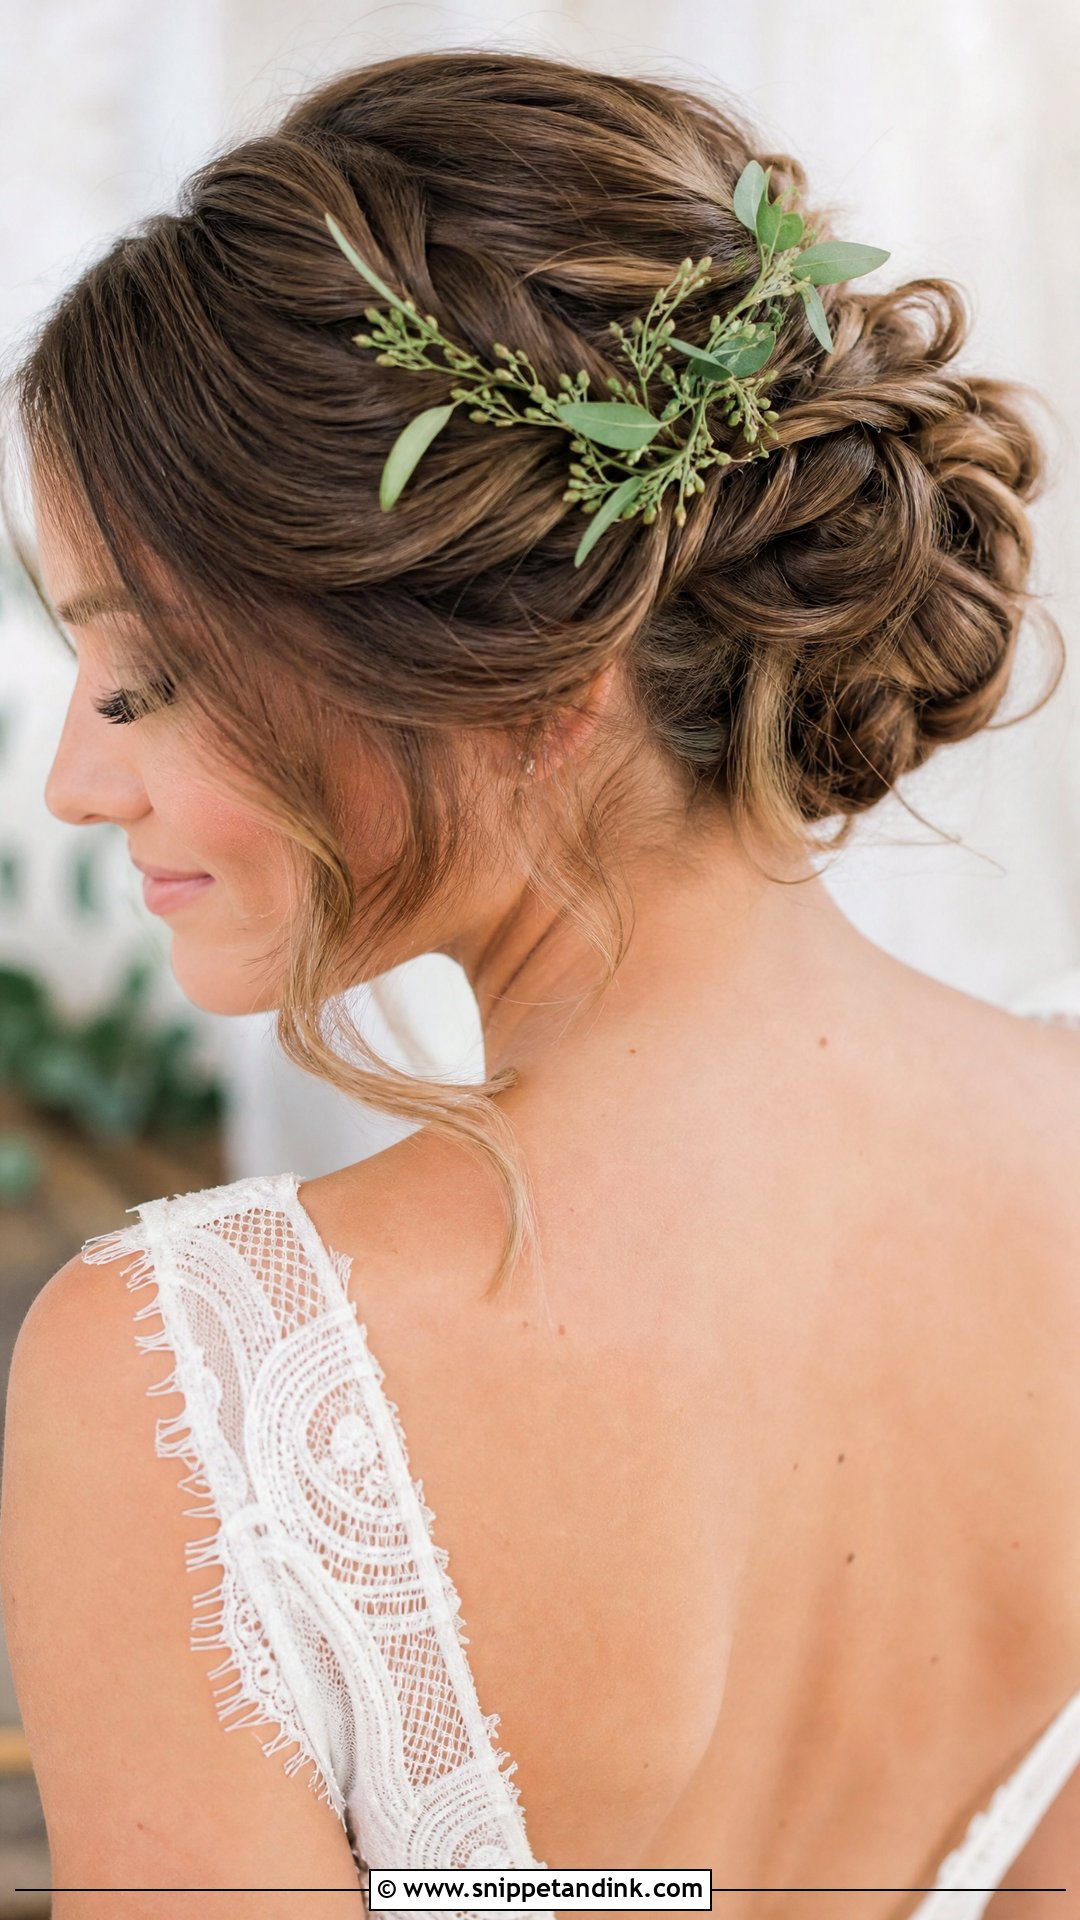
A messy bun takes more care than its name suggests. Start with curled, slightly textured hair, gather it loosely and pin it so it looks relaxed rather than lumpy. The trick is pulling out face-framing pieces deliberately, choosing which strands to free rather than letting them fall at random. It holds best on second-day hair. Greenery or a pearl pin tucked into the knot finishes it.
9. Side-Swept Curls Wedding Hair Tutorial
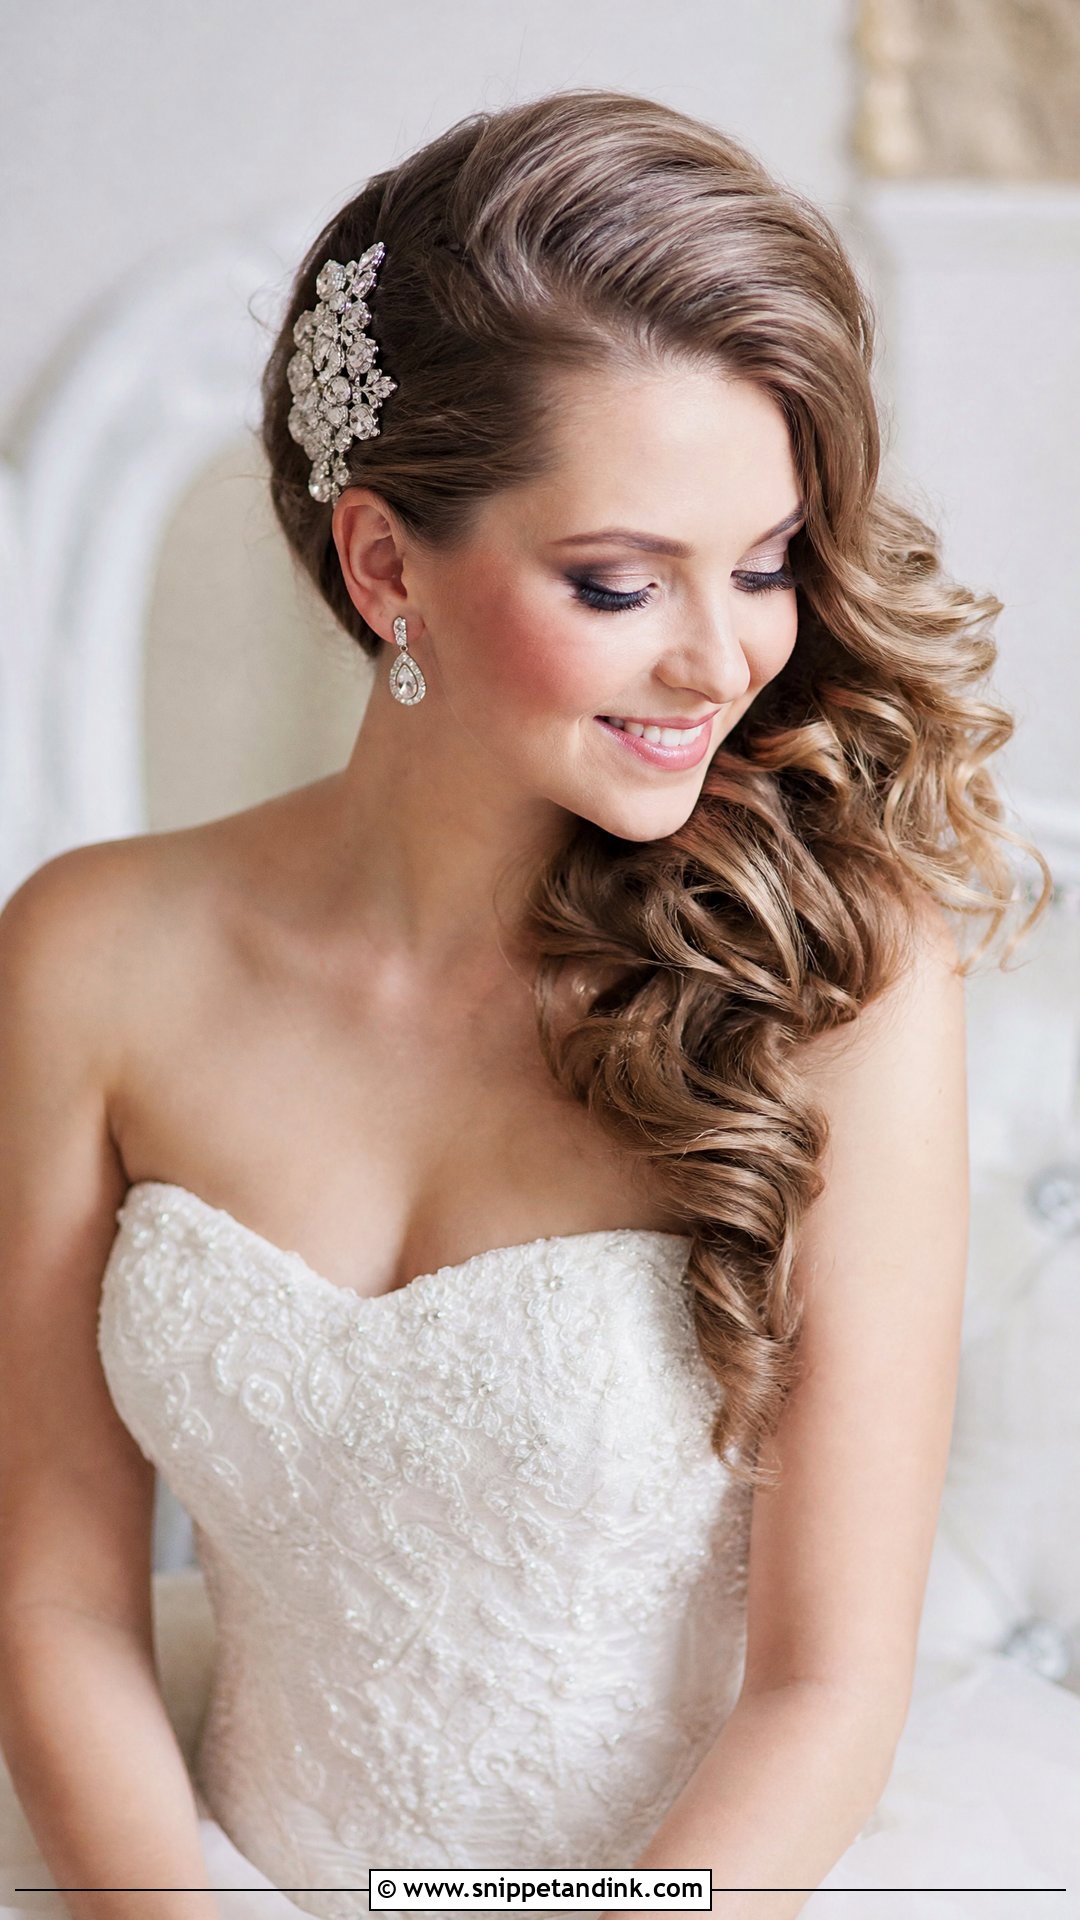
Few looks feel as glamorous as cascading curls swept over one shoulder. Curl everything away from your face with a medium barrel, let the curls cool, then brush through gently to blend them. Sweep the hair to one side and lock it with two crossed pins behind the opposite ear. It flatters strapless and one-shoulder gowns and needs plenty of length and volume. A decorative comb over the pins keeps the sweep in place all evening.
10. Twisted Updo Wedding Hair Tutorial
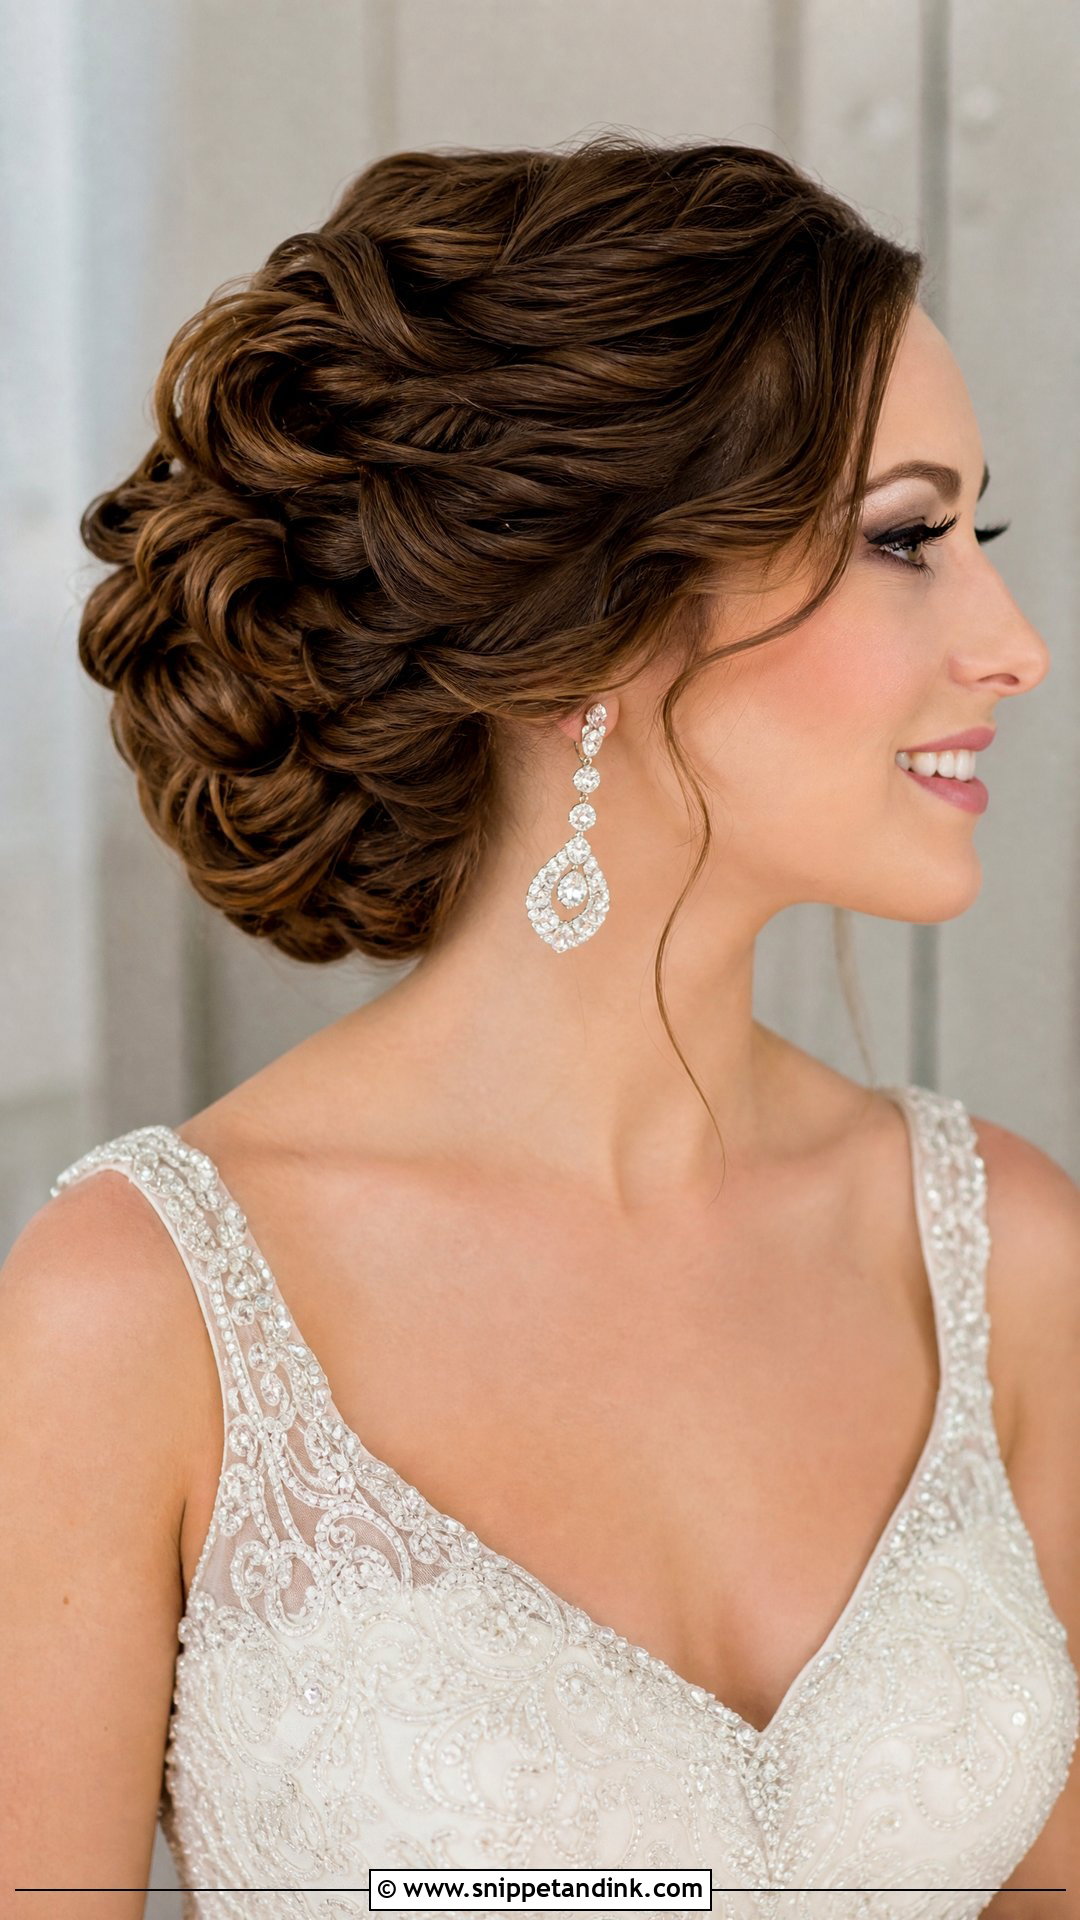
A twisted updo is a set of small twists layered at the back, which makes it surprisingly achievable once you’ve practised the twist itself. Section the hair around your head, twist each piece and pin it toward the back, layering each one so its pins are covered by the next. It’s great in warm climates since it keeps your neck clear. Fifteen minutes is realistic only after practice; allow double that the first few times.
11. Pinned-Back Half Updo Wedding Hair Tutorial
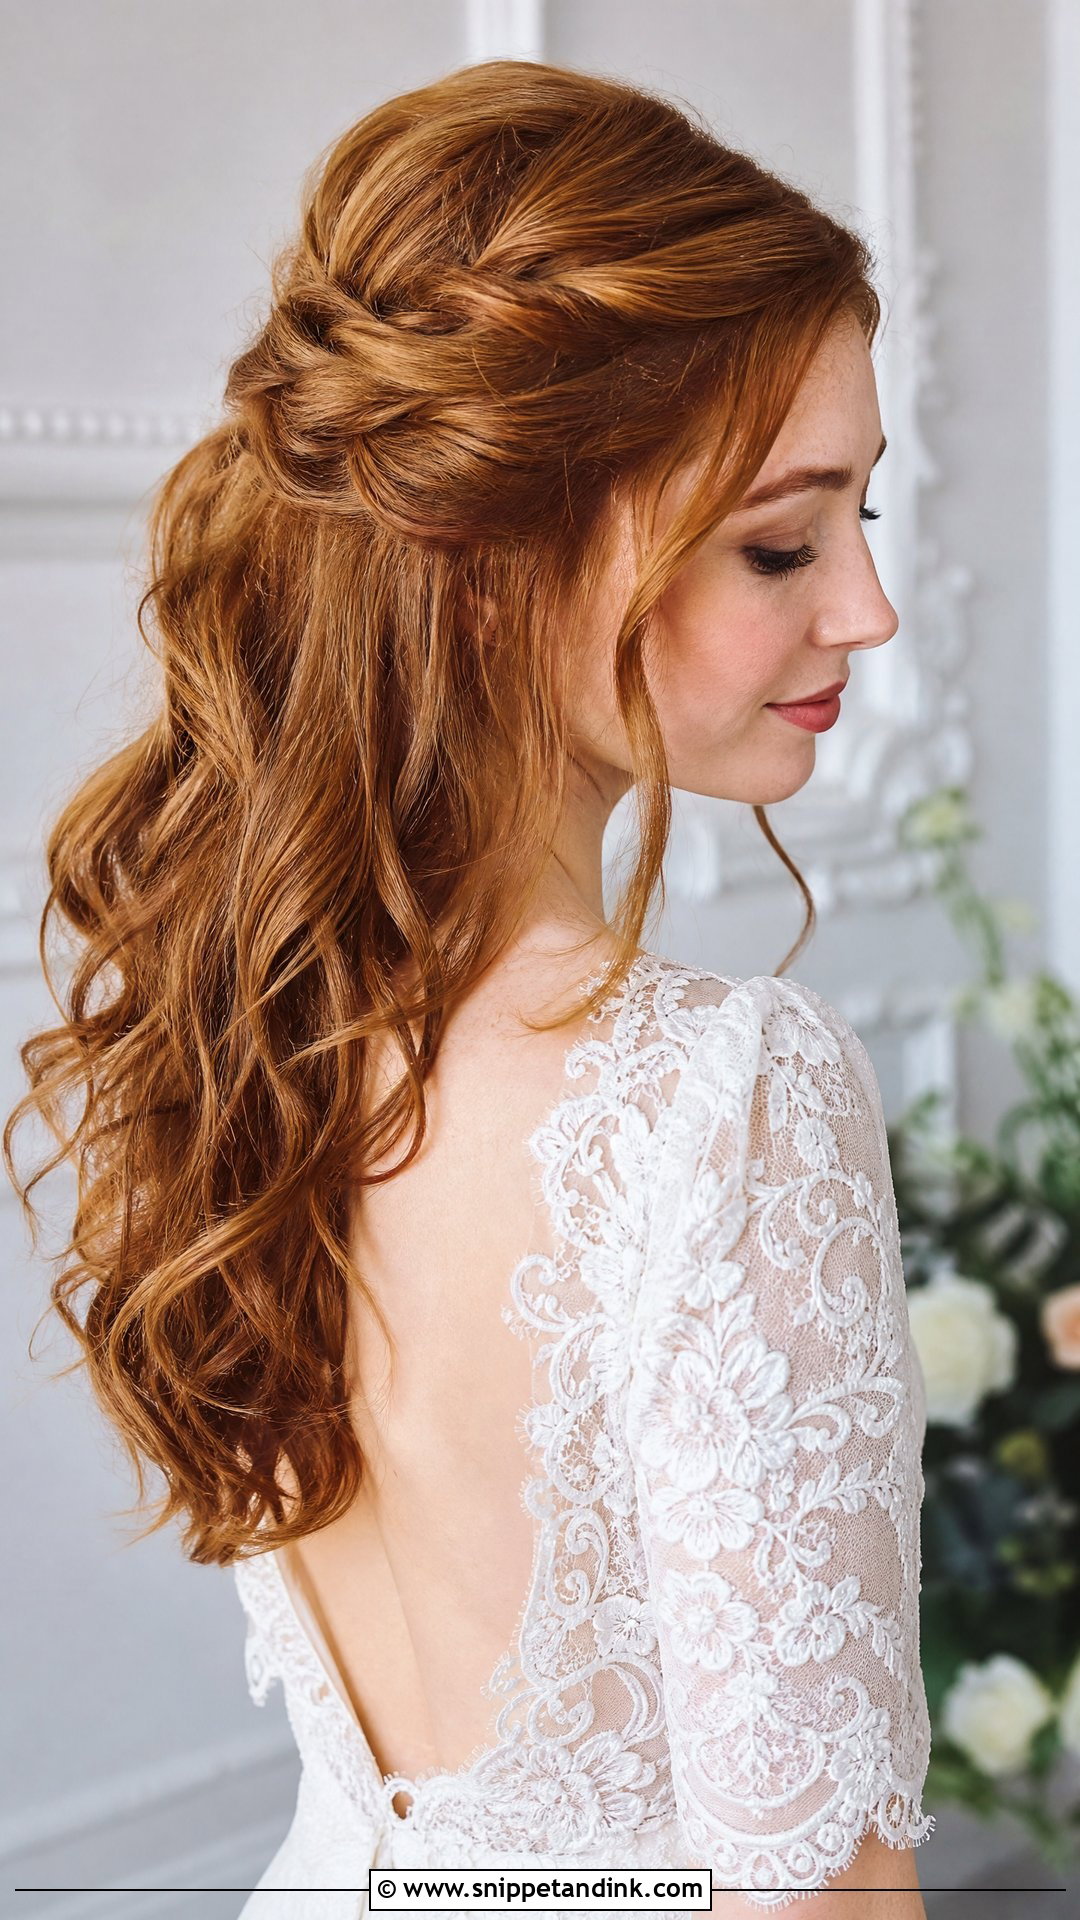
For a pinned-back half updo, curl your hair, then take a section from each temple and pin them where they meet at the crown. A gentle twist before pinning adds texture and grip. I like to pin each side slightly under the other so the cross point is flat, not lumpy. A jeweled clip at that point hides the pins.
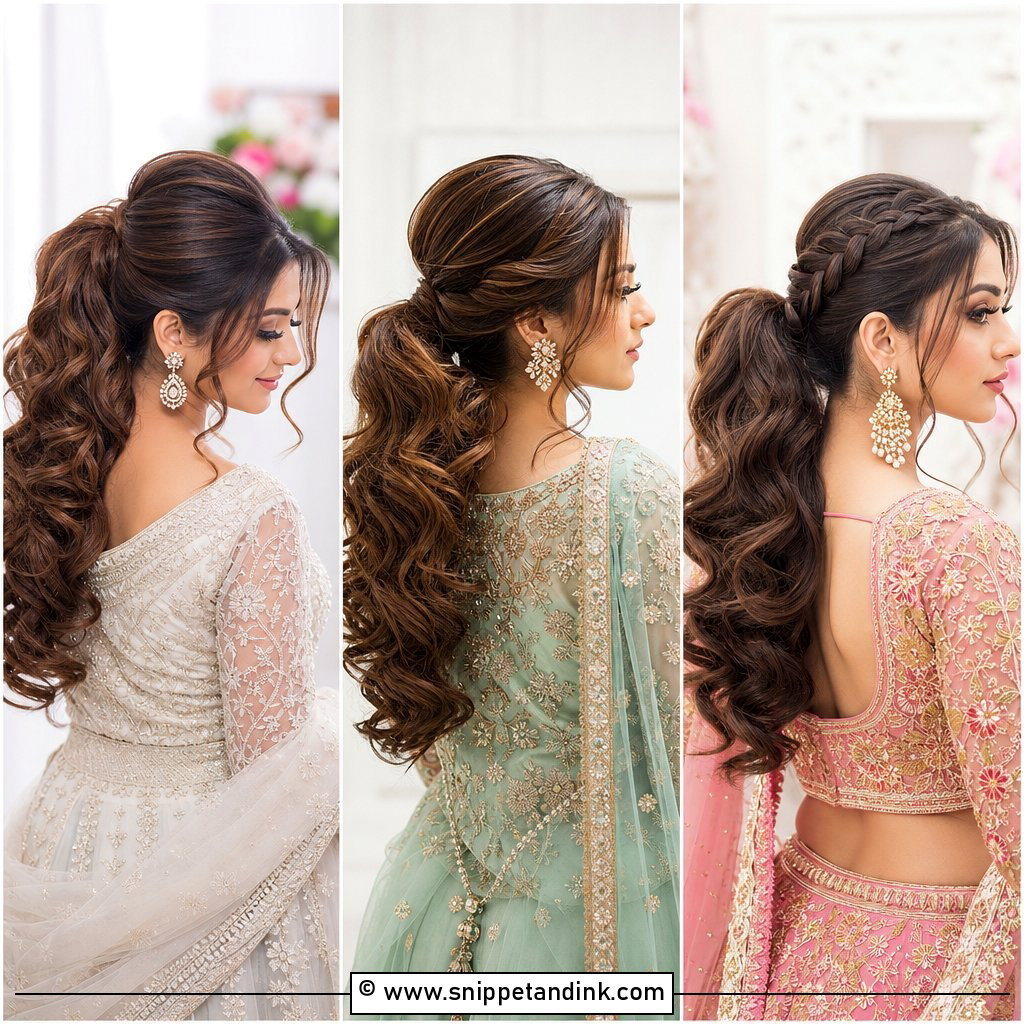
12. Low Ponytail With Twists Wedding Hair Tutorial
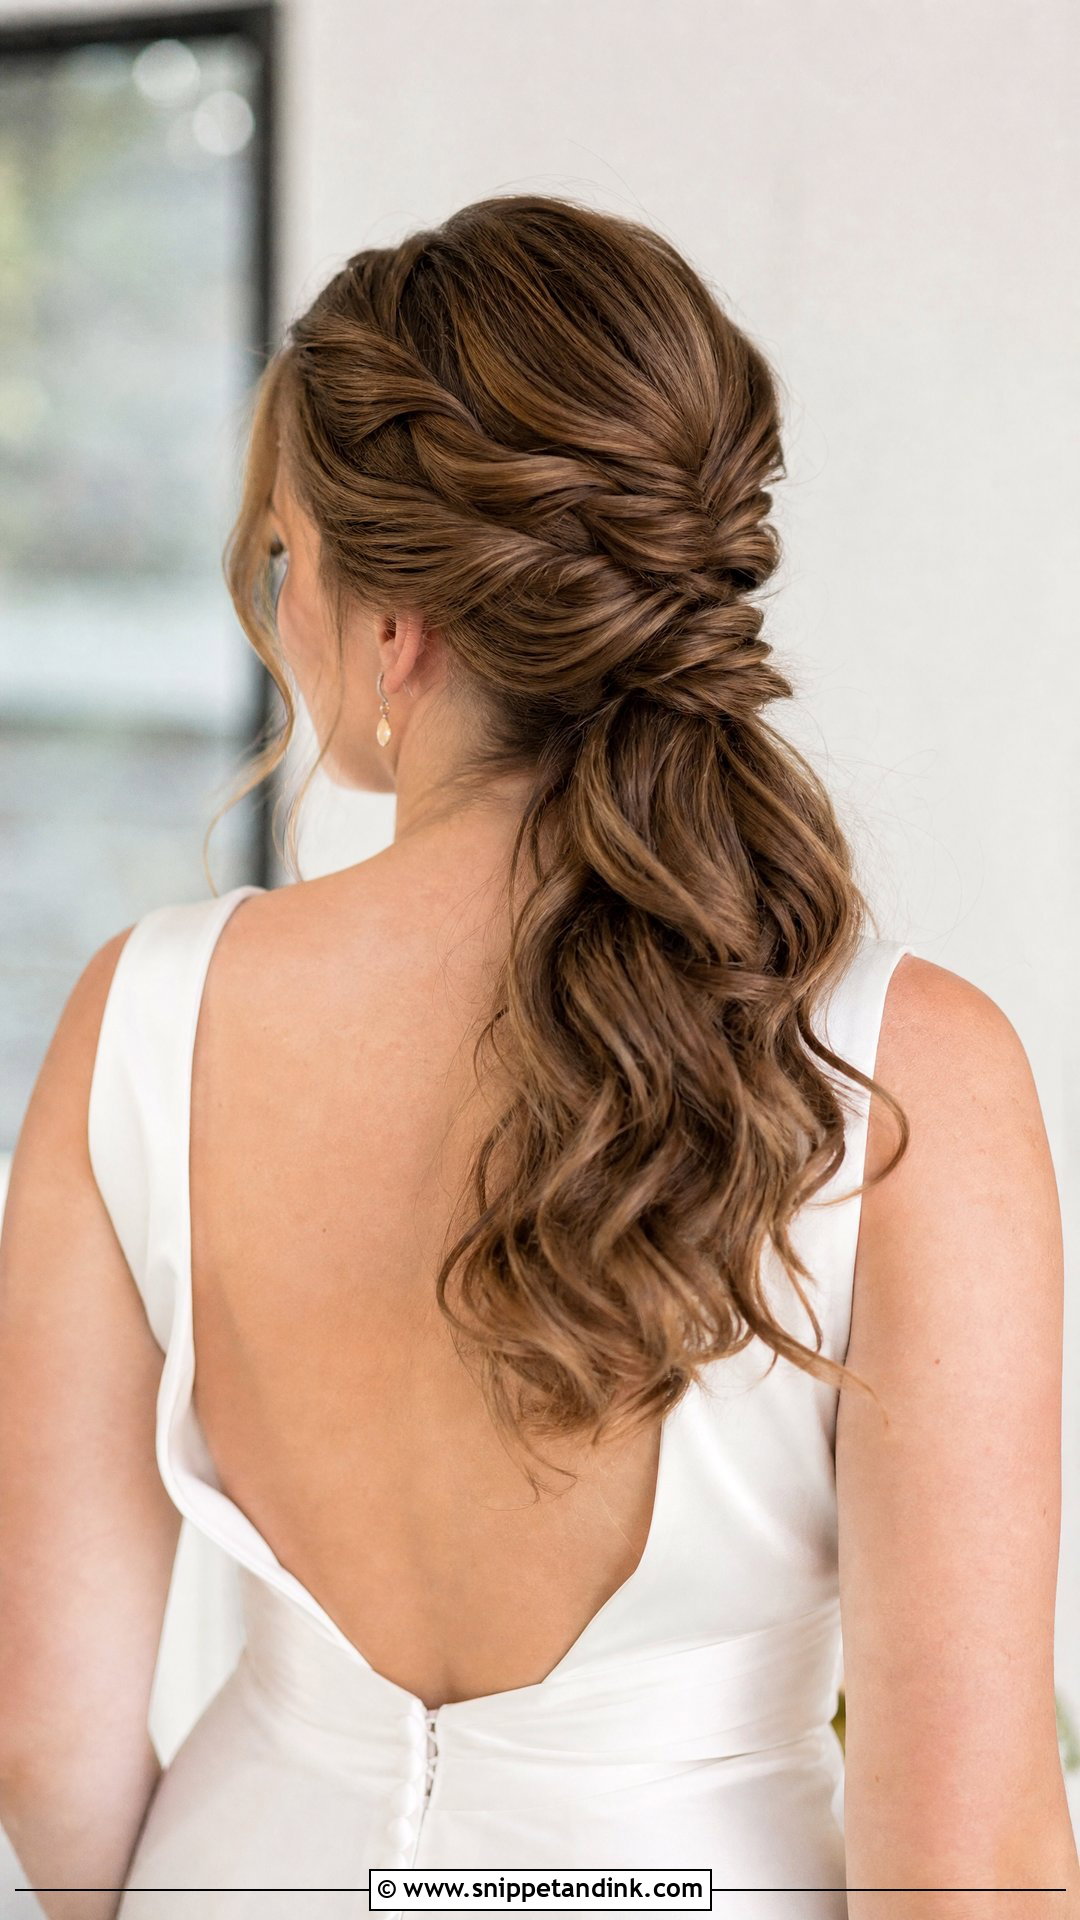
This ponytail looks simple, but the twisted detail at the back makes it feel bridal. Twist a few sections from the crown toward the nape before gathering everything into a low pony, then curl the ponytail itself for volume. The twists need small pins, not elastics, so they lie flat. Wrap a thin strand around the base to hide the elastic. It’s a good choice for a long reception, since the hair stays tidy without looking stiff.
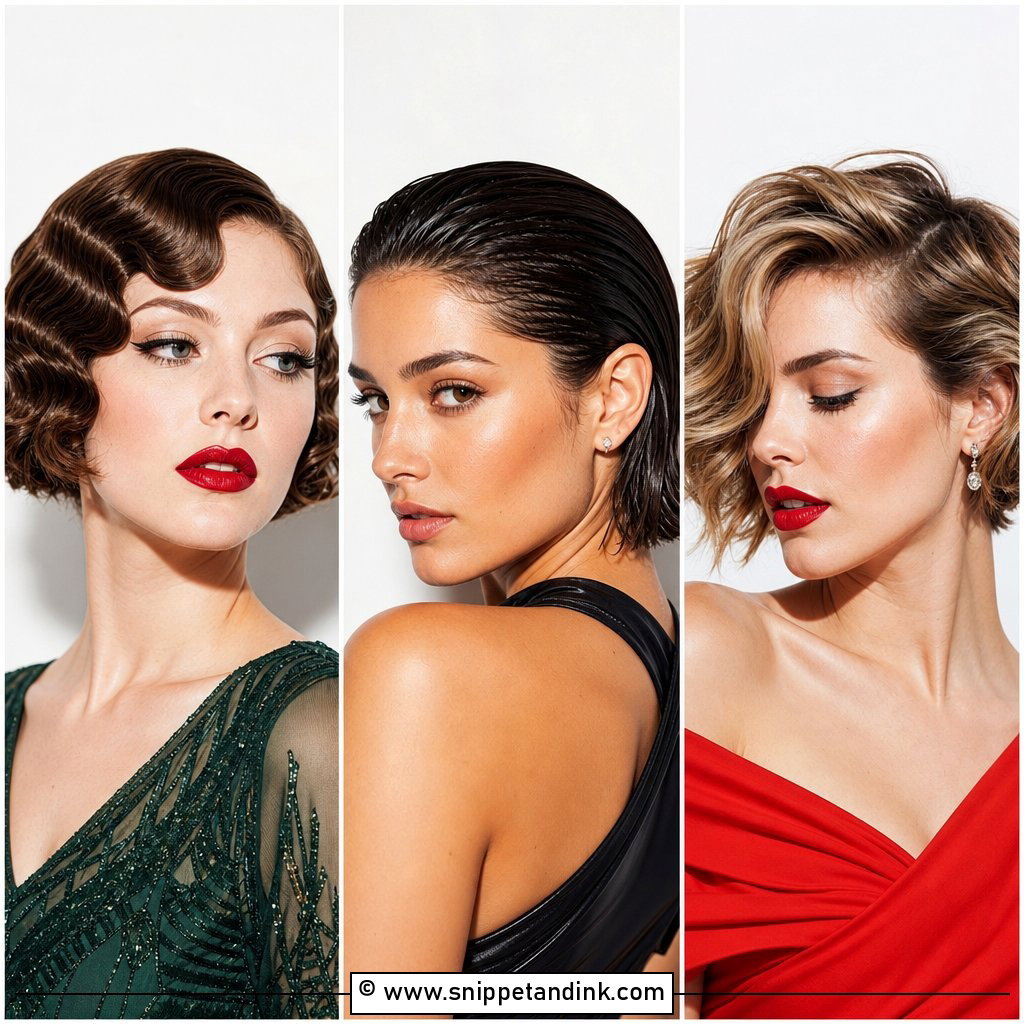
13. Vintage Finger Waves Wedding Hair Tutorial
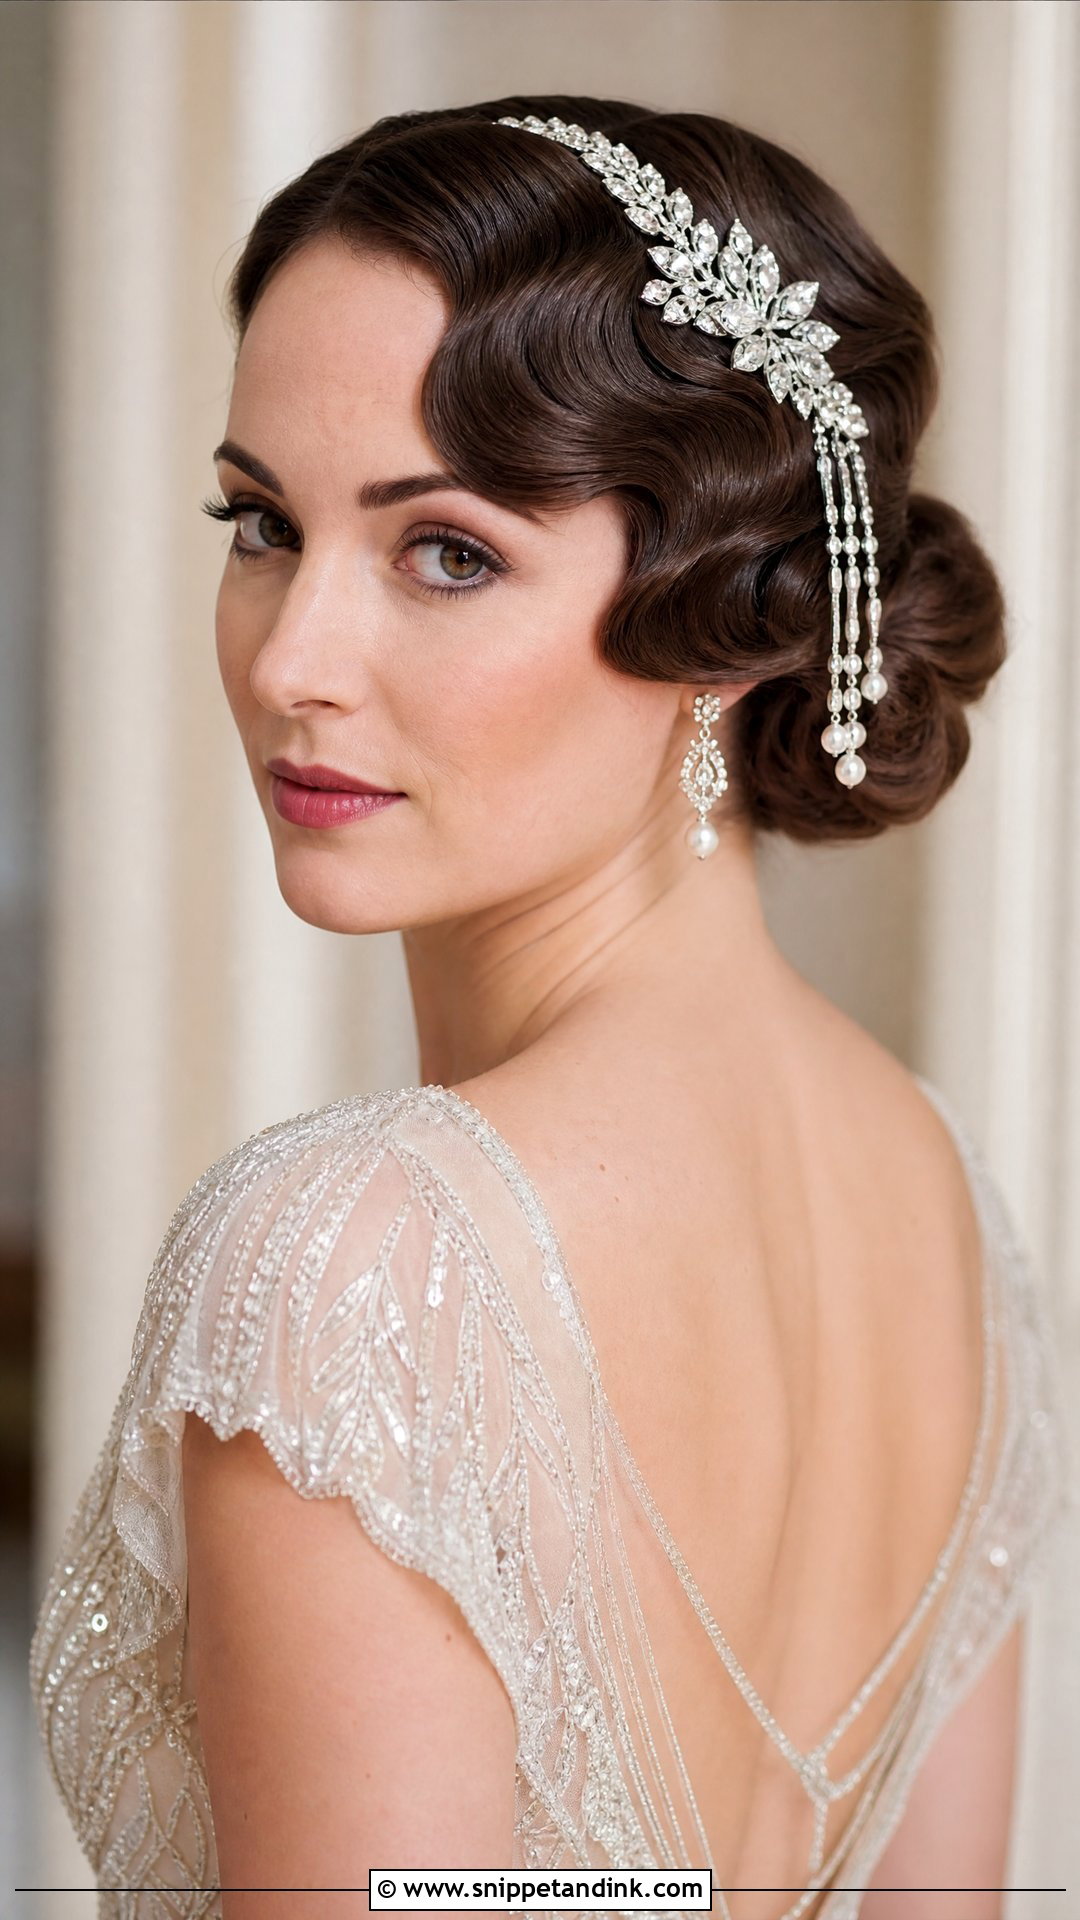
Of everything here, classic finger waves are the hardest to do on yourself. Each S-shape is formed in damp hair with strong gel, a fine comb and your fingers, pinned with clips, then left to dry completely before anything moves. They suit short to medium hair, a vintage theme and a jeweled headpiece or birdcage veil. Honestly, unless you’ve practised them many times, I’d ask a stylist; the angles at the back of your head are very hard to judge in a mirror.
14. Flower Crown Wedding Hair Tutorial
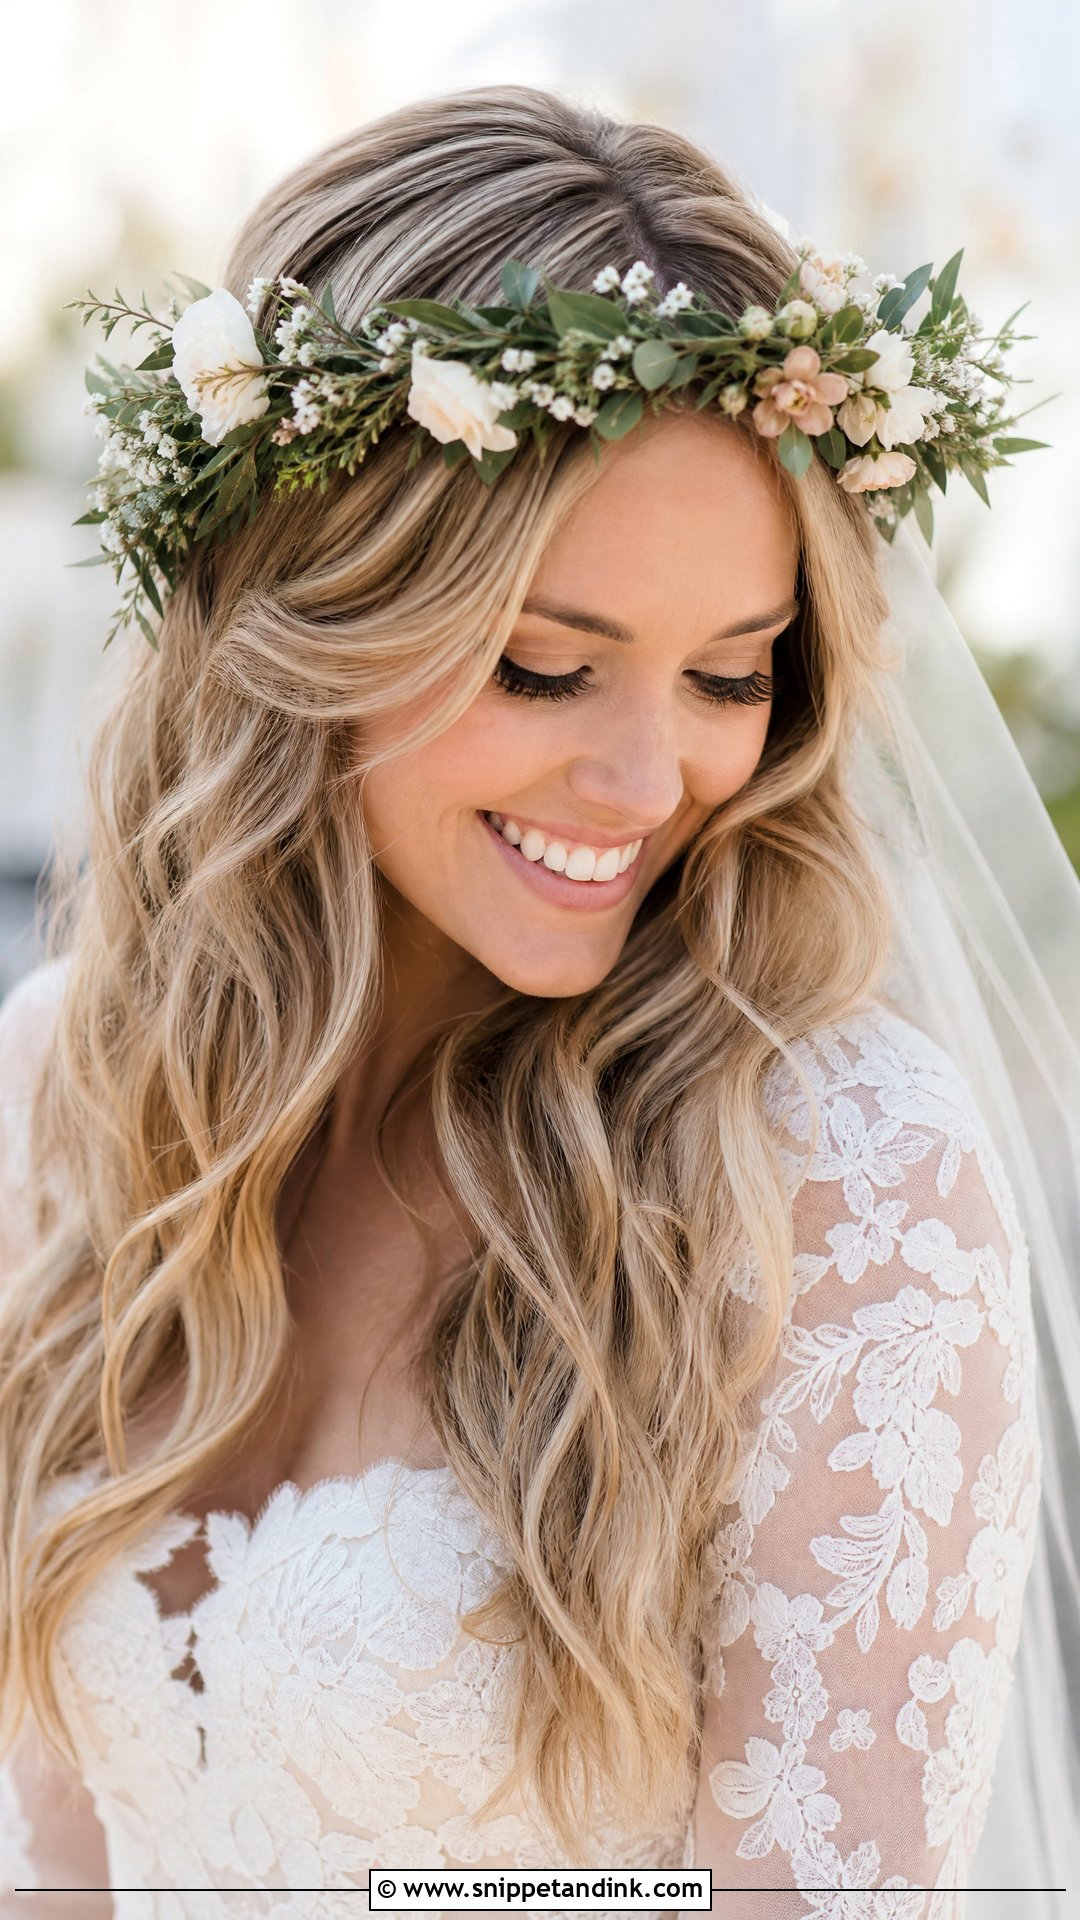
A flower crown looks easy but needs anchoring. Start with loose waves or a half-up style, then place the crown and pin it at the temples and behind the ears with crossed pins. Individual blooms pinned through the length need wiring, or they’ll drop out. Match the flowers to your bouquet; your florist can usually make a crown from the same stems. Fresh flowers wilt in heat, so put the crown on last.
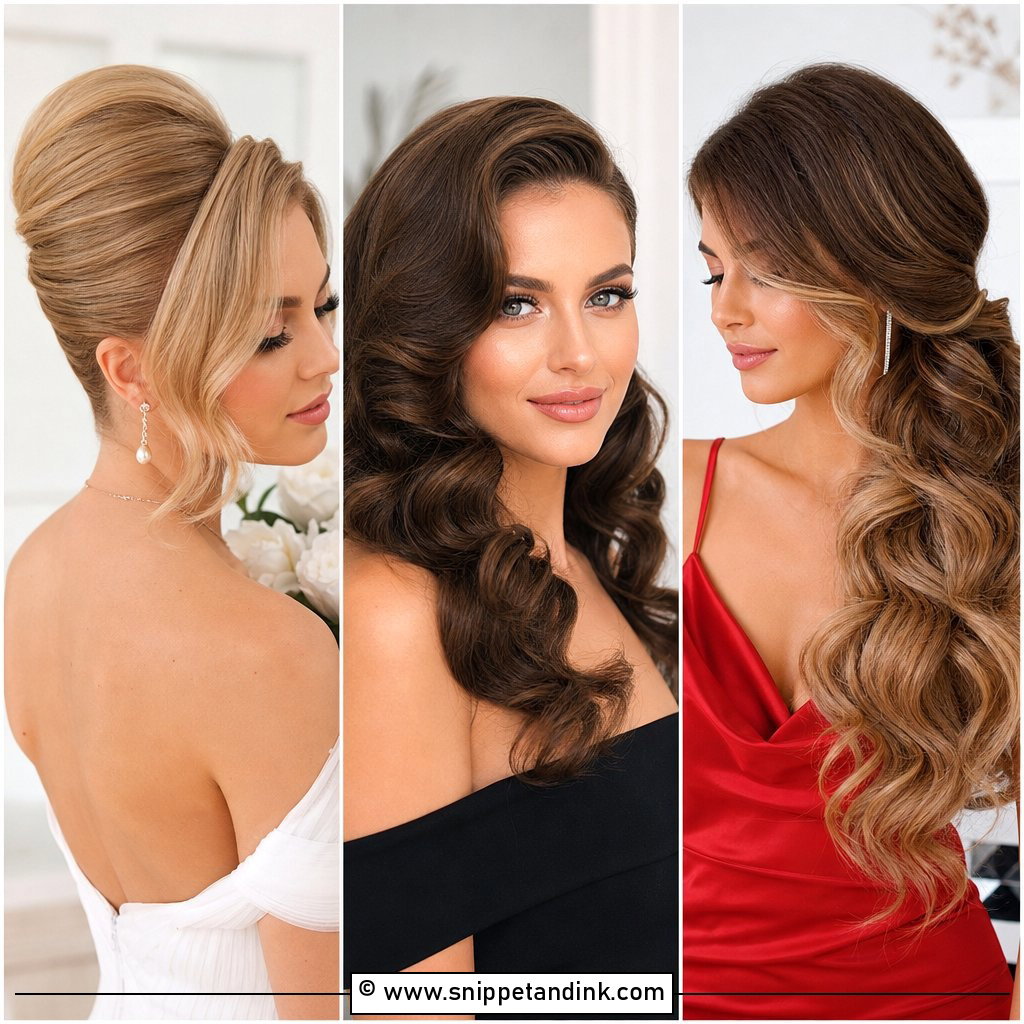
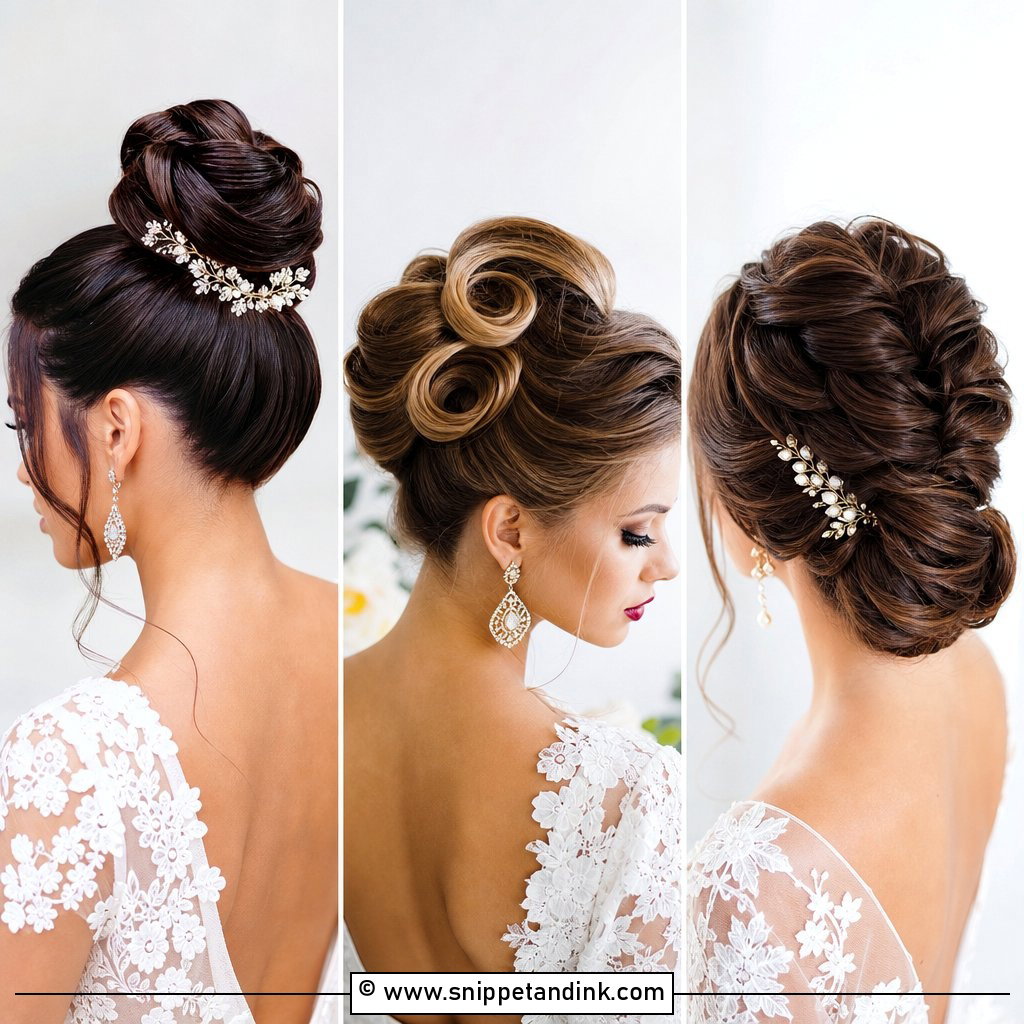
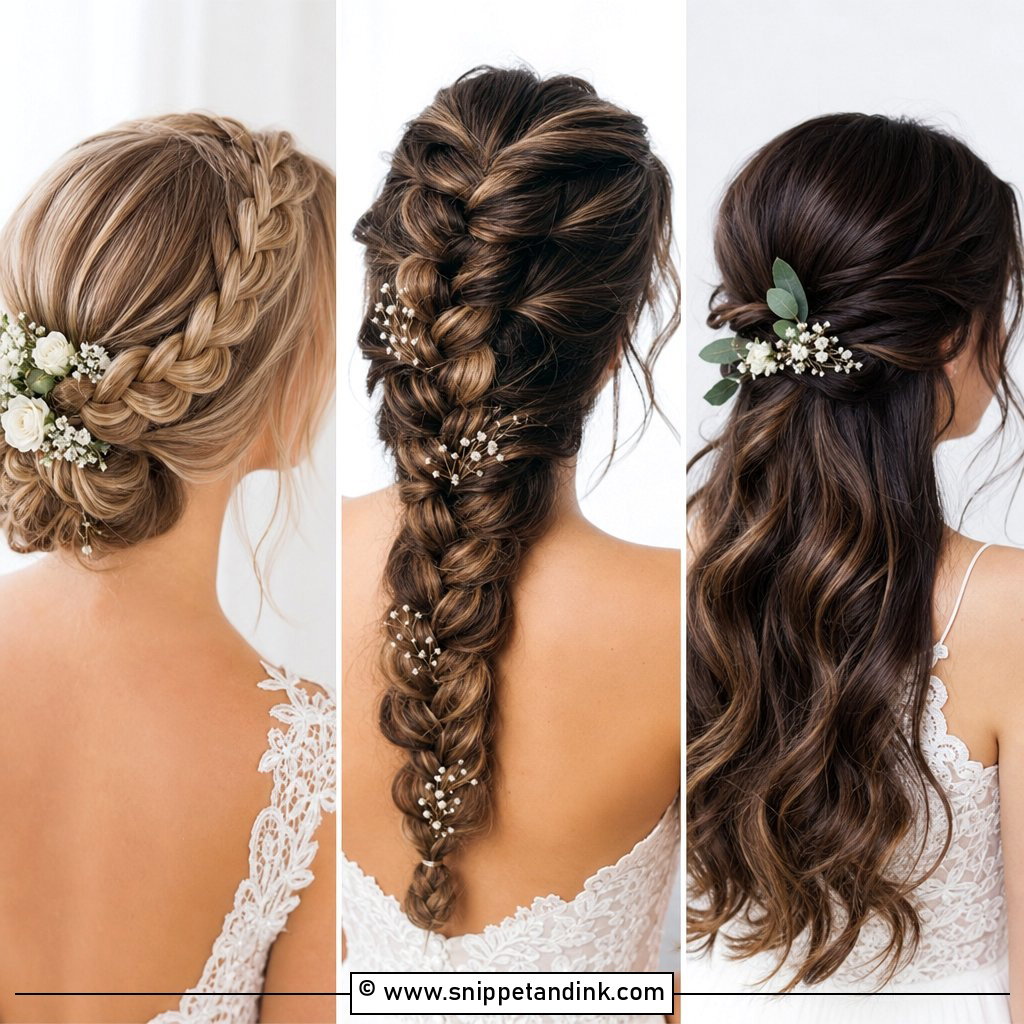
15. Sleek Bun Wedding Hair Tutorial
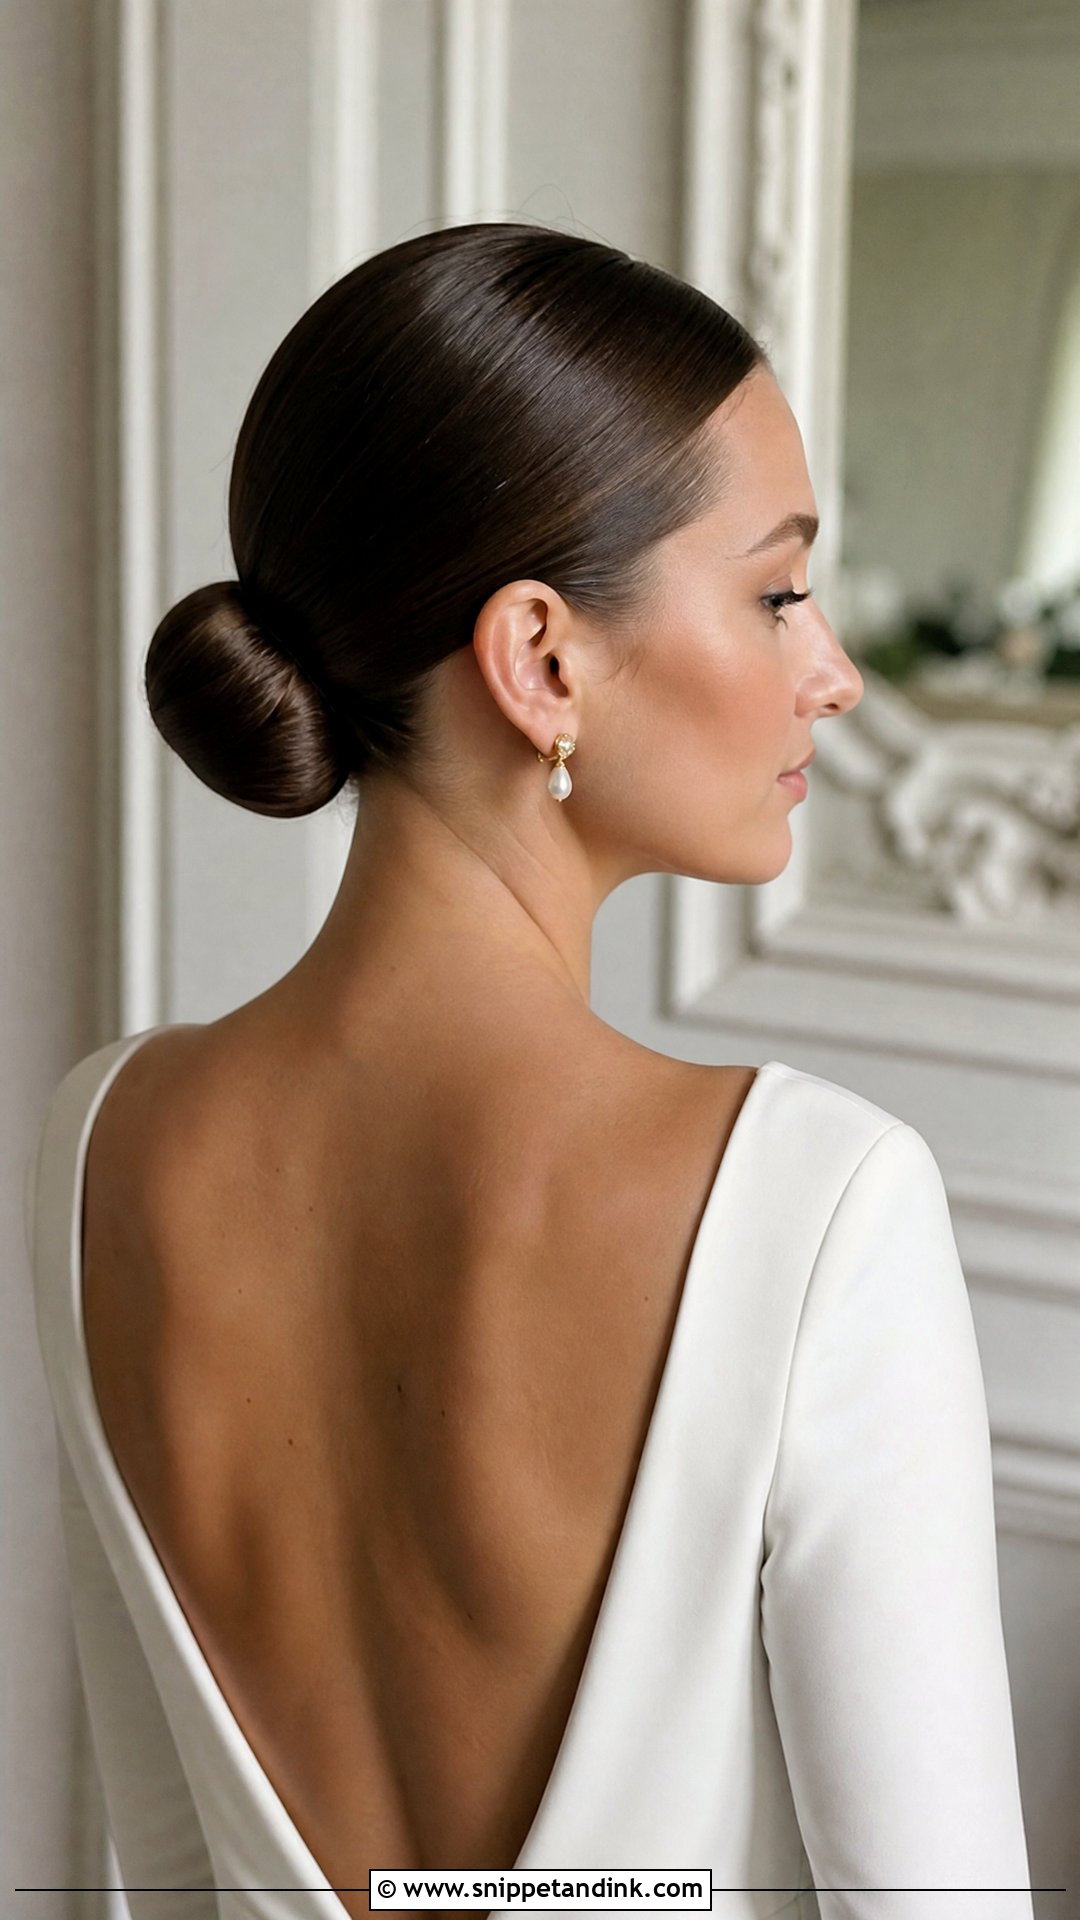
A sleek bun shows every bump and flyaway, so it’s harder to get right on yourself than it looks. Smooth the hair with a flat iron and serum, brush it back firmly into a low or mid ponytail, then wrap and pin it into a tight bun. Brush with a fine bristle brush, then use a little gel on a toothbrush to lay down flyaways along the hairline. It puts your face and jewellery front and centre, so it’s a confident choice.
16. Boho Braided Half Updo Wedding Hair Tutorial
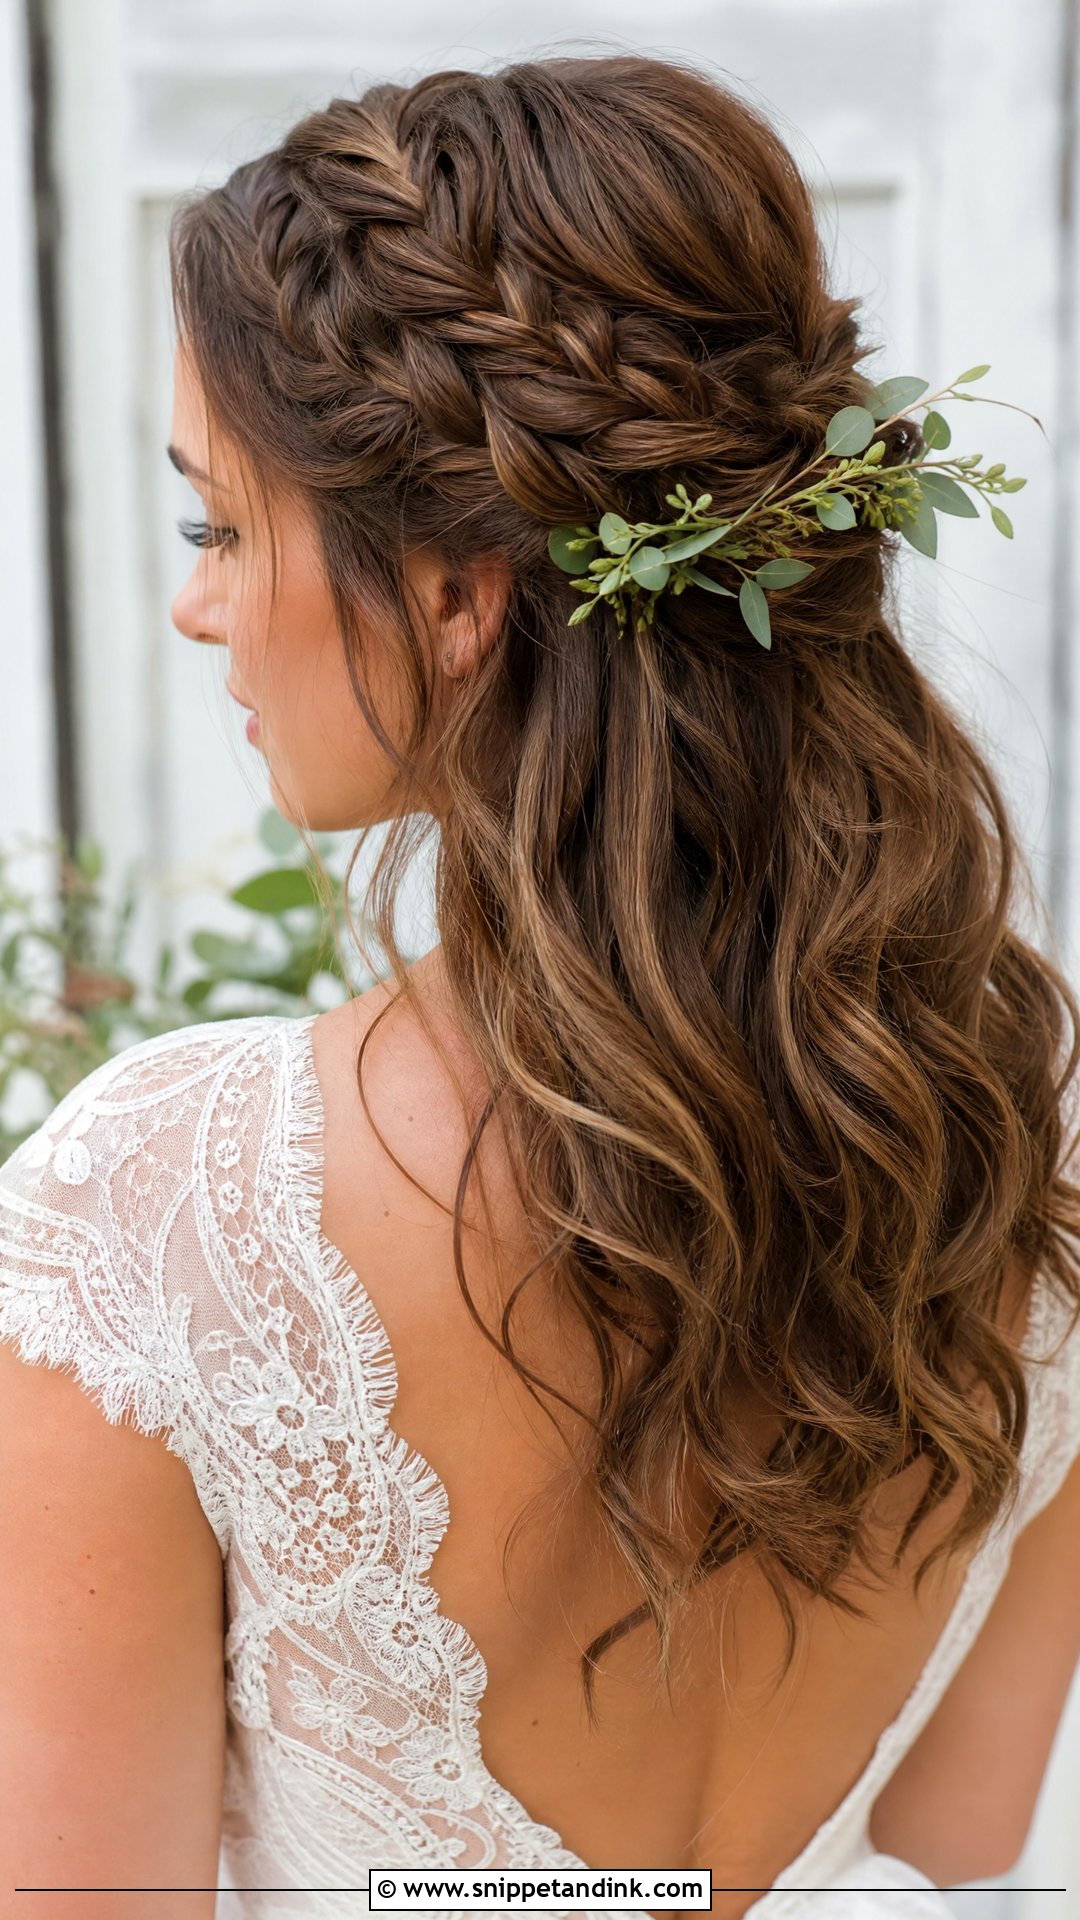
This boho half updo combines small braids with loose waves. Curl the hair first, then braid a small section on each side and pin them together at the crown. A halo or French braid at the front adds detail but requires more practice. Pull a few face-framing pieces free at the end. Small flowers or greenery tucked where the braids meet complete it.
17. Curly Updo Wedding Hair Tutorial
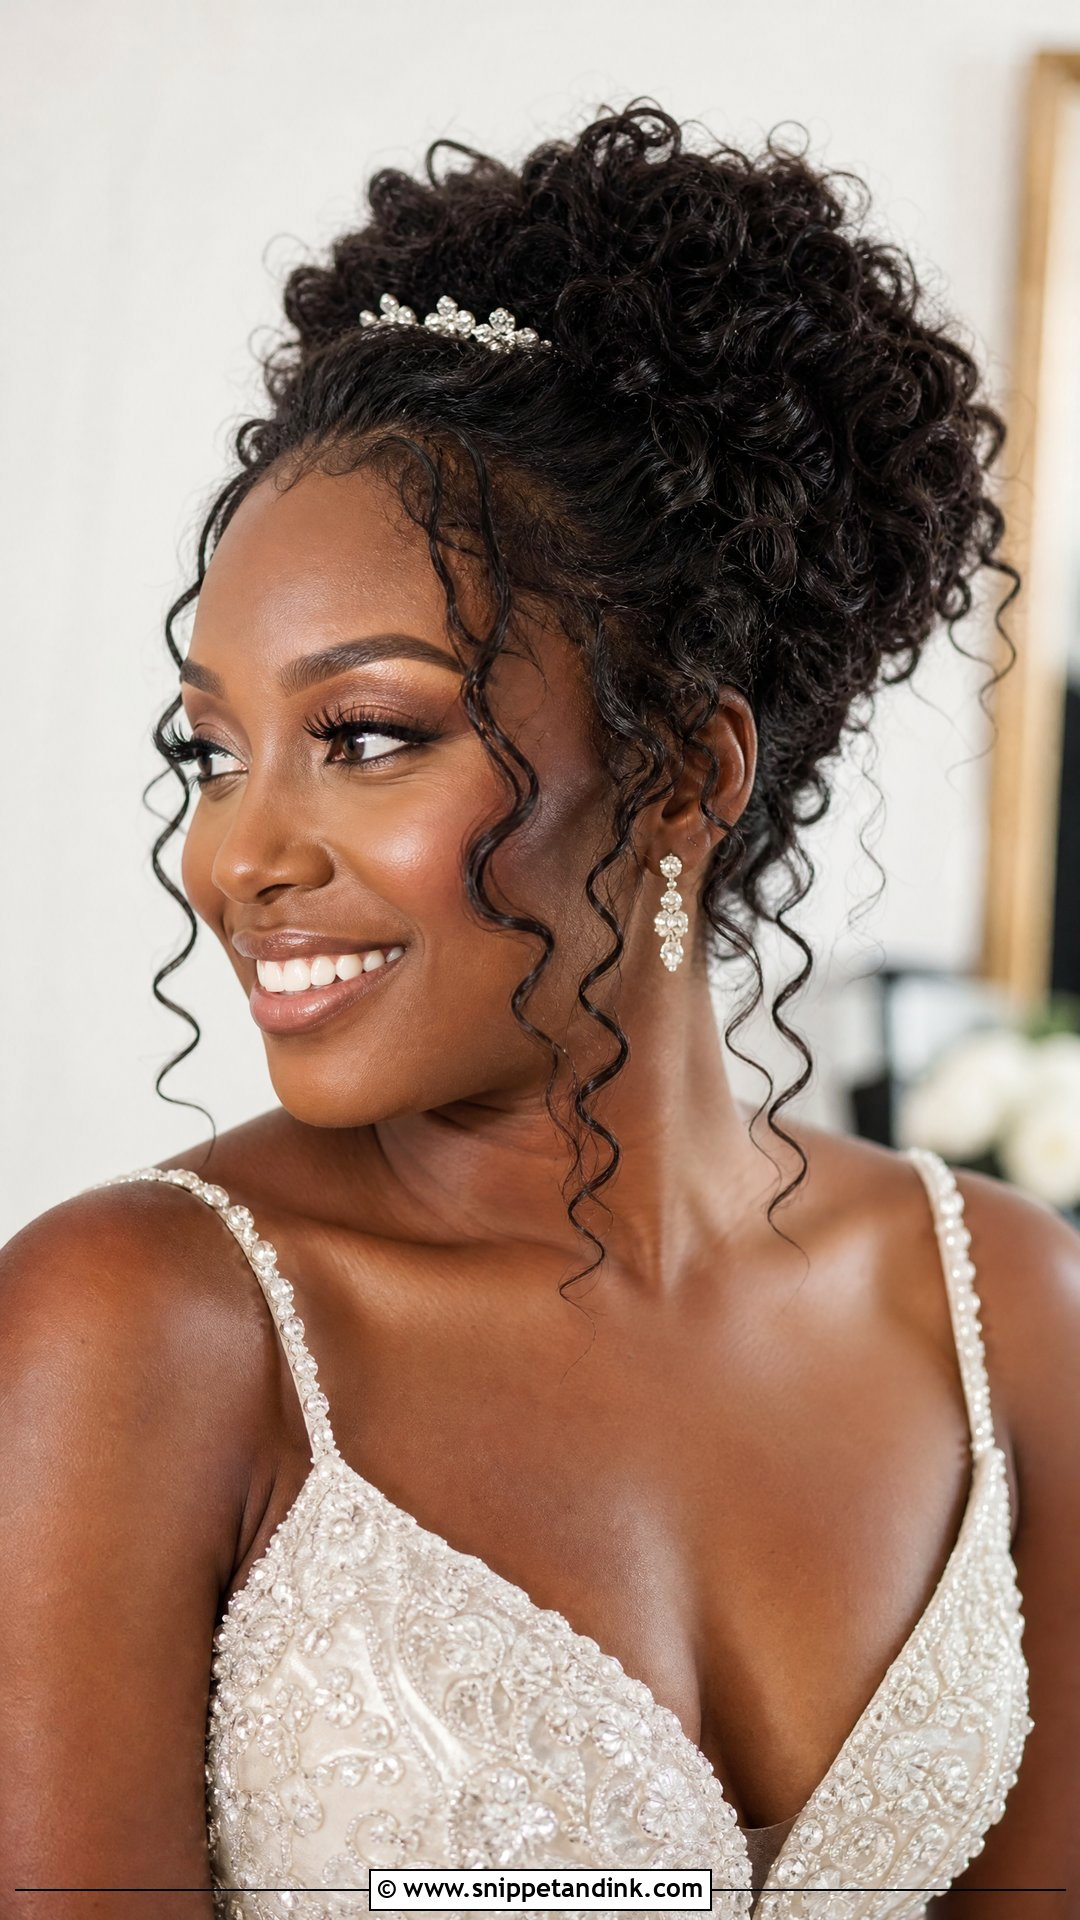
If you have natural curls, an updo built from your own pattern holds far better than one fighting it. Define your curls the night before or that morning, gather them loosely toward the back and pin them up in sections, letting some spring free around your face. Avoid brushing, which turns curls to frizz. A sparkling hairpiece or a few fresh flowers set among the curls finish it, and the texture gives you volume no straight style can match.
18. Twisted Halo Updo Wedding Hair Tutorial
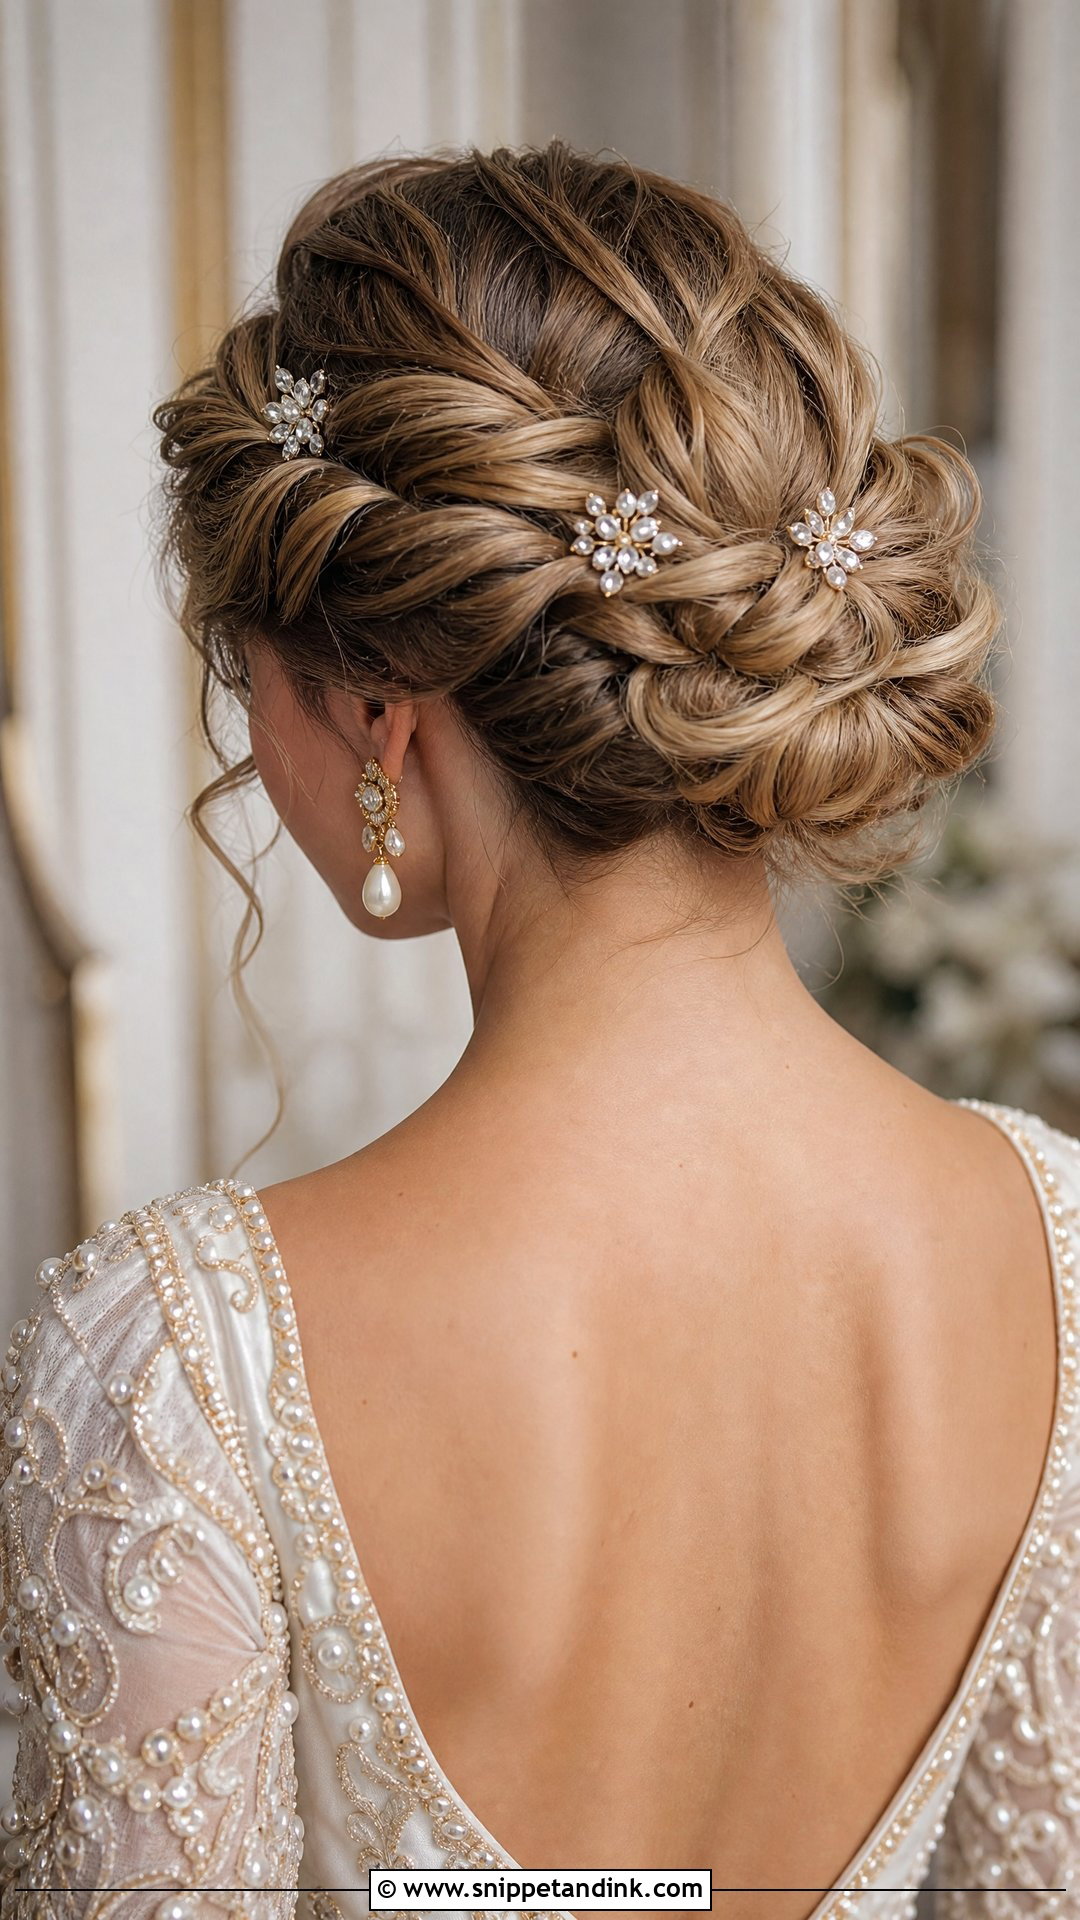
A twisted halo wraps twisted sections around the head like a crown, which keeps your neck completely clear. Section the hair, twist each piece and wrap them around in a circle, pinning as you go. On yourself, the back is the hardest part to see, so practise with a hand mirror or ask someone to help with that section. Jeweled pins tucked through the twists add sparkle.
19. Soft Romantic Updo Wedding Hair Tutorial
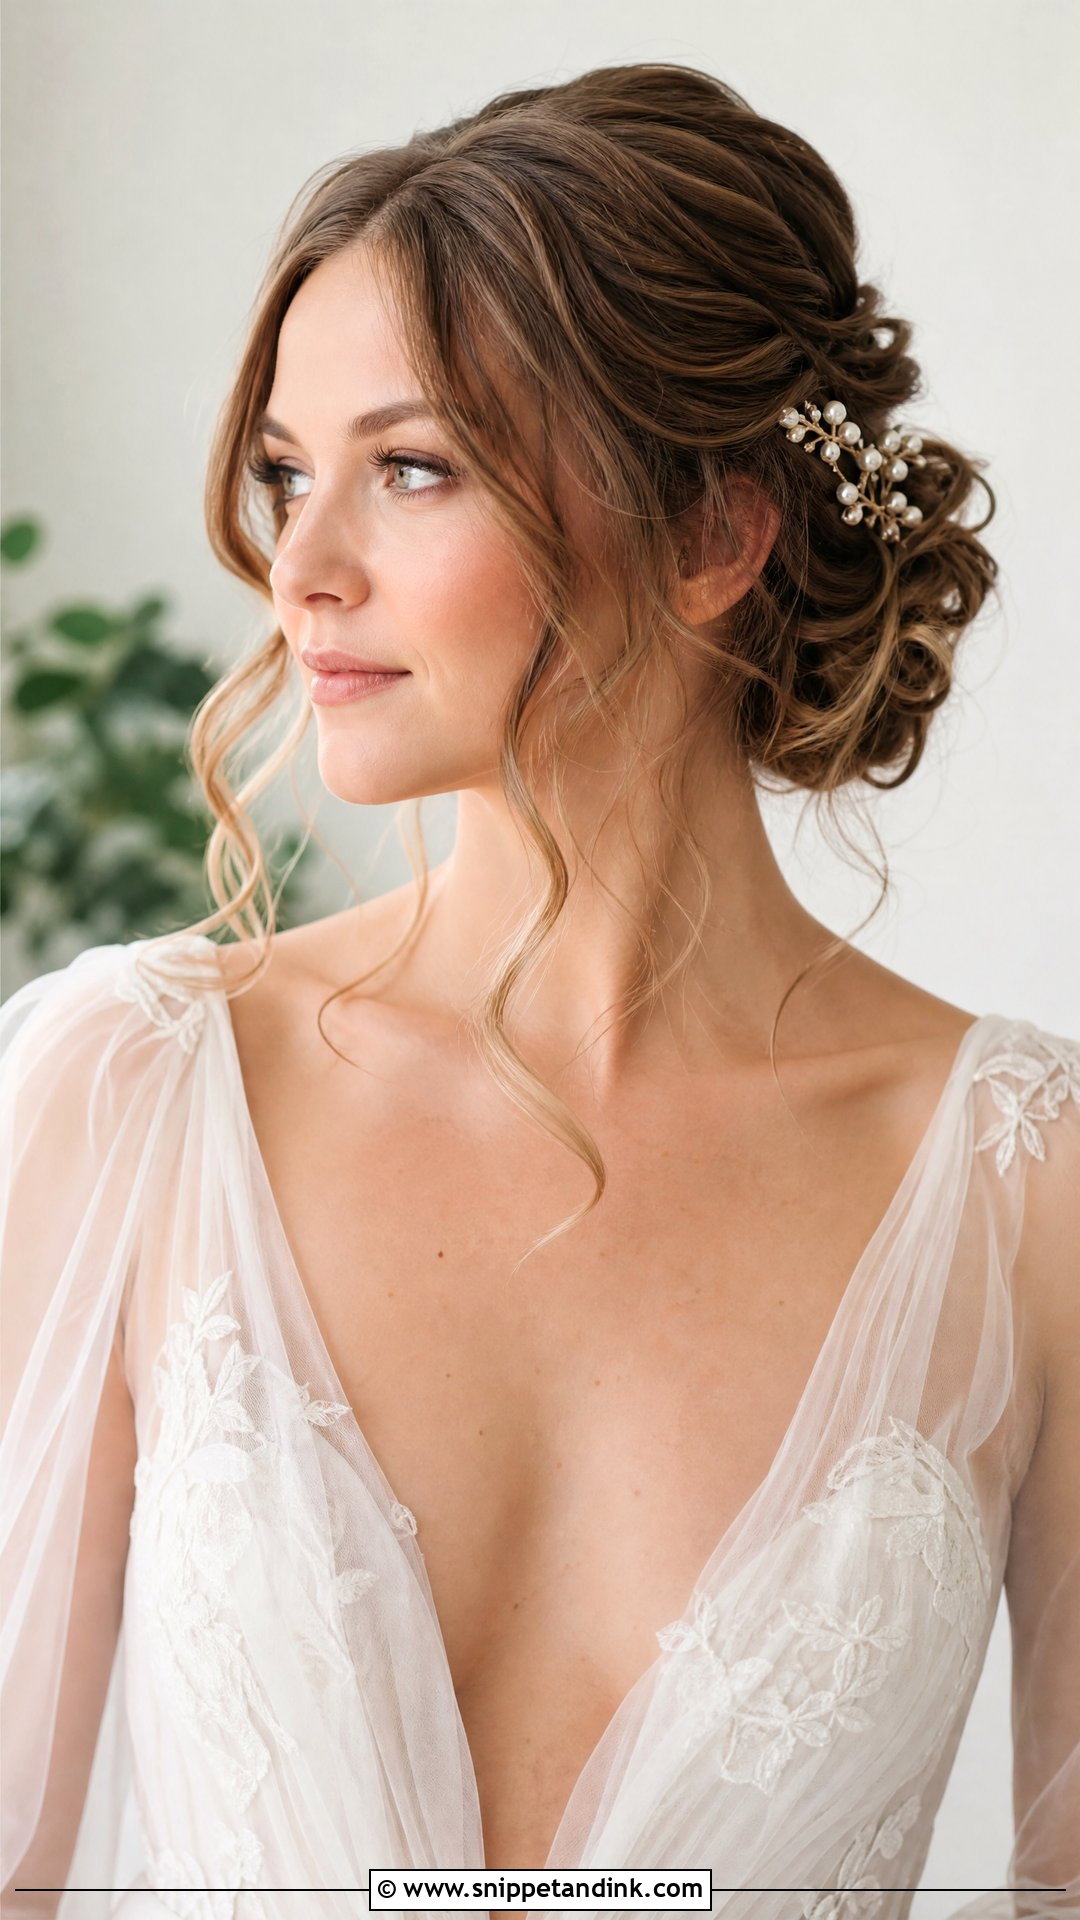
A soft romantic updo relies on texture more than precision. Curl your hair, then loosely pin sections up into an airy shape, leaving soft pieces around your face. The risk with DIY is pinning too loosely, so it falls by evening; anchor the base with a few crossed pins before building the loose shape on top. Pearls, small hairpieces or fresh blooms all suit it.
20. Dutch Braid Wedding Hair Tutorial
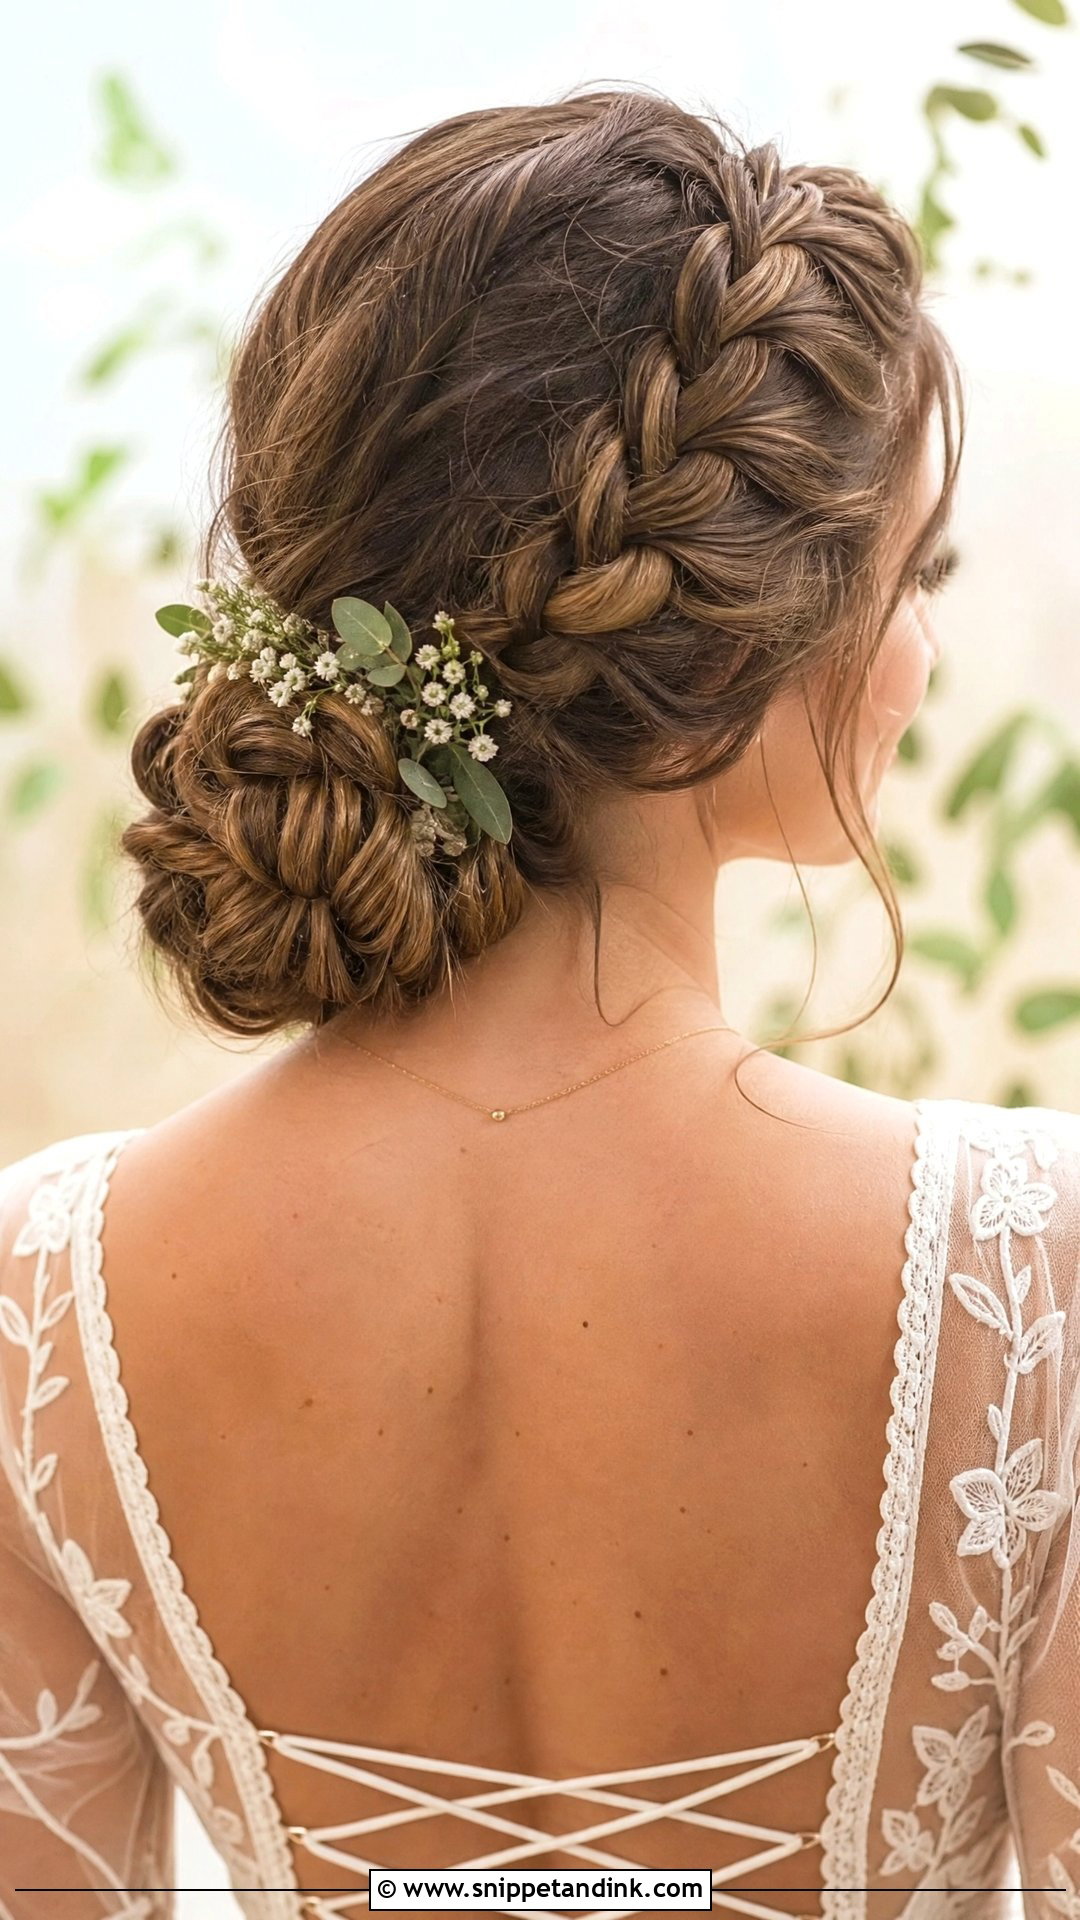
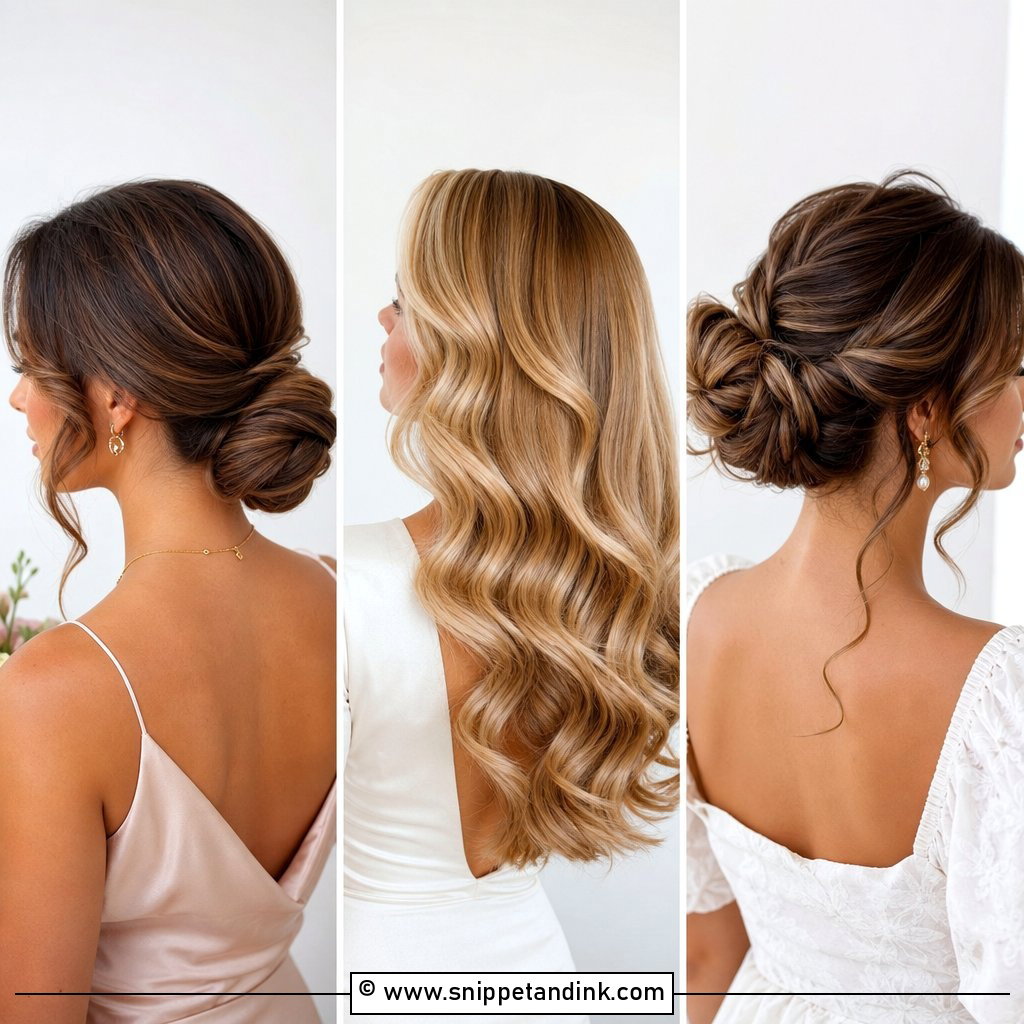
A Dutch braid sits on top of the hair, which is what makes it show so clearly in photos. It’s braided like a French braid, but you cross each section under instead of over. Continue it down the back or sweep it into a low bun. Gently pull the edges afterwards for a fuller look. Braiding your own hair this way takes practice, because your hands have to work backwards from what feels natural.
21. Side Bun Wedding Hair Tutorial
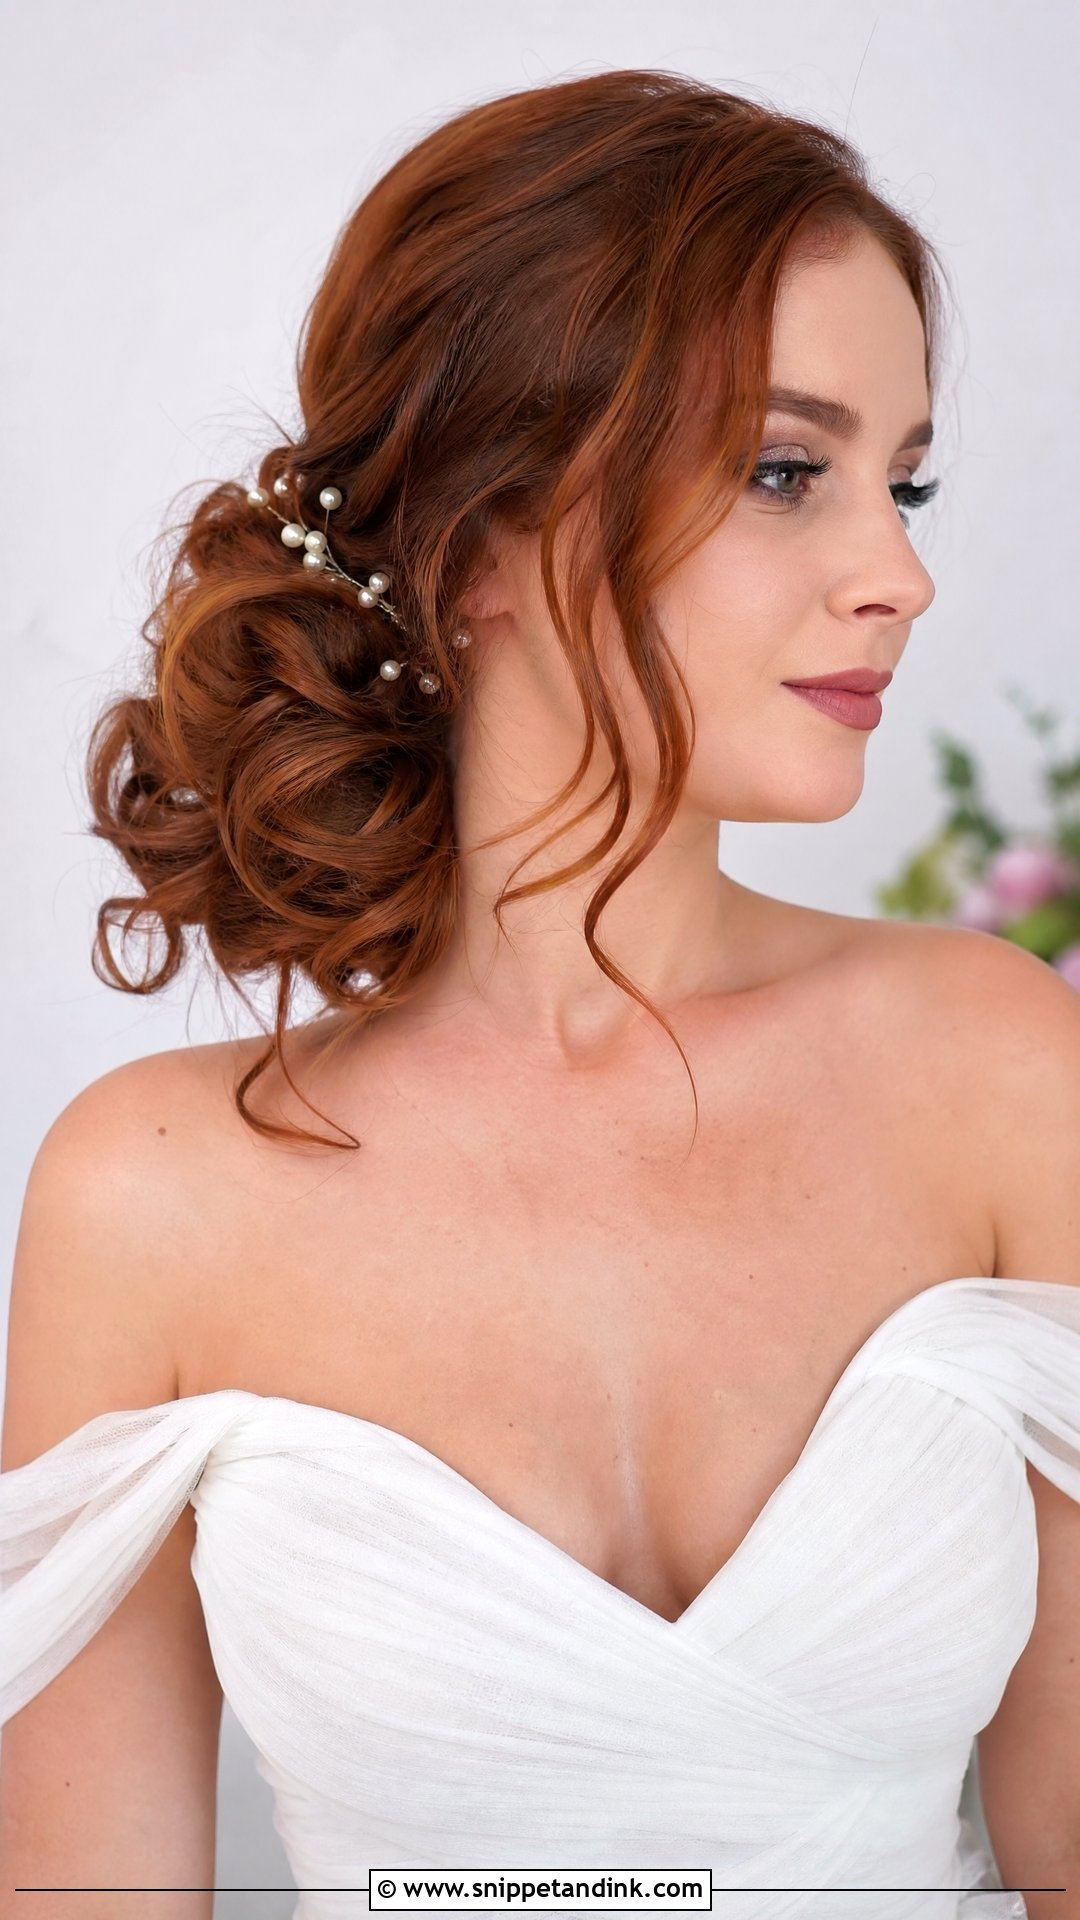
A side bun sits low near one ear and jaw, and it flatters off-shoulder and one-shoulder gowns well. Curl the hair, sweep it to one side, then twist and pin it into a soft knot. On yourself, the side placement is actually easier than a centred bun, because you can see the knot in the mirror. Pearl pins or a fresh flower on the knot finish it neatly.
22. Waterfall Braid Wedding Hair Tutorial
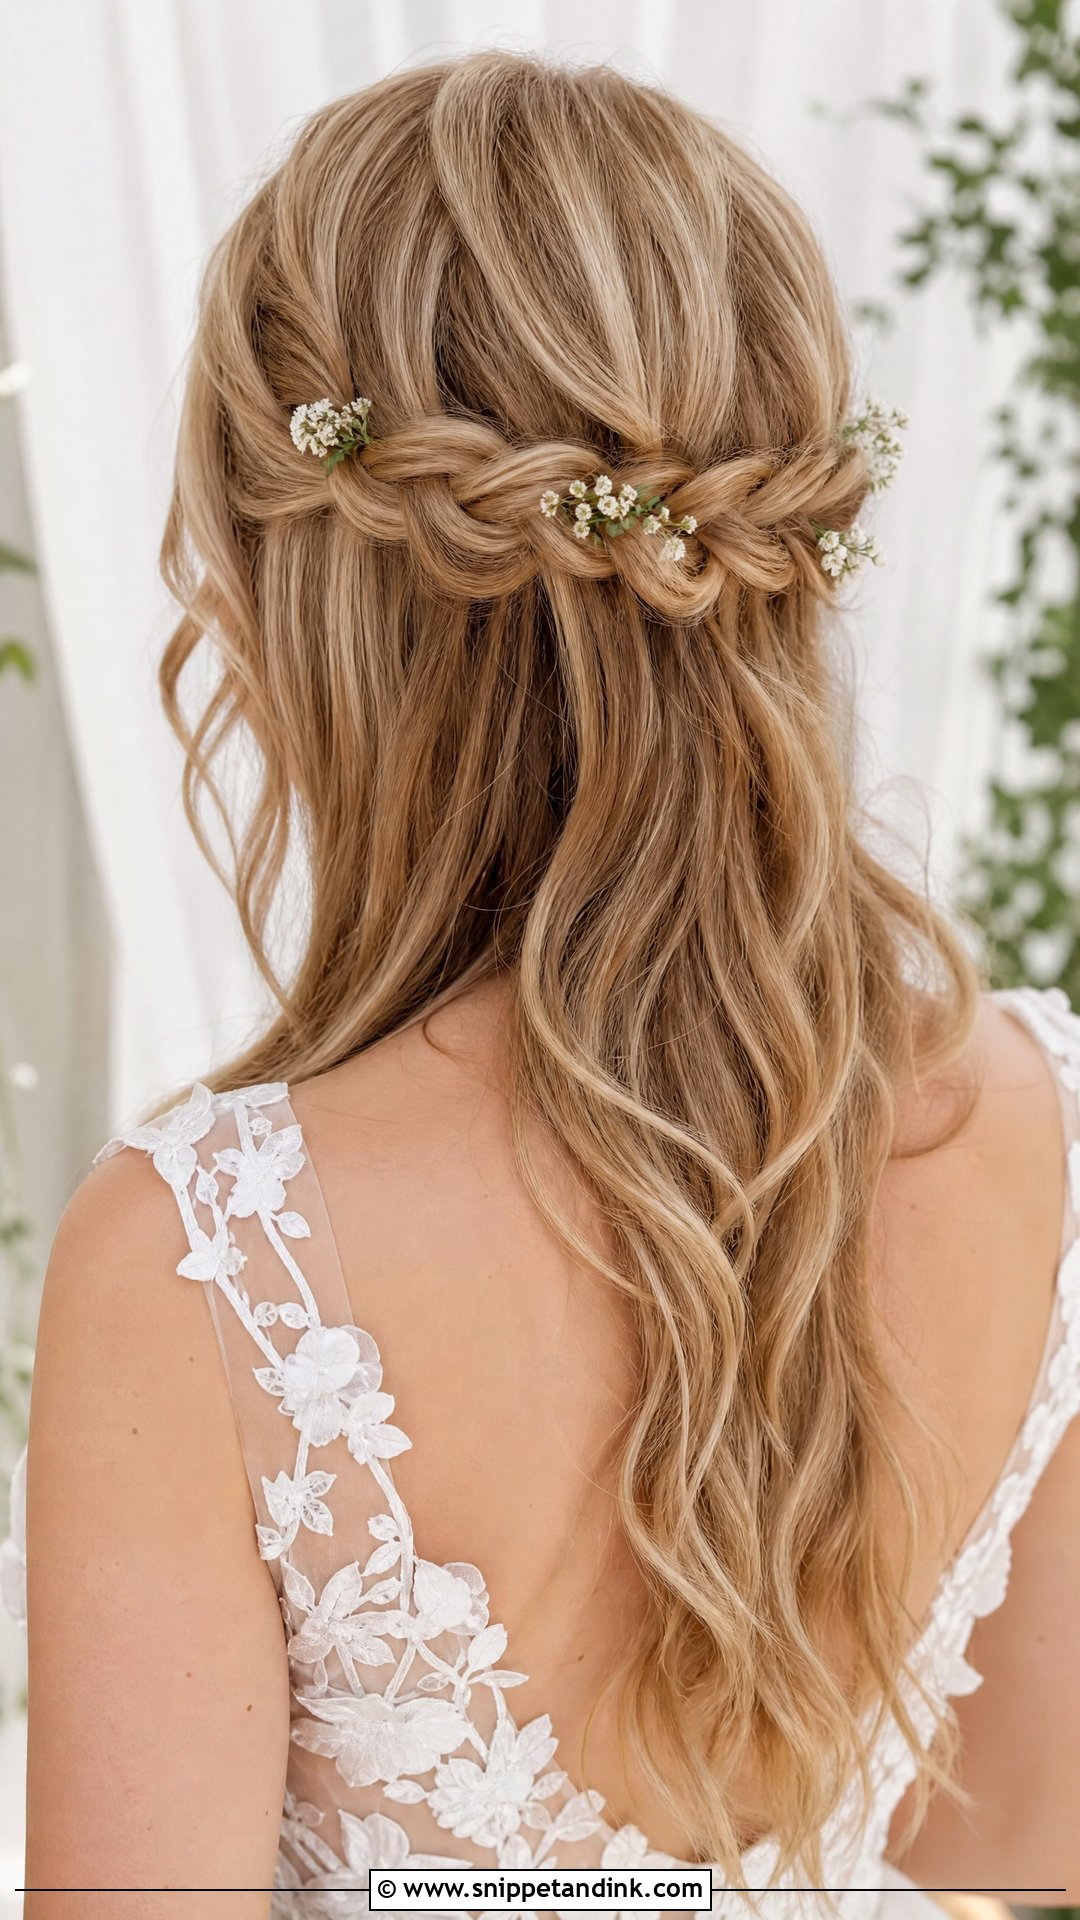
A waterfall braid runs horizontally across the head, dropping a strand with each stitch and picking up a new one. Start near one temple, braid across, and secure it on the far side behind the ear. The rest of your hair flows below in soft waves. I find this one tricky on yourself because both hands have to work at the back of your head; practise it several times before the day.
23. Pulled-Back Bridal Updo Wedding Hair Tutorial
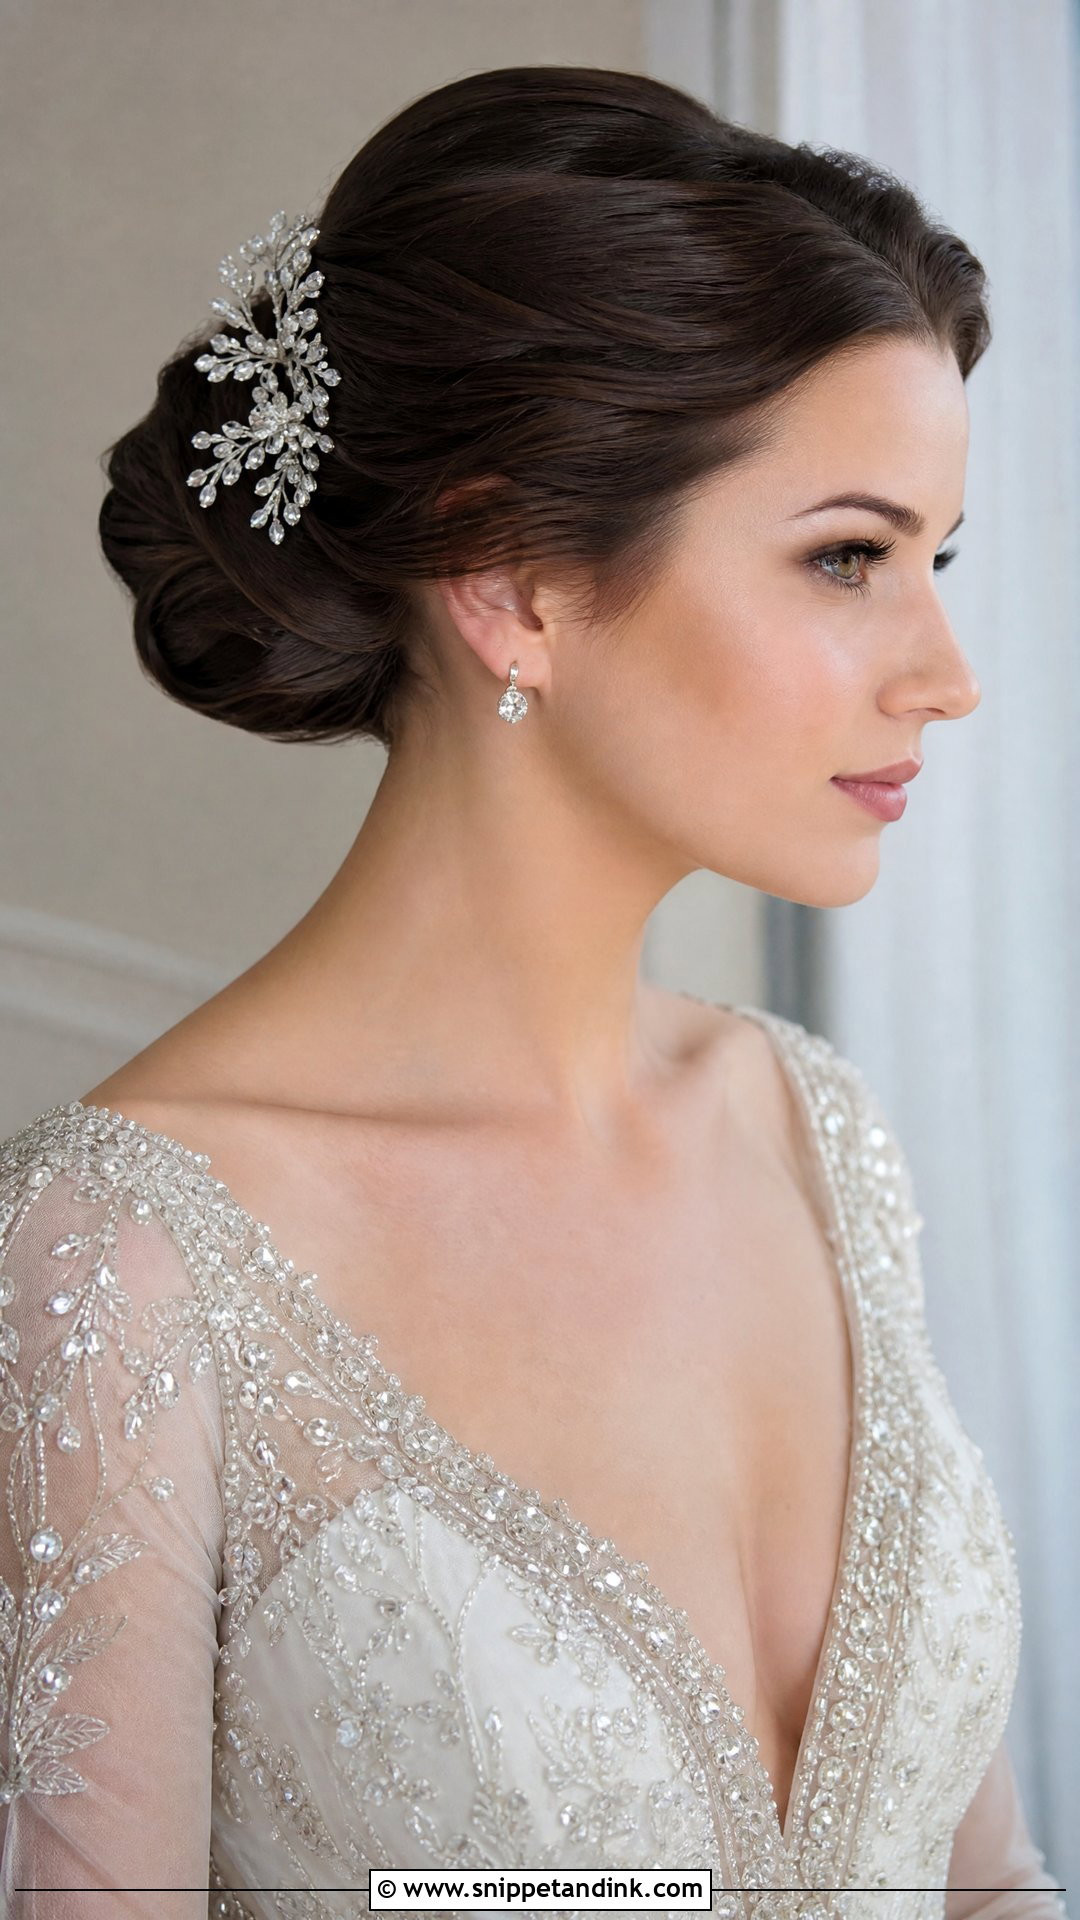
A pulled-back updo gathers everything neatly toward the nape and shapes it into a bun, knot or sculpted form. Smooth the hair first, gather it low, then twist and pin. It suits ballrooms and classic venues and shows off your neckline and jewellery. A decorative comb or jeweled pins add sparkle, and a few soft tendrils keep it from looking severe.
24. Accessorized Half Updo Wedding Hair Tutorial
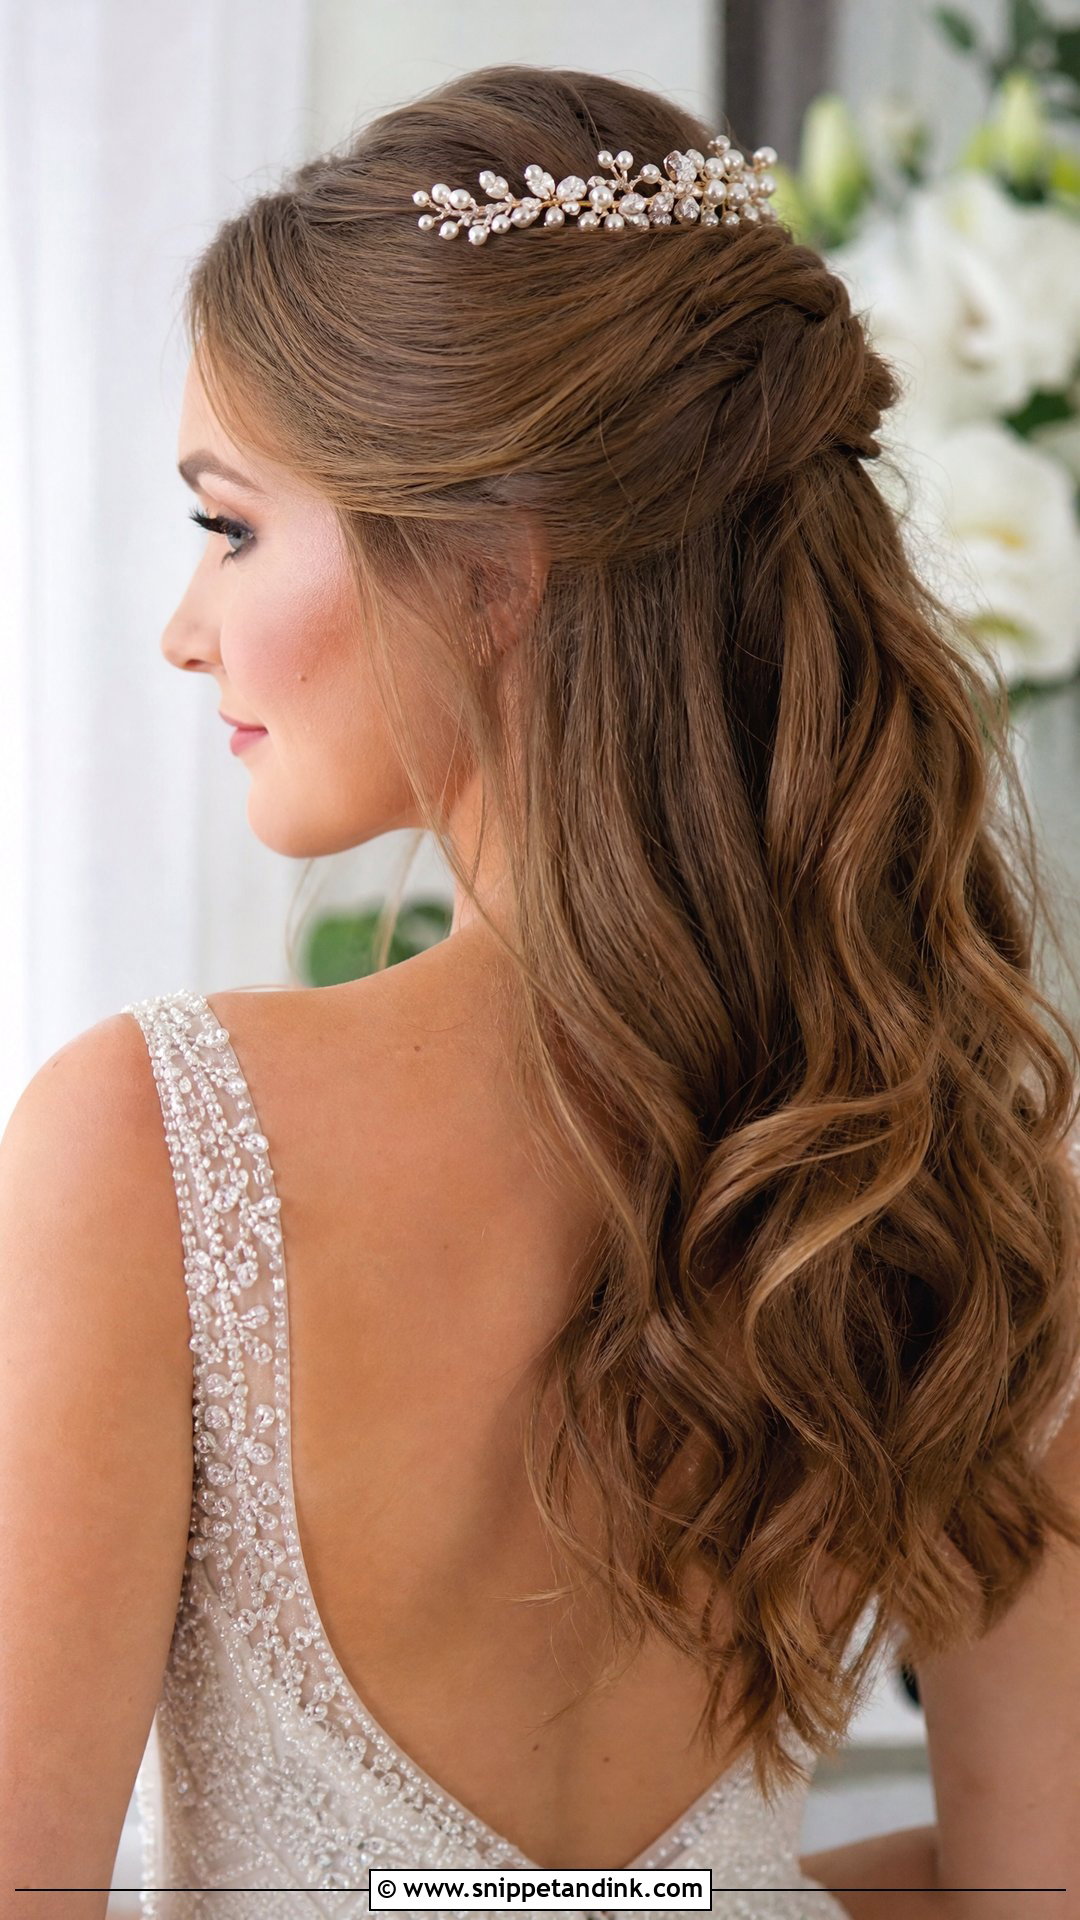
A half updo with sparkling clips, combs, or pearls shows how much an accessory changes a simple style. Set soft waves first, pull the top section back and pin it, then place the accessory over the pins. Combs need hair underneath to grip, so make sure the pinned section is firm. Choose metals and pearl tones that match your jewellery and gown.
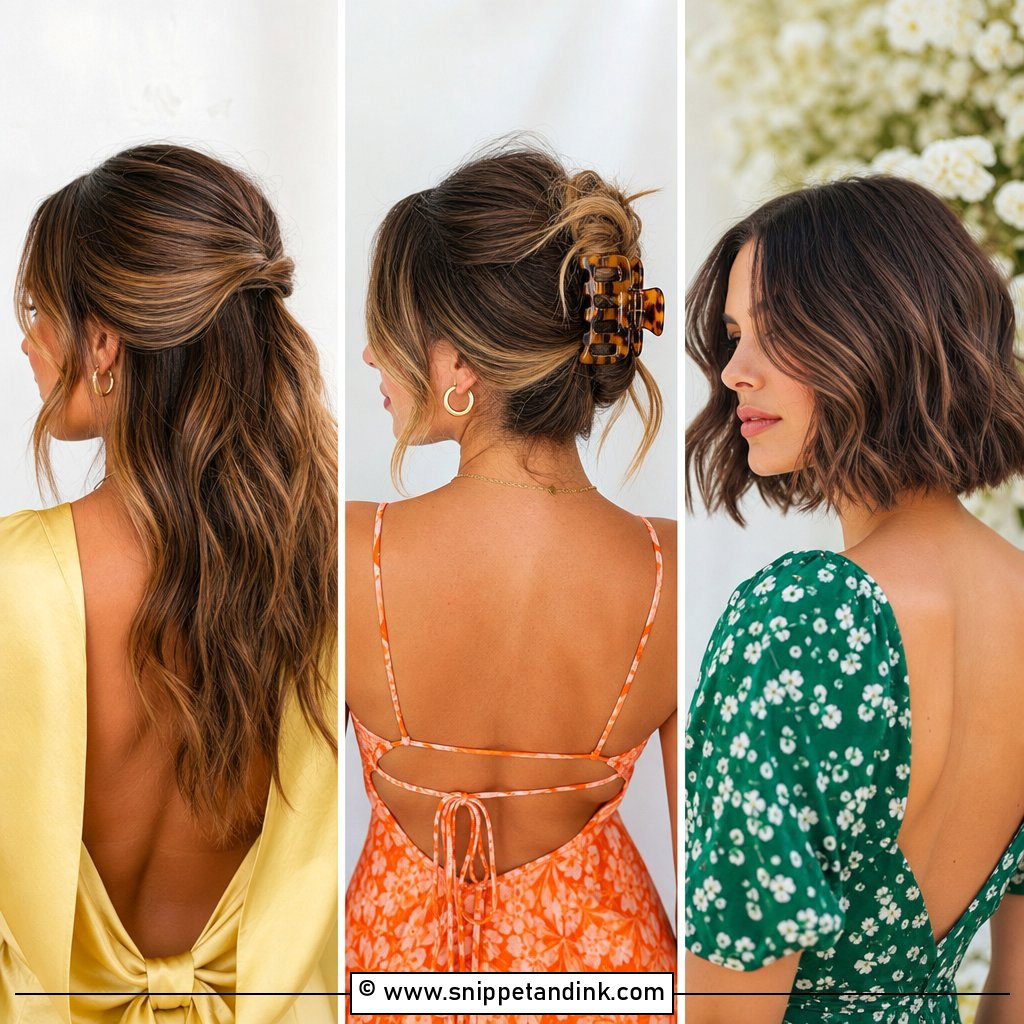
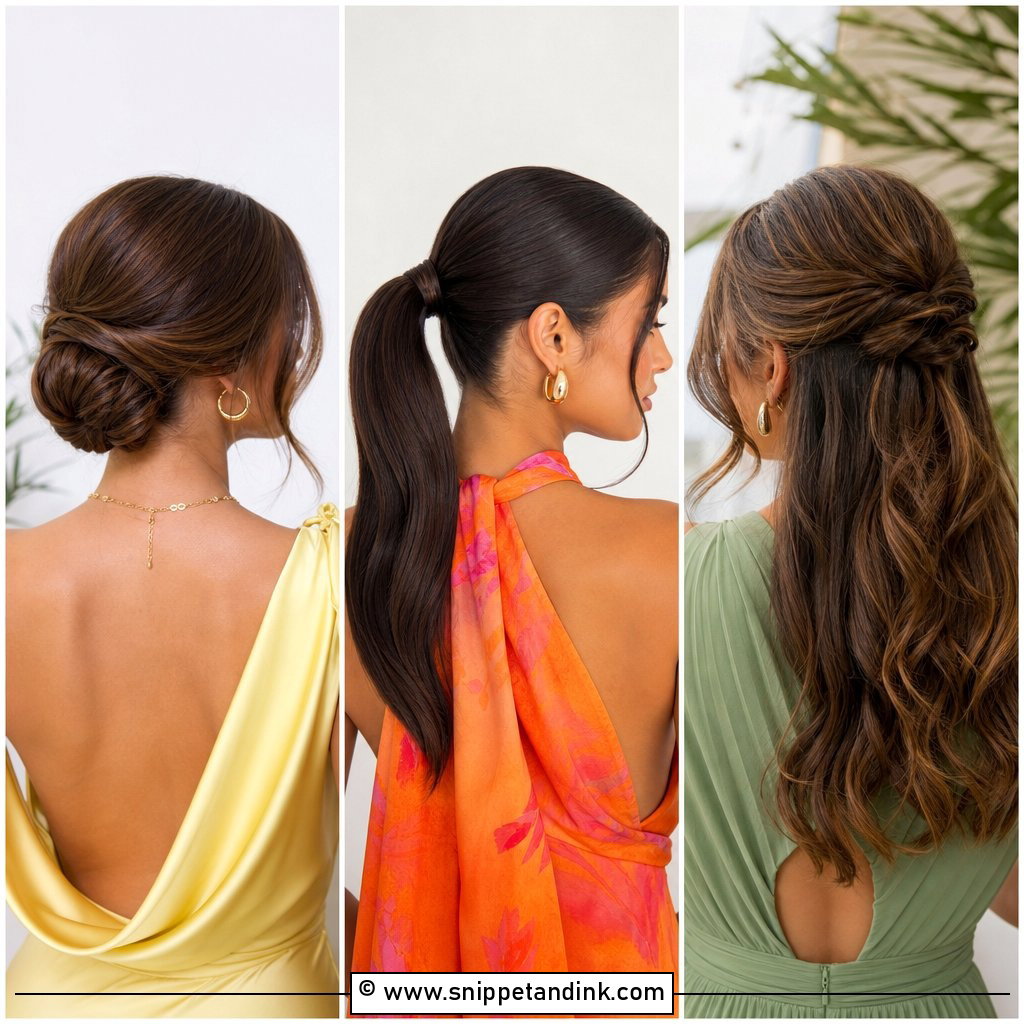
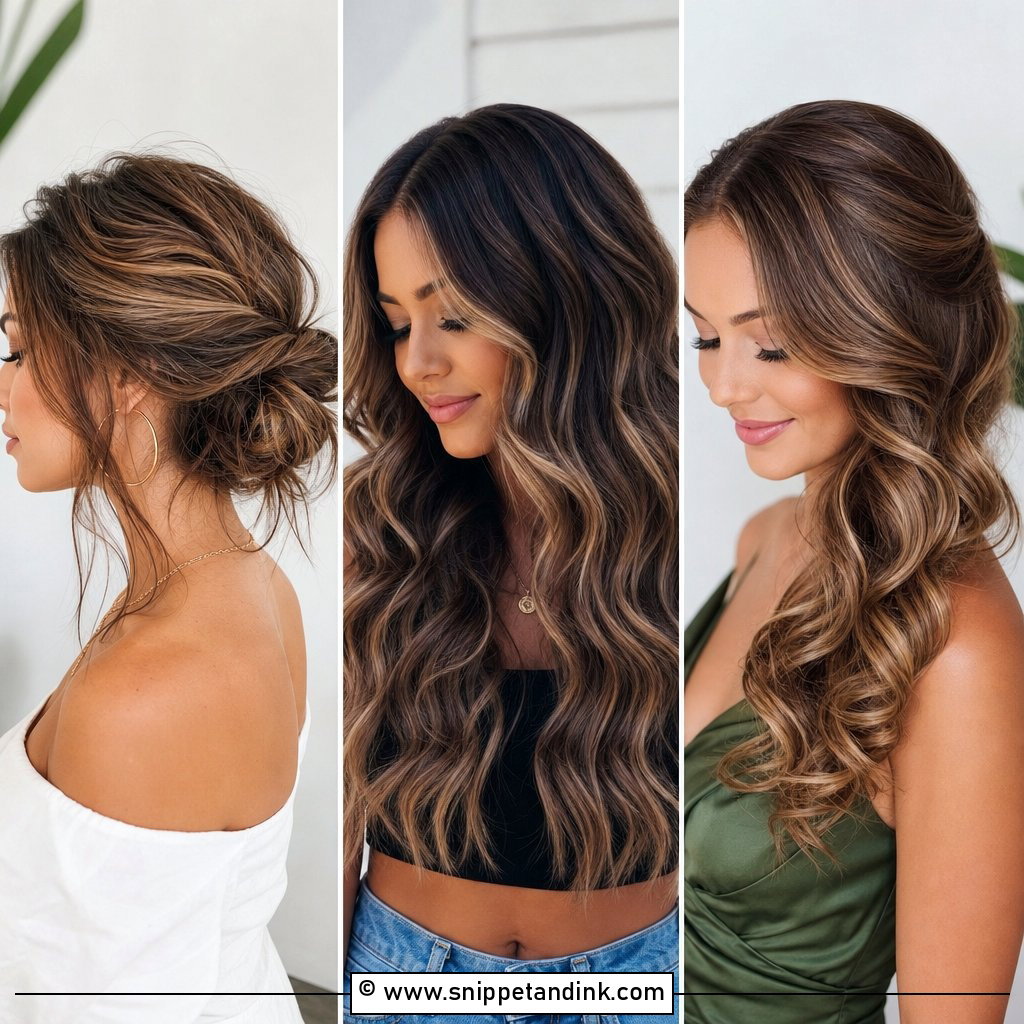
25. Voluminous Blowout Wedding Hair Tutorial
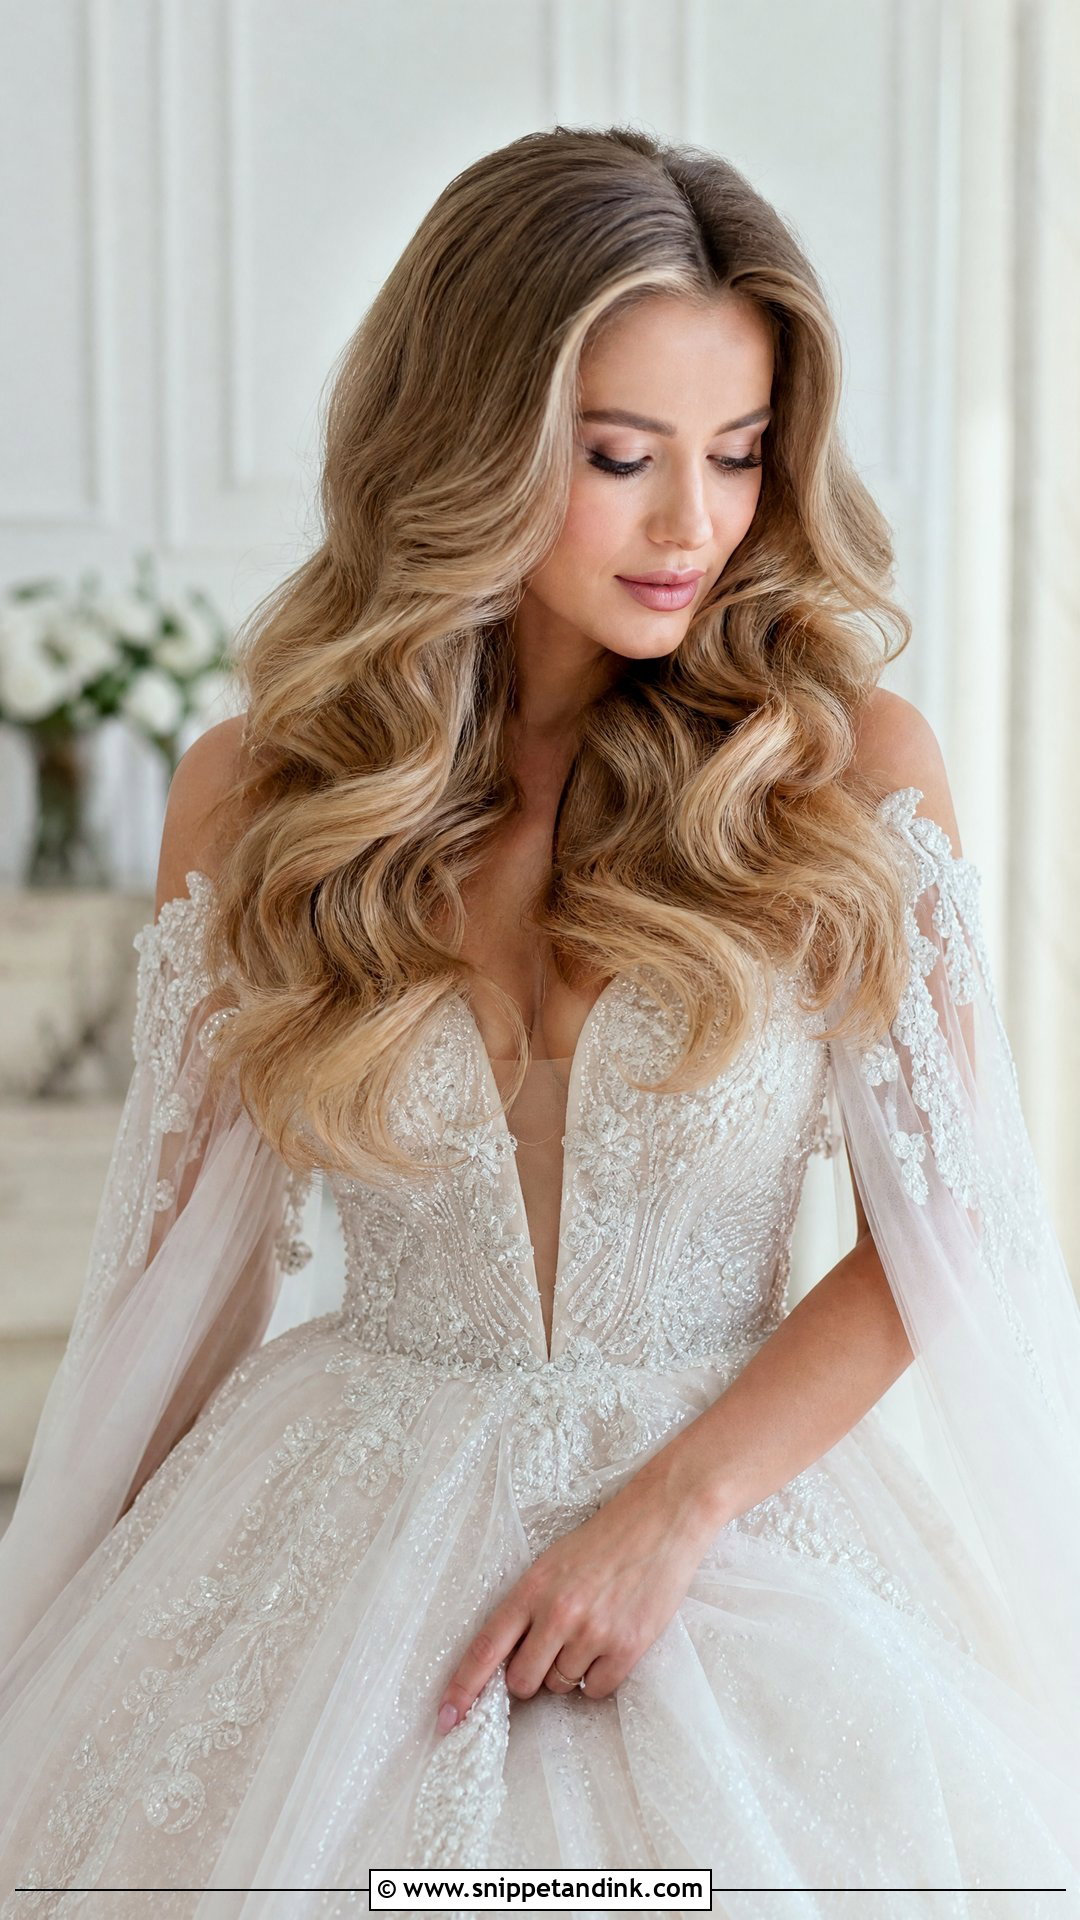
For big, bouncy, glamorous hair, the blowout is where the volume comes from, not the curling iron. Lift each section at the root with a round brush, then add waves with a large barrel and brush through once cool. Doing a full round-brush blowout on yourself takes strong arms and practice. If that’s not you, a salon blowout the morning of the wedding, with you finishing the waves, is a good compromise.
A Practice Plan for the Six Weeks Before
Brides who do their own hair well almost always started early. Here’s the schedule I’d suggest:
- Six weeks out: try your two favourite styles once each and photograph them from the back with your phone.
- Four weeks out: choose one, buy the exact pins, spray and accessories, and practise it twice a week.
- Two weeks out: do a full timed run wearing a top with the same neckline as your dress, then wear the style for a whole afternoon to see how it holds.
- The night before: wash and dry your hair, then lay out every tool in the order you’ll use it.
Time the full run honestly, then add about half again. Nerves, champagne and people asking you questions on the morning all slow you down.
If It Falls Apart on the Wedding Morning
Have a simpler fallback style practised alongside your main one. If the braided crown isn’t working after two attempts, switch to the low ponytail rather than fighting it for an hour. A calm bride with a neat ponytail looks better in photos than a stressed one with a perfect braid.
Pack an emergency kit for the day too: spare pins in your hair colour, a small travel hairspray, a few elastics and a tail comb. Show one bridesmaid where your main pins are so she can fix a loose section after the ceremony without pulling the whole style apart.
Practise in Front of Two Mirrors
A style you can do confidently with tired arms at seven in the morning is worth more than an ambitious one you’ve tried once. Pick two or three tutorials from this list, practise each several times, and time yourself on the last run. Use the same pins, products and accessories you’ll wear on the day. Then add your own touch, fresh flowers or pearl pins, and you’ll walk down the aisle with hair you trust.
You'll Like These Ideas:


Leave a Reply