
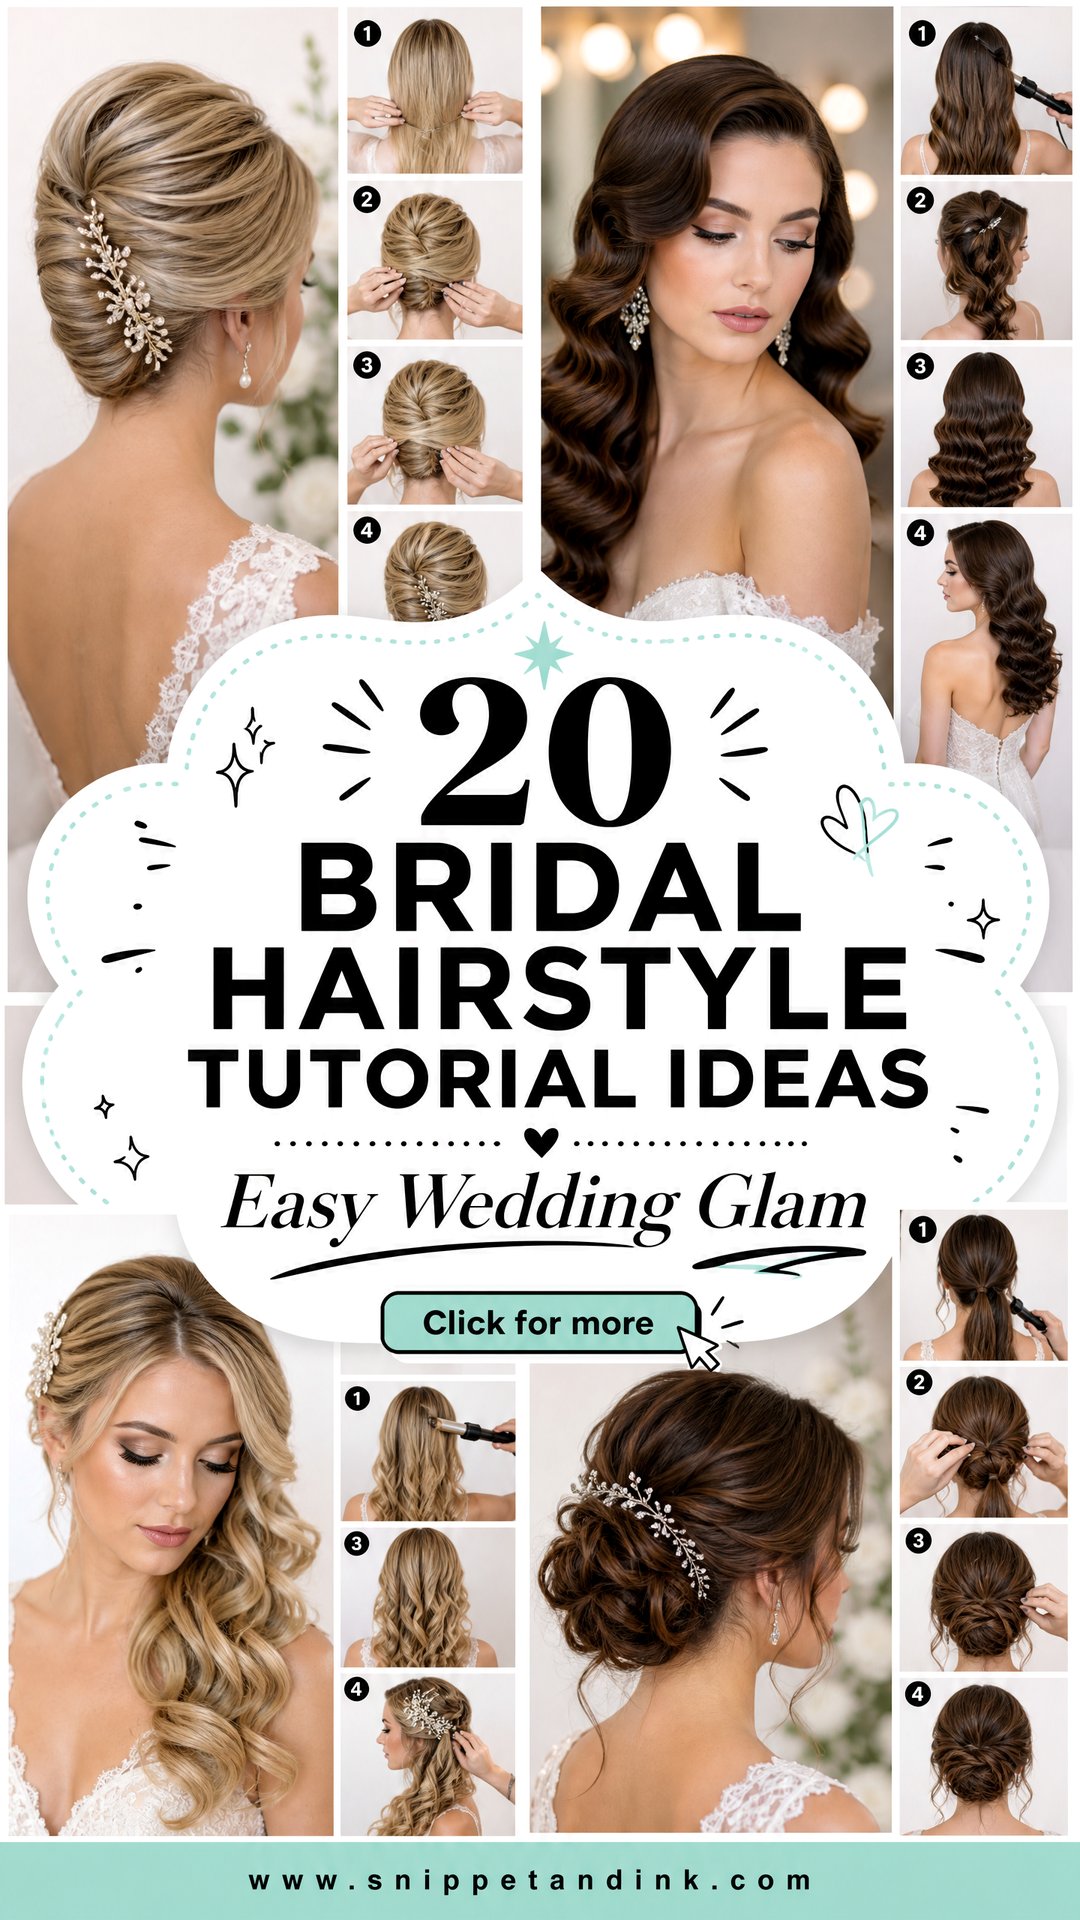
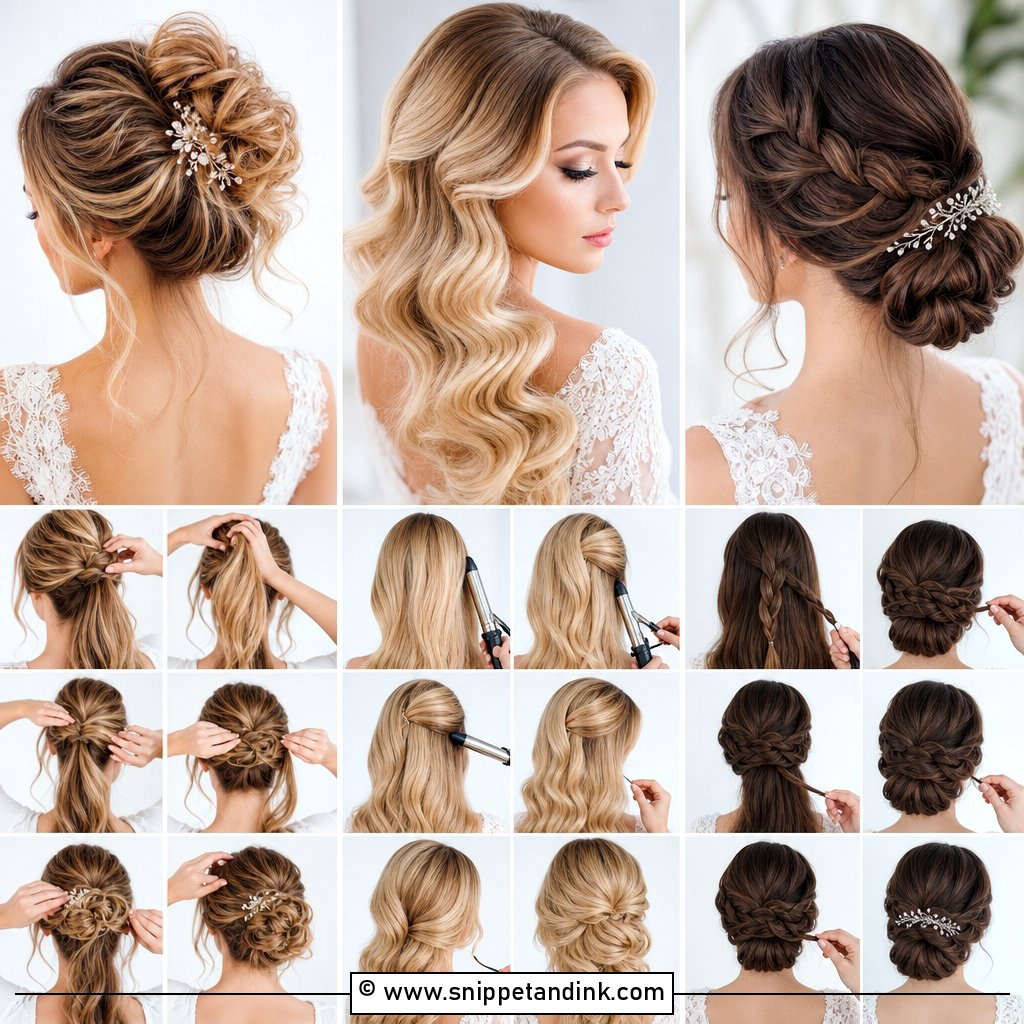
Most of the bridal styles I’m asked for are less complicated than the photos suggest. What makes them look expensive is prep, pin placement and knowing when to stop touching the hair. Below are 20 looks I’d happily teach a bride or a handy sister, from a low chignon to a pin curl set, with notes on which hair types each one suits and where it tends to fail. If you want to work through them slowly, the step-by-step inspiration breaks the techniques down further.
Rehearse Each Tutorial Twice Before the Wedding Morning
When a bride does her own hair, the style is rarely the problem. Timing is. A look that takes me forty minutes can take someone new to it twice that, with arms aching from holding them overhead. I’d plan two full practice runs: one about a month out to learn the steps, and one a week or two before, timed, in the clothes neckline you’ll wear.
- Wash the day before the practice, the same way you’ll wash before the wedding. Hair washed that morning is often too slippery to pin.
- Do the run at the same time of day as the real thing, then wear it for at least four hours so you see what drops.
- Photograph it from the back and both sides with a flash. Gaps and lumps you can’t see in the mirror show up immediately.
- Write down the pin count and the order of steps. On the morning, nerves wipe memory faster than you’d expect.
If the second run still looks shaky, that’s useful information, not failure. Book a stylist for the updo and do something simpler yourself, or choose a braided style, which is far more forgiving for beginners.
1. Low Bridal Chignon Tutorial
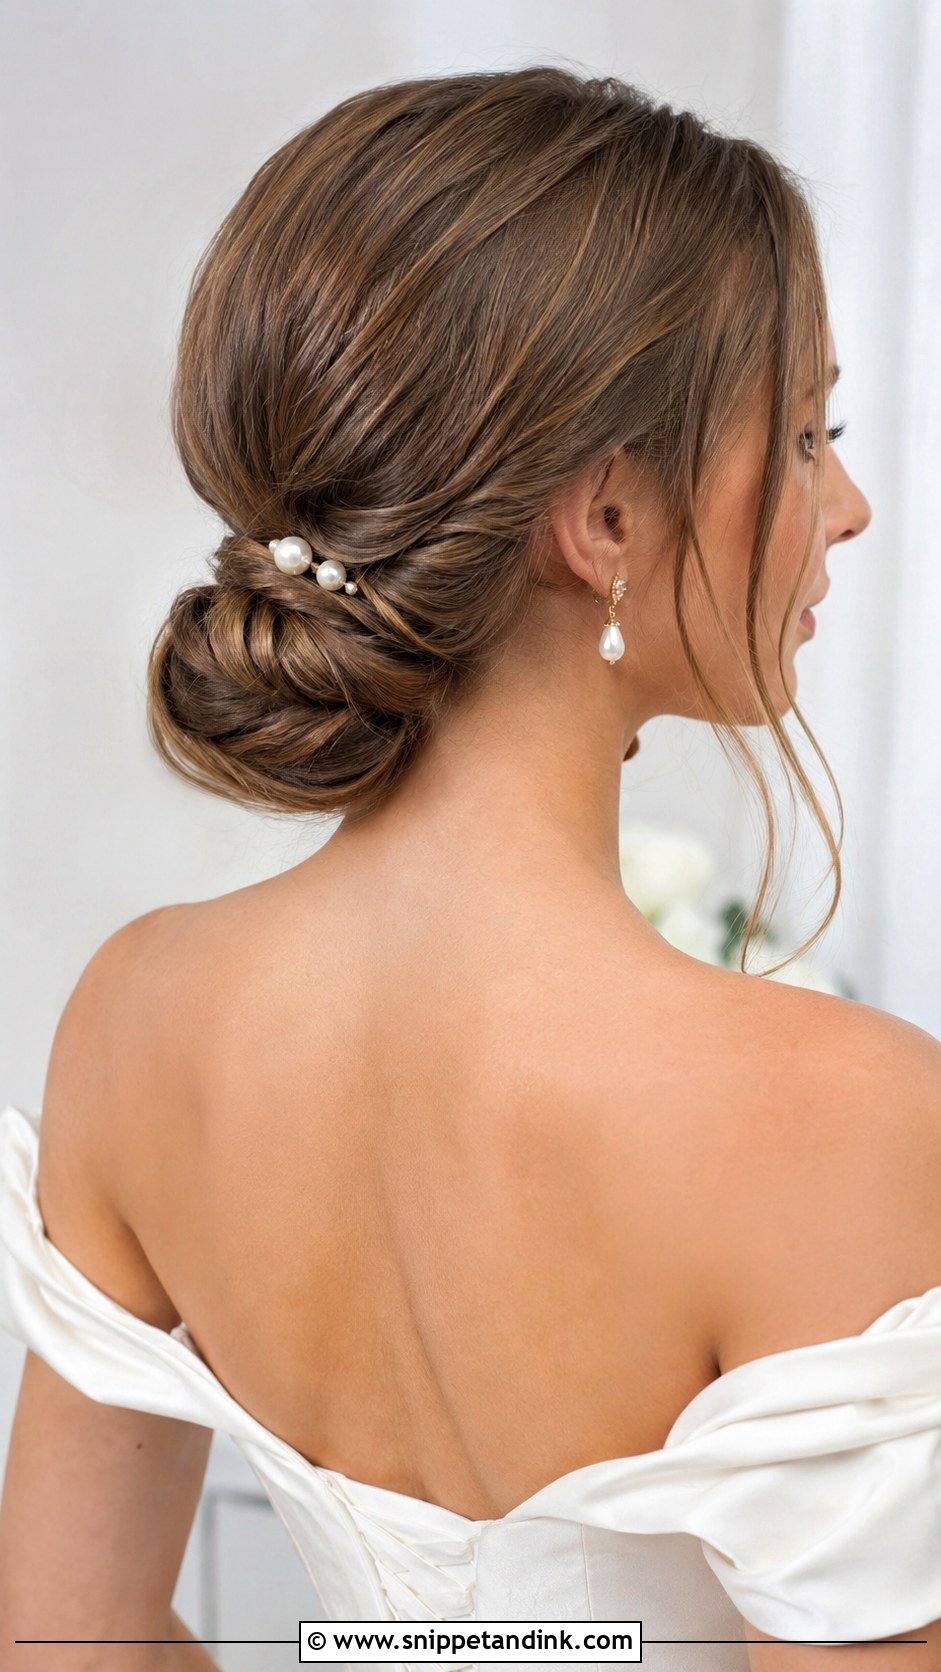
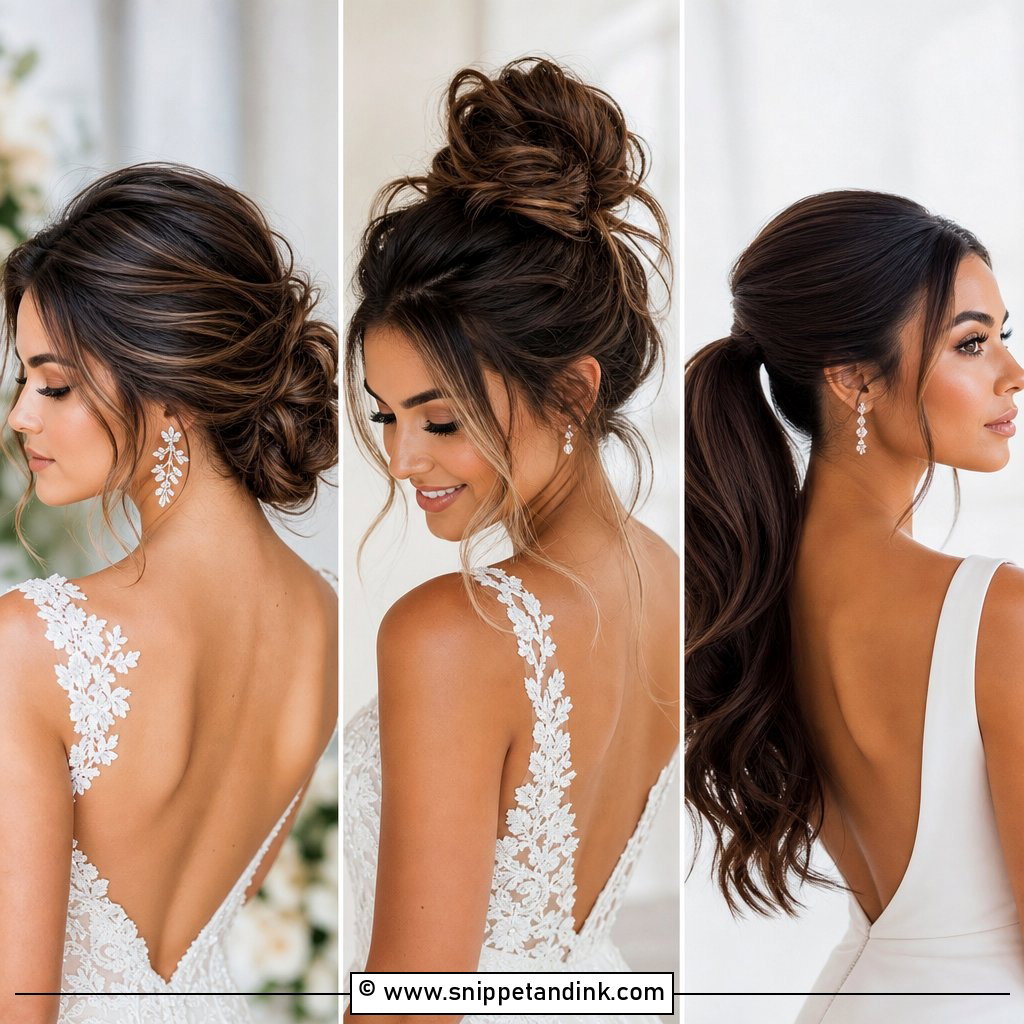
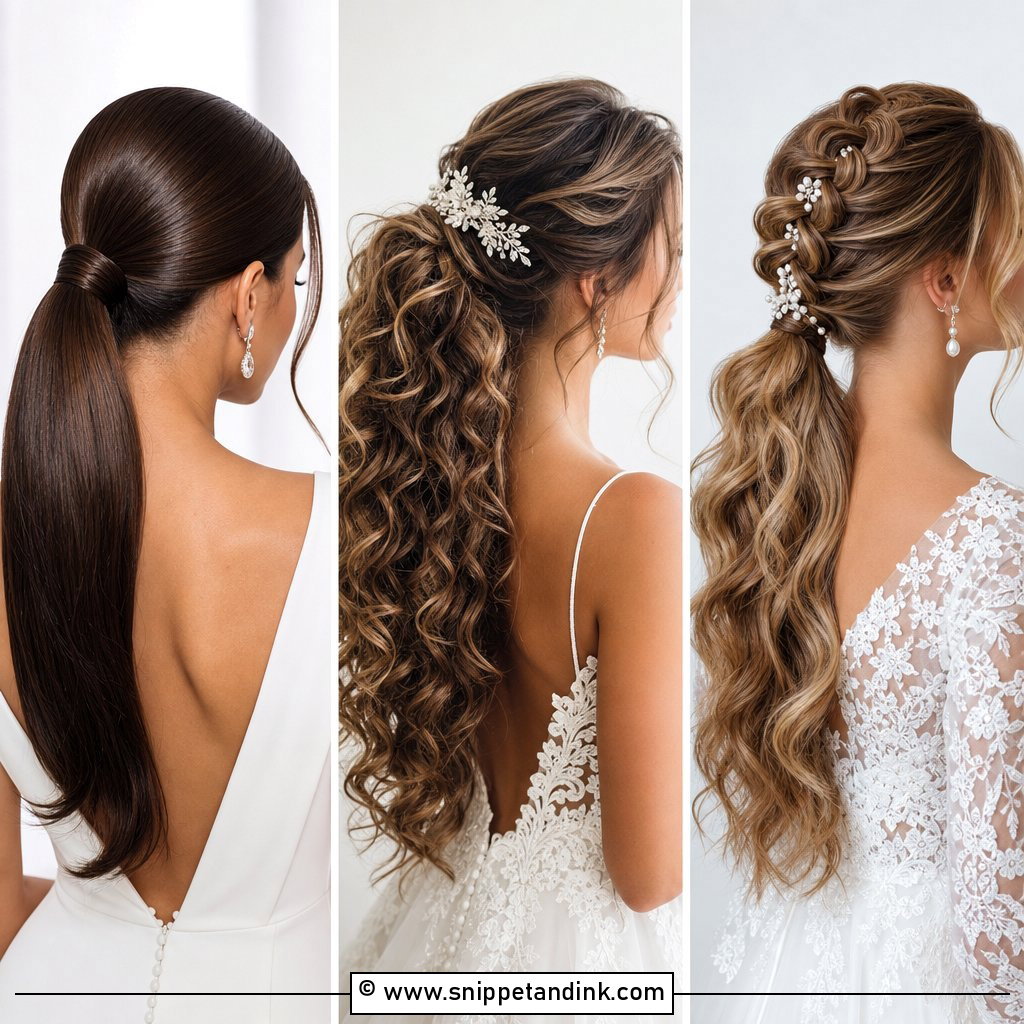
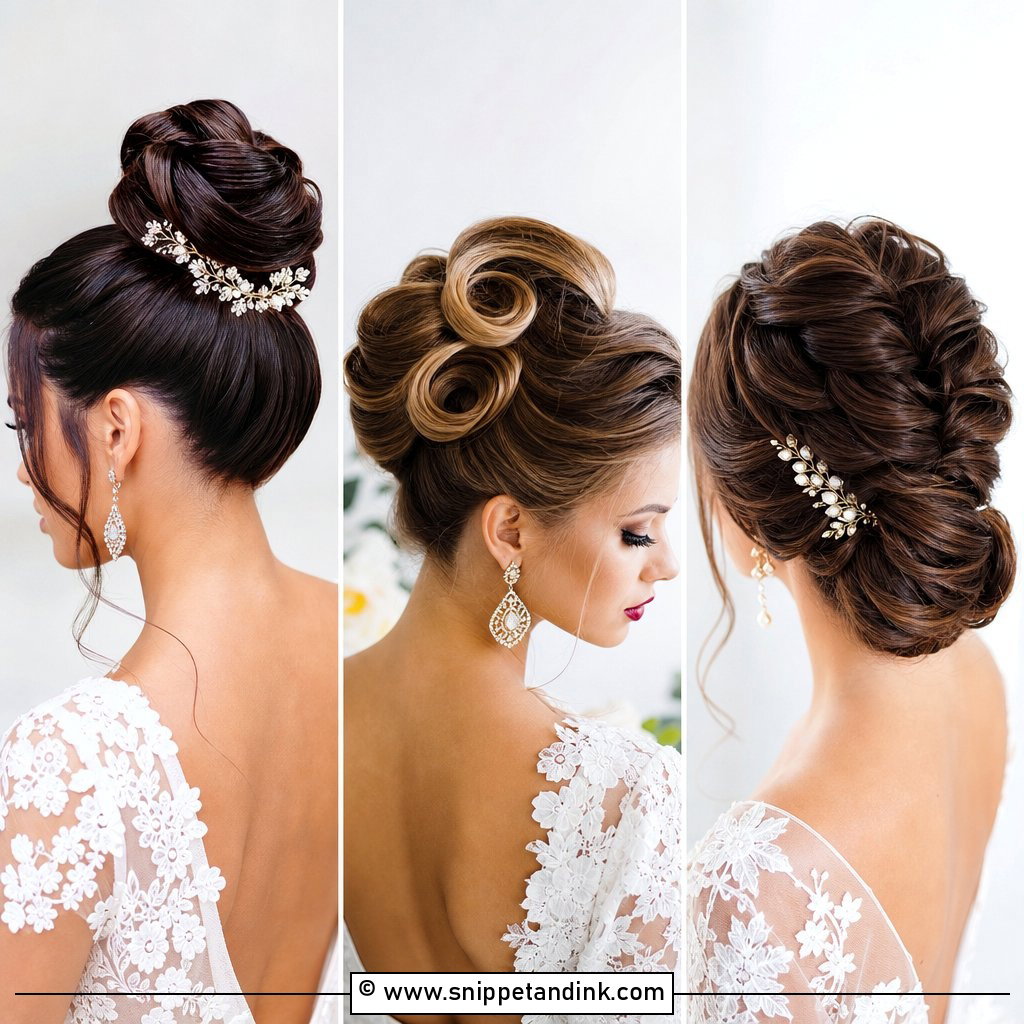
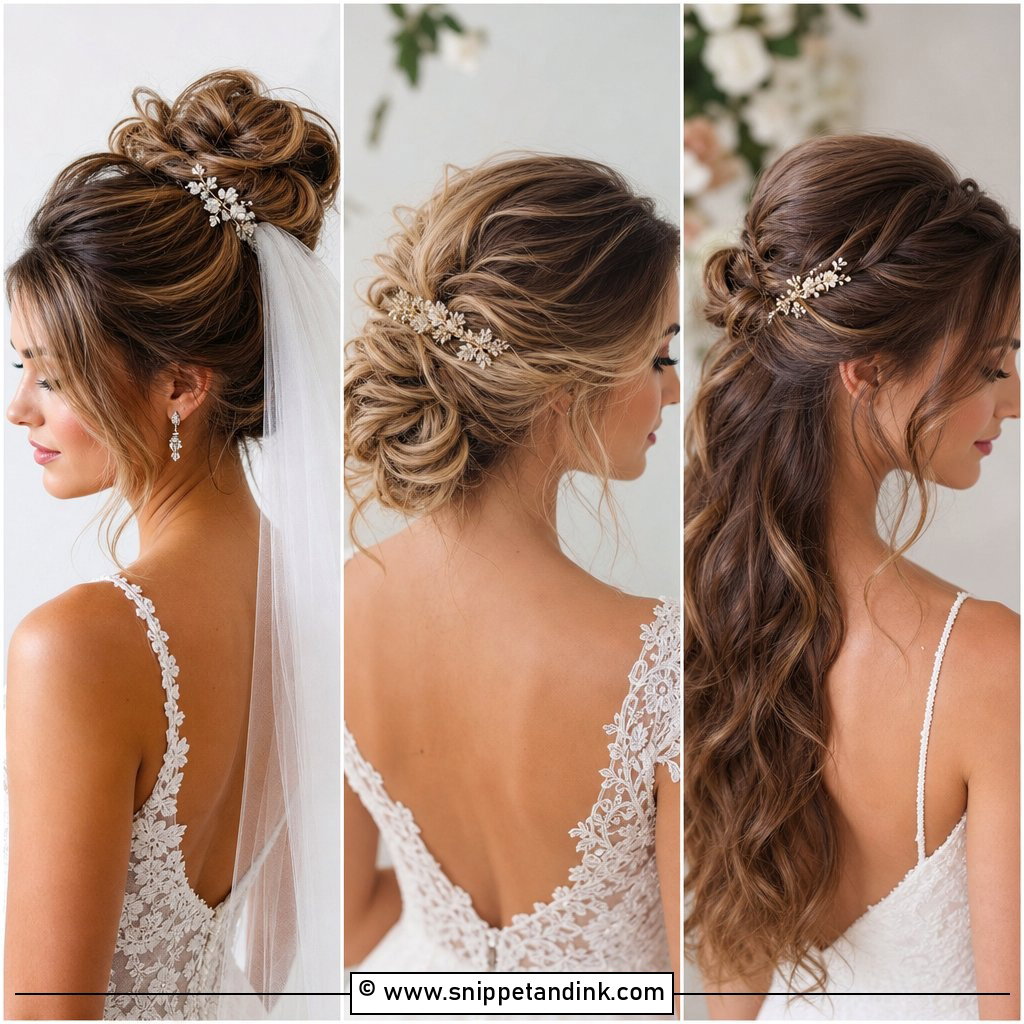
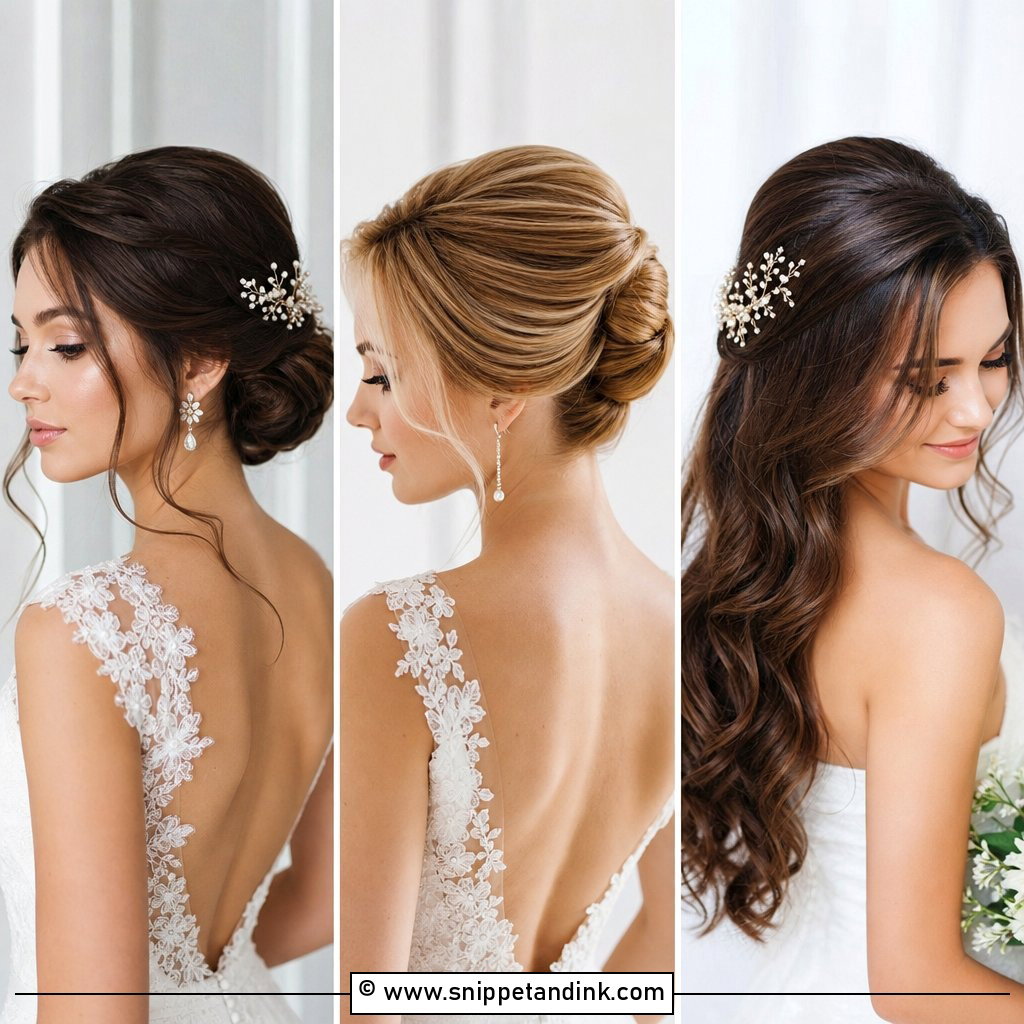
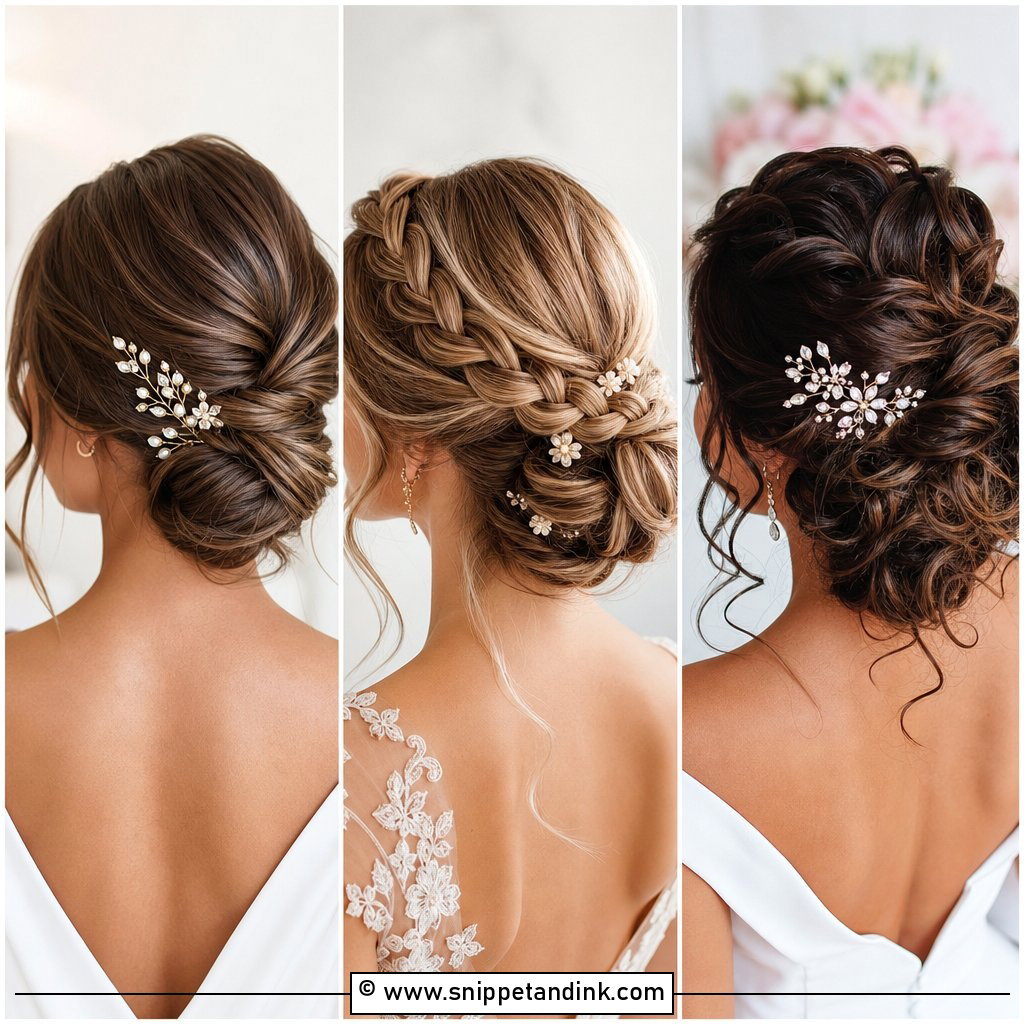
I reach for the low chignon more than any other updo, mostly because a veil comb sits so securely right above it. Smooth the hair into a low ponytail at the nape, twist the length into a bun, tuck the ends under and pin as you wrap. A little texture spray before you twist gives the pins something to bite into, which matters a lot on silky, freshly washed hair. Leave out a couple of face-framing pieces, but curl them separately or they hang limp by lunch.
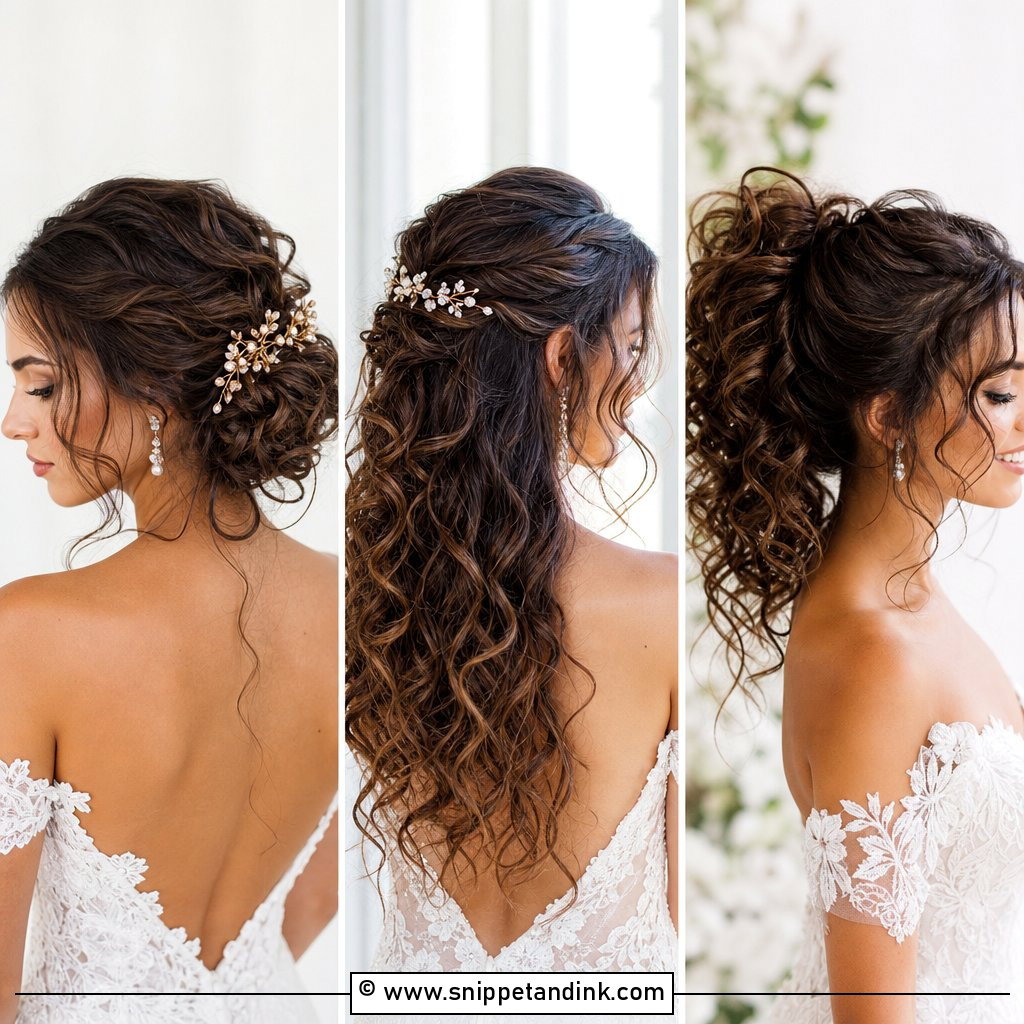
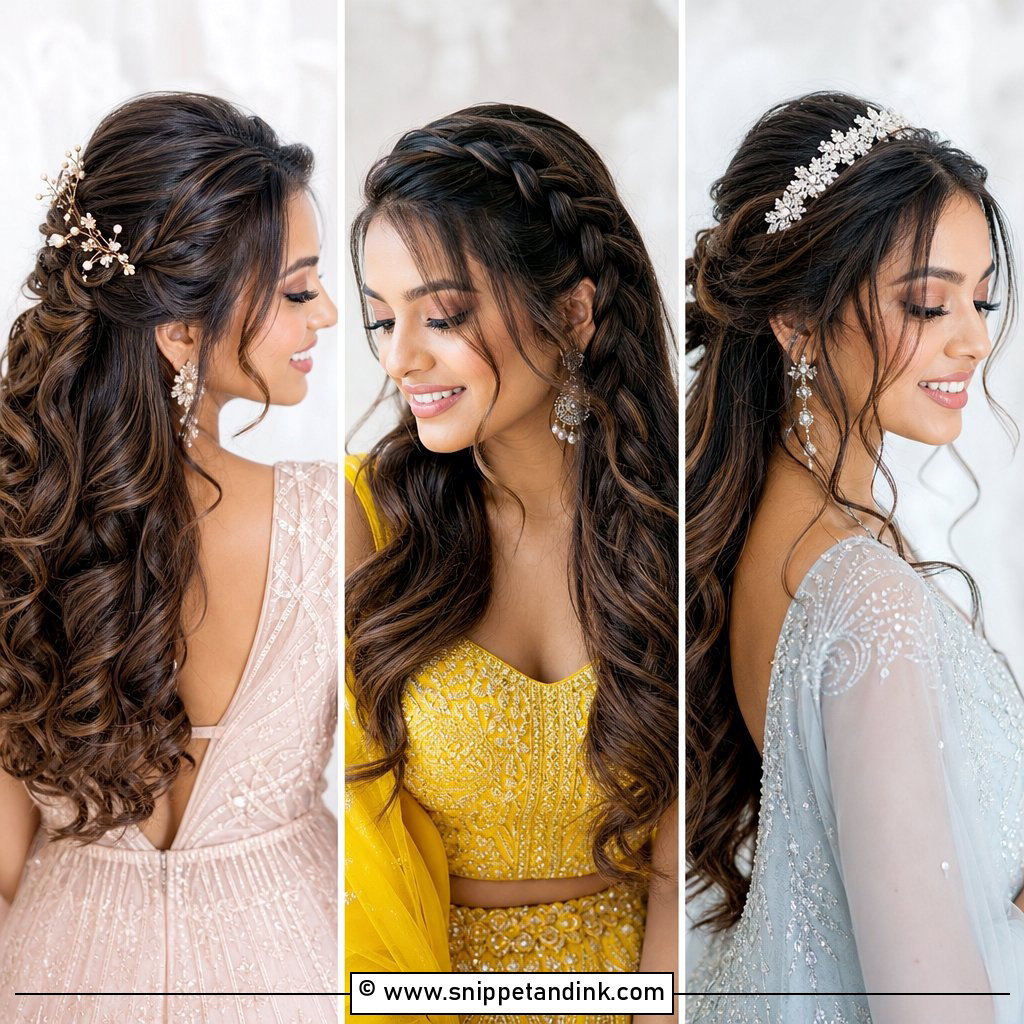
2. Half Up Half Down Wedding Hair Tutorial
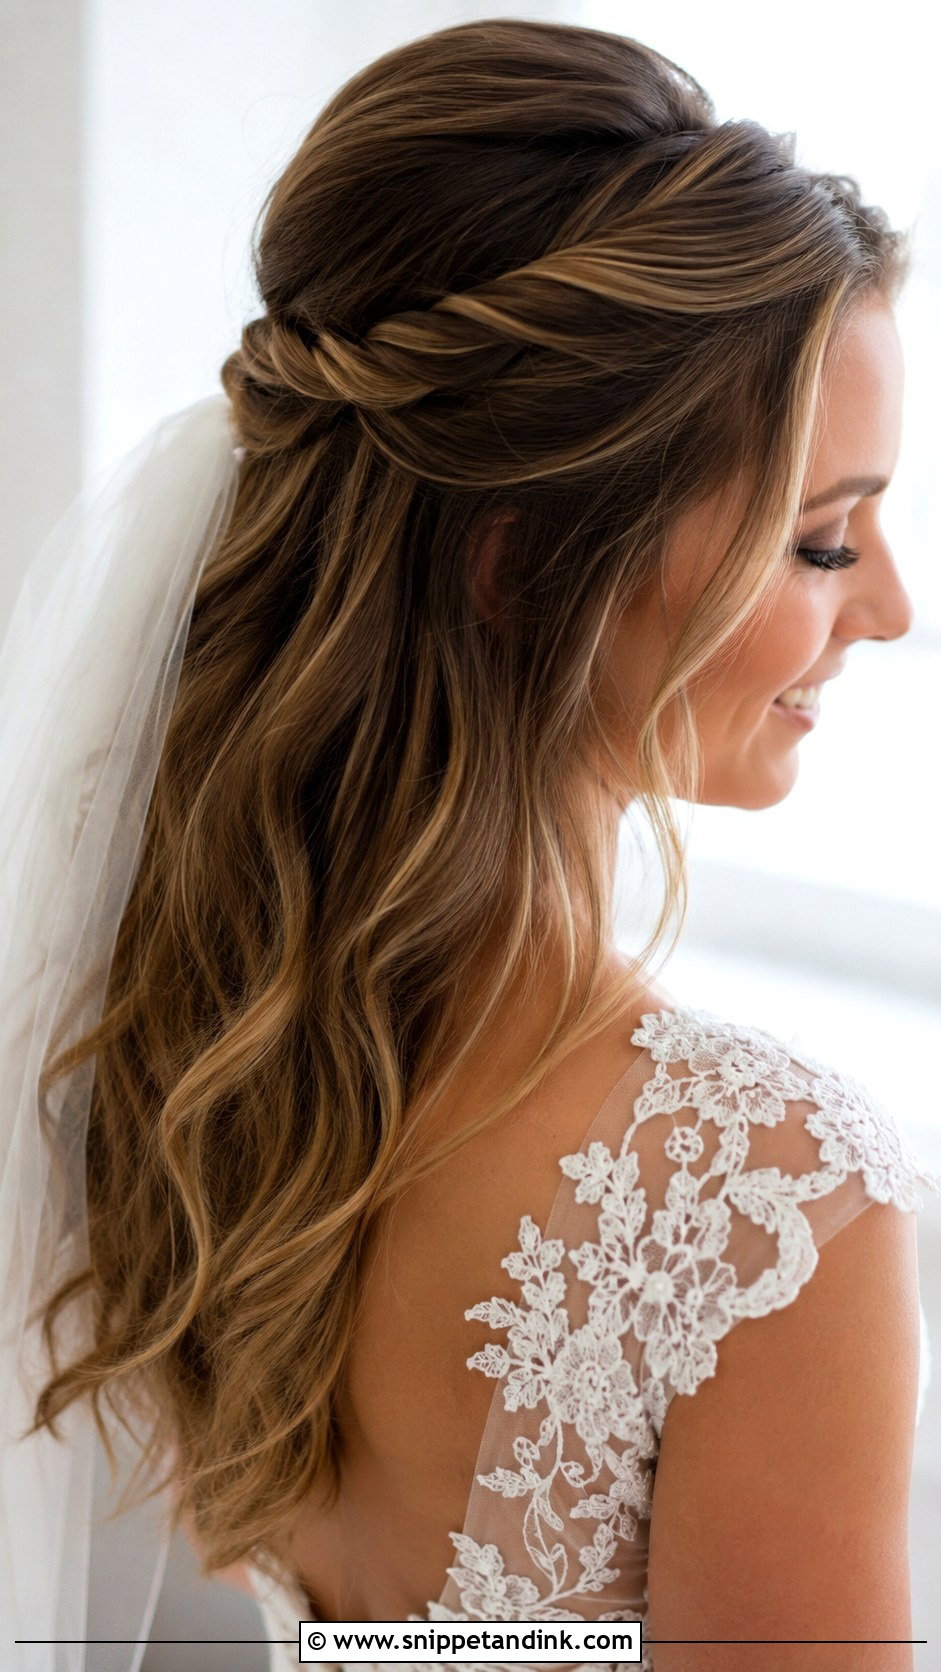
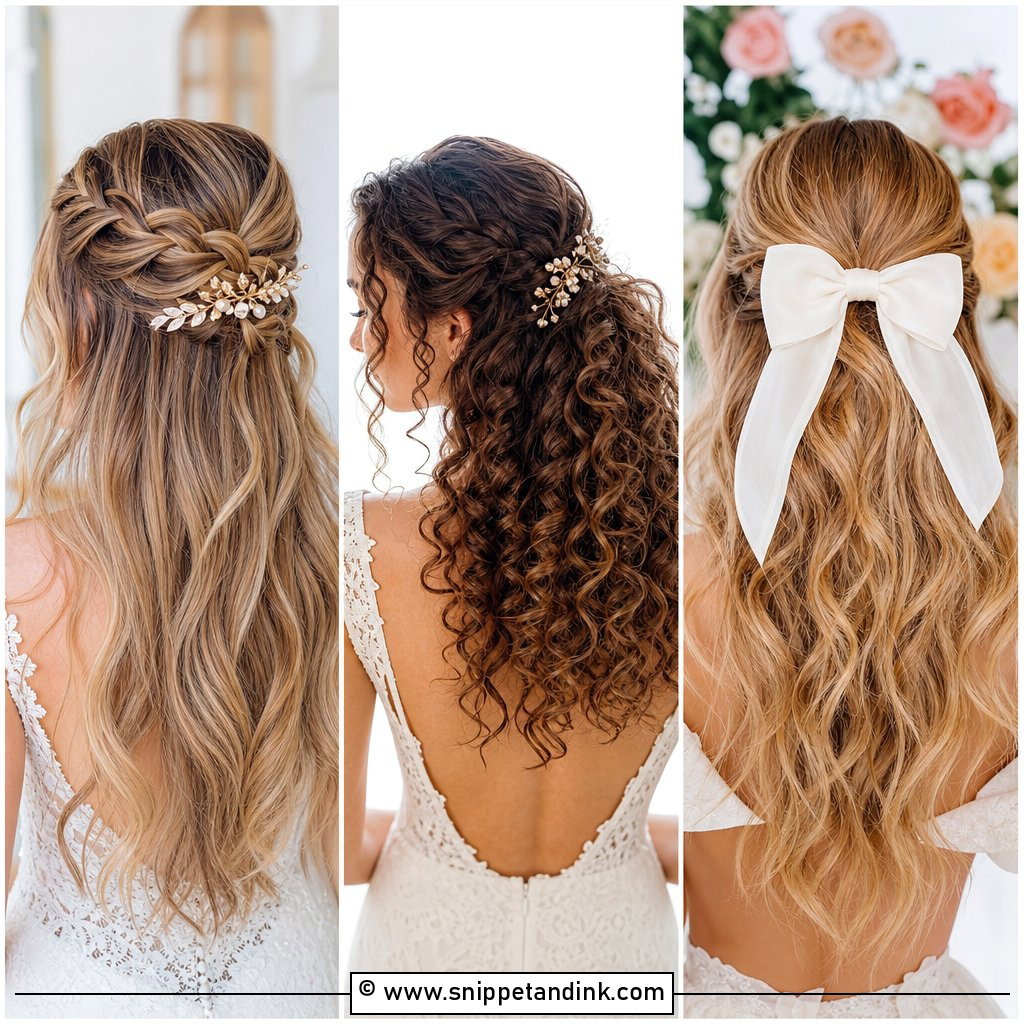
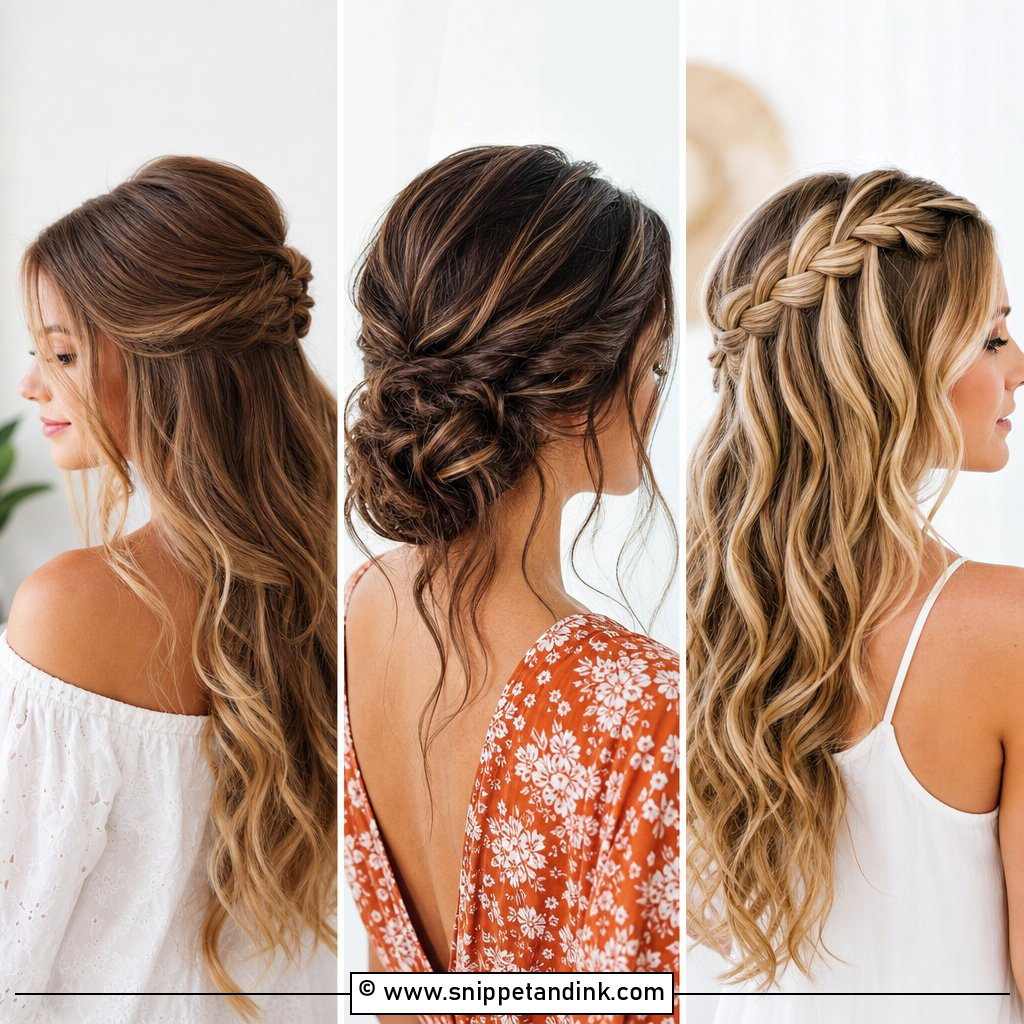
Half-up, half-down is the compromise I see most often, and it’s also the style that drops fastest. Curl everything first, then take the top section, backcomb lightly at the crown and pin it at the back with crossed bobby pins. Twisting the sides inward hides the pins and adds grip. The honest caveat: loose lengths lose curl in humidity, so on very fine or straight hair I set the curls with spray while they’re still warm and pinned up to cool.
3. Sleek Ballerina Bun Tutorial
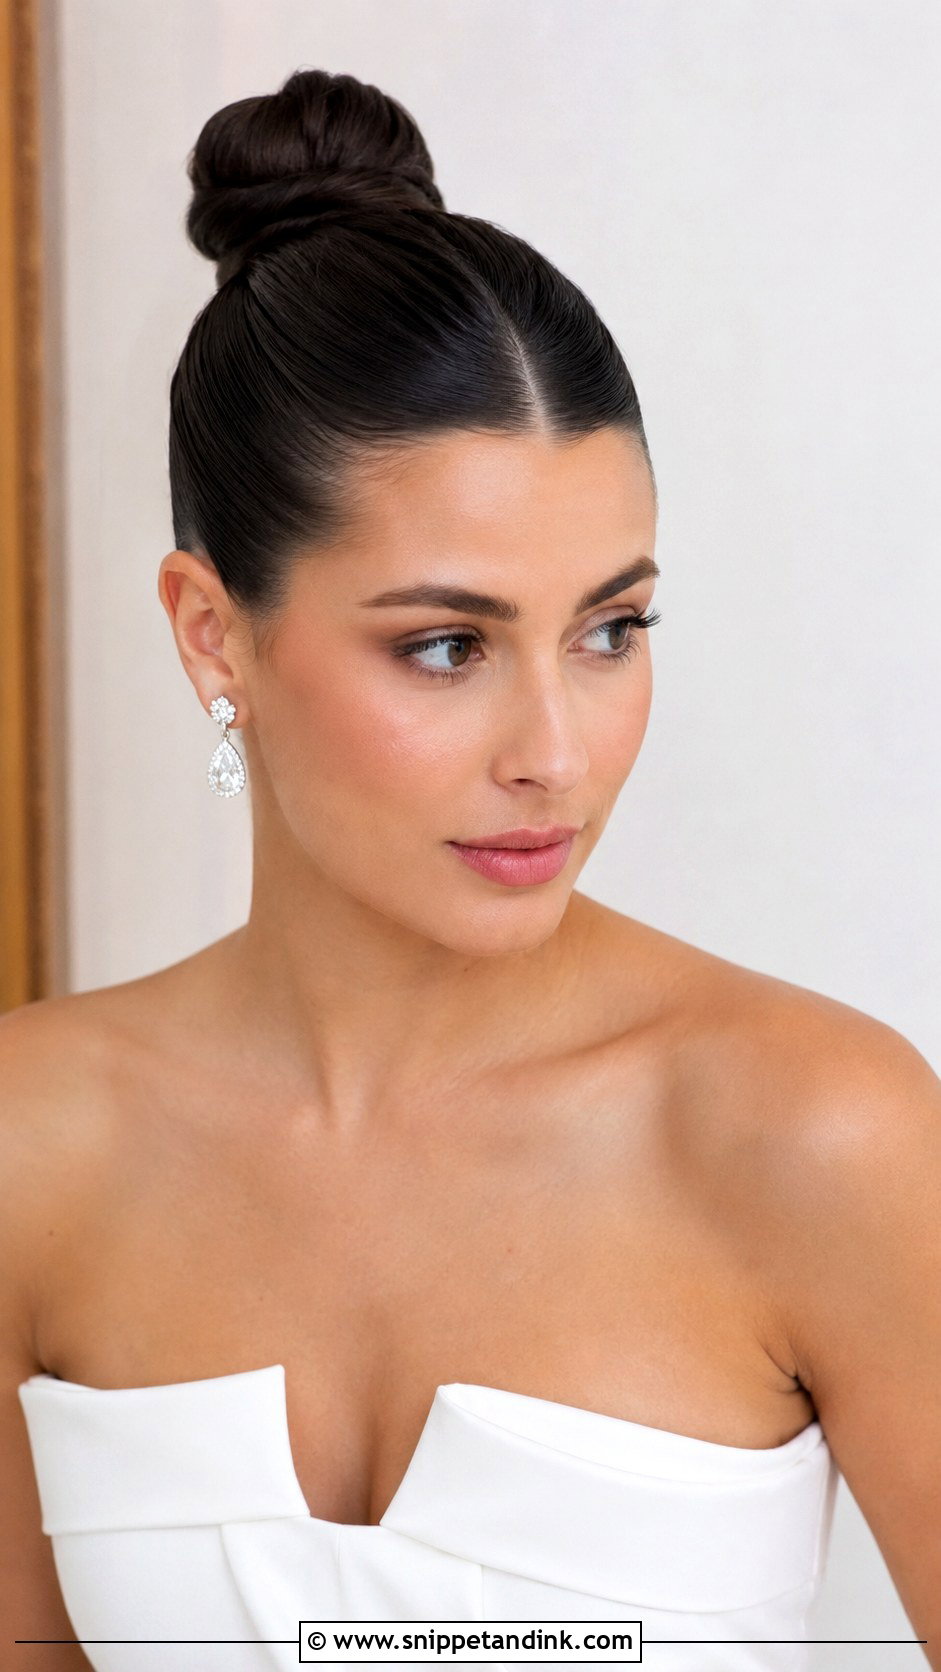
A sleek ballerina bun is all about the base. Start with a clean center part and brush the hair back firmly into a high or mid ponytail, smoothing flyaways with gel and a small brush before you wrap it into a bun and pin it close. Shine spray finishes it, but go light, since too much reads greasy under flash. I’d steer you away from this one if your hairline is uneven or you have a strong cowlick at the front, because a pulled-back finish shows every bump. It does sit well under strong eye makeup on a minimalist bride.
4. Soft Romantic Waves Tutorial
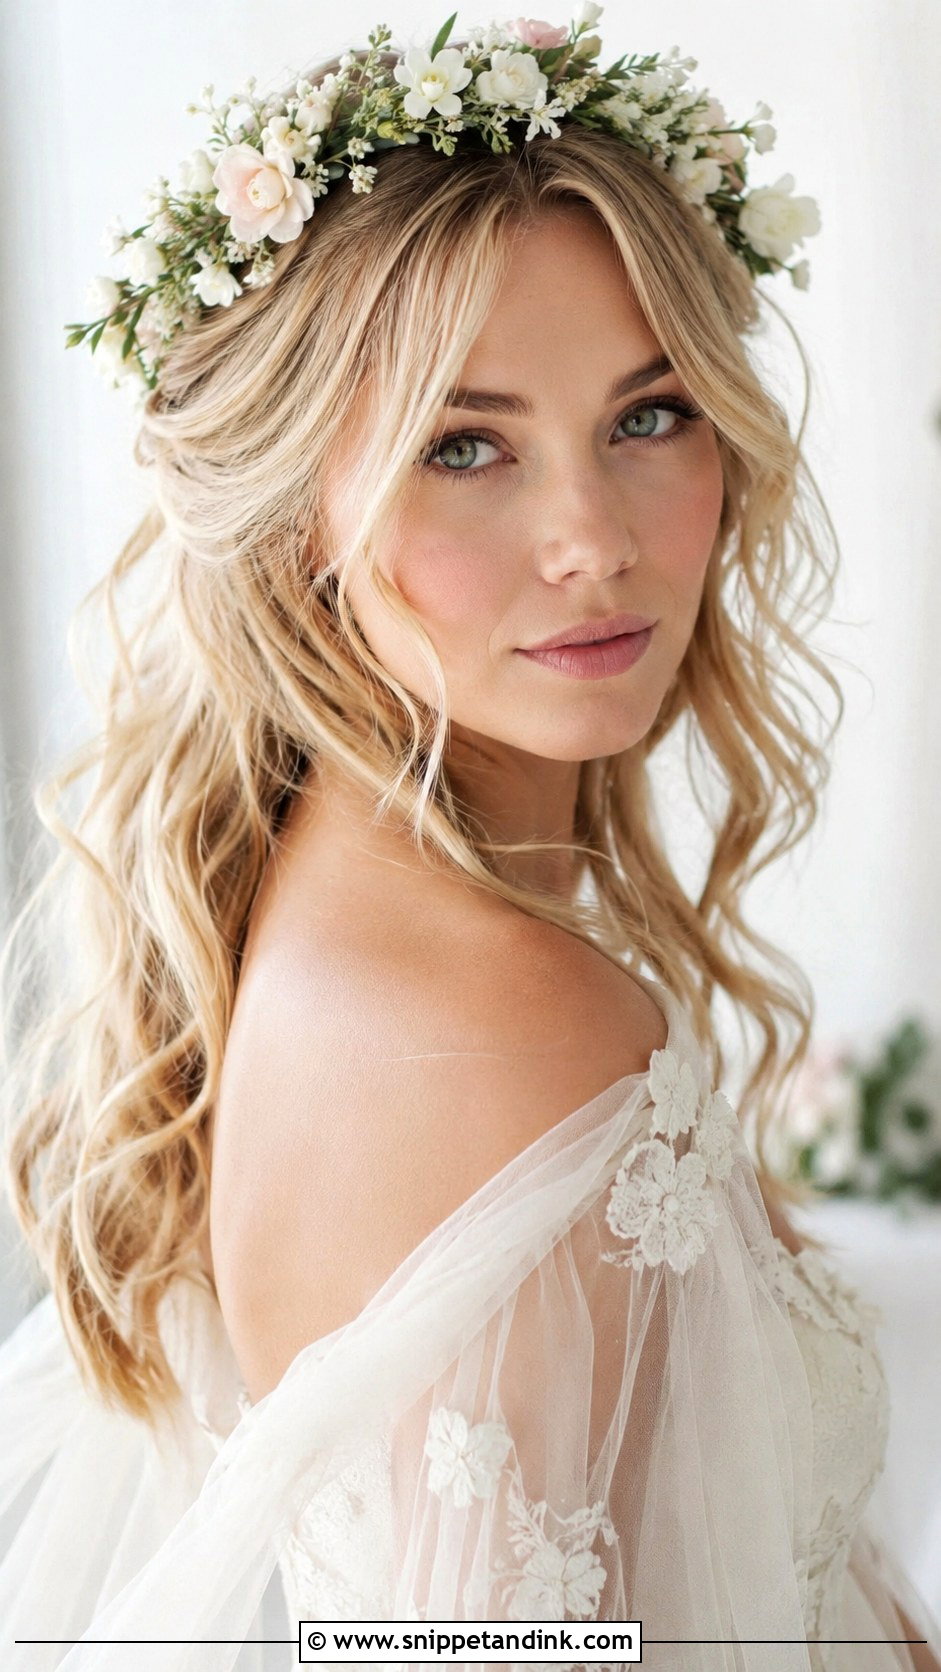
Loose waves look simple and are surprisingly hard to make last. Blow-dry with a heat protectant and a round brush for body, then curl with a large barrel, always away from the face. The step people skip is letting each curl cool fully before touching it; brush through with fingers only once the whole head is cold, then mist with a flexible hairspray. On long, heavy hair I curl tighter than the look I want, because the weight pulls the waves out within a couple of hours.
5. French Twist Bridal Updo Tutorial
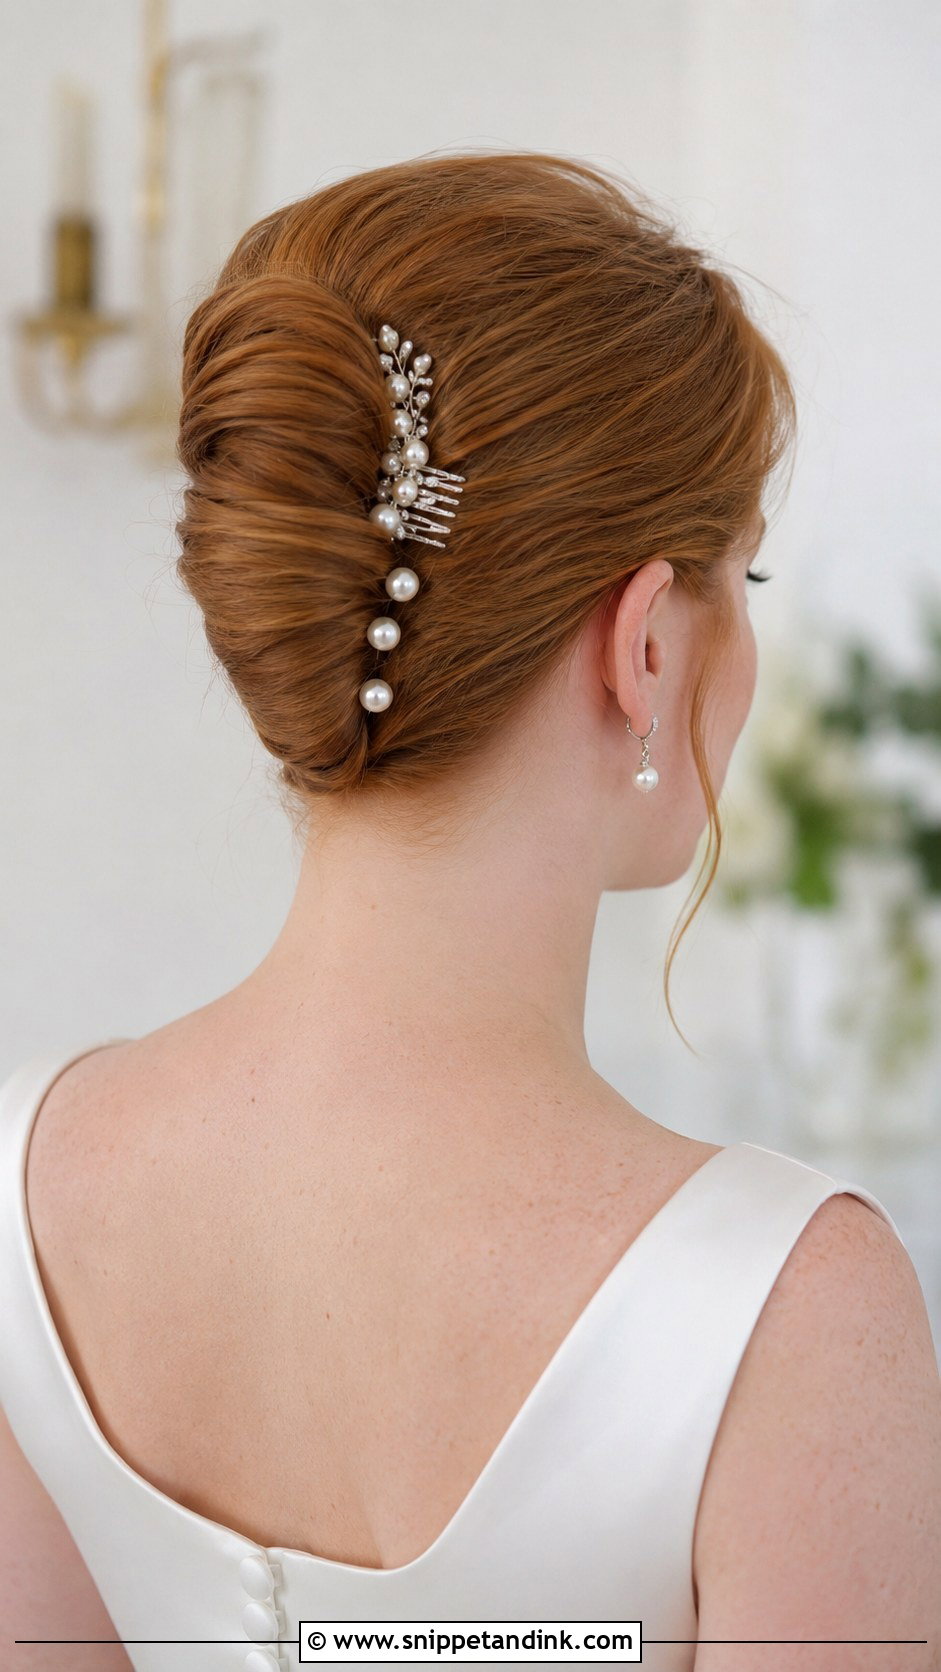
The French twist is a formal style that keeps the neck bare, which is welcome at a summer ceremony. Gather the hair to one side, twist it vertically toward the center, roll it inward and close the seam with sturdy pins inserted against the direction of the twist. That reverse angle is what keeps it from unravelling. Very short layers poke out of the roll, so if your shortest pieces are above the ear, plan on a smoothing cream or a decorative comb to cover the seam.
6. Messy High Bun Tutorial
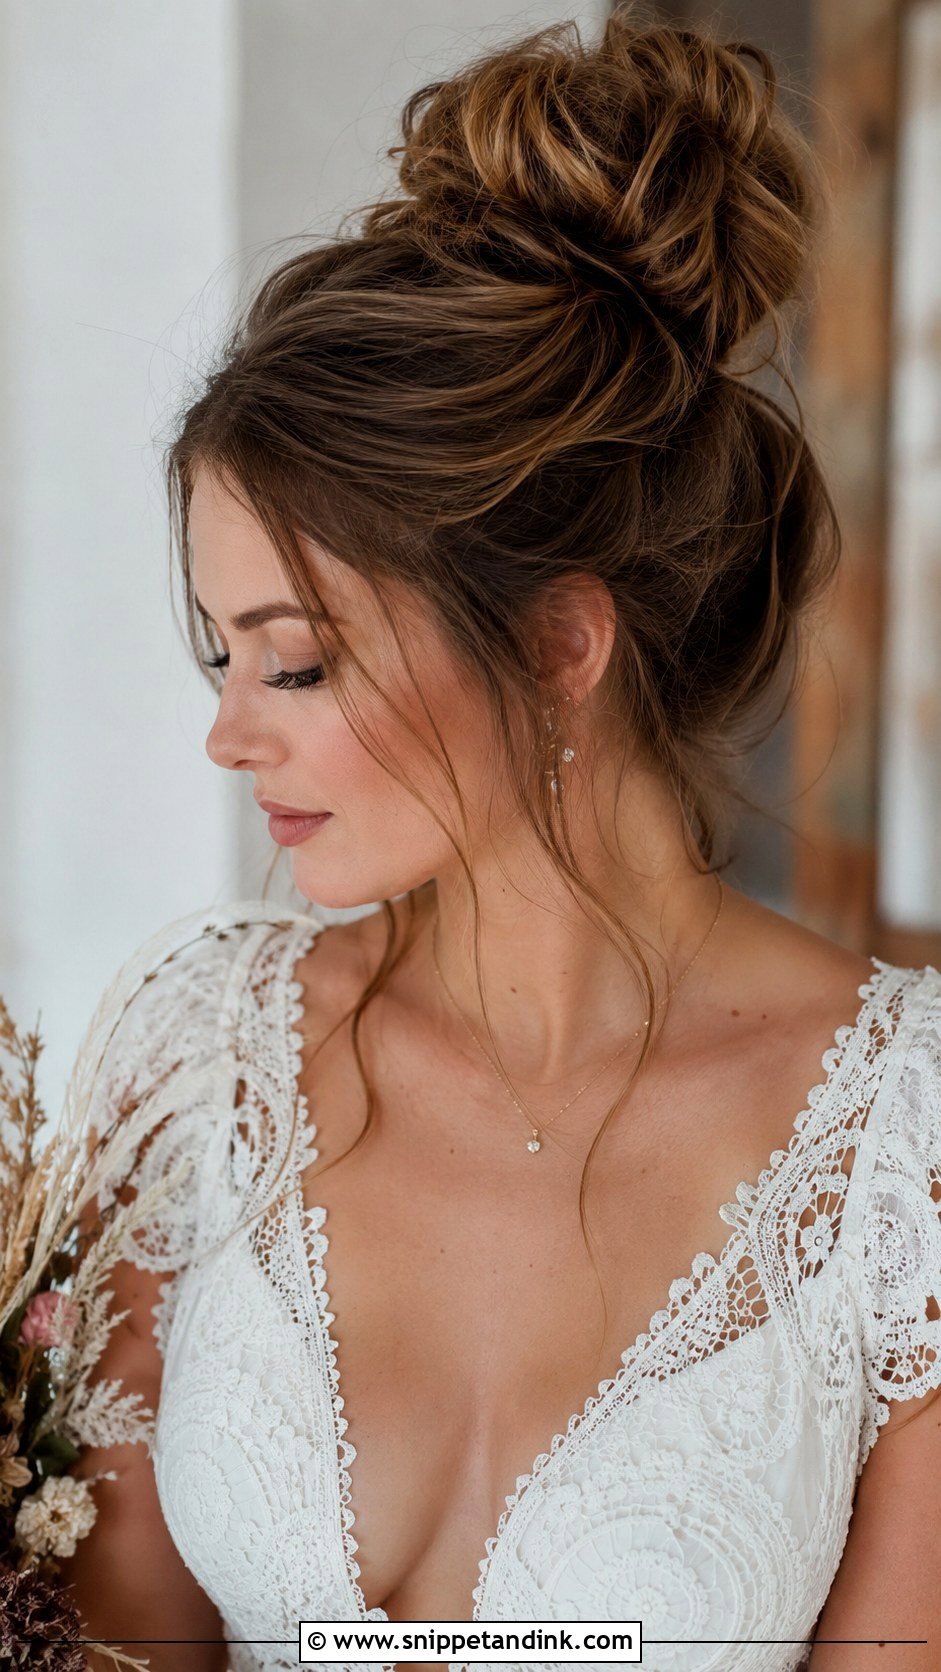
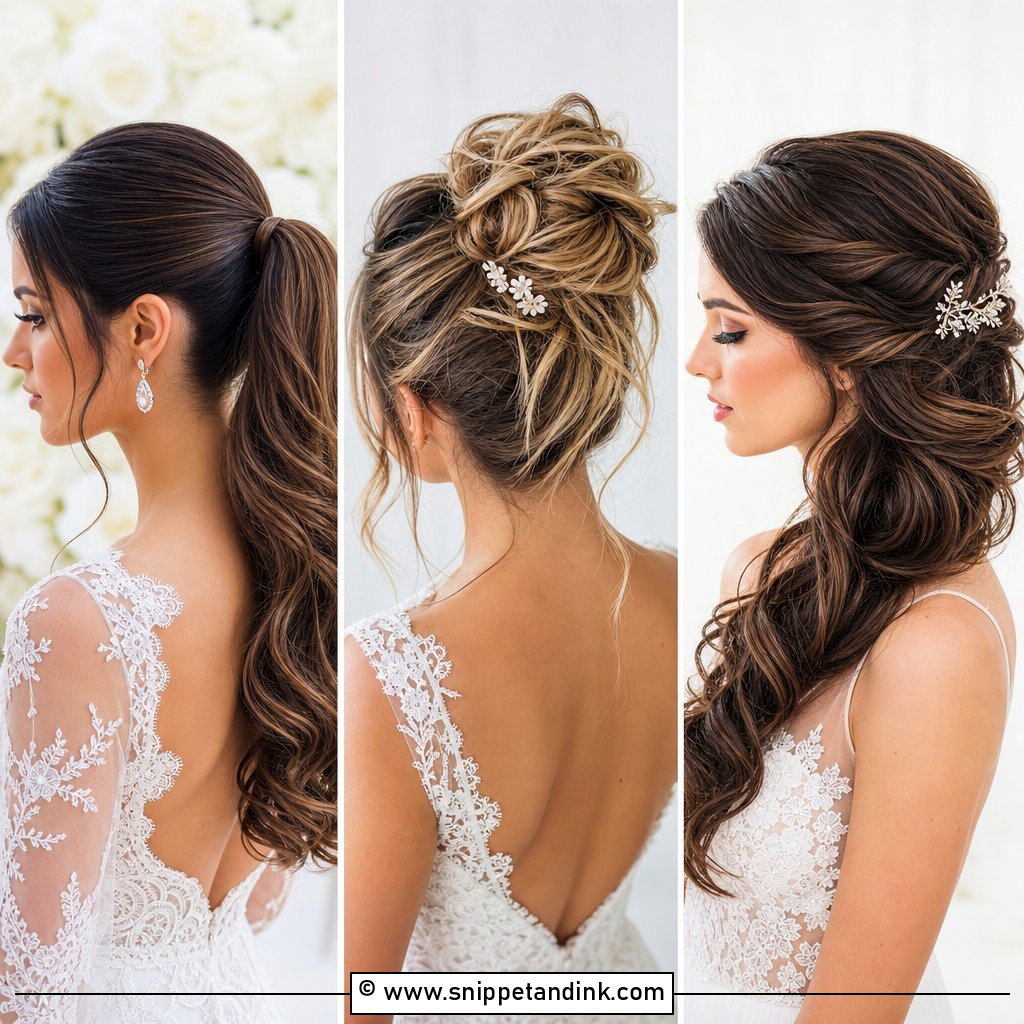
A messy high bun only looks careless; it needs more grip than a sleek one. Spray texture through dry hair, gather it high, then twist and wrap loosely, pinning as you go. Pull out a few tendrils and tug the bun gently to widen it. I’d keep this for outdoor and garden weddings with a short veil or none at all, since a long veil comb has very little to anchor into on a loosened bun.
7. Boho Braid Half Up Tutorial
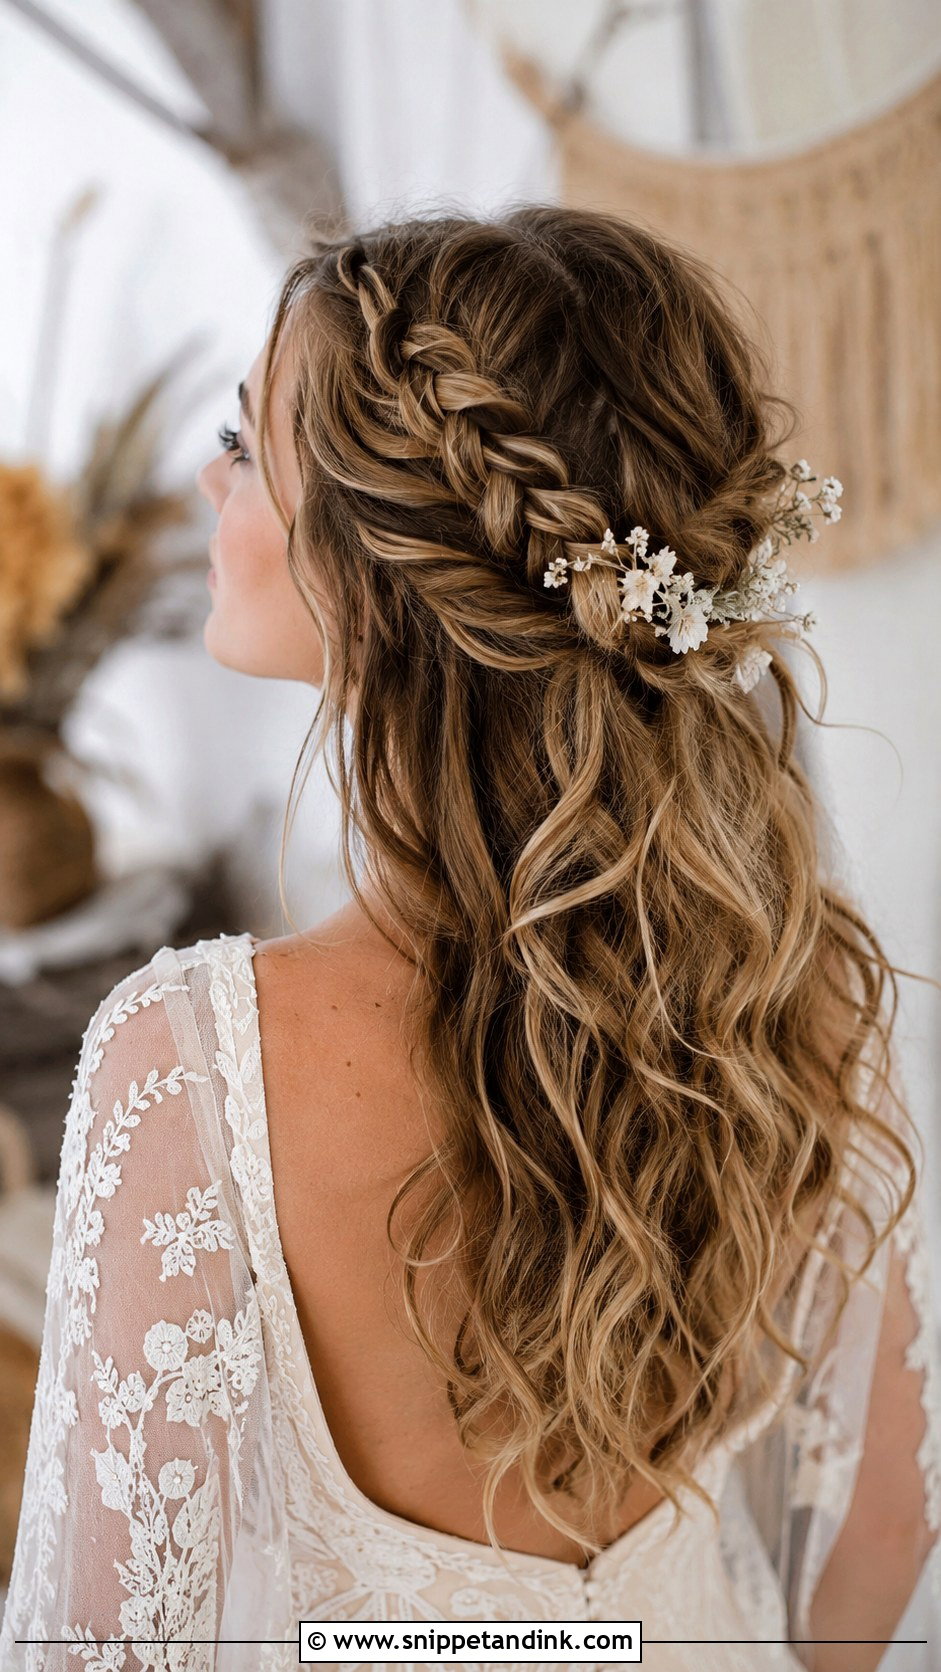
There’s a reason the half-up boho braid is popular for beach weddings: it moves with the wind instead of fighting it. Curl the hair for texture, braid the top section loosely and pancake the edges to widen it, then secure at the back and leave the rest down. Small flowers or pearl pins slide into the braid easily. Pancake after the braid is pinned, not before, otherwise the loops slip and the braid shrinks back.
8. Waterfall Braid Bridal Tutorial
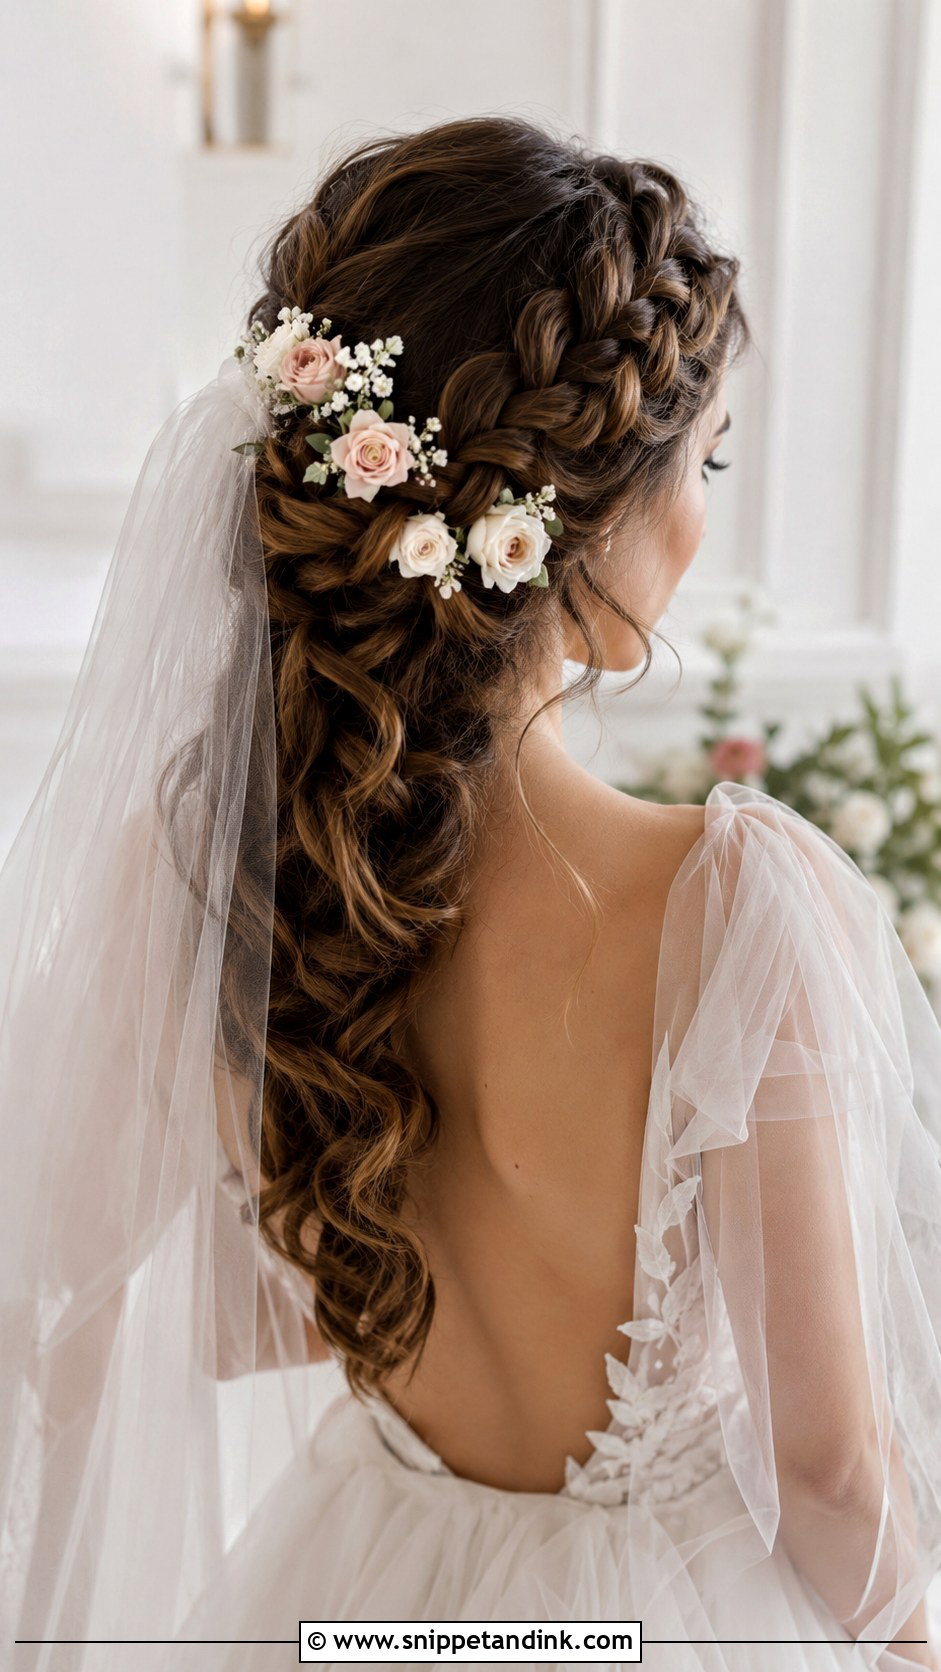
The waterfall braid takes practice more than skill. Begin a standard braid at one side; on every pass, drop the lower strand and pick up a fresh section from above so the dropped pieces fall through. Carry it across the back of the head and pin it, then curl the loose ends. Most people tighten up as they cross the back, so I check the tension in a hand mirror halfway, because a braid that starts loose and ends tight looks crooked in photos.
9. Classic Hollywood Curls Tutorial
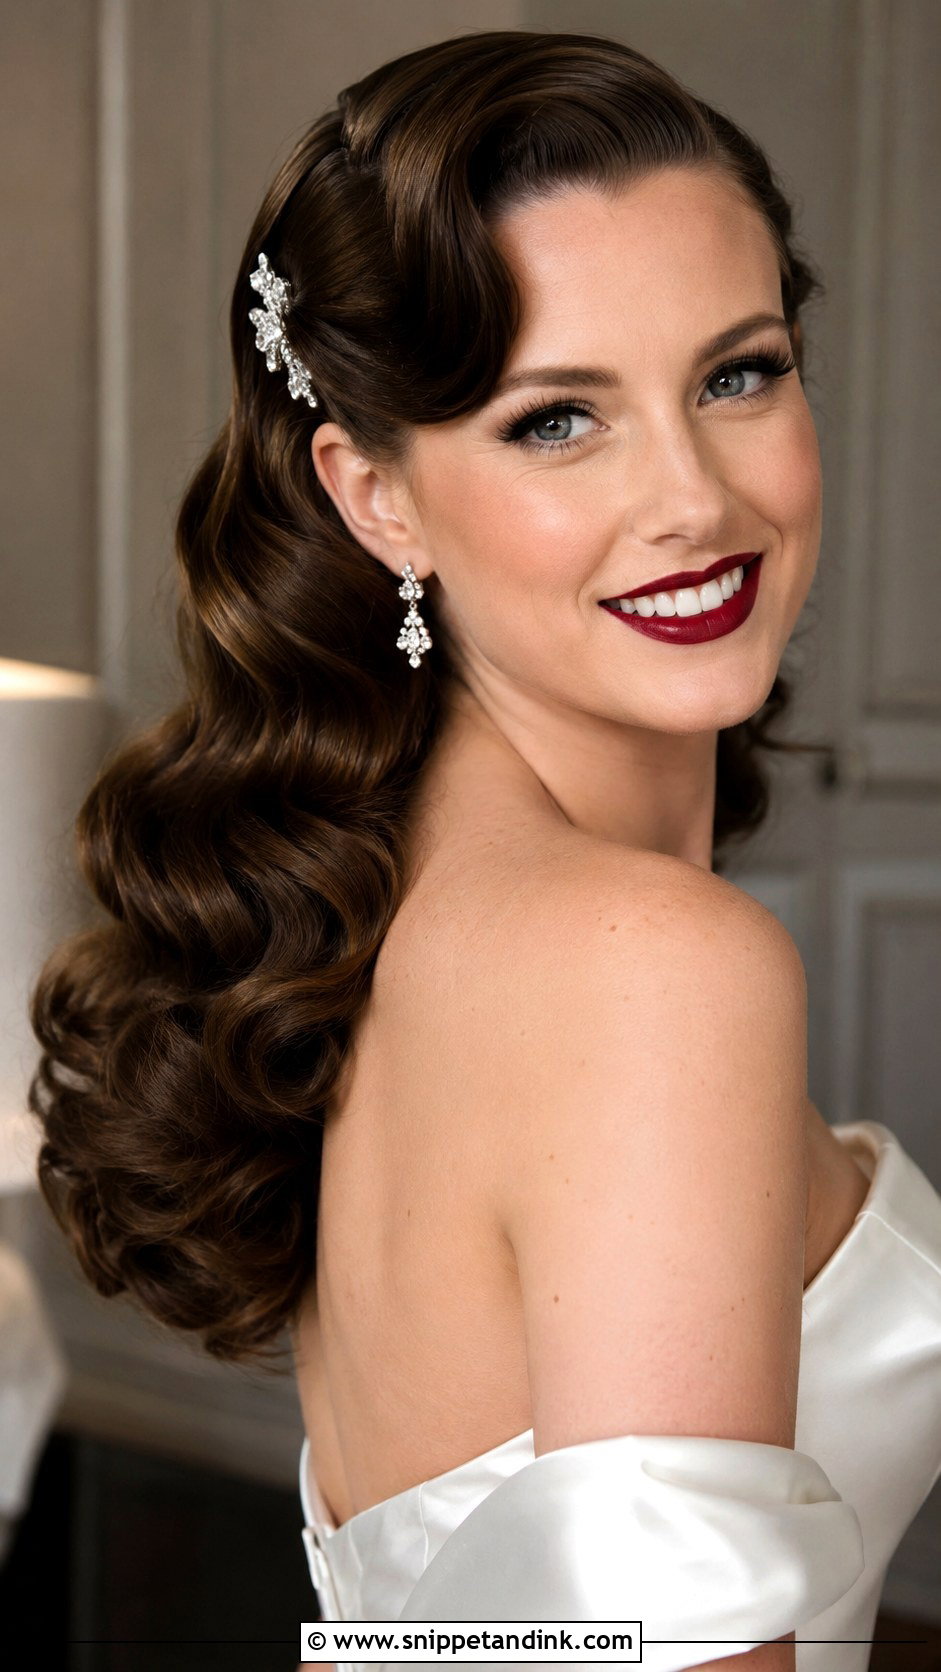
Old Hollywood curls depend on setting, not on the iron. Use large rollers or a wide barrel and curl every section in the same direction, then let it cool completely before brushing out with a paddle brush so the curls join into one smooth wave. Pin one side back and finish with shine spray. It’s a dramatic look for evening receptions, though it’s high maintenance: the wave pattern breaks if you run your hands through it, so a bride who fidgets with her hair will undo it within an hour.
10. Twisted Crown Updo Tutorial
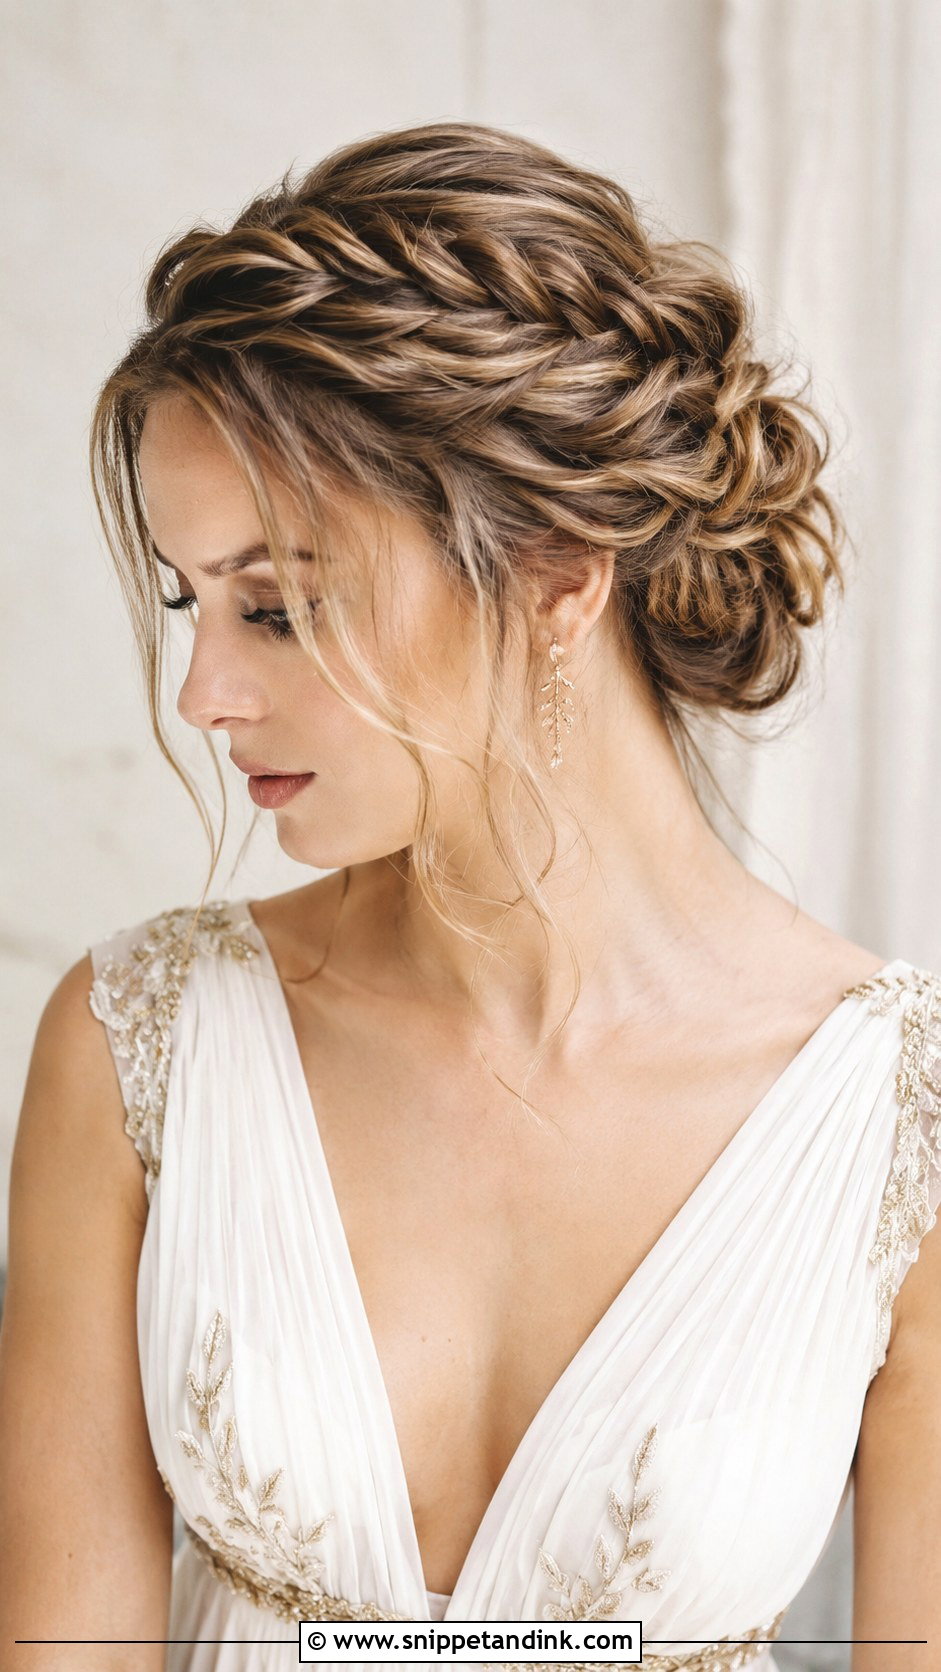
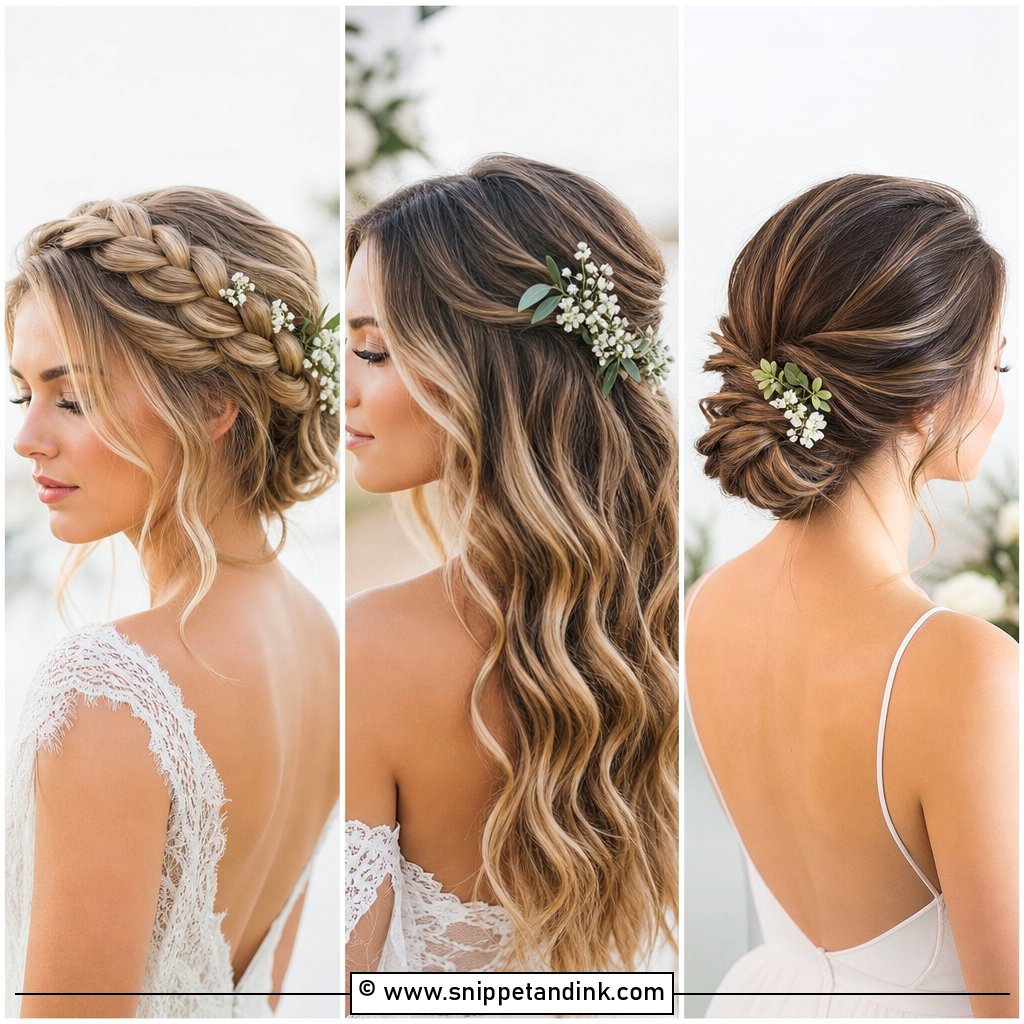
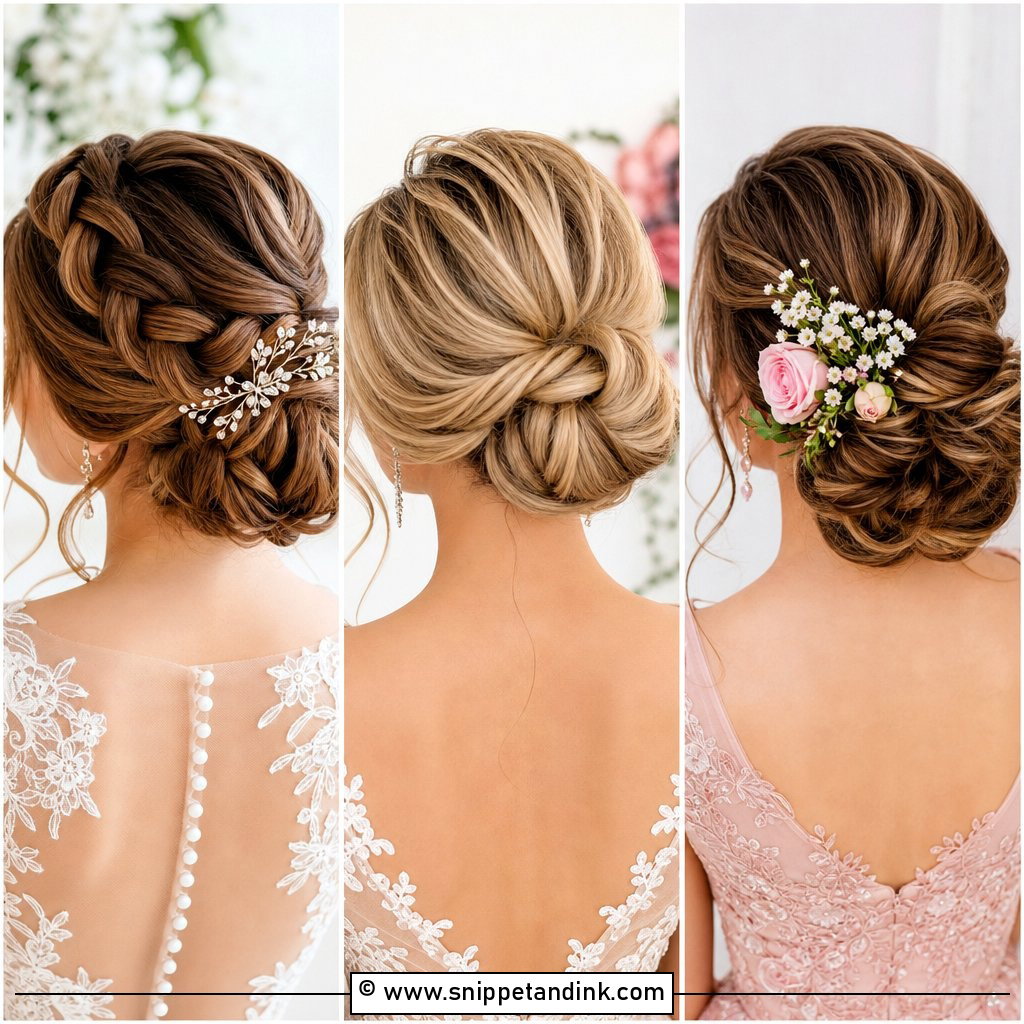
For the twisted crown, part down the center, twist a section from each side toward the back, wrap the twists around and pin where they meet, tucking the ends under. A braid can replace one twist for detail. Twists lose tension faster than braids, so I pin every few centimetres rather than just at the join. With a few soft tendrils it sits naturally with garden and fairy-tale weddings, and it suits medium to long hair; on a bob there isn’t enough length to meet in the middle.
11. Low Bun With Face Framing Tutorial
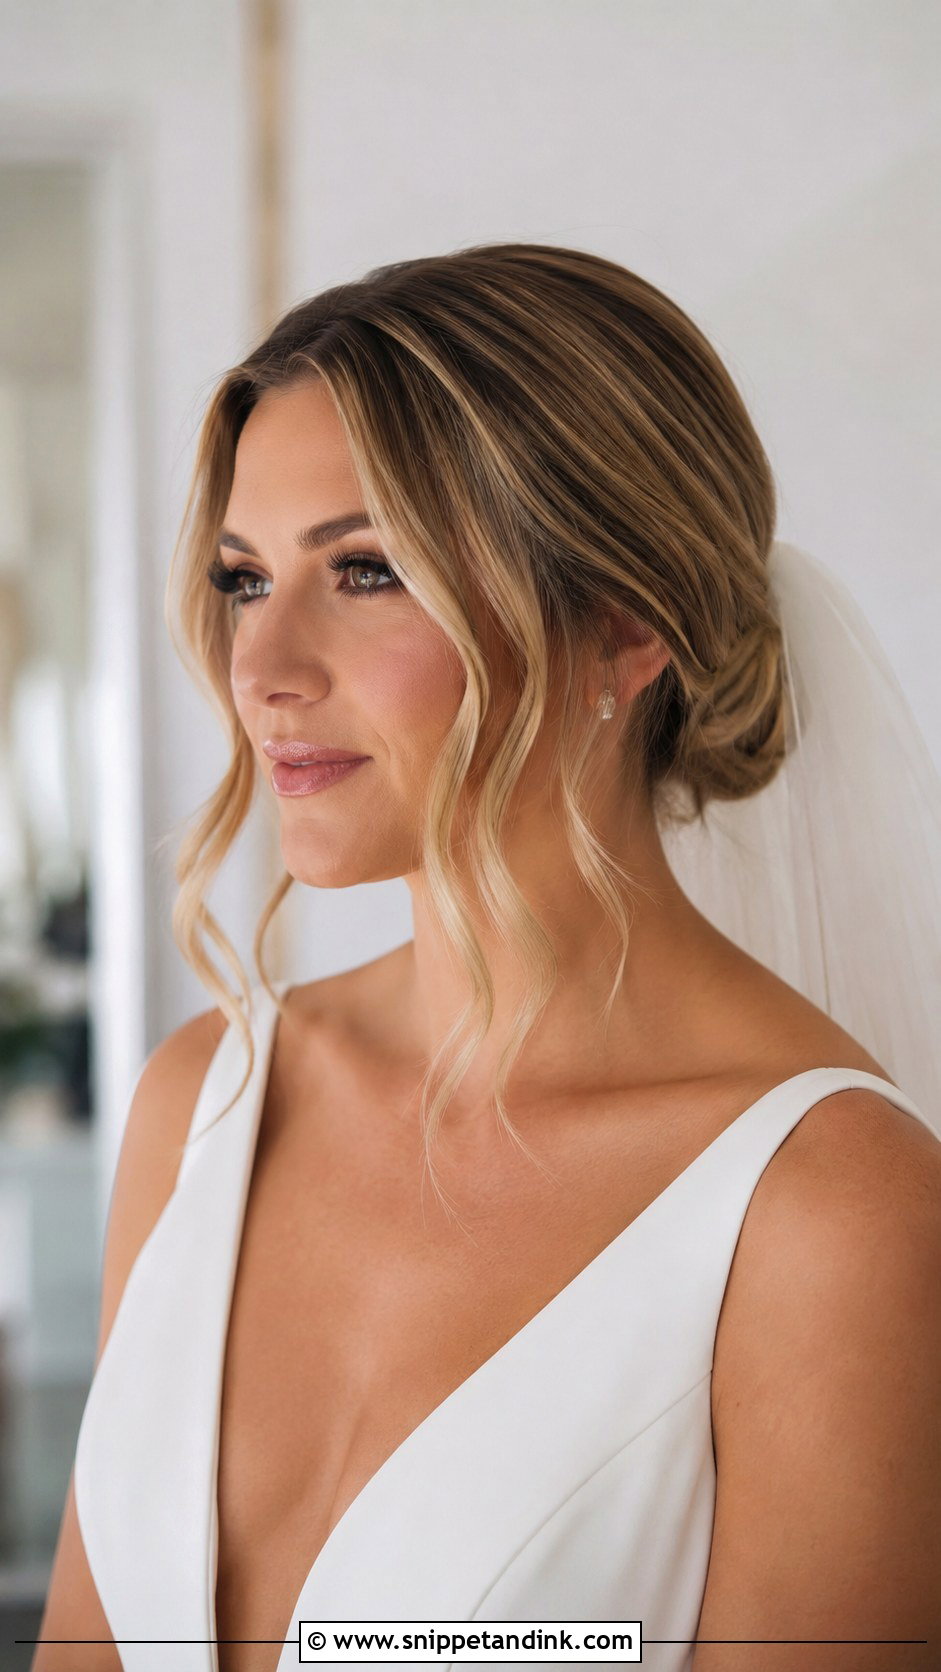
Leaving face-framing pieces out of a low bun is a small decision that changes the whole face. Make a deep side or center part, pull the hair into a low ponytail with two pieces left out at the front, twist the ponytail loosely and pin it softly. Curl the front strands with a small iron. My rule is to cut the framing pieces off at the cheekbone or below; anything shorter tends to flick out and look like a stray hair in close-ups.
12. Braided Updo Bridal Tutorial
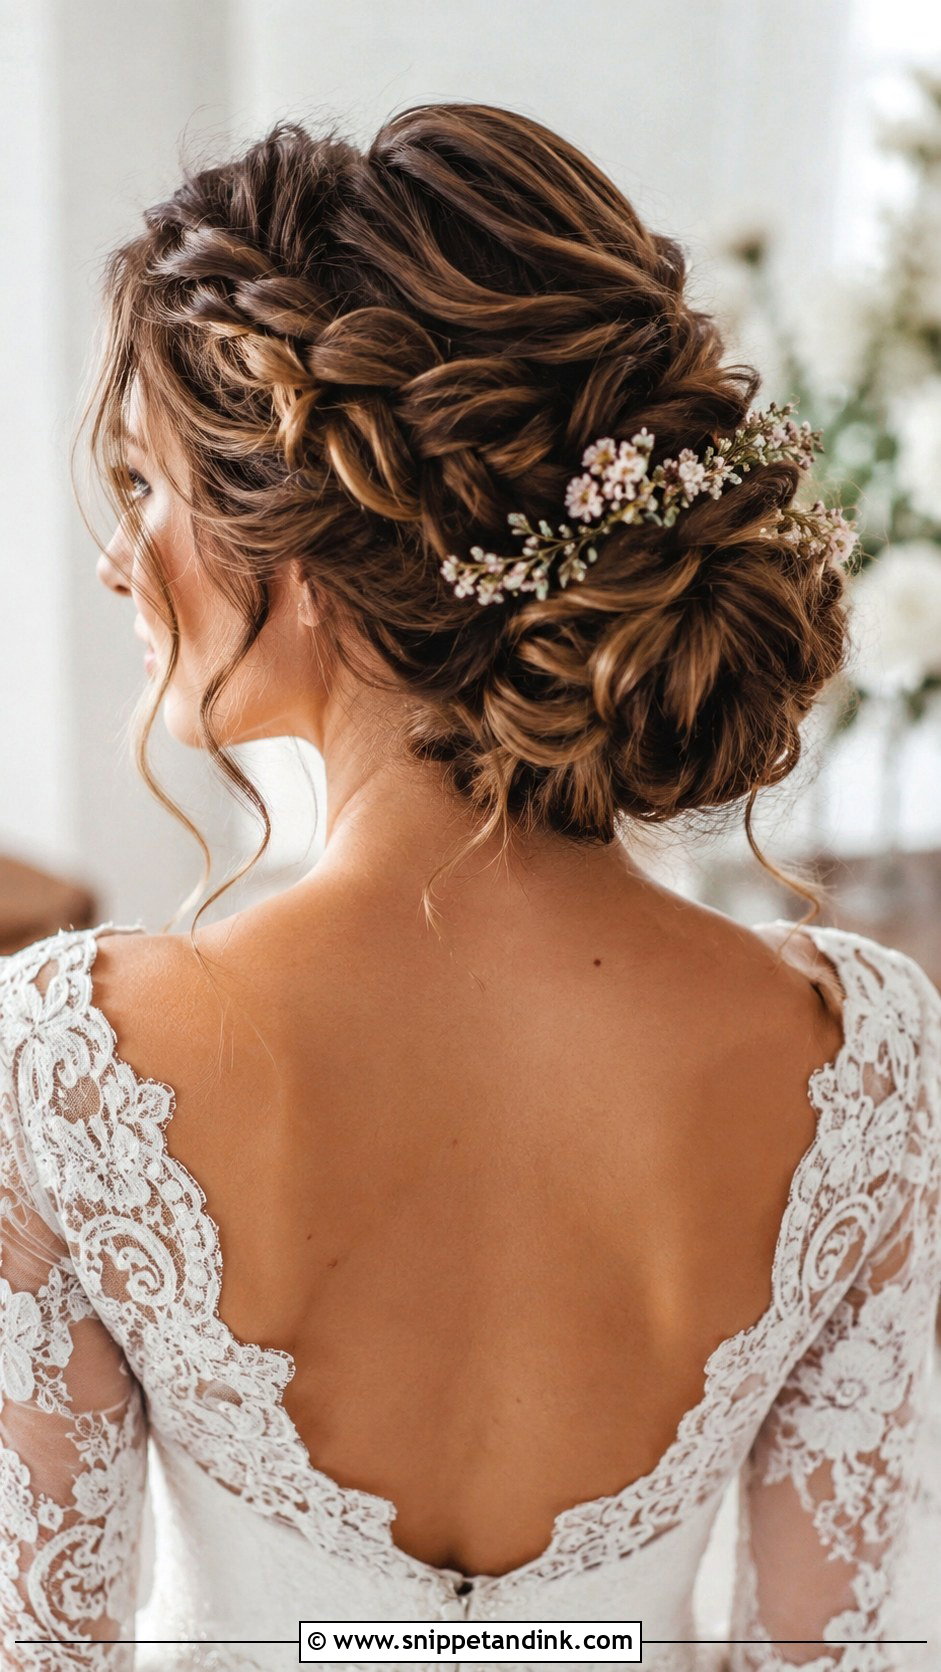
A braided updo is the most secure style on this list, which is why I recommend it for long, active receptions. Make several loose braids of different thickness, gather them toward the back and twist them into a low bun or rolled shape, pinning each braid separately. Pull the braids gently for fullness and tuck in small flowers or jeweled pins. Braids hold pins far better than loose hair, so this one survives dancing and hugging with very little touch-up.
13. Side Swept Curls Tutorial
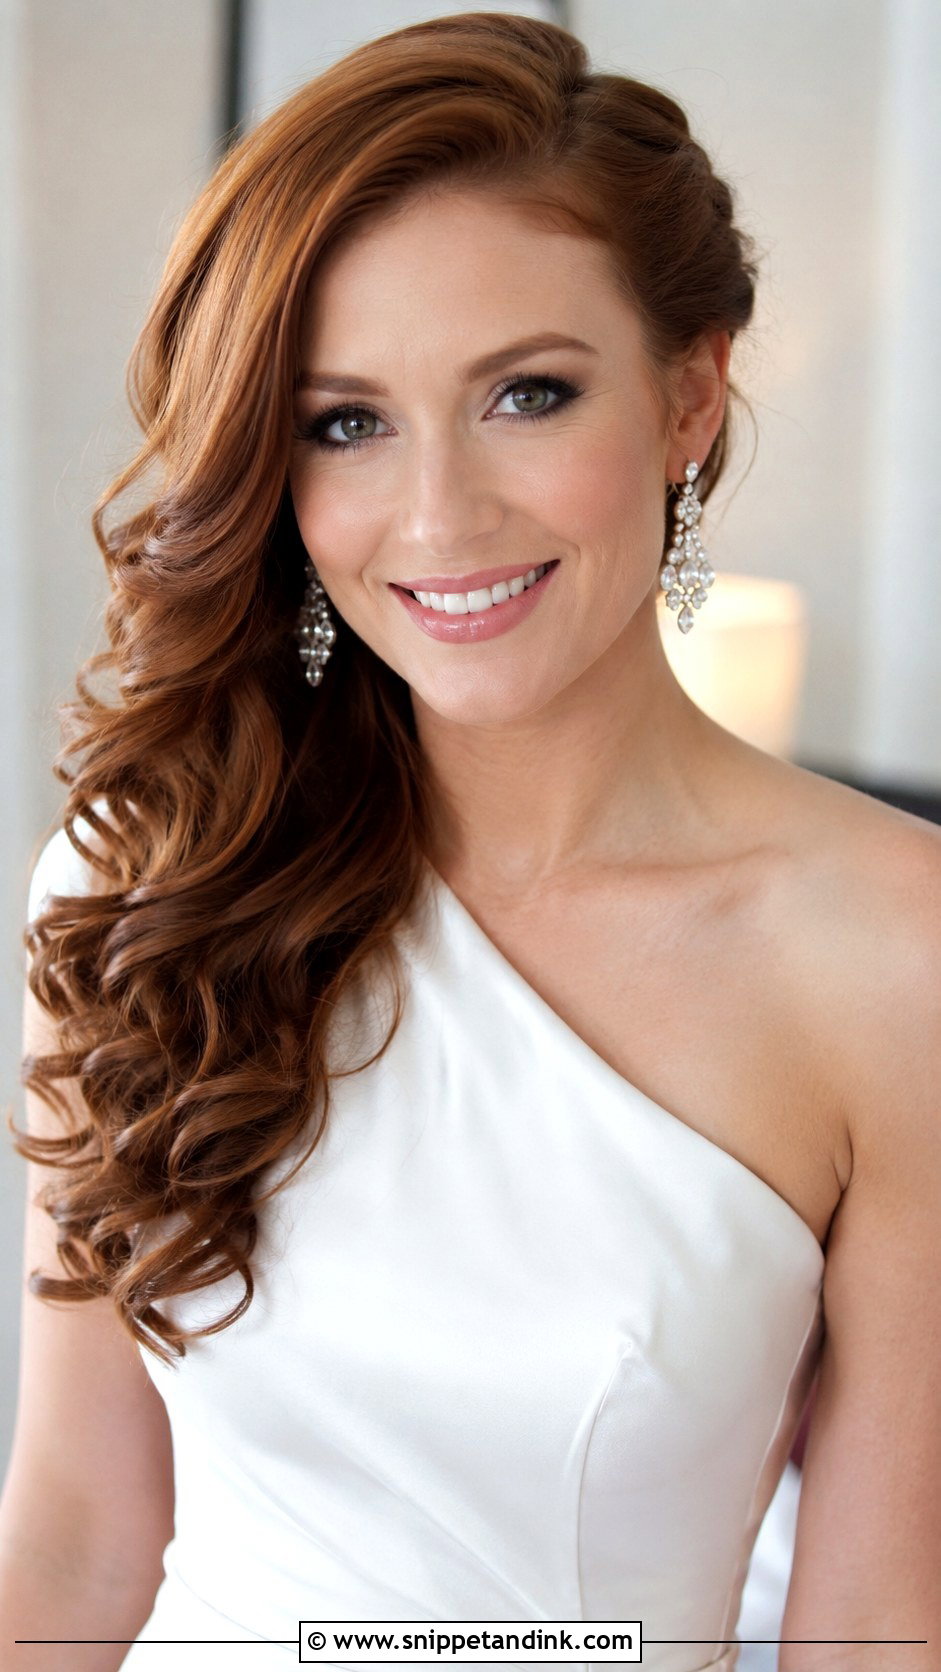
Side-swept curls show off one-shoulder gowns and statement earrings. Curl all the hair away from the face with a medium barrel, let it cool, sweep everything to one shoulder and pin the other side out of sight behind the ear. Loosen the curls a little and finish with shine and a flexible spray. The weak point is the pinned side: I cross two pins there and spray them, because a bride turning her head all evening loosens them. The cascading curls over the shoulder are what people remember.
14. Sleek Low Ponytail Tutorial
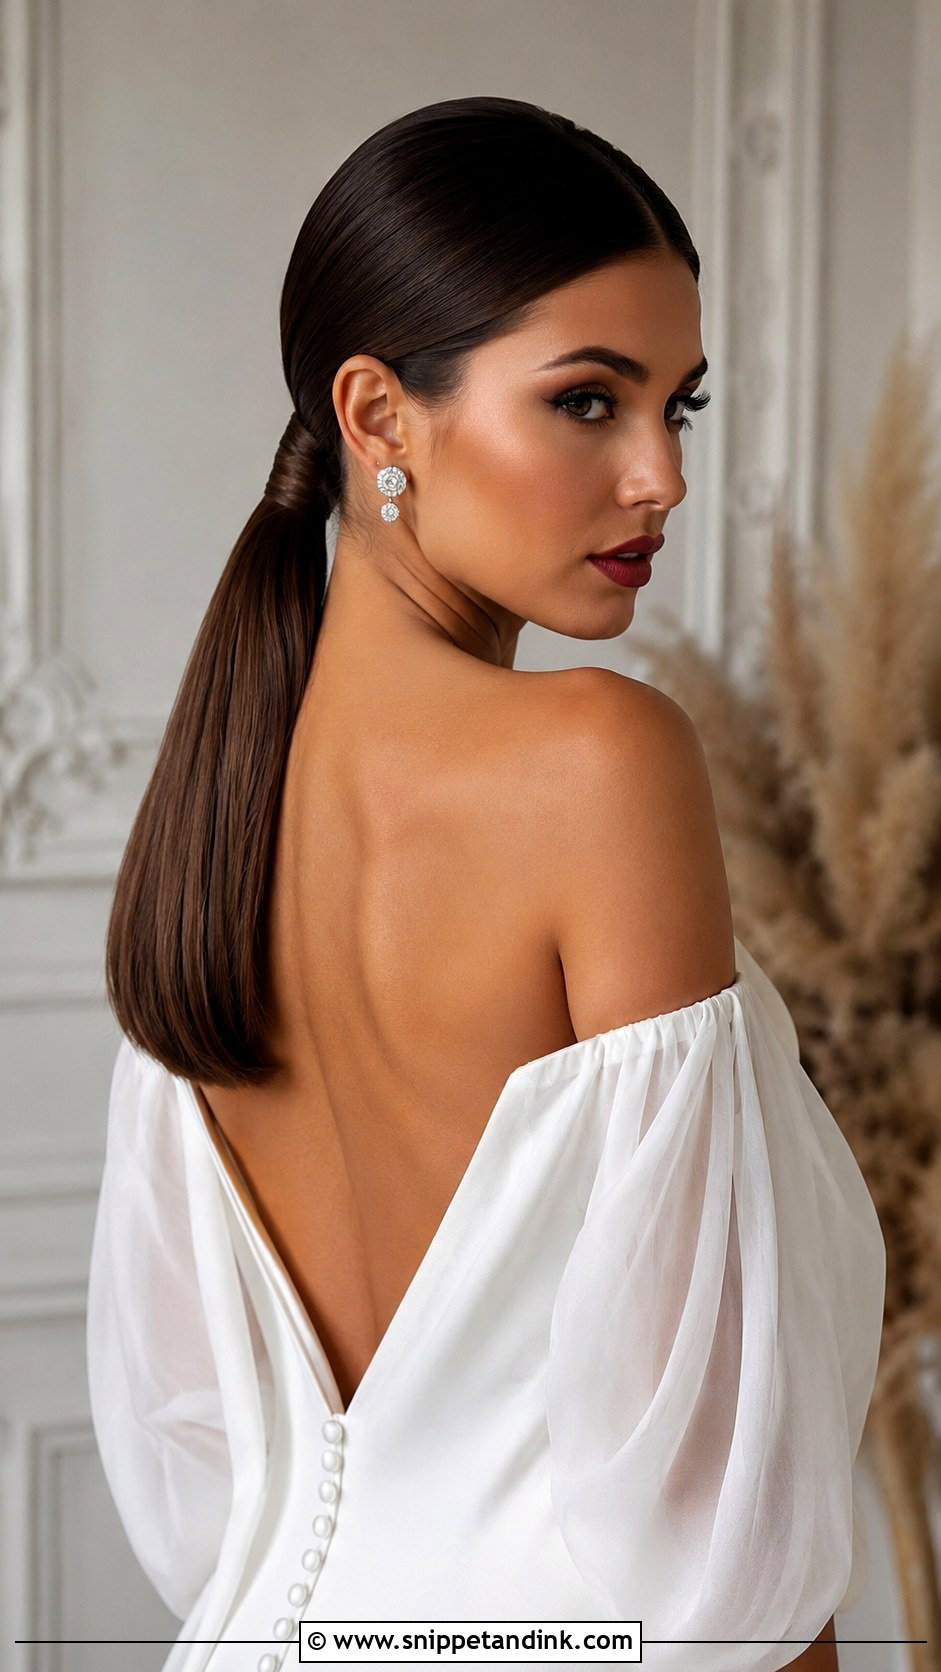
Simple doesn’t mean easy with a low ponytail; every flyaway shows. Flat iron the hair smooth, gather it at the nape and secure with an elastic, then wrap a small section around the elastic and pin it underneath. Smooth the surface with gel. It works with bold makeup and statement jewelry, but it’s unforgiving with thin hair at the nape, where the elastic can show through, so I sometimes add a clip-in ponytail piece for density.
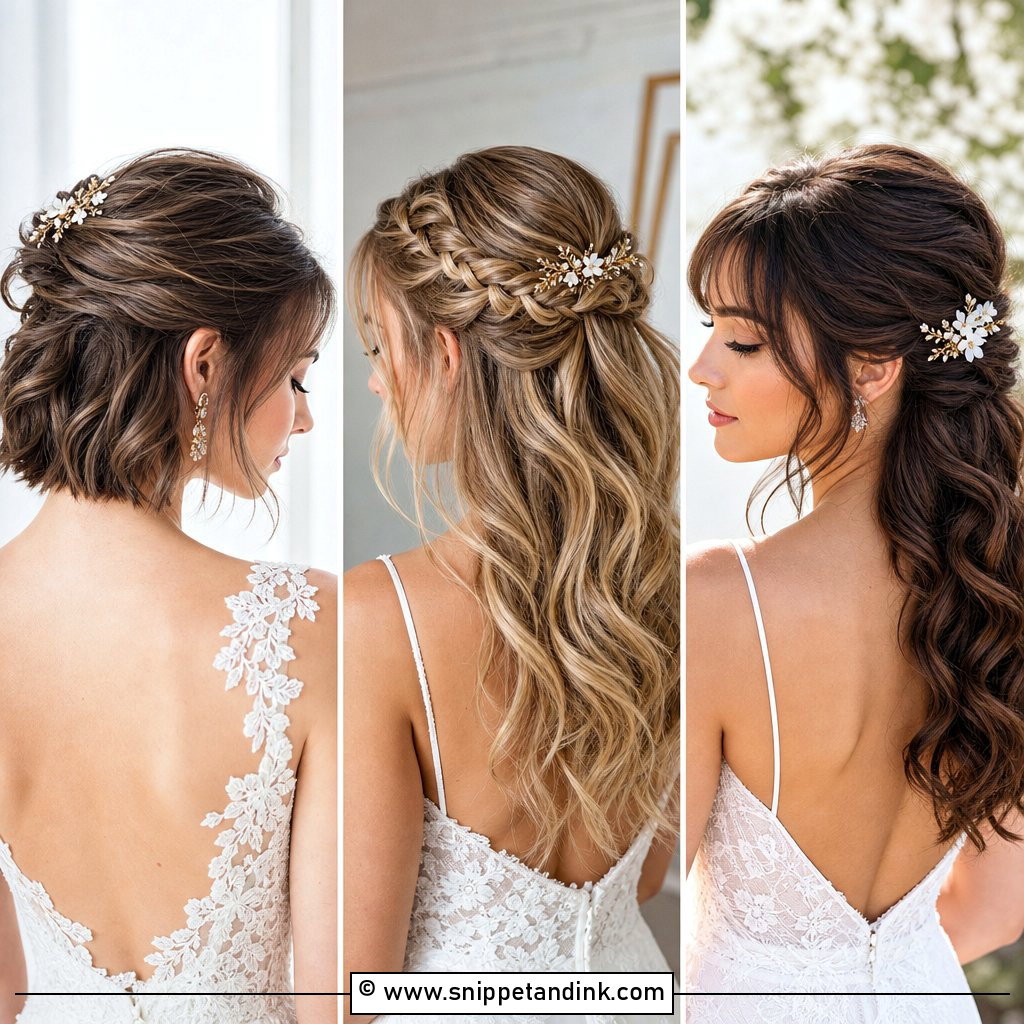
15. Flower Crown Half Up Tutorial
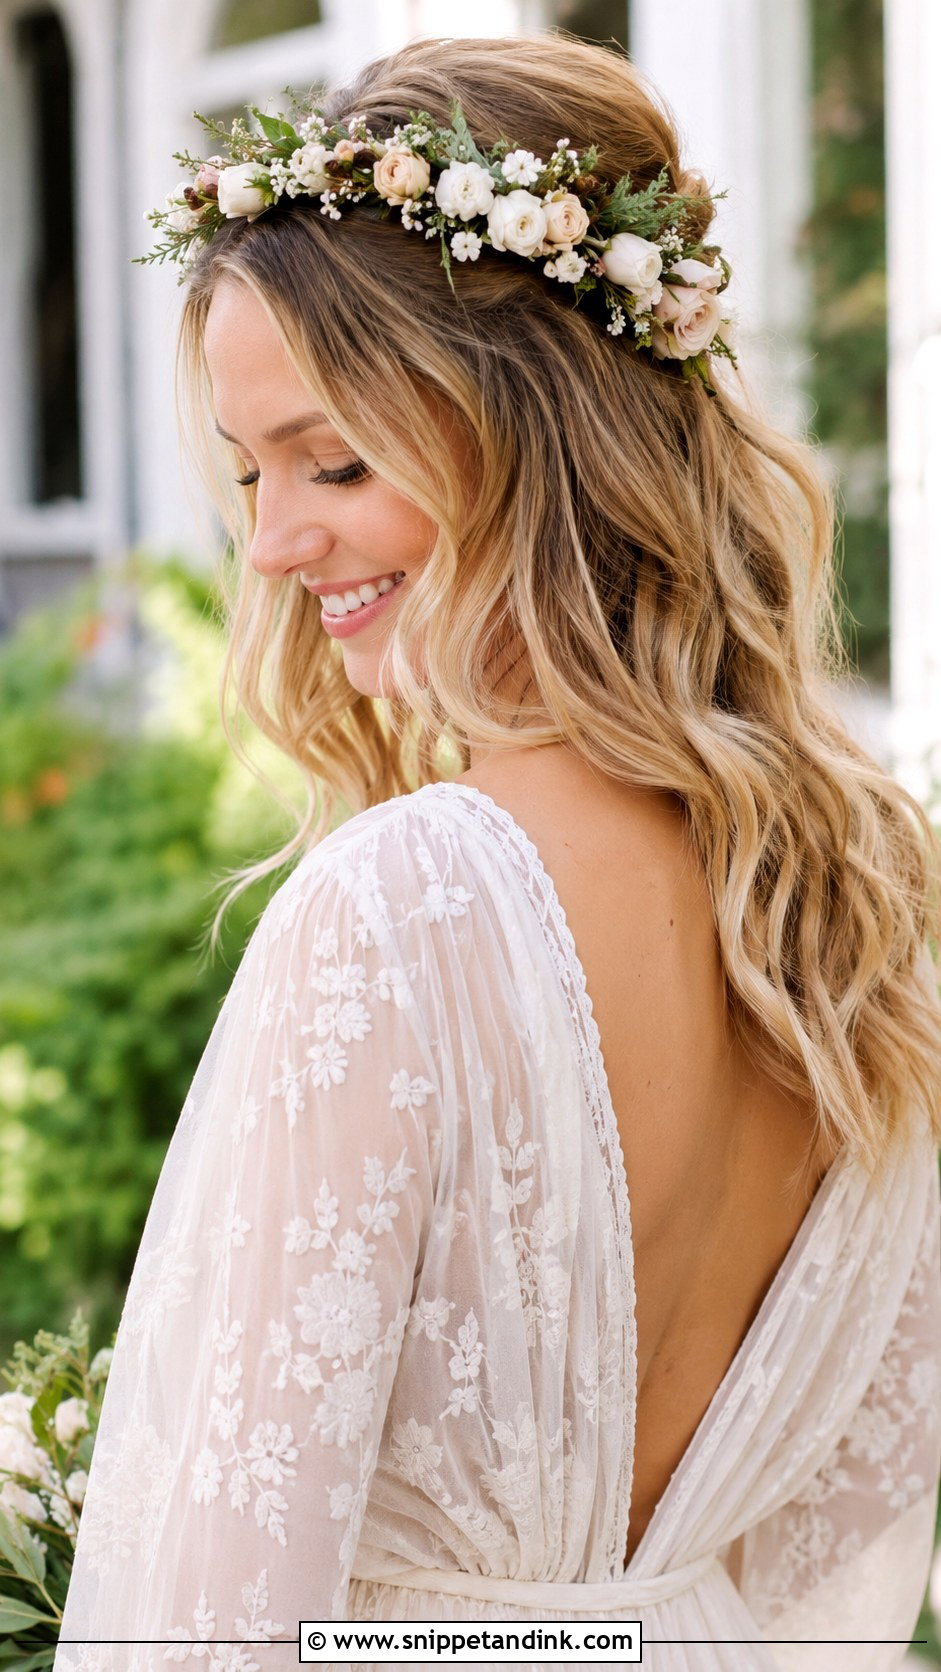
Flower crowns need a base that can hold weight. Curl the hair, pull the top back loosely and pin it into a soft half-up shape, then settle the crown into the curls and pin it through the wire on both sides. Fresh crowns are heavier than they look and wilt if they sit in the sun for hours, so I usually suggest hardier blooms or a silk crown for an outdoor afternoon. Adjust the loose pieces around the face once the crown is on. This ethereal look suits a garden or field wedding better than a ballroom.
16. Vintage Pin Curl Updo Tutorial
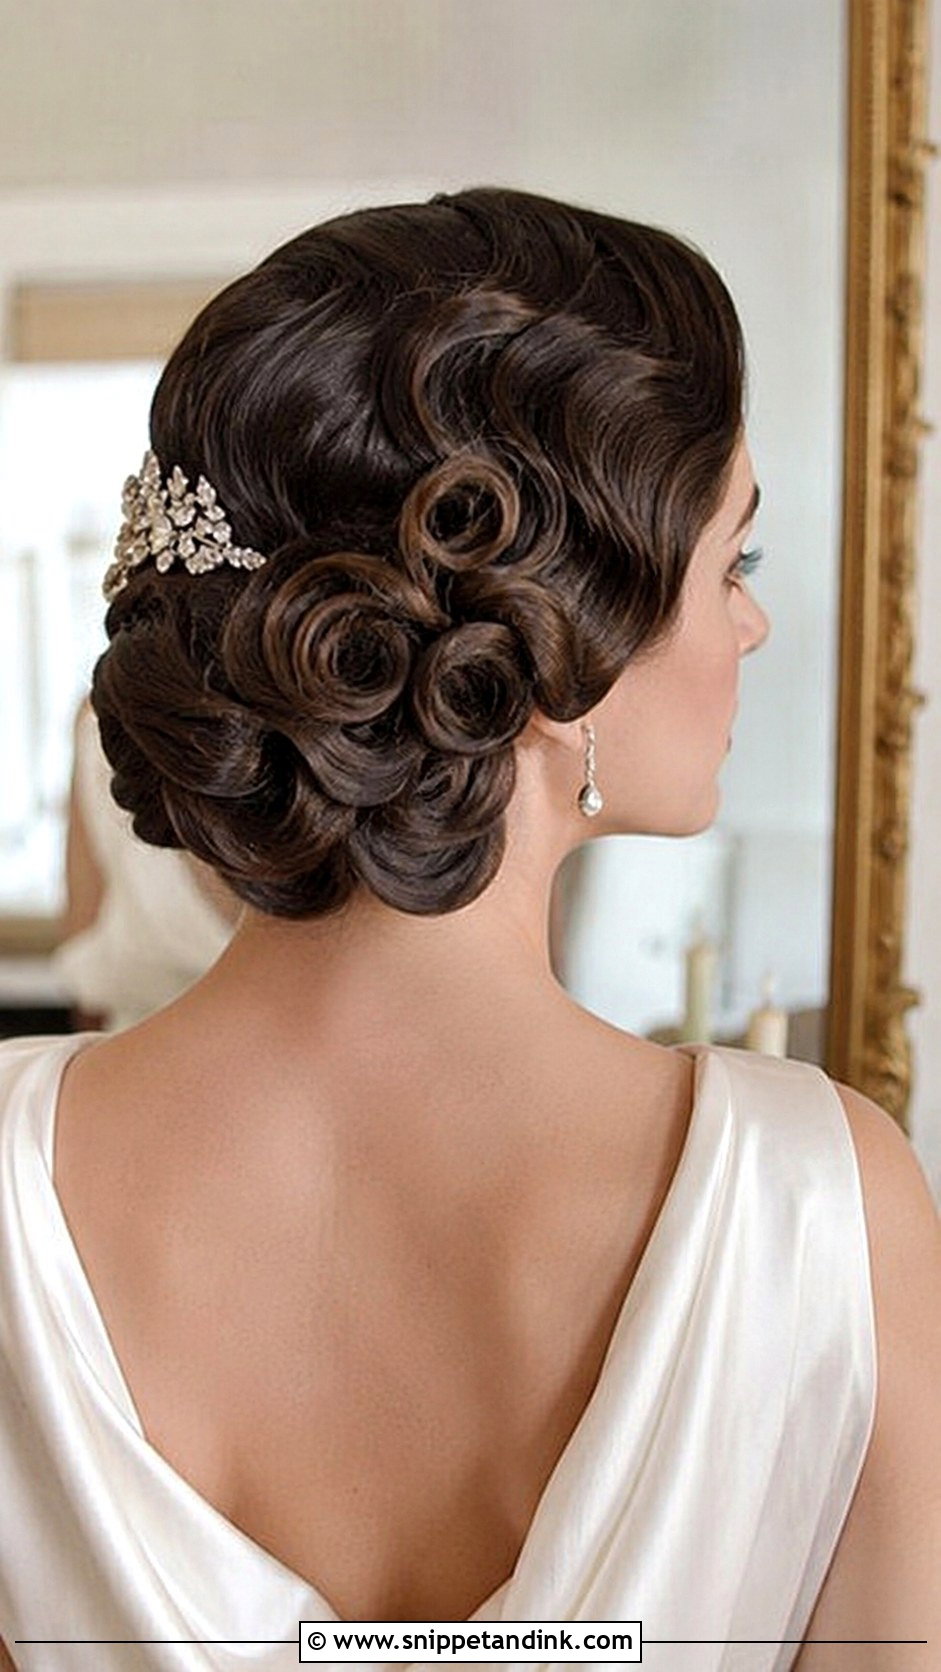
Vintage pin curls are a time commitment. Section the hair, roll each piece into a tight curl, pin it flat and let it set completely, ideally with a hood dryer or overnight, before arranging the curls into a sculpted updo at the back. Smooth the top and add a jeweled clip. Rushing the set is the classic mistake: a pin curl taken down warm falls out within the hour. I wouldn’t attempt this one on your own on the morning itself.
17. Loose Low Updo Tutorial
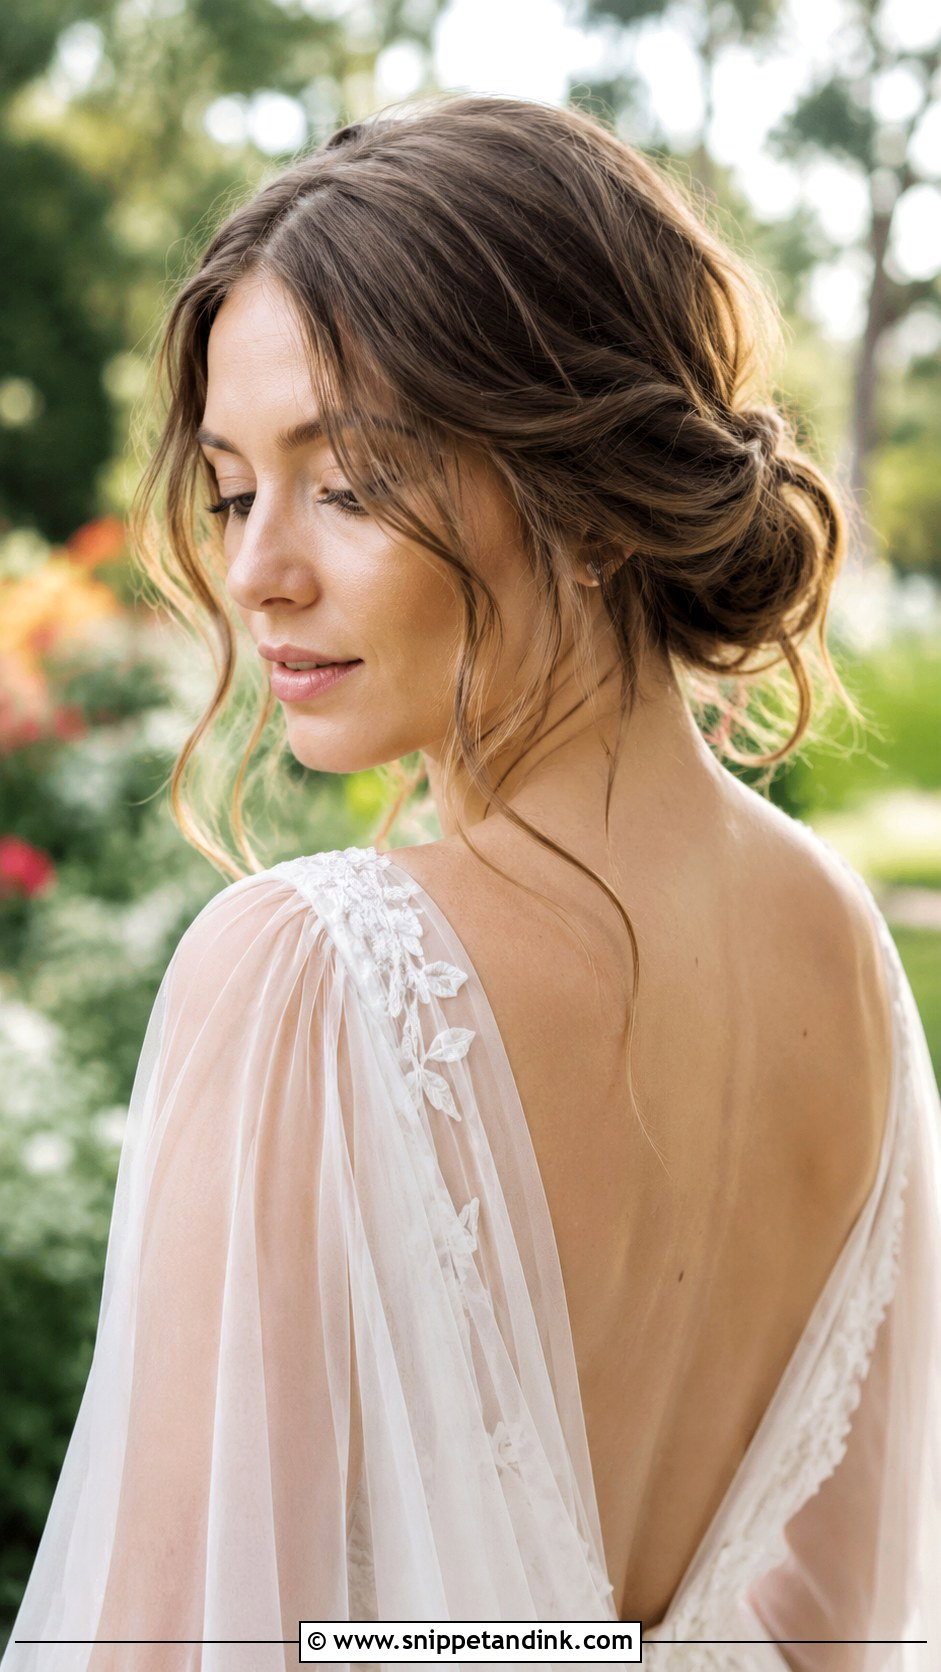
The loose low updo is the style I suggest when a bride says she hates feeling ‘done’. Curl the hair, gather it loosely at the nape, twist it into a soft bun and pin gently, leaving pieces relaxed and pulling out a few tendrils at the front. The aim is controlled softness, not tightness. Because it’s loose, it relies on hidden structure; I set a couple of anchor pins underneath before shaping the visible bun so nothing slides once the veil goes in.
18. Braided Crown With Veil Tutorial
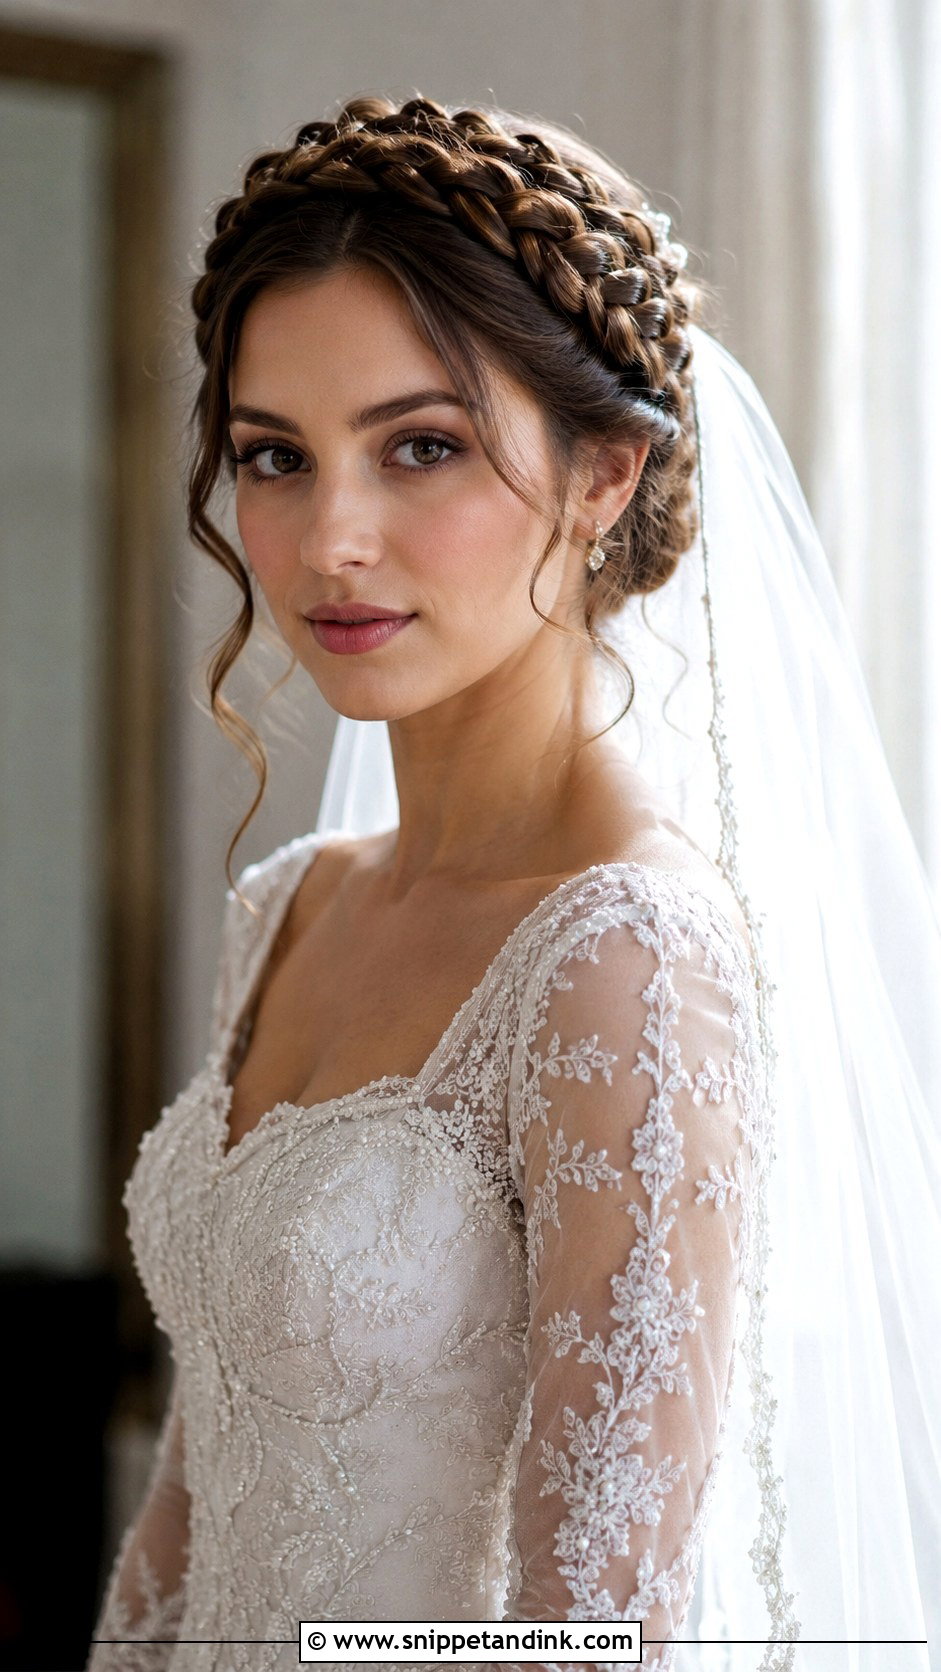
Pairing a braided crown with a veil takes some planning. Part the hair, braid along each side, wrap the braids over the top and pin where they meet, tuck the ends and widen the braids gently. Then slide the veil comb in just behind the crown, angled downward into the braid so it can’t lift. Leave a few soft curls loose. It’s a traditional, storybook silhouette, and heavier cathedral veils need that braid to grip into, so this pairing works better than most for long tulle.
19. Curly Half Up Bridal Tutorial
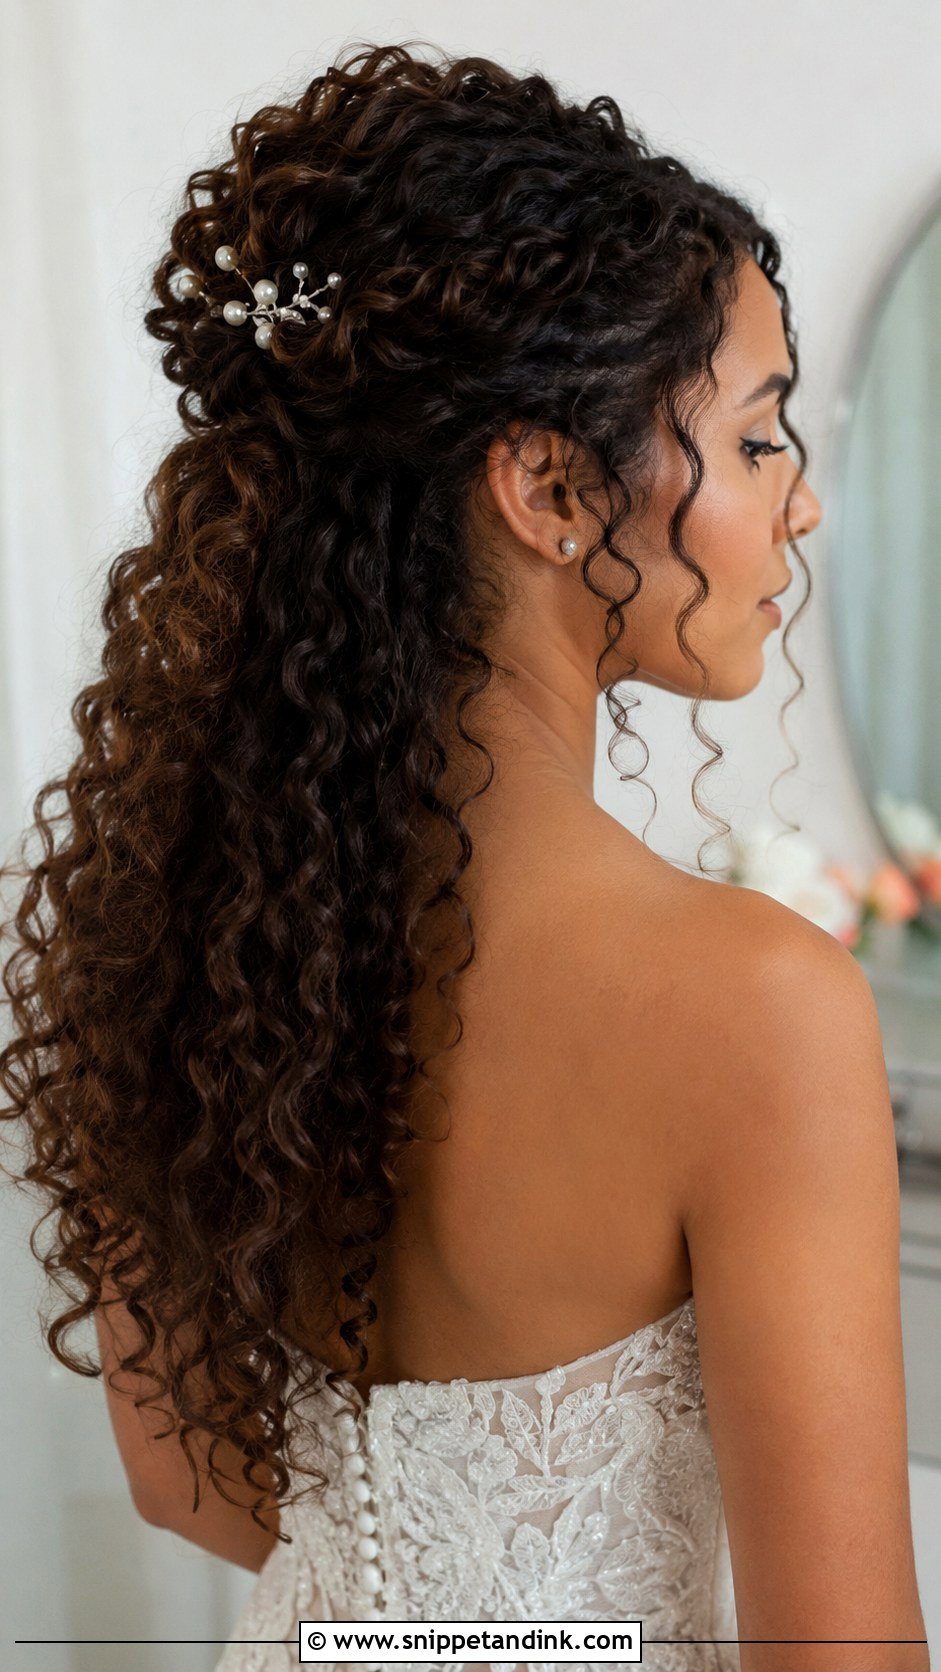
Curly hair doesn’t need straightening to look bridal. Define the curls with a curl cream, gather the top section and pin it at the crown, and let the rest fall. Lift slightly at the crown for height and add pearl pins or a decorative clip. I’d skip heavy hairspray on natural curls since it dries them into a crunchy finish; a light gel or cream-based hold keeps the definition through the evening, and shrinkage in humidity is something to test before the day.
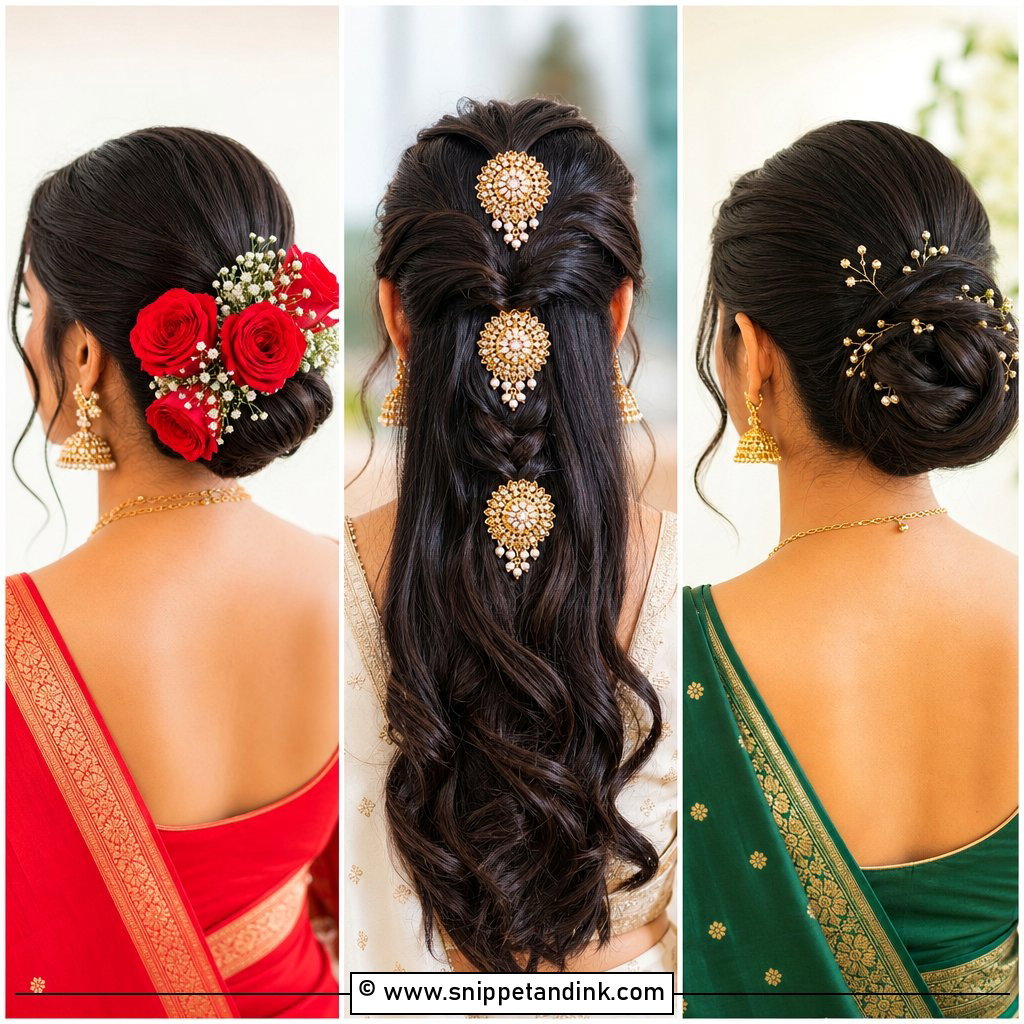
20. Pearl Accented Bun Tutorial
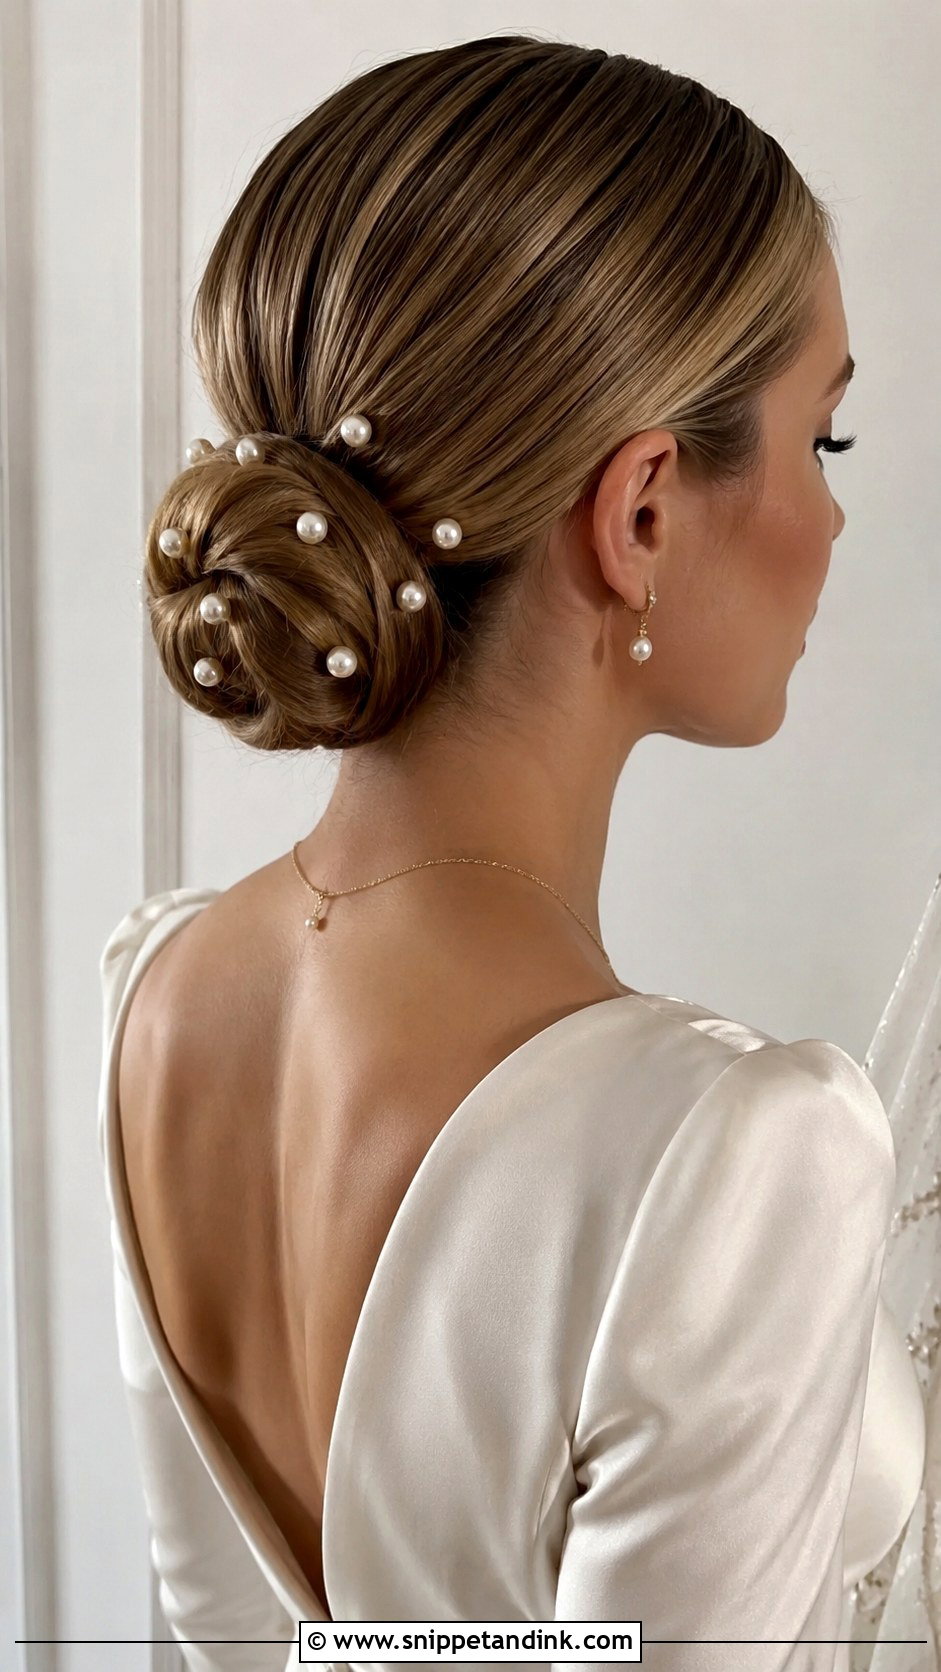
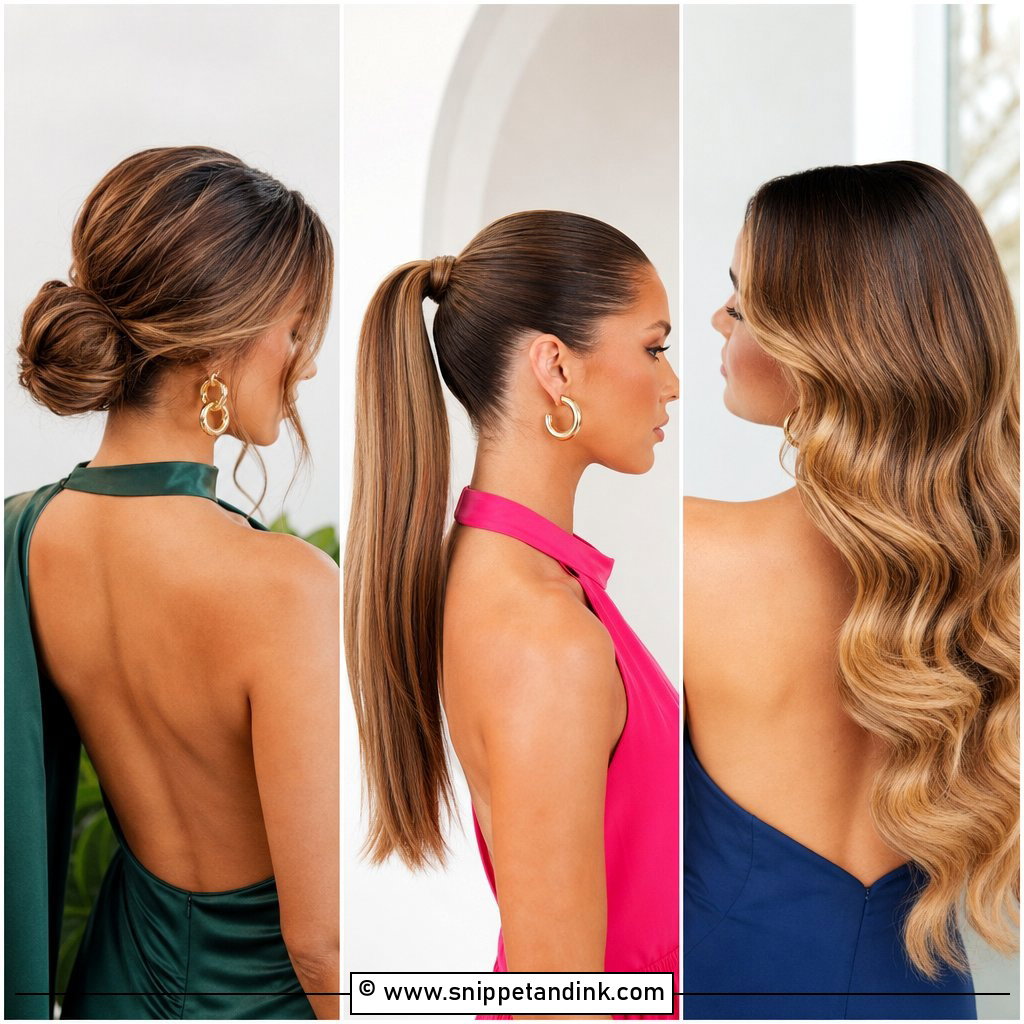
Pearl pins turn a plain bun into something more considered without a full headpiece. Smooth the hair into a low or mid ponytail, twist it into a sleek bun and pin it securely, then add pearl pins in a loose scatter. I place them last and slide each one in at an angle toward the scalp, through a little hair, so they don’t drop out during hugs. Odd numbers and uneven spacing look more natural than a neat row.
U-Pins, Bobby Pins and the Few Tools That Hold Everything
Most tutorial styles fall apart because of the wrong pin, not the wrong technique. Bobby pins clamp and are best for anchoring hair flat against the head, wavy side down toward the scalp. U-shaped hairpins don’t clamp; they hook and hold shape, which is what you want for shaping a bun or attaching curls without flattening them.
What I’d put in a home kit
- Bobby pins and U-pins matched to your hair color, more than you think you need.
- Clear small elastics, which disappear under wrapped hair better than dark ones.
- A dry texture spray for grip and a flexible-hold hairspray for finishing.
- A tail comb for clean parts and for lifting pieces without disturbing the set.
- Sectioning clips so you can work in order instead of holding hair in one hand.
When a Curl Drops or a Pin Slips Mid-Reception
Something will move. A tendril straightens, a pin works loose after hugging, a veil comb tilts. Give one bridesmaid a small pouch with spare pins, a travel hairspray and a few clips, and show her at your practice run where the main anchor pins sit.
For limp curls, twist the piece around a finger, hold it for a minute while misting it, and let it go. For a slipping bun, don’t pull the old pin out; push a new one in crosswise beside it. And if a face-framing piece has given up completely, tuck it behind the ear. Nobody notices a tidier look, but everyone notices one stray wisp in the photos.
Your Hair Will Tell You Which Tutorial Wins
Start with your hair rather than the picture. Fine, silky hair wants braids and pinned structure; thick, heavy hair wants buns that take its weight; natural curls want styles that keep their pattern. Narrow the list to two looks, practice both with your actual veil or accessory, and keep the one that’s still in place after a few hours of normal moving around. That one is your wedding hair.
You'll Like These Ideas:


Leave a Reply