
A tutorial photo shows you the finish. It rarely shows you what’s holding it together, and that’s the part that decides whether the style survives hugs, wind, a long dinner and the dance floor. Below are fifteen looks I’d happily teach someone to do on their own head, from low buns and half-up waves to sleek ponytails, curly updos and braids, with the steps I actually use and the spot where each one usually goes wrong. They suit brides, bridesmaids, guests and anyone doing their own hair at home. Once the base is secure, you can finish it with pins, pearls, flowers or a veil to suit your dress.
Bobby Pins Go In Wavy Side Down, and Other Small Things That Matter
Most home styles that fall apart don’t fail because of the technique. They fail because of the kit. Here’s what I’d have on the counter and how I use each piece.
- Bobby pins are for holding. Slide them in with the ridged side against the scalp, and cross two in an X when a section is heavy. Match them to your hair colour.
- Hair pins (the open U shape) are for shaping. They tuck in loose curls and bun edges without flattening them, but they won’t anchor weight on their own.
- Clear elastics are for braid ends and bubble ponytails. They can snap, so pack spares, and cut them out at the end of the night instead of pulling.
- Texture spray or dry shampoo gives clean, slippery hair some grip. I use it on almost every client who washed that morning.
- Two sprays: a brushable one while you build, a firmer one only once the shape is finished.
Set up two mirrors, or prop your phone on video behind you, so you can see the back. Guessing at the back of your own head is how buns end up off-centre.
1. Low Bun Wedding Hair Tutorial
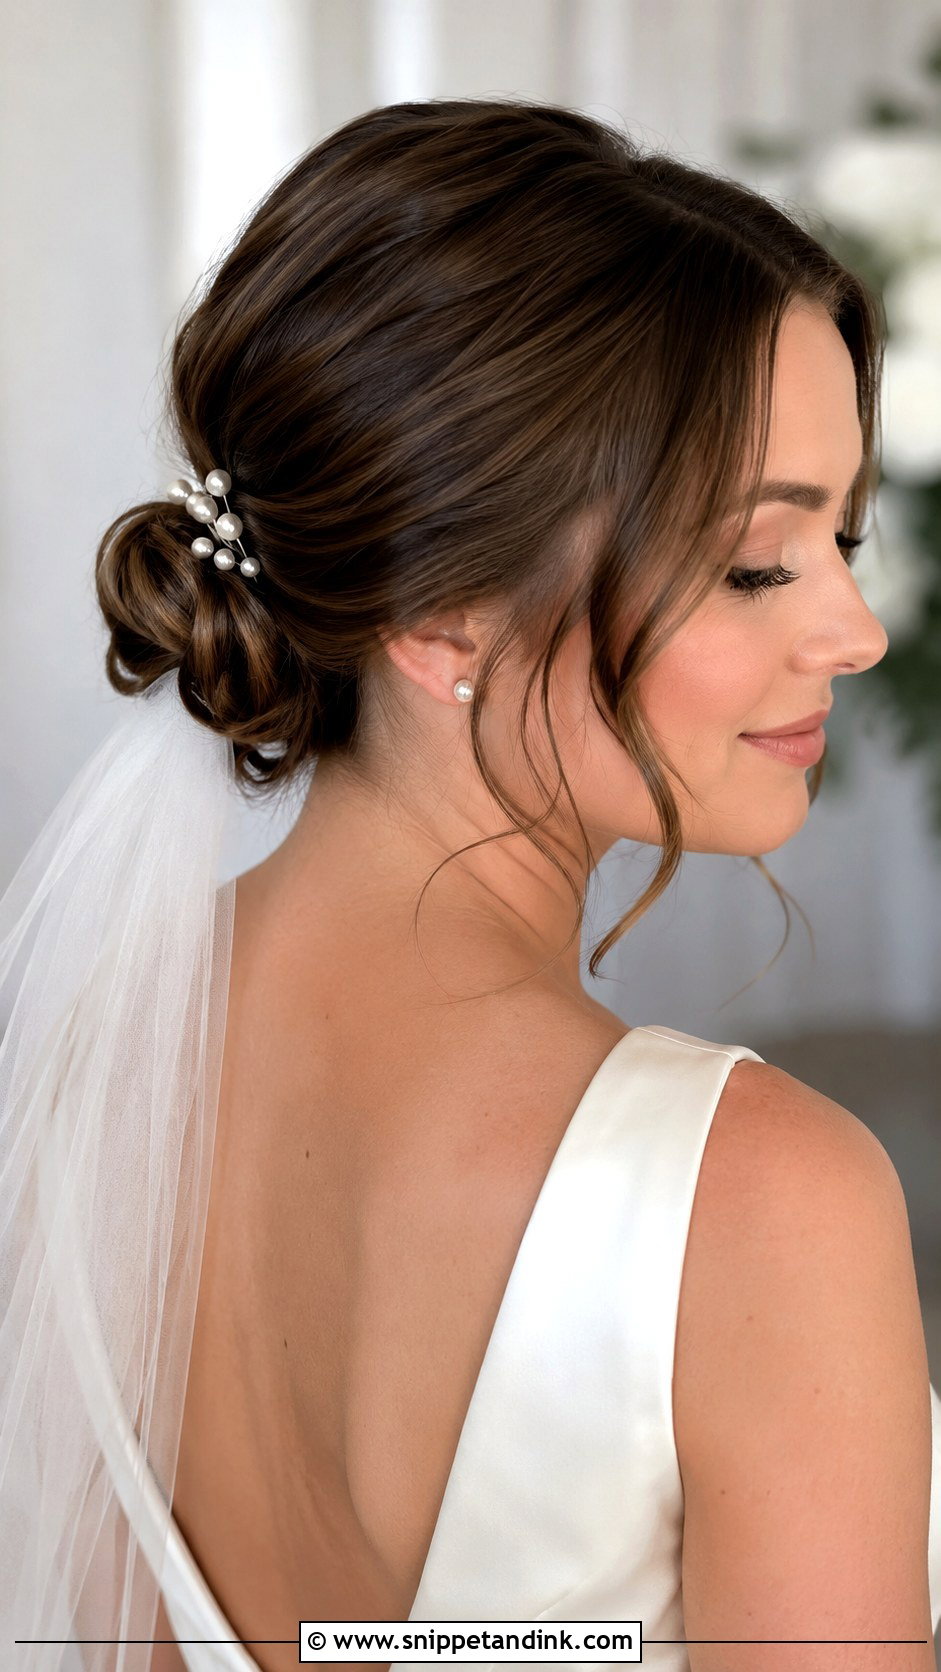
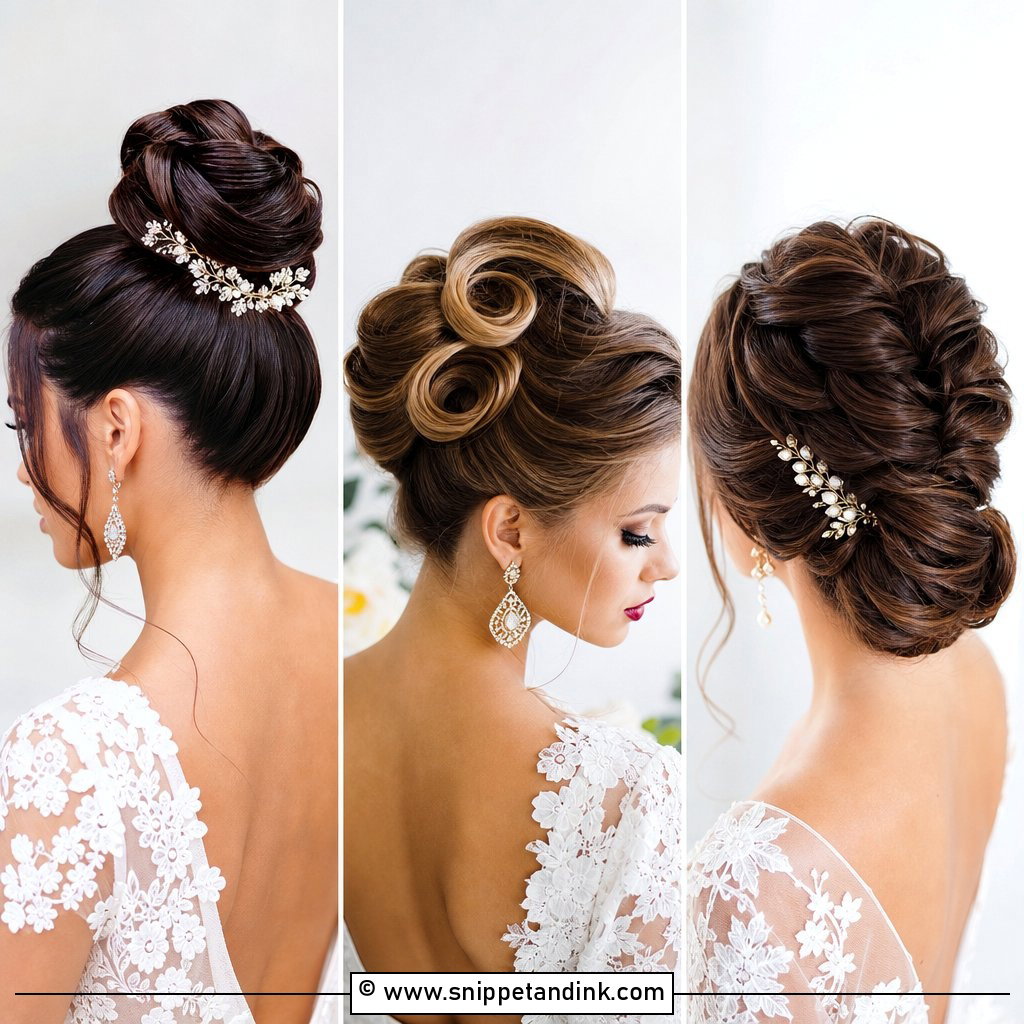
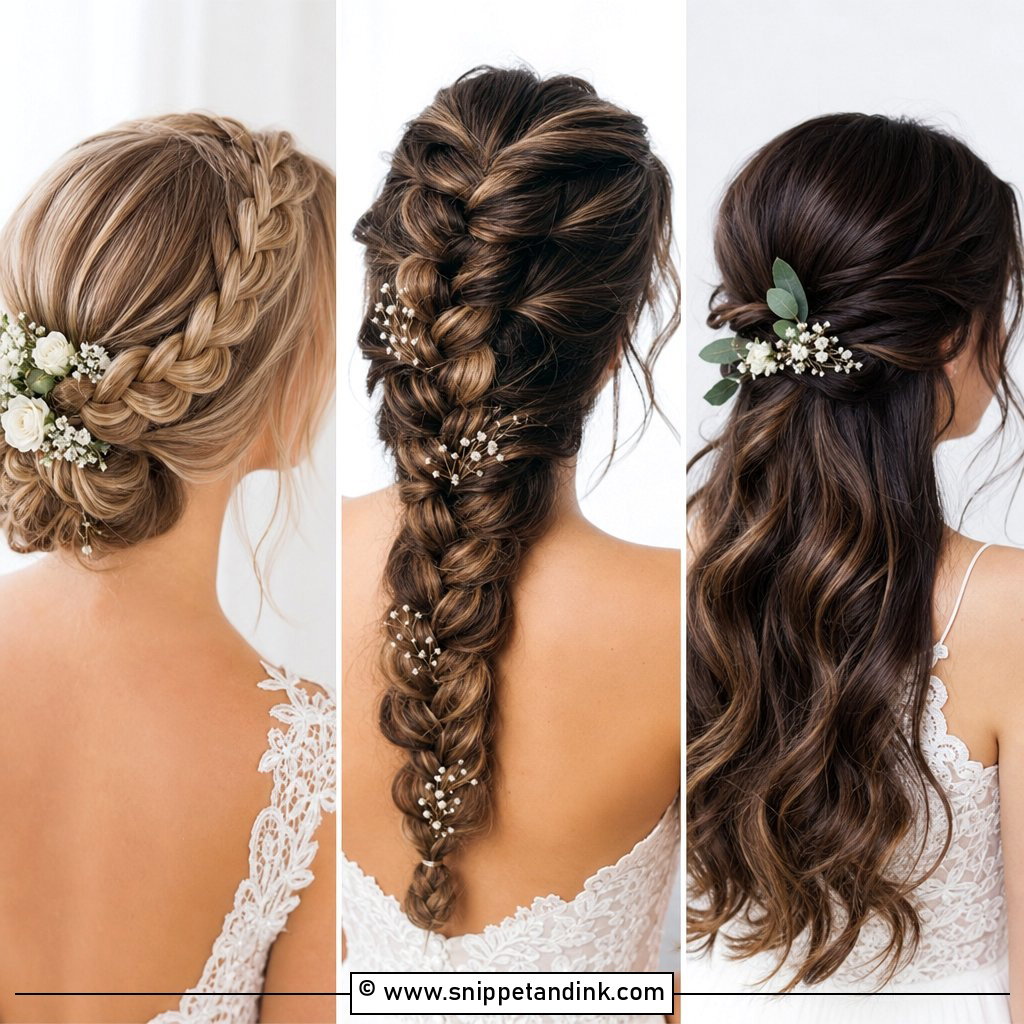
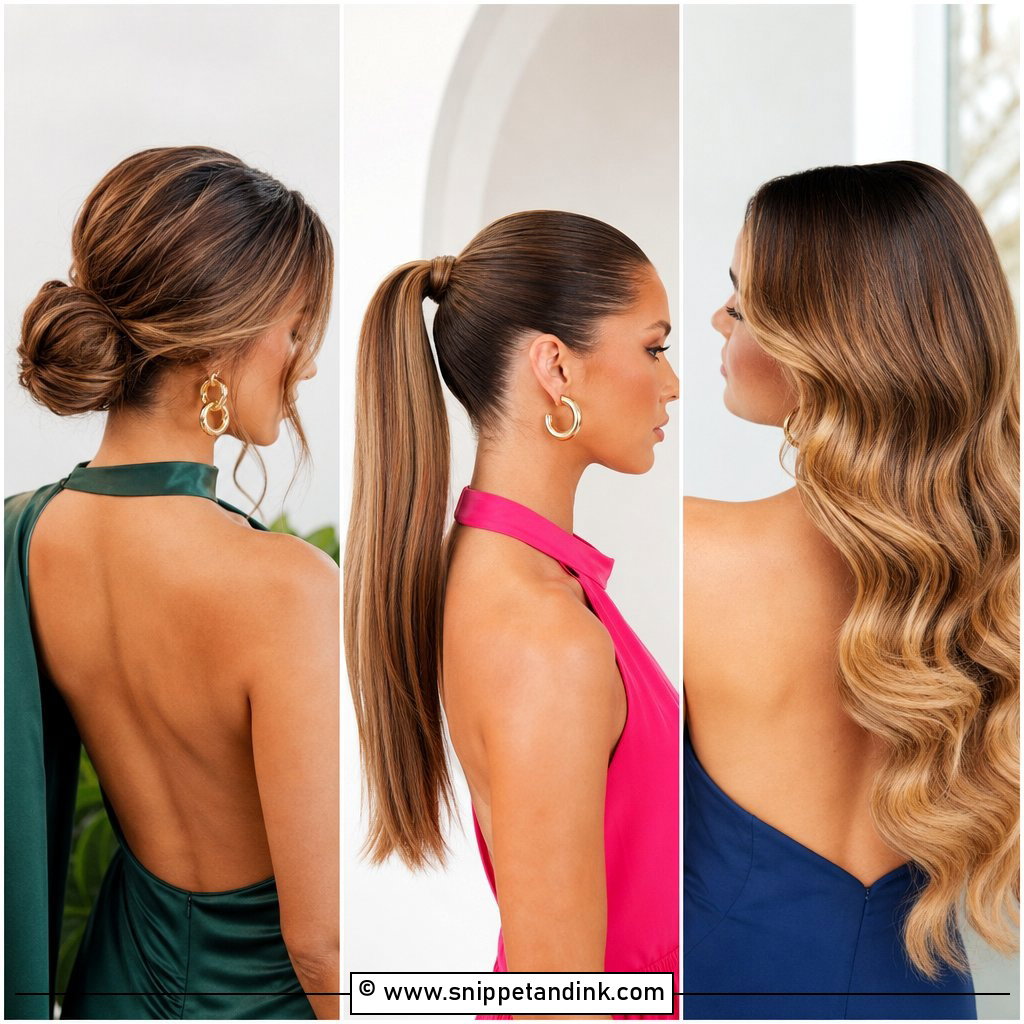
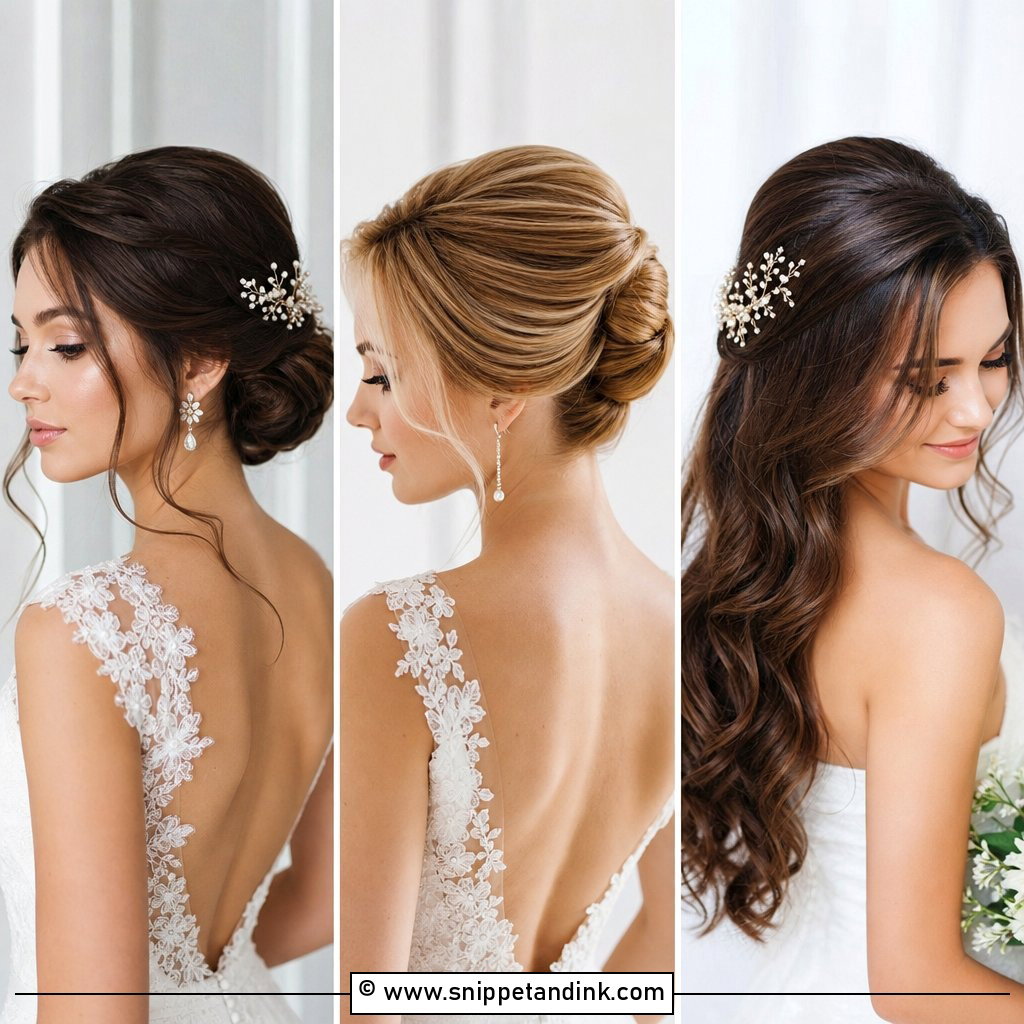
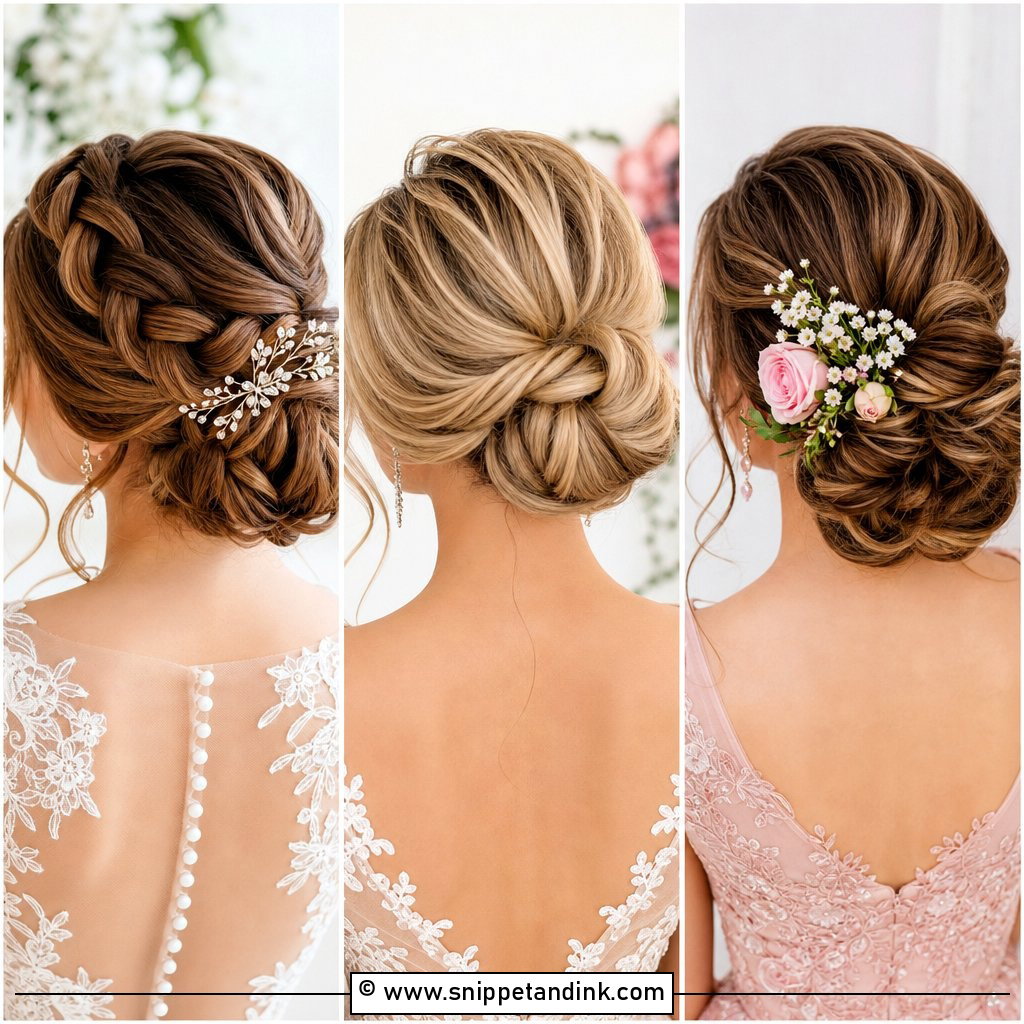
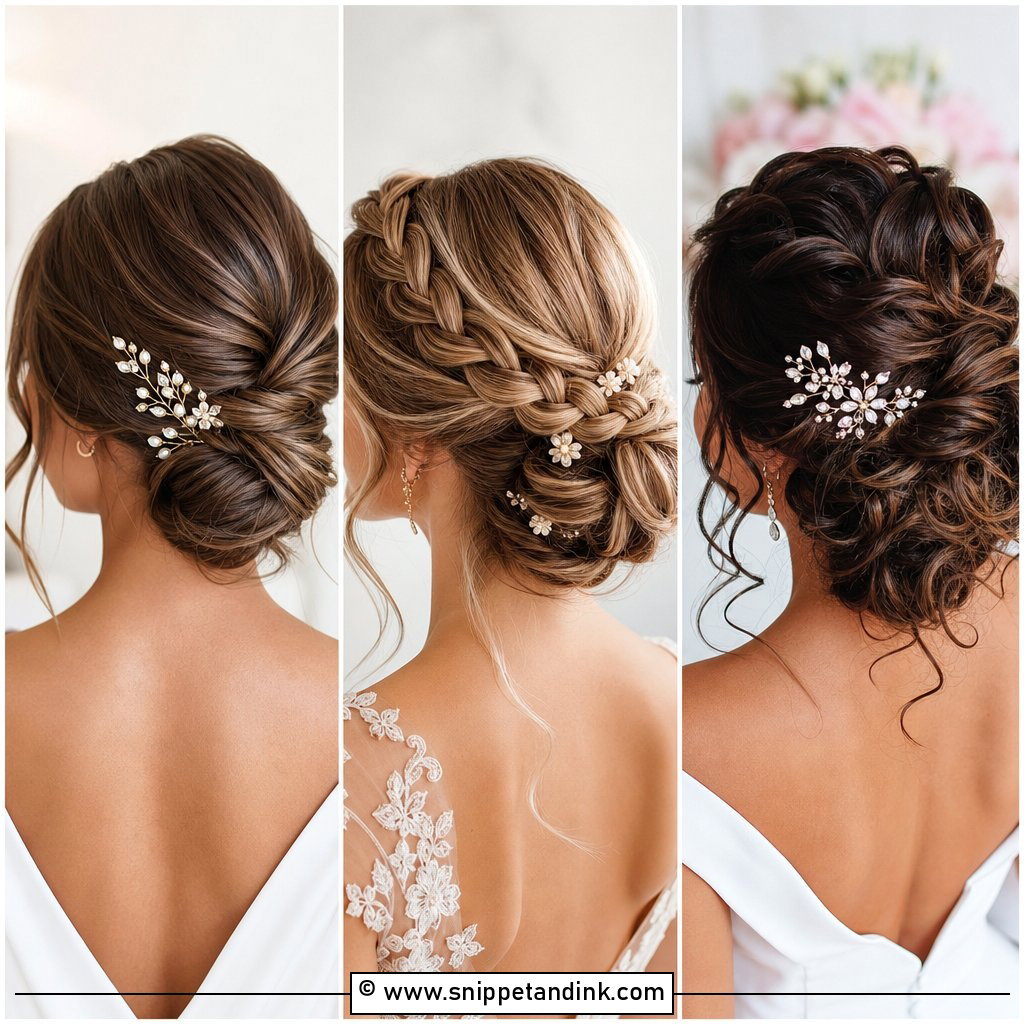
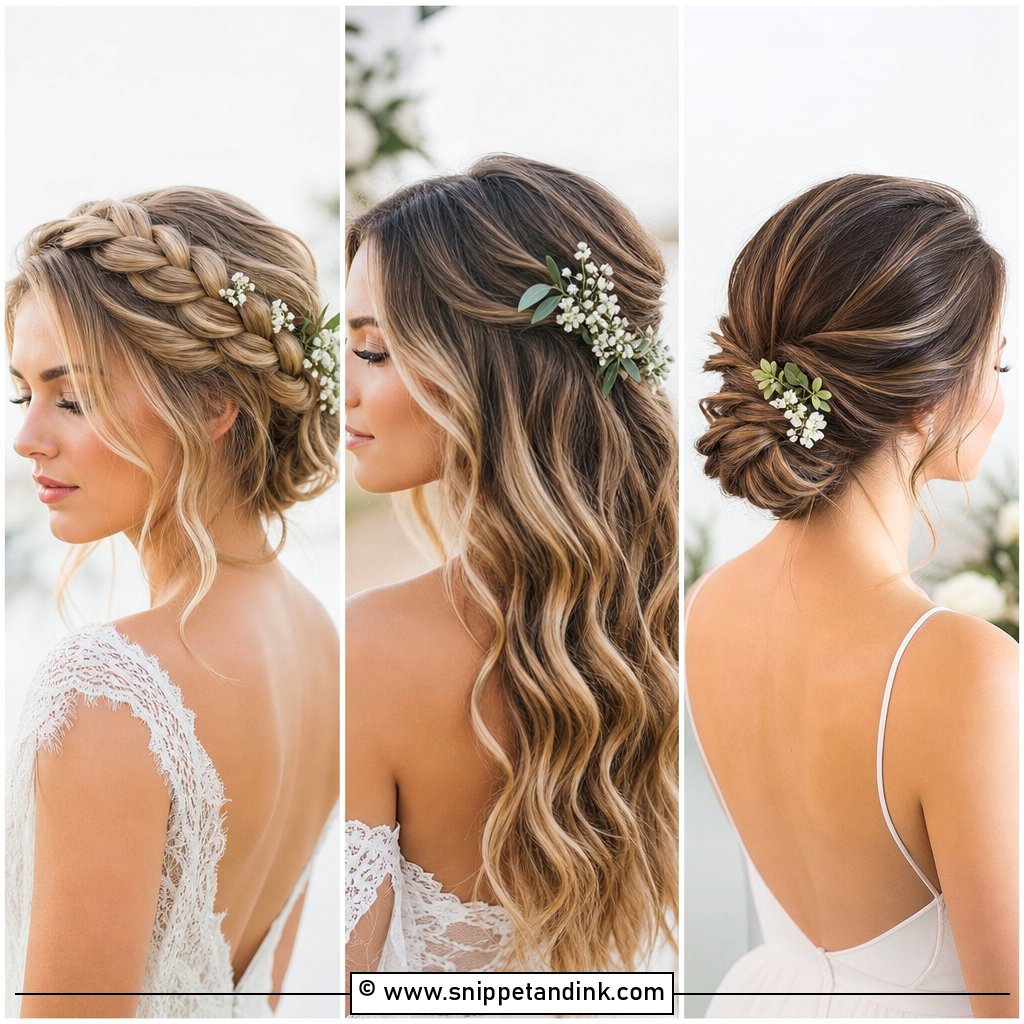
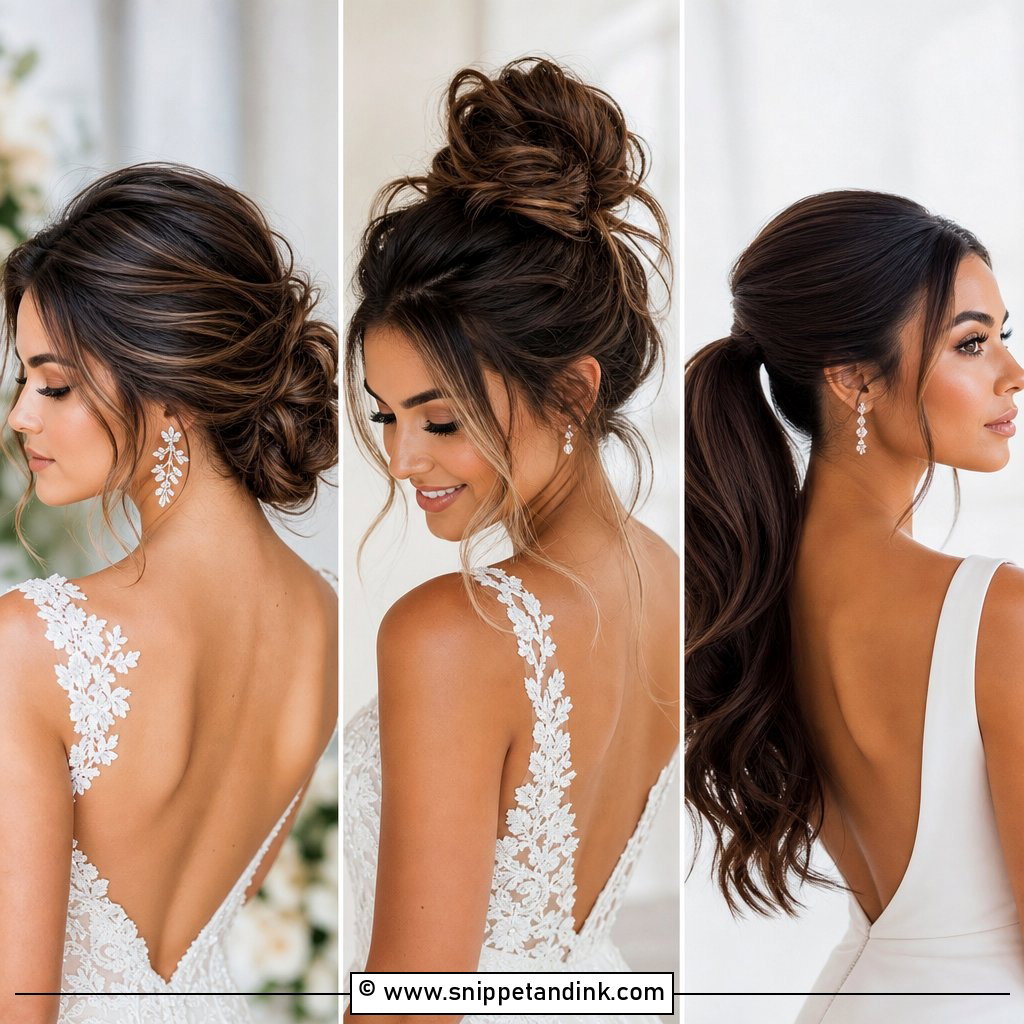
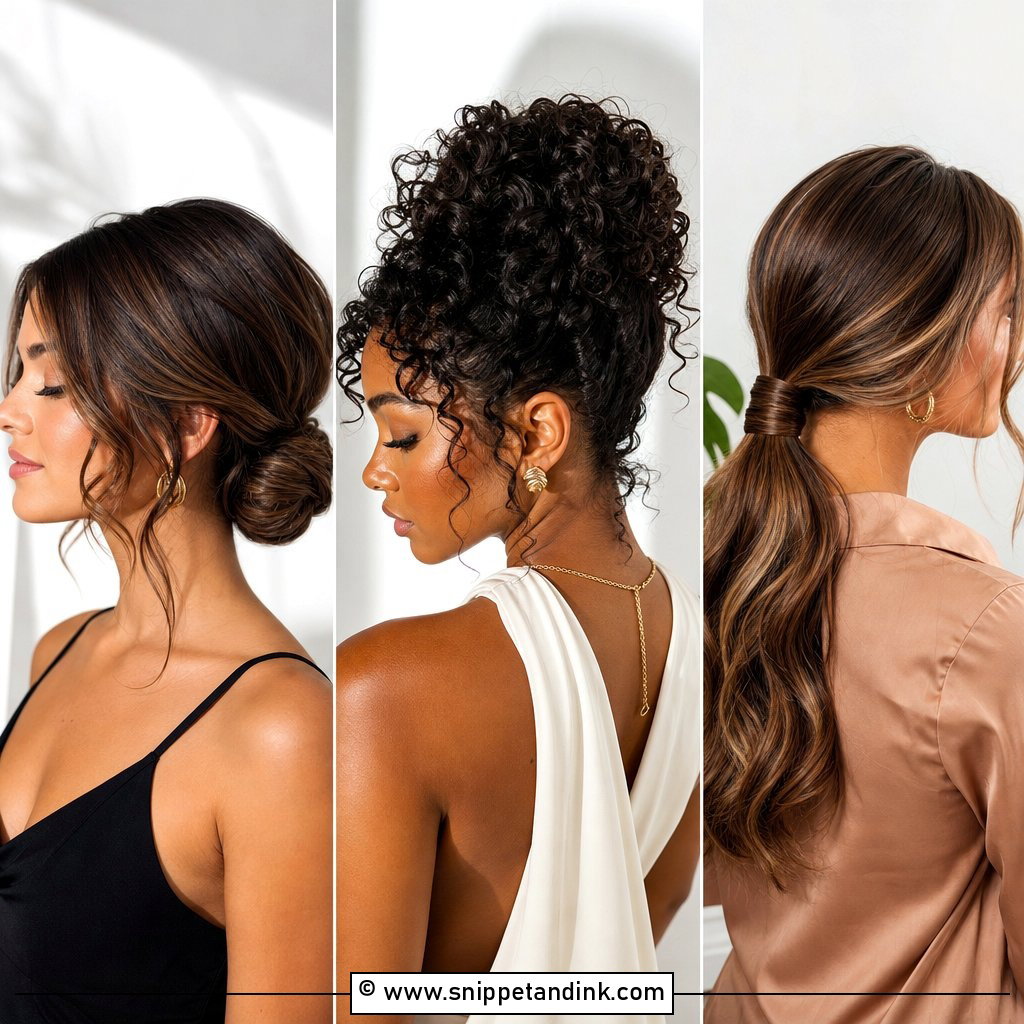
Start here if you’ve never done your own wedding hair. Curl the hair loosely first so the bun has some body, set a centre or soft side part, and gather everything at the nape. Twist the ponytail, wrap it round, and pin from at least three directions; one direction of pins only ever holds against one direction of pull. The step most people rush is the face-framing pieces. Pull them out before you spray, not after, or they come out stiff and stuck to the cheek. A low bun leaves room for a veil comb above it and keeps a detailed back or high neck clear.
2. Half Up Half Down Wedding Hair Tutorial
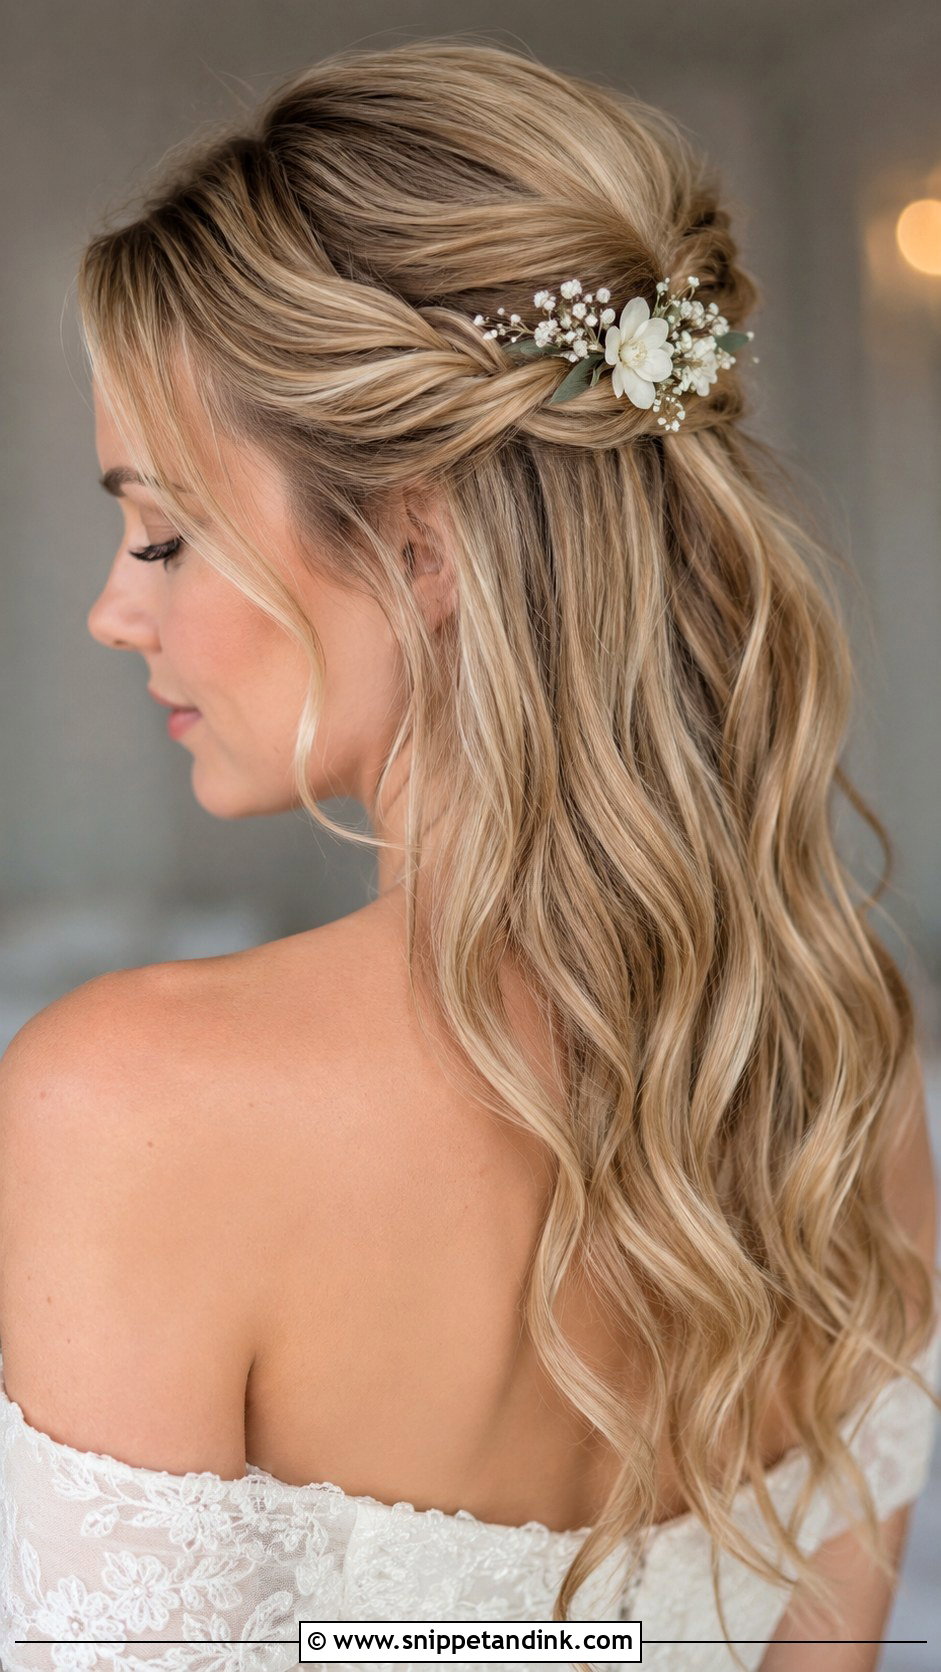
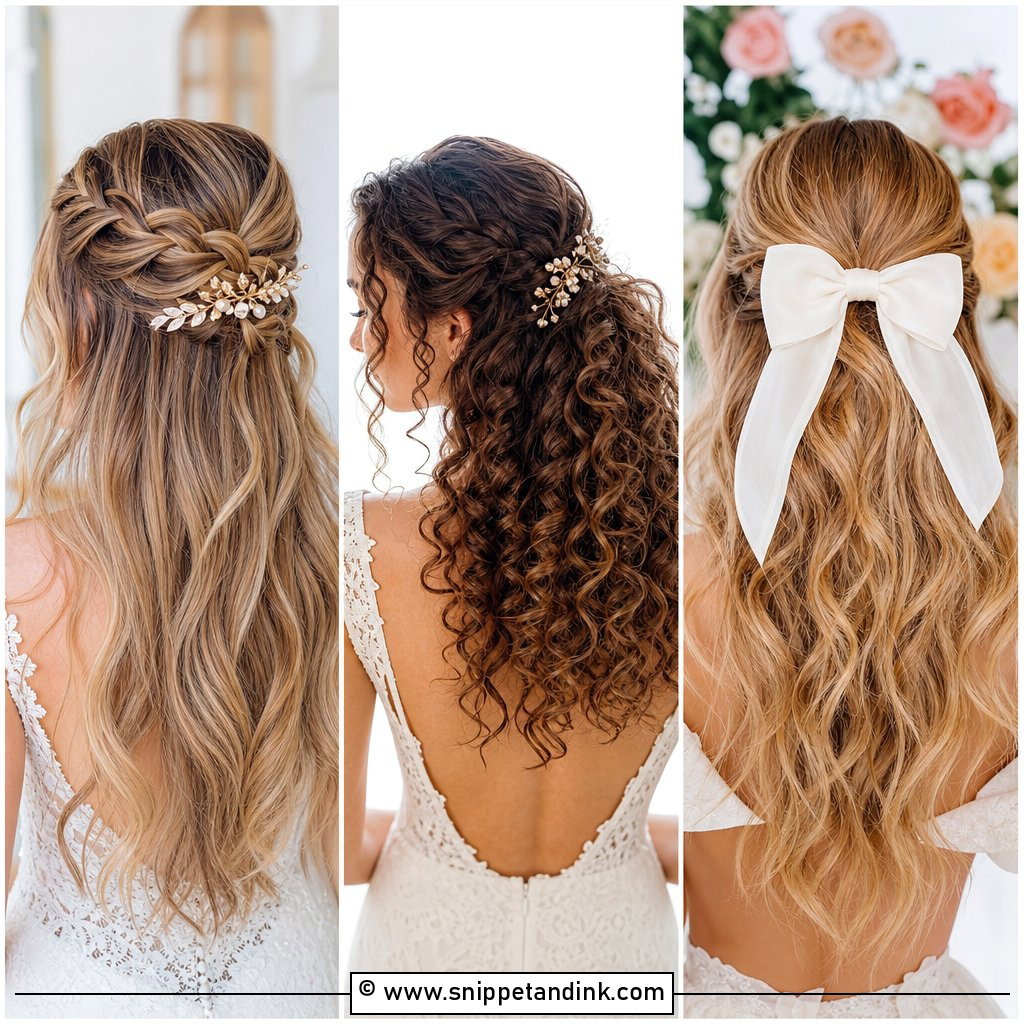
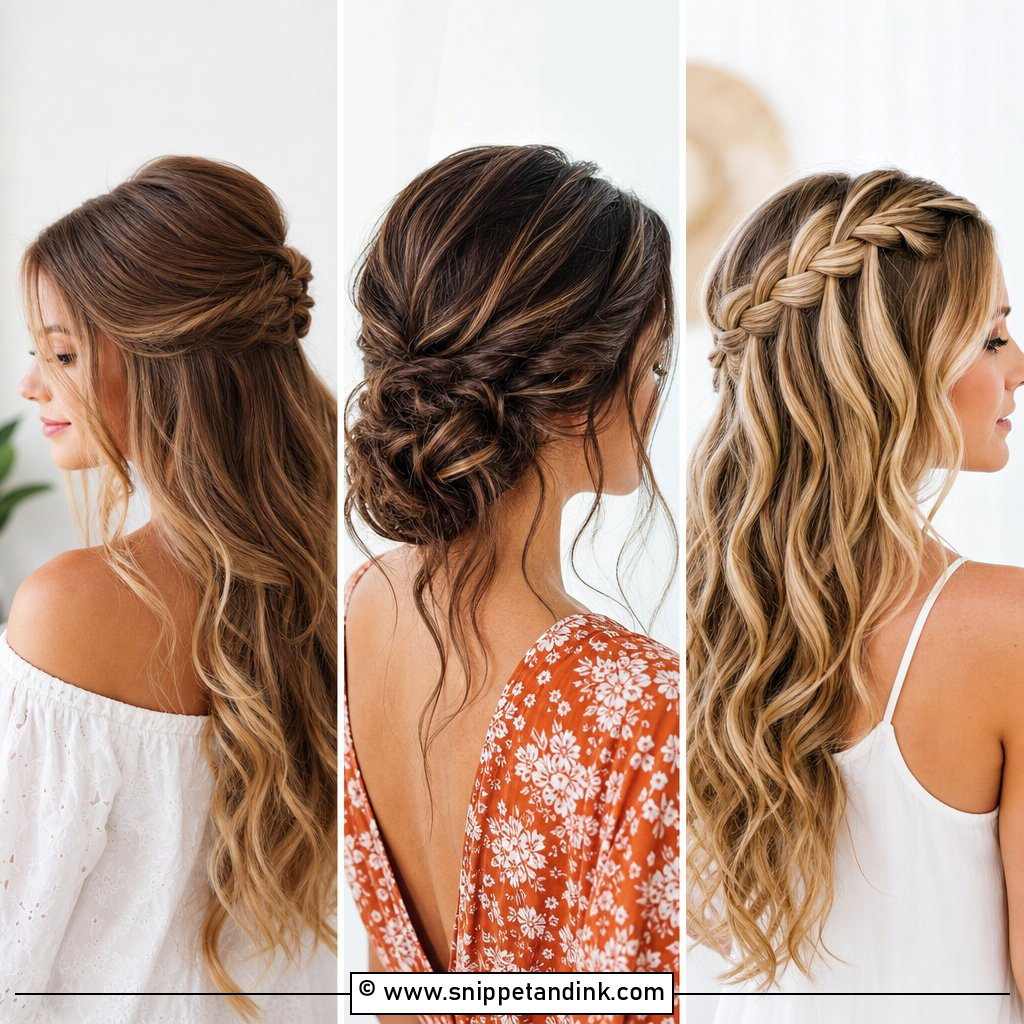
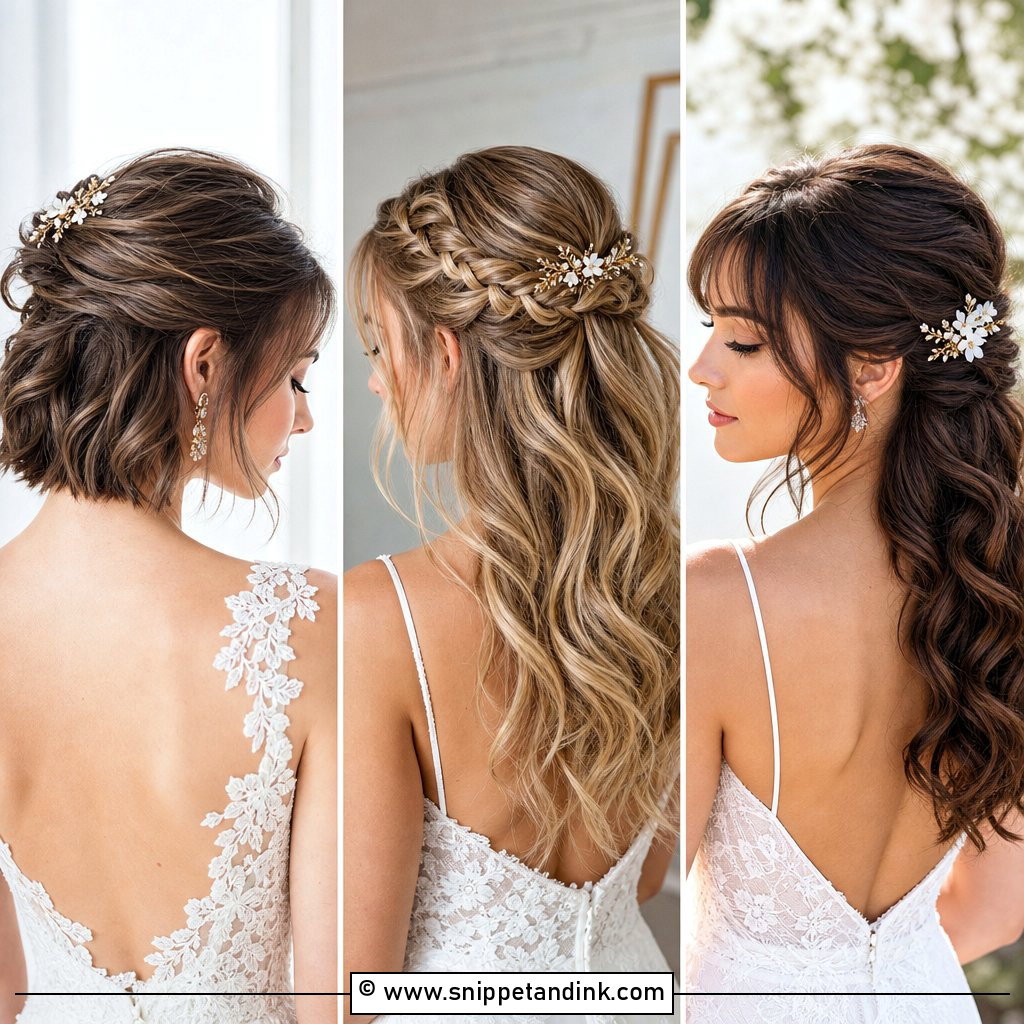
Half up half down wedding hair lives or dies on the curl. Curl the full head, then leave every curl to cool, ideally pinned in a loop, before you touch it. Brushing warm curls is the commonest reason home waves drop before the ceremony. Once they’ve set, take a section from each temple, twist back and pin at the crown, with a little backcombing underneath if you want lift. I’d suggest this for medium or long hair. A veil slots in neatly just below the pinned section.
3. Hollywood Waves Wedding Hair Tutorial
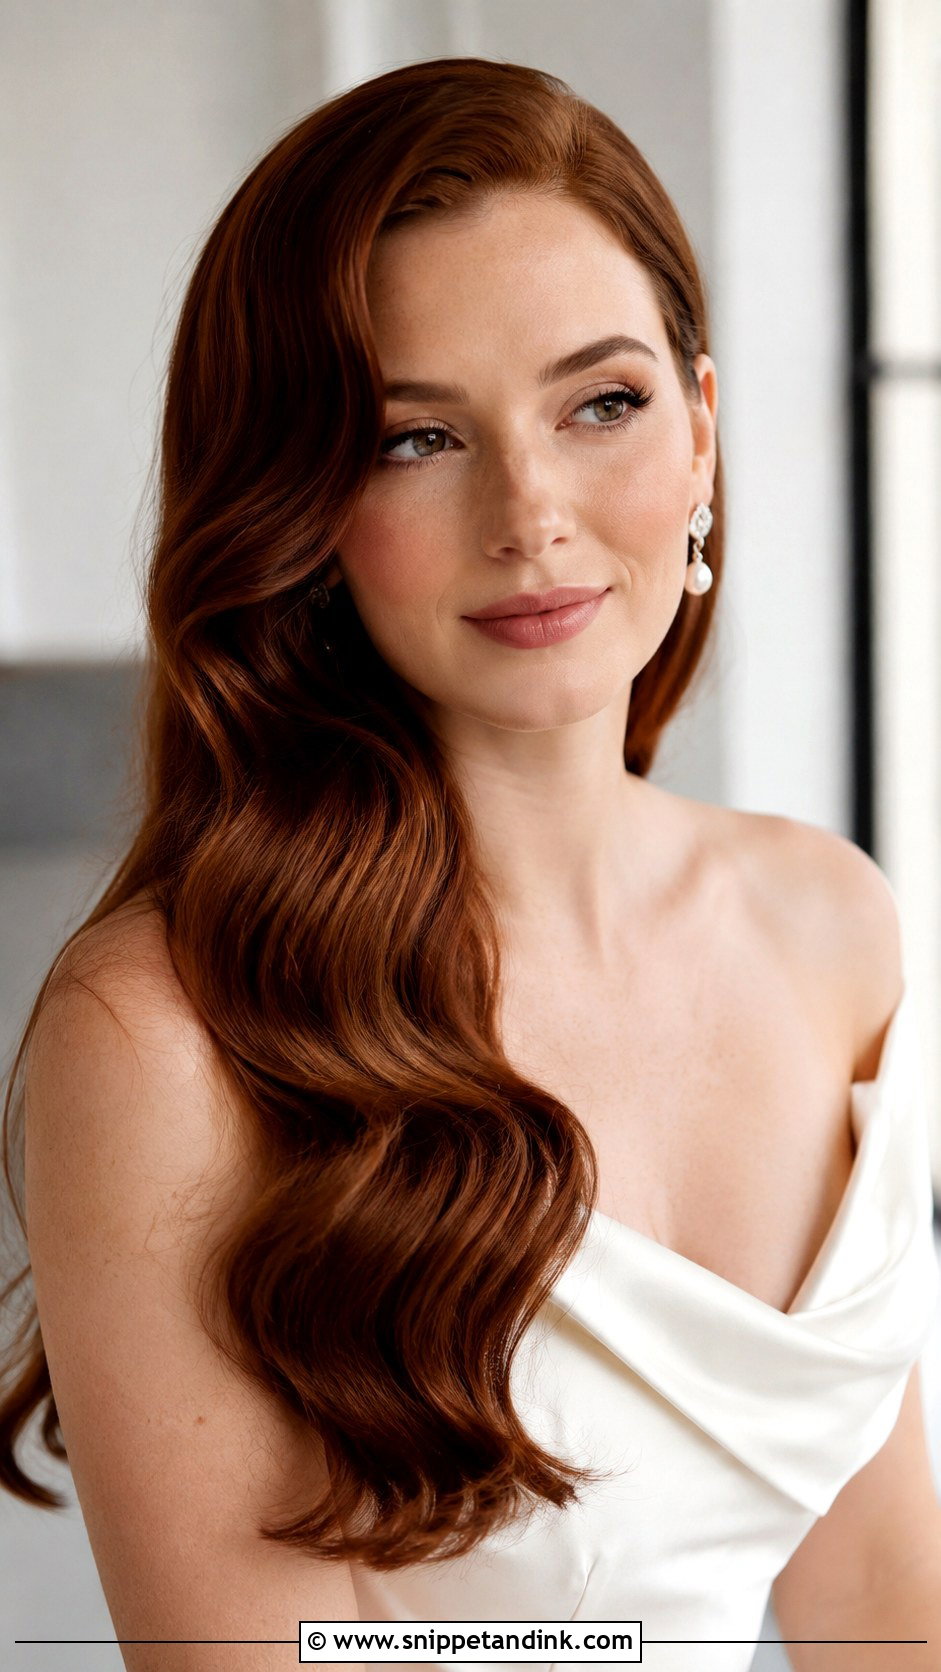
Hollywood waves are the most technical look here, and also the most rewarding once you’ve got it. Curl every section in the same direction with a medium barrel iron, then let it cool completely. Brush through with a paddle or boar bristle brush until the curls join into one ripple, and set the front S-shape with flat clips while you finish the back. This wedding hair tutorial needs a deep, clean part to get that sweep across the face. Give yourself at least two practice runs before the day. It suits satin, simple column dresses and evening receptions; it’s a poor bet for a humid beach.
4. Braided Low Bun Wedding Hair Tutorial
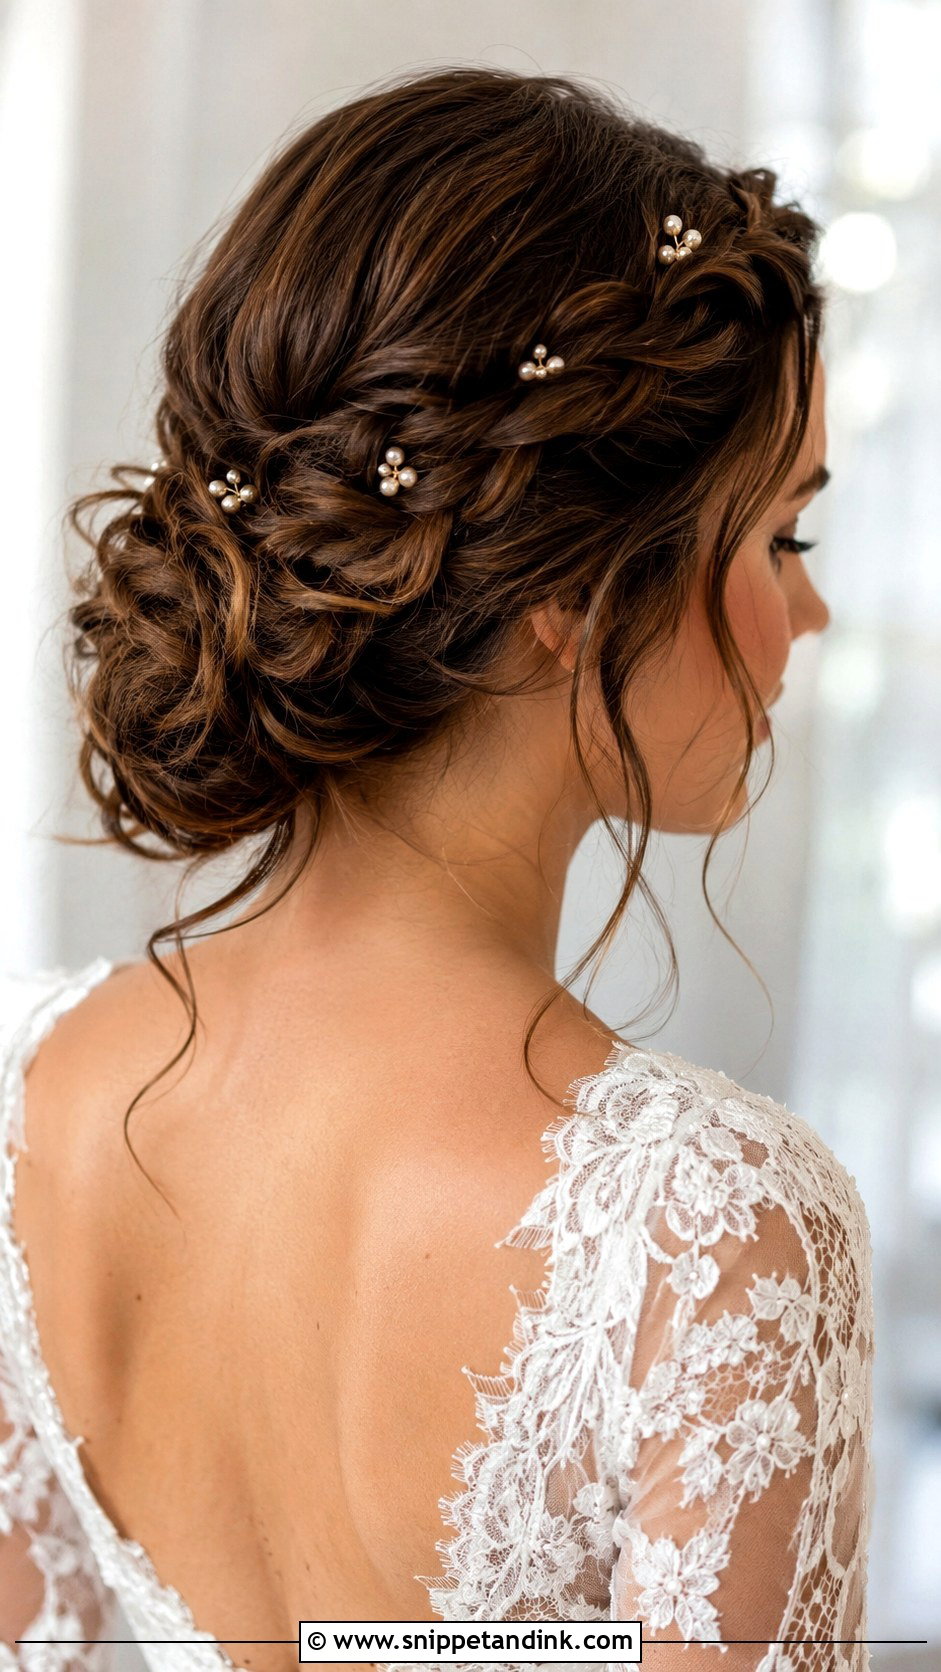
A braided low bun adds texture without looking busy. Curl lightly, then braid one or both sides loosely and bring the braids back to join the rest of the hair in a low ponytail. Twist and pin the bun, ends tucked under. My tip here is to pancake the braid (pull each loop gently outward) before you pin it into place, because once it’s anchored you can’t widen it evenly. Spray after. The braid gives a garden or lace look some detail, and it holds stray layers in better than a plain bun.
5. Sleek Ponytail Wedding Hair Tutorial
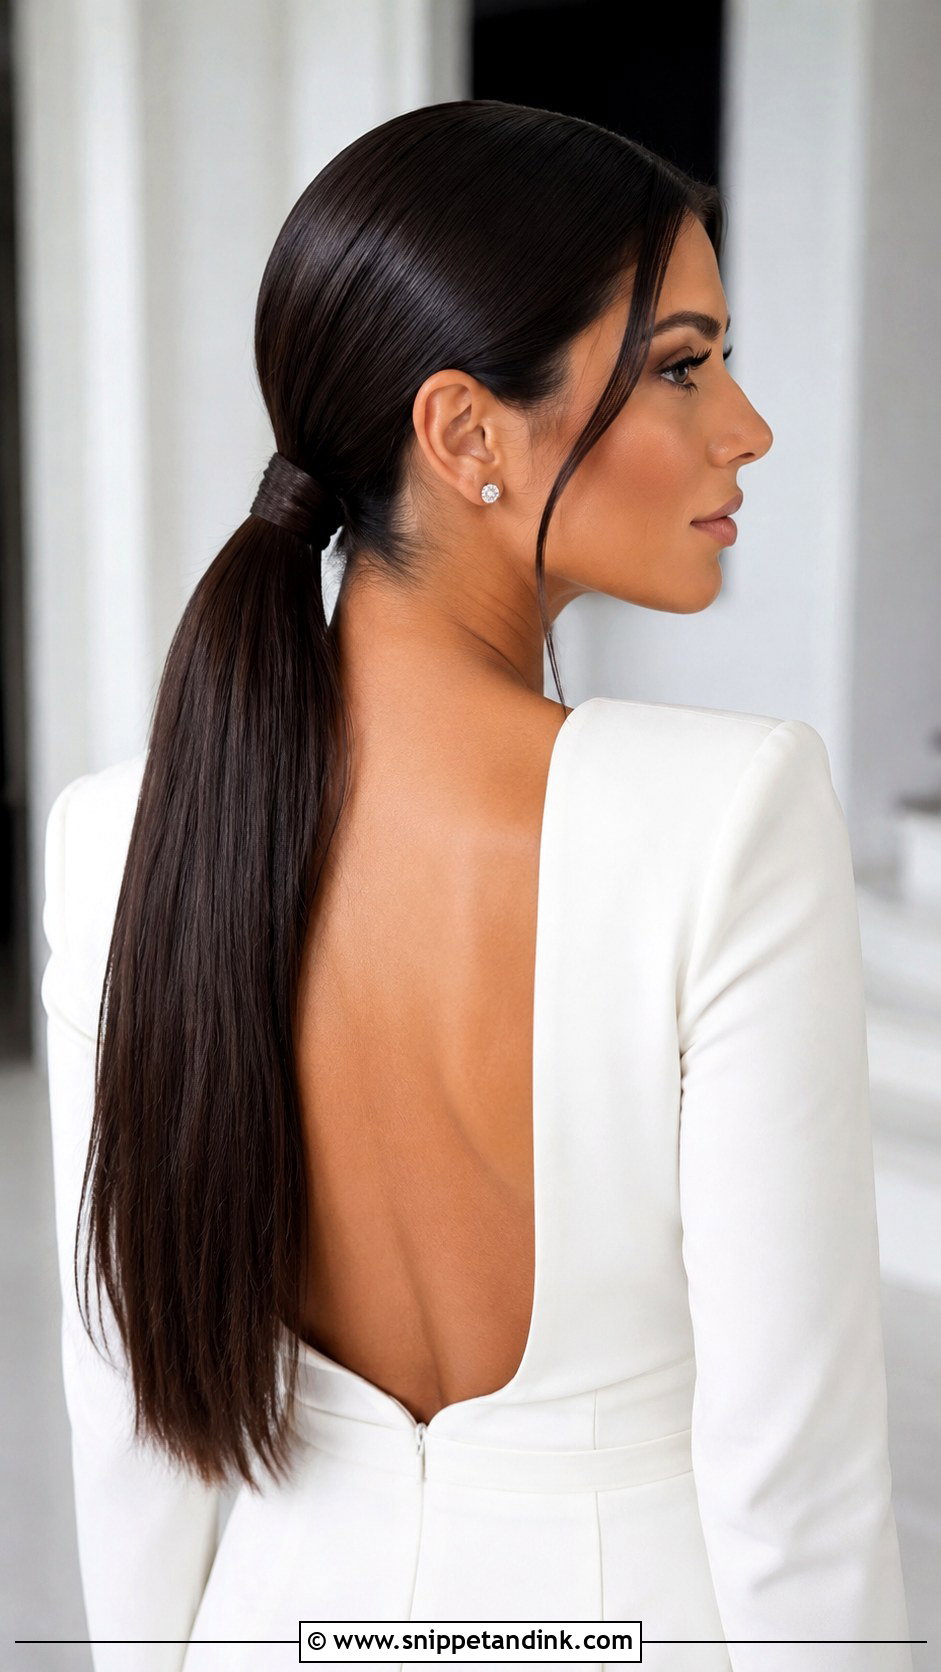
A sleek ponytail looks as bridal as any bun when the finish is clean. Straighten or softly bend the lengths, smooth a little cream along the hairline, and brush the hair up into a mid or low ponytail, tight. Wrap a small strand from underneath around the elastic and pin it into the base. Two things trip people up. Bumps at the crown come from gathering with your hands instead of a brush, and a flat tail comes from skipping a light backcomb underneath. It keeps hair off the neck in warm weather and leaves earrings in full view.
6. Messy Bun Wedding Hair Tutorial
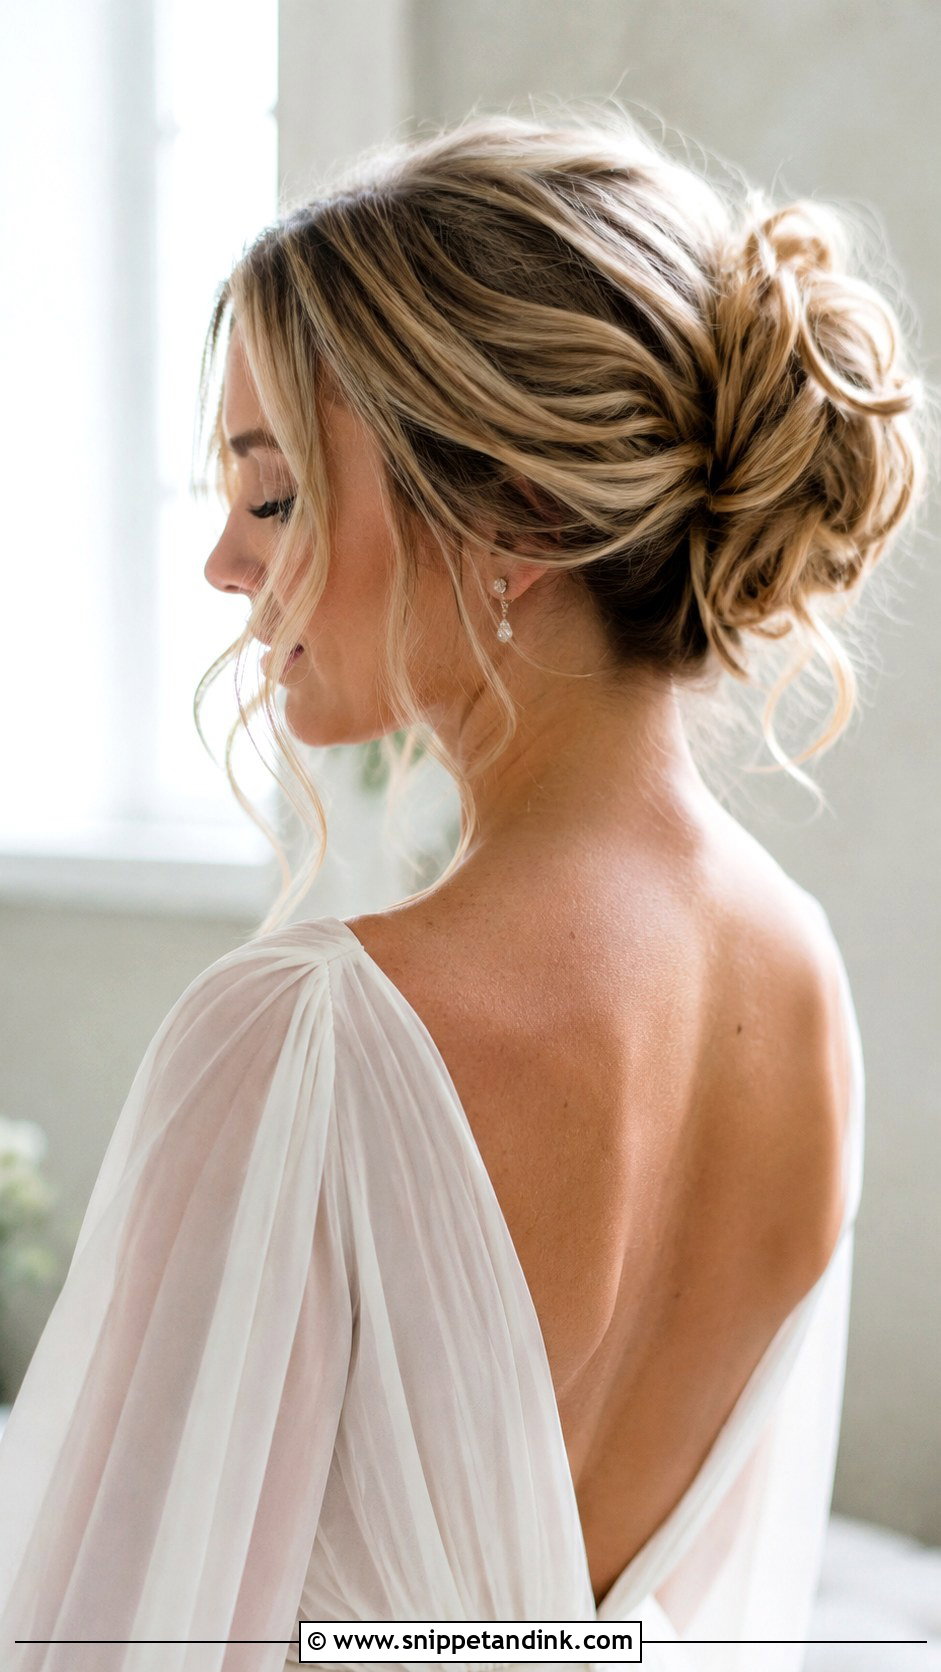
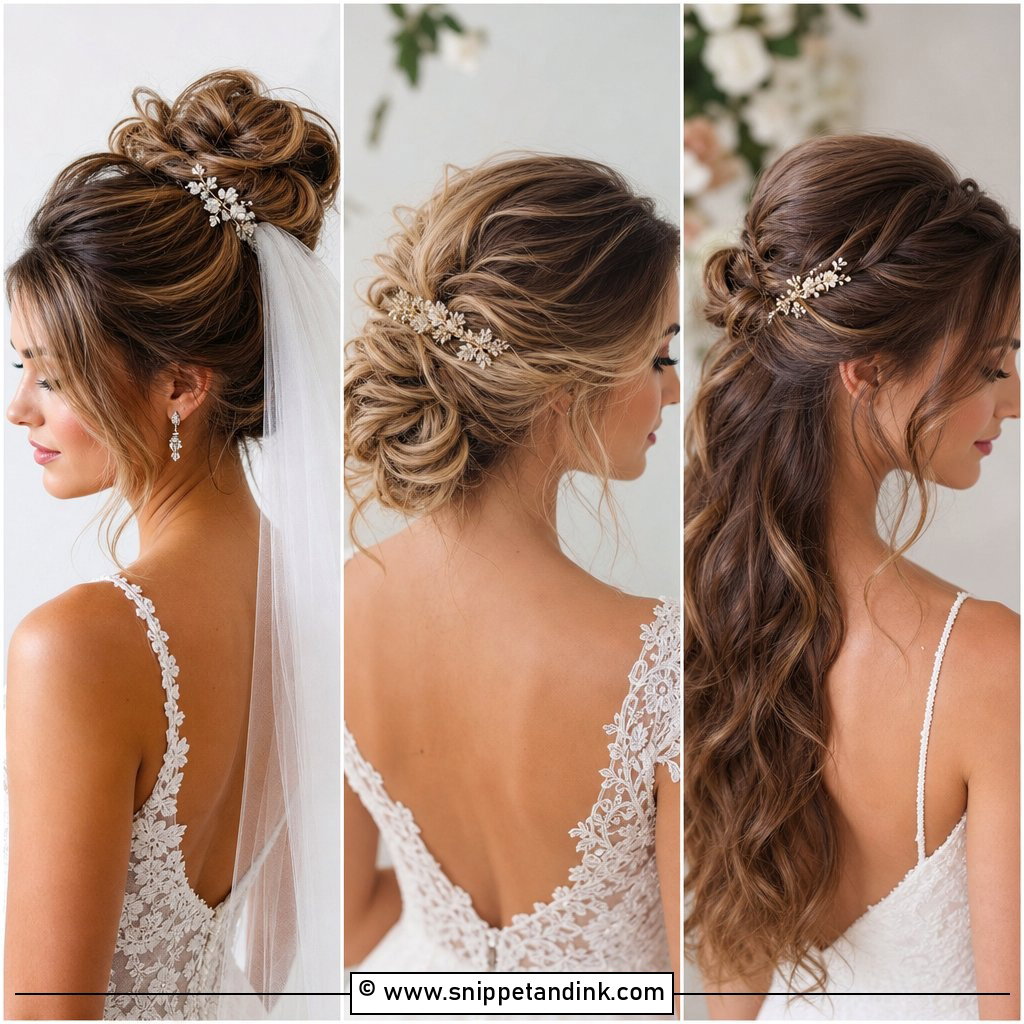
Messy buns are built neatly. Curl first, leave out your face-framing pieces, gather the rest into a loose ponytail, then twist small sections around the base one at a time, pinning each before moving on. Doing it in sections is what keeps it from looking rushed. Loosen the crown with your fingertips and soften the sides last. Use a light, brushable spray so it still moves. I steer people toward this for rustic or beach weddings, and away from it if your hair is very silky and freshly washed, because the loose sections slide straight out.
7. Curly Wedding Updo Tutorial
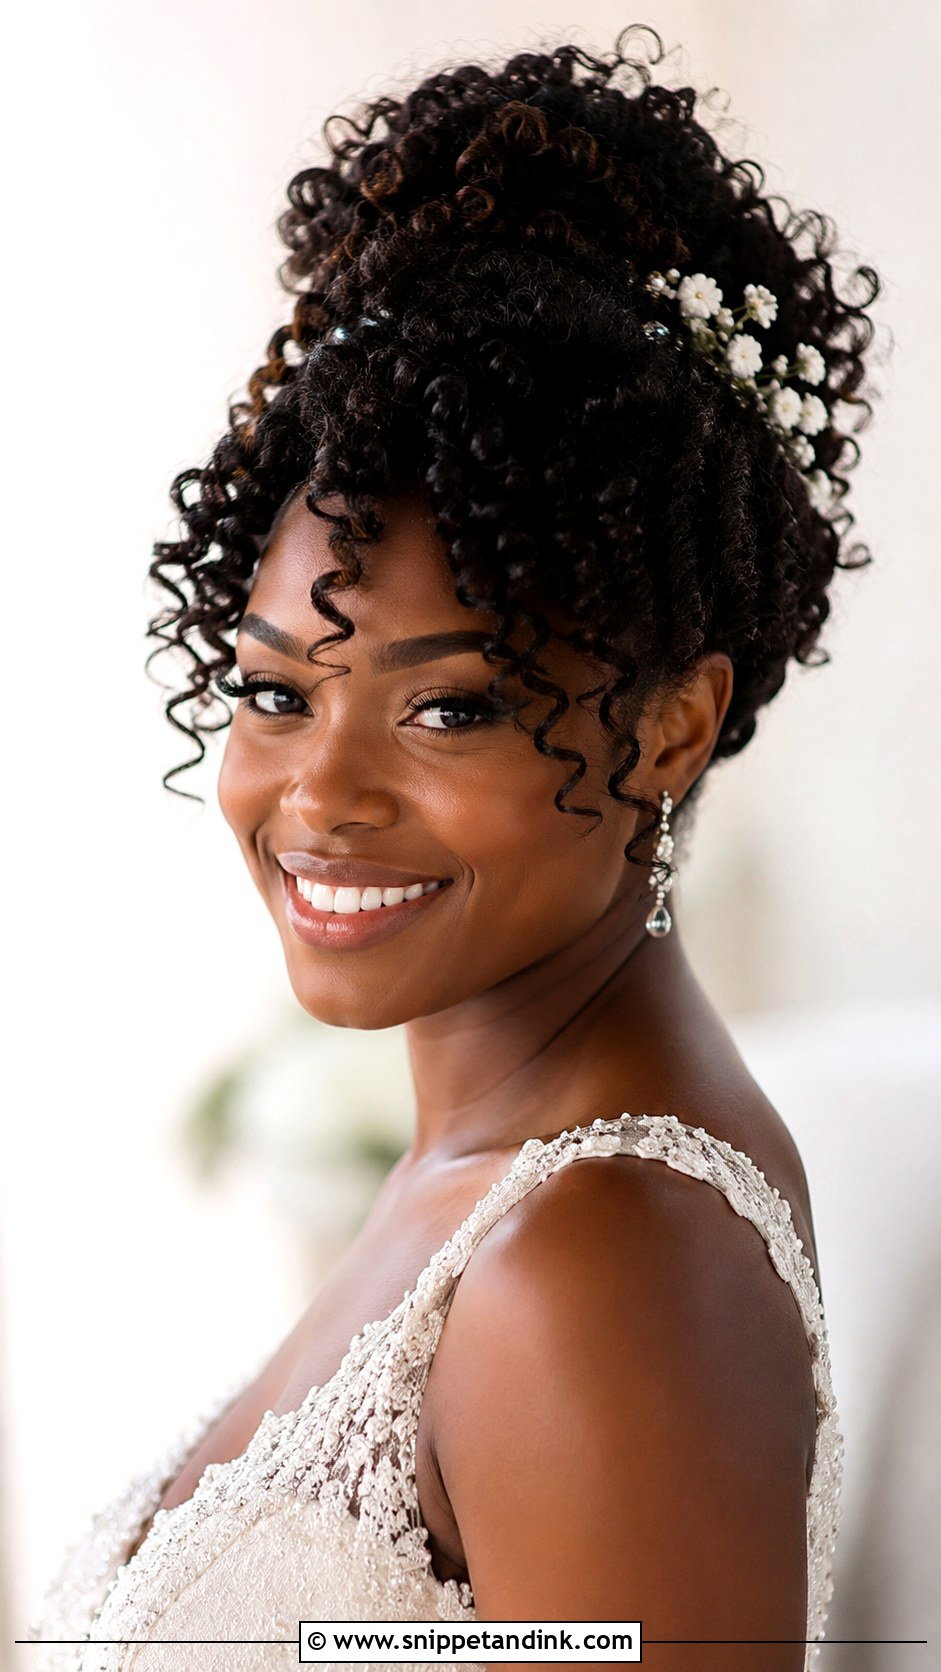
Curly updos start with the curls, not the pins. Wash, hydrate and style your curls as you normally would, and let them dry completely; pinning damp curls flattens them and they set in the wrong shape. Make a loose ponytail at the back or crown, then pin curl clusters around the base without brushing them out. Keep the shape airy, with a few curls at the face. Floral pins, pearls or a veil underneath all sit well. If you have shrinkage, give yourself more length in the ponytail than you think you need.
8. Side Swept Wedding Hair Tutorial
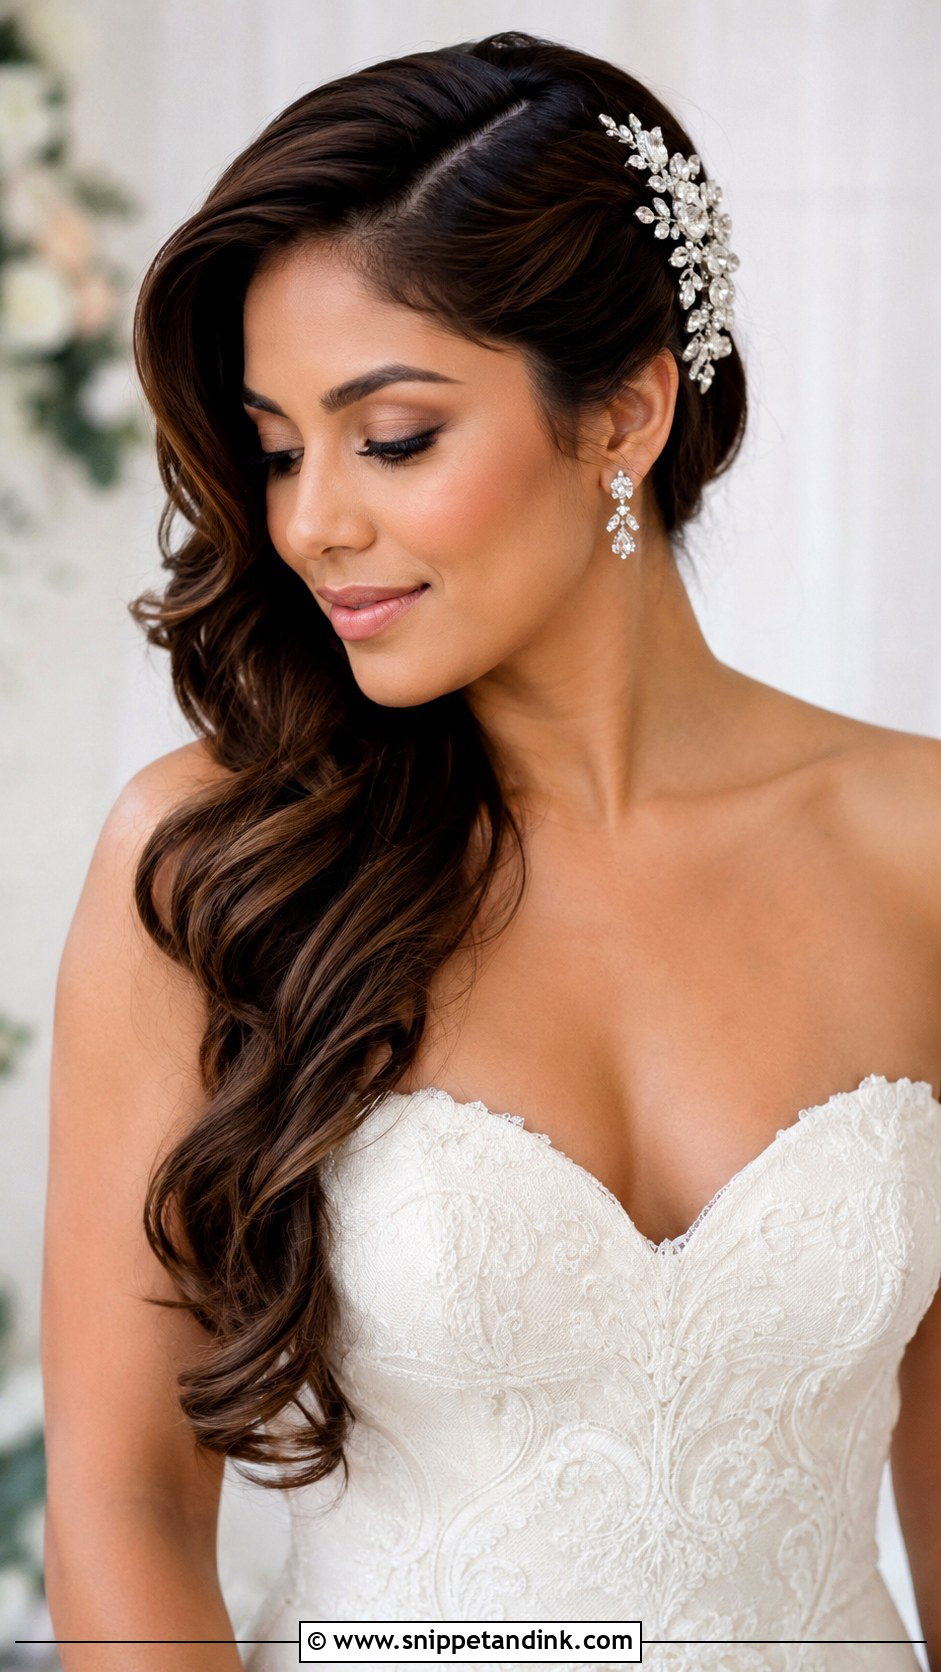
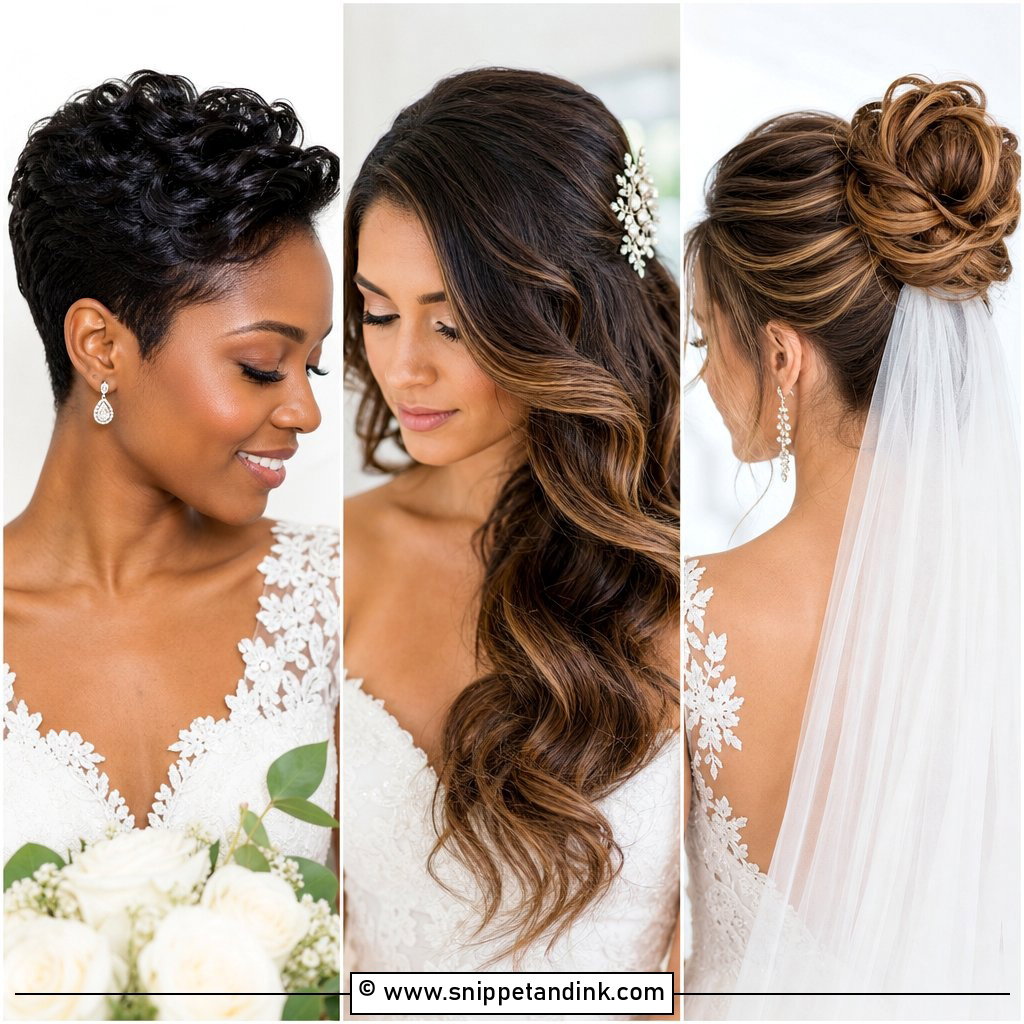
Side swept hair gives you drama without a full updo. Wave the hair, take a deep side part, and sweep the heavy side over one shoulder. The opposite side is pinned behind the ear or at the nape with bobby pins crossed in an X, and I’d always add a tiny hidden braid there first so the pins have something solid to grip. A comb or small flowers can cover the pinned side. One-shoulder and strapless gowns suit it best, since the hair falls where the dress is bare.
9. Crown Braid Wedding Hair Tutorial
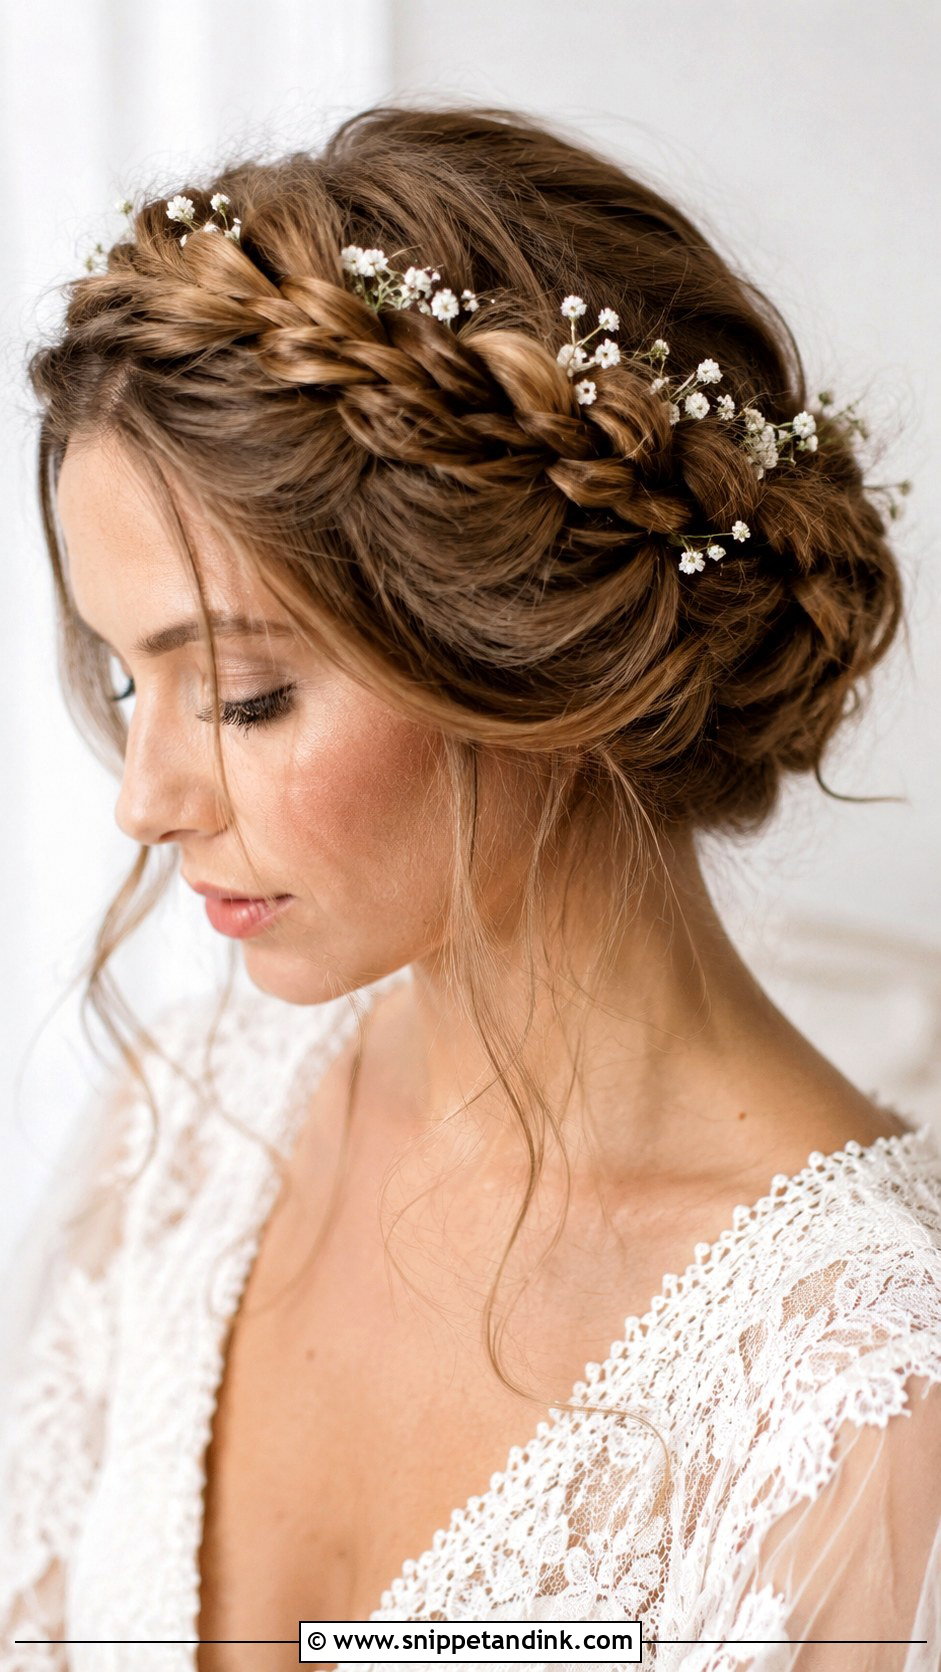
Crown braids are easier on someone else’s head than your own, so practise this one several times. Part where your hair naturally falls, then braid along the hairline or around the head, adding small sections as you go. Secure the end with a clear elastic, tuck it under the braid and pin it there. Pull the braid gently wider, then leave a few wisps around the face. Once it’s in, wind can’t do much to it, which makes it the style I’d teach for a cliff-top or open field ceremony. It also gives a flower crown something firm to sit on.
10. High Bun Wedding Hair Tutorial
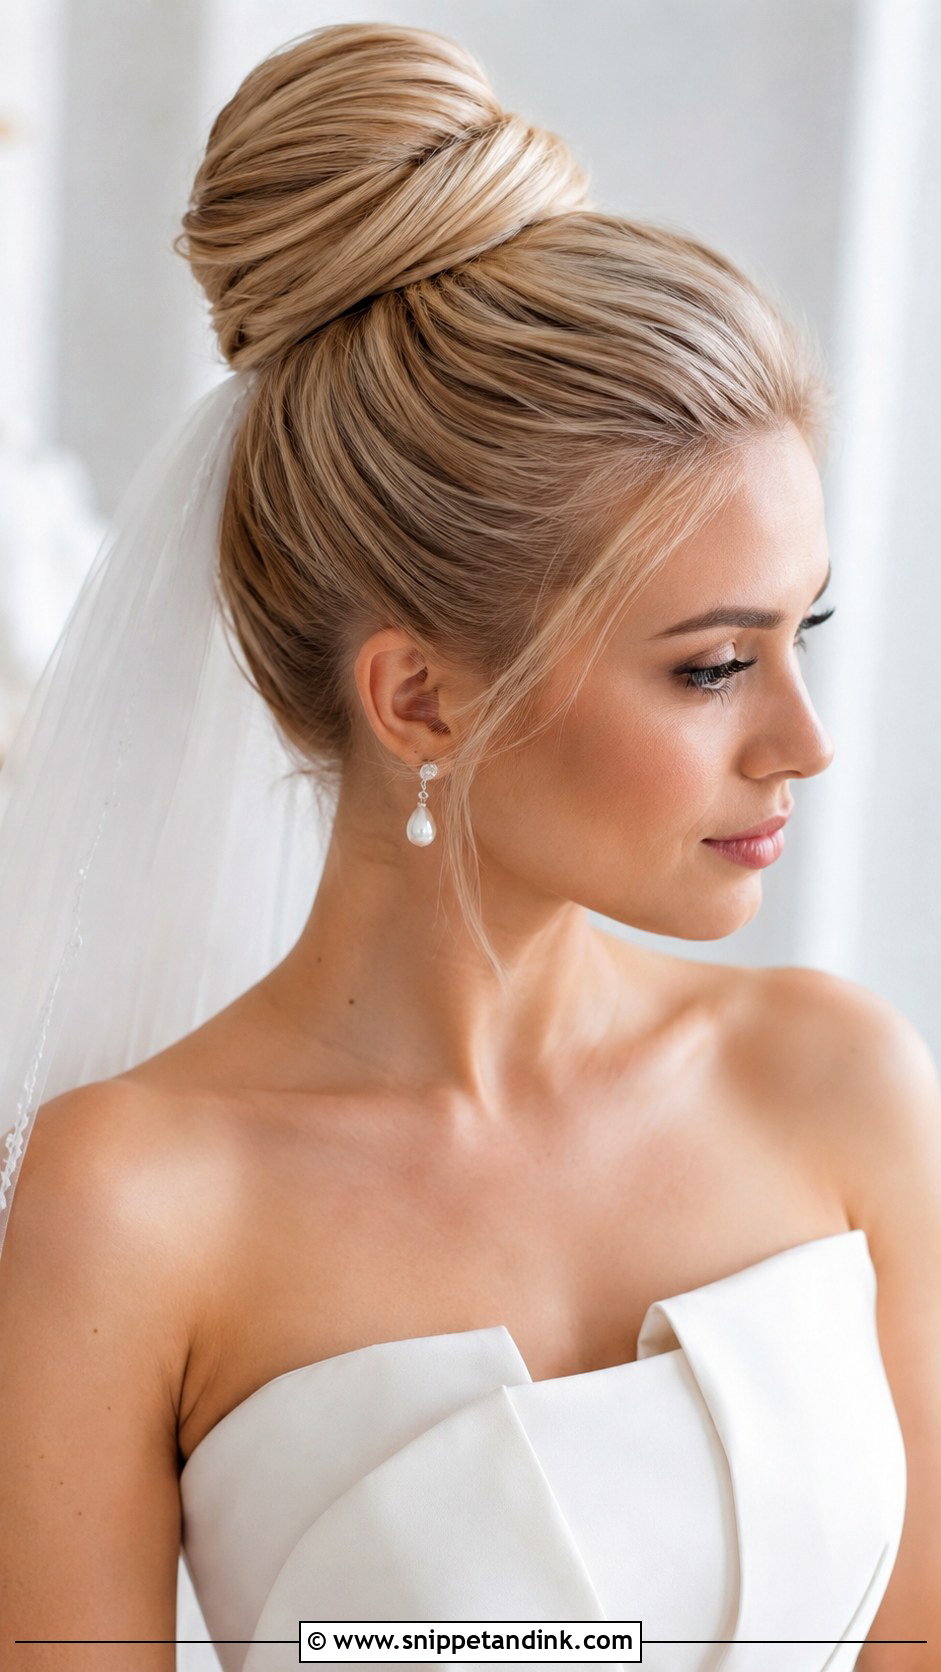
Smooth everything up into a high ponytail first; the cleaner that base, the better the bun. Lightly backcomb the ponytail for volume, then wrap it around the base, pinning as you go rather than at the end. Leave the front sleek or loosen a couple of pieces. A veil goes underneath, and high collars or detailed bodices stay uncovered. It’s very good for dancing. If the bun feels heavy or pulls after twenty minutes of practice, drop it slightly lower, because that tension only gets worse by the evening.
11. Fishtail Braid Wedding Hair Tutorial
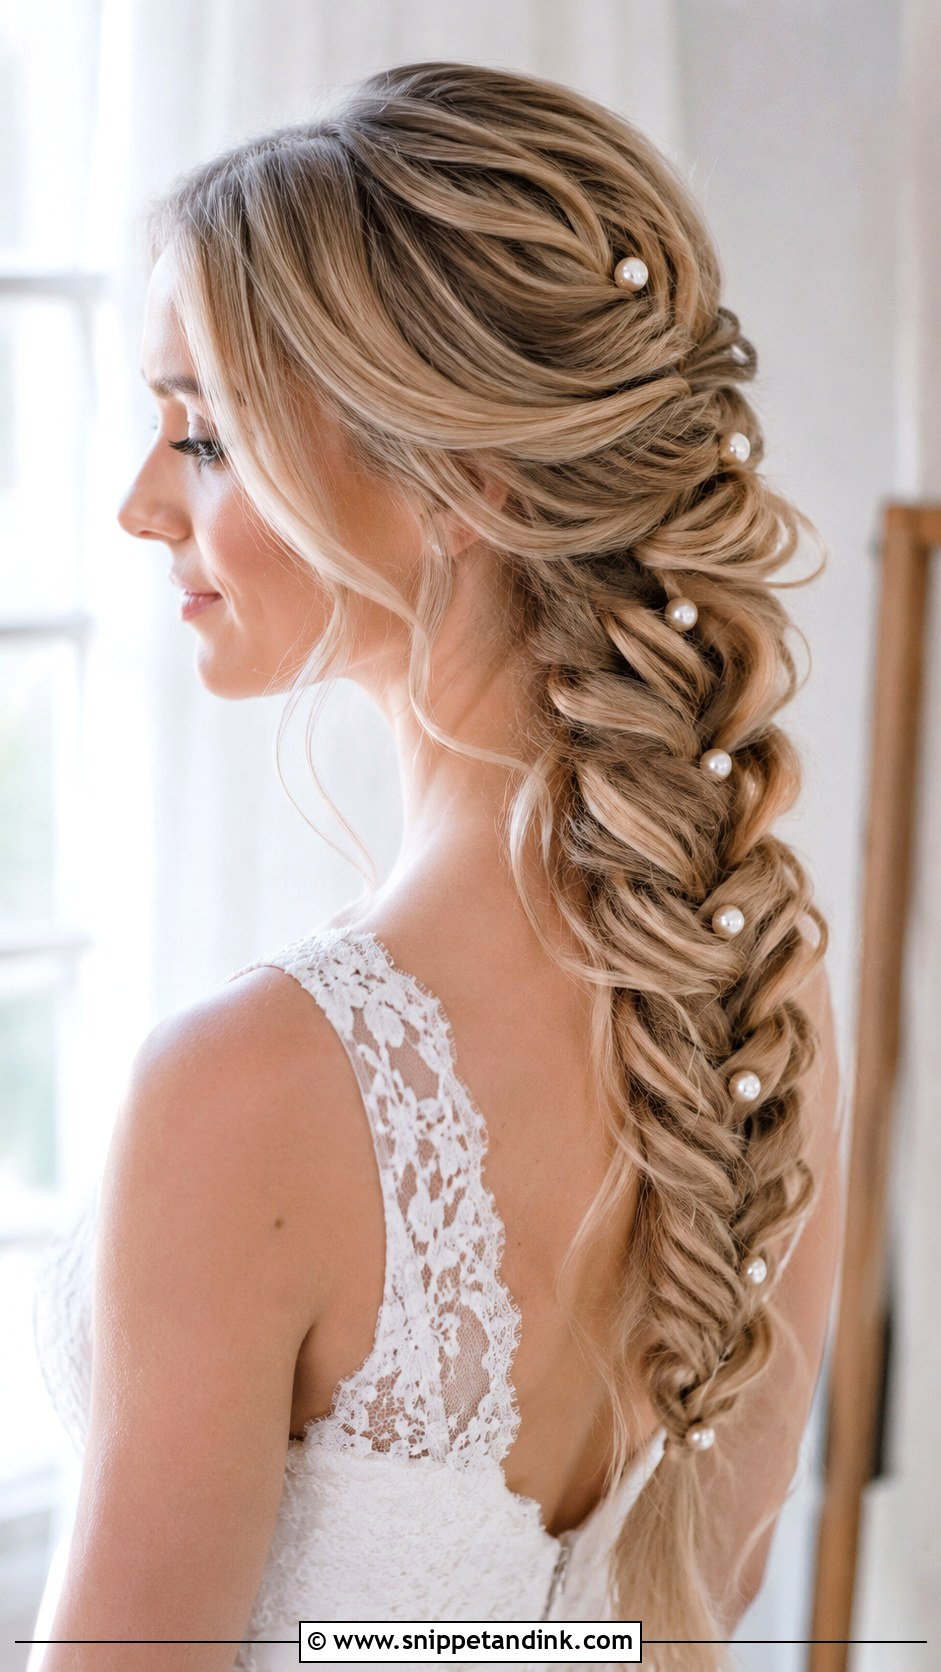
A fishtail braid looks complicated and is mostly patience. Curl the hair lightly for grip, sweep it back or to one side, and split it into two sections. Cross a very thin piece from the outside of one section over to the other, then repeat from the opposite side, all the way down. Thin pieces are what give it that fine herringbone; thick ones make it look like a regular plait. Secure with a clear elastic and pull the edges outward to widen. It needs long hair to show off. Pearl pins, small blooms or a ribbon tied at the base finish it.
12. Short Hair Wedding Waves Tutorial
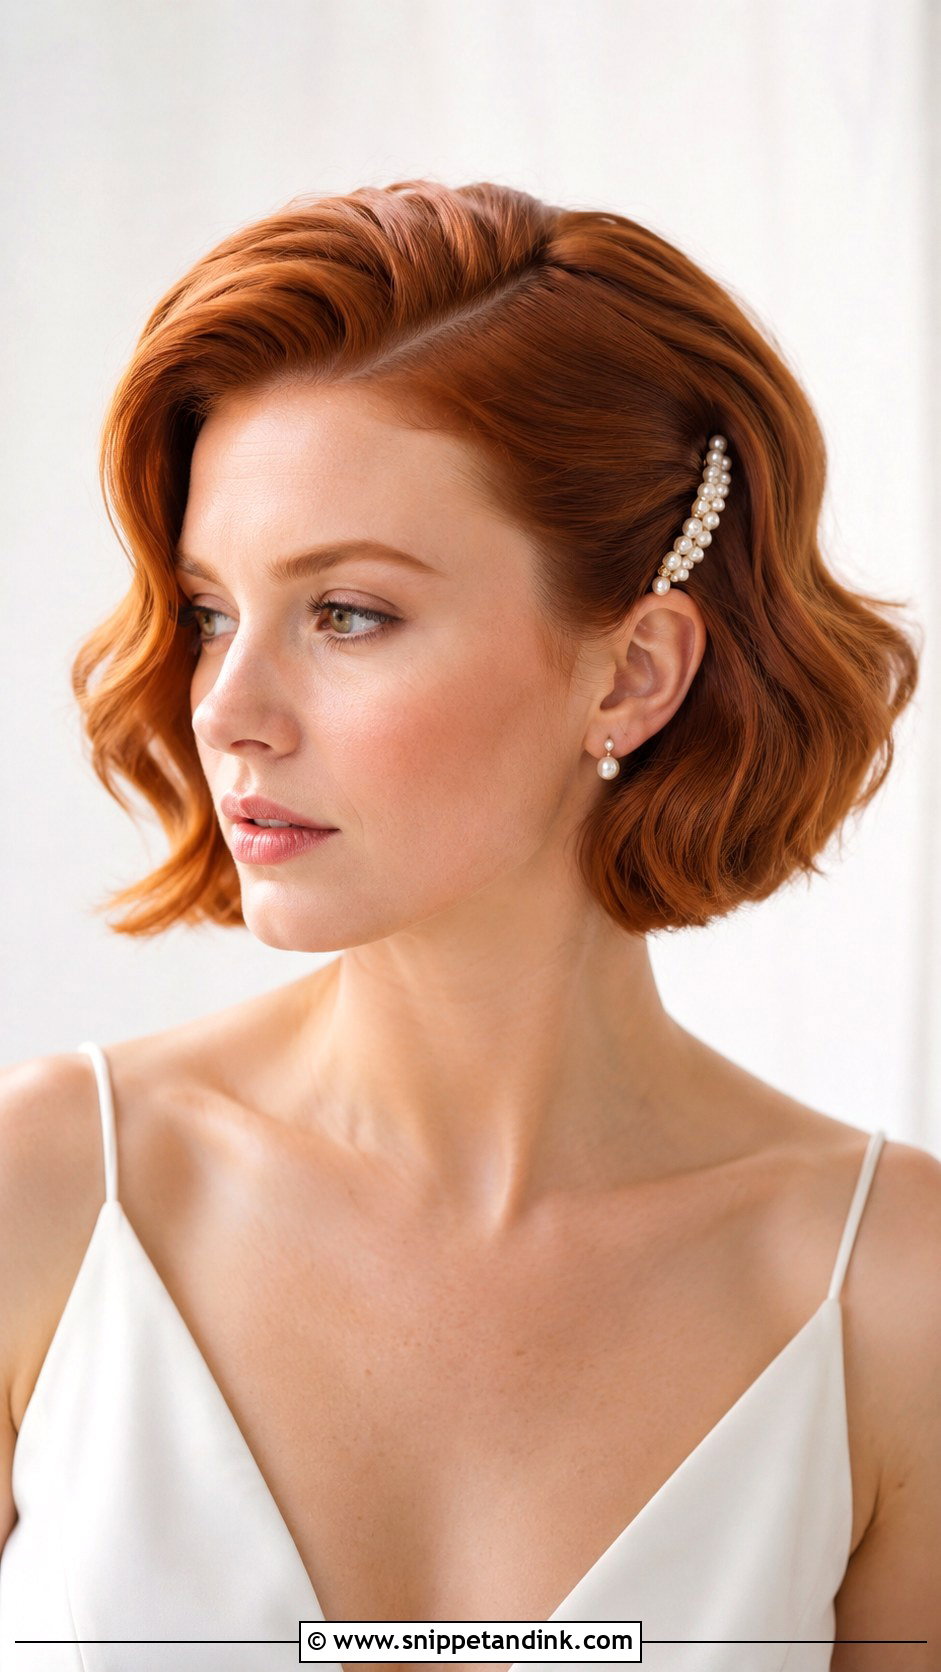
Short hair takes waves well, as long as the sections are small. Mist in texture spray, then curl small pieces away from the face with a small or medium iron, and leave them to cool. Brush through gently into waves and pin one side back with a comb, barrette or pearl clip. On bobs, lobs and short layered cuts I leave the last inch of each section out of the iron so the ends stay smooth and modern rather than flicking up. Lift the crown slightly and you’re done, no extensions needed.
13. Twisted Half Up Wedding Hair Tutorial
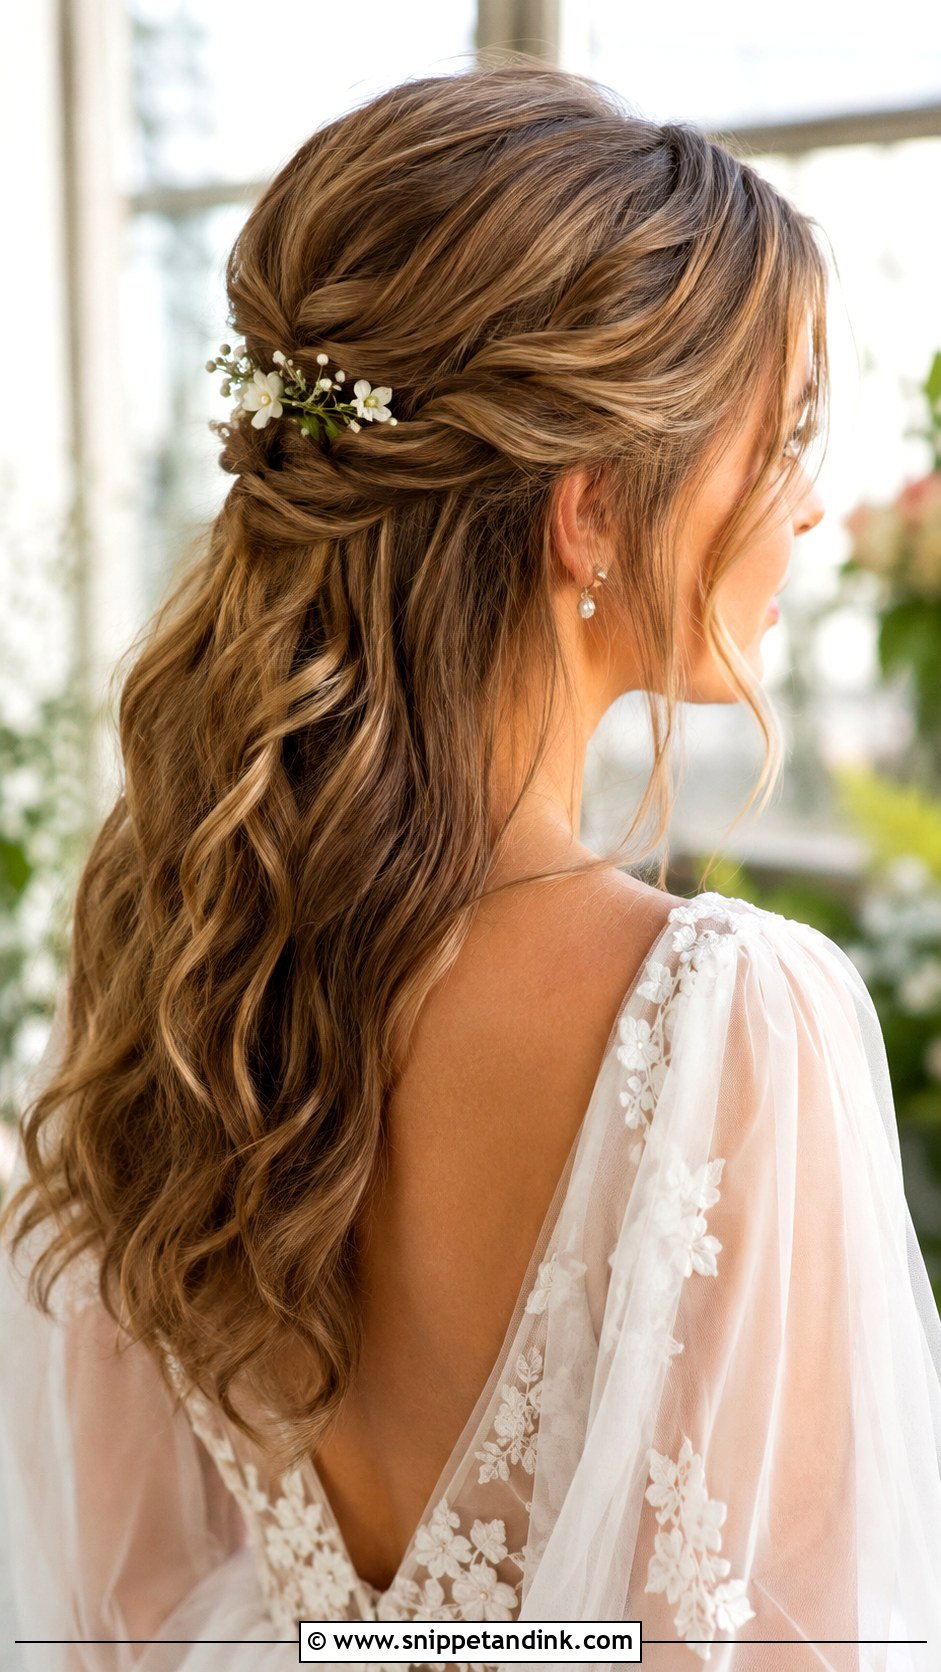
If you’re nervous about braiding, do this one instead. Curl the hair, take a section from each side of the face, twist each one backward and loosen it slightly with your fingers. Pin both twists together at the back, flat or lifted at the crown, and add a second pair underneath for more detail. Twist away from the face, not toward it, or the sections unravel as you pin. Bridesmaids and guests can usually learn it in one evening, and it takes clips, a veil or delicate flowers without any trouble.
14. Bubble Ponytail Wedding Hair Tutorial
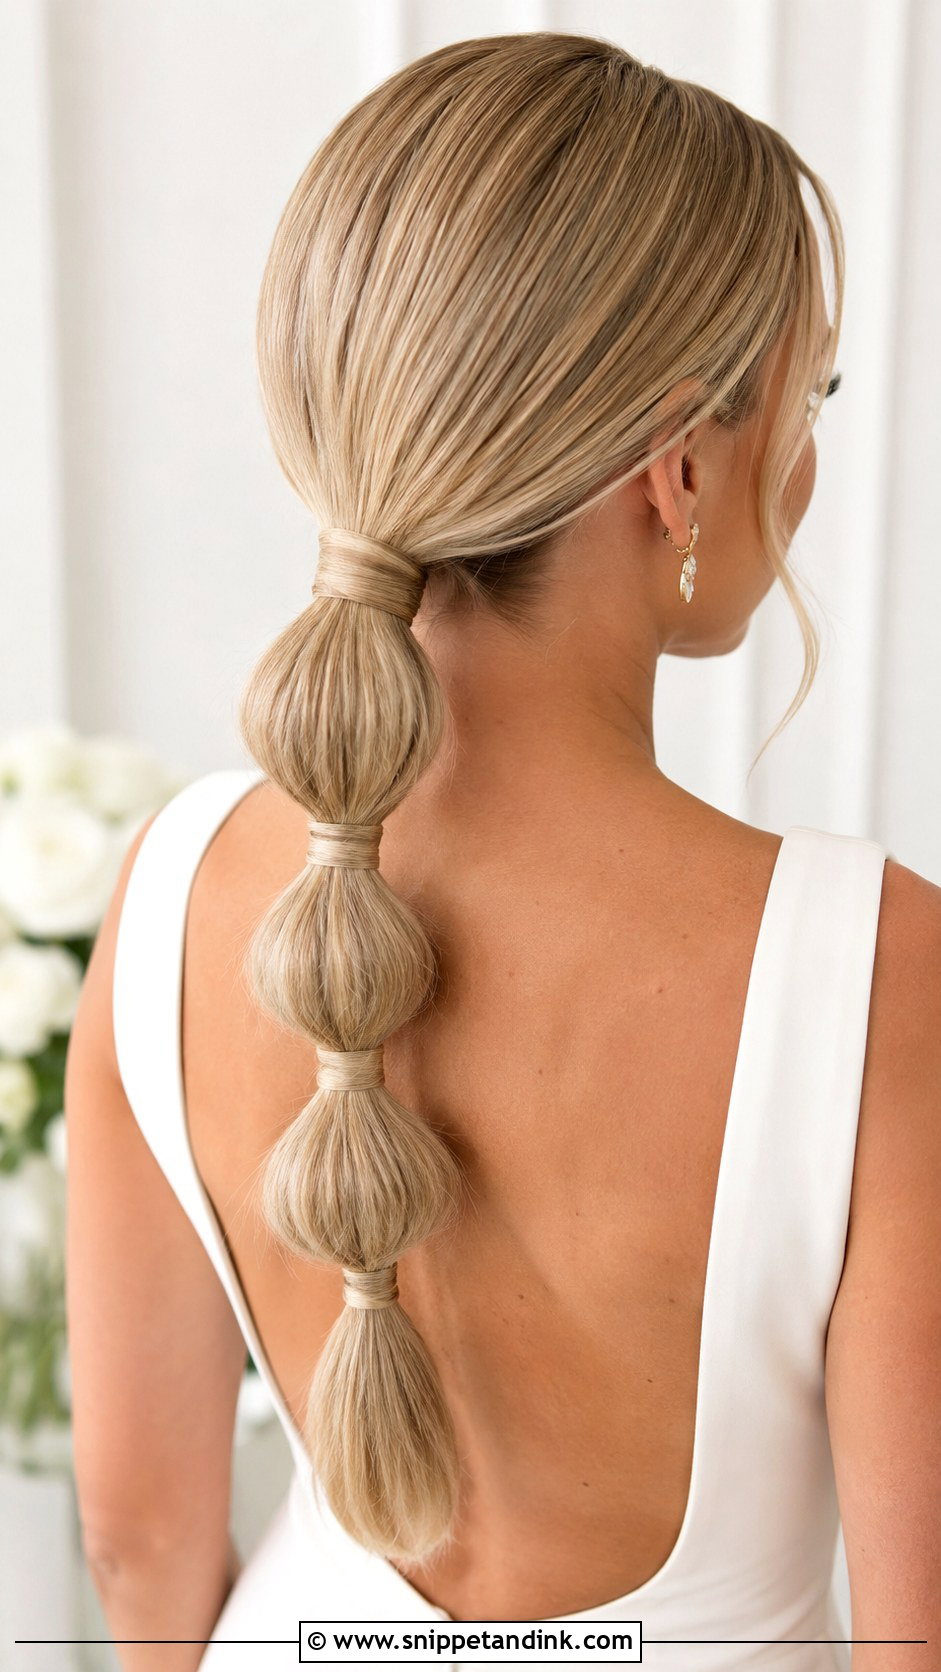
A bubble ponytail is the most playful look here and still reads polished when it’s smooth. Start with straight or softly waved hair, tie a mid or low ponytail, then add clear elastics every few inches down the length. Gently pull each section outward into a rounded bubble, and wrap a thin strand of hair around each elastic for a cleaner finish. Space the elastics evenly; uneven bubbles are what make it look homemade. It needs long hair or extensions. I like it as a reception change for a bride who wants something unexpected after dinner.
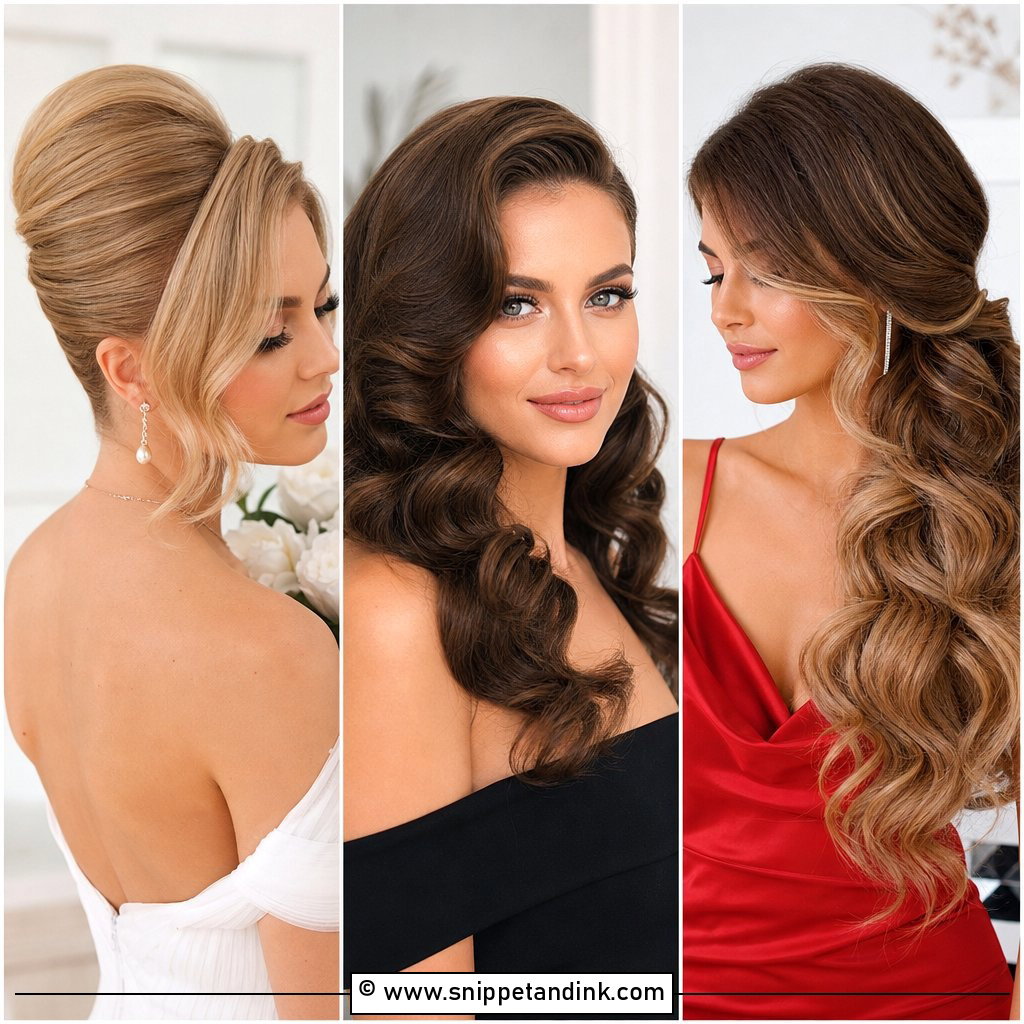
15. Waterfall Braid Wedding Hair Tutorial
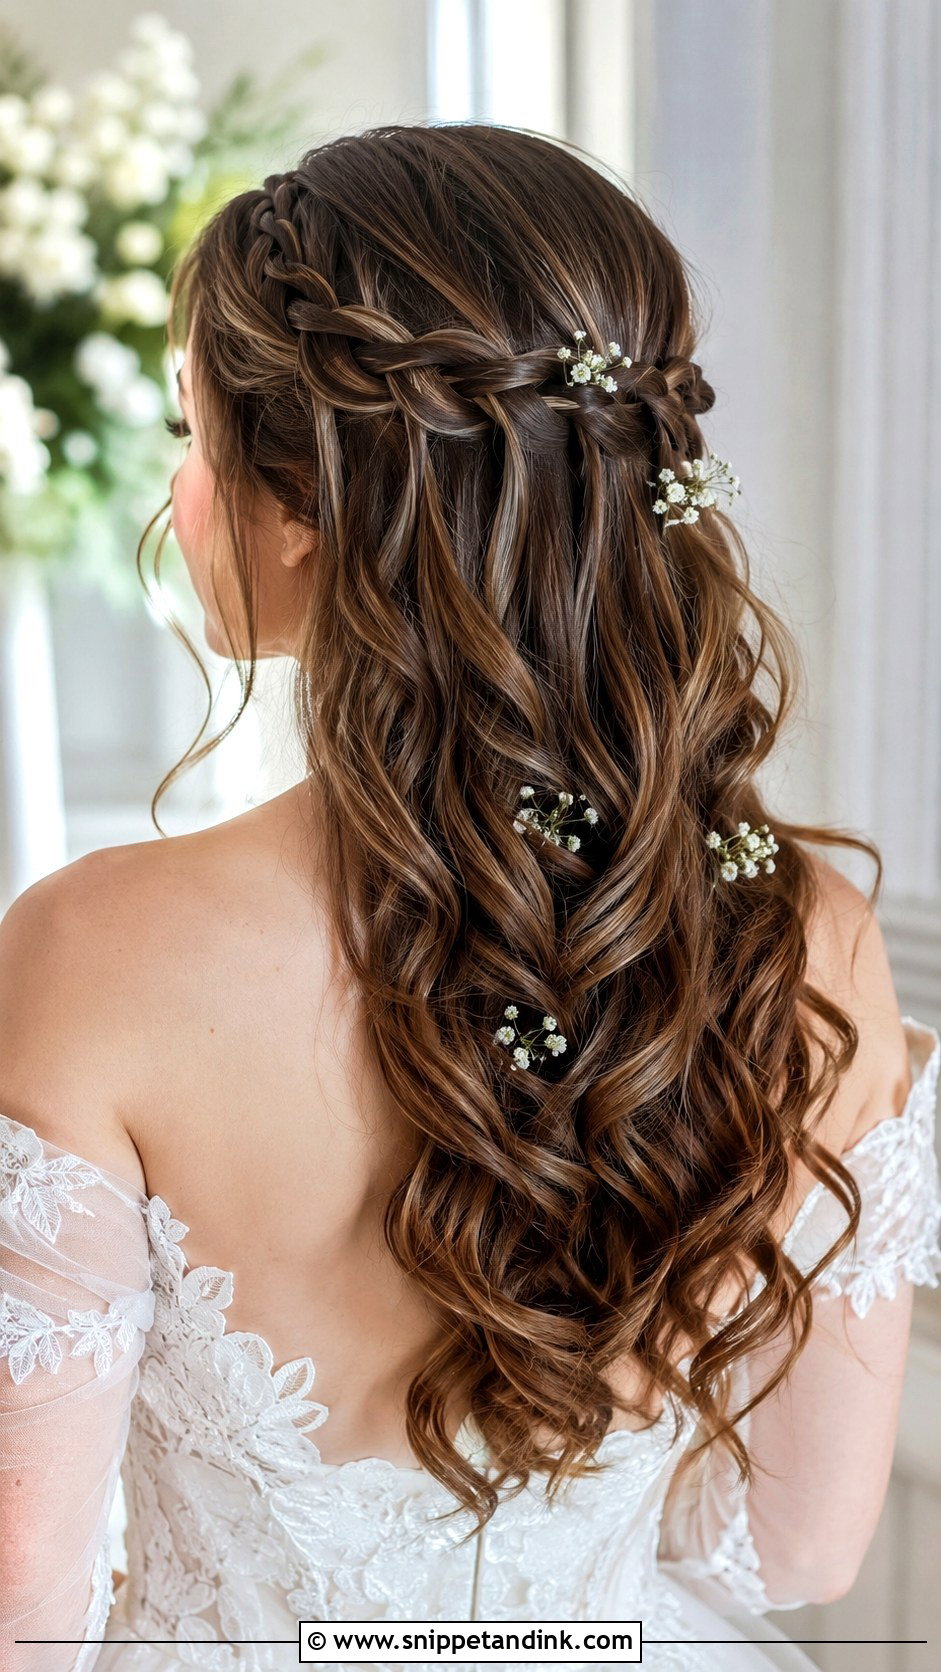
A waterfall braid gives loose hair a woven detail while keeping the length on show. Start near the front hairline and braid across the side or back of the head. Each time you cross the top piece over, drop it and pick up a fresh section beside it. Curl the loose lengths after braiding, not before, so the dropped strands blend into the waves. It’s the hardest braid on this list to do on yourself, because the hand movements happen behind your head. Long hair and soft necklines suit it best.
A Practice Plan for Doing Your Own Wedding Hair
Doing your own hair on the day is very doable. What makes it stressful is trying a style for the second time in your life with the photographer arriving in forty minutes. I’d spread the practice out like this.
- Four to six weeks out, try your two favourite looks once each. Most people know straight away which one their hands can manage.
- Two to three weeks out, do the chosen style in full, including the veil or accessories, and wear it for at least four hours. Note which pins moved.
- One week out, time yourself. Add fifteen minutes to whatever it took and put that in the morning schedule.
- The day before, wash your hair, unless it’s very fine and goes limp overnight. Lay out every pin, elastic and tool so nothing is hunted for on the morning.
If your arms tire before the style is done, that’s useful information, not failure. Ask a bridesmaid to learn the pinning step with you, or pick the simpler sister of the look: a twisted half-up instead of a waterfall braid, or a low bun instead of a crown braid.
Keep a small kit in your bag for later in the evening: six matching pins, a travel spray and a spare elastic. Most fixes take two minutes in a quiet bathroom.
Start With the Low Bun and Work Up
None of these needs to be complicated to look finished. The best tutorial for you is the one your hair length, texture, dress and venue all agree with, and the one you can do comfortably with your arms up for twenty minutes. A low bun fits a formal ceremony; half-up waves suit a garden. Sleek ponytails, crown braids, curly updos and short waves all hold up when they’re anchored properly. Do a full run before the day, photograph it from the back and the sides, and wear it for a few hours to test the pins and spray.
You'll Like These Ideas:


Leave a Reply