
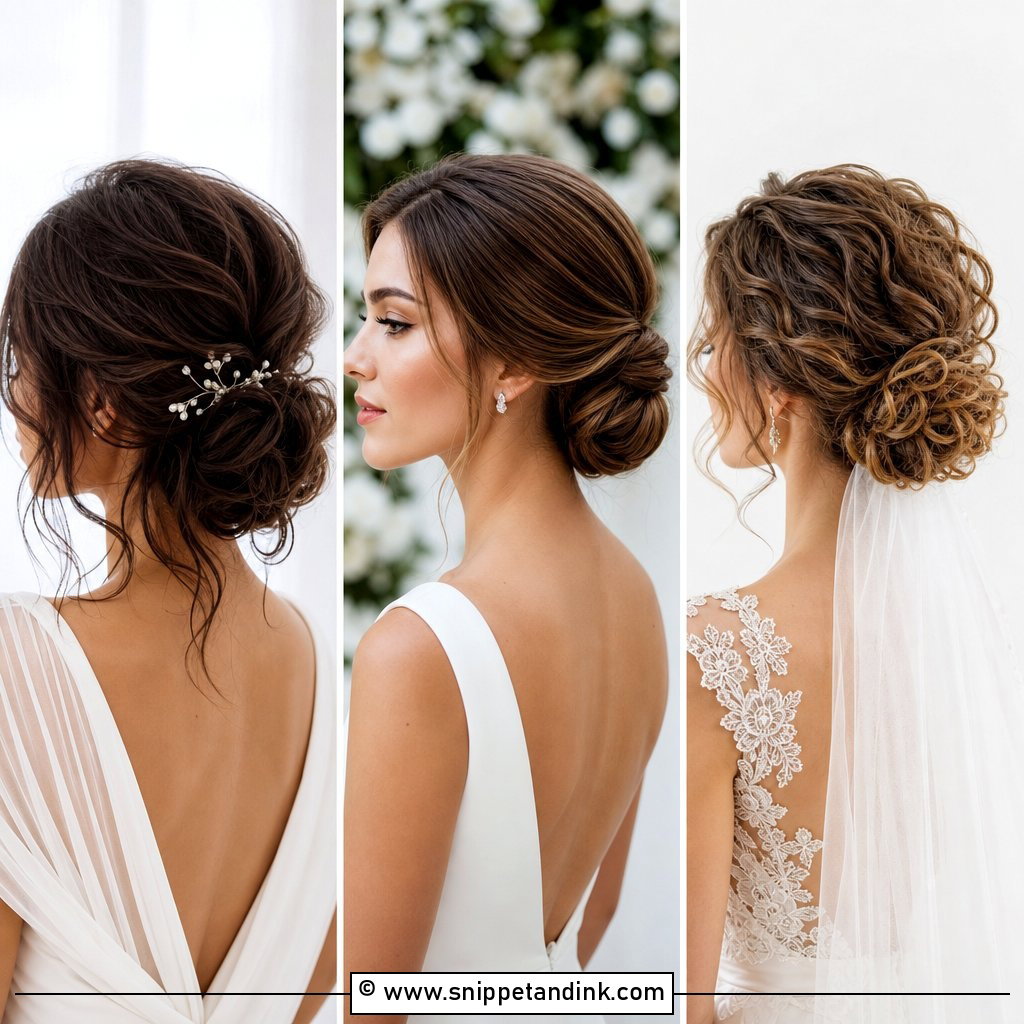
A low updo is the style I’m asked for more than any other, and there’s a practical reason behind the popularity. A knot at the nape stays out of the way of a veil comb, sits below most headpieces, and doesn’t pull on the scalp the way a high bun does after eight hours. It also forgives a lot: fine hair can be padded, thick hair can be split into two smaller sections, and curls can be gathered without being blown straight. The ideas below run from a polished chignon to loose, flower-filled knots, and I’ve added notes on what each one needs from your hair and your dress so you can tell which will hold up on yours.
Setting the Height of the Knot Against Your Neckline and Veil
“Low” covers a range of about three inches, and where in that range your bun sits decides how the whole look works with your dress. I always check it from the side in a hand mirror, because from the front every low bun looks the same.
- High necklines and collars: keep the bun slightly higher, just above the nape, so it doesn’t crush against fabric when you turn your head.
- Backless and low-back gowns: drop it right to the hairline so it draws a line down toward the open back.
- Off-shoulder and strapless: center it, or move it to the side away from the bare shoulder you most want to show.
- Long or cathedral veils: leave a little smooth hair above the bun for the comb to grip. A bun that starts too high leaves the comb nowhere to go.
Height also changes comfort. A bun pressed right into the nape can press uncomfortably against a high-backed chair at dinner, so if you’ll be seated for a long time I lift it by a finger’s width.
1. Classic Low Chignon Bun
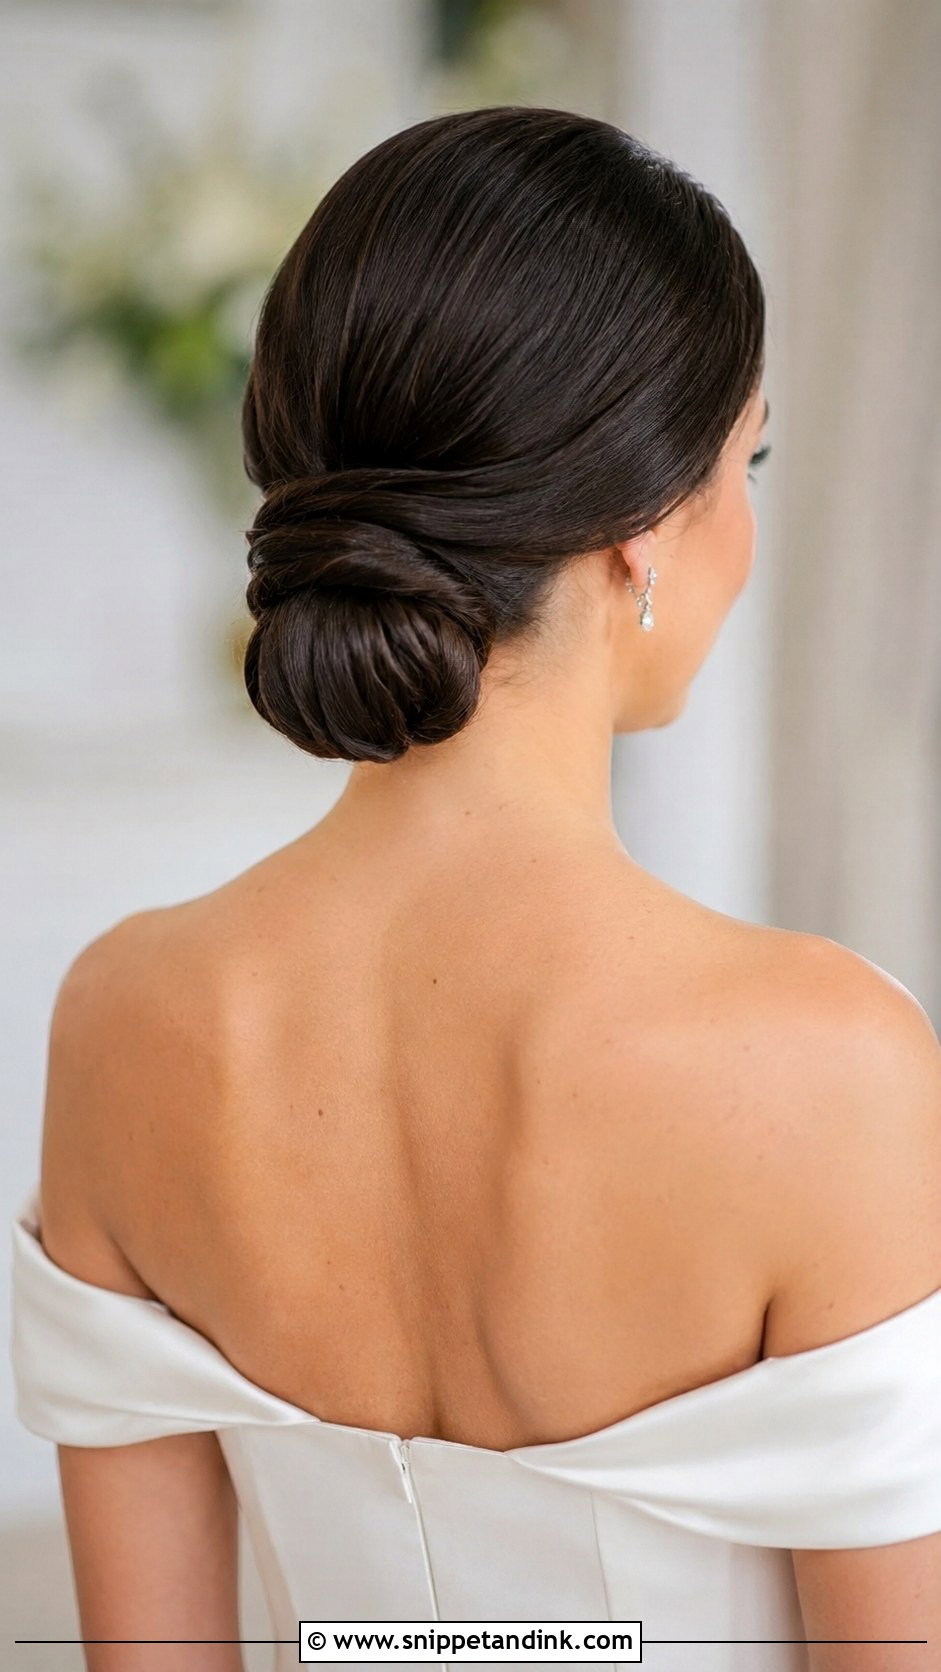
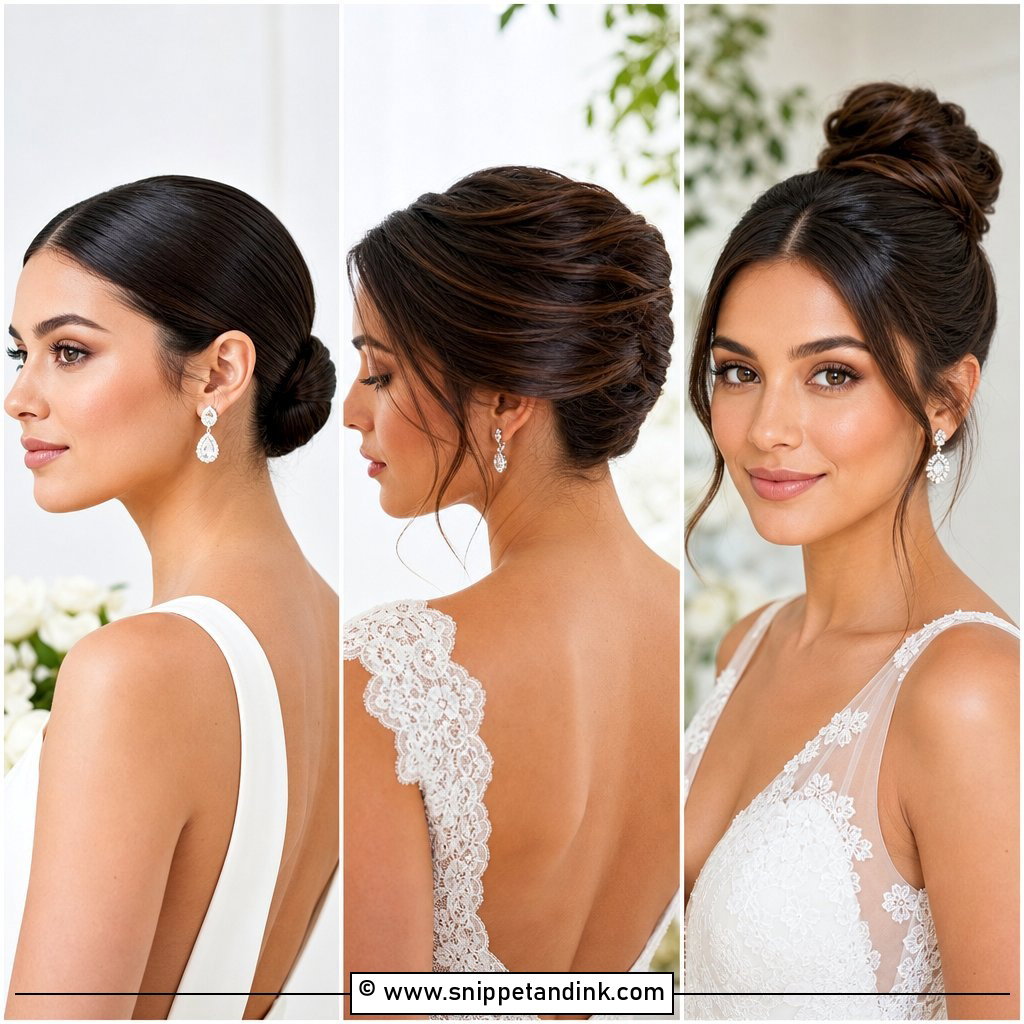
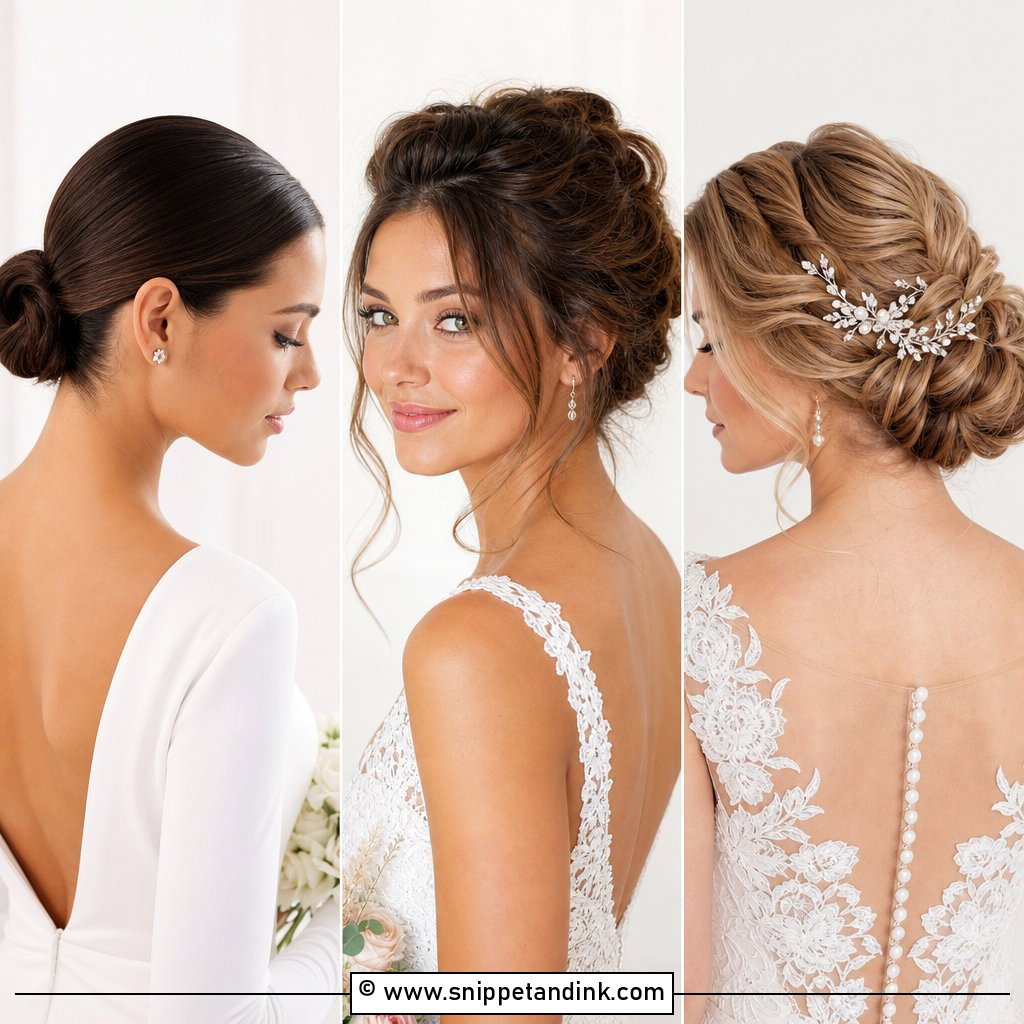
The low chignon is the shape I’d recommend to anyone who isn’t sure what they want, because it adapts to almost every neckline. I gather the hair into a ponytail first, twist it, and wrap it around the base so the pins go into the elastic rather than the scalp, which is why it stays put through a full reception. Keep it glassy with a smoothing cream for a structured gown, or loosen the crown slightly if your dress is soft chiffon. A jeweled comb tucked beside the knot is enough decoration.
2. Messy Low Bun With Loose Tendrils
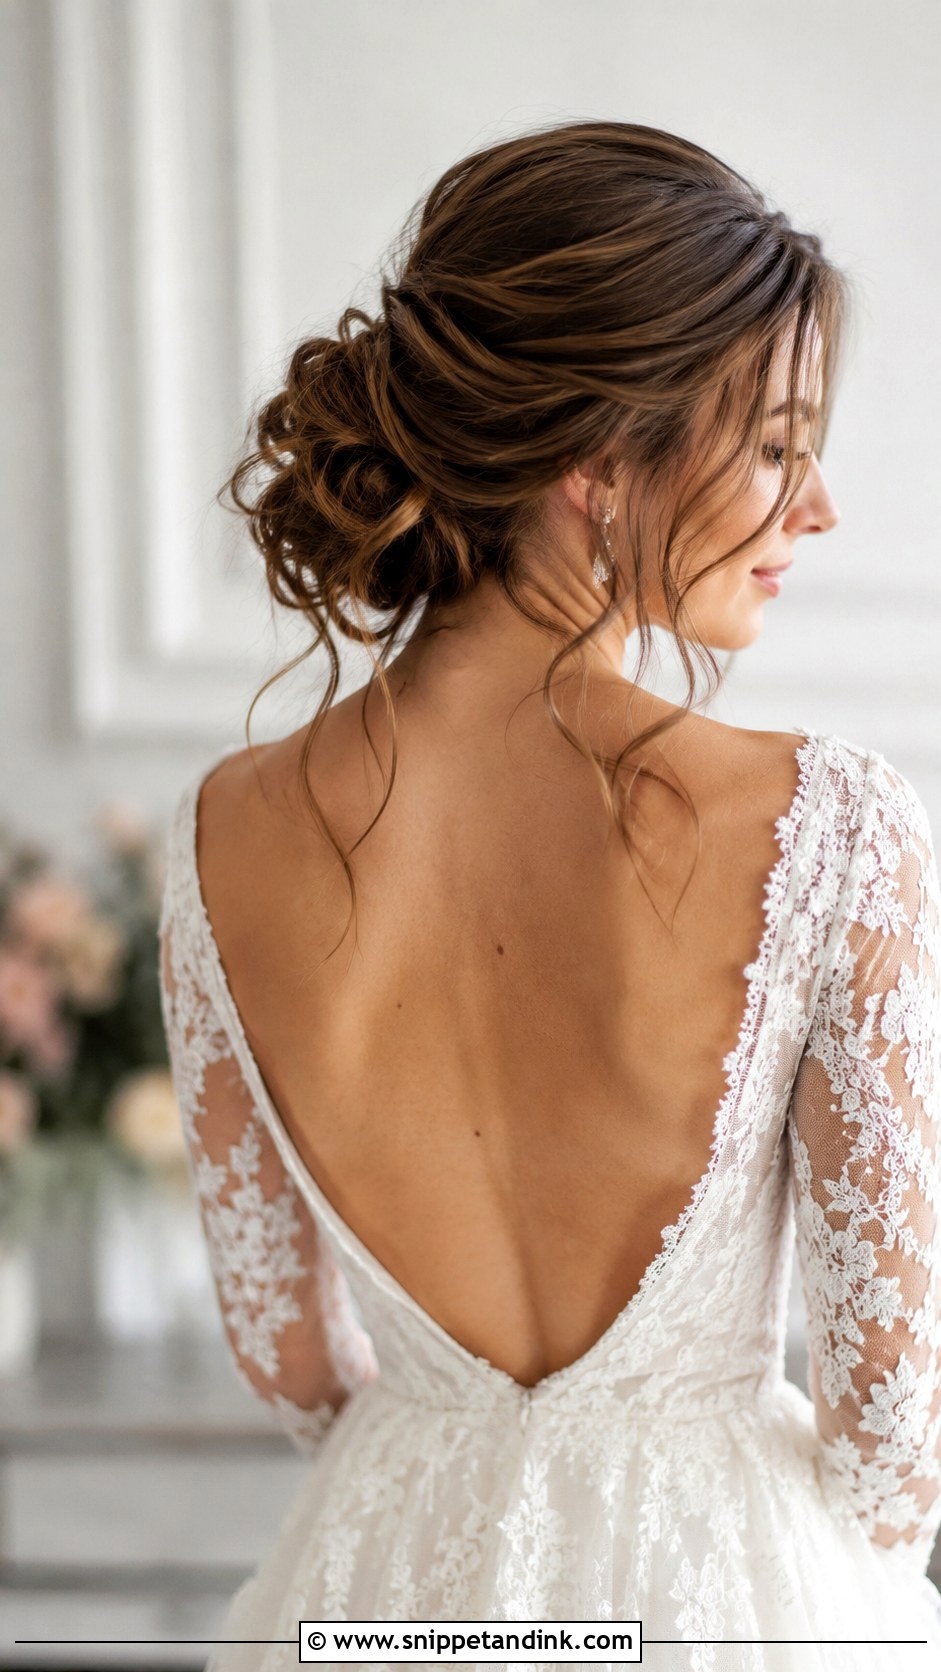
A messy low bun only looks casual. Done well, every loose piece is placed. I curl the whole head first with a medium iron, brush the curls out, and then gather the bun loosely so it has air in it; skip the curling and the bun goes flat by the first dance. Leave two or three tendrils at the temples, never ten, or the face gets lost. Wavy and curly hair hold this best. Straight, silky hair needs dry texture spray before pinning. Add small flowers or a thin ribbon once the bun is set, not before.
3. Low Bun With Braided Crown
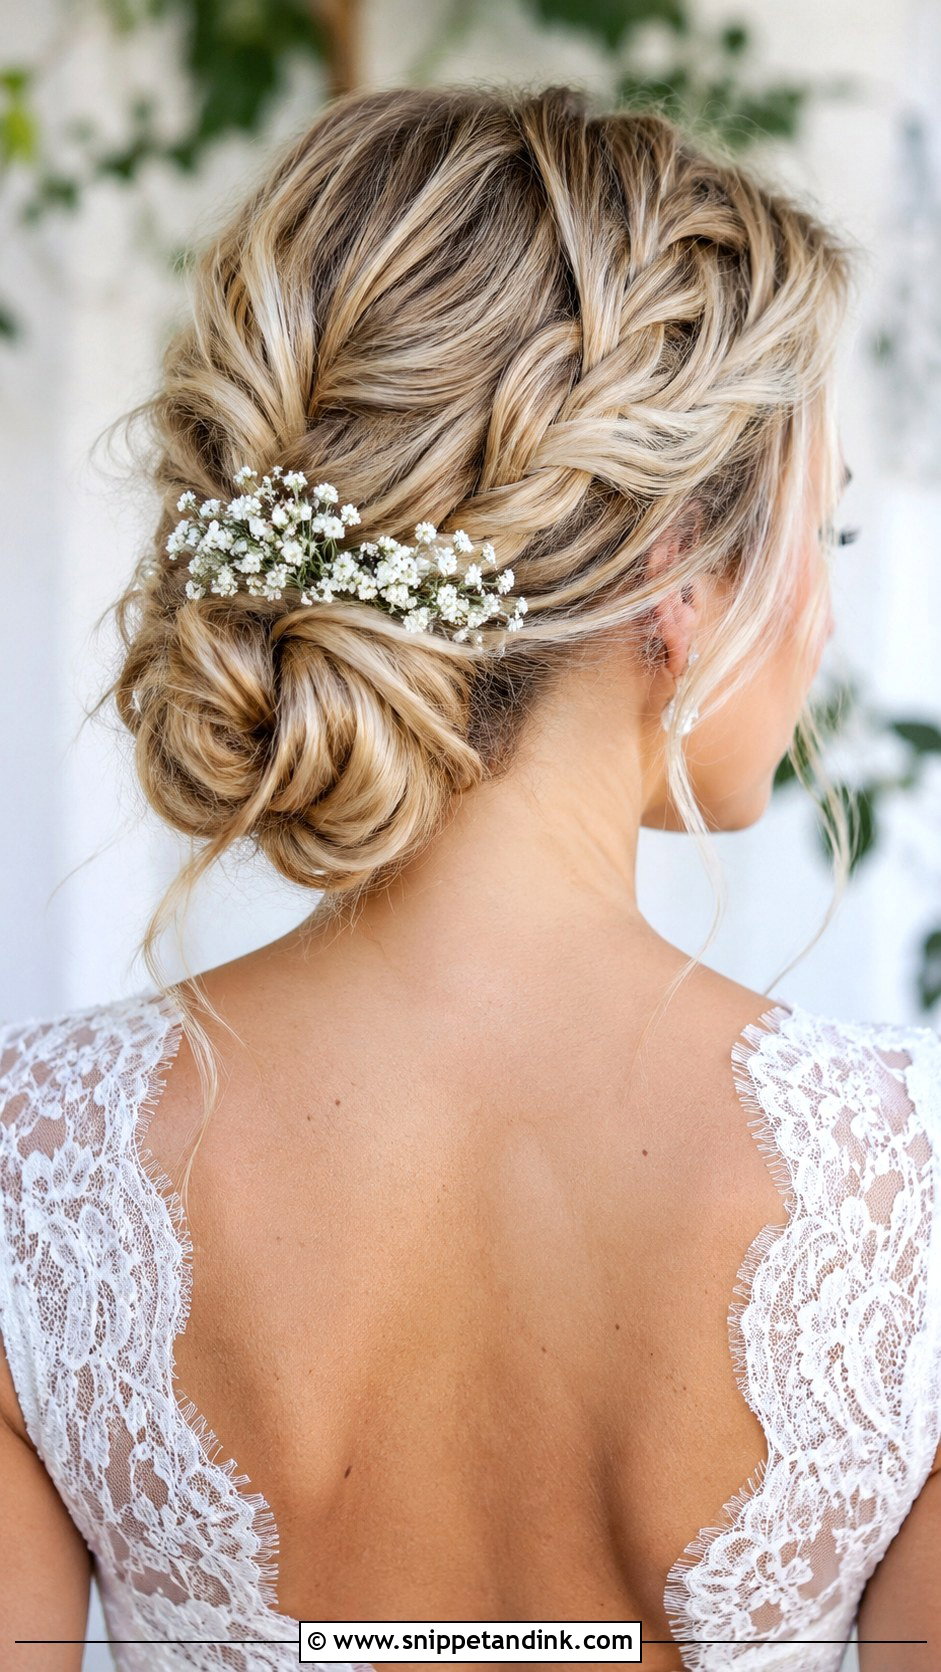
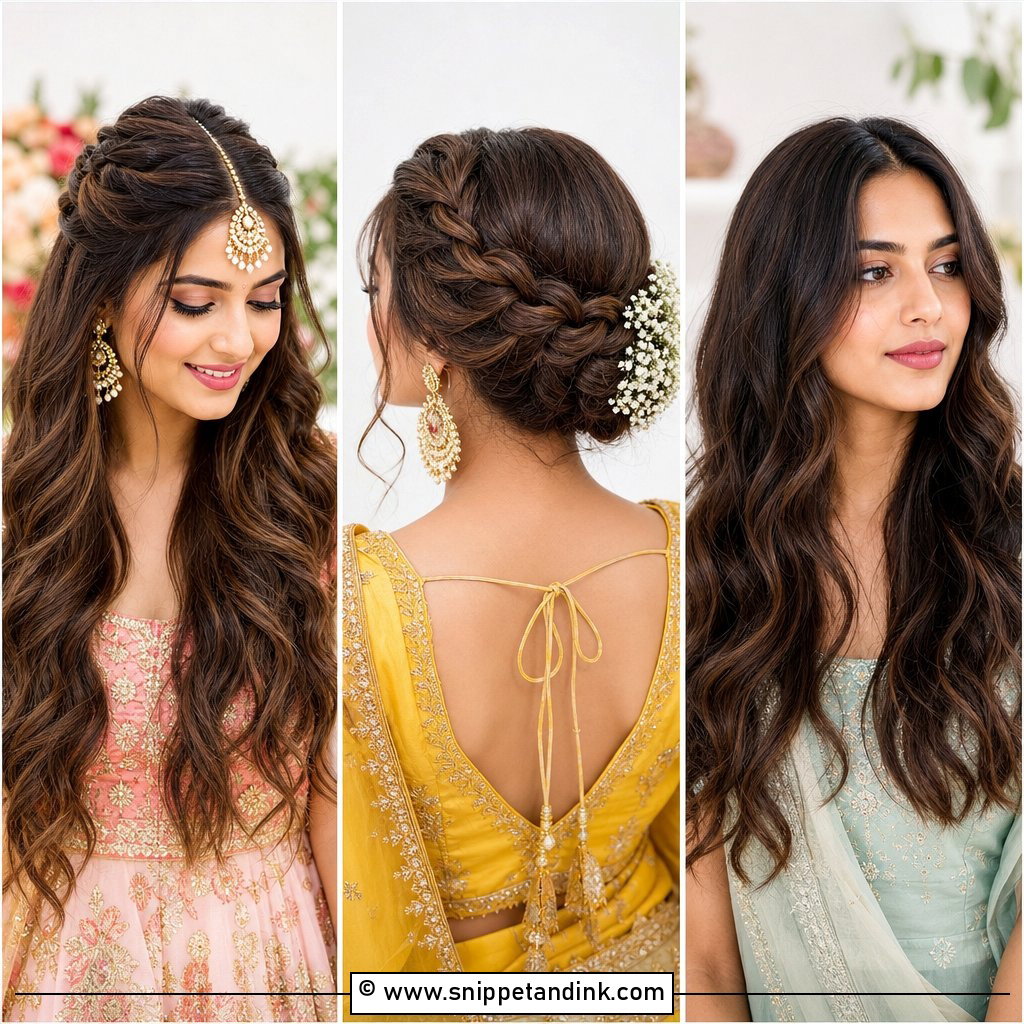
A braided crown wrapped over the head and tucked into a low bun is the style that rewards a trial most. The braid has to start far enough forward to frame the face but not so far that it sits on the forehead in photos. I usually run a Dutch braid, which sits on top of the hair and reads more clearly from behind than a French one. Hair needs to reach at least past the shoulders for the braid to travel round and still have length left for the knot. Tiny sprigs of baby’s breath pushed into the braid gaps hold well because the plait grips the stems.
4. Sleek Low Knot With Center Part
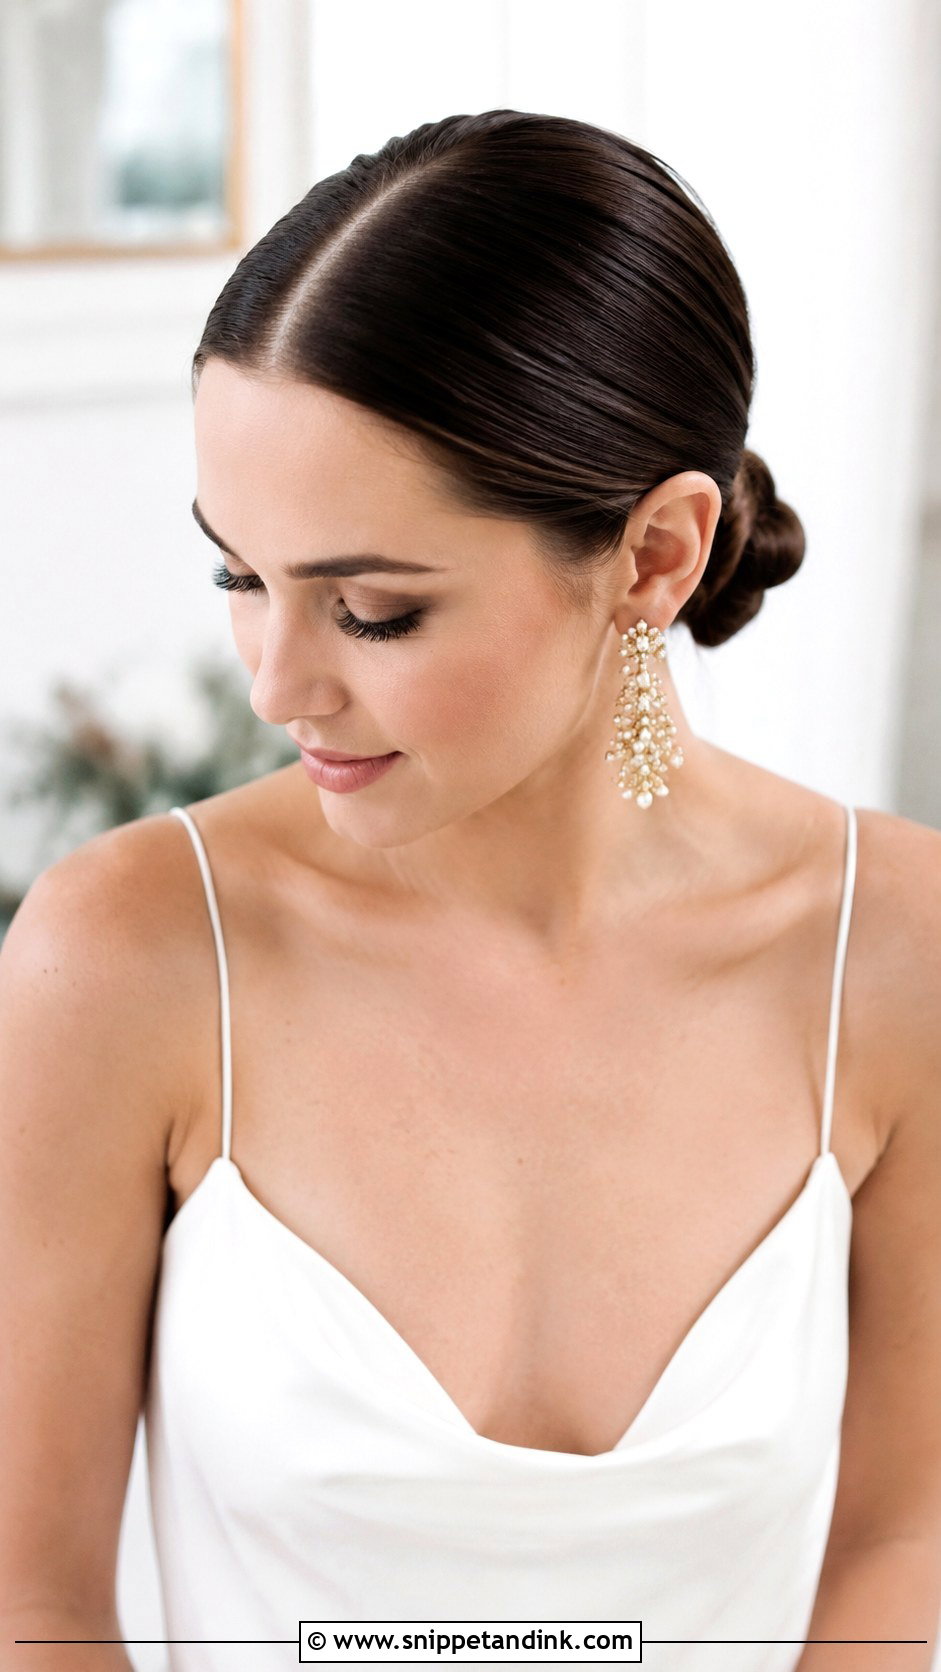
This knot is the least forgiving style on the list. A sharp center part shows every bit of scalp and every shift in direction, so I part it on wet hair with a tail comb, blow it down flat, and only then pull it back. If your face is strongly asymmetrical or your hairline has a cowlick at the front, I’d usually suggest a slight off-center part instead. The knot itself should be compact, about the size of a small fist. Pair it with architectural earrings and keep the veil minimal; the clean line is the whole point.
5. Romantic Low Bun With Soft Curls
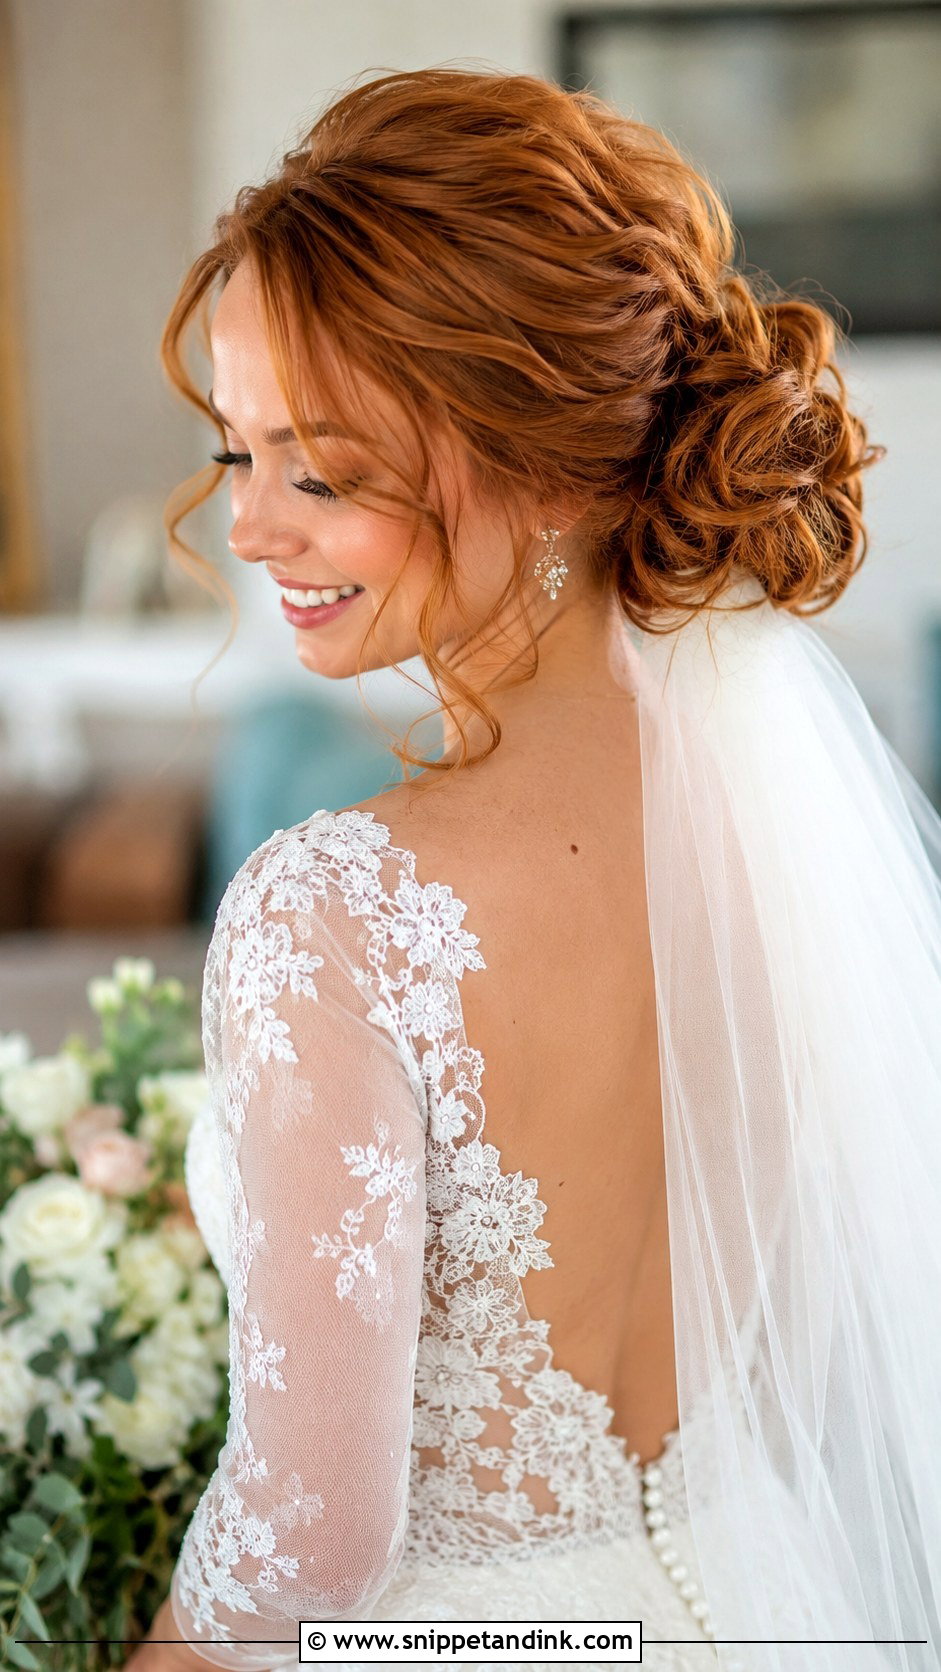
Curling before pinning is what gives this bun its body, and it’s also what decides whether it lasts. I set each curl with a pin while it cools, because hair takes its shape as it cools, not while it’s hot. Once everything is brushed out and gathered, the curls tuck into a loose, rounded knot with a couple left free at the face. On very fine hair I’d add a small padding piece inside the bun so it doesn’t look thin by evening. A long, plain veil suits it.
6. Side-Swept Low Bun
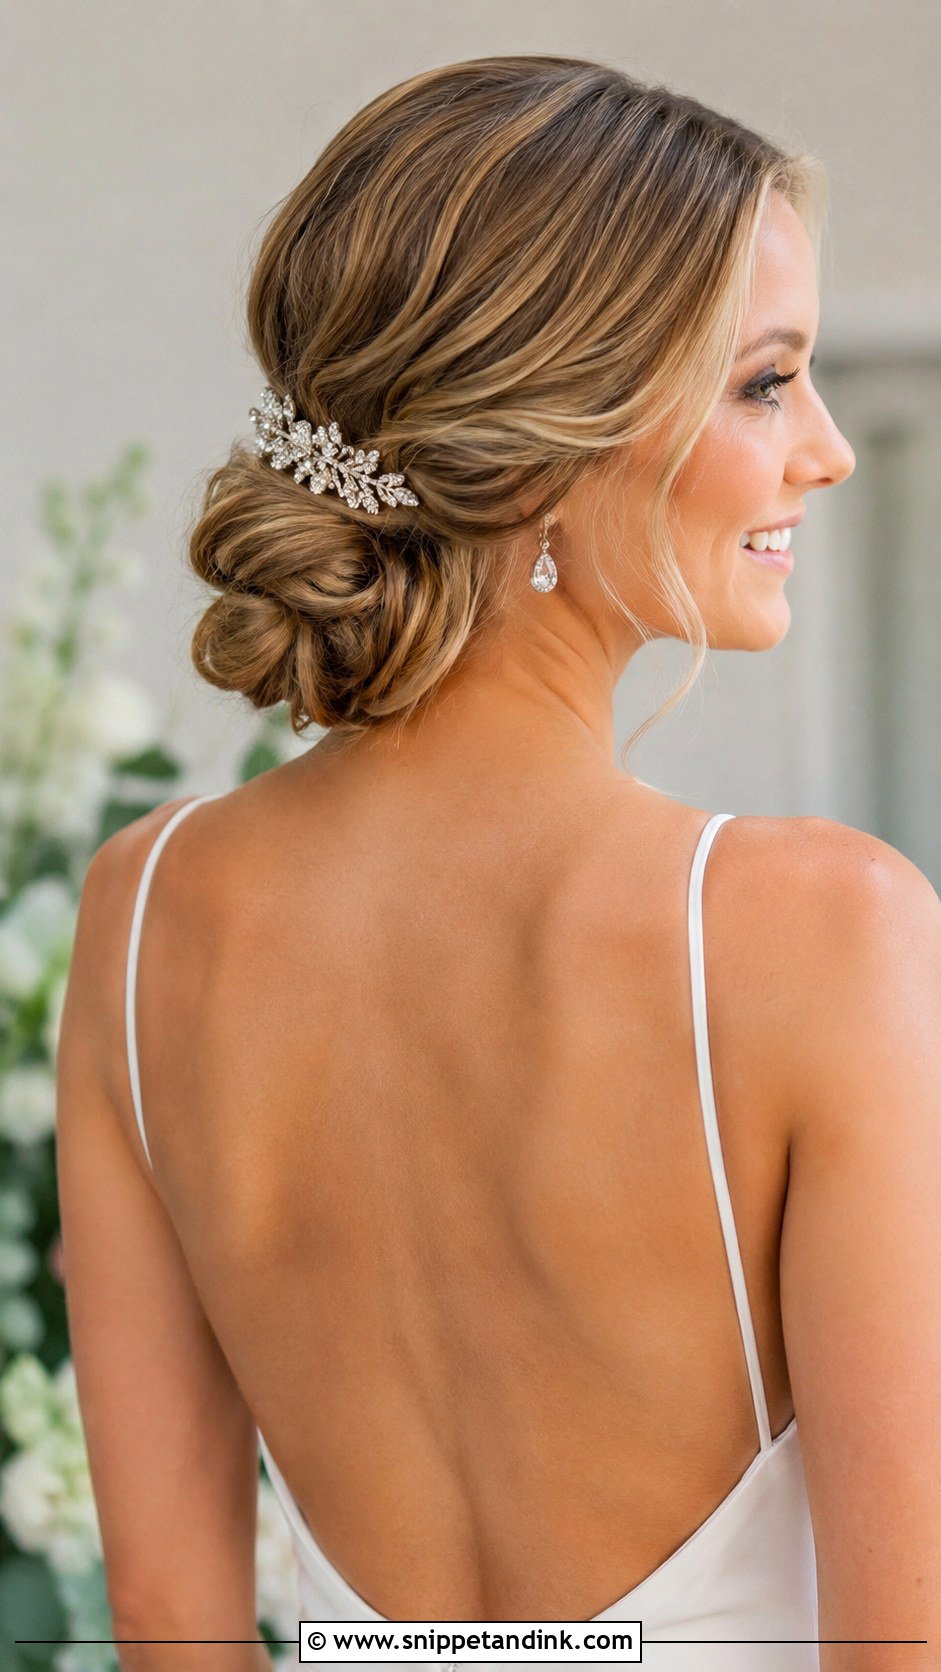
Moving the bun behind one ear changes the whole outline of the head and shows off a bare shoulder on the opposite side. That’s why I steer people toward this one when the dress has an off-shoulder or one-shoulder neckline. The catch is the phone and the hug: whichever side the bun sits on is the side people will crush during greetings, so I place it on the side away from where you’ll stand at the ceremony. A comb or a single flower in the curve finishes it.
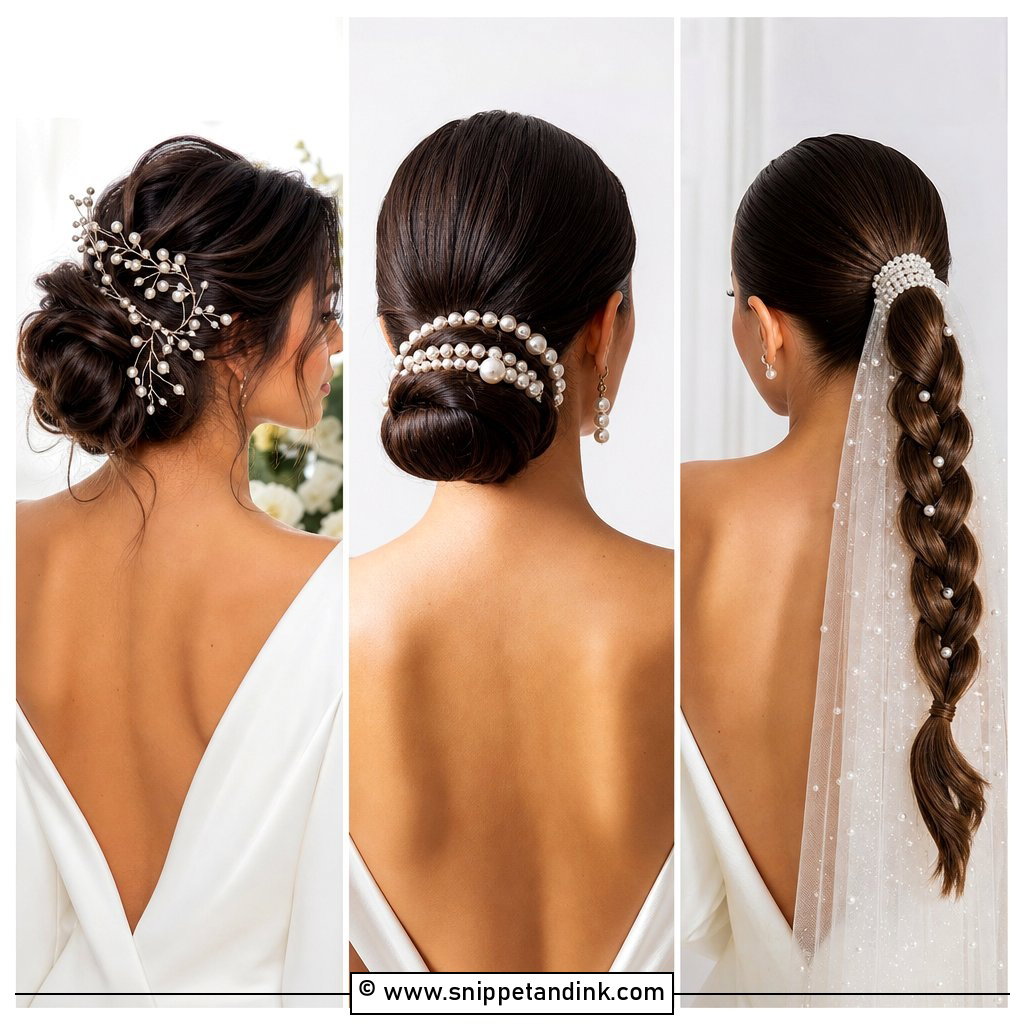
7. Low Bun With Pearl Accents
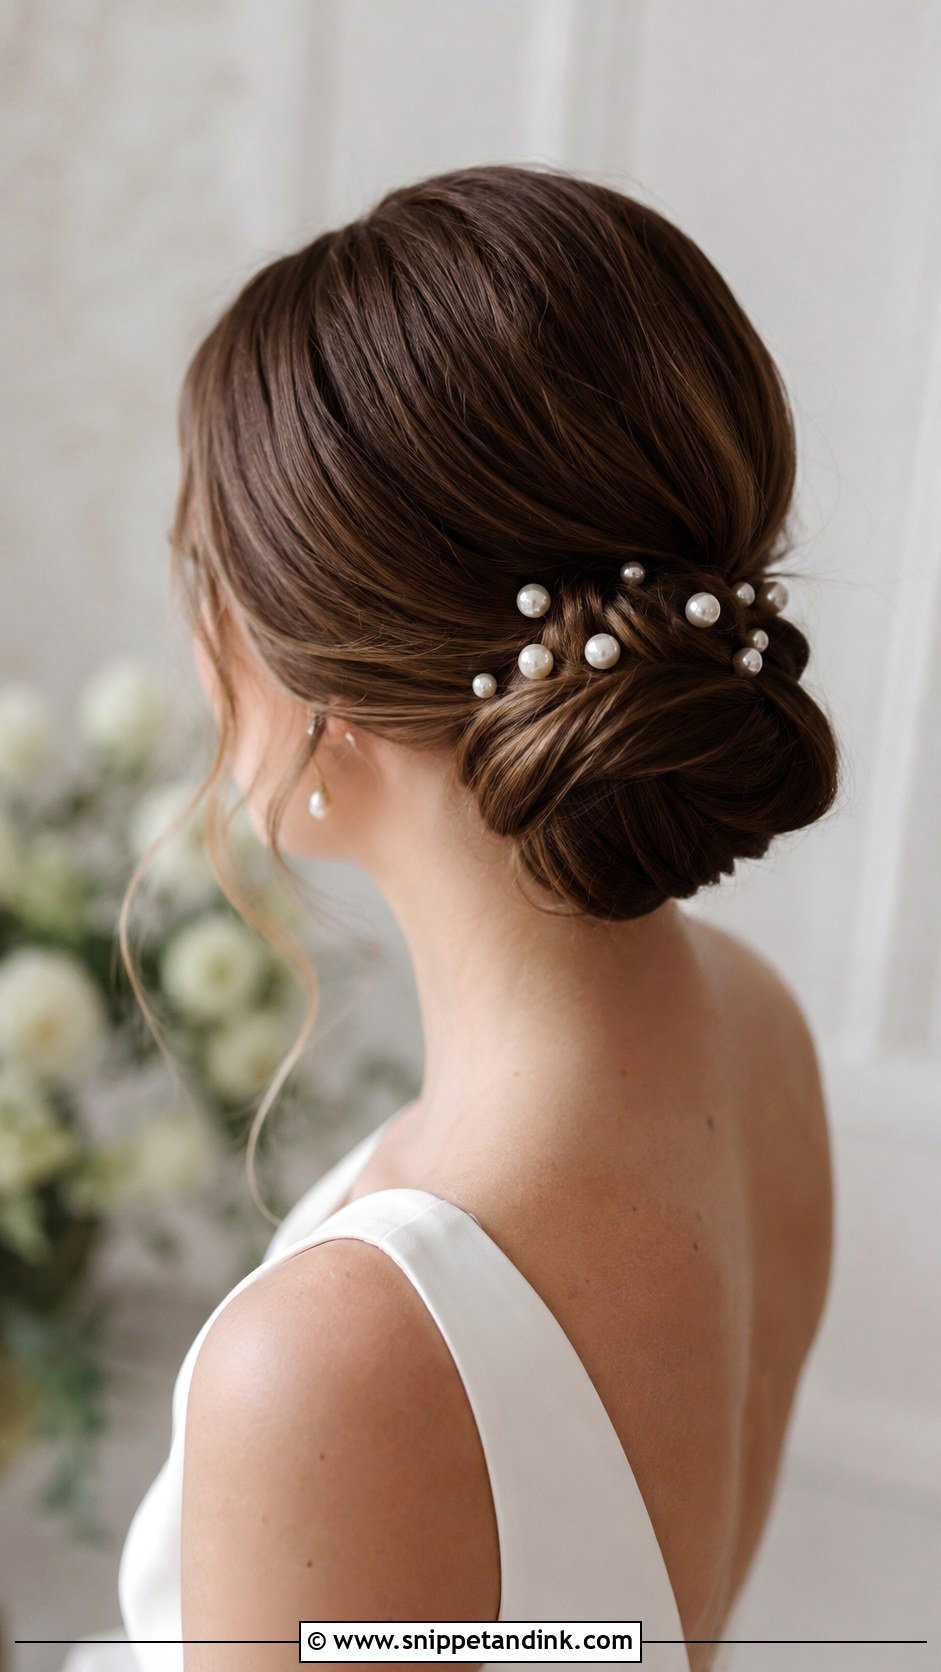
Pearl pins come in two types, and the difference matters. Pins with a coiled or spiral end twist into the hair and stay; straight bobby-style pearl pins slide out of smooth hair within an hour. I place them after the bun is fully secured, angled into the twists rather than flat on the surface, and I keep them in a loose curve or scattered rather than evenly spaced like dots. Ivory pearls read warmer next to an ivory gown than bright white ones.
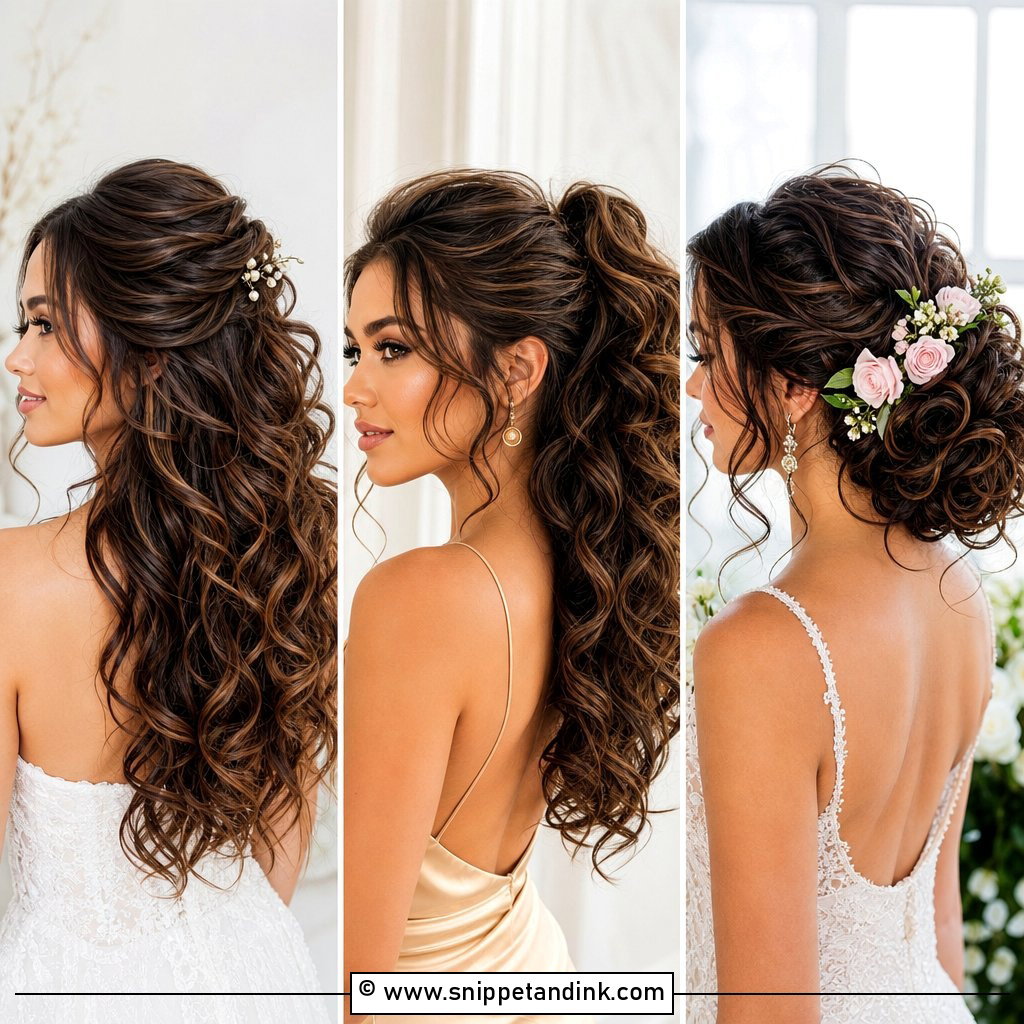
8. Boho Low Bun With Flowers
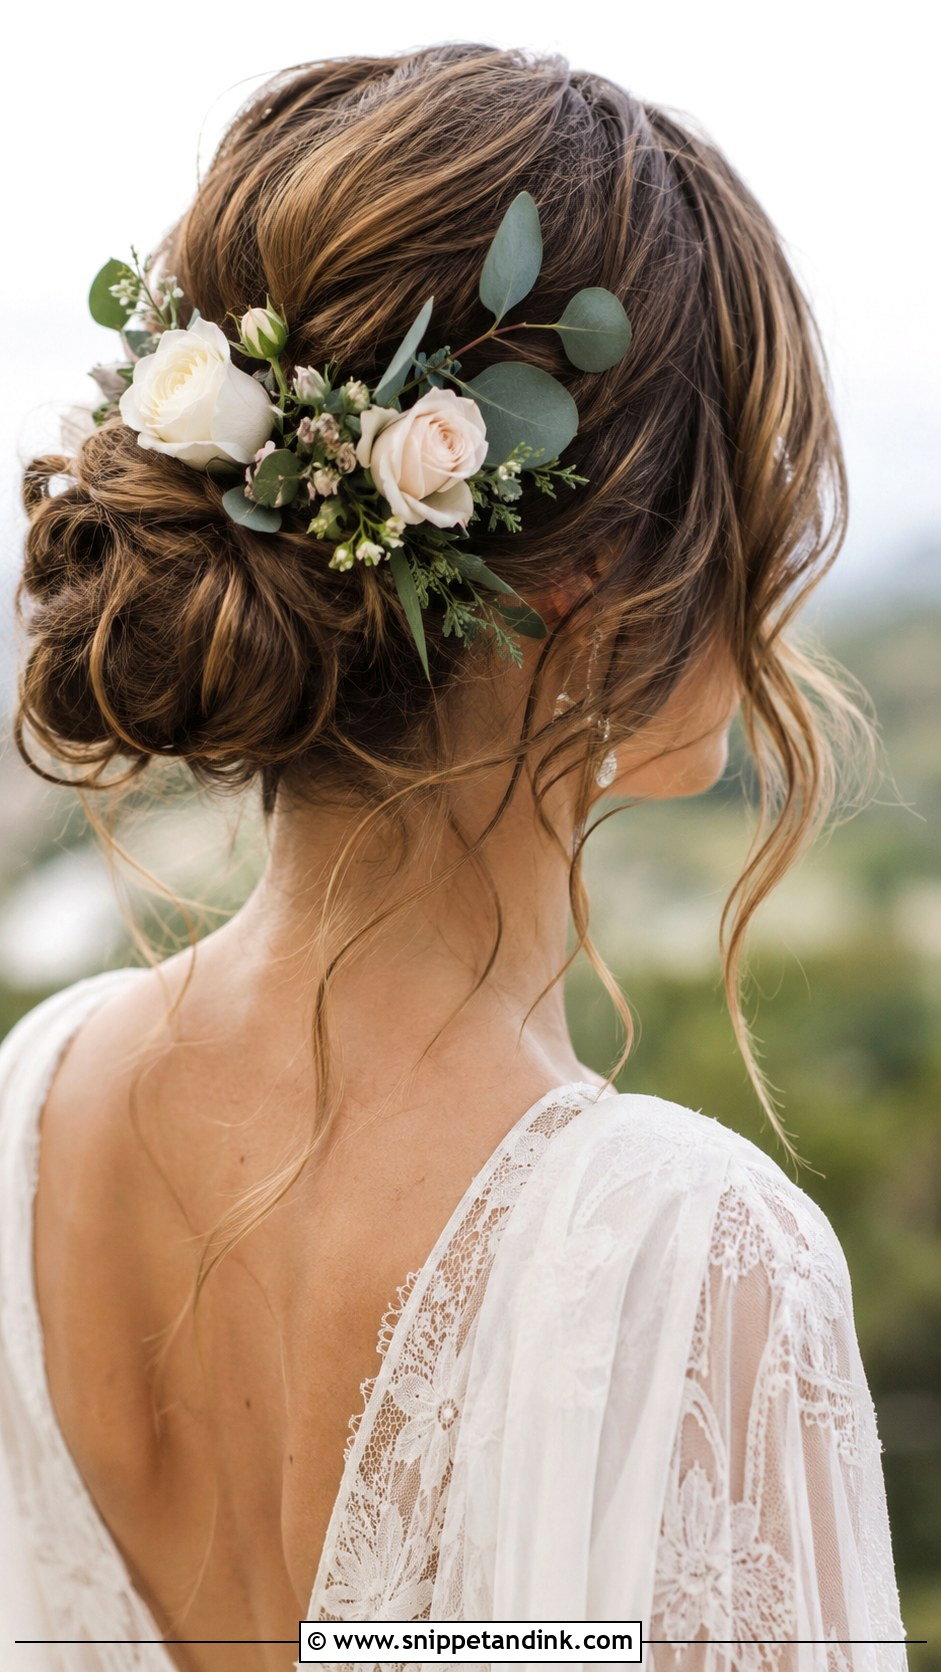
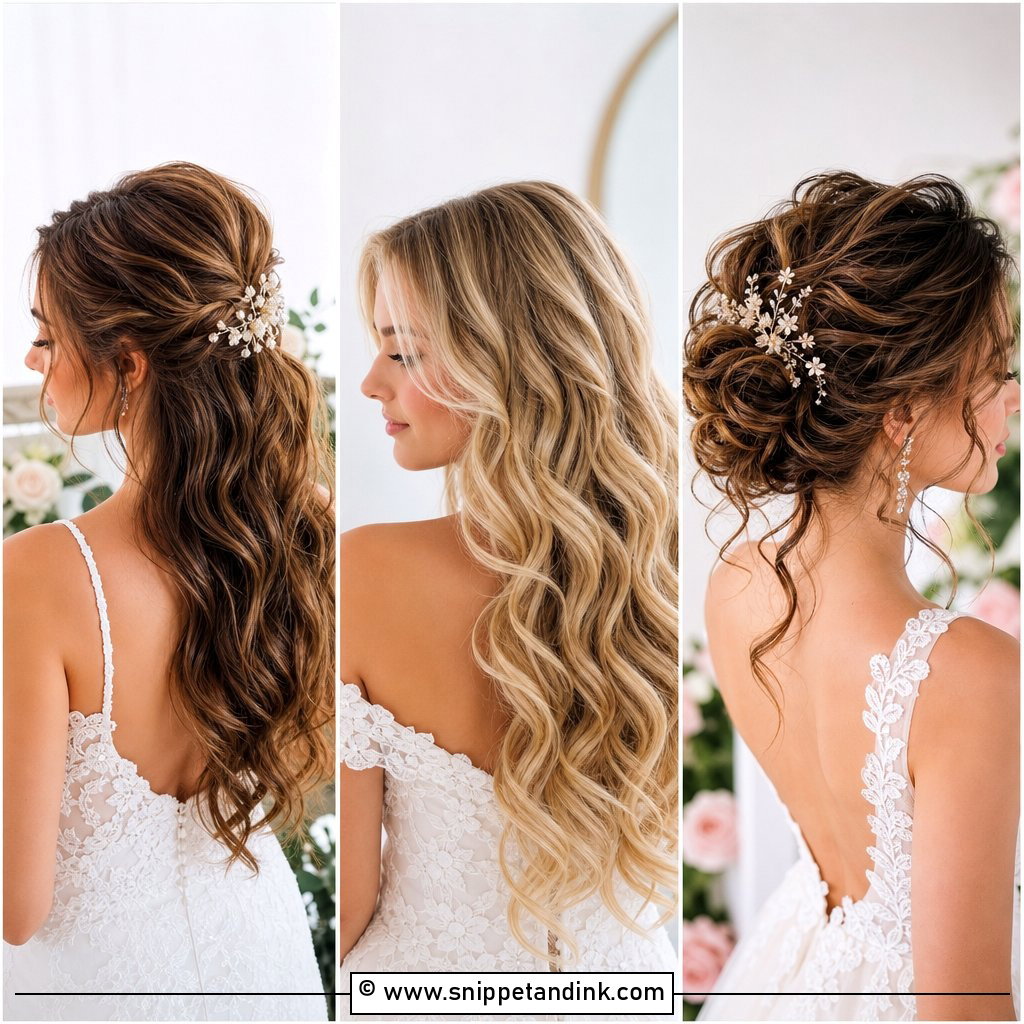
Fresh flowers in hair wilt faster than you’d expect, so the choice of bloom matters as much as the arrangement. Baby’s breath, roses and eucalyptus all cope well out of water for several hours, while gardenias brown at the edges within the morning. I ask the florist to wire and tape each stem, then pin them through the tape into the base of the bun. A few loose tendrils keep it from looking stiff. Wavy and curly textures give the stems something to sit in; very straight hair lets them slide.
9. Low Twisted Updo
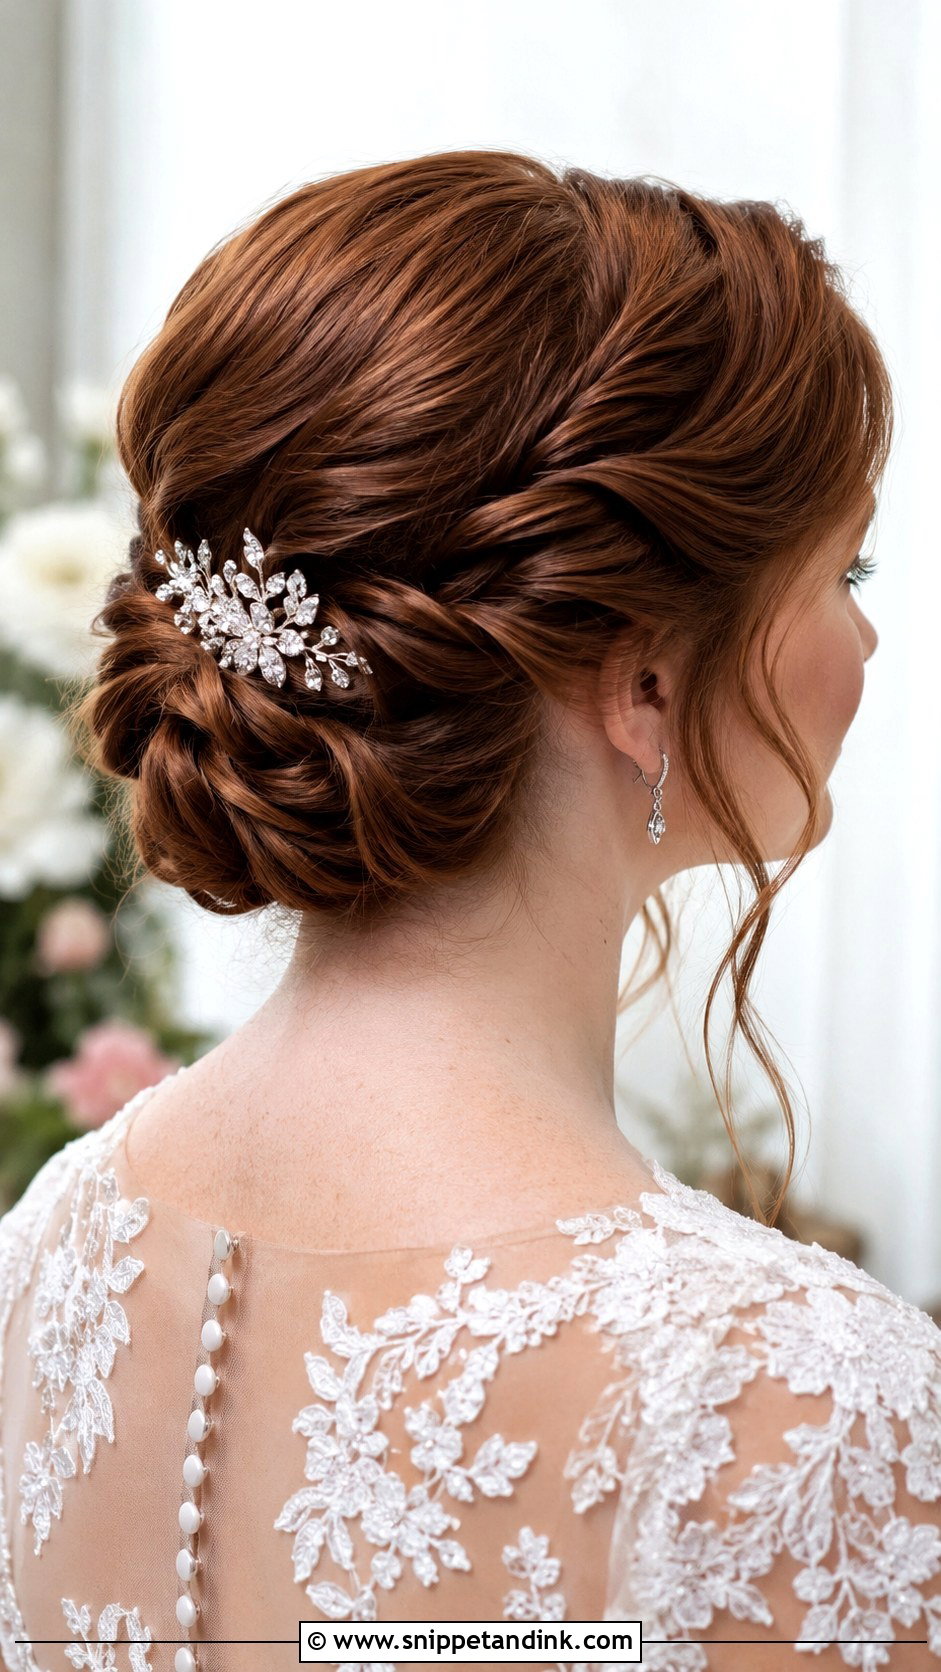
Twisted sections pinned at the nape give texture without the commitment of a braid. I work in rope twists about two fingers wide, twisting each one away from the face and pinning it into the one before, so the whole thing interlocks. Medium to long hair is ideal; anything shorter than the collarbone won’t wrap round. Pull a few pieces loose at the end if you prefer it softer. A single sparkly pin in the deepest twist is all it needs.
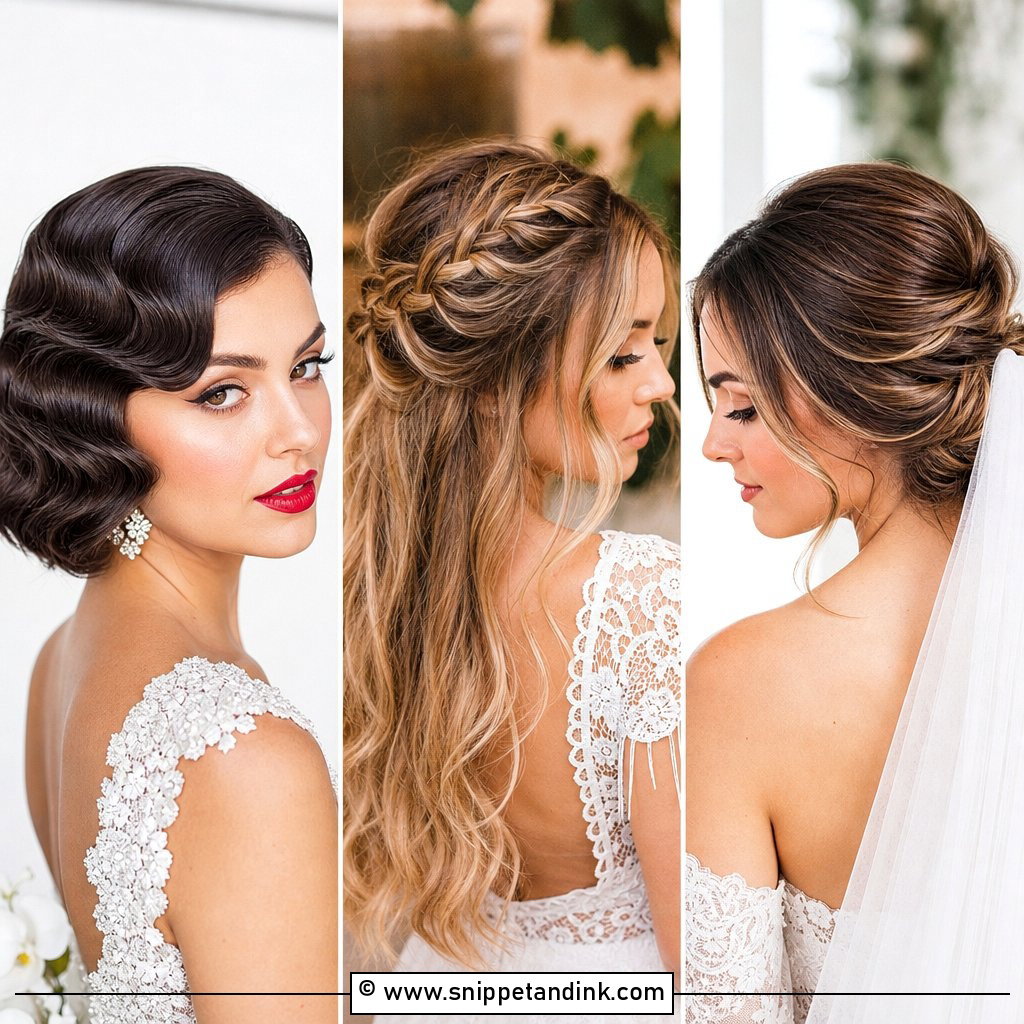
10. Vintage-Inspired Low Roll
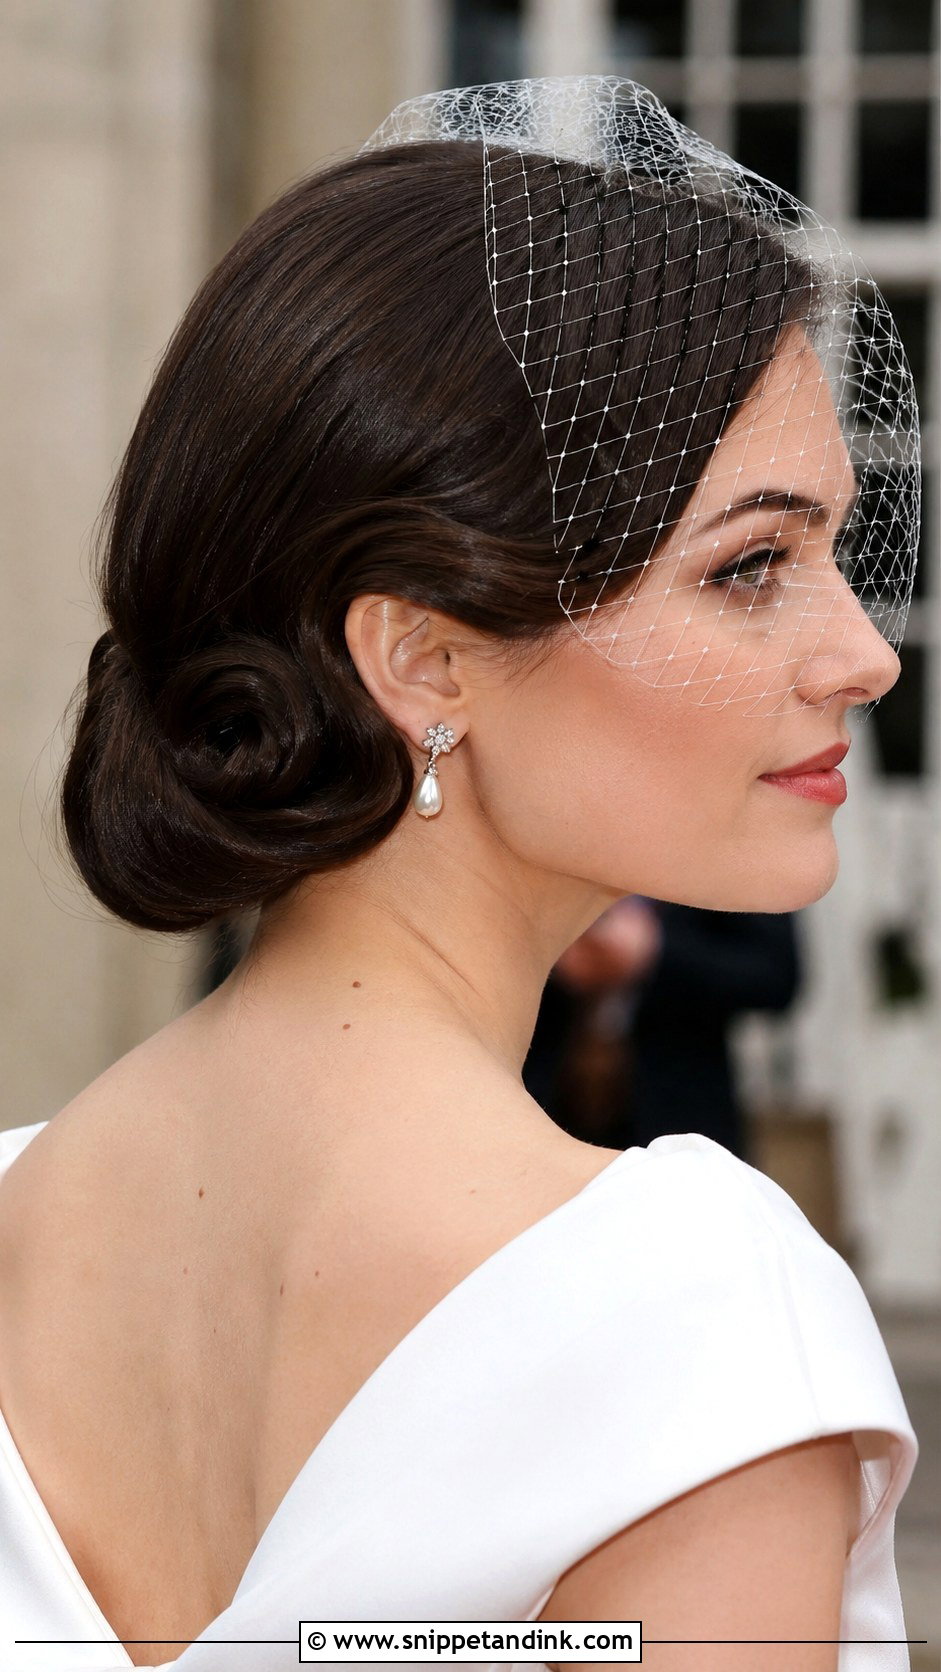
The low roll comes from 1940s hairdressing, and it still relies on the same trick: a padded base. I backcomb the lengths, roll them under around a fine mesh roll or my fingers, and pin along the inside edge so no pins show. It flatters most face shapes because it adds width at the back of the head rather than height at the crown. It suits a structured gown and a birdcage veil, and it needs at least shoulder-length hair. Layers that are too short will poke out of the roll, so I’d check that at the trial.
11. Low Bun With Face-Framing Pieces
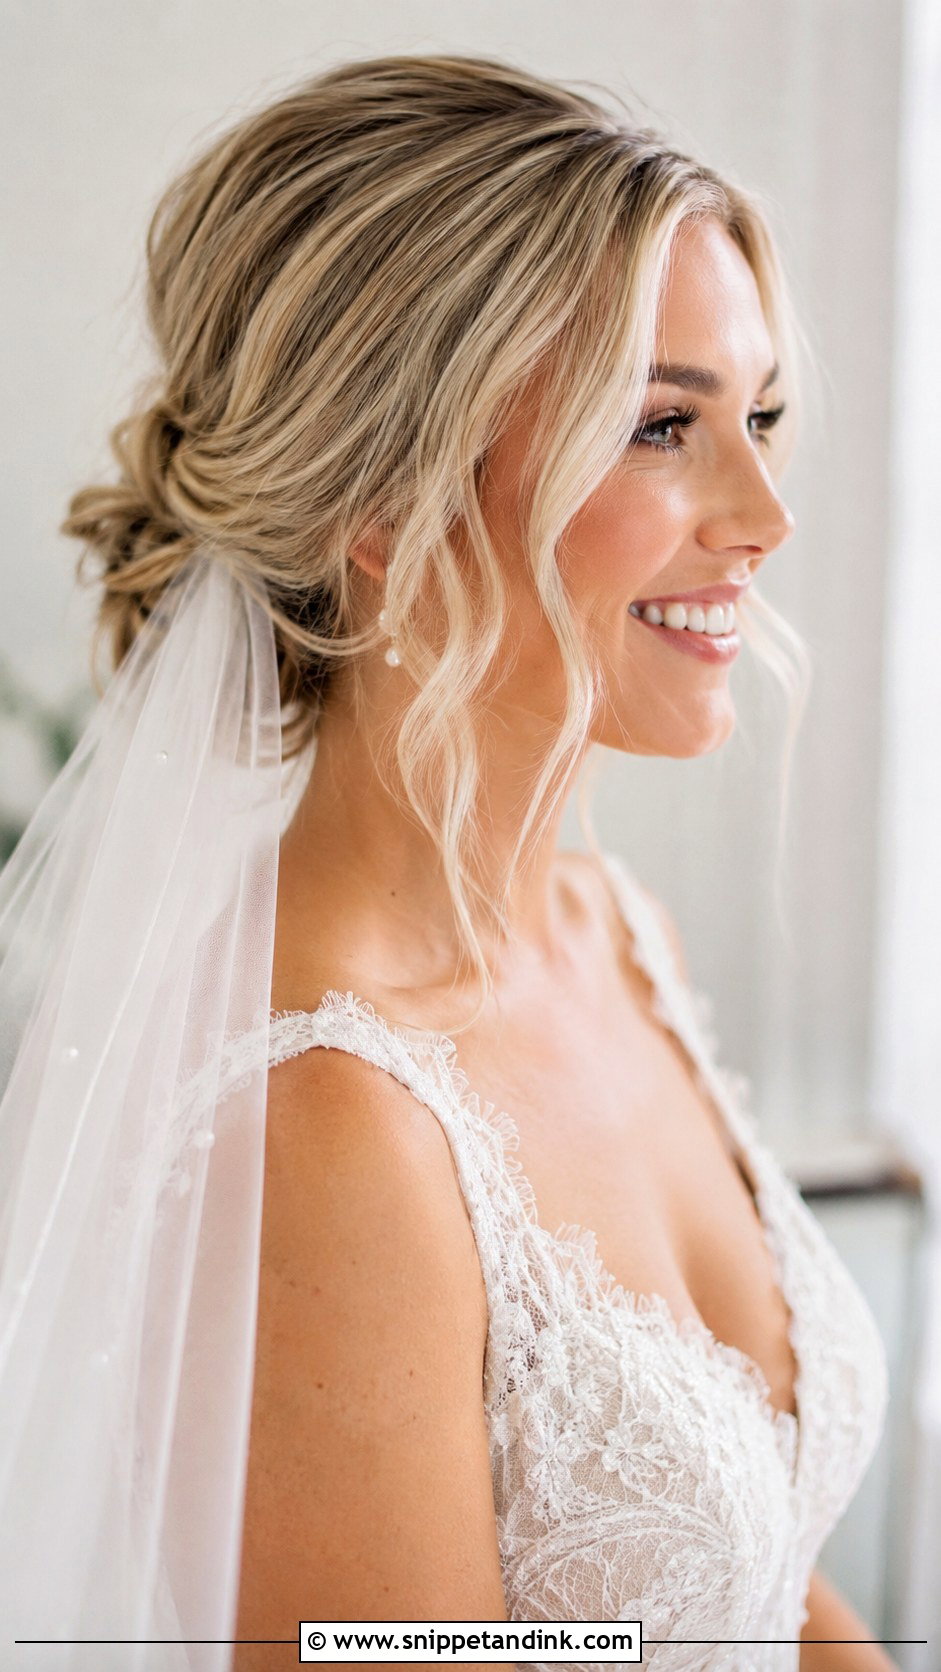
Face-framing pieces are where I spend the most time and where most brides change their mind at the trial. Cut too short or pulled too thick, they look accidental. I take pieces from just in front of the ear and at the temple, curl them away from the face, and leave them slightly longer than the jaw so they swing. They soften a strong jawline or a high forehead. If you’ll be crying, sweating in a summer ceremony or wearing glasses, I’d keep them very fine.
12. Braided Low Bun
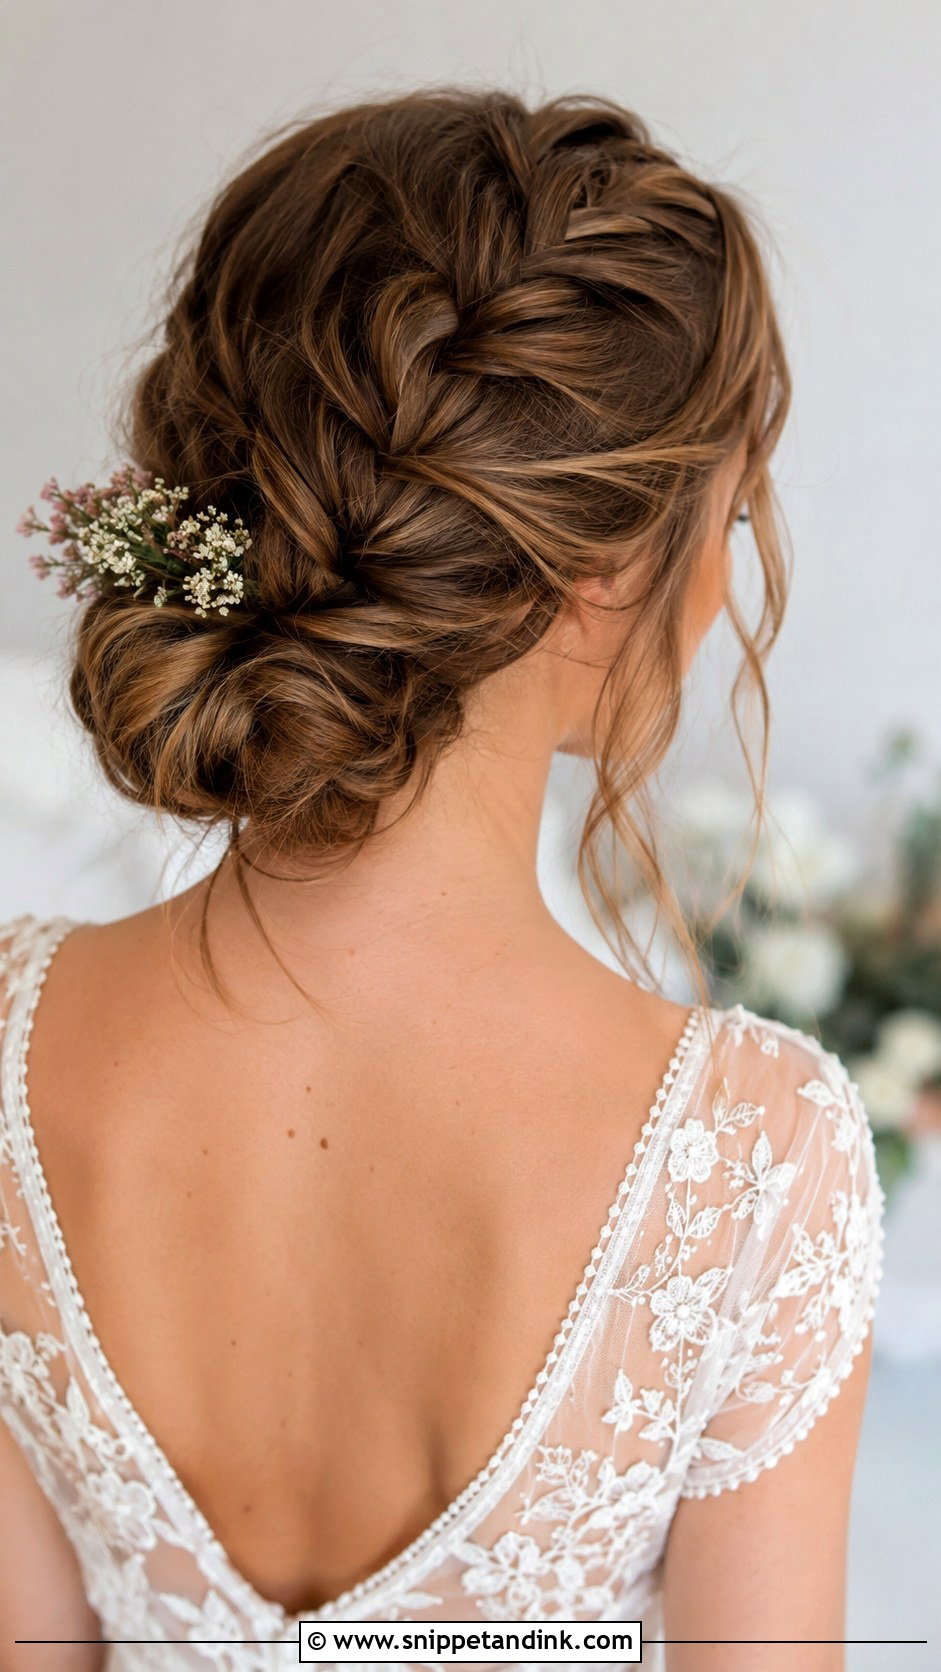
A braid running into a low bun adds texture and gives a back-of-dress photo something to look at. I choose between a loose French braid, pancaked out by pulling the edges, and a tighter plait depending on the dress: lace and boho fabrics suit the loose one, a crisp satin gown suits a defined plait. Medium to long hair of any texture can do this. Small flowers or pearls tuck into the braid gaps and hold far better there than on a smooth surface.
13. Low Bun With Veil
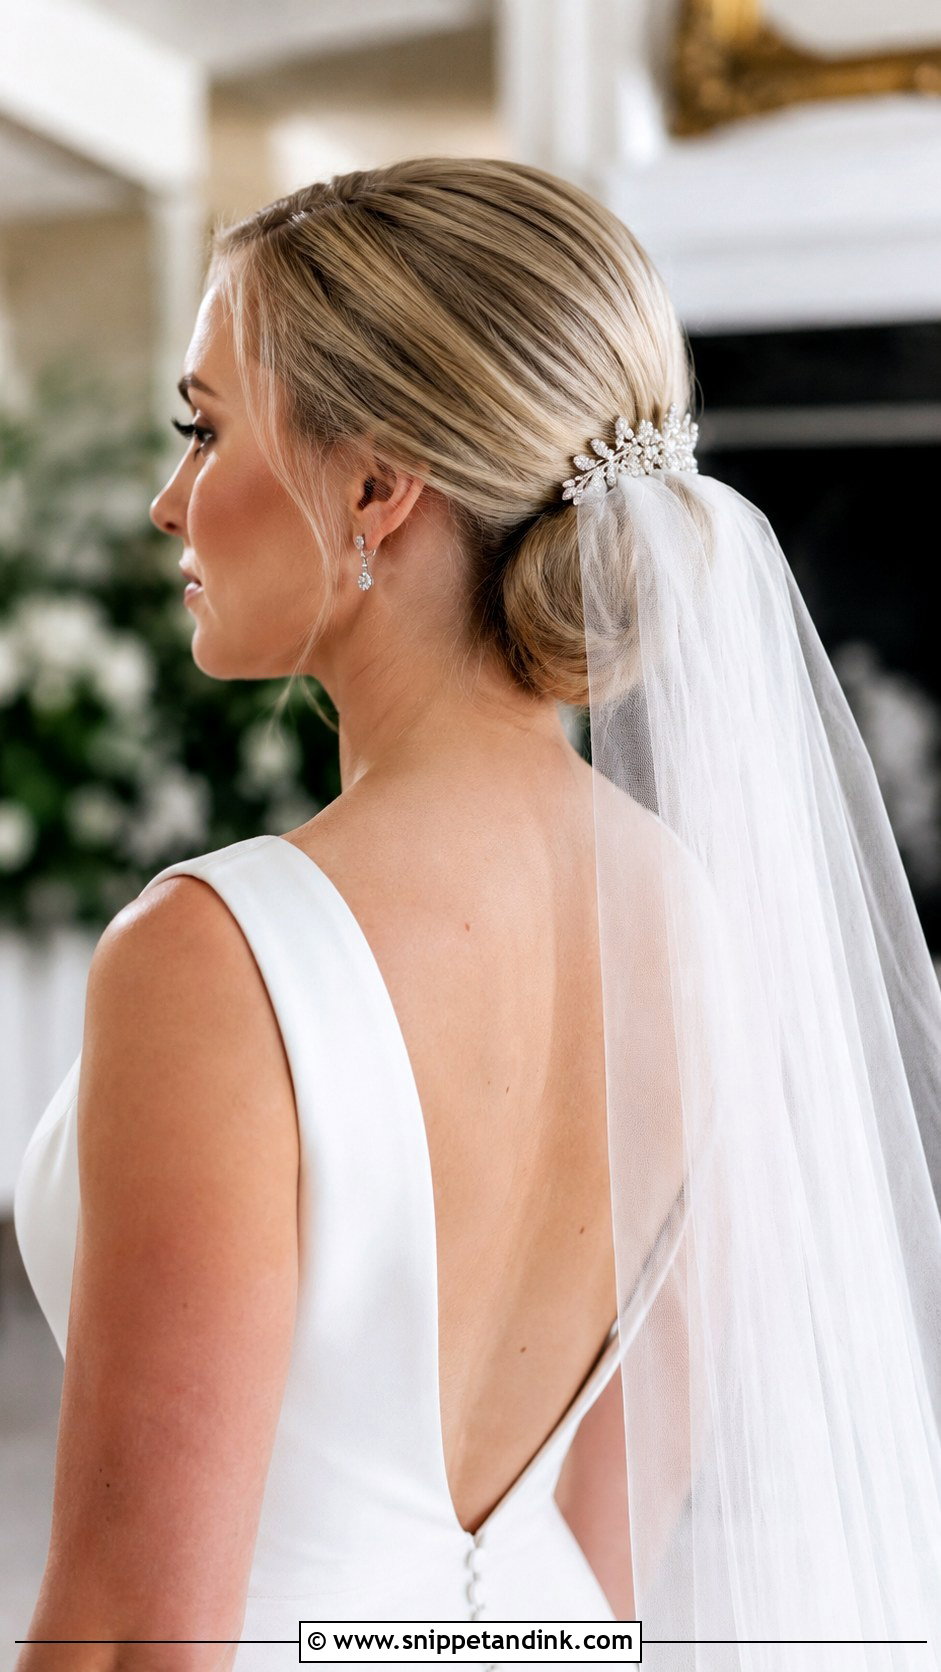
A low bun is the most reliable base for a veil because the comb can slide in just above the knot and grip solid hair. Whether it’s a cathedral length or a short blusher, I anchor two crossed bobby pins first and slide the comb over them, so the veil has a solid base and doesn’t drag the bun down. A long veil is heavy, and on slippery hair it can pull the bun loose within an hour if it’s only held by the comb. The best part is that after the ceremony the veil comes out without disturbing the style. Put a jeweled comb where the veil attached and nobody will notice the gap.
14. Loose Low Bun With Curtain Bangs
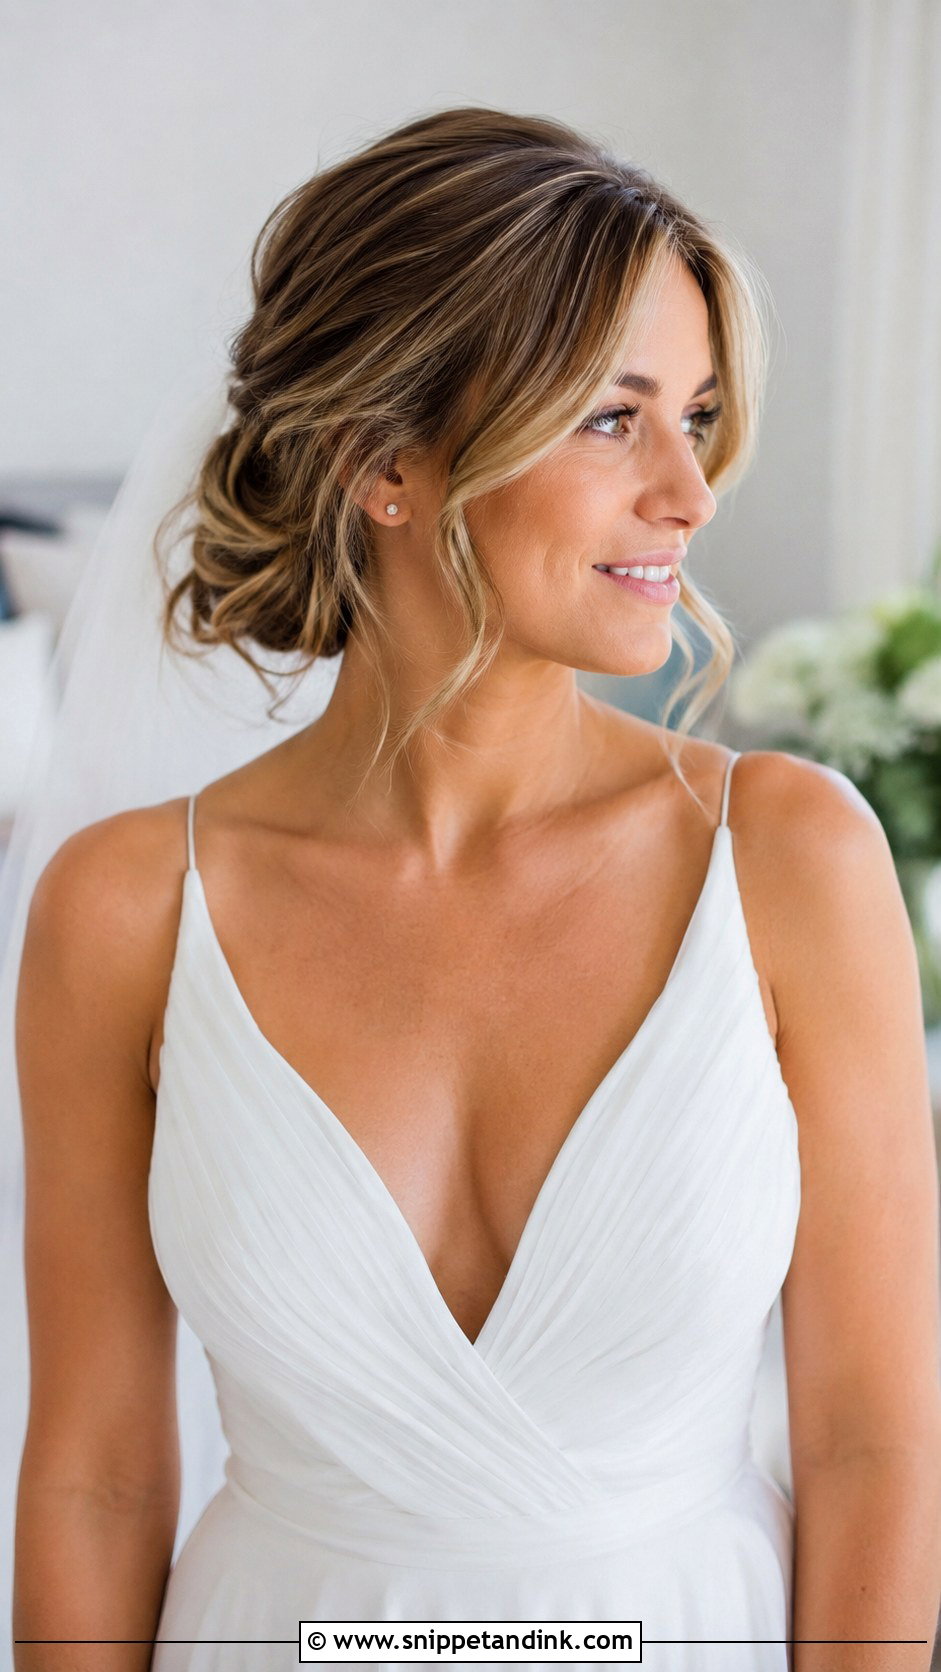
Curtain bangs add softness at the front and stop a low bun looking severe. I blow-dry them with a round brush, splitting them from the center and directing each side outward, then keep them separate from the rest of the hair so they don’t get pulled back into the knot. Don’t cut new bangs in the last month before the wedding; give them at least one trim cycle so they fall naturally. The bun itself stays loose to match the softness at the front.
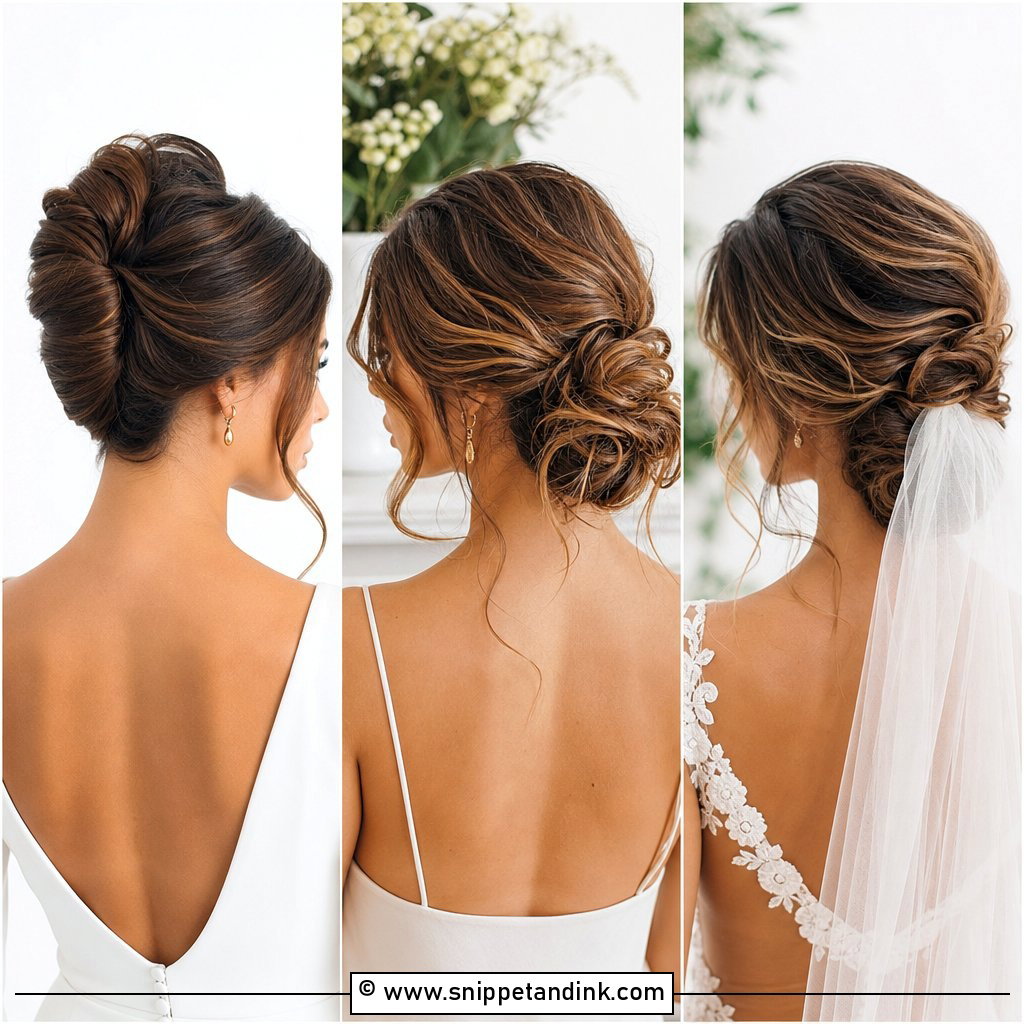
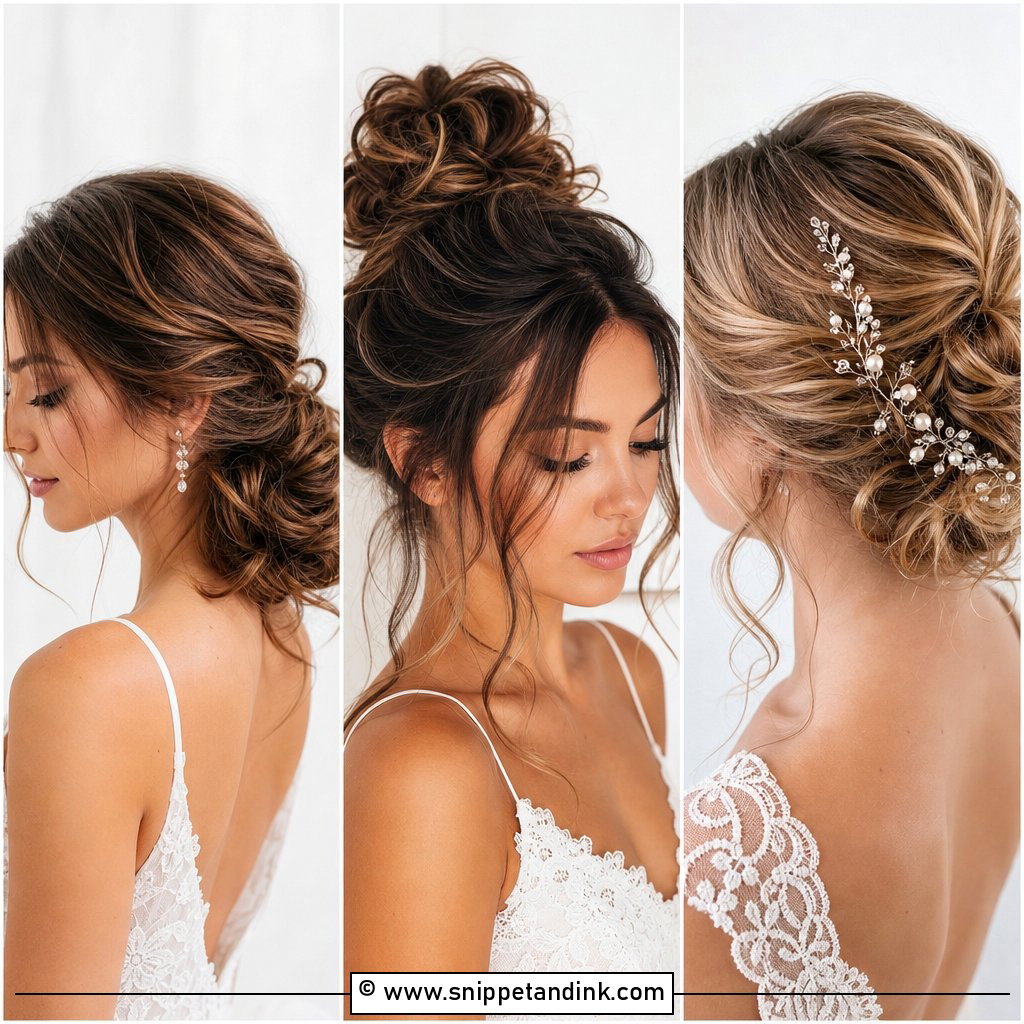
15. Low Bun With Hair Vine
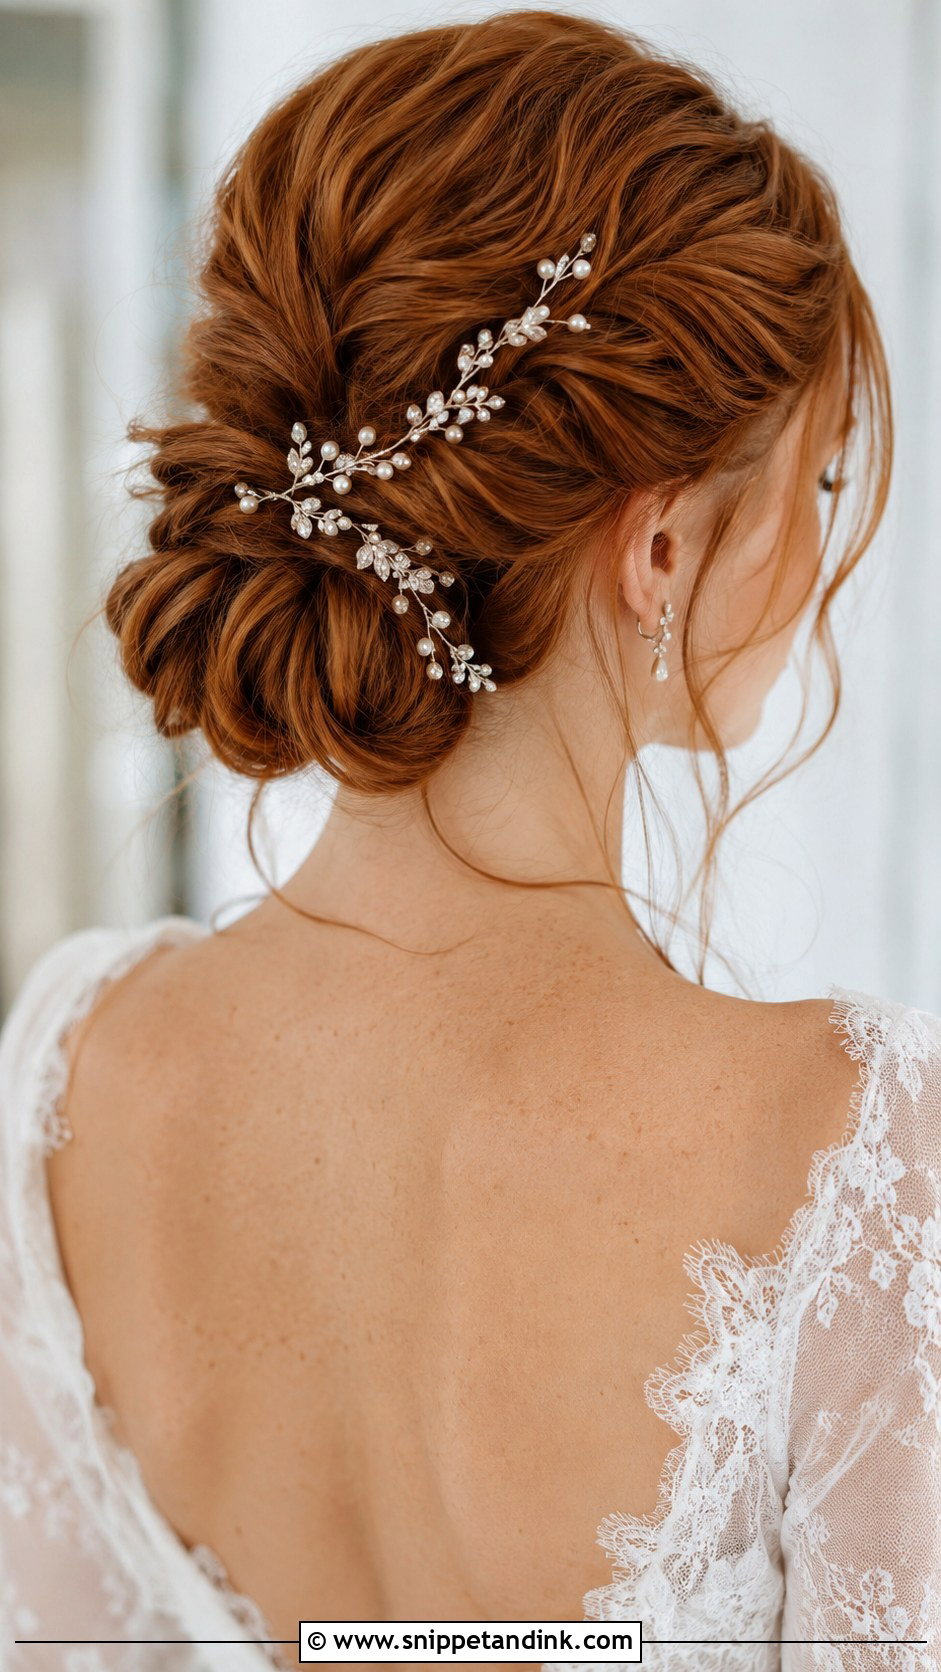
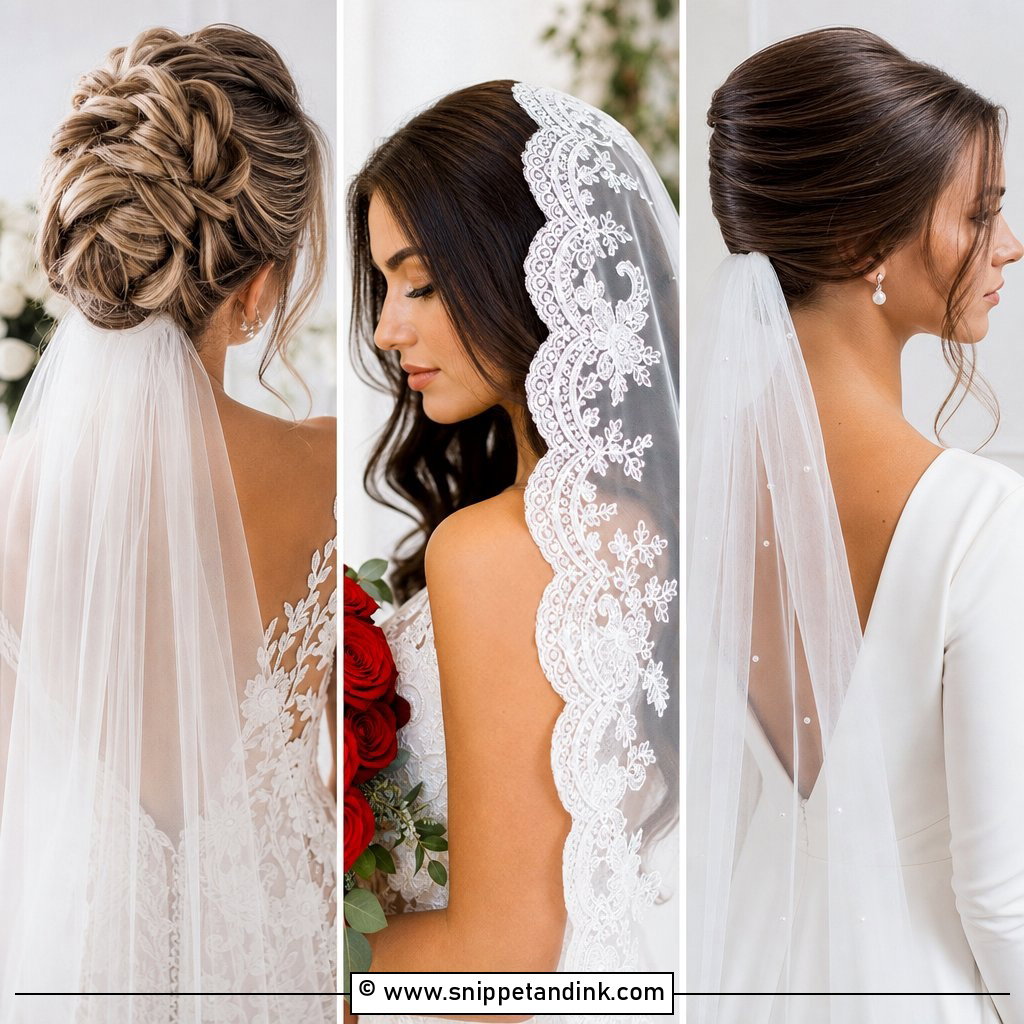
A hair vine is a wire with crystals, pearls or tiny flowers along it, and it bends to follow the shape of the bun. I thread the end of the vine through a pin first and secure it under the knot, then wrap it round and pin at three or four points. Too few pins and it sags at one end by evening. Vines suit both boho and classic dresses, and they add sparkle without the weight of a large headpiece. They also stay on comfortably after the veil comes off.
16. Textured Low Bun
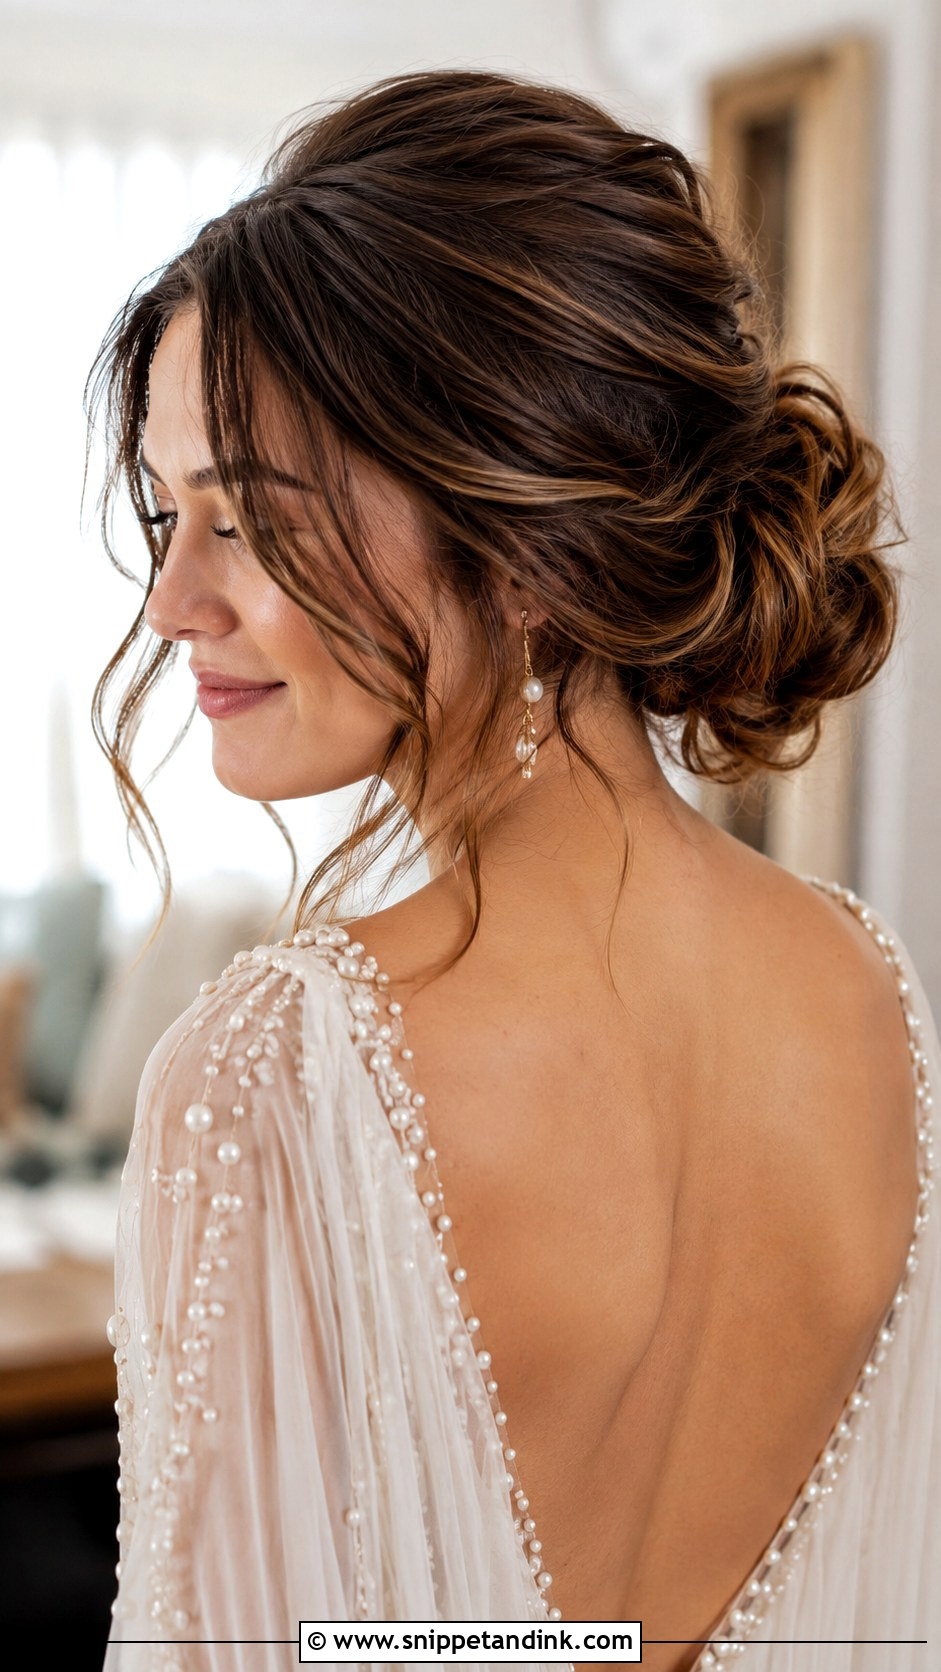
Texture is what makes a low bun look full when the hair itself isn’t. I prep with volumizing mousse at the roots, blow-dry upside down, then backcomb small sections near the nape before gathering. For fine hair this is the style I reach for most, since the teasing does the job padding would otherwise do. The trade-off is that it’s less polished, so it suits garden and rustic venues more than a black-tie room. Flowers or pearls can go in once the shape is set.
17. Low Bun With Twisted Sides
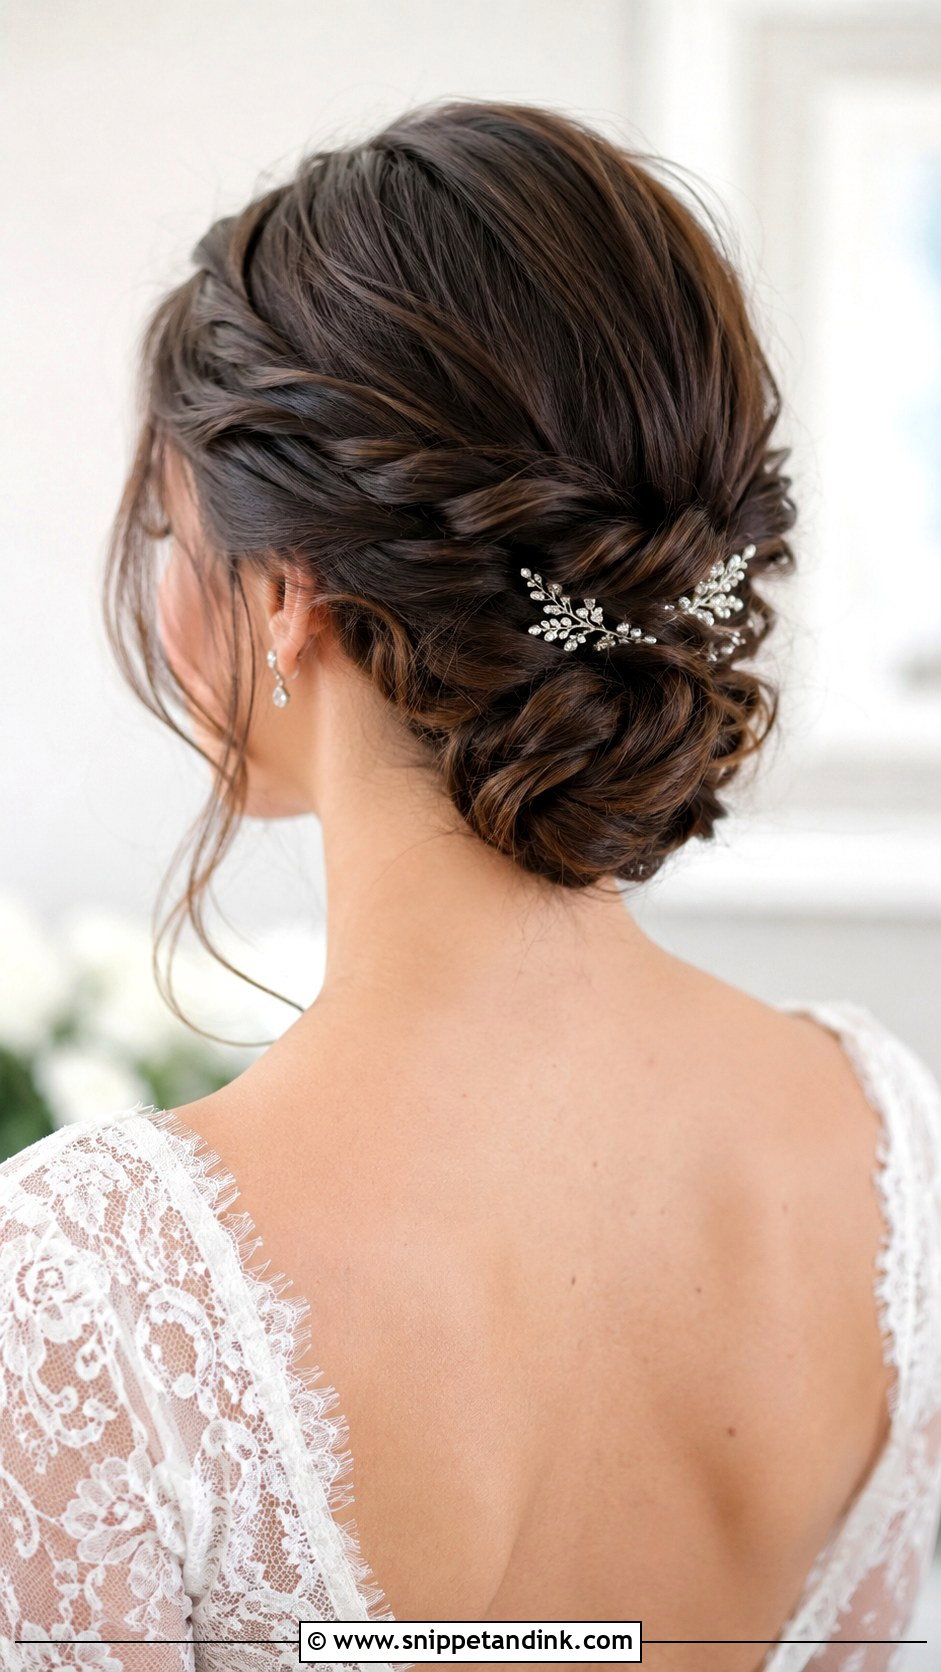
Twisting the sides back keeps hair off the face all day and gives the bun a defined frame. I take a section from each temple, twist each one back toward the nape, and cross them under the bun so they lock each other in. It needs at least medium length to reach the center. I’d avoid it if you have a lot of short layers around the face, because they spring out of the twists in humidity. Pull a few pieces loose for softness, and tuck small flowers or sparkly pins along the twists.
18. Sleek Low Ponytail Updo
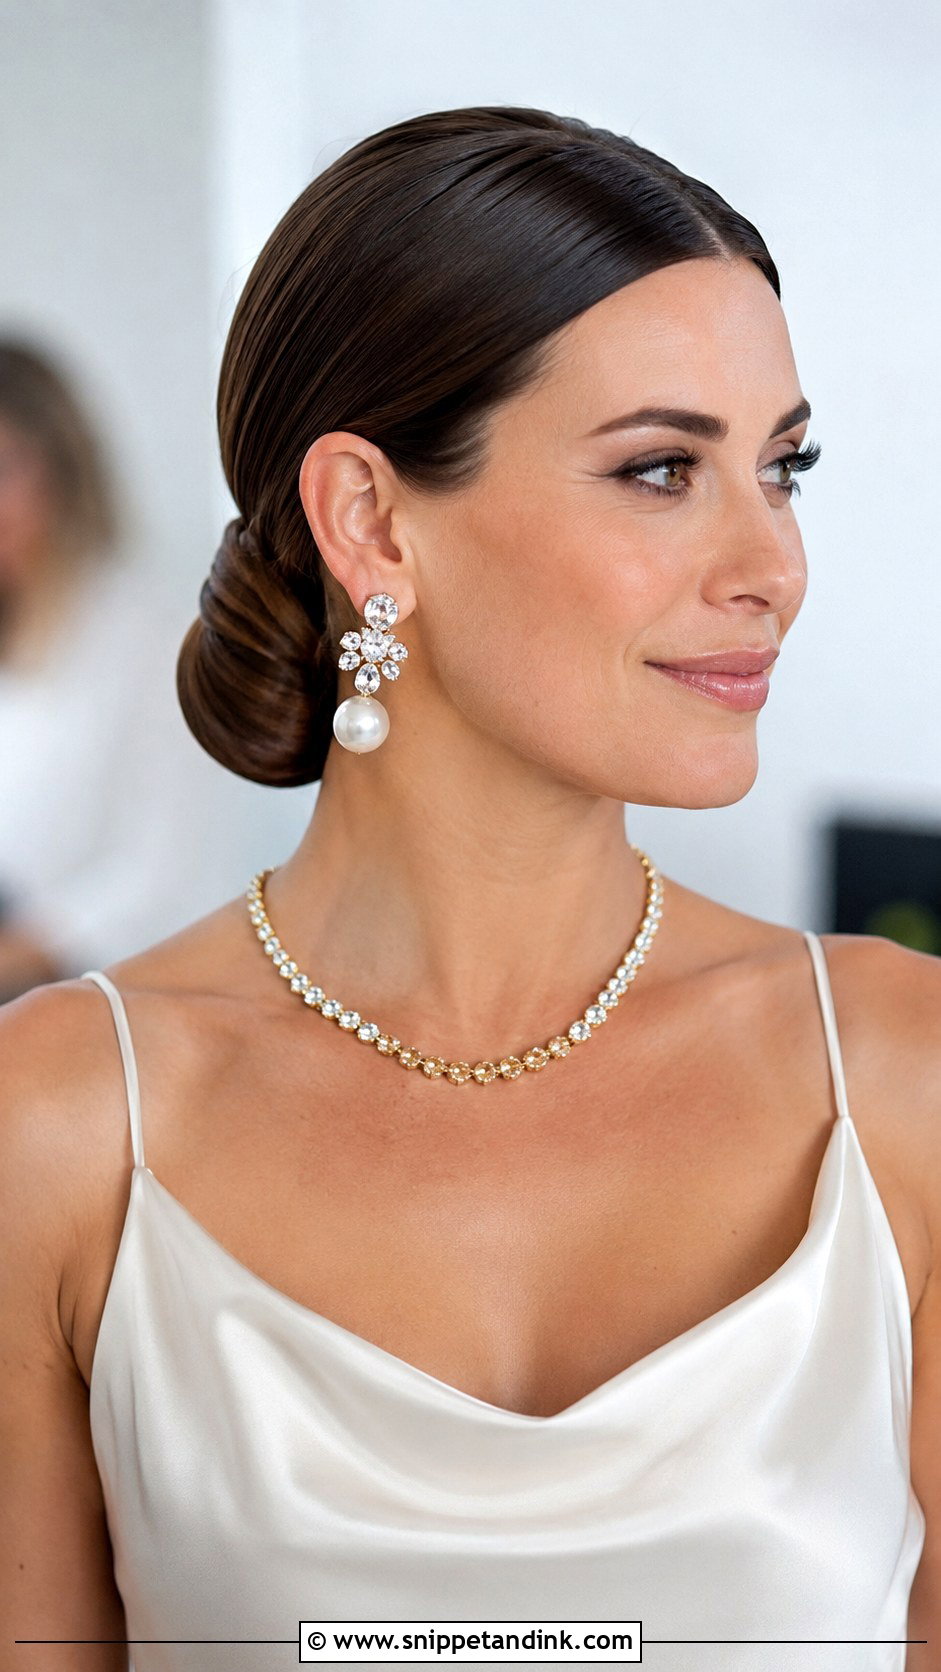
This one starts as a sleek ponytail at the nape and is folded or wrapped so the ends disappear. I secure the ponytail with two elastics, one at the base and one partway down, which lets me fold the tail under neatly and pin it flat. A strand wrapped around the elastic hides it. It’s a good choice for a satin column dress and bold earrings, and it survives a full night of dancing because there’s so little to come loose. Very thick hair can make the fold bulky, so I sometimes thin out the underneath before folding.
19. Low Bun With Side Braid
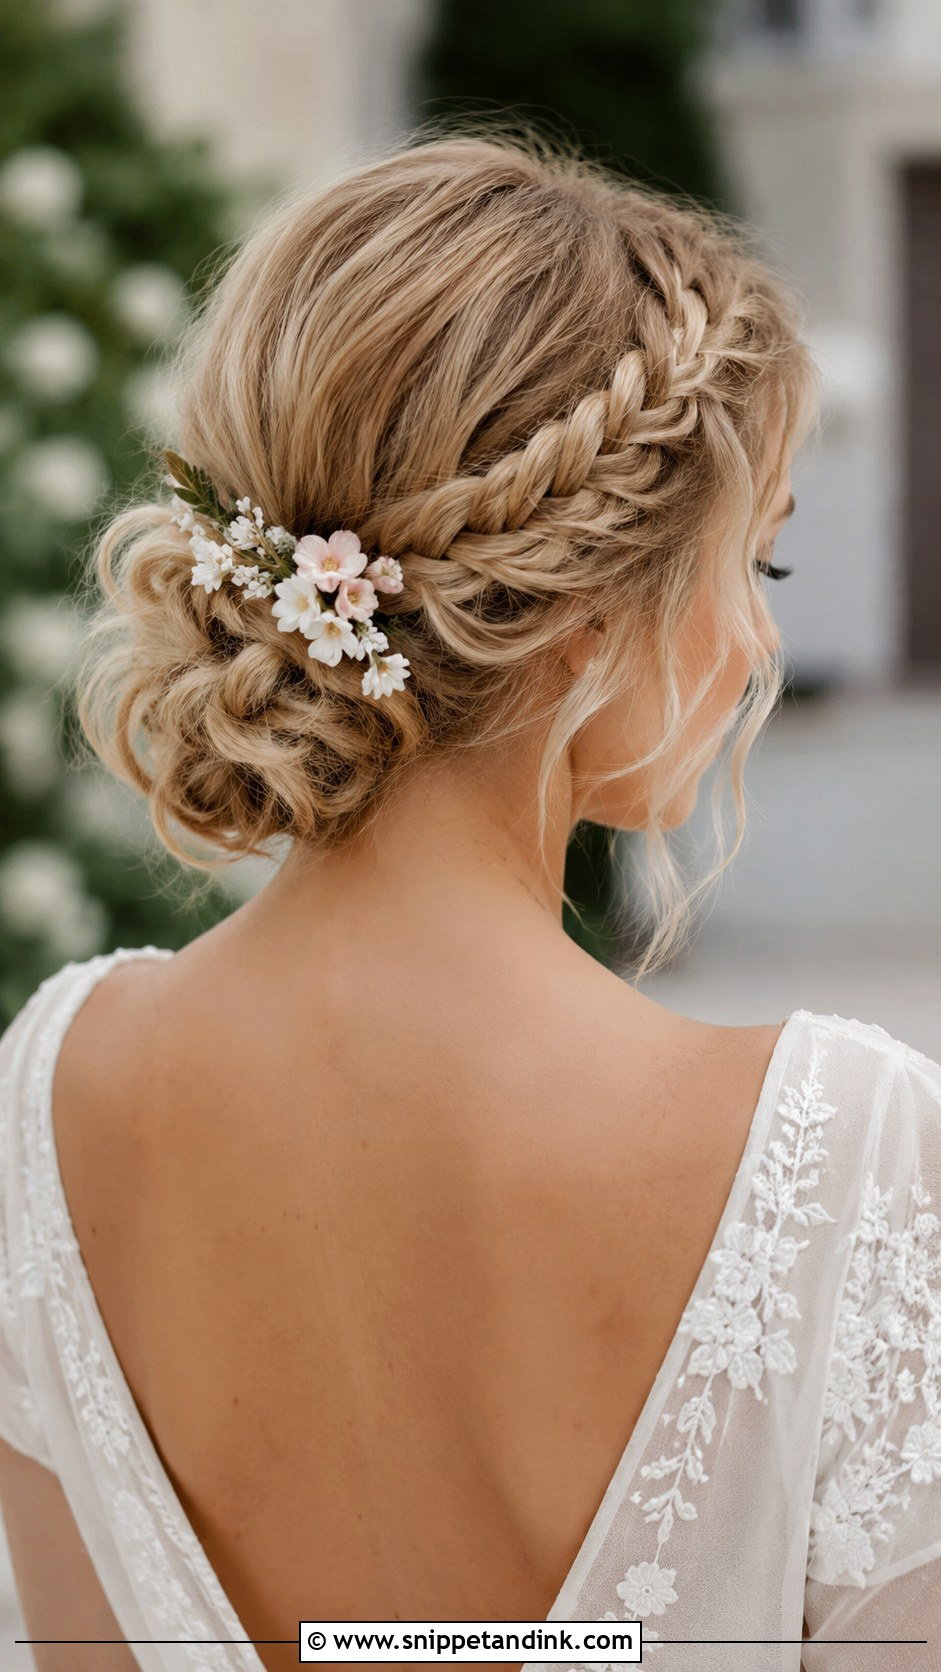
A single braid running down one side and into the bun gives the look asymmetry without moving the knot off center. I start the braid at the deepest point of a side part and keep it fairly loose so it lies flat rather than raised. Hair should reach at least the shoulders. A tight braid suits a structured dress; for a flowy boho gown I pull it loose. Small flowers tucked into the braid look natural there.
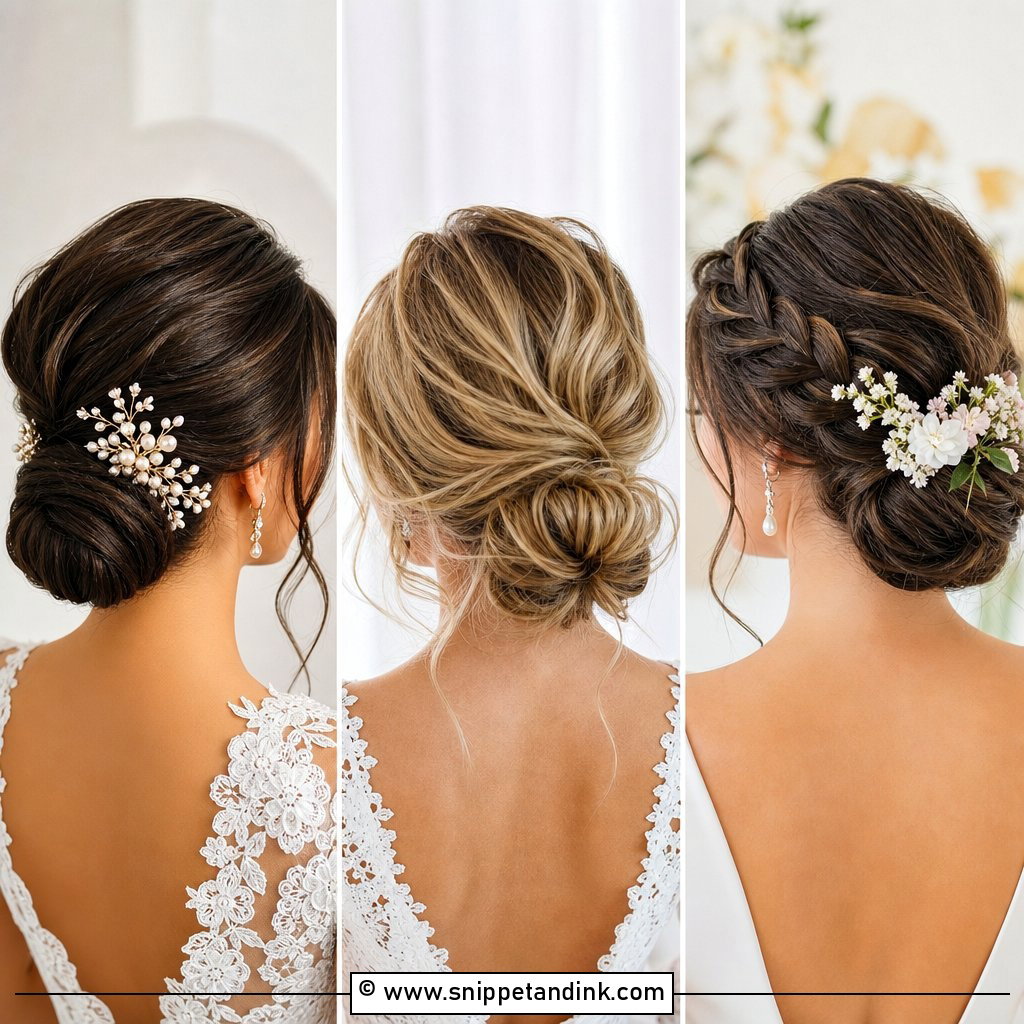
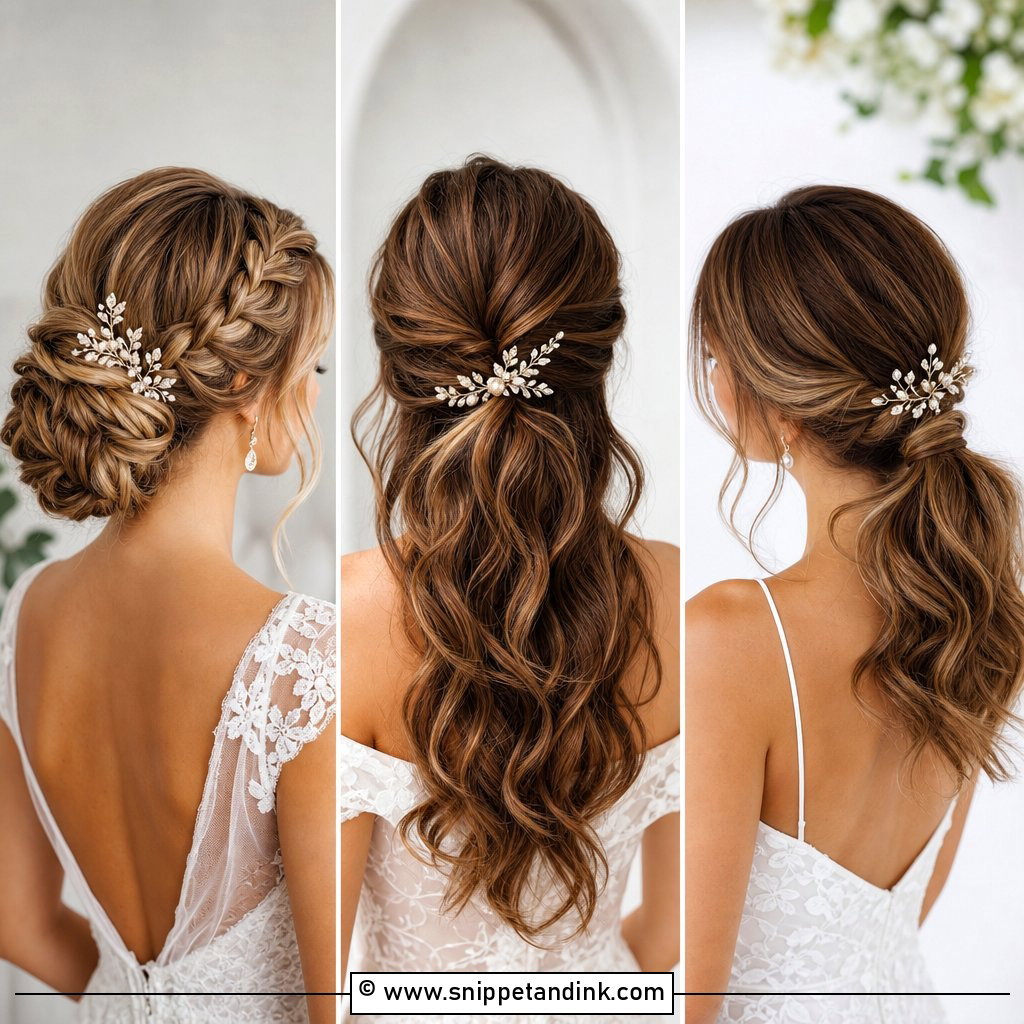
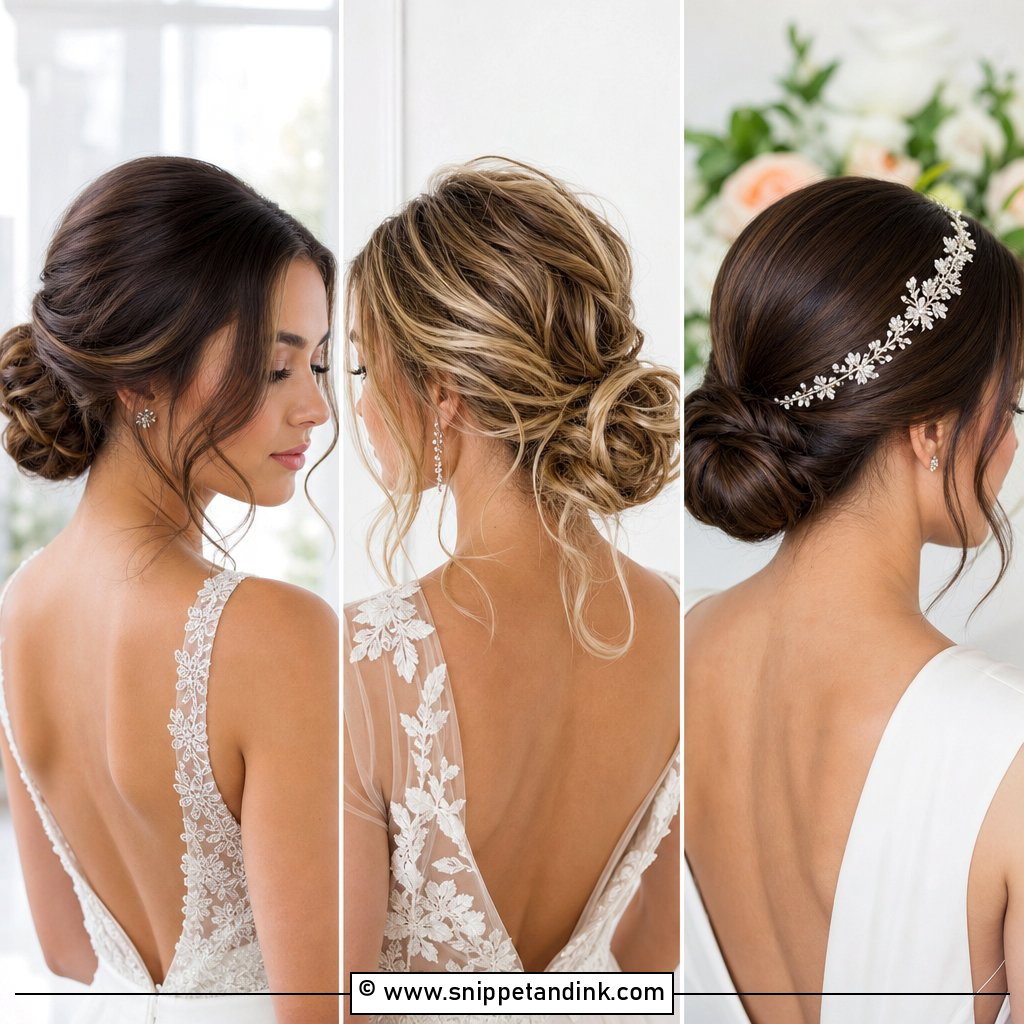
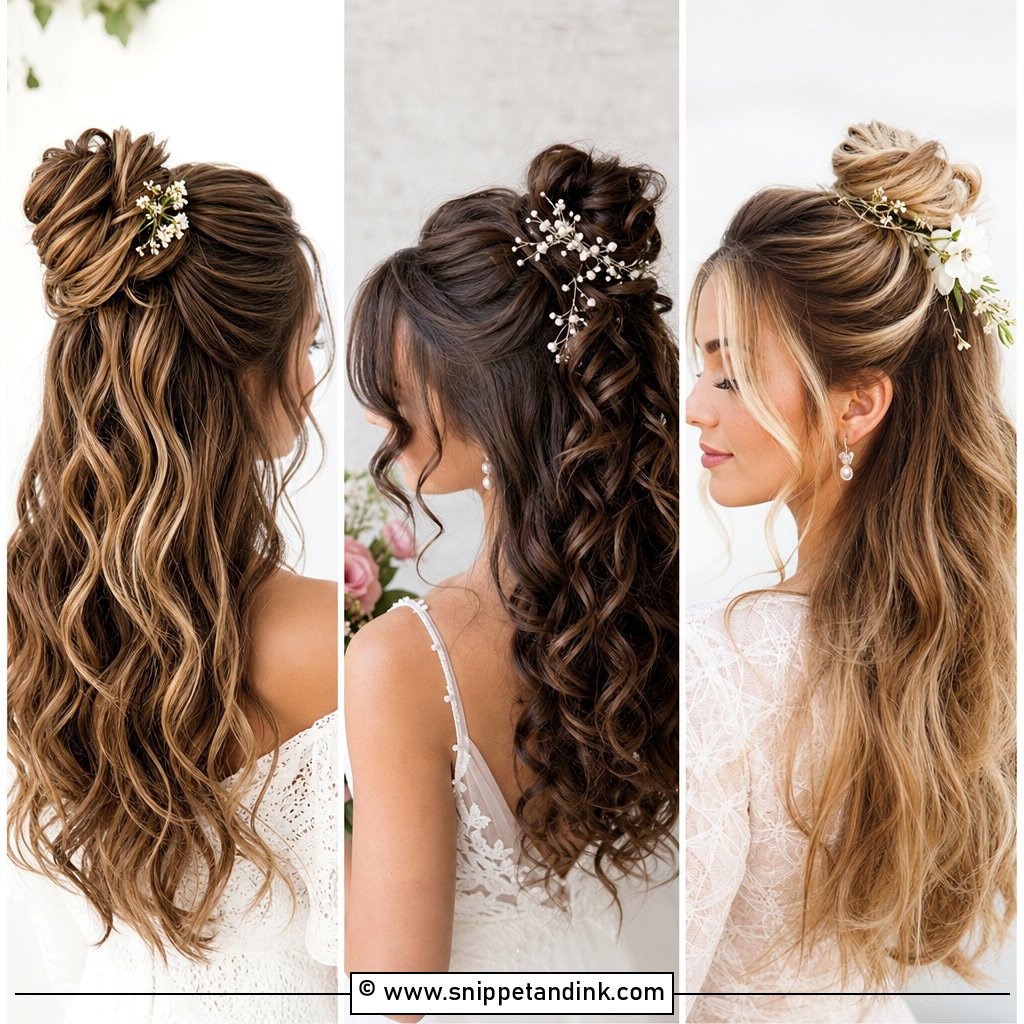
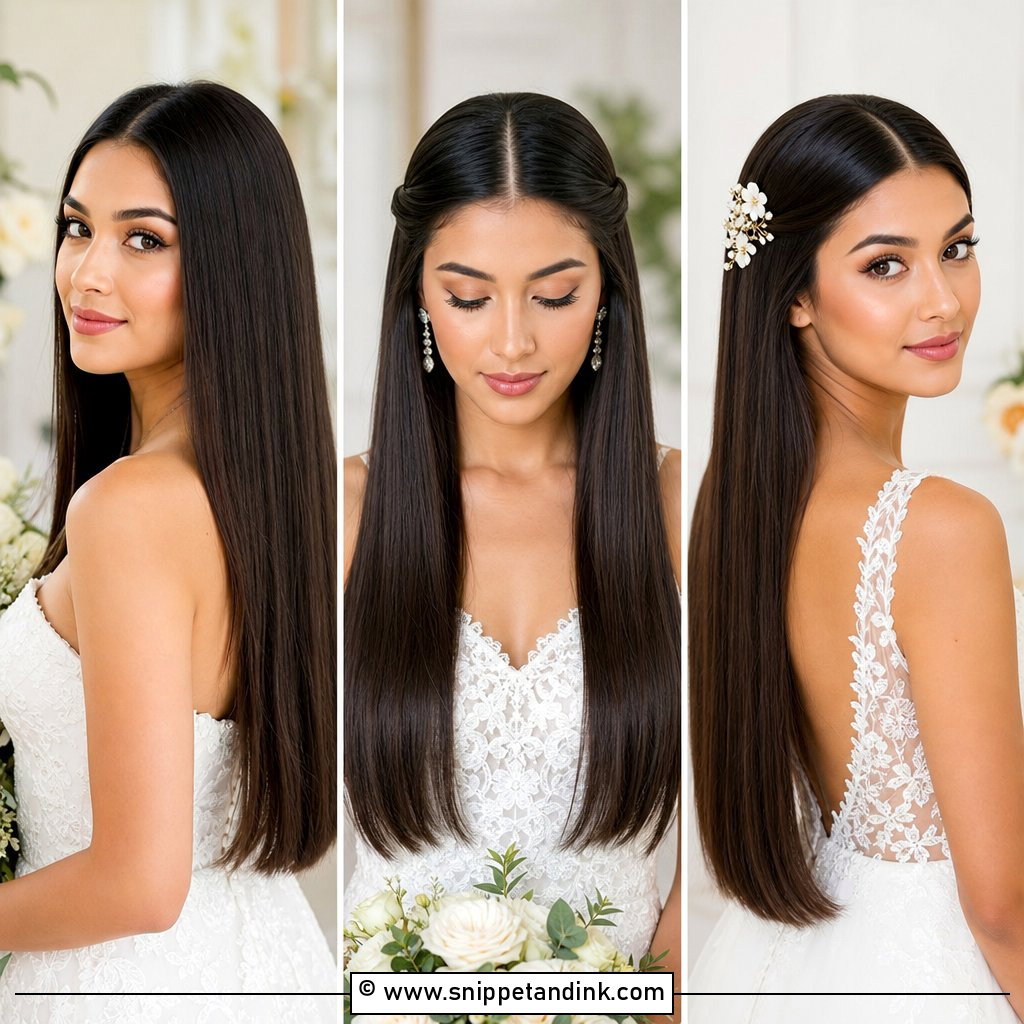
20. Low Bun With Crystal Pins
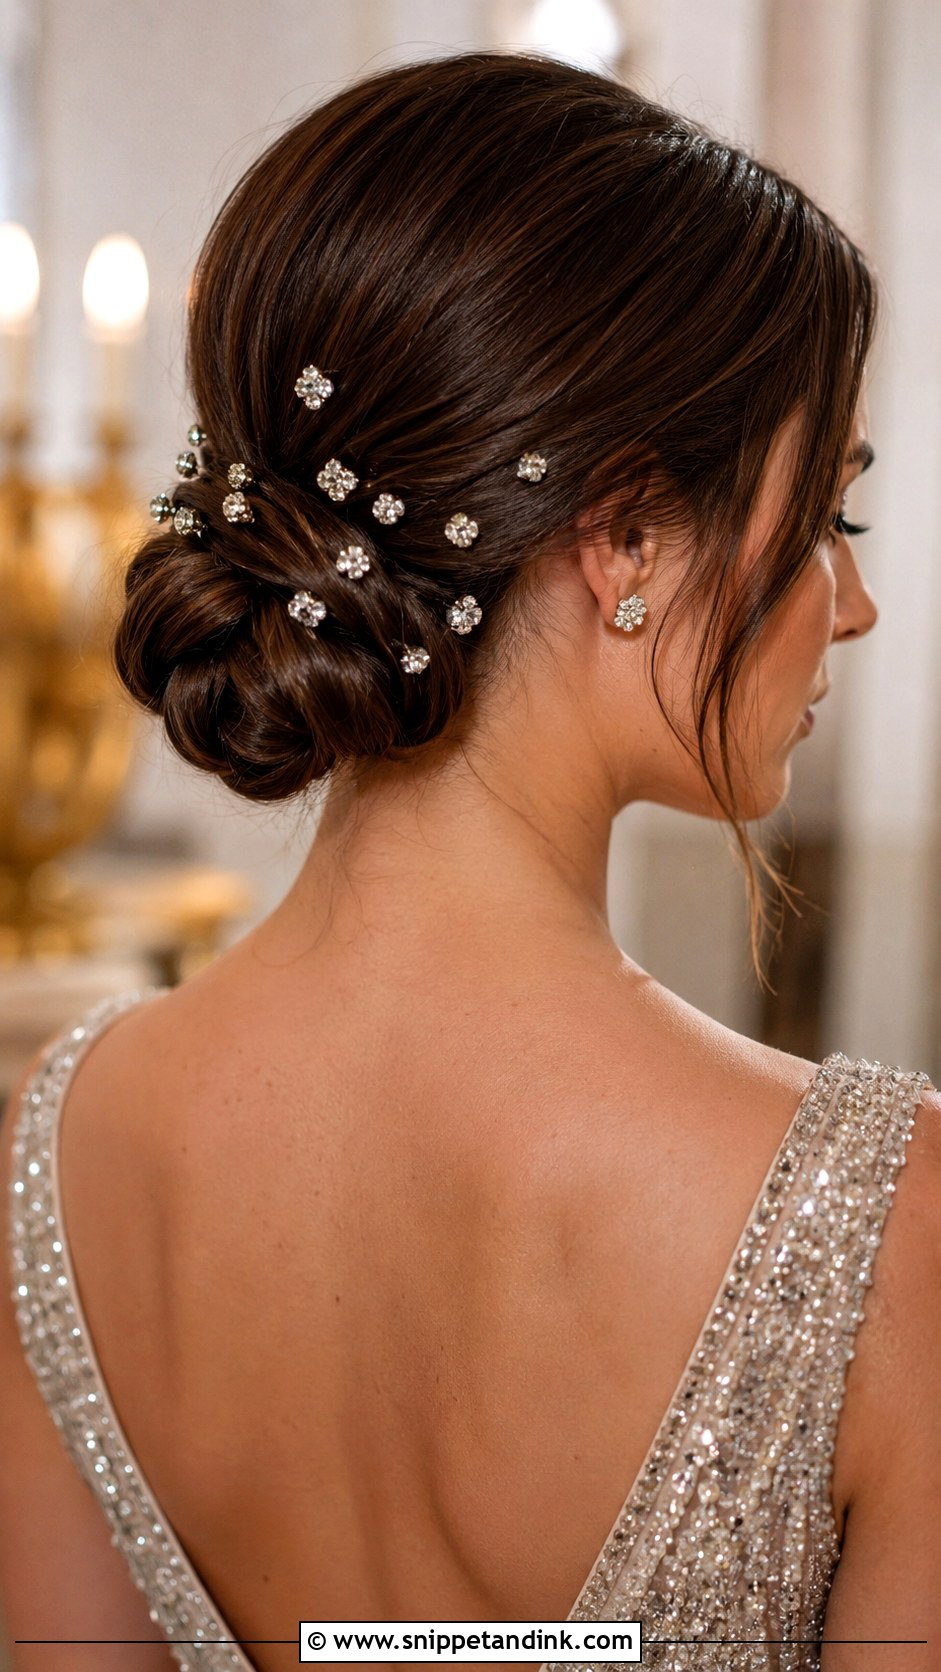
Crystal pins catch candlelight and reception lighting in a way pearls don’t, so I lean toward them for evening weddings. I cluster them in one area of the bun rather than spreading them evenly, which looks more deliberate. Crystals sit well on either a sleek or a textured bun. I always ask brides to check the backs: cheap crystal pins have glued stones, and one or two often pop off during the day, so I’d keep a couple of spares in your emergency kit.
21. Bohemian Low Bun With Greenery
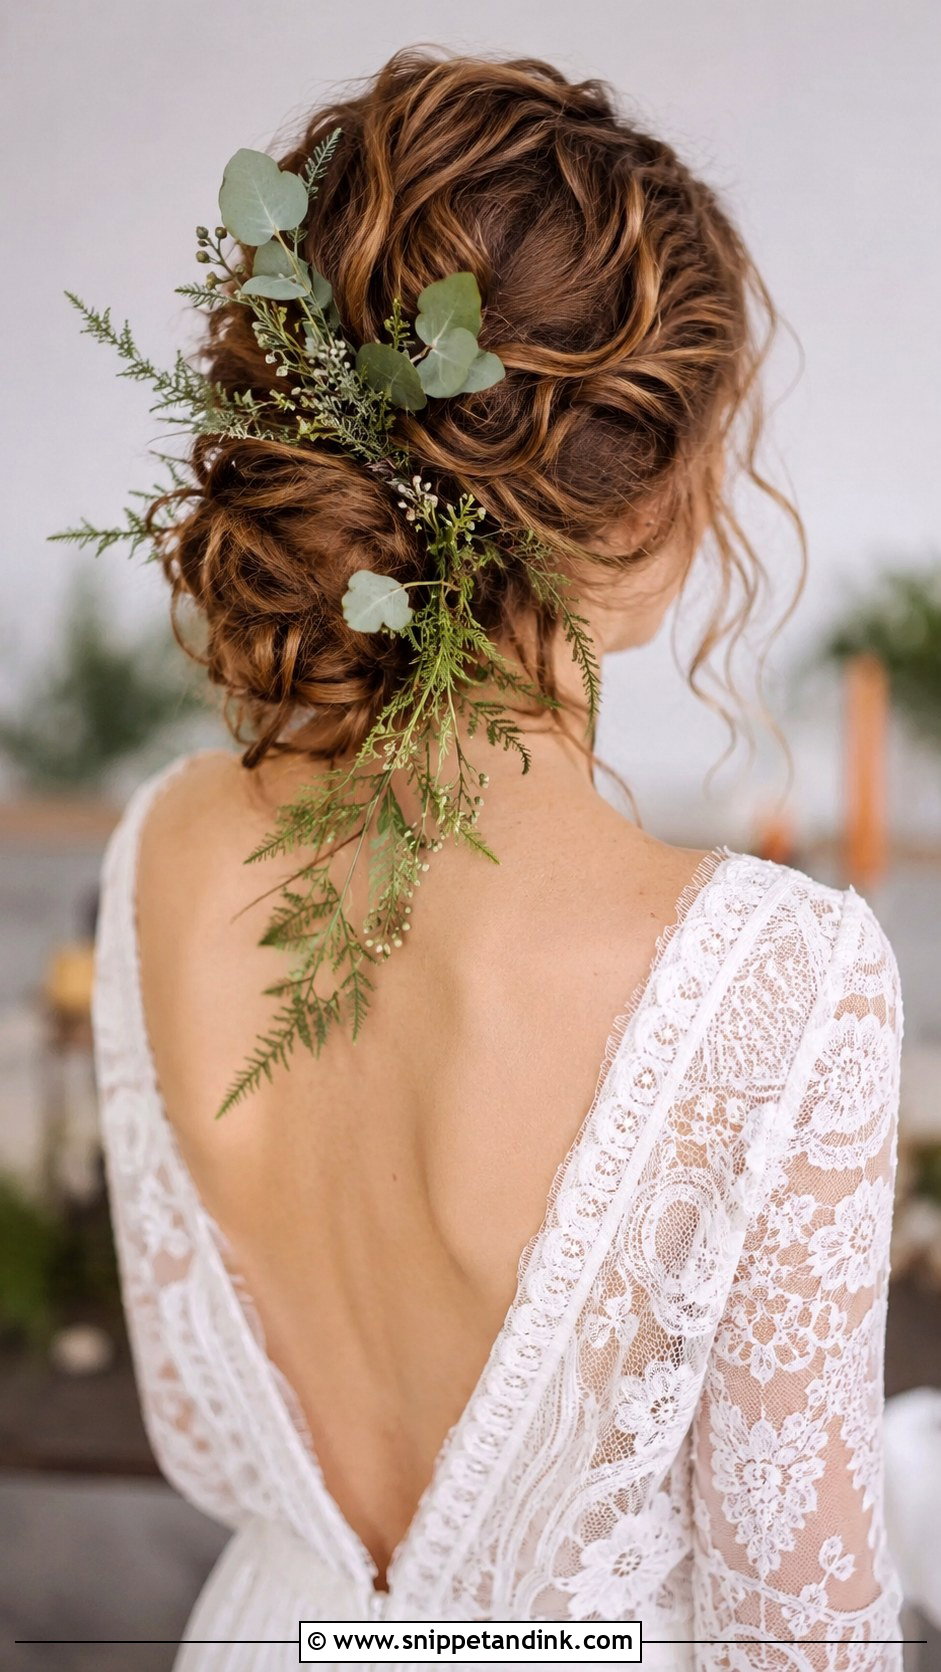
Greenery is lighter and far more forgiving than flowers, which is why I prefer it for outdoor summer weddings. A soft, slightly messy knot with trailing eucalyptus or small ferns holds for hours without drooping. I ask the florist to keep the pieces short and wired, and to leave one trailing tendril of greenery to sit along the neck. Wavy or curly hair gives the stems something to grip. If you have sensitive skin, ask about eucalyptus sap before it touches your neck.
22. Low Bun With Deep Side Part
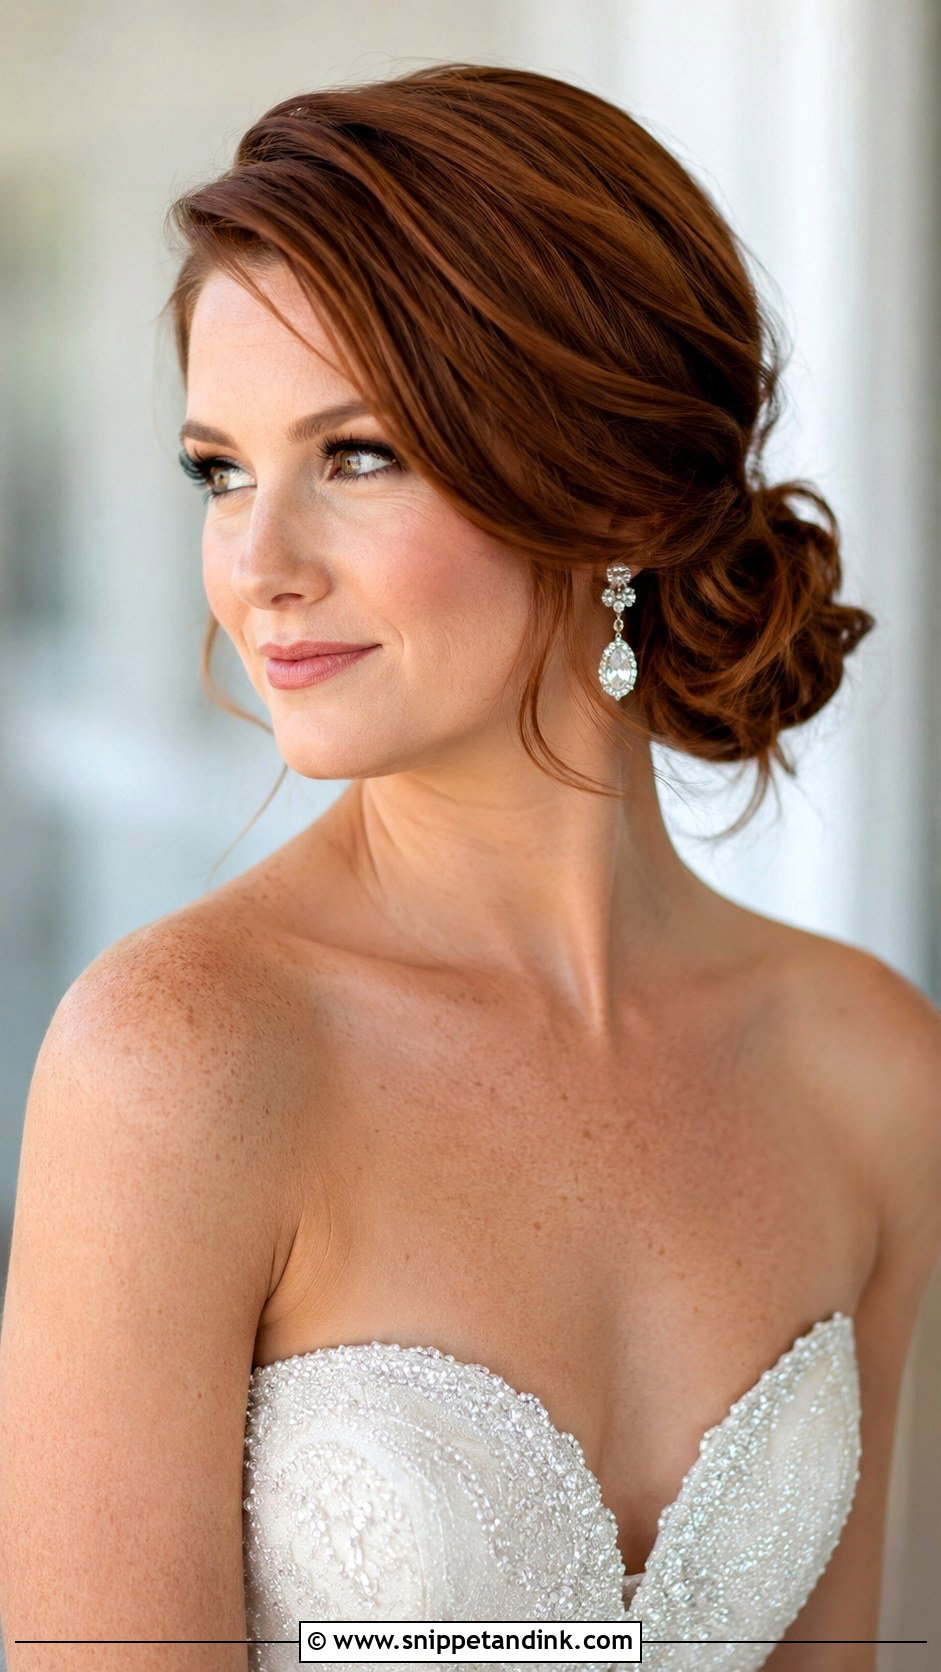
Flipping the part deep to one side lifts the root and creates a sweep of volume over one eye. I usually find the natural part first and push it further across rather than forcing a part on the wrong side, because hair fights a direction it doesn’t grow in. It gives an old-Hollywood feel, especially with soft waves through the front. On a round face it can widen the look if the sweep is flat, so I add lift at the root.
23. Low Bun With Wispy Bangs
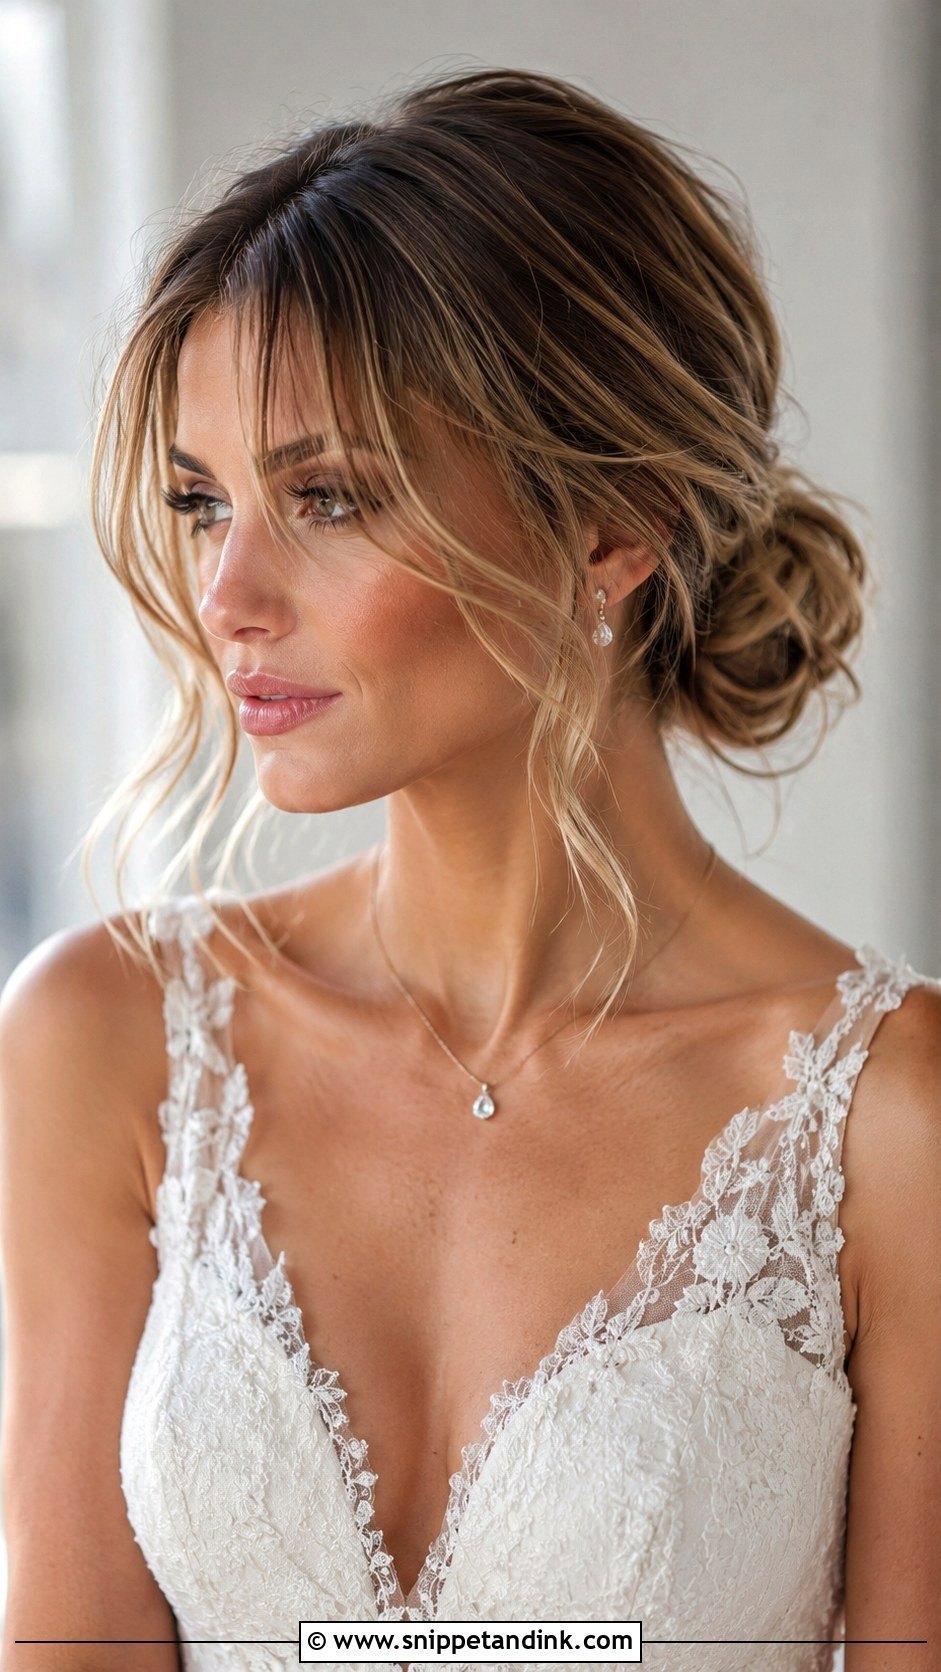
Wispy bangs need to be cut for this look rather than just trimmed. They’re thinner, with the ends broken up, so they don’t sit as a solid block when the hair is pulled back. I style them last, after the bun is done and sprayed, so the spray doesn’t stiffen them. If your forehead gets oily during the day, they’ll separate into strips by evening, and blotting powder on the forehead helps. Keep the jewelry small and let the bangs carry the softness.
24. Twisted Low Chignon
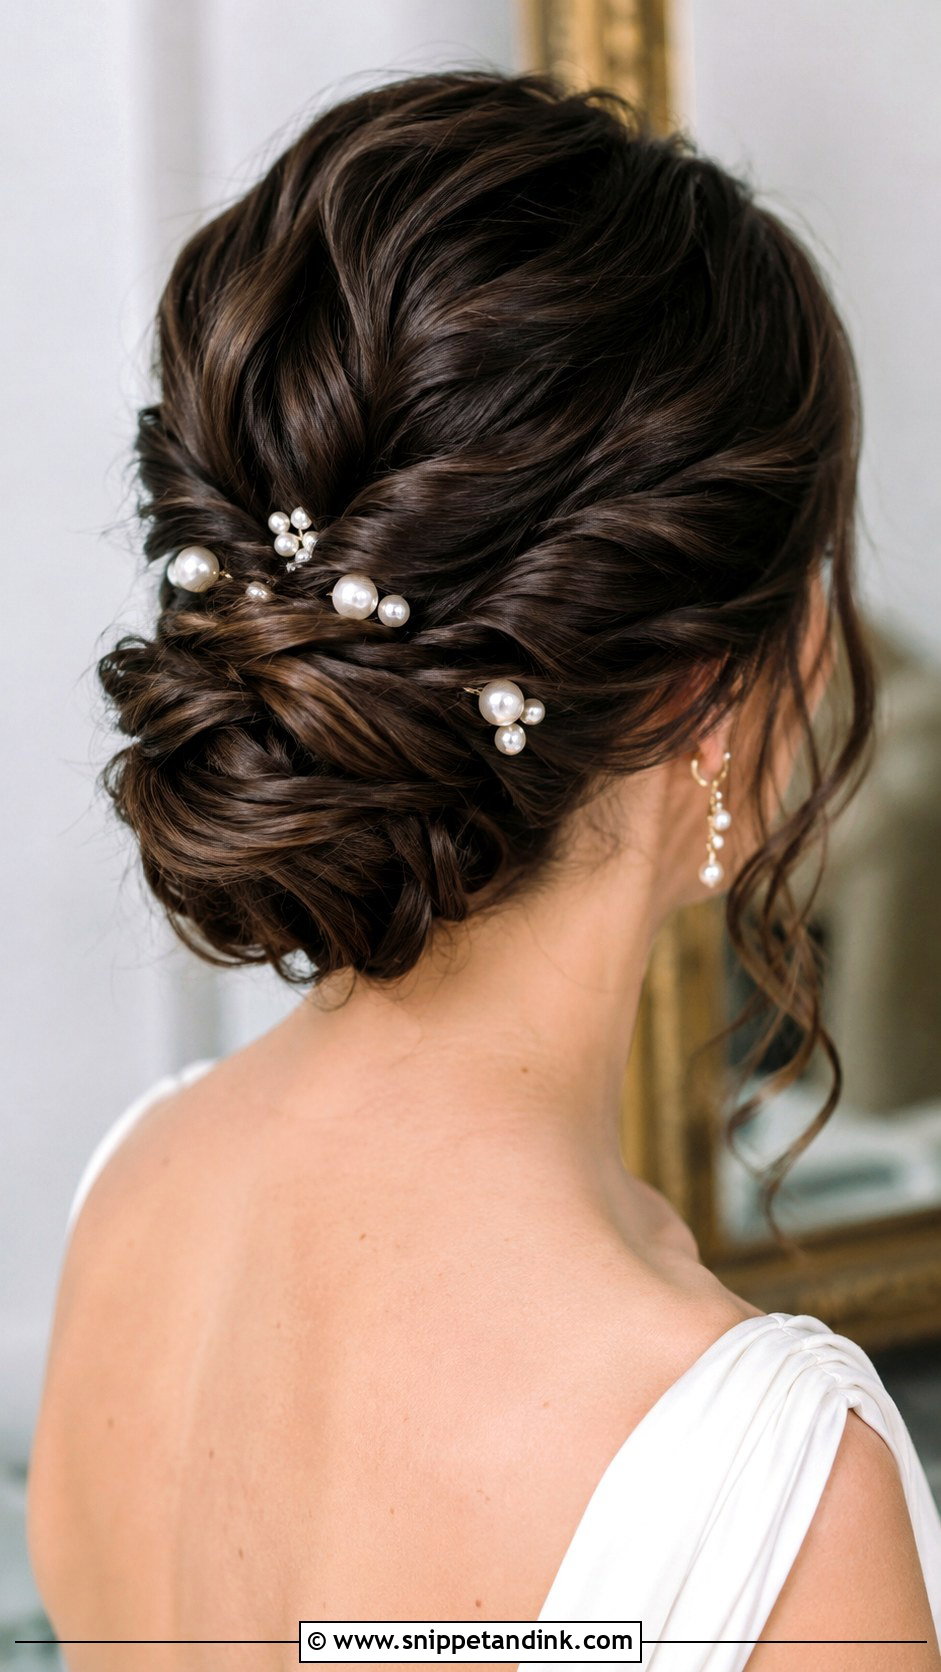
This is the classic chignon with twisted sections, and it gives the knot more depth than a smooth one. I twist each section in the same direction, then roll them into the knot so the twists show as distinct ridges. It needs medium to long hair. Polished for a formal venue or loosened for a garden one, it holds well either way because the twists lock into each other. Pearls, crystals or flowers can go in the twists.
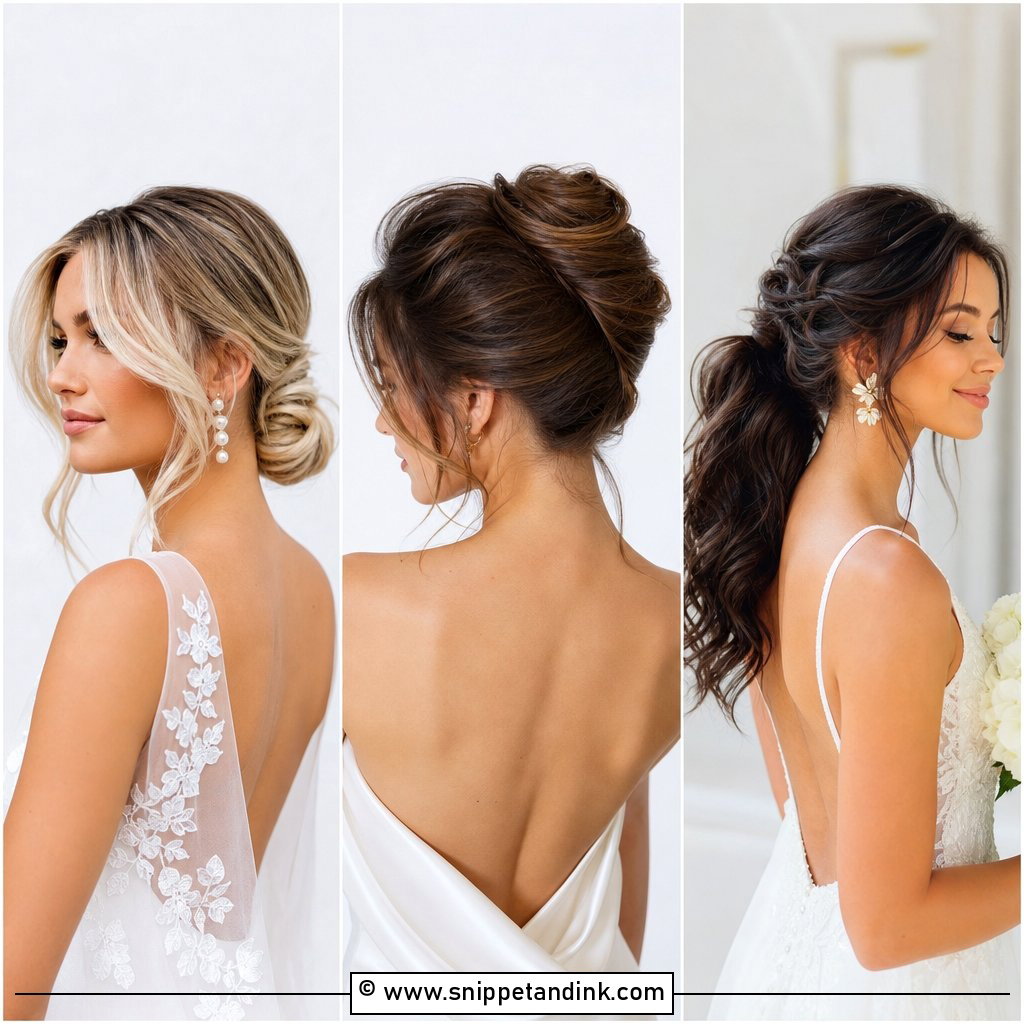
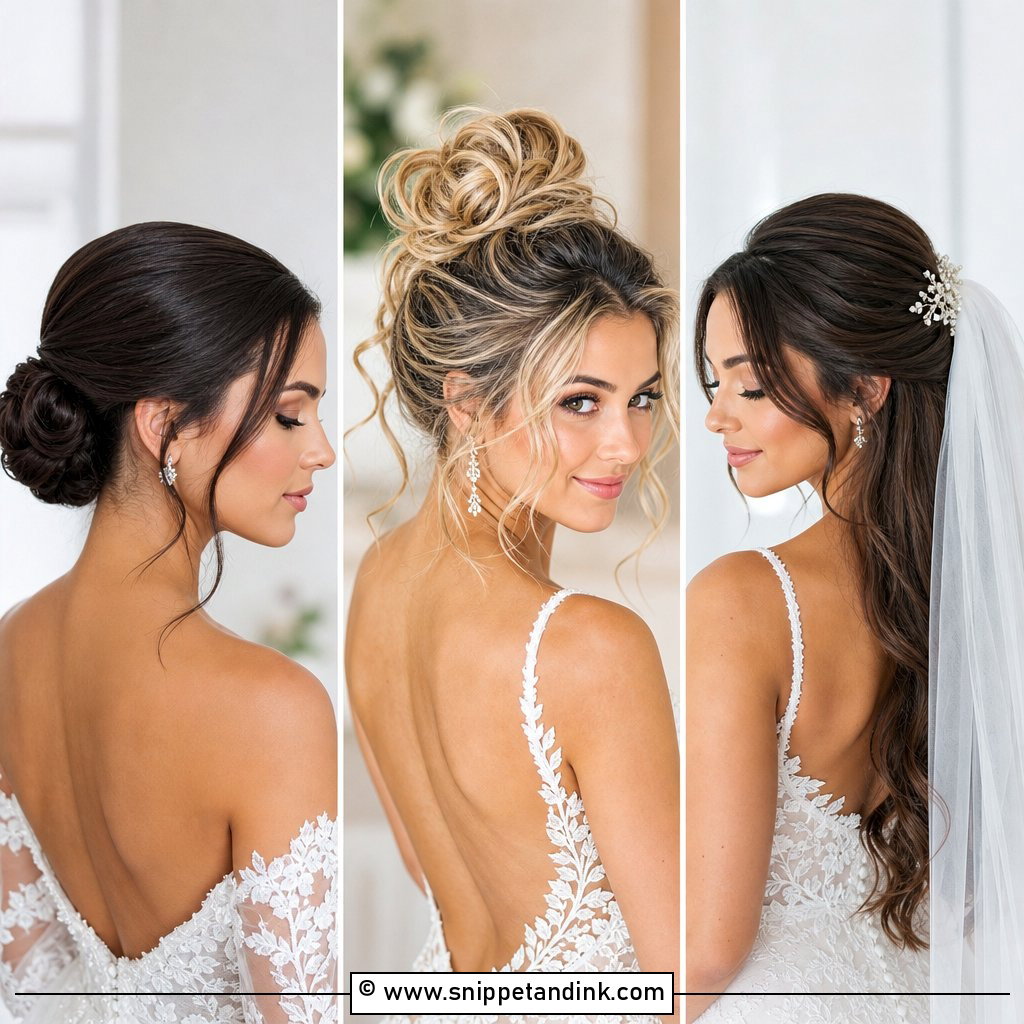
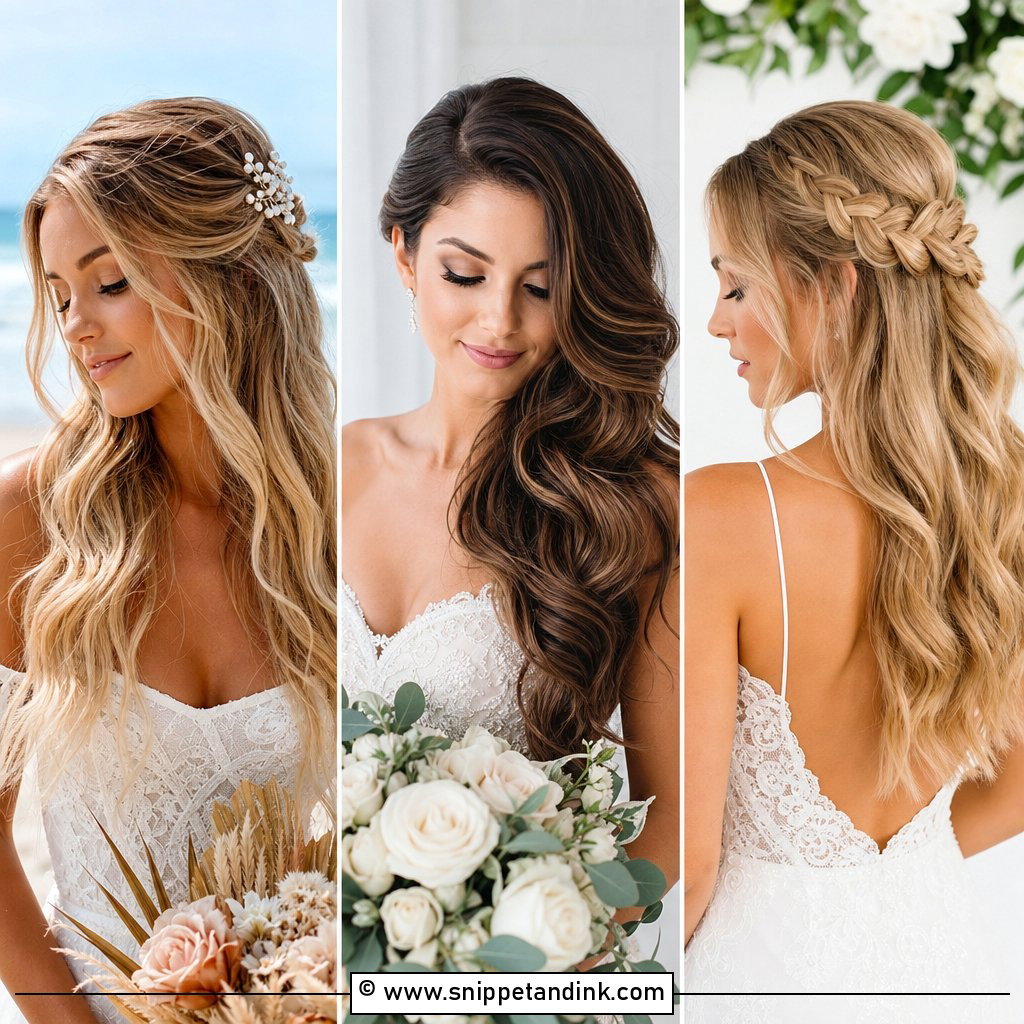
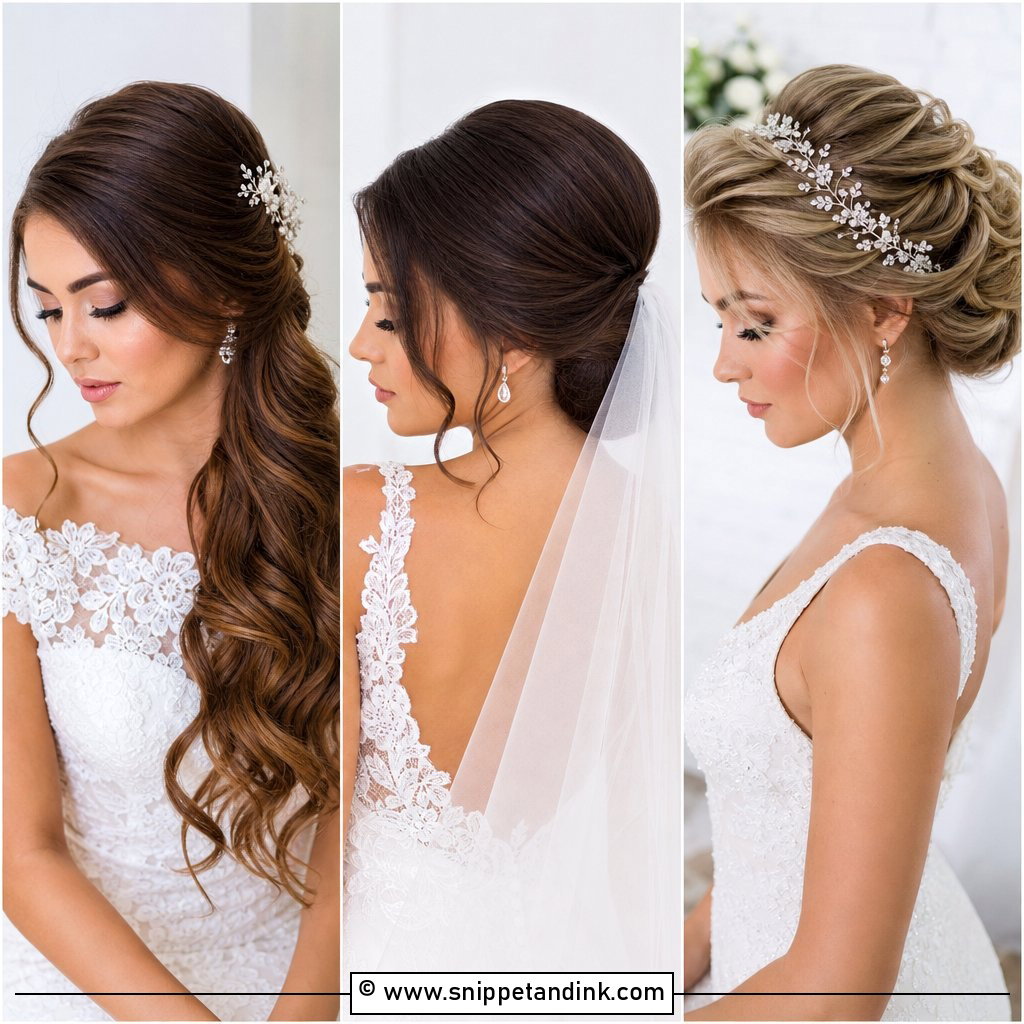
25. Low Bun With Gold Accessories
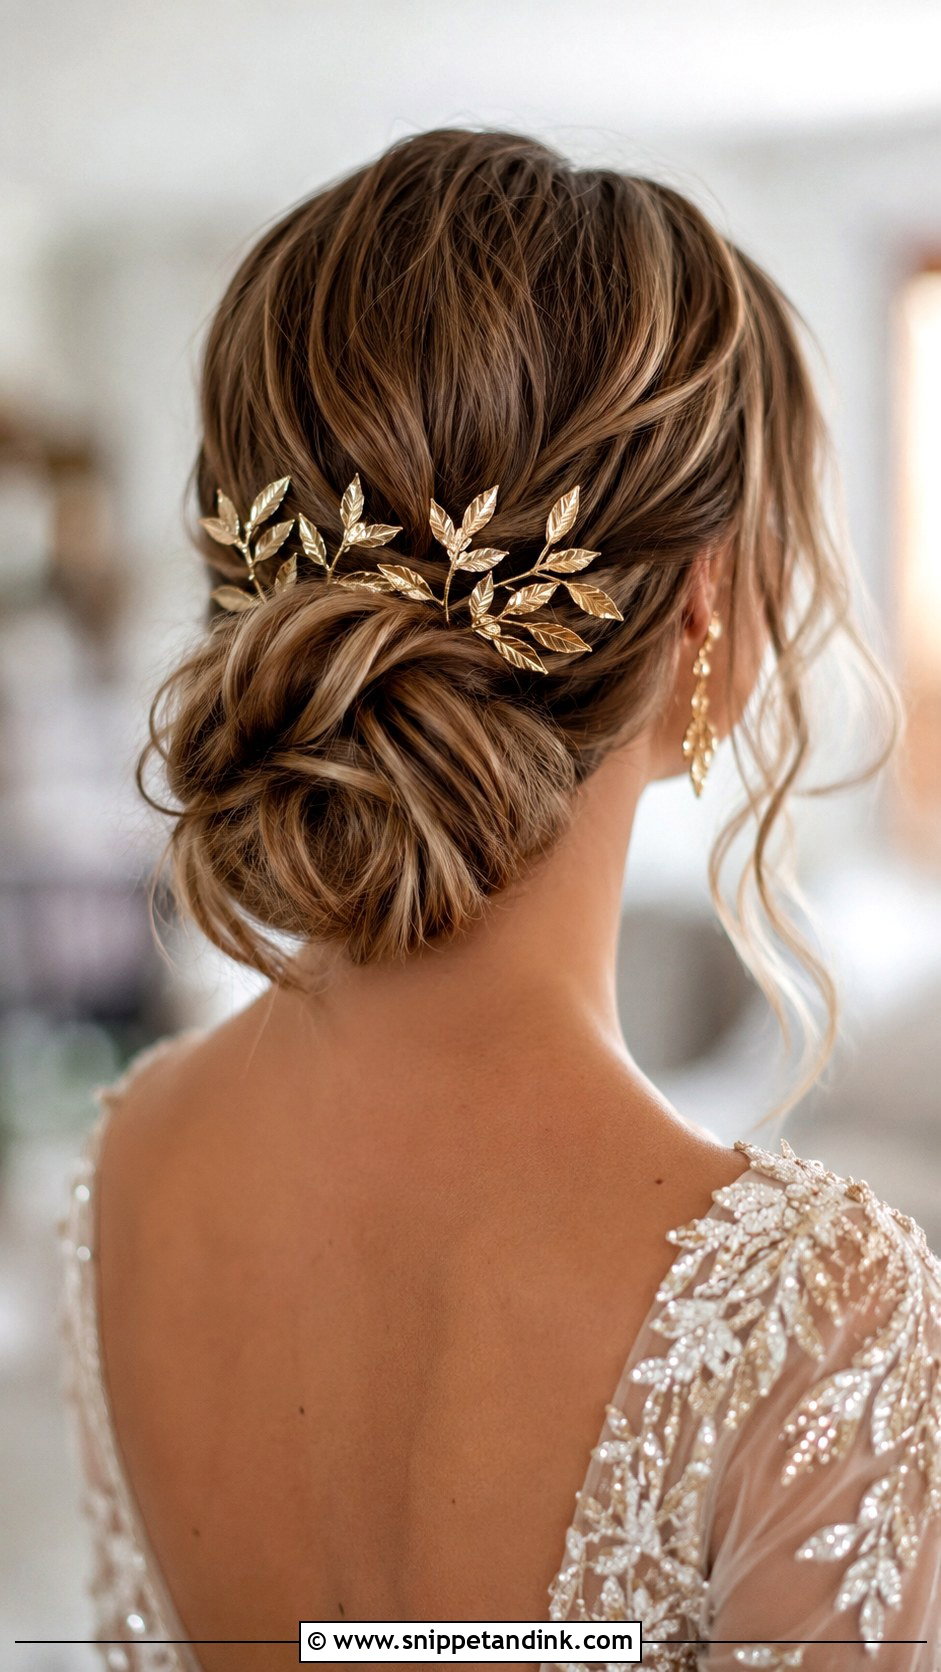
Gold pins and leaf-shaped combs warm up a low bun and pick up gold jewelry or embroidery on the dress. I pick gold over silver when the gown is warm ivory or champagne, because it doesn’t fight the fabric the way cool silver can. Brushed or matte gold usually looks richer in photos than shiny gold, which can flash. Spread a few through the bun, or arrange them in a line along one side. They suit both modern and boho looks.
26. Low Bun With Loose Waves
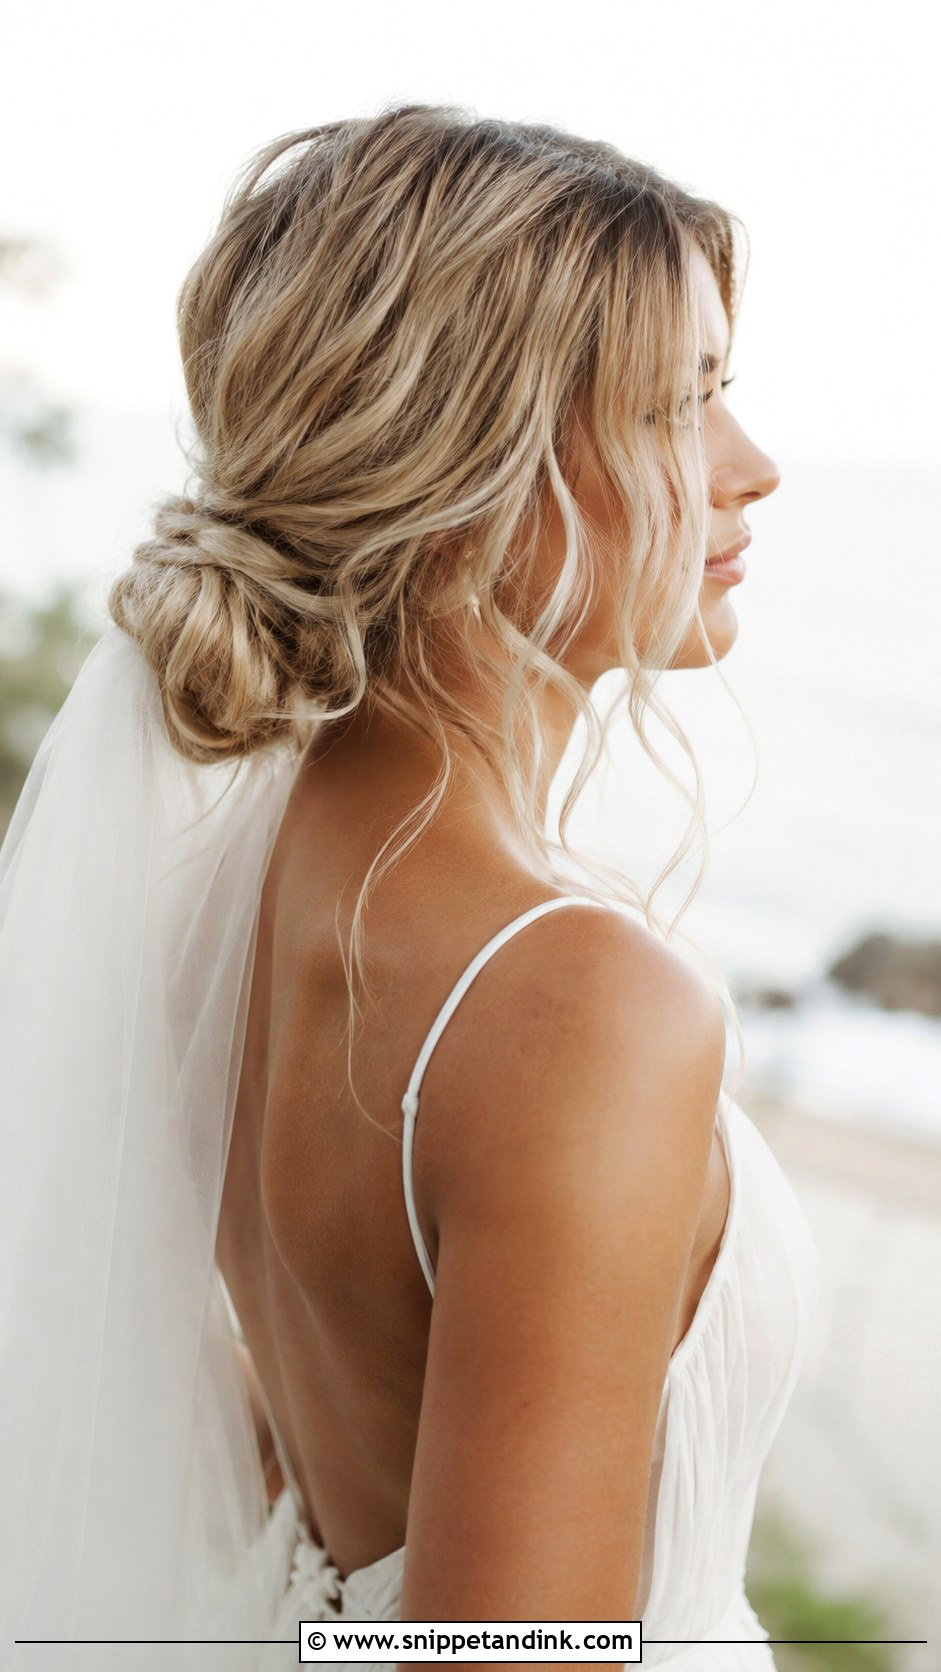
Loose waves around a low bun keep it soft and work especially well on naturally wavy hair, which takes a curl readily and holds it. I use a large iron or flat iron to bend the hair rather than curl it, then brush through so the waves blend. Some waves stay loose at the face. In humid or seaside weather, waves drop faster, so I set them with a firm-hold spray before gathering. A flowing veil and small accessories finish it.
27. Elegant Low Updo With Headband
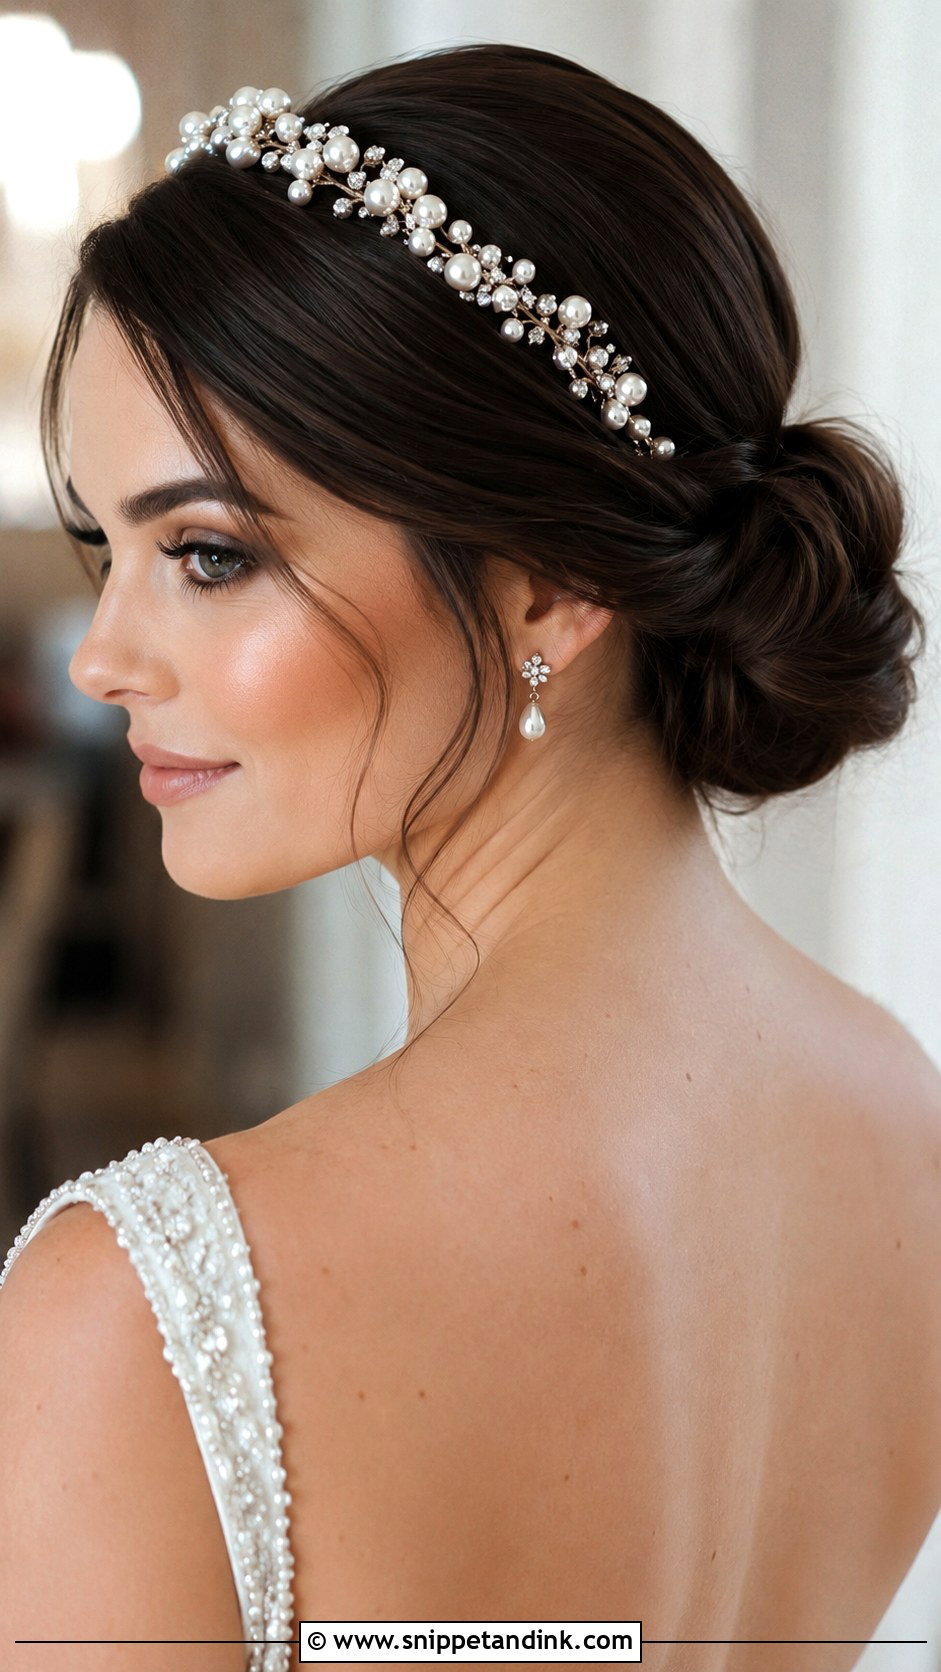
A jeweled or pearl headband placed in front of a low updo gives a crown effect with none of the weight. I position it first and build the updo behind it, so the headband sits on hair, not on the scalp, which is what causes headaches by hour five. Combs on the underside of the band help it grip. It suits classic, formal weddings and frames the face well. If the headband pinches at the trial, it will pinch worse on the day.
28. Low Bun For Curly Hair
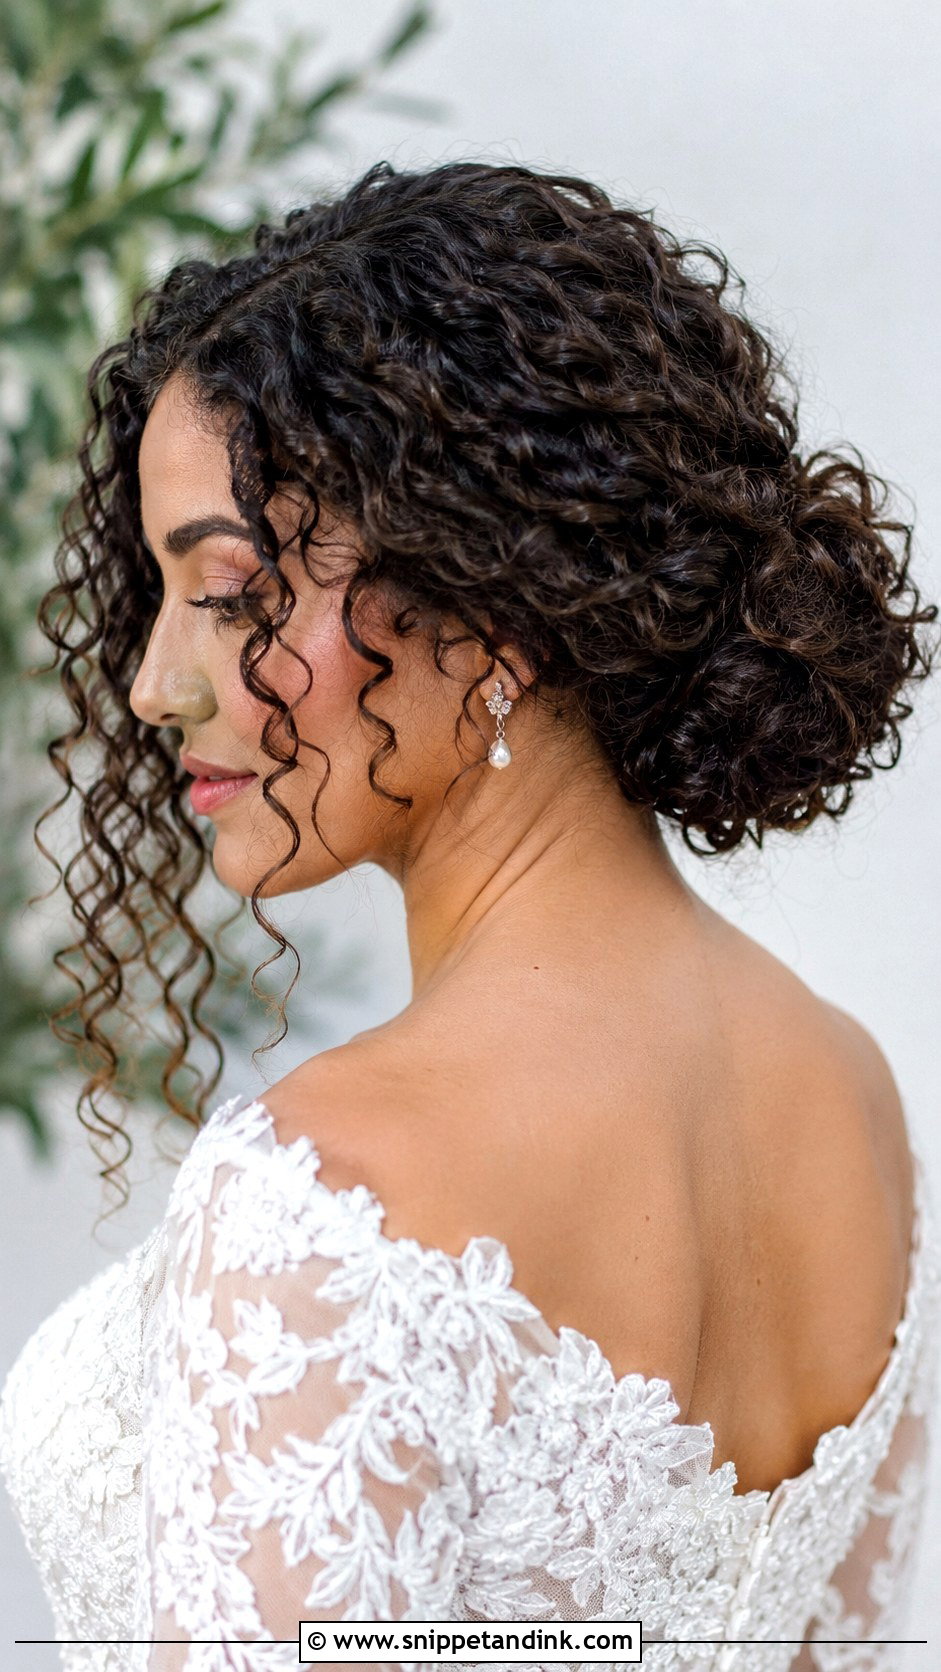
Curly hair makes a full, round low bun on its own, so I work with the curl pattern instead of blowing it out. I refresh curls with a curl cream and water, gather them gently with a wide-tooth comb or fingers, and pin with large U-pins that go in without breaking the curl clumps. A few curls stay at the face. Avoid heavy gel near the bun, which can make it look crunchy in photos. Flowers, pearls or sparkly pins all tuck easily into curls.
29. Low Bun With Ribbon Accent
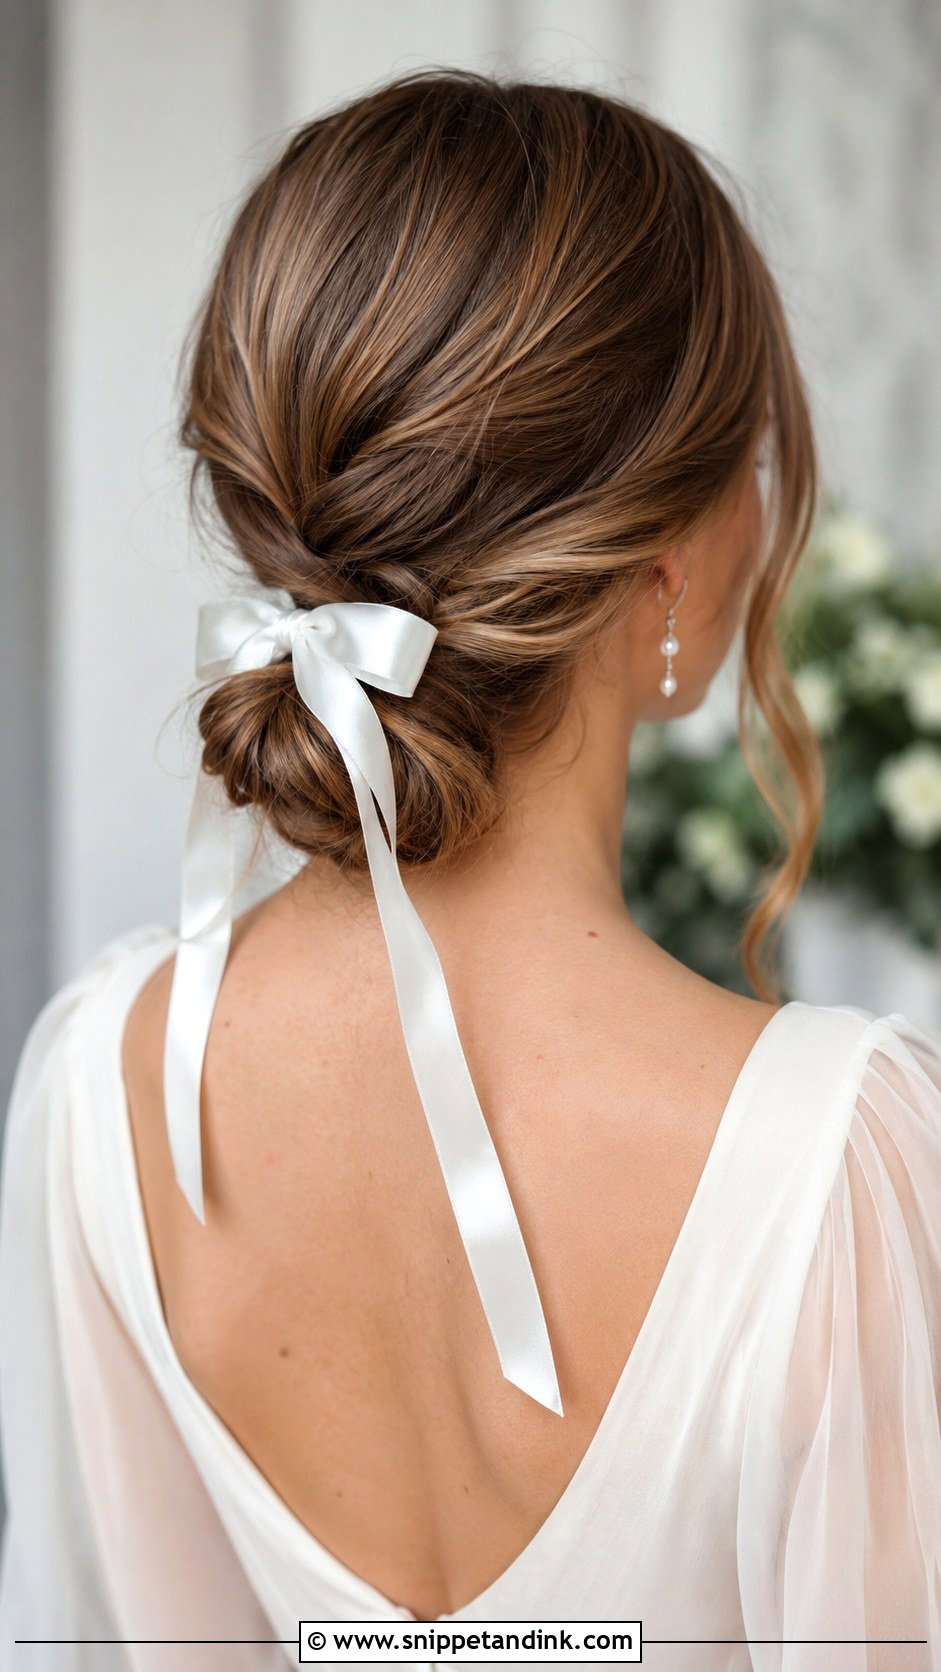
Ribbon in bridal hair has had a real comeback, tied into a soft bow or woven through the bun. I use silk or satin ribbon about an inch wide; narrower ribbon disappears and wider ribbon looks like a school bow. Matching it to the wedding palette is the obvious move, but an ivory ribbon against ivory hair accessories looks more grown-up. I secure the ribbon with a pin underneath the knot before tying, so it doesn’t slide down. Loose tendrils balance the sweetness.
30. Low Bun With Birdcage Veil
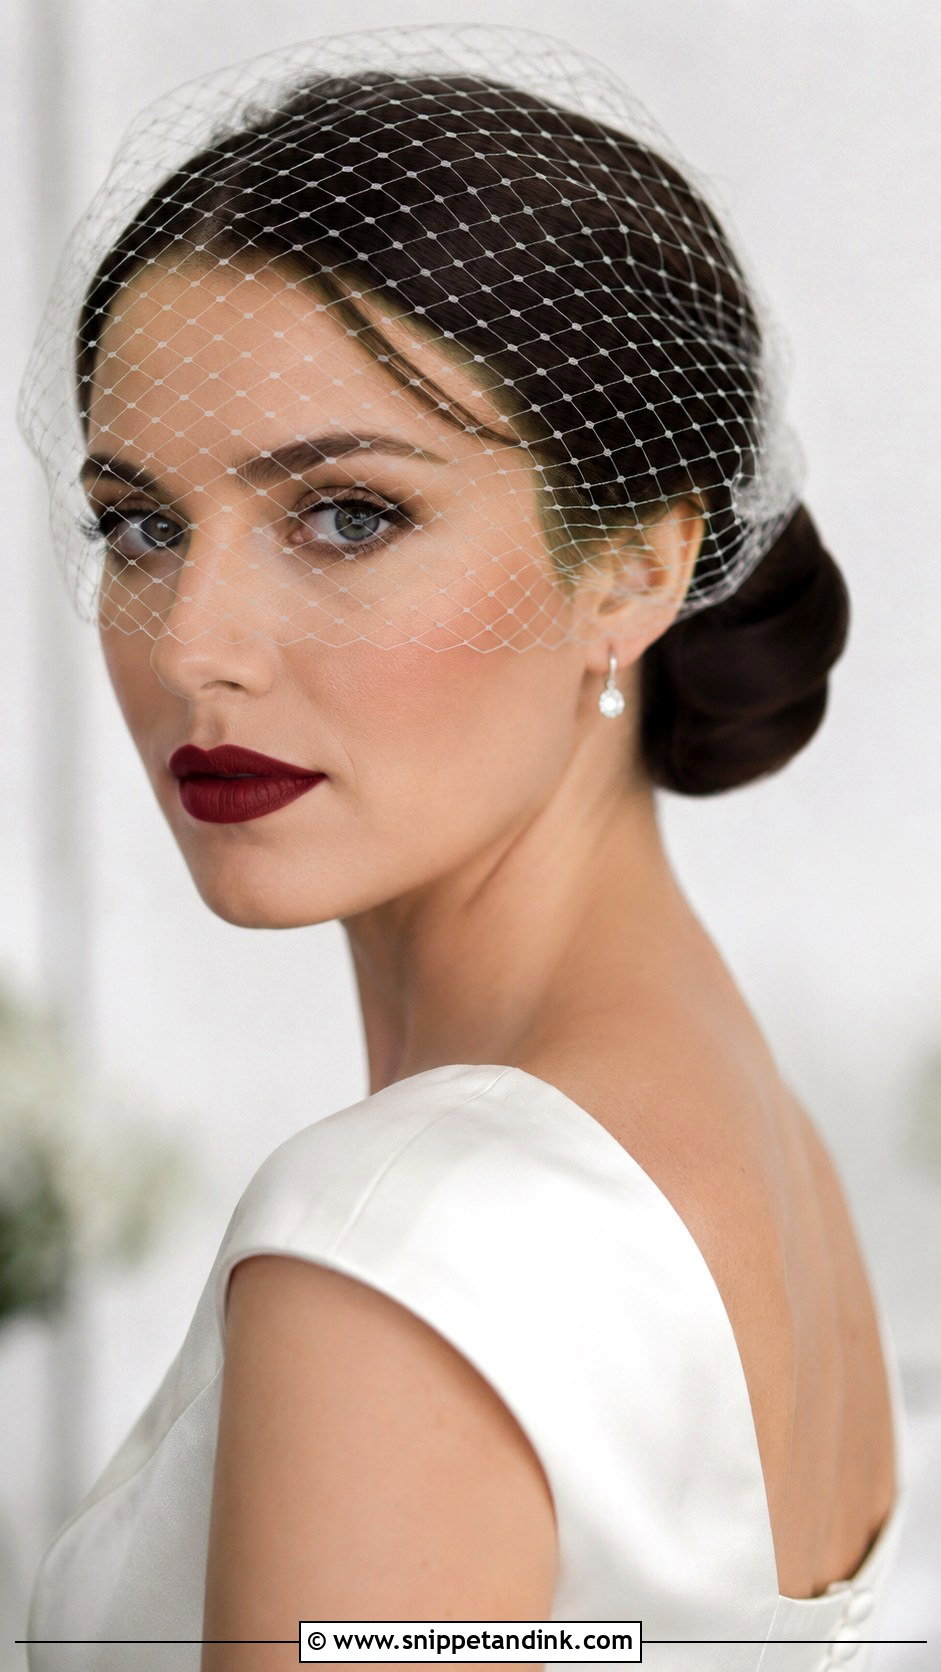
A birdcage veil is short netting that covers the eyes or part of the face, and it needs a firm base to attach to. A low bun gives exactly that, with the comb sitting at the side of the head. I secure it with crossed pins underneath because birdcage combs are small and slide easily. It suits vintage and classic weddings and pairs naturally with a red lip and statement earrings. Once you’ve tried it on, practice drinking and kissing with the netting in front of your face, since it gets in the way more than people expect.
How I Prep Hair So a Nape Bun Lasts Until the Last Song
Freshly washed hair is slippery, so I ask most brides to wash the night before rather than the morning of. One day of natural oil gives pins something to grip. Skip conditioner on the roots and use a lightweight one through the ends only.
Adjusting for your hair type
- Fine hair: volumizing mousse at the roots, a blow-dry upside down and a padded base inside the bun. Without padding, fine hair can look thin by the reception.
- Thick or very long hair: split it into two or three sections and pin each separately so the weight doesn’t drag a single knot down.
- Curly and coily hair: stretch it gently if you want a smooth knot, or keep the curl pattern and use large U-pins that won’t break it up.
- Layered hair: shorter layers will escape first, so I pin them flat in the base before building the bun on top.
What Loosens a Low Bun During the Day, and the Quick Fixes
Three things usually loosen a low updo: a heavy veil dragging on it, humidity relaxing the curl inside, and leaning back against chairs. The fix is rarely a full restyle. I give brides a small kit with the same pins I used, a travel-size hairspray and a small comb, and tell someone in the bridal party where it is.
If a section slips, push the pin back in at an angle against the direction the hair is pulling, then cross a second pin over it. If the veil has dragged the bun down, take the veil off for a minute, re-pin the comb with crossed pins underneath, and put it back. Ten minutes is usually enough to fix the bun, so it’s worth leaving a short gap between photos and the reception entrance.
A Low Updo Is Only as Good as the Pinning Under It
Every one of these looks rests on the same foundation: a secure base, the right pins and hair prepared to hold. Once you’ve narrowed it to two or three favorites, take photos of the front, side and back of each to your trial, along with a picture of your dress neckline. That trial is where you’ll see whether the bun sits at the right height for your veil and whether the style holds after a few hours. Bring your accessories too, so the pins, vines or flowers can be placed for real.
You'll Like These Ideas:


Leave a Reply