
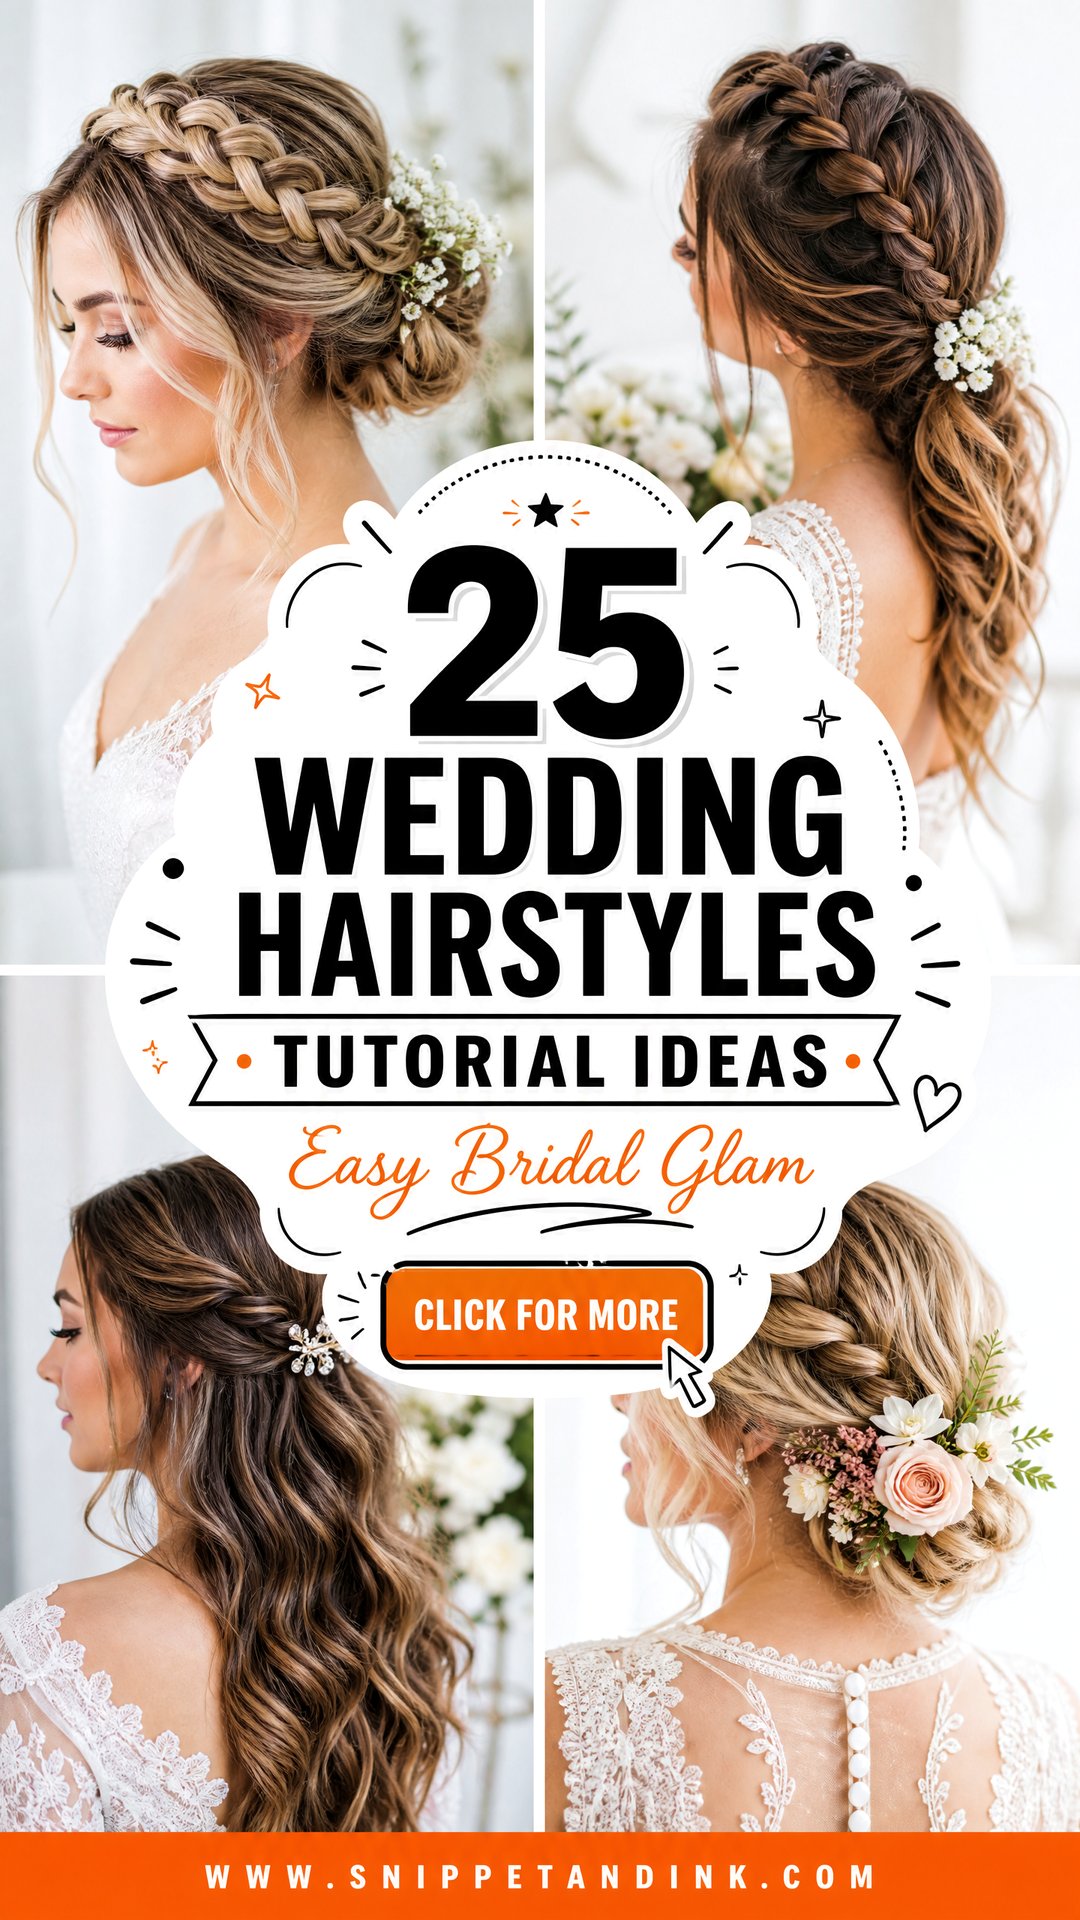
Plenty of brides do their own wedding hair, and plenty of them do it well. The ones who struggle usually picked a style that needs a second pair of hands, or they tried it for the first time on the morning. I’ve written these 25 styles as the steps I’d talk you through if I were standing behind you, with simple tutorial-style breakdowns for each one. Some are genuinely beginner friendly; a few are honest stretches, and I say so. Read the steps, then pick something your hands can repeat three times in a row.
Pins, Elastics and a Second Mirror for DIY Bridal Hair
When I do hair, half the result comes from the tools on the table. Doing your own is no different, and the cheap basics make more difference than any styling product.
- Bobby pins matched to your hair colour, and more than you think you need. A wedding updo can easily use thirty or more.
- U-shaped hair pins for buns and curly hair. They hold shape without flattening it.
- Clear elastics and a couple of fabric ones for anything heavy.
- Texture spray for grip, and a flexible hairspray to finish.
- A curling iron with the barrel size you’ve practised with, not a new one bought for the day.
- A hand mirror, or a phone on a stand set to video, so you can see the back.
Hair washed the day before holds a style better than freshly washed hair, which is slippery. If your hair gets oily quickly, a little dry shampoo at the roots the night before gives both grip and volume.
Which Styles Are Realistic on Your Own Head
Anything where the main work happens at the front or the side is realistic alone: low buns, pinned-back waves, side-swept curls, a half-up braid. Styles built at the back of the crown, like the French twist or a waterfall braid, are where I’d recruit a friend. Arms held up for twenty minutes get shaky, and shaky hands make loose pins.
1. Low Bun Wedding Updo Tutorial
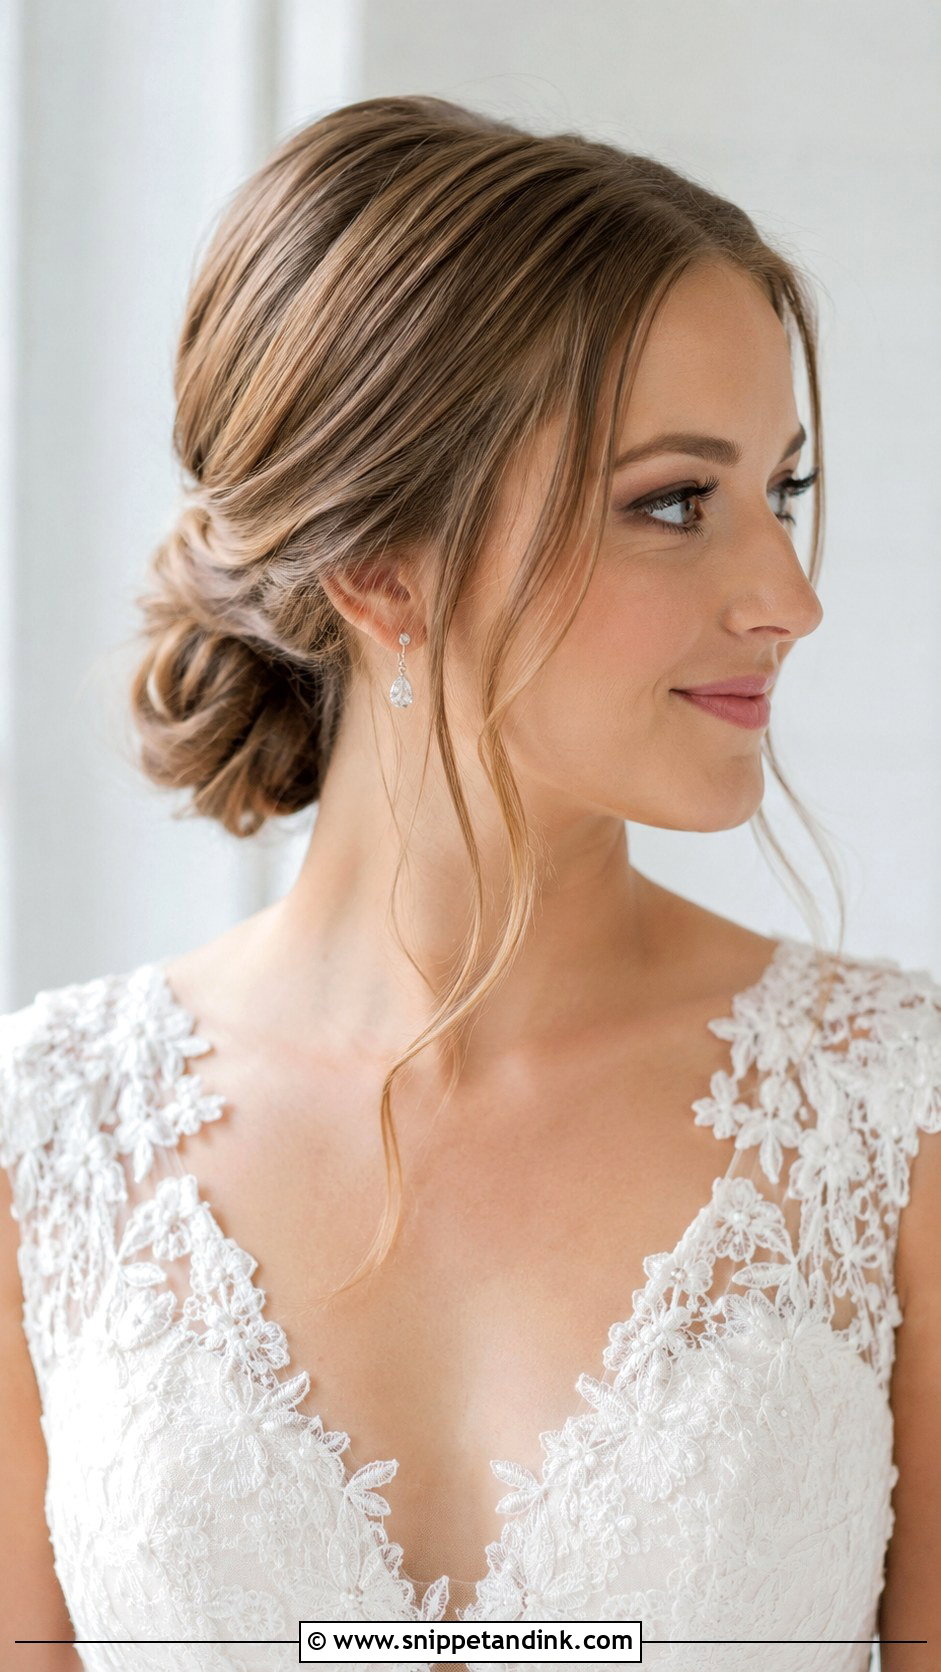
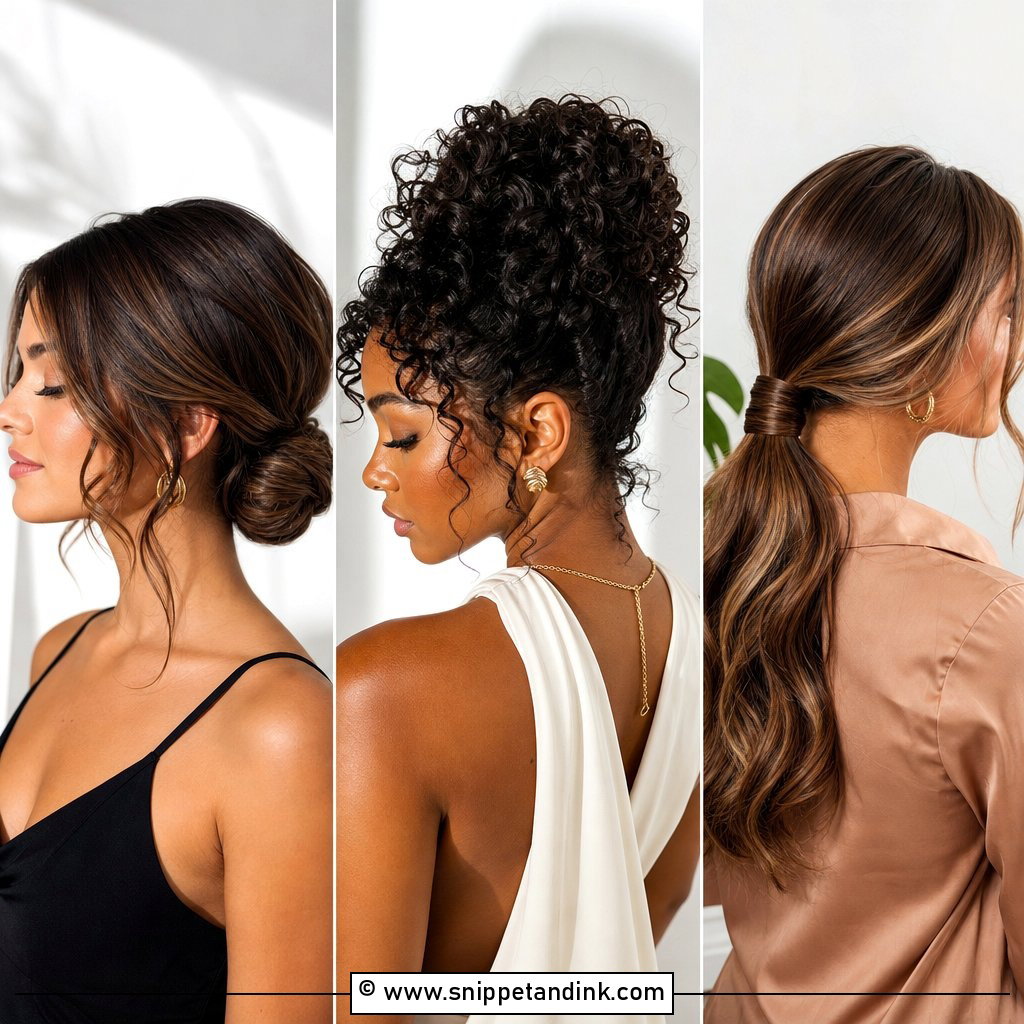
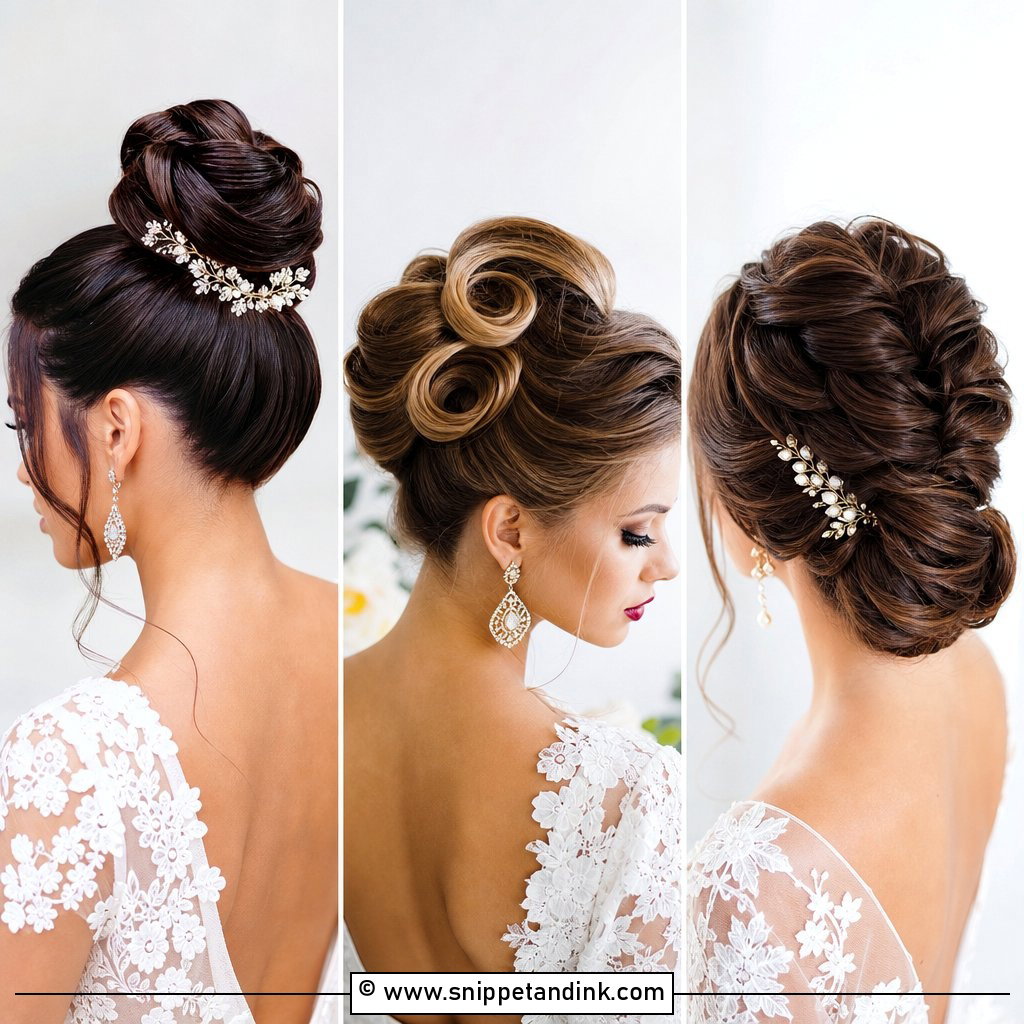
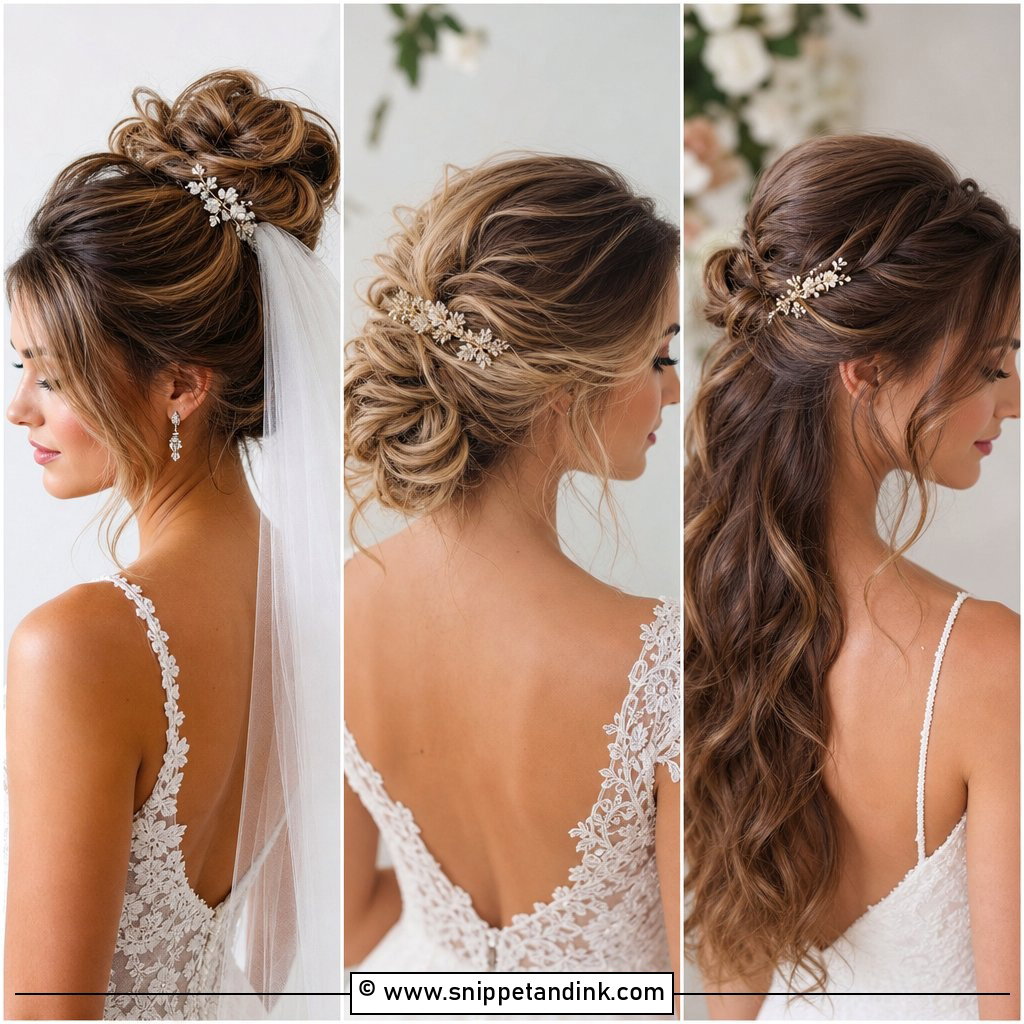
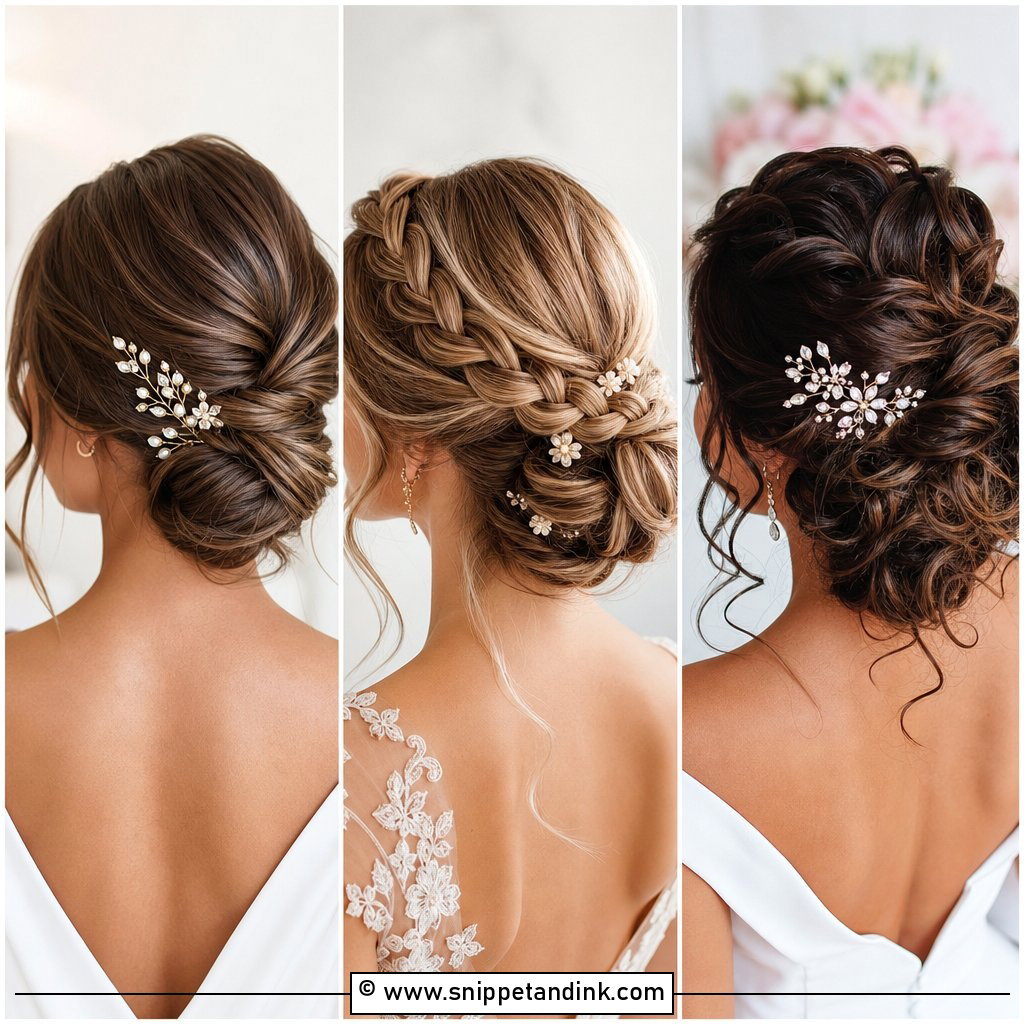
If you only learn one wedding style, make it this one. Brush the hair into a low ponytail and secure it with a clear elastic, then twist the length into a coil and wrap it round the base. Pin as you wrap, pushing each bobby pin in against the direction of the coil so it catches both the bun and the hair underneath. Tuck the ends in, pull a couple of face-framing pieces loose and mist with flexible spray. It sits under a veil comb or a tiara without fuss, and you can do the whole thing without seeing the back.
2. Messy Bun Wedding Hairstyle Tutorial
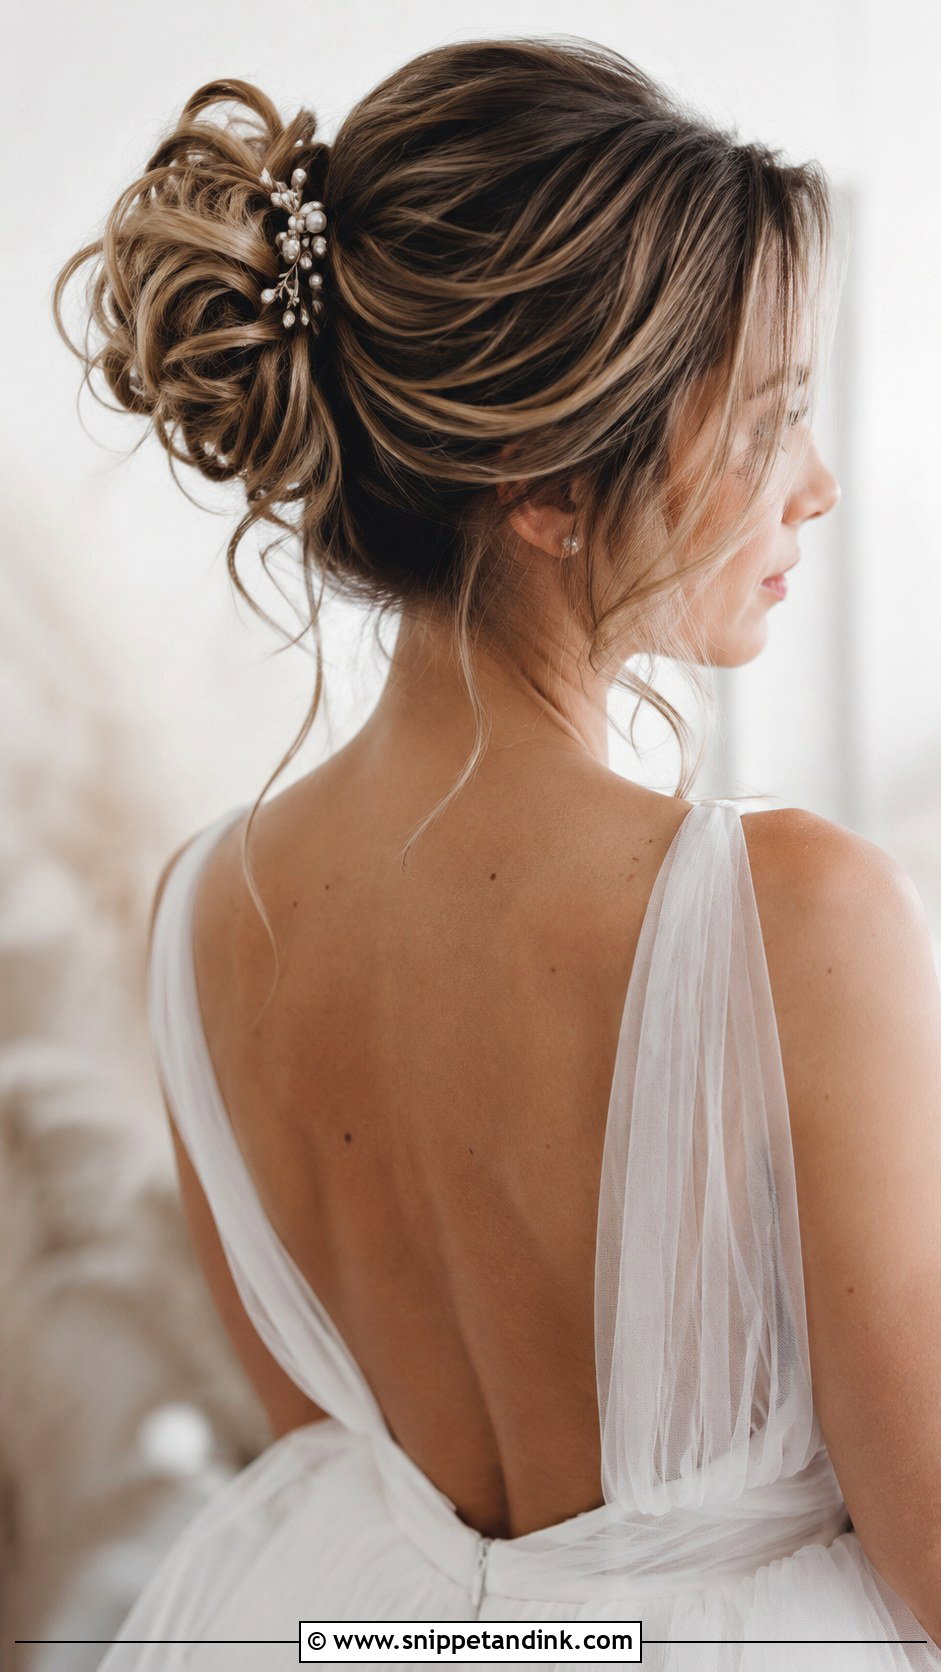
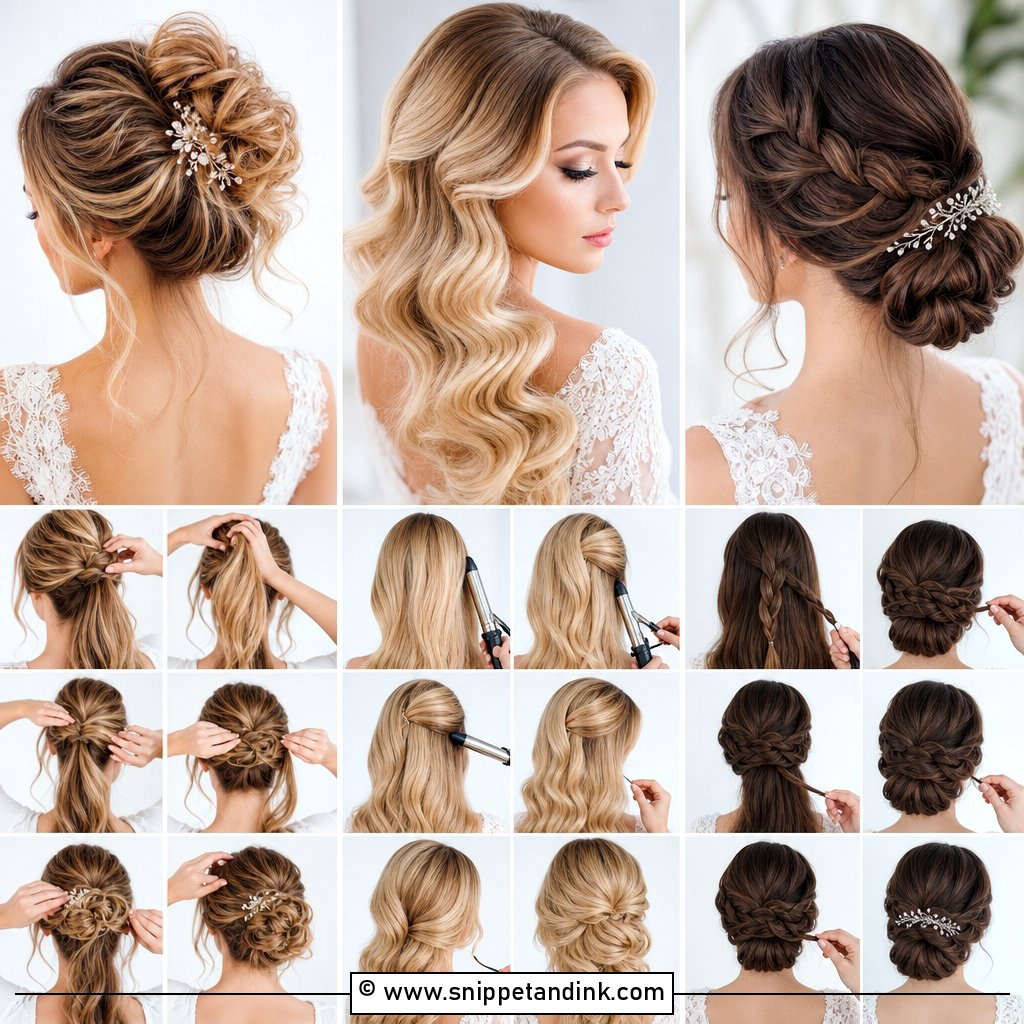
The trick with a messy bun is that it should be secure first and messy second. Texture spray on second-day hair gives grip. Gather everything into a loose mid-height ponytail with a few strands left free near the face, then twist and wrap the tail, pinning gently. Only once it’s anchored do you tug small sections outward for volume. If you pull before pinning, it collapses by the speeches. A floral pin or pearl comb at one side finishes it, and it suits a garden or boho wedding.
3. French Twist Wedding Updo Tutorial
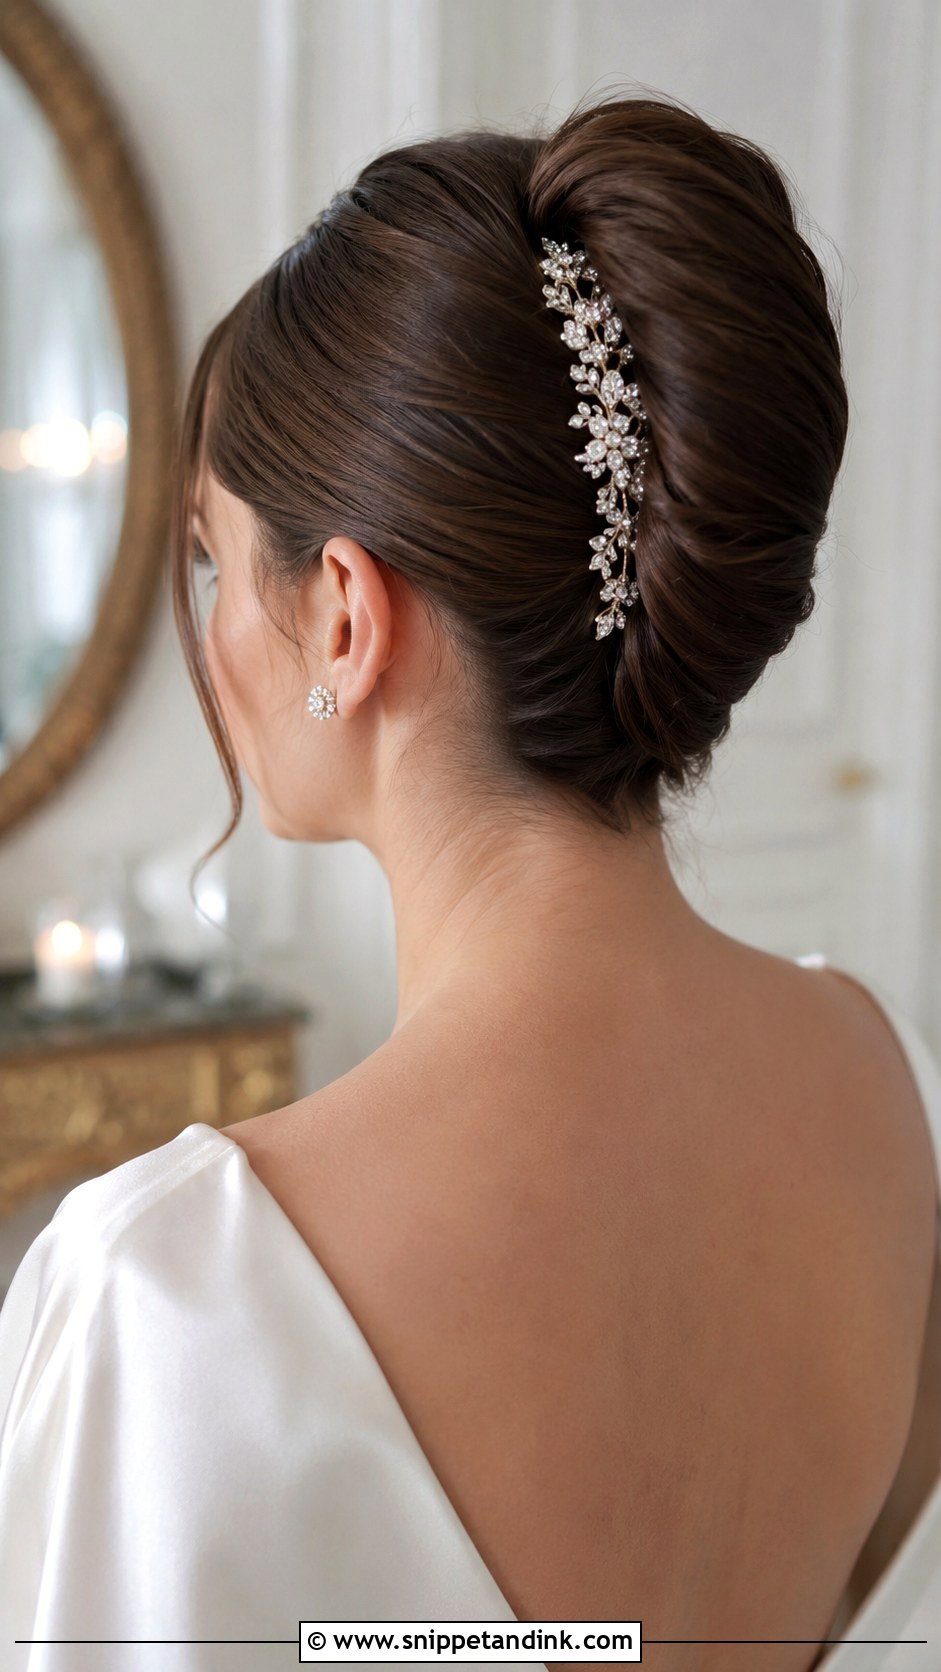
A French twist is the hardest style on this list to do on yourself, because the seam sits right where you can’t see it. Brush the hair smooth and back, gather it to one side and twist upward toward the crown, rolling it into a vertical fold against your head. Secure the seam with a row of pins, sliding each one into the fold rather than across it. Tuck the ends inside, smooth flyaways with a drop of serum and add a comb. I’d practise this one at least three times with a hand mirror, or ask a friend to pin the seam.
4. Half Up Half Down Wedding Hairstyle Tutorial
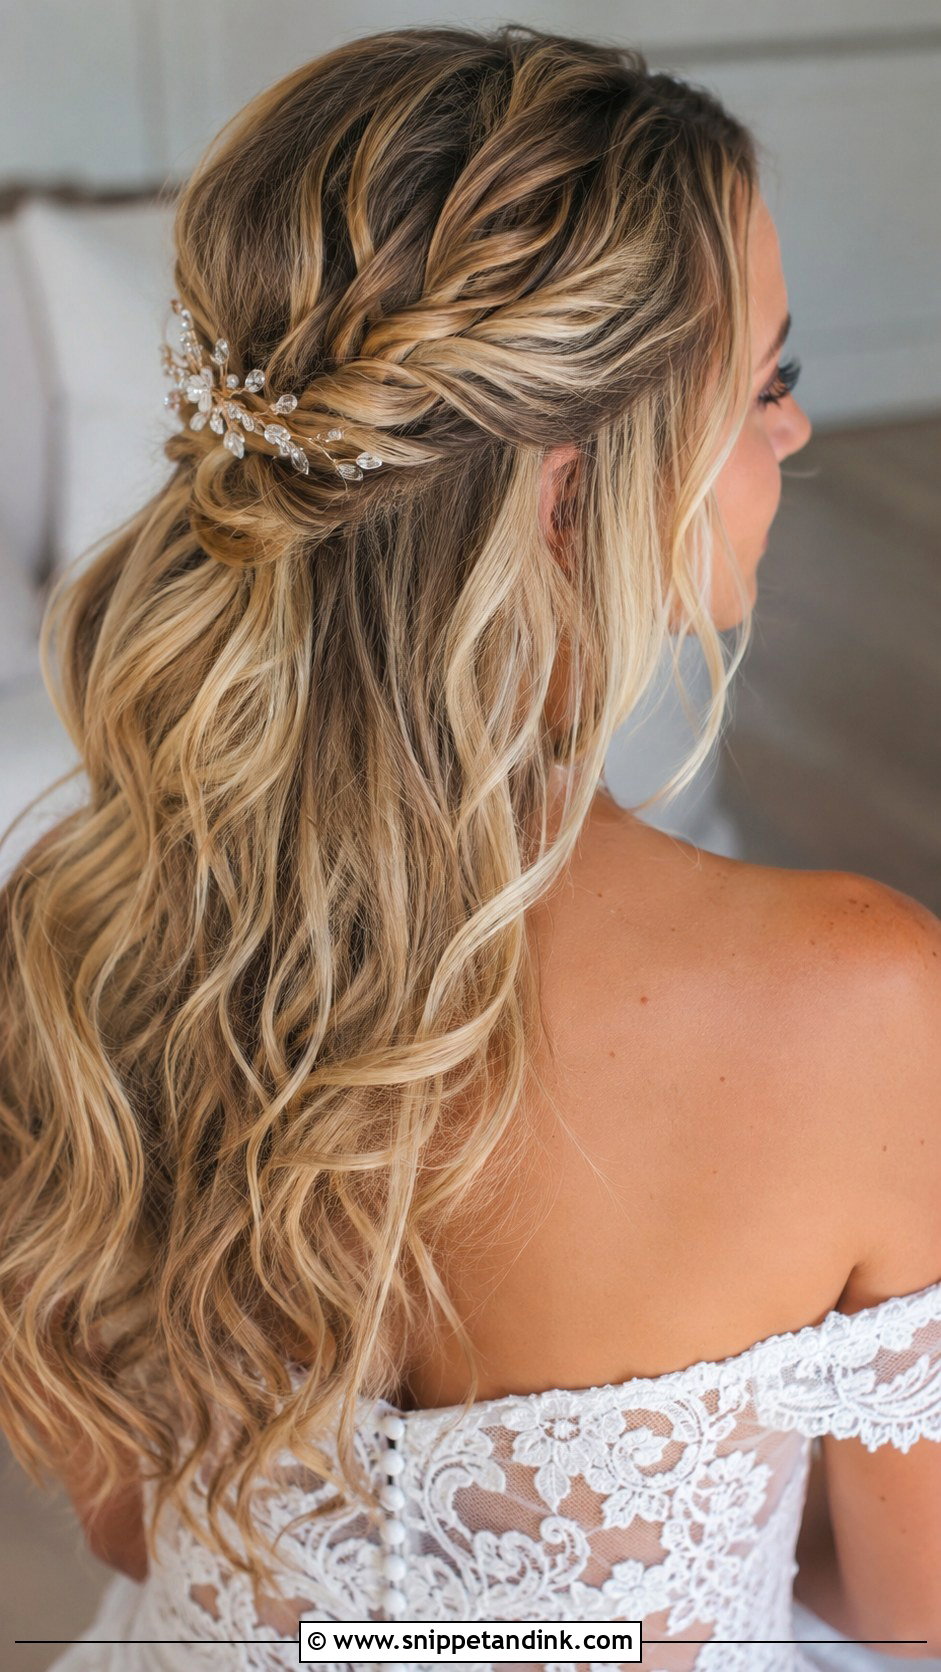
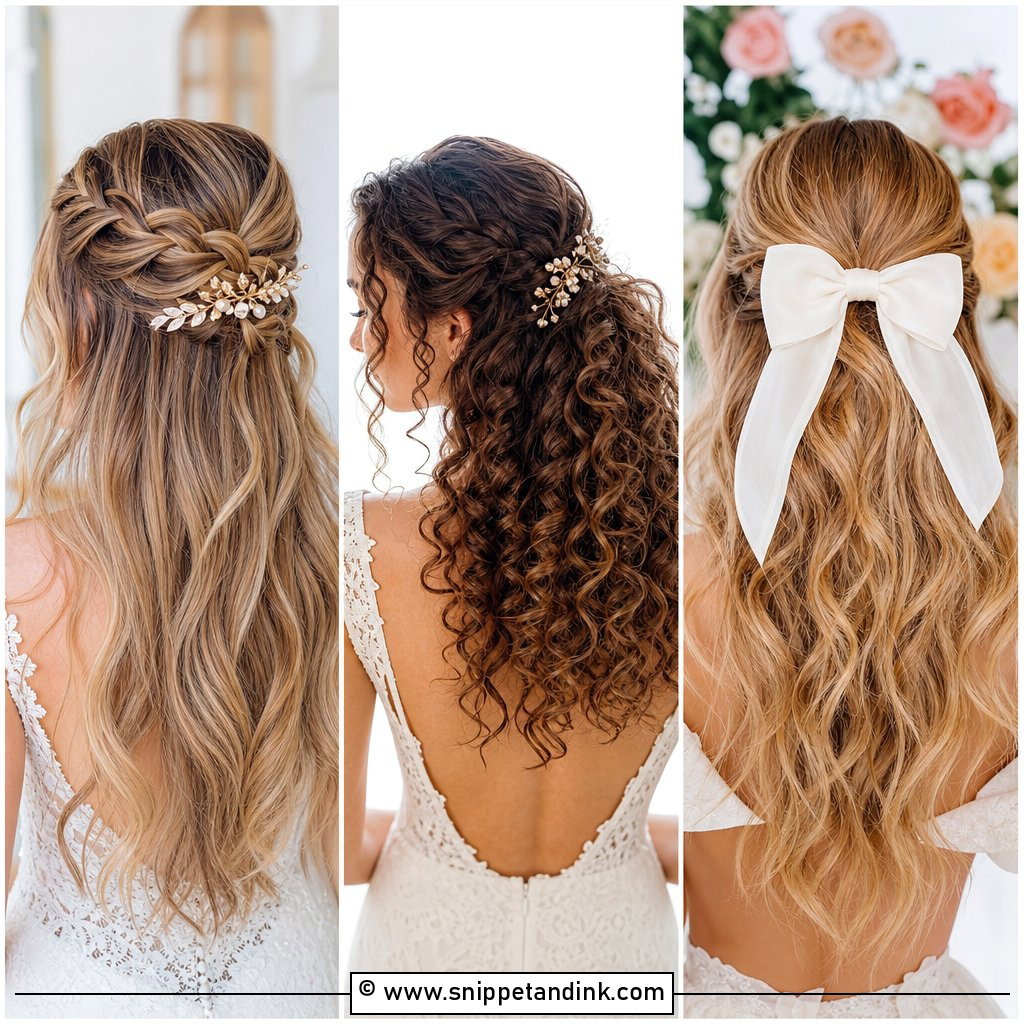
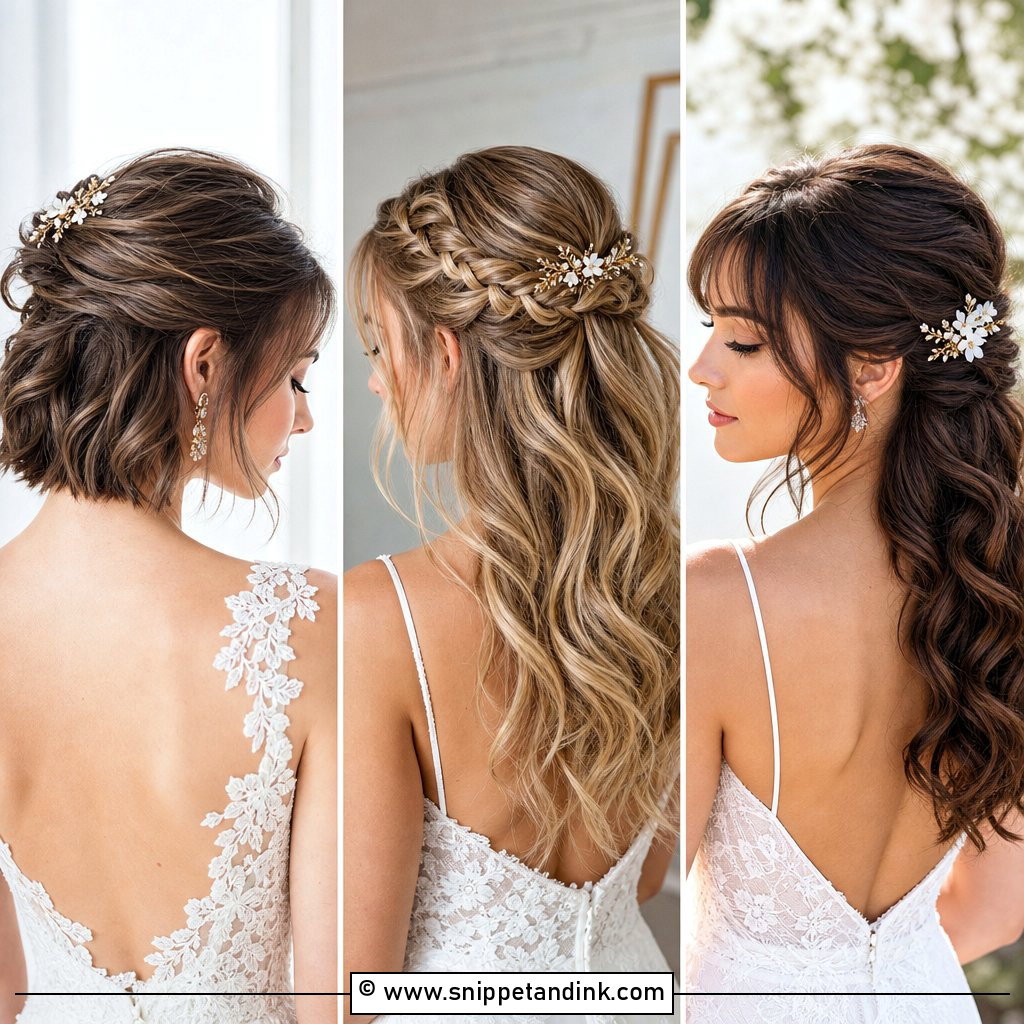
Half up, half down is the forgiving middle ground if you can’t decide. Curl the hair first, since the pinned section holds better on curled hair. Take the top section from temple to temple, twist or loosely braid each side, then pin them together at the crown with crossed bobby pins. Leave the bottom half loose. A little lift pulled from the crown adds height, and a clip covers the join. The crossed pins are the step people skip, and it’s why the top slides down by the evening.
5. Braided Crown Wedding Hairstyle Tutorial
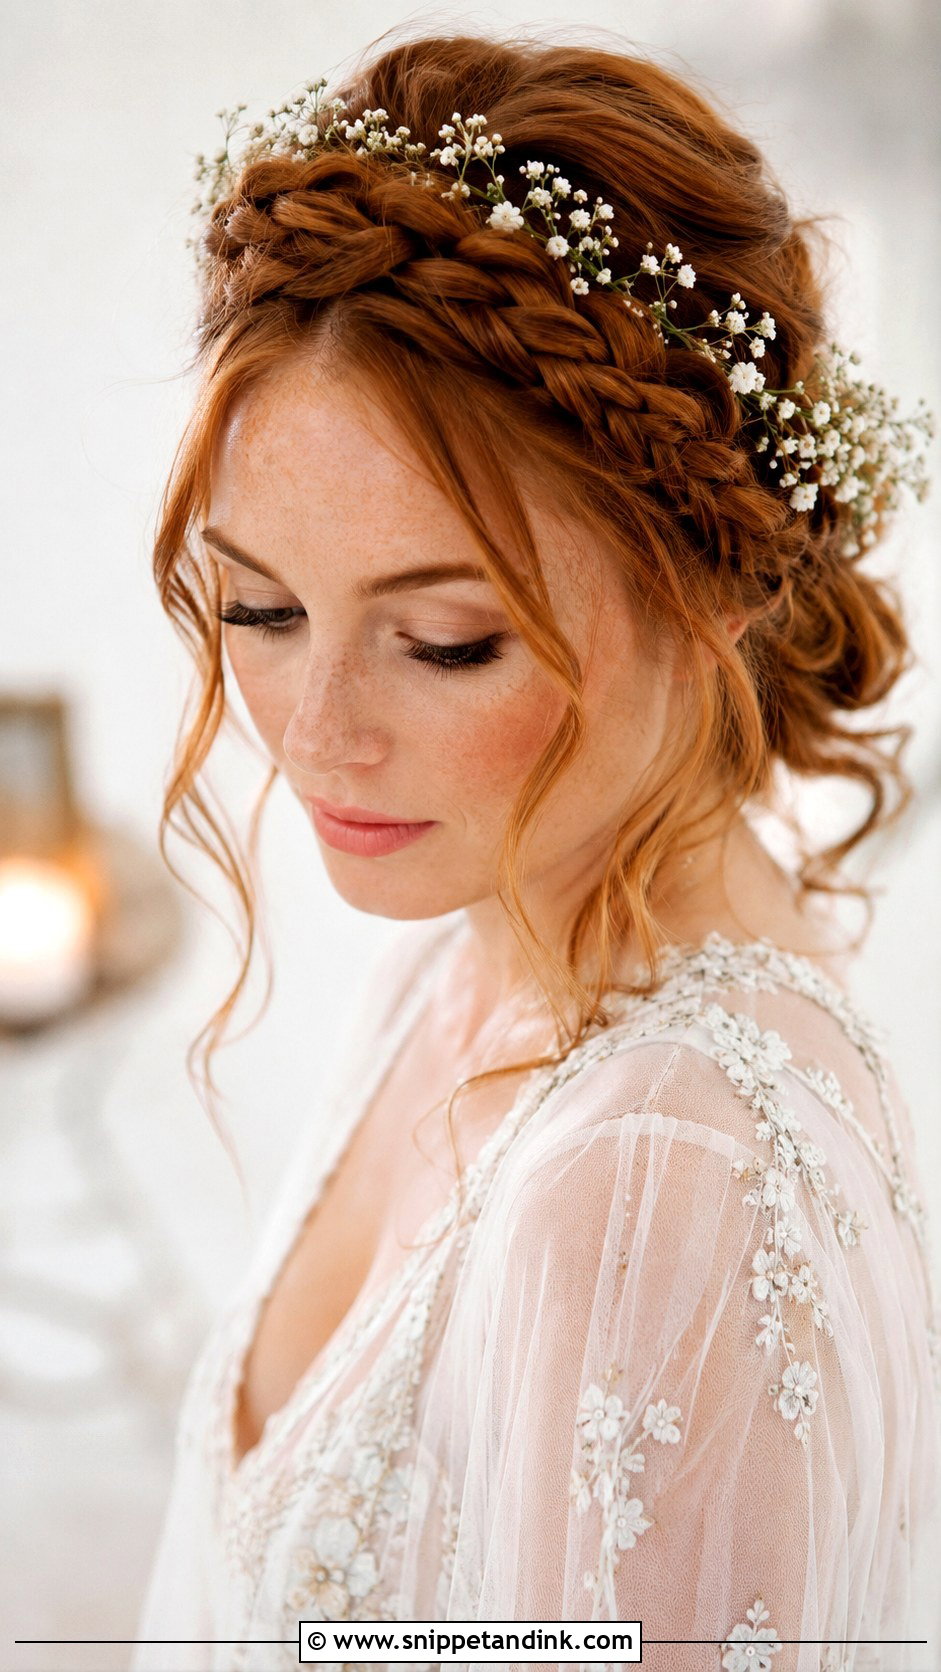
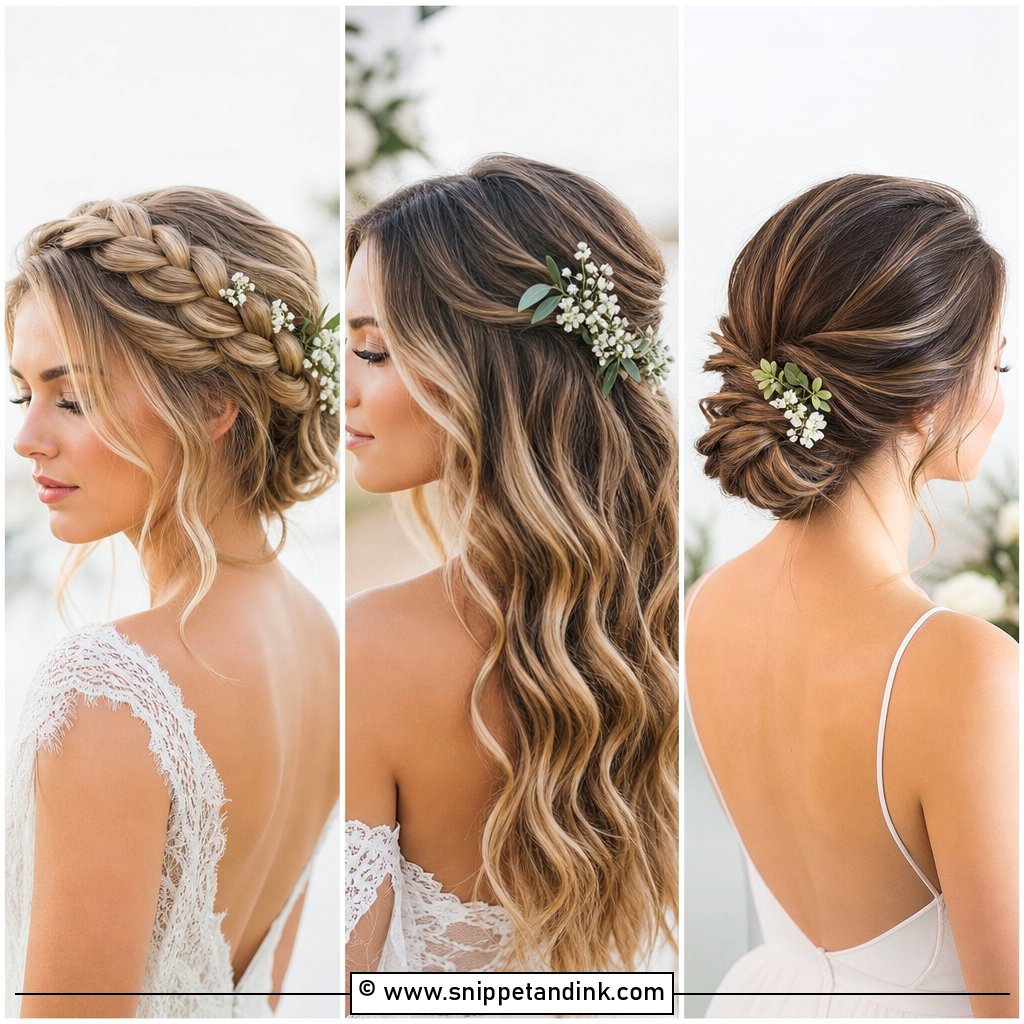
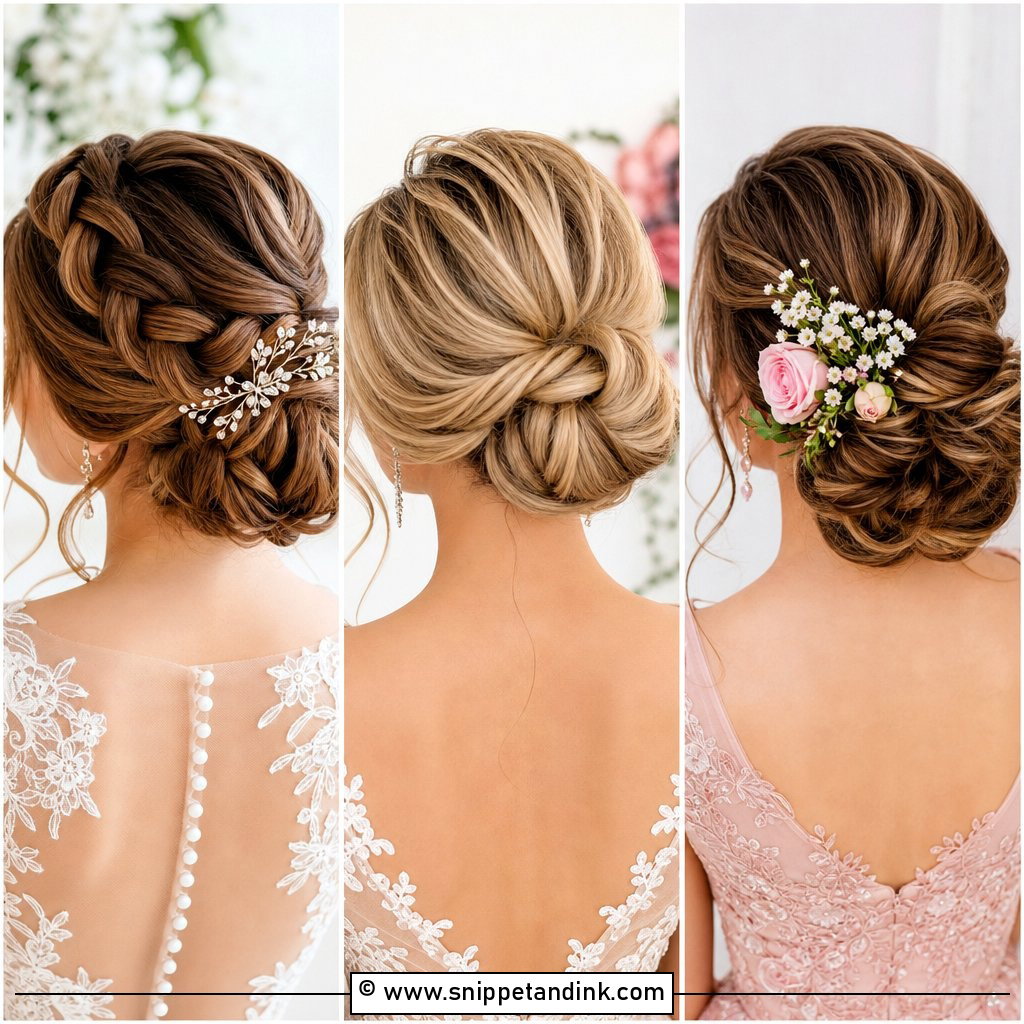
A braided crown is easier than it looks once you can braid on the side of your own head. Part down the middle and braid each side from front to back, gathering all the hair into the two braids. Bring them up over the crown and pin each across the top, tucking the ends underneath. Loosen gently with your fingertips for width. Baby’s breath tucked into the braids suits an outdoor wedding. Very short layers poke out of this one, so it’s best on hair at least shoulder length.
6. Hollywood Waves Wedding Hairstyle Tutorial
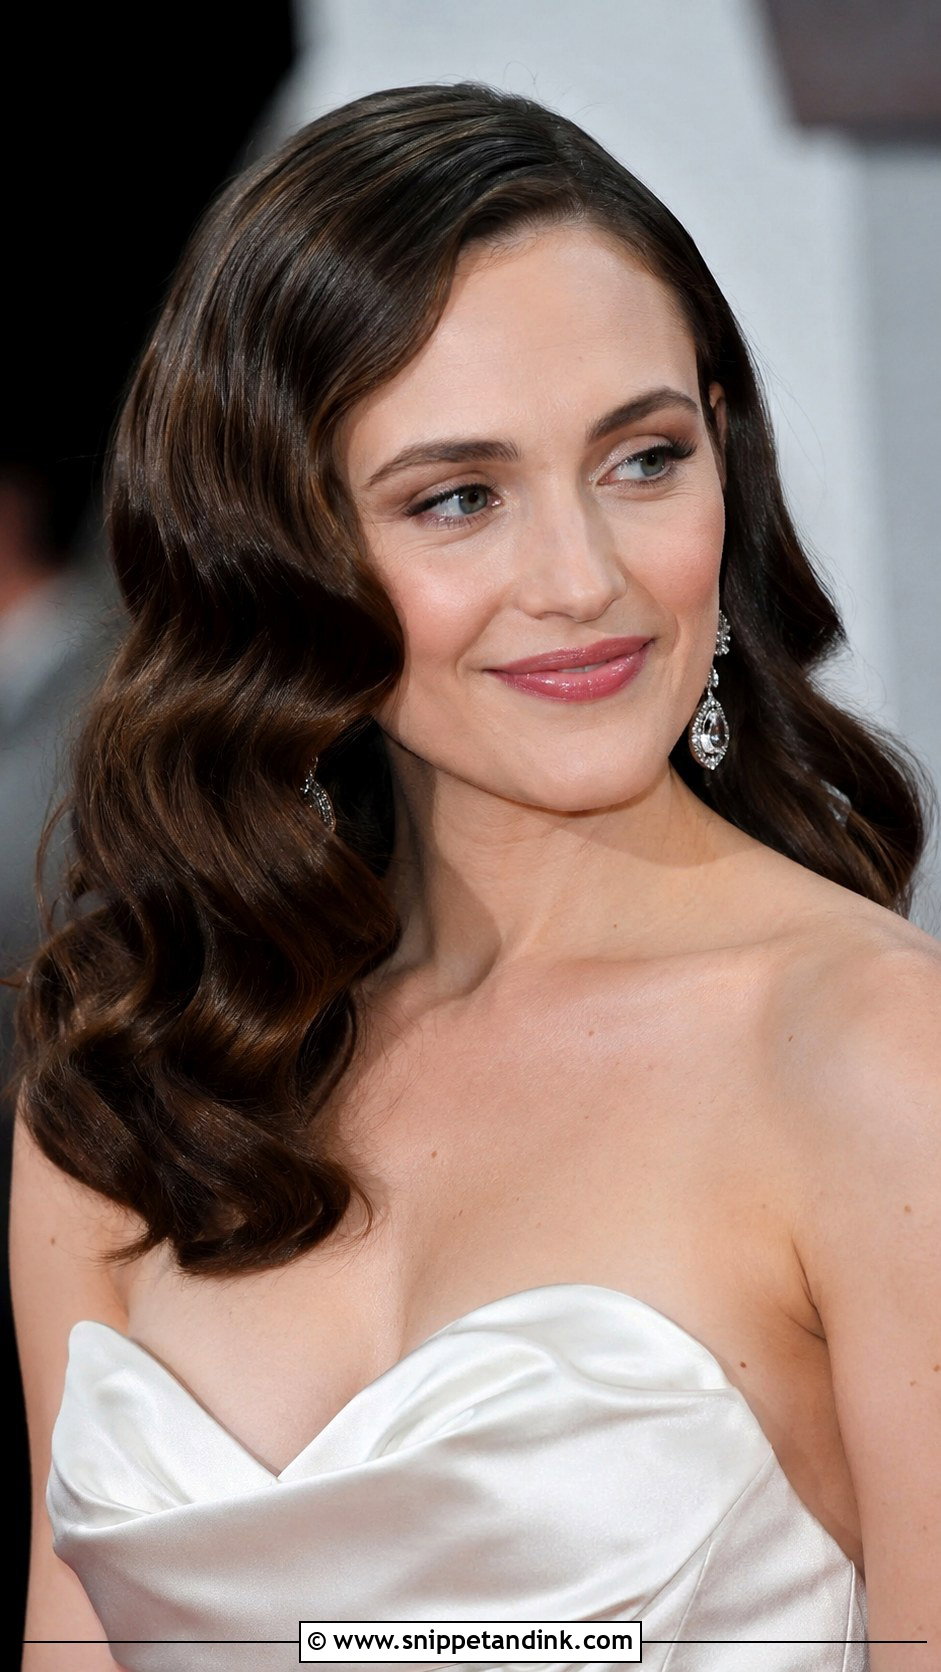
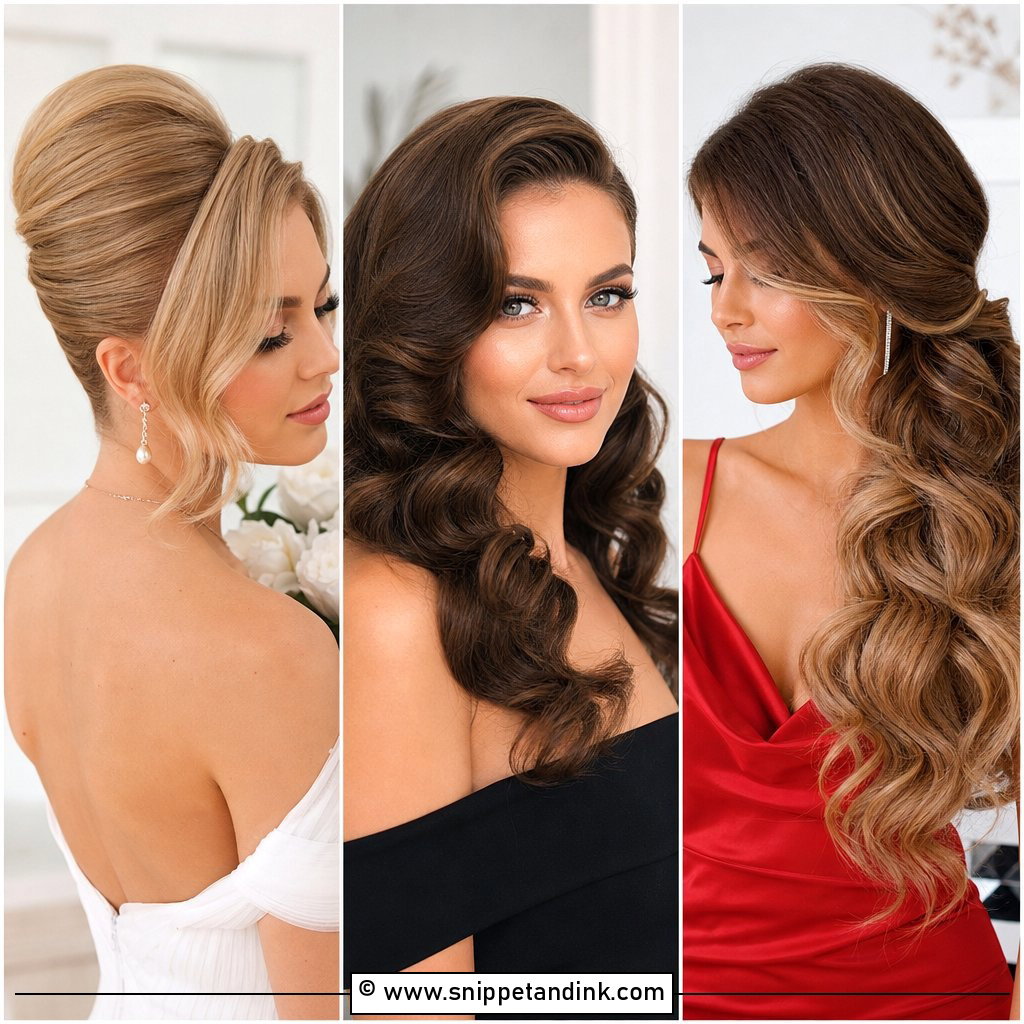
Hollywood waves are a precision style. Start with a deep side part and smooth hair, then curl every section in the same direction with a large iron; one curl going the wrong way breaks the pattern. Let them cool completely, brush through with a paddle brush, then press the dips into shape with clips and a mist of shine spray. Take the clips out once set. I’d budget an hour for this the first time. It suits a sweetheart neckline and statement earrings, and the glossy finish is what makes it.
7. Fishtail Braid Wedding Hairstyle Tutorial
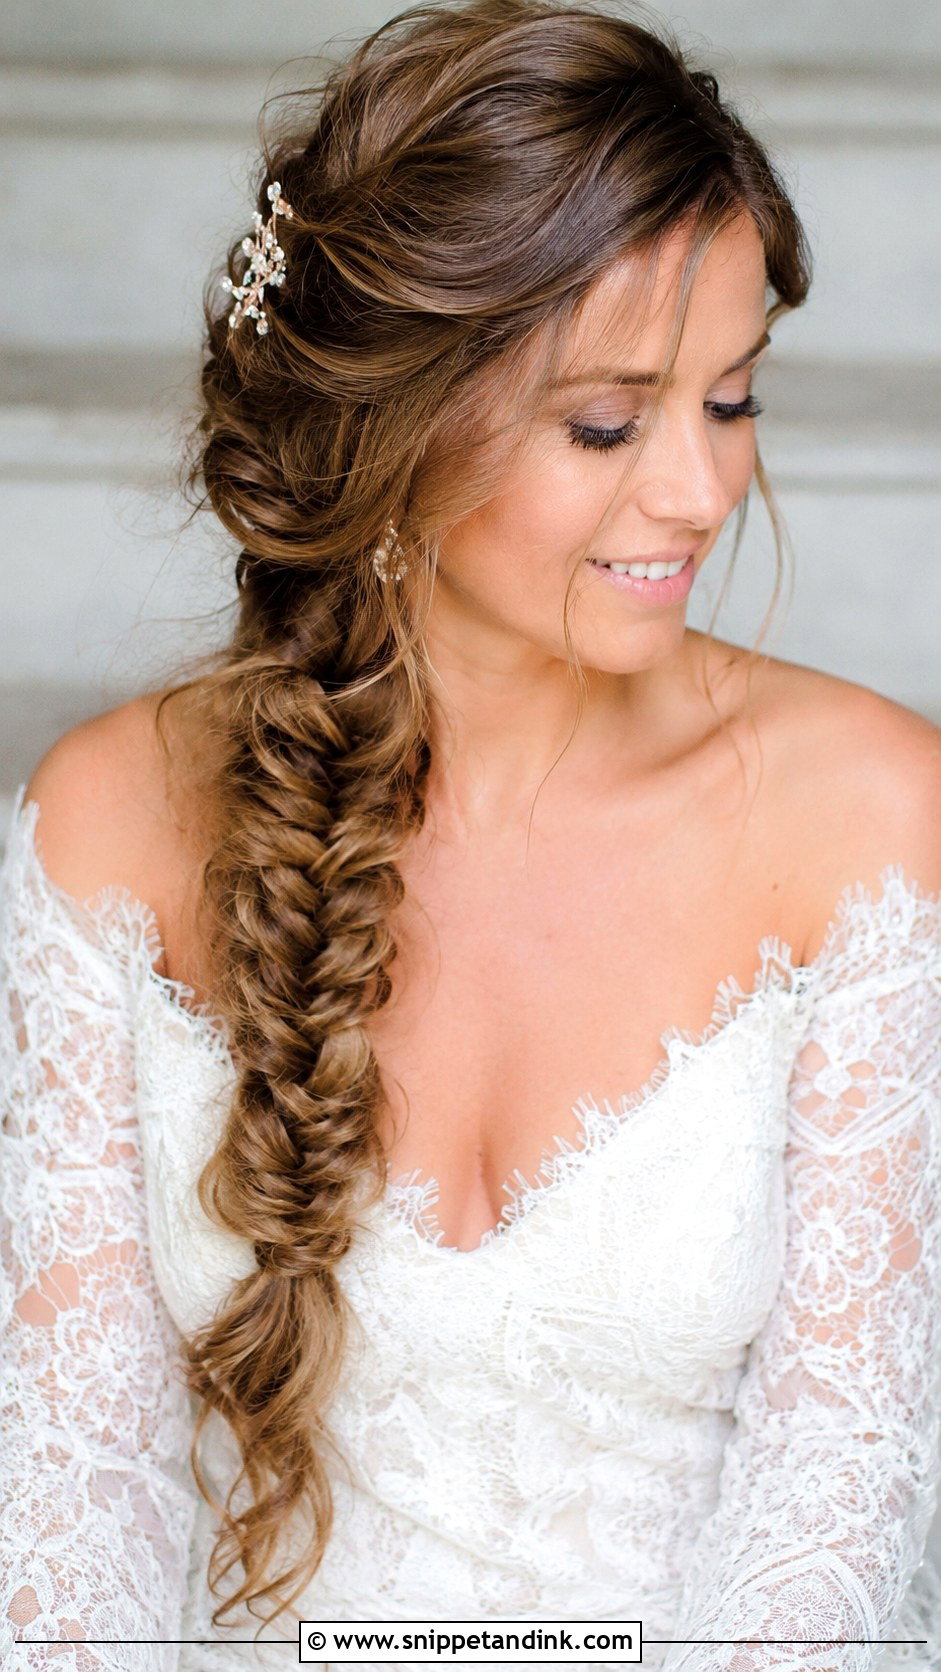
A fishtail looks complicated but is just two sections and a repeated move. Take a thin piece from the outer edge of one side and cross it to the other, then repeat on the opposite side, working downward. The thinner the pieces, the more detailed it looks. Secure with a clear elastic and tug the edges to widen it. It’s easy to do on yourself over one shoulder, which is where it sits best for long hair.
8. Sleek Low Ponytail Wedding Hairstyle Tutorial
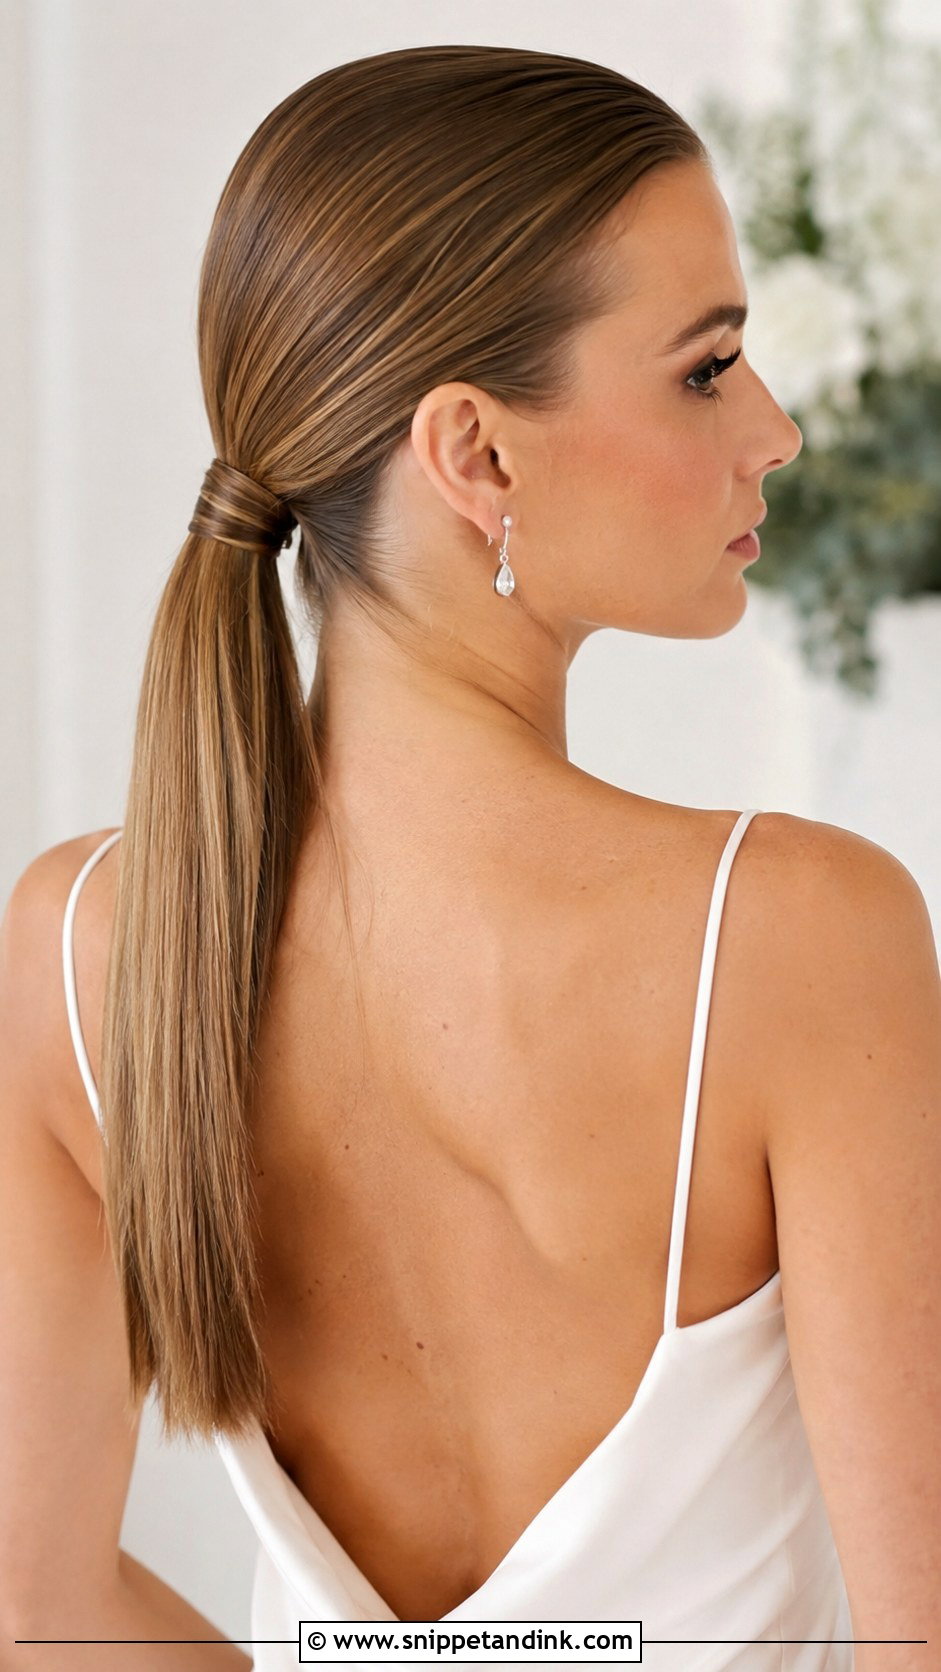
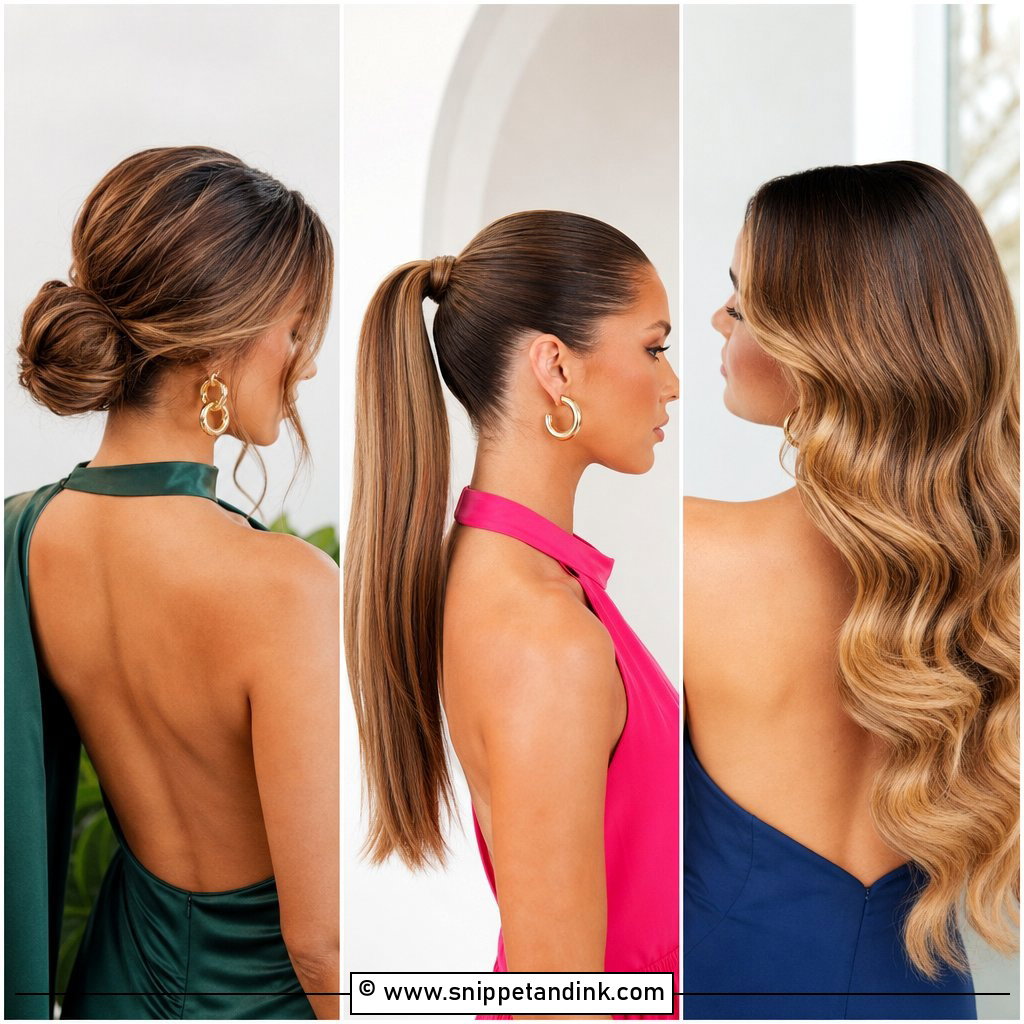
A sleek low ponytail is simple in steps and unforgiving in finish. Flat iron the hair, brush it back to the nape, secure with an elastic, then wrap a strand around the base and pin it underneath. Smooth flyaways with a boar-bristle brush and a little gel. Shine spray adds gloss. The hardest part on yourself is an even hairline at the back, so use a hand mirror. Fine hair shows the scalp at the crown with this one; a little dry shampoo there helps.
9. Curly Updo Wedding Hairstyle Tutorial
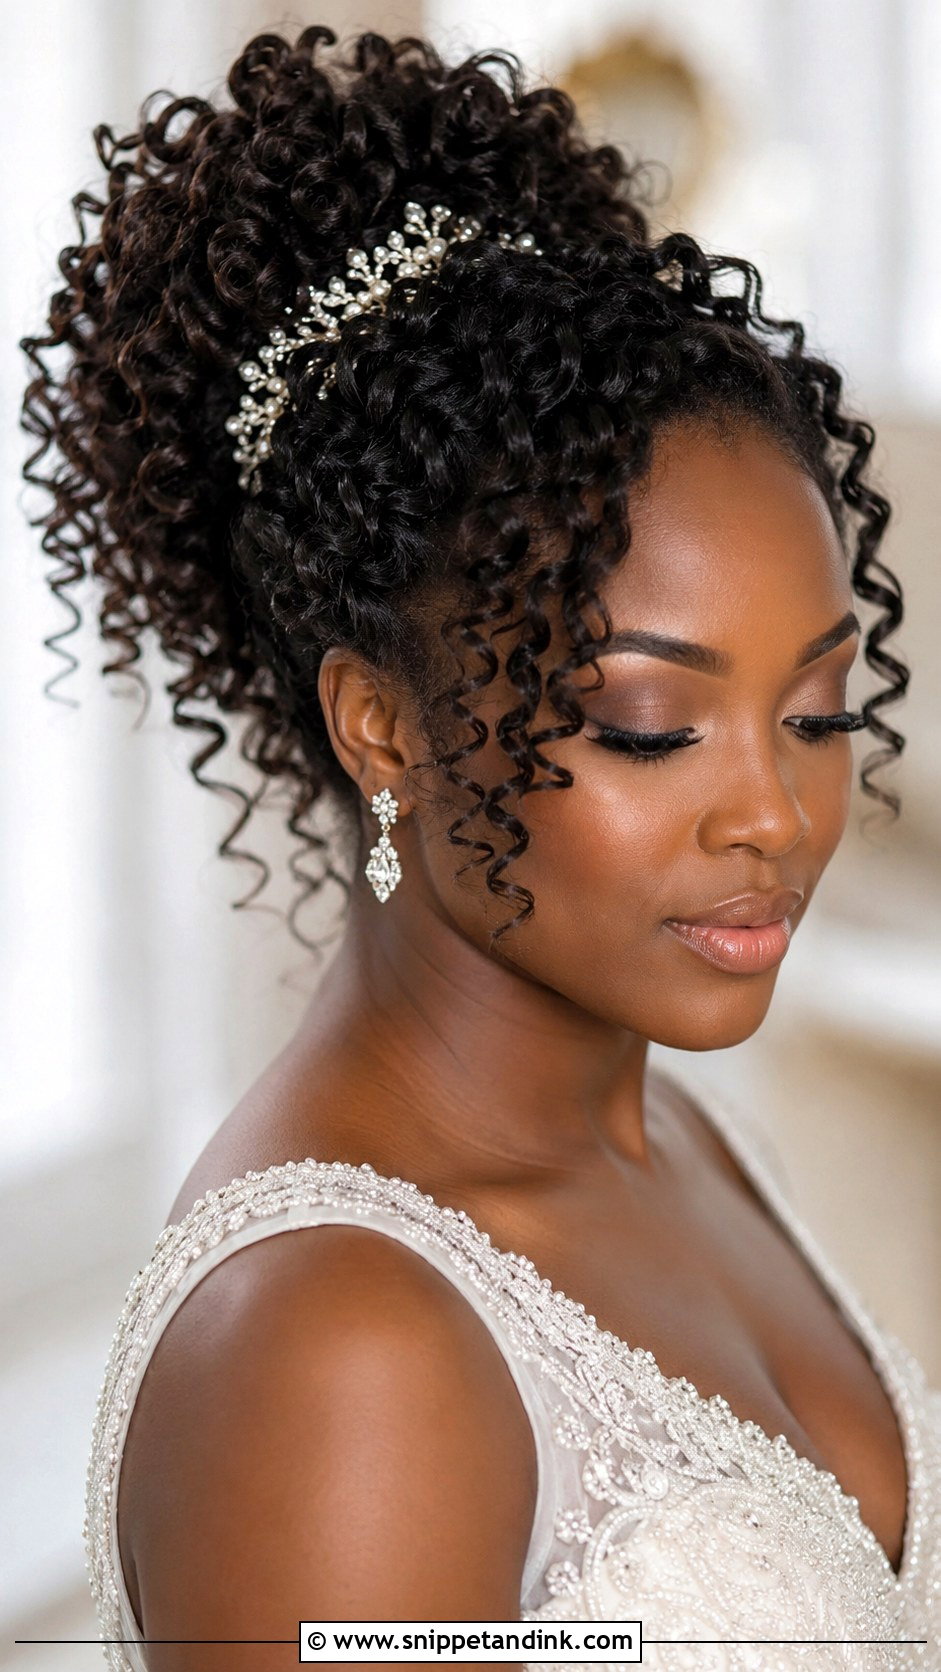
Natural curls need a style that works with the pattern, not against it. Refresh with a leave-in spray, then gather the hair loosely high on the head and let the curls bunch. Pin sections upward, letting some coils spill out for shape, and don’t brush, which breaks up the curl. U-pins grip curly hair far better than bobby pins, so use those where you can and hide them under the curls. A few spirals loose around the face and a jeweled pin finish it. It’s a full, lively updo that looks right with textured hair.
10. Boho Waterfall Braid Wedding Hairstyle Tutorial
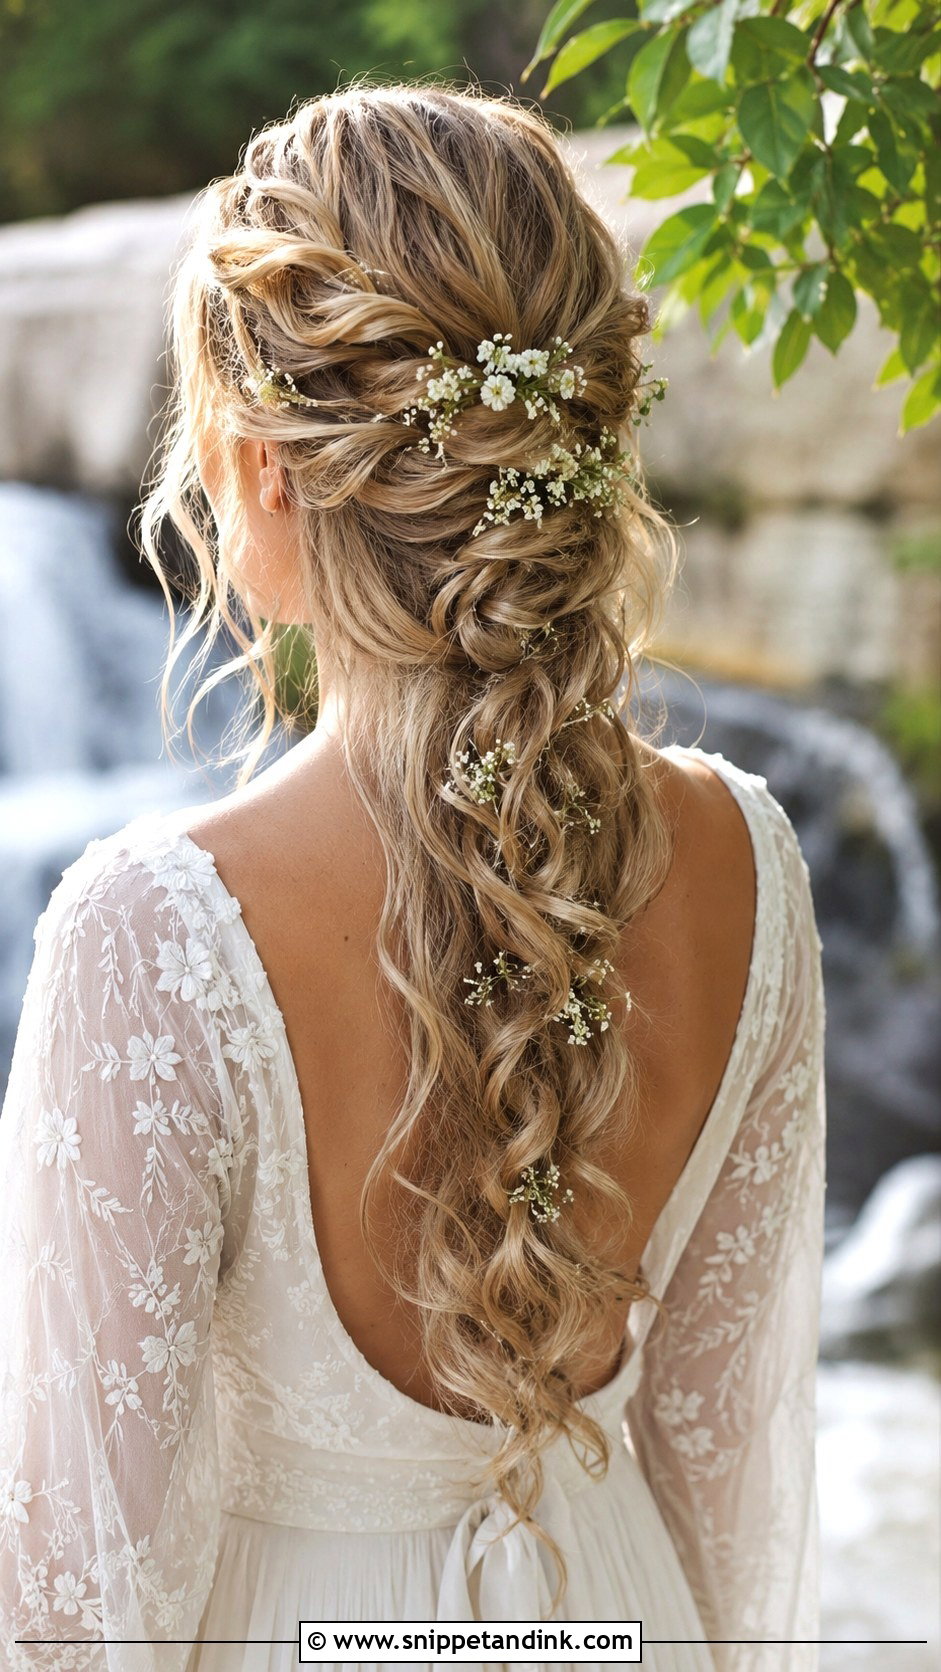
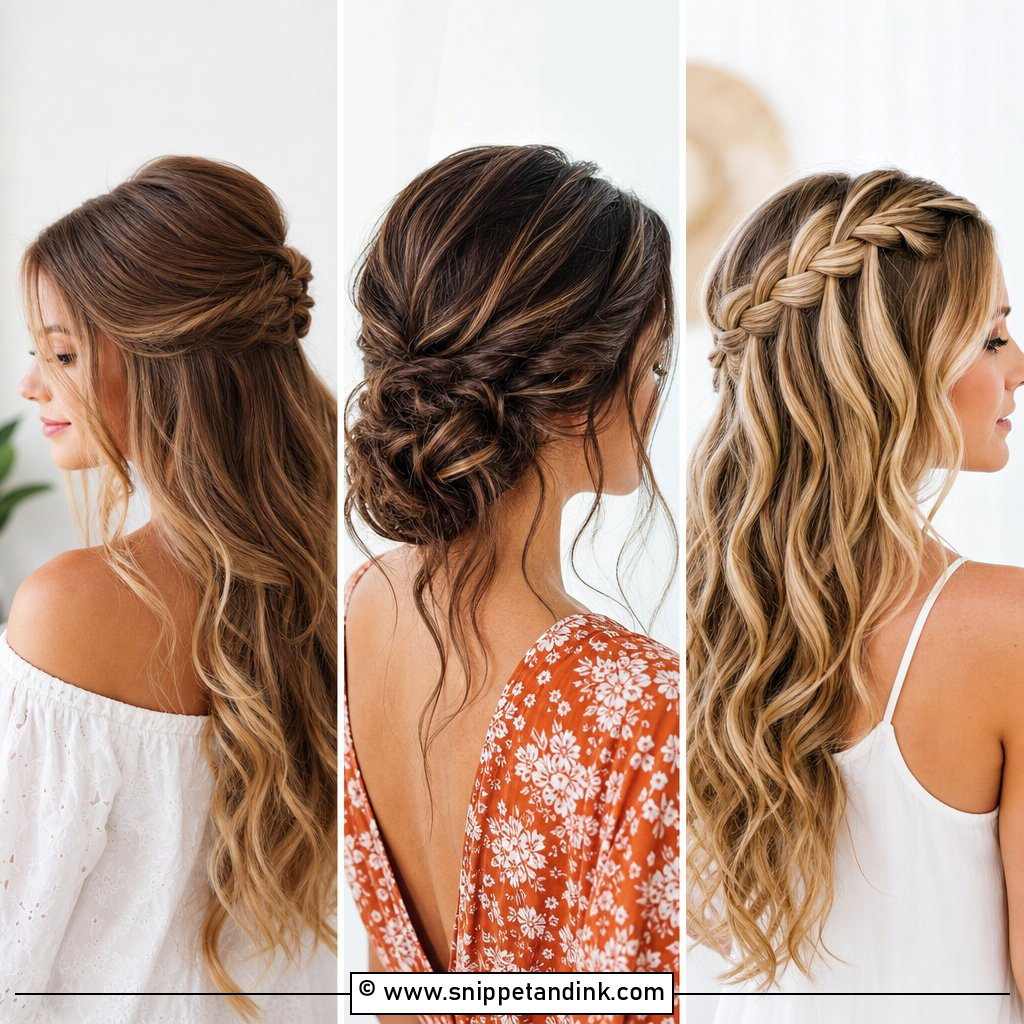
The waterfall braid is built like a normal braid with one change: you drop the bottom strand each time and pick up a fresh one. Start near the temple, work across the back, and let the dropped pieces fall. Secure behind the ear with a small pin and curl the loose sections. Tiny blooms along the braid suit a bohemian wedding. Doing it on yourself is fiddly since your arms are up for a while, so take breaks; a friend can braid it in five minutes.
11. Chignon Wedding Updo Tutorial
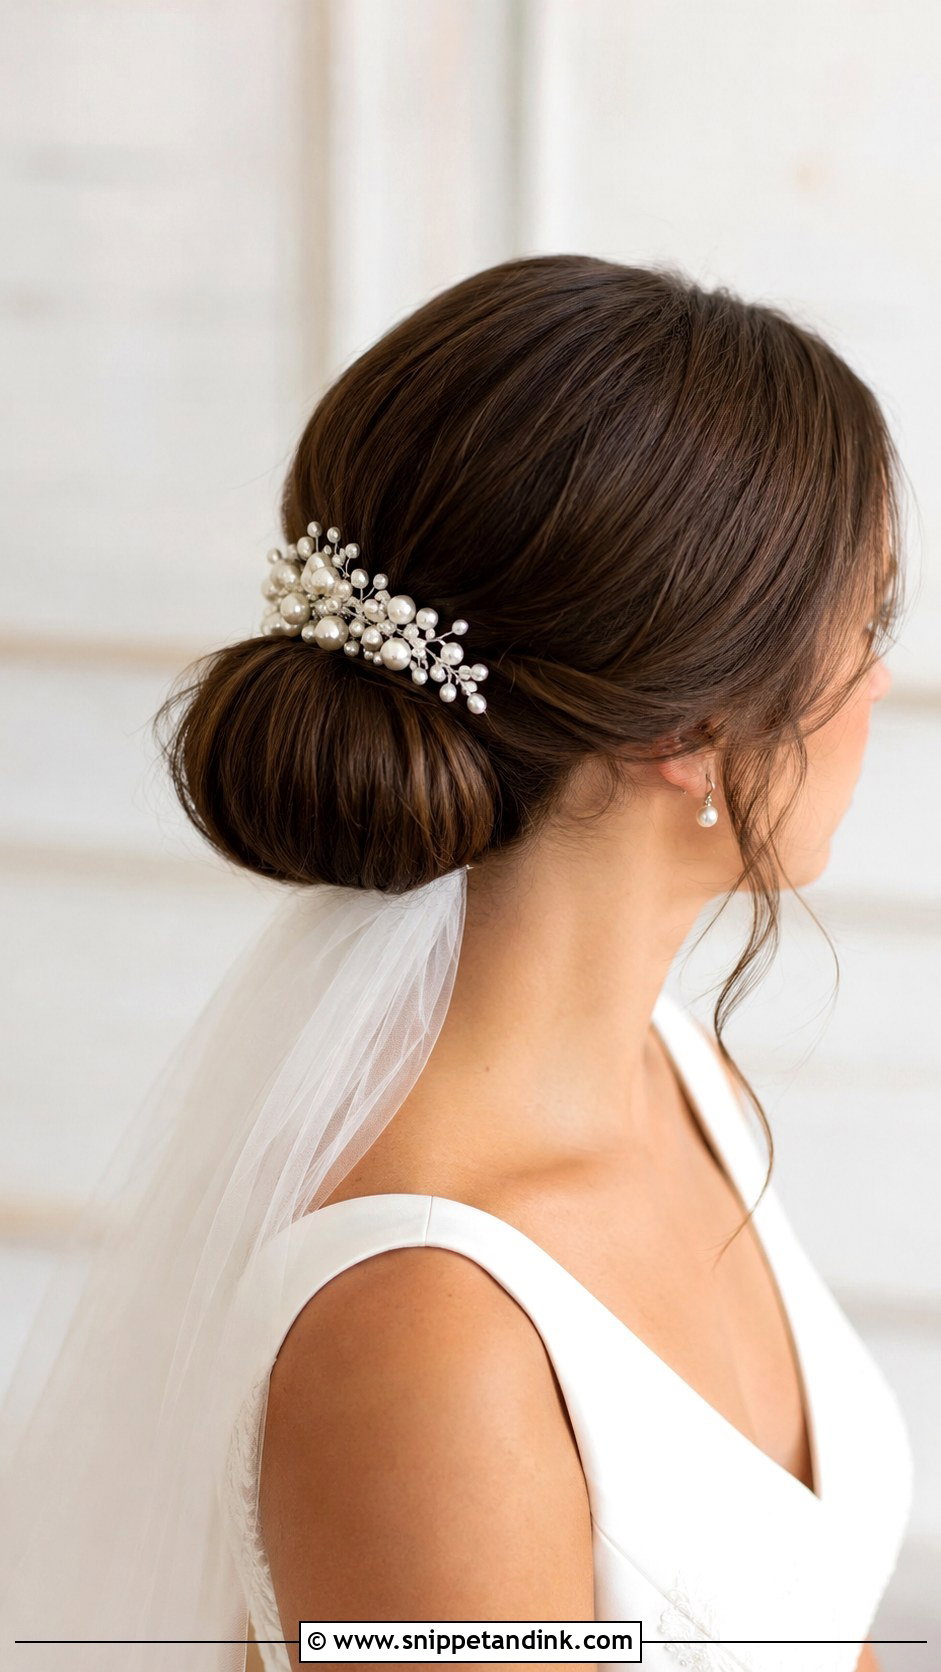
The chignon is a rolled low bun. Make a low ponytail at the nape, open a small gap above the elastic and flip the tail through it, then tuck and roll the remaining length into the gap to form a rounded bun. Pin the sides firmly. A drop of serum smooths the top, and soft tendrils near the ears soften it. A pearl comb gives it a vintage note. The flip-through step does most of the work, so it’s very achievable on yourself.
12. Twisted Updo Wedding Hairstyle Tutorial
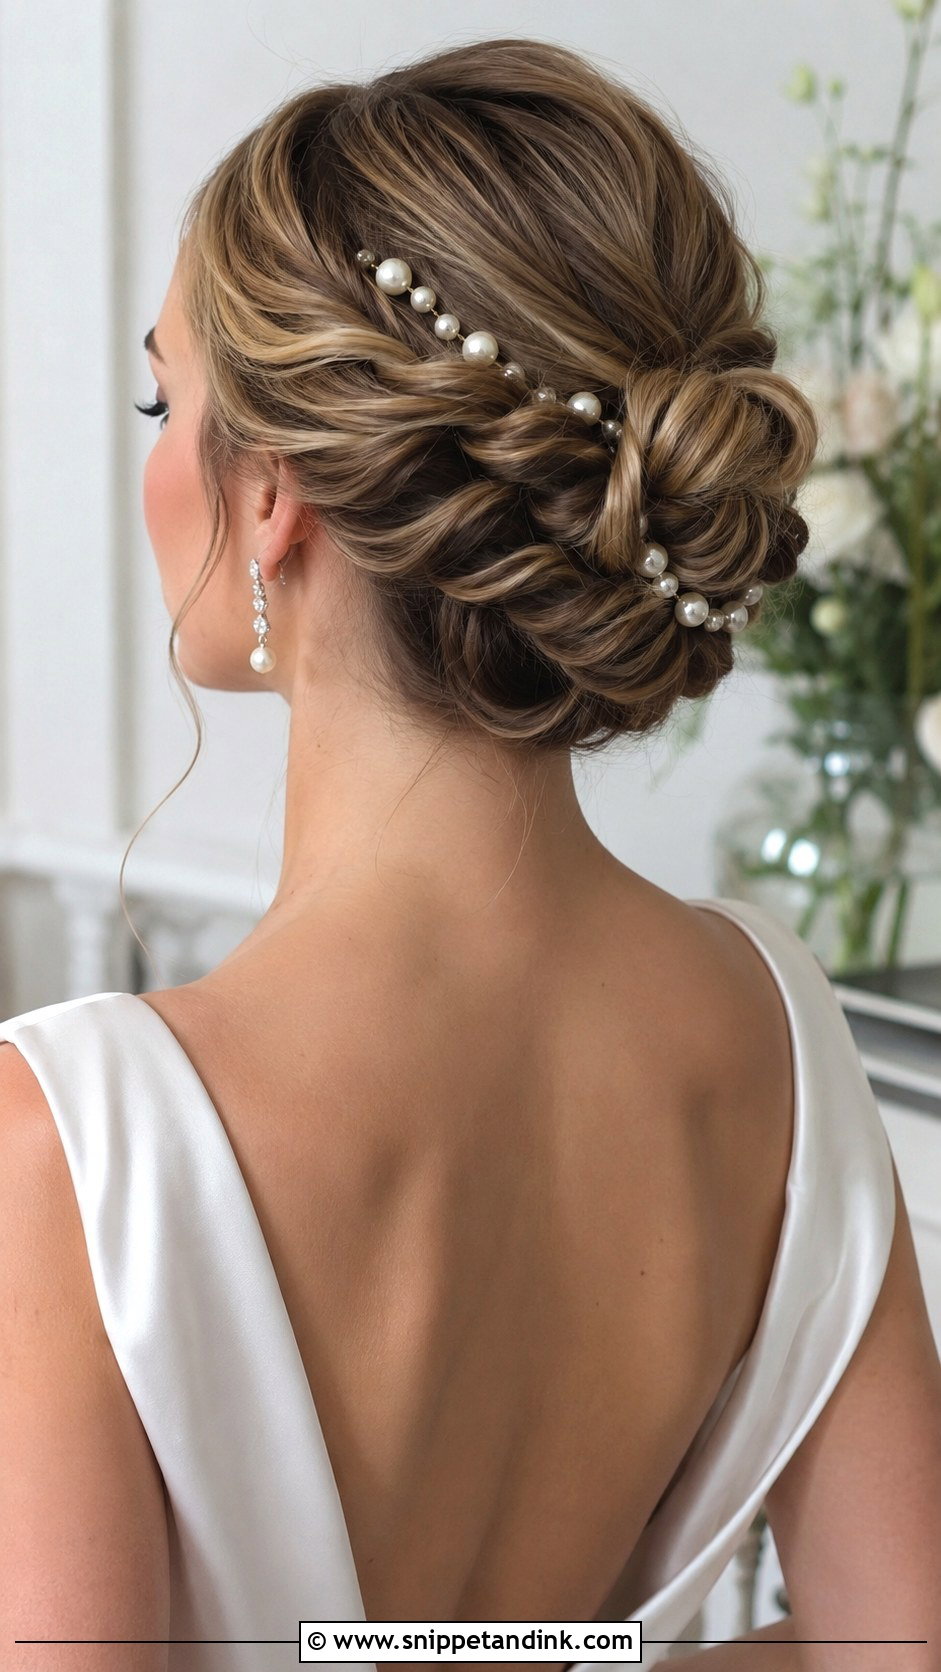
A twisted updo gives you texture without braiding. Section the hair, twist each piece tightly and coil it against your head, pinning each twist as you go and layering them into a shape. Loosen a few twists for softness and tuck pearls between the coils. It looks intricate, but each step is the same move repeated. The risk is too many pins in one spot, which makes a hard lump; I spread the pins out so the weight is shared.
13. Side Swept Curls Wedding Hairstyle Tutorial
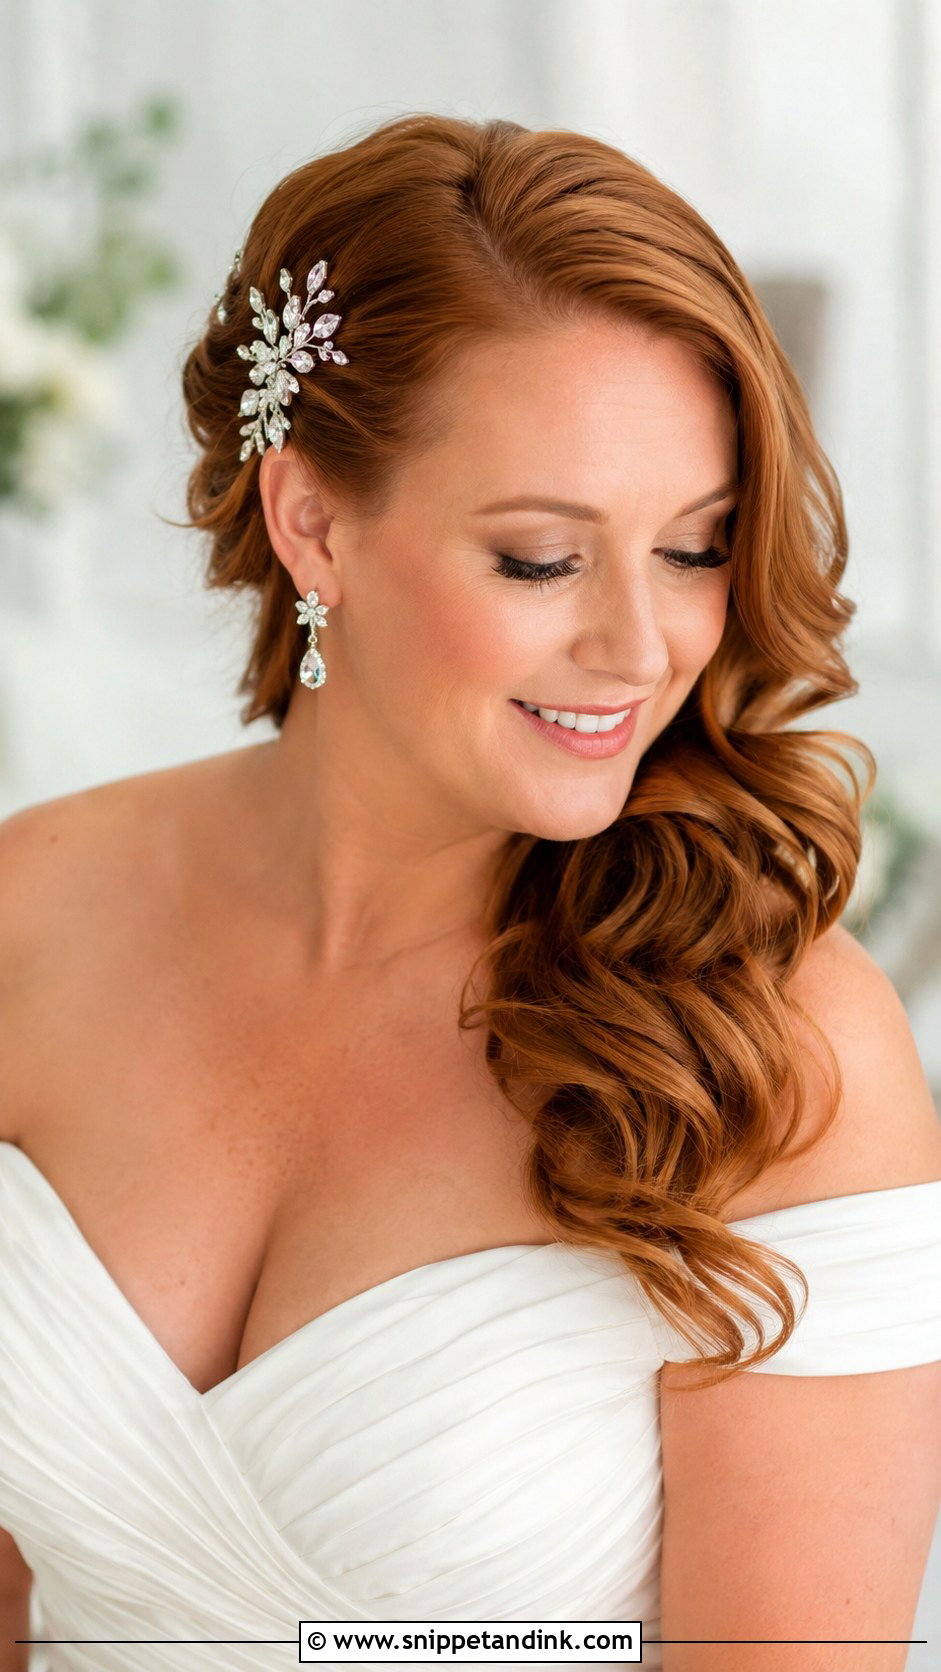
Curl all the hair in the same direction with a wide barrel and let it cool. Brush gently into loose waves, then sweep everything to one side and pin the opposite section behind your ear with hidden crossed pins. A comb hides the pins. A light mist holds it. It shows off earrings on the bare side and pairs with an off-shoulder gown. The weight on one side is the problem over a long day, so pin more firmly than feels necessary behind the ear.
14. Dutch Braid Wedding Hairstyle Tutorial
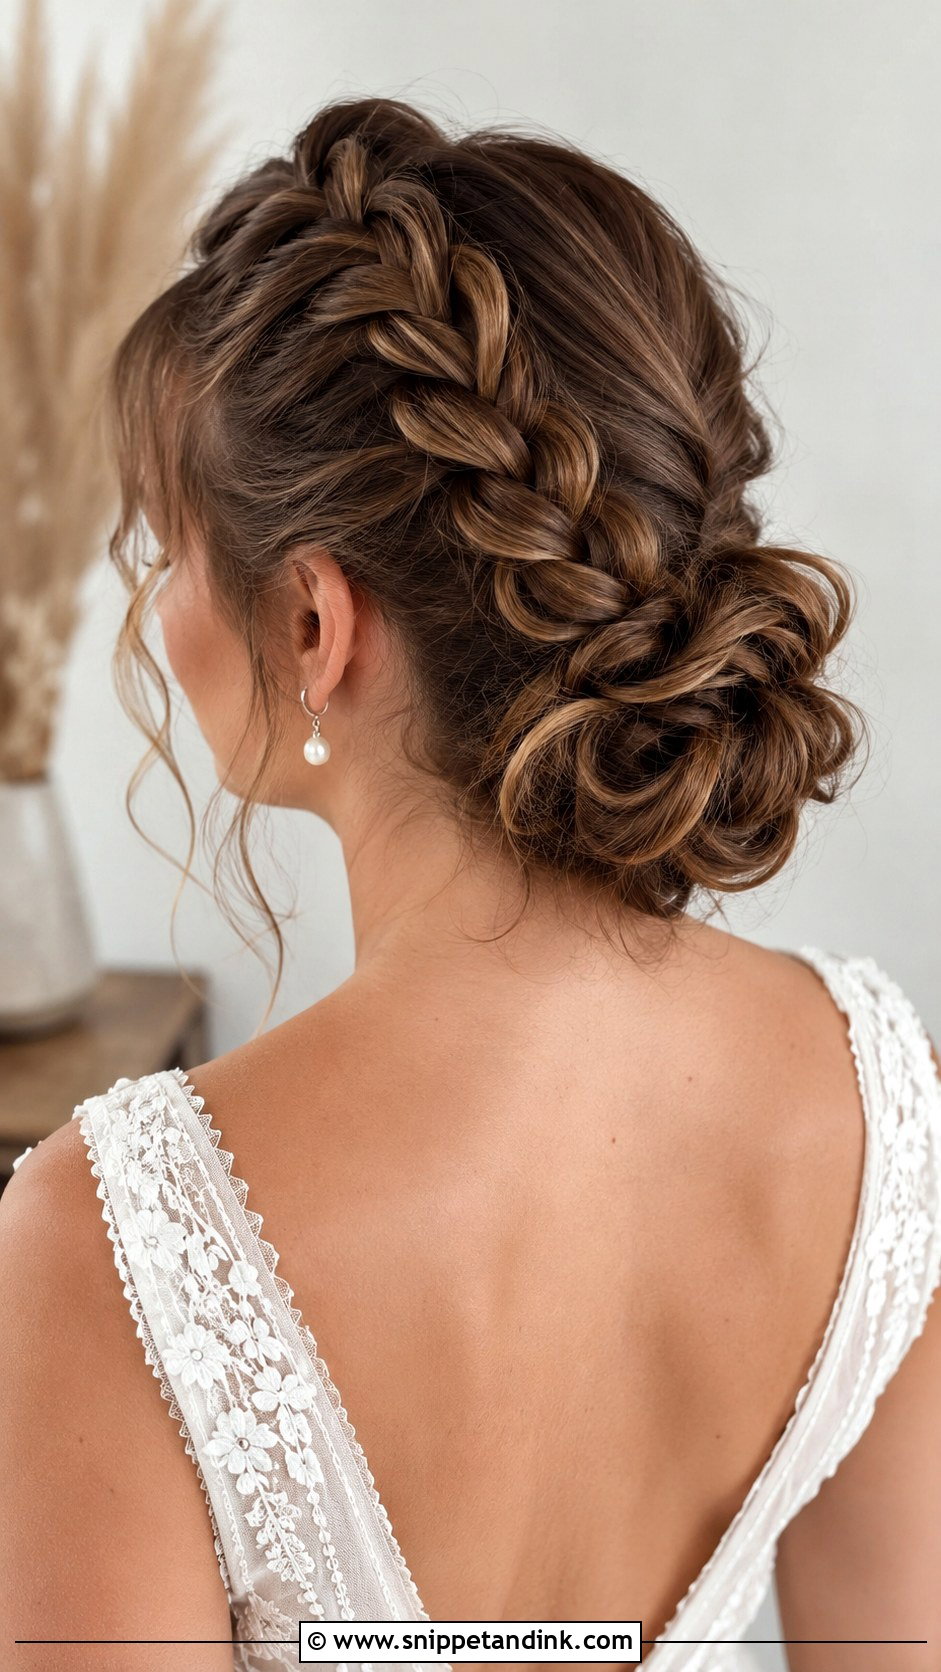
A Dutch braid sits raised above the hair because each outer strand crosses under the middle instead of over. Start at the hairline, divide a section into three and keep adding hair with every pass, braiding tightly toward the nape. Secure, then pull the edges for width. One braid or two both work, and the tail can tuck into a low bun. It holds very well outdoors in wind. If you’ve only ever done French braids, practise the under-cross a few times; muscle memory makes you go over.
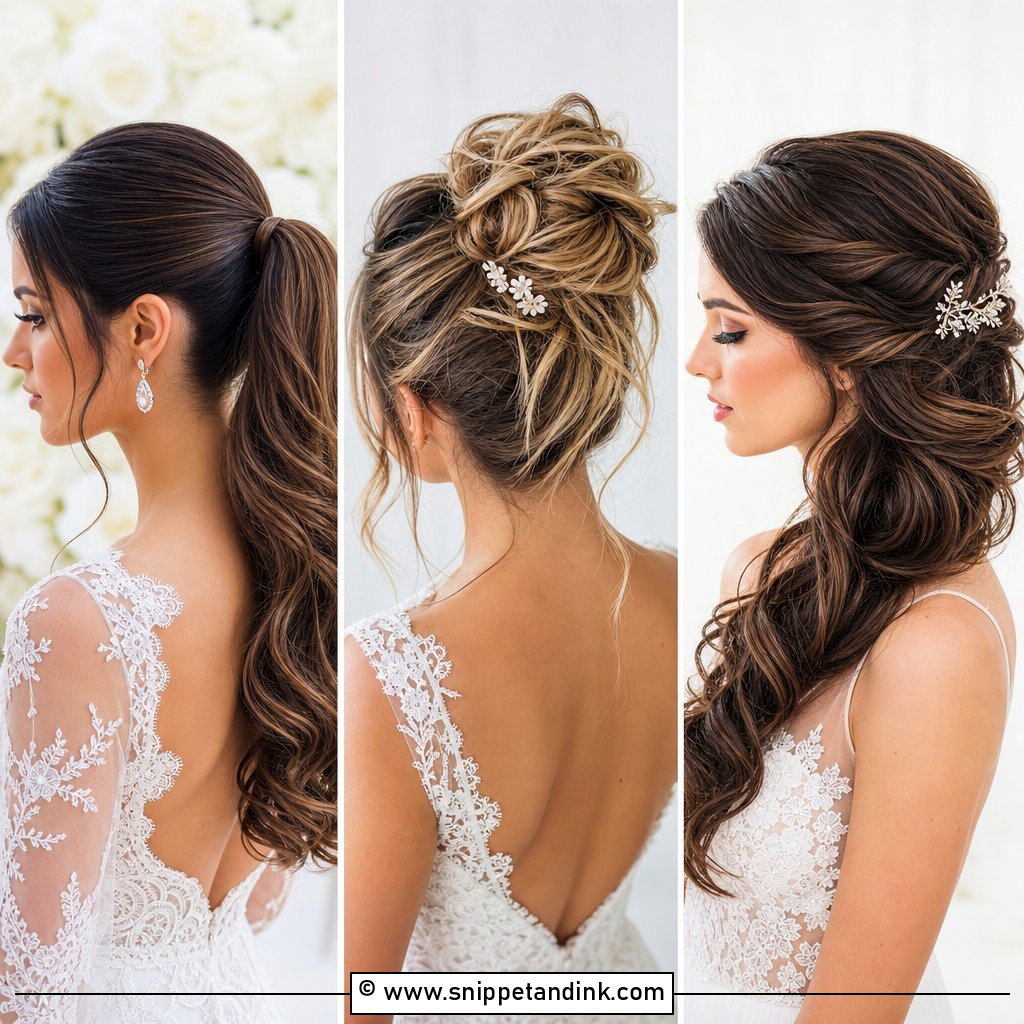
15. Vintage Victory Rolls Wedding Hairstyle Tutorial
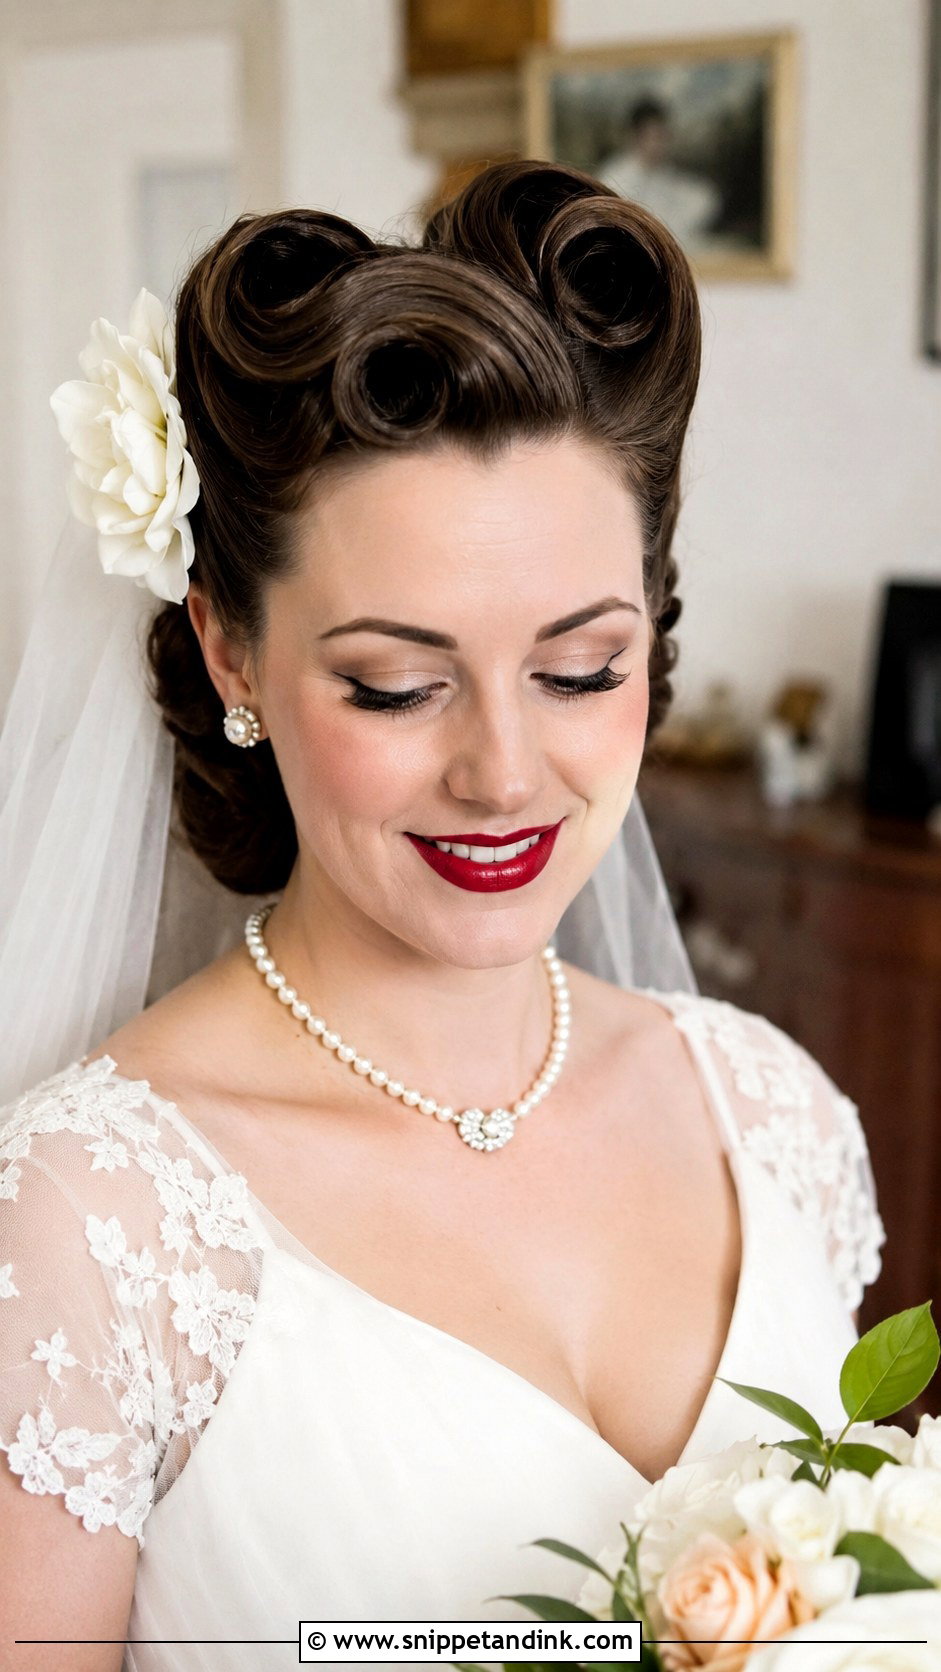
Classic victory rolls belong to 1940s styling and need hair with some grip, so do them on second-day hair. Part at the center or side, take a front section and roll it inward toward the scalp, then pin the round shape firmly. Repeat on the opposite side for balance. The rest can be curled or put into a low bun. A little pomade smooths flyaways and a vintage hair flower adds a period detail. It’s a strong choice for a themed wedding, but practise until both rolls come out the same size.
16. Pinned Back Waves Wedding Hairstyle Tutorial
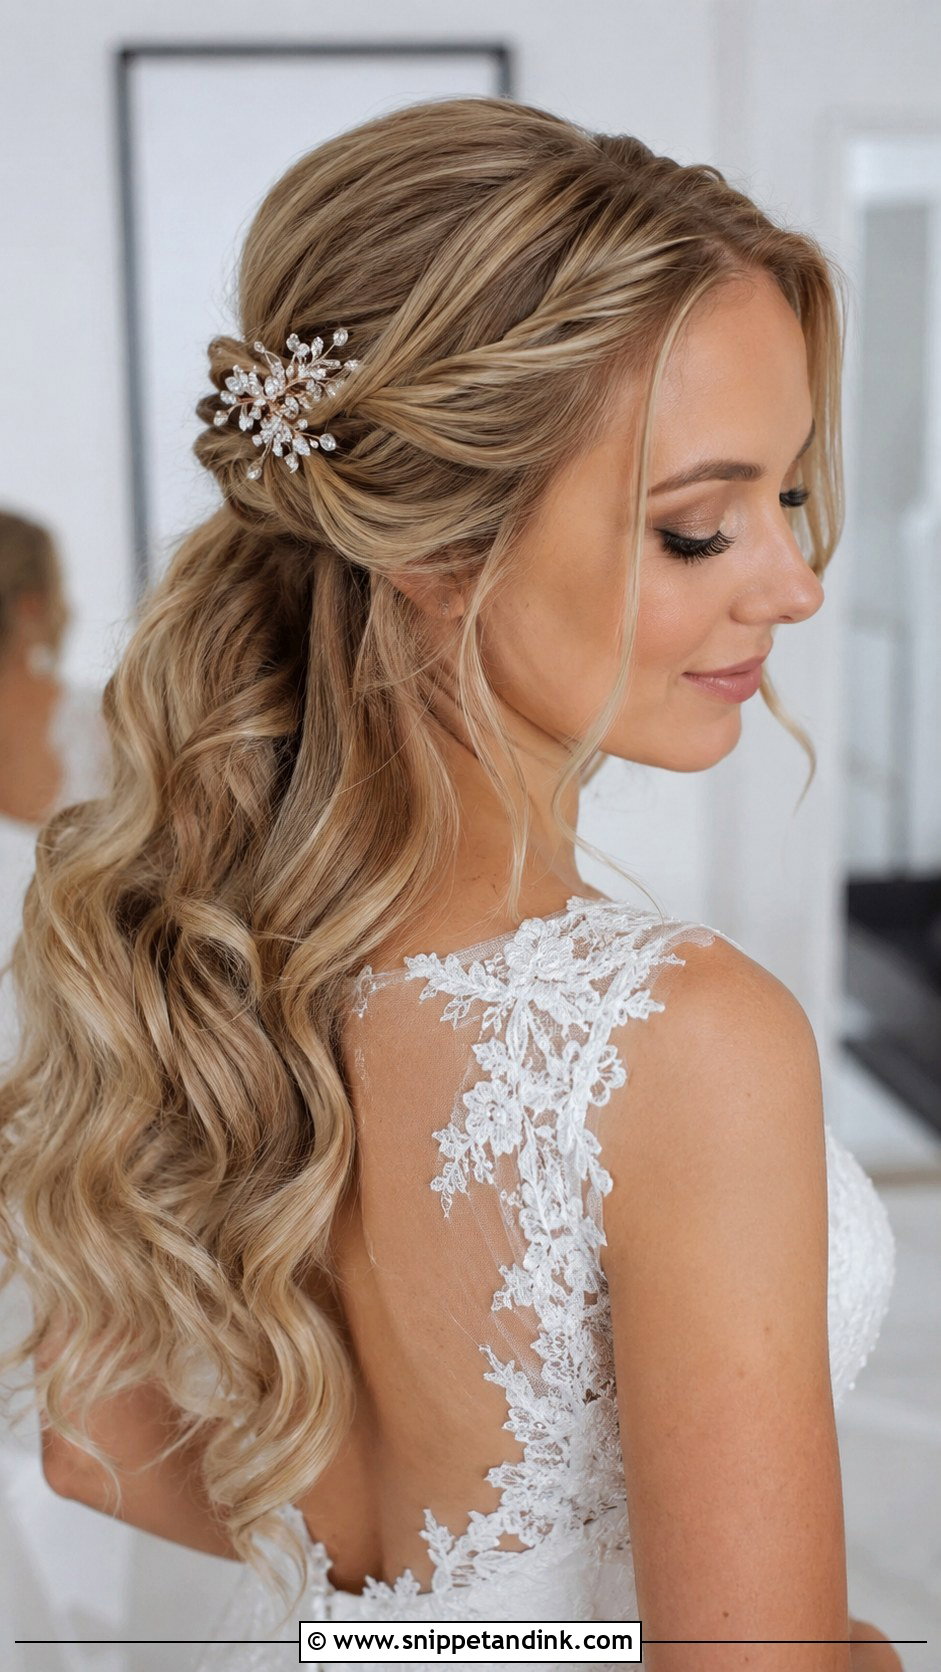
Pinned-back waves are one of the easiest DIY options. Curl the hair into loose waves and brush them out gently, then twist the front sections from each side slightly backward and pin them where they meet at the back of the head. Leave the rest loose, tuck a sparkling pin over the join and finish with soft-hold mist. Long, healthy ends show to their best here. It keeps hair out of your face during the vows.
17. Top Knot Wedding Hairstyle Tutorial
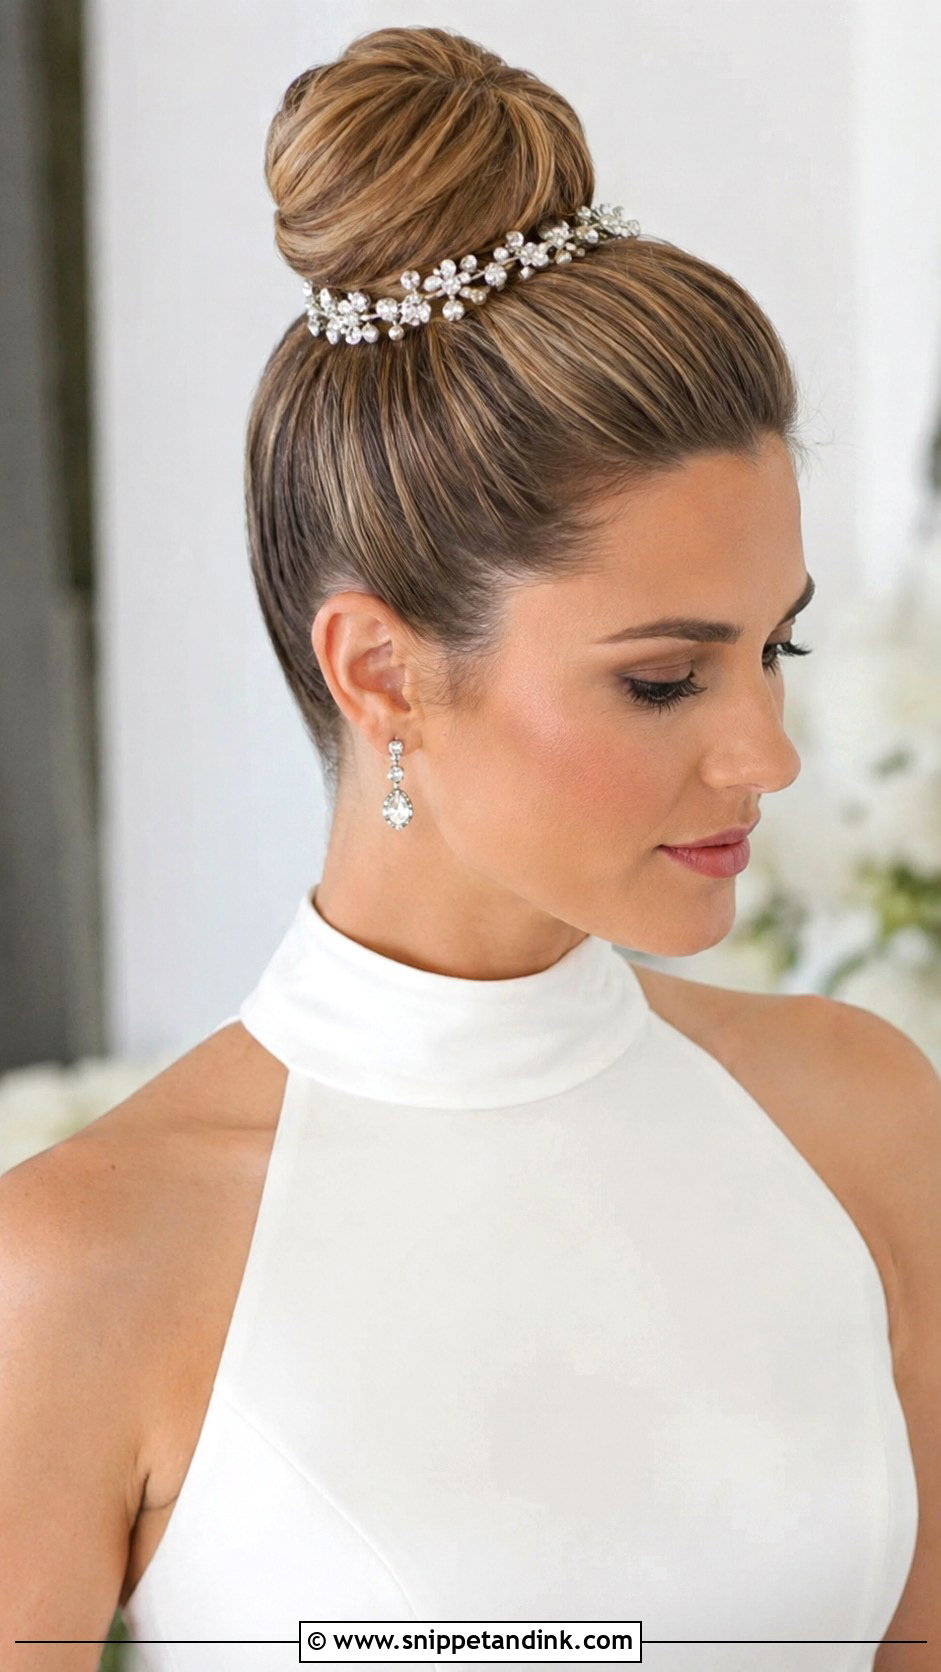
A top knot is a high bun at the crown. Brush the hair into a high ponytail, secure tightly, twist the length into a coil and wrap it round into a knot. Pin all the way round. Smooth the front for a sleek finish or loosen for softness, and add a jeweled accent at the base. It shows off a long neckline and statement earrings. It’s quick on yourself, but check the height with a side mirror; a knot sitting too far back reads as a mid bun in photos.
18. Floral Updo Wedding Hairstyle Tutorial
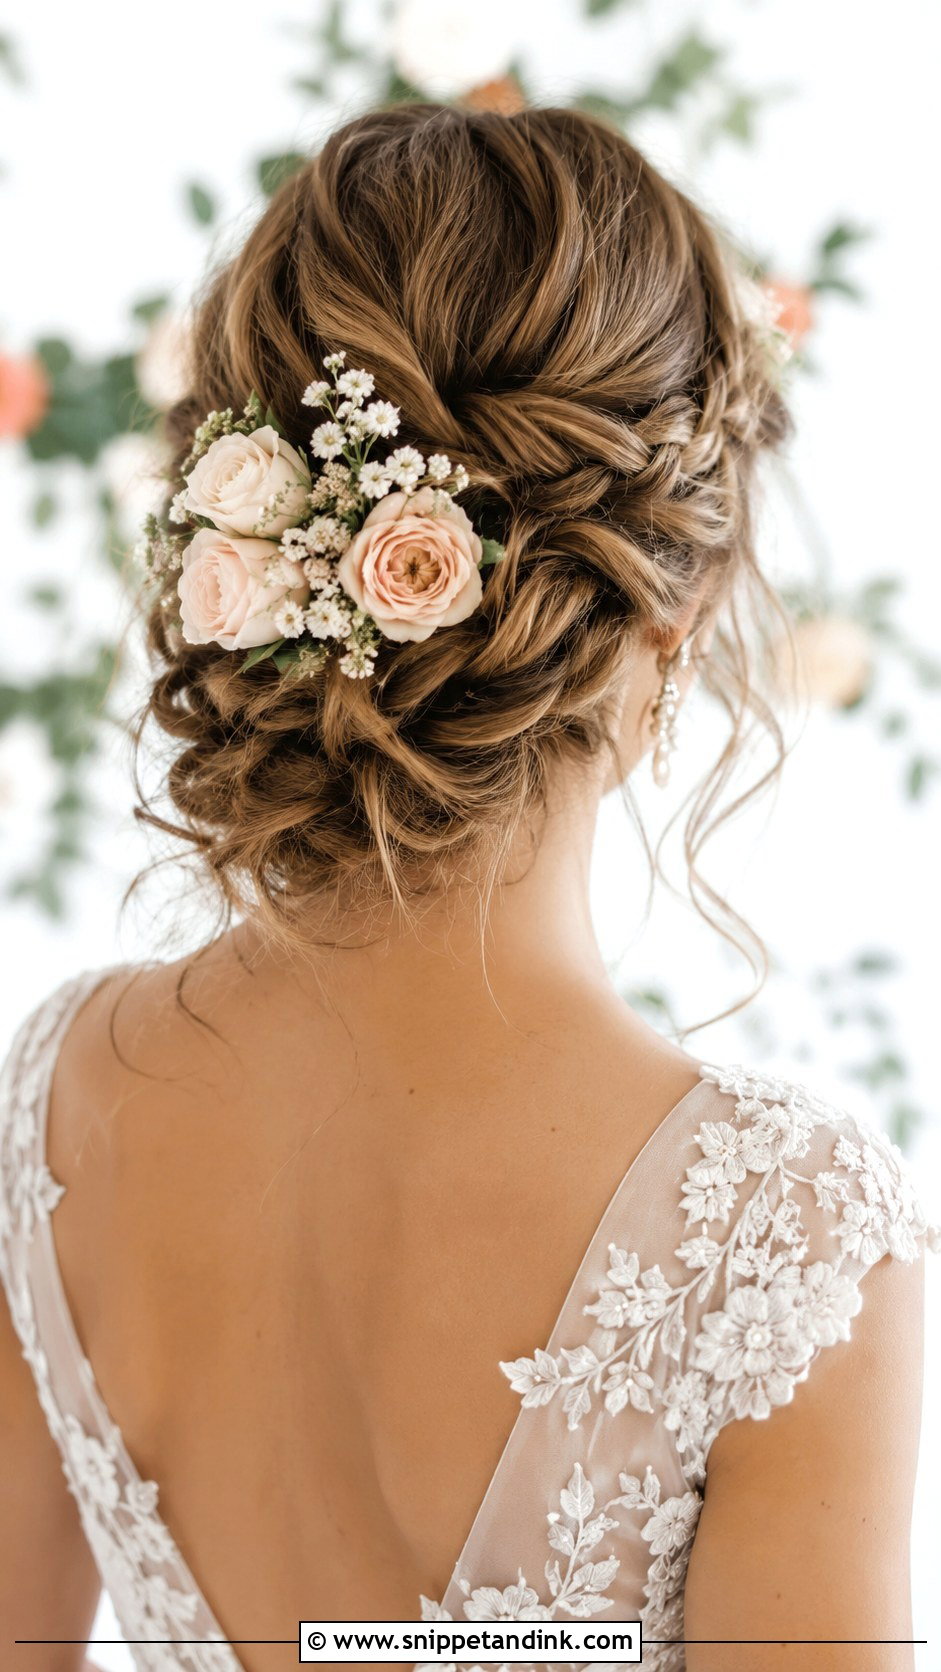
Fresh flowers in an updo need to be planned with your florist. Make a loose low bun or twisted chignon first and pin it gently. Choose small, sturdy blooms like baby’s breath, spray roses or waxflower, and tuck the stems into the twists and folds. I wire or tape short stems so they don’t slip out. Spread the flowers evenly, mist lightly and leave a few tendrils at the face. Delicate blooms wilt within hours out of water, so keep them in the fridge until the last minute. It suits a spring or outdoor wedding and gives you a natural crown of flowers.
19. Braided Bun Wedding Hairstyle Tutorial
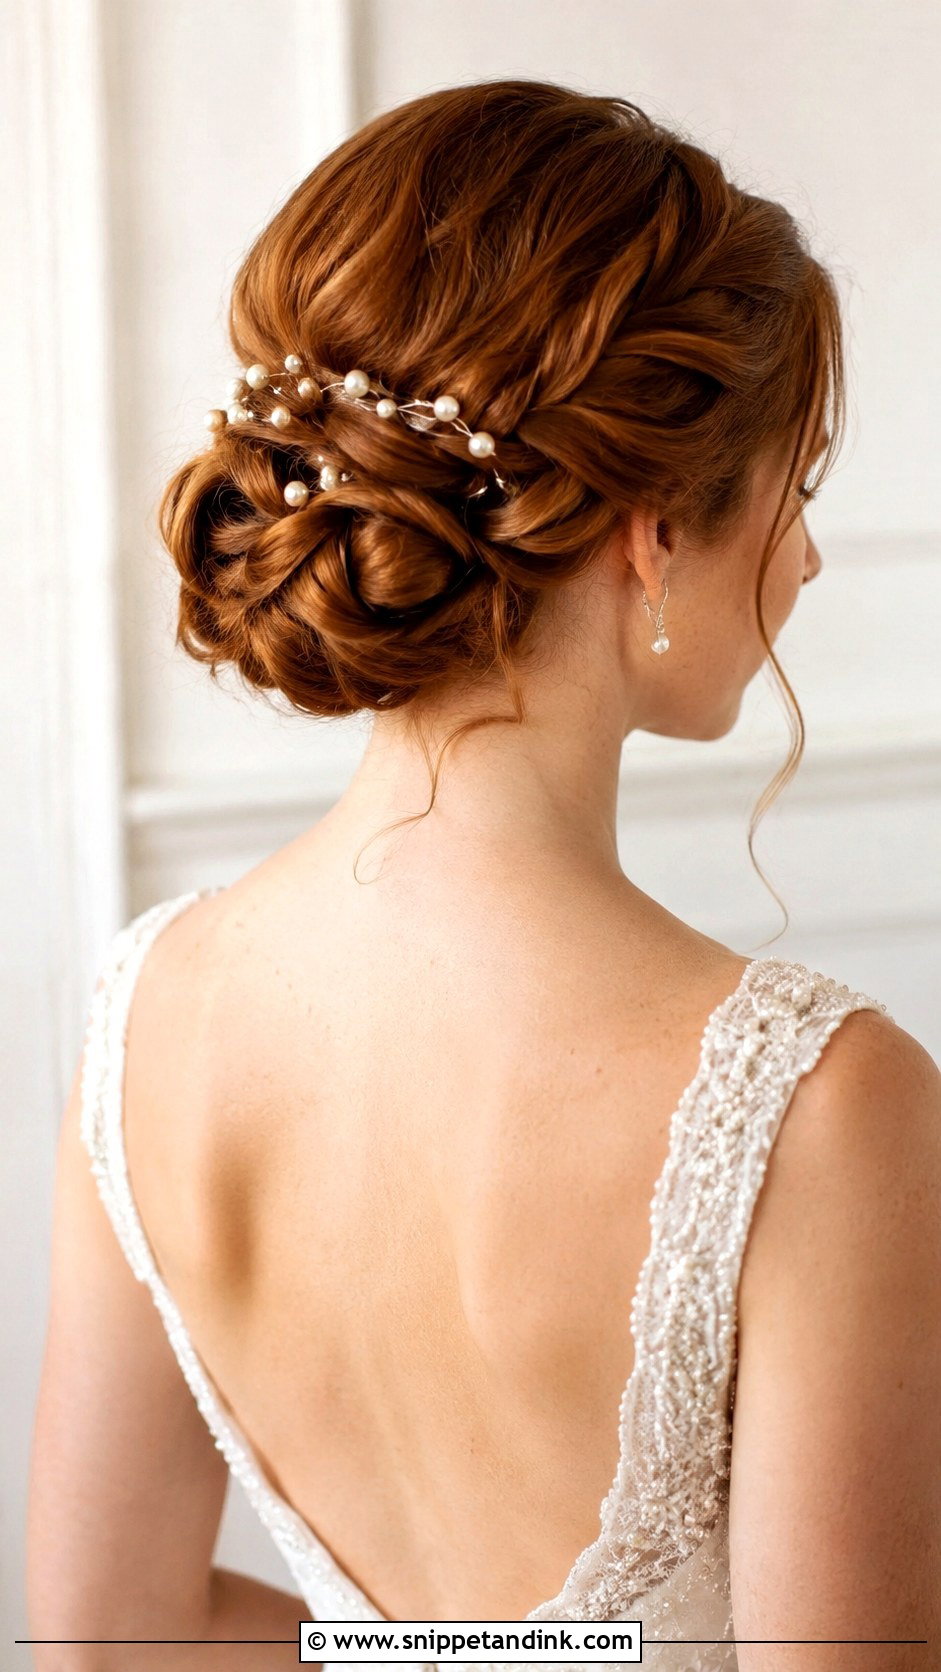
A braided bun adds a woven detail to a simple low bun. Braid one section in a Dutch or fishtail pattern, then gather the rest into a low ponytail and twist it into a bun. Wrap the braid around the bun and pin it, tucking the ends underneath. Loosen gently for fullness and add pearls along the braid. It’s an easy step up from a plain bun, and it suits classic or boho weddings alike.
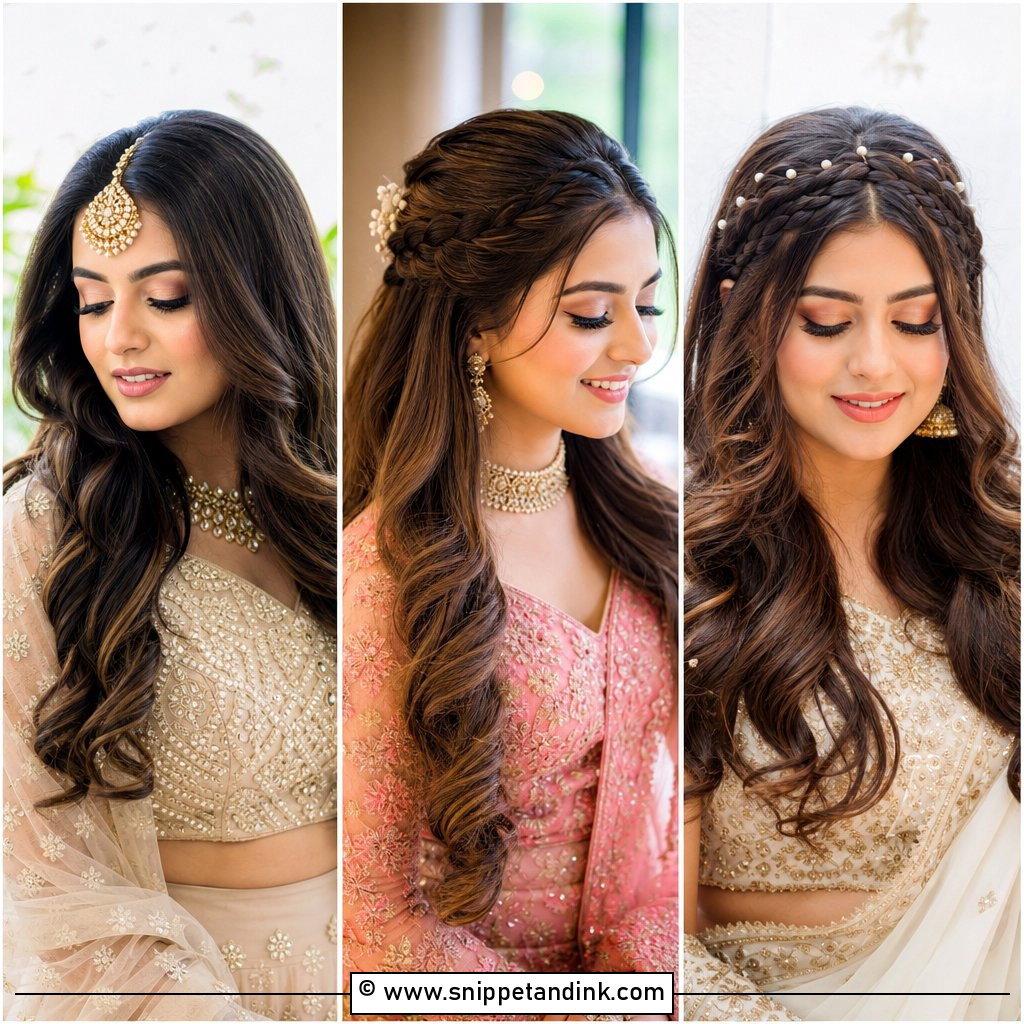
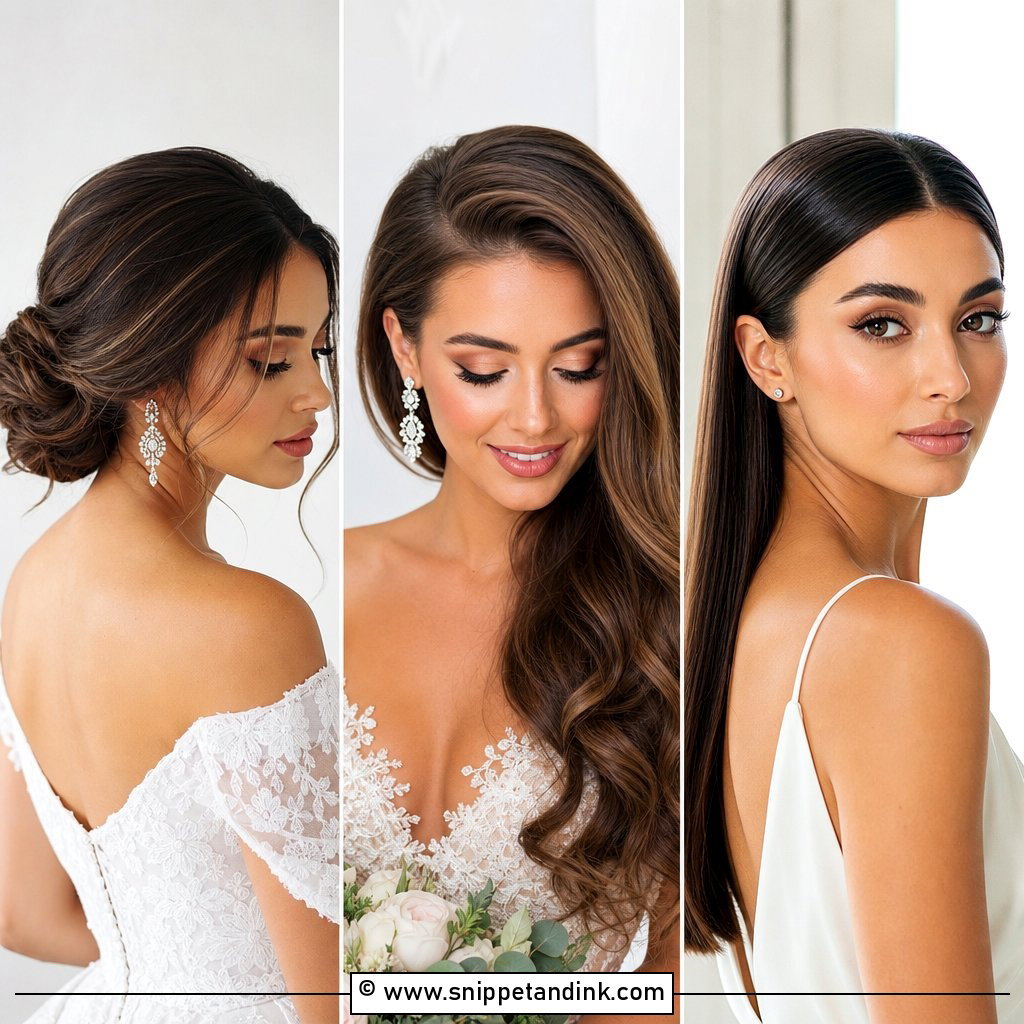
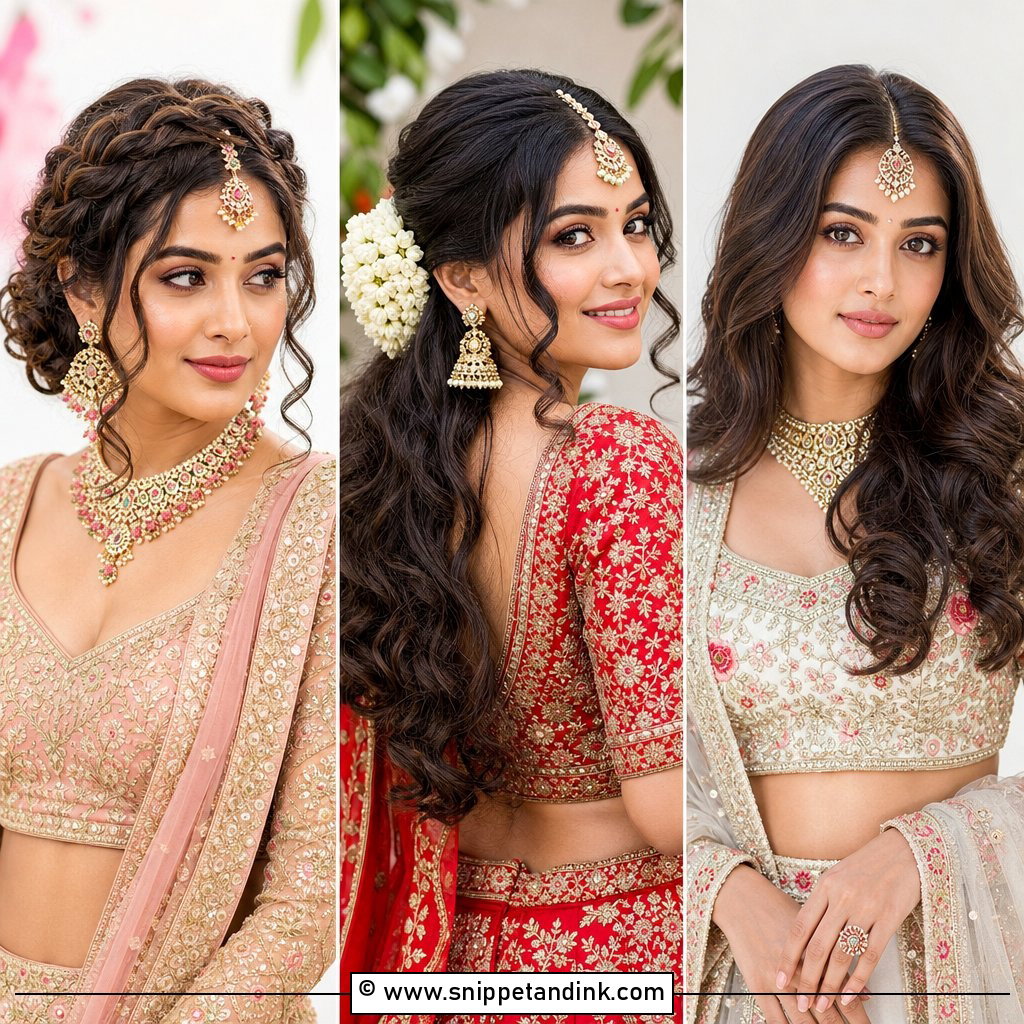
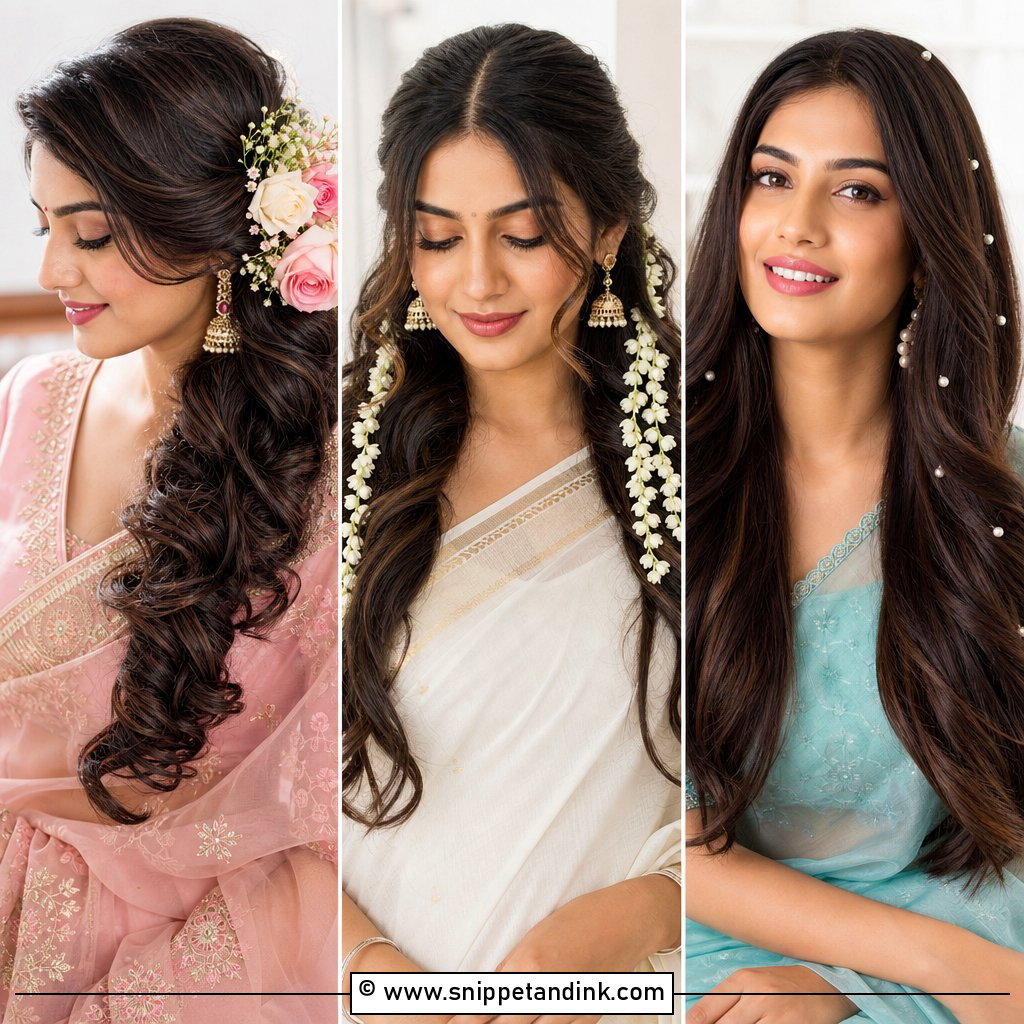
20. Loose Romantic Curls Wedding Hairstyle Tutorial
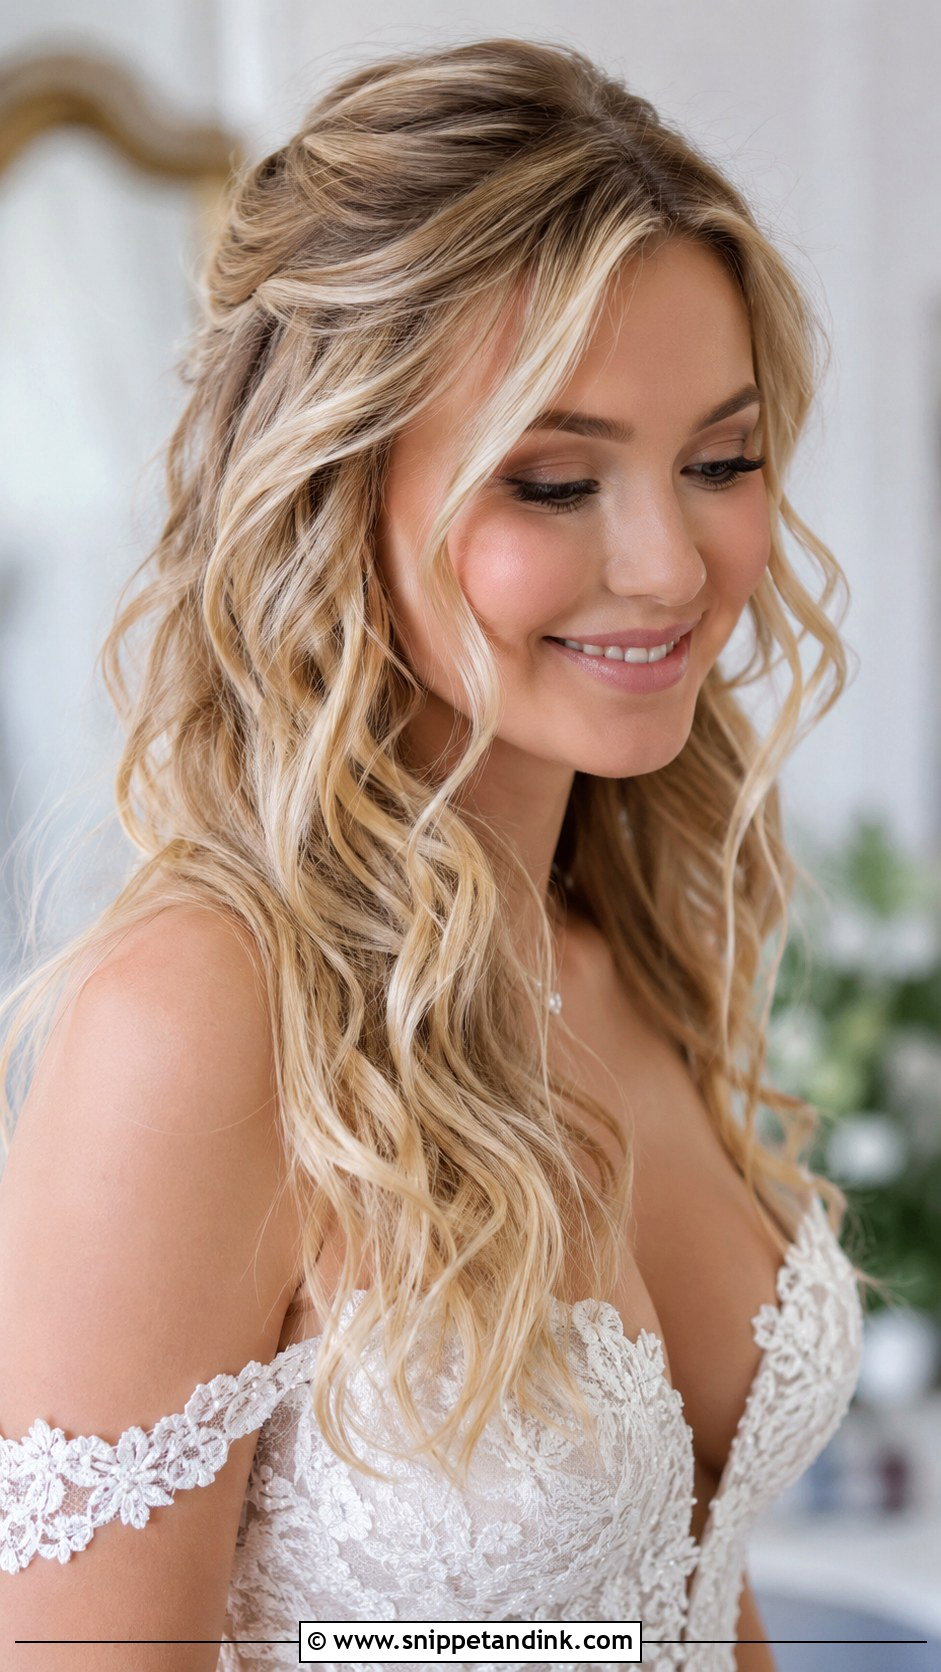
Loose curls look easy and are the hardest look to keep in. Section the hair, curl each piece around a medium barrel and alternate direction for natural movement. Let the curls cool completely before you touch them; this one step decides whether they last. Rake through gently with fingers, not a brush, and mist with light-hold spray. If your hair drops curls within an hour, pin each curl to cool, or choose a half-up style instead.
21. Sleek Bun With Center Part Wedding Hairstyle Tutorial
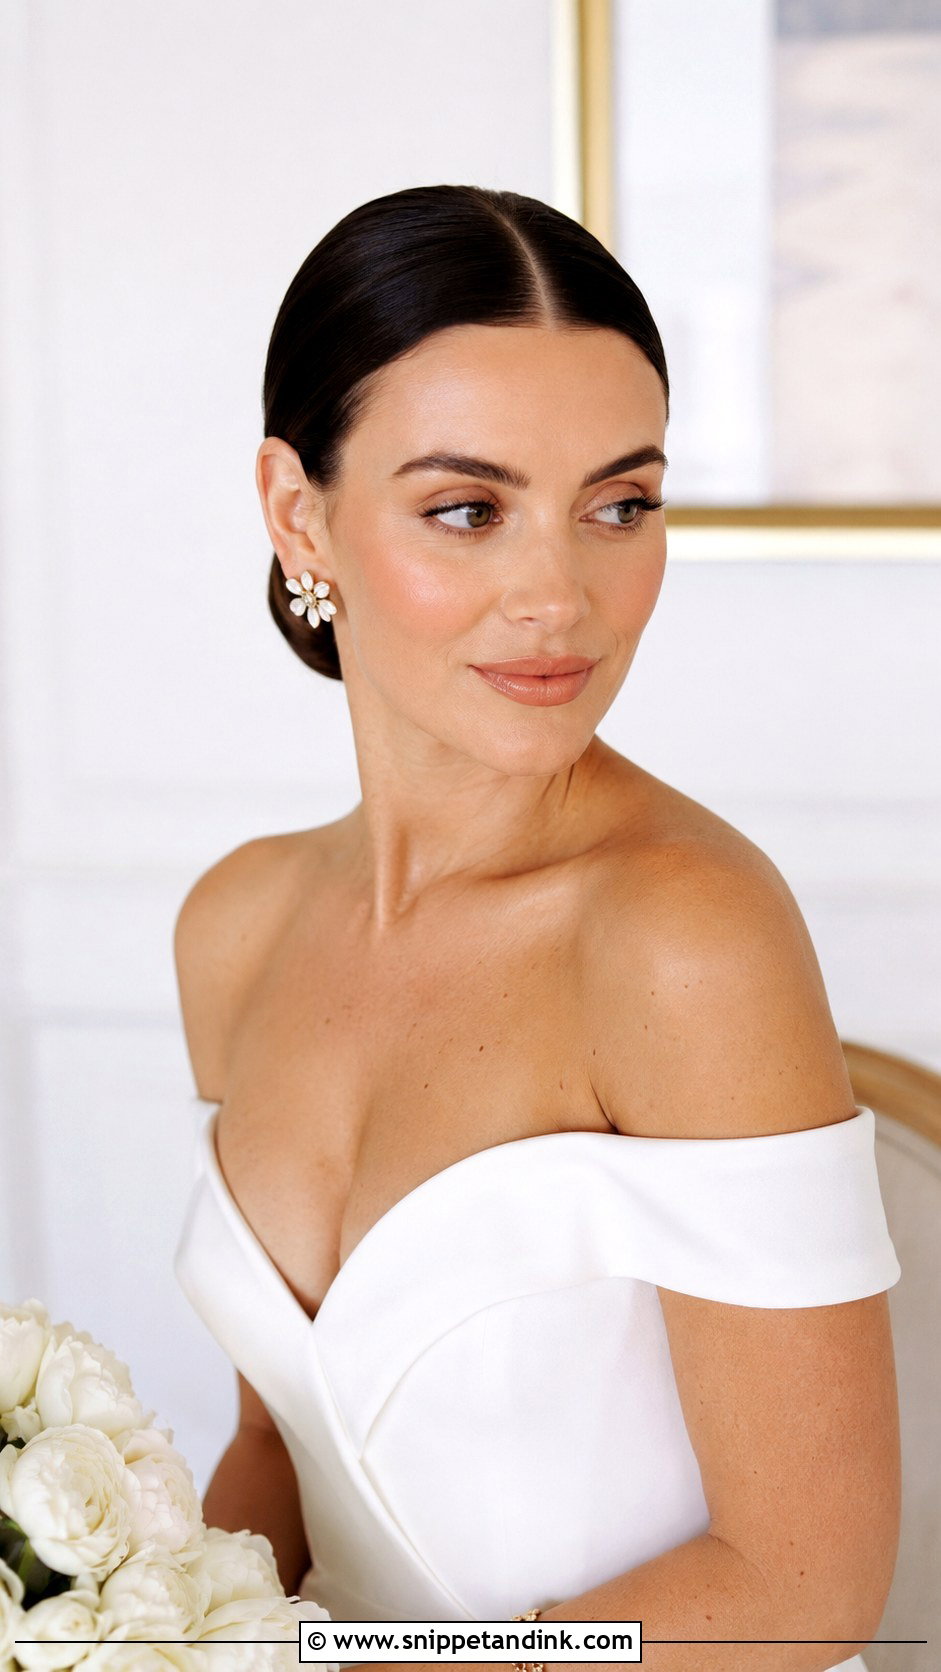
A sleek center-parted bun is all about precision. Make an exact middle part with a tail comb, smooth both sides with a flat iron and a touch of gel, then gather into a low ponytail and wrap a tight bun. Pin firmly and smooth flyaways. Shine spray gives gloss. It suits a sleek gown and bold jewelry. Doing it on yourself, the part is the step that takes time; it shows in every front-on photo, so check it in good light.
22. Half Up Braided Crown Wedding Hairstyle Tutorial
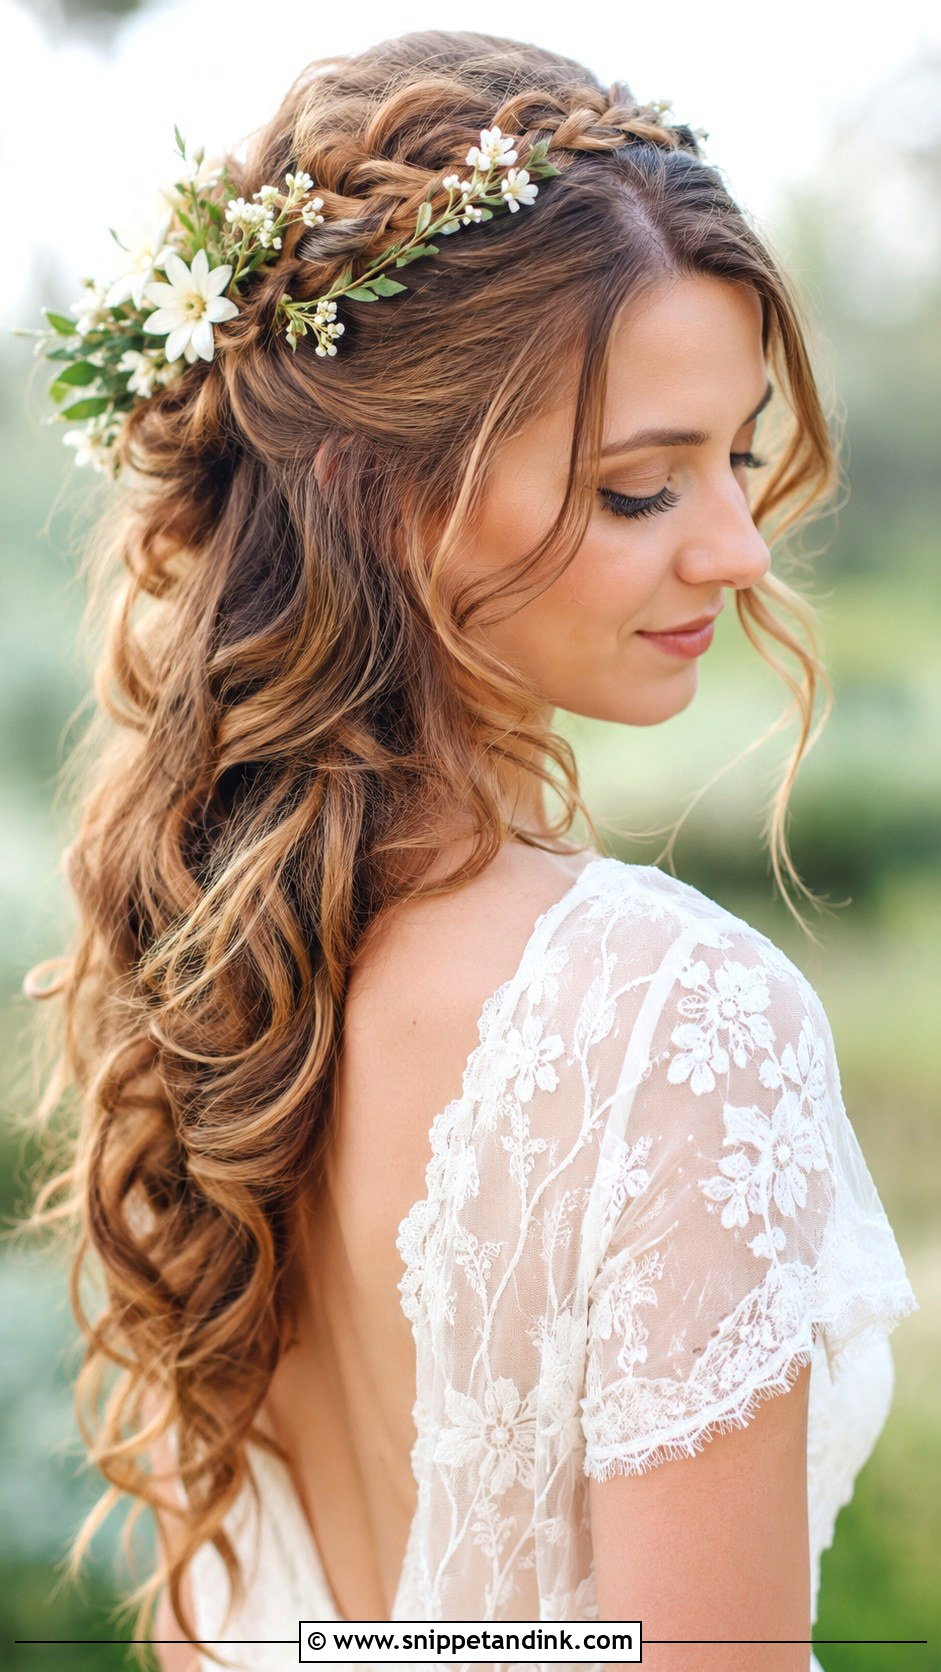
This style combines a braided crown with loose hair below. Curl the lower half first, then take small sections near your temples and braid them loosely. Bring both braids back and pin them together at the crown, leaving the rest of the hair loose. Loosen the braids for fullness and add tiny flowers. It frames the face and suits garden and outdoor weddings. It’s one of the most achievable braided styles to do yourself, since the braids are small and the pinning point is easy to reach.
23. Twisted Halo Updo Wedding Hairstyle Tutorial
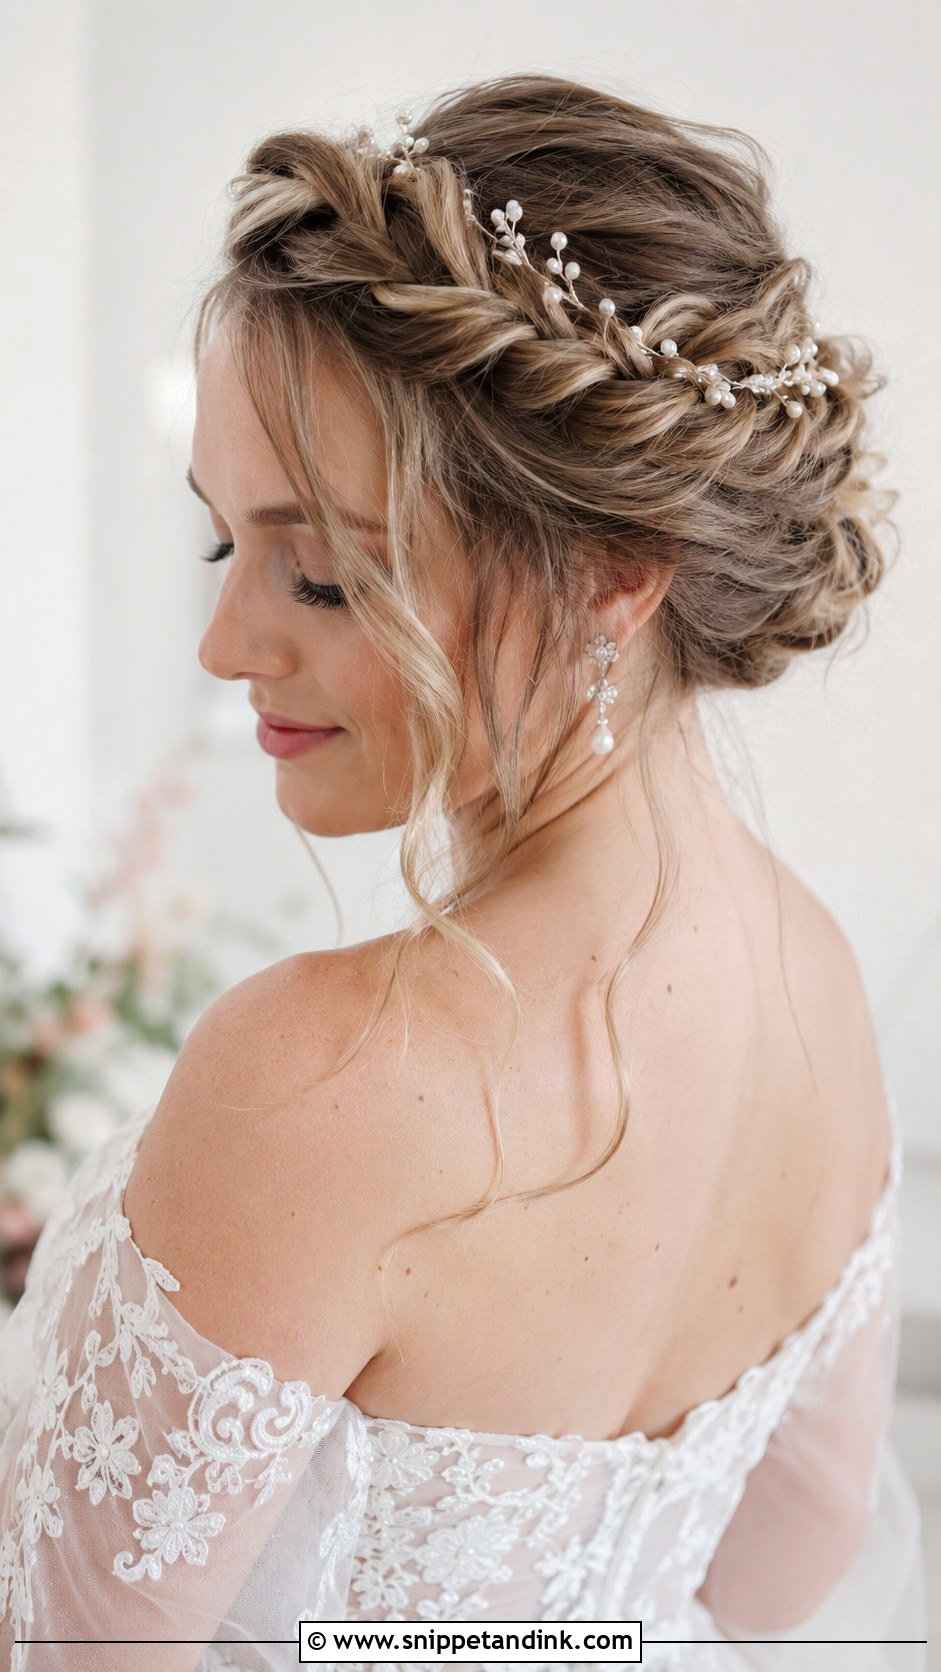
A twisted halo wraps around the head like a band. Part down the middle and twist each side toward the back, gathering hair as you go, then bring the twists up and around the crown and pin them into a halo. Tuck the ends underneath and loosen the twists. Leave a few tendrils at the face and add pearls along the band. The wrapped halo sits well with a boho or fairytale theme. Twists unravel more easily than braids, so I’d set each with a pin every few inches.
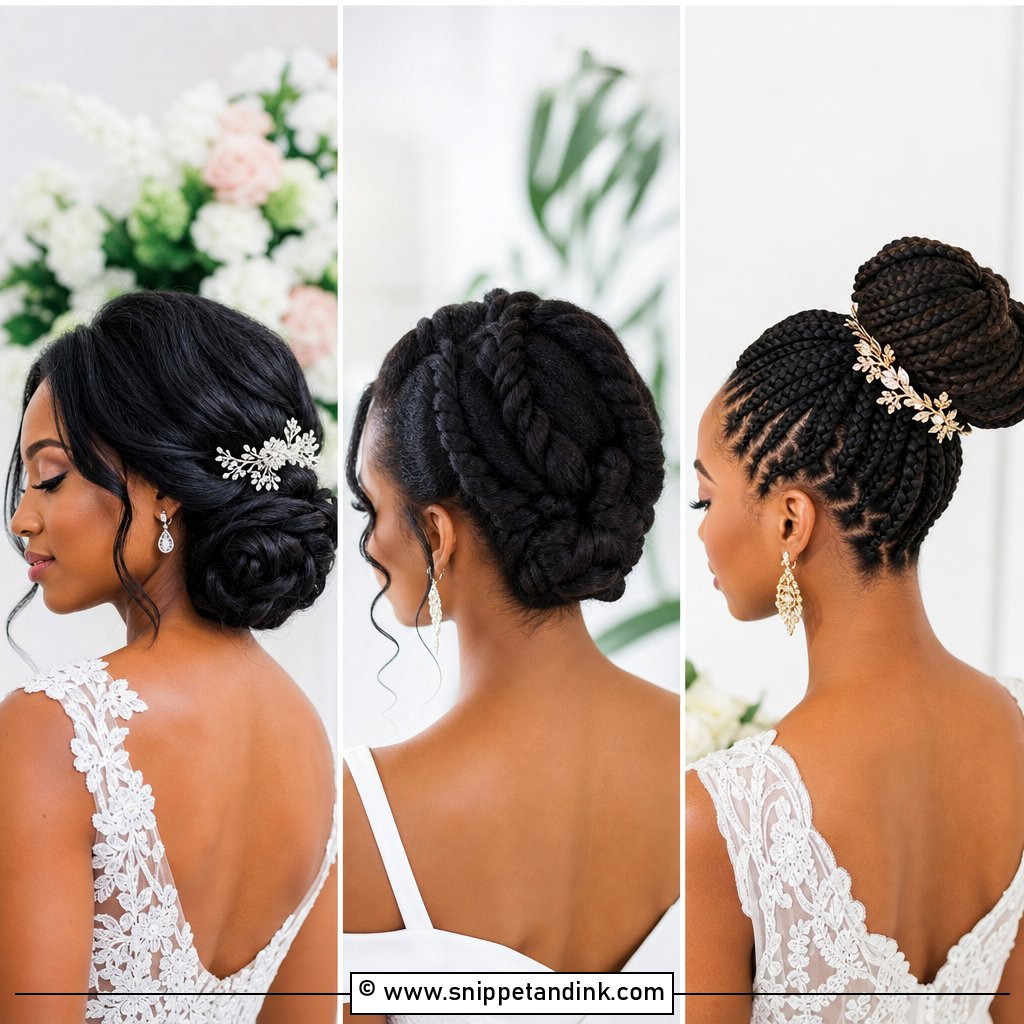
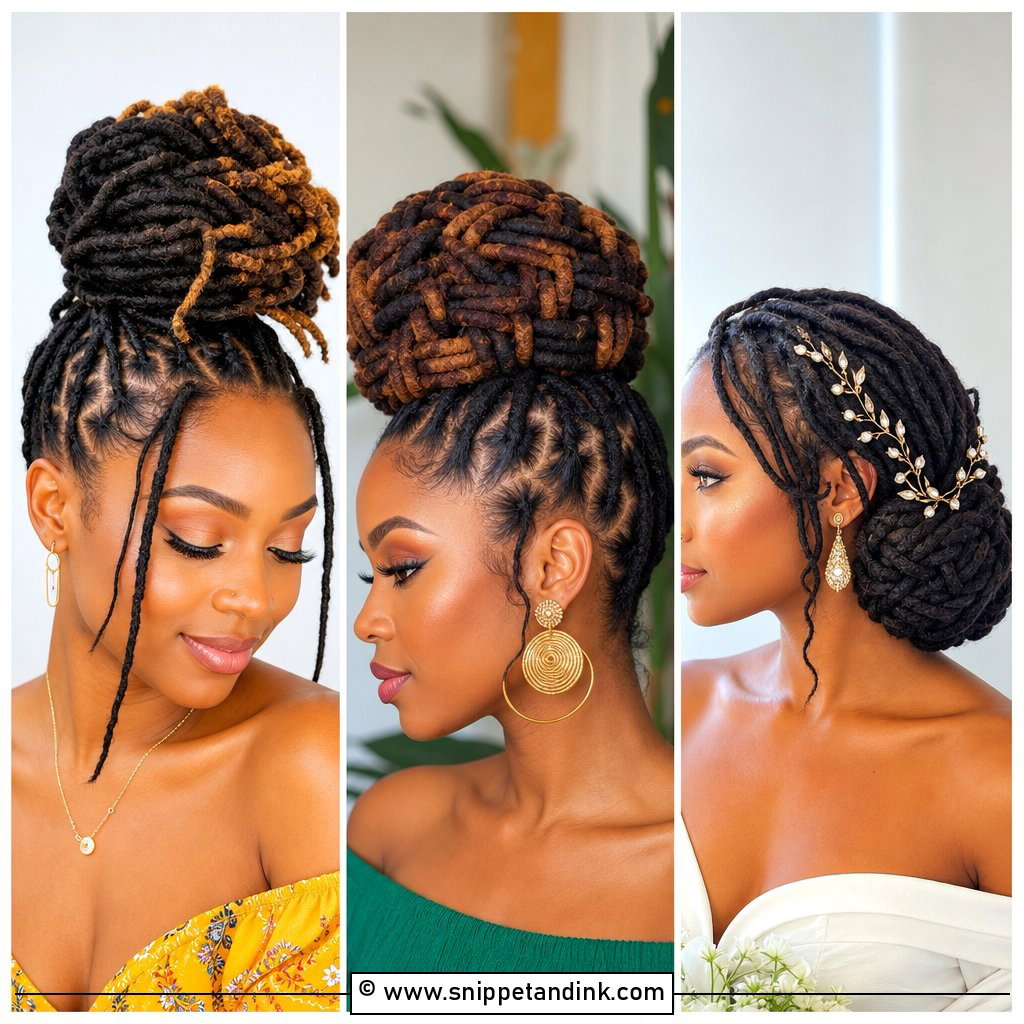
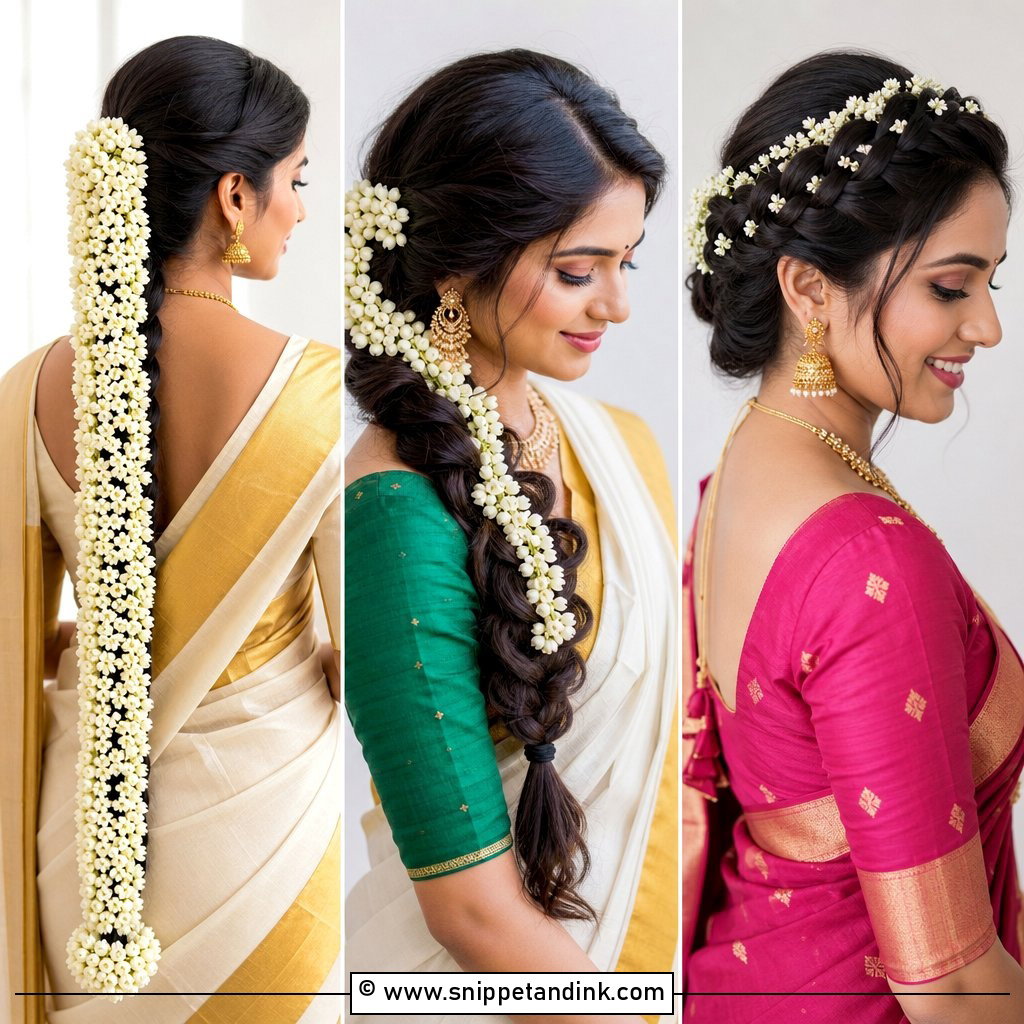
24. Low Knotted Bun Wedding Hairstyle Tutorial
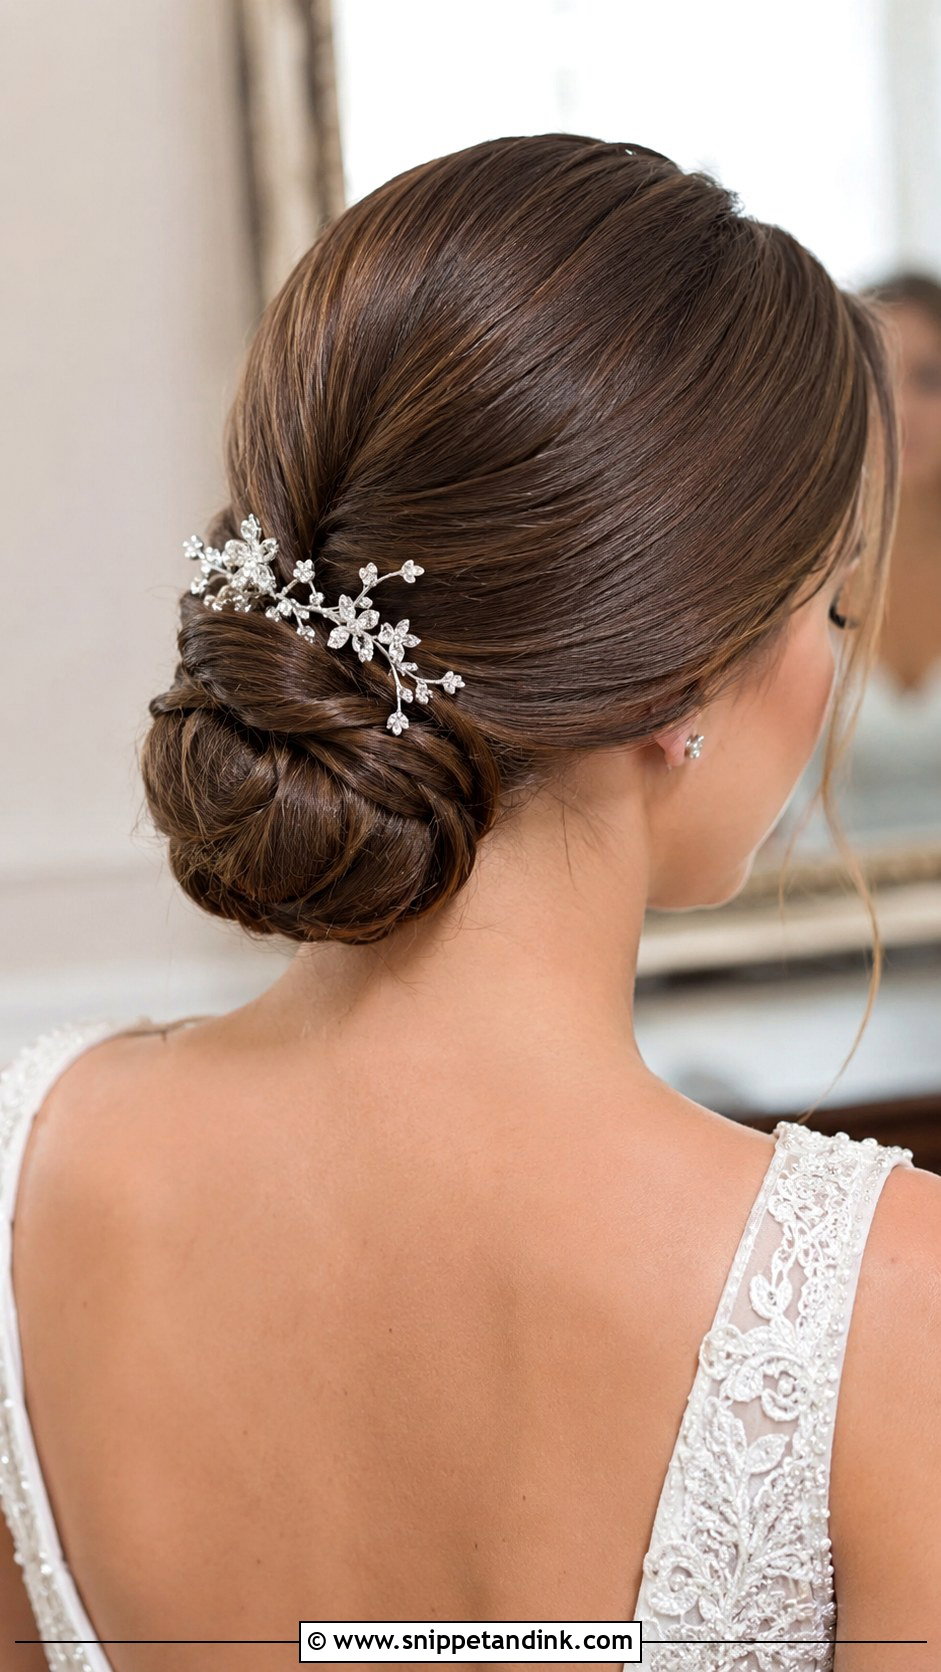
A knotted bun adds a woven look to a low updo with just one move. Split the hair into two sections at the nape and tie them like the first step of a shoelace bow. Repeat the knot, then tuck and pin the loose ends underneath and shape it into a rounded bun. Pin all the way round, loosen for softness and add a comb beside it. Thick hair can make the knot too bulky, so I’d thin the sections slightly or knot only once. It sits comfortably at a classic or modern wedding.
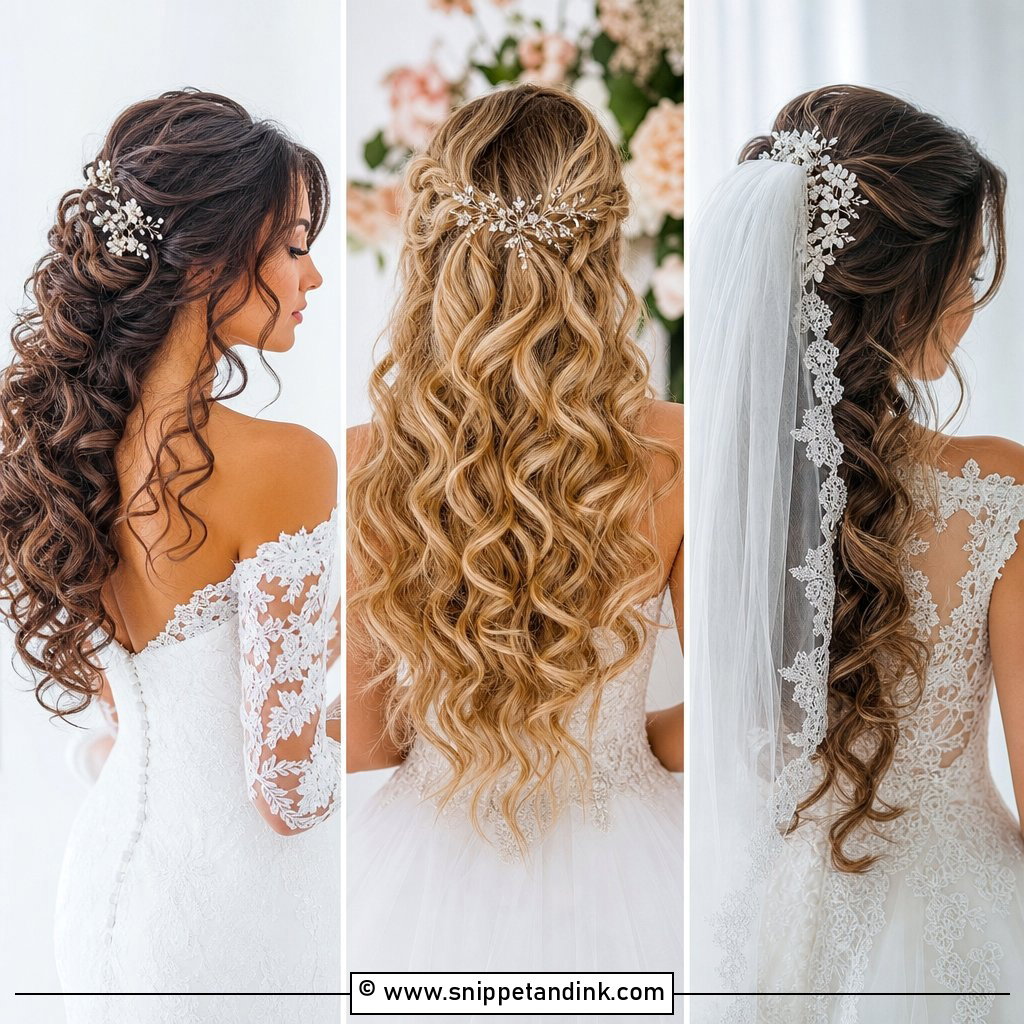
25. Accessorized Pulled Back Wedding Hairstyle Tutorial
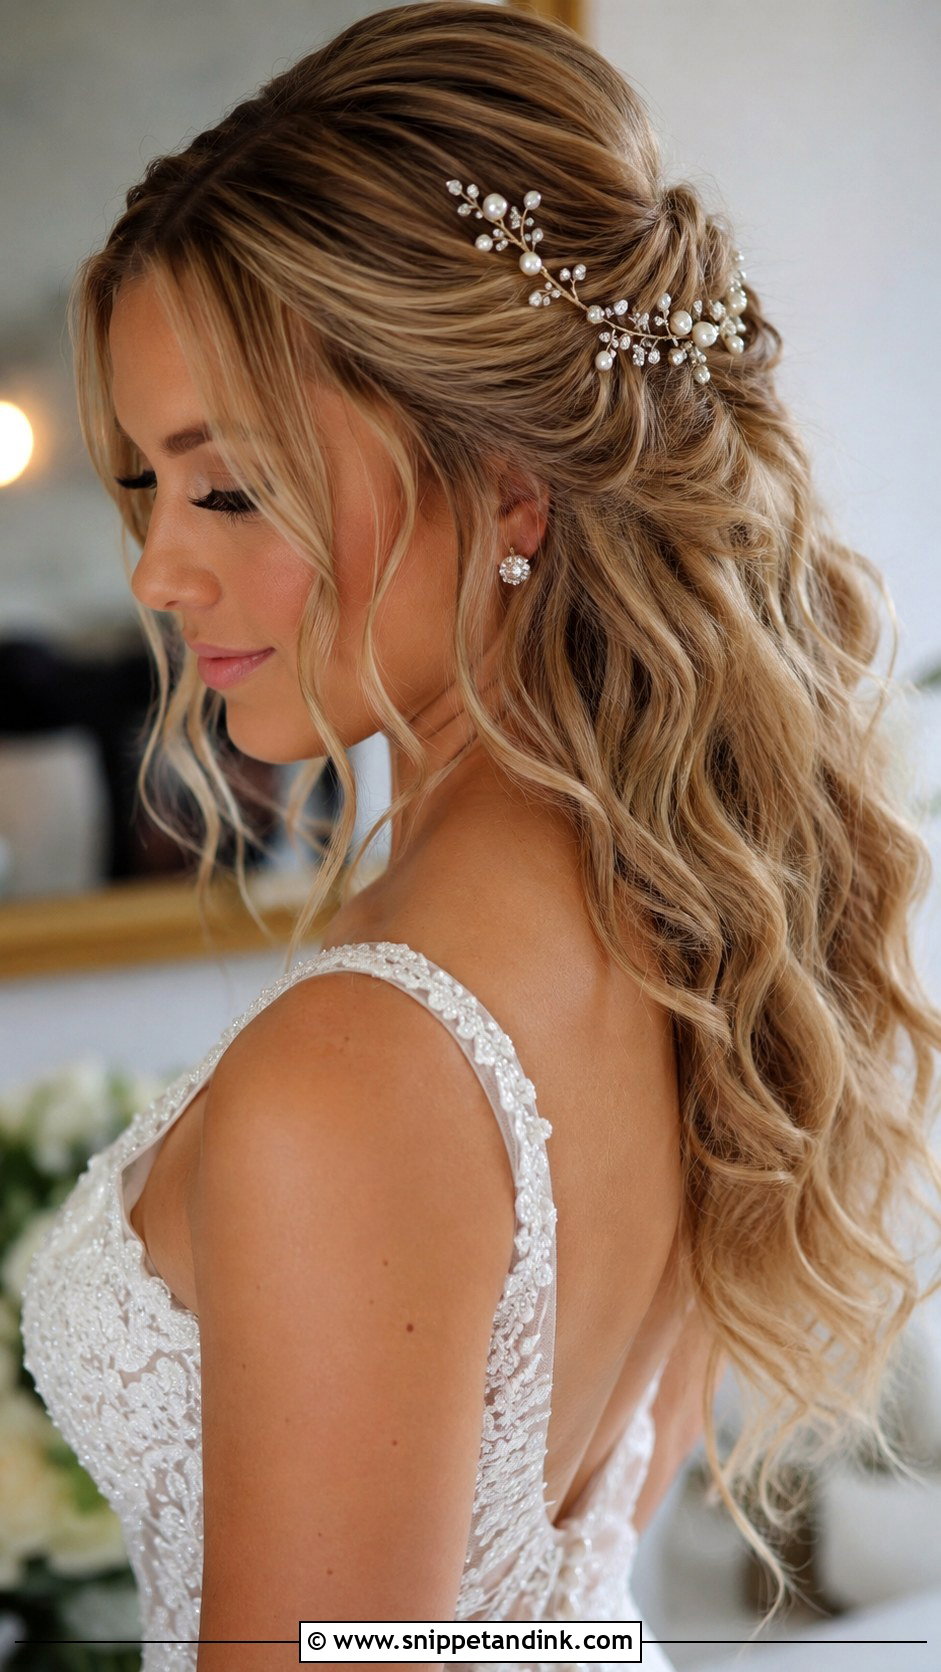
Sometimes the accessory is the real focus. Curl the hair into loose waves and sweep the front sections gently away from your face. Pin them back loosely, then slide in a jeweled comb, headband or pearl vine right where the hair is pinned so it hides the join. Leave the rest of the waves loose and mist lightly. It’s the easiest style here and puts all the attention on the piece you chose. Choose the accessory before the hairstyle, since a heavy comb needs firmer pinning than a light vine.
Three Rehearsals and a Rescue Plan
I’d practise your chosen style three times before the wedding. The first time you learn the steps. The second time you find out how long it takes. The third time, wear it for a whole afternoon and see what moves.
What Usually Slips, and the Quick Fix
- A bun loosening at the base: push two crossed pins in underneath, one from each side, so they lock together.
- Curls dropping: twist the fallen piece round a finger, pin it flat for ten minutes, then release.
- Flyaways at the hairline: a toothbrush with a little hairspray smooths them better than fingers.
- A braid looking flat: pull the outer loops gently, working from the top down.
Give a small bag to someone you trust with spare pins, a mini spray and a comb. Show them the style at the last rehearsal, so they know where things go if you need help between the ceremony and the reception.
Practise It Until Your Hands Know the Steps
Your wedding hair should feel like you and should stay put. Many of the styles here are achievable with practice, the right pins and some flexible hairspray. Do a full practice run at least once, timed, so you know how long it takes. Pick the style you can repeat with your hands rather than the most complicated one you liked. Then put your comb down, and enjoy the walk down the aisle.
You'll Like These Ideas:


Leave a Reply