
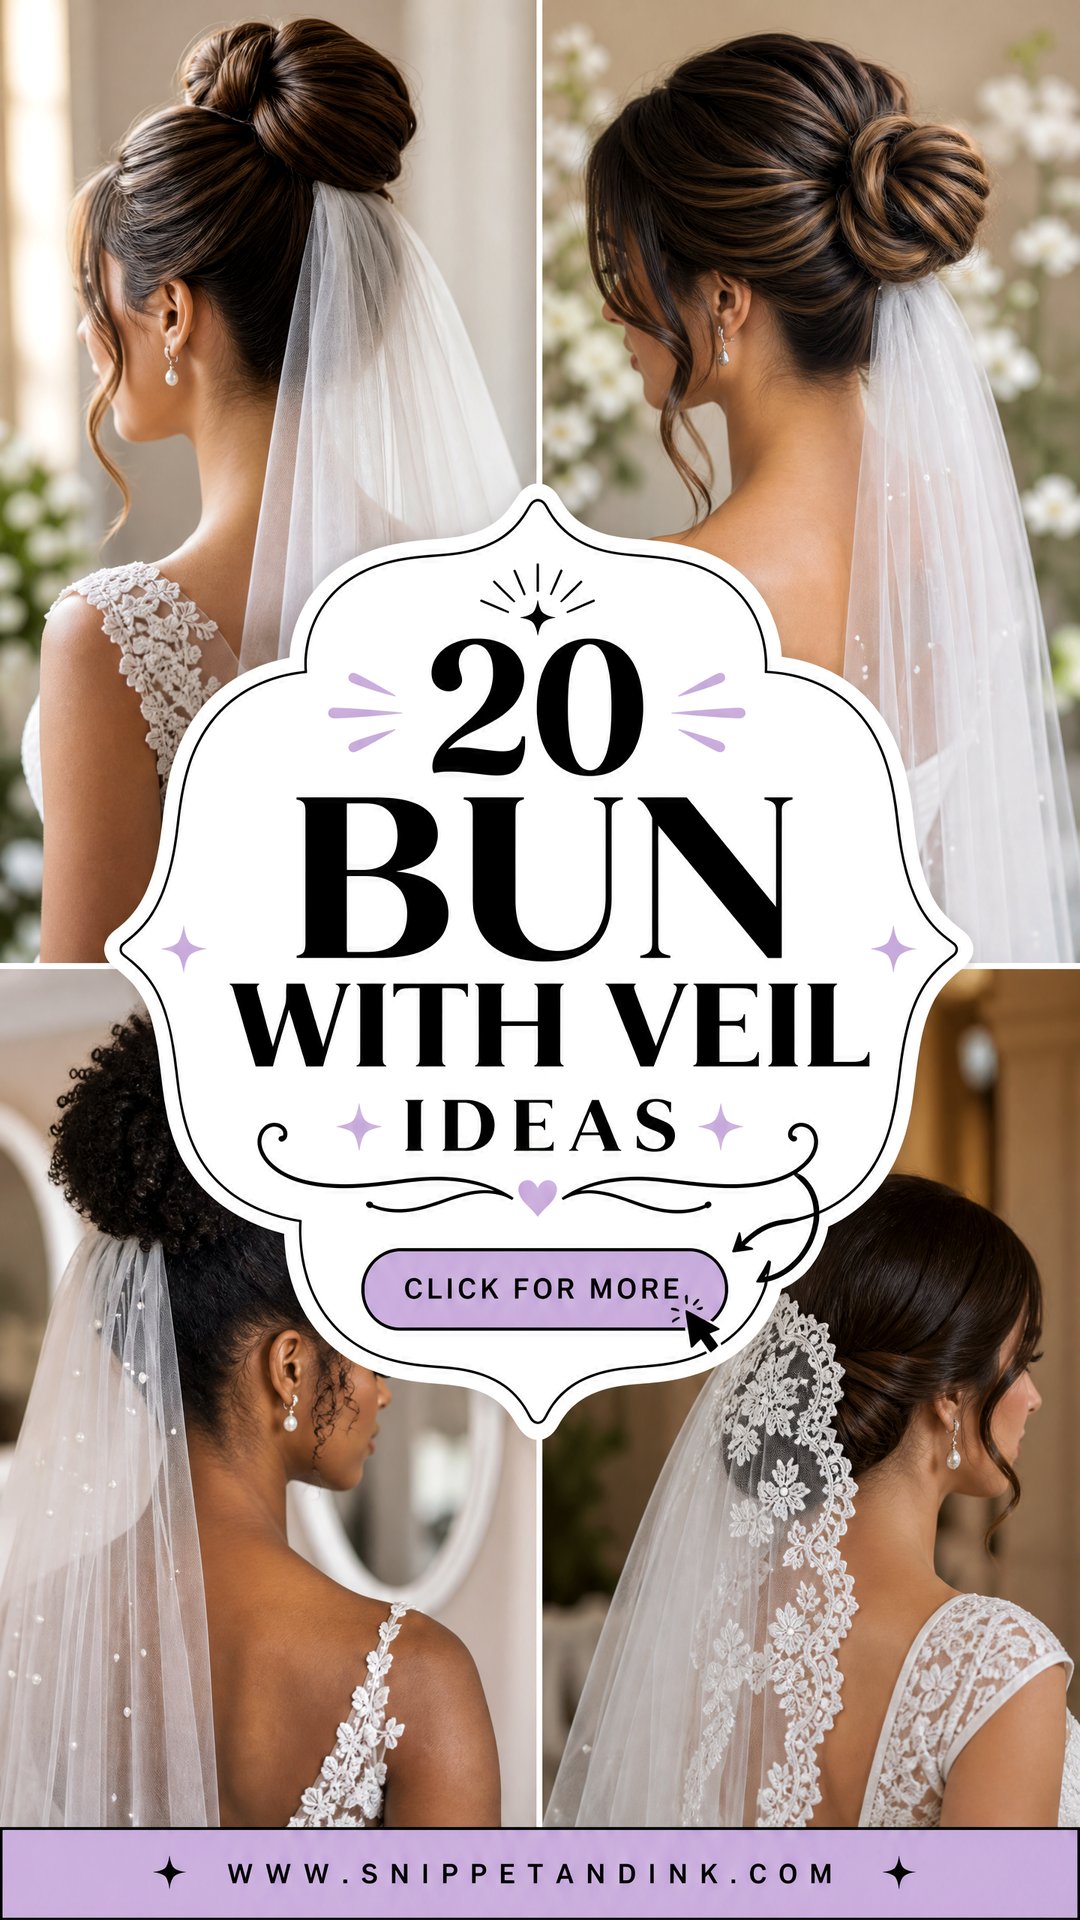
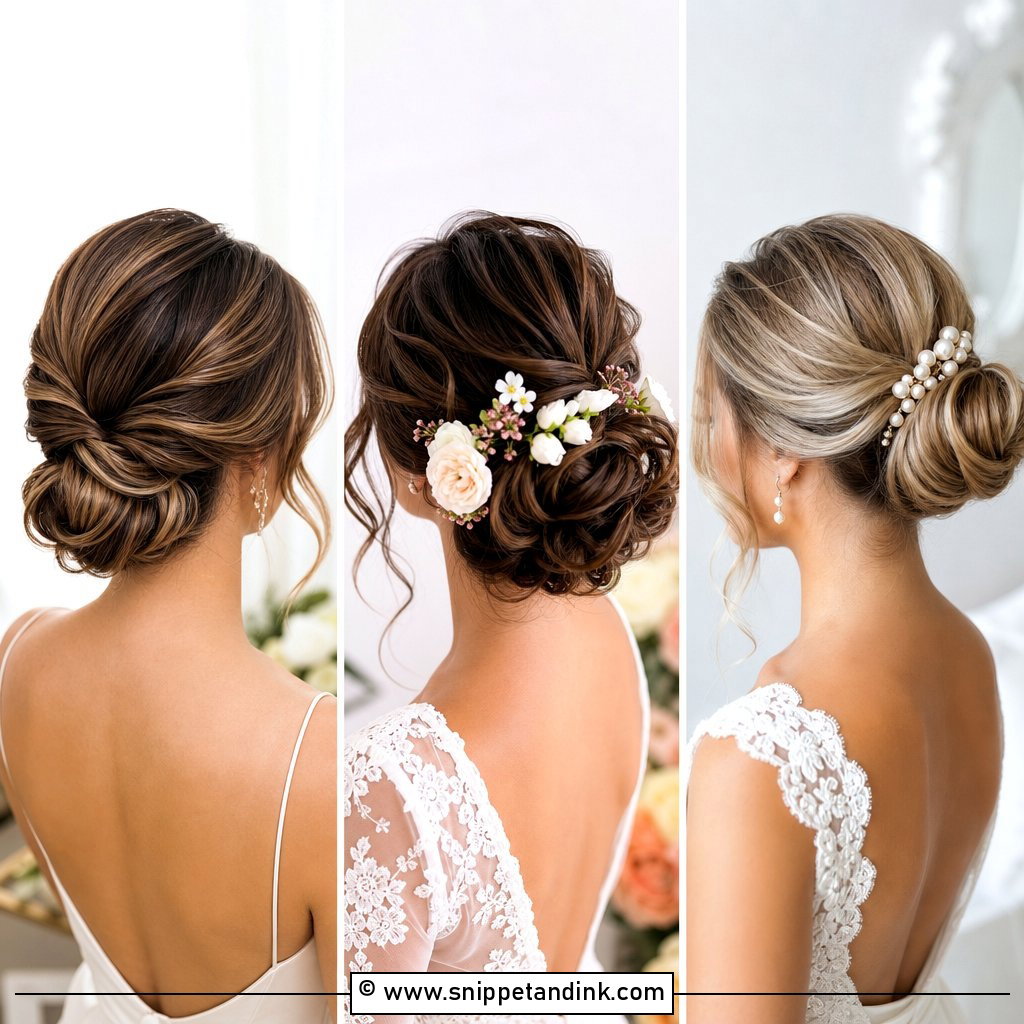
A bun is the style I trust most under a veil, because it gives the comb something solid to grip all day. The shape and height of the bun decide how the veil falls, and the veil decides how much of the bun anyone sees. Below you’ll find low chignons, textured and braided buns, sleek top knots and natural curl updos, paired with cathedral, fingertip, birdcage, mantilla, and pearl veils. Before you fall for one, think about your hair texture, your neckline, how heavy the veil is and what you want guests to see from the back row. Then bring the actual veil to your trial, since no photo tells you how it pulls on your pins.
Over the Bun or Tucked Beneath It
The question I’m asked most at trials is where the veil should go. There’s no rule, but there are a few things I weigh every time:
- The back of the dress. Buttons, lace or an open back usually argue for placing the comb under the bun, so the tulle falls below the detail you paid for.
- The veil’s weight. Long, heavy or beaded veils sit better above the bun, where there’s more hair and a wider pin base to hold them.
- Your hair. Silky, freshly washed hair gives a comb nothing to grip. I’d rather you wash the day before and let me add texture spray at the roots.
- Your plans for later. If the veil comes out after the ceremony, the bun underneath has to look finished on its own.
Whichever you choose, the comb never goes into loose hair. I lay two or three bobby pins in a crisscross where it’ll sit, slide the comb teeth through them, and add a final pin over the comb’s spine. That small base is what keeps a veil from sliding back during the first kiss.
1. Low Bun With Cathedral Veil
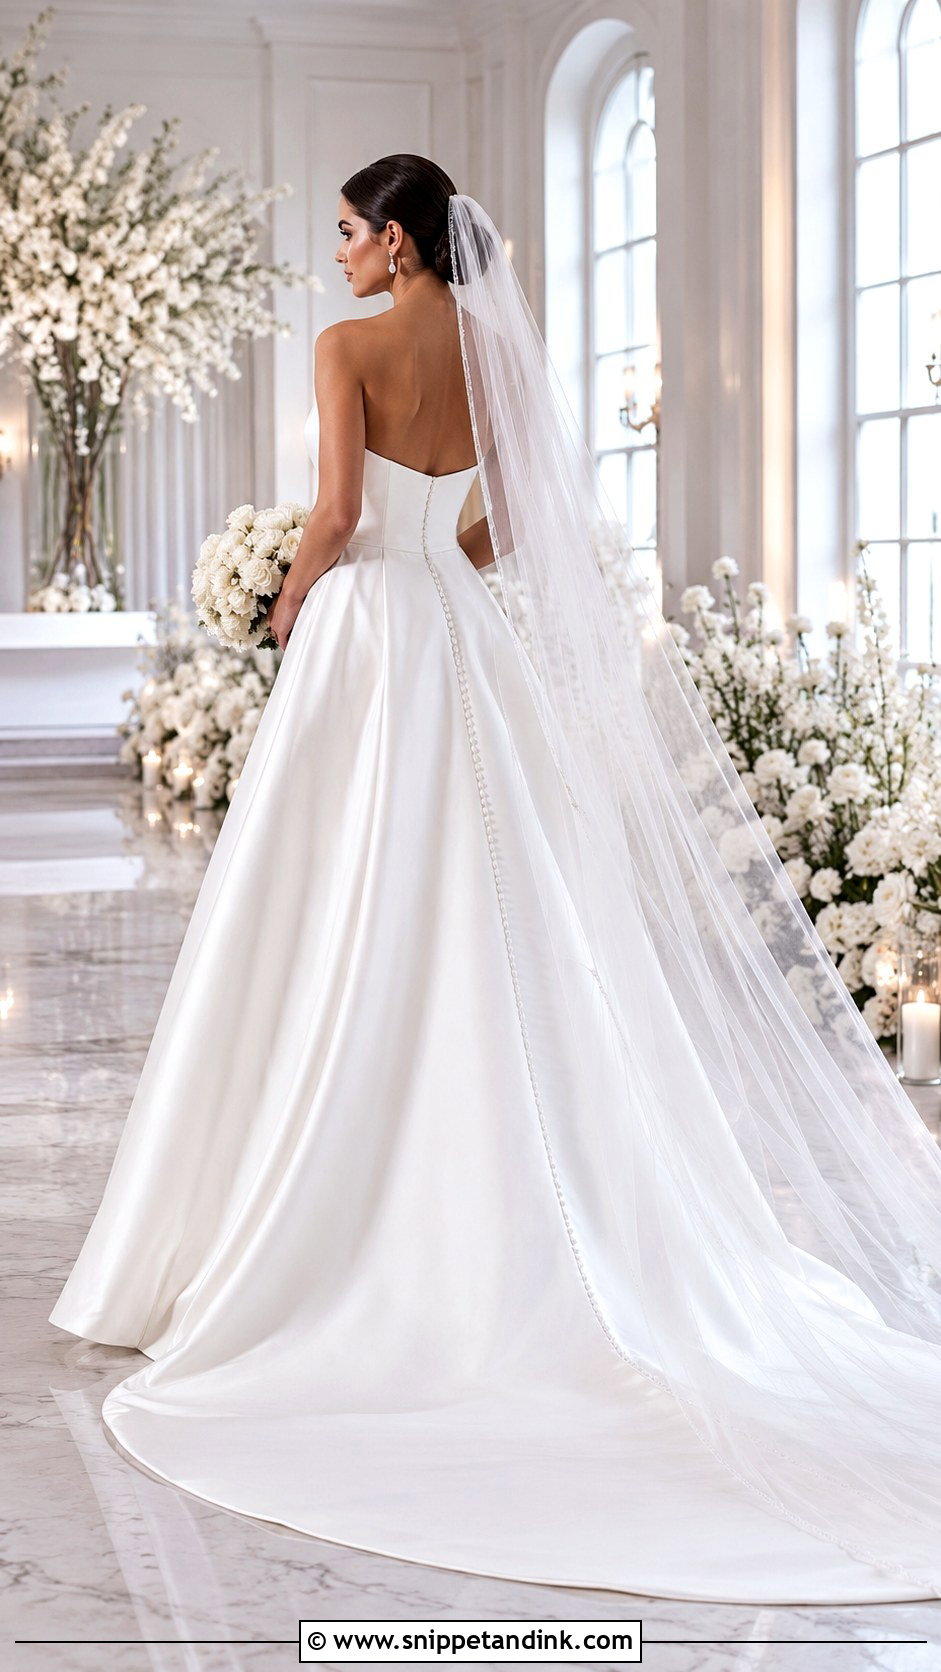
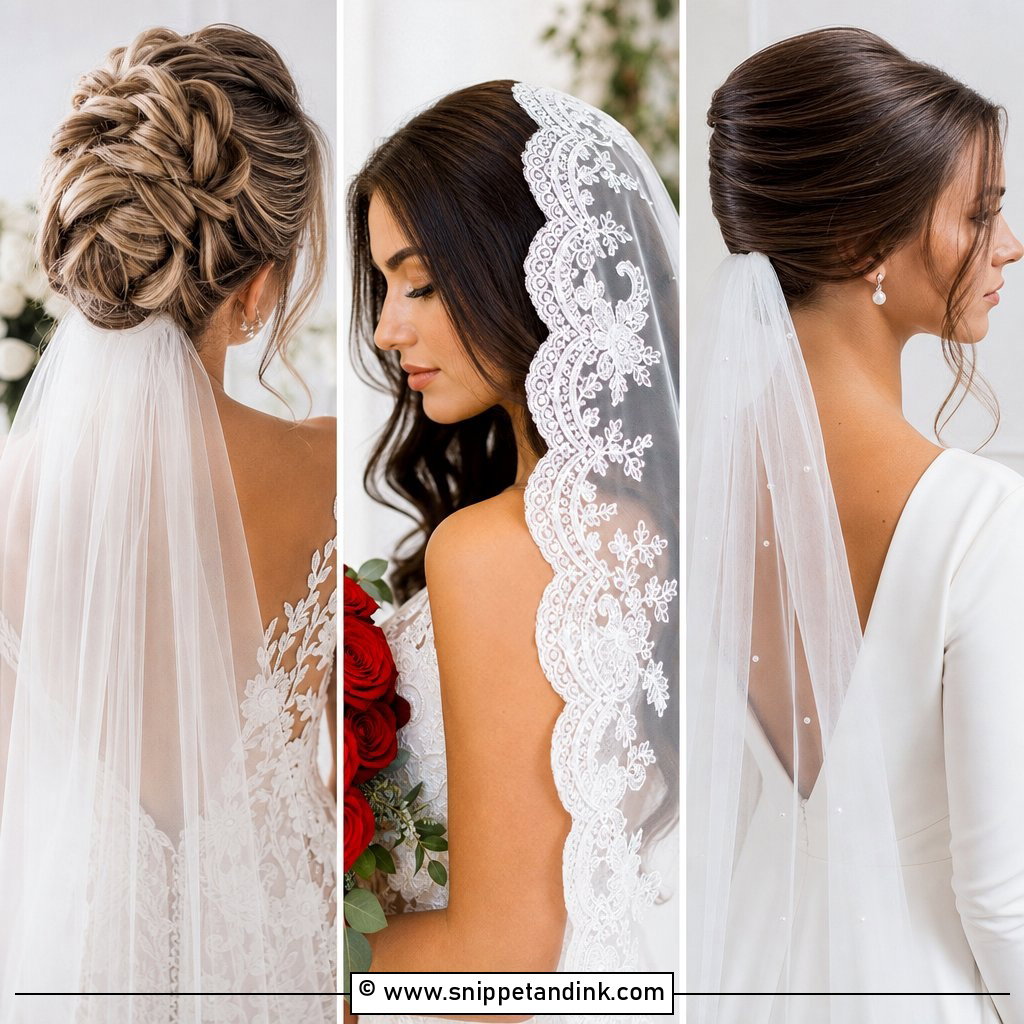
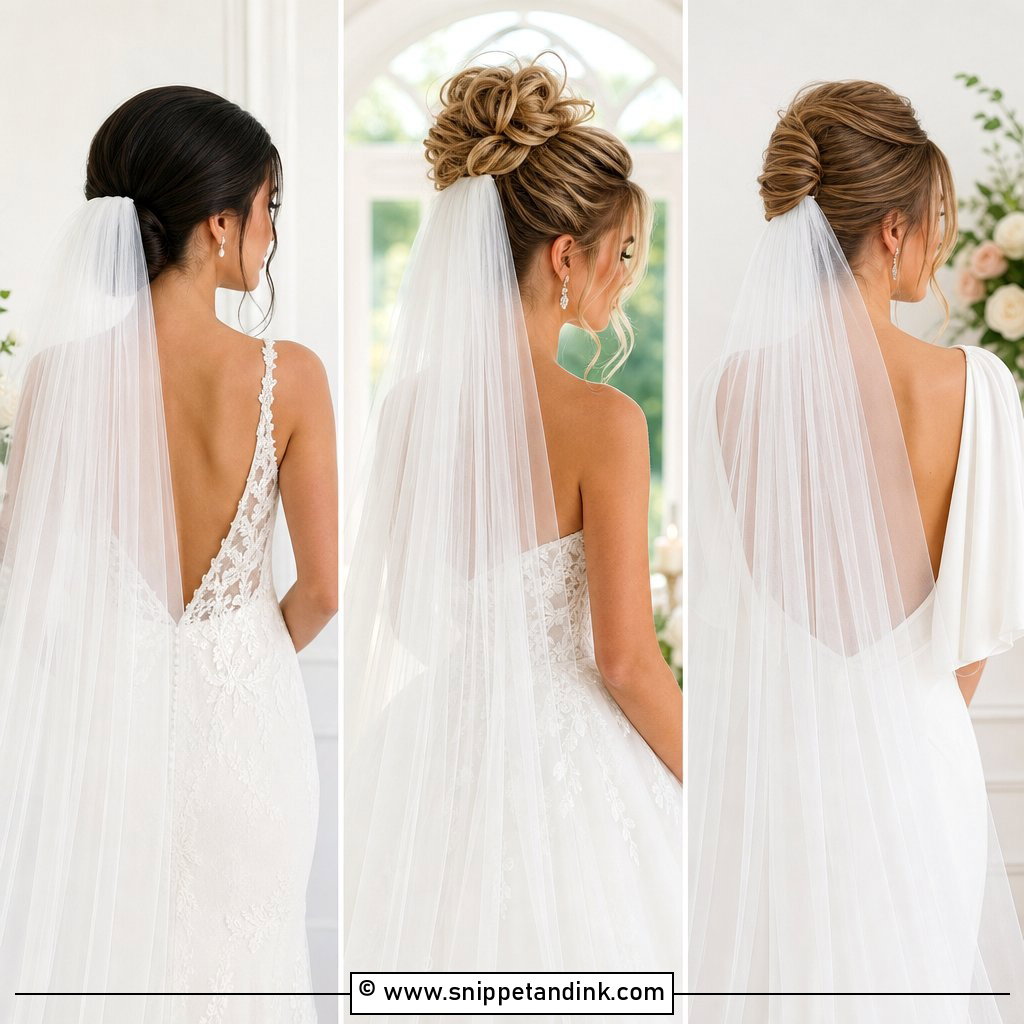
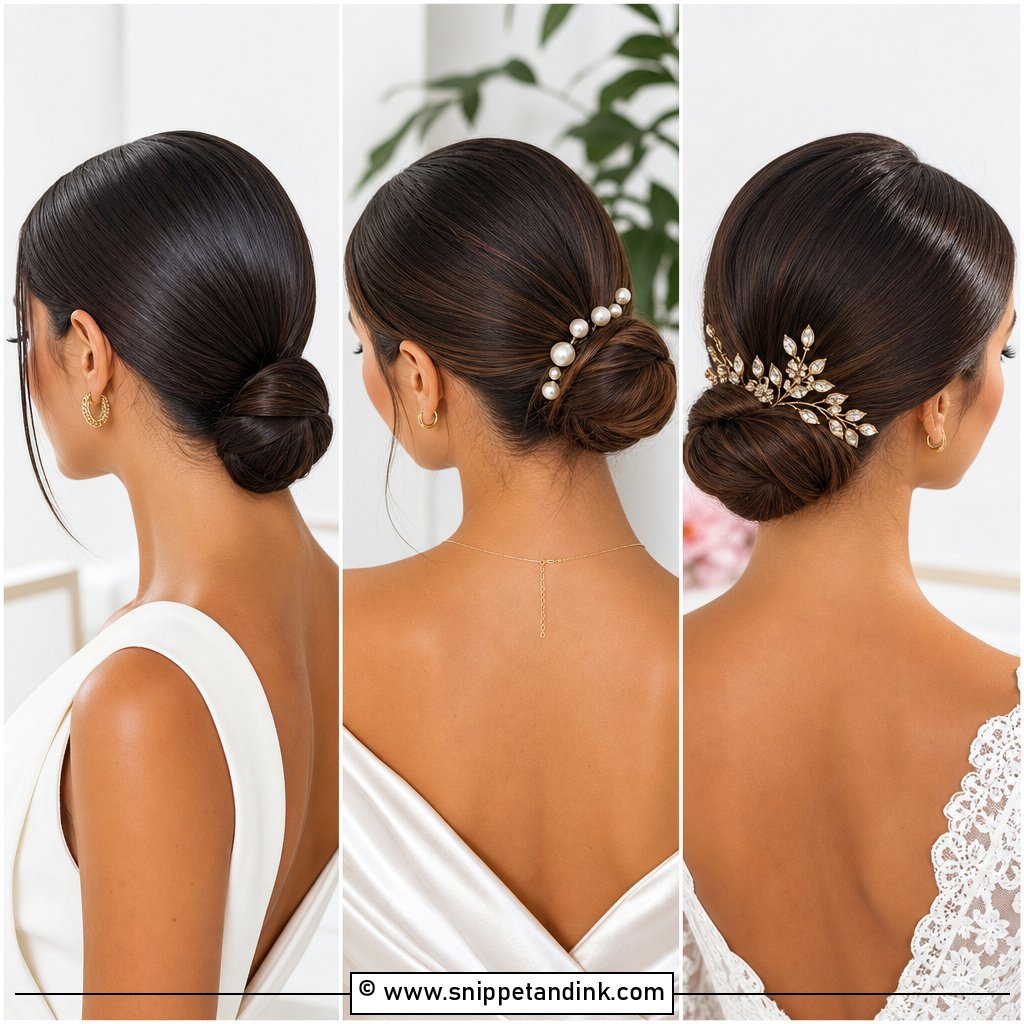
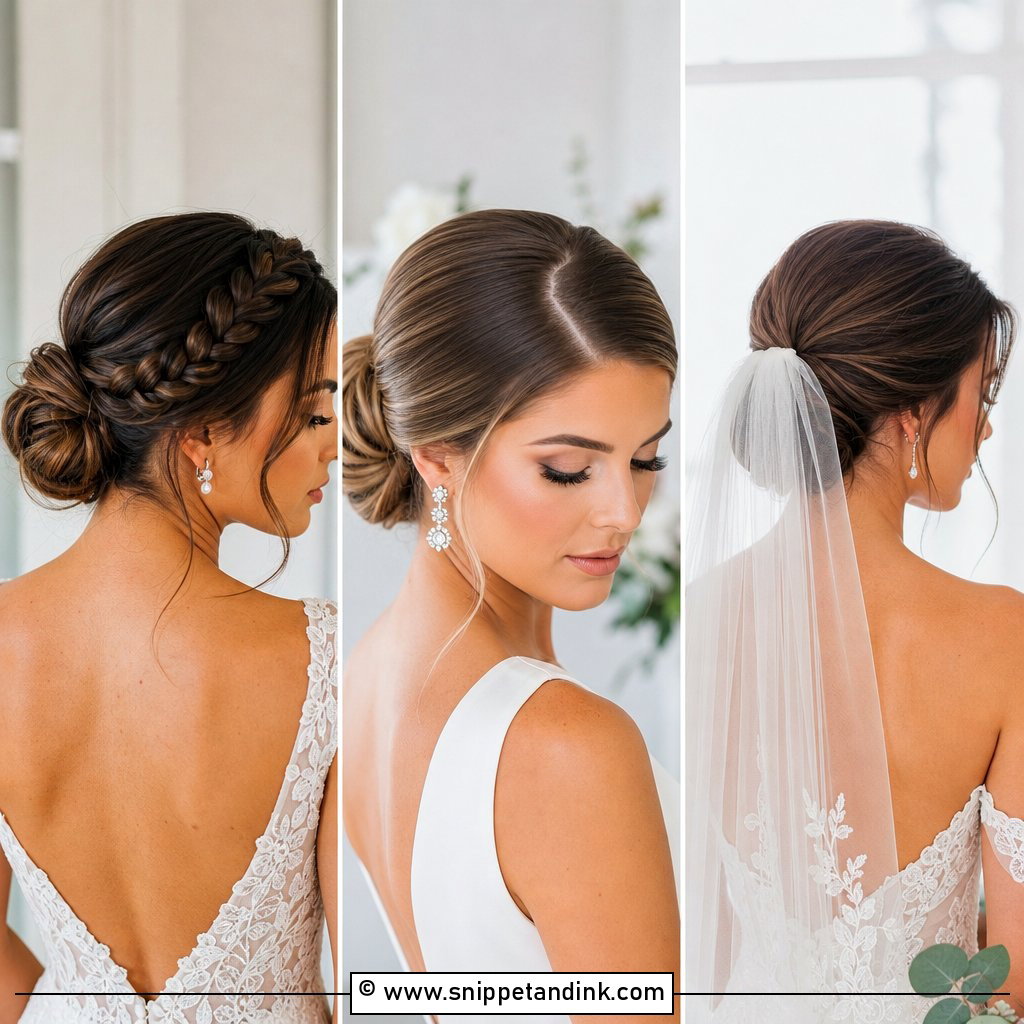
A cathedral veil is heavy, and a smooth low bun at the nape is one of the few shapes that carries that weight without drooping. I set the bun low enough to peek out under the tulle but small enough that it doesn’t make a hump. The comb goes directly above it, slid into a base of crisscrossed pins so the tulle spreads over the bun and then runs down the gown. It suits structured dresses, clean necklines and long aisles. Choose a center or side part to suit your face. A light shine spray finishes it; heavy lacquer just makes the bun look hard.
2. Sleek Low Bun With Veil Underneath
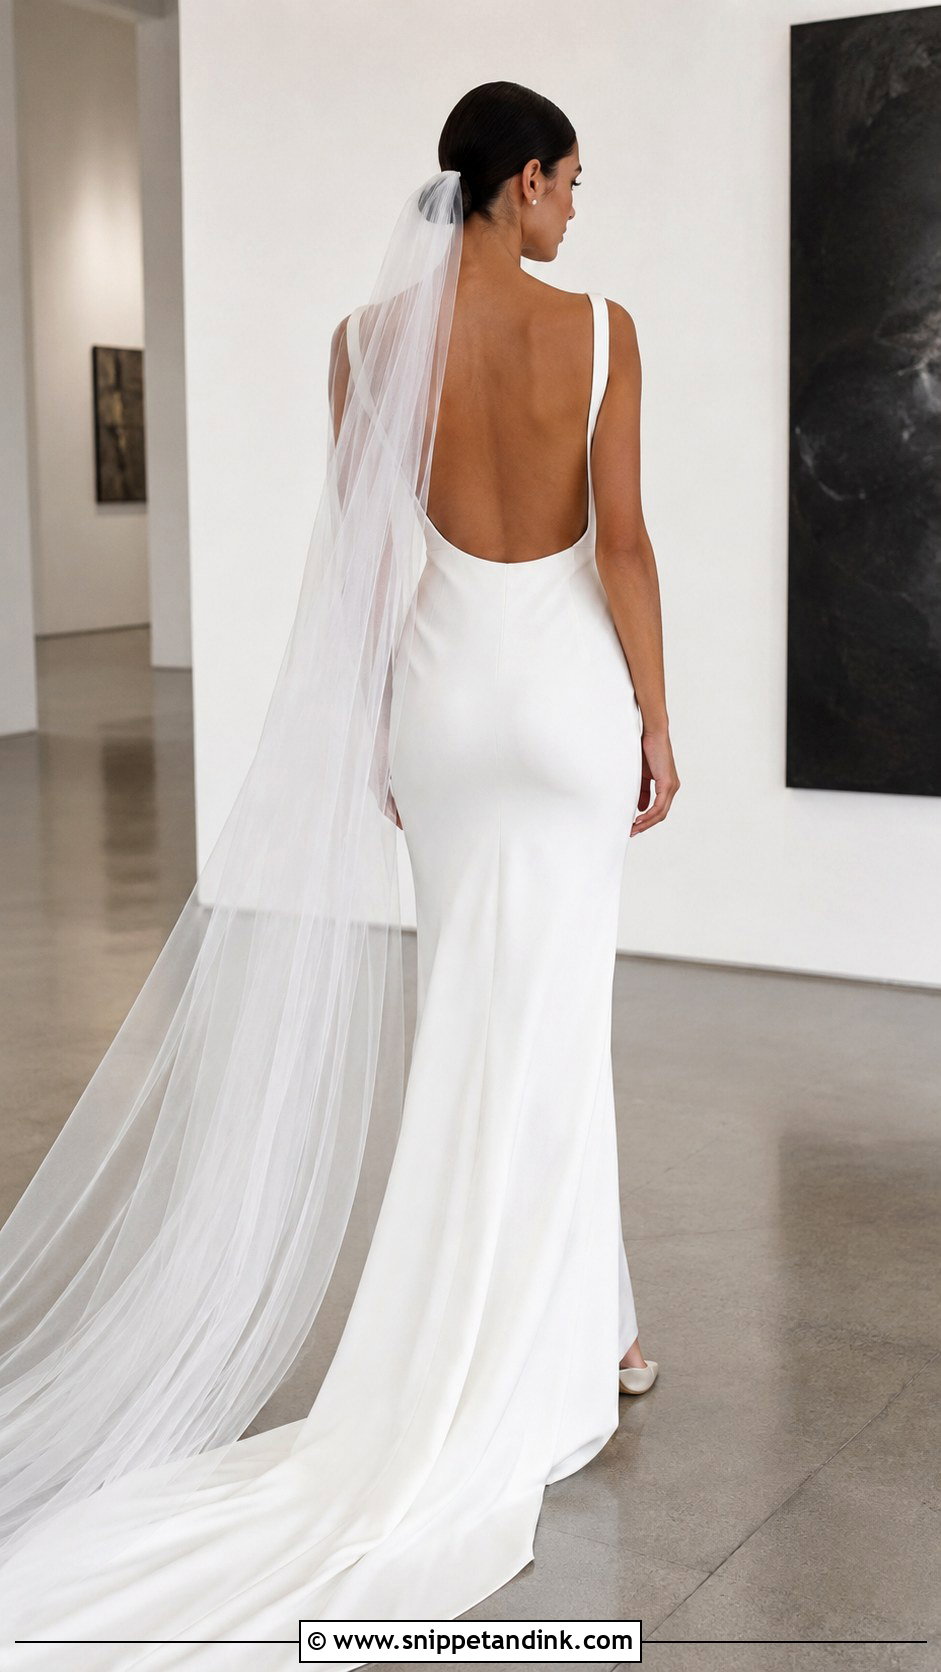
Putting the veil under a sleek bun keeps every bit of the hairstyle visible and lets the tulle float from below. I build the bun slightly above the nape so there’s room for the comb underneath, and because a comb sitting that low has little hair to bite into, I usually plait a small hidden braid or set a row of anchor pins first. A precise middle part looks modern; a deep side part softens it. This placement makes sense when the back of your dress has buttons, lace or an open back you don’t want buried. A single layer of sheer tulle keeps it clean. Shake your head hard at the trial; if the comb slides, we fix the base, not the comb.
3. Messy Low Bun With Fingertip Veil
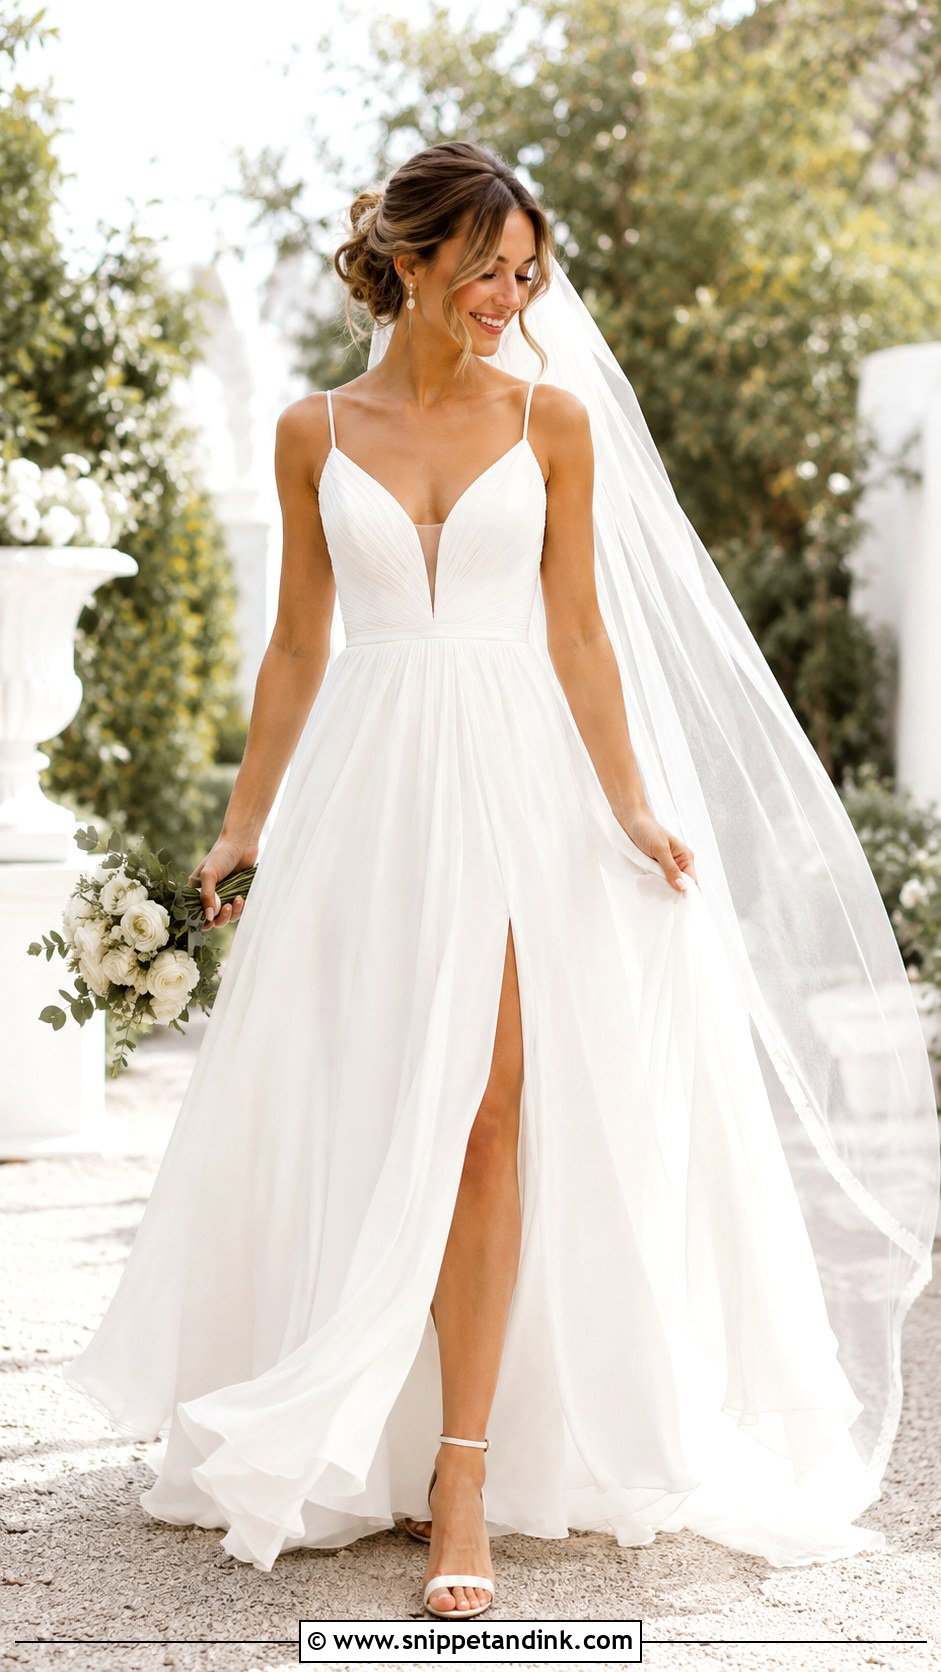
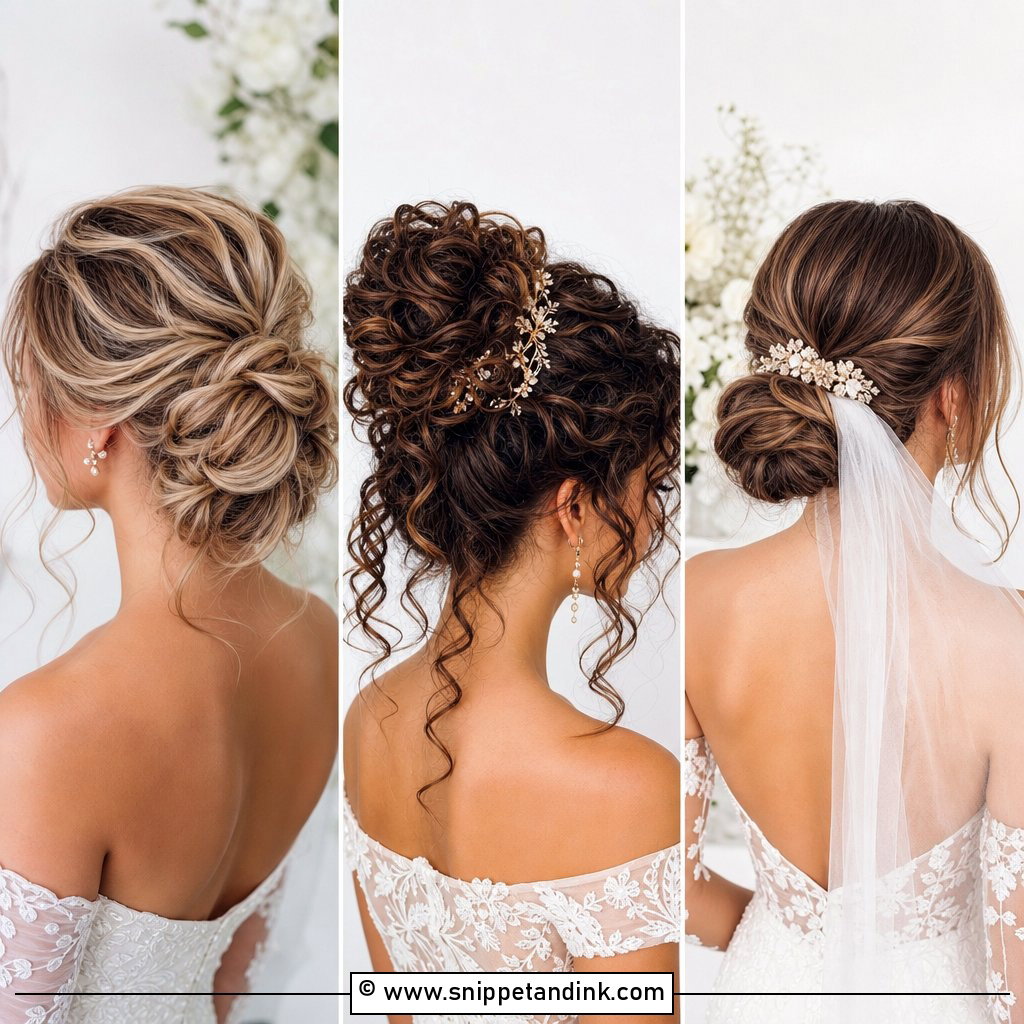
A messy bun only looks relaxed when it’s built on structure. I curl the hair first, loosen the roots and pin each section individually at the nape, so it holds through hugs even though it looks undone. Leave a few fine tendrils at the face but keep them thin; thick pieces end up stuck to lip gloss in photos. A fingertip veil above the bun adds fullness, while placing it underneath shows the twists. The length moves without trailing on the floor, which is why it’s easy for garden venues and relaxed receptions. Flexible hairspray lets it shift without collapsing. It pairs naturally with delicate fabrics and floral detail.
4. Braided Low Bun With Lace Veil
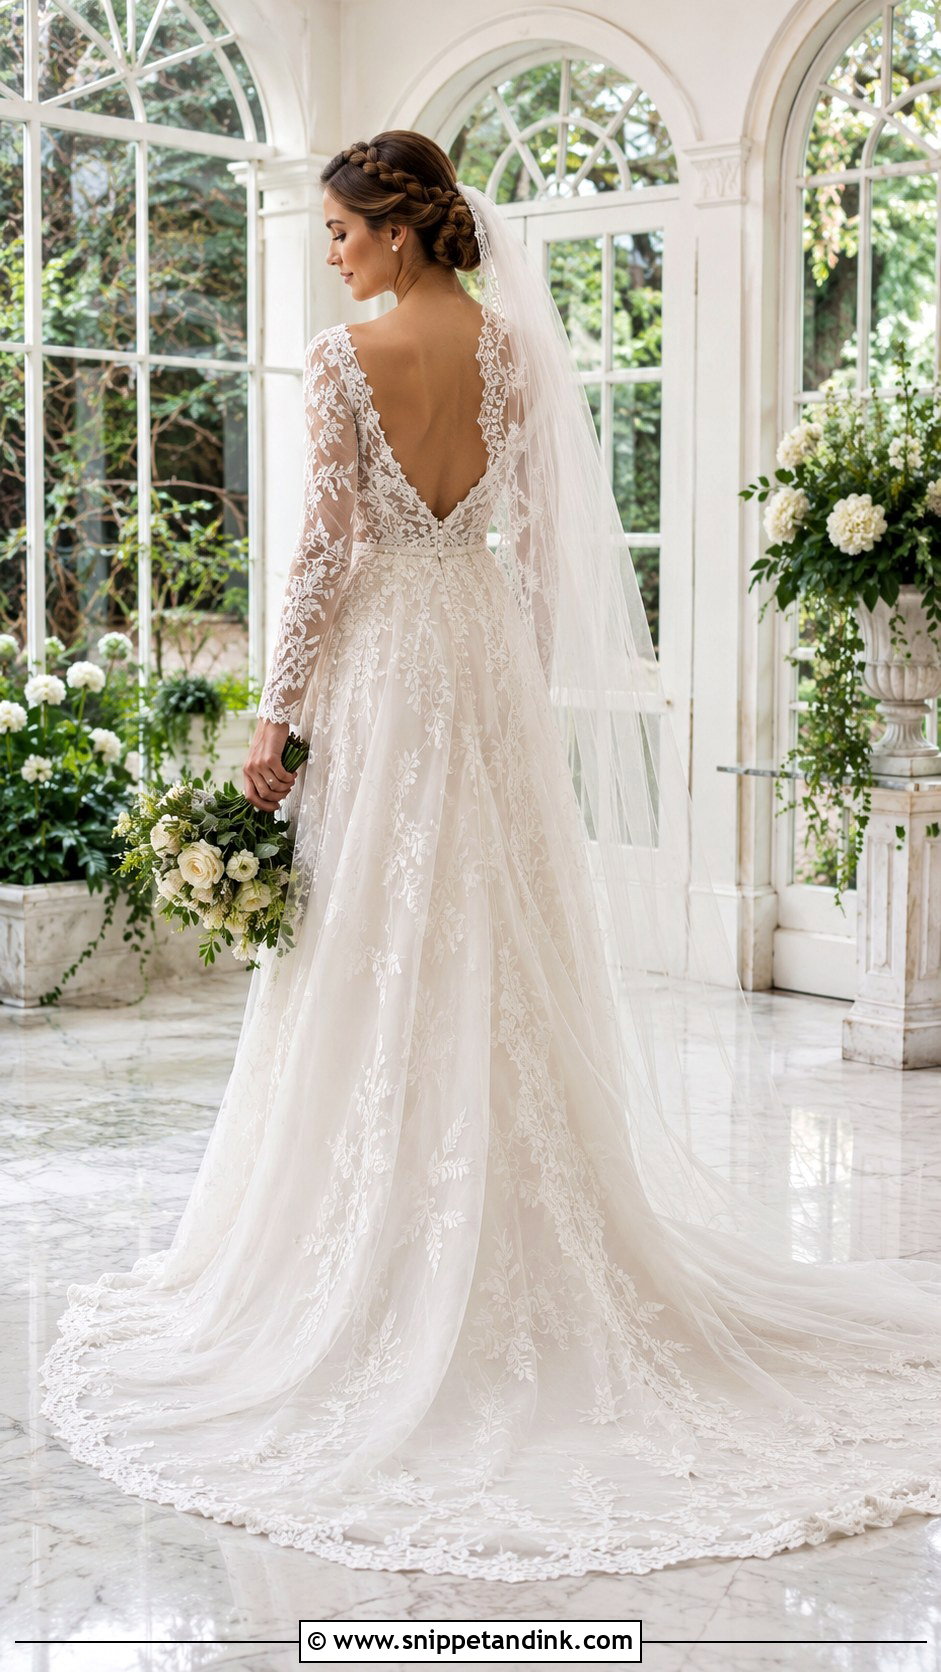
Braids give a bun a pattern that still reads under lace, and it looks just as finished once the veil comes off. I braid loosely along each side of the head, gather both into a rounded bun at the nape, then pull the braid edges outward so the weave shows from a distance. Set the veil just above the bun so the lace border frames it. A sheer veil with a few appliqués is far easier to pair than one covered in lace, because two busy textures fight. Skip extra accessories during the ceremony. Fine pearl pins can go in after the veil is off for the reception.
5. High Bun With Veil Underneath
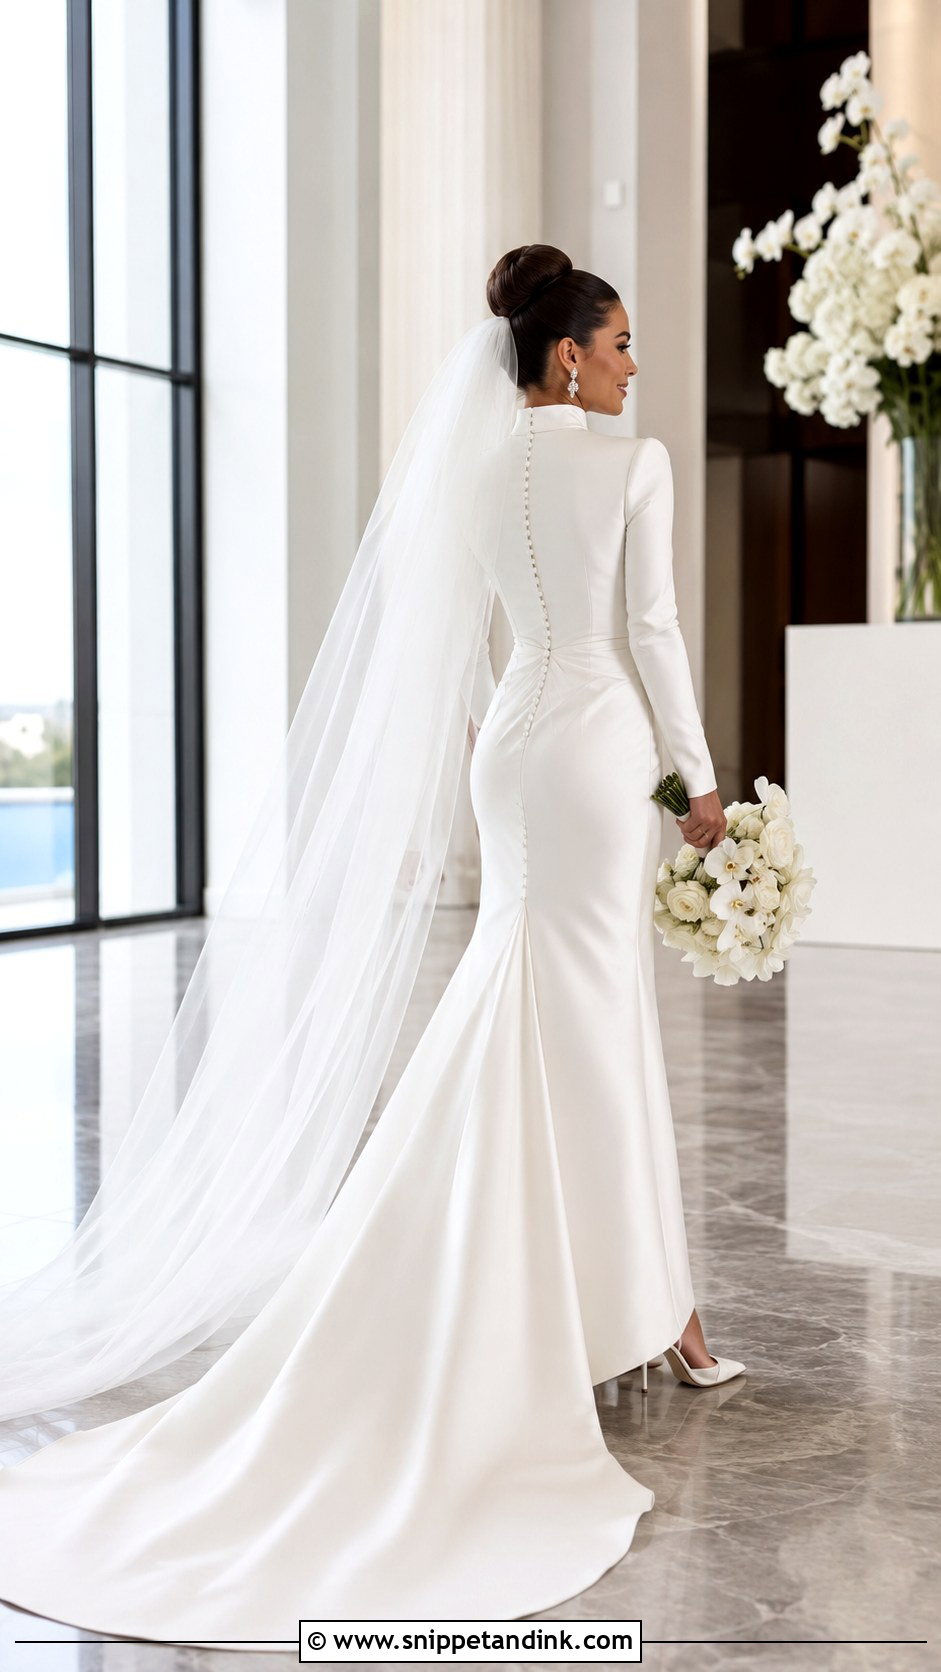
A high bun lengthens the neck and keeps collars, shoulders and open backs fully on show. The veil anchors beneath it and falls from the back of the head, so the updo stays uncovered. I keep the bun rounded and wide enough to balance the tulle, but not tall; a very high bun can tip the whole profile forward. Smooth sides look controlled, and a little crown lift stops it from looking severe. It’s cool for summer since nothing touches the neck, and it suits high necklines, strapless gowns and statement earrings. I always pin the bun and the veil comb to separate anchors, so taking the veil off later doesn’t loosen the hair.
6. Top Knot With Chapel Veil
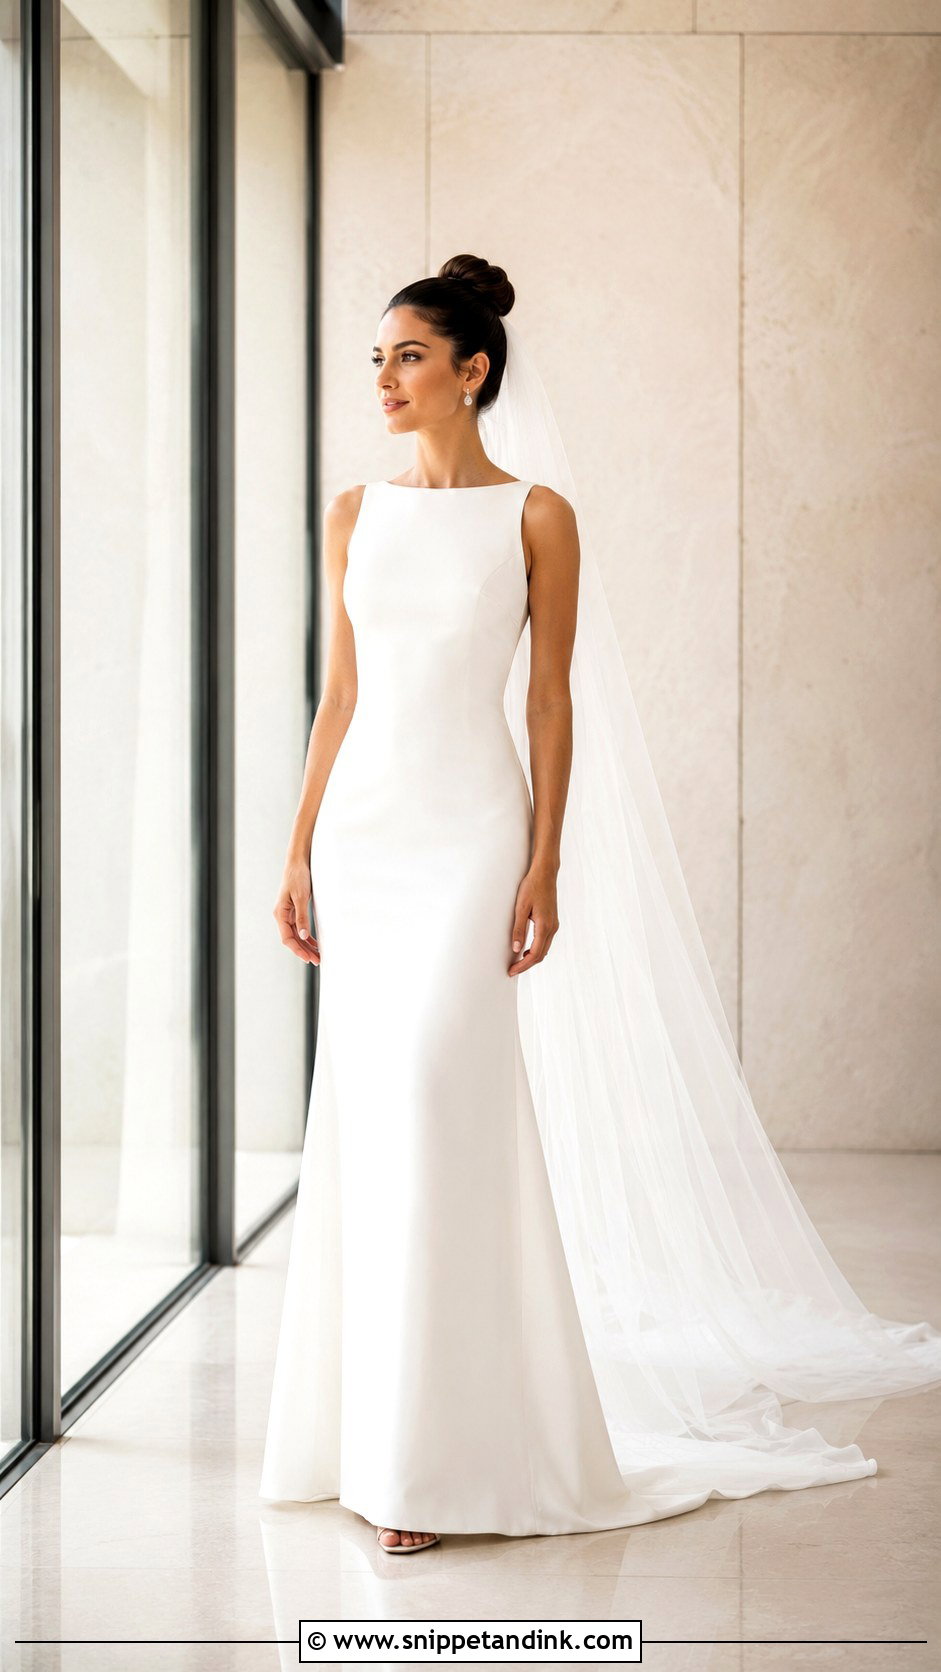
A structured top knot with a chapel veil is crisp and modern. I place the knot near the crown, just behind the top of the head, so you get height without that ballerina-on-a-stage look. A neatly wrapped bun shows off shine and keeps attention on your face. The veil goes beneath the knot and falls from mid-head to past the hem. Because the comb sits higher than usual, a lightweight single-layer veil is far more comfortable over a long day. Understated earrings and a gown with sharp, minimal lines suit it. Smooth flyaways, but don’t soak it in product or the knot loses its dimension.
7. Side Bun With Blusher Veil
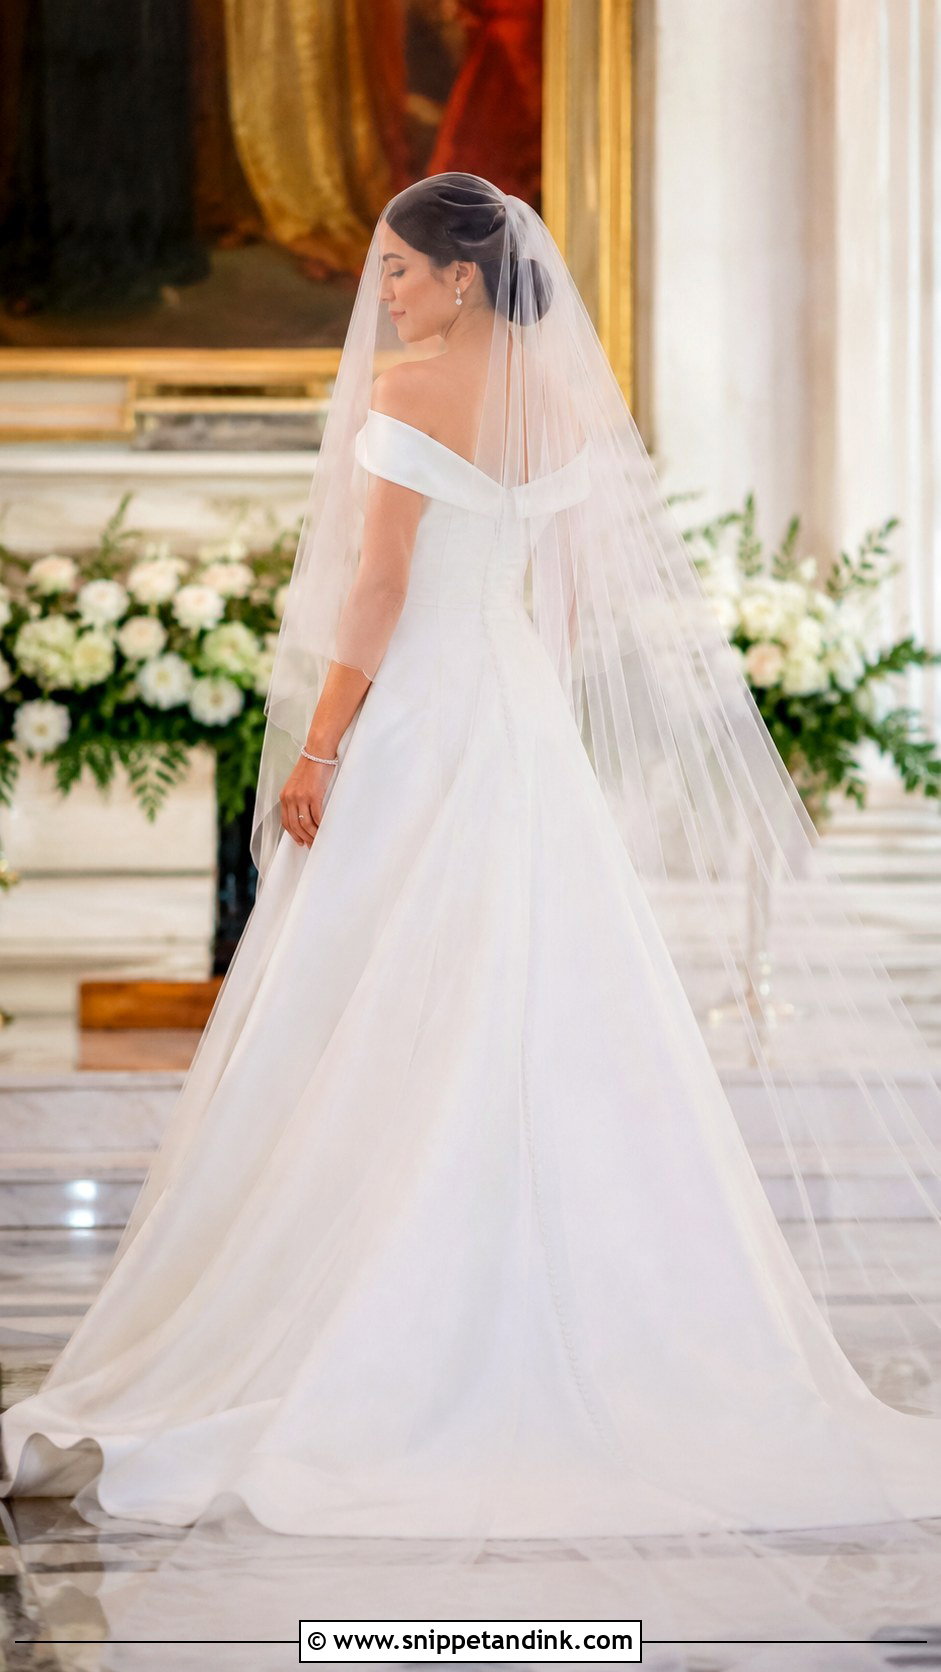
A low side bun with a blusher is softer than a centered chignon. I place the bun behind one ear and slightly toward the back; set too far to the side, it tends to rest on the shoulder and get crushed in hugs. The comb has to sit higher, near the crown, so the blusher falls evenly over the face and the longer layer drapes over the bun once the blusher is lifted. Keep the bun fairly smooth so it doesn’t compete with the double layer of tulle. It’s a traditional look that suits elegant necklines. Rehearse lifting the blusher at your trial, with whoever will do it on the day, so they don’t drag the comb backwards.
8. Textured Side Bun With Pearl Veil
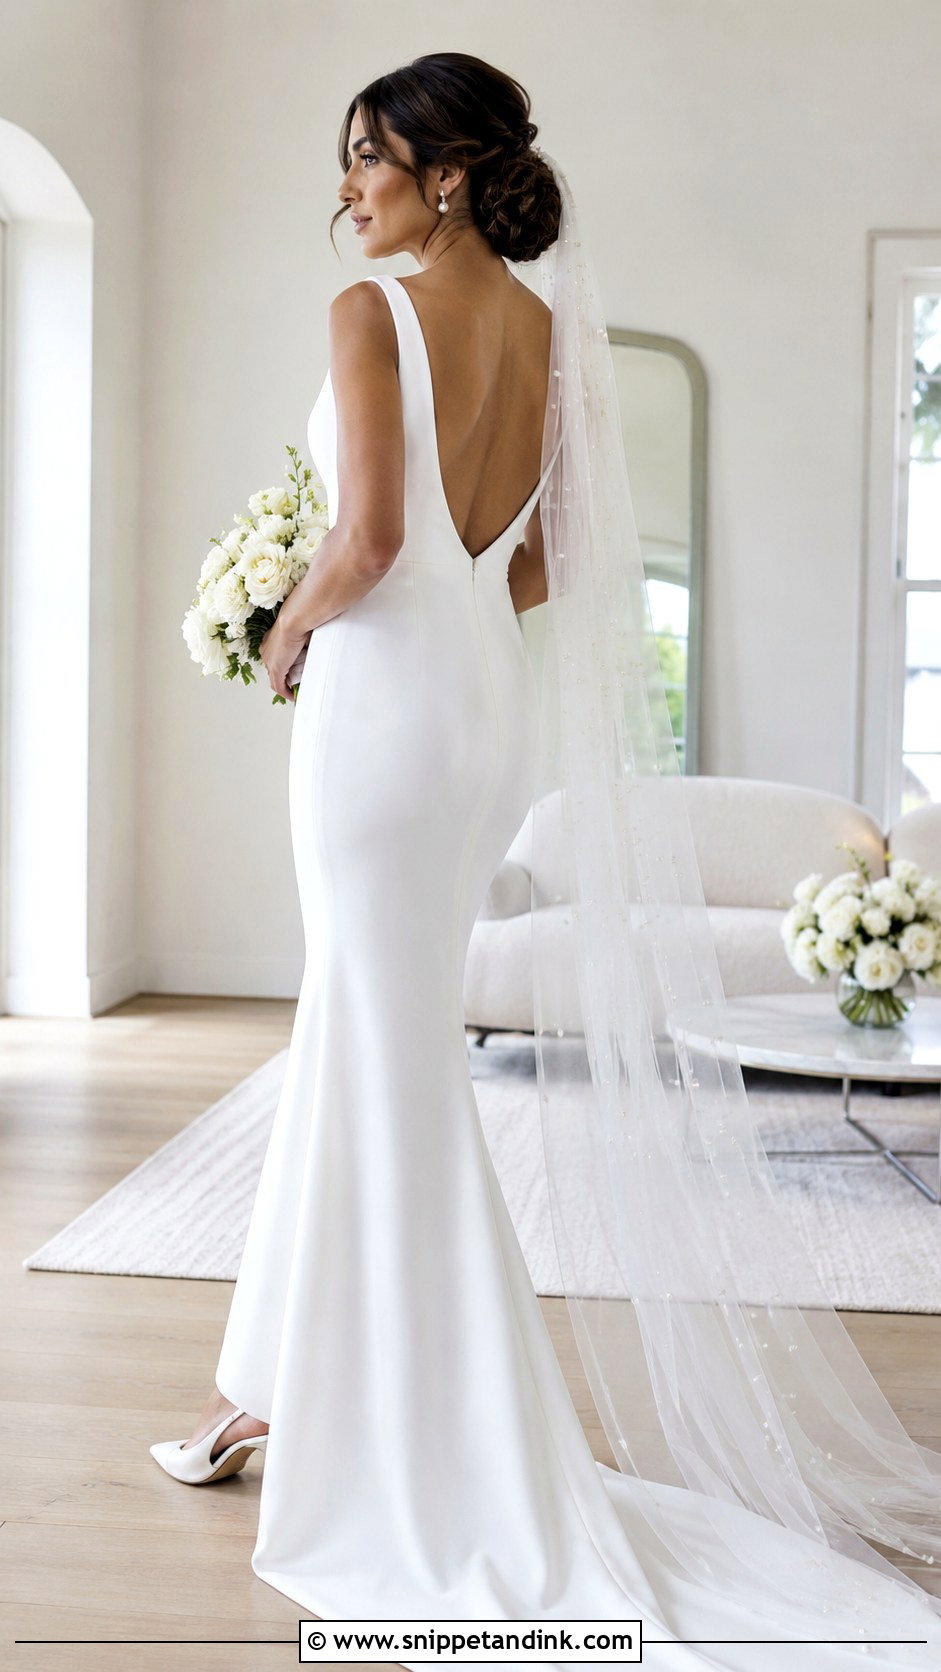
Pearl-dotted tulle gives a textured side bun some shimmer without needing a separate hair piece. I start with loose waves, twist and pin them into a low bun behind one ear, and leave a little crown volume so it looks balanced from the front. When the veil goes on above the bun, I check that the pearls aren’t bunching around the comb; spreading the tulle with your fingers before the final pin fixes that. Small pearls suit an intricate bun better than large ones because they don’t hide the texture. Keep earrings simple and skip extra pearl pins. Satin, crepe and lightly embellished gowns suit it best.
9. Center Part Chignon With Long Veil
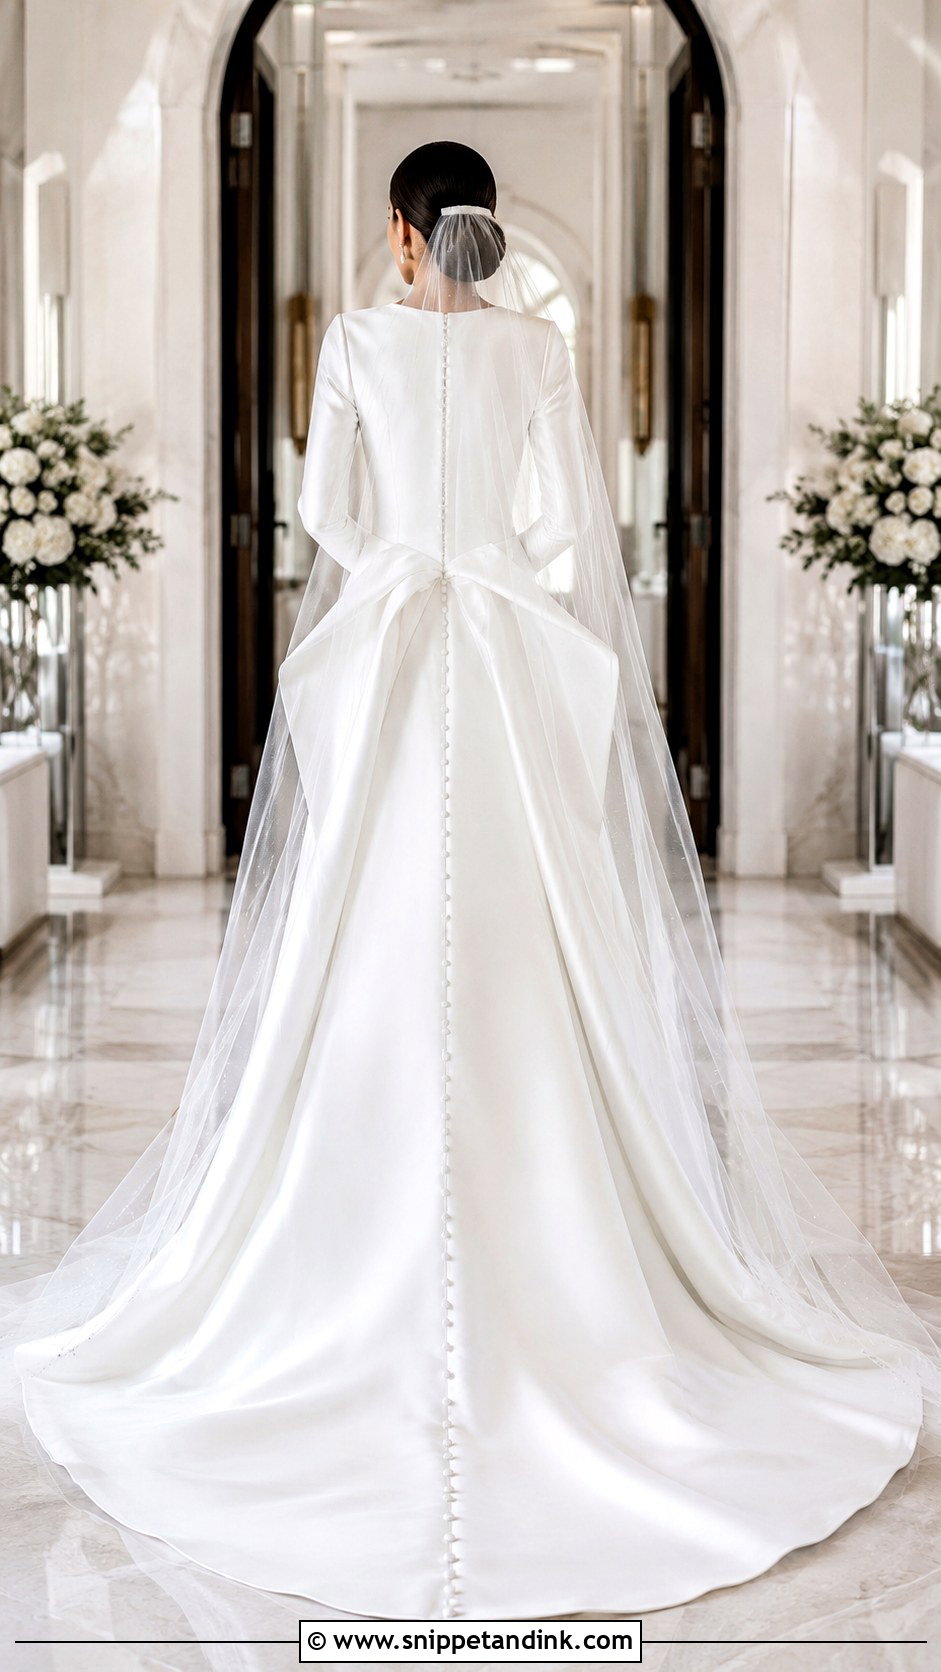
A center part and low chignon give a symmetry that reads equally well from the altar and from the back pews. I smooth the hair close to the head but keep a little lift at the root, because a center part pressed completely flat can look greasy by the evening. Roll the chignon under or wrap it into a neat knot at the nape, and set a long veil right above it. Earrings, makeup and neckline then do the talking. It belongs at formal venues and with simple, architectural dresses. On fine hair I often hide a small padding inside the chignon for shape. The padding has to be fully covered, so it should be close to your hair color.
10. Soft Curl Bun With Veil
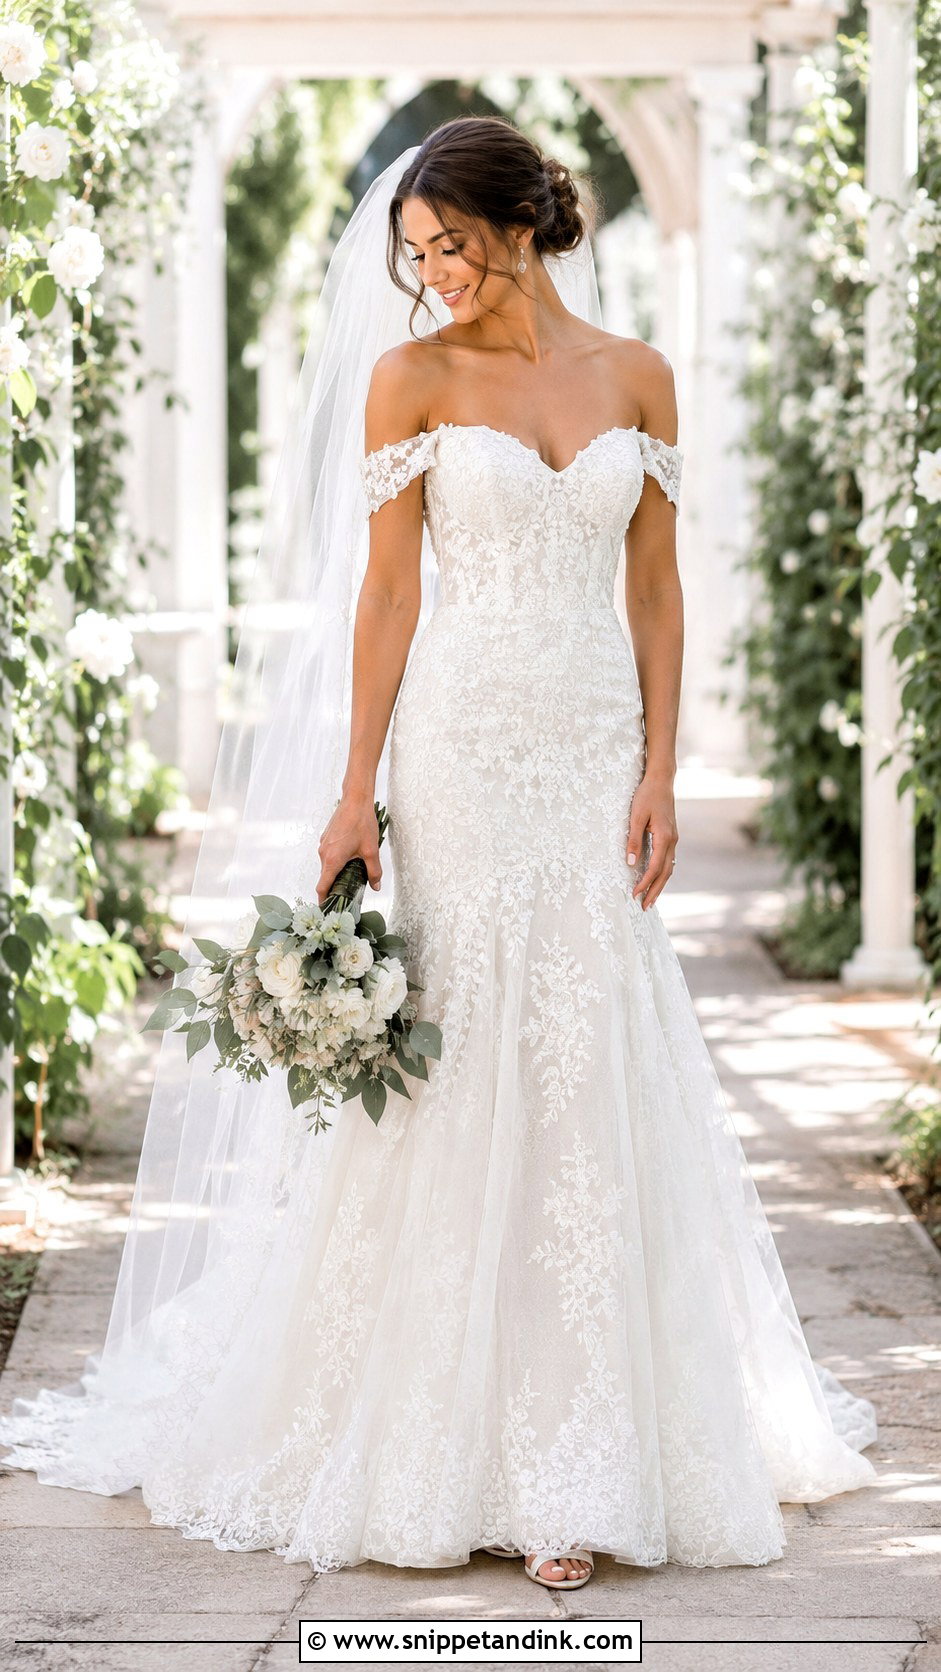
Curls turn a basic bun into something with movement. I curl the hair first, then loop and pin each section into a full bun at the back of the head, which shows off any highlights and lowlights in the color. Two fine face-framing pieces or a clean swept-back front both work. A sheer veil above the bun softens the curls without hiding them, in fingertip or chapel length depending on the dress. The real risk is humidity: curls on fine or freshly washed hair can drop within a couple of hours. I prep with a light mousse and let each curl cool in a pin before brushing out, which makes a big difference to how long it lasts.
11. Twisted Bun With Drop Veil
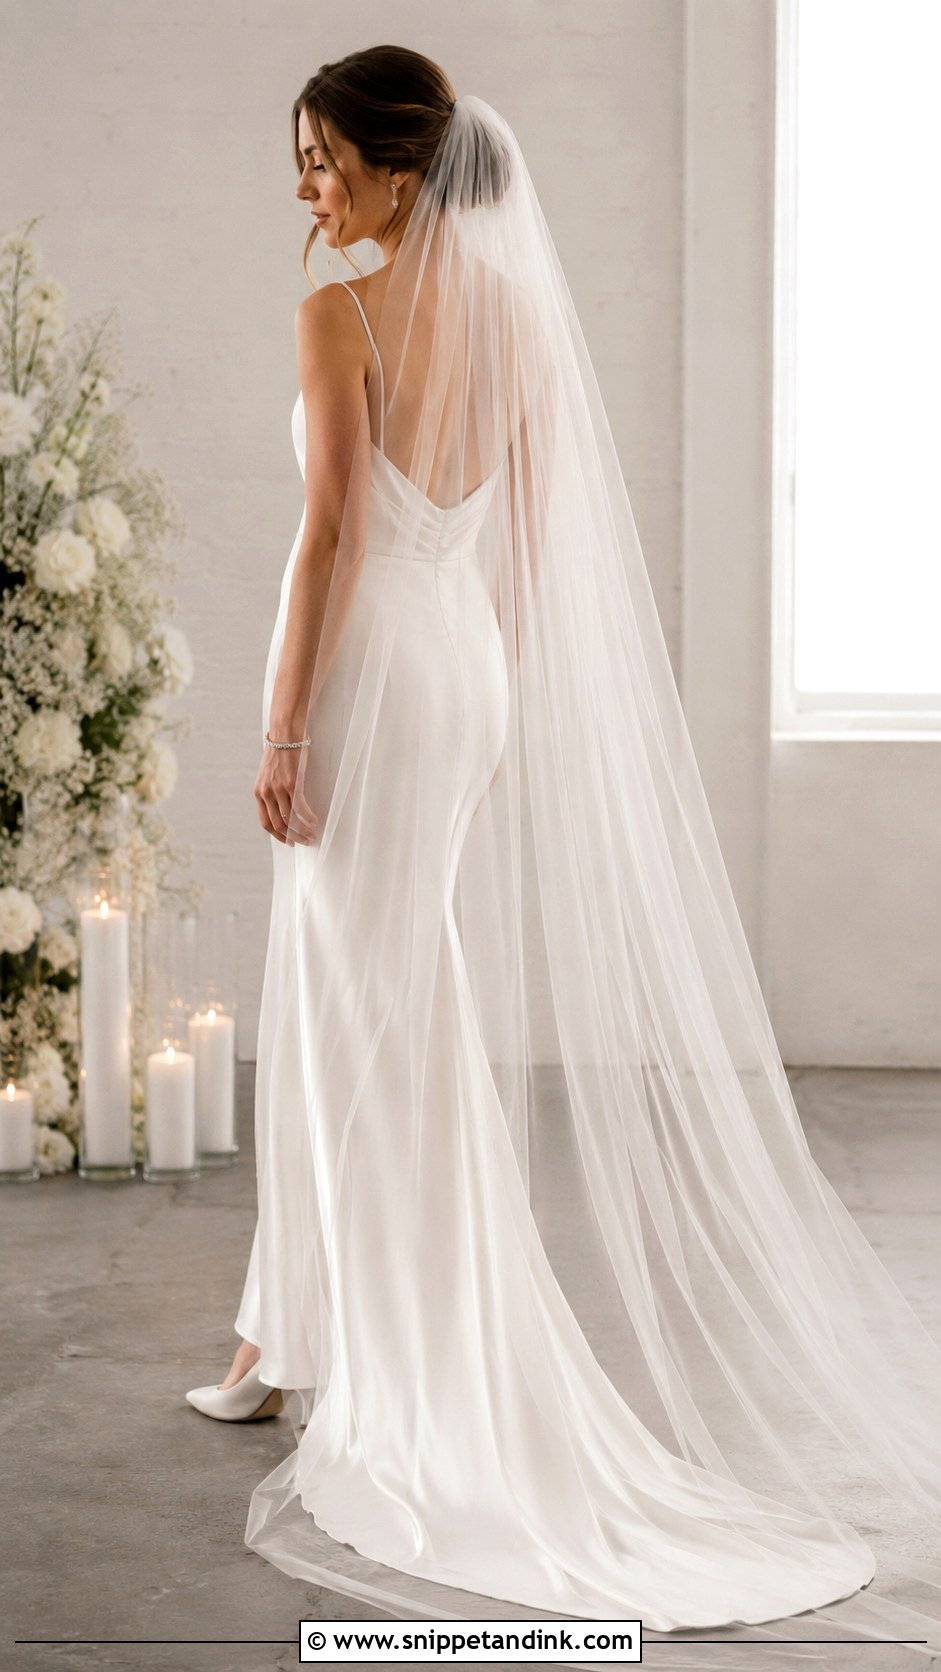
A drop veil lies over the whole head in one uninterrupted sheet, so whatever is underneath needs clear definition to show through. A twisted low bun works well because its broad sections read through sheer tulle. I make a gentle middle part, sweep the hair toward the nape, overlap several wide twists and pin them into a bun. The veil is secured near the crown with discreet pins or a hidden comb, depending on how it’s made. Keep crown volume low, since a drop veil needs a smooth surface to lie flat. Simple gowns and delicate jewelry suit it. I’d bring the veil to the trial so placement is worked out on your head, not guessed on the morning.
12. French Braided Bun With Veil
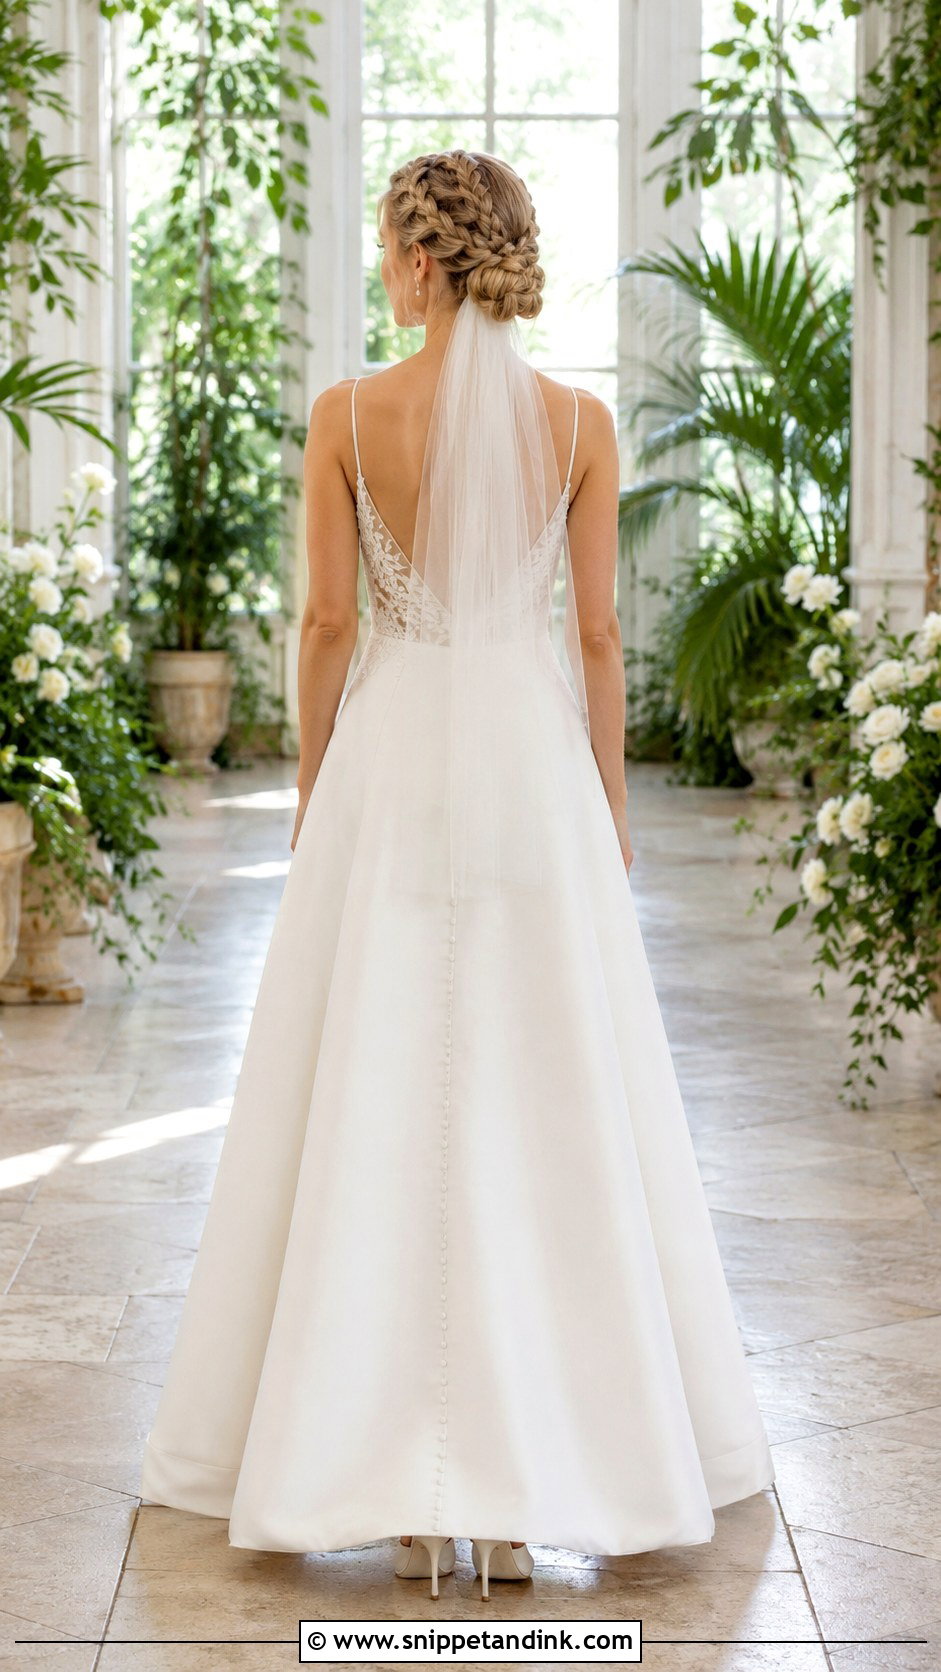
A French braid gives a bun a built-in anchor, which is why I lean on it for long days and for heavy or slippery hair. Start the braid at the crown or along one side, carry it to the nape, then wrap the remaining length into a low bun. Loosen the outer loops for softness but keep the core tight. A veil underneath shows the full braid; above it gives the classic bridal outline. A plain cut-edge veil keeps it from looking busy. Thick or long hair suits this best, since the braid spreads the weight across the head, and clip-in extensions can add length if yours is shorter. Use pins that match your hair color so they disappear.
13. Curly Bun With Cathedral Veil
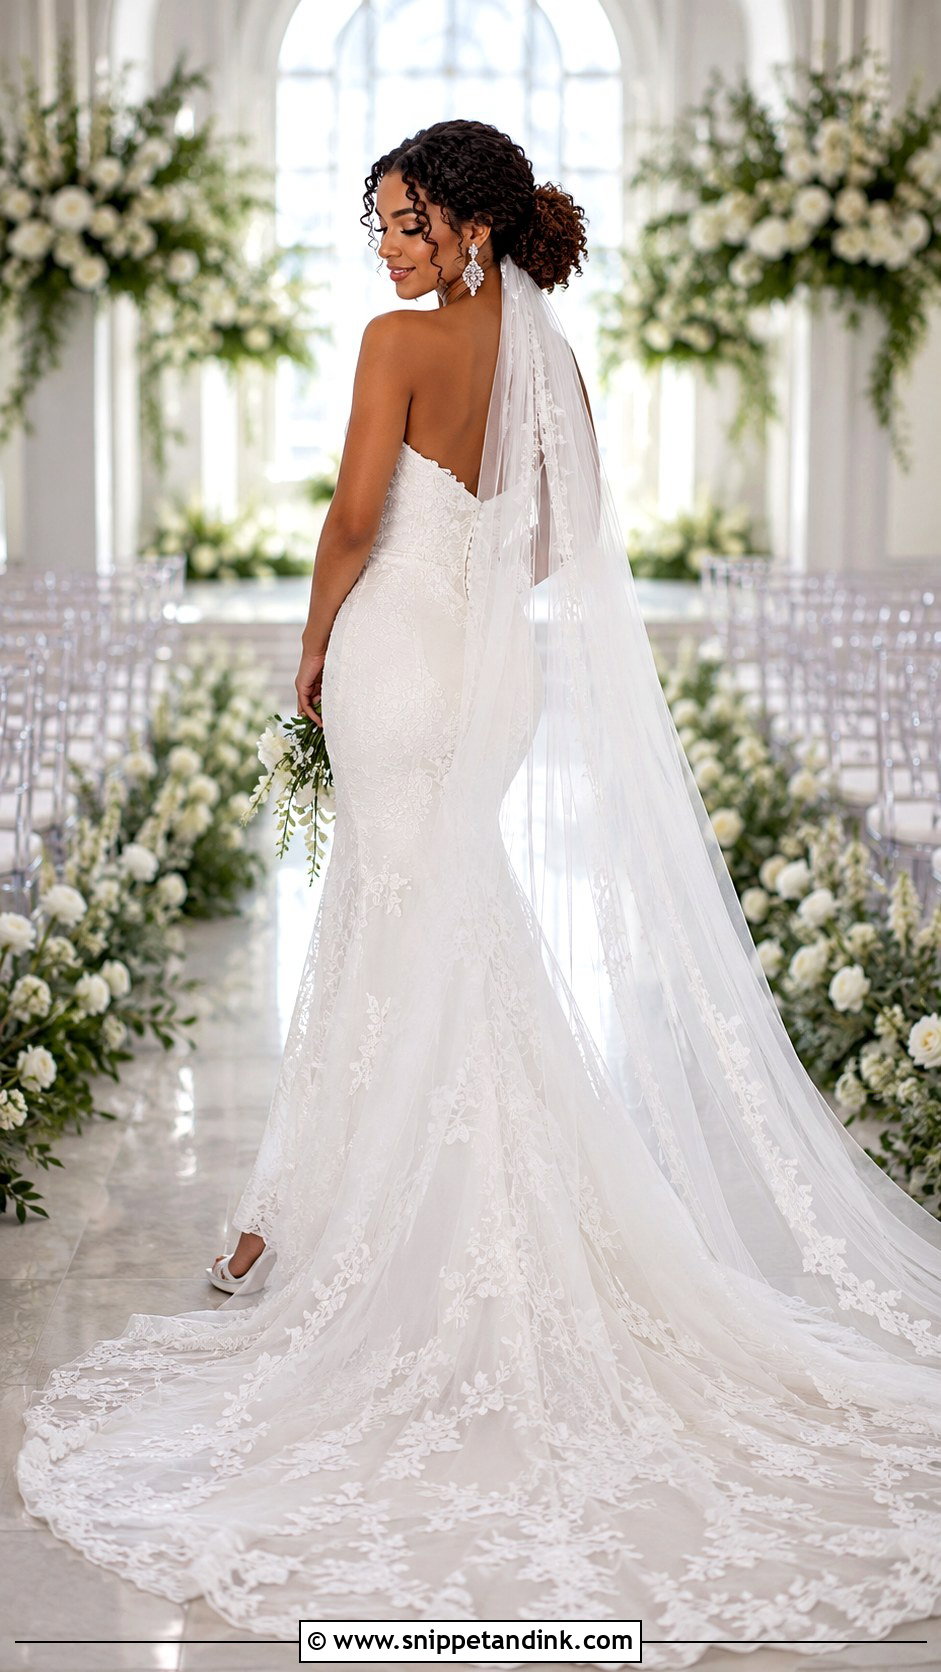
Naturally curly hair makes a bun with real volume and character, as long as nobody tries to brush the curls flat. I gather the curls into a mid-height or low bun while keeping each pattern intact, then shape the front swept back, center-parted or with a few defined tendrils. A cathedral veil below the bun shows the curls; above it gives fuller tulle. Curls compress easily, so the comb needs reinforcing with pins pushed in at an angle rather than pressed down. Moisturizing products and a humidity-resistant spray keep definition. Please do a full trial with the real veil, especially if it has heavy lace or beading, because the extra weight changes everything.
14. Natural Hair Bun With Veil
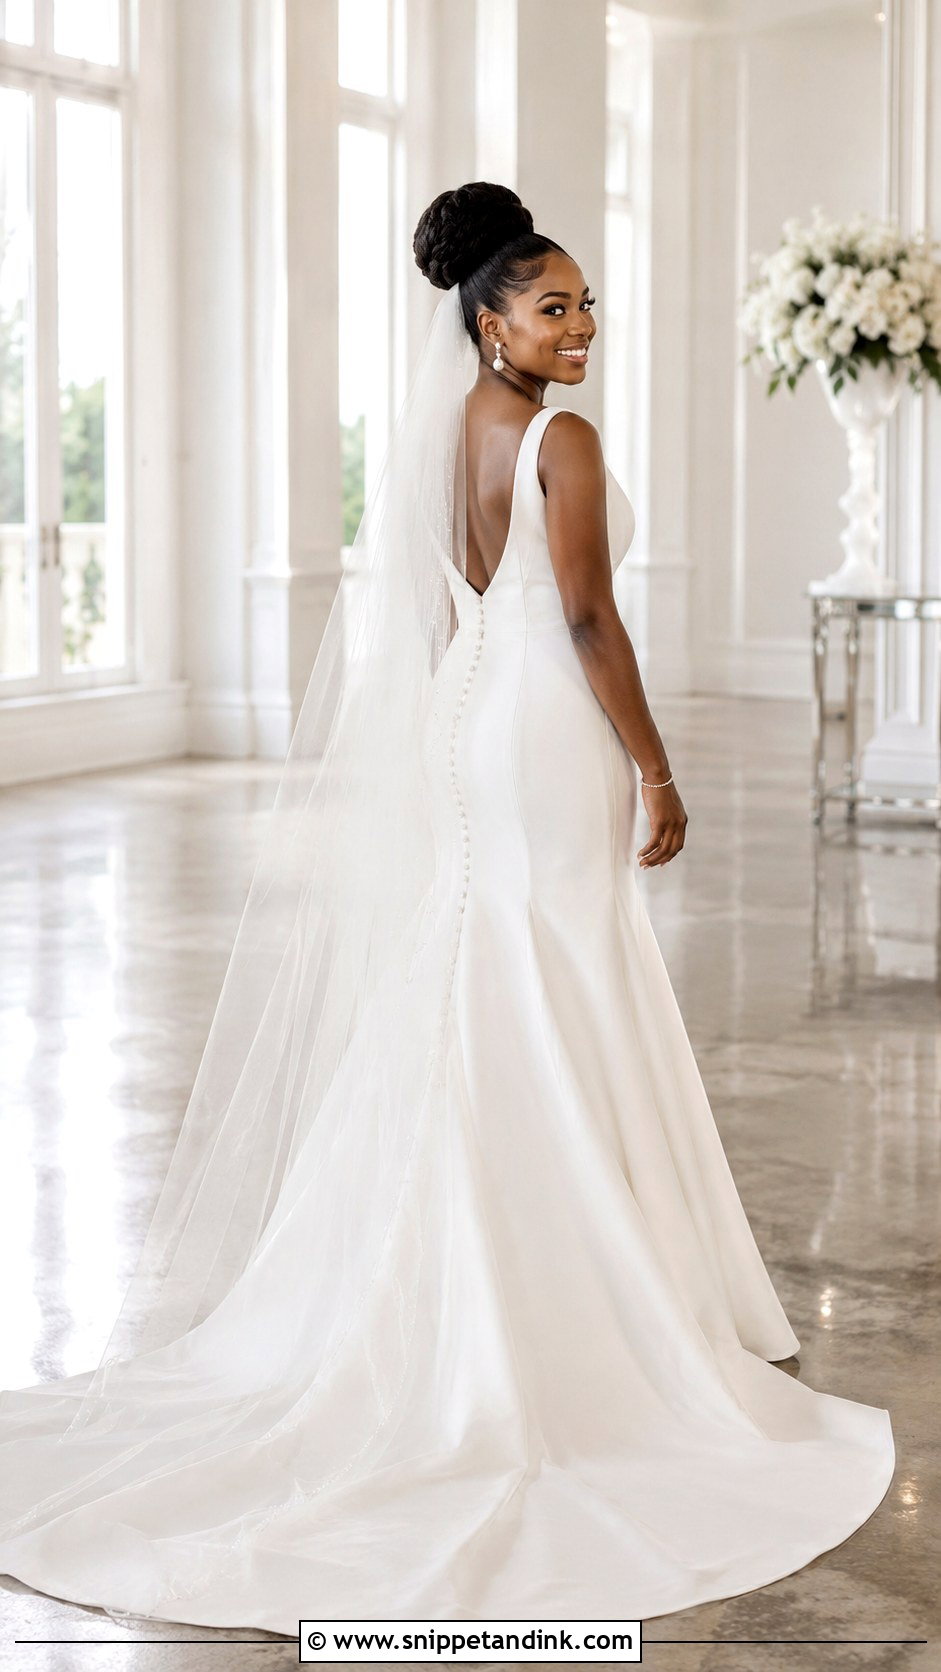
A natural hair bun can be smooth and low, full and rounded, or softly textured, and each gives the veil a sturdy base. A neat center part is modern, swept-back edges are classic. Under the bun shows the most hair, while above it adds tulle around the head and shoulders. I build a reinforced pin base so the comb’s weight is spread rather than pulling on one small section, and I avoid anything that snags or adds tension at the hairline. Talk through prep, moisture and edge styling with a stylist who regularly works on natural hair. It should feel secure without aching after a few hours; tightness at the temples is a sign it needs redoing.
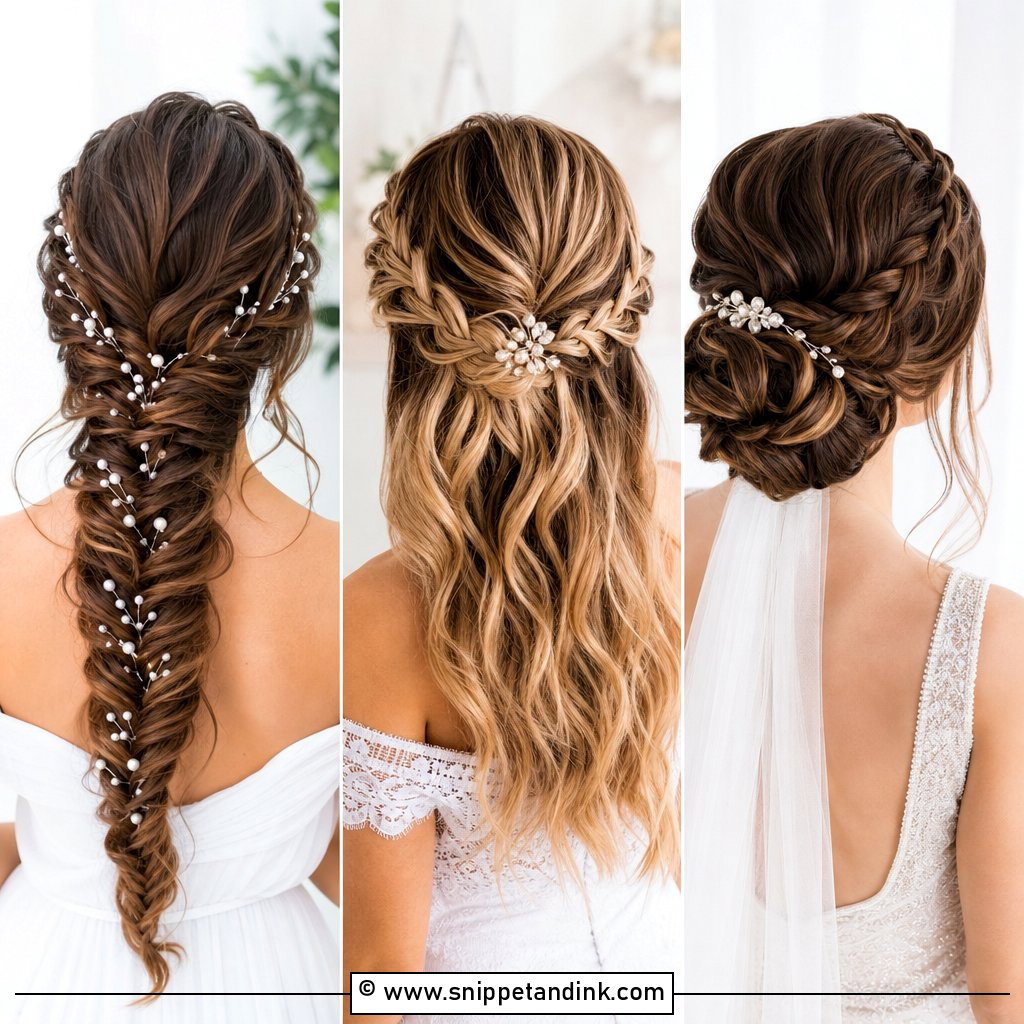
15. Low Bun With Mantilla Veil
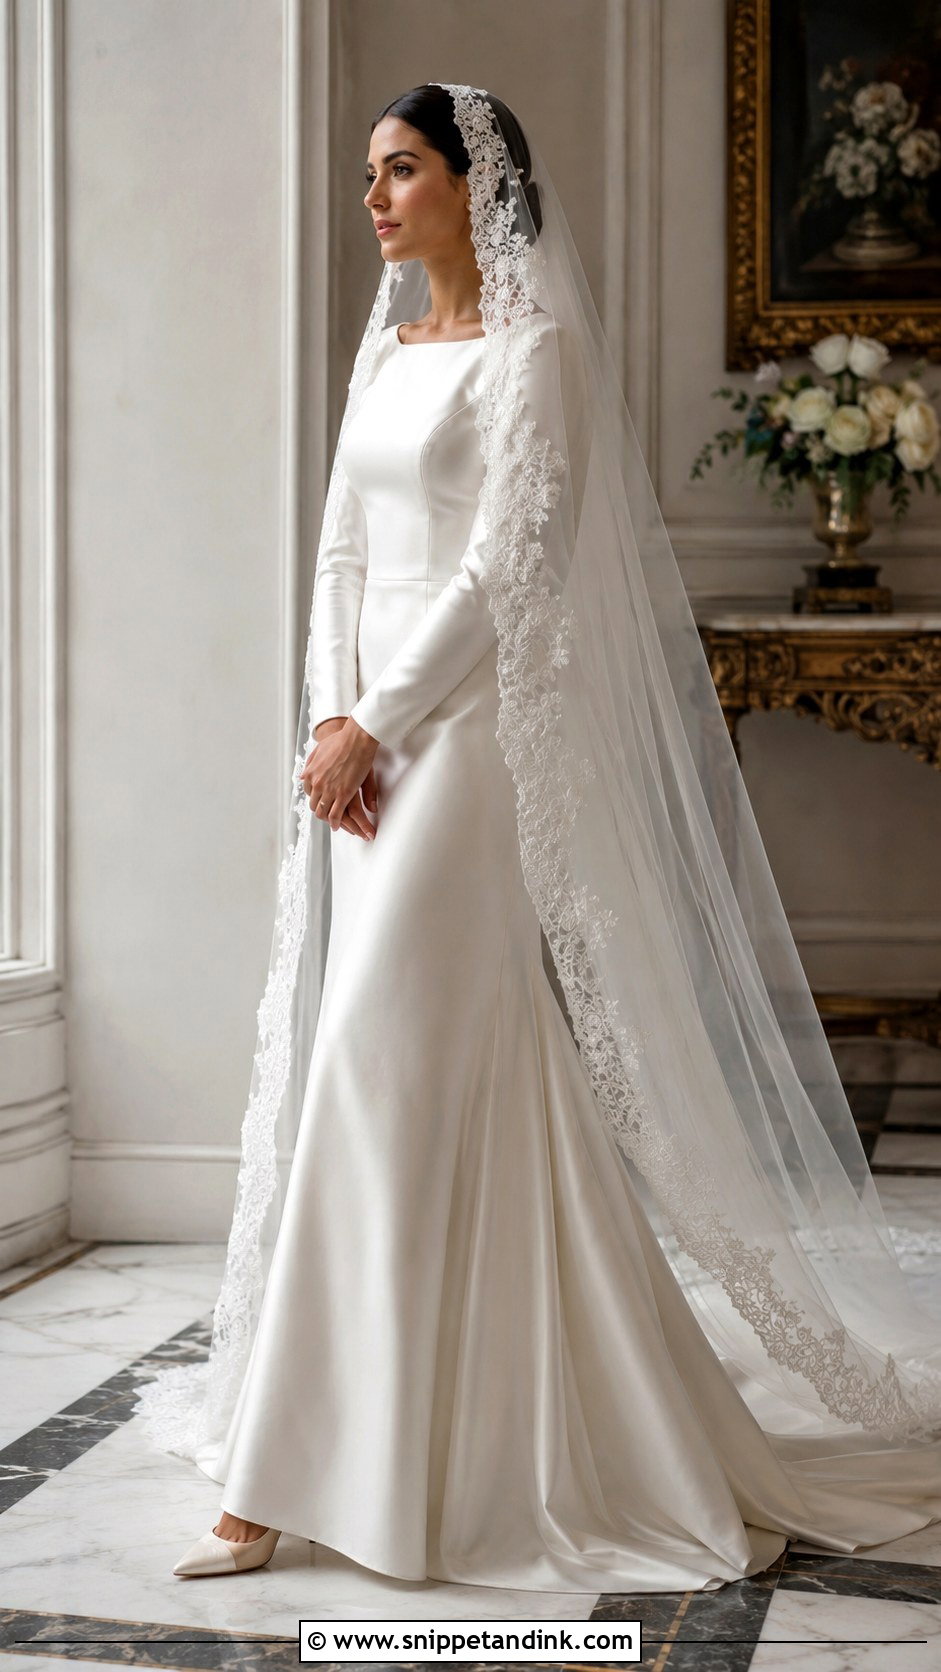
A mantilla’s lace edge frames the face, the shoulders and a low bun all at once. Because the veil sits close to the crown and drapes down over the head, the bun has to be smooth and compact; anything bulky pushes the lace out into a lump. A center part lines up nicely with the symmetrical edging, though a soft side part is gentler. I secure a mantilla with small clear combs or pins rather than one big comb, which would show through. Leave large accessories out entirely, and keep any pearl pins tucked inside the bun. It’s a traditional pairing that suits lace sleeves and plain satin gowns.
16. Vintage Bun With Birdcage Veil
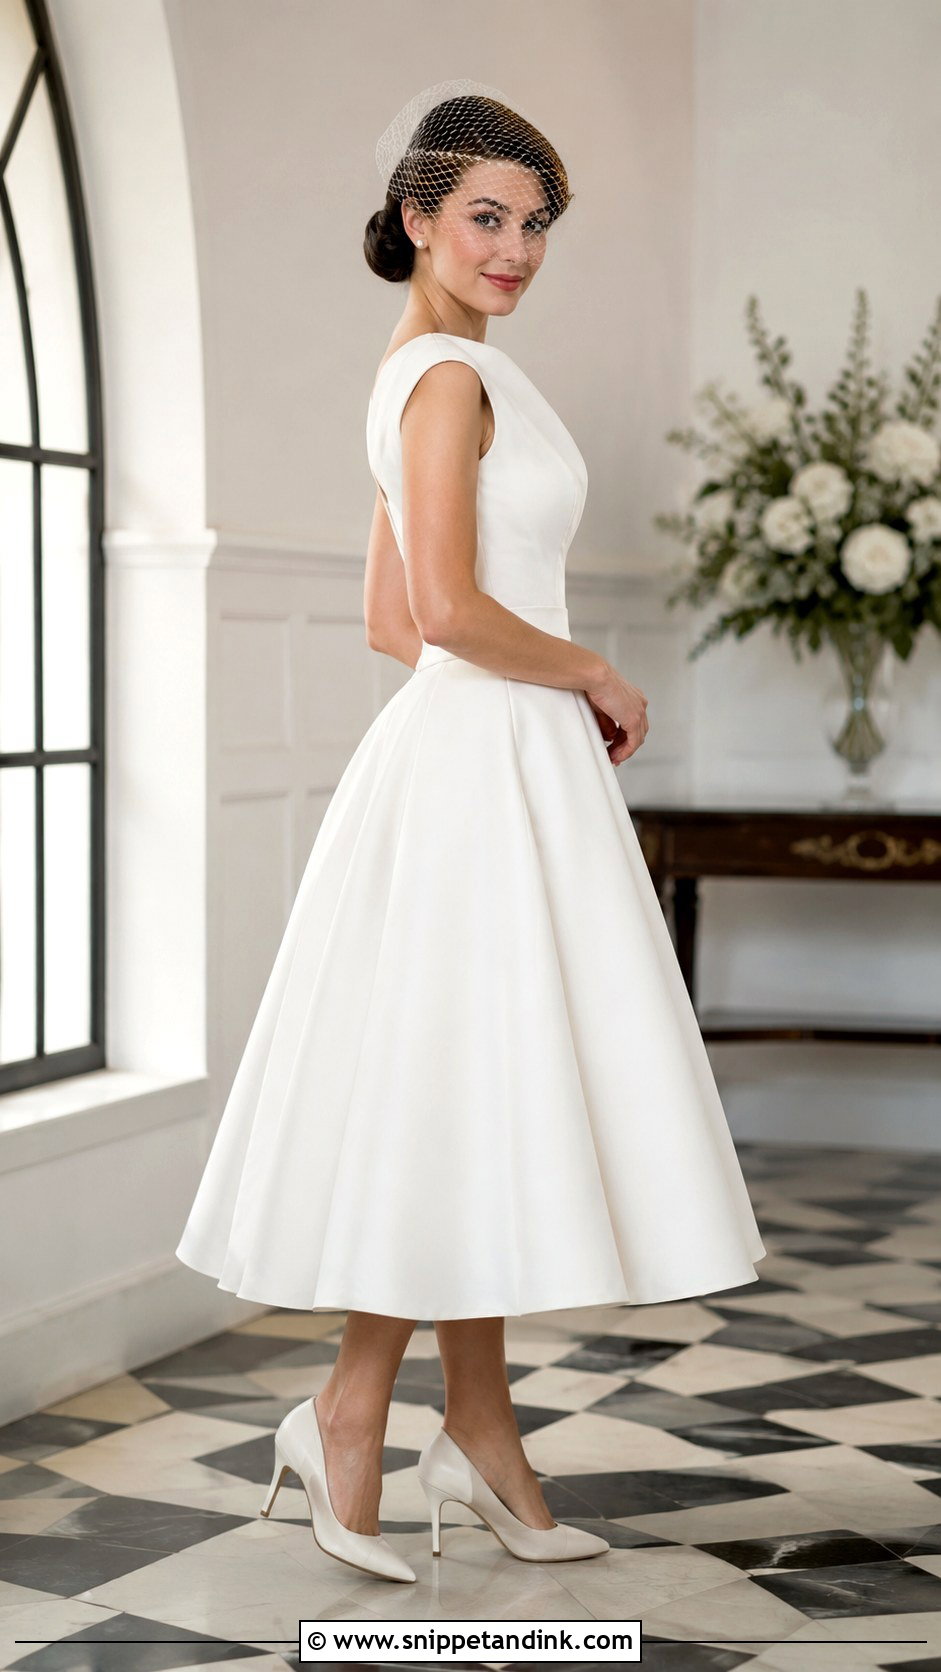
A birdcage veil and vintage-inspired bun give you bridal character without length or weight. I’d go with a low rolled bun, a side chignon or a compact French twist, and a deep side part with a shaped front section to push the retro feel. The netting should sit at an angle across part of the face rather than straight down, and the comb or clip goes above the bun or near one temple depending on the design. Since the veil is short, earrings and dress detail stay visible. Keep everything else polished and minimal. It works with tea-length dresses, tailored gowns and clean necklines.
17. Floral Bun With Sheer Veil
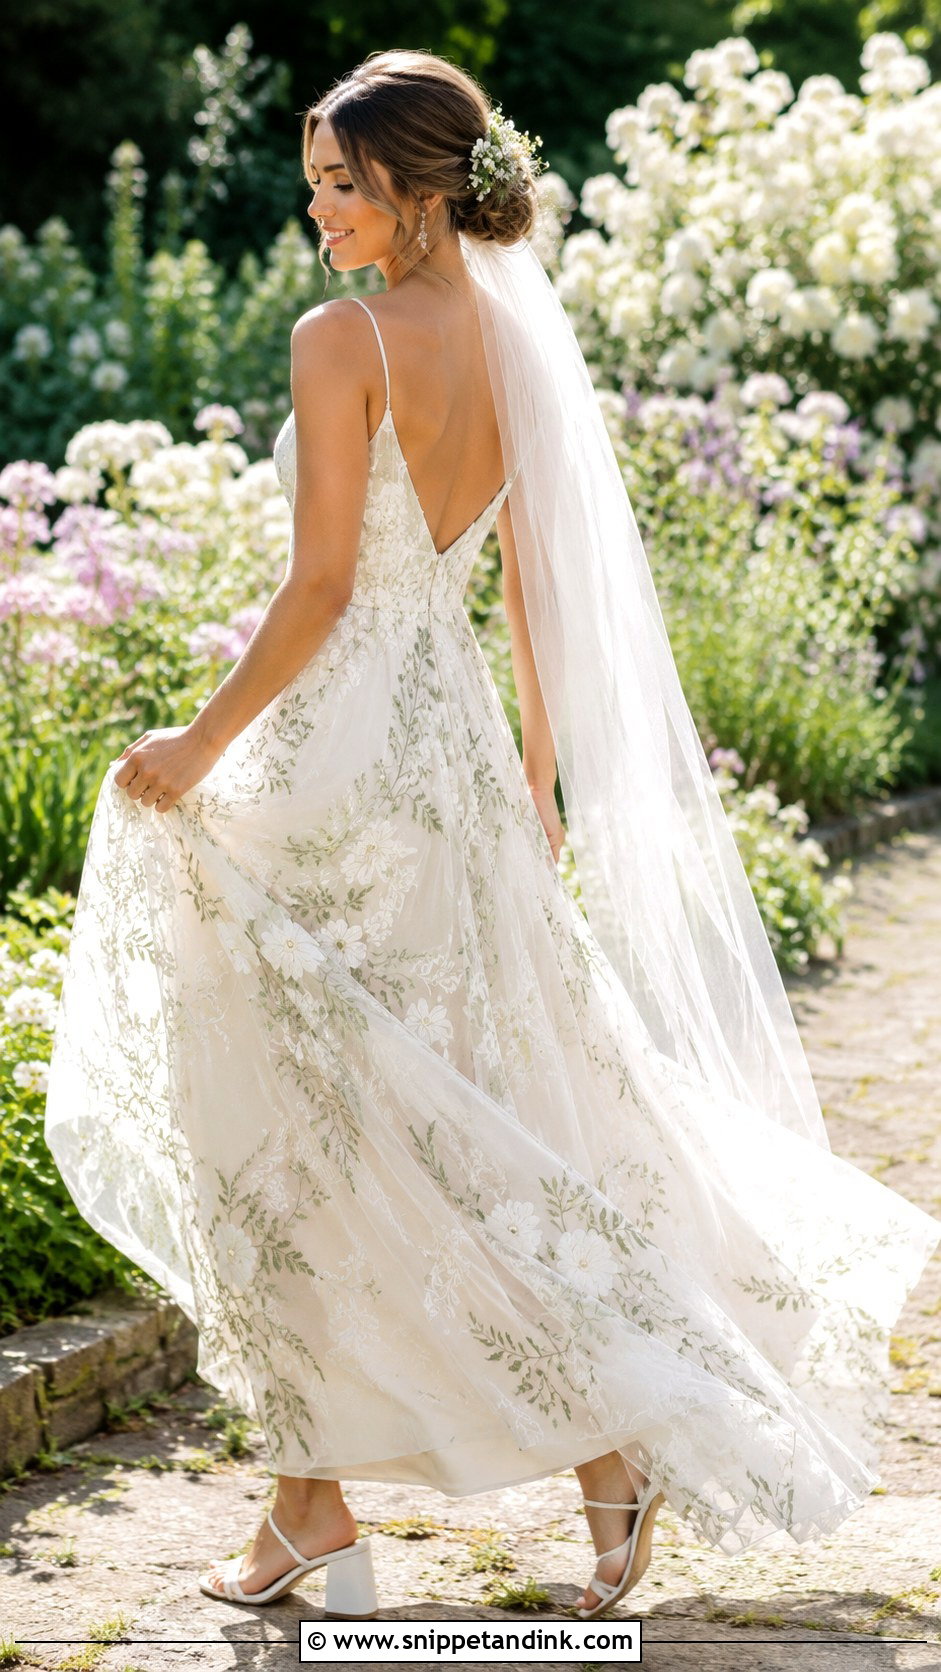
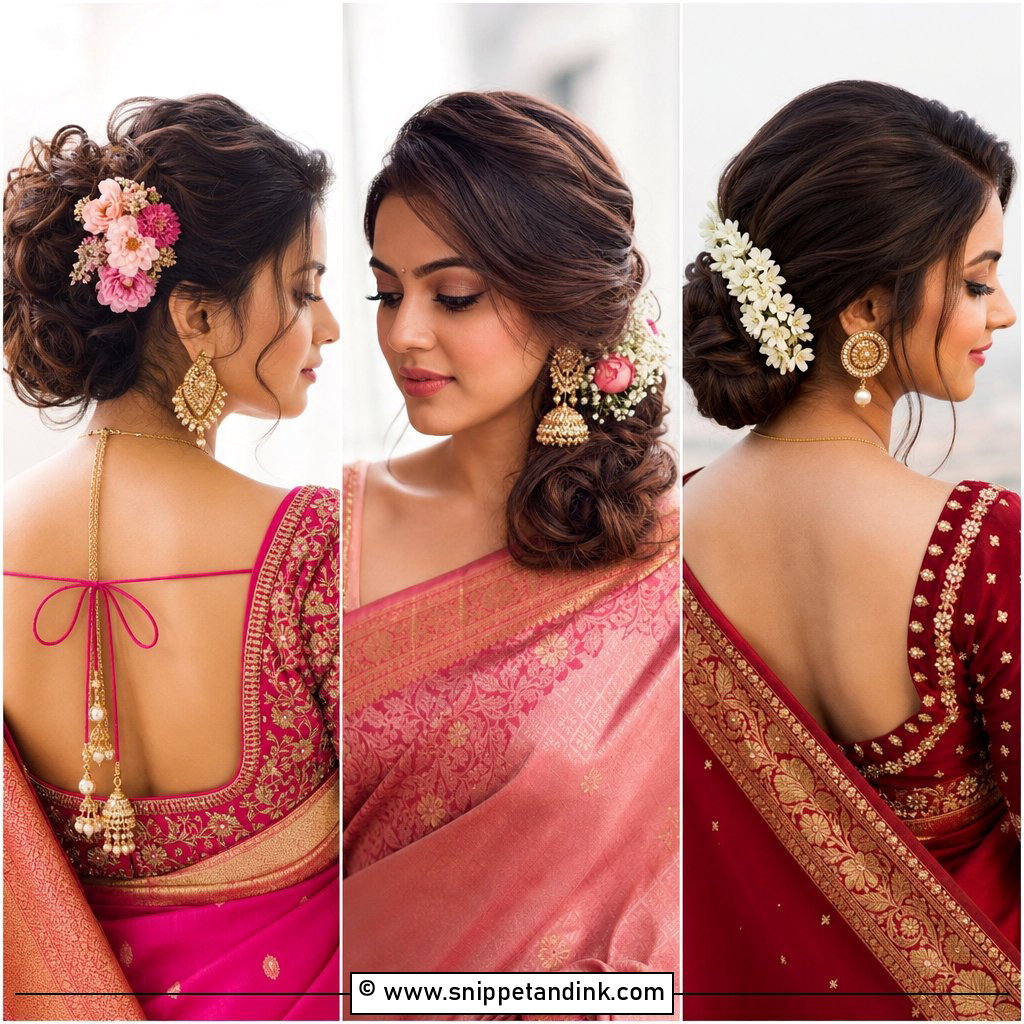
Tiny flowers in a bun give a garden feel that still looks refined under sheer tulle. Pick petite blooms or realistic floral pins that echo the bouquet without copying it, and cluster them along one side of a textured low bun so the twists still show. The veil can sit above for a soft overlay or underneath to keep the flowers fully visible; either way, light tulle is better than dense embellishment, which hides them. Fresh flowers out of water wilt, so I ask the florist for hardy stems that can survive hours on a warm head. Preserved or fabric flowers remove that worry. Keep the cluster asymmetrical rather than covering the bun.
18. Pearl Bun With Simple Veil
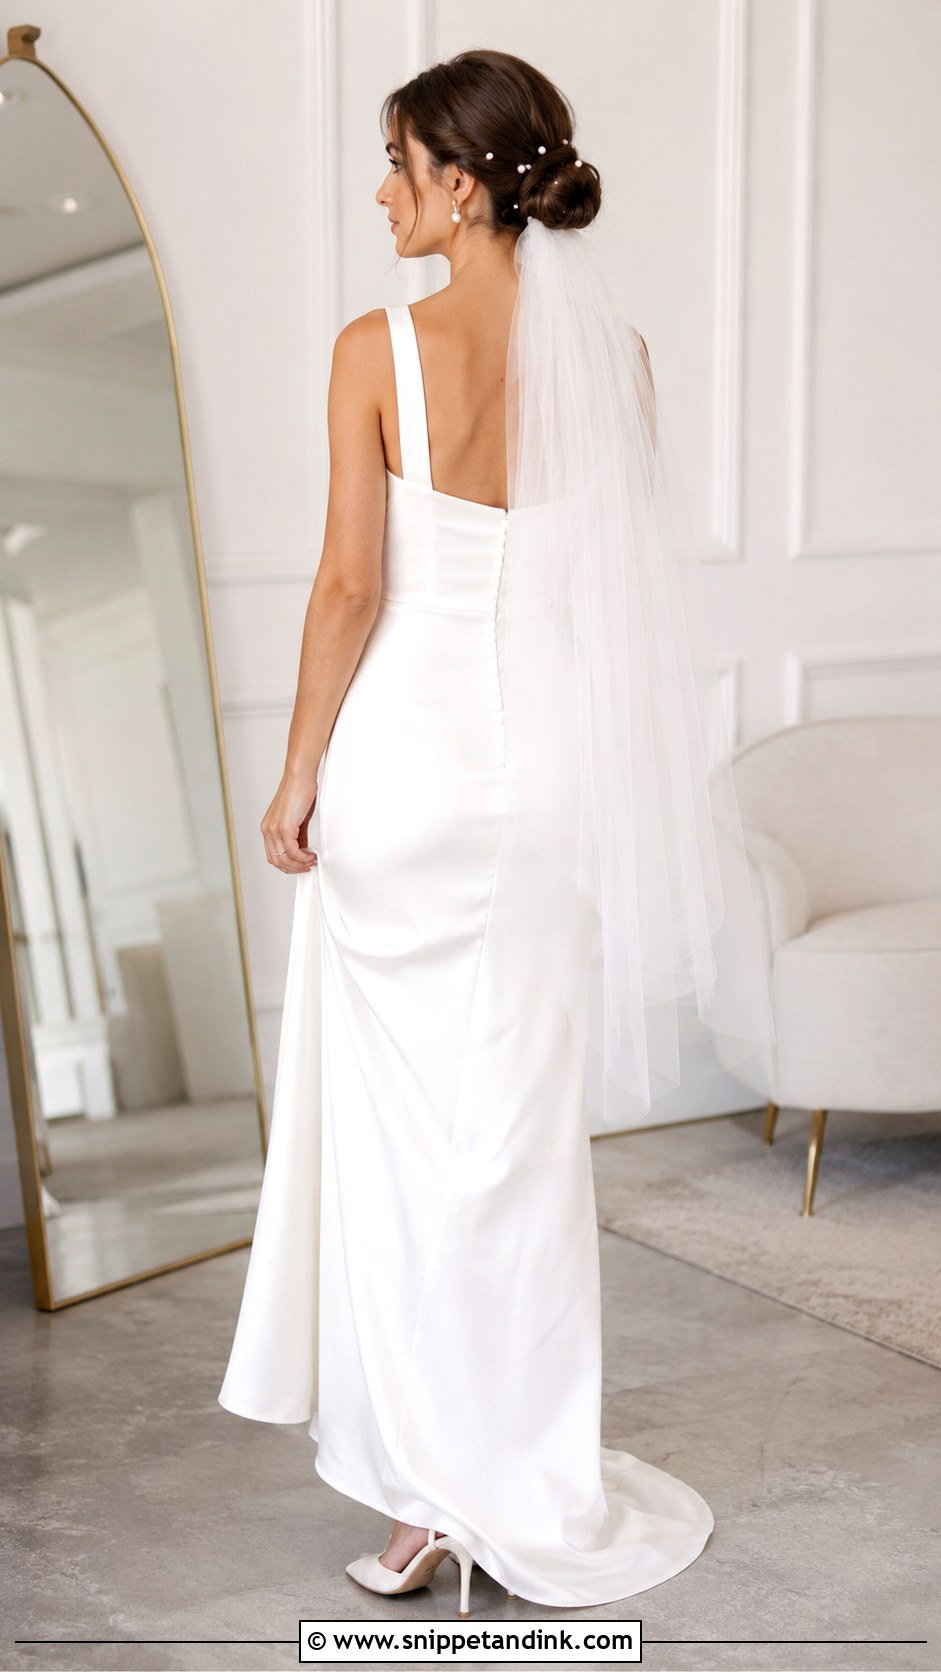
Pearl pins give a bun a second life after the veil comes off, which makes this one practical from ceremony to dance floor. I build a soft low bun from smooth twists or loose loops and scatter a few pins across one side, all in one size for a clean look or in two sizes for depth. A plain veil keeps them from competing with dotted or heavily decorated tulle. Underneath the bun shows the pearls all day; above it hides them until the reception reveal. Match the pearl tone to your earrings or gown detail, since bright white and cream pearls side by side look like a mistake.
19. Voluminous Bun With Veil Over Bun
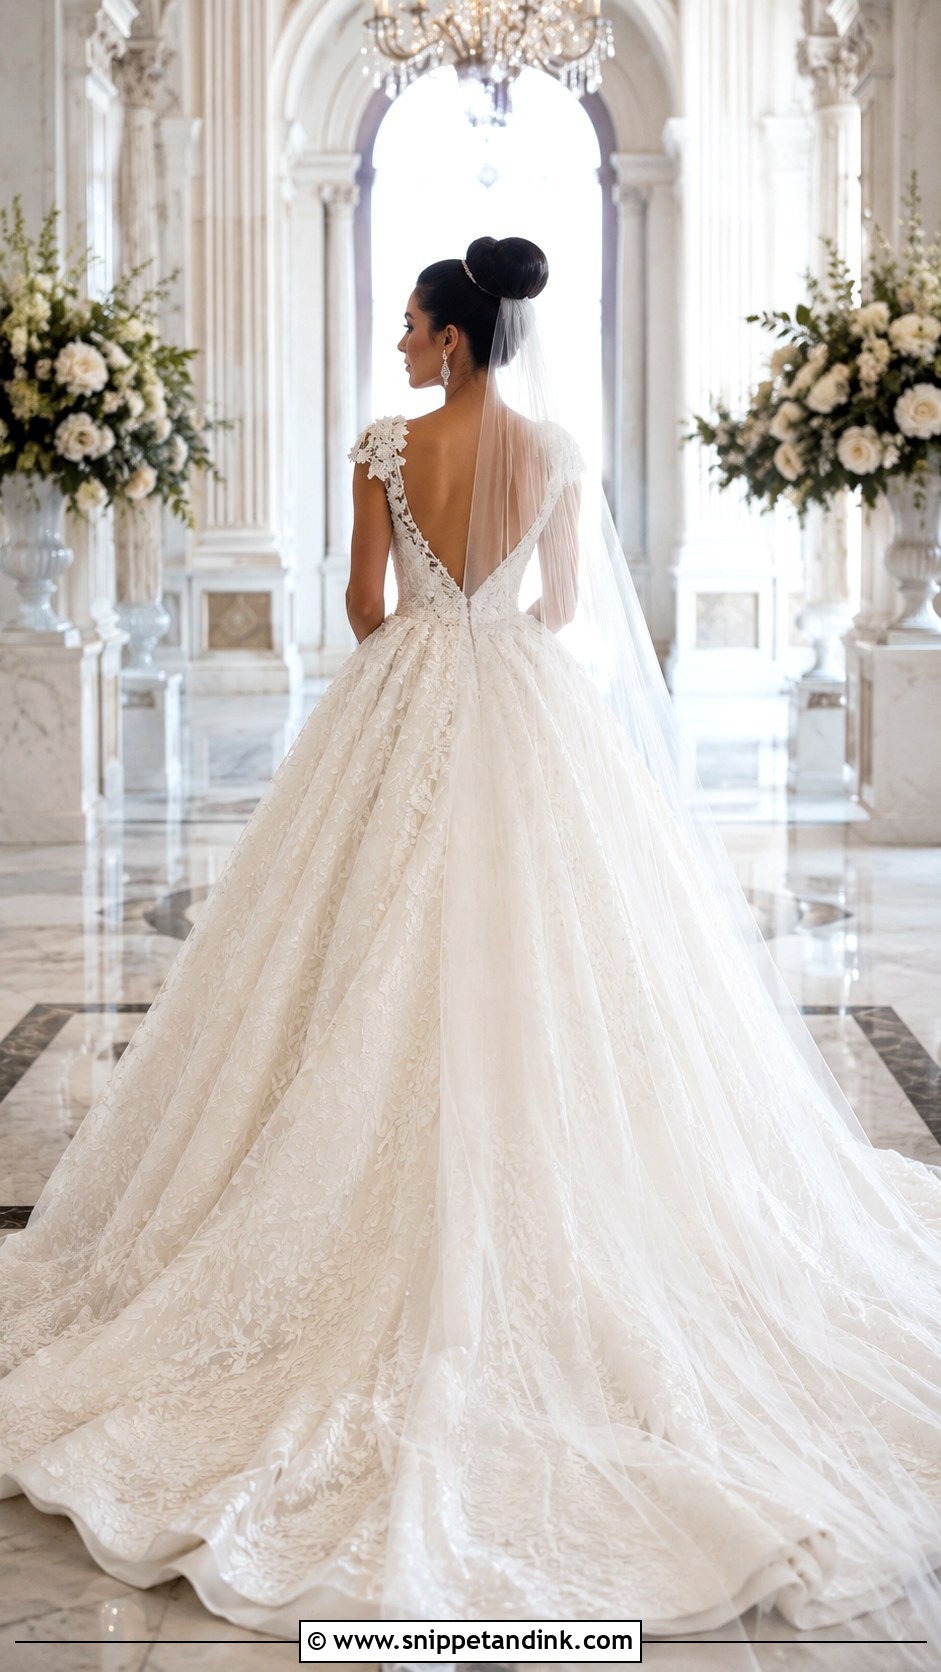
A full, voluminous bun is the one style where the veil goes over the top on purpose. I place it at mid-height so it lifts without sitting on the crown, and build the shape from curled sections, hidden padding or extensions depending on your length and density. The comb sits securely above the bun so the tulle spreads across it and falls evenly down the back. Heavy tulle flattens volume, so choose a light one. It balances full skirts, long trains and bold shoulders. I check a big bun from the side and back in a hand mirror at every trial, because proportion is easy to misjudge from the front.
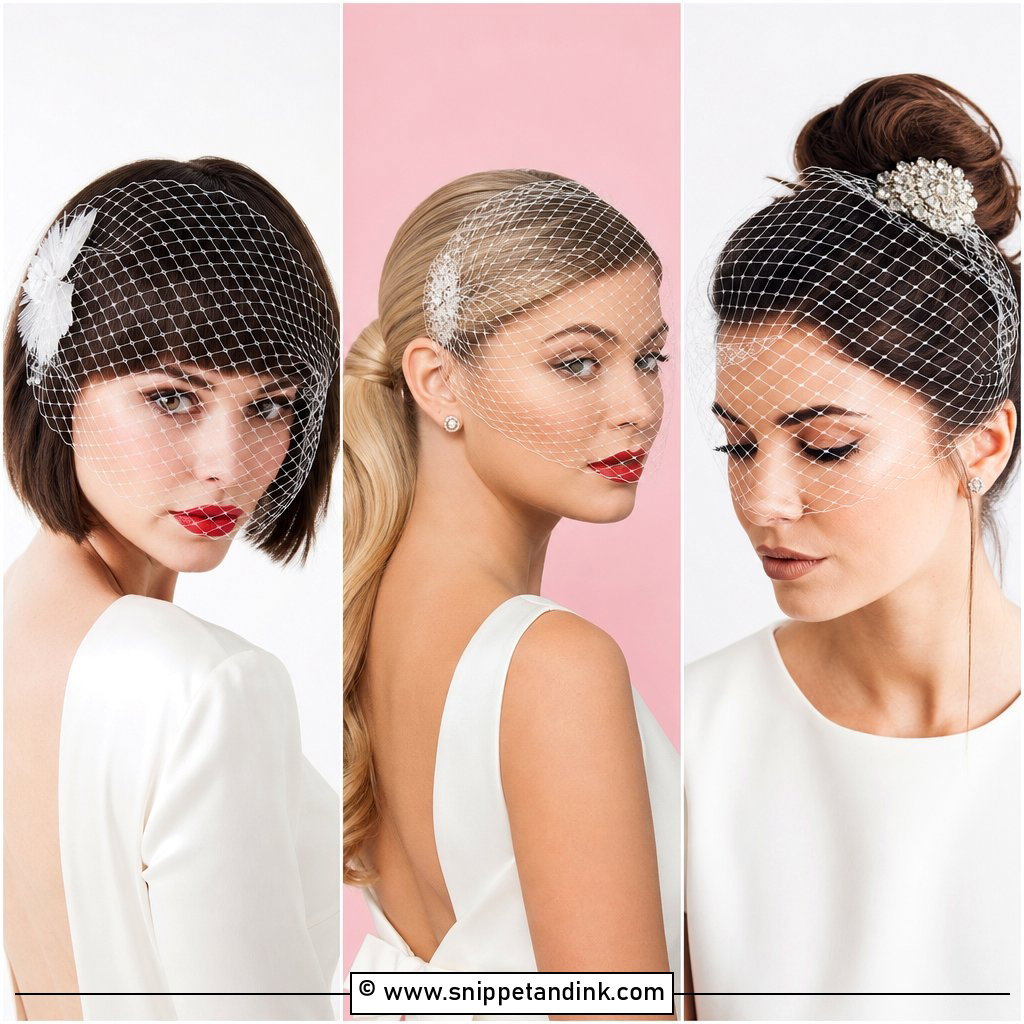
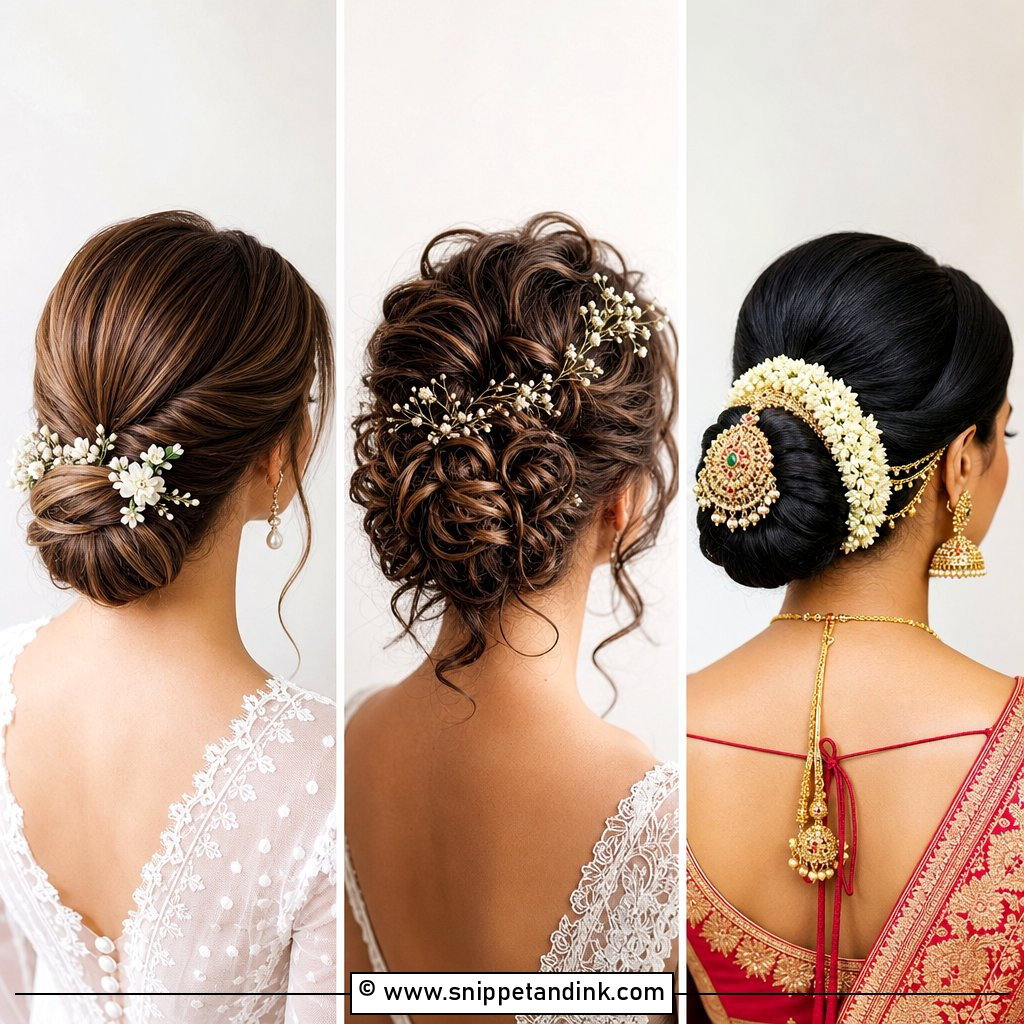
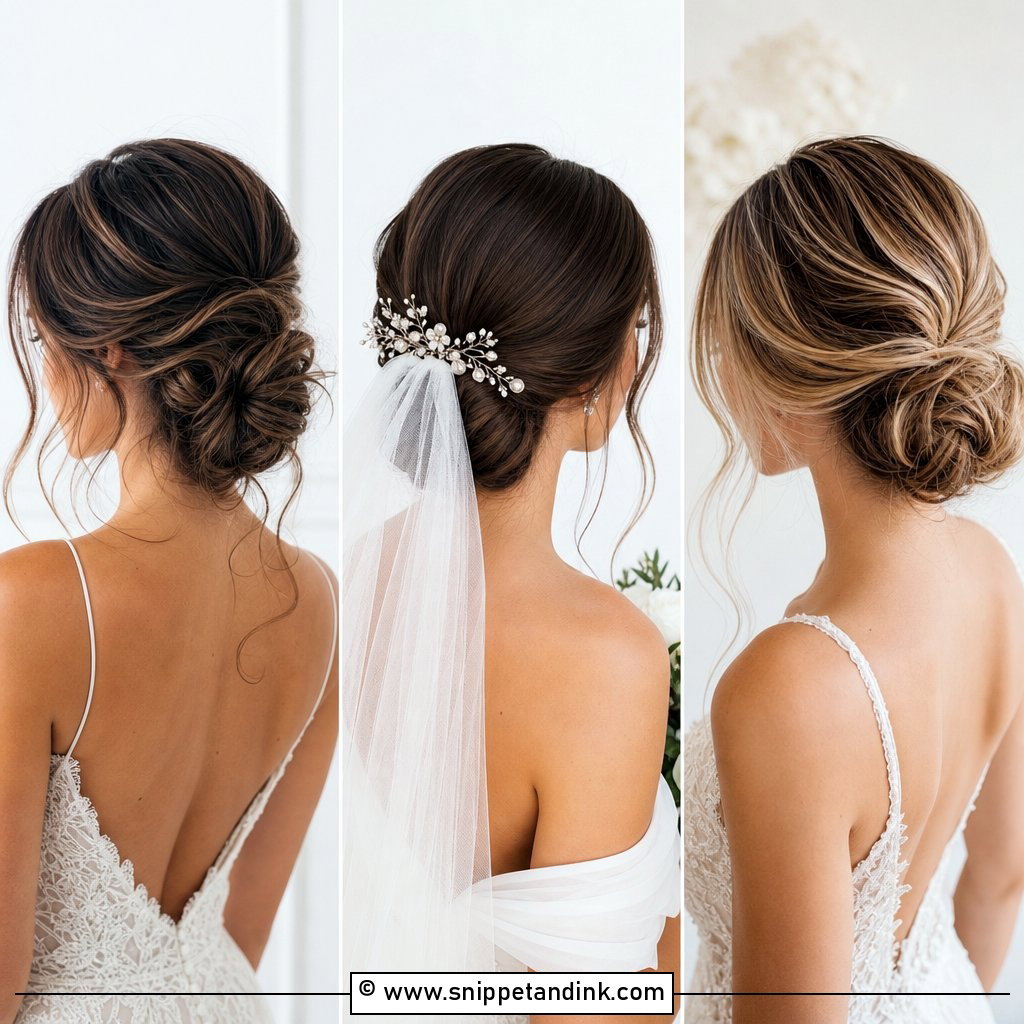
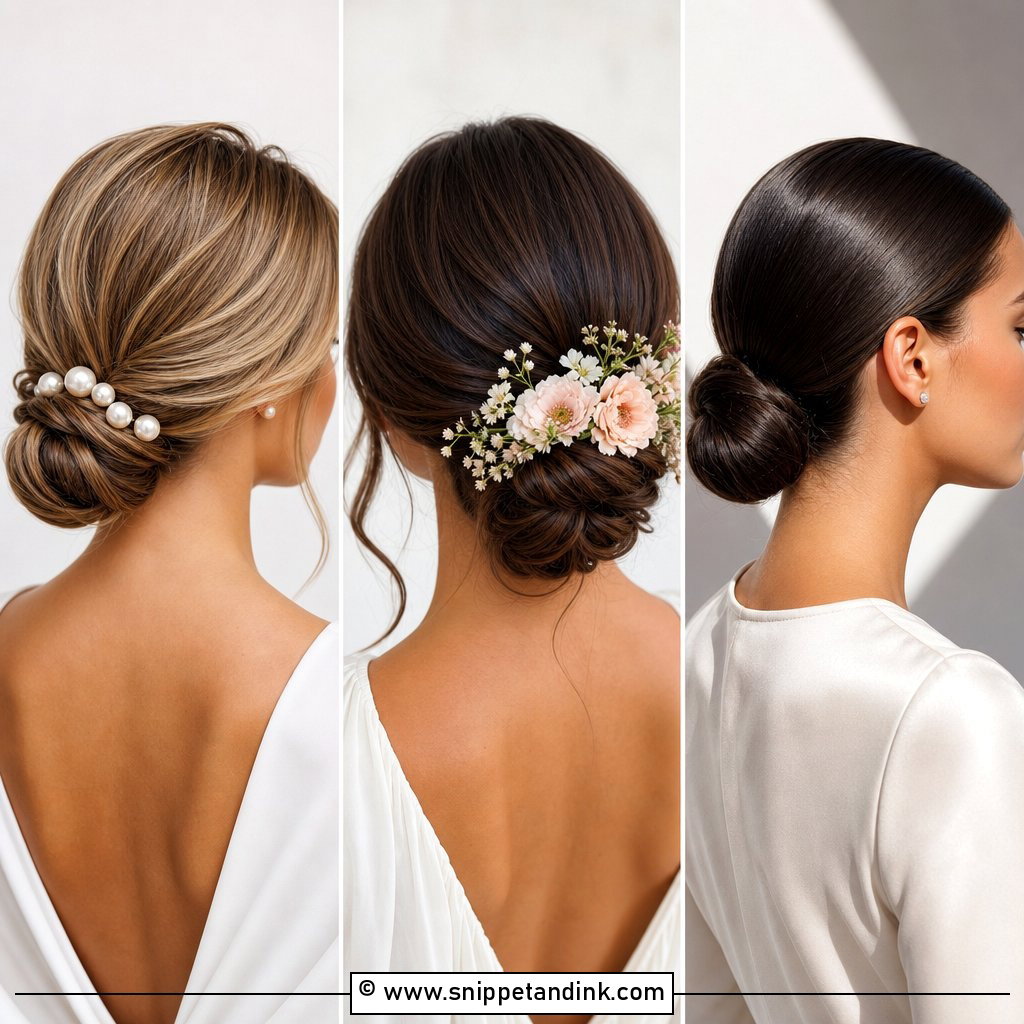
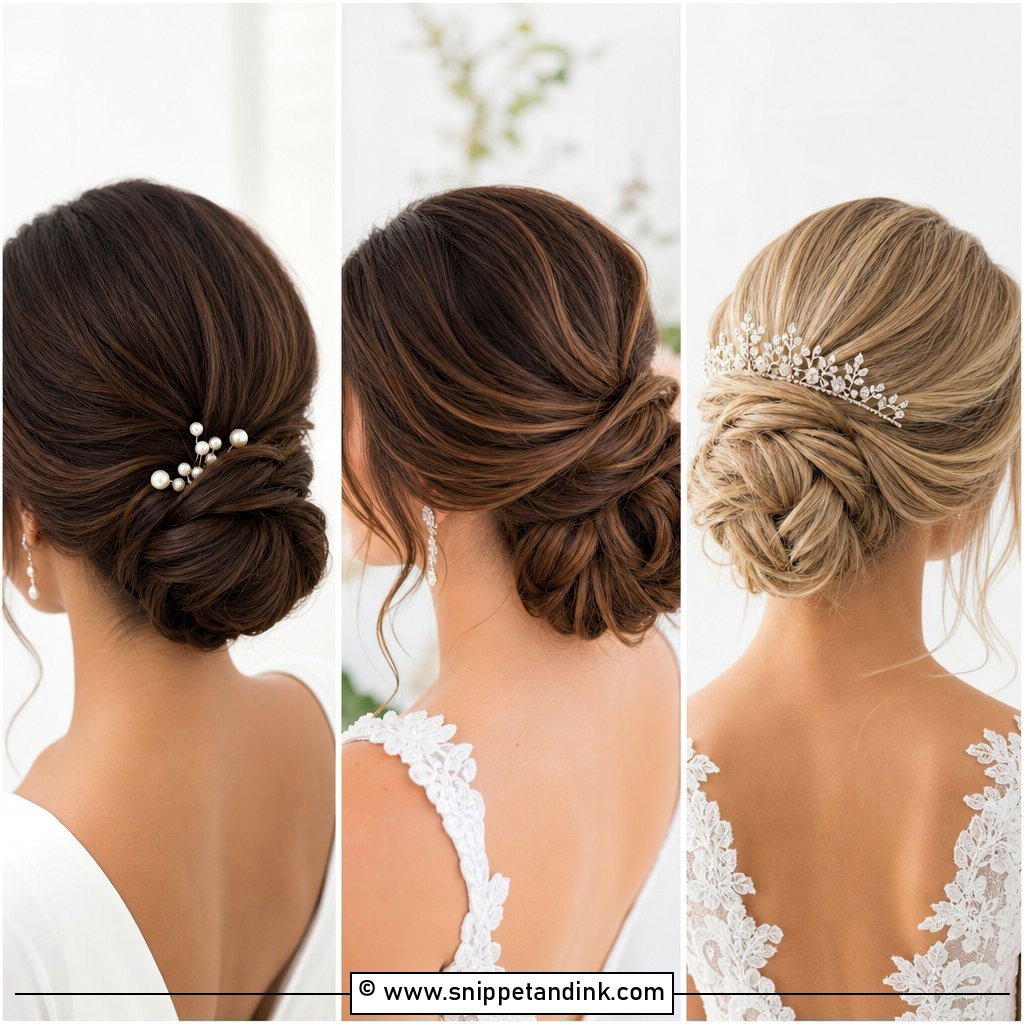
20. Minimal Bun With Short Veil
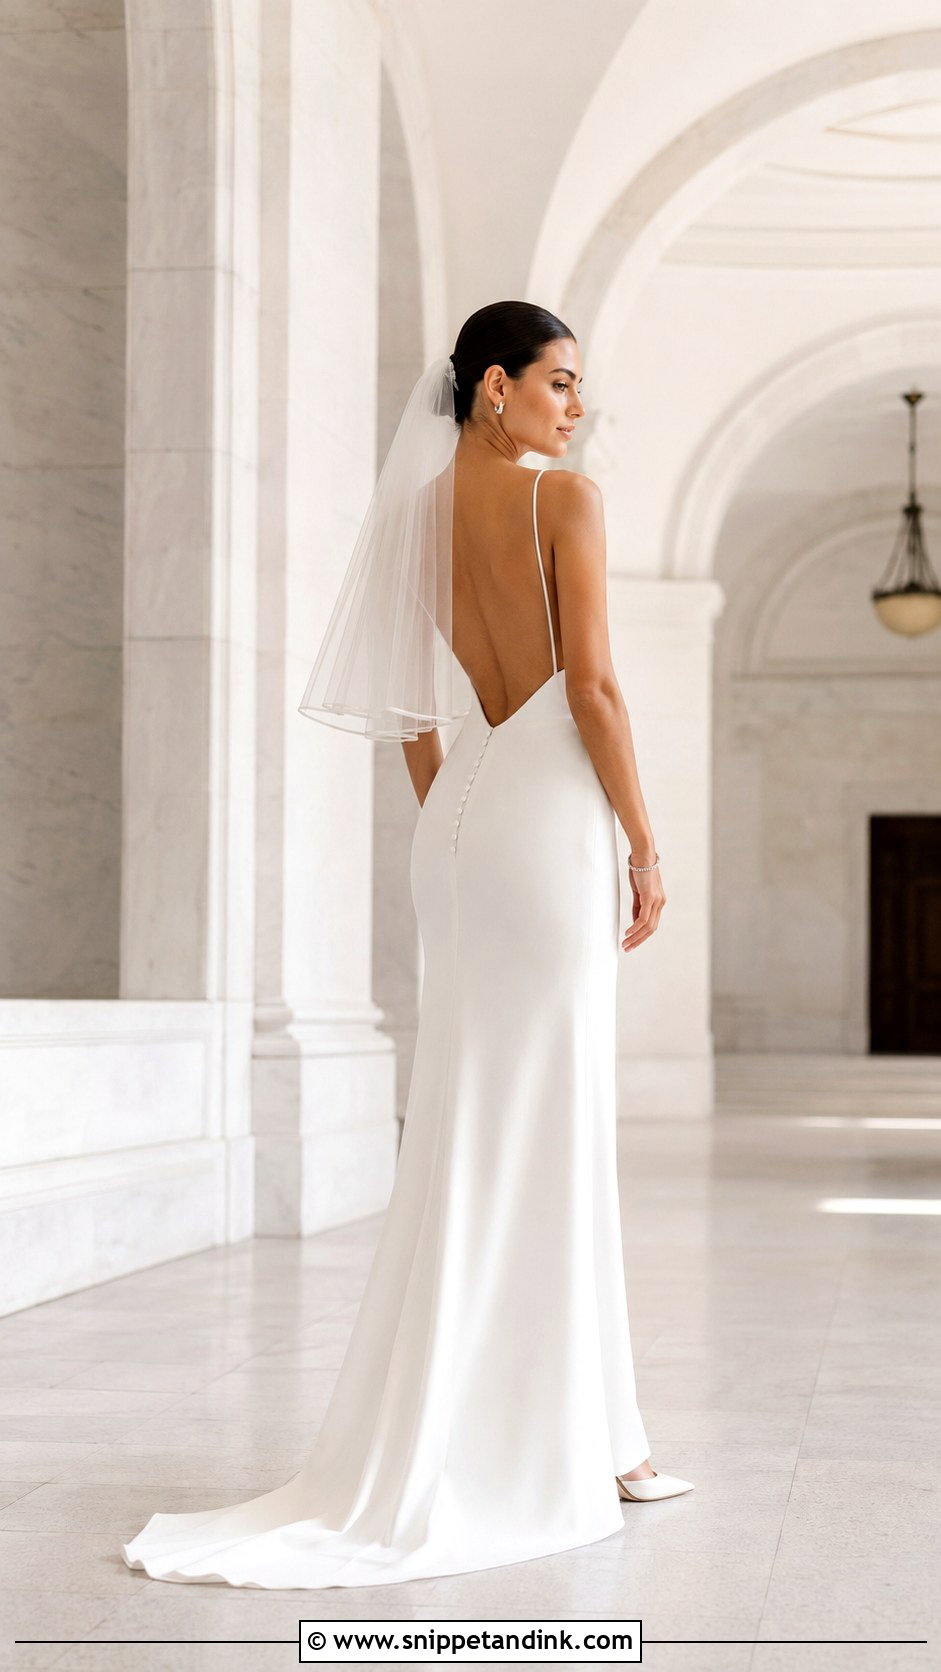
Sometimes the simplest version is the right one: a small, smooth knot at the nape held with hidden pins. Pair it with an elbow-length, shoulder-length or softly layered veil to suit the dress. Above the bun gives more traditional fullness; underneath looks lighter and lets an embellished back show. A short veil is also much easier to remove yourself, which matters if you’d rather not have someone fiddling with your hair before the first dance. Small earrings and no hairpiece keep the mood quiet. With so little going on, a precise part and tamed flyaways are what make it look finished.
Fine, Thick and Layered Hair Need Different Foundations
The same bun is built differently depending on what’s growing out of your head. Fine hair often needs a hidden padding or a few clip-in wefts to give the bun body and the comb something to hold. Very thick hair is the opposite problem; it’s heavy, so I take out bulk by braiding sections flat before shaping, otherwise the bun drags down by the evening. Layered cuts leave shorter pieces escaping at the nape, which a light wax and a few extra pins will tame. Naturally curly and coily hair keeps its shape best when it’s stretched and moisturized a day or two ahead, not on the morning.
When the Veil Comes Out After the Ceremony
Most brides take the veil off before dinner or the first dance, and that’s when buns get pulled loose. Show a bridesmaid at the trial exactly where the comb sits and which pins hold it.
- Remove the single pin over the comb’s spine first.
- Hold the bun in place with one flat hand.
- Slide the comb out in the same direction its teeth point, never straight up.
- Check the back in a phone camera and push in one fresh pin wherever it feels loose.
Keep a few spare pins, a travel hairspray and a fine-tooth tail comb in the clutch for exactly this moment.
Does Your Bun Still Feel Secure at the Speeches?
One classic pairing gives you far more range than people expect. A low bun stays traditional, a high bun or top knot feels sharper, and braids, curls, pearls or flowers add texture without crowding the veil. Placement matters as much as the style: over the bun gives fullness, under it shows more hair and more of the dress. Bring the veil, any accessories and photos of your dress to the trial so I can test the whole picture on you. The right bun is the one you forget you’re wearing by the speeches.
You'll Like These Ideas:


Leave a Reply